True story!!! I keep thinking that, it is a lot of crap to bring then LOL. Planning to bring all my tools and gear to set the camper back up while I wait for my PCR results.
Planning to hopefully make it from Penticton to Missoula in one day and camp at Big Pine campsite. Then after the install head up towards Eureka and find a spot to camp out there close to the border. Then it’s off to visit a buddy in Kimberly and the long way home to the Cariboo via Rogers pass. So definitely opportunities to do all sports, bike, ski, fish LOL
If it’s the same Big Pine campground I’m thinking of, it will probably be closed. I think end of October is when it’s typically closed for the season. But I could be wrong.
OOO shit, that wouldn’t be ideal LOL. Yeah it probably is, it’s about 40 mins West of Missoula by the looks of things. I’m so used to BC recreation sites that are just open all the time, only provincial sites ‘close’.
Yeah I just saw that as well, so checking on free camping site now. Looks like there’s quite a few options. I’m really going to push as far as I can that day, I have no other objectives so who knows maybe I’ll make it all the way to Belgrade. But that’s a big push from Penticton BC, at 980km’s after getting a PCR test at 945am and having to deal with a border crossing.
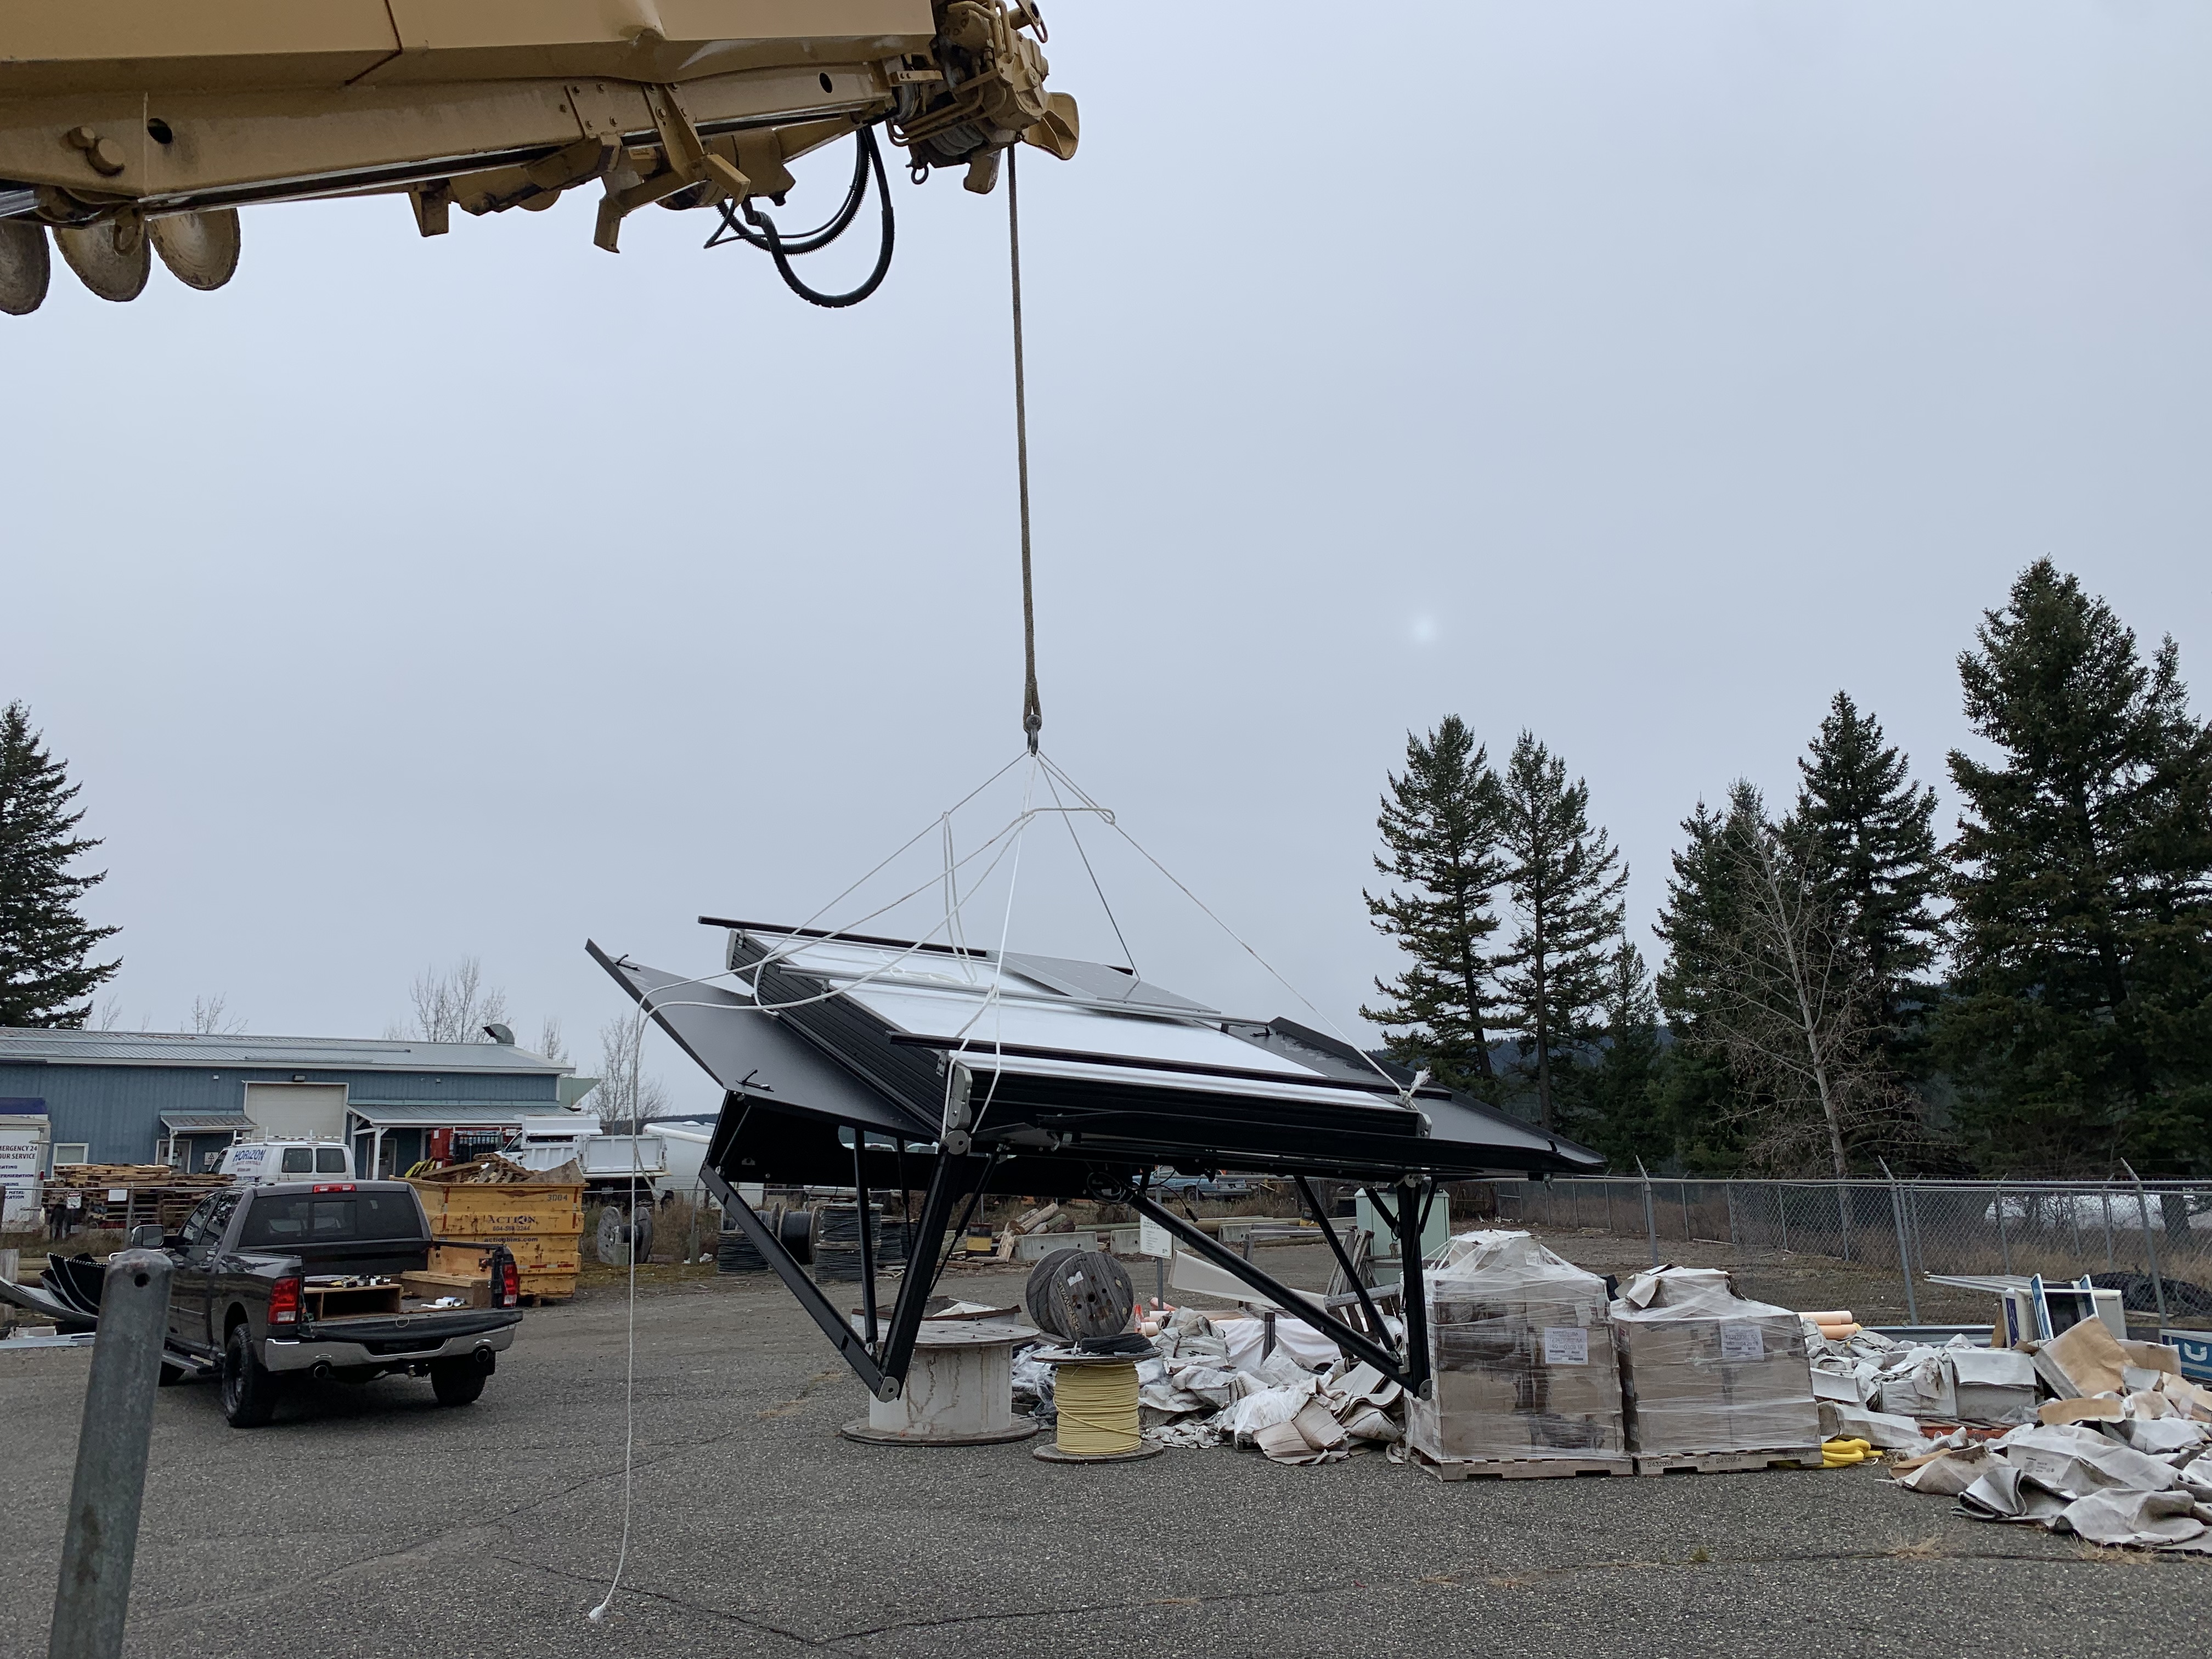
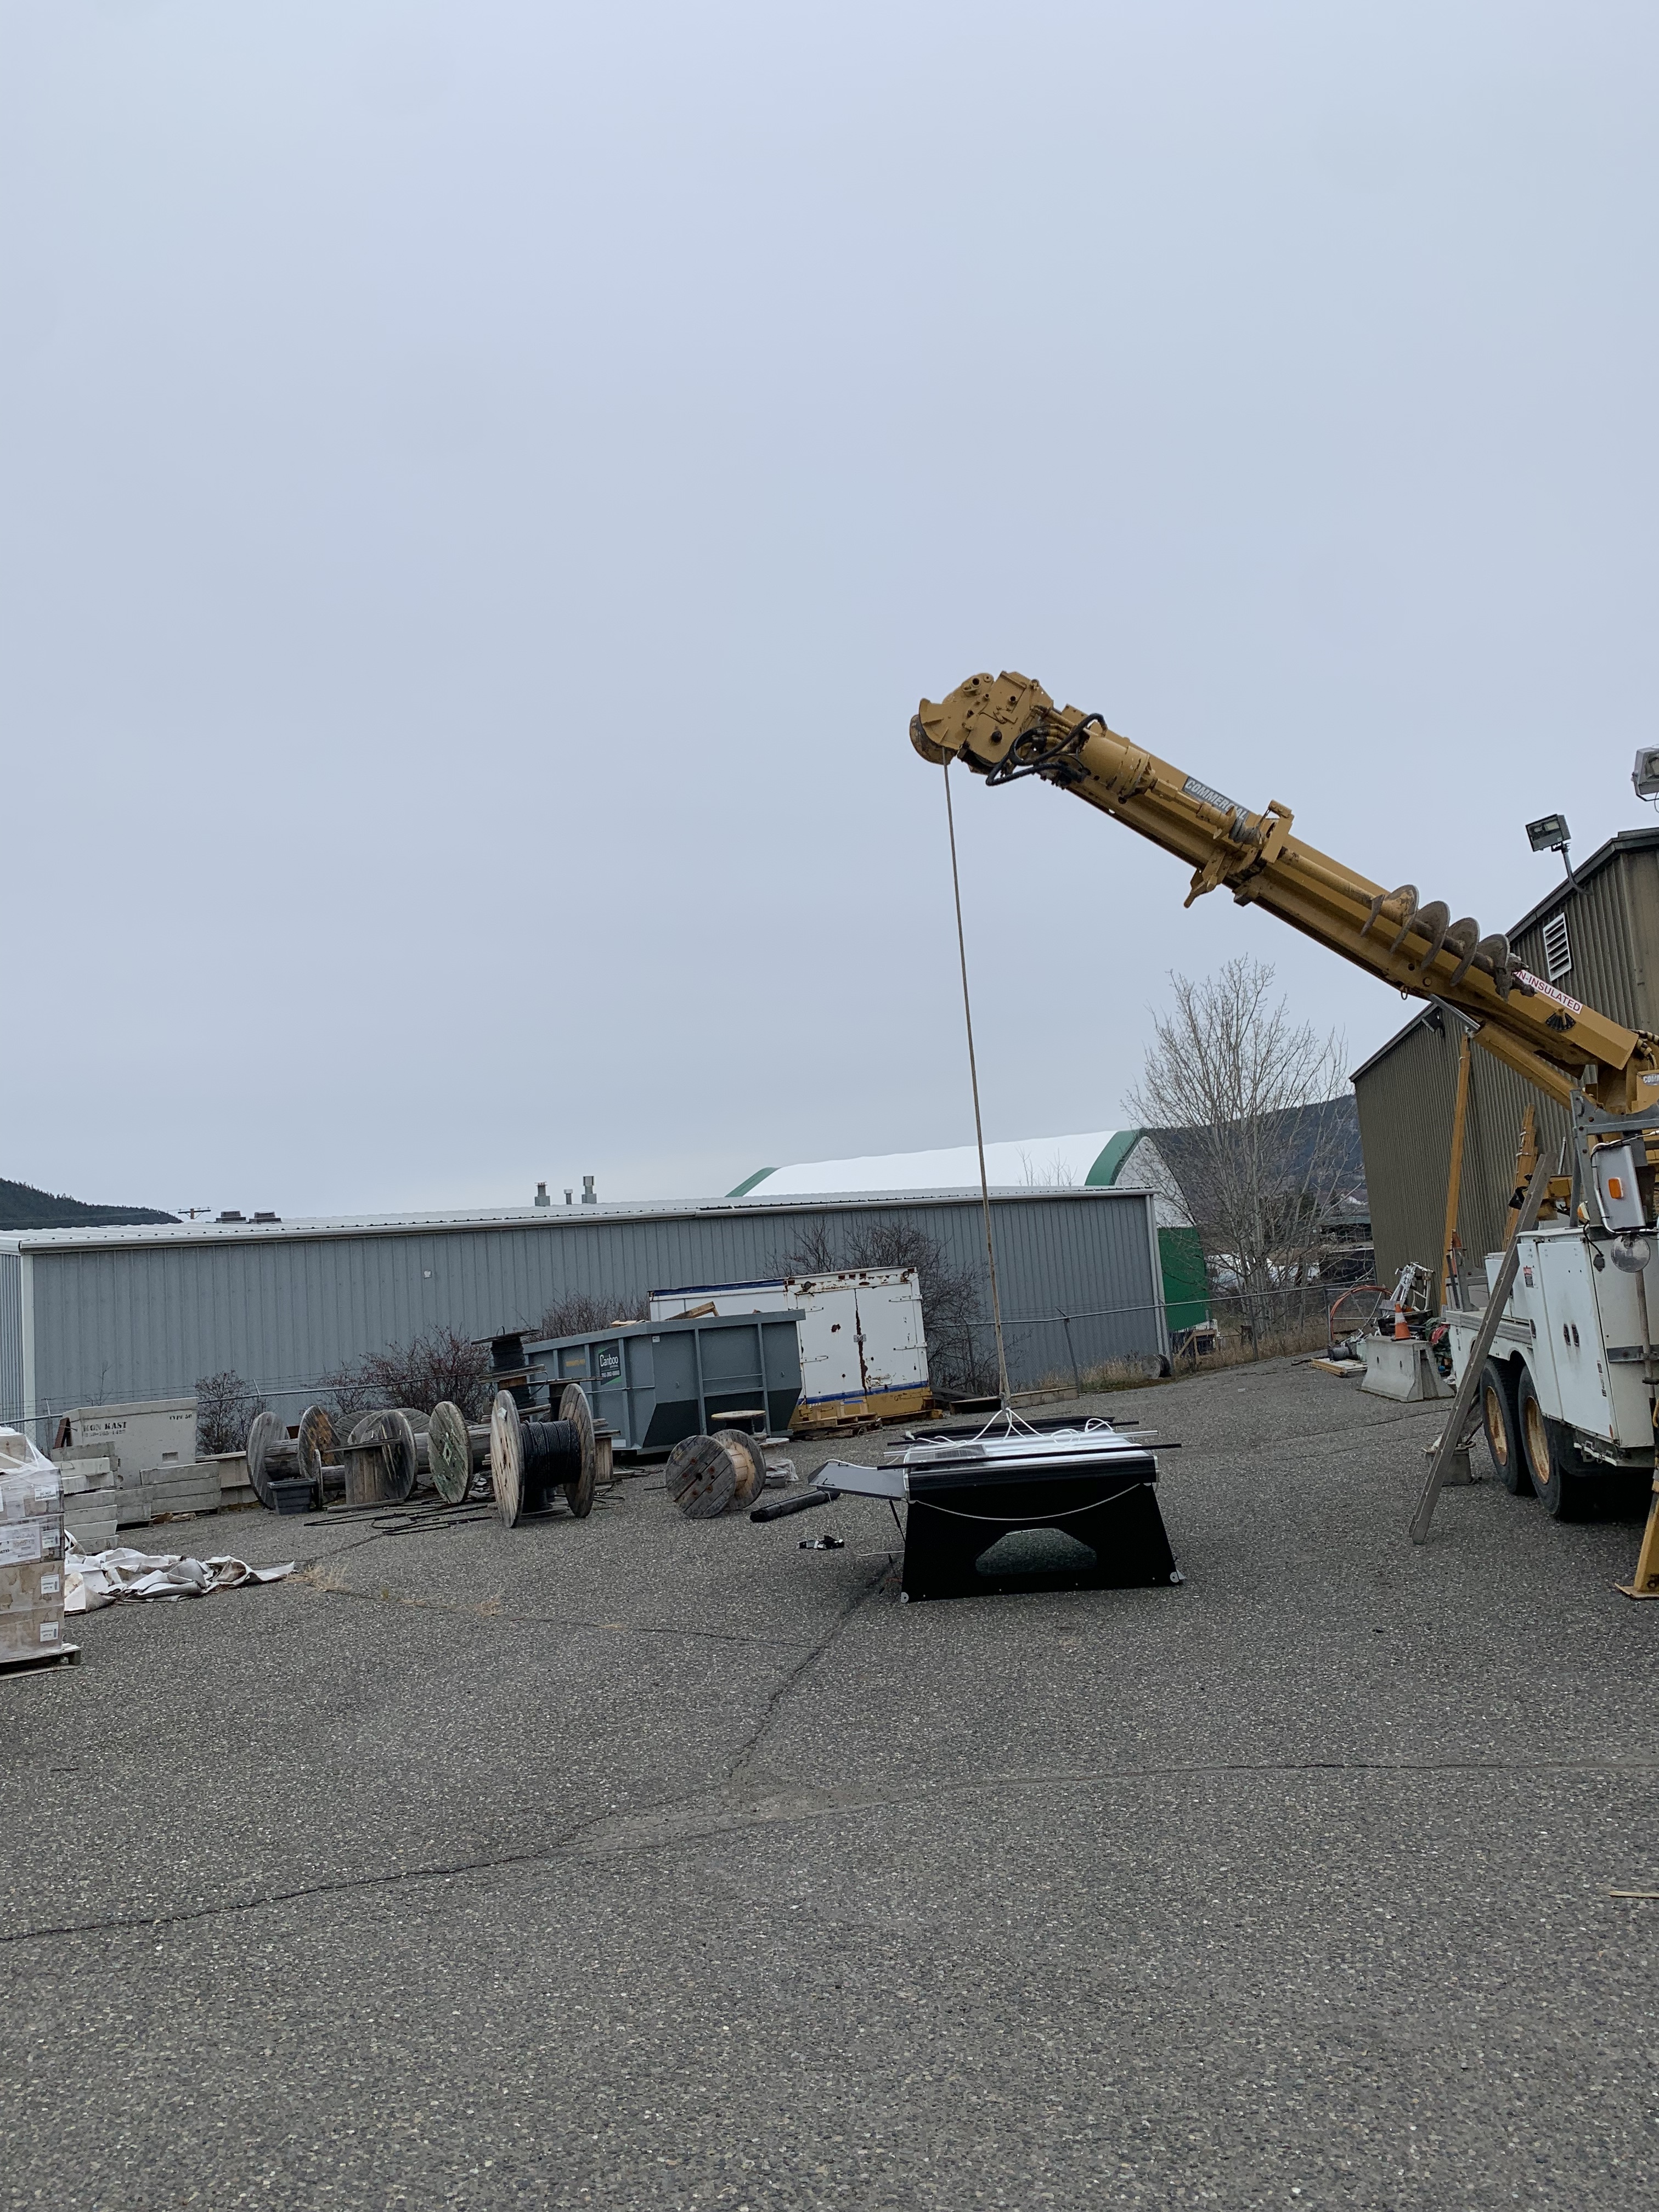
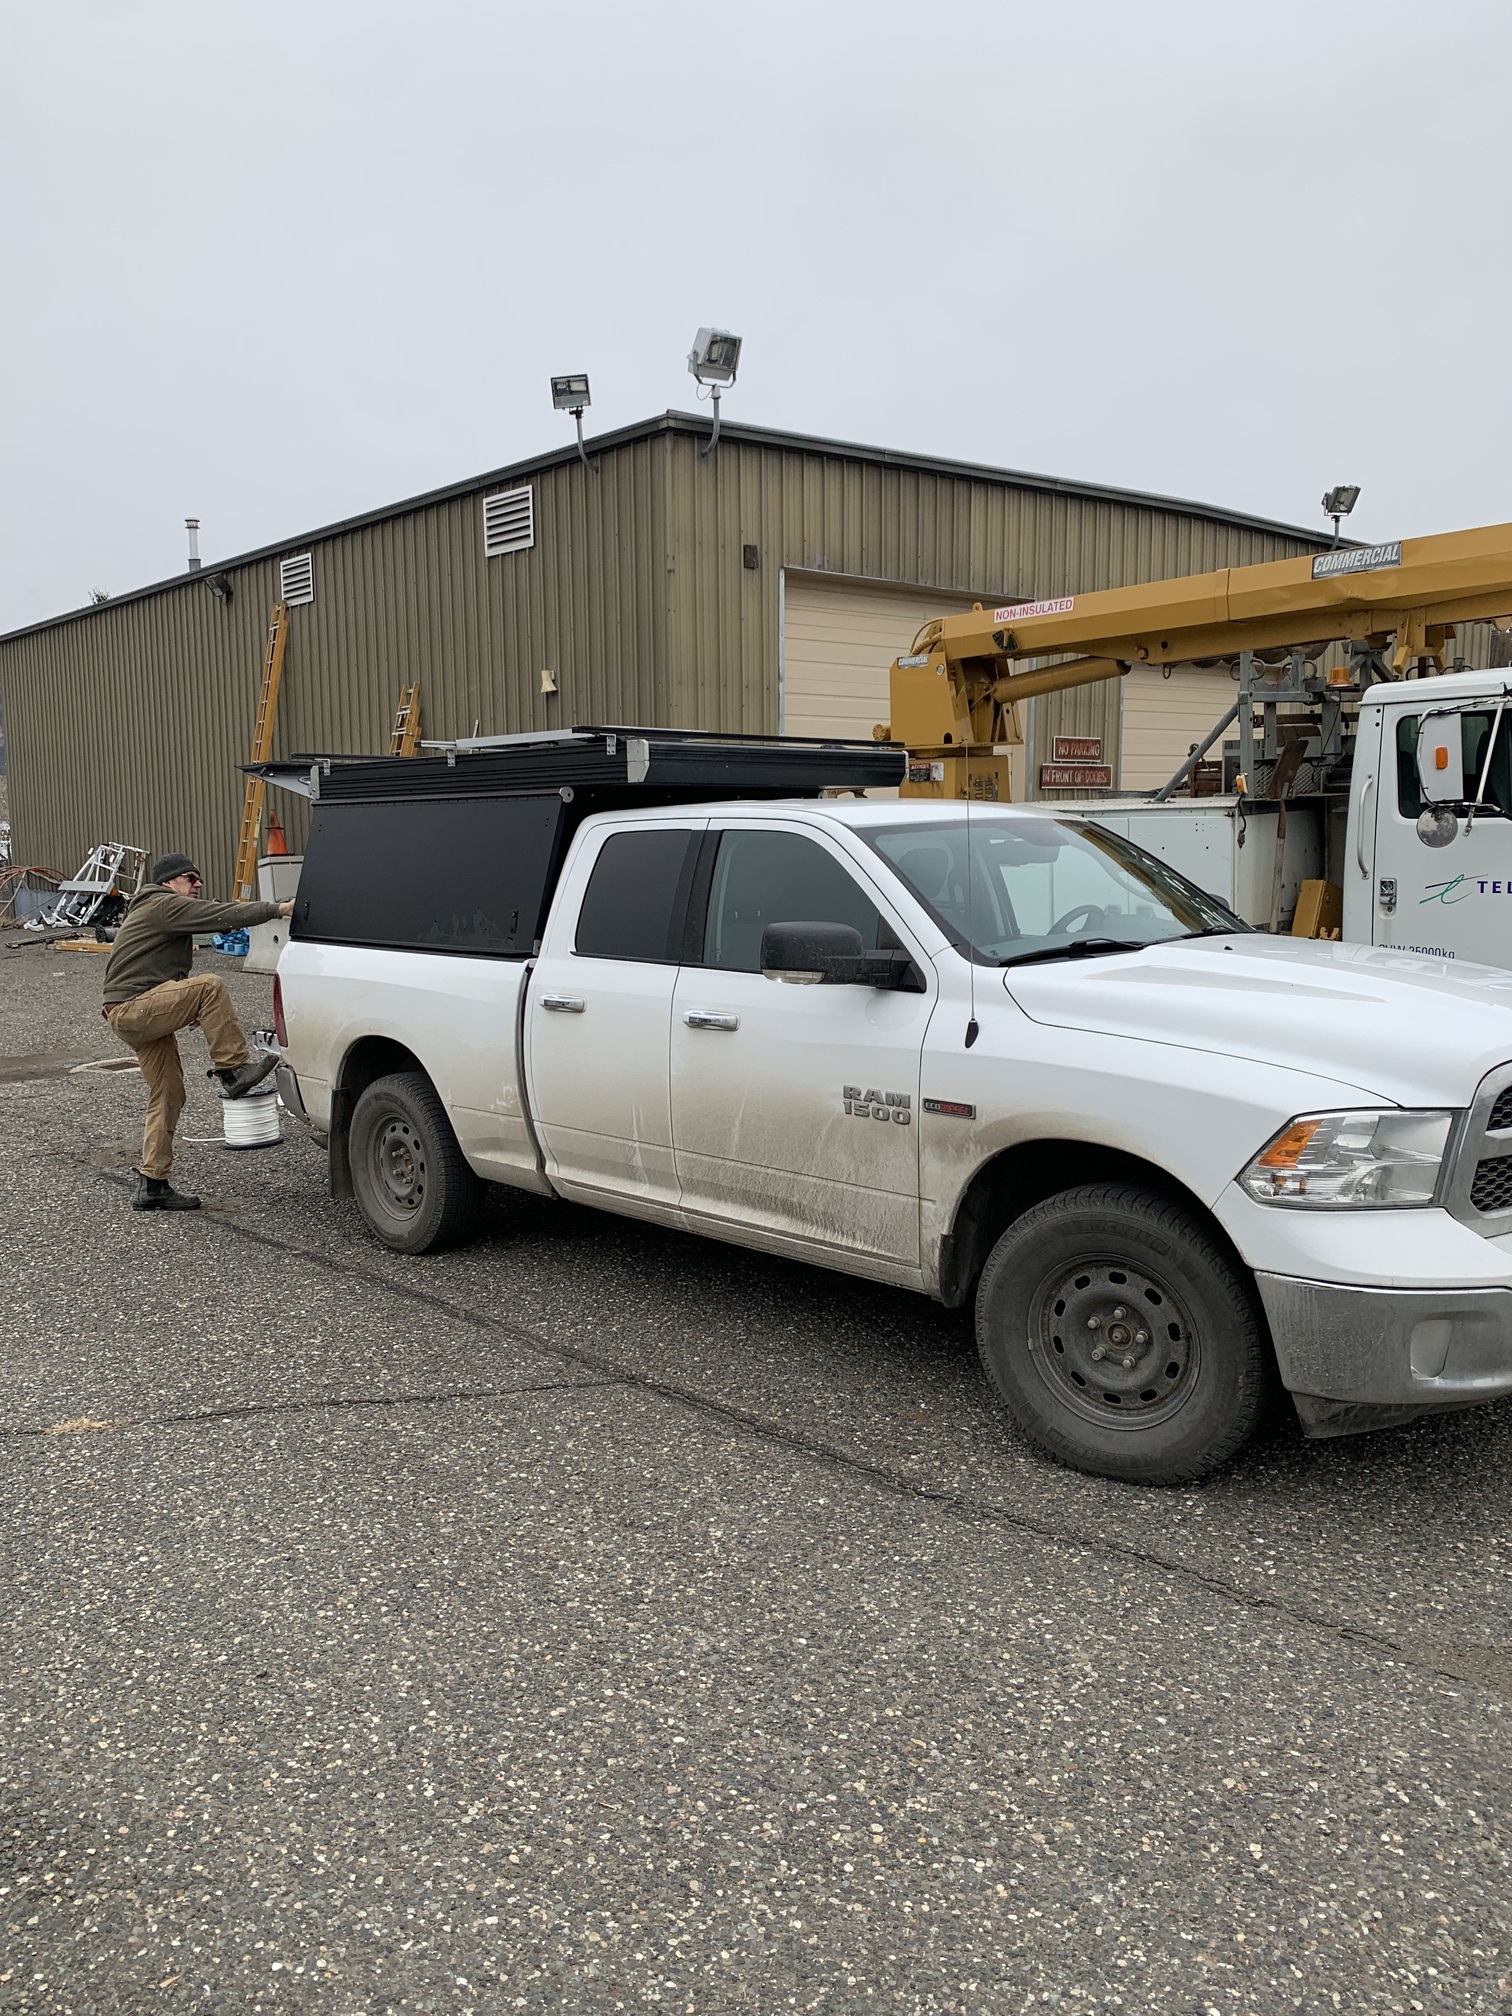
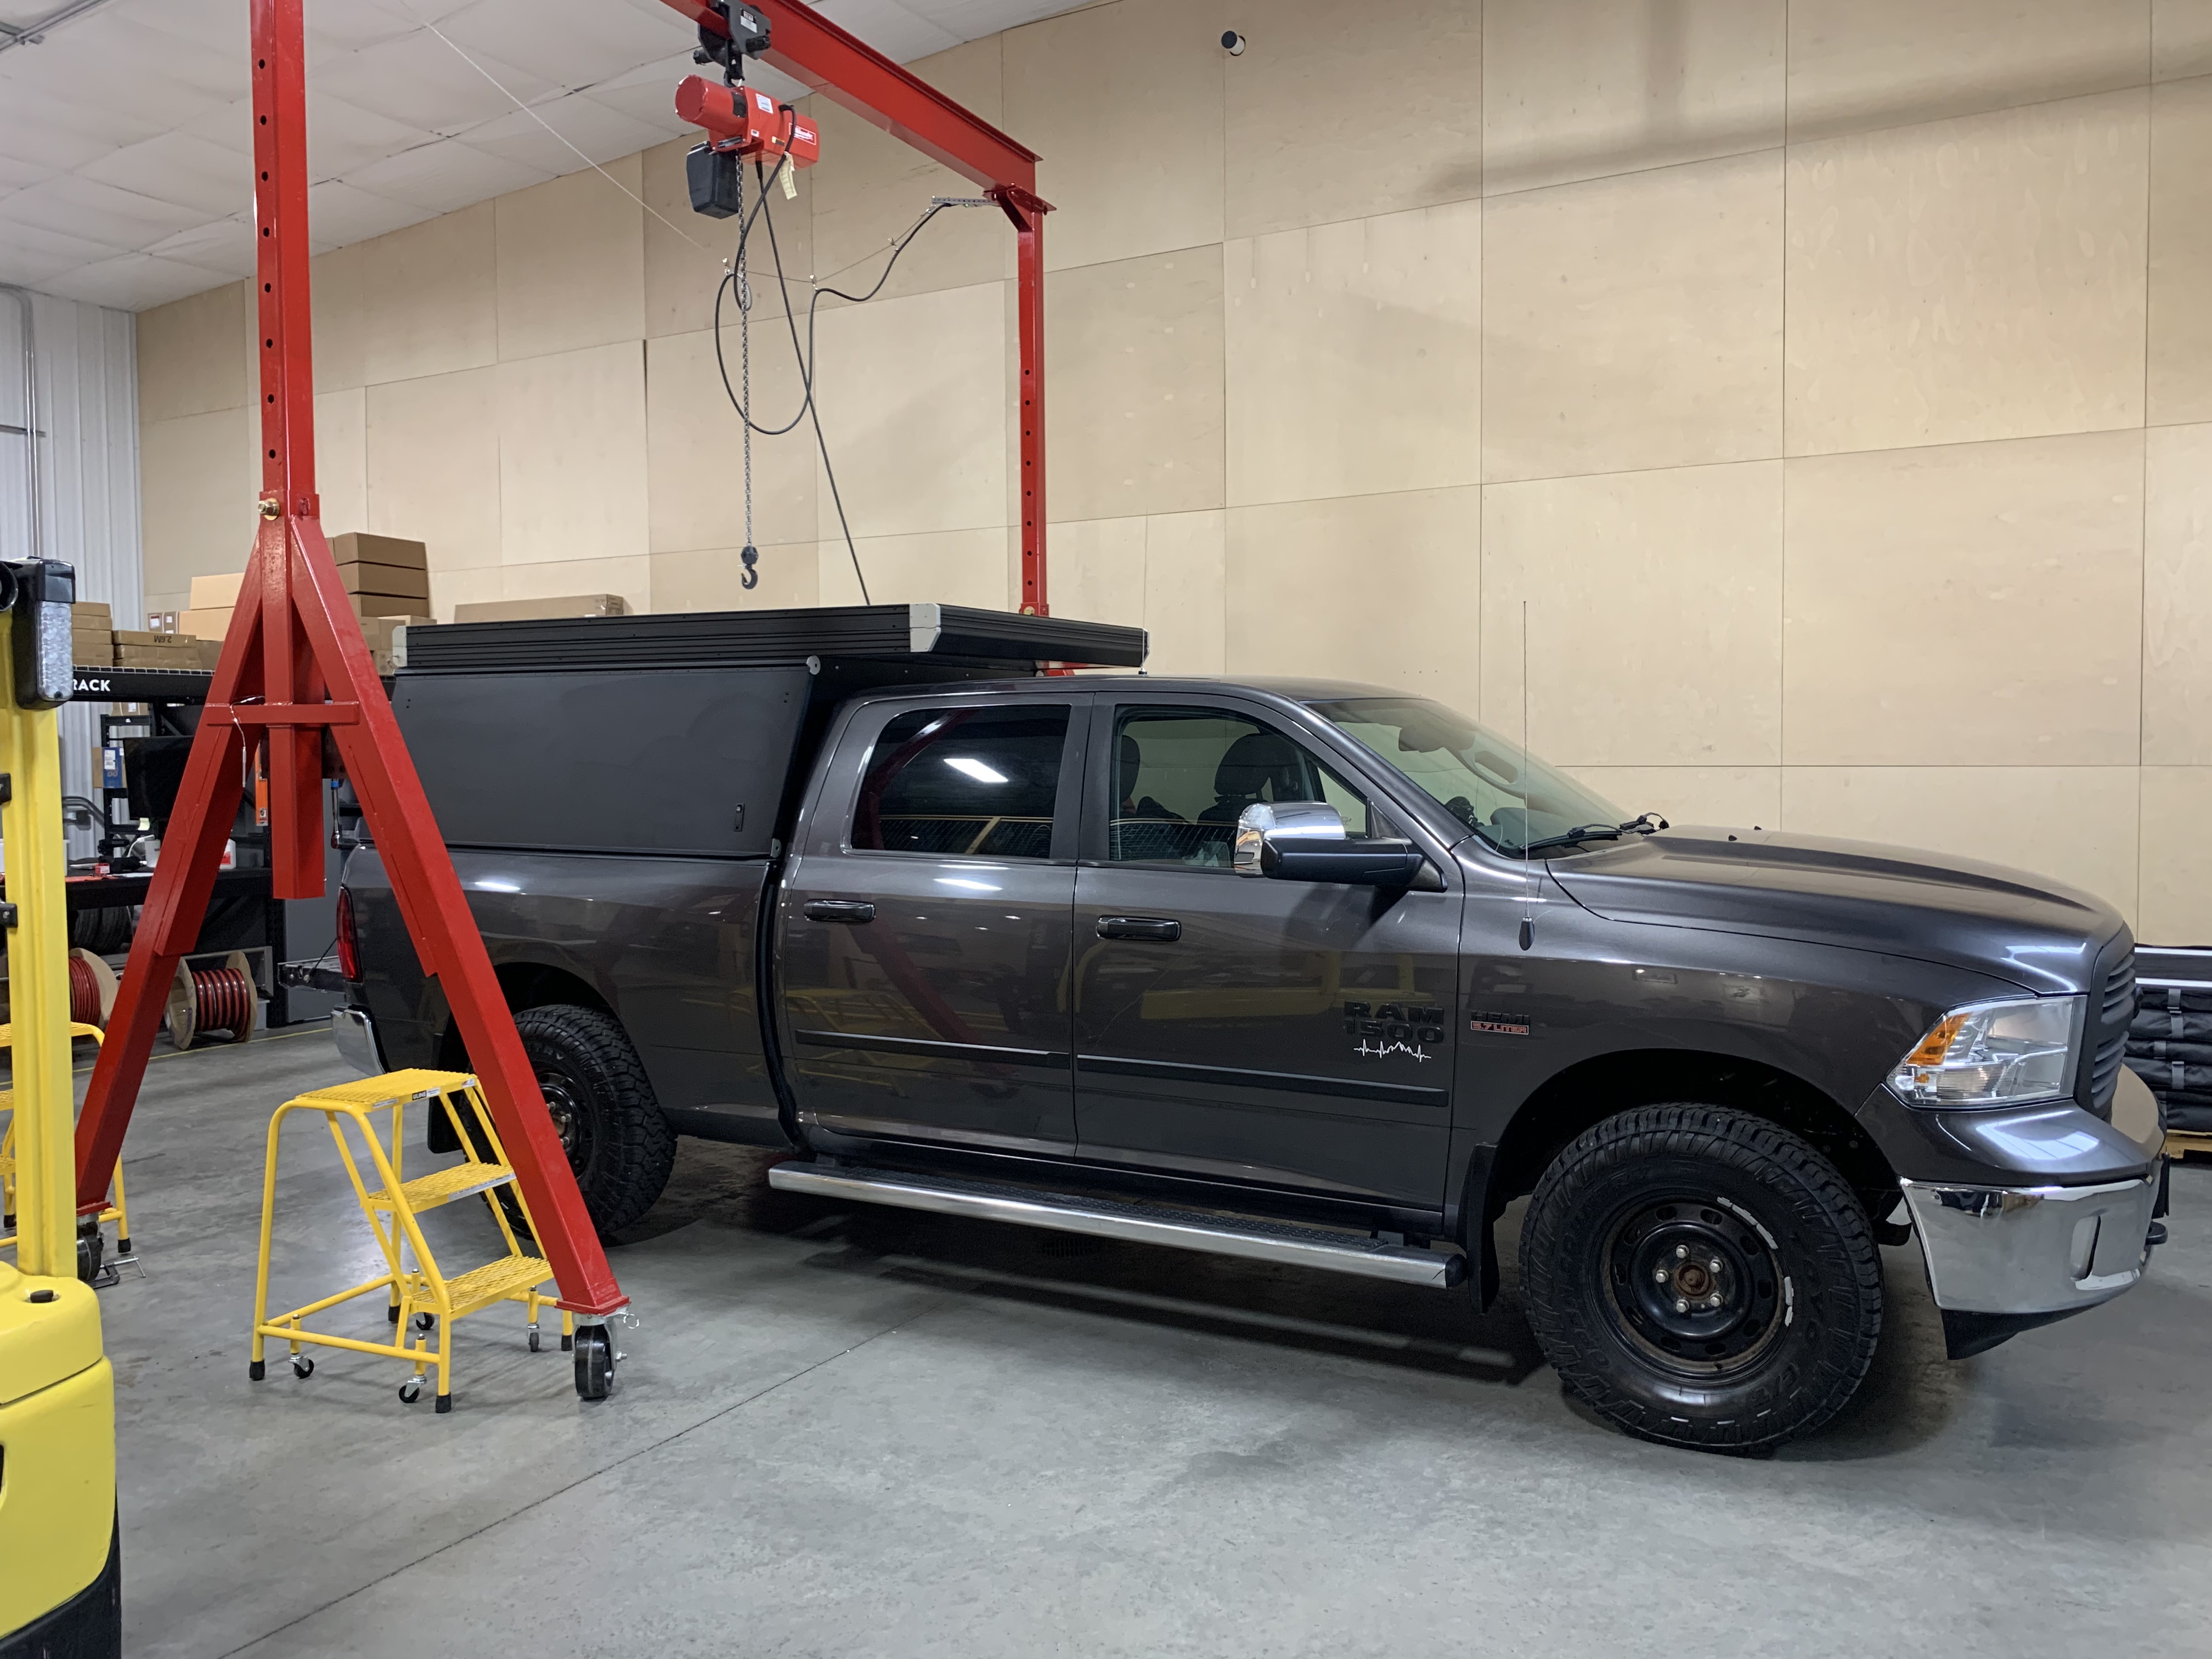
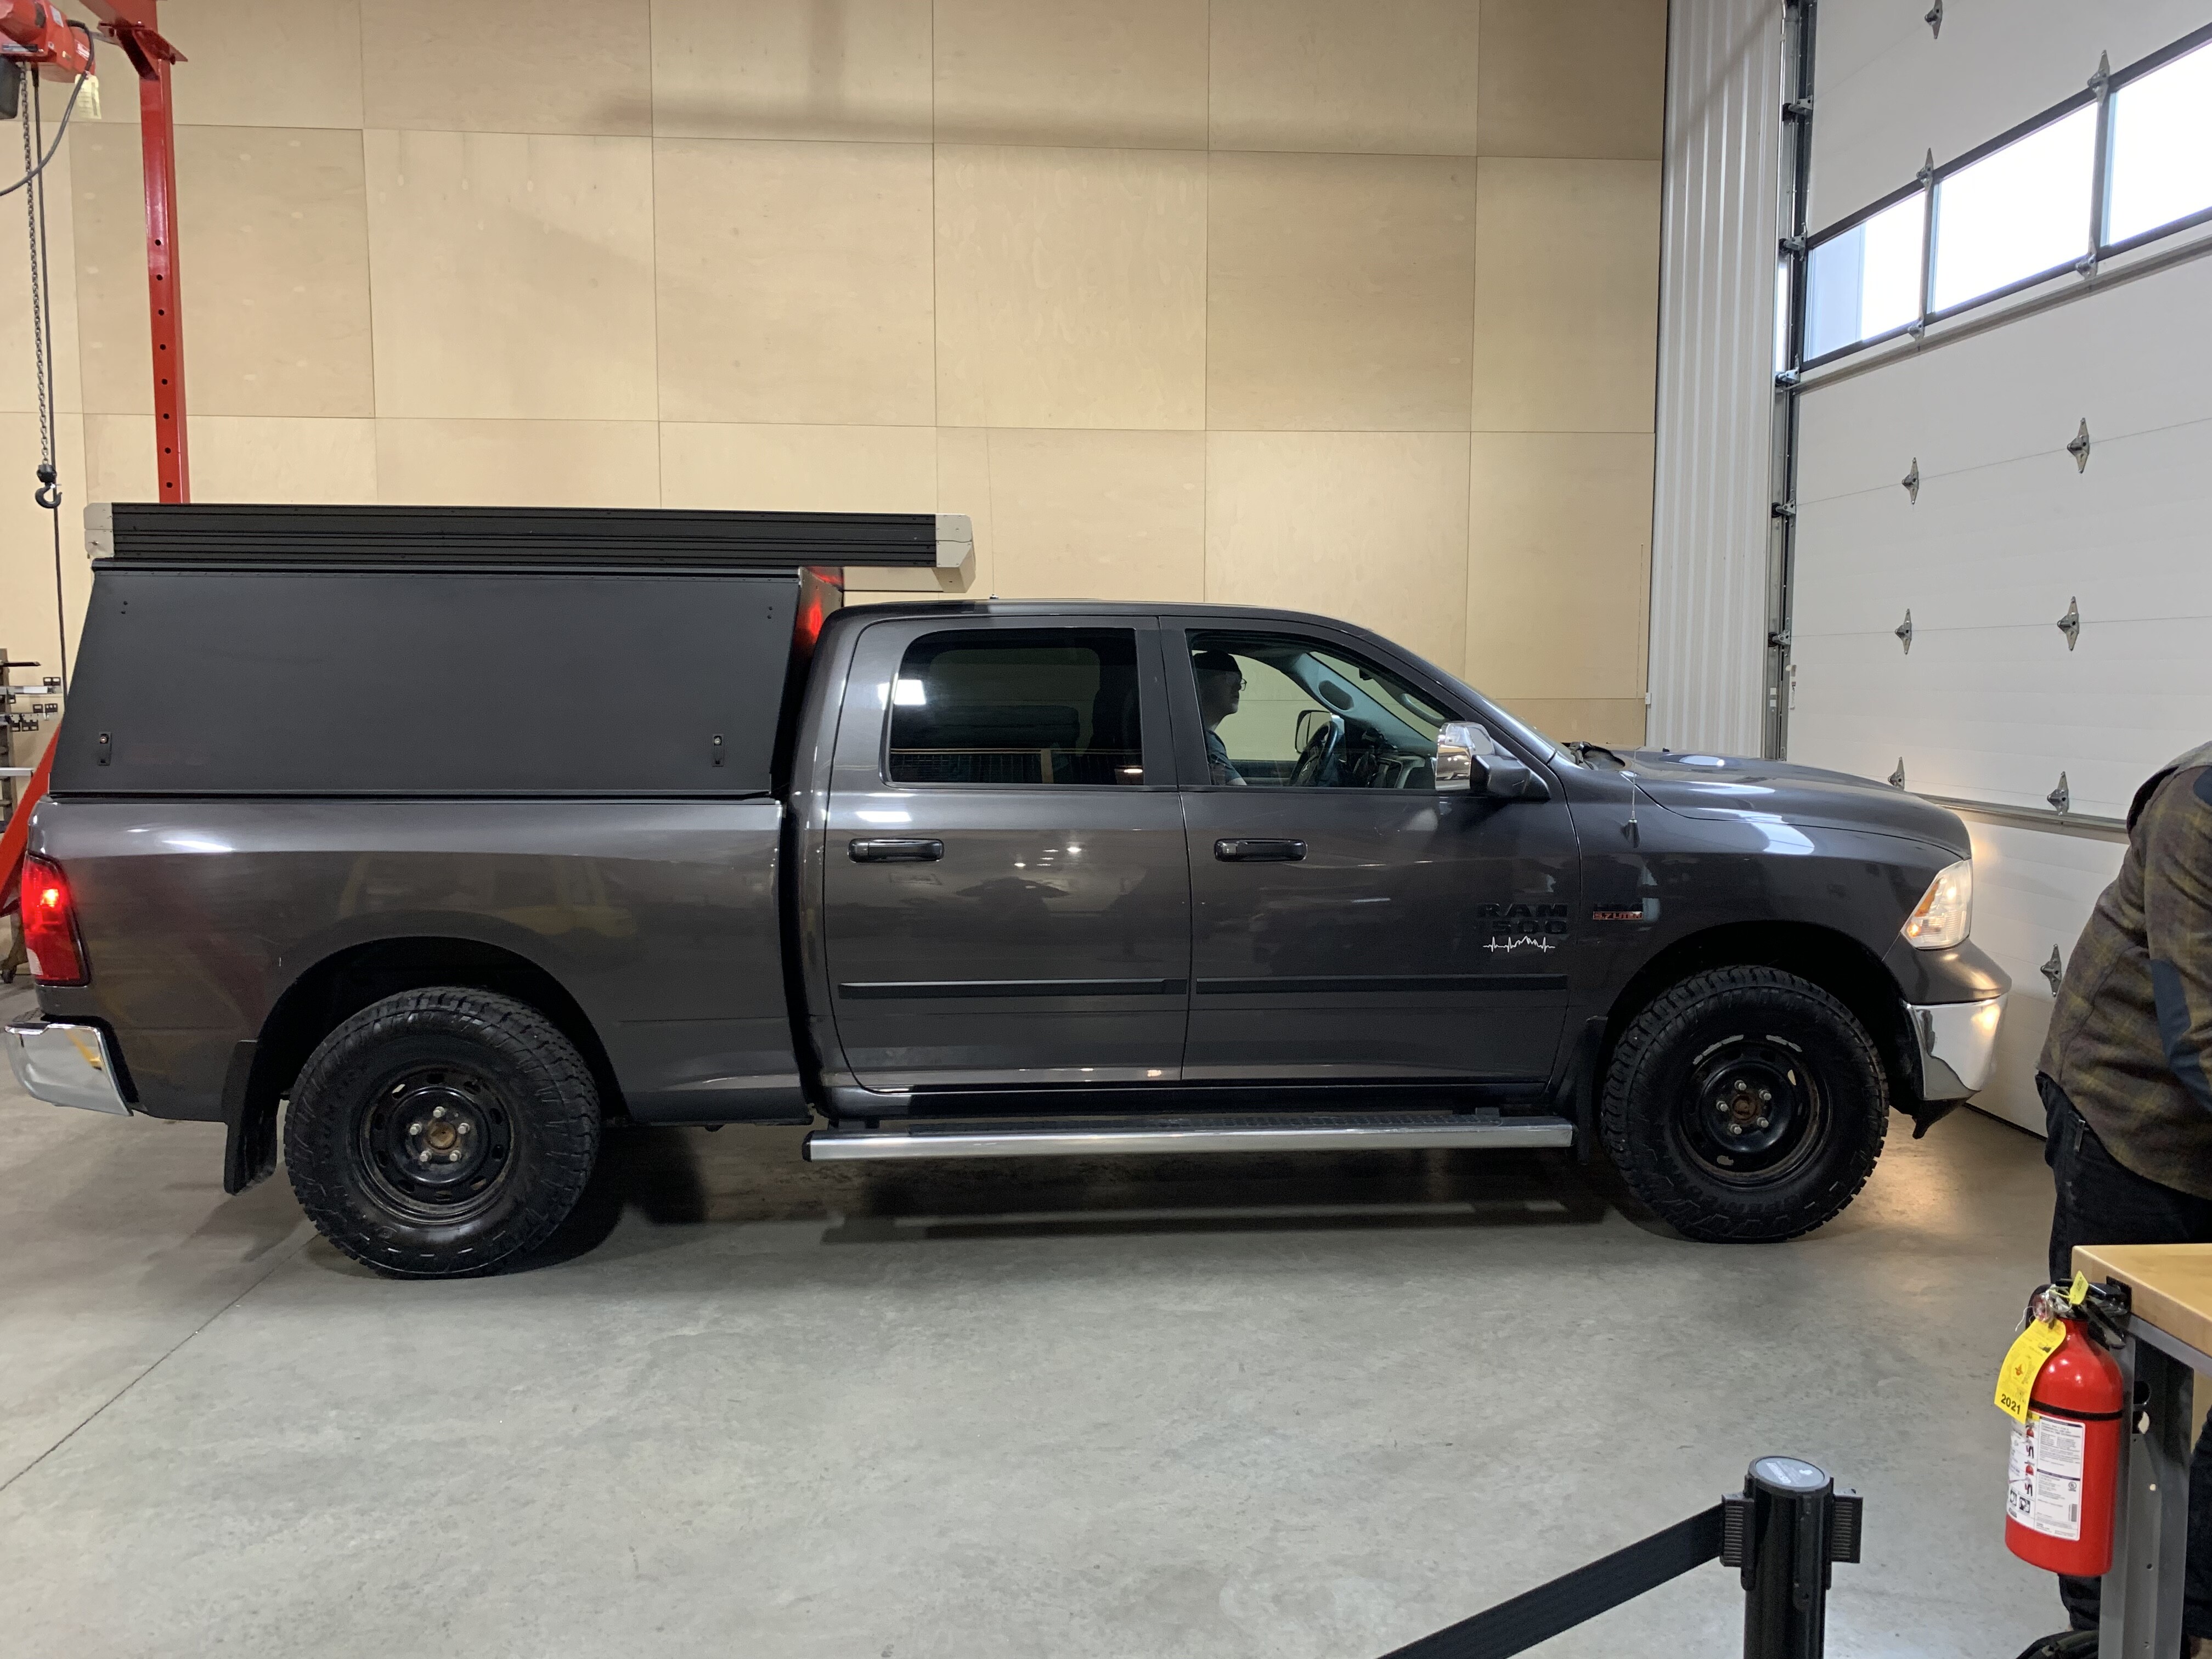
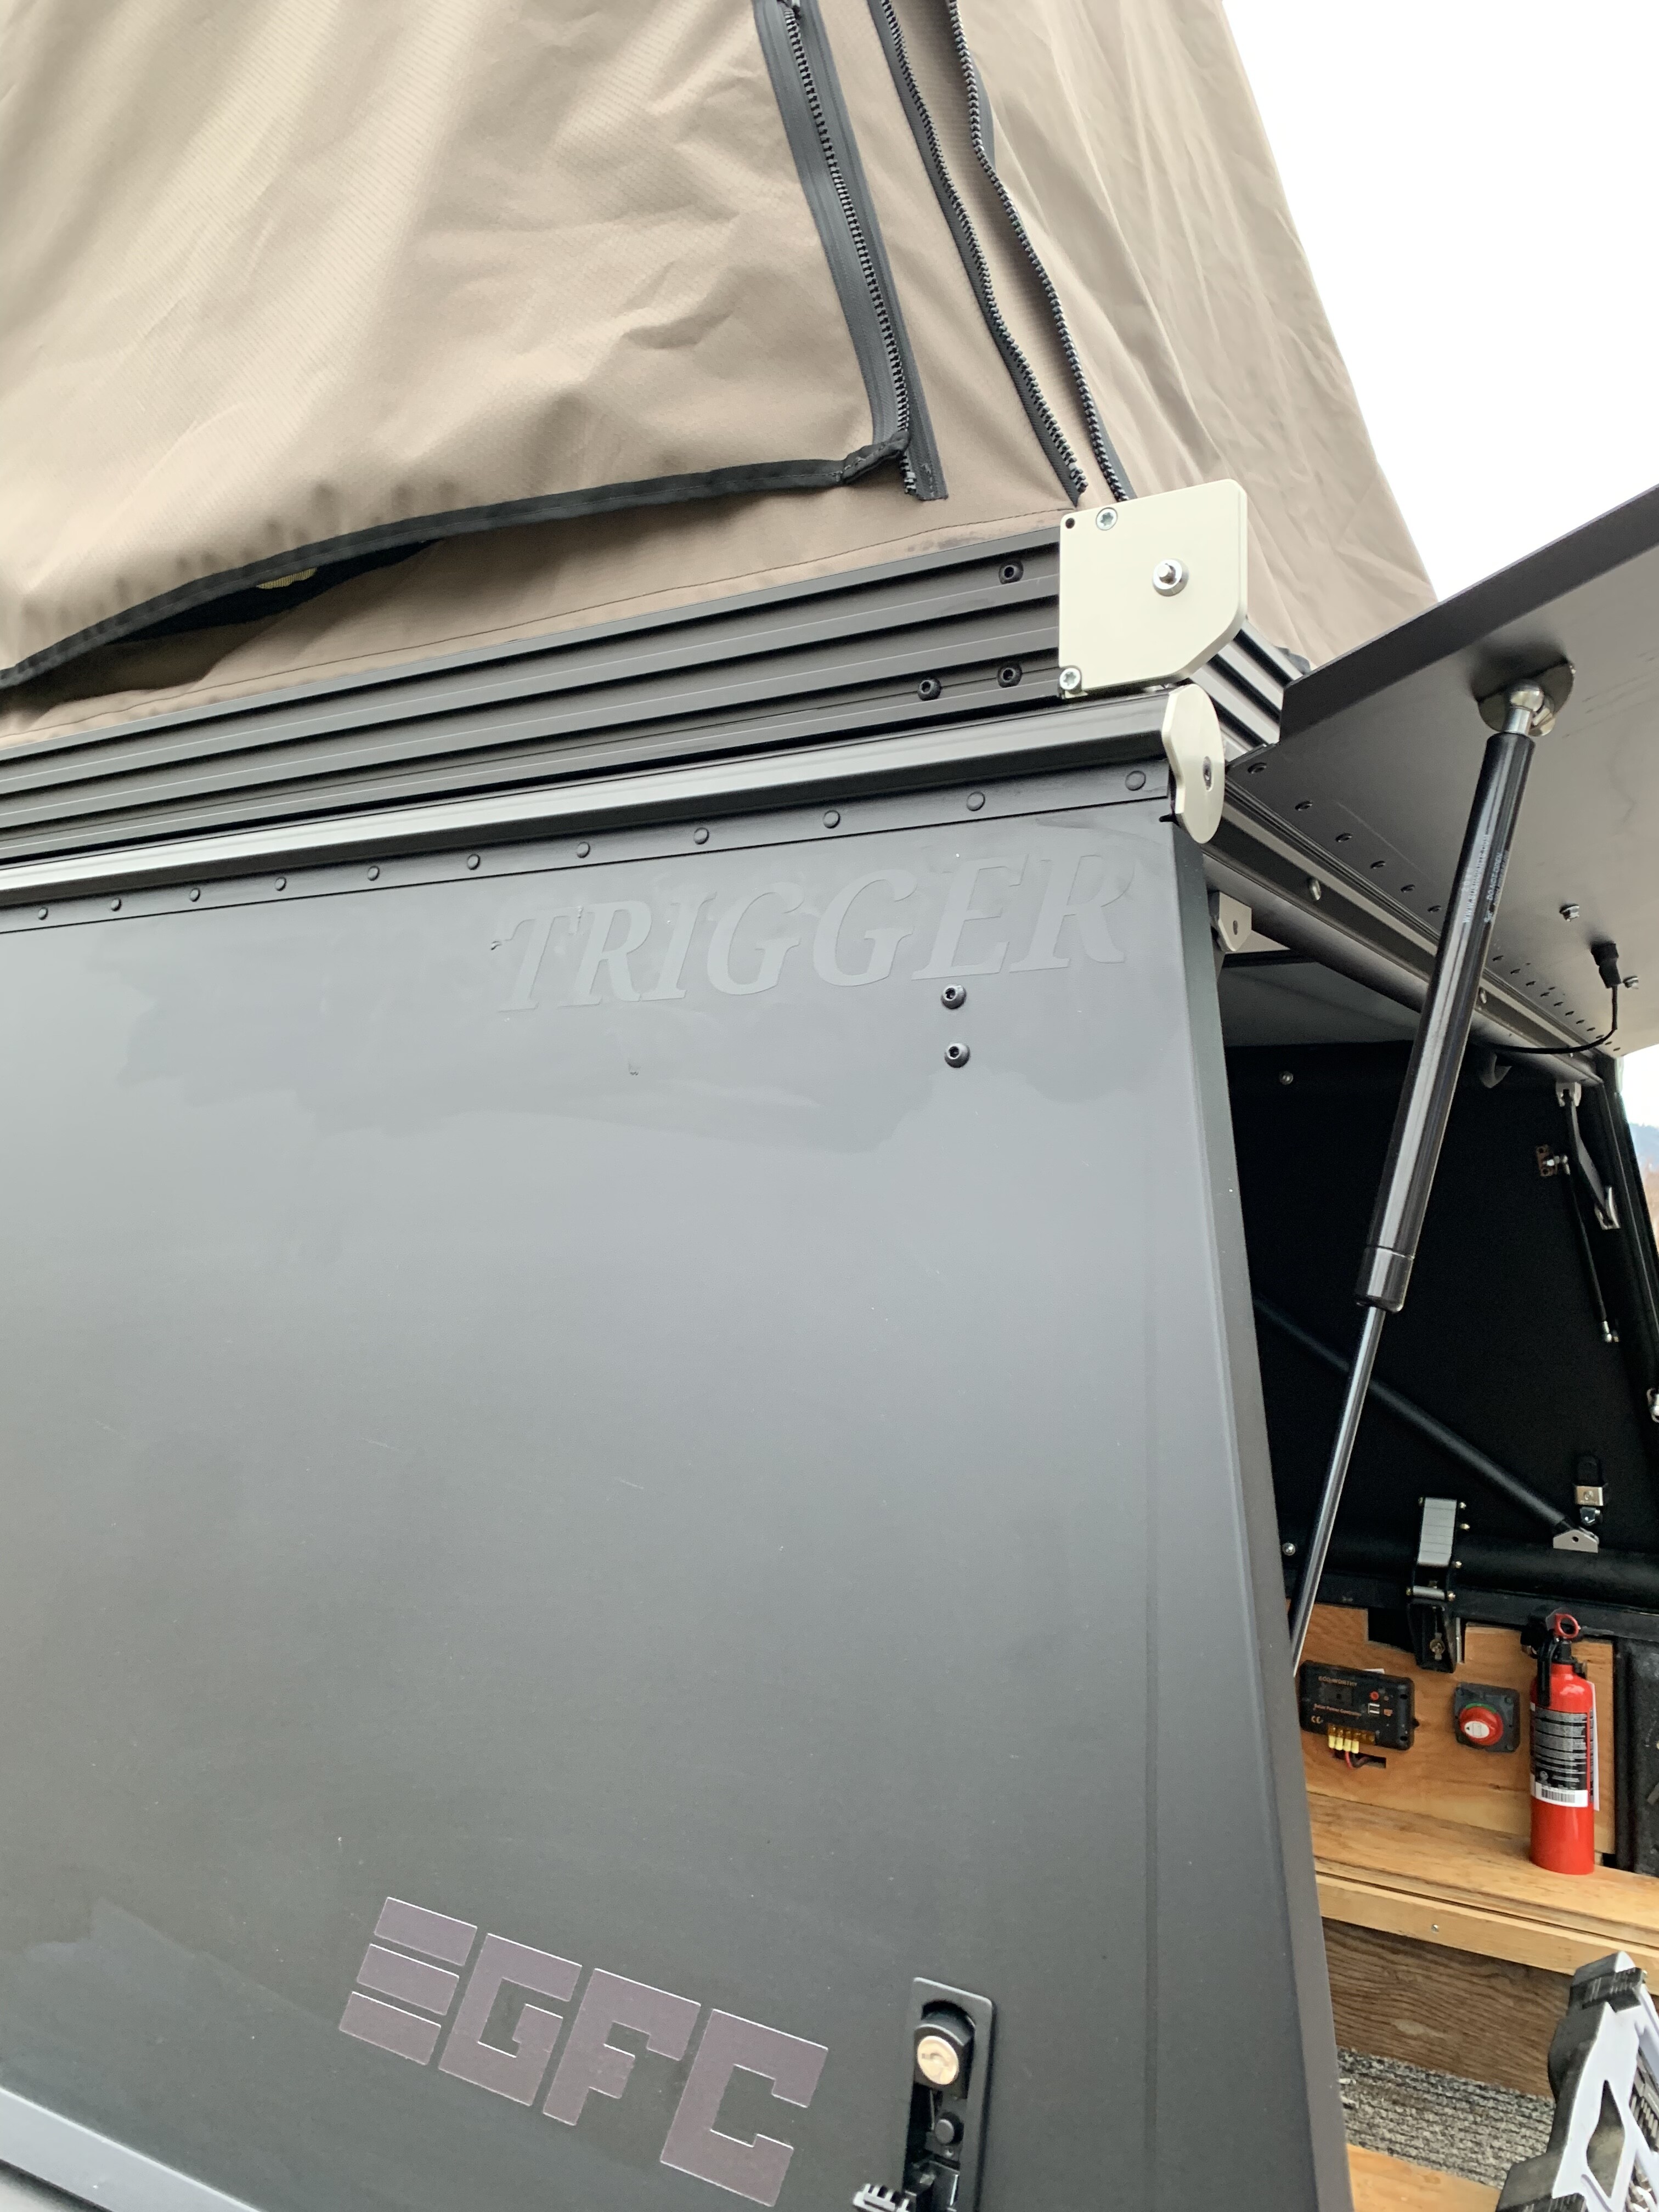
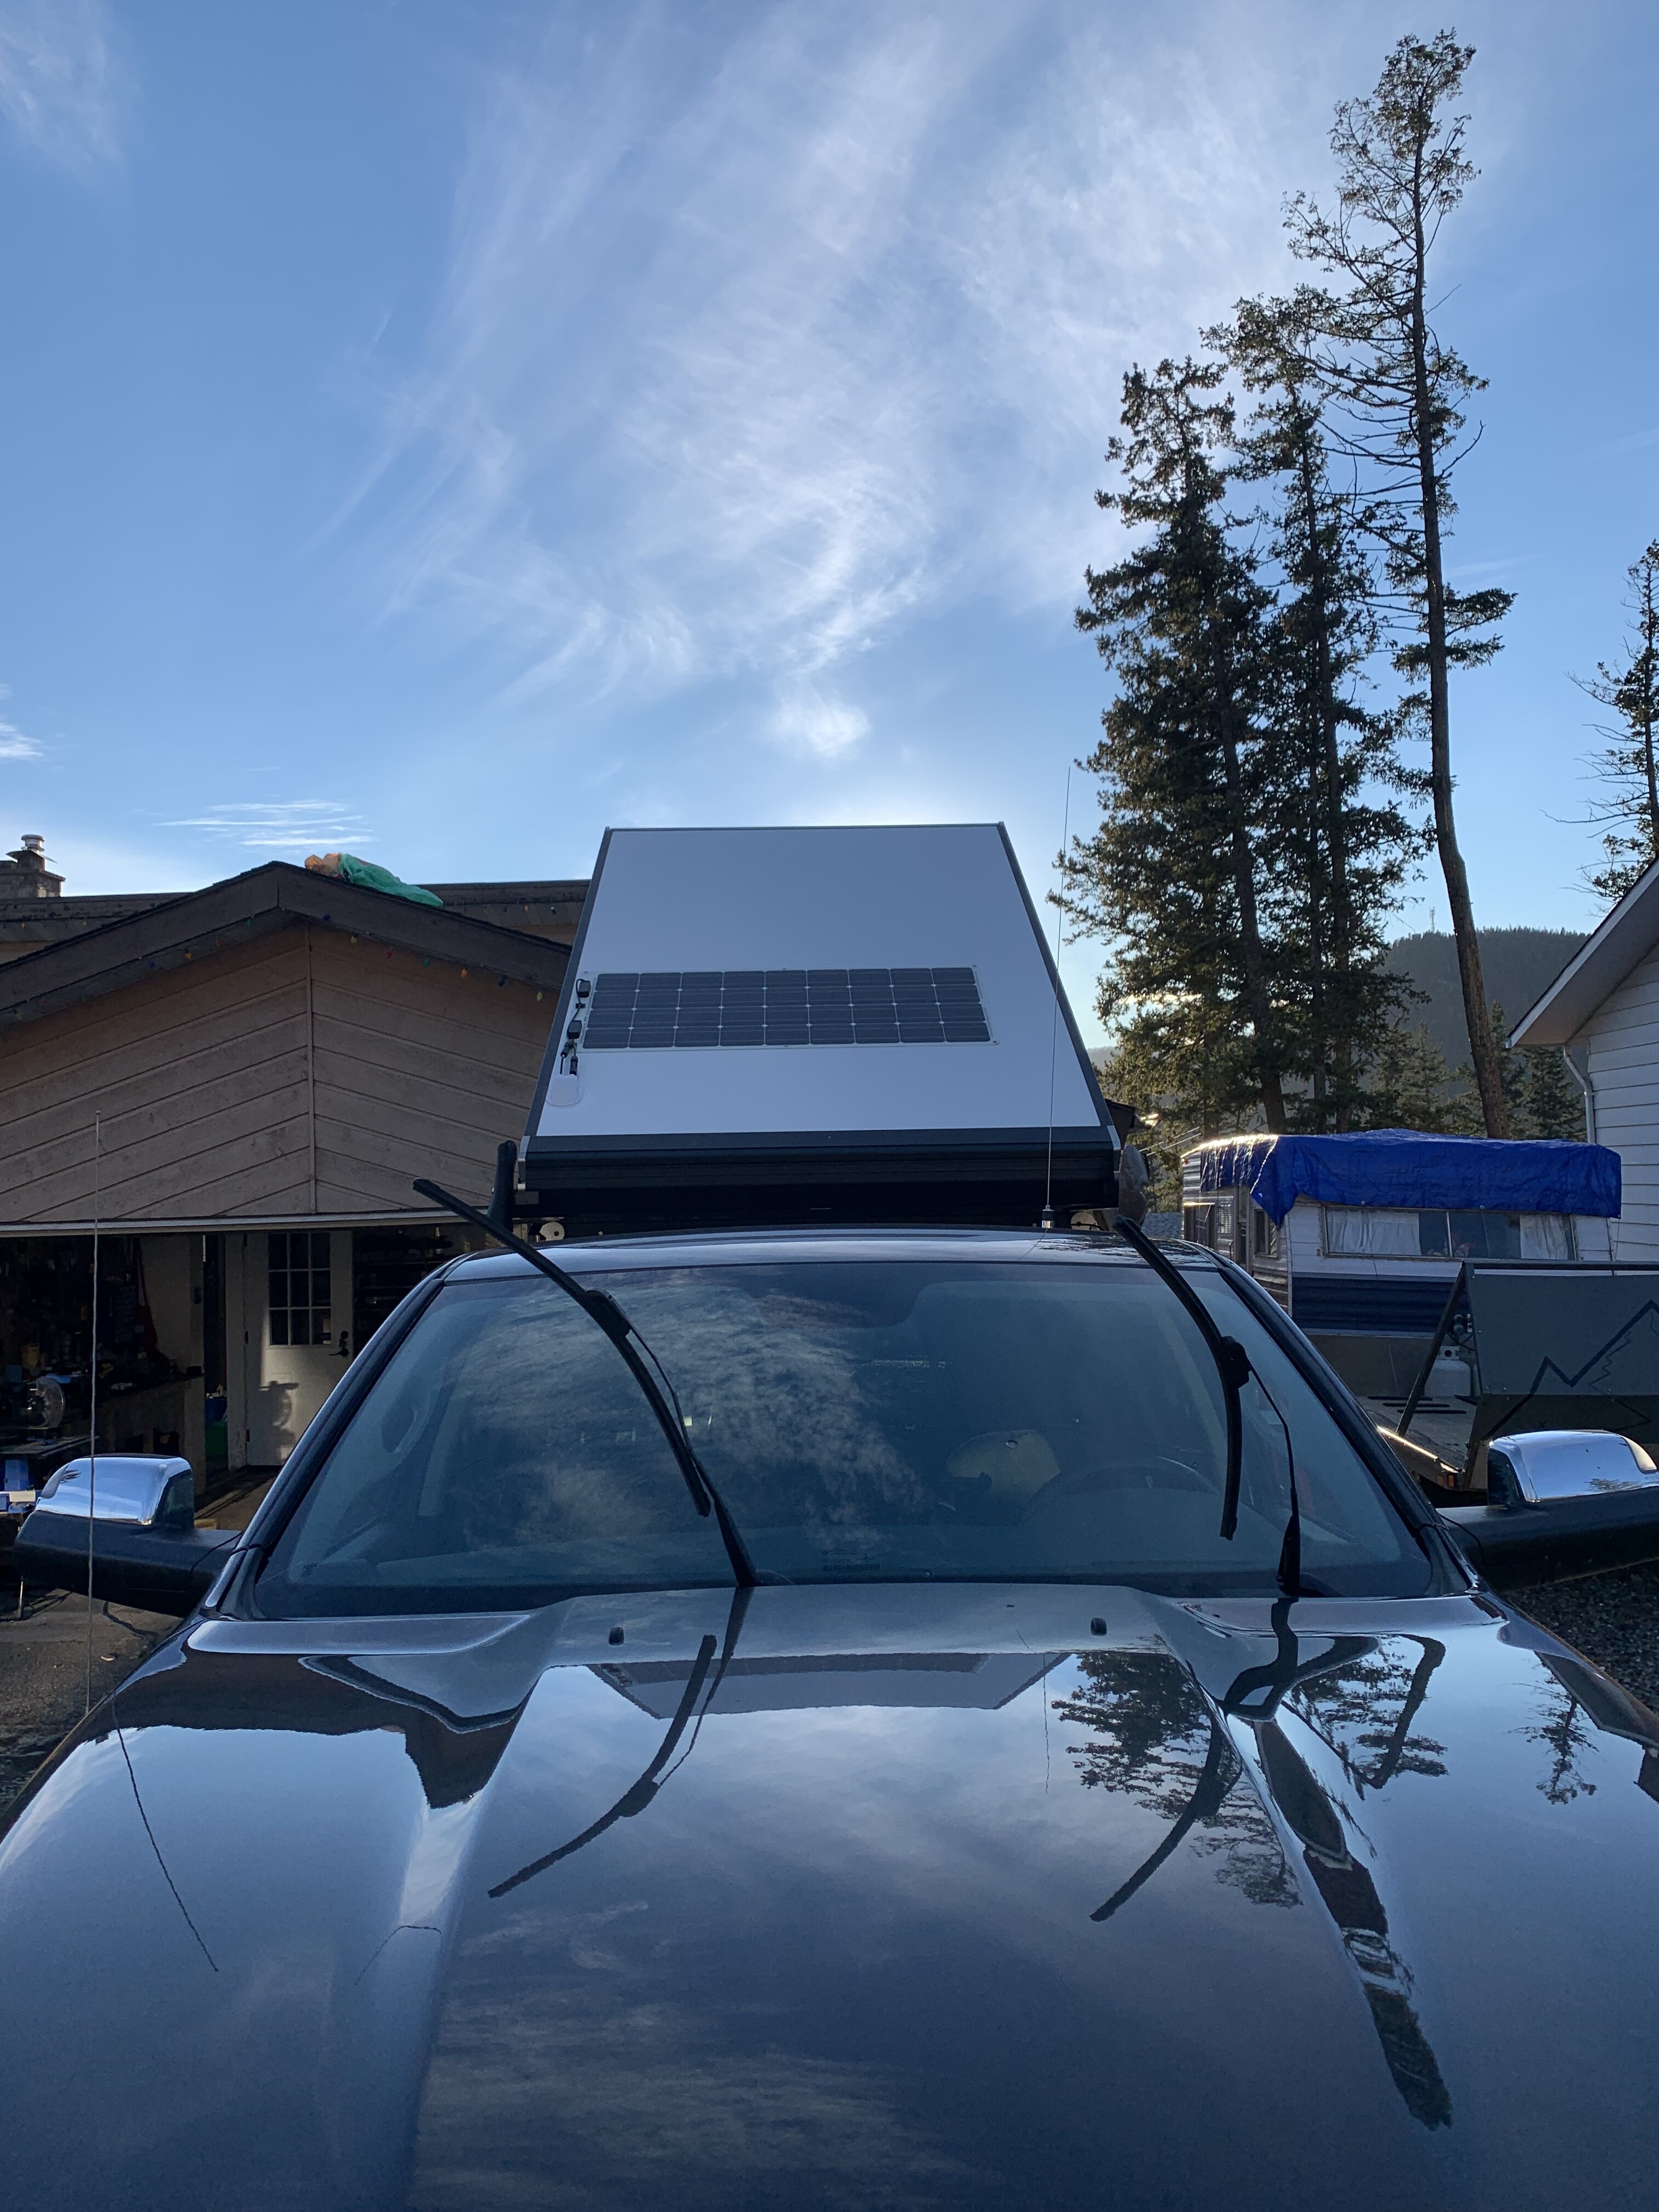
Well the day came and went. Got my replacement install today, the new upgrades are amazing! Bulb seal on the clamshell, new drain holes, and new tent attachment system. This means no more green core popping out. I am so grateful to the team and this company for the outcome of this situation.
I’m so happy I was able to make the trip down put faces to the names of the people I was dealing with. There’s a lot going on down there and I could see how it could become overwhelming. Anyways, here’s the typical money shot install photo’s!
Will for sure, I’ll try to do it today when I’m getting the platform modded to get my walls back up inside. They also addressed the tent issue with the holes.
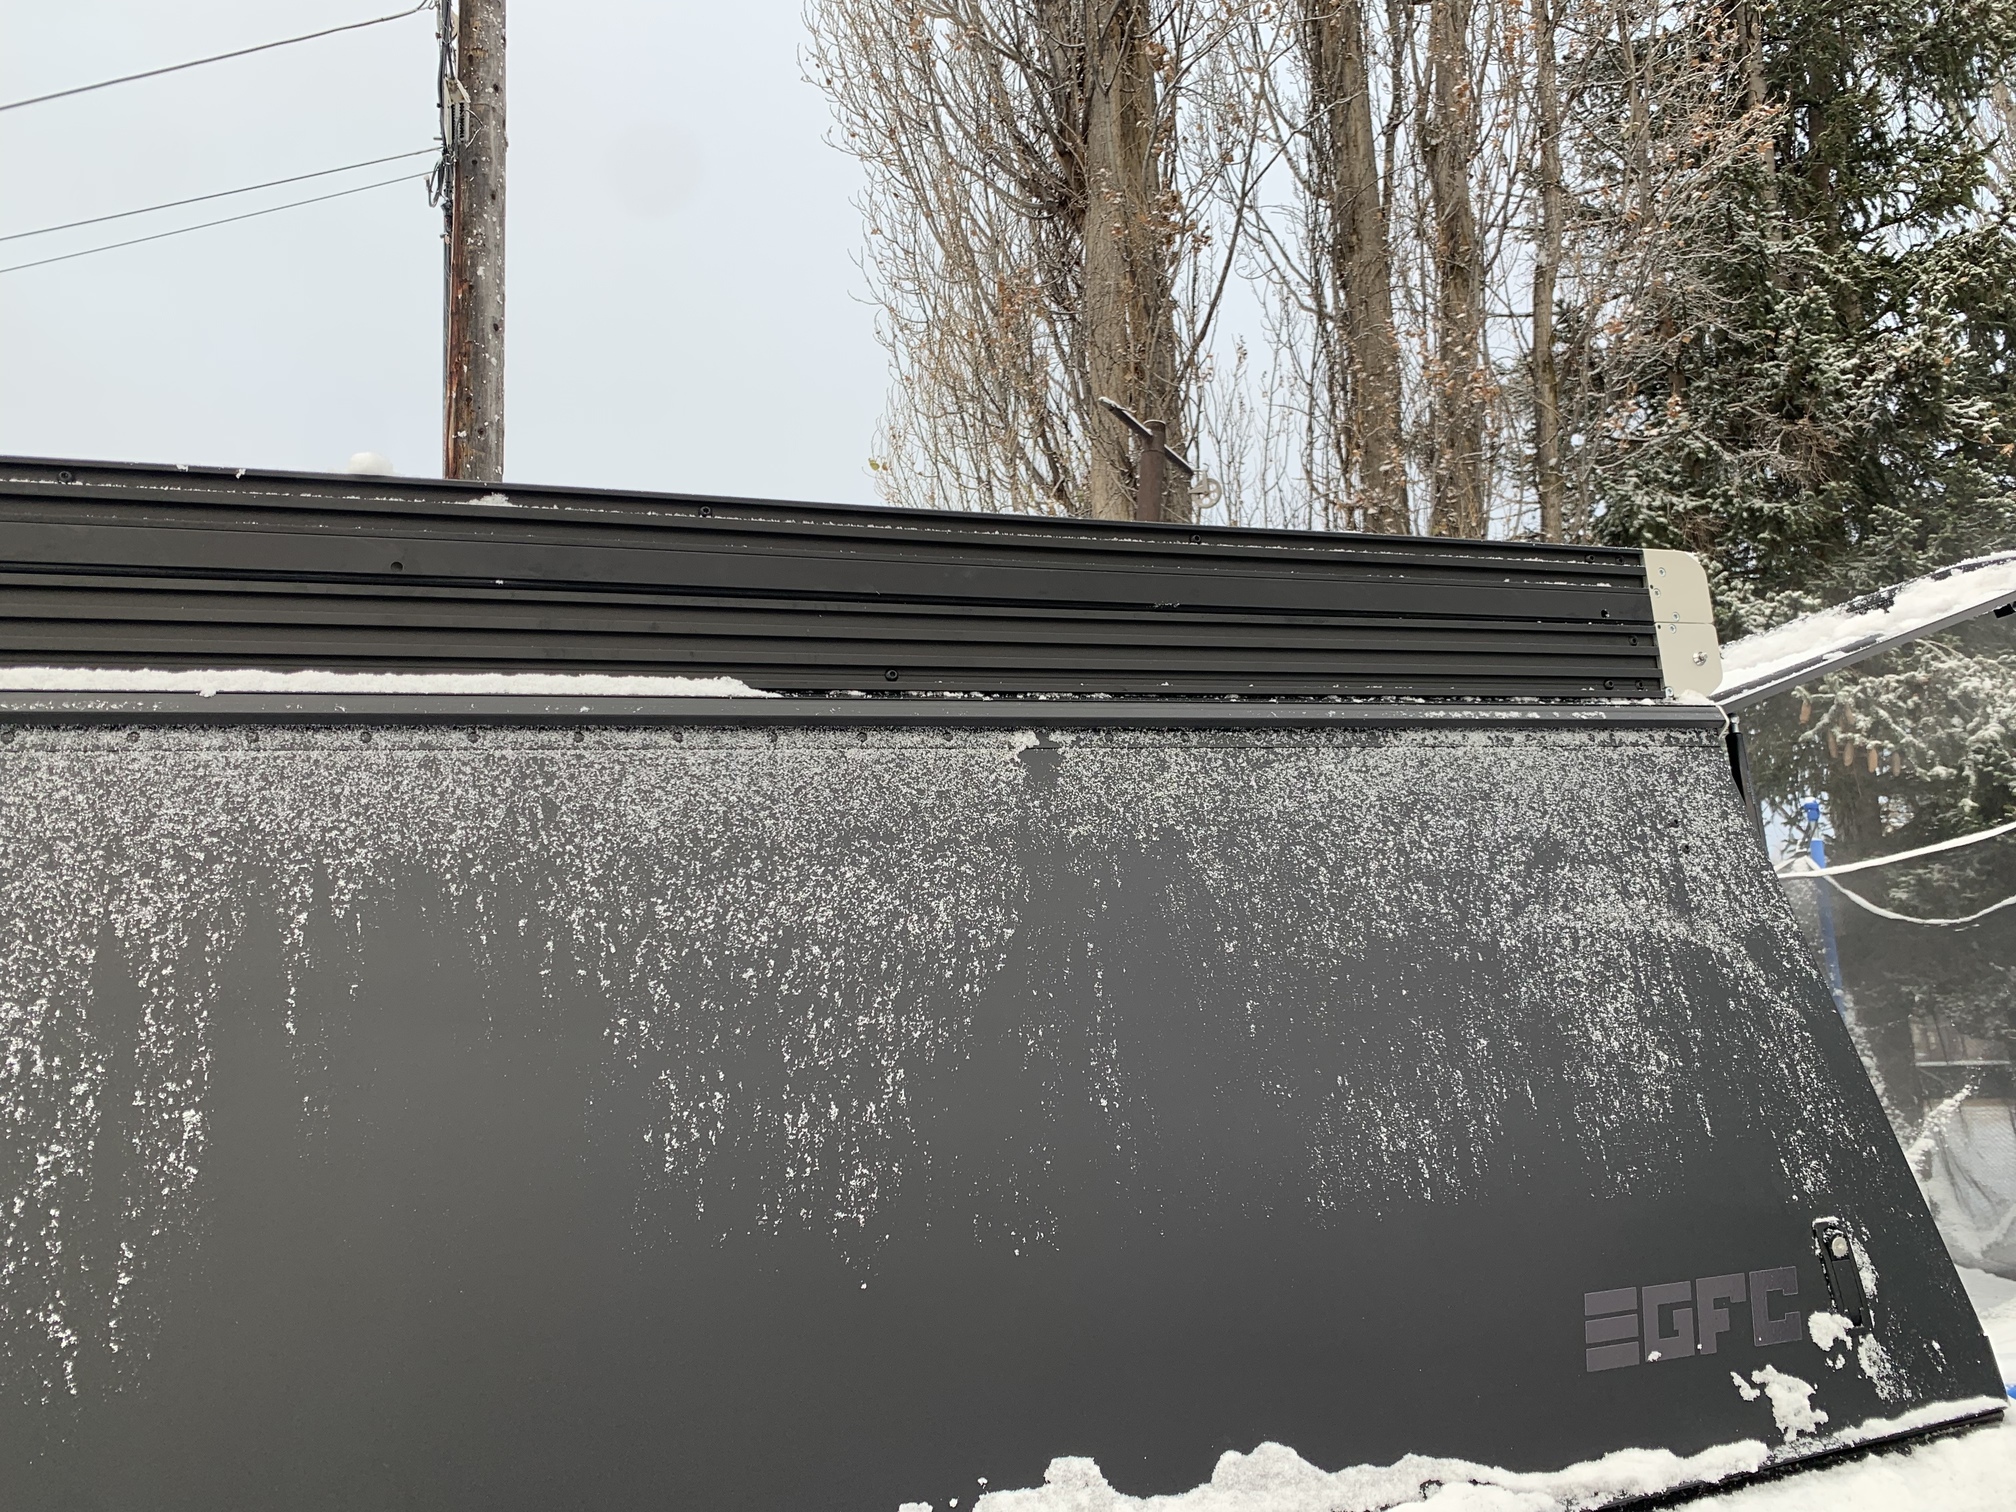
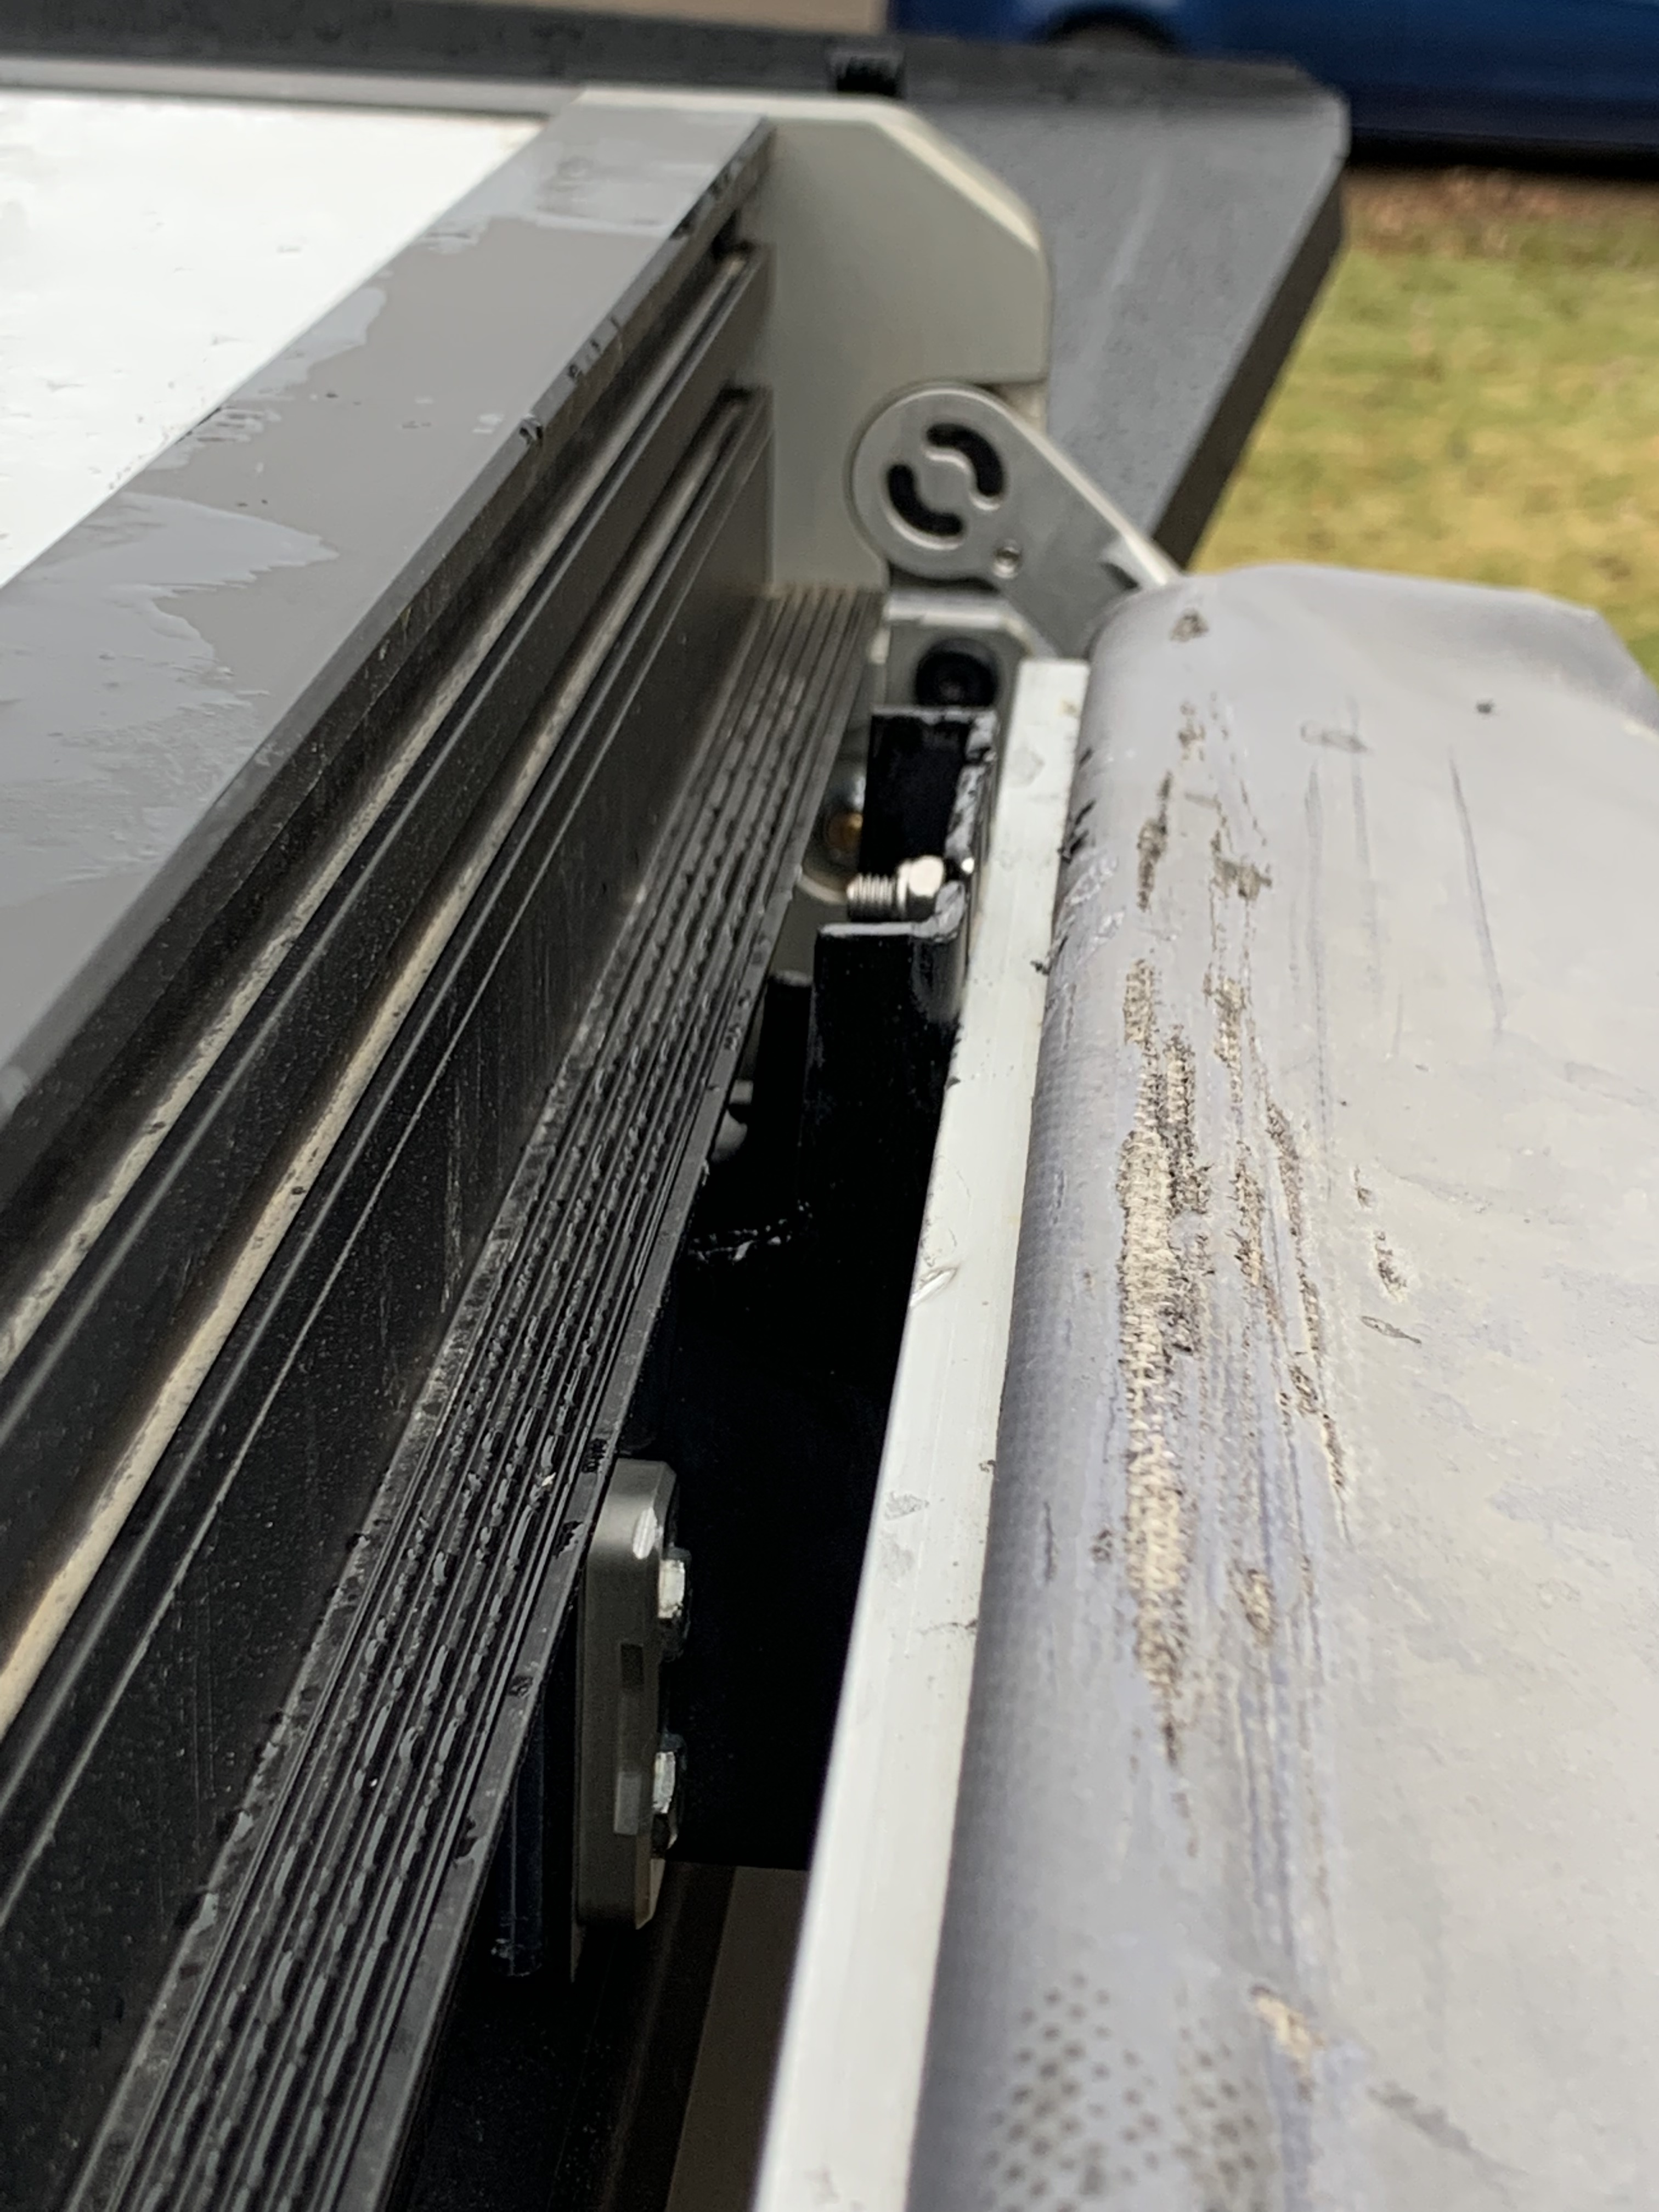
The relief holes are still in the corners but seemingly smaller. I’m not sure how they changed how it’s attached to the shell. Here’s some pics of the drain holes. Estimate is 3” from front and back then split the difference.
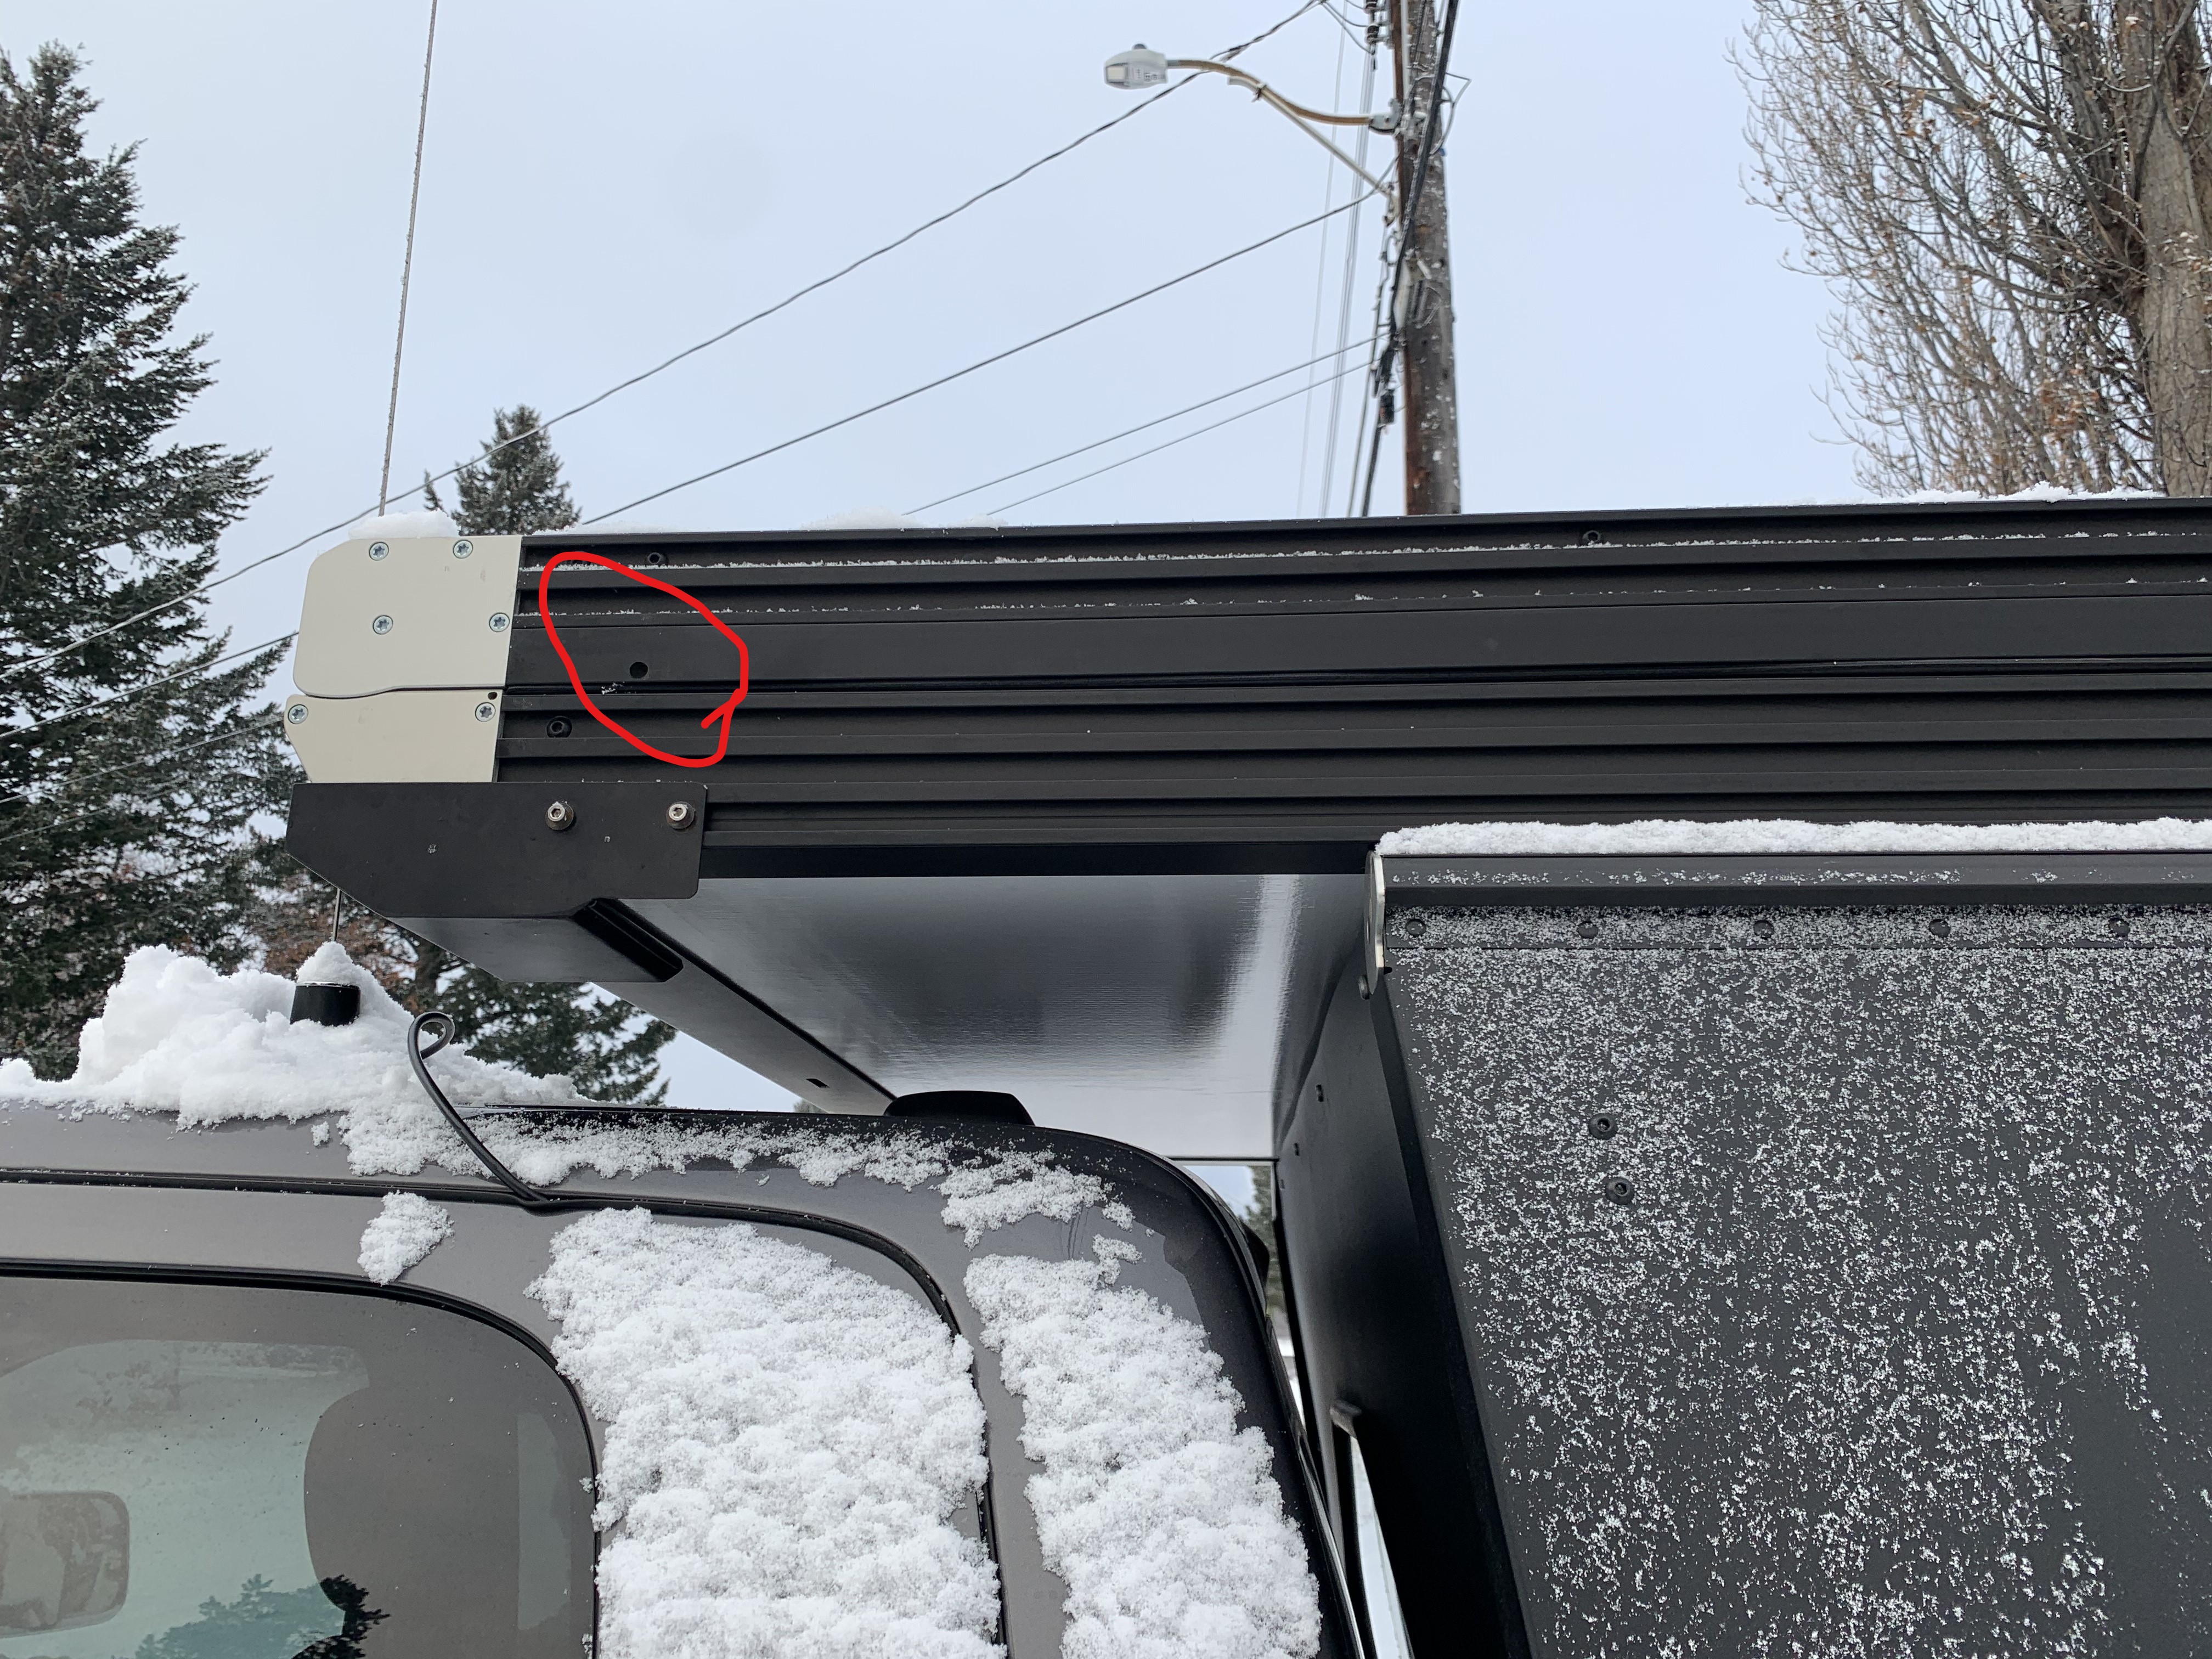
I installed the 4’ awning out the back, as I had on the other camper. Oddly enough it fit on that one, but this one seemed to hit the flange on the clamshell more aggressively. So I thought to myself, ‘Self, you’re never going to use those other holes so just cut them off and notch the bracket’. So that’s what I did. I notice already that I’ll have to round off the top corners so I don’t slit my wrists on them in the summer.
Got one set of lights up, my third brake light and truck dome light hooked up as I did on the other rig. So you’ve all seen those pictures, only difference being I used a mesh loam instead. The dome runs off the truck battery, the other camper lights all run off the camper battery.
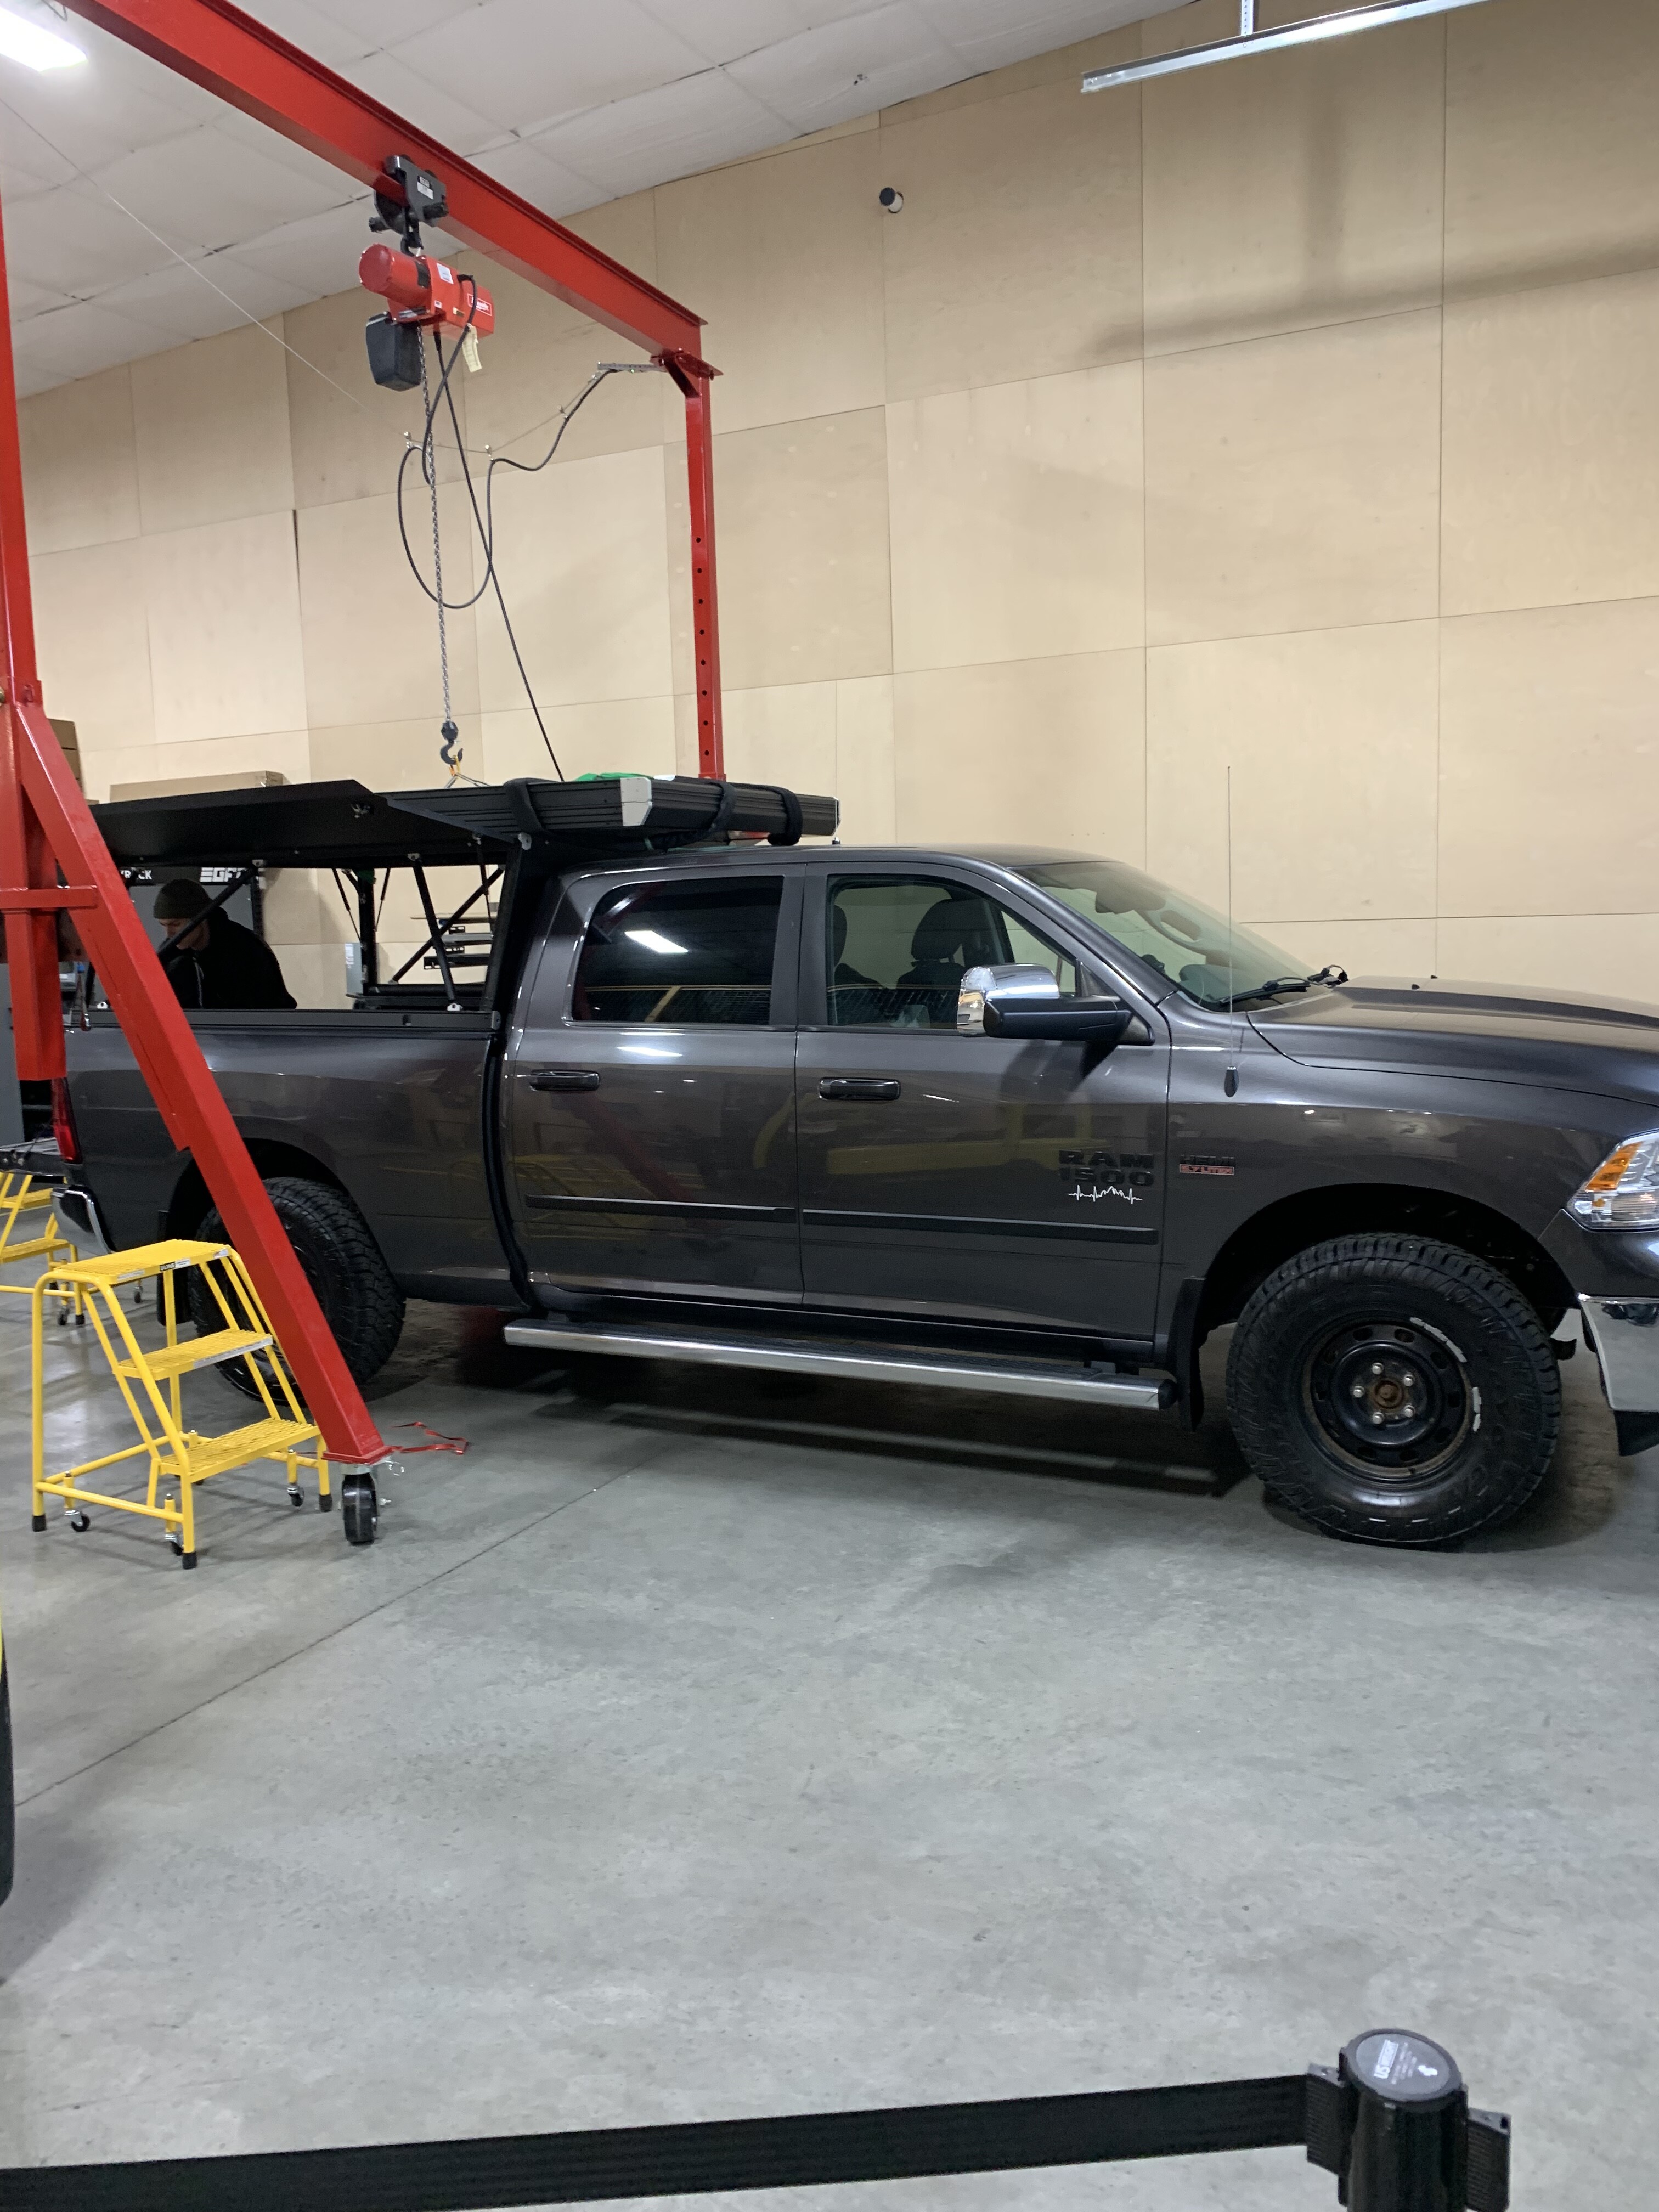
I’m hoping this week to get my truck into the work shop and let it warm up. Then I can put on my flexible solar panel and cable gland. Maybe even the other ‘mountain’ decals I have.
Ski season officially kicks off this weekend despite the skinny snowpack. So right down to the wire.
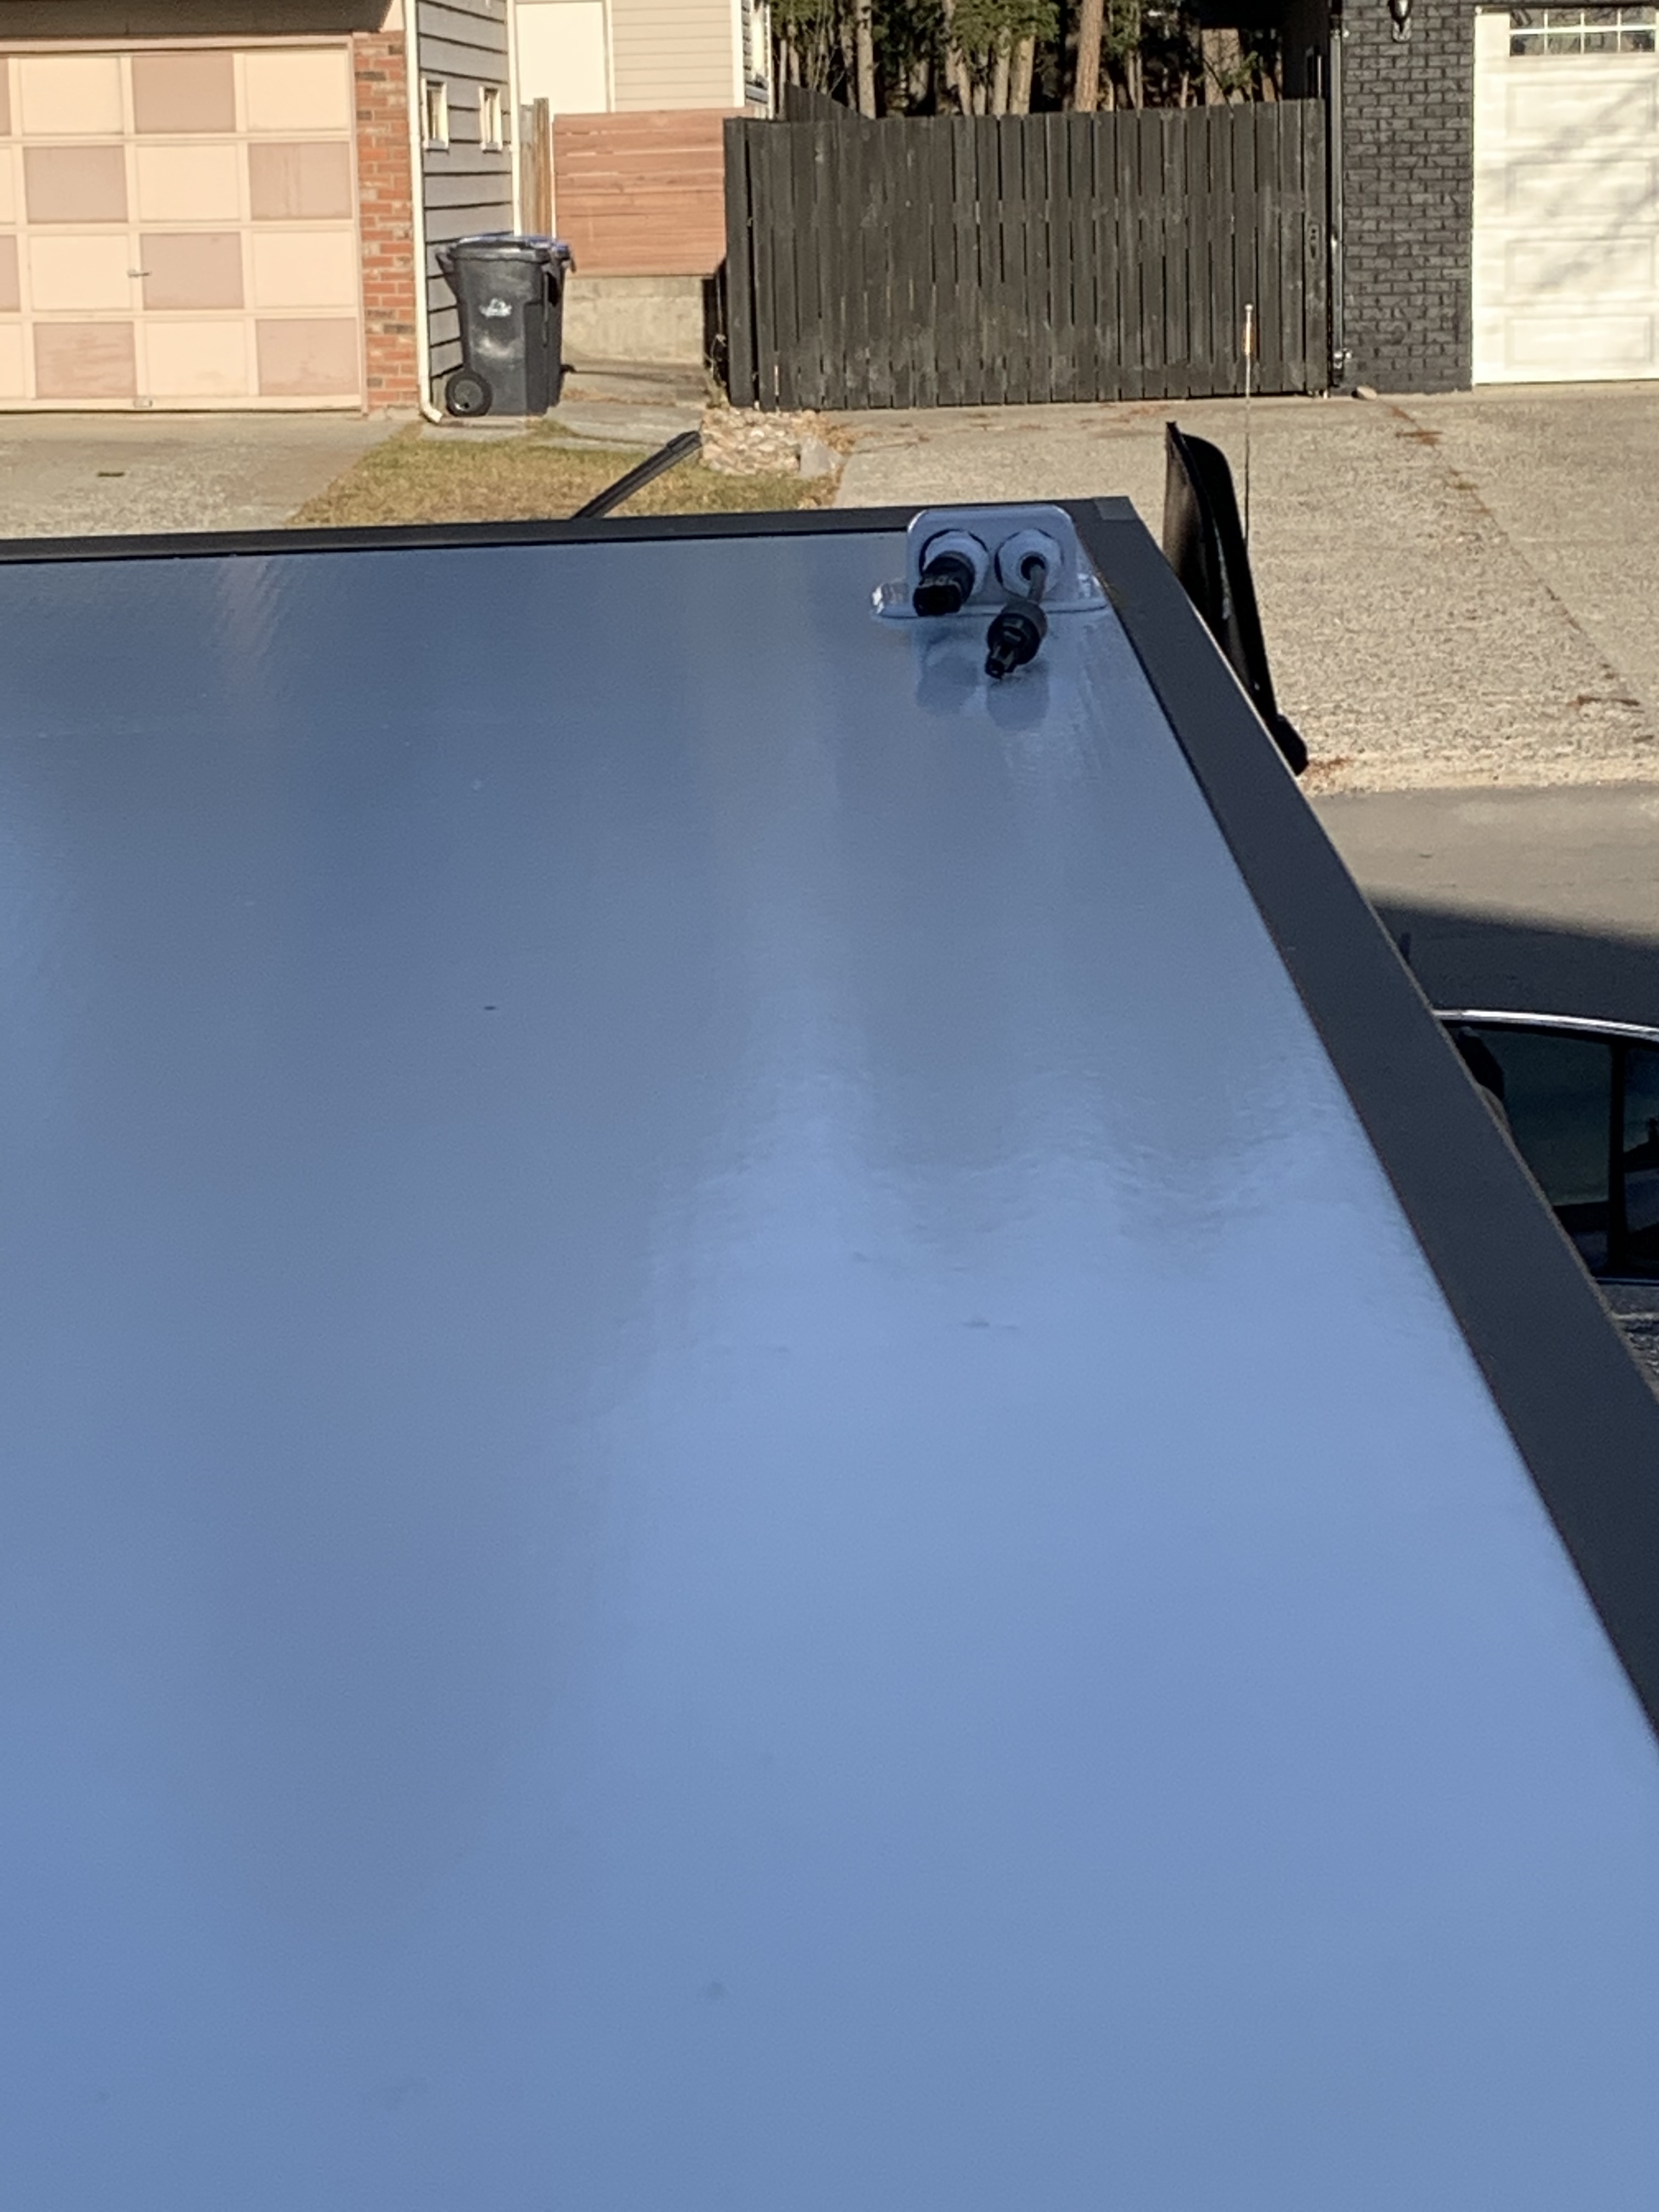
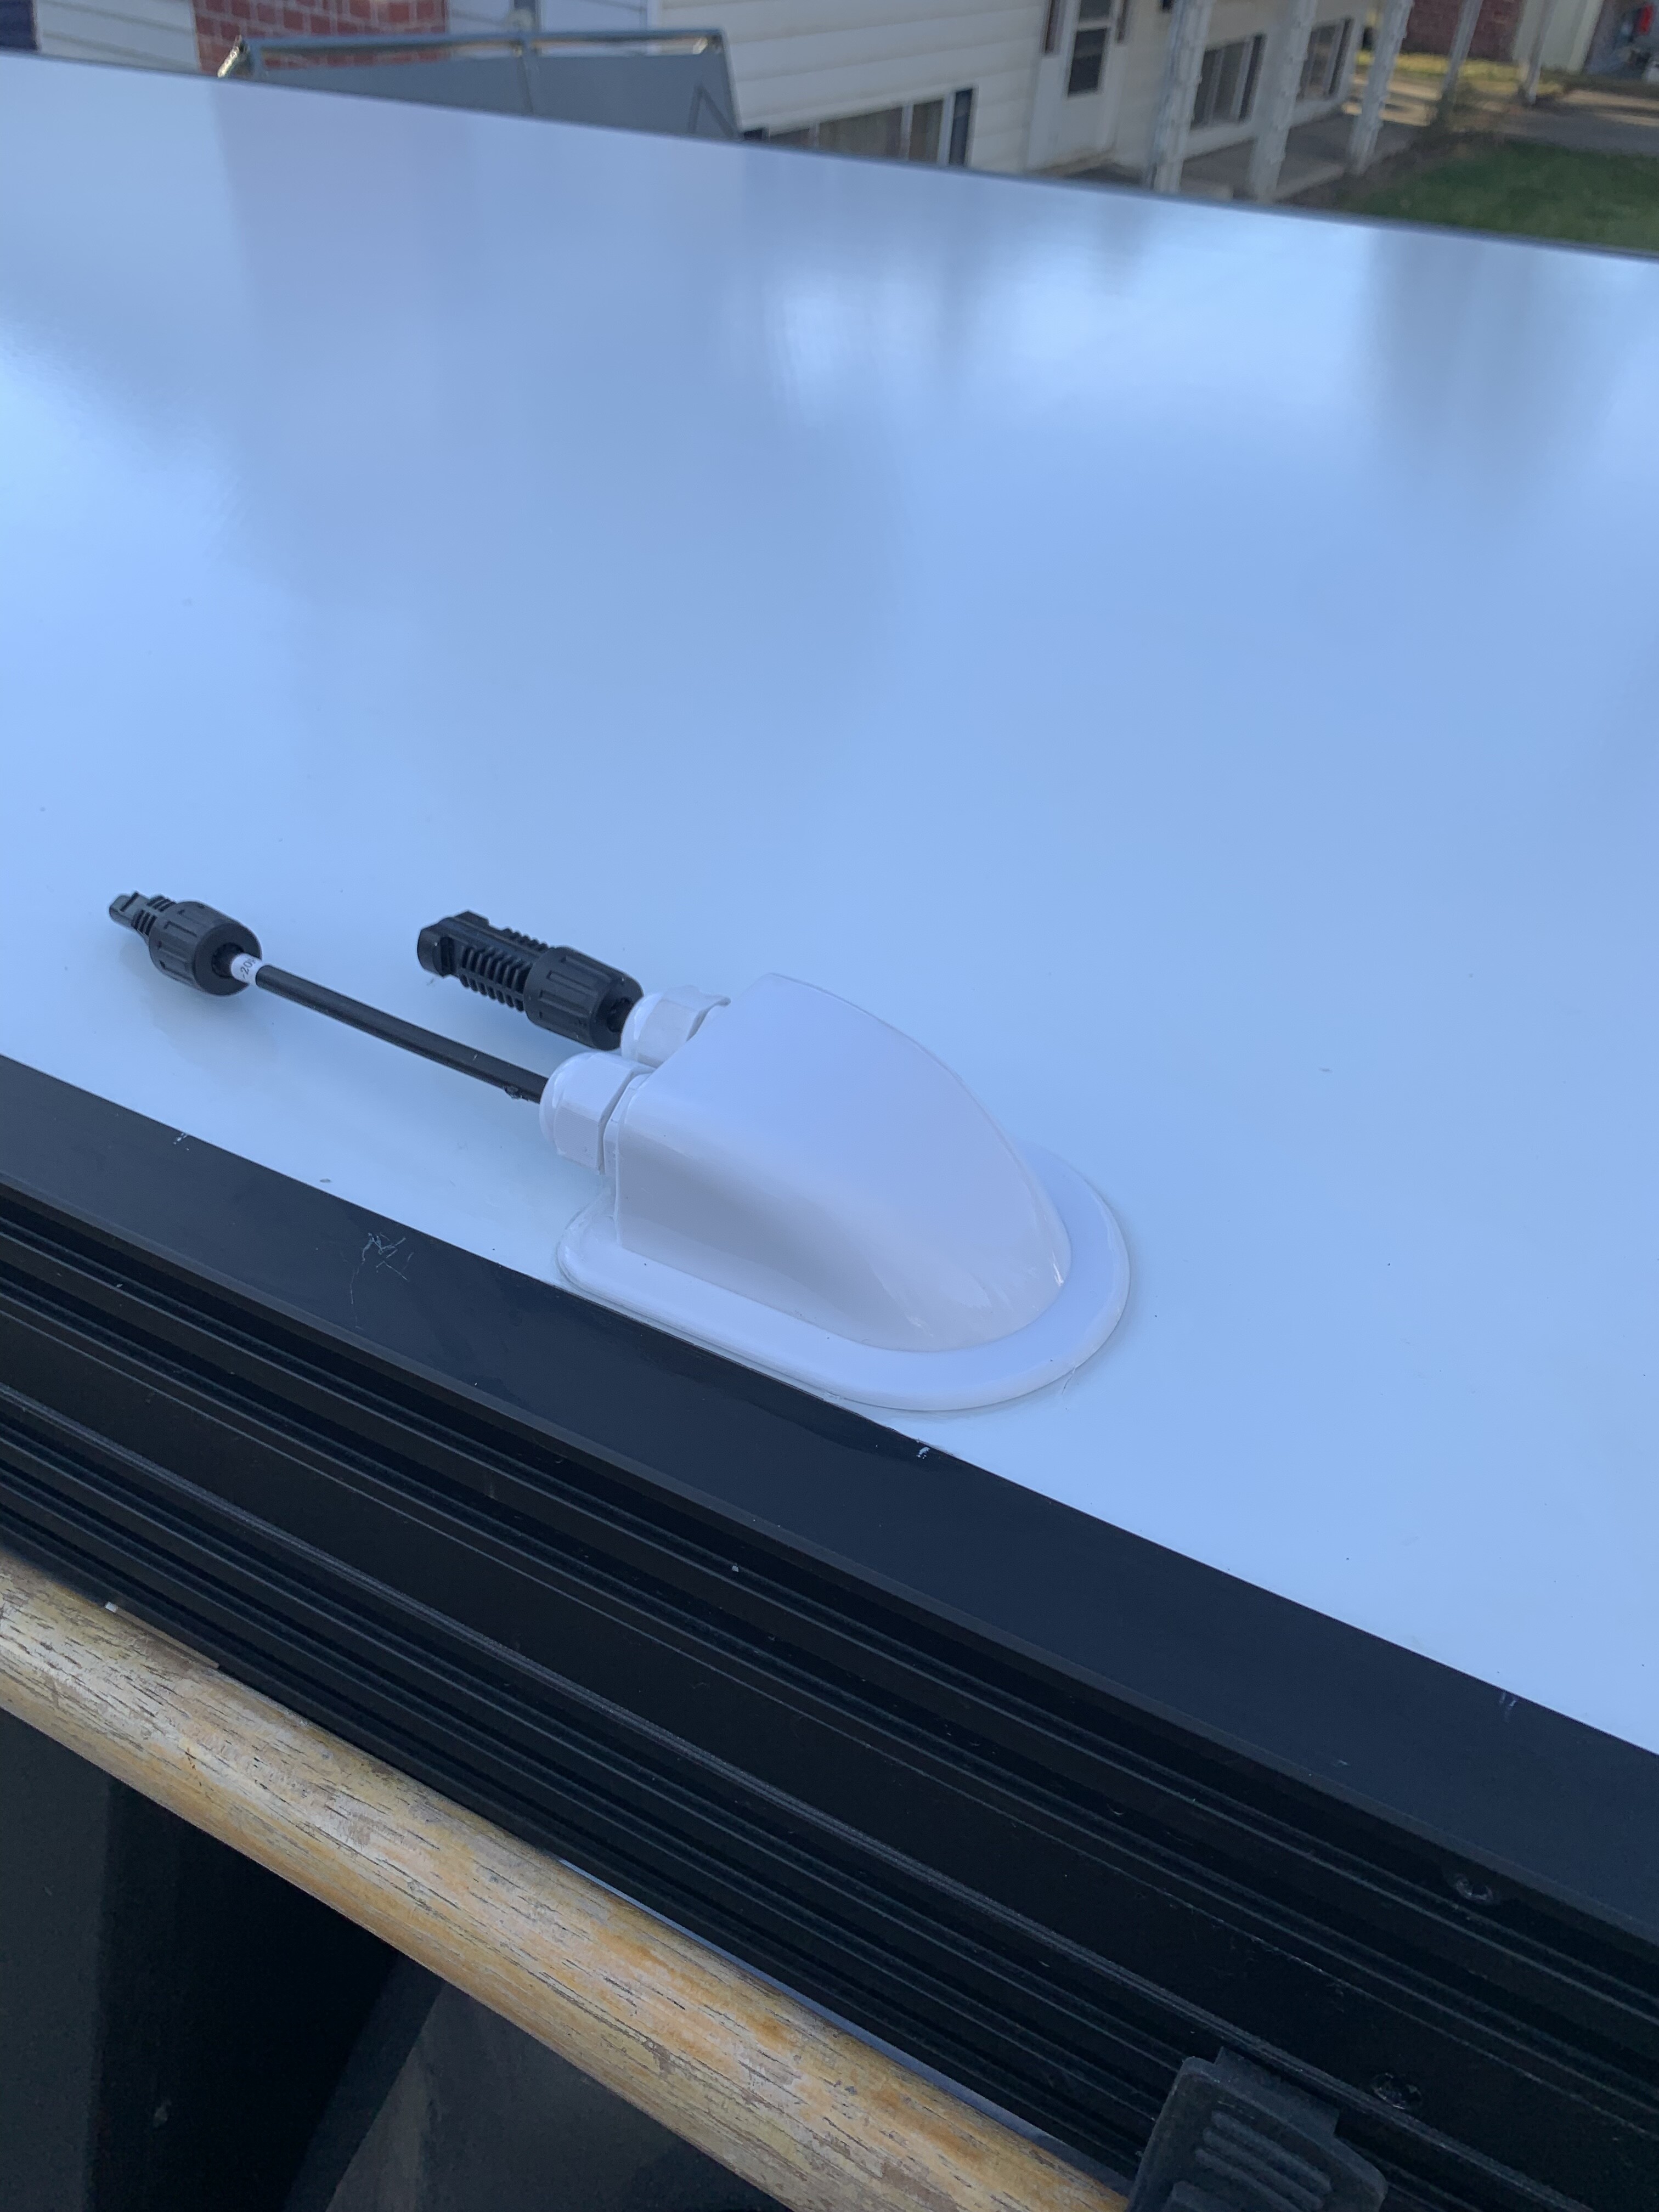
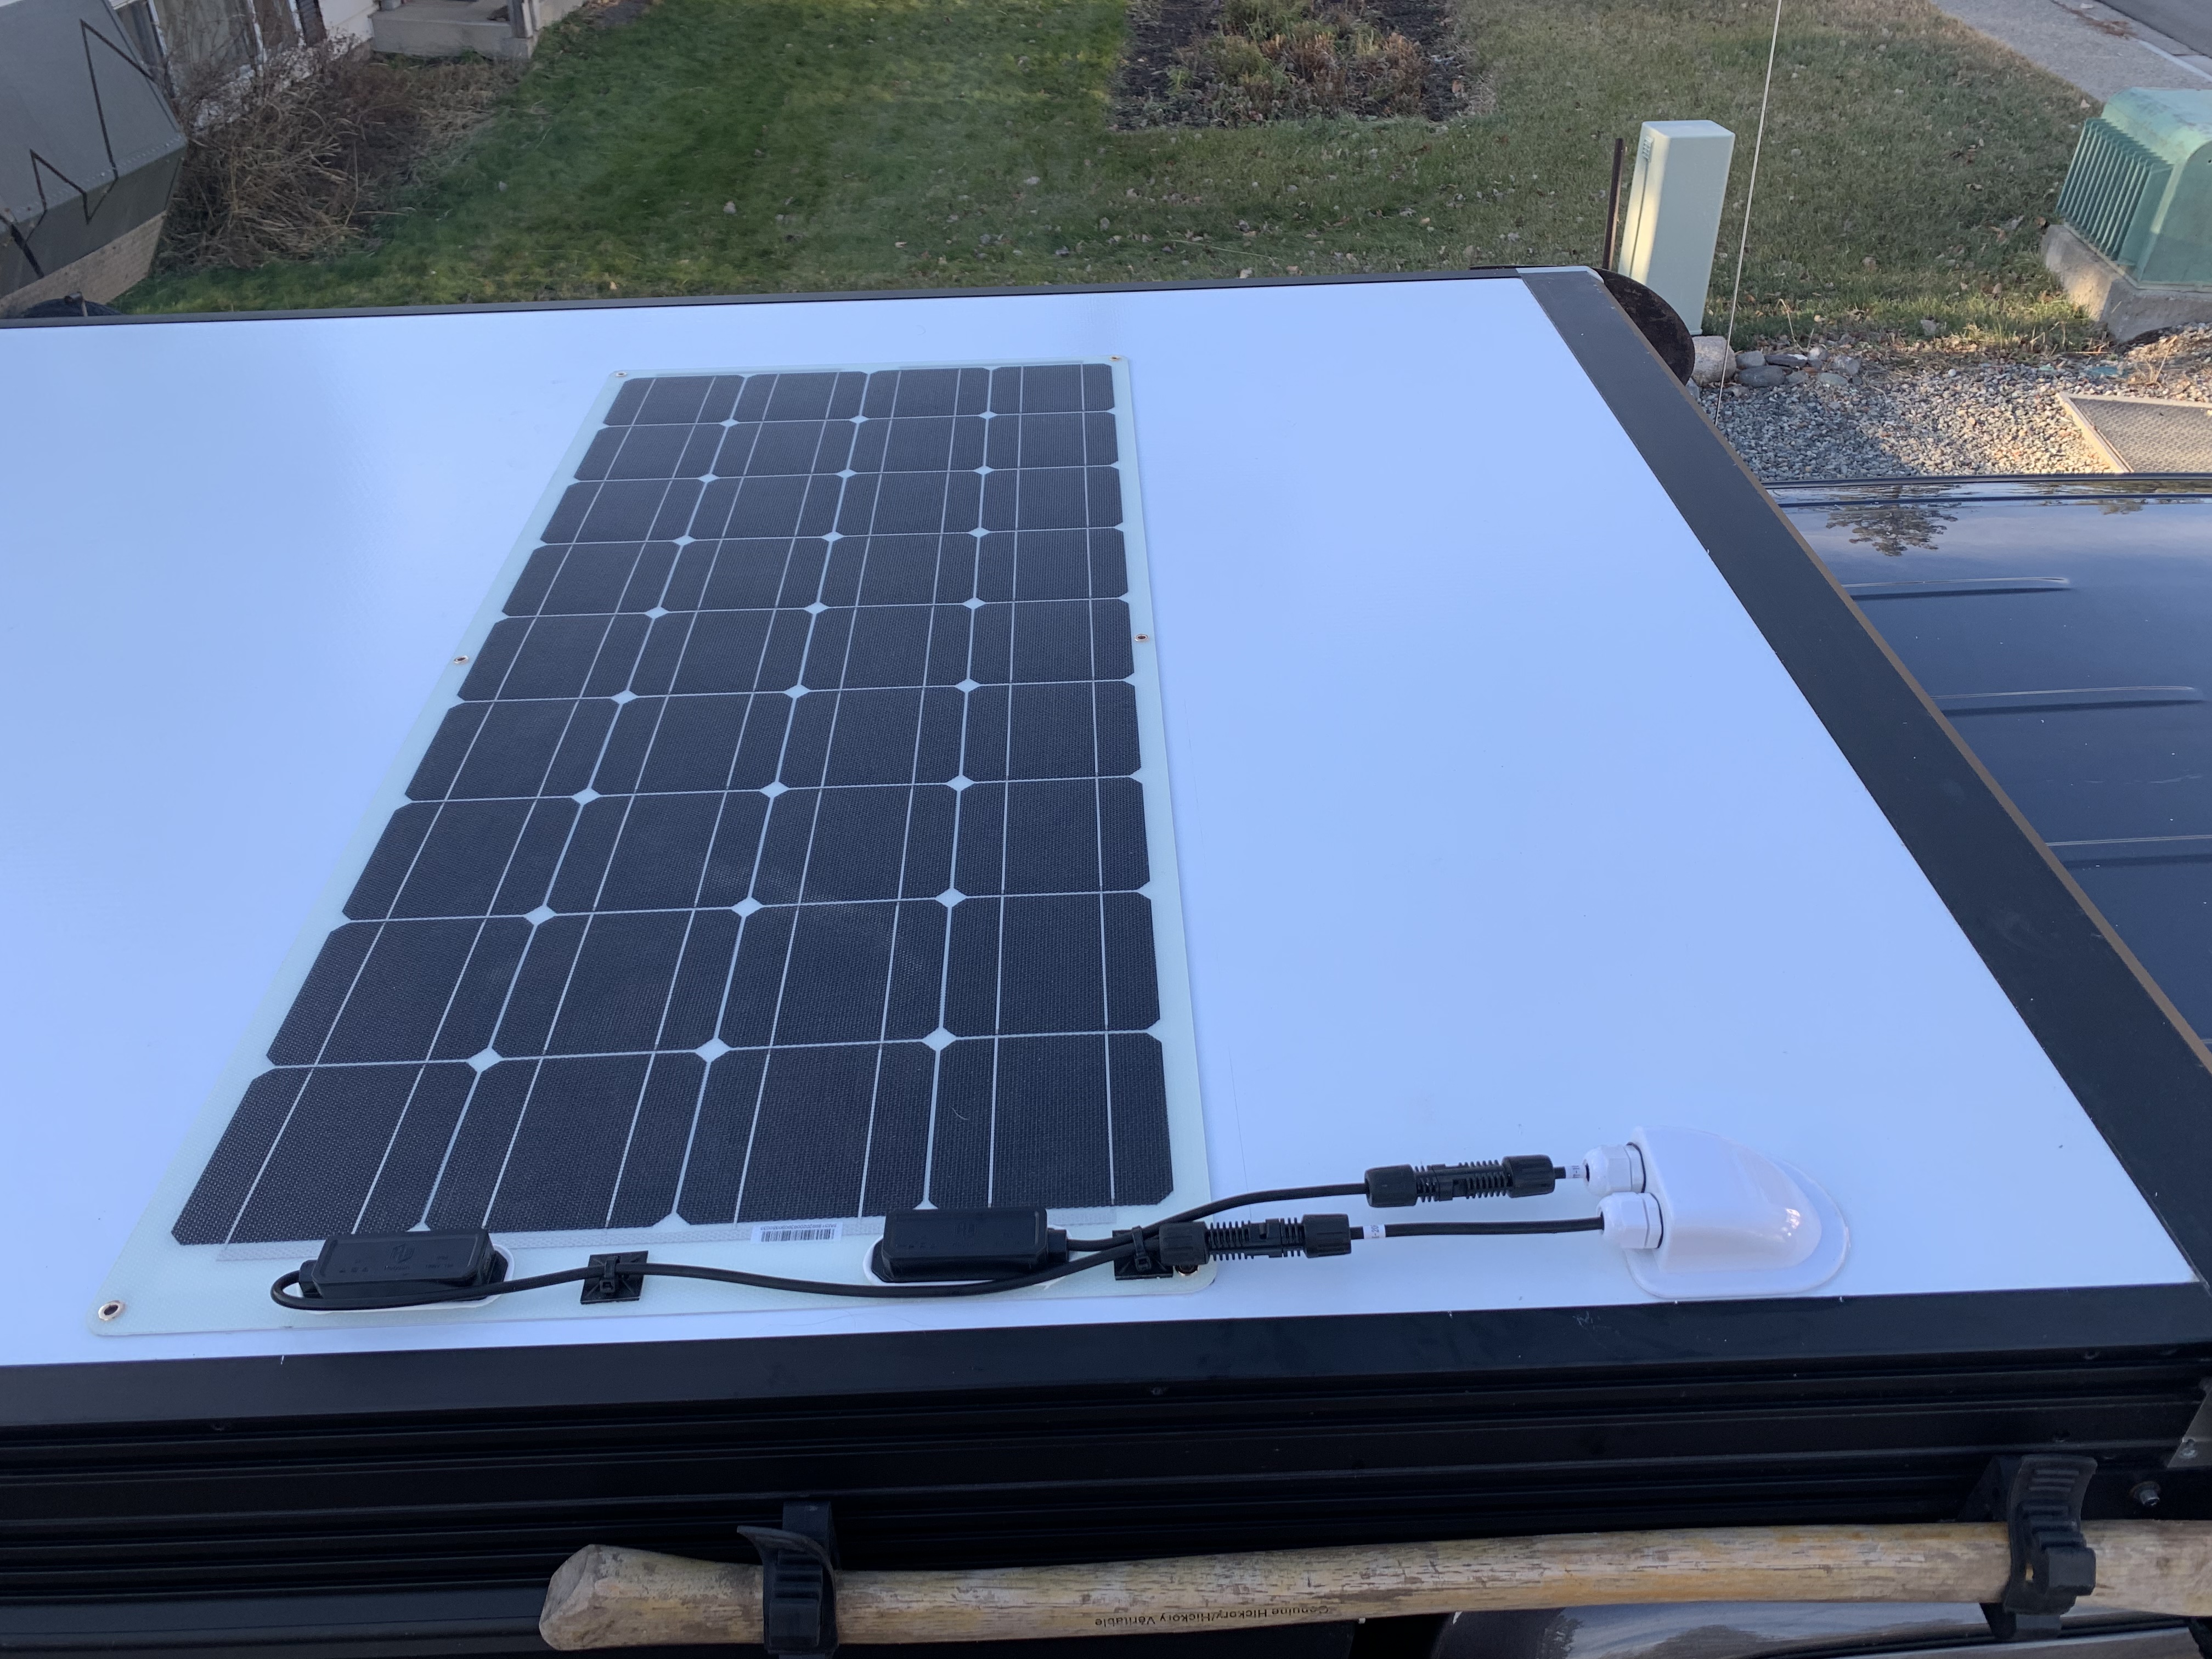
Lucked out and got a warm day of 5*C so pulled the trigger on installing the cable gland and solar.
I used VHB 1” tape in a perimeter shape and V’s, then used 1/4” VHB on the gland. After that I put a bead of clear RTV around everything in the hopes that will add some additional adhesion.
To complete the story of what happened throughout this process I did make a video. Not to cross post the same vid, but it’s probably better suited here.
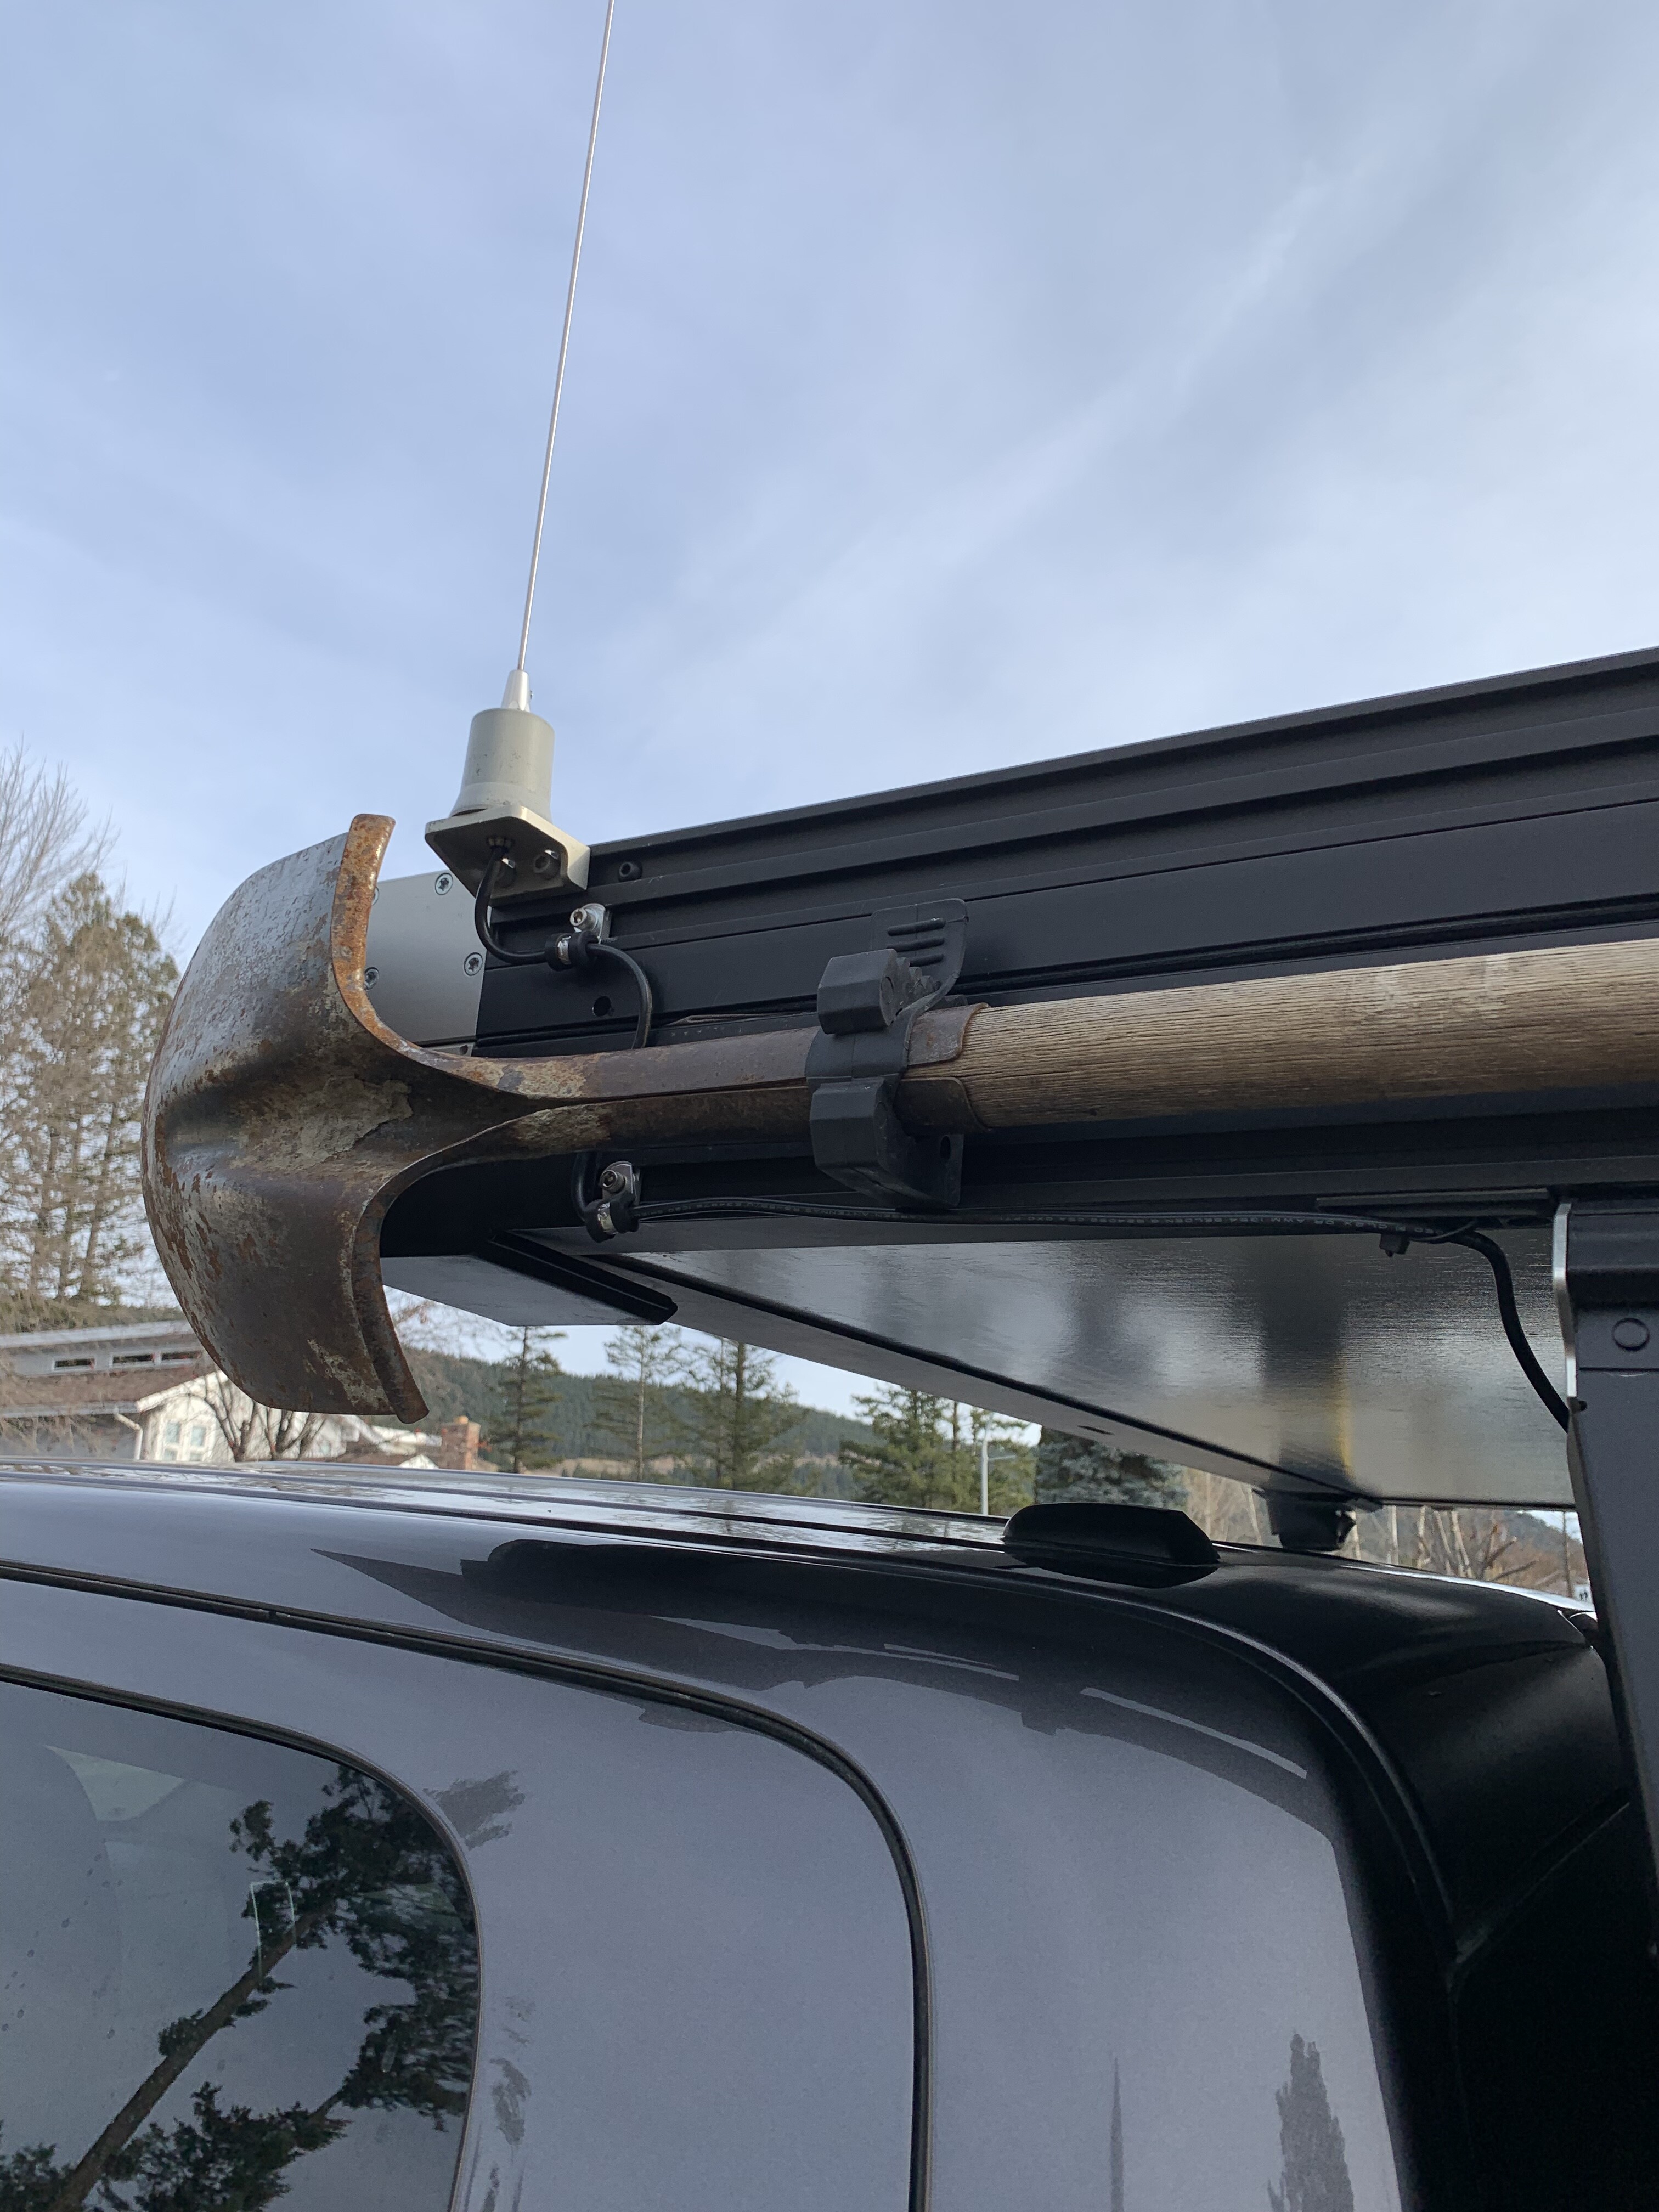
Got my radio whip hooked up for this weekend upcoming snow hunt. Pretty stoked on how clean this makes things. I just need to come up with a creative way to get the wiring back into the cab of the truck. Right now I have it going through the rear slider.
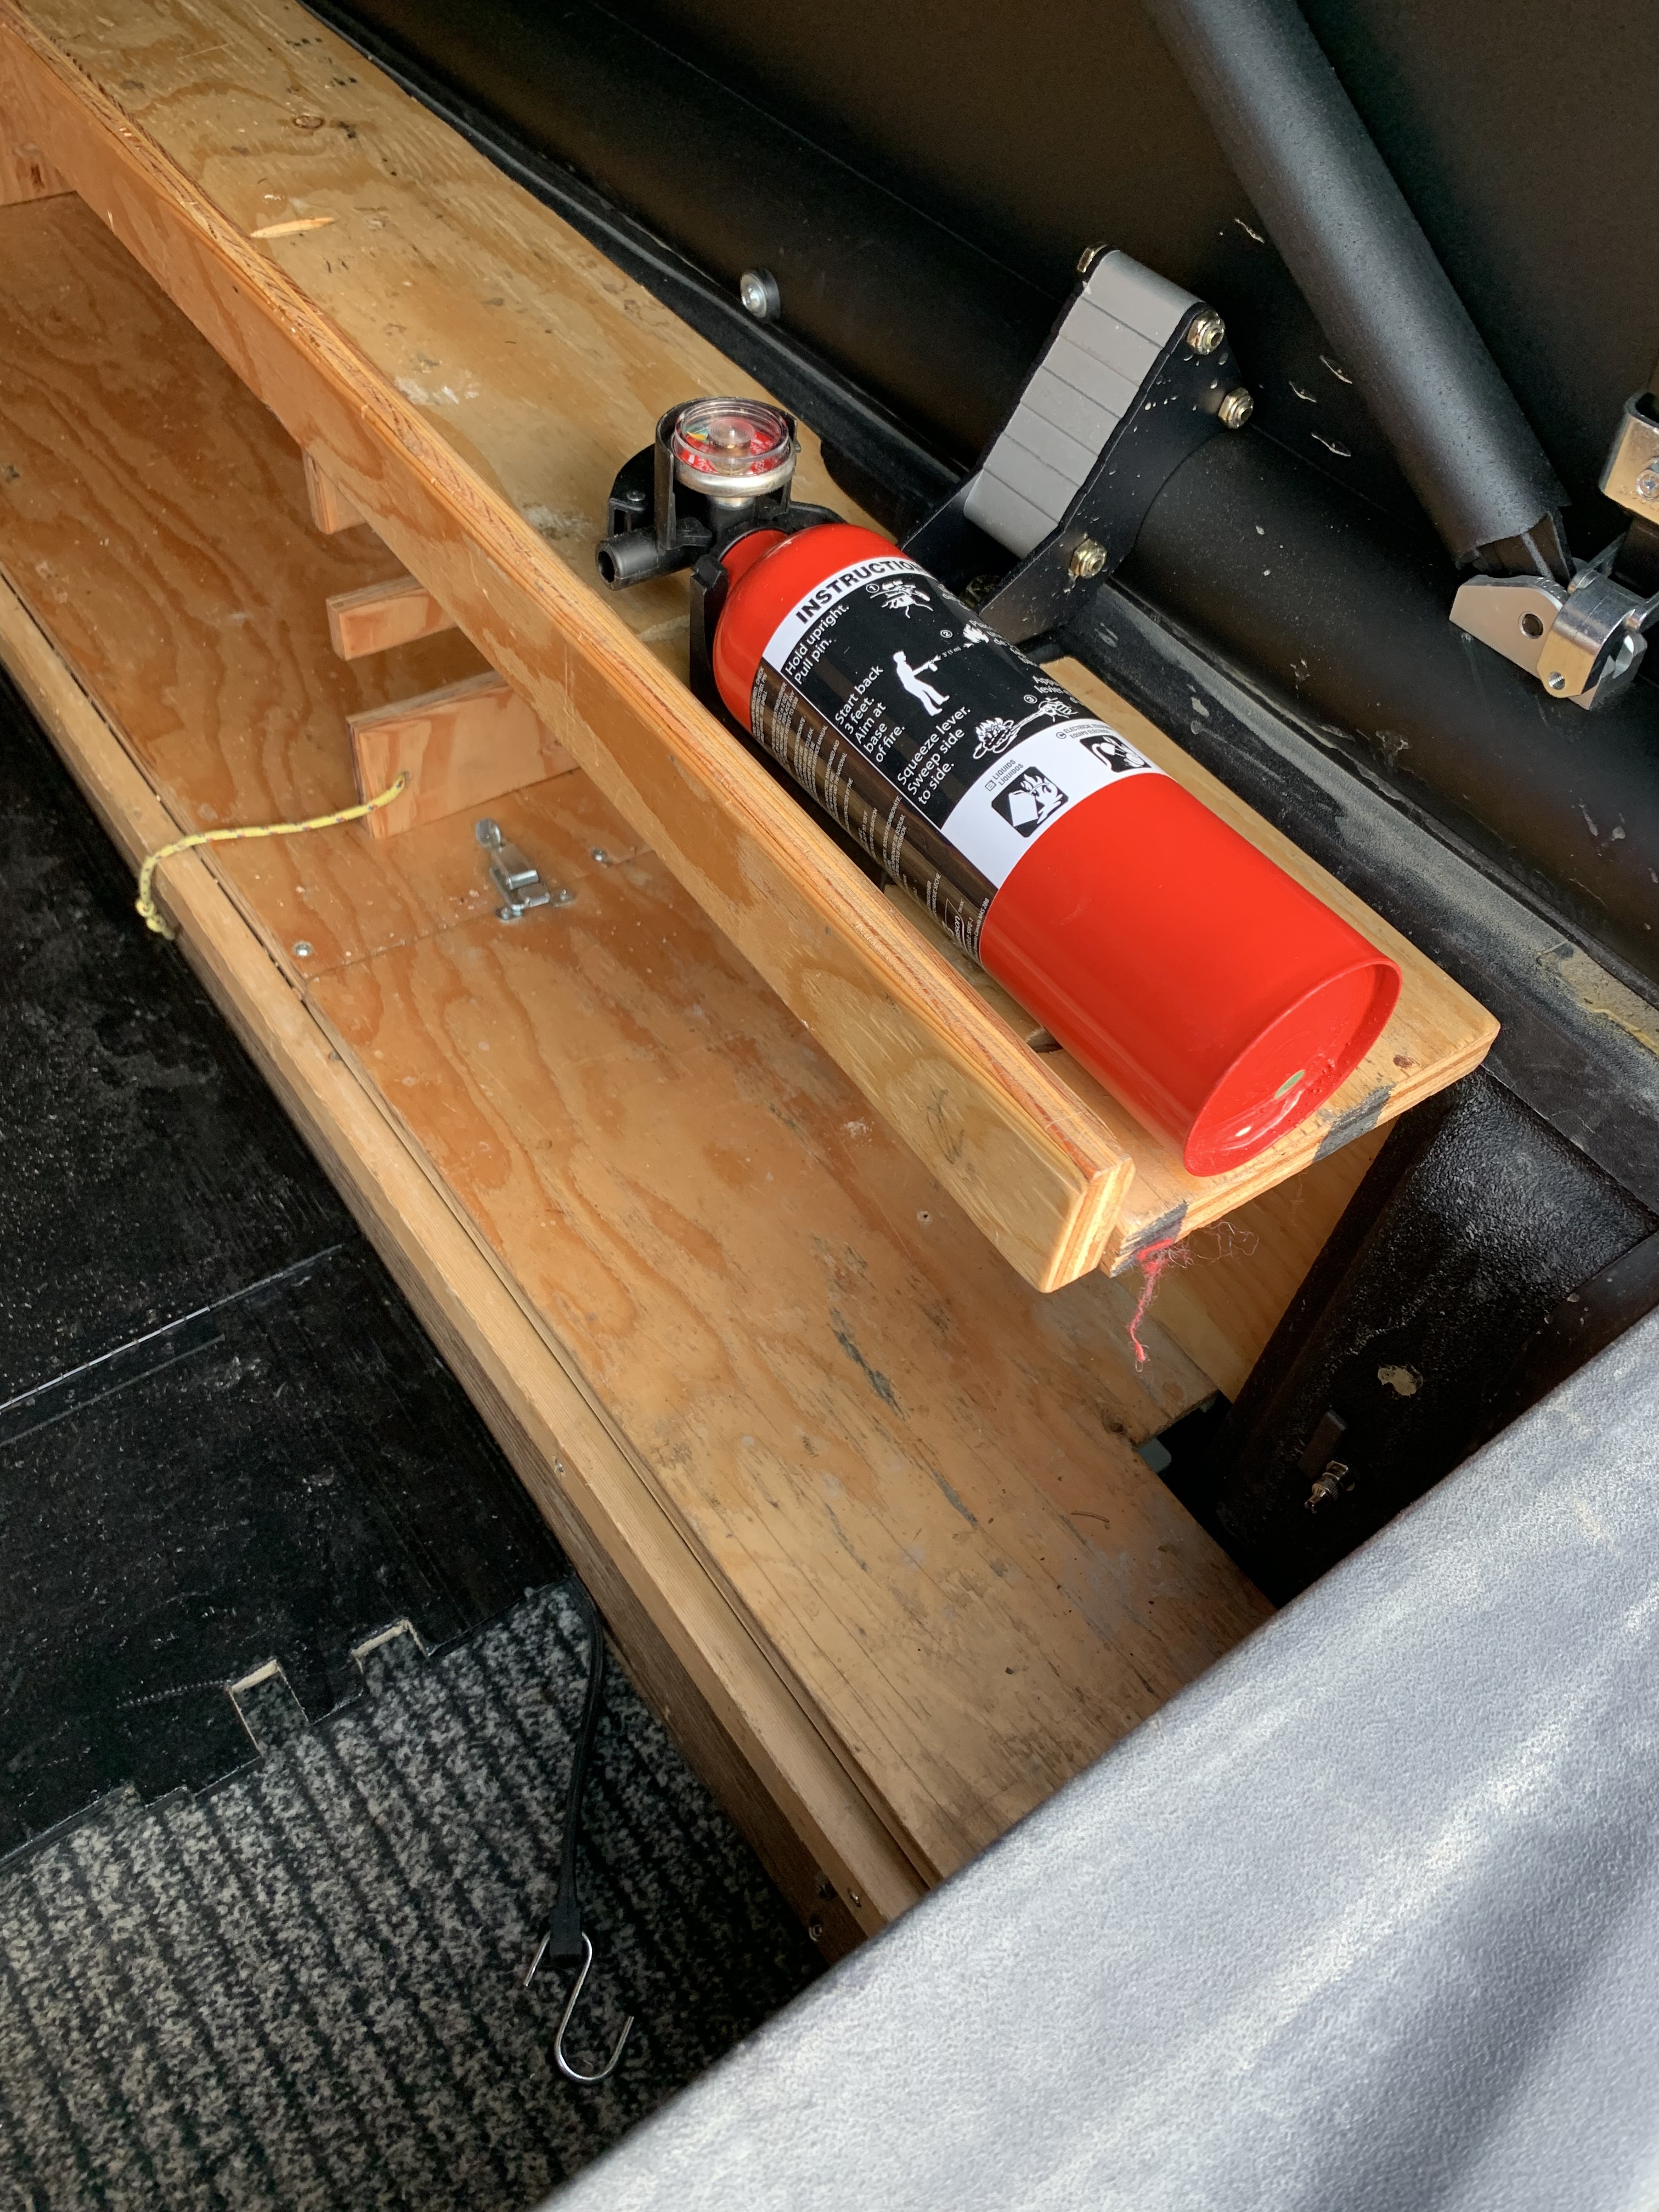
The next thing is some cheapo Amazon floods that I’m not sure what I’m going to do with yet. I also purchased a Smittybuilt compressor for tires, airbags, etc in the hopes it would fit in the tub behind the drivers seat through the floor. But alas, it’s too big. I’m going to ask my welder friend how easy it would be to retrofit that bin so it will fit and have the air connection piped out.
If you pop the front passenger door seal off at the bottom and pull up the plastic kick plate, there are rectangular white plastic plugs that you could remove and fish an unterminated wire through. Probably have the same on the driver side. I did this for my backup cam.
For my ham radio, I drilled a 3/4” hole in the center of the roof and mounted the antenna there. Go big or go home, lol.