Here are some details on my buildout, which will hopefully provide some inspiration for others. My main focus was to avoid clutter while still providing adequate storage and amenities for my wife and myself when we hit the road to go mountain biking.
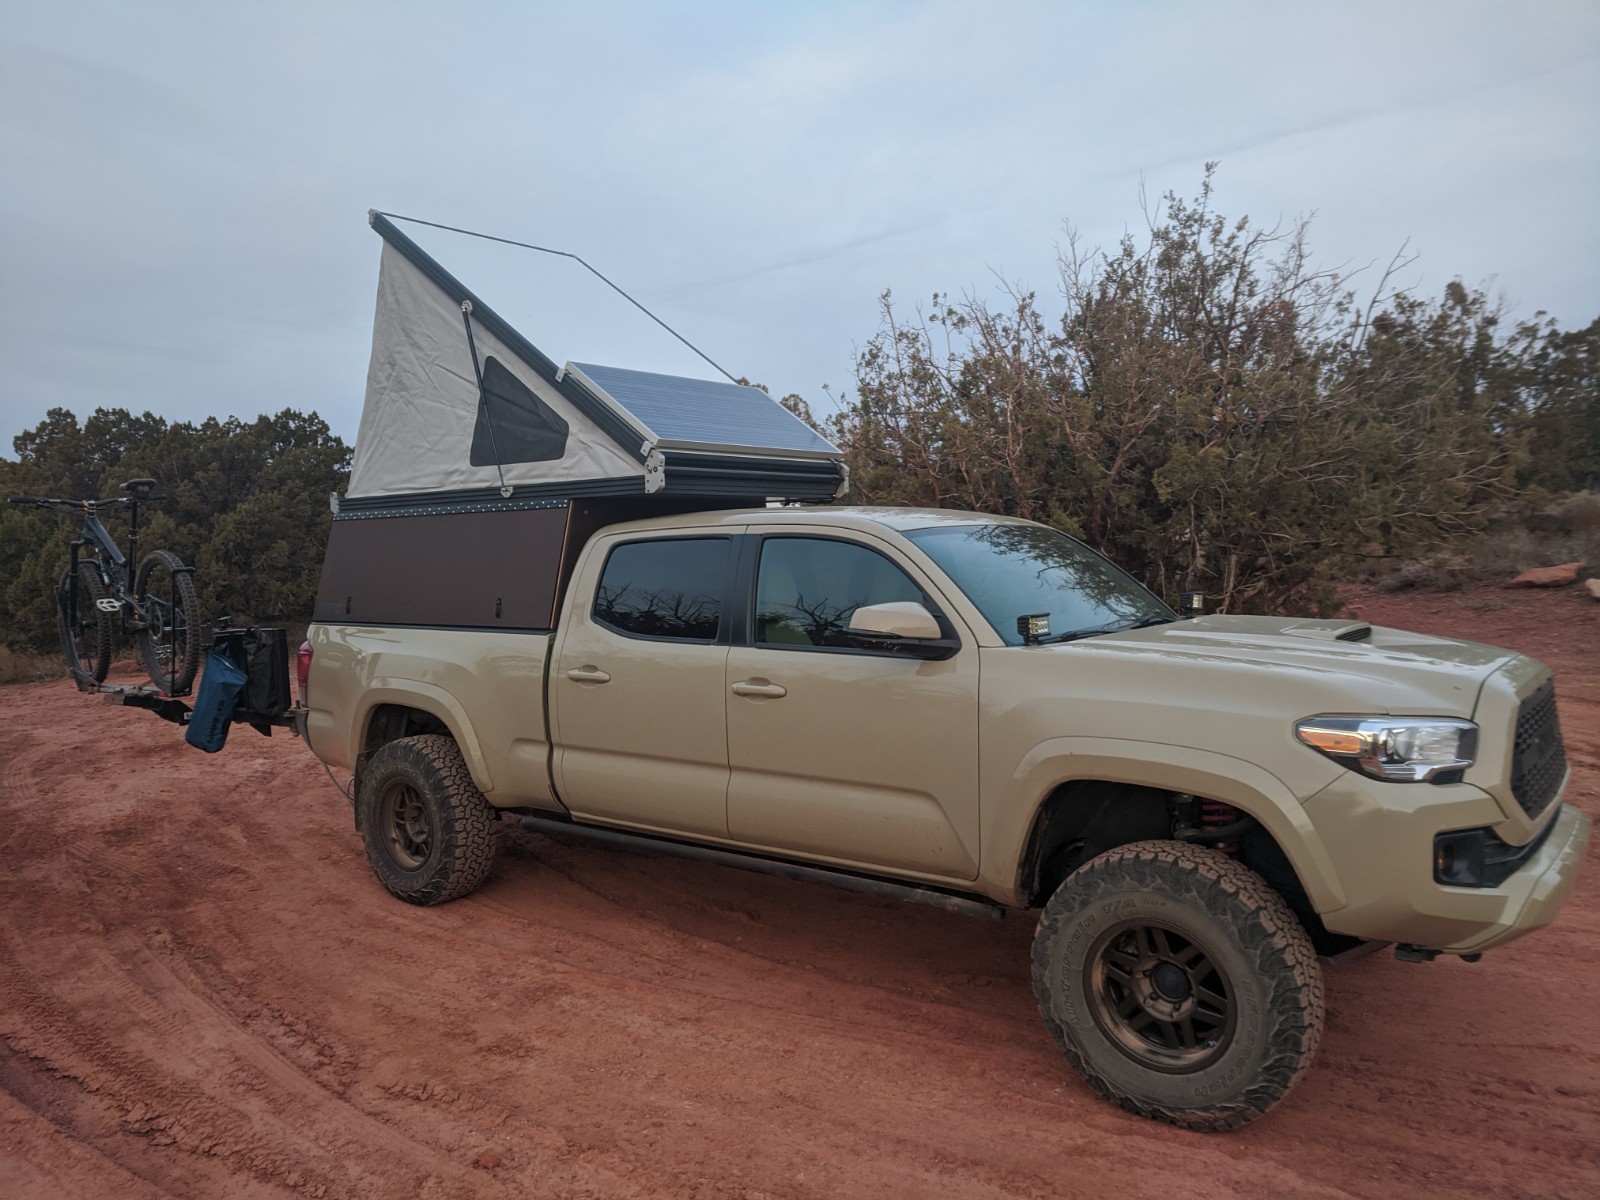
Solar: I chose a 150w panel that is just a bit shorter lengthwise than the GFC is widthwise which allowed me to utilize a set of simple solar panel mounts which I only had to modify slightly. I also used some aluminum flat bar to give the panel some feet to line up with the mounts:
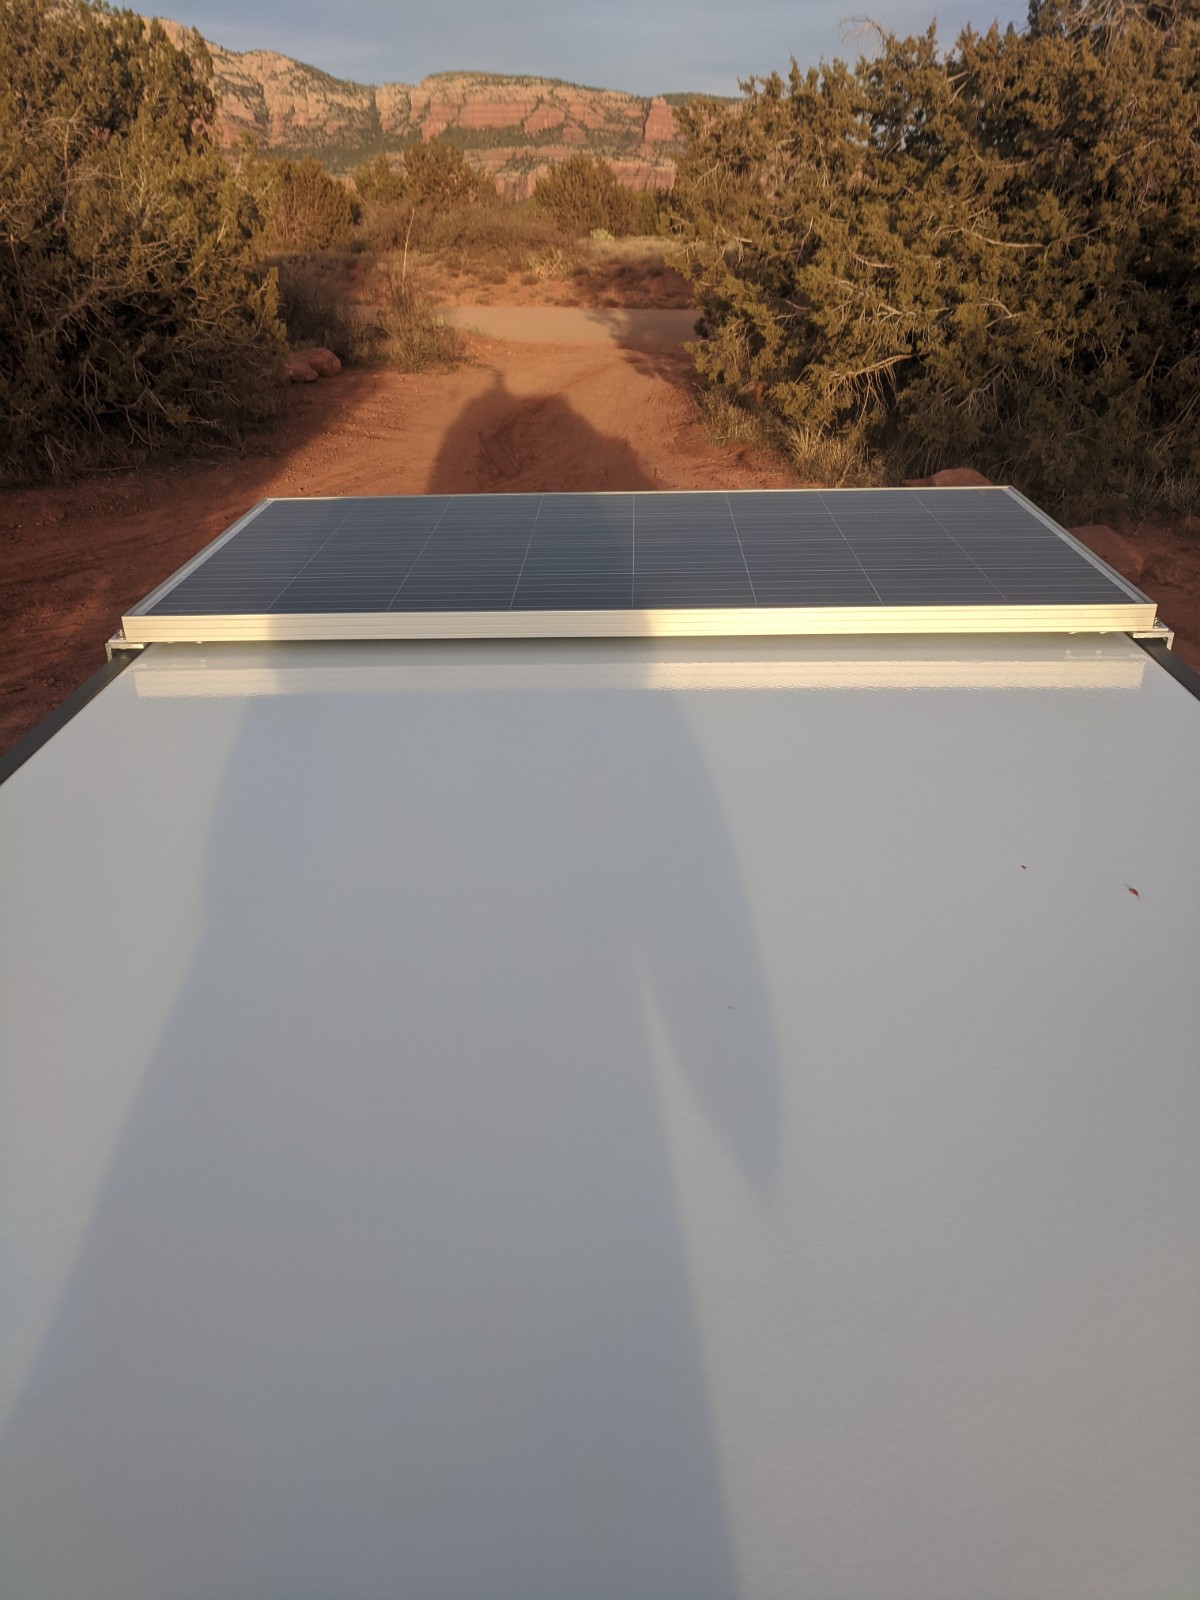


The panel: https://www.amazon.com/HQST-Solar-Panel-Power-Cabin/dp/B07MZP5W8J/
The mounts: https://www.amazon.com/Smarkey-Solar-Panel-Mounting-Bracket/dp/B07CR6BXBV/
My house battery is in the truck bed, so I ran the wires down behind the cab and up through a hole I drilled in the bed near the existing drainage hole. I used a couple rubber washers, with some double sided tape, on either side of the composit bed to seal out the elements.
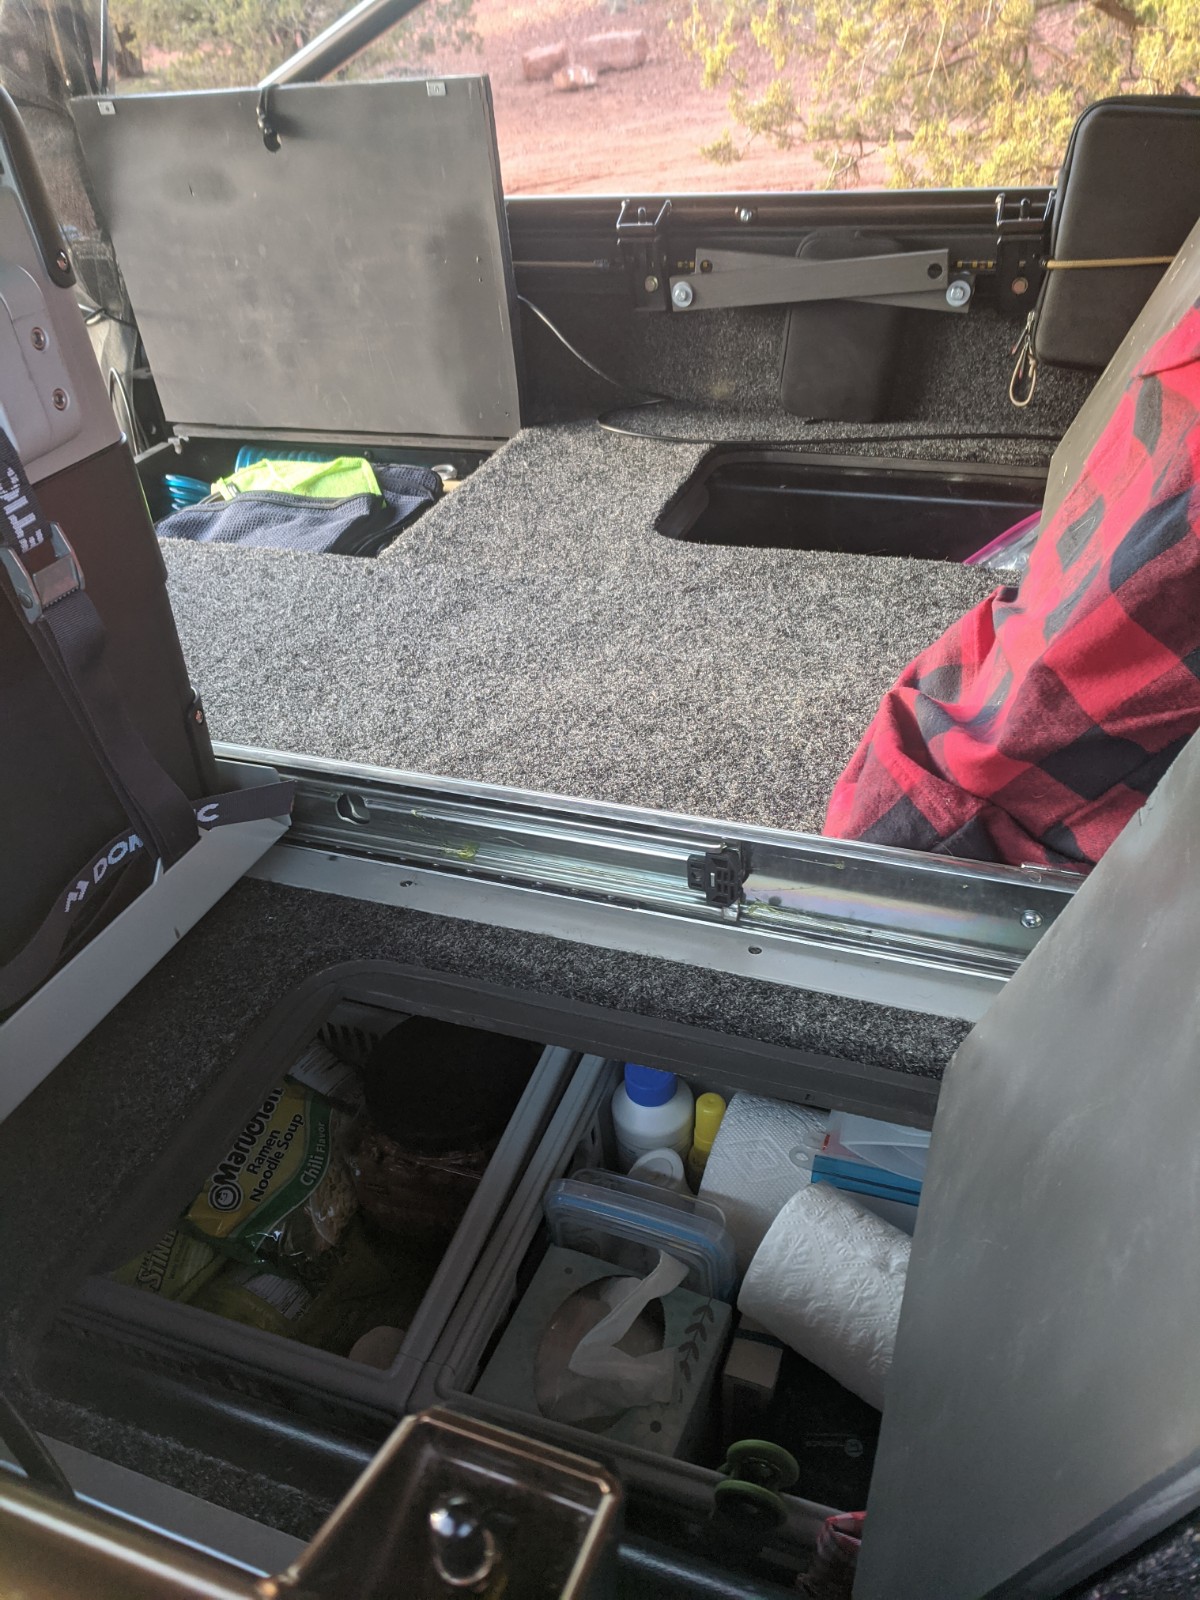
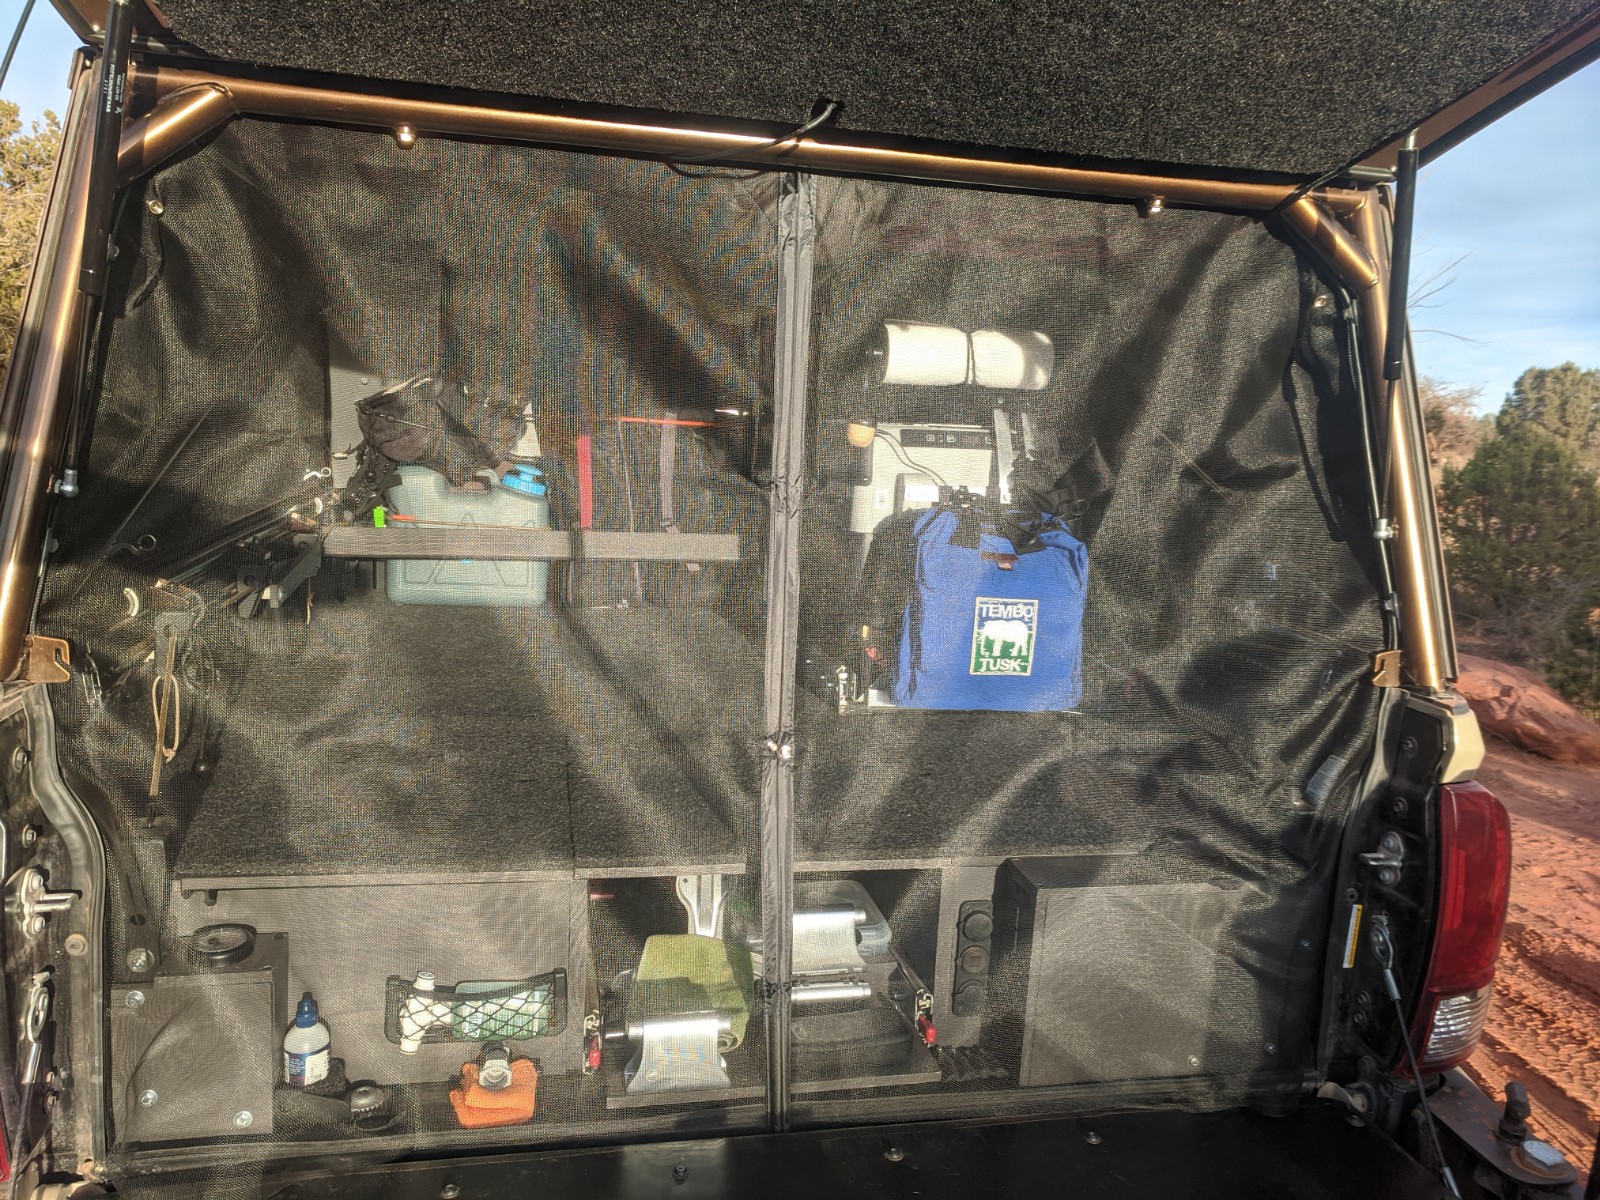
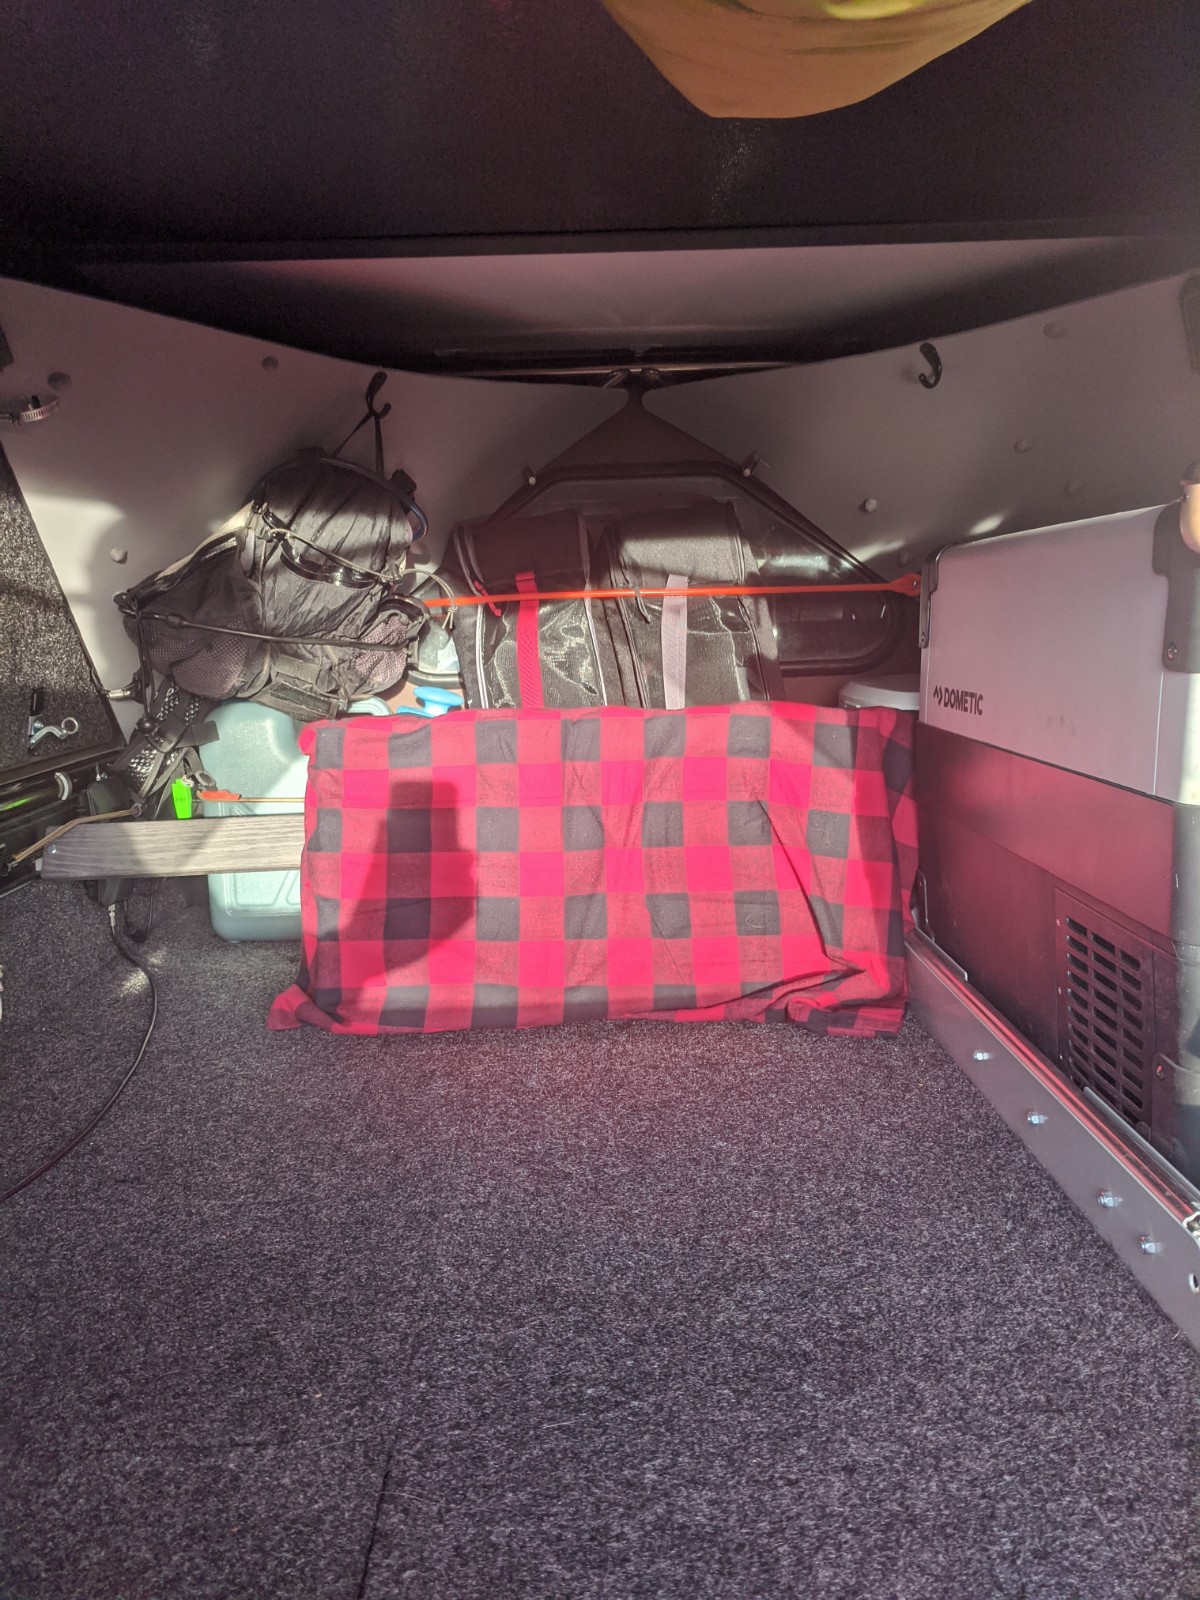
Bed buildout: I wanted to keep the bed area as clutter free as possible and I also wanted the option to store 2 bikes inside, so I opted to build a platform where I could store most everything below it. I reserved the center section for a slide out which has become my garage with all my bike tools, spares, pump, etc mounted to it while still leaving room to store the bikes, either away from view, or away from the elements when driving through inclement weather.
Here is what the bed area looks like when fully loaded:

I decided against using drawers since I wanted to be able to access everything from within the bed. I have some panels that lift out and some on hinges. The fridge slides forward exposing one of those storage areas:
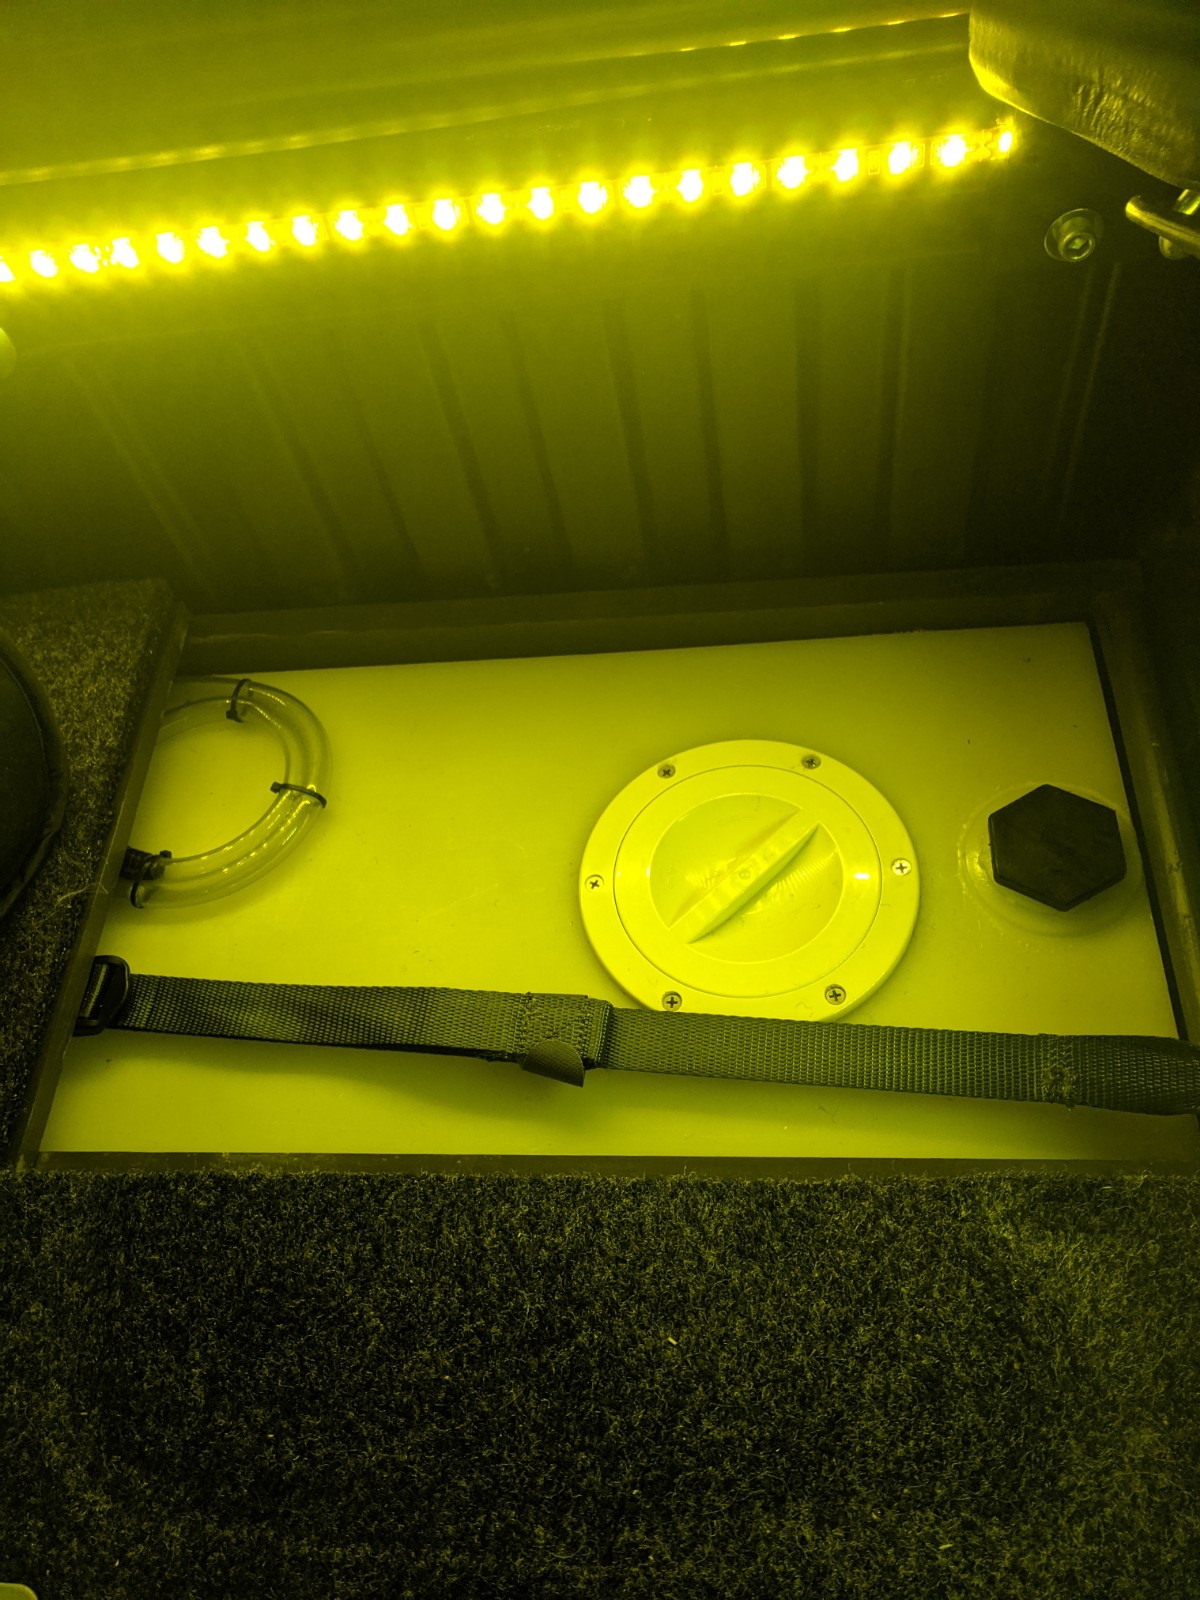
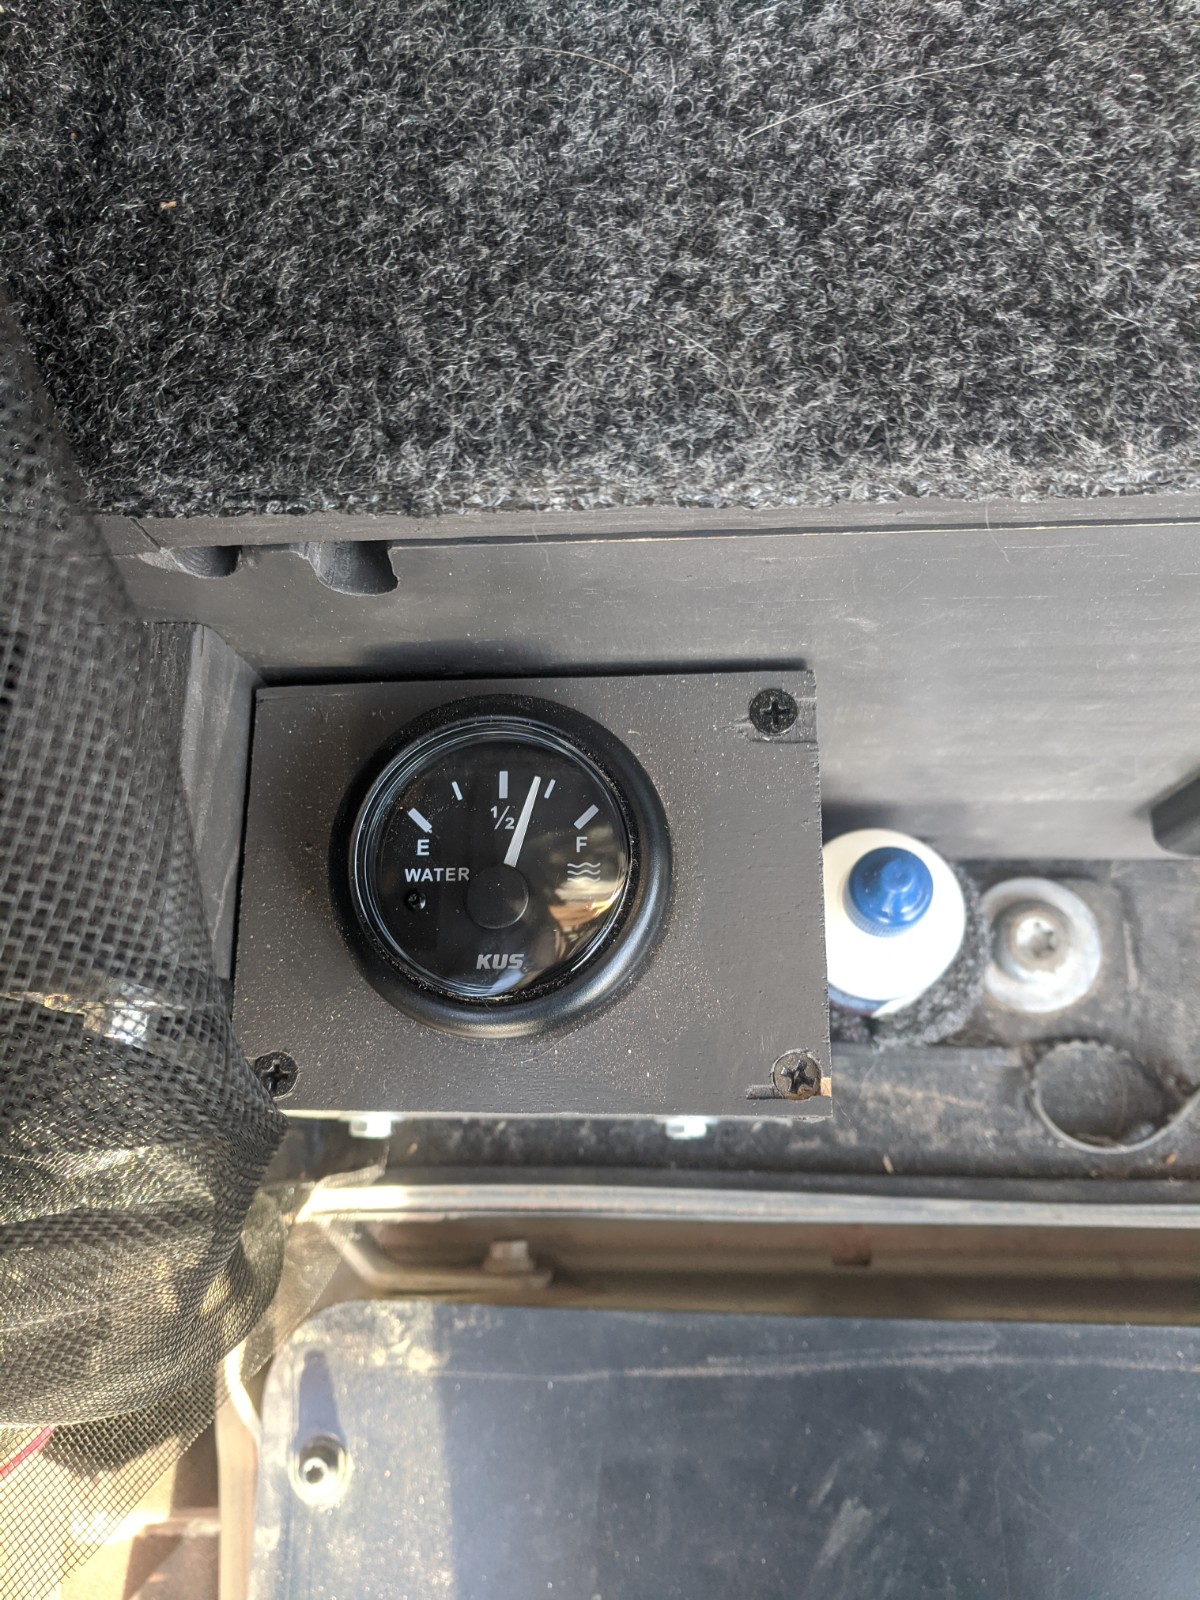
My house battery is under a panel in the front driver’s side and my water tank is under a panel on the passenger’s side. I’ve got a water pump in the driver’s side cubbie connected to a hose for dispensing the water. I added a water level guage connected to the same switch used to activate the pump so I have a good idea how much water I have left without having to access the water tank.

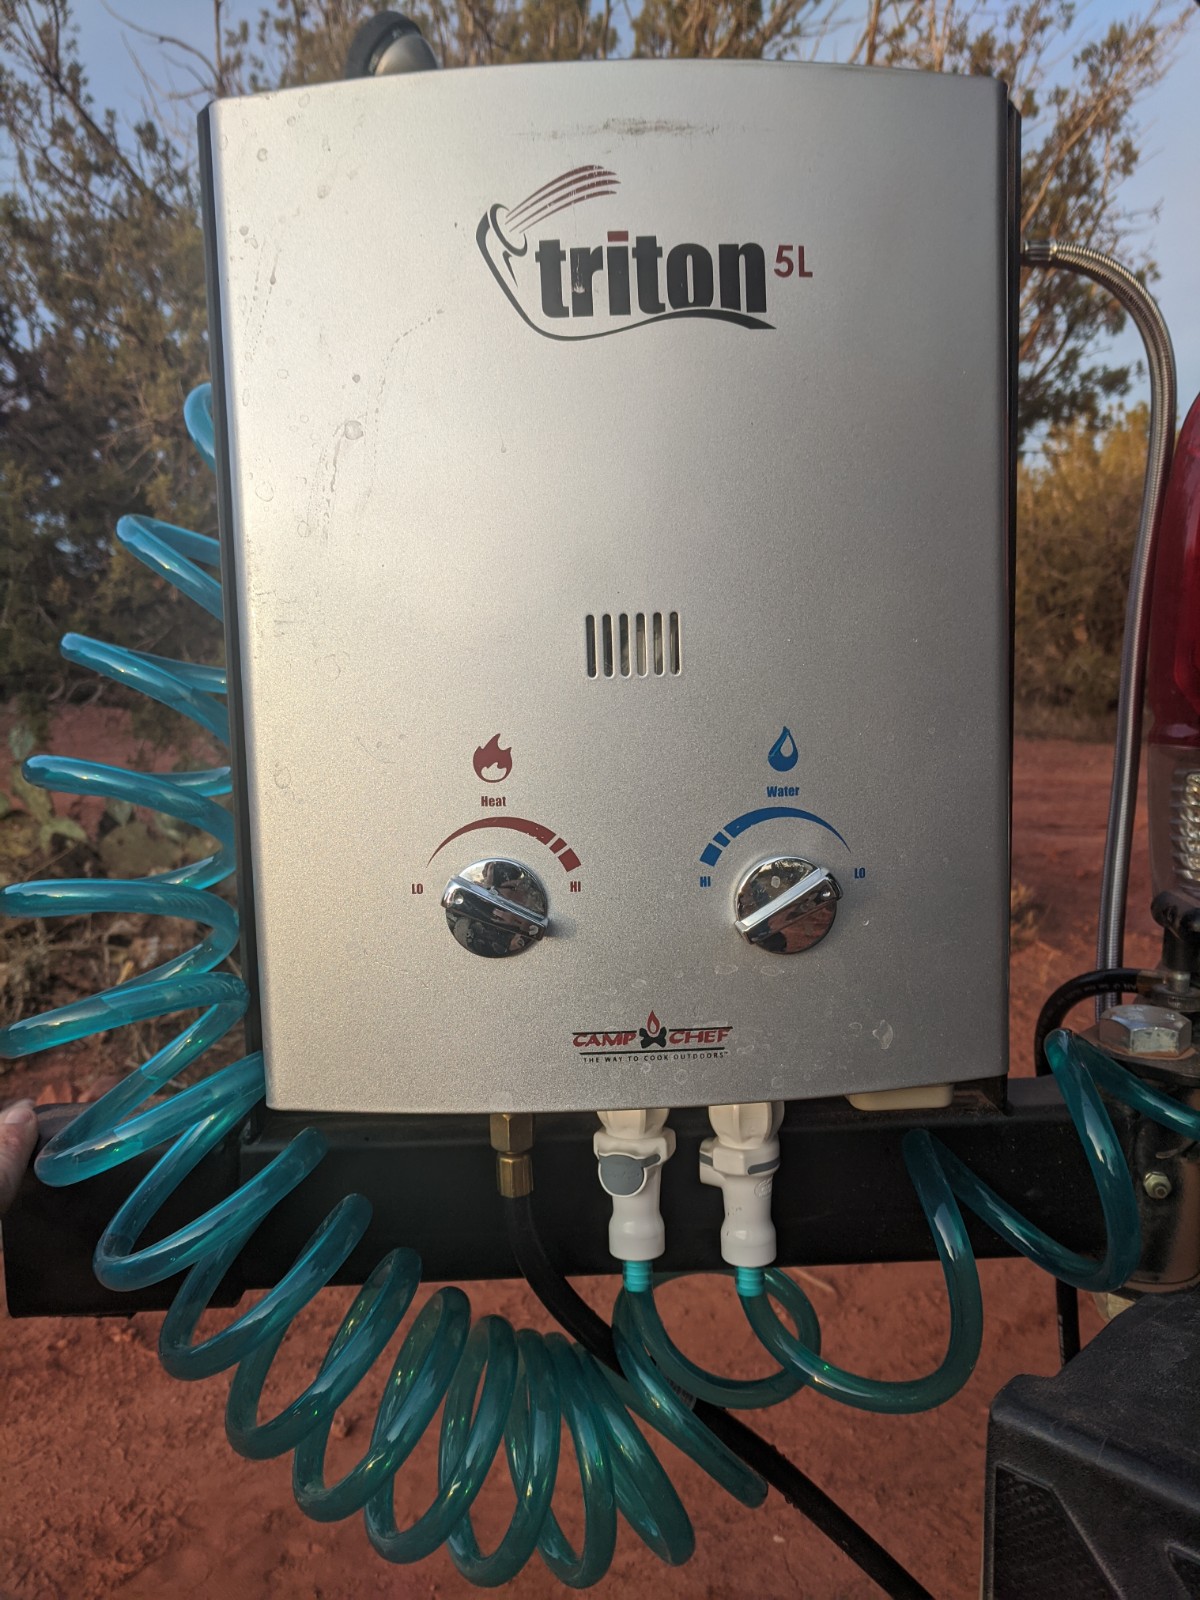
You can also see that I have an instant water heater which I can take out and hang off of my swingout. I use some quick connect fittings to make setup easy:

For storing our mountain bike gear (helmet, pads, pack, etc) I used some hdpe and secured it to the space frame using hose clamps:

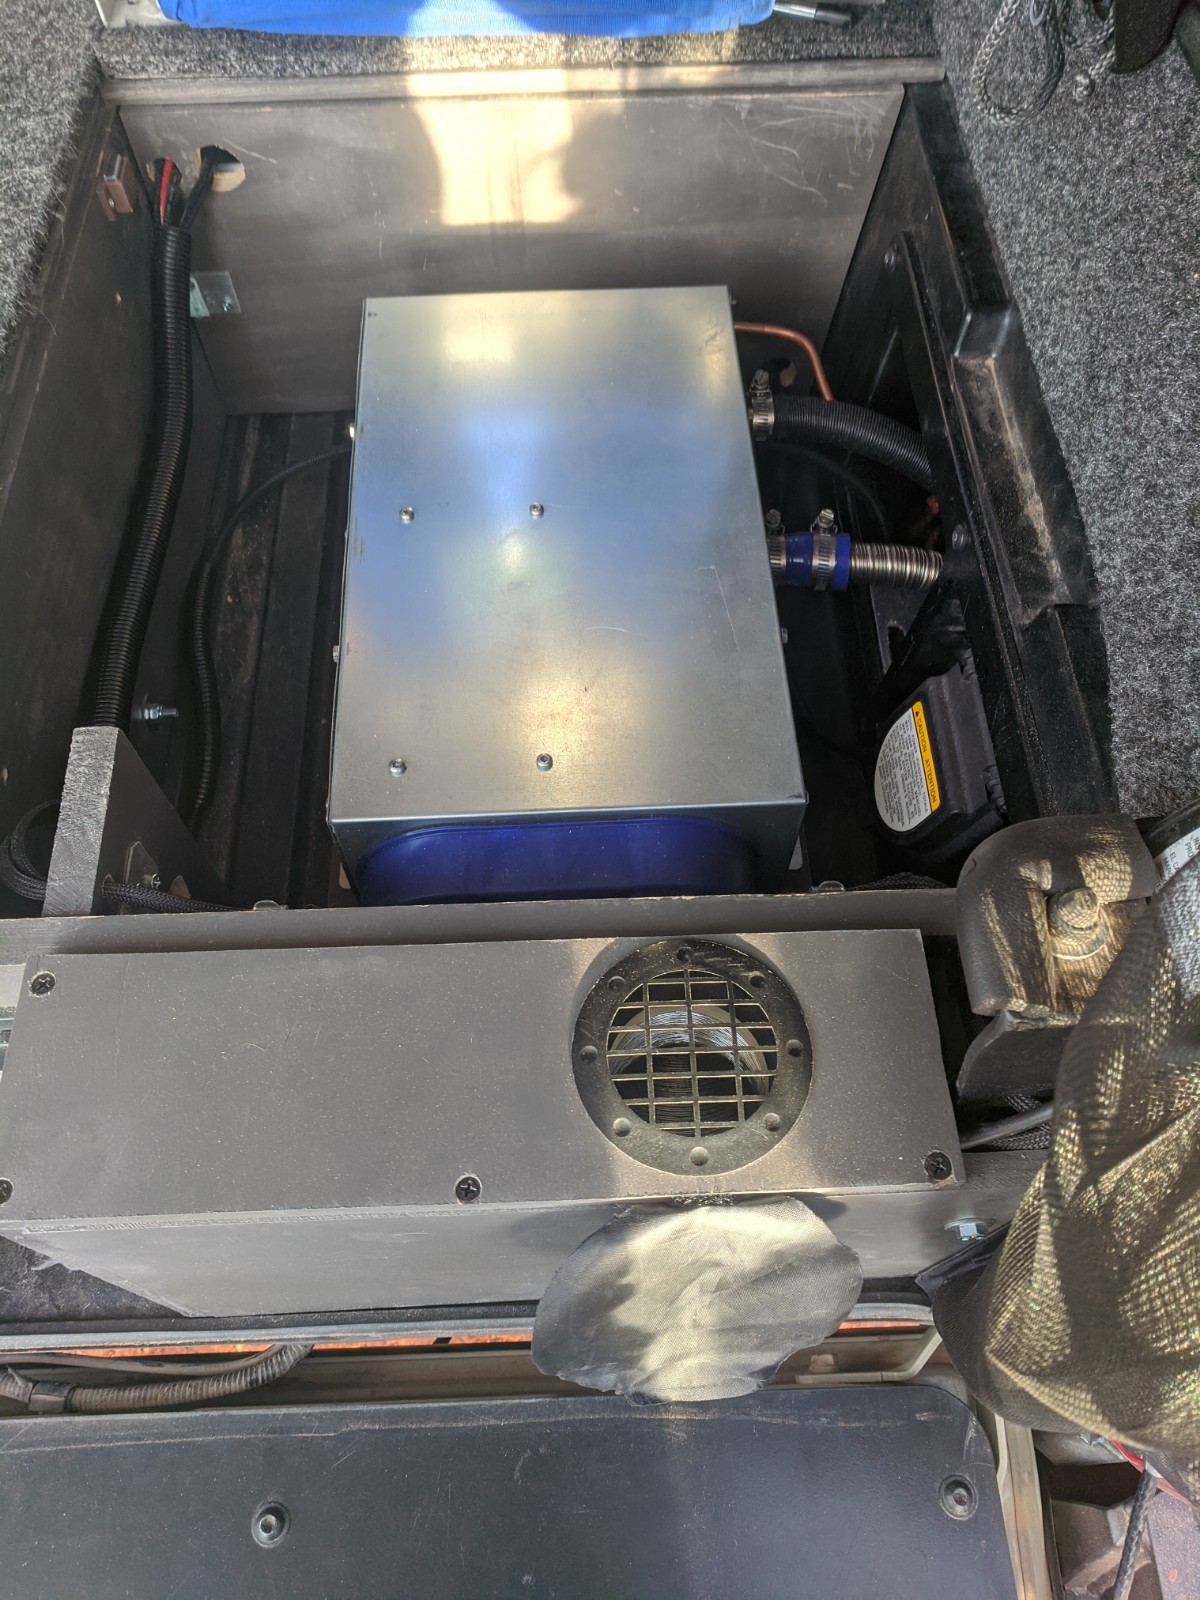
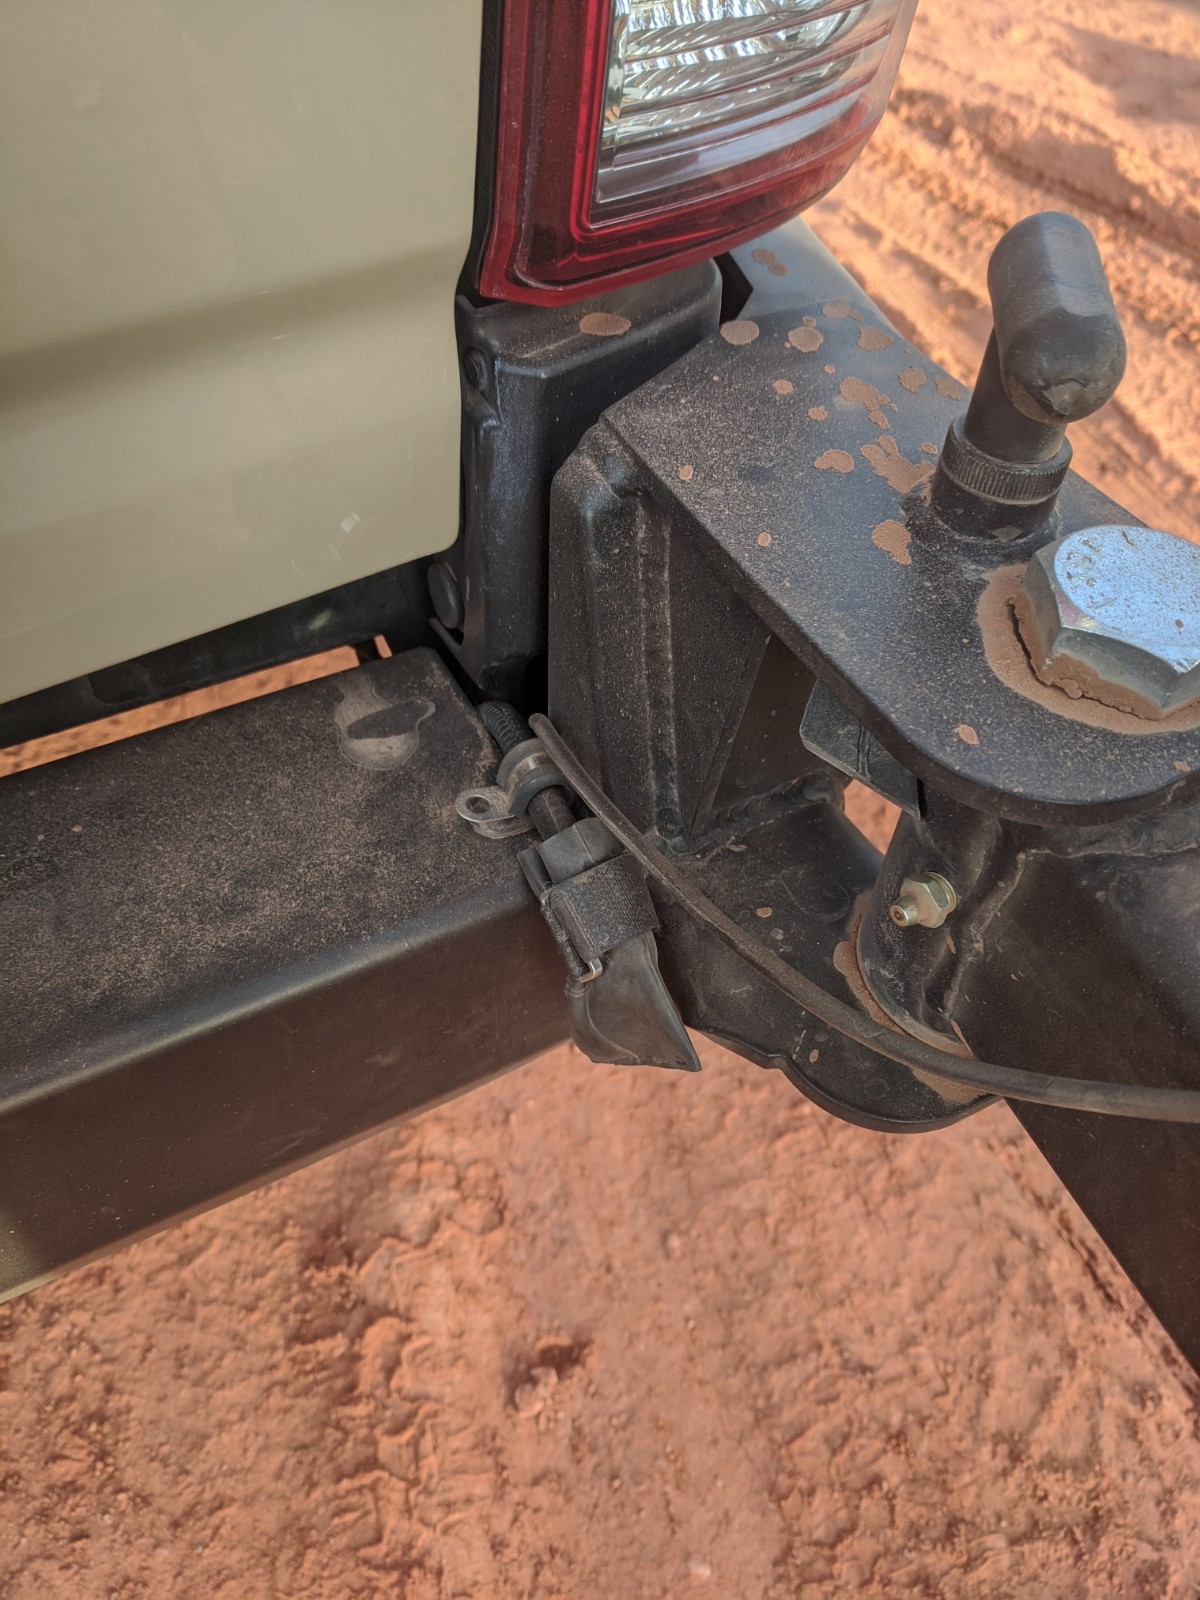
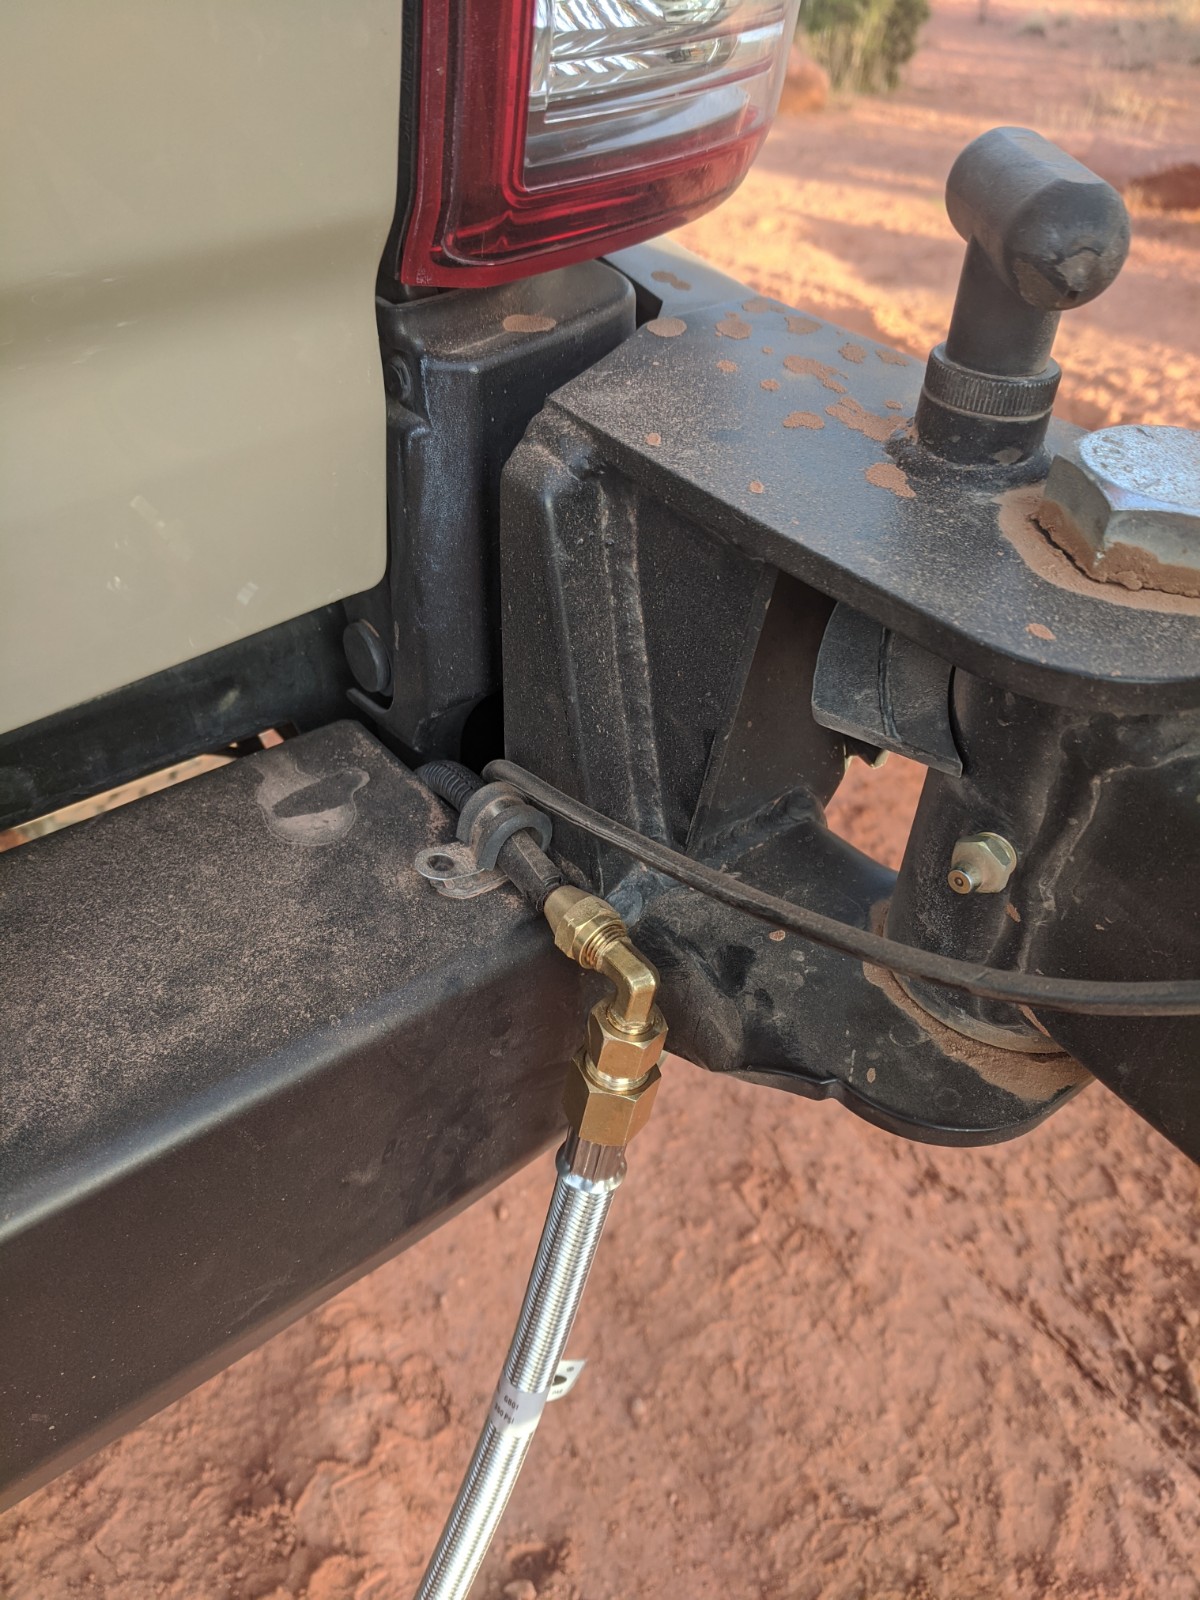
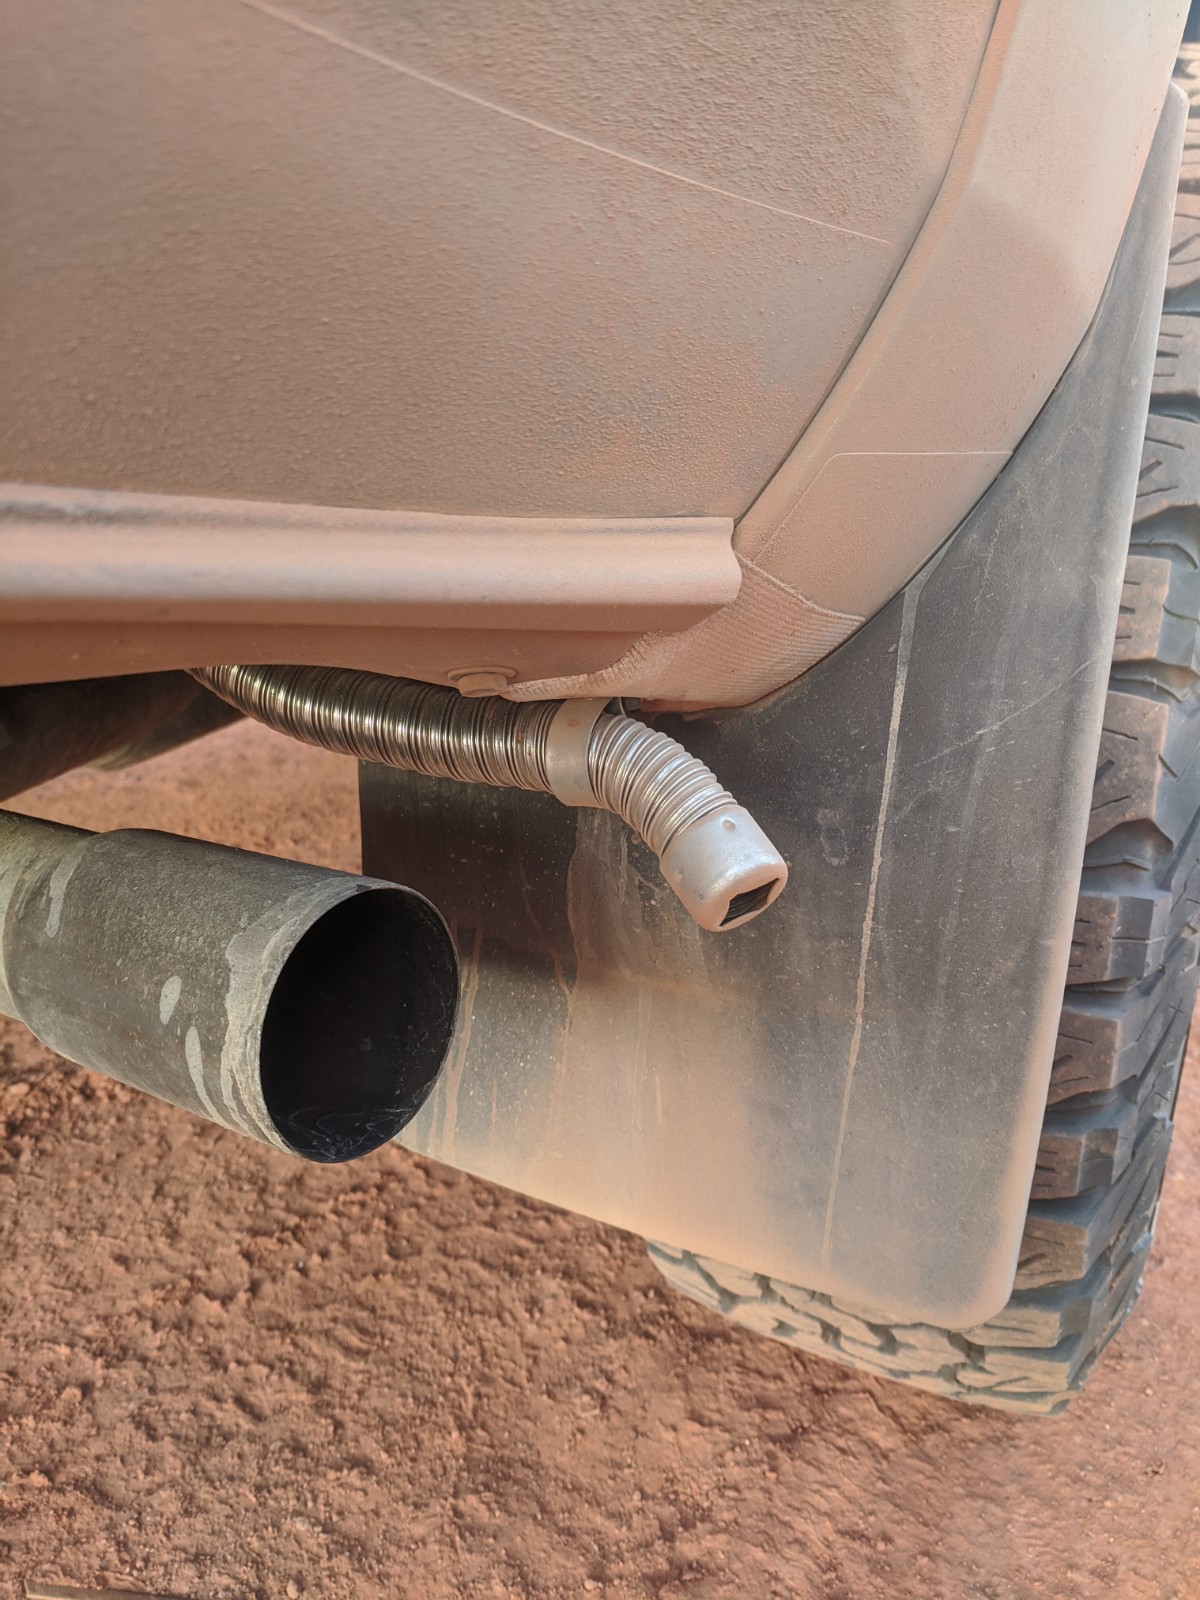
Heater: I picked up a propex heater and routed the ignition air hose, exhaust hose, and gas pipe through the passenger side cubbie. I mounted the thermostat to the passenger side hdpe panel and routed a gas hookup at the bumper:

Insulation (kind of): The deck is covered in bed rug, and I had enough left over to cover the rear and side panels as well. Not the best insulation, but it looks and feels nice:
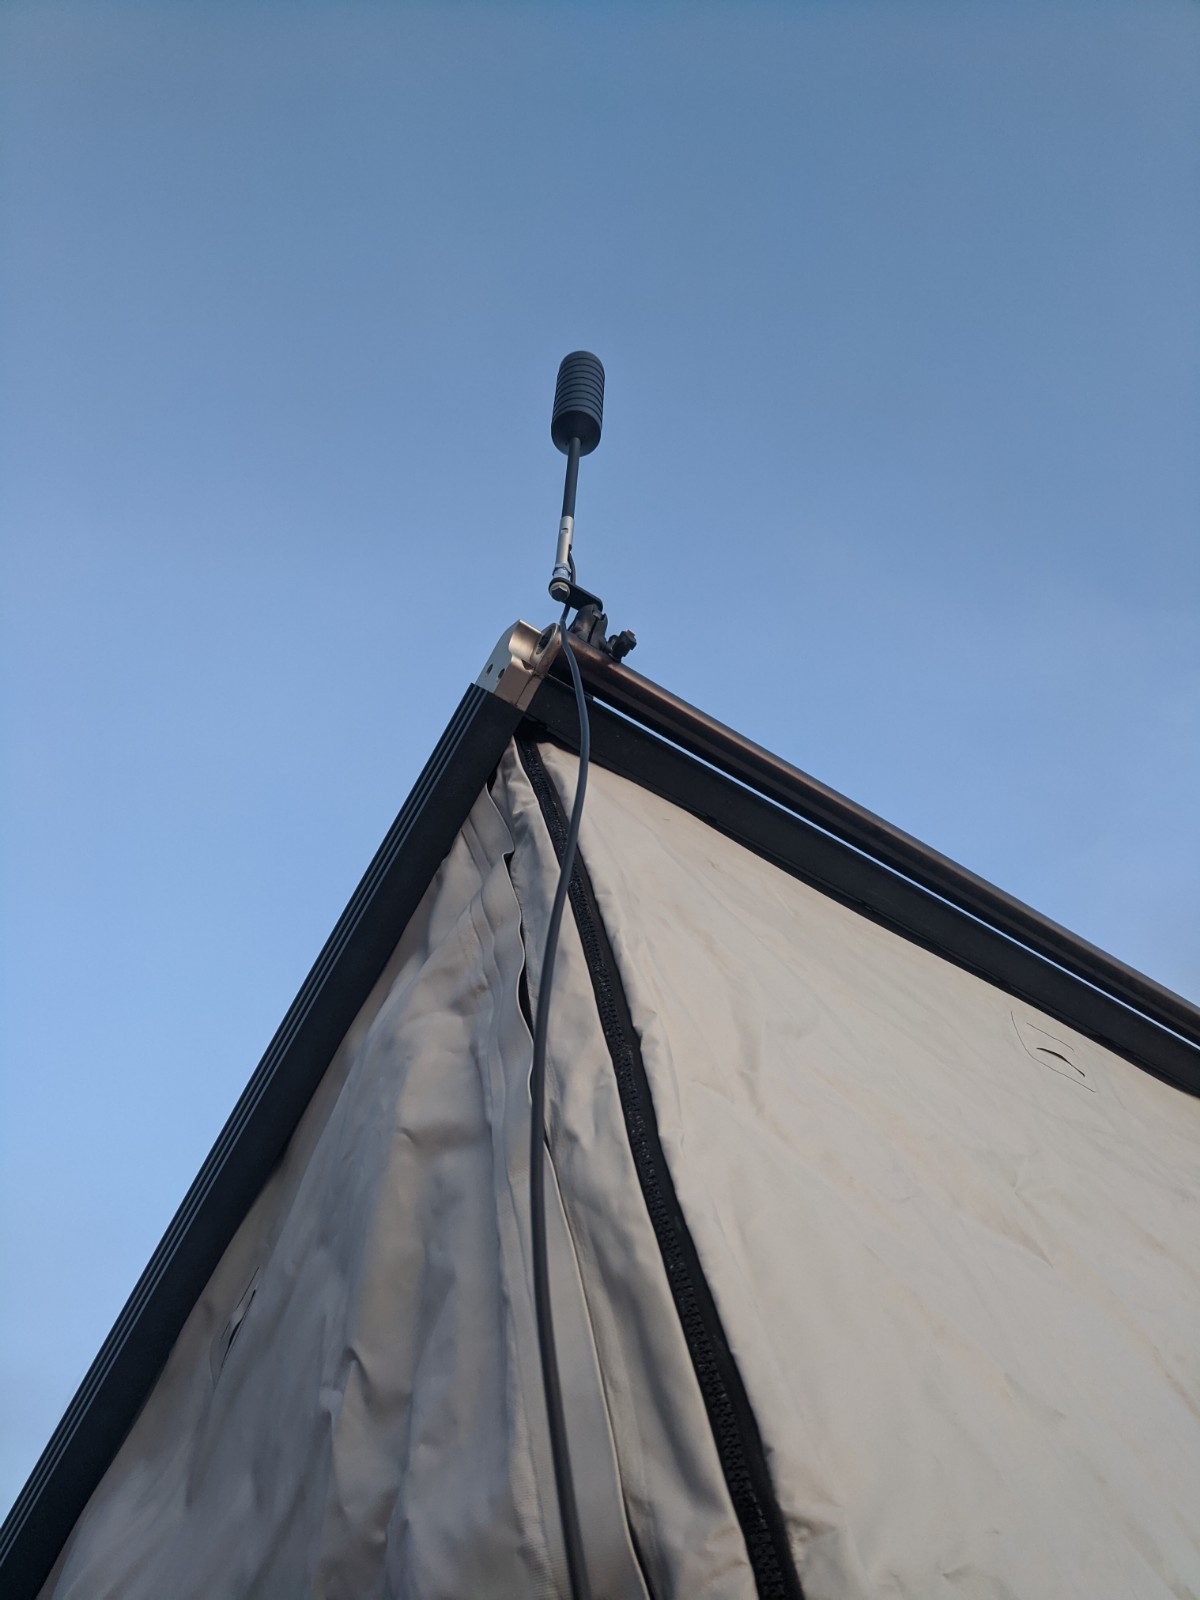
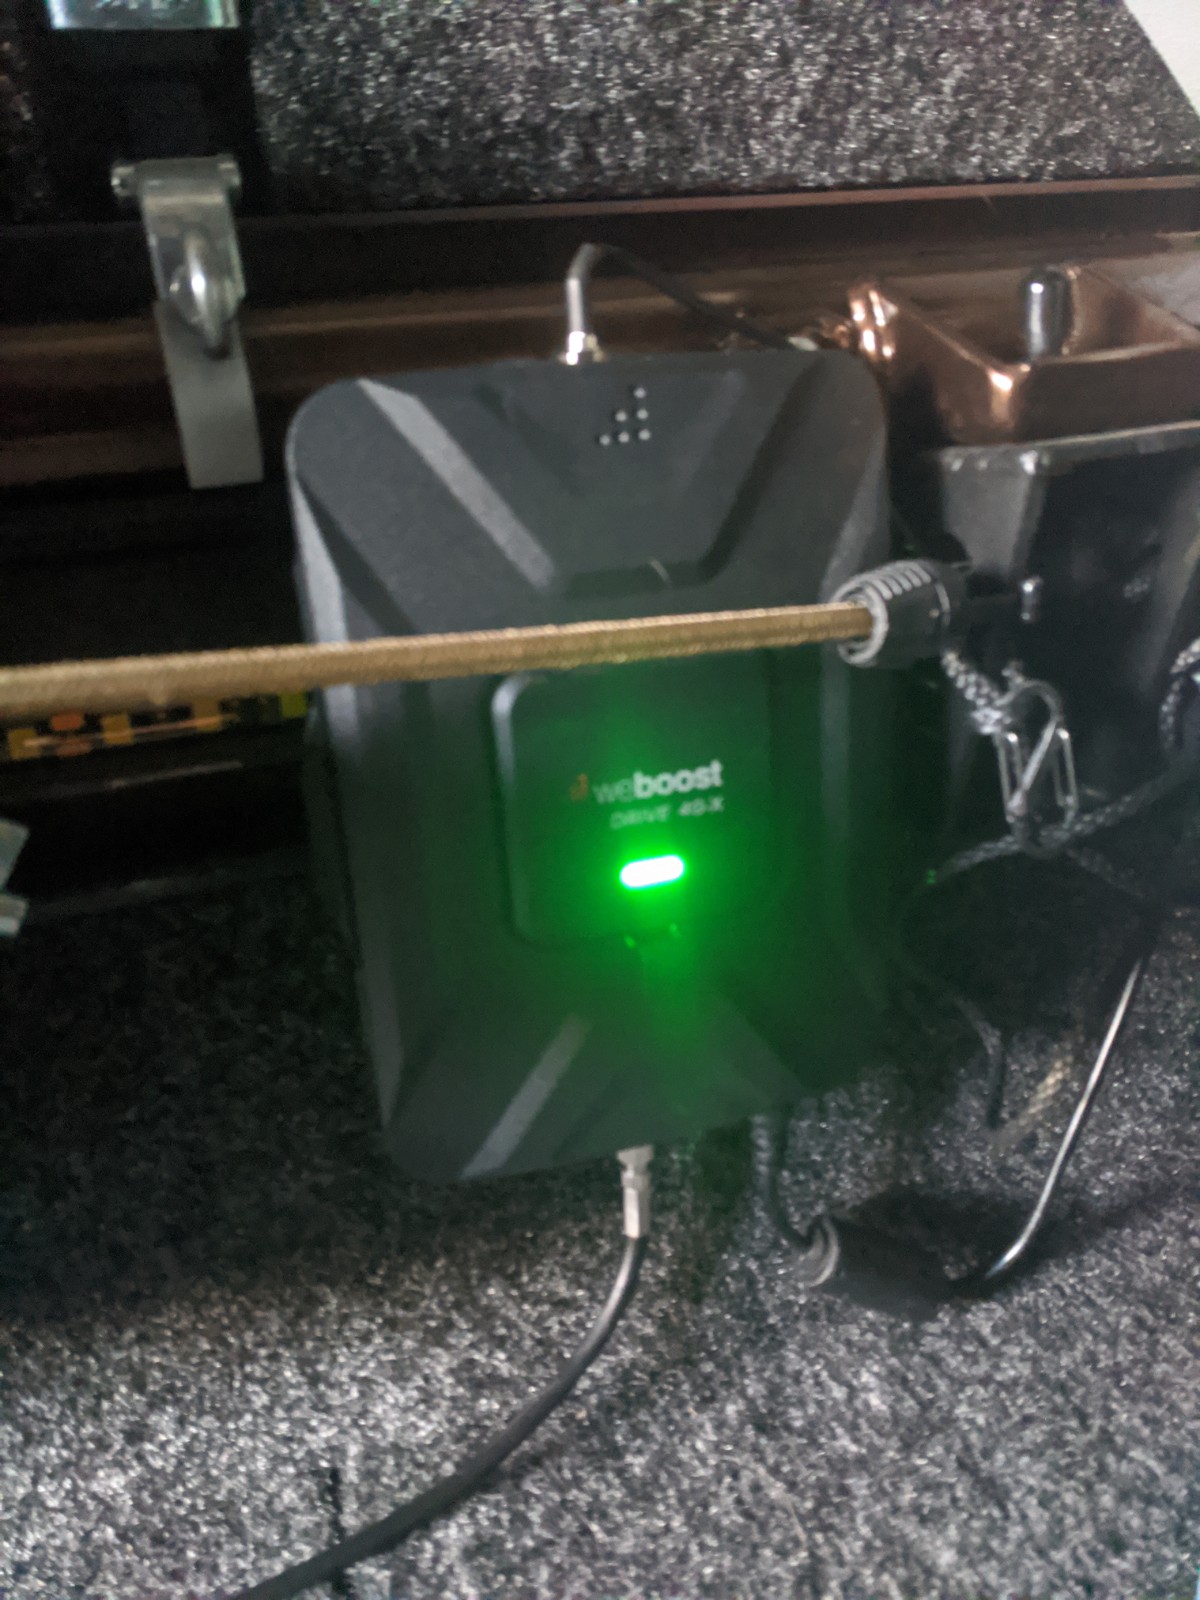
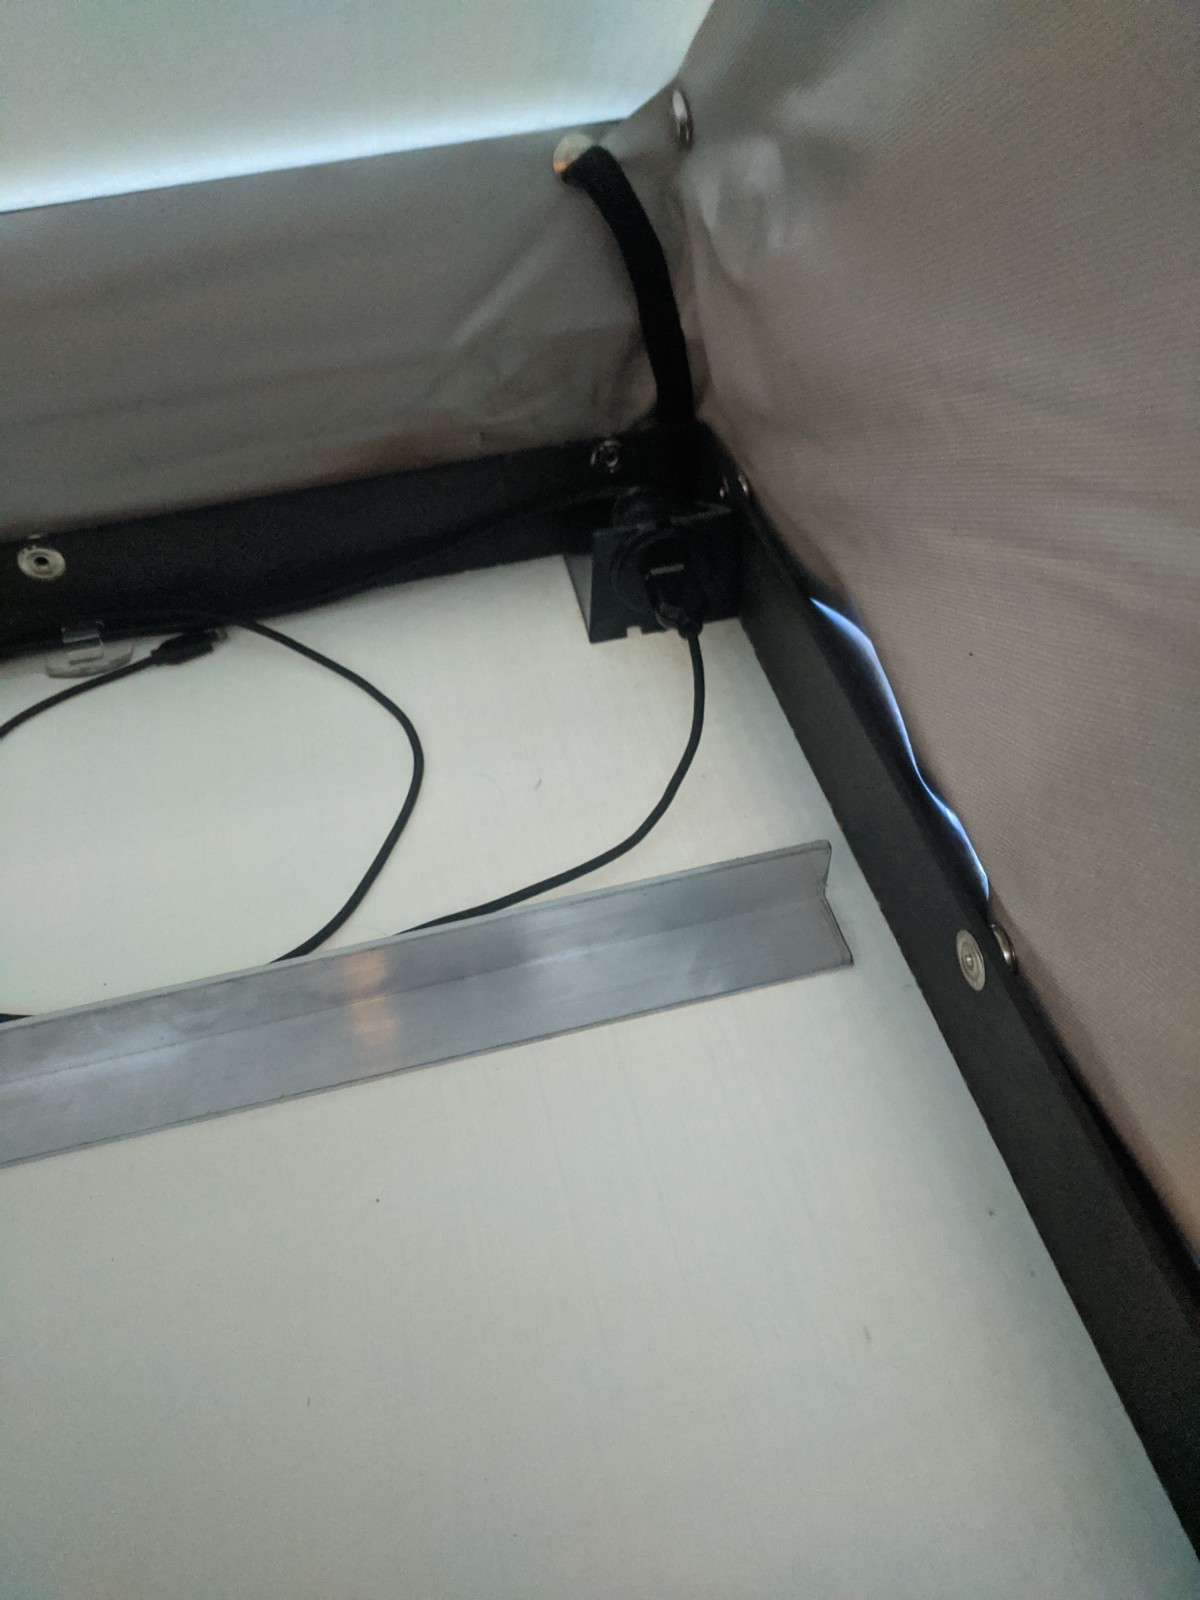
Cell booster: My wife and I both work remote, so I got a weboost which allows us to work in more remote areas. I used some ram ball attachments so I can quickly setup the external antenna. I mounted the control unit to the bed rails and the internal antenna to the driver’s side hdpe panel:
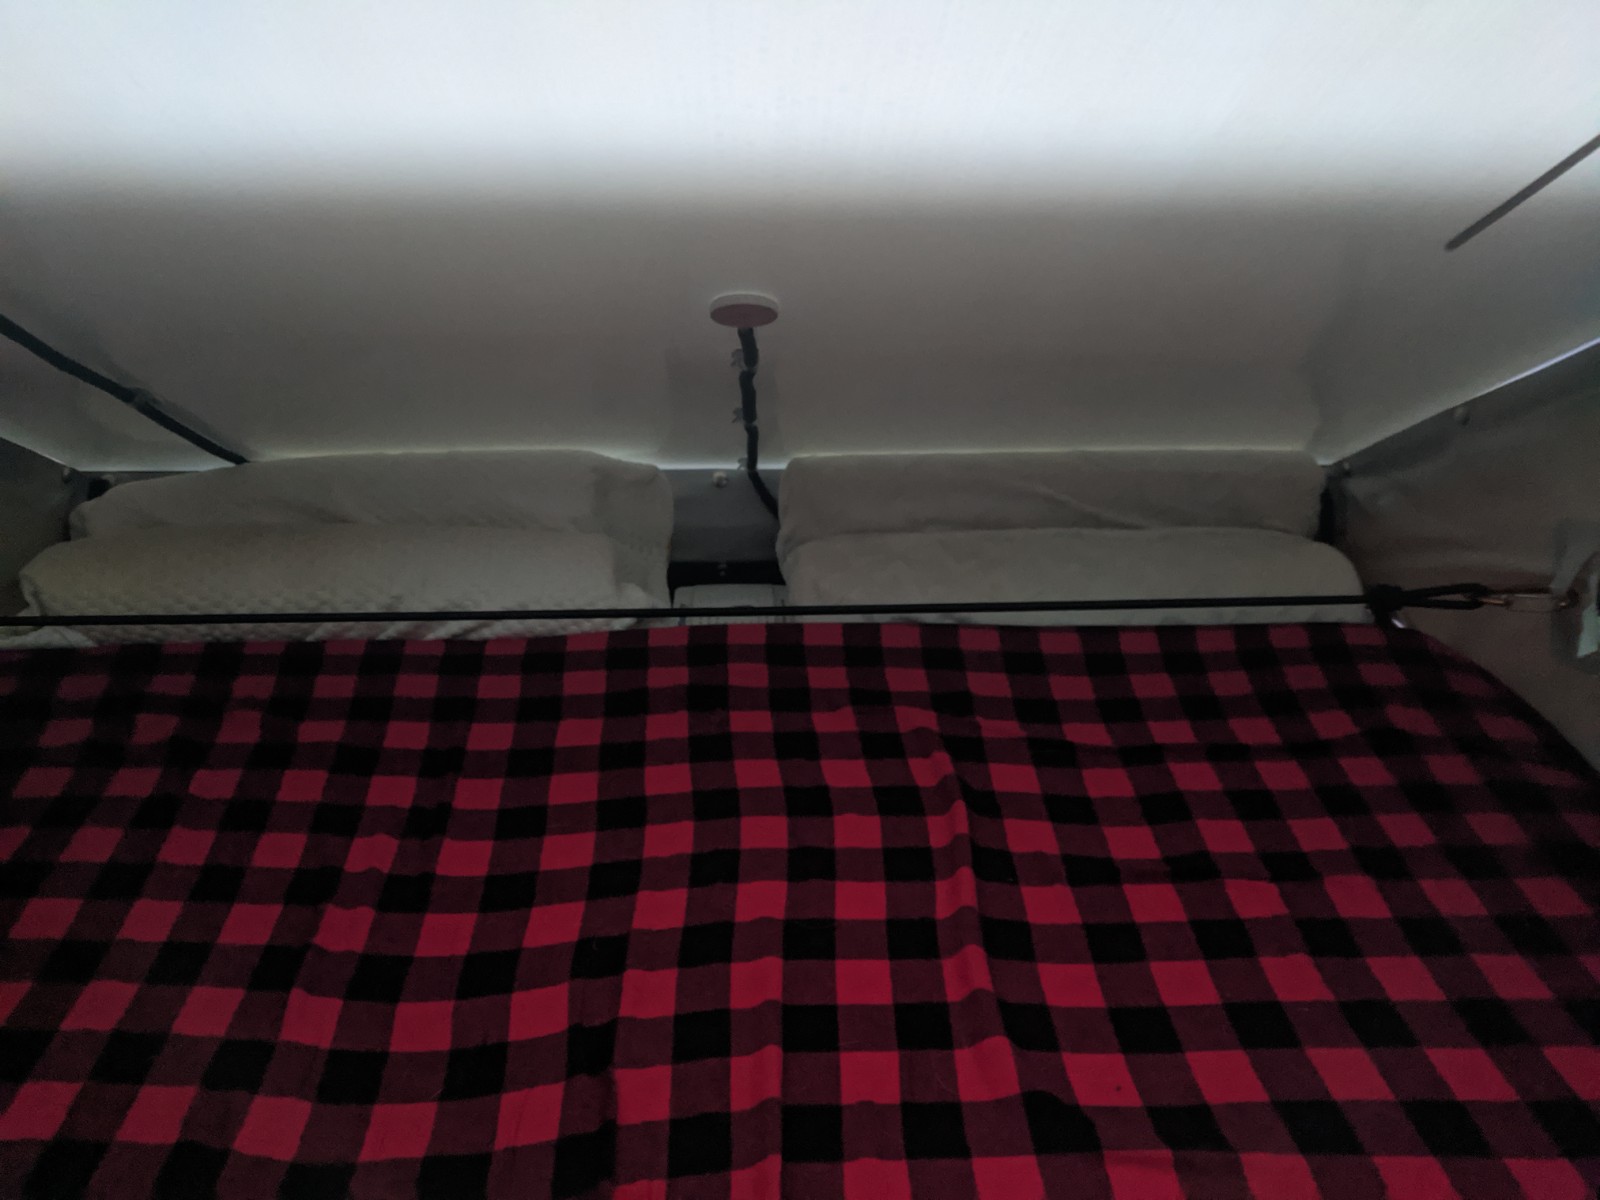
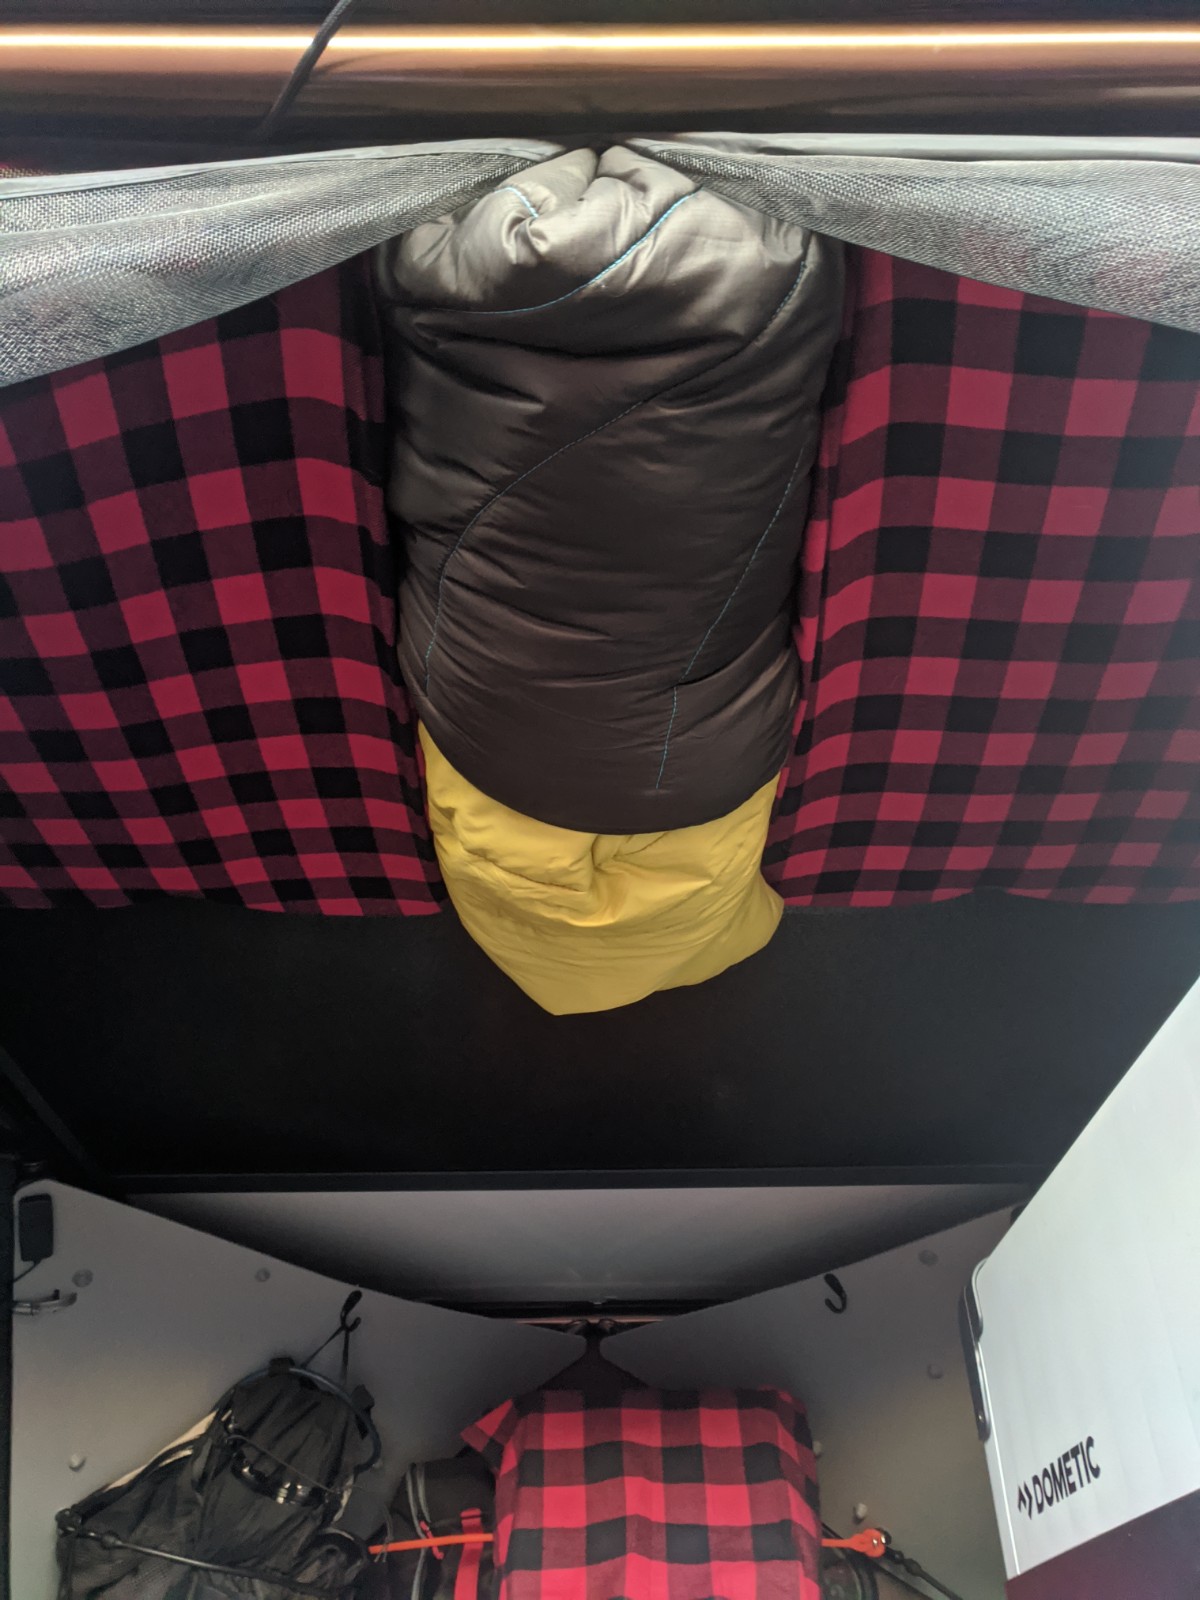
GFC bed mods: I have the 2" foam, so I added 1" latex foam to the cushions. Since the area near the hinge isn’t really usable, I cut down the forward most cushion that sits over the cab, which allows me to store our pillows and I put in a usb port on each side. I taped down some aluminum angle to prevent the cushion from moving:
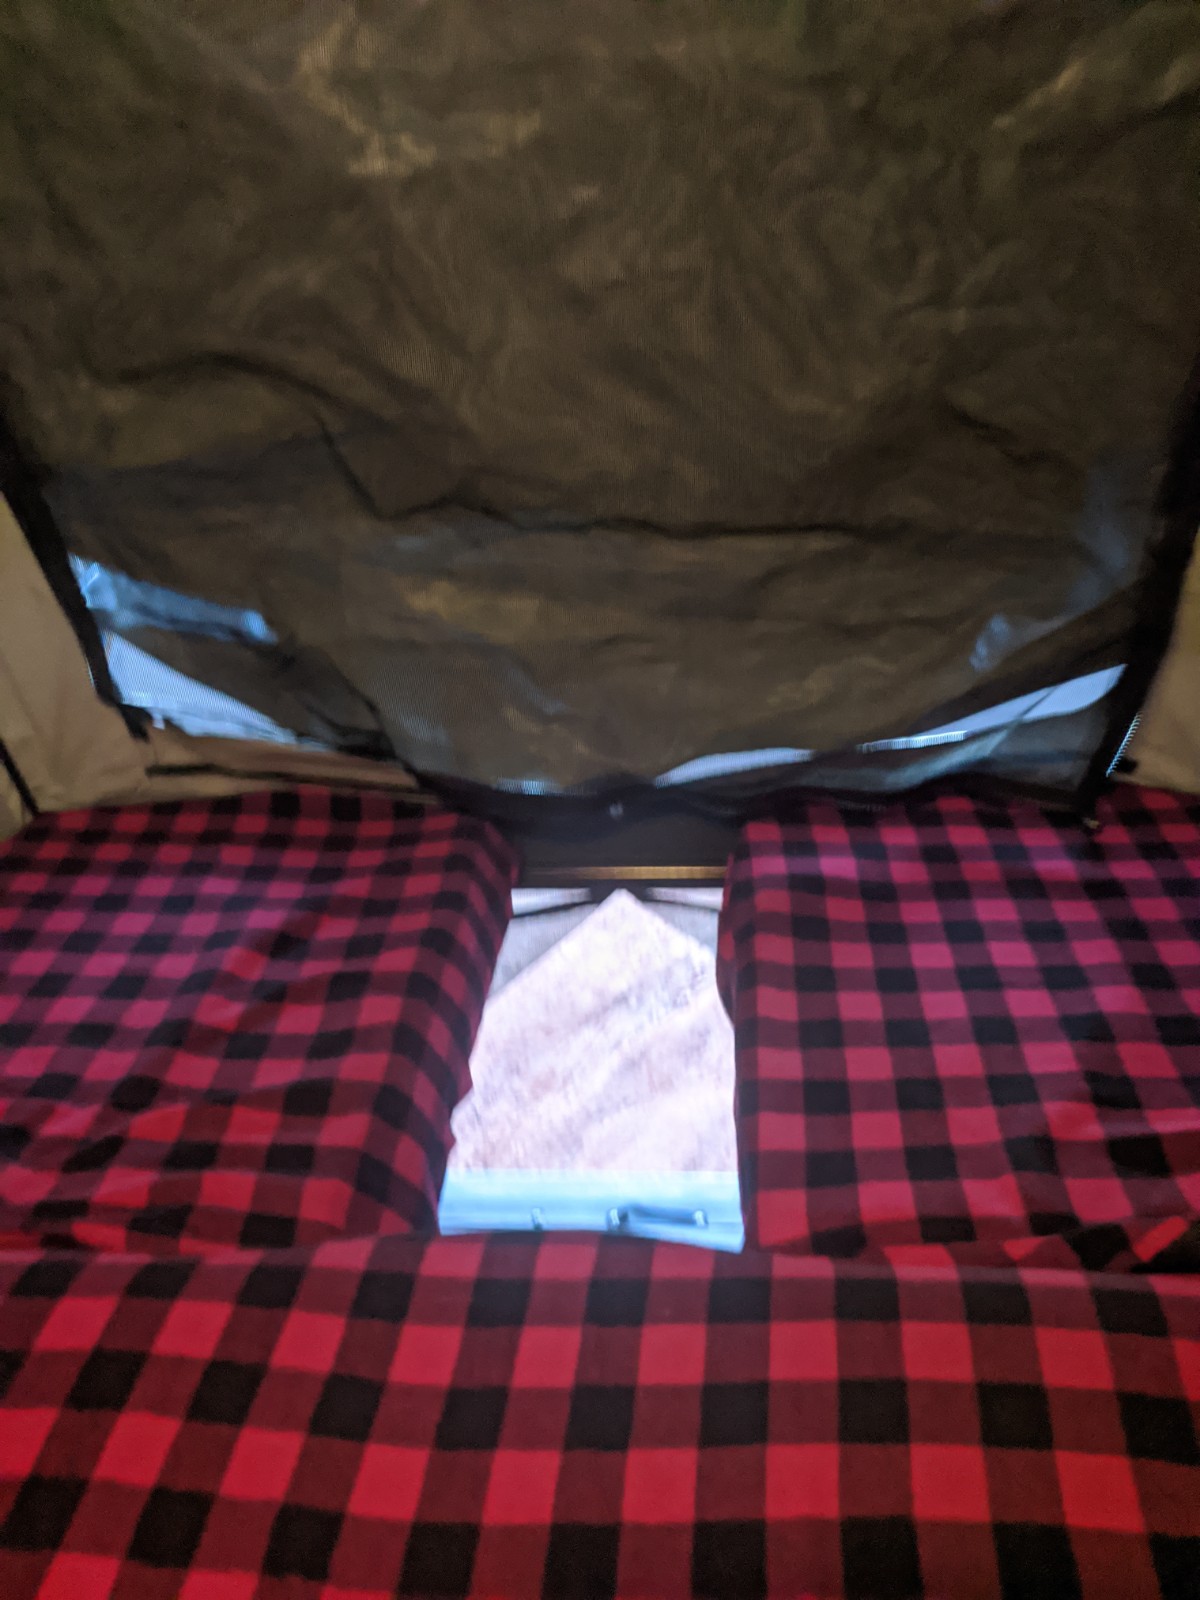
I also cut both square bed panels down which allows some air flow for my heater to reach the tent area. I can also squeeze though the gap if I want. It also allows me to keep our blankets up top when closing the tent since material can sag through that gap. I also run the square panels upside down, which I made easier by cutting away some of the foam so I don’t have to jam it in:
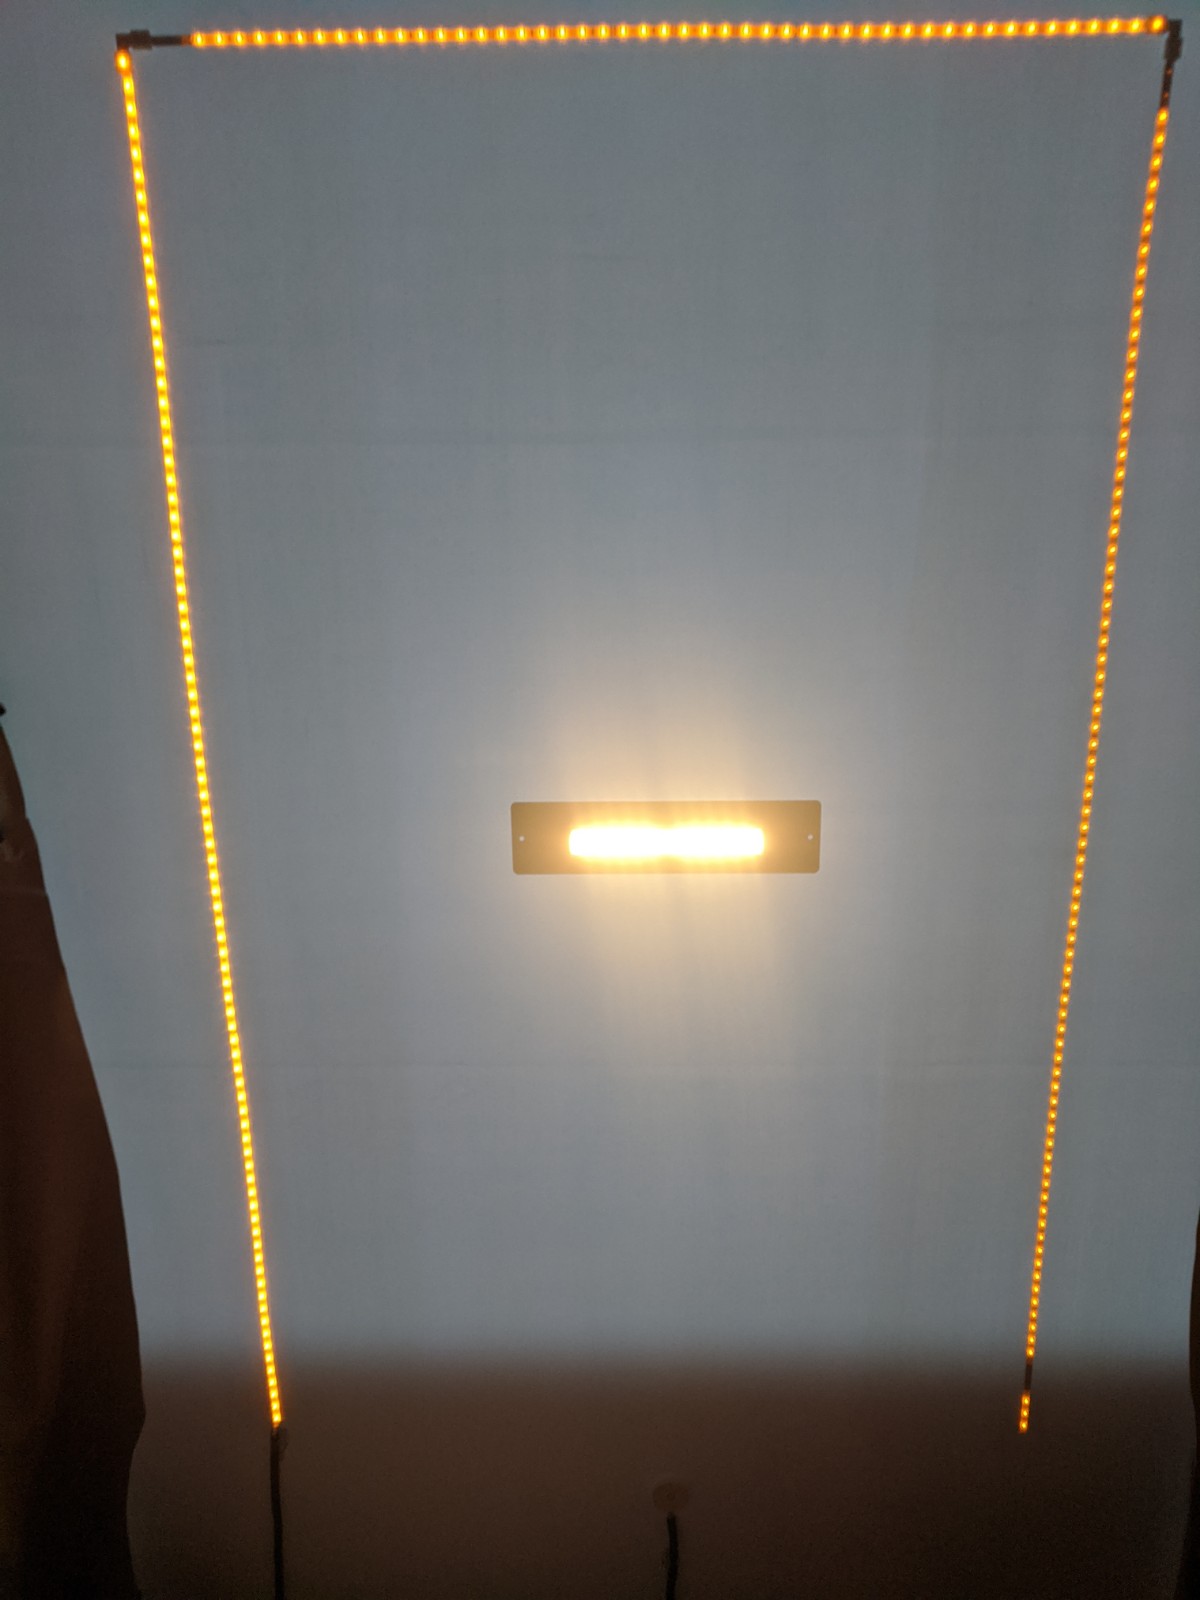
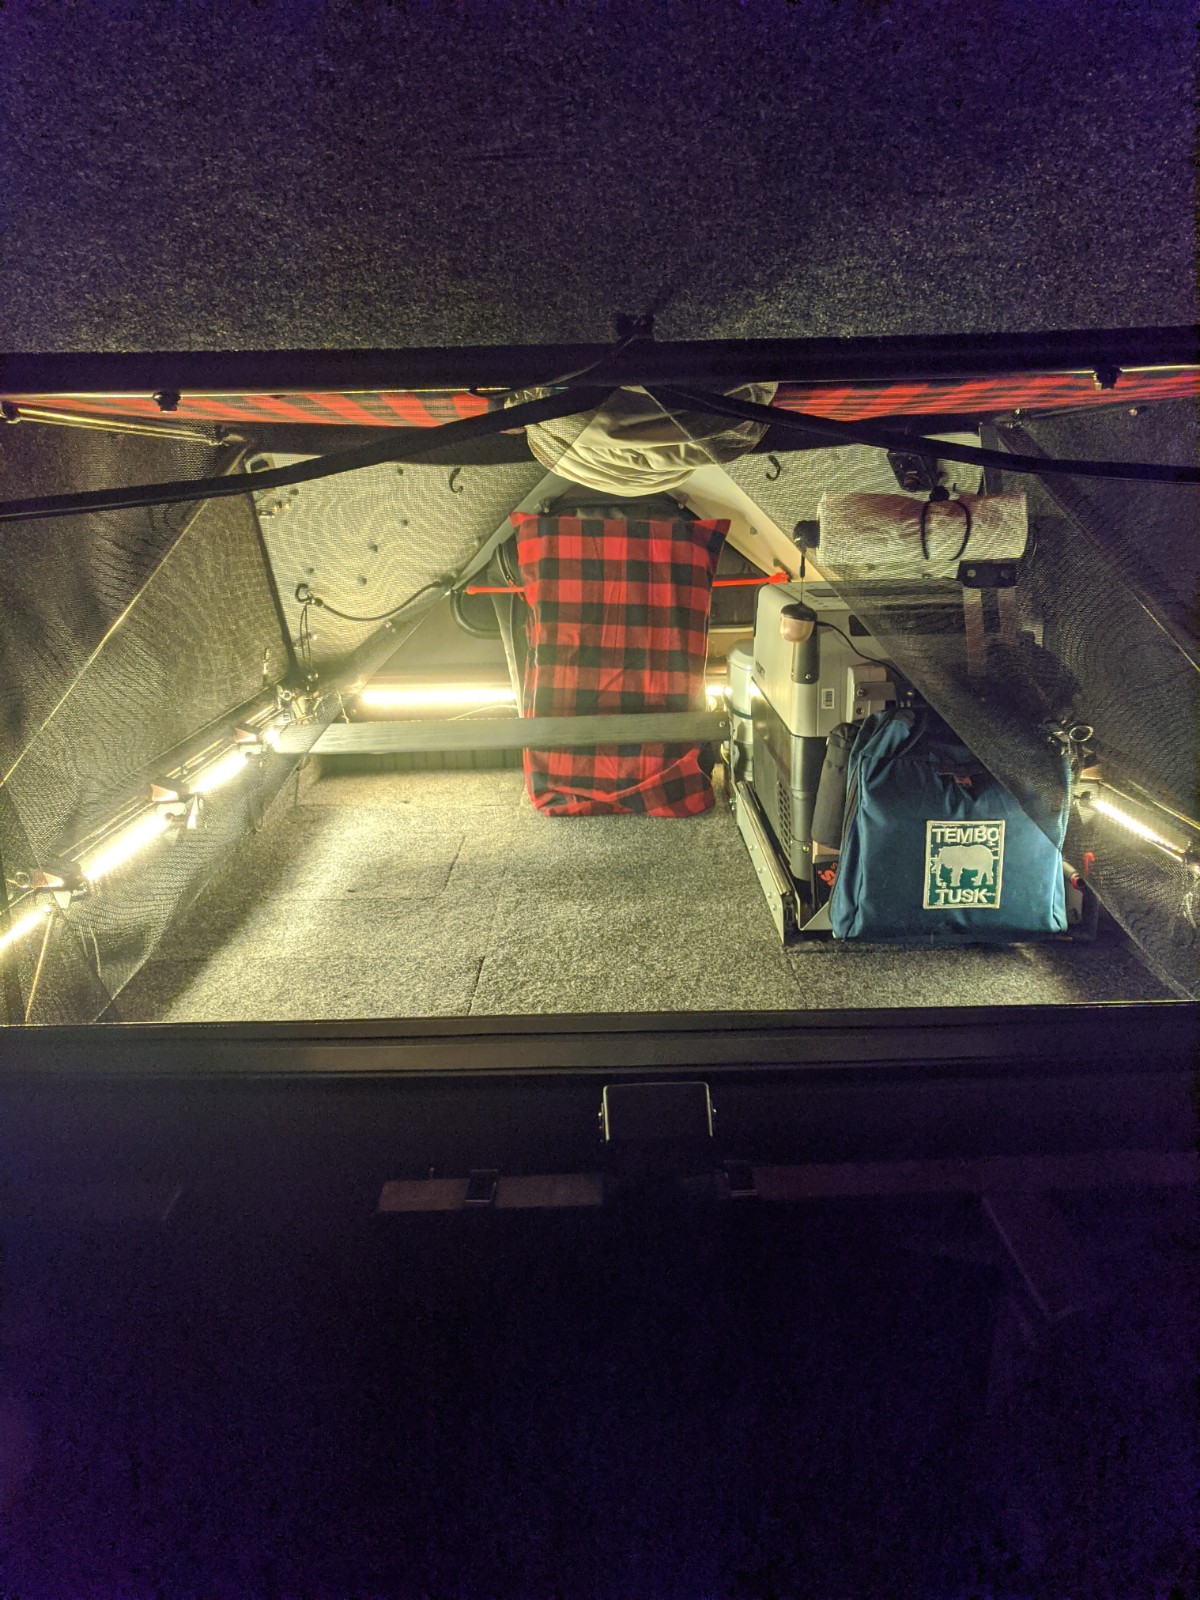
Lighting: I wired in an orange led strip on the rear panel to light my cooking area, and put some of the same leds on a dimmer up top. I also added a piece of metal for a magnetic light if we need more light in the tent area. In the truck bed I have led strips on the bed rails:
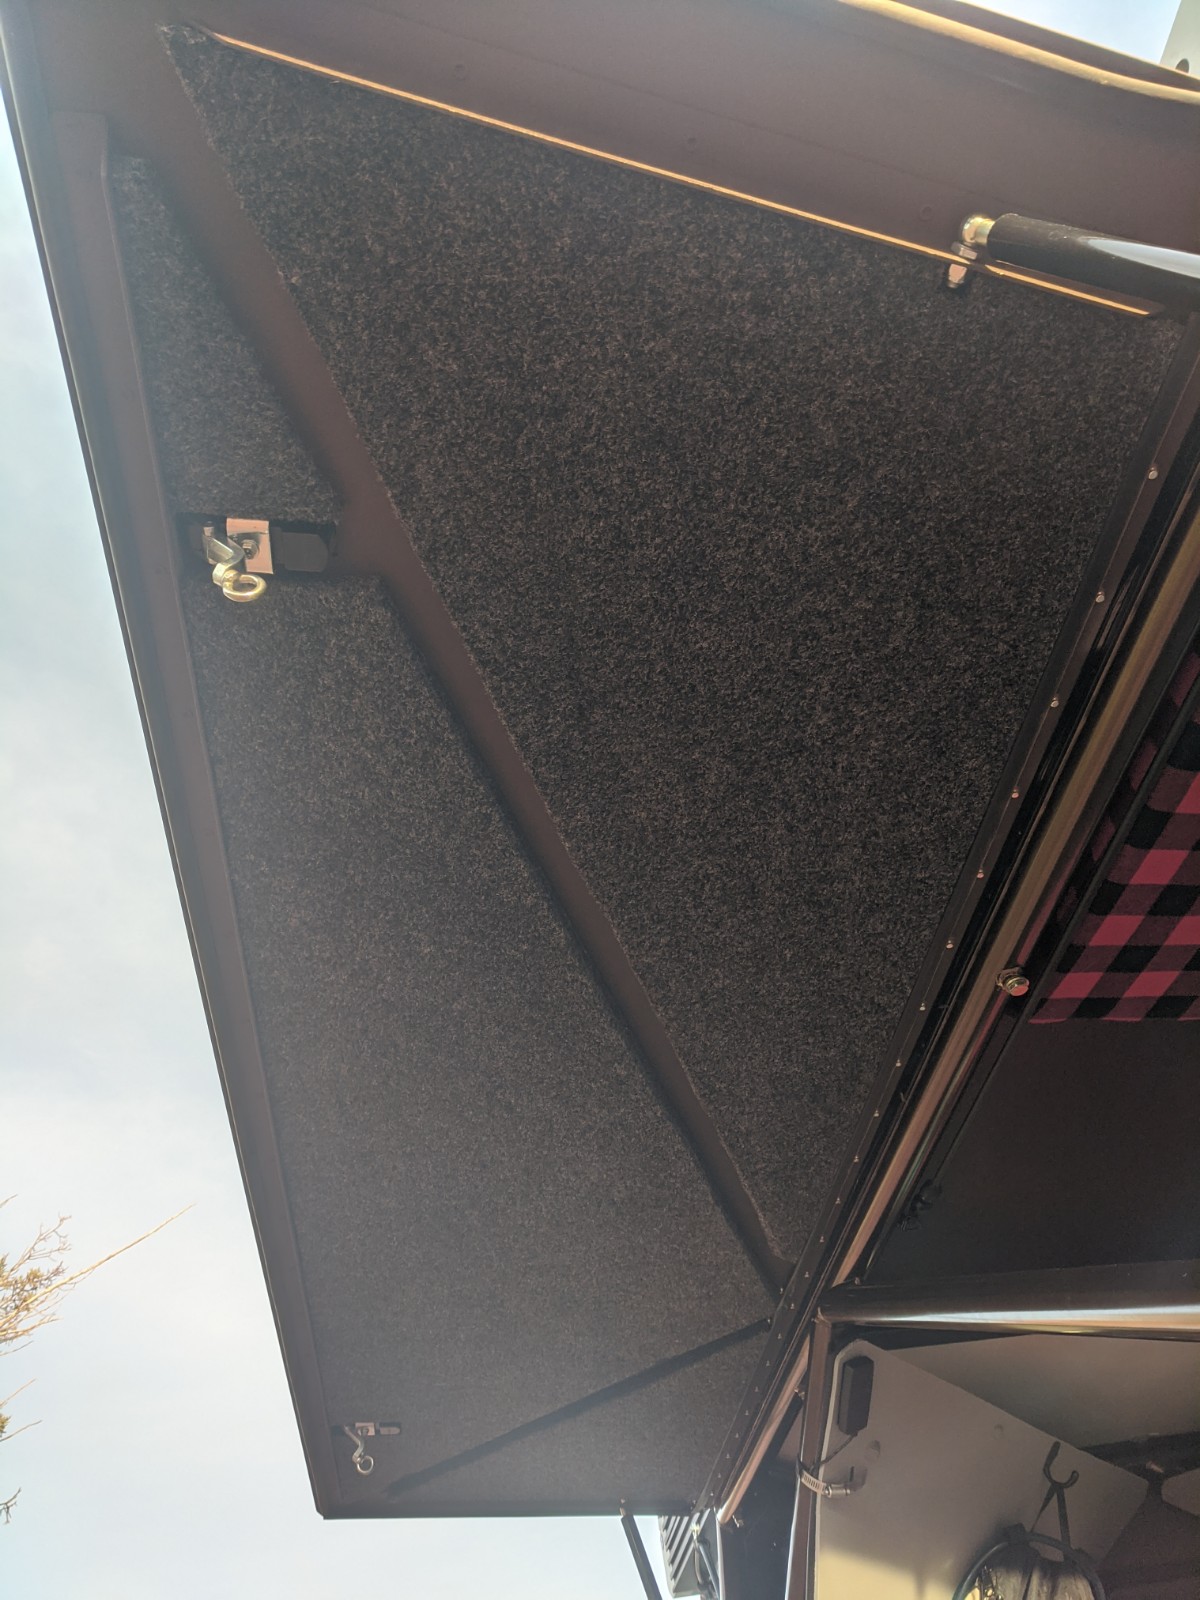
Bug screen: For those days when the bugs are out, I added a screen to the rear of the camper. I bought a magnetic screen intended for a home door and cut the length down. I ran the included velco on the space frame and bed sides. Since the camper is more narrow up top than the truck bed, I folded some of the screen material back and sewed it. I then added a snap to each side to hold the screen back if I don’t need it but don’t want to take it off completely:
Couch mode: To provide a nice way to hang out in the camper, even without popping up the tent, I added a wood cross bar that mounts to the bed rail and my fridge slide. I used a couple adjustable clevis pins so it can be easily removed. I bought a small honeycomb panel like GFC uses, a flannel pillow case, and used some of the foam I removed from the top cushion, to make a couch cushion that can lay against my wood crossbar. I can also use it as a seat cushion on top of my fridge when I convert upper panels to desk mode:
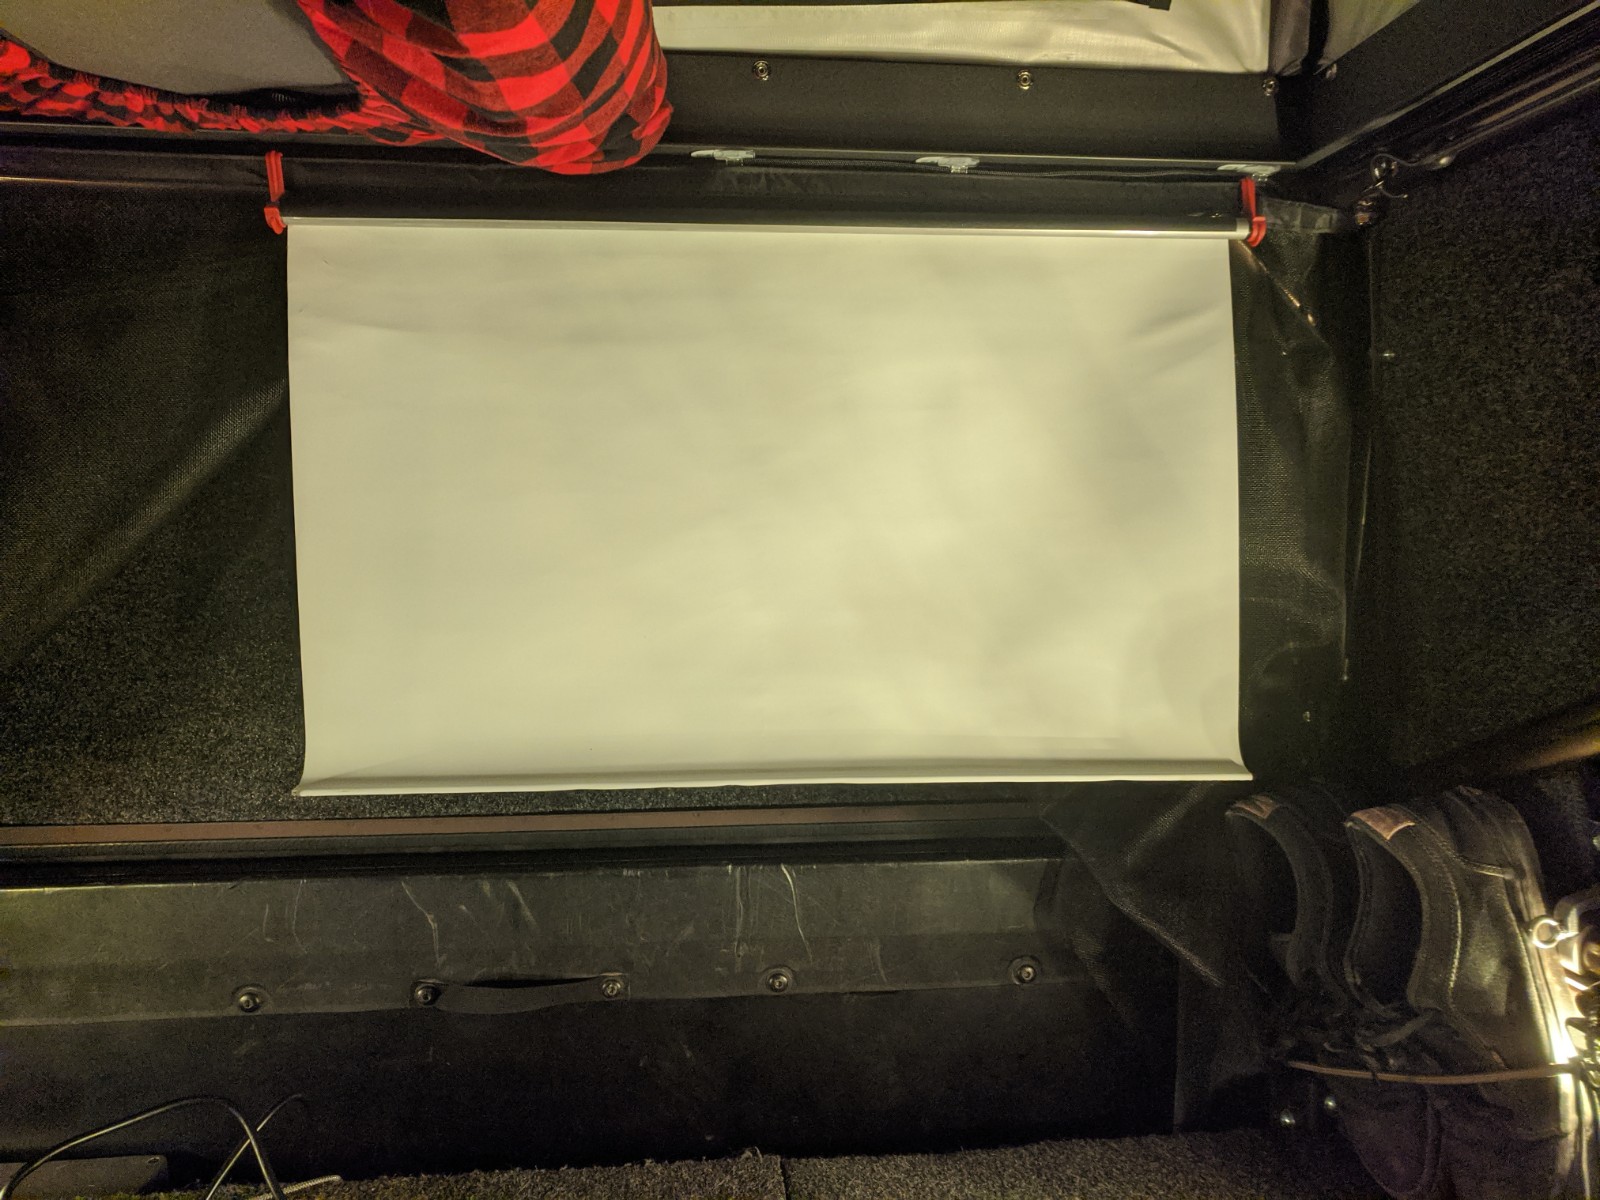
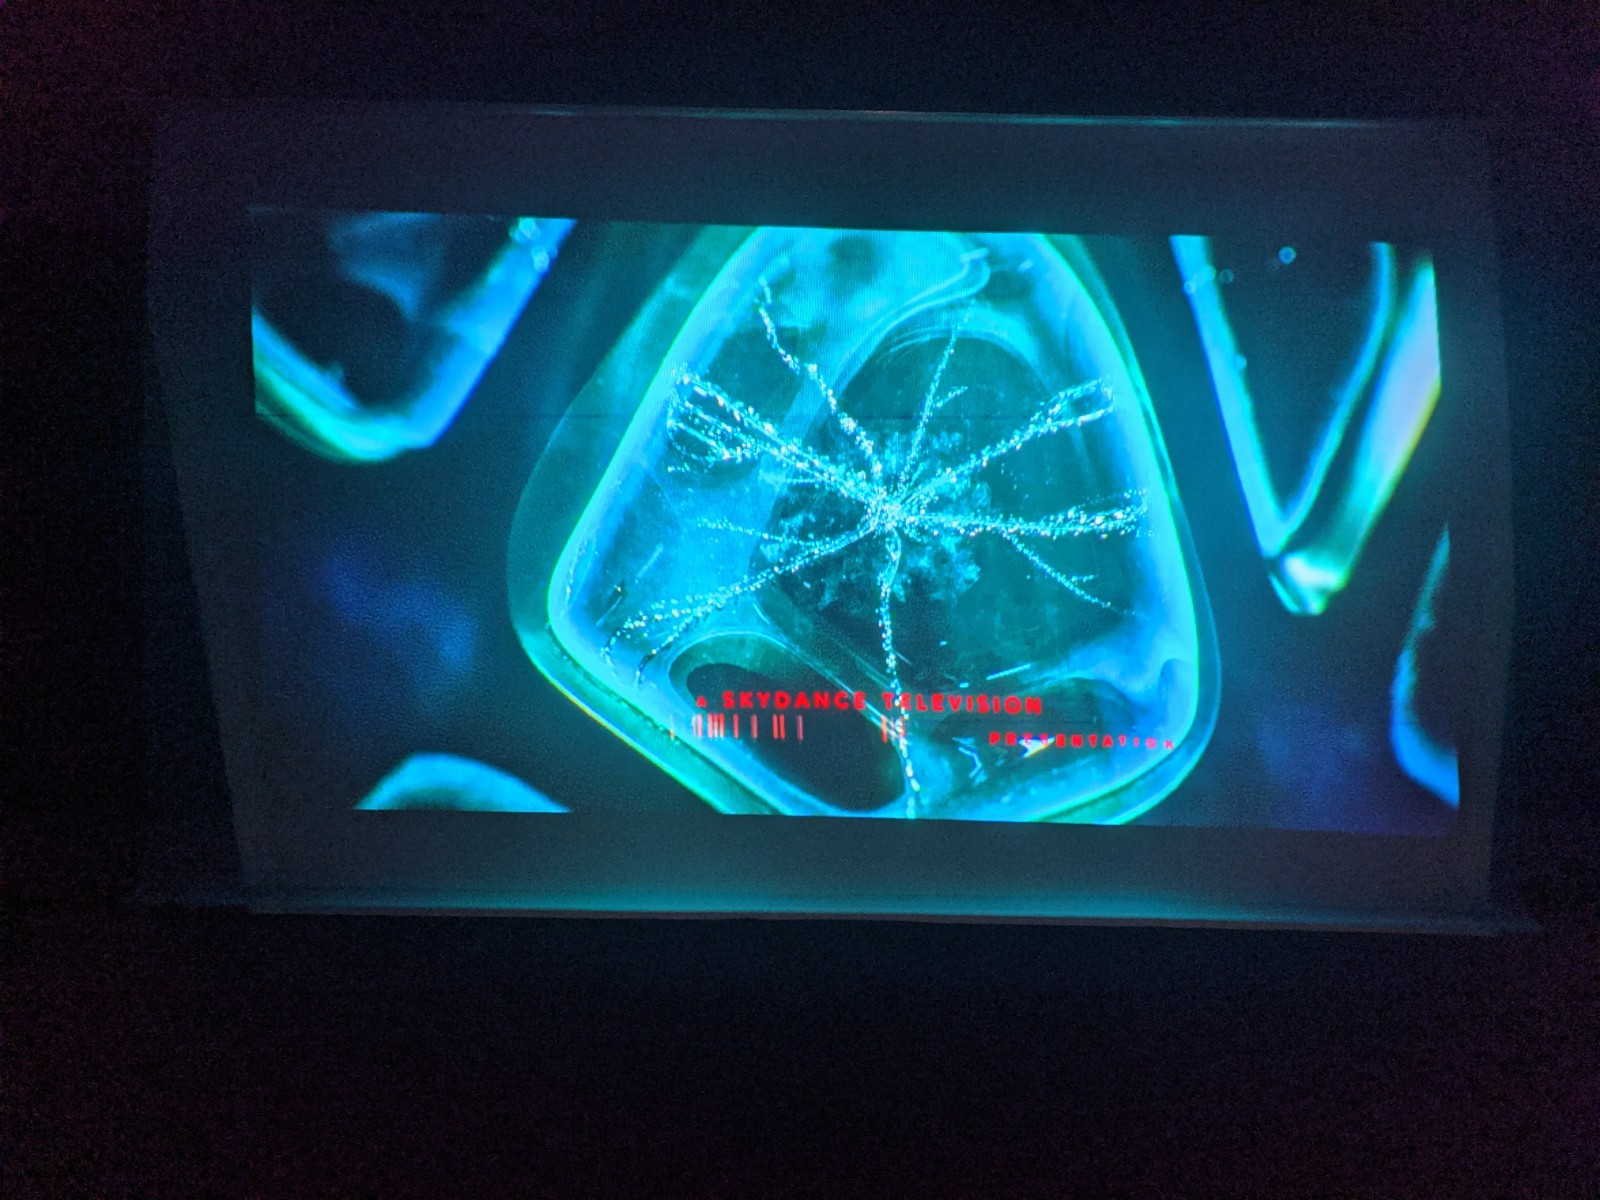
Projector: I bought a desk top sized projector screen (though a white sheet or bit of blackout curtain material would work) added a couple hooks I had laying around to it and now I can hang the projector screen from the bug screen. I have a pico projector that mounts to the underside of one of the panels using some gopro attachments:


I think that’s about it for now. I may have missed some stuff and I have ideas for some other things, so I’ll try to remember to update this as things change. If anyone has any questions feel free to fire away.