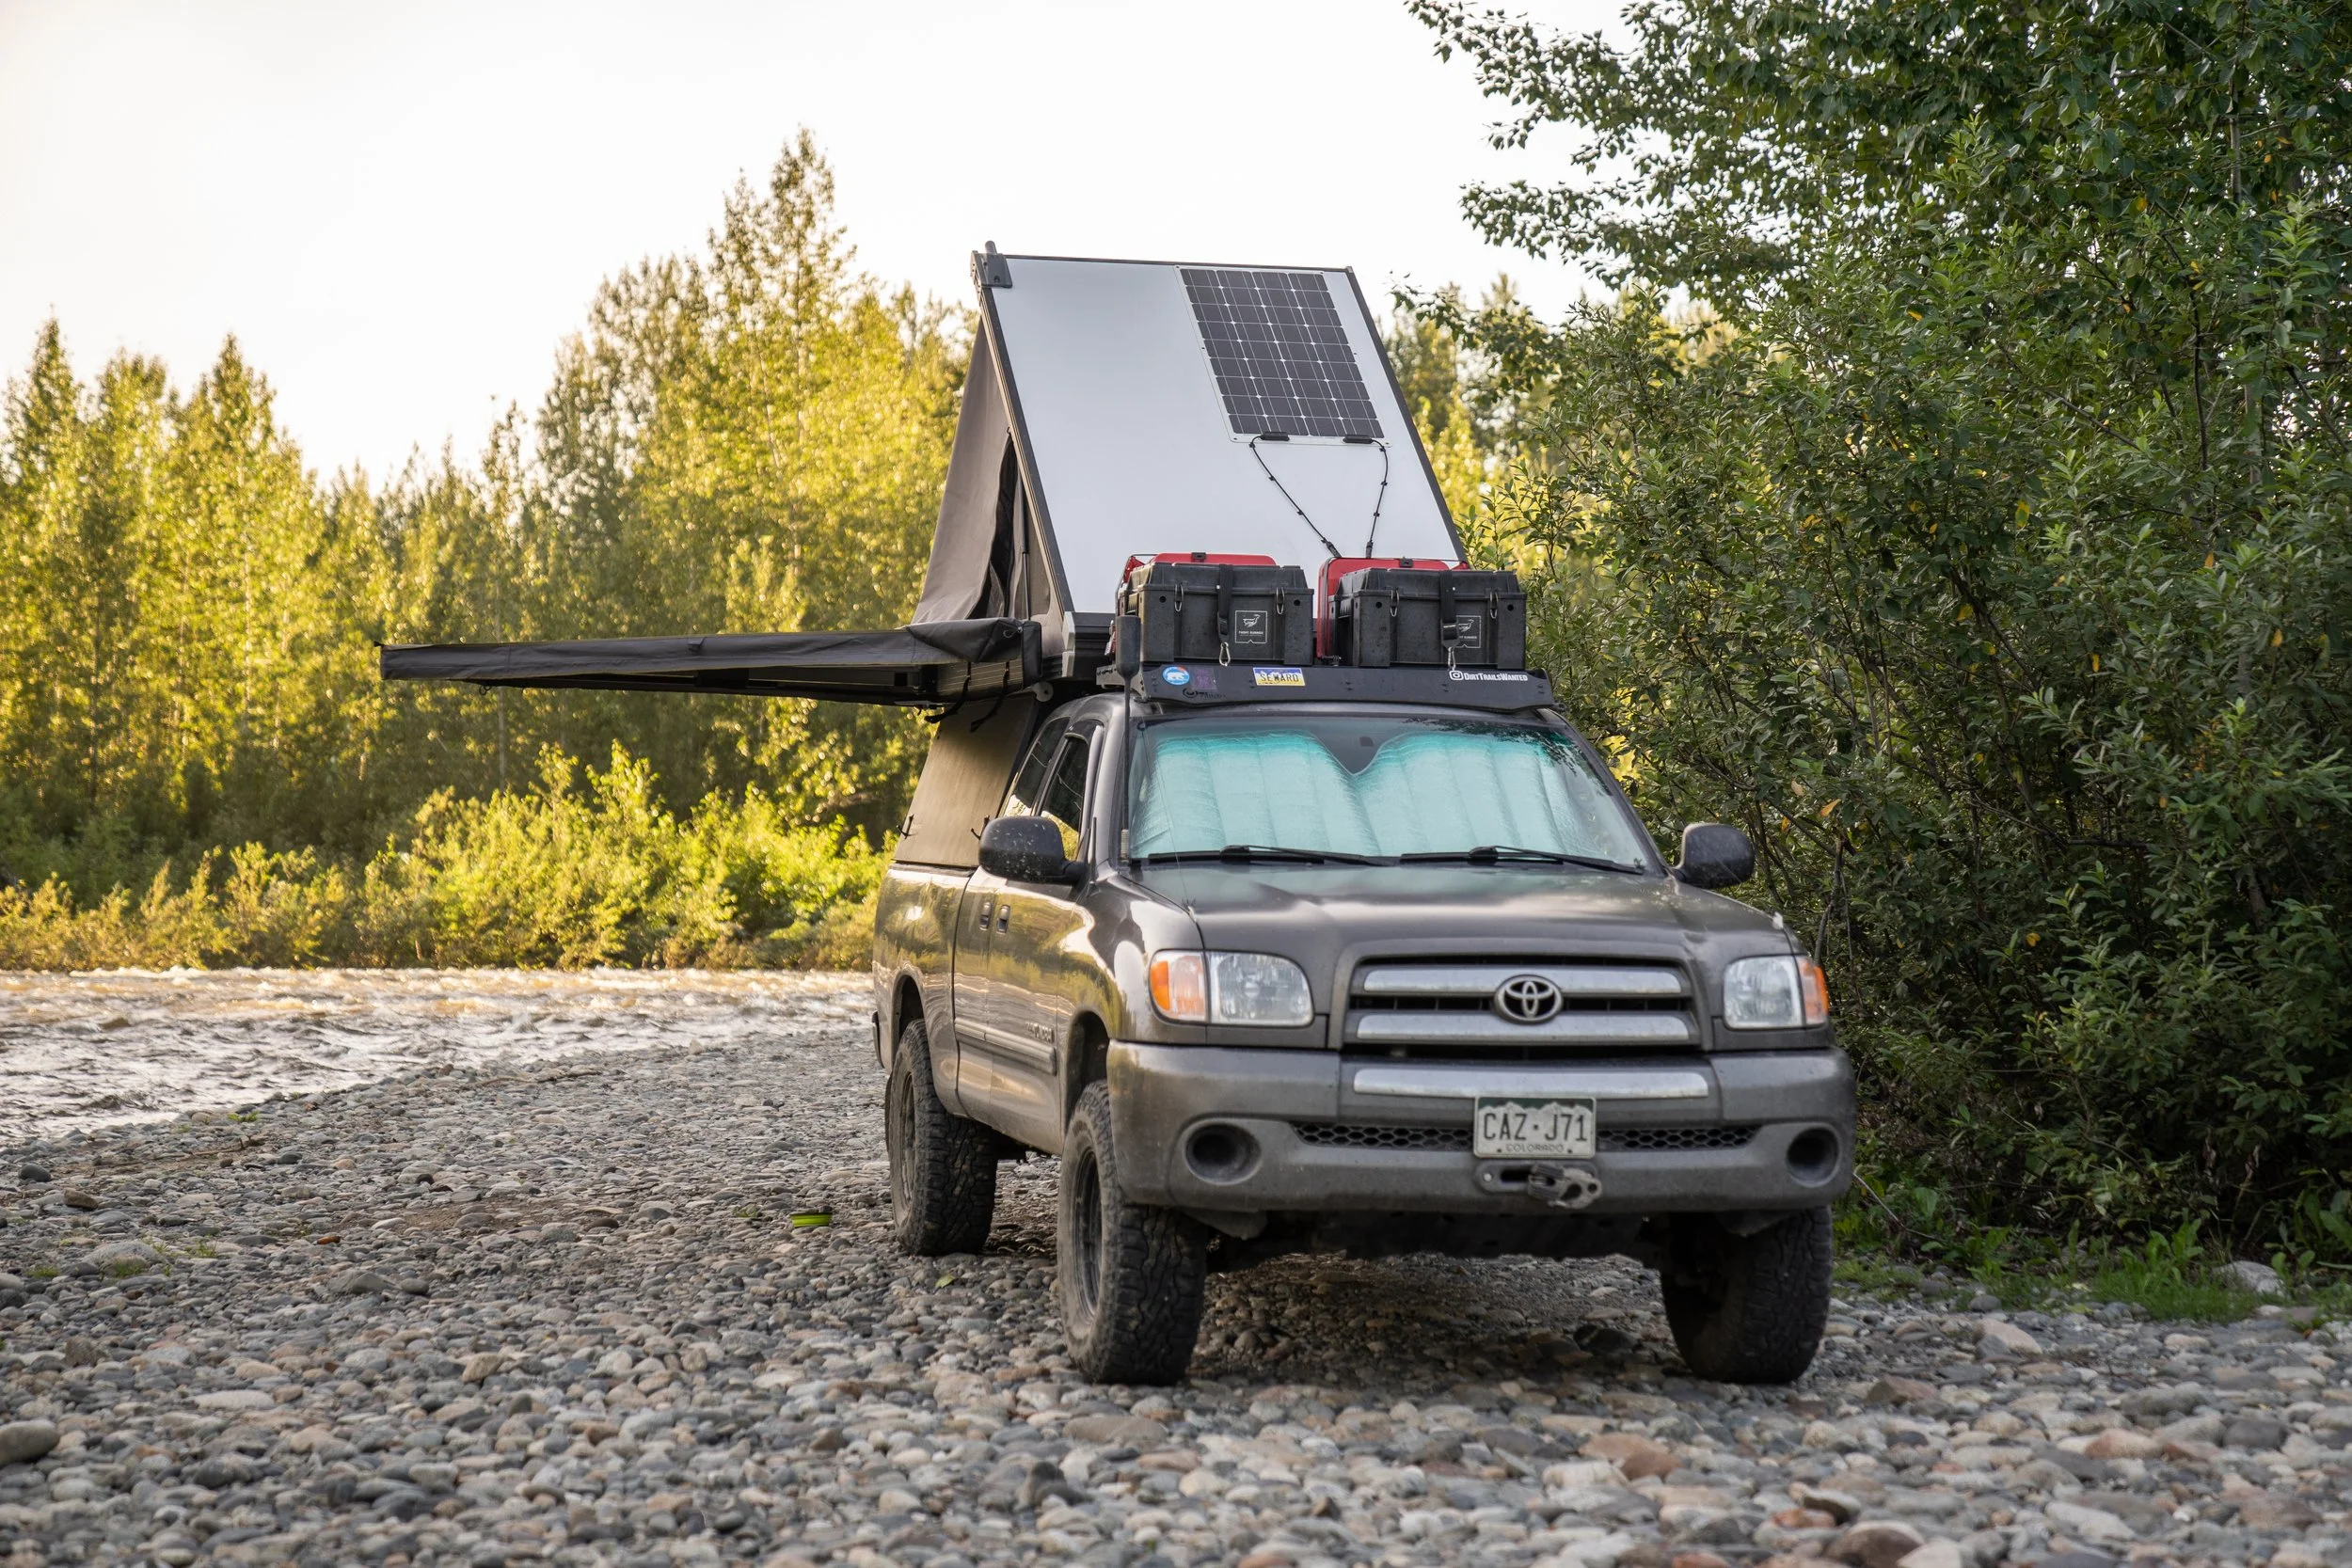
A while ago I dropped a link about our solar set that we have been running in our truck in another post. Figured it was time to finally bring it to light here. We have run two different setups on this truck now, here are details on both. Please reach out if you have any questions about either!
Let’s talk about power, more specifically solar power, and how we keep all our toys and tools charged up while working and traveling in our 2003 Toyota Tundra, Dolores.
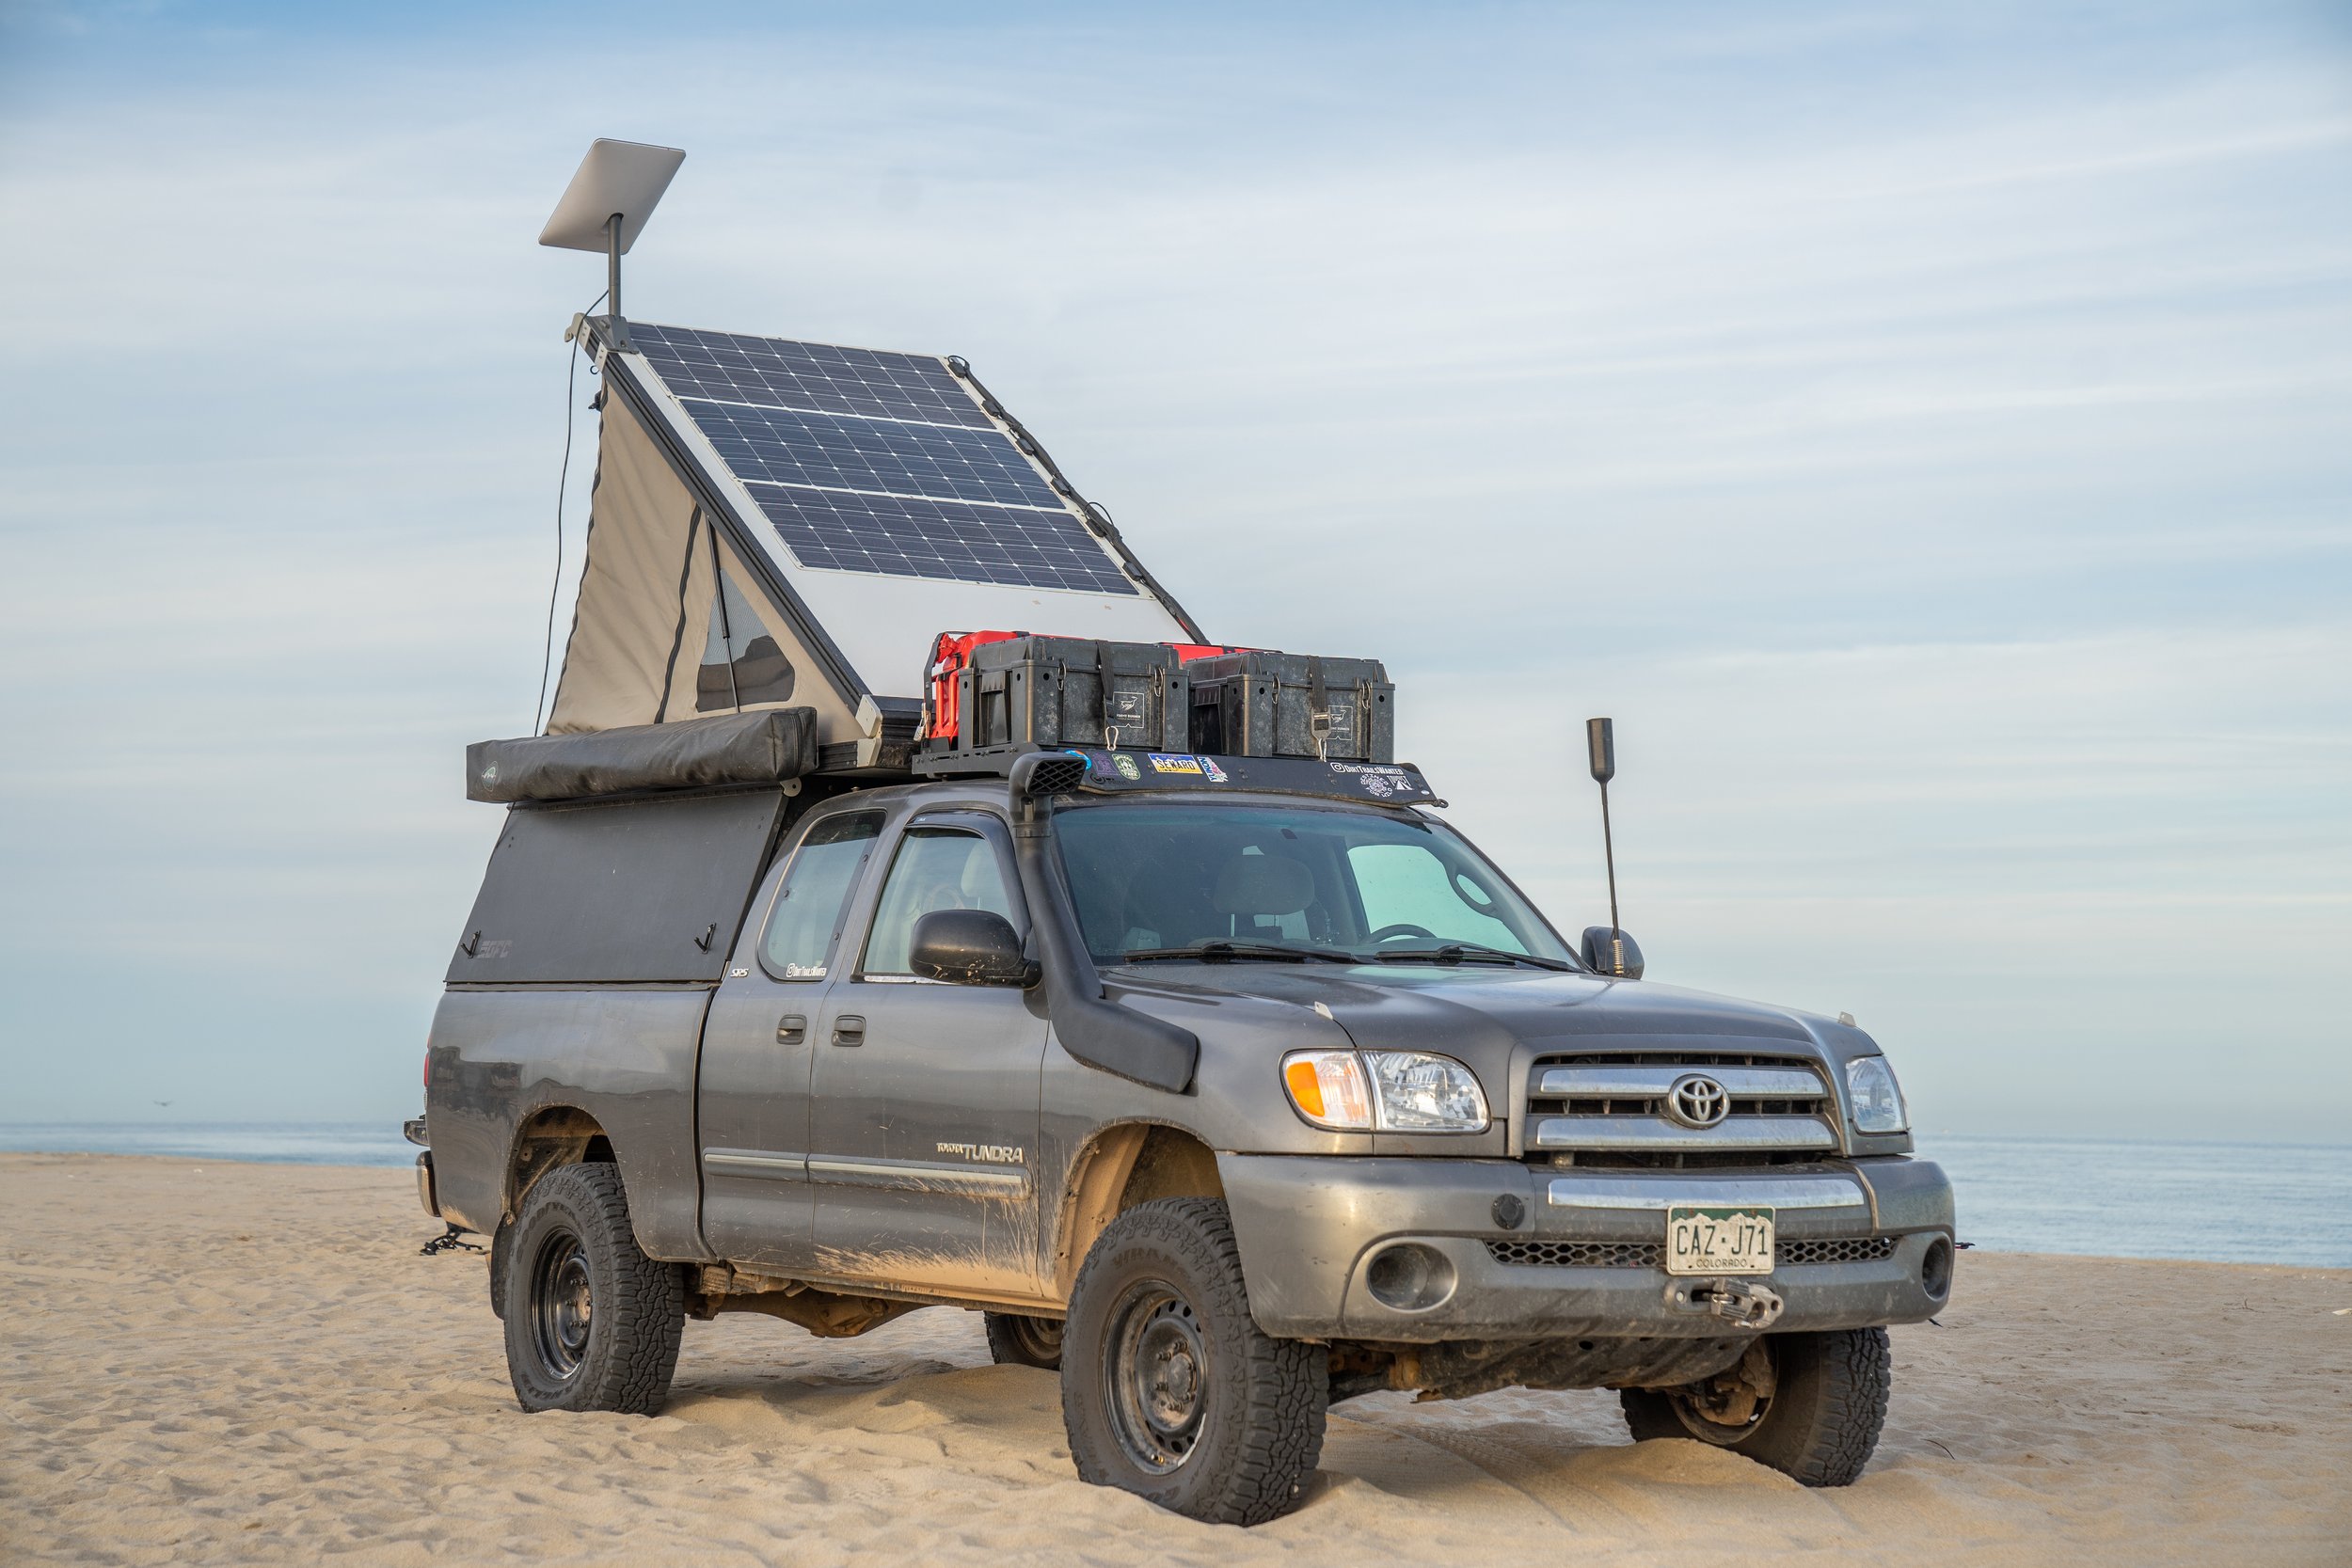
We designed the solar system in Dolores with simplicity and efficiency in mind and started by examining three main areas: what do we need to charge, how much energy storage do we need, and how much do we want to spend?
- Electrical Demands - Since the build-out in Dolores is currently quite simple we knew that this could be a much smaller, simpler solar system than the one we built in Peanut, but we still need to charge our laptops, drone, many camera batteries, and wifi tools that we rely on for work, including our Starlink satellite internet.
- Energy Storage - In general, we spend the majority of our time recreating around Colorado and the desert southwest where there is an abundance of sunshine! Storing energy isn’t much of an issue there when we have amazing solar production. However, we knew that we’d also be traveling to less sunny areas (like Alaska) so our battery system needed to be efficient and large enough to last a few days potentially without solar input.
- Cost - Based on the simplicity of the build-out in Dolores, we knew that we wanted to keep the cost of this system as low as possible and get the most bang for our buck.
Updated January 2023
The solar system that we initially installed in Dolores (Version 1.0) taught us a lot of lessons and our new solar system (Version 2.0) is treating us quite well! Check out the details of each below!
Solar System Version 2.0 - October 2022 (Current)
So, after our first solar installation in May of 2022, we learned some valuable lessons. Generally speaking, the system that we had installed worked flawlessly for us over the whole summer. It did however have two downsides for us. The first was that the battery bank was simply too small for our energy needs, and the second is that the Goal Zero 500x had a max charge input of only 120 watts, which prevented us from just simply adding more solar panels to the system so that we could have charged the battery more rapidly than it was being depleted. So after our rainy and cloudy summer in Alaska, we started to consider how we might improve this system, while still keeping the main guiding principles of simplicity and affordability at heart. What we came up with was a blend of the system that I had built on Peanut a few years ago and this newer system that we were just running in Dolores. Below is a list of the parts that we used and a little more detail about how it all works together now.
1) Renogy Flexible Solar Panel 100 Watt Solar Panels
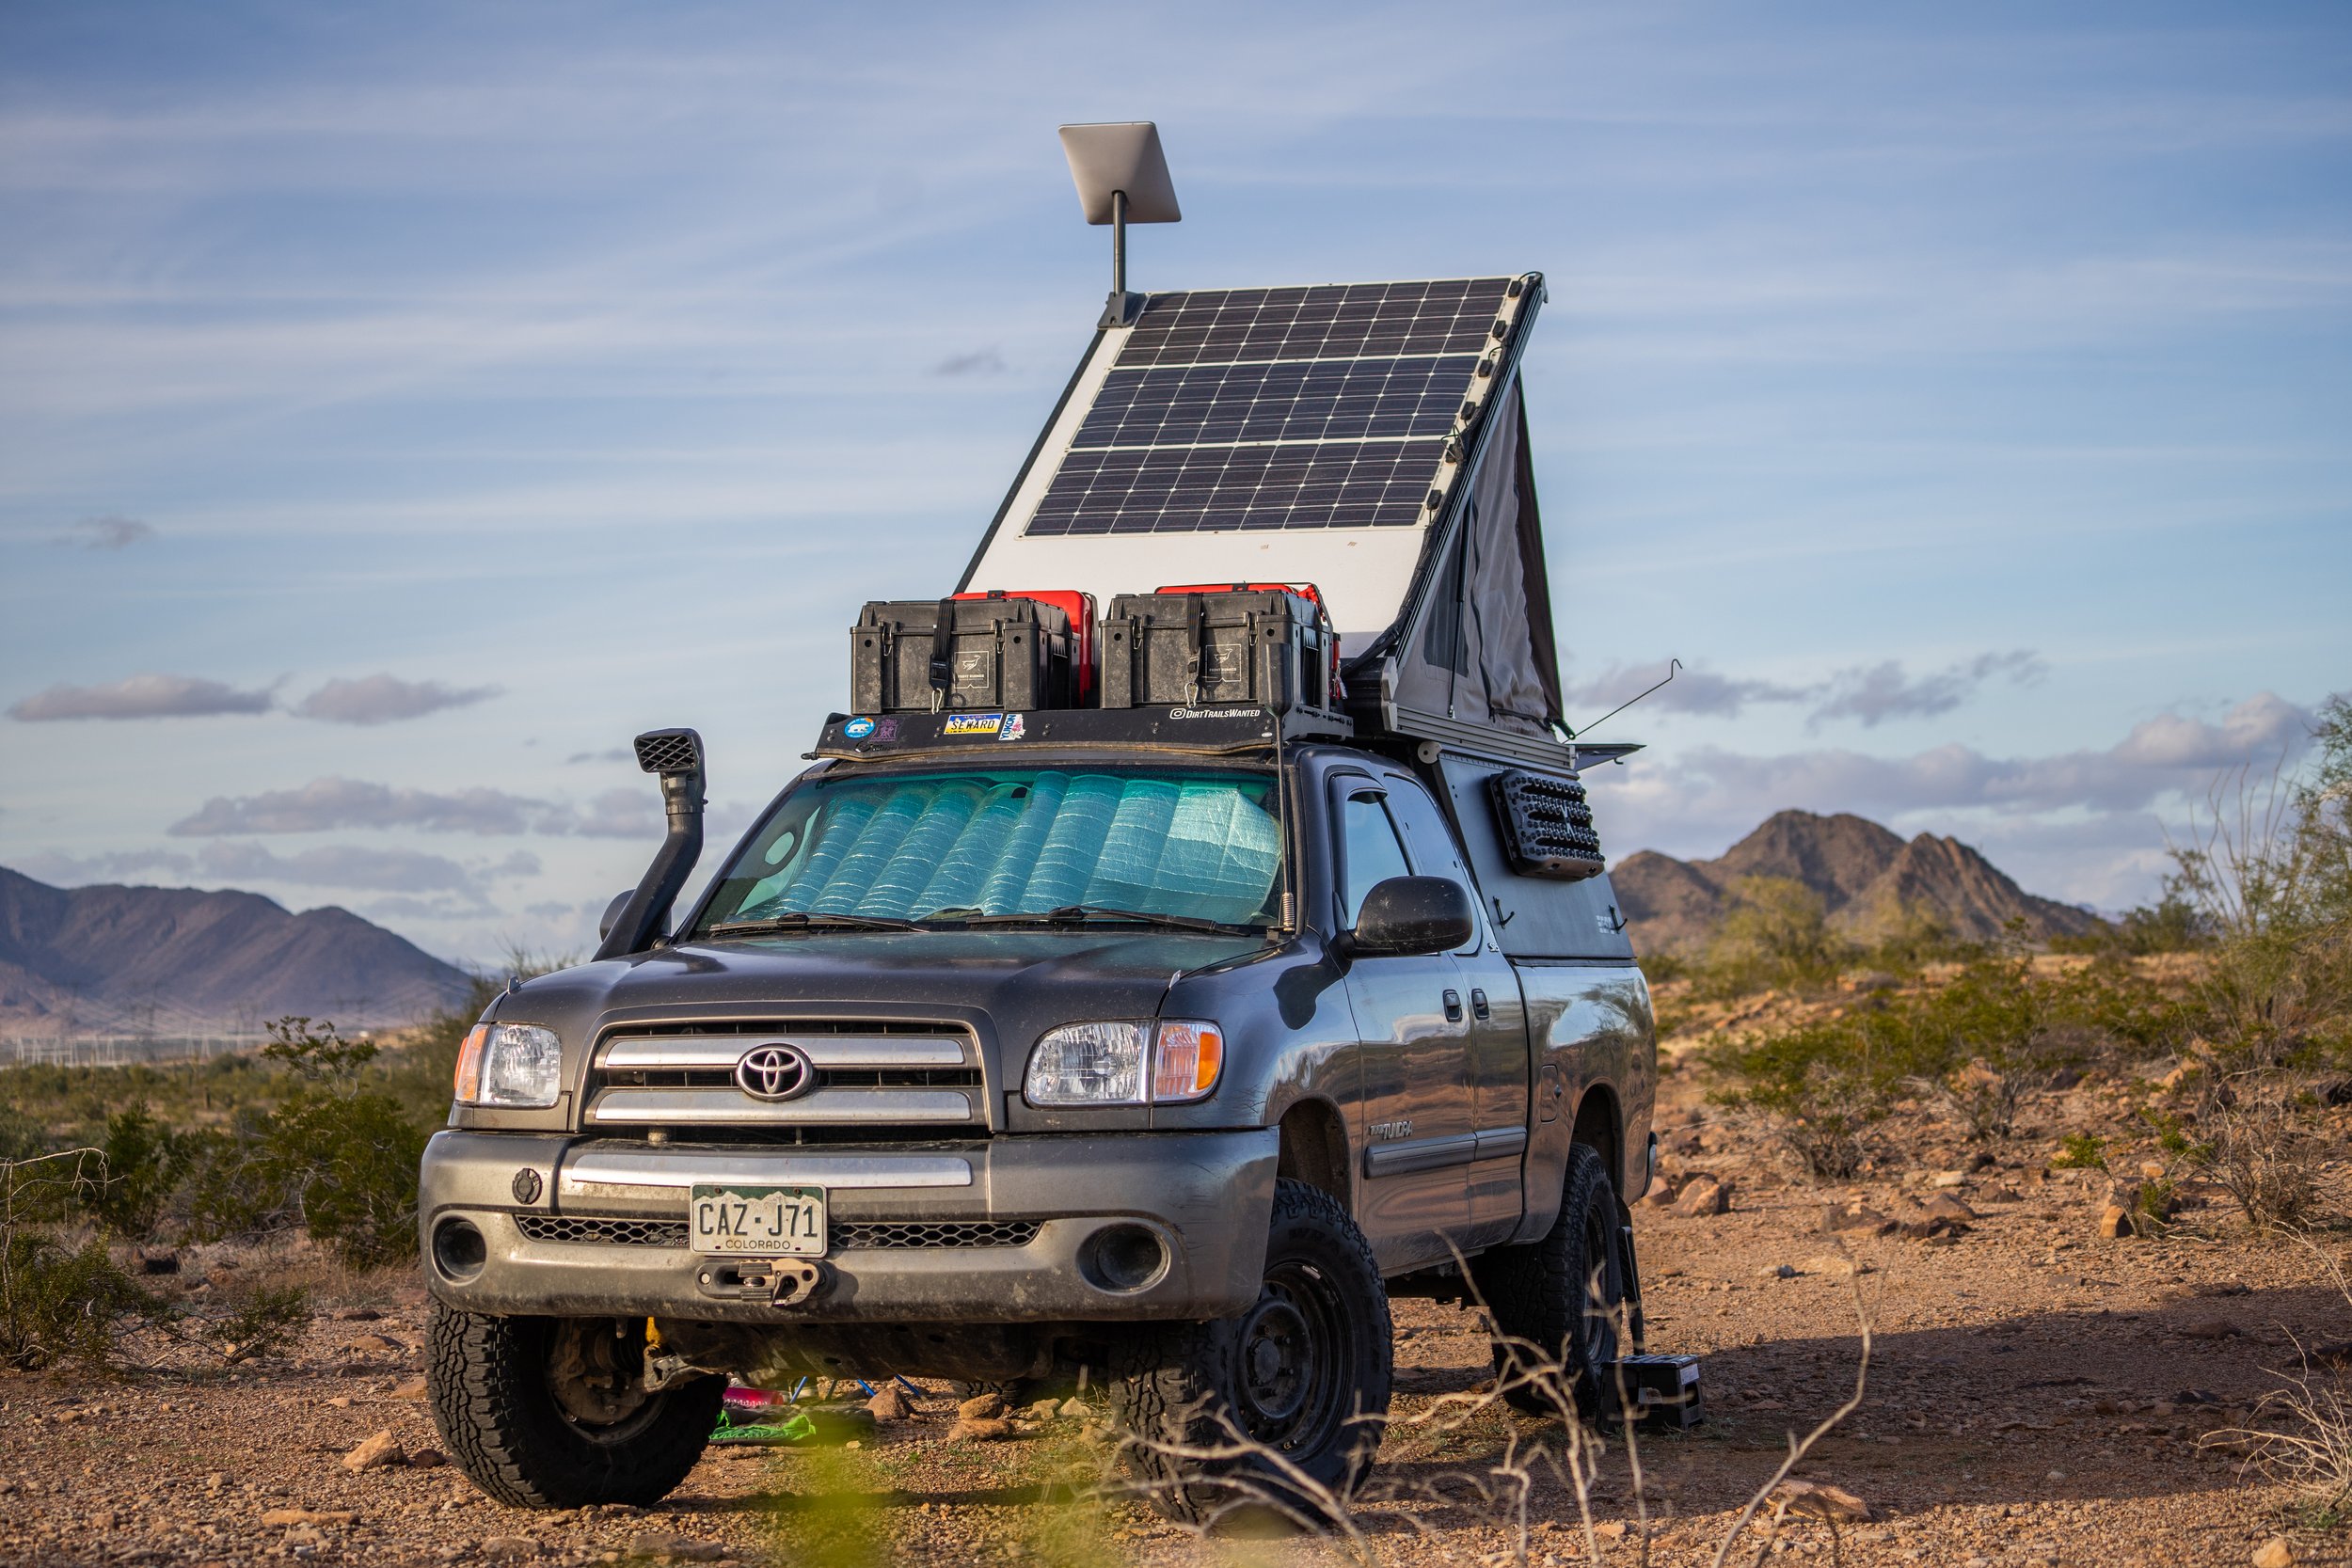
We again went with the same panels that we had used earlier. However, our plan with them this time was to combine 3 panels together in parallel to make a total of 300 watts on the roof. This would allow us to charge our system faster than we were able to previously. We also chose to wire them in parallel rather than in series so that in the event that one panel becomes shaded from a tree or telephone pole it only affects the output of that single panel rather than the whole set of panels. There are pros and cons for stringing in series vs parallel but I believe that for the majority of systems, parallel makes the most sense.
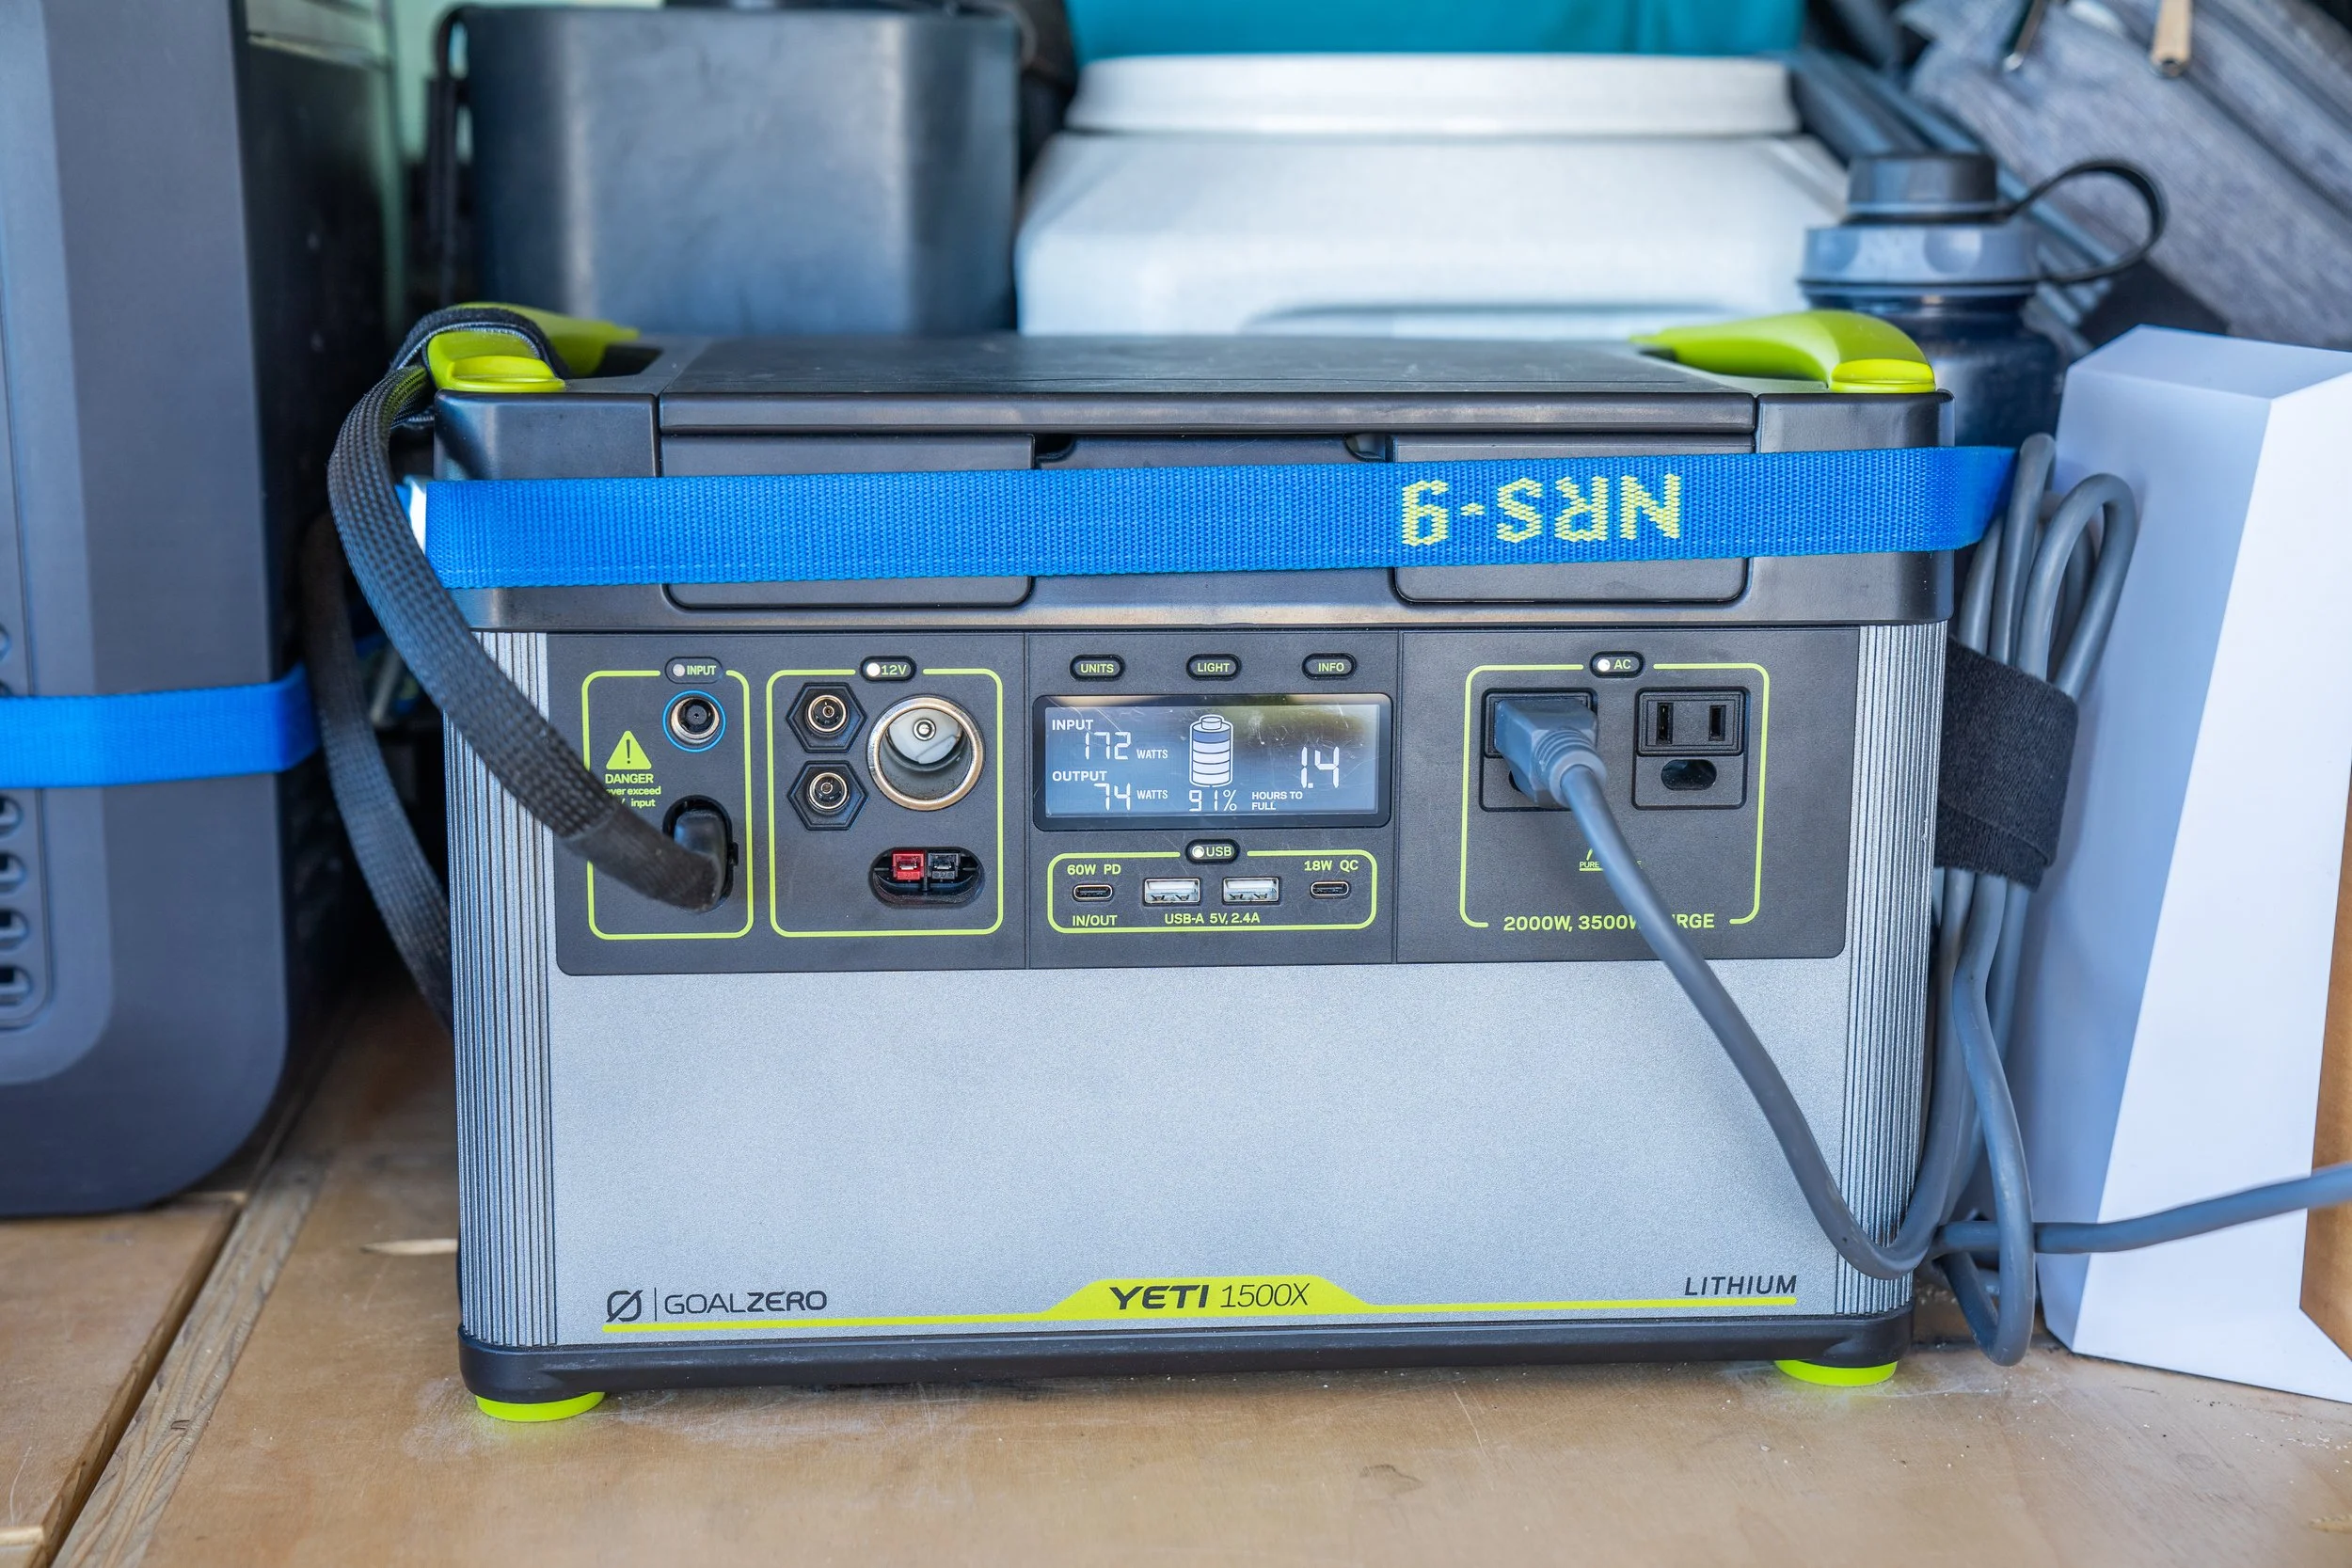
2) Goal Zero Yeti 1500X Portable Power Station
We decided also to stick with the Goal Zero line of batteries for the same reasons that we had chosen to go with our previous 500x battery. One of the real perks of this system is its relatively small size compared to a system built of individual components. Having the charge controller, battery, inverter and all the needed plug ports built into the battery vastly simplifies the system and reduces the space needed. Aside from offering 3 times the energy storage of the previous battery that we used the feature that really sets this one apart from the previous is the max input for charging. The 500x has a max input of only 120 watts whereas the 1500x has a max of 600 watts. That difference means that we can build a larger solar system that will hopefully allow the battery to charge more quickly than it’s being depleted and also means that on cloudy days we have a larger system that will still generate a low but acceptable amount of power. The battery also has the ability to be rapidly charged from a wall outlet at 600 watts and could be fully charged from dead to full in just over 3 hours.
3) 3M VHB Heavy Duty Mounting Tape
Like before we used this to mount the solar panels to our roof. We also learned just how strong this stuff truly is because we had to remove the previous panel so that we had space to add the 2 new panels. It is tenacious, to say the least, and let’s hope that this is truly the last time we need to remove anyone of these panels again! After this component, the new system starts to get a bit more sophisticated than the previous one.
4) 8AWG Solar Extension Cable with Female and Male Connector
These are used to extend the positive and negative wires that come off of the solar panels to a point where they are all then joined into a positive and negative bus bar.
5) 8 Ga. Heat-Shrink Ring Terminals, 1/4" Stud
These are added to the end of the solar extensions listed above so that they can then be bolted to the next item, the bus bar.
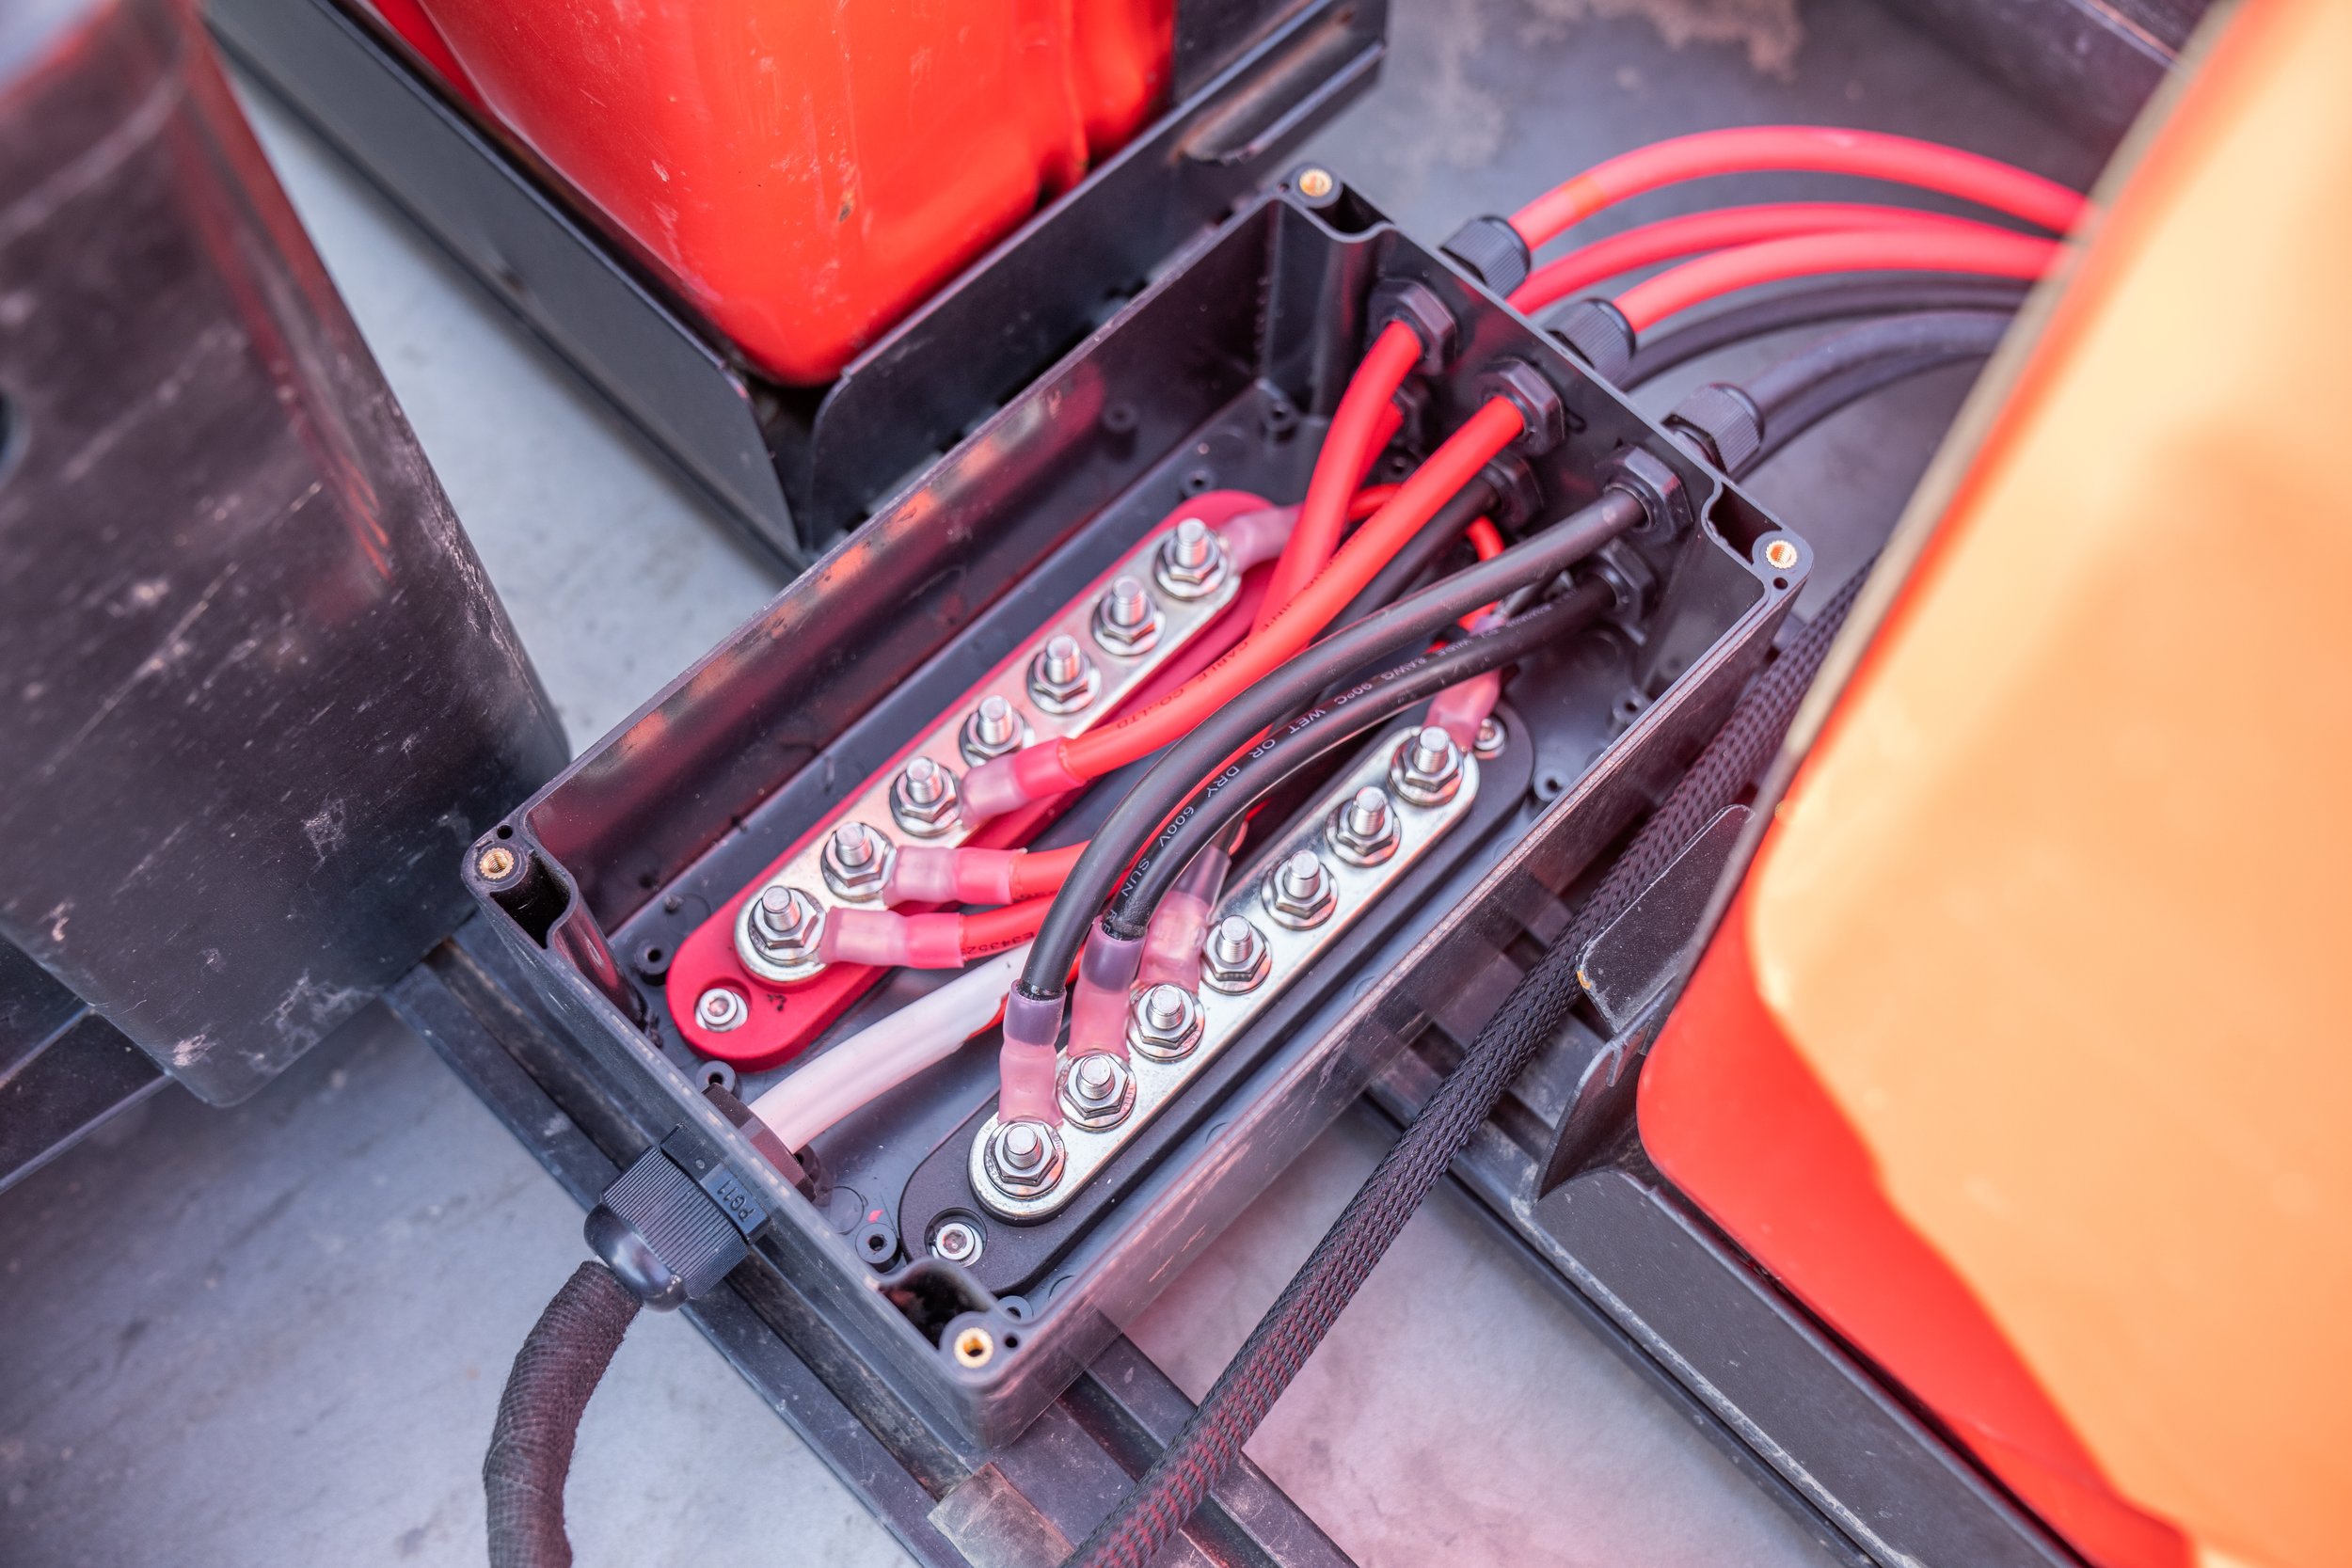
6) Battery Bus Bar 12V Marine 7 x 1/4" Power Distribution Block with Cover
This is the point where all the positive wires are brought together as well as the negatives. After the ring terminals are crimped and heat shrunk onto the solar wires they are then bolted to the corresponding positive or negative bus bar. At that point, the 3 solar panels can be reduced from 3 individual inputs down to a single positive or negative output, where they will eventually plug into the input port on our 1500x. It is possible to use a bus bar with fewer studs than the one we chose, just be sure to get the one with as many studs as your plan to make connections. We may still add 2 more additional panels to our build in the future so having some room for growth was important to us.
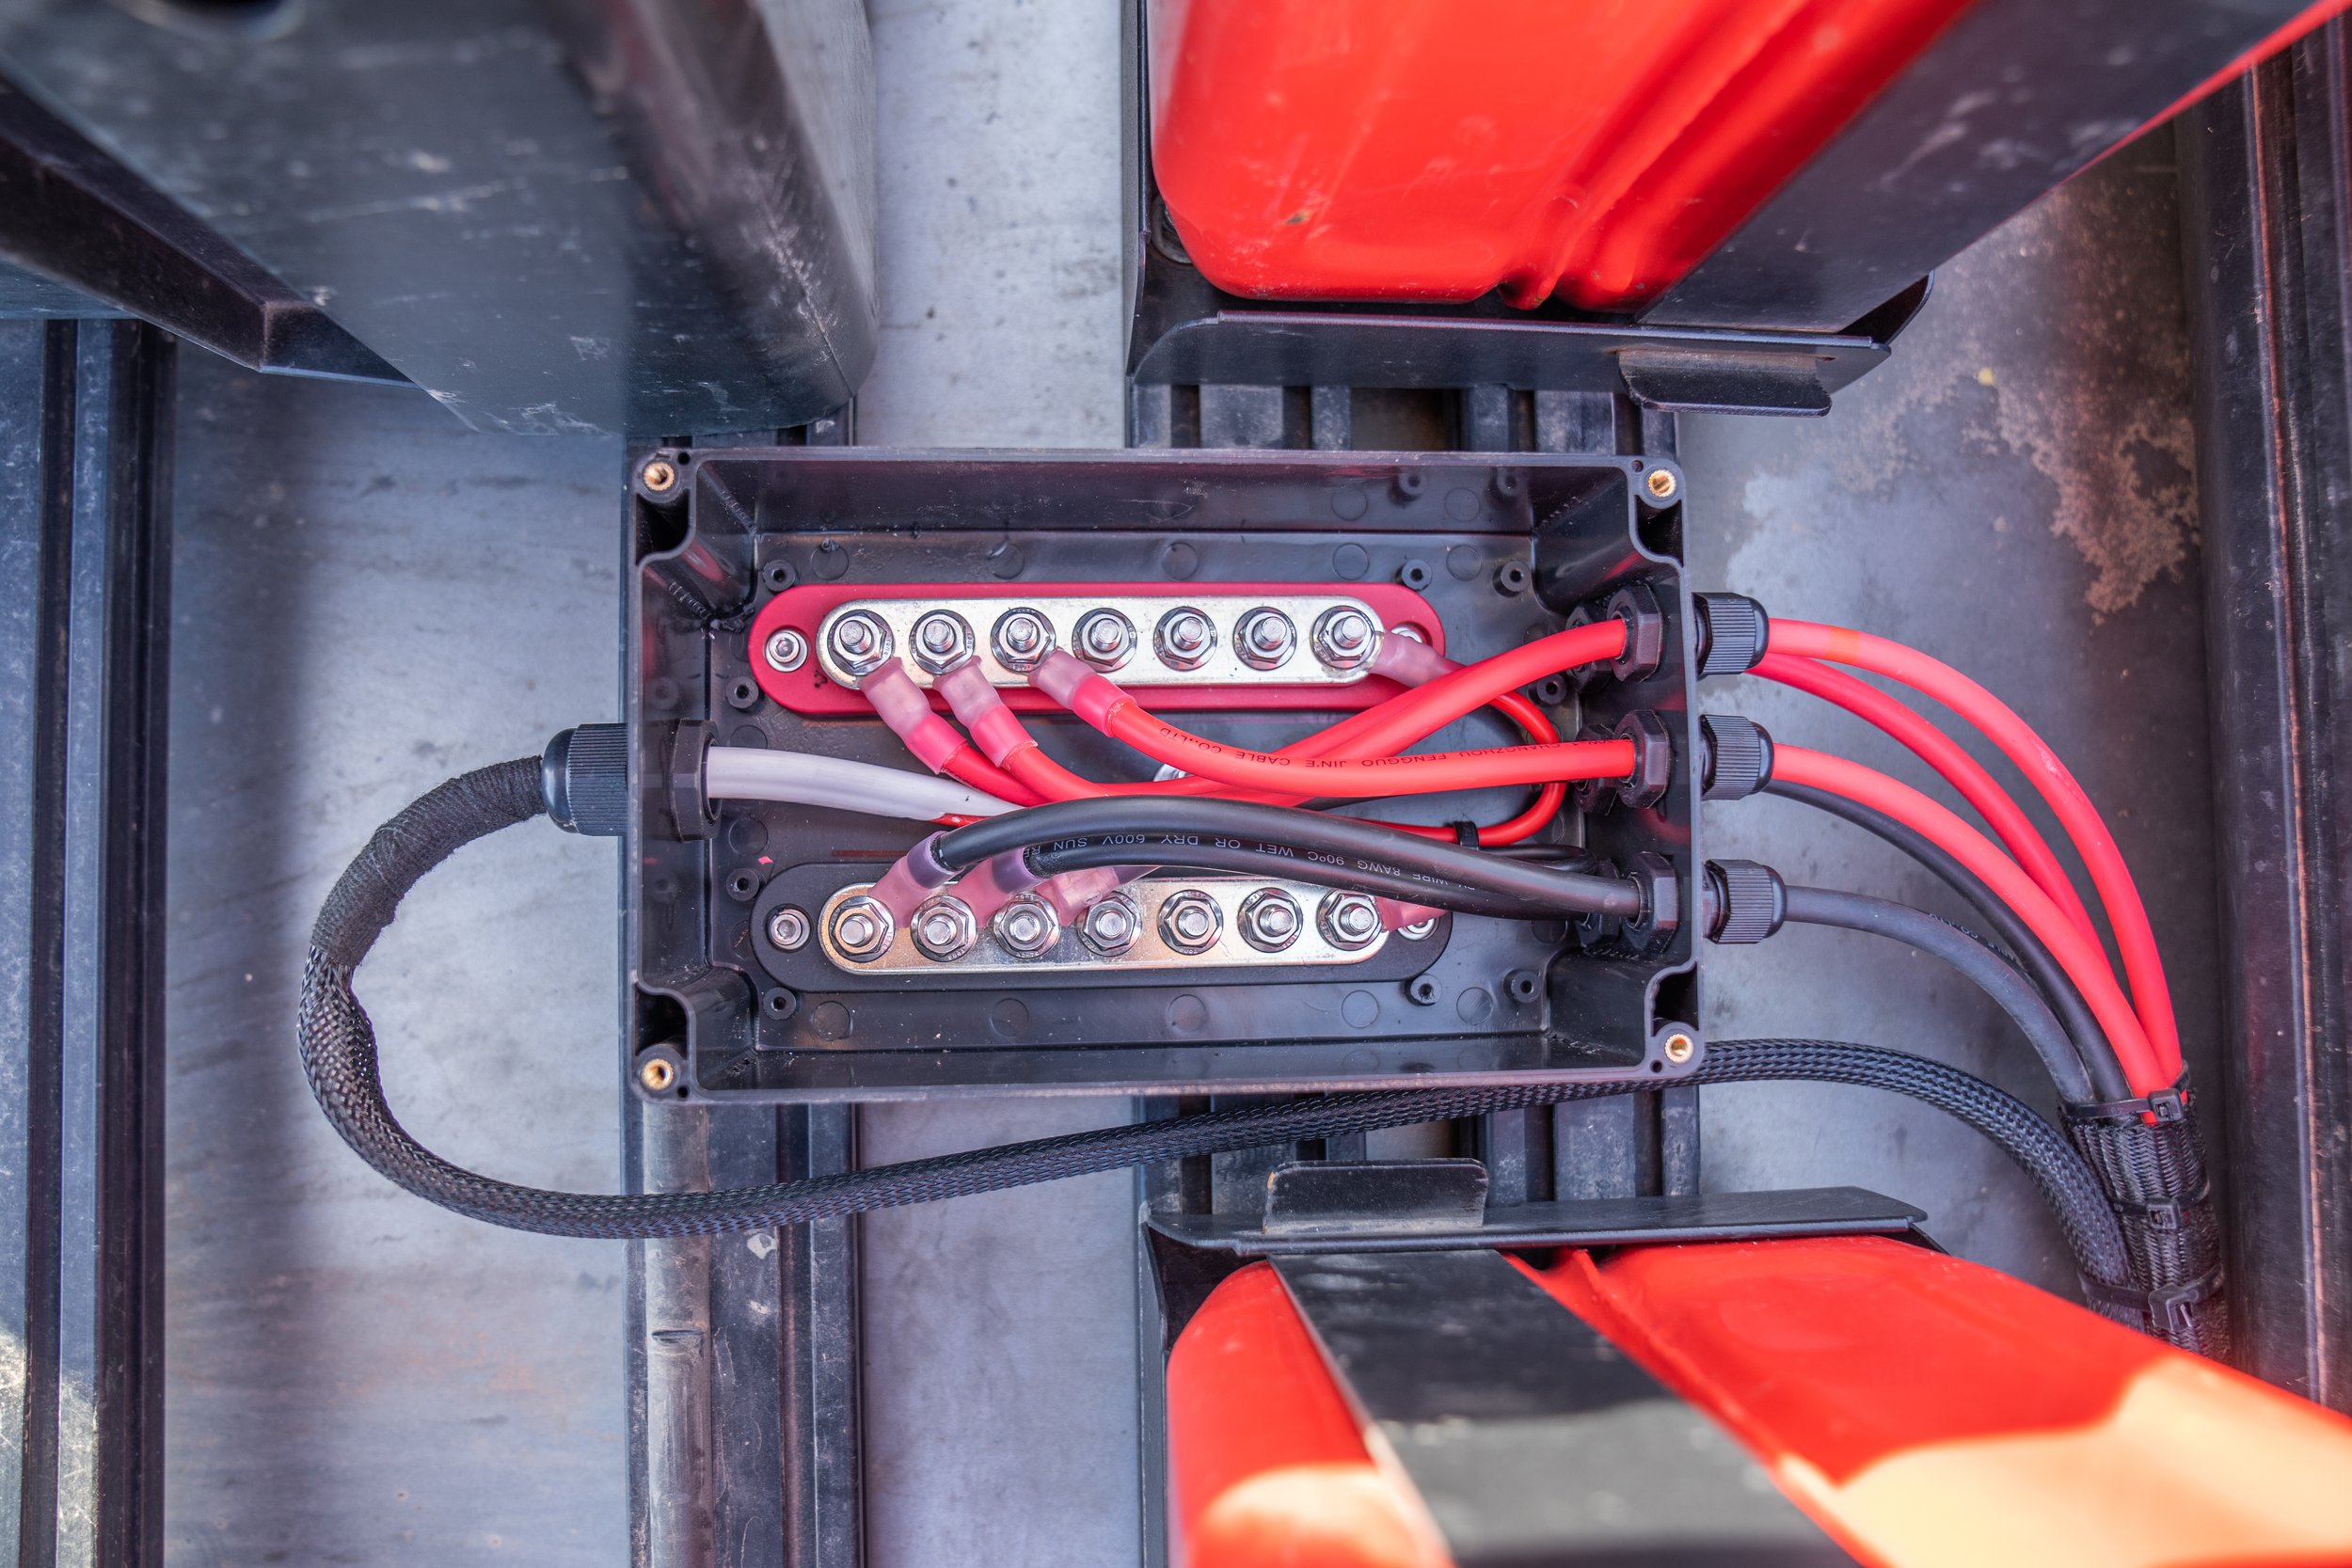
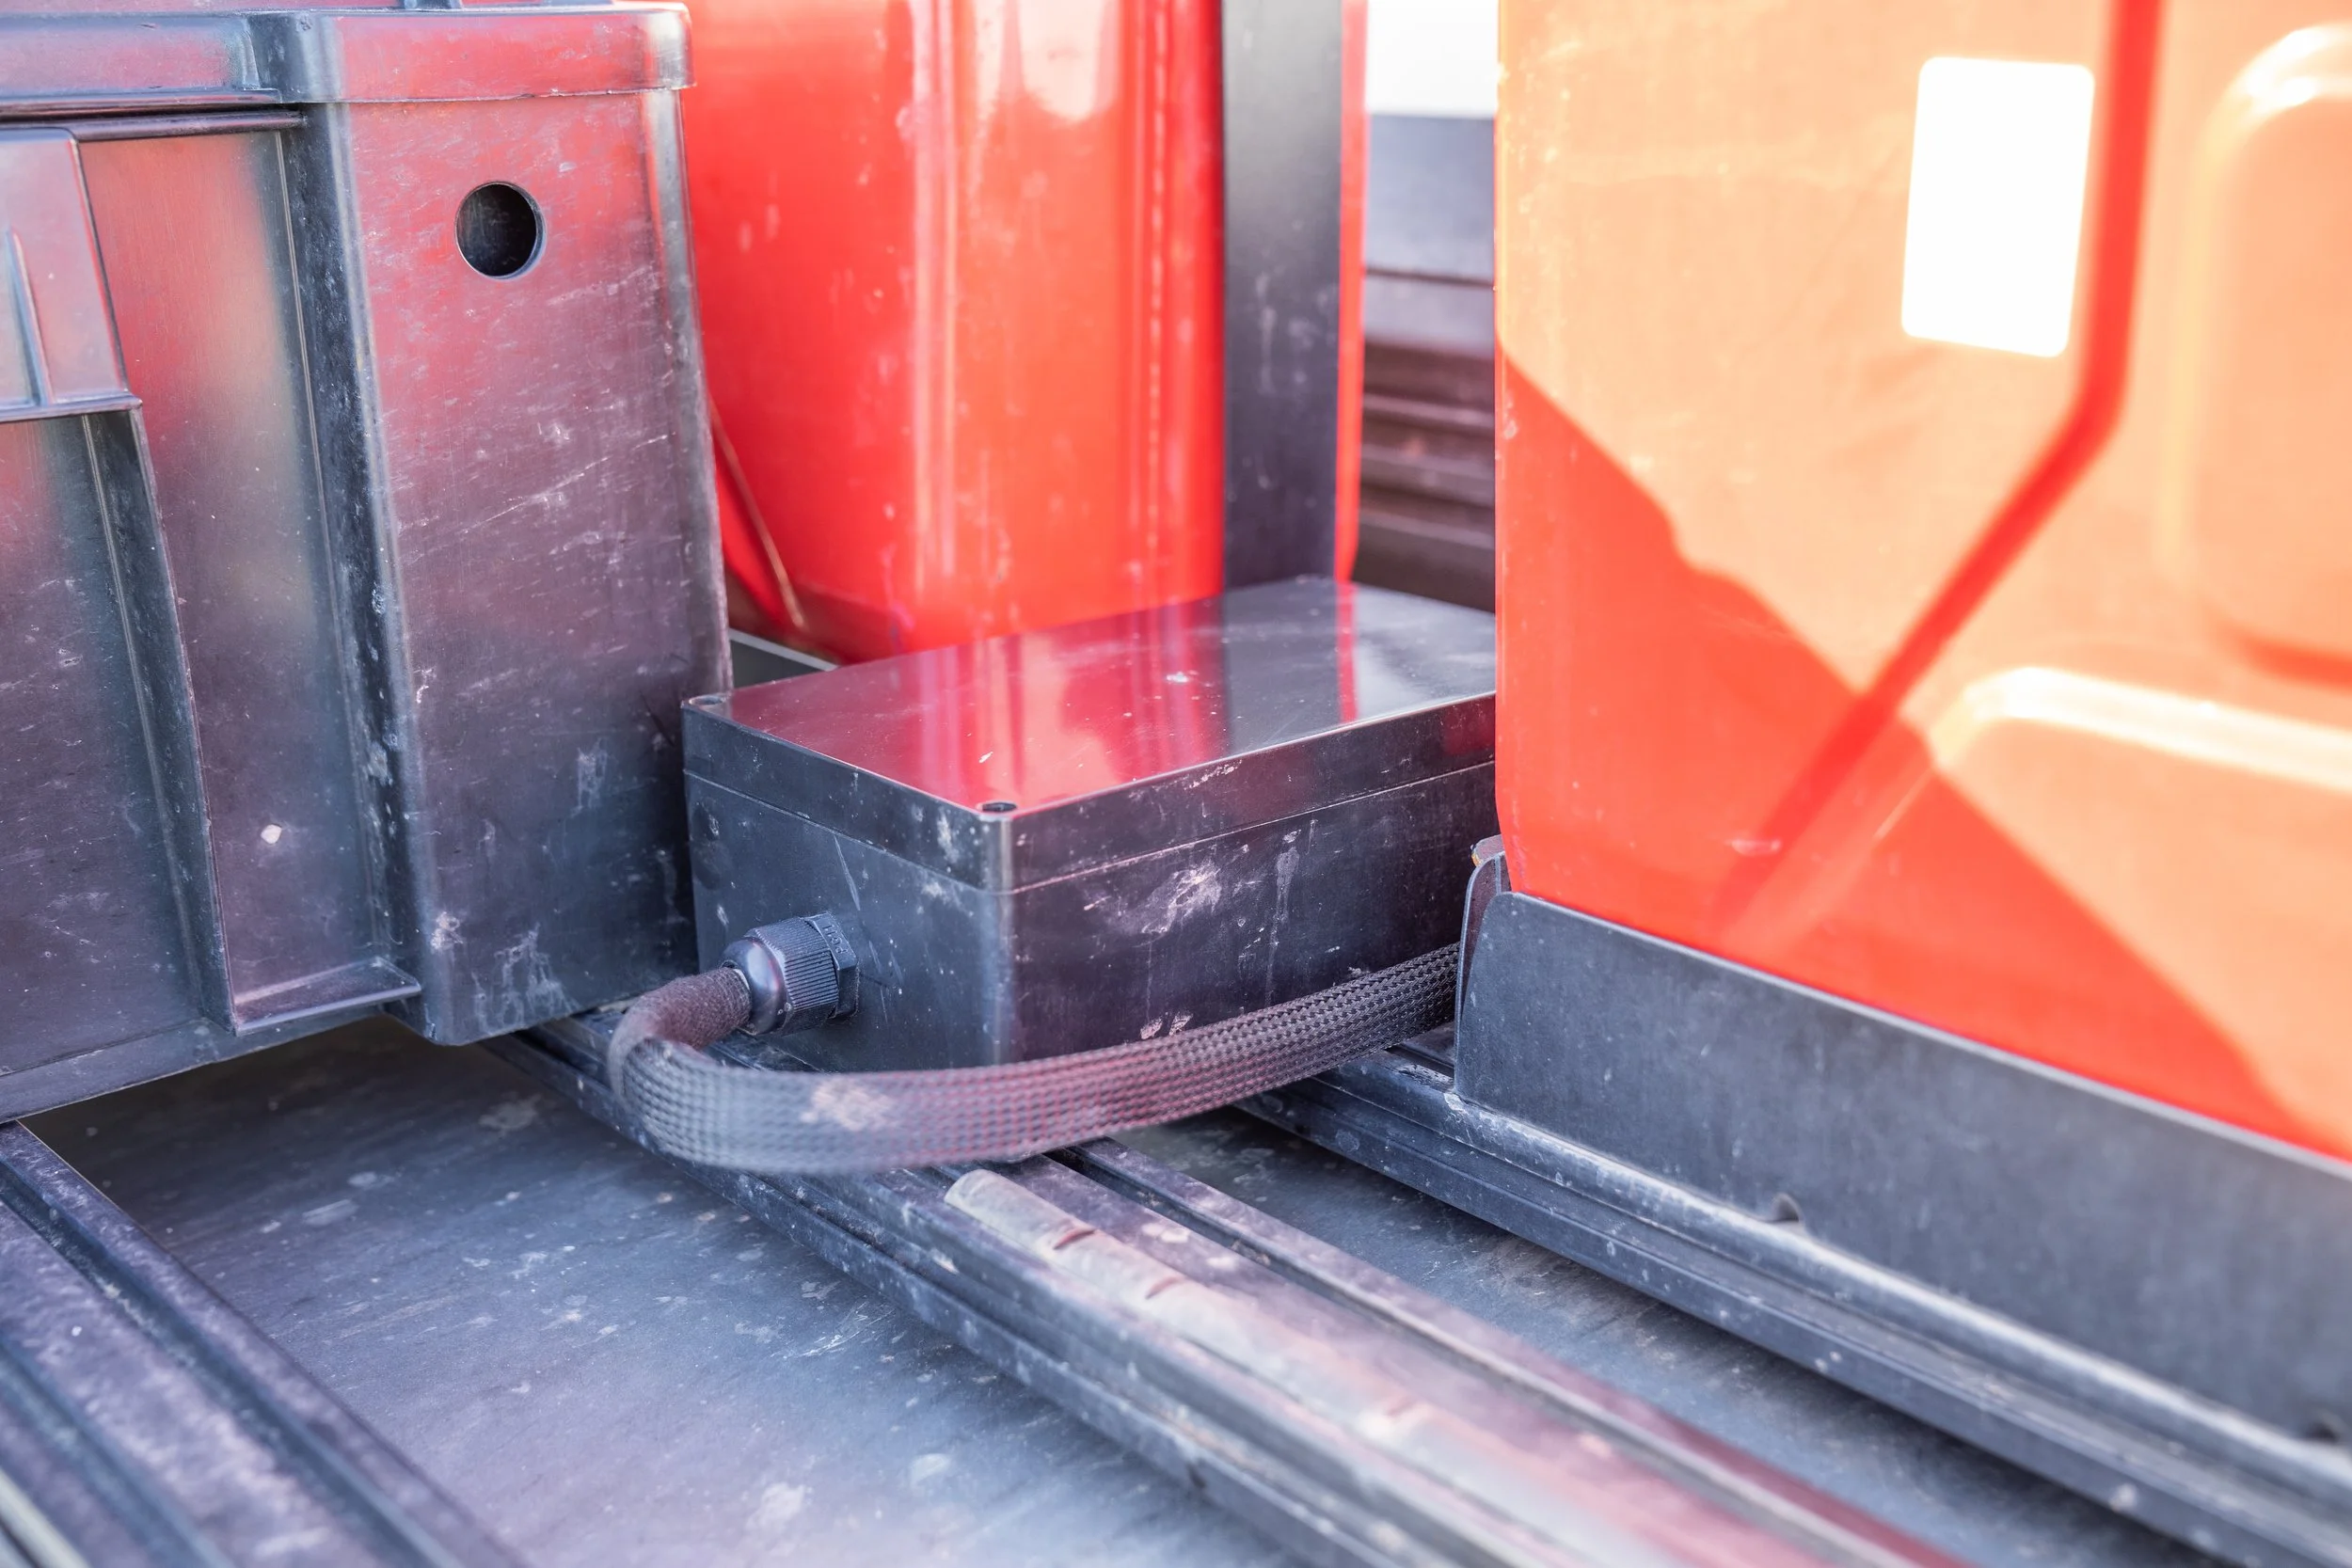
We used this to provide a waterproof housing that would protect the bus bar from the elements and to be sure that nothing would accidentally short across the 2 bus bars. These come in many shapes and sizes, we picked this one because it worked best for our particular needs within the space we mounted it. Ours is mounted on the roof rack in front of our camper between our spare fuel cans. However, this could have been mounted nearly anywhere.
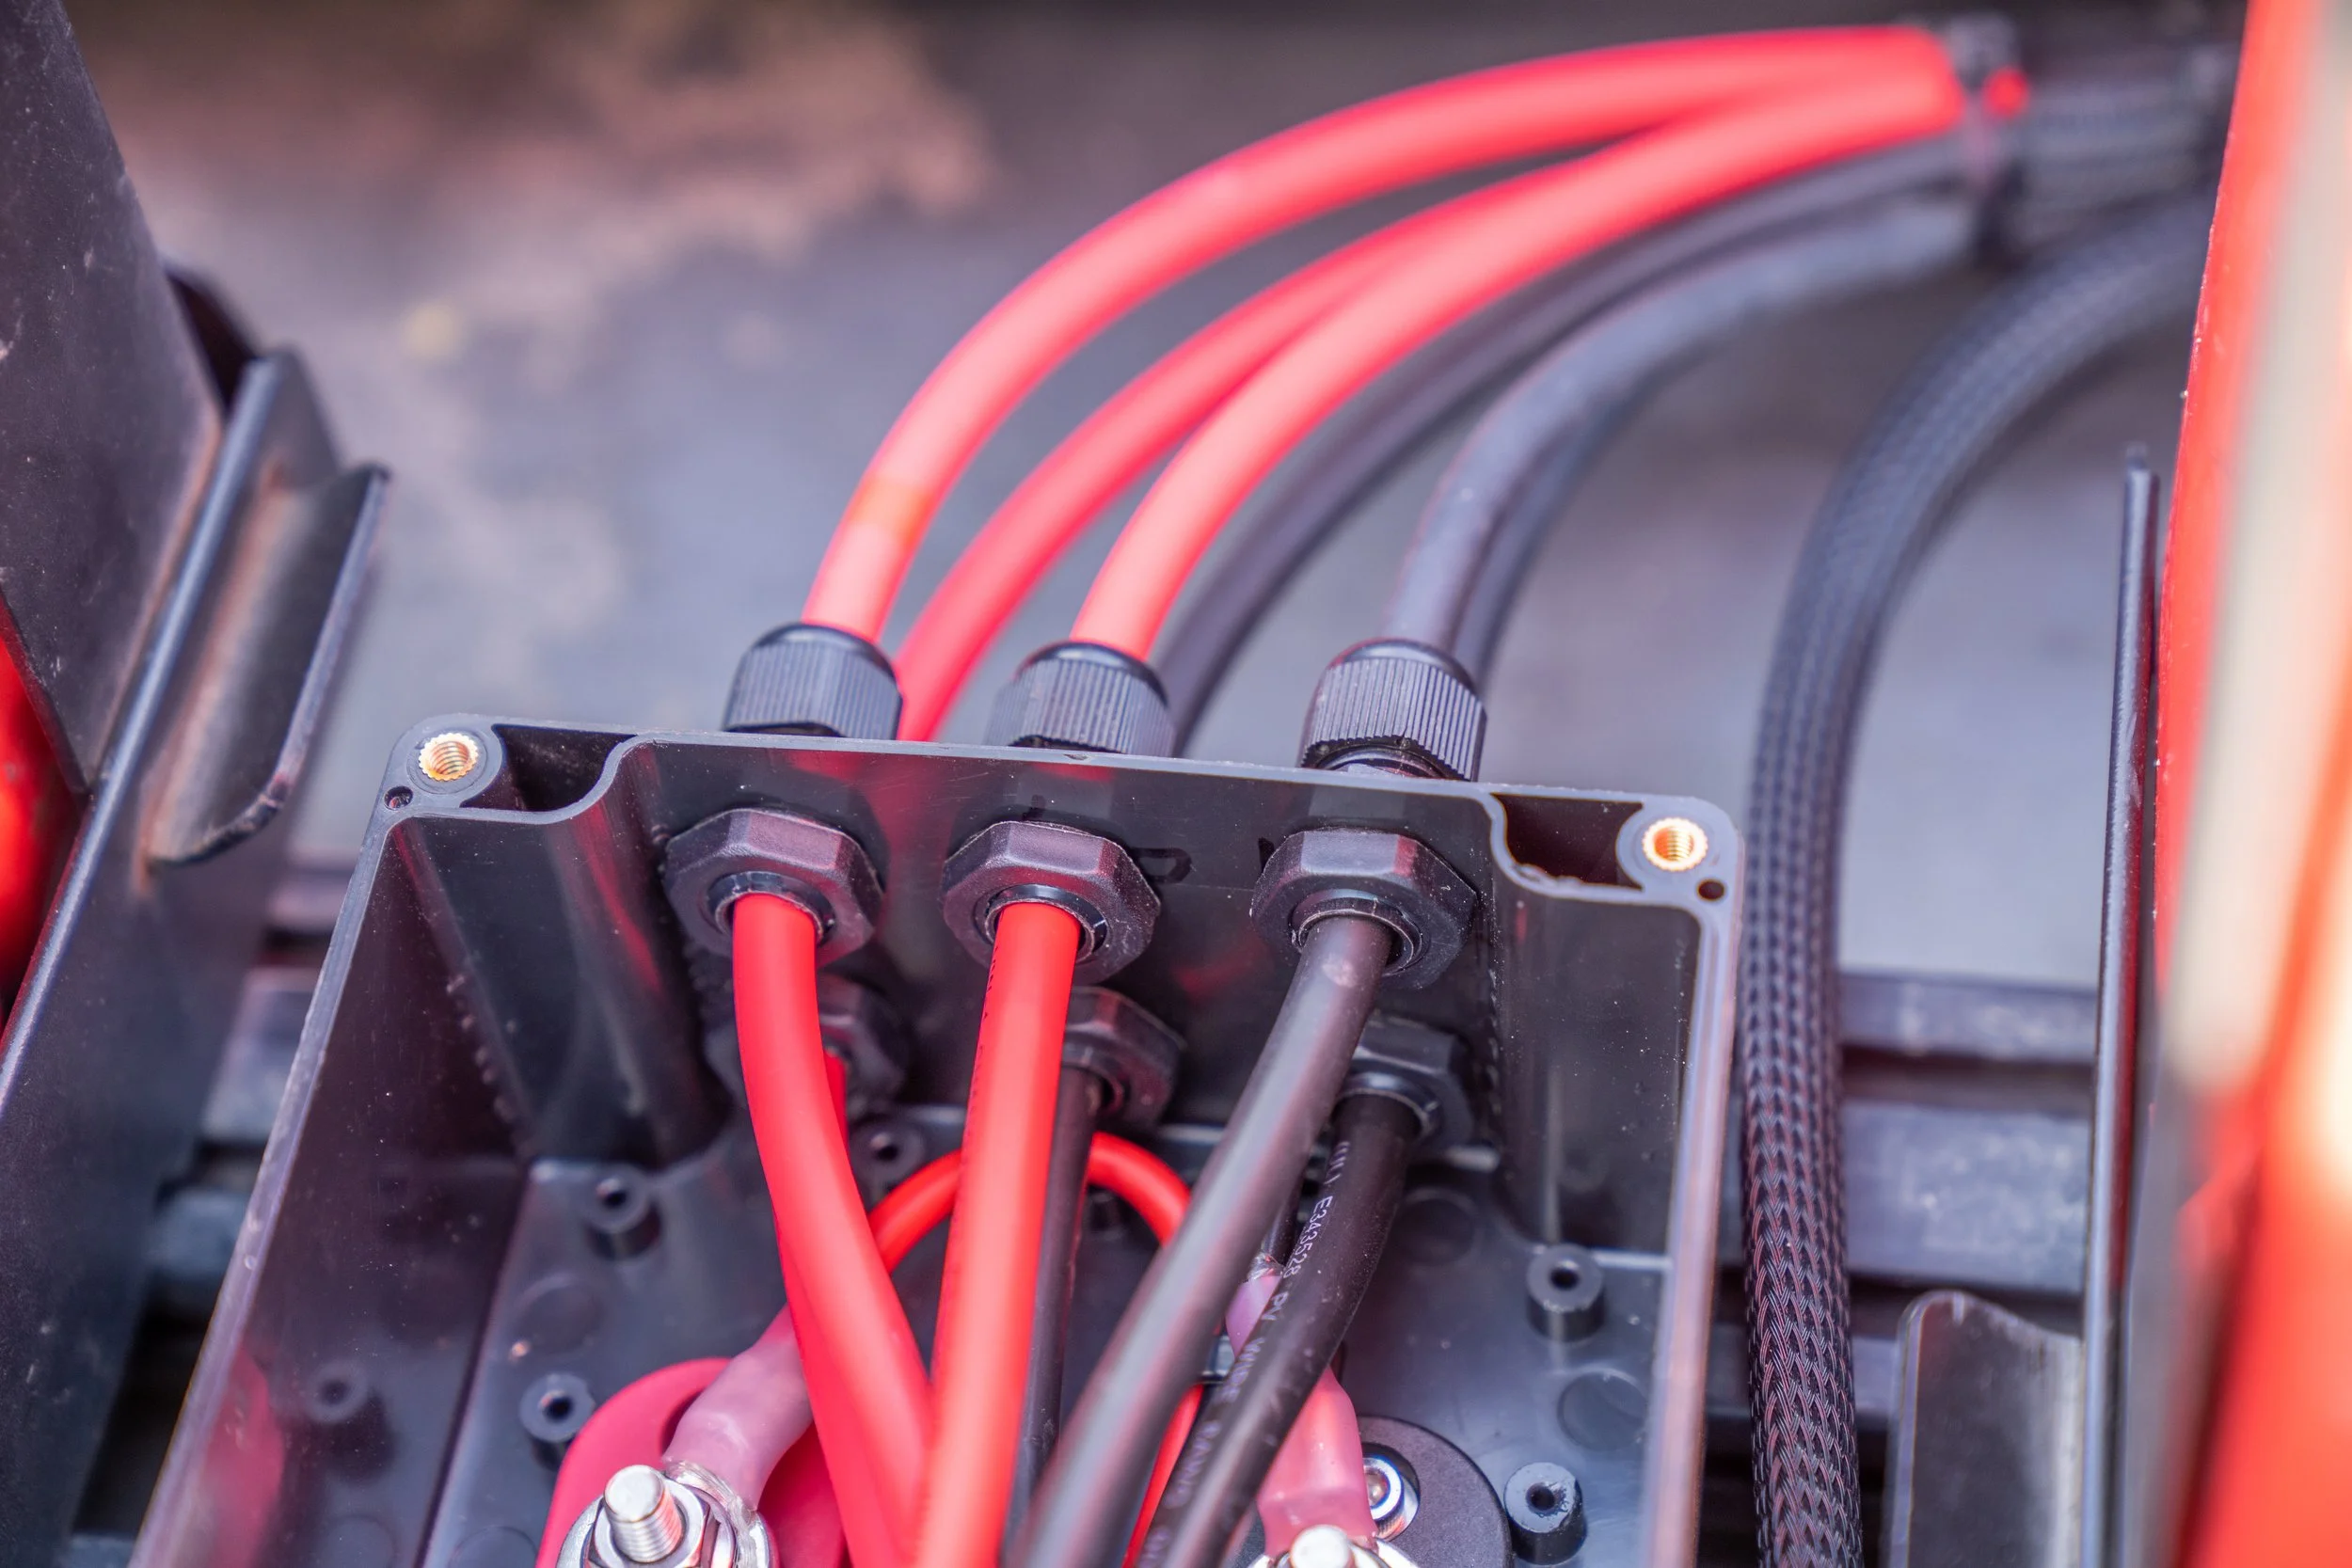
These were used so that we could make a weatherproof port through the junction box that would allow us to connect the wires mentioned above on #4 to the bus bar.
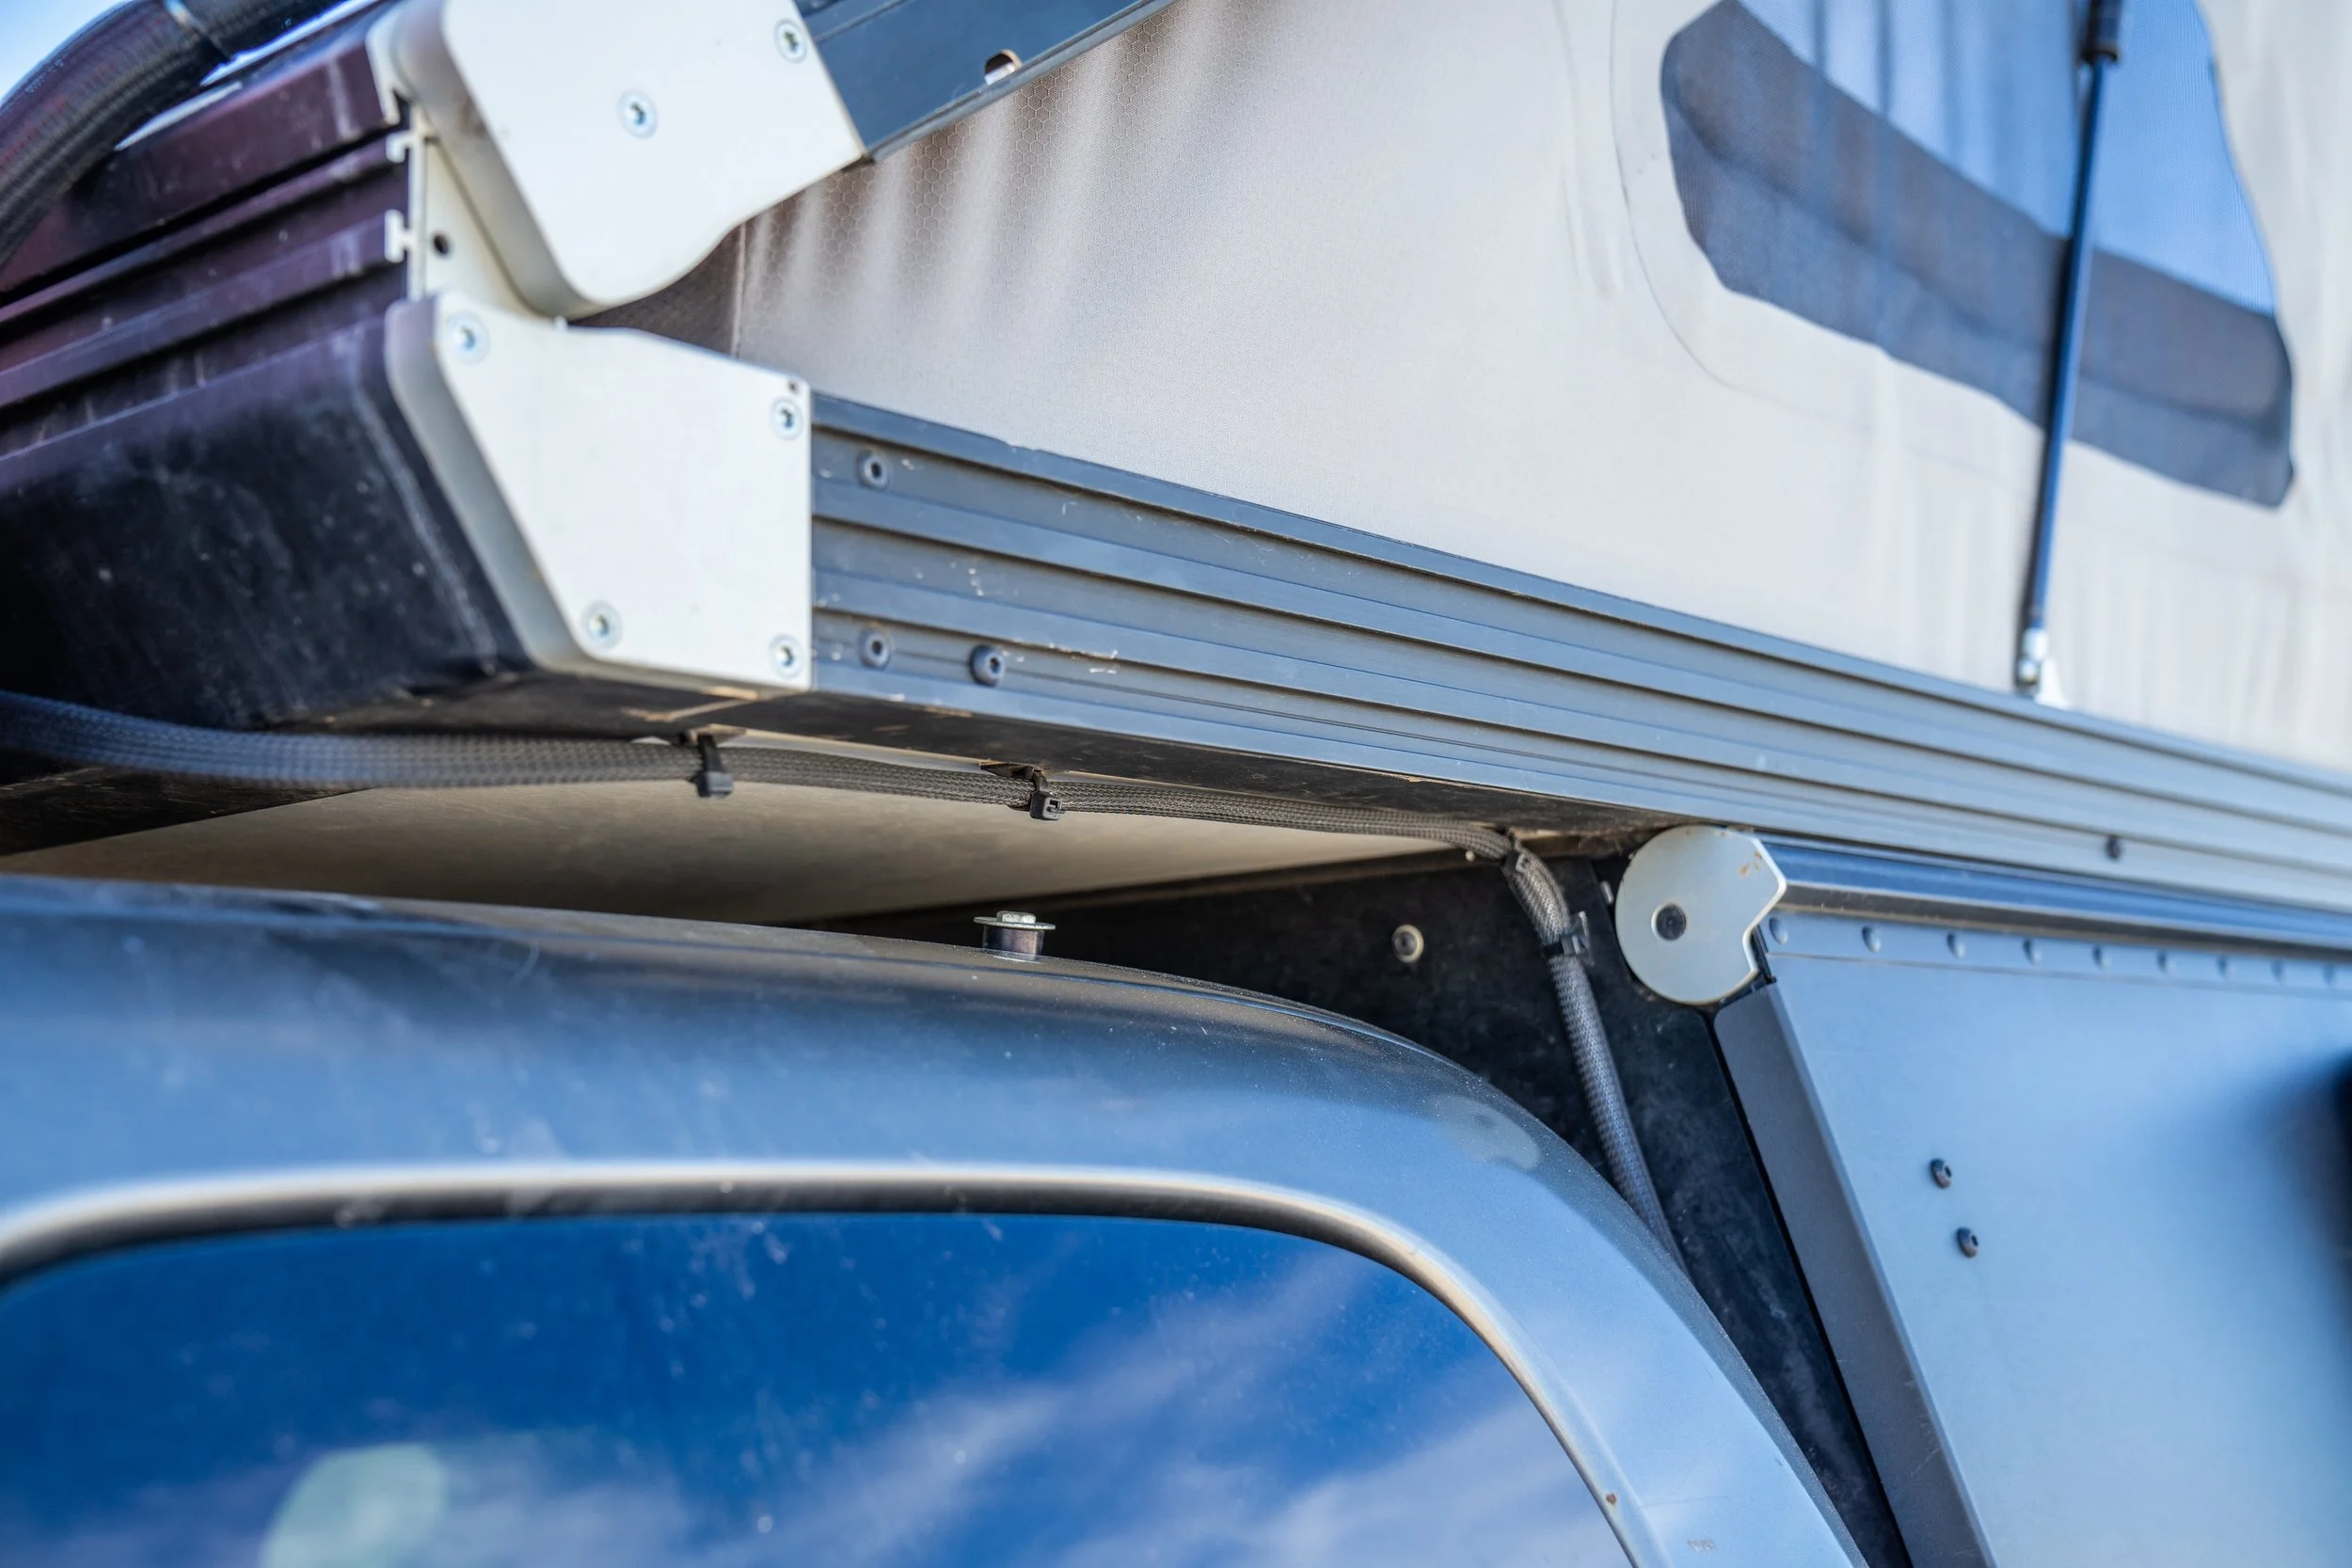
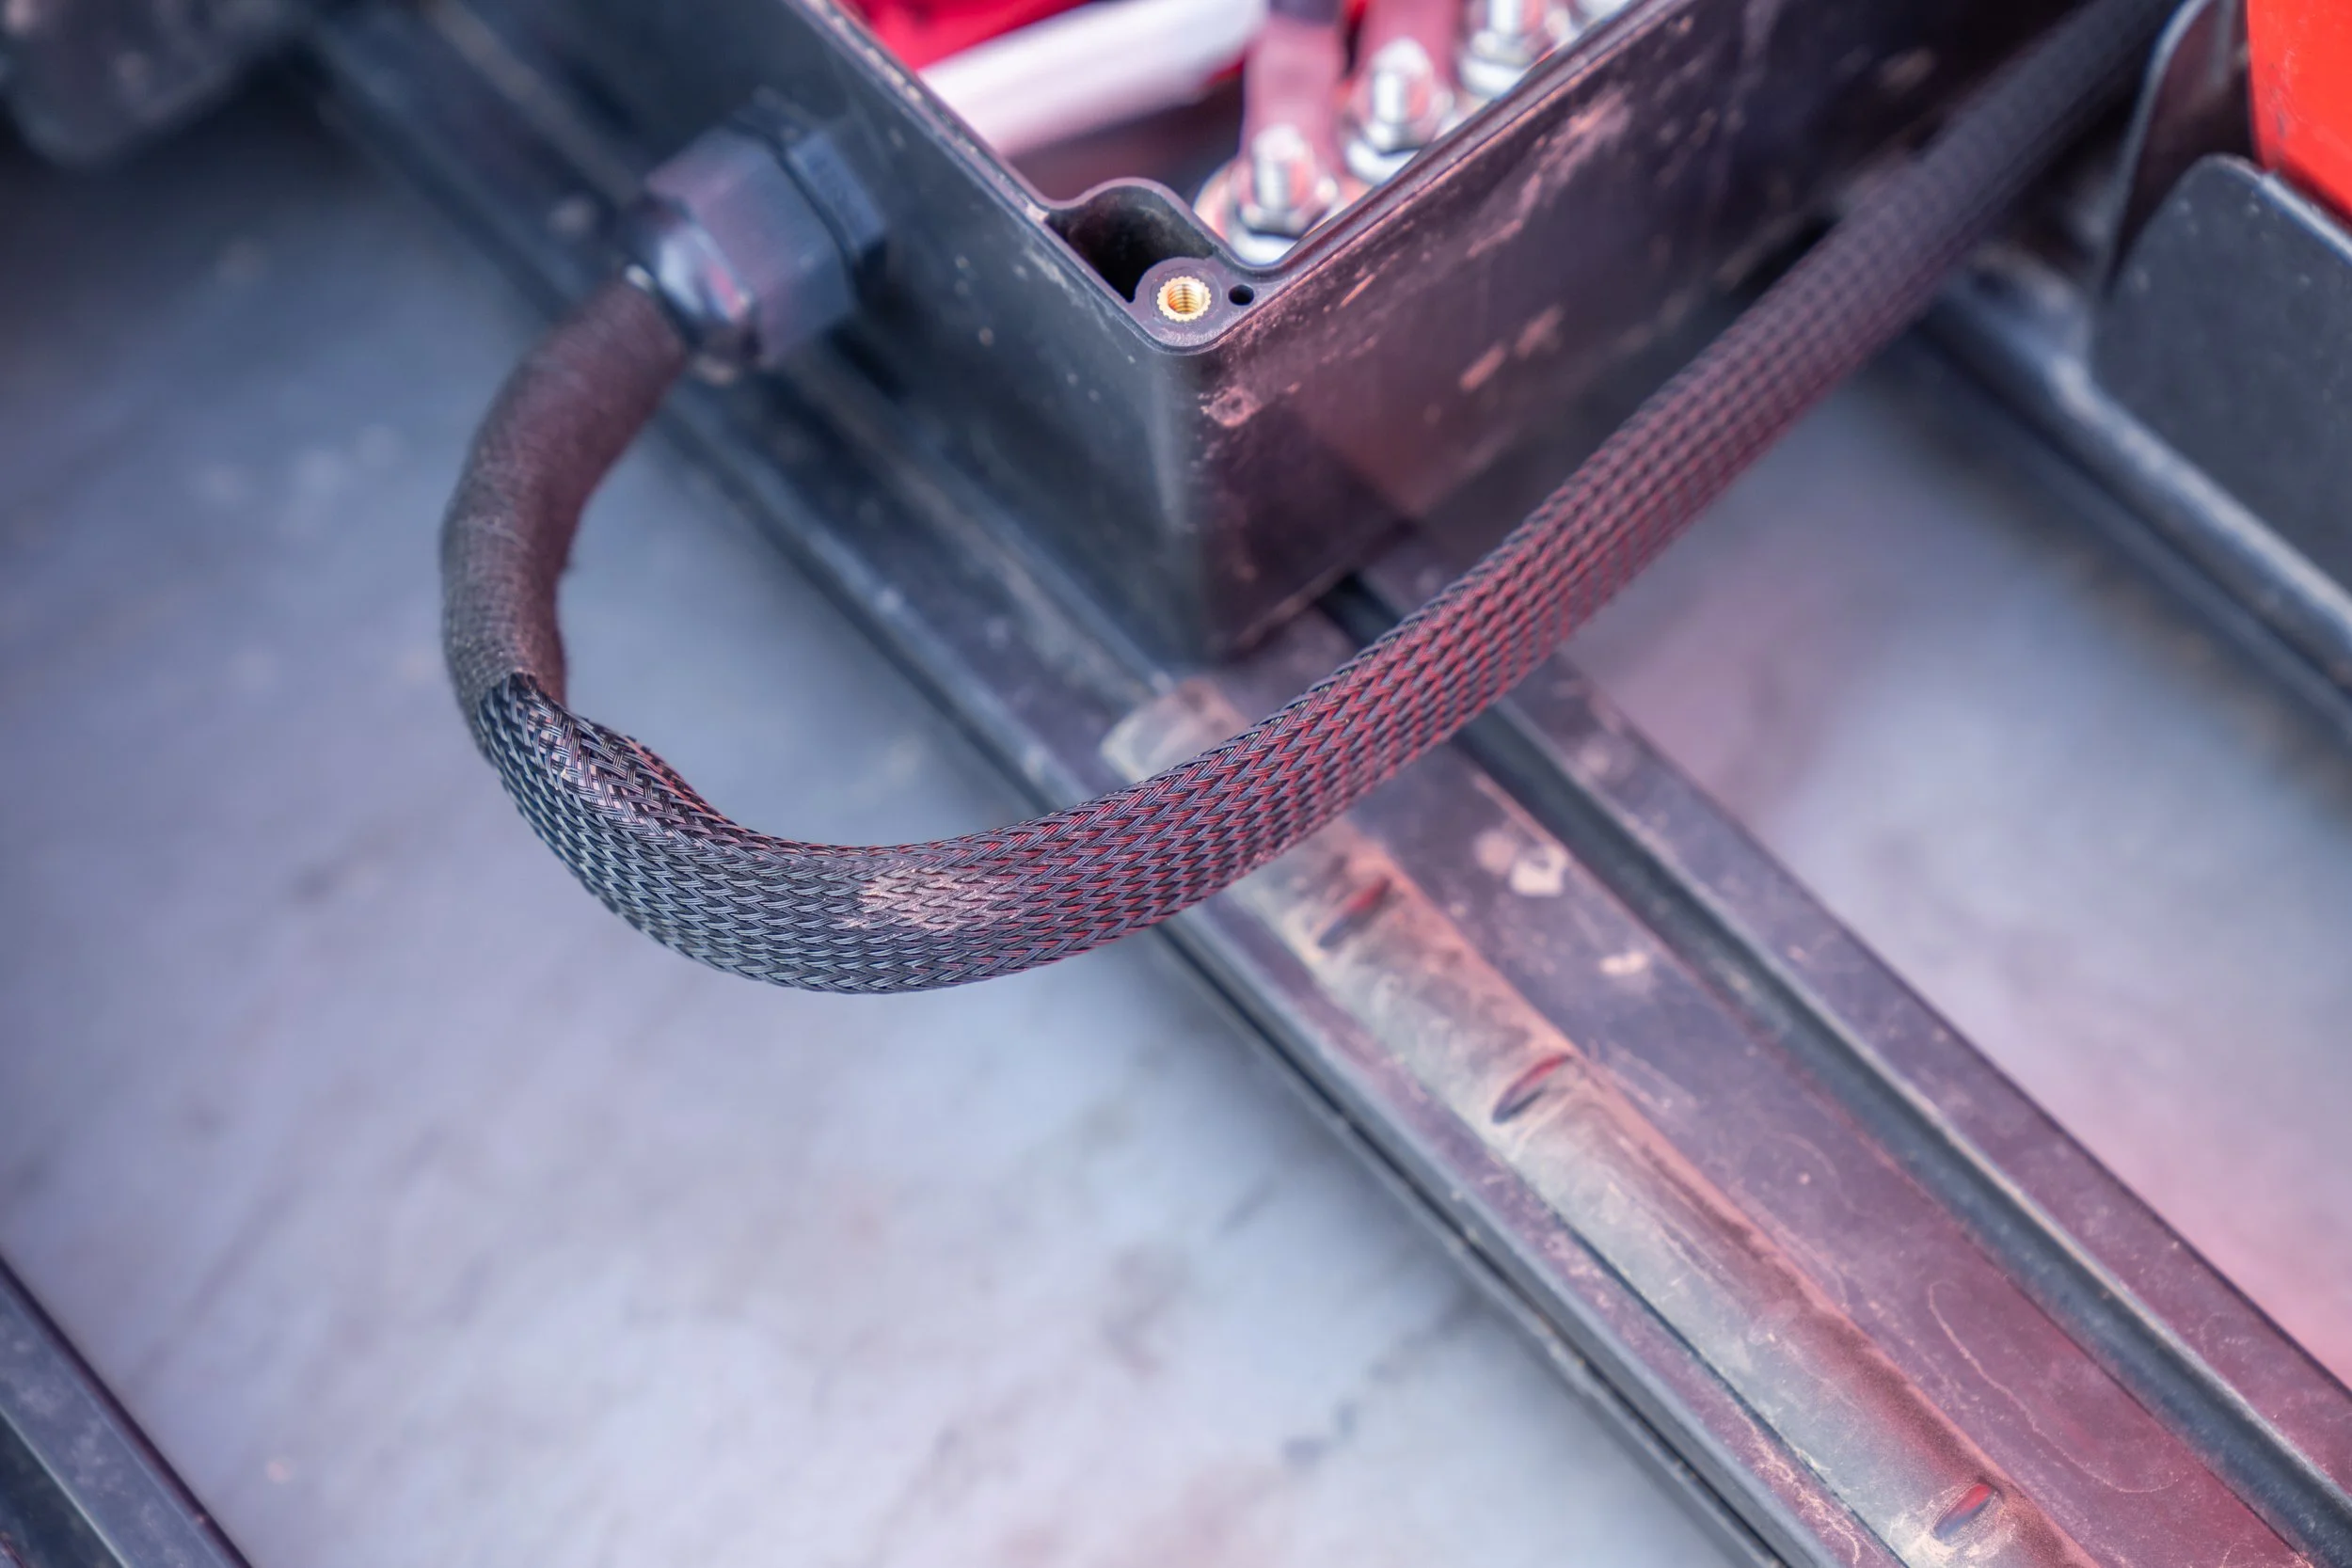
After Connecting all the solar panel positives and negatives to their corresponding bus bars this was then used to make the connection from the bus bar ultimately to the battery charge input. We did this by using the ring terminals mentioned in #5 to connect to the bus bar and an Anderson Power Pole connection for the battery. We then finished the wire by wrapping it in a protective braided nylon sleeve.
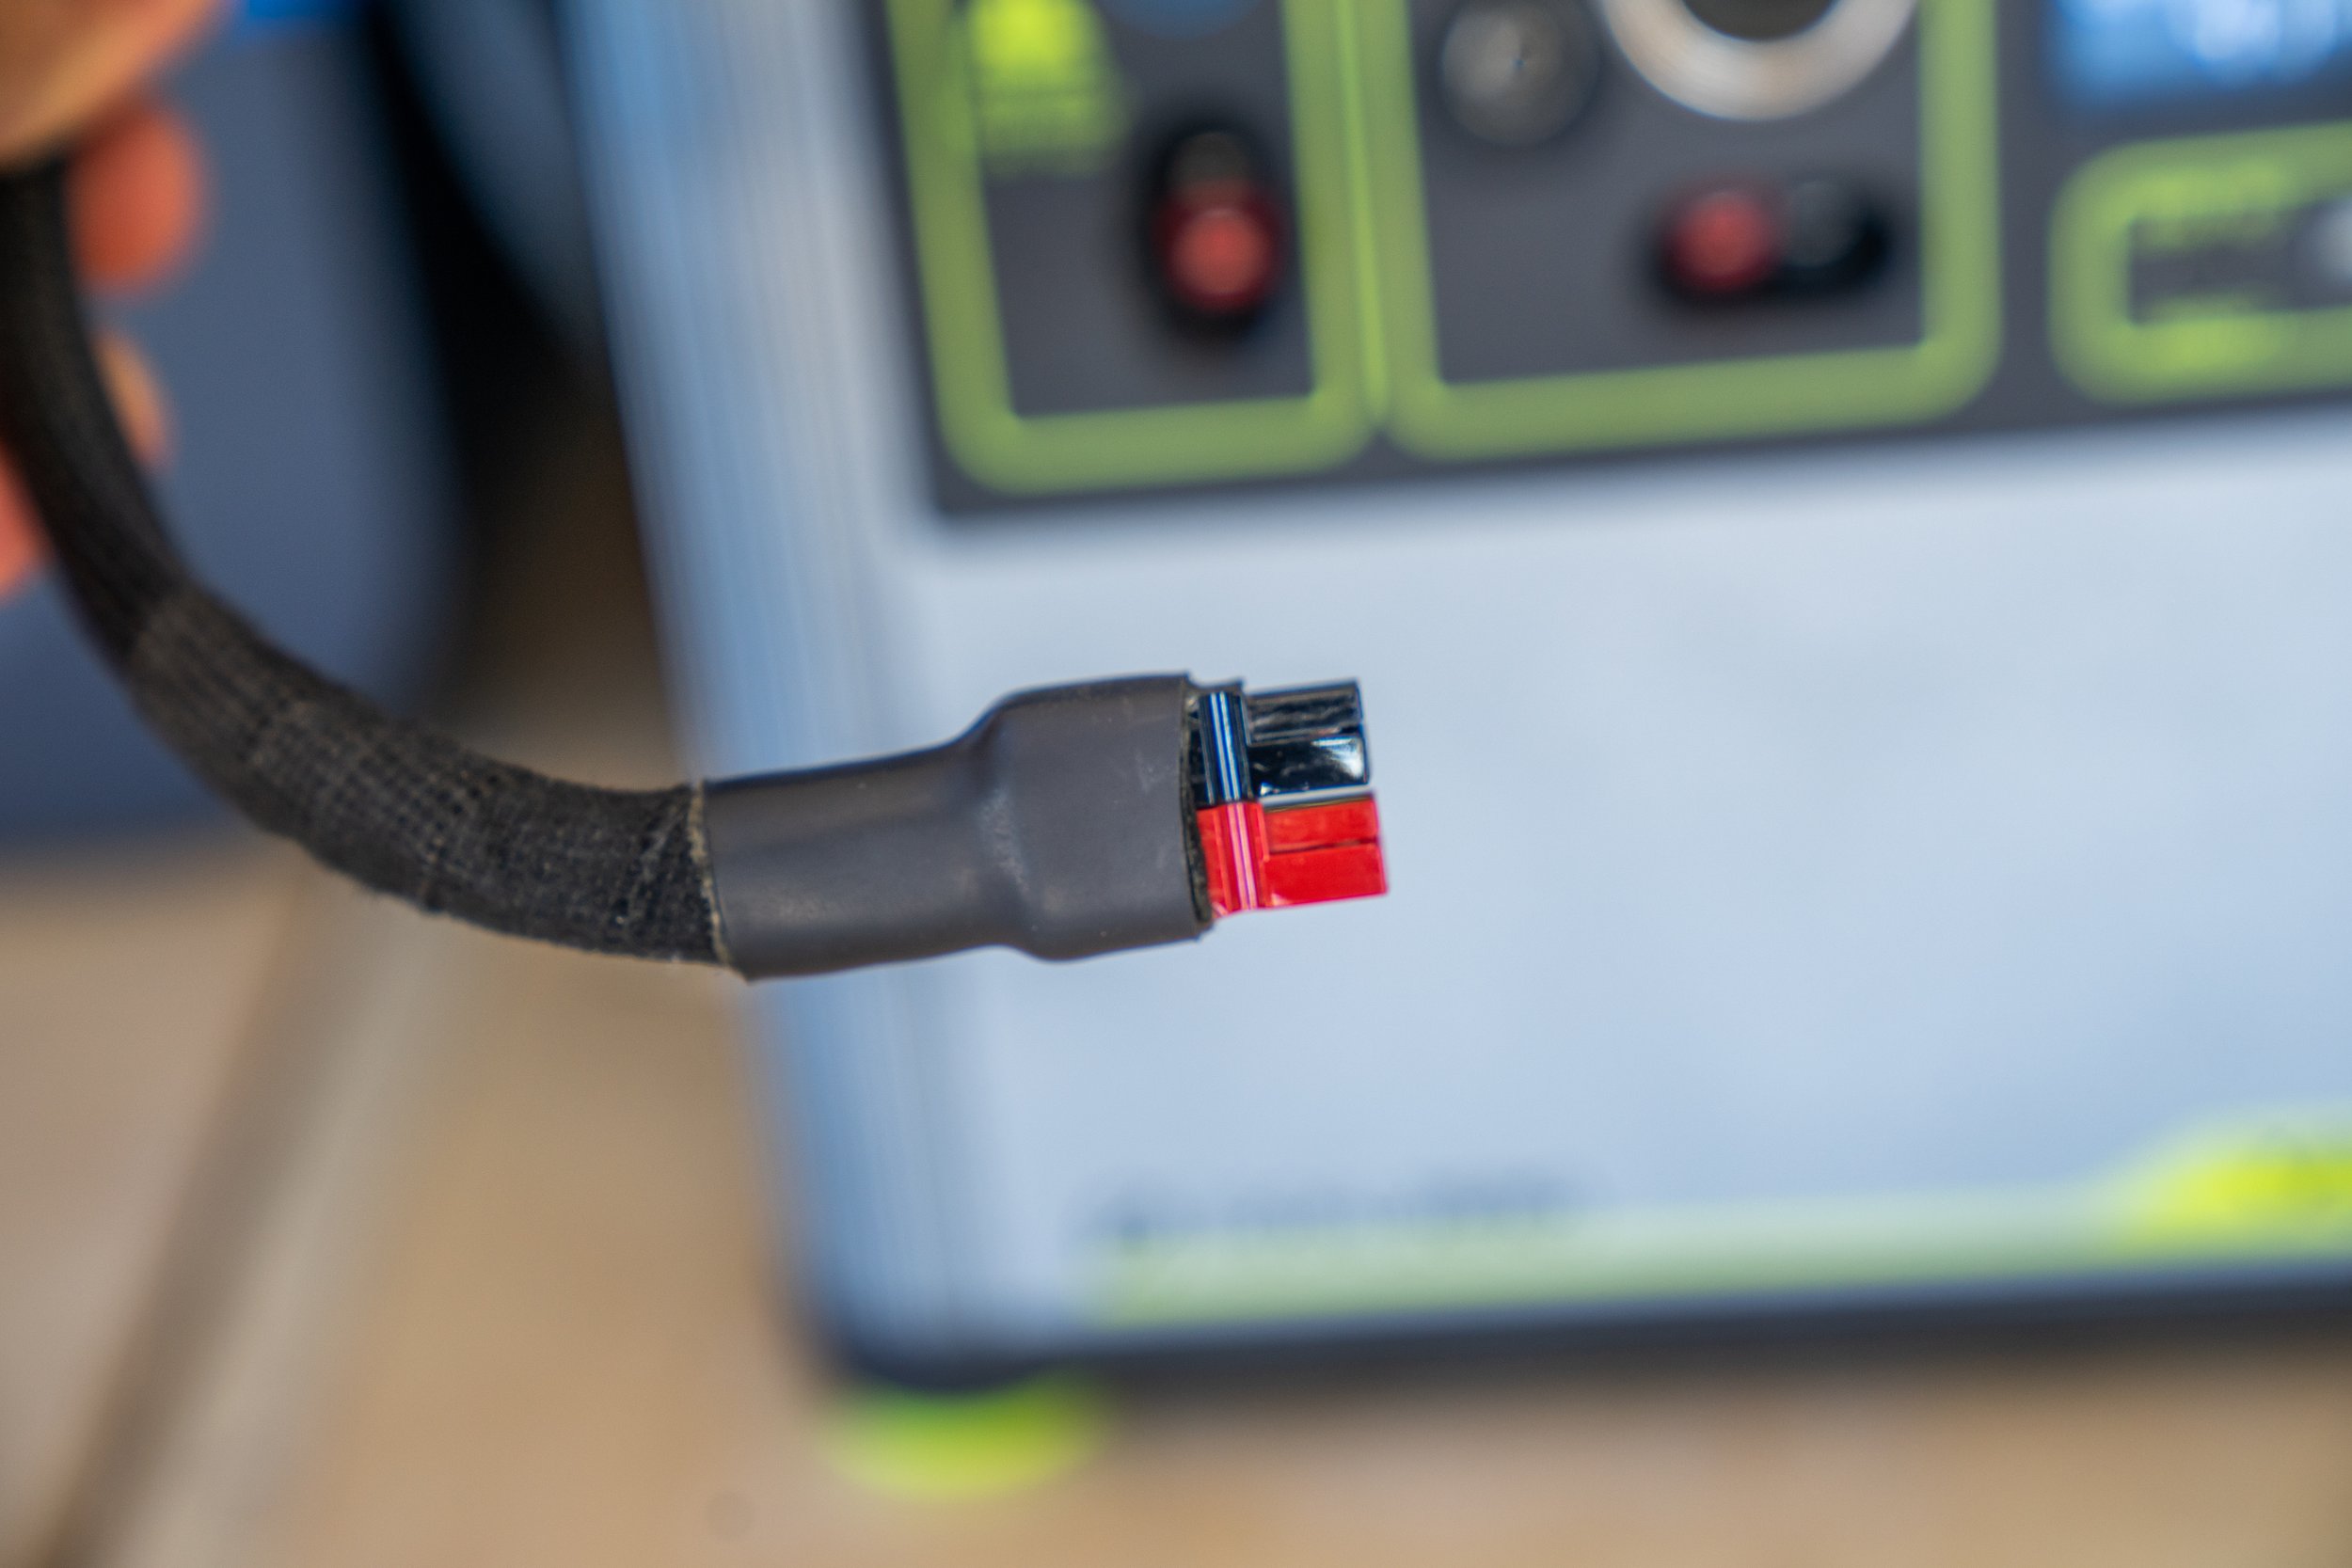
10) Anderson Powerpole Connectors 45 Amp
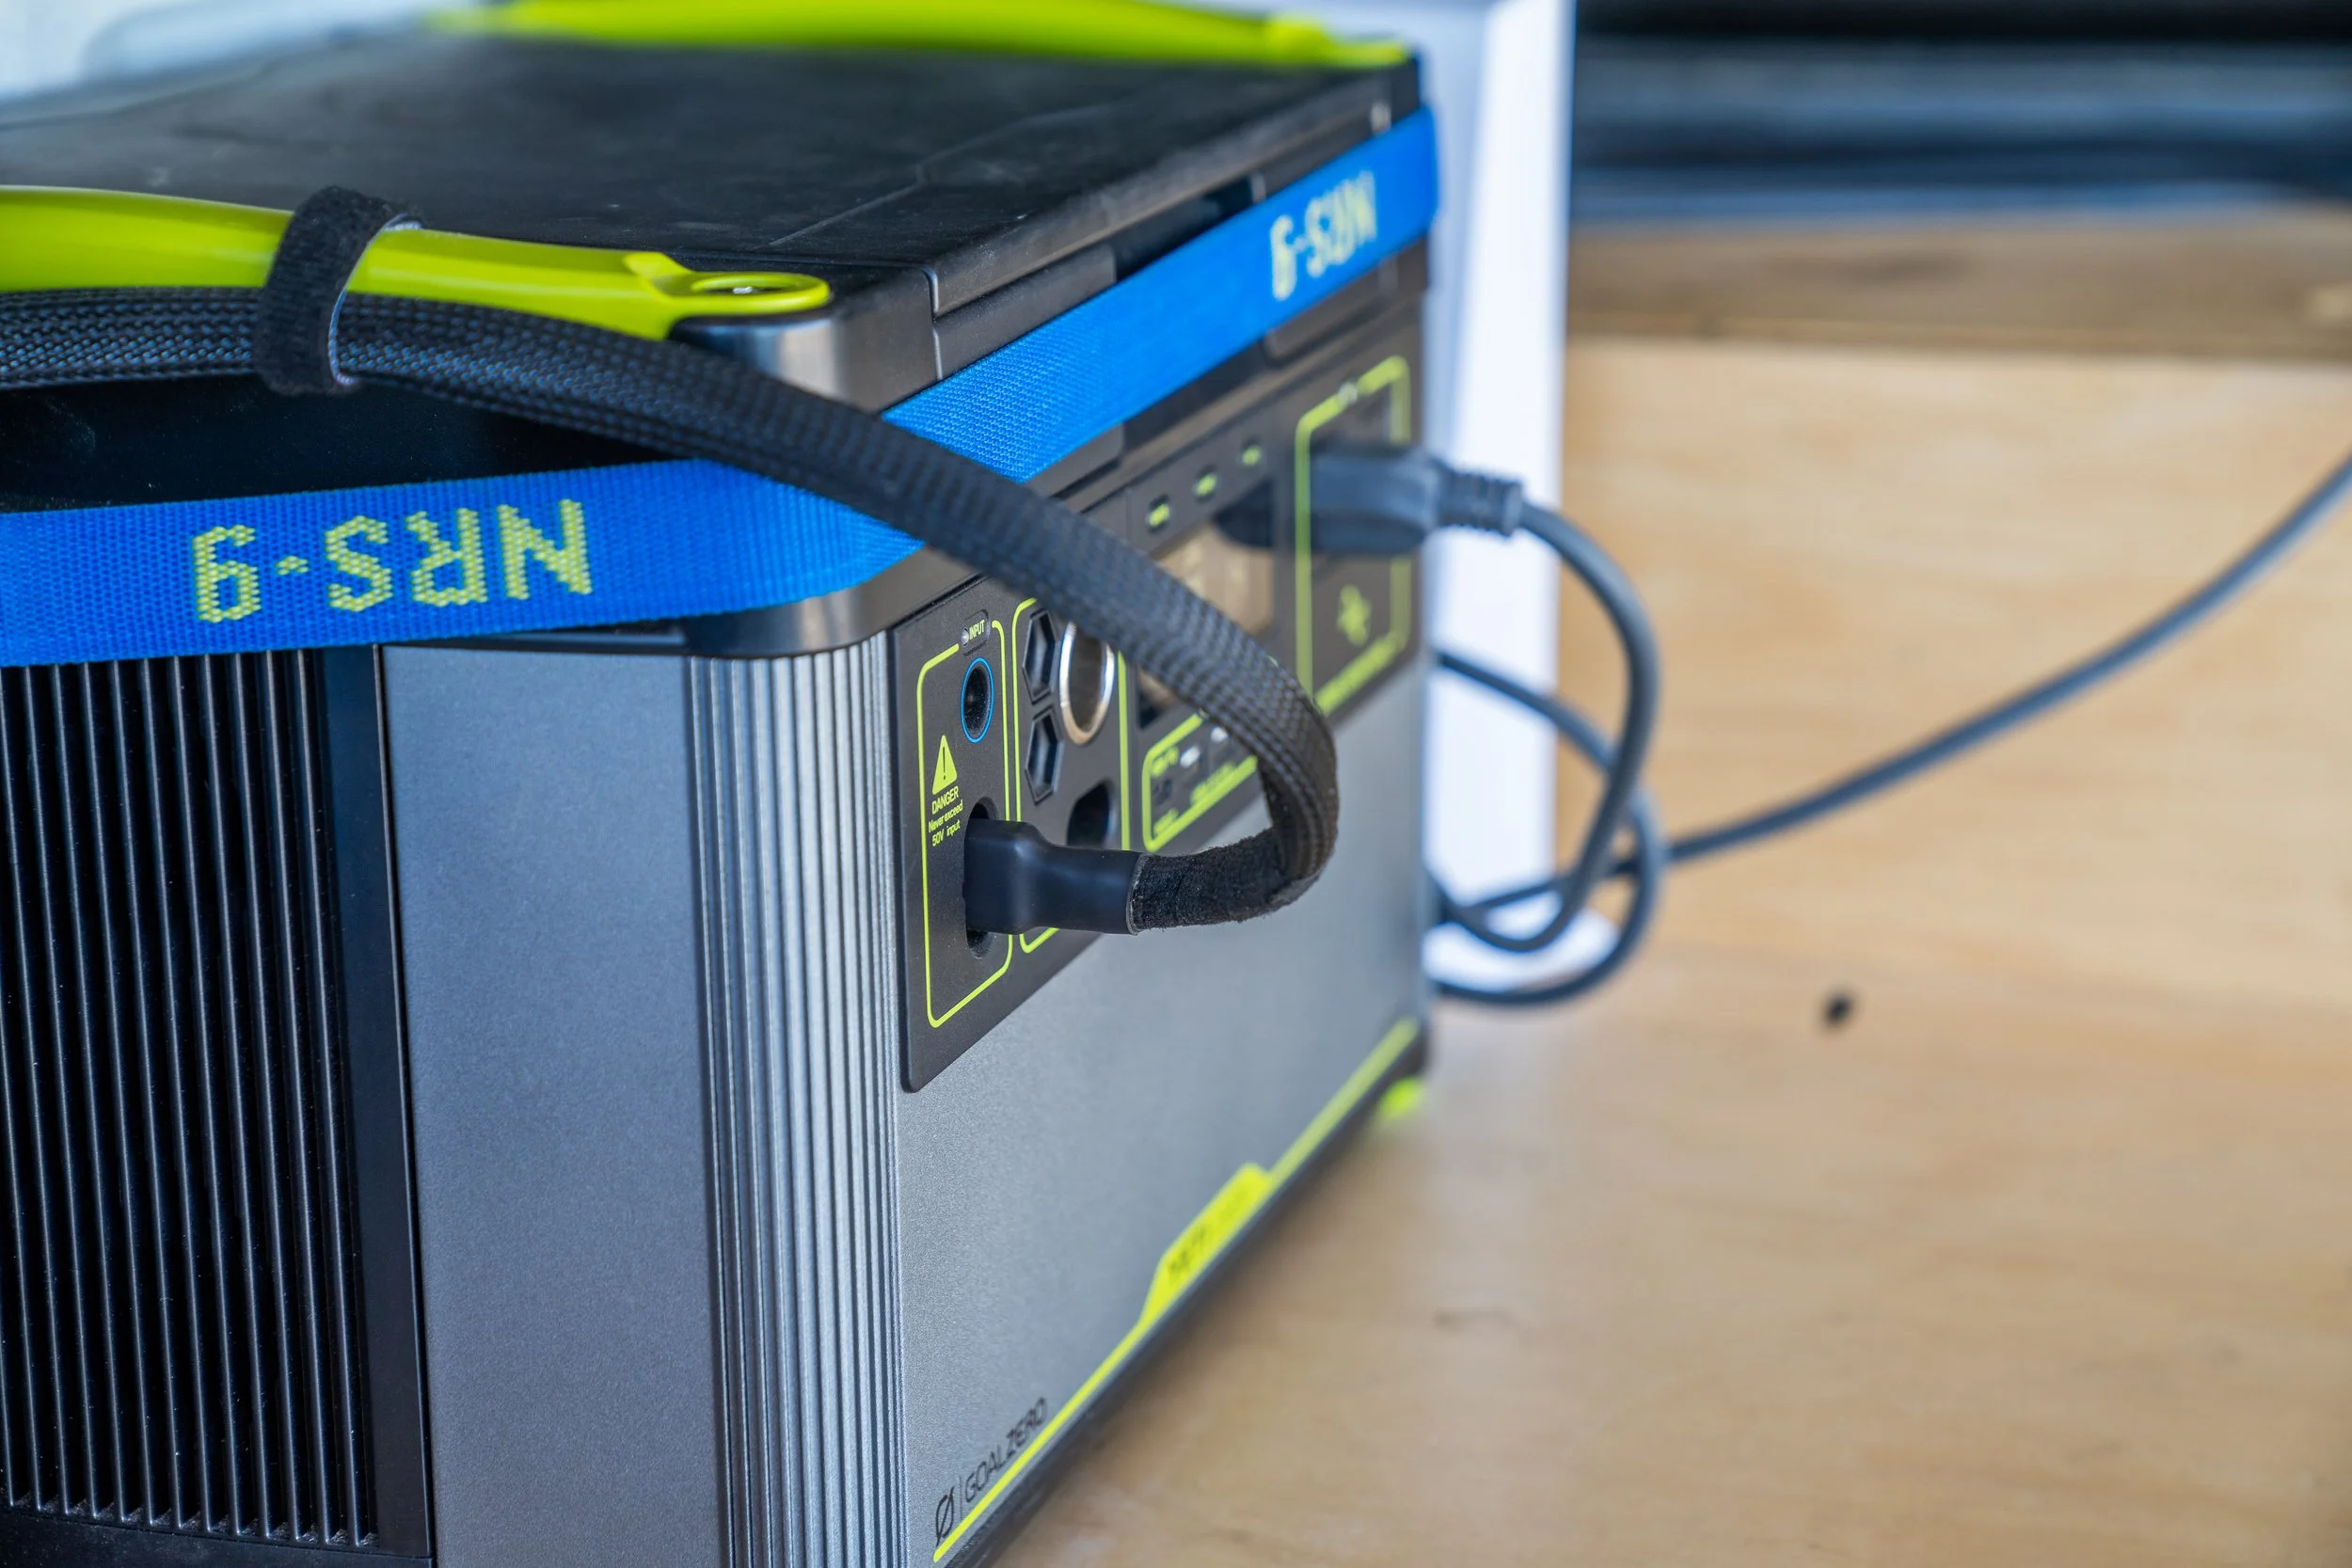
We added these connections to the end of the marine wire listed in #7 so that we could plug into the Anderson Power Pole connection on the front of the battery. Using this port is what allows us to charge the battery with an input wattage of up to 600w. We wrapped this connection in heat shrink to help stabilize the wires leading into so that they will hopefully not become damaged over time.
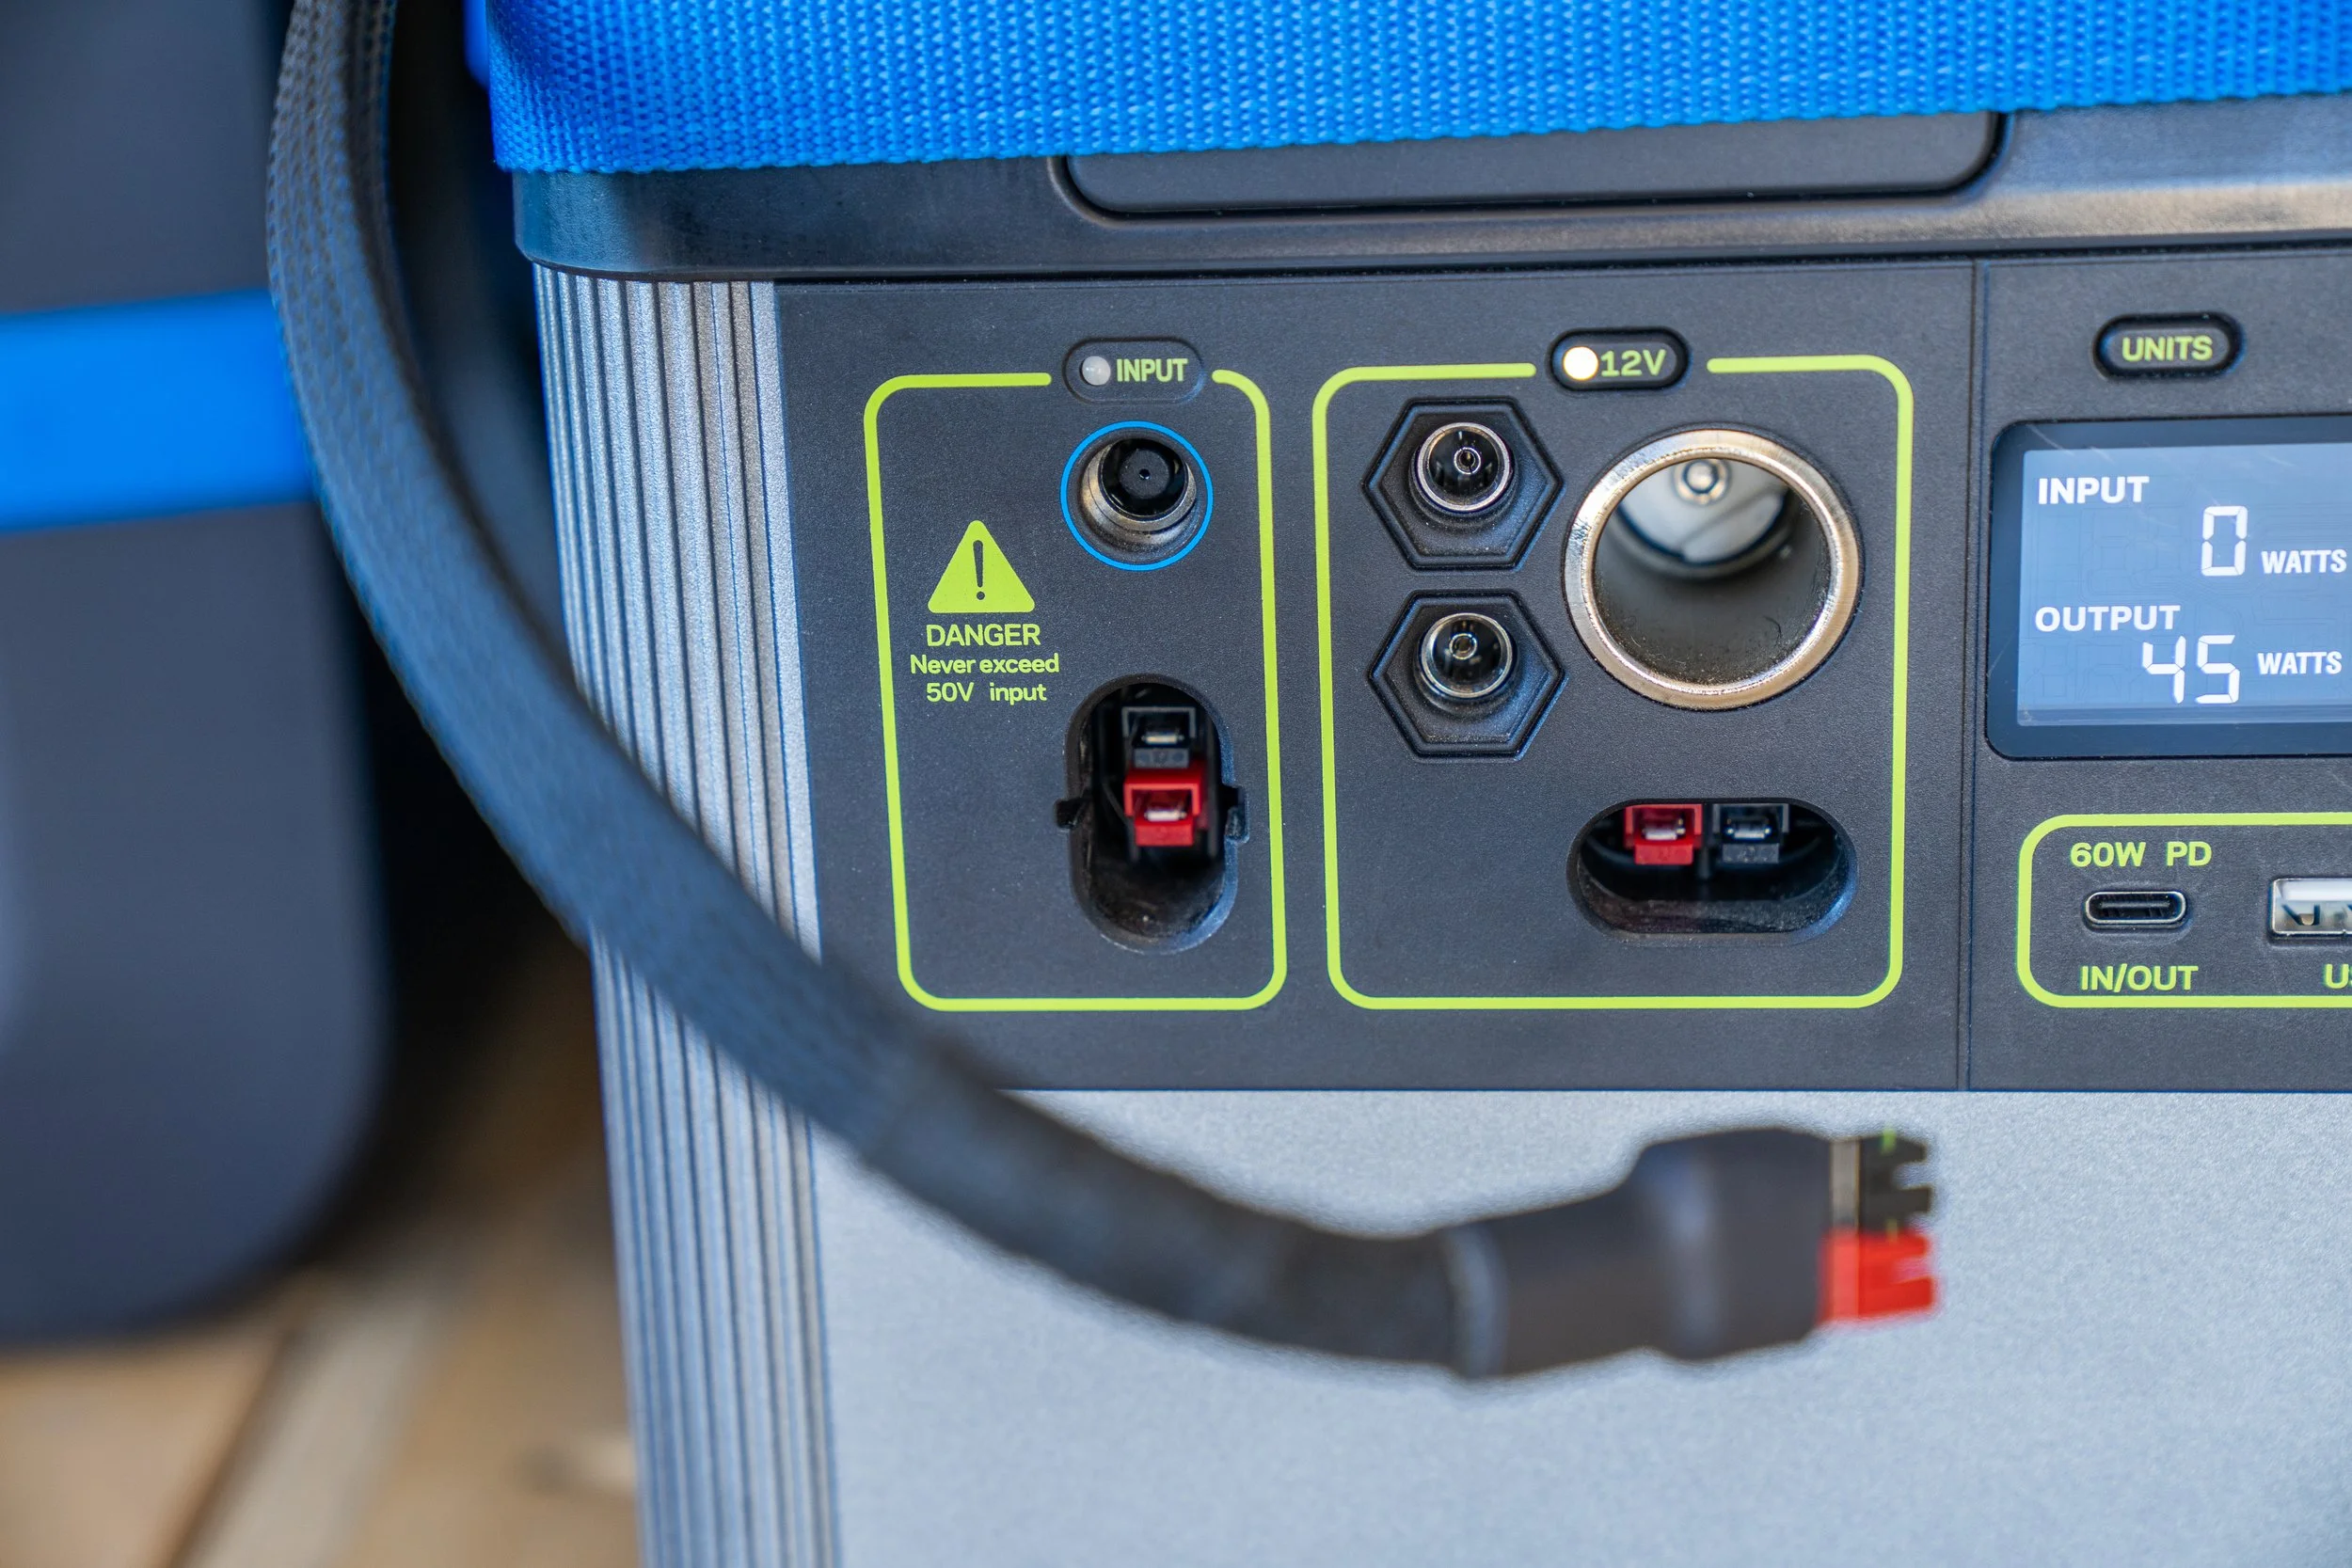
11) Alex Tech braided cable sleeve
We finished all exposed wires, including the wires leading from the solar panel to the junction box and the wire leading from the junction box to the charging input in this protective braided sleeve. It will help protect the cables from abrasion as well as UV damage from the sun. This also adds a nice finishing touch to the cables.
Tools:
In addition to the added components there were several crimping tools that we needed to purchase to complete this job. Having the correct tools on hand will make all of these tasks so much simpler and easier while also increasing the quality of work.
Anderson Power Pole crimpers: These are needed to properly crimp the Anderson Power Pole connections mentioned in #10
Ratchet Terminal Crimper: These are needed to properly crimp the heat shrink insulated ring terminals mentioned in #5
IRWIN VISE-GRIP Wire Stripper: Though these are not needed they certainly make life a lot easier when it comes to easily and cleanly stripping wires.
Mini Heat Gun: Using a heat gun of some variety on the heat shrink terminals will produce such a higher quality of work than using a lighter and burning the heat shrink with a flame.
Hopefully, all of this answers a lot of questions about how we did our setup. It’s important to keep in mind that there is no perfect system, each one will have its own set of pros and cons. Making the decision about what method works best for your particular needs will take some time and research. Please reach out in the comment section below if you have any questions and we will do our best to help guide you in the direction that is best.
Solar System Version 1.0 - May 2022
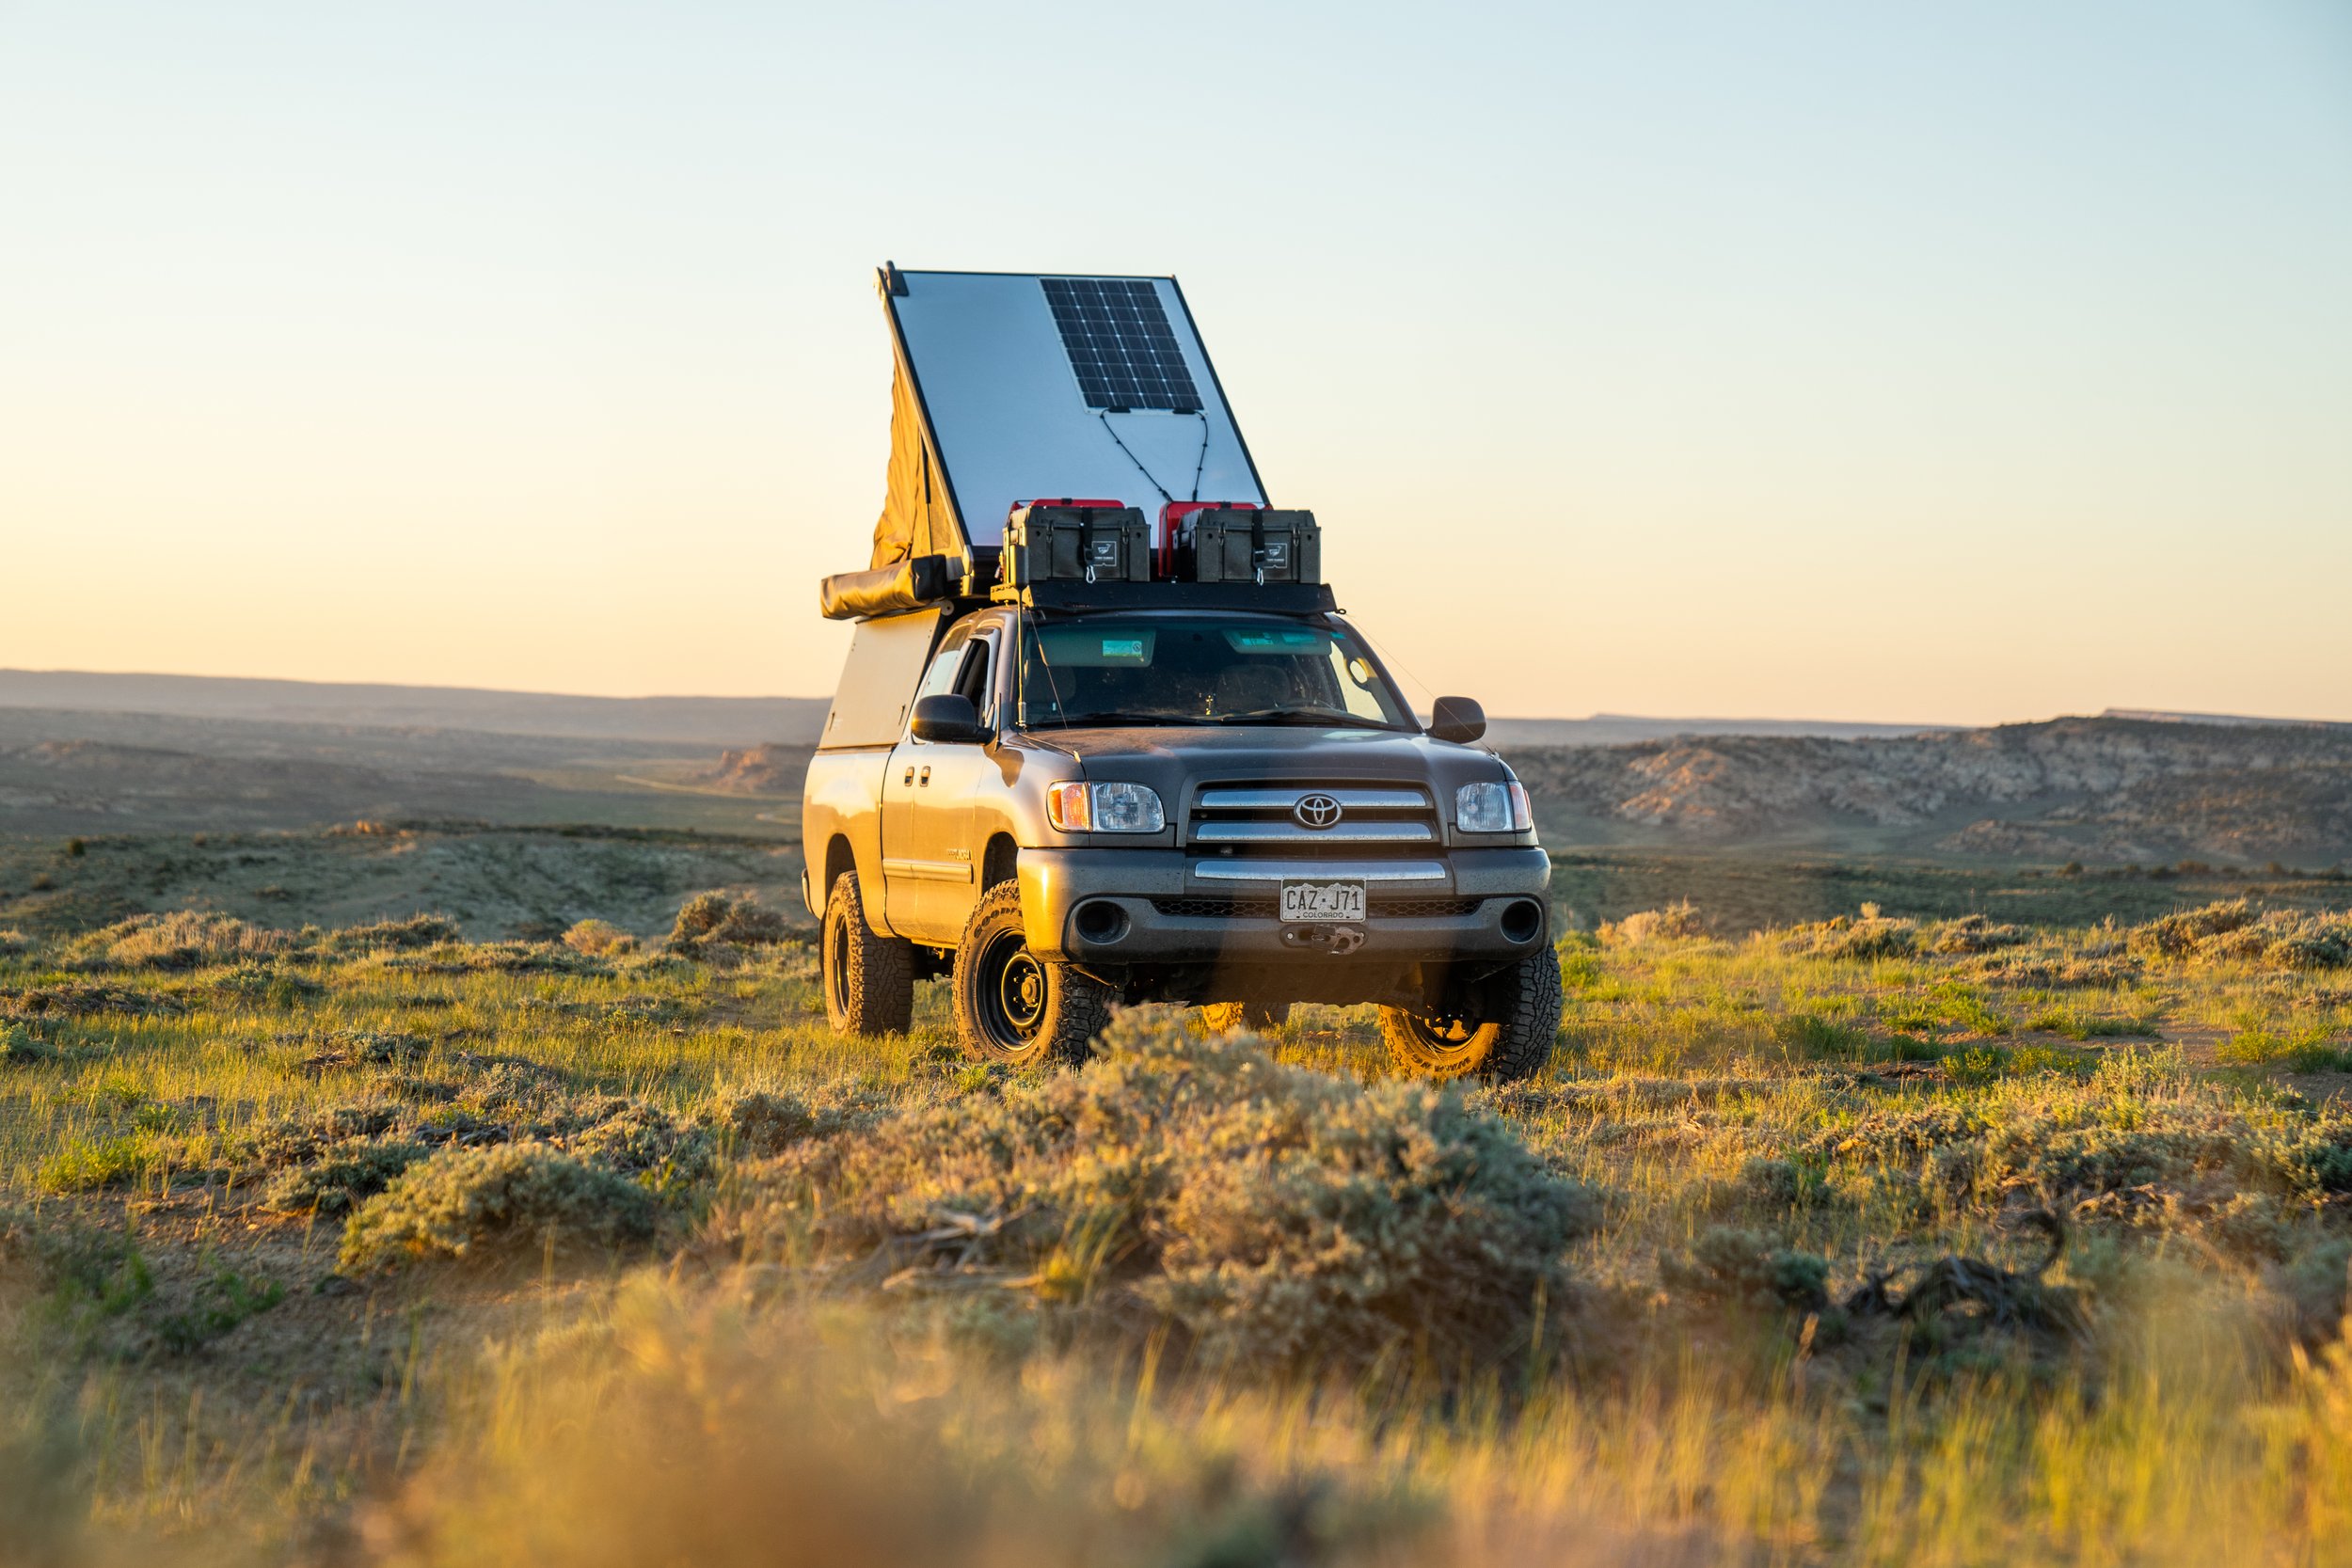
The system that we started out with is a 100W panel combined with a 505Wh lithium-ion battery. In total, the whole system including installation materials consists of seven simple components and we were able to stay just under $1,000.
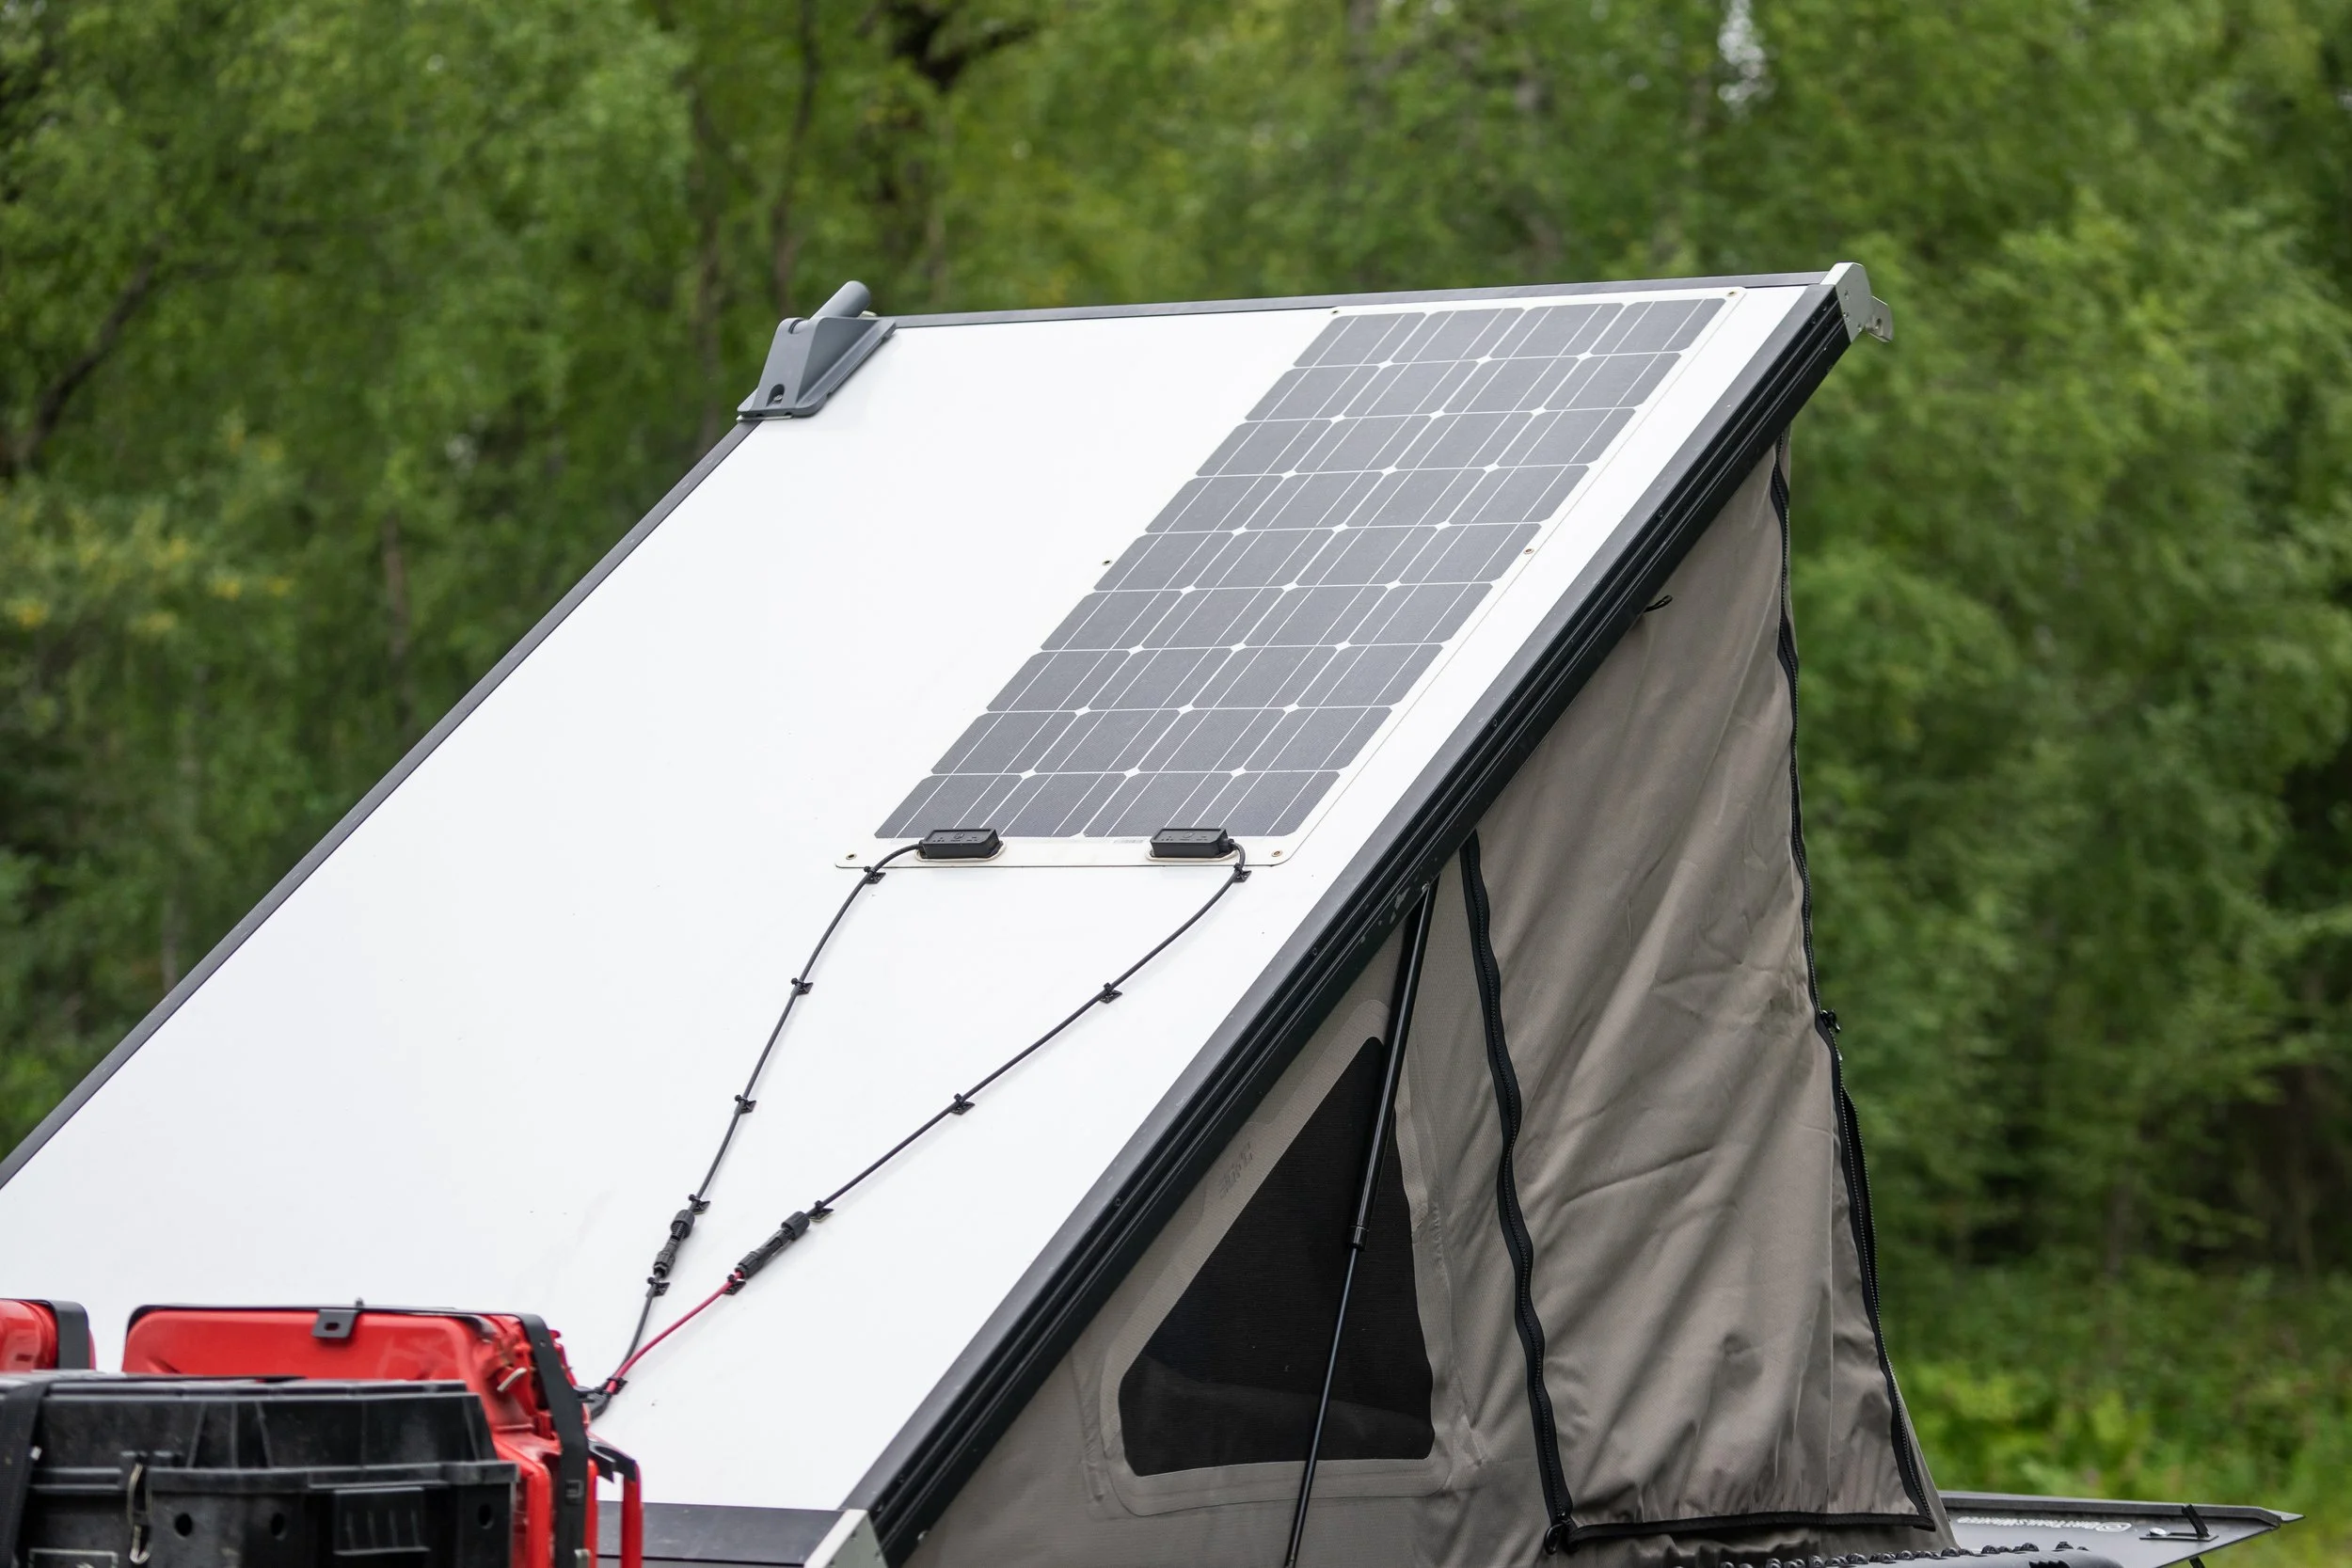
1) Renogy 100W Flexible Solar Panel
One of the main reasons why we decided to go with a flexible thin film solar panel was the simplicity of mounting it and its aerodynamics. We used double-sided adhesive tape to mount the panel directly to our roof on the Go Fast Camper which saved us from having to purchase an additional roof rack to mount a panel on. This also meant that we wouldn’t lose additional fuel economy due to additional drag on the roof. Rigid panels are certainly more efficient than these under hot mid-day summer conditions but come with the downside or additional hardware needed to mount as well are considerably heavier than flexible ones.
Another factor for choosing this panel size was compatibility with the battery that we were already using — 120 watts is the maximum charging input that can be accepted by the Goal Zero Yeti 500X.
2) Goal Zero Yeti 500X Portable Power Station
This is the heart of the power station, where all the magic happens! The beauty of using a power station like this is that it has all the other necessary components for a great solar system built into it. This includes the battery, battery monitoring systems, charge controllers, inverter, and nearly every style plug you could want is all there. We literally can simply plug our solar panel straight into one of the two input ports! For this battery’s size, it is remarkably light and takes up very little space in our truck, which might not be the case if we had built a system component by component.
We actually had purchased this Goal Zero Yeti 500x well before we finalized our solar plans for Dolores. Christina was going on a girl’s trip in the truck where she worked remotely and needed to stay powered up while off-grid. This little power station alone was able to keep her laptop, portable monitor, cell phone, and hotspot charged for three full days of Zoom calls and work! This was the point that we knew this power station combined with a solar input was going to be a great setup for this build-out.
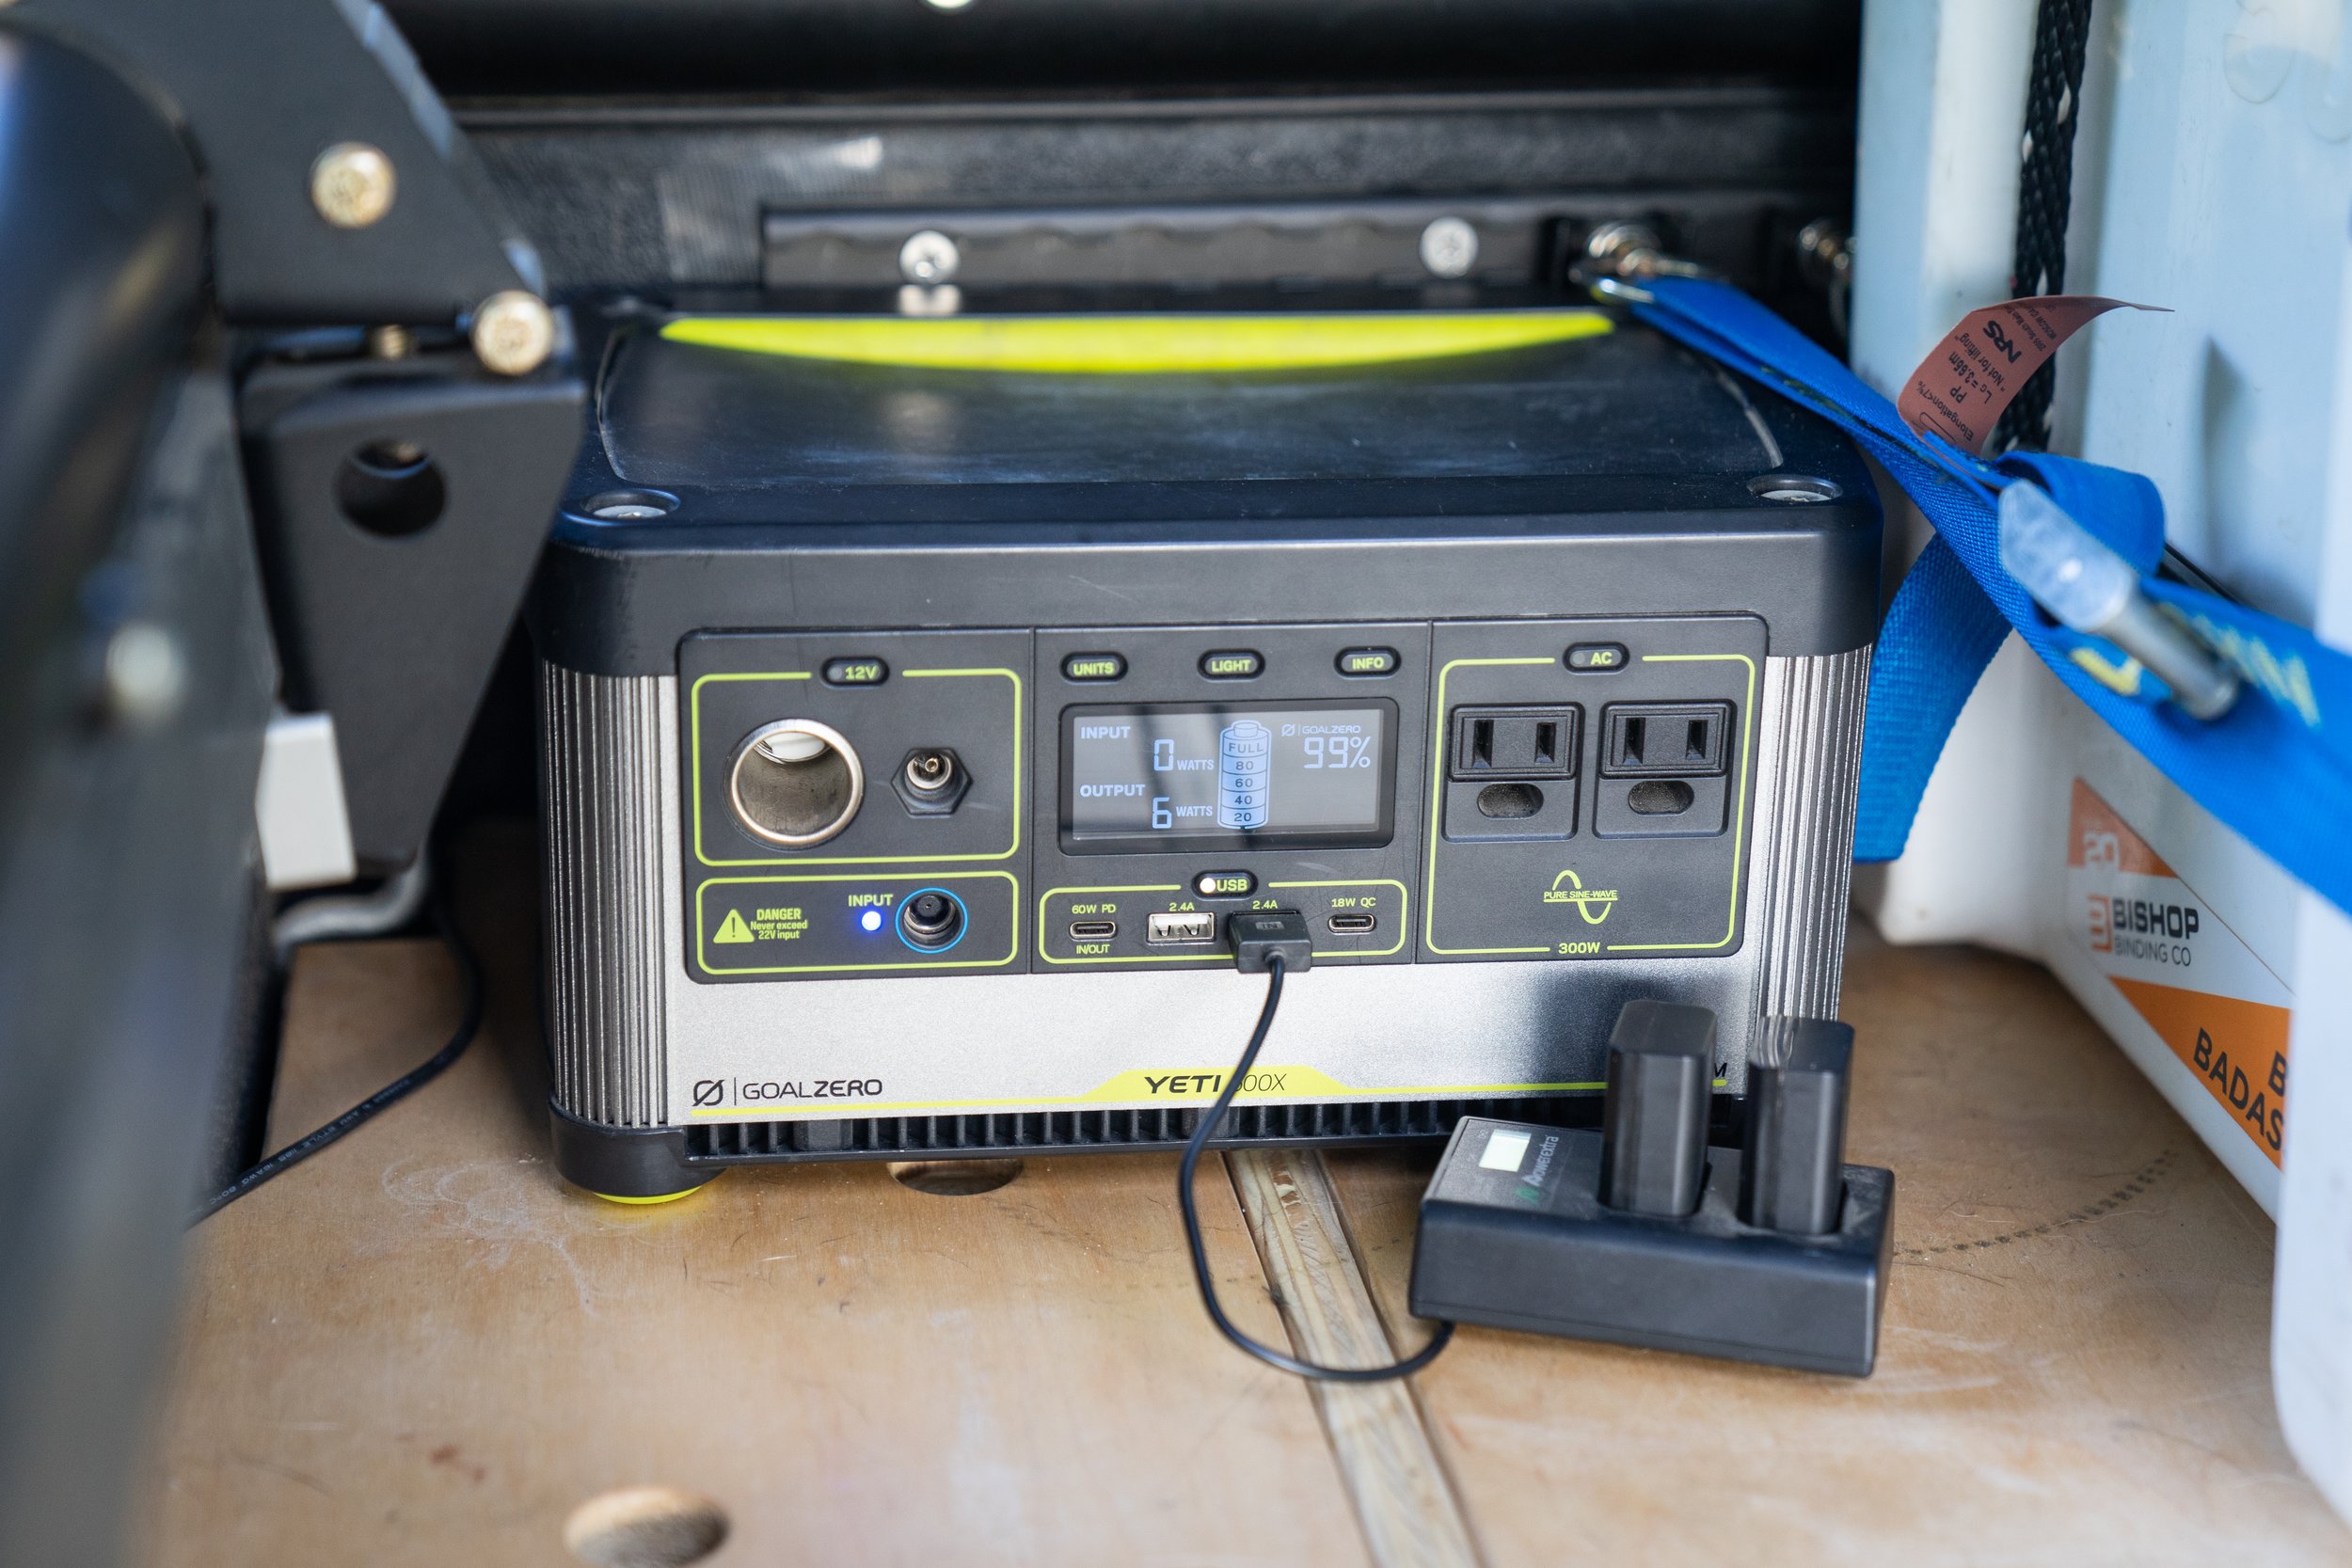
The Yeti 500x is tucked nicely into the back of our truck.
3) Solar Connector to DC8mm Adapter
We used these to convert the MC4 connectors that come off of our solar panel, as well as many others on the market, to the 8mm charging port that plugs into our power station.
4) Goal Zero 30’ Extension Cable 8 mm
From where the panel is mounted on the roof we had a long way to go to the point where we store our battery. So, a long cable was needed to make the connection between the two.
We use this when there isn’t enough solar energy available to charge our battery, and we intend to drive for long periods of time that day. During those periods we will plug this in and charge our battery while driving. Usually, this provided about 70 watts of power and is able to completely charge the battery during a couple of hours of driving. In combination with this, we used another extension cable mentioned above as #5 to get the power back to the battery.
6) 3M VHB Heavy Duty Mounting Tape
We used this to mount the panel to our roof. We thoroughly cleaned both our roof and the back side of the panel with a degreaser and wiped it down with water to remove any grease, or dust that might prevent the panel from fully sticking. After several months of use, the panel is still completely stuck down and it seems will be difficult to remove if we ever need to, let’s hope that we never need to.
We used these to secure the 2 wires that come off of the solar panel as well as all the other wires that run from the panel to where the battery is located.
This little system has worked fantastically for us! The battery is small enough that it doesn’t take up much room in our truck, and portable enough that we can easily carry it out to our camp chairs or to wherever we would like if we want power away from the truck. We heavily leaned into the simplicity of this for several reasons. The main one being that with fewer components there are fewer things that could fail, and so far, that has proved true. Everything in this system has worked as intended without issue. Budget is always a consideration as well. Though not the cheapest way you could build a system, it is one of the most cost-effective options for good reliable power. Availability is something we thought about also. If for some reason, the battery failed, or we decided that we needed more energy storage, picking up a new Goal Zero battery from an outdoor store is pretty easy to do from most places close to the areas we like to travel.
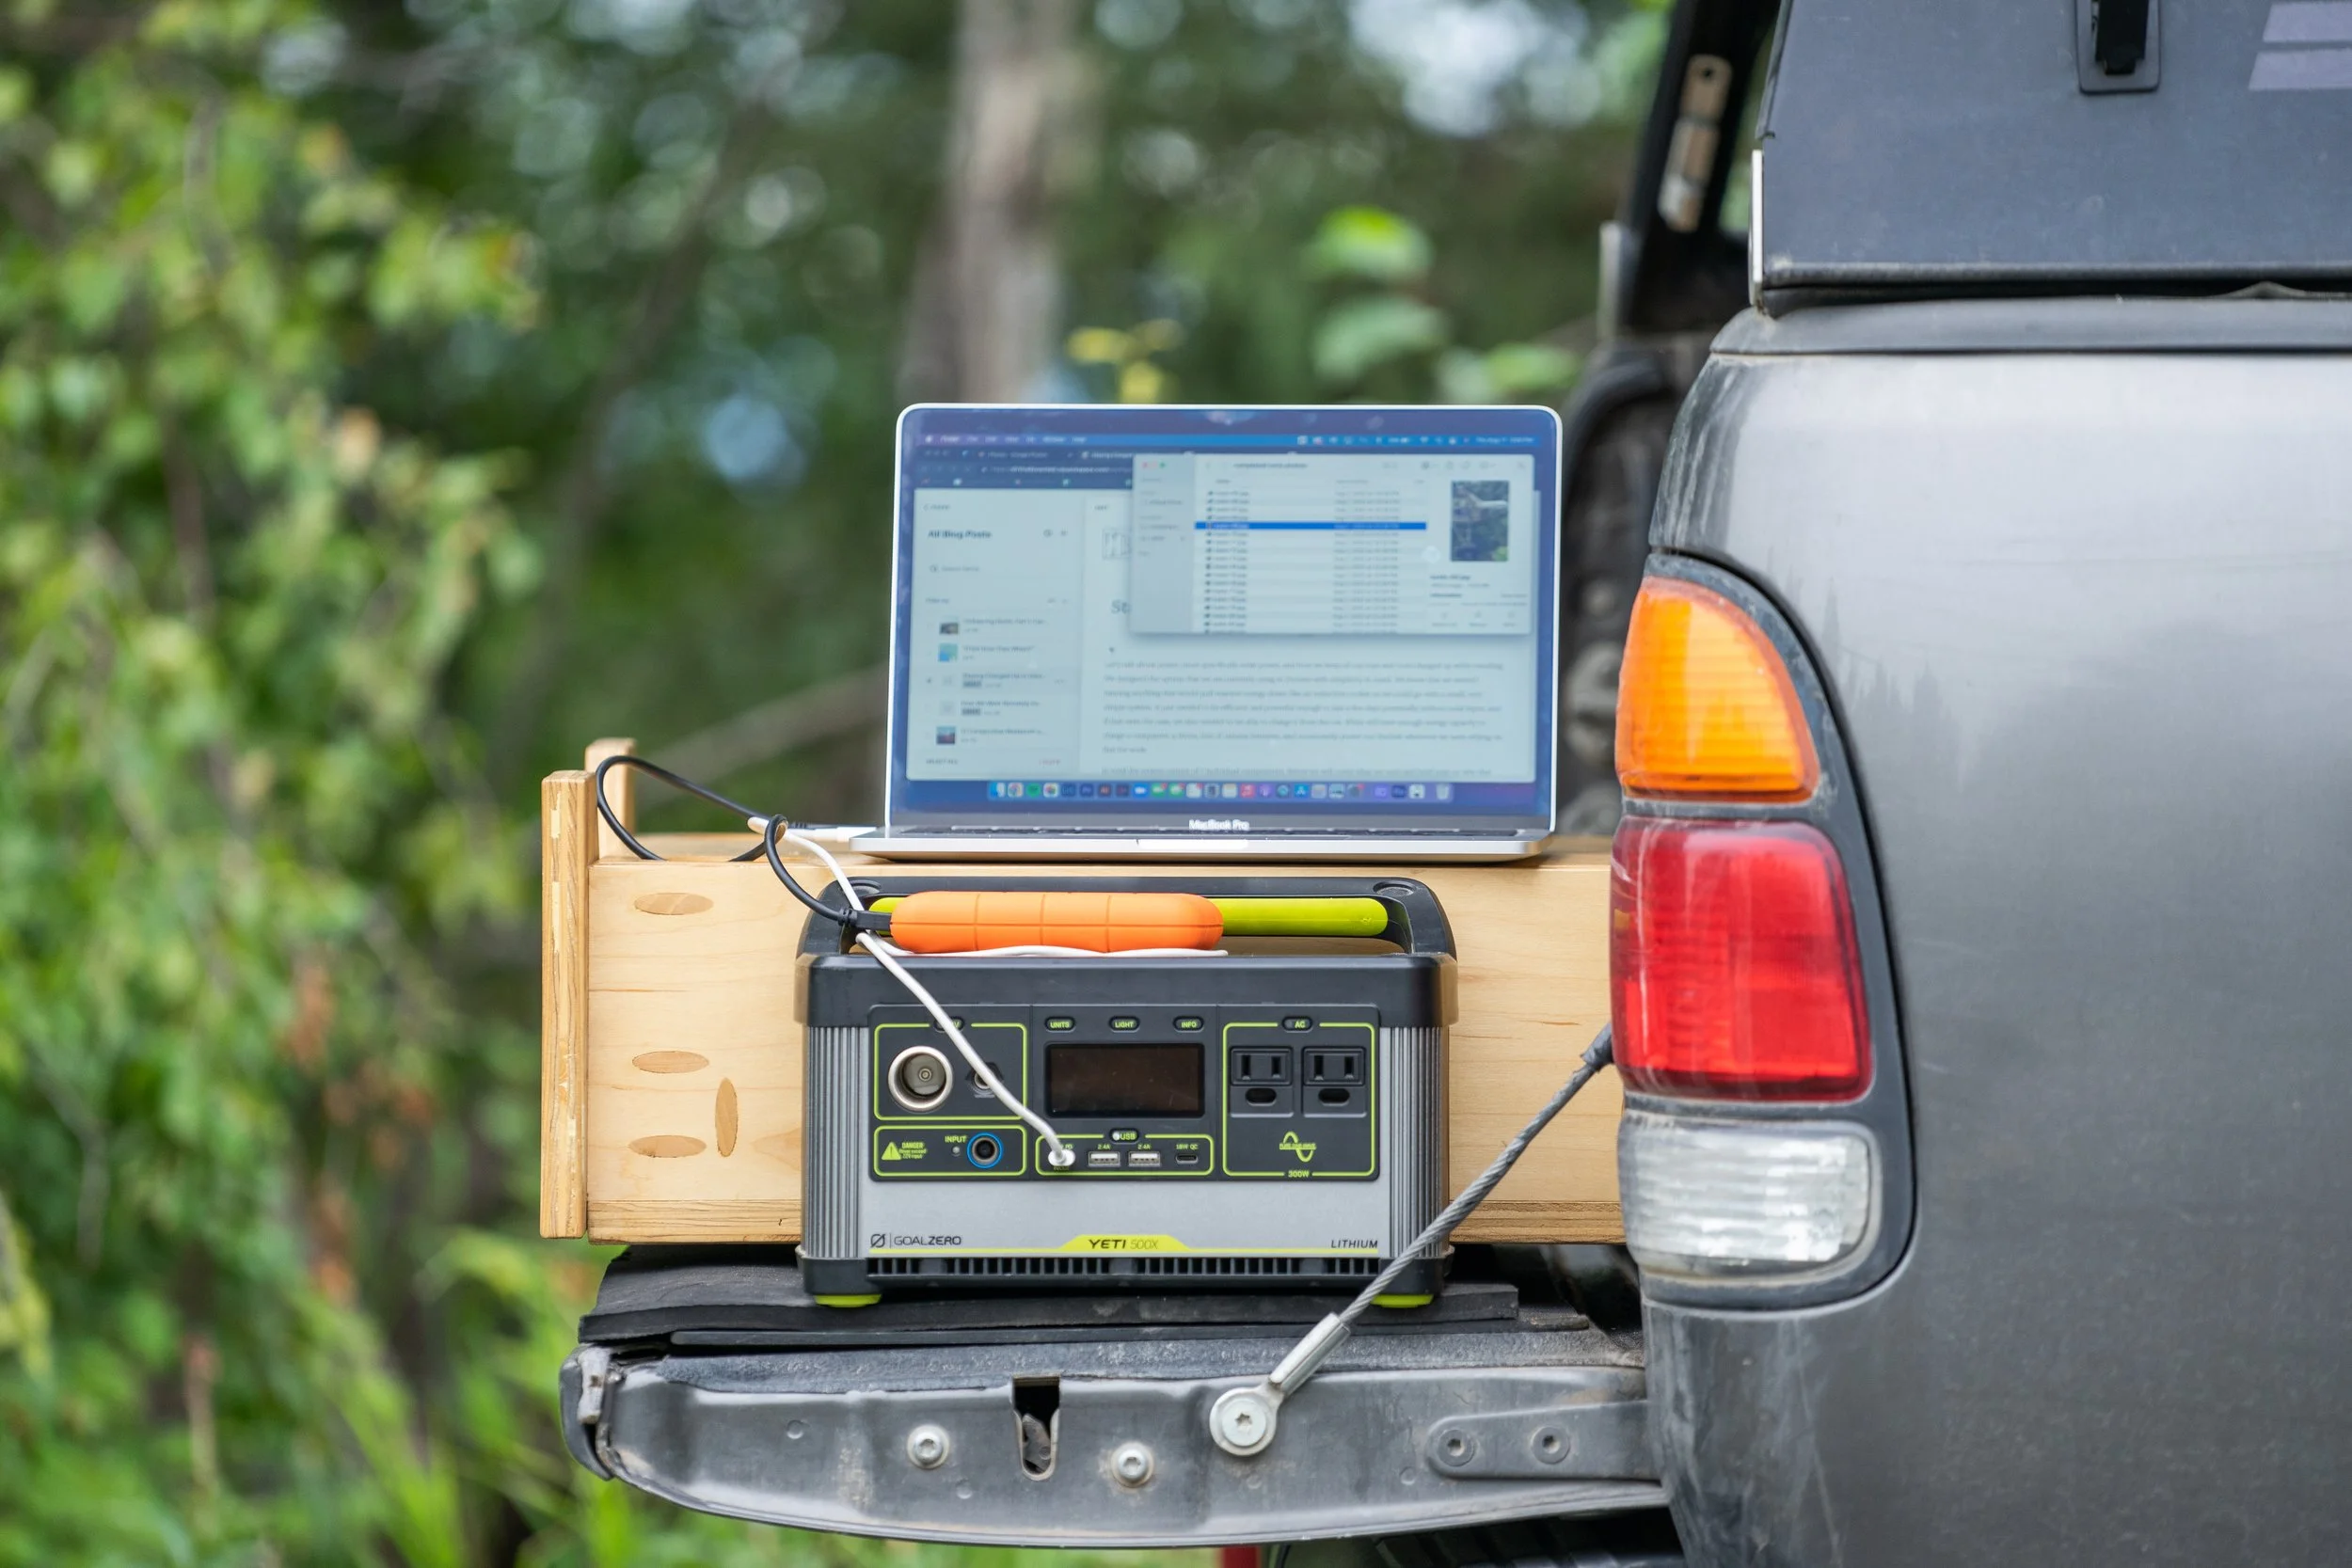
Power on the tailgate is not a problem.
One of the main things that we learned from this solar setup is that installing solar in your rig doesn’t have to be super complicated or terribly expensive. I hope that you find this post helpful and that it gives you a better idea of how to put a simple solar system into an adventure rig of your own so you can stay powered up the next time you hit the road!
