That’s awesome @Ronmastas . Definitely interested in what you learn or any insights you can share. I’m using an ANSYS product here - ANSYS Discovery. It’s not super accurate CFD, the intent is more to enable CAD designer type people to explore general design trends early. I’m sure your boss will say, garbage in, garbage out. The way that these models get set up really determines everything. So in some ways software like this can be a bit of a footgun if you’re not careful. I’m pretty reckless in this regard - locked and loaded. Safety third.
Main problem I have right now (besides being a n00b) is that the truck model I have is a polygon model, and I need to remodel it in solids. The way this software works, you can get gross results from almost any geometry in real time (and play around with the shape and see the changes), but then there’s a “refine” step where small features are considered. At this scale, the Airtabs/vortex generators are small features. So I will only see their full effect the Refine step. I’m pretty committed to simulating this before I go sticking 40-50 plastic bits on my beloved camper.
I have about a dozen time consuming half finished projects on this rig (many that I haven’t posted about yet) so this one is just waiting for me to get inspired to do a bunch of tedious modeling again, so I can see the results on those airtabs.
Same same haha. Everything is being iterated on so it looks a teenager worked on it.
I feel the same about not wanting model if I don’t have to. I thought about paying a junior Mech E. a few hundred to go at modeling my truck to save me the time. Another option to use in Apple device with lidar and scanned to STL then convert as needed. Some salad thoughts of mine I’m considering.
just do it and be happy, then share it with the non technical so we can decide where to put air tabs as well. Your contribution to humanity is much appreciated
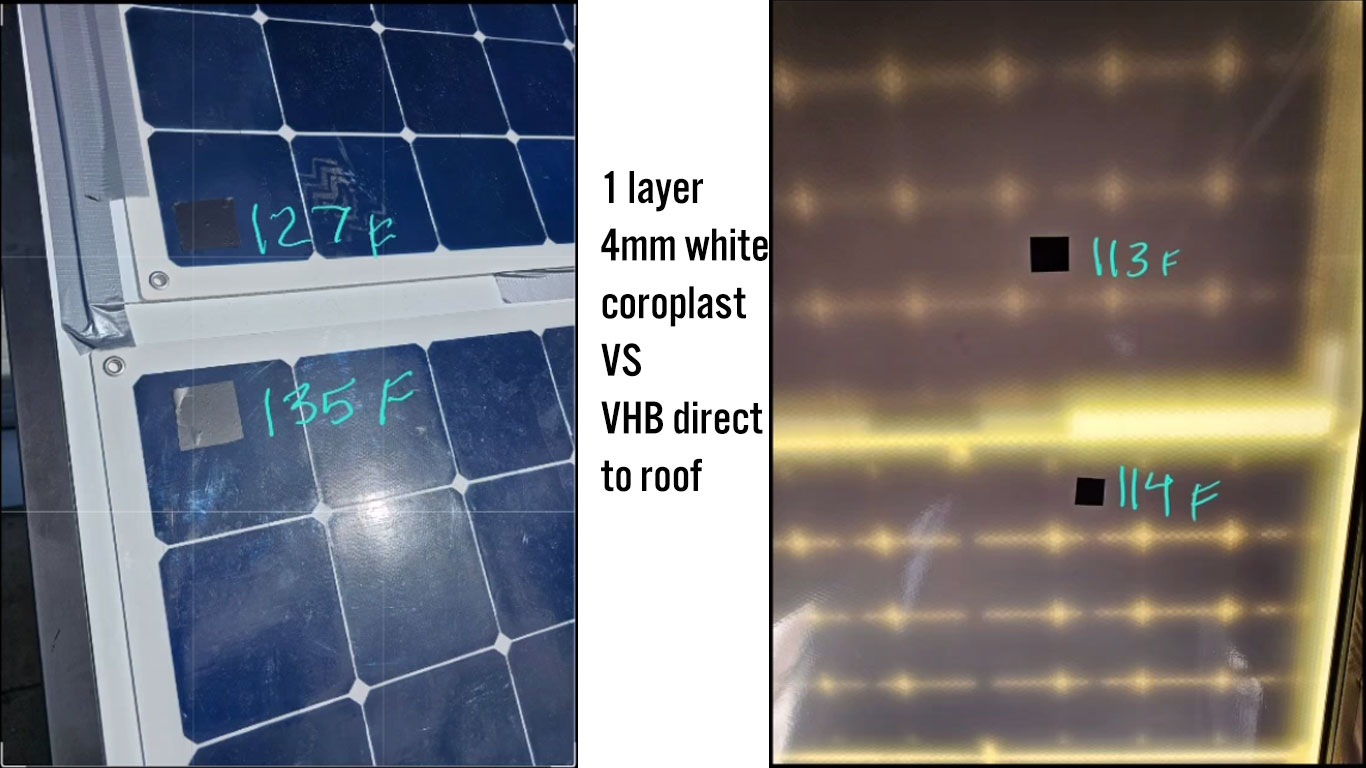
Update: I got some 4mm coroplast from a local plastics dealer. I wanted thicker, but this was all they had. The concept here is to create an air gap between the panels and the roof. The coroplast channels are oriented so convection would carry the hot air out toward the apex of the tent . Because the ambient temperature is going up as the day continues. It’s about 60F ambient today. This is far from a highly controlled experiment and I’m a graduate school dropout so take this whole thing for what it is.
First experiment was 1 layer of coroplast between the panel and the roof. I allowed 20 minutes of sun to let temps equalize. No appreciable temperature drop inside. Some temperature drop outside. This makes me seriously doubt the Youtube video crowd advocating for 1 layer of thin coroplast as a cooling solution - although the panel is cooler than the unspaced panel. Not noted in this first picture, the untreated roof temperature was ~99F.
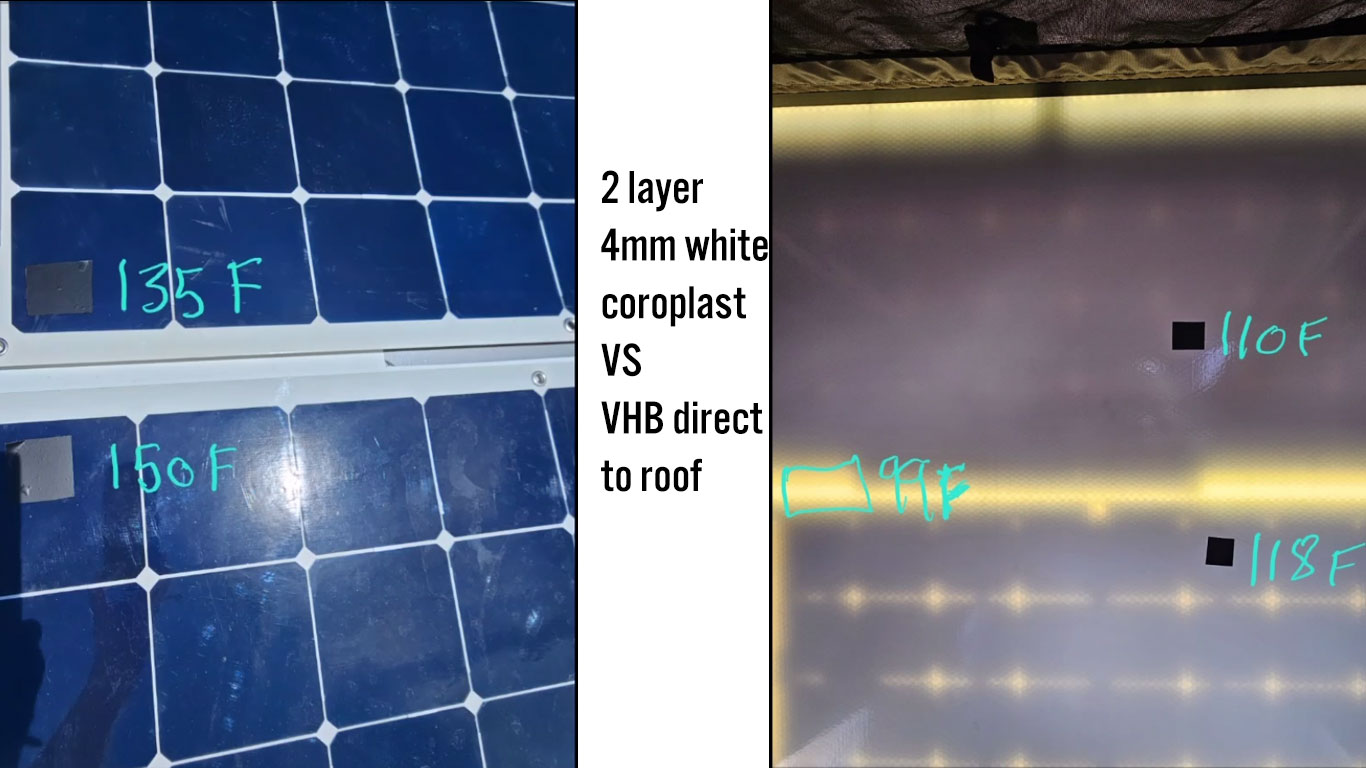
Second experiment was 2 layers of coroplast between the panel and roof. Allowed for 20 minutes of sun to let temps equalize. Improved but still significantly hotter than without panels on the roof.
Summarizing the Coroplast experiments:
RTD: Inside roof temperature difference between untreated (bare) and coroplast treated area.
IRPTD: Inside roof temperature difference between untreated solar and coroplast solar
OPTD: Outside temperature difference between treated and untreated area.
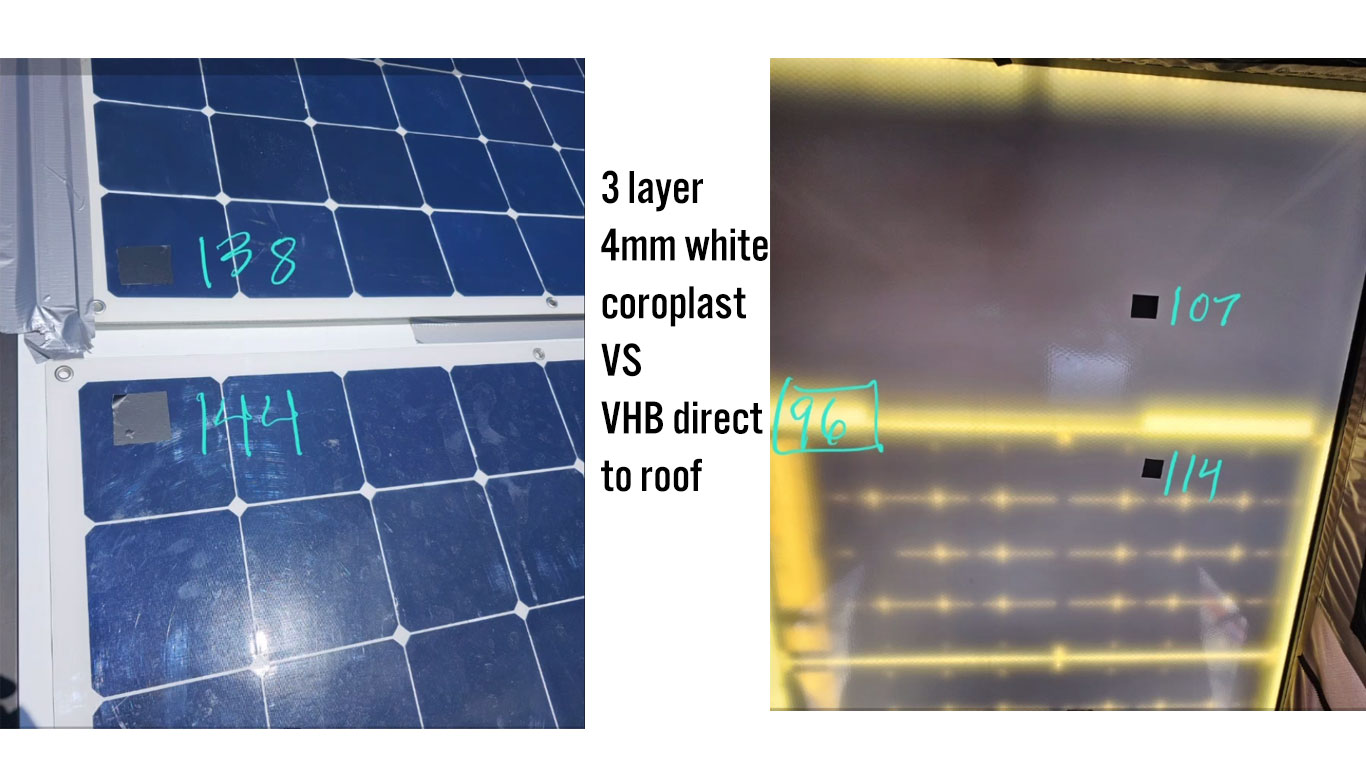
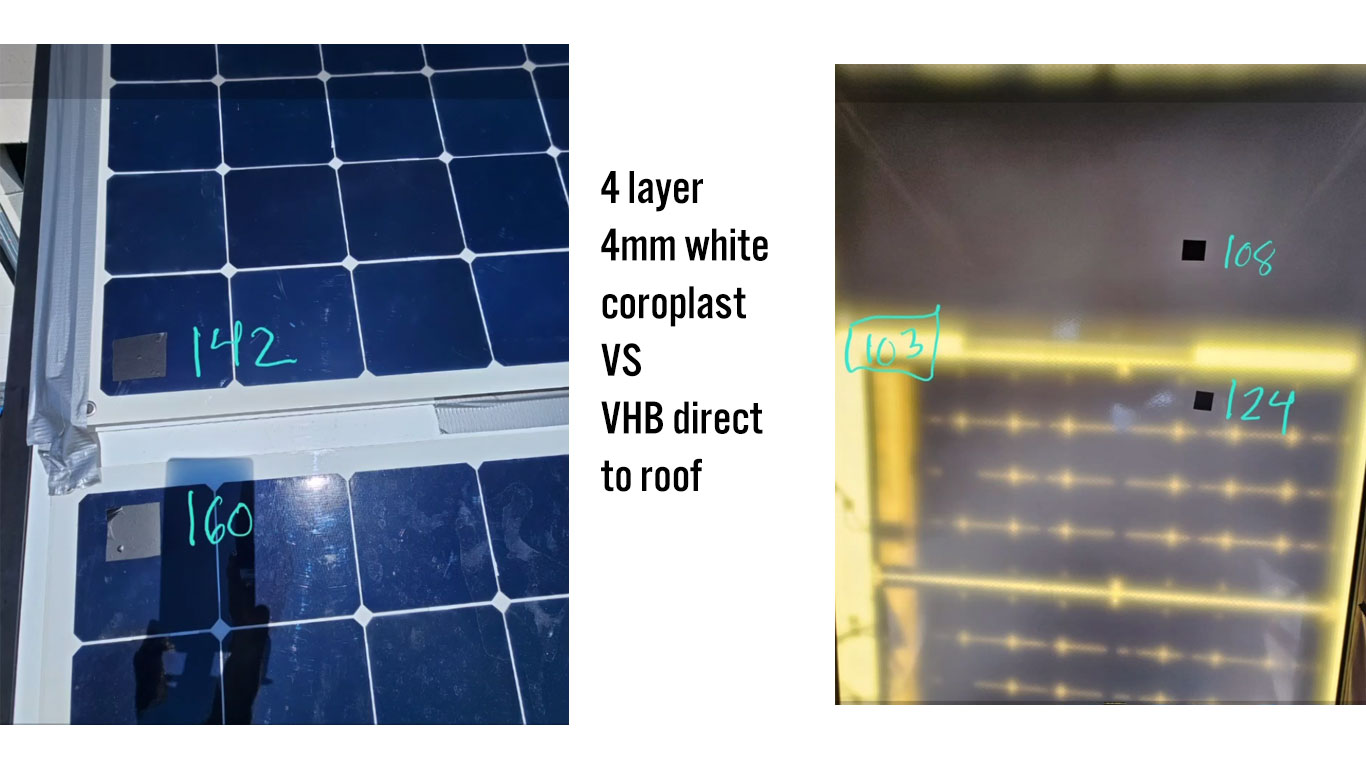
All in all kind of hard to read, but basically small effects inside (<10%) with diminishing returns somewhere in the neighborhood of 3-4 layers. I’m not sure what to make of the huge difference in outside panel temps for the 4 layer setup. Kind of anomalous.
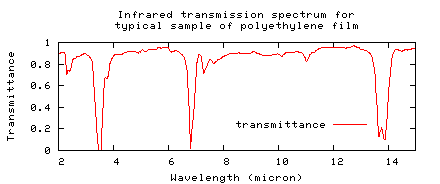
An interesting note is that polyethylene (the plastic coroplast is made from) is generally transparent to heat energy (3-12umish (very rough numbers)). So the effect here is mostly likely heat radiating or conducting to the surface below, the reduction in heat is due to the spacing/inverse square law and perhaps some small cooling effect from the air channels.
EDIT: I did some tests including a sandwiched piece of woven radiant barrier material, nothing impressive happened.
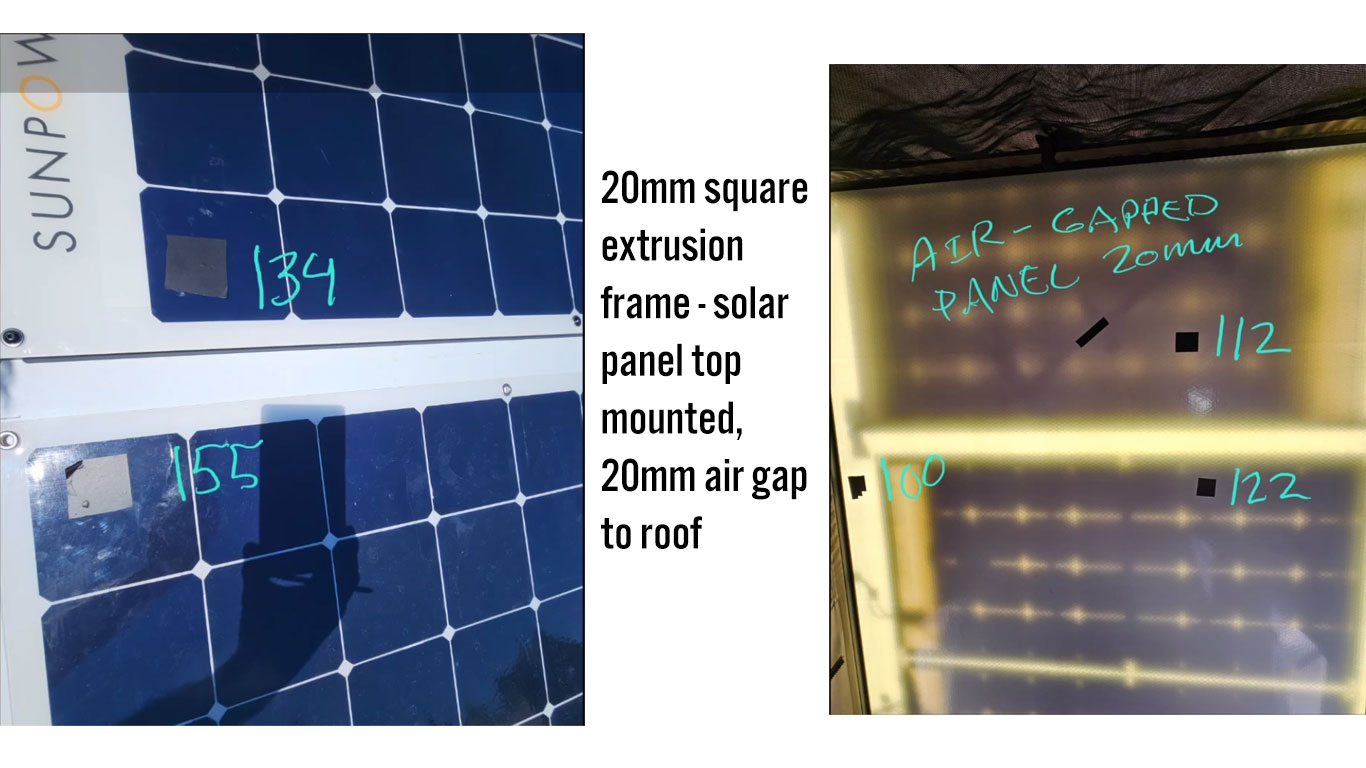
Fourth experiment was just an air gap. I made a makeshift frame from 20mm x 20mm extrusion. The panel is spaced roughly 20mm off the roof of the camper.
Overall, inside there’s a 10 degree F difference between the untreated and treated panels, and a 12 degree F difference between the treated area and the roof. This is basically in the same ballpark as all the others.
However on the front face the difference is significant. The solar cell is reading approx 134 deg, a difference of 19 degrees between the two panels. This is as good or better than all other methods in terms of keeping the panels cool, which increases efficiency and panel life.
At this point, I am feeling some mild regret at buying flexible panels, because I’m probably just going to have to build a frame for them no matter what. When I feel like this I usually have to recall my priorities:
Lowest possible weight.
Good efficiency.
Good aerodynamics.
All these goals can still likely be achieved with these panels. It’s just more work and more time. Given that the Beef Bars that I ordered are heavy (for good reason) a minimalist lightweight extrusion frame can still be a winner. And I can design some kind of treatment on the front to keep it from impacting aerodynamics too much. At 20mm square, there’s also room to conceal the cable mess under the extrusion, which could be a win for aesthetics and durability, too.
I don’t plan to cover the entire roof with panels. One thought that came to mind is that it might be possible to laminate a reflective barrier material on the inside of the tent toward the hinge. I’d have the top third for light, and the bottom third for solar. I have some Reflectix arriving this weekend.
Lessons learned:
Adding solar does not necessarily make the roof cooler.
In fact, in my configuration it makes things hotter.
Coroplast supports are not a very effective solution.
An air gap of 20mm/1 inch significantly cools the panel.
These measurements are a huge time investment because you have to wait for heat soak.
The camper is going to need fans inside to be a comfortable working environment.
Does your solar panel list a minimum air gap requirement? Makes sense that there would be a increased delta T when the air gap increases. Basically, solar panels makes radiant heat, turns into convection, and that gets trapped in small spaces. Copy!
Love the testing by the way, Build, test, iterate!
Folks, if you want a great example of how engineers politely ask “did you read the manual”, this is it. Actually, I did! Here’s the manual. It only says that there should be an air gap in hot environments. Mounting details are essentially left to the user. I went looking for how RV people do it, and that’s where the Coroplast mount idea came from.
I note that the manual also mentions the use of diodes in parallel arrays. I’m running all 3 panels parallel. They note that the risk includes fire, lol. Time for me to pick up some diodes.
I saw a video the other day on a camper van conversion. They laid down furring strips along the factory ridges on the van floor, then spray foam, then used a foam shaver attachment to level the foam to the furring strips. Maybe do that and then a sheet of HDPE or something similar over the top?
Interesting lightweight option. Probably not super durable.
Looks like Dee Zee actually offers a custom fit rubber mat for my truck. I searched for this for quite a while and saw it was out of stock everywhere. For the price this is probably the least-hassle item I can get.
The page states that the shipping weight is 36 pounds - that seems lightweight to me.
Edit: I ordered a Dee Zee 86501. Summit Racing had it for $120 shipped. This is too affordable for me to mess with anything else. A single sheet of ABS or HDPE would approach that price. I’ll report back with my experiences.
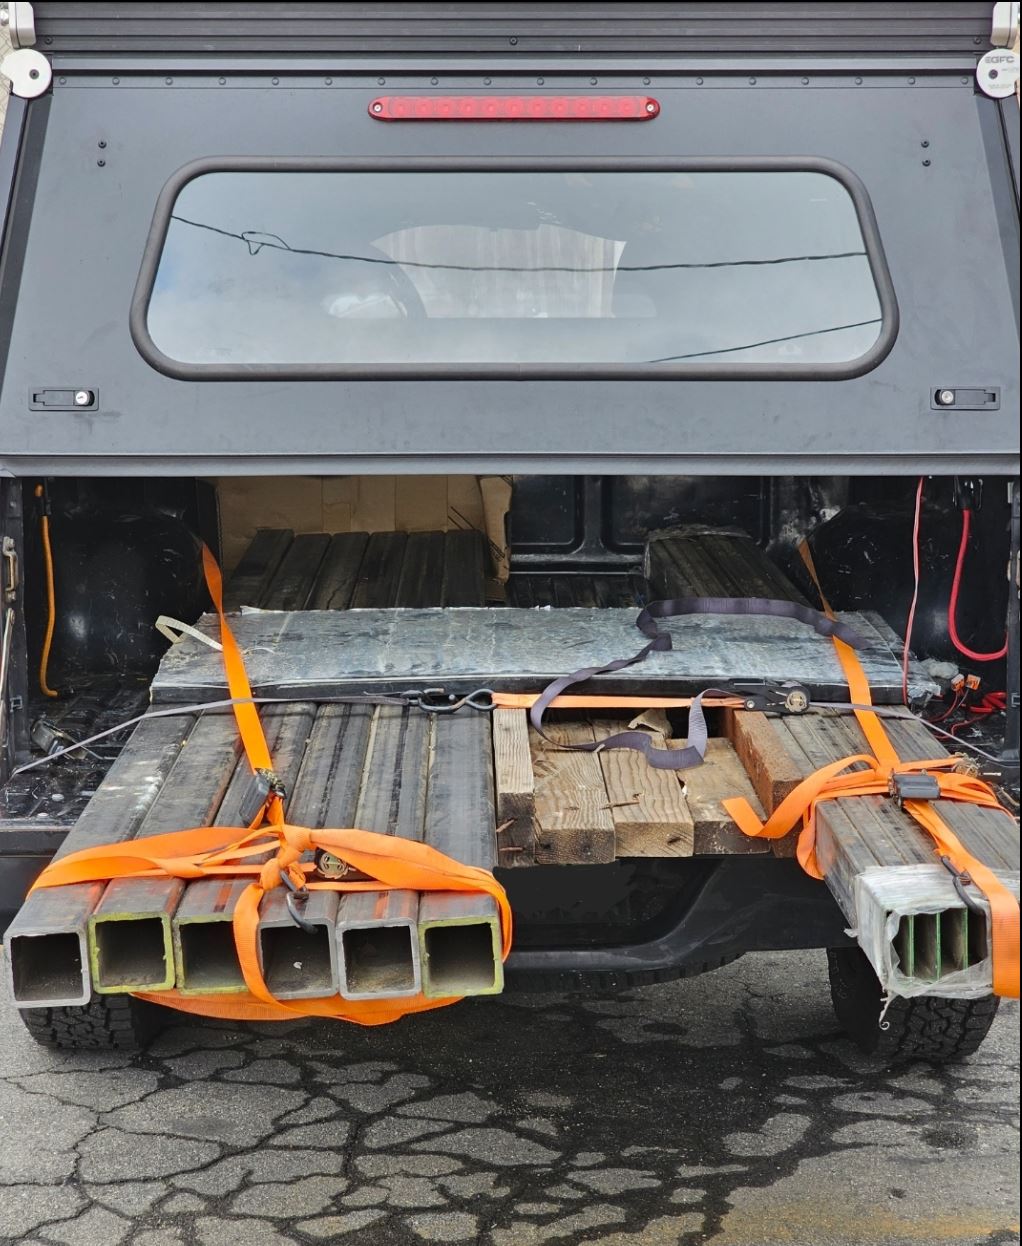
I think I’m going to do a temporary tailgate cover in plywood to prototype what I want there.
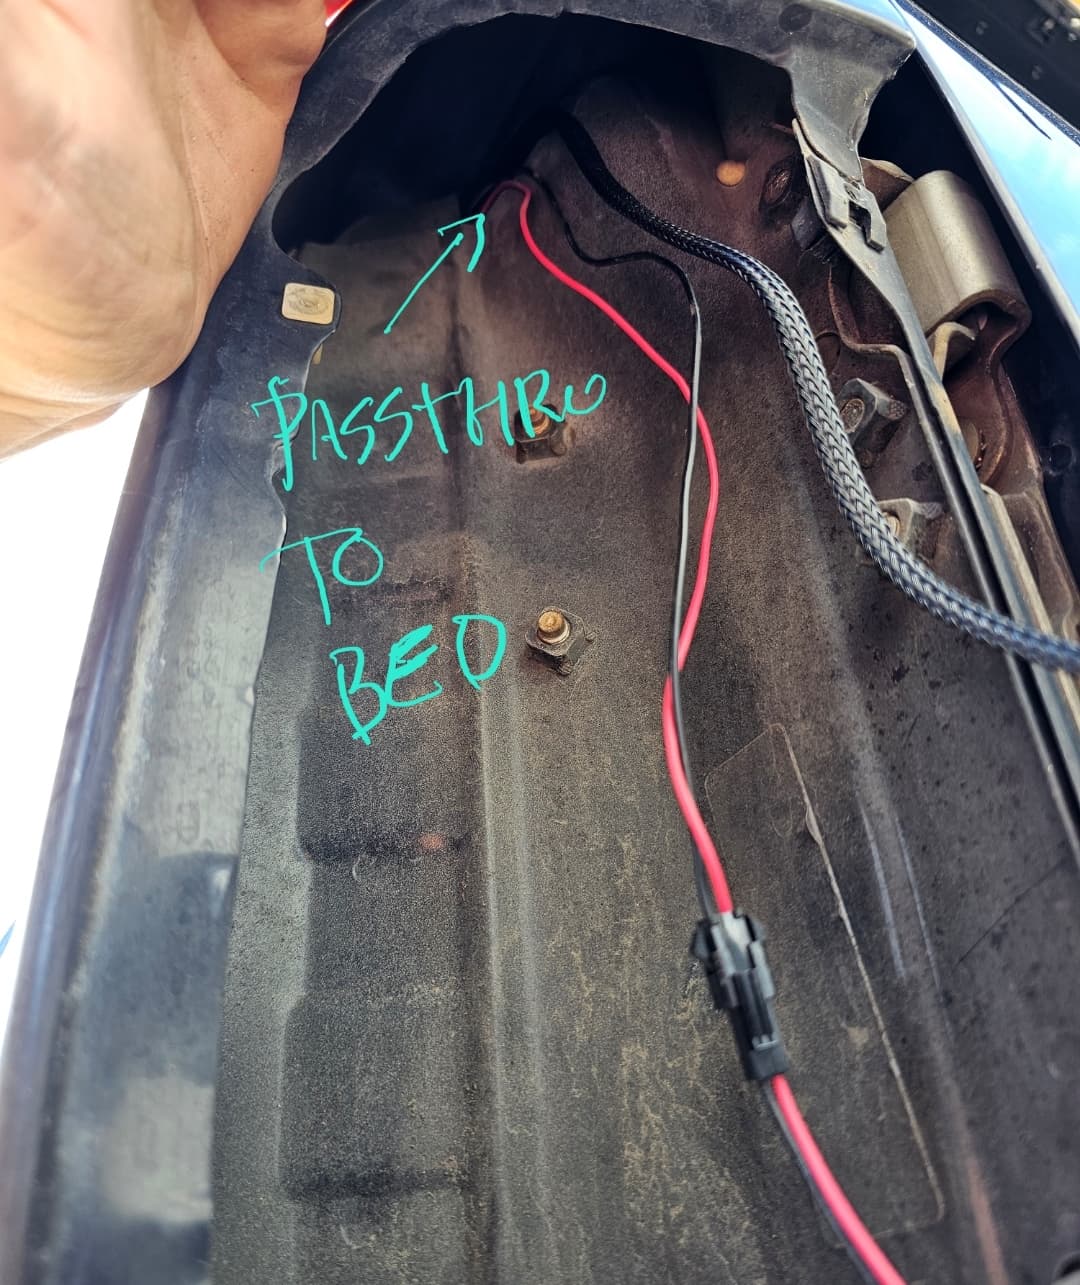
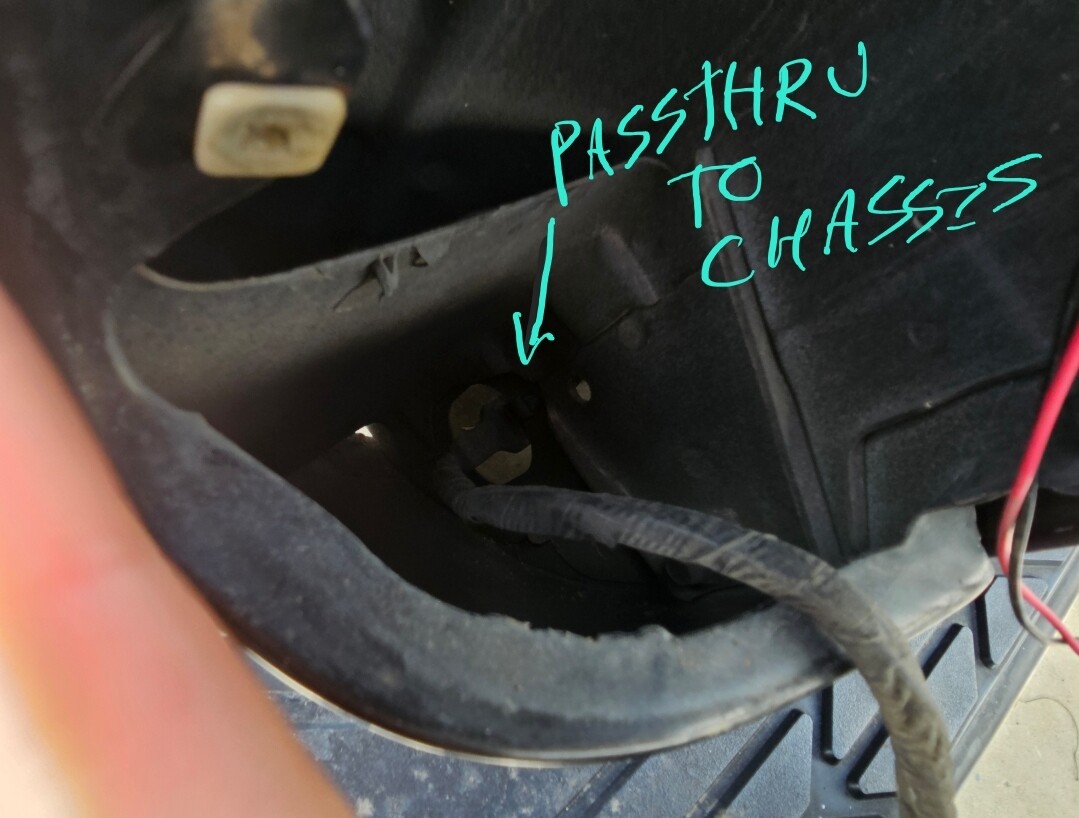
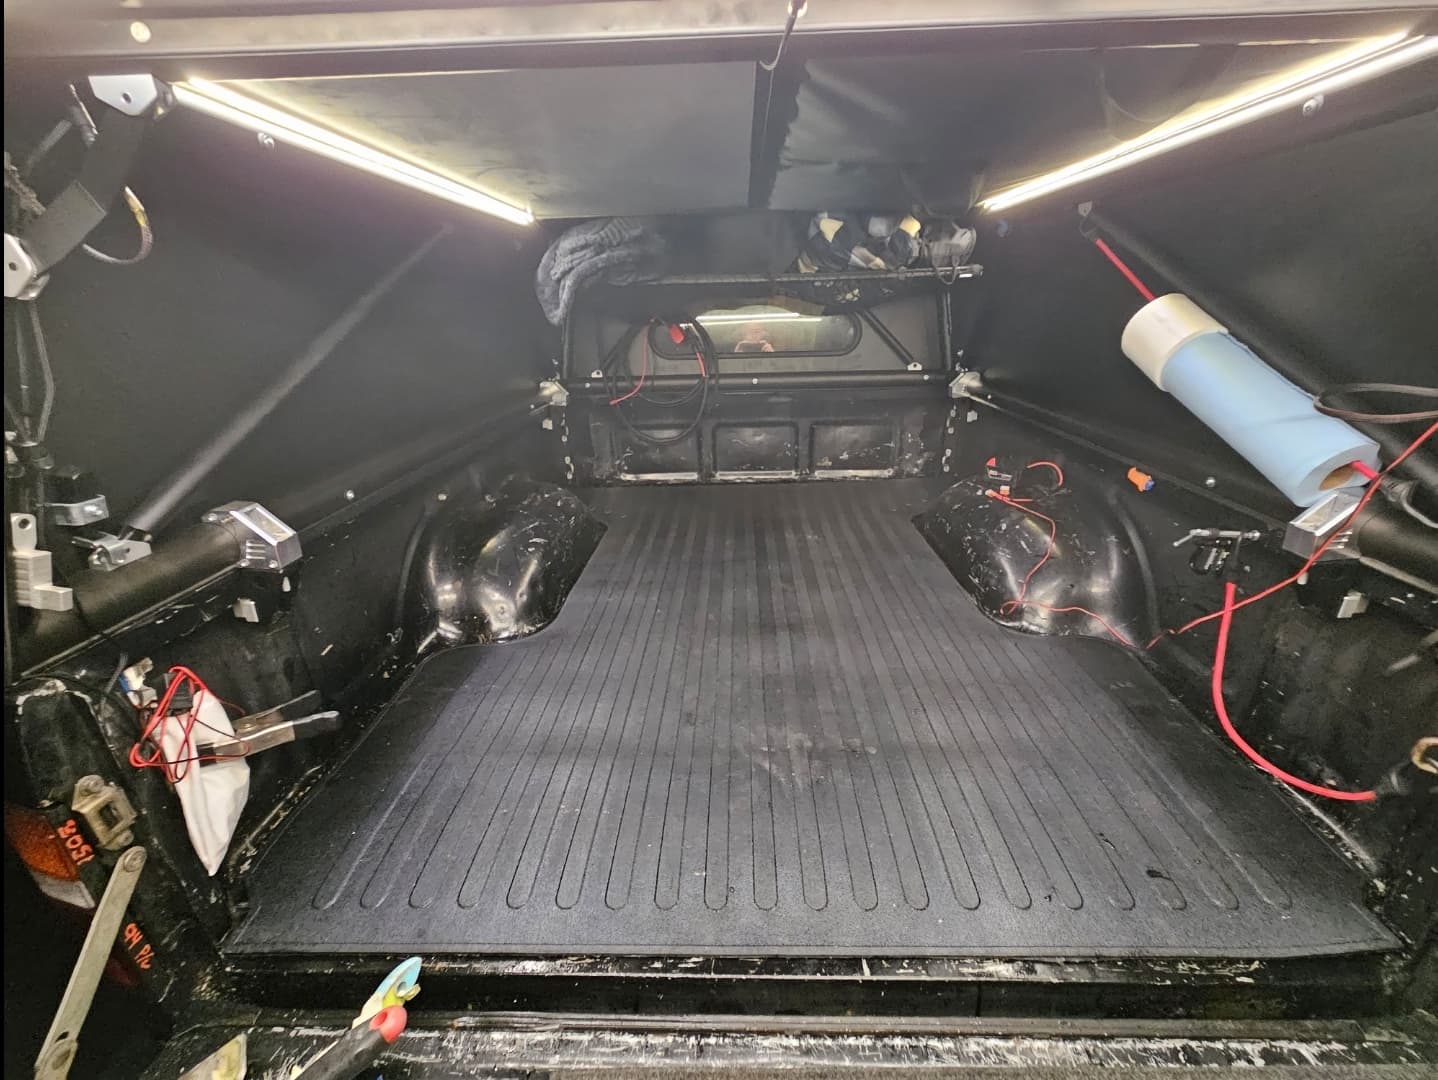
Today, I finally wired the brake light on the GFC. Some notes for other Toyota owners:
There are two passthroughs behind the brake light. One goes to the bed, one to the chassis. There might be other ways out of this space too. I was just pleased to find these:
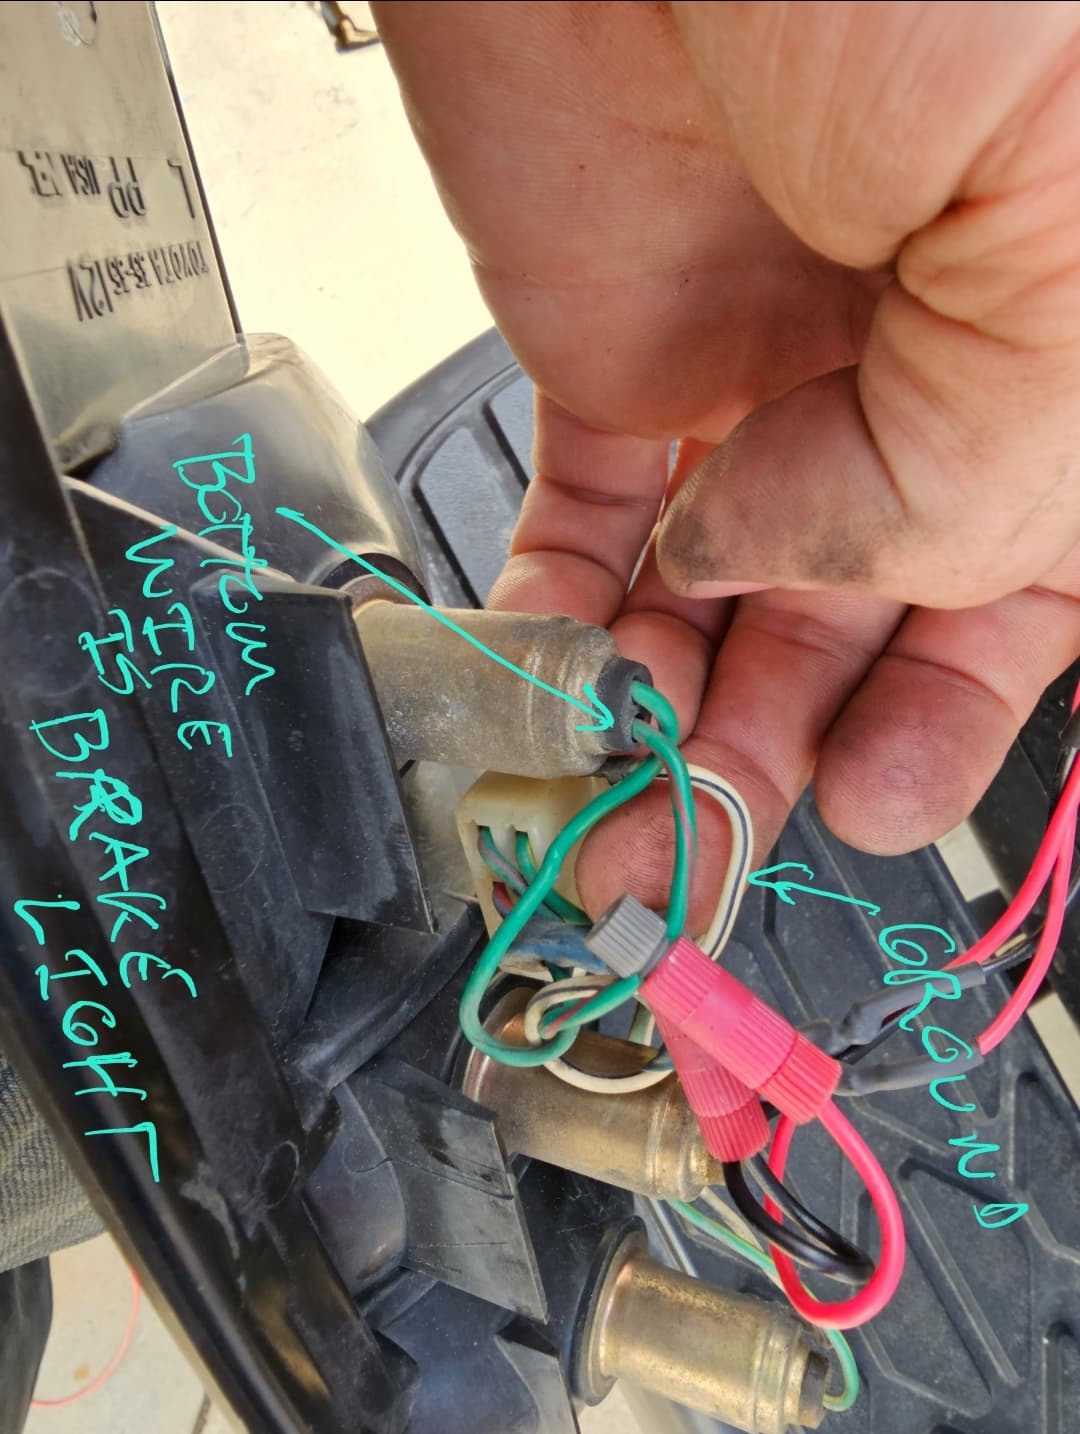
I usually don’t use wire-piercing connectors (I’d rather cut, solder, and heatshrink/seal) but I decided to use the connectors that came included with the GFC. They worked out fine.
The bottom wire of the topmost light bulb is the brake light. It’s green and red/pink on my harness. Ground is the white and black wire.
Before I got the GFC, I upgraded all the lights on the truck. First, I replaced the old stock headlights, which were literally falling apart when I took them out.
After doing a ton of research, I decided on the TruckLite 27450C to replace my 5x7 headlights. I did not want to take a chance on cheap China stuff when it came to headlights. It’s my understanding that these lights are at least “assembled in the USA”. I read somewhere that this is the same company that designed the LED lights on the HUMVEE so at least they have some experience making tough stuff. A huge factor in choosing these lamps was that they did not require any adapter harness for the weird Toyota headlight wiring - a complete plug and play install.
I’m very happy with these headlights. They’re a huge upgrade over the originals, so much so that I can’t imagine being without them. They’ve had no issues. And they look really cool in my opinion.
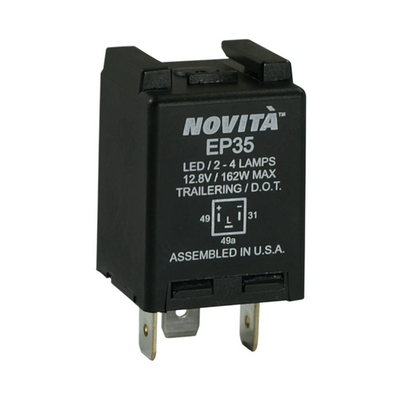
Regarding the brake lights, running lights, and backup lights, I also wanted an upgrade to LED and brighter, more visible lights in general. However I did not want to use ballast resistors to make them work. It took a bit of digging, but I found this Novita EP35 relay to replace the stock relay. This was a huge win because it’s a drop in replacement, but also it can drive BOTH incandescent and LED lights if needed. With the Novita installed, I was able to replace all the lamps with LEDs at my leisure. I ordered the Novita from Autozone, BTW.
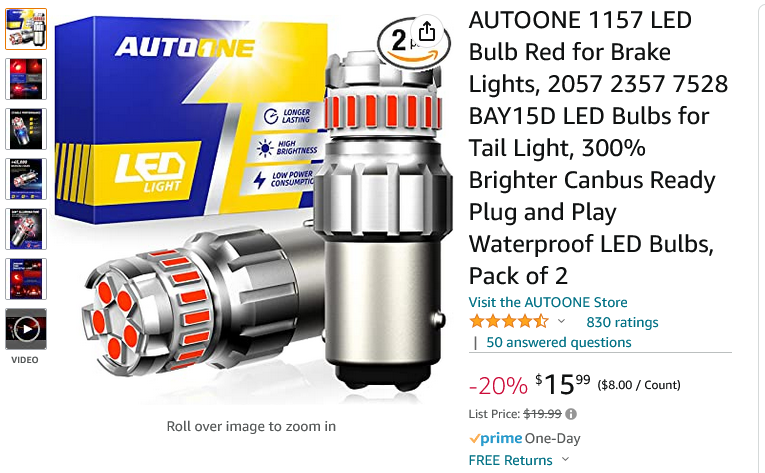
After testing out three different styles of lights, I ended up selecting these lights for all the replacements (brake, backup, running):
I would highly recommend this style of light to anyone with an 85-94 pickup. The difference in visibility is huge and the backup light portion really changed the game for me.
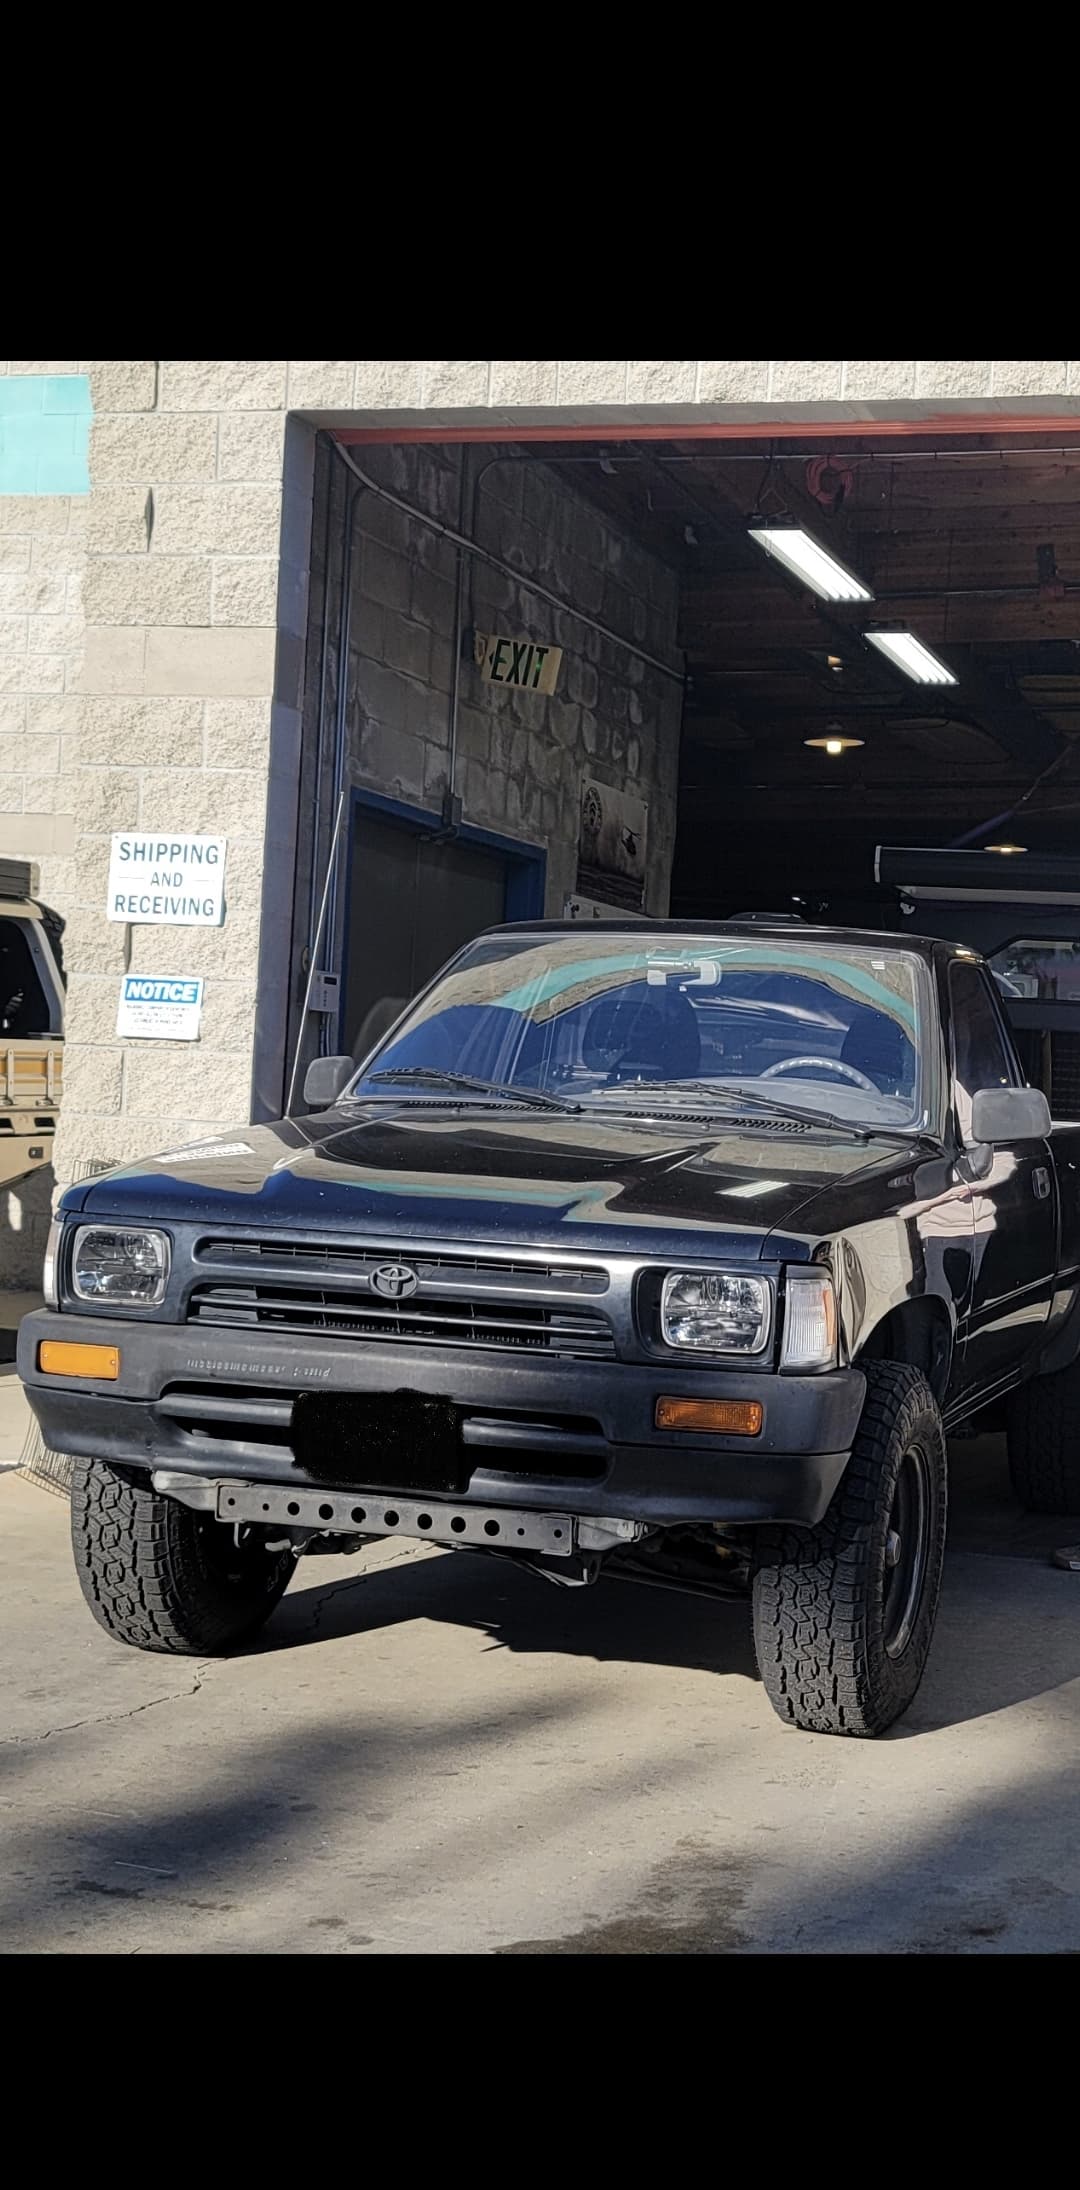
Today I worked on a prototype/test install of a backup camera.
People in SoCal drive very aggressively and don’t pay a lot of attention. Even with the window option, I simply don’t have the field of view to safely back out of a parking spot. I’ve had several close calls in parking lots since installing the GFC. I figured a backup cam was a lot cheaper than an accident (fingers crossed).
I had the following requirements:
Wireless connection to monitor so I don’t have to run a video cable to the cab
Wired power connection so it’s not dependent on a solar cell or lithium battery
Smallish screen so it will fit in my dash
Widest practical FOV
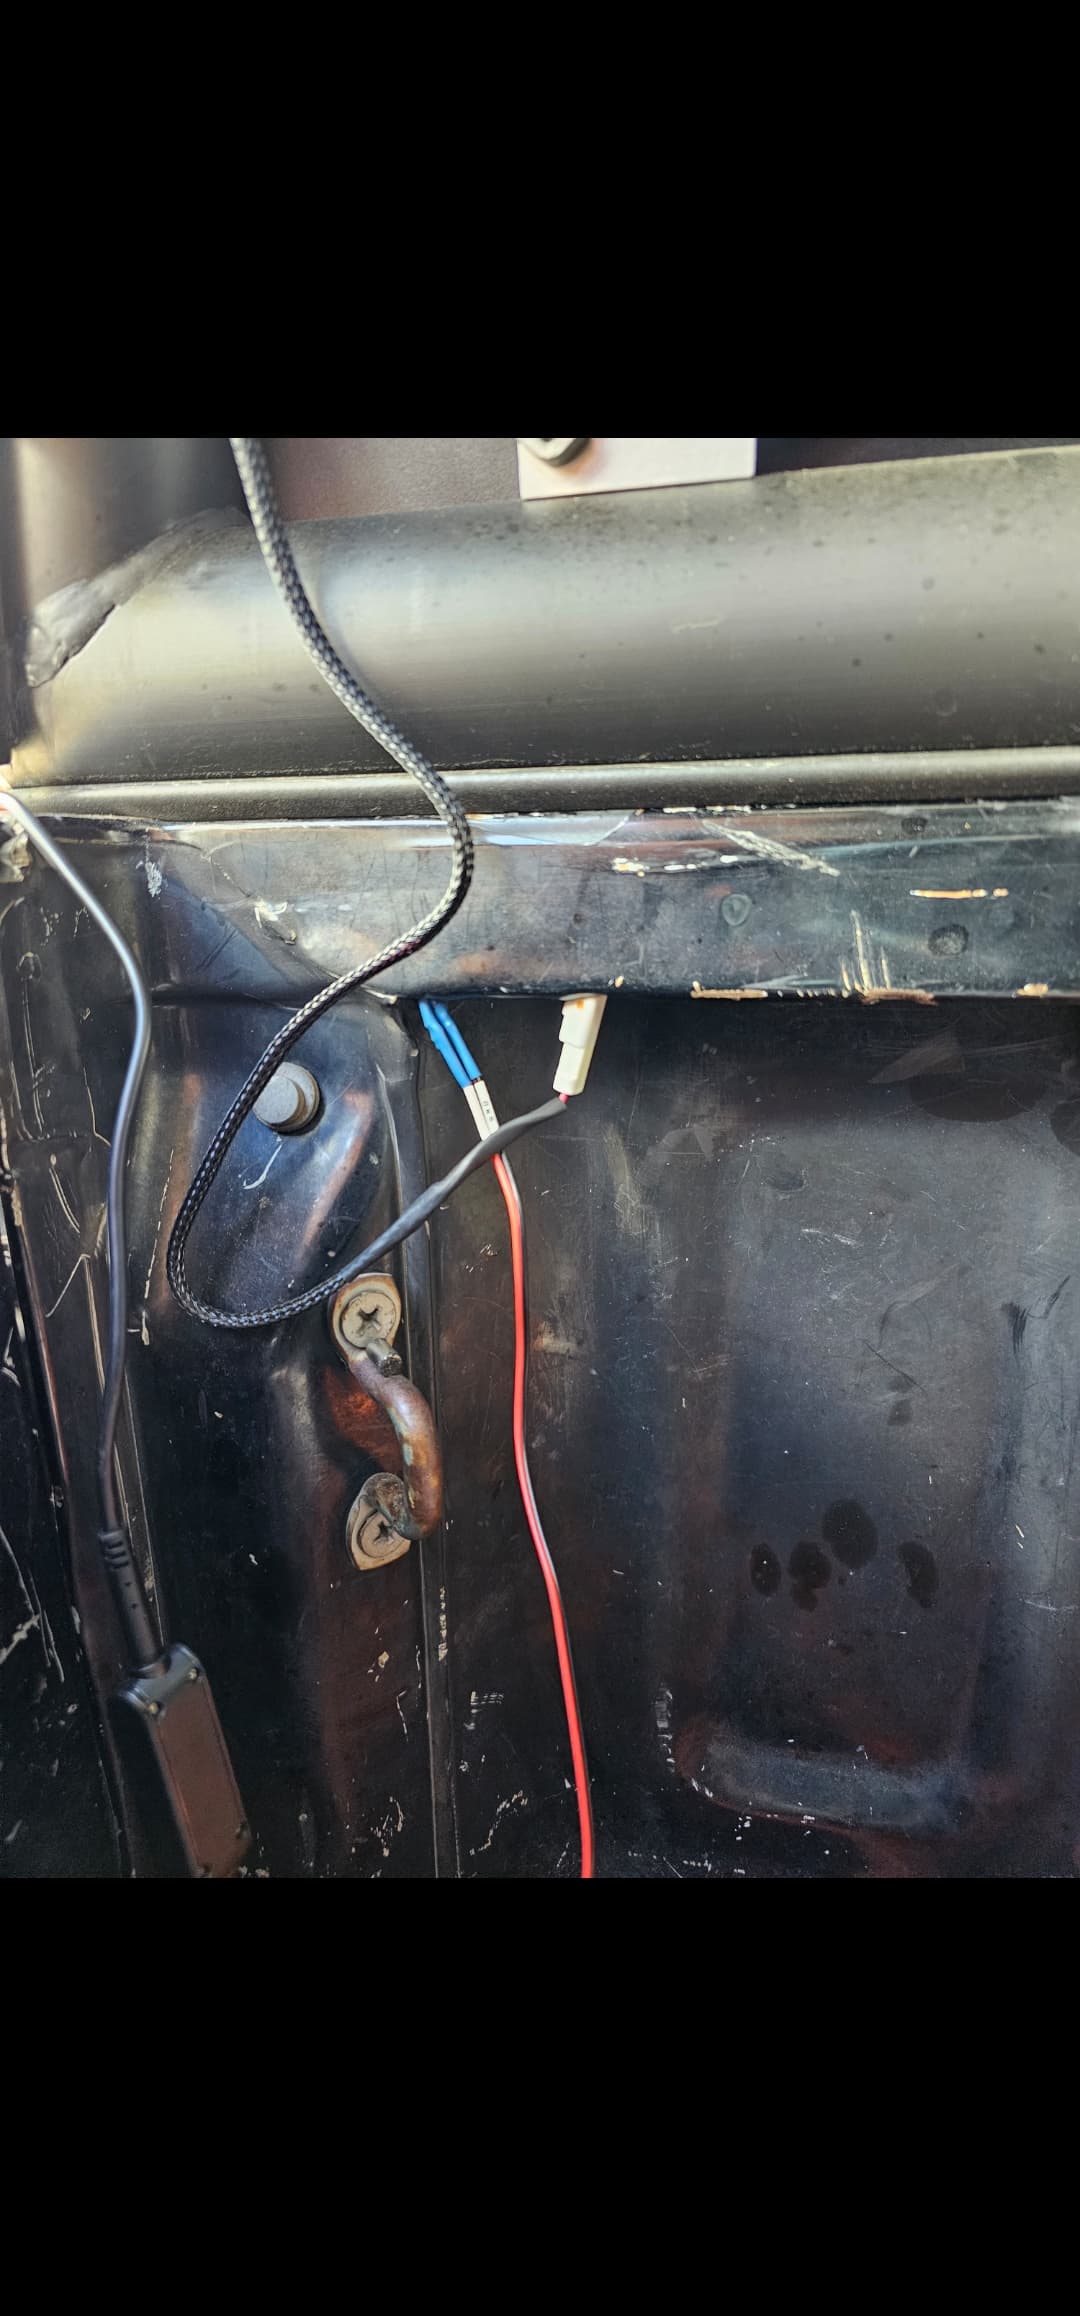
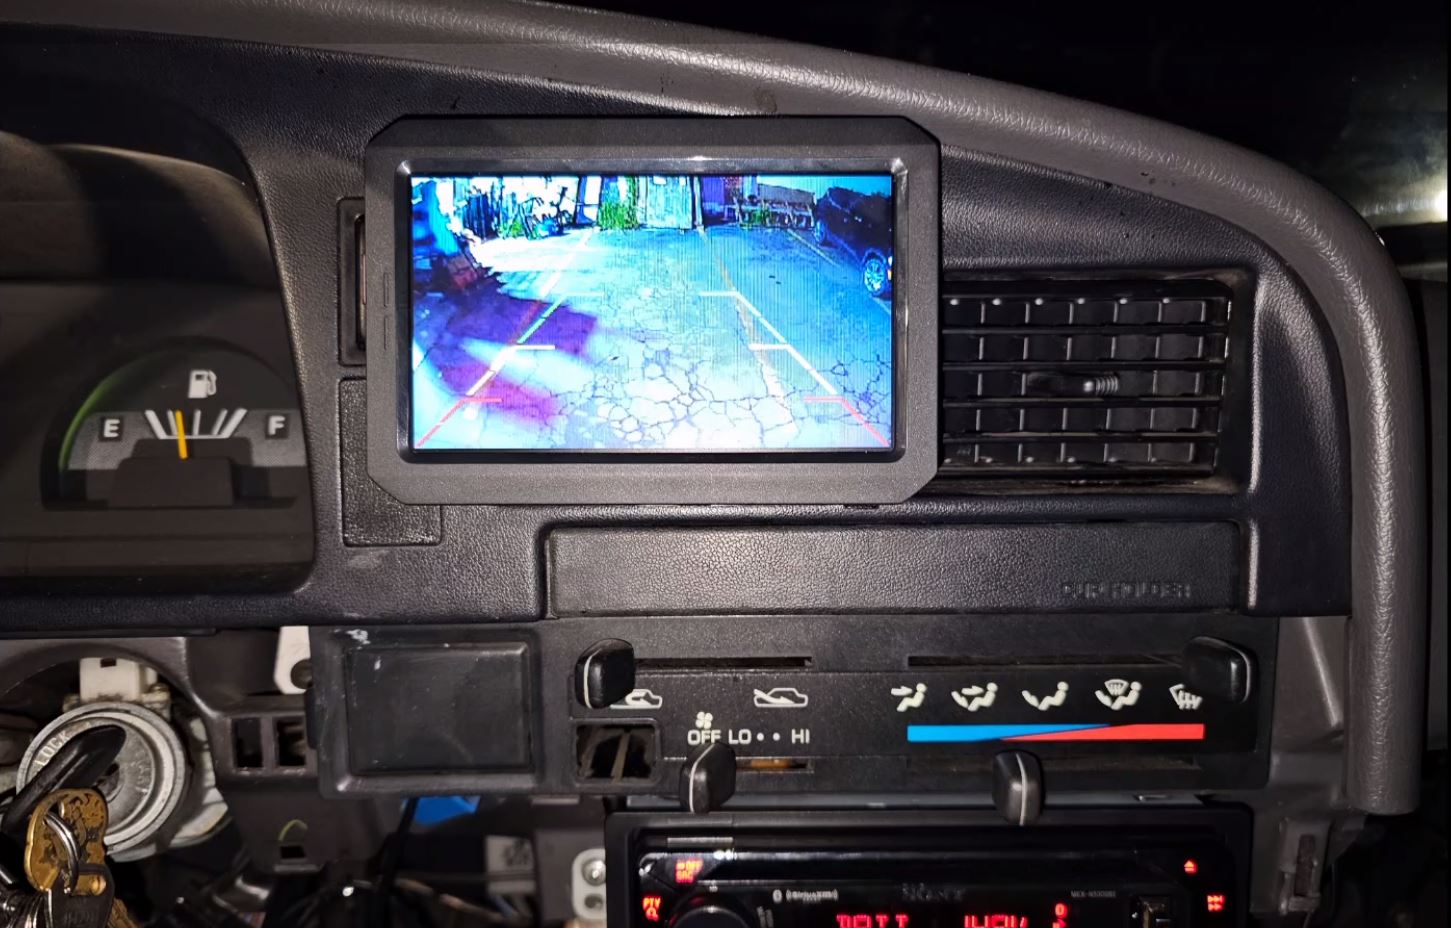
I found the Boscam K7 which looked like it met all these requirements. I paid $120 but today it’s on sale for $89, which is about right in my opinion. Here’s a quick look at my first try at installing this thing - lots of details need to be cleaned up! Does anyone have any ideas about how to bring the wiring inside the topper?
Ended up mounting the screen over the cupholder and the drivers-side vent. Not sure I’m going to like this long term, but I’m going to drive around with it like this for a while and see how it goes.
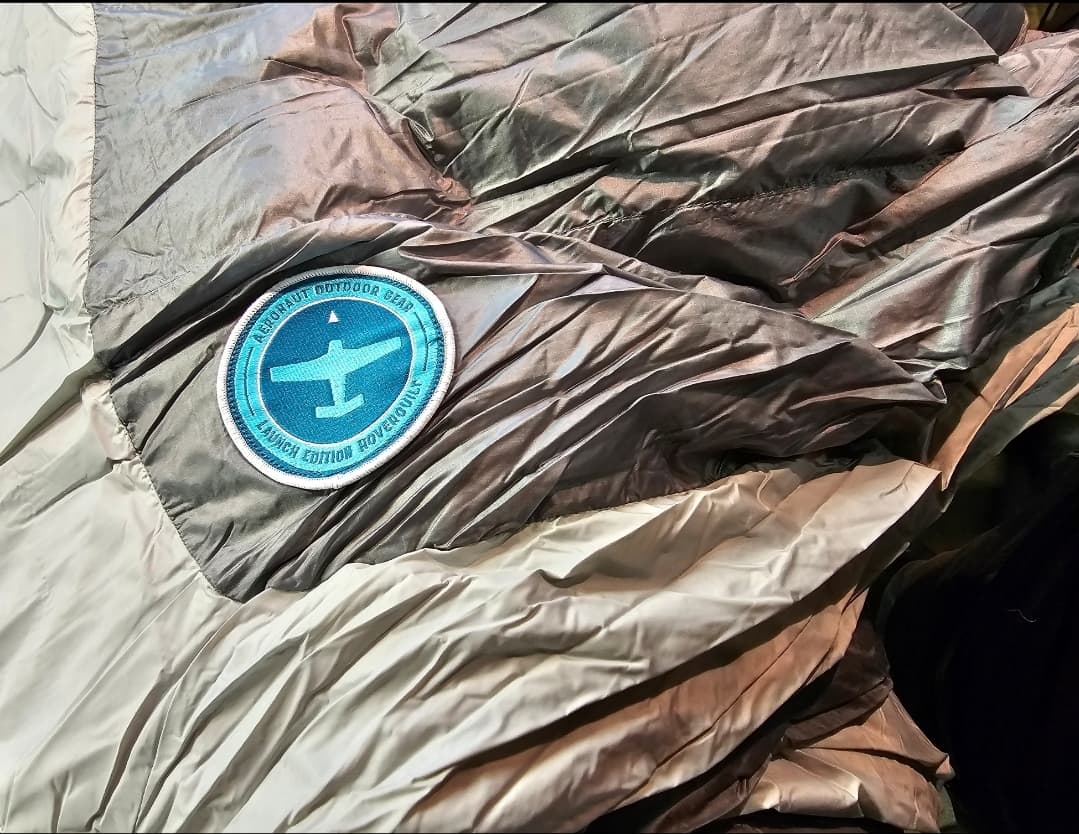
Bought an Aeronaut Hoverquilt based on the feedback & discussion here. It was a big expense for me, but quality sleep is a top priority. Can’t wait to test.
To add to the positive feedback, I made a mistake when ordering and their customer service was next level. I really appreciated their kind and straightforward handling. I am not a person that likes a lot of brands and badges or reps for companies online. There are no sponsored posts in this thread. But standout service and thoughtful design like I have seen from Aeronaut and GFC is deserving of every last post and recommendation.
I really really love the quilt. It stuffs super small and is still warm. But, one thing that I found is this…
If you use the quilt on top of other bedding, it tends to wander significantly during the night. I would sometimes wake up partially uncovered. I added buttons to my other bedding to utilize the integrated button loops on the quilt. They work great and the quilt stays in place perfectly without worries all night.
I never thought a down quilt could be that much of a game changer for sleeping, but damn, it really is. Being warm and sleeping loose is so awesome, and to have that size of blanket (for my wife and I and our tiny dog) is luxurious. As close as it gets to sleeping at home.