Hello everyone, I’ve been lurking for a while now but now I am able to put many pieces of my work together after picking up my GFC in late december. This is my first forum write up and I am here for any feedback and ideas yall have. My goal is to keep this thread running and answer any question yall have.
This build has been complex, as a college student I am limited to fund and a varying level of freetime. On top of that, a lot of what I have been trying to build up hasn’t necessarily been done before (that I was able to find), I hope this can help fellow old ranger owners and all others to think outside of the box. The build will never truly end and now I have another community to bounce ideas off of!
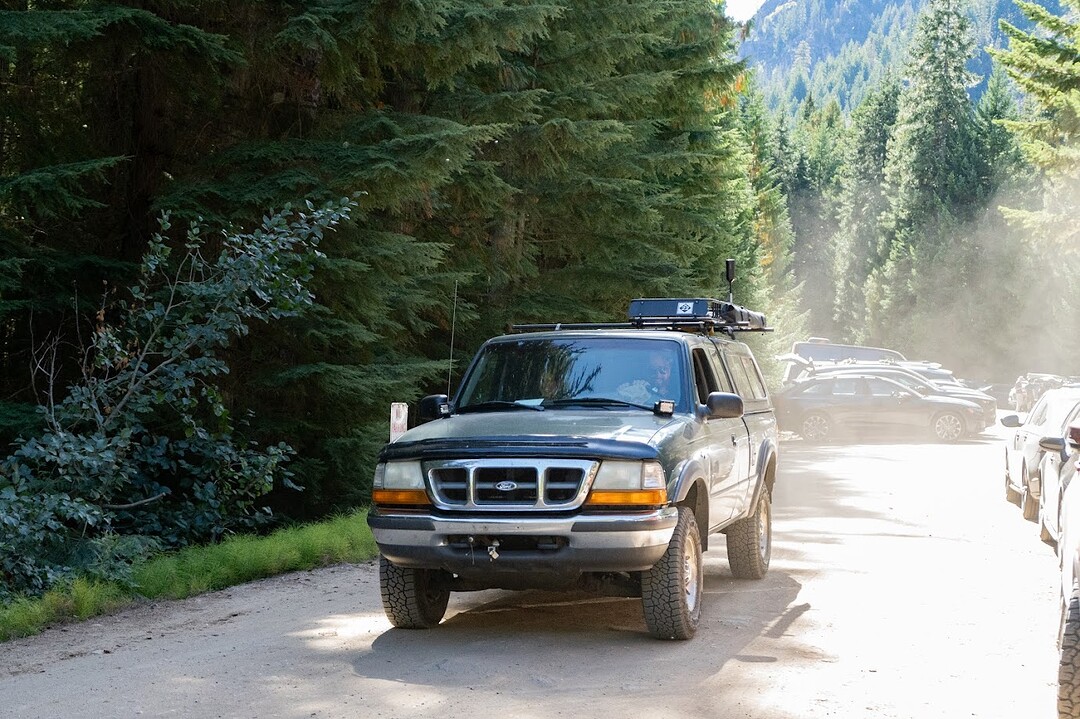
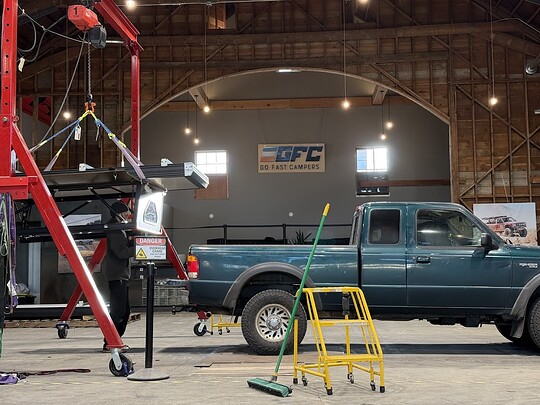
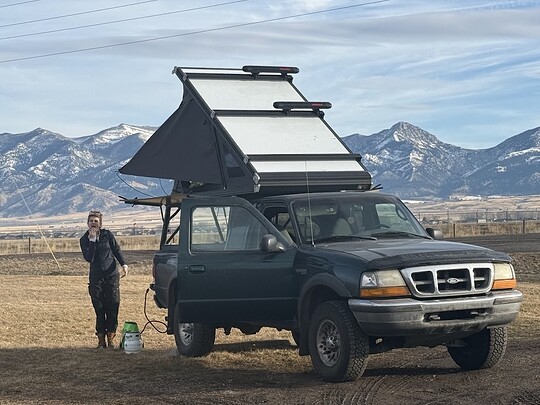
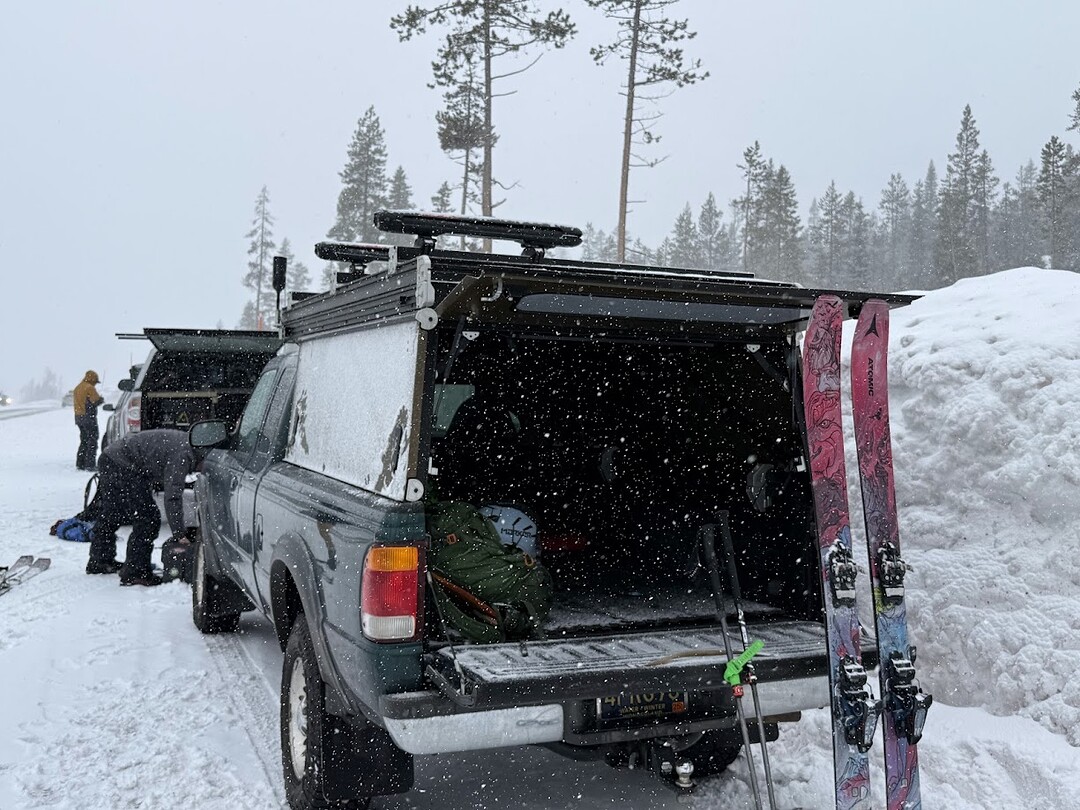
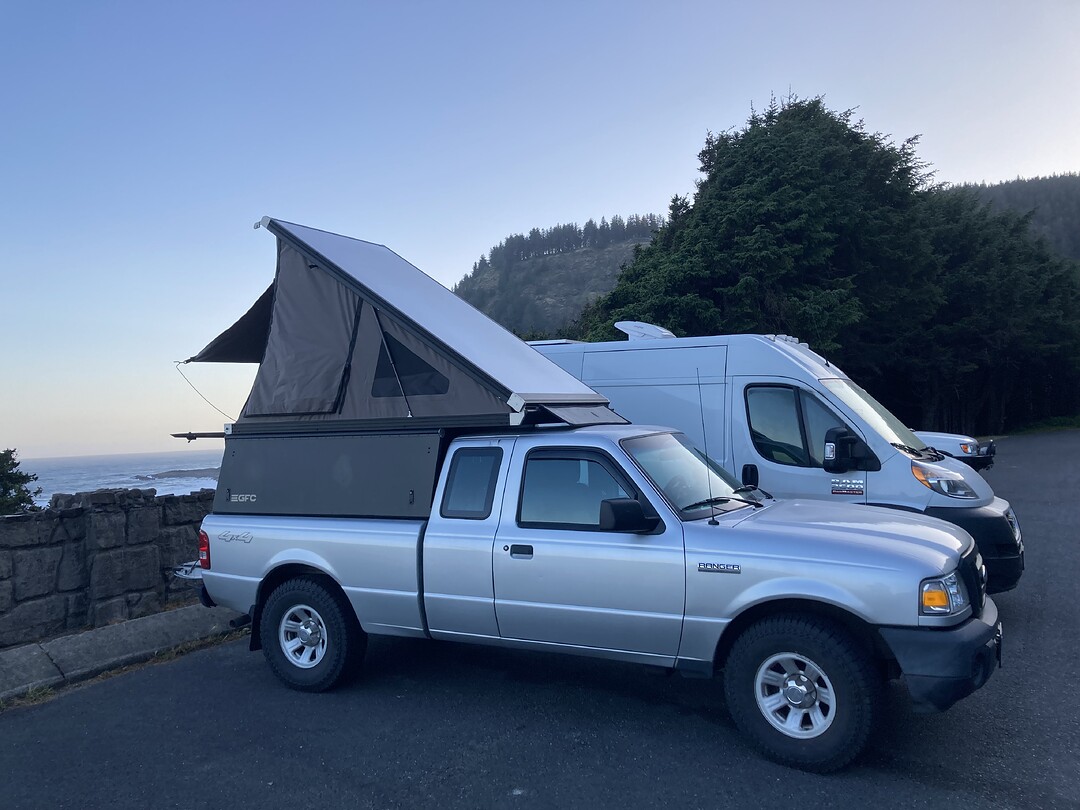
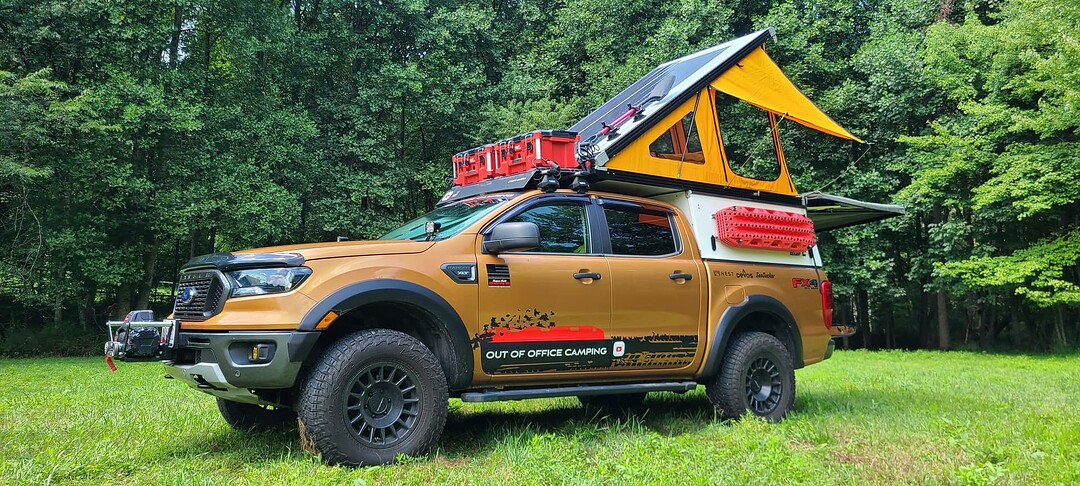
Meet my old girl Patty. I had an old fiberglass topper what the wife and I had many nights of cramped sleeping in, our biggest complaint with this system was having to move all of our gear from the truck bed in to the cab or outside. So we solved this problem.
Upgraded to something as light or lighter than the fiberglass, because the old girl is already slow enough.
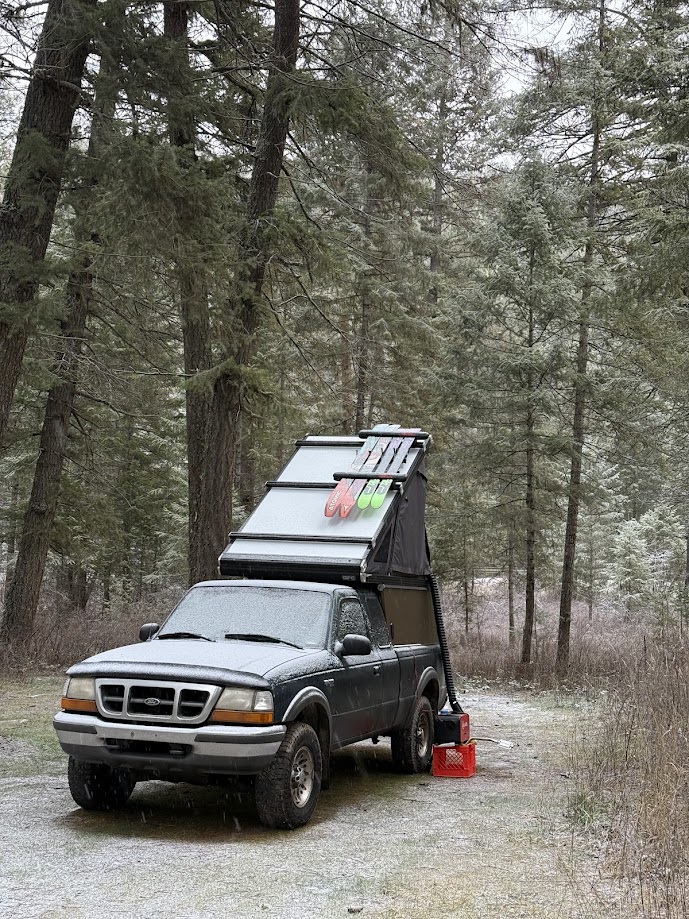
She’s a 1998 ford ranger with 190,xxx miles. This build is set up to be lived out of in this spring and summer, included all other camping trips in between. I have bought most of my supplies for this build through the fall waiting for prime day and other holiday sales to happen. As being a college student the funds are lacking but out of the box resources are plentiful.
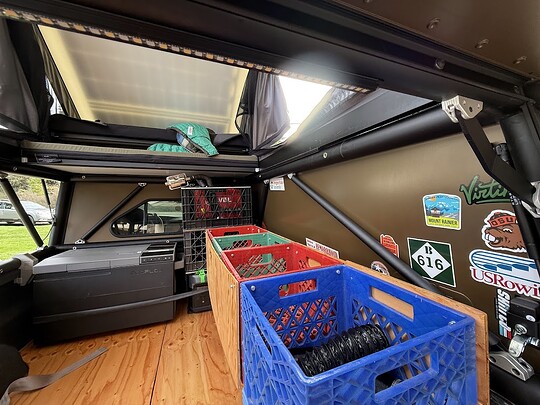
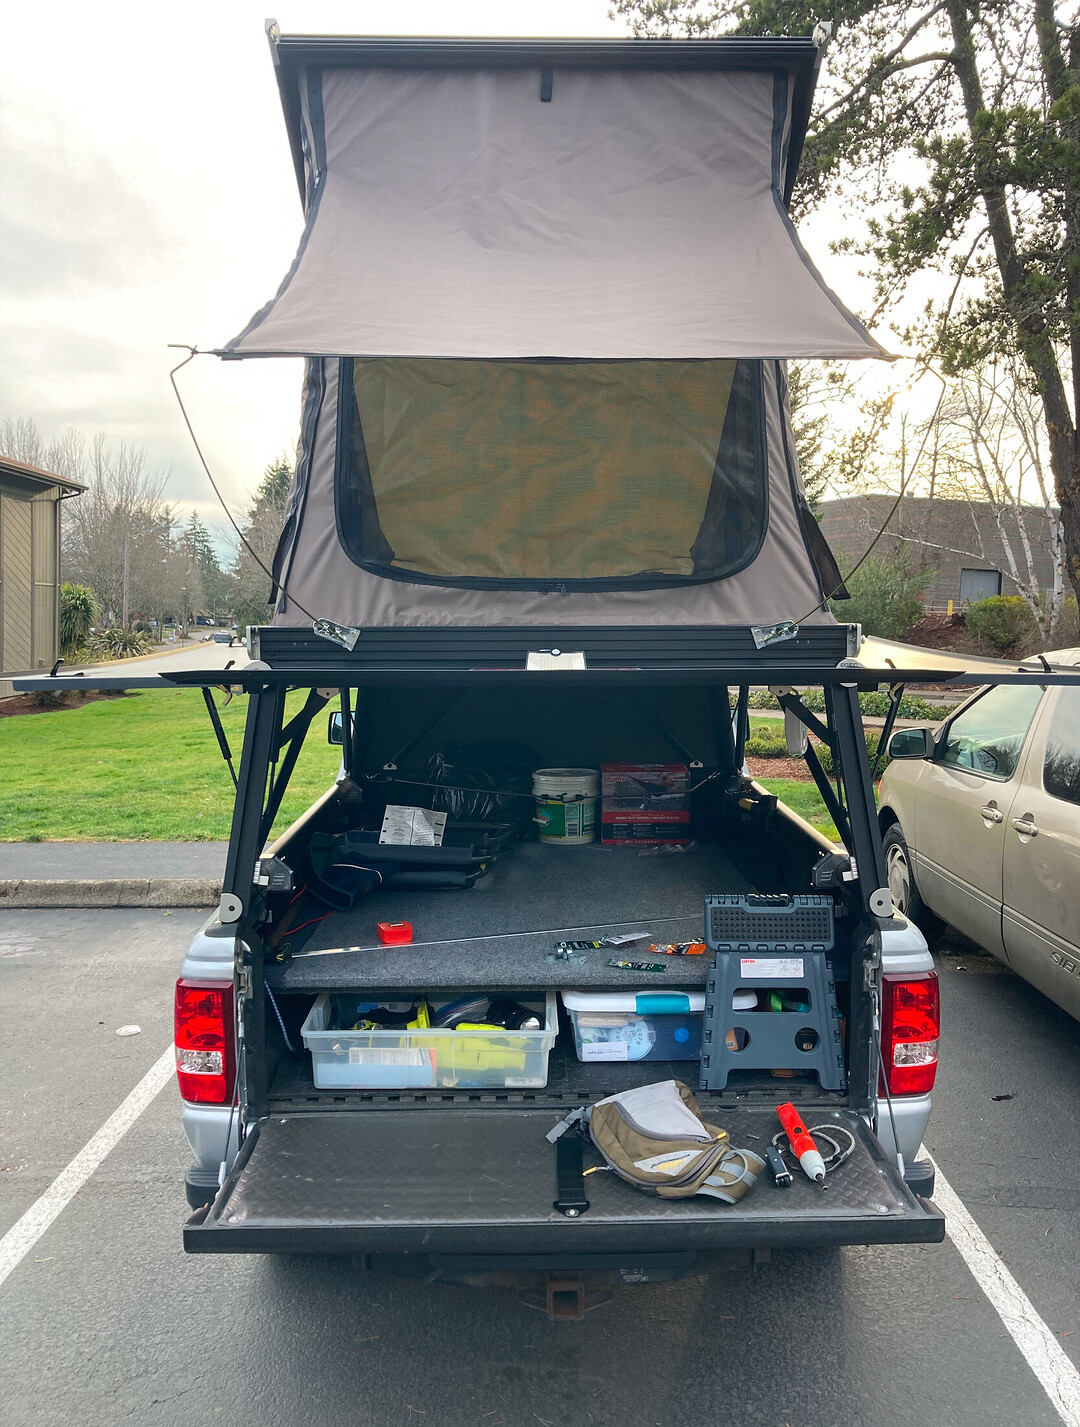
Here is what I have so far, a ecoflow glacier fridge hooked up to an ecoflow Delta 2 mini, attached to 2 flexible 100w renogy solar panels, and can’t forget the last minute survival buy of a chinese diesel heater, for keeping warm in Montana during the drive back to Oregon. My non electrical living space consists of custom fitted square closed foam pads beneath 1/8th inch plywood floor giving a beautiful platform for my milk crate “modular” storage solution.
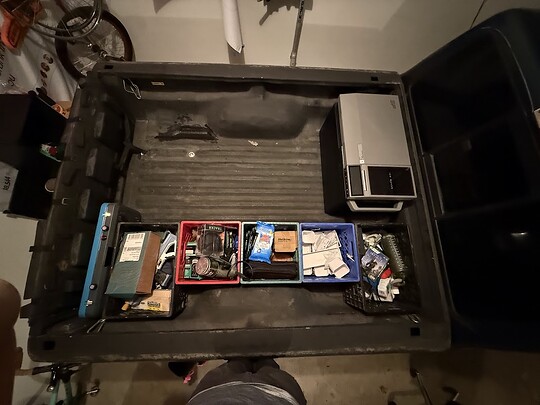
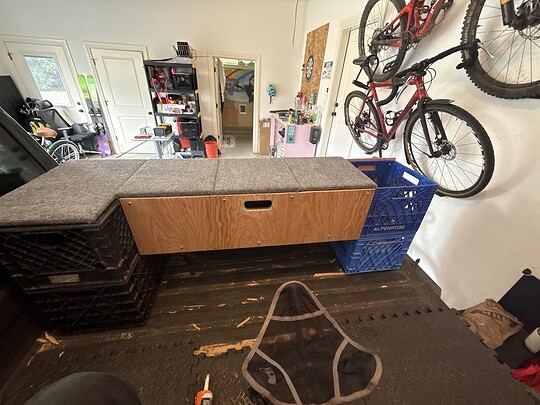
I know yall heard modular milk crates and you wanted to see what’s up, so here you go. They are not at final form yet. I still need to finish the tops and the wood paneling but we are close! I am debating on incorporating a long slide out within the top milk crates as well as the bottom tailgate crate which makes it easier to get to my propane which is stored there.
Here was the first porotype, but found if I stacked it I could create more internal walking space by putting crates over the wheel wells.
Prototype 2.0 was 3 standard creates 4 long ones, I originally had long ones on each end but felt if I could keep as much space I could get while entering and exiting the truck bed would be a much nicer option for the long haul of living, and on the plus side it creates added standing room. Leading the our final configuration. As shown above.
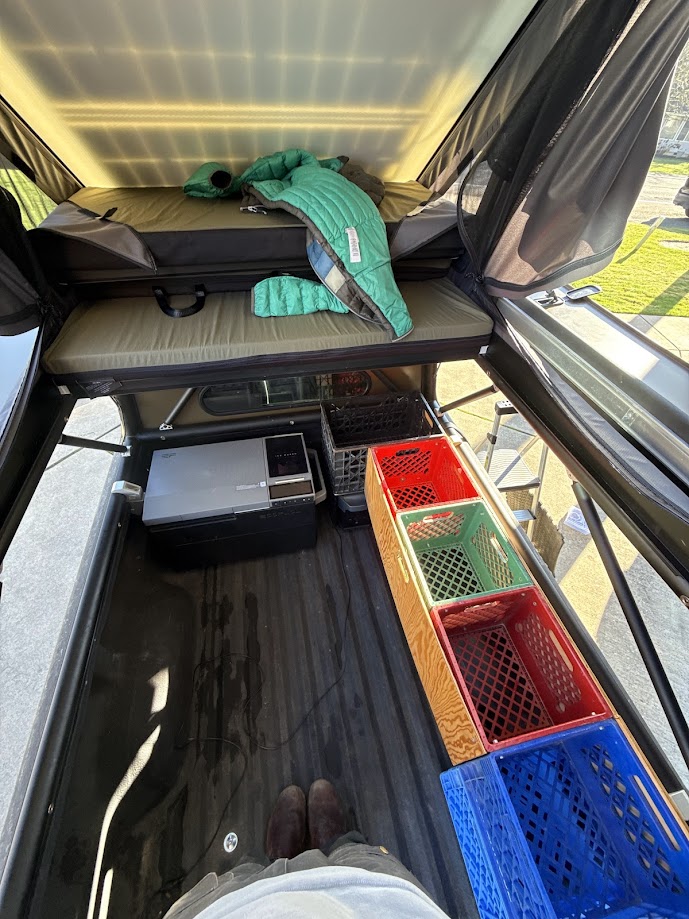
After making it back to school, I had a break in my class schedule and this went from a dry run to see how it looks, to throwing everything in to bed and see what we have created. When putting in the fridge I realized that a rotopax 2 gallon gas can was the perfect thing to space the fridge from the head of the truck bed. It has turned into my lil emergency gas if ever needed. Eventually I would like to put it outside of the camper for more of a clean/safer idea. The location in mind in between the spare tire and the underside of the bed, but still need to try things out and see if it works.
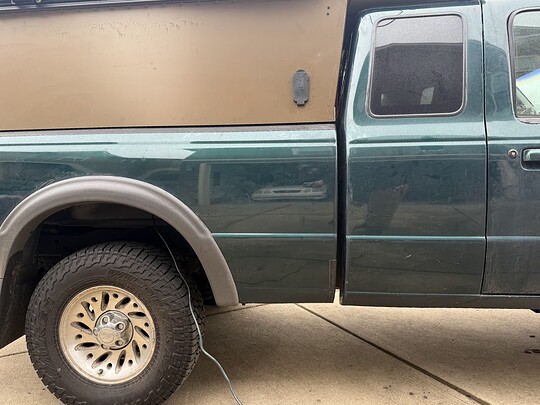
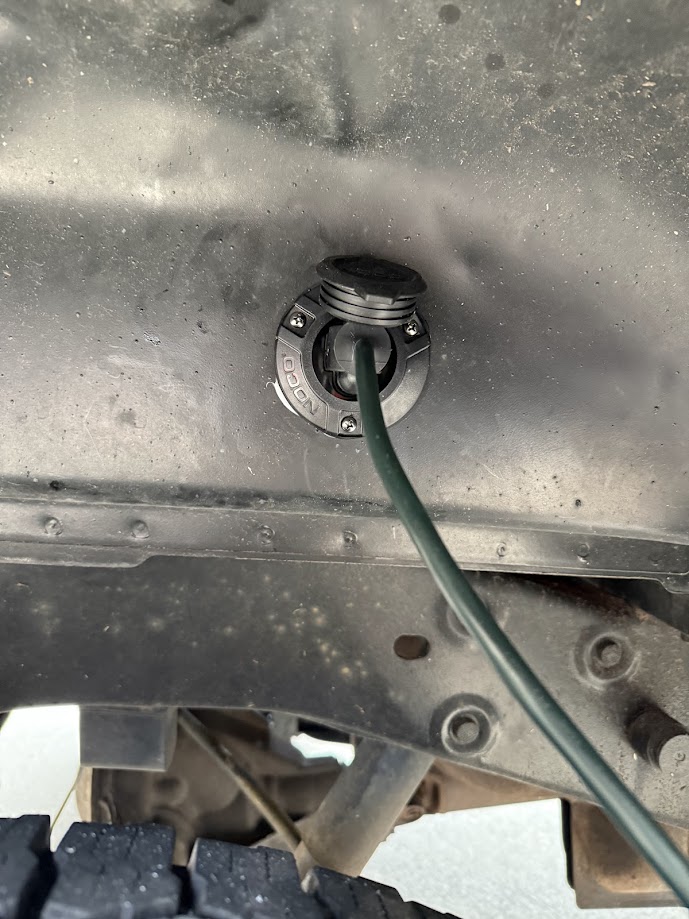
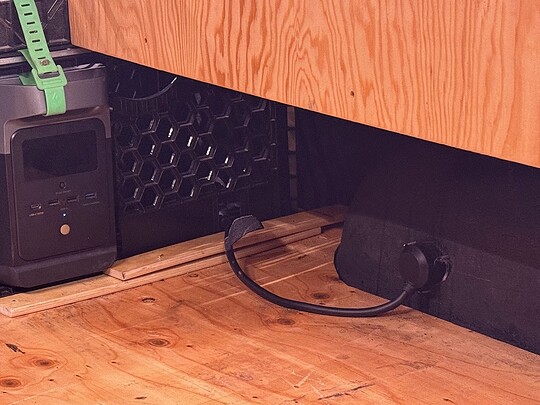
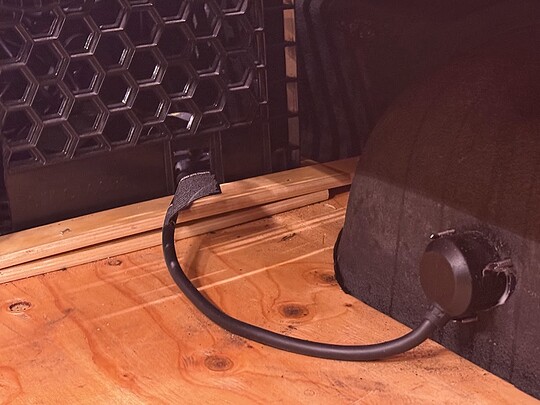
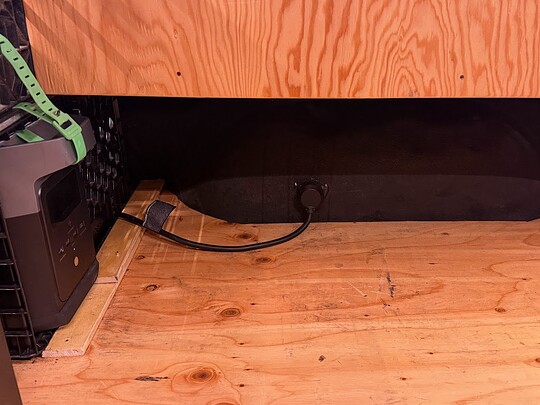
At the moment the fridge in held in by its weight and a bike tube, I would like to change this into a cleaner setup, but for the time being its cheap and works. My Ecoflow Delta Mini is carved into a milk create so the screen is still easily visible and I can plug small things in easily. The rear of the create has also been carved out to give access to the AC and charging ports. In the very near future I will be adding in a shore power port near the underside of the wheel well so I have the ability to run an extension cord to it when in-between trips so I don’t have to unplug and take everything out.
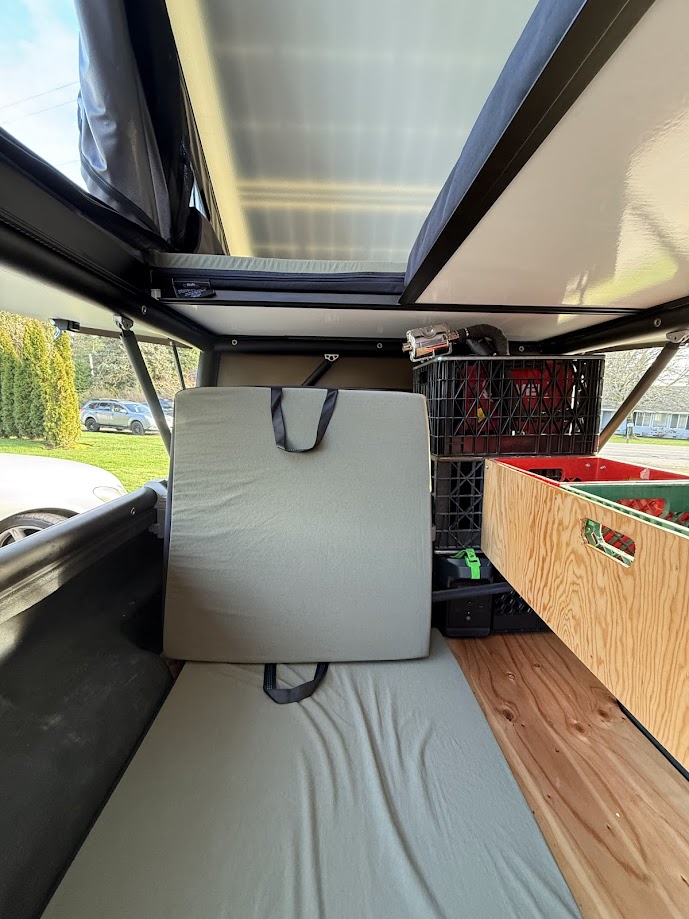
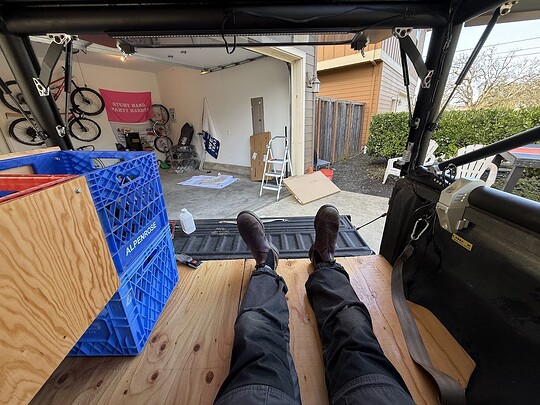
The 6 foot bed is perfect length for what is now known as bachelor mode.
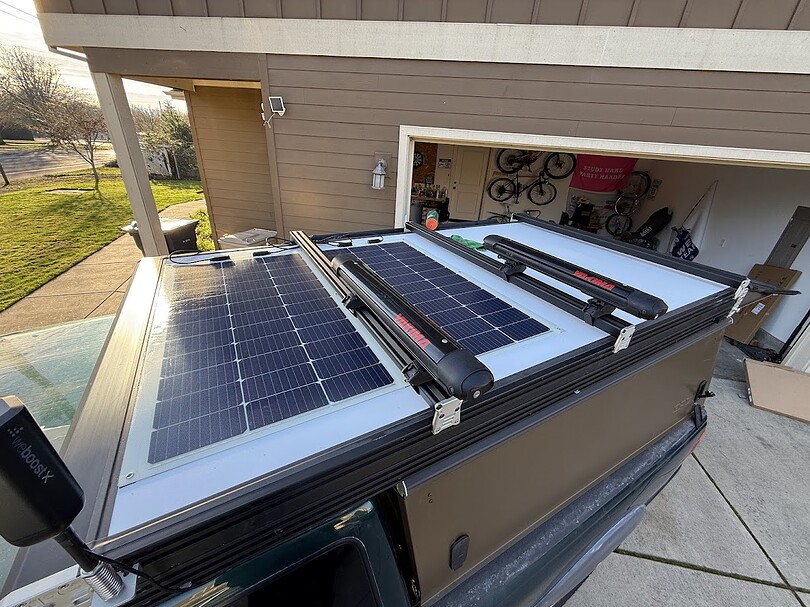
When I came to the solar I had a few ideas but nothing concrete. I knew I needed 2 100w panels for my needs and they were problem going to be the flexible ones due to the weight and slim form factor. I do understand some people have had bad goes with them but I am willing to take my chance with my extended warranty protection. I used 3m VHB tape from Autozone and used quite a bit because I could not find much on its technical specs but made sure to leave gaps on the sides for airflow for the warmer months. I also put a bead of silicone on the front edge to keep air and water out when driving, hopefully mitigating extra forces on the panels while driving at highway speeds.
When it came to the beef rack placement this is the best i could think of. I was unable to fit a beef rack all the way upfront so I set things back as you can see. I understand the ski racks and or skis will hinder the panel efficiency but again I will being living out of this mainly during the summer so skiing is not happening. If yall have any ideas with the beef rack configuration I am all ears.
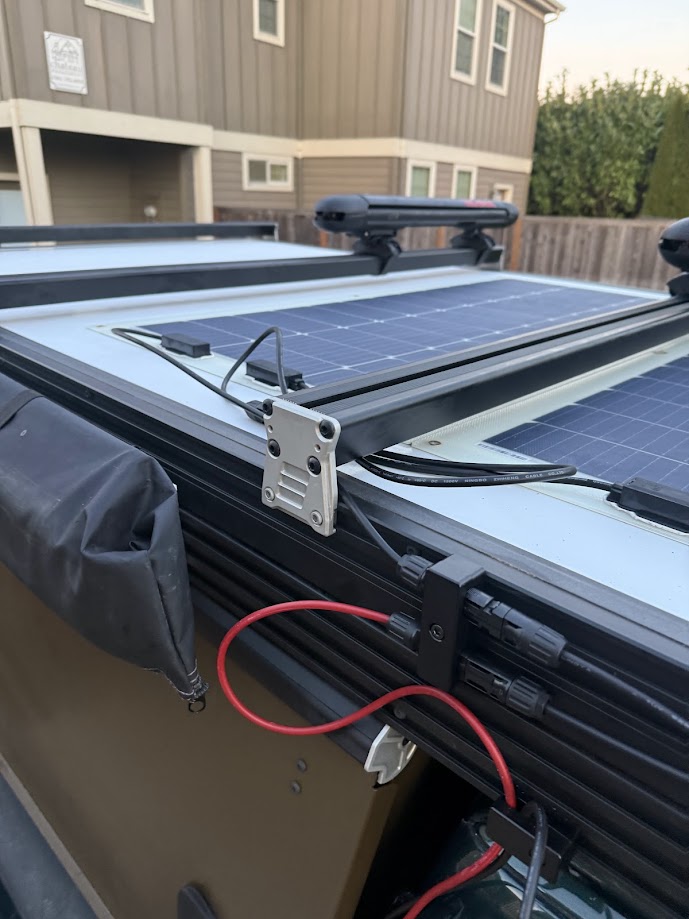
Wiring I still a mess at this time. I am trying to figure out the best and cleanest way to route these. I am using shitbrix and they are beautiful and work as they should, I just have to find the best spot for them.
The solar panels are wired in series which i am torn about, I believe for my situation it is the best, easiest and cheapest. I need more data from them to actually make a final decision.But hey, it charges!
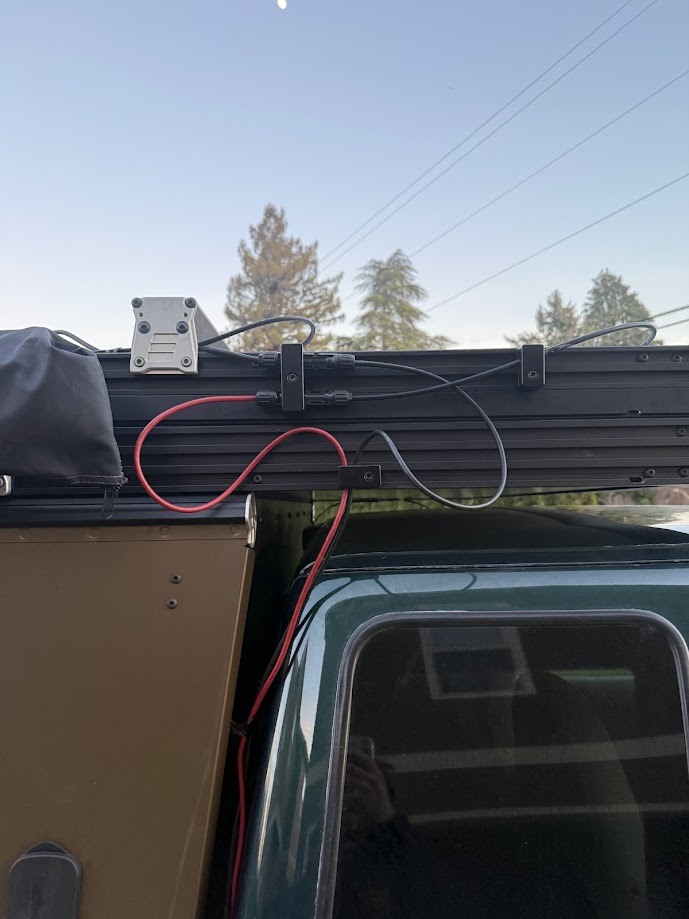
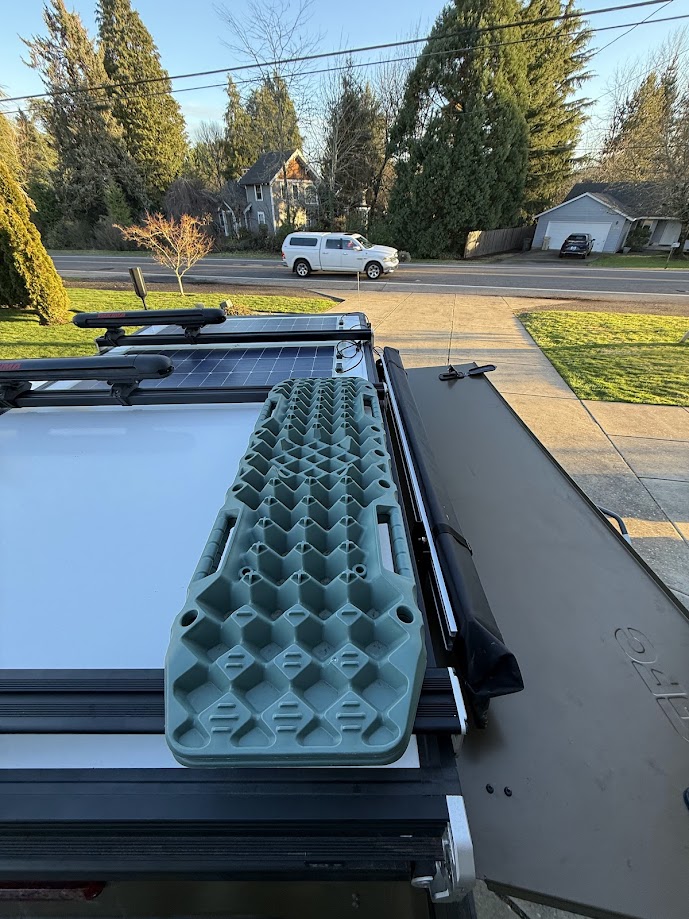
Eventually I would like to find a cheap and easy solution to mounting my traction board on the racks, so far the idea is some T-nuts and bolts, more to come.
If you have read this far I know you want more, Here is another “Patty Project” That I need to stop pushing away. Its my custom 3D printed center console.
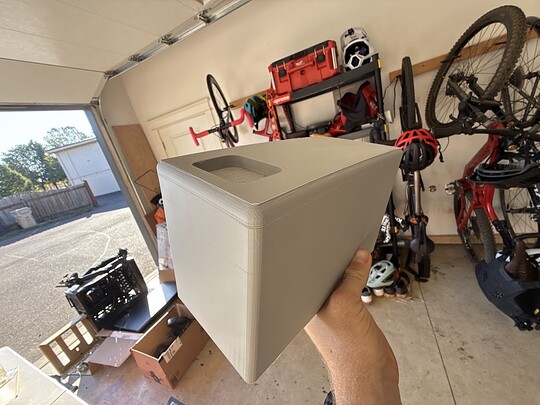
This is prototype 1, We scaled it would quite a bit to save filament, The overall plan was to have an AUX Beam aux switch at the front for all of our aux needs. But after this was printed, more possibilities came to mind. The Idea of adding a phone slot, a water bottle holder, 2 magsafe charging docks, a weboost mount, a mobile radio internal mount, and a front door came to light. And Pandora’s box was open.
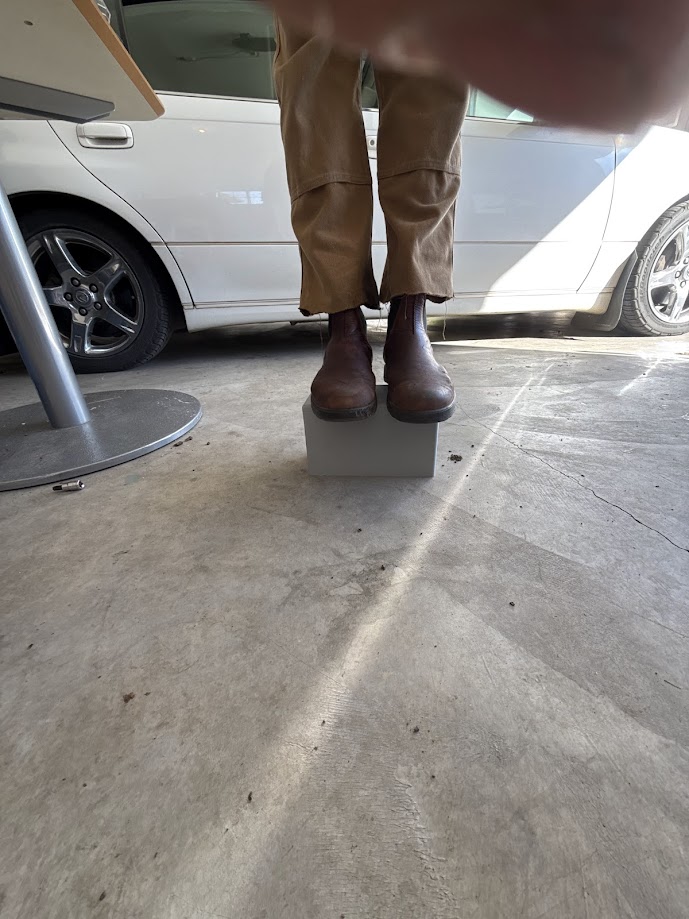
The first porotype used 10% infill with triangular support, with the half inch walls we realized the PETG was much stronger than we thought.
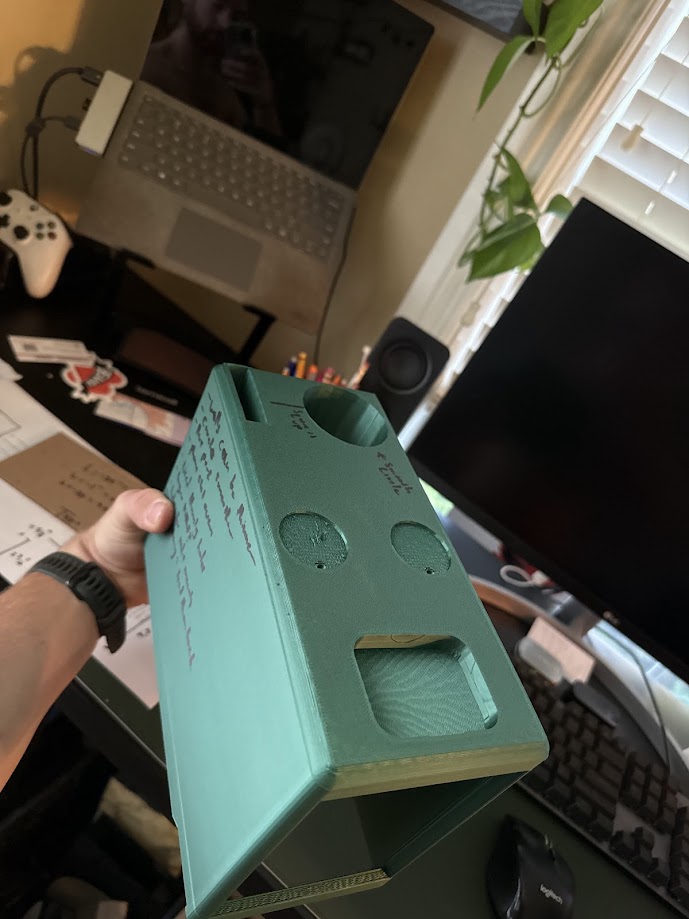
Prototype 2, in green, was still scaled down but had all of our wants listed above.
Mind the mess.
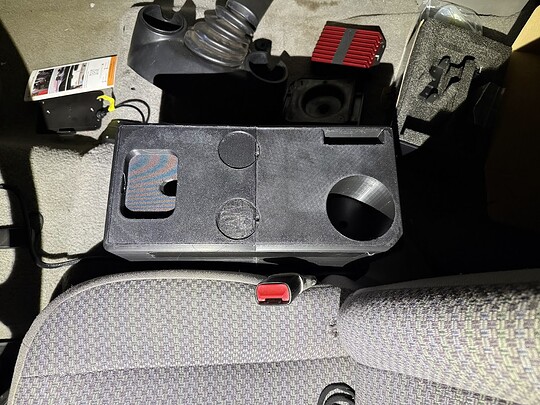
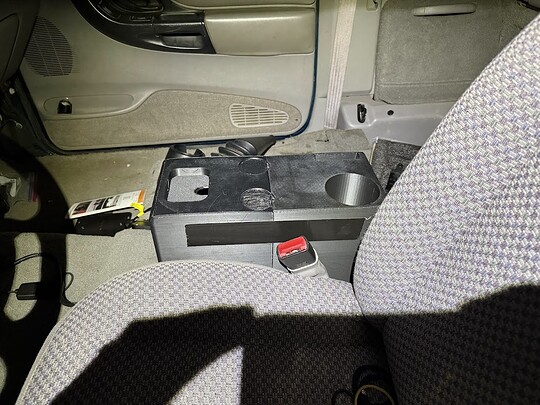
Prototype 3, in black, was full size. Not perfect in any means but has to actually see what I measure was what I wanted. With 10% infill and 3/8 inch sides it can still hold my weight. Sadly we found out my water bottle holder was not big enough from a 1L Nalgene, and the magsafe charging port holes were too small in diameter, the Aux beam was good just need to be cleaned and the size of the center console was perfect.
The end goal with this is to have everything functional, bolted to the floor, and to be wrapped in leather. Again if yall have any feedback, ideas, or questions send it my way!
Cheers, 98Ranger.
