Nice! Great looking wheel for a black truck.
1 Like
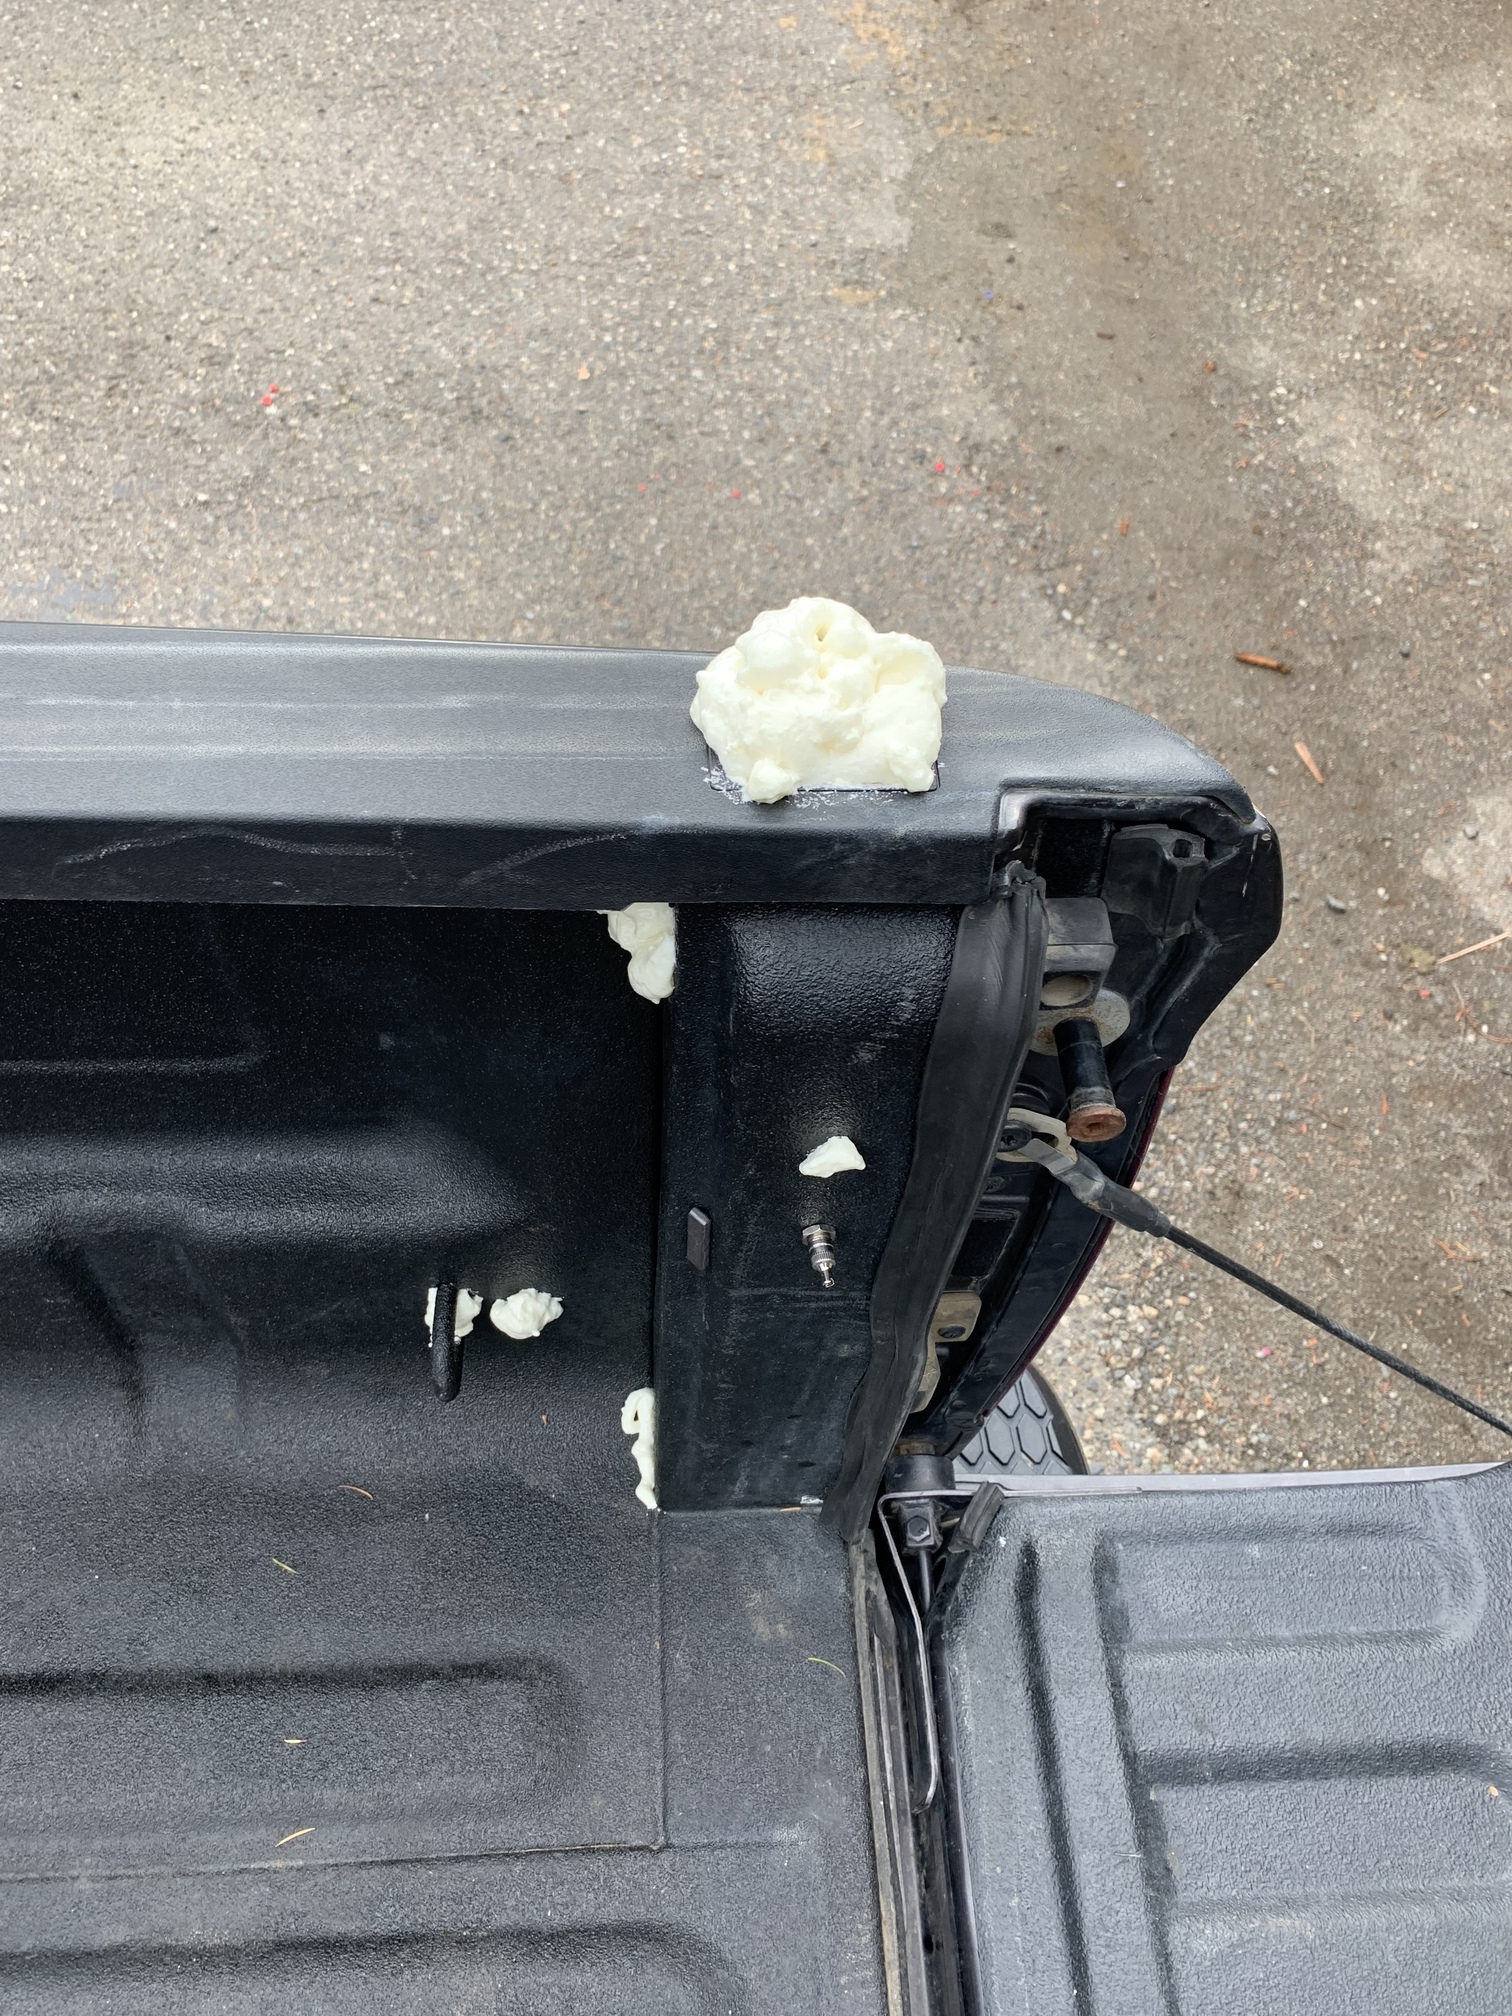
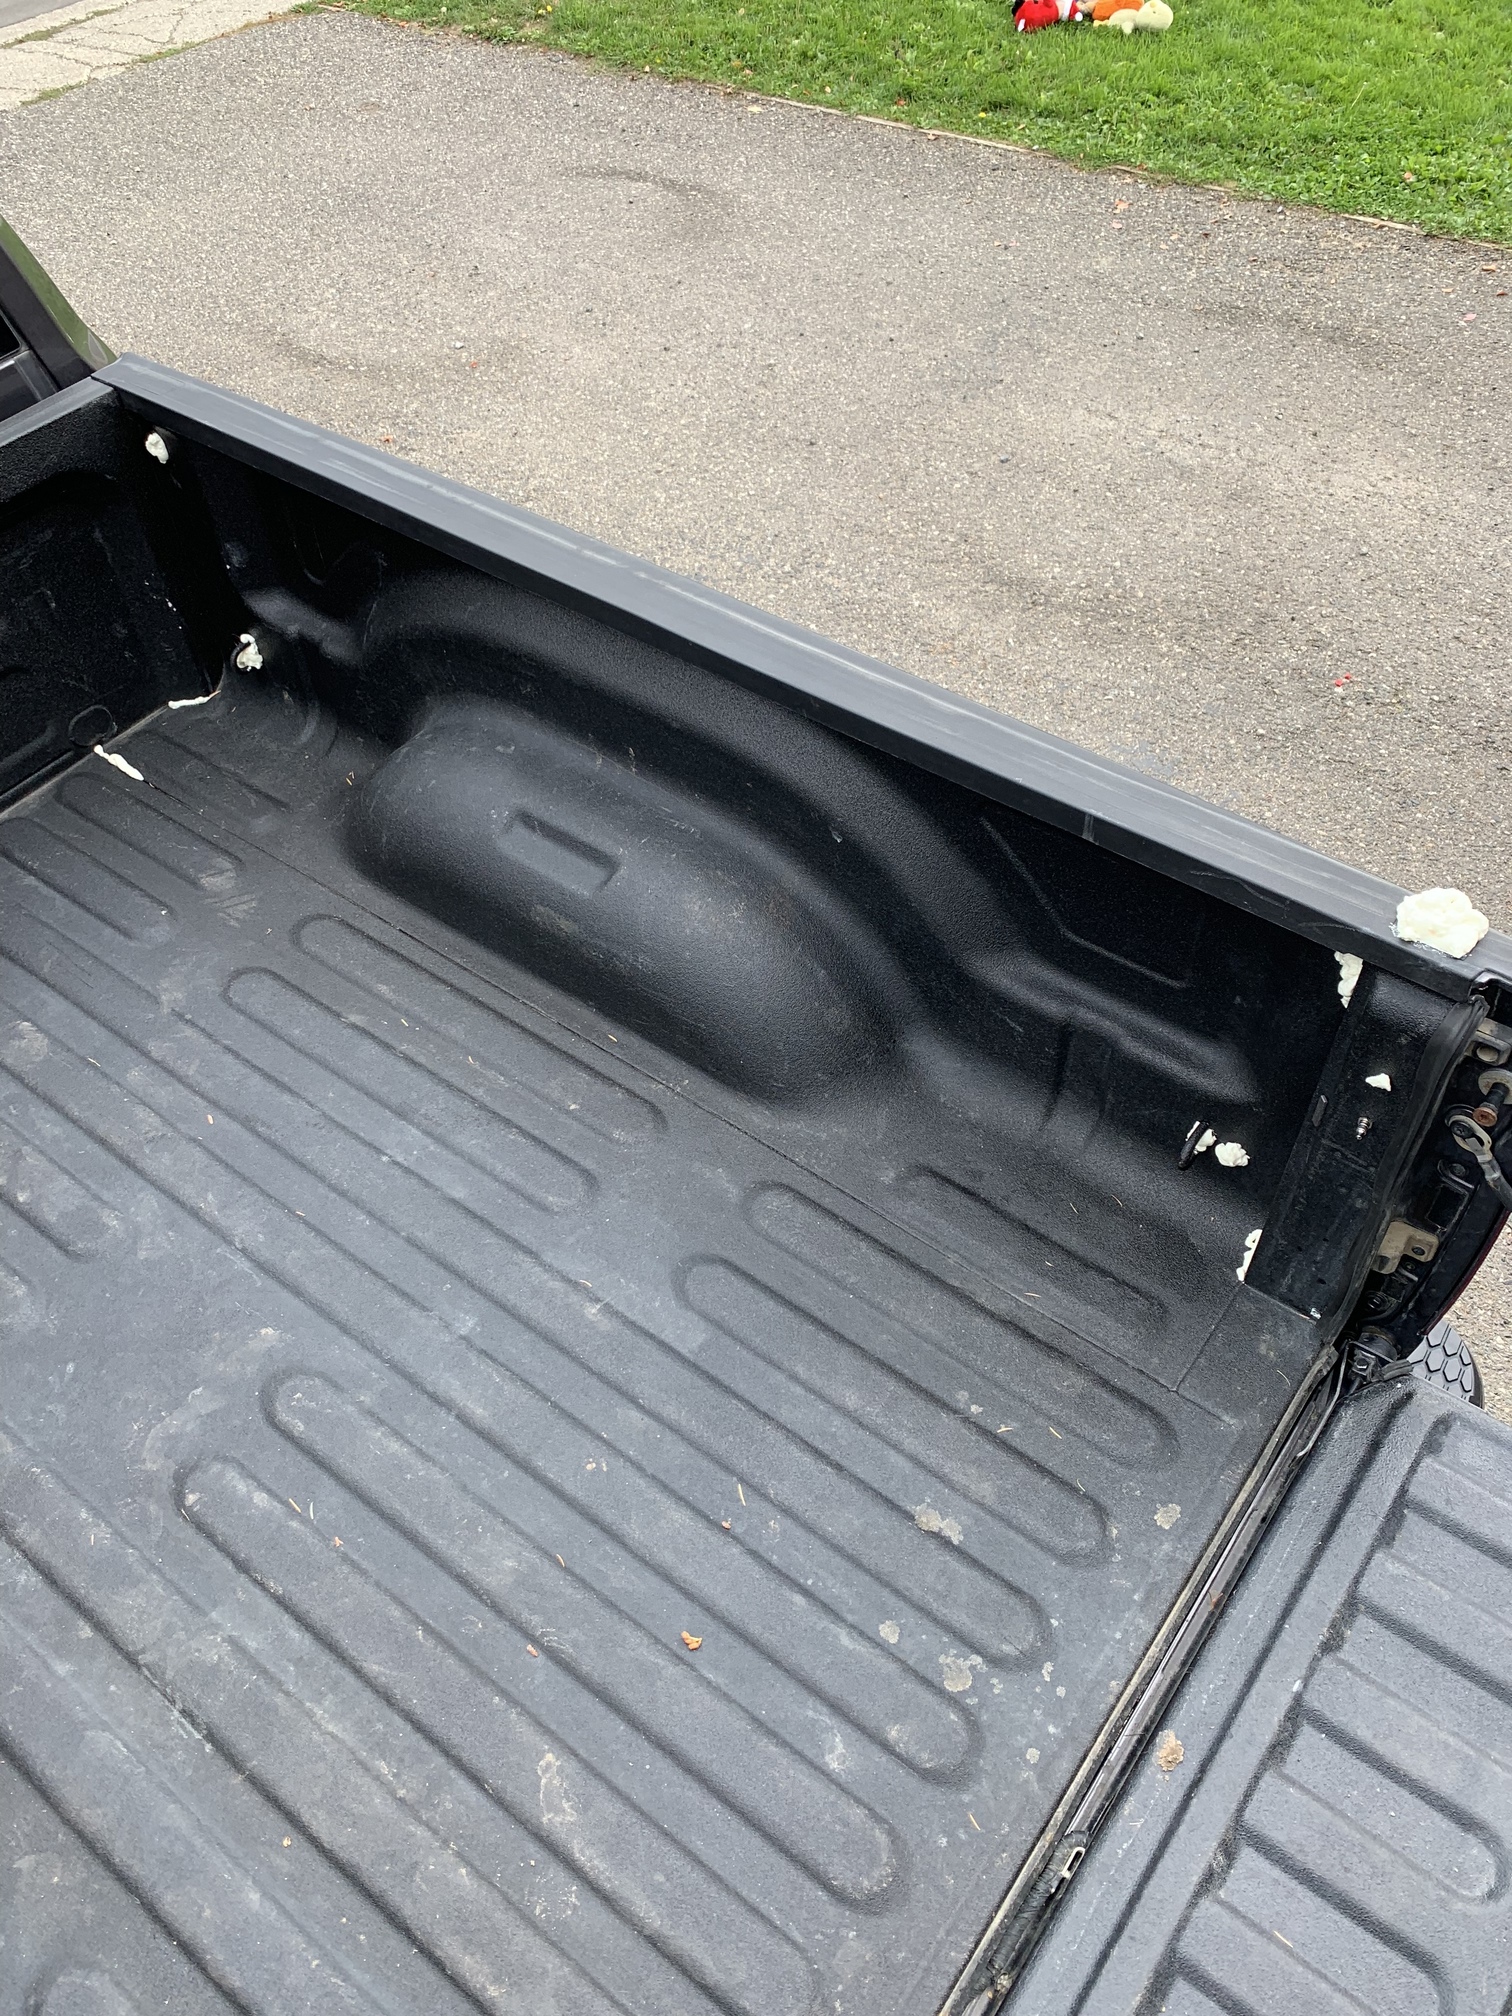
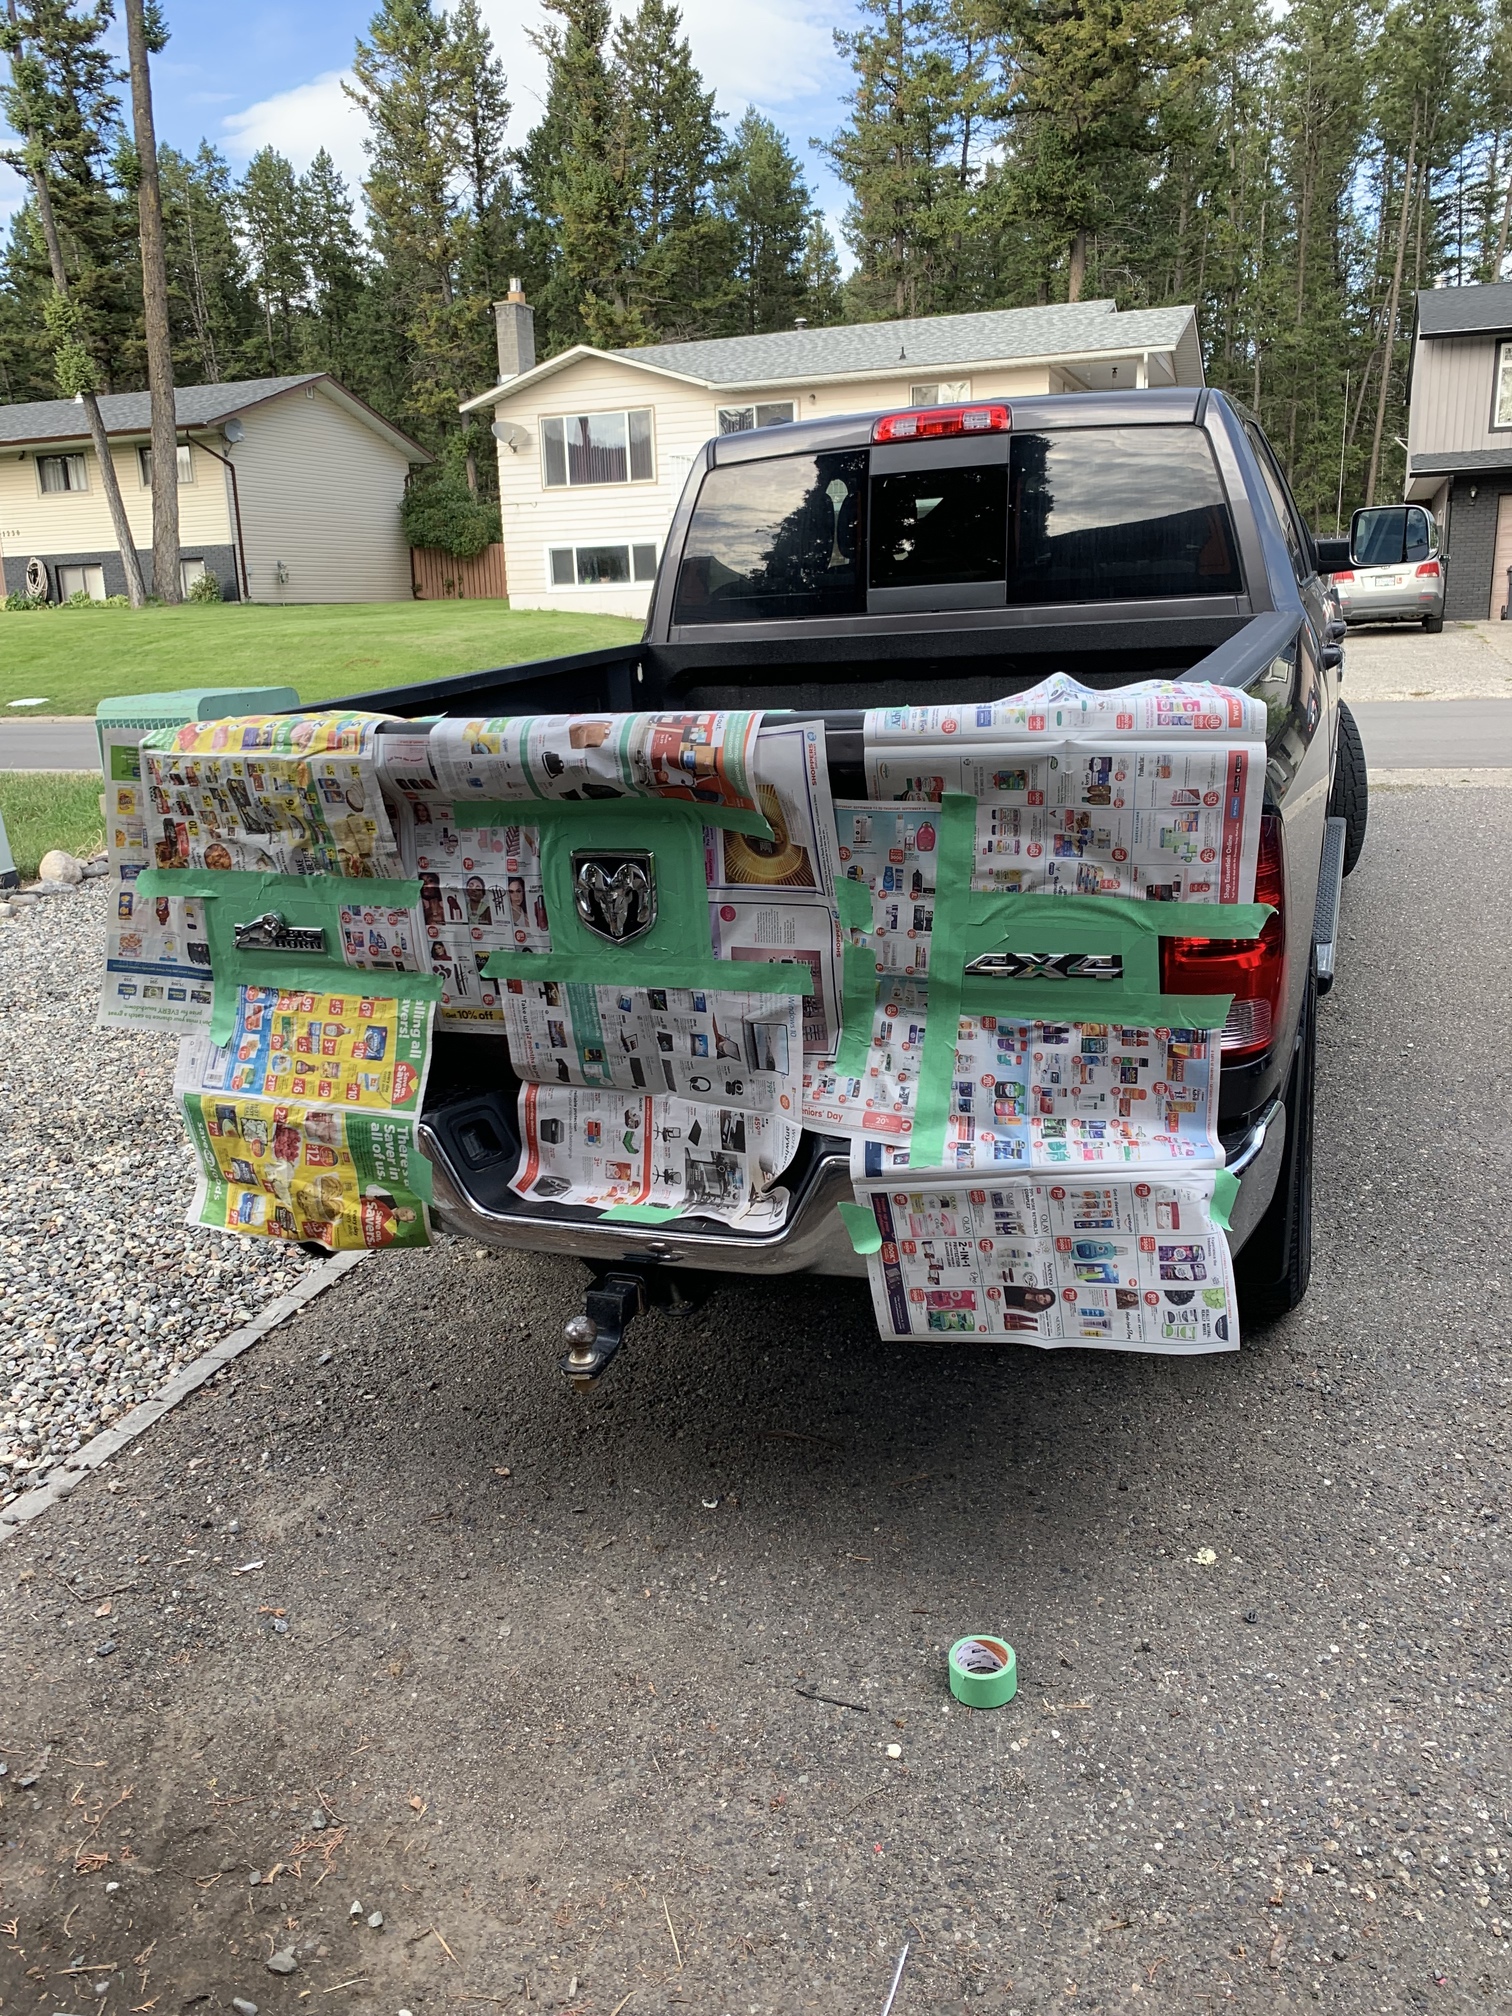
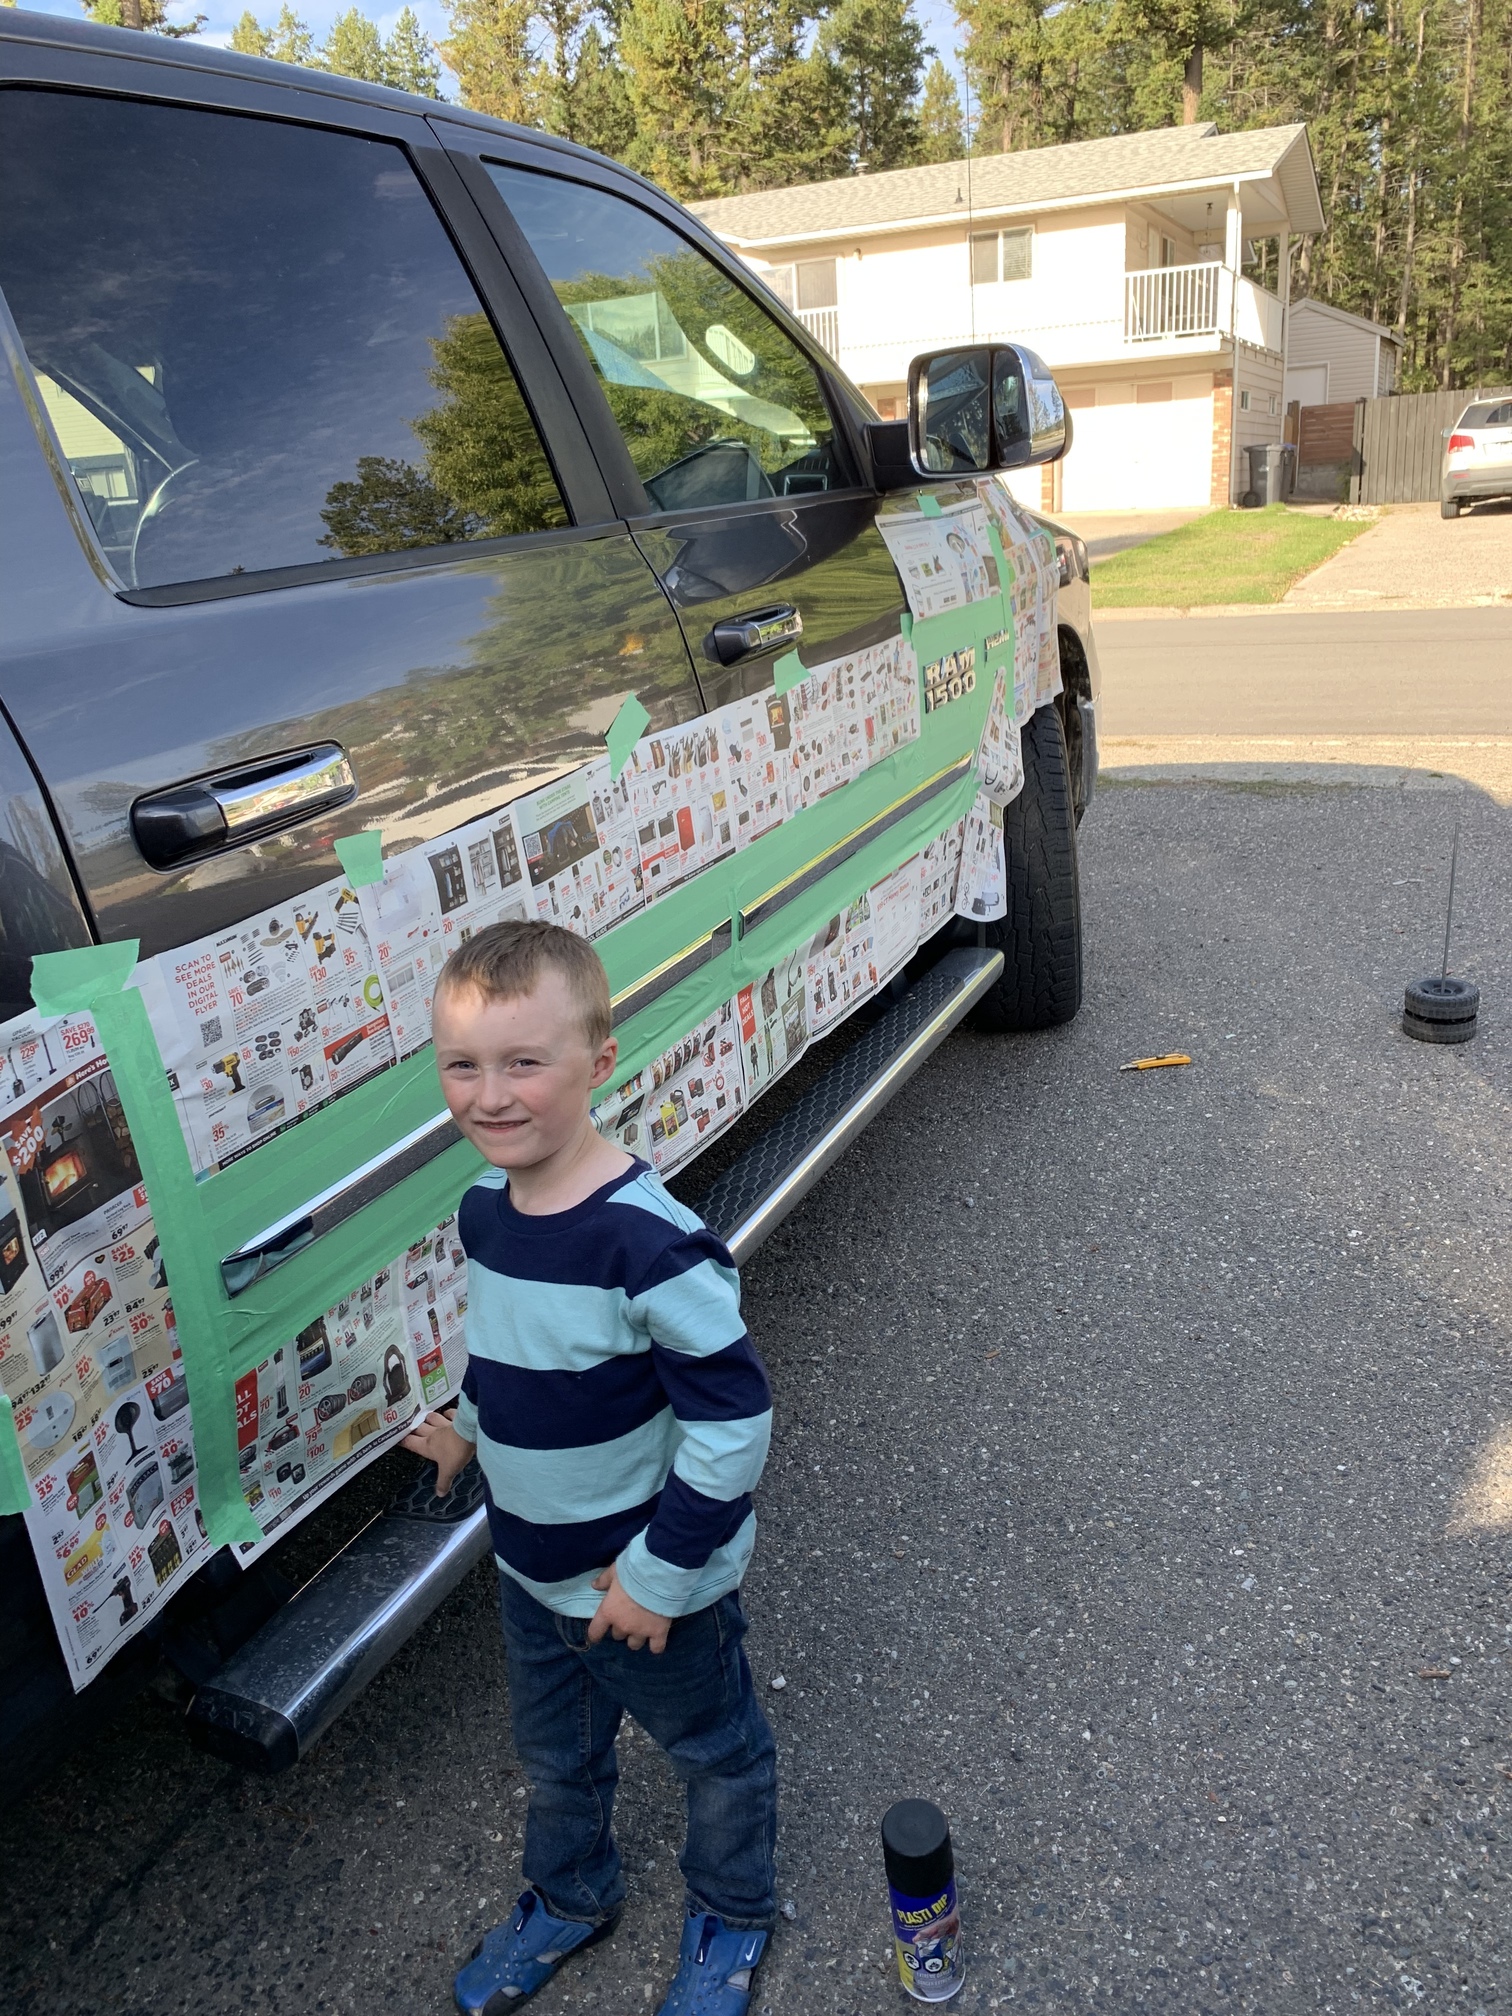
Sealing the holes, will trim when dry. I never found the dust to be too bad before. But now it’ll be even less I suppose.

1 Like
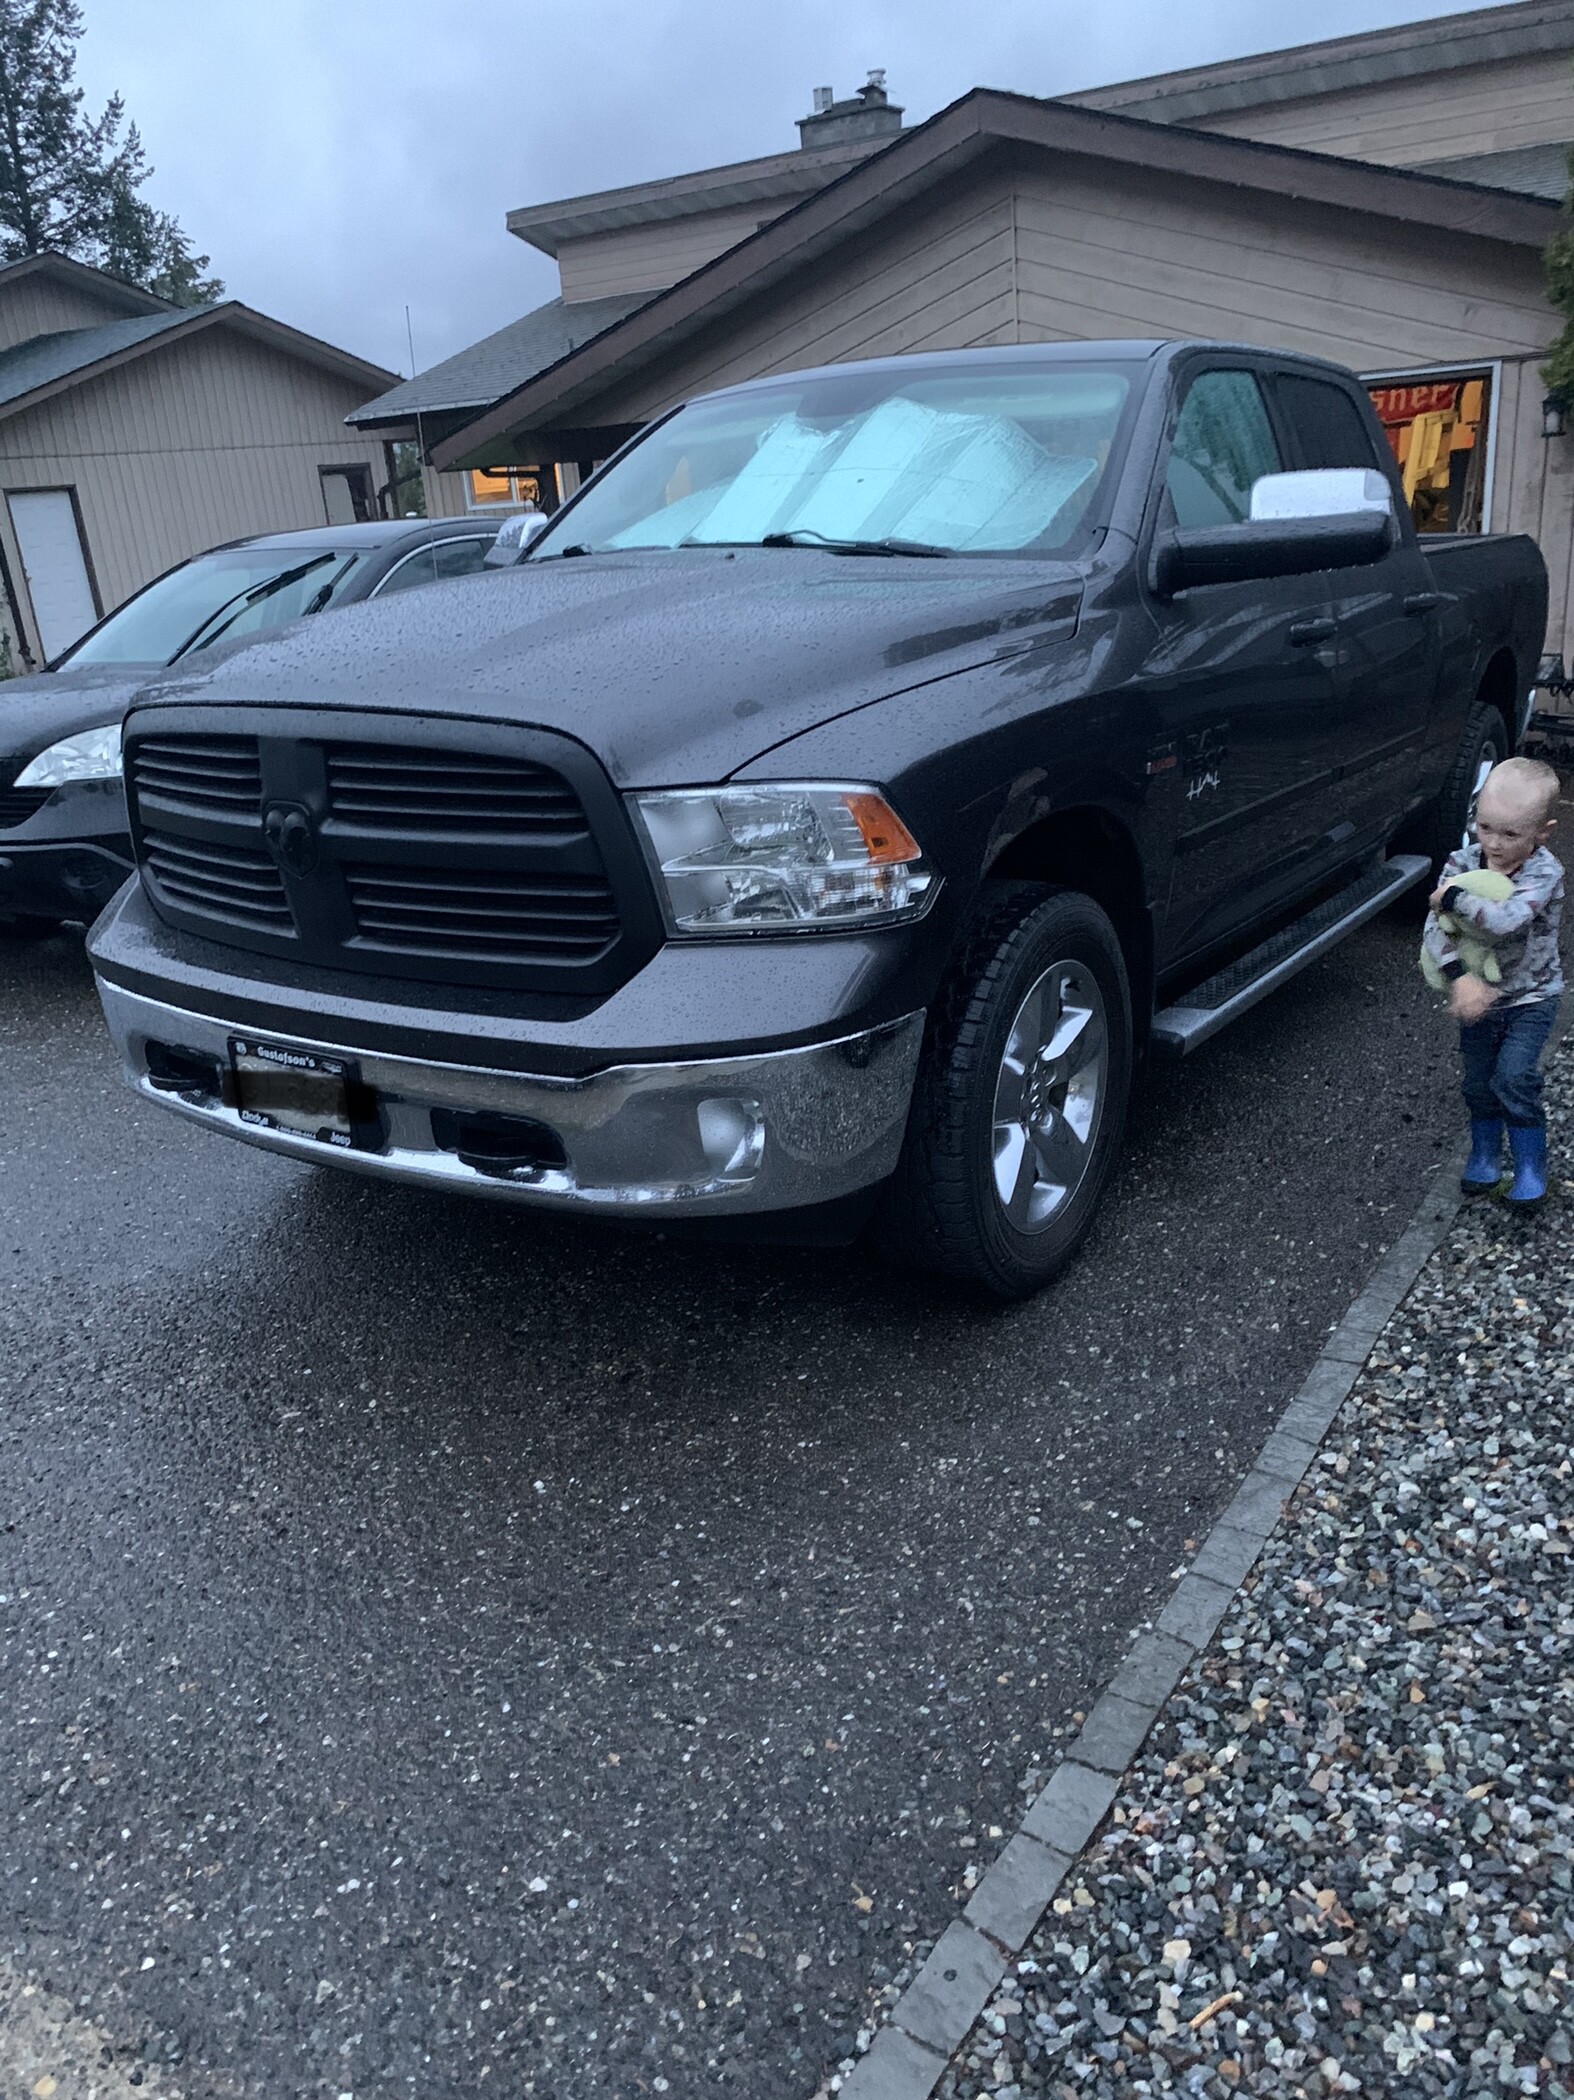
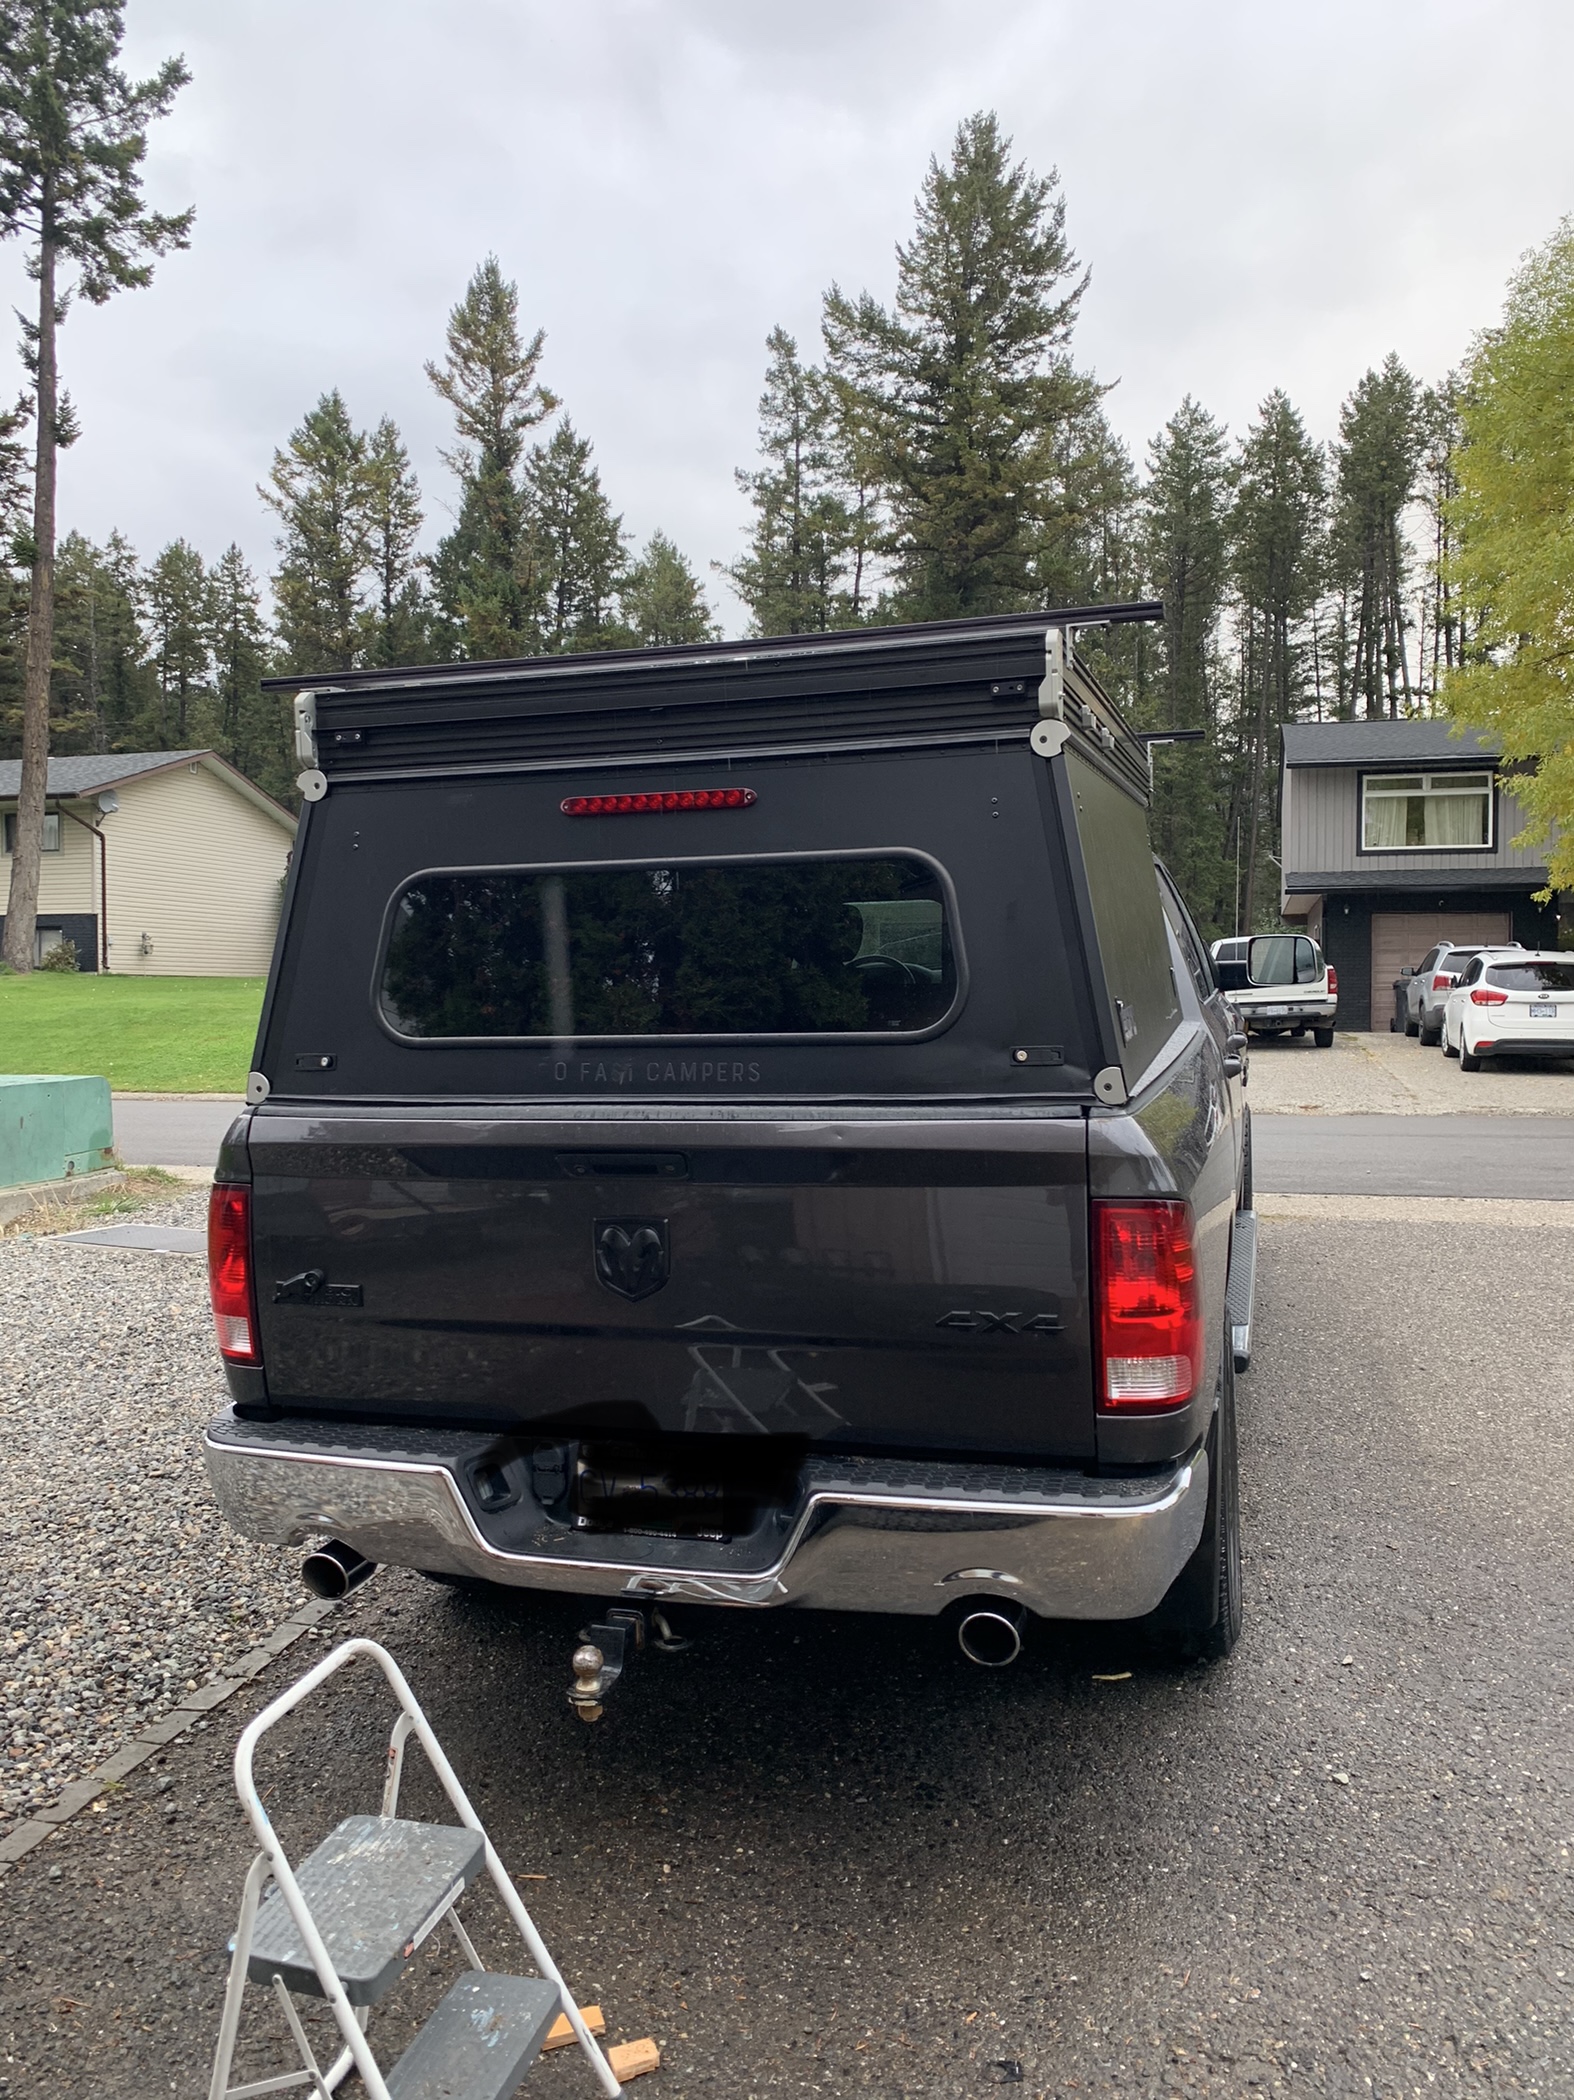
Little more work while I wait…camper is en route somewhere between Bozeman and here 
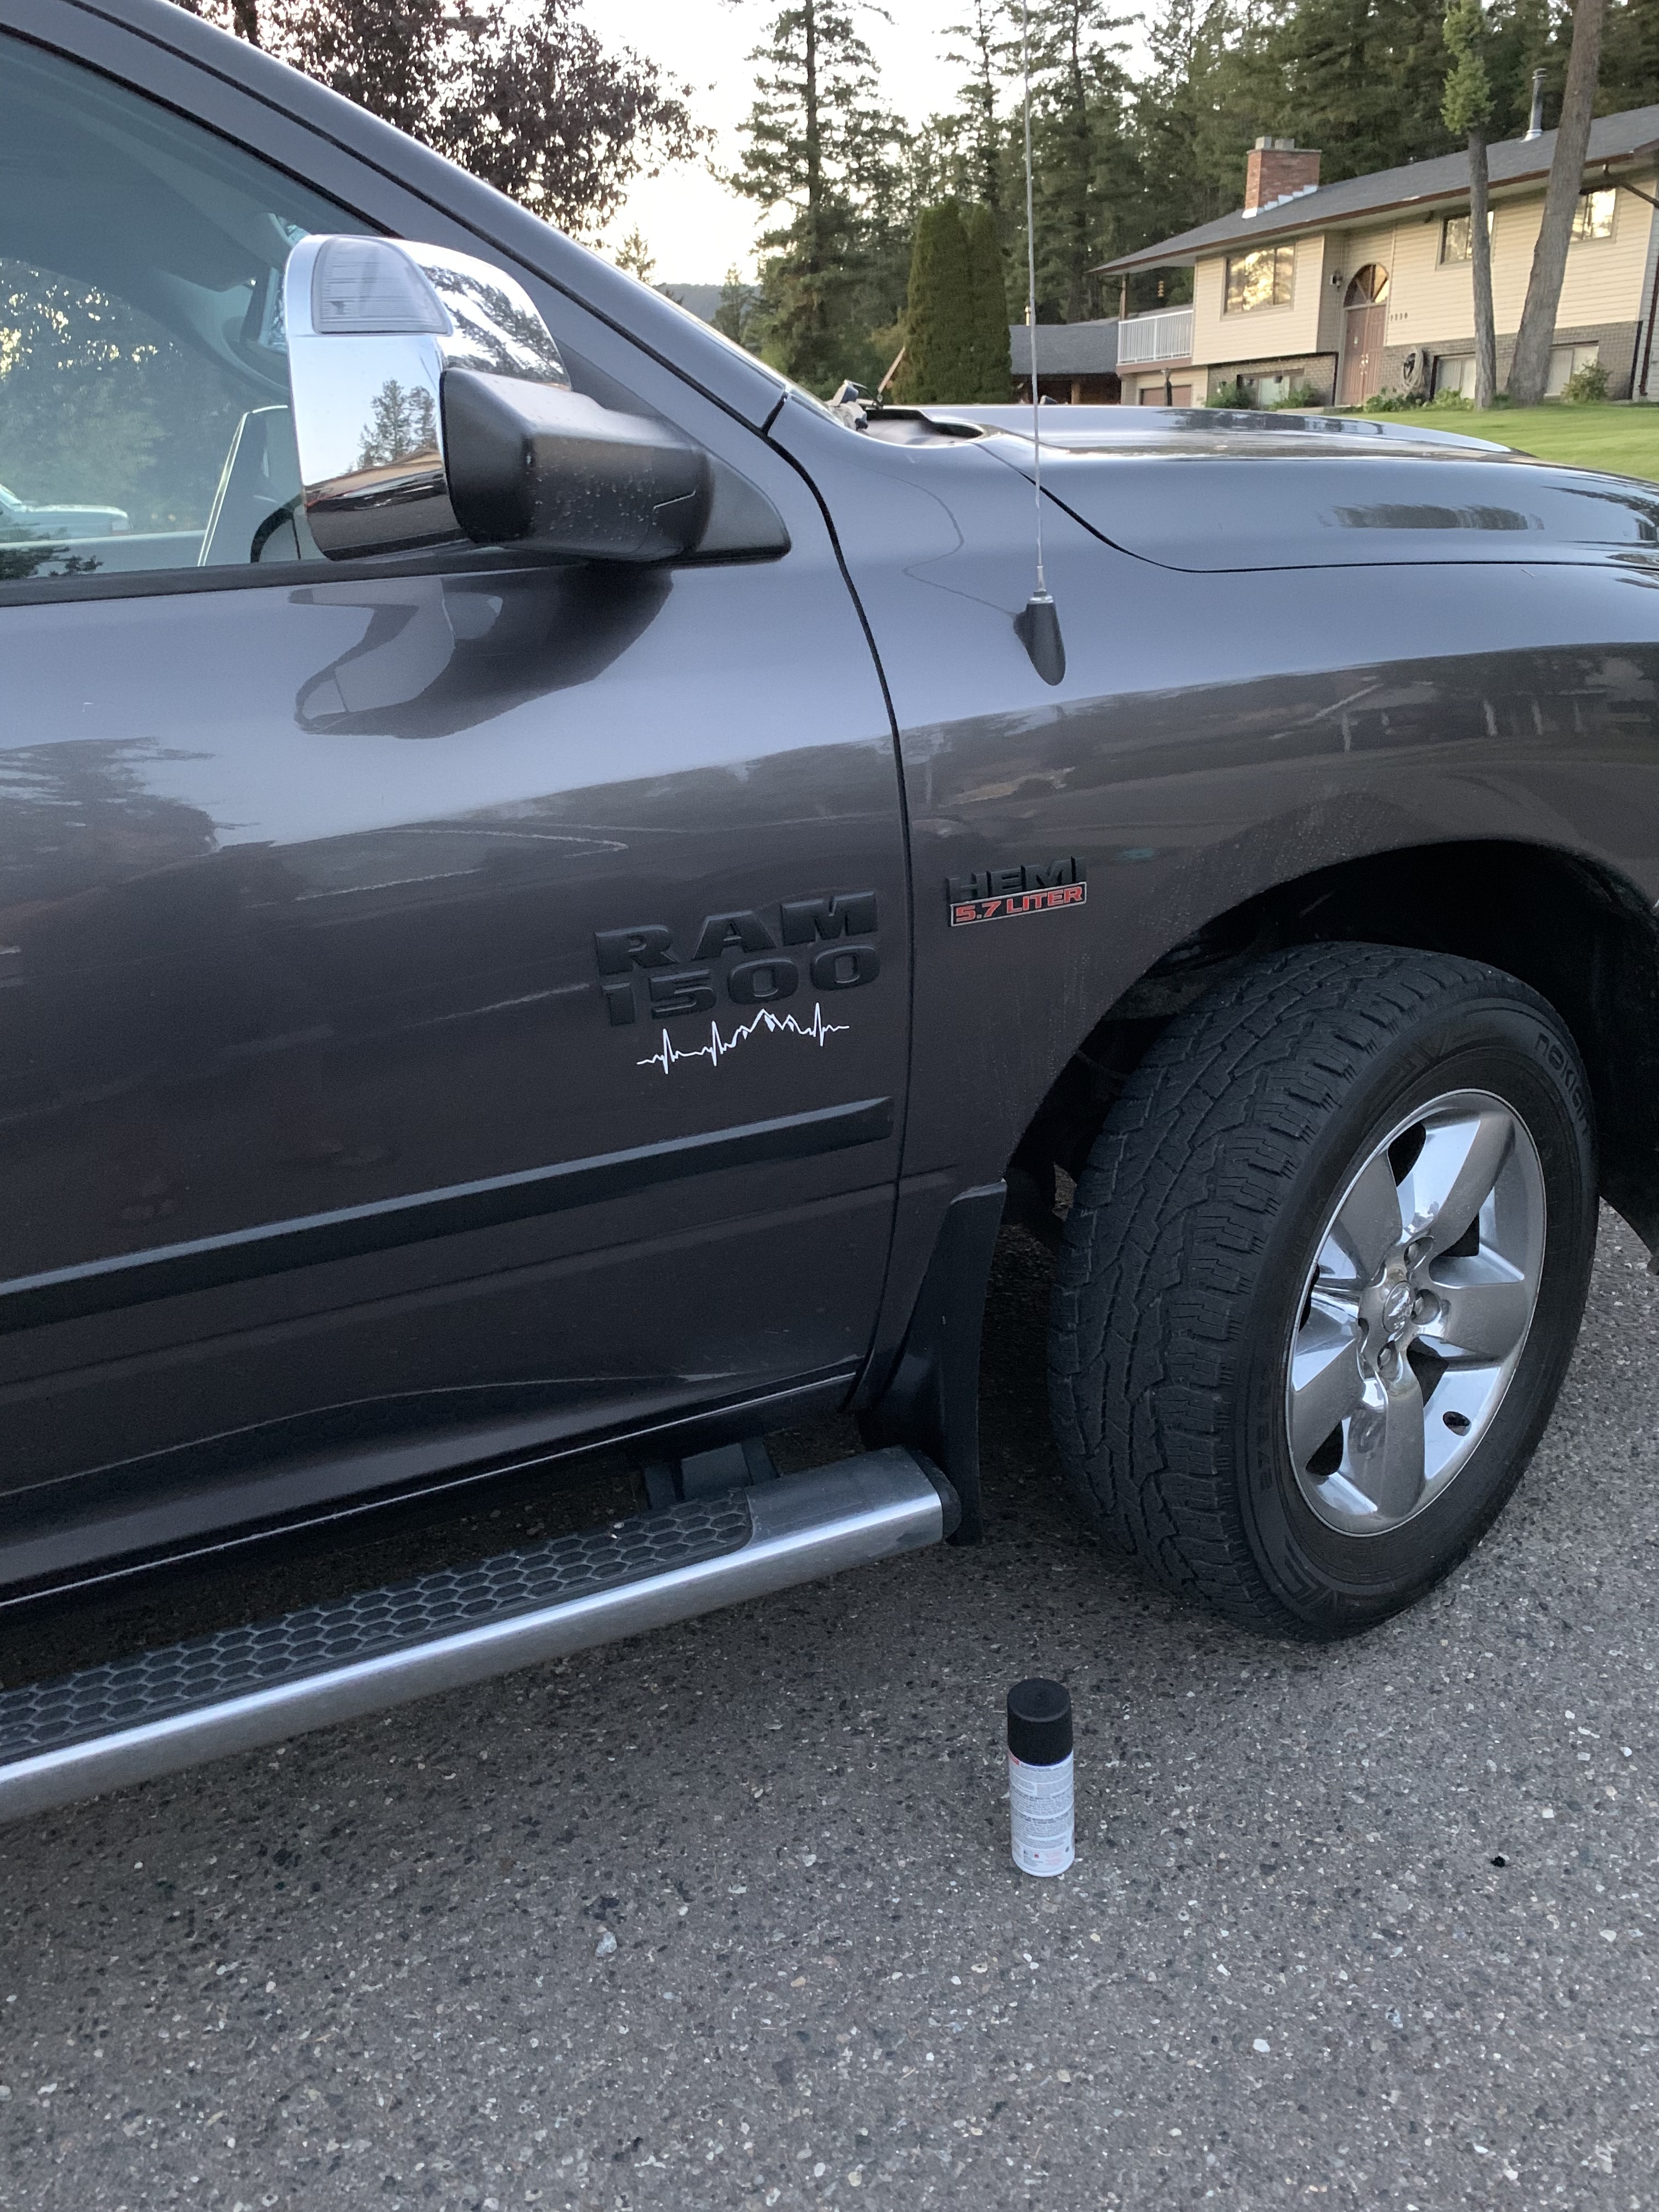
Plasti dip attempt.
3 Likes
The worst part of having tracking on shipments is that you know your camper is sitting hours away and you can’t get it!!!
In the meantime, tried out the Plasti dip on the grill. We’ll see how it fairs over the northern BC winter.
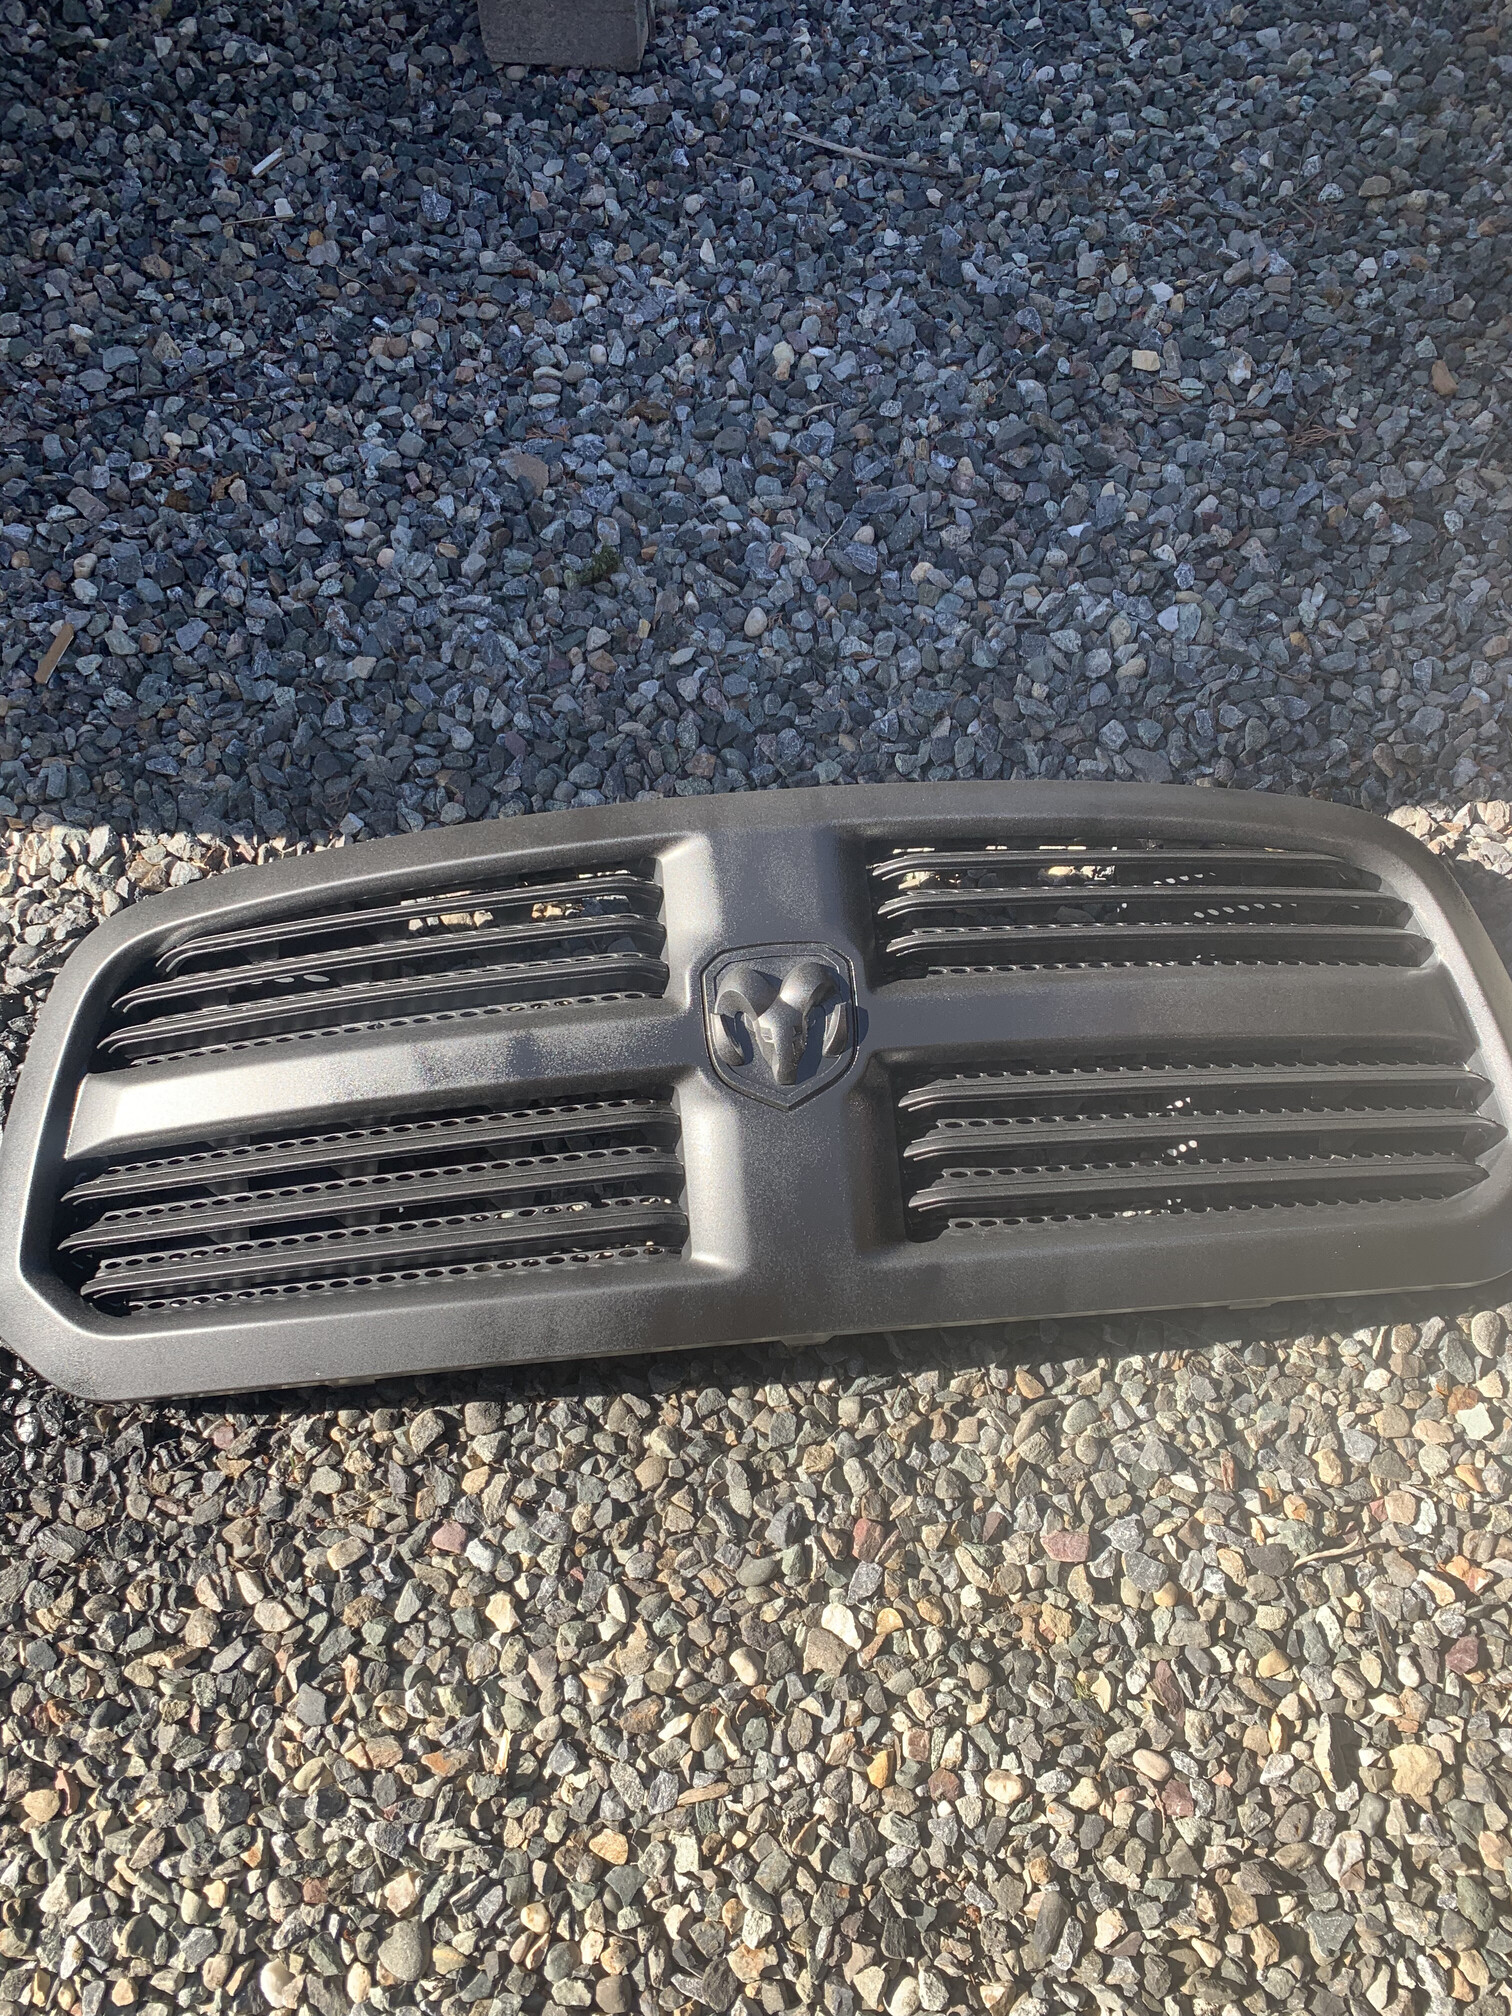
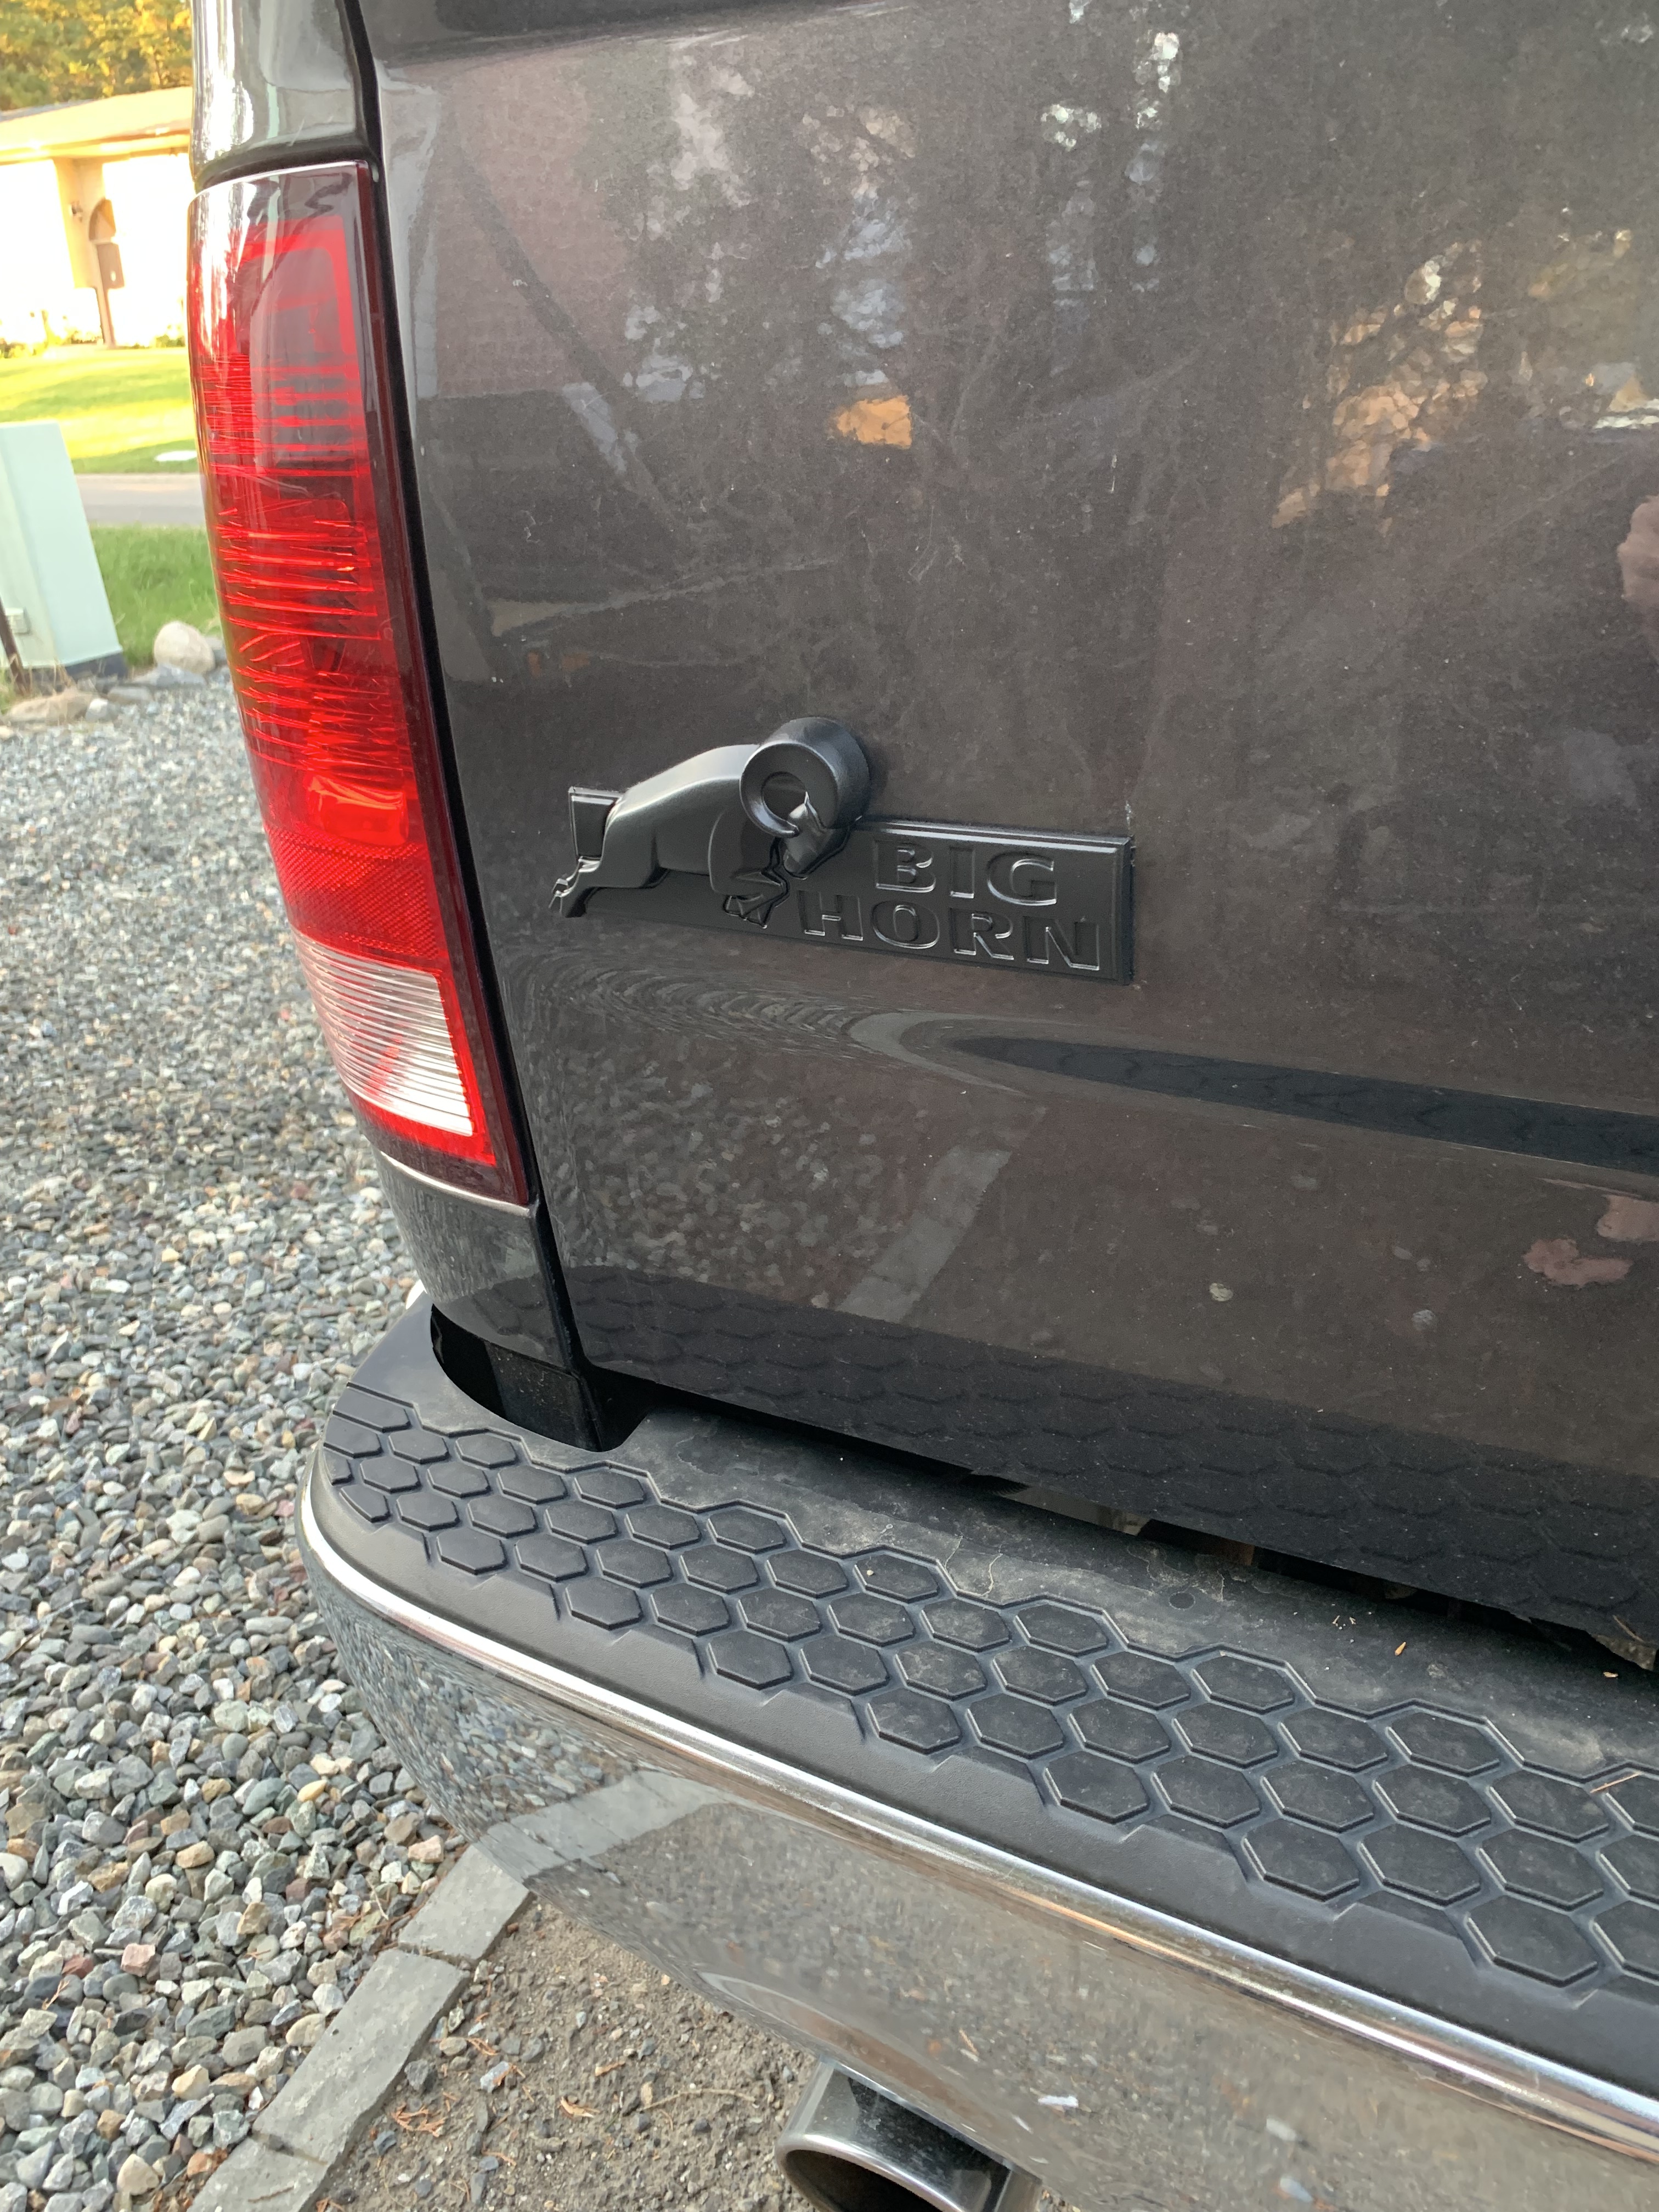
Now I’m trying to decide what to do with the bumper. Anyone have experience with Bumper Shells? Also eyeing up a few off road bumpers, but the cost should be spent on other upgrades, climbing ropes, professional avalanche courses, or the kids college funds 
But I’ll take suggestions on a nice low pro relatively light bumper that is winch compatible. Although I’ve gone this long without a winch 
1 Like
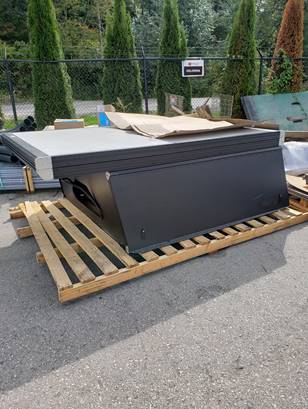
Well as some may already know, my shipment to Canada did not go well. I’m still waiting from confirmation on packaging from GFC. I was told that the camper would be secured to the pallet and I asked that cardboard be used to somewhat protect it. The cost of crating is not a viable option…especially considering that companies like Leer, ARE, etc ship canopies all the time bare bones.
Regardless, I accept that I took the gamble and lost. Fortunately, I can definitely speak to how well these campers are built! I can’t even imagine what this thing went through that I don’t know about. So lets tell the story.
Sept 9th - Camper picked up from GFC in Belgrade by a US courier K&L I believe. I asked GFC for pictures of the unit before shipment and I was not provided those. I get it they’re busy, but they’re still the shipper and their responsibility to make sure it’s somewhat packaged appropriately.
Sept 10th it makes its way to Salt Lake City where it gets transferred to another truck.
Sept 13 it goes to Boise ID where it gets transferred again and I get an email from the courier that they were not provided with a Bill of Lading or Commercial invoice from GFC for customs which I provided. I sent them the documentation and the camper cleared customs Sept 14th.
It then made it’s way to Oregon where it transferred again, then to Washington and transferred again. Sometime around the 16th of Sept it made it’s way to Surrey BC…YAY finally in canada. It was then shipped to Kelowna via Day&Ross where it sat until the 20th. It’s this point that it essentially got lost. I could get no information from anyone as to its whereabouts. Finally upper management and owners were engaged from the shipping firm. Day & Ross transferred the shipment to Overland West who deal with northern long runs.
The shipment was due on the 21st, at this point I was told the shipment didn’t leave Kelowna. The next day I got the same response, but escalated the issue and was finally told that somehow the unit ended up back in Surrey.
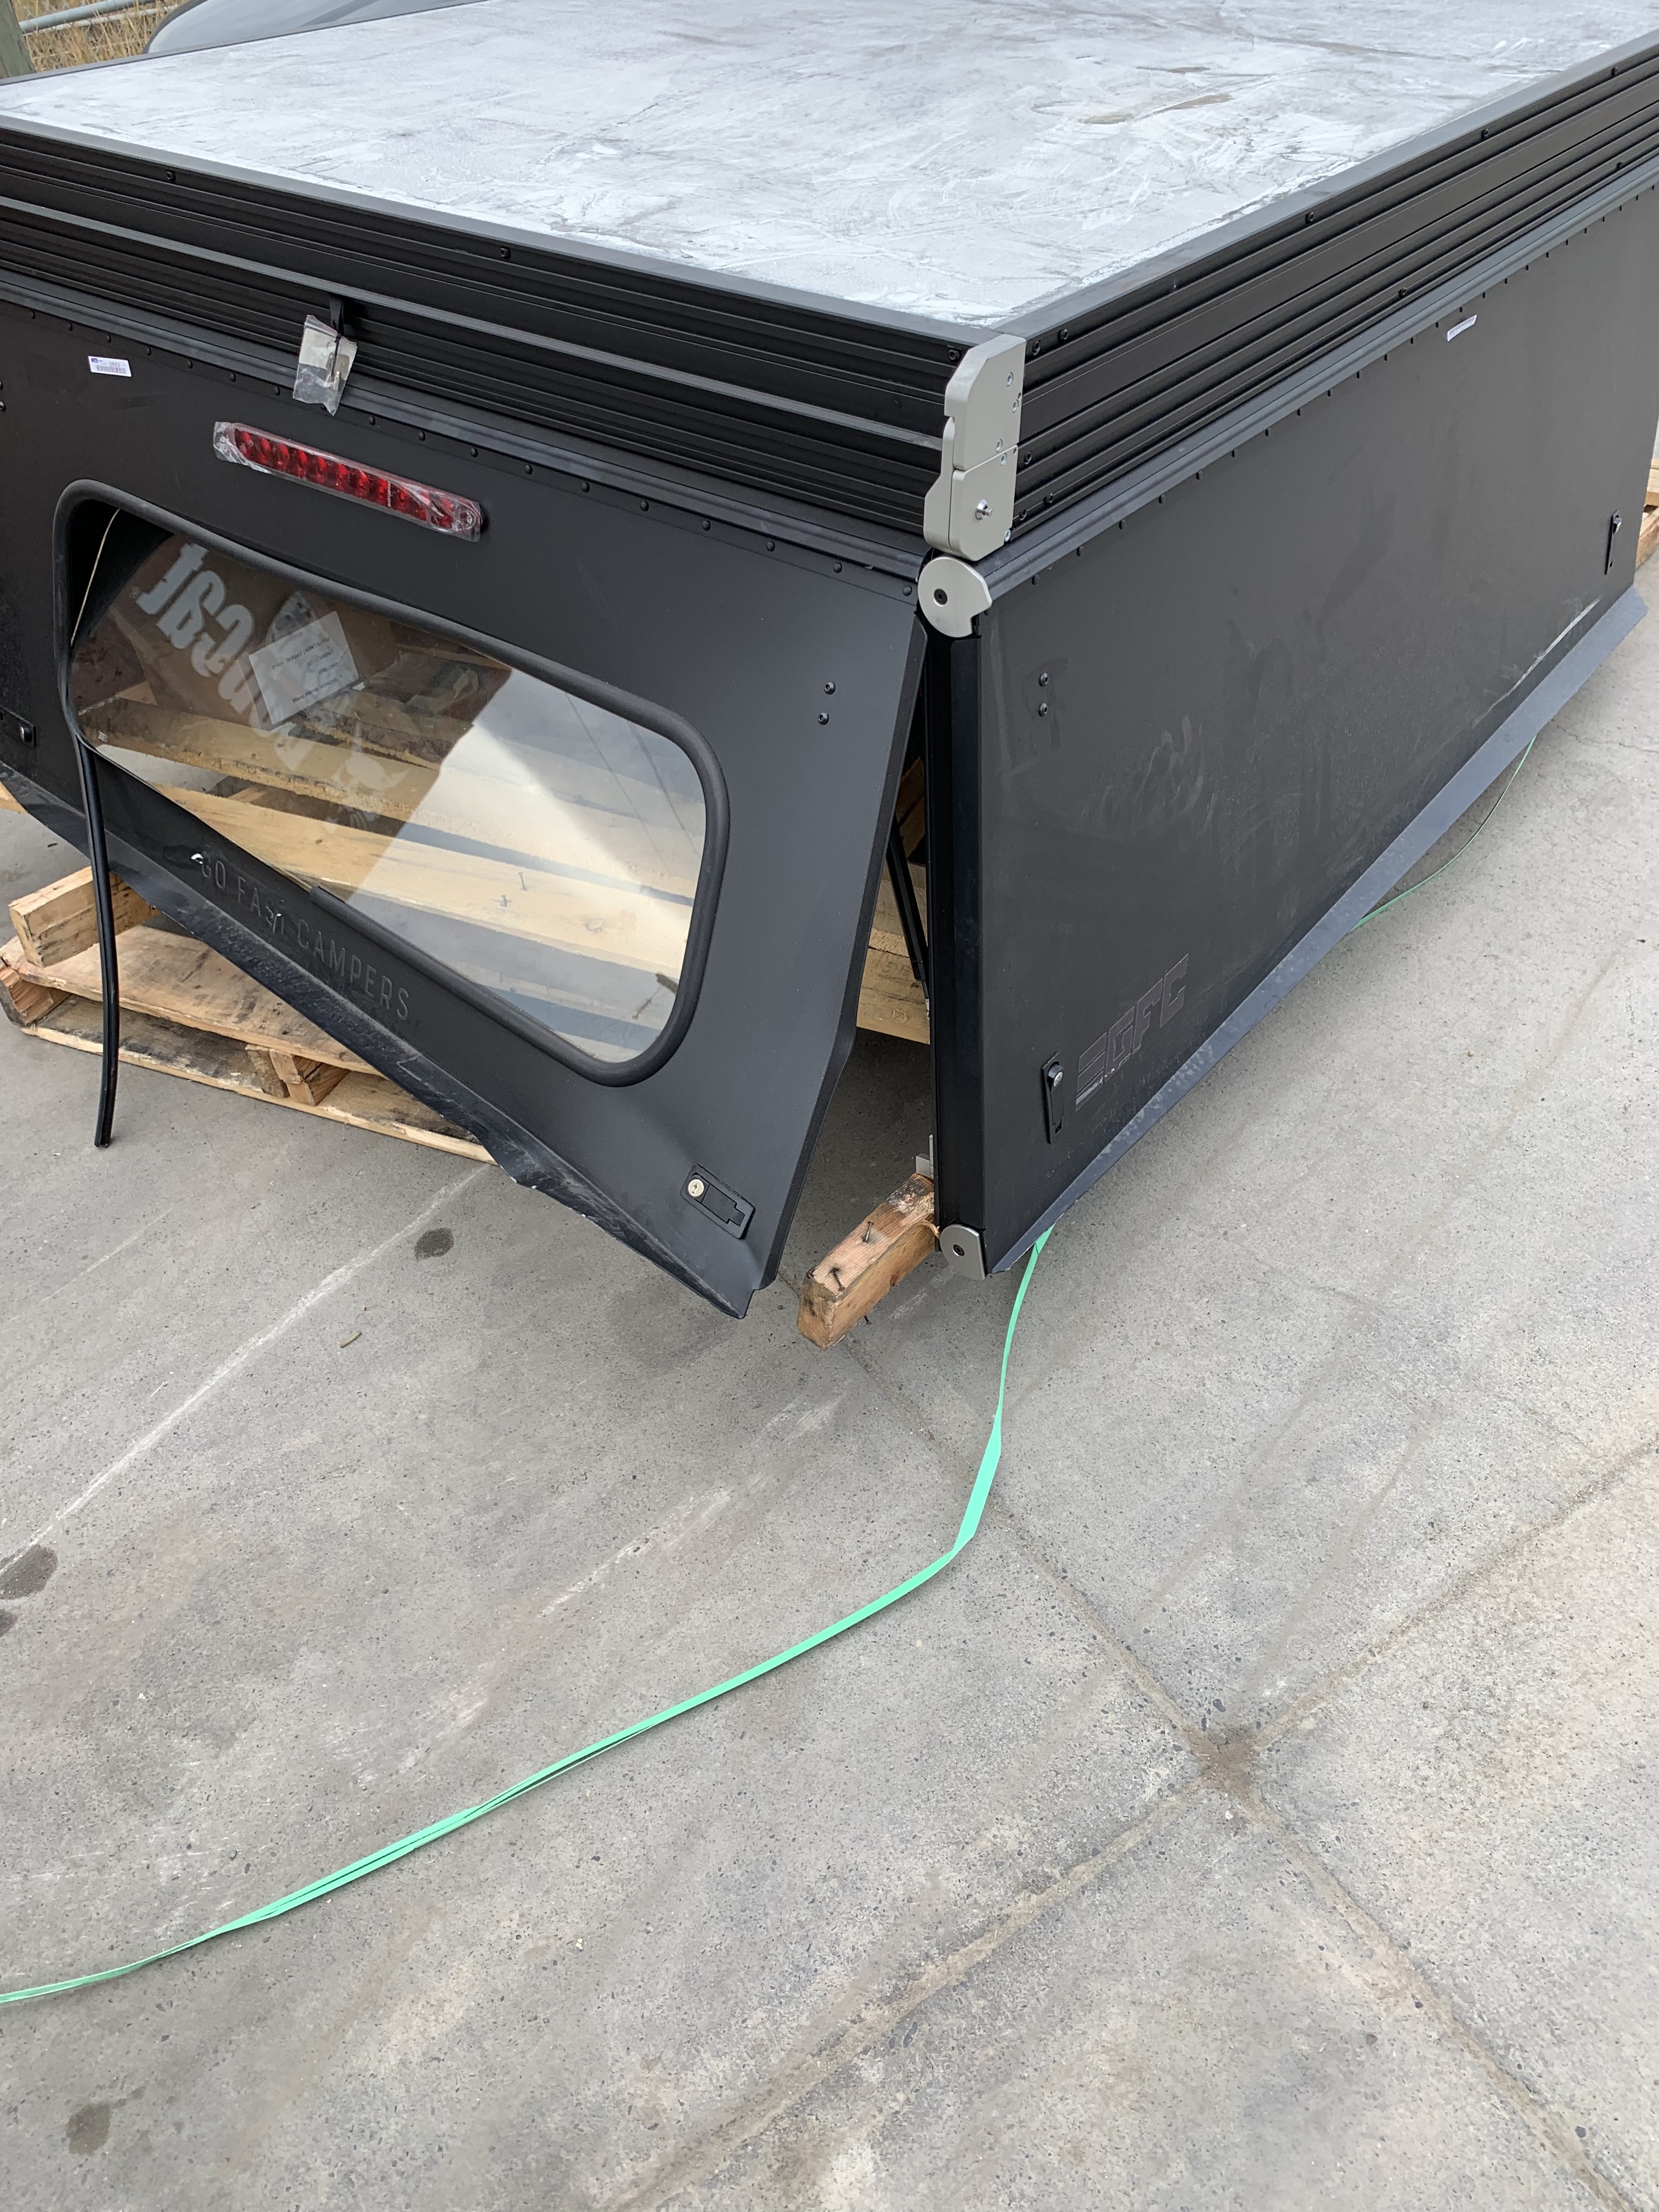
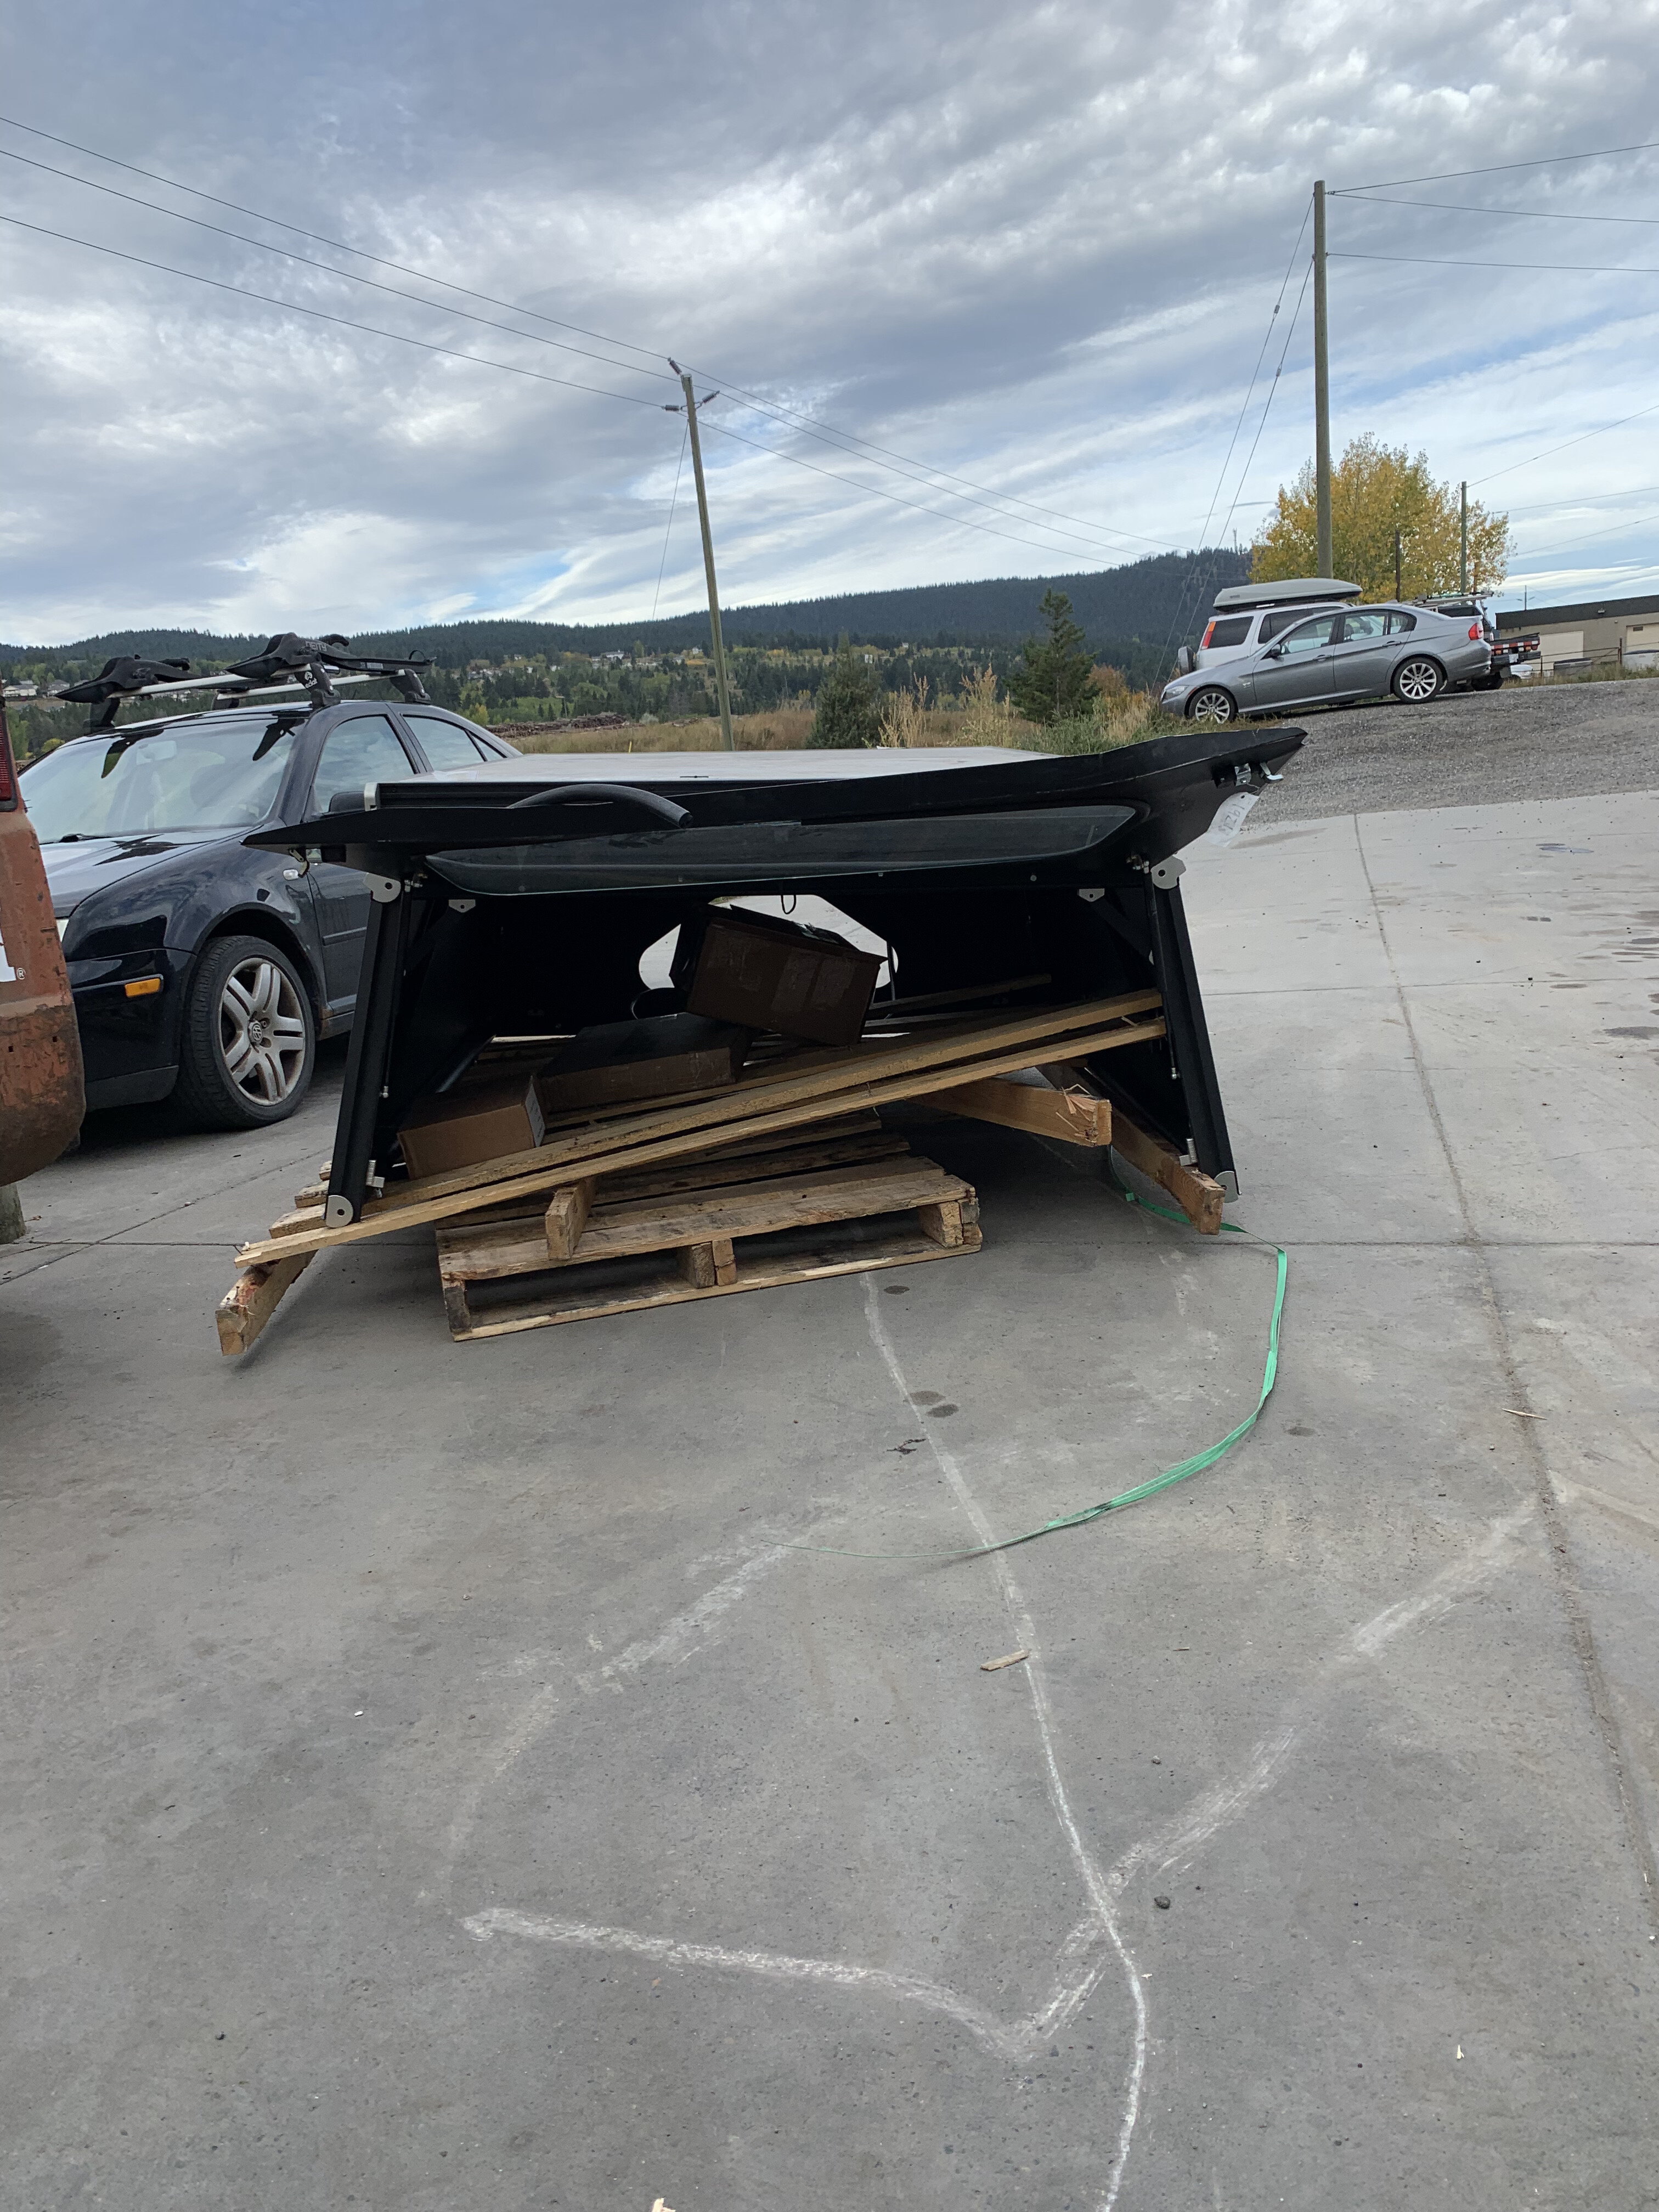
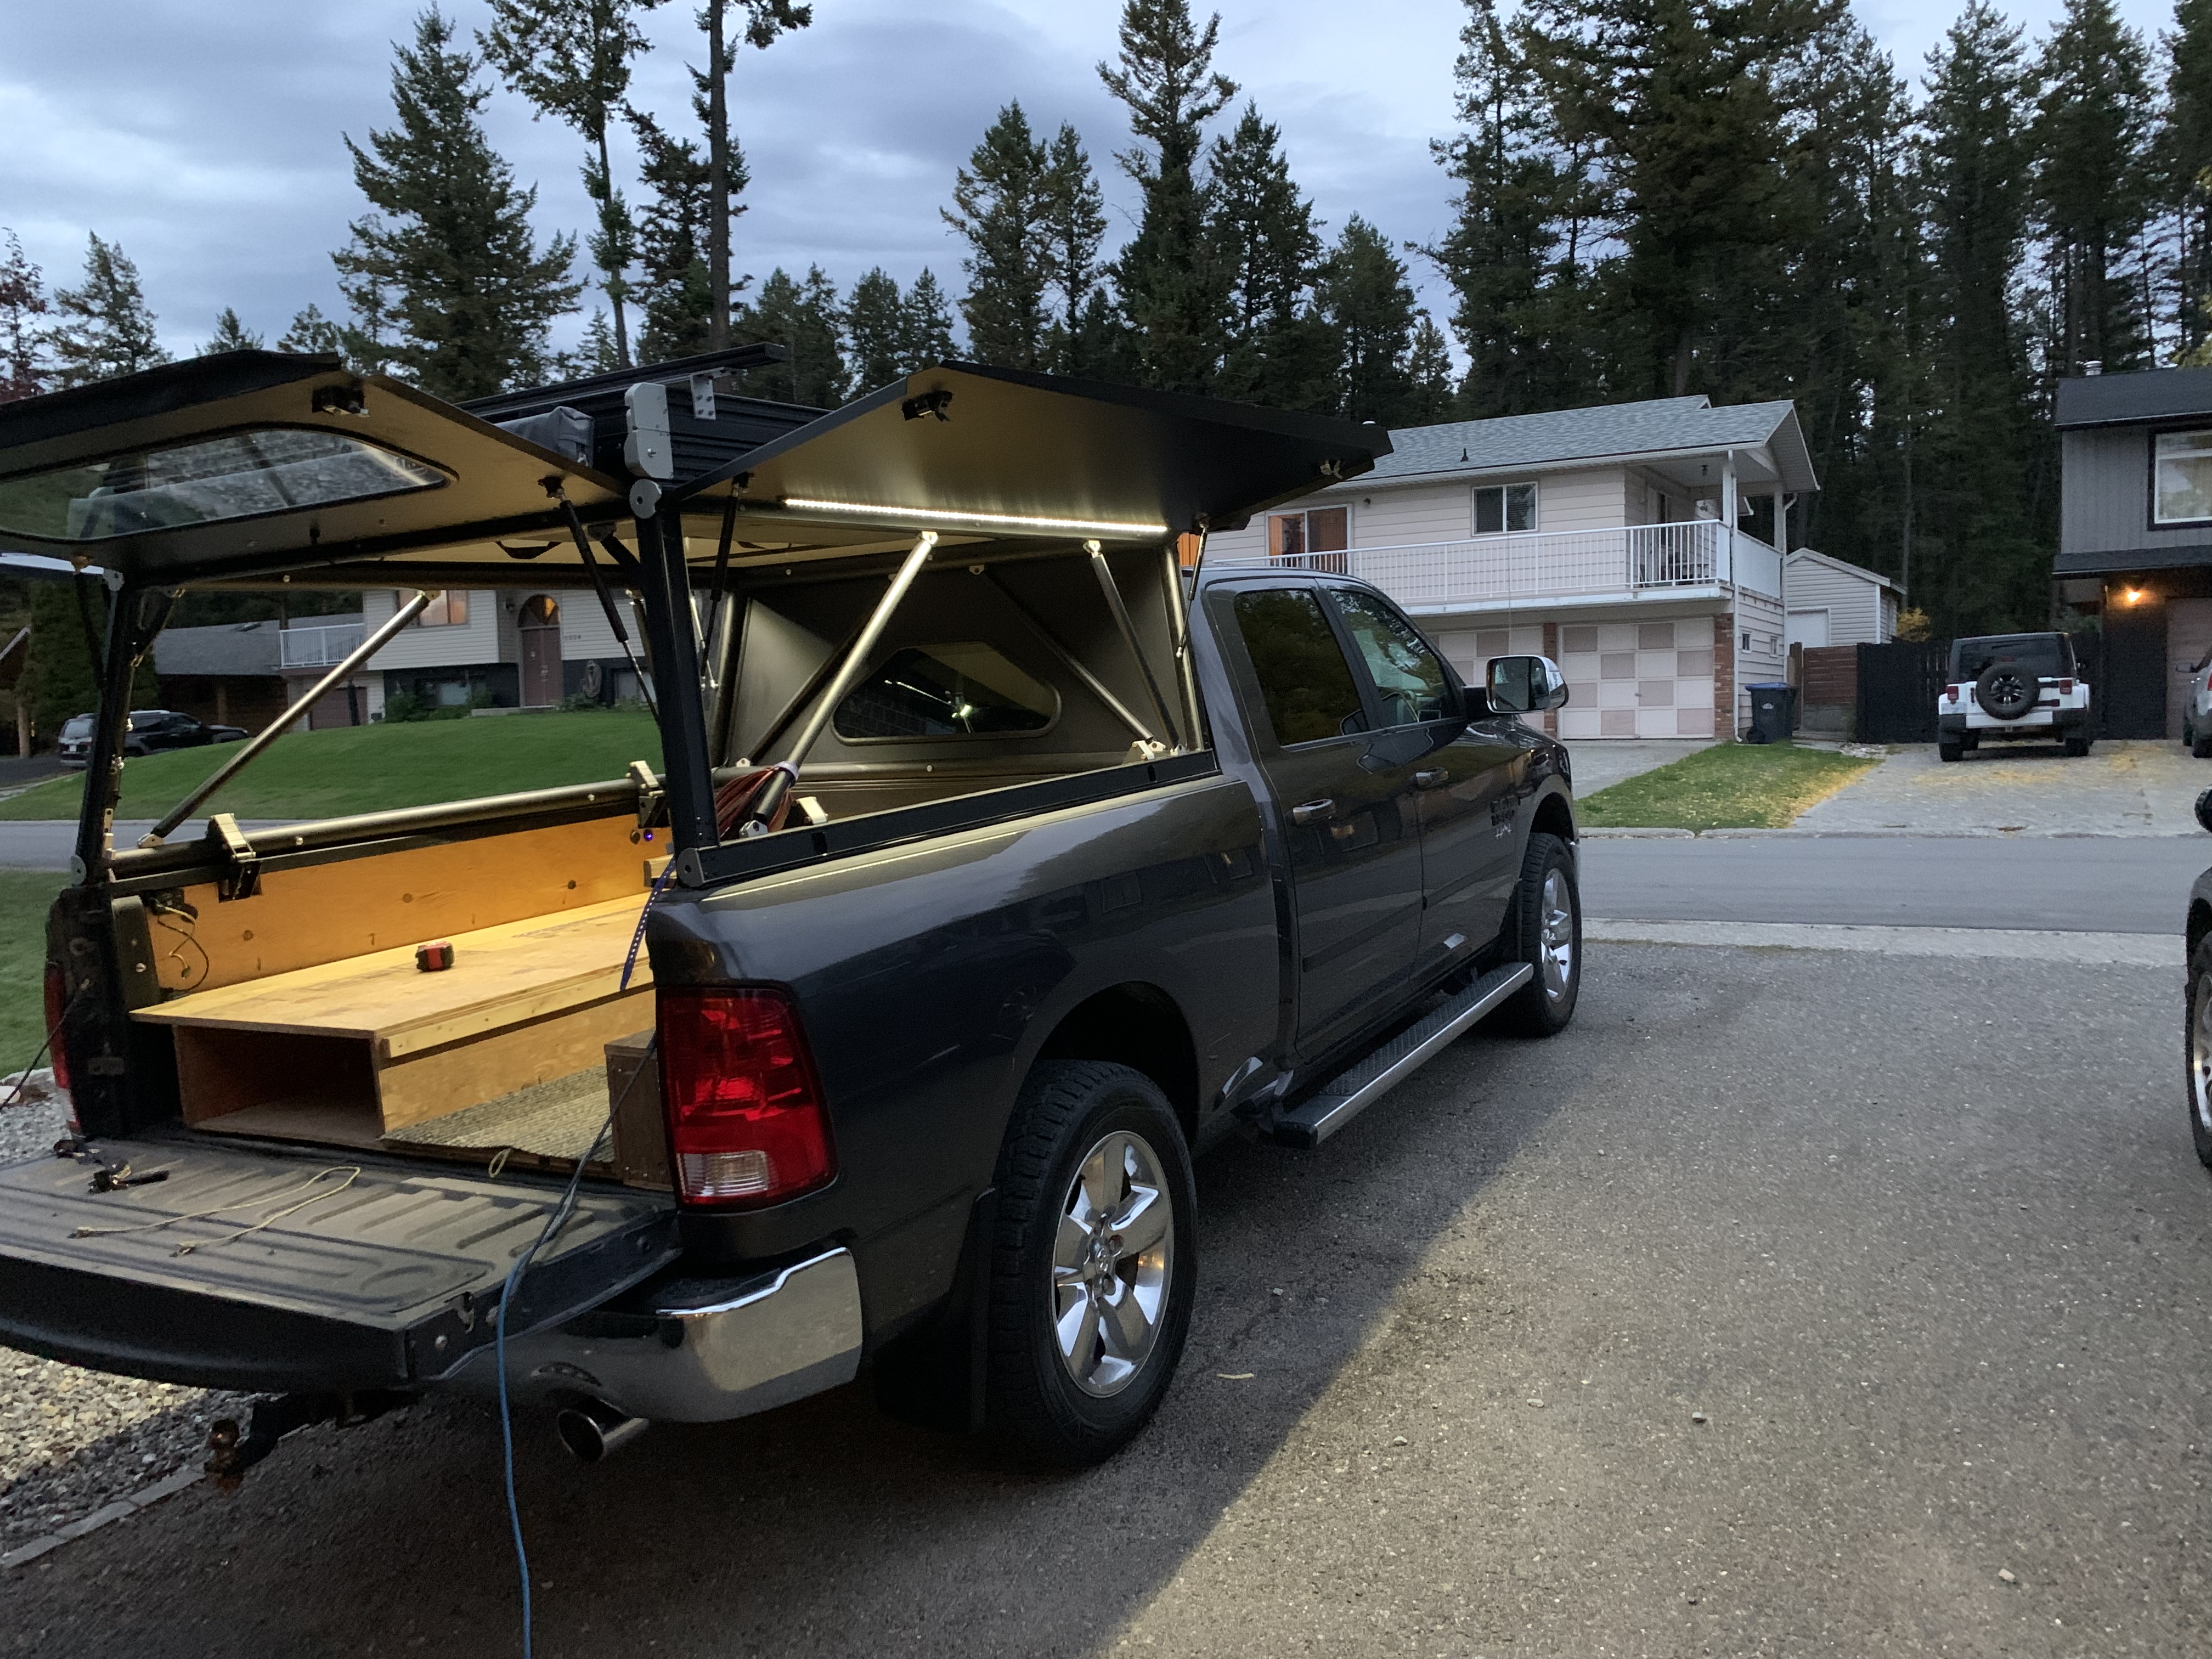
On the 22nd I was sent a picture showing that the front cab window had been popped out, but was confirmed no other damage. Was told the unit would for sure be in Williams Lake on the 23rd, it did not ship. I should’ve just drove down and got it. Regardless I was told for sure it would be shipped today, then the real nightmare starts. These shipping companies don’t ship on weekends so Thursday is their Friday and that shows with how they treated the camper. They stacked it on a quad and didn’t tie it down, and they must’ve run into it with the fork lift.
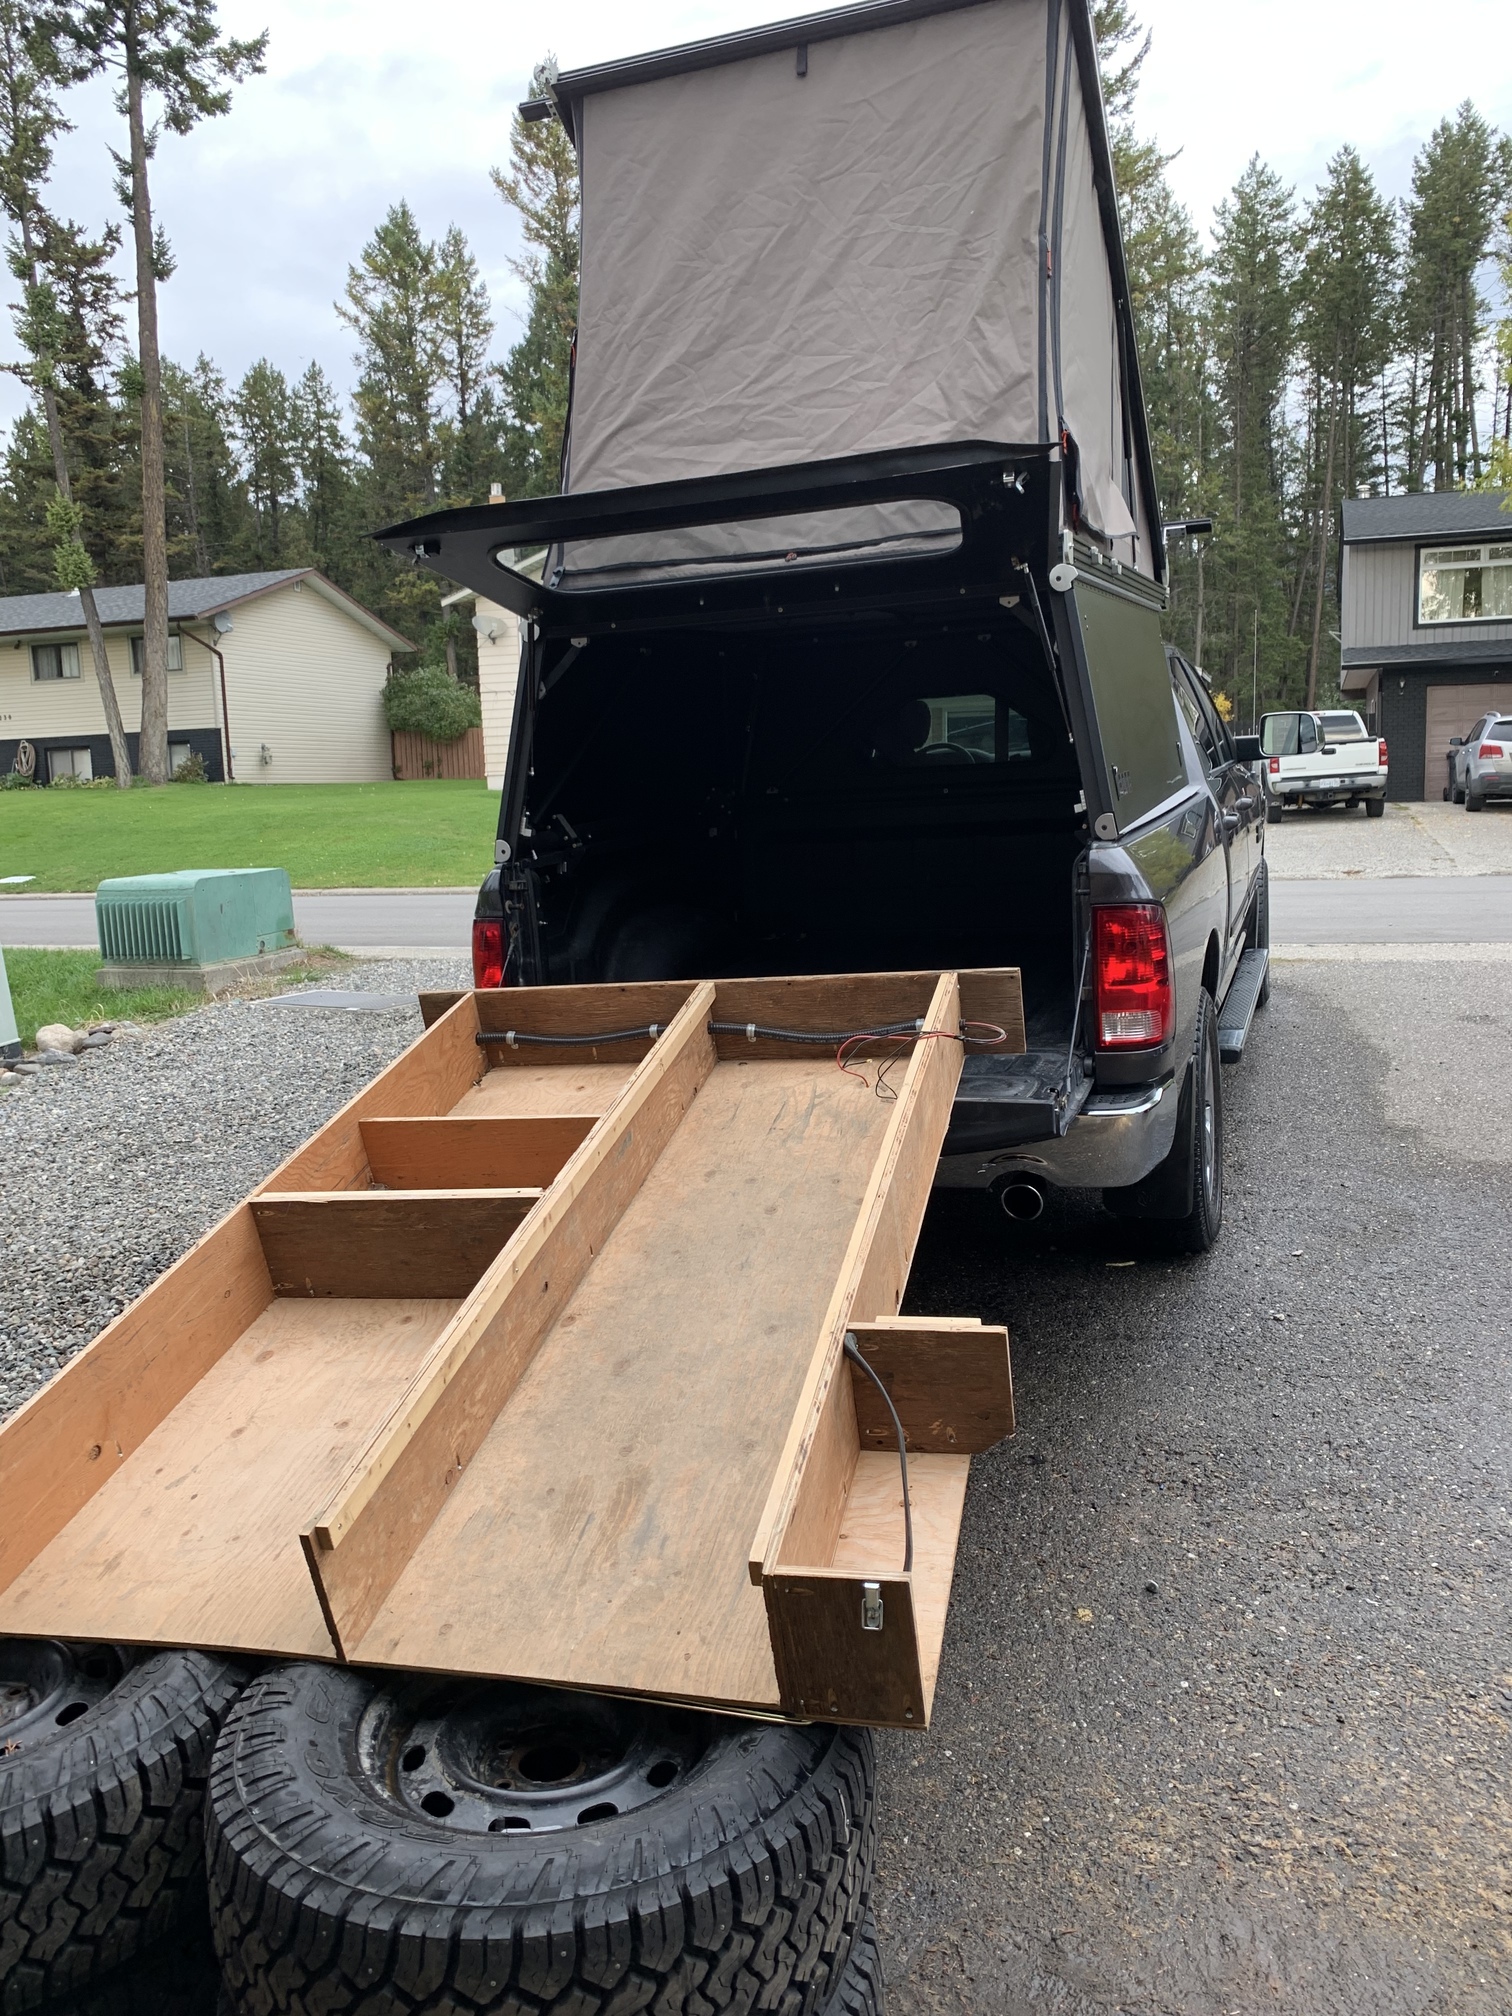
Regardless of all that, I remained calm and accepted the fact that there were multiple parties at fault. Getting angry wasn’t going to solve anything or get me anywhere. So I signed for the camper and brought it home. I installed it on the truck after getting the local glass place to pop the cab window back in. Took off the rear door so I could look at repairing it. Got that pretty straightened out just need to bring it back to the glass place to have them pop that window back in too.
There are some weird things with the brackets that I’m not sure about. Honestly it almost seems like it’s the wrong camper because it doesn’t fit like the one they show in the install video which is also a Ram. Regardless, I’ll wait to hear from GFC and I hope they can confirm that they were diligent enough to have properly secured the camper and other goodies to the pallet… Anyways, here are the pictures of the whole debacle.
When it was in Surrey BC - I should’ve gone and got it
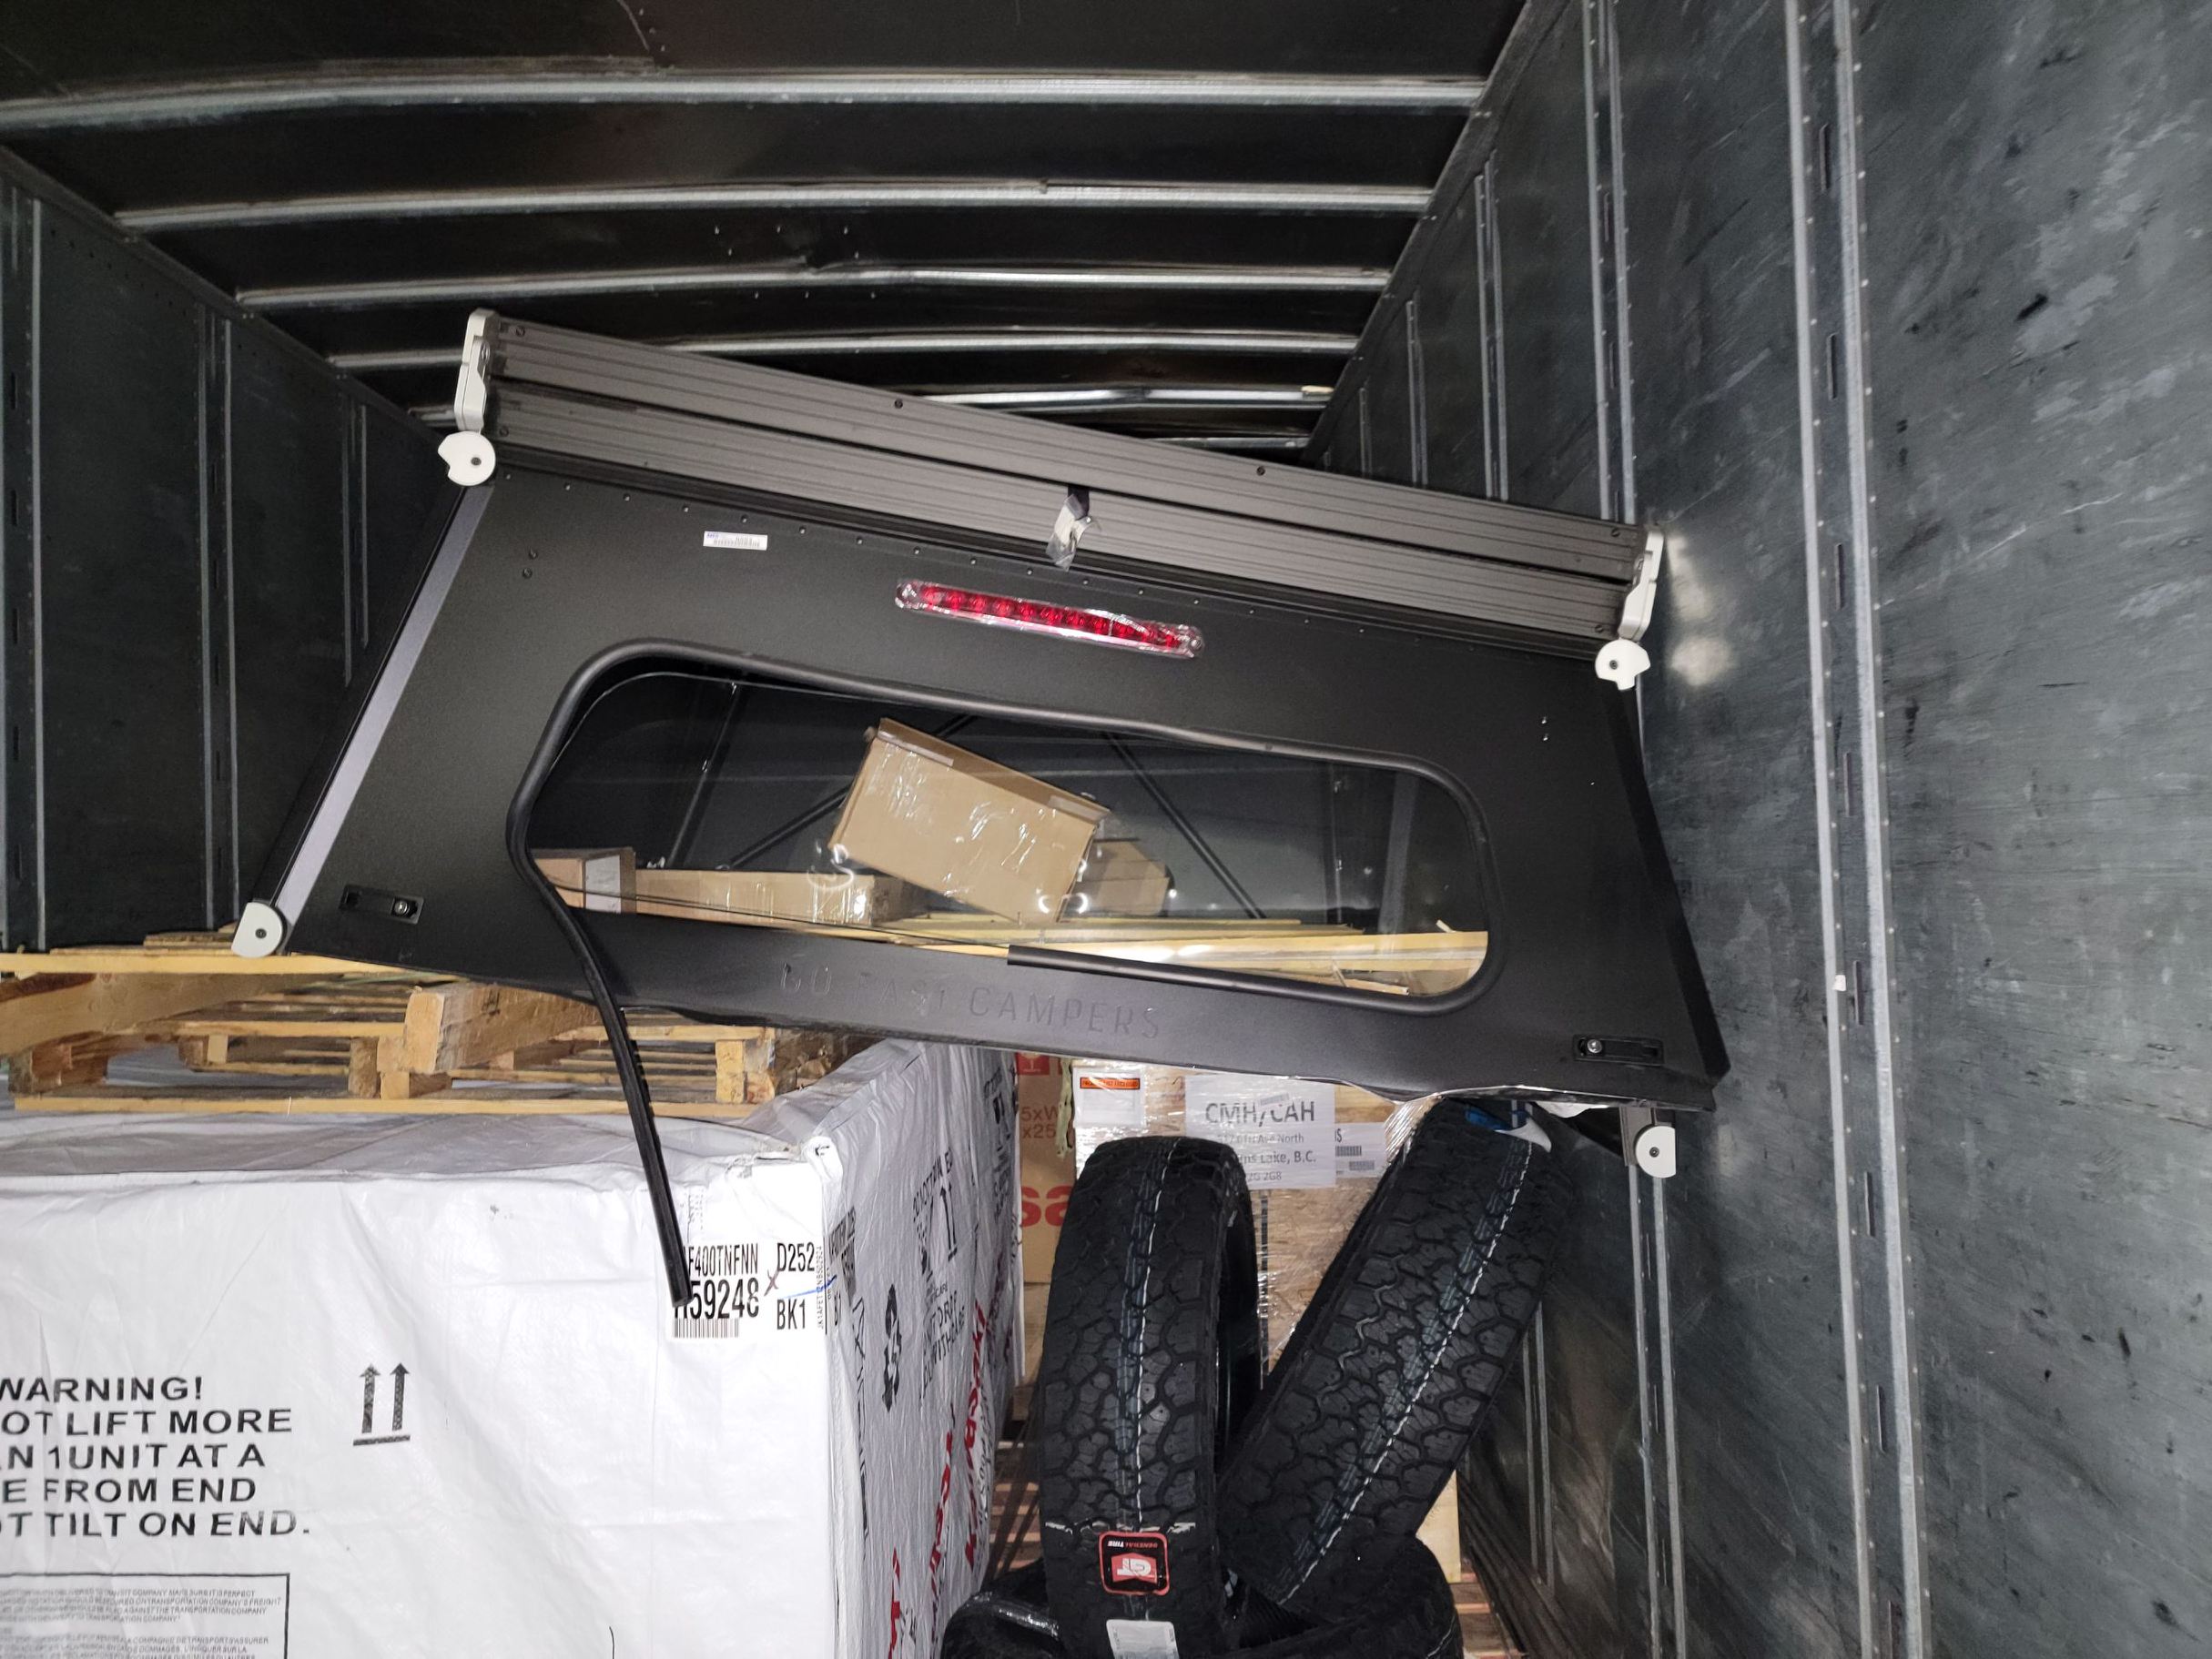
Picture from receiver in Williams lake of how it was loaded in the truck
Rear door damage window popped out

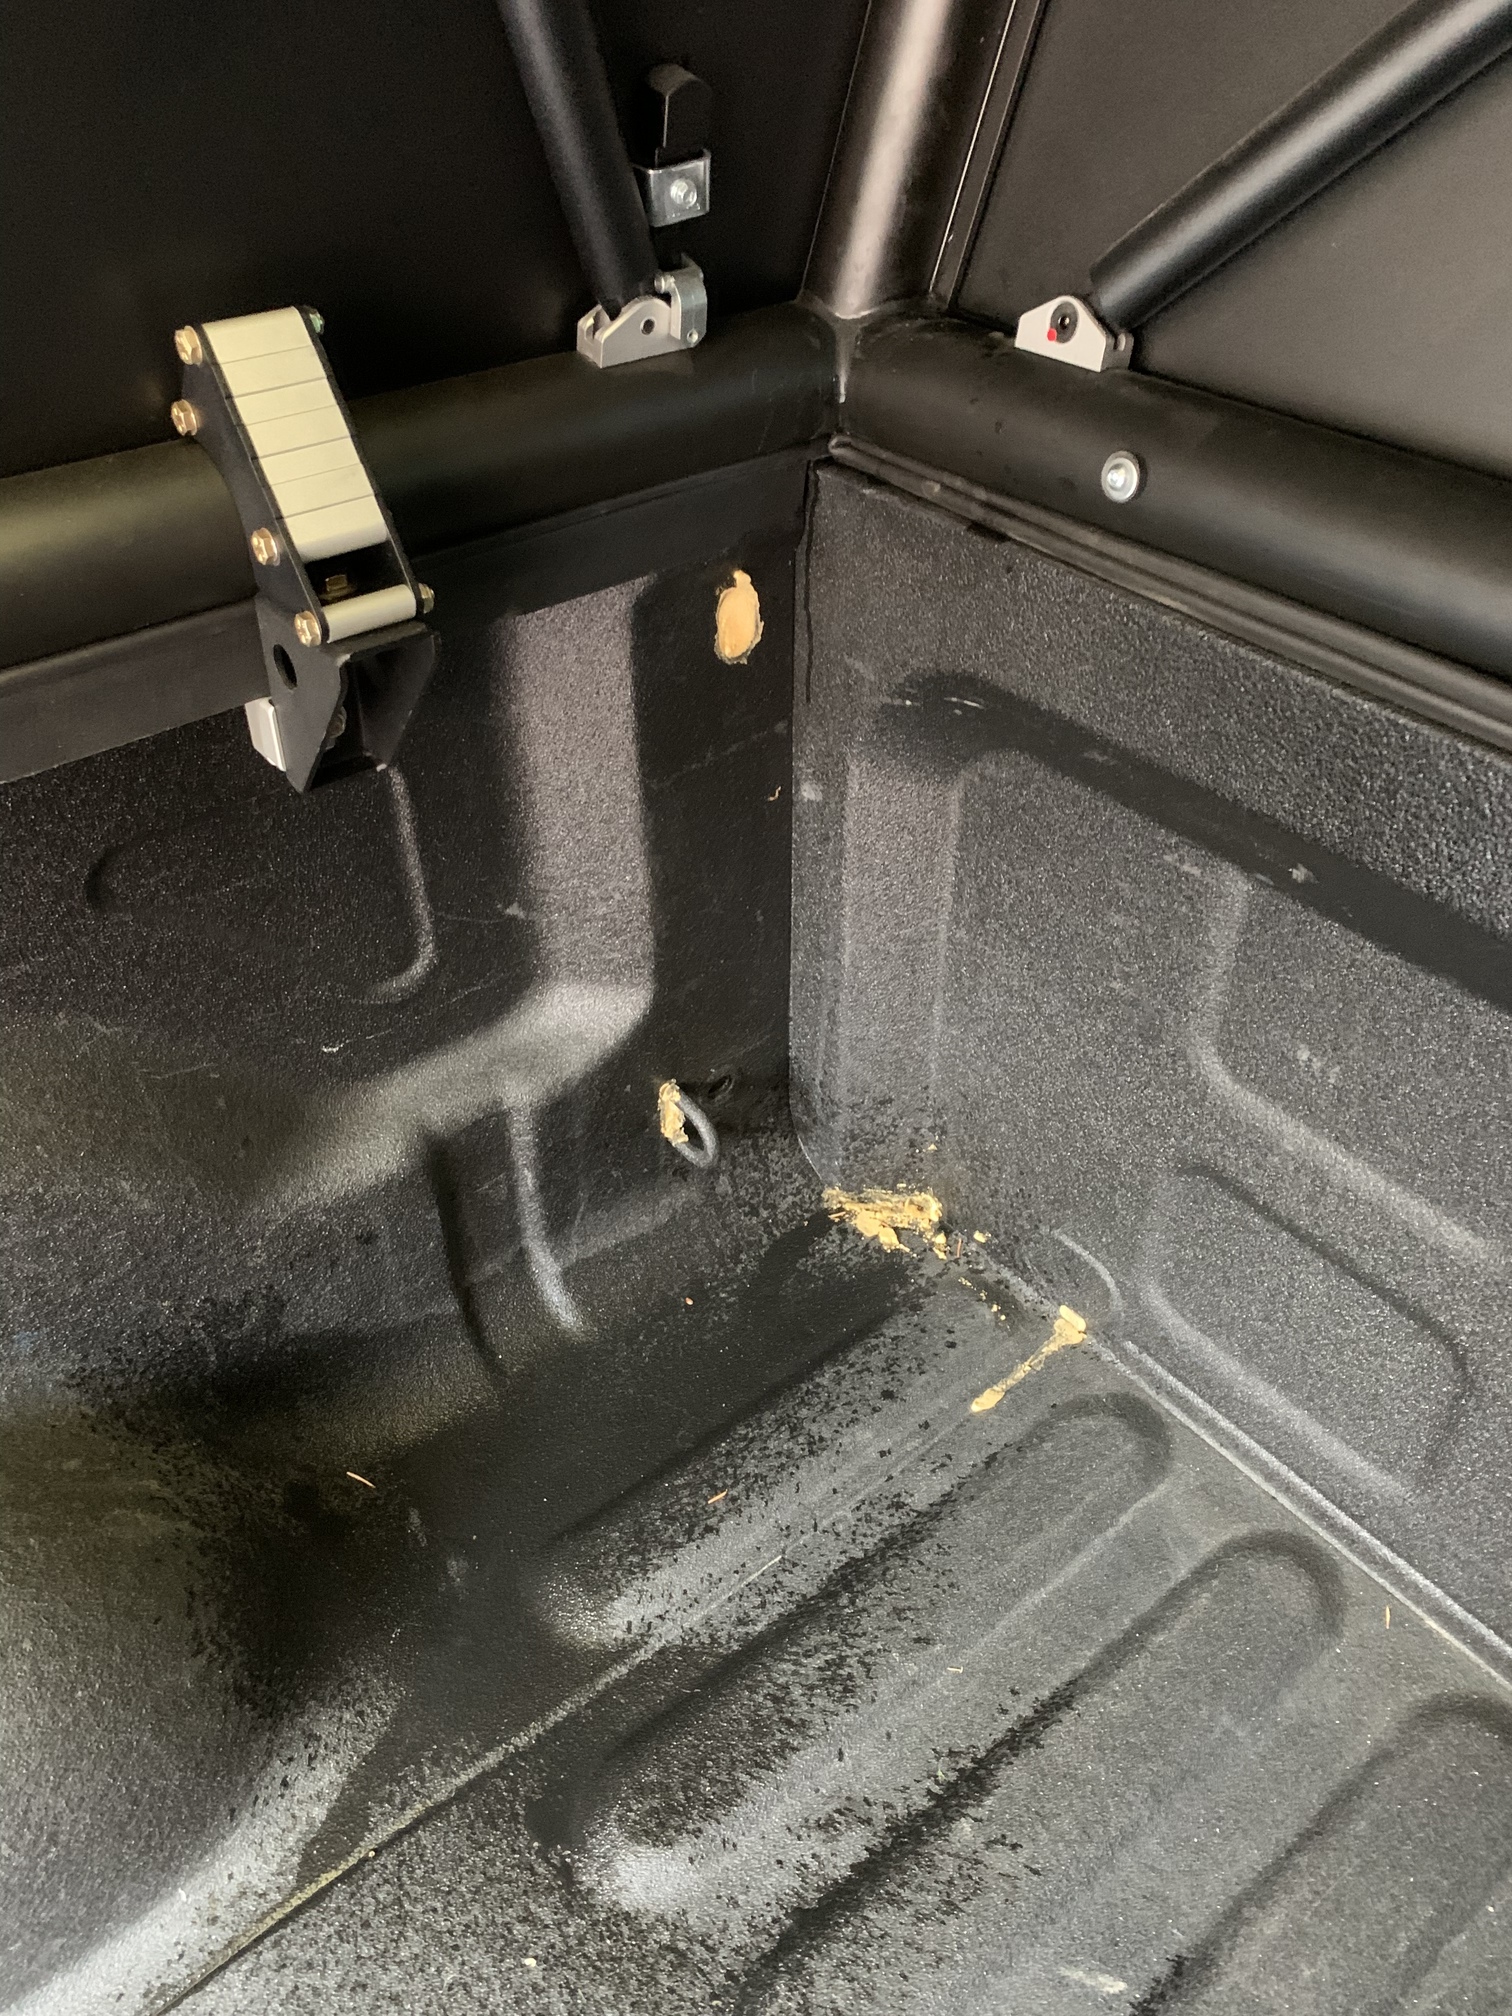
Everything loose inside and not tied to the pallet at all
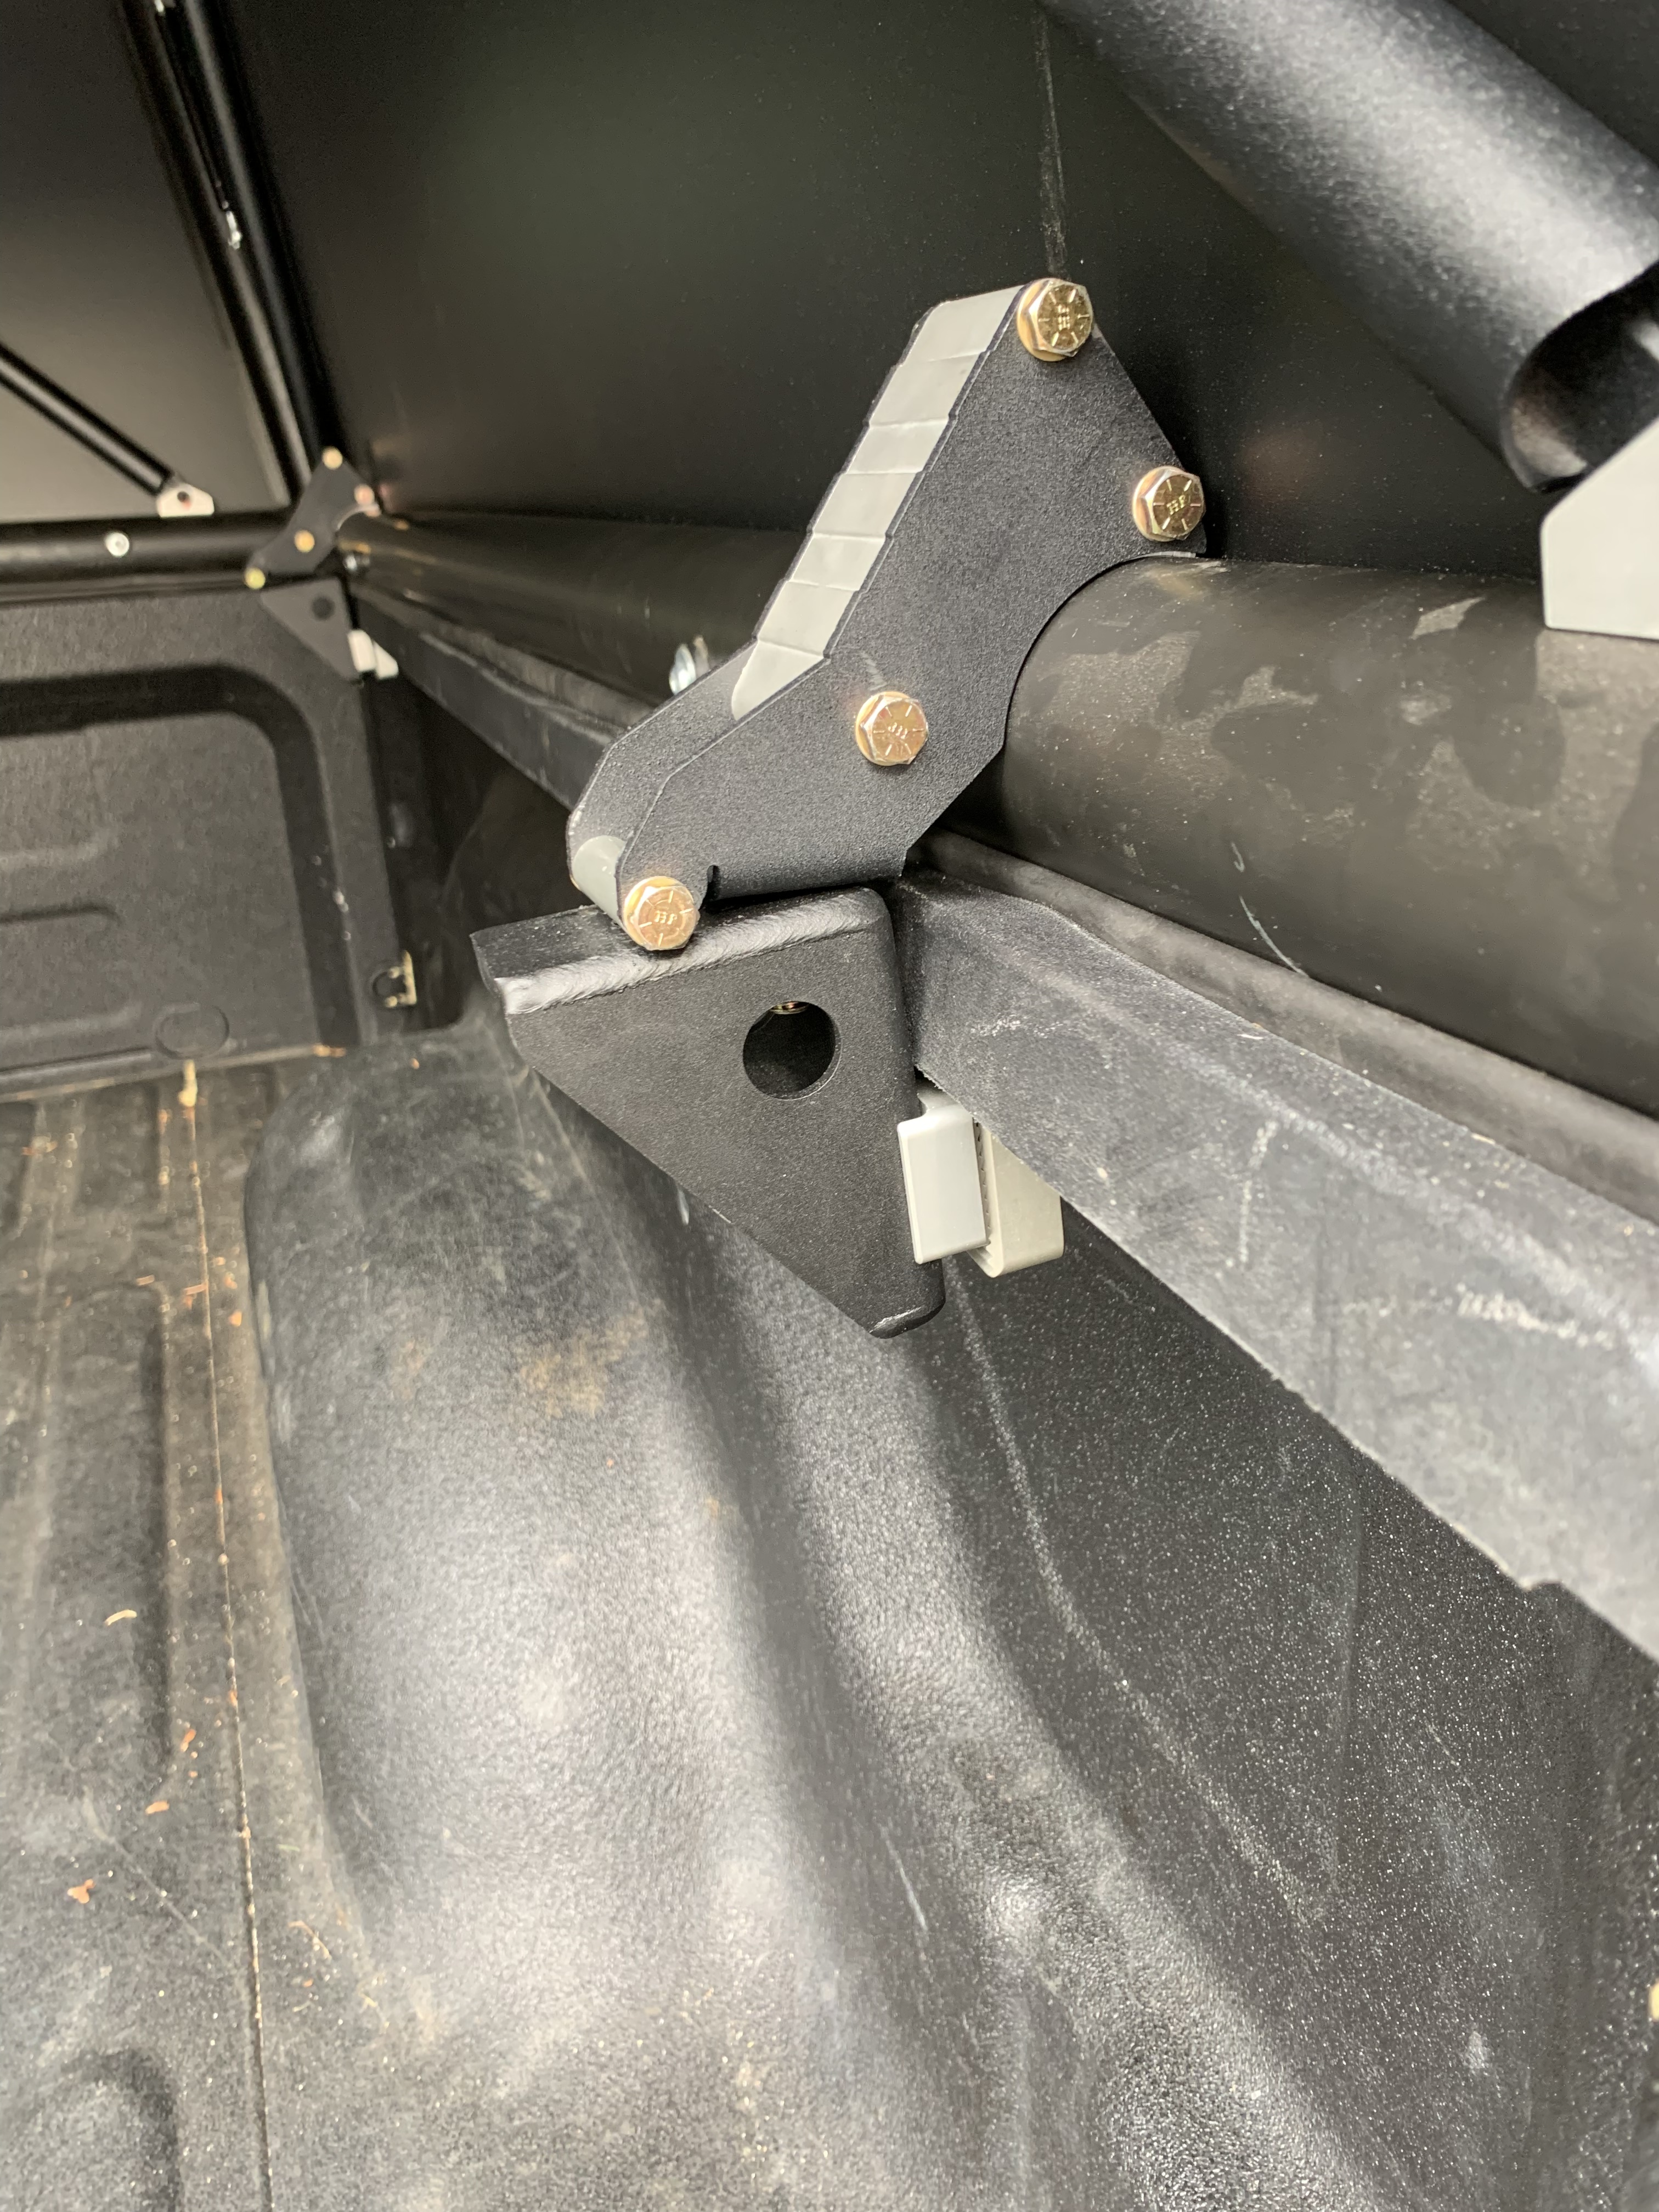
Left side bracket? It’s supposed to be 2mm

Same on the right side
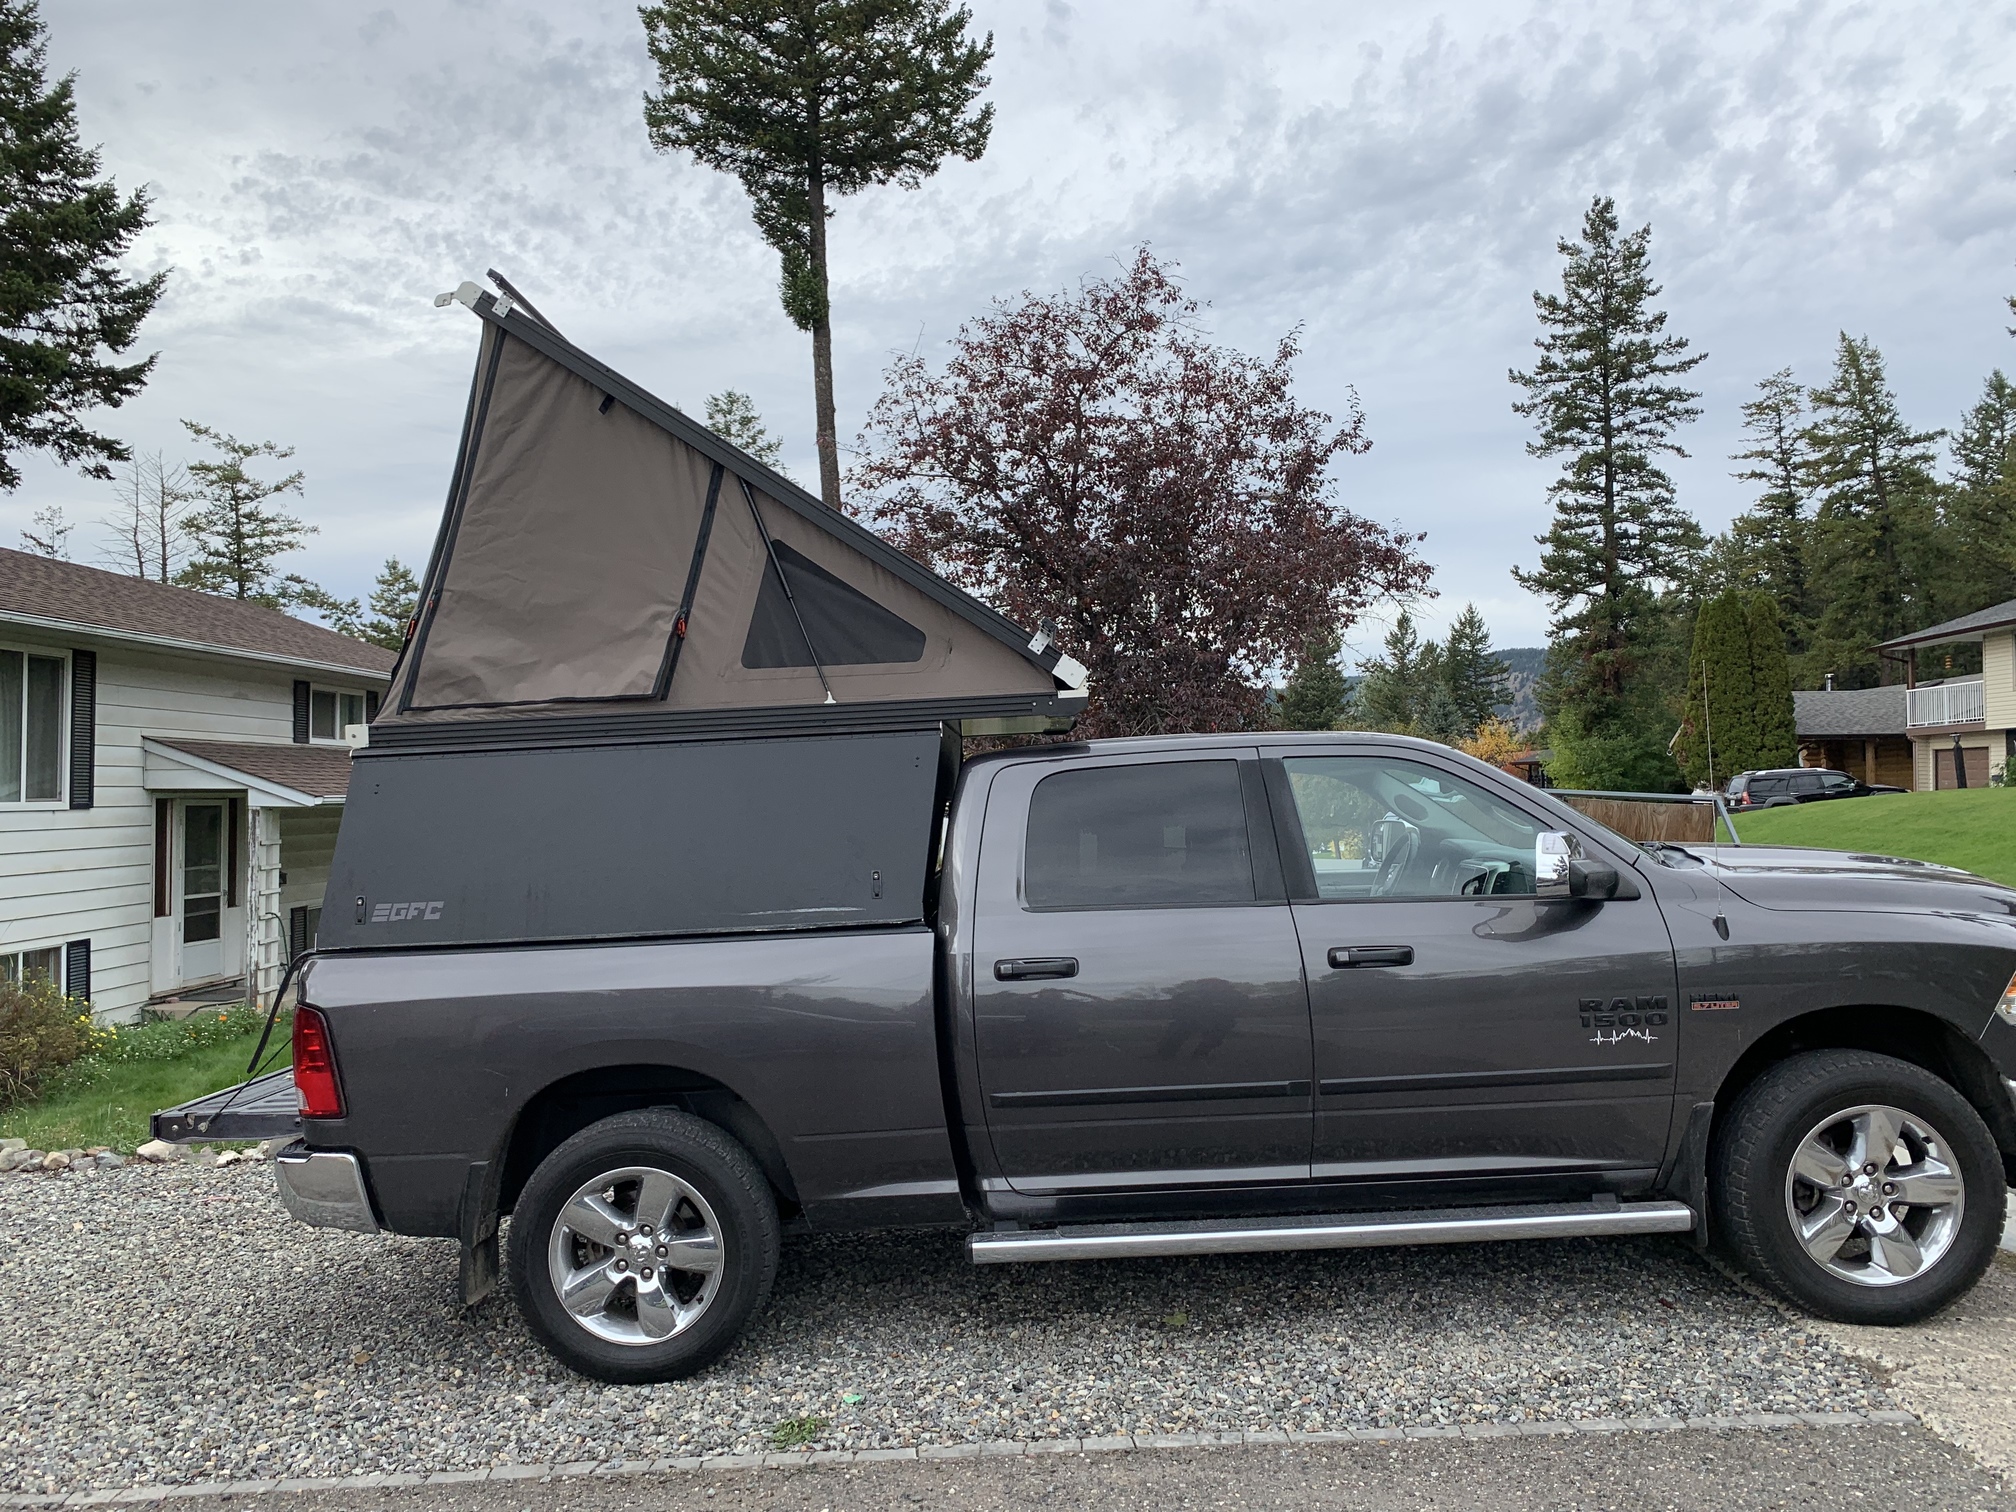
Got it on the truck
2 Likes
Man sorry to hear about all the headache. Amazing how much the shipping company messed up. Hope gfc can get you the parts you need quickly and you can get to the camping and ski trips asap!
Looks awesome on the truck!
3 Likes
what a bunch of twats
2 Likes
Your diesel heater is a great accessory for this type of system. I’ve installed a couple of these heaters (webasto and espar). For your safety, my unsolicited advice is to pipe the exhaust out directly- use a mounting plate adapter if needed and turn it on its side so the exhaust pipes are all external to the cabin air inlet box. Most of these heaters can operate right side up and on only one of the sides (check manual). My worry with your setup is the that those exhaust pipes are not impenetrable, especially when they age or are in a box with negative pressure. Piping it out directly also serves the benefit of minimizing fire hazard. @keeganbuilds lays out a pretty good description for his version of a portable diesel heater if you haven’t had a chance to check it out.
Yeah ideally I would’ve built it mounted on it’s side, but I couldn’t understand what the manual said. So the video I watched said these cheap Chinese ones can only run horizontal with the exhaust pointing down. But that’s my issue with my custom case, I’ve ended up usually leaving the lid off to avoid that negative pressure. But maybe I’ll re-investigate rebuilding this and mounting it on its side to get the exhaust connections external. It is kinda based on the All-in-one versions which are somewhat similar in design.
Cheers
1 Like
I did a little walk through video of what I received yesterday. Then went through some of my install to this point. If anyone has any thought or criticism I welcome them. I will make another one when I get my platform bed back in.

I wouldn’t reuse that the back door. aluminum weakens quickly every time it’s bent. you might also end up with alignment issues after it’s put back on. It seems like it could have been shipped Ikea style and assembled later with less damage. this just sucks
I have faith GFC will take care of you if you ever get a hold of them
1 Like
That’s what I was thinking, for anyone considering shipping in this method. I would ask that all panels be removed and packaged. I’m not overly concerned with the door at this point because I too have faith that it will be replaced. So it’ll just be a temporary solution so I can put my platform and electrical back in.
1 Like
Thanks for checking my build out!
You can mount these in their side but you just have to make sure the glow plug is facing upward. In theory there is only 2 ways you can mount a heater since the glow plug is located on a corner. (Only two ways it would be in the upper position if that makes sense)
2 Likes
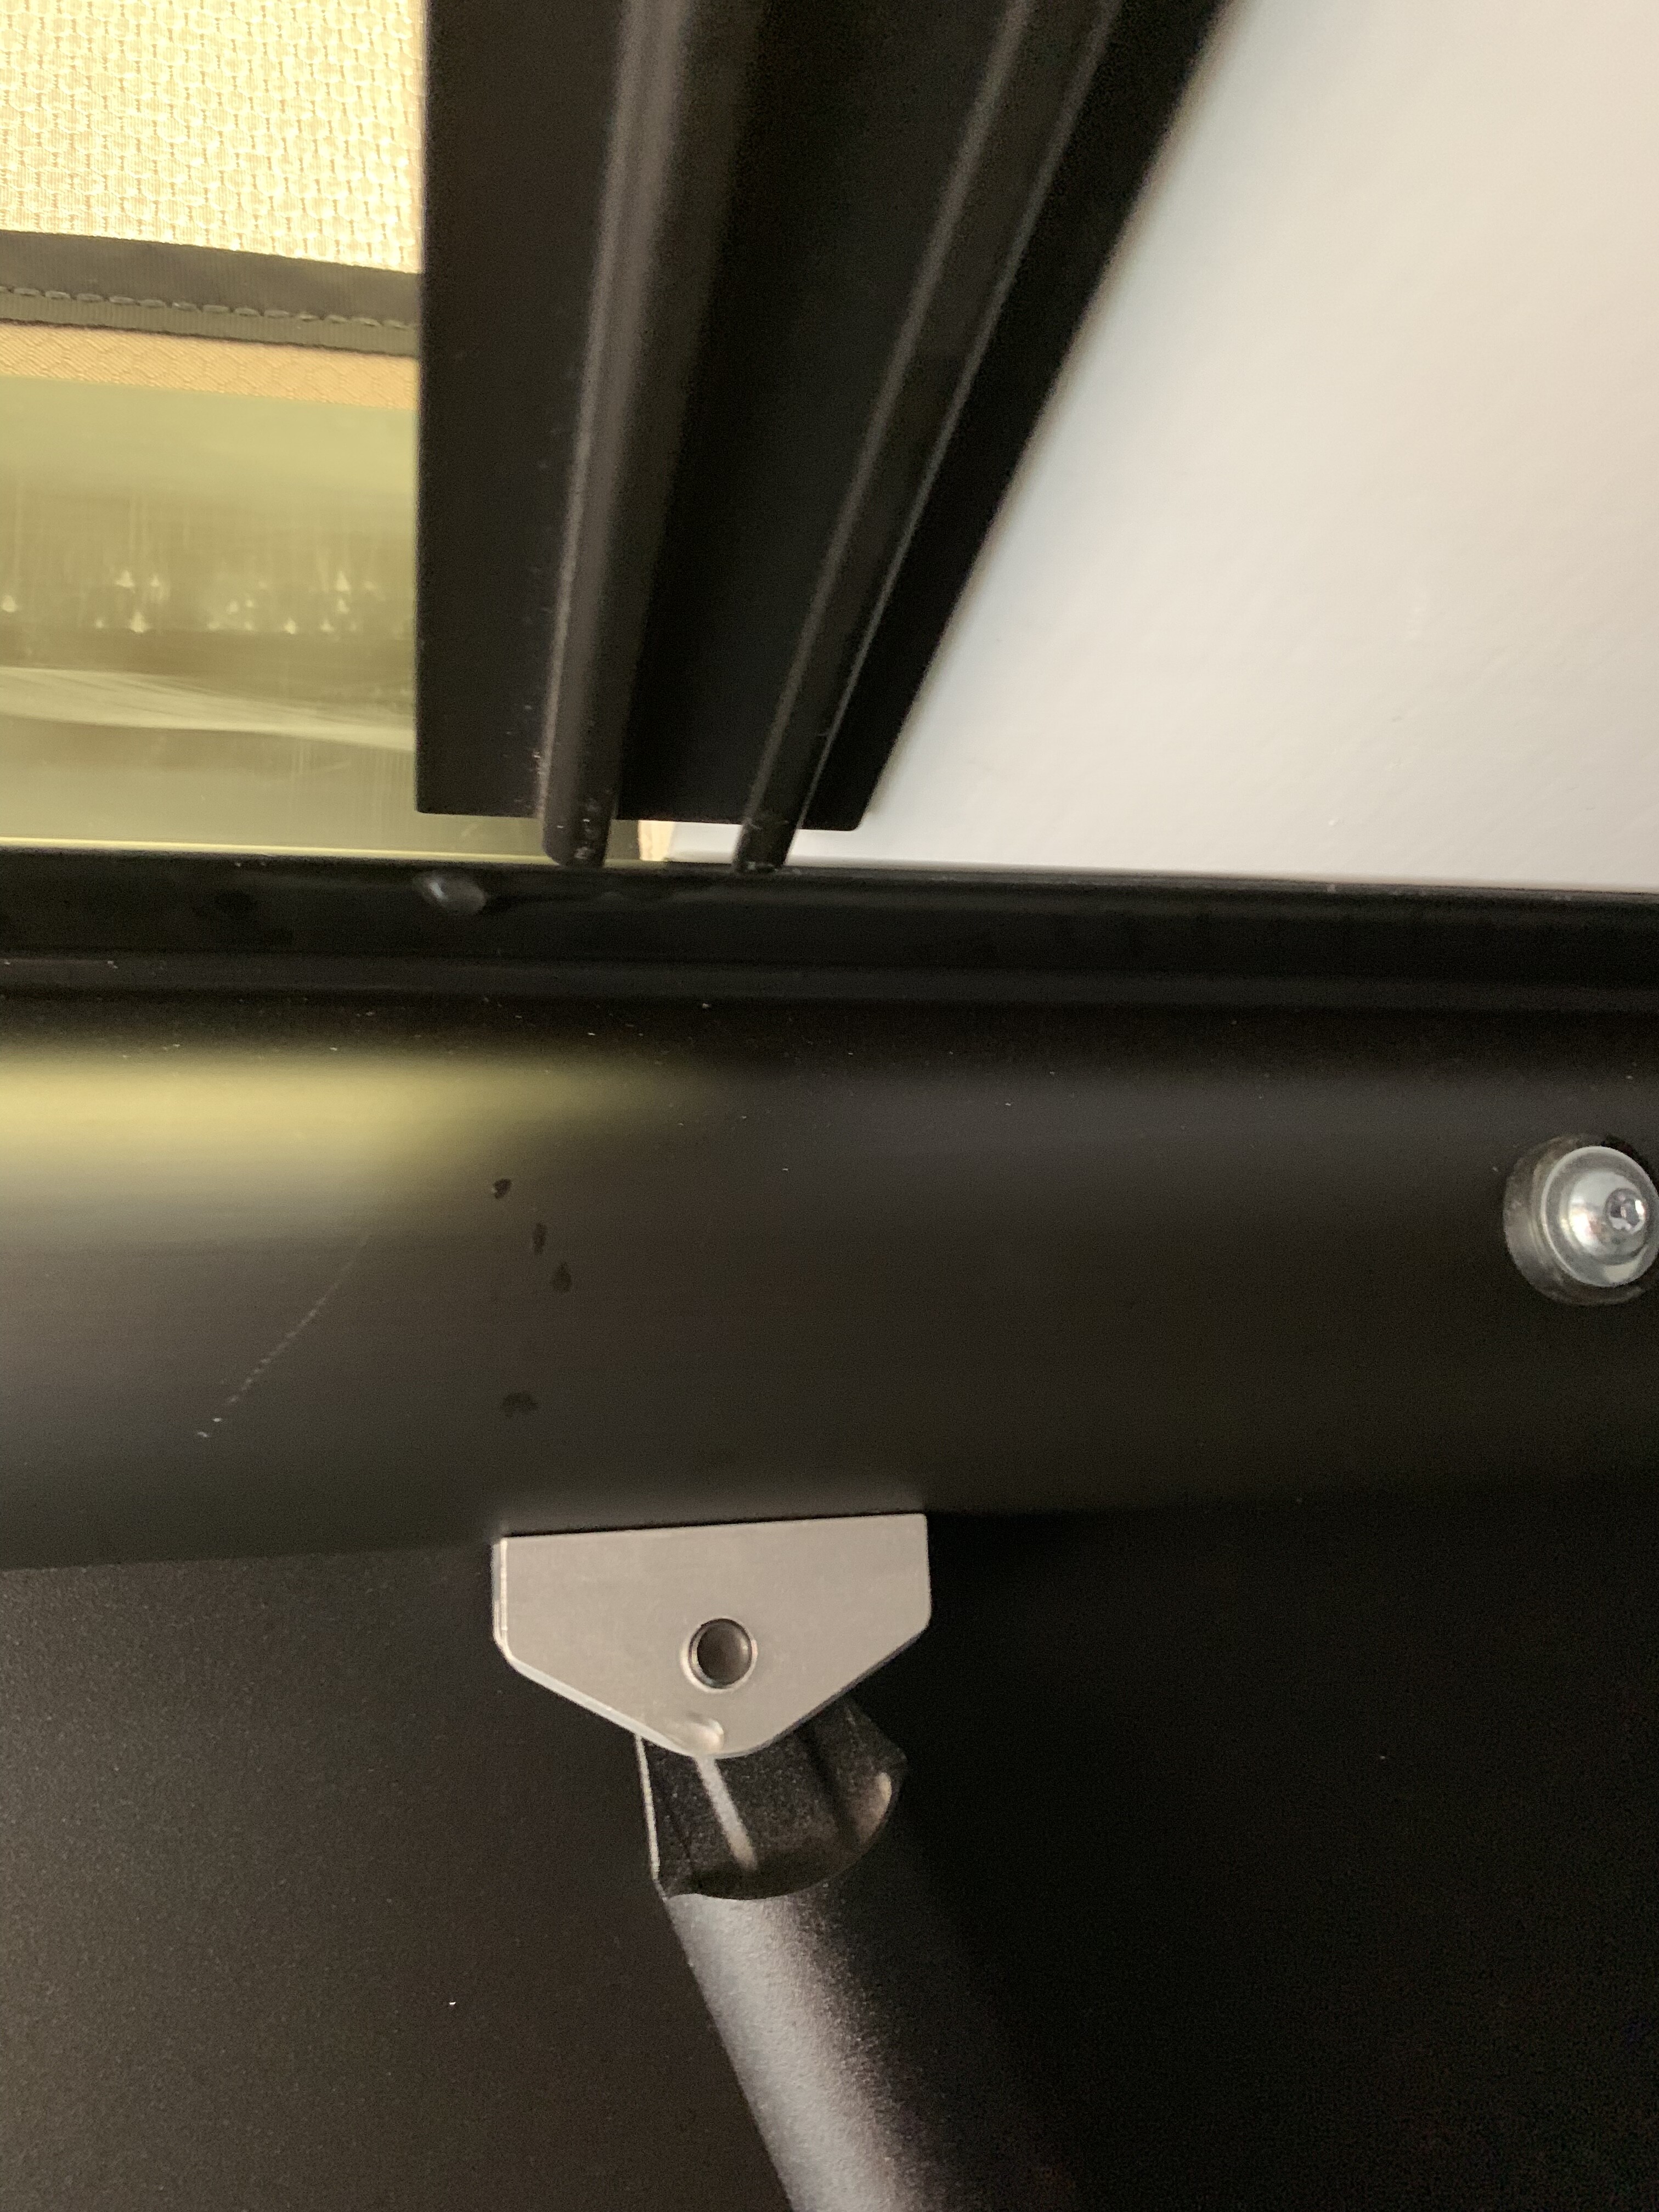
So today I had some time to put some work in. Got the window back in the seal after a lot of swearing. Seemed like the issue was that I needed to eat. Then it was all good.
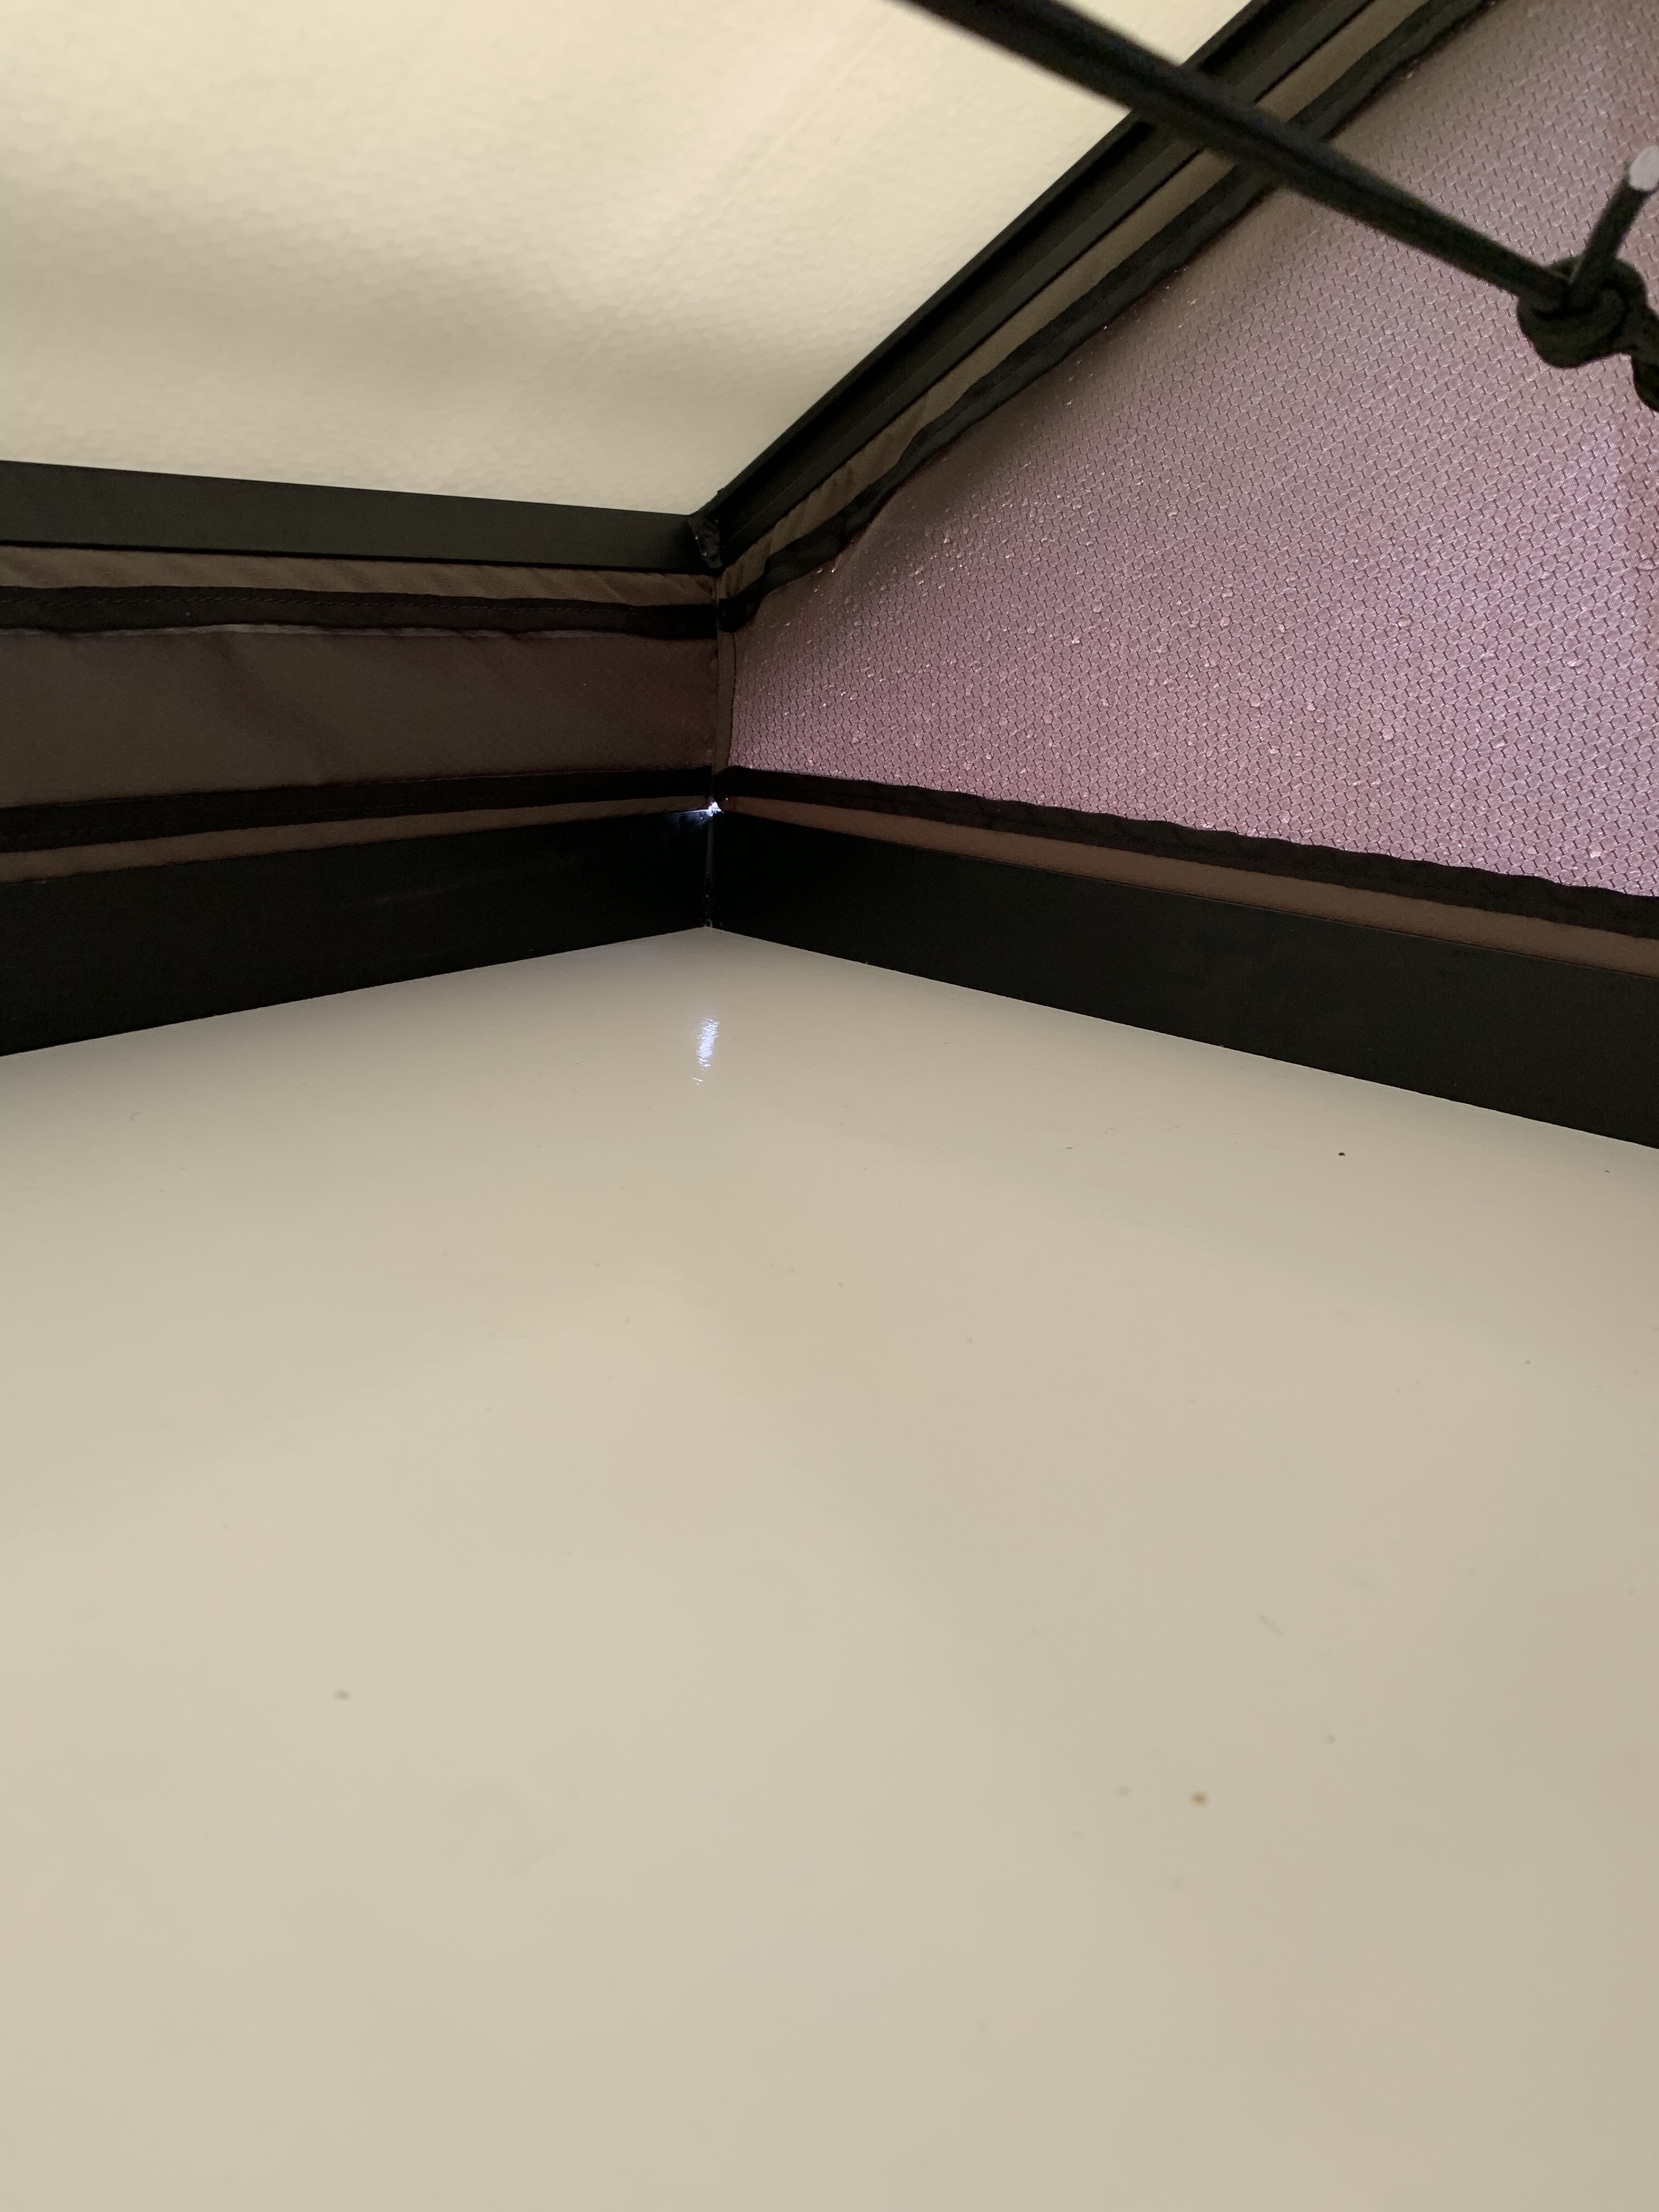
Now comes the things I hoped wouldn’t happen. But there is a lot of water getting in the tent when it’s closed. Also looks like I need to re-do my bulb seal. So I’m a little bummed about that and will have to talk to gfc about it. To see if they think it’s from the damage during shipment.
2 Likes
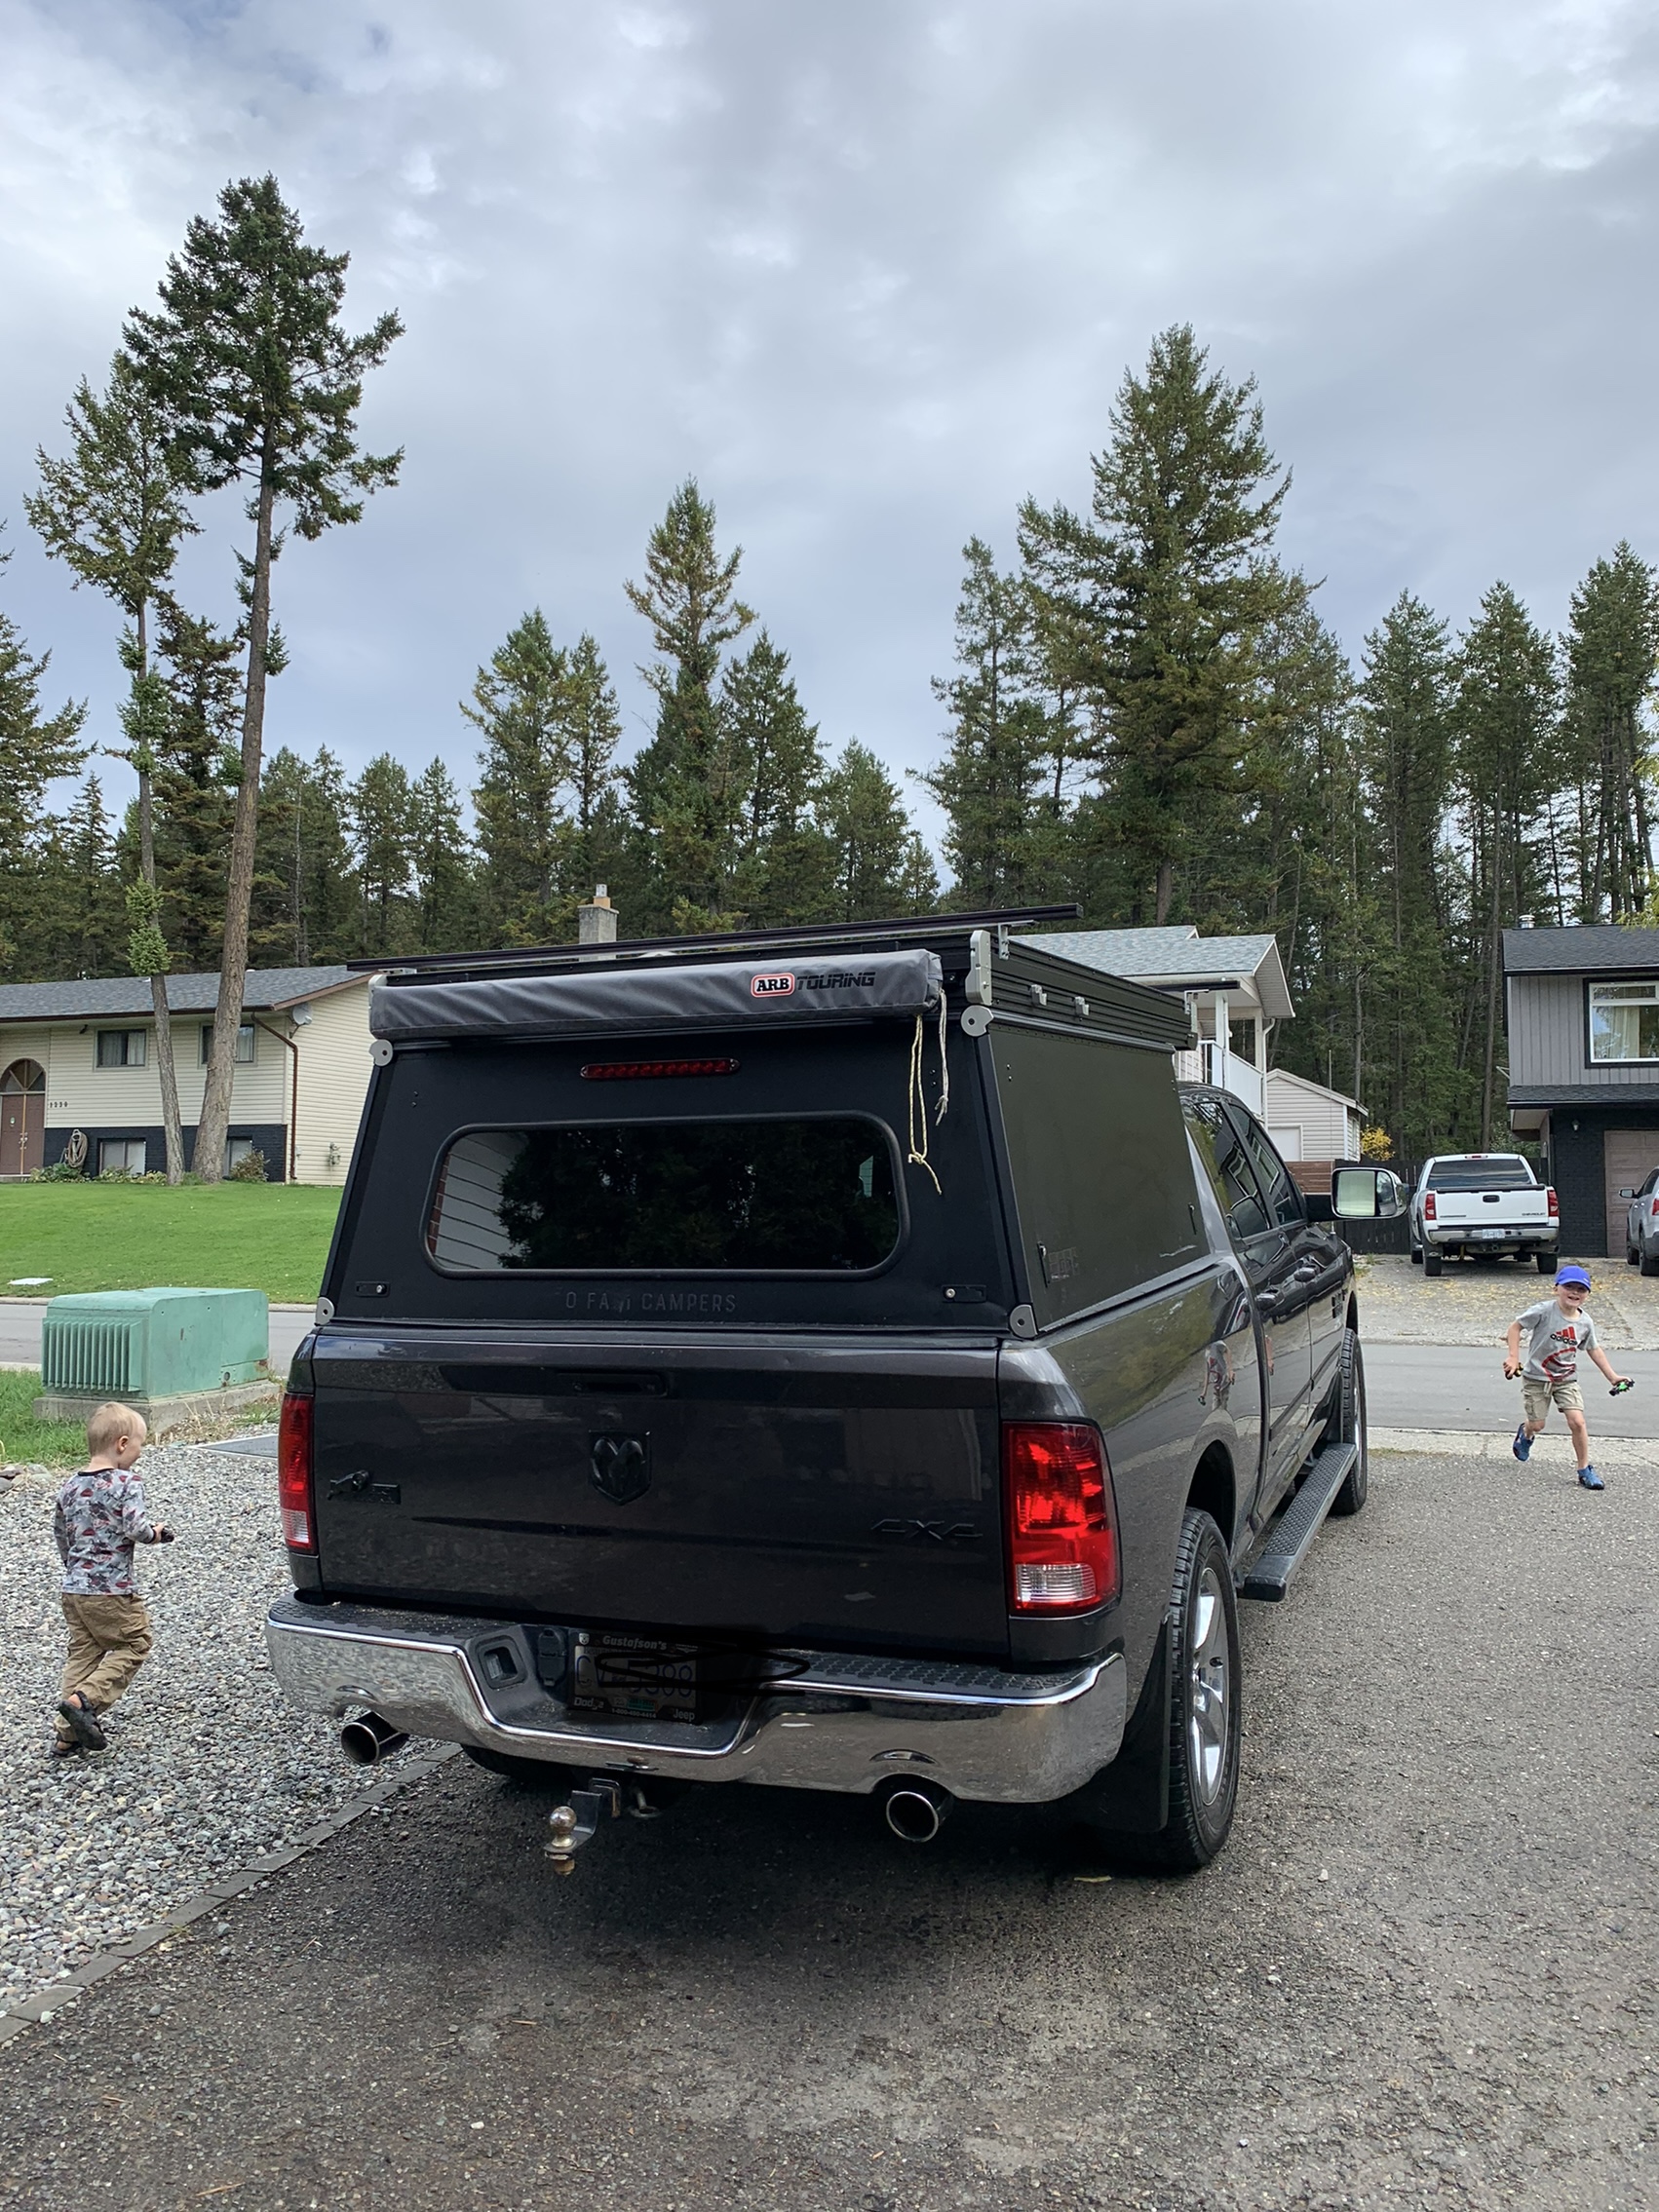
Whew…been a flurry of activity around the house. My gosh, my kids LOVE this thing. It’s like their own driveway treehouse! Been super busy with the excitement, so I’ve gotten quite a few things done.
Put the bed in yesterday…you’ve all seen the finished product of that above.
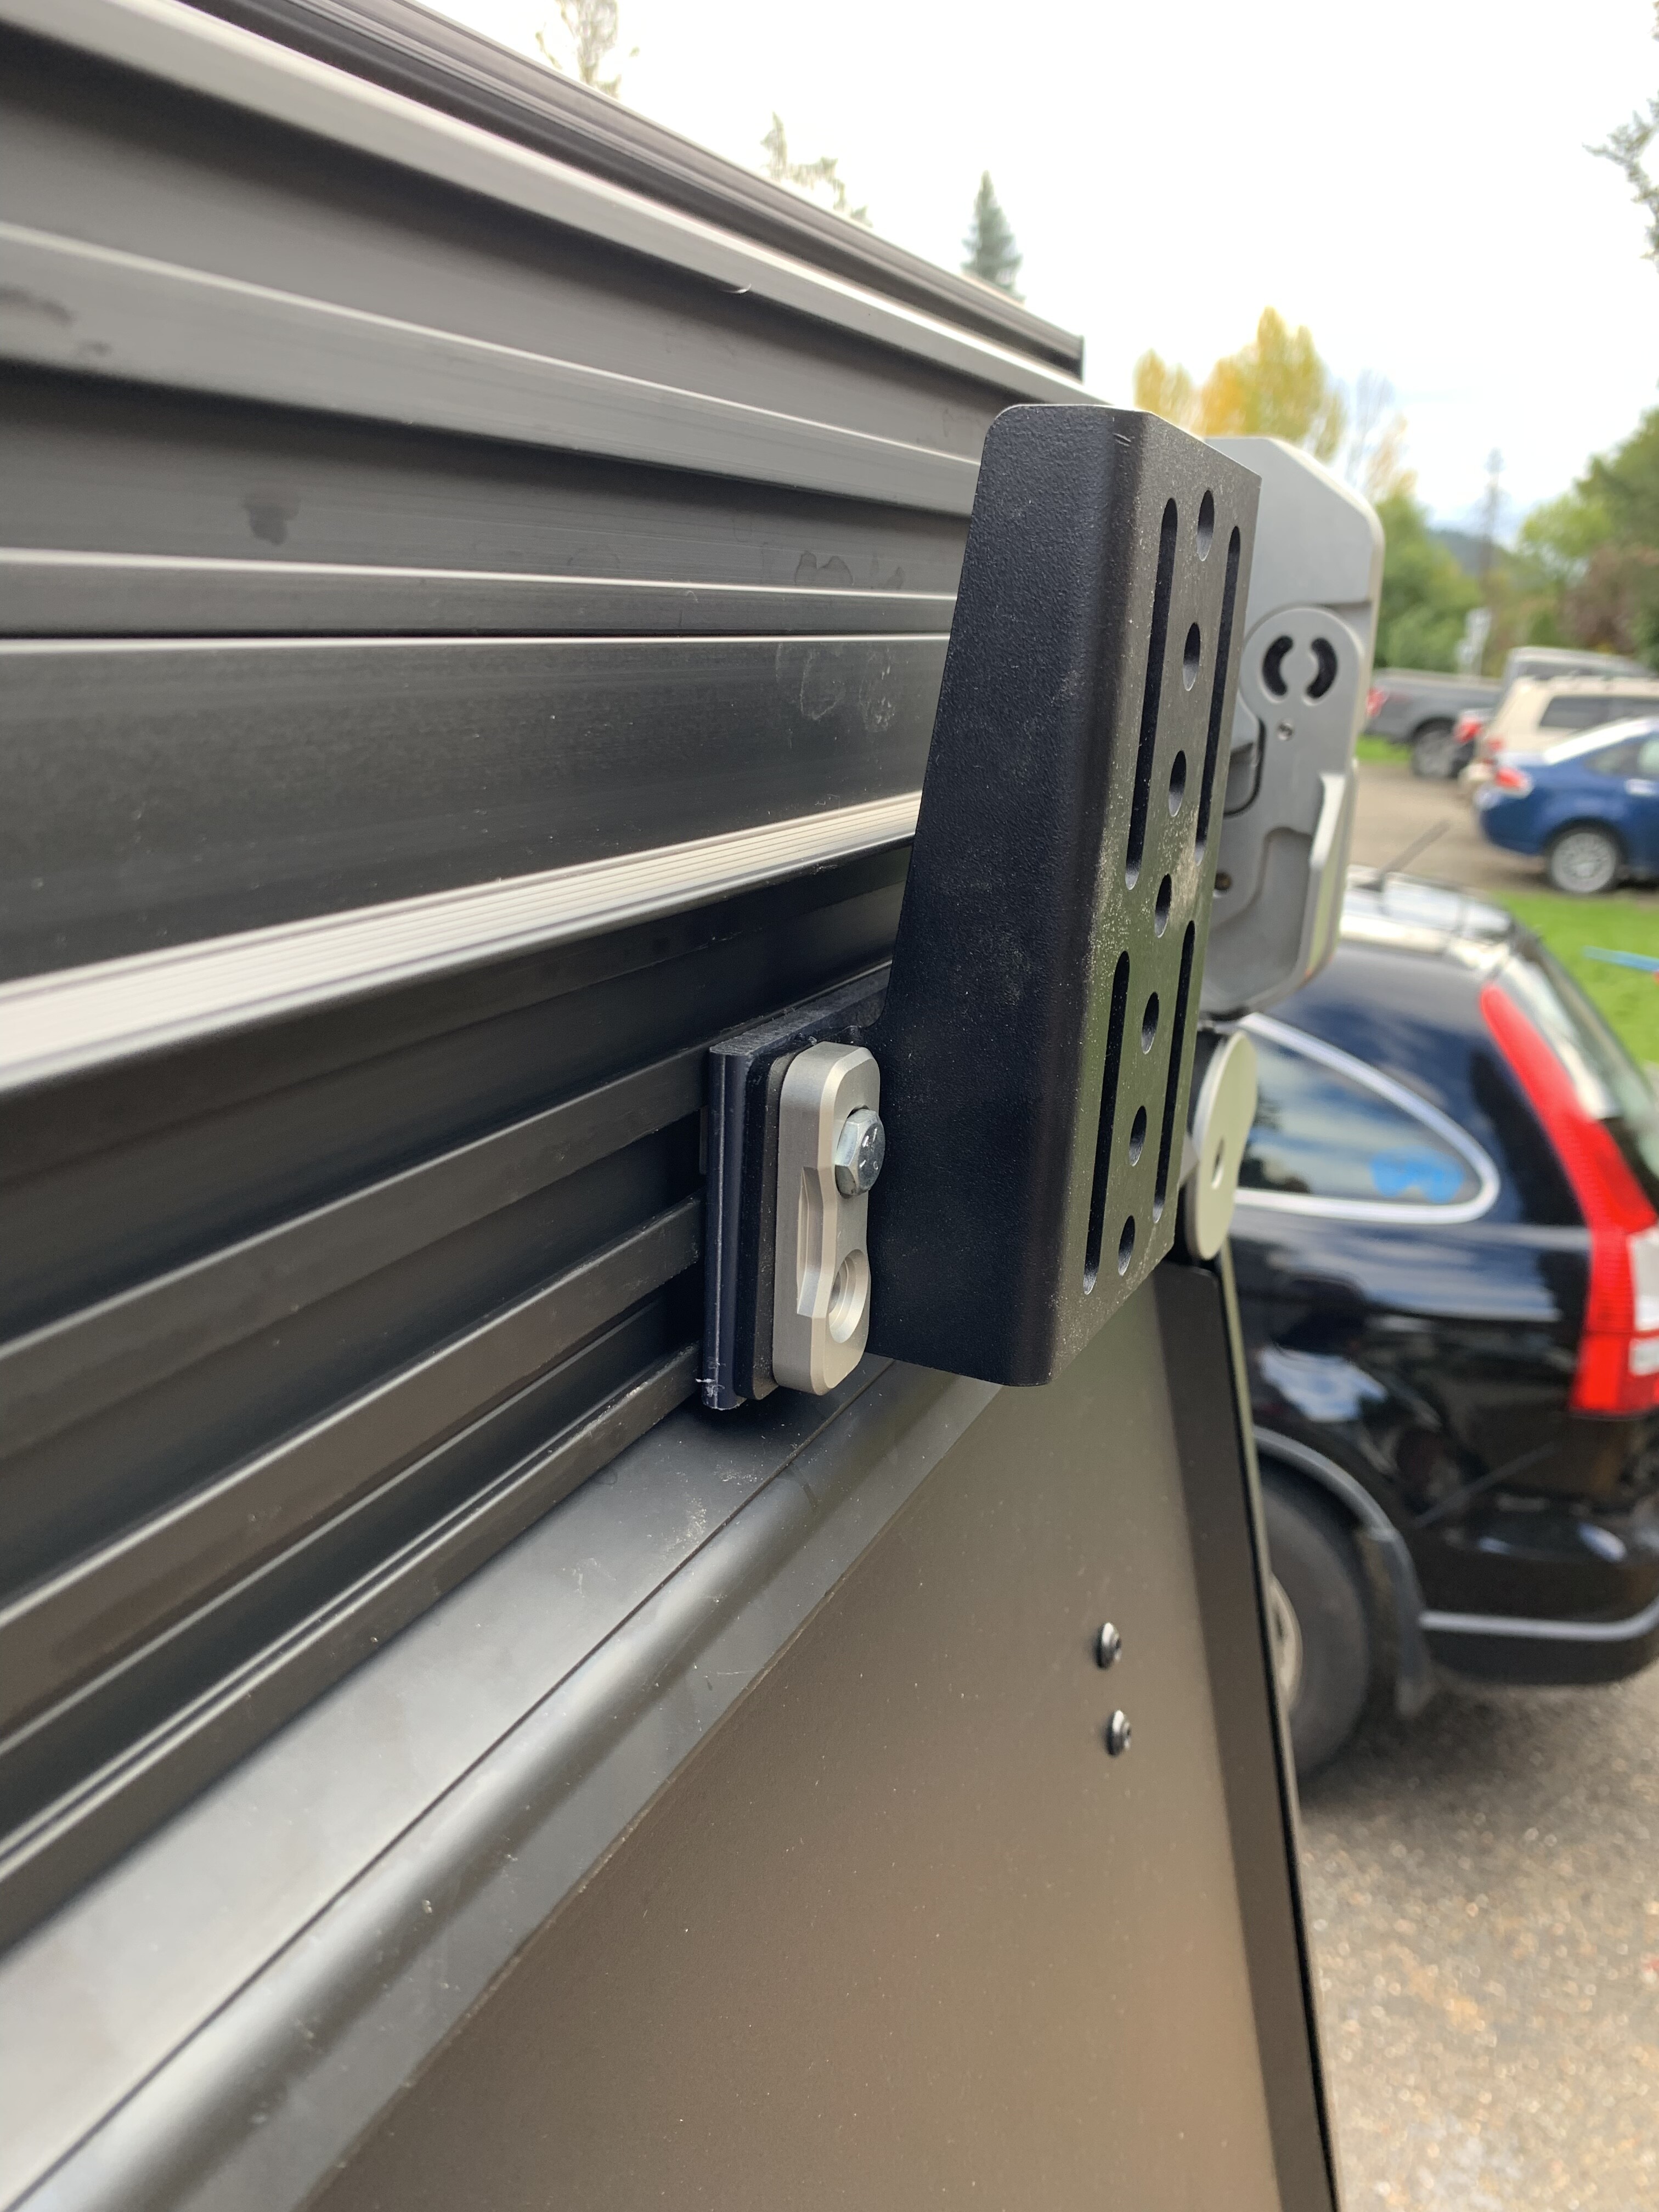
Then this morning (after I finished the trim for the window in the studio) I used @howcox Universal Bracket ‘Hack’ for my 48” ARB awning. Now the one thing I will note that I had to move the awning up the the 3rd hole on the bracket so it doesn’t interfere with the rear door. Also it does hit the lip on the top of the tent, so I may need to find a thicker cutting board.

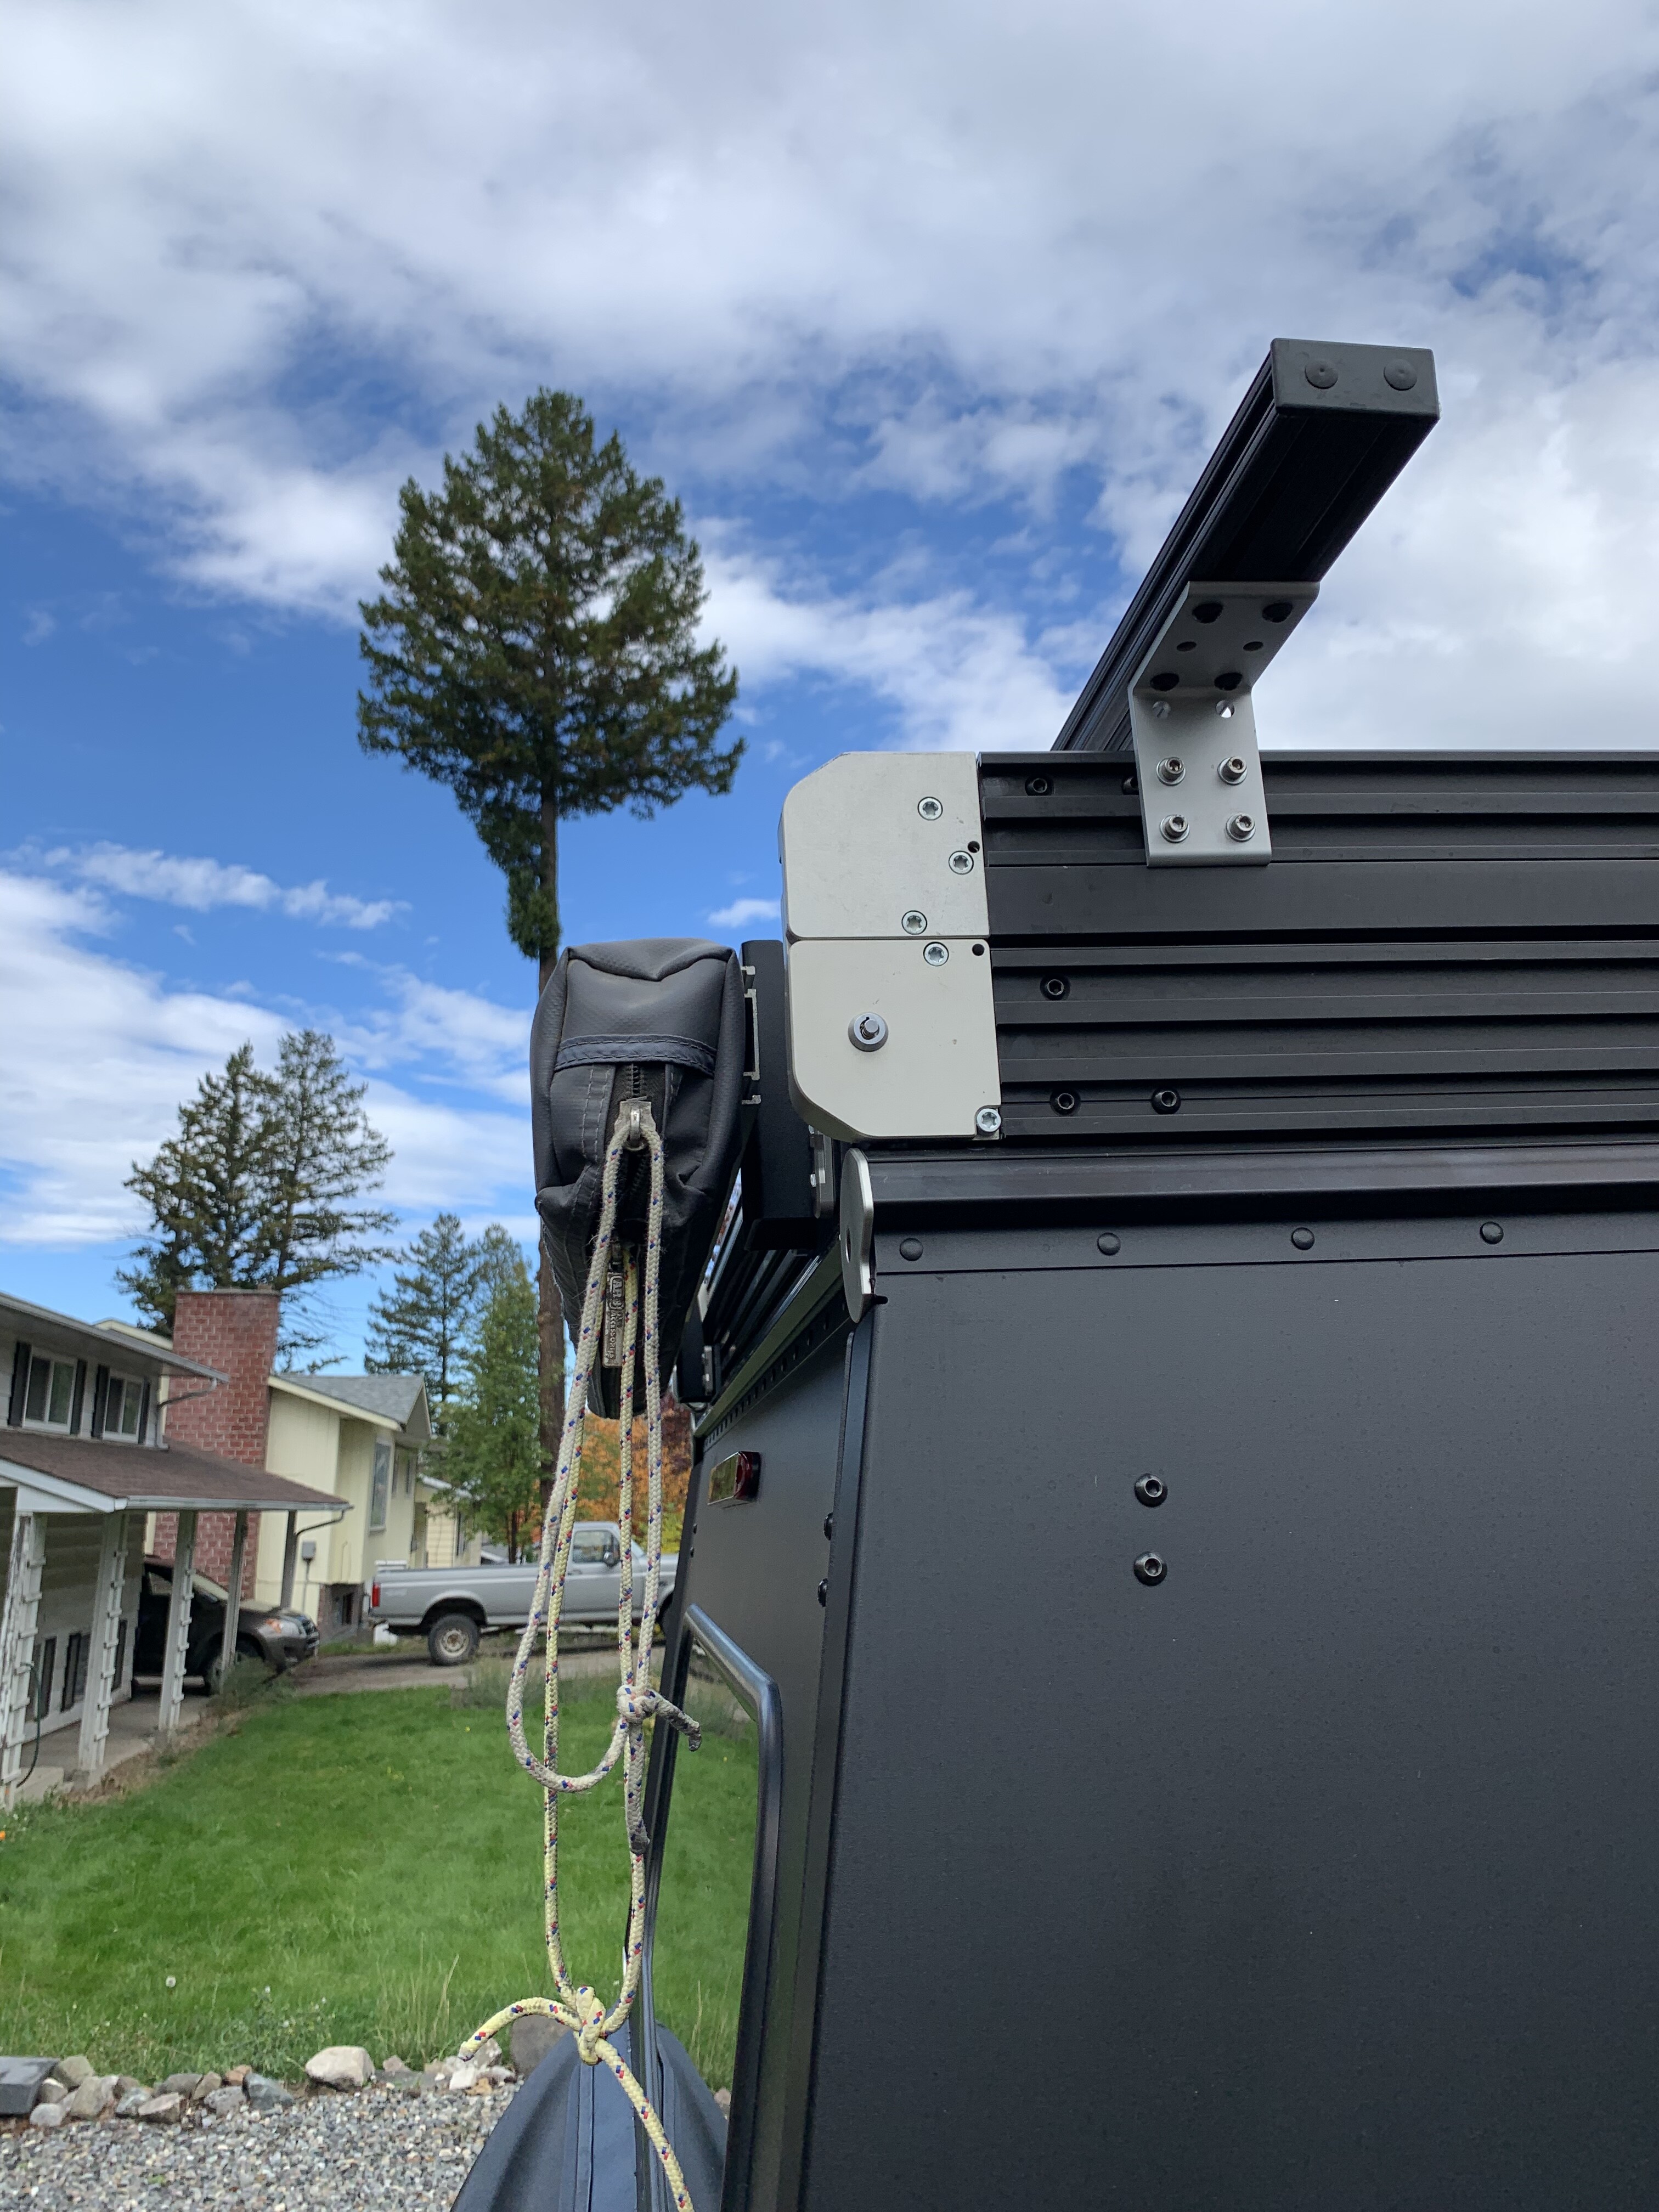
Installed some Quick Fist clamps for my Shovel on one side and Axe on the other. These would usually be inside the truck tied up with the paddles in the summer. So this is going to be a game changer.

Then finally after an attempt to use these $20 LED wireless Dimmers from Canadian Tire, I reverted back to the normal light set up. Those dimmers were crap, the option switch broke in five minutes. Bought a second one today and the same thing happened. So back to having landing strip powered LED lights. I’m sure I could rig up a 1Meg potentiometer from the lab with some form of Bakelite knob. But that sounds like a future project; in the meantime…we’re ready to camp!!!
I did some crude video’s of this whole install process. If there is value in putting it all together I might do that.
4 Likes
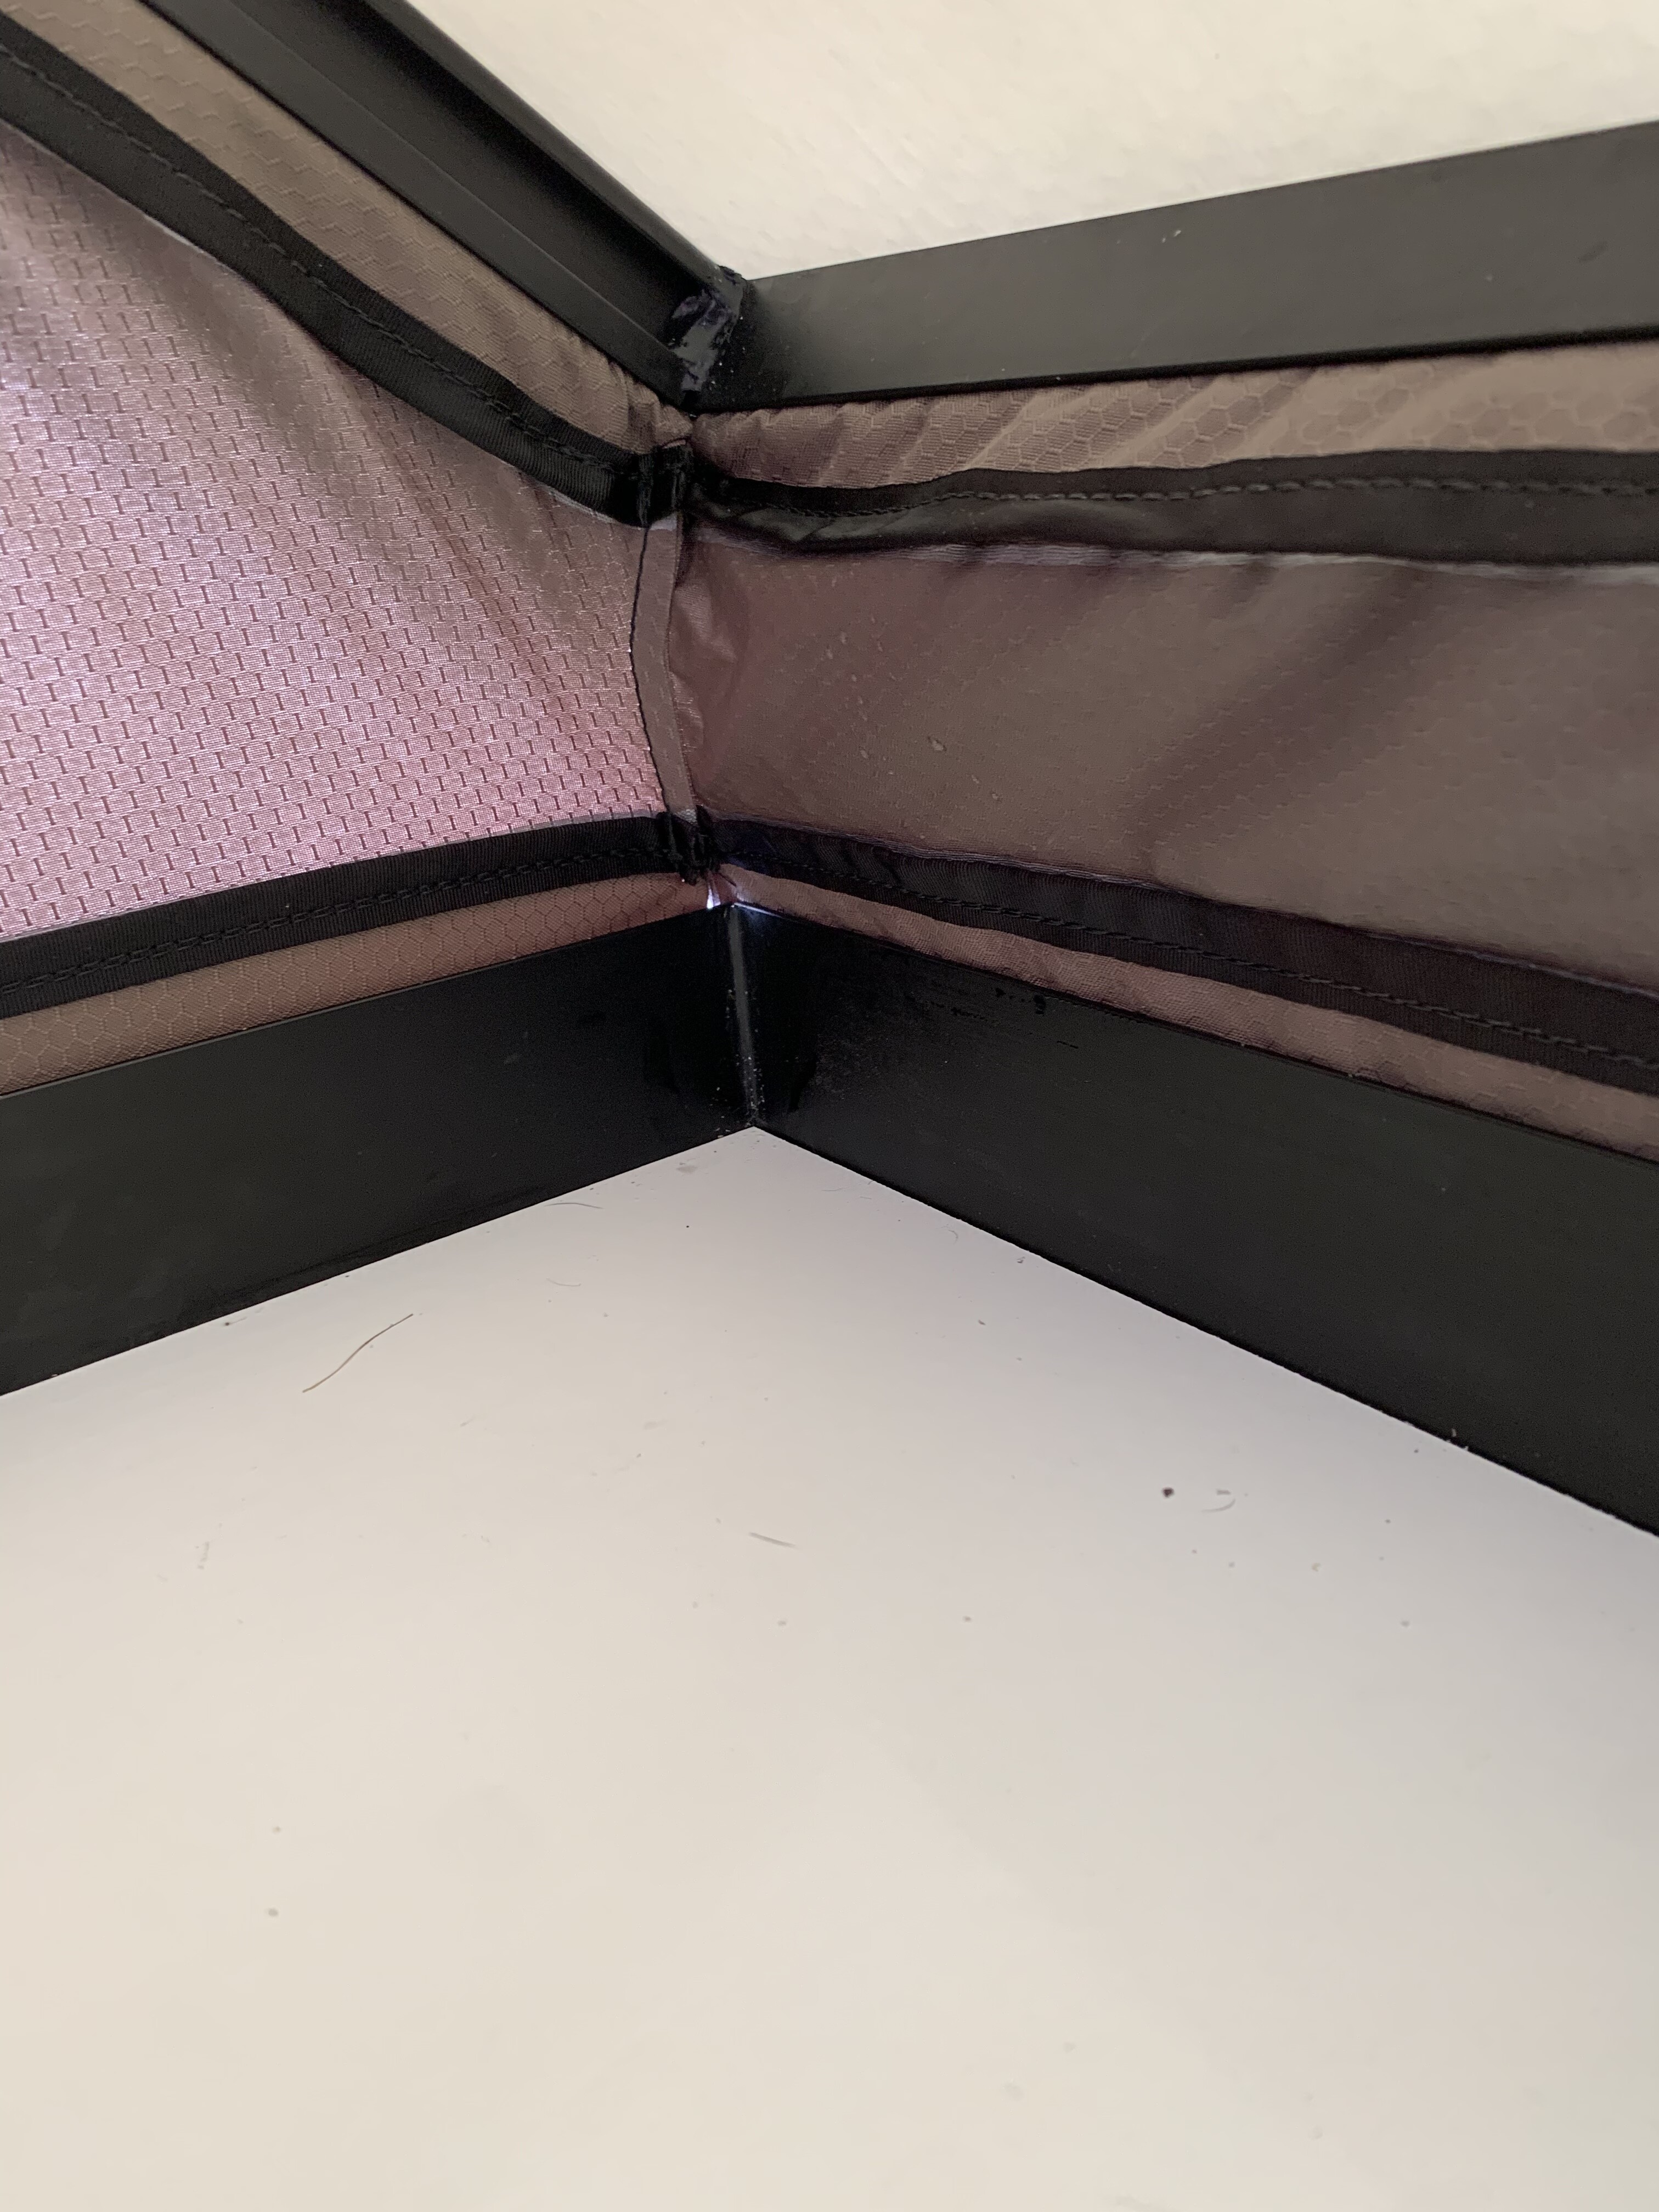
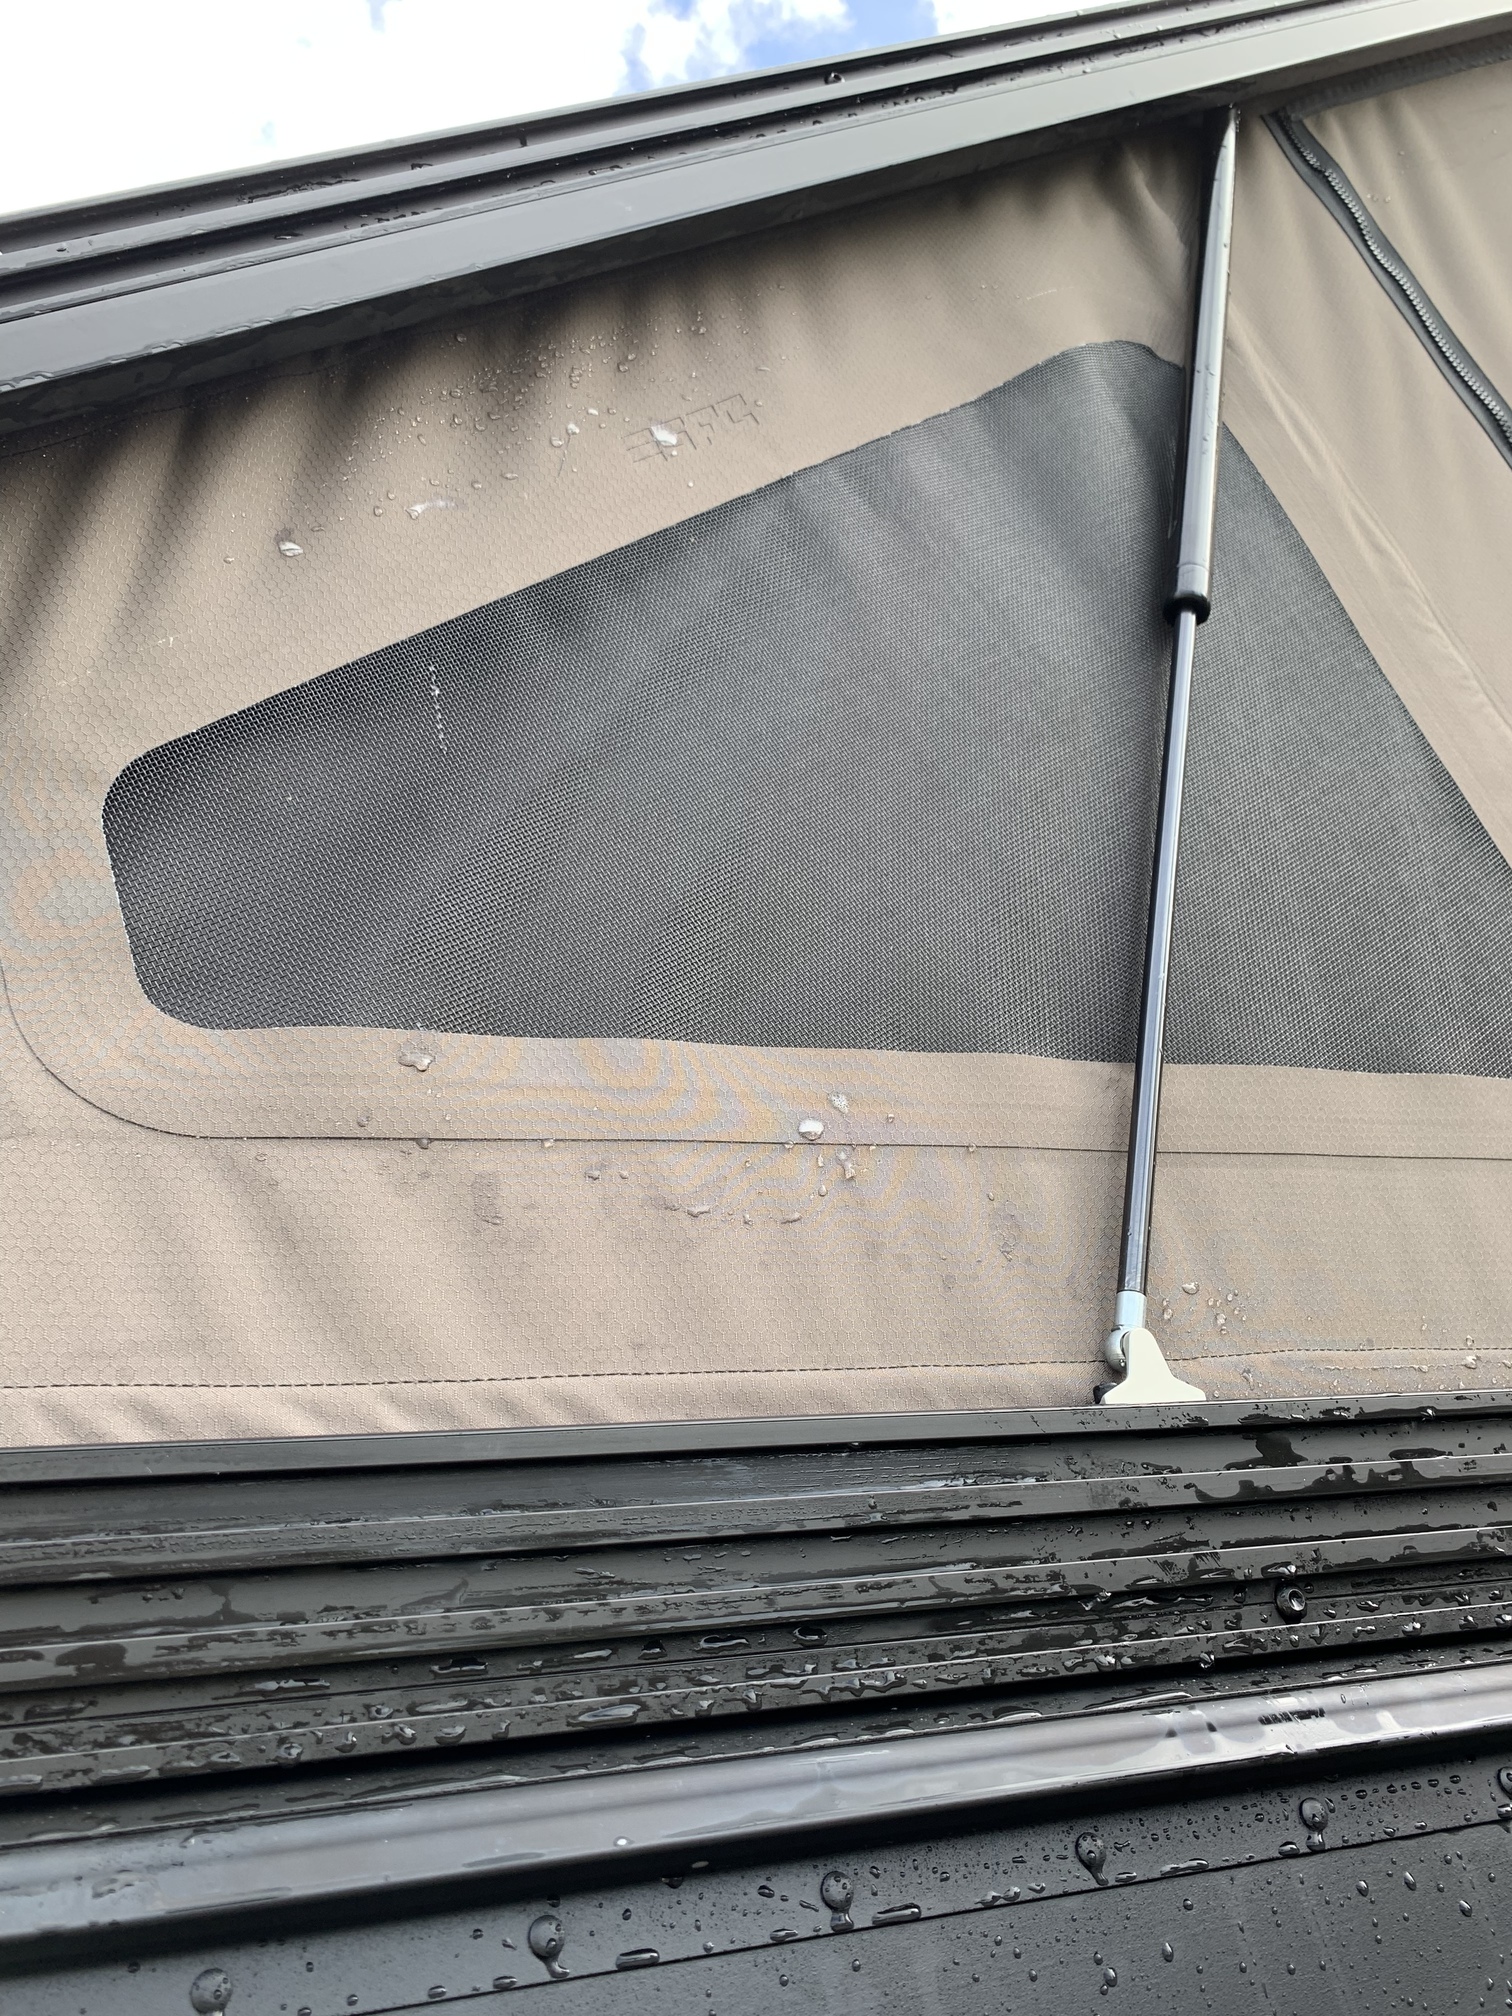
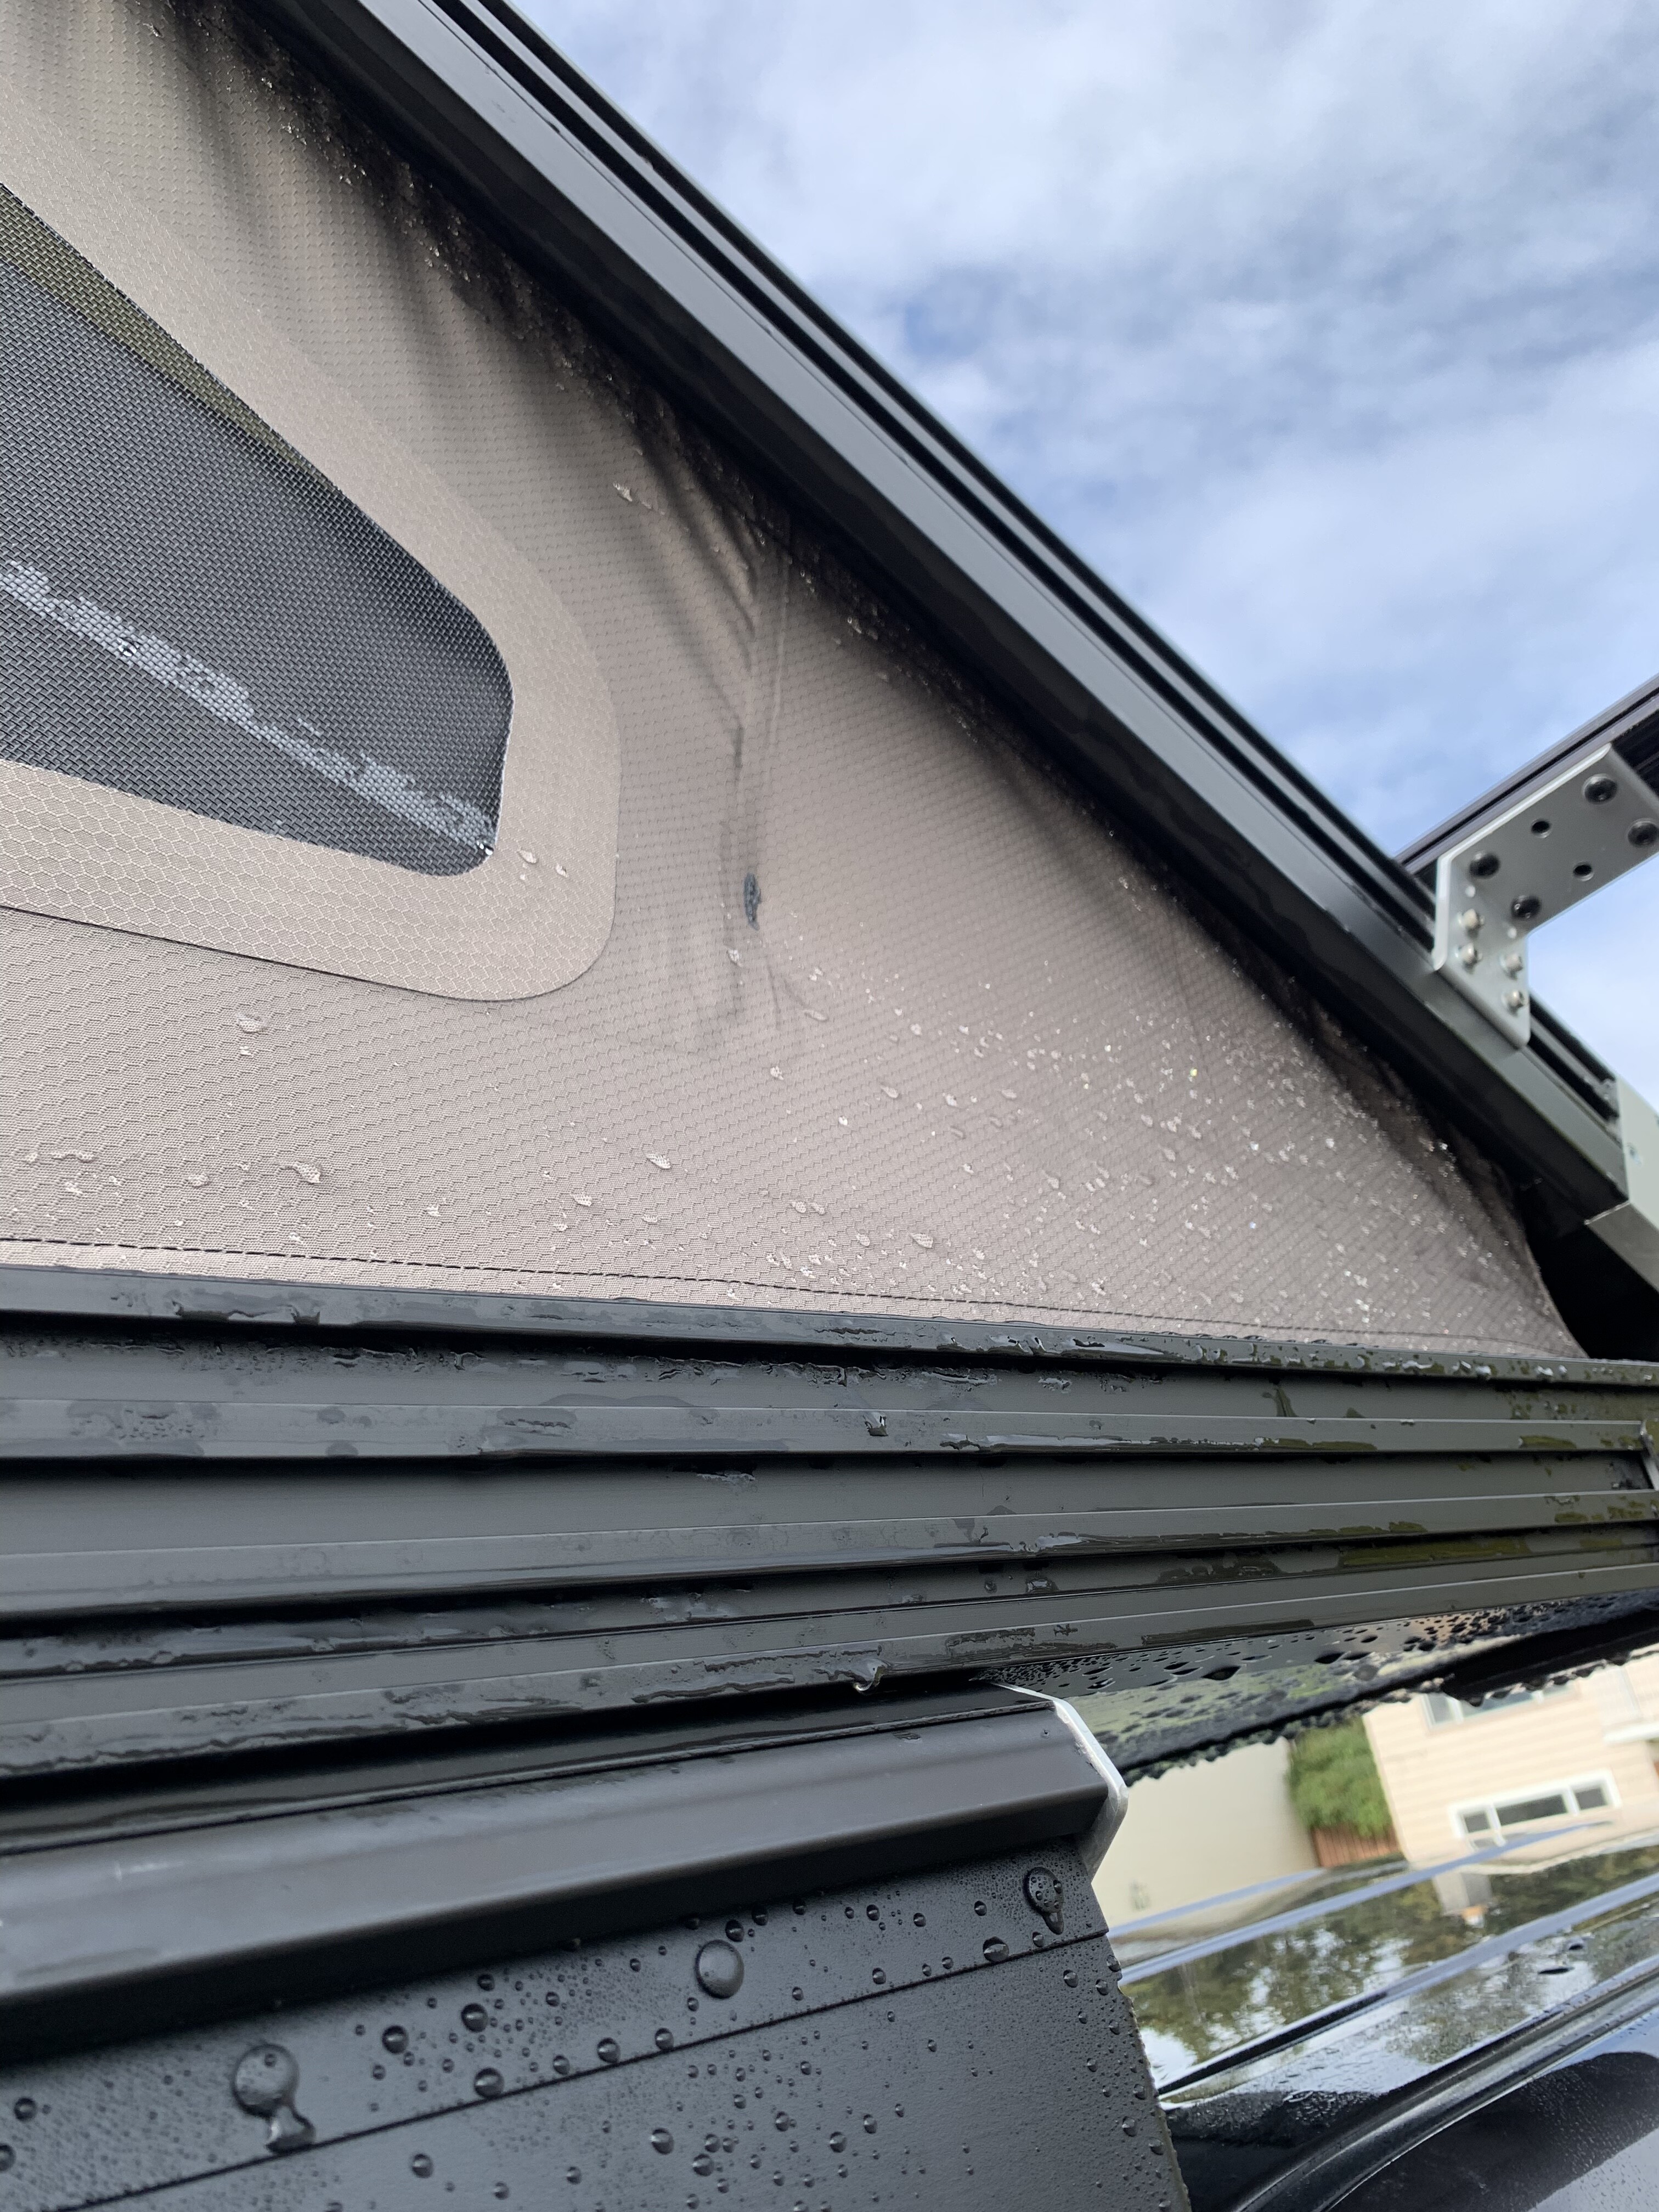
I have the same tent gap (two) on the campers top drivers side corners. The gap occurs on the front and rear. Others have been advised to shut the camper enough to adjust the tent position along the guide rails. I have done this successfully on the passenger side but there is not enough material on the drivers side to close the gap on both corners. I adjusted the drivers side so the gap is the same on the front and rear, the gaps are small but enough that you can see sunlight. I live in California (no rain) so I have yet to test the campers ability to avoid rain intrusion. I noticed the inside corners do get wet during camper washing when I spray water perpendicular to the camper top when it is closed.
2 Likes
I have those same tiny tent holes at the corners in the small part of wedge (cab side of tent). GFC Support told me they were intentional to avoid the material being too taught and potentially ripping in the wind…but that doesn’t make sense to me, especially with water intrusion. Waiting to hear back.
2 Likes
Here’s my ongoing experience with rain: last May or so I found the front two corners got wet through the holes described by @bbeyota (small but can see light). My truck was parked facing downhill in a crazy rain storm (2"+ in 2 days). Since then I have driven through a similar rain storm at 80 MPH for 3 hours and just last night we got an inch or so of rain but my truck was parked level. Everything stayed dry this time. So my thoughts for now are A) the camper was obviously designed to stay dry when driving. B) Don’t park facing downhill (I’m not sure if this was actually the cause). C) take out all the cushions in the winter and “pop the top” whenever you get a dry day.
Living in a wet environment has its challenges but I am happy with the campers performance so far. An ounce of prevention is worth a pound of cure.
2 Likes