2014 Ram Big Horn - Build out

Definitely interested in how they’ve changed the tent design as well, keep us updated after you get some rest!

The relief holes are still in the corners but seemingly smaller. I’m not sure how they changed how it’s attached to the shell. Here’s some pics of the drain holes. Estimate is 3” from front and back then split the difference.


They’ve eliminated the bungee at the inner front due to the tent being tighter. No difference I’ve noticed in closing.


is that the extra drainage hole?

Yup and you’ll notice two more in the other photo. One in the middle and one at the back.

Got to installing a few things on the rig despite the cold. Used a heat gun to add my almost invisible ‘Trigger’ nickname to the rig.

I installed the 4’ awning out the back, as I had on the other camper. Oddly enough it fit on that one, but this one seemed to hit the flange on the clamshell more aggressively. So I thought to myself, ‘Self, you’re never going to use those other holes so just cut them off and notch the bracket’. So that’s what I did. I notice already that I’ll have to round off the top corners so I don’t slit my wrists on them in the summer.


Got one set of lights up, my third brake light and truck dome light hooked up as I did on the other rig. So you’ve all seen those pictures, only difference being I used a mesh loam instead. The dome runs off the truck battery, the other camper lights all run off the camper battery.

I’m hoping this week to get my truck into the work shop and let it warm up. Then I can put on my flexible solar panel and cable gland. Maybe even the other ‘mountain’ decals I have.

Ski season officially kicks off this weekend despite the skinny snowpack. So right down to the wire.

1 Like

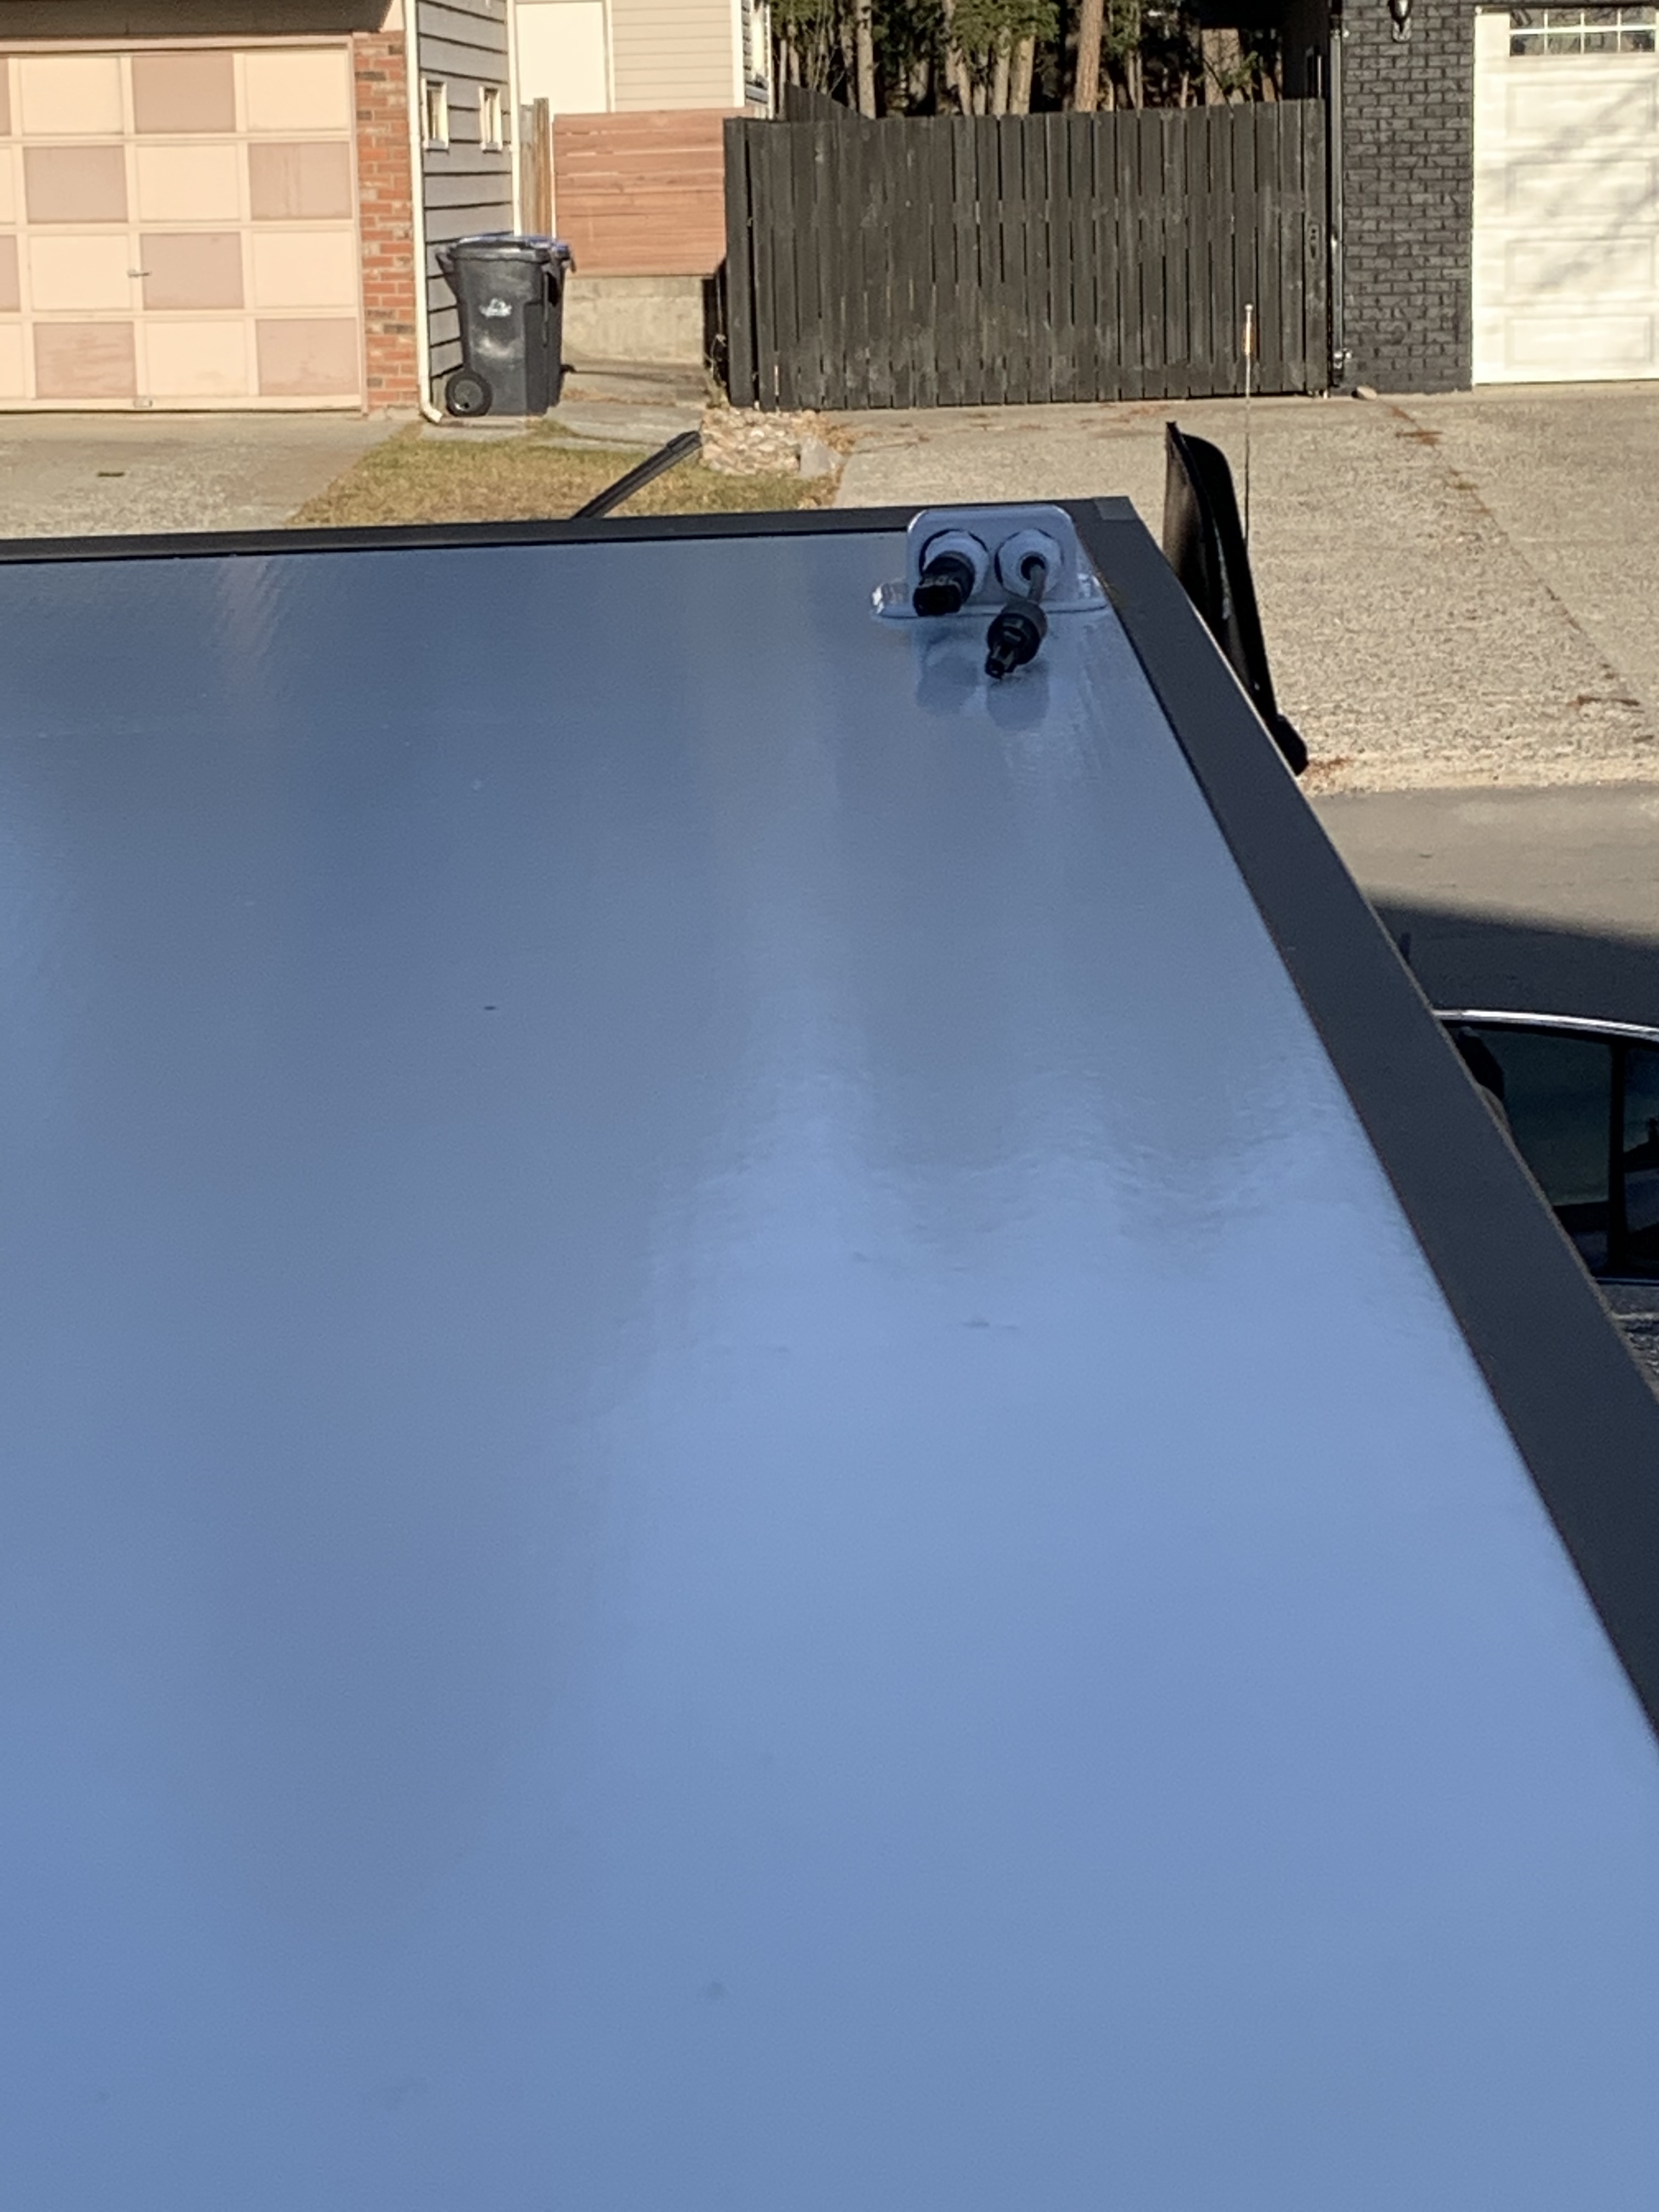
Lucked out and got a warm day of 5*C so pulled the trigger on installing the cable gland and solar.

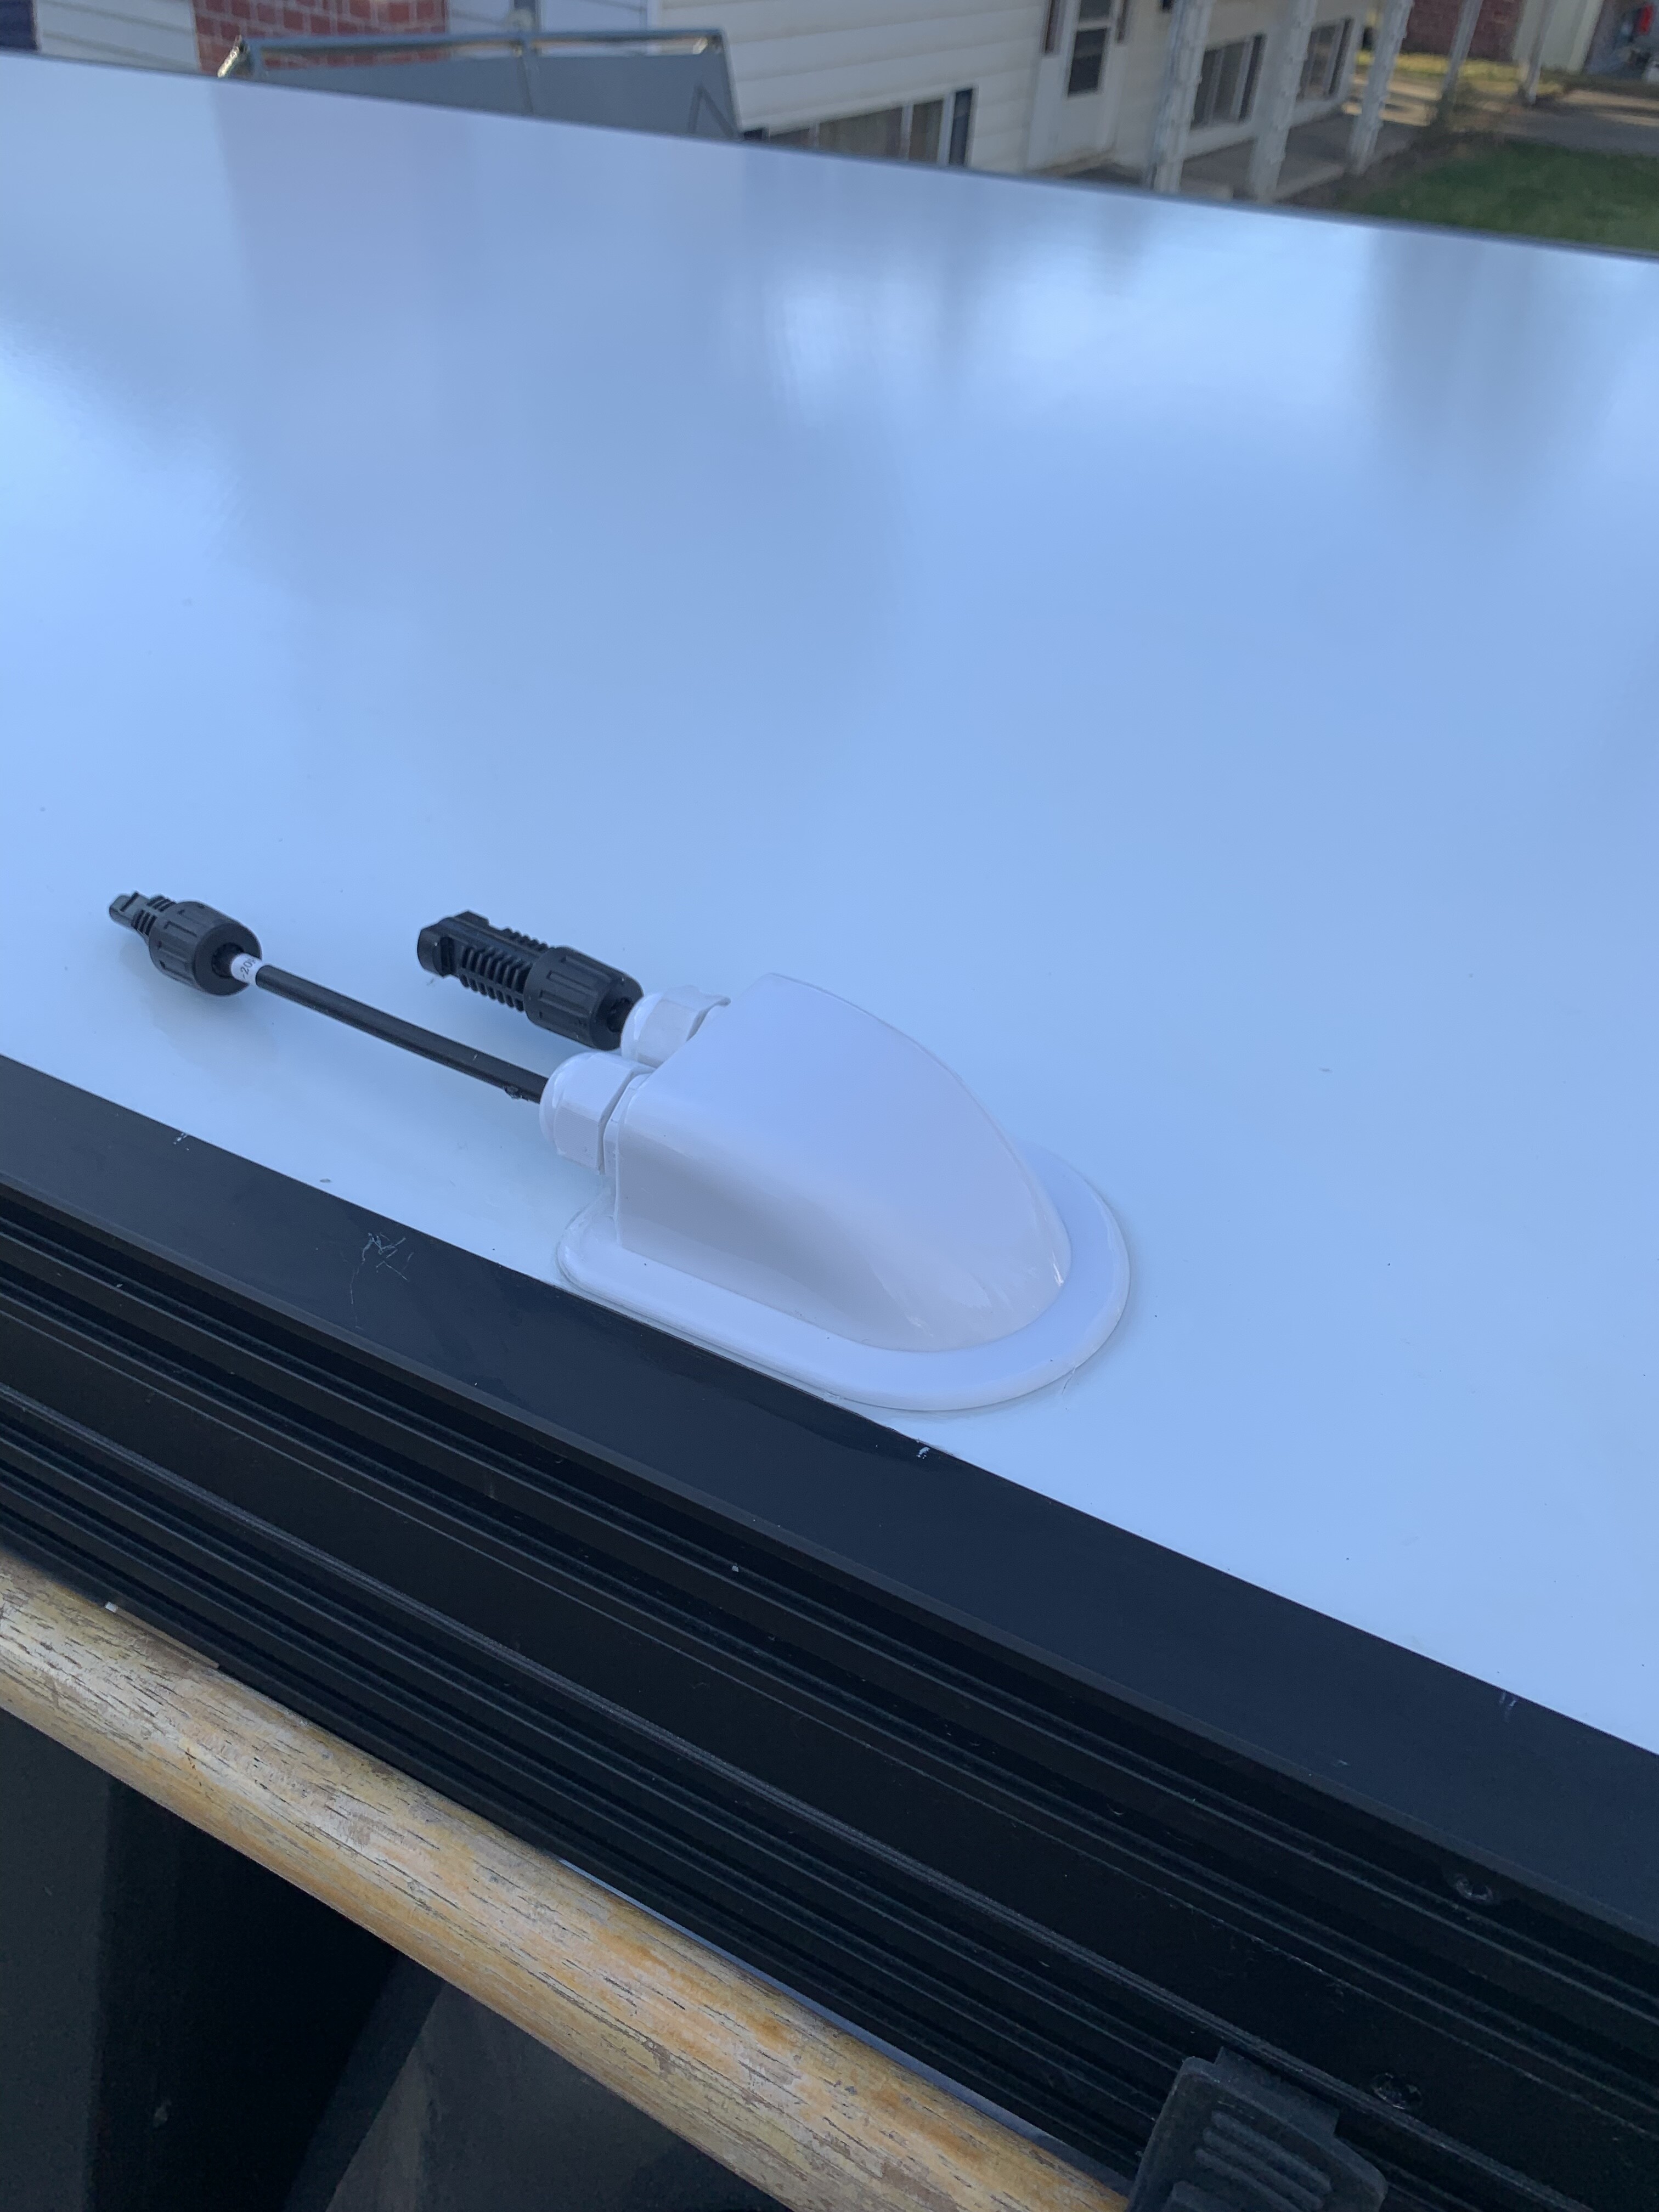
I used VHB 1” tape in a perimeter shape and V’s, then used 1/4” VHB on the gland. After that I put a bead of clear RTV around everything in the hopes that will add some additional adhesion.


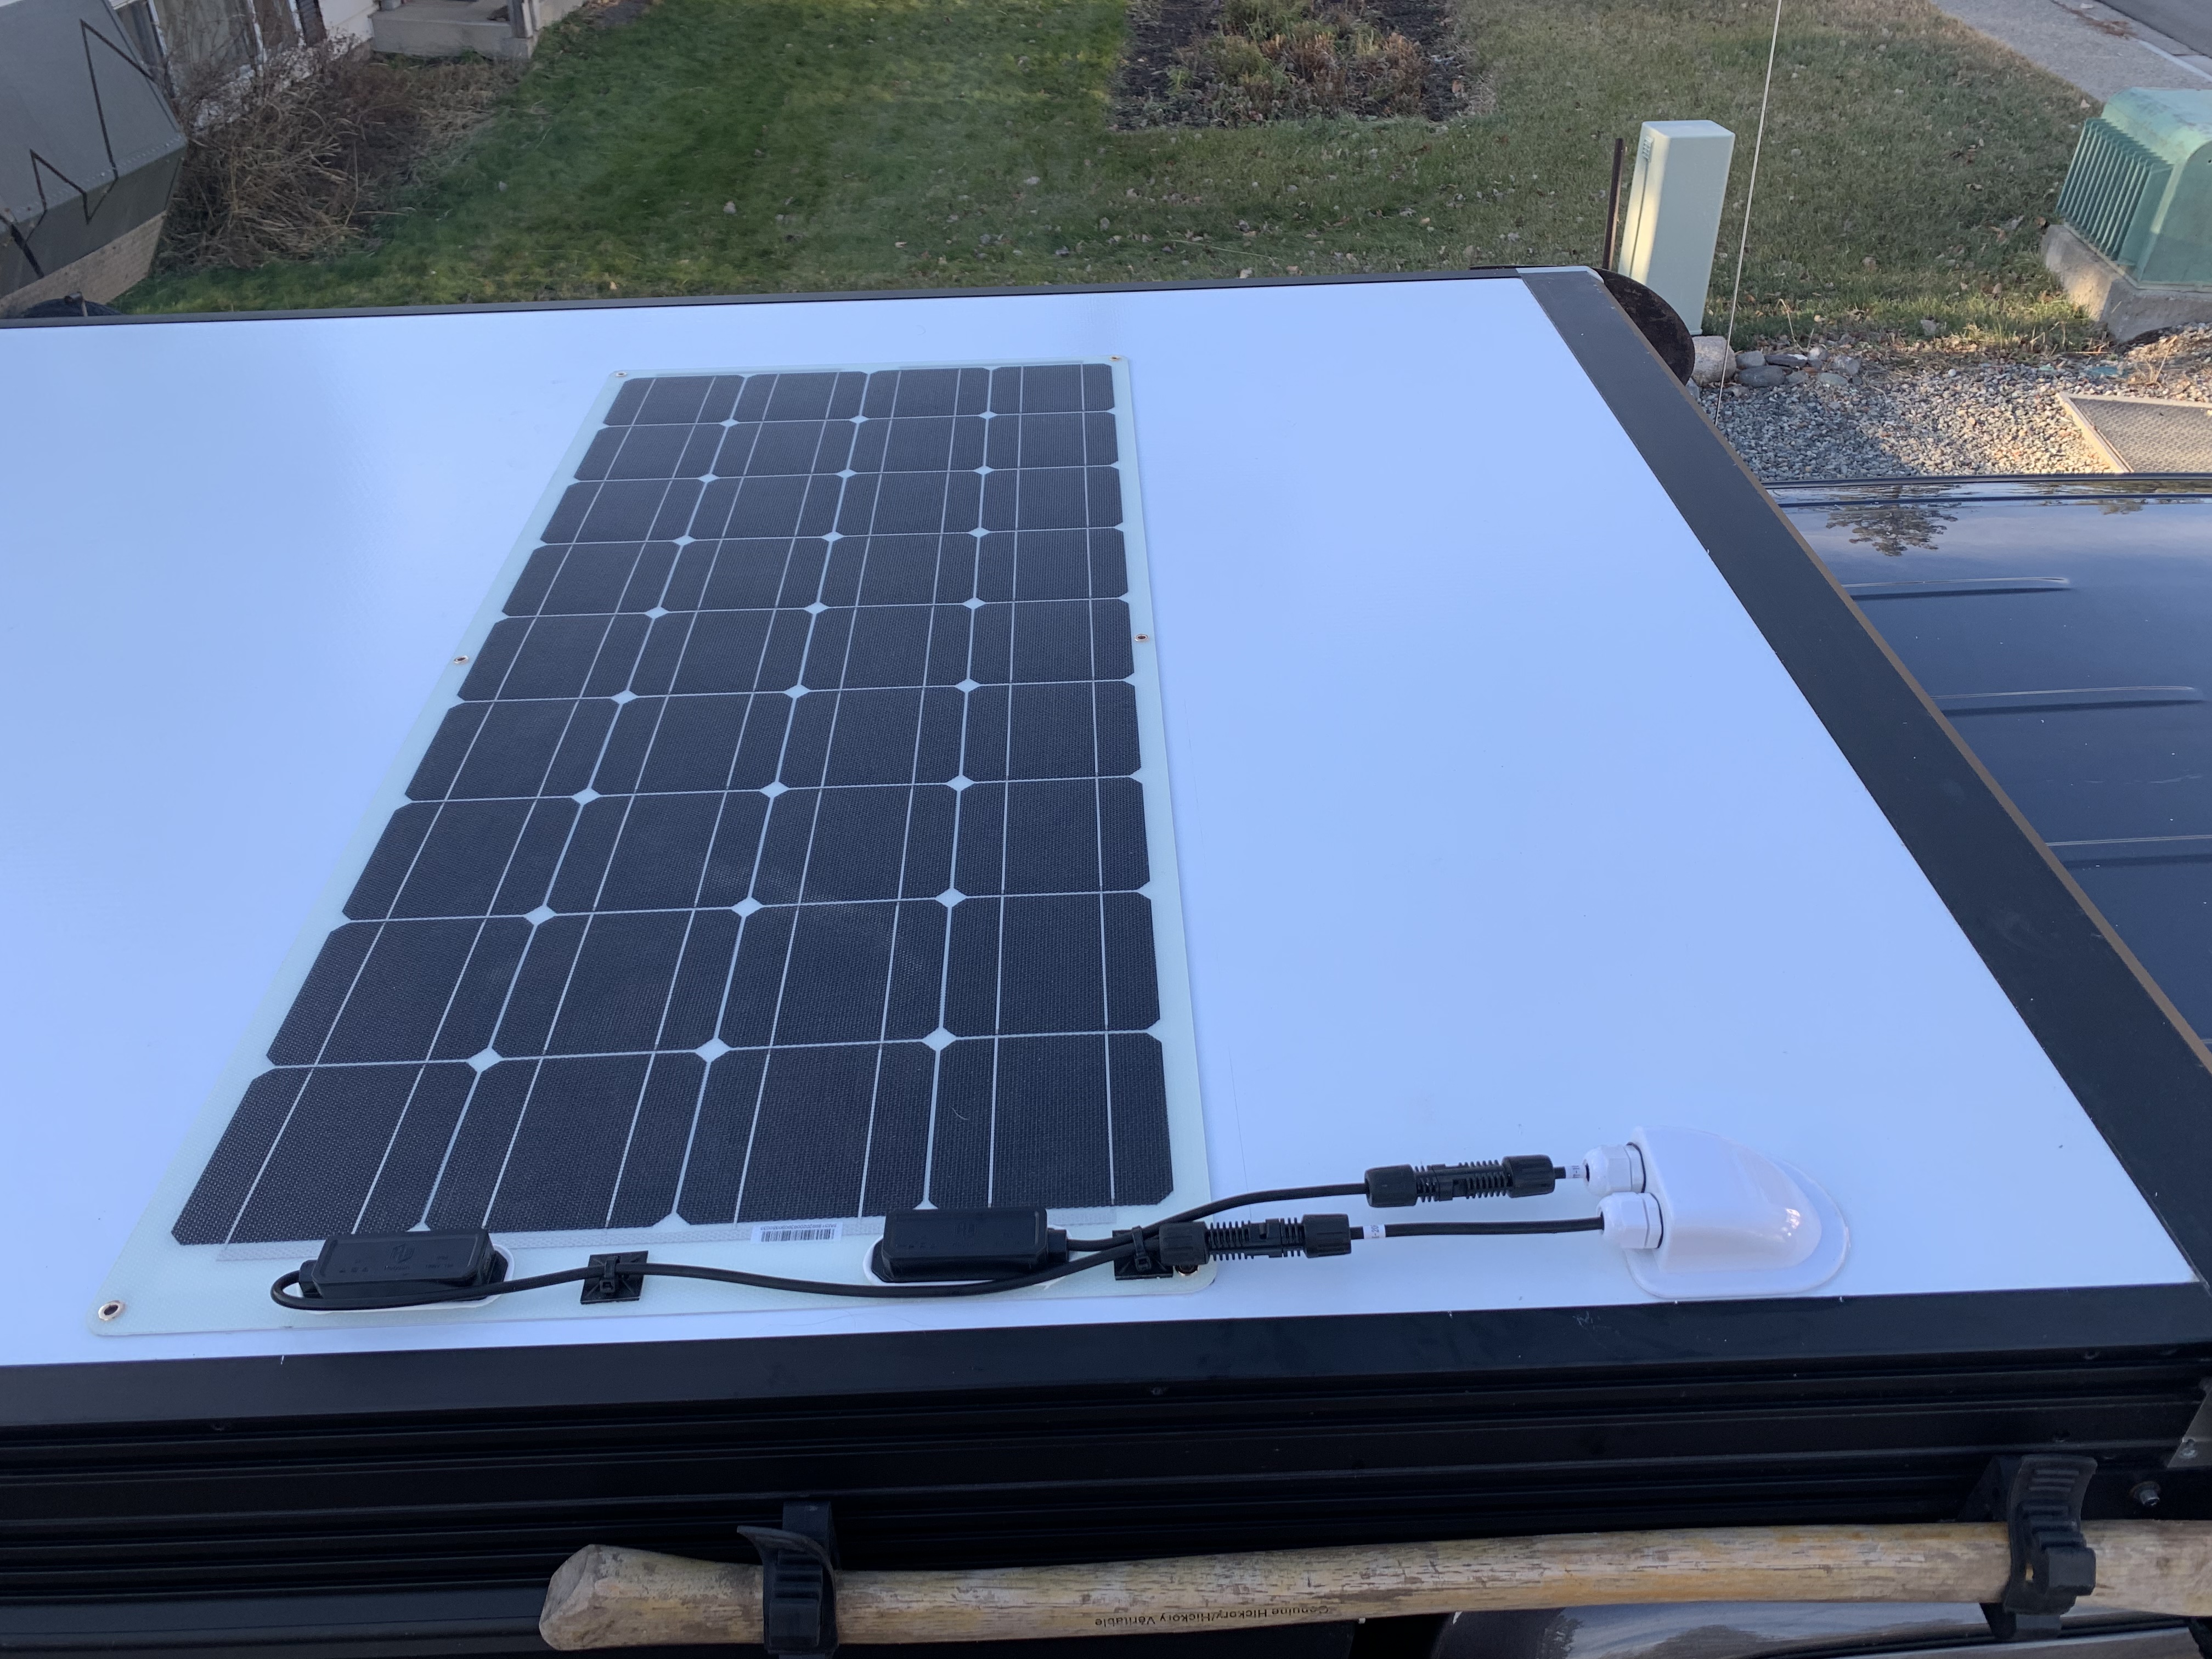
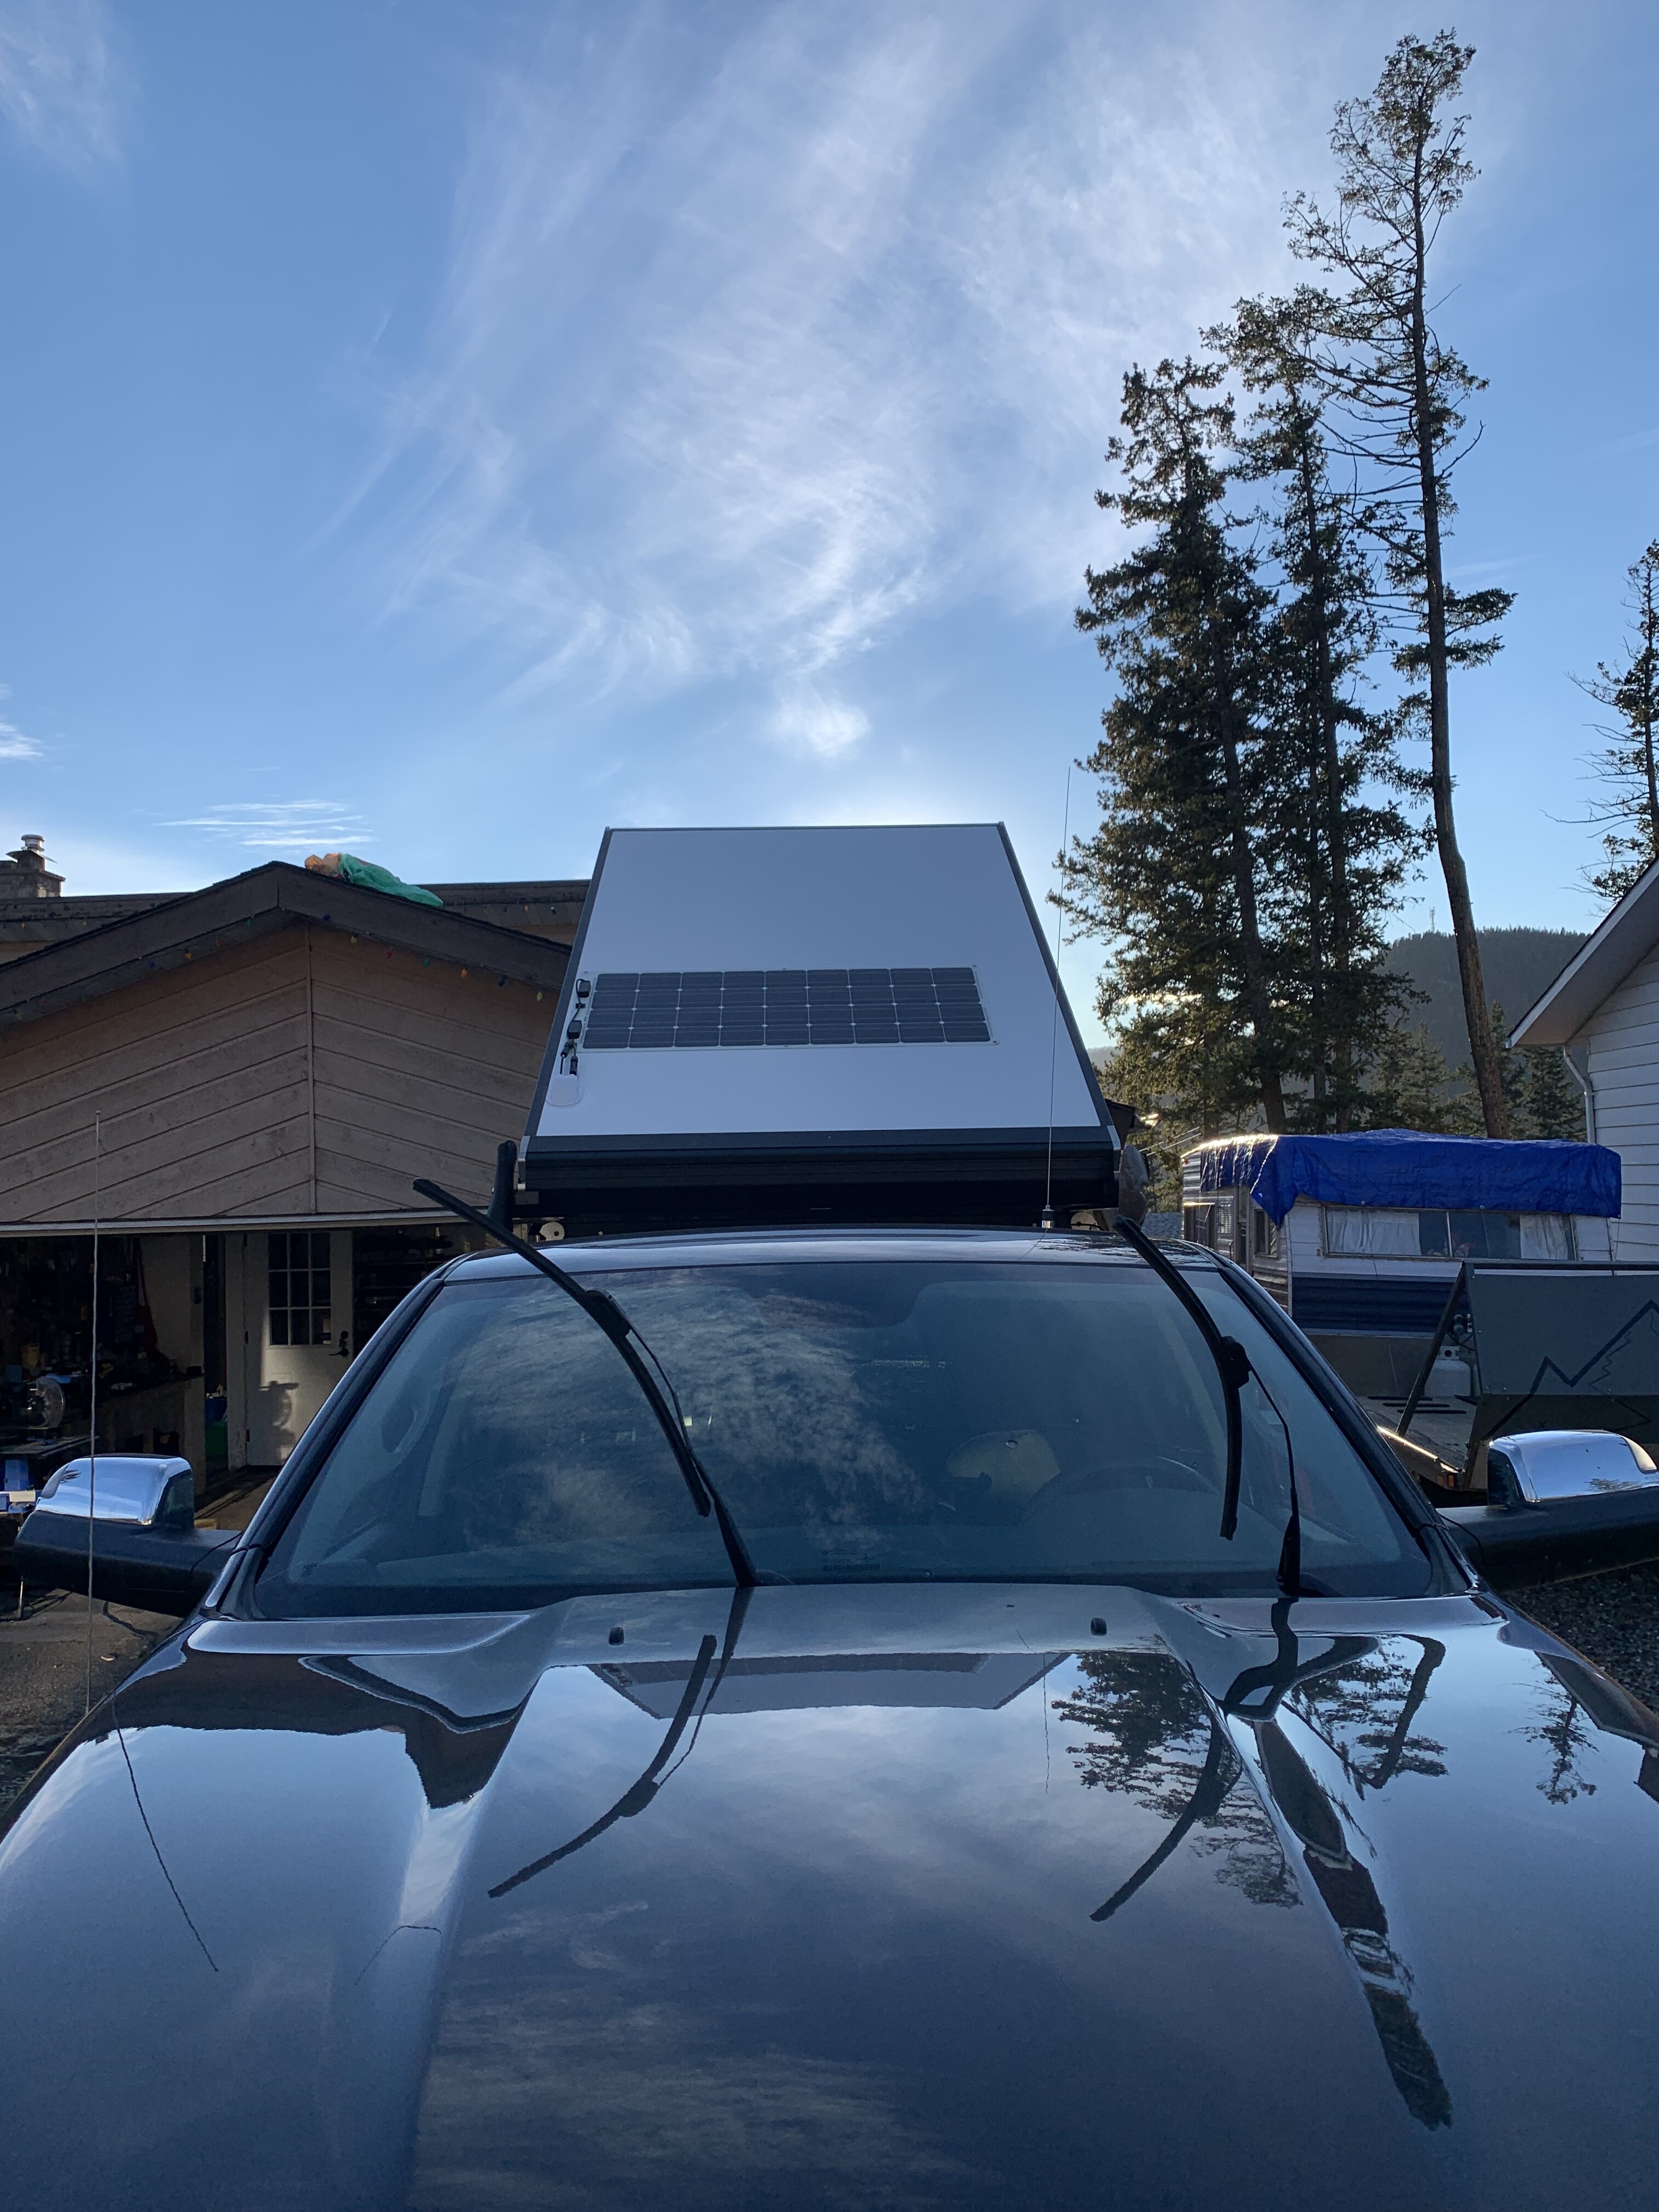
Next to tackle the remaining wiring inside, but at least got the solar hooked up to charge the battery :sunglasses:

4 Likes

To complete the story of what happened throughout this process I did make a video. Not to cross post the same vid, but it’s probably better suited here.

So stoked to be dialling in the new build.

5 Likes

Got my radio whip hooked up for this weekend upcoming snow hunt. Pretty stoked on how clean this makes things. I just need to come up with a creative way to get the wiring back into the cab of the truck. Right now I have it going through the rear slider.


Also finally mounted my fire extinguisher after procrastinating on getting one.

The next thing is some cheapo Amazon floods that I’m not sure what I’m going to do with yet. I also purchased a Smittybuilt compressor for tires, airbags, etc in the hopes it would fit in the tub behind the drivers seat through the floor. But alas, it’s too big. I’m going to ask my welder friend how easy it would be to retrofit that bin so it will fit and have the air connection piped out.

If you pop the front passenger door seal off at the bottom and pull up the plastic kick plate, there are rectangular white plastic plugs that you could remove and fish an unterminated wire through. Probably have the same on the driver side. I did this for my backup cam.

For my ham radio, I drilled a 3/4” hole in the center of the roof and mounted the antenna there. Go big or go home, lol.

Truck is looking good!

1 Like

OOOO, I’ll have to investigate that. I was looking under there for a spot that I could squeeze it in. Thanks dude, appreciate at.

Looking good. I have 2 weeks left before I head to get my camper

You’re gonna love it! Make sure to double check all fasteners on the frame before you leave. Your rig is gonna look bad ass with it!

2 Likes

Idle hands…pulled the rear bumper and running boards for some Raptor liner. Then after getting stuck on the weekend solo with the sled trailer I’ve pulled the trigger on a DIY winch bumper from a BC company Coastal Off-road. 4th Gen Dodge Ram 1500 Front Bumper Kit | Coastal Offroad


Got the primer on and hope to spray them on Friday. We’ll see how good of a job I did roughing up the Chrome to accept the Raptor liner. Have some colour match Raptor Liner for the rocker panels in the spring.

Bam!!!

Murdered out!


Waiting for my Coastal off-road bumper next!

2 Likes

Looks great!! I have plans for a chrome delete on my rig as well What material did you use?

1 Like

Raptor Liner, we’ll see how well it does on the Chrome bumper and running boards. I hit them hard with a 80grit flap disc. Then used a U-Pol 8 Acid etch primer. 2L of Black raptor liner for those three pieces.

Then for the badges and door handles I used Plasti Dip. Which is holding up ok on the badges and front grill. But I’ve ordered black handle covers because the drivers side handle got ripped during my GFC install. But honestly, now after seeing the raptor liner results I would use that on the door handles and grill.

When I raptor line the winch bumper I’m going to finish up the chrome by doing the mirrors. For the plastic you have to use the U-Pol adhesive promoter. I’m so stoked in how its all starting to look. I have Color matched Raptor liner to do my rocker panels but I’m going to wait until the summer to do that since the truck wont’ fit in the garage.

2 Likes

Looks great! Love the black on gray.

2 Likes

Next stage!

Prepping for the DYI High Clearance bumper build tomorrow from Coastal Off-road, installing the Warn Evo VR10S, and new lights.


2 Likes

Got it all welded up in one long day! It looks good, now comes the fun part….grinding


3 Likes

Oh…also got this installed while Graham was finishing the welds. We’ll see if this Etsy store more expensive decal lasts longer. Used a wet application method and a heat gun.