2014 Ram Big Horn - Build out

Things have been busy these days as ski season winds down. Finally got my bumper in to get welded from the dear hit in November!


Also as you can see my maroon lipstick grill has finally been replaced by the proper grill. The body shop, like the other could not match the raptor liner. It’s all good though because I need to redo that section over the cab any ways. It has chipped badly!

Now comes the slow process of painting the bumper, trying to make sure that all the nooks and crannies are primed well.


Gonna buff up the old one and put some paint on it as well. Stoked to have the ‘old’ bumper for the next RAM project…hopefully a 4th gen Power Wagon 6.4L…a boy can dream.

2 Likes

Great thing about when you don’t have a bumper on a truck…it motivates you to work away at getting that rectified.


The replacement bumper and skid plate. This time I’m running the compressor at 75psi to get a finer speckle.


Since I’m sprayin’! Figured I’d clean up the first attempt at lining plastic. This time I used adhesive promoter. We’ll see.


And….since I have the original bumper that the shop straightened out after the deer hit. I cleaned that up as well. Didn’t go crazy on it, but sealed it.

Trying to decide if I should try to sell it to fund headers; or pay for the suspension upgrade.

I’m excited to wire this bumper up and get it on.

1 Like

what spray is that?

It’s called Raptor Liner. It’s not as rubber based as lineX. Although because of that it has a tendency to chip. But overall I’ve been happy with the product. I have it on my rocker panels and wheel flares as well.

You can buy it in kits with a spray gun so it makes driveway hacks bodymen.

1 Like

I love my Ford F-150 Lightning, but I liked the cameras on my 2019 Ram better than the Ford ones. Seems like they had better detail and stayed cleaner more.

1 Like

thanks!
im not worried about chipping because i might redo my rear seat floorplate with that.
image
also to hide that “plywood texture” lol

1 Like

Figured since I was spraying. Not sure I’m going to put the badges back on yet. But I’d be sad I hadn’t done them when I had the paint :smiley:

Rivnuts are such a game changing tool in the kit. Although I experienced something new with drilling out the existing holes. The metal shavings scratched the raptor liner. Not a big deal since my plate will cover it.

Lights are next :smiley: Then I can finally put the truck back together and move onto the next project.

Oh it will work great for that! It adheres like crazy to plywood.

1 Like

sweet! that’s good to know!


Lights, Winch and AC plug installed

Finally installed! This has been a painful insurance repair.

Here’s to hoping the insurance company reimburses me for all the materials, bumper and time since they didn’t want to do it.

Now to get out and scratch this thing!

1 Like

I opted to mount the emblems.


Decided to leave the ‘1500’ off similar to the 5th gens

Then I thought I would try something different on the other side;

What do you think? Ram or Roam?

2 Likes

Partial to ROAM.

2 Likes

Well, went down the rabbit hole of investigating some rust on my first body job attempt on the rockers and flares.

Going to redo the gambit in black raptor liner so I can stop stressing about tint match.

Started with trying harder to get the pitting gone. The rear I fear is rusting from behind. So I’m nervous to sand right through. Going to try doing an acid etch, then filler mastic primer, adhesion promoter. Then paint; hopefully this will thicken it up and stop the chipping.


Darn full week of rain put a halt on the body work project. Hoping to get some primer on there at least this weekend. But in more exciting news!!!

It’s not Carli Suspension (see previous posts) we’ll see how the Fox hold up. Big thanks to the guys from West Coast Off Road! They have been great to deal with and super helpful. They suggested I clearcoat the kit due to the huge amount of salt that gets used up here. So…let’s give that a shot.


Also got the UCA’s from JBA Off-road, look at these beauties!


If you look closely in the left corner you’ll see you get an extra special treat for the JC lovers out there.

The more I think about these projects the more I think I need a beater to drive. Then I can strip the truck down, touch up/paint the frame, finish the body work, install the new suspension.
:thinking:

1 Like

JBA is a Christian company owned by very religious people lol

1 Like

That is clear, love it! I’m not opposed to the JC; and this will put a new meaning to ‘Jesus take the wheel’ in the rig.

1 Like

I’m glad I used Rivnuts to mount the plate for the heater. It makes swapping out failed Autoterm Heaters out a sinch. The guys down in Vancouver at Planar Heaters got updated firmware on this unit. They tested it on the bench for two weeks.

So far, after priming the fuel line it took two mistarts to finally fire. It ran for 98 mins no problem.

So fingers crossed that this is the end of the truck heater saga. It’s been a long year getting to the bottom of these Gasoline Autoterm heaters up in Canada.

Started to tackle the suspension install. The rear is making a racket so figured I’d start there.

Getting started took a bit to figure out the least sketchy way to do this. Sloped driveways suck


In true tradition of using what I had that’s what I came up with. :joy:


So far the roll through to the school parking lot with the kids for a brake stand. The suspension sticks. No more clang clang. :call_me_hand:

Fronts with JBA Control arm next.

1 Like

Father’s Day gift. I get to replace the UCA’s and coilovers :metal:


Cleaning it all up. Might wire brush everything and a quick blast of black.

2 Likes

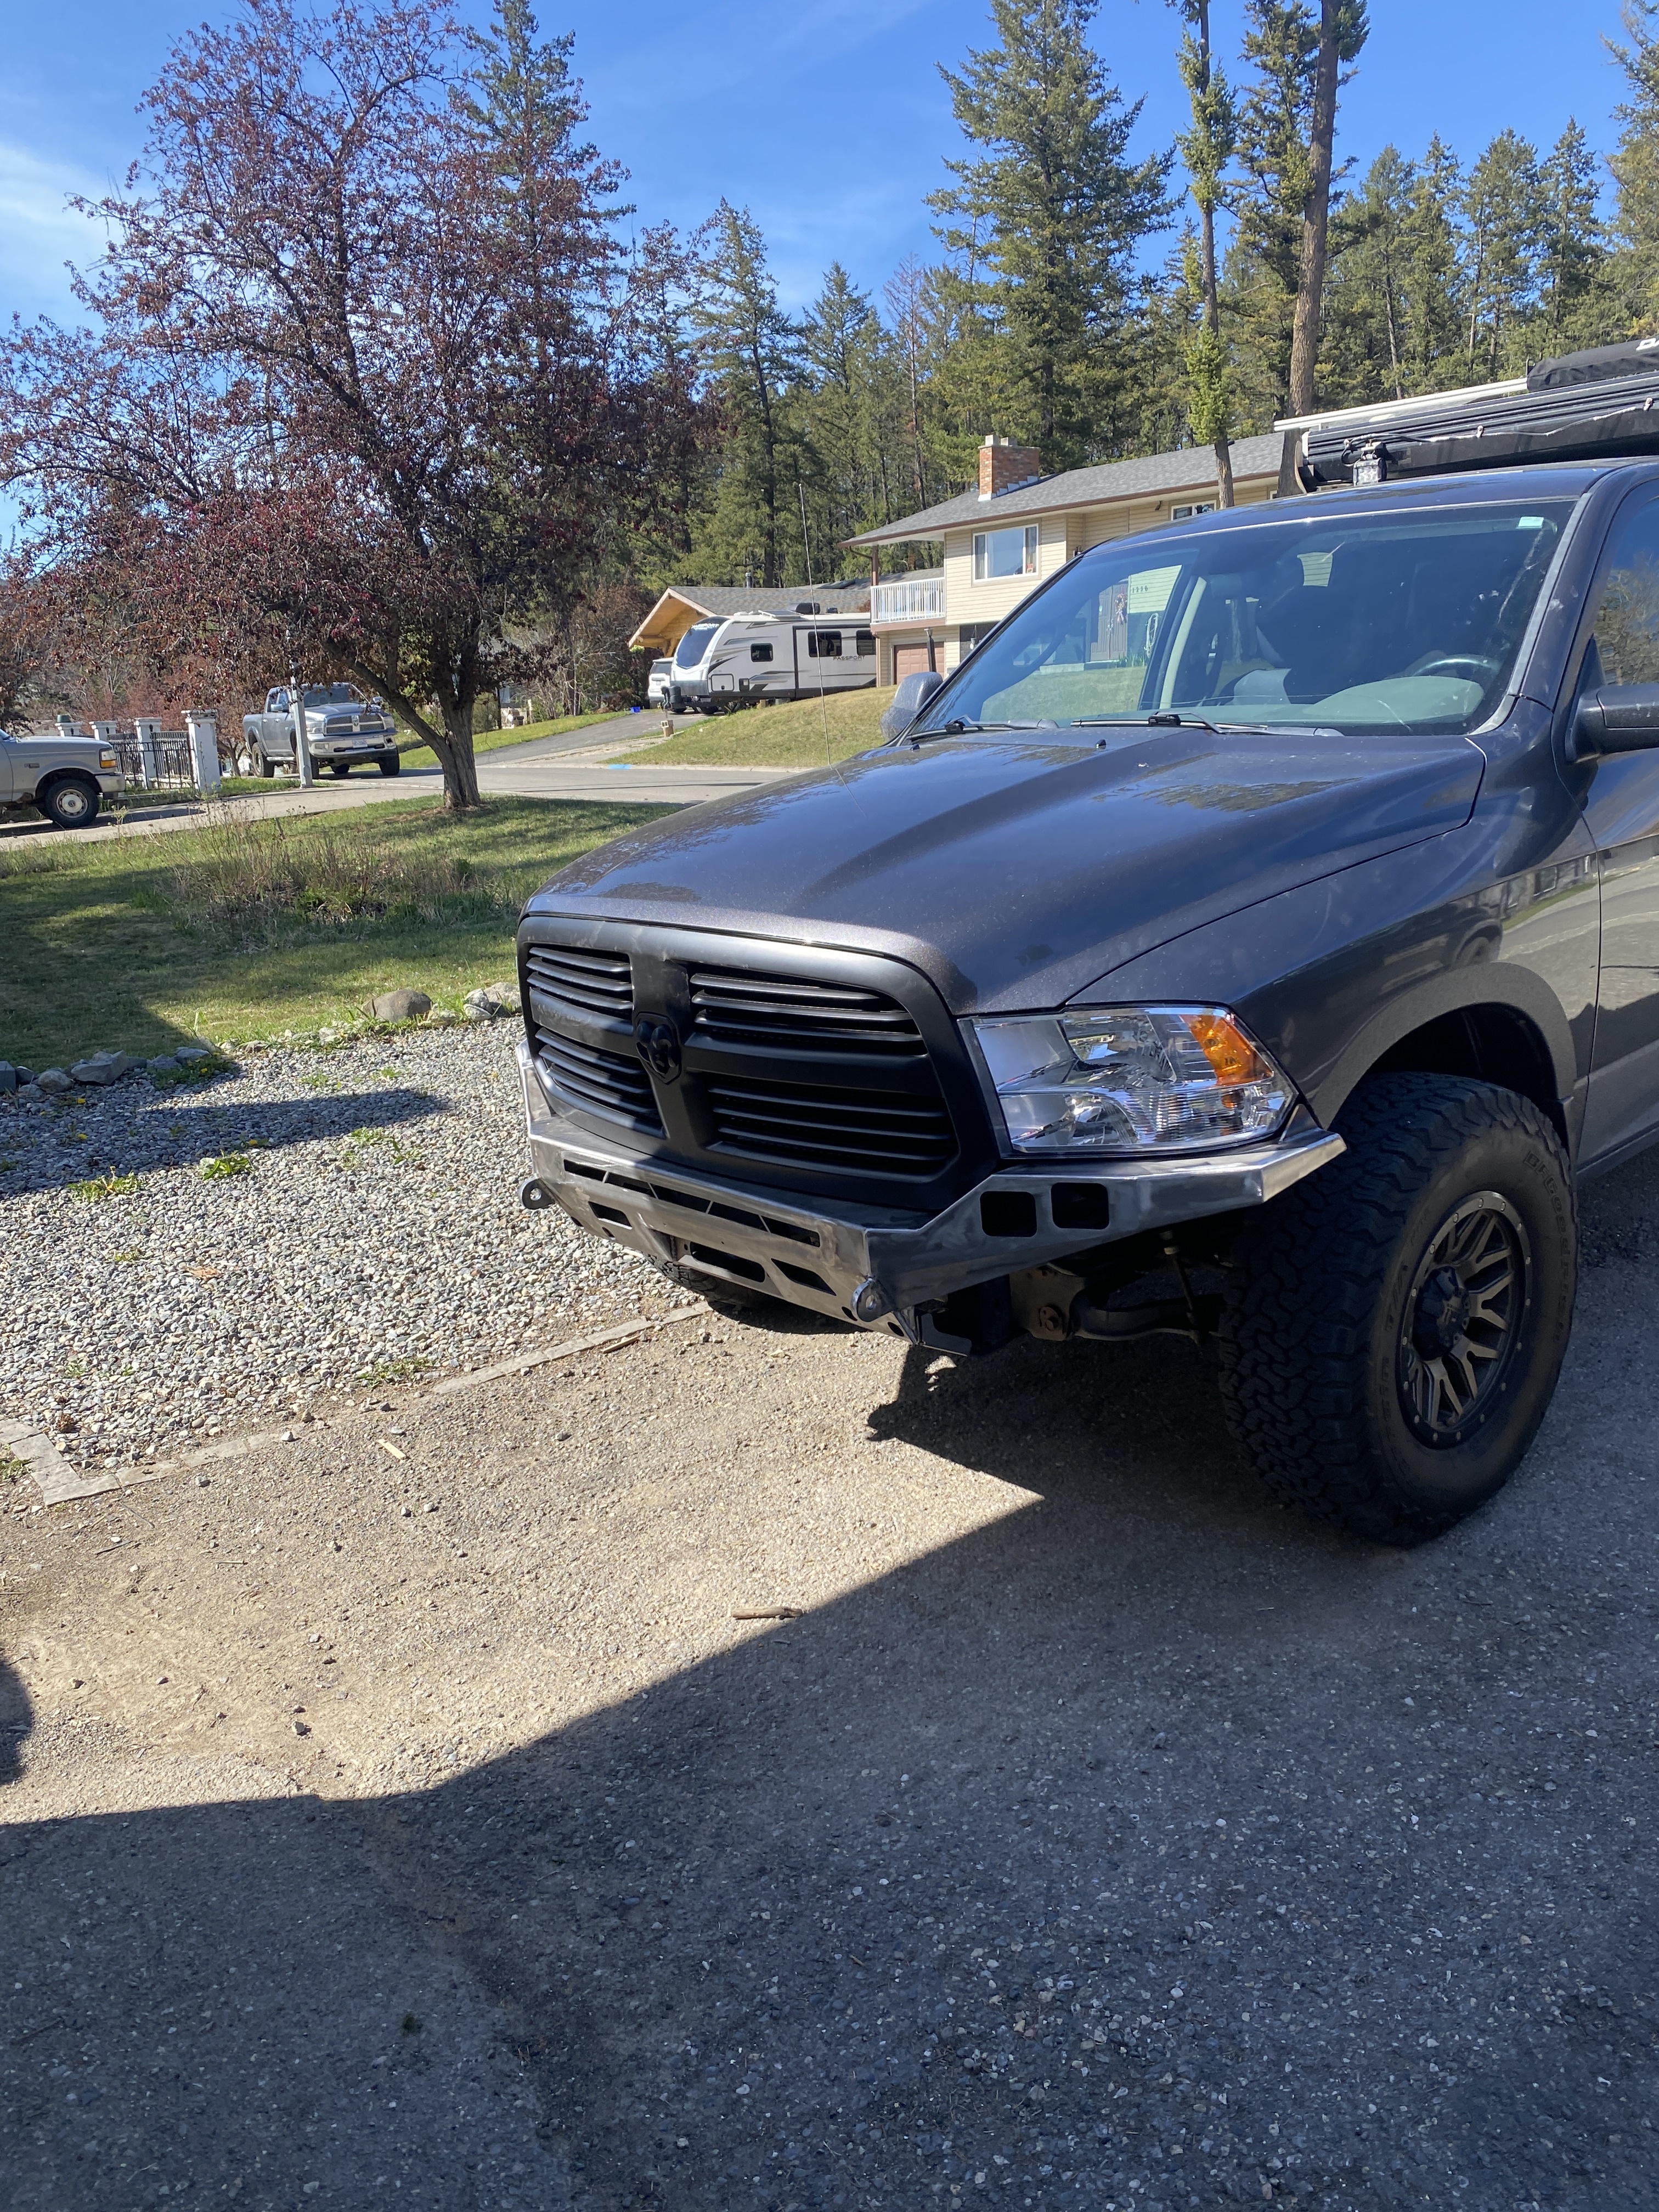
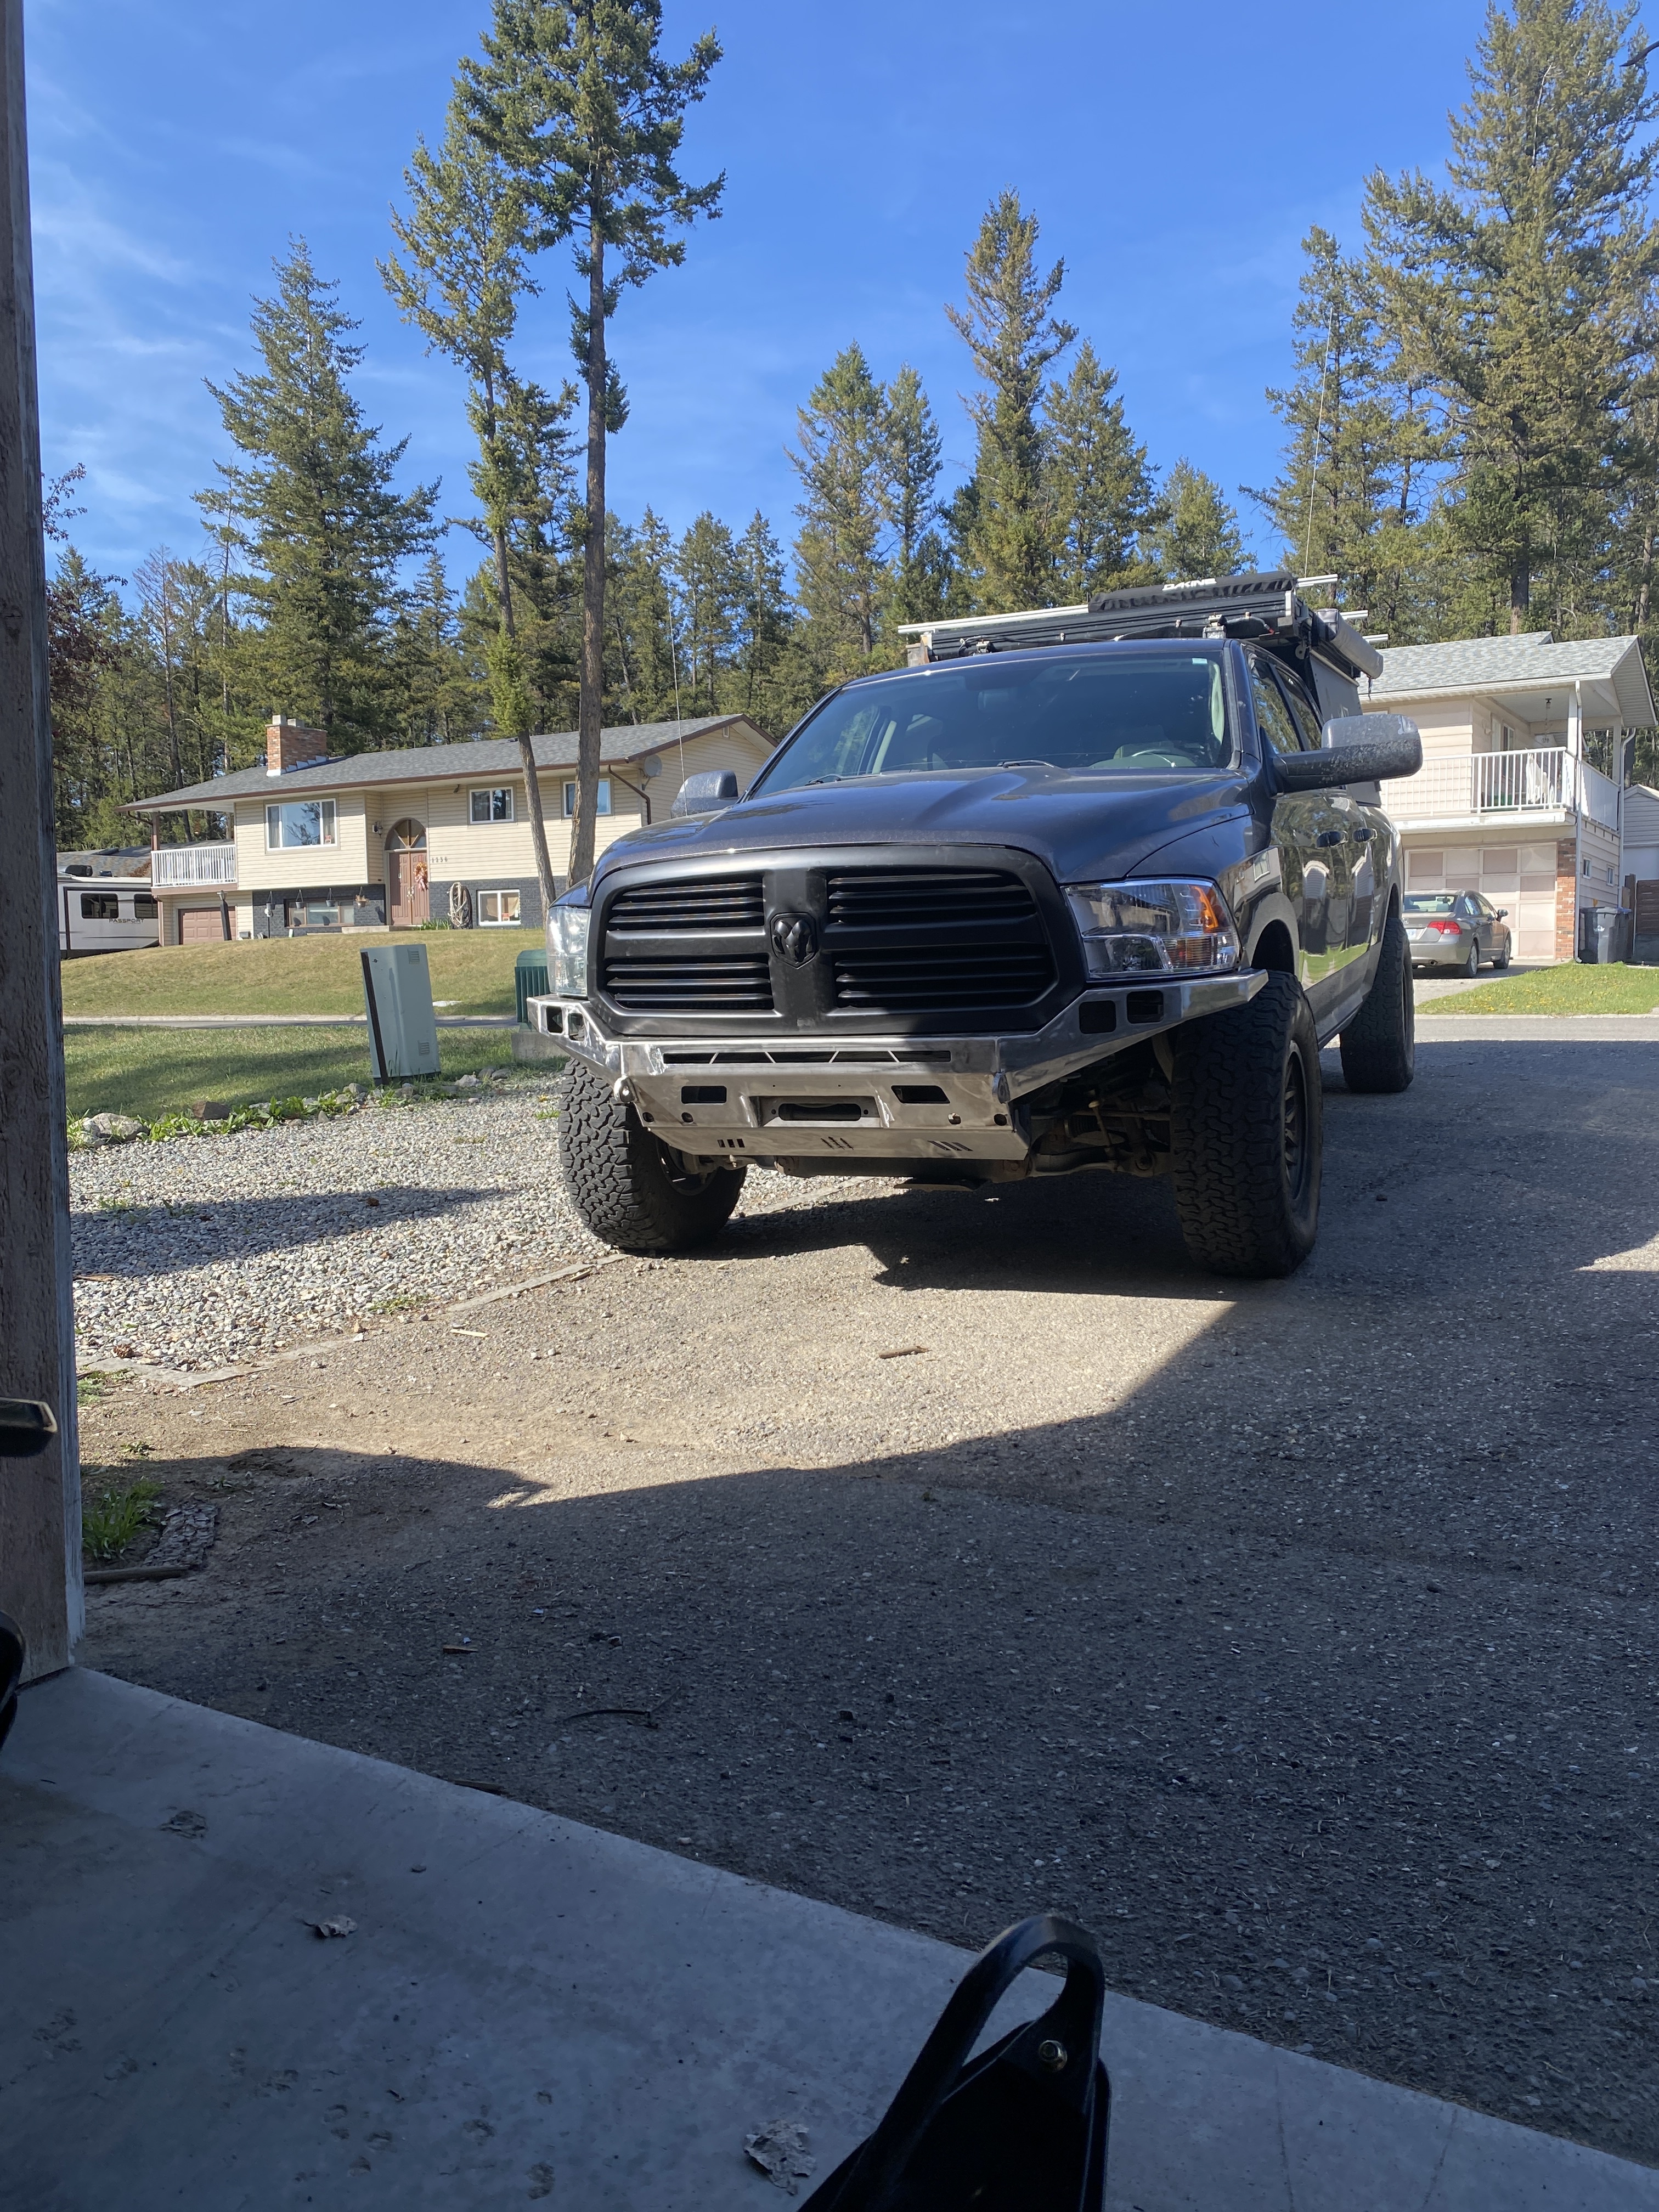
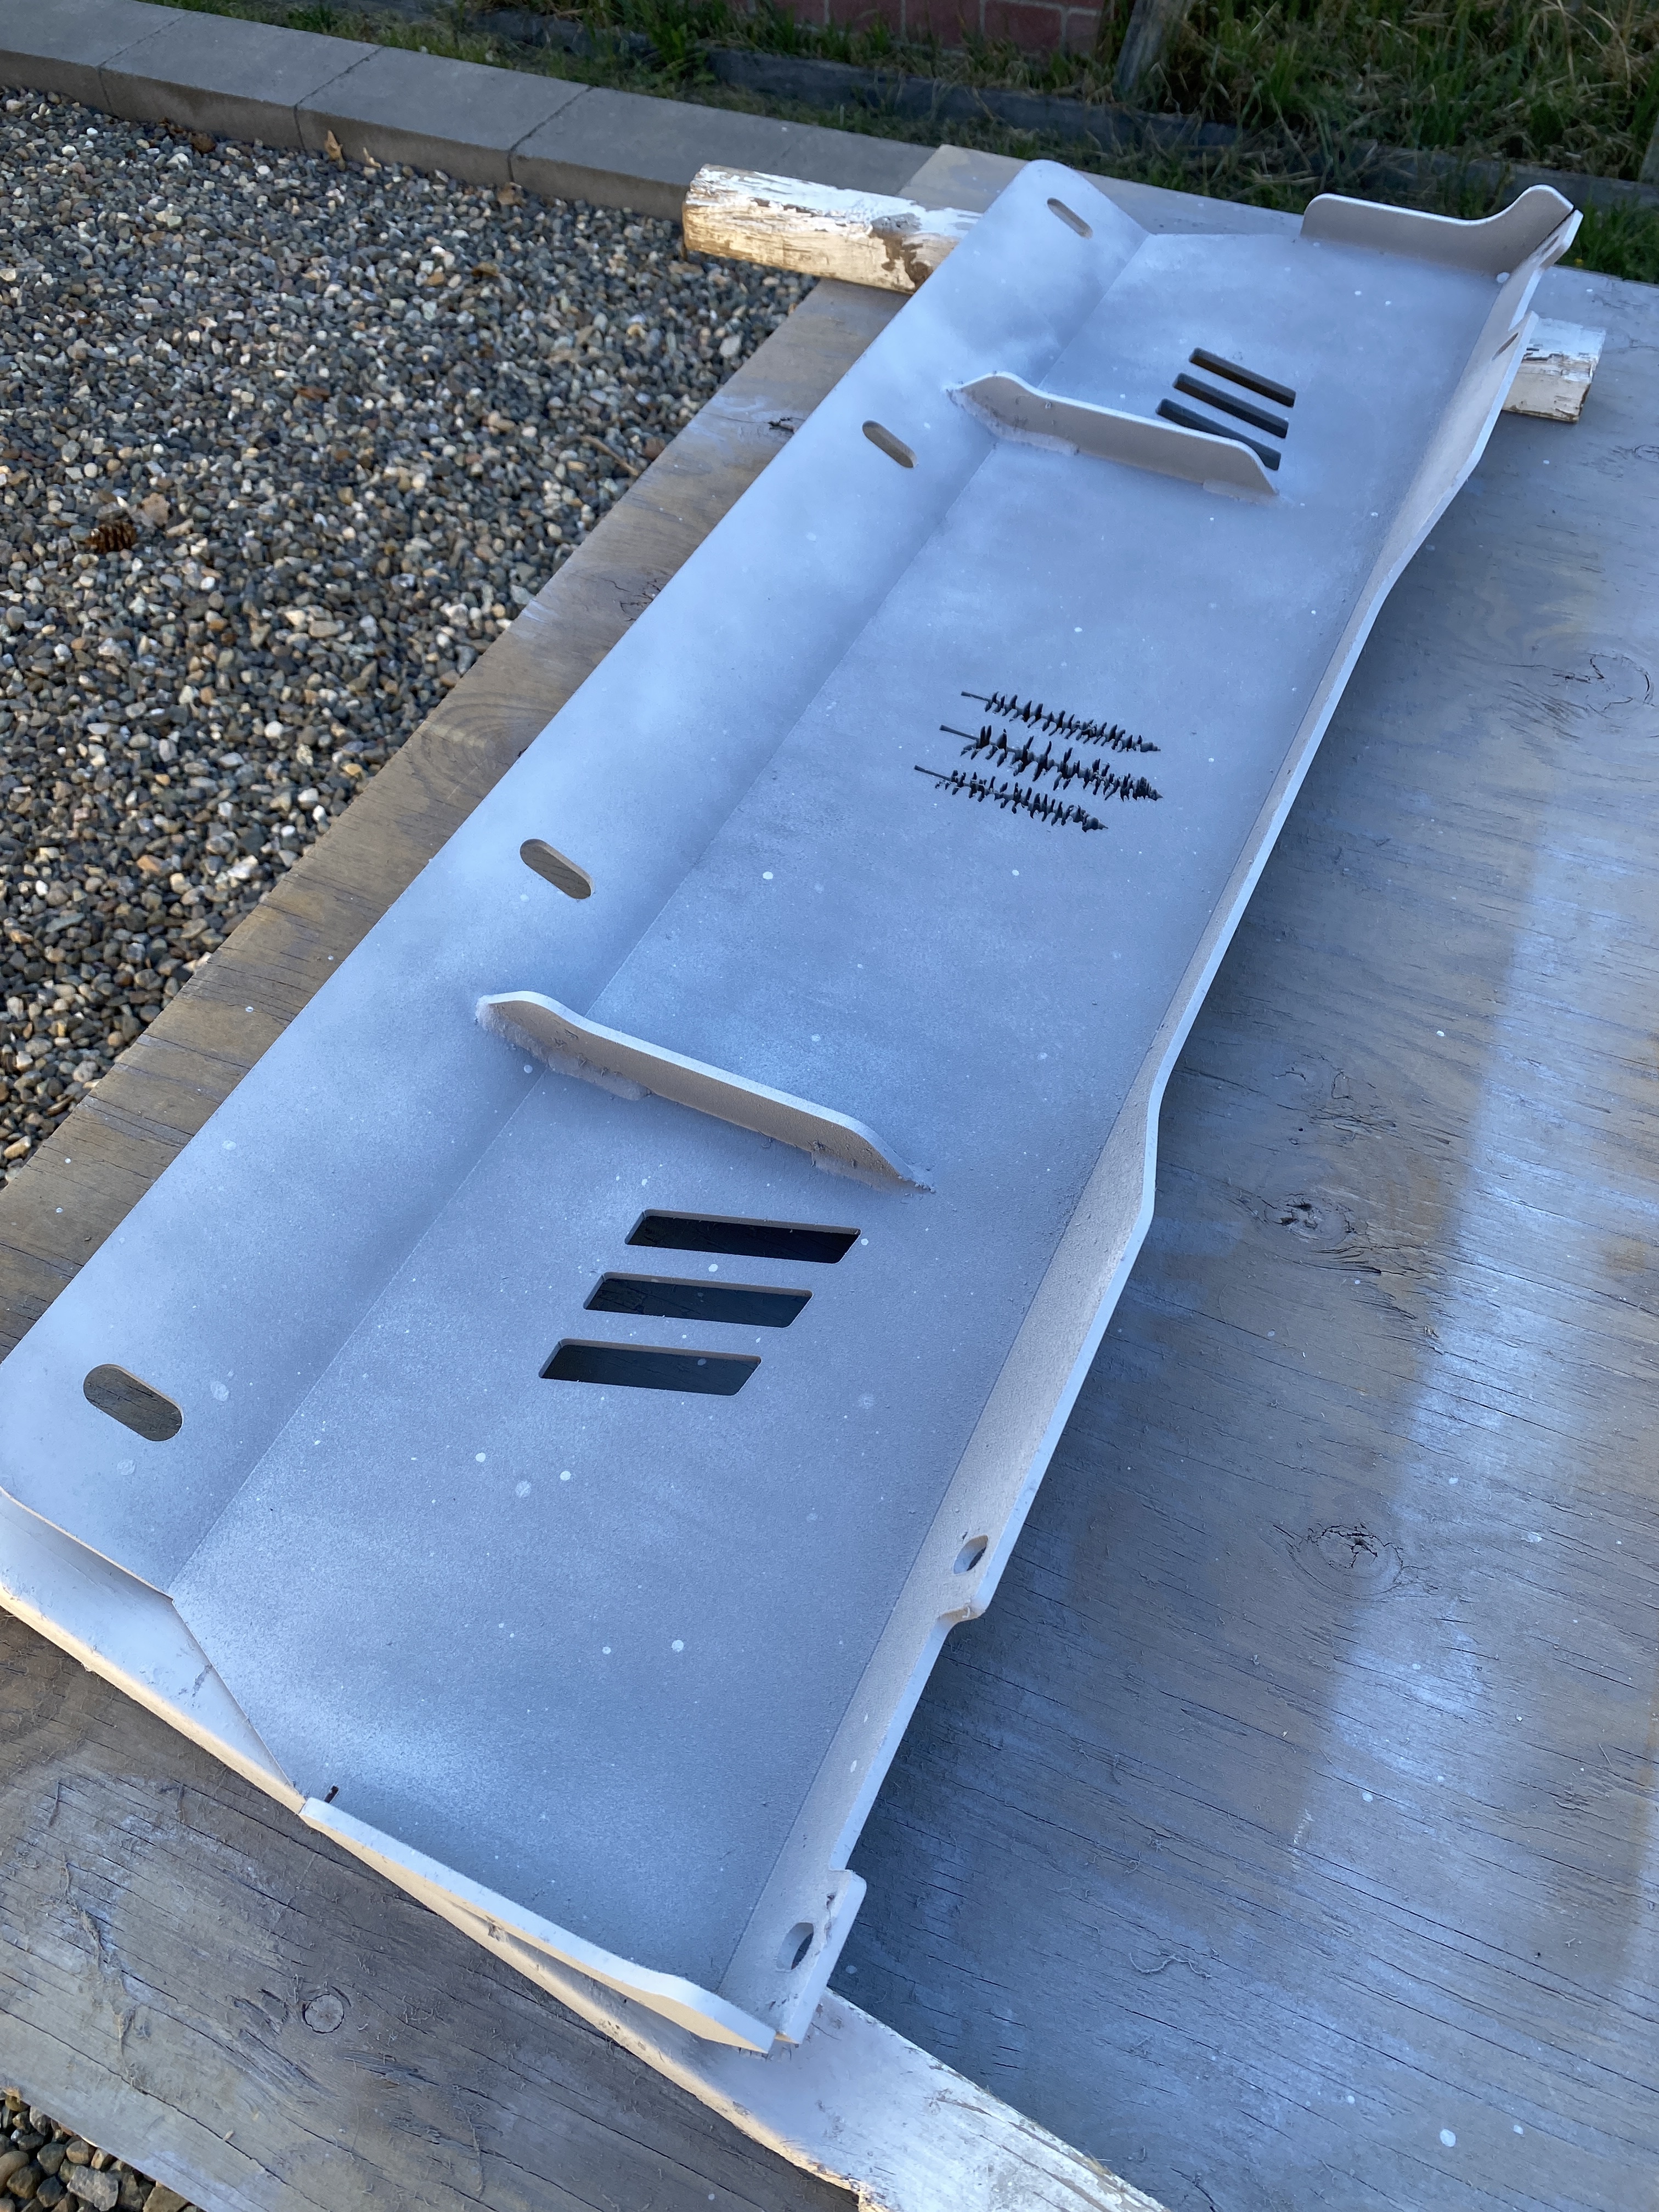
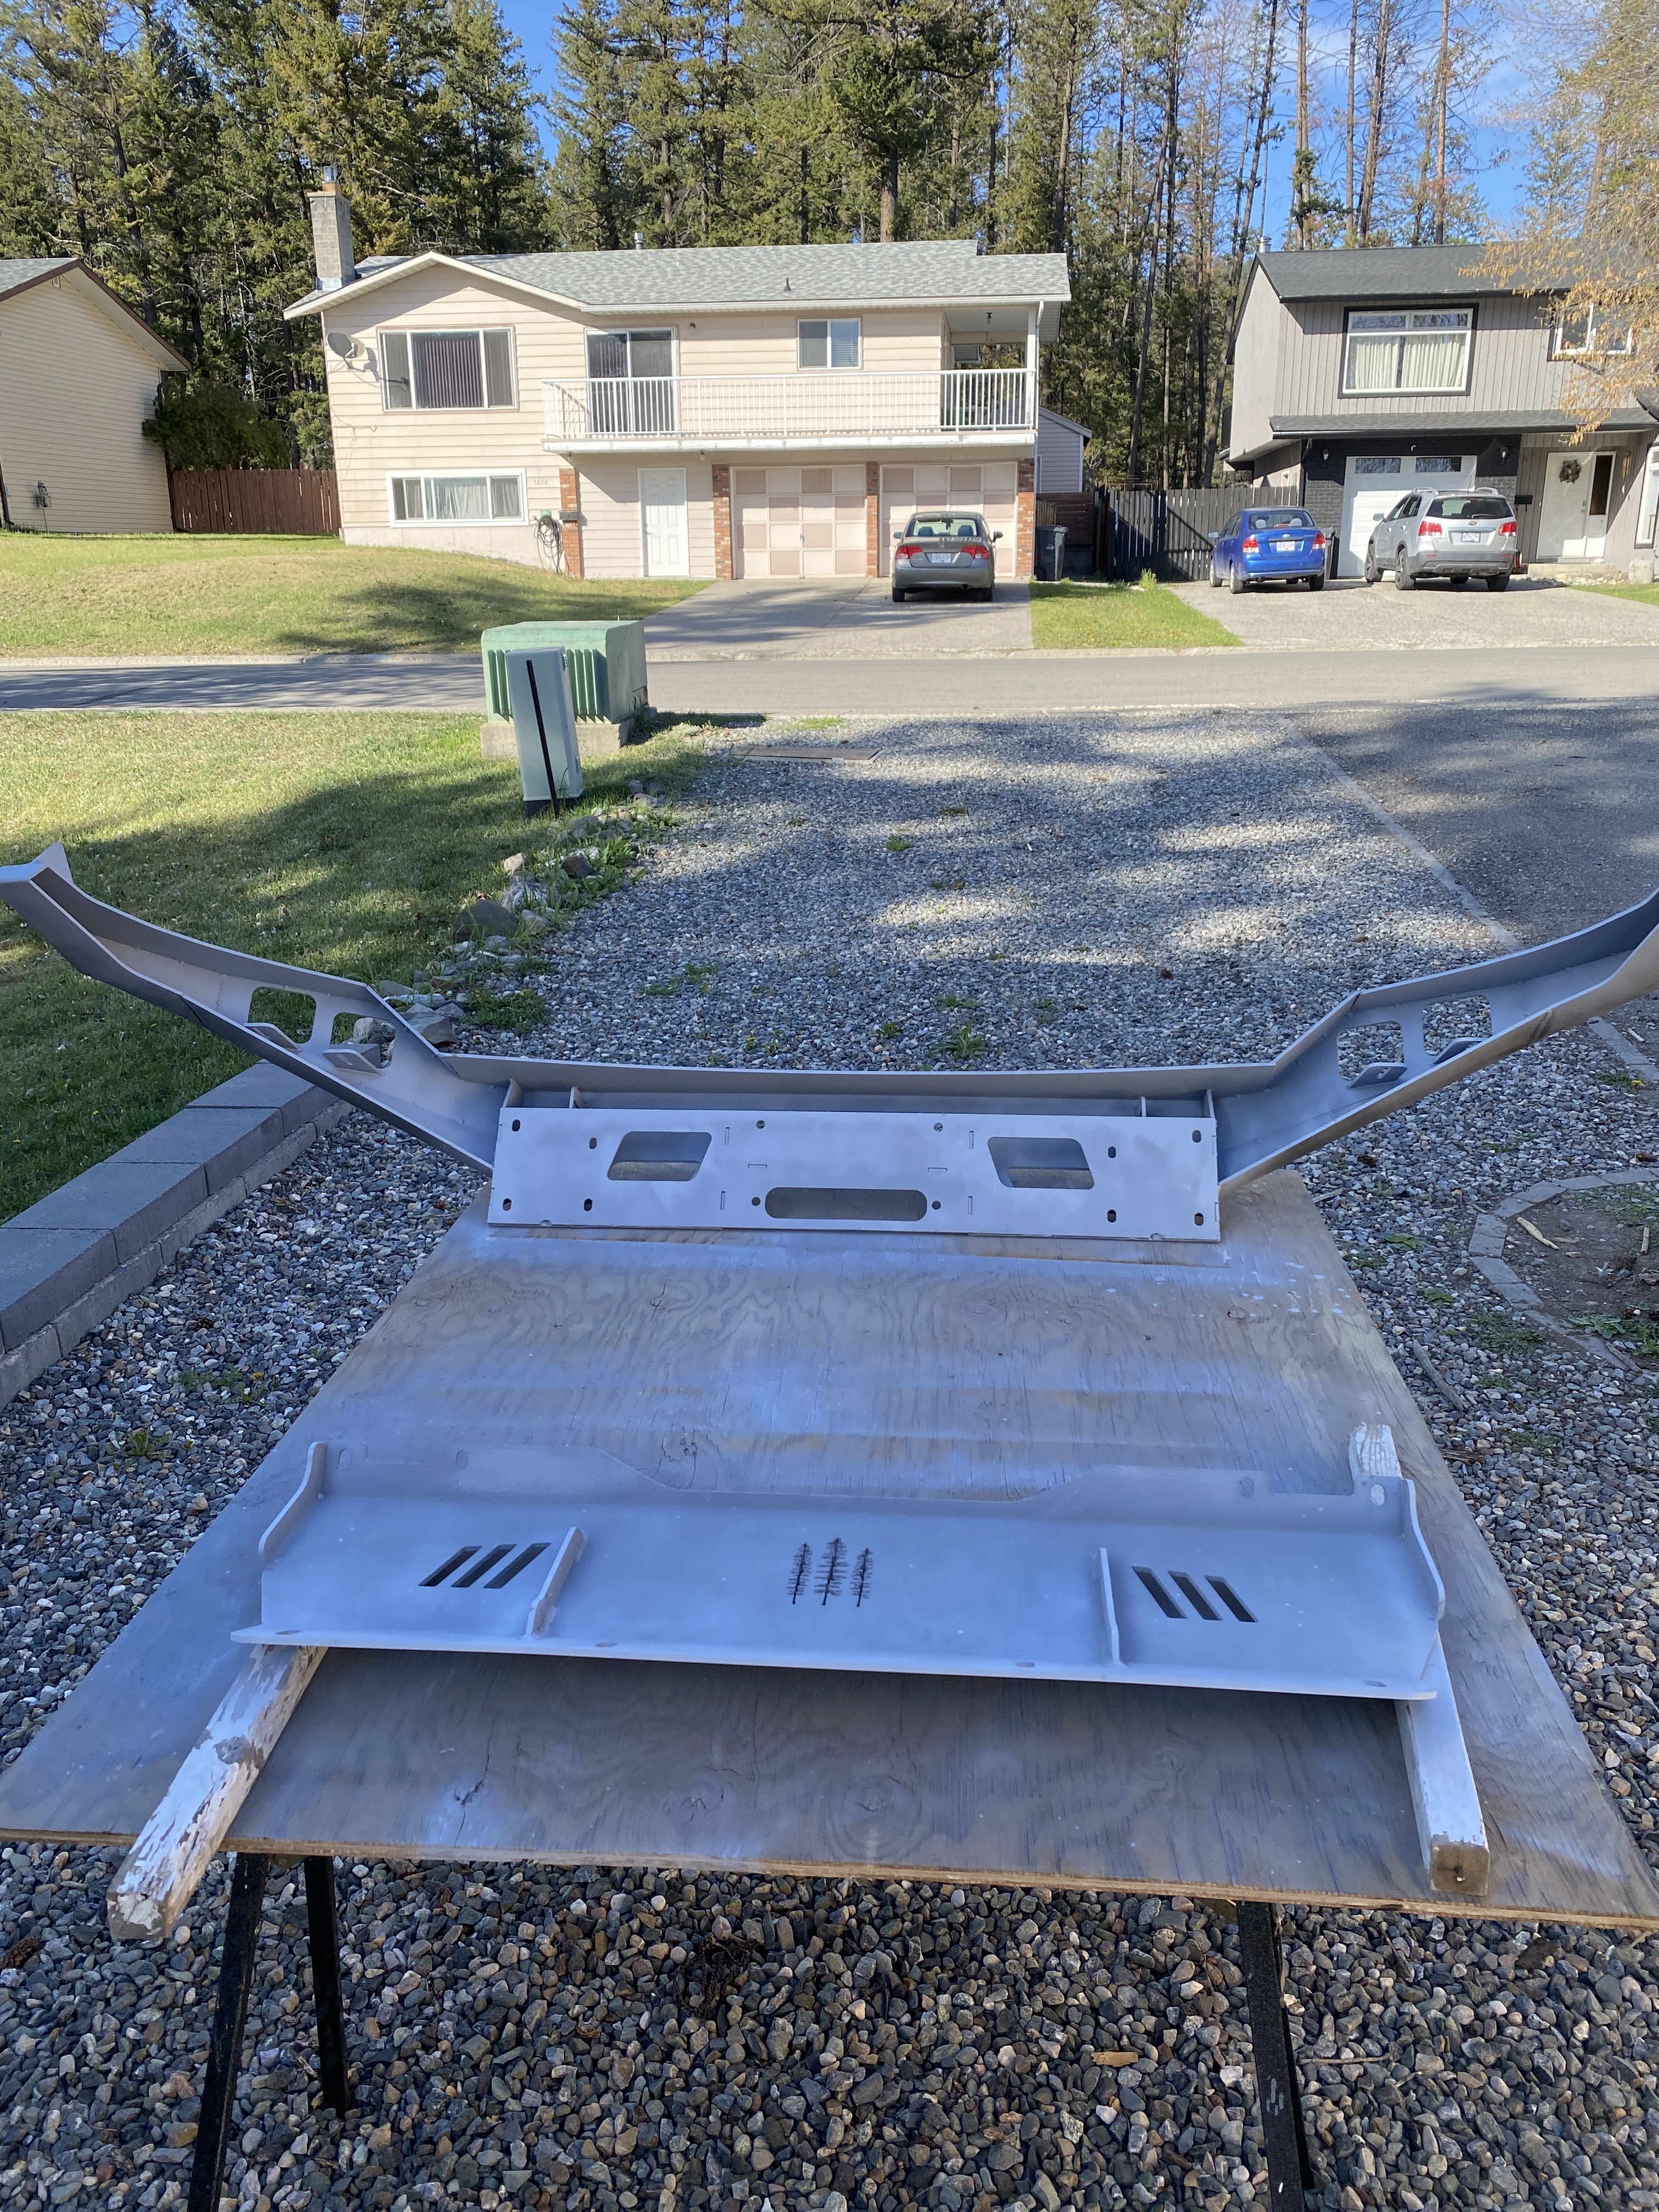
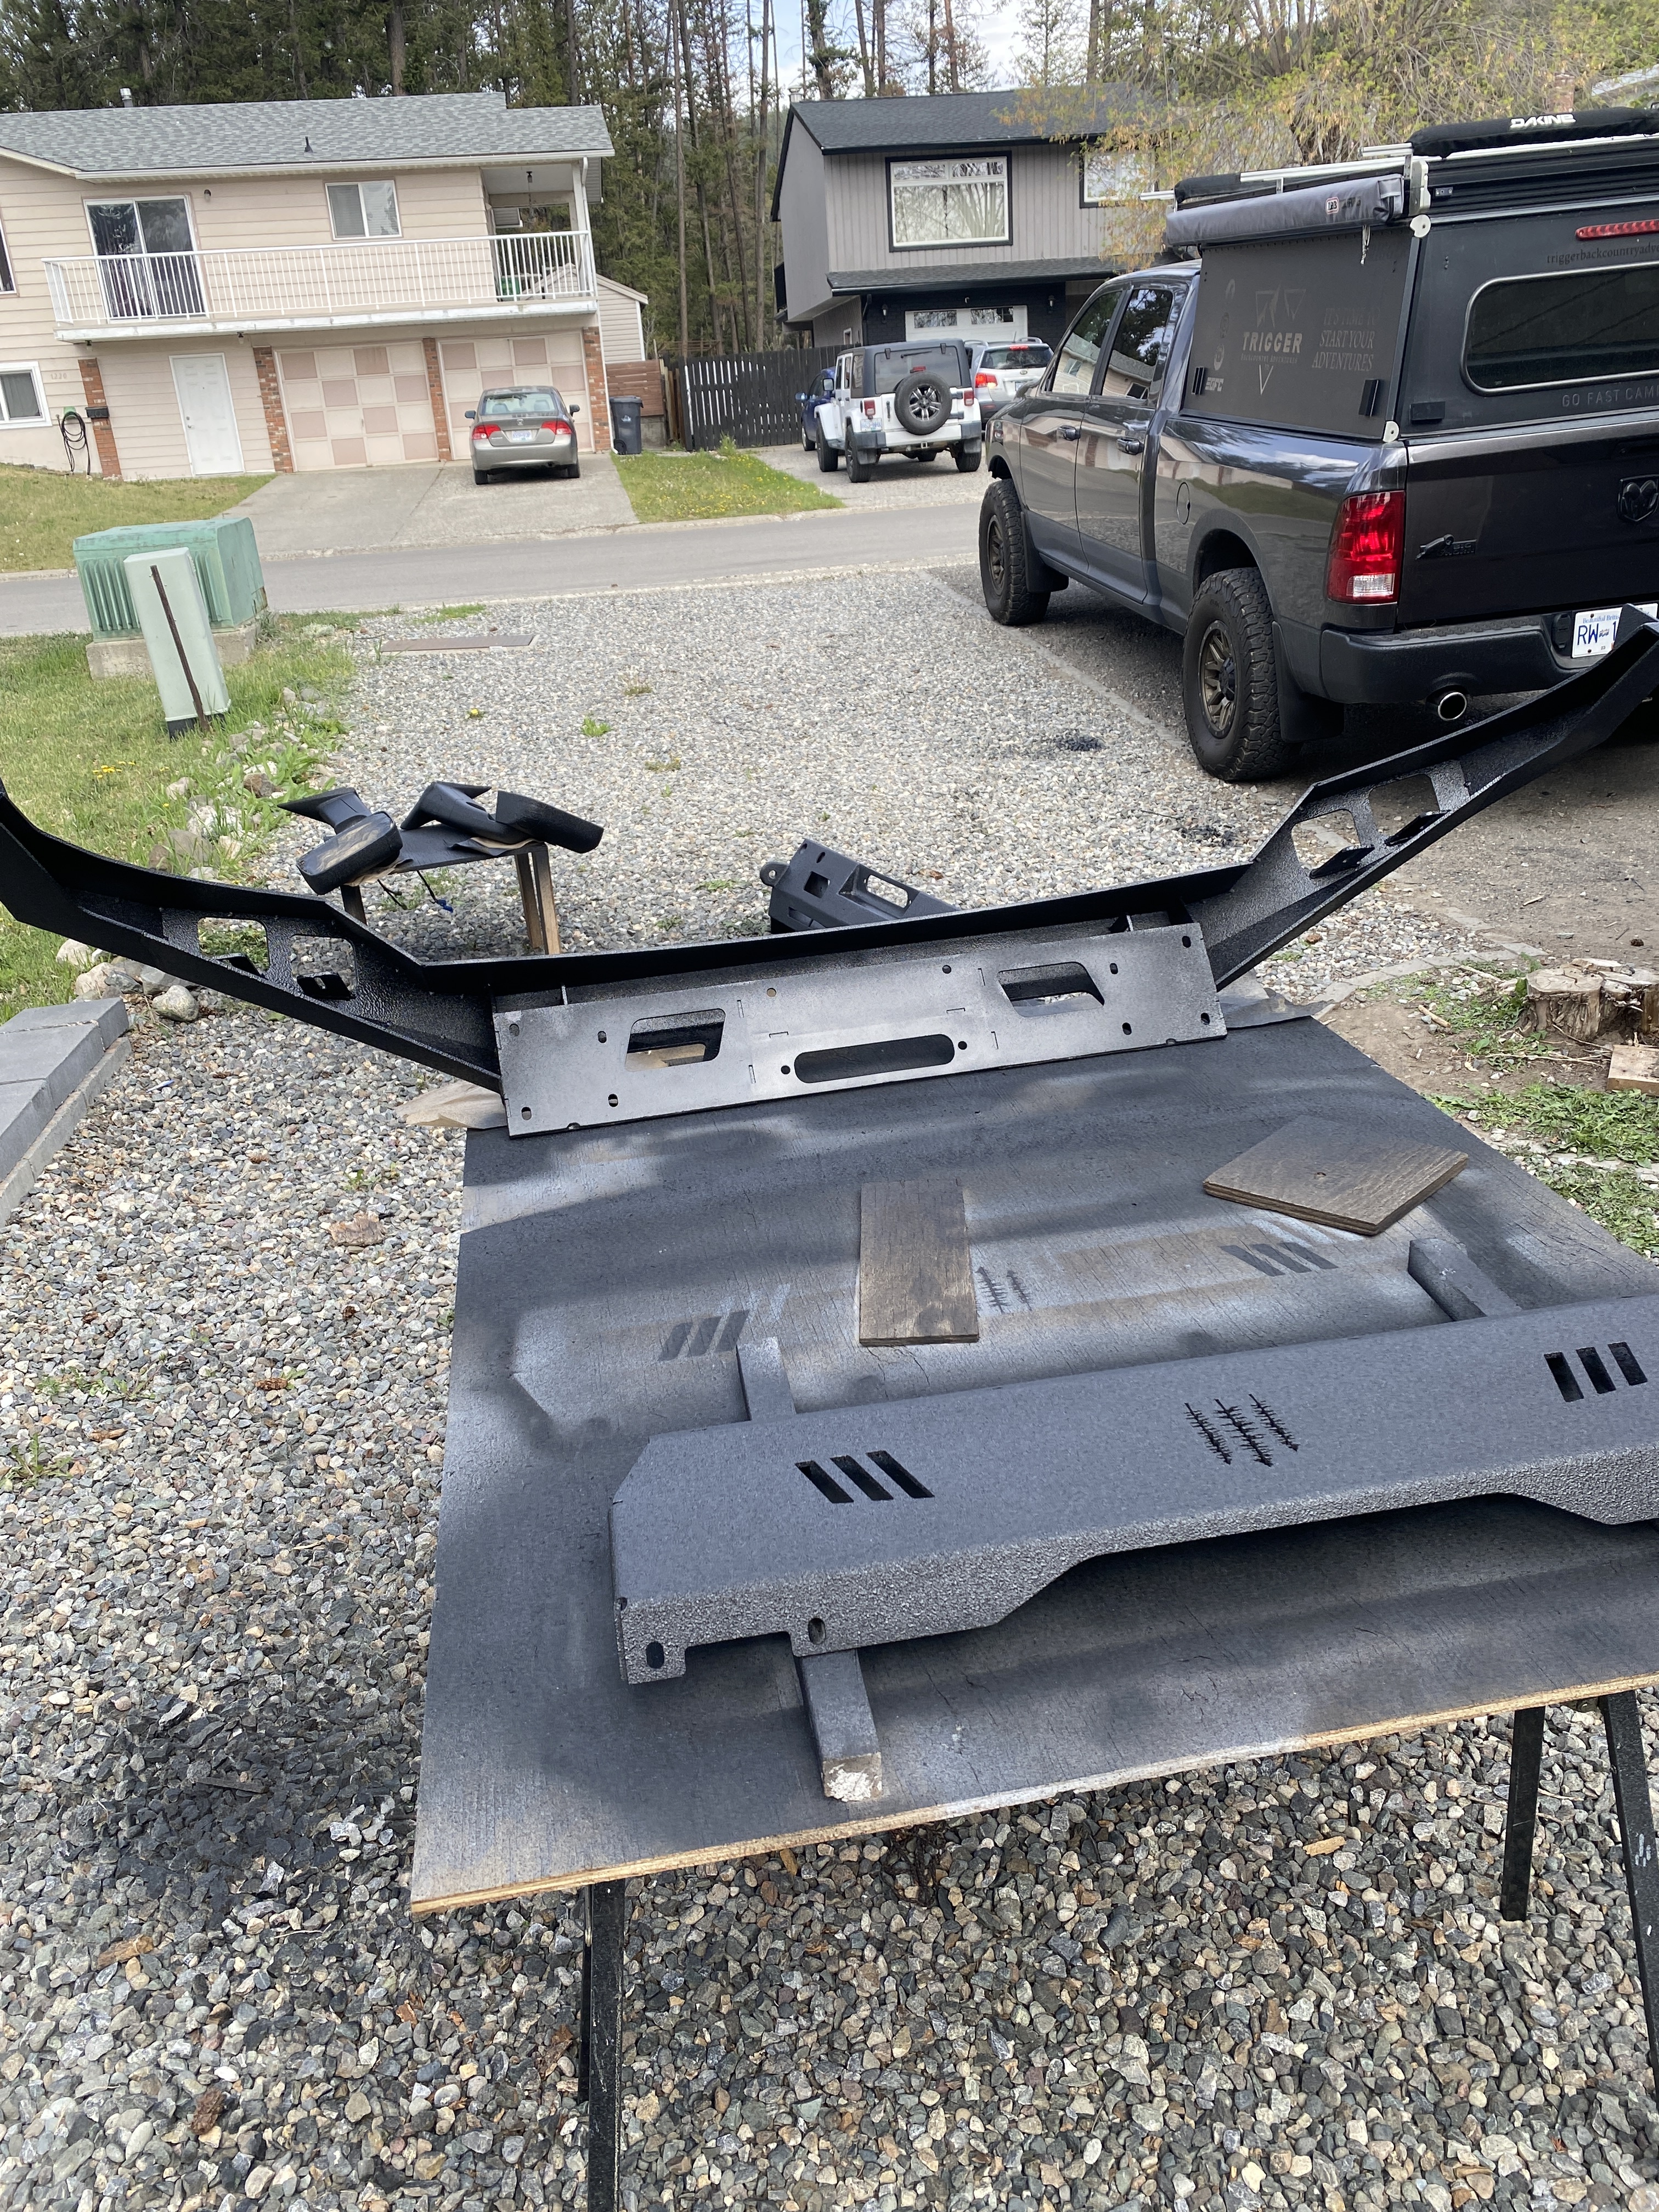
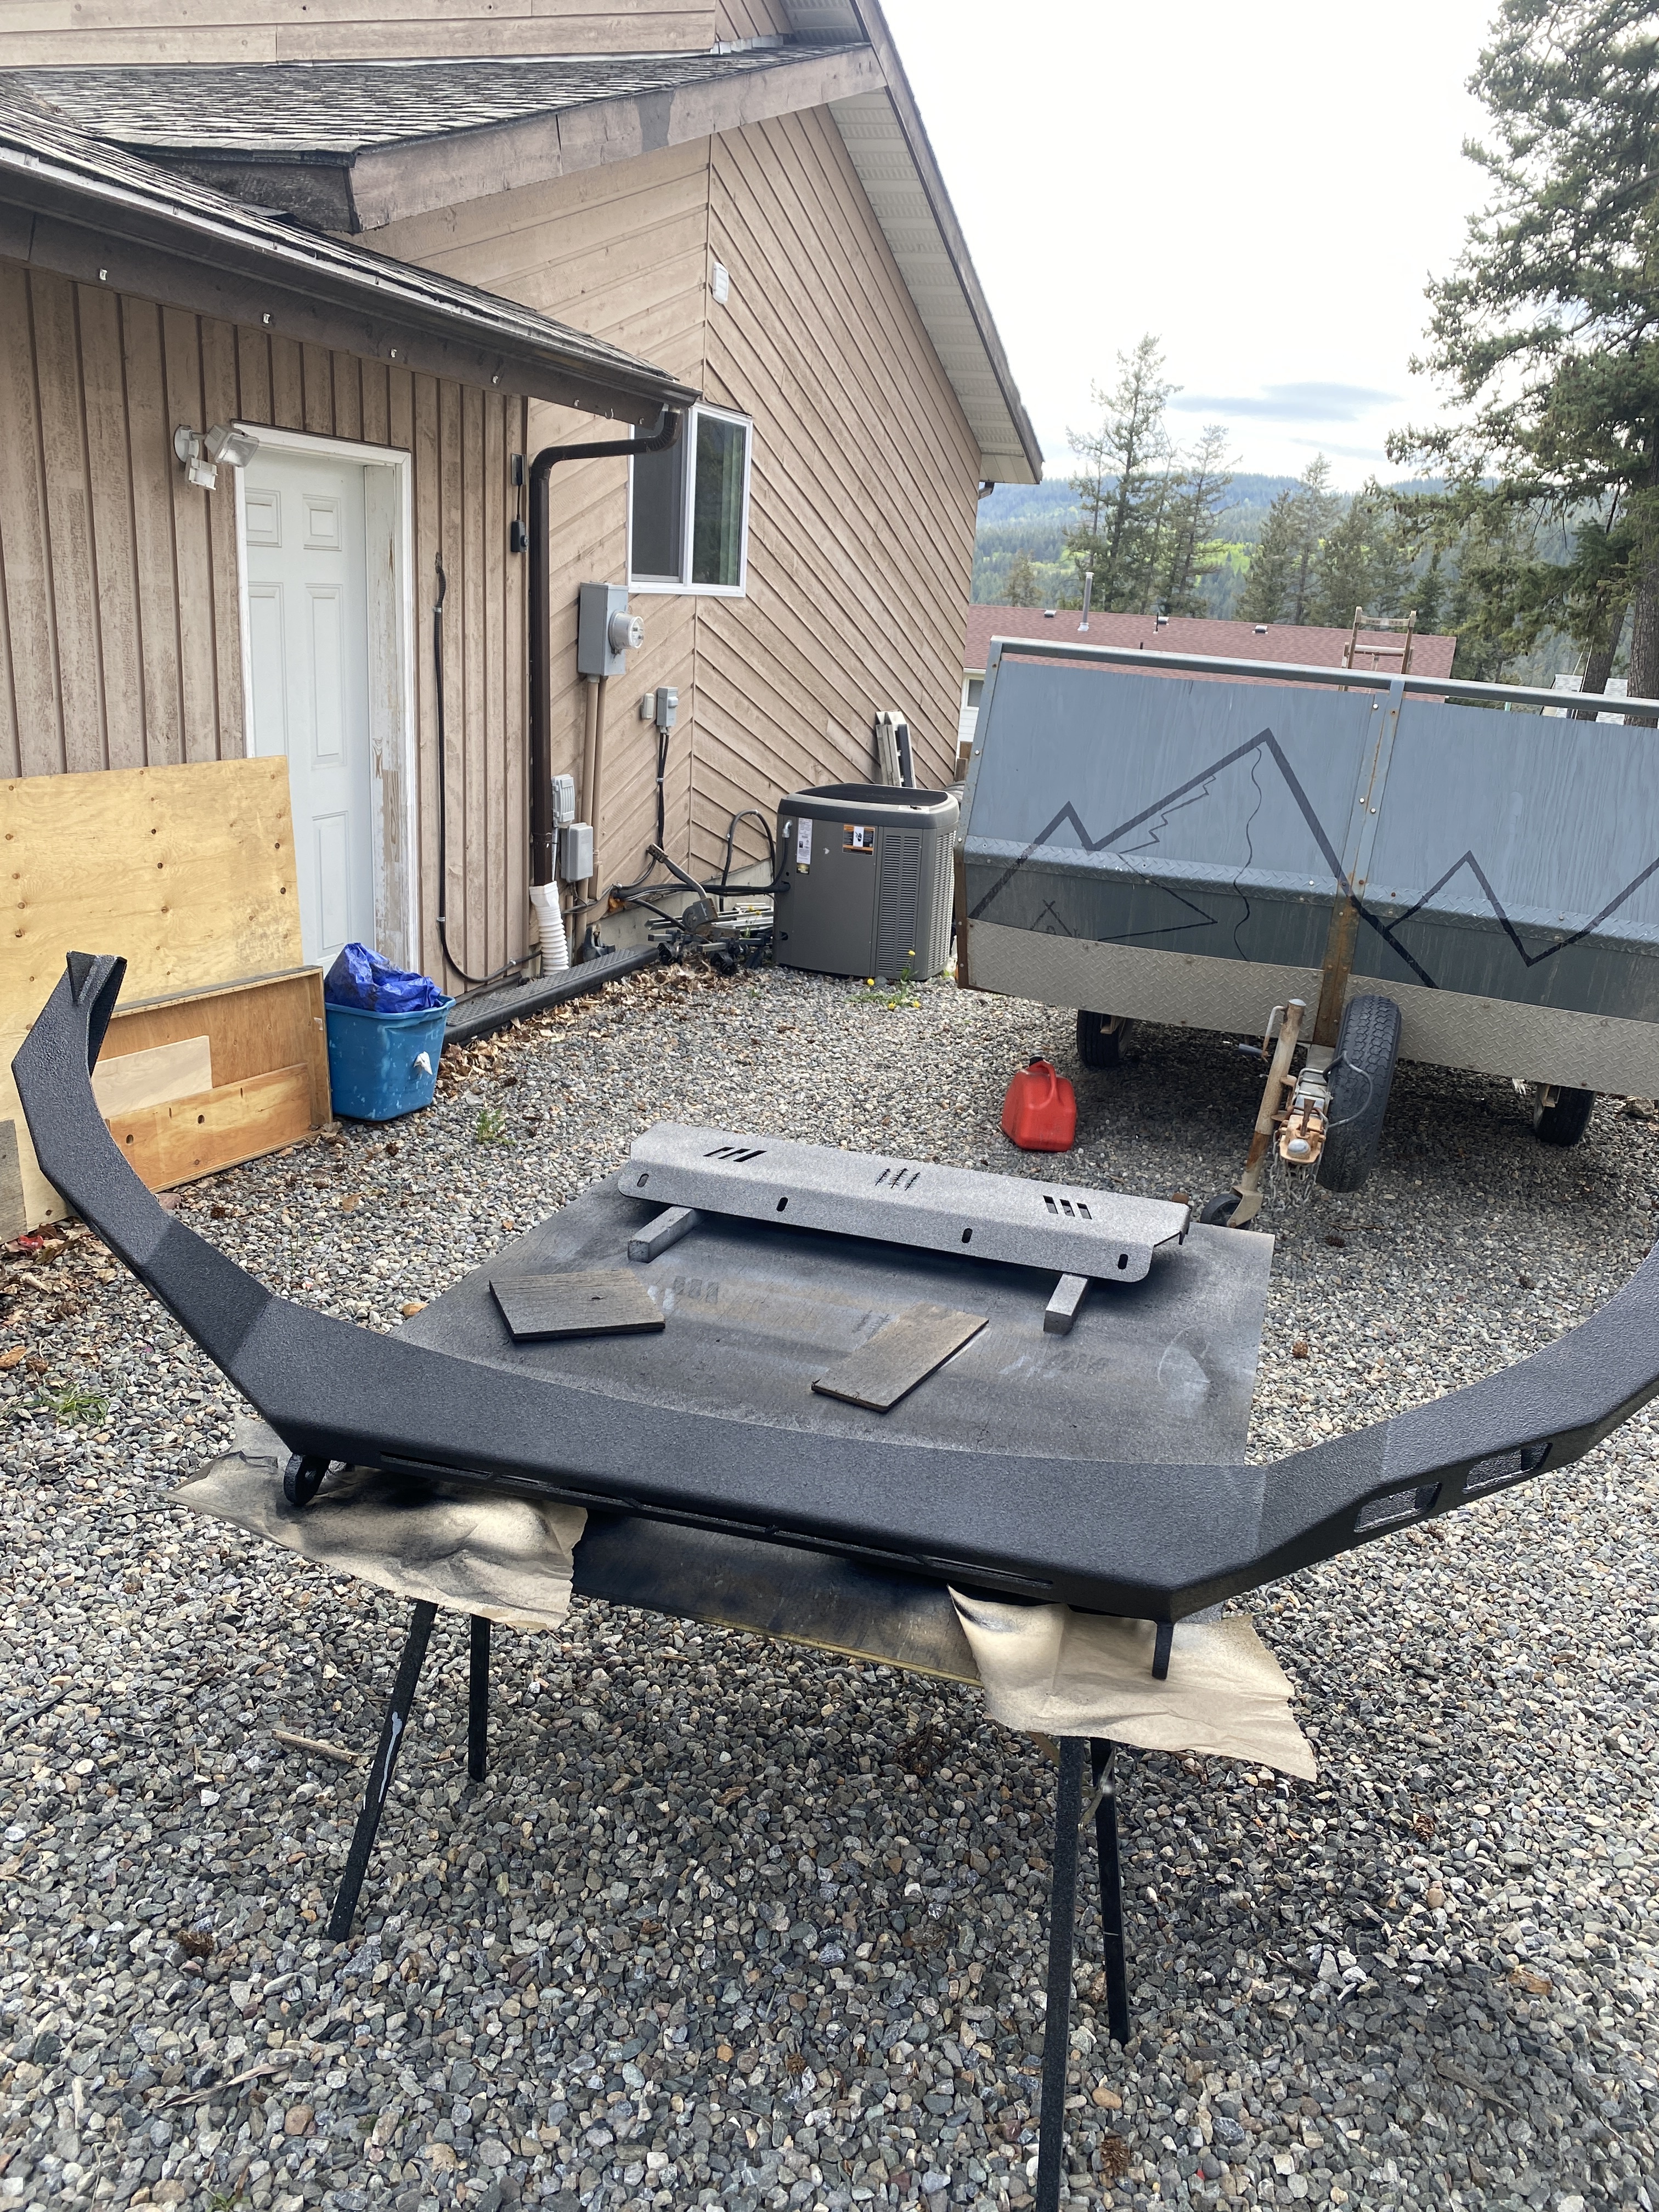
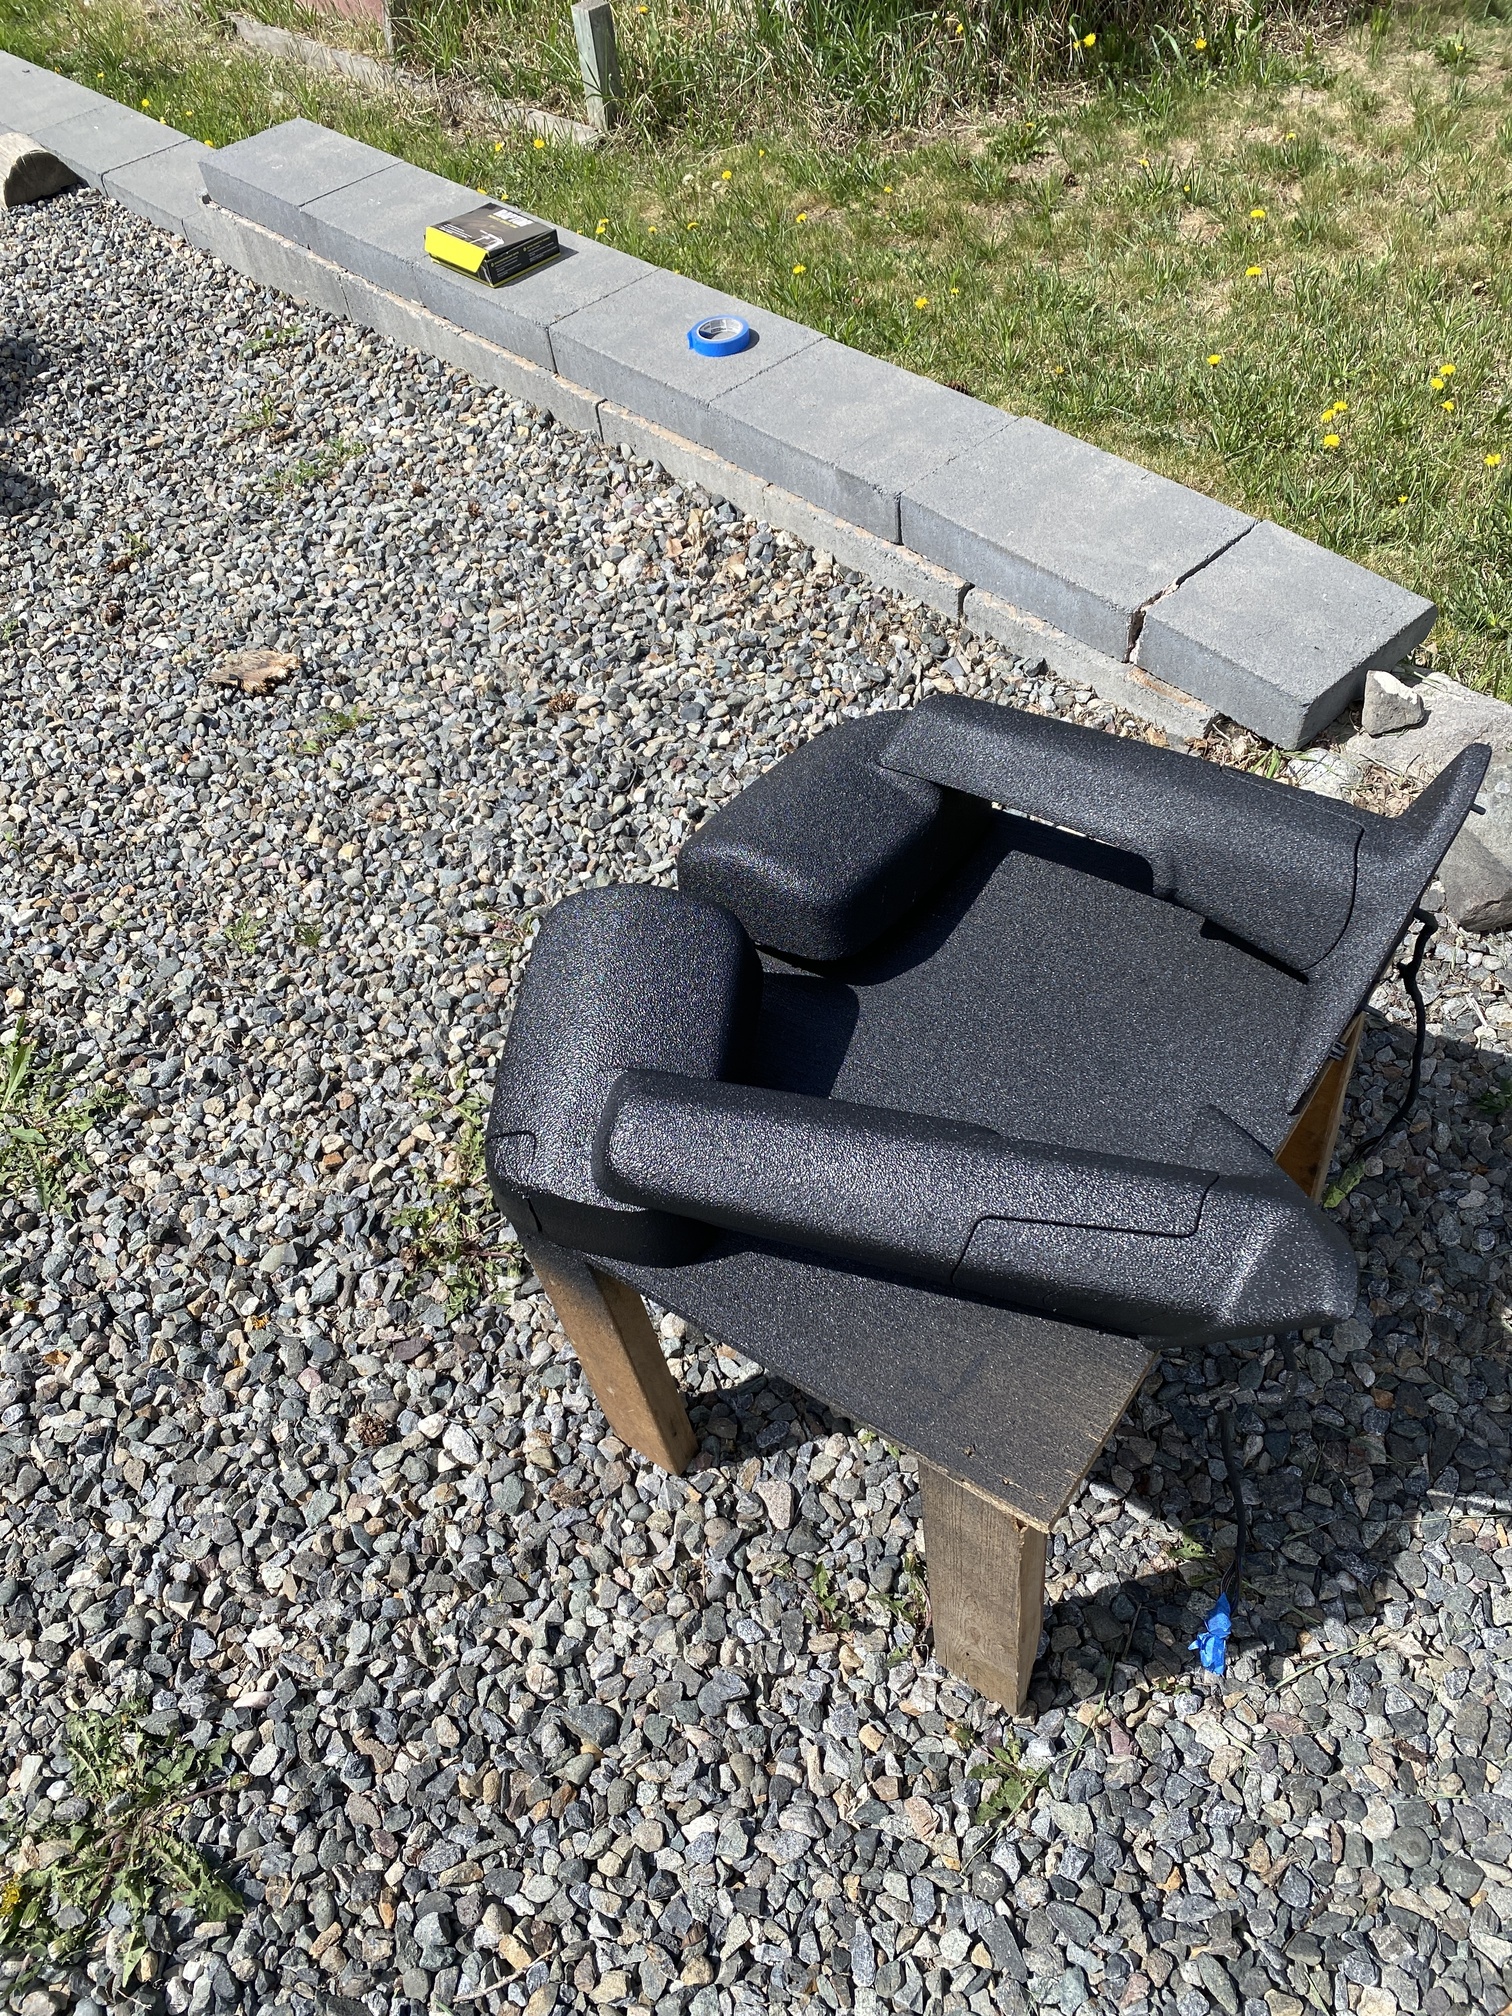
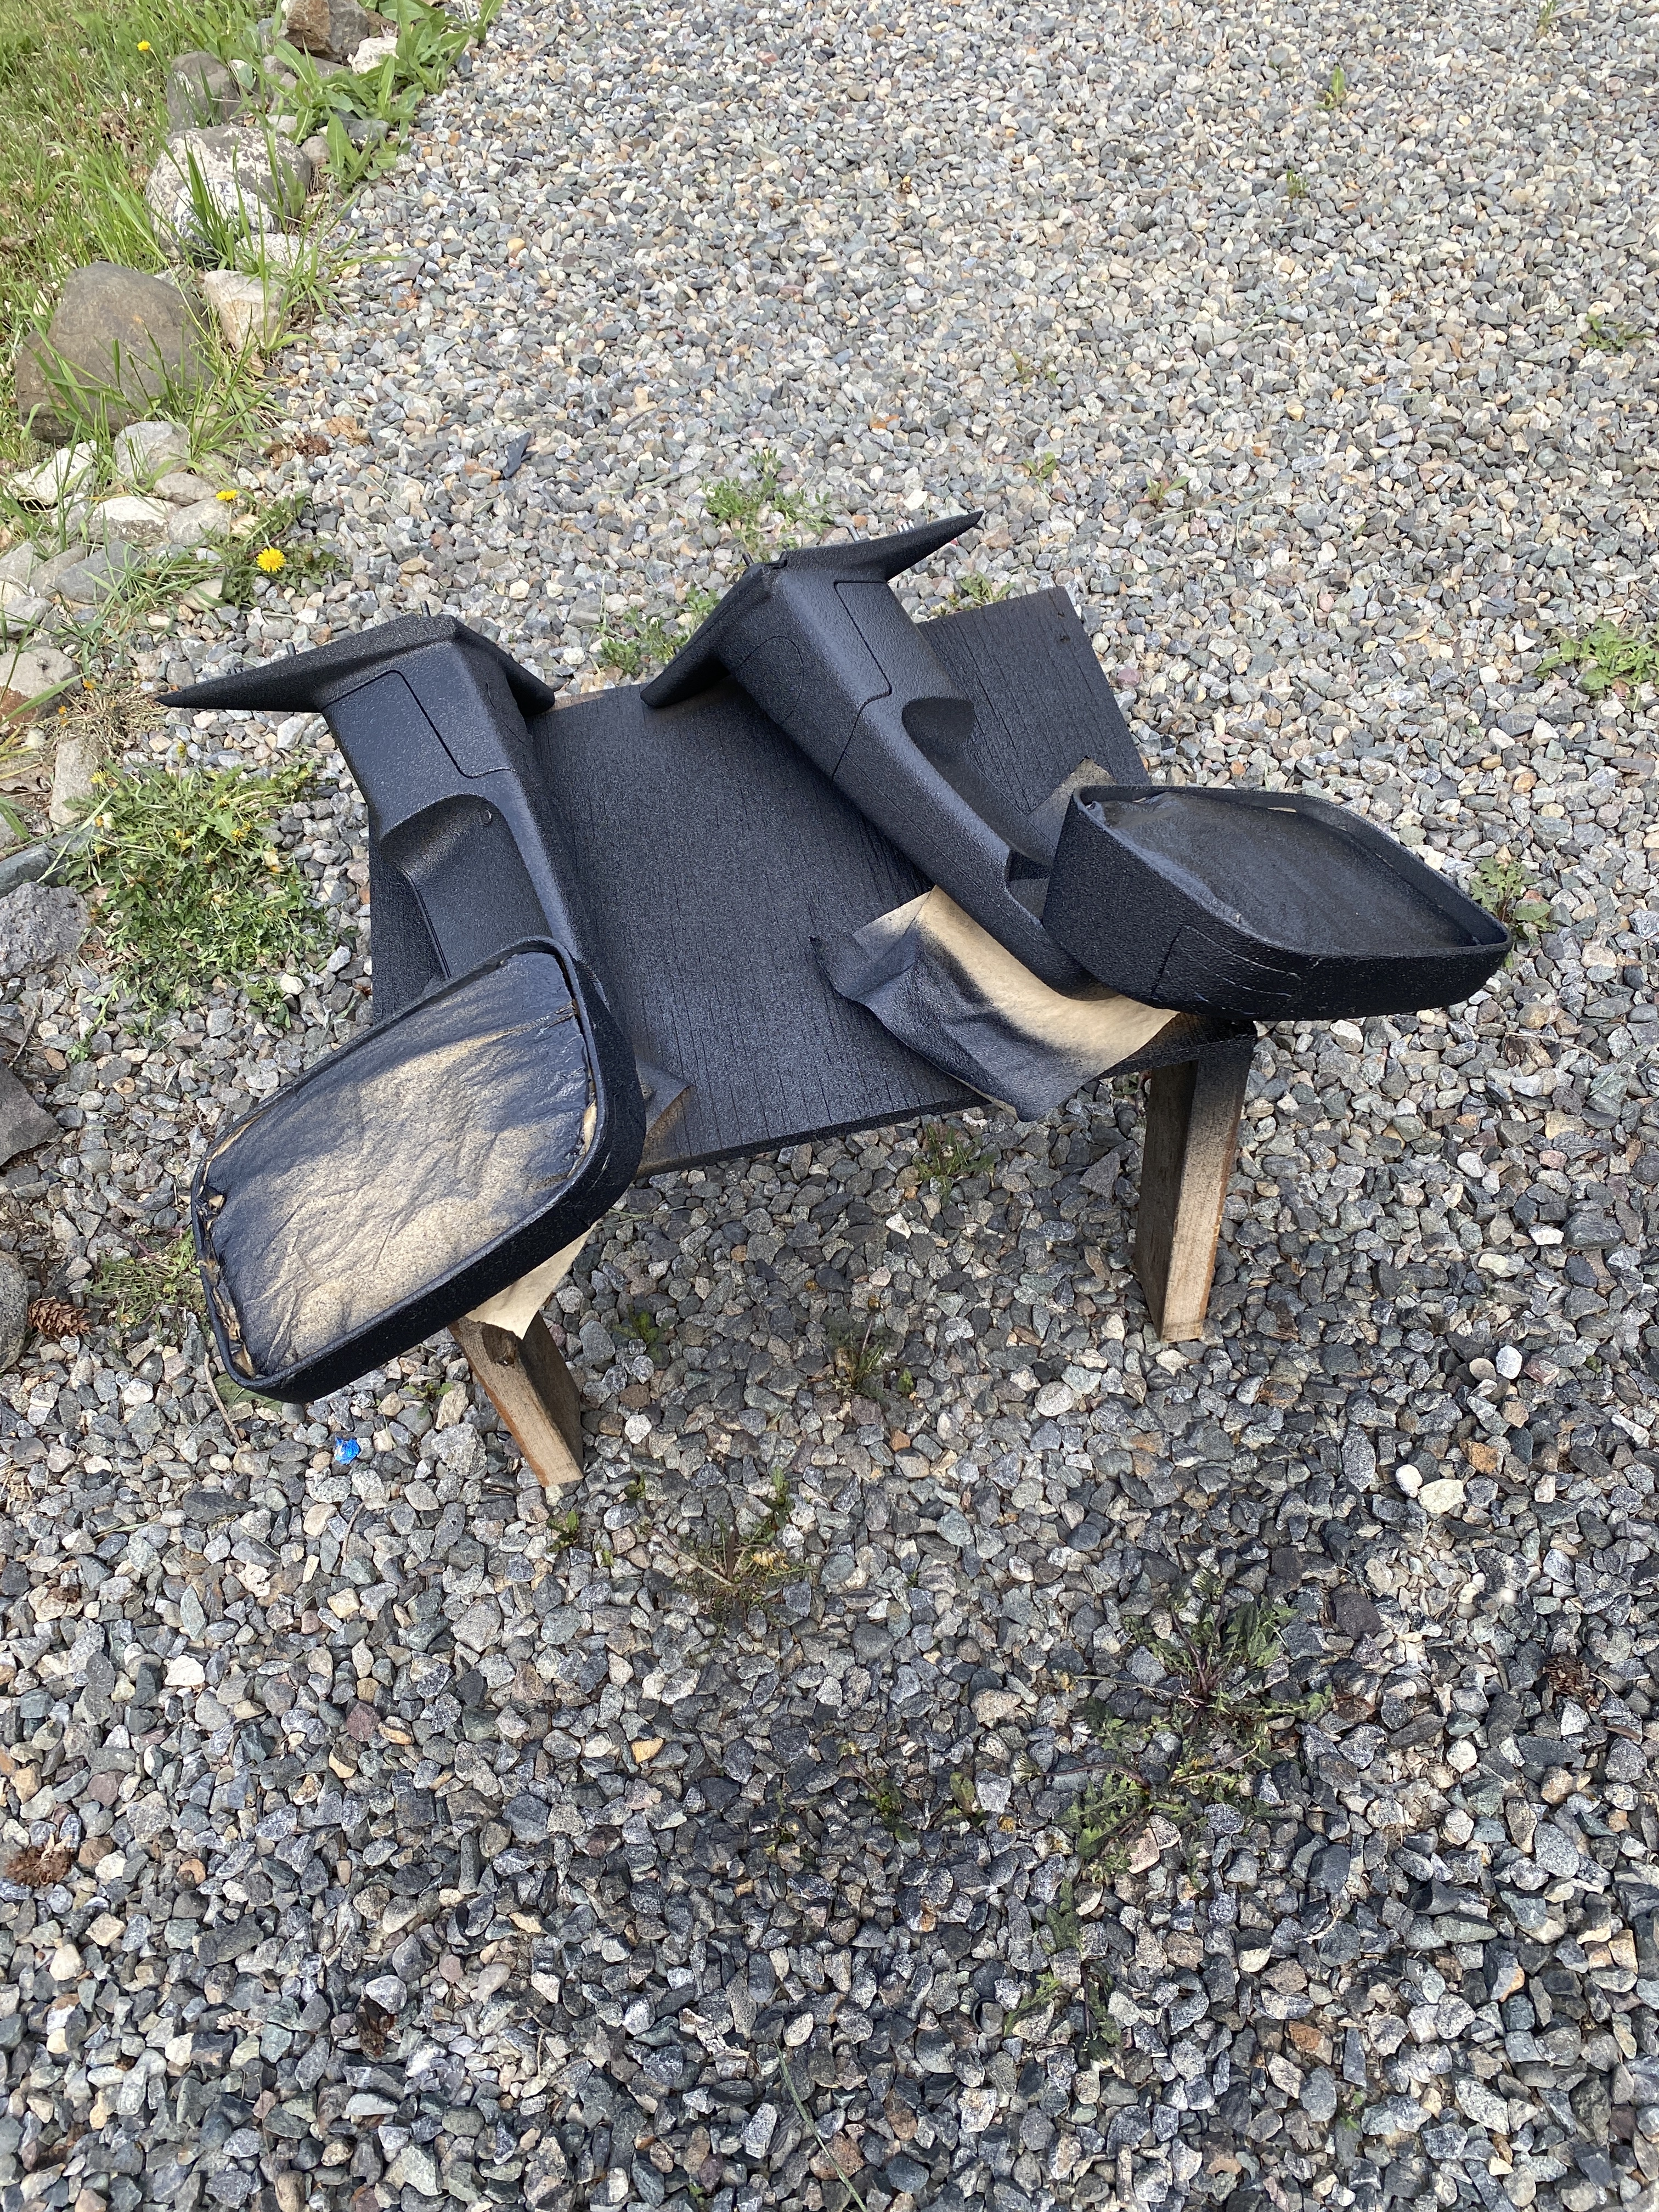
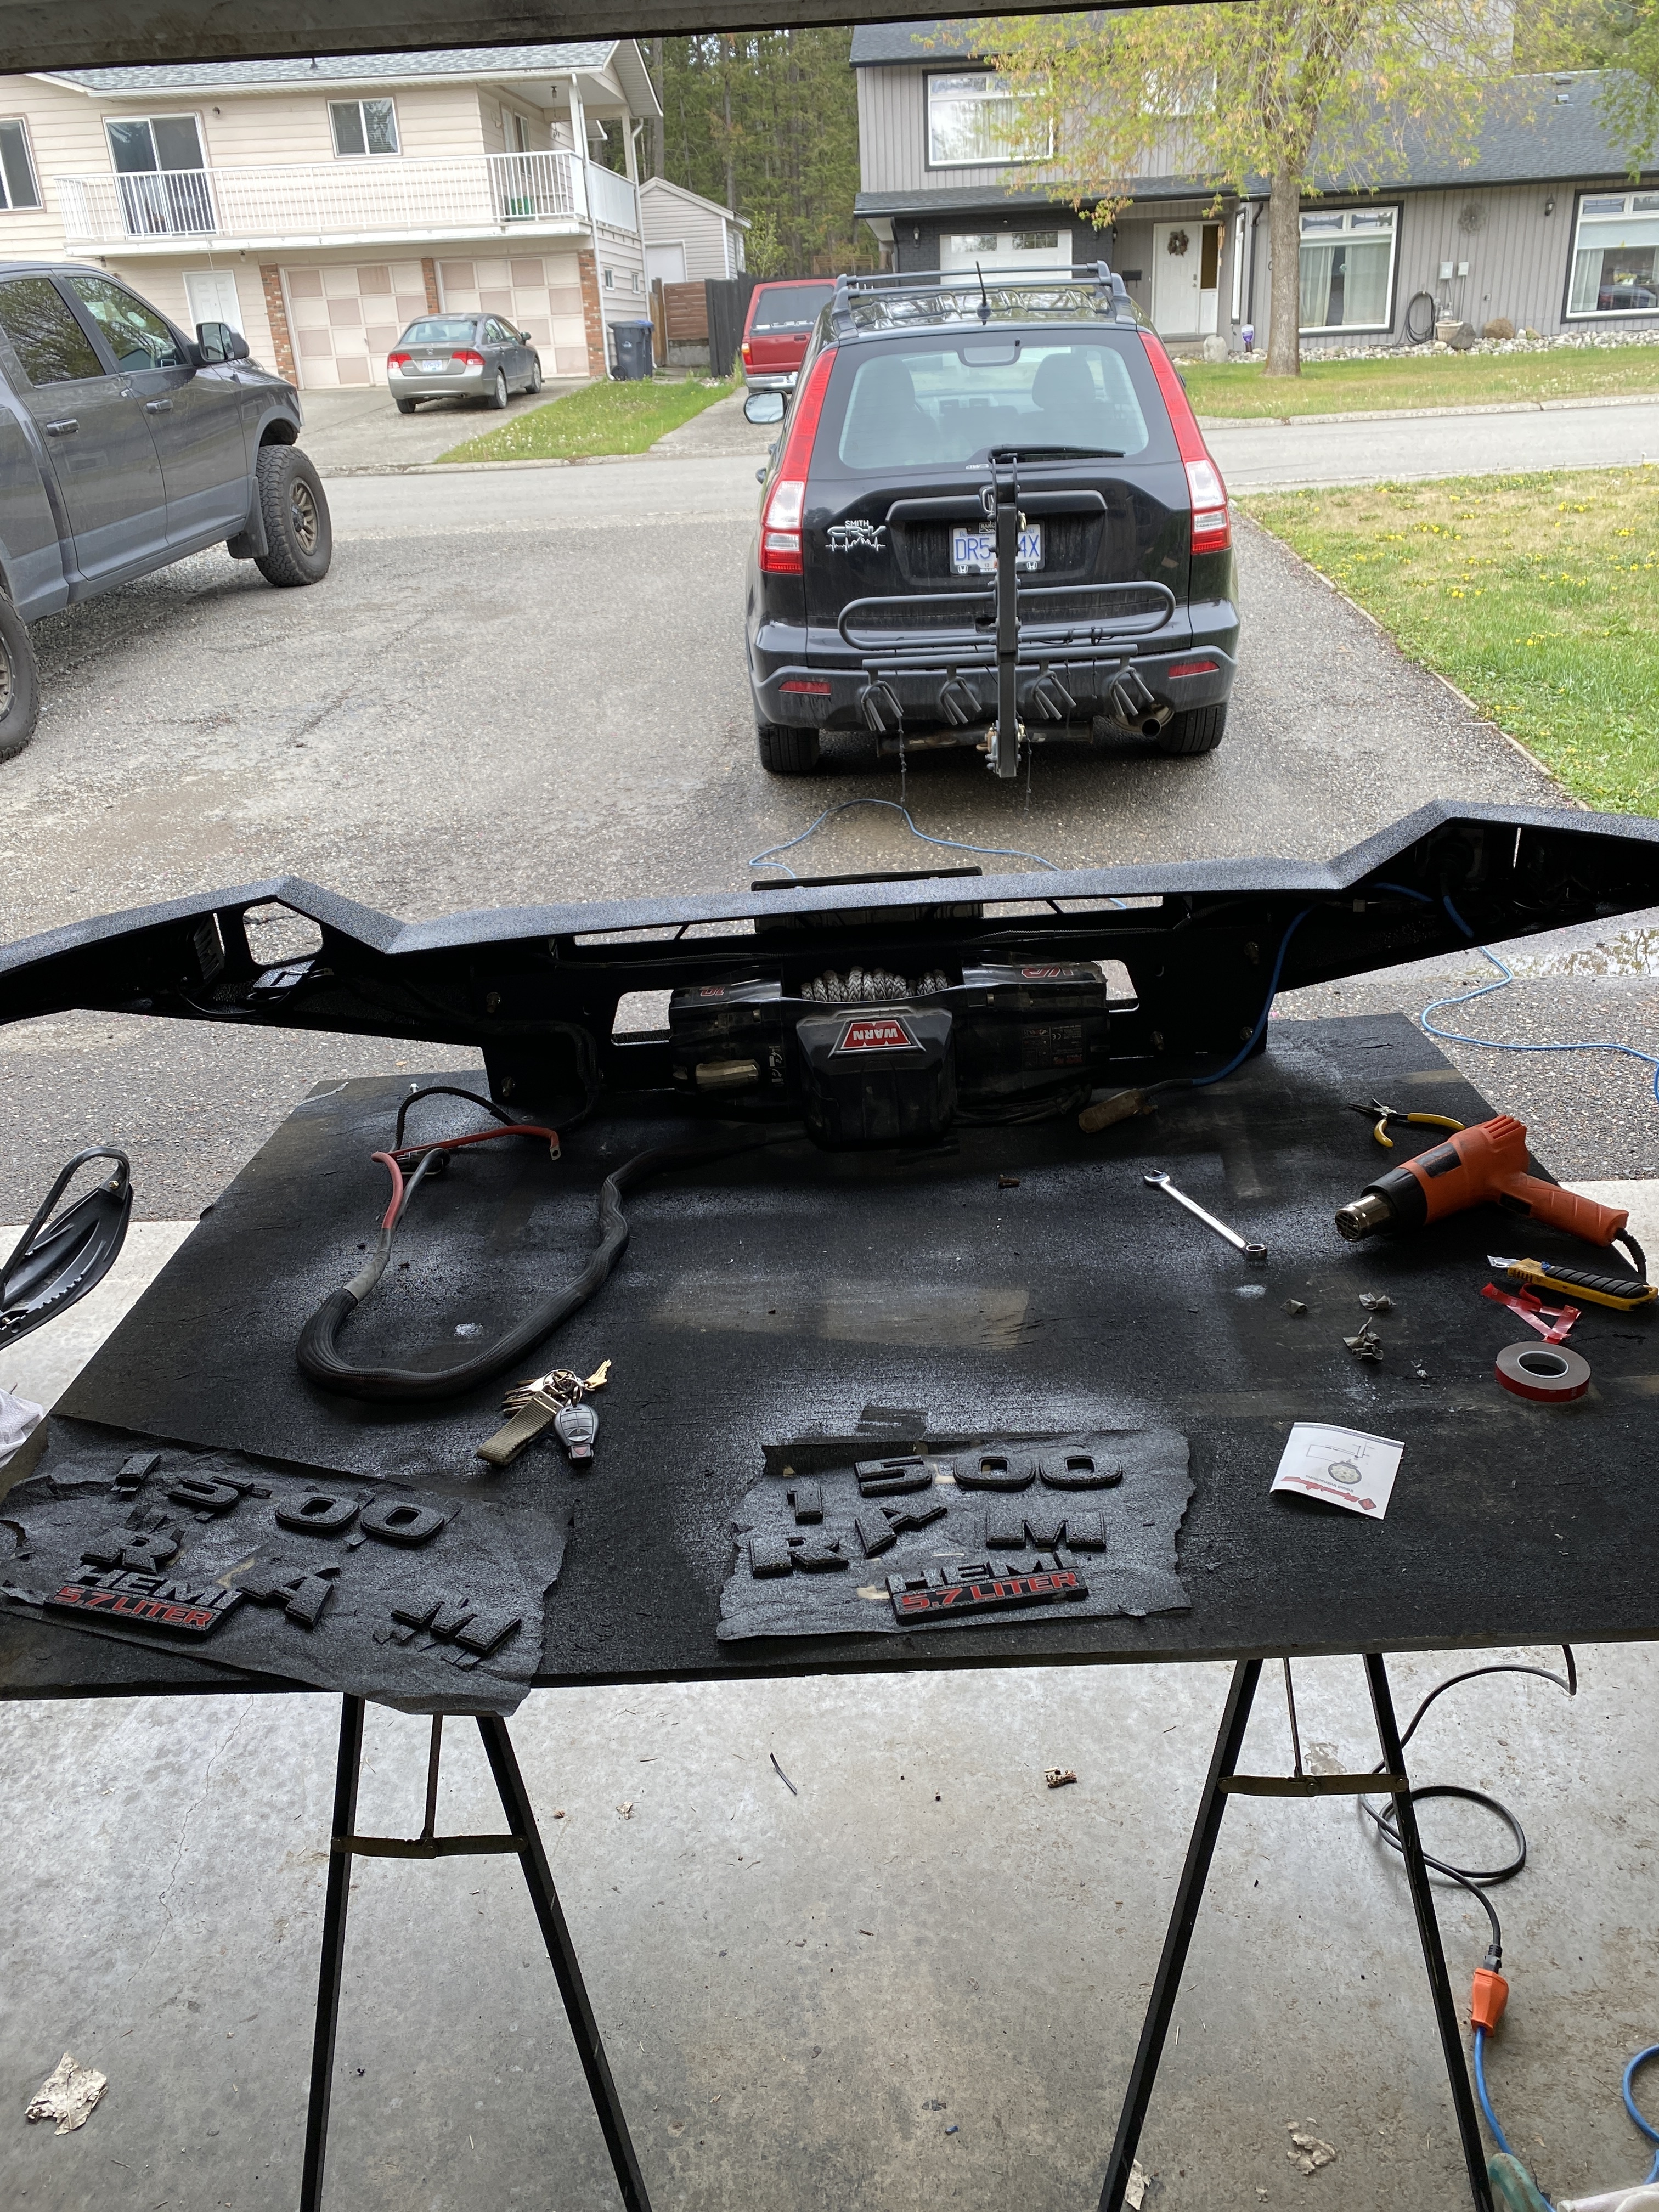
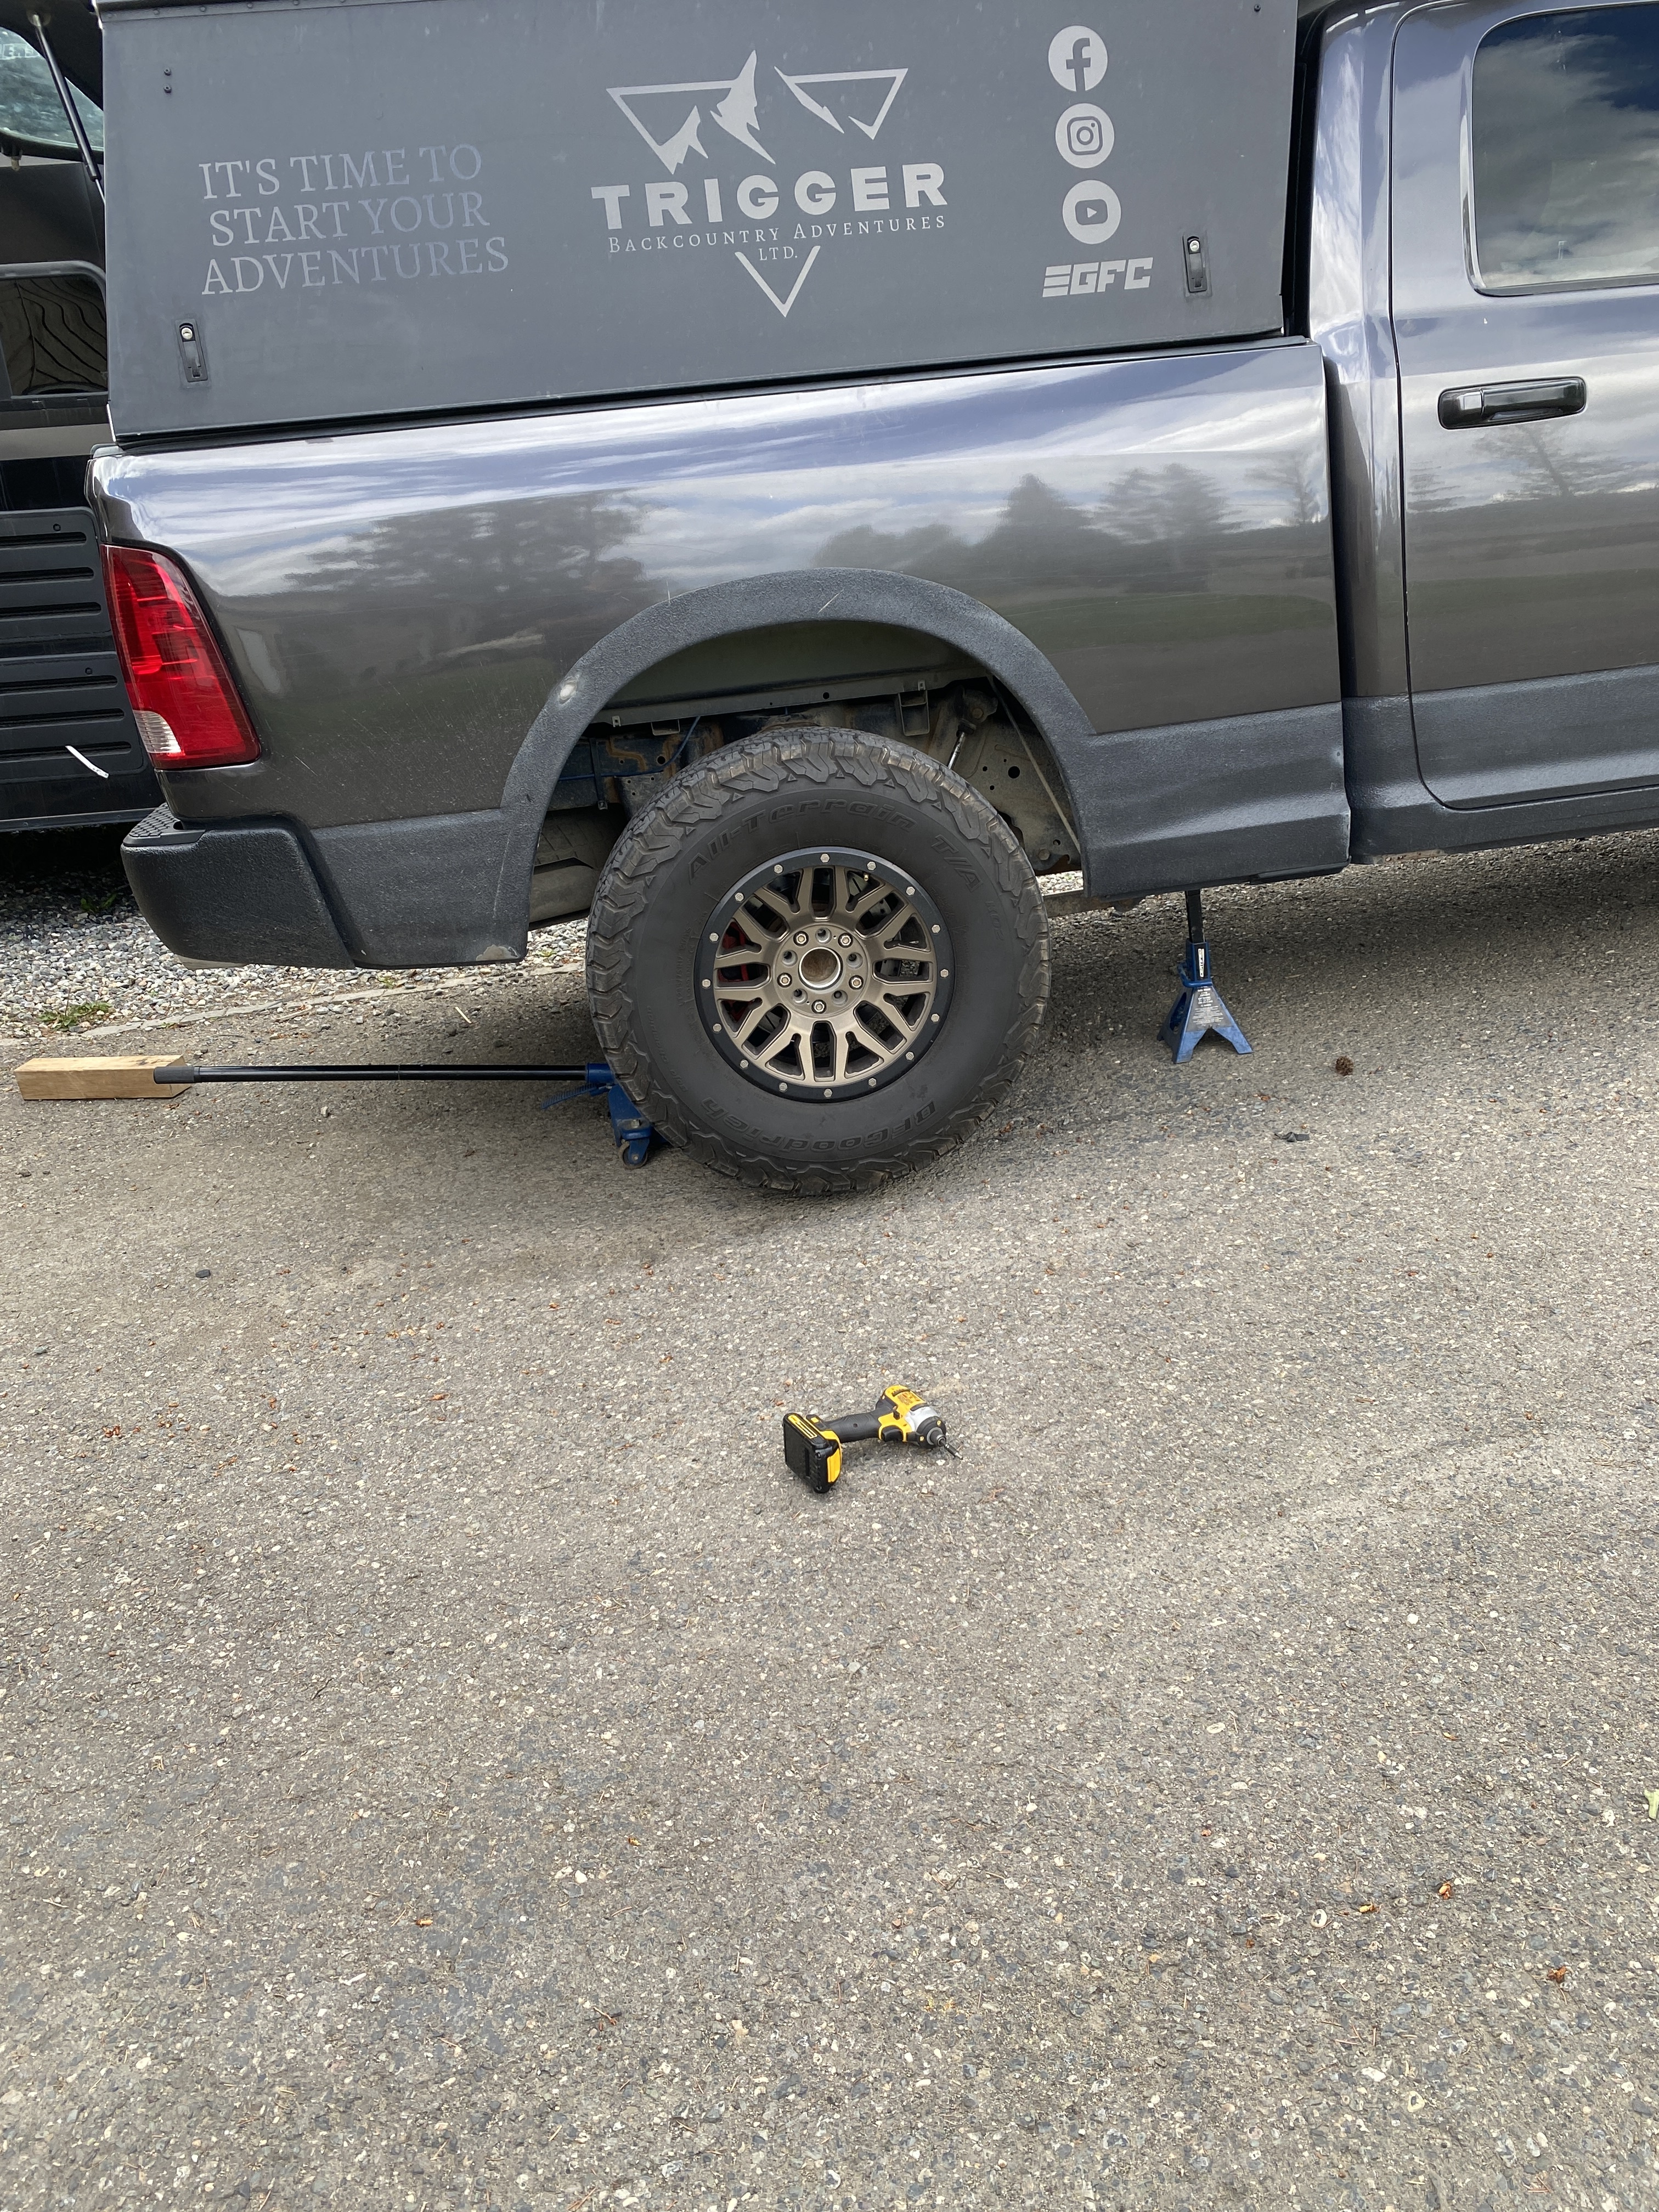
Alright, dug into it on Father’s Day as my gift from the boys was I could do whatever I want. Plan was to slap this together by lunch and go for a bike ride. Well…things didn’t quite go that way.

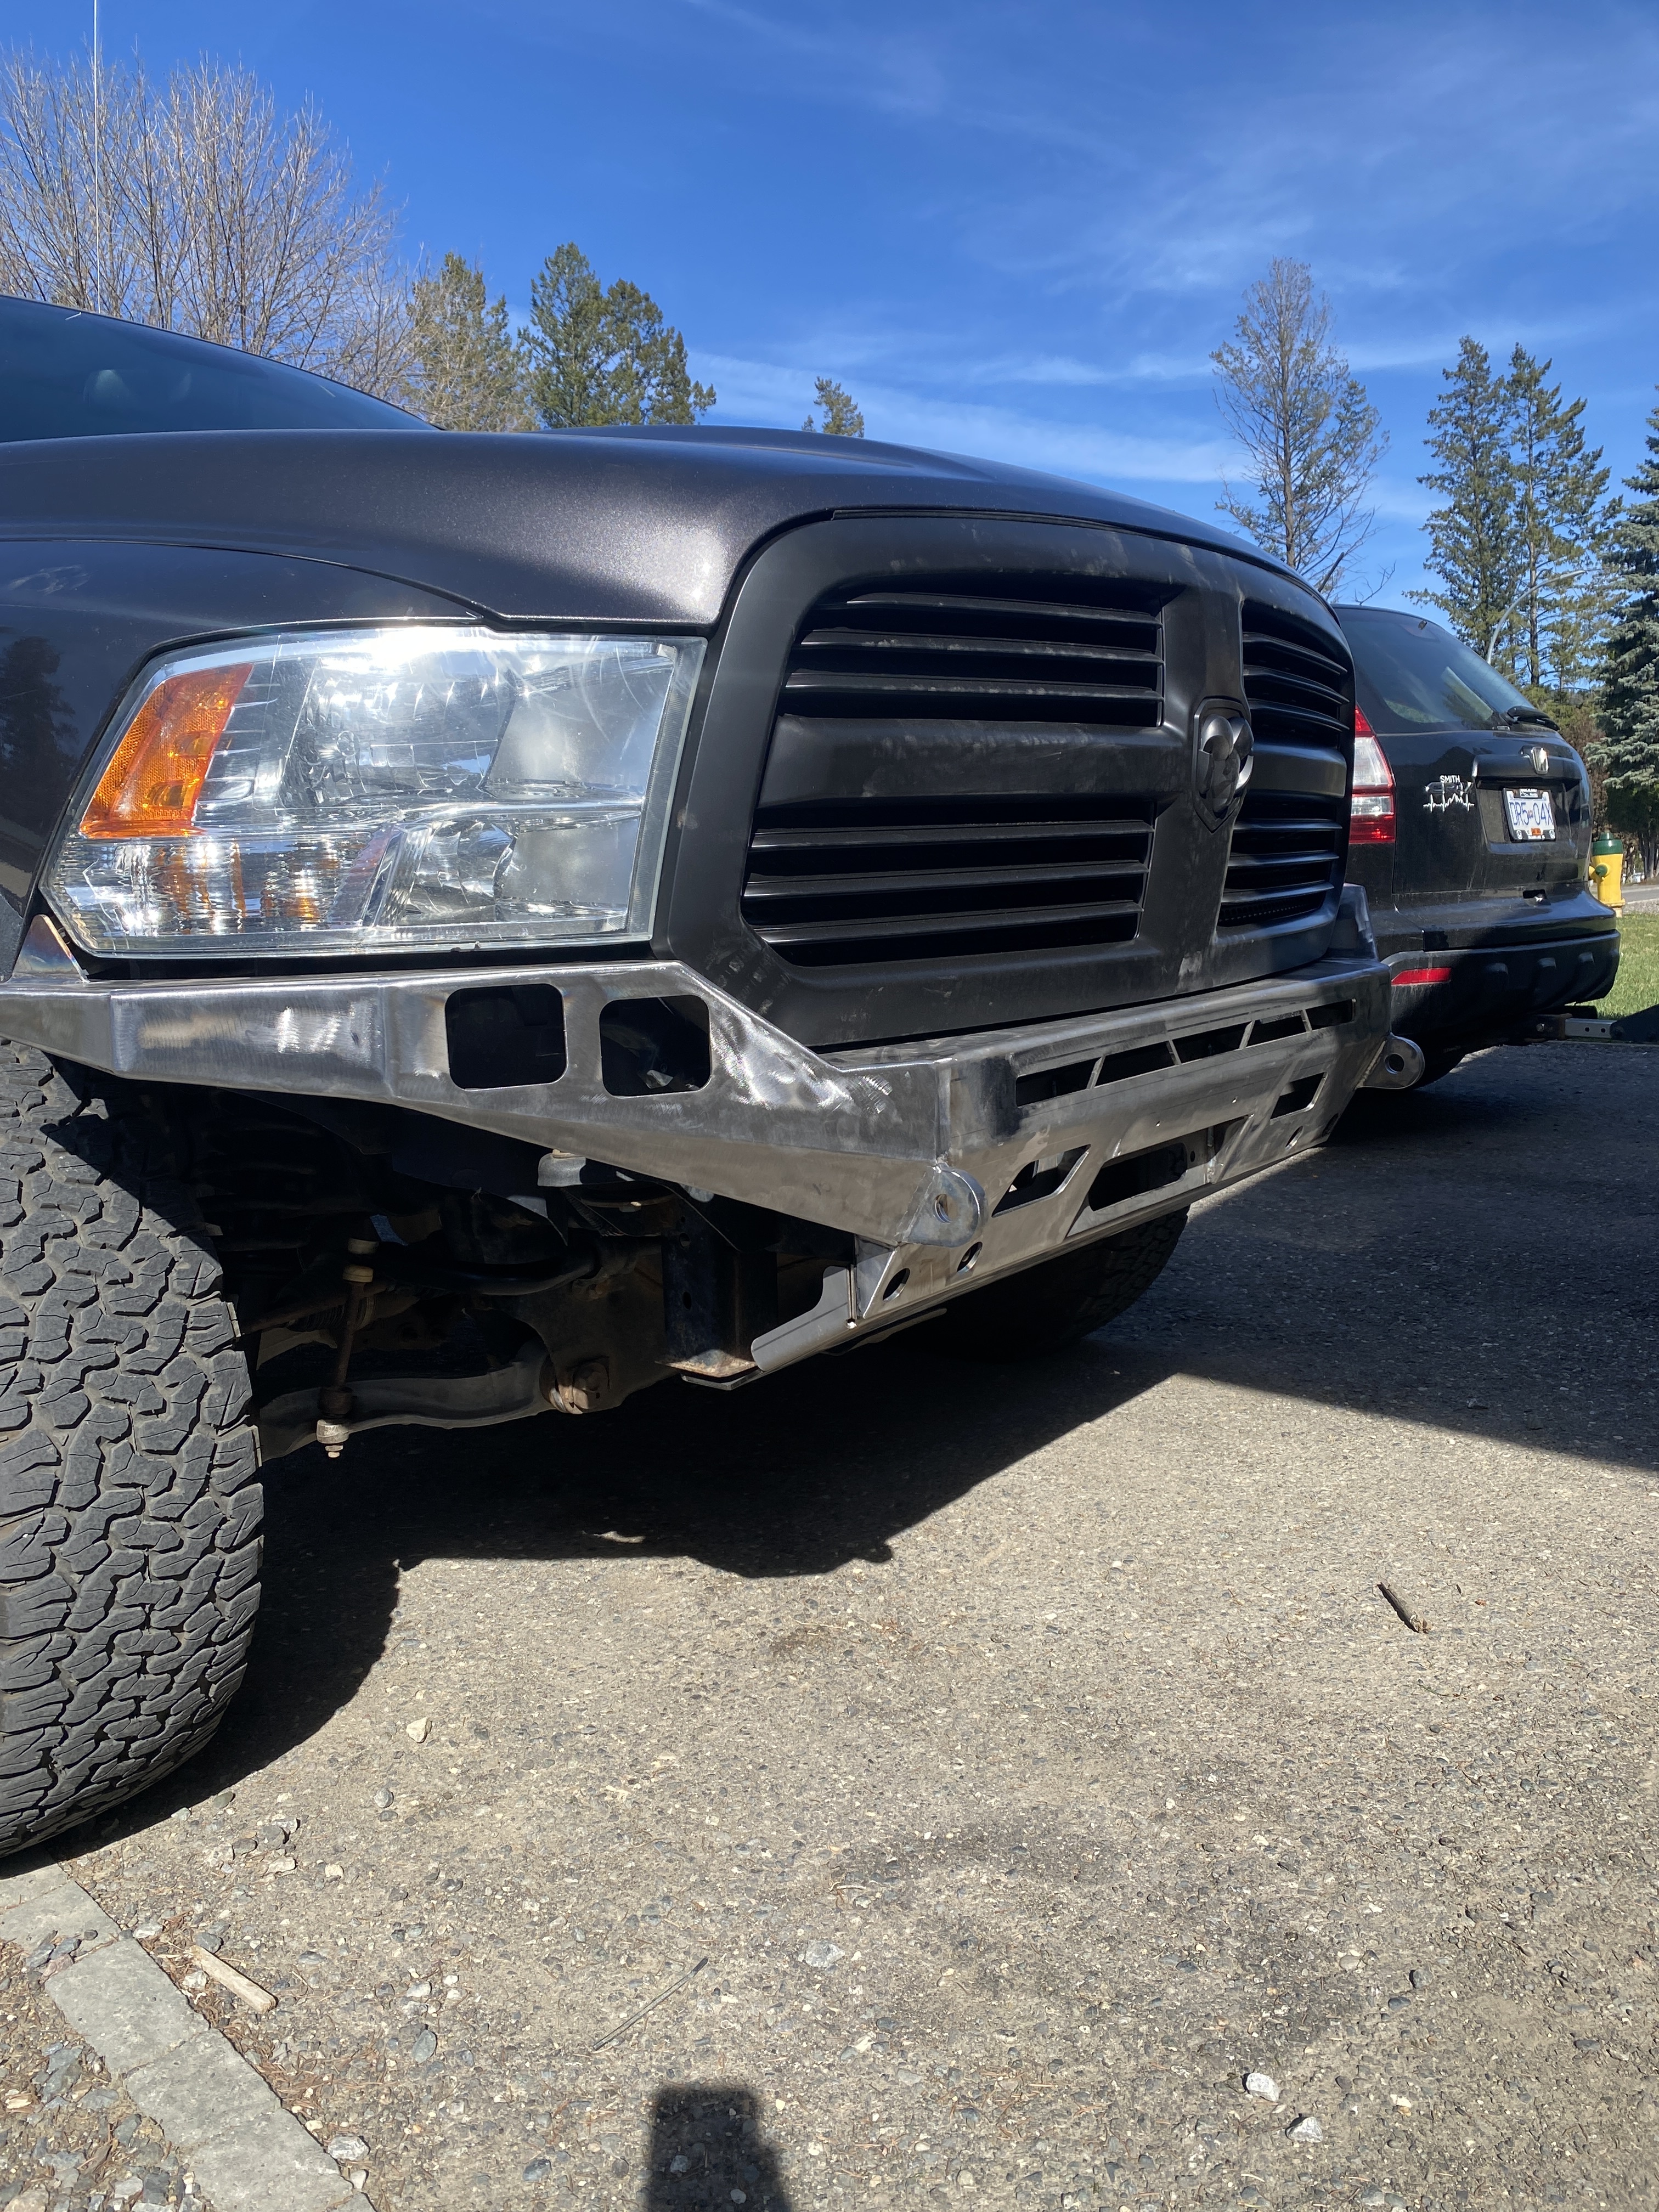
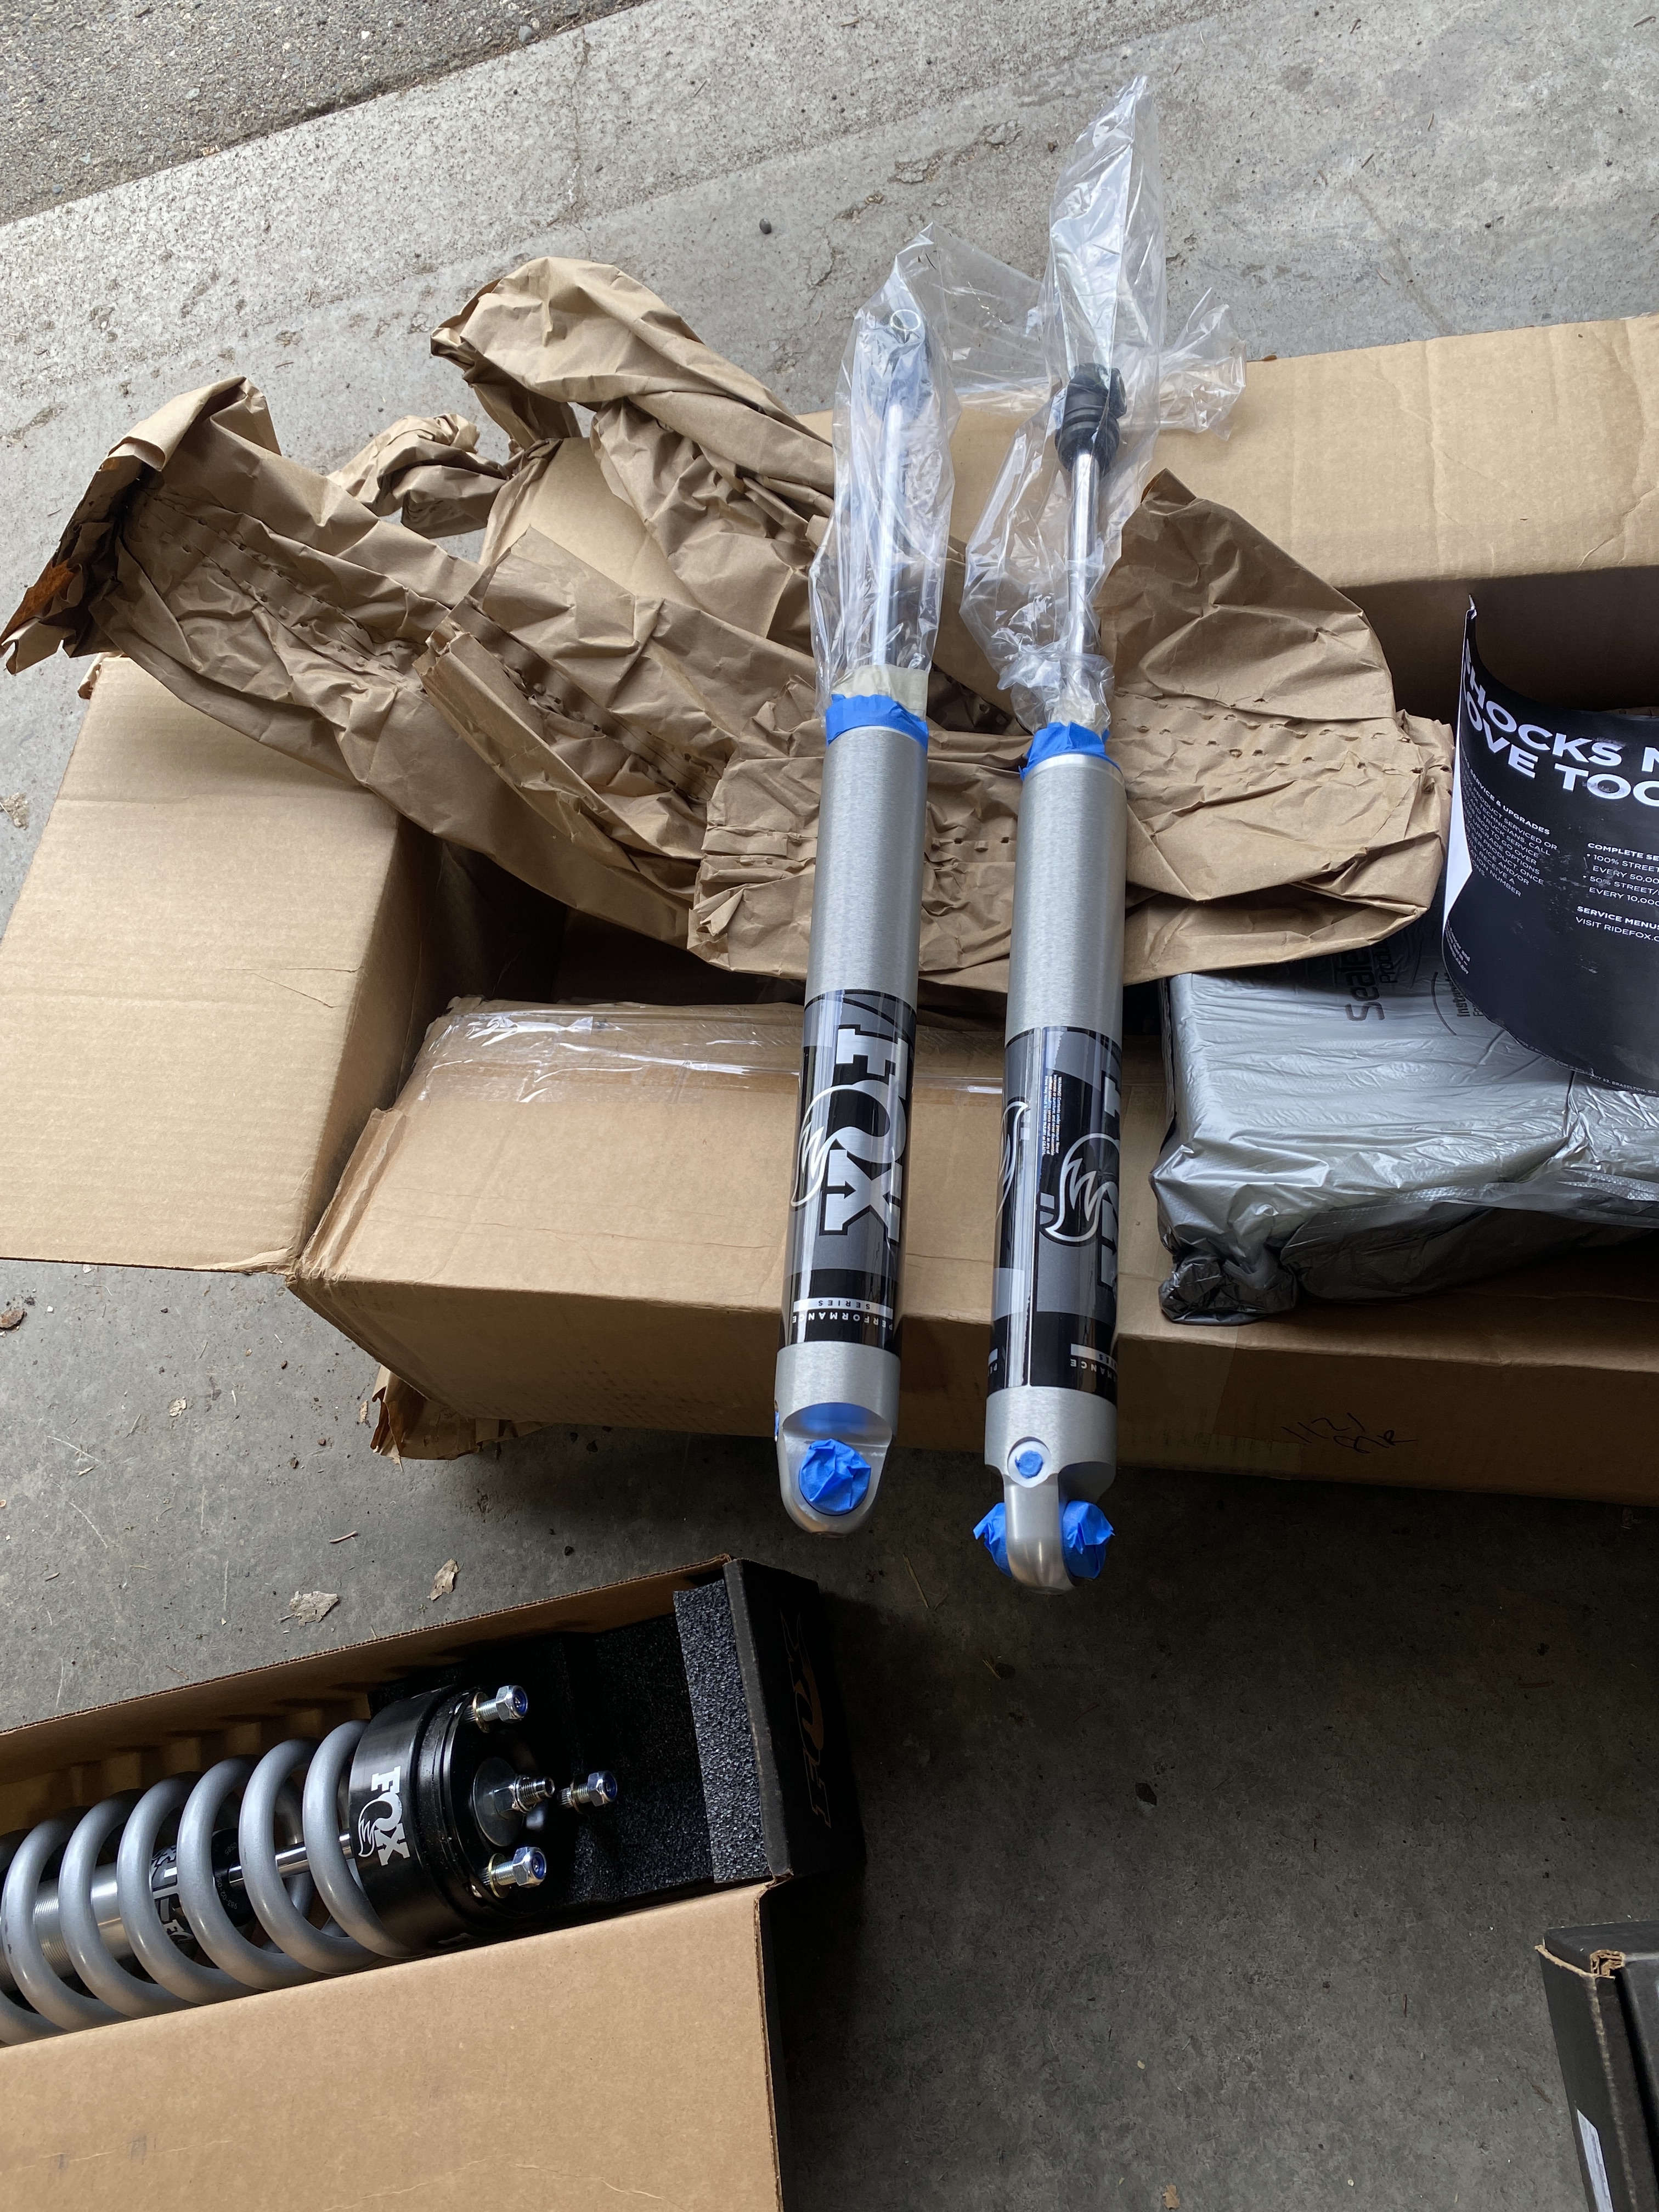
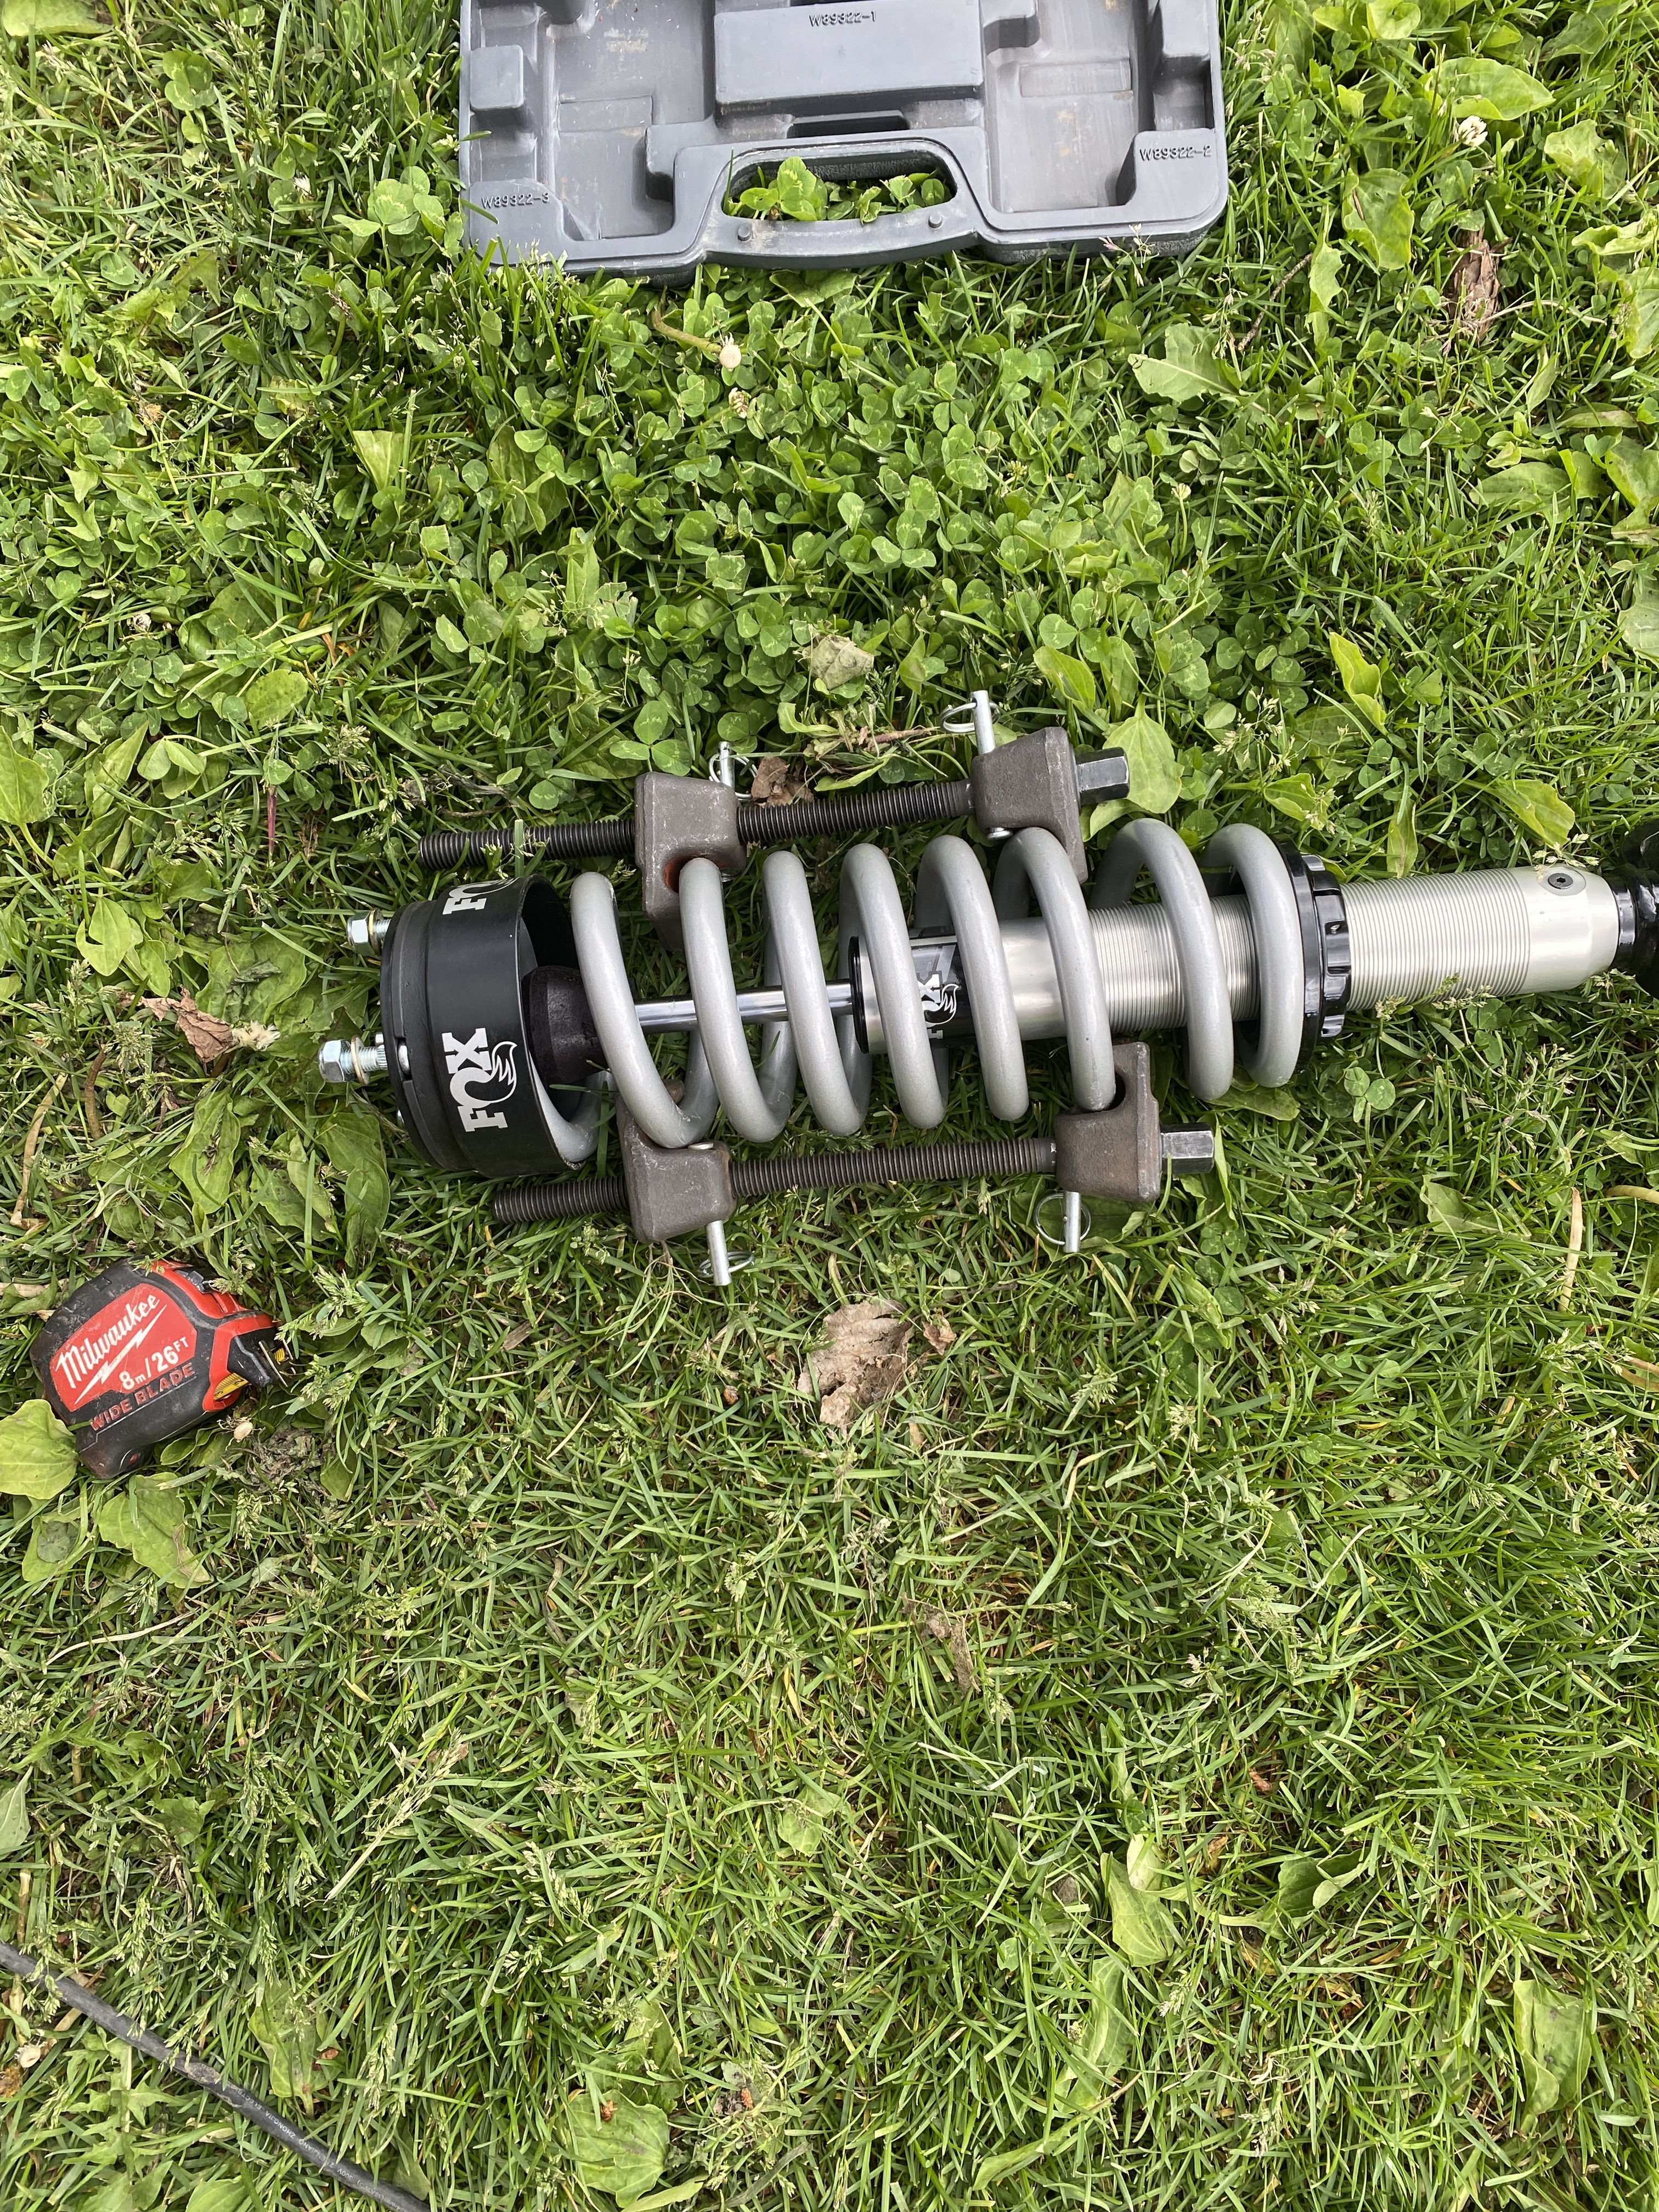
Let’s back up here; I’ve done a lot of research and had settled on the Carli Suspension Commuter kit sans rear springs. I was going to get their UCA, but West Coast off road suggested I go for the JBA UCA. So that’s what I did. Well, Carli is a year behind on getting these kits together for my year. So the shop suggested I go for the Fox performance 2.0’s. I had told them that I would like them turned up to compensate for my bumper. It seemed like that message was being ignored. I let it go and thought; I’ll just borrow a spring compressor and zip, zap, zoop.

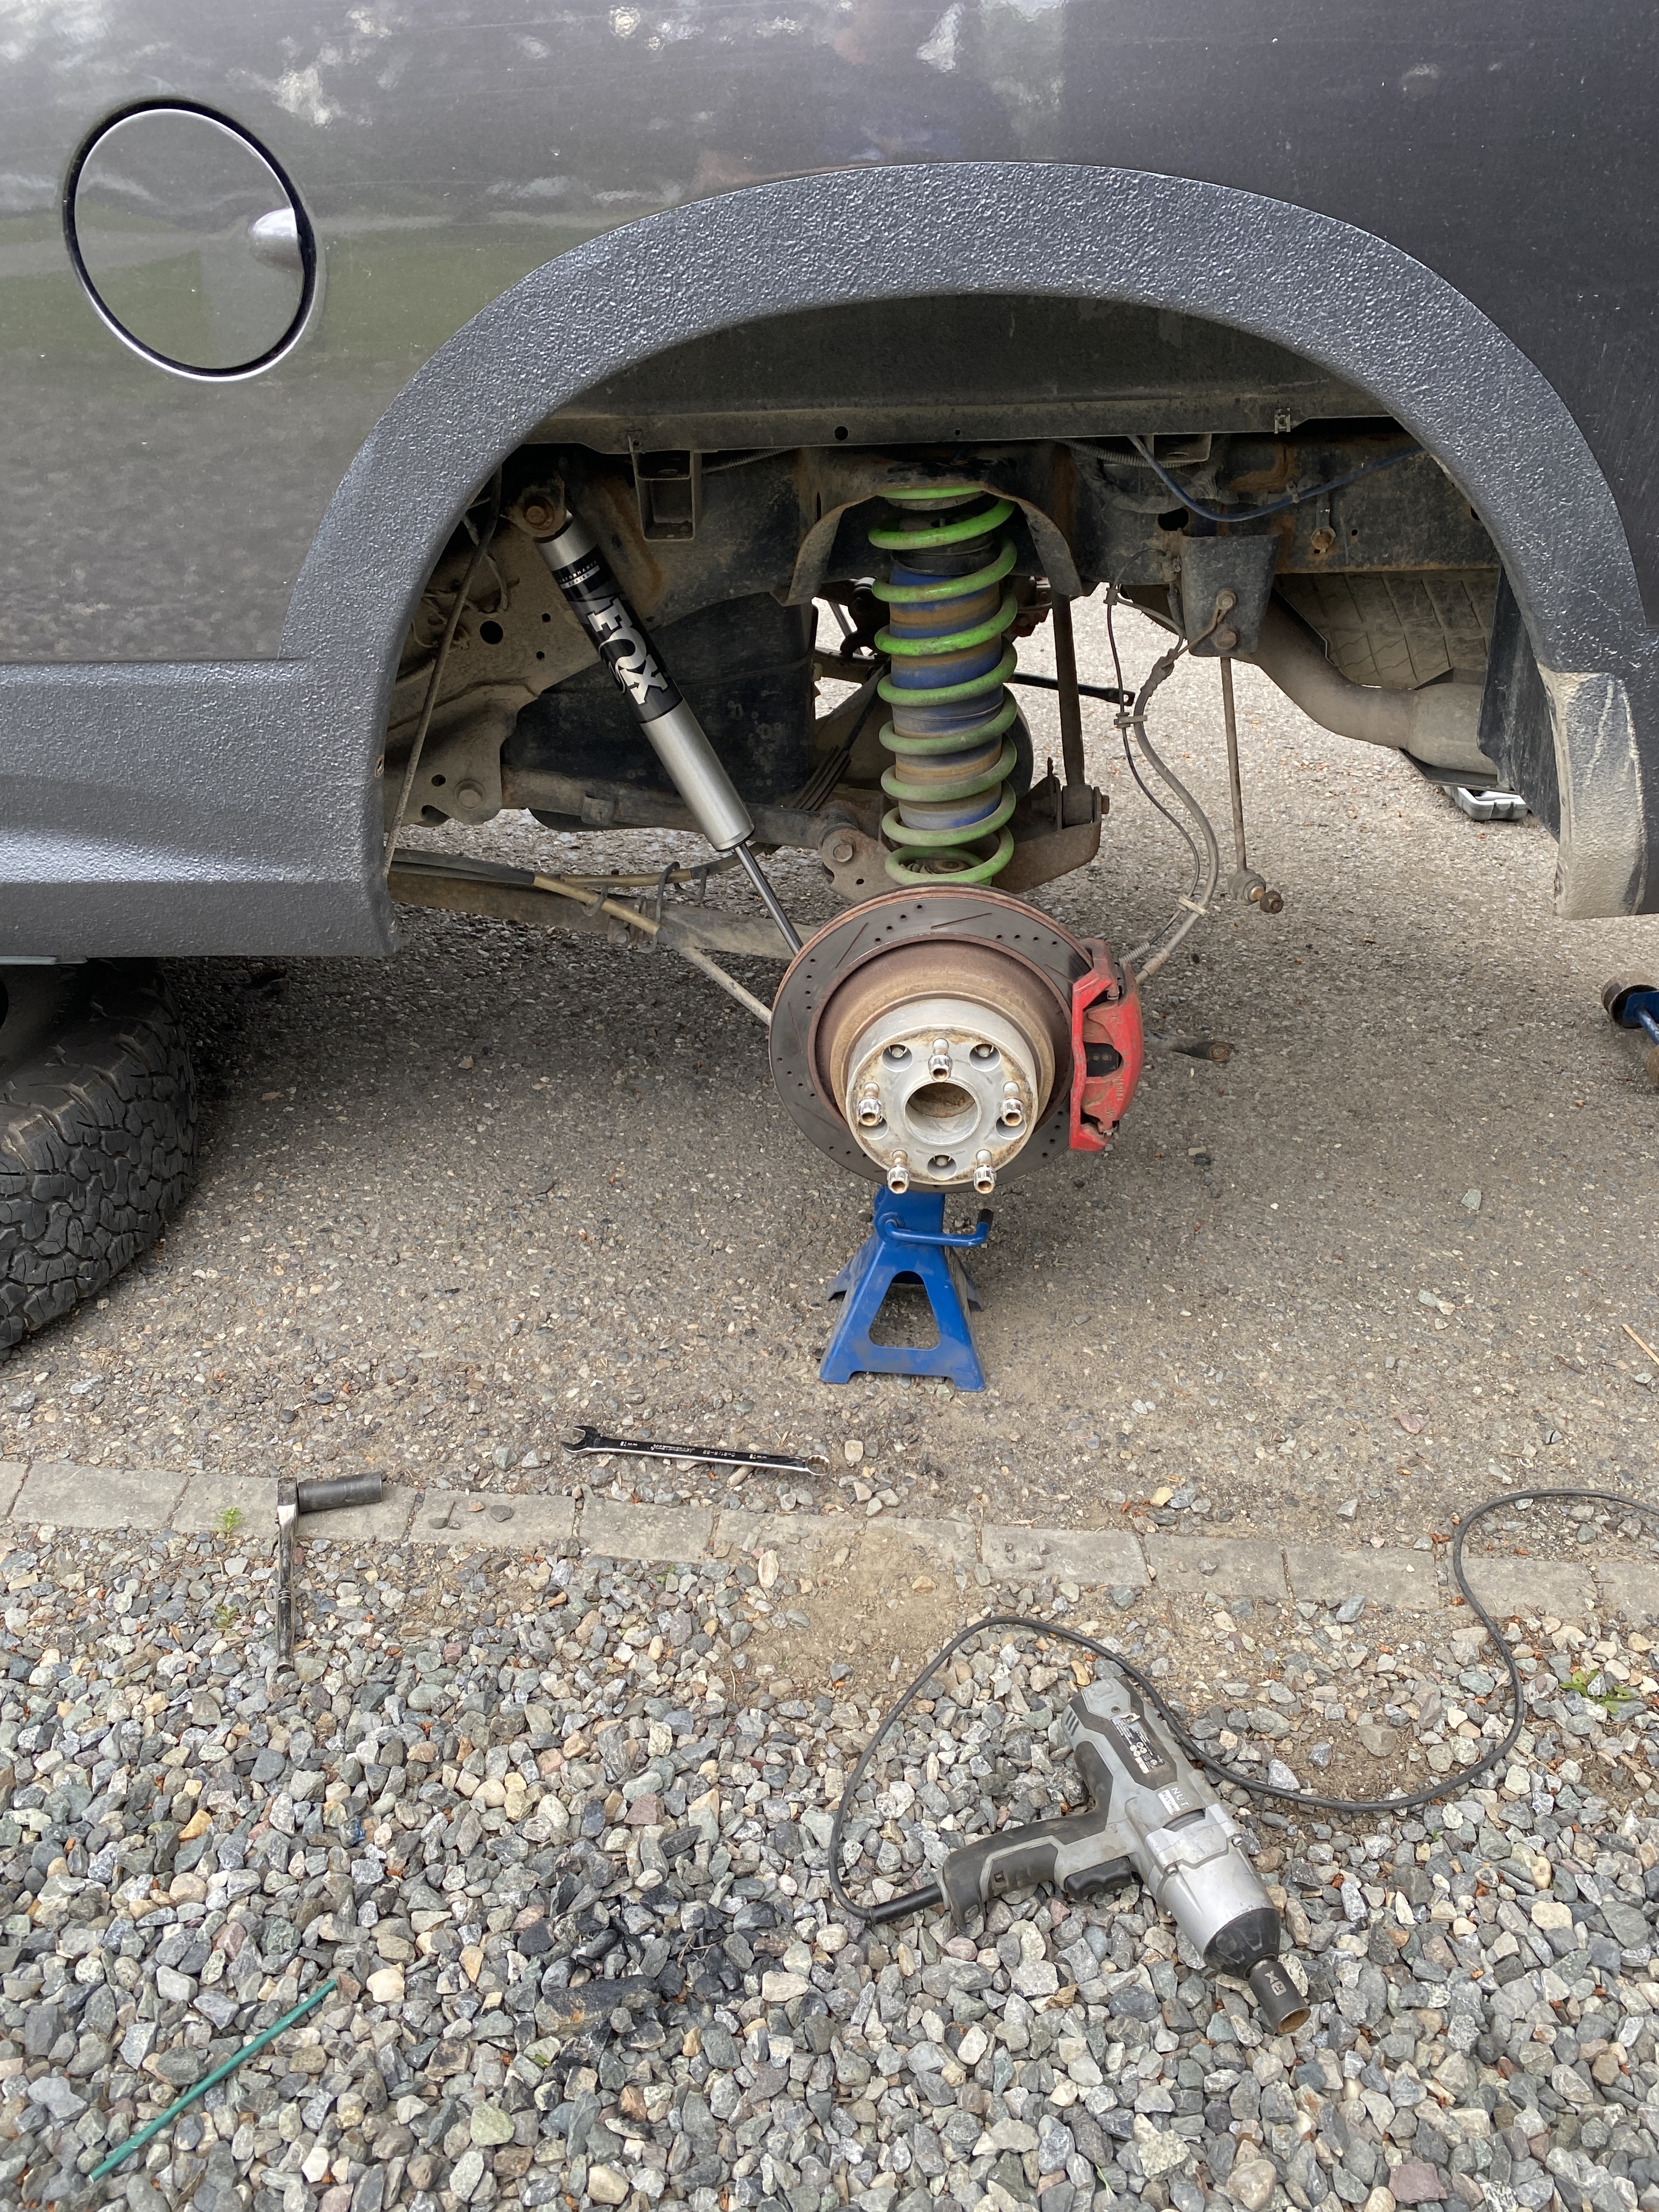
It was at this point where I thought; ok this might work. I wasn’t super stoked on how the 3/4 readyrod was flexing.

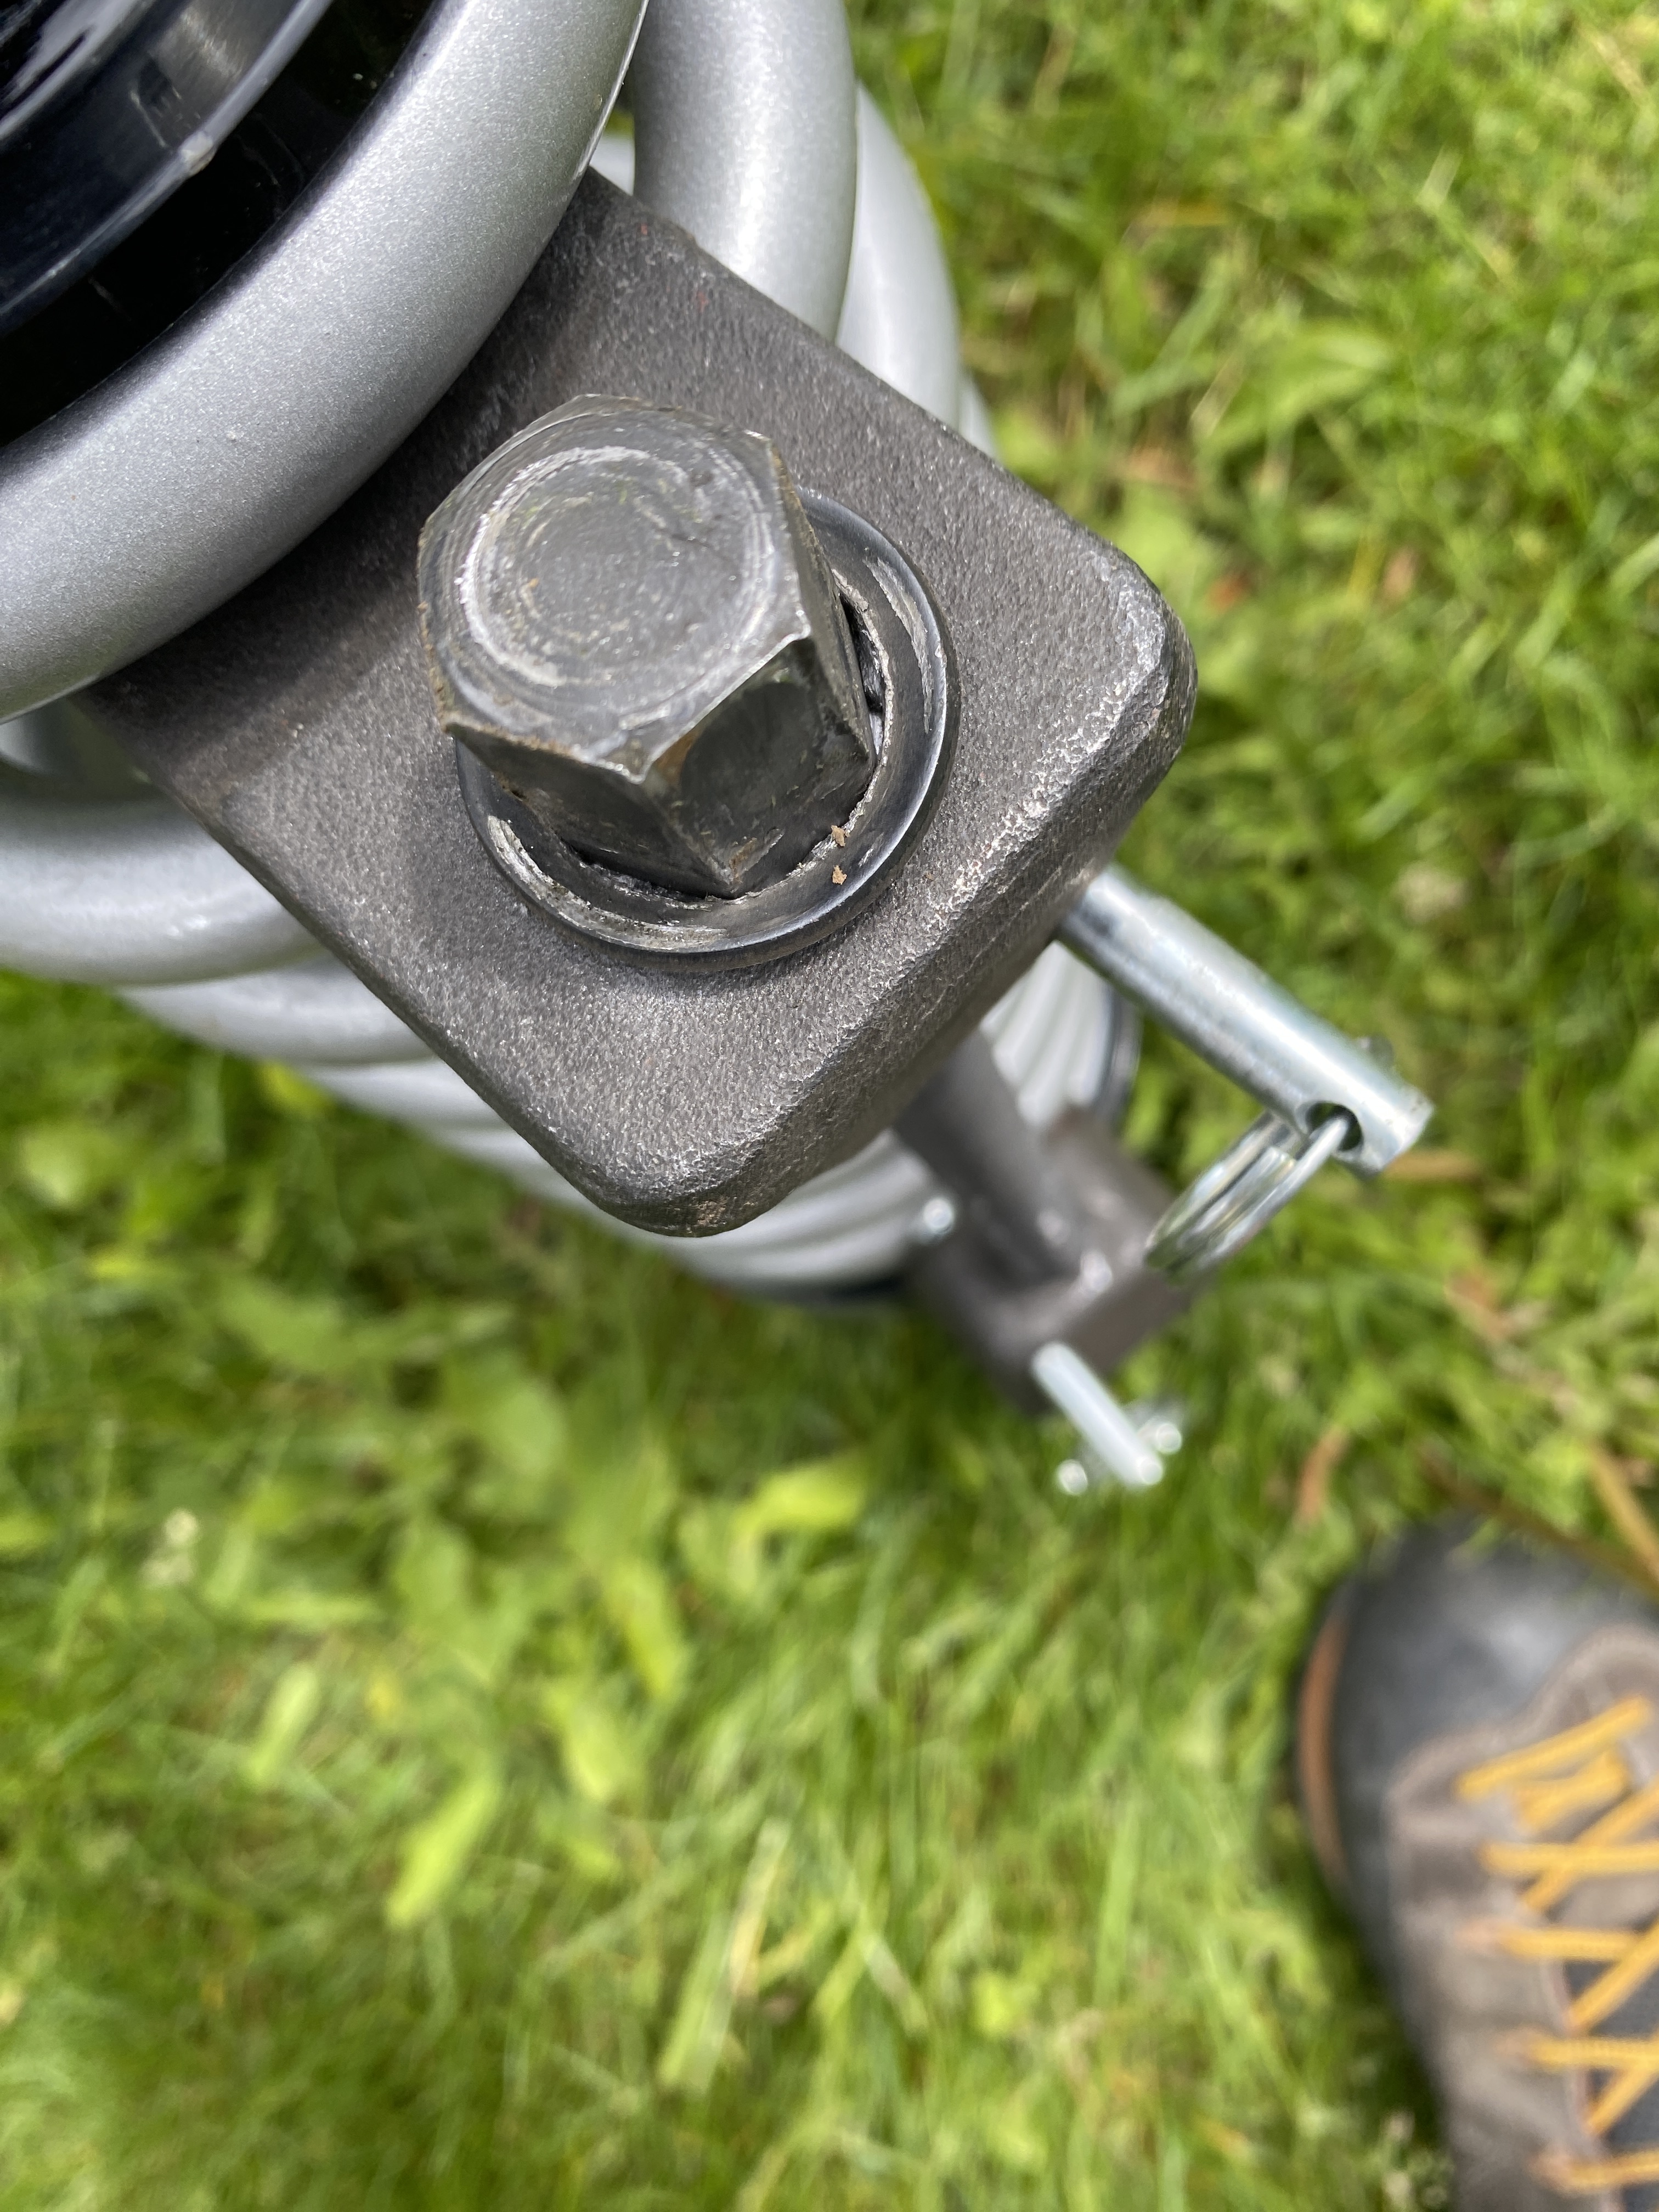
Now comes the part I wasn’t expecting. The collar on the nut sheared off which caused the hex head to lock into the cast. I should’ve just cut them off at that point…but of course I didn’t do that! I fucked with it, swore at it, threw some tools, beat the shit out of one of the compressors and got it off. Then thought, well geeze maybe I can use this one to get the other one off. Nope. I finally cut off the spring compressor with a zip cut after only getting a 1/2” of pre-load adjustment which looks to have given about 1/2” over stock height.


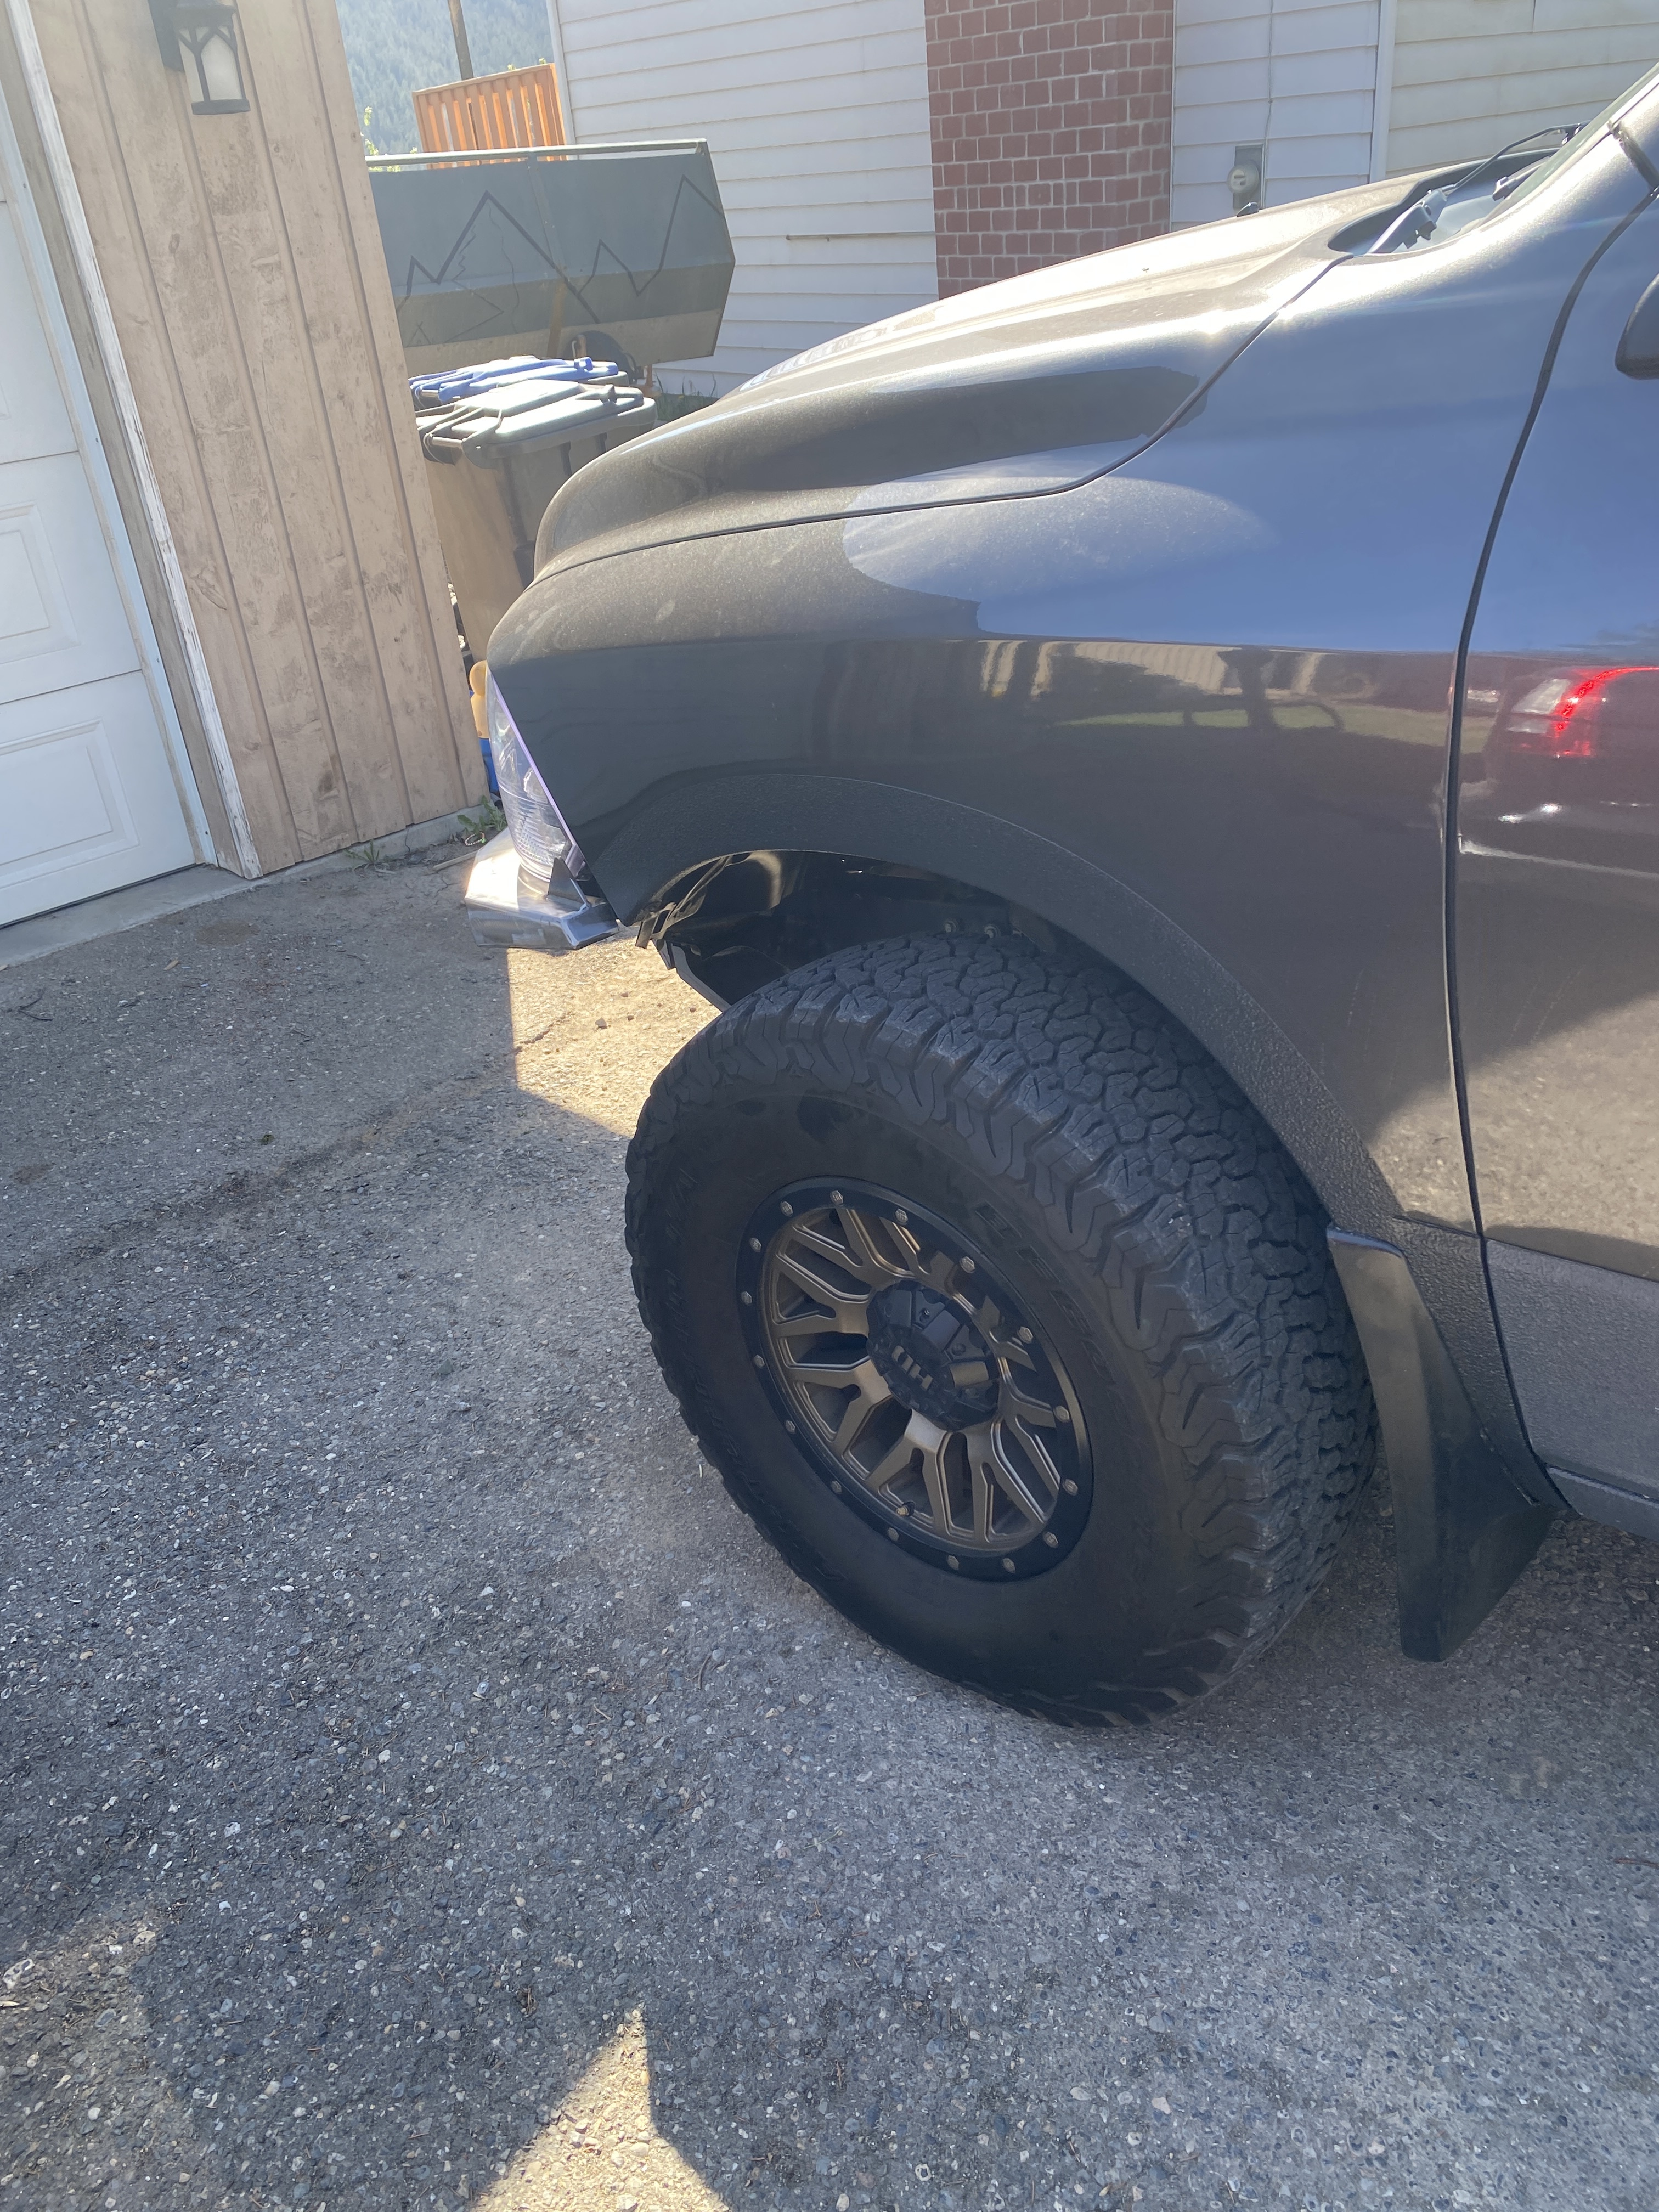
So this is the stock ram coil over with a 2” level block. So essentially the heavier spring causes less sag with the stock shock length. I dig that because it makes installing and uninstalling them a cinch.

Why is that important you ask? Well, if you ‘actually’ want to adjust these adjustable shocks this is what you have to do. But don’t use the over the counter spring compressor. Fox recommends a wall mount unit or similar. So you adjust your pre-load, put it back together, drive it around and let it settle. Measure it and if it’s not where you want it (like in my case where I’m back to stock rake) you pull it all apart and repeat the process until your desired ride height and feel is achieved.


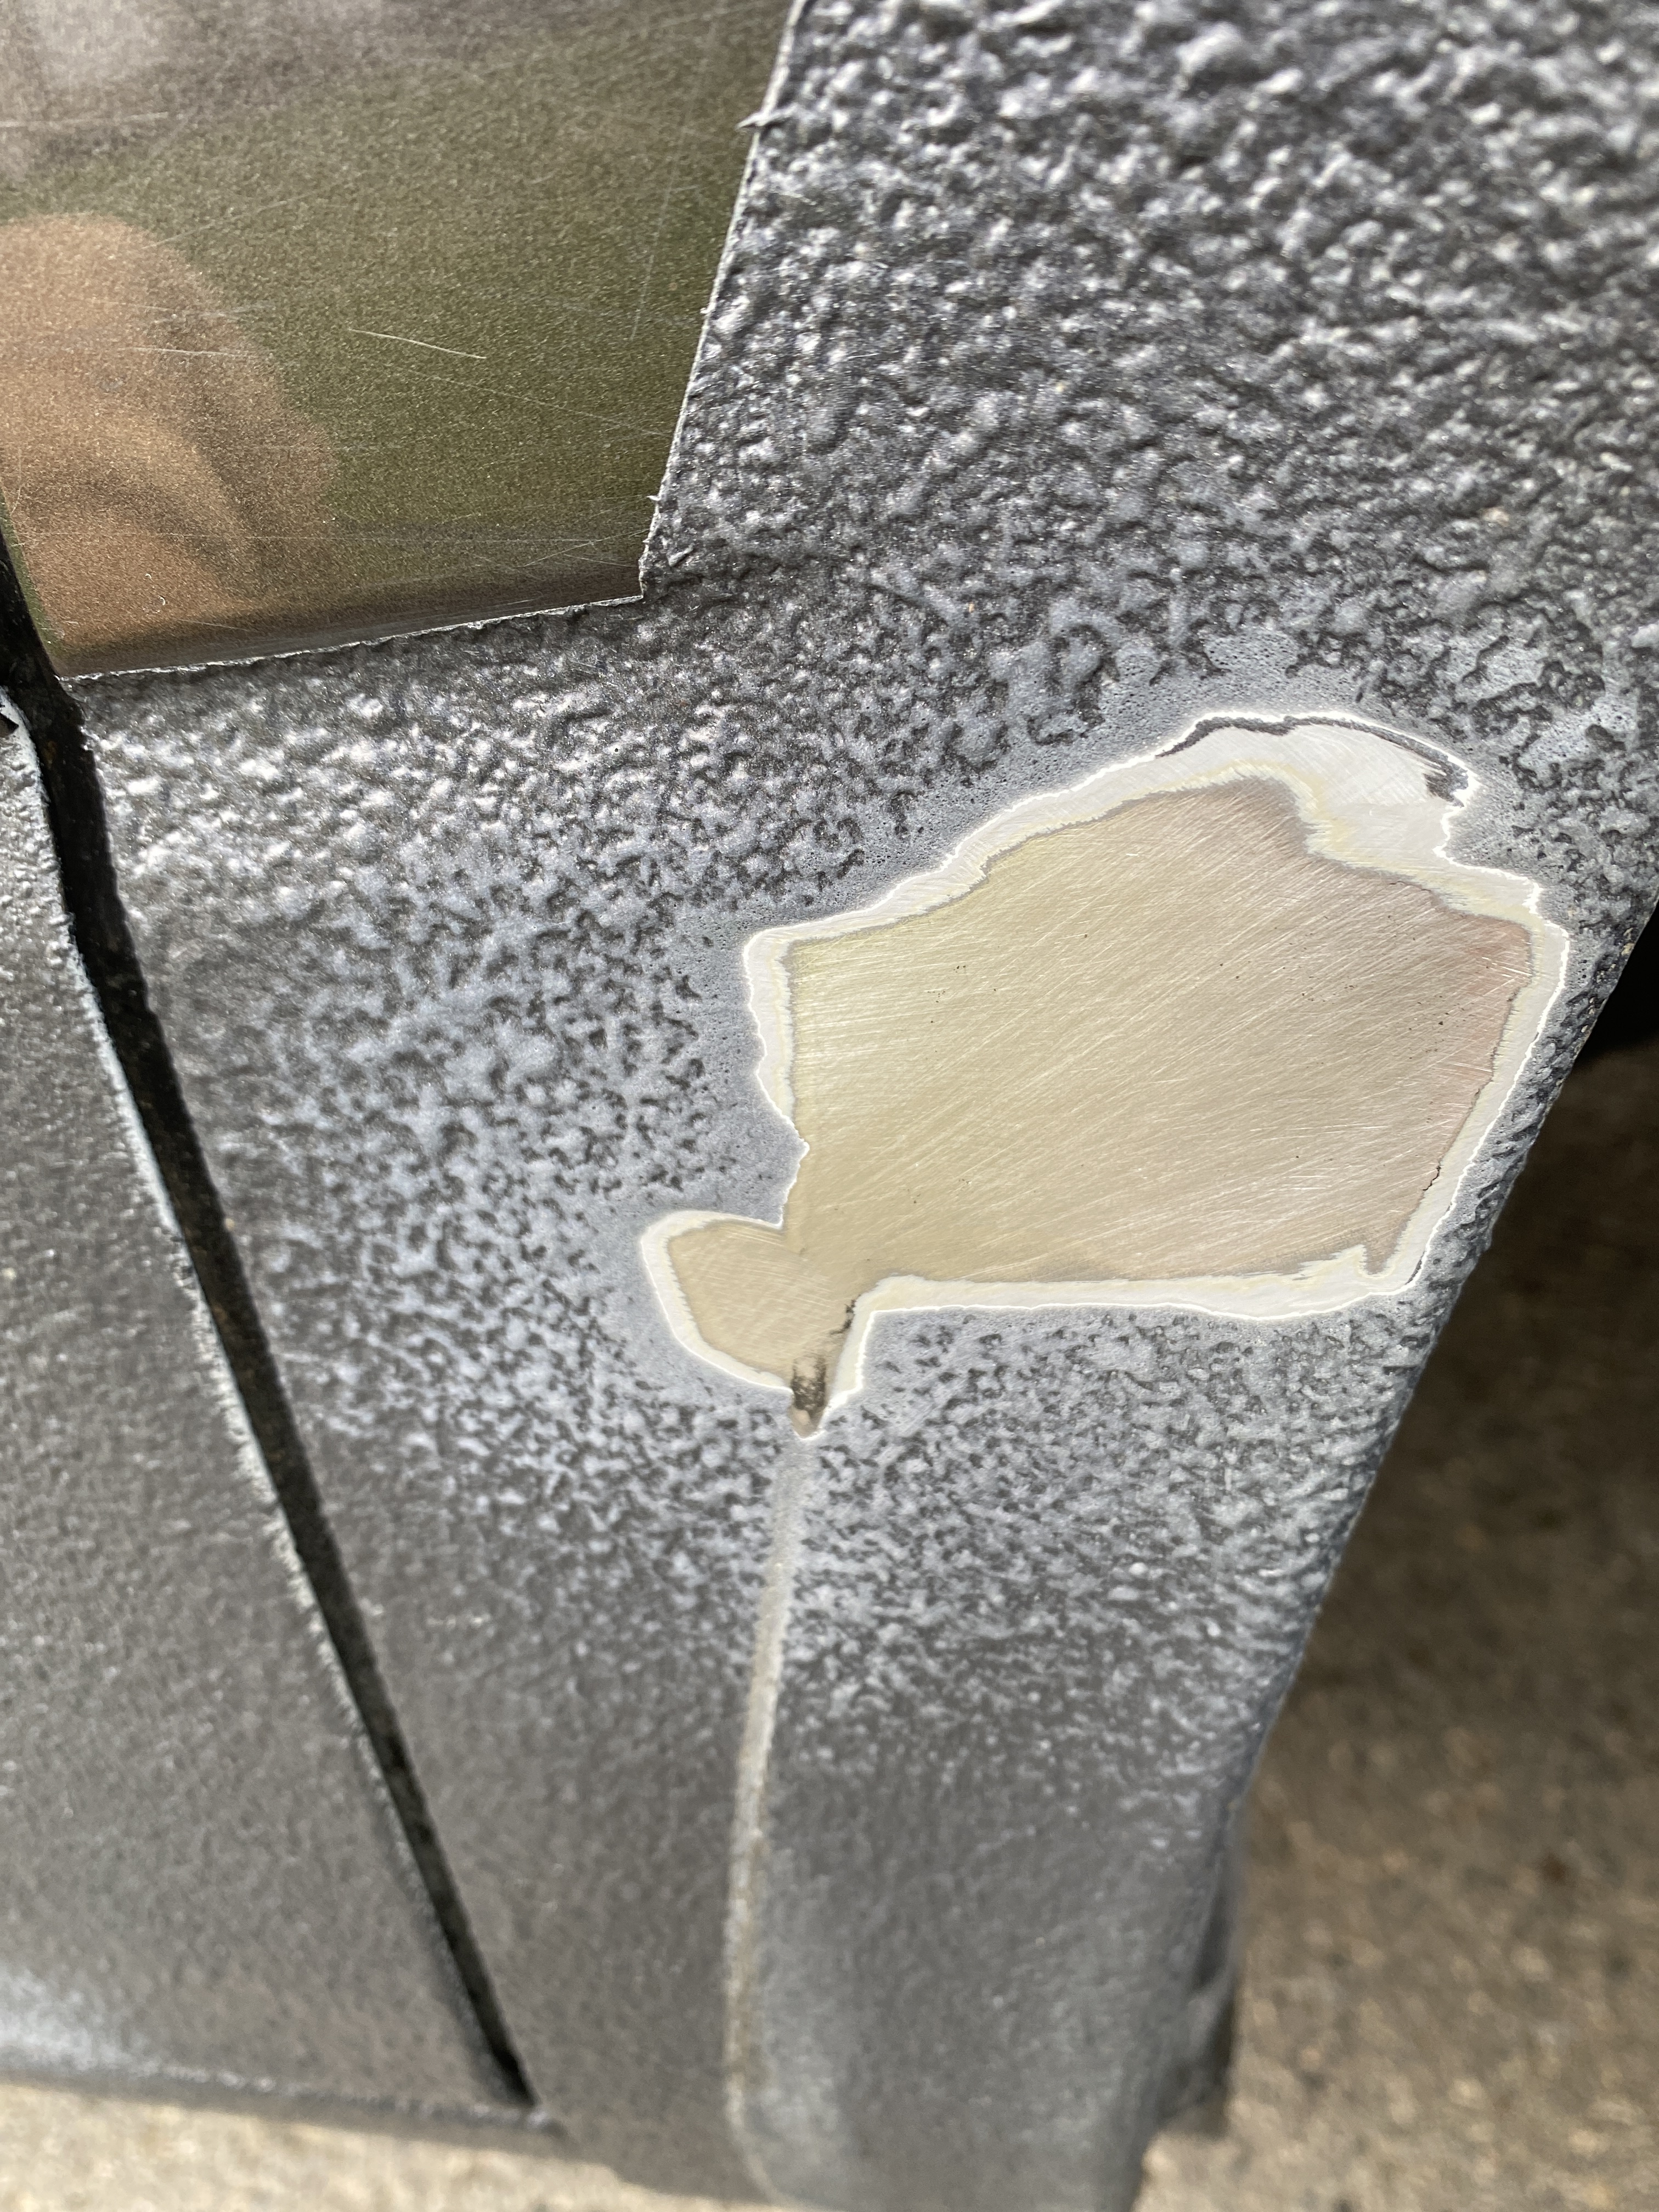
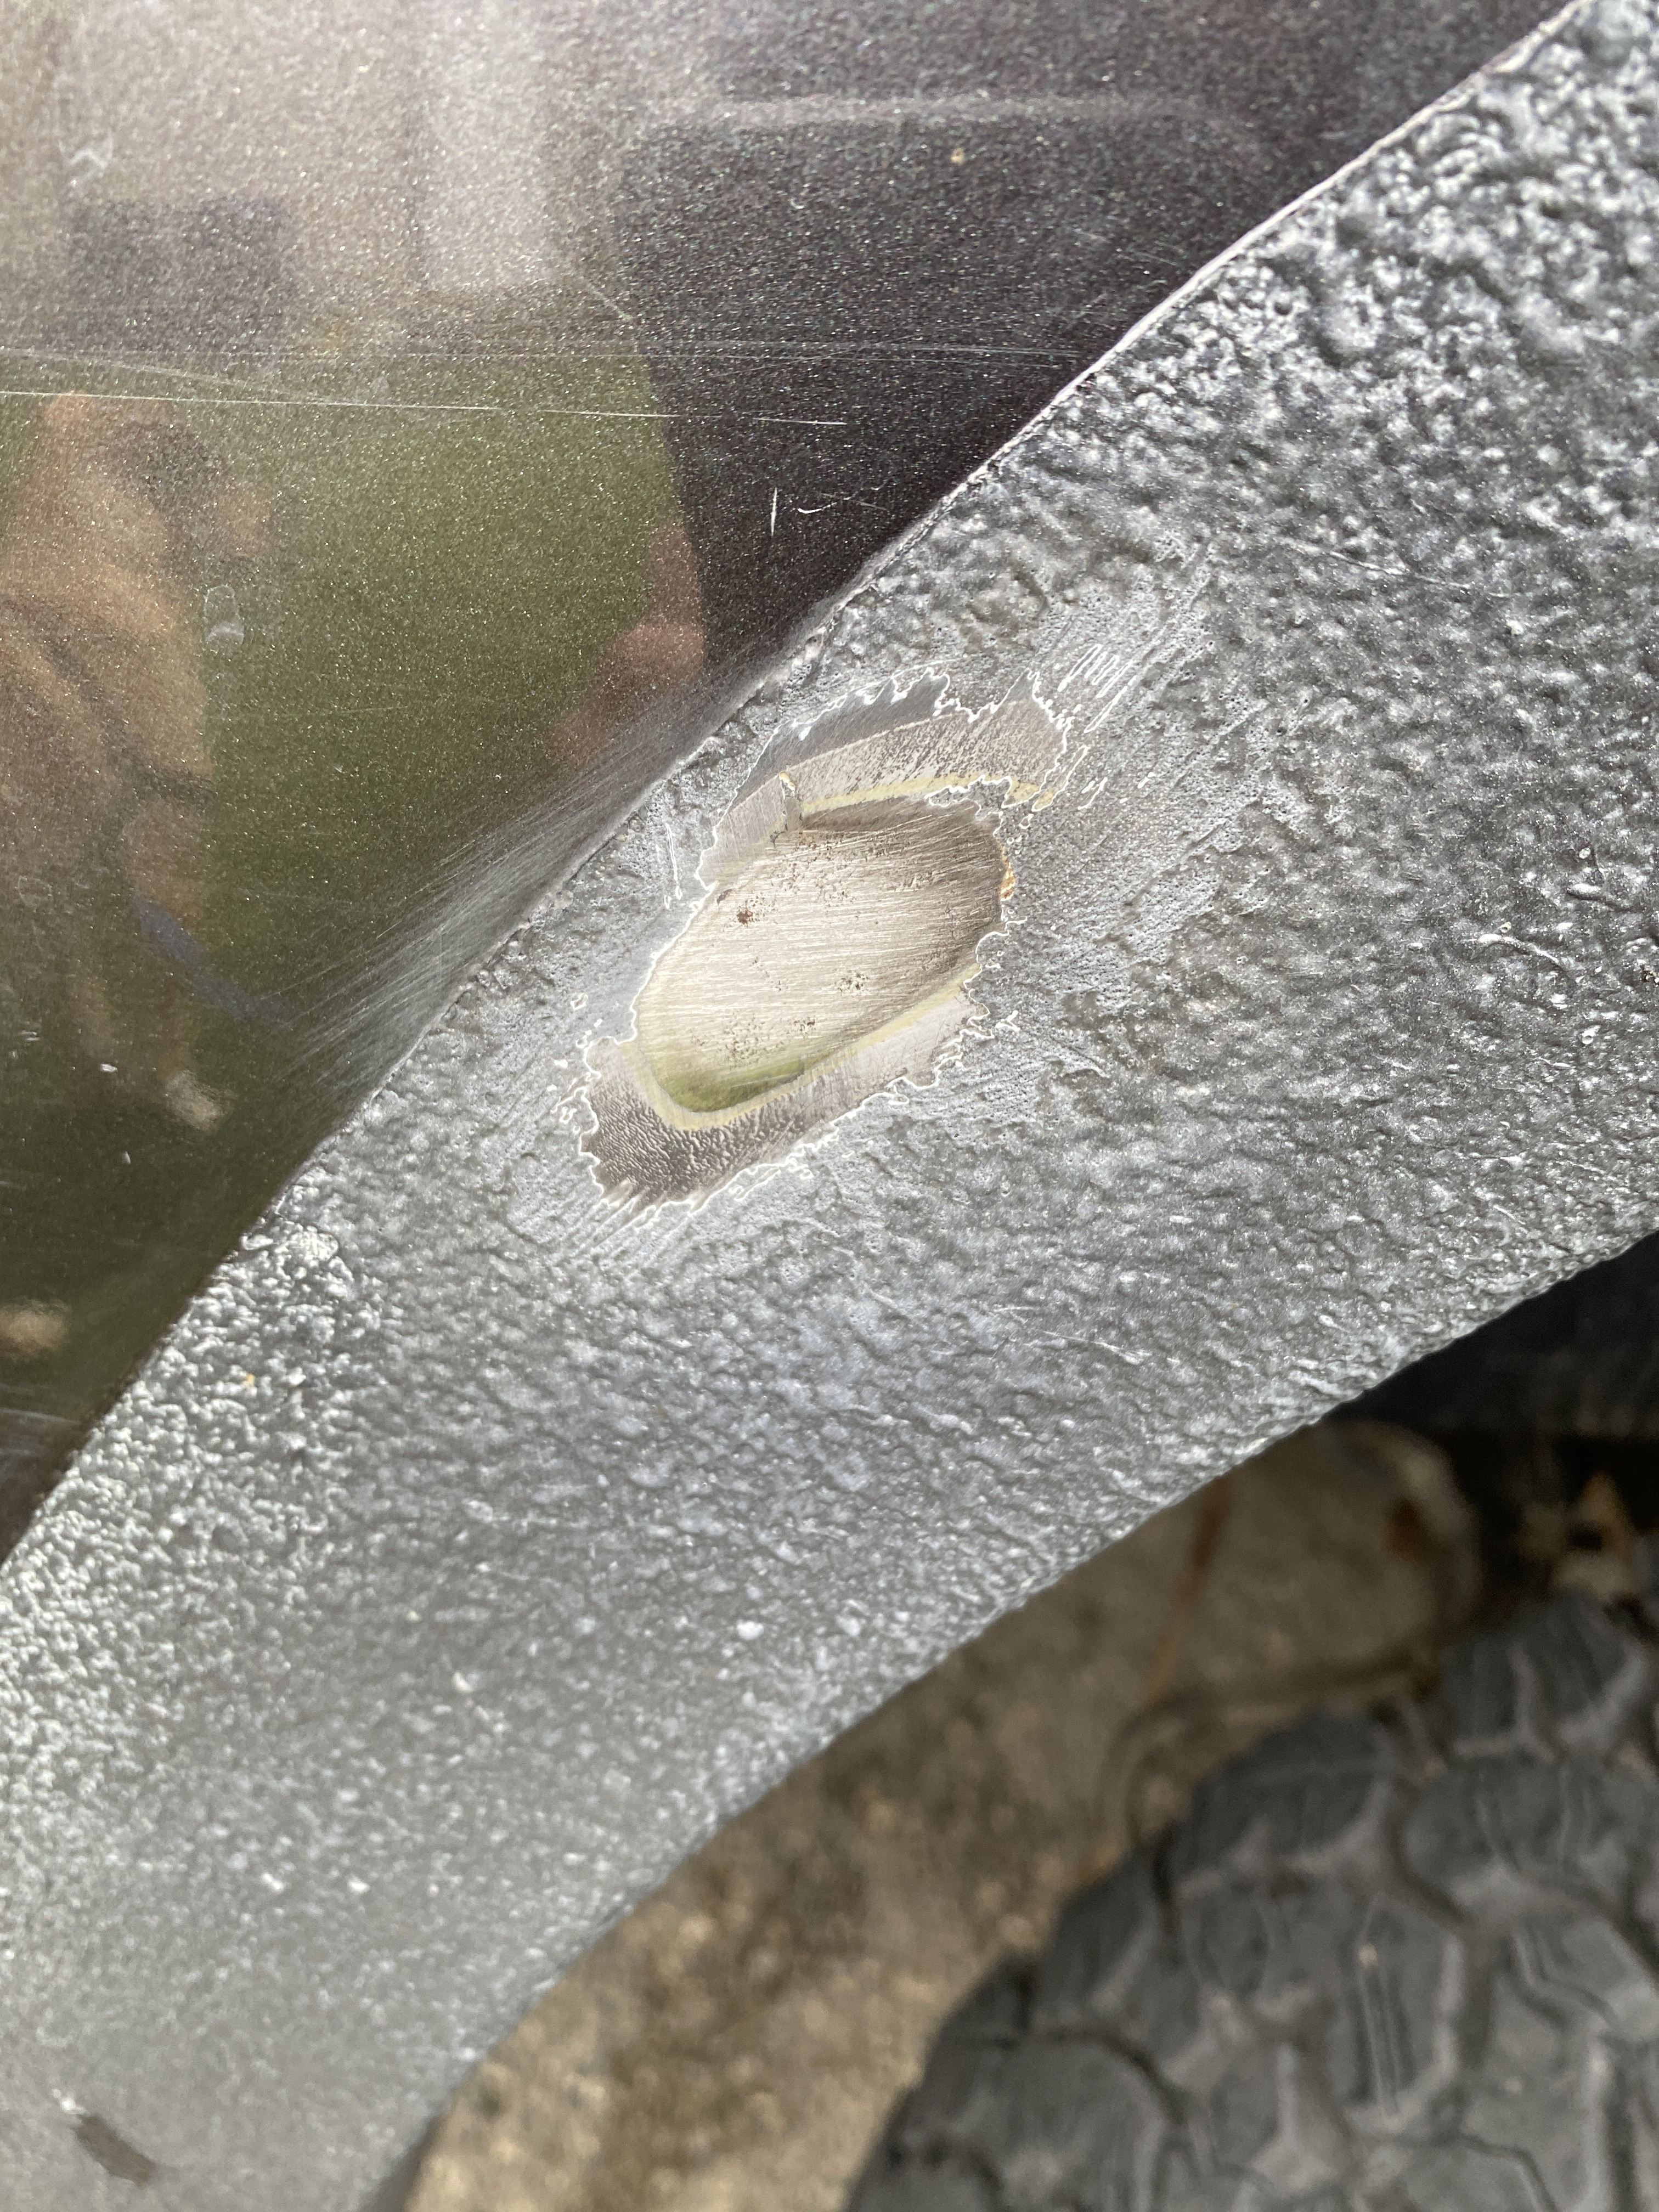
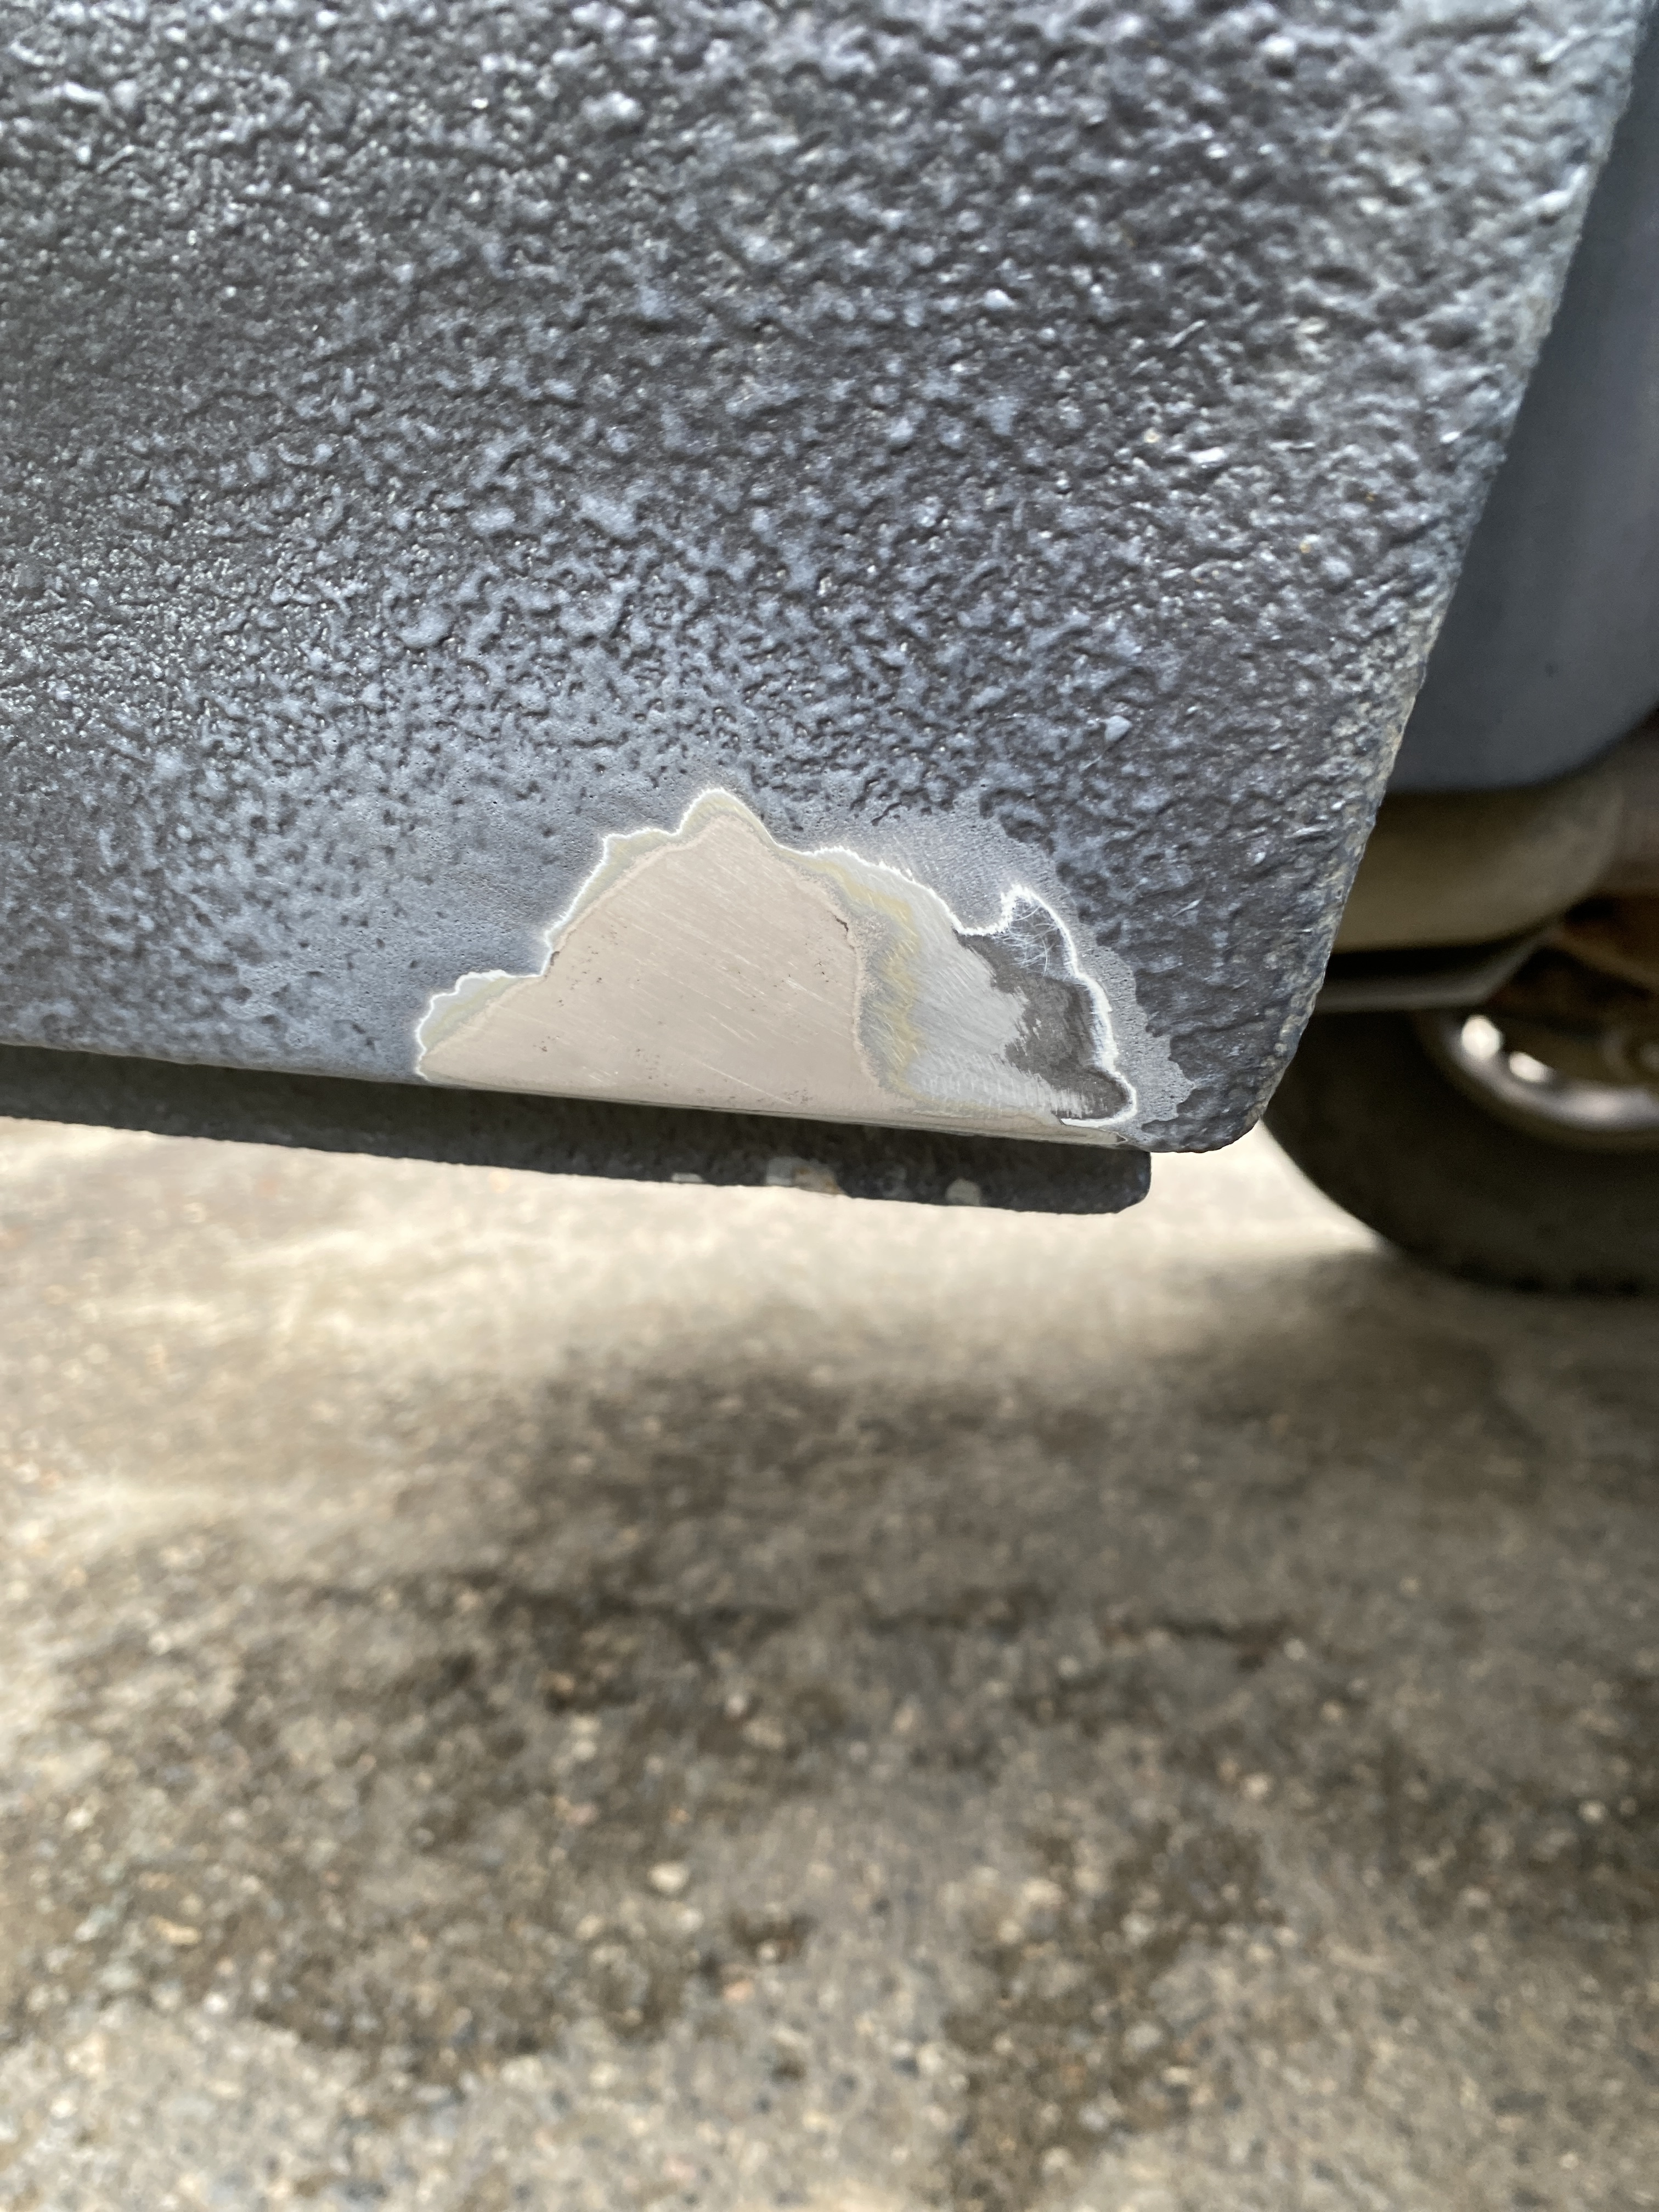
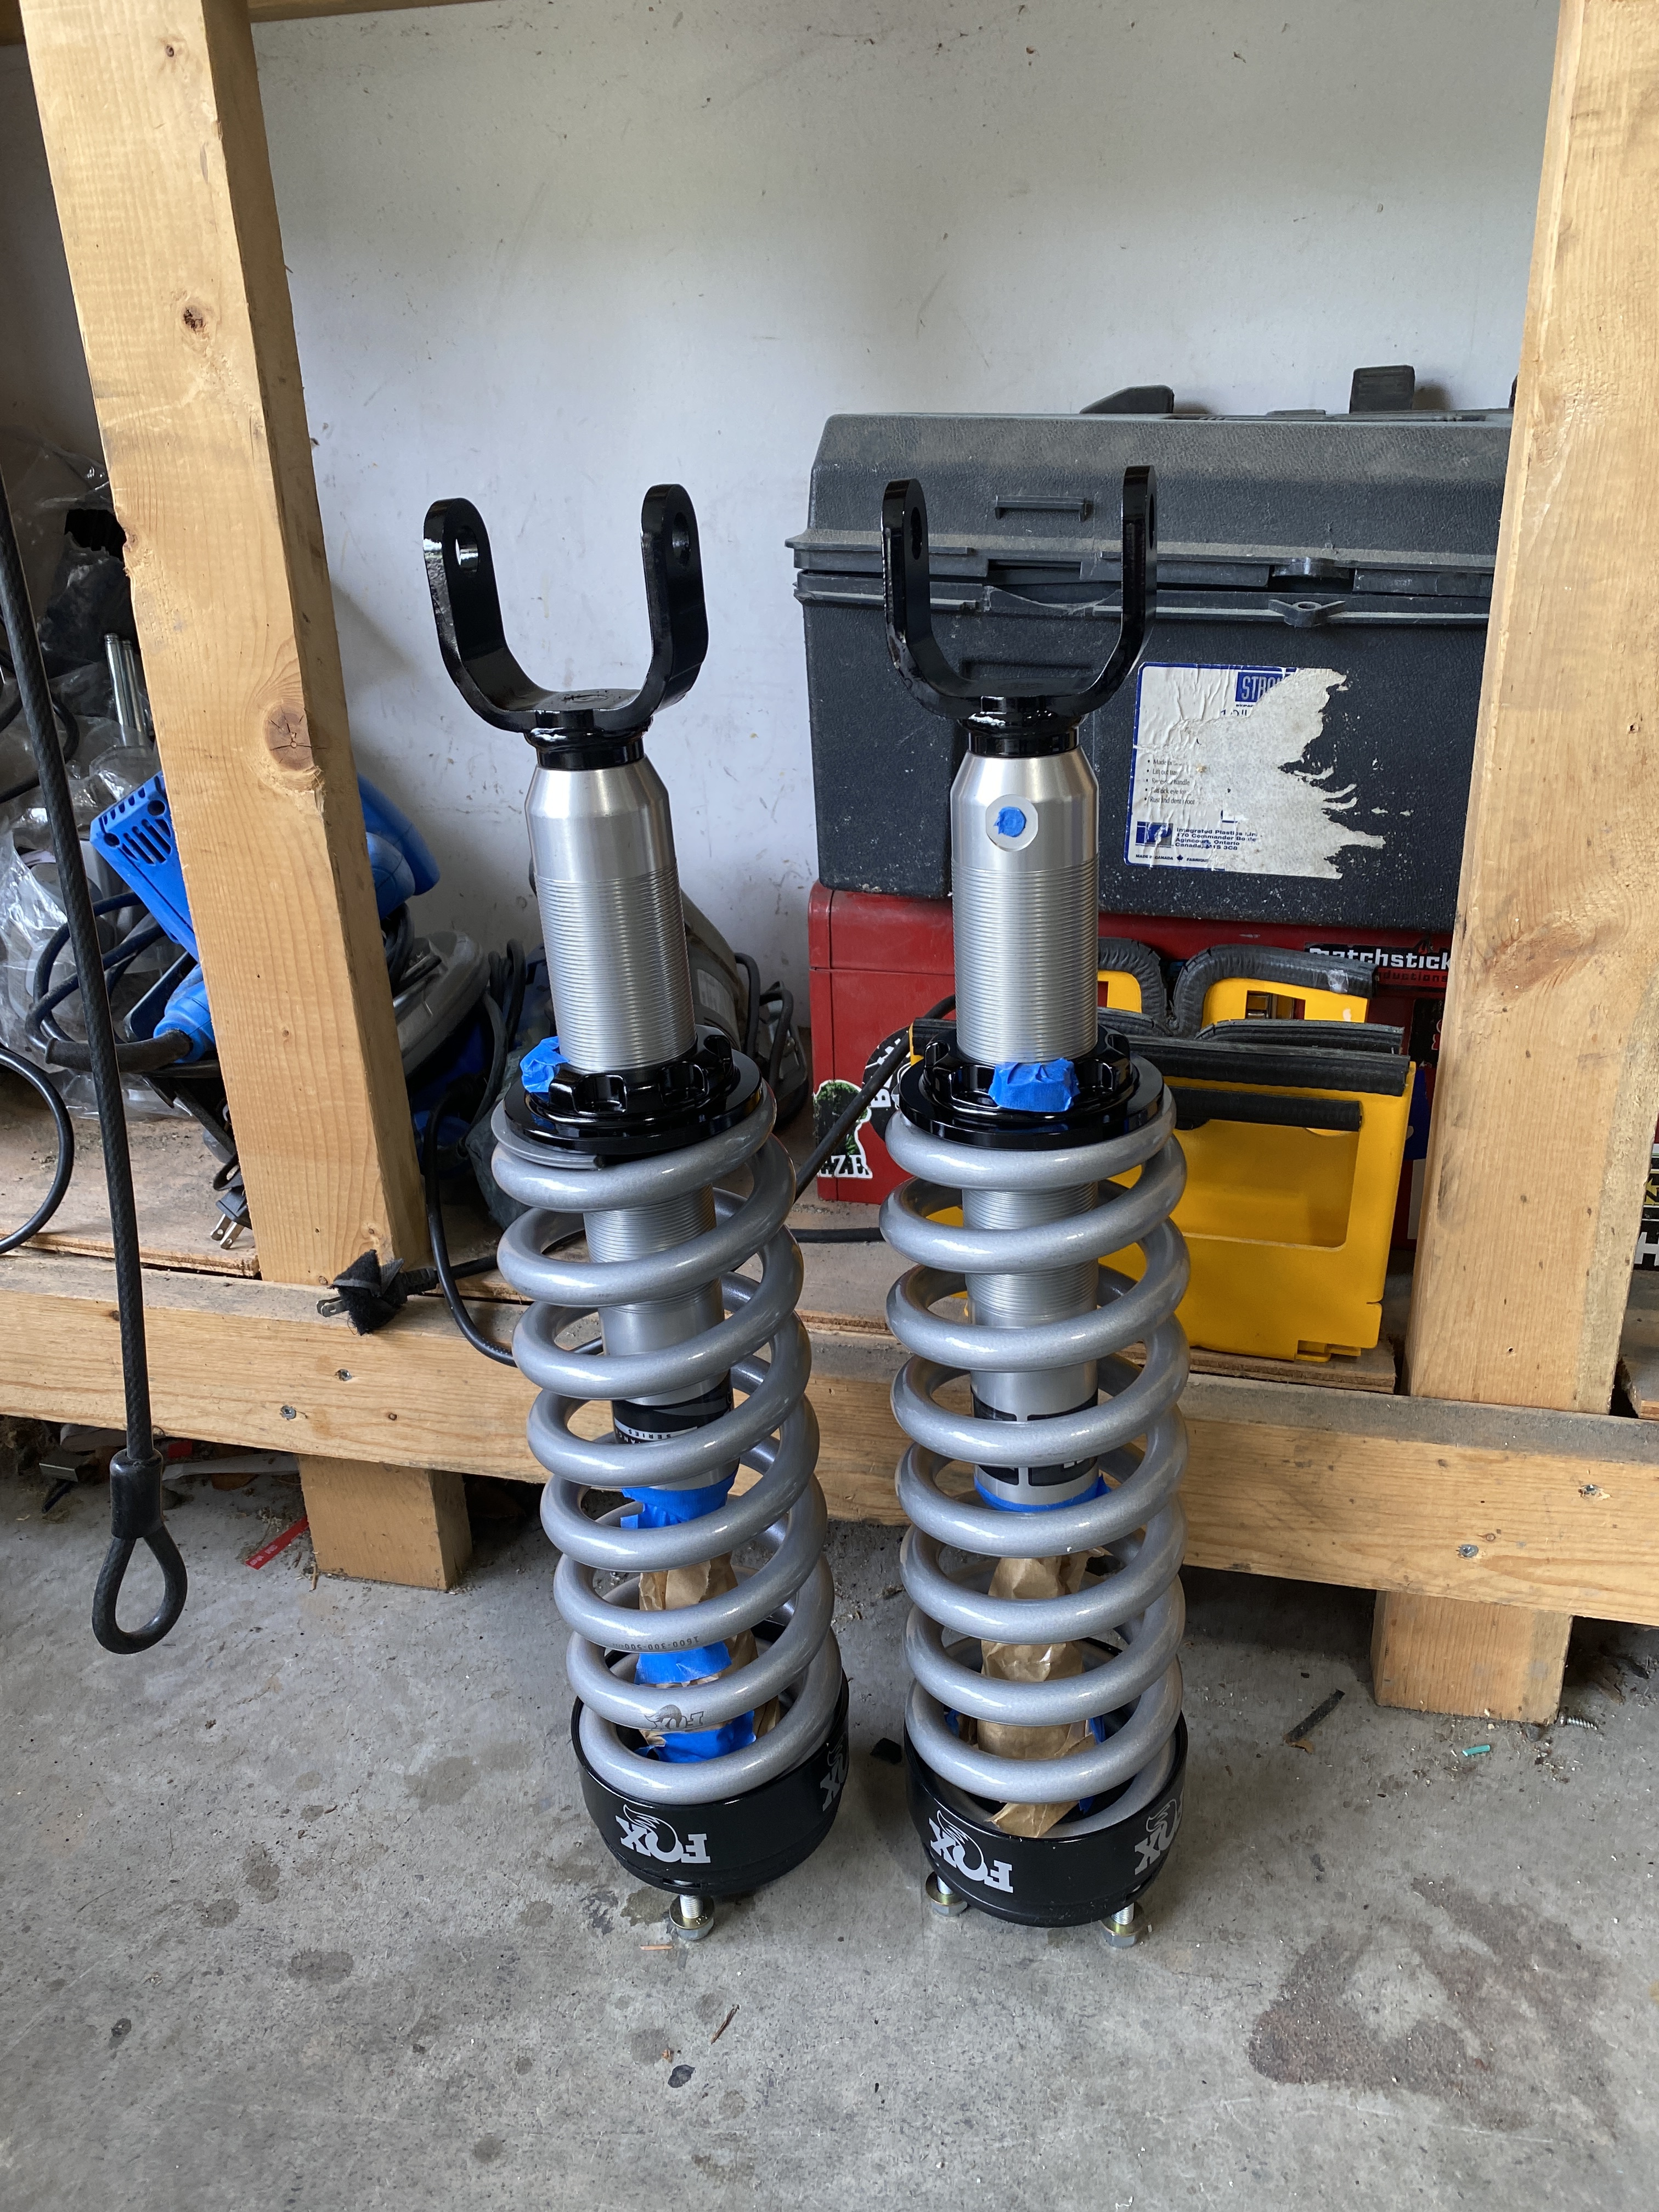
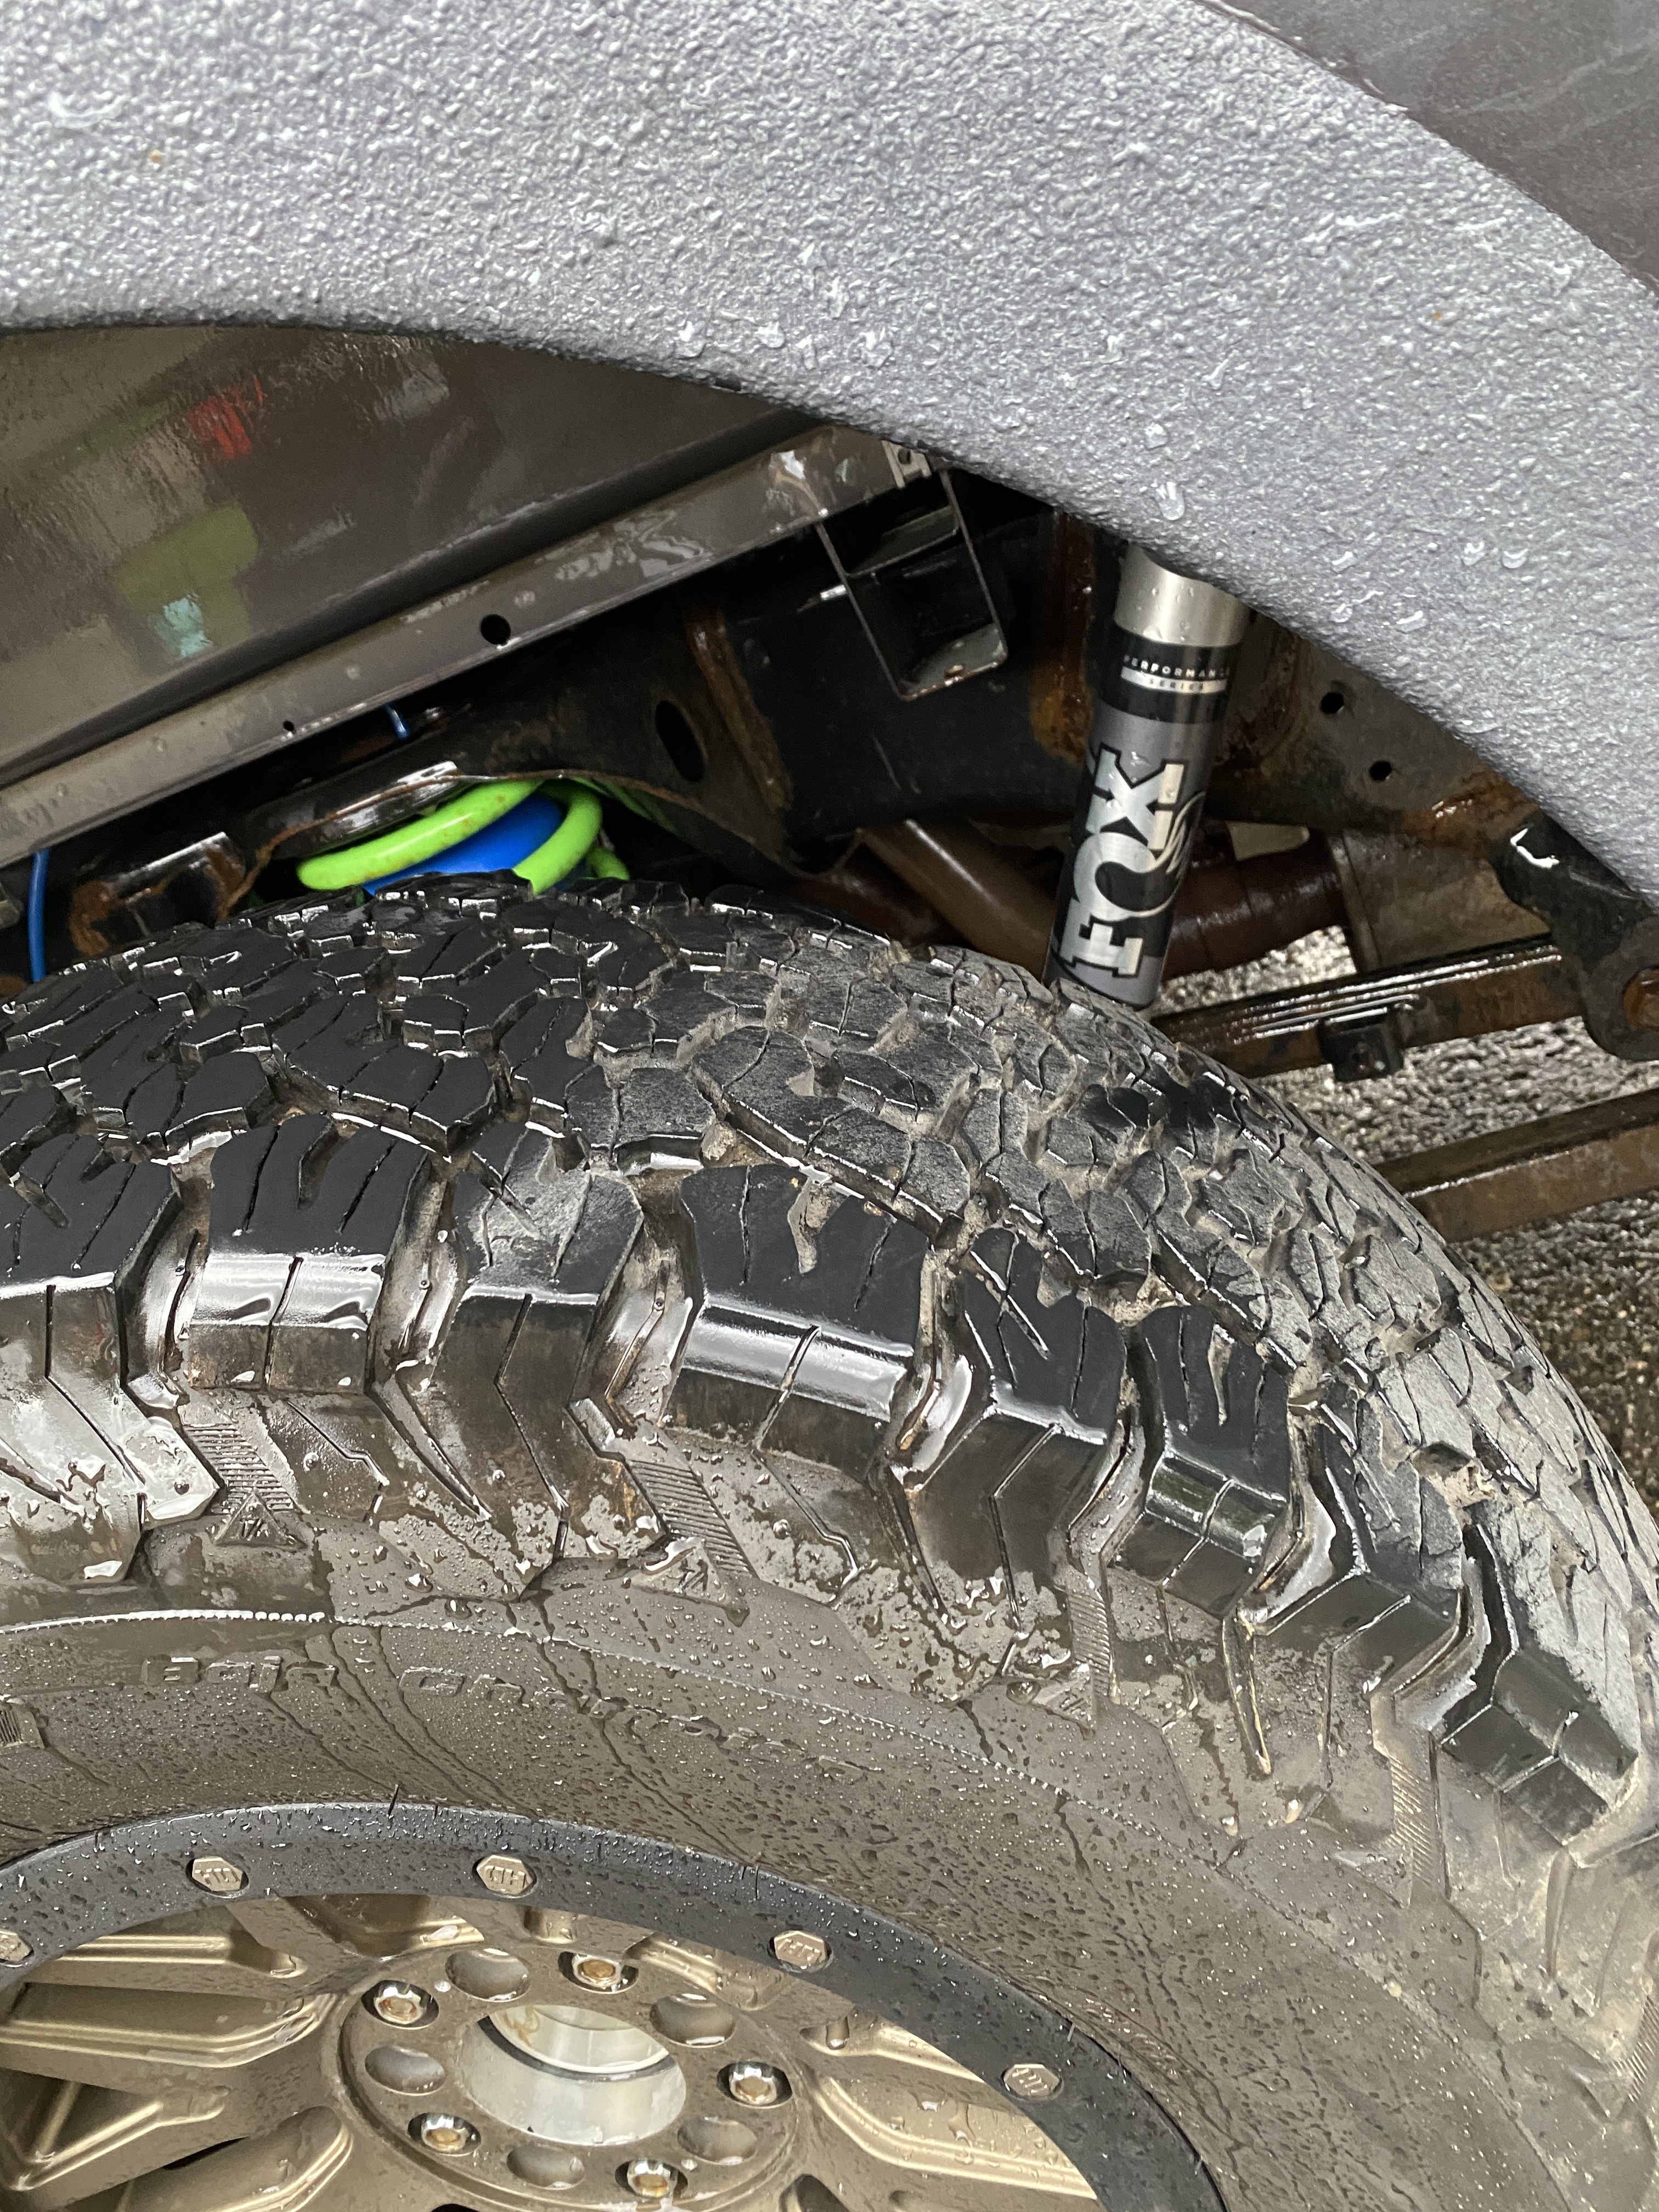
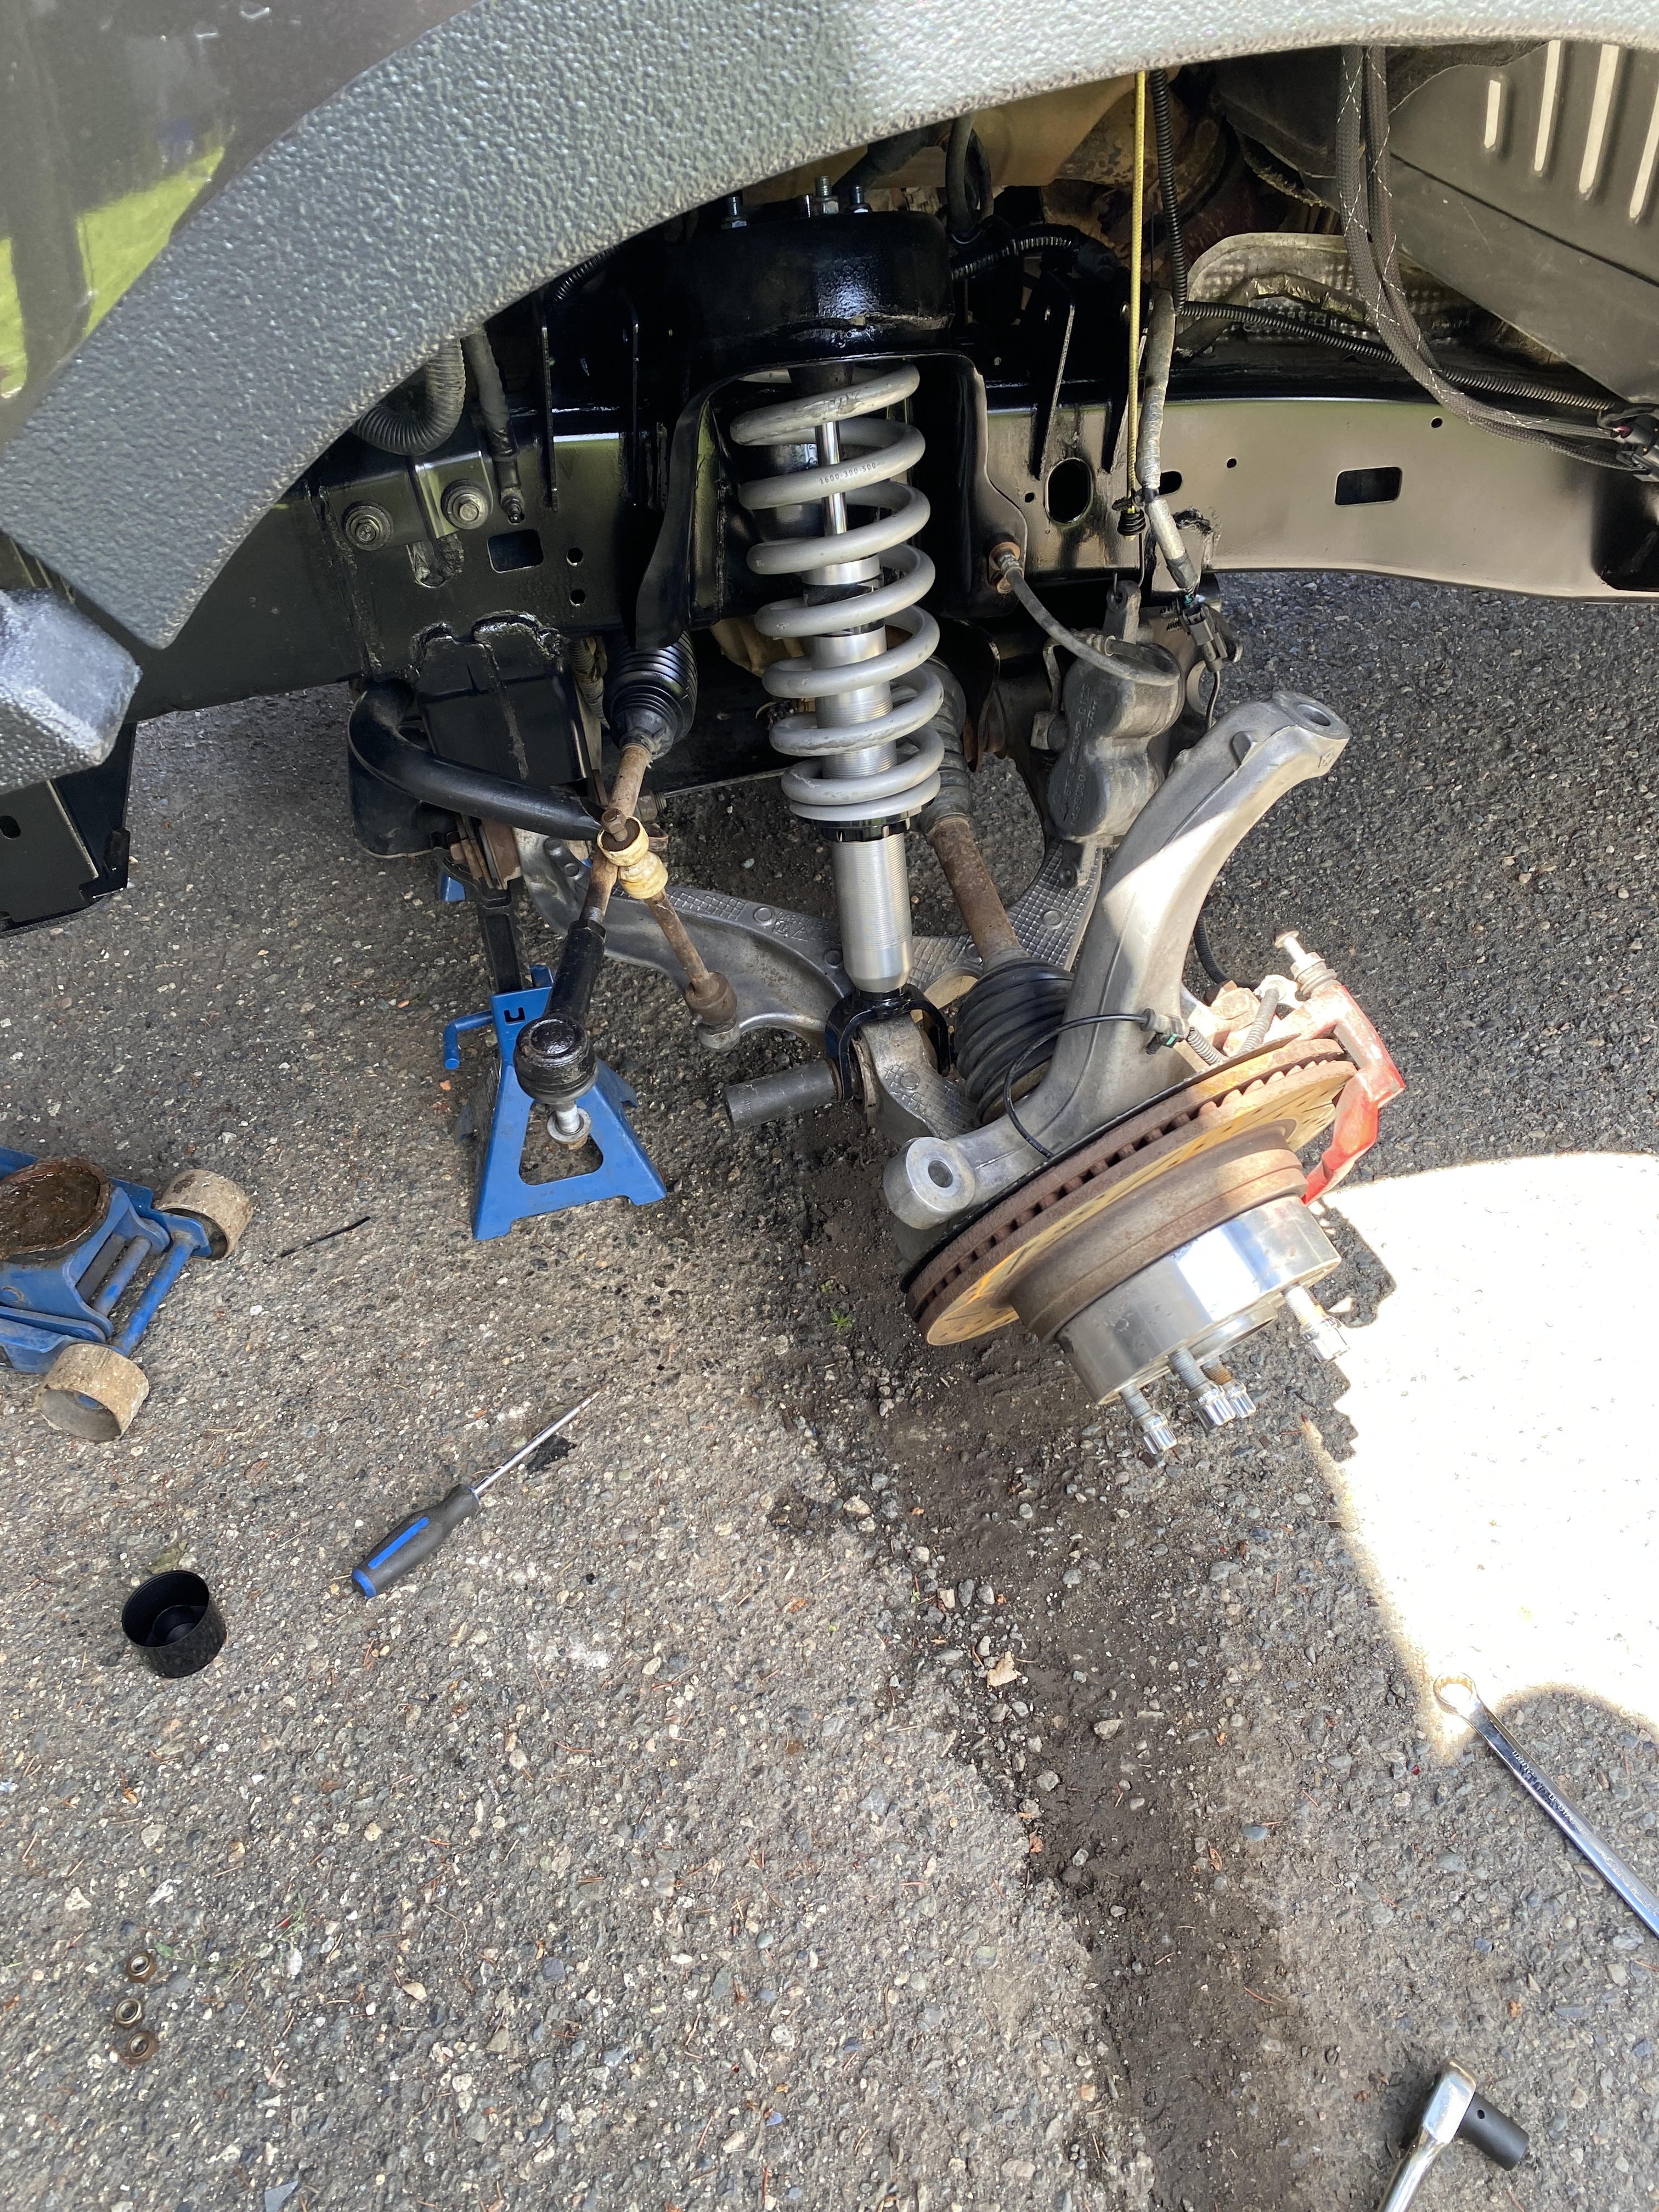
So I was only able to adjust the drivers side since I had to cut my spring compressor. No big deal though. This gives me an opportunity to check the difference in ride height. Always gotta look at the positive side of the experience, despite the swearing and tool throwing. If you look closely in this picture you can see where the spring compressor marred the shit out of the coil. So up here in central BC that will be a rusty looking unit by Feb.


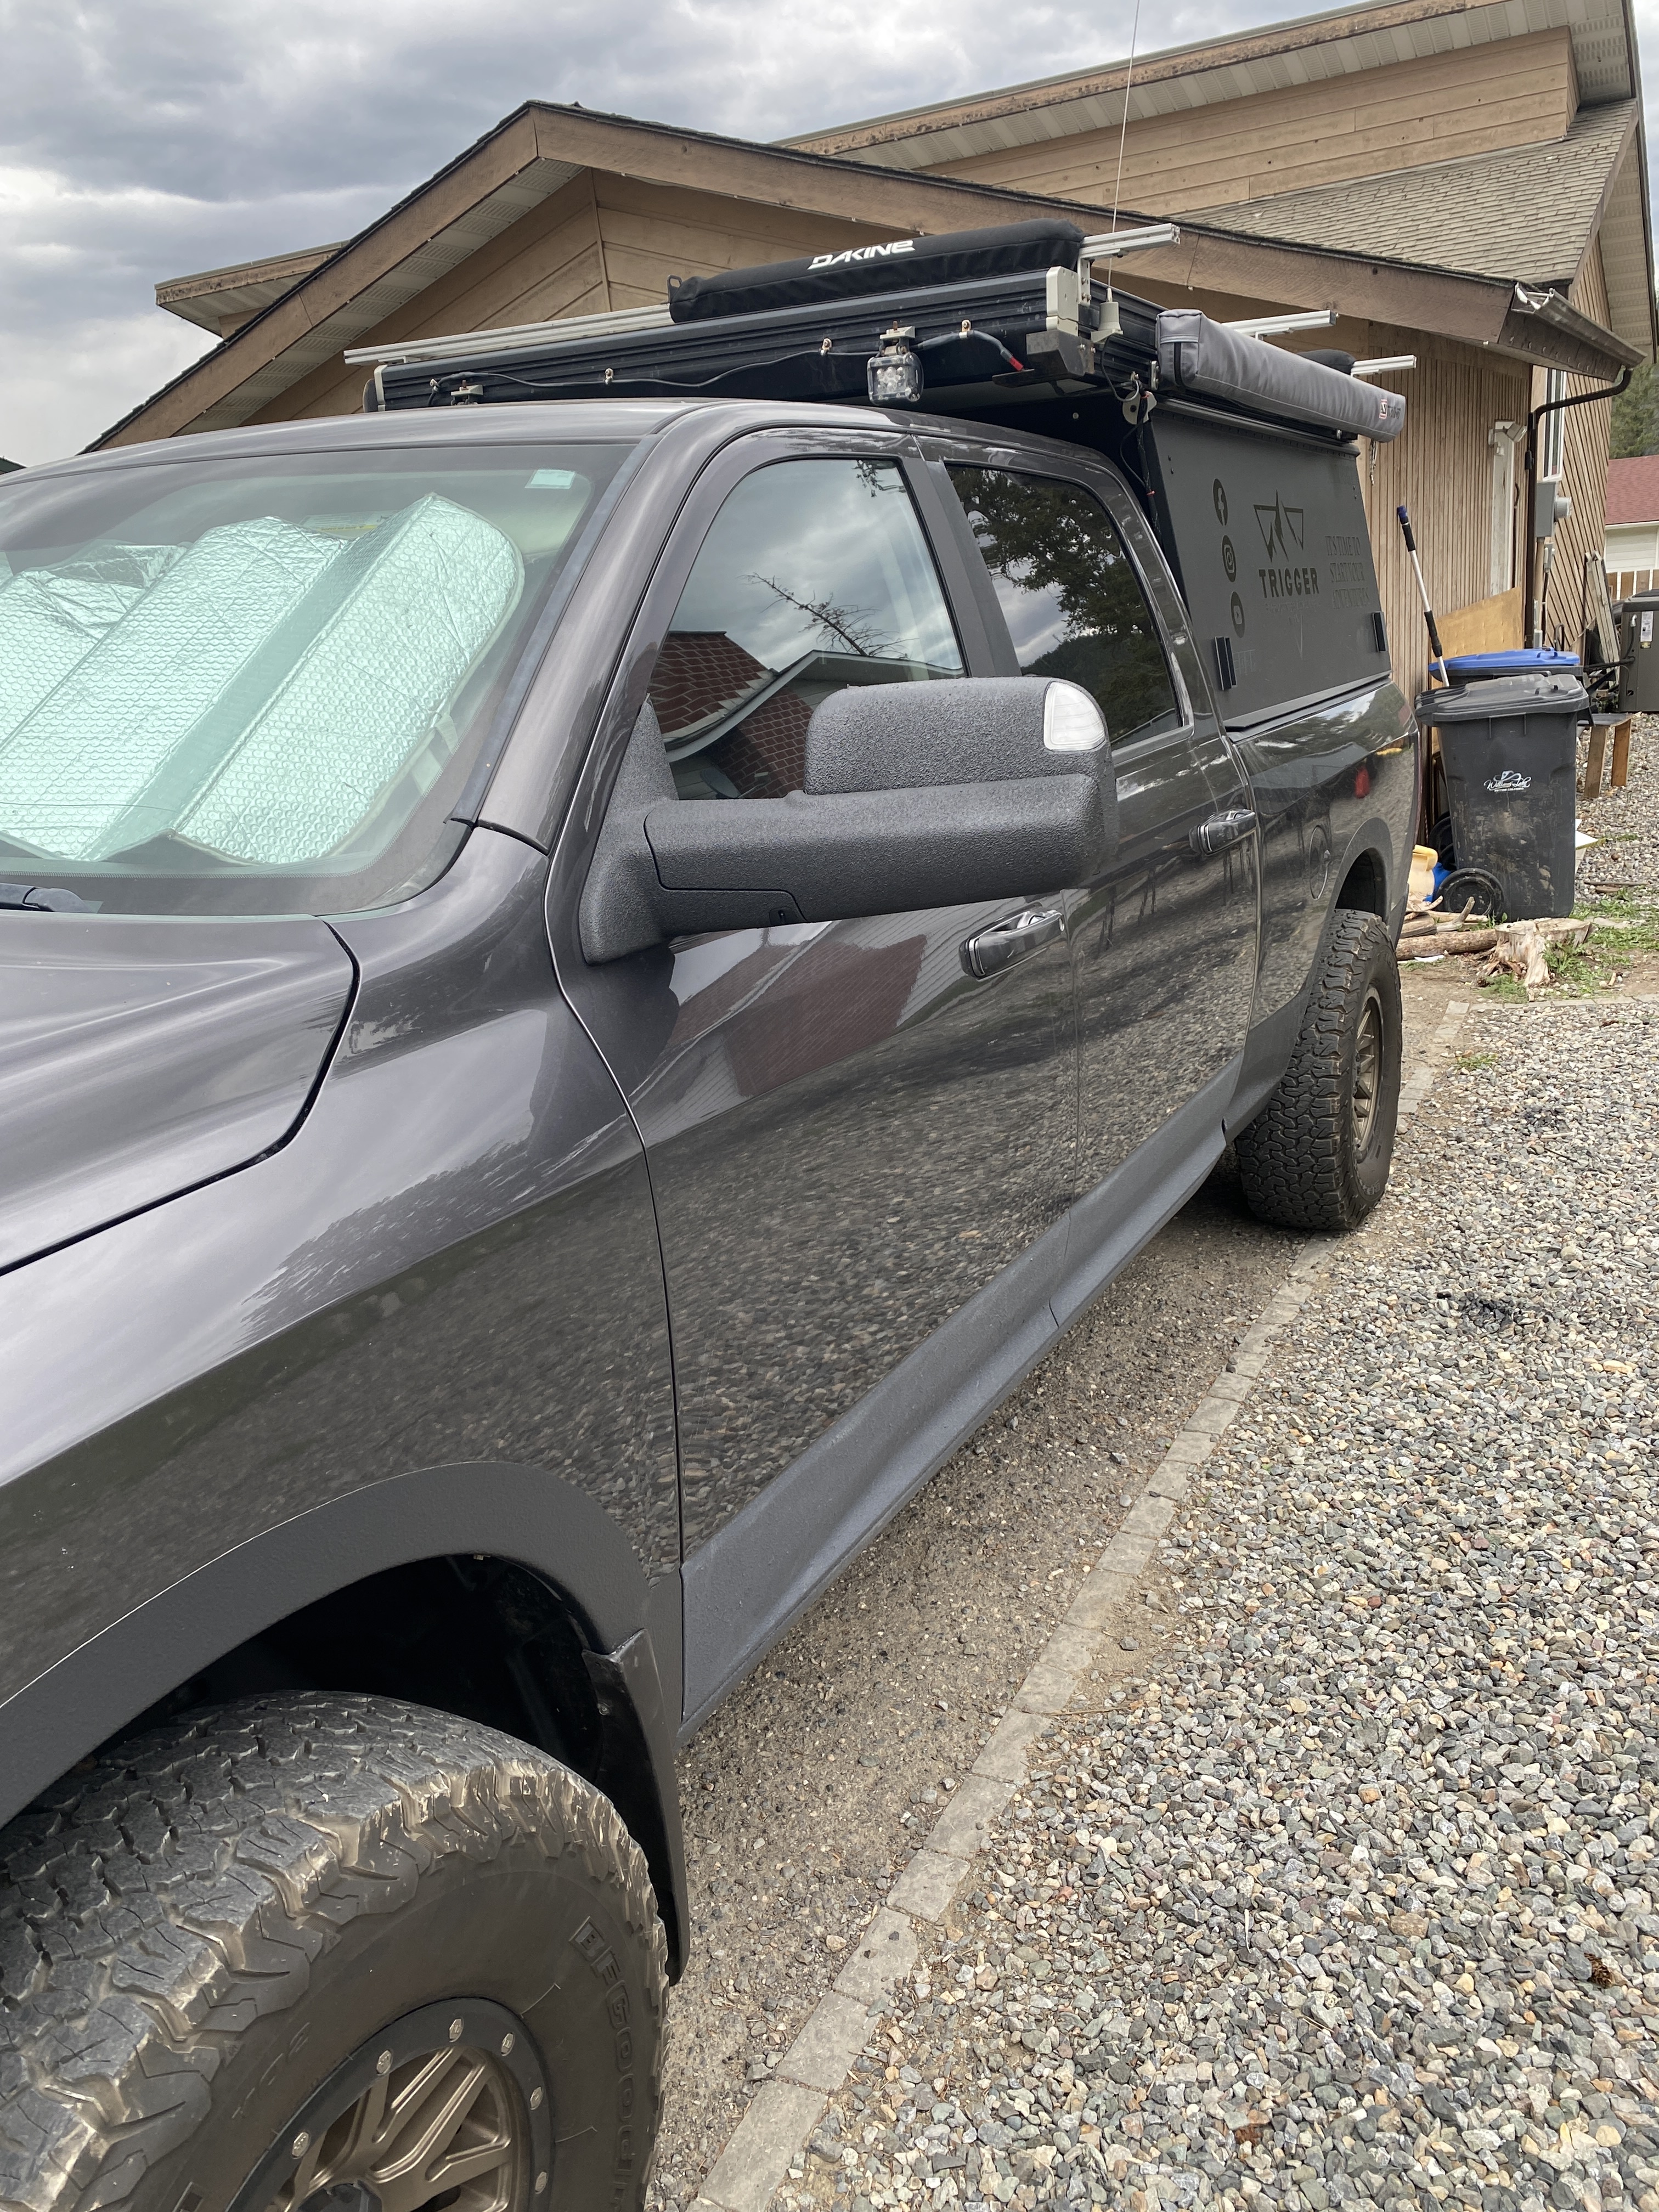
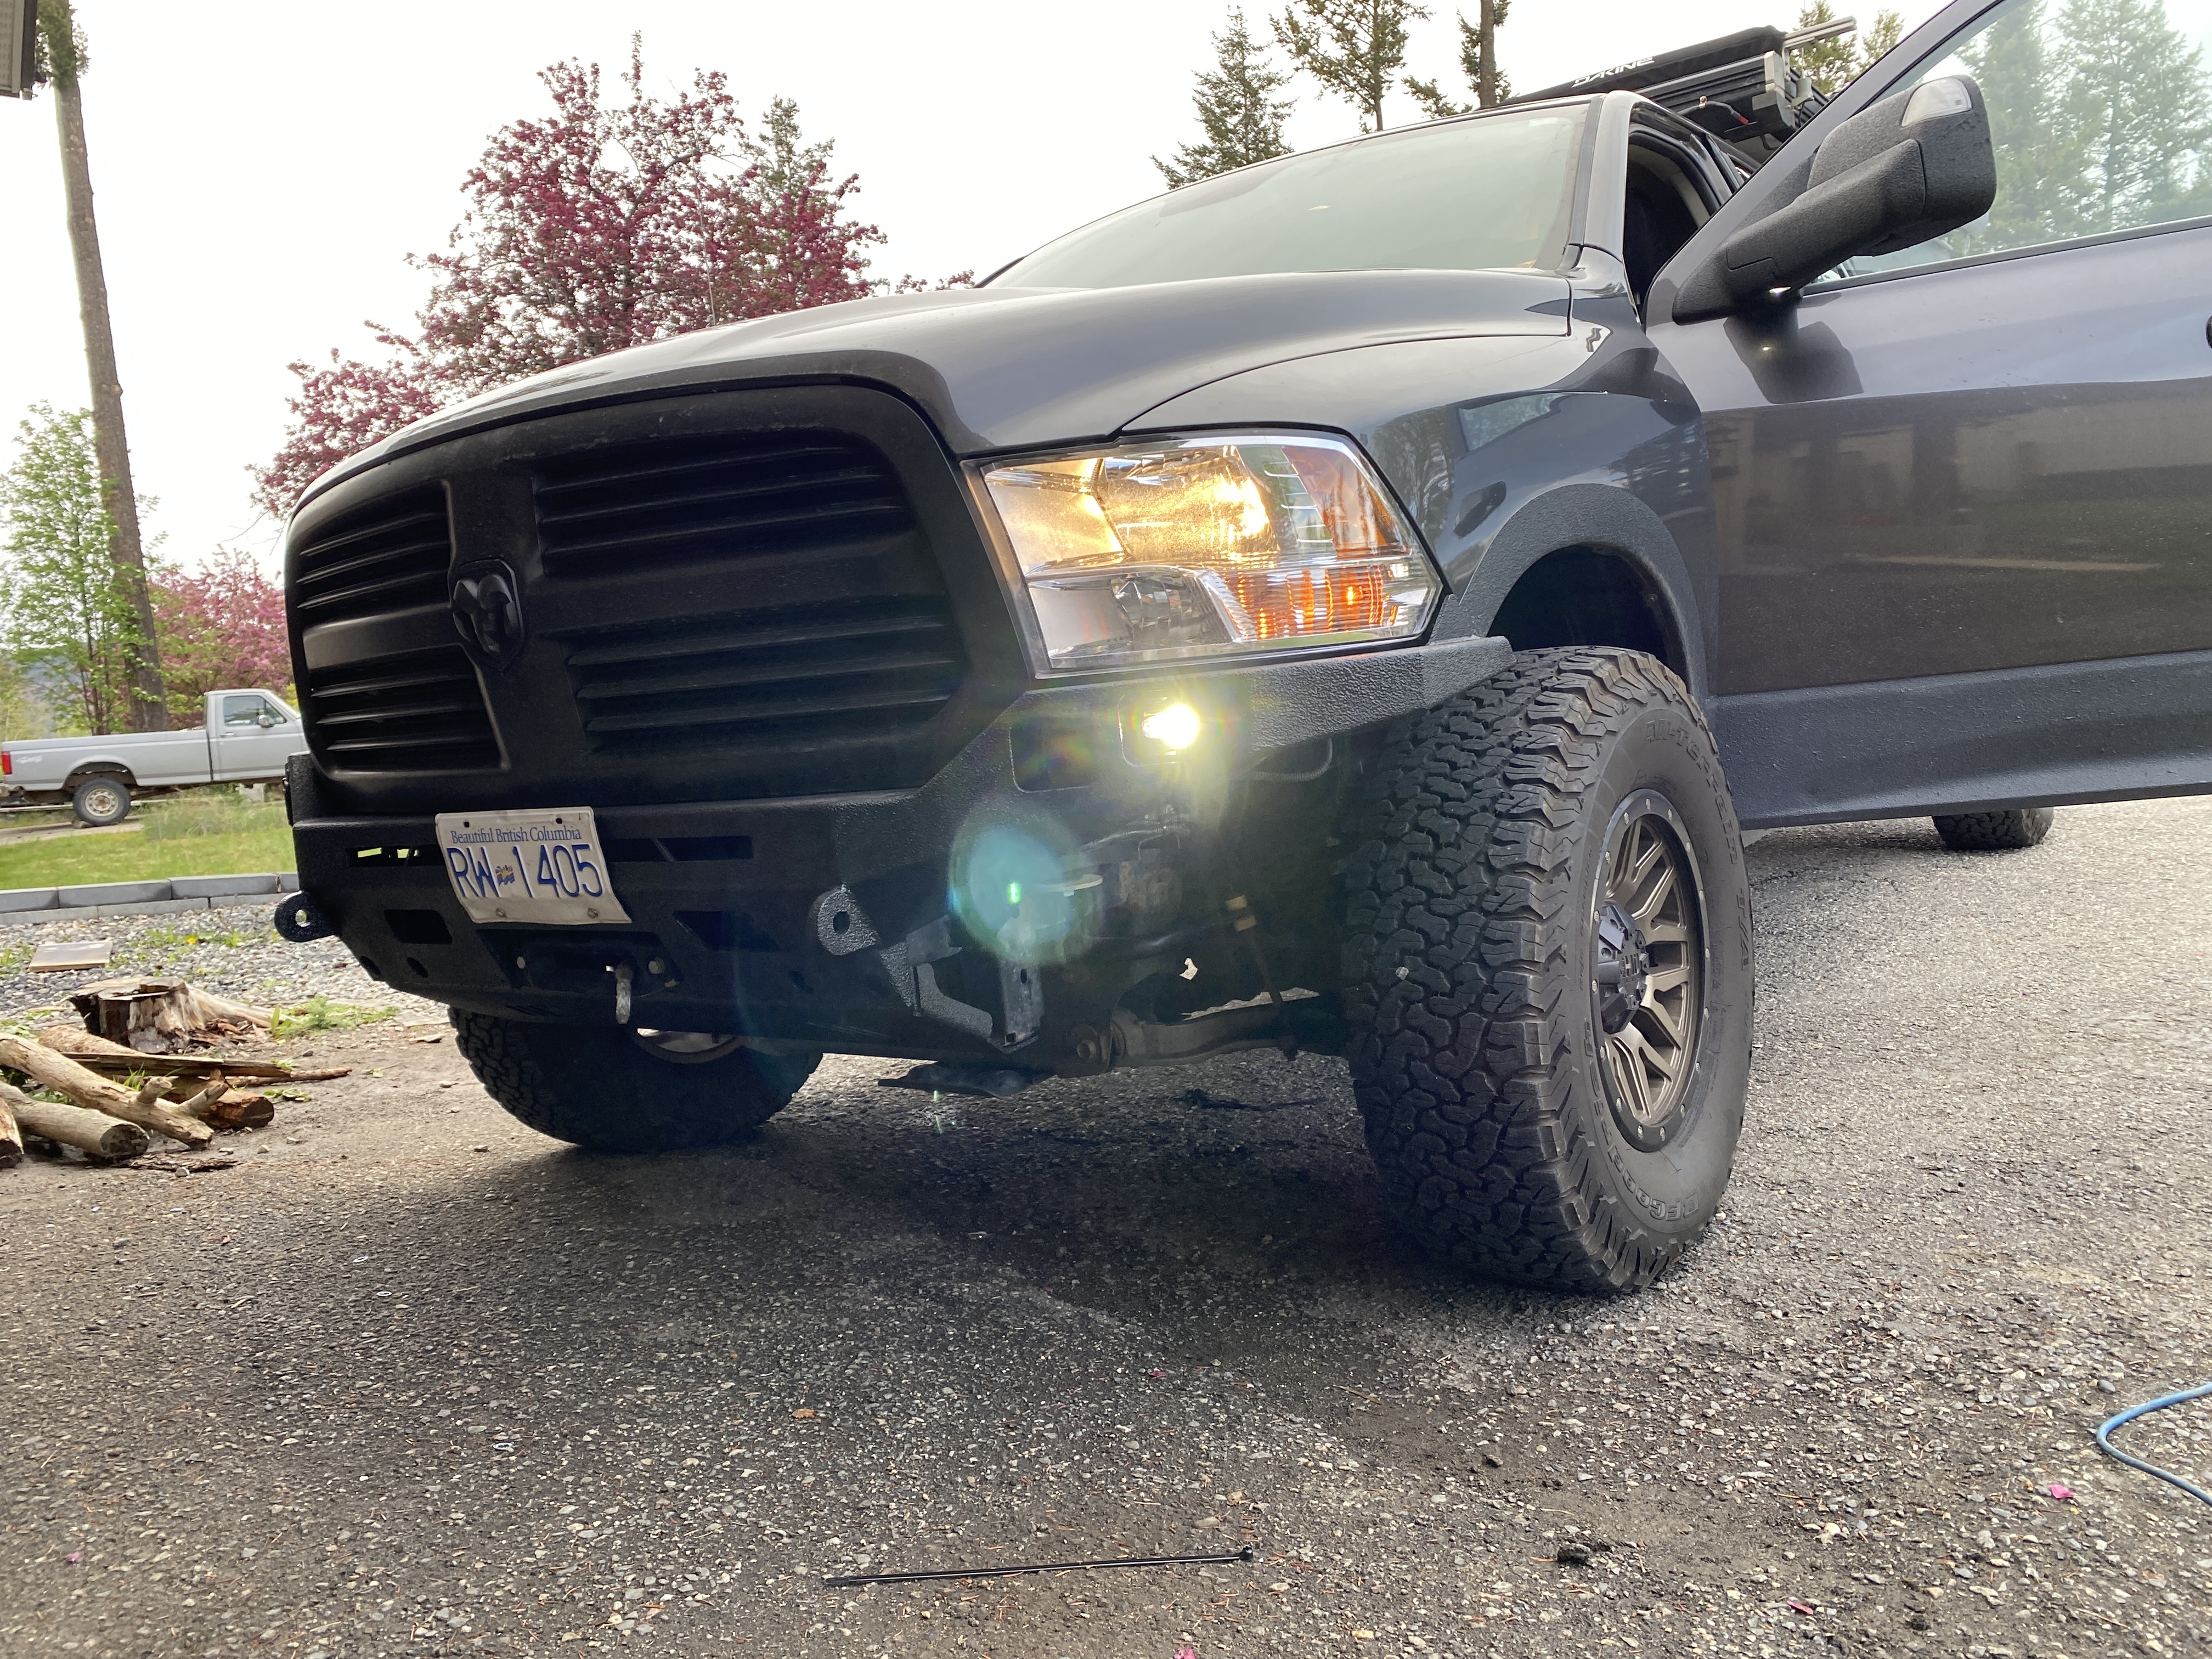
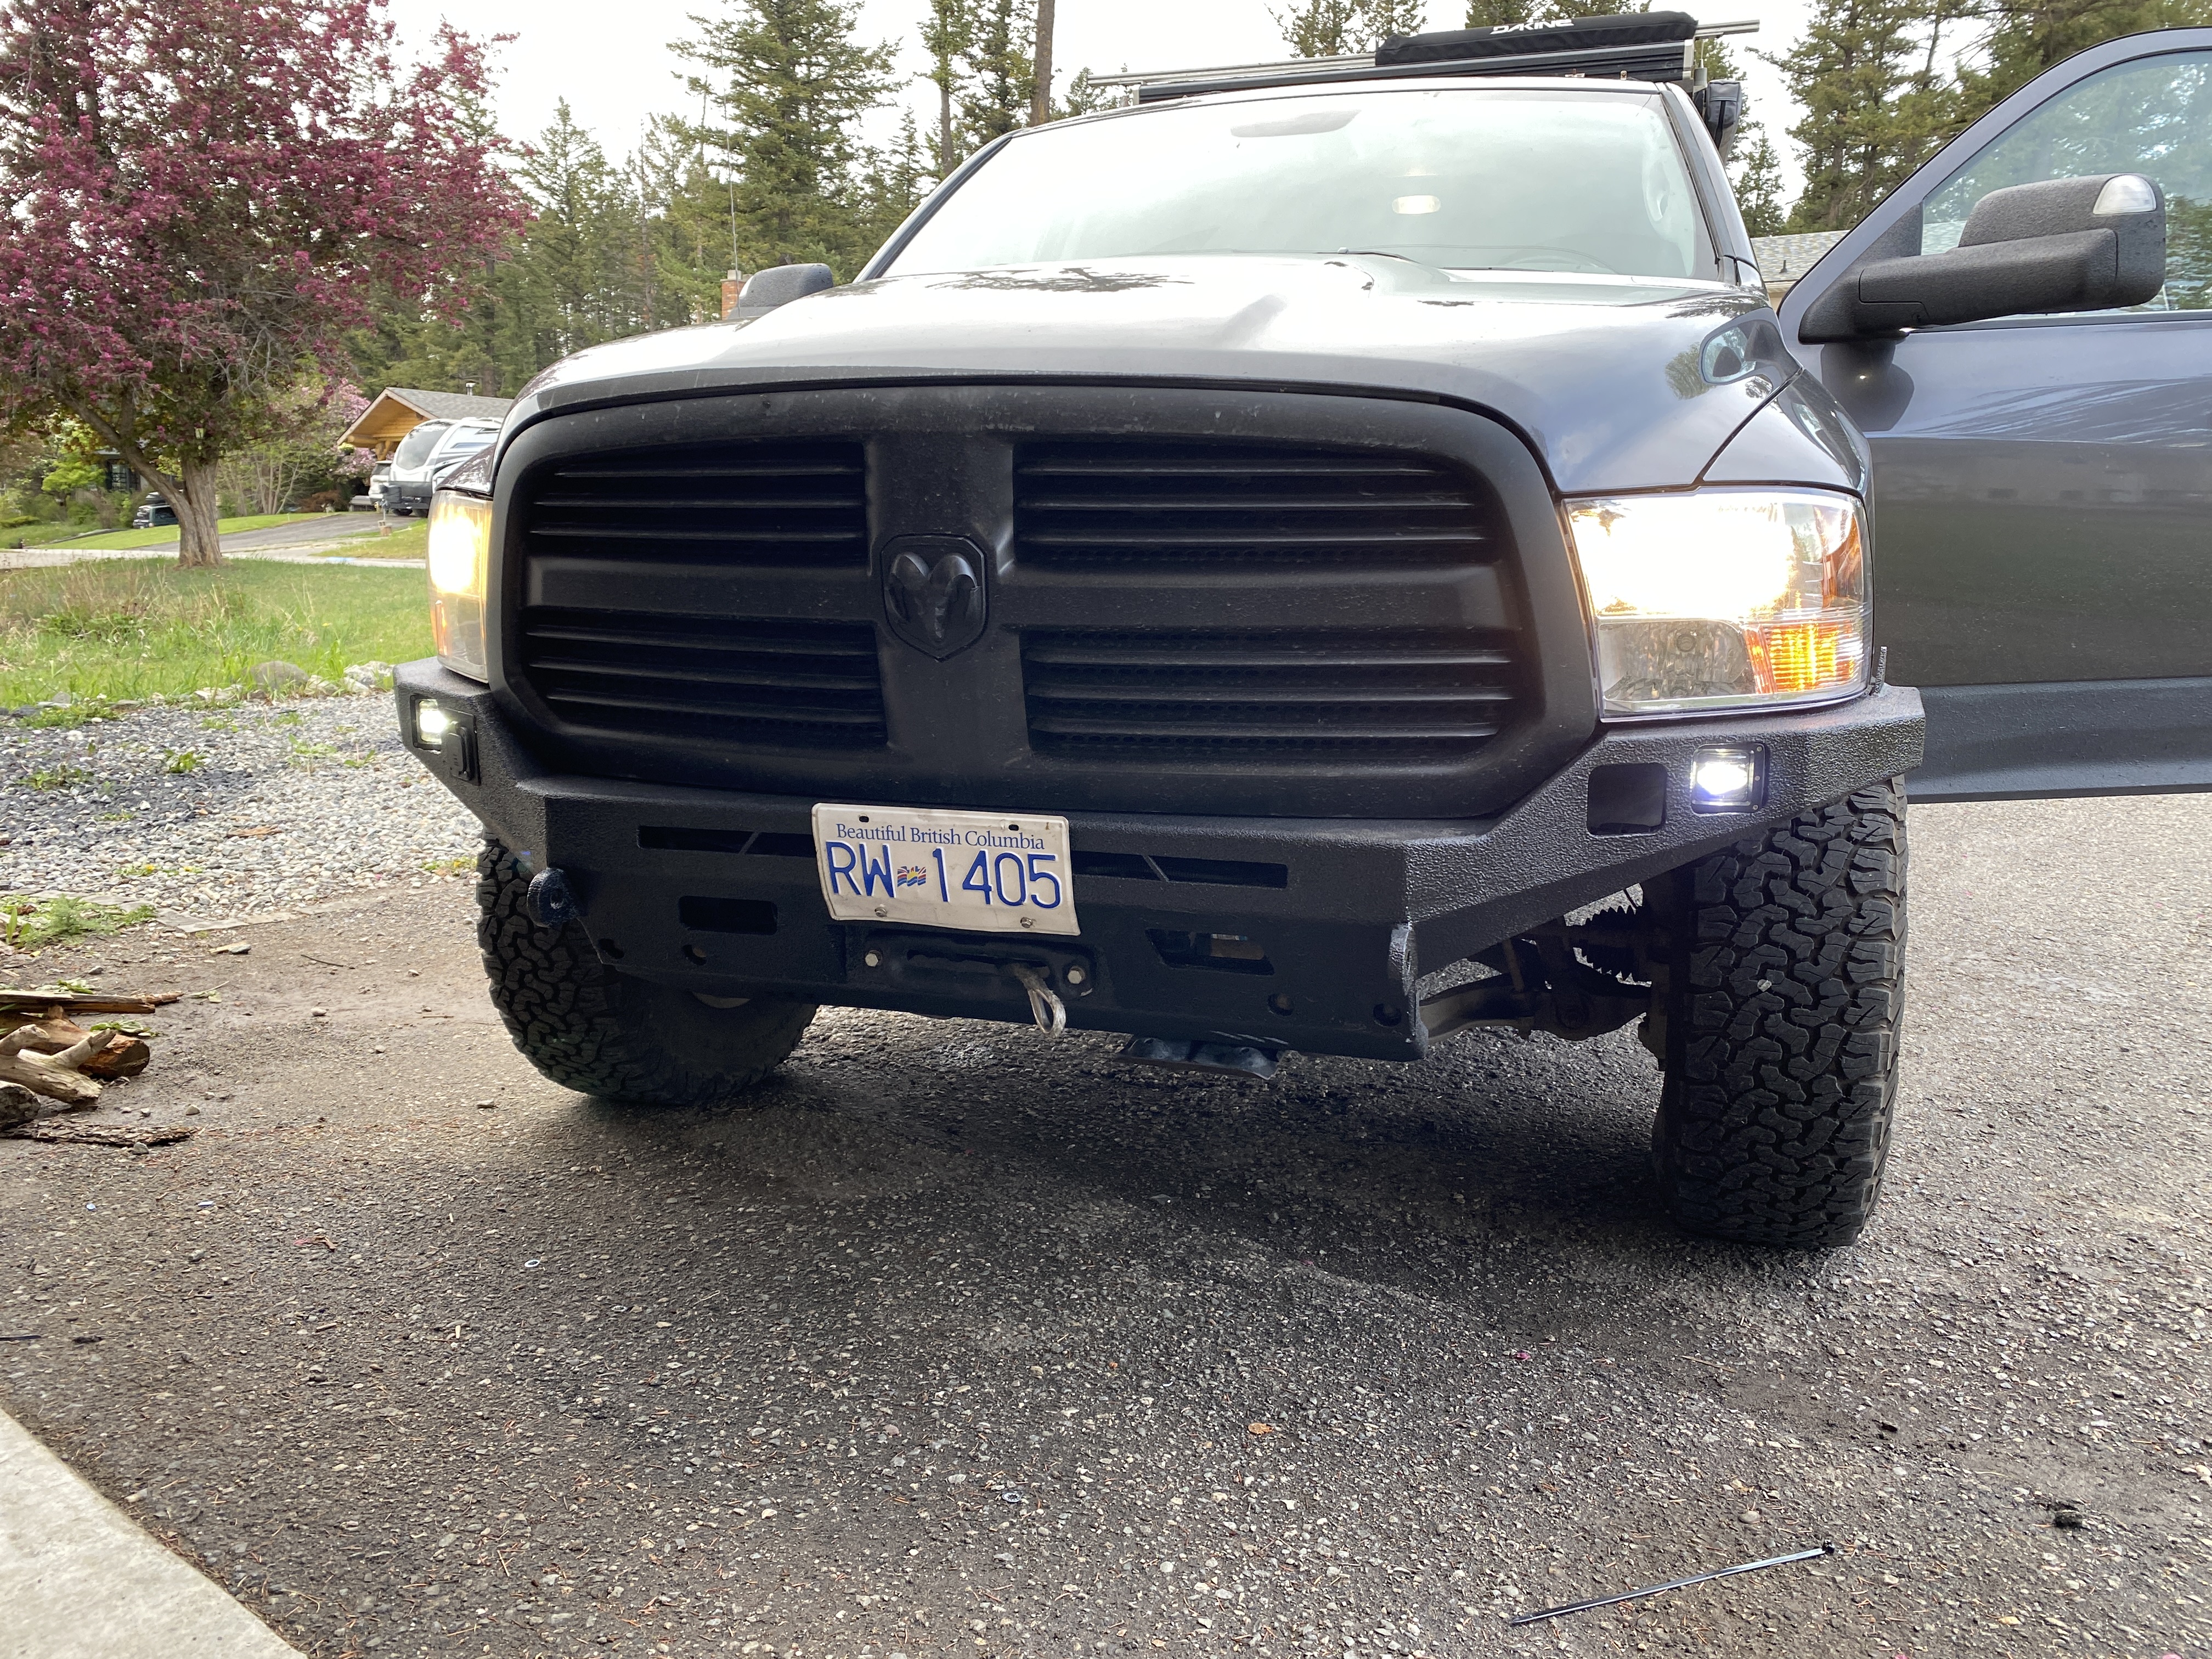
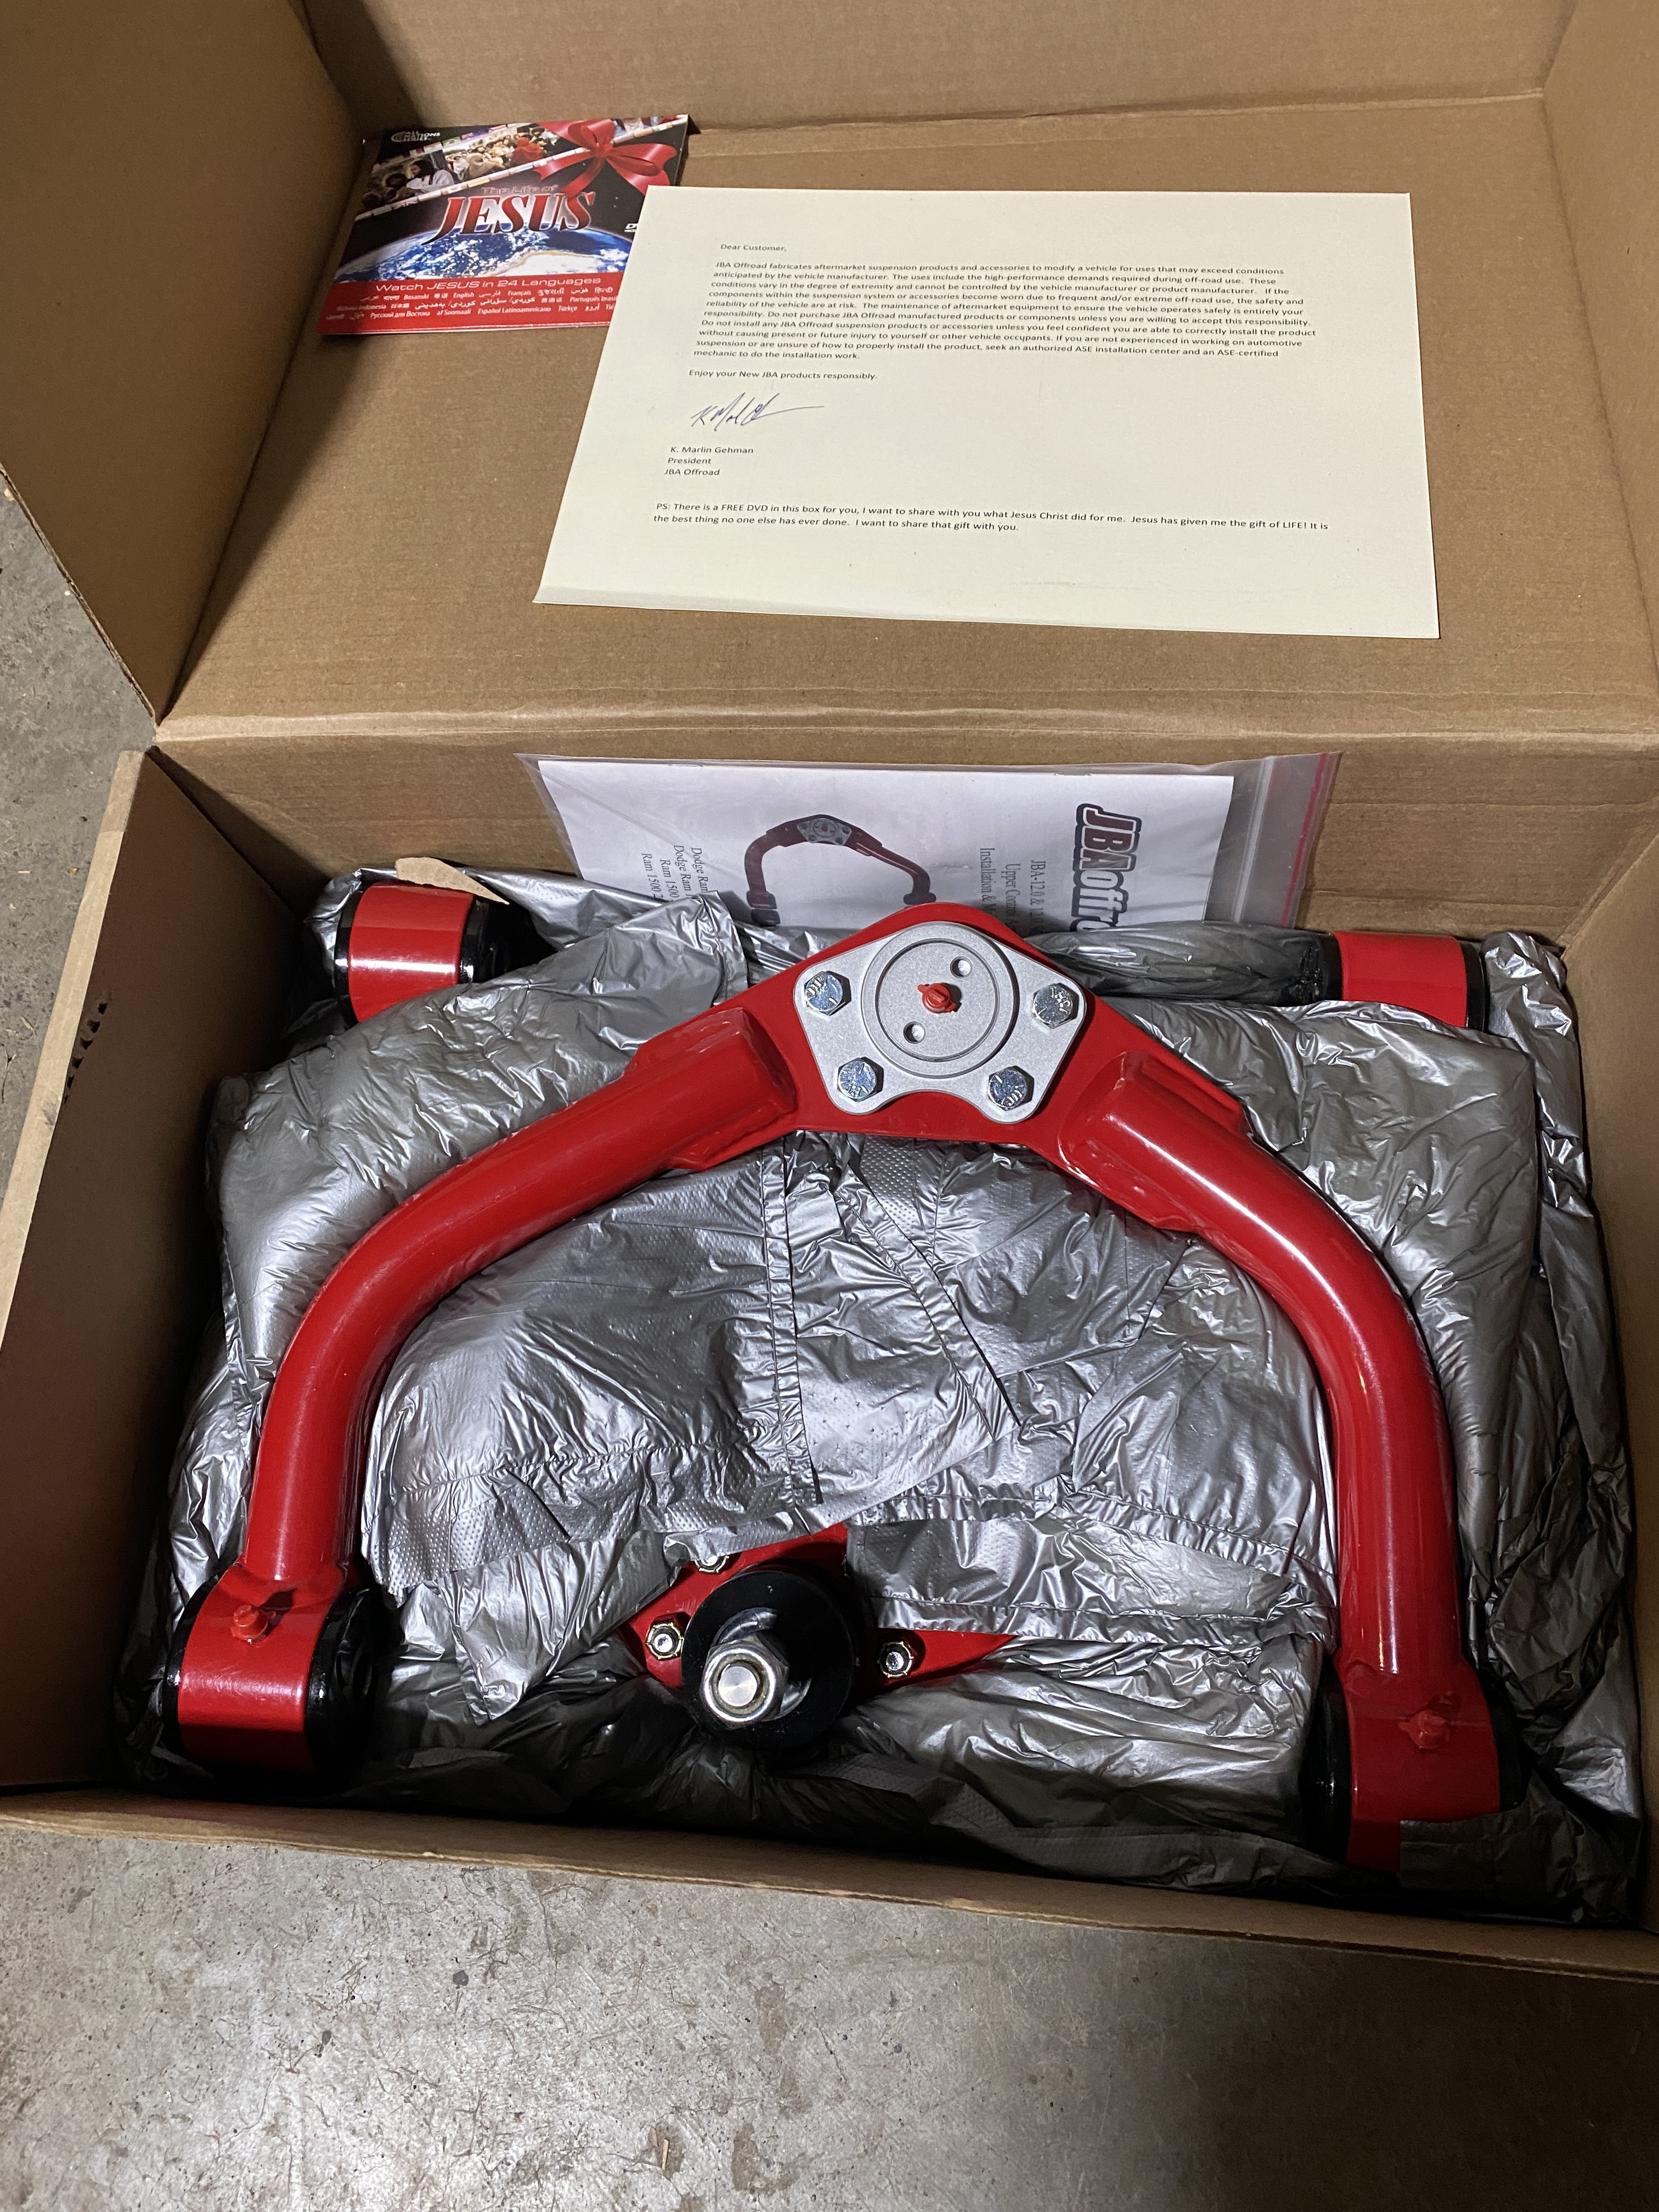
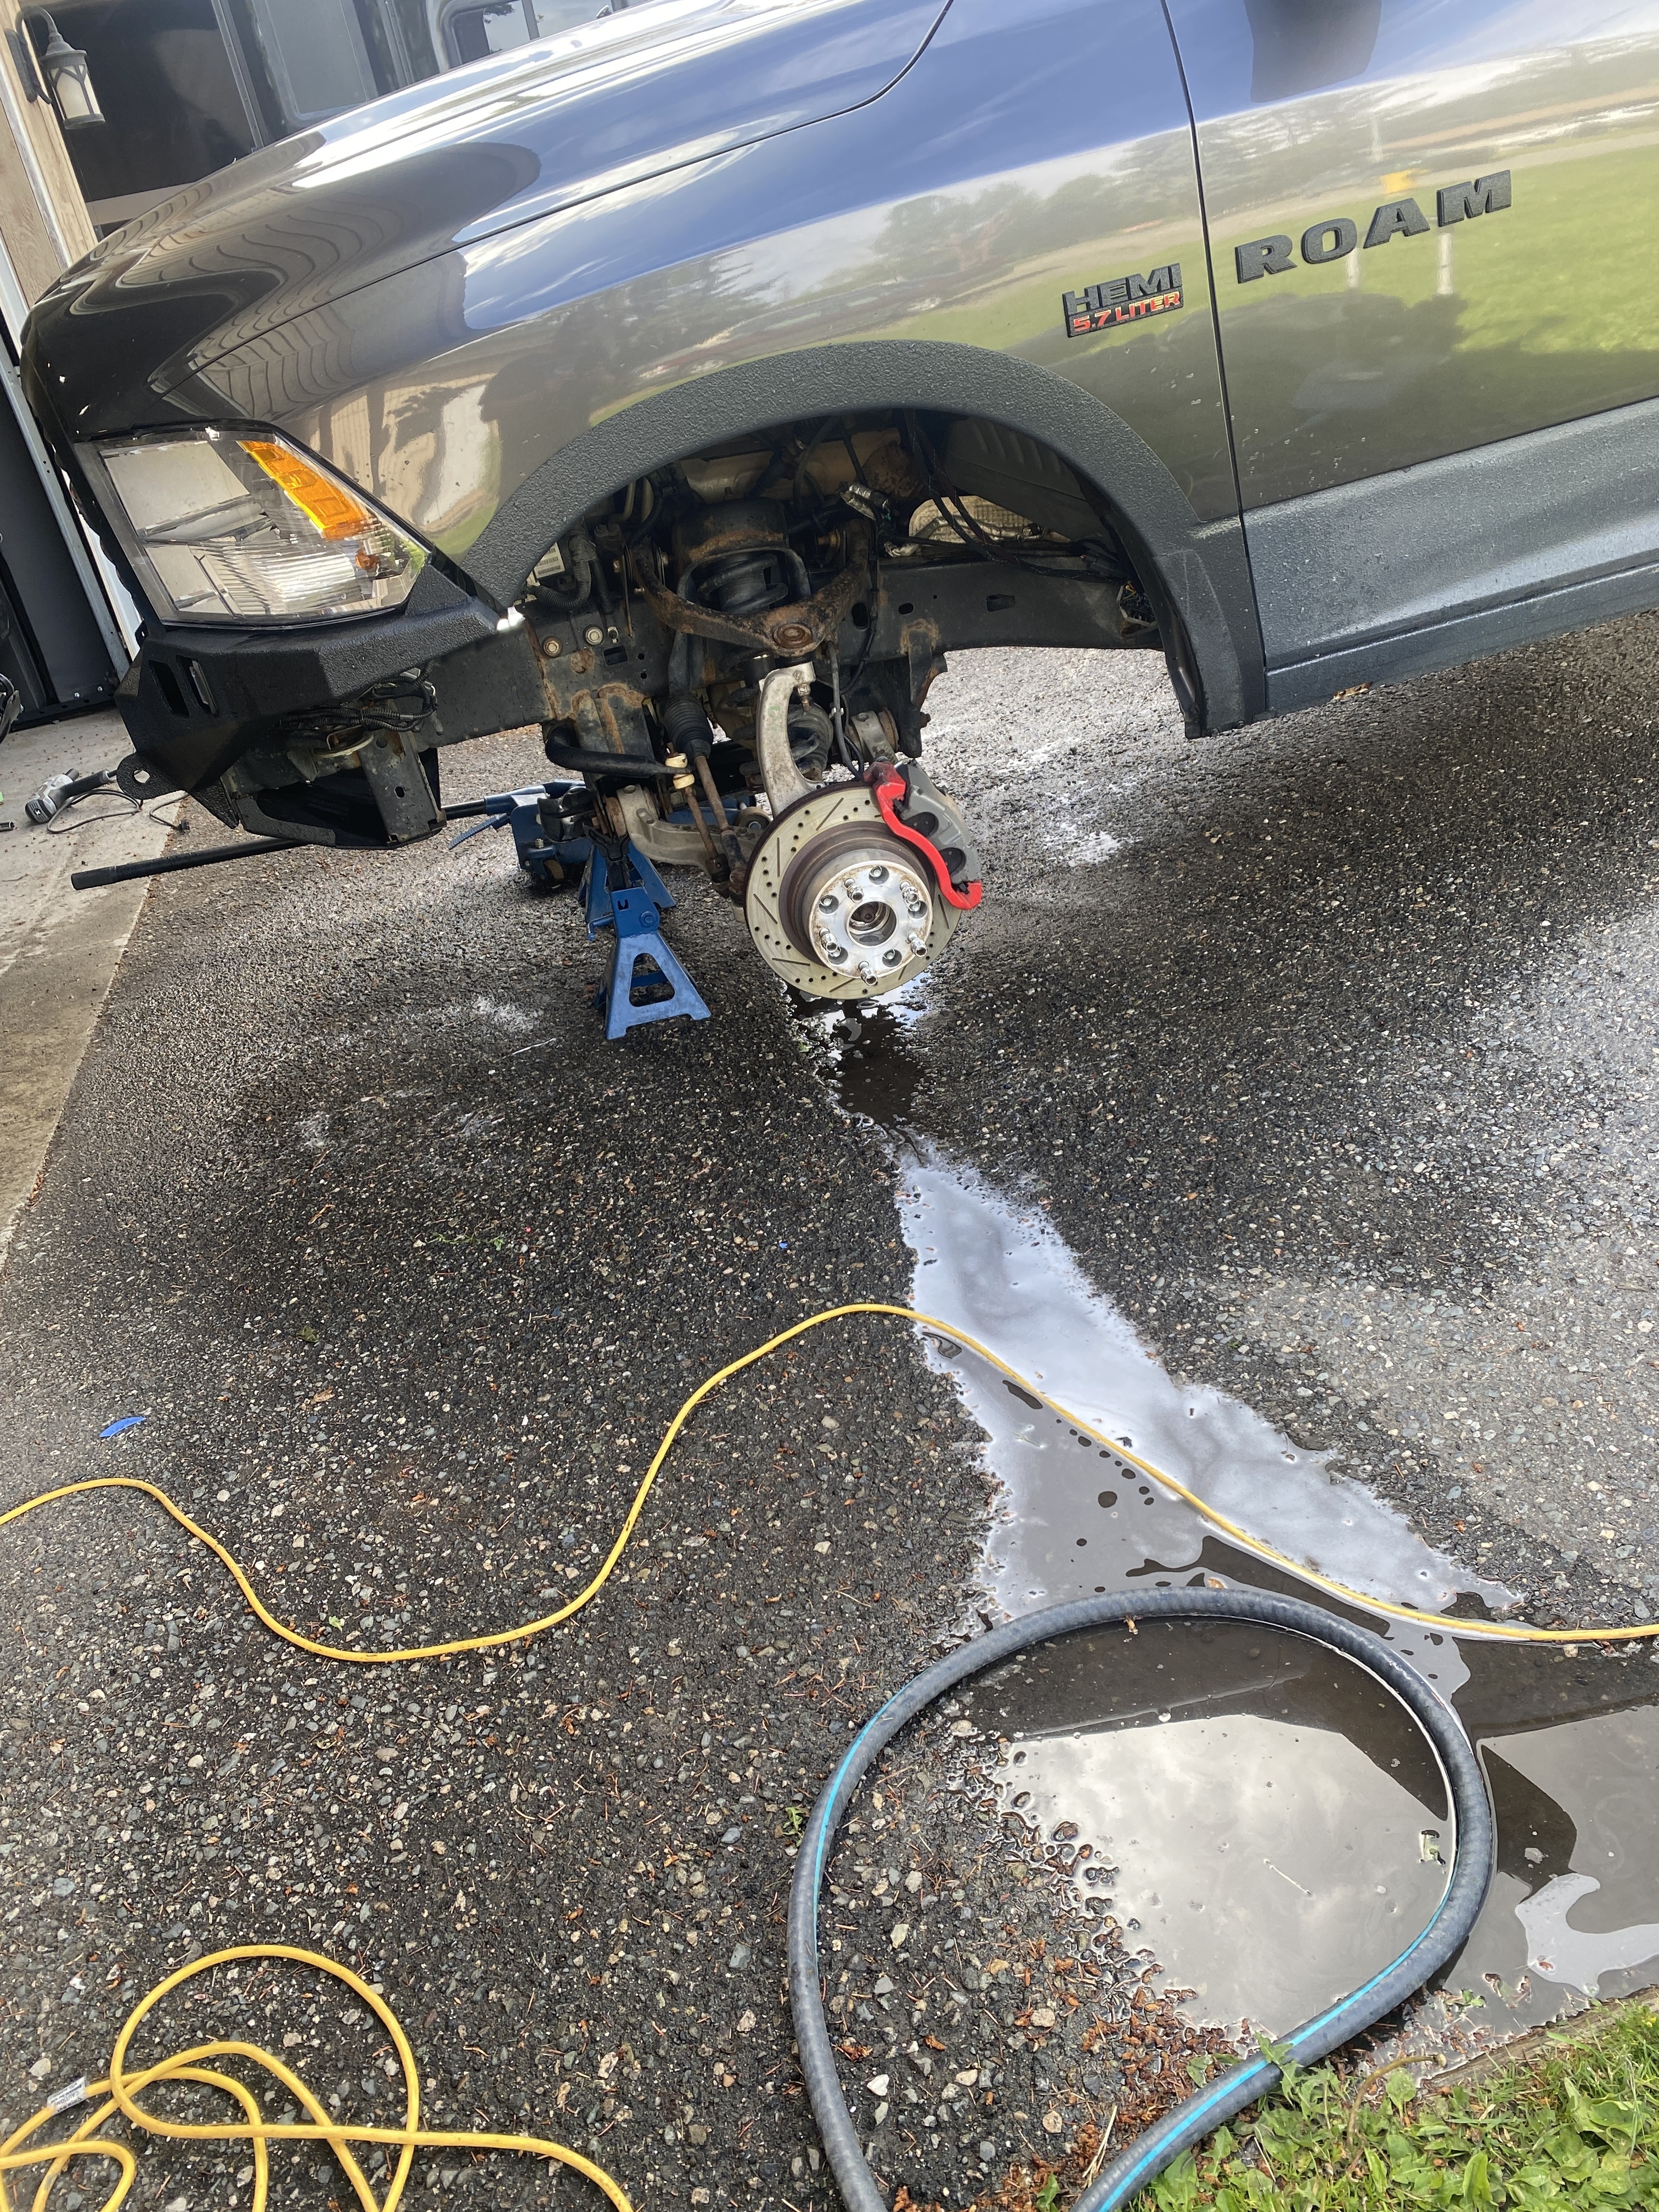
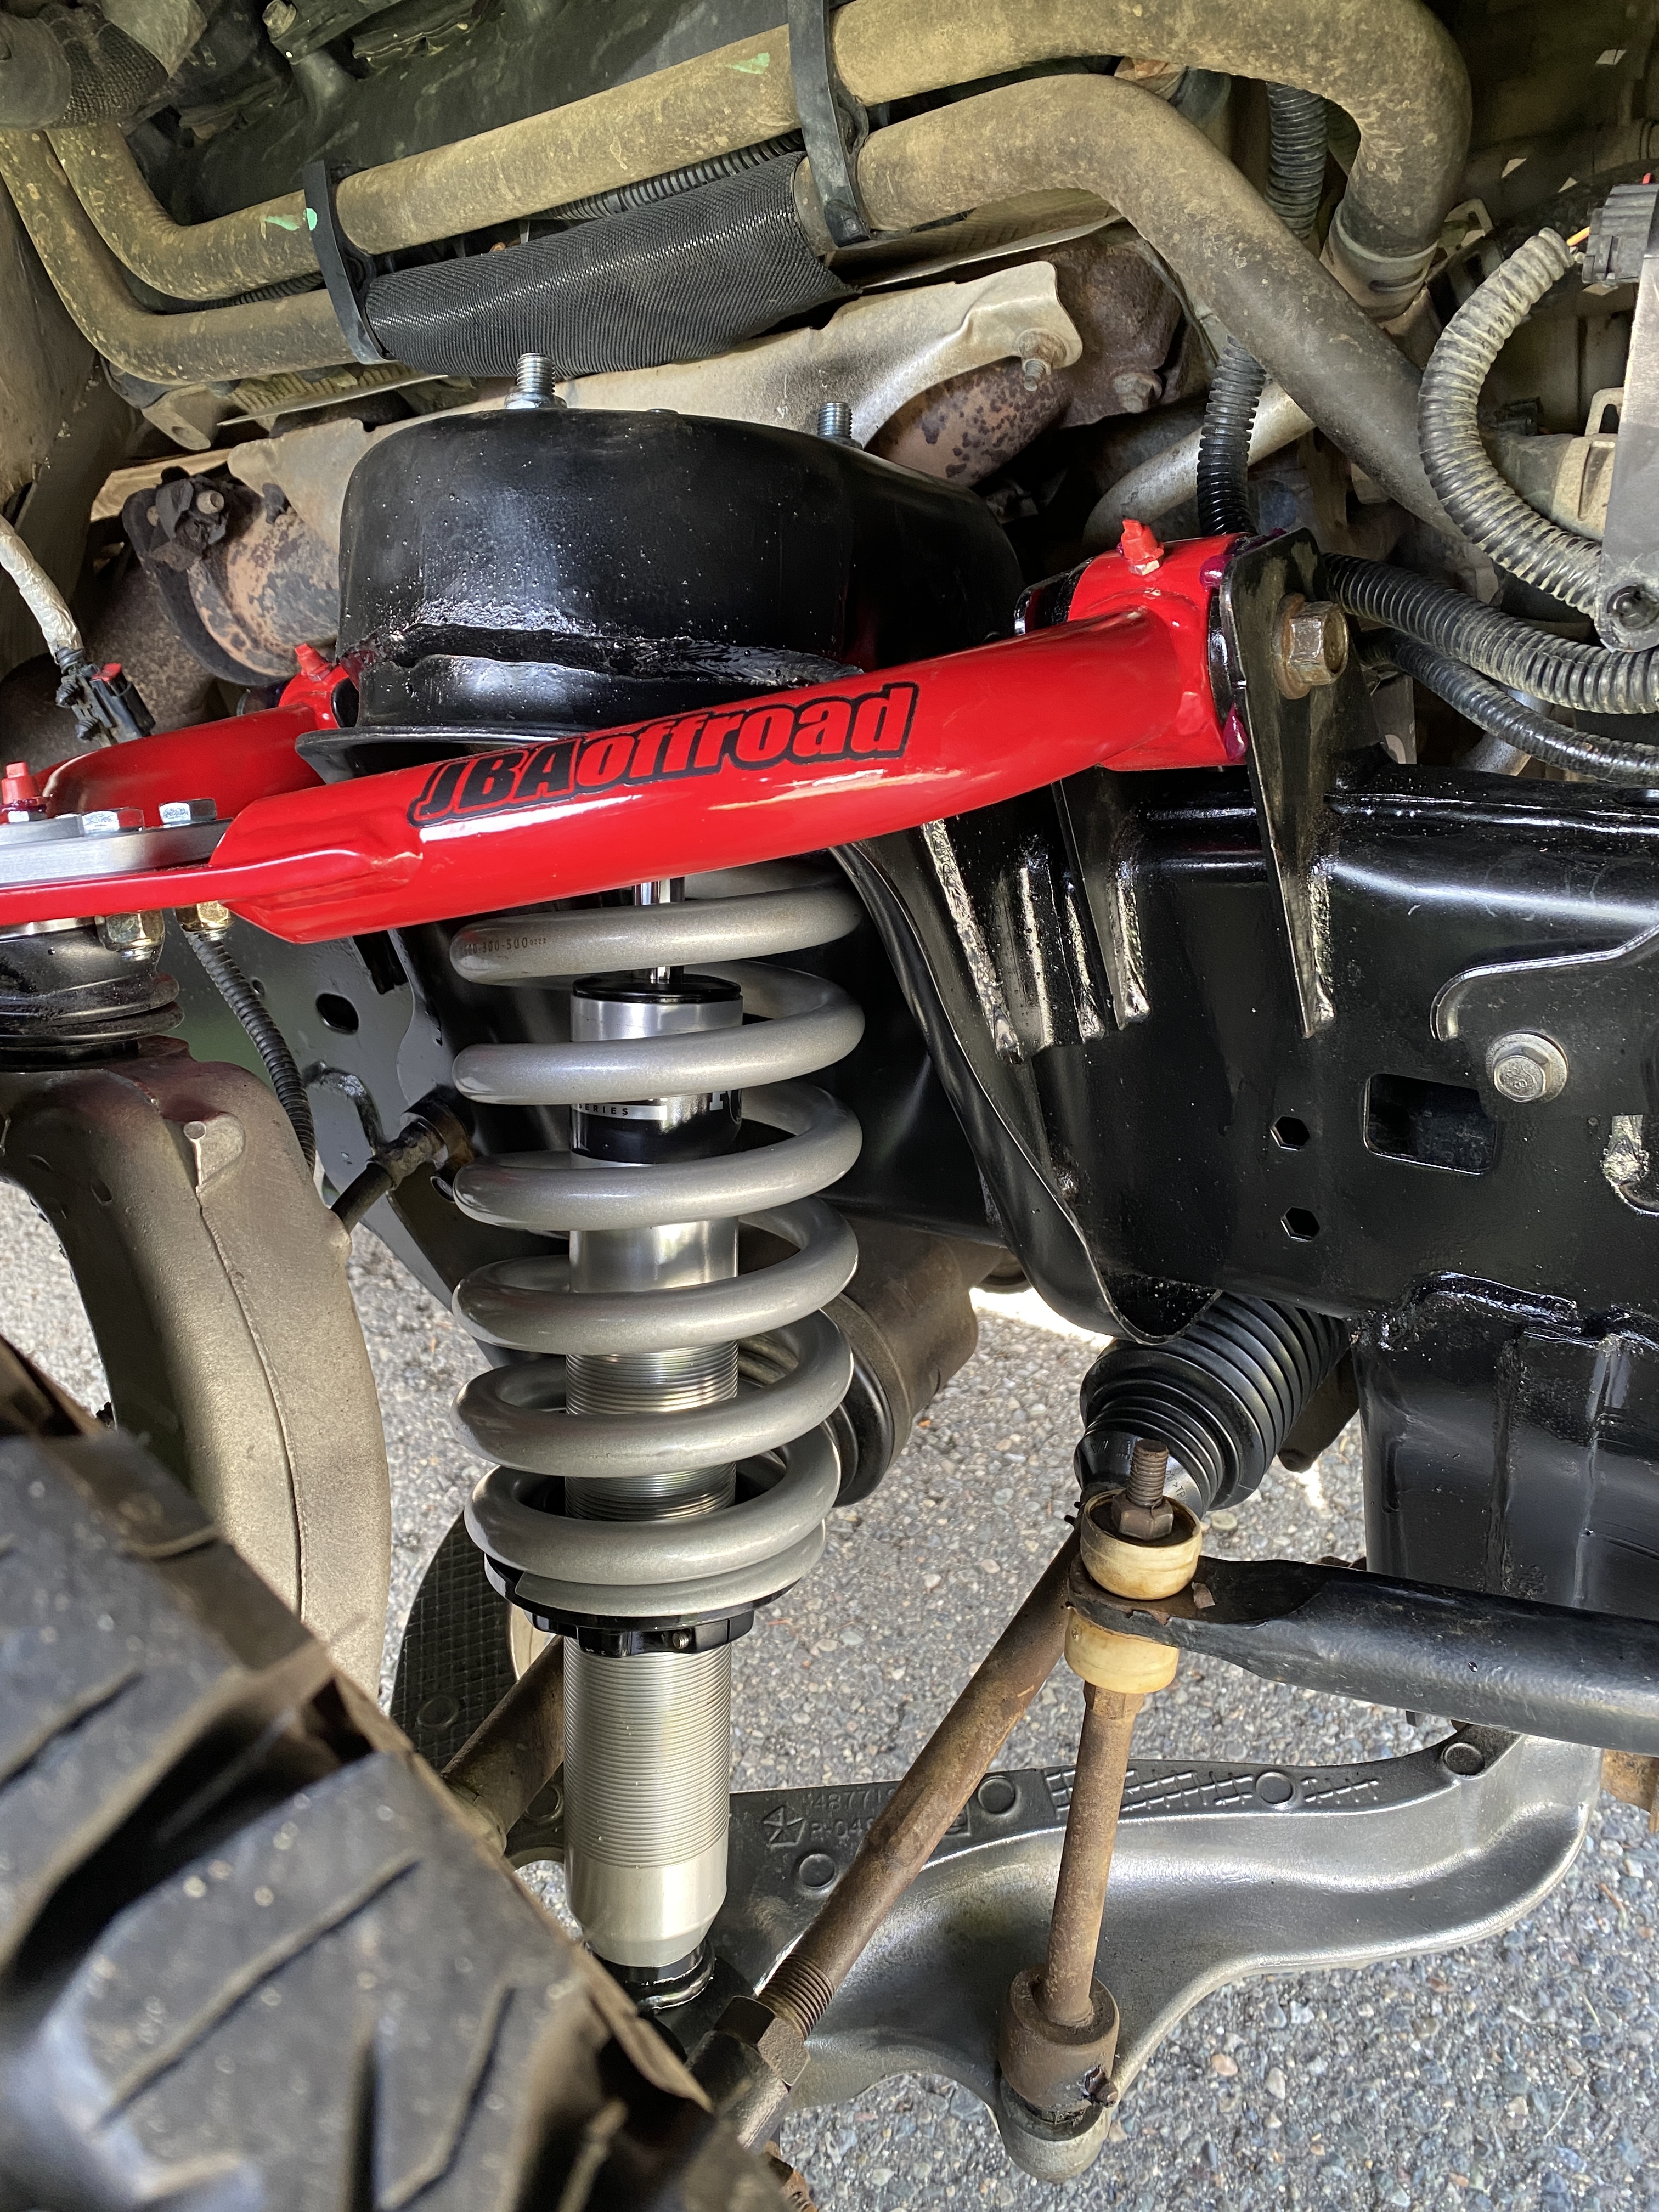
Pretty happy with the look and feel of the UCA’s. I will definitely need an alignment.

So with 1/2” adjustment in pre load I measured 5.5, stock with level was 6 with a bagged out strut.

The passenger side came out at 5” which as mentioned before is the stock height if I recall correct.

So this has been a very educational experience. What did I learn about this? That even after years of reading about these shocks. Until I got my hands on a pair I really didn’t understand what the intended use of this shock is. Which is unfortunate as it doesn’t meet my needs. What worked well? Settling into the fact that I’m going to have to disassemble and reassemble this a few times if I’m going to get these where I want them. And that in the end I may have to go with a different spring.

Those Vevor spring compressors on amazon and looking better and better each day!

I’ve let it settle, and now I need to find a time to pull it apart and bring the shocks into a shop. Have them make a 1.5 and 2” adjustment. I’m math-ing that this will bring me to 6.5 which is what I believe I had with my Levelling kit.

I want to see how it rides like that before I decide to go any higher if I can. I still think that I will end up going for this spring in the long run.

I have the heavy’s on the back and they’re awesome!

Oh, that makes me think of the 2.0’s on the rear. After driving an empty 2023 ram 1500 today at work; my rear end is definitely more plush on bumps. I haven’t had a chance to rally these yet up to some of my favorite paddling spots. That will be the true test.

Cheers W