2014 Ram Big Horn - Build out

Here we go again! I was unsuccessful at finding any shop in town that would help with these coilovers. I got some pretty unsavoury responses from some of them stating they will no install those for people for this exact reason. That being, needing to take the front end apart in order to make adjustments.

With that I found this on amazon:

ATPEAM Coil Spring Compressor Tool, Heavy Duty Build, Ultra Rugged Coil Spring Compressor Tool Automotive, Strong and Durable Strut Spring Compressor with Safety Guard 2200lb Capacity 11in Jaw Opening
https://a.co/d/0f3Kaghd

I’m happy to report that this spring compress WILL work on Fox 2.0’s. I was able to successfully tear down both sides, adjust and re-assemble the front end in about 4 hours.

The PROCESS


After scouring the internet looking for a reasonably solution that didn’t involve purchasing a floor mount strut spring compressor. I came across the power of these units.

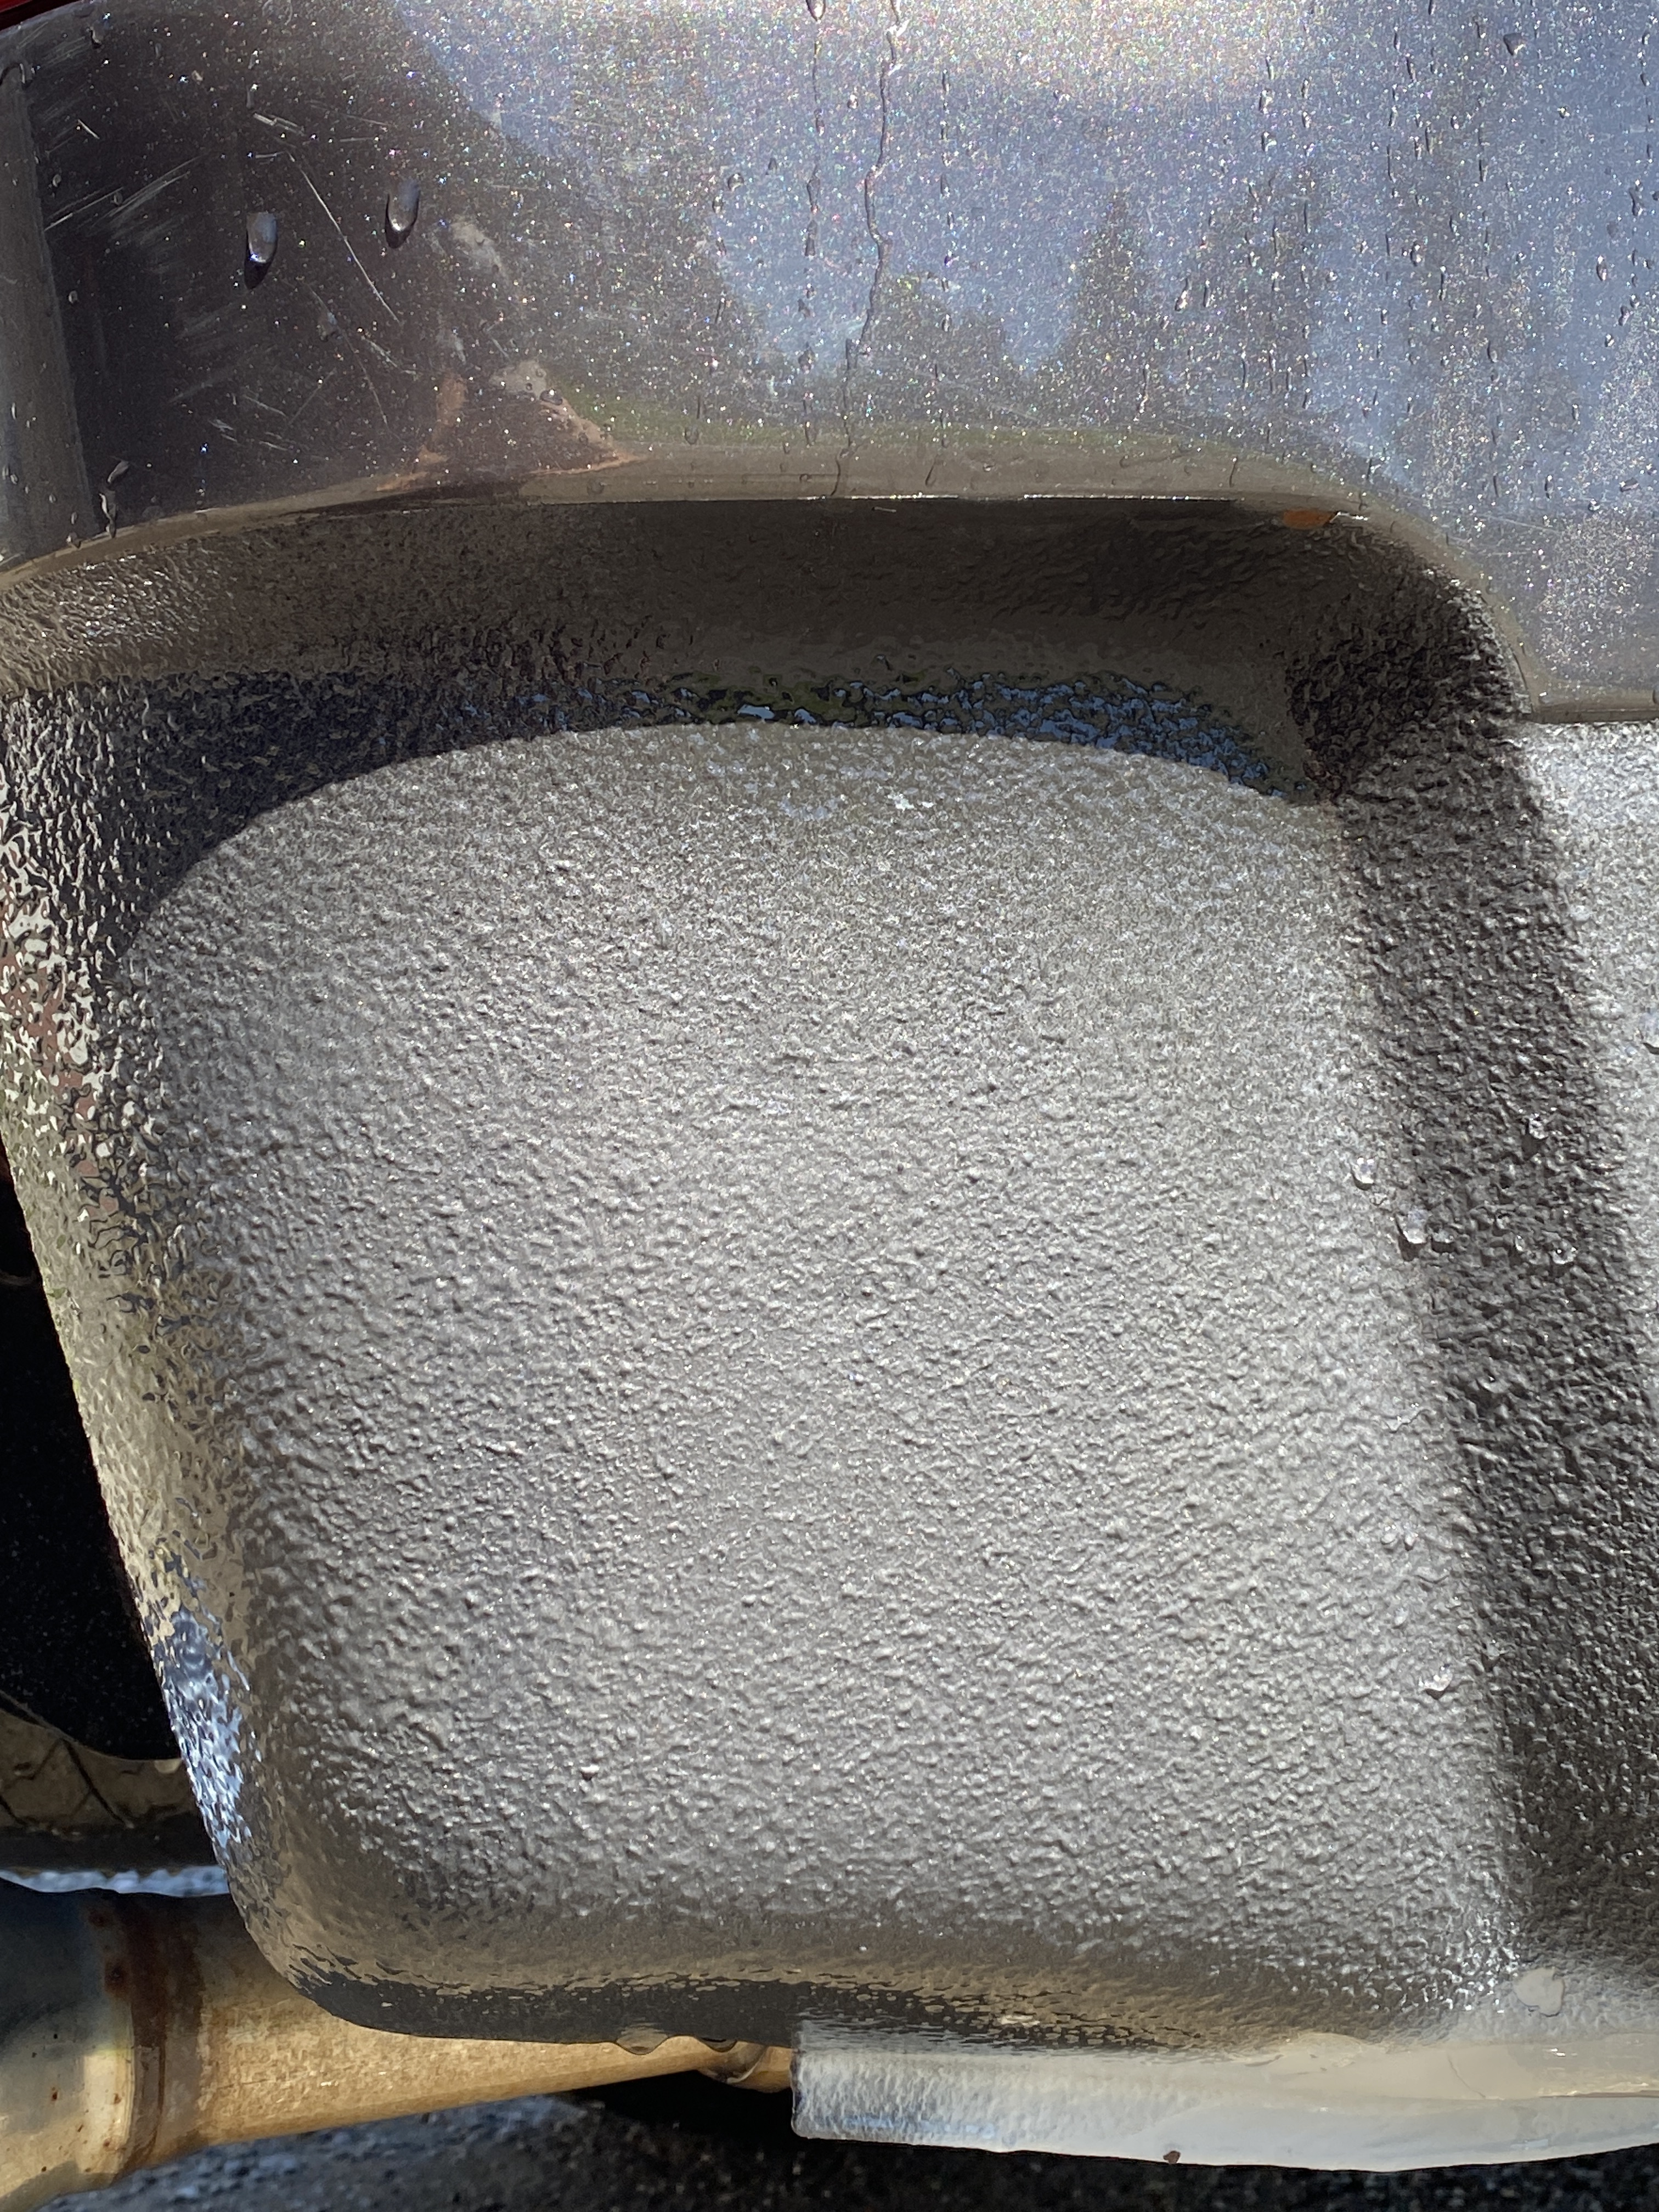
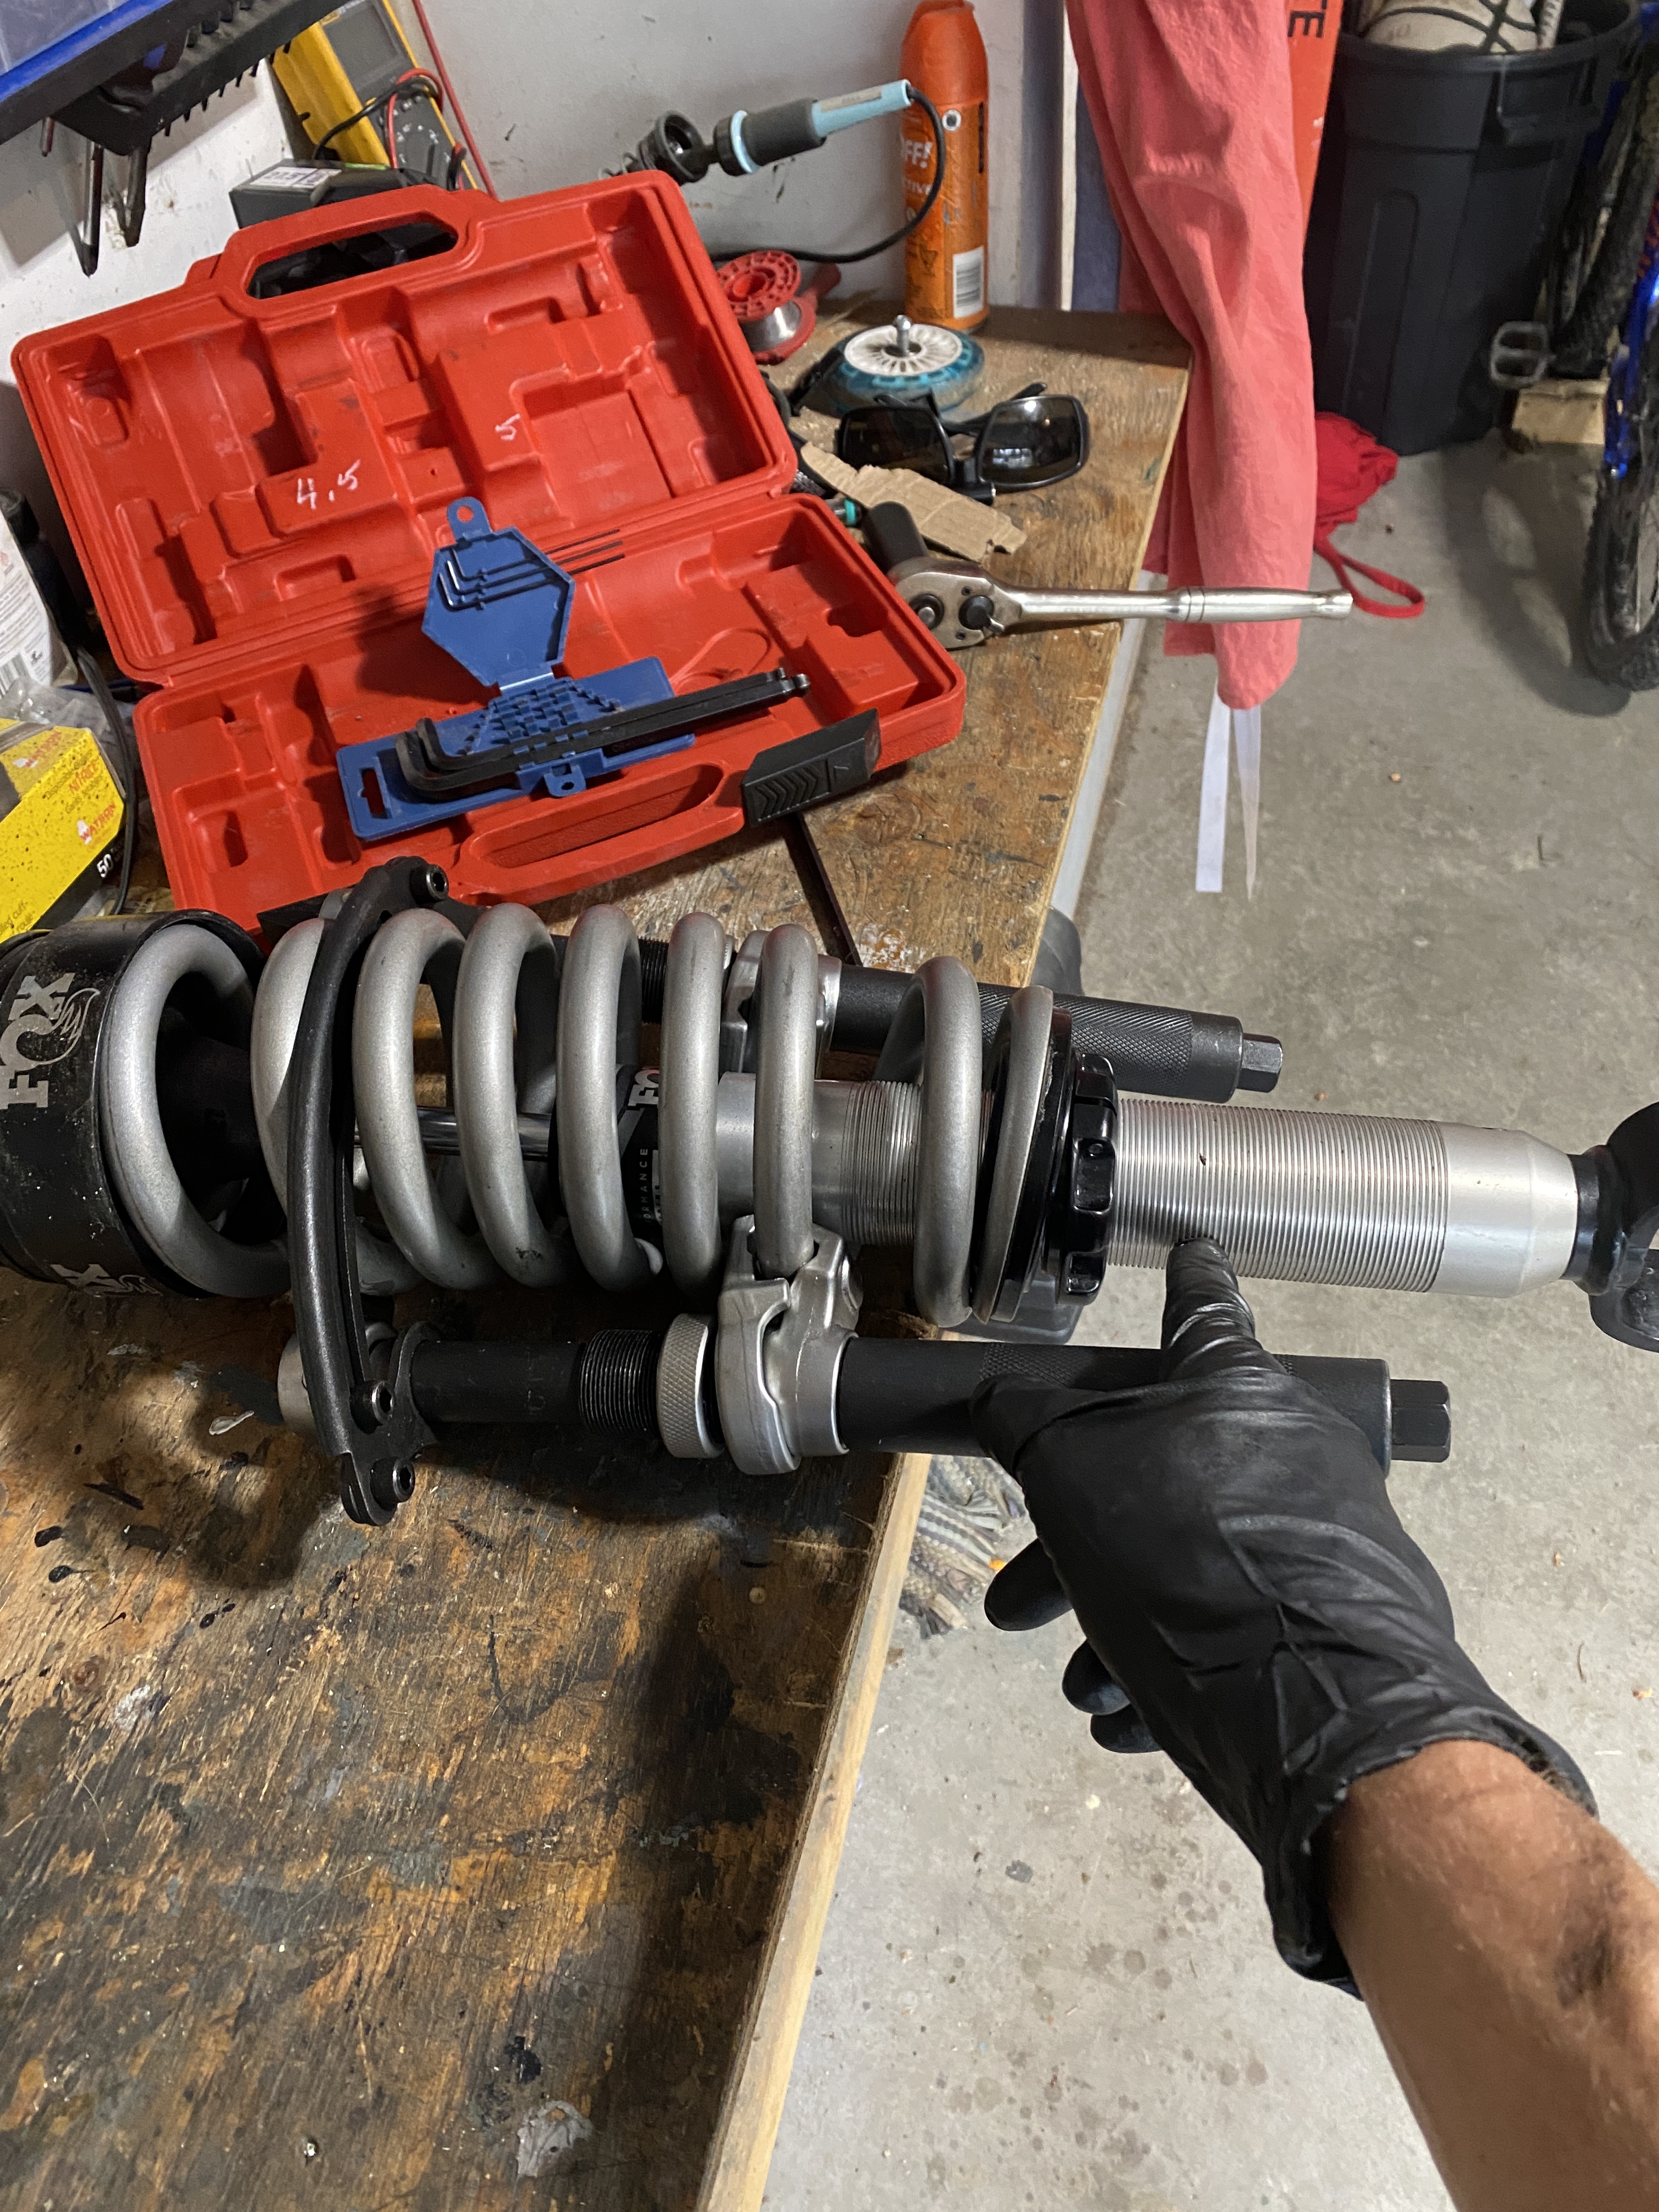
You’ll not the excessive grease on the threads. This is mandatory according to the web of connected computers.
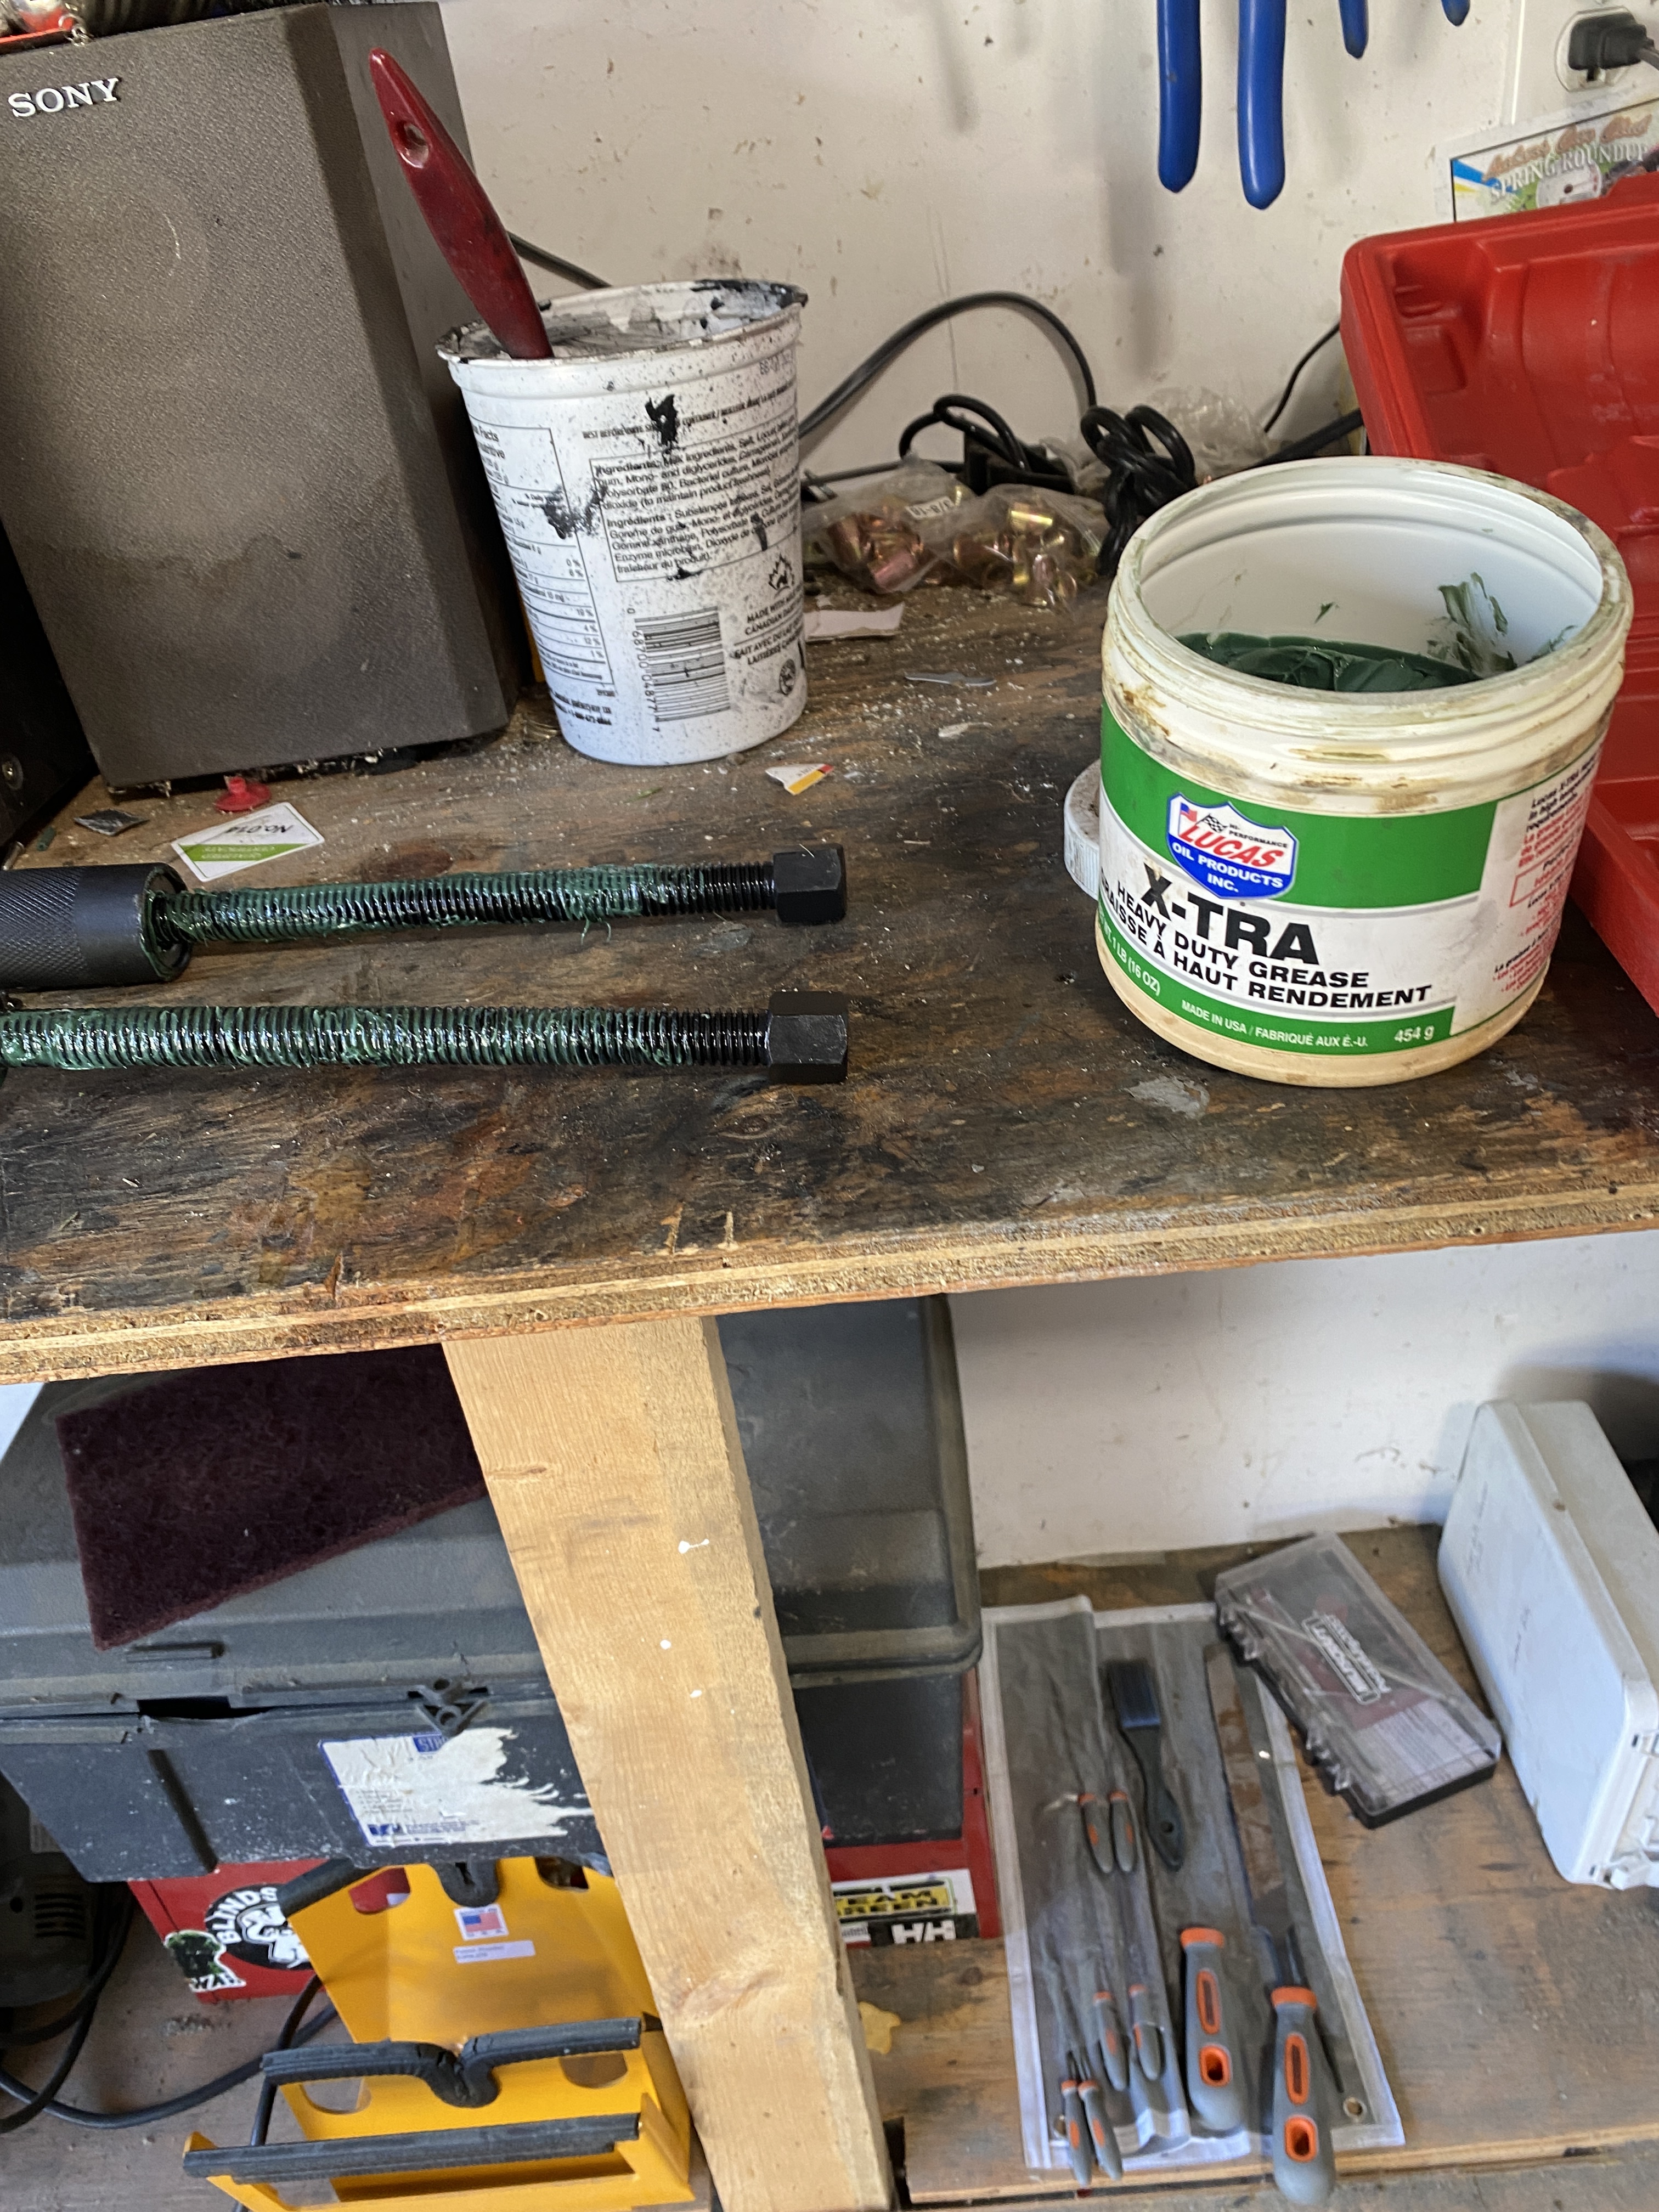
Lucas for the win!

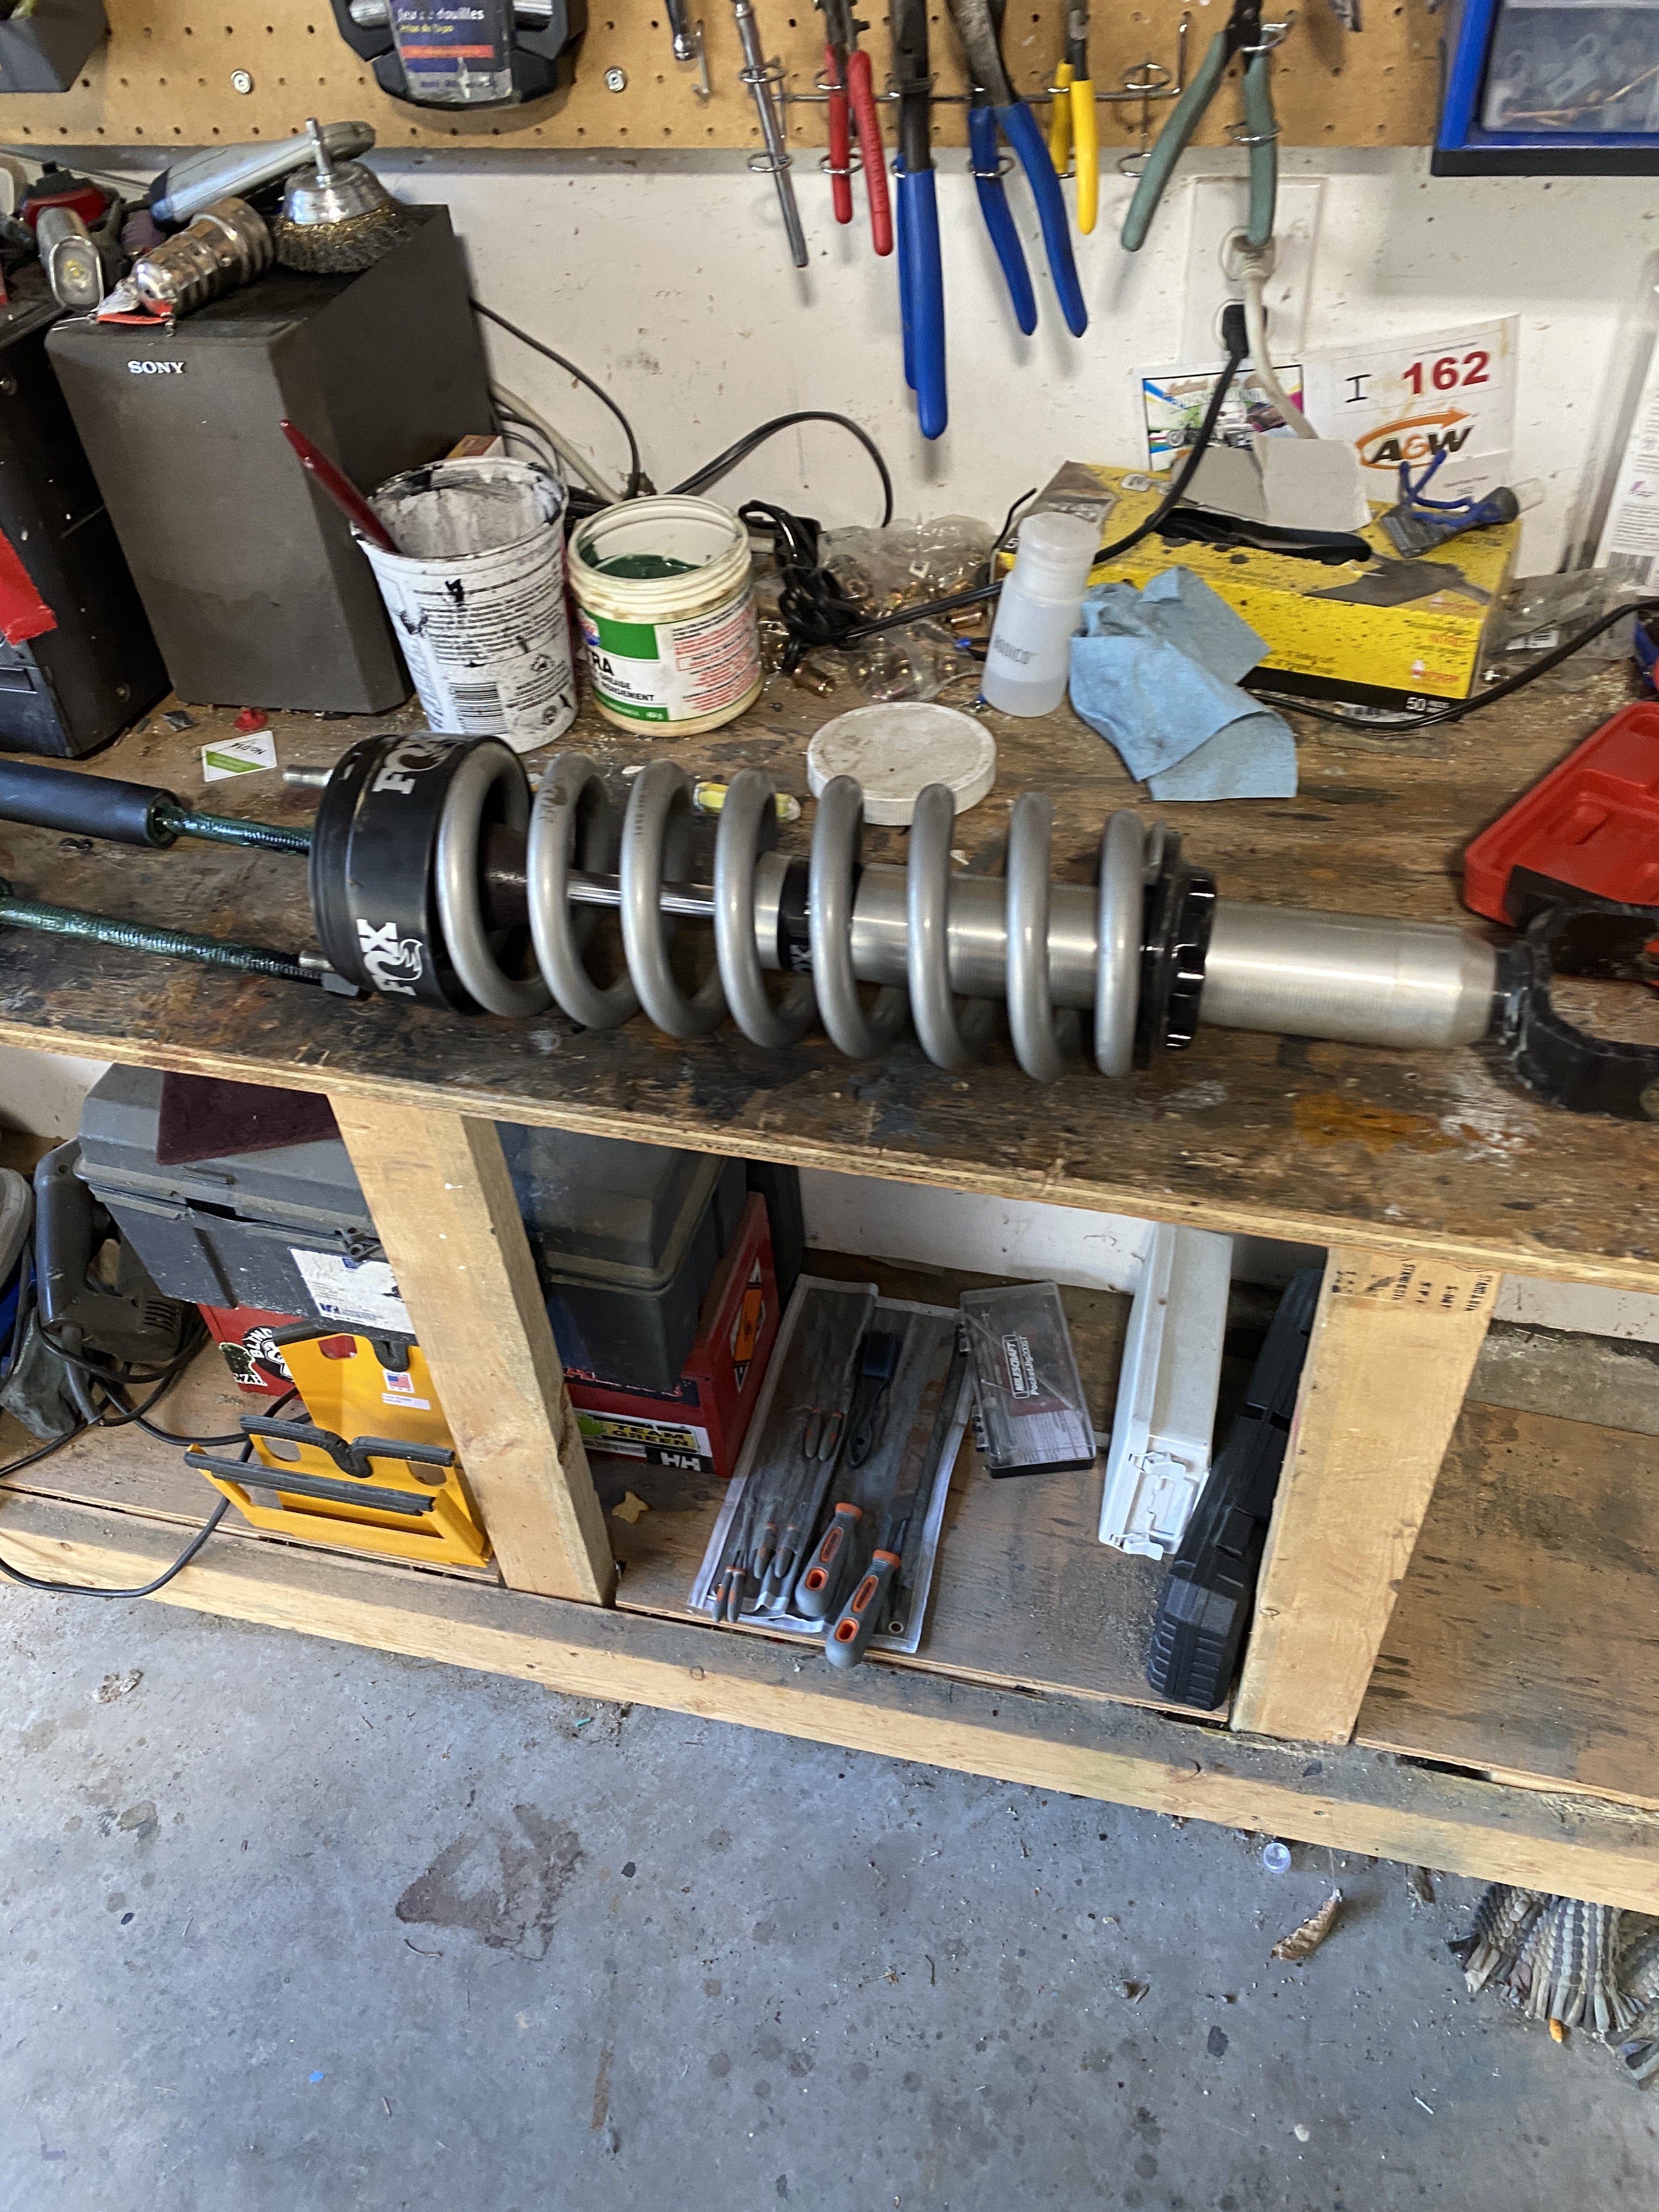
This is my un-marred passenger side and stock set. The bottom of the collar to the bottom of the threads is 2.75” The plan was to attempt to go up 2” as the first adjustment of .5” resulted in .5” height change.

I quickly realized that gaining 2” is likely not going to be possible. I learned that getting the tool onto the lowest and highest coil is extremely difficult. By not being able to do that nicely. You lose quite a bit of compression as the springs outside the tool expand.


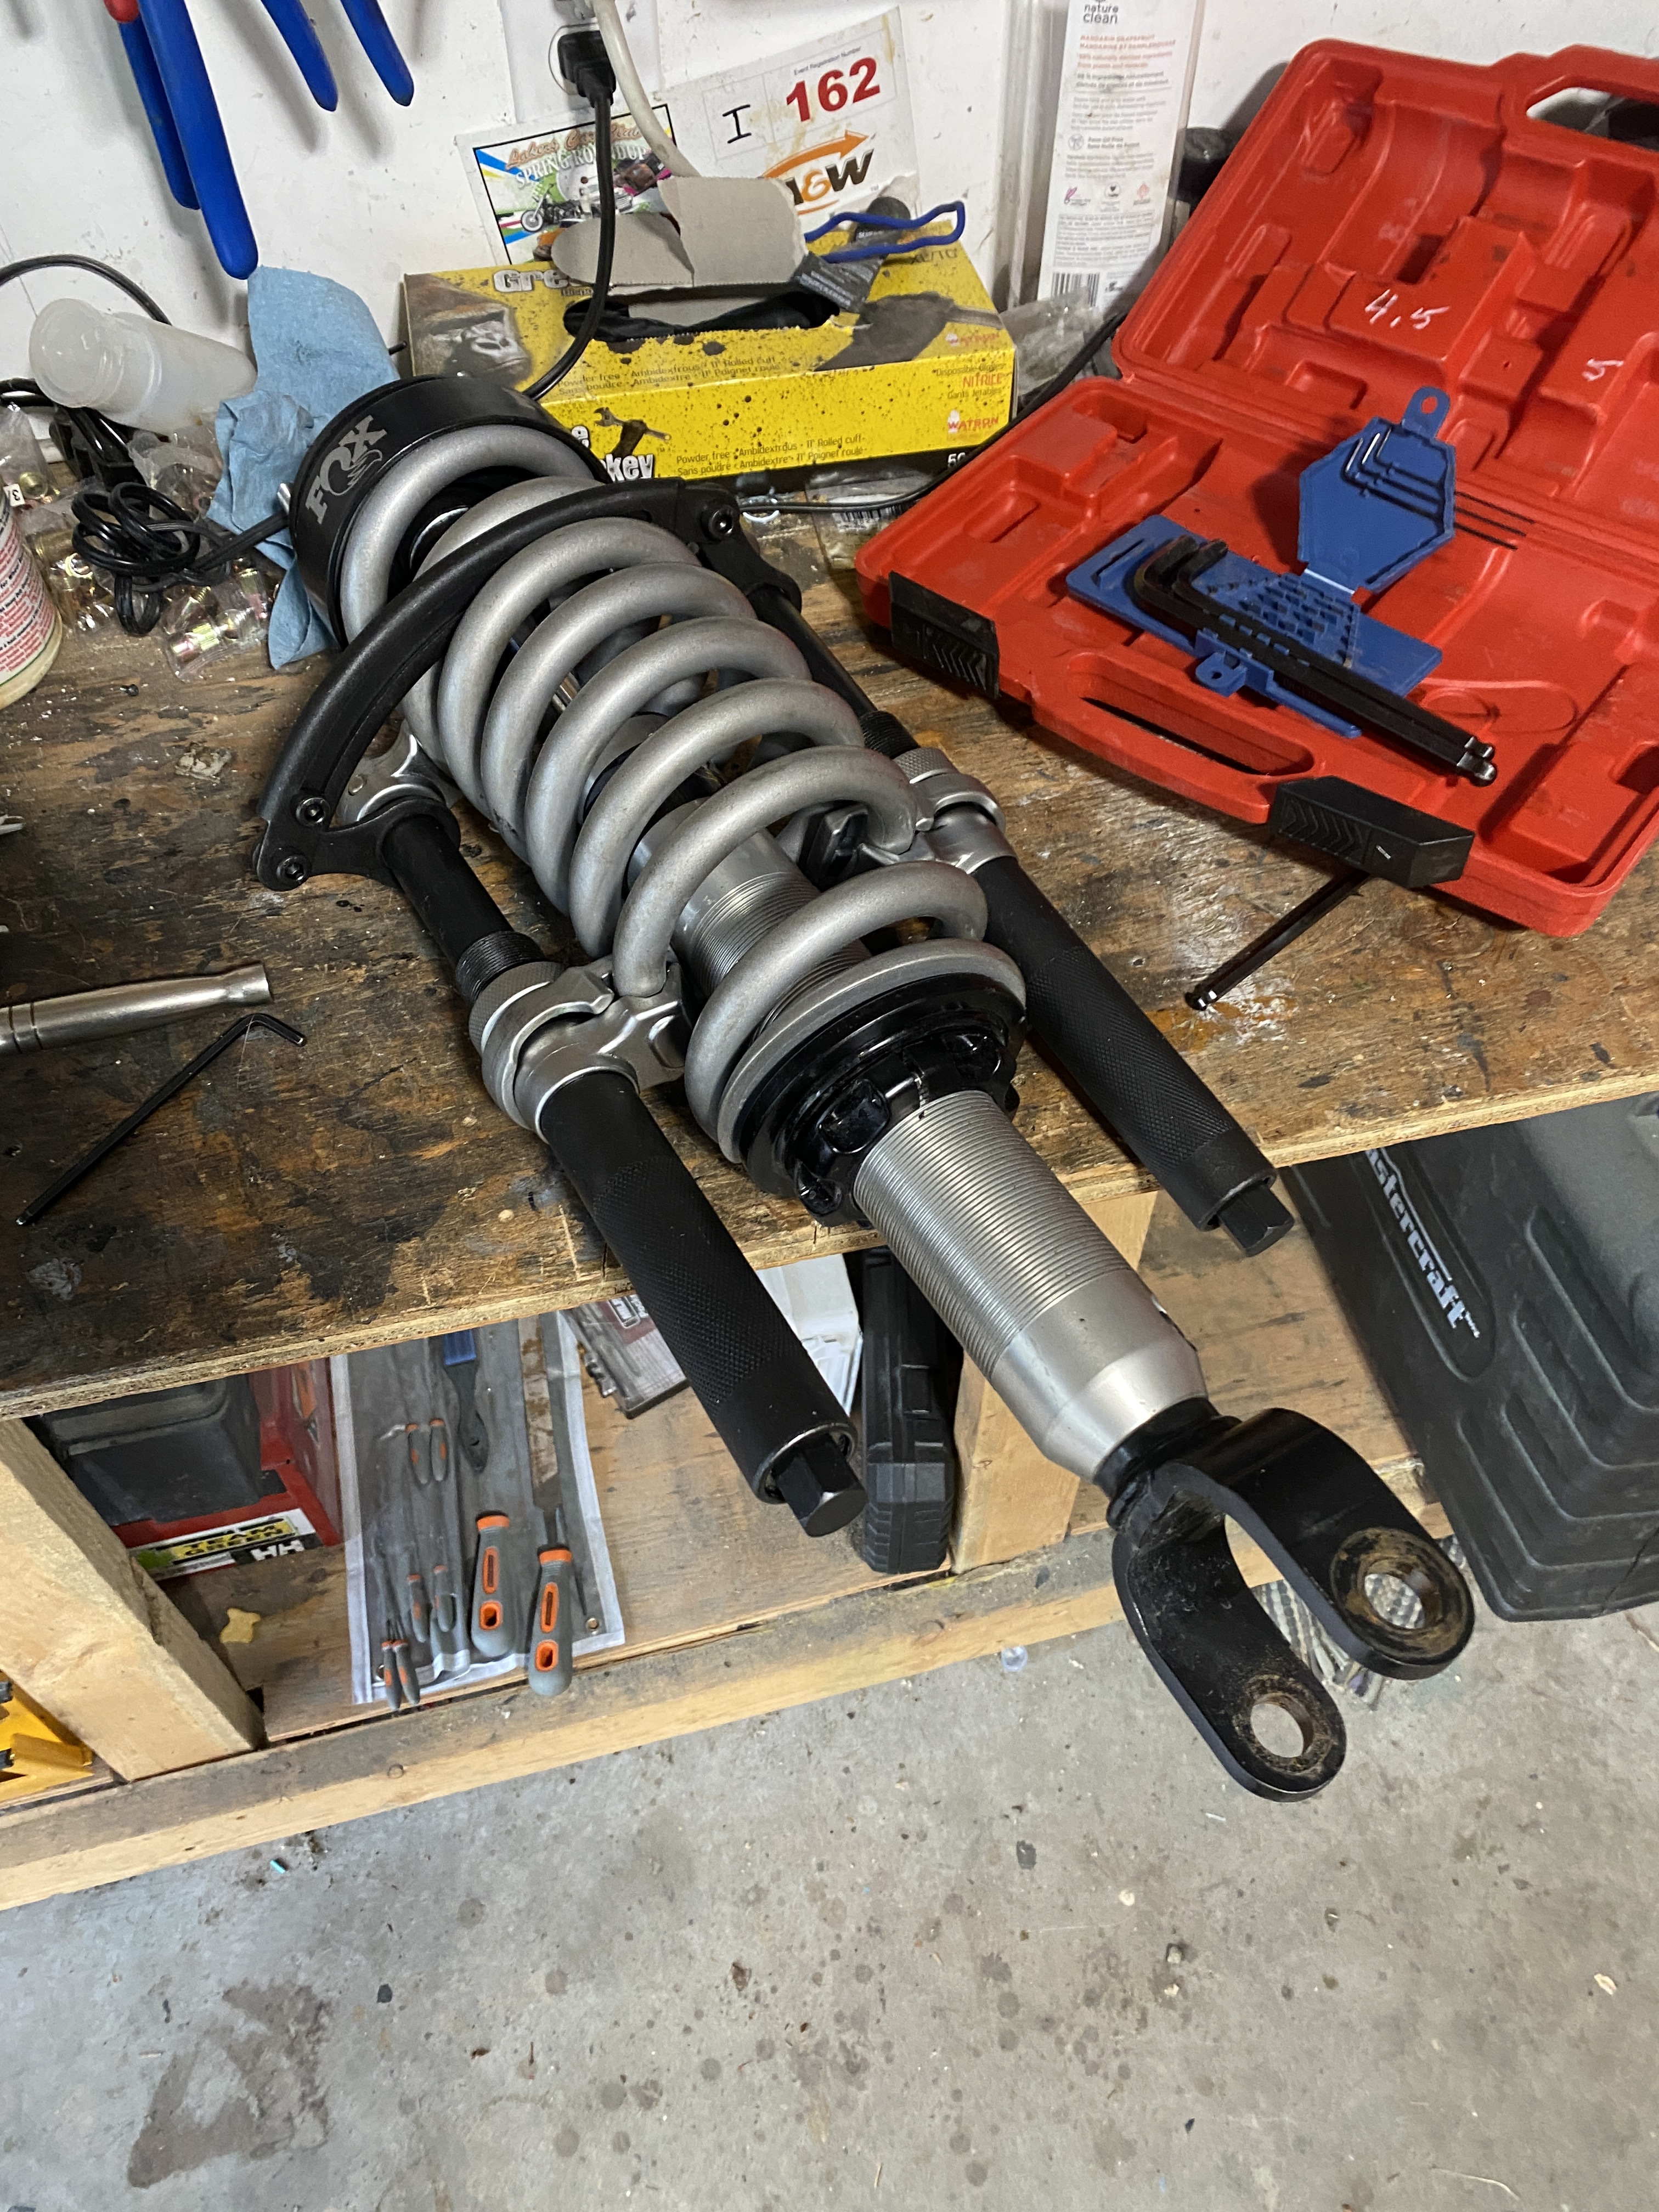
Yes I’m in the bite. Those of you that know about these spring systems and these tools know. These things can be terrifying as a failure could result in serious injury! This tool makes me feel significantly more secure. The bar across the top is seemingly crucial. It’s stops the tool from twisting and binding up (which is what happens with the cheapo rental style)

There we go! My finger is where it was originally. I was able to get 1” of adjustment out of the collar. So I am 3.75” from the bottom of the collar to the bottom of the threads. What I expect is going from 5” to 6” ish (or because of how I had the truck parked 4.5” to 5.5”)
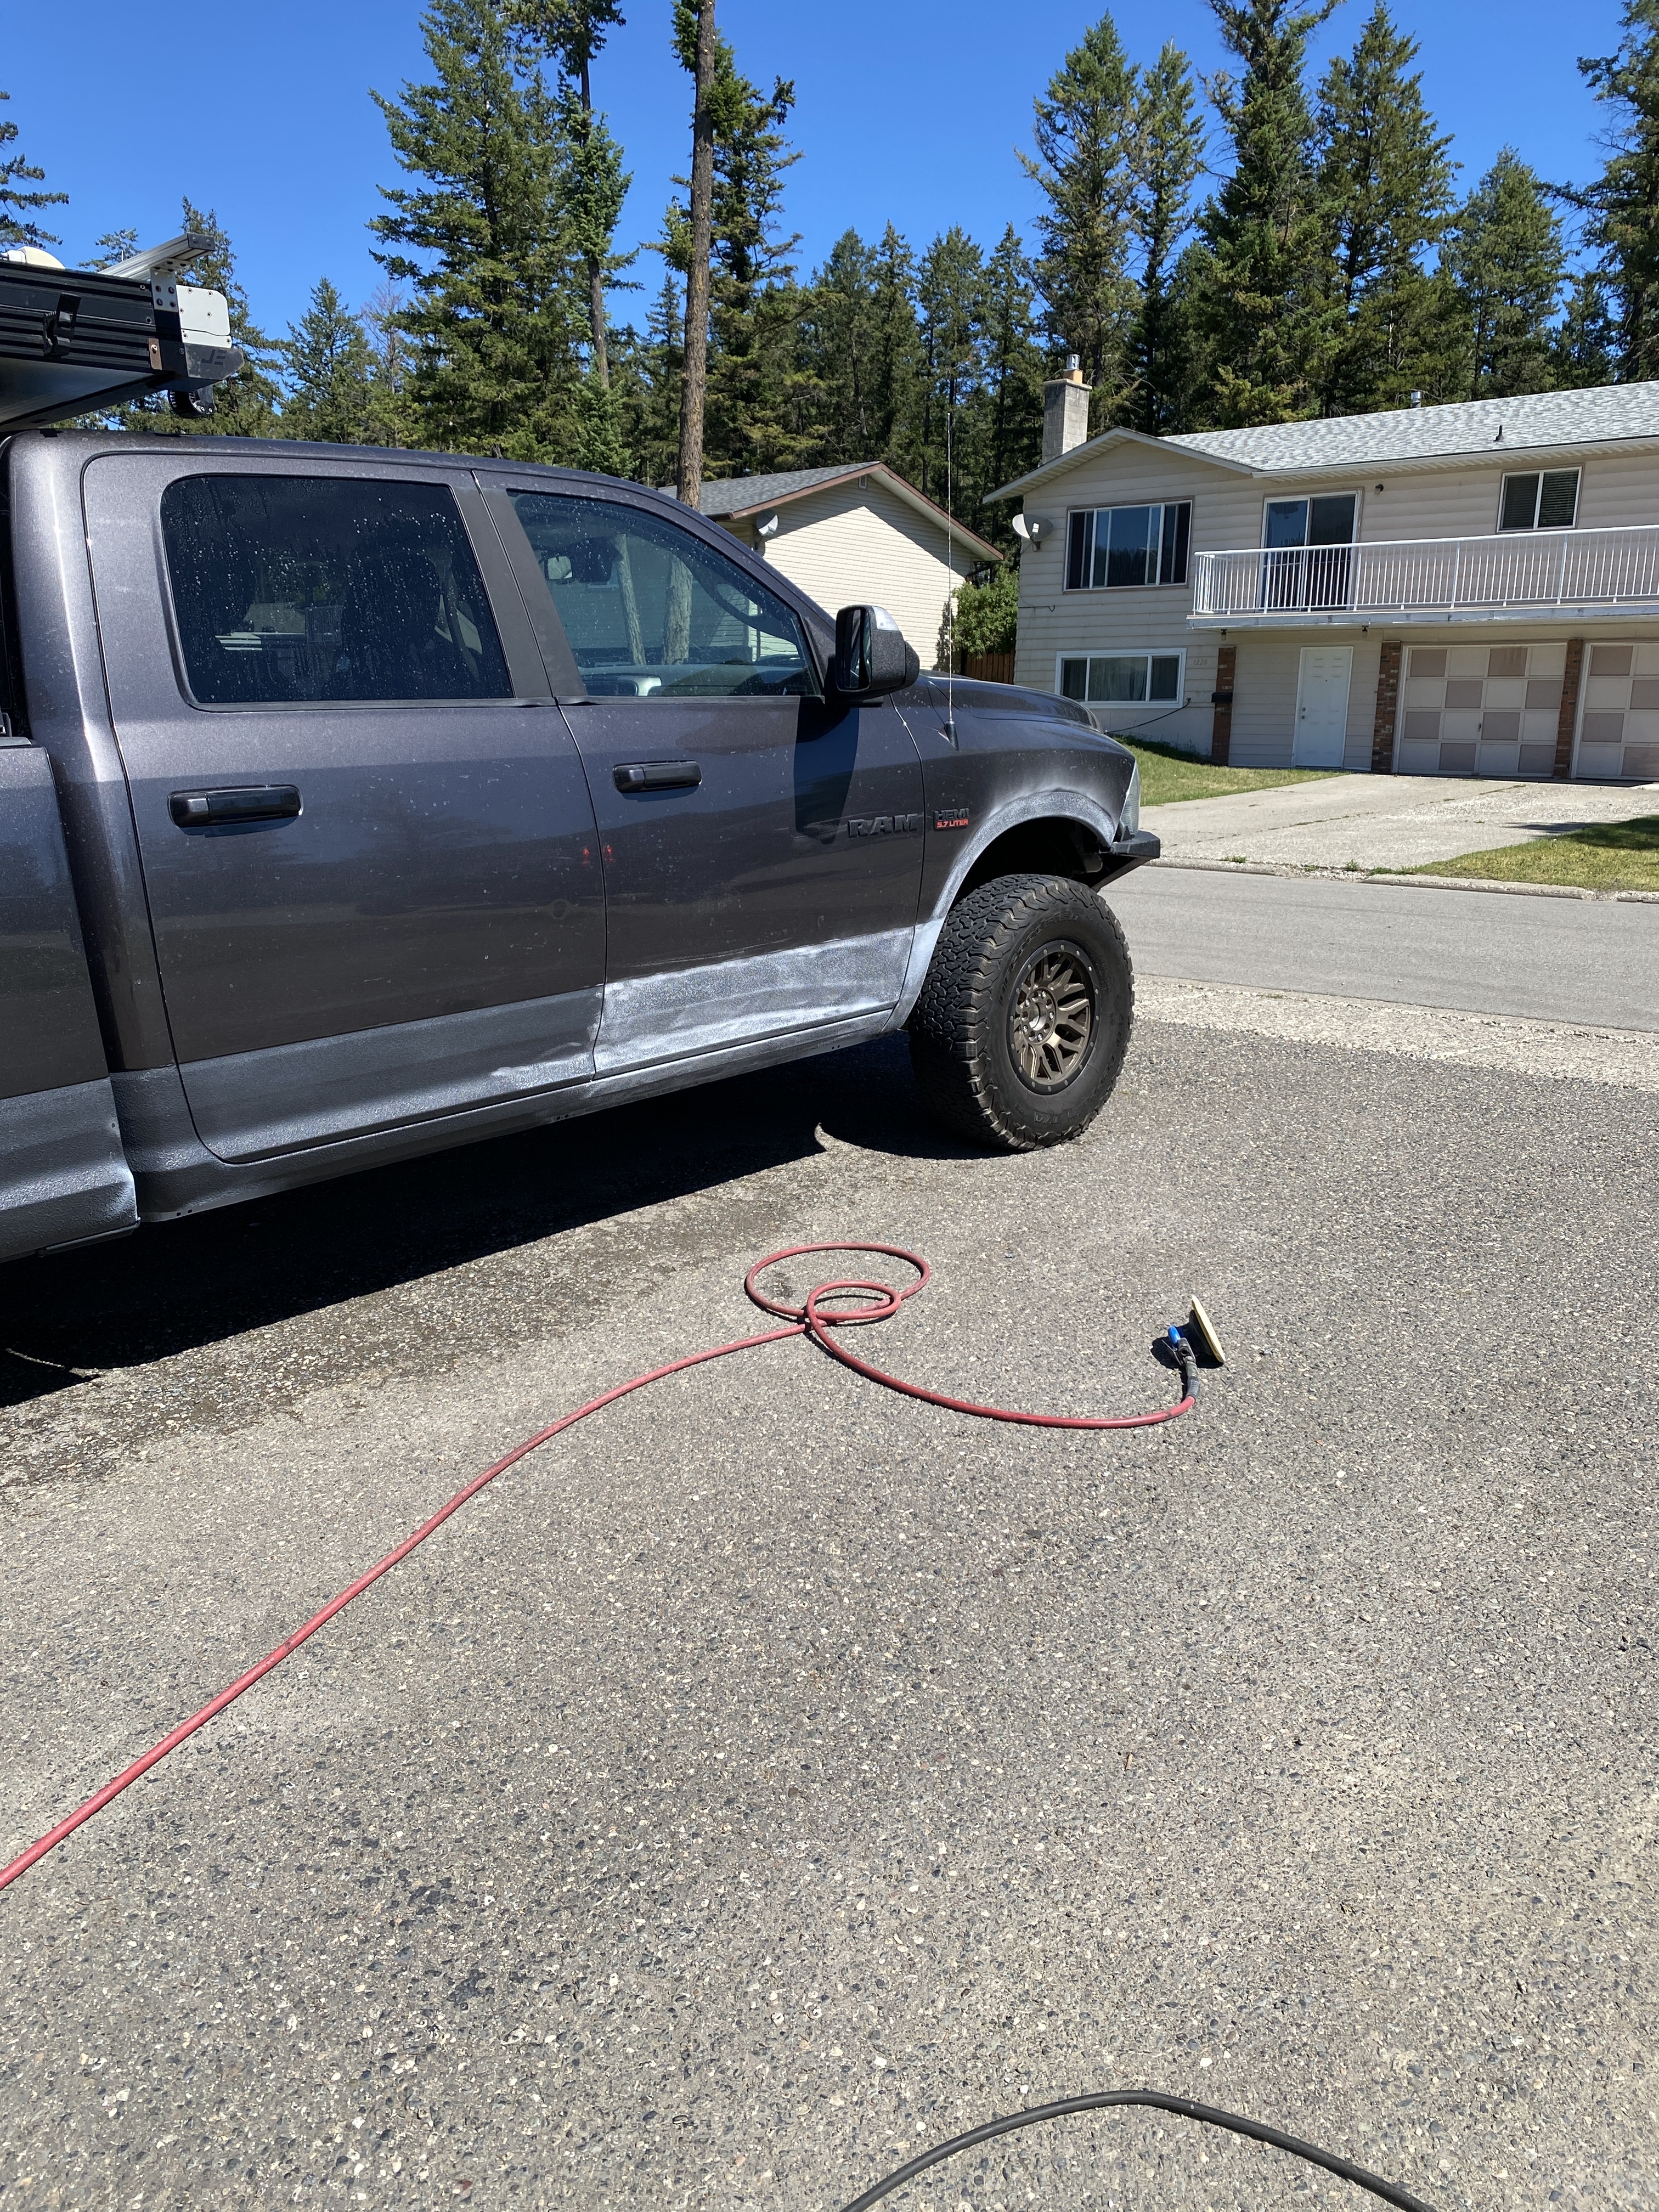
The Result


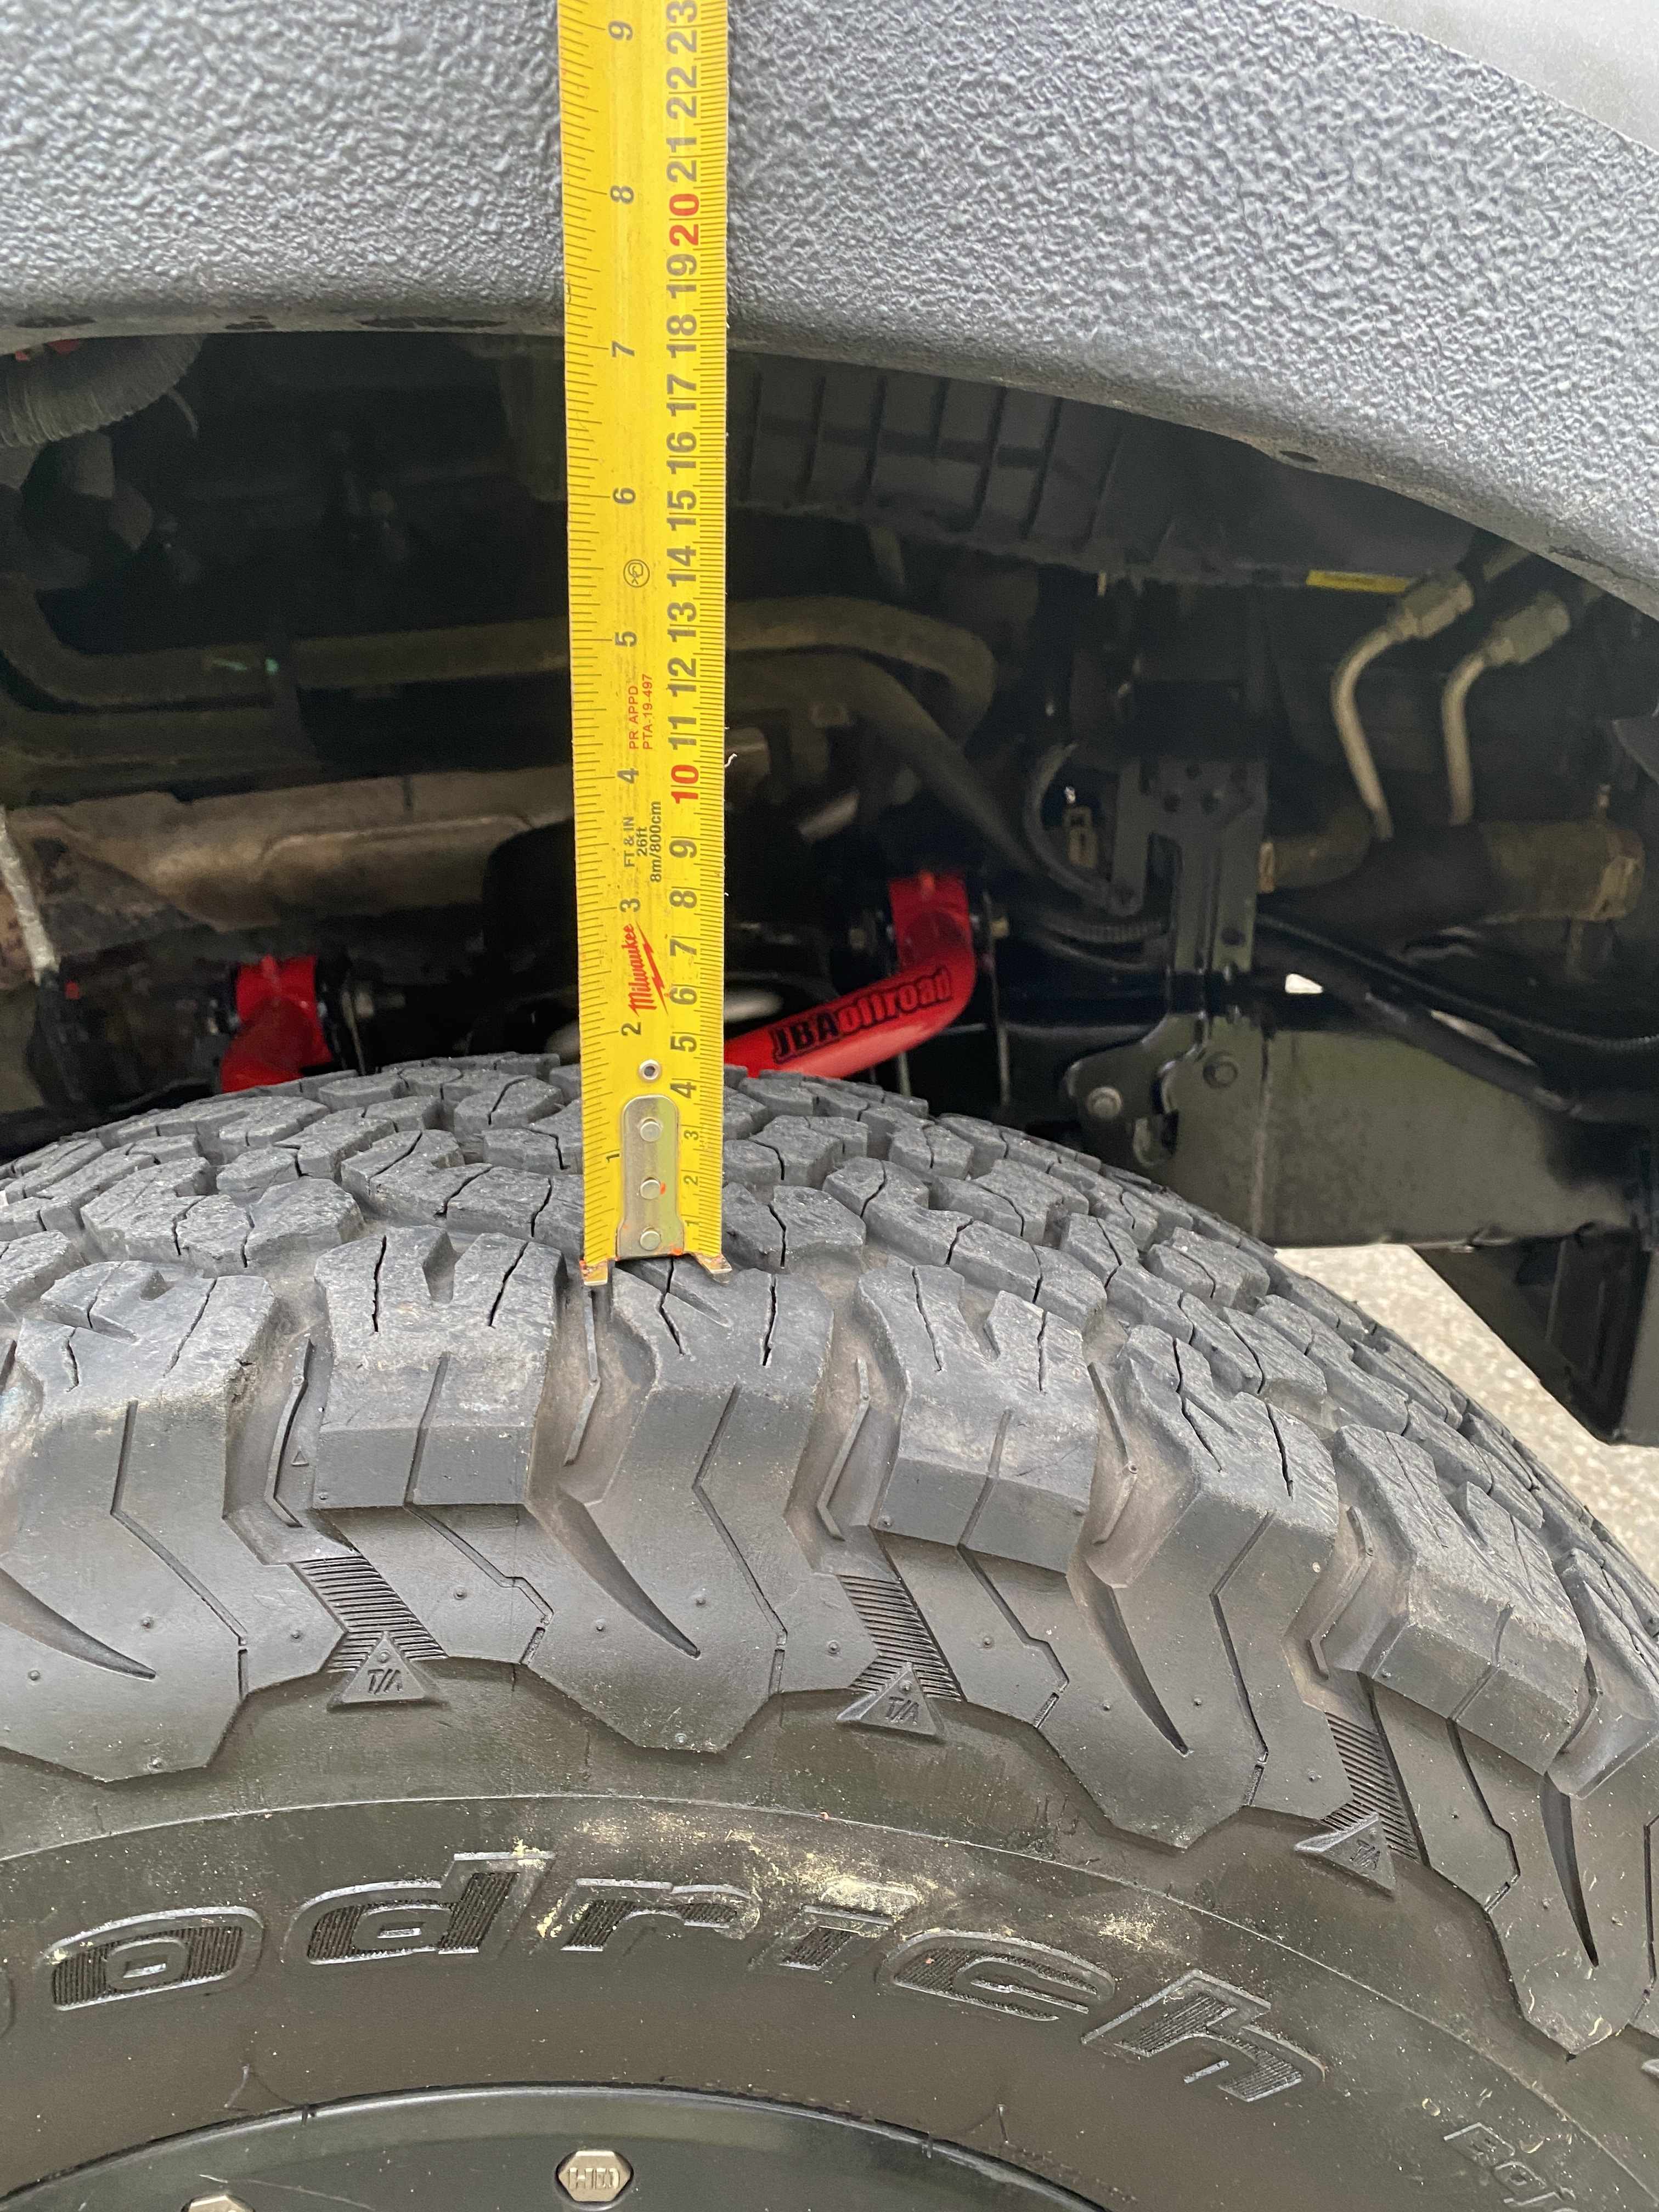
So to my surprise when I went all the way up to 7.25”!!! So potentially too much; but…the key is you have to drive it around to get things to settle.

So that’s what I shall to. It’s a rash to pull the front end apart a bunch to get this sorted. But in the end it’ll be worth it.

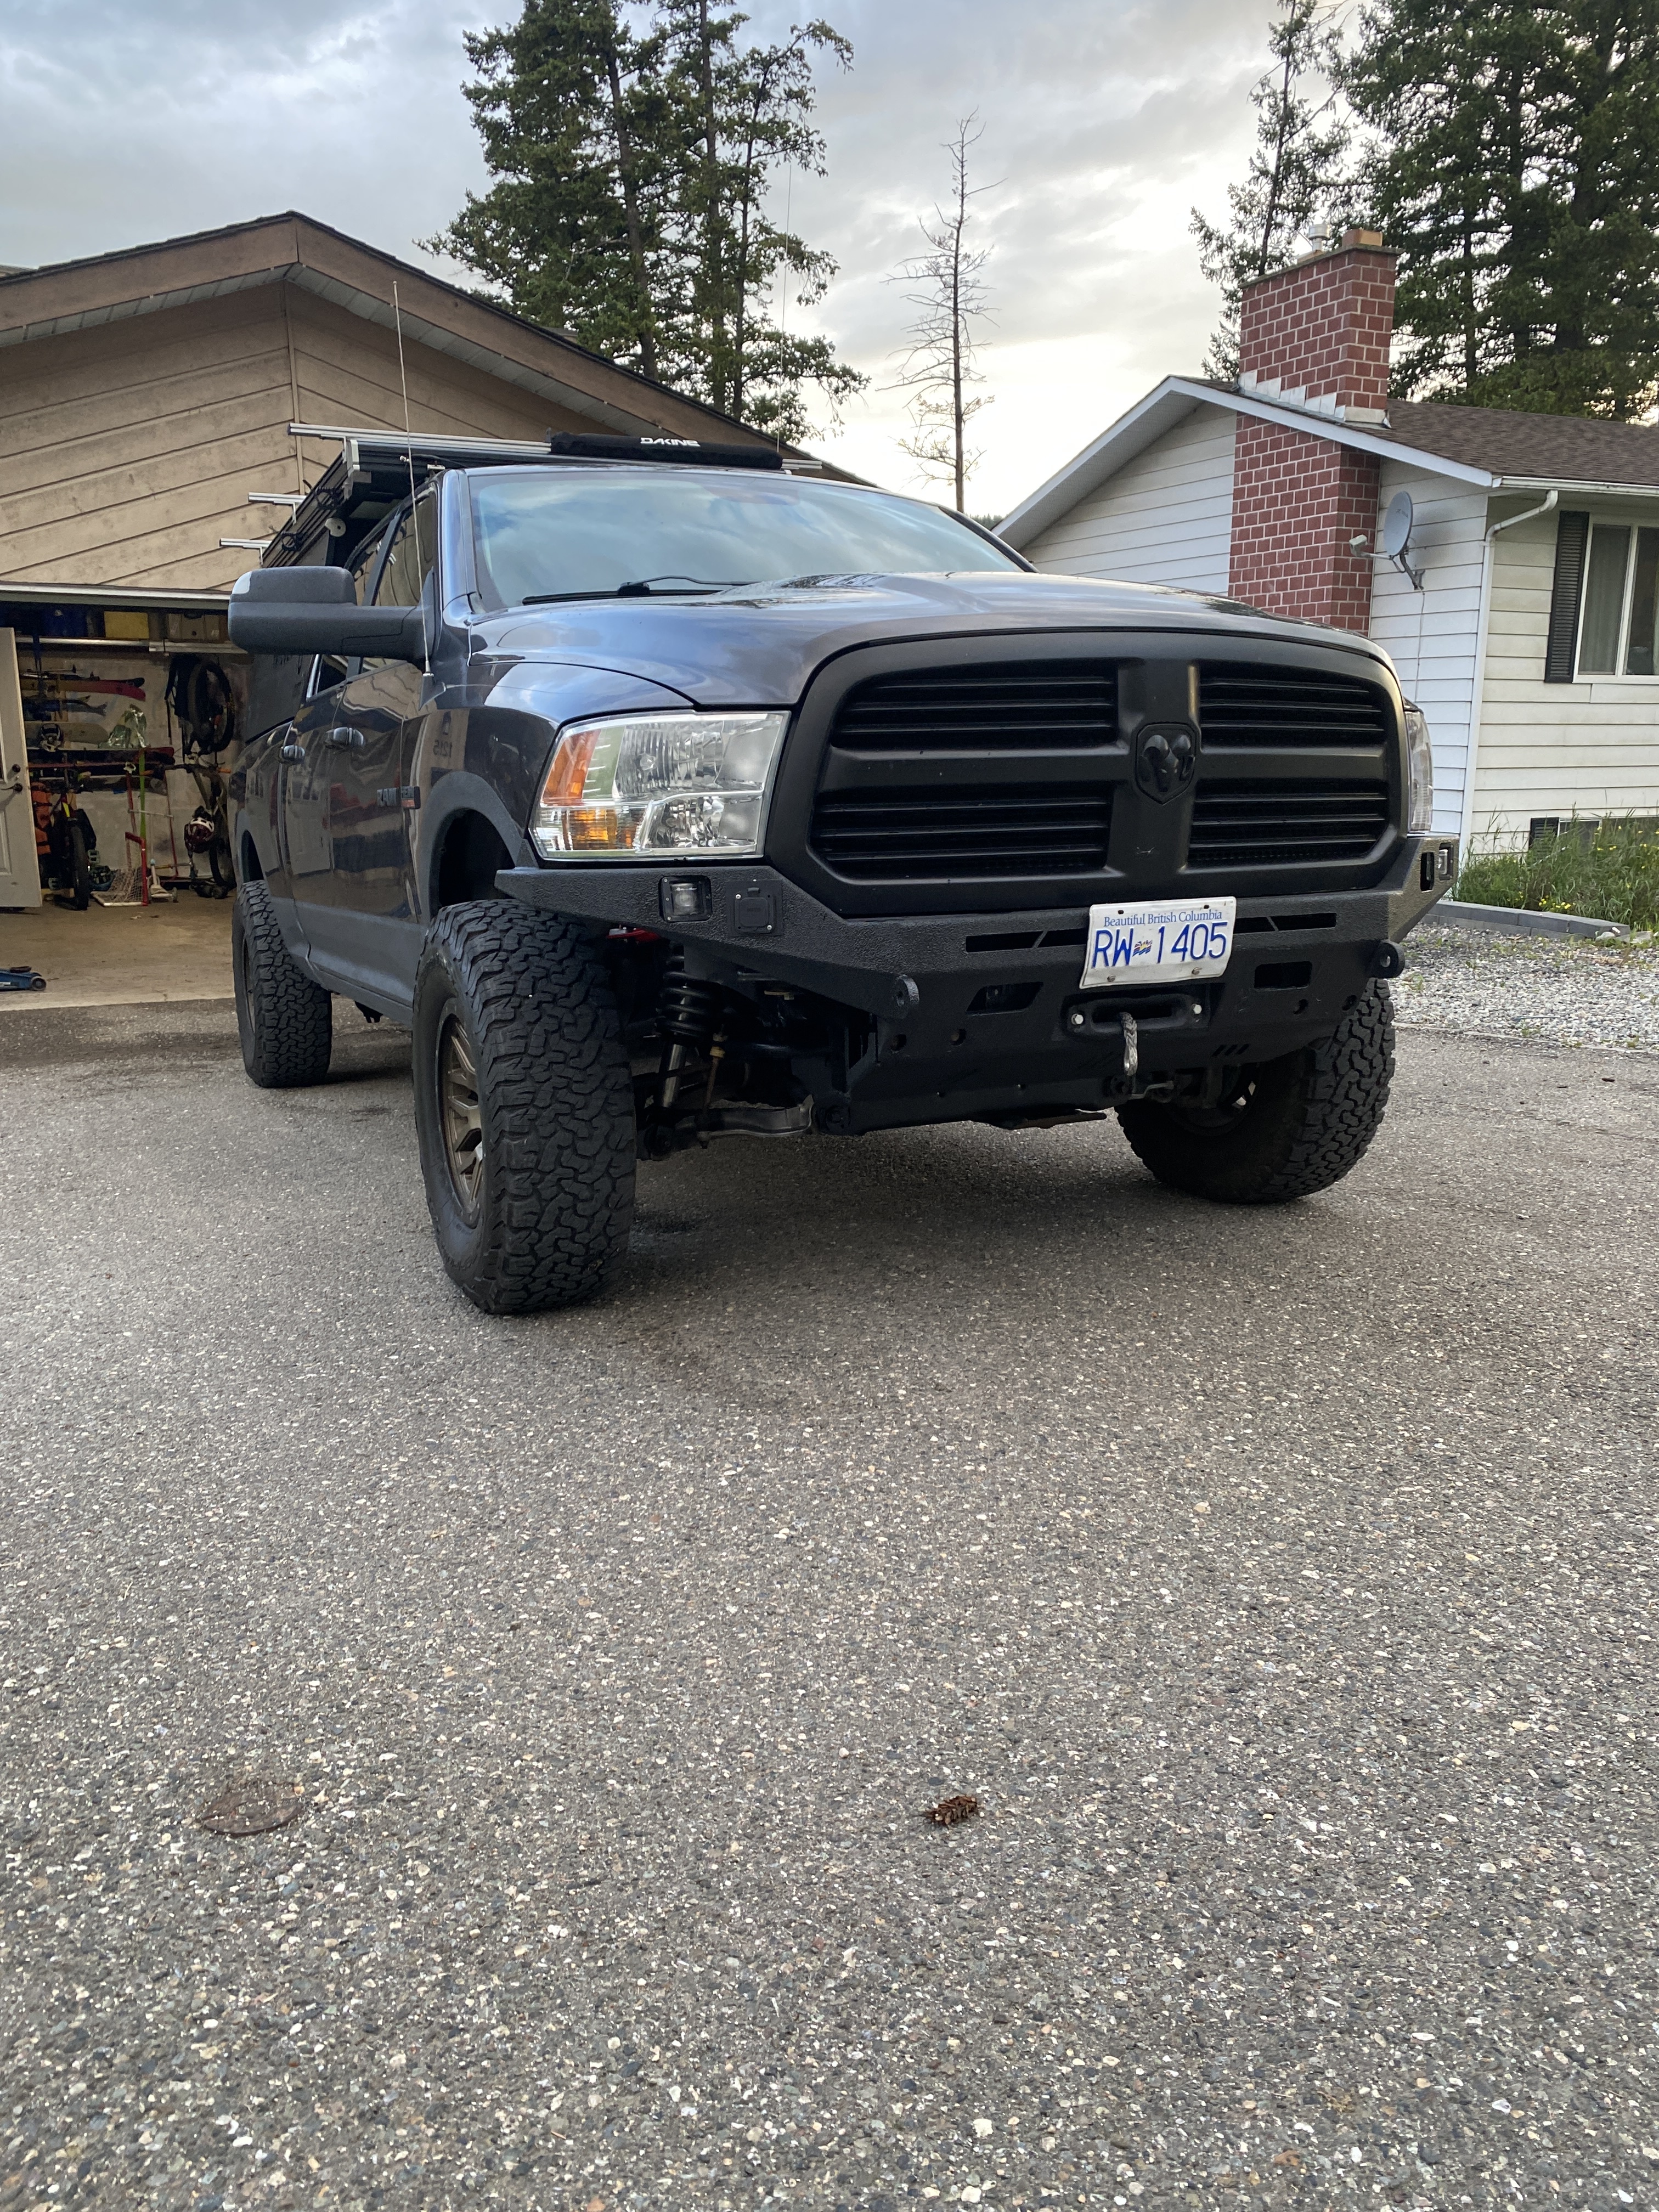
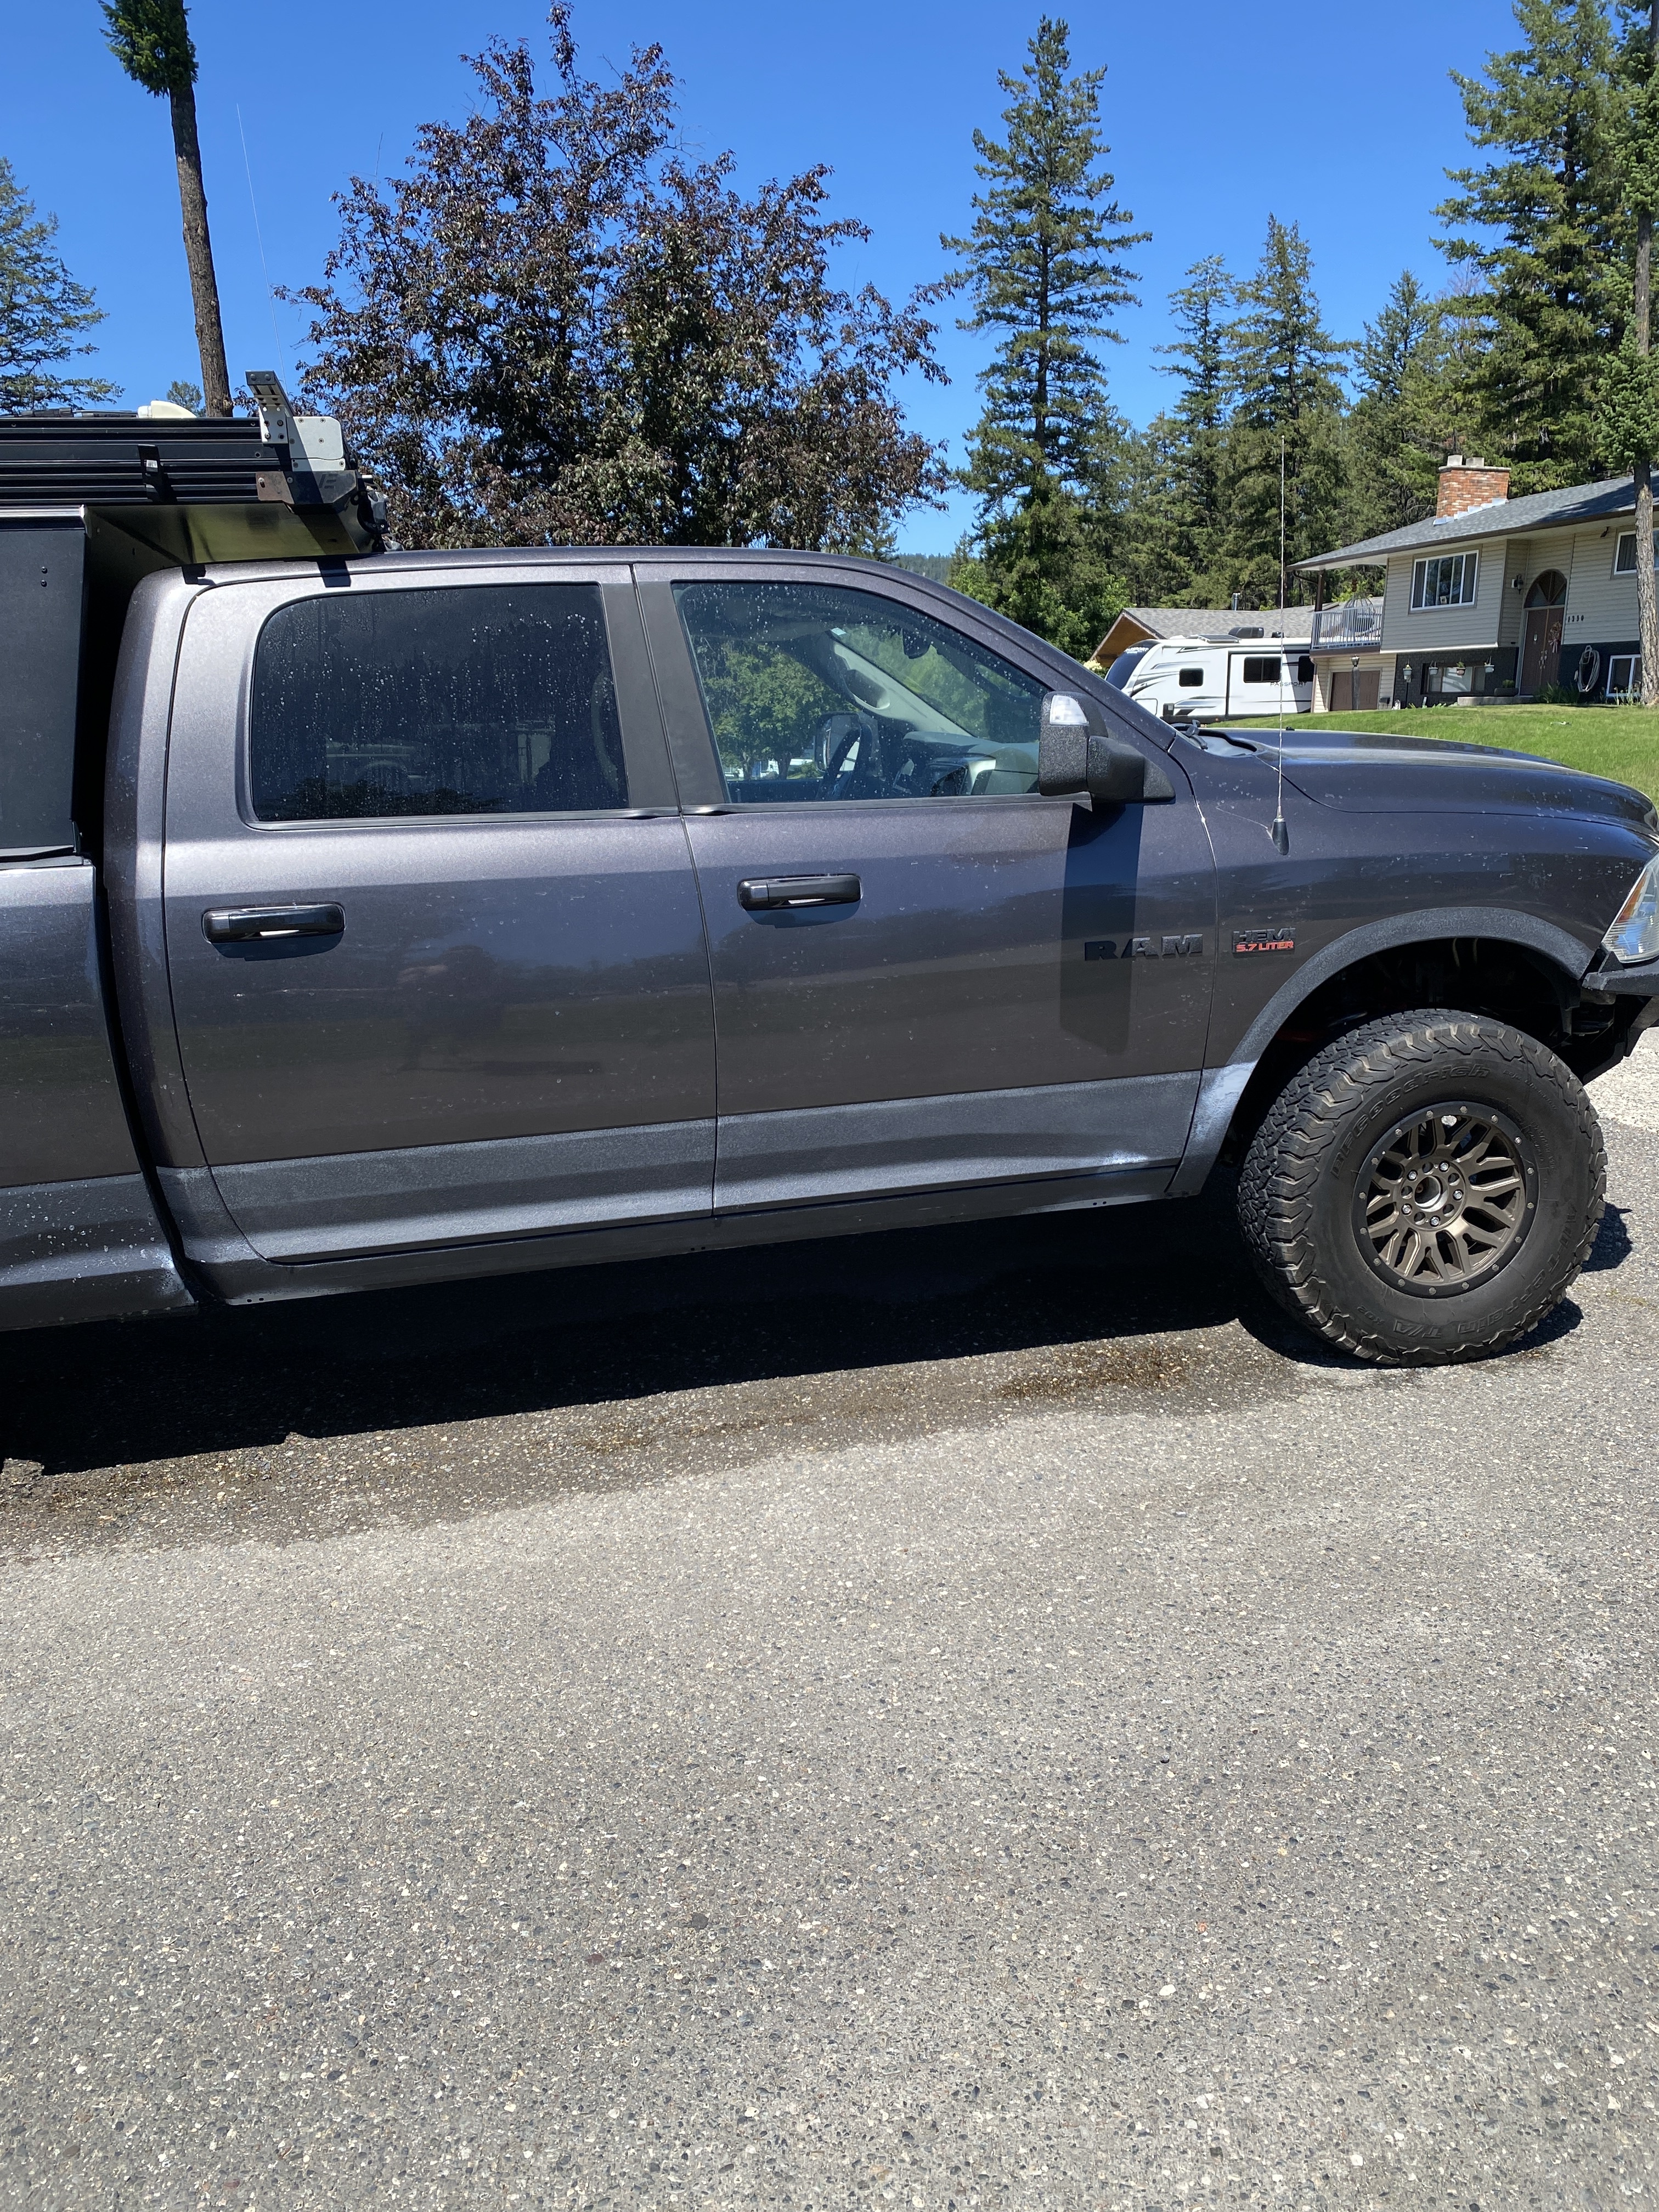
I will need an alignment and am hopeful that the wd40 I’ve been putting on those nuts/plates loosens things off :face_holding_back_tears:

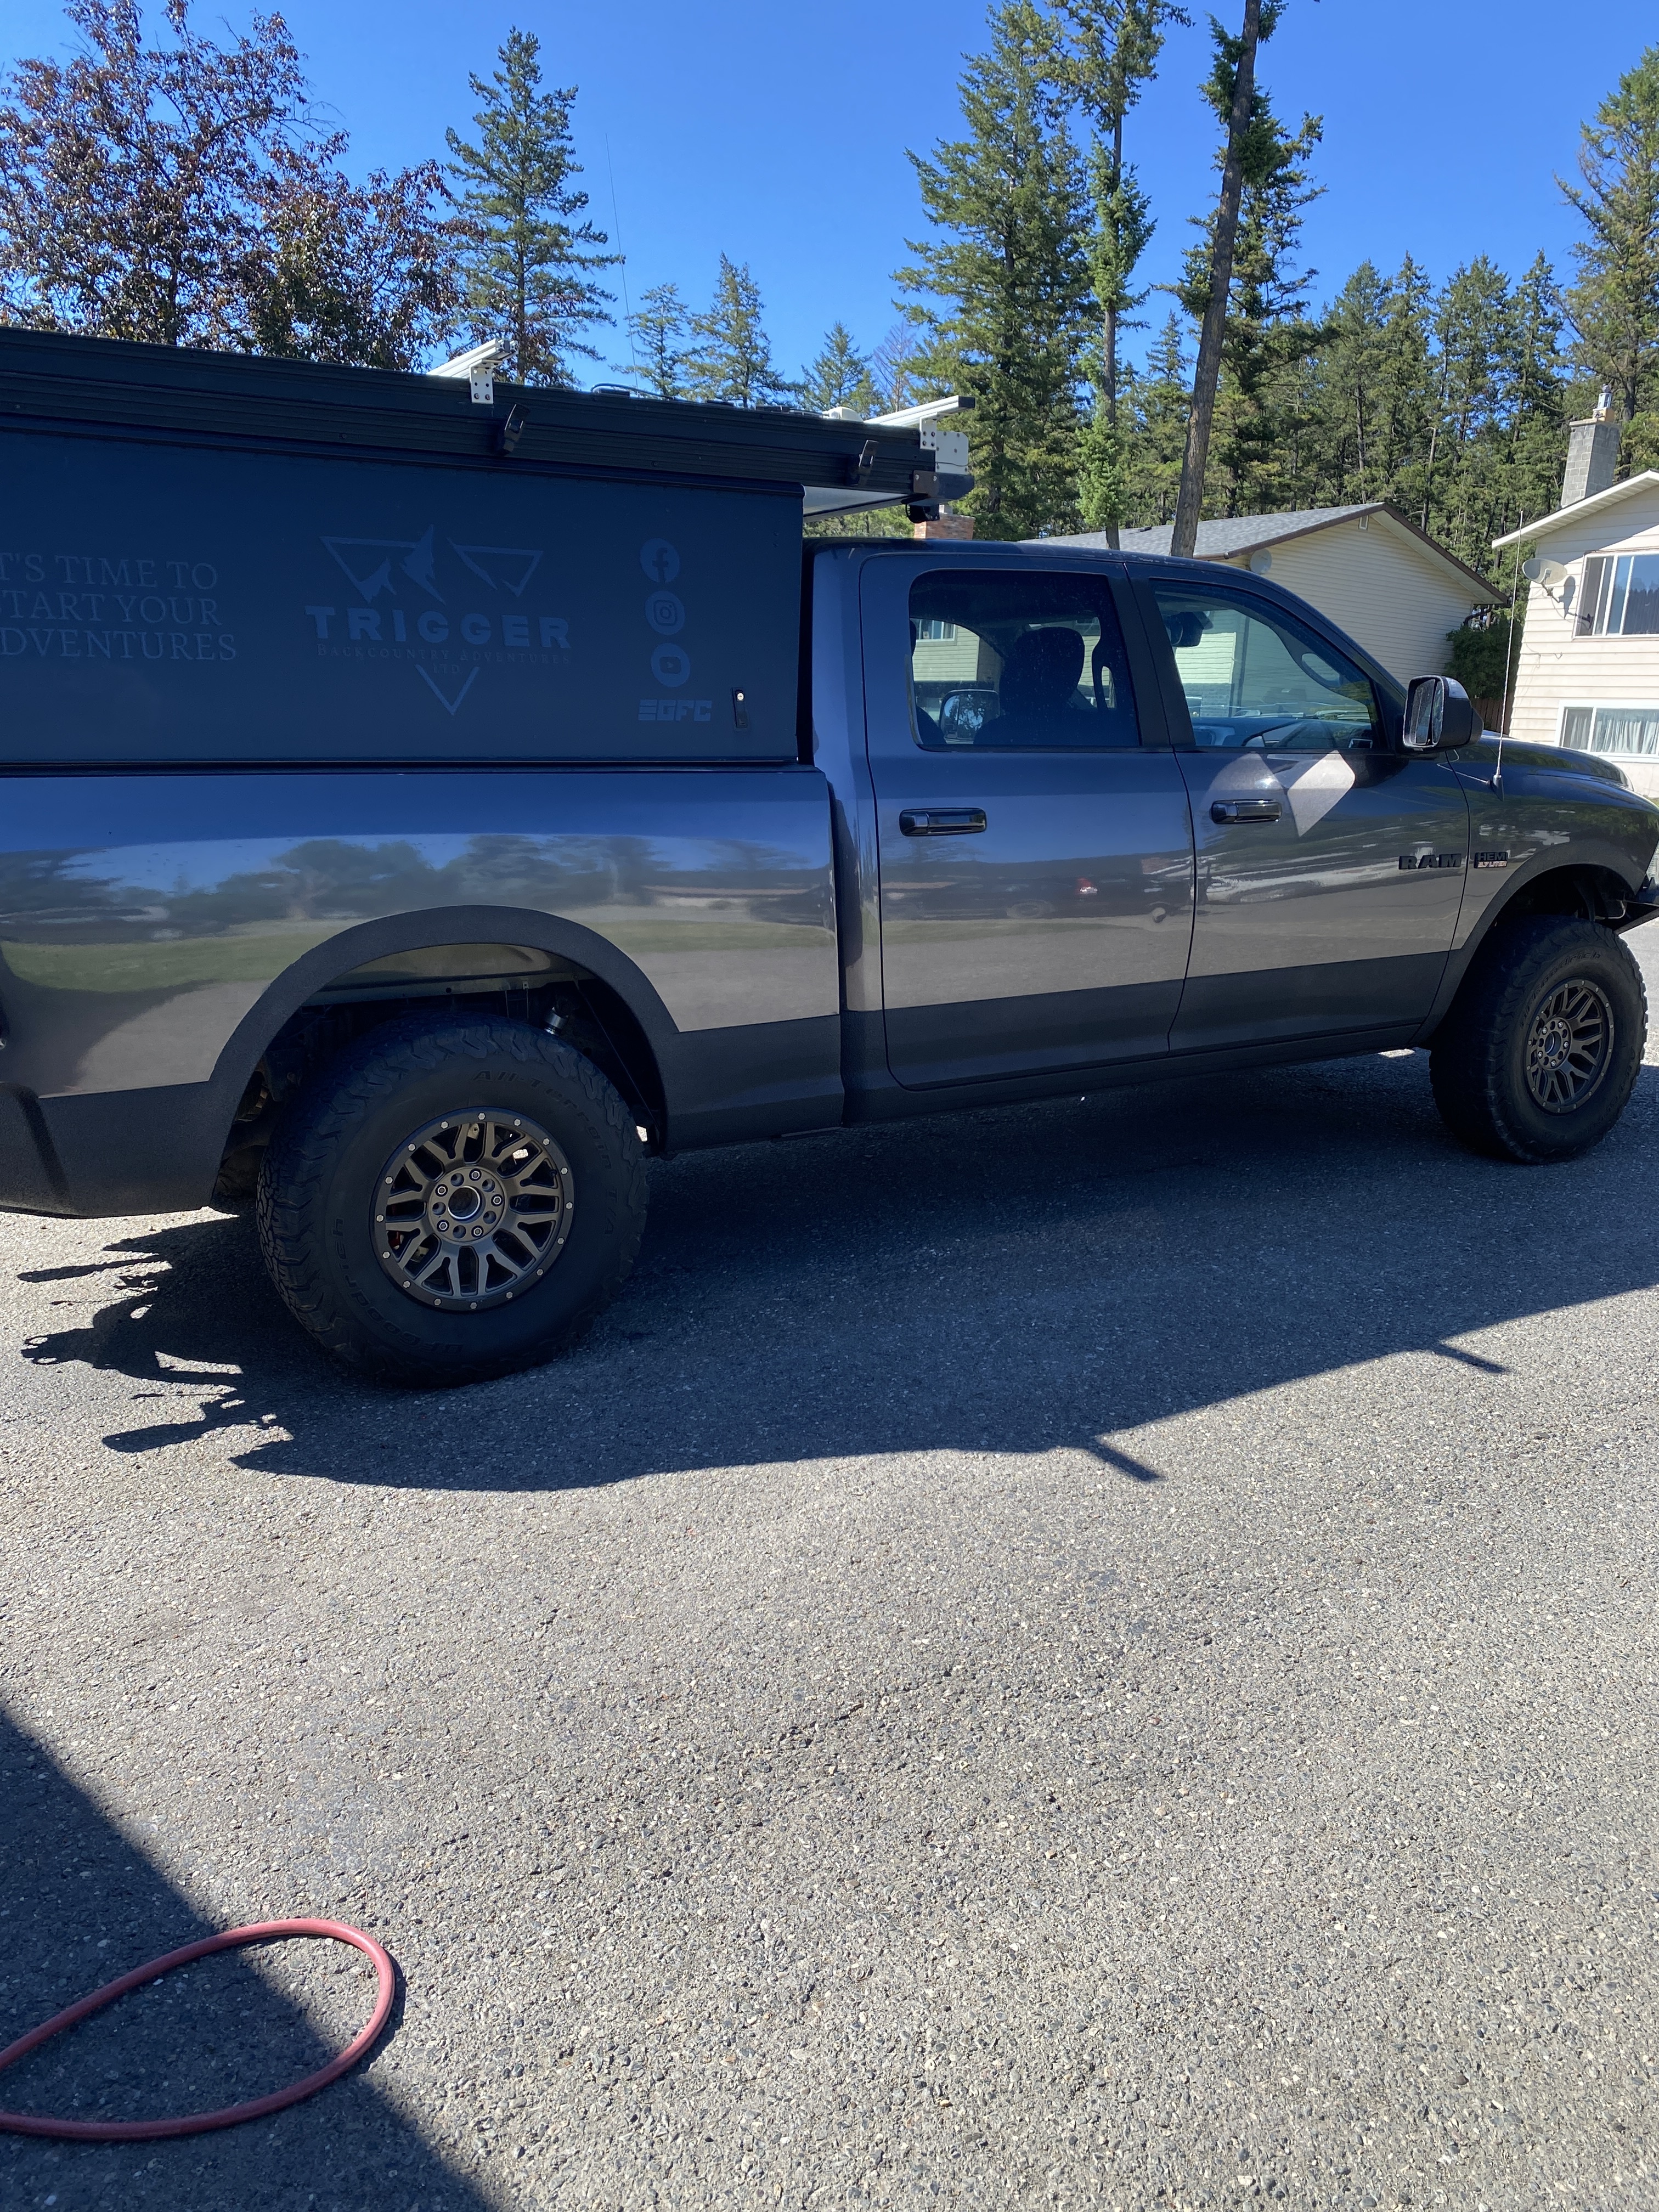
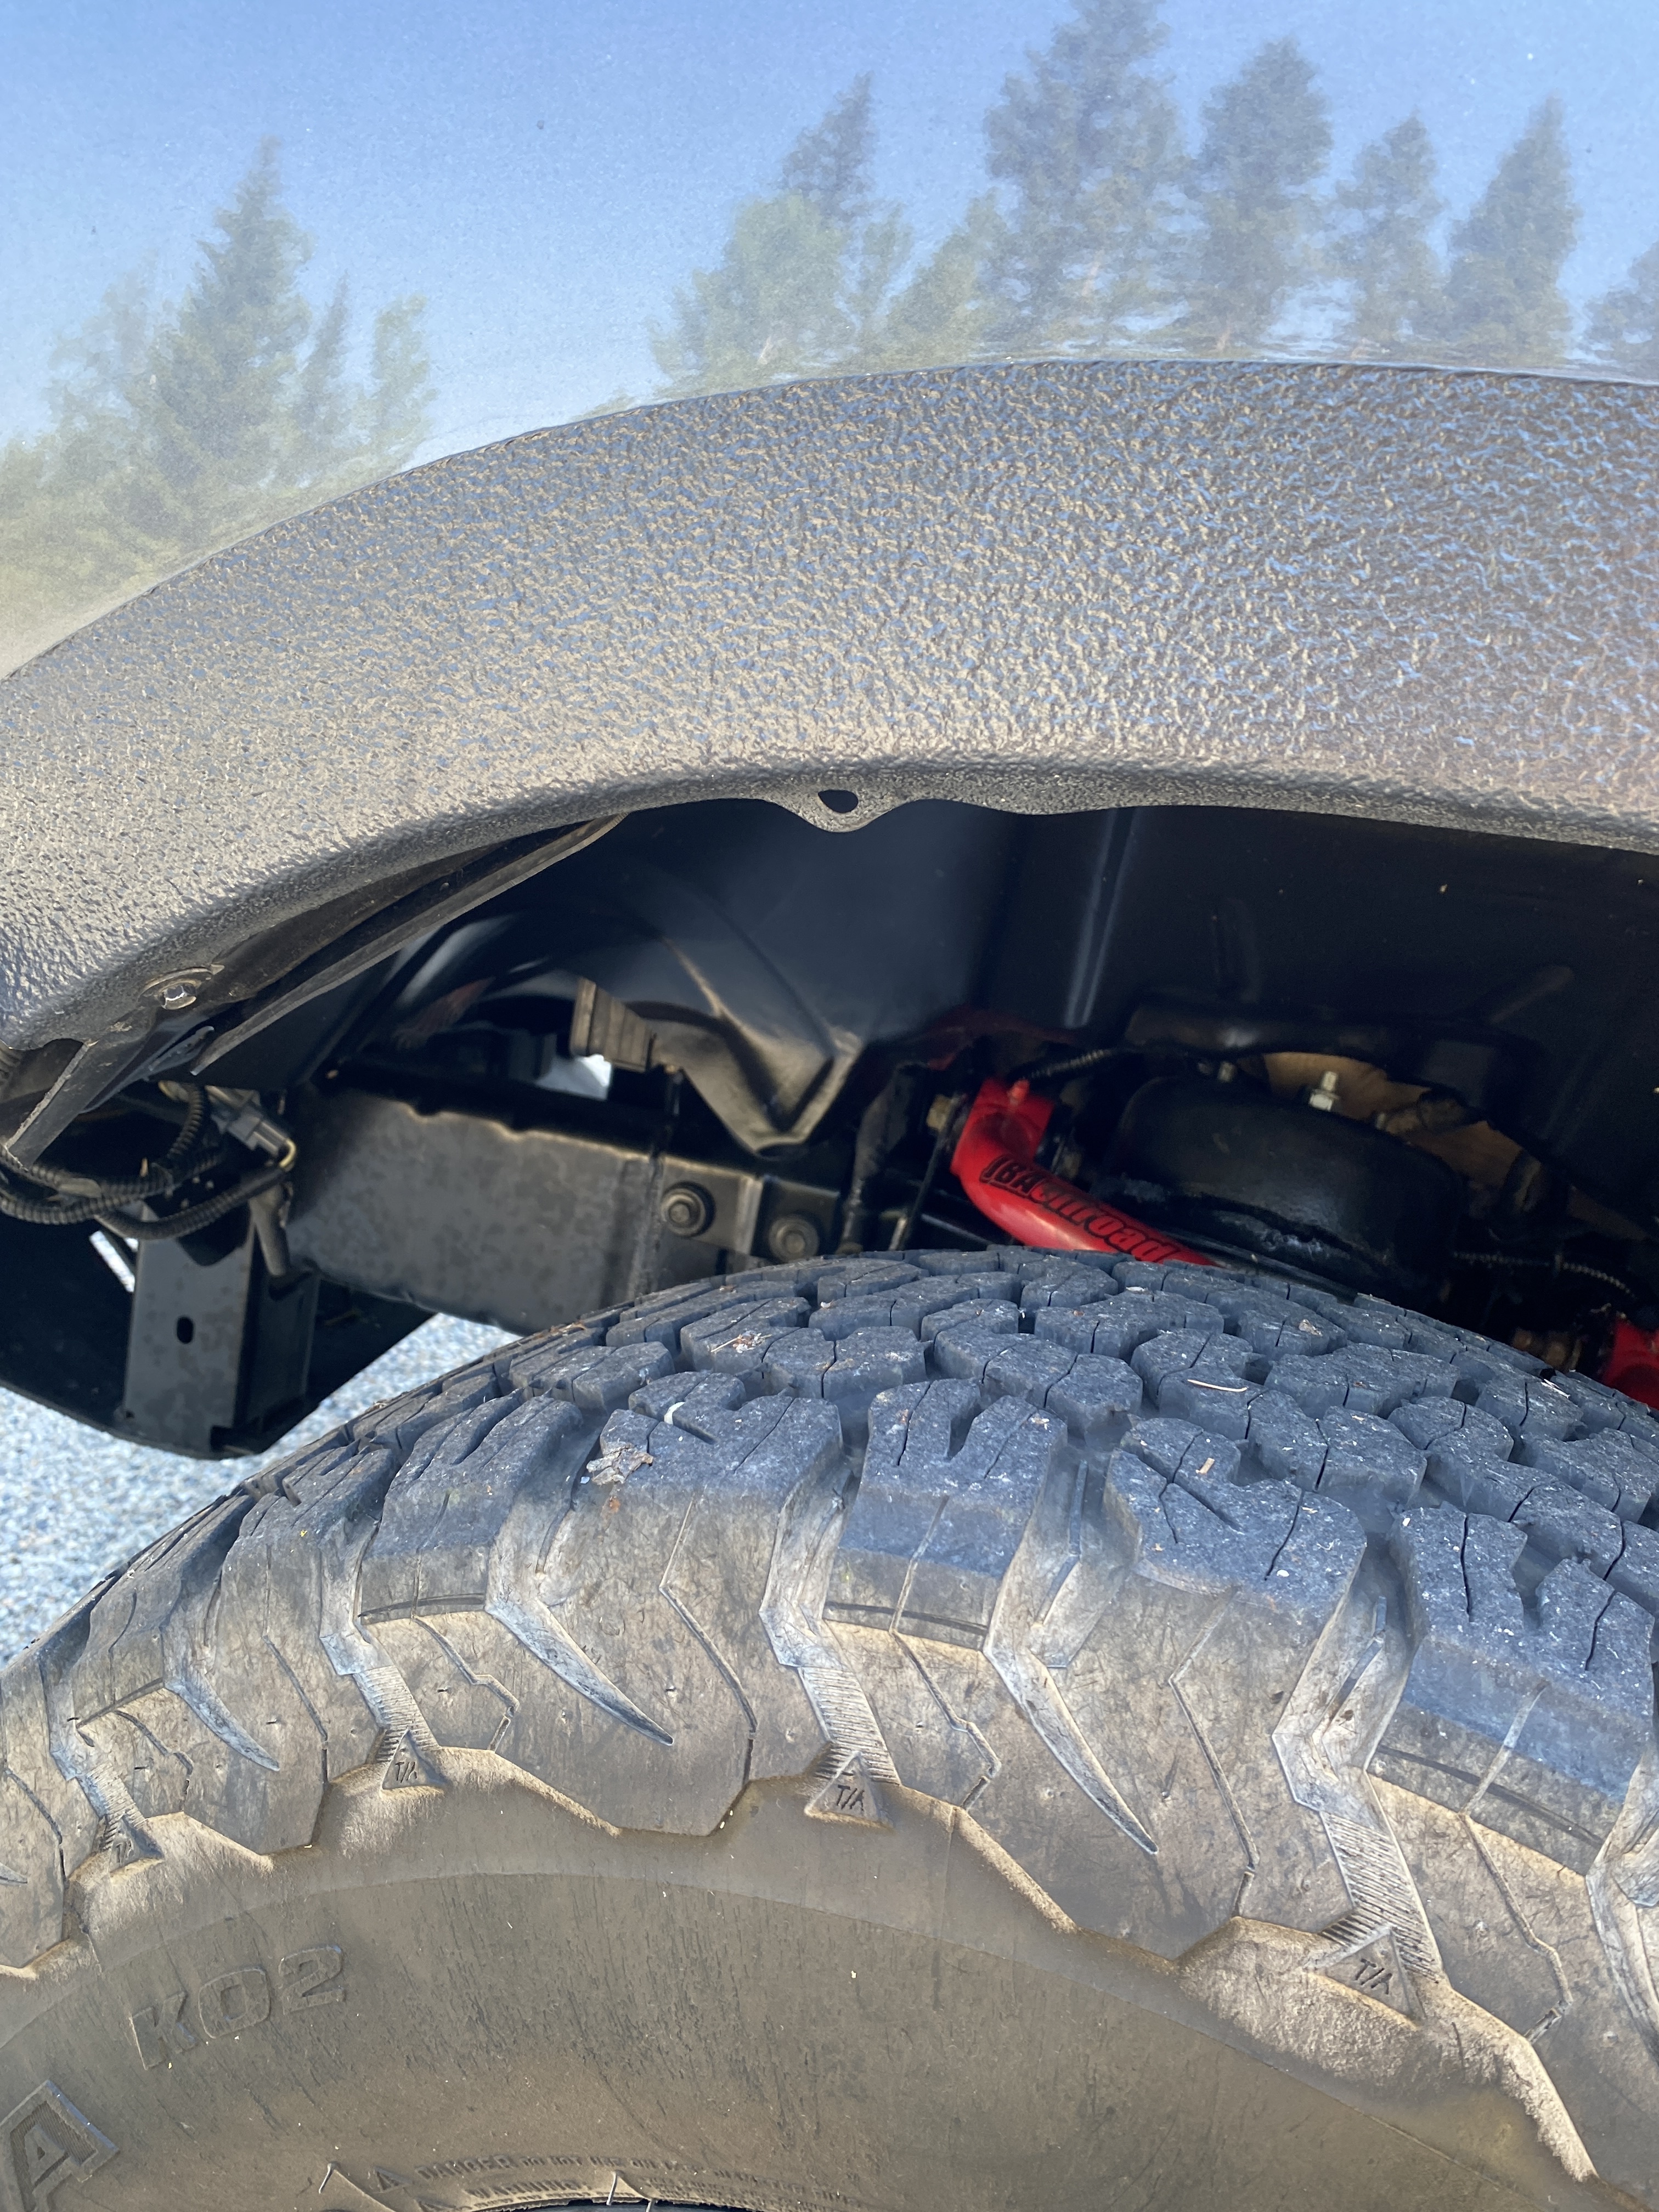
My son asked me right after this photo ‘Dad, why did you decide to make your truck like this?’

:joy:

2 Likes


i hope that is not the end result…
that is way too much preload on the coilover.

-I probably would recommend 2.5” shocks as the bigger springs would be better rated for the size/weight of your truck.
-There is a mathematical equation with Fox shocks (and typically every other brand out there) for the preload setting. “X” amount of preload gives you “Y” height adjustment.
-There is such thing as too much preload. You don’t want to hit a bump and then have your shocks go into coil bind. And inversely, you don’t want to be maxed out on your UCA ball joint.
-Please take my and others advice on this.

For what it is worth I have Fox 2.5 DSC on my 2020 ram with a ADD steel bumper and a winch and have a very different setting.

1 Like

@jedgar @jasont @ws6616

Ok, I can’t sit back any longer. The math is 1/4 = 1/2” of lift. The shocks I ordered are 0 - 2” of lift. You following me here. The springs are shipped with 0” of pre-load which would be stock height. You can figure this out with exactly what you talked about, which I know, math. So I went up 1” which is 2” of lift and a preload of 1”. I only got 1.5” of lift because of the bumper causes .5” of sag. This is exactly what my ride height is 6.5 Inches. I still have 5.4” of travel and almost 3 times that in spring length. So far on washboard at 80km/hr in corners it’s working better than the stock set up. Way less under steer.

Now please read through the thread, this is quite possibly not the end product as I am working with West Coast Off Roads to dial it in. So if the shop says yeah that’s 2” of preload and that’s too much, we’re sending you a 650lbs spring. I’m confident that I have 1” of preload which is acceptable for the 2.0’s.

If the shop comes back and says we’re shipping you a heavier spring…then that’s what they think. They build these trucks for a living. It has always been my thought that I need a 600 - 650 lbs spring in front. So I’m not at all surprised at what is going on here. It is exactly what I expected.

Now, as for the 2.5’s that’s a totally different shock both in type, size, length everything. So you cannot gauge pre-load to a different shock. Sorry Josh.

I’ll get the answers to all this on monday I imagine. The great thing is I’ll be able to settle this argument you all are having. I will be able to dial the collar down to 0” of pre-load and measure the threads. This will tell me how many inches of pre-load I had

In the meantime I’m going to go back to this

1 Like

oh nonono
i was just saying i looked at how much you dialed it up it looked off to me, and the issue i was concerned with is how high the collar sits. that’s all.

1 Like

that reminded me… i need to order the spray LOL

1 Like

Sounds good Wes! Was just sharing my example, but sounds like you are happy with your setup.

1 Like

I will share a link that better explains preload. Many people often confuse the amount of thread that shows above the top collar ‘preload’ when that is not actually the case.
Basically it goes like this. Take the length of the coil spring as it sits on your truck at ride height, (for example 12”) and compare that to the actual length of the spring (for example 14”). Do simple math and you will find that your coil spring has 2” of preload.
Now I don’t know the specific length of your coil spring but based on markings (1600-300-500) it’s a 16” length coil, 3” inner diameter, 500lb spring rate. Its very odd to me that you have a 2” shock with a spring made for a 2.5” but it might be because you have a full-size truck.
So with all that in mind, do what you will.

https://accutuneoffroad.com/articles/preload-adjustments-on-oem-fit-coilovers/

The belly button birthday I got to wrap and unwrap a present. Finally got around to doing the raptor liner on the rockers/wheel wells on the passenger side.

If you recall from before in the thread. I’m moving away from Color match as it’s a nightmare with insurance repairs in my neck of the woods. Black is the way to go for me. Makes repair with rust paint possible.


Just over a year after the repair from the rear end. Top right dip you can see rust where they just painted over the cracked paint and scuffing with black primer :call_me_hand: for red seal bodymen :-1:


Sand

Degrease, rinse, dry, pin stripe tape

Starting to wrap up the present

Present wrapped. These pre-taped drop sheets are awesome! That made the whole process so much more dialled.

TAPEBEAR Pre-Taped Masking Film, Tape and Drape, Plastic Sheeting Roll, Automotive Painters Masking Tape Film, Plastic Sheeting Cover for Appliance, Car, 22inch X 65feet, 3Rolls https://a.co/d/0gCQW21m


Primer, filler and adhesive promoter this time. Hopefully it doesn’t chip as bad.


Second coat done - 2L of raptor liner is just enough.


Finished product. All while letting my ego get the better of me while these cats take the piss out of me over my pre-load :joy:. Thank god they don’t know about me pre-mature-load….

3 Likes

finished product looks good

Took the rig on a little whoop shake down and the upwards travel in the front = too much. No bottom out, but it’s clear I need the heavier spring.

Moderate whoop and I stuffed the left front into the fender.


Luckily the lugs just peeled down the lip on the fender a bit.

Did you add longer bump stops when you increased tire size/added suspension lift?

Well after the weekend of camping and fiddling while there with the heater. I have discovered that my Renogy DC to DC charger seems to not be doing its thing.

After a few conscious observations, I’ve determined a theory that the issue is the fans. The charger seems to intermittently come on when I’m on a rough road. Add to this observing when the charger is turned on there is no fan noise.

So….time to pull it apart.


Started this project around 830pm. Here’s the thing when you build these rigs out. Thought has to be put into how easy is it to access things to repair.

This is my power cubby, and this ole charger has been taking a beating in here. Dust filled, FSR rally rattles. A true test of Renogy’s equipment. This charger is 4 years old I believe.

Got it out no problem, despite the awkward screw removals. When I built this I didn’t have the platform on the frame. So it was much easier to access the screws.

Wow I didn’t realize how shitty that picture is; but I can see that the small DC fans don’t look happy in there. I’m hoping a little air, and massaging and they’ll come back to life. Or at least I can get a part number off them and can see if I can find some on Digikey.

Then bang! Back to ready to camp mode.

1 Like

oh i feel the pain of hiding things to well!
FWIW, if you can’t fix it and must upgrade, look into the new DCDC with MPPT from Renogy. Be sure to get it from Renogy instead of Amazon because the one from Renogy actually can handle up to 50A of solar* and when your truck is off and it finishes charging the house battery, it’s supposed to trickle charge your starter battery too!

Renogy official site sells the V2, which is the upgraded version. Amazon’s listing is for V1, which is capable of only 25A solar. Part numbers are identical but there is a difference. I learned it the hard way and had to deal with the return lol

1 Like

Totally eh! I just took a chance on ordering a DC to DC charger for work because the renogy site was giving me grief. So we’ll see how that goes; it’s just for a proof of concept unit for BC Wildfire. Personally I have only ordered from Renogy for my stuff. I know the victron stuff is superior but I’m struggling to see if they have a unit as versatile as these MPPT chargers:

I’ve been eyeing these up for a while with the idea I’d pull the trigger when my charger fails. It seems as though that day has come. Maybe…just maybe I should dare to look at Redarc.

:joy:

1 Like

yeah for DC-DC + MPPT all in one unit the only two options are Renogy and Redarc.

I went with the 12v 50A one lol my solar are pushing nearly 30A already so combined with alternator i get 50A max. Probably won’t need to use all 50A of charging power, but that does leave room for future upgrades (say, if I go from 100Ah battery to bigger ones)

The trip up north through BC and Yukon to Alaska and Tuktoyaktuk is going to be a test for my build theory. I want to see if what I’ve built can withstand 2 months straight on the road solo while still going relatively fast paced on gravel, and still perform at top level with all these abuse!

I also heard the wildfires at BC and Alberta are crazy! Stay safe man!

oh and I looked at Redarc and for the price of one Redarc I can get TWO renogy… too bank for me.

maybe for the next build loll

Let me know if you’re coming up Hwy 97. You’ll roll right through my town and there’s a rad way to bypass it via the old gold rush trail. You can rally that road! I’m pretty stoked that I haven’t rattled too many things to break. Things that break seem to be shitty small gauge light wiring. They really don’t like the jostling.

It was wild! A tree came down in town (Williams Lake) caught a shop on fire and then started a 20hectar forest fire. There’s still fire retardant scattered across the streets. I work in IT for BC wildfire, we support the fire camps coms. The stuff I’ve learned on my build is proving to be invaluable in developing remote solutions for Initial Attack crews, and Unit Crews.

One of our unit crews just learned that the 100lbs starlink magnets are no match for 80km/hr FSR rally with a strong cross wind :joy:. The ONE crew I didn’t tell to NOT mount their starlink until we figure out a proper solution :joy:

I know right!!! I couldn’t find the solar MPPT in Redarc; but just the DC to DC charger (which sound dope) is like $400 US!!!

So the Renogy is sitting in my cart.