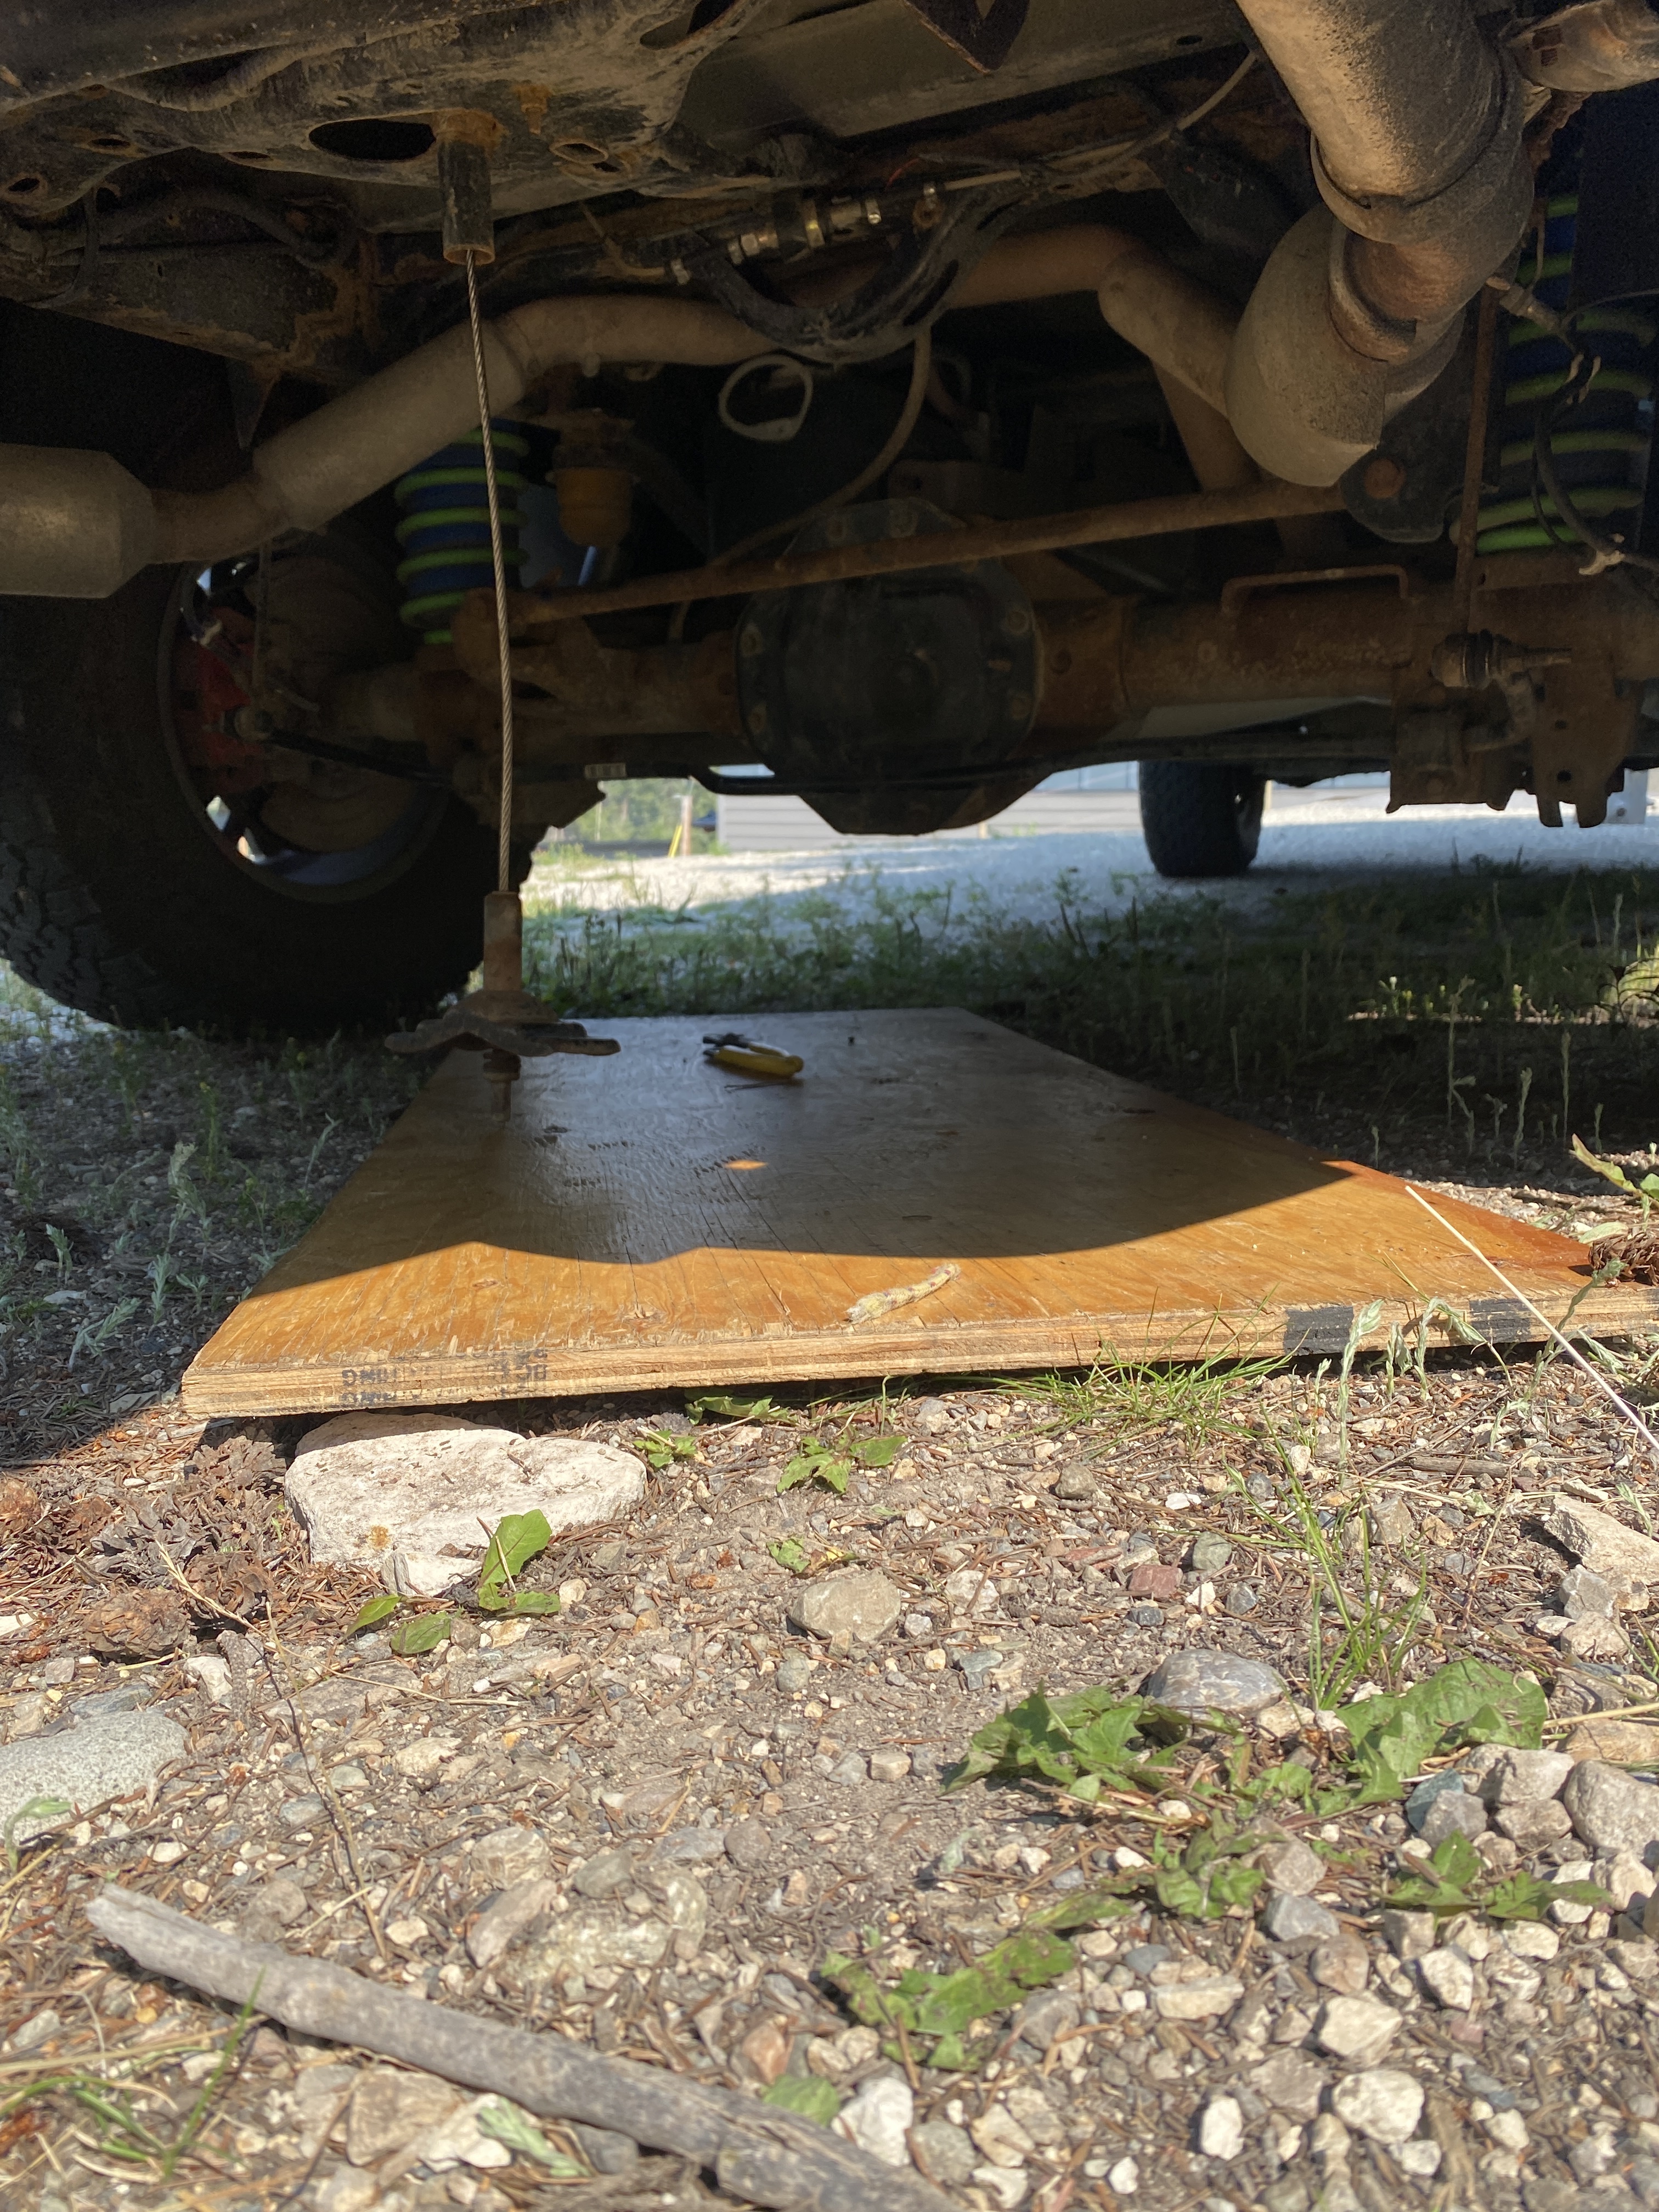
While I was out camping I started working on what I had discovered a week prior. (Don’t have pics, sorry) The cheap amazon fuel filter no matter how you tightened it would rattle itself mostly out. This would cause, obviously, loss of prime. Unfortunately when I started working on it, all of the fuel was out of the line. That’s when I discovered my DC to DC charger wasn’t working. These Autoterm heaters don’t have a prime function like the Chinese diesel heaters. So you either buy the $400 priming tool, or just run it until it primes. Problem is it locks out the heater after every 3 unsuccessful starts. Then you have to reset it by removing the power three times. This is a lengthy and power hungry process. I killed the house battery before I could get the line primed.
Now with the filter removed, and careful inspection of the line. I believe I have all the air out. Now I can finally test the 3rd heater from this company.
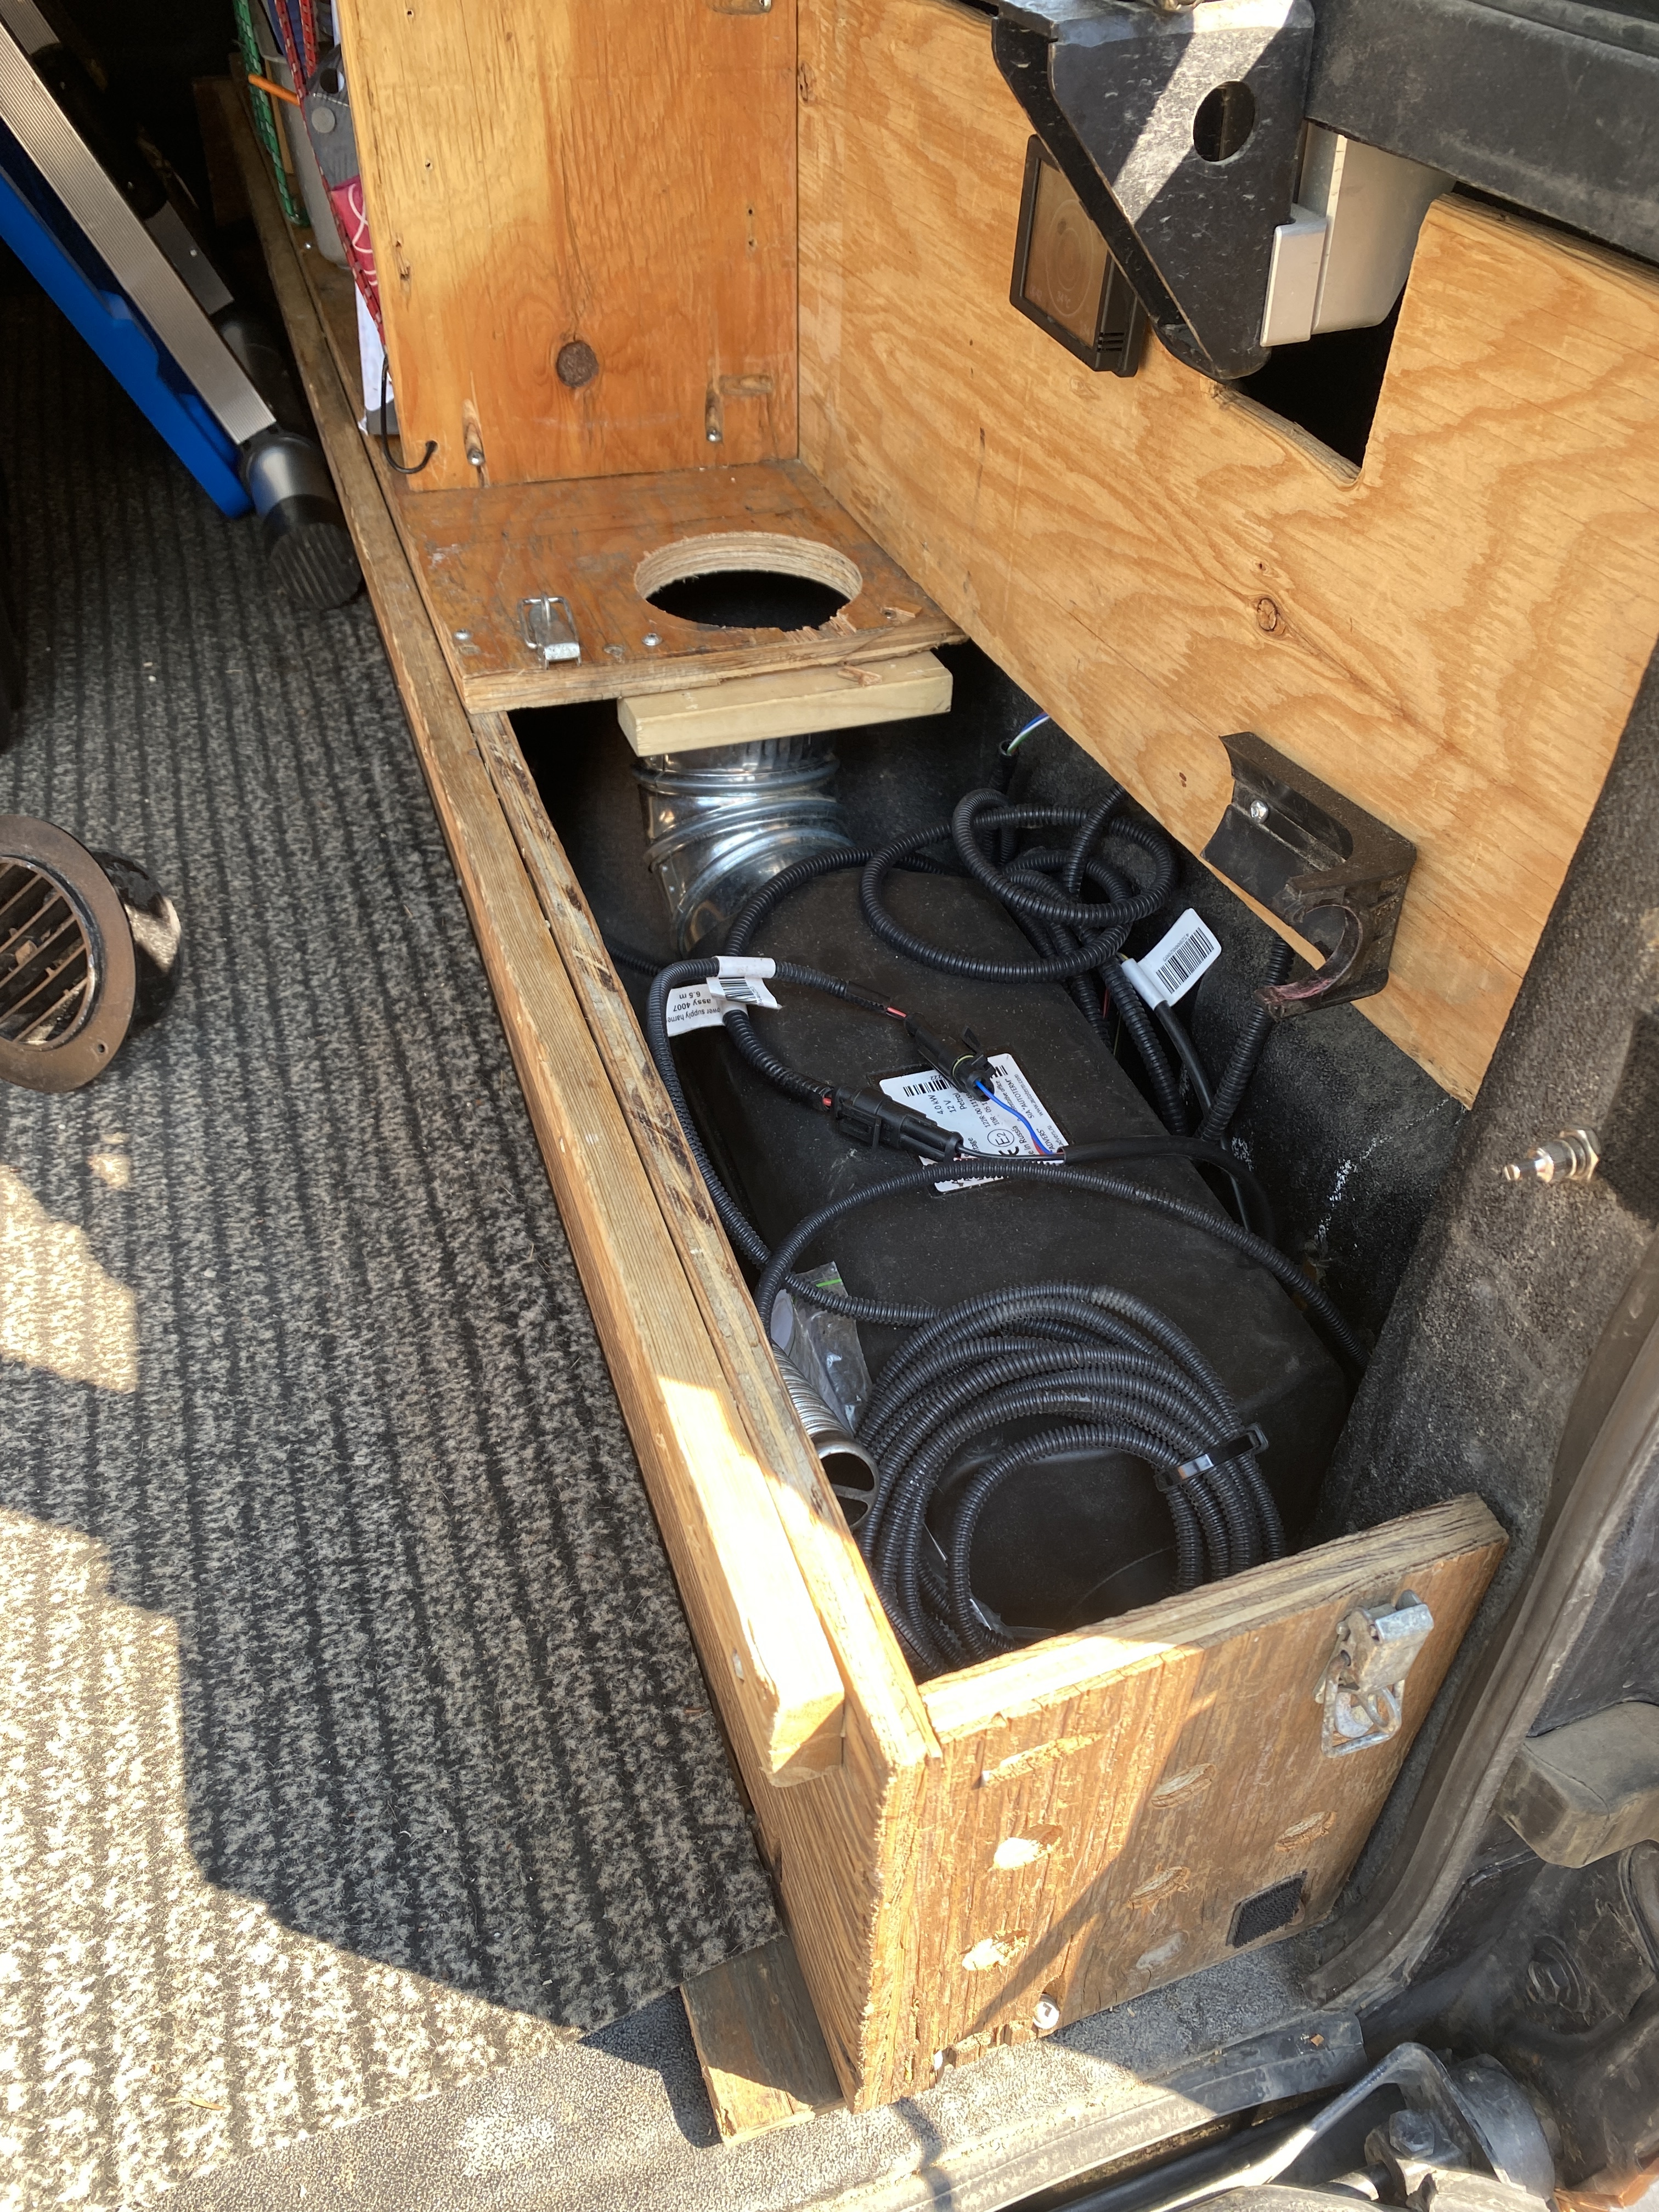
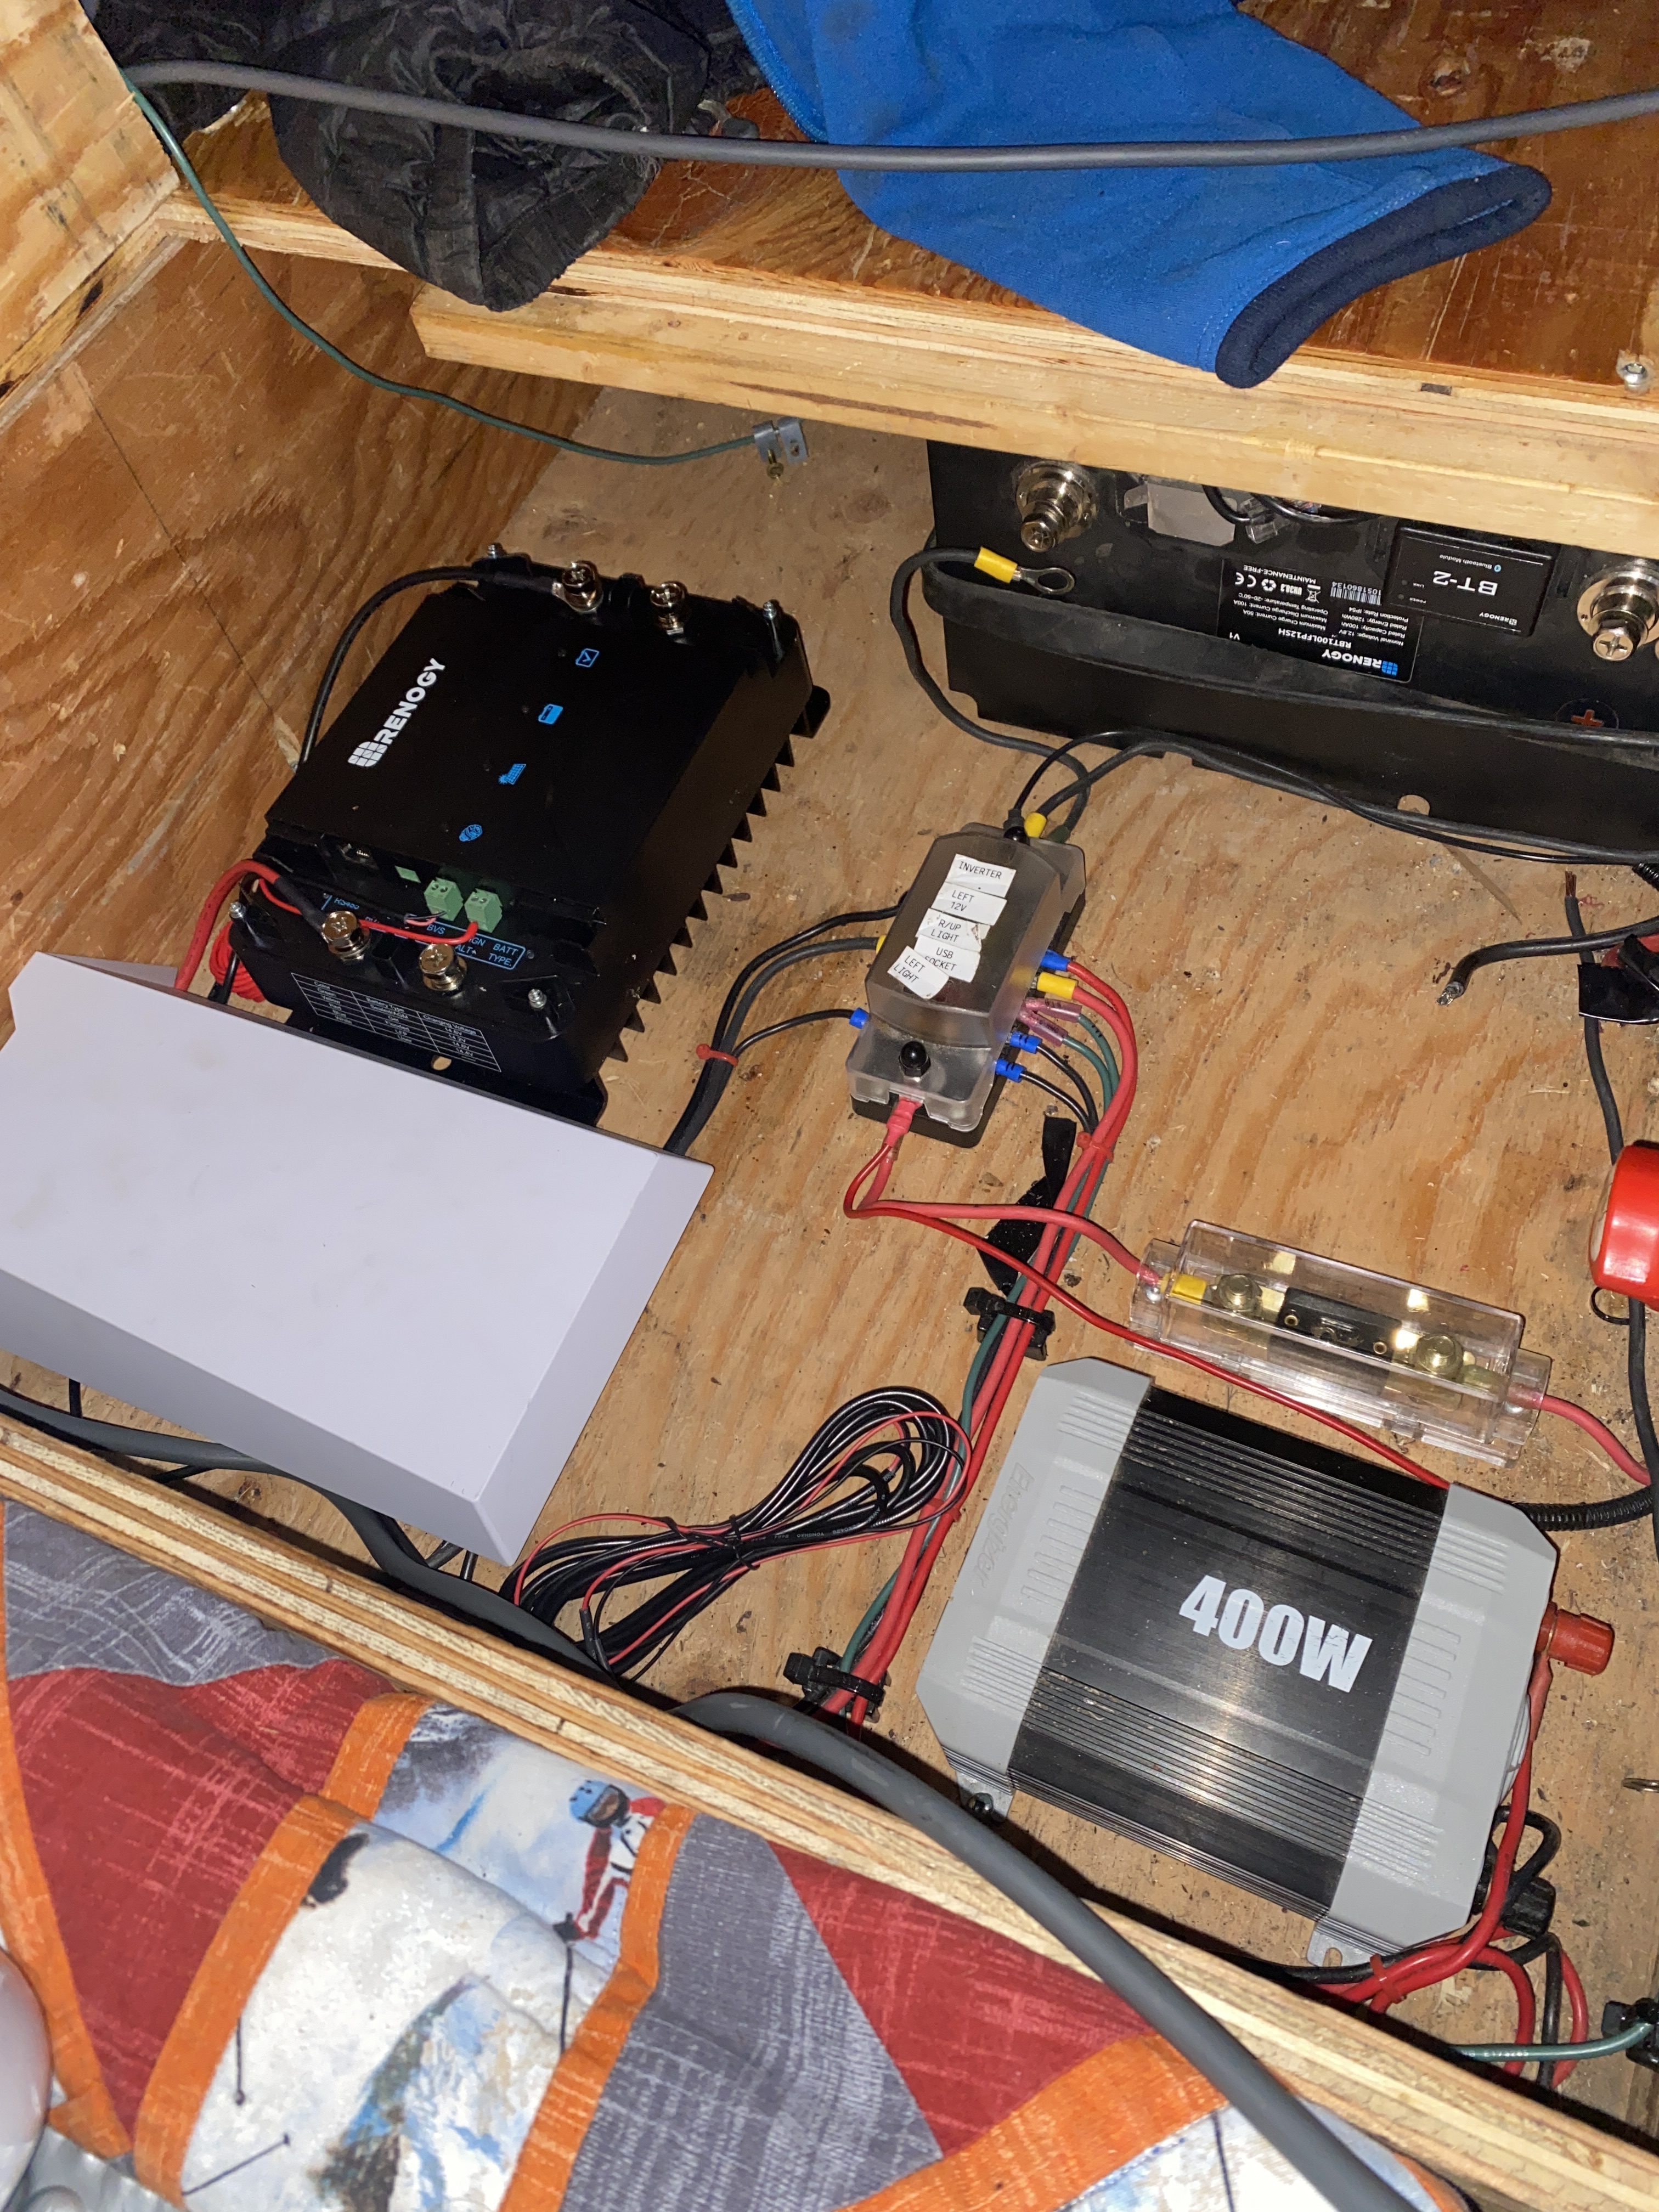
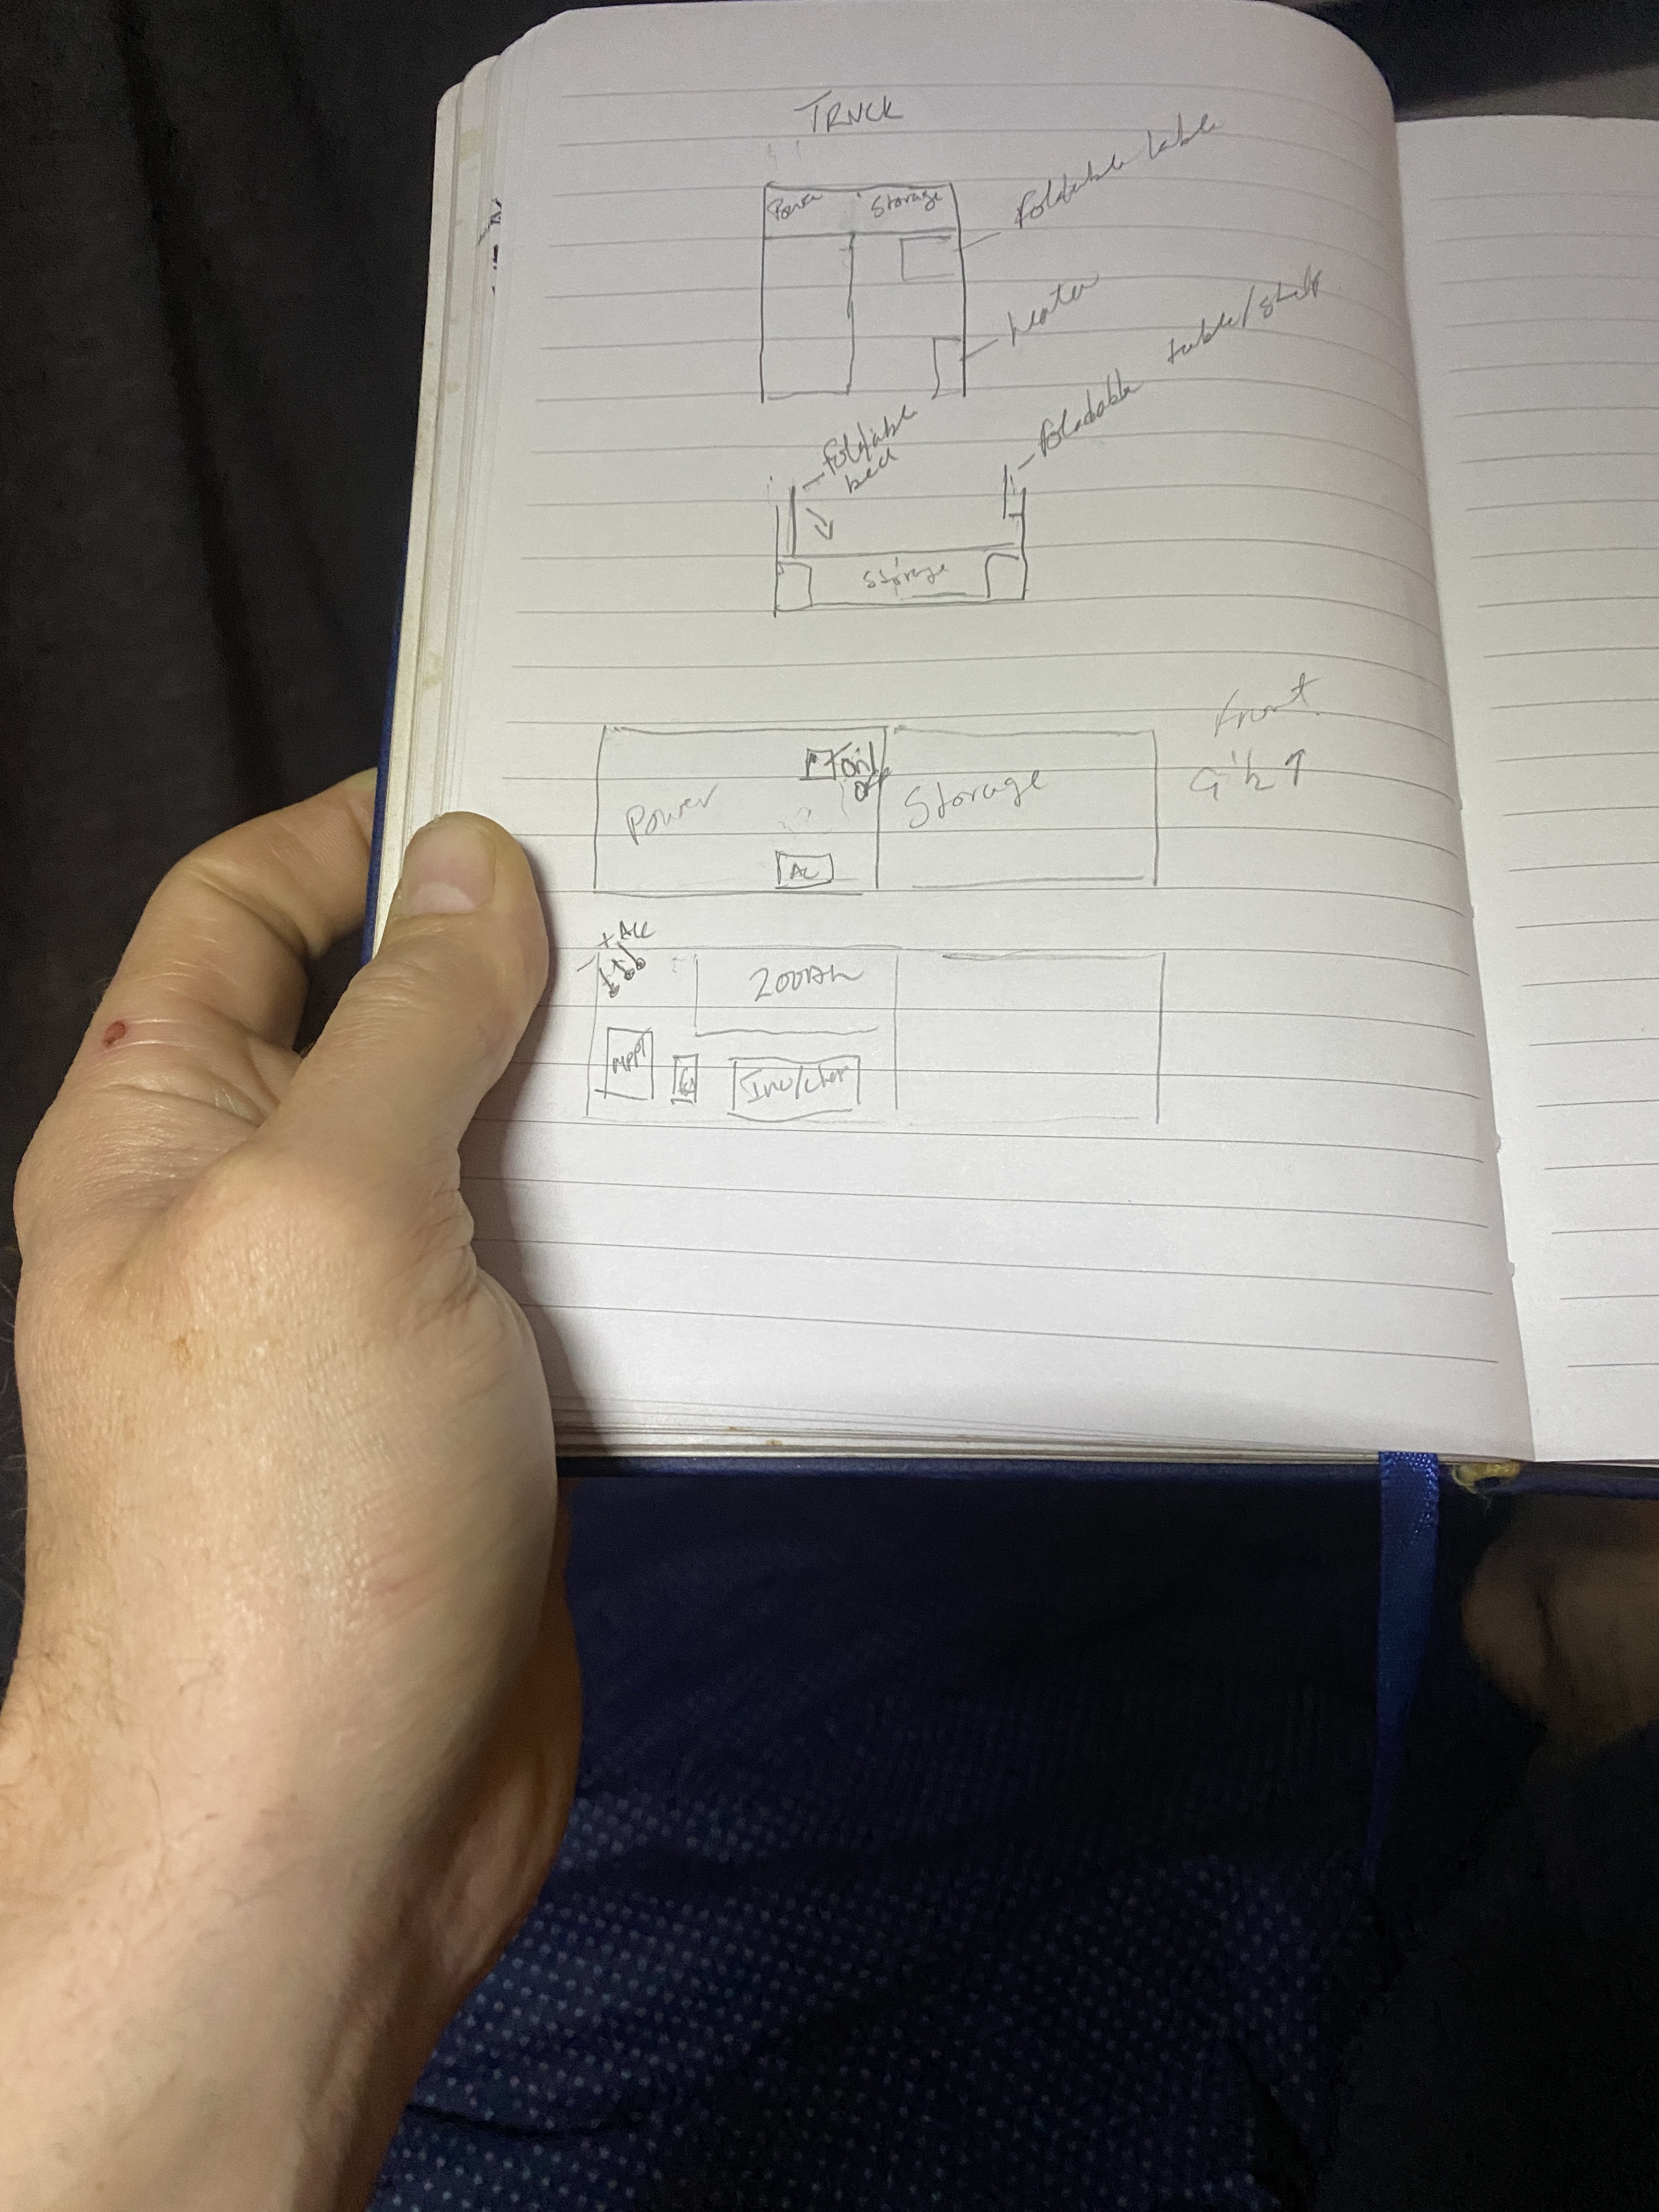
Then the realization that past Wes, didn’t look out for future Wes. My wire runs have no slack I fought with things for a bit. Then decided to start to strip stuff back and rethink. Since the MPPT is a different configuration, I’m going to have to think through how to position things with Future Wes in mind this time. (300Ah battery upgrade)
I measured the space where my 100Ah is now and I believe I can fit the Renogy 300Ah battery there. But, in the meantime I believe this to be my first reconfiguration.
Stay tuned as I needed to replace two Anderson lugs. But, in true small town fashion, I couldn’t get any and it was either pay $30 for one Anderson plug and have it now. Or, order one for $5 and have it in a week. I’ll leave you in suspense as to which one I chose.
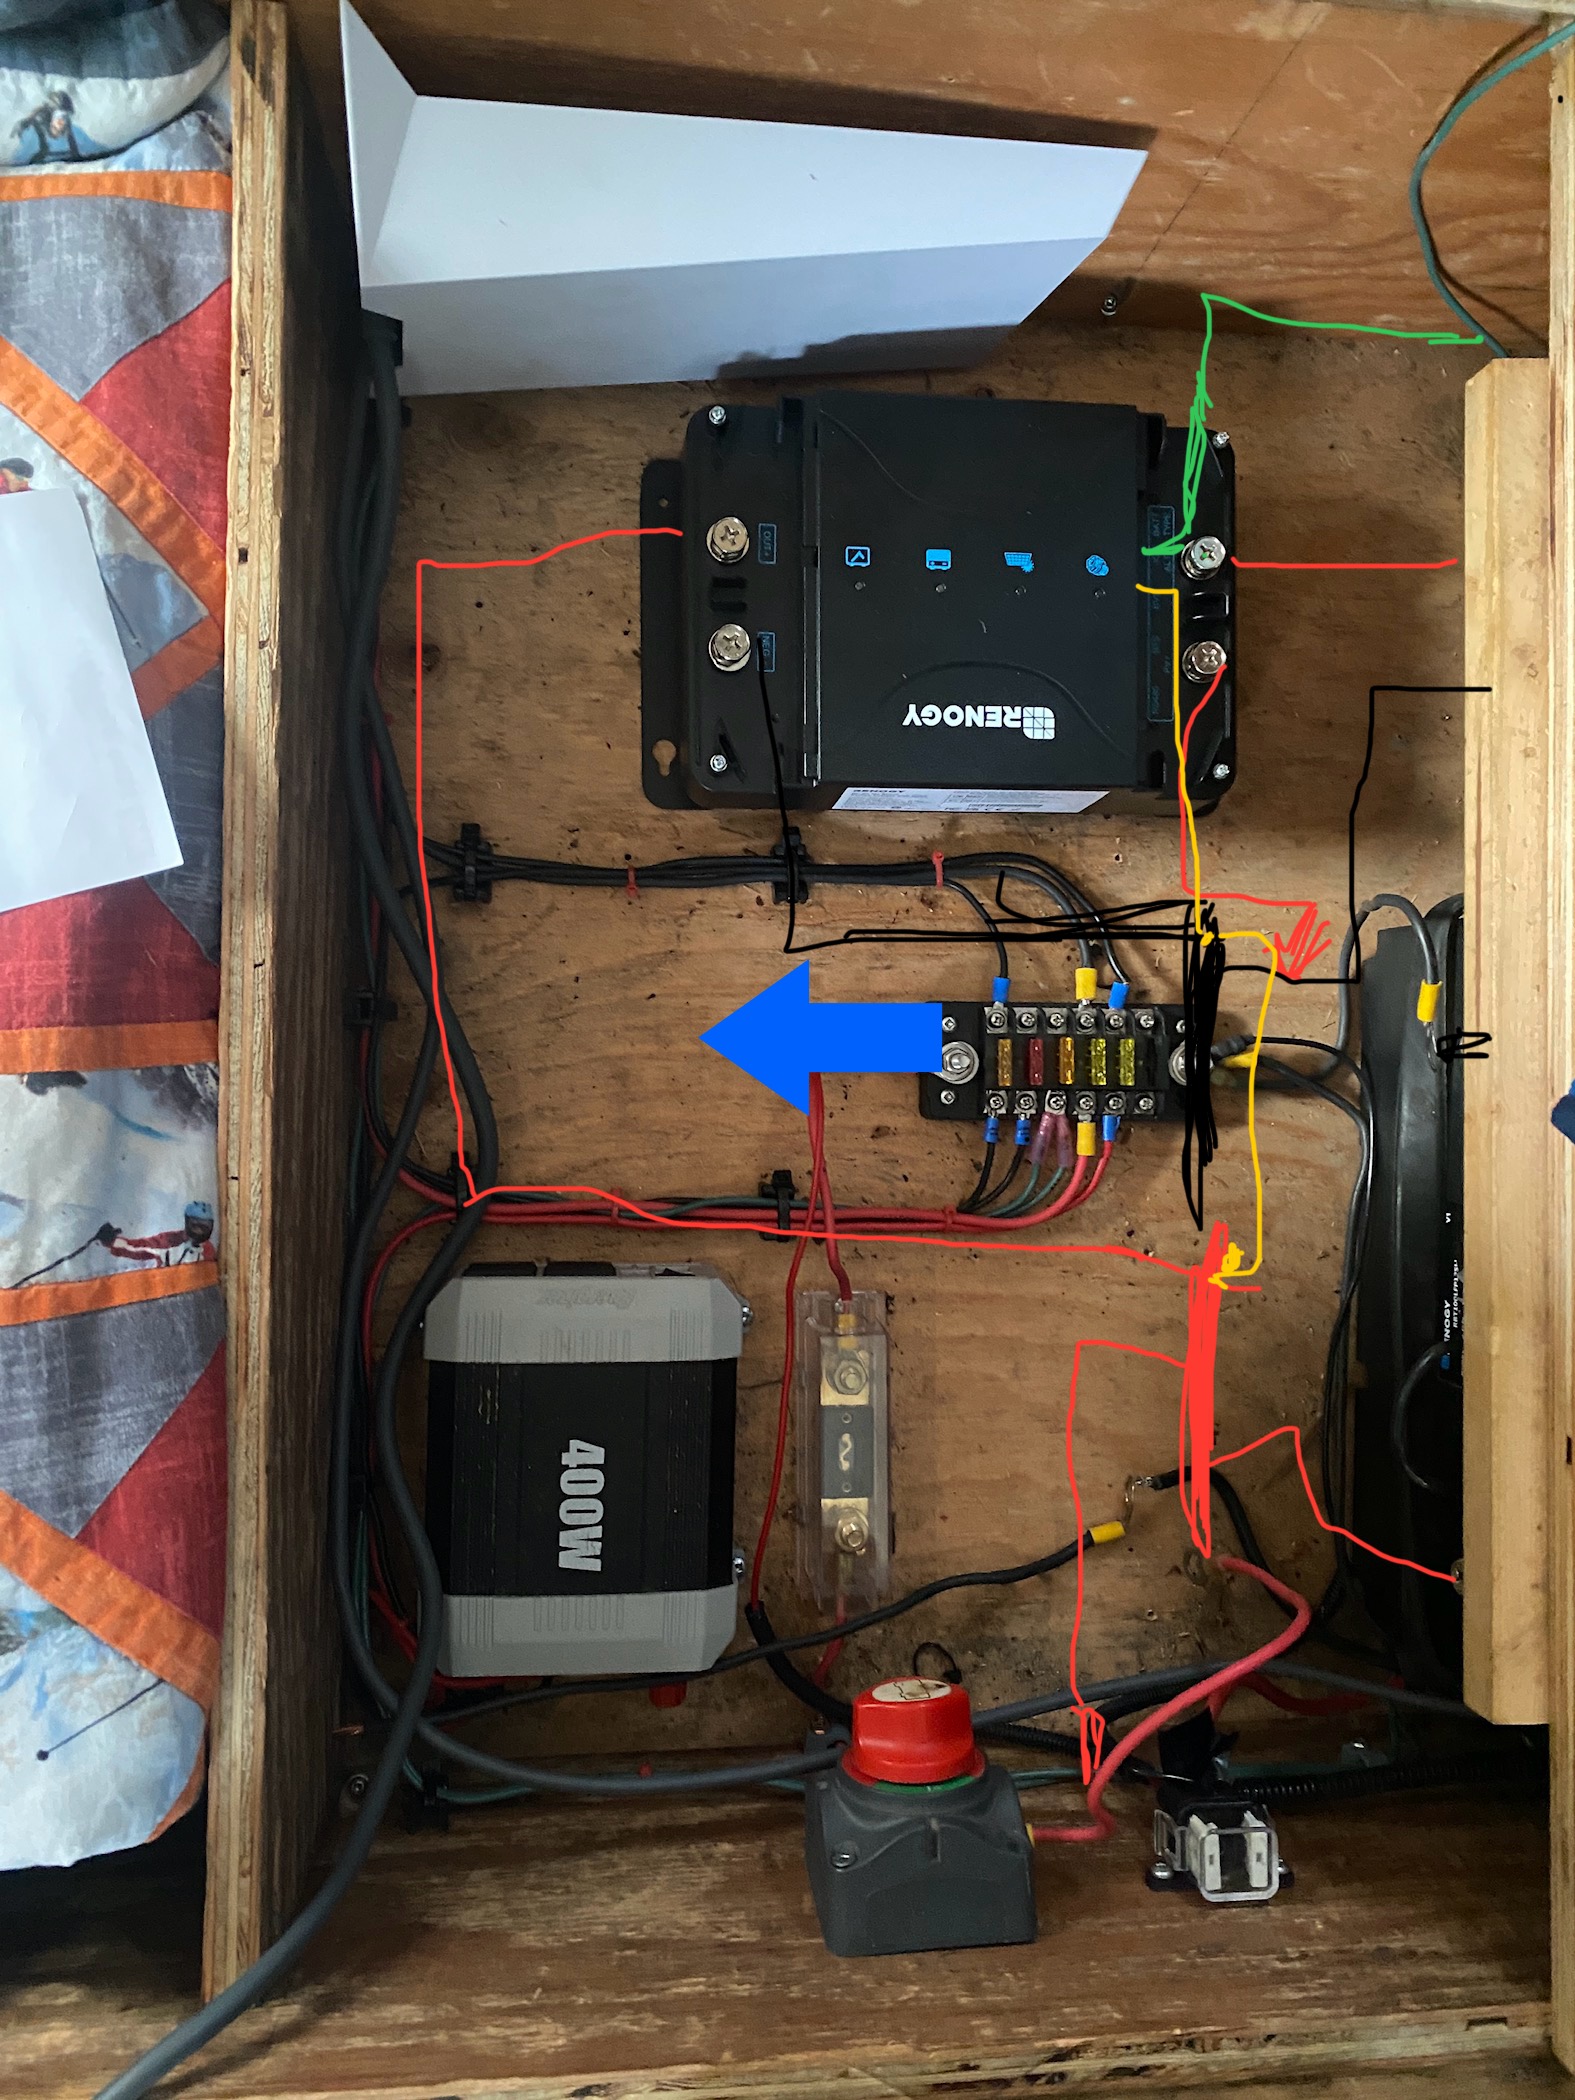
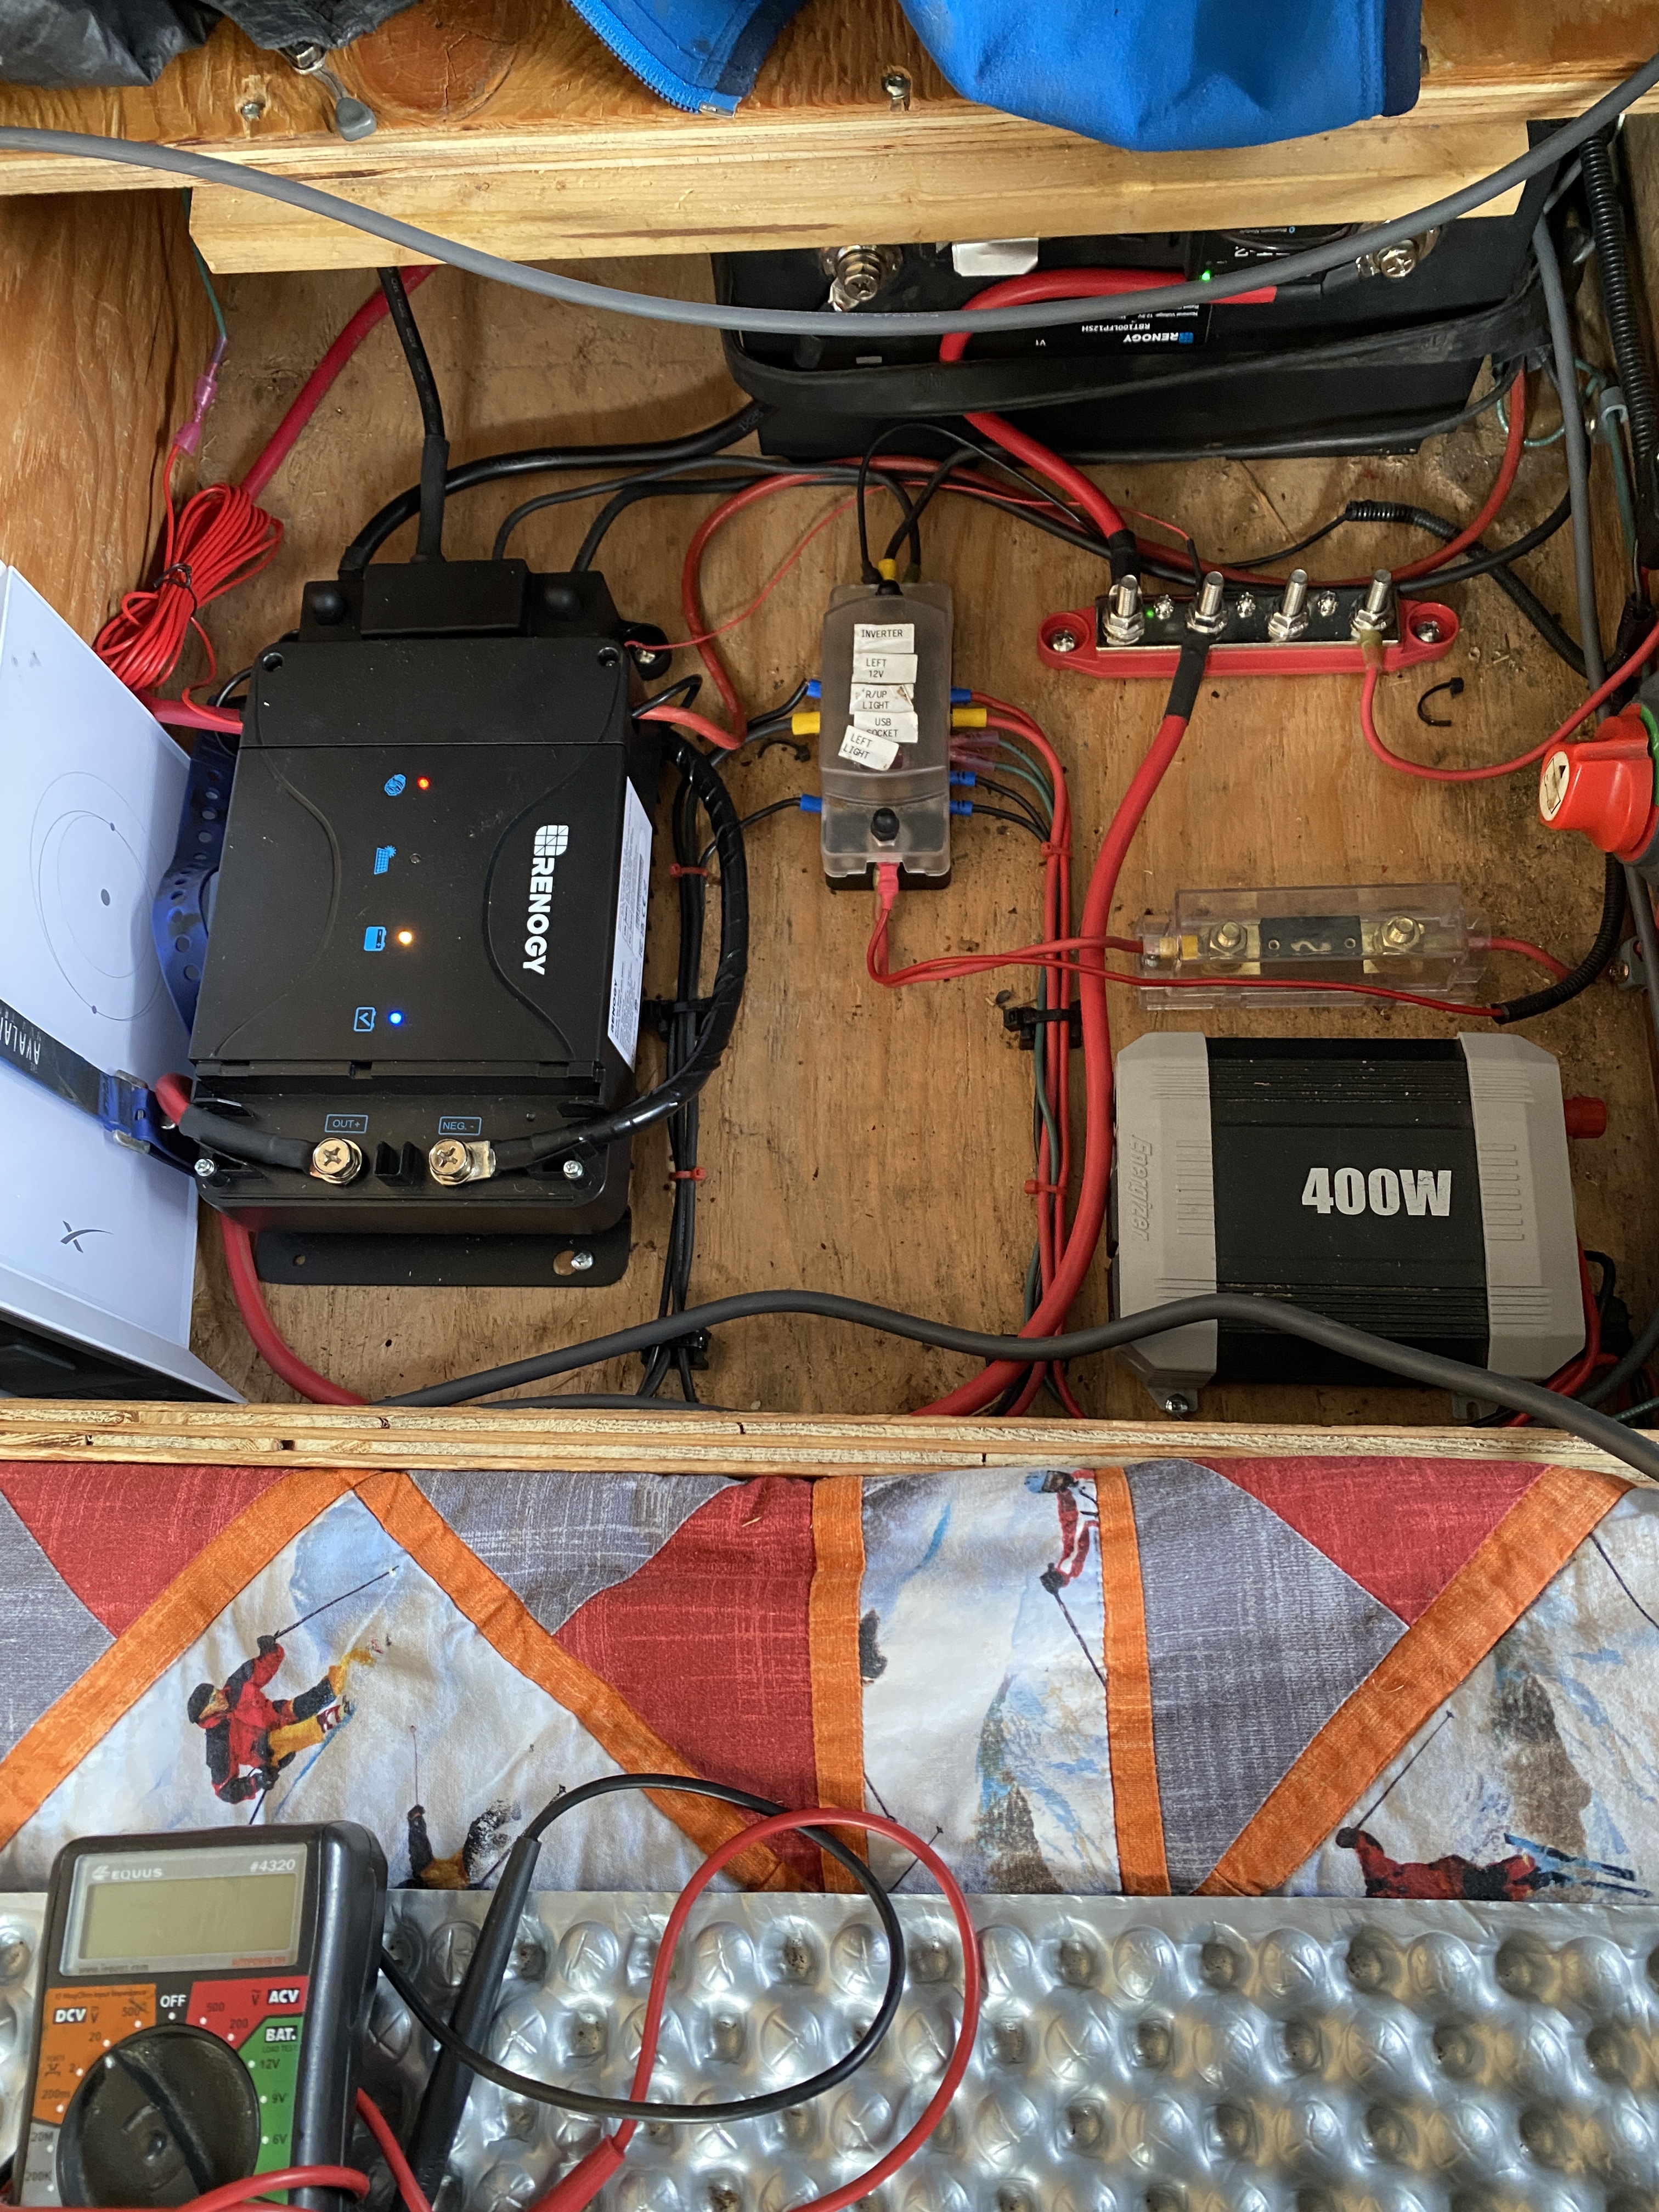
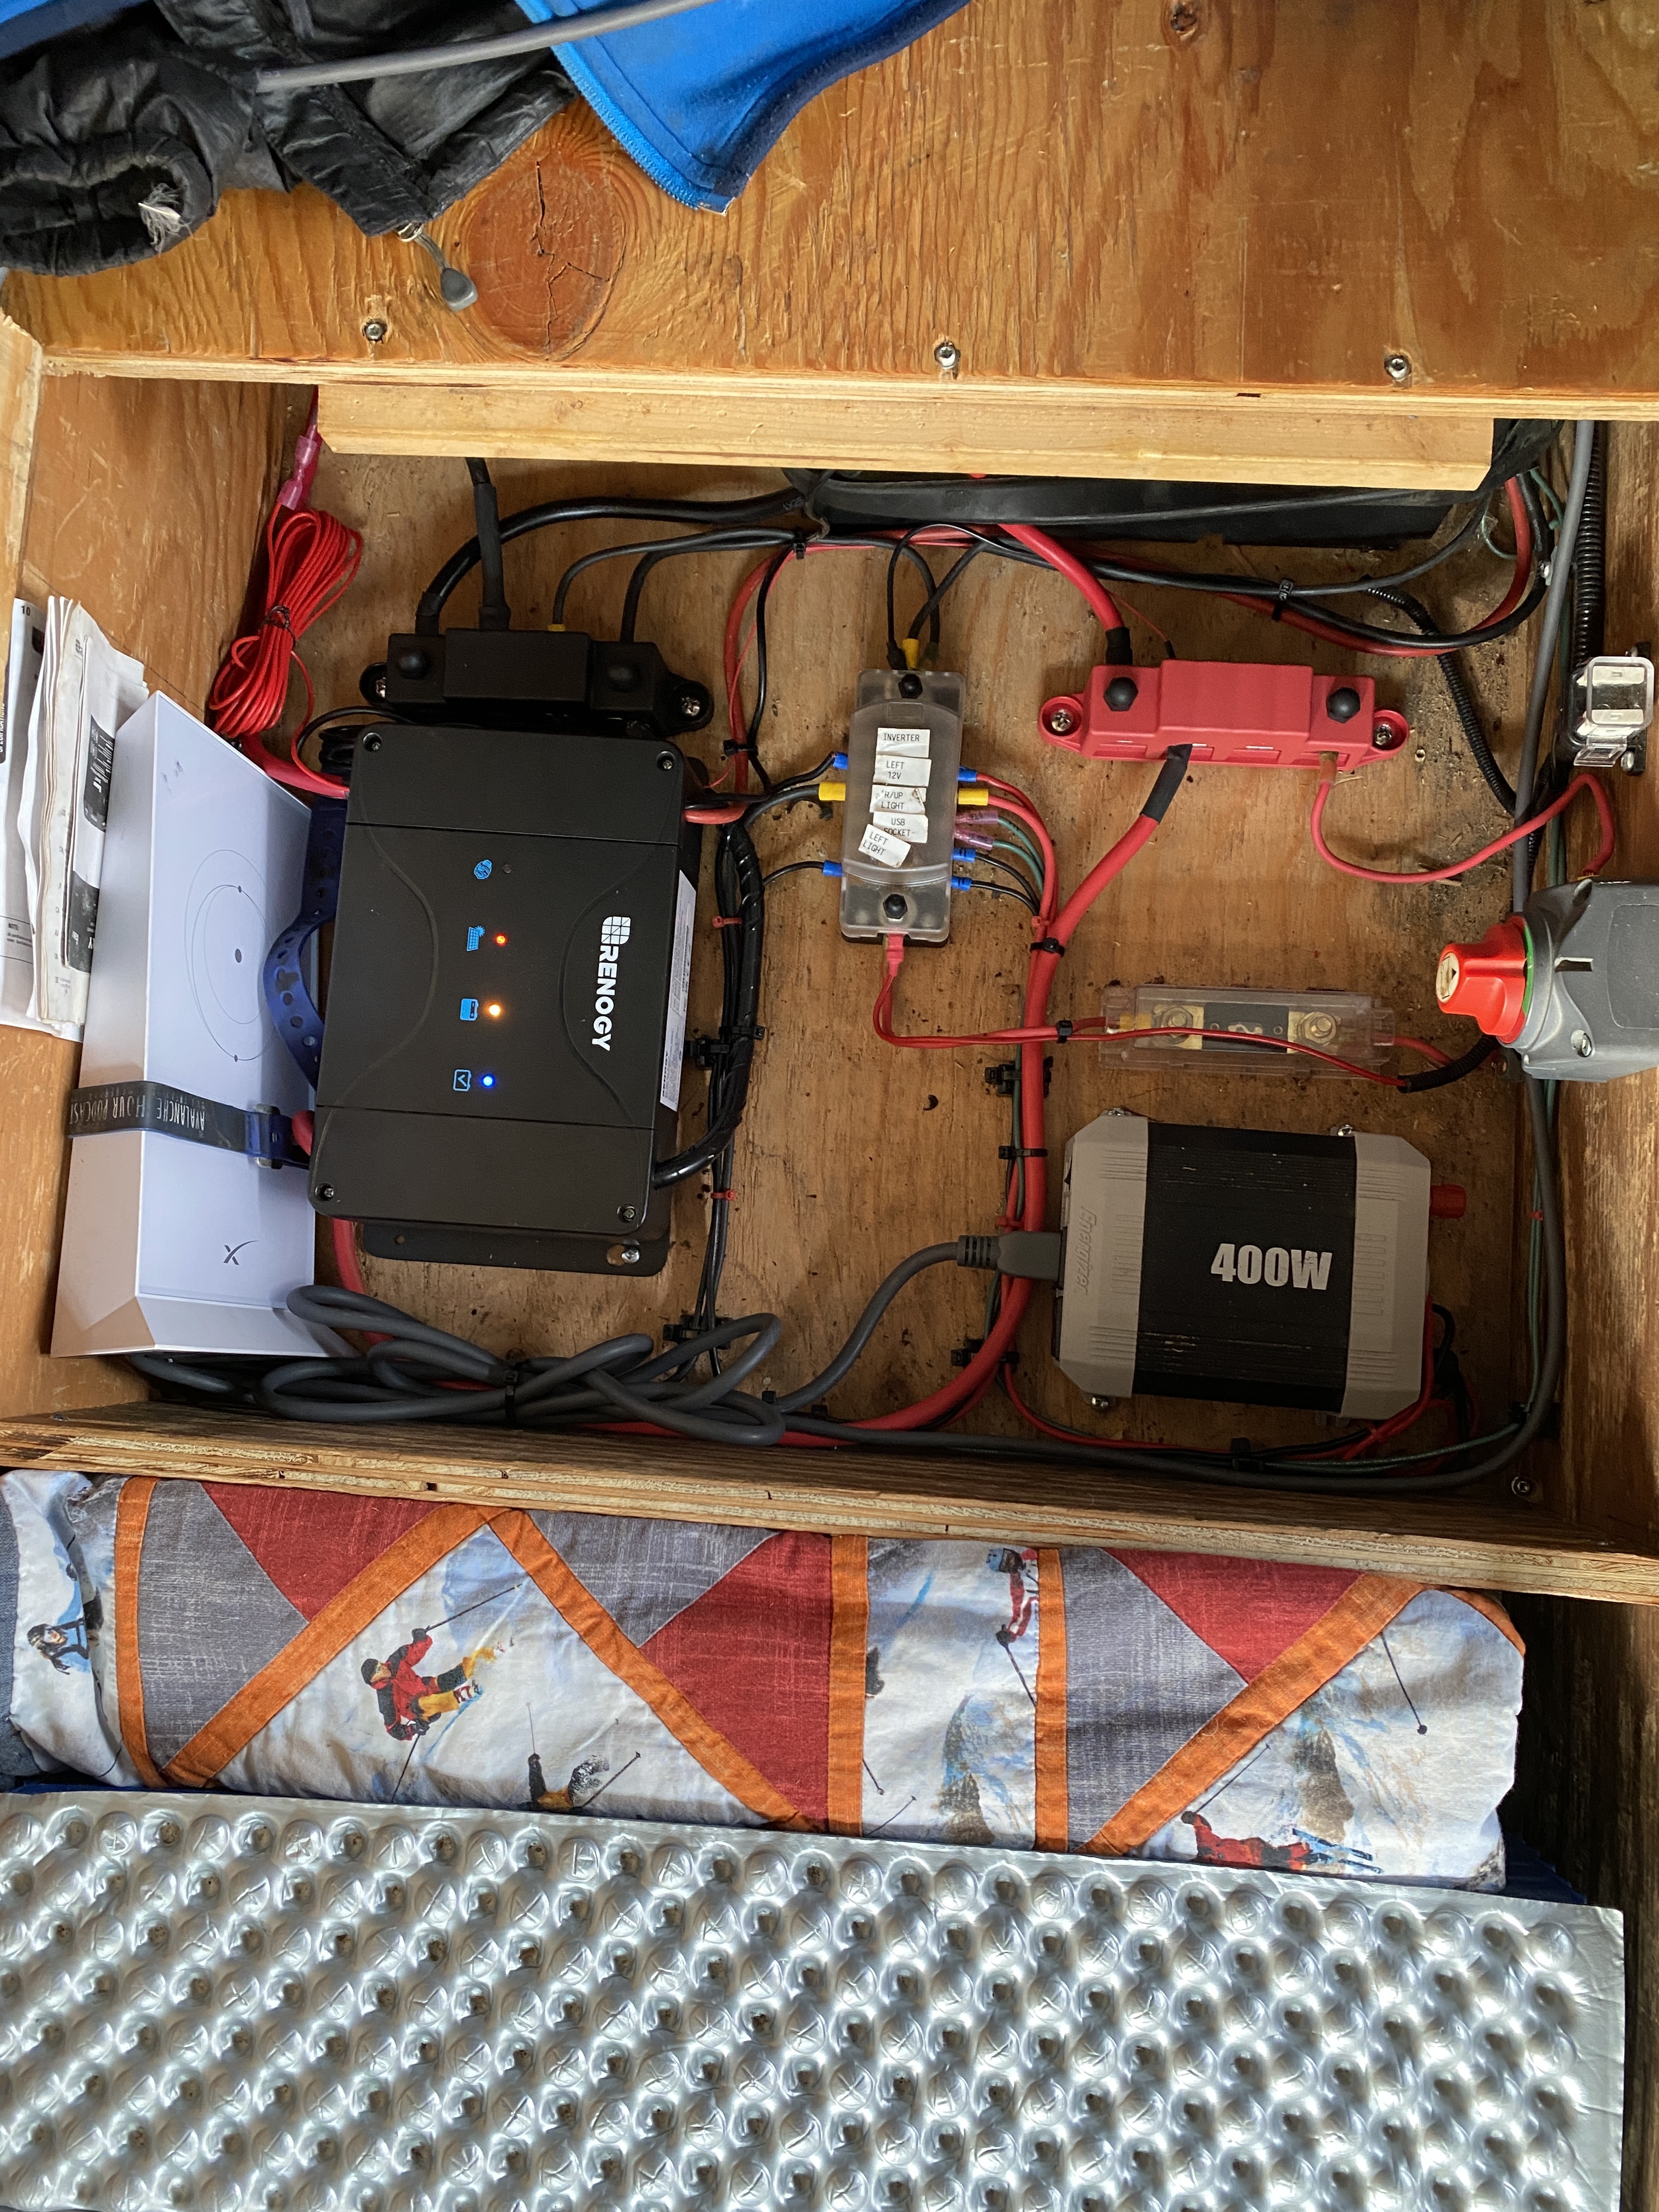
So it took a minute to realize the benefit to using buss bars. Then I recalled that was on my electrical upgrade mental checklist. So this is what i’ve come up with.
Starlink - Fashion some form of strap to hold it in place, but is easy to remove. Thinking ski strap.
Fuse box - gonna move that to the left to give room for the buss bars.
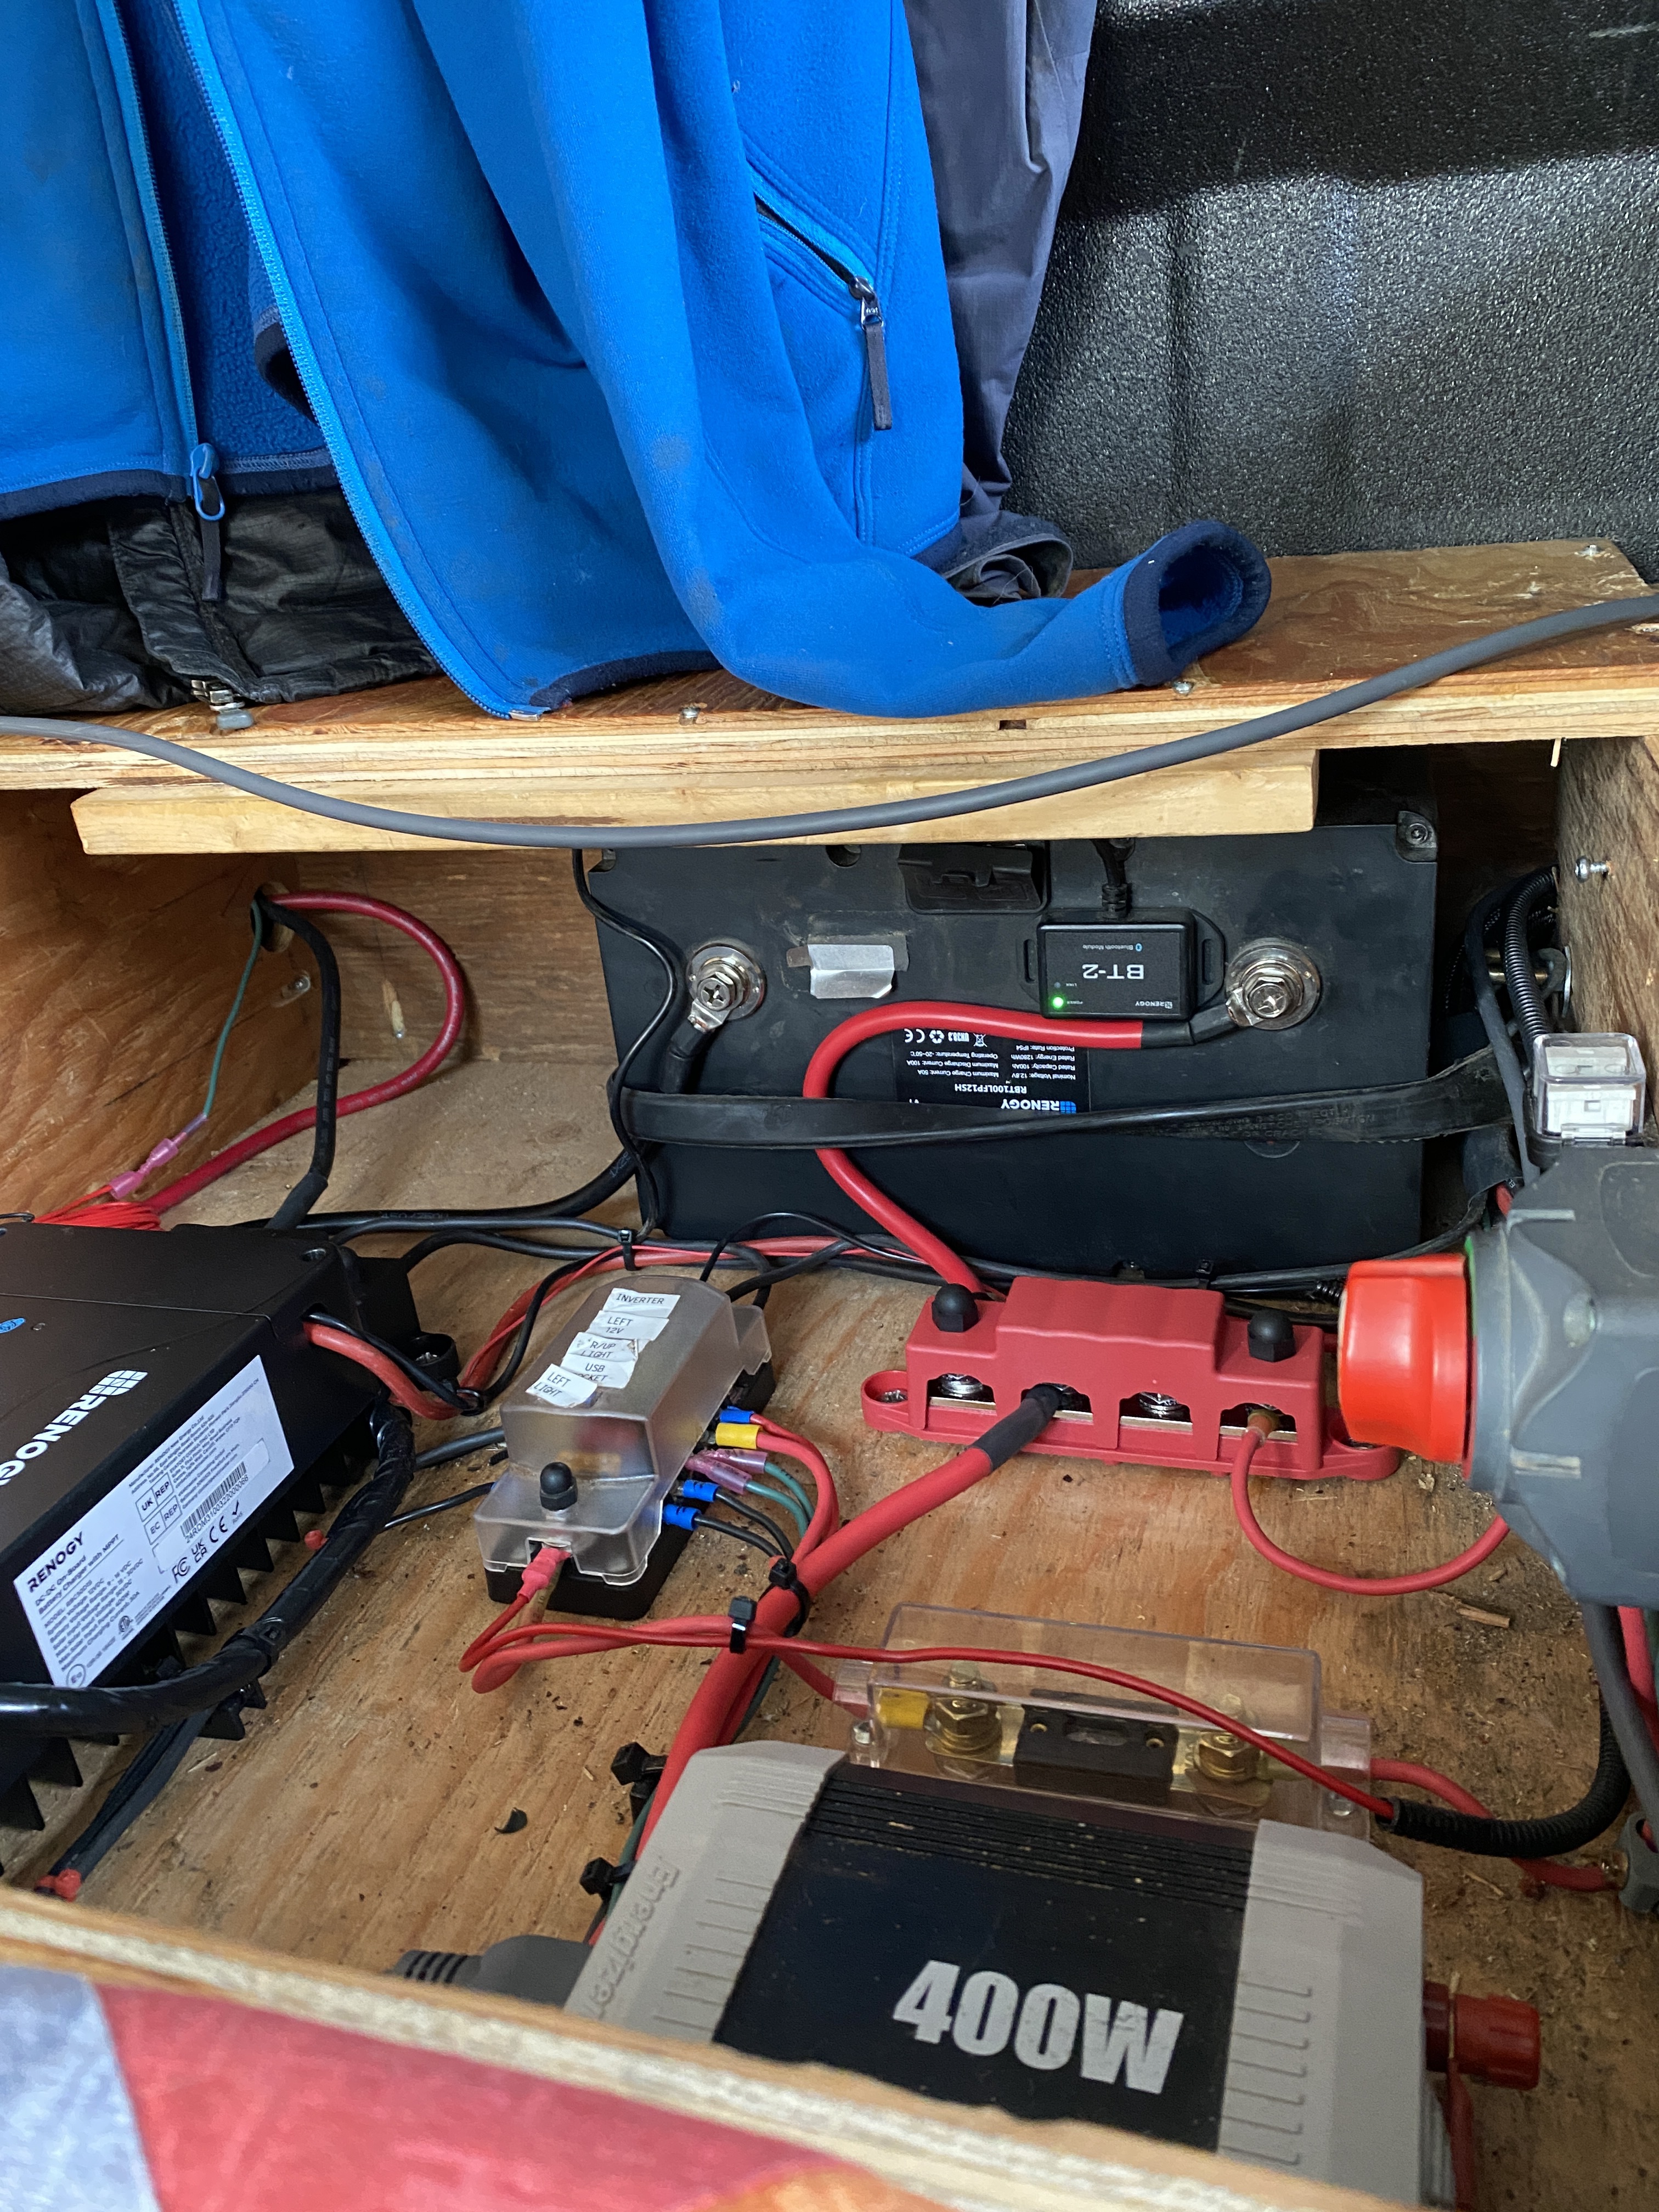
Buss Bars - Red and Black scribbles - Short #4 from the battery and the negative Buss bar is tied to the frame in this case. The benefit here is that if things change you are easily able to swap things out with minimal changes in cabling. Maybe have to make 1 or 2 cables if you can’t reuse what you got. I knew this and glad I took the time staring at this empty box thinking about future changes.
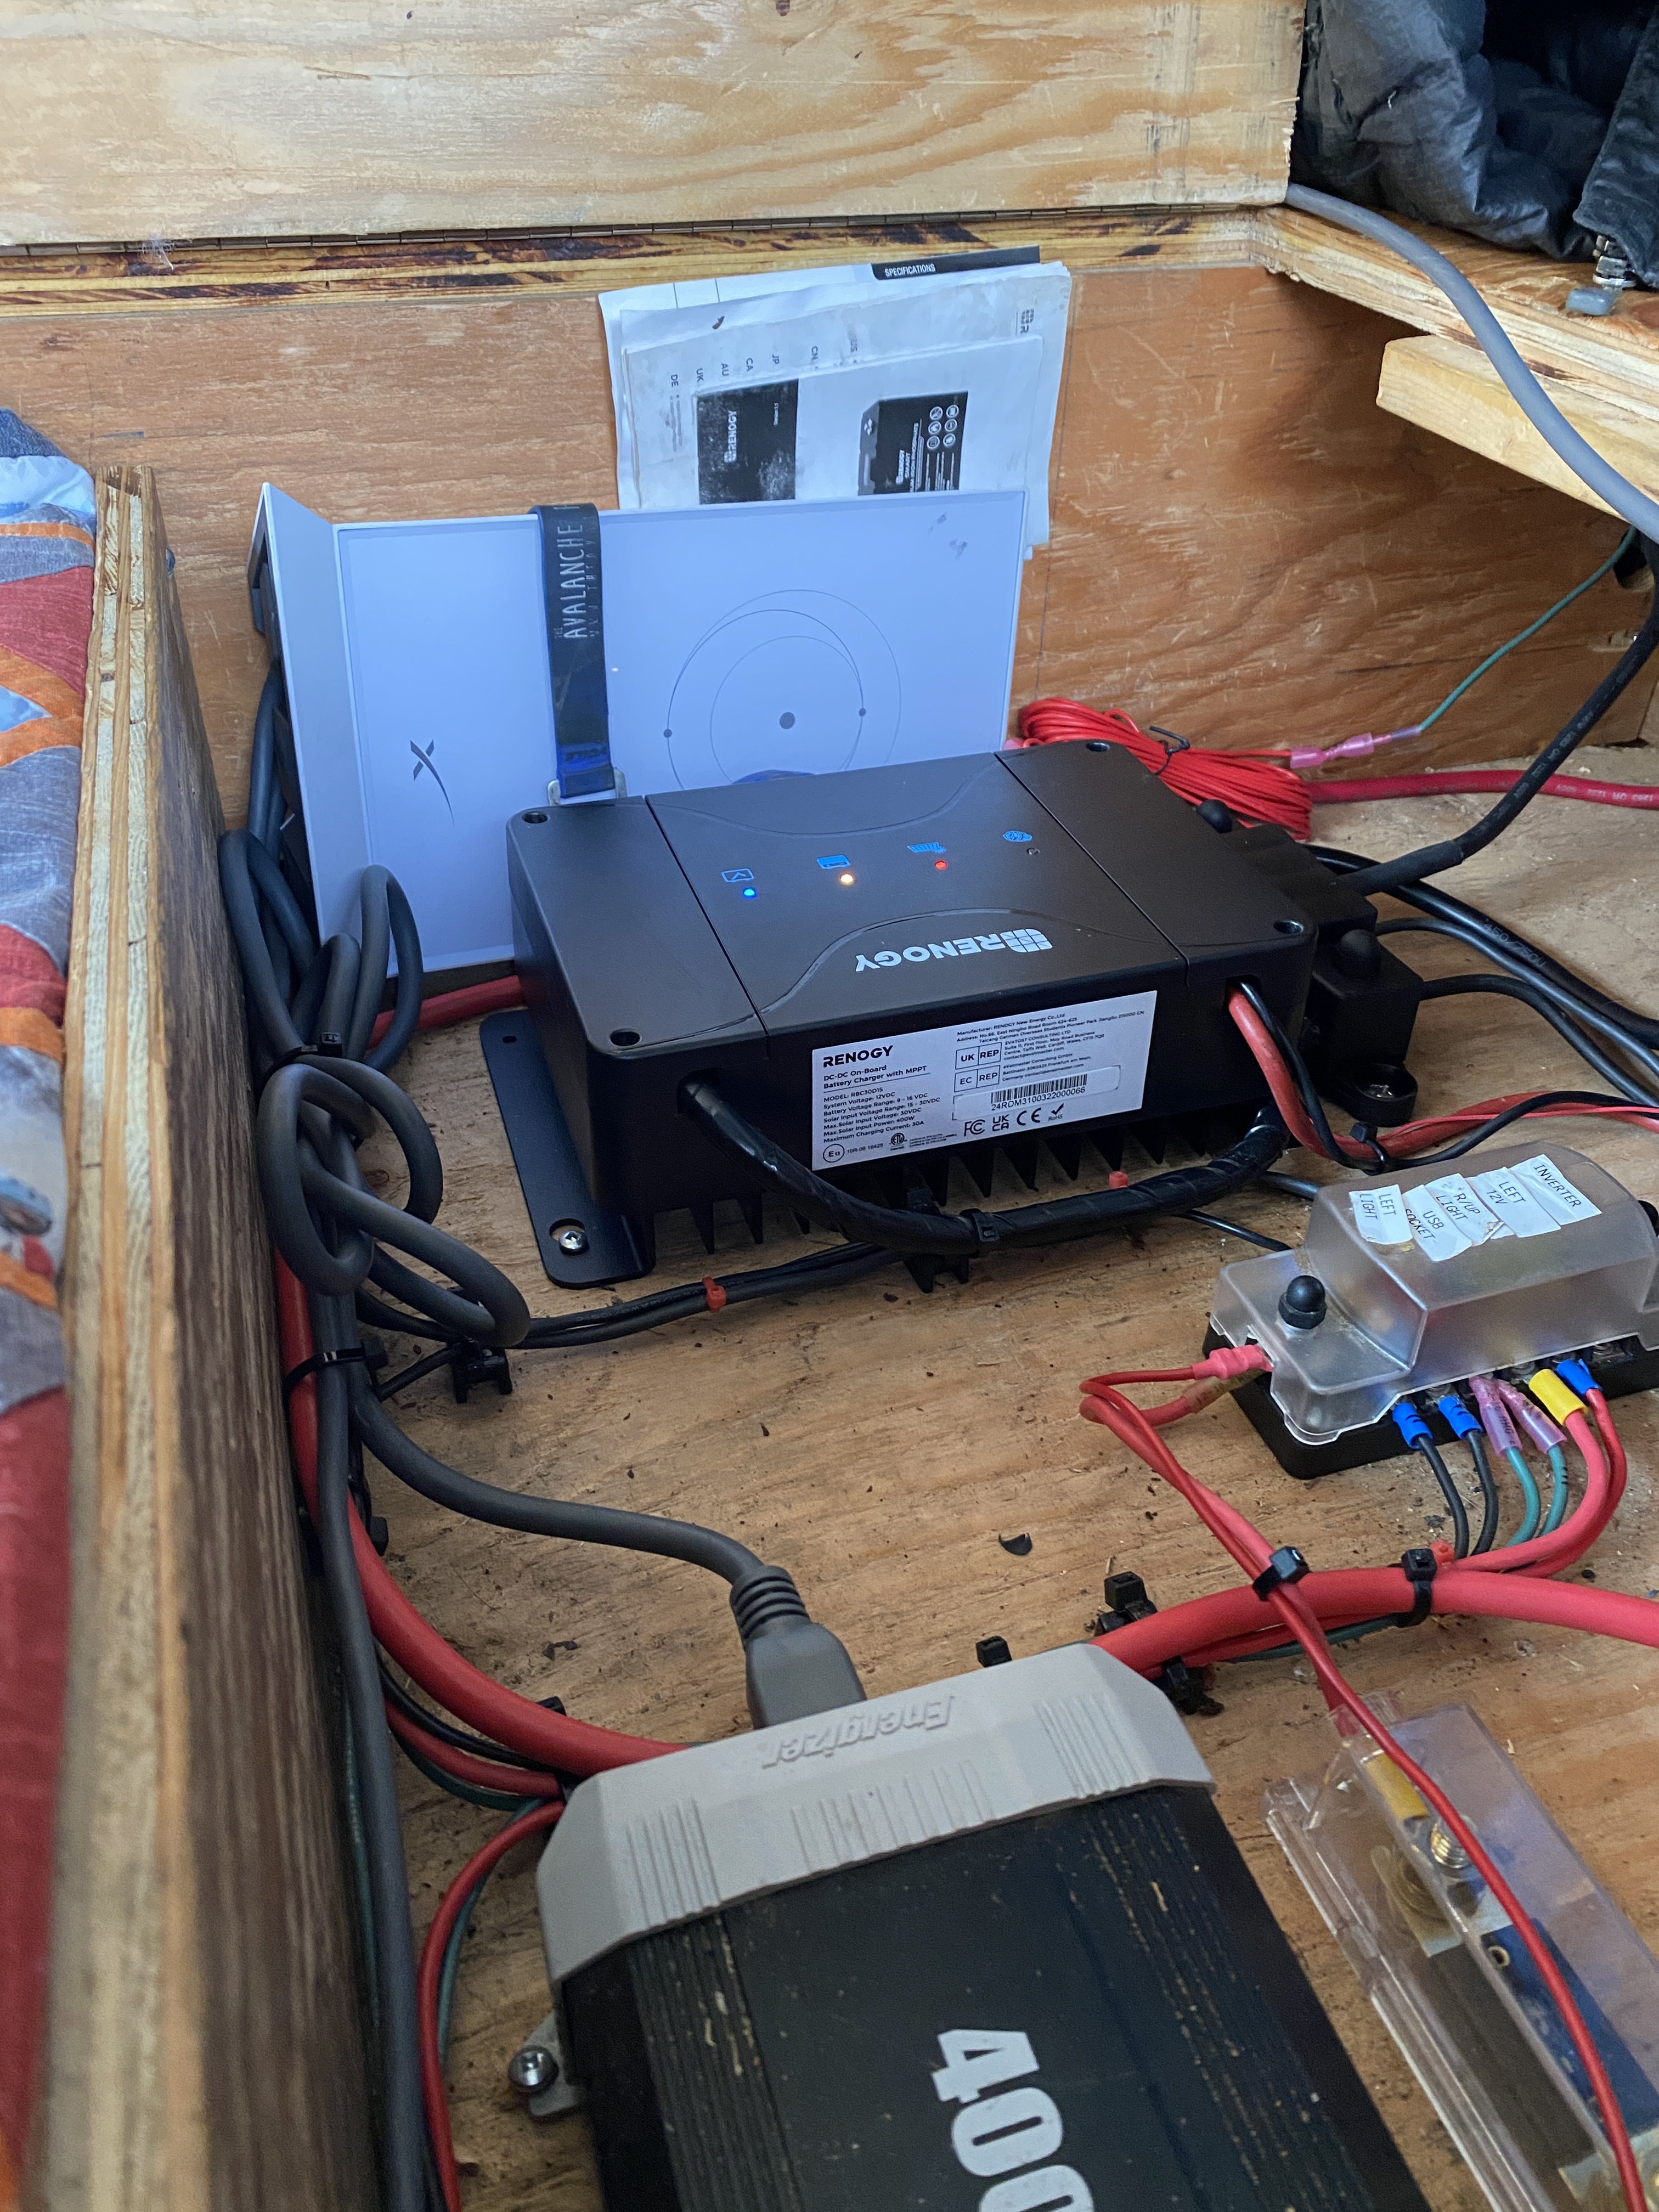
Solar - The red line with arrow. That will be a custom patch; likely solder an extension to a lug to the MPPT Charger. There is a loam that contains the cable. I do know I have slack on the other side. So it may actually only be a matter to cutting the heat shrink to pull it through the loam. That would be awesome forethought. I’ll report back on this one.
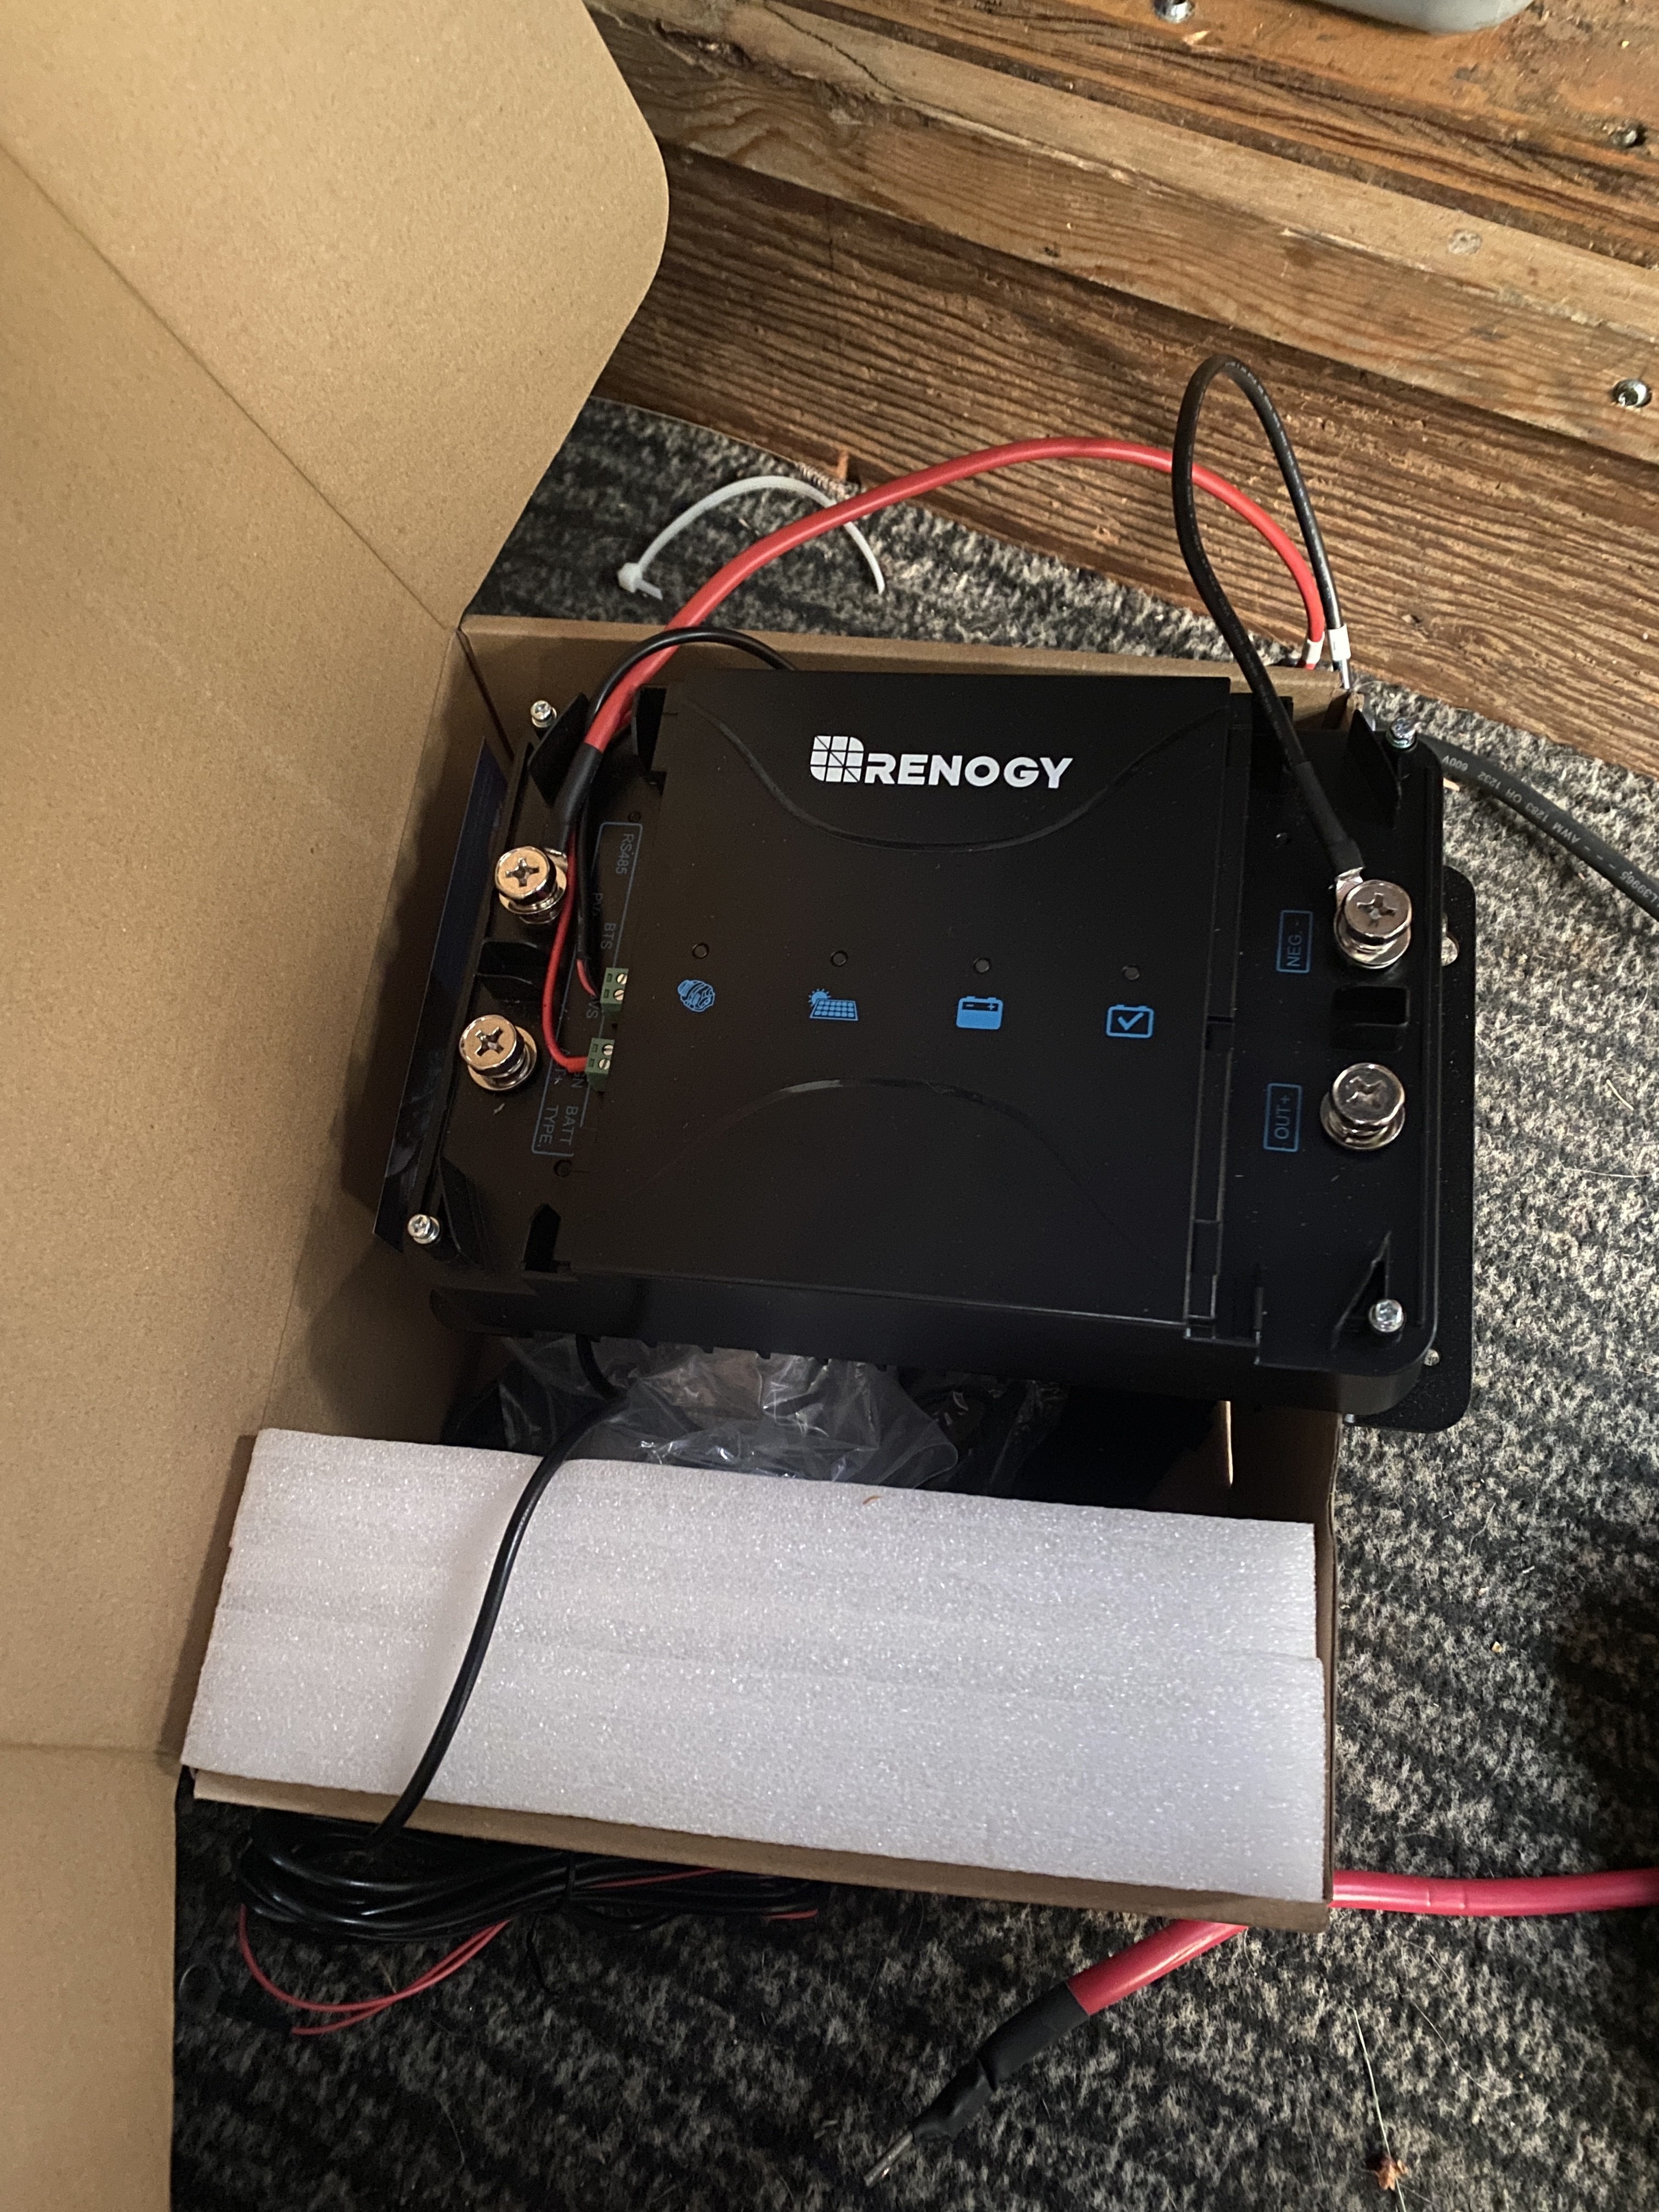
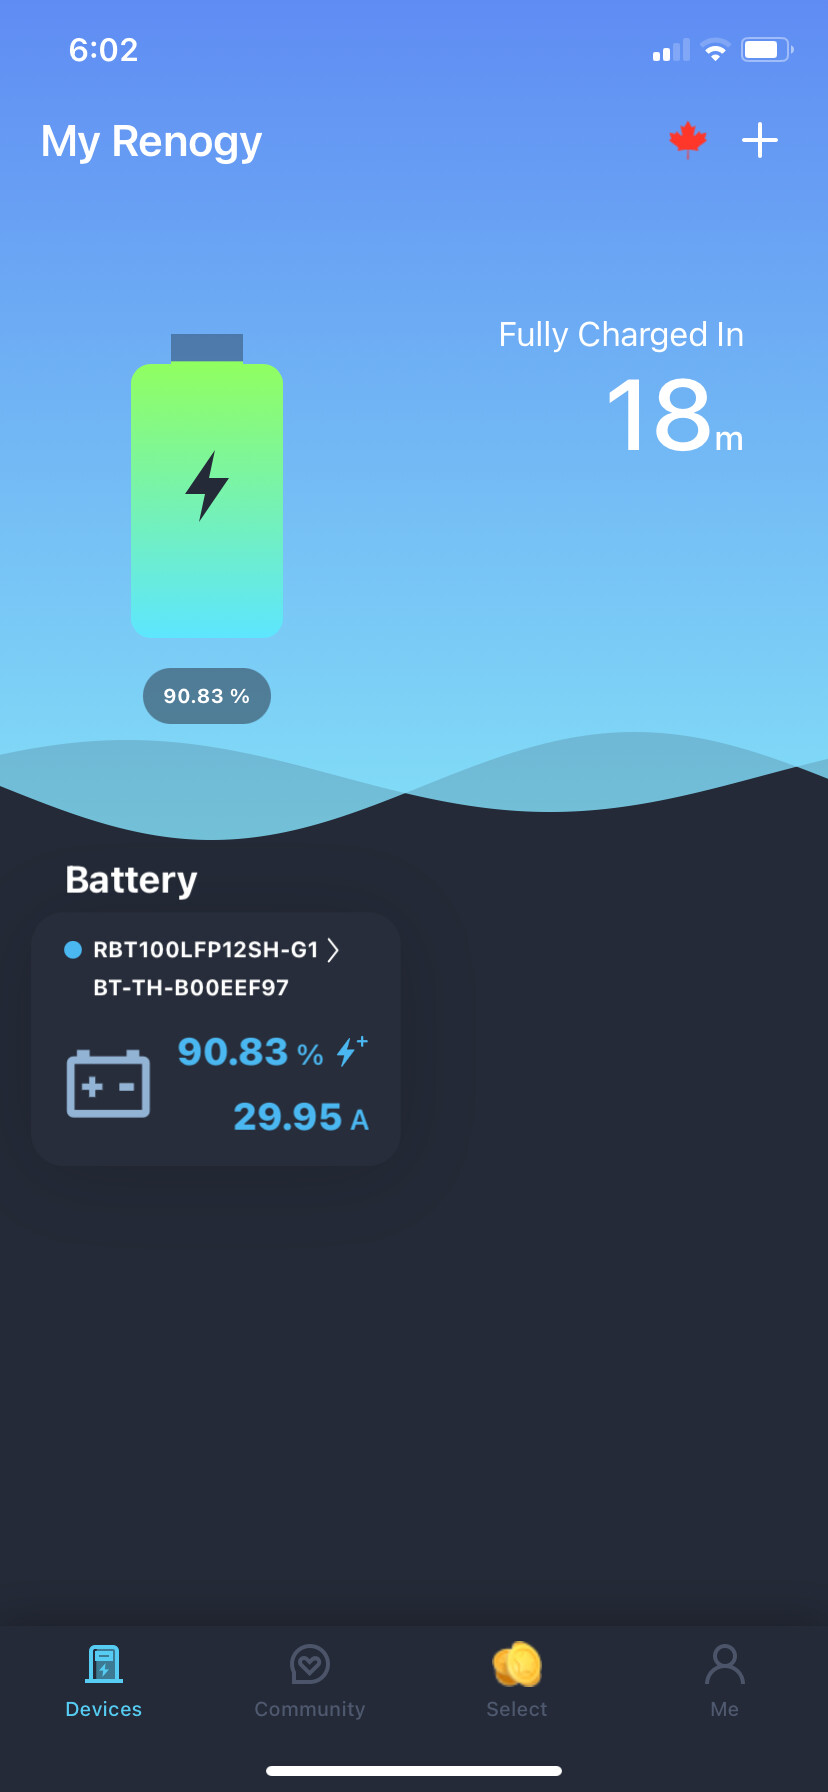
Battery Voltage Sensor - I’m going to hook this up on the buss bar from the MPPT. I’m excited to play with this unit to see what it can do solar wise.
Alternator/Battery Feed - This is the culprit to the re-org! I made the platform Anderson connection too short because I was re-using heavy gauge wiring I had on hand. This will be a new #4 Anderson to lugs. Positive to the MPPT and Negative to the Buss bar.
Feed Fusing - Remains unchanged under the hood 40A ANL fuse. Just to squash assumptions about fusing.
Ignition/12V trigger - This is used to turn on the Alternator charging and is tied to a dash switch from truck bat. You can tie this to your ignition or choose to put it on a switch. Apparently, this unit will actually shut off charging if the source battery voltage drops below a set point. Thus saving you from having to boost your vehicle if you or your kids or your wife accidentally leave the switch on.
So after a mini Fresca (because that’s all they had at the grocery store) I made an amazon list and came inside to go shopping.
It took a great deal of self control to not hook it all up. Had it not been for my crimpers inability to crimp the Anderson lugs…. Buss bars with proper lugs should be here Tuesday. Patience…something that I often lack.
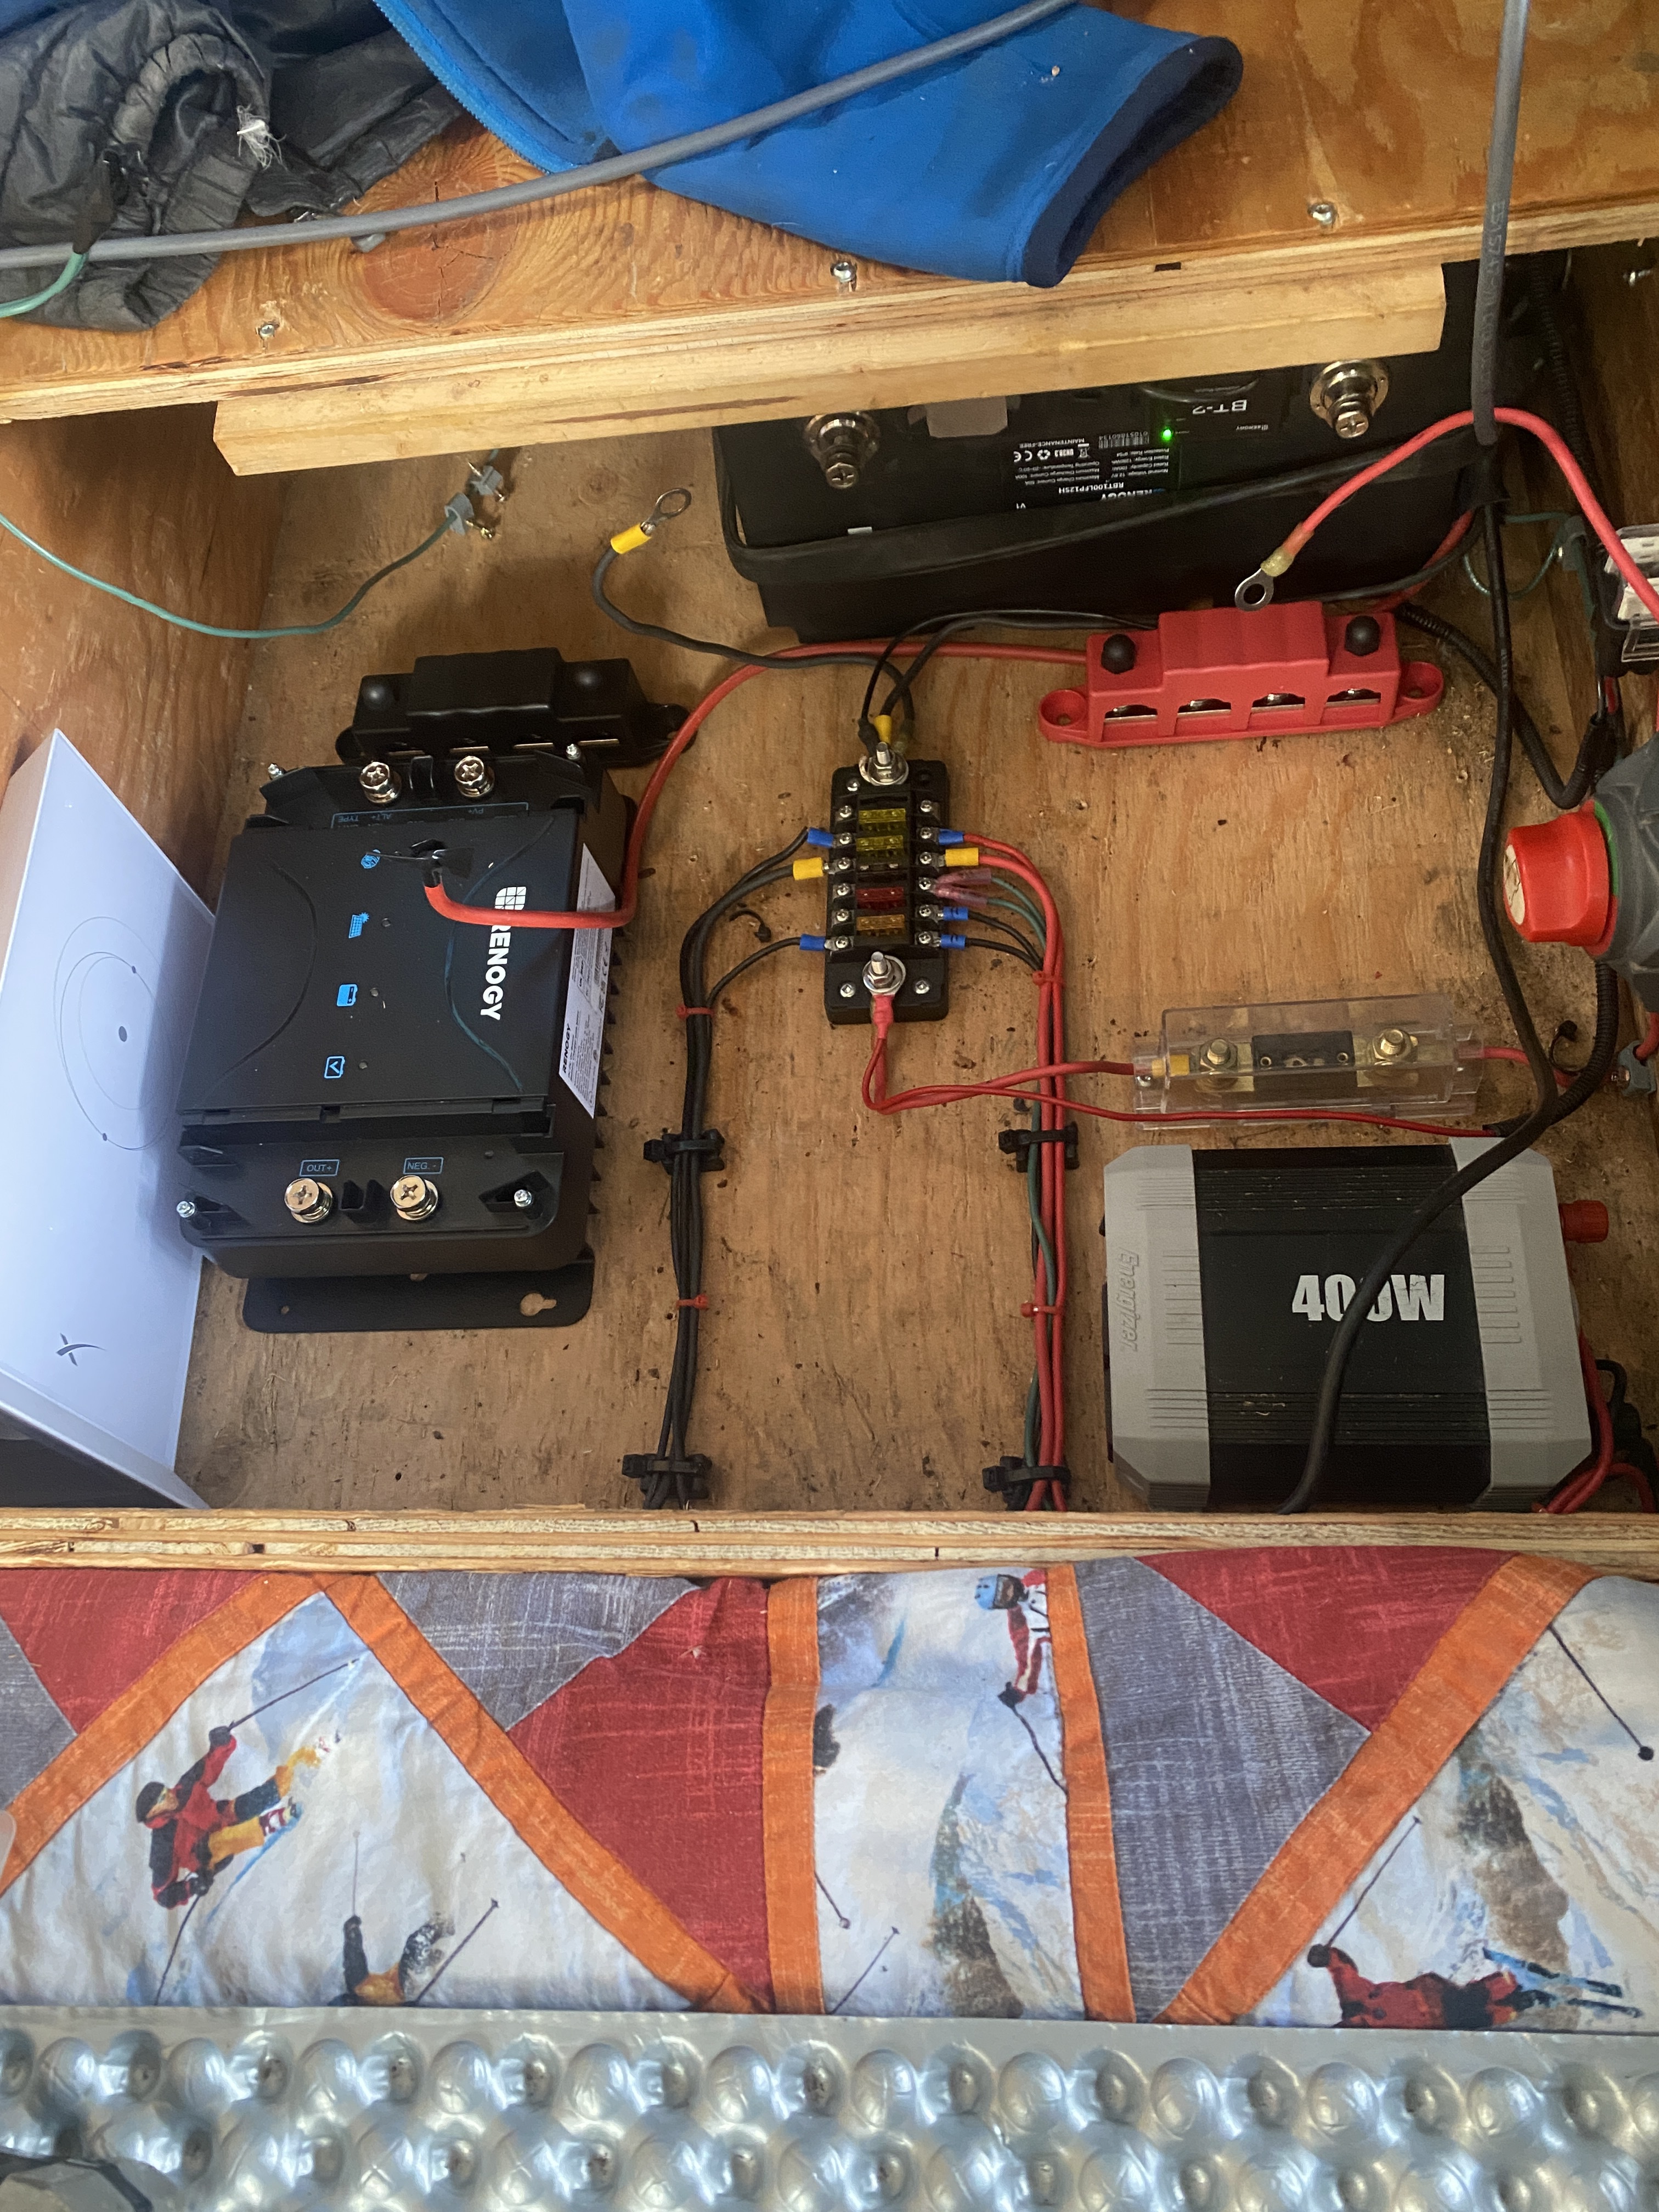
My final parts have arrived. The buss bars. I laid them in place here and stared at it for about an hour (I was also helping my 8 year old son replace his bars on his bike) But I was trying to think of how setting it up like this is going to cause me grief if I change something. I’m pretty sure, this makes things a little more modular.
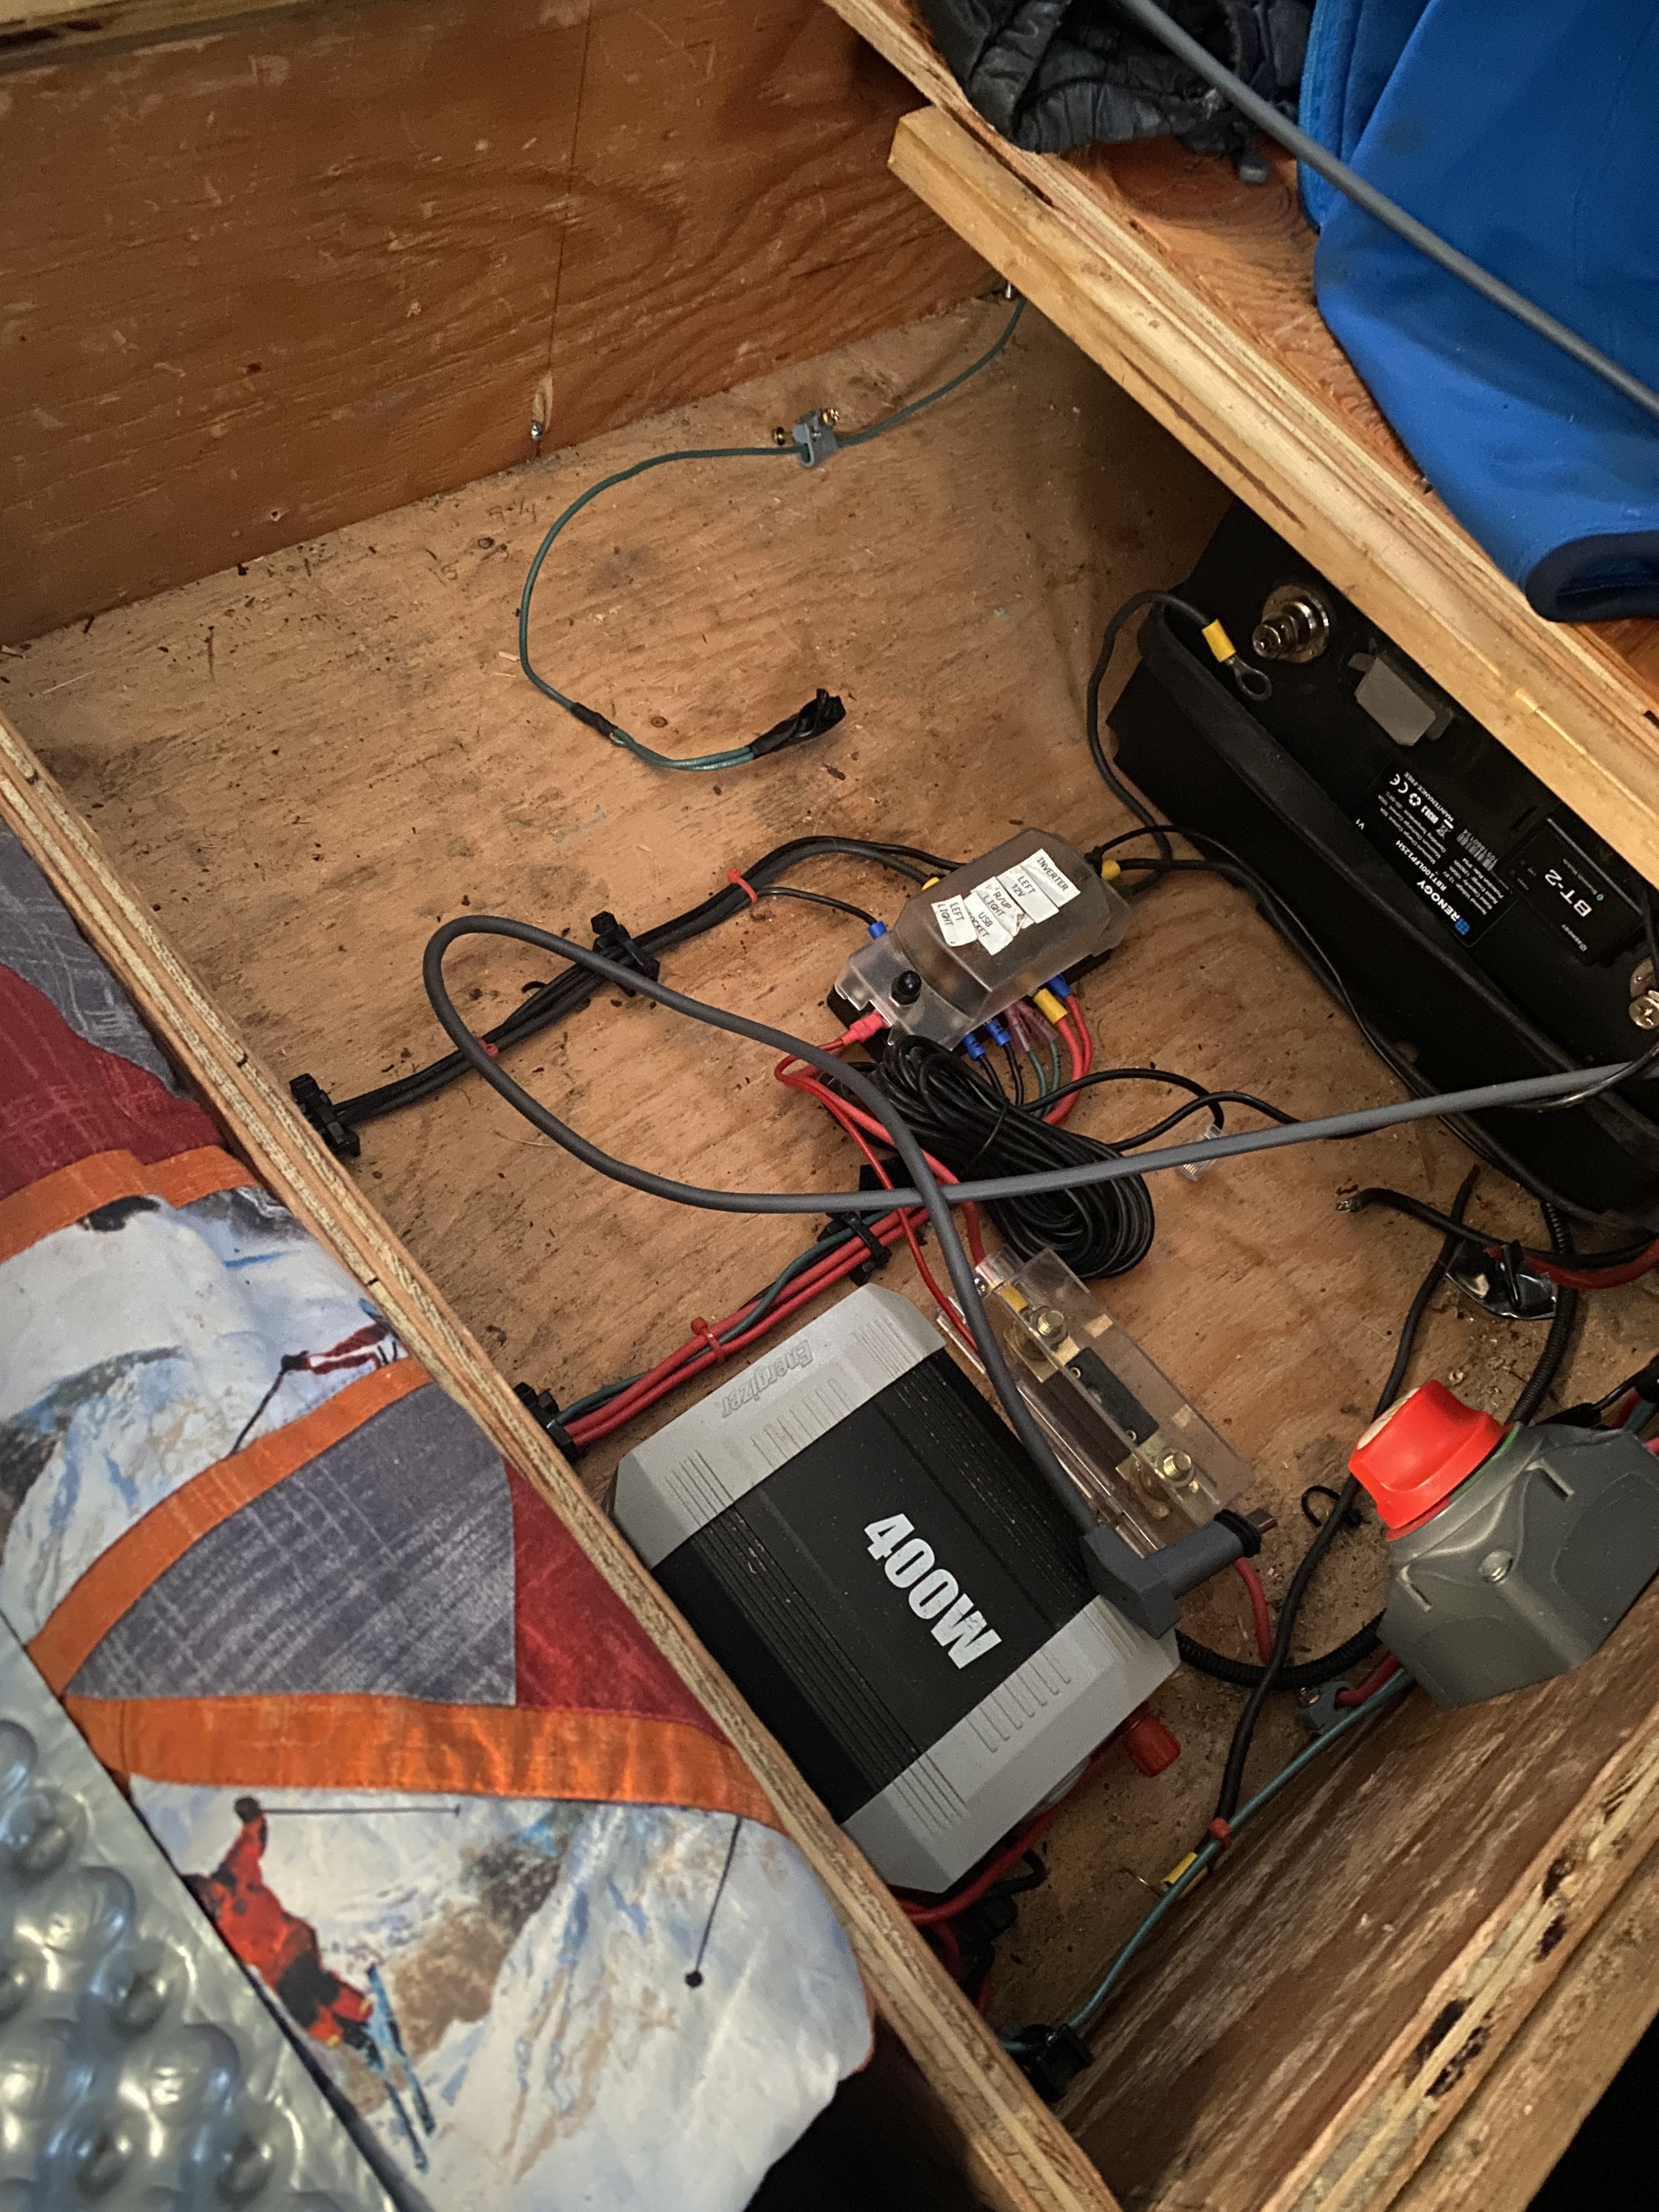
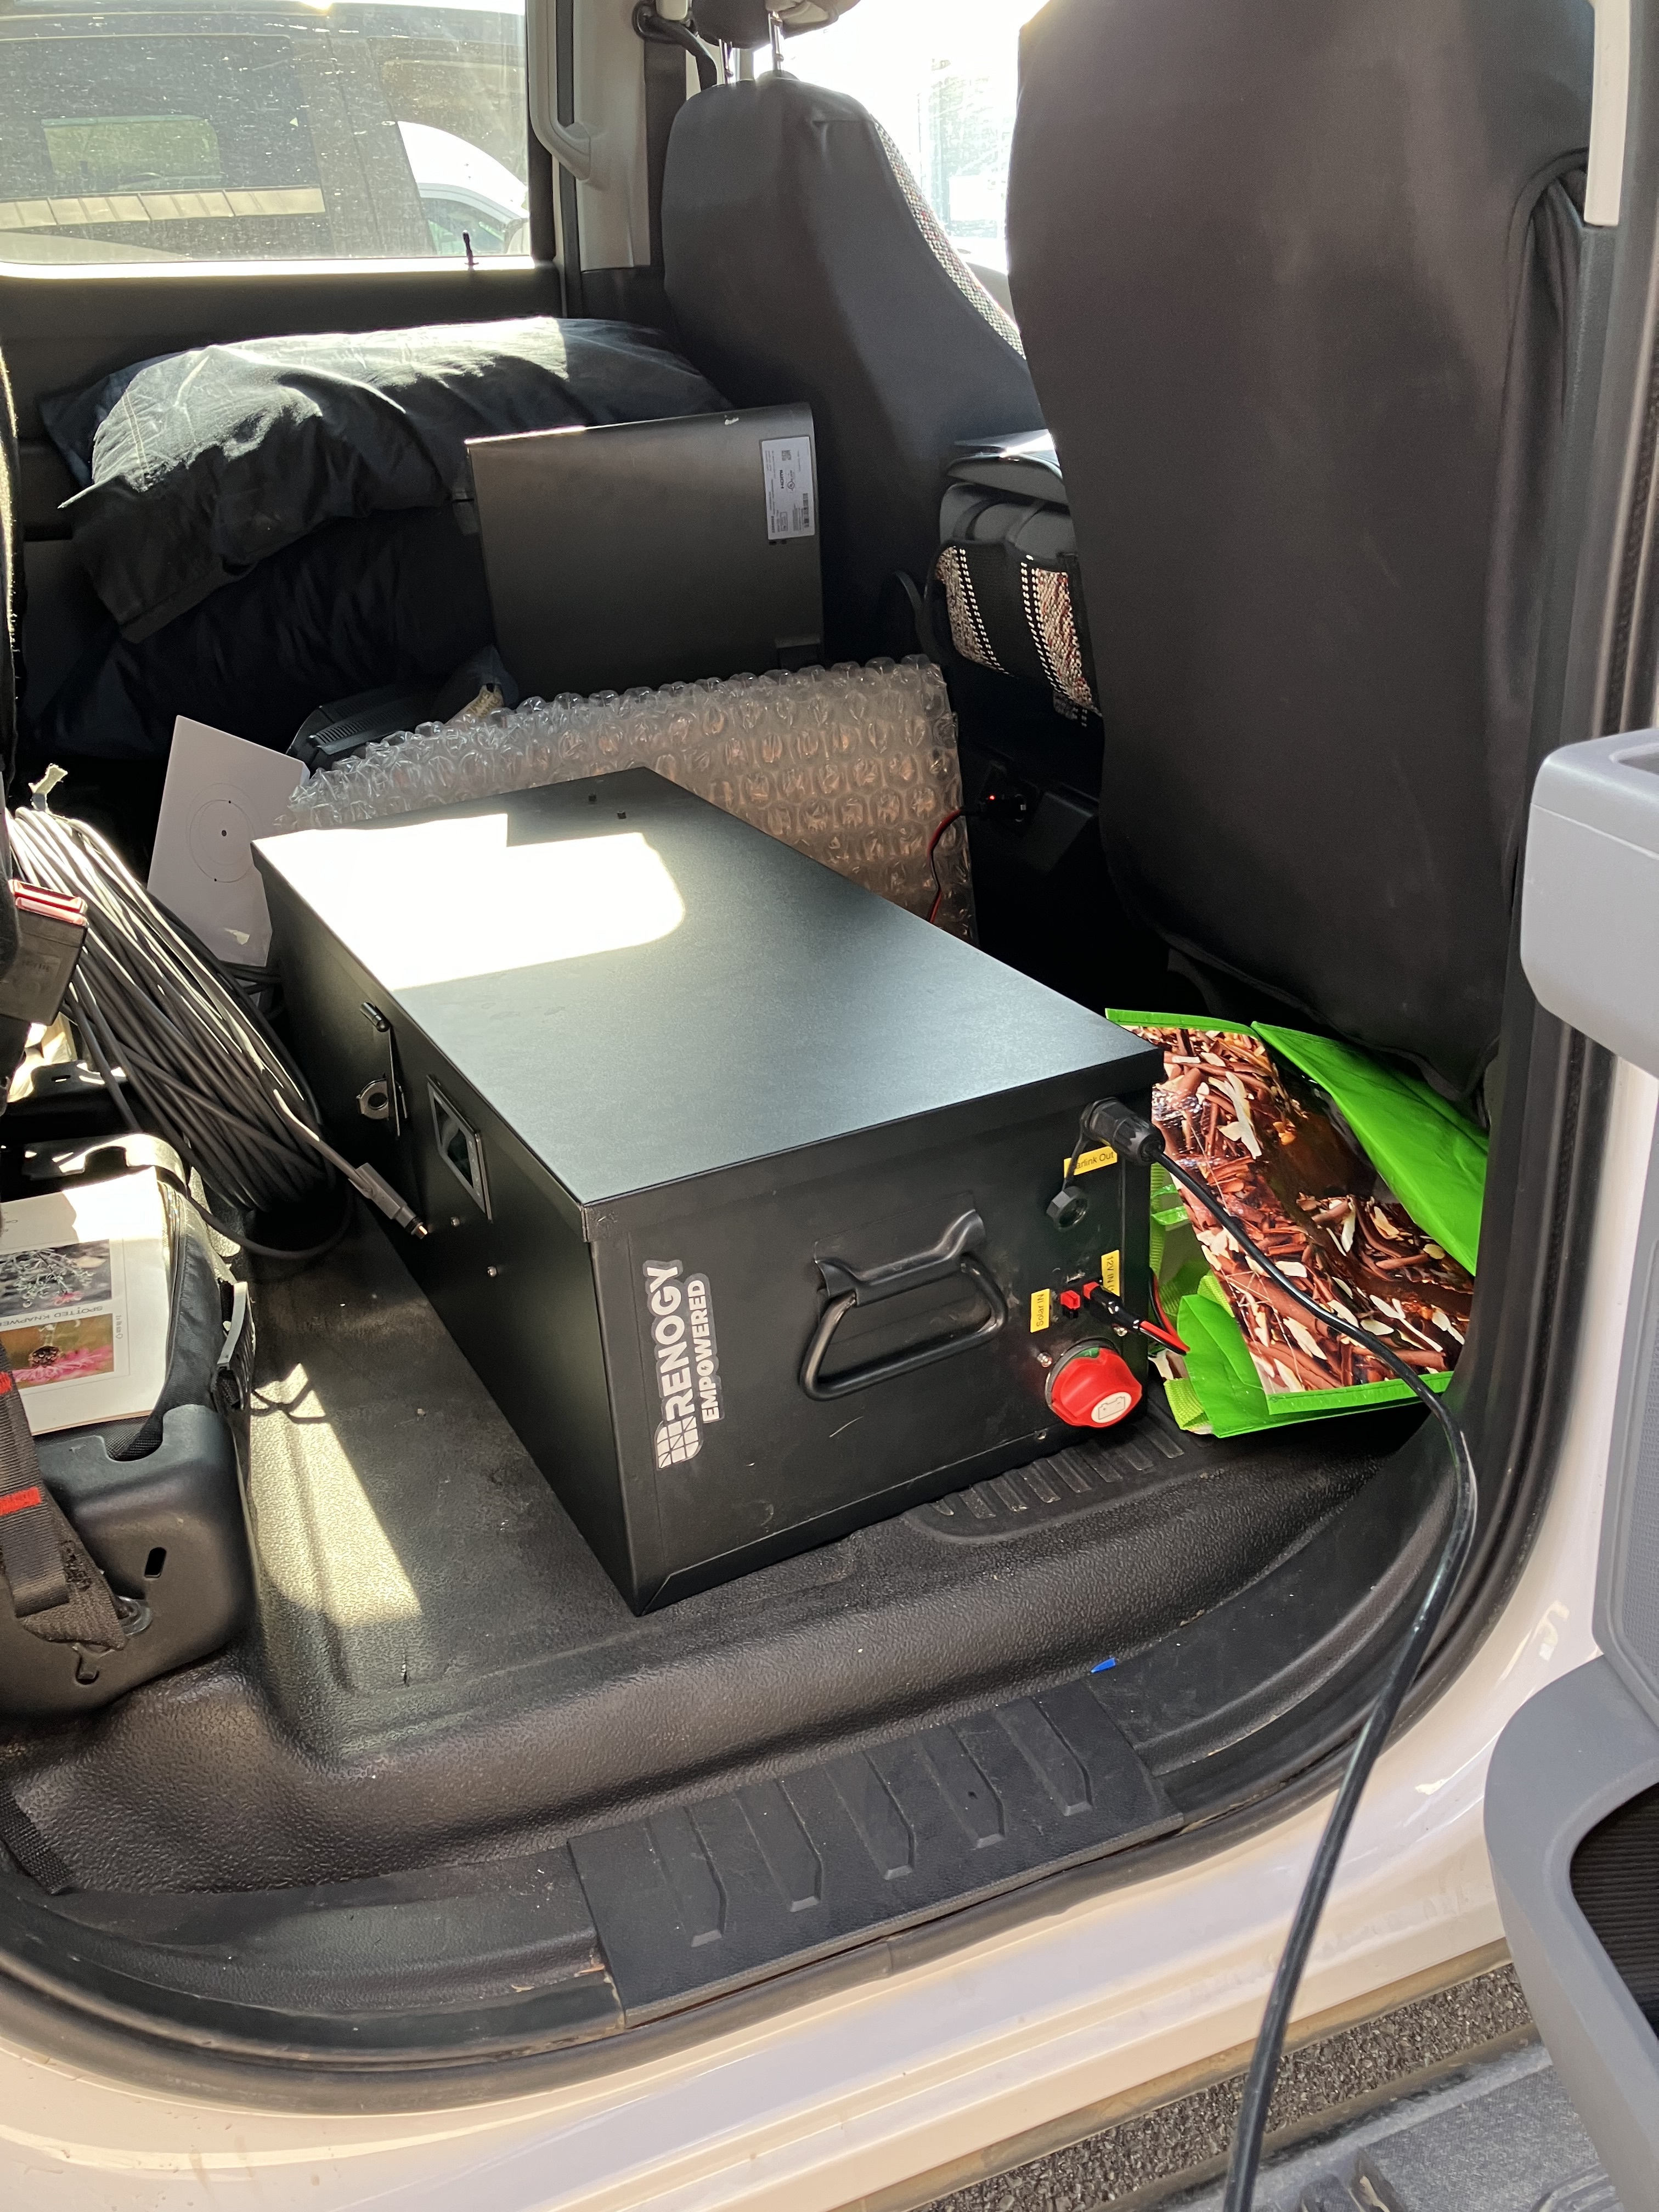
First nights work. Mounted starlink router, connected Anderson pig tail to MPPT, connected house battery, mounted and connected buss bars, connected solar panel to MPPT.
I had an opportunity last night to start wrapping this up. I salvaged some #6 from my original truck battery run when it was in the far back right. Connected the output of the MPPT to the buss bar. And began testing.
The Green wire is the ‘trigger’ that is connected to a 12V switch in my dash. I chose to do this as I have my NOCO Genius 10A under the hood that I plug in as ‘shore’ off a generator. This way the truck doesn’t need to be running and the 10A makes sure I don’t destroy my truck battery.
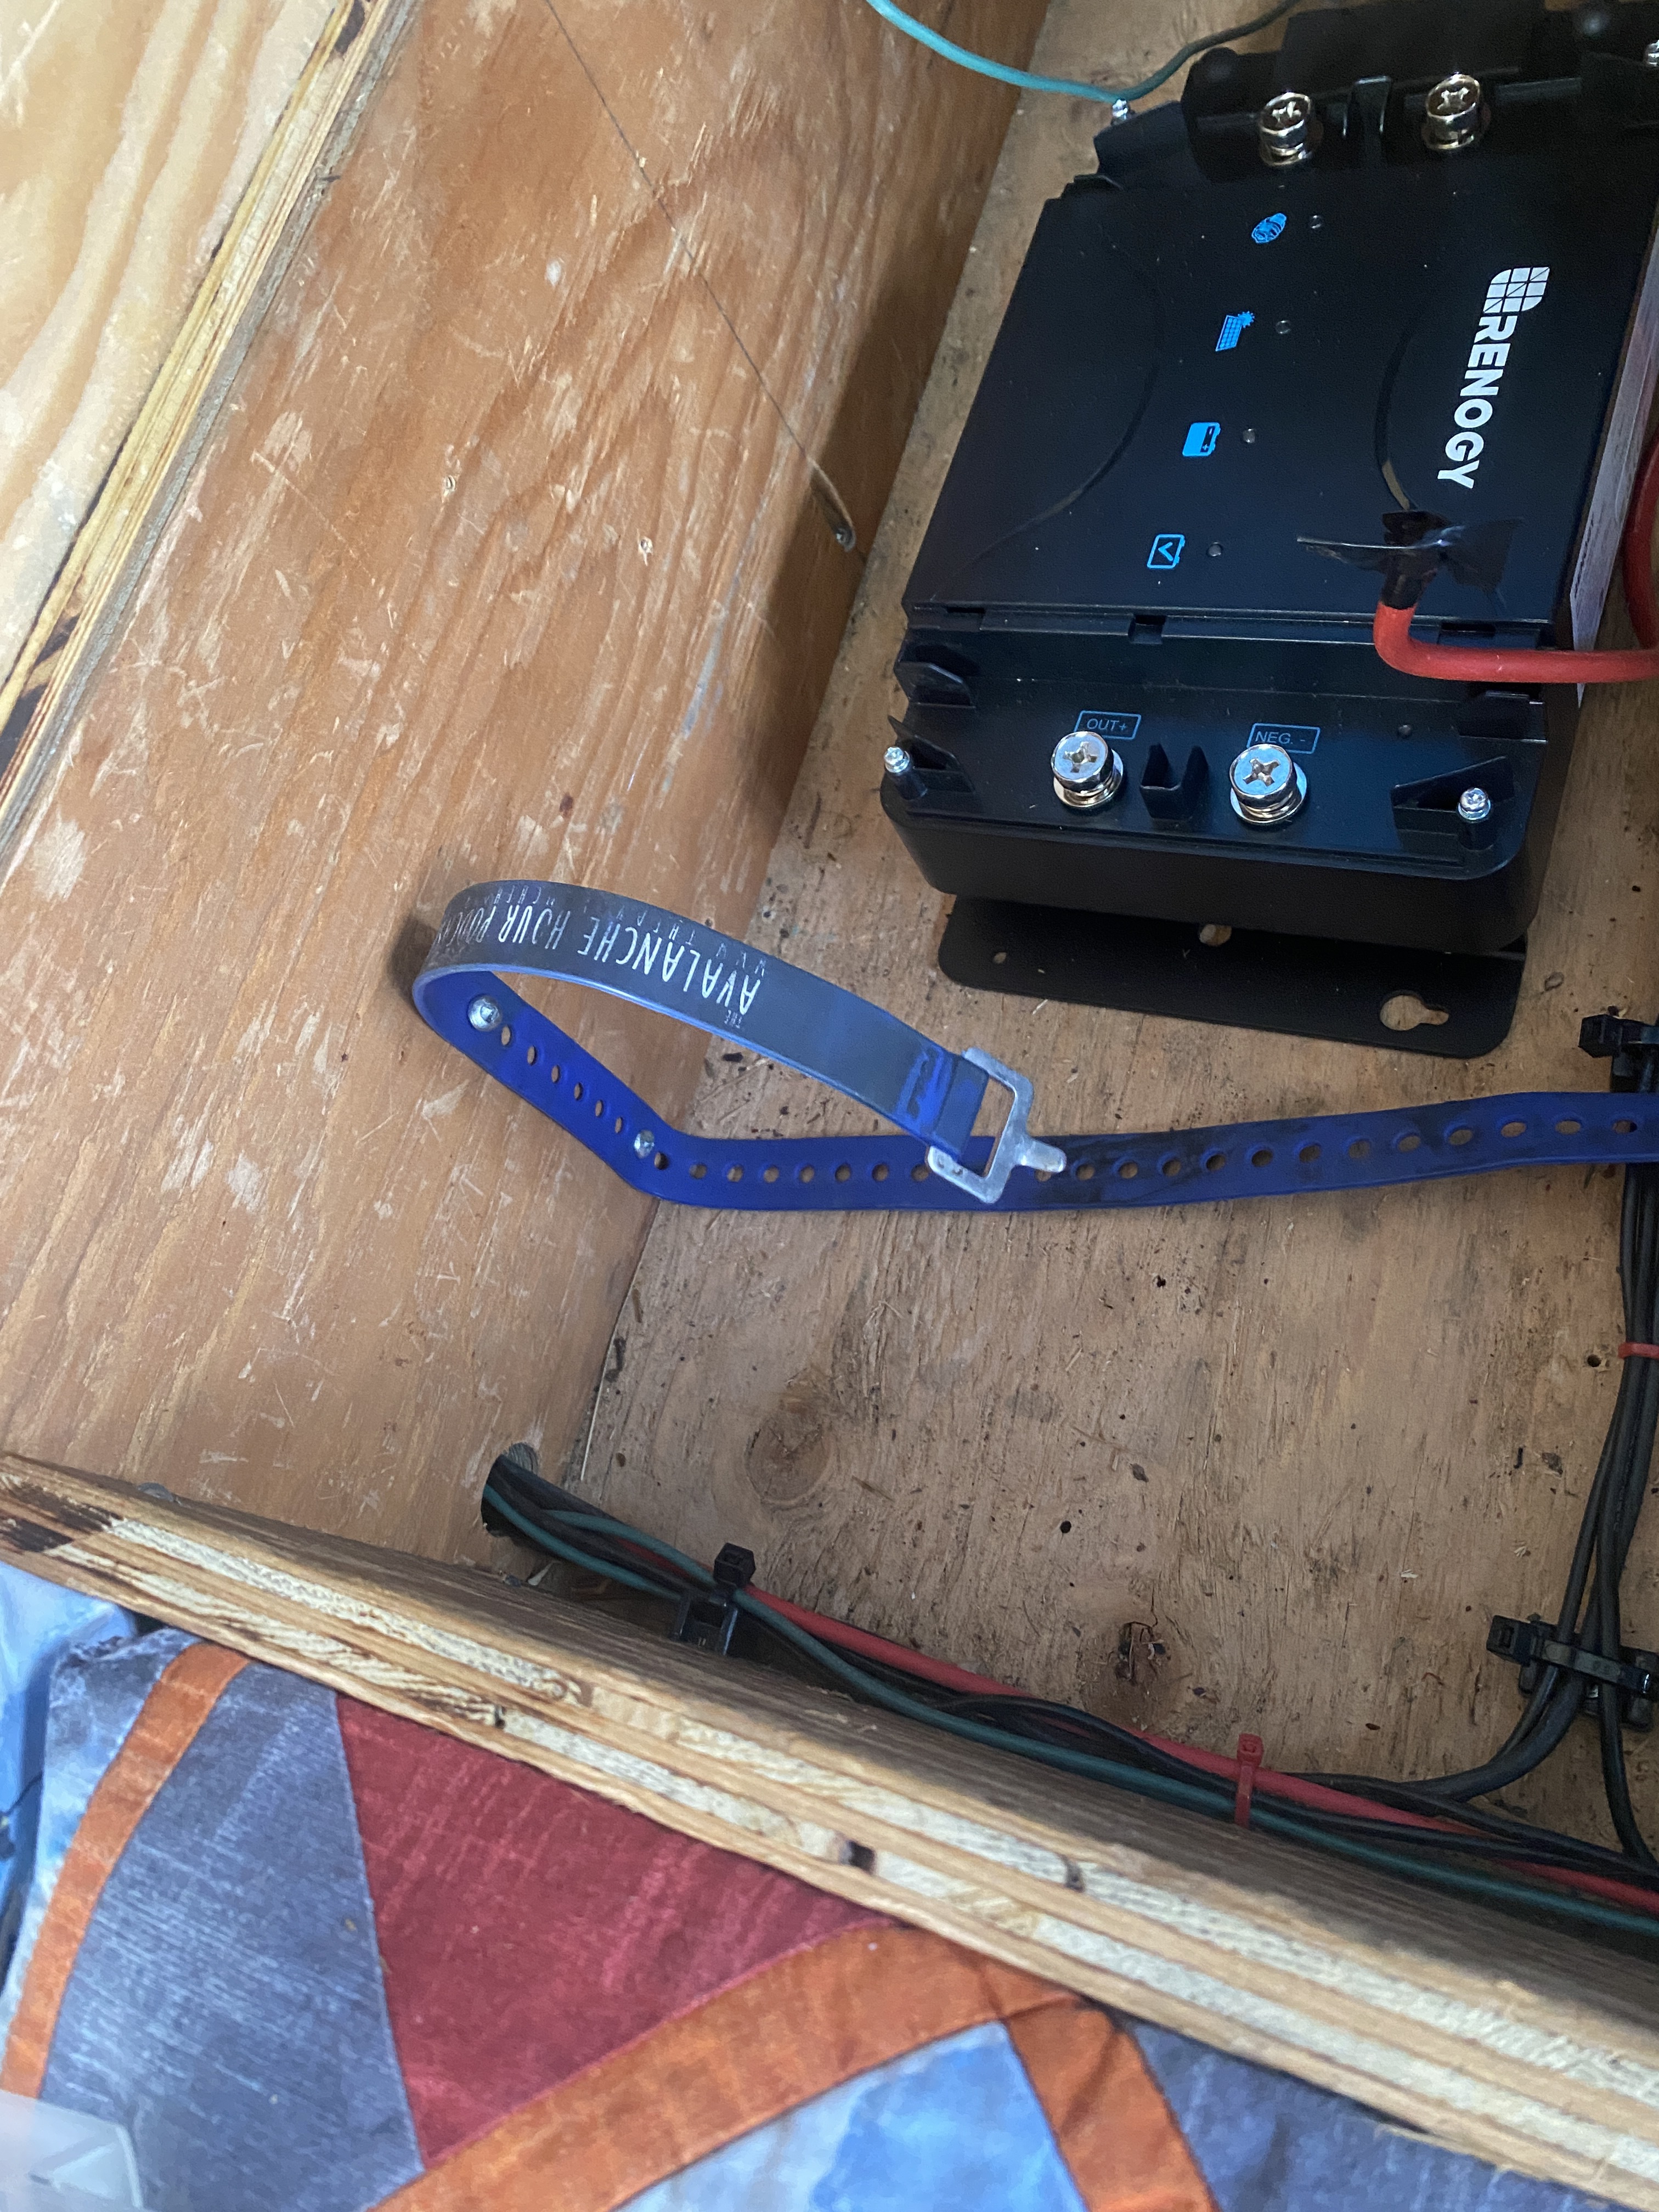
Solar works. You can see the ski strap starlink mount here. It works out perfect and enables me to put my equipment manuals behind it. I like to keep those on hand in the event something gives me some weird blink sequence and I don’t have internet.
I also made sure I had room to slide a 200 or 300 aH Renogy in there and I do. The 300 would be tight with the cabling…but boy that would be nice to have that much.
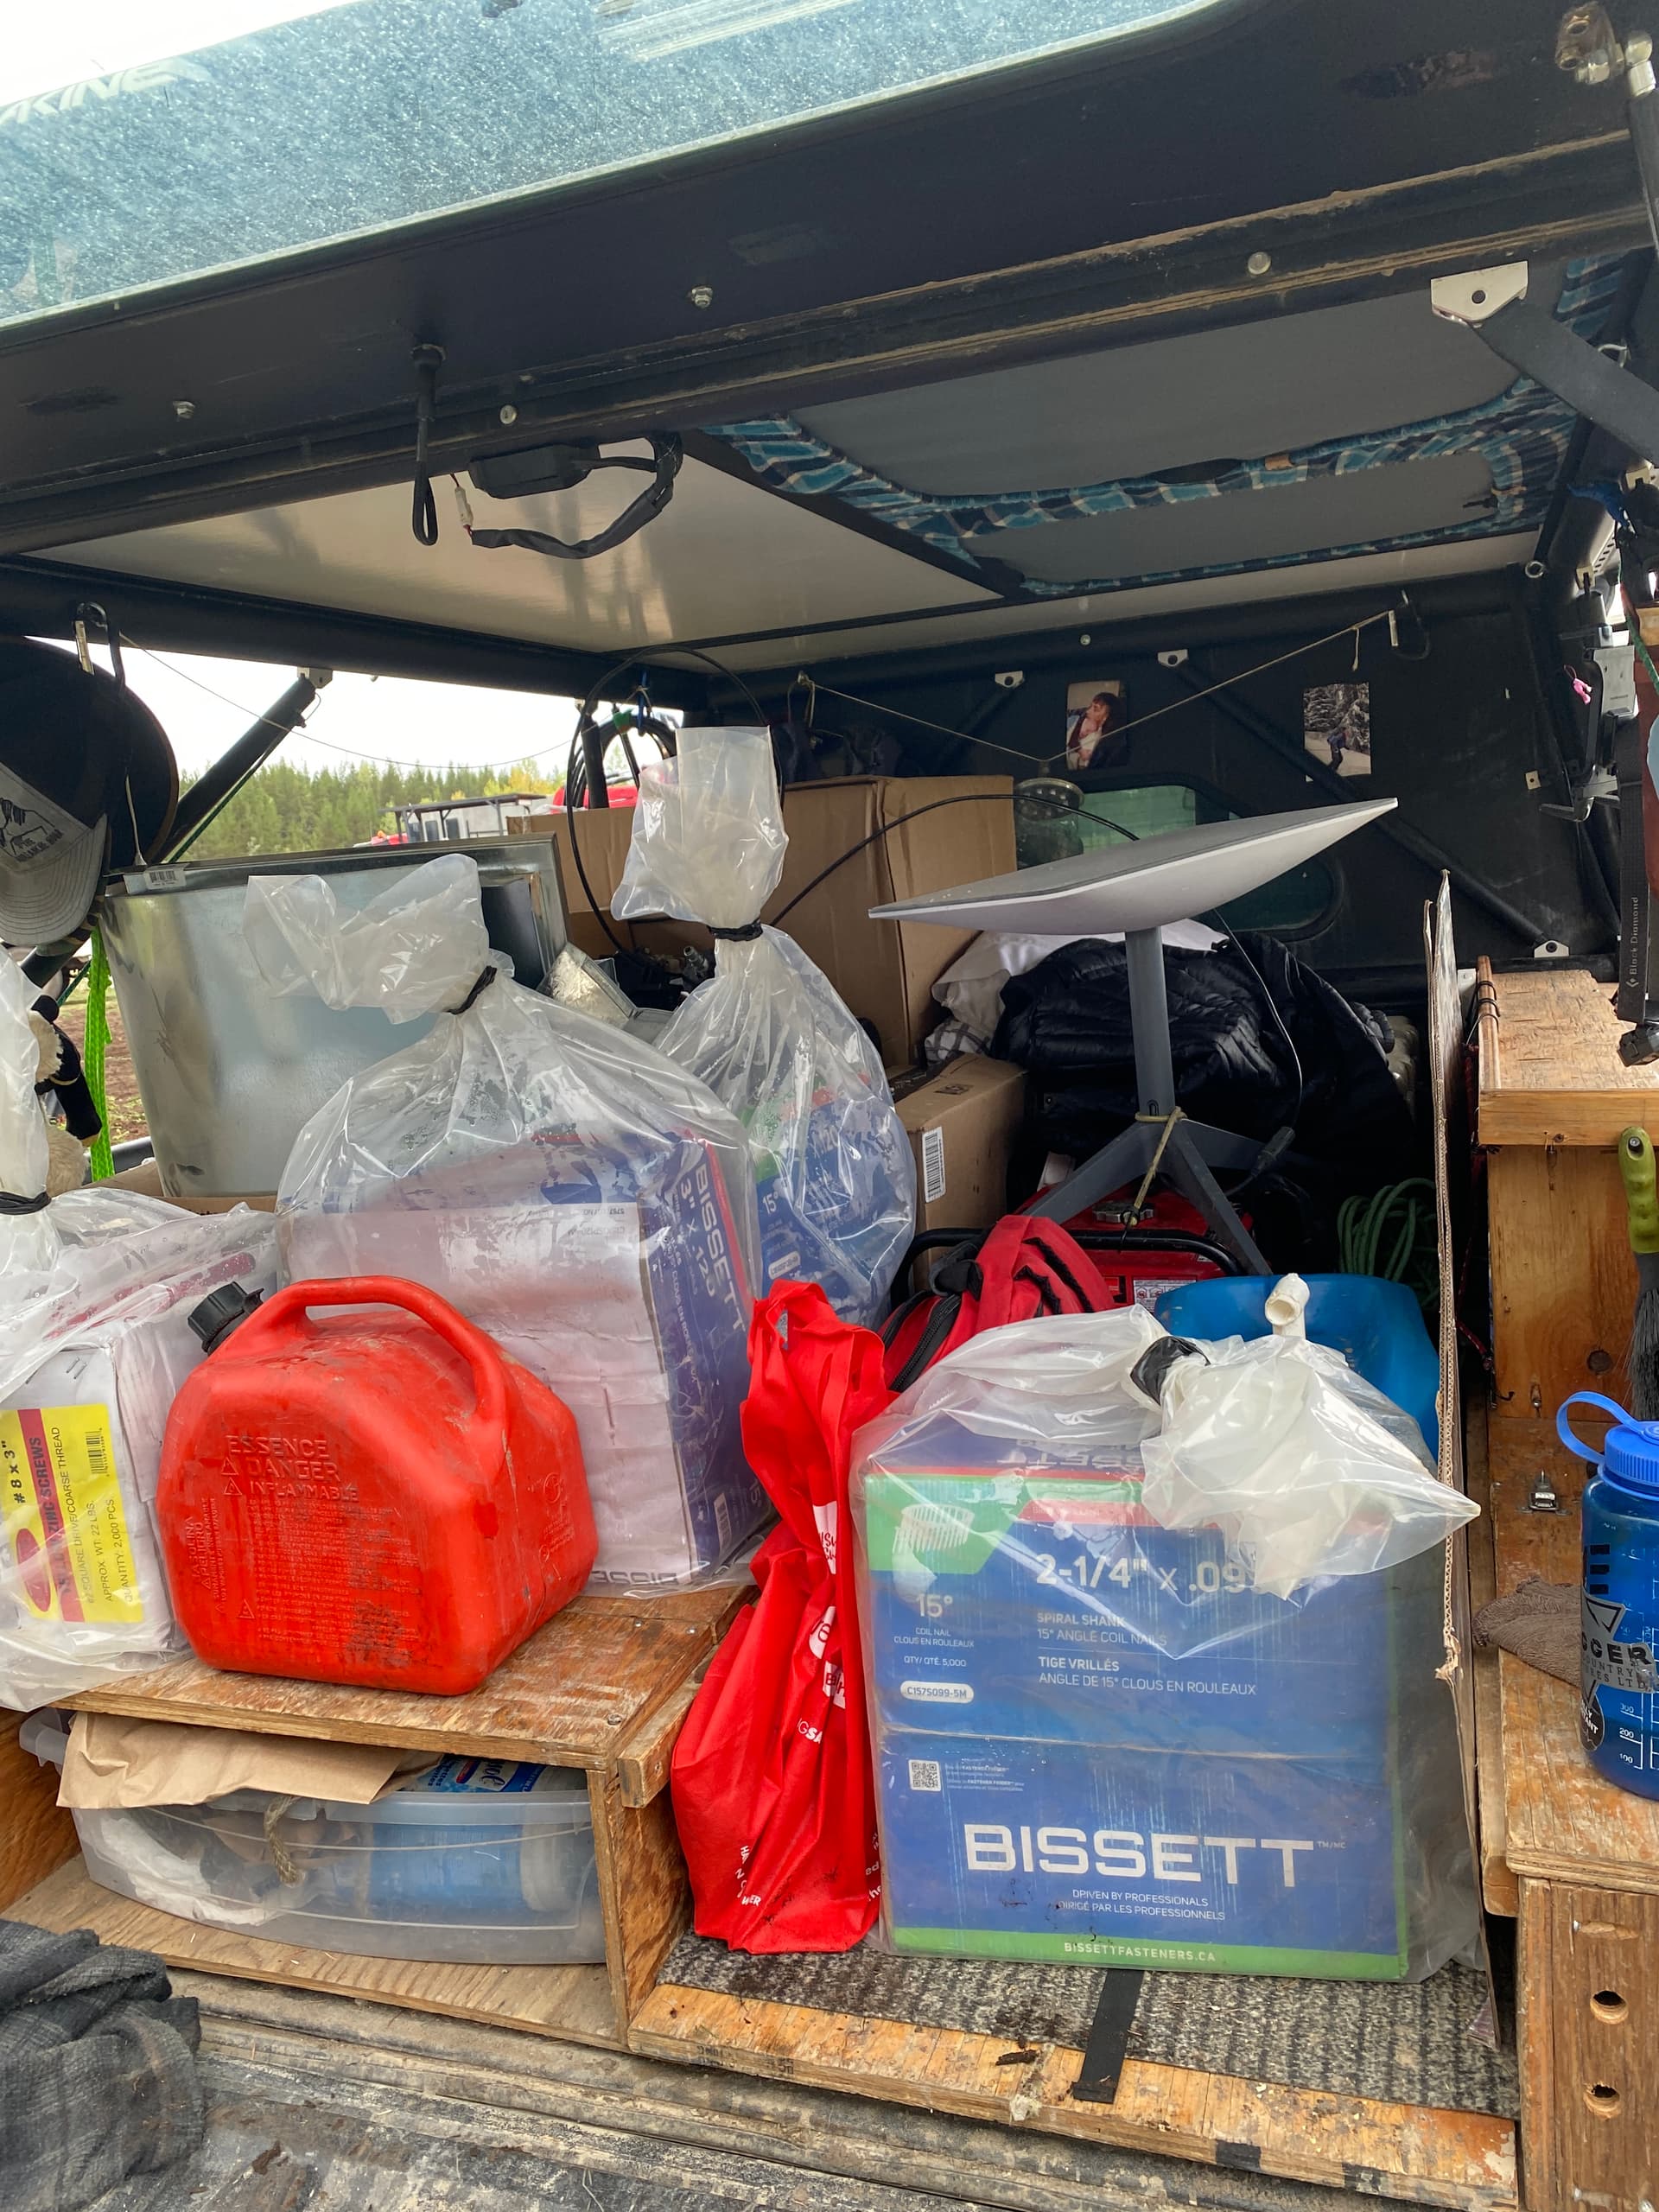
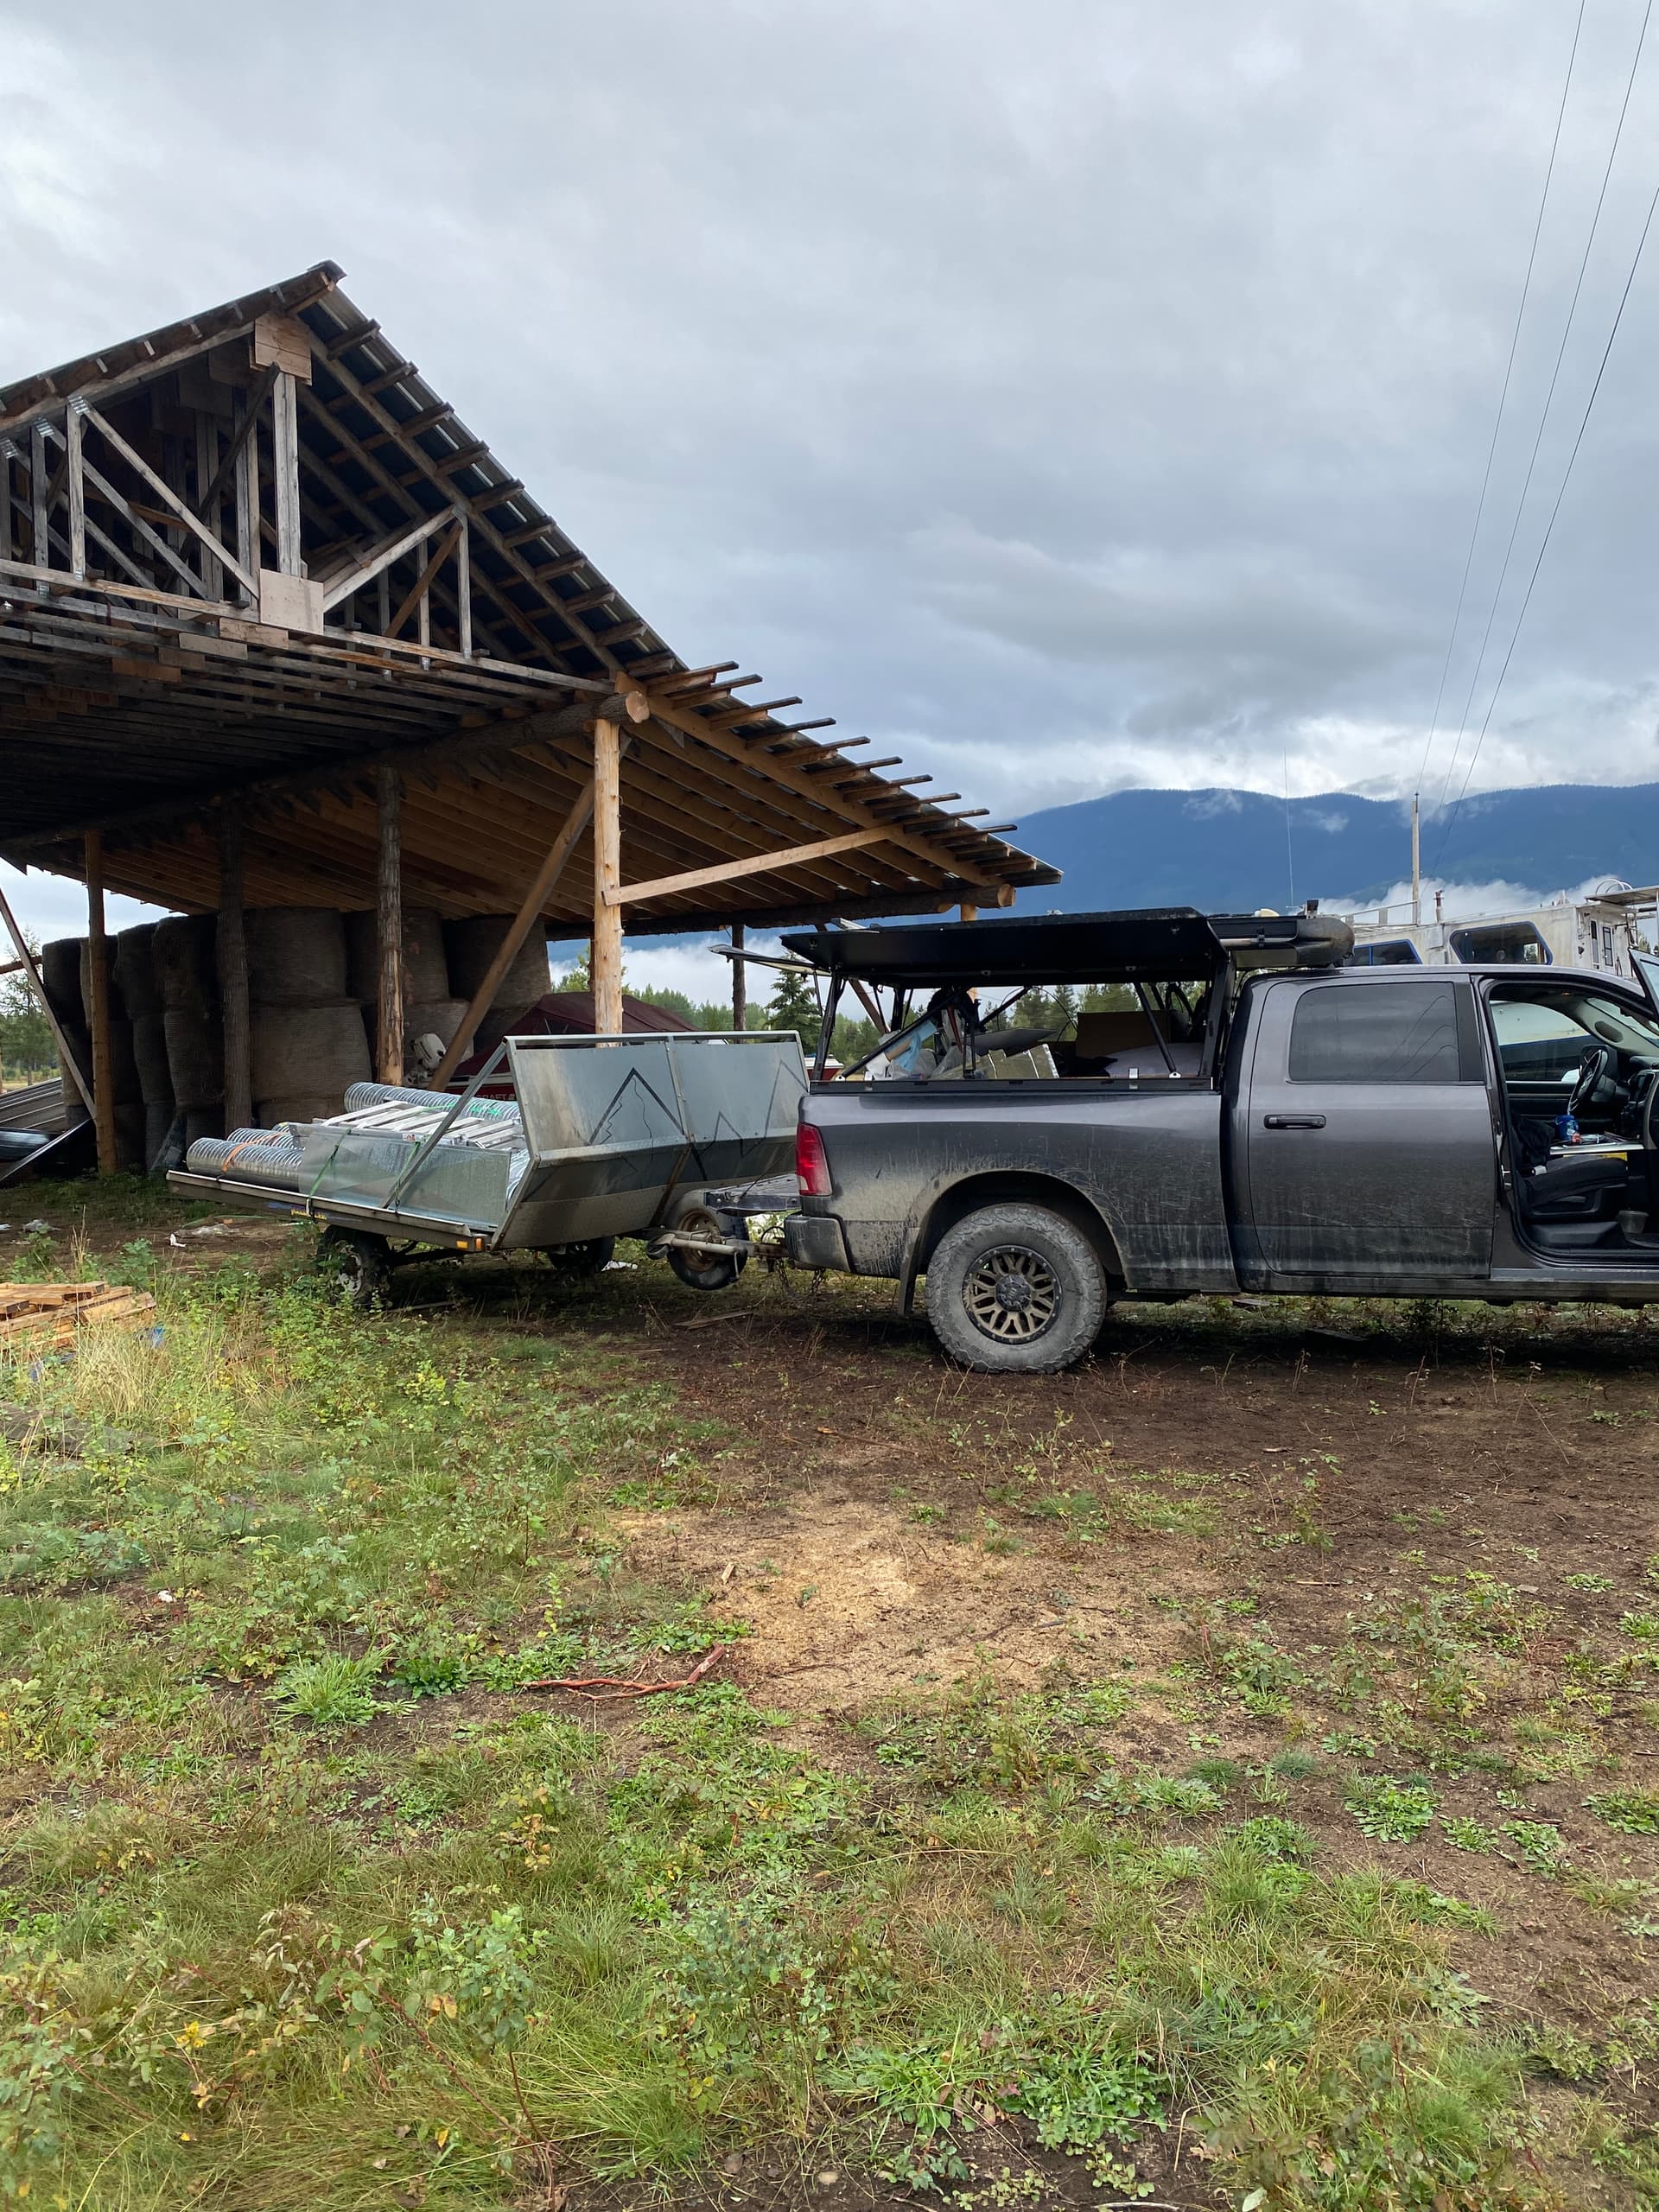
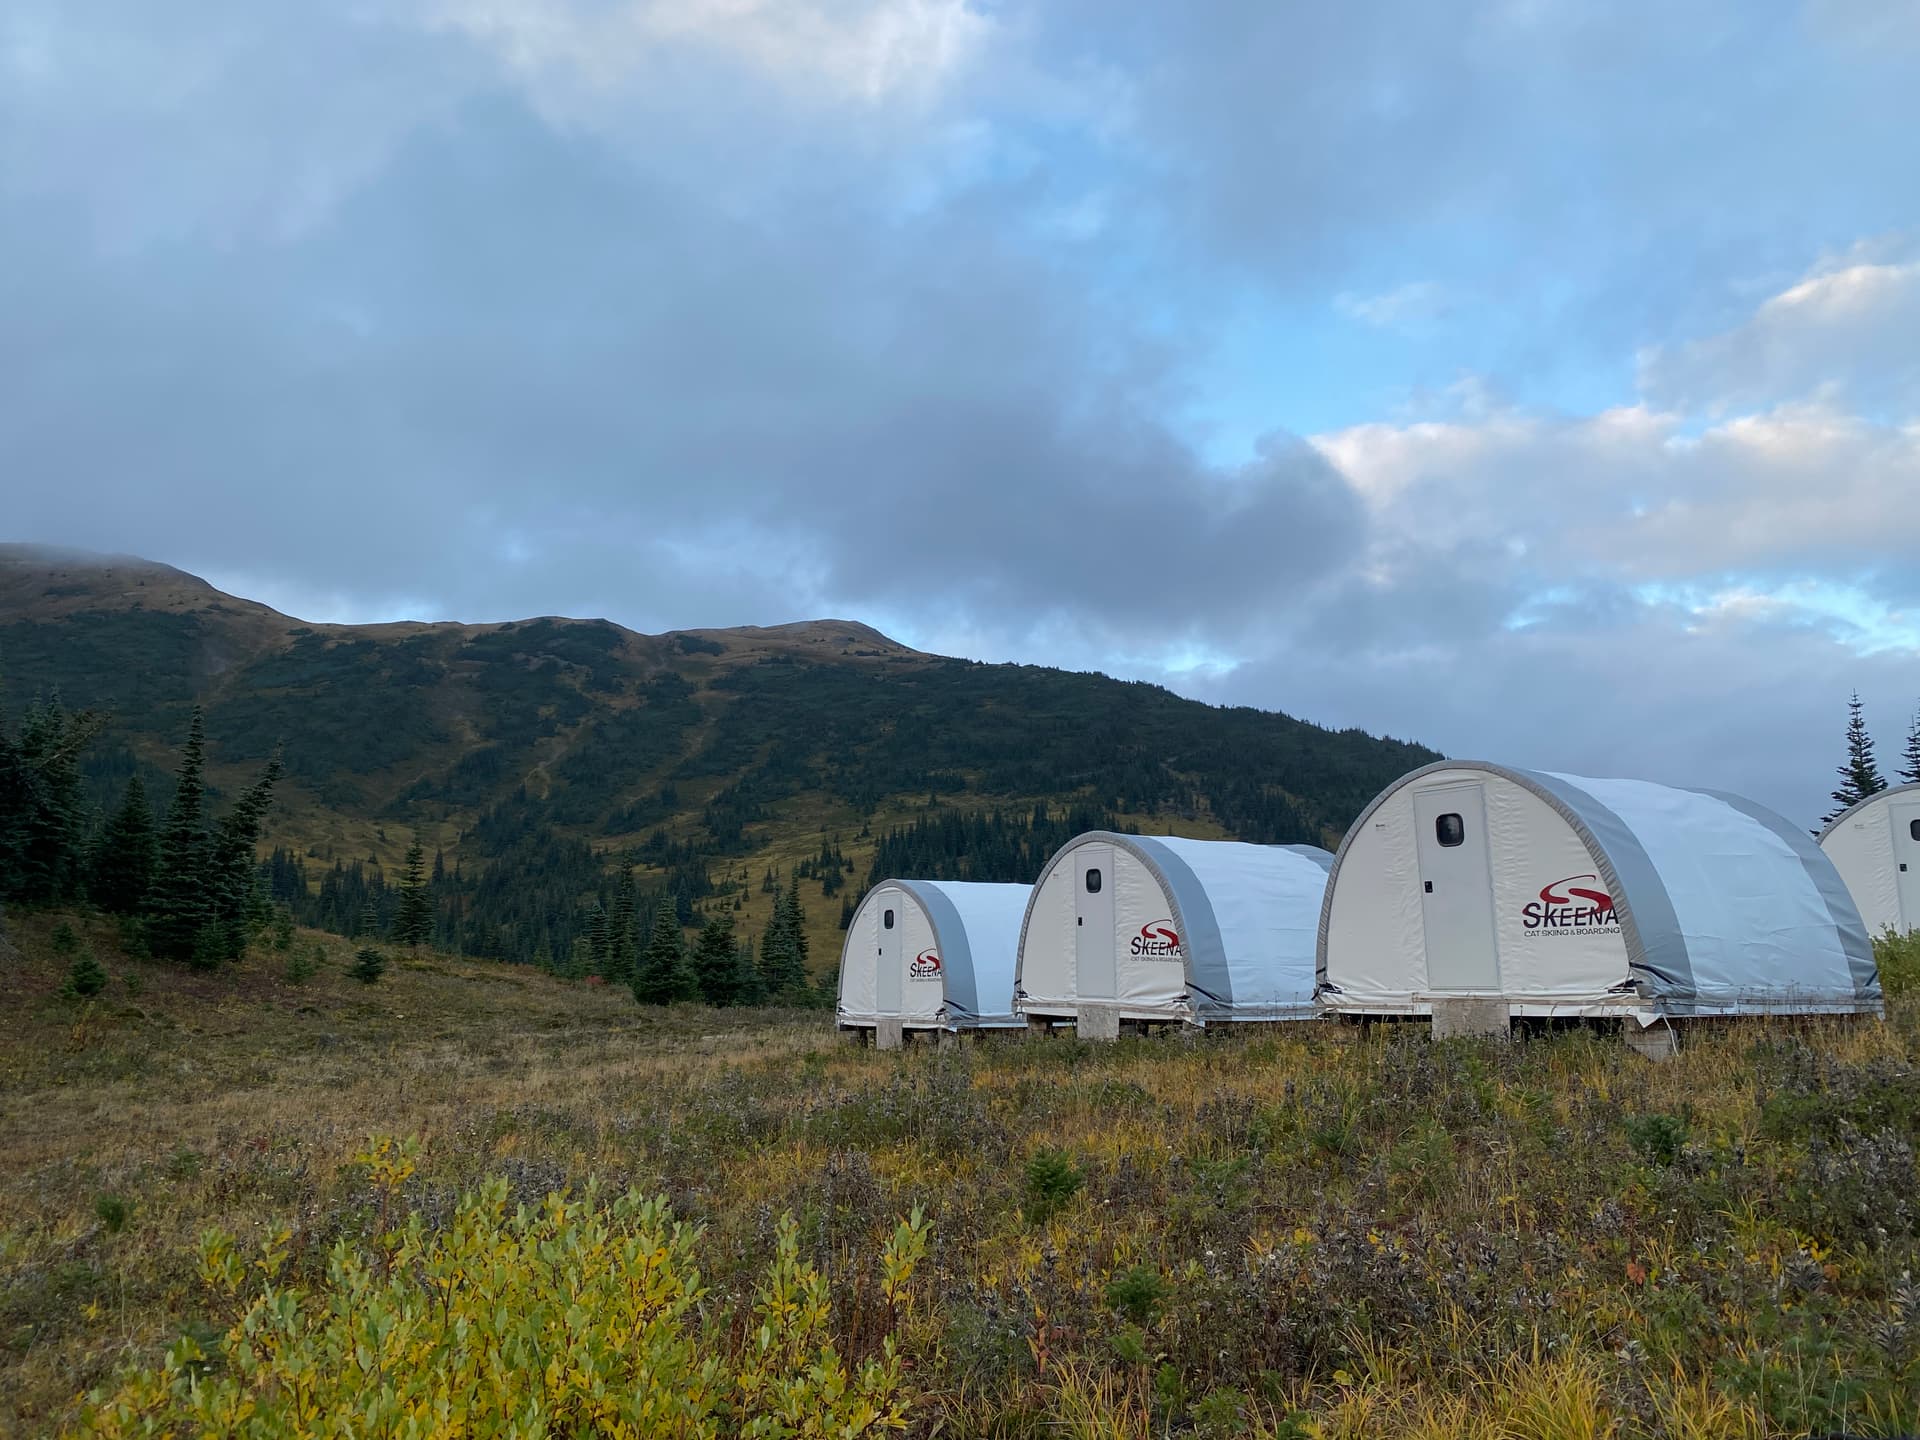
Figured out my starlink works through the camper. So I will be figuring out a way to mount that in there for mobile use. Here it is loaded up with a bunch of material to long line into our cat skiing basecamp.
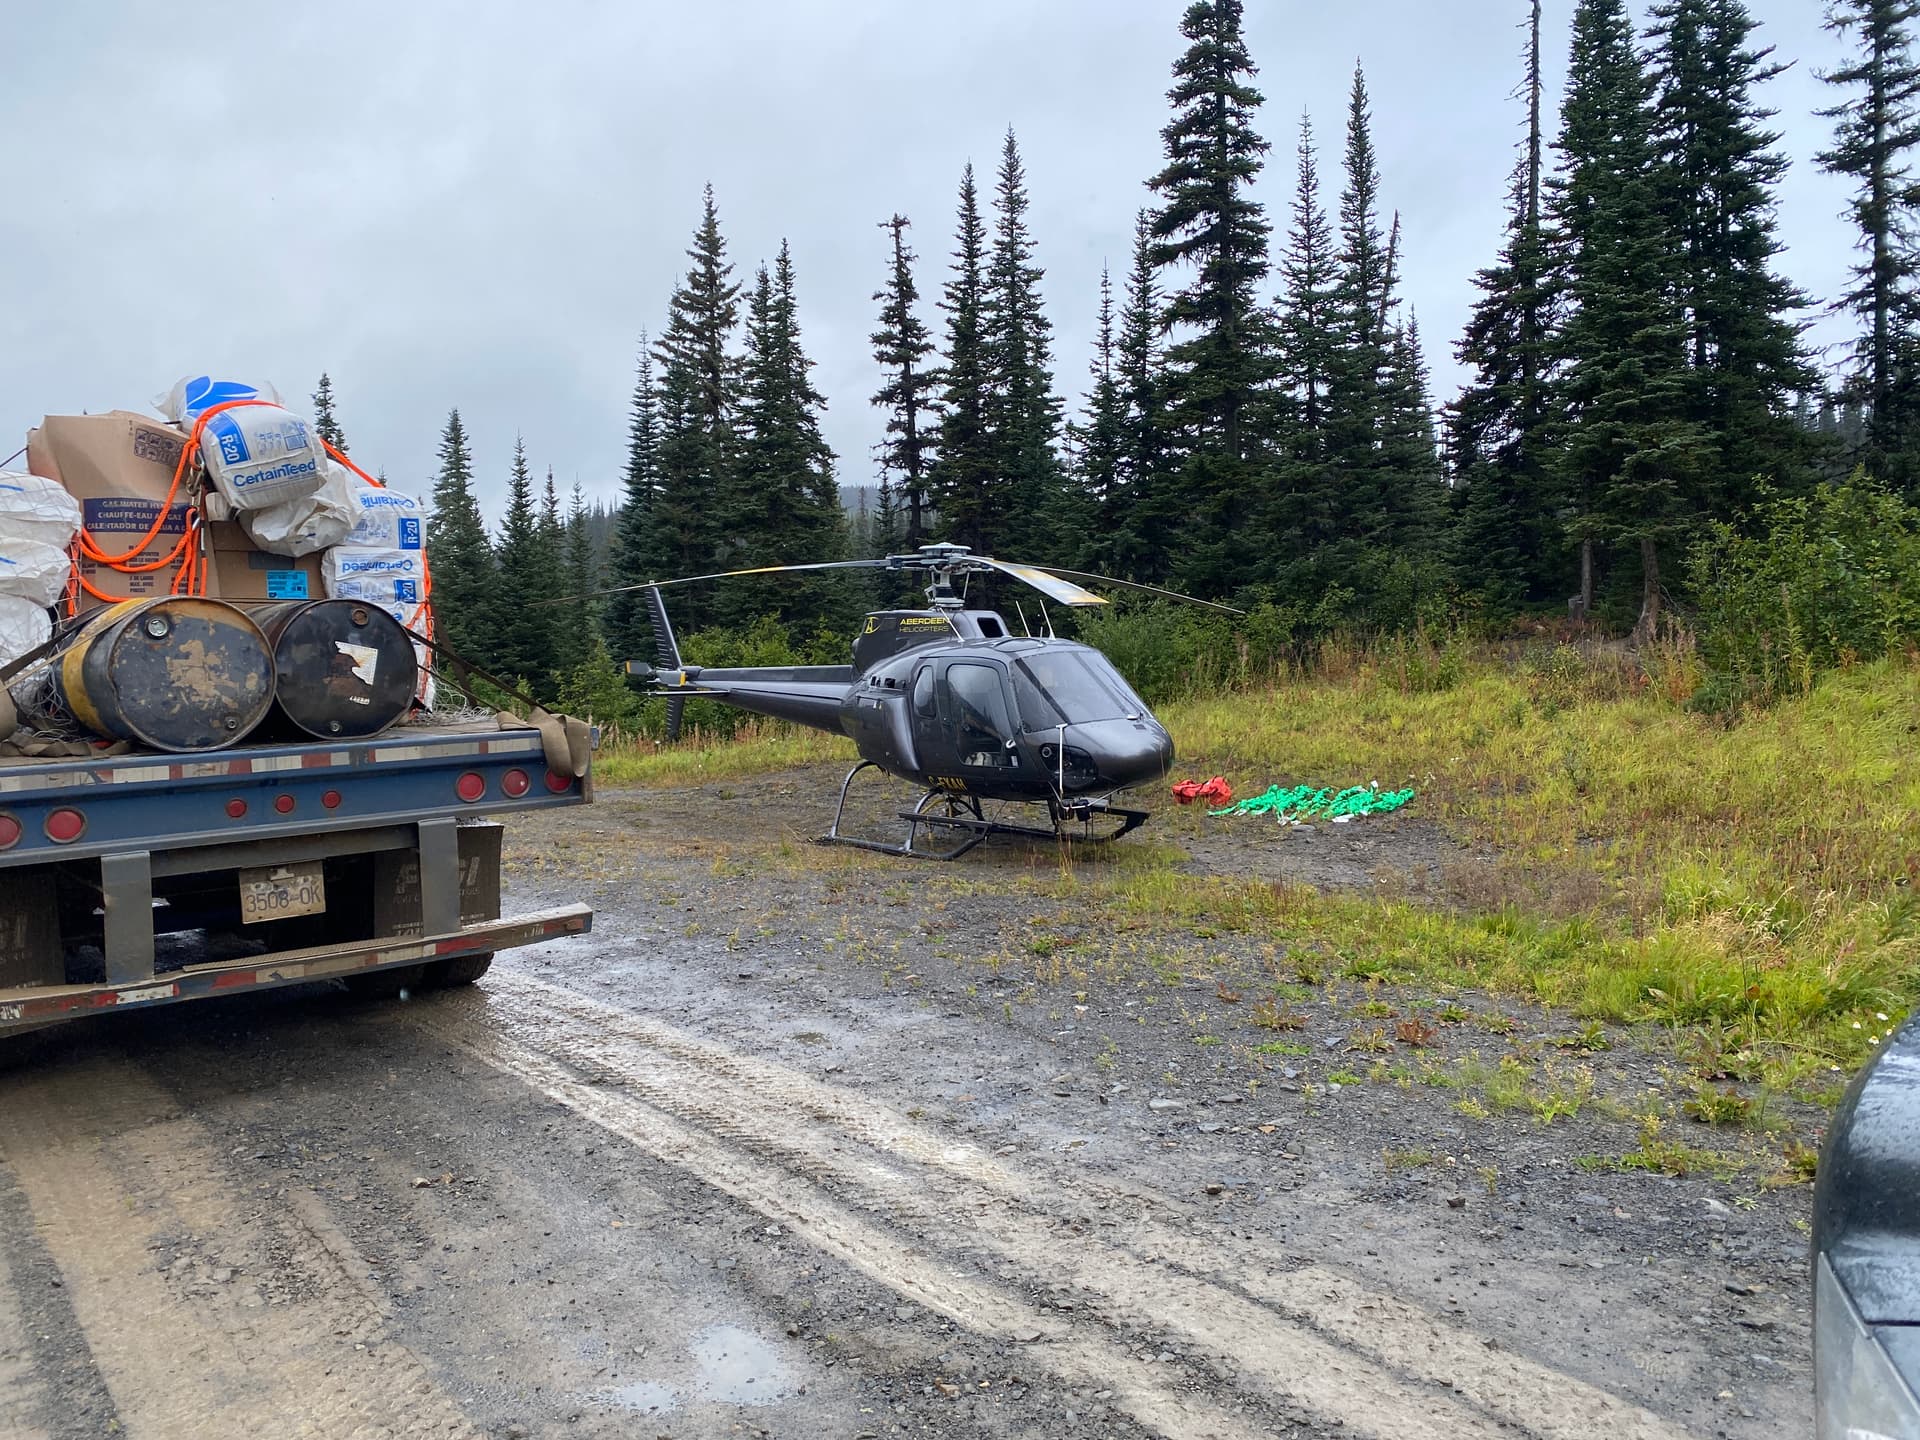
Furnace, Hot water tank and all the fixin’s to make that work. Ended up having a bit of a load problem on the heavy. By the time we got to staging I also had two barrels of diesel on my sled trailer.
Expensive machine to have not spinning. We ended up aborting the lining mission and just flew us into camp. Lined a few days later when the weather was better.
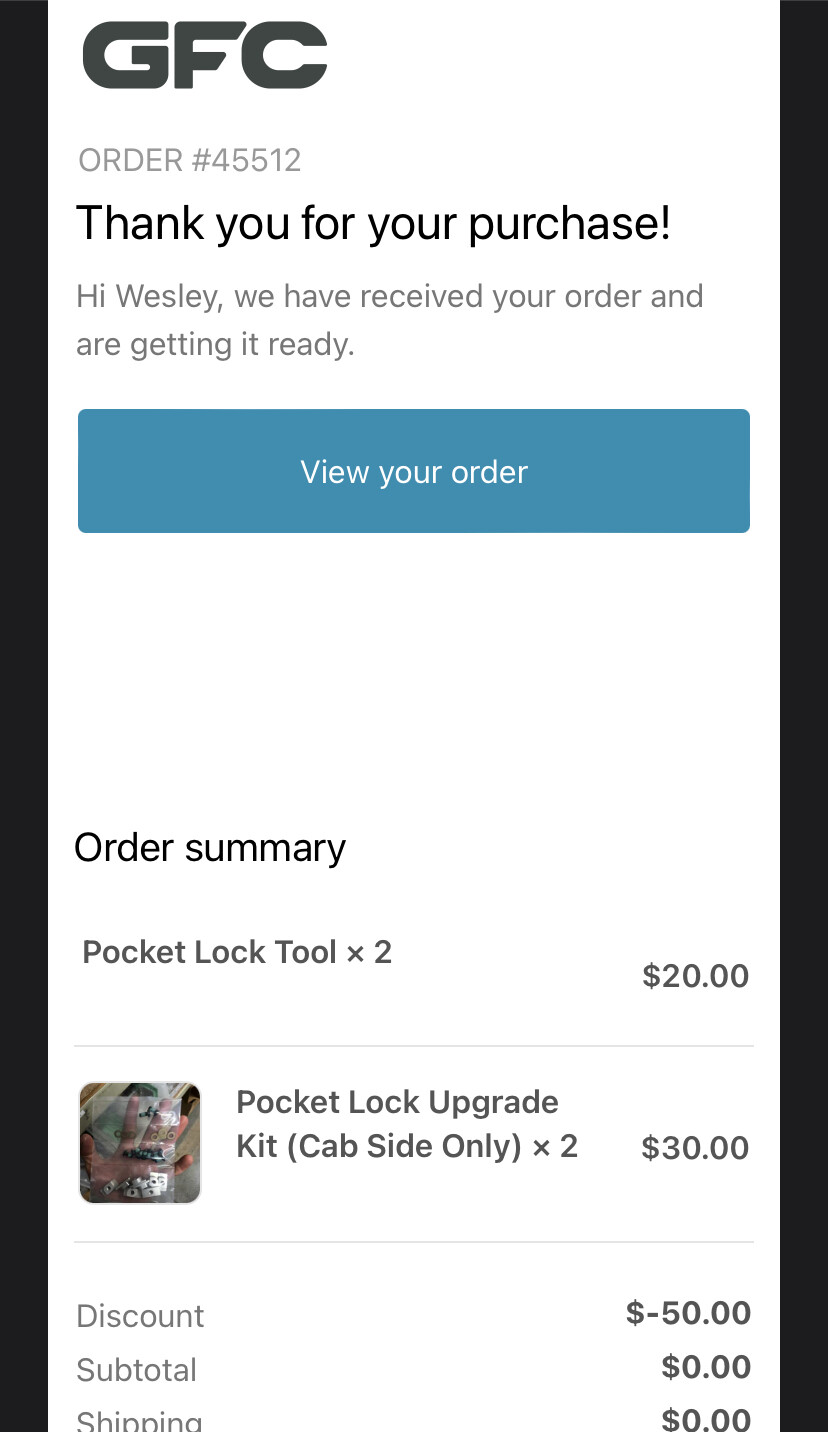
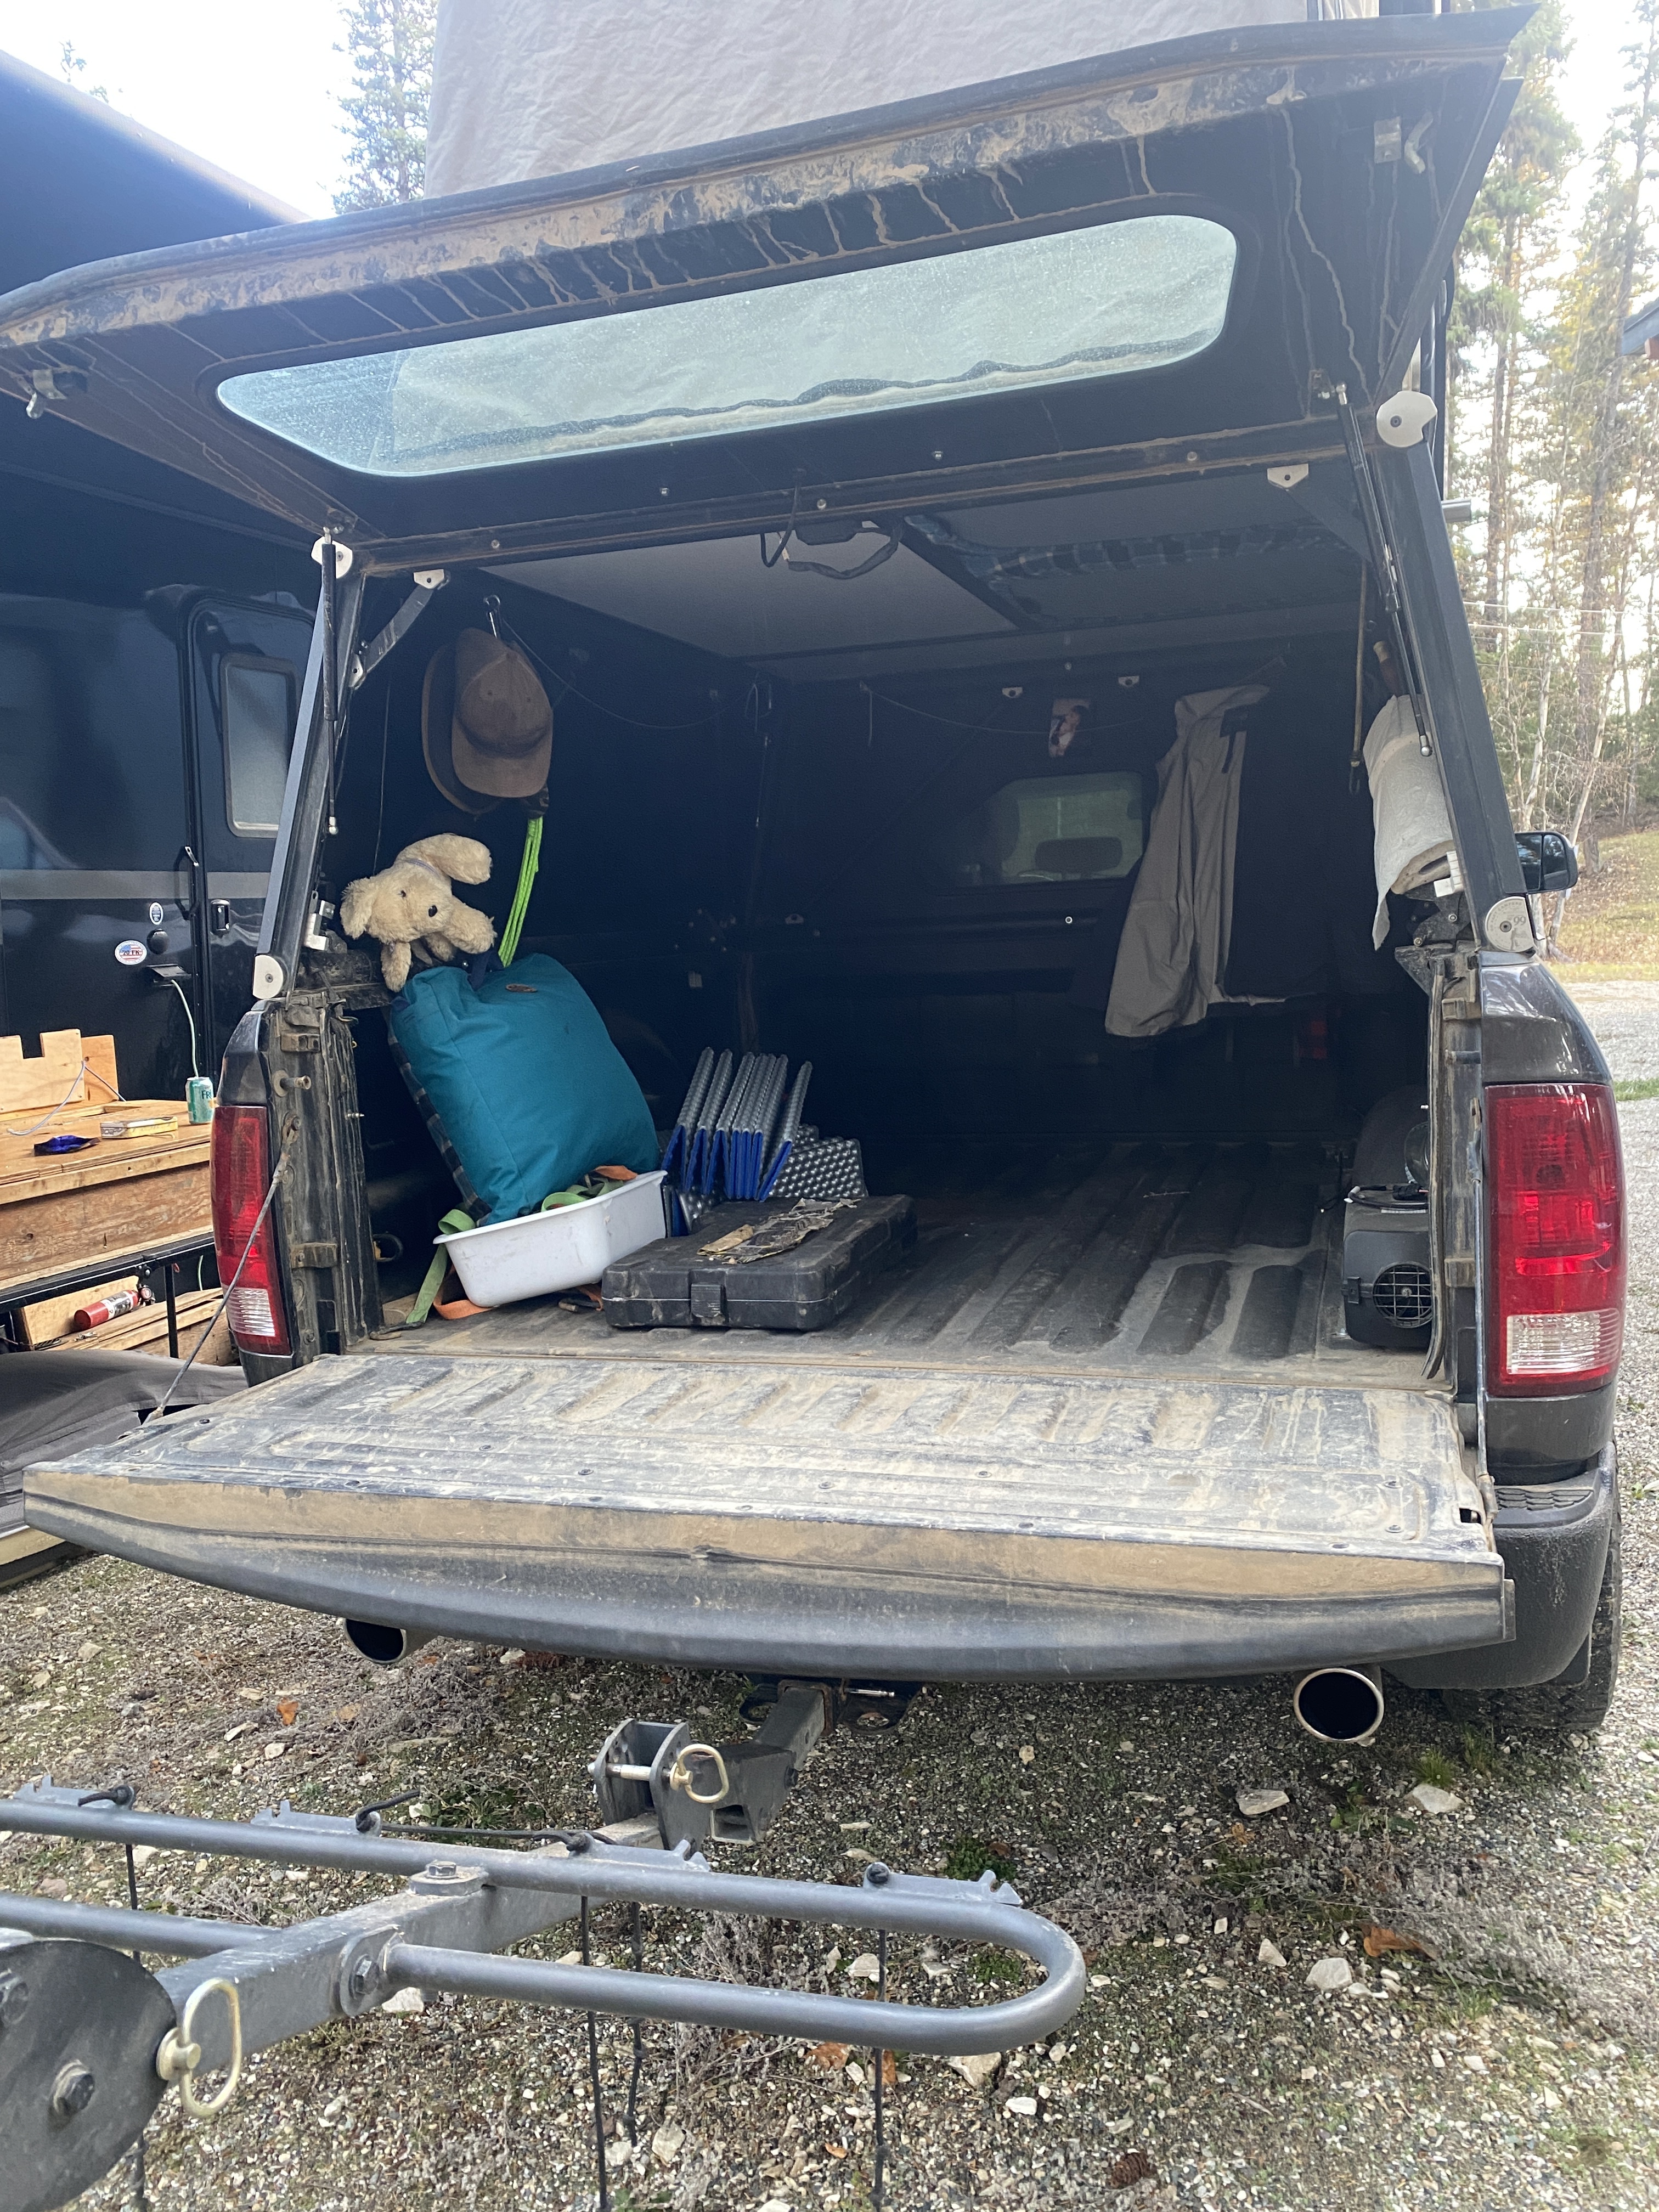
I took the doors off to make it lighter which seemed to help. I needed to swap the doors with the new Pocket lock upgrade kit. There’s a couple of bobs in there with the bits that I’m not sure what they’re for…but oh well.
As @jedgar mentioned in another post. The easiest way to get these doors on and off is by sliding them out. However, for some reason the drivers side is giving me some grief! Queue my 6 year old ‘Dad, sometimes when you’re frustrated you should take a break have a snack and try again later’
Good news, is despite thinking they don’t listen. They do, then they help you if you have the humility to hear it. He couldn’t have been more right.
I feel the same way every time I clean out my campter - this could be better. Is there anything in particular that makes you want to lose the tent portion?
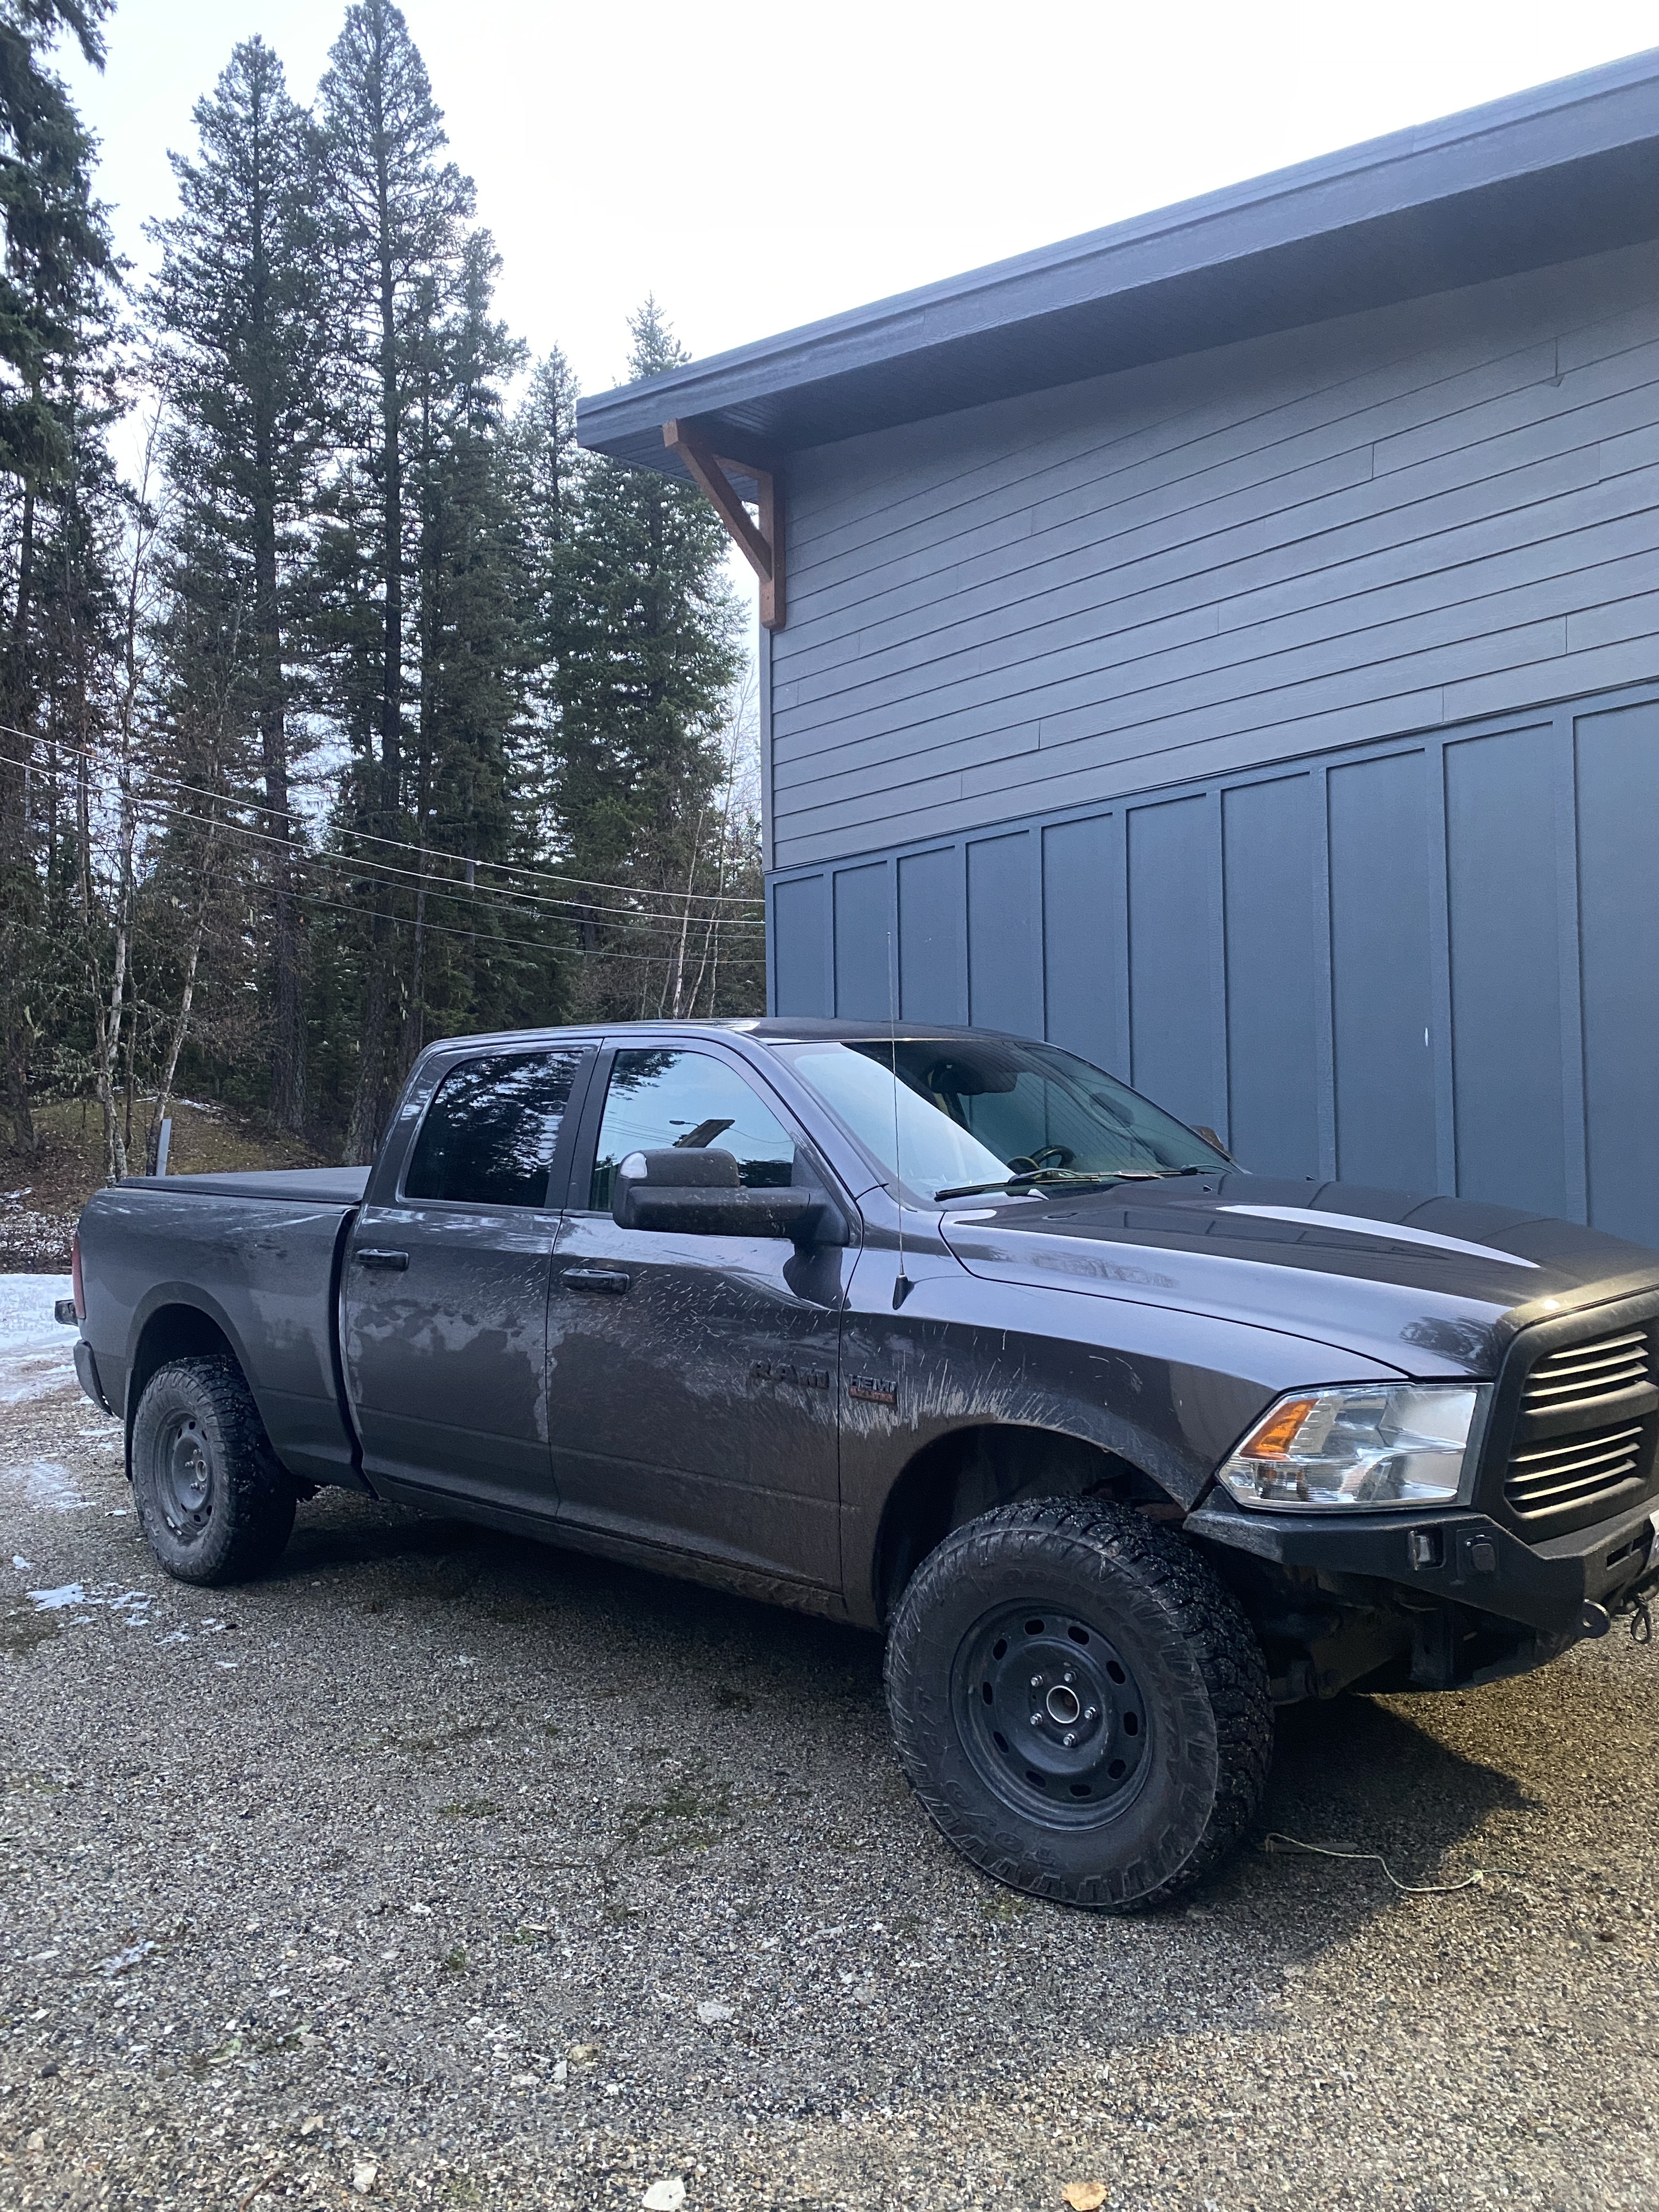
I’m going to keep the camper and put it on the 3/4 ton for the business. Most of the time that I use this rig it is for solo missions. With my current build, the GFC, all my gear and two sleds on a trailer. I’m at the limit of the GVW for the 1/2 ton. Also, this will give me time to finish up the body work, take care of the ‘Manifold’ tick, take a listen to the lifters and see how this Hemi is doing. Maybe drop a 6.4L in it if it needs some love (Stroked and mapped)
I will hopefully use this truck for personal use and promotional shows. Then use the big rig for camping adventures with the whole fam but mostly business use 90%
I am going to build a removable power system that will also fit in a helicopter basket. That’s my current game plan, something similar to this proof of concept unit I built for the BC wildfire service.
I won’t be putting in the network gear yet, changing to 50A large Anderson for the 12V in, changing to SAE jacks, and adding a NOCO 10A charger with AC plug. This way I can slide it in under my new platform, plug it in and go. Then take it out, and it’s still good to go just with no truck charging.
By accident really. I was in a hurry and threw dishy in there and it worked. Albeit, sometimes not very well. But in flat mode I’ve had pretty good success. Especially when I’m not moving.
However, I have a mobile mount coming as Starlink replaced my Standard Actuated with a Standard. The Mini is not available in canada yet.
Starlink will pick up a decent signal through the top/bottom panels, even through both. I’ve set mine up in the bed of my truck facing up through the large moveable panel and then through the roof and was able to consistently hit over 100 MBps, while moving. I’m working on some 8020 aluminum extrusion framing to allow the dish to sit a few inches below the panel as heat buildup was my only problem.
hmm interestingh because i had really bad receiption when there’s a tiny bit of trees like 10ft above not directly on top of the dishy (should be less dense than the panels). im surprised it worked through the panels.