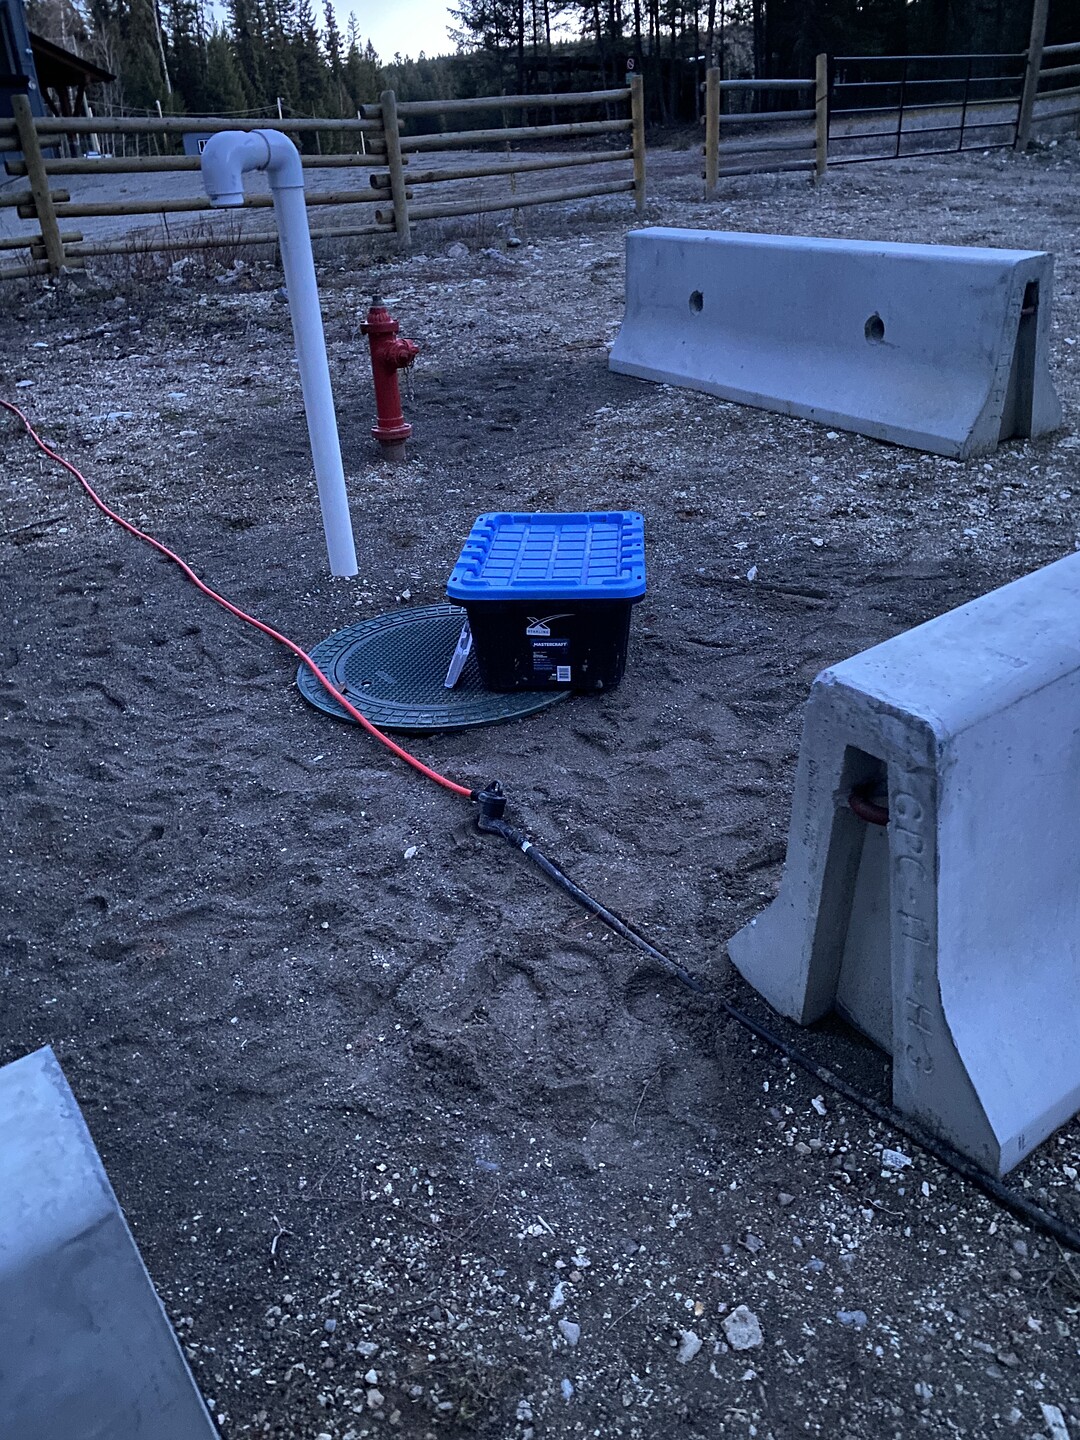
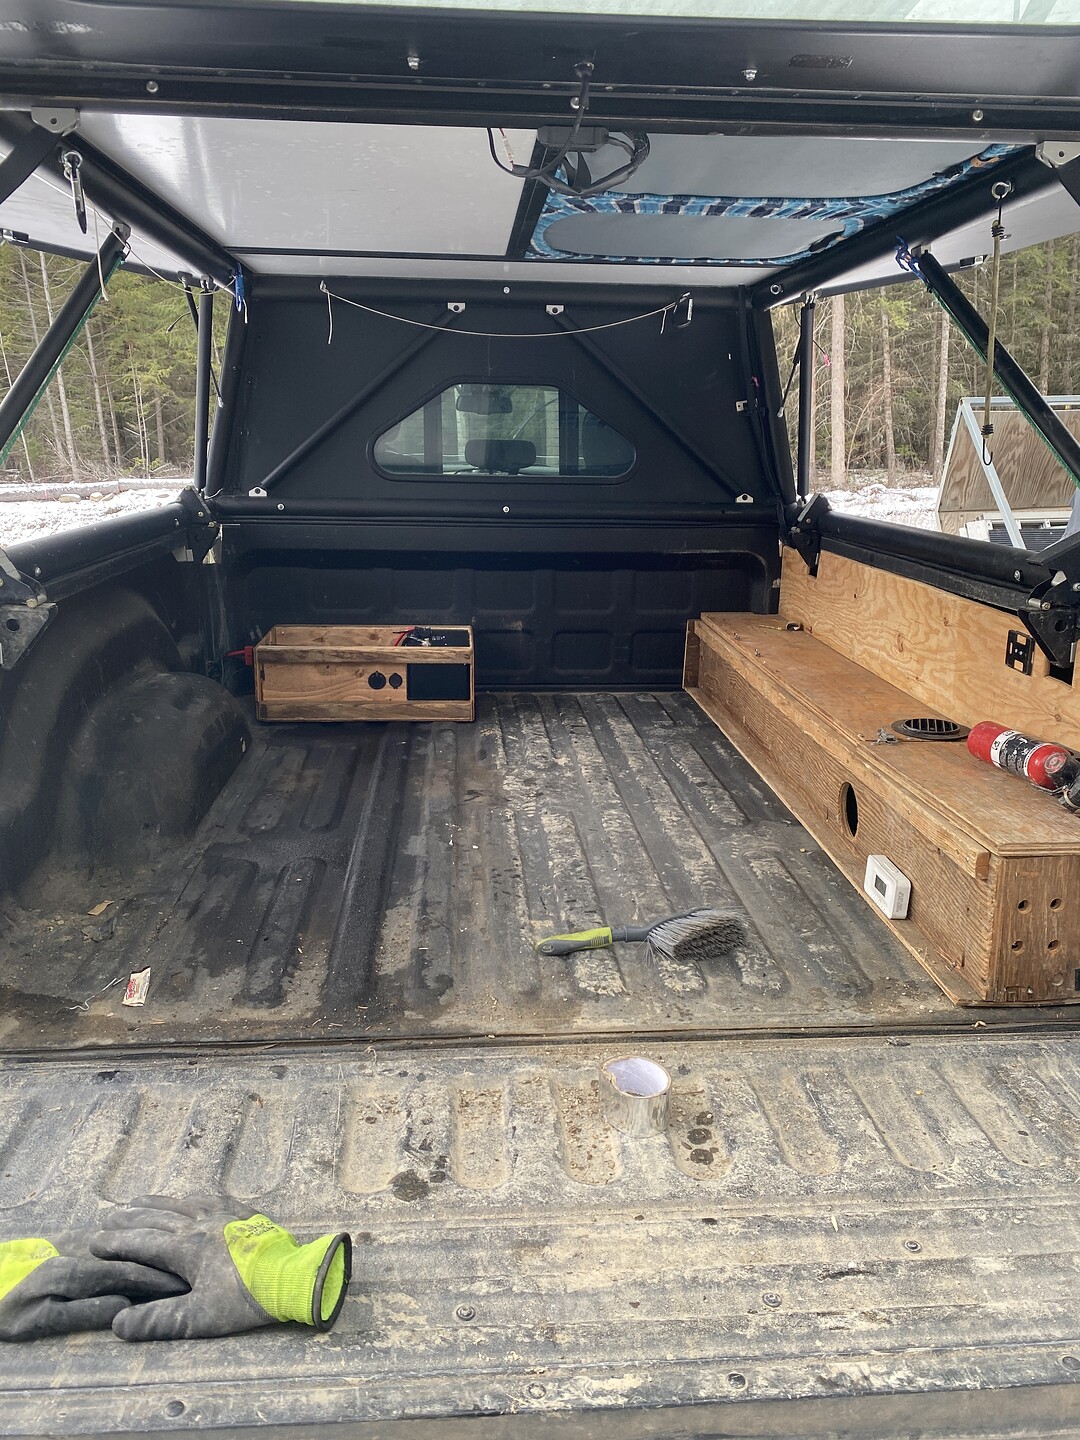
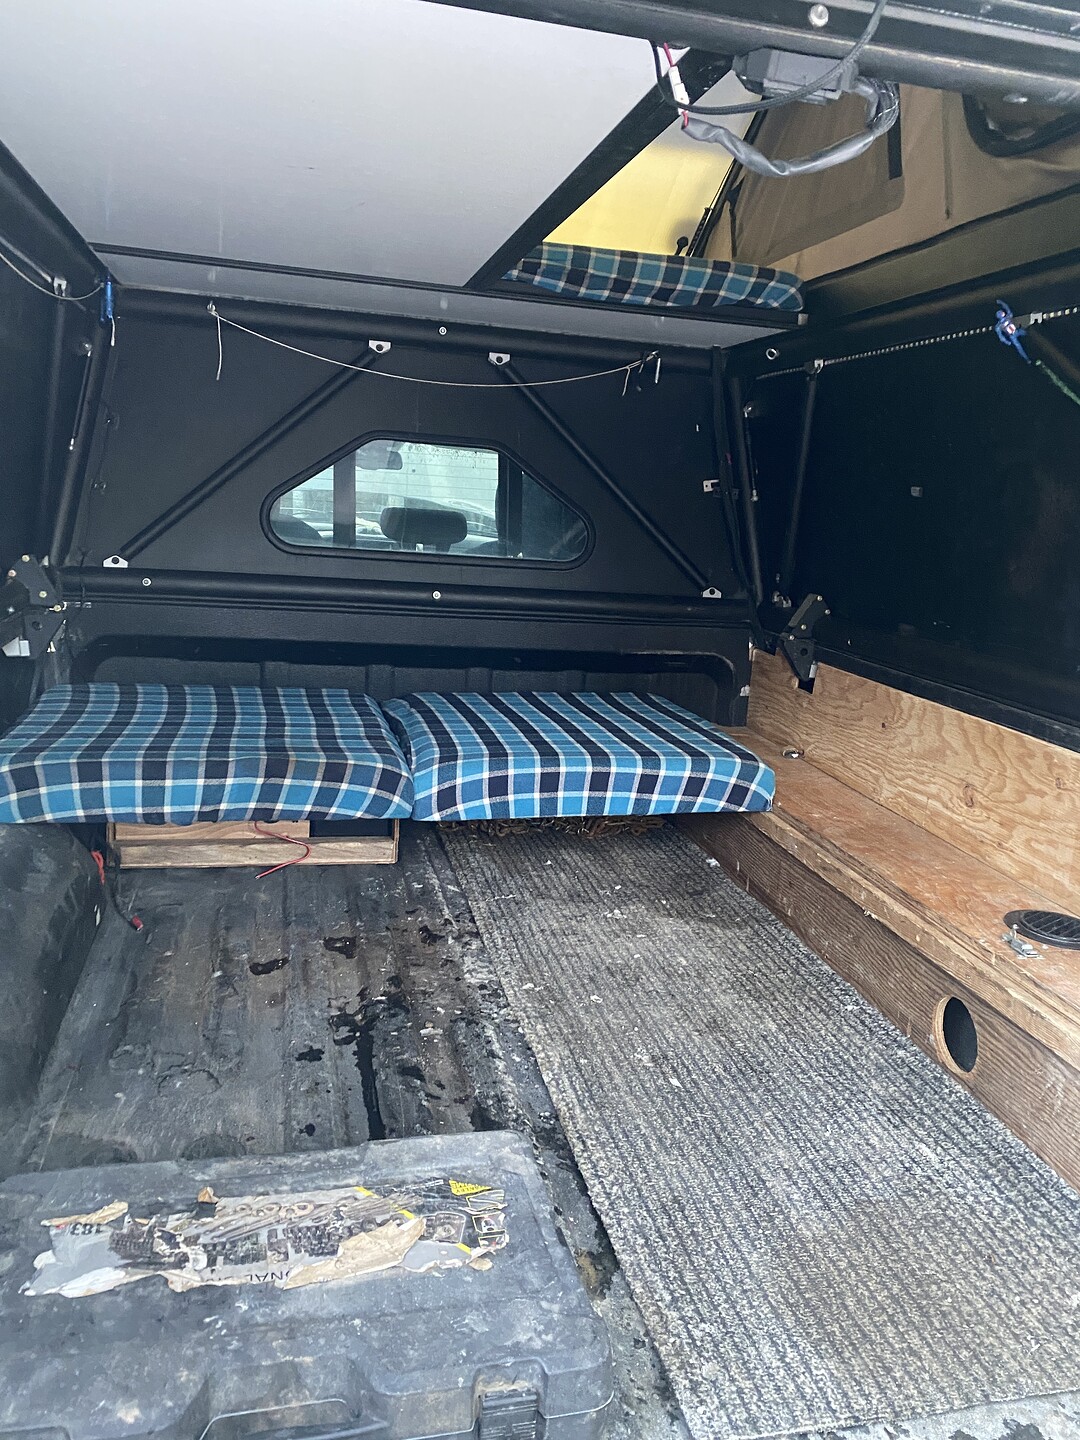
Wood vs fiberglass.
So my platform in my rig has been great; but I’m going to put that one in another truck. Now what I’m looking to do is build something with this:
Plan:
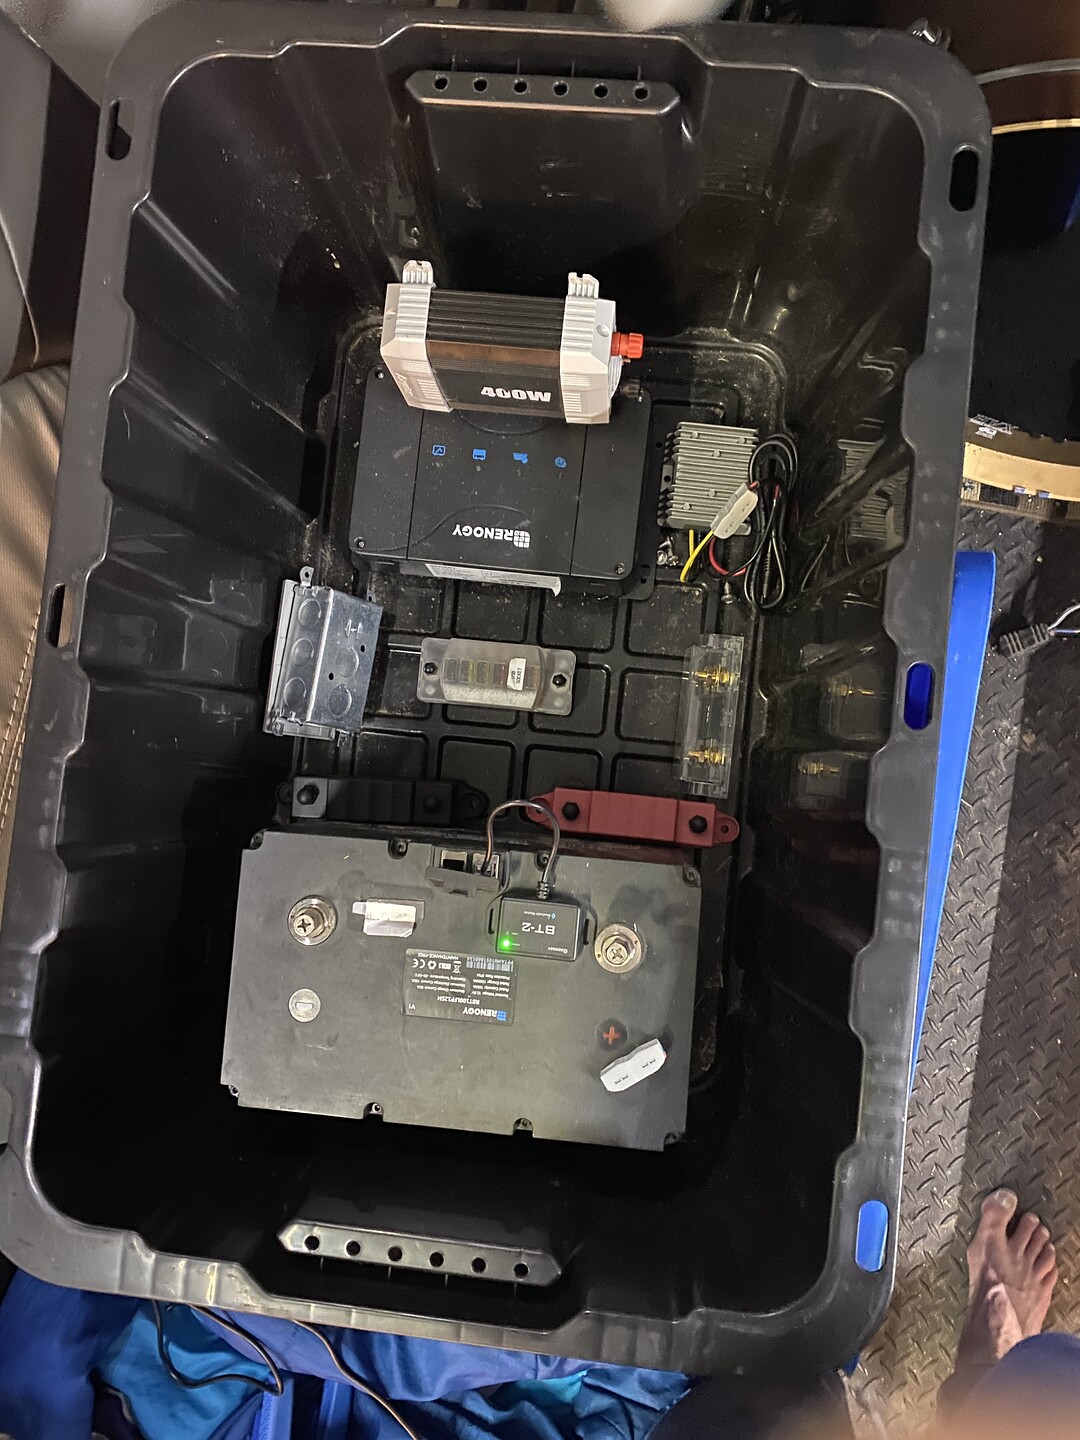
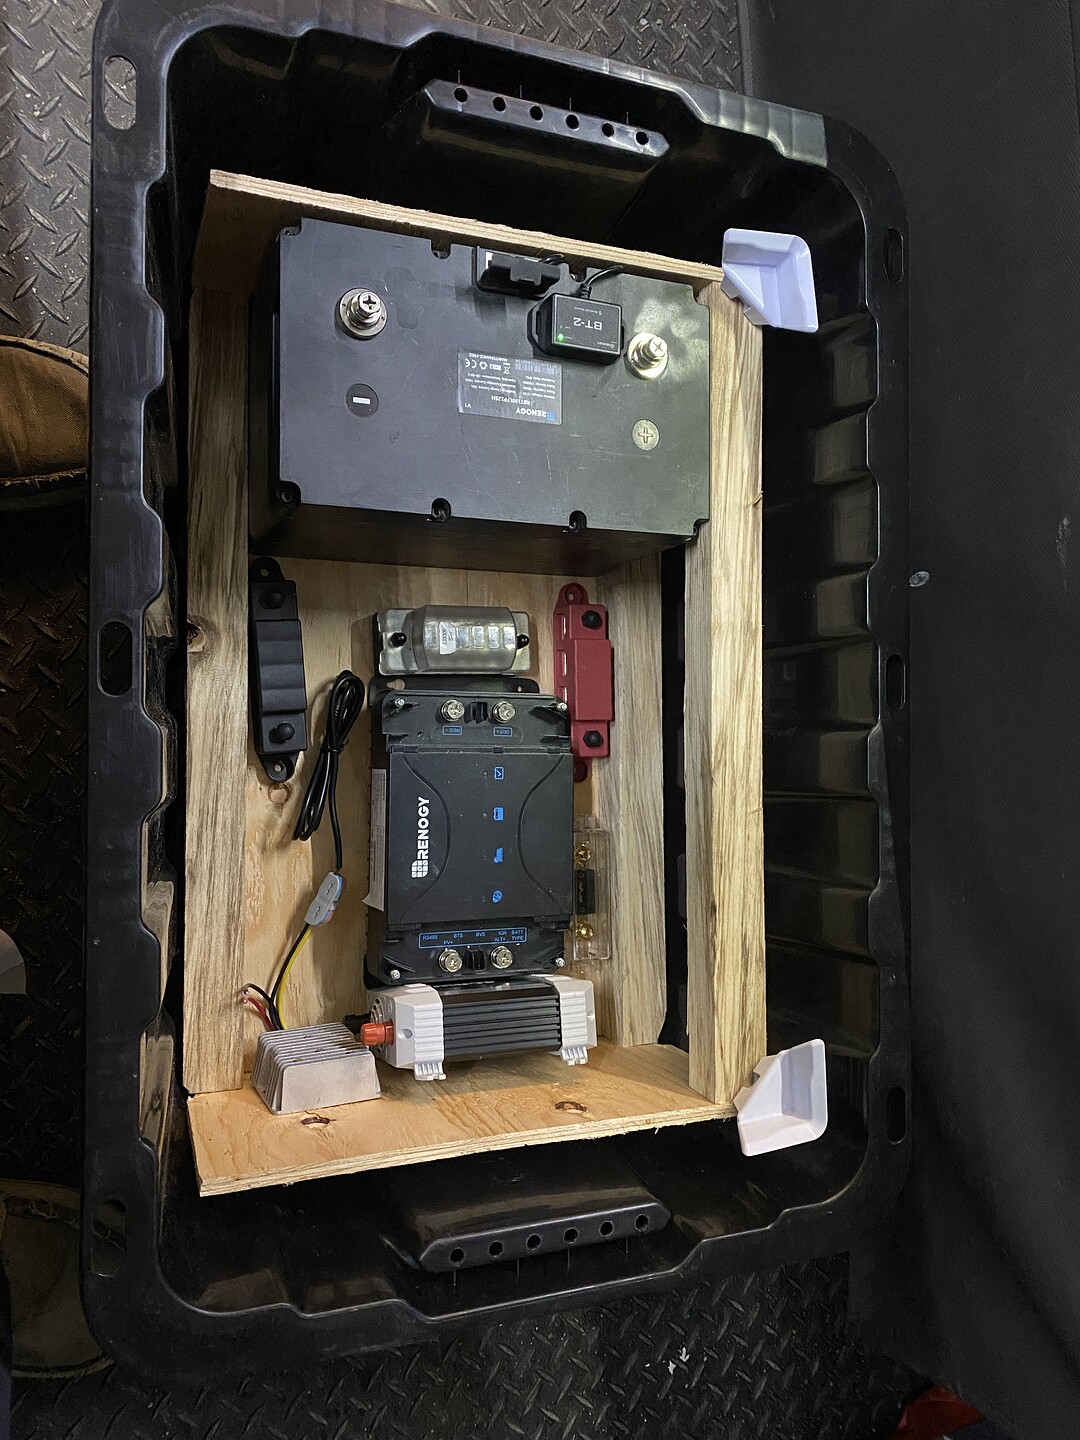
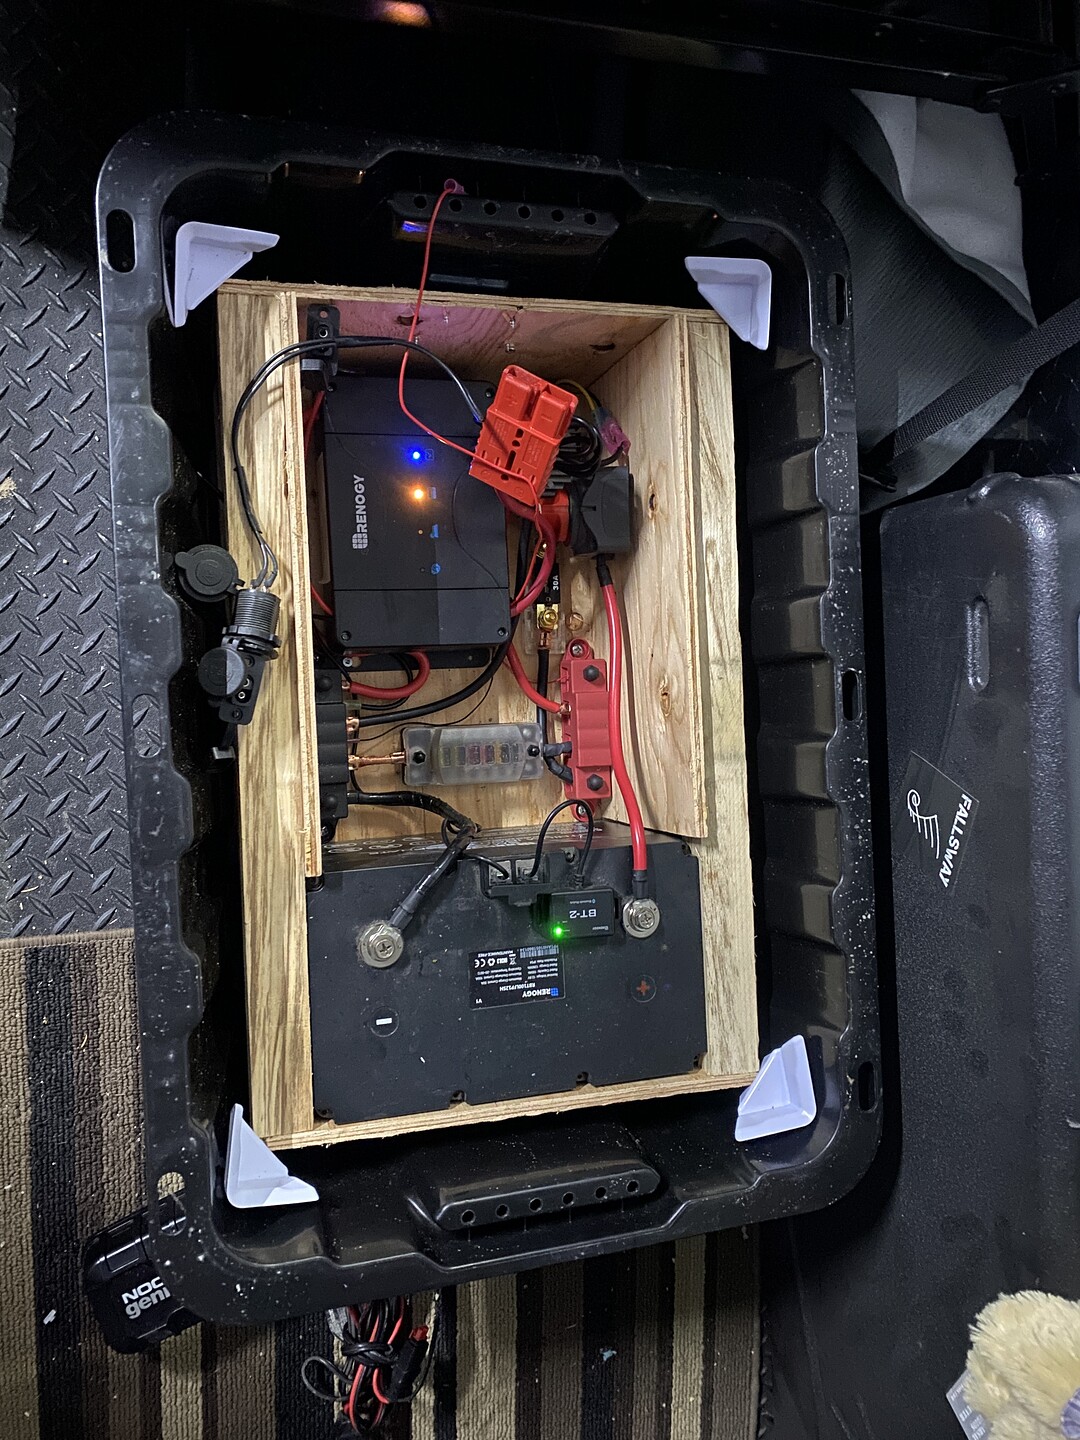
This is a standard ‘Heavy Duty’ tote you can get at Canadian Tire up here. I’m going to build a 3/8 (they were out of 1/4) ply box that will slide inside this tote. Giving me a ‘modular overland power system’.
Use:
Using Anderson plugs for the Alternator feed, this box can connect to the trucks proving power and internet. It can then be placed in the plastic tote and used as a standalone unit.
For me, as my business picks up I need to be able to switch my power/internet solution between the travel trailer (home base), Ram 1500 GFC, Ram 2500 Reg Cab, and my workplace Skeena Cat Skiing.
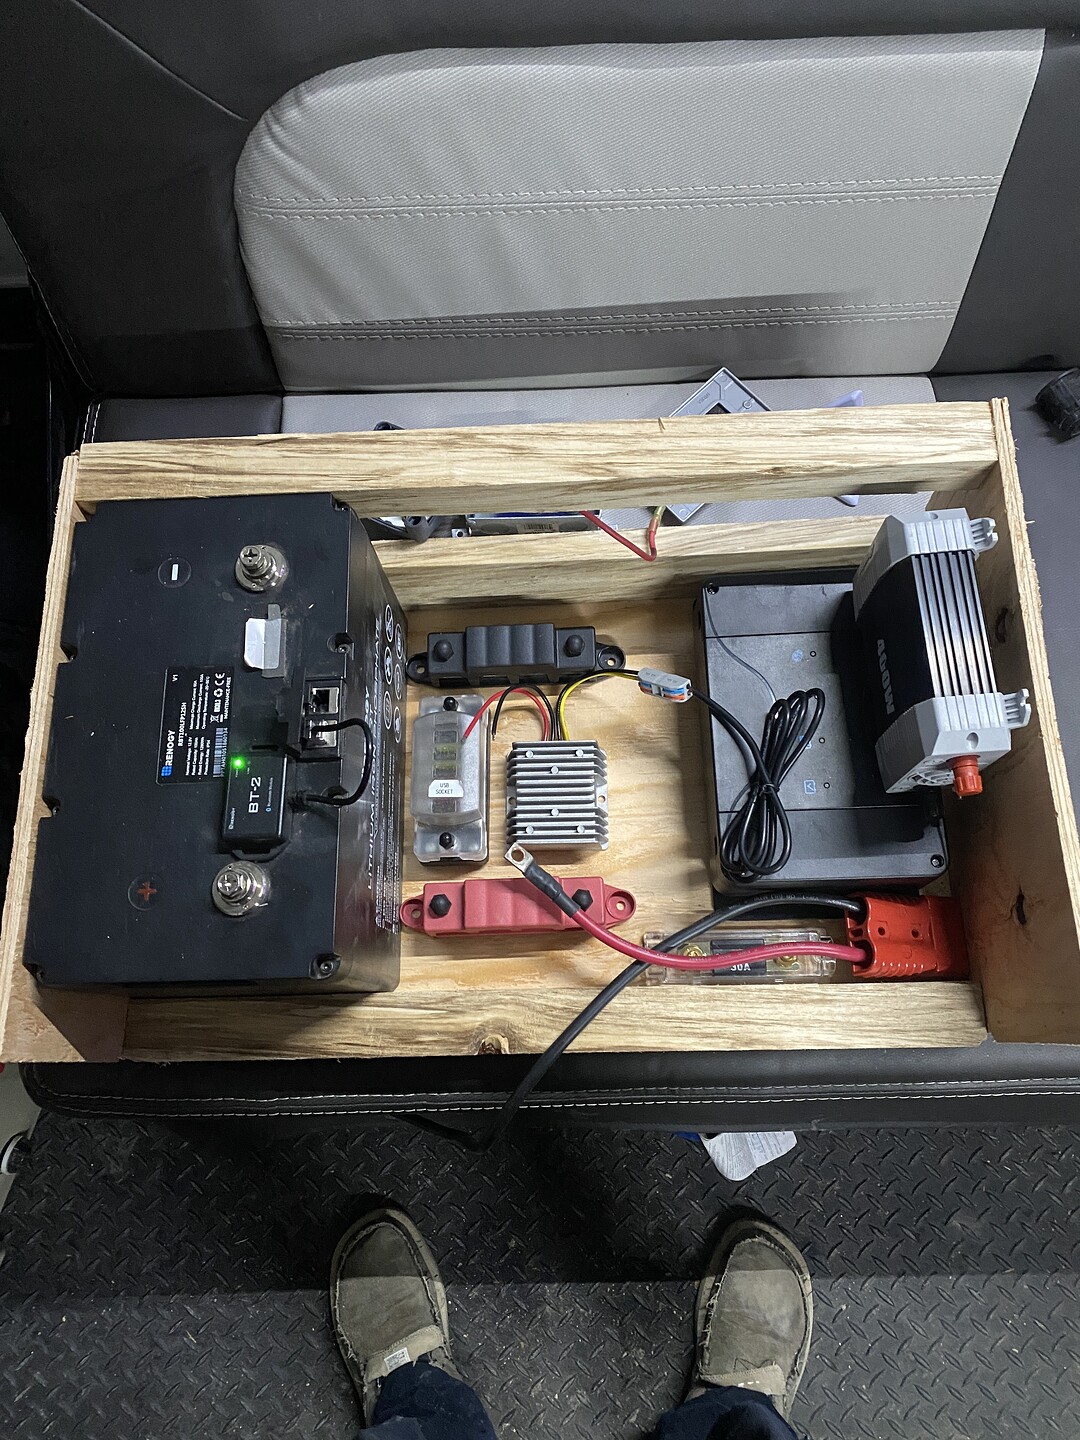
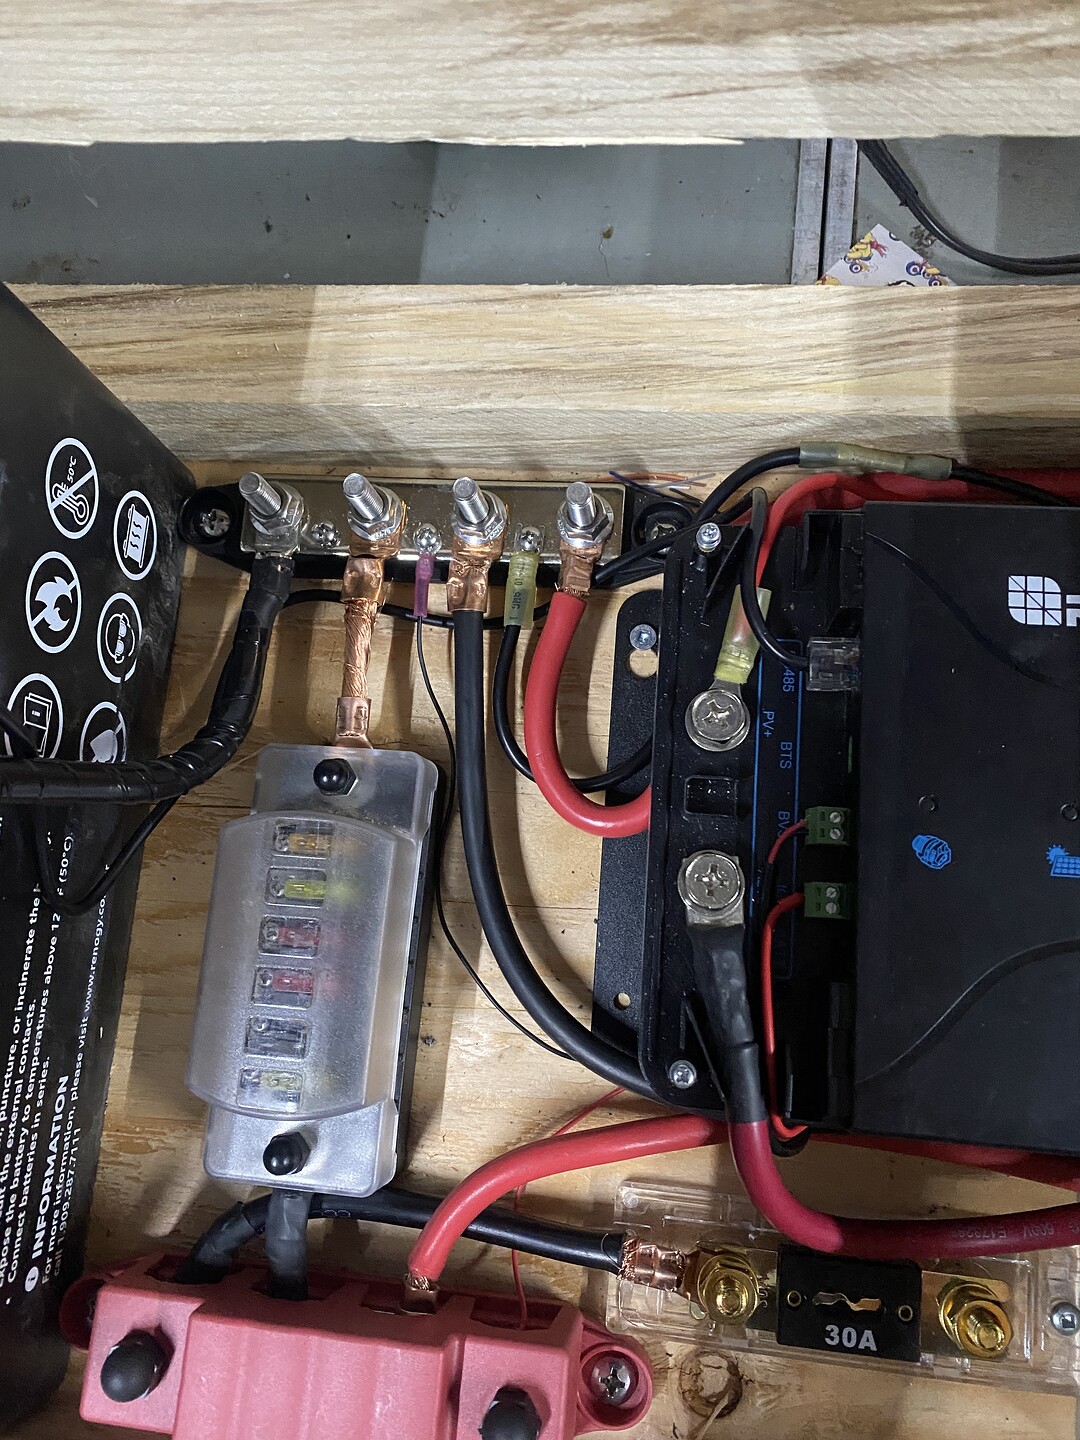
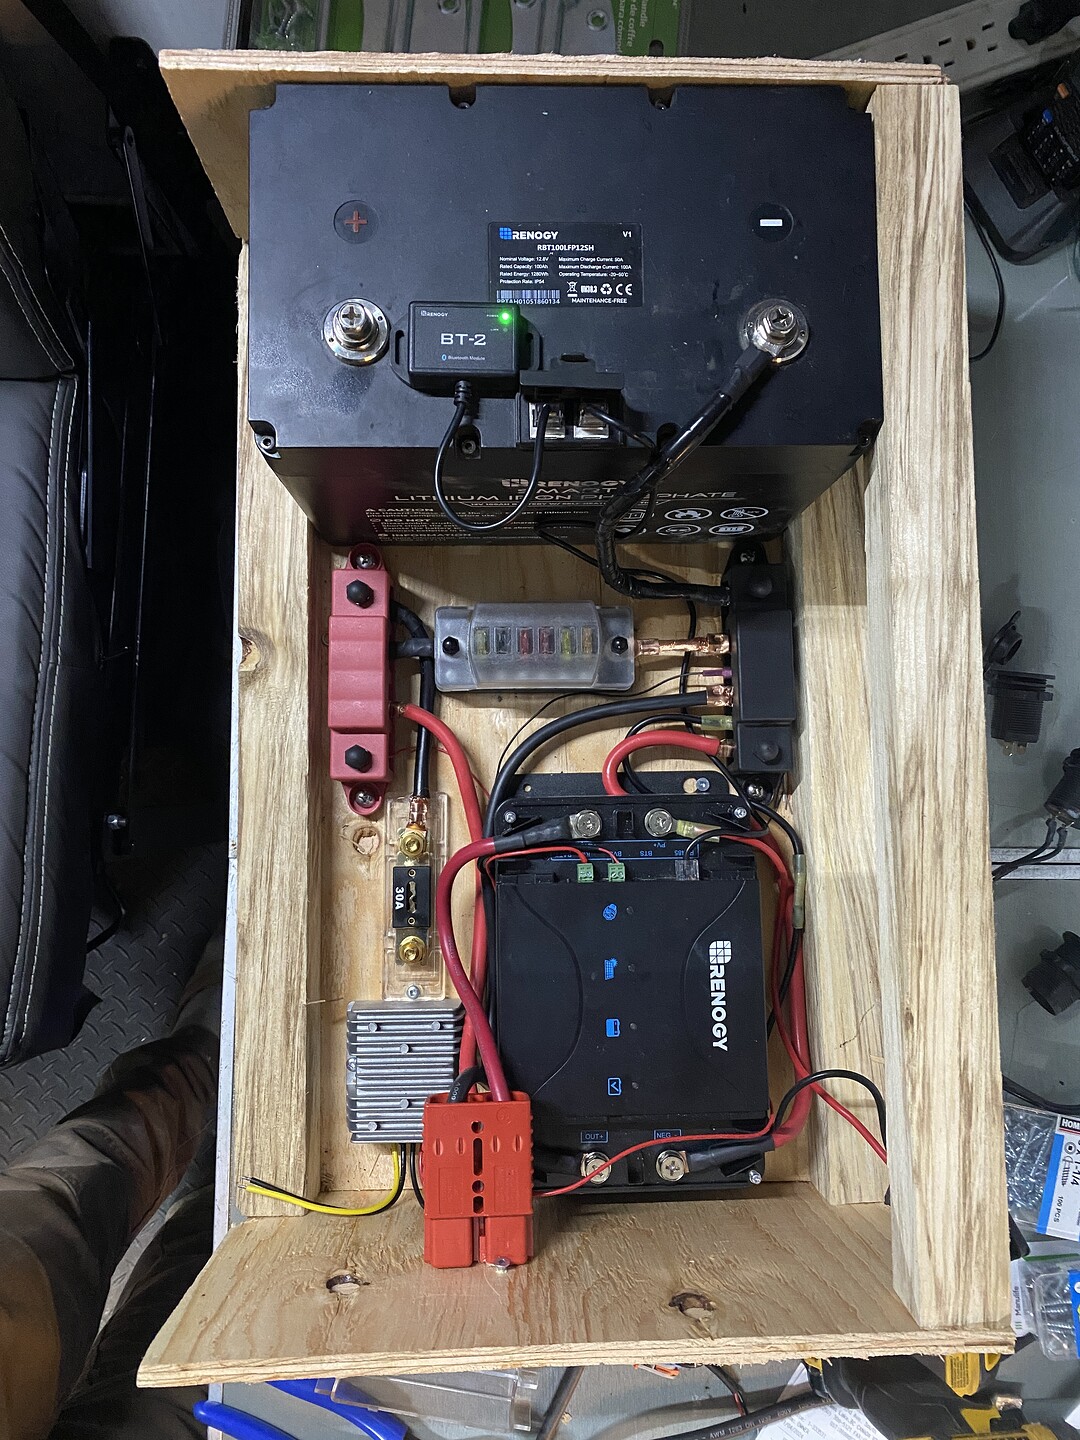
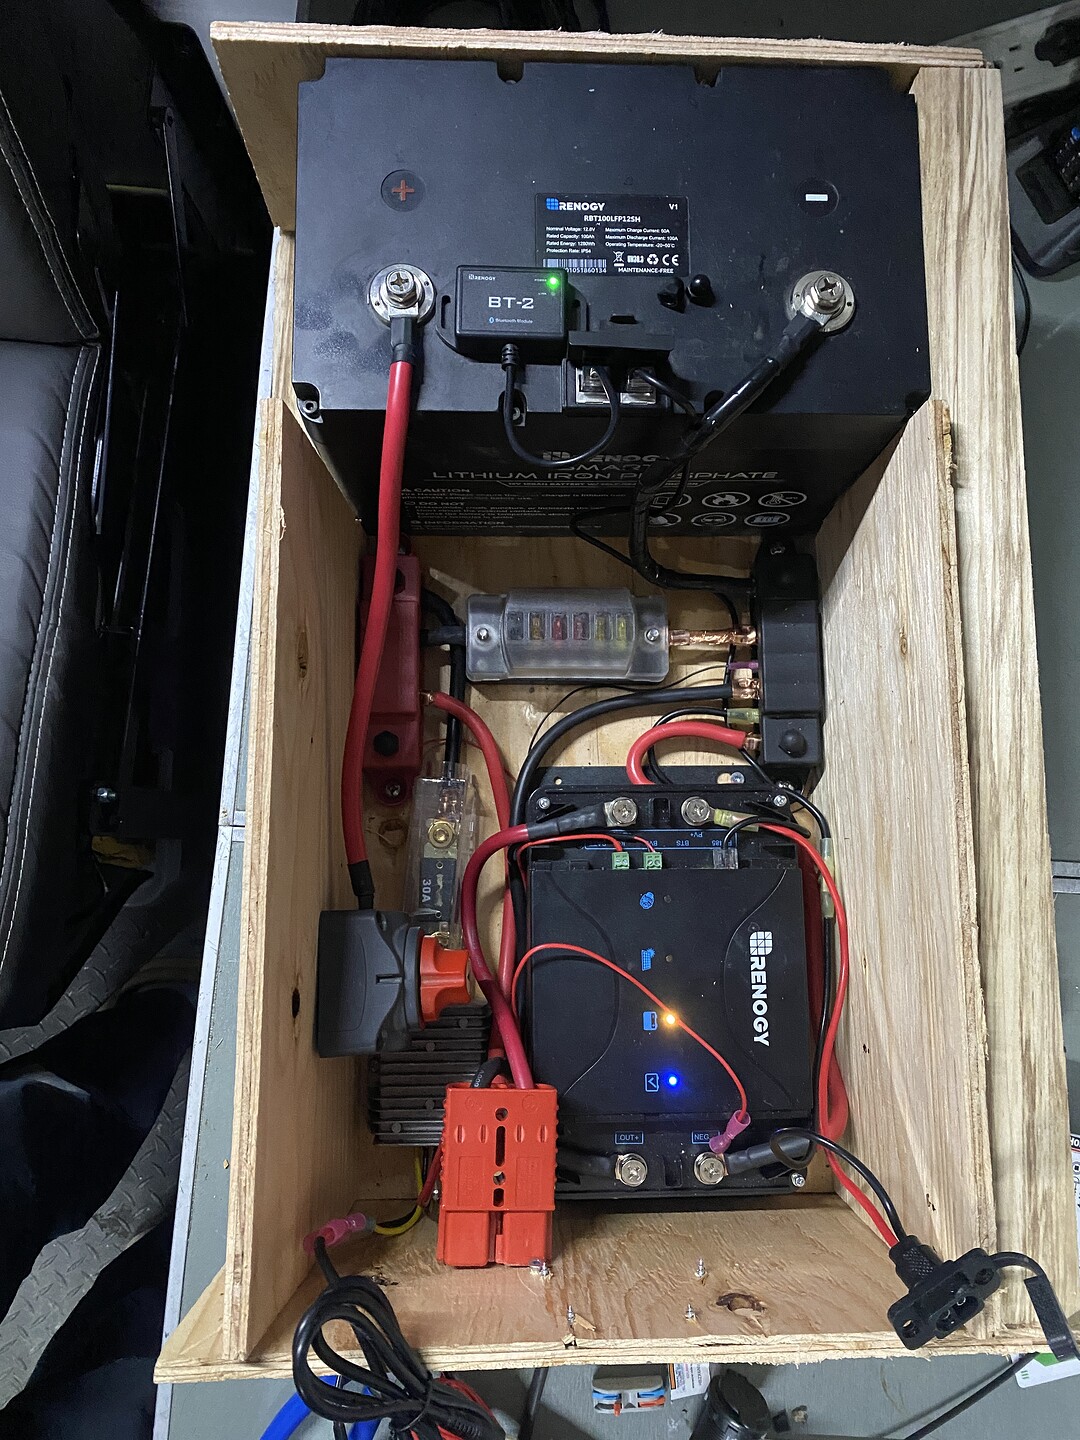
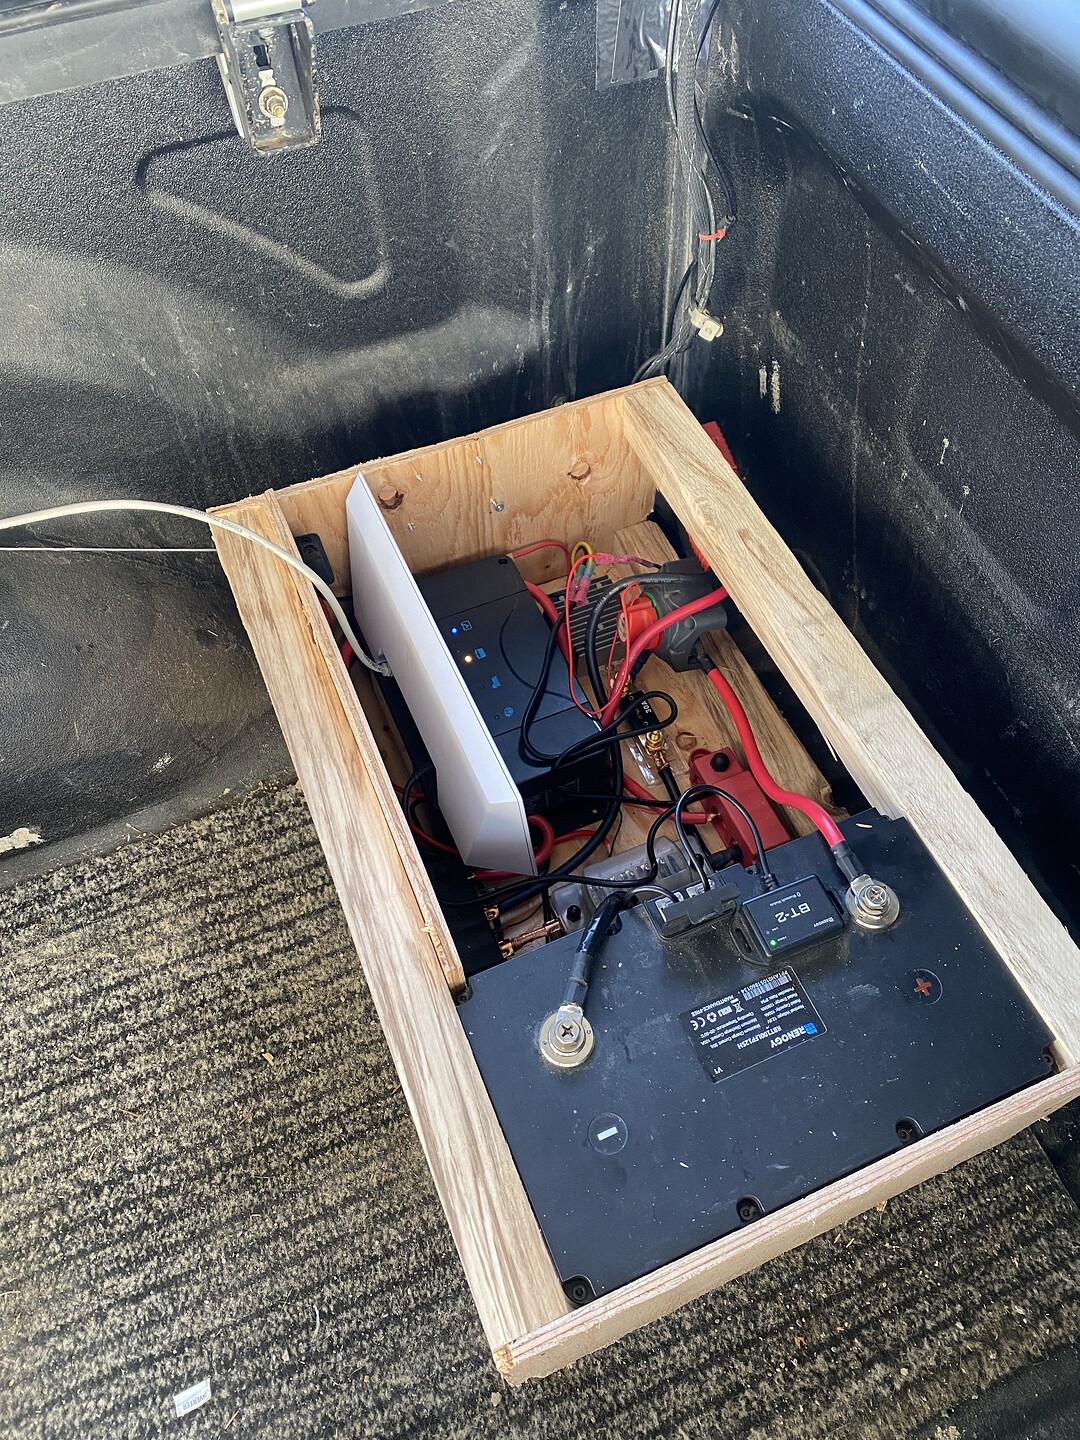
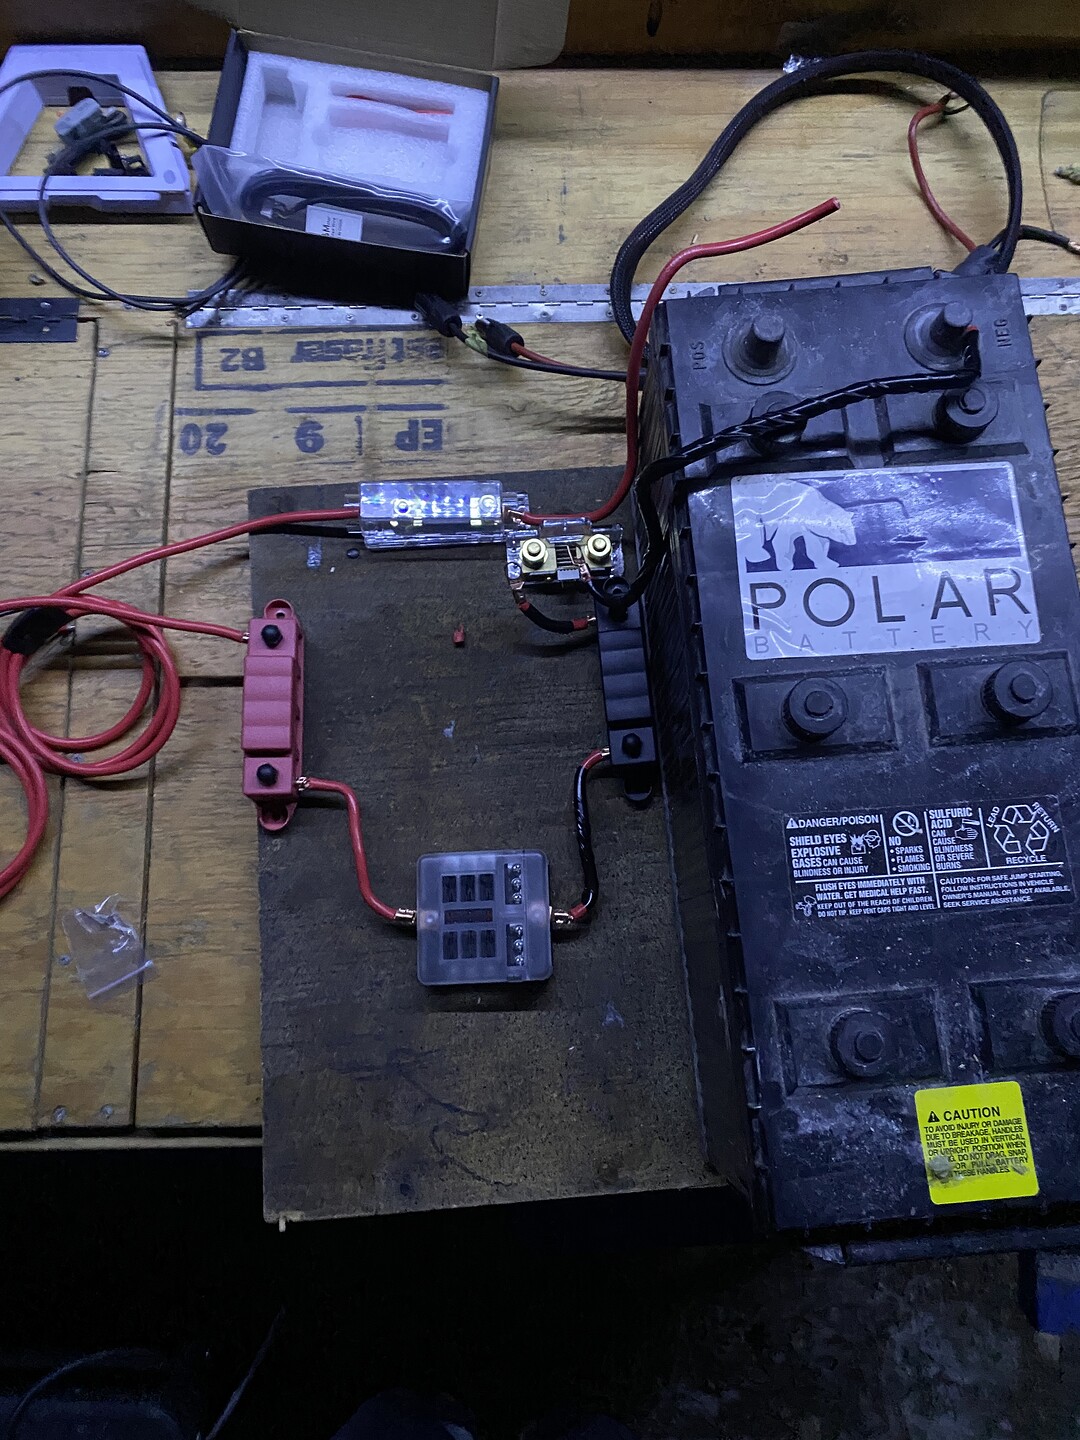
It will have AC input and a NOCO 10A charger, 12V Alternator with ACC trigger, Switched SAE 12V output, 12V Socket output, SAE Solar input, RJ45 output to Starlink, RJ45 output to Mesh Access point, 100aH Renogy, 30A MPPT charger, 400W inverter, AC output.
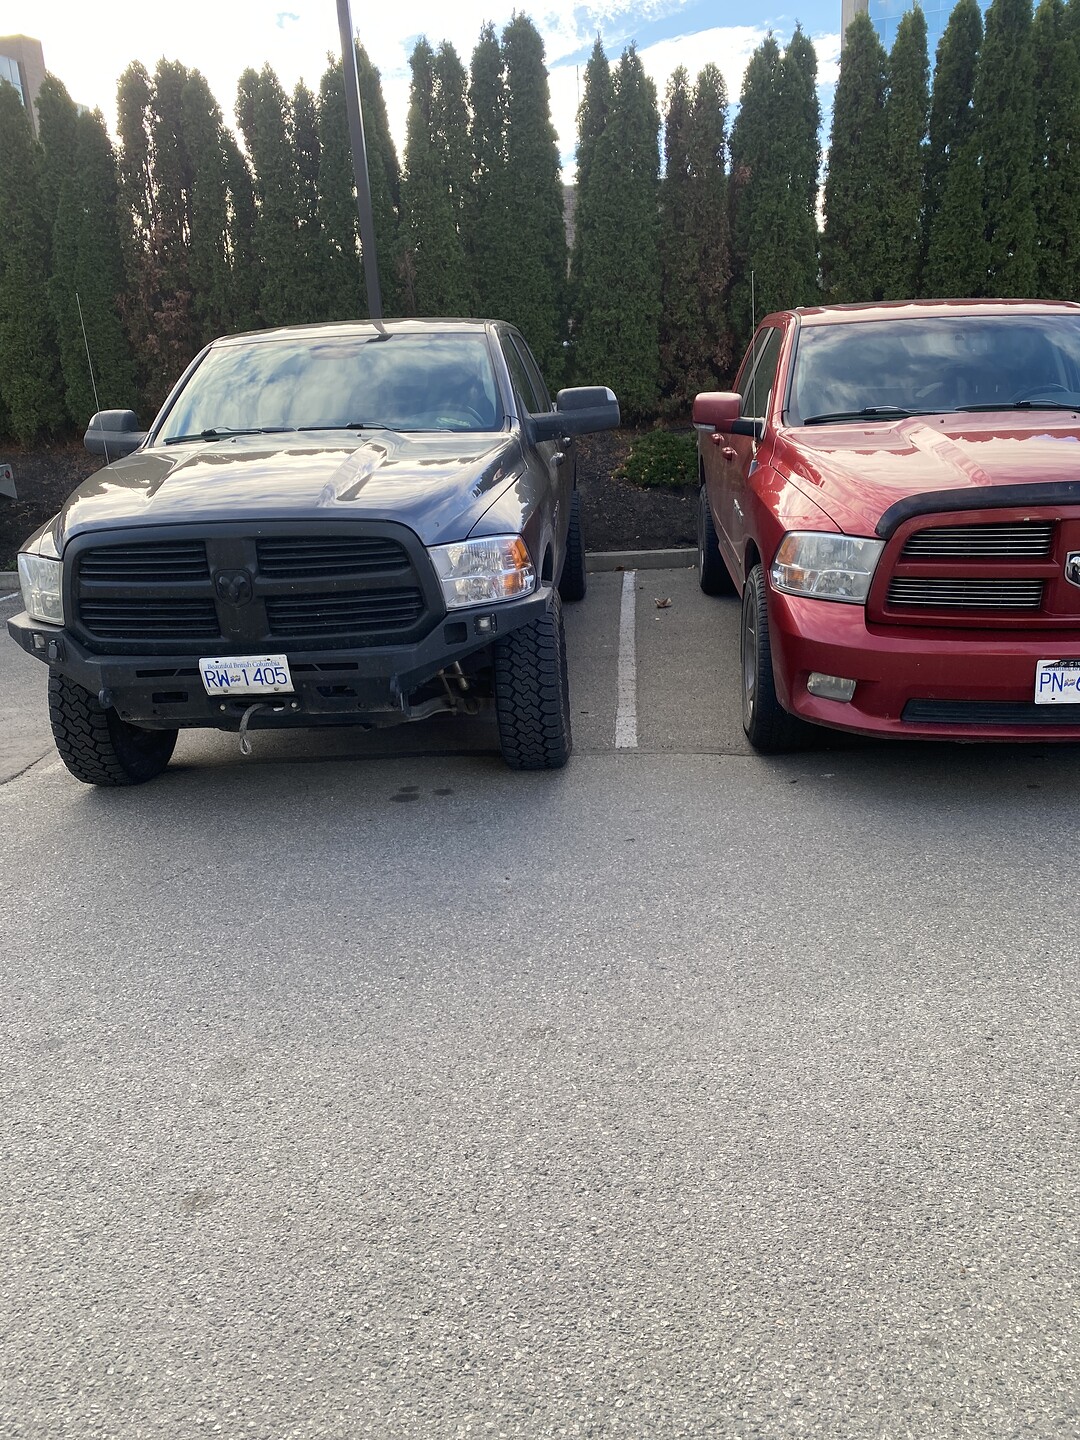
On another note, if there was ever a question about my truck being stock height…
This Mopar fan parked next to me in an empty hotel parking lot.
So, to prepare to put the camper back on the truck. I decided I needed a way to take it on and off myself. So…
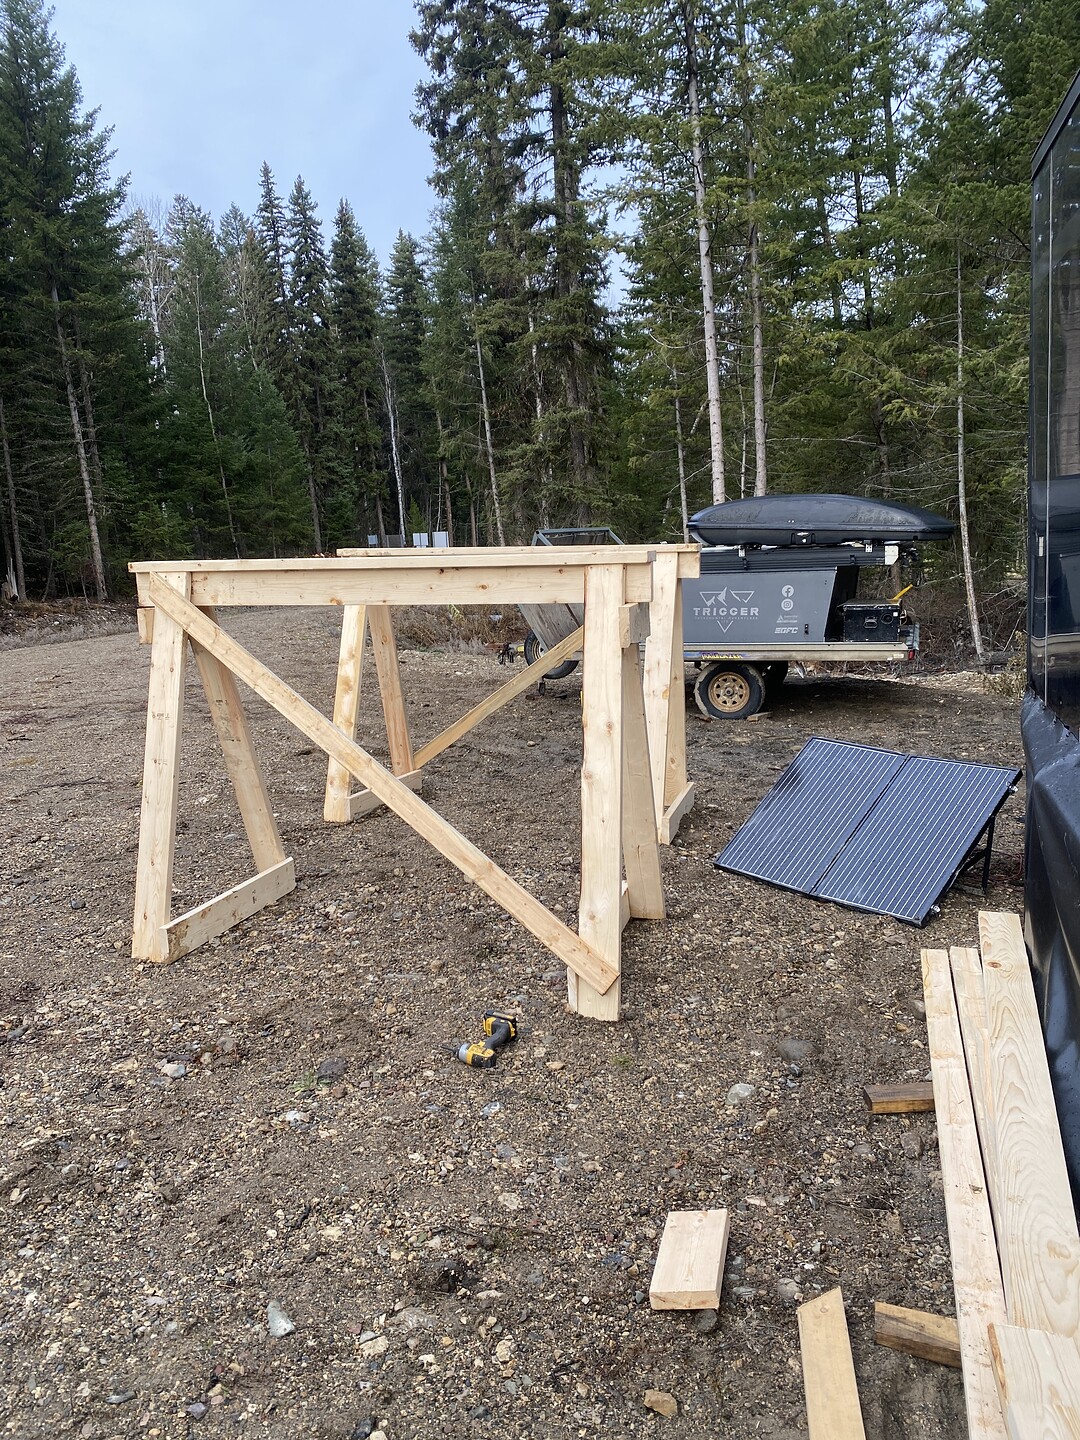
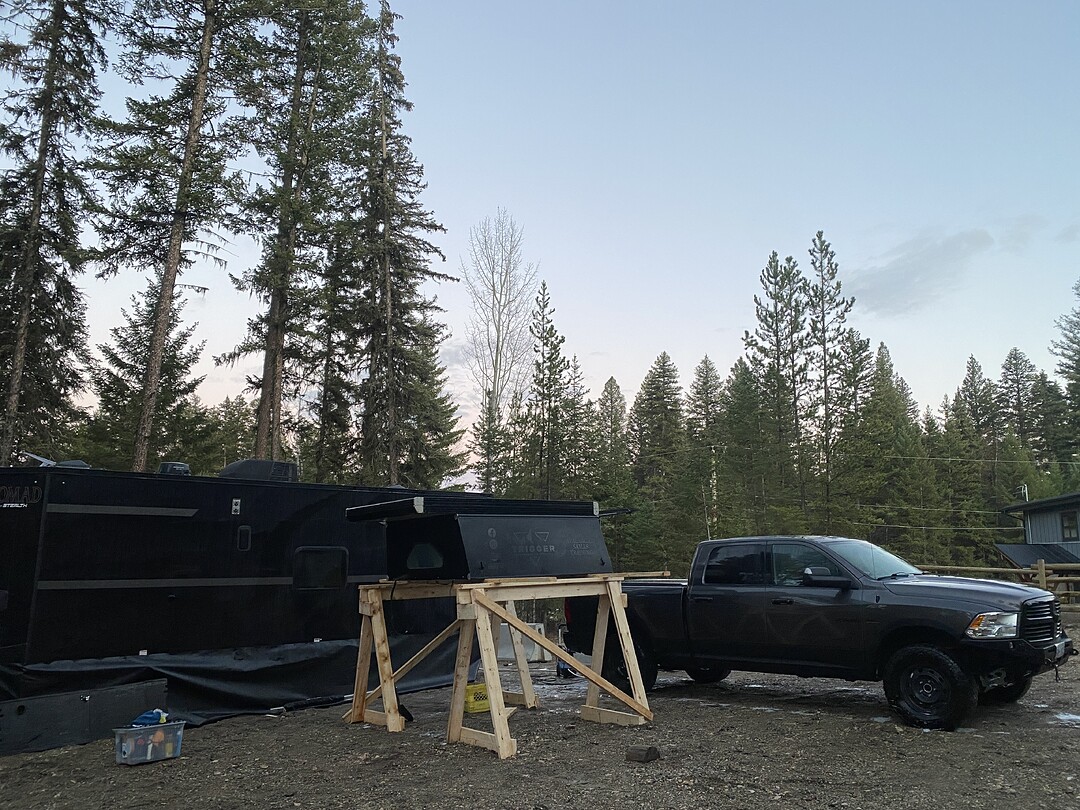
I built here, these giant saw horses.
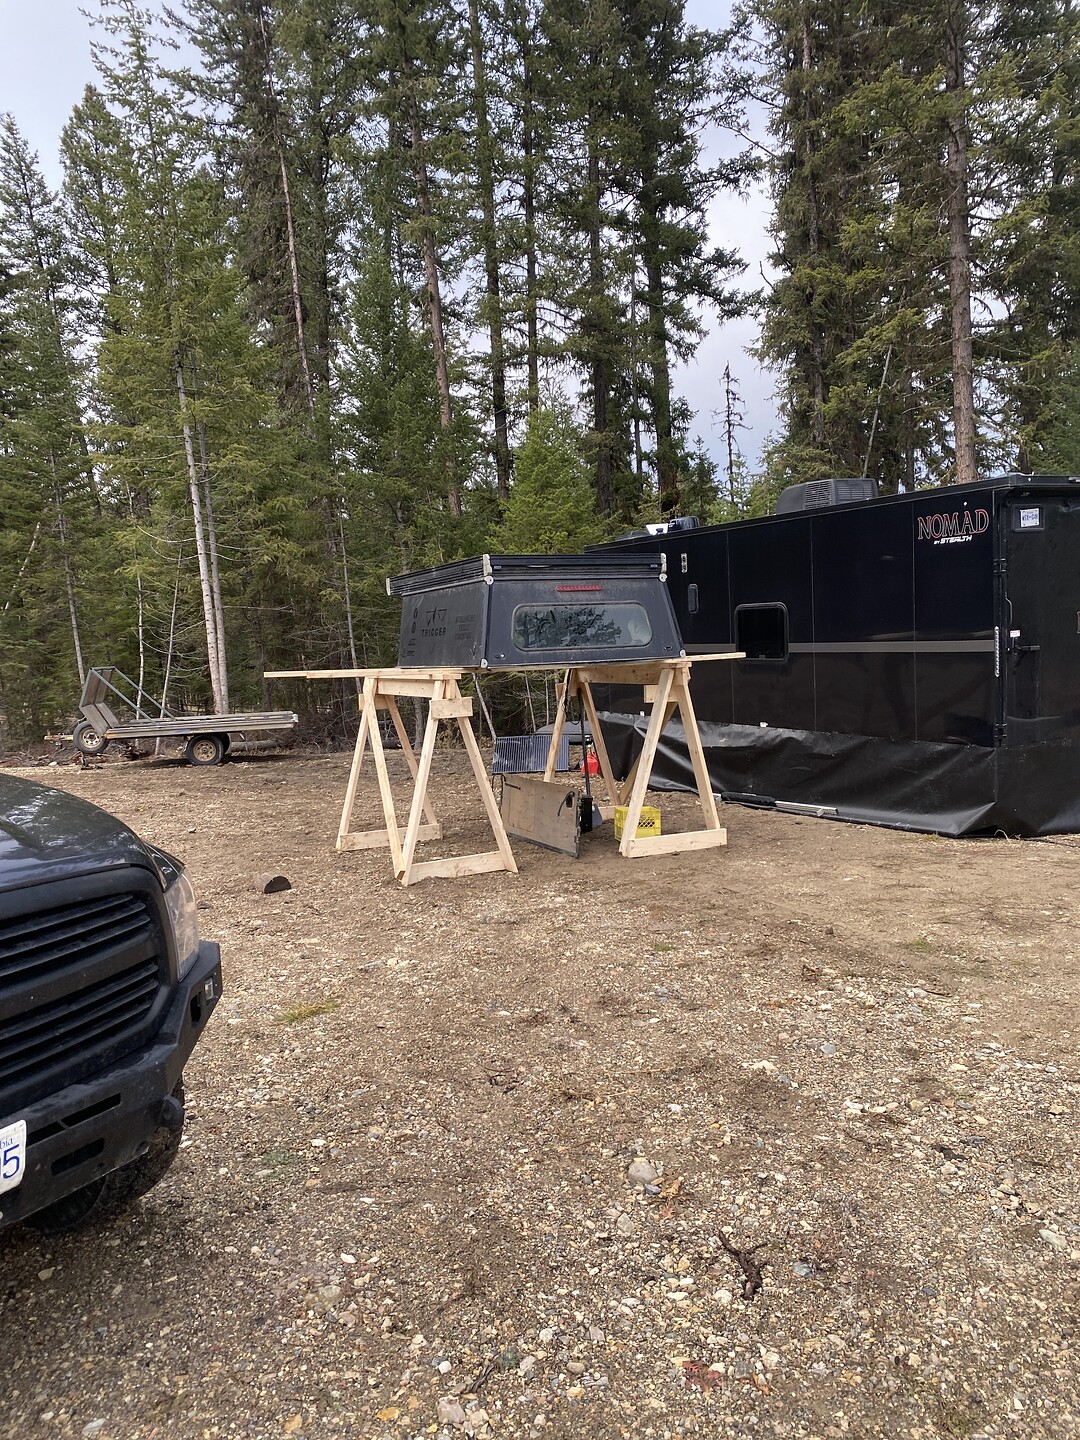
Theory of course is that you can back under it, and lower you camper down
However, to start; we had to get the camper off the sled trailer (you know it’s snowin’ out there need the sled trailer!)
We opted to move the horses together for storage. I only have a 12’ 2x4 and it should not be used to span 10’ with 350lbs!
Got everything washed up. Now onto the electrical/Starlink kit.
In conjunction with my bulb seal replacement; I’m building my power into a modular portable system. I want to be able to move my power, and more importantly Starlink all over easier.
I’m constantly switching from being in the truck, to the trailer, to basecamp.
This little snack pack basket I’ve got here houses the following:
100aH
Starlink V3 12V PSU
Renogy 30A MPPT
400 W Inverter
Now the question will beg ‘Why don’t you just get a Jackery?’ Because I have this stuff and I’m a nerd. And the thing the Jackery can’t do is this…
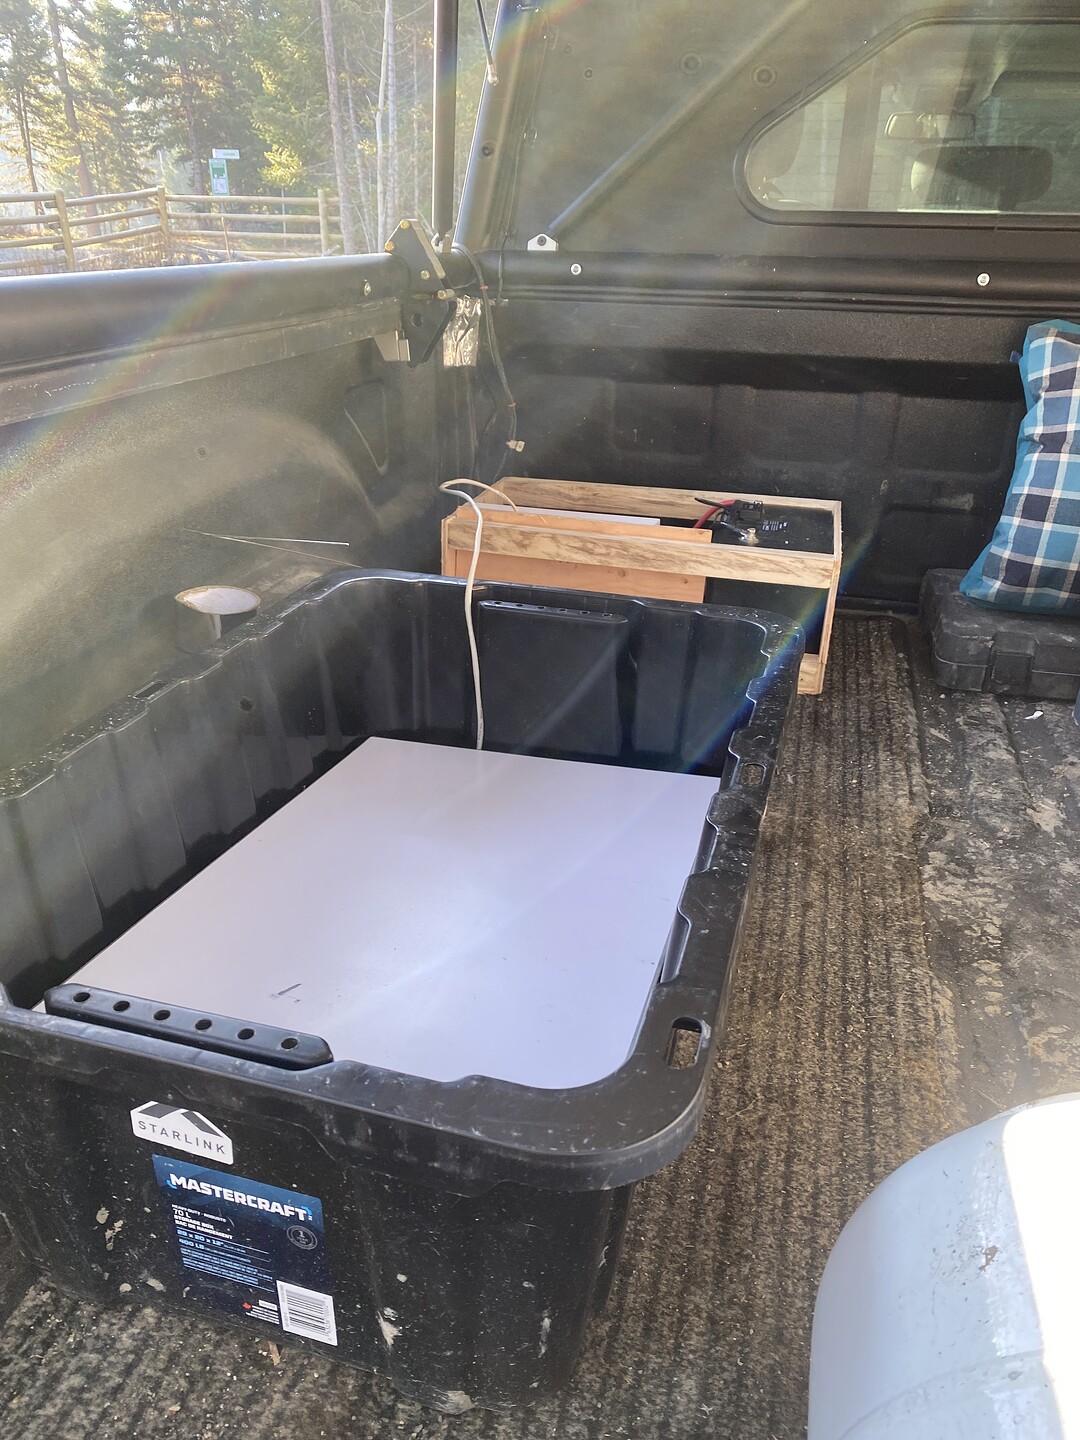
Fit inside a mastercraft tote that fits in a heli basket with Starlink inside running through the plastic lid.
The wooden box, I’ll take out and slide into the bed of the rig and plug it into the Anderson plug and ACC for ignition and go.
This way, when, I find a work truck I can wire it out the same way and swap power back and forth between rigs until I can afford to outfit both.
Looks sweet, more importantly you should host a GFC forum meetup! Dying to do some heli/cat skiing!
We’d be happy to host GFC and the forum folks up for some shredding! I’ve got too much on the go to be the mastermind of that; however, as the operations manager. I can certain make it happen if someone comes to me with a group.
Can even maybe work out a discount…Check us out; Skeenacatskiing.ca
Ha, I was messing with you but that would be wild and awesome! I’m in SW Colorado so get my fair share but always dreaming of some Canadian touring! I’ll take a peak at the site!
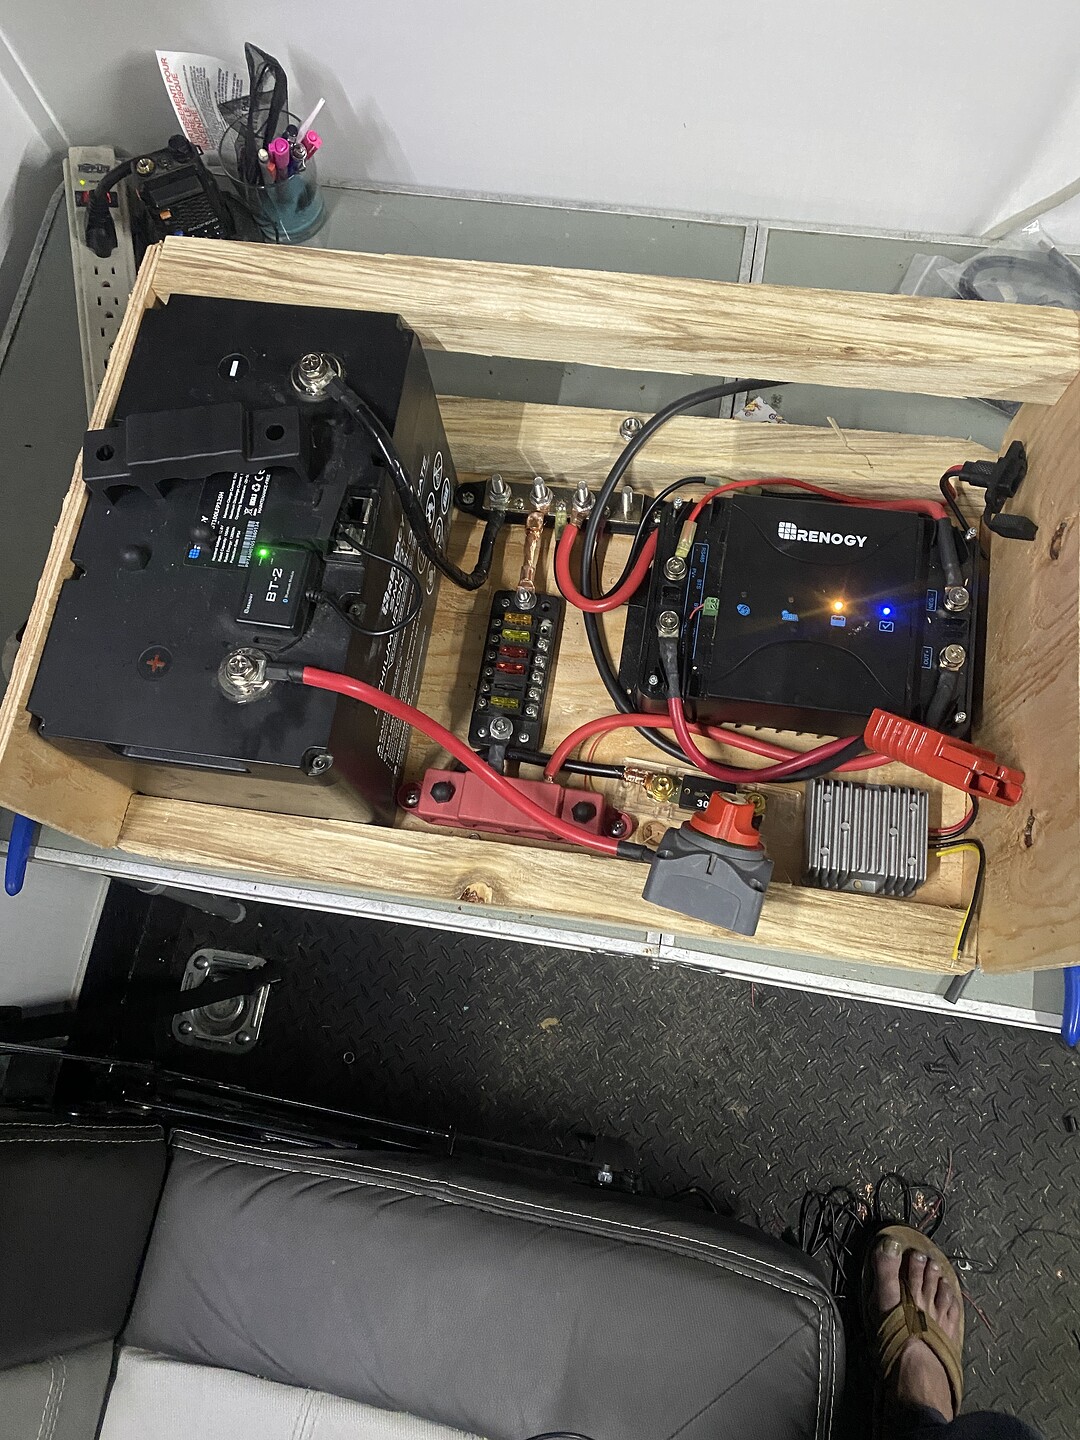
Well couldn’t sleep so plugged away at test fitting everything and testing certain functions.
230am start due to not able to get back to sleep.
End of the work day. I gotta get some heat shrink and cover everything up
Pretty happy with how this is all coming together. It’ll be interesting to see how long it will run for.
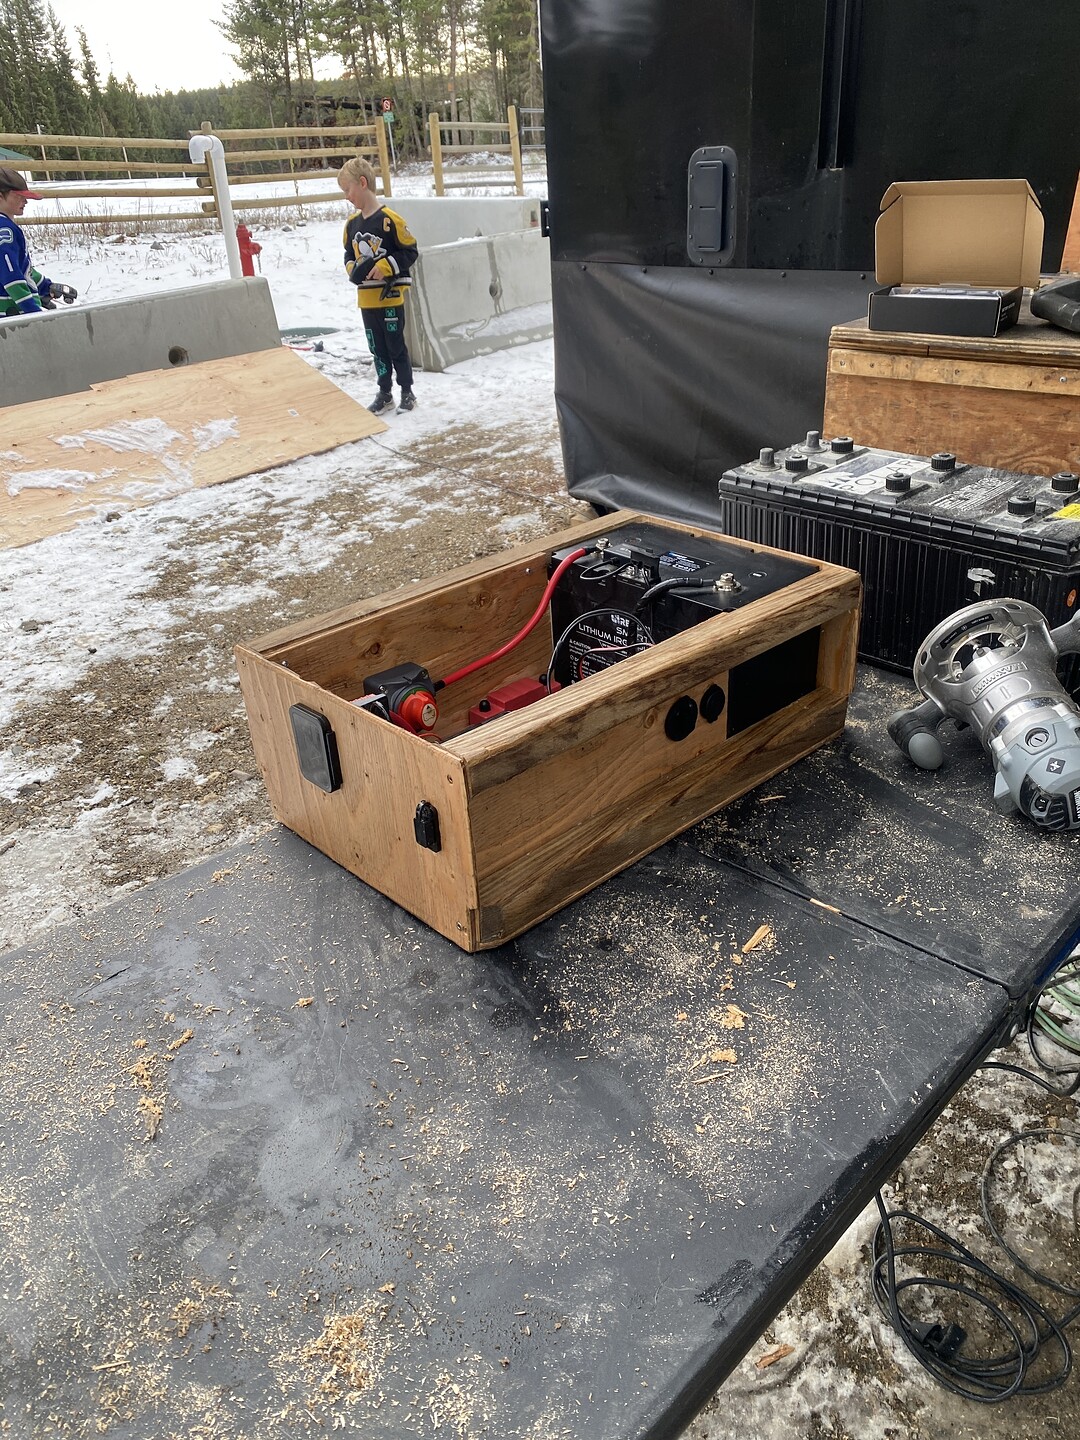
I’m also excited to finish the box nicer with some routered corners and stain.
Ok, just need to power up the Startlink PSU and this thing is ready for testing. Hopefully after the 2nd coffee this morning I’ll get to it.
It’s alive!!! Why is there a tote just sitting there?
Starlink V3 inside tote, powered on and running
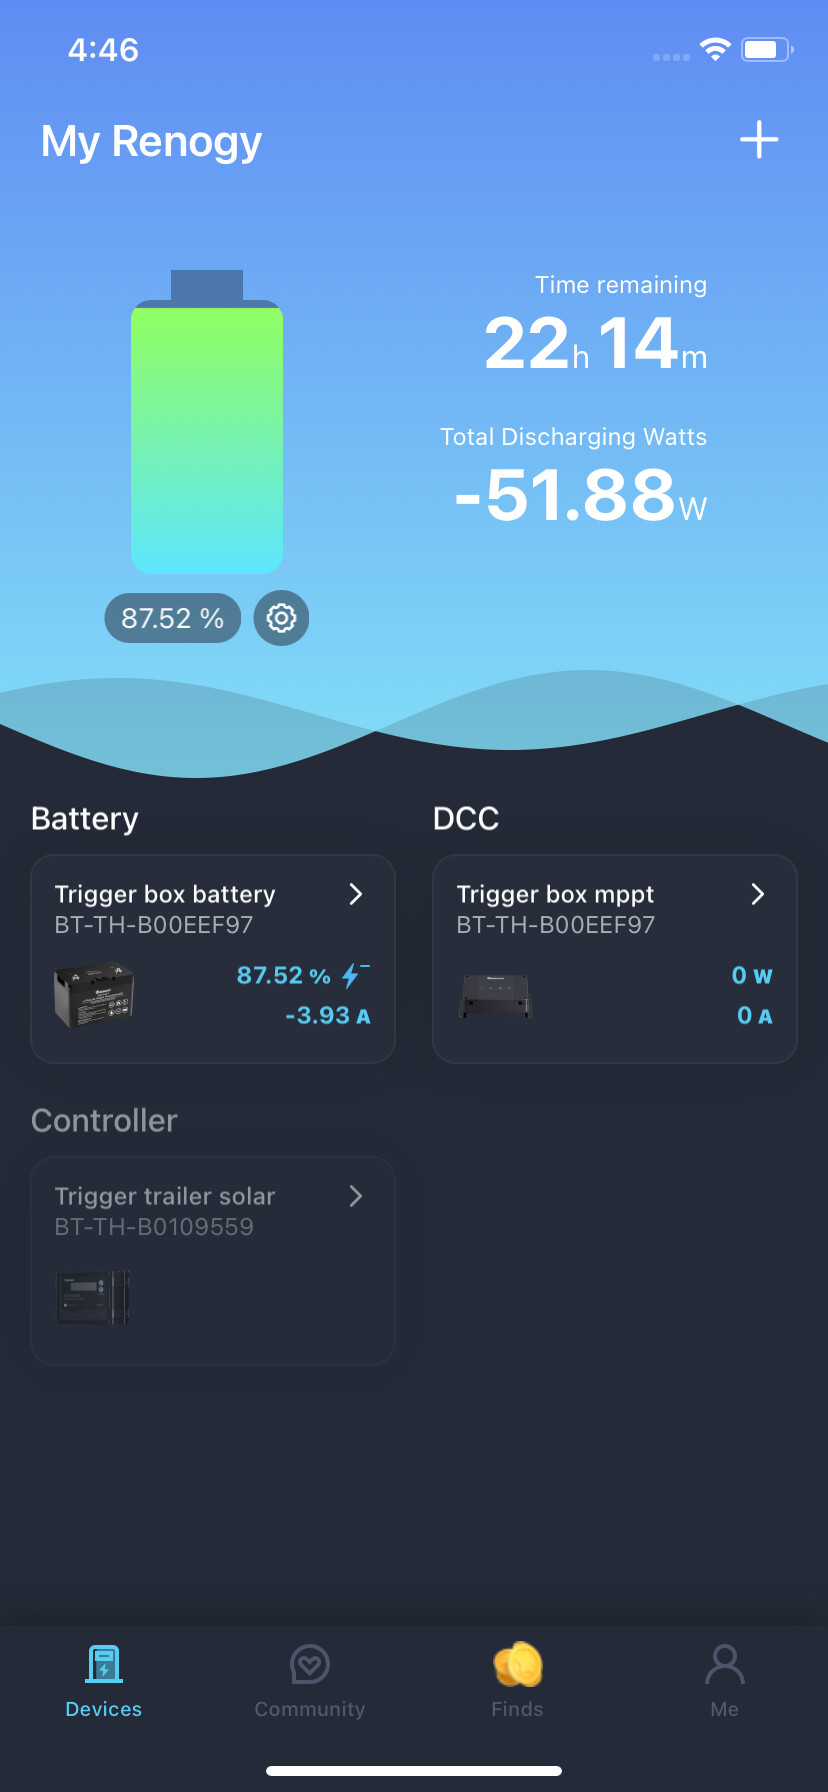
Started at 89% so I’d say this DC Boost instead of an inverter is WAY more efficient
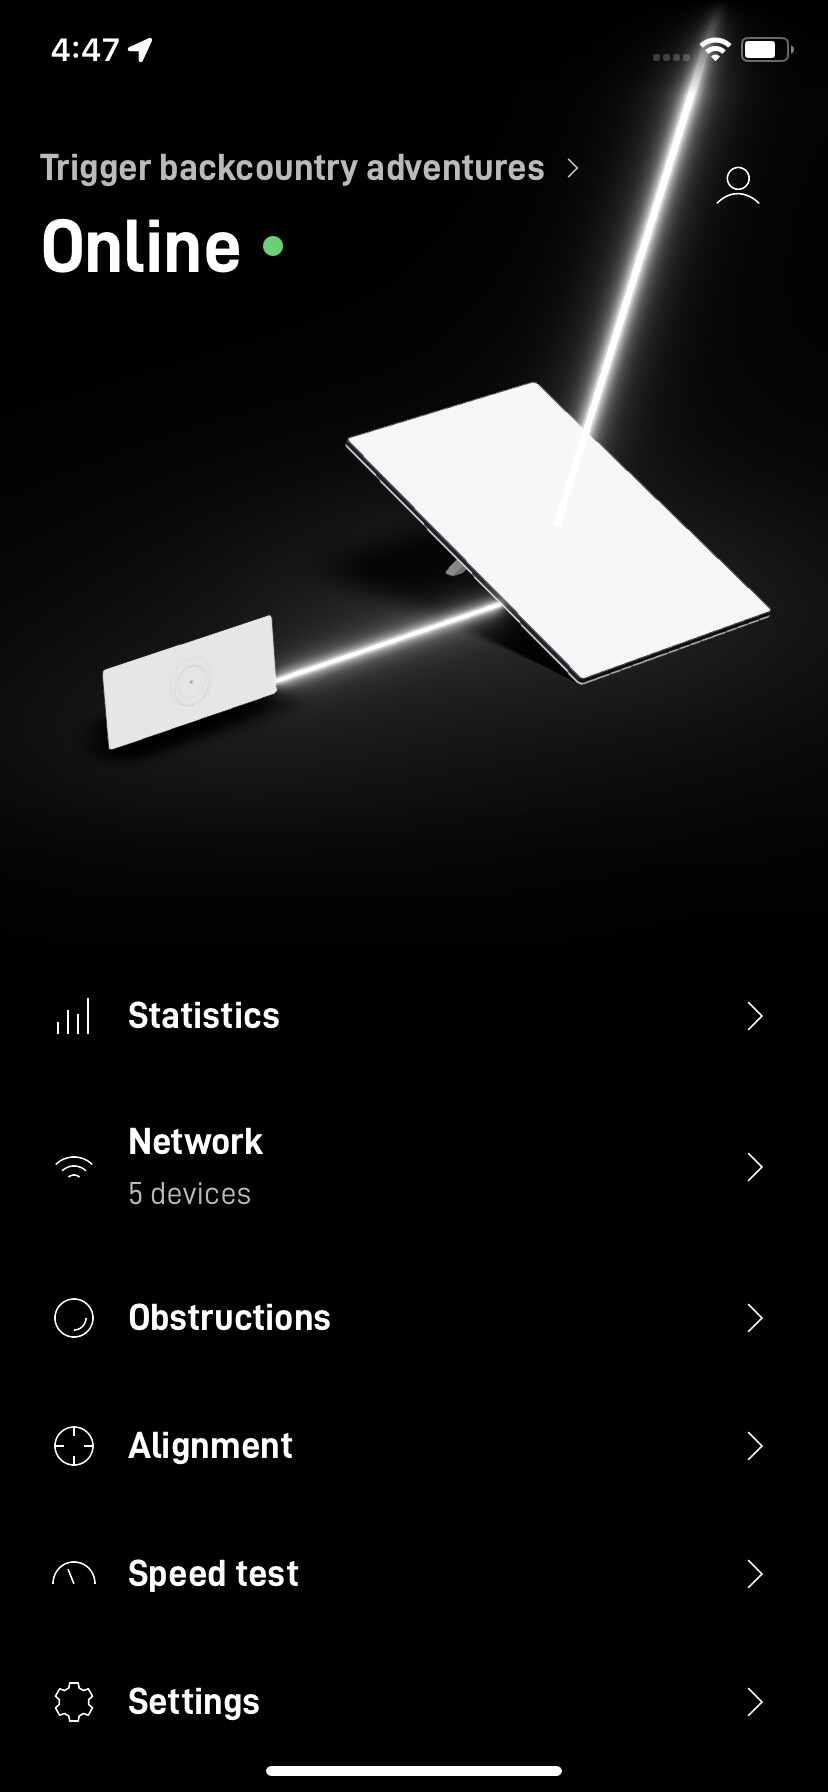
Online immediately, no problems searching.
Truck install - Test
I haven’t cut the holes for the T-mount for the Anderson plug. Then it will slide right over, plug in. The ACC for ignition is right there as well with a spade connector. My mount for the Starlink router showed up today.
I placed dishy in the tote to protect it since there’s stuff flyin’ around back there right now. Also to move it away from my solar panel…which I’m going to remove.
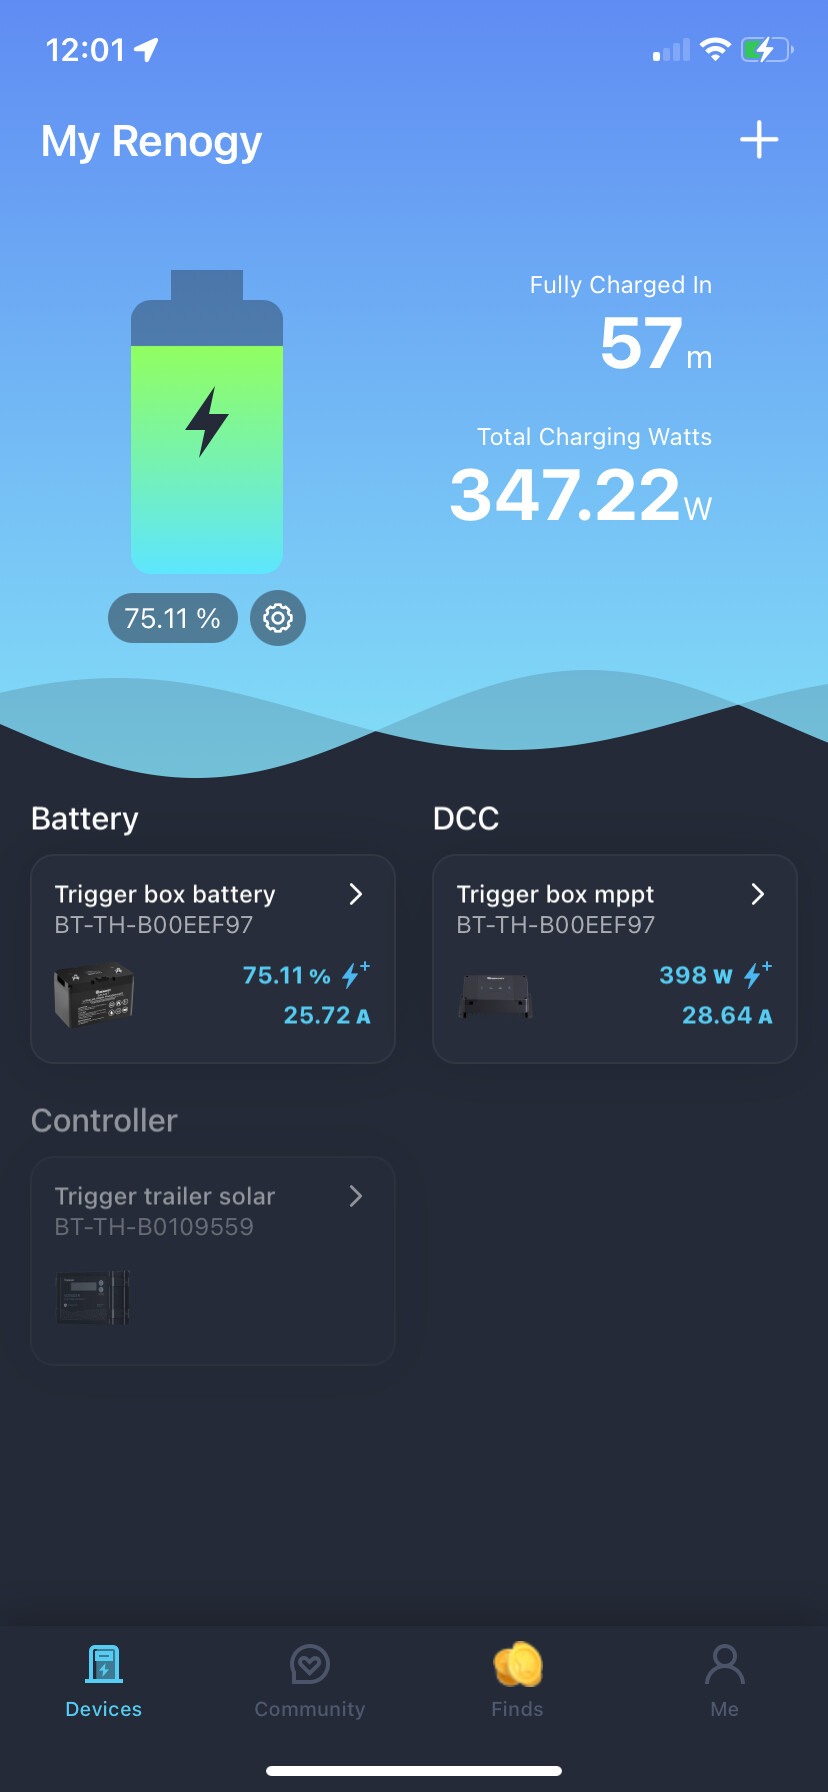
Everything is working as expected it’s pulling 25A off the alternator to charge the system
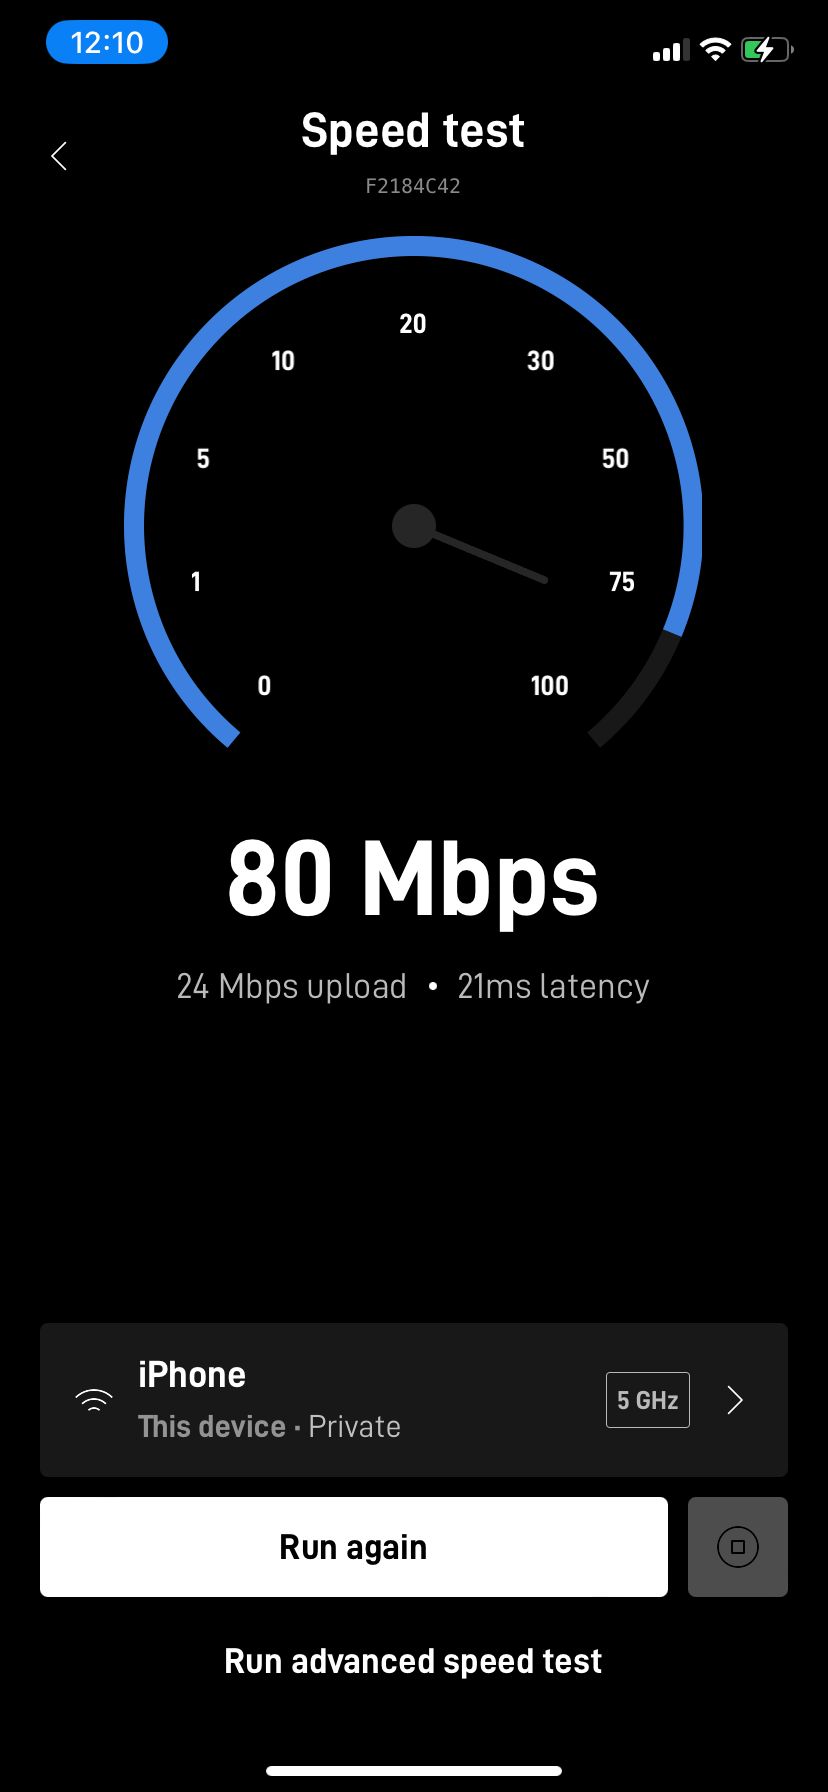
Pretty surprised I’m pulling this while doing 105km/h down the highway.
Overall I’m pretty happy with how this is turning out. The tote ends up being about 65lbs. Next up is to figure out some of the output circuits, router the edges, and stain the box. Then build the new platform section. Excited to have a remodelled office.
Making progress
Got the box routered and stained
Moderately happy with the look. Not the best carpenter, but I feel like I’m getting better. Look those sweet dorks back there playing with their RC’s.
I think this is going to be a much cleaner, and most importantly….lighter setup.
Currently it takes away from the 4 person sleeping ability; but those days are behind me.
Testing out the pads to confirm they fit.
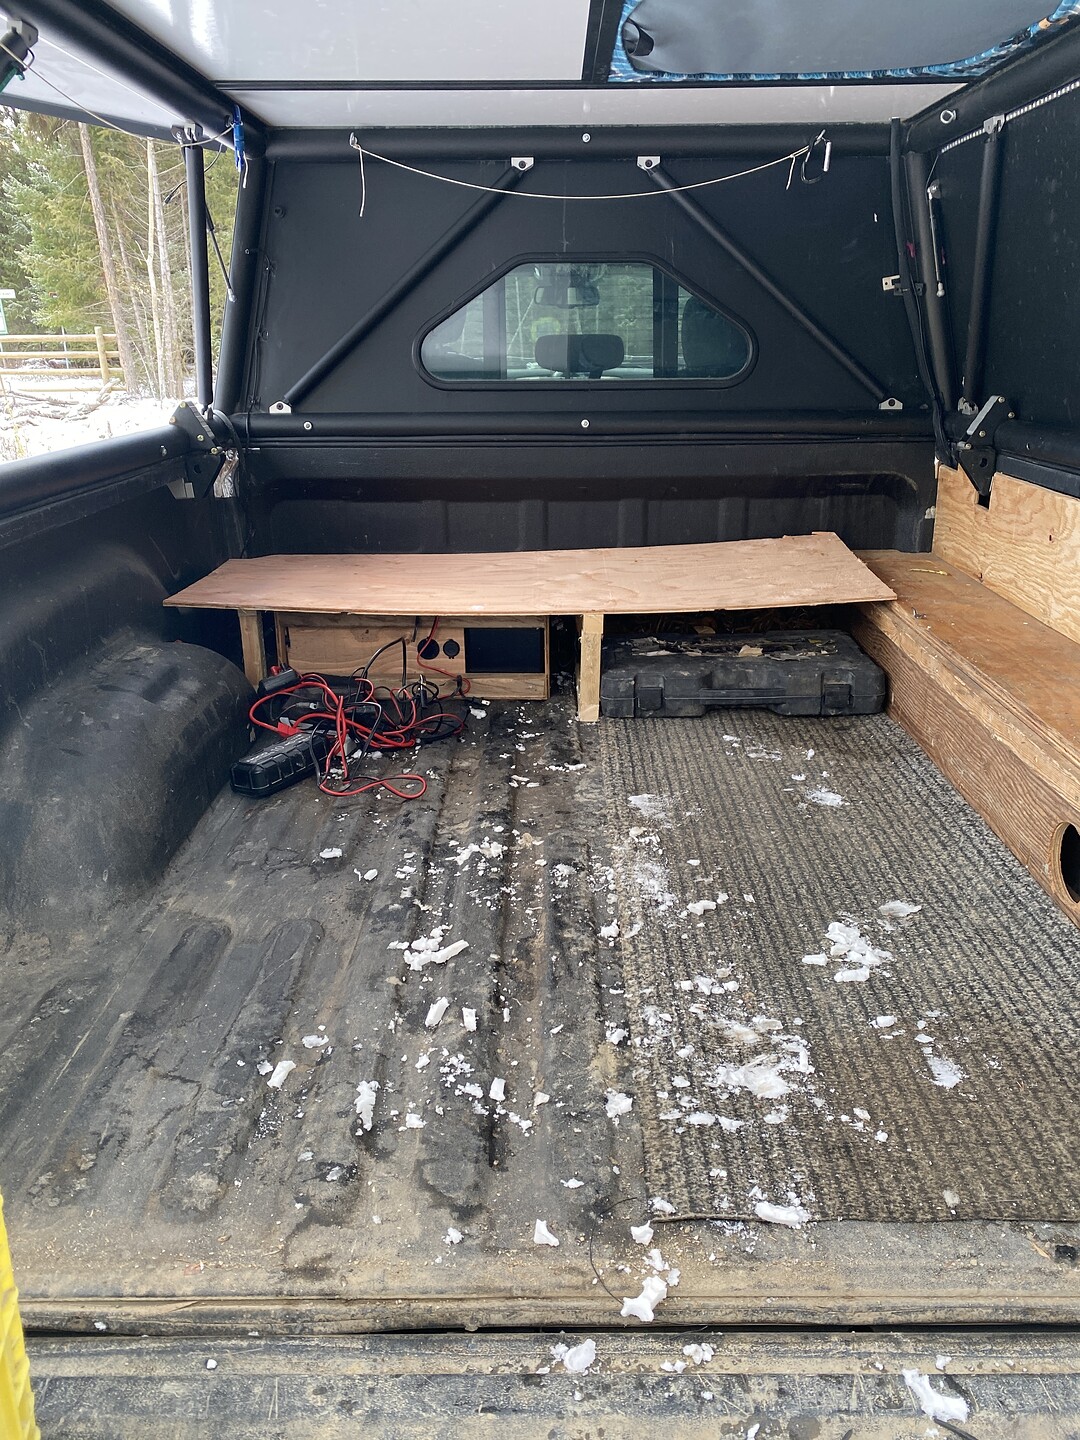
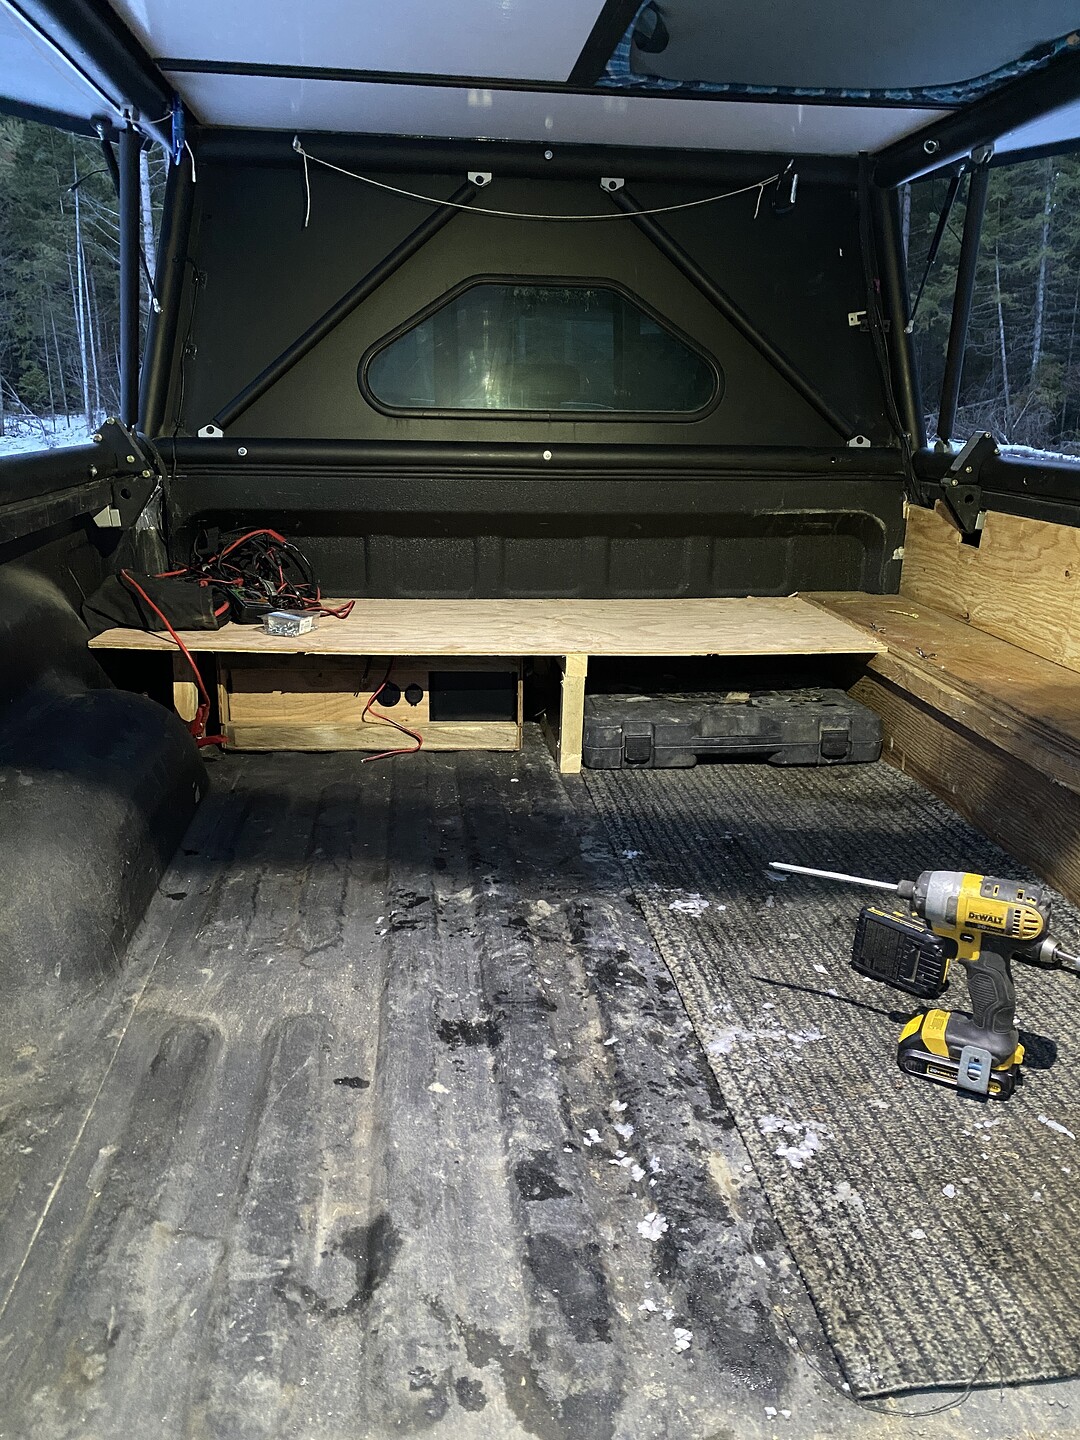
Starting the mini platform. I’m using 3/8’s because that’s what I had; we’ll see how long that lasts. I still need to trim down the right side.
I’m thinking of make a lid with the right side that will have a pouch holding combo wrenches. That compartment being like my tool box/chain storage. One of the things I’m liking about this change is the room to move around. Over the winter I’ll be working out of the back of the truck quite a bit. It will be really nice to have some room to move around.
Immediately after screwing it down. I looked and thought ‘Ok, how to unplug and plug in the 12V Anderson, and spade ACC connection ![]()
Then I had to move onto making a power system for my buddies Jayco pop up camper that he’s torturing his Tacoma with. I don’t think leaf springs are supposed to arch the other way. ![]() You Tacoma guys that put 1/2 ton weight in mini trucks
You Tacoma guys that put 1/2 ton weight in mini trucks ![]() I keep trying to convince my buddy to get rid of that thing and get a GFC.
I keep trying to convince my buddy to get rid of that thing and get a GFC.
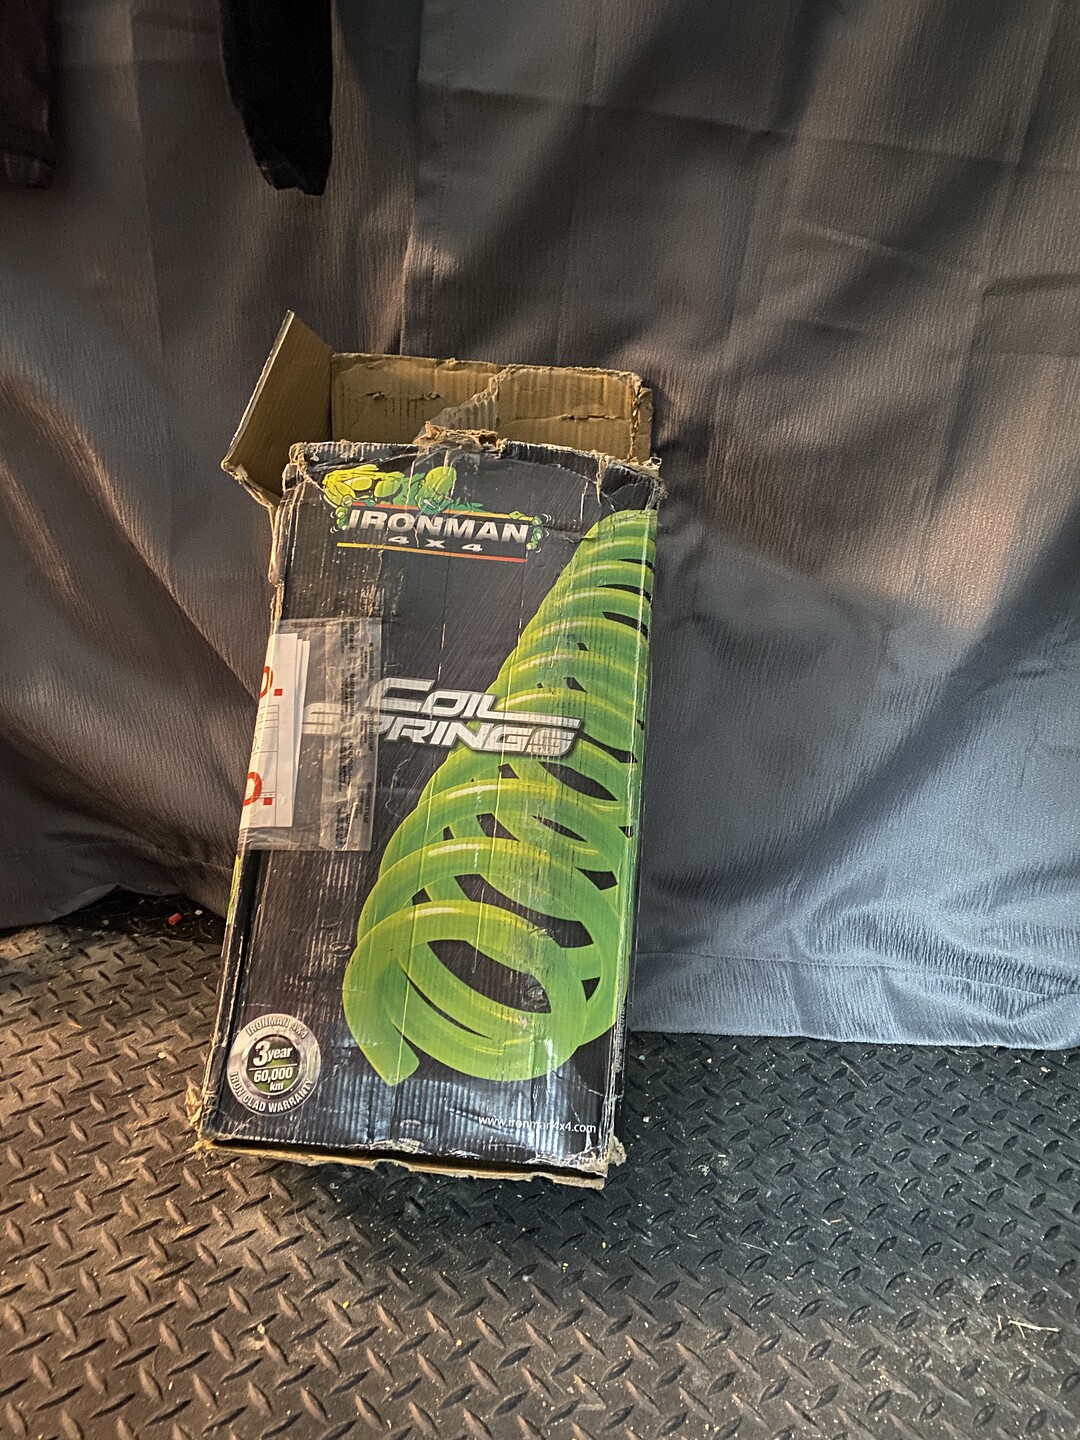
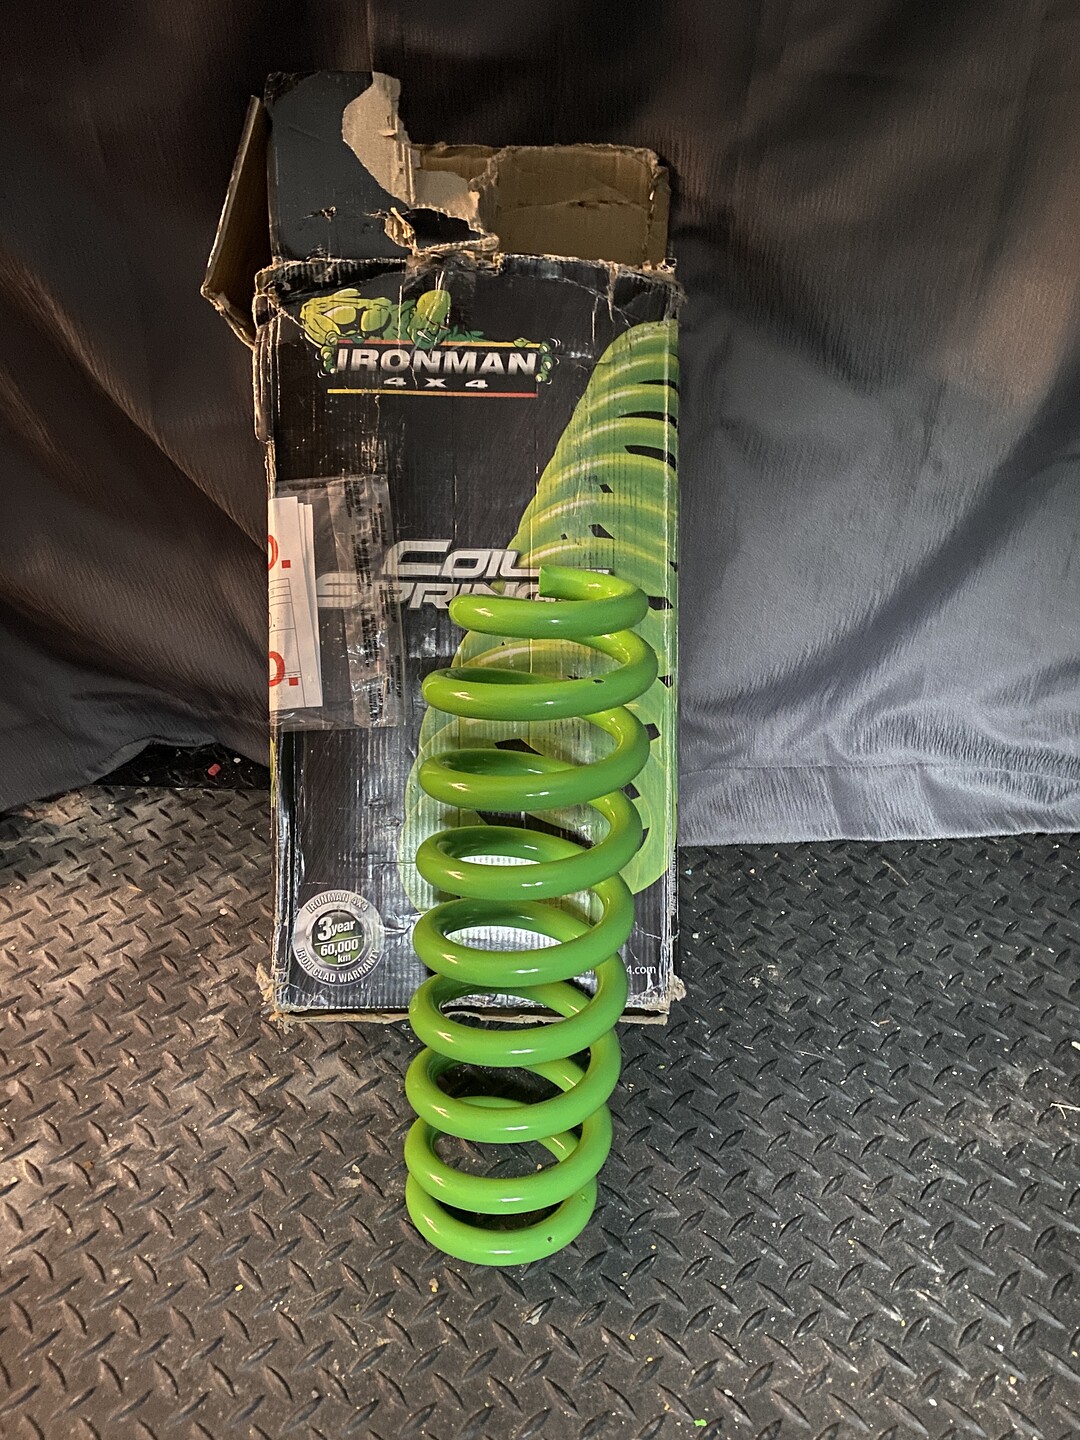
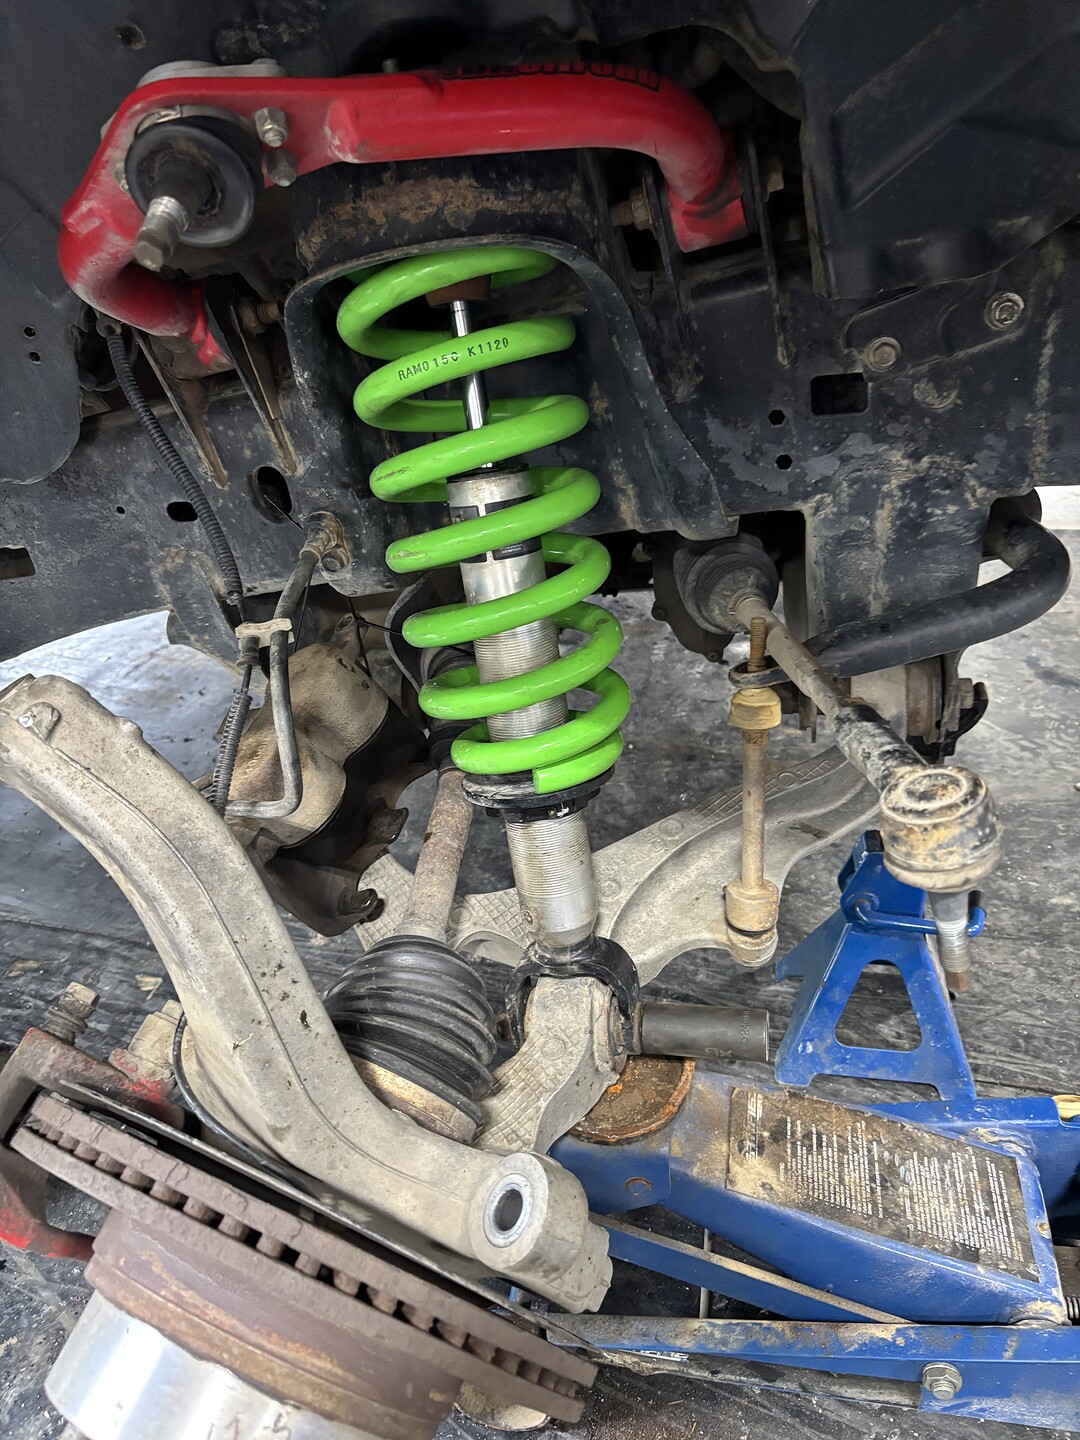
Finally got around to ordering my heavier springs for the front.
Upside down is the only way it would stand, don’t worry; I won’t install it this way…on purpose
Now I just need to find a shop to tear down the front end in. The plan is to put them on at 0” of pre-load and see where it sits, and how it rides. The hope is that will be good. Maybe .5” of preload.
I’ll be really curious to see how much different it’s going to feel than the eldebrock springs.
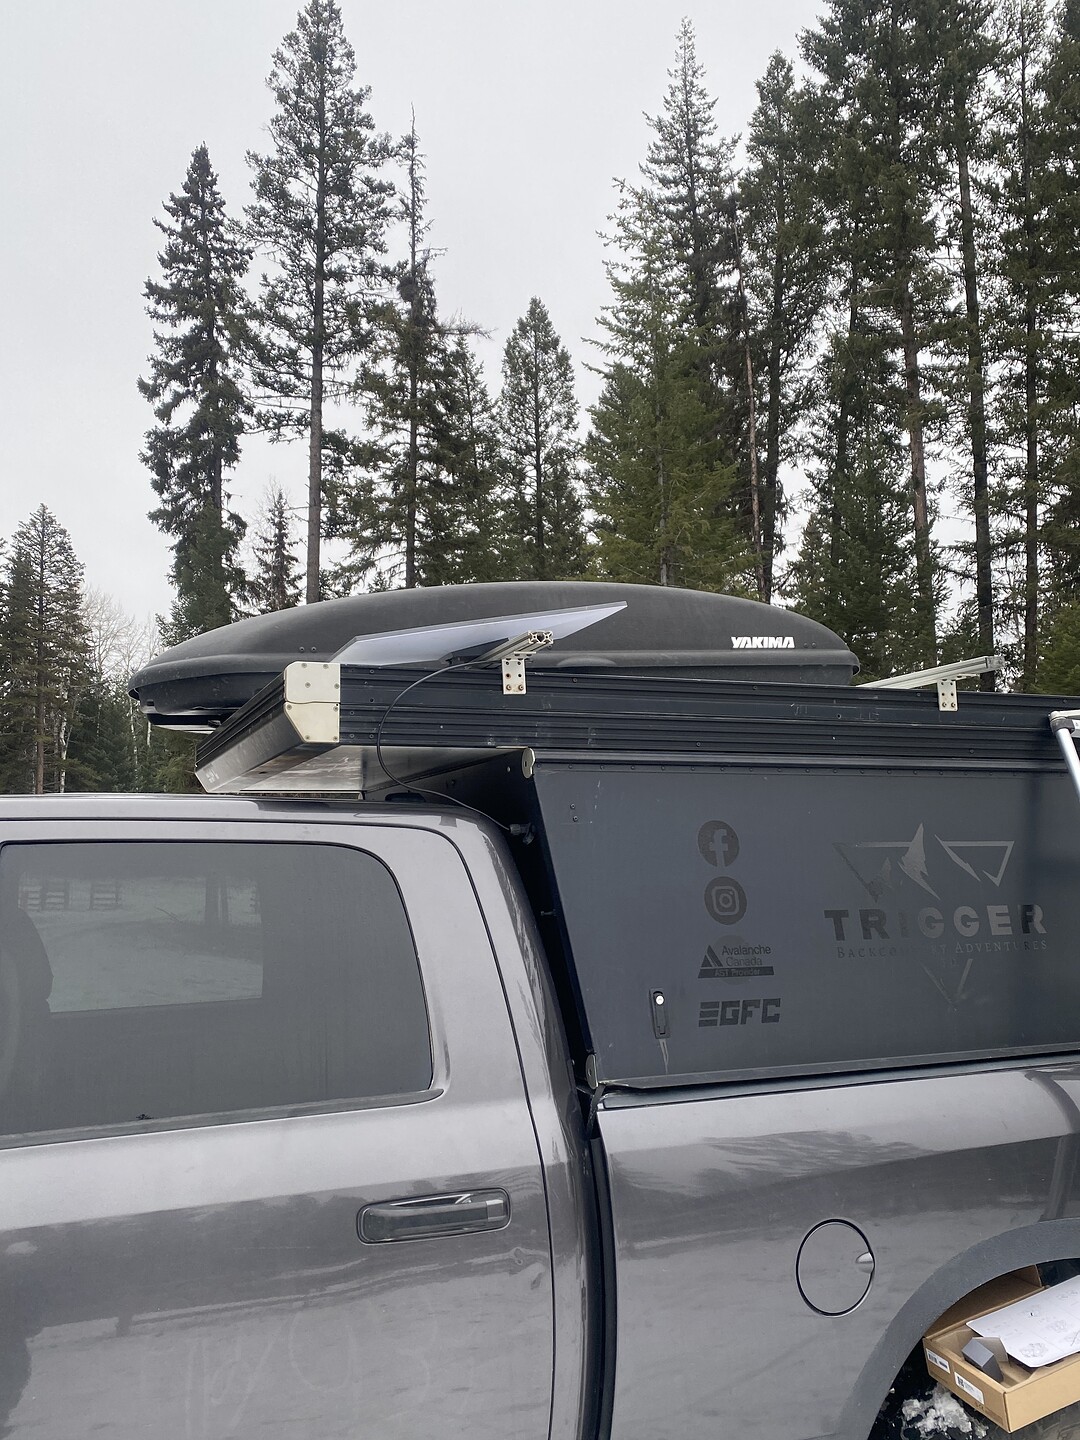
Installed my V3 Starlink with the new Roof Rack Mount they sell. It’s pretty slick. Really easy to swap it between the trailer and the truck.
Now I just need to find someone I can commission to print some cable management clips. ;). Can anyone help me out, I’ll pay.
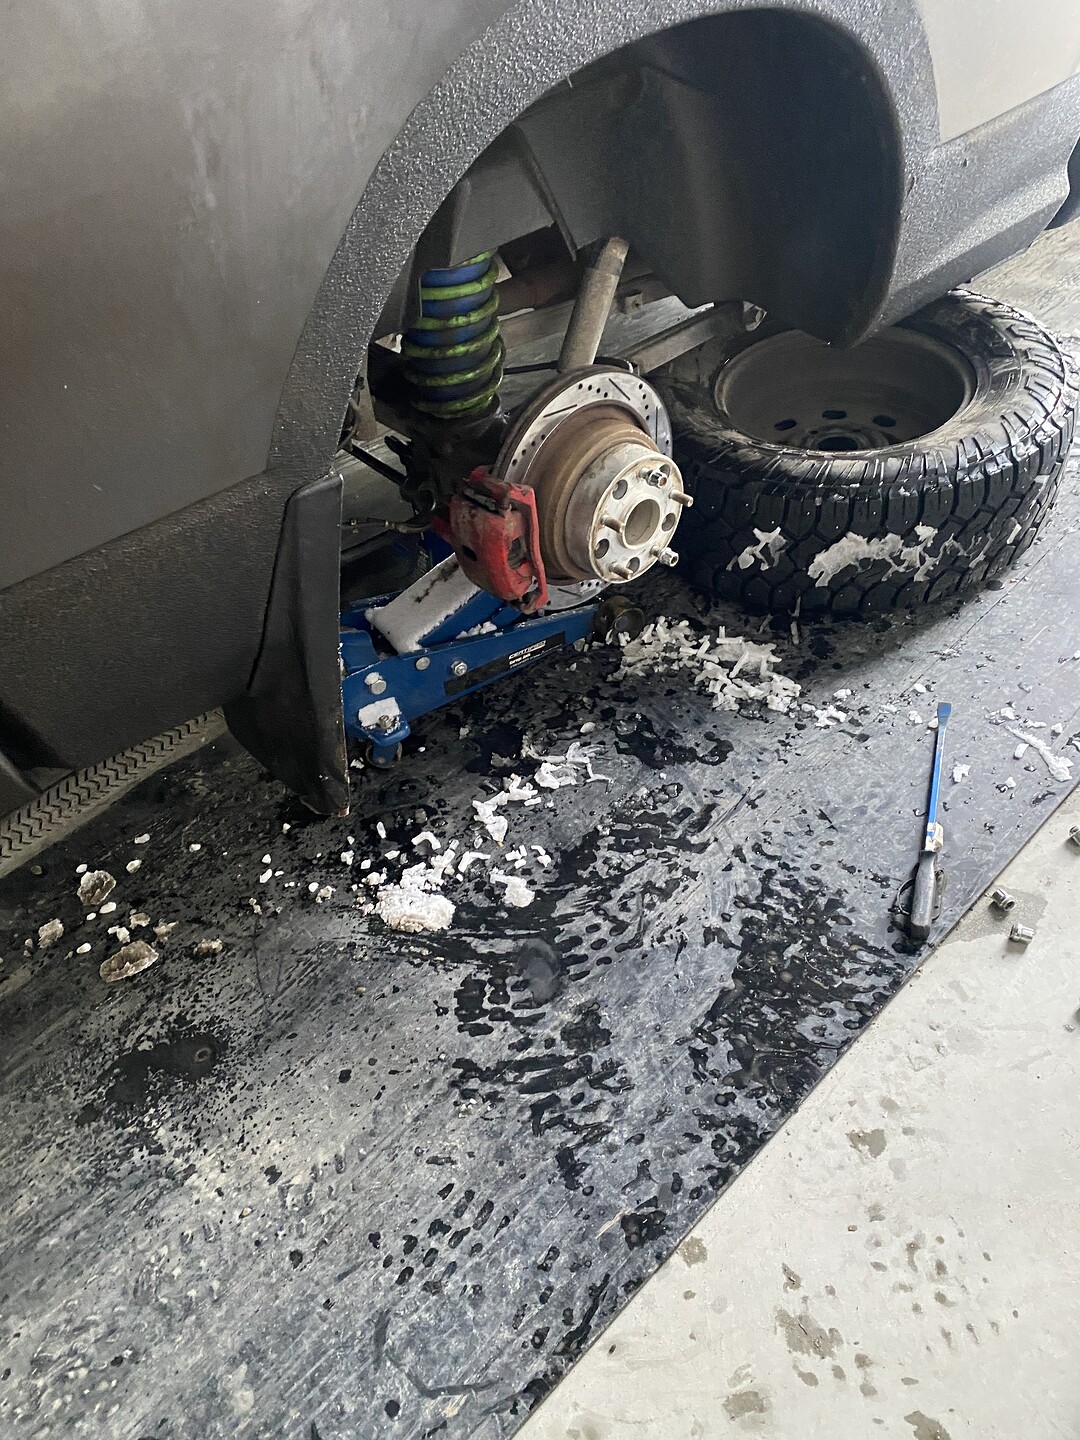
So the other day, I said ‘I should really do something about that low brake fluid. More importantly, I should figure out where it is going.’
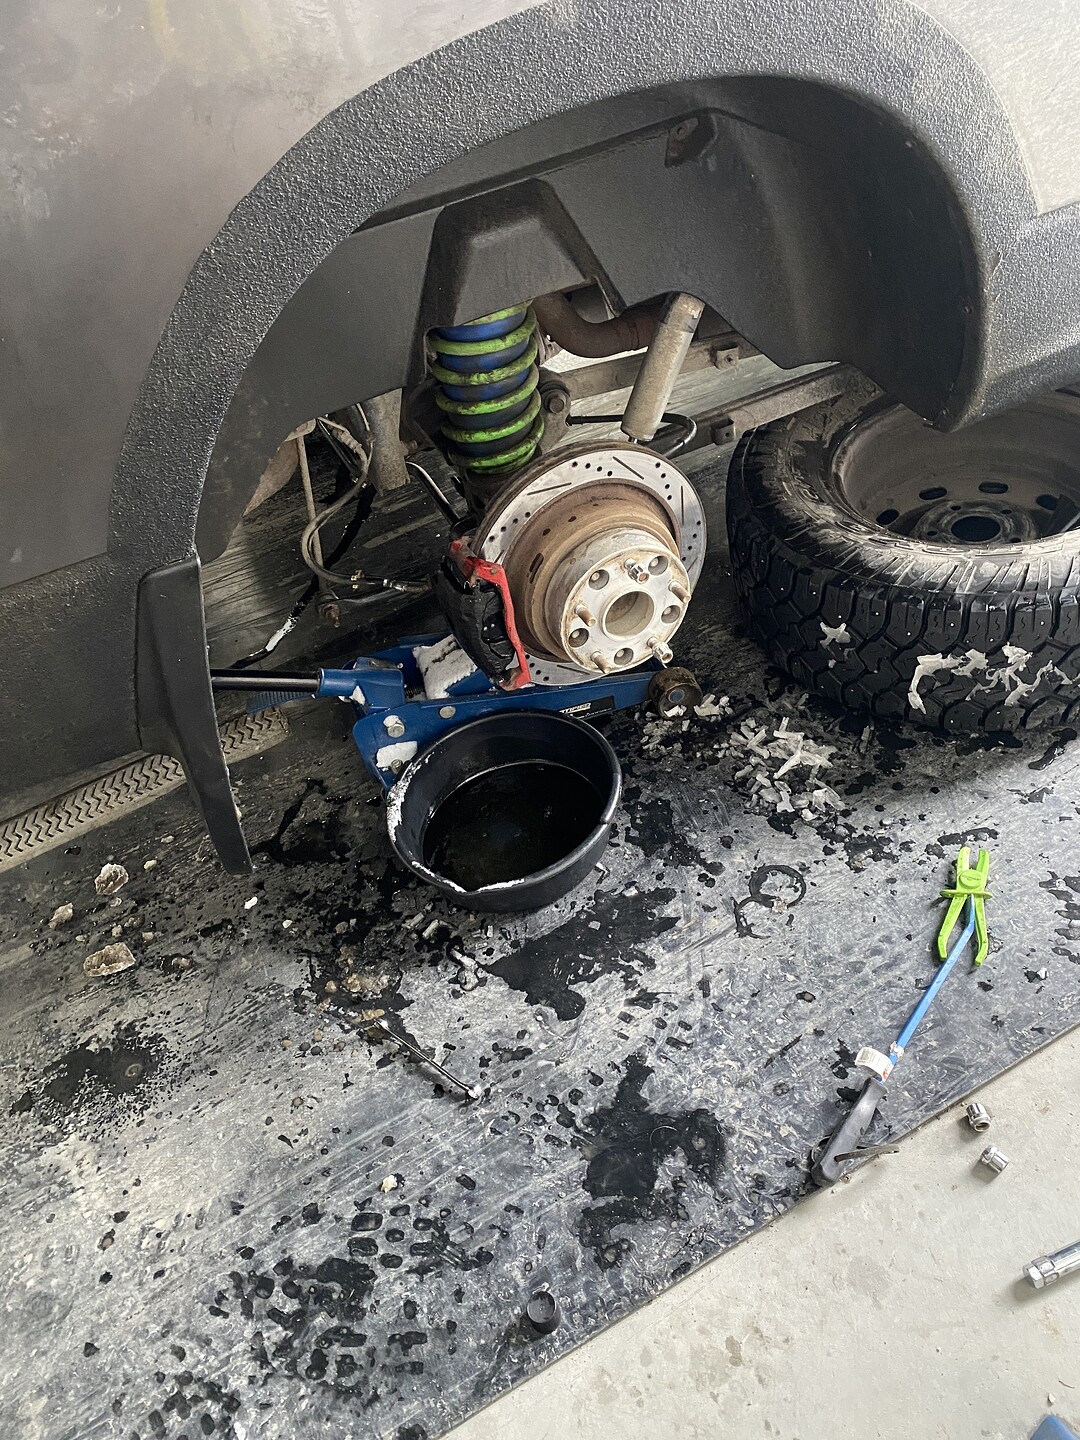
That was a semi fleeting thought, in that I bought some brake fluid and filled it back up to confirm I was losing brake fluid. Then I was on my way out to the moutains and noticed a brake dragging. Crawled under there to discover a leaking calliper seal and a seized slide pin ![]()
Was going to change the rotor, but I couldnt’ get my spacer off. So I figured; oh well it’ll get me through the winter.
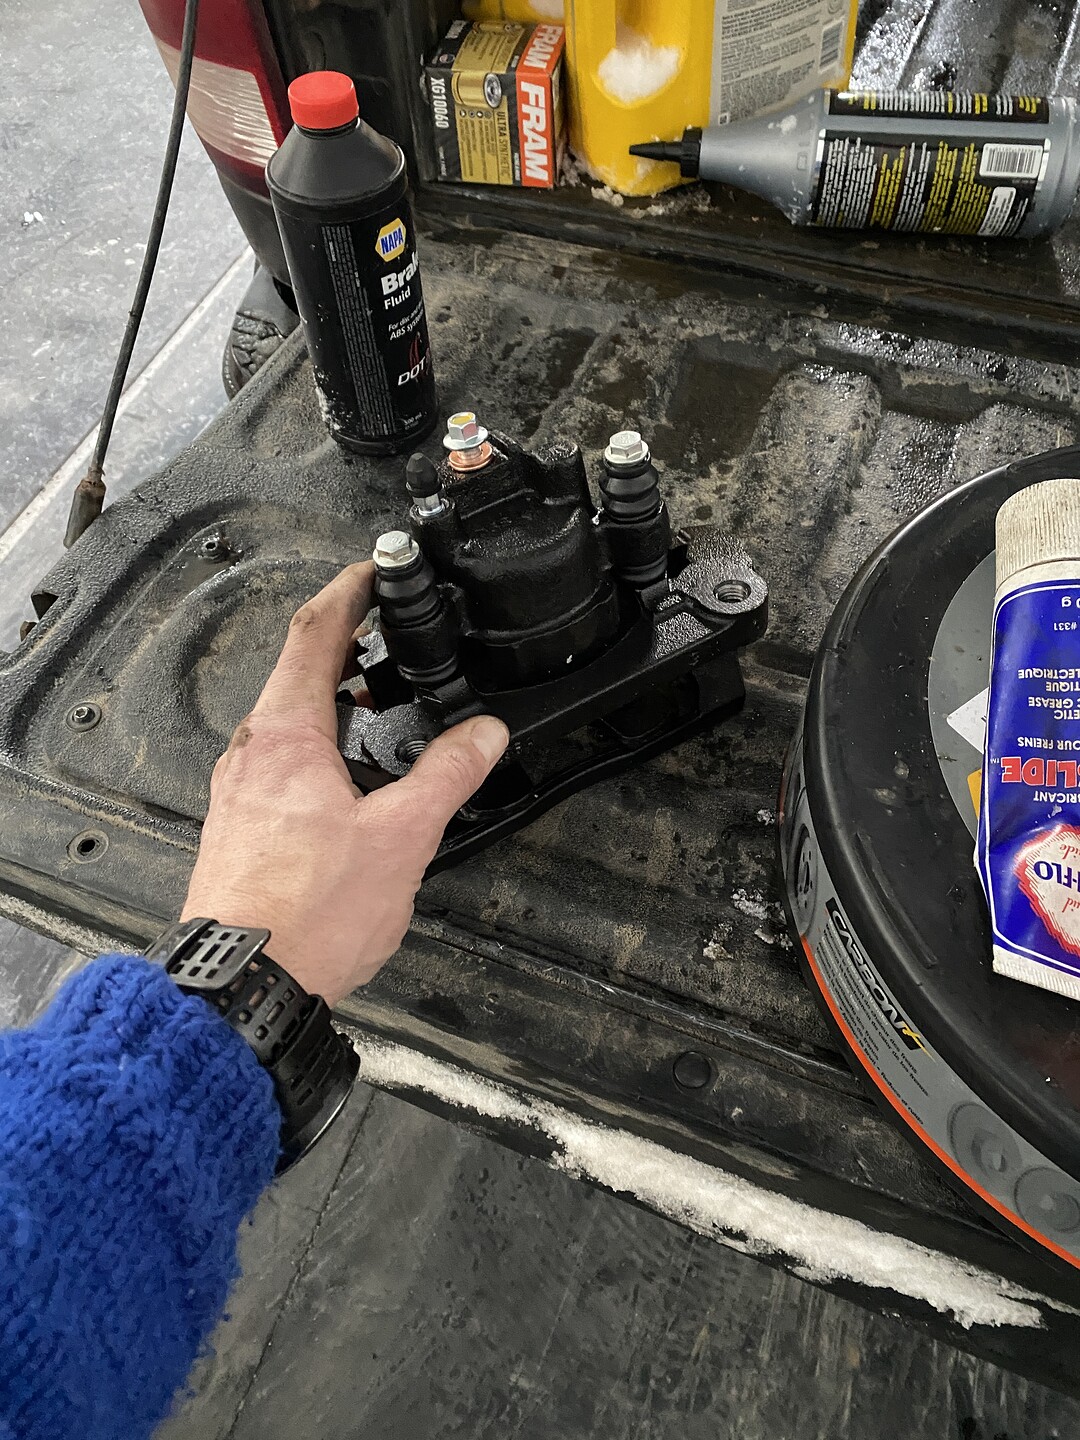
Napa cheapo adaptive calliper, looks like someone took a grinder to it before they painted it
Right Rear Re and Re in 60mins with bleed. I’m getting good at this brakes thing.
So in my new role, I’m finding I’m using my truck more and more. Which is why I’m on the hunt for a 6.4L Hemi Ram for my business.
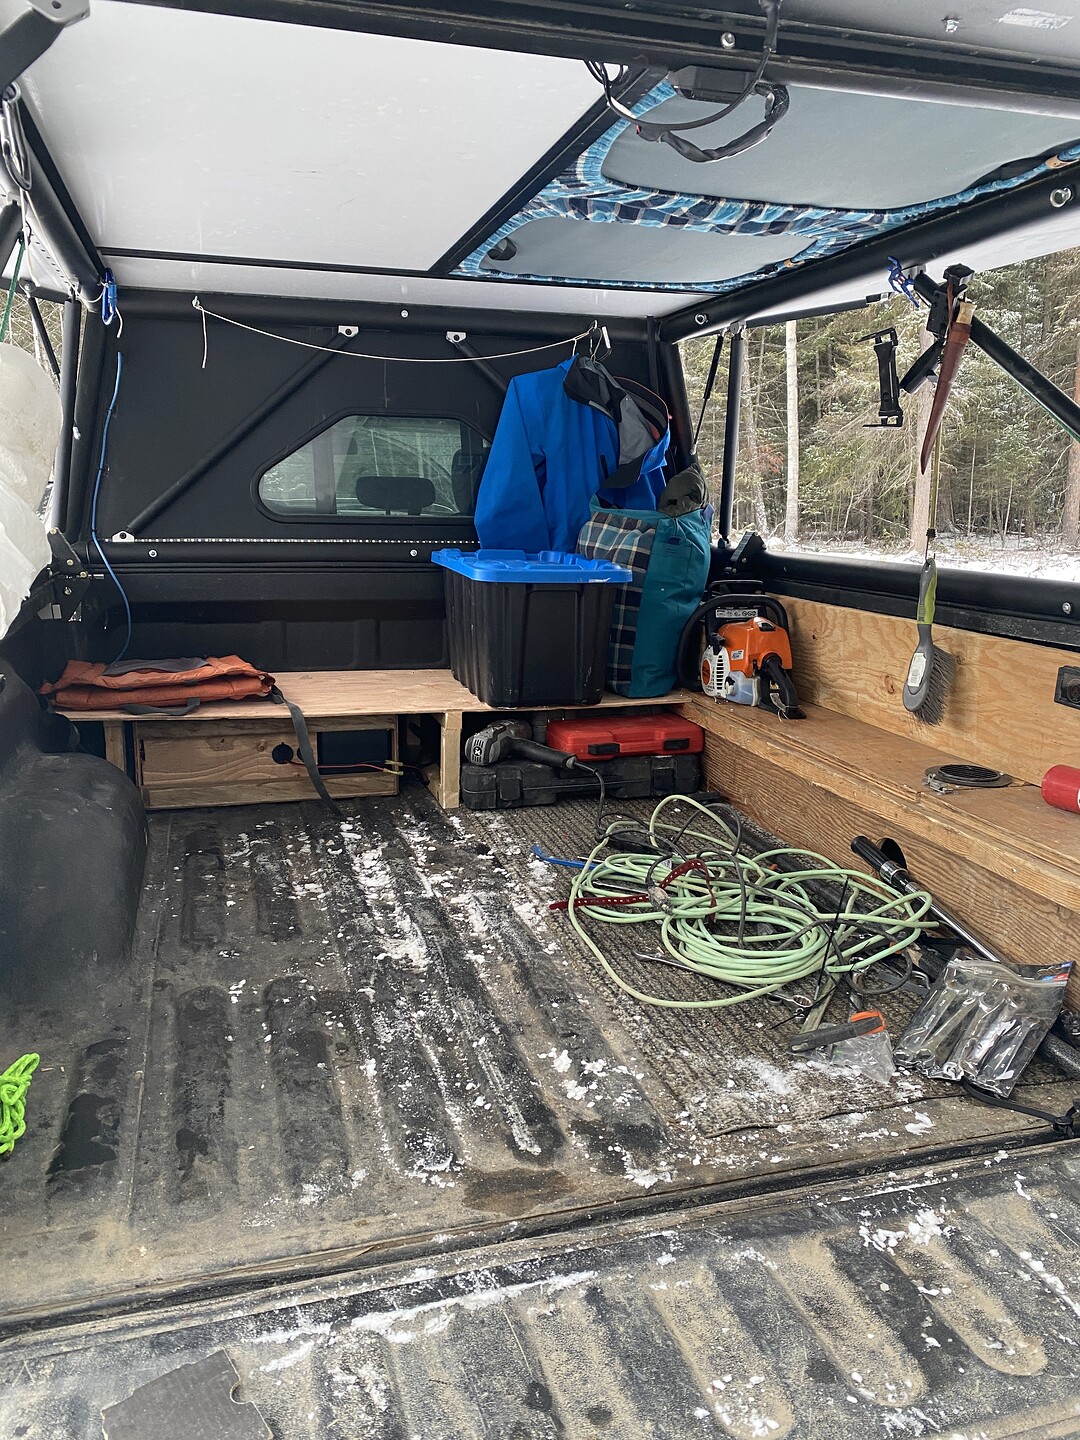
Anyhow, I’ve changed my build to reflect that. I hope to put a pivoting table for my laptop on the right. Basically trying to make an office space instead of a living space below.
Now I need to figure out better tool storage as well. I’ve found it really handy to have all the tools on hand to tear the truck down if needed.
GASP!!! AIIIIR!
WOW it’s been a minute! I used the truck in that configuration all winter! It’s now back to somewhat normal.
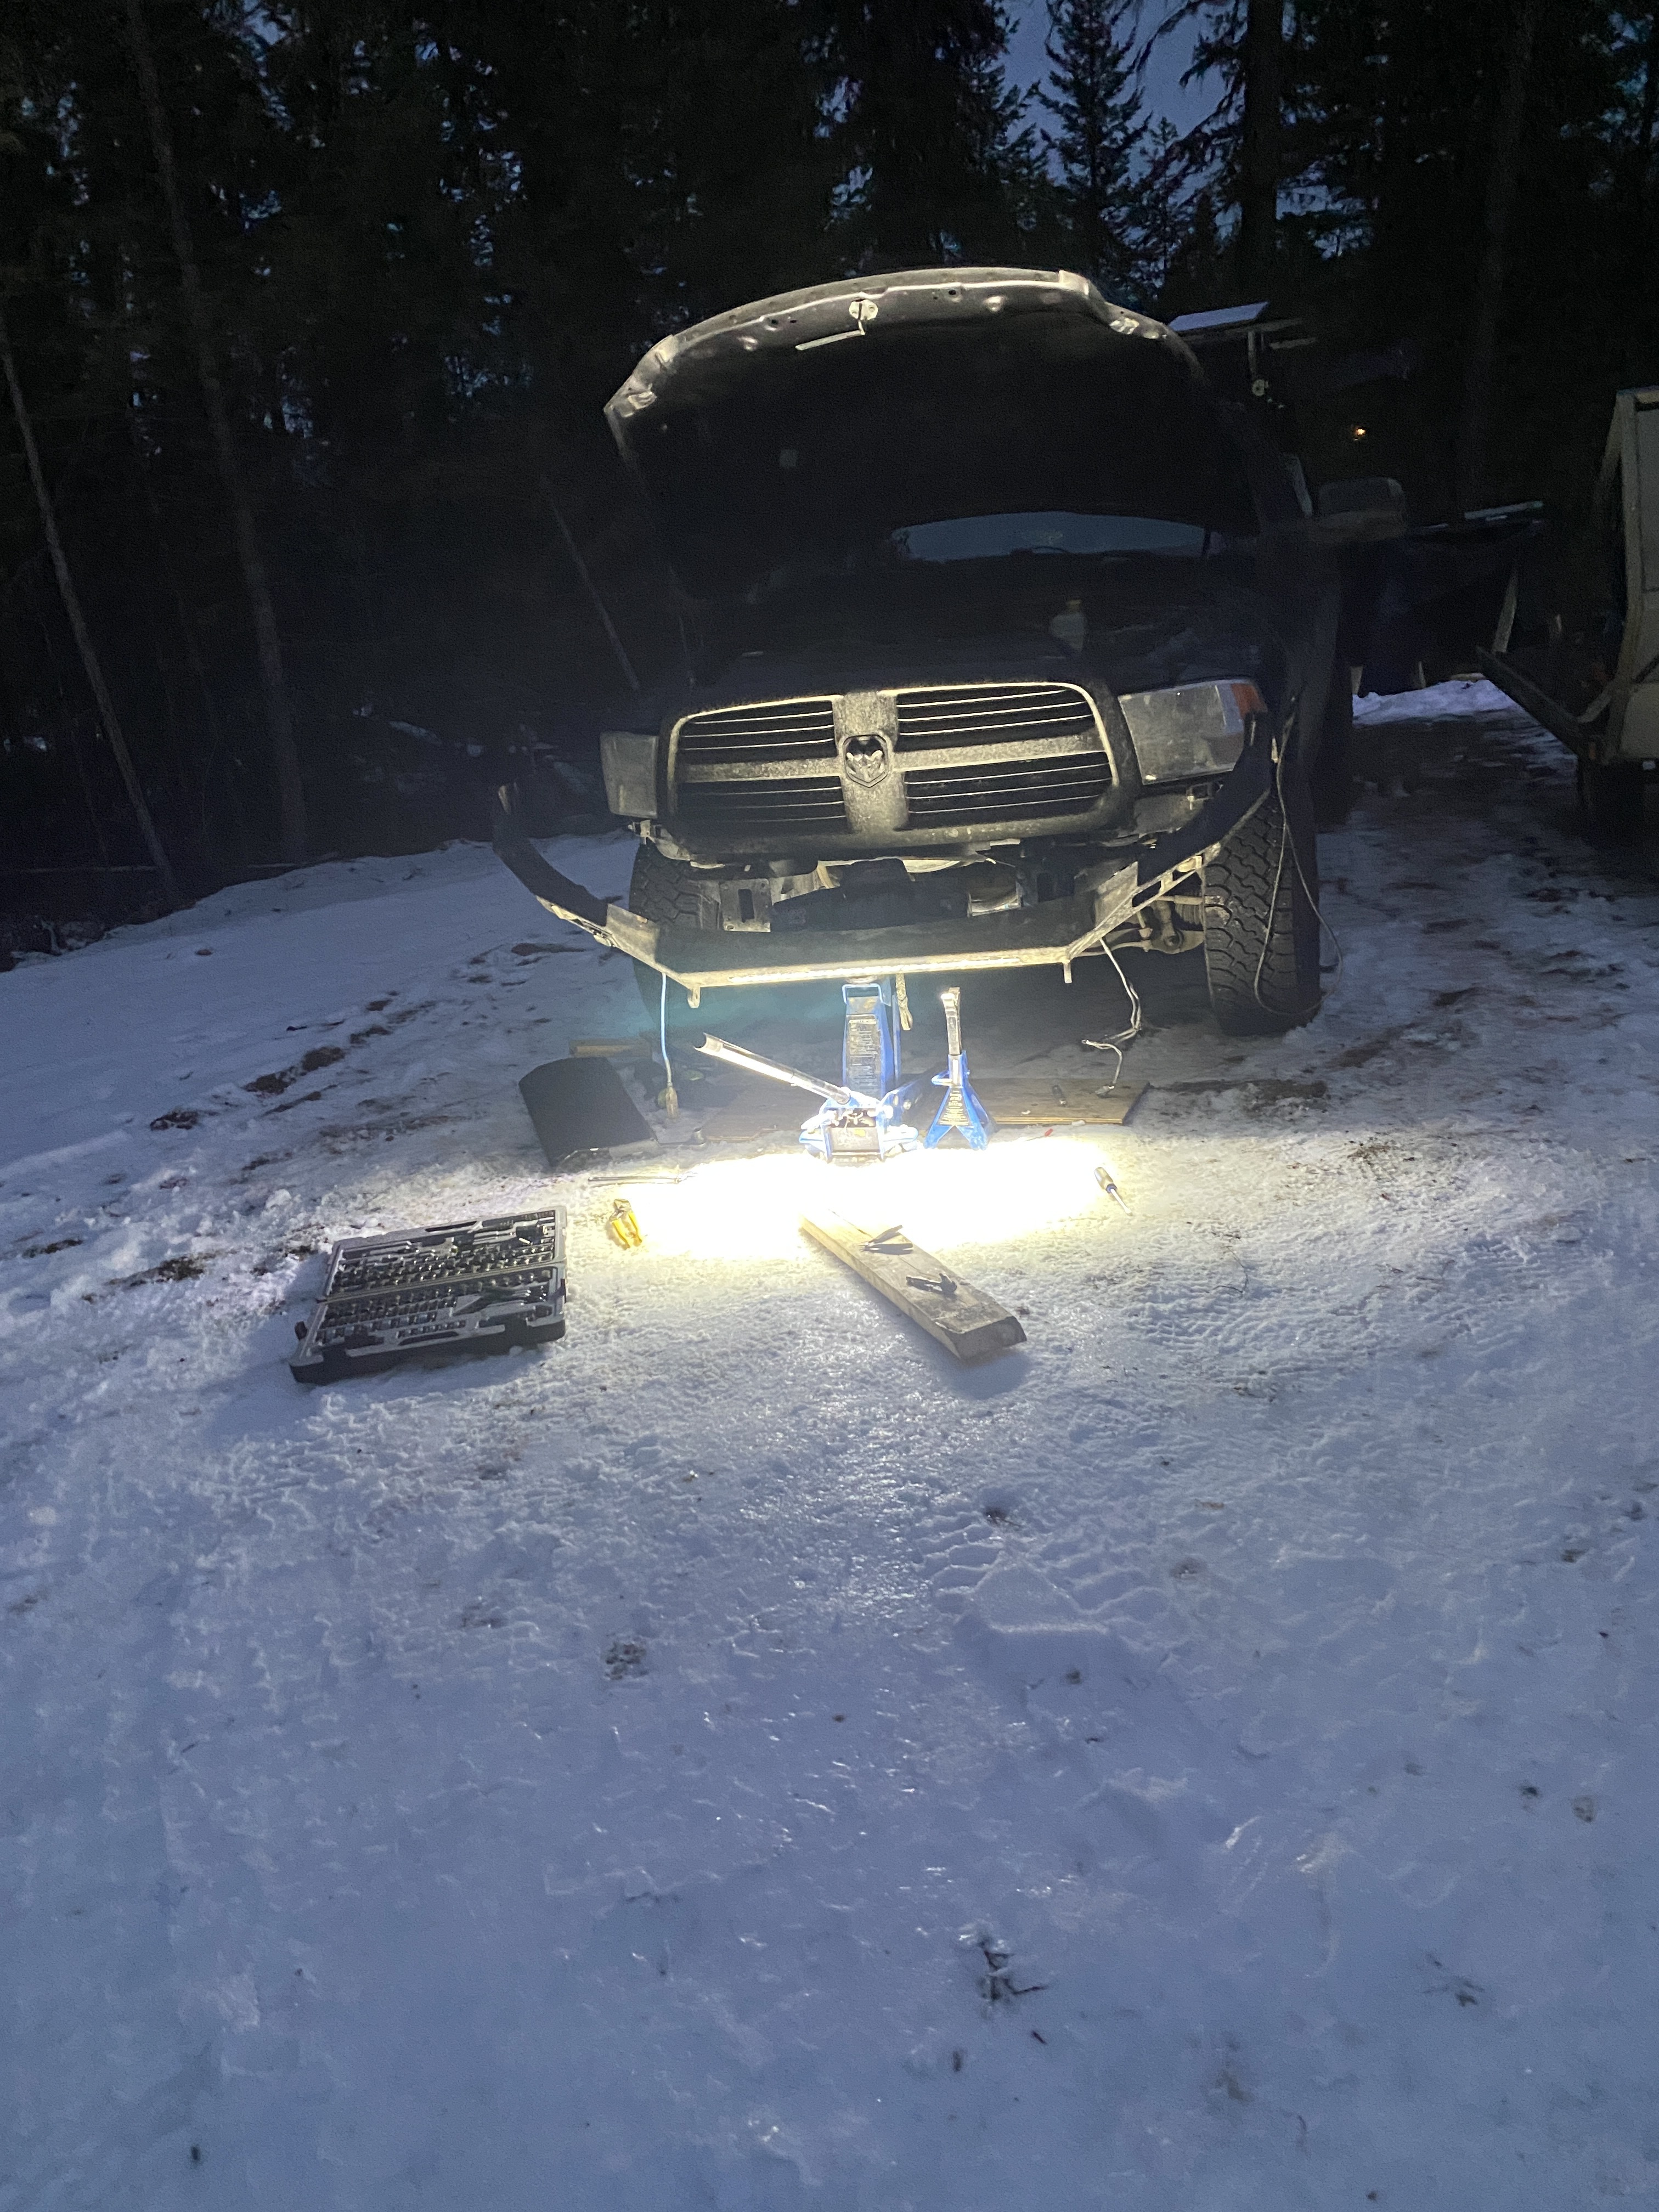
Scored a 32” light bar off of marketplace for $50!!! If I’m going to do outside wrenching I’m only going to do it in the dark.
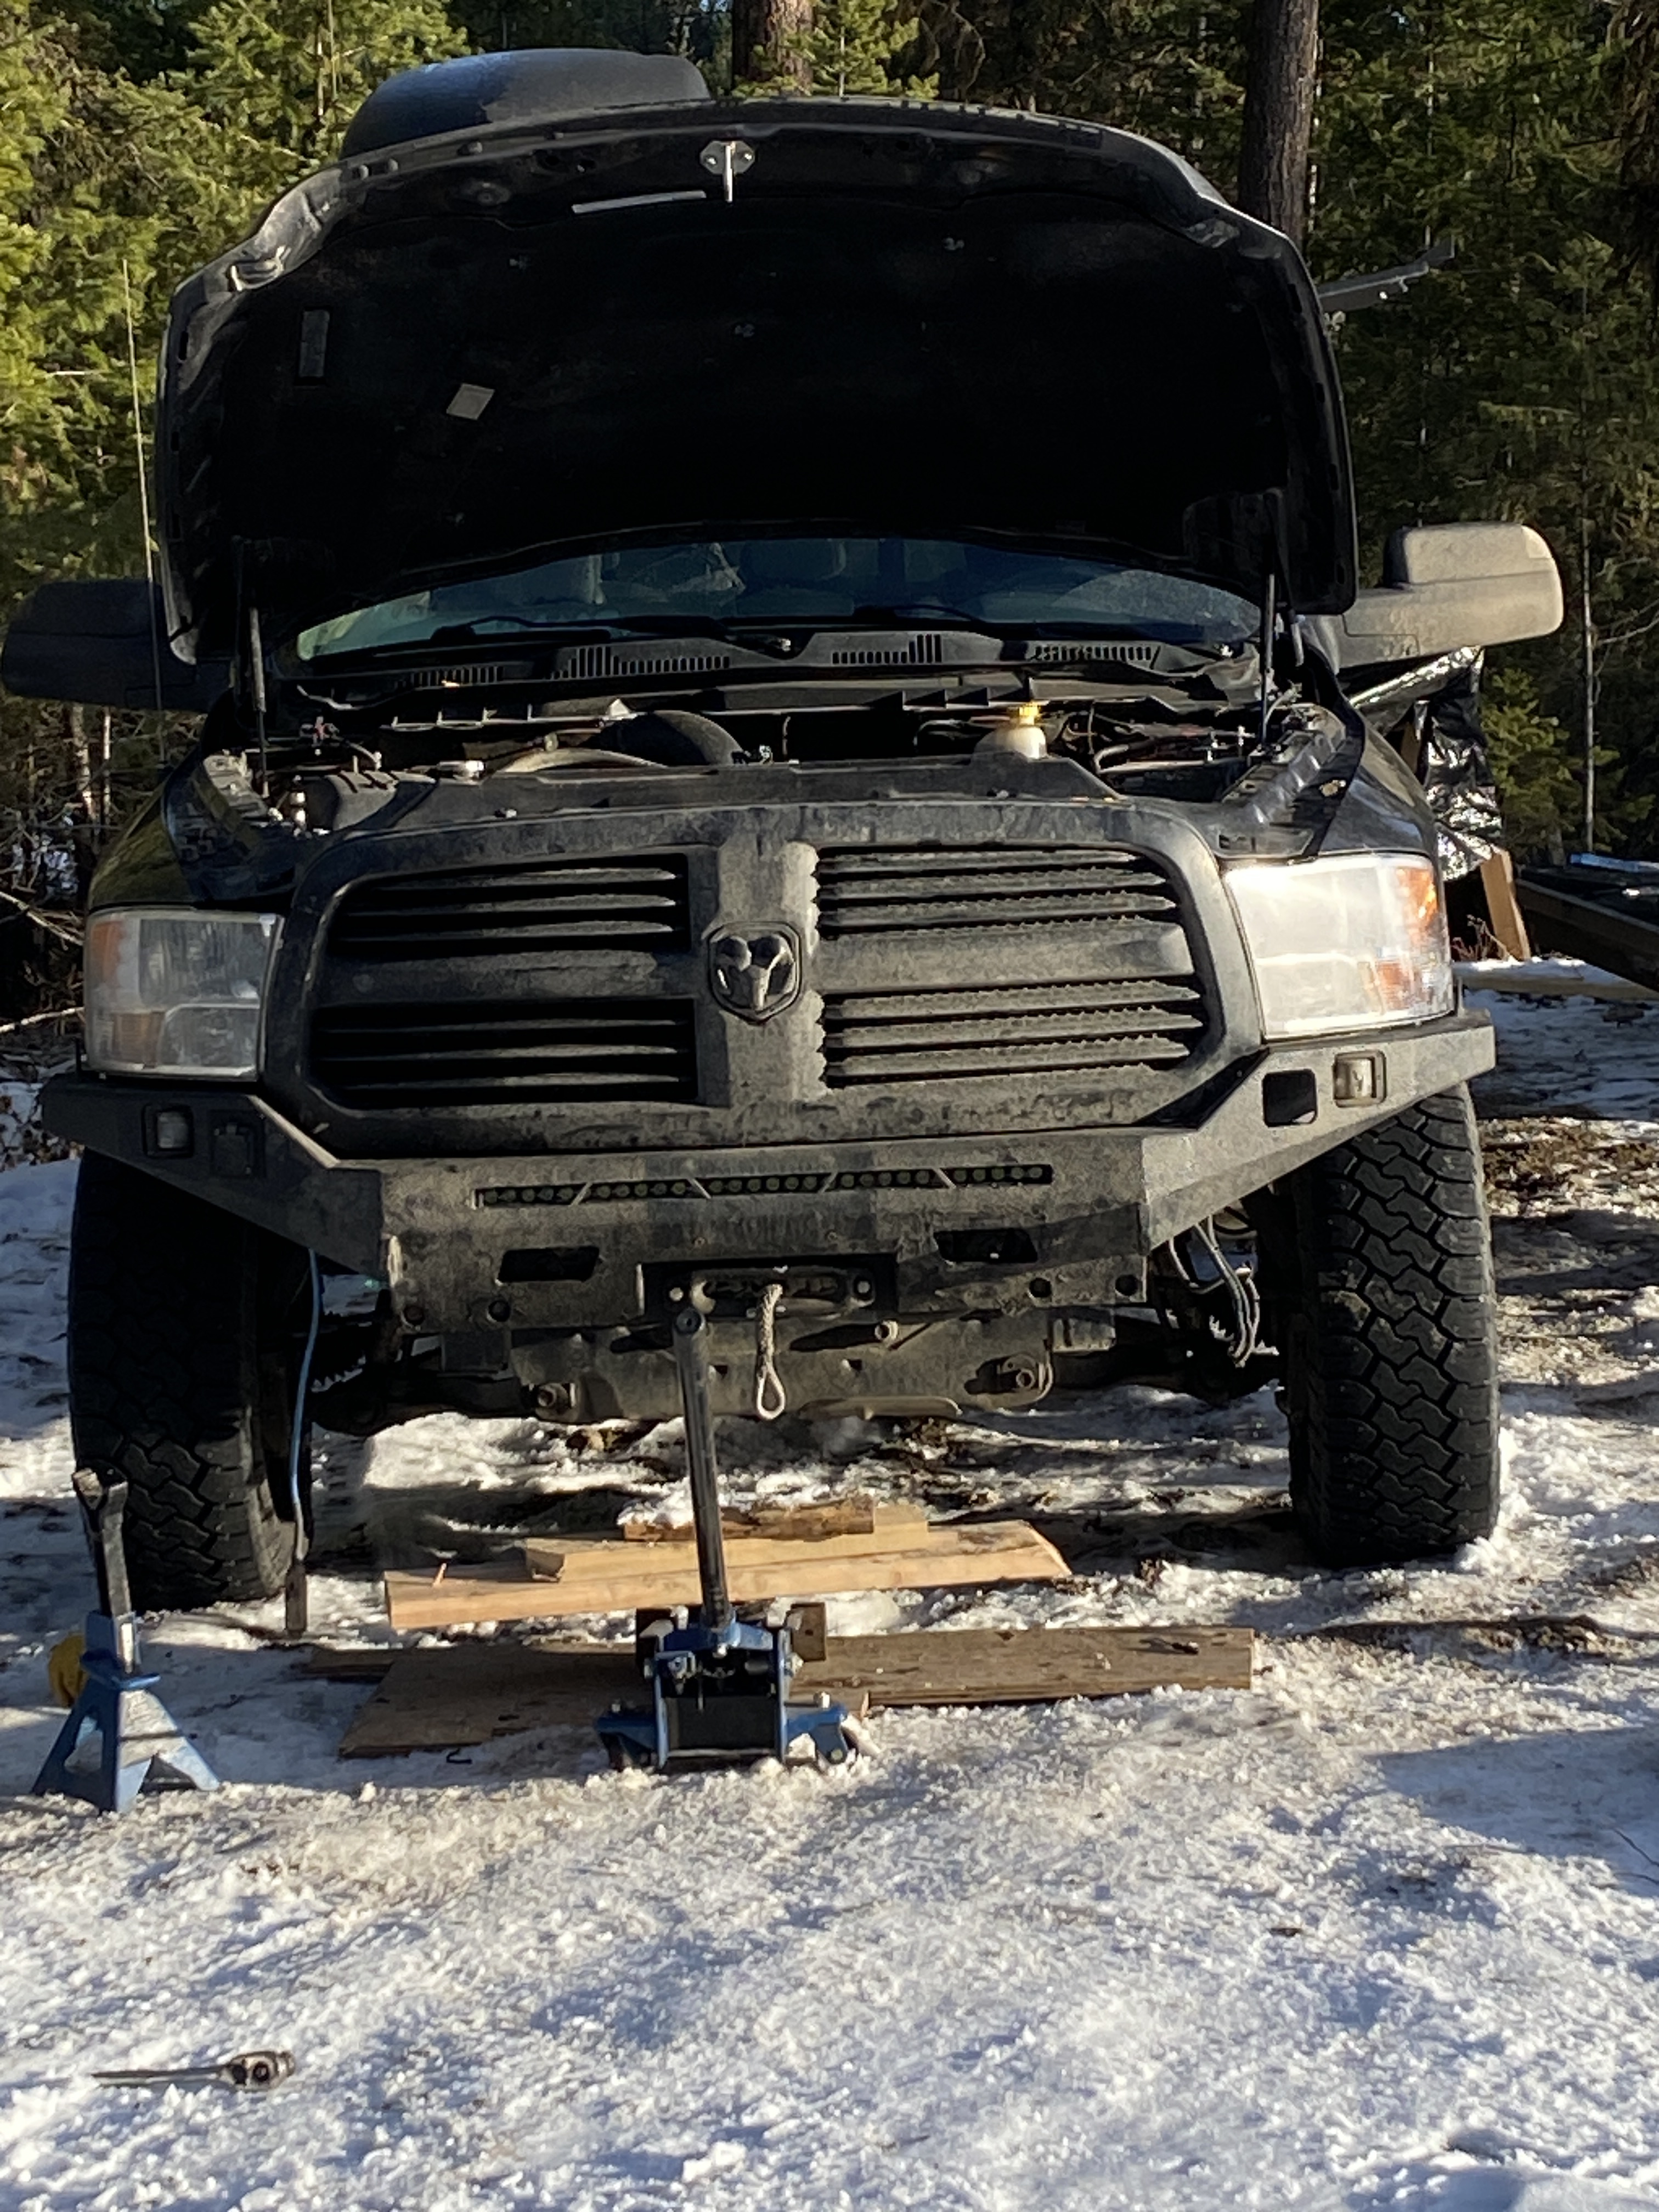
Here’s the janky floor jack setup and the bumper reinstalled. This lightbar has been a game changer for my old man eyes at night.
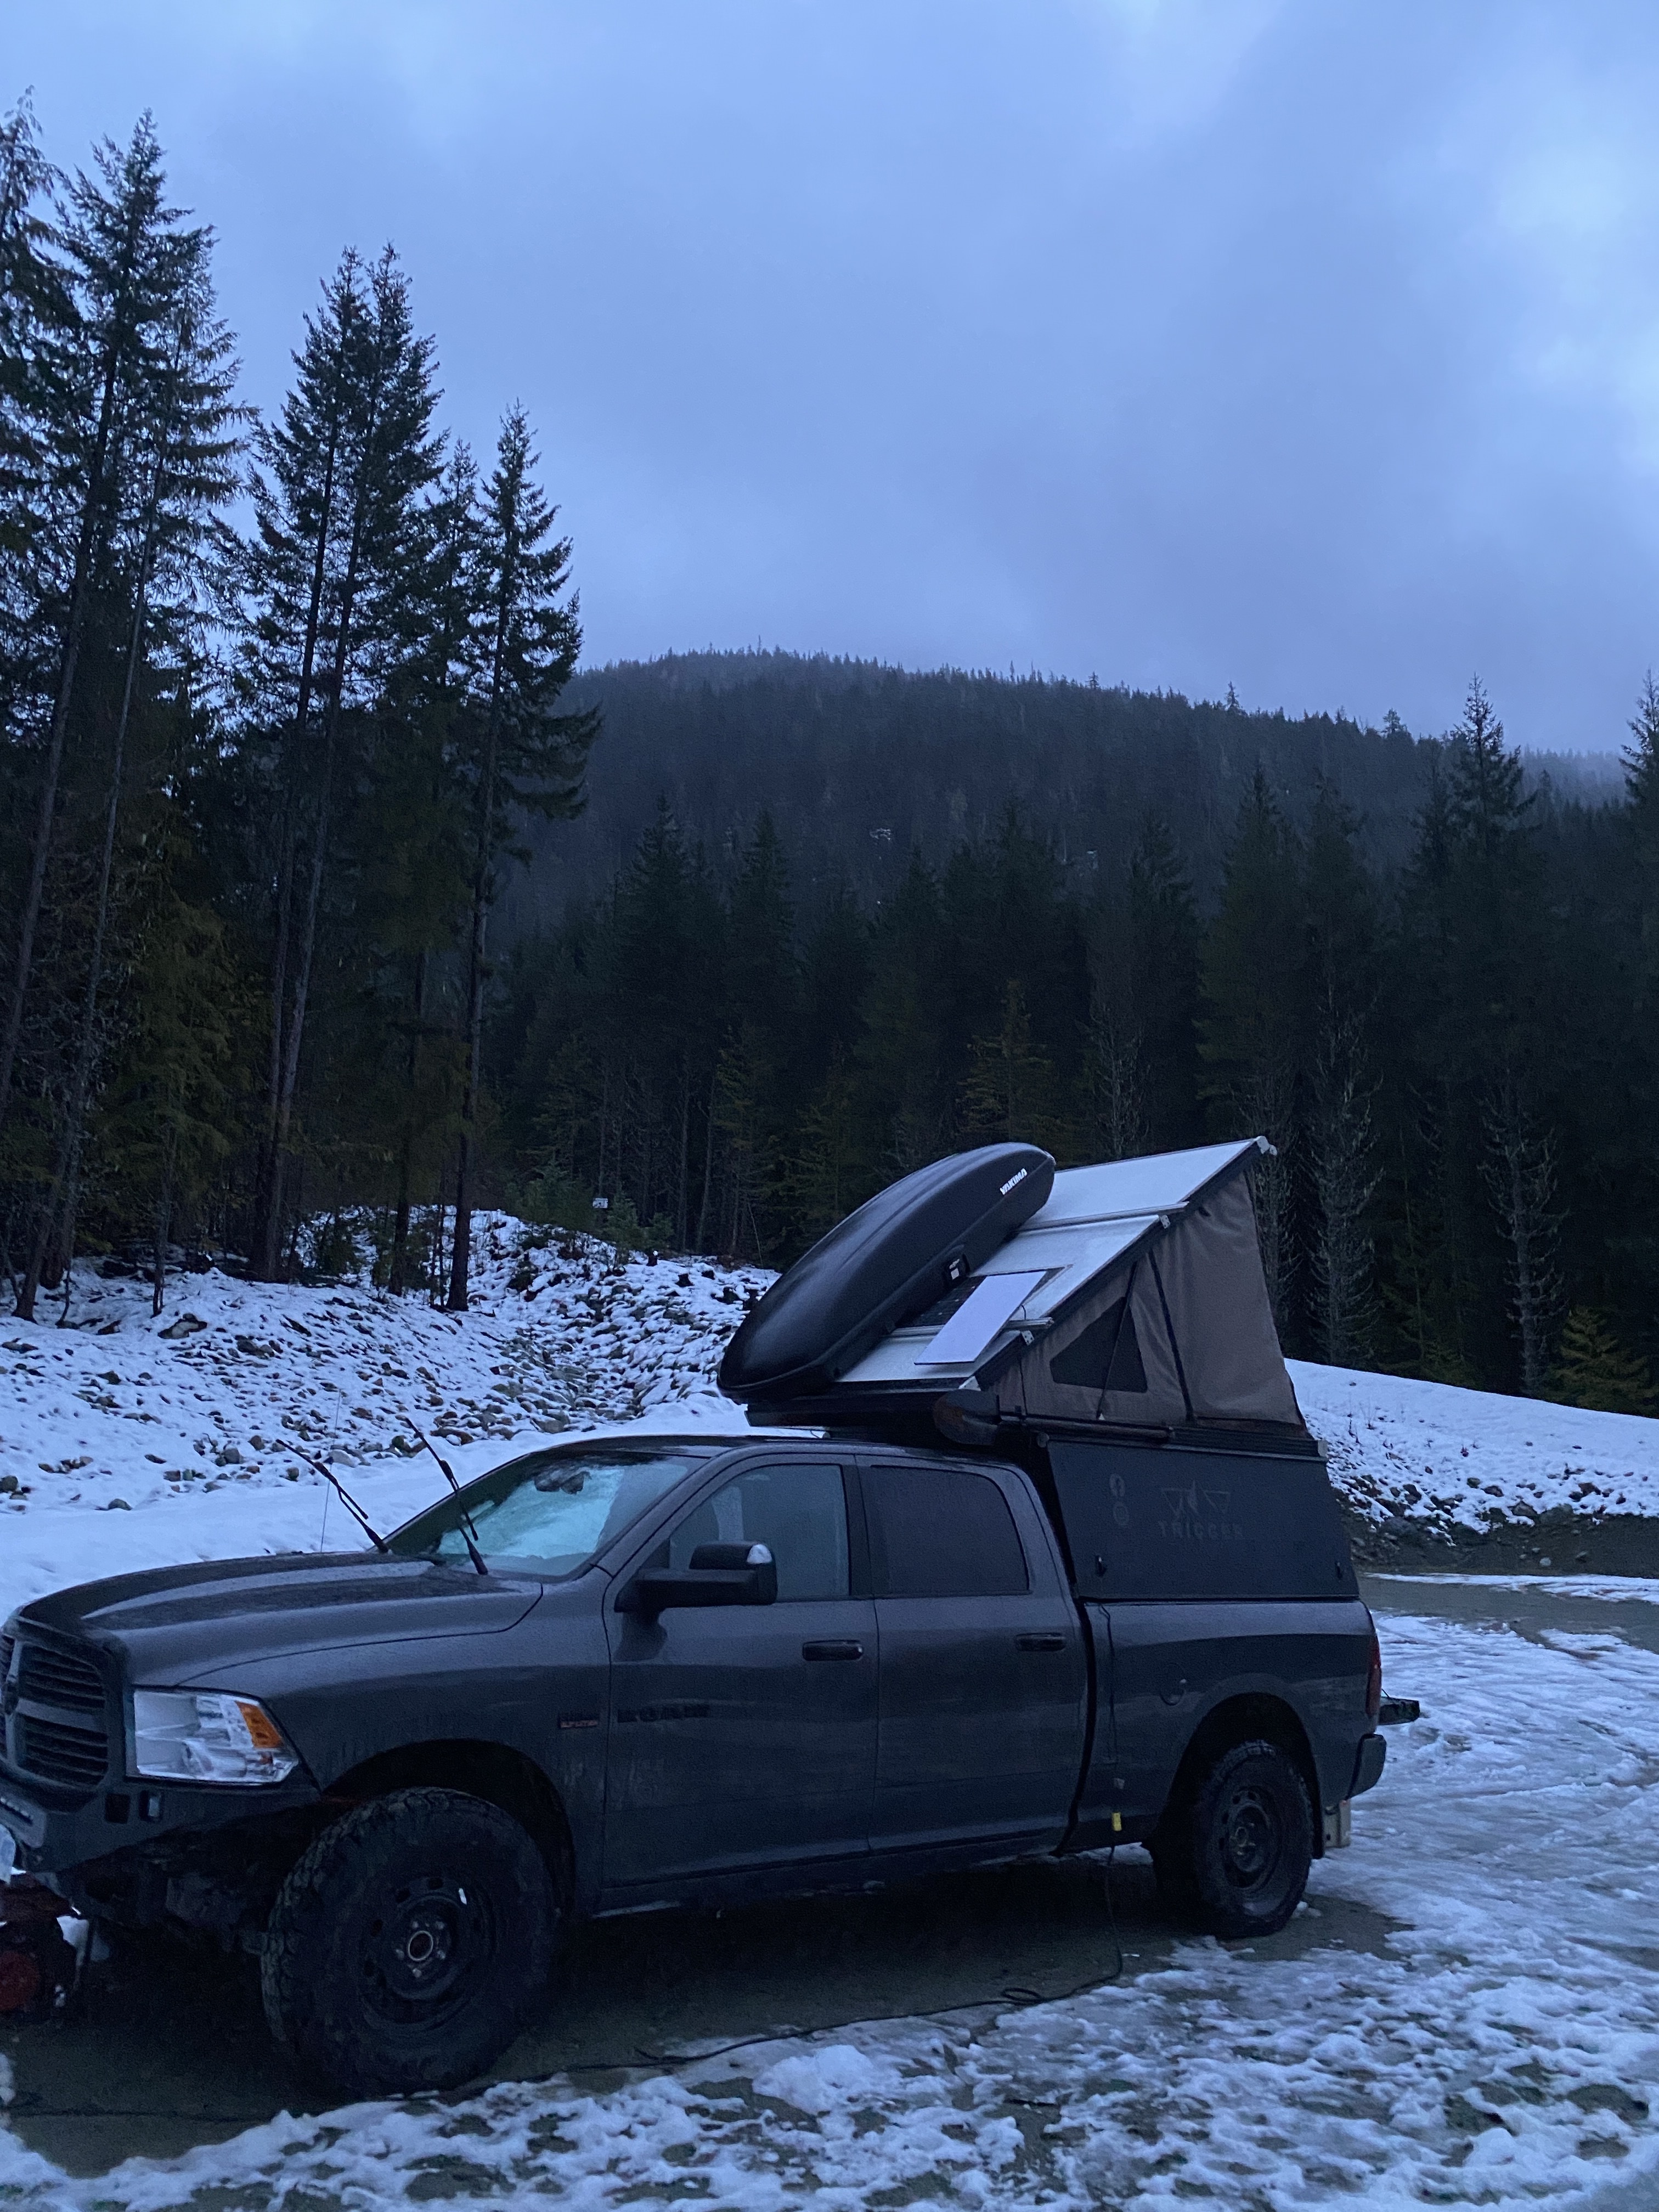
Then I went to Whistler to do my CAA Level 2 ops. The heater failed in the truck and I didn’t bring a spare. So I actually ended up having to get a hotel!!! It was awful.
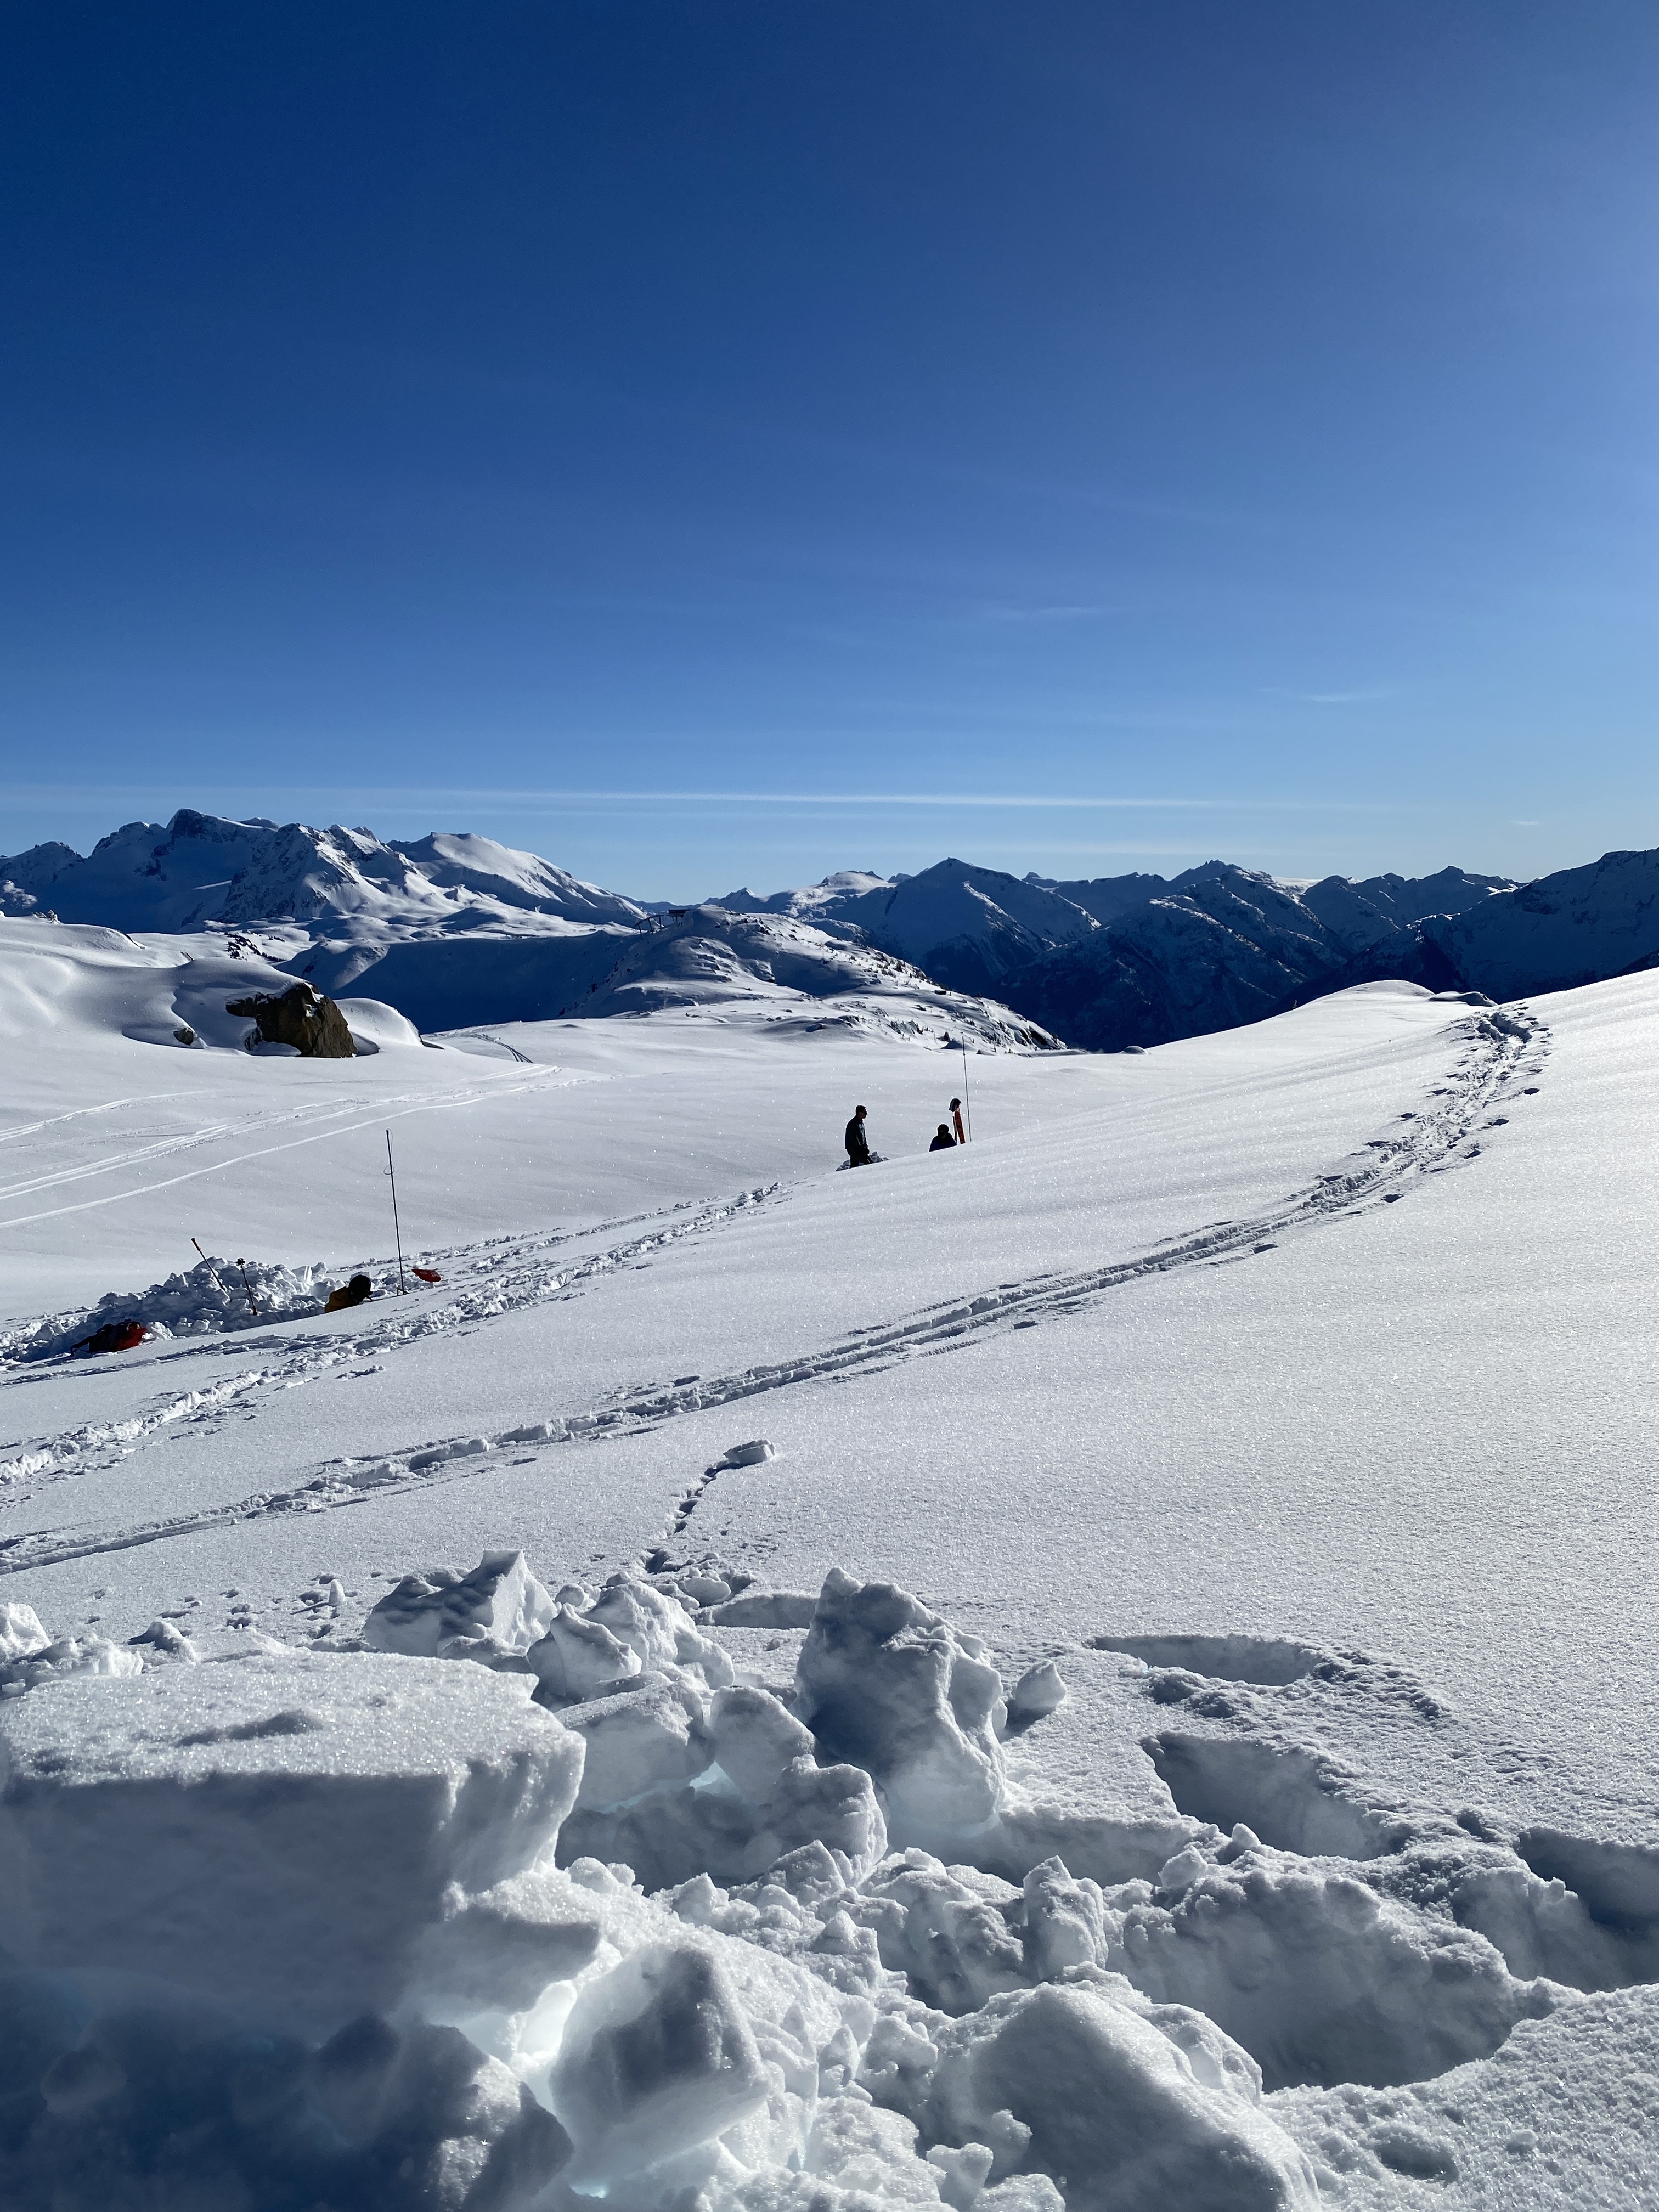
Beautiful Whistler Mountain and some CAA Level 2 candidates
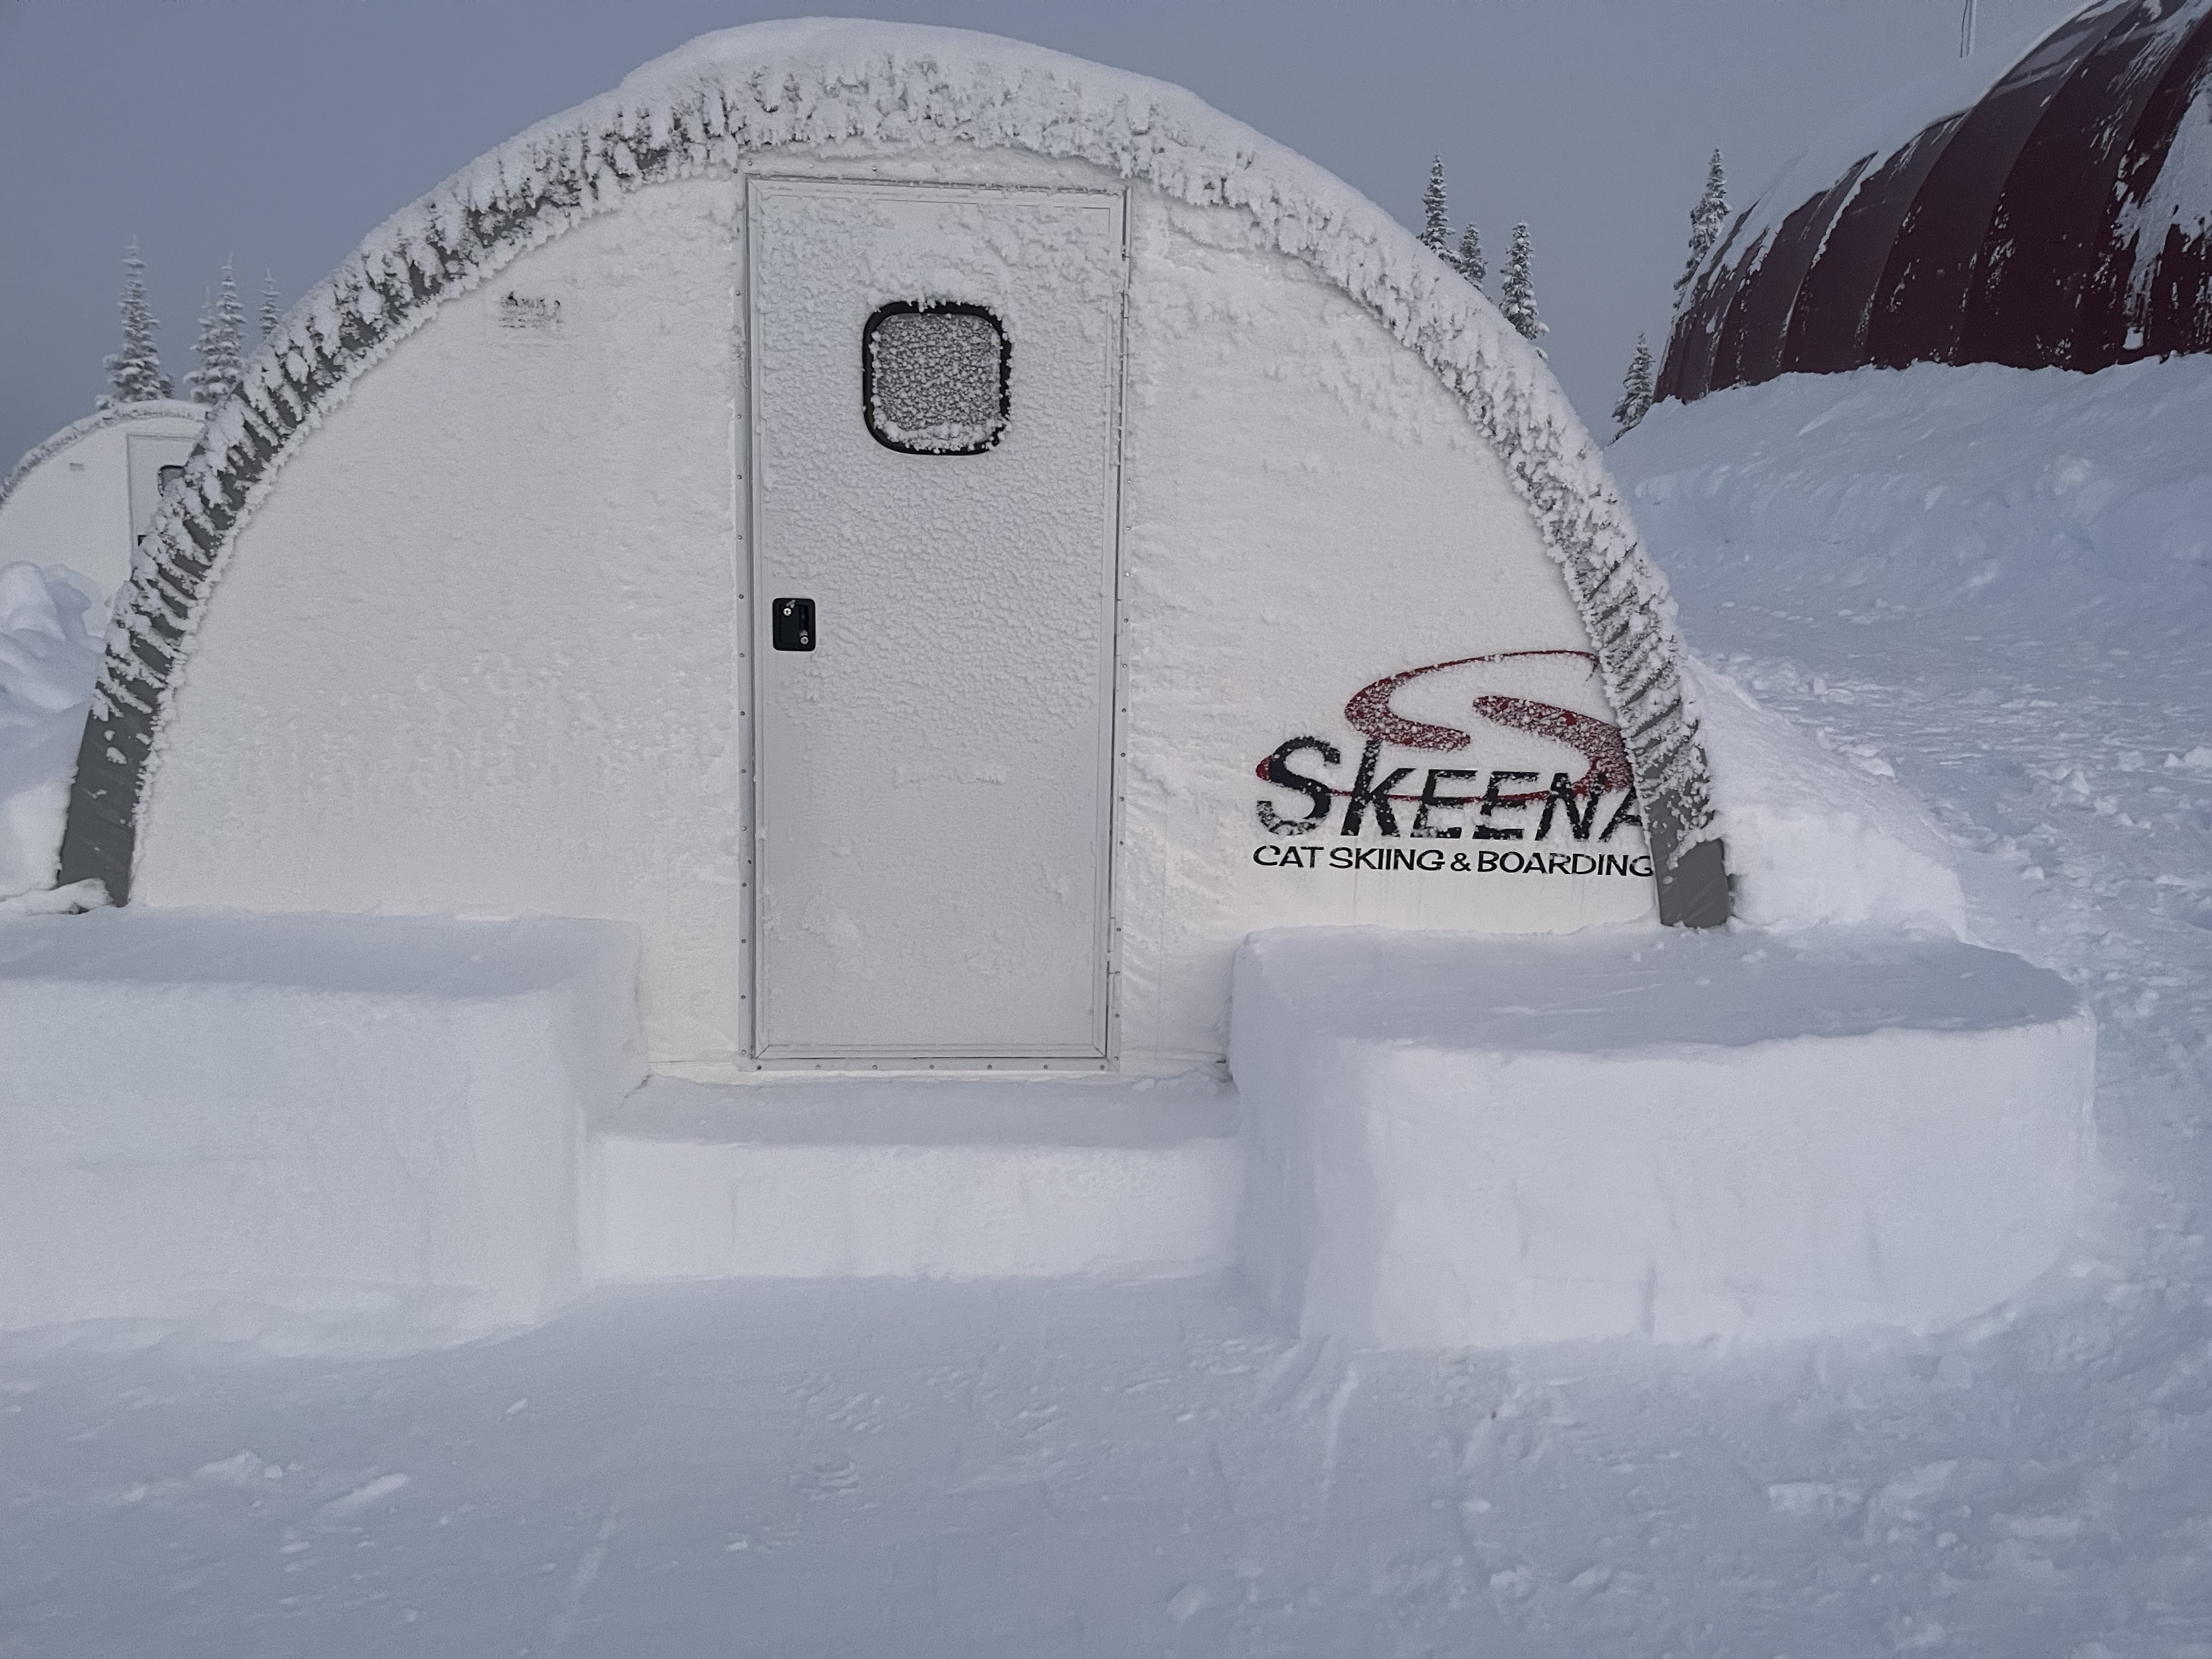
Then I went to work!
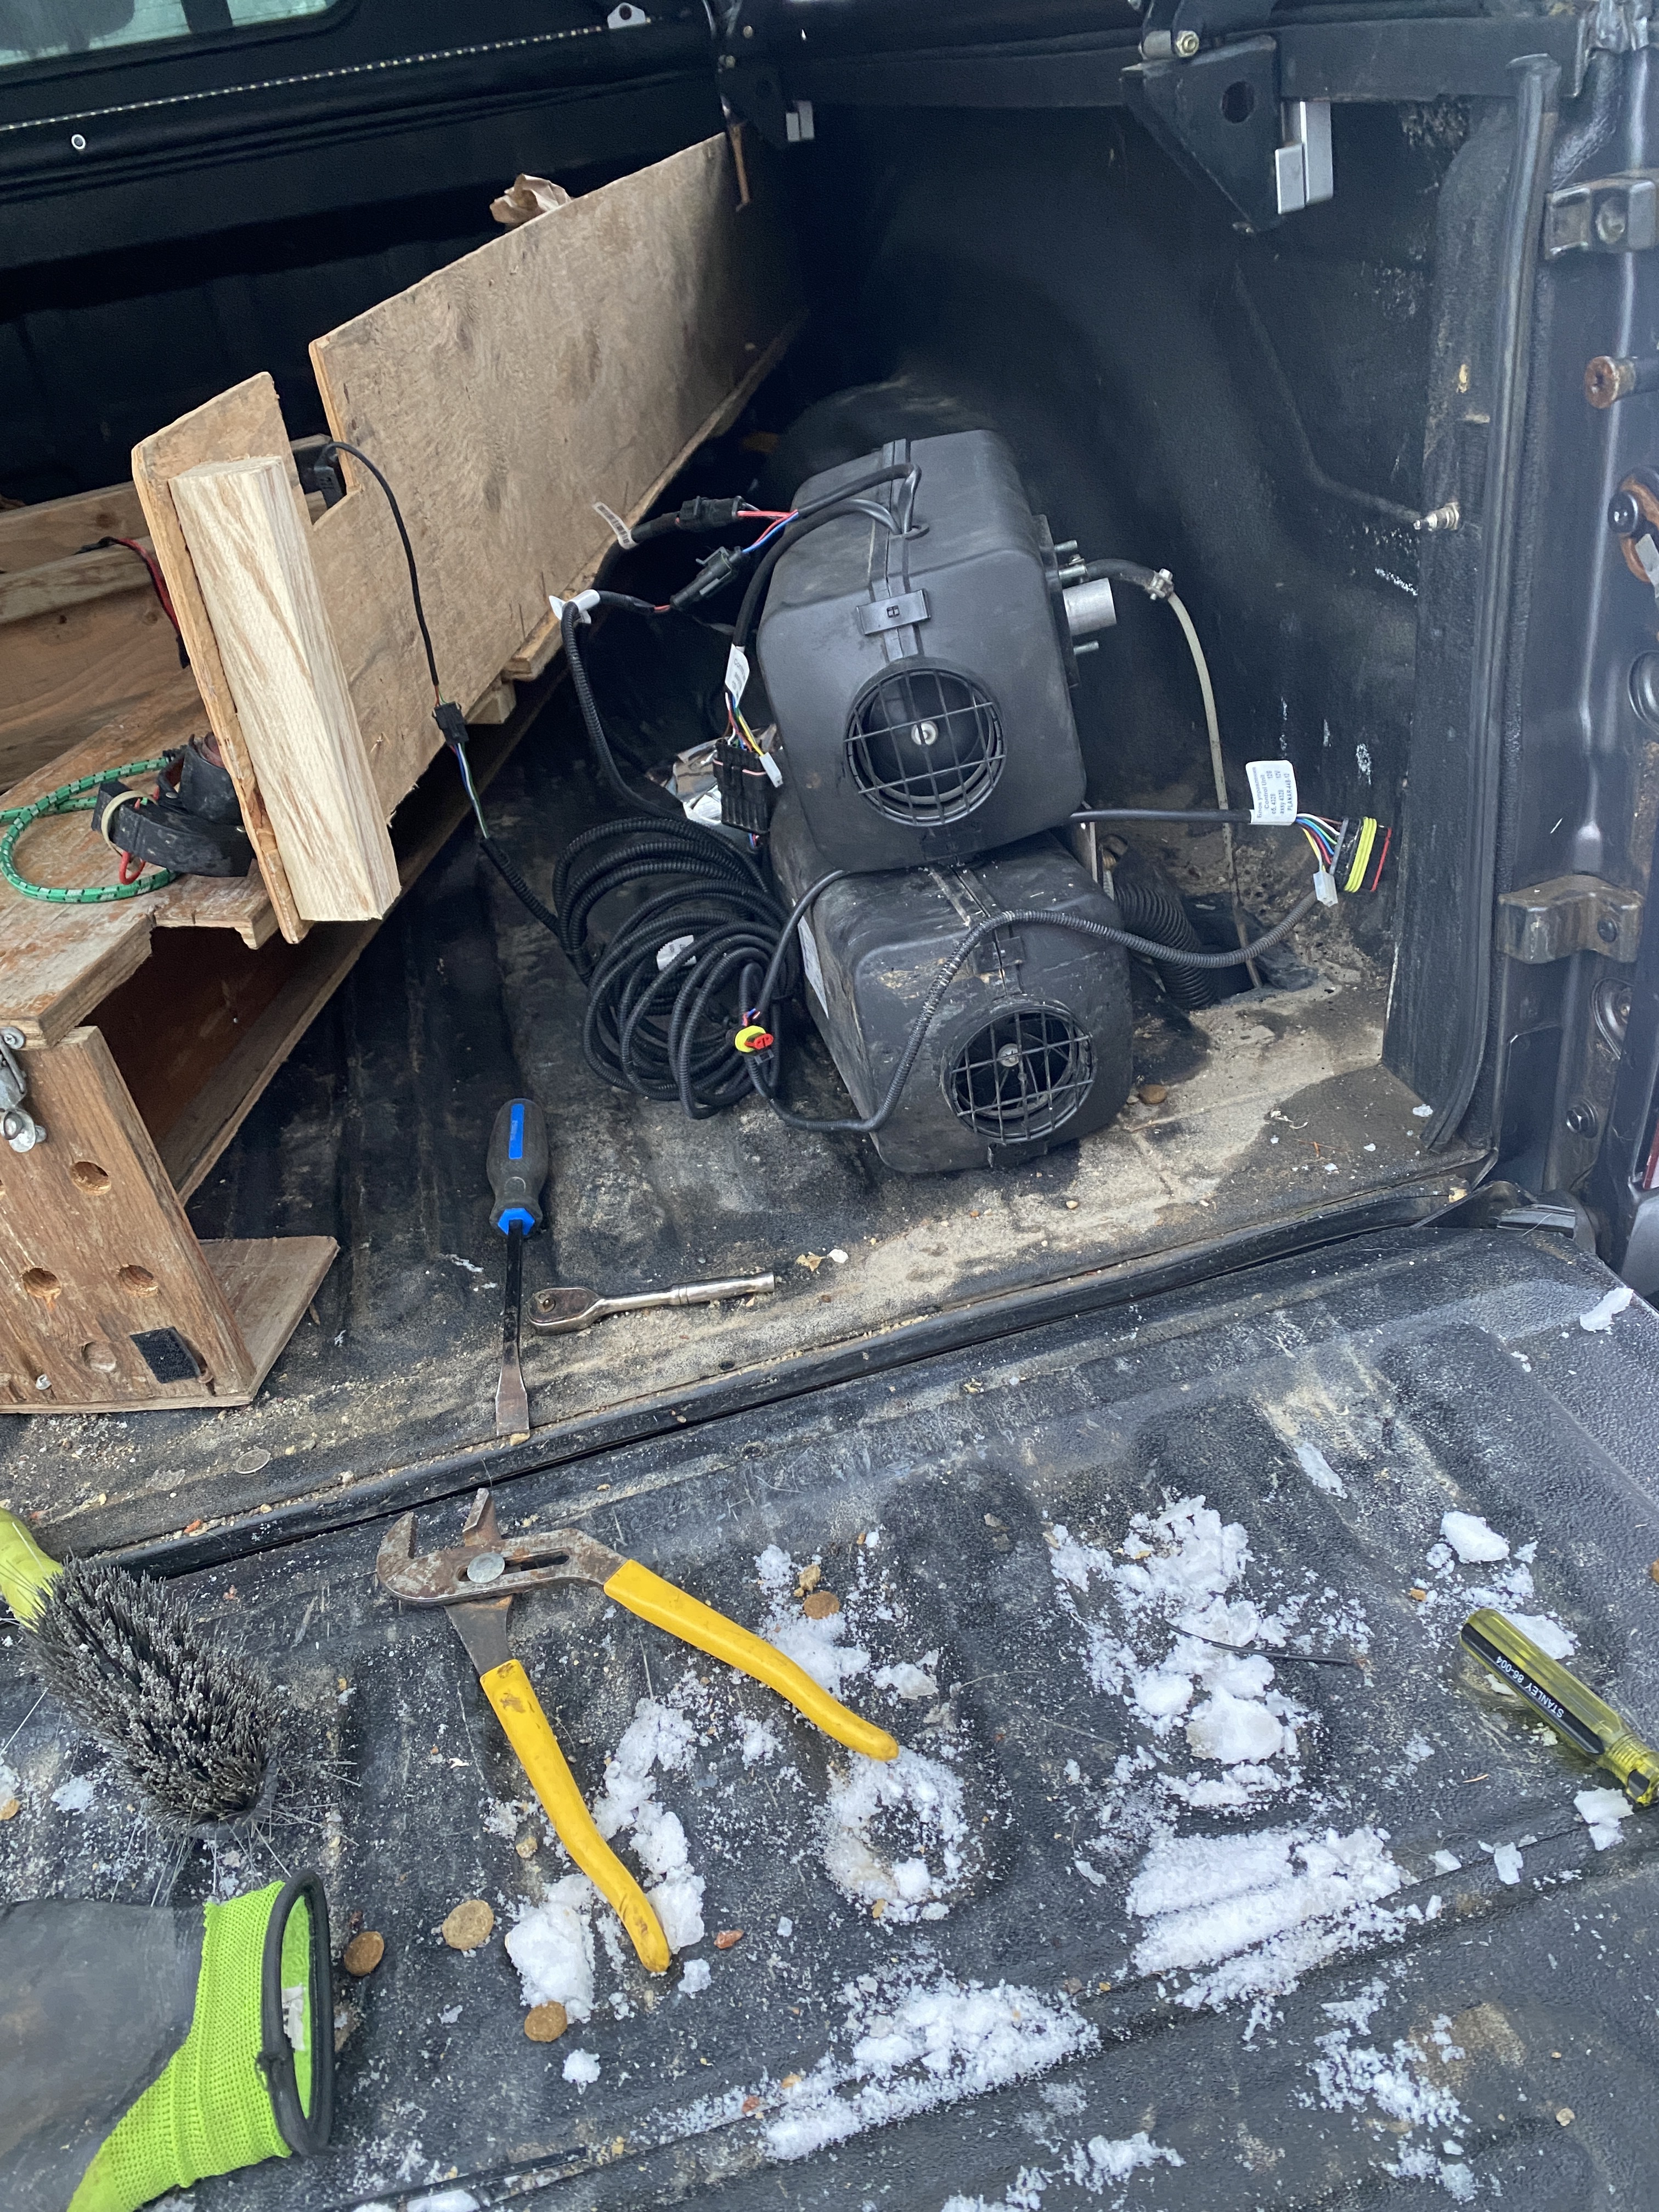
Got the replacement heater from Planar. Maybe the 3rd time is the charm? It in fact was. The heater now runs, I’ve still got an air leak somewhere so it needs to prime. But once it’s running it’s been good. Loud as fuck though.
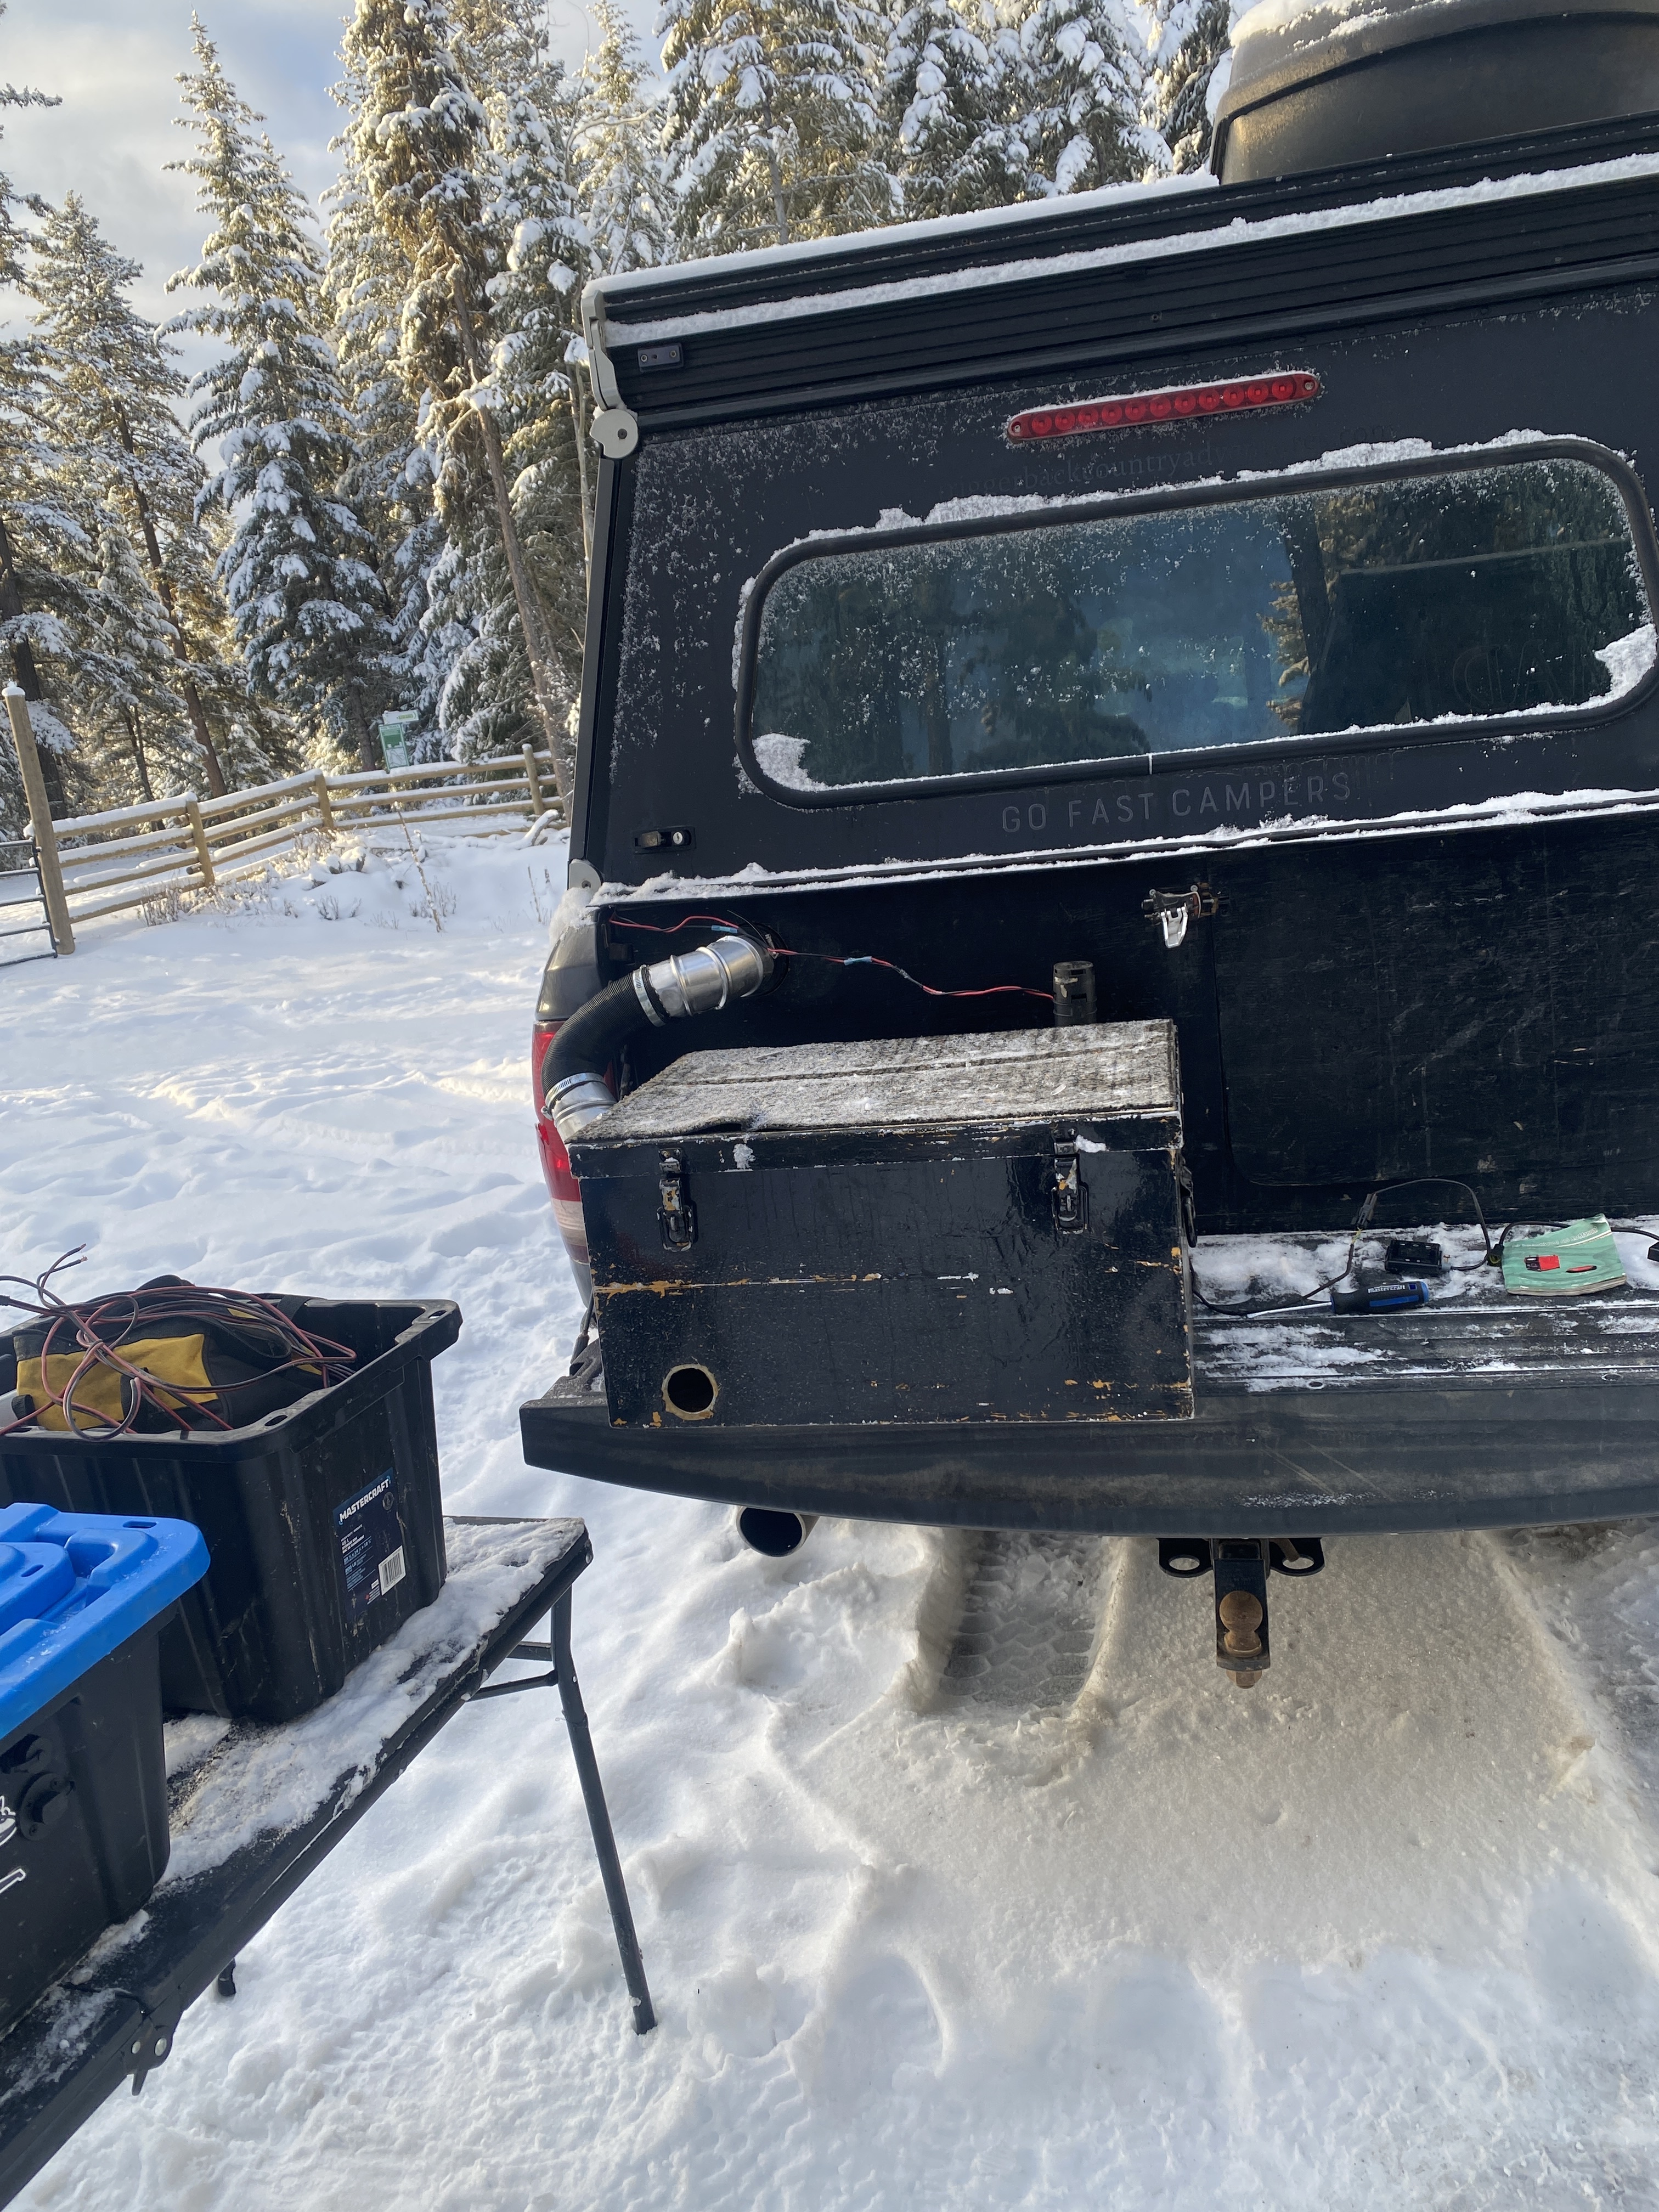
I rocked the old reliable diesel heater that I’ve had since I started truck camping pre GFC. Although after the second trip, I started to trust the truck heater again.
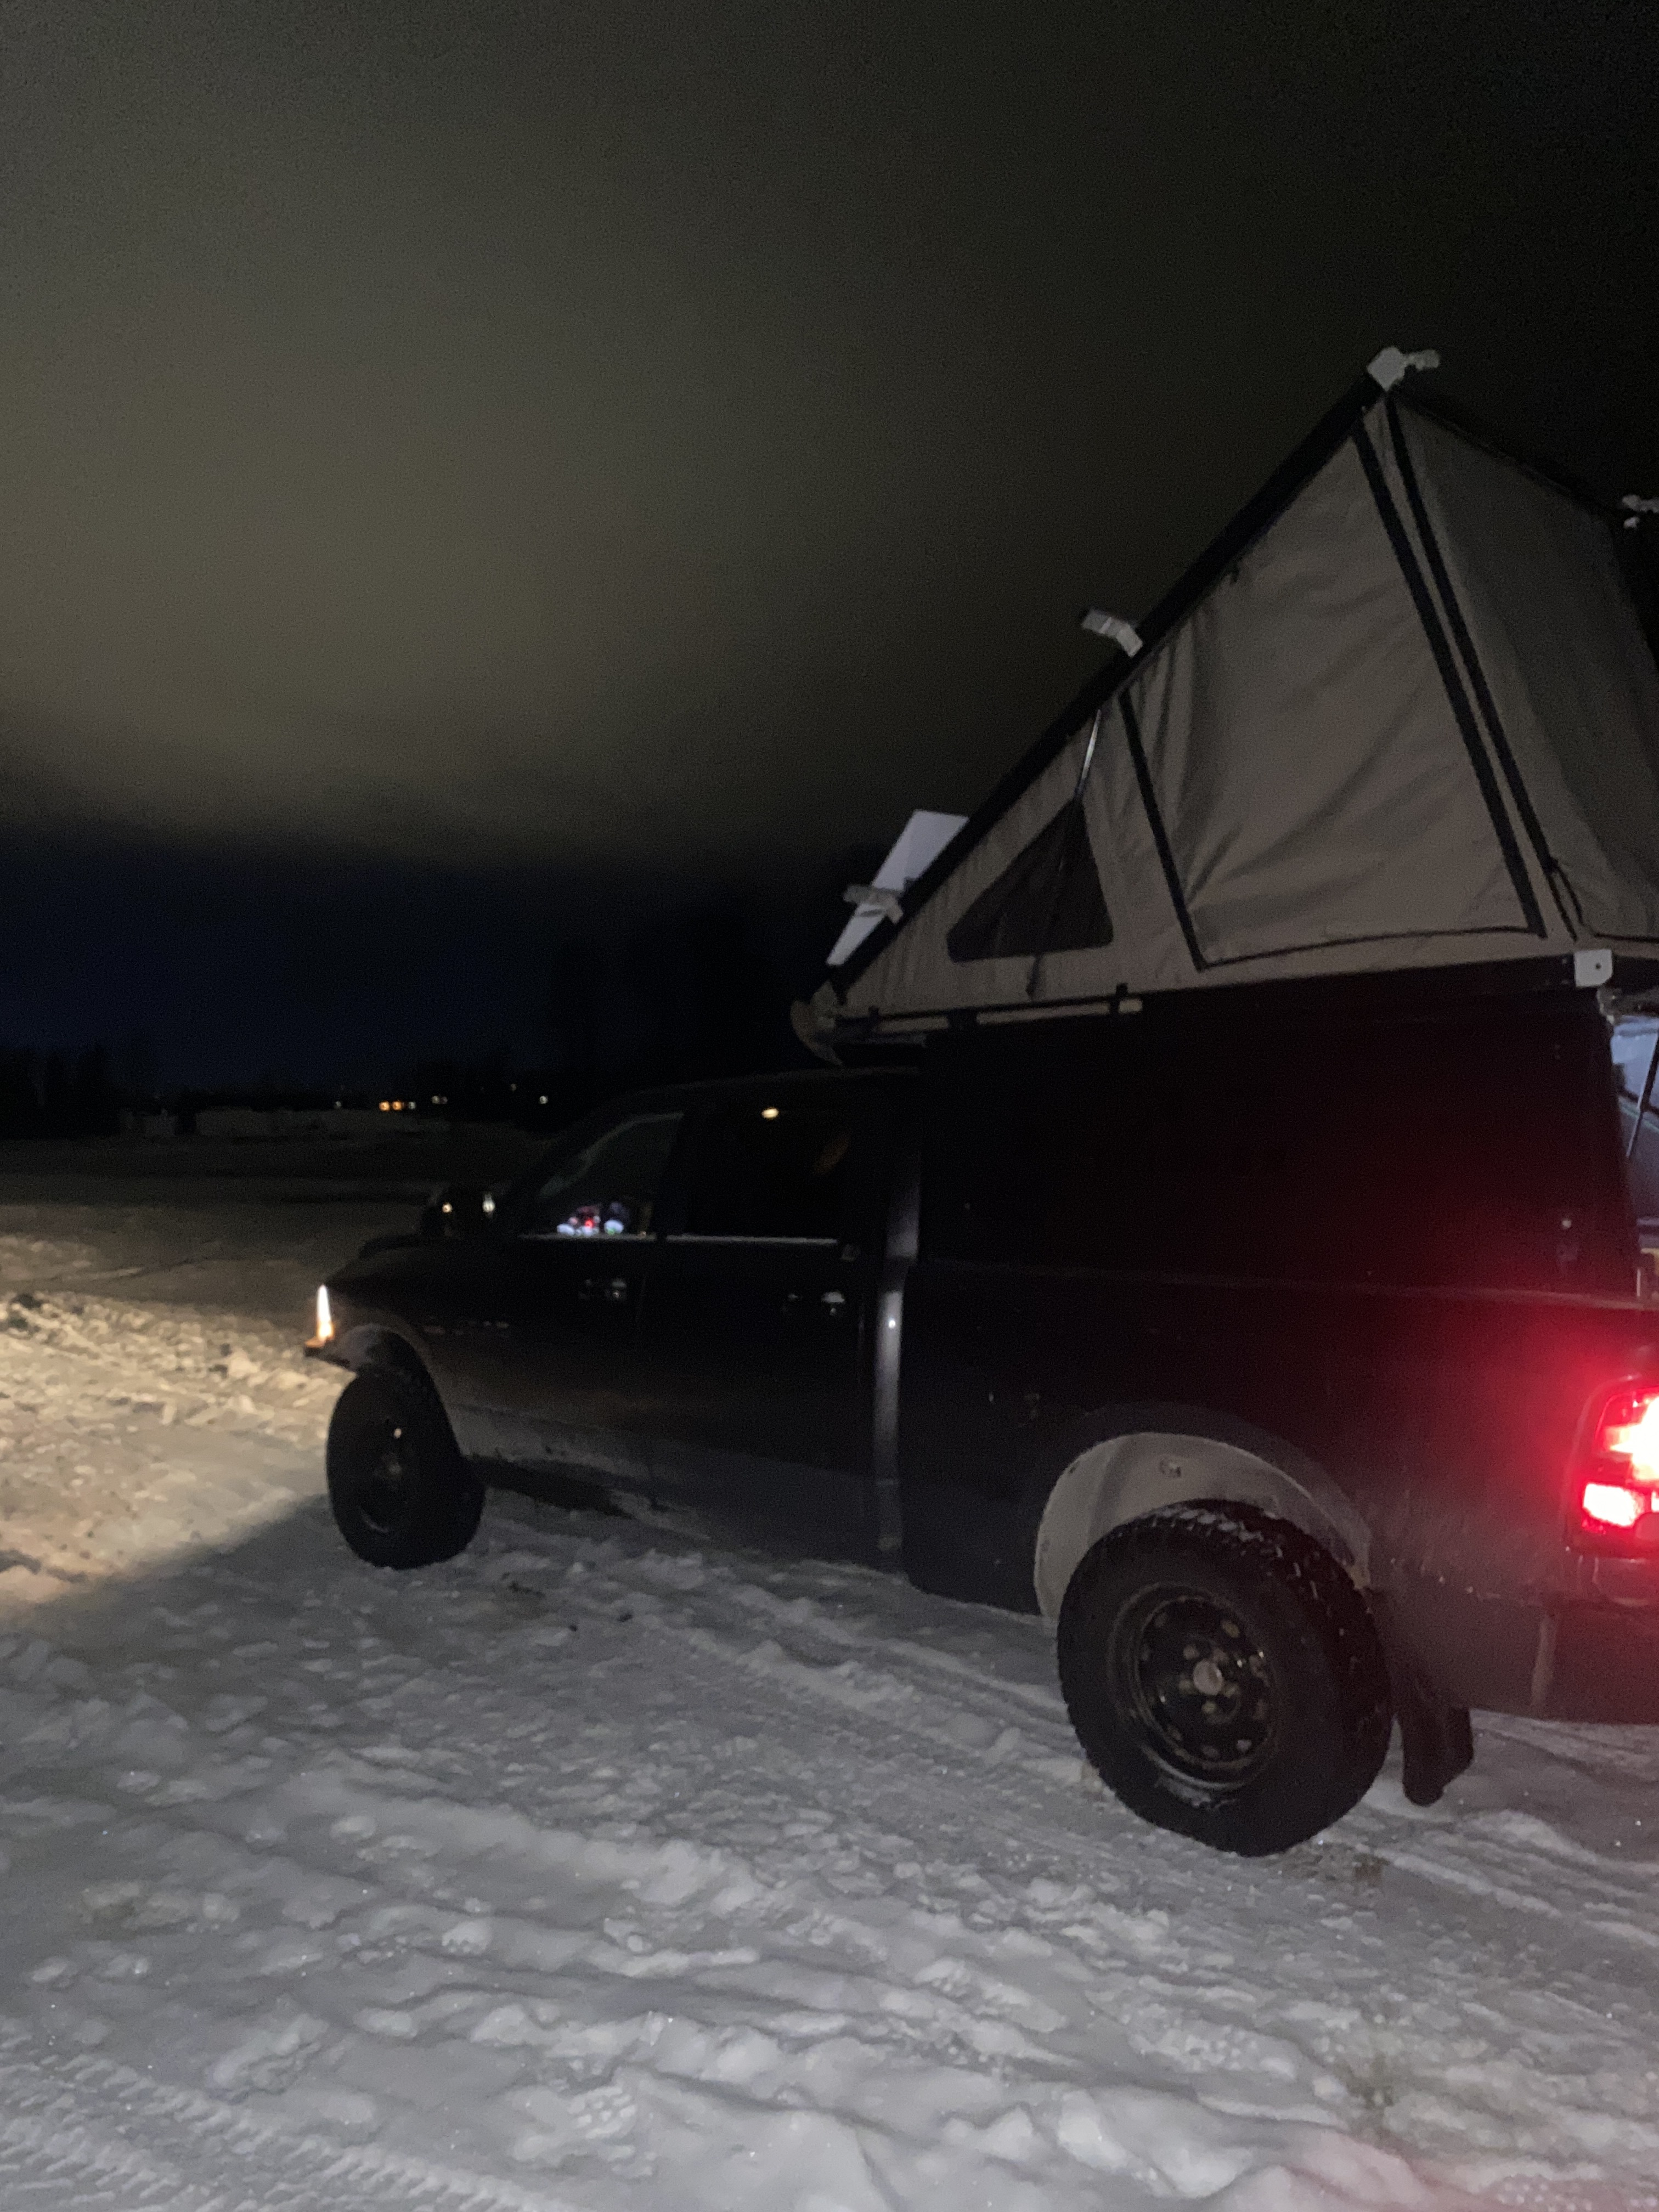
This is how I use my rig. Helps break up the drive from Smithers BC, to Williams Lake BC every shift.

Then we had a size 4 natural on one of our runs. That was spicy 3m crown!

Then I forgot my sunglasses and had to borrow a young guides glasses. What do you think? PV for lyfe!
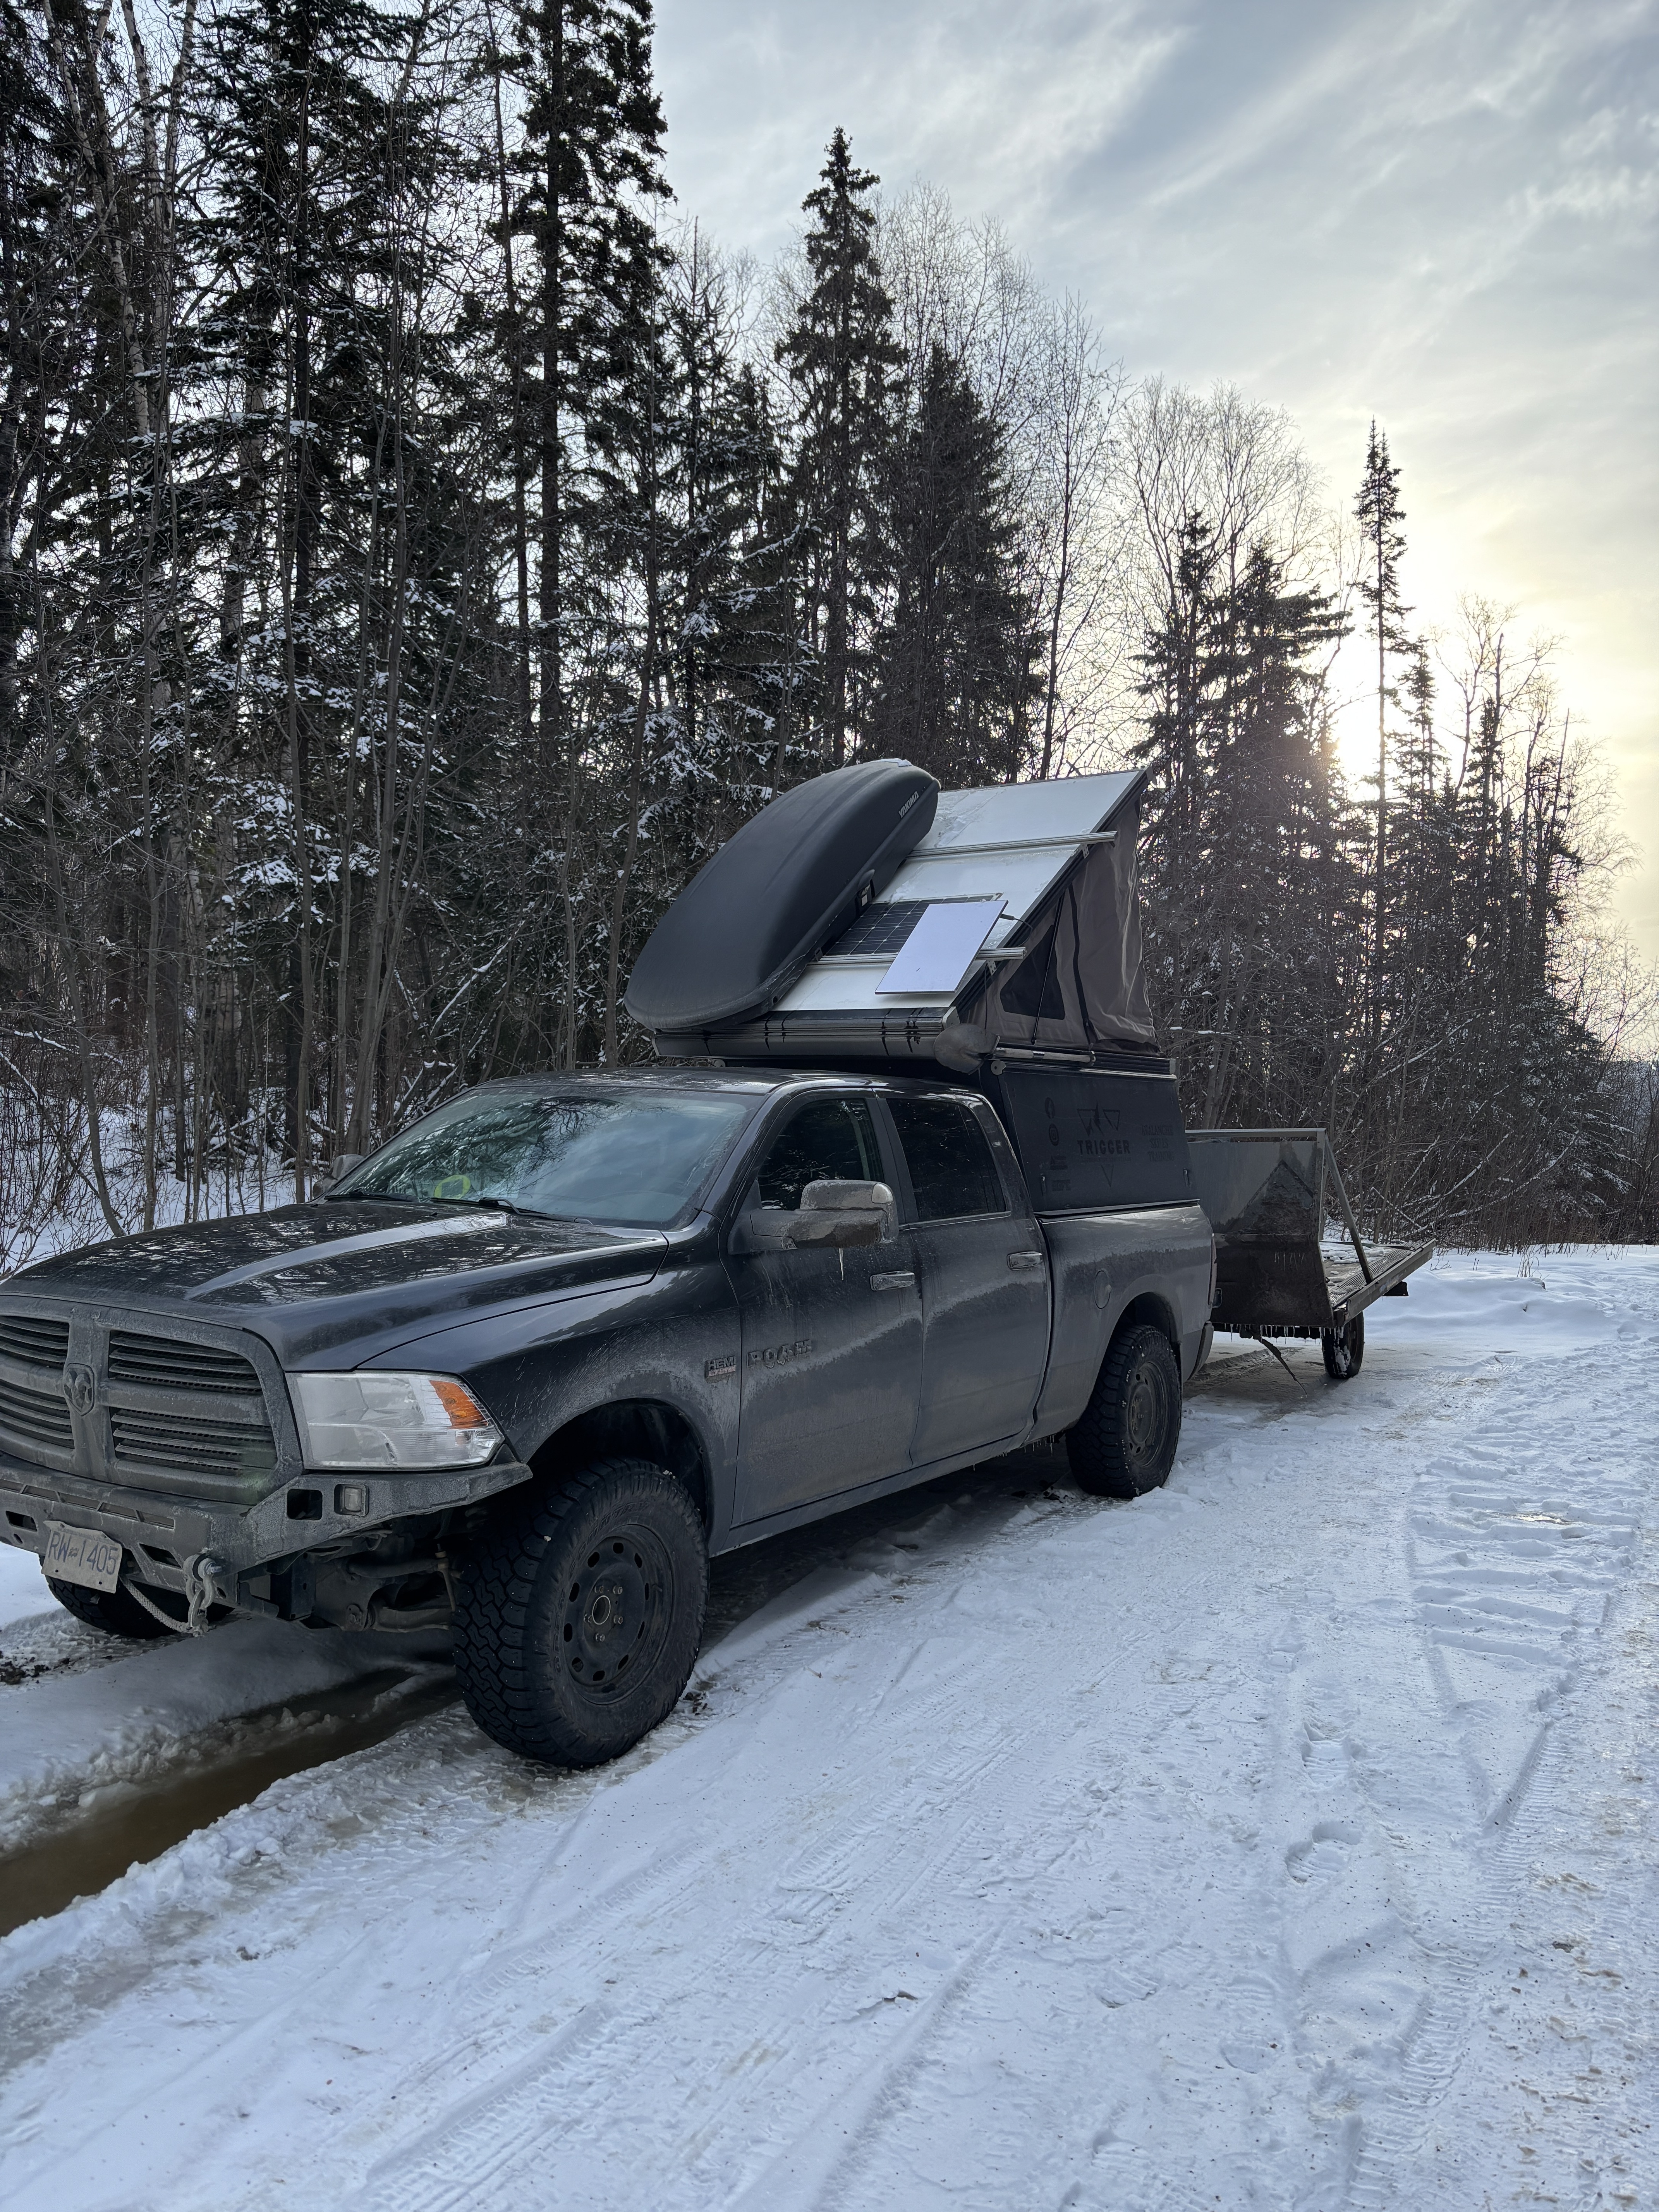
Brought my sled up to camp for shut down, it was a blast!
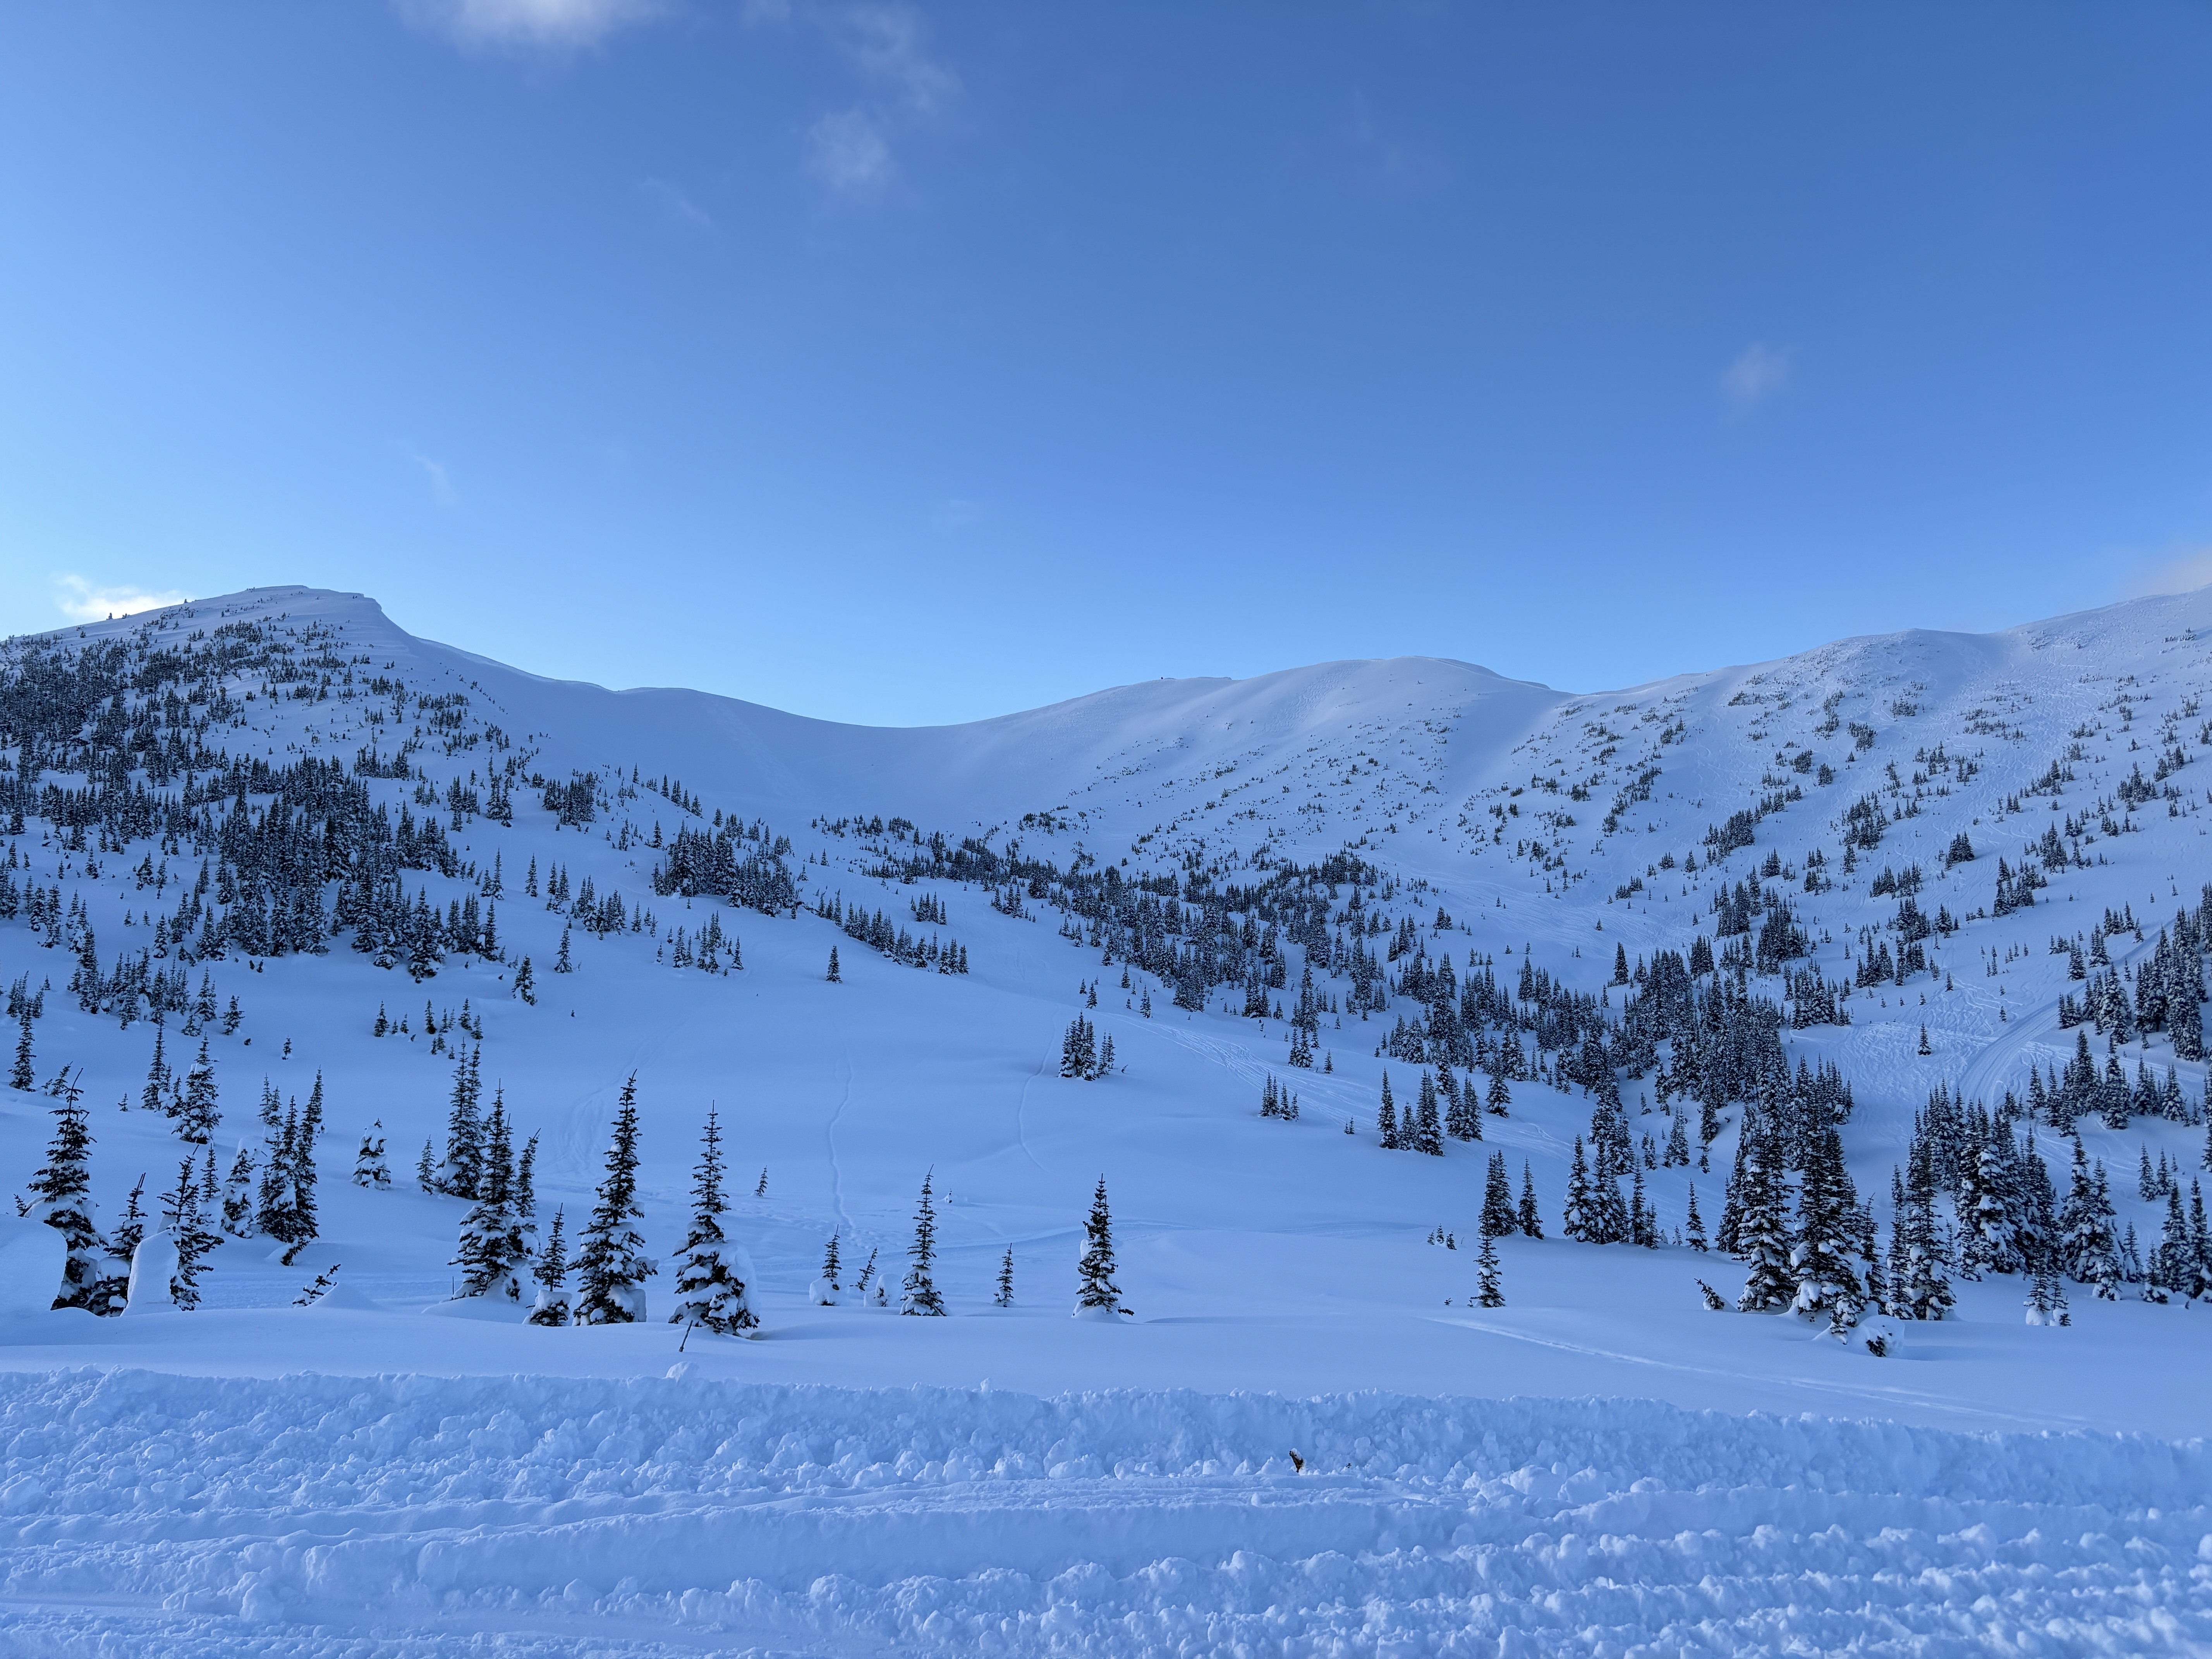
The view from my office and tent.
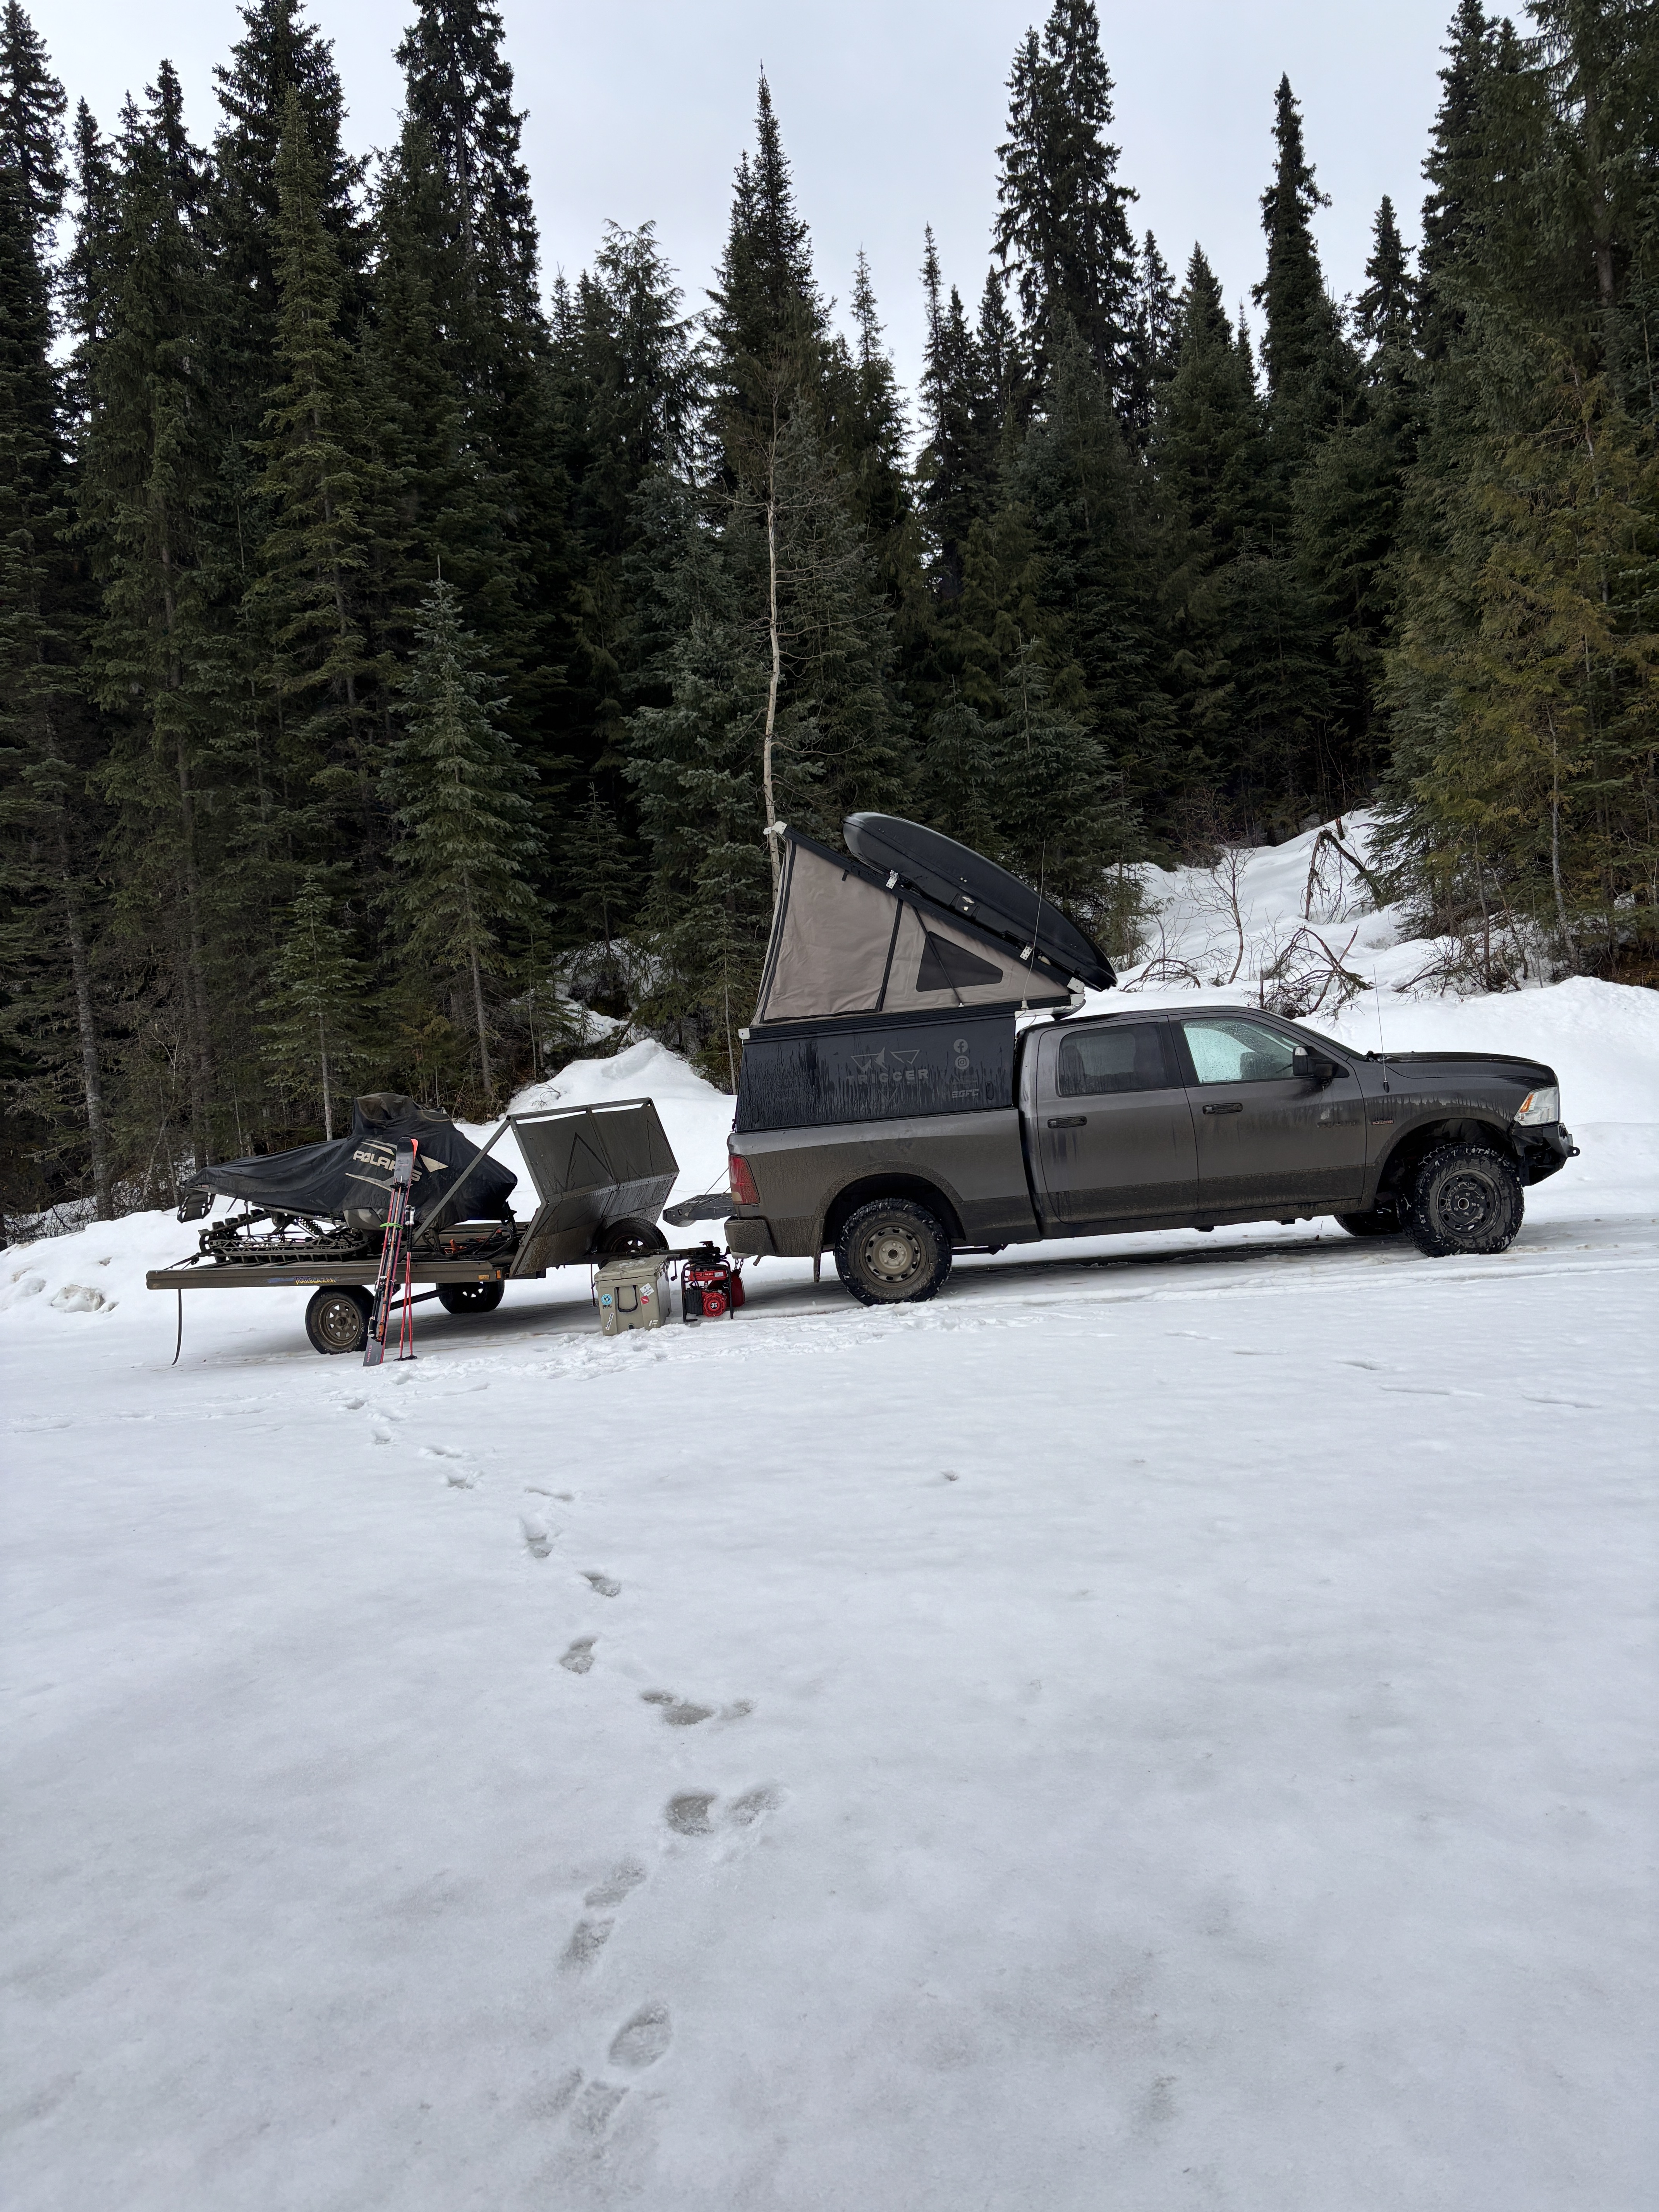
Trying to get out for one last hurrah!
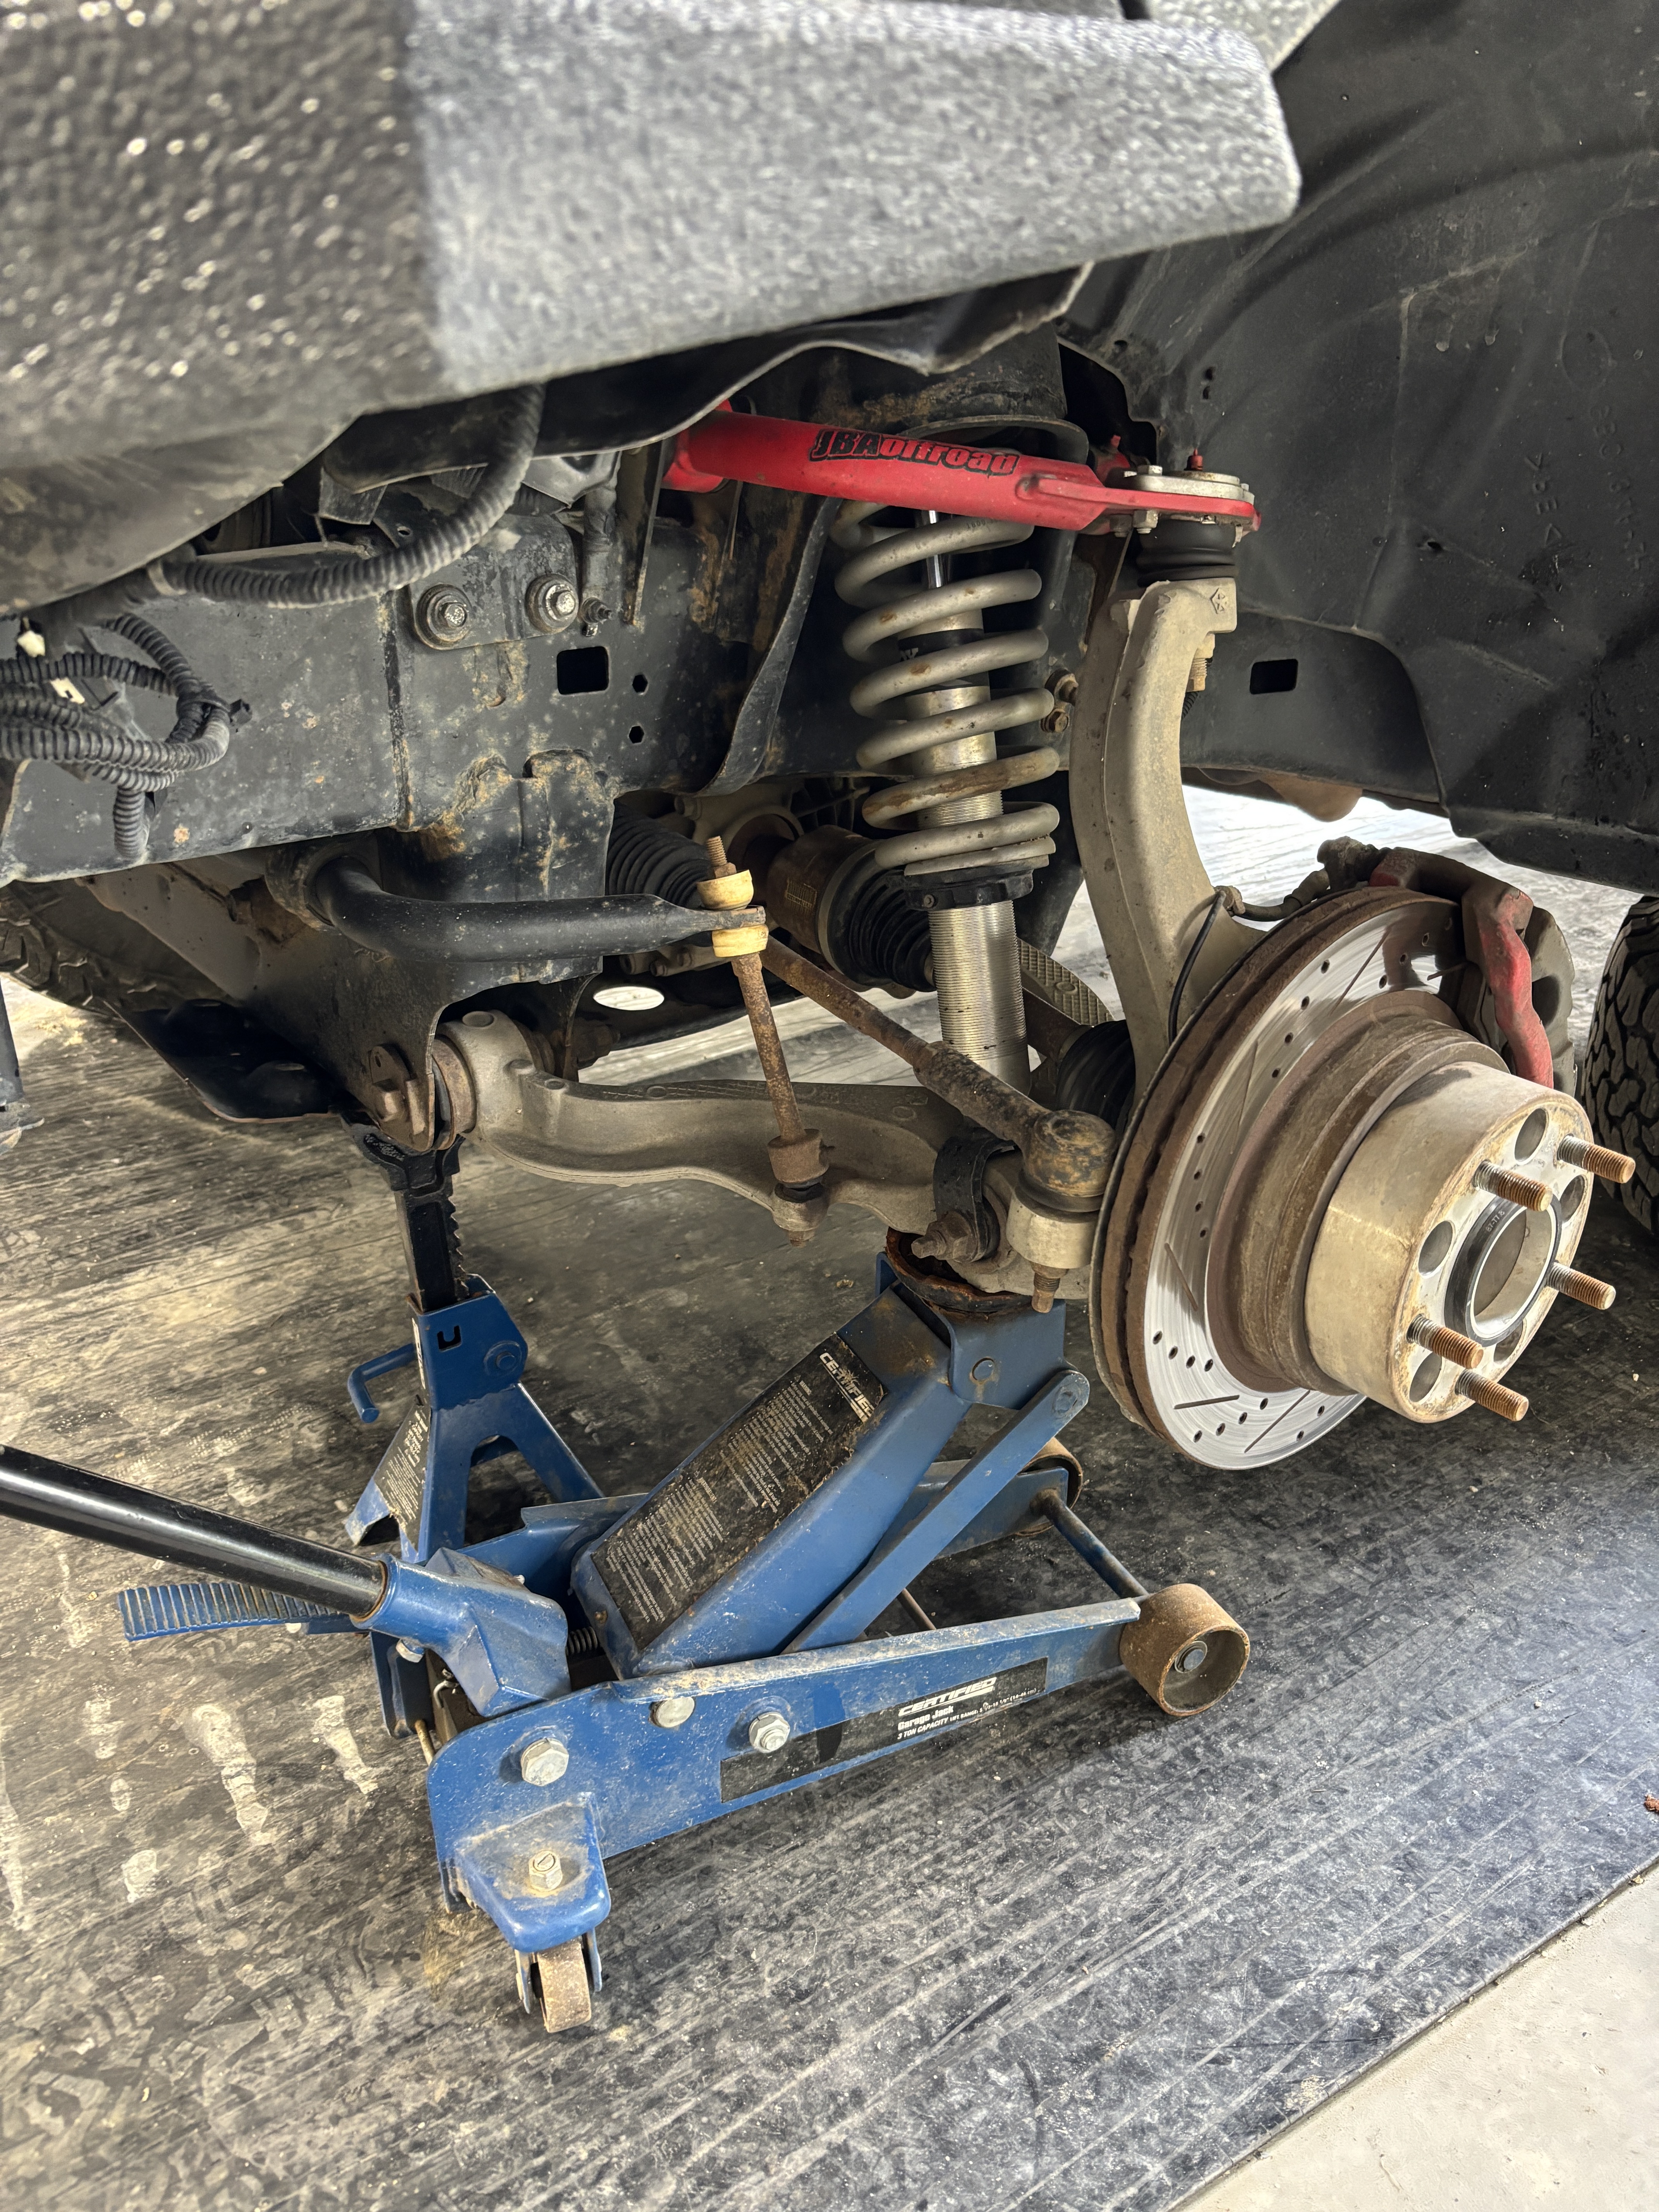
Finally going to tackle replacing the stock Fox spring with an Iron American 4x4 Constant load spring.
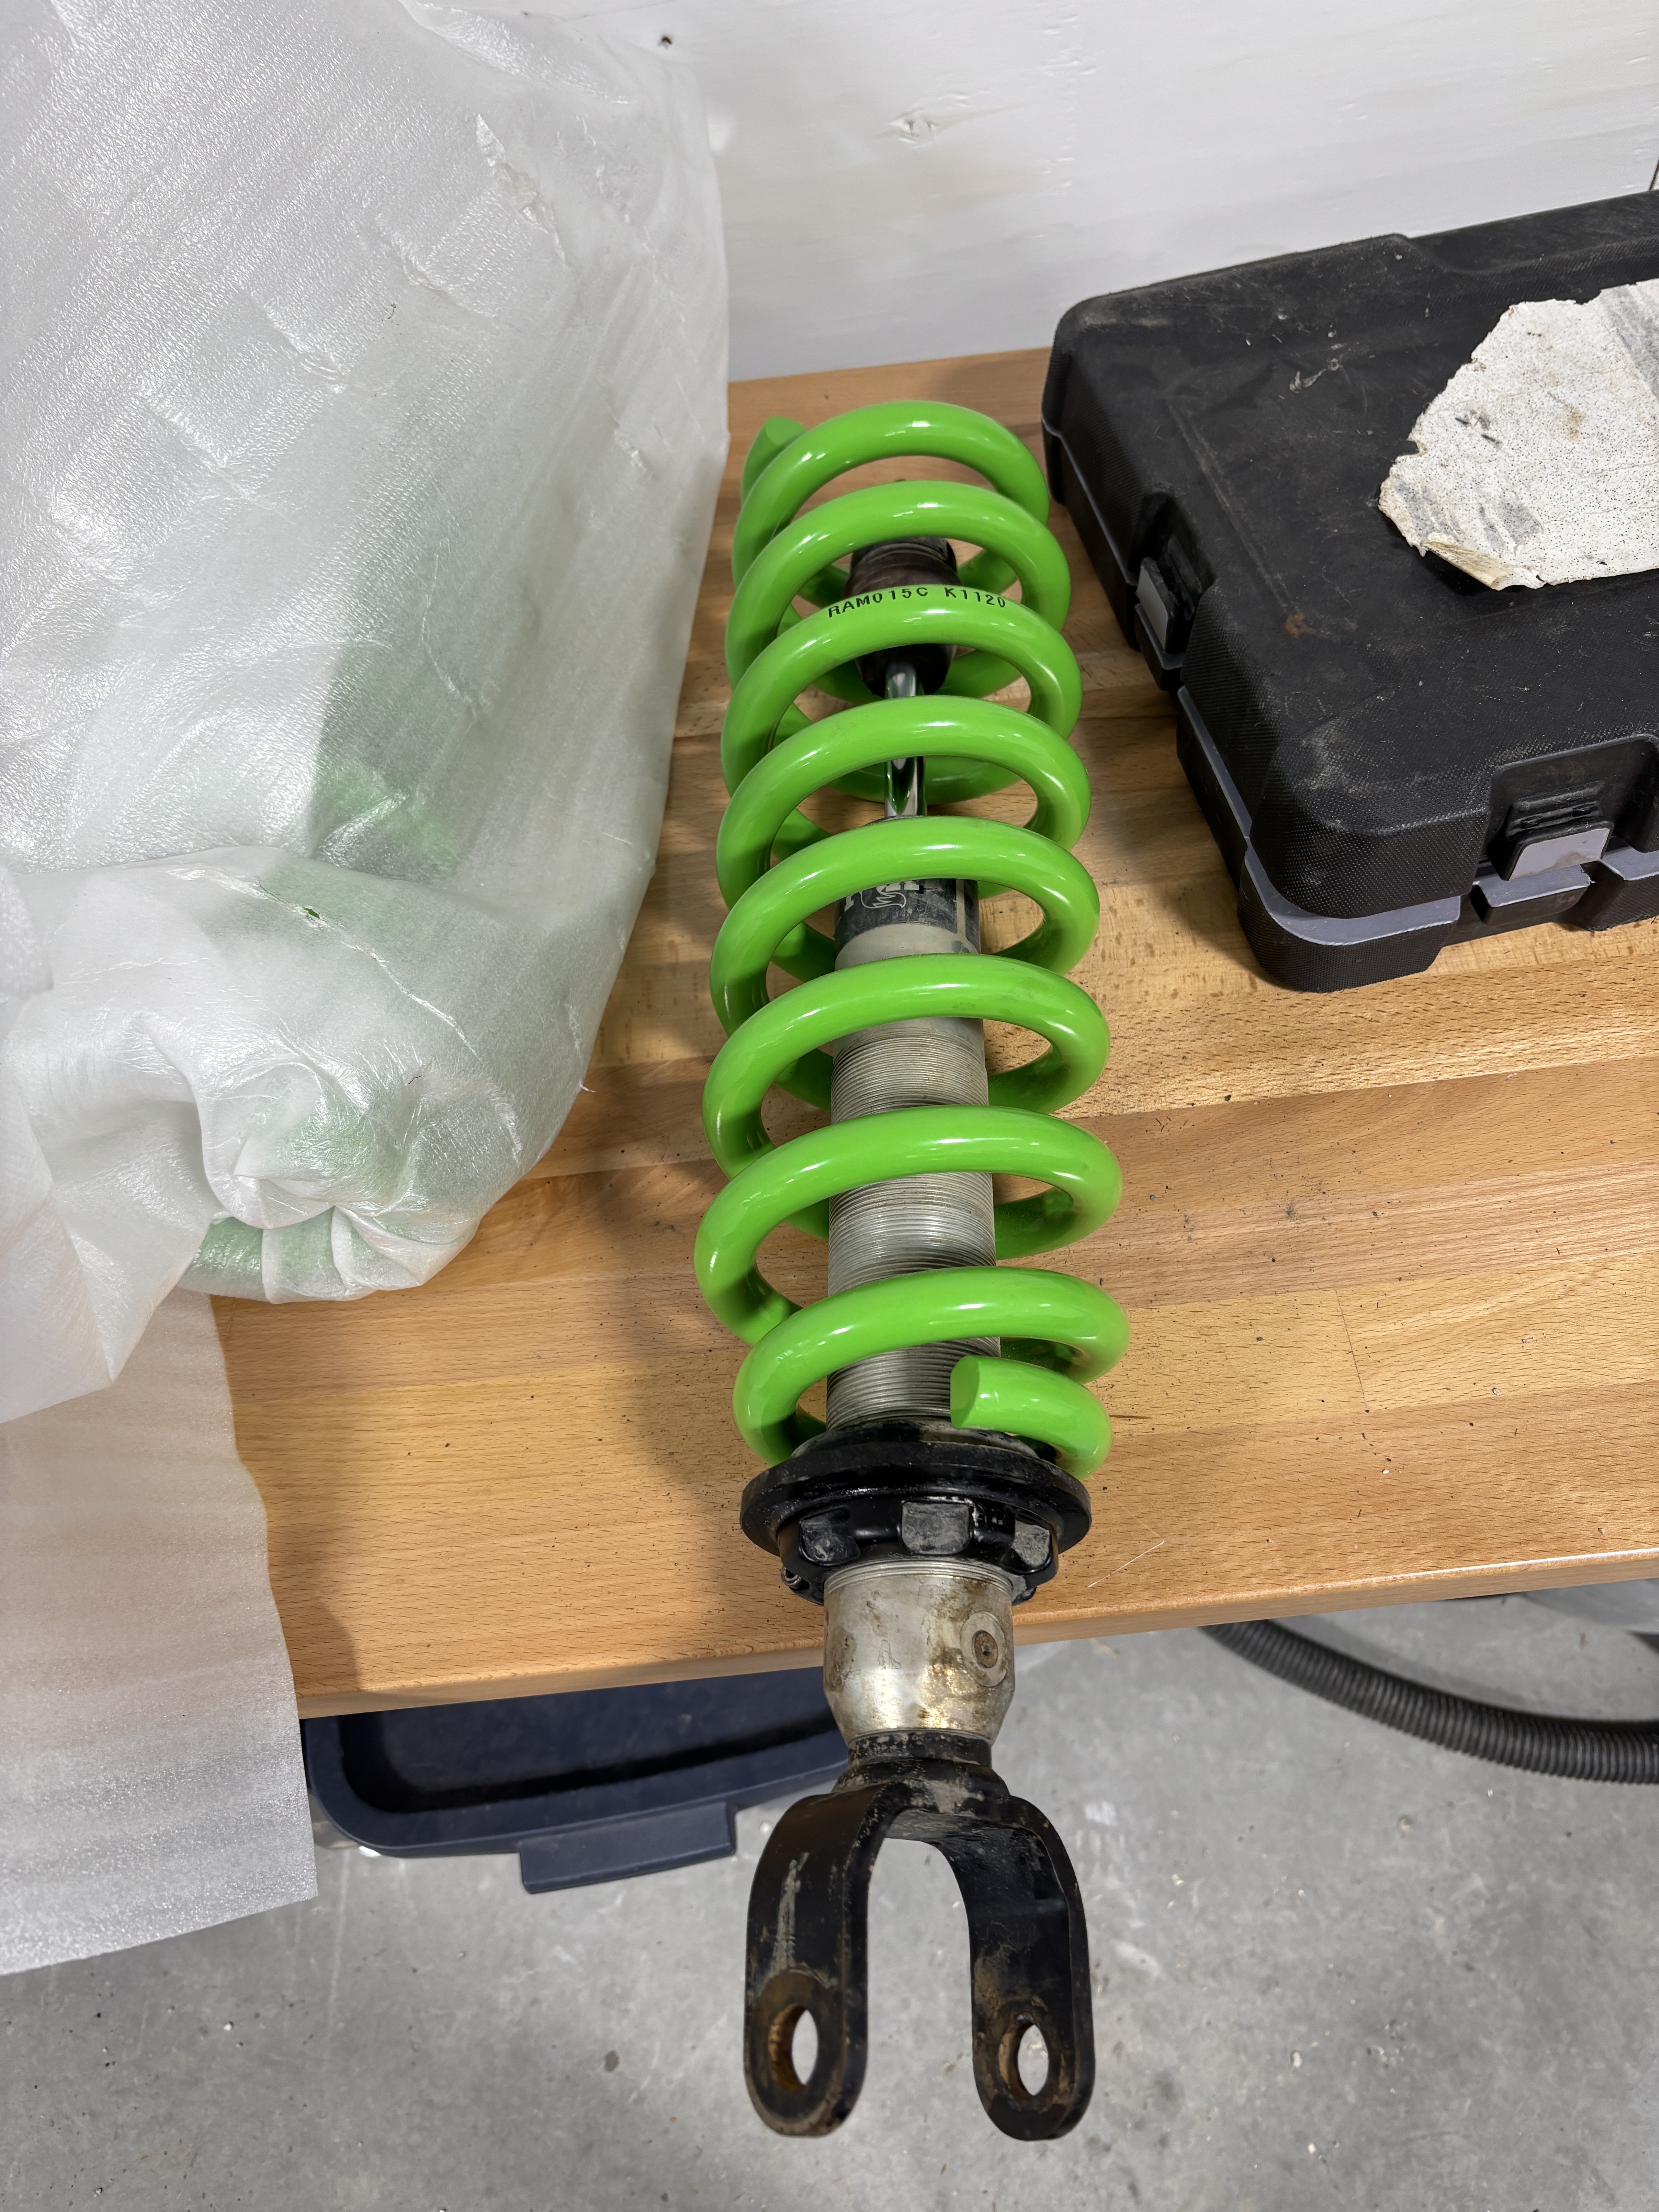
Here is the spring installed on the shock body
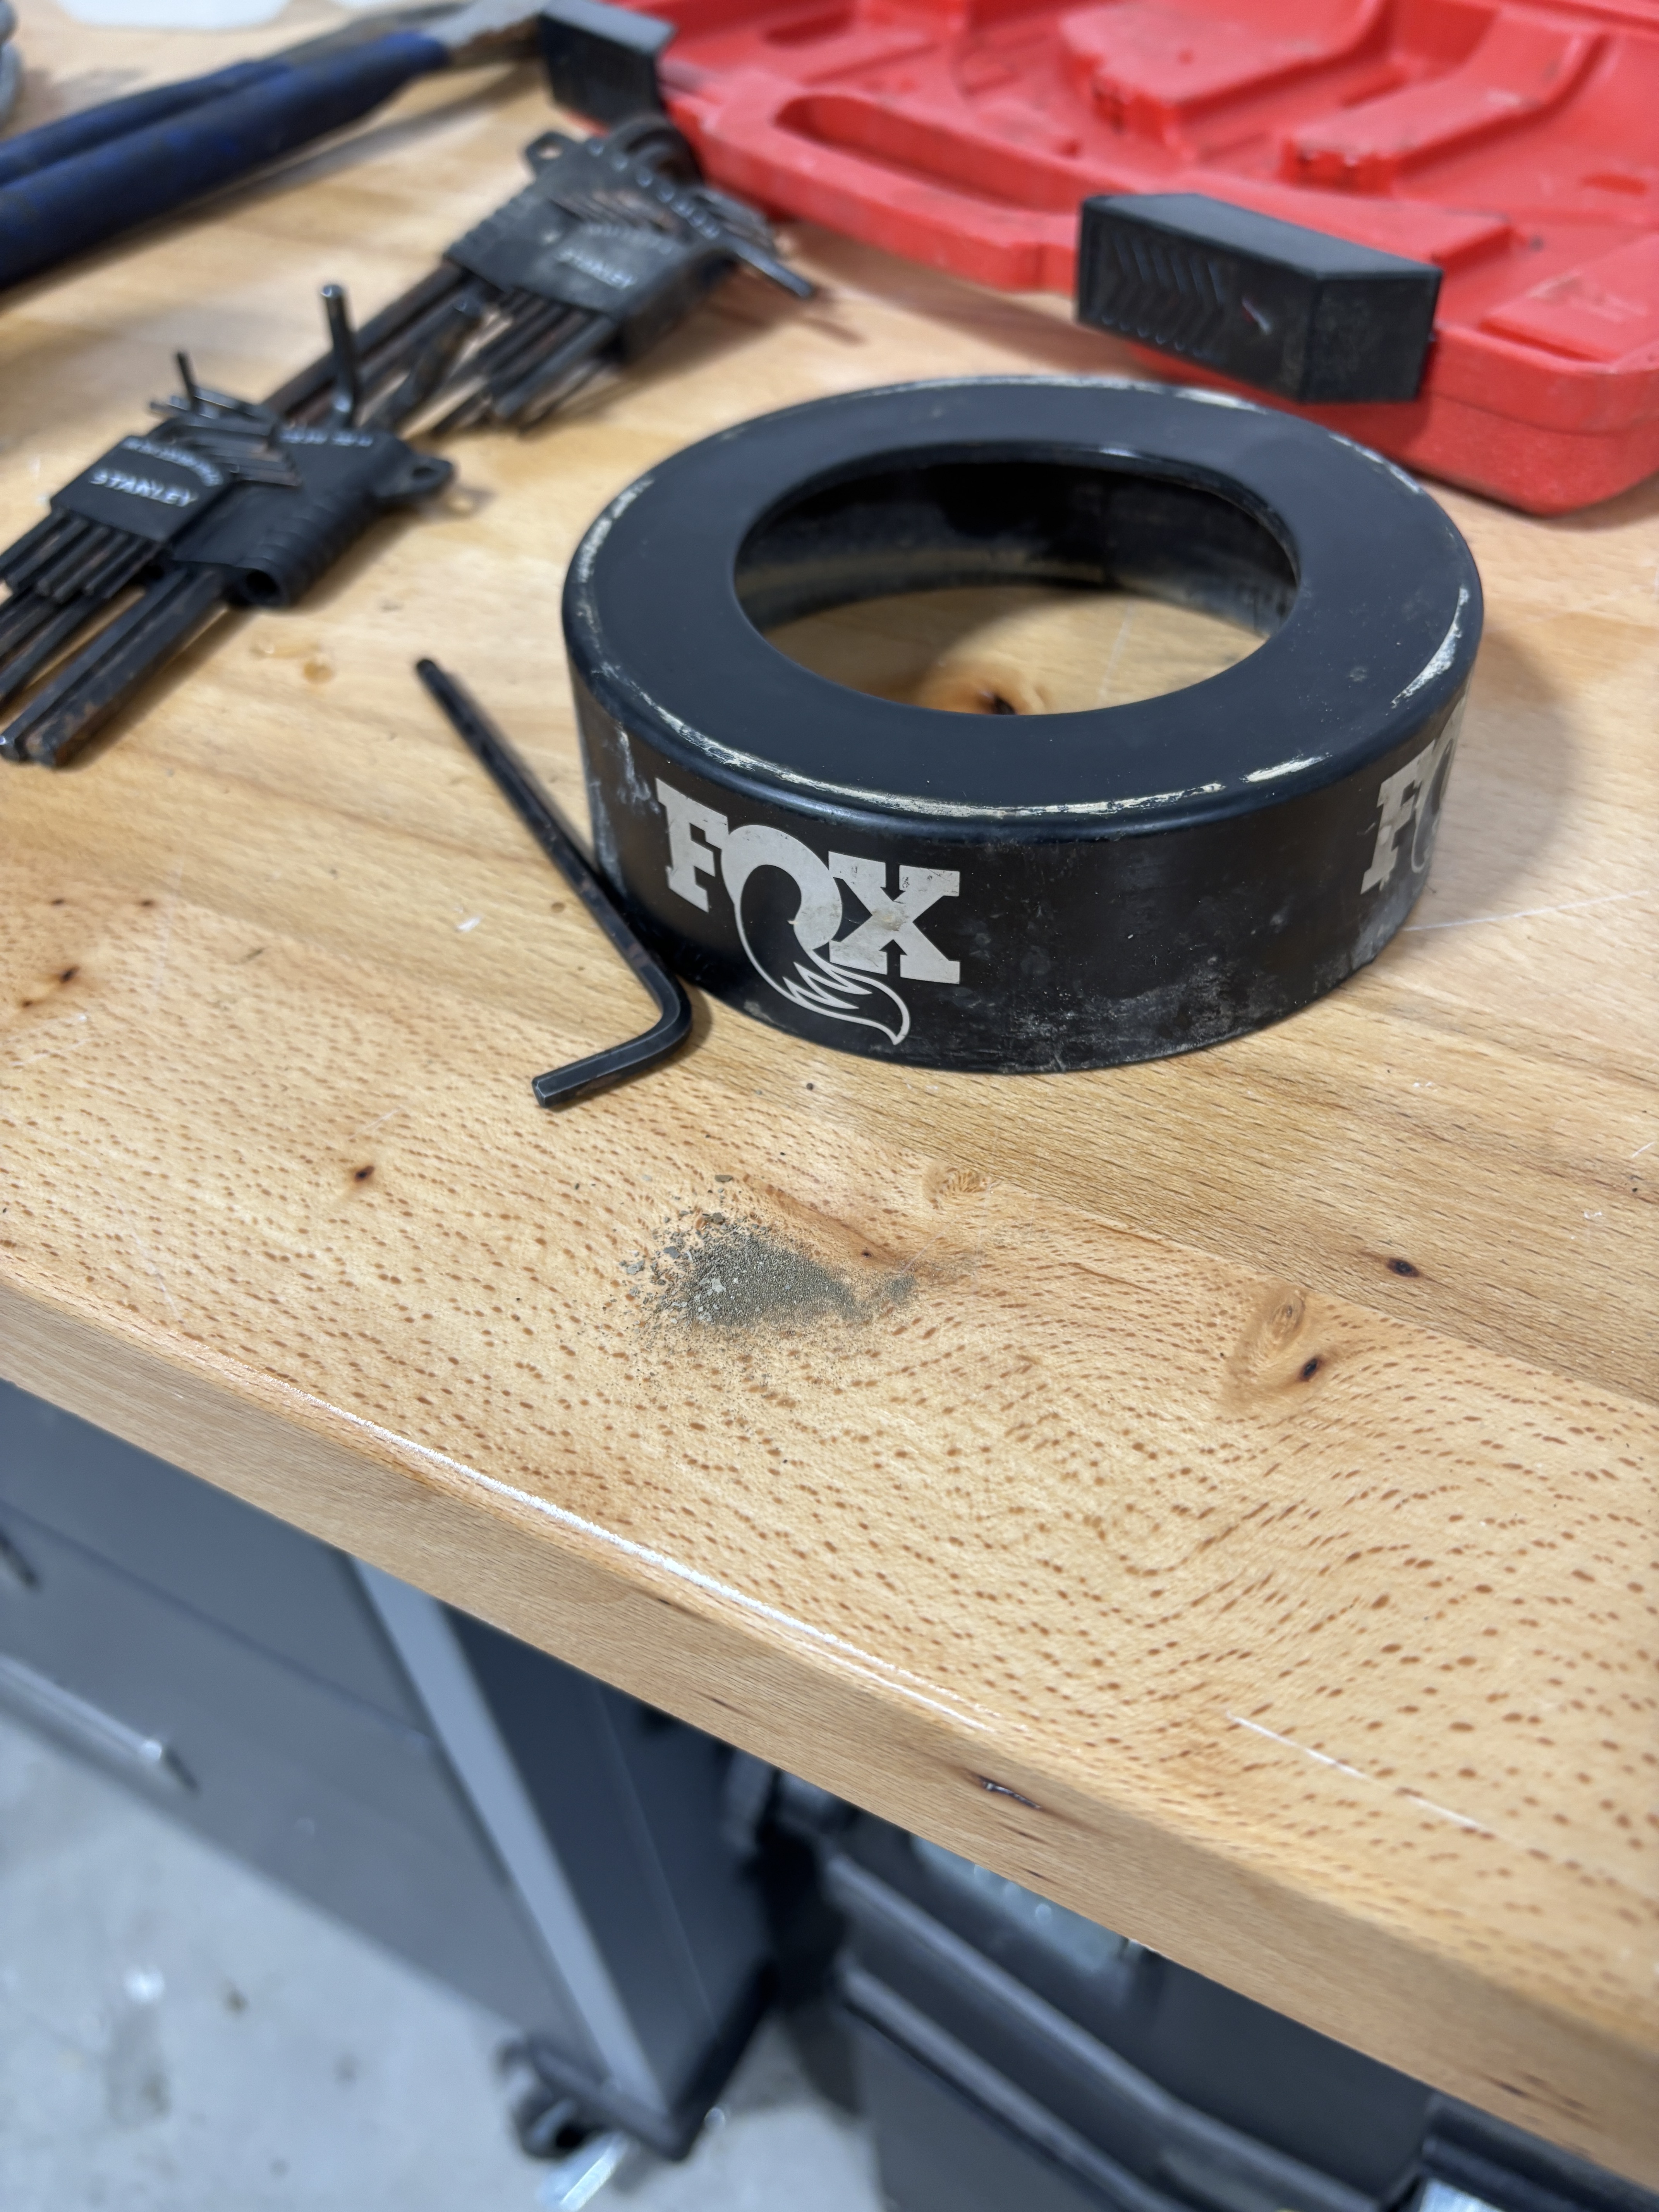
Turns out the new spring is too big for this collar. So off it goes.
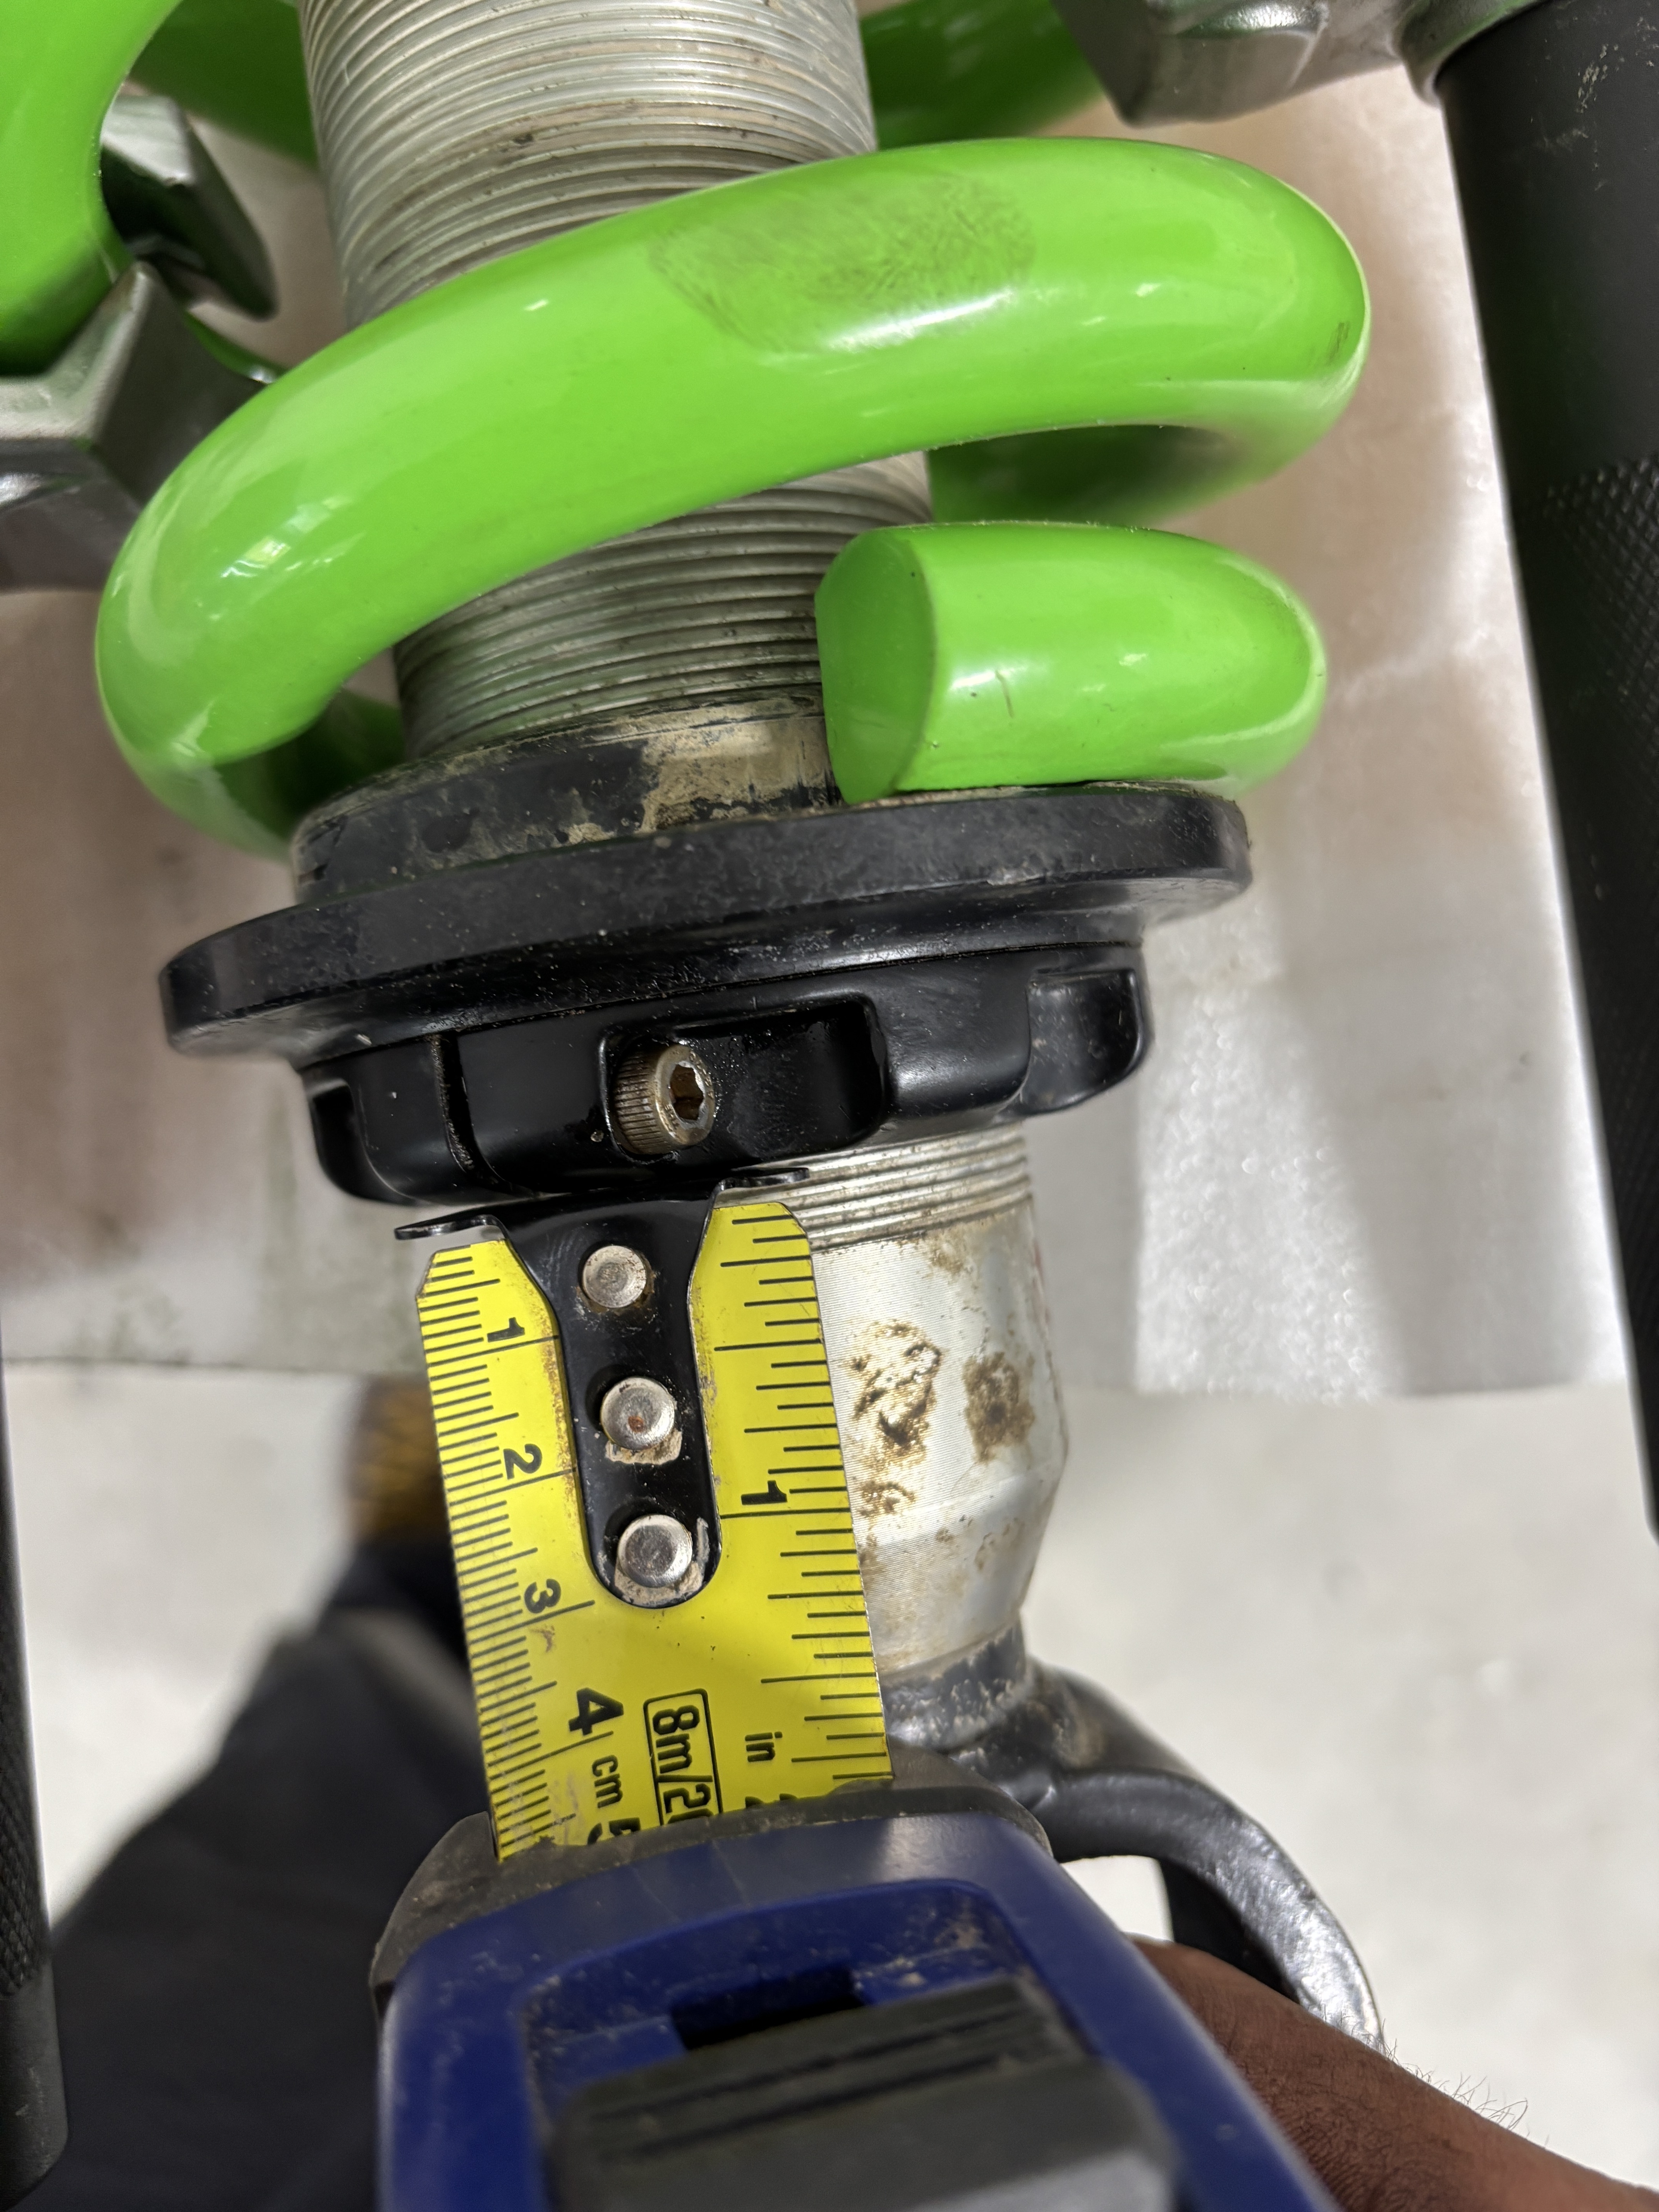
1/4” is 0” of pre-load. I settled on 2 1/4 “ of pre load. I think I could go to 2 1/2” and that will bring the truck back up to where I had it.
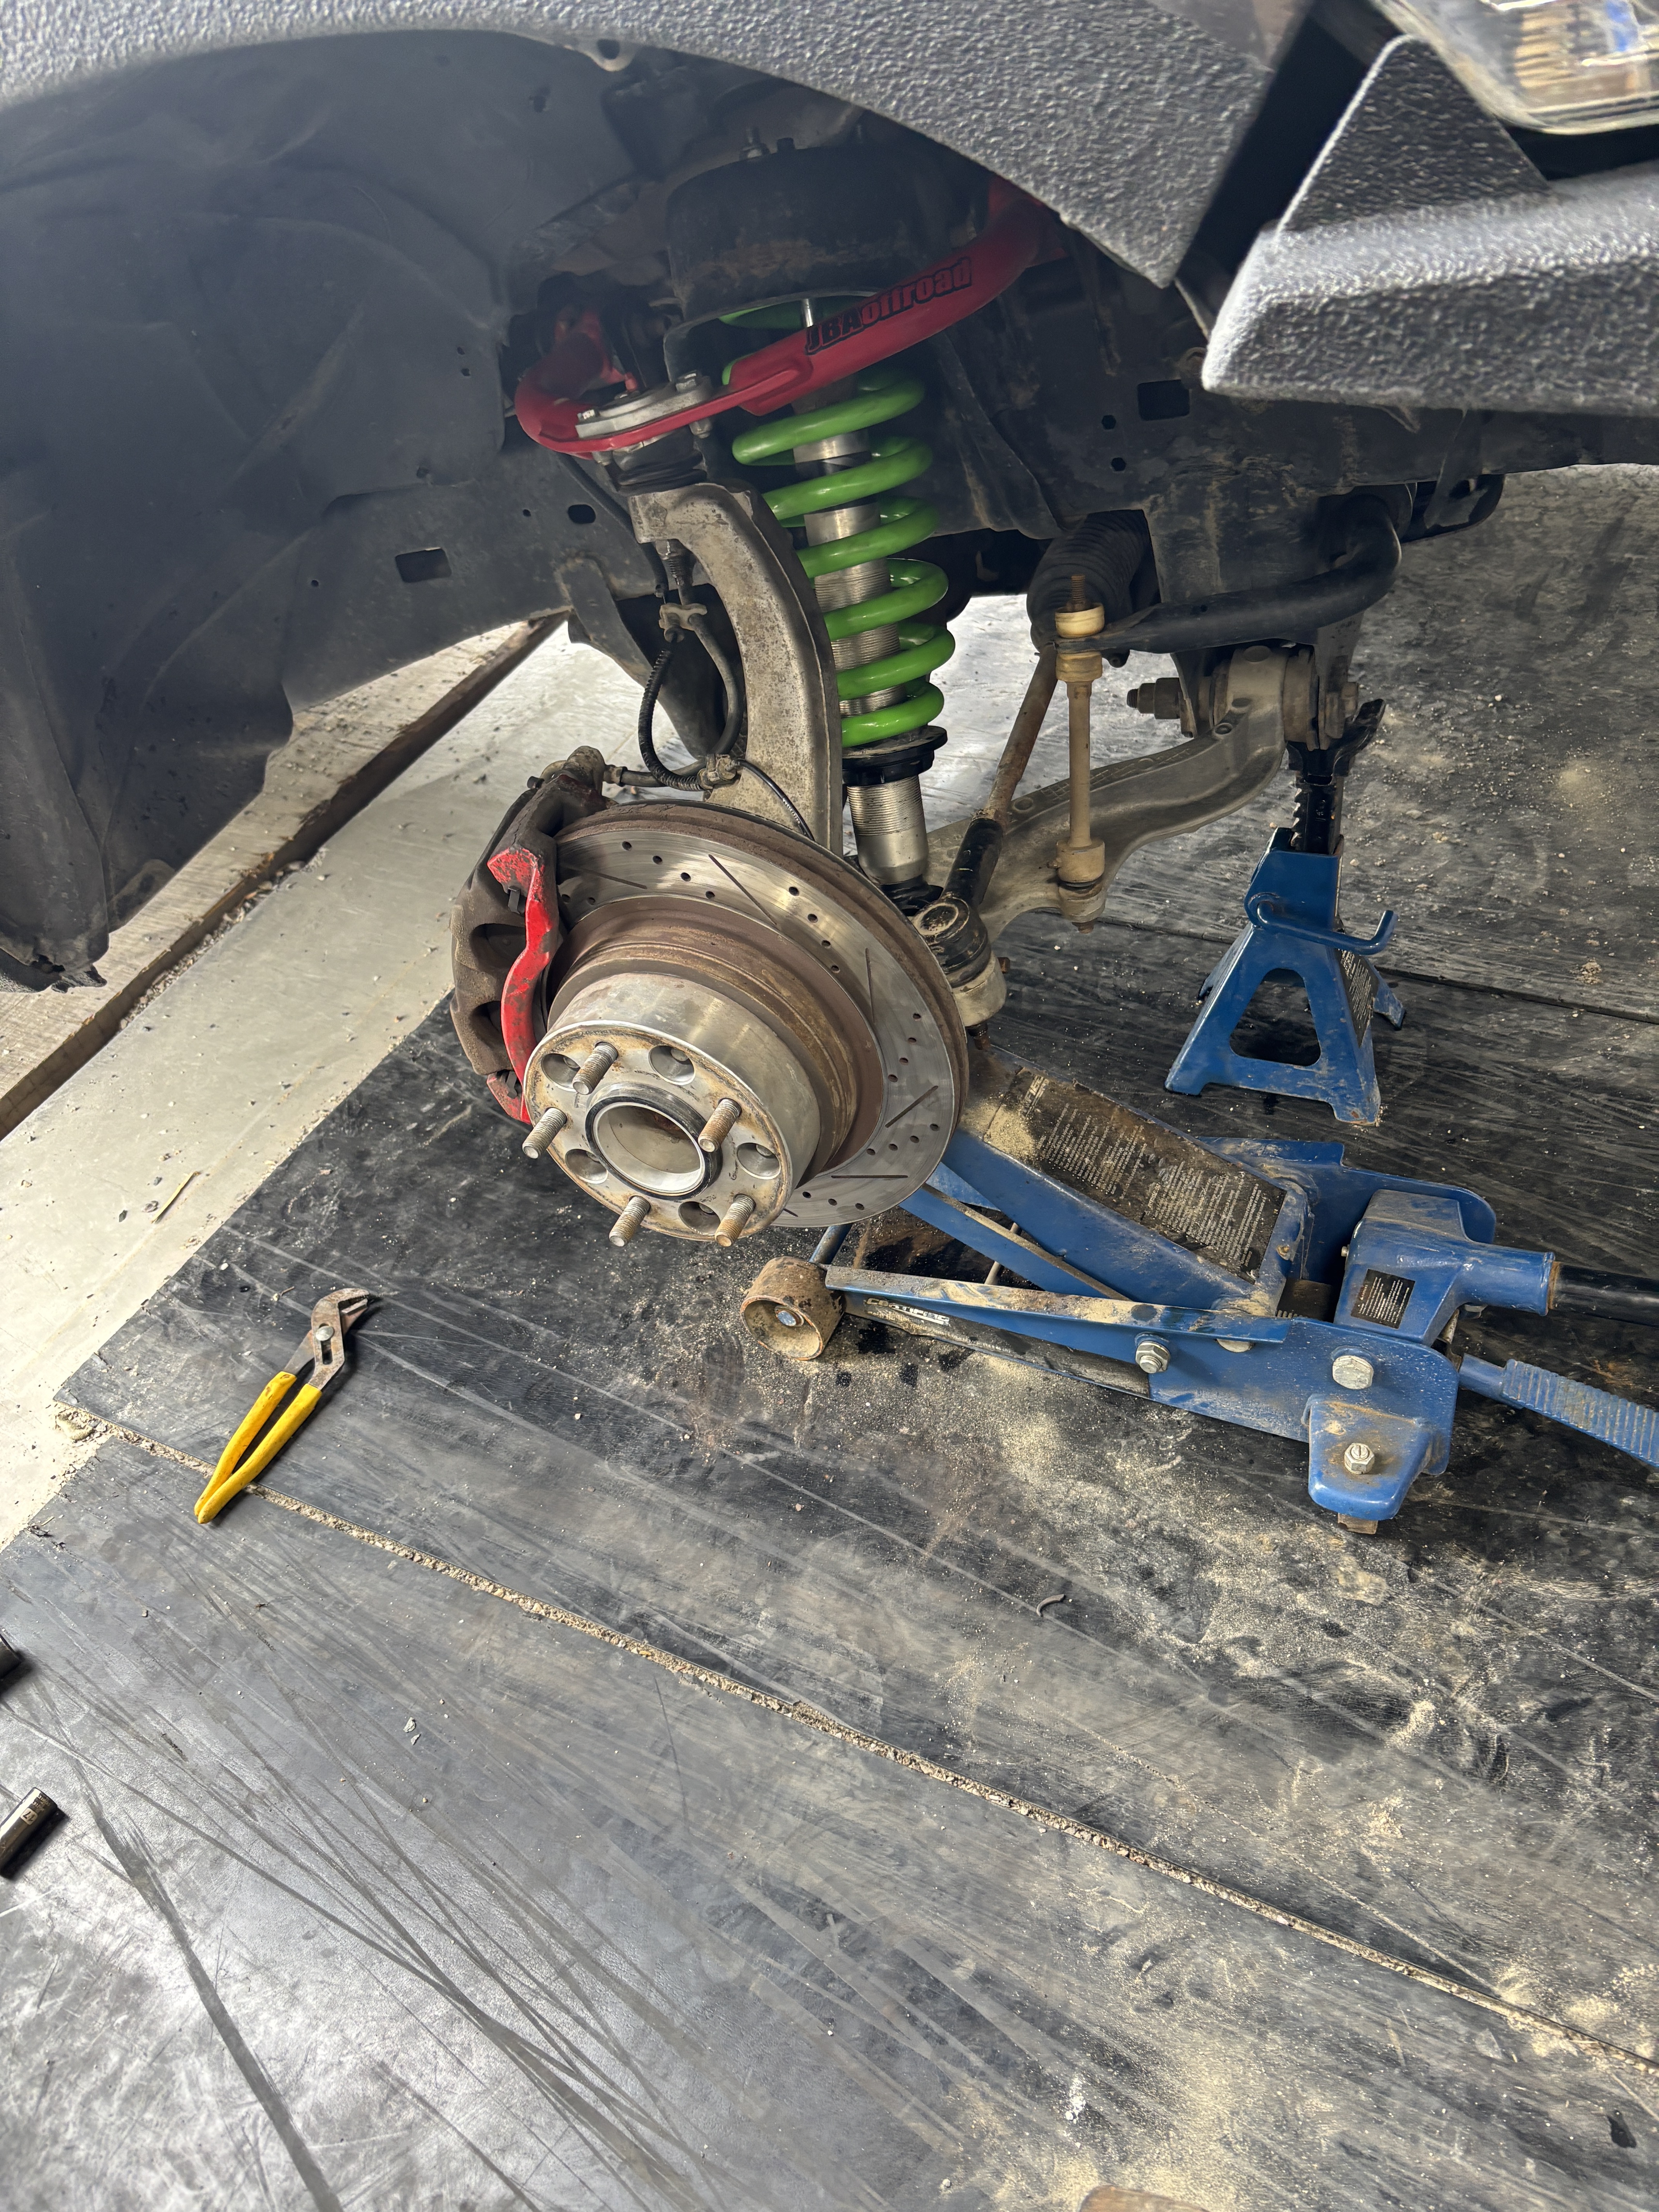
Trouble is, you have to tear down the front end every time in order to adjust it. I also had to do my pads because I haven’t done an alignment yet. So that’s a shitty lesson to learn. Not only do you burn your tires out…. Oh well, I think the front end is done now. So I need to get it to a shop to see if they can get the lower control arm bolts free.
That’s been my winter. Now it’s soccer season with the boys and the GFC is still a hit at the pitch between games.
He is back! That crown is incredible.
Ok, 3rd time is the charm.
Pulled the front end apart to adjust the preload to 2.75”
I’ve got it down to pull it all apart and back together in an hour and a half.
