Are you talking the Eco-worthy ones? I should’ve gone that rout. Or stuck with the gel batteries. The problem I’m finding is that I’m going to end up killing this battery sooner because I’ll mainly be using it in the winter. I can’t keep it warm enough to charge without getting warnings.
It would be worth a shot with the eco-worthy’s just to see if they are any good.
Wooo that was a whirlwind afternoon. I’ll be picking dirt out of my eyes for days. Laying on my back under a dirty truck fishing cabling through.
But…. As messy as it looks, I got my DC to DC Charger installed. I just need to decide with I want my D+ connected to a switch or the ignition. Thoughts? Or do both?
I went with a switch because it doesn’t need to charge the battery full time. I usually don’t charge while driving at night because of the extra lights running. I just don’t want to push the alternator to the extreme. in the summer is a different story because of the fridge
Yeah, if you’re rely’ing on it for heat and food…I’d spend the money on a good one. It seems like the key to this battery is having the current to turn the battery heater on. Also, using a DC to DC charging system coupled with the solar.
I was really trying to avoid all this, and be self sufficient; but the diesel heater seems to really punish the battery. Especially if it’s below zero all day long everyday.
Got everything buttoned up yesterday with the Dc to dc charger. Going to put everything through the paces this weekend. Although, it’s only going to be around -9C for the low.
Got the Prototype 2’s from @jedgar so I’ll get a chance to test and compare. So far, I noticed little difference in the two on the side panel. So I’m my case I think the prototype 1’s have a better look since they’re a little more flush.
Looking good!.. what did you use to attach the plates to cover 2.0? mine doesn’t seem to stick out as much and I don’t actually see the silver of the plates at all and I think thats part of why it looks less flush
Well things are going to slow down for me for a bit. But here’s a little vid from camping in -32C. Did end up in the cabin later because the battery didn’t recharge enough to risk another night.
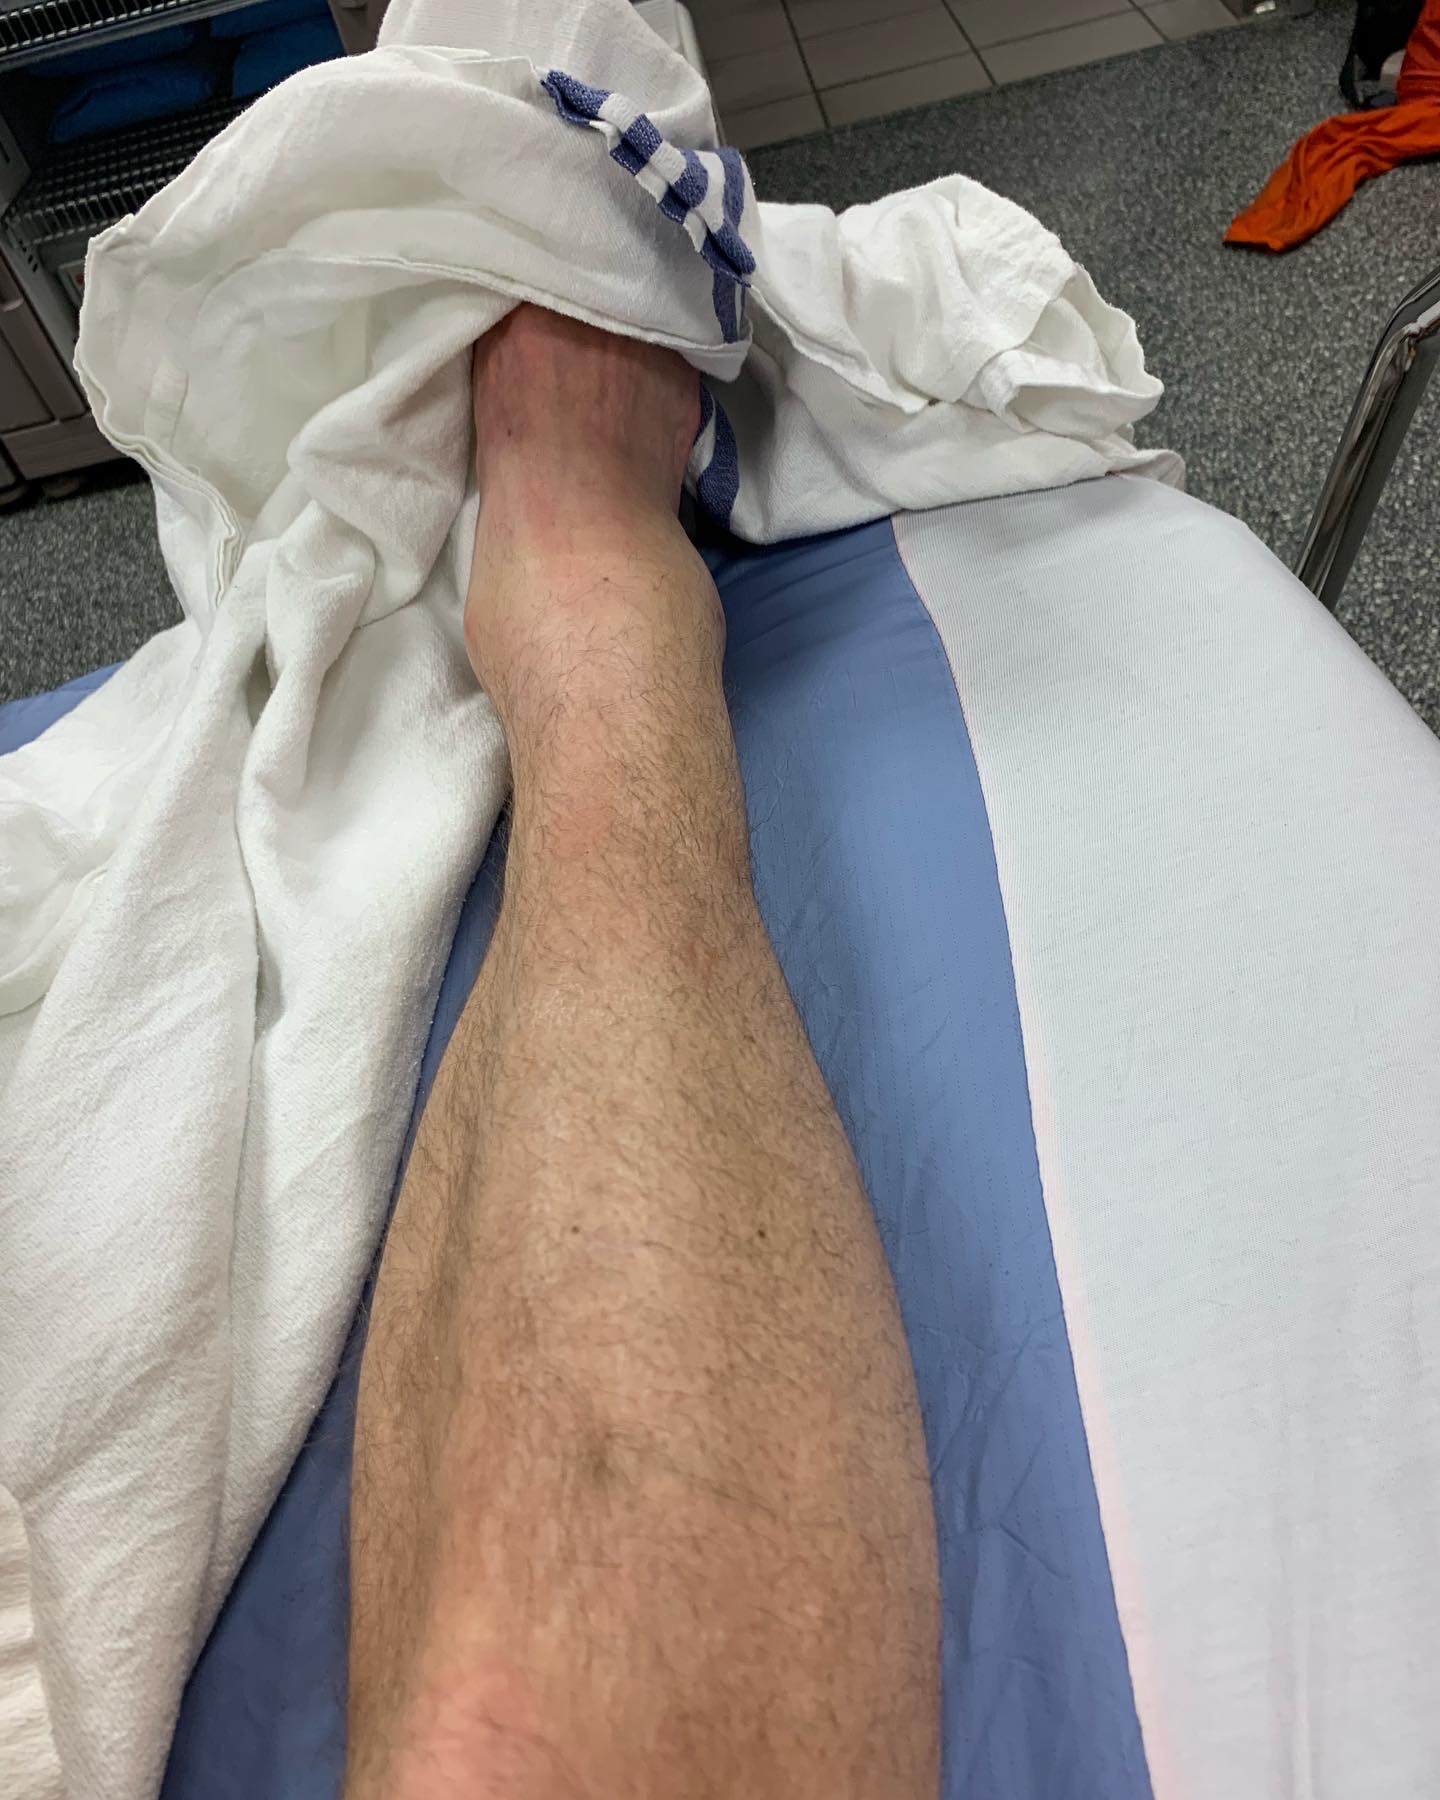
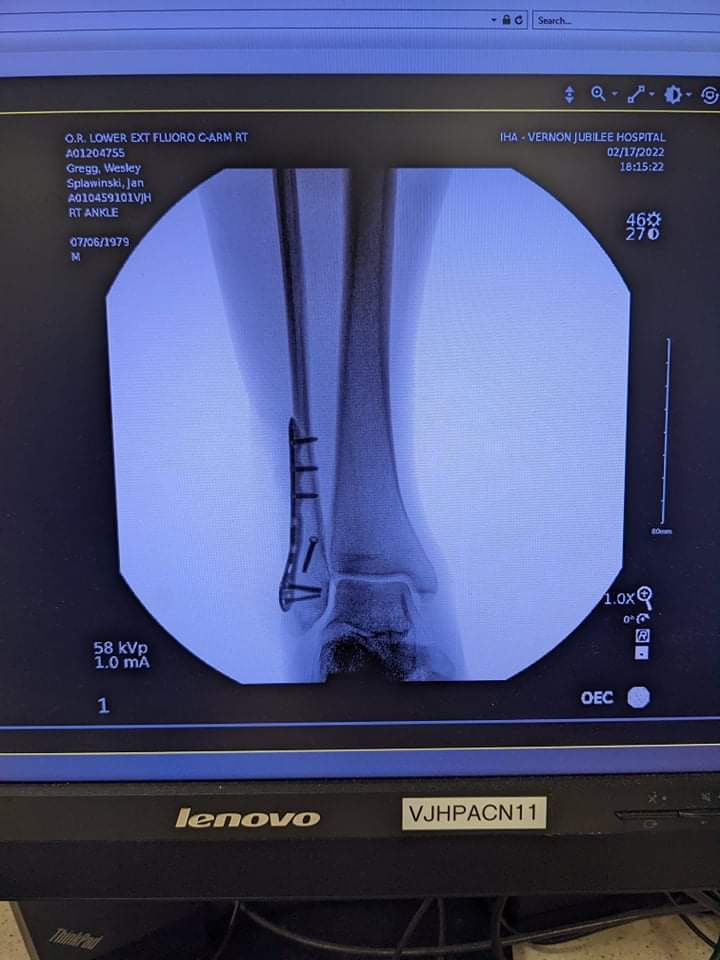
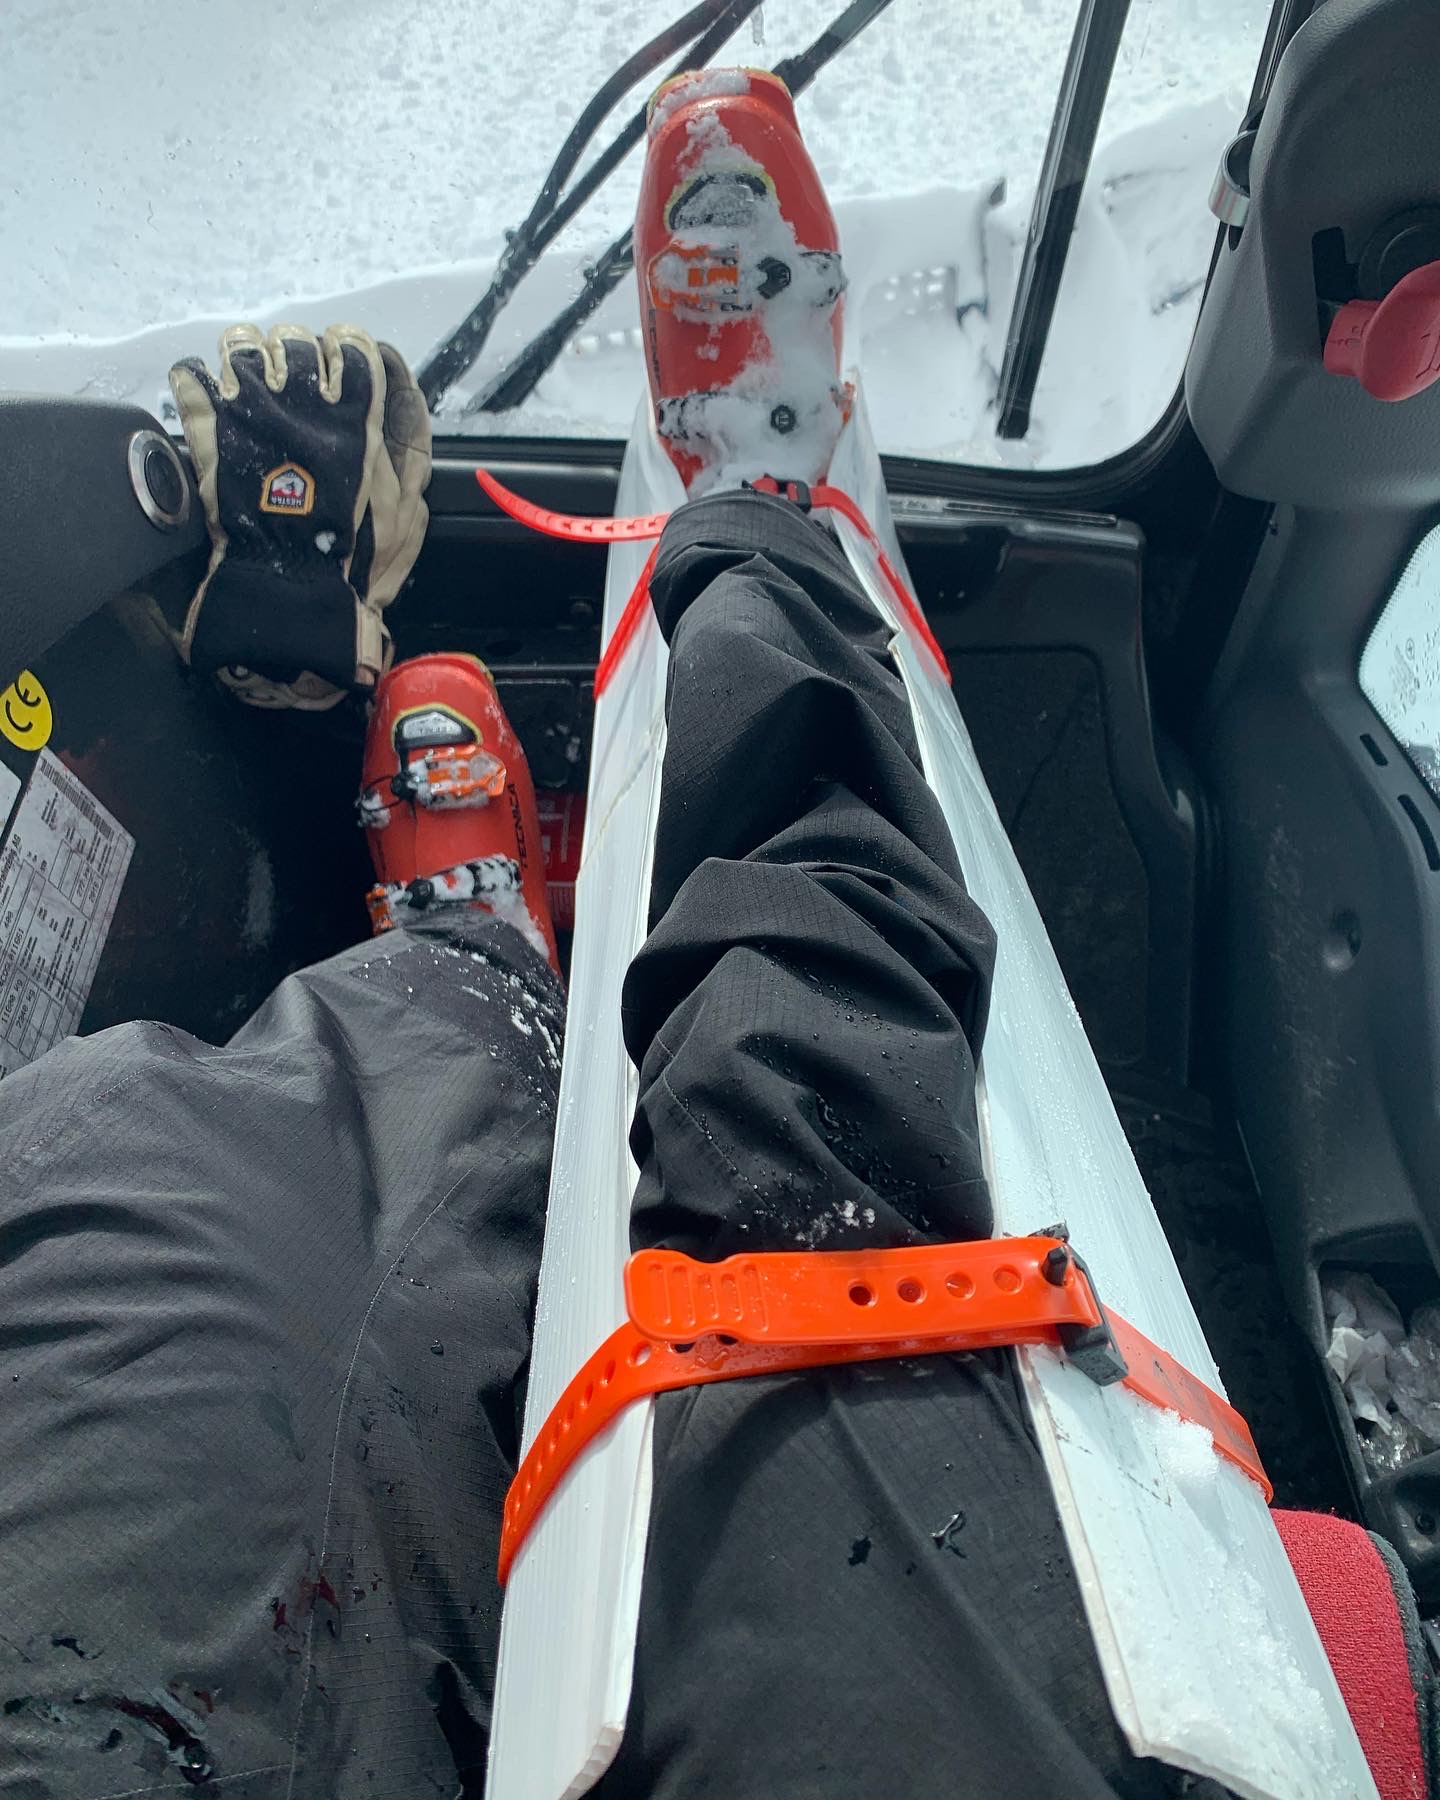
Then what’s going to slow the build down is having suffered a broken ankle tail guiding.
Didn’t even think about the T-case and the front; but those are on the list next. Next on the list was the Sway Bar end links. I had some blown out bushings and worn bushings. Replaced those with some serviceable MOOG’s
Stoked the way those turned out with the BFG’s. I’ve confirmed now though that I need new brake calipers or rebuild the ones I have. Probably go with some PowerStop performance calipers.
But next up will be tackling the chase lights and re-thinking the aux distribution under the hood.
Toying with the idea of these lights. Originally I wanted them as chase lights, but I didn’t like the way they looked. I’m not 100% sold on these or that position. I really need to find a light that will fit in the super tight space on the front of the bumper. It’s supposed to house a 3”x3” pod, but I found out that on the Ram the headlight bracket is in the way.
Here’s a pic of what I managed to get done today hoping around.
I realized after some neighbours came by and geeked out on the camper that I could lower the lights further and flip them upside down. Not the best pic, I had to get inside and rest, so I’ll get another one.
What if you flip the lights upside down on this brackets so they don’t protrude from the the top of the camper? Would they still be high enough to cast light over the cab? Then the wiring would loop down instead of up too.