Here to showcase my build focusing on function, affordability, and most importantly, modularity allowing me to go from camper back to work truck in a matter of minutes. I’ve pulled much inspiration from fellow GFC’ers and want to return the favor. Enjoy!
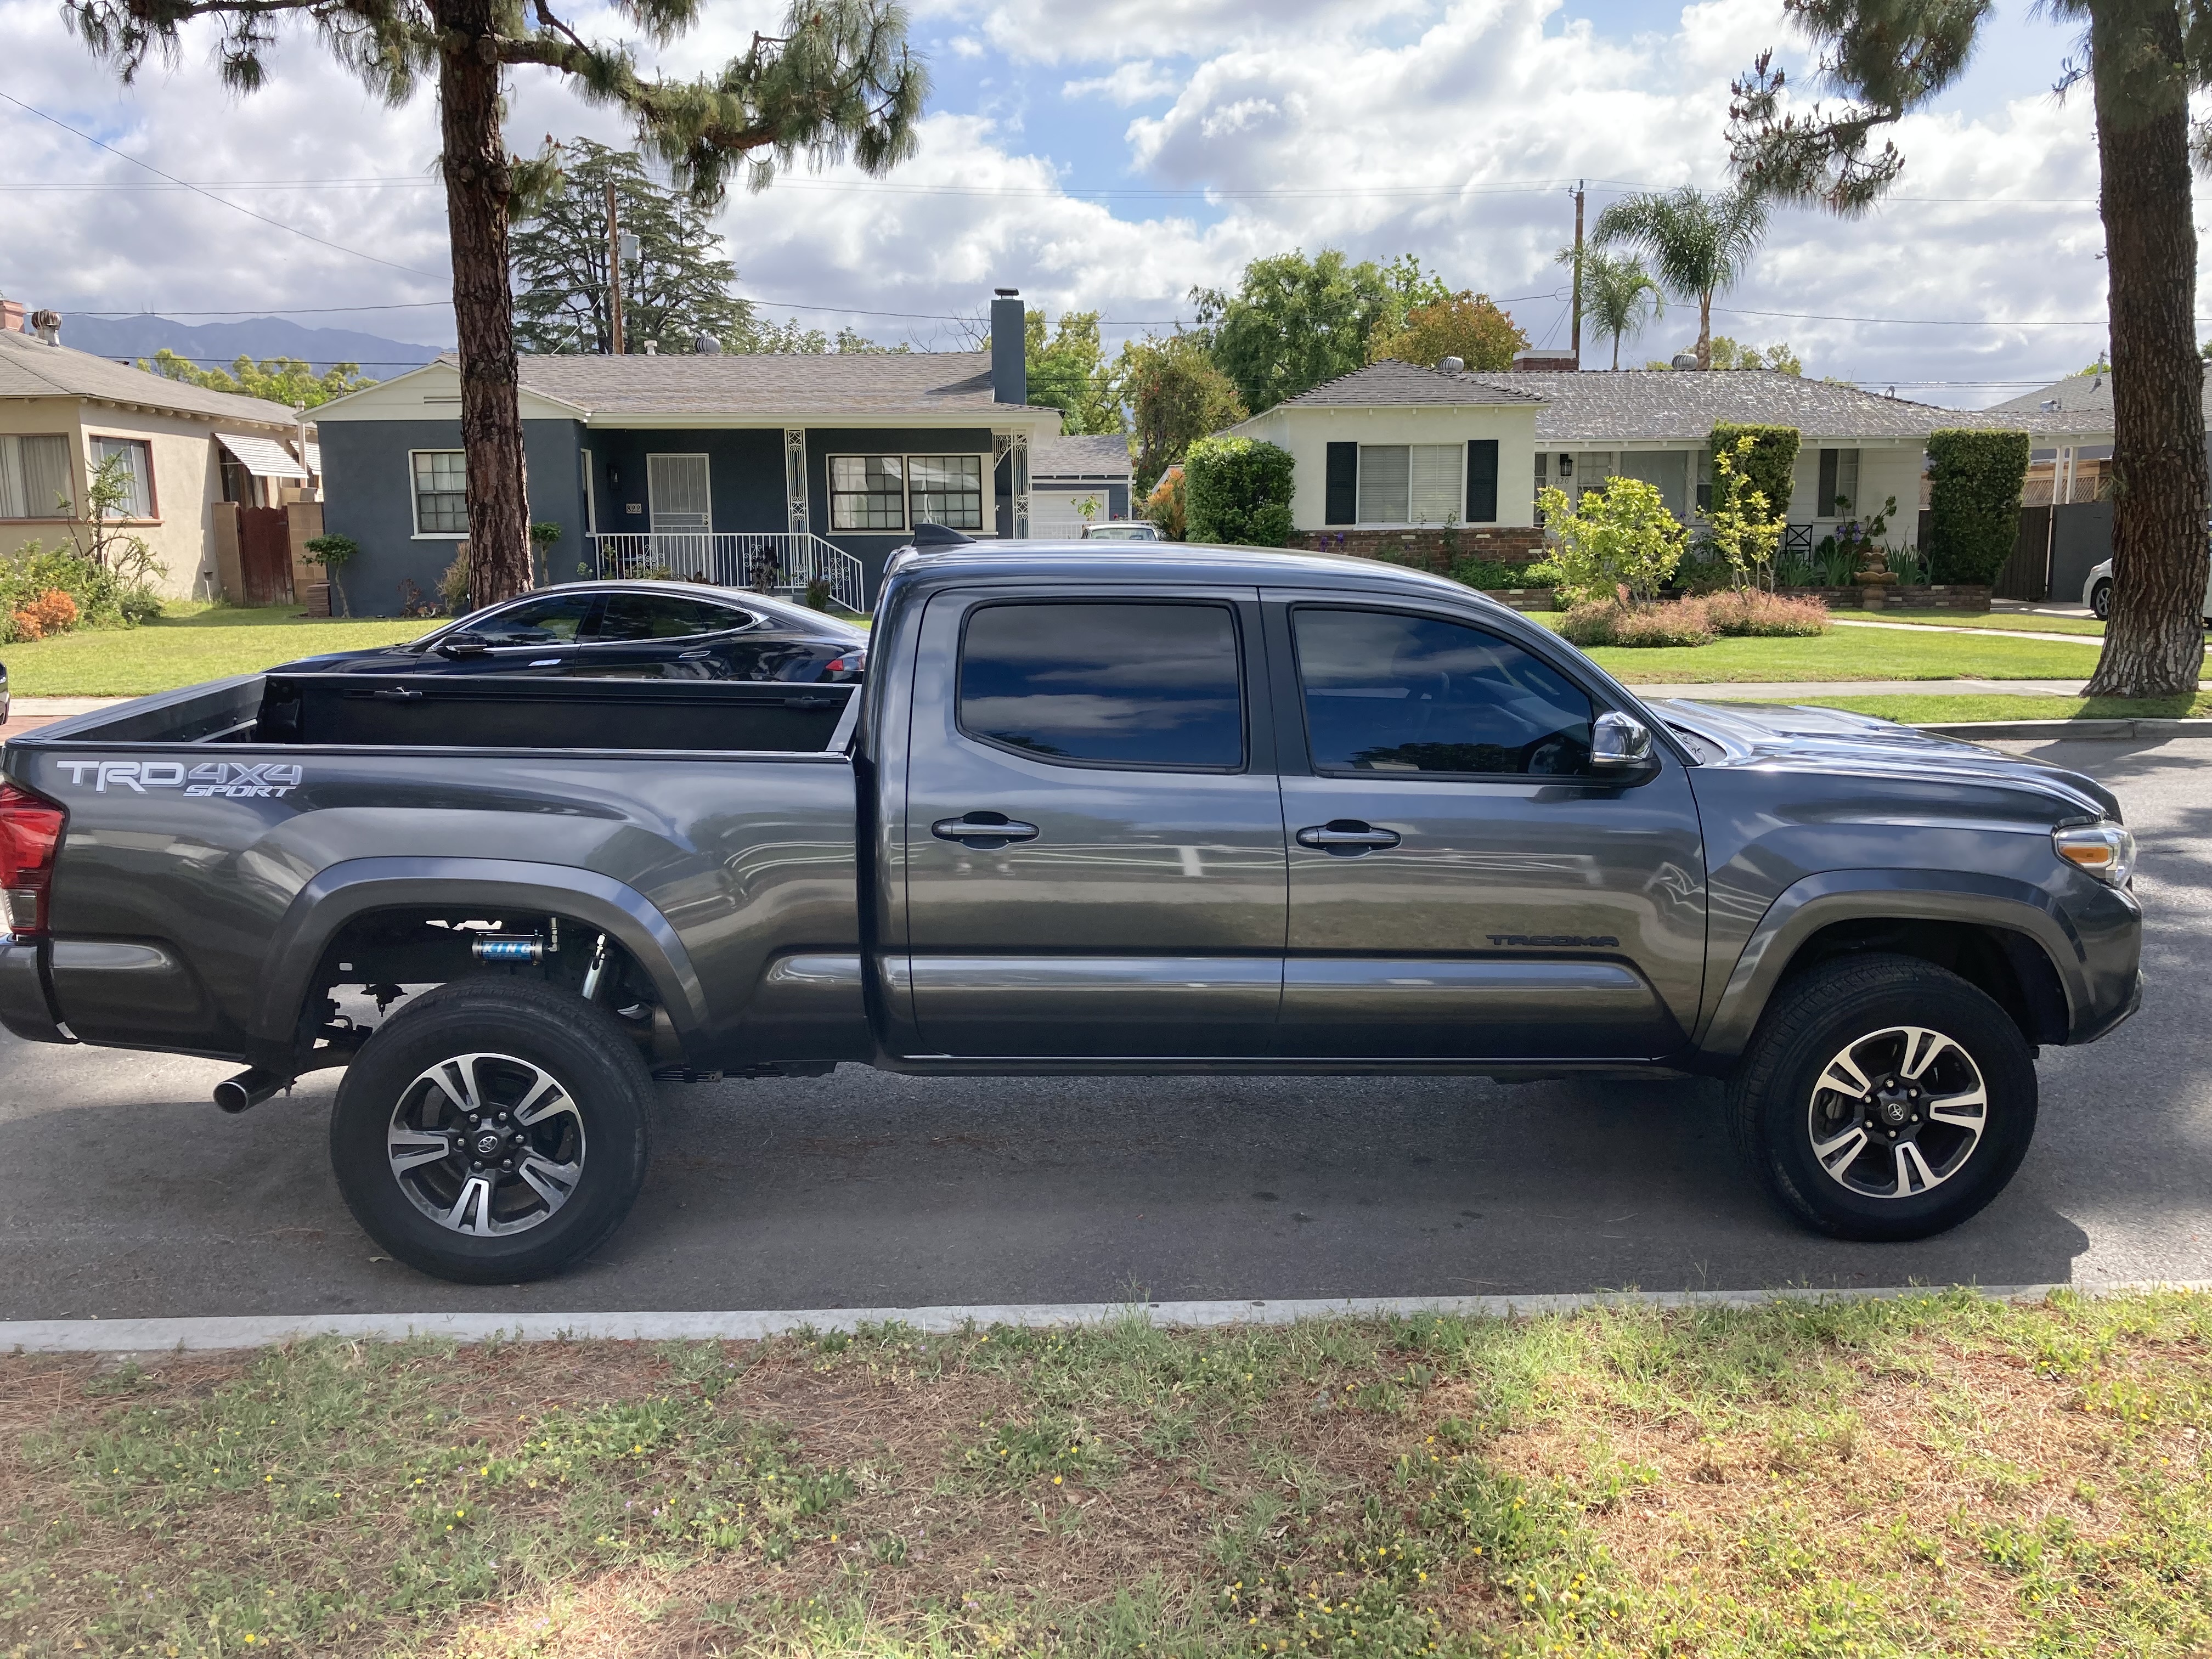
Truck remained in stock form from purchase in 2016 until 2022 when I returned home from deployment to see my neighbor had a GFC, and thus the build began. Suspension was the first to be upgraded.
Suspension:
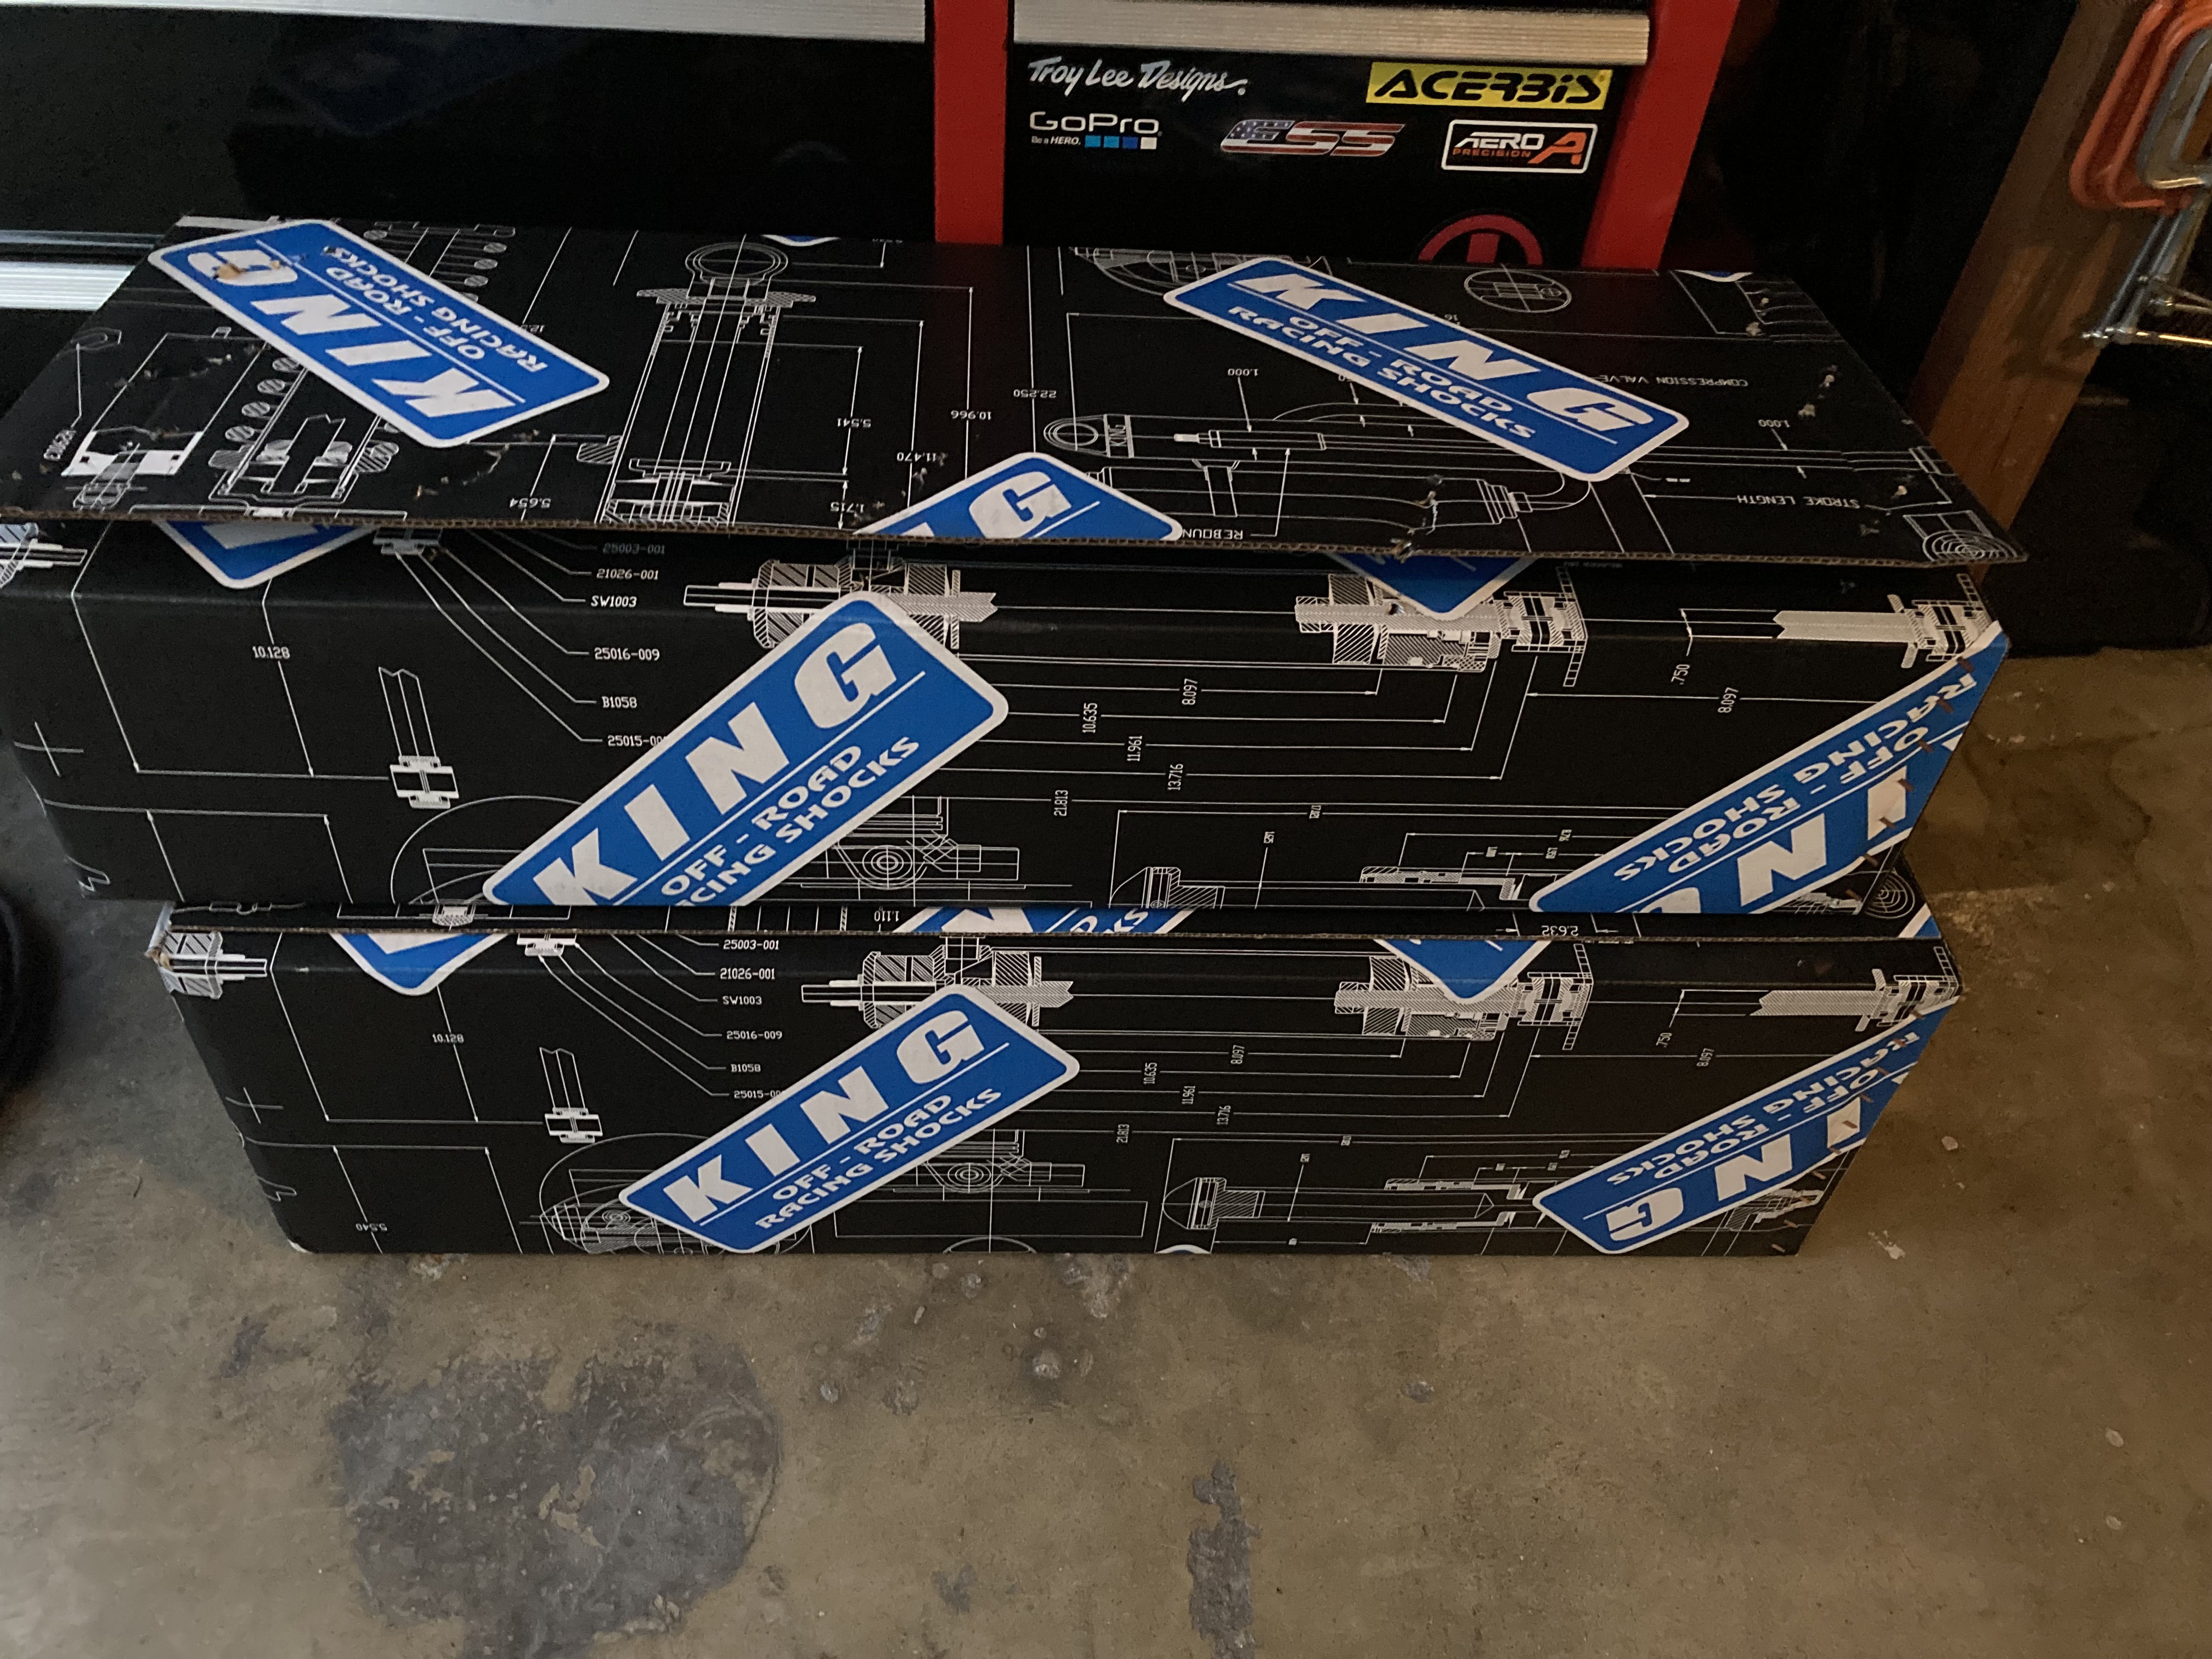
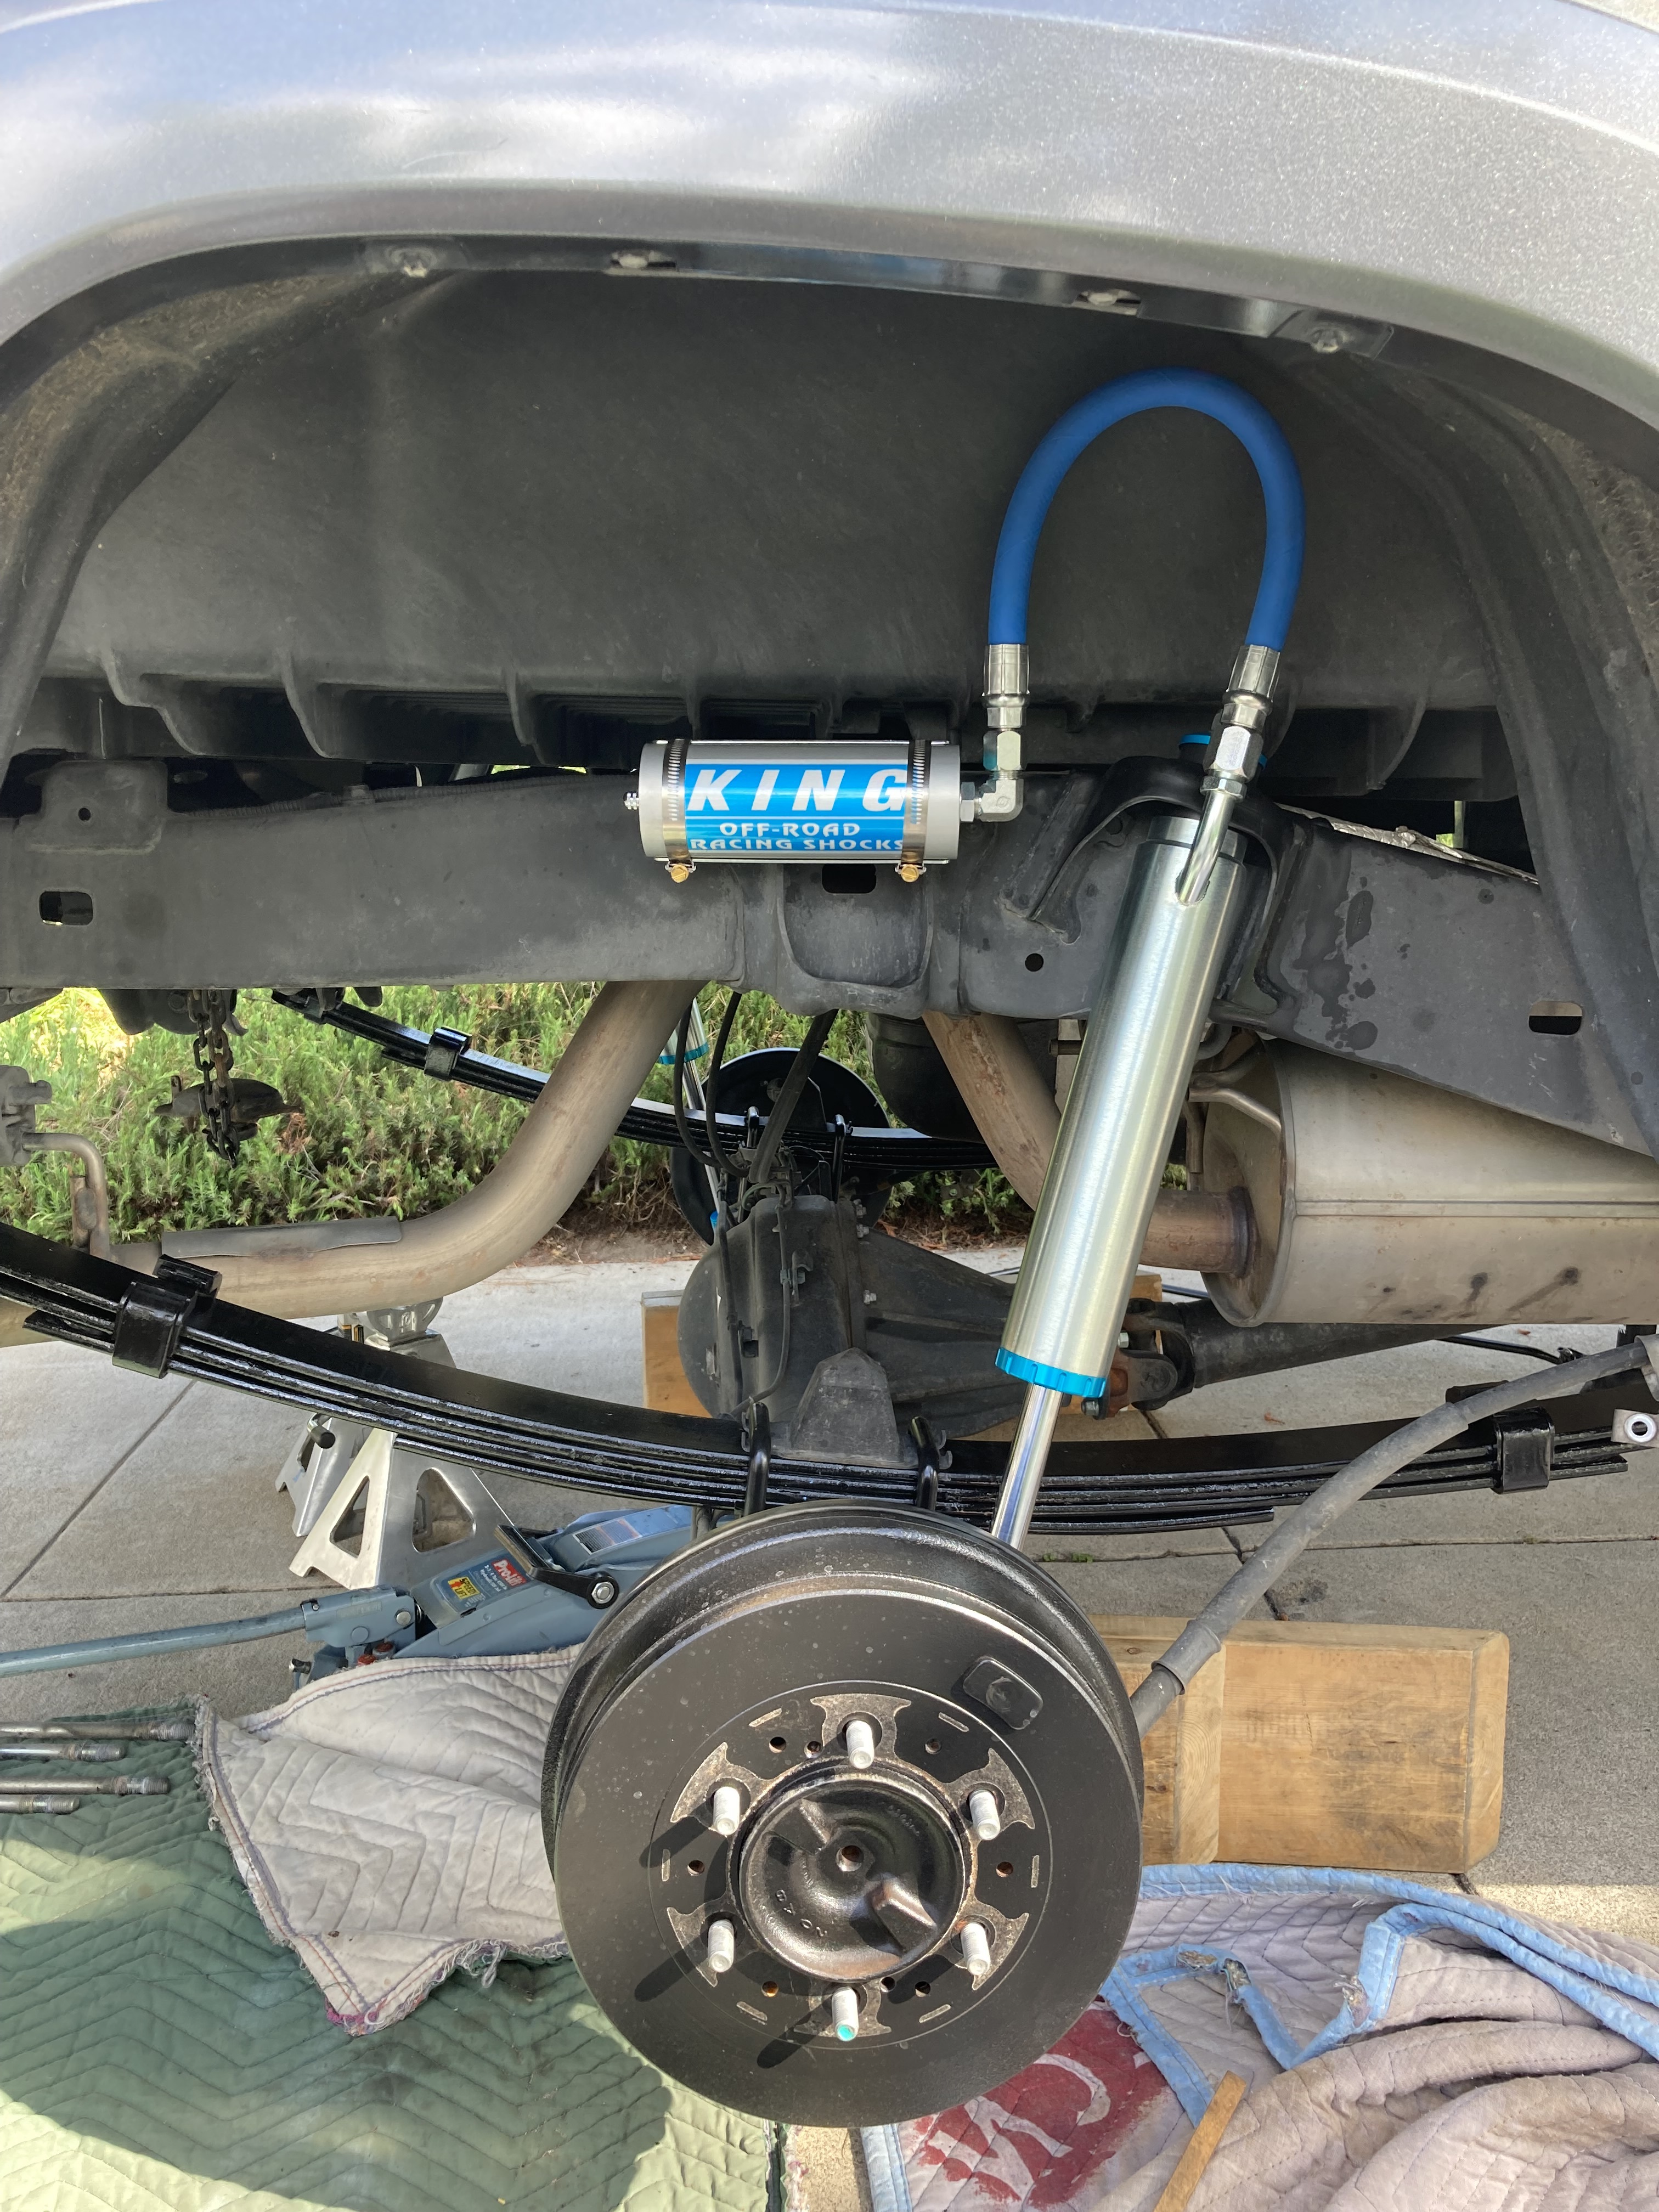
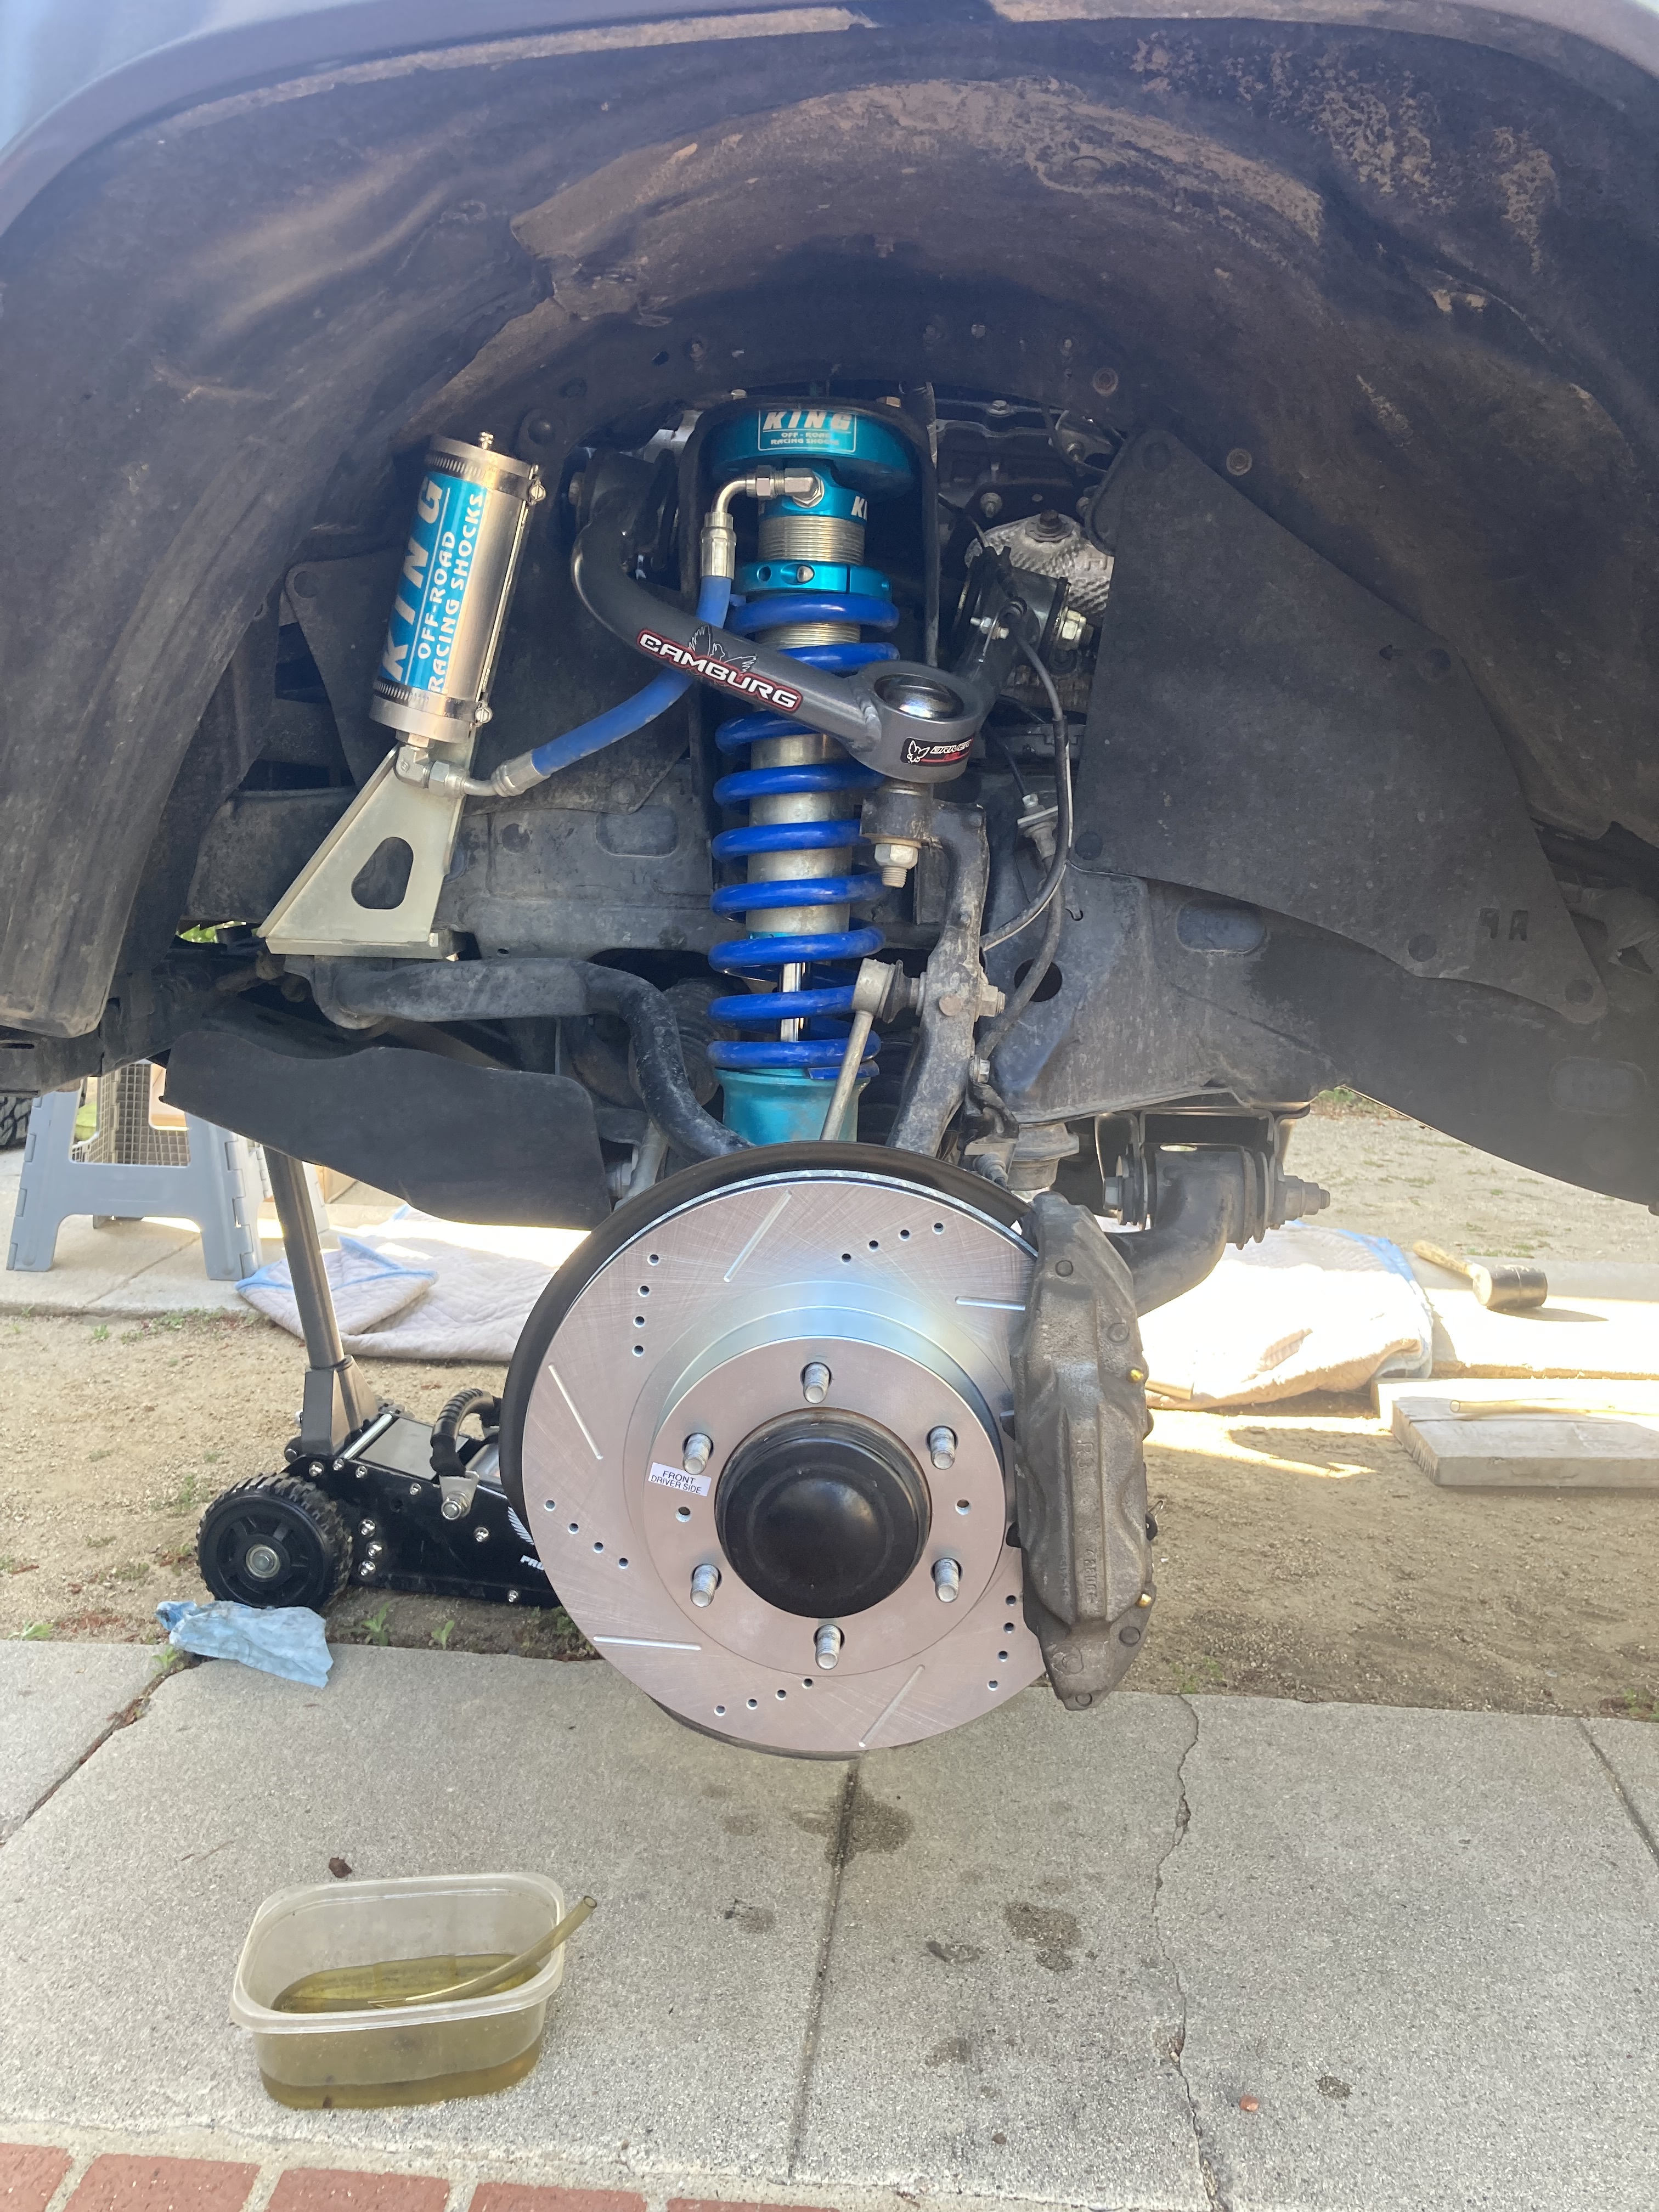
King 2.5 Front Coilovers and 2.5 Rear Shocks
Stock Leaf Pack w/ AAL
Camburg UCAs
ECGS Clamshell Bushing (replaces needle bearing)
Started with rear suspension and noticed the drum brakes could use some love. Knocked off the rust and painted.
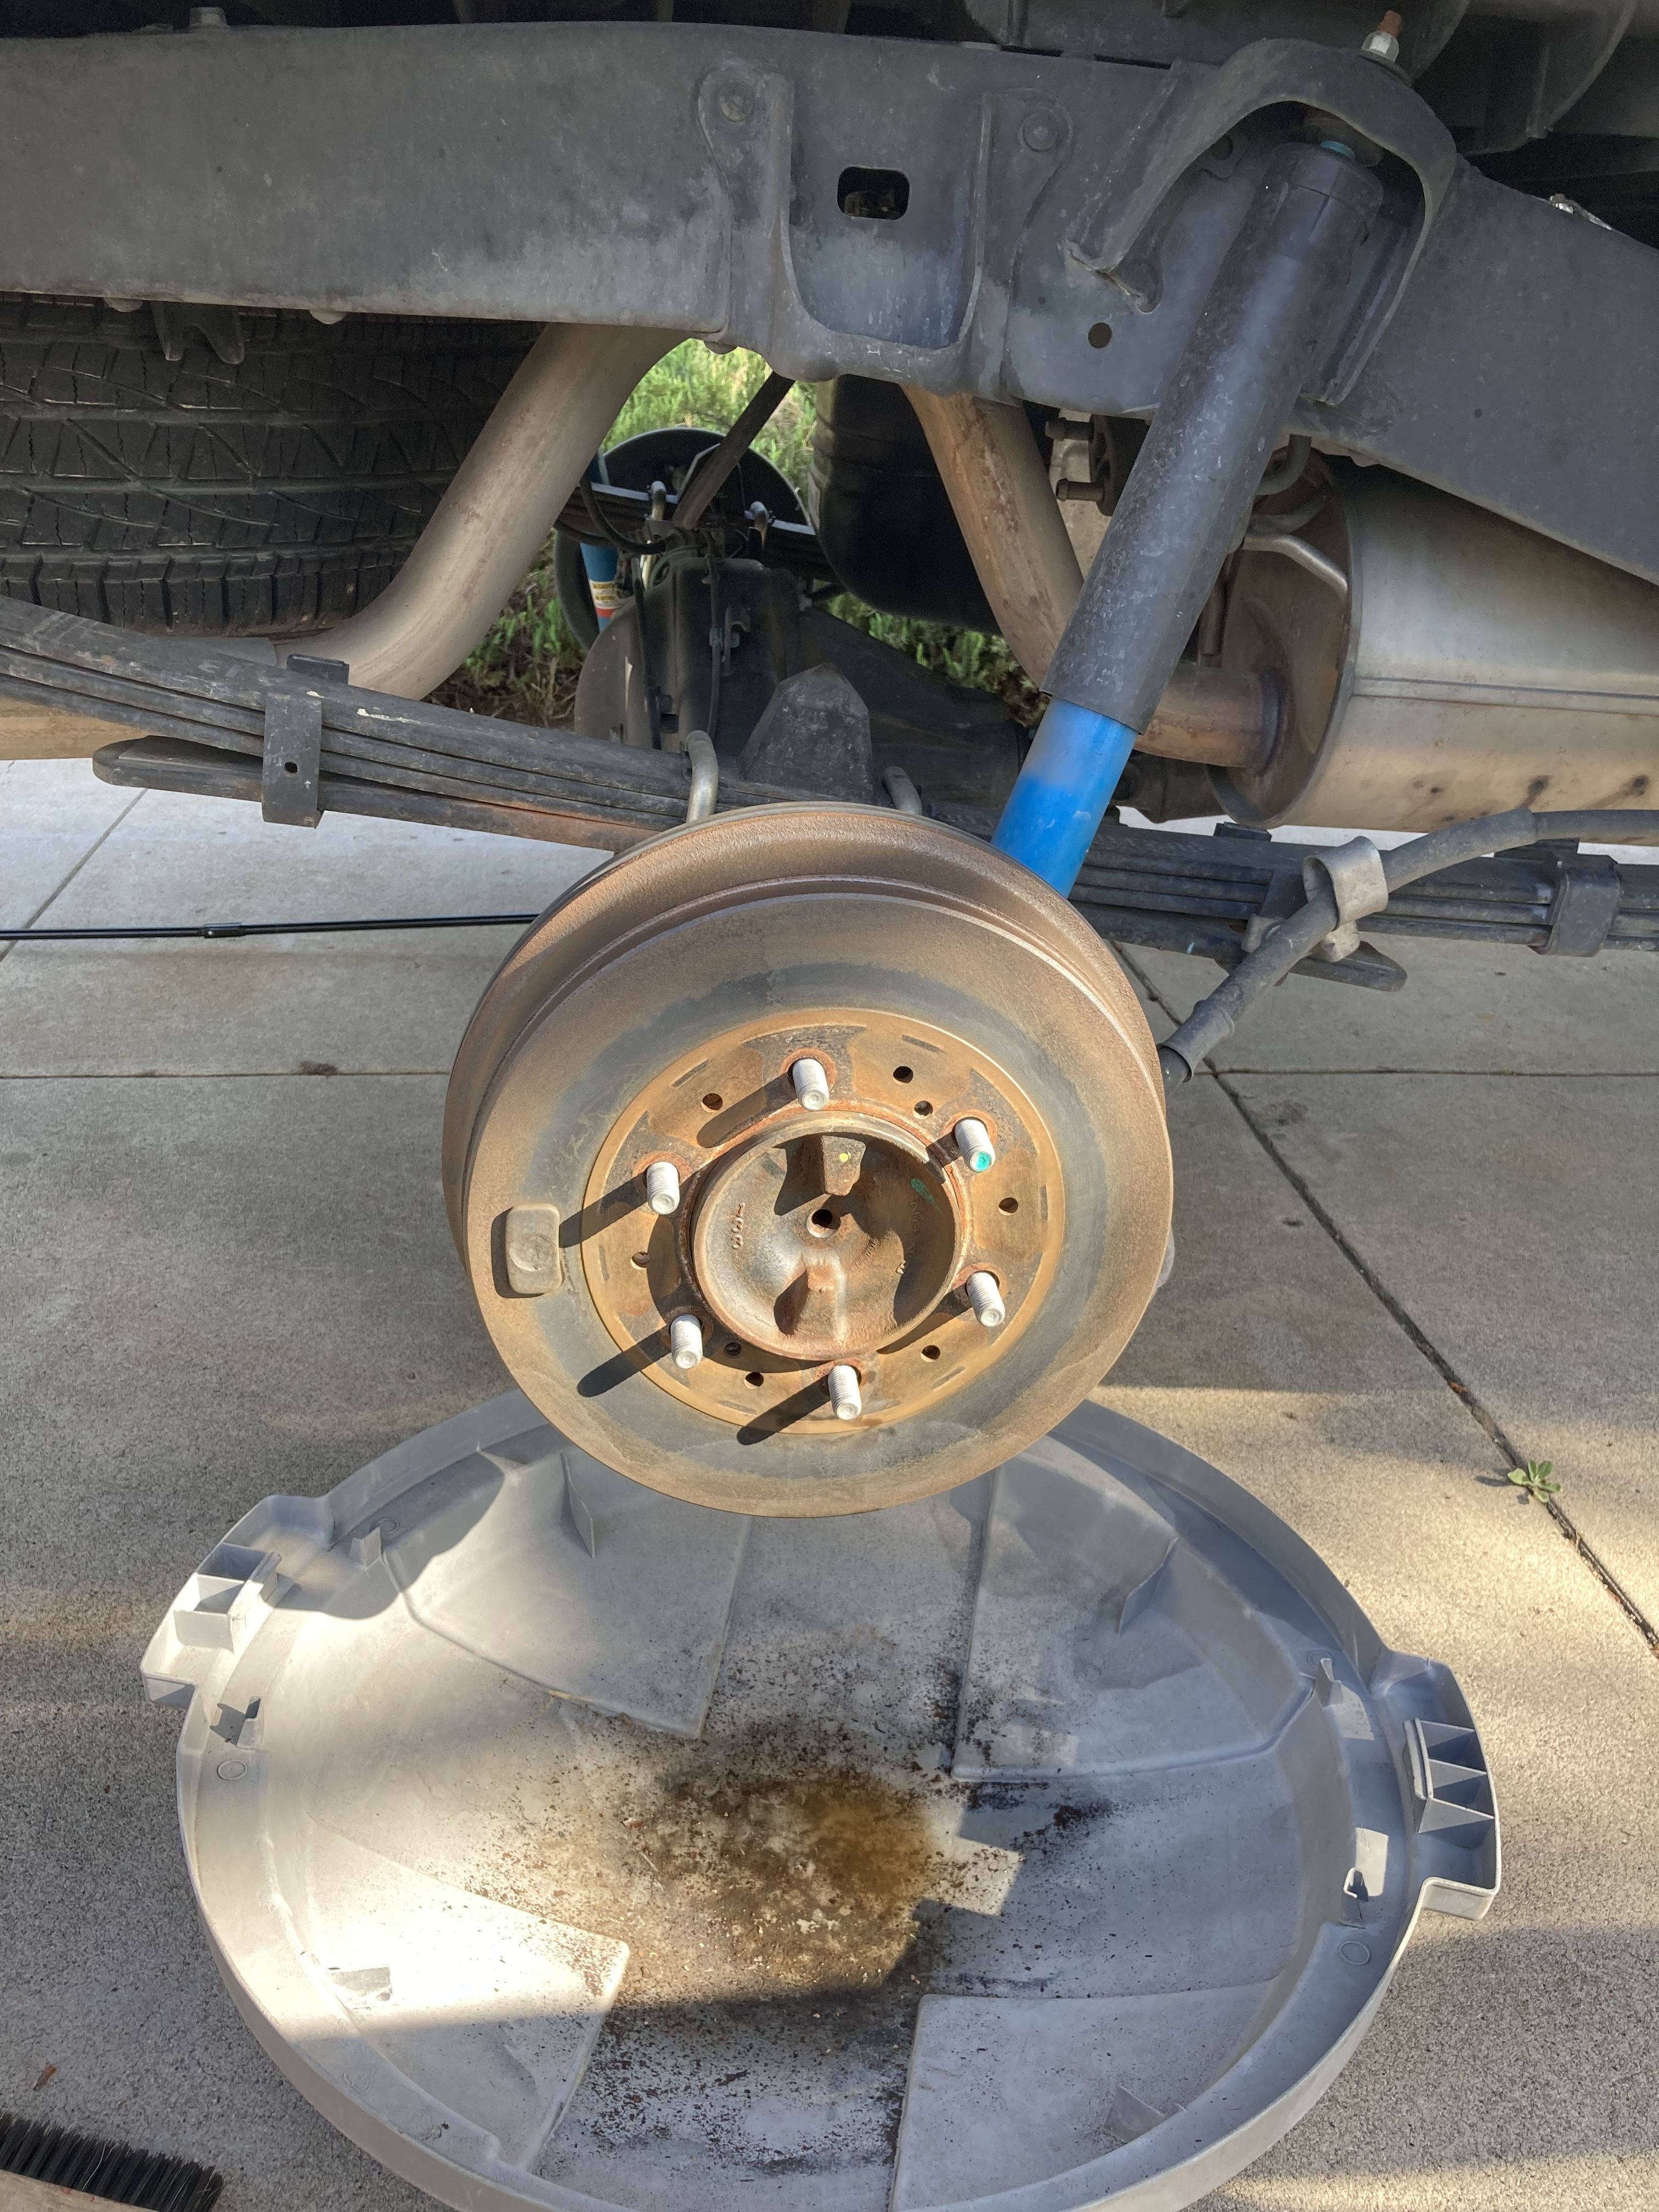
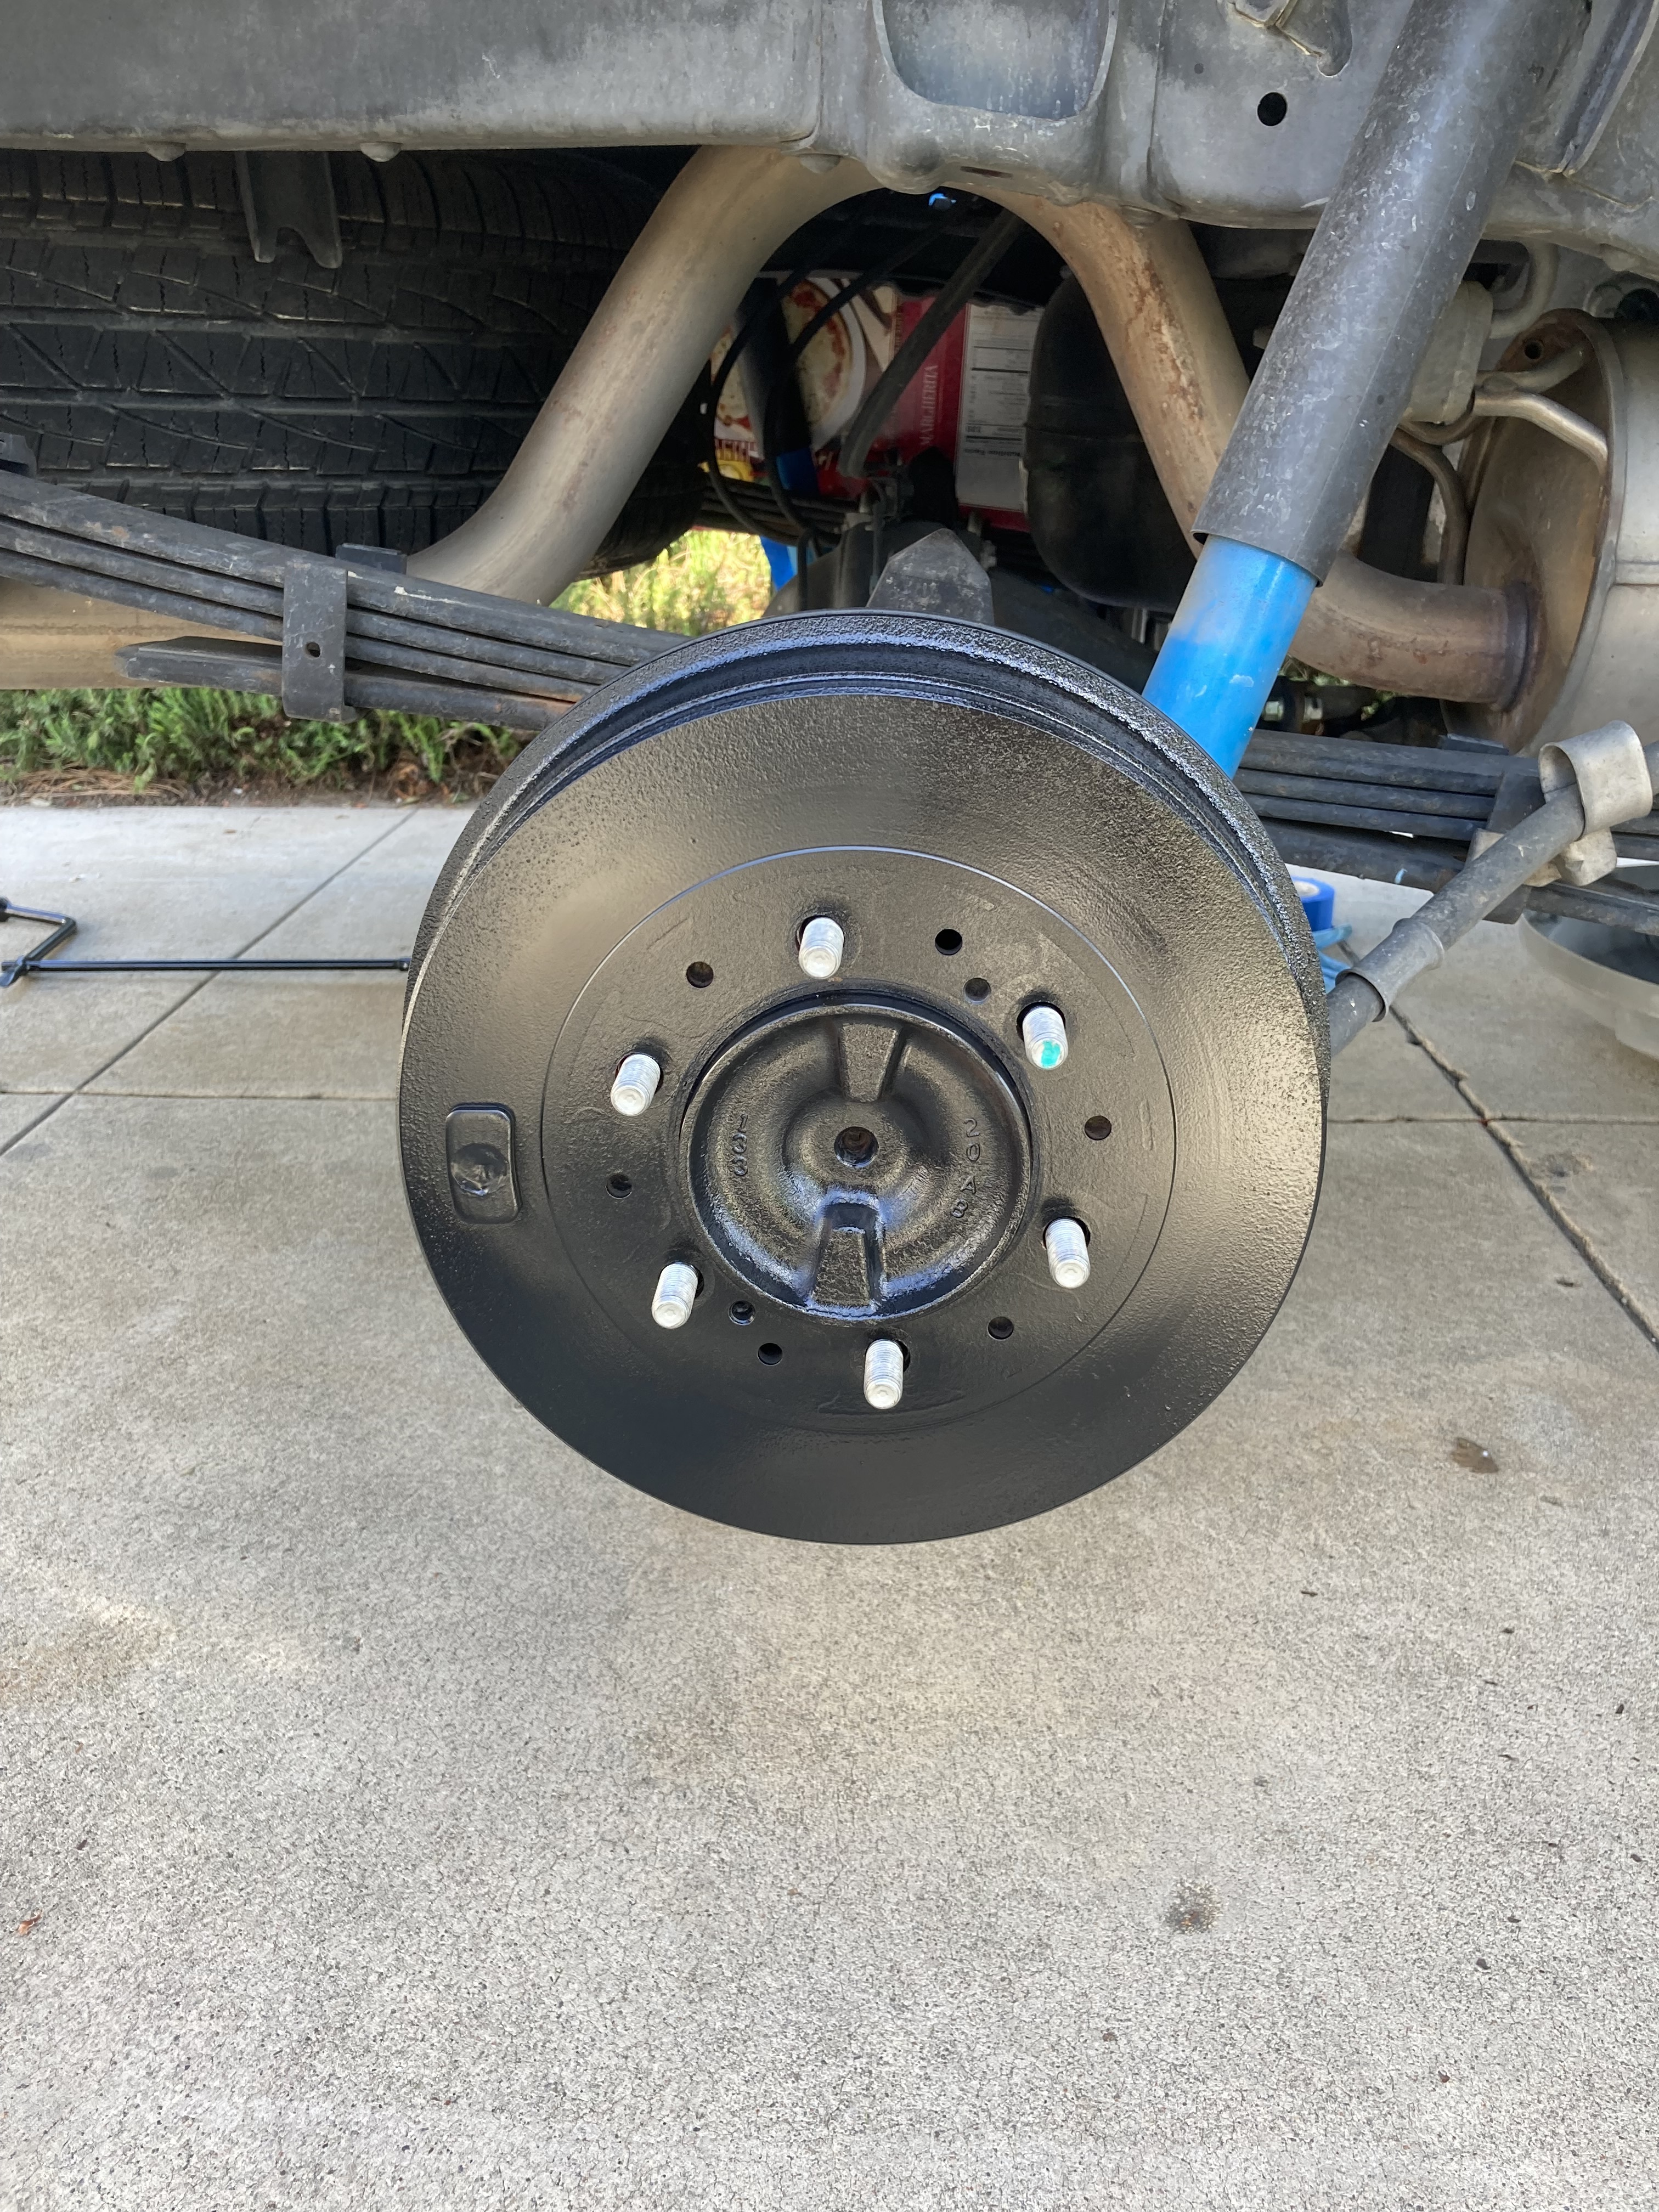
Next, installed AAL and new shocks with remote reservoir.
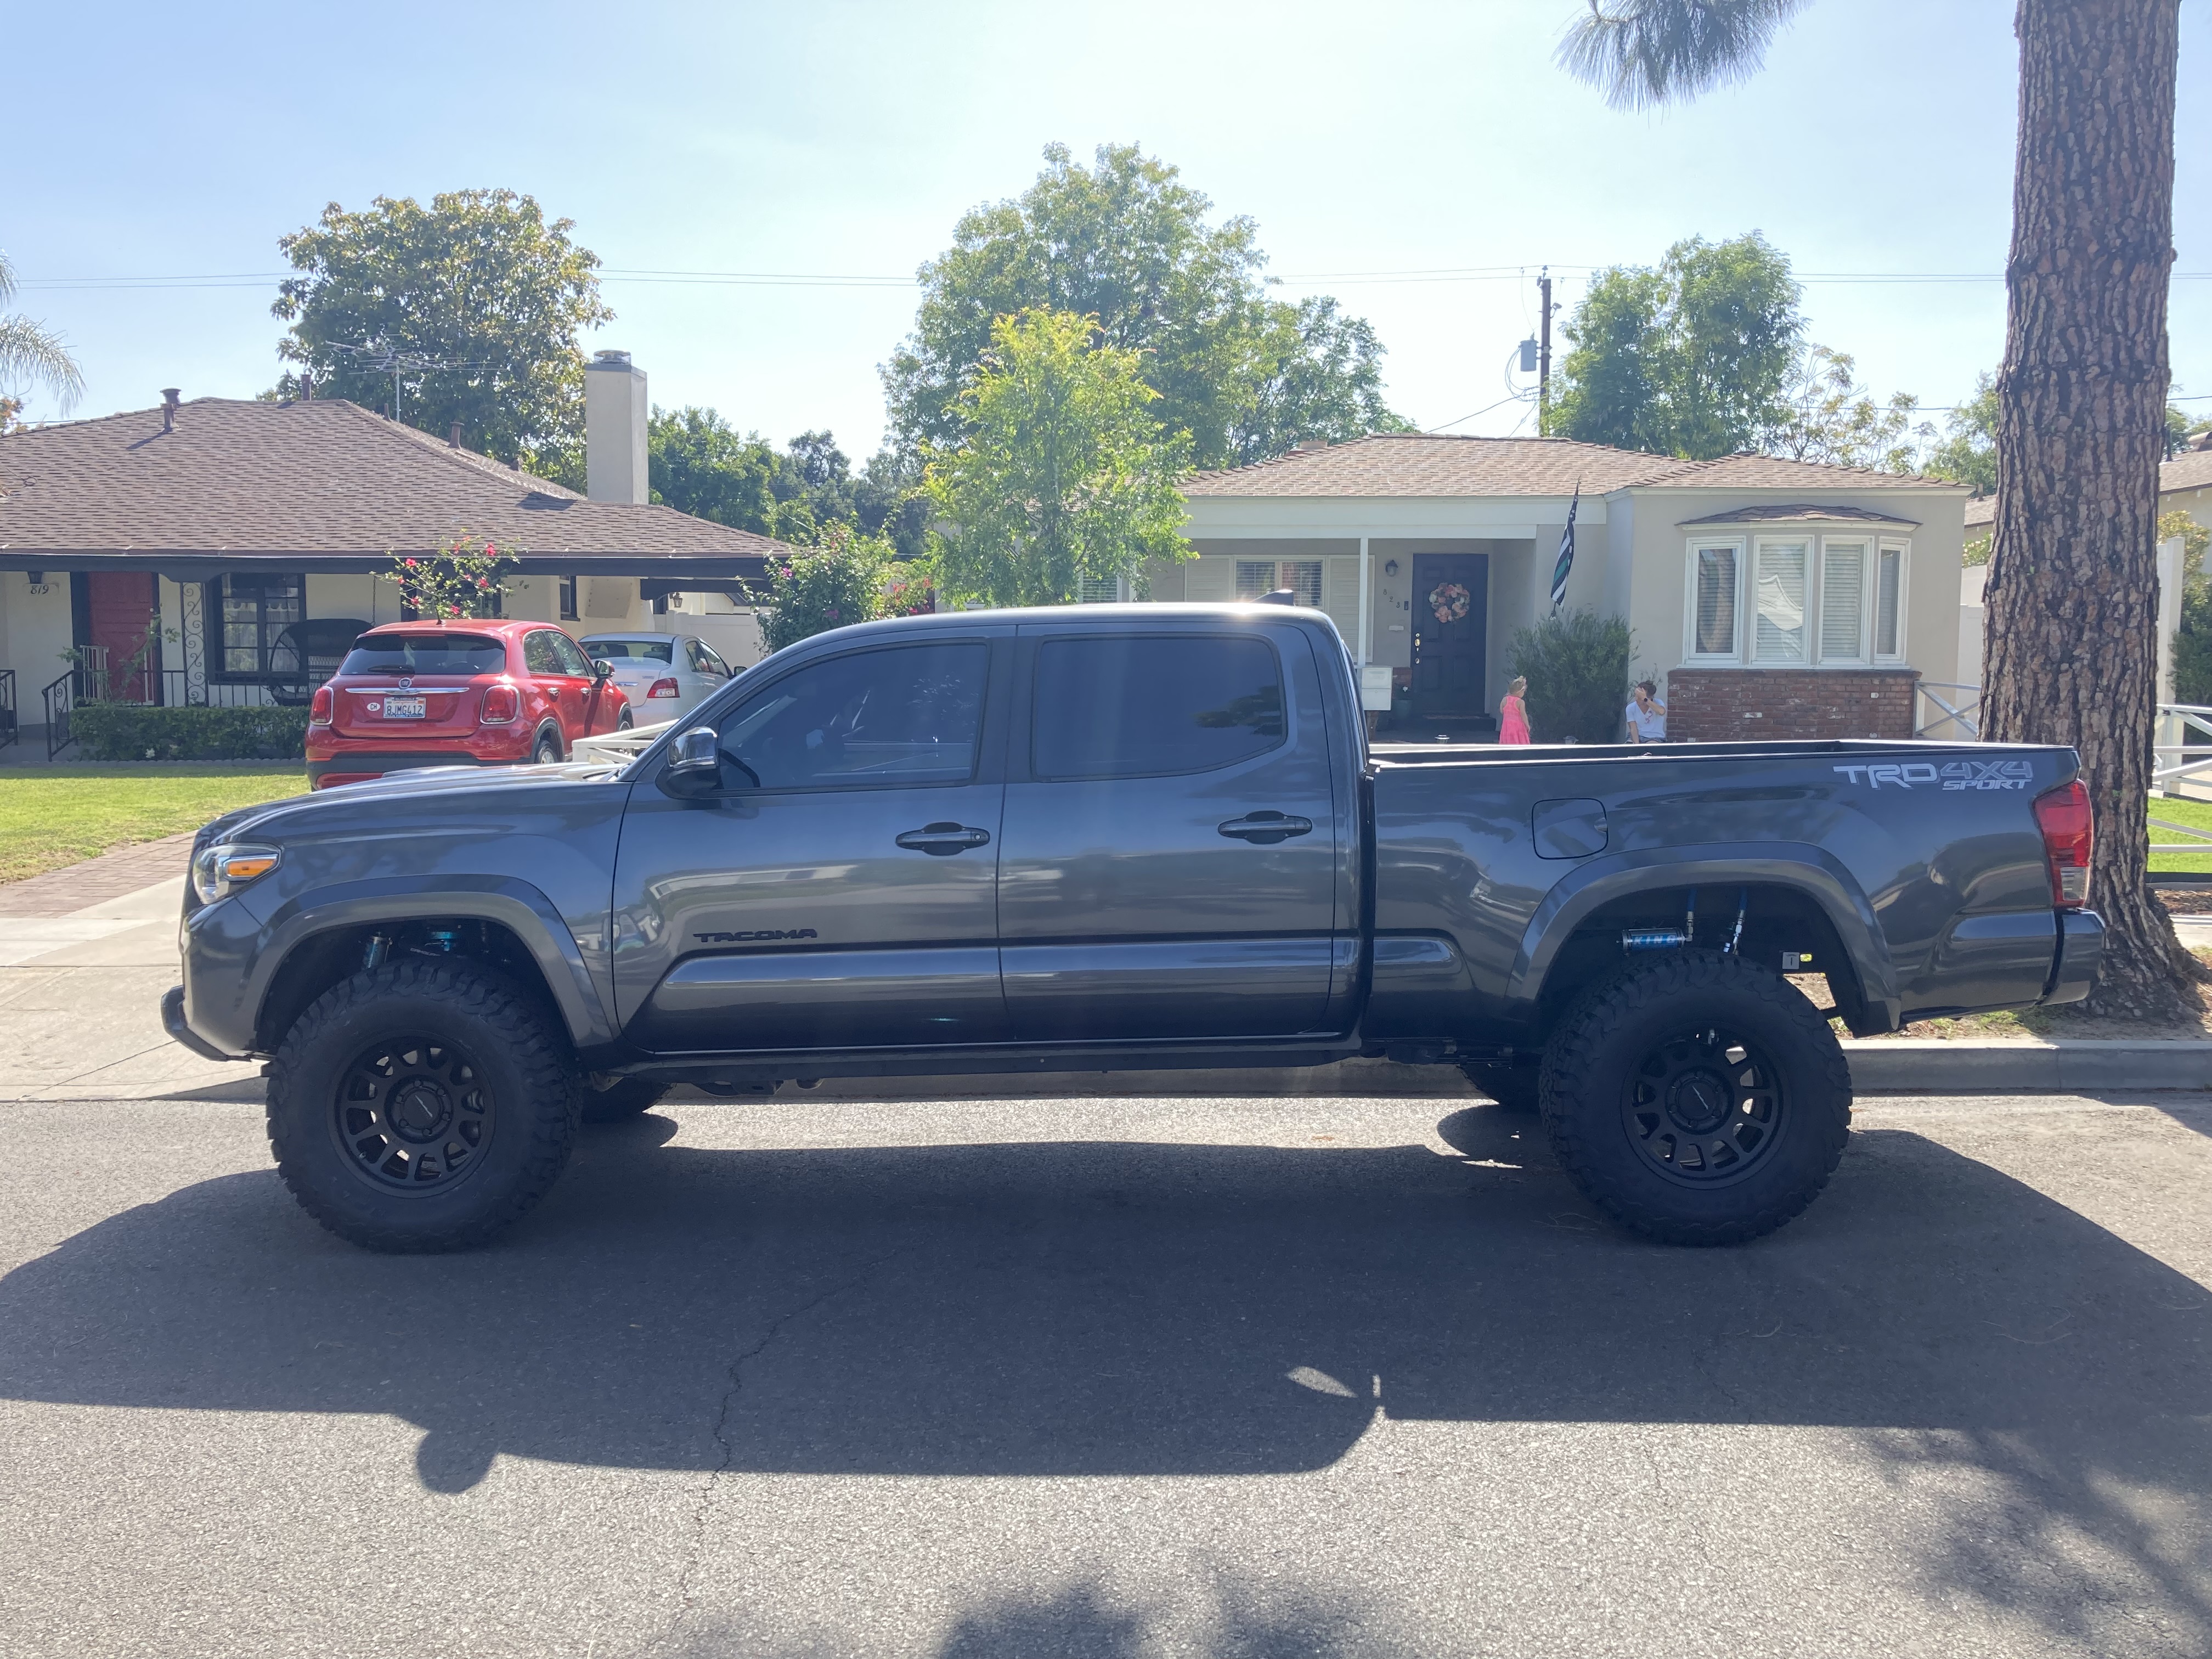
Truck had some serious rake! On to the front.
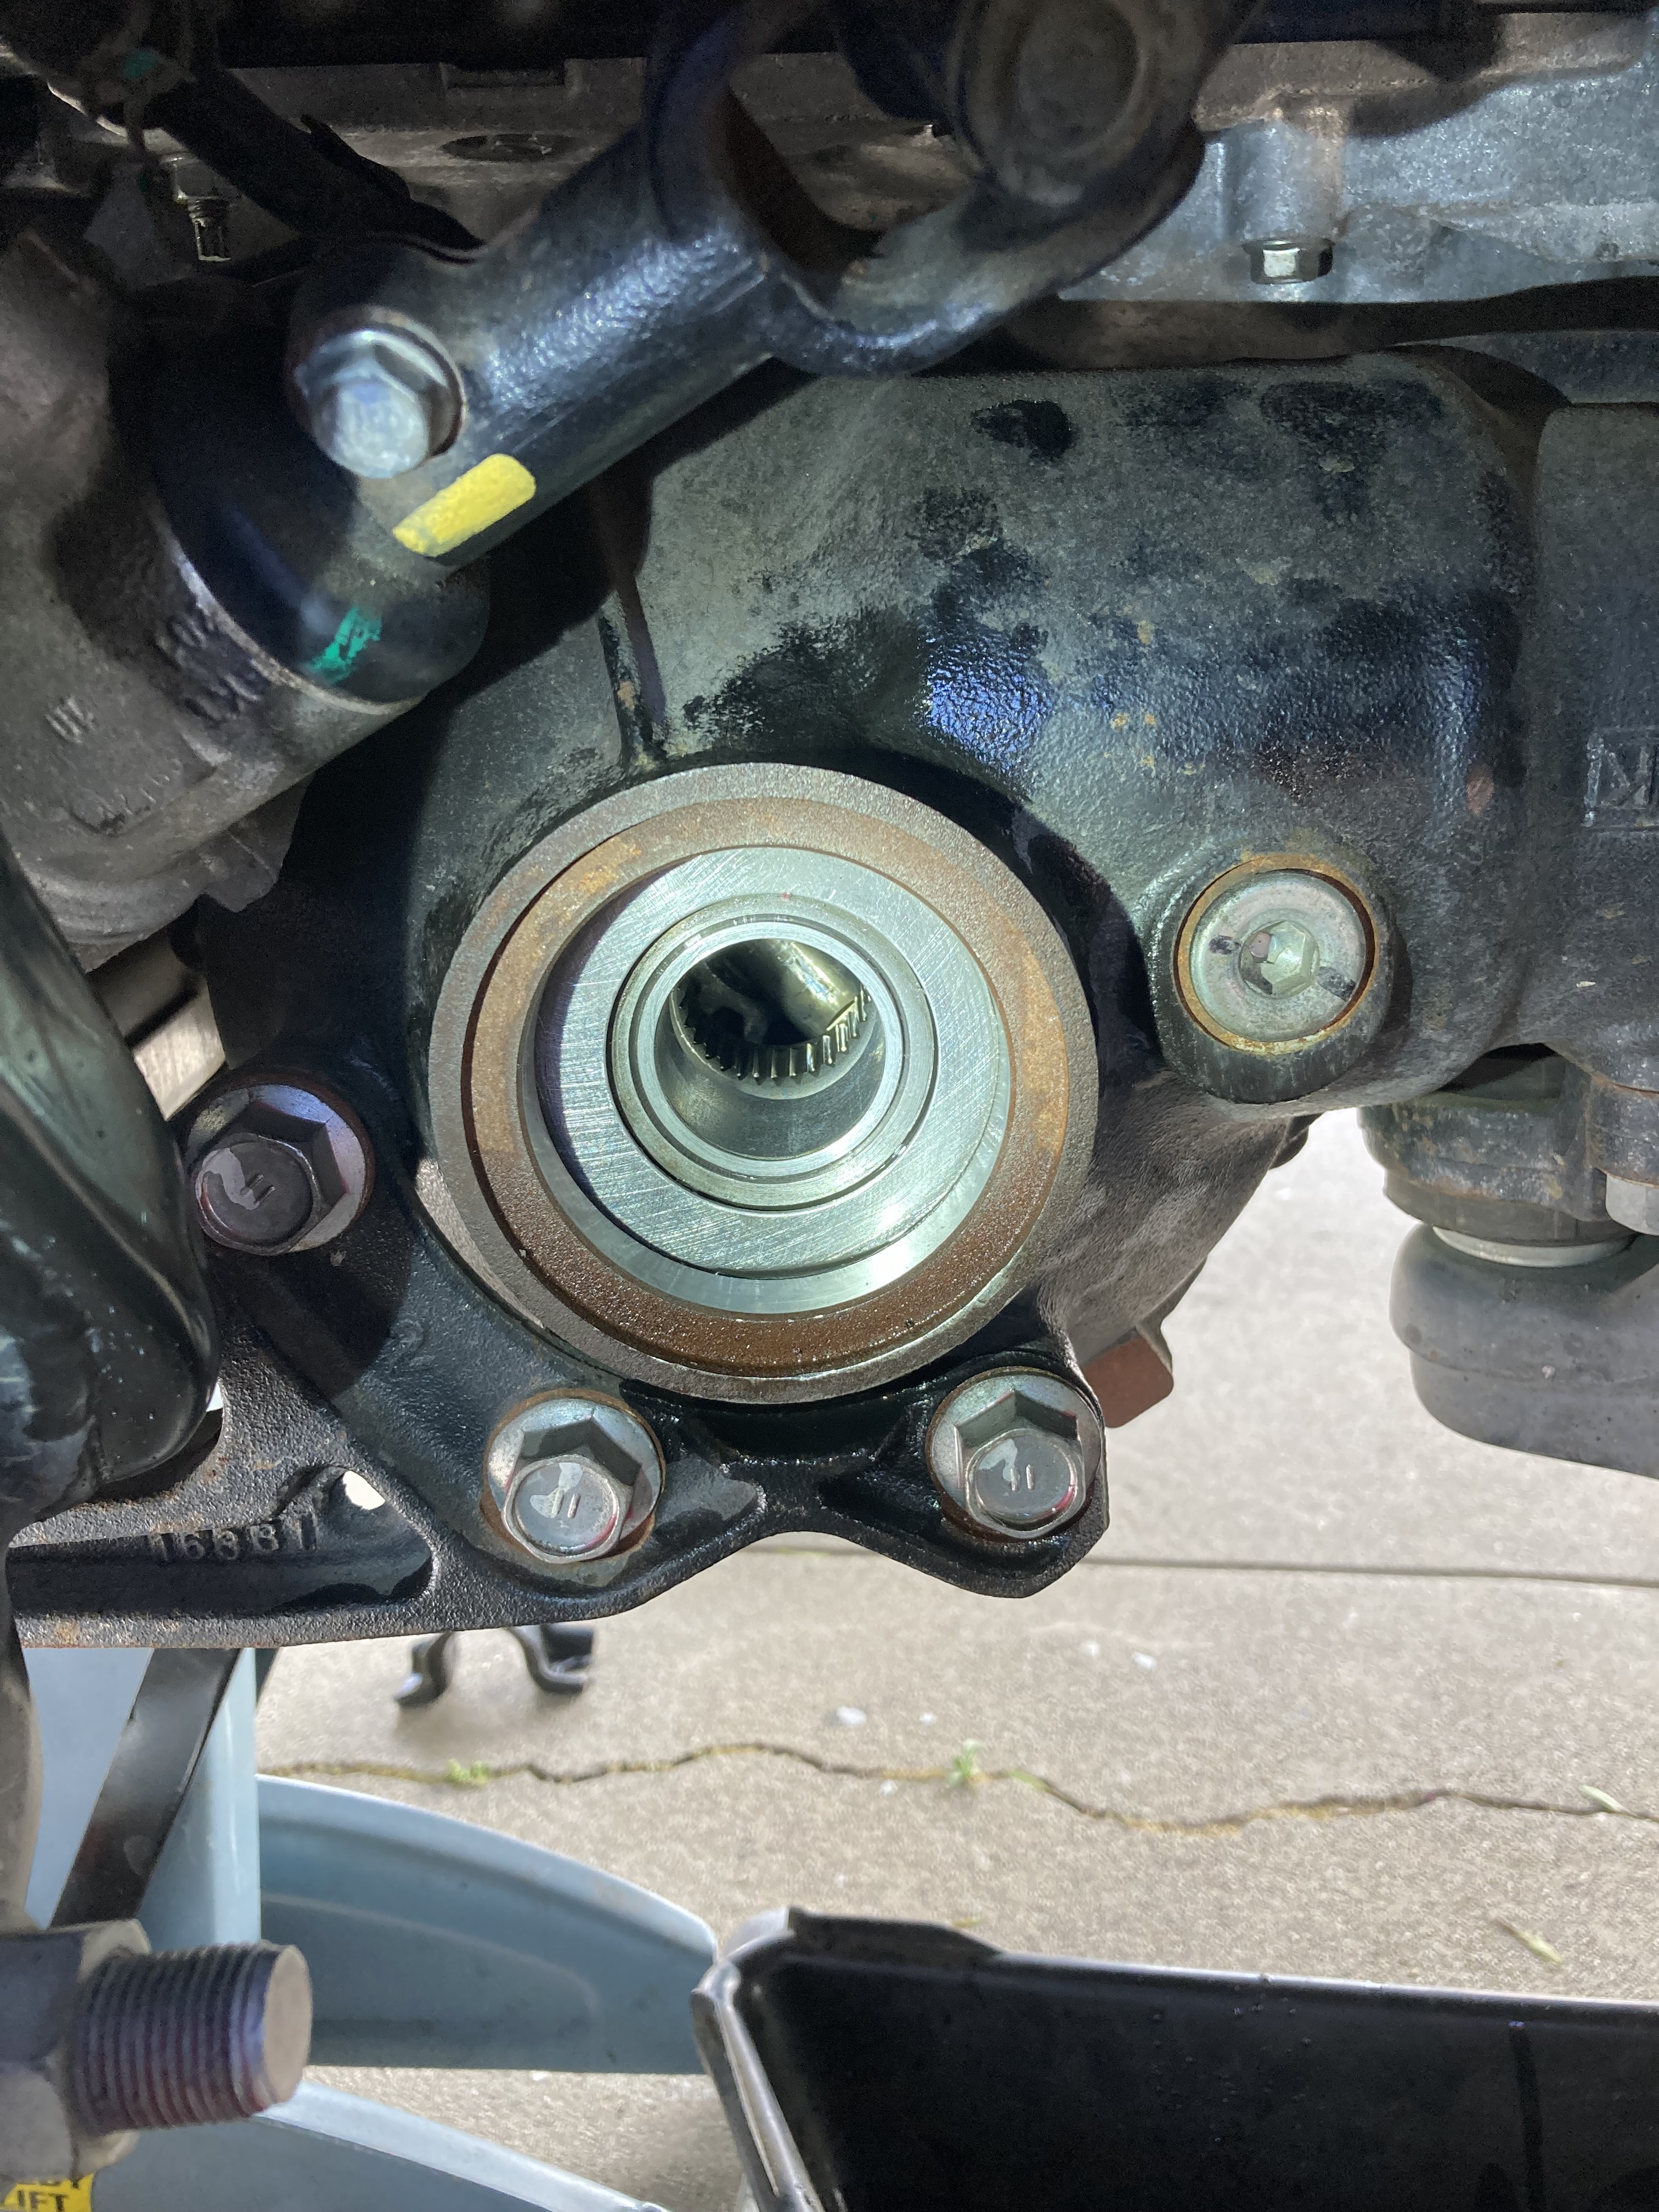
First order of business was to remove the stock needle bearing and replace with new clamshell bushing to eliminate the possibility of it breaking off into my front diff due to the new ride height.
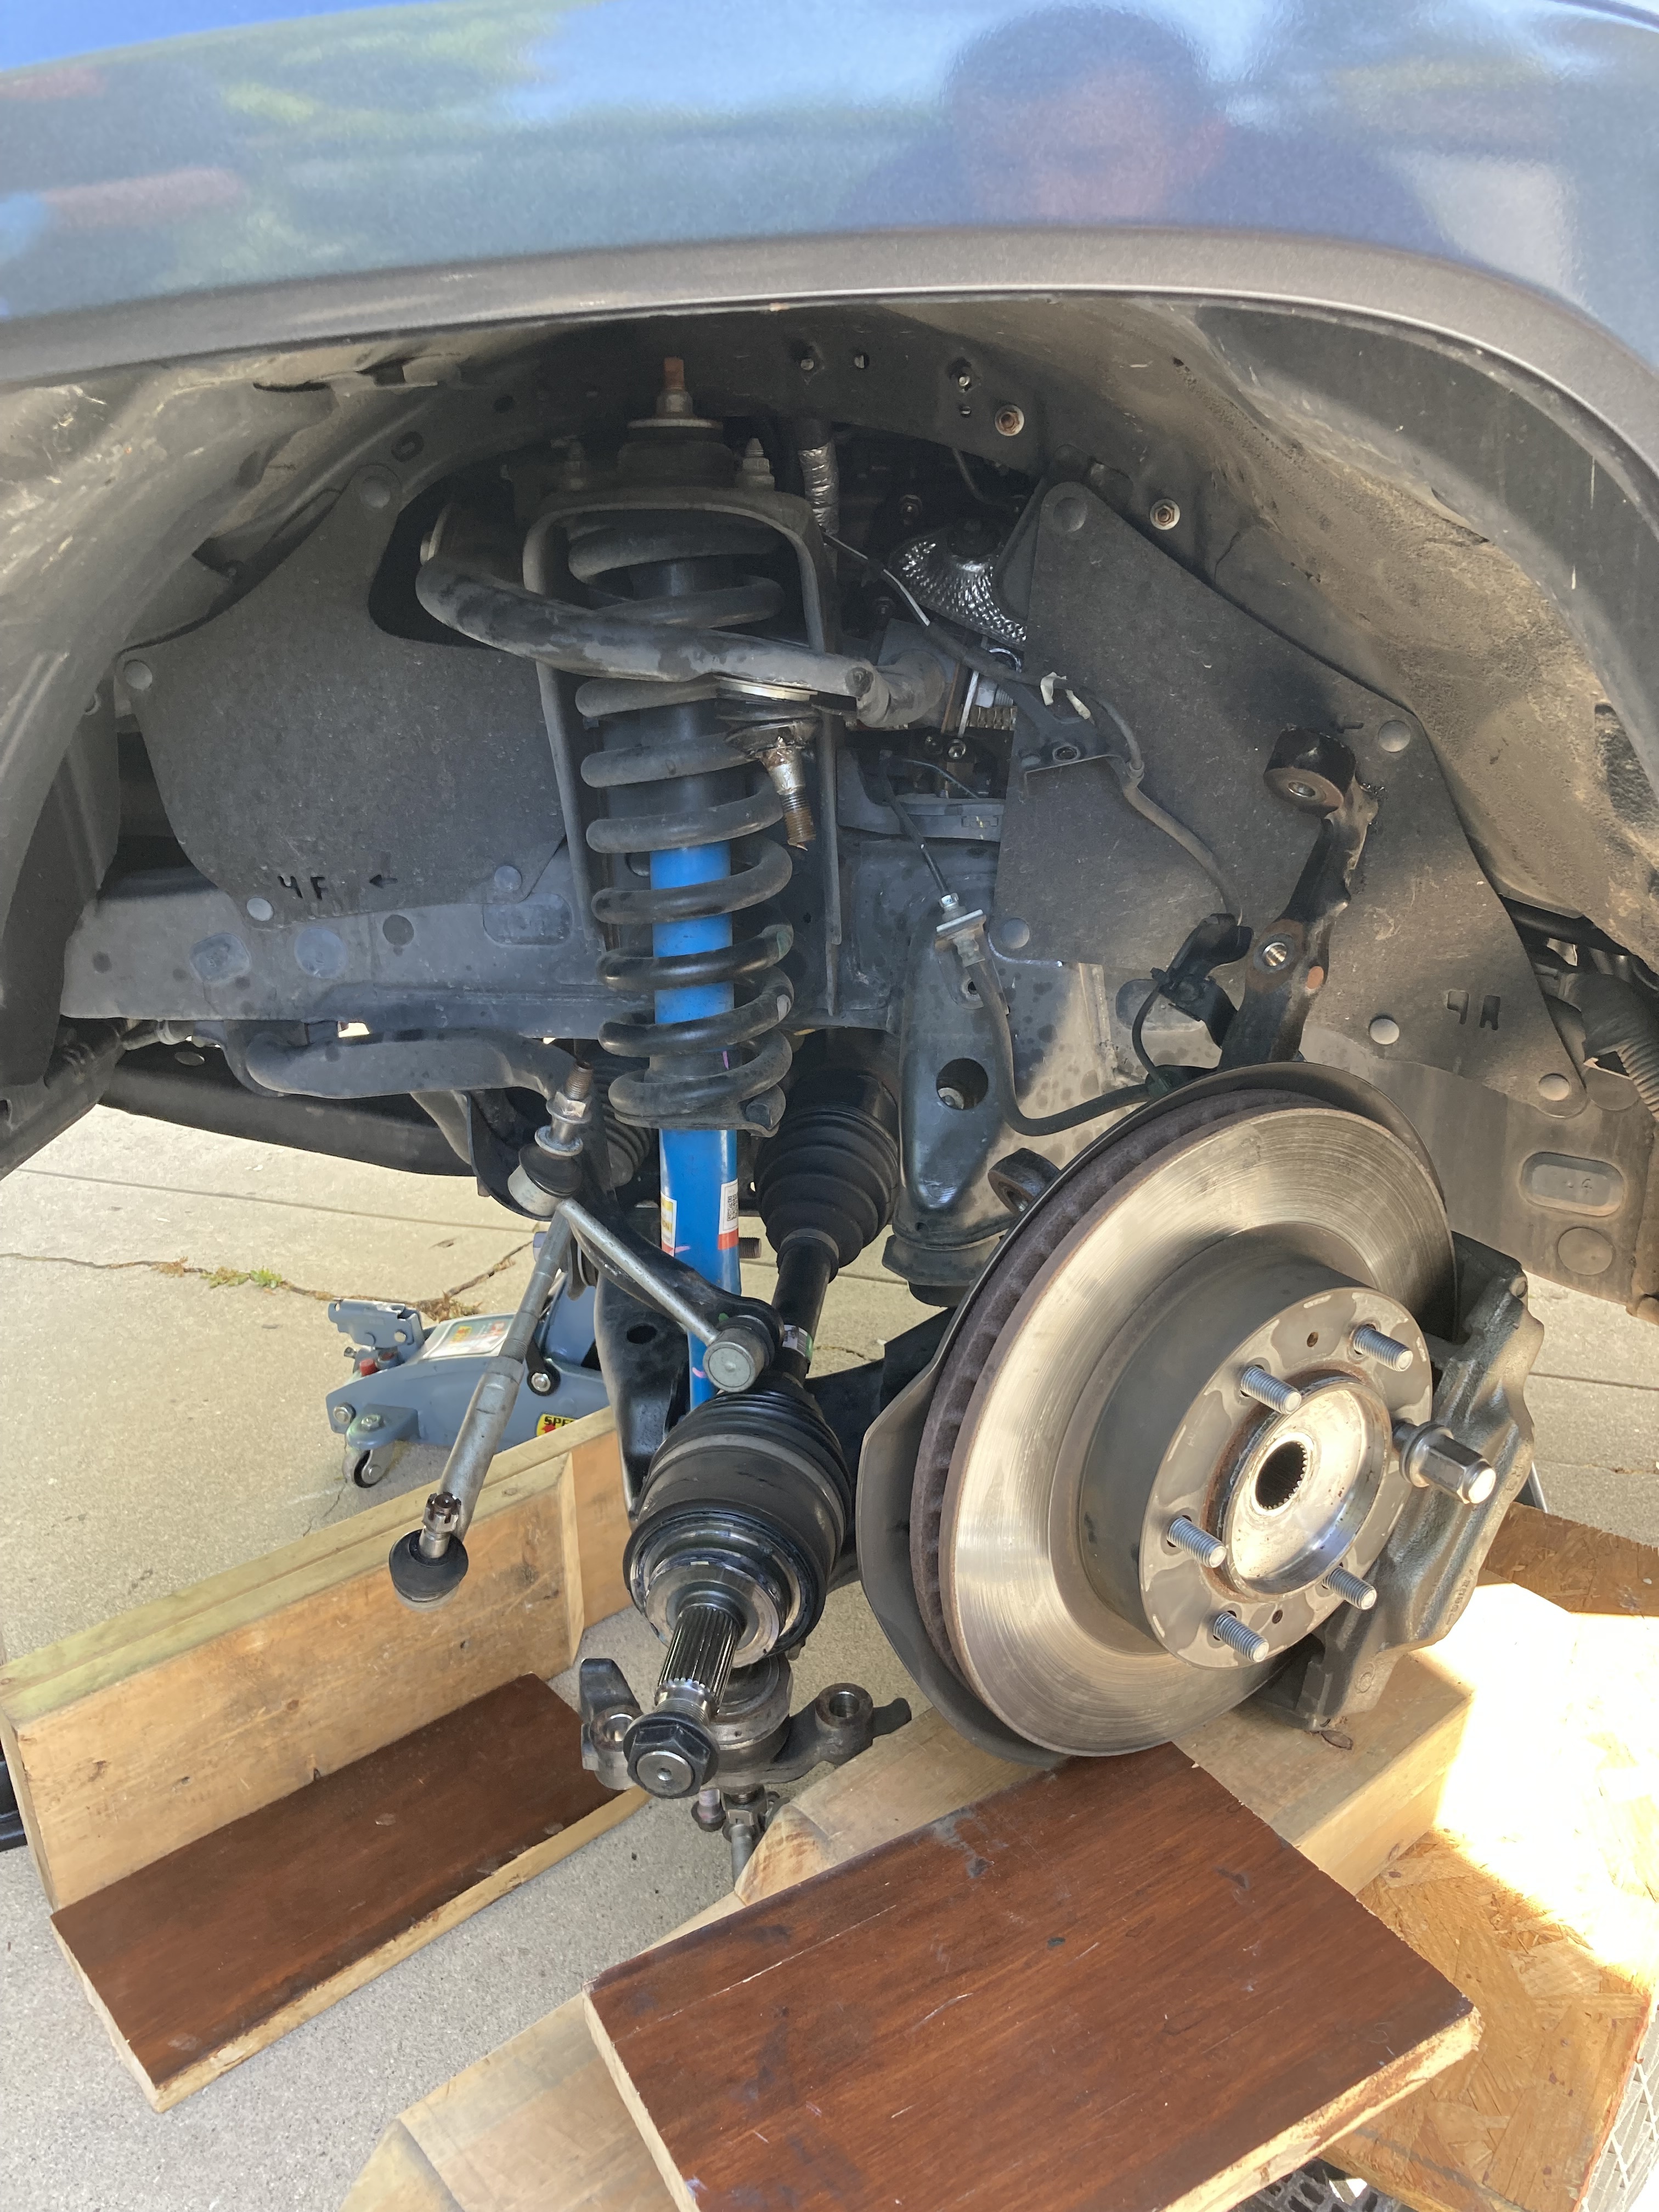
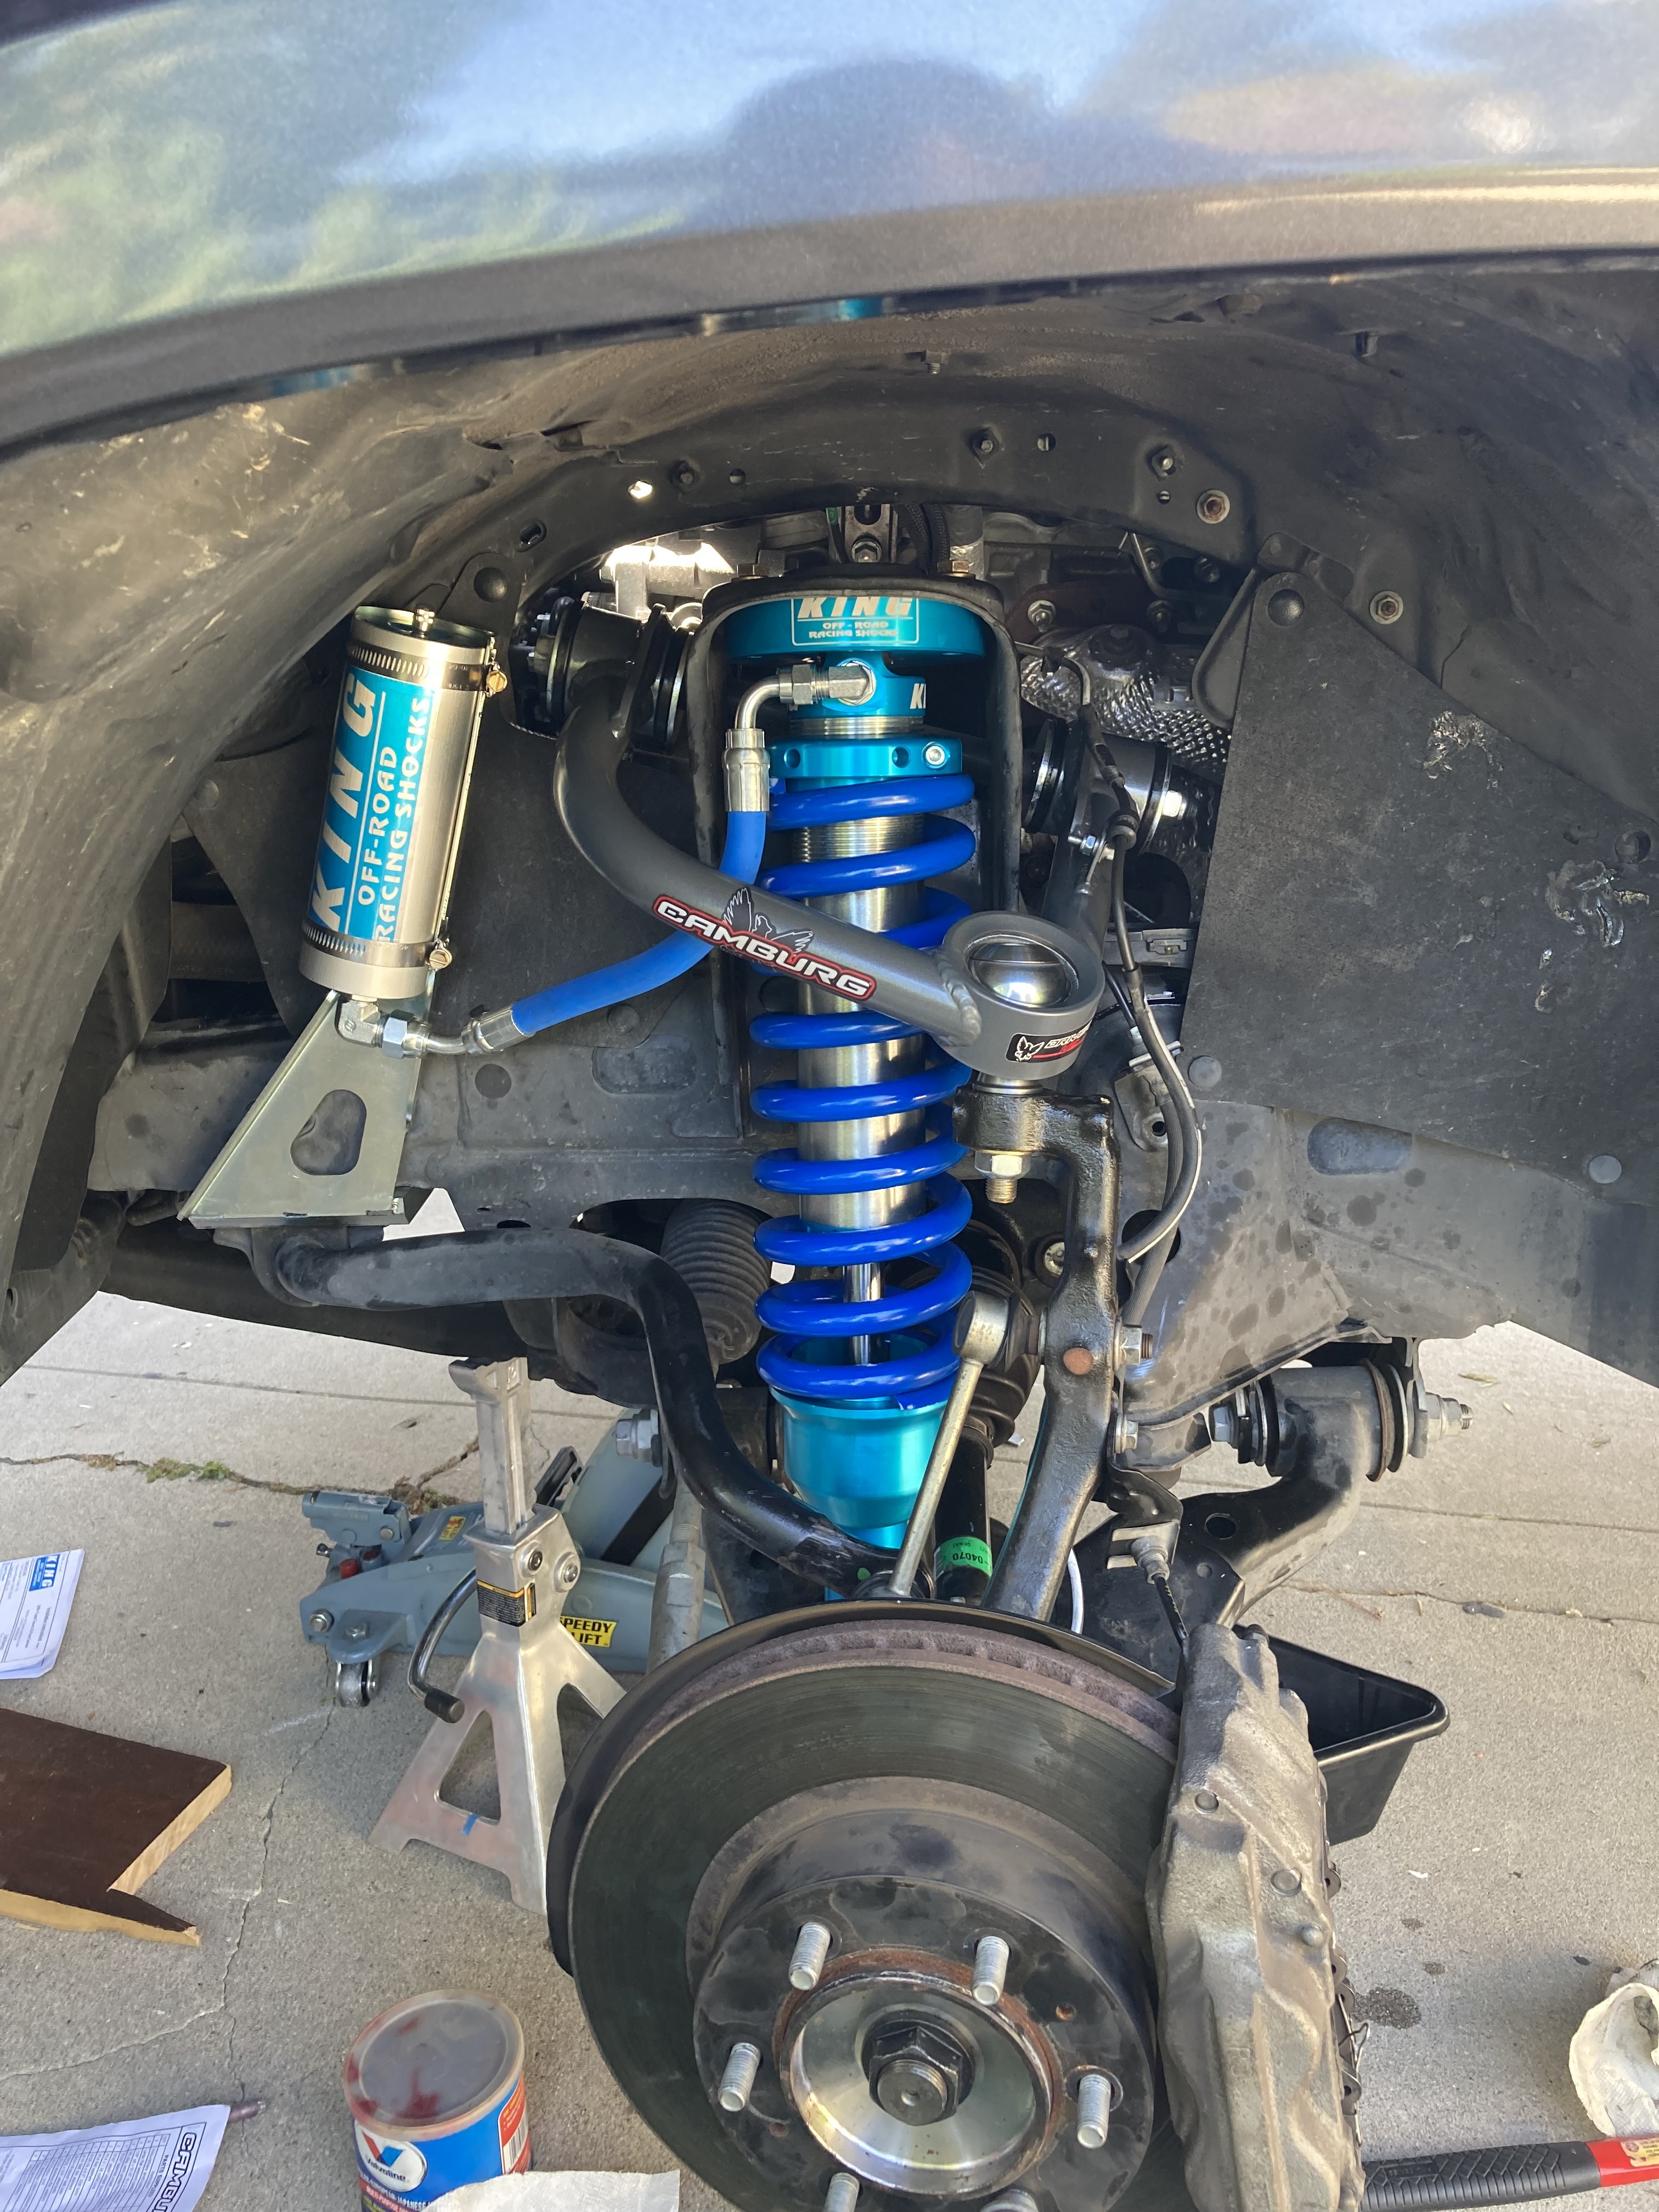
Noticed my front brakes were a bit worn out and would need more stopping power with added weight. Replaced them with some powerstop drilled/slotted rotors and new pads.
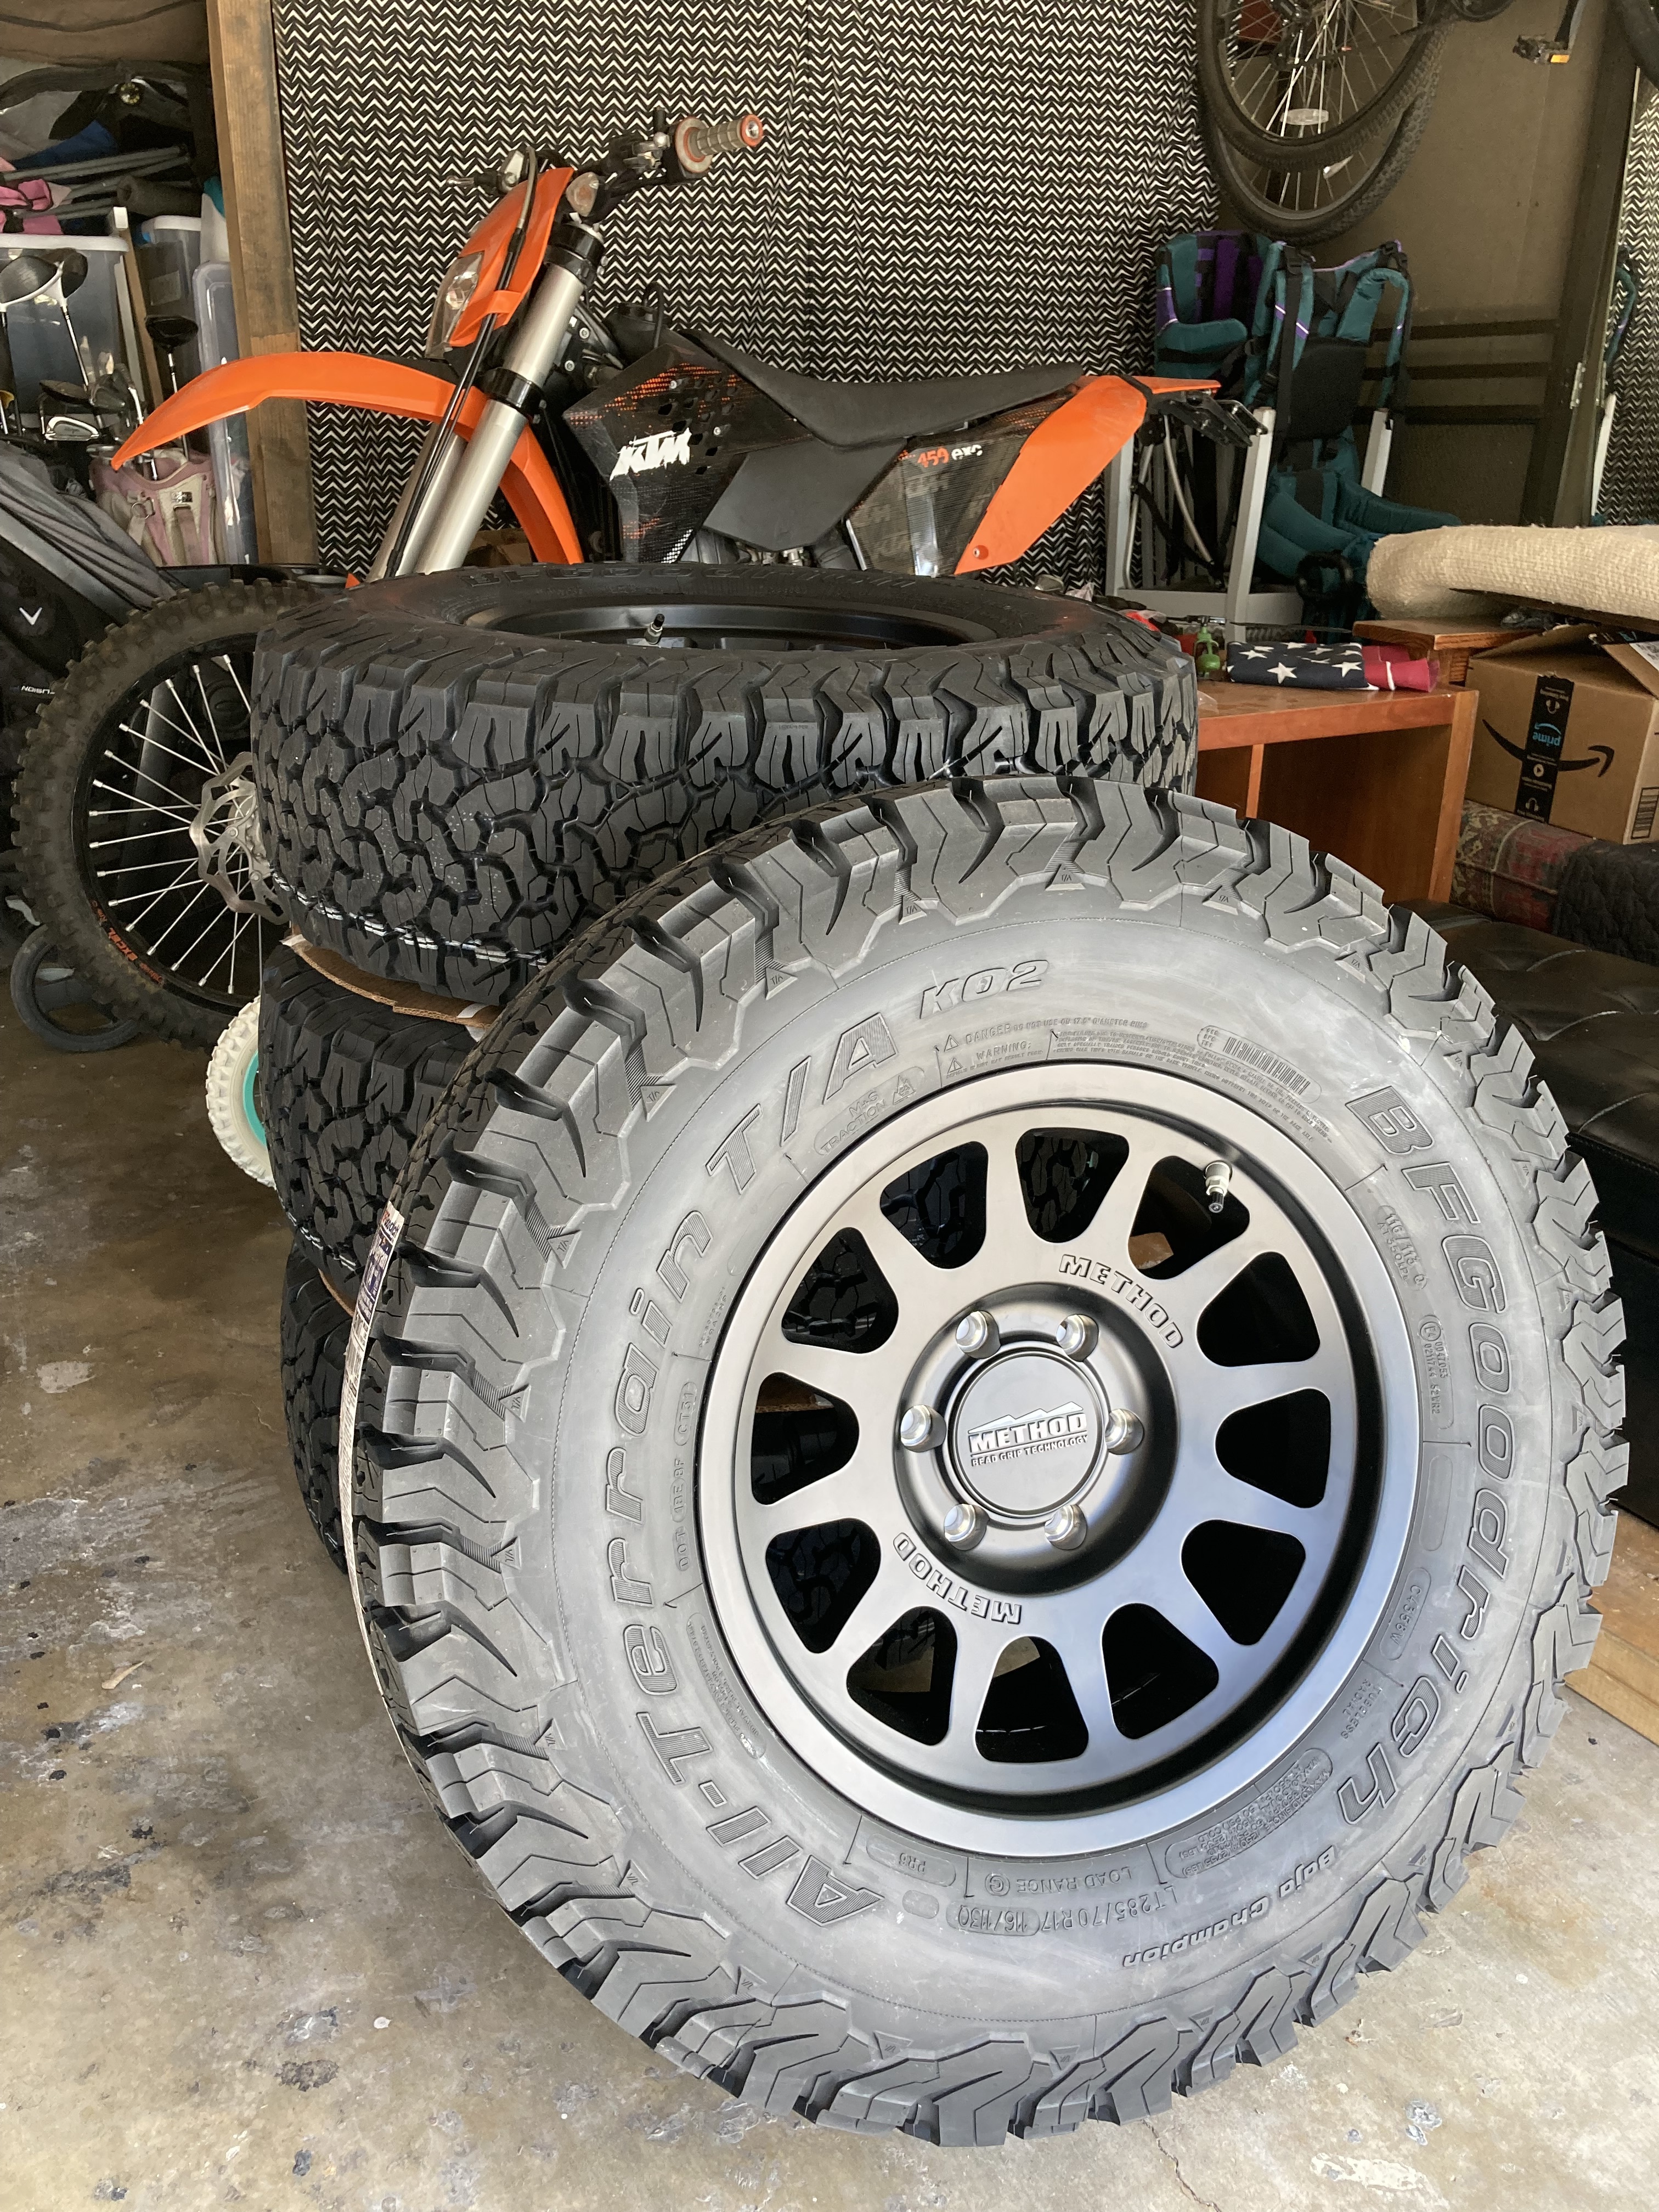
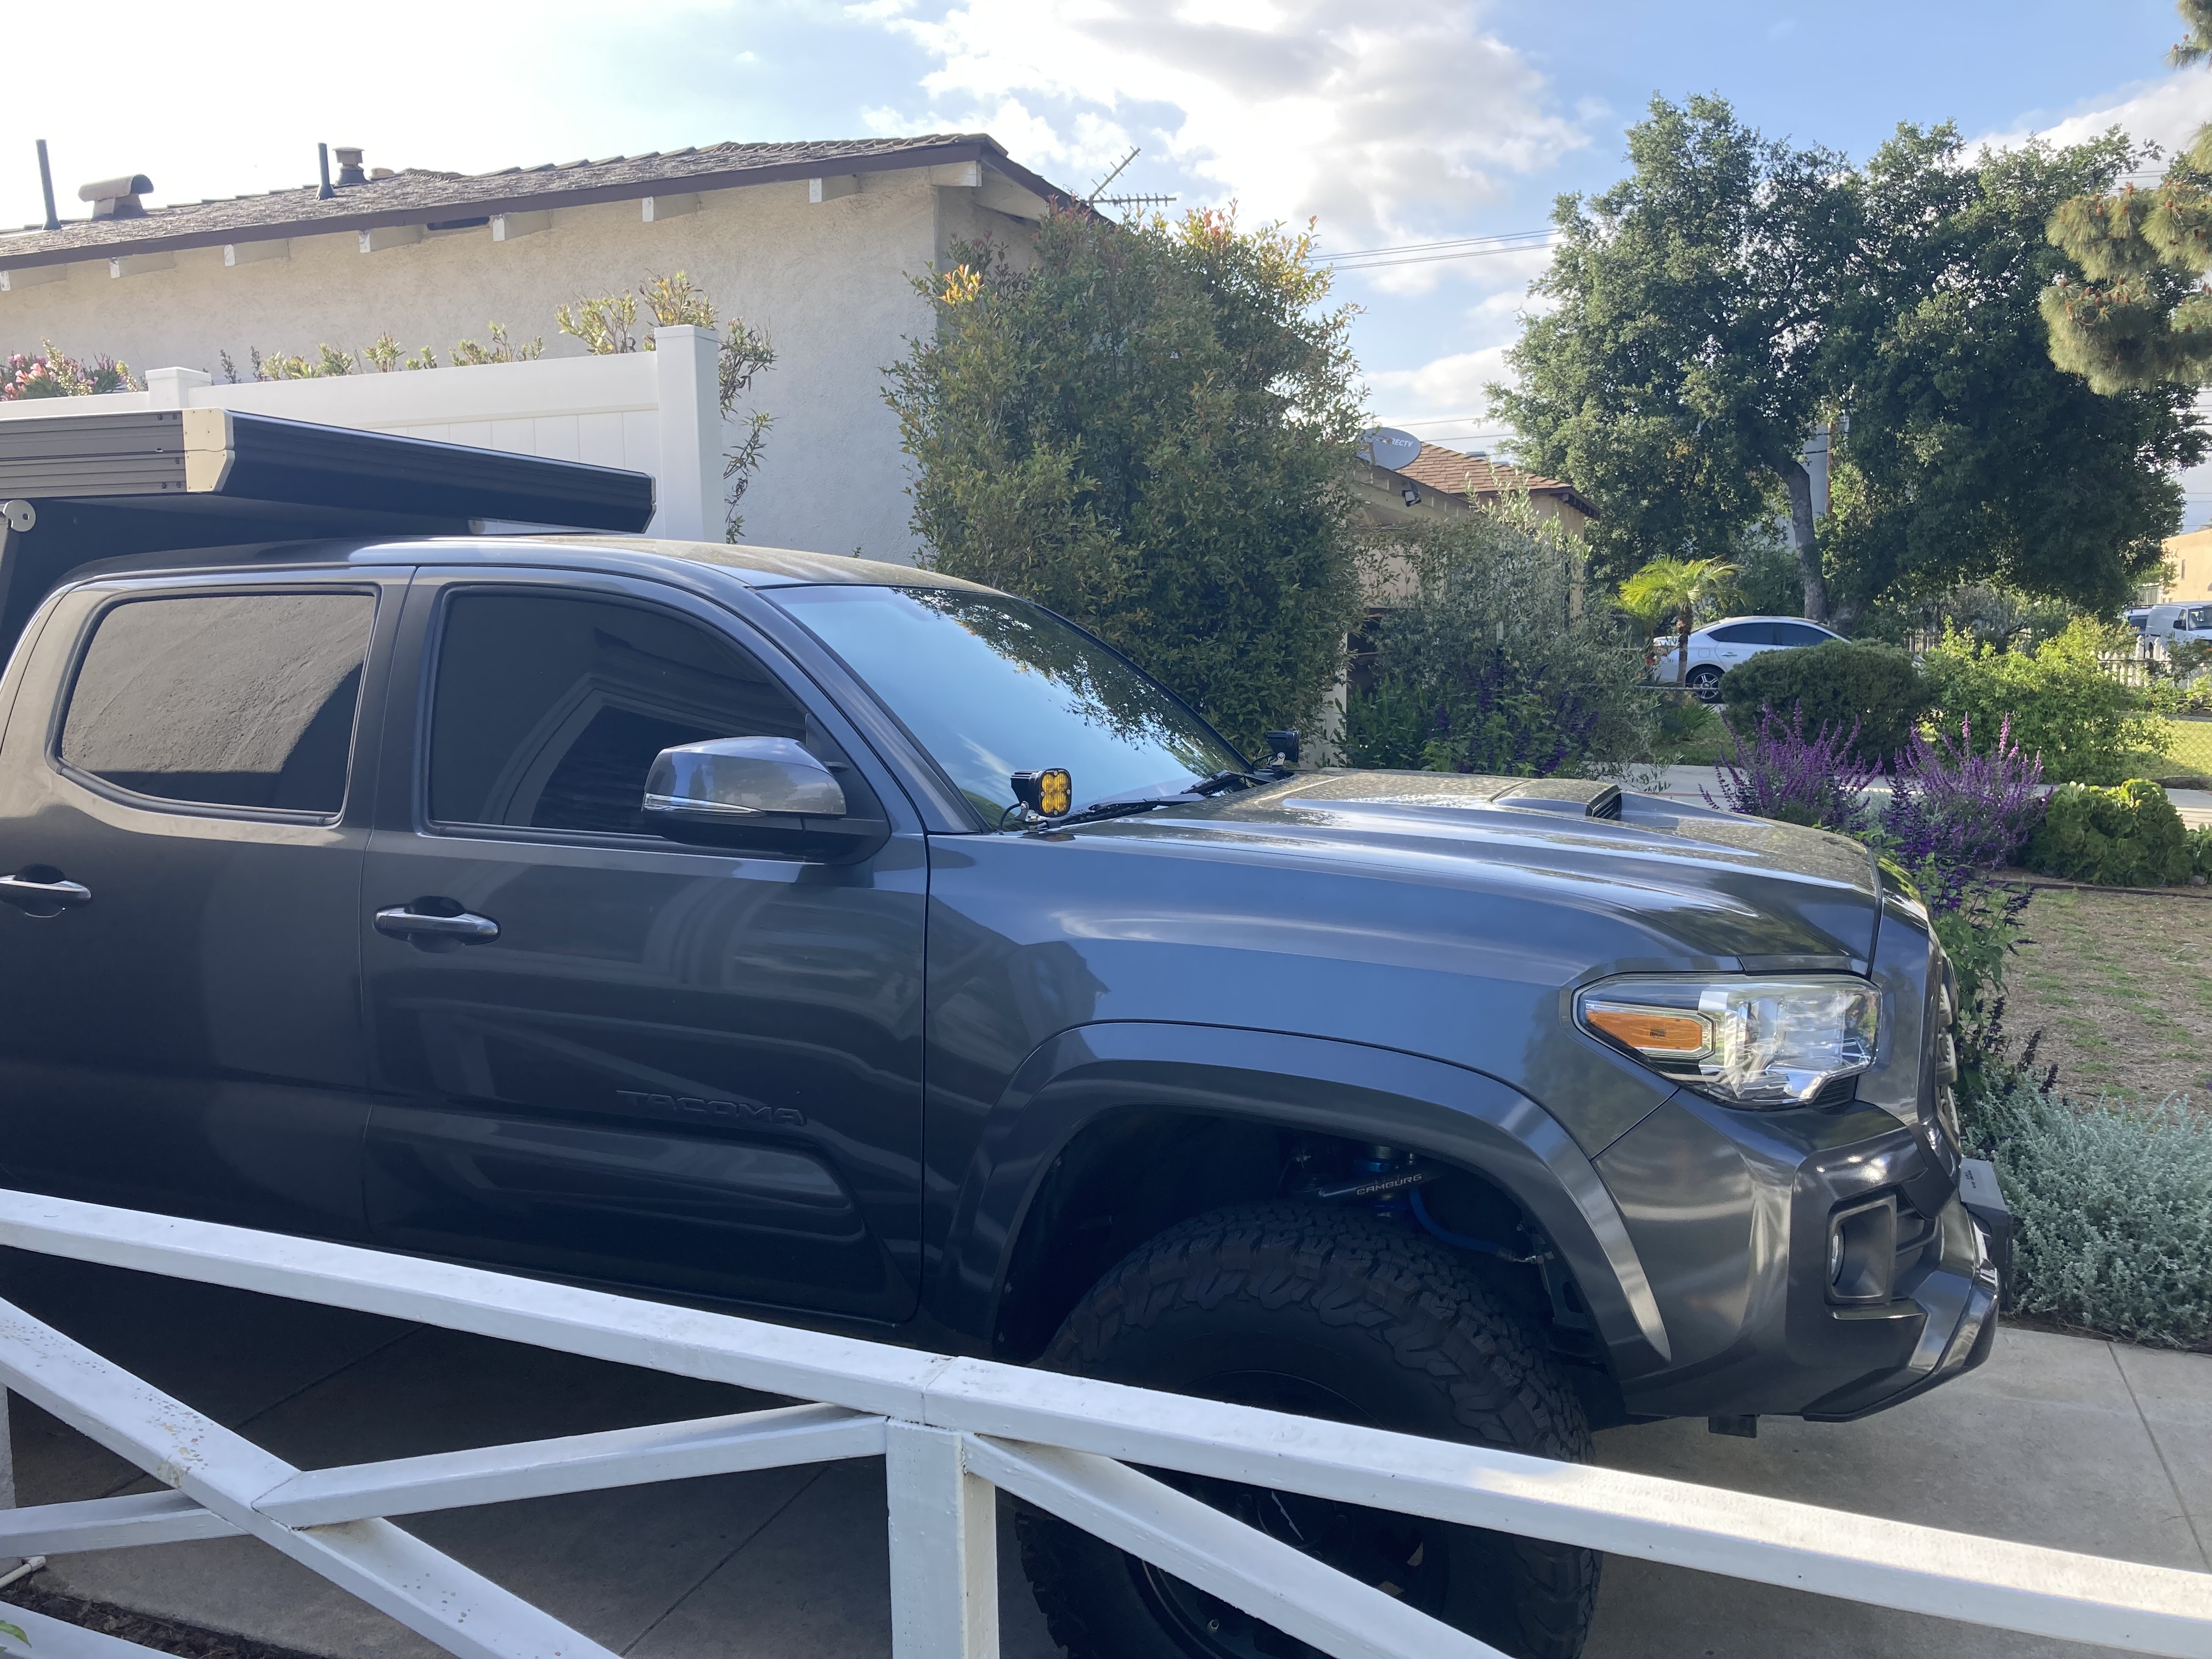
With the new suspension complete, my wheels and tires were going to need an upgrade as well.
Wheels: Method 703 w/ 0 offset
Tires: BFG KO2 285 / 70 / 17
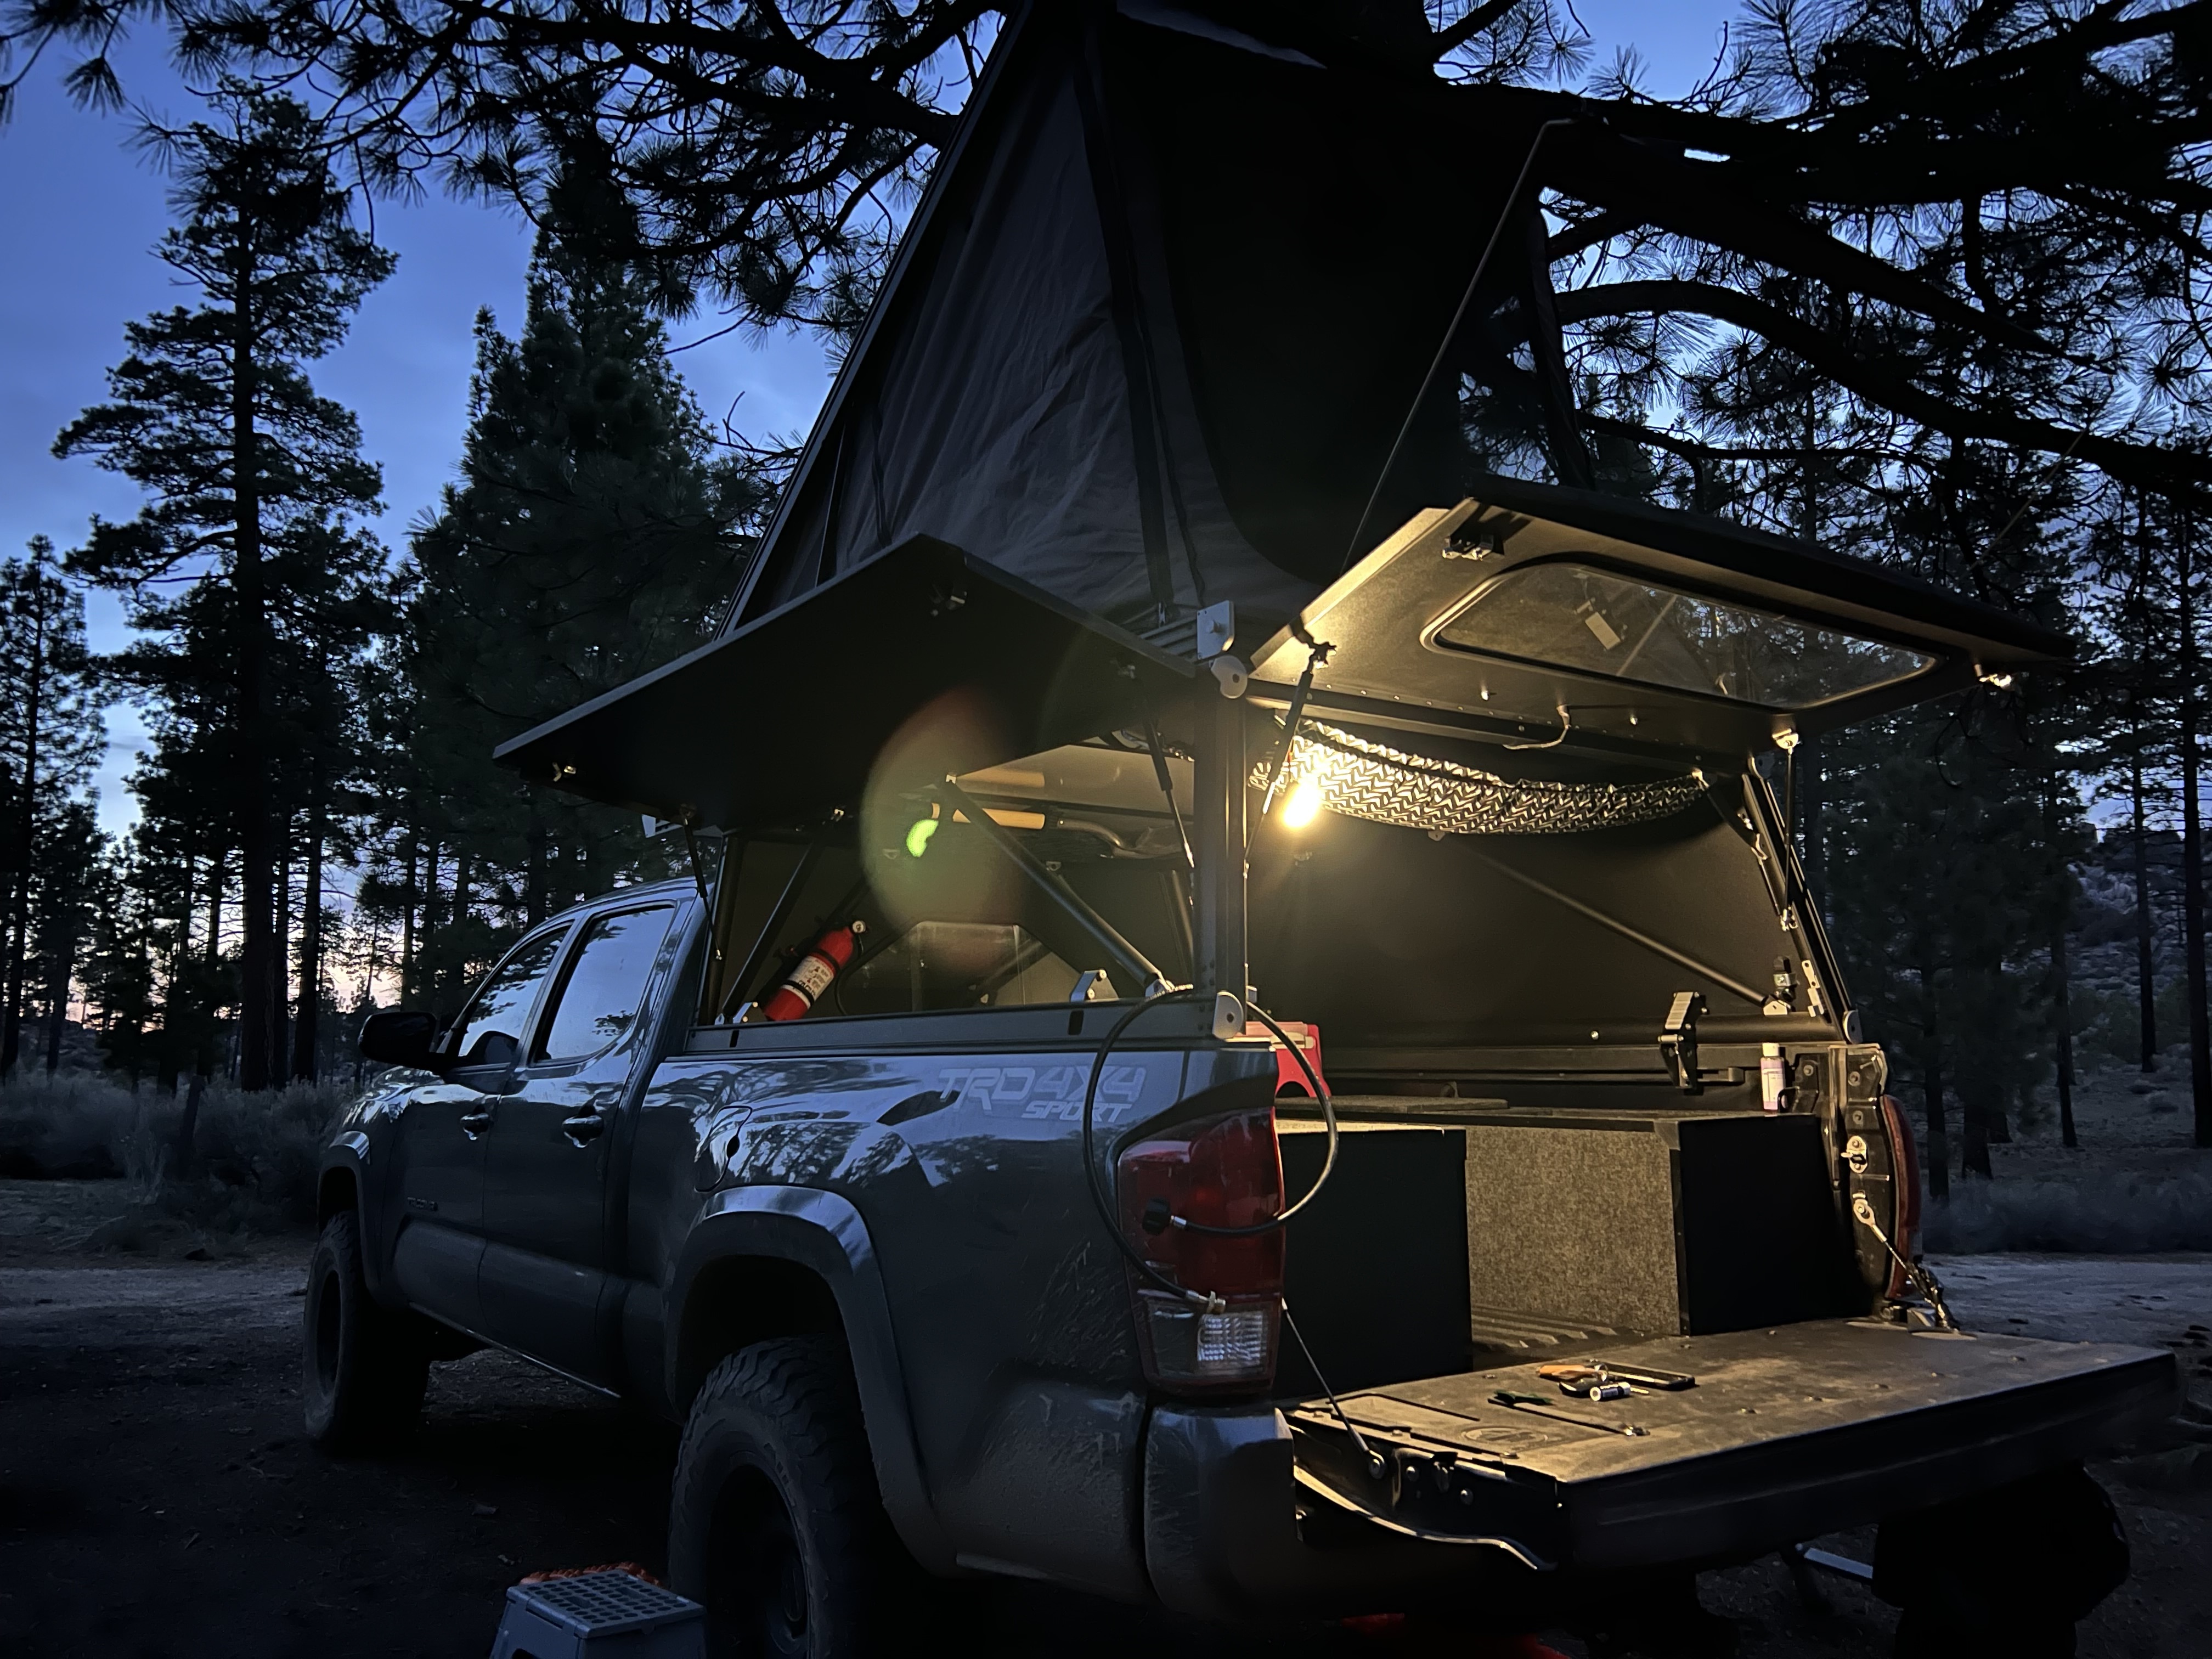
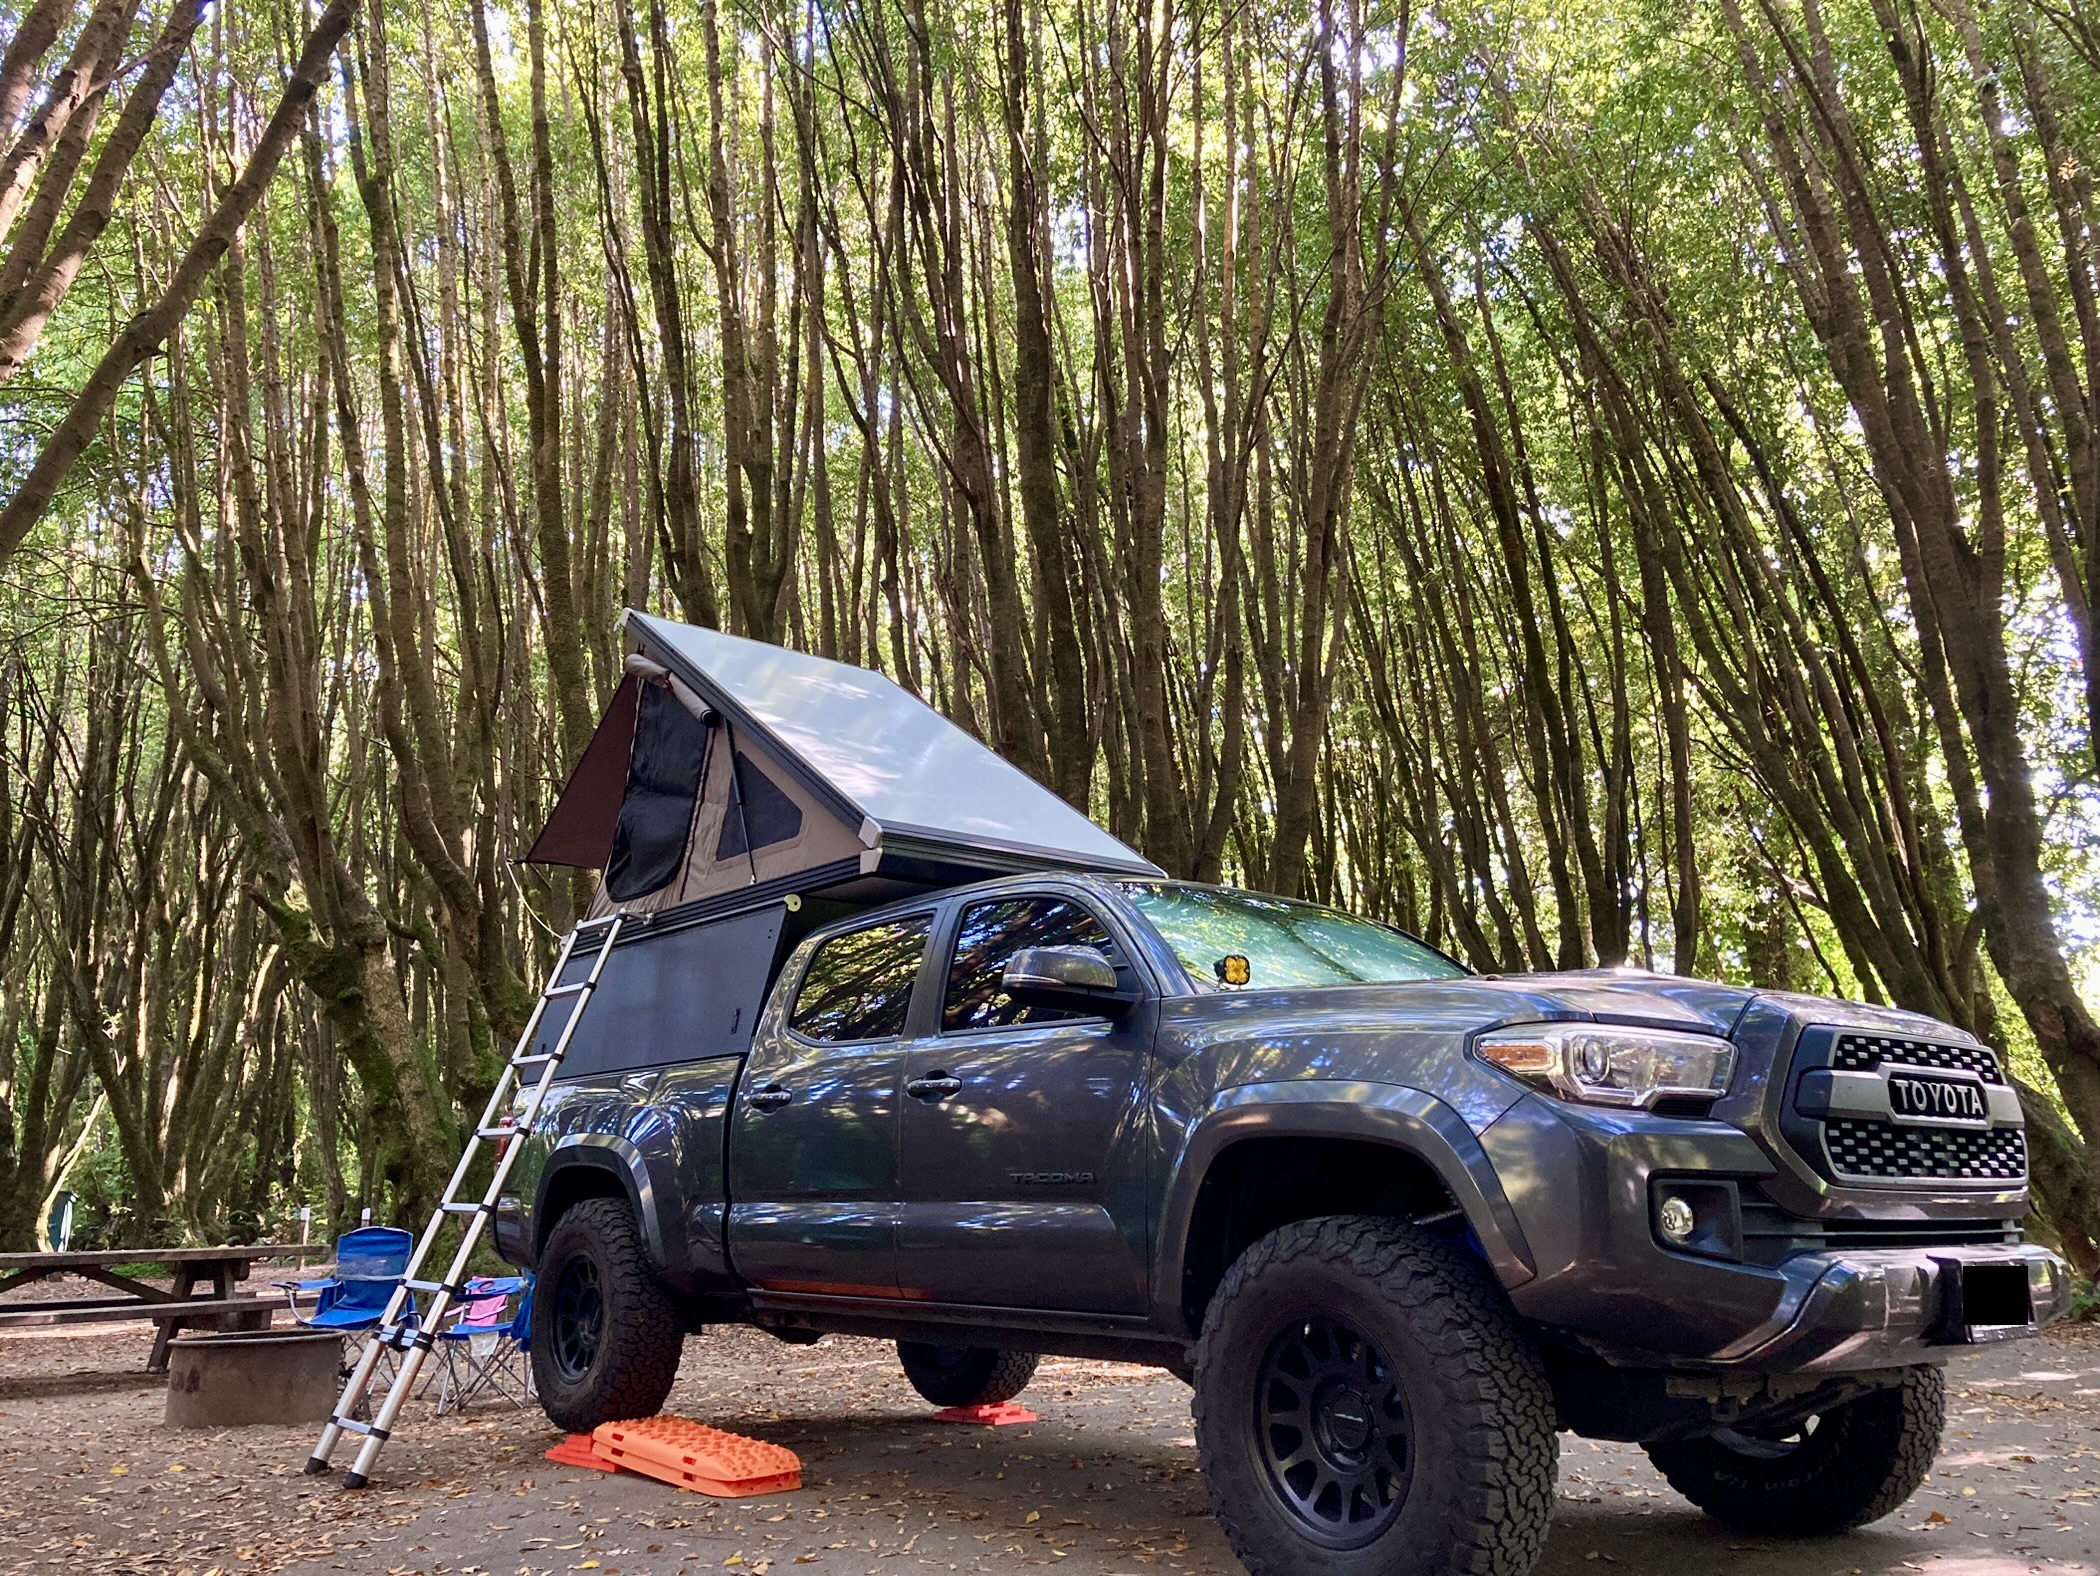
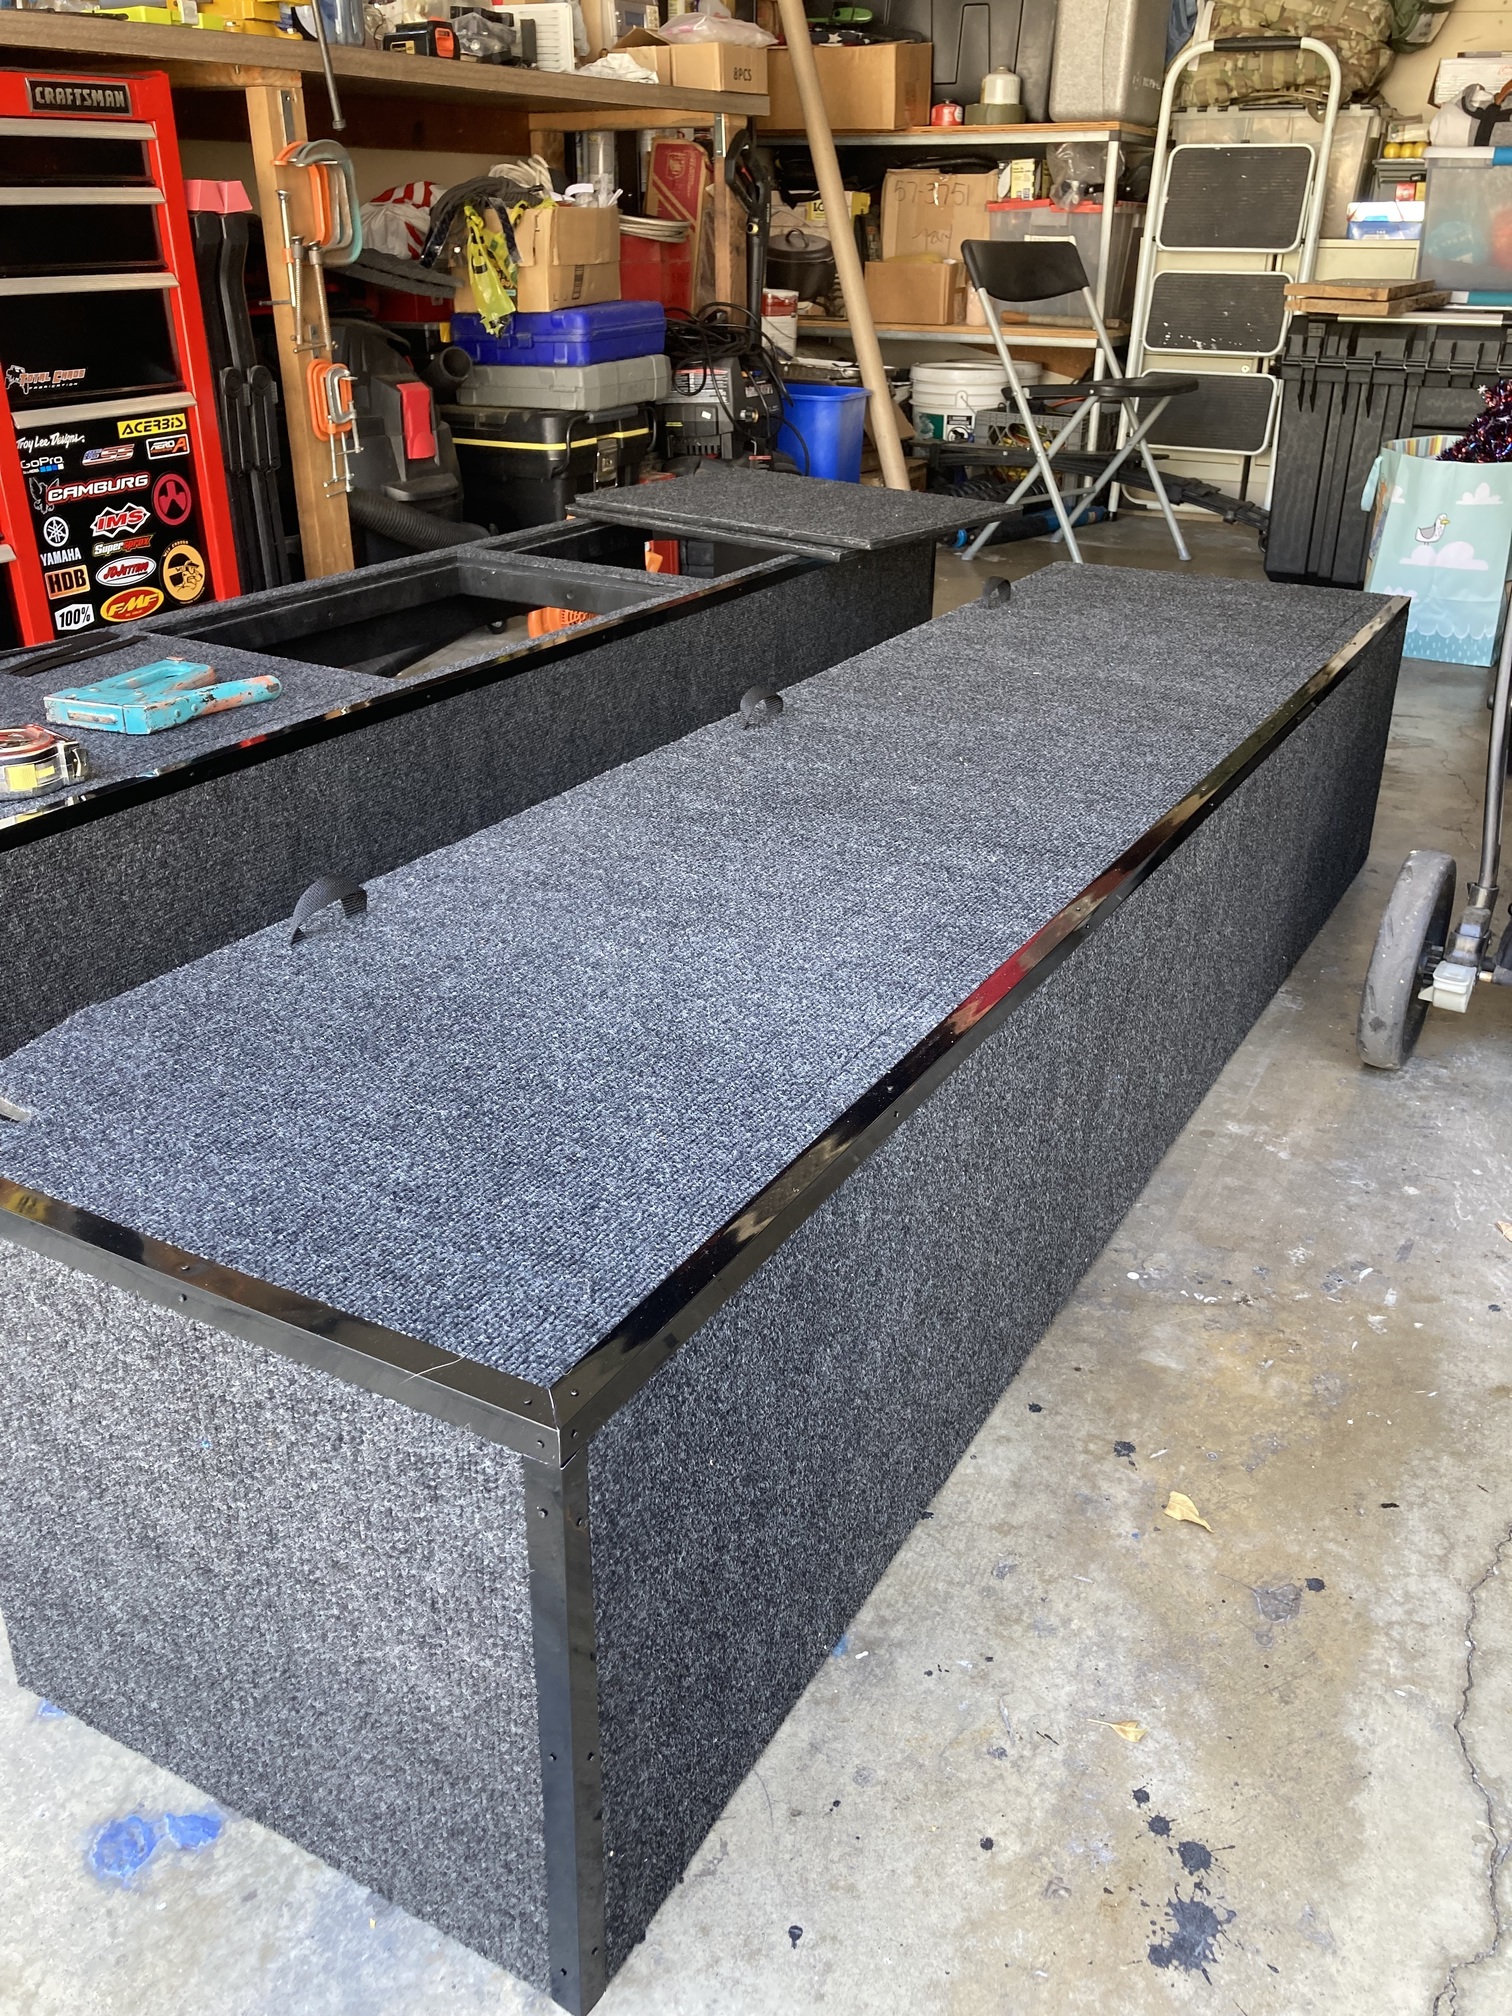
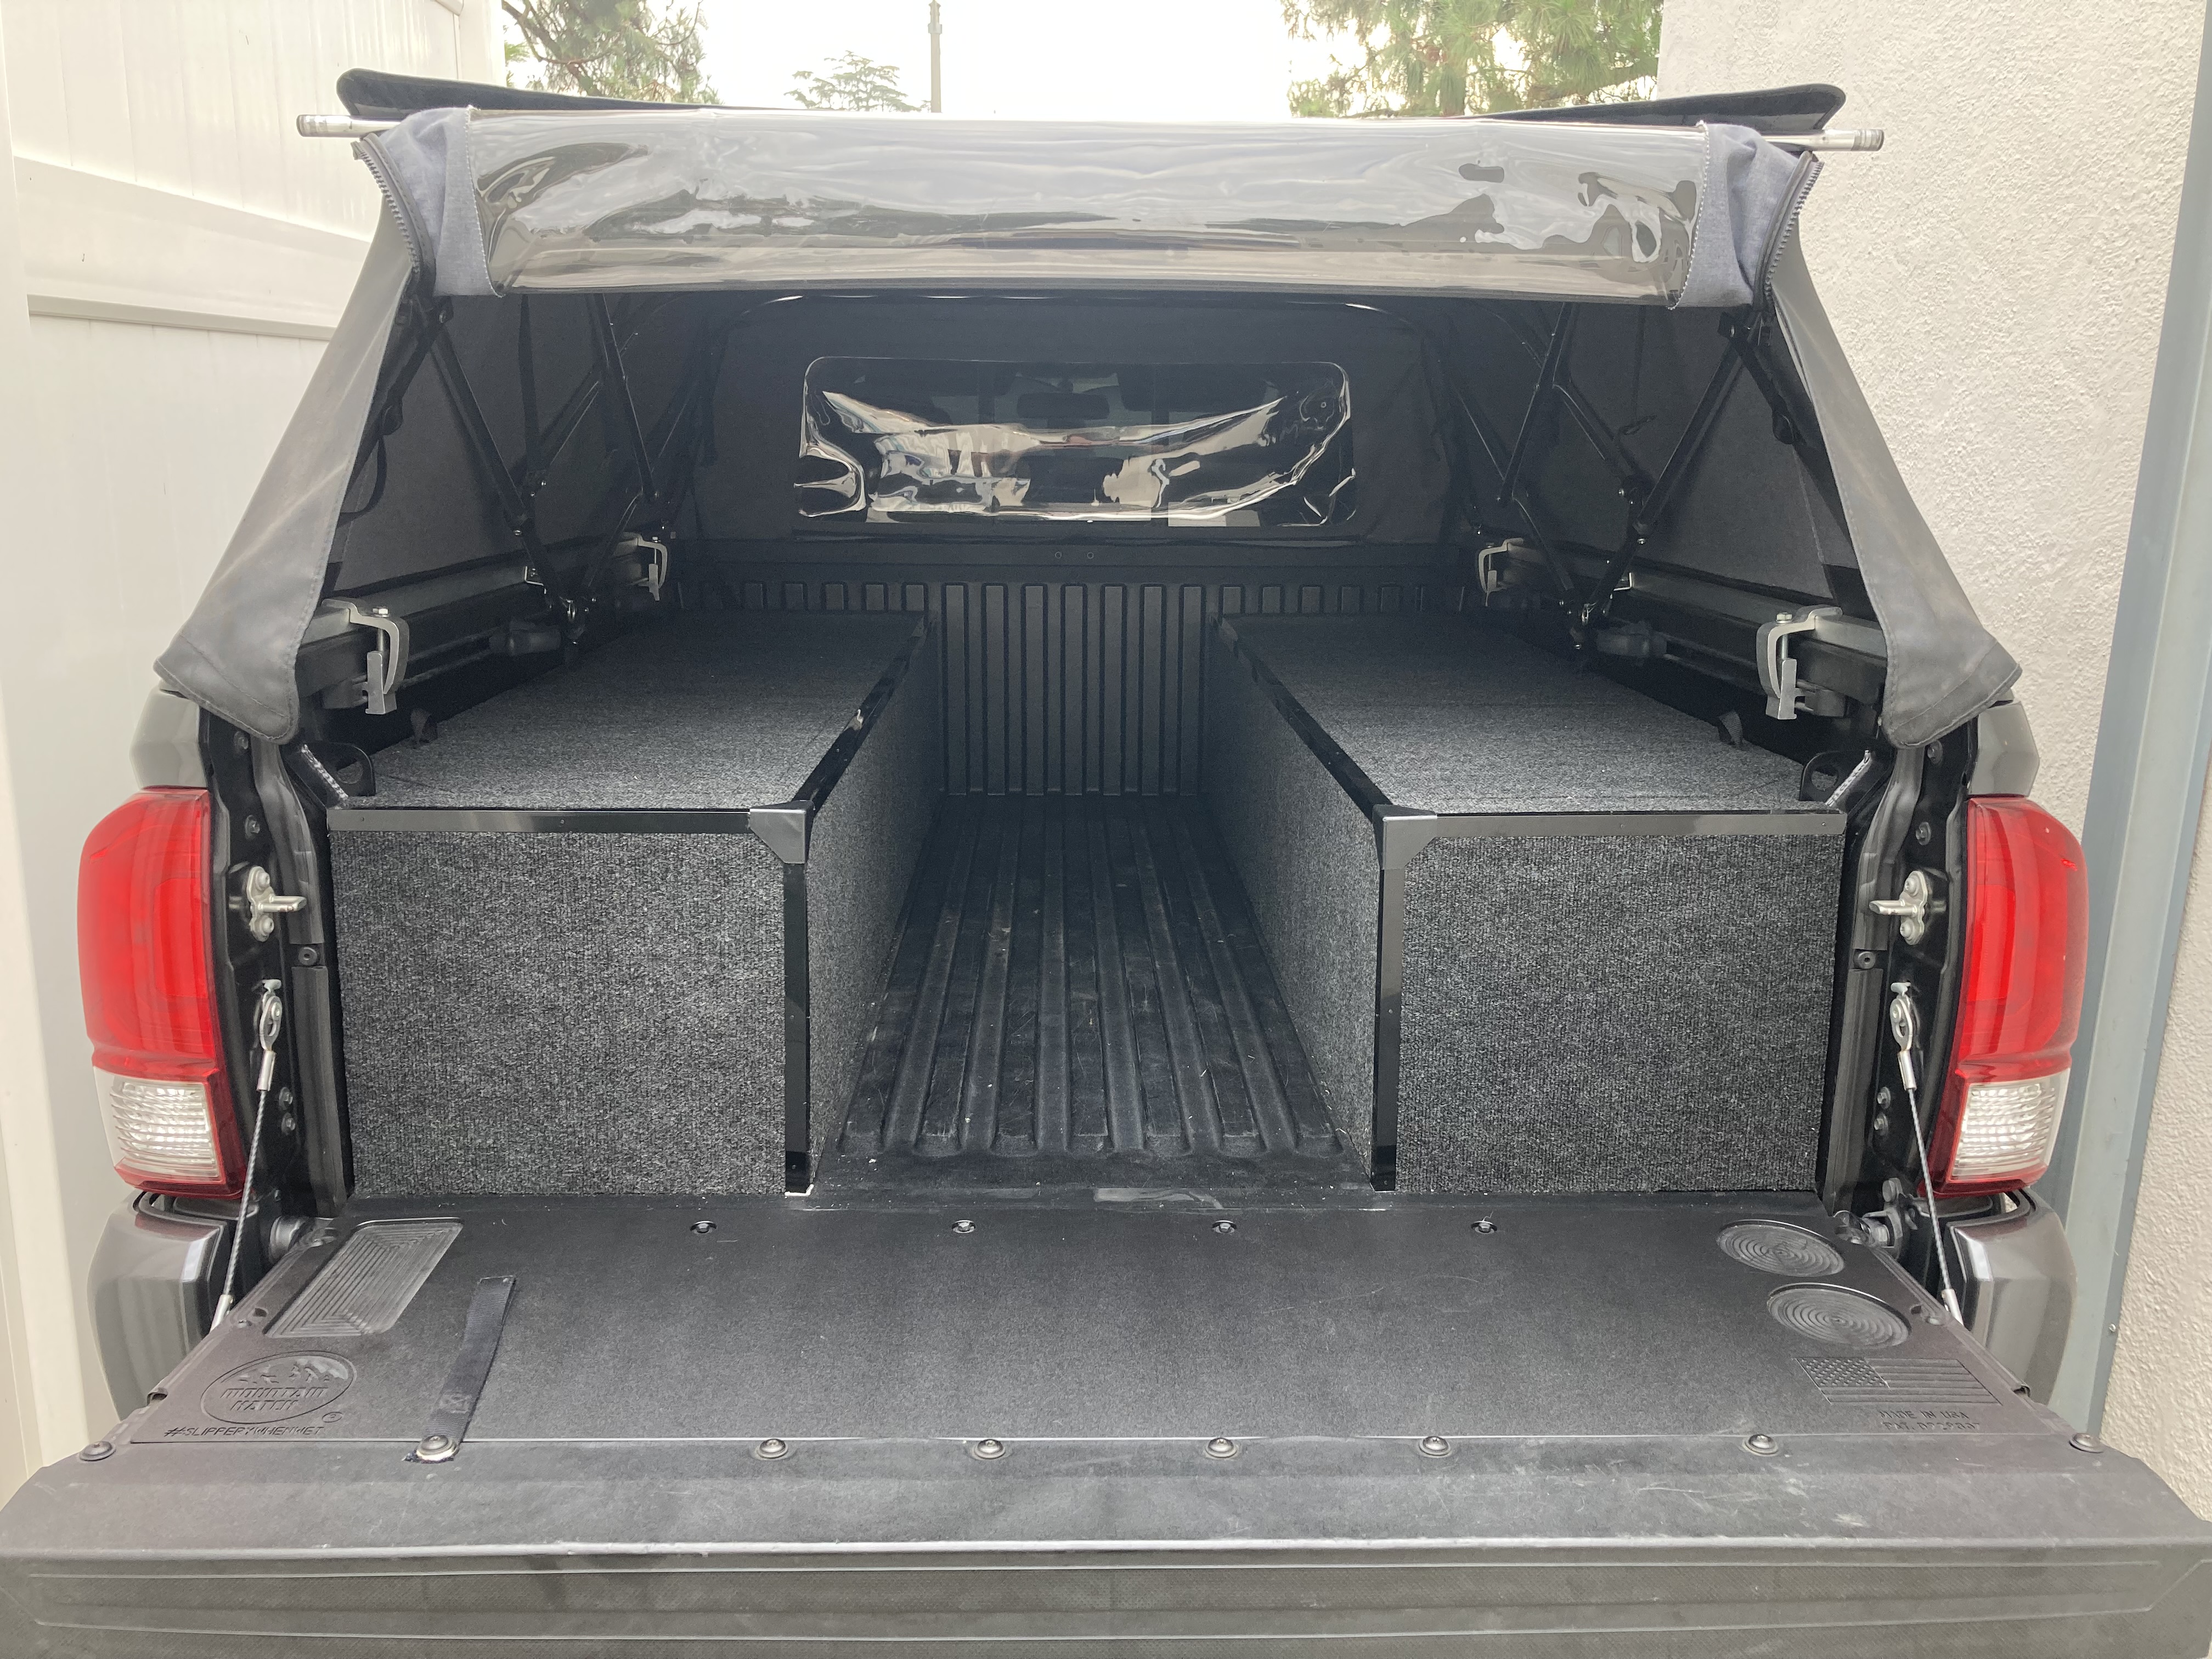
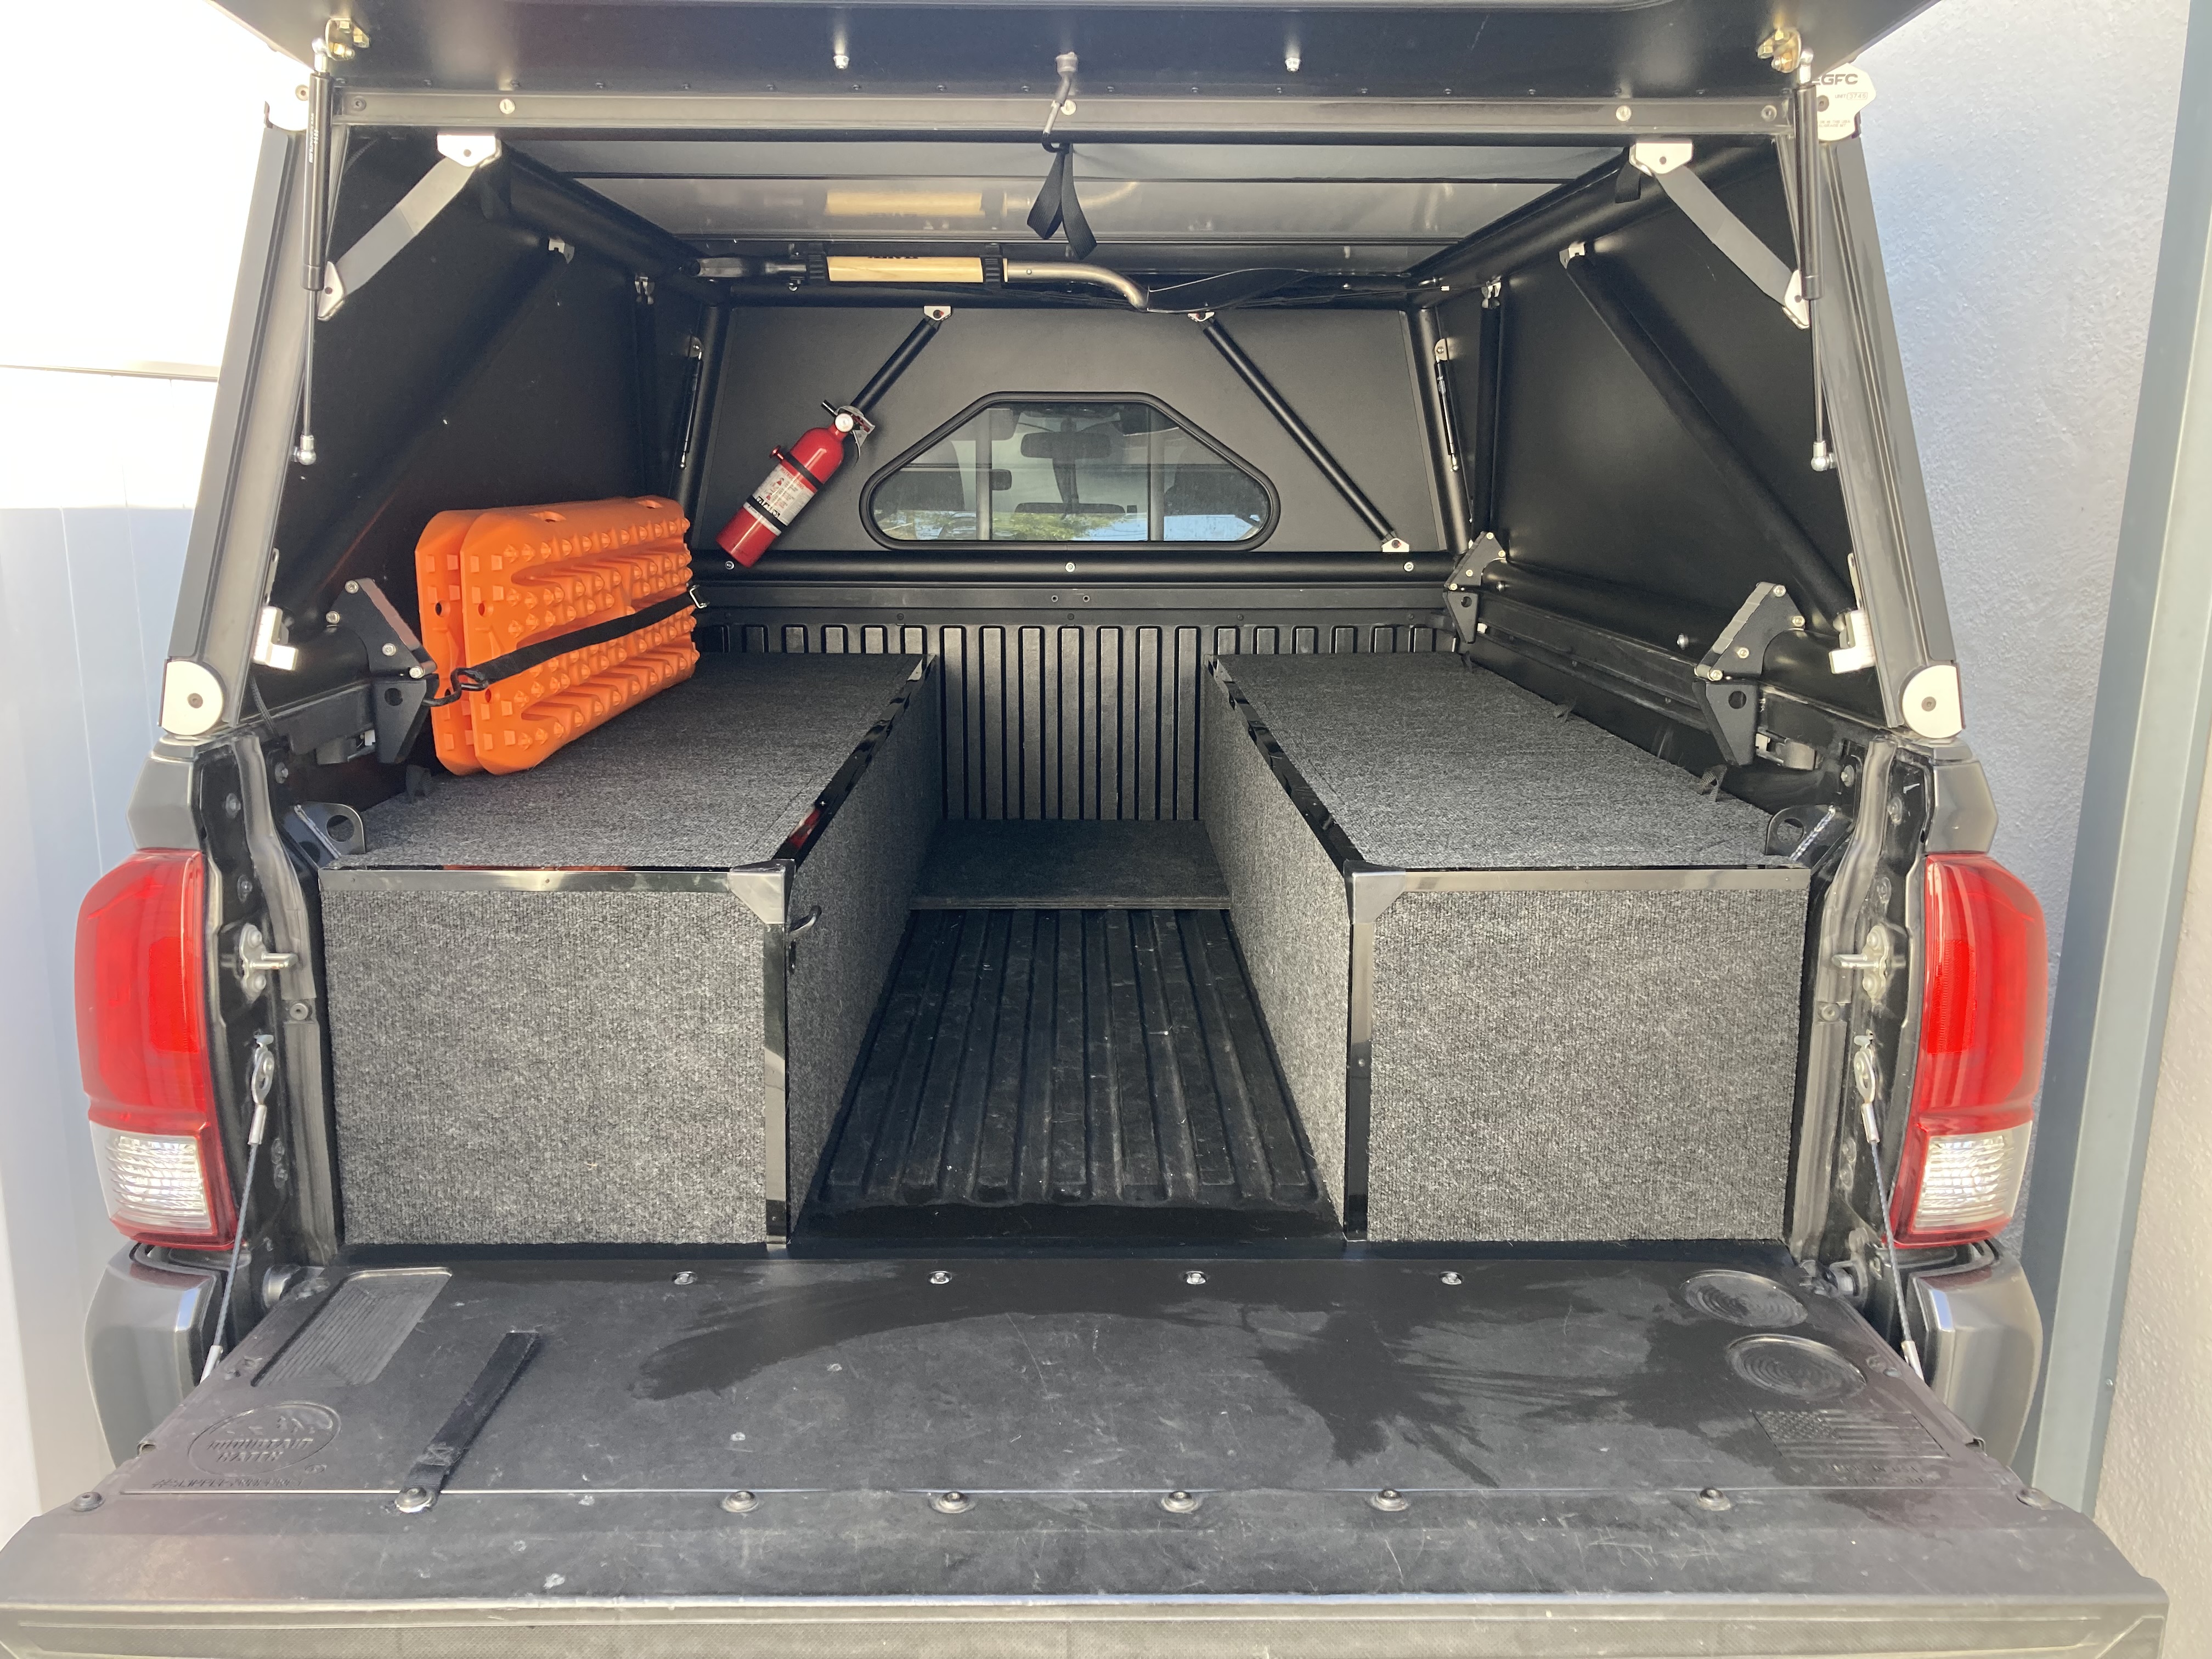
Once the suspension was finished, it was time to begin planning a buildout for the GFC camper while I waited for my install date. I wanted to have something to store all my camp gear in the bed and also act as seating if my family and I had to escape some foul weather. The most important aspect, however, was it needed to be easily removed when we were not camping as the truck is my daily driver. After seeing many cool buildouts and spending countless hours measuring and contemplating, here’s what I came up with.
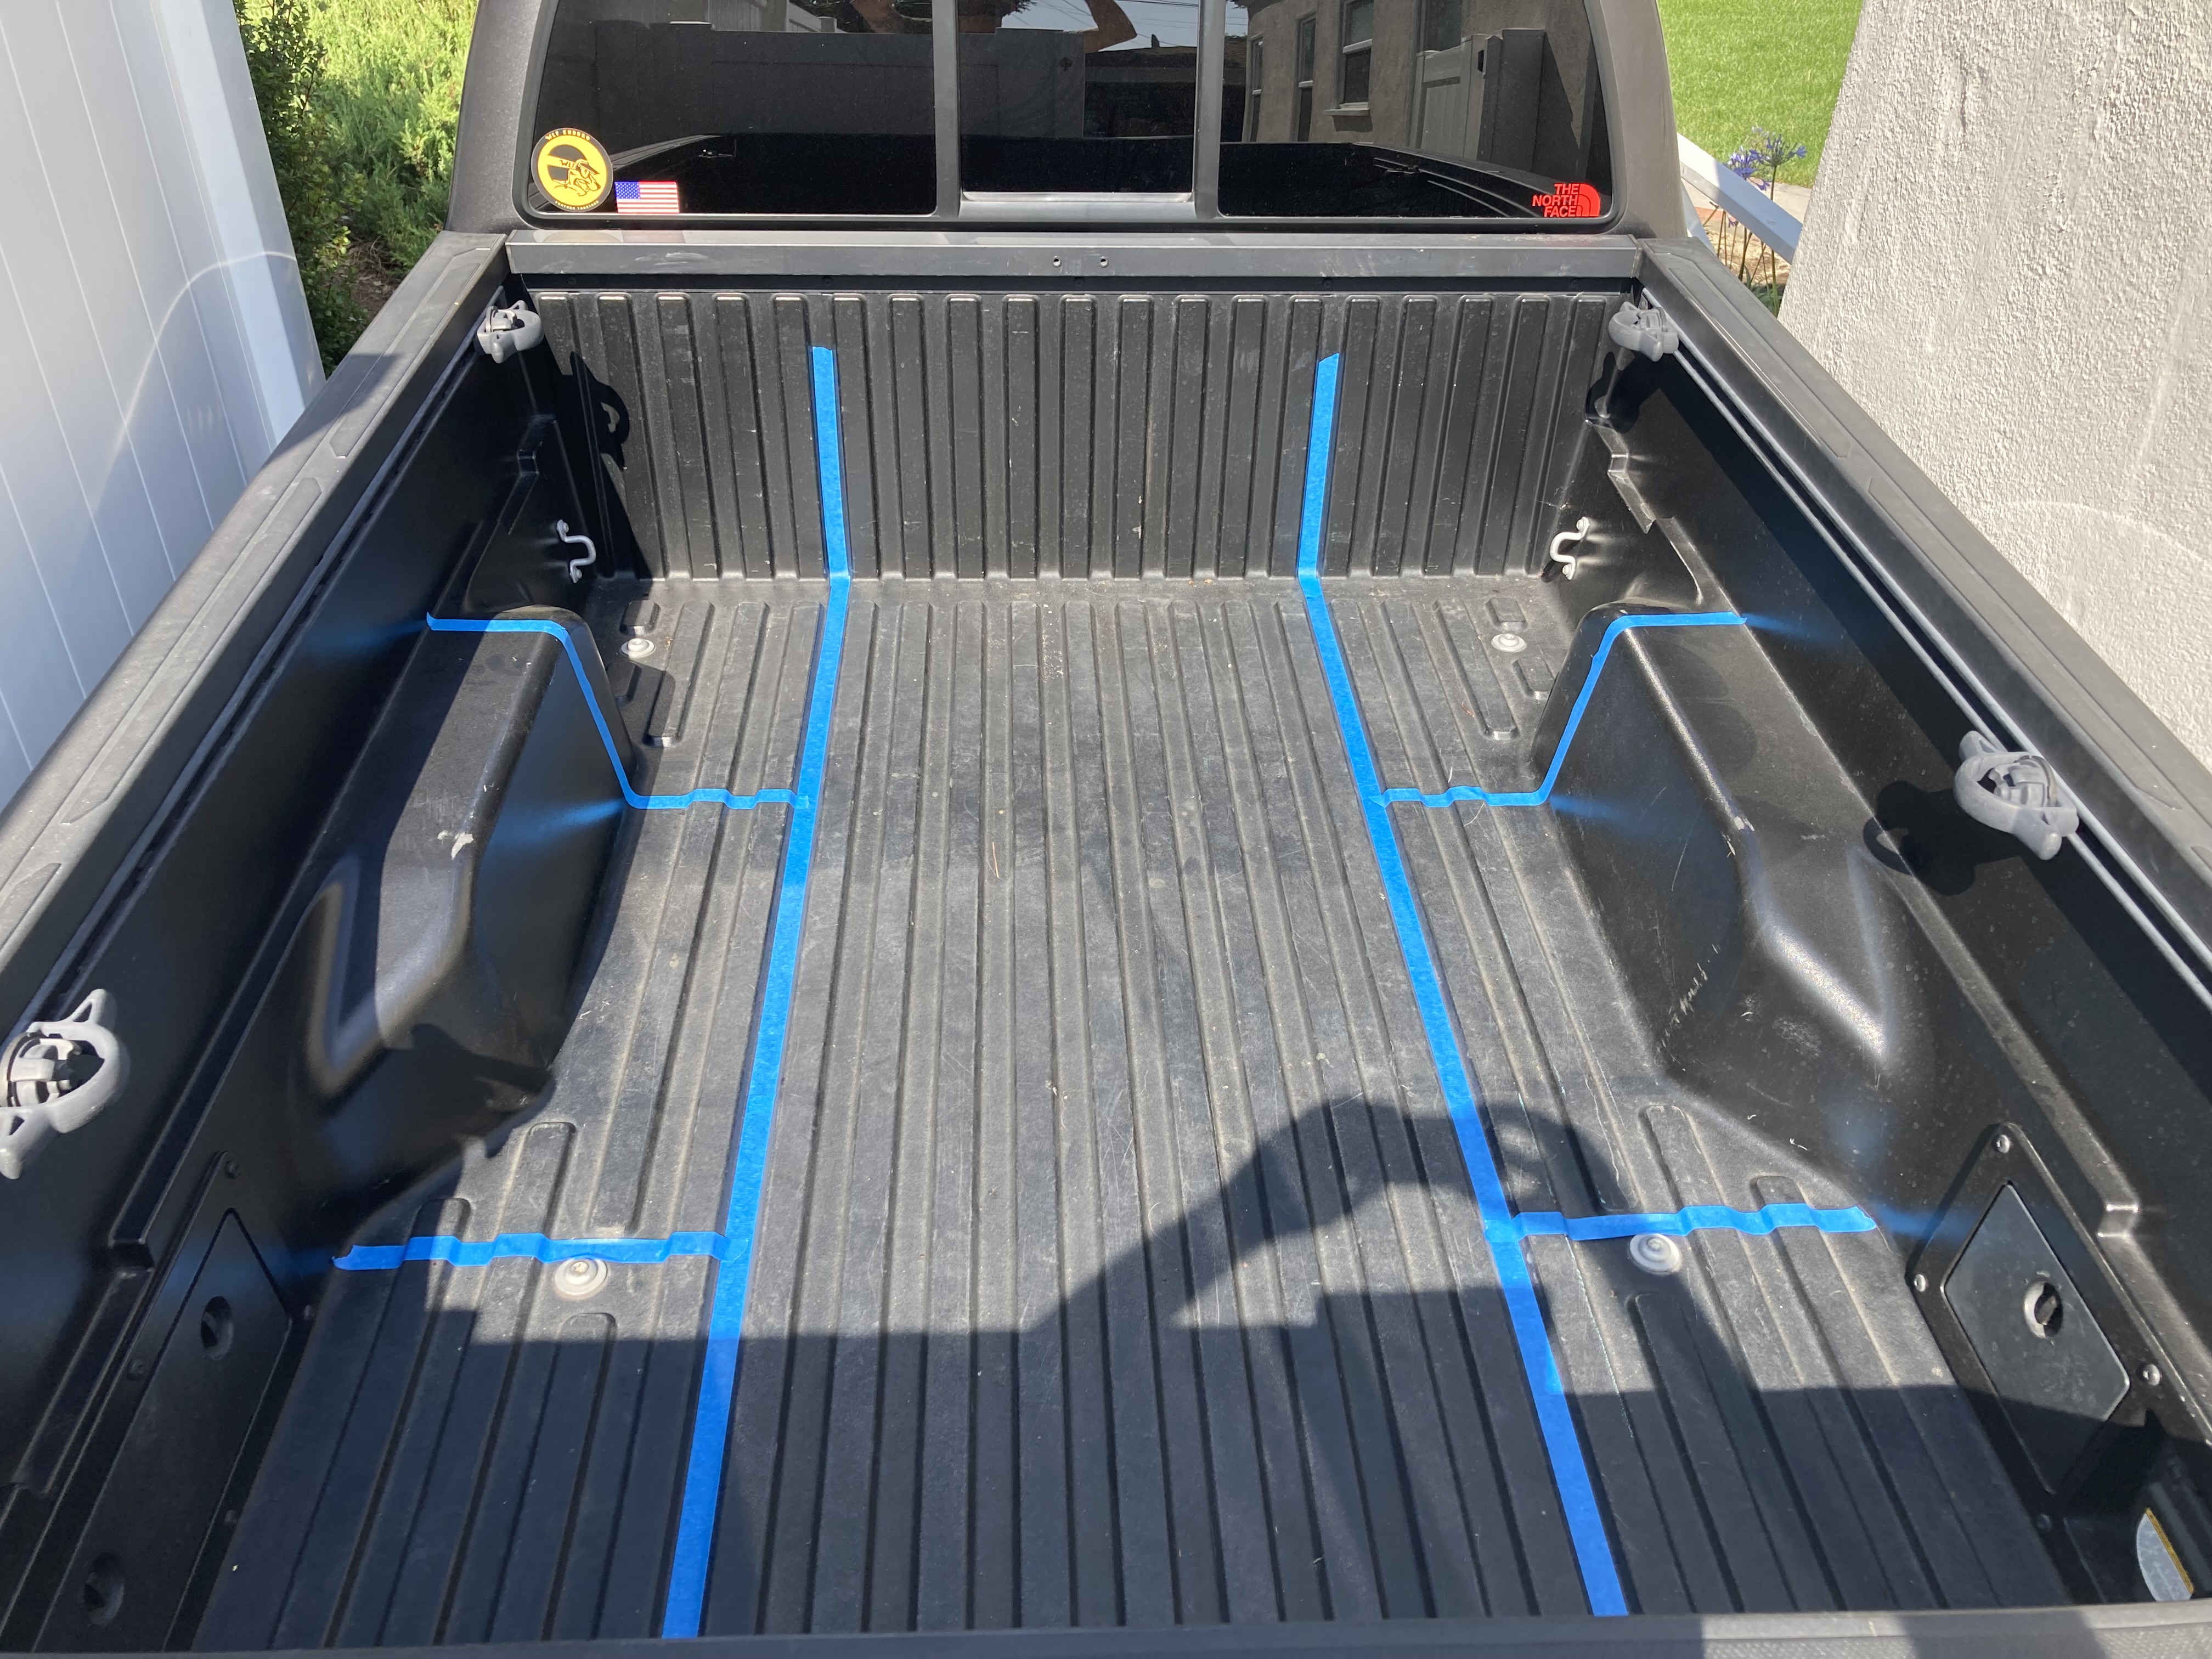
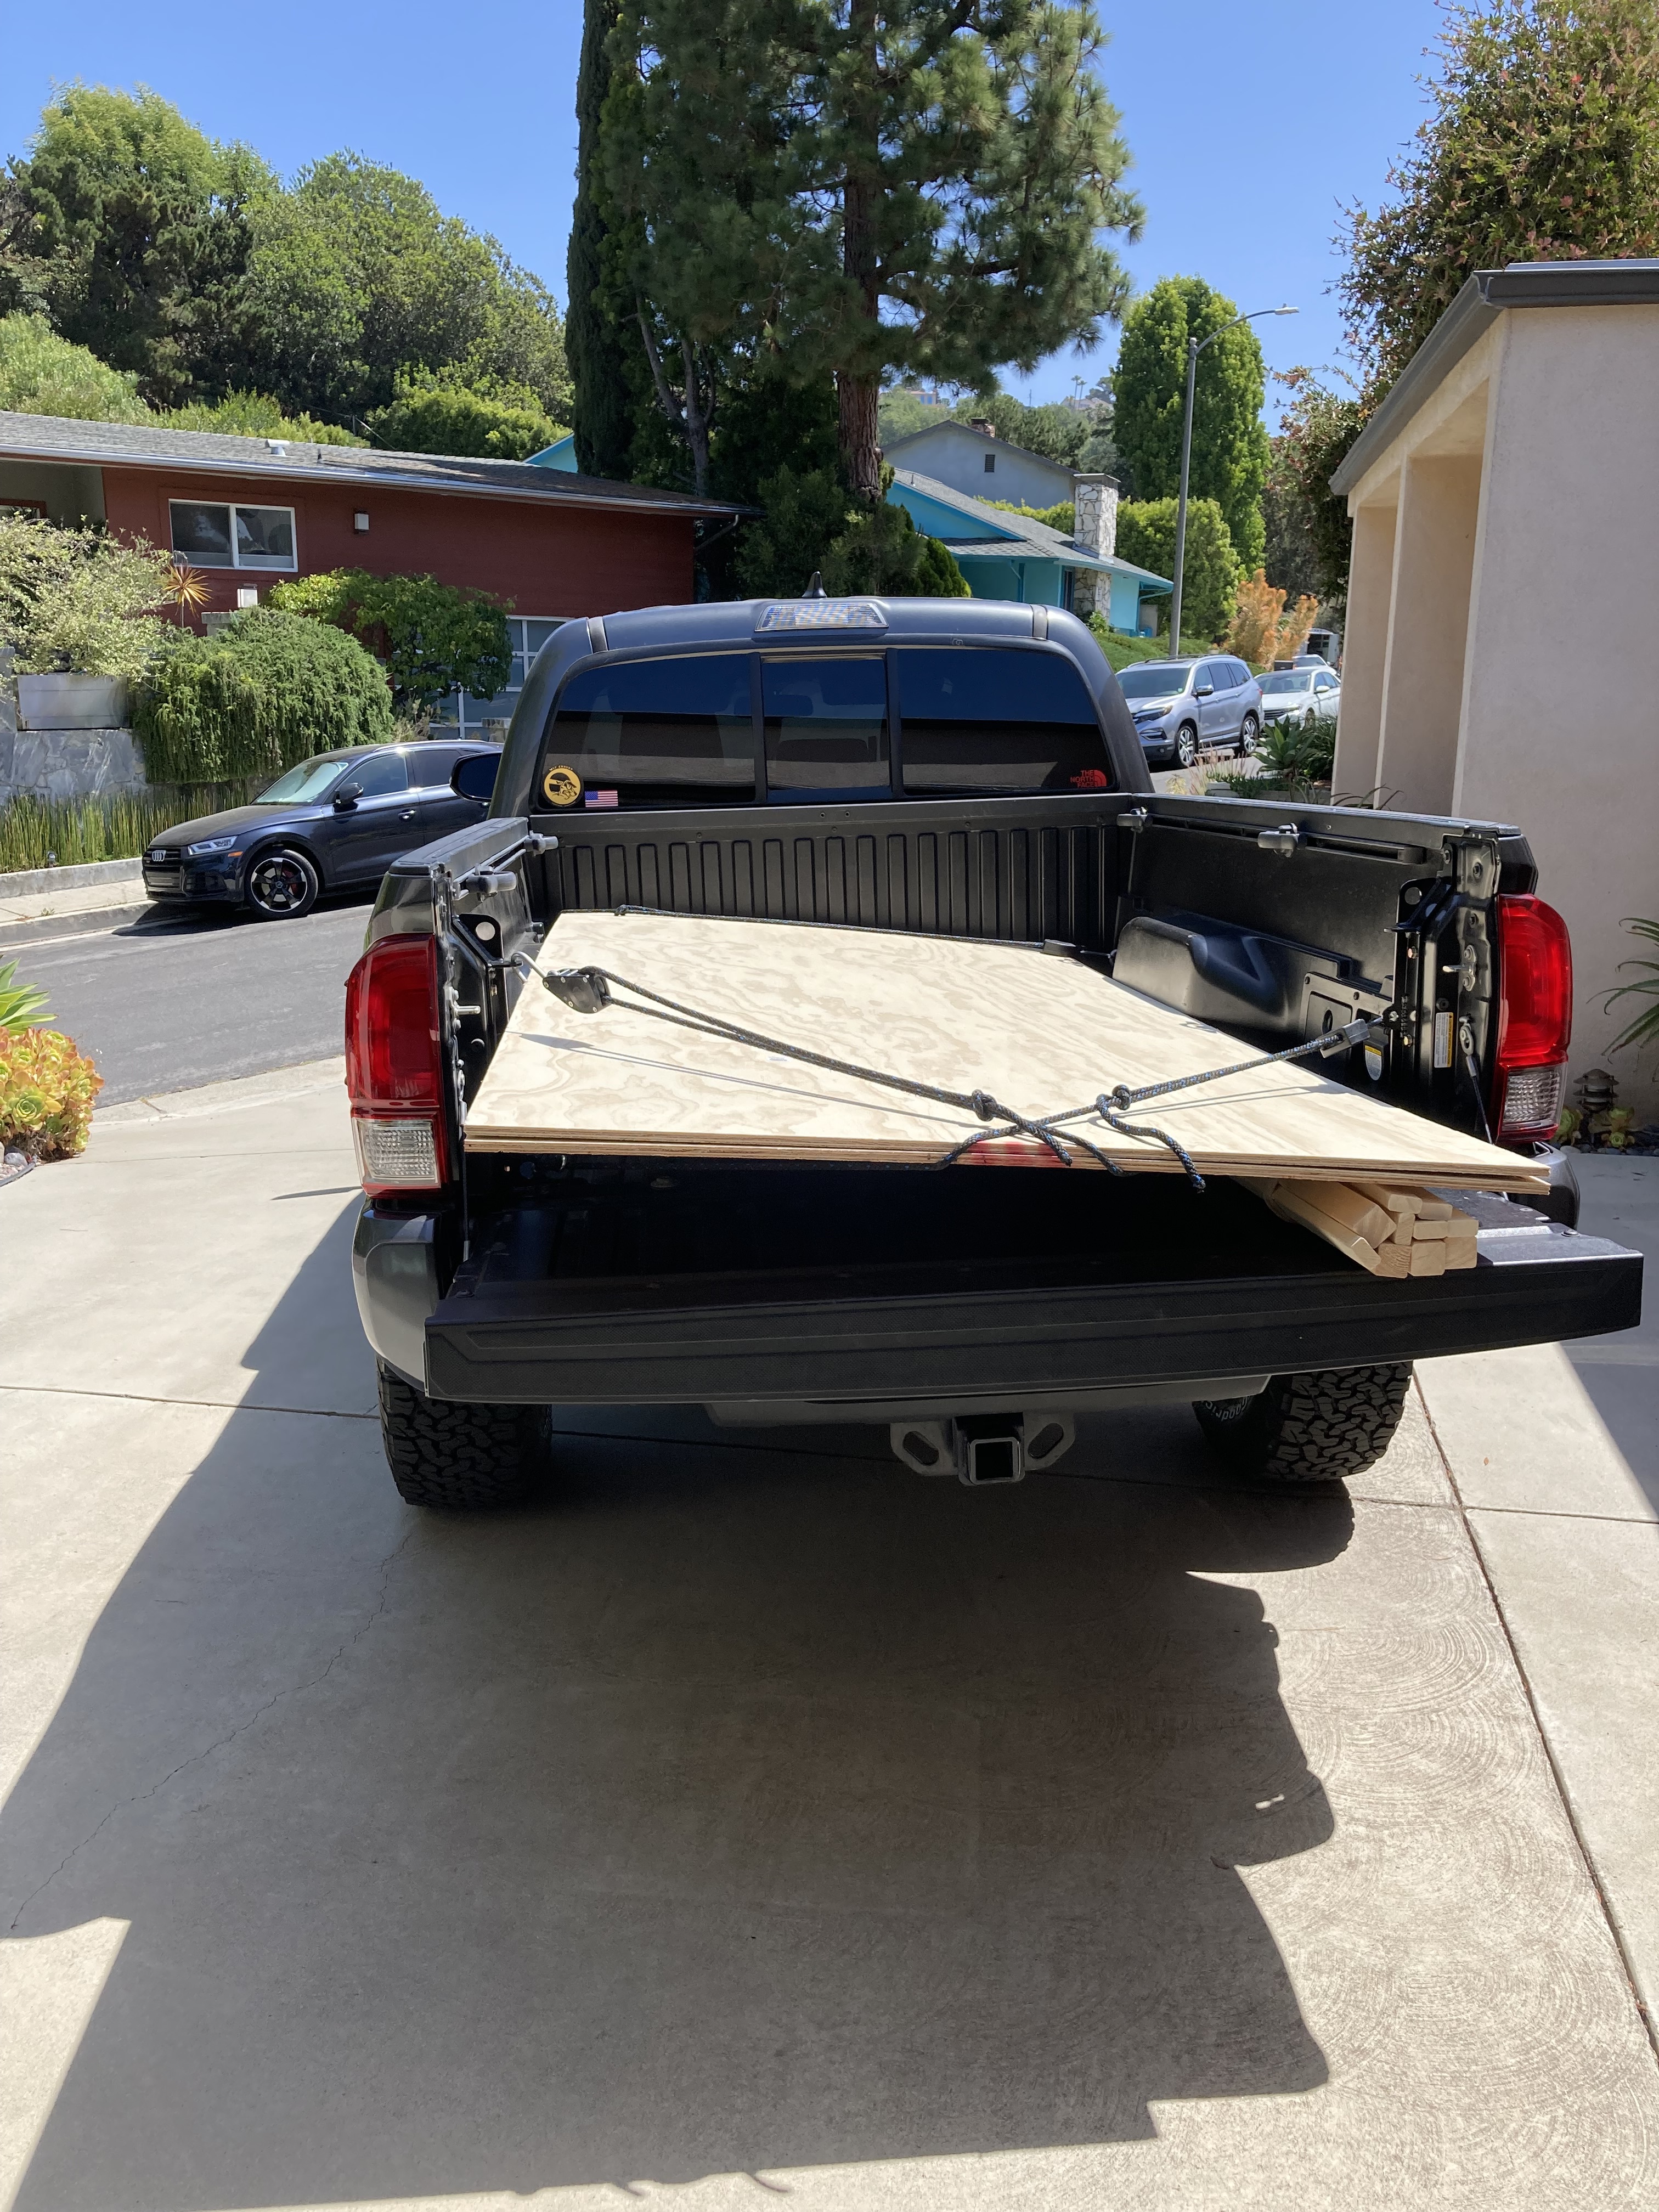

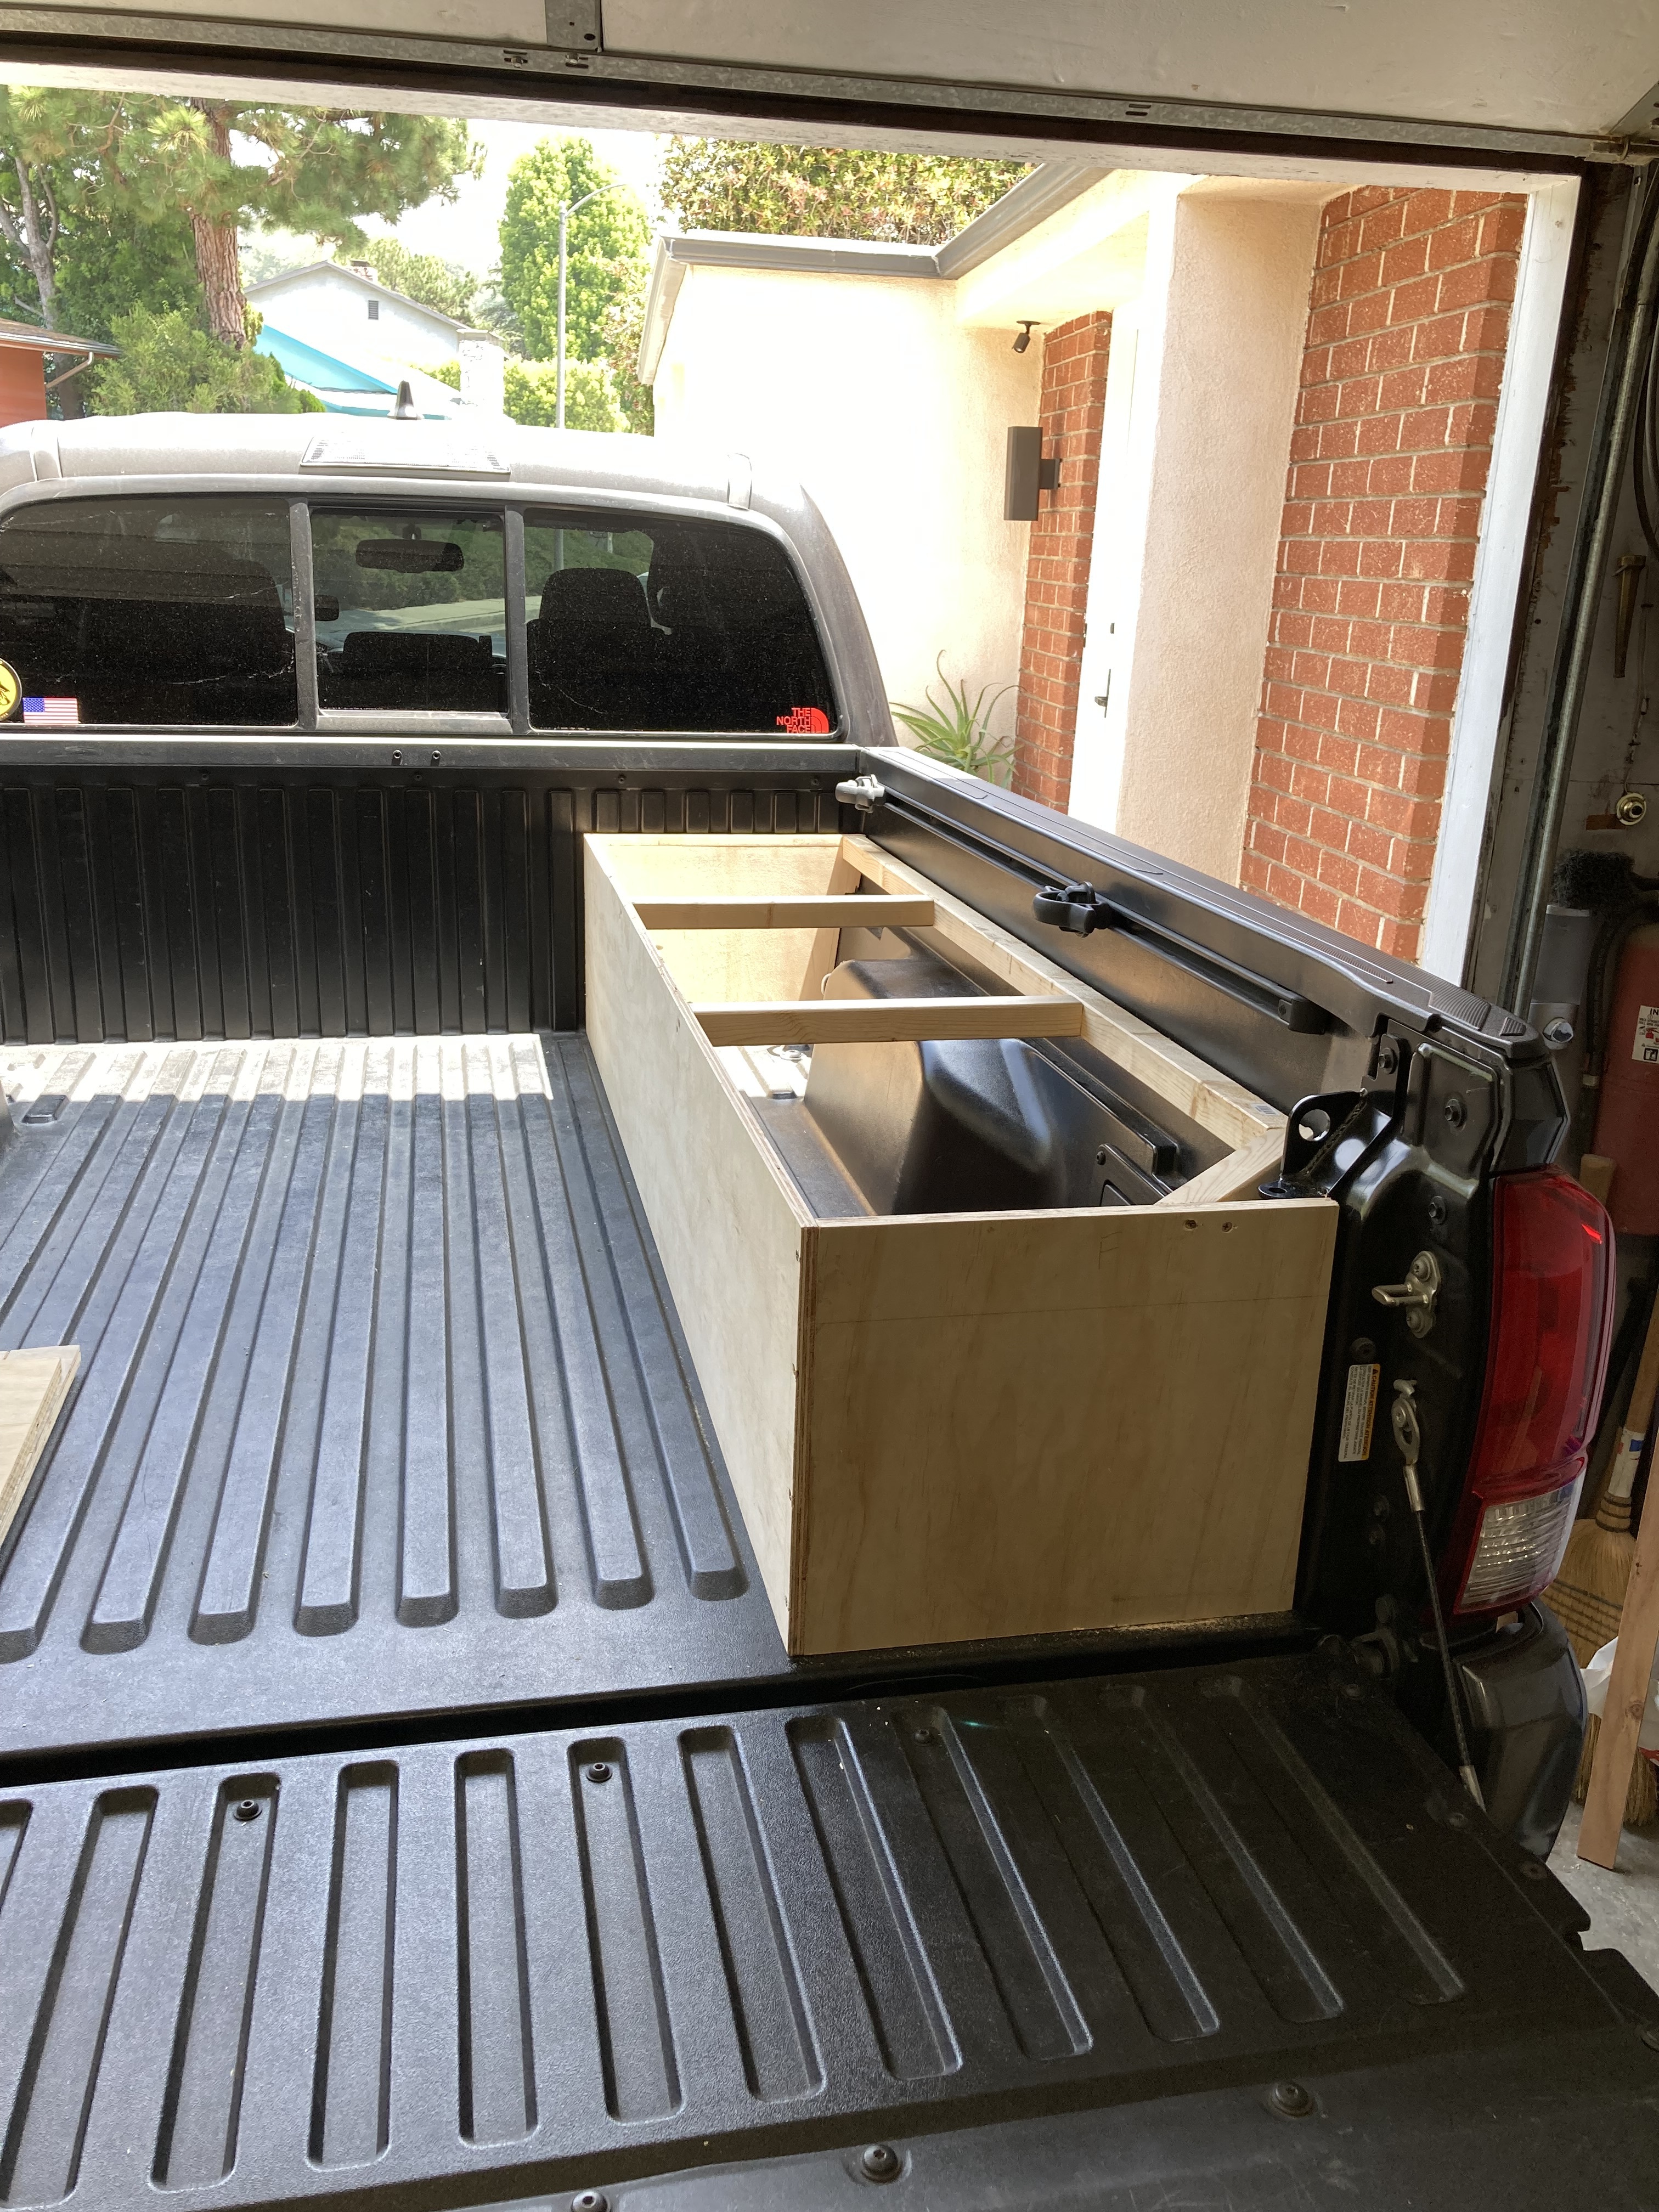
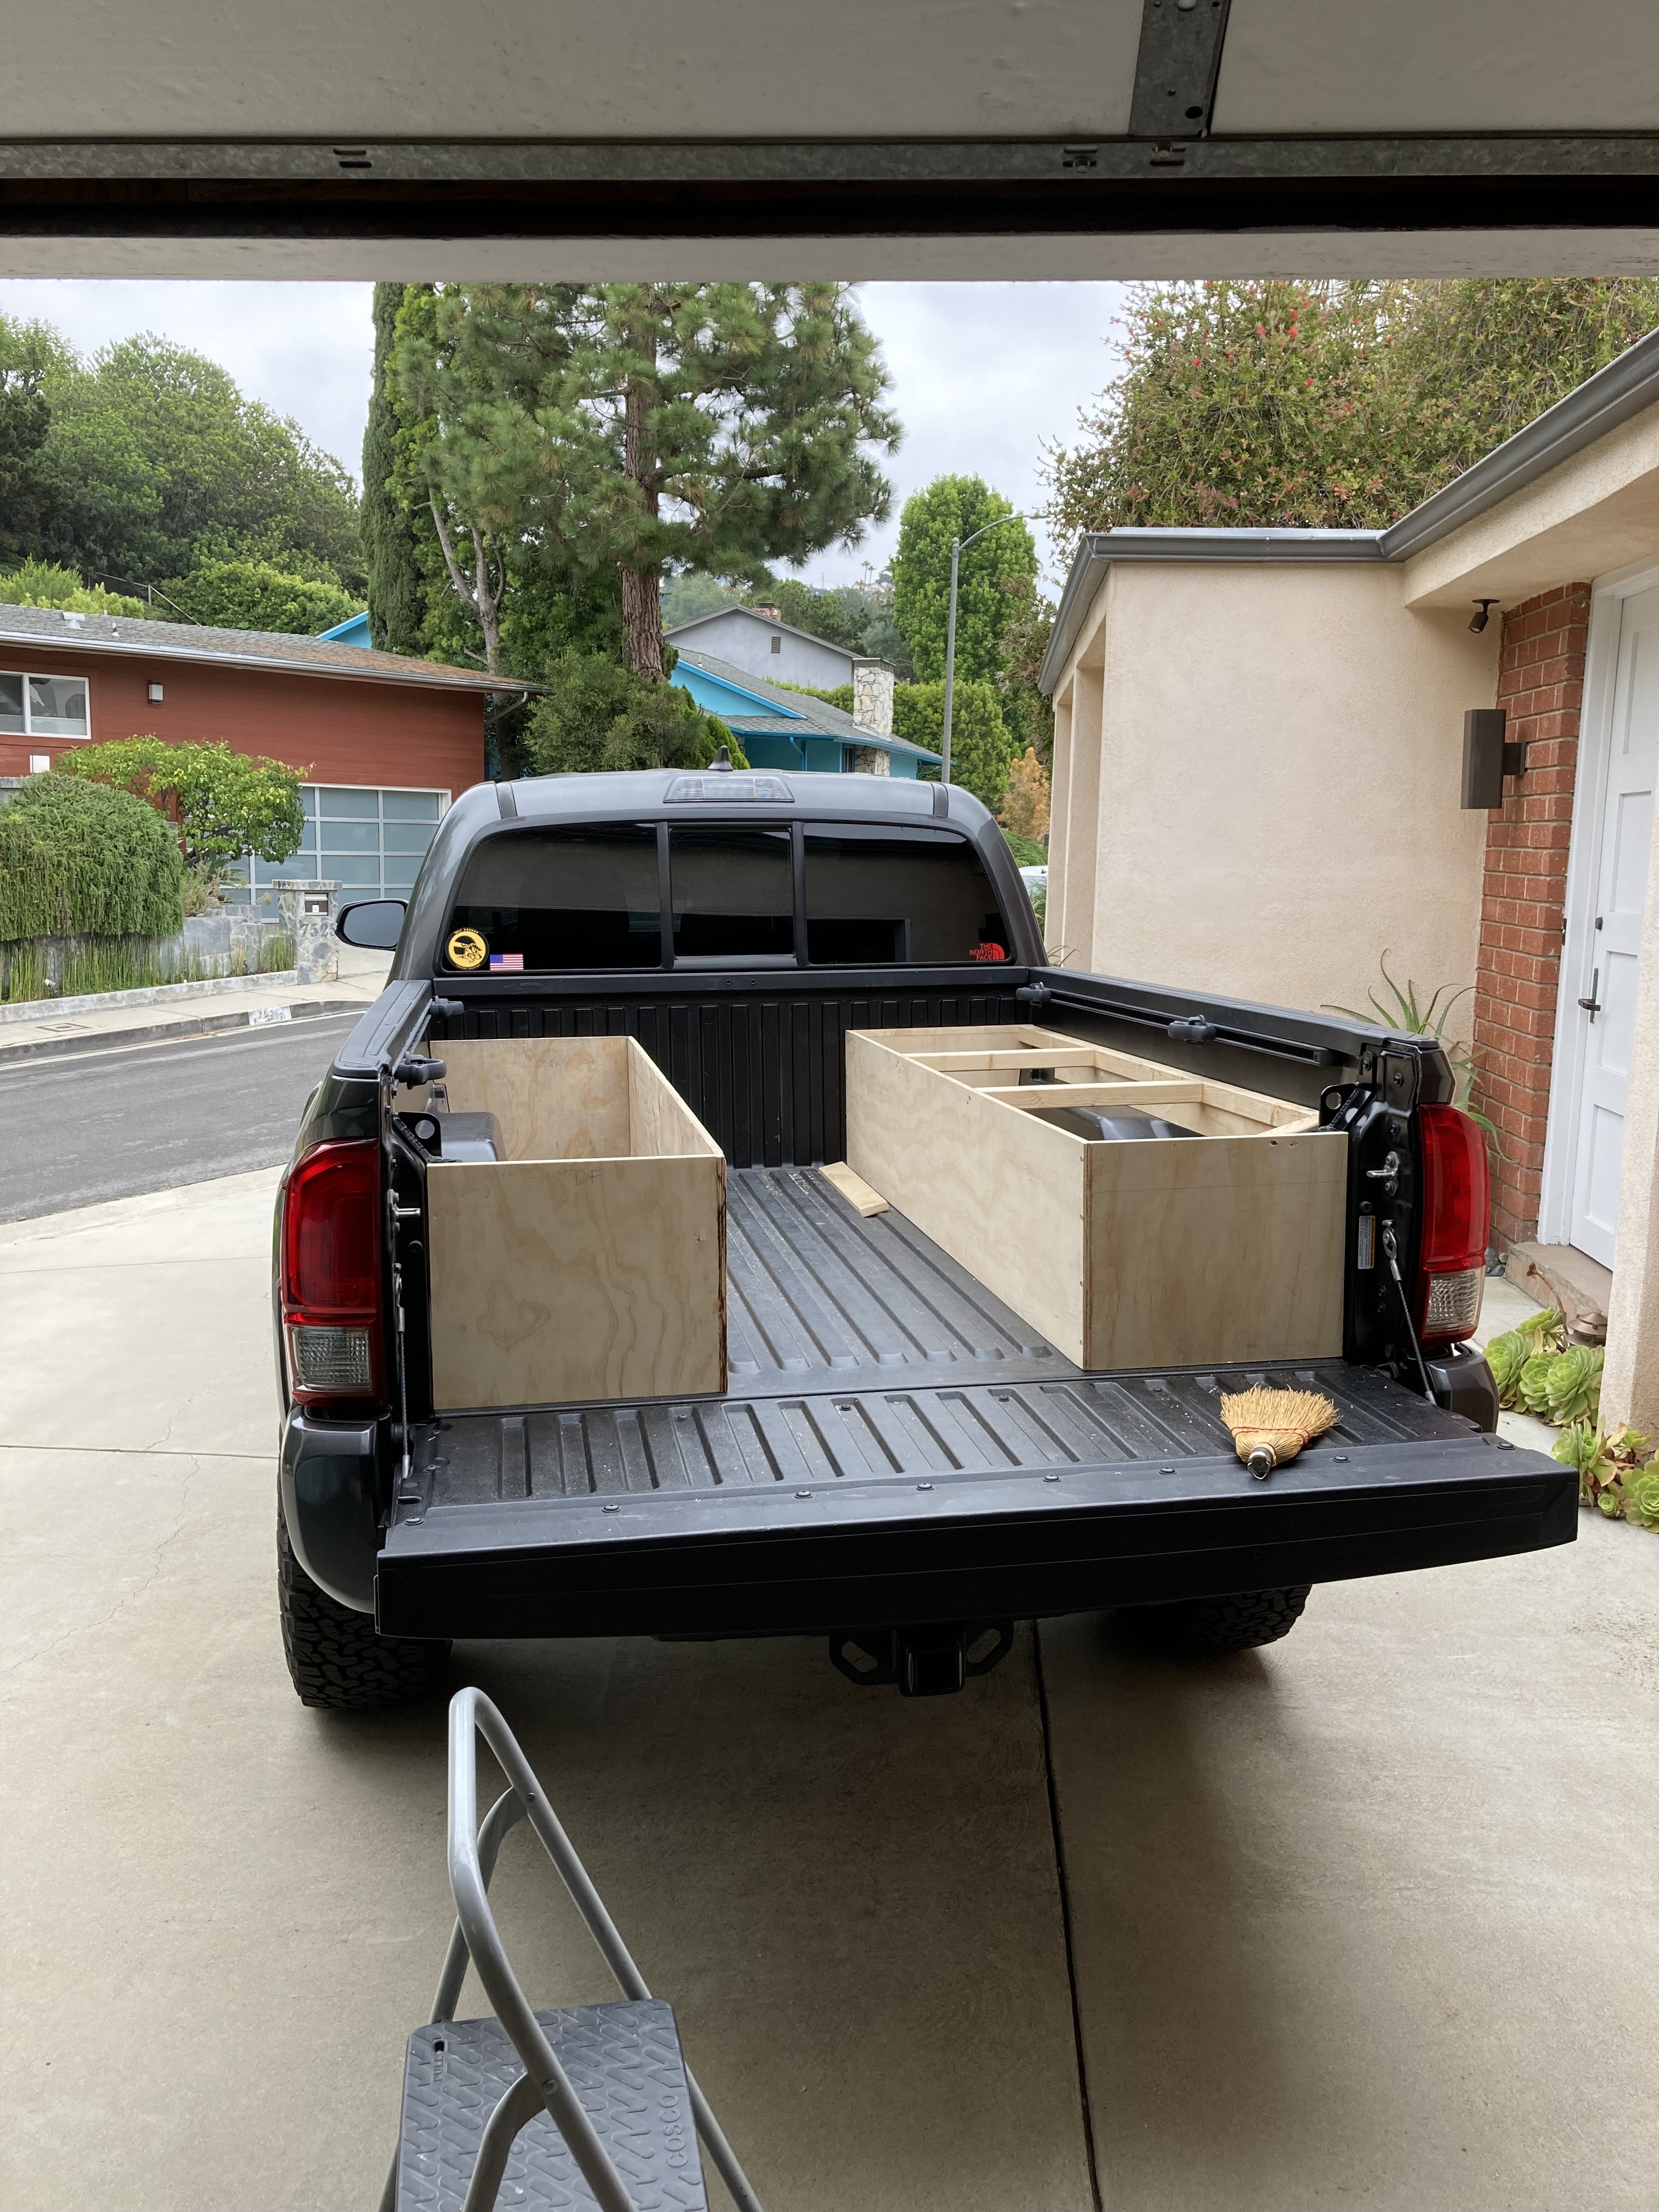
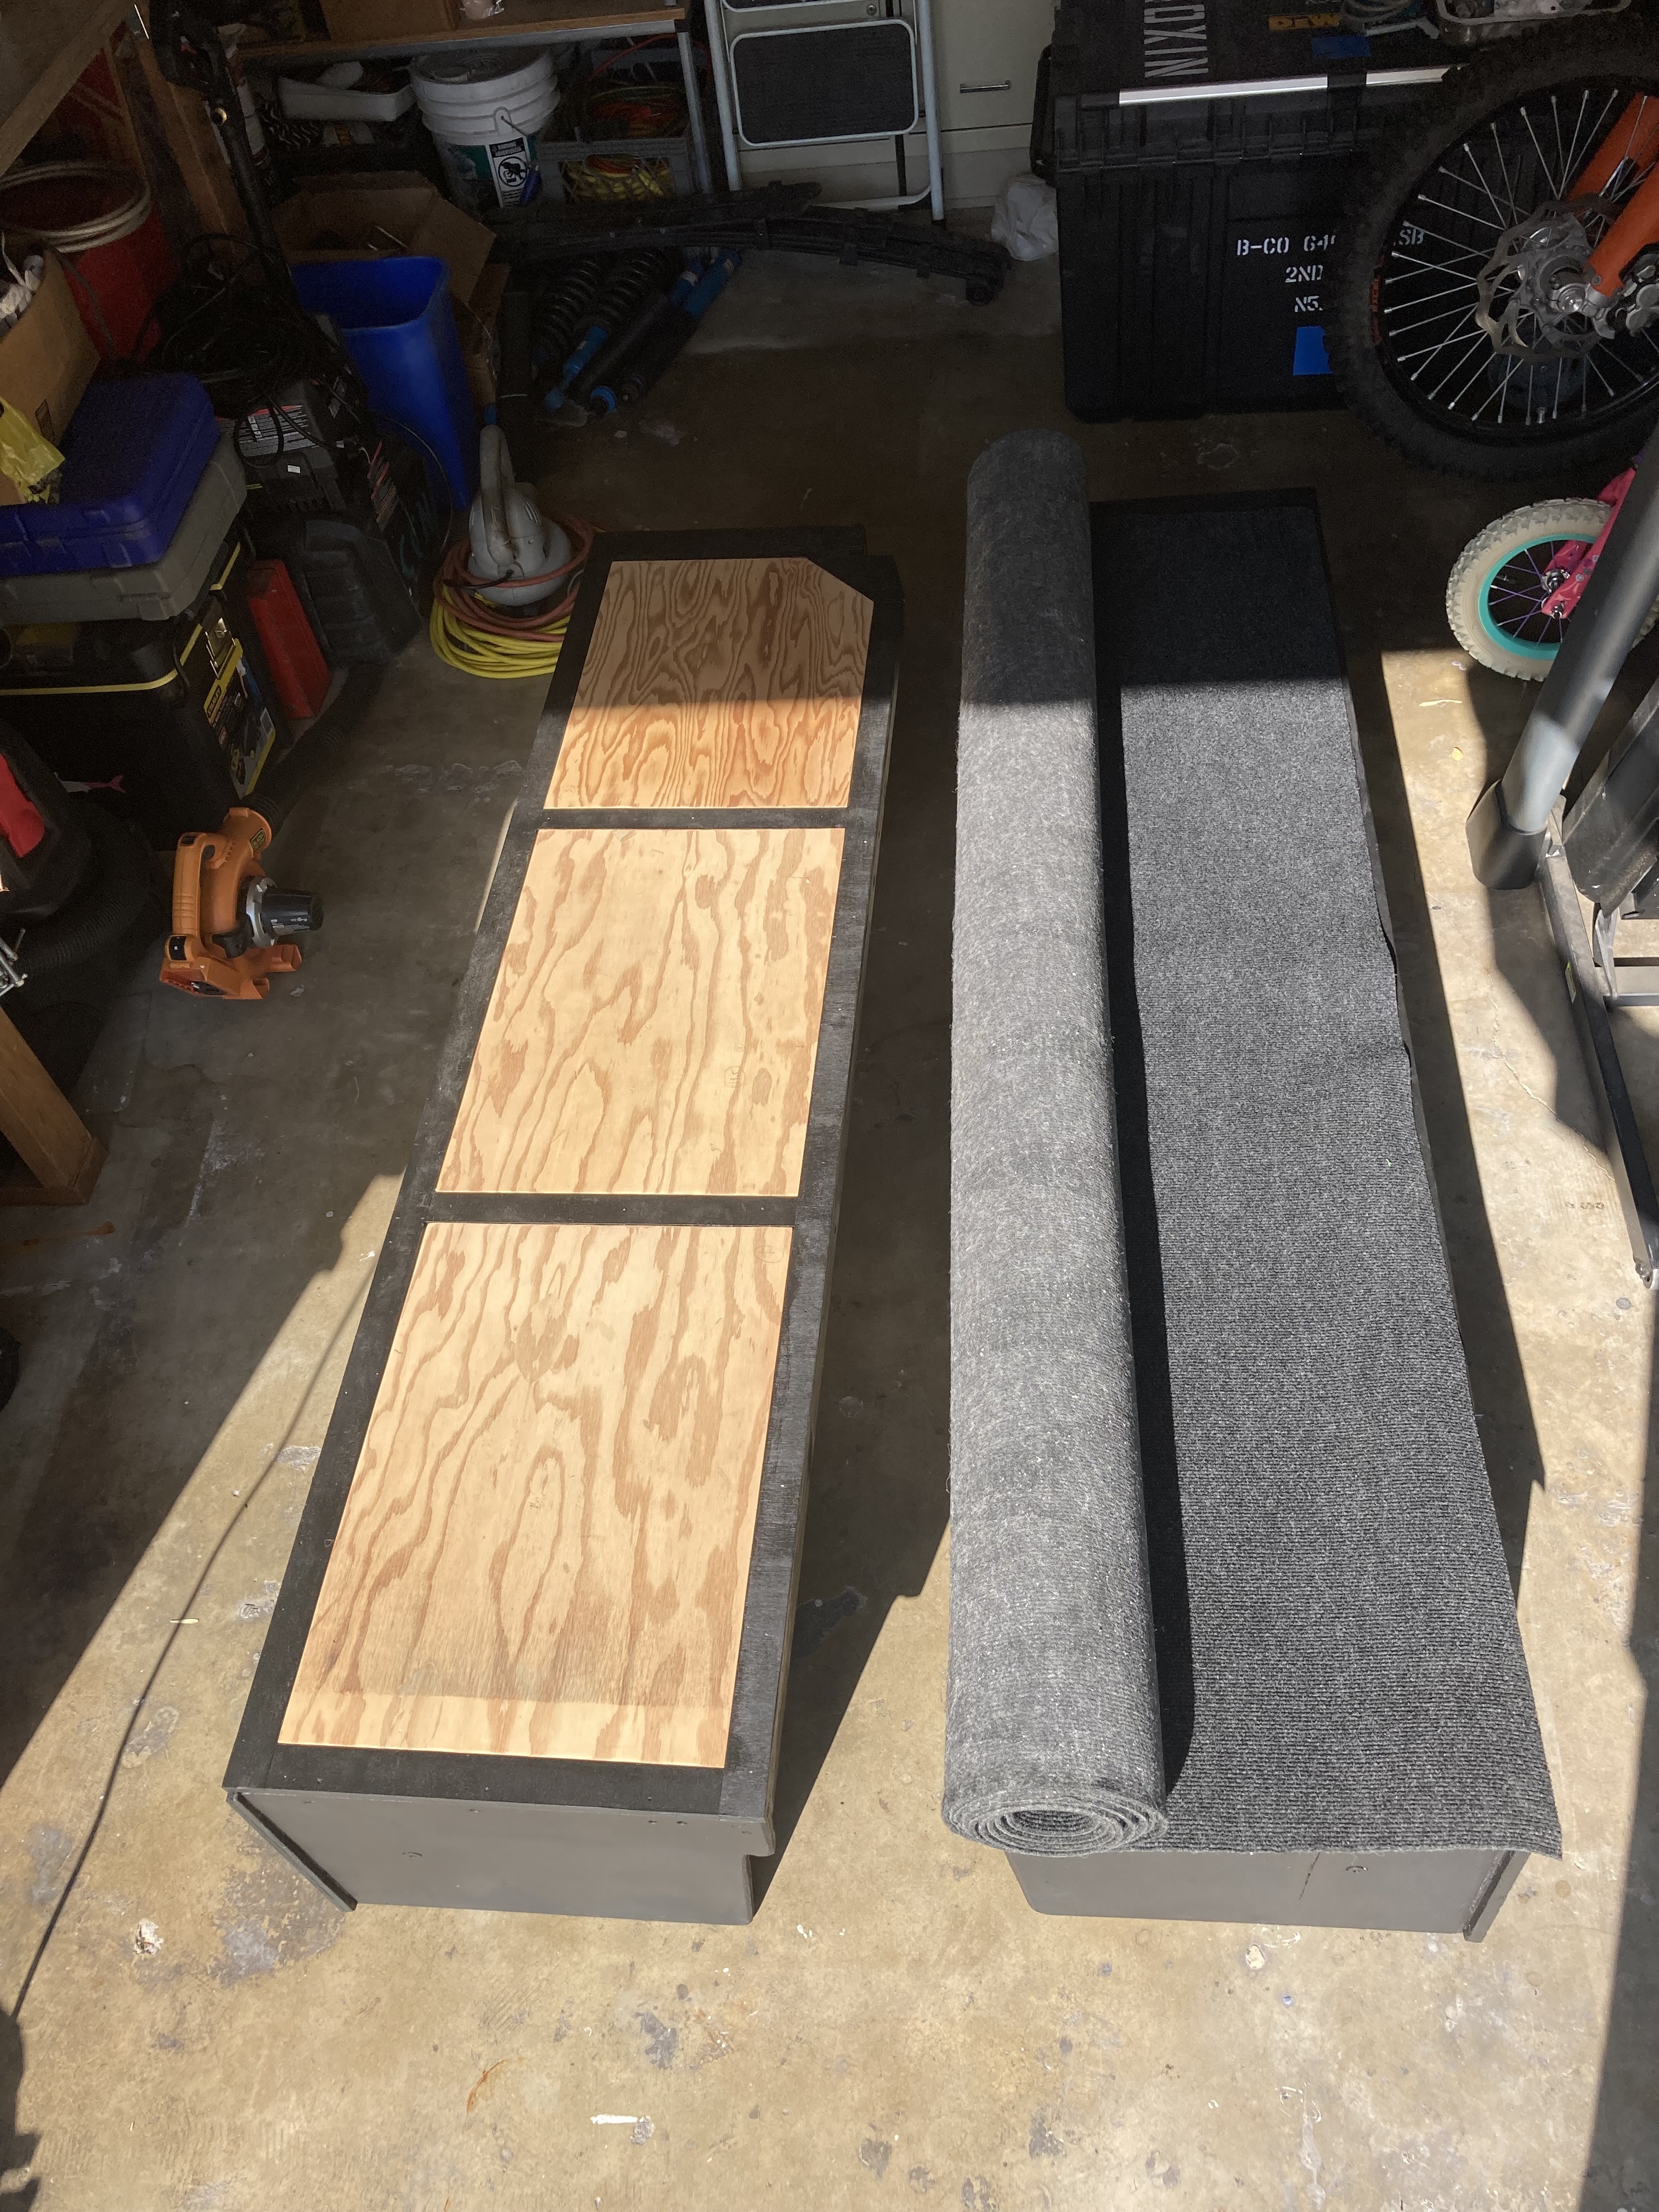
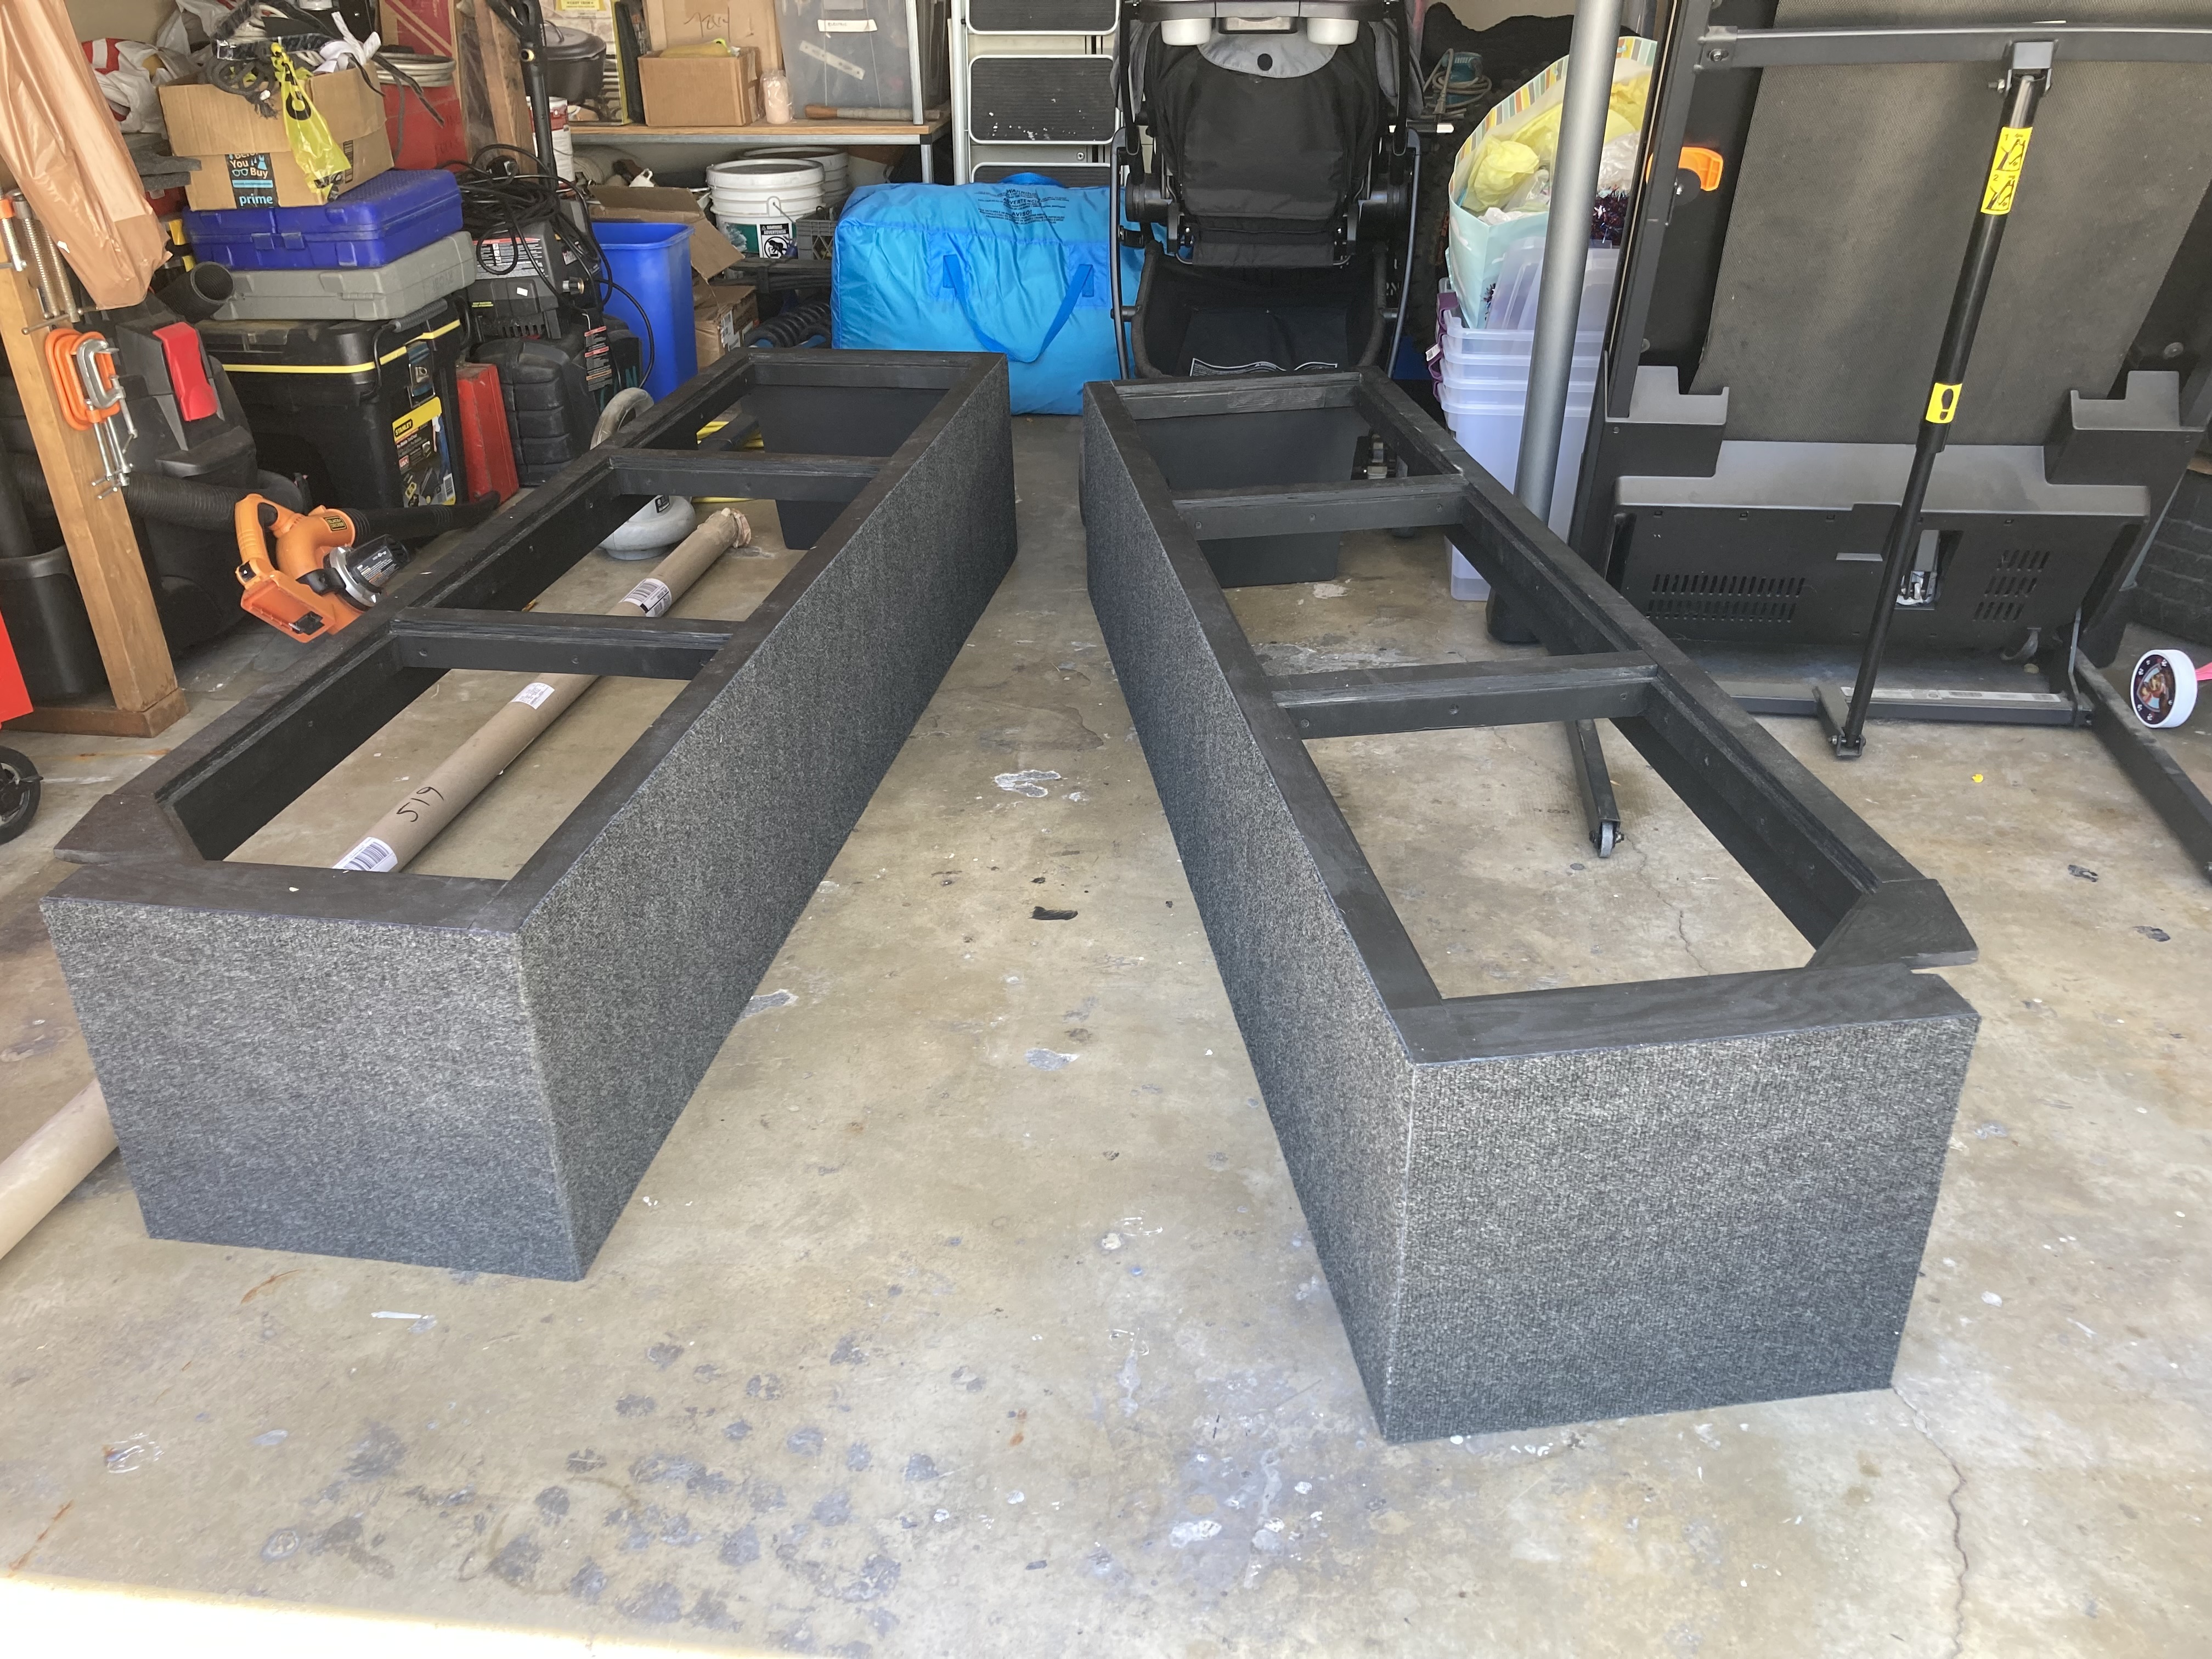
Utilizing existing tie down points, the boxes are secured in place using 4 turn buckles and can be installed and removed in a matter of minutes. After they were built, it was time for paint, carpet, and aluminum edging.
Rocking the soft topper (courtesy of my neighbor) while making the trek from California to Montana to pick up the GFC. As honorable mention, I replaced the tailgate panel with a mountain hatch and made a grab handle out of an old dog leash. Also installed Total Chaos bed stiffeners and sealed the bed to keep out dust and water.

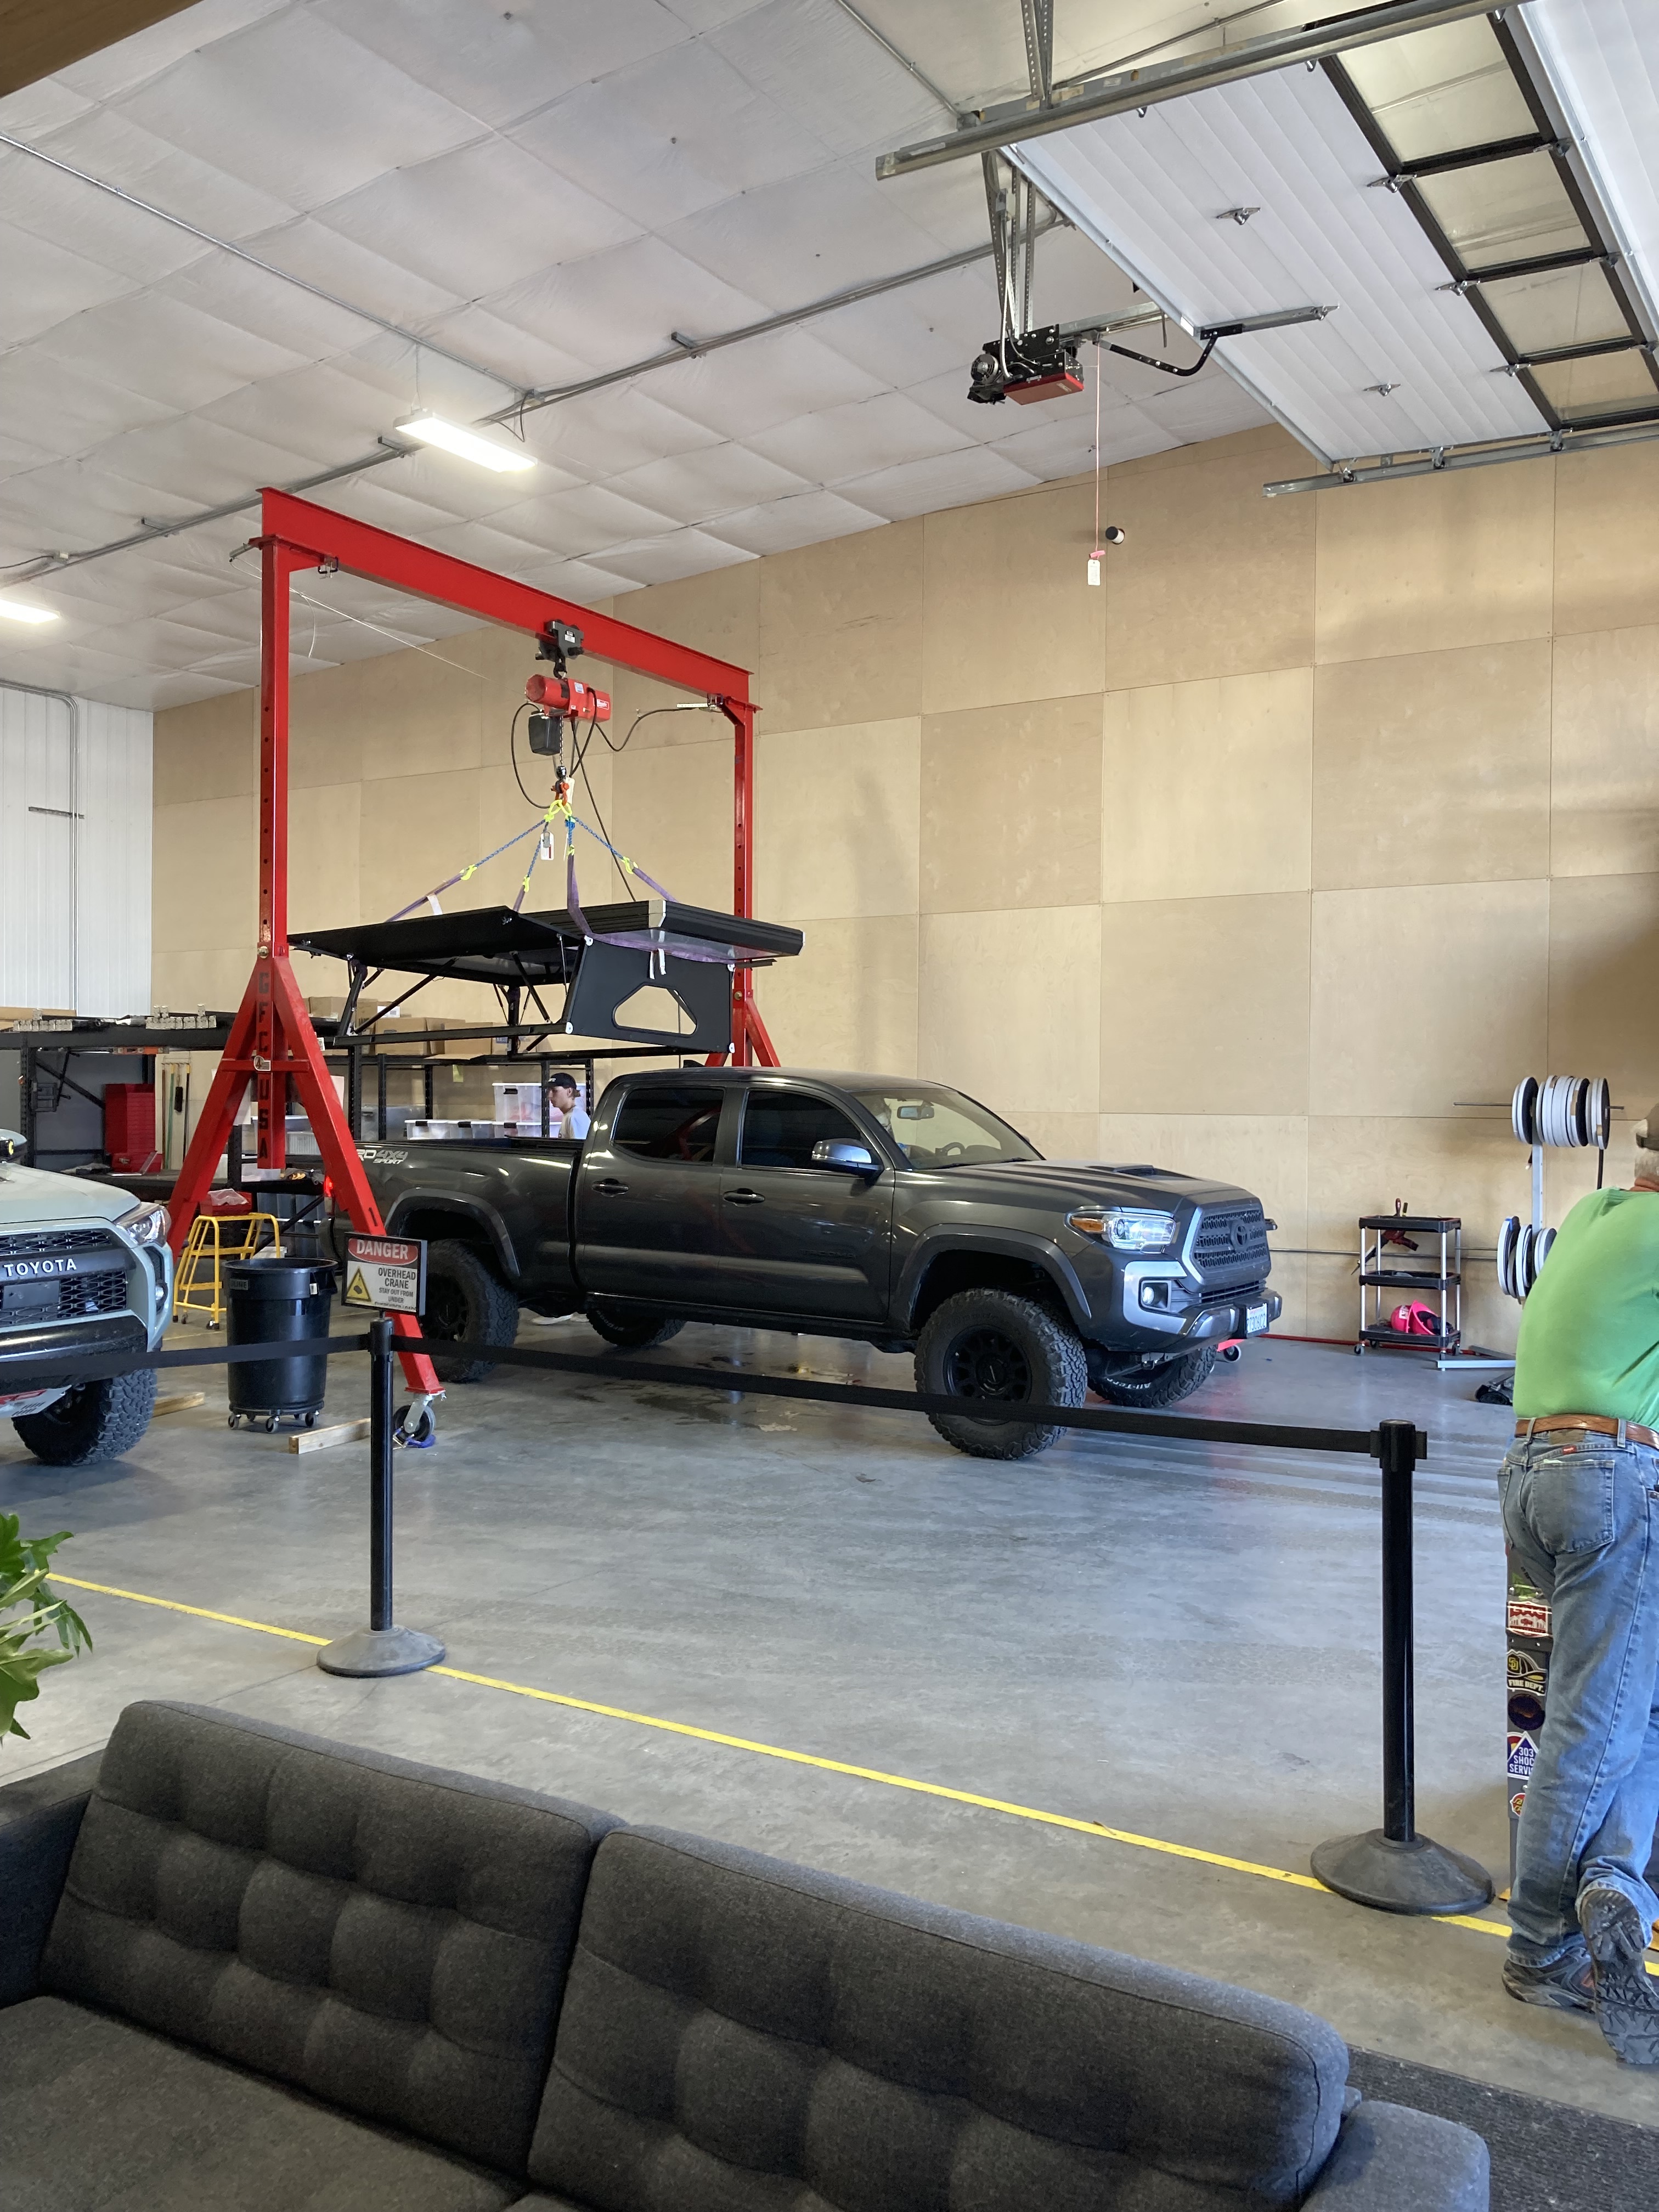
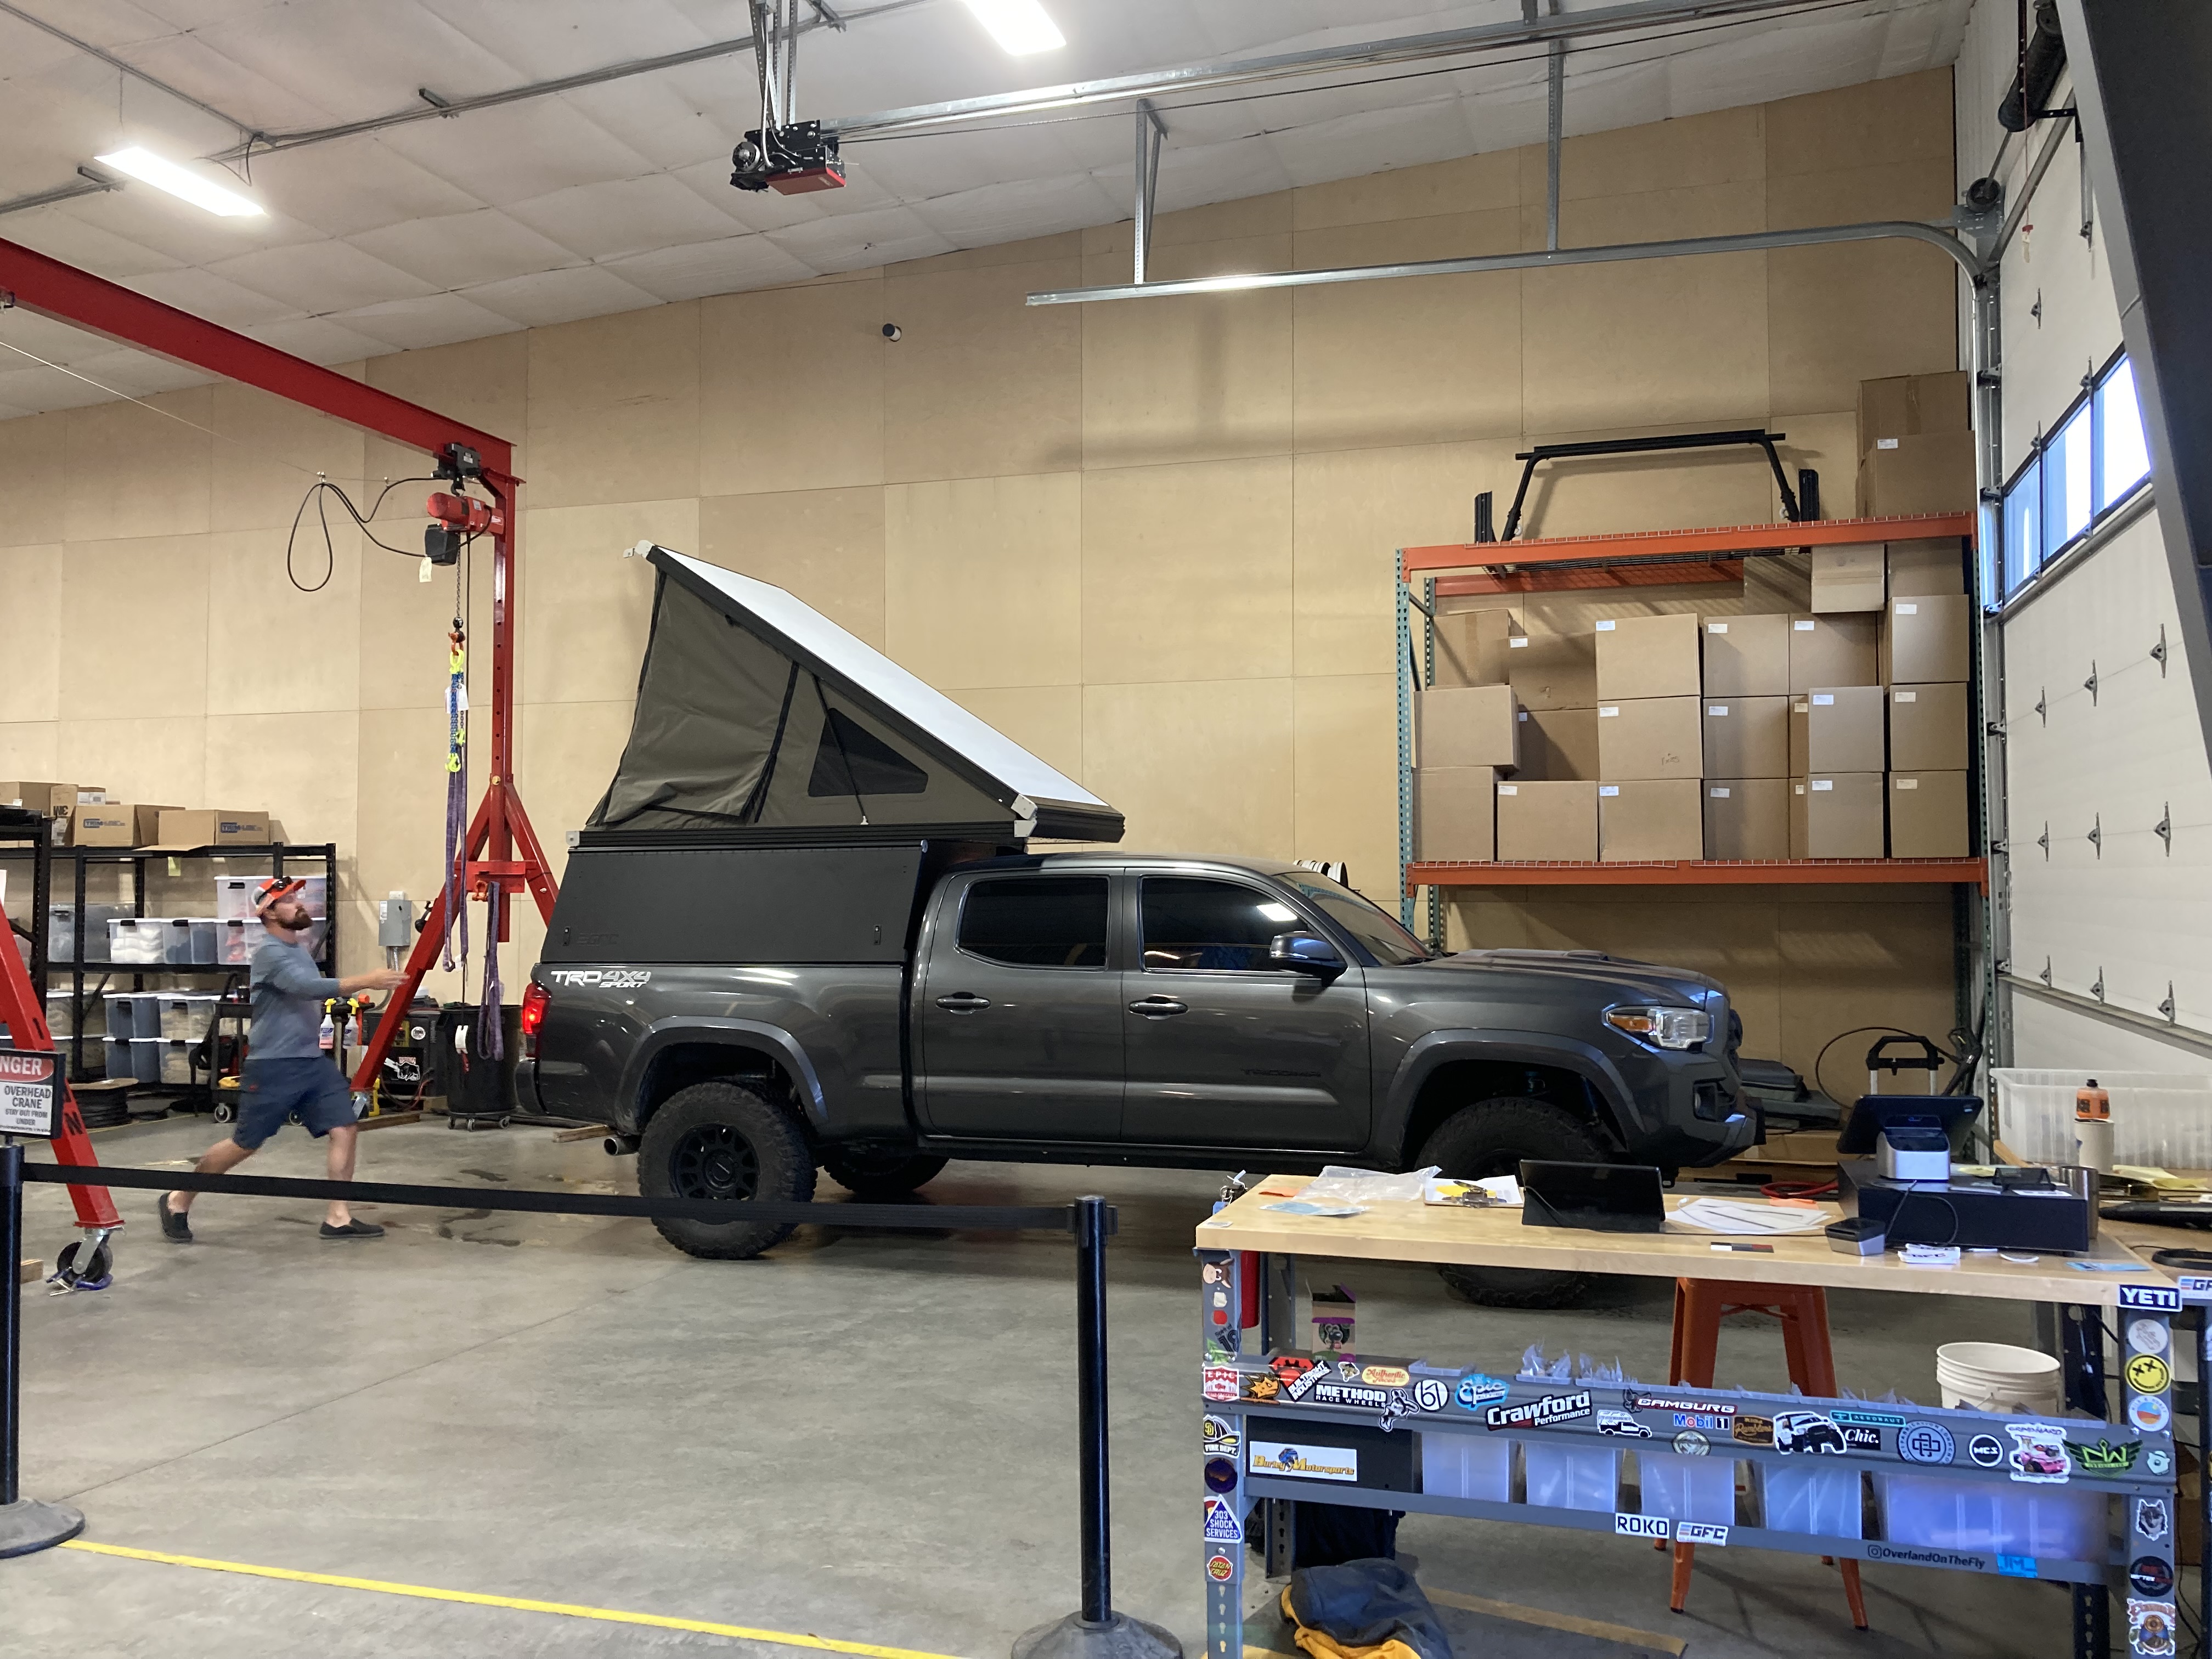
The day had finally arrived. Install day!
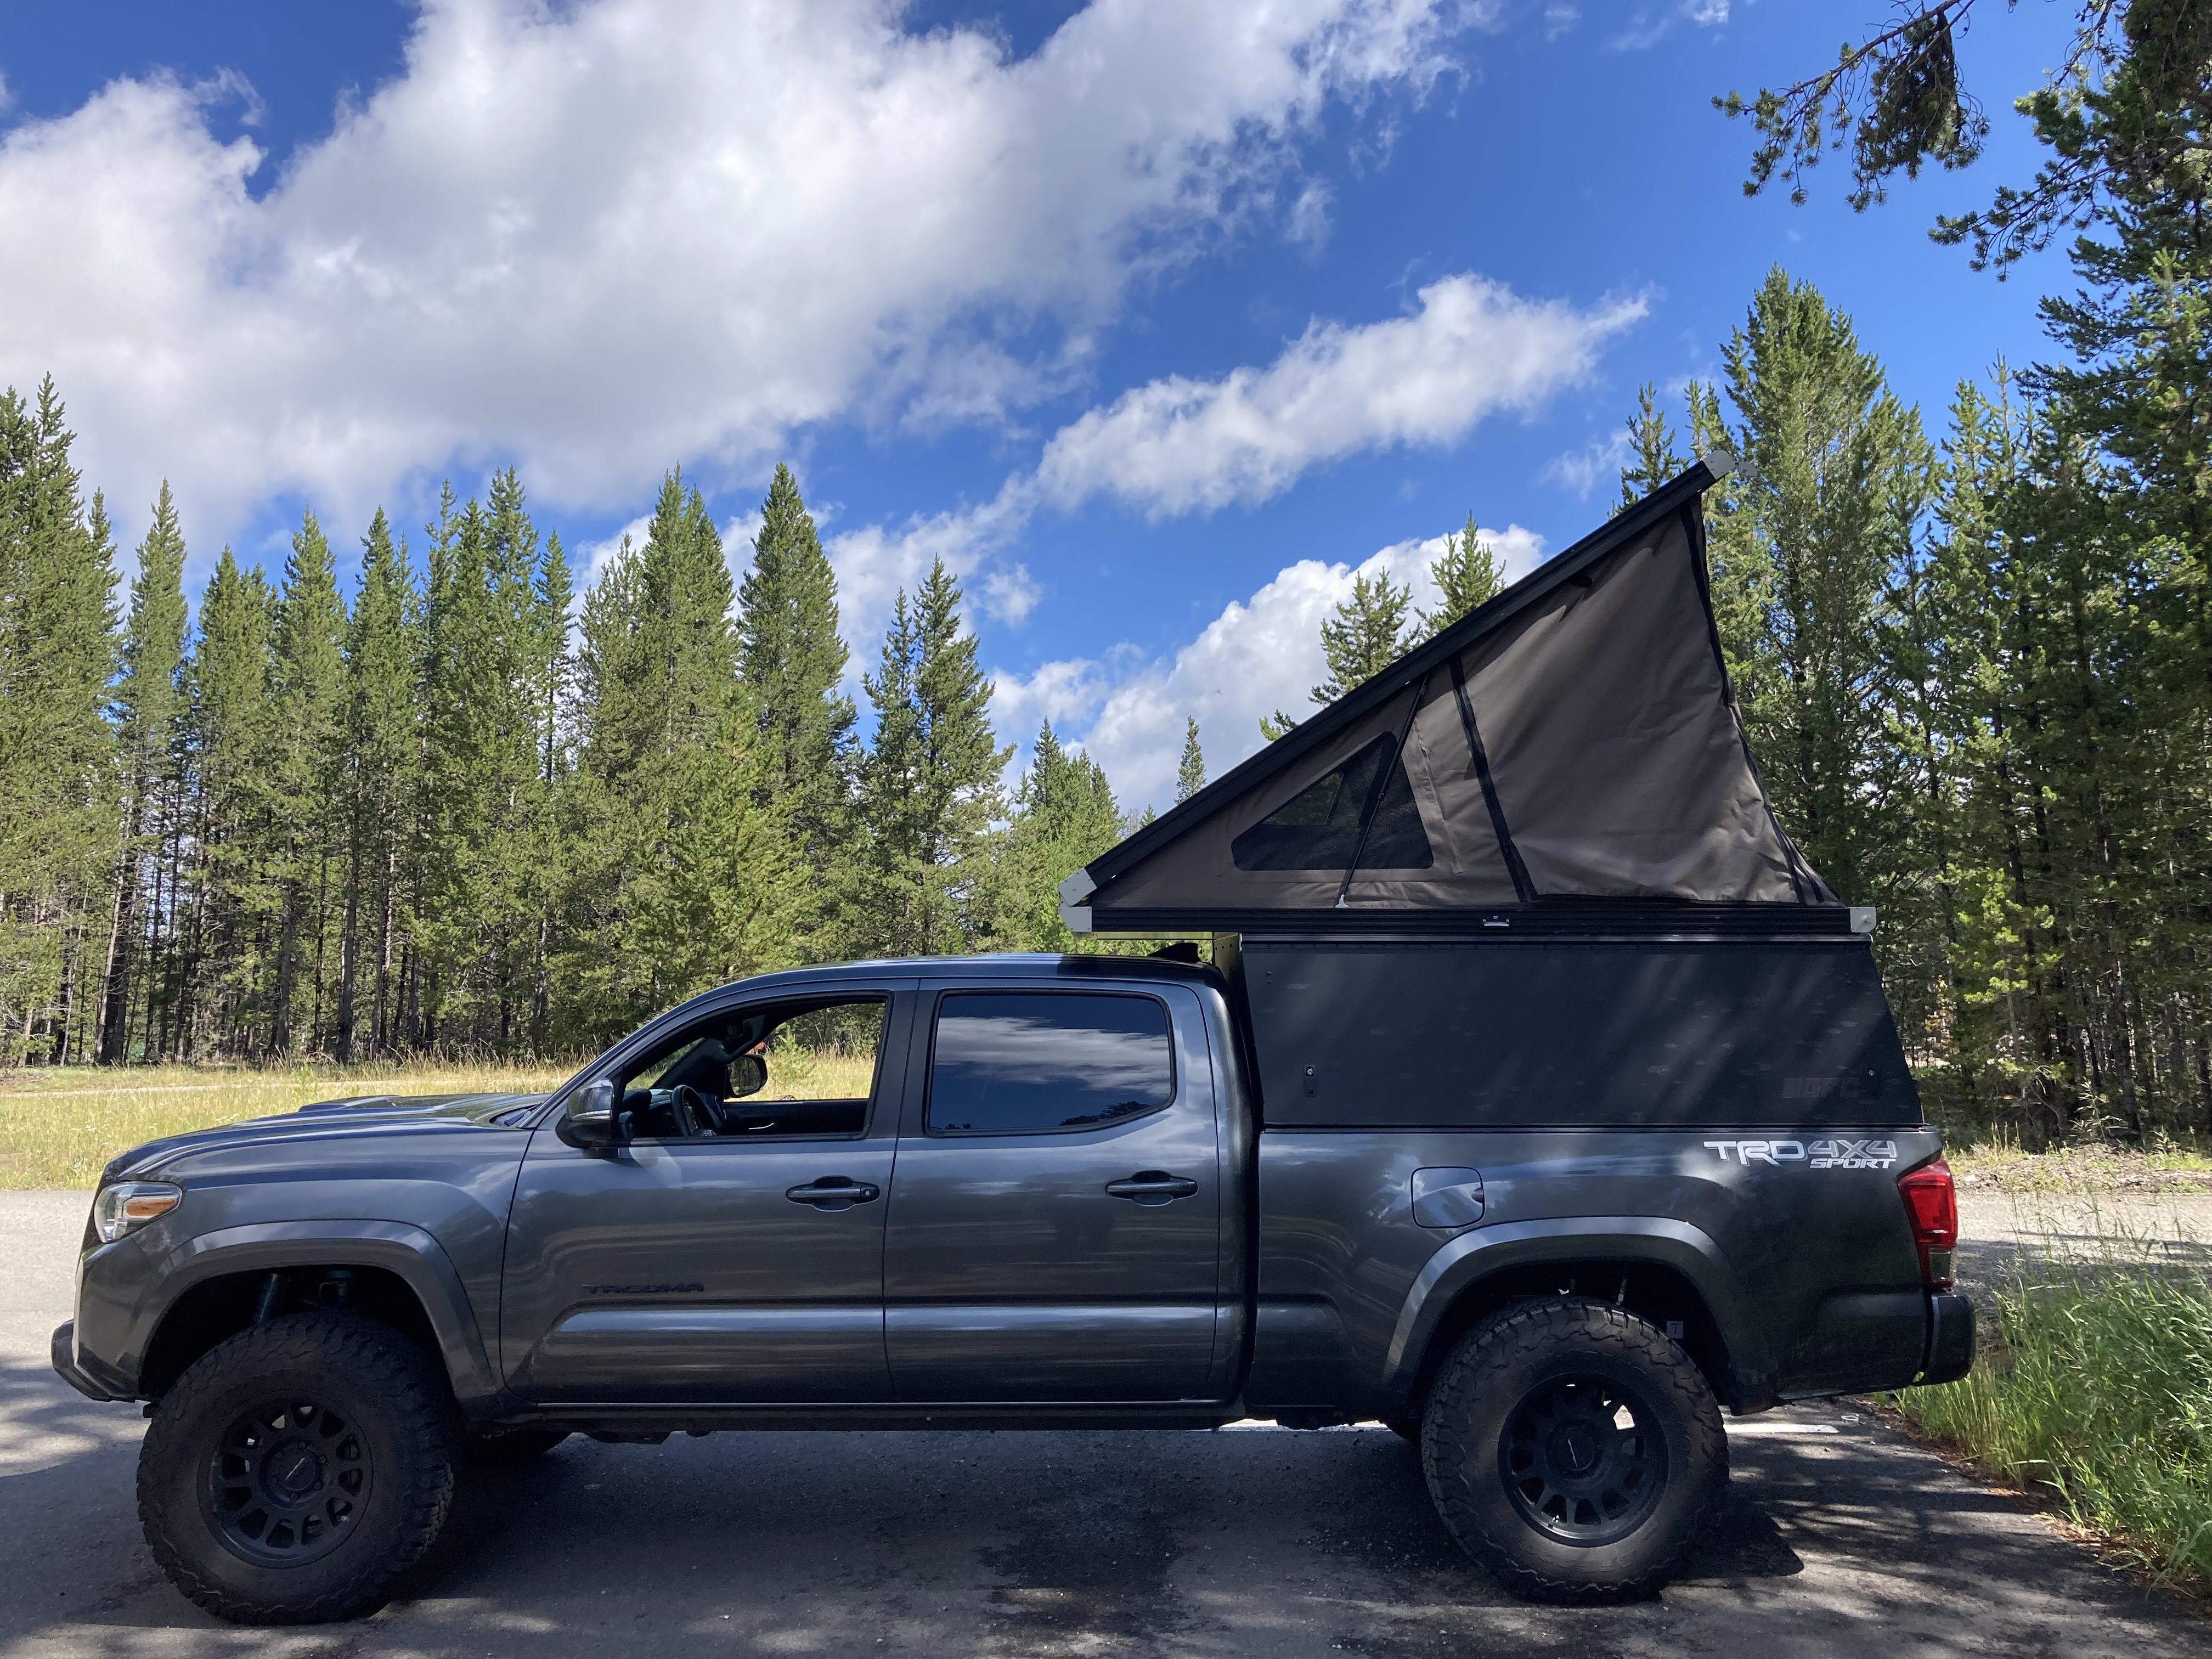
As most do, my family and I travelled back home through Yellowstone and the Tetons, enjoying every night in our new camper.
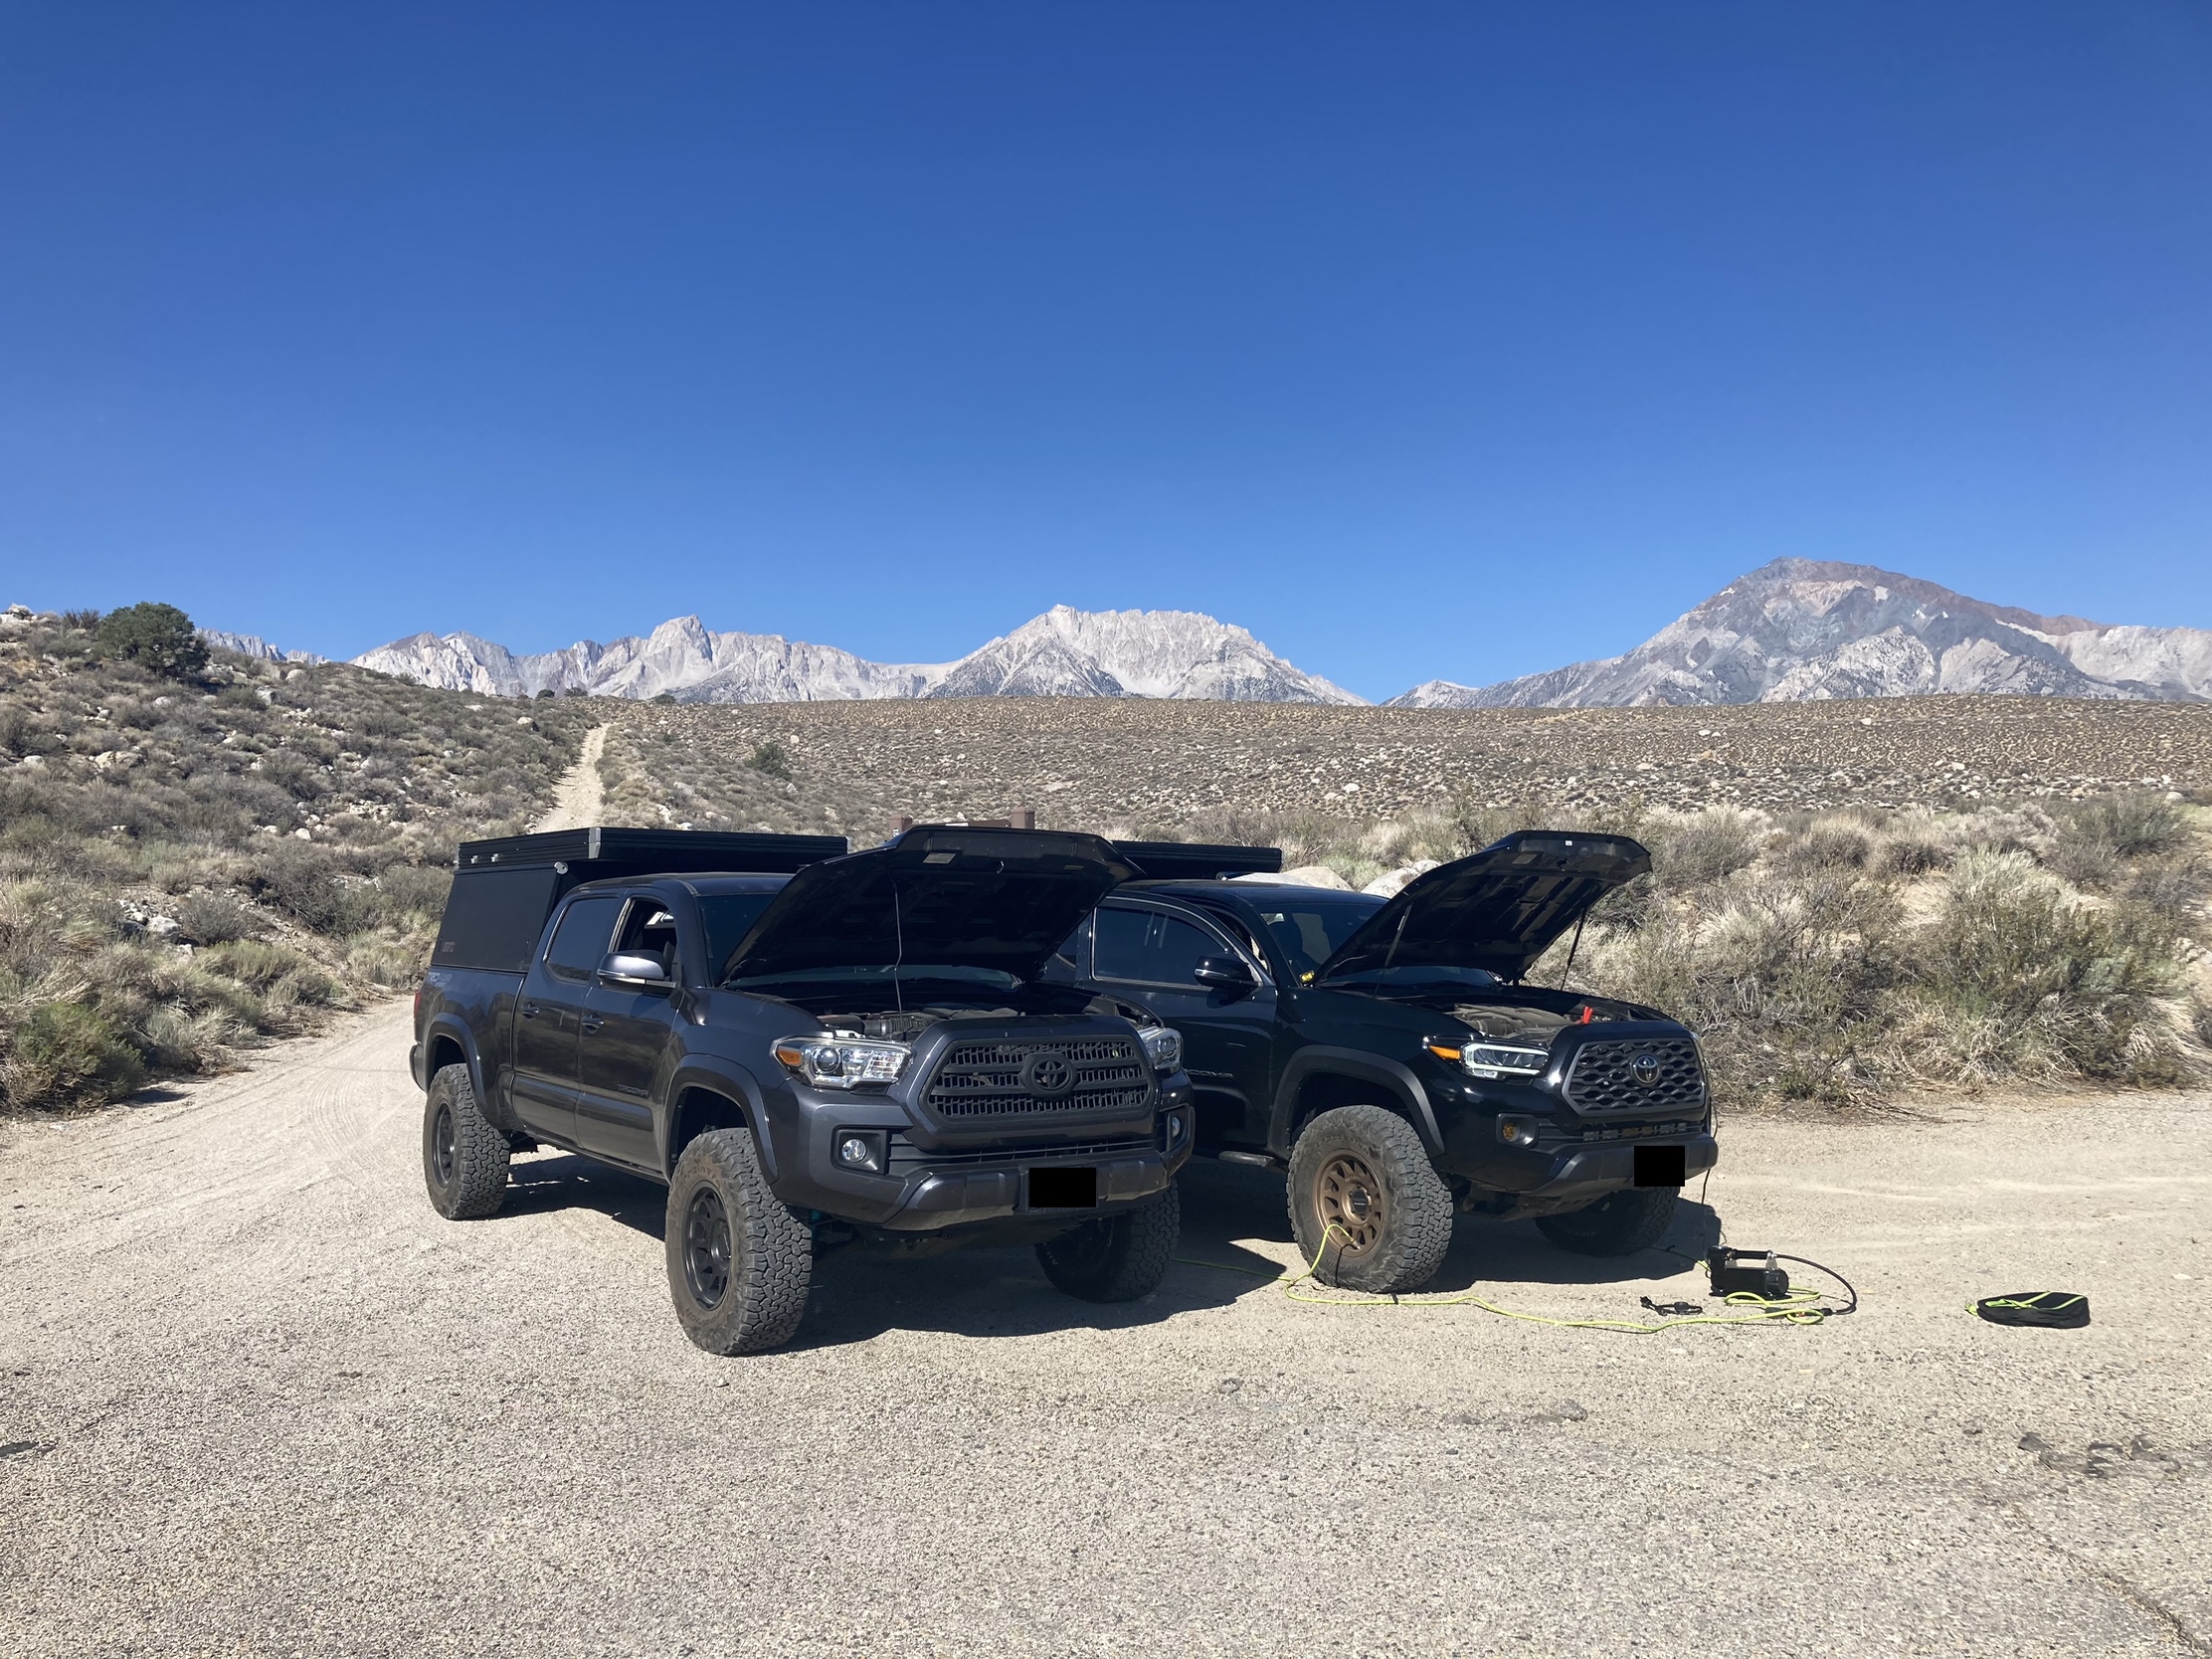
Let the build continue! Every trip seems to warrant new ideas to outfit our camper, although, our main mission remains: to spend as much time together outdoors. As the new truck allowed us to venture further and into gnarlier terrain, recovery gear was a must. Traction boards, rear shackle, tow straps, shovel, fire extinguisher, and air compressor just to name a few items.
Lighting came next. Baja Designs squadron sport ditch lights with cali raised low profile mounts. Upon install, noticed my truck could use a little tlc.
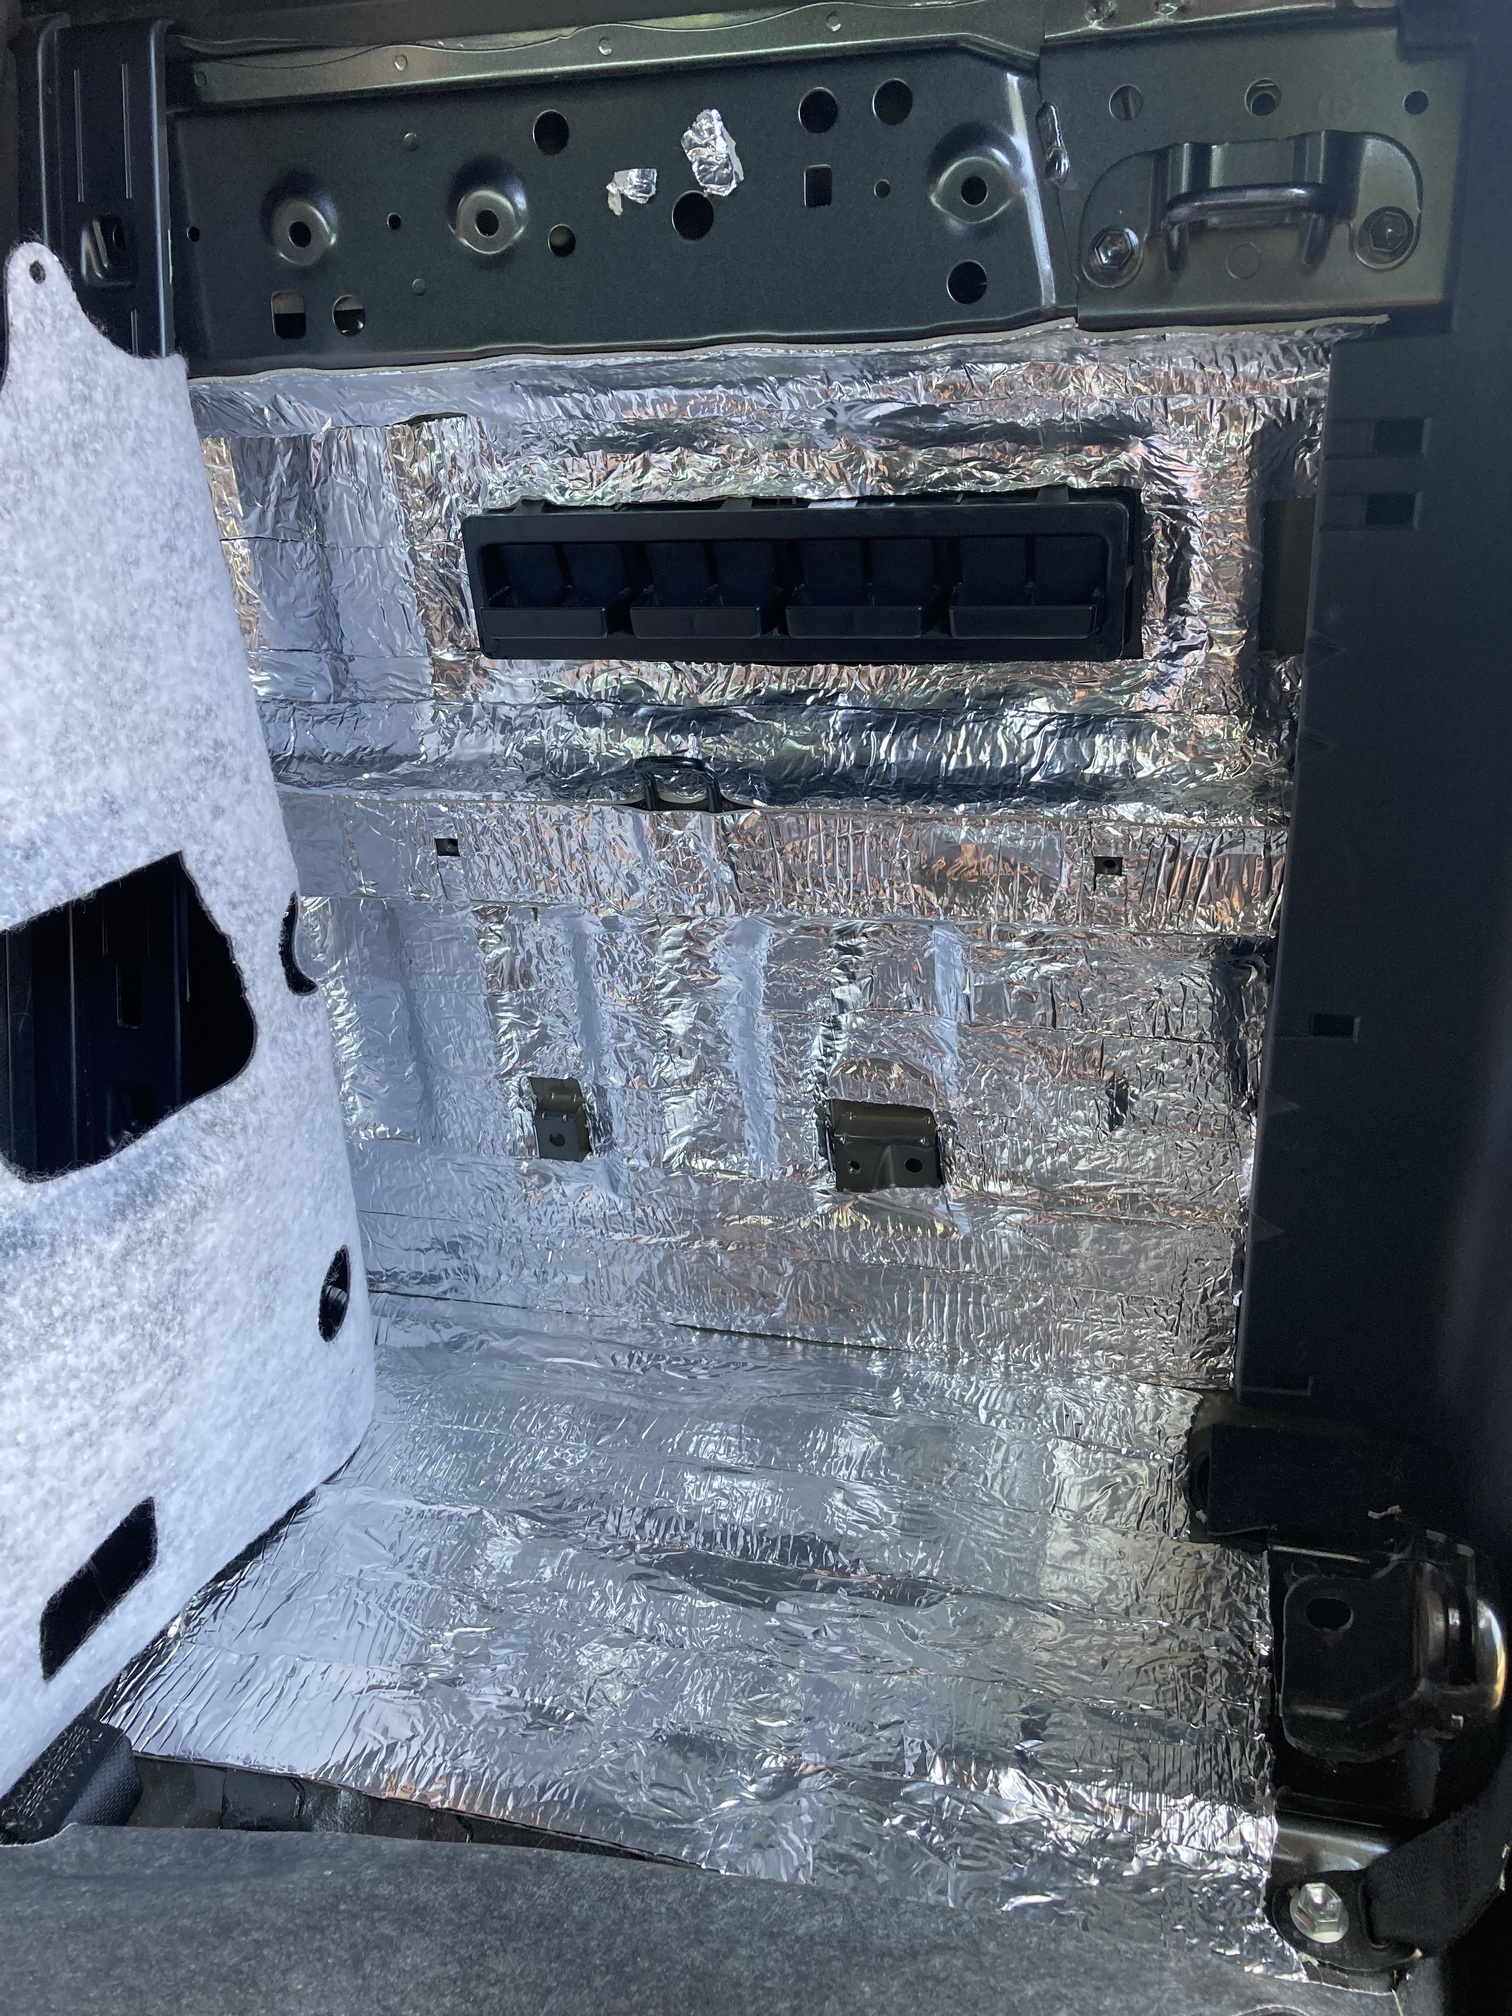
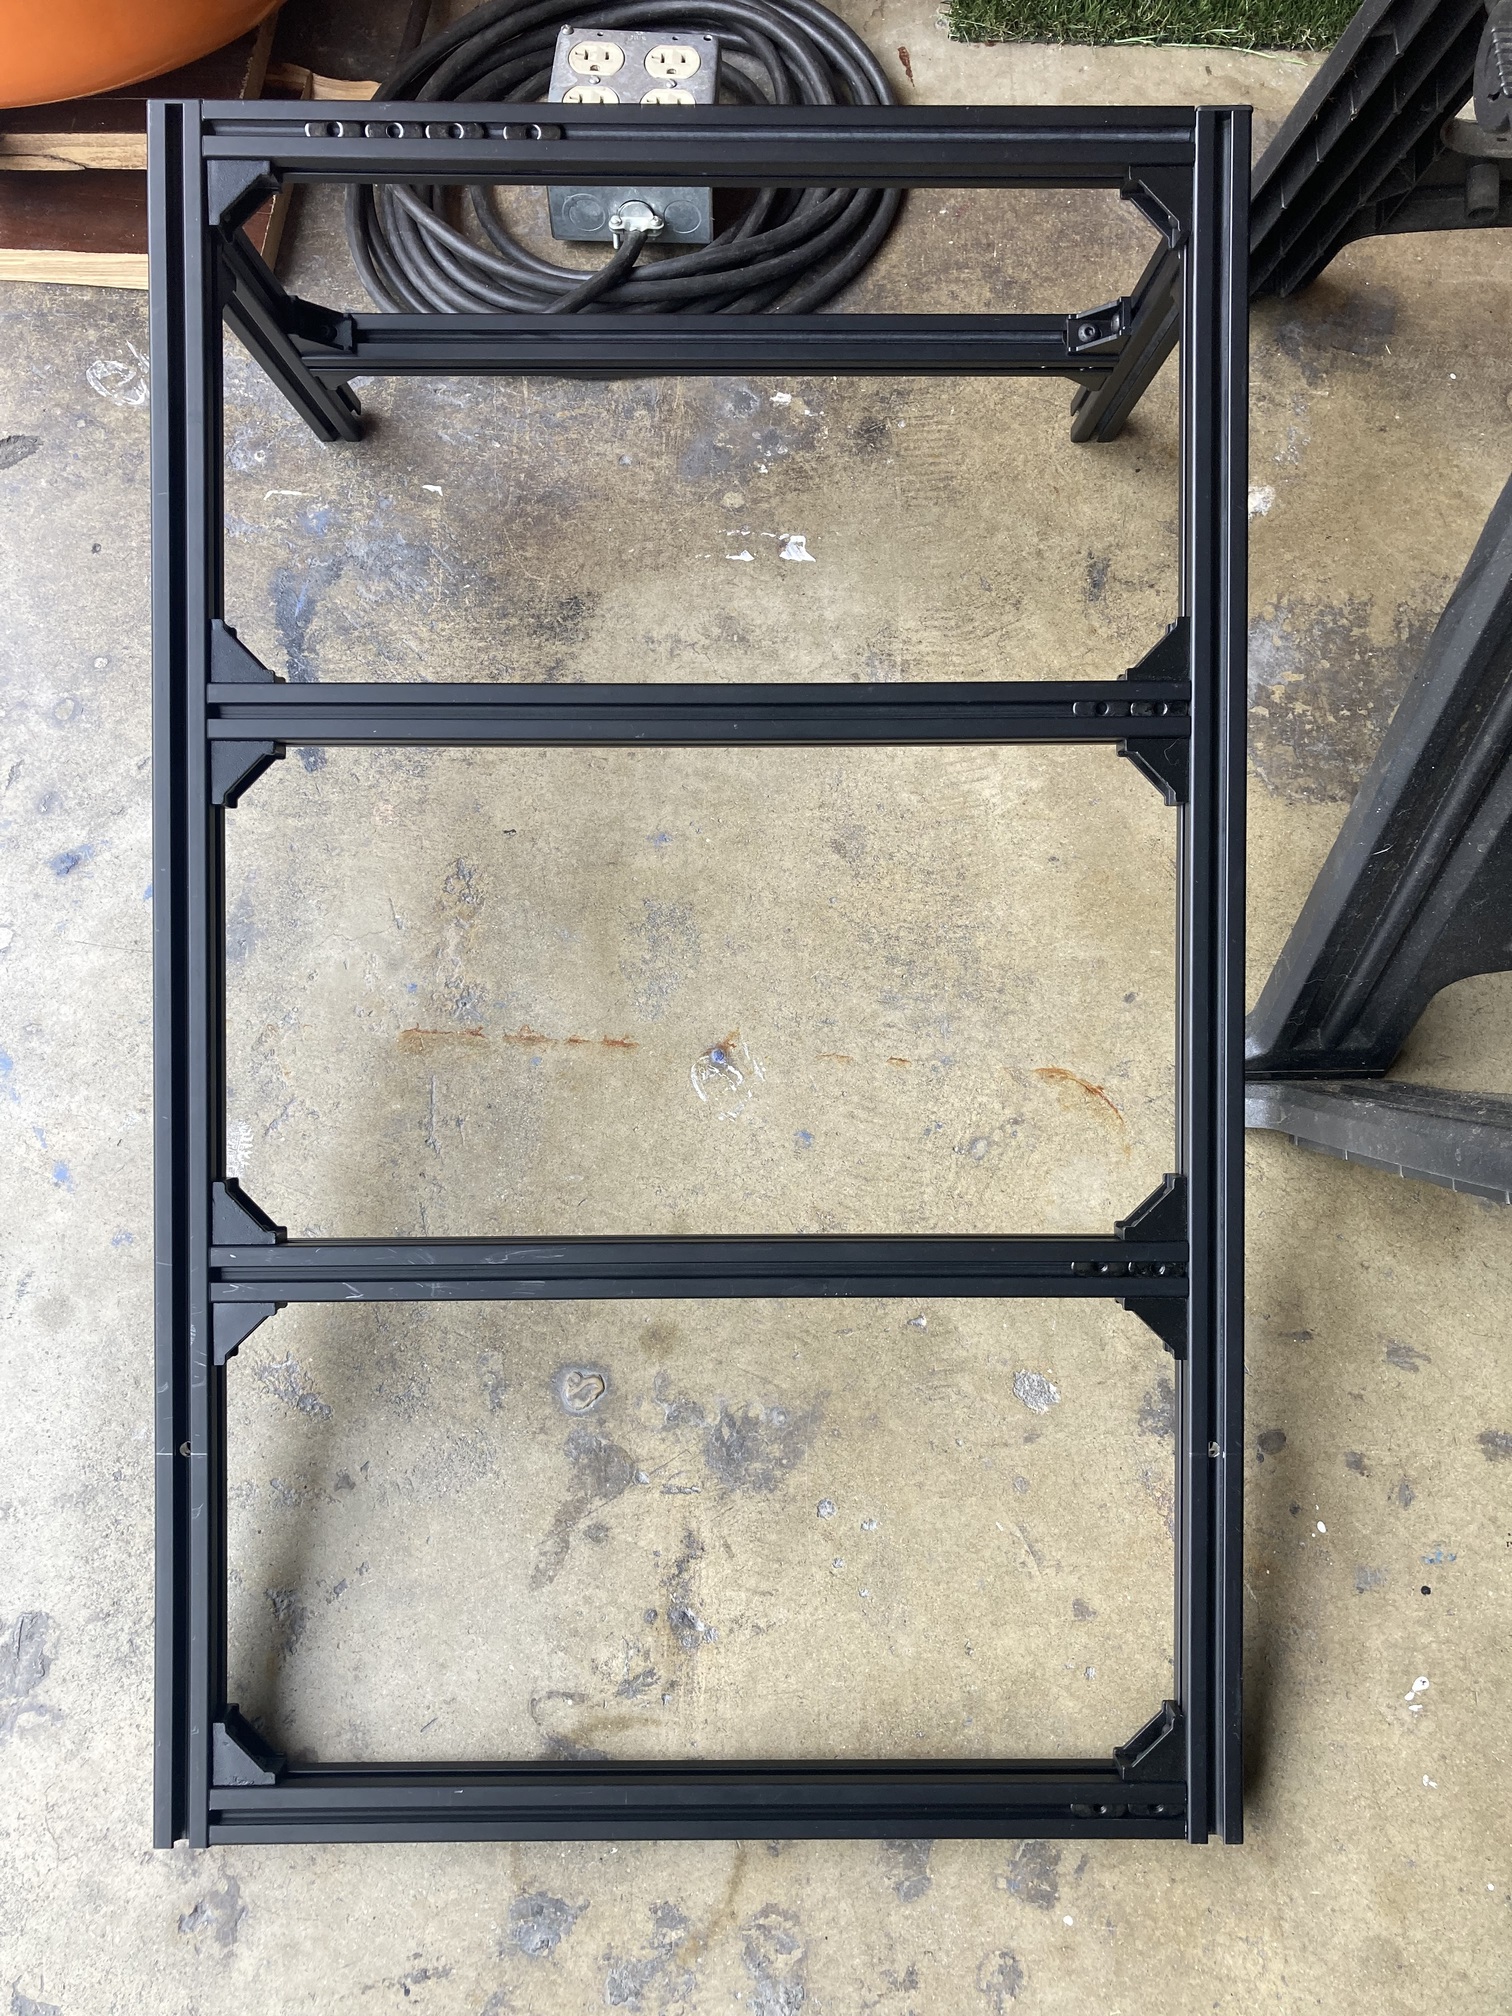
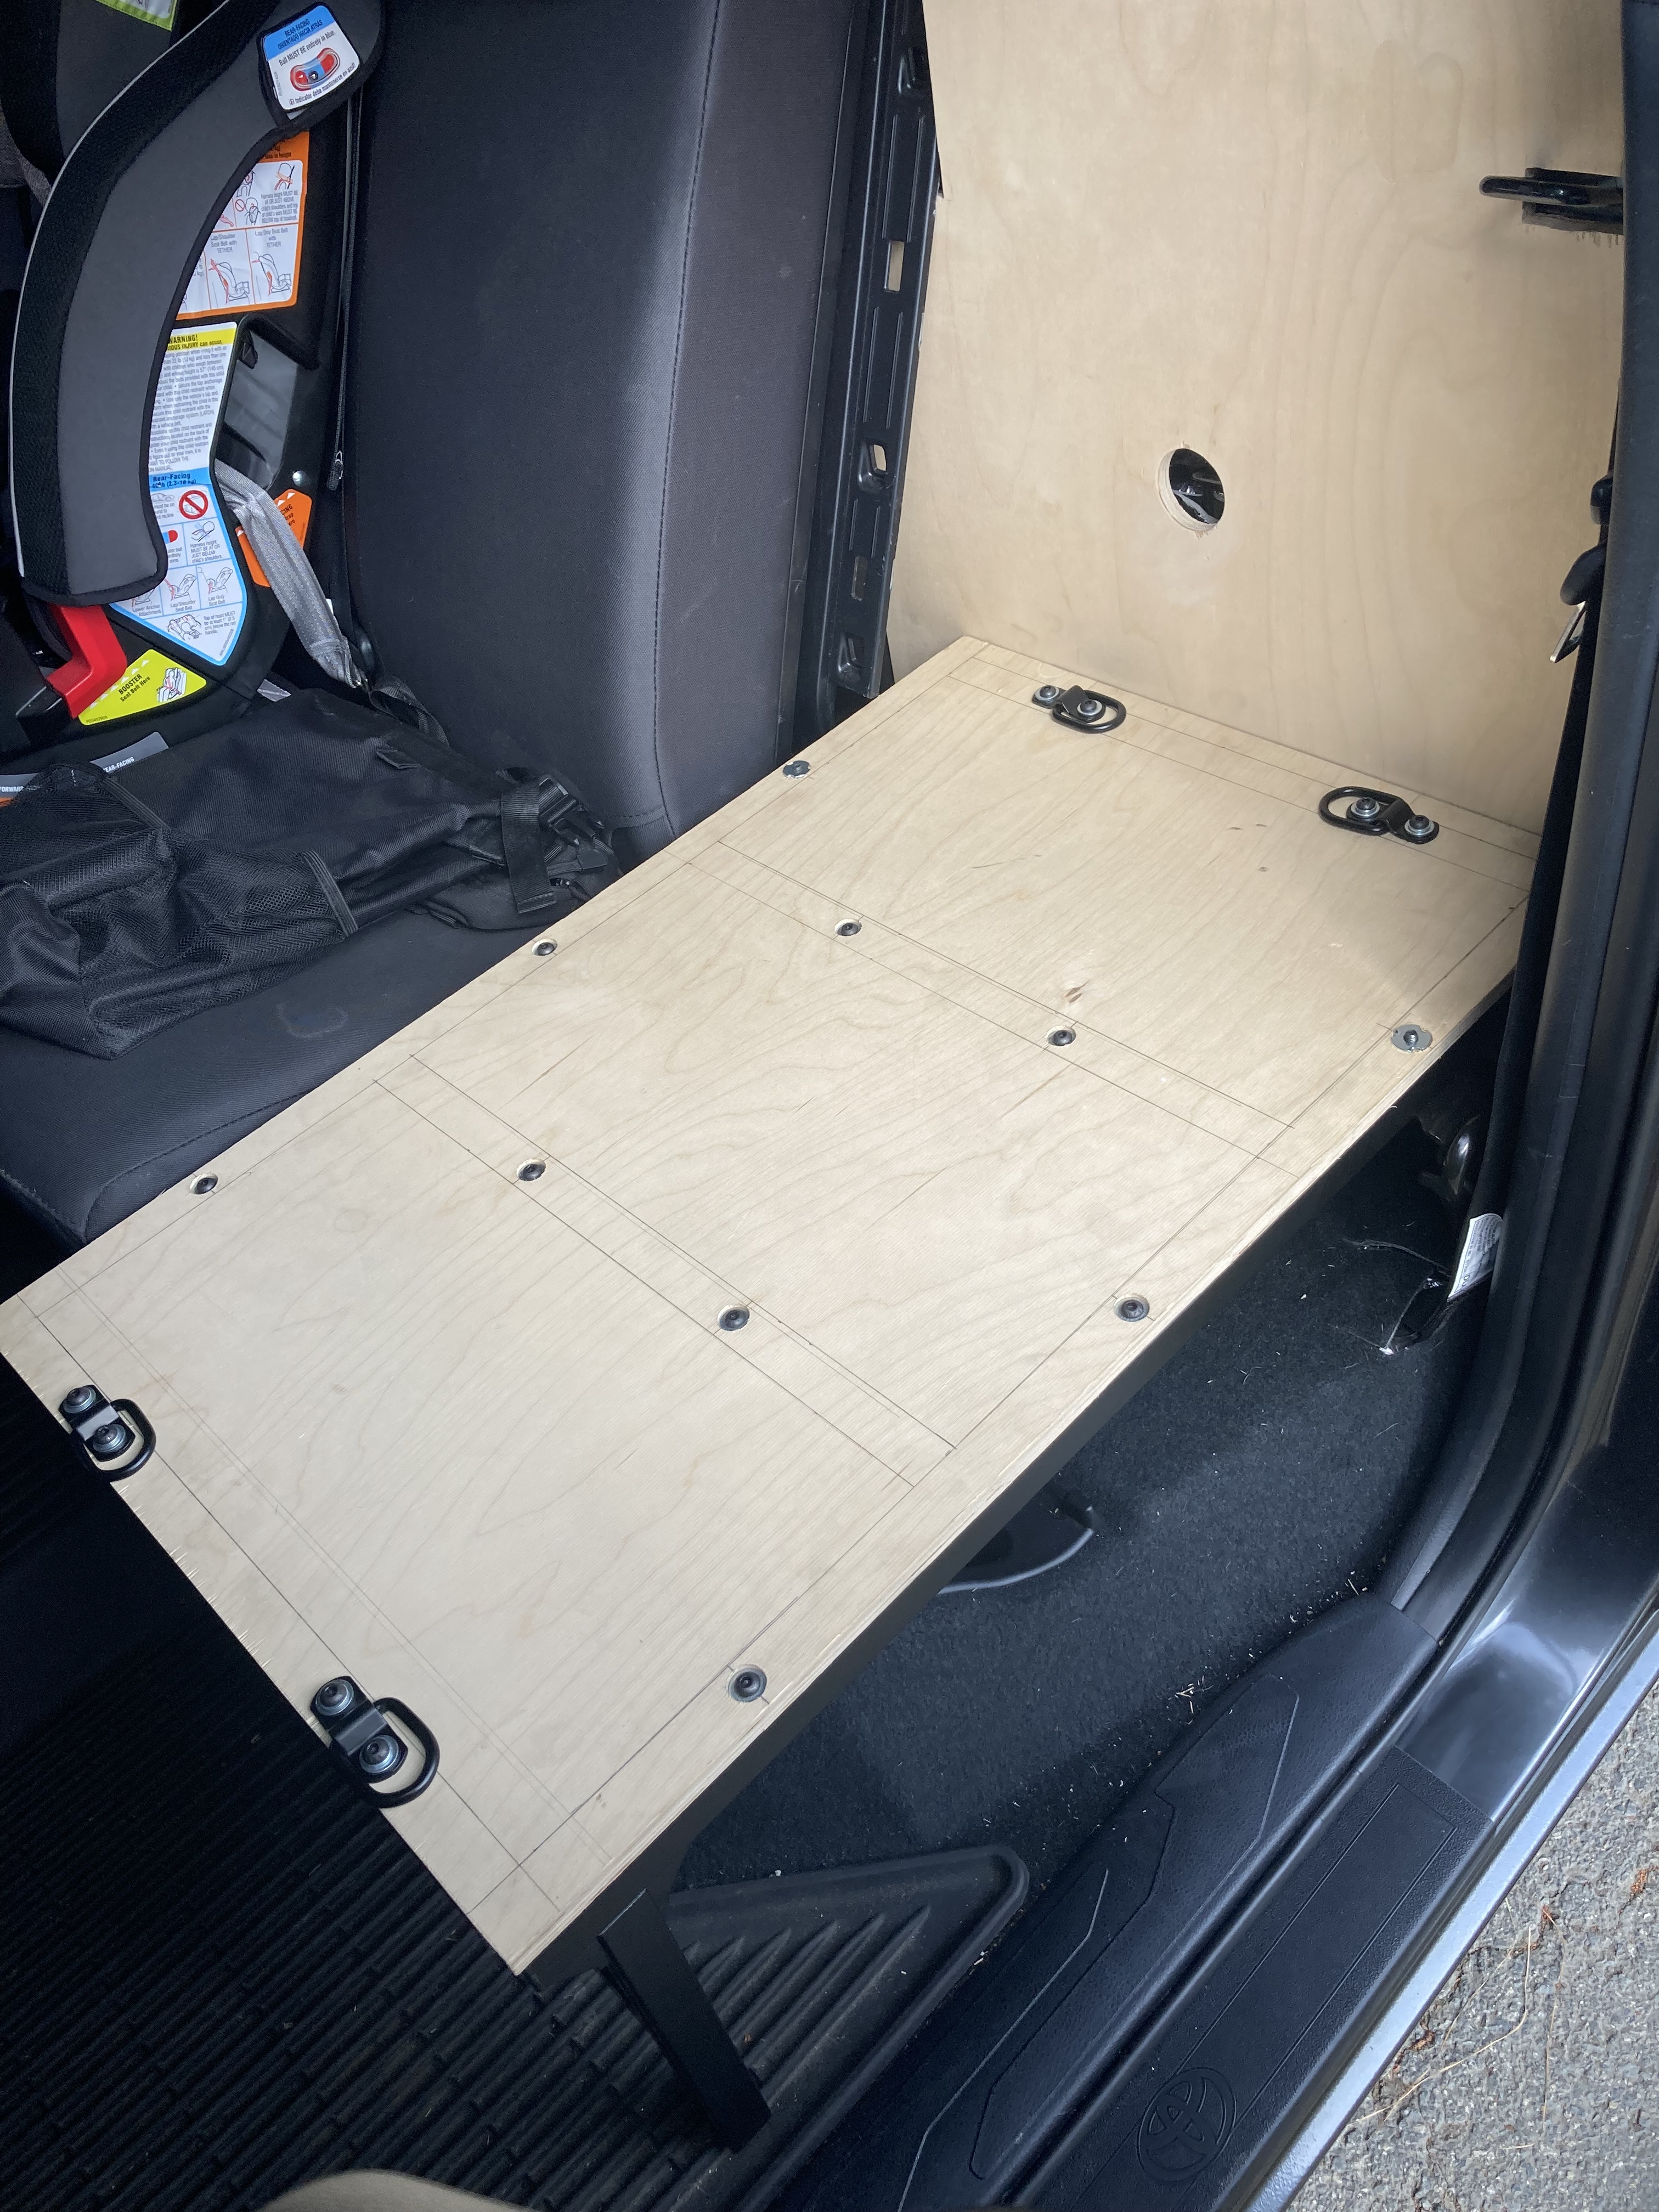
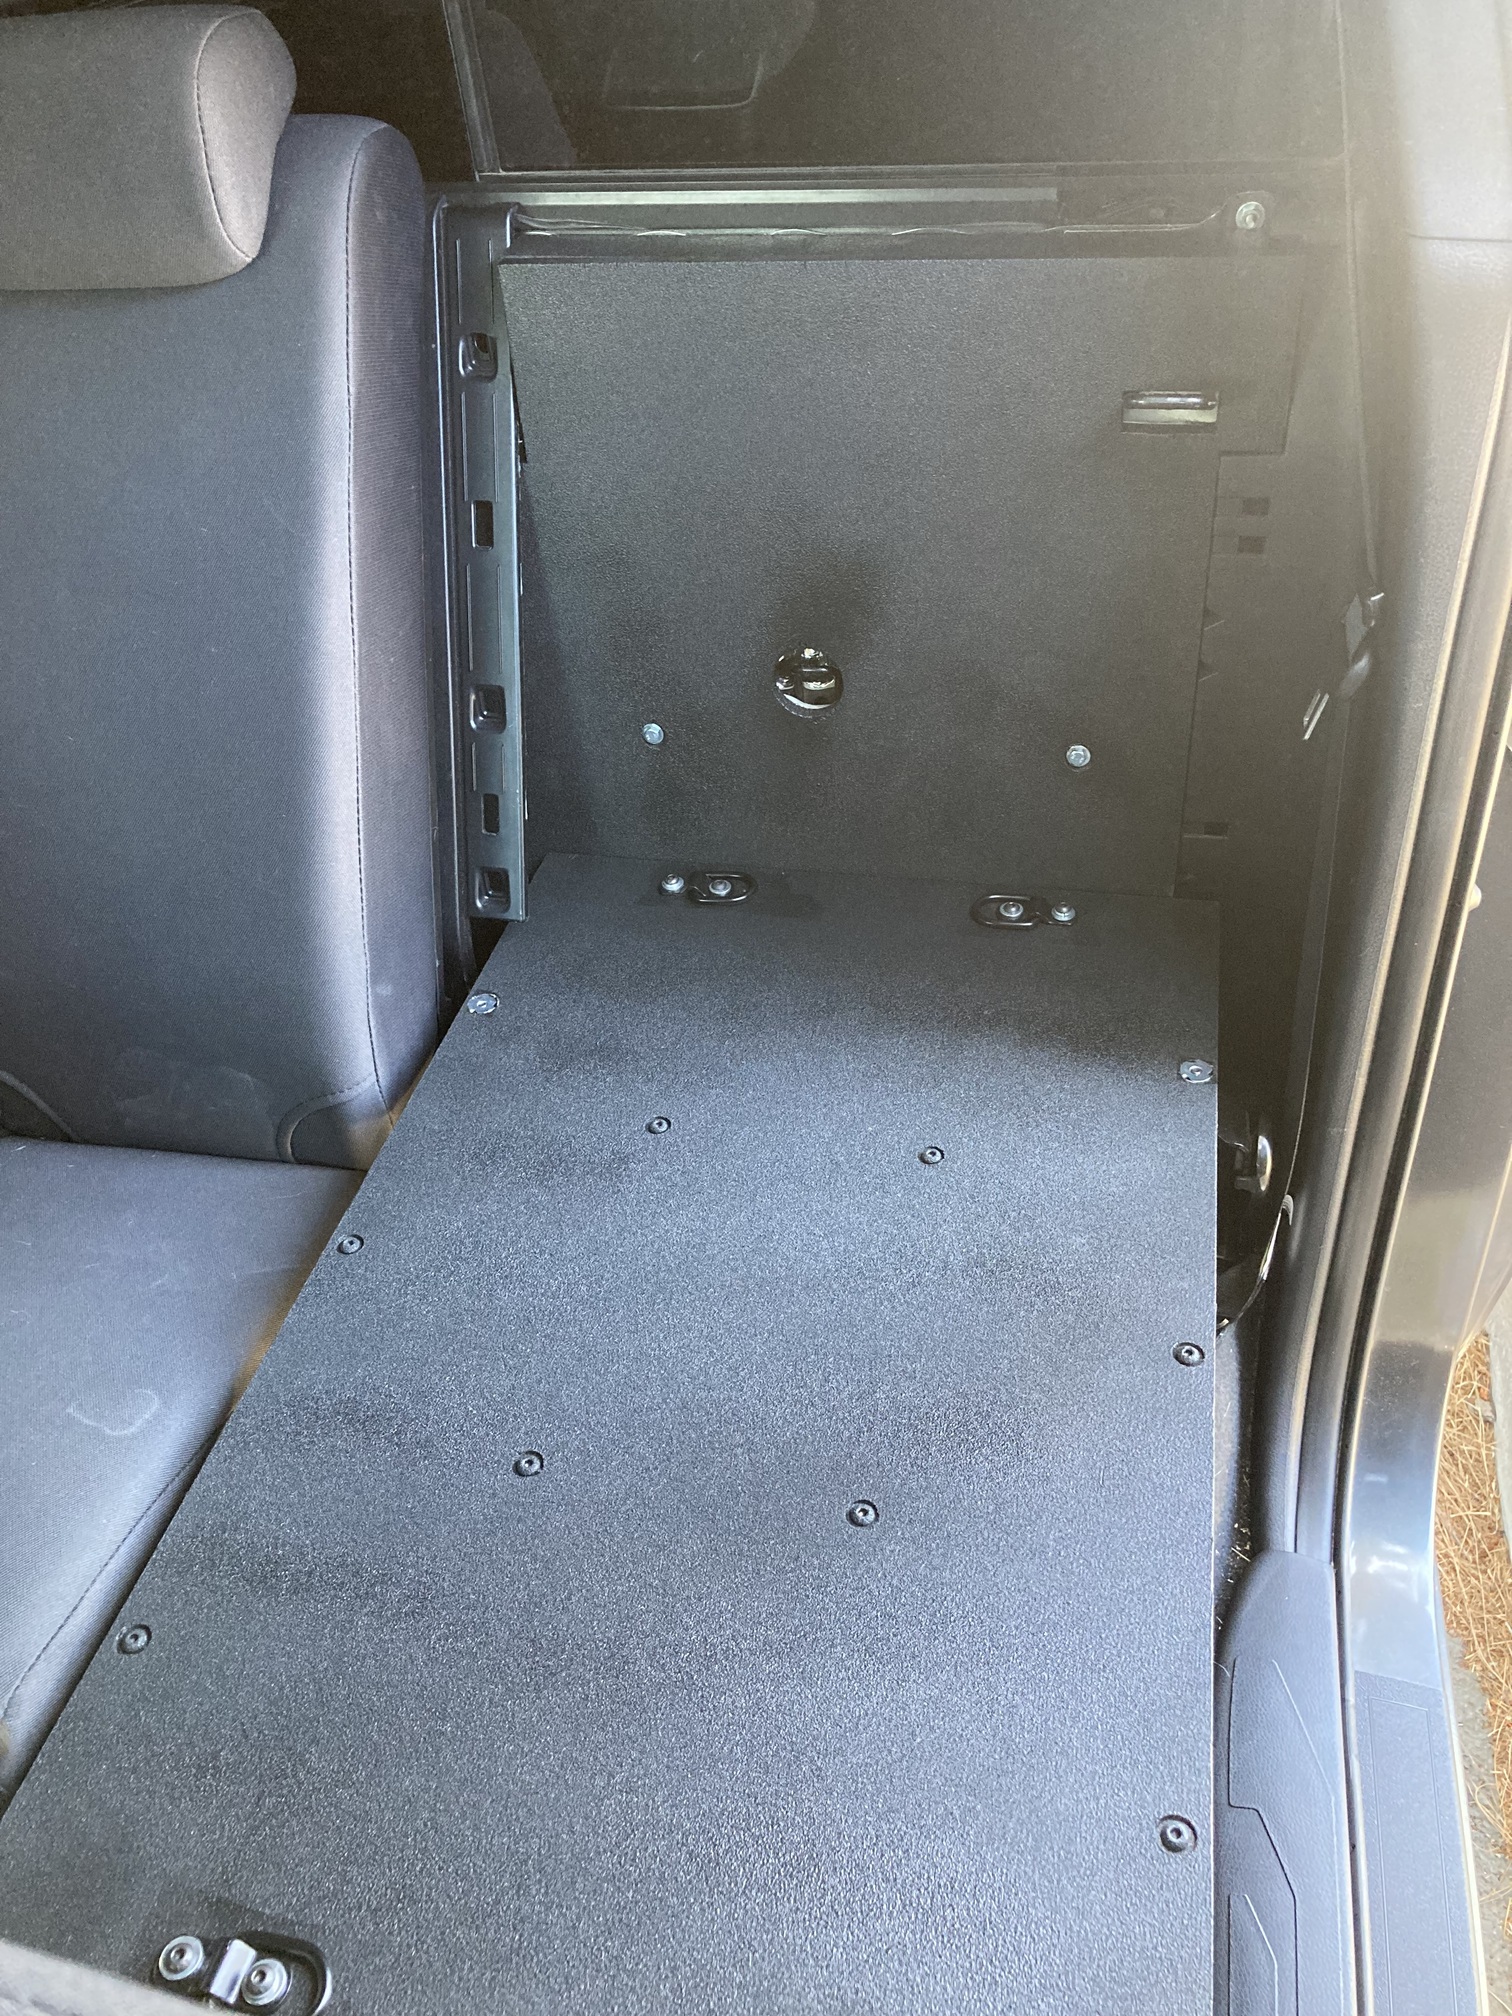
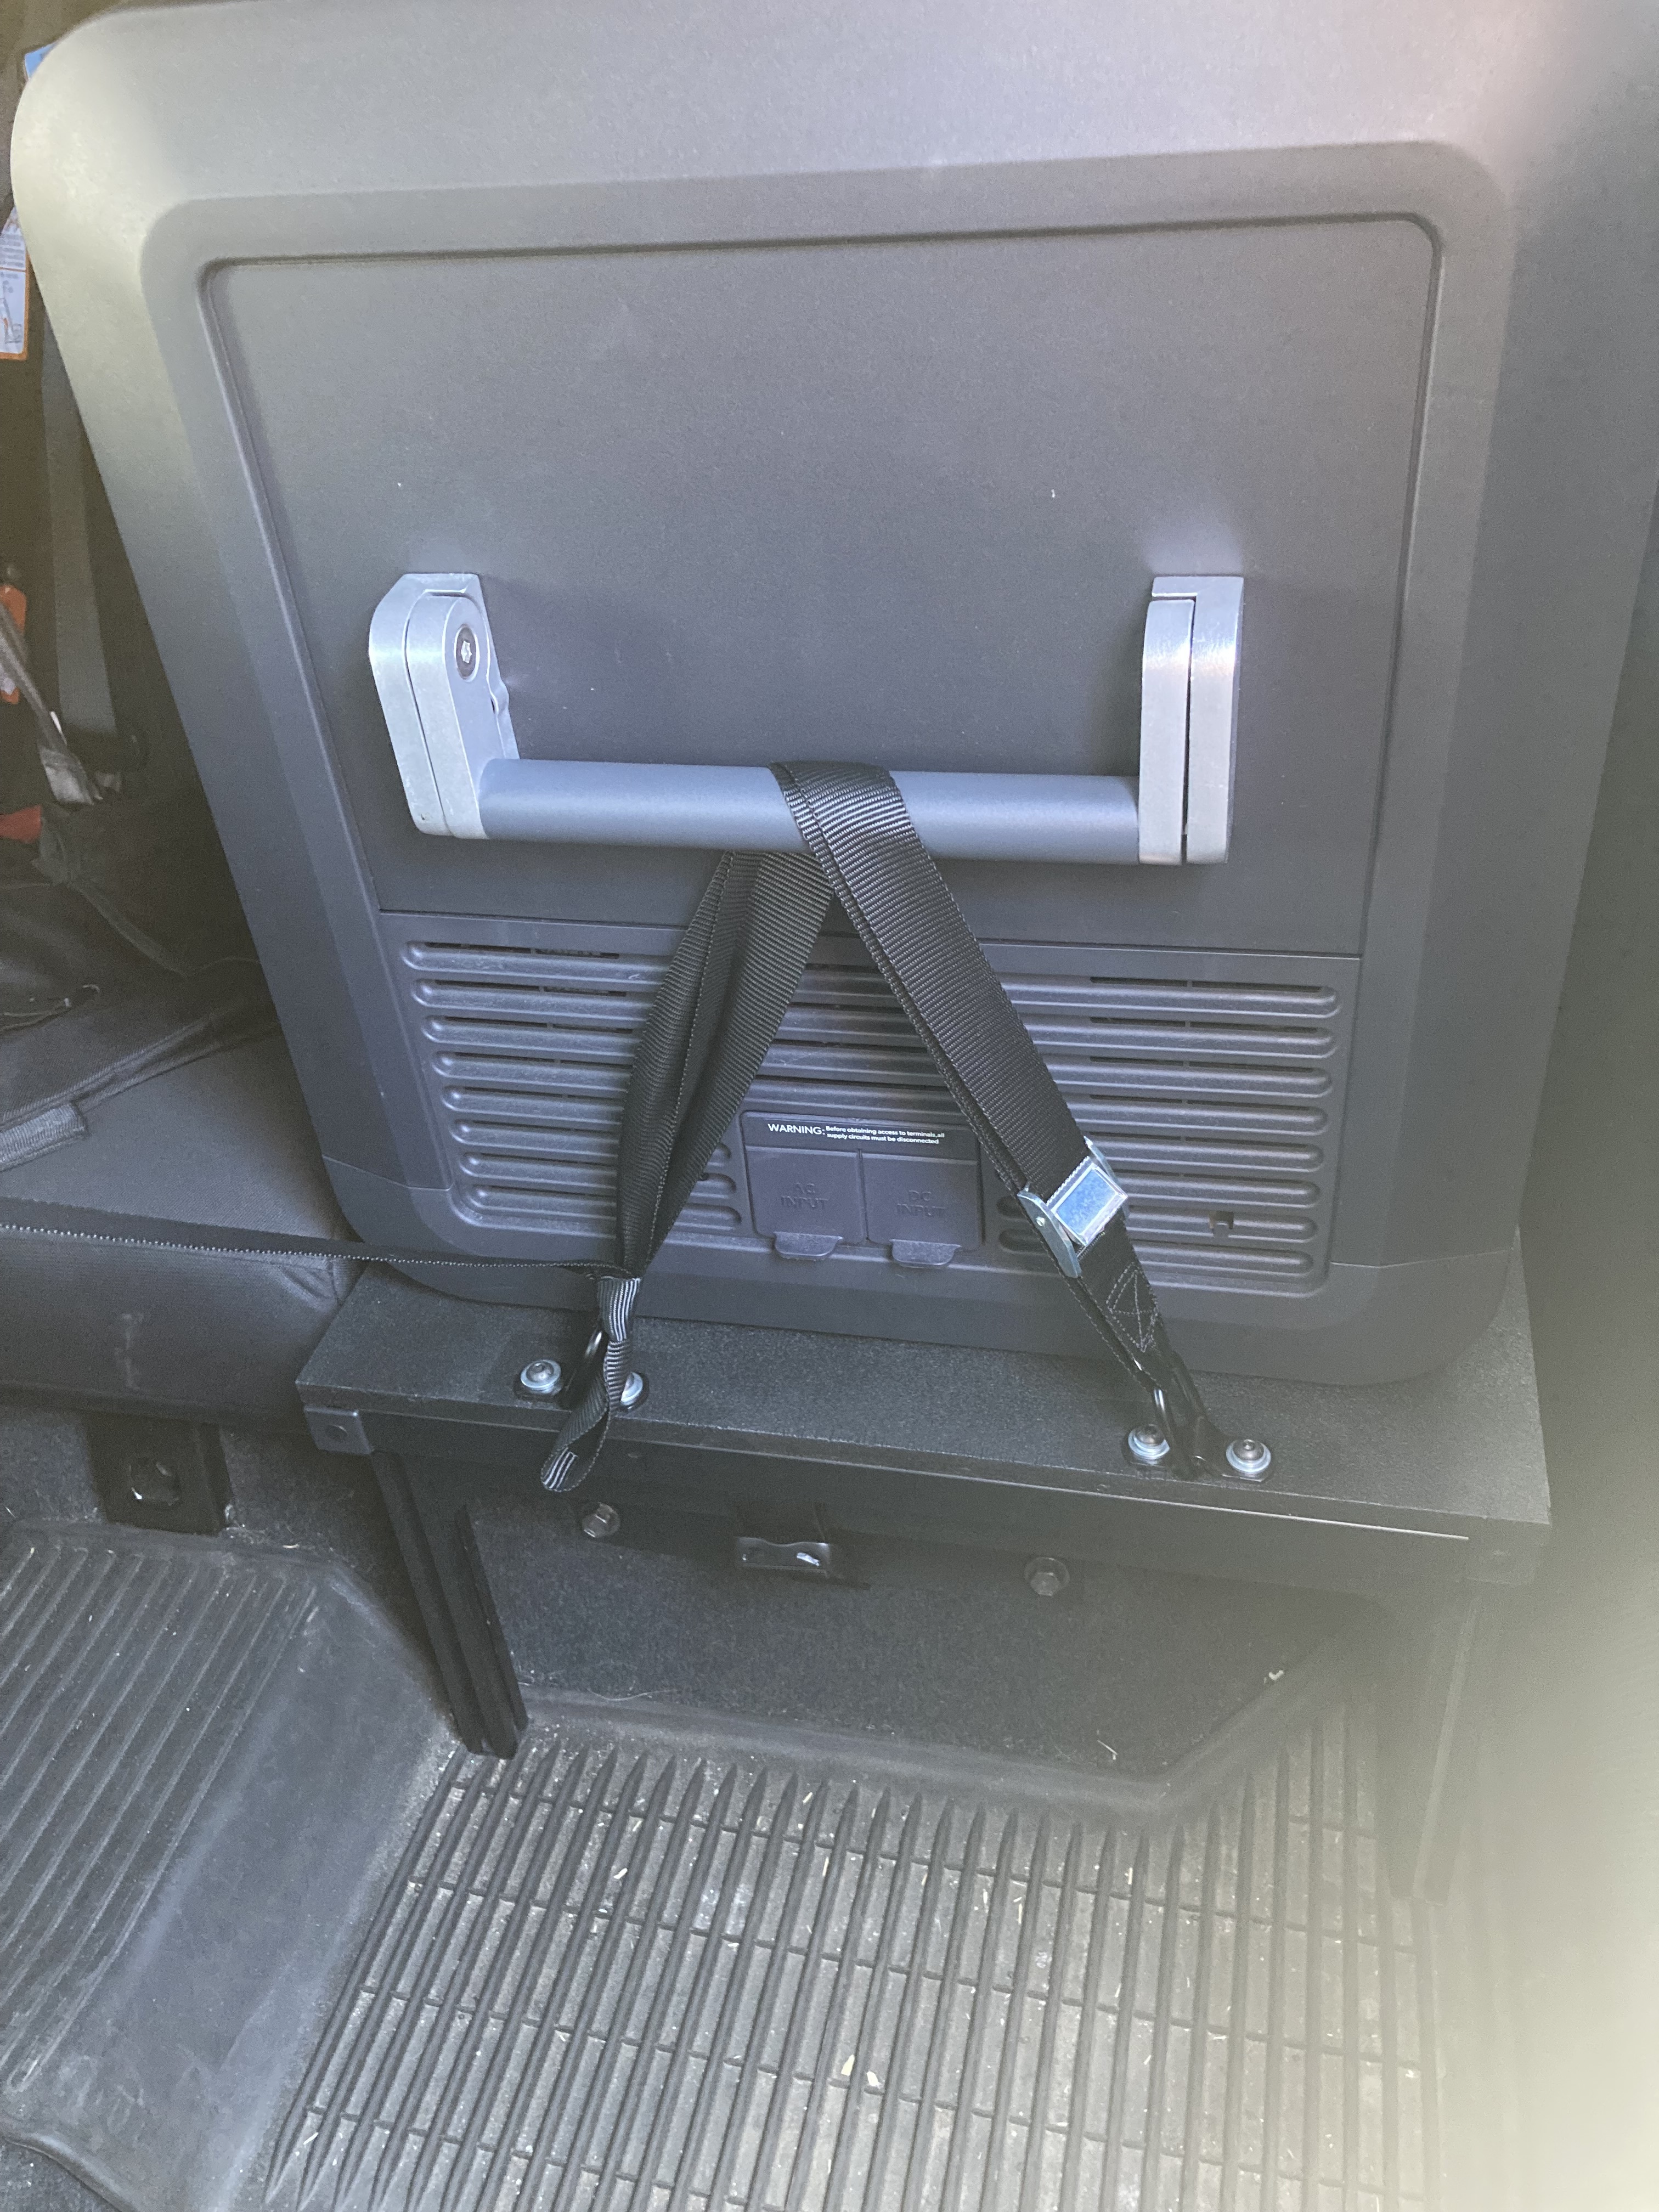
While our Yeti cooler had served us over the years, it began to hinder us as we spent longer stints in the backcountry and ice just wouldn’t last that long. We upgraded to a Dometic CFX 55, Ecoflow River 2 Pro, and Ecoflow 160W solar panel. What a difference! Now I needed a place for it in the truck. I wanted to keep it in the cab to better regulate temperature and power supply, but I couldn’t commit to a full rear seat delete as I also have a child. As nice as GooseGear is, it was way out of my price range. I opted to do a 40% delete and build my platform out of 80/20 aluminum and plywood. First I sound proofed the cab where my seat was removed.
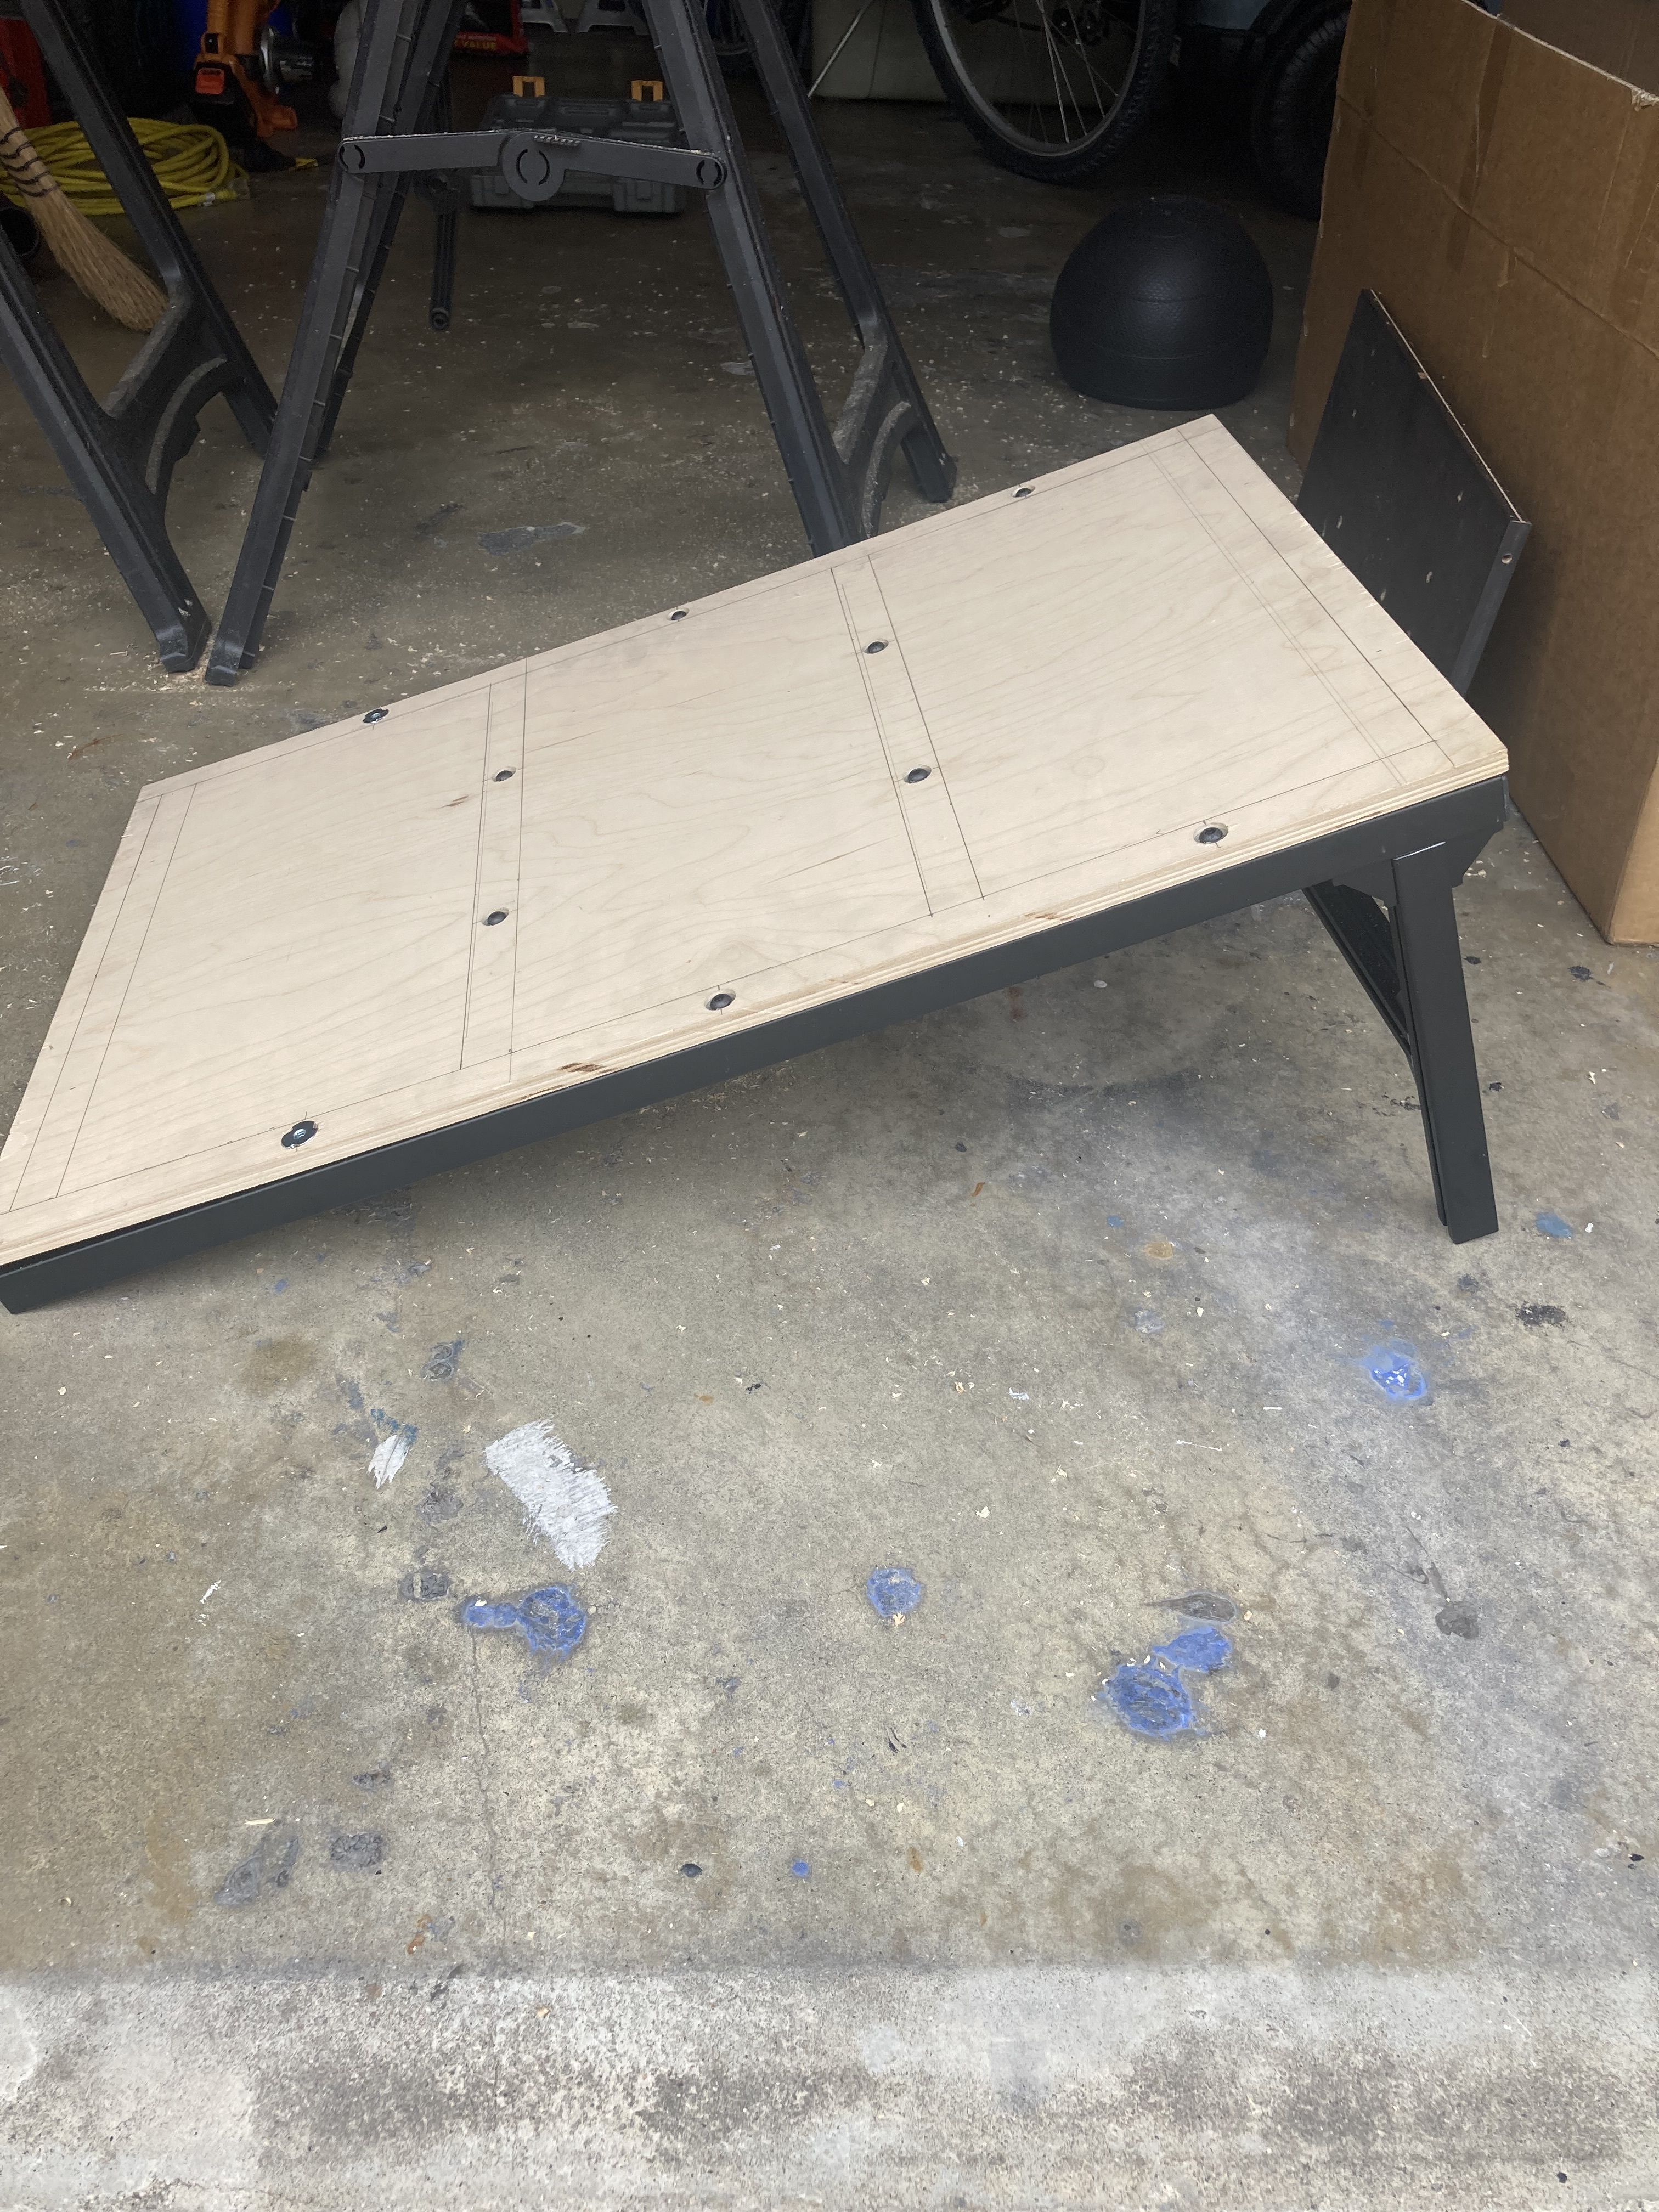
Then I built the platform. It is held in place using existing seat mounting points and can be removed in just a couple minutes. The fridge is secured via 4 d-rings and 2 lashing straps.
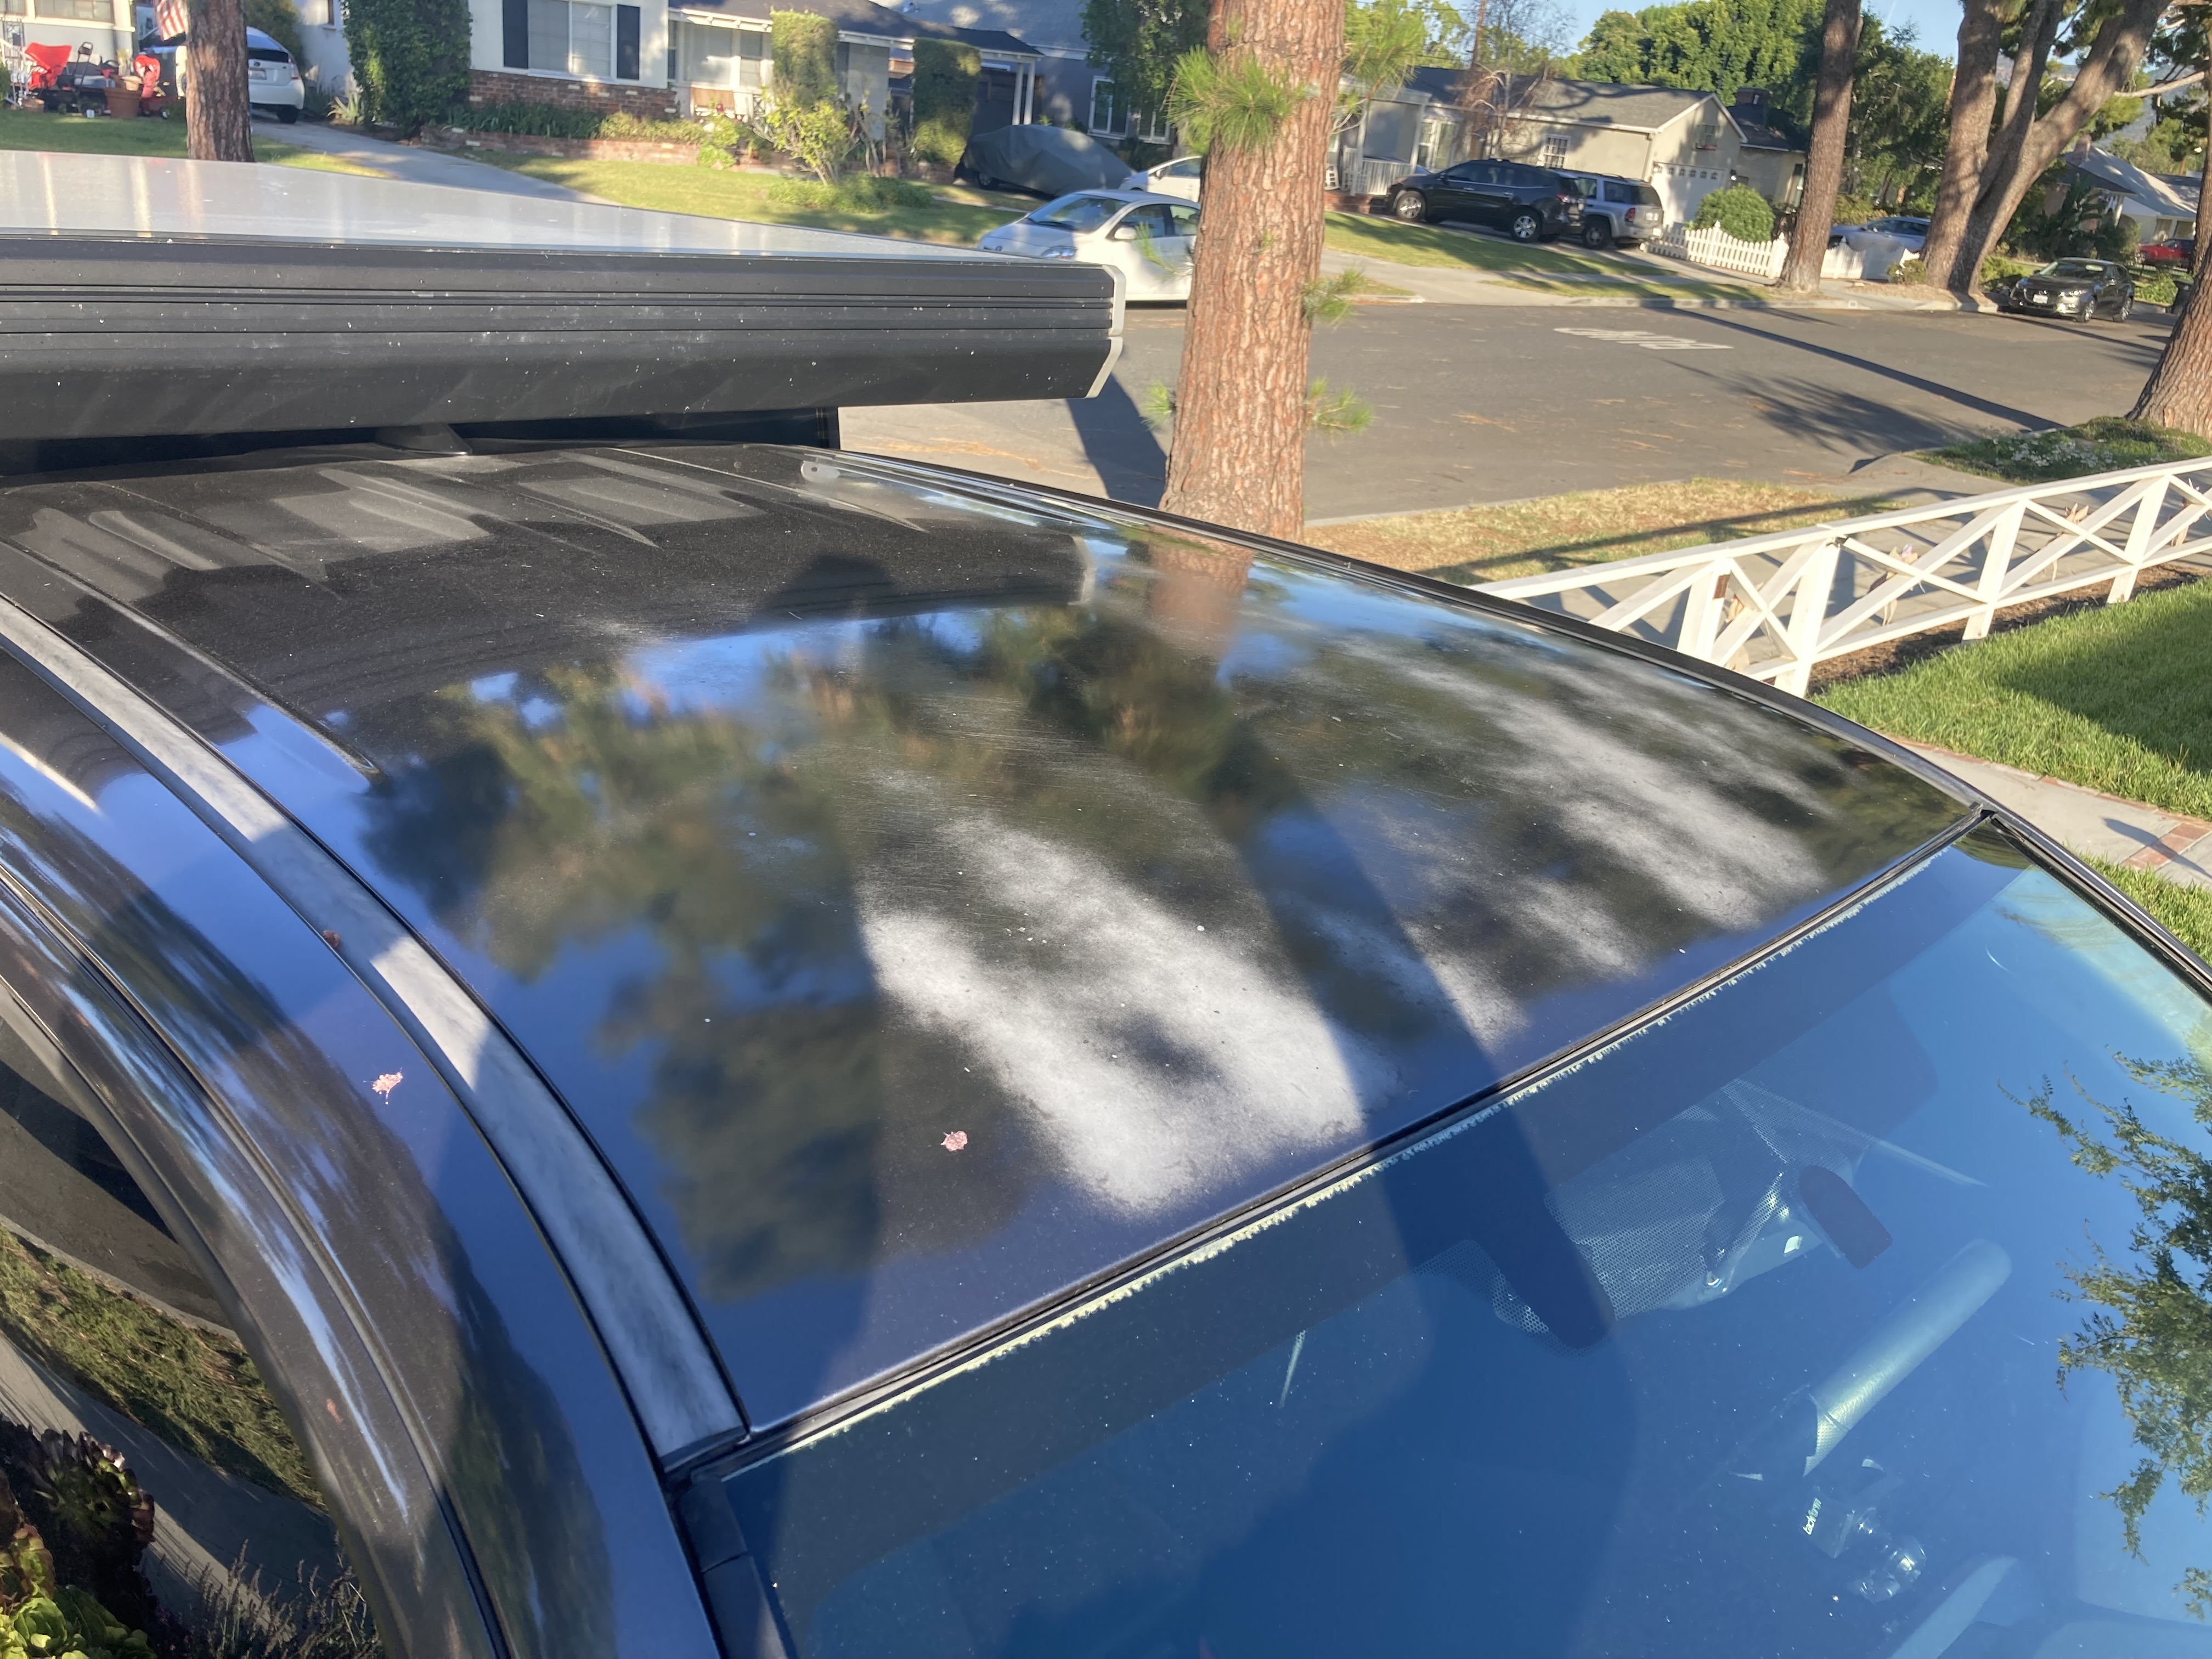
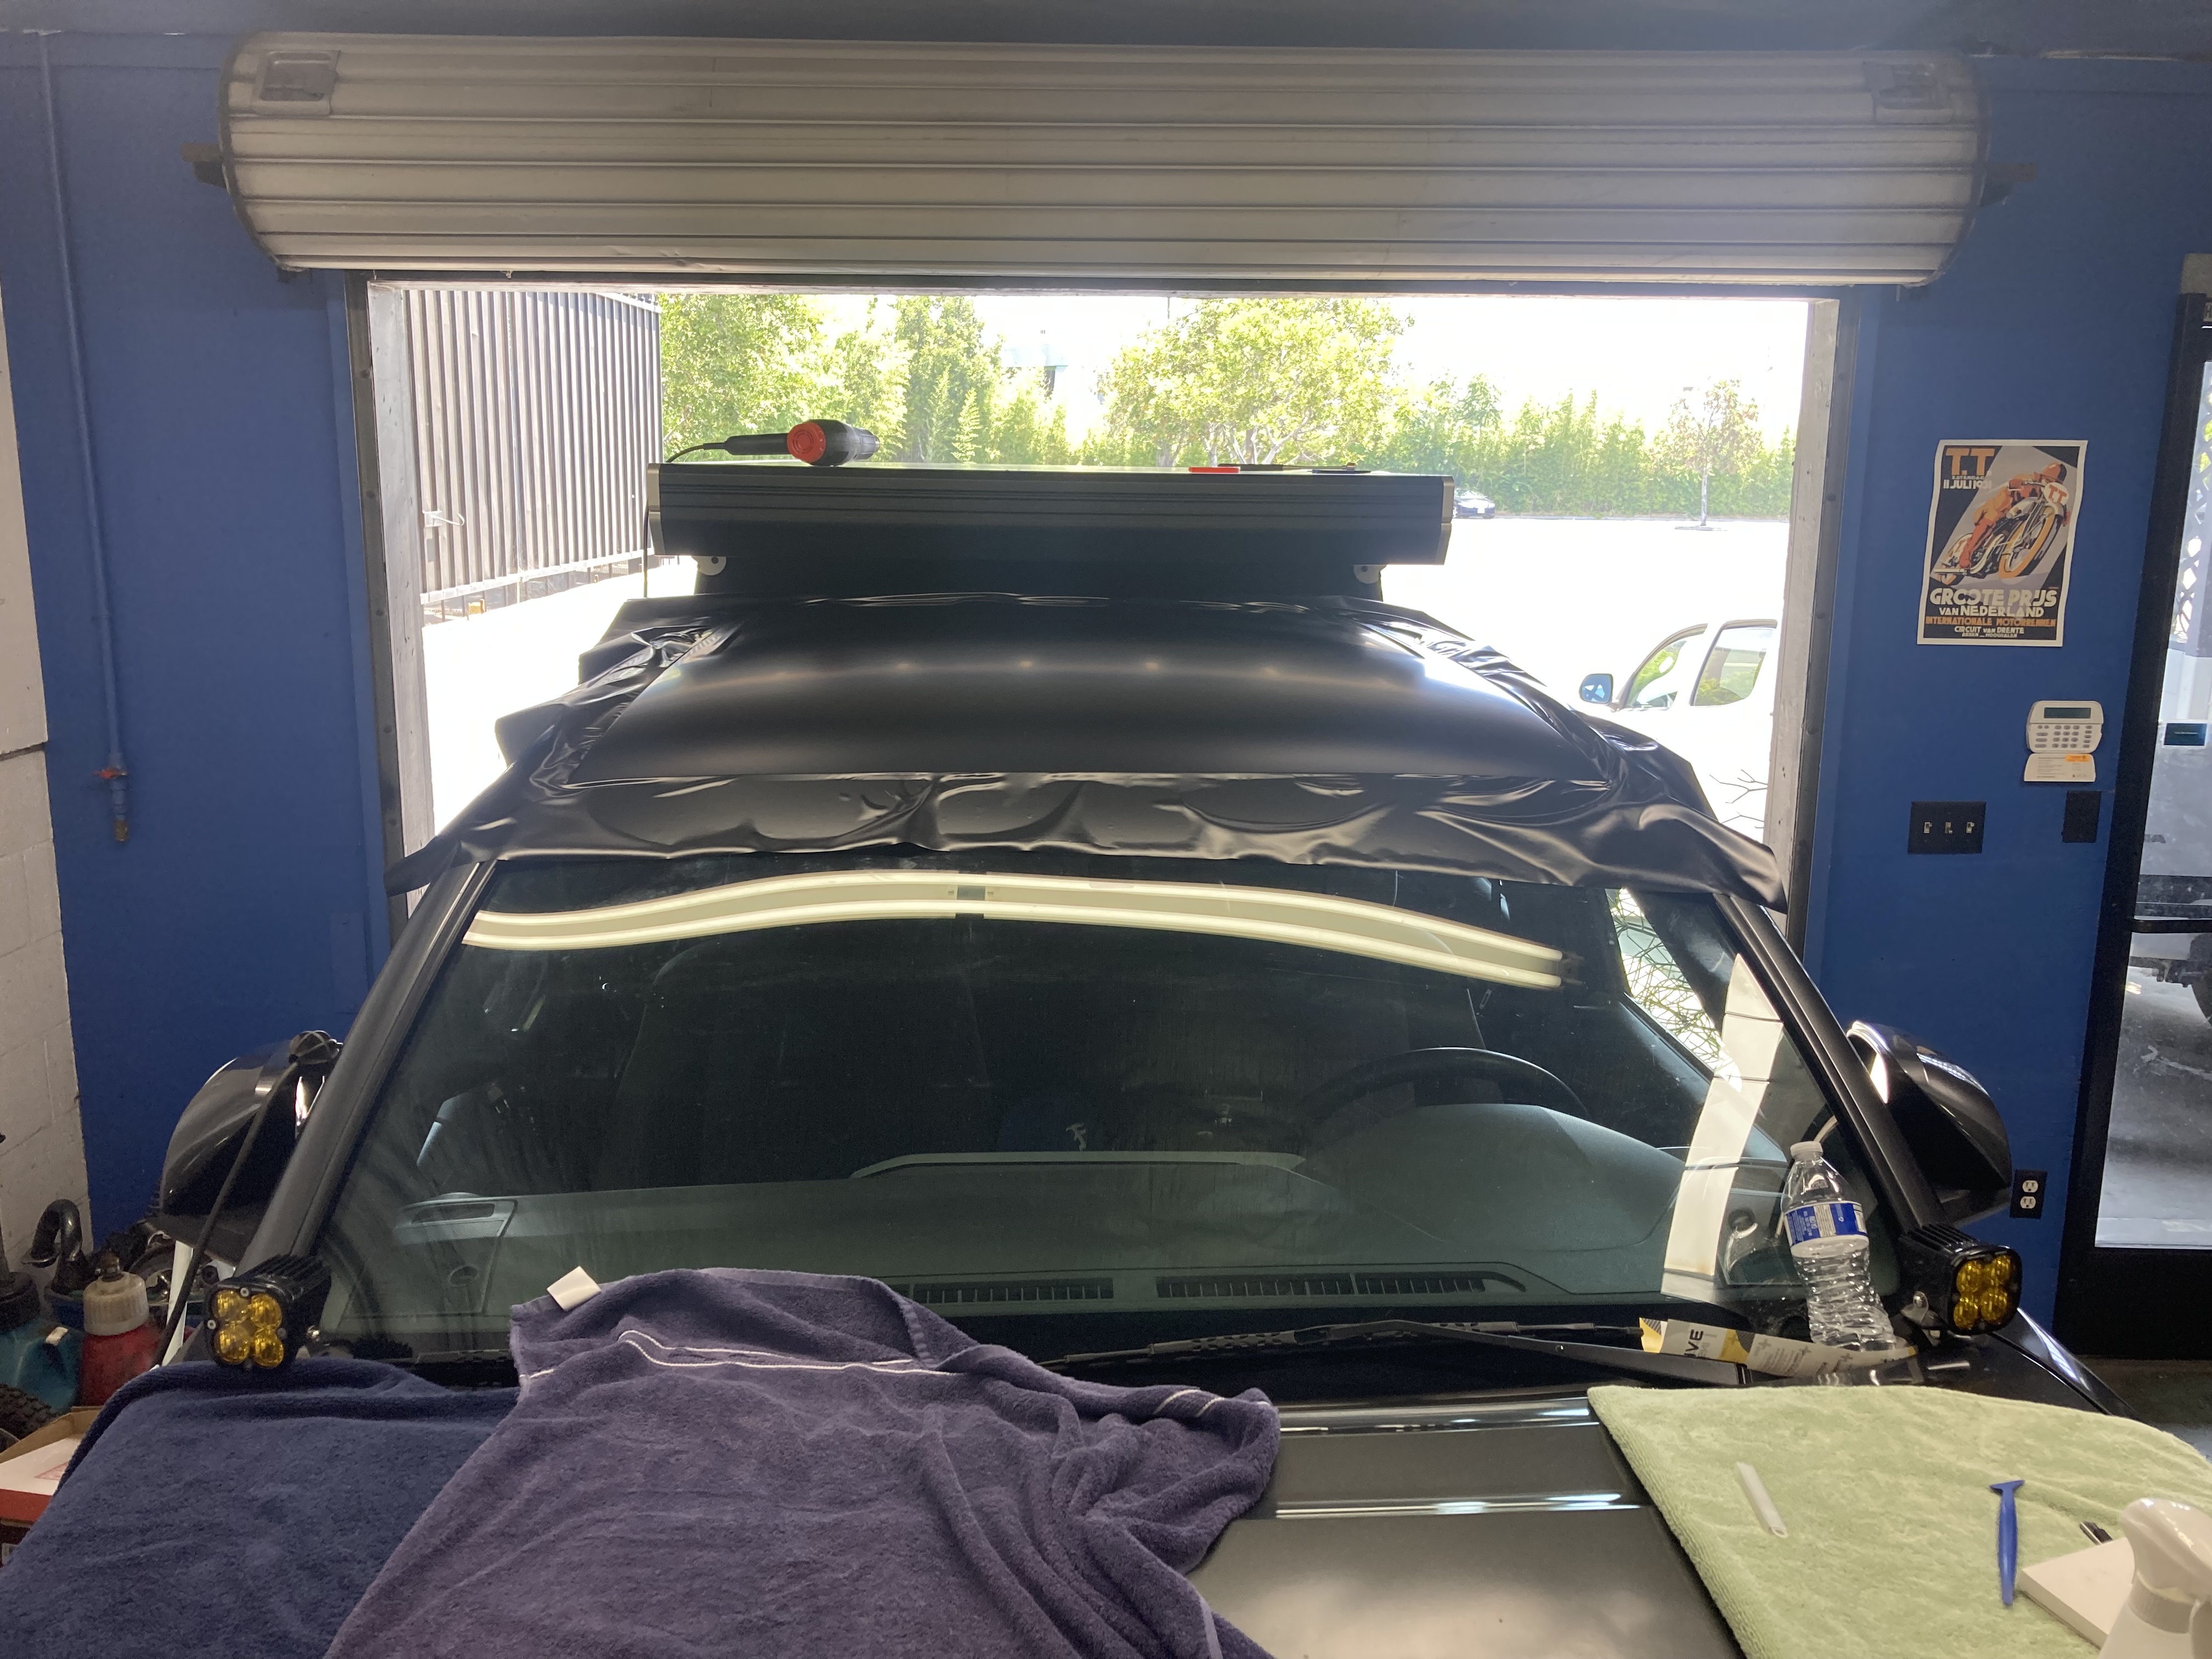
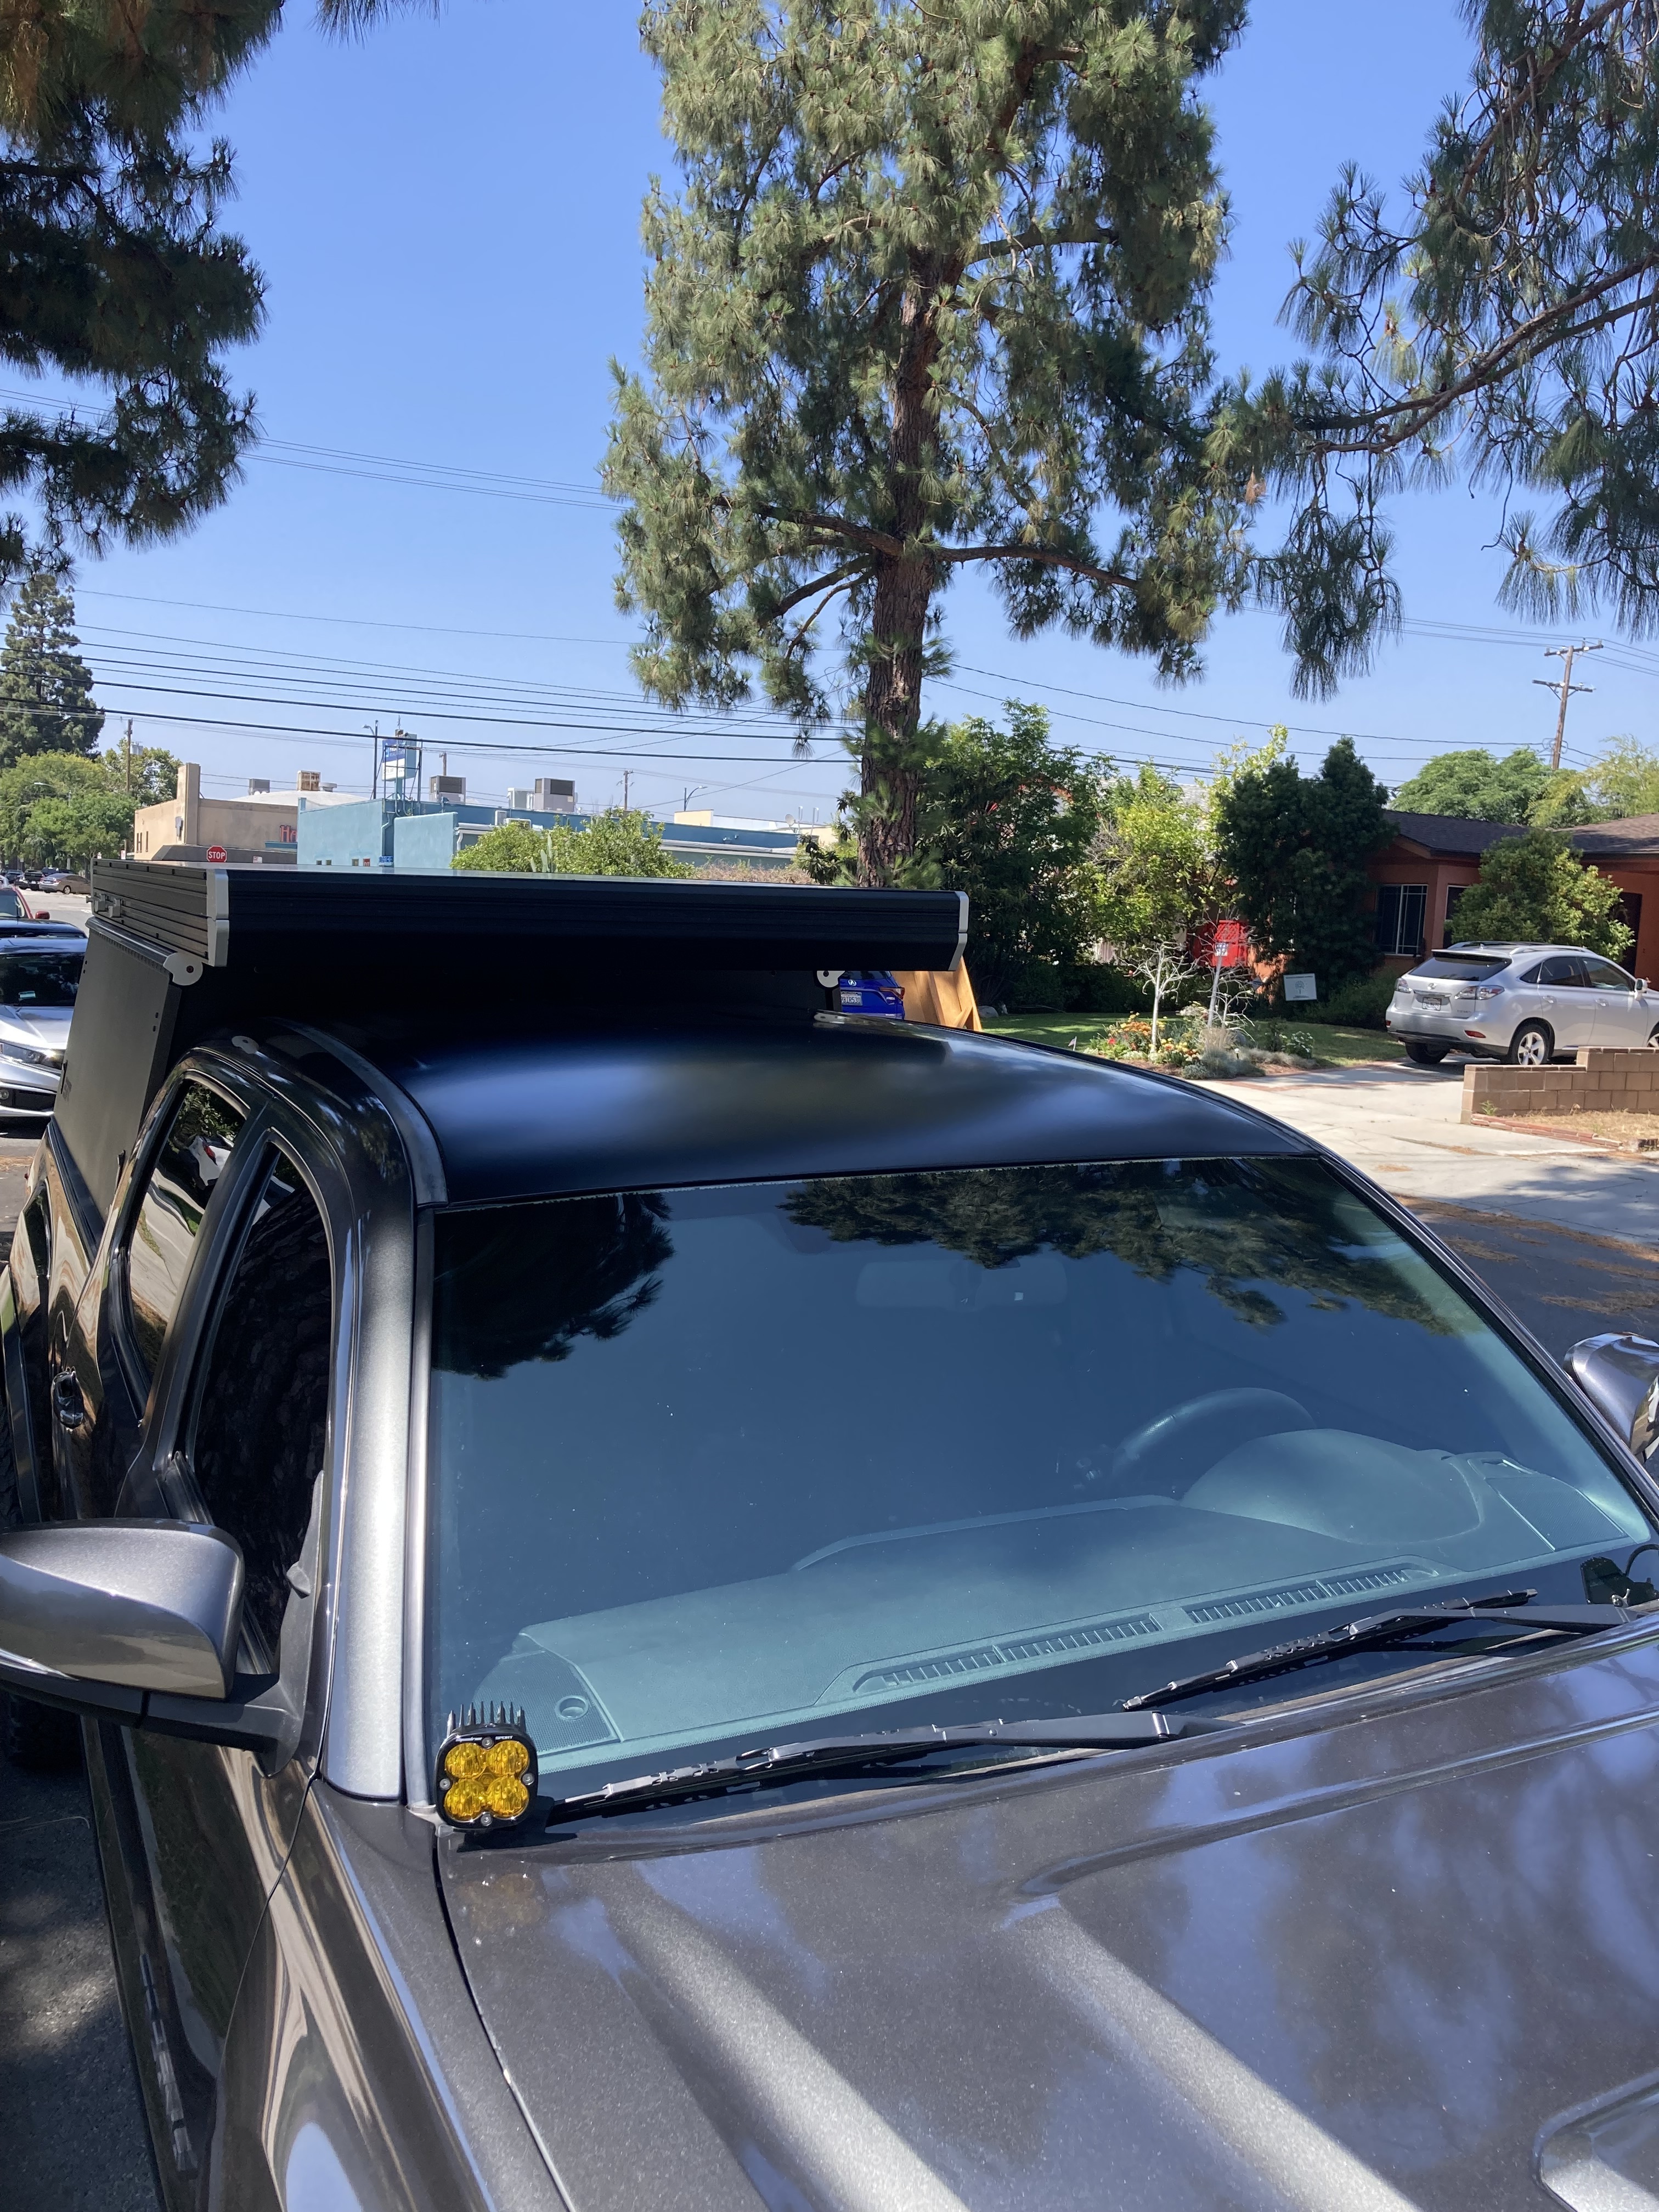
As the truck camper was coming along, I had been painfully watching the clearcoat on my roof fade (thanks Toyota). As a quick, cheap, and temporary fix, I decided to vinyl wrap it (diy). While it’s not perfect, it’s much better.
While my build isn’t as lavish or tricked out as some (those are rad!), everything serves its purpose in a minimalistic way giving my family and me more time outside and exploring. Besides wanting to inspire others in their builds, I felt compelled to share after returning from my latest trip, amazed at where this vehicle has taken my family. Thanks GFC!
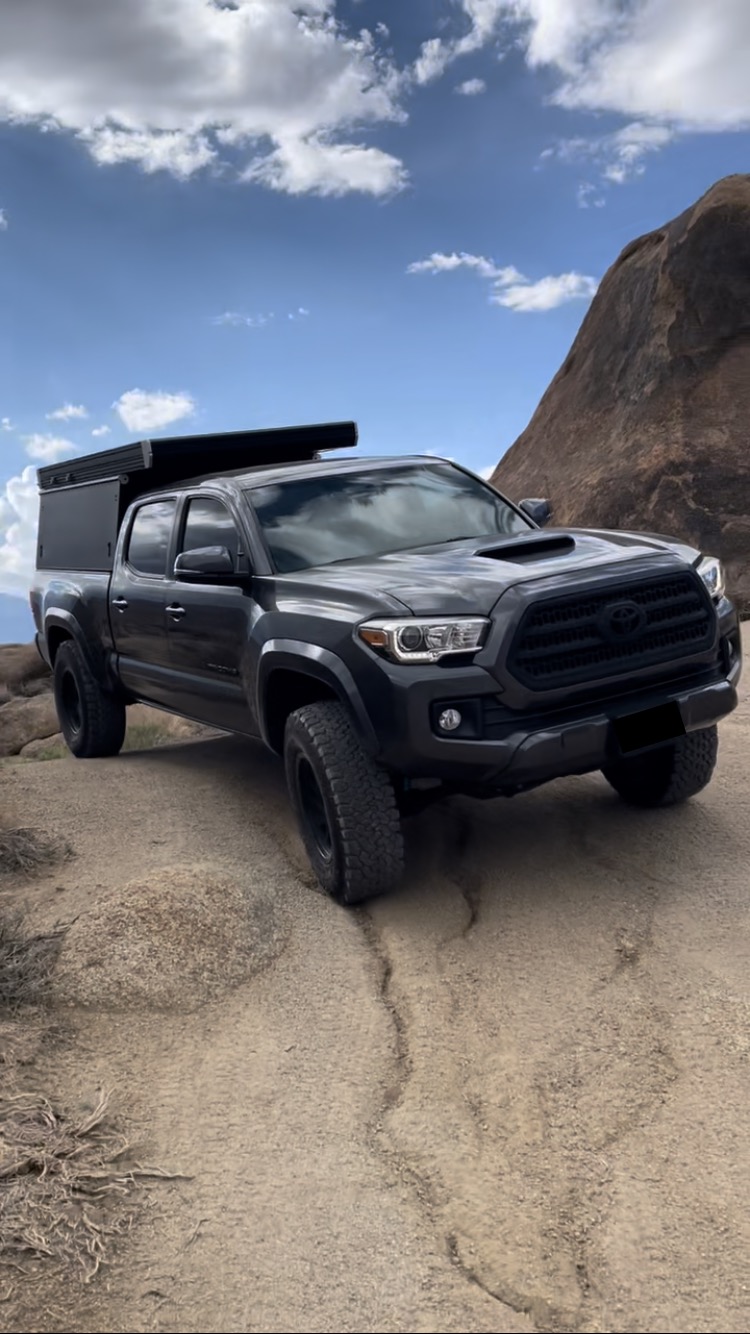
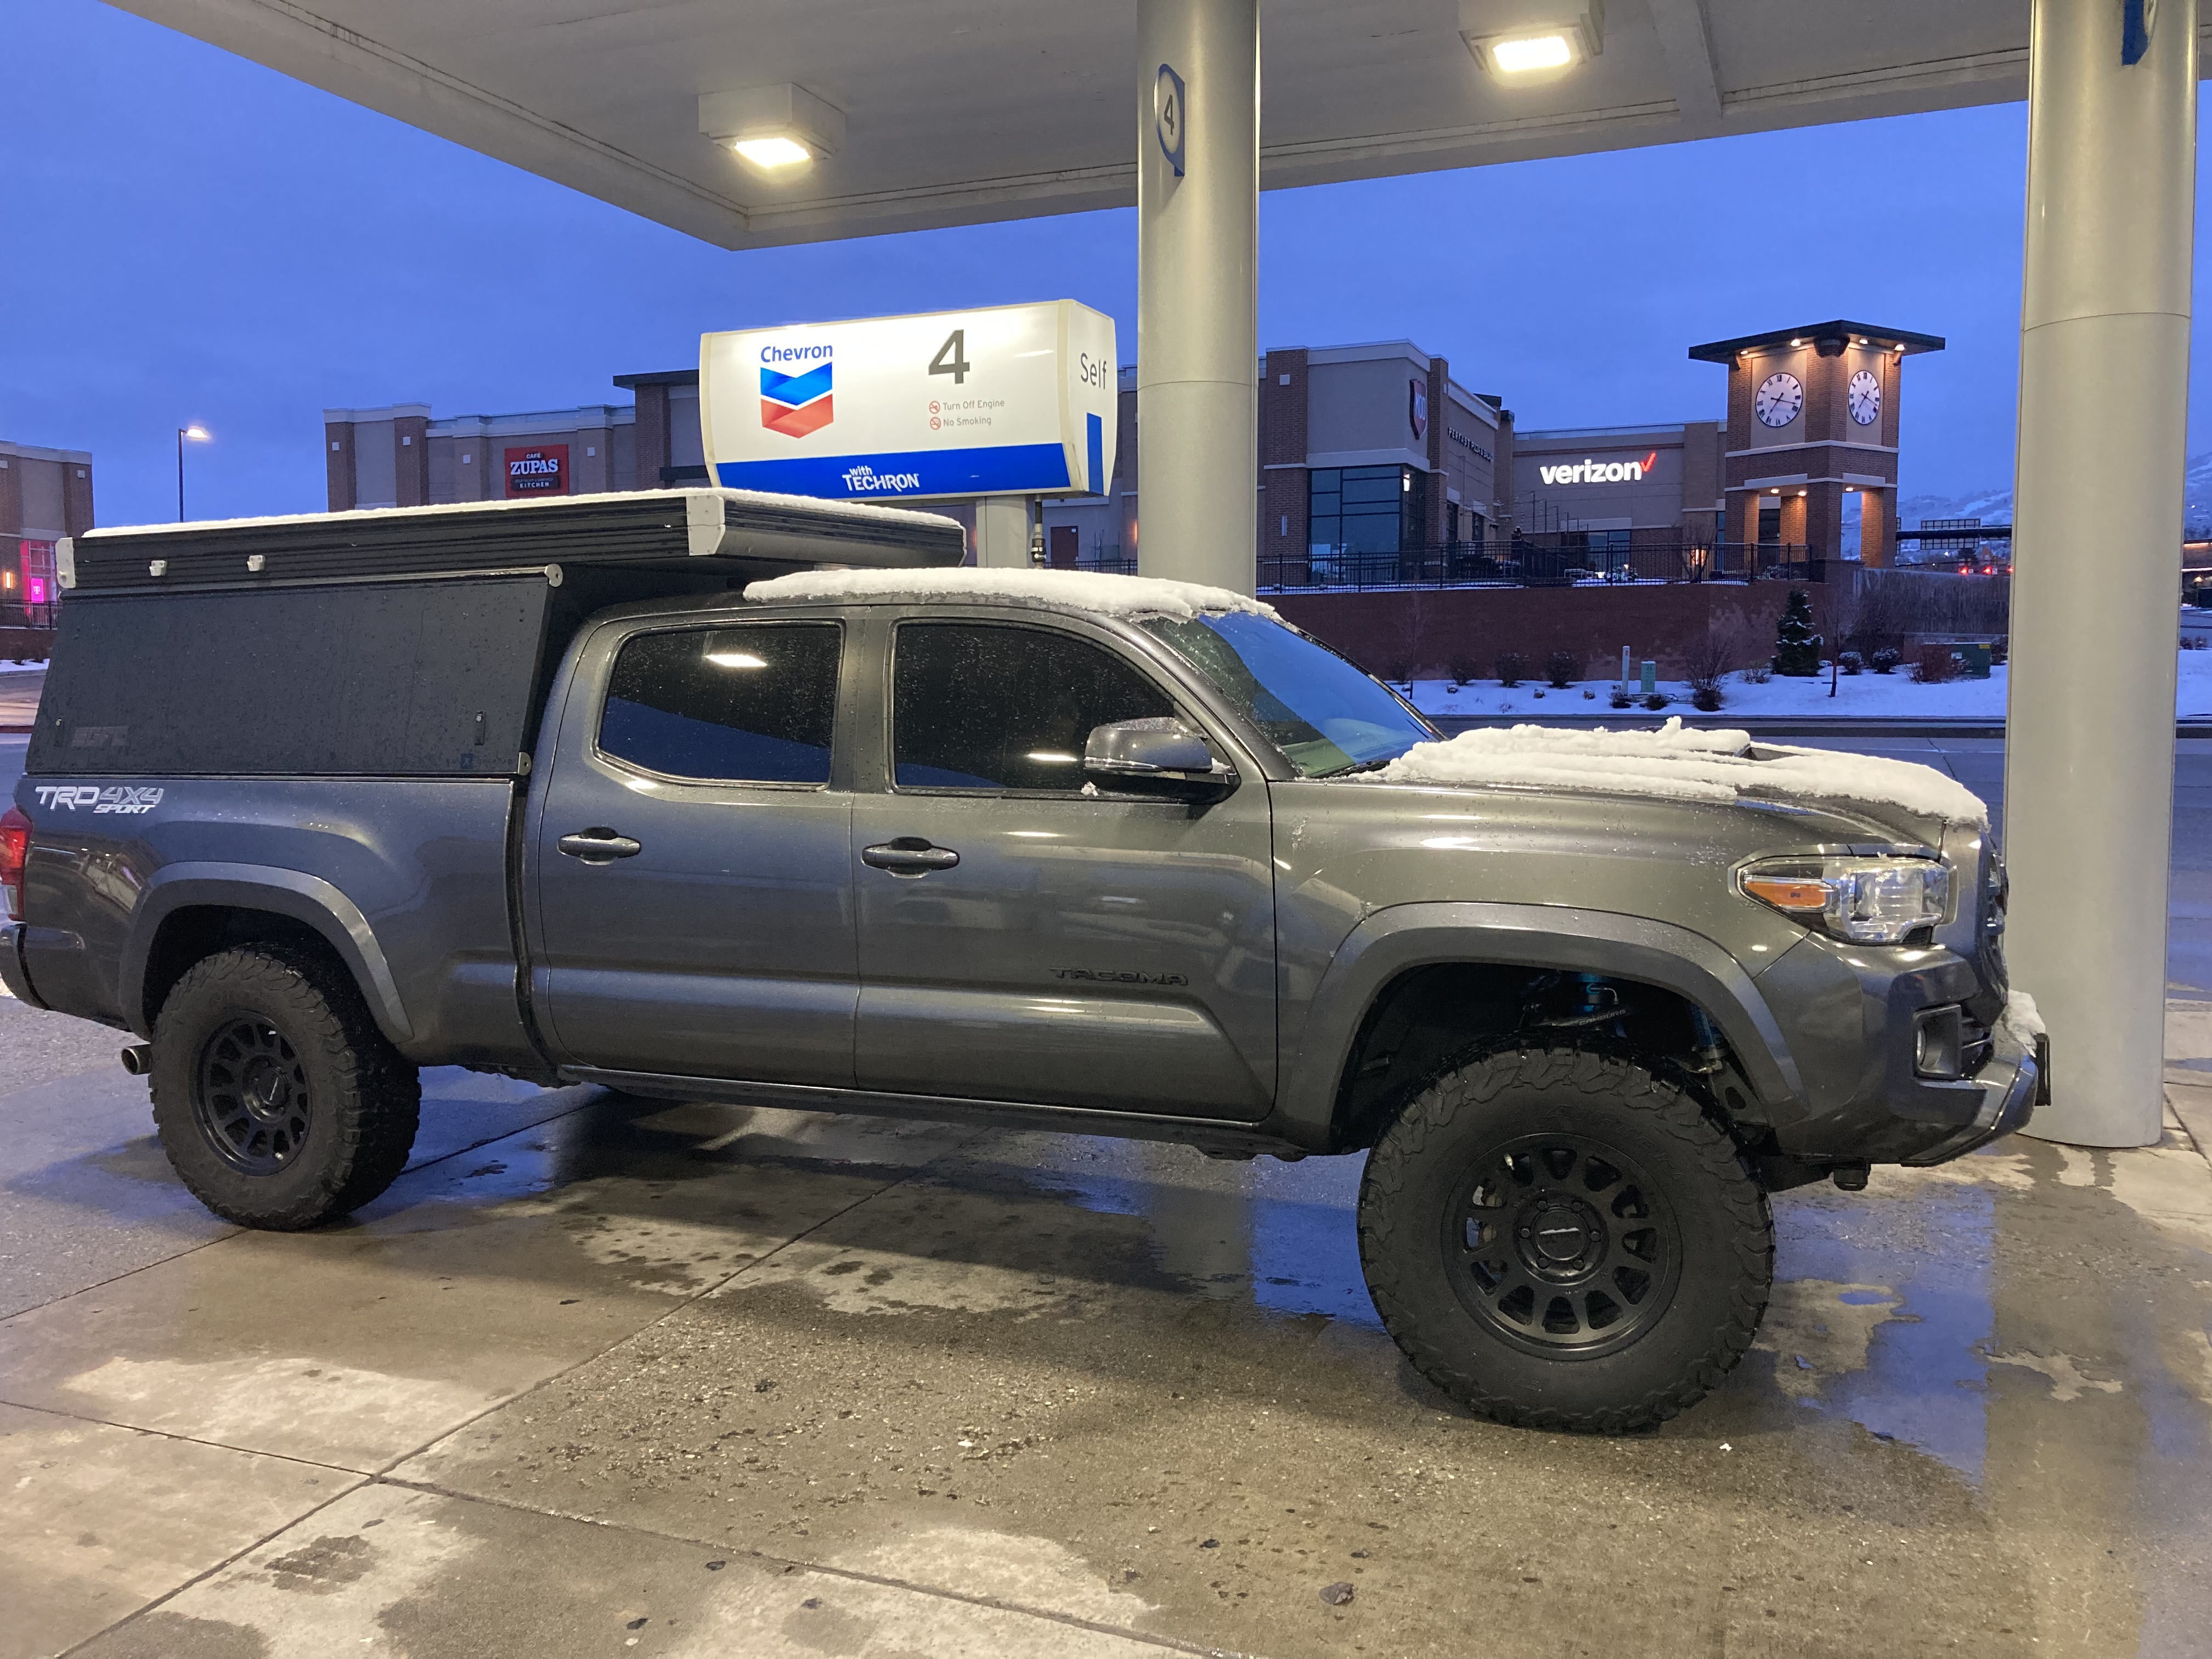
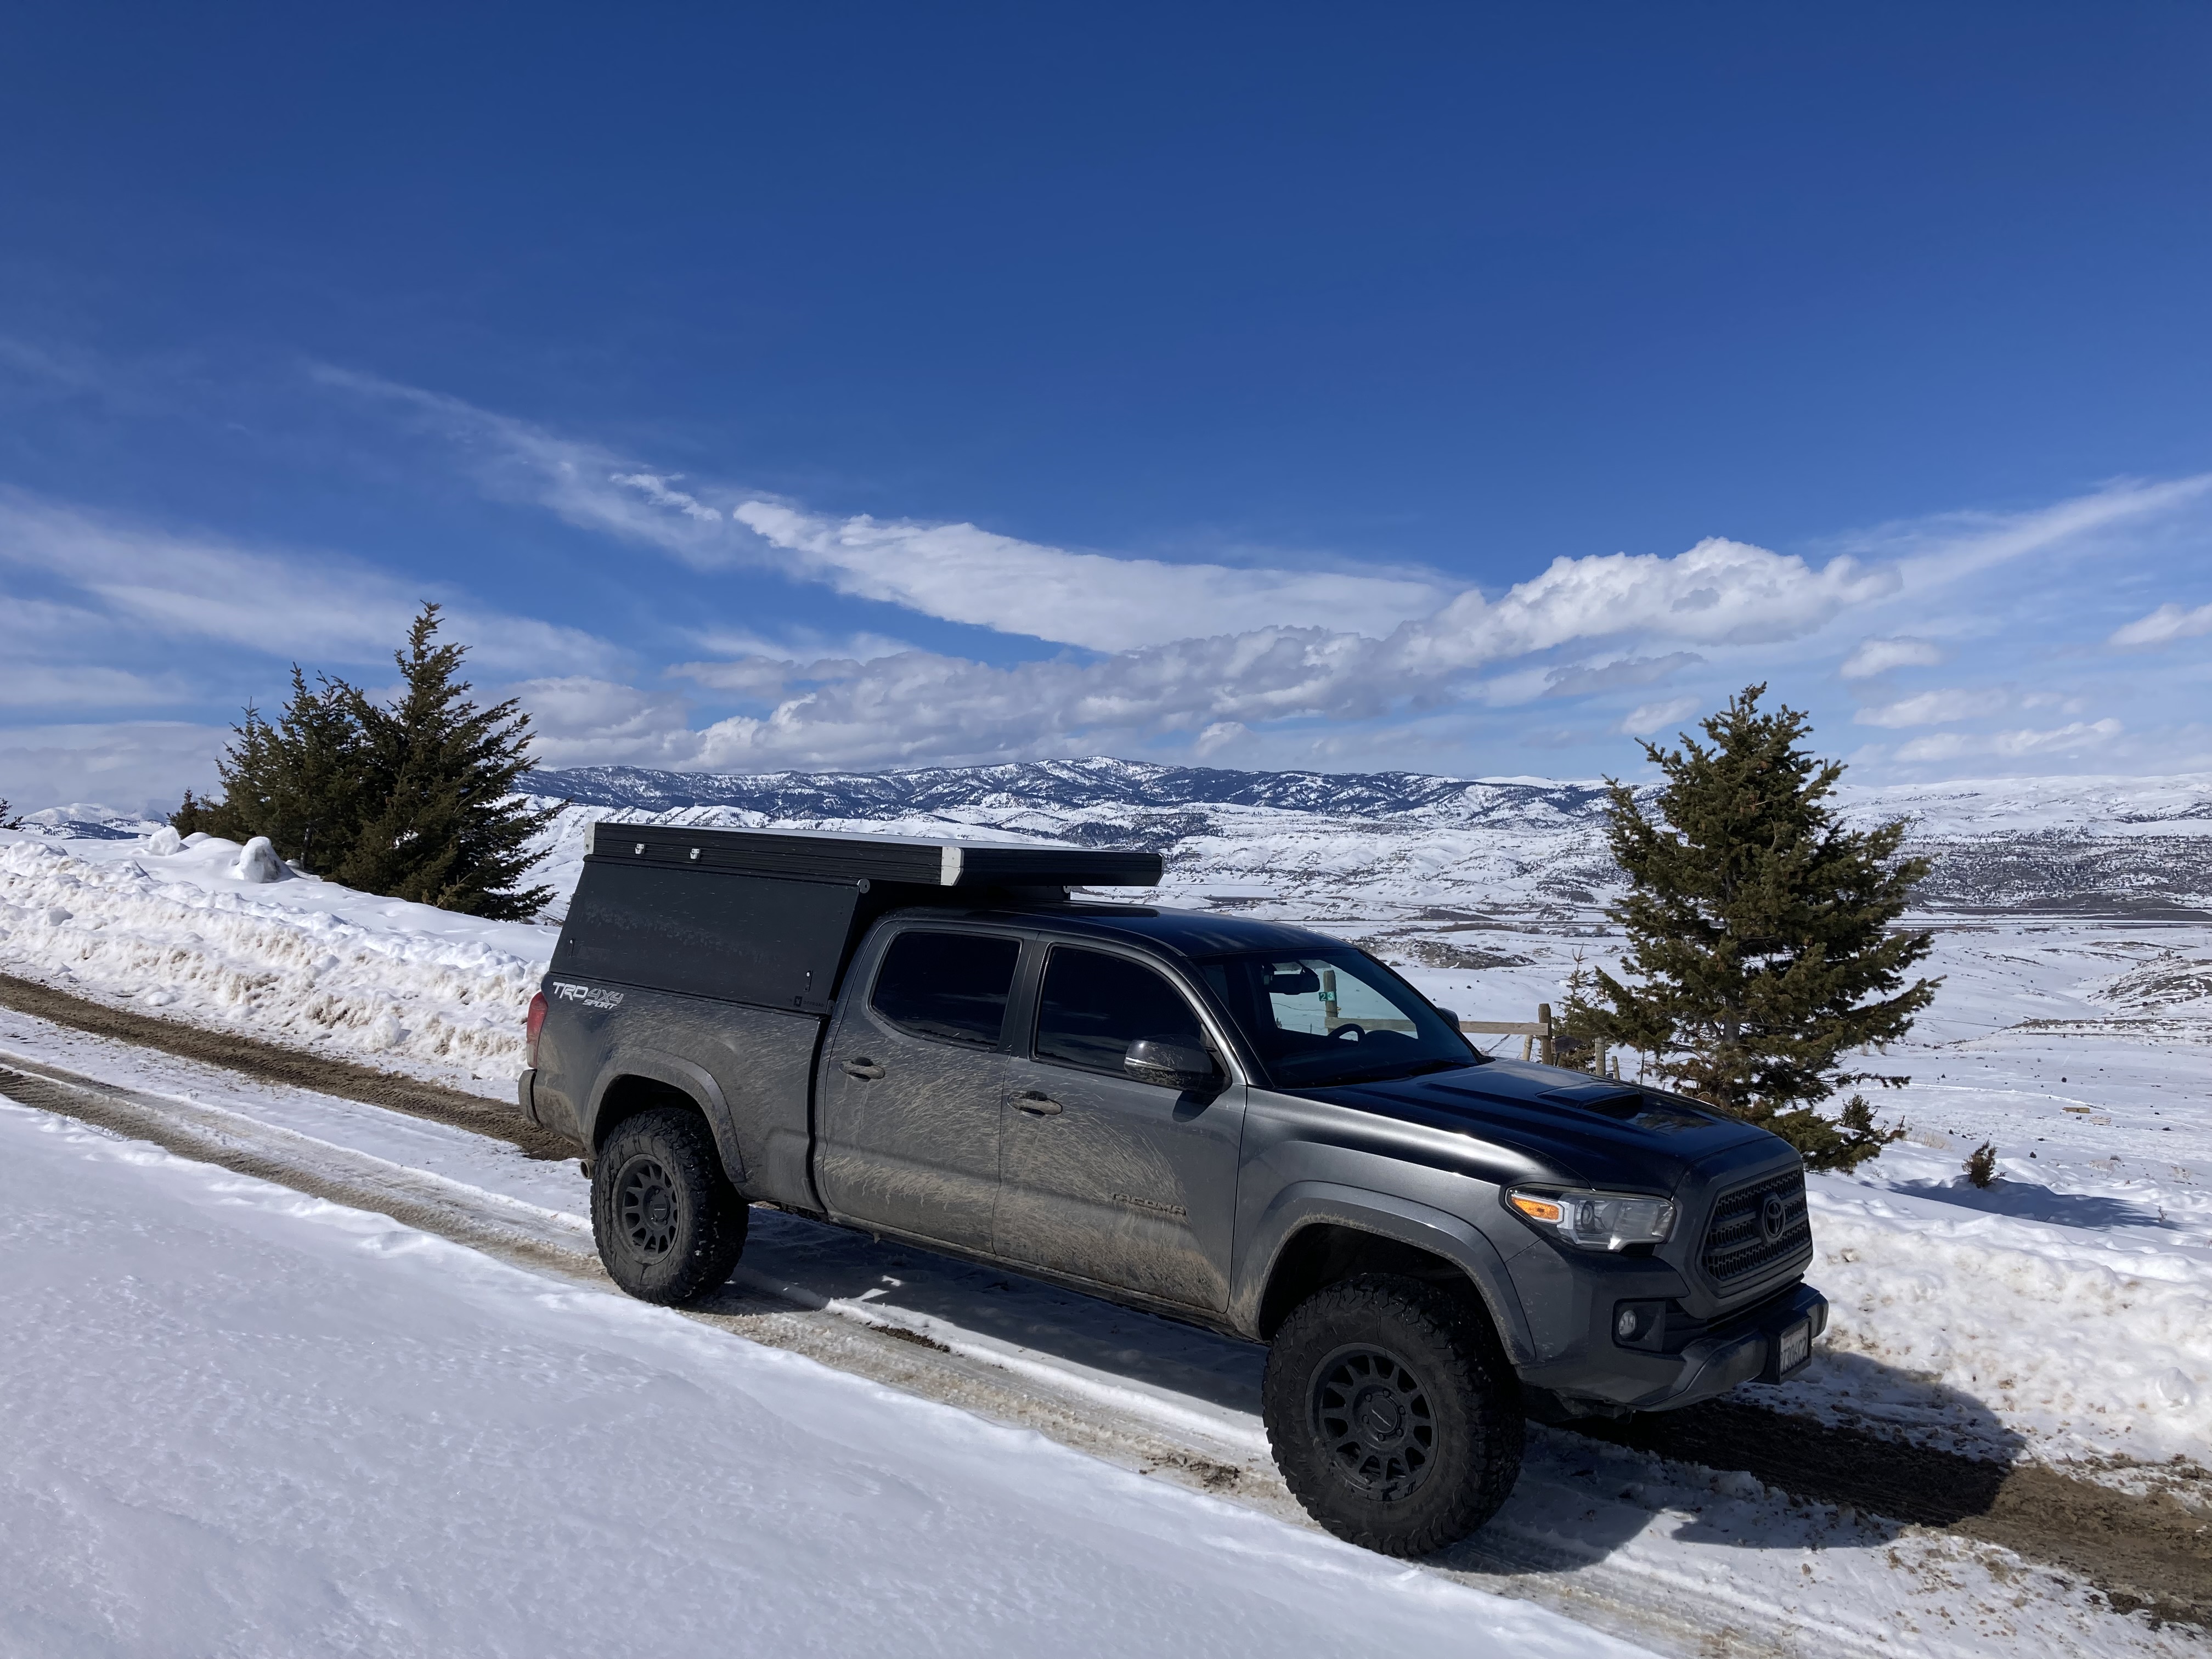
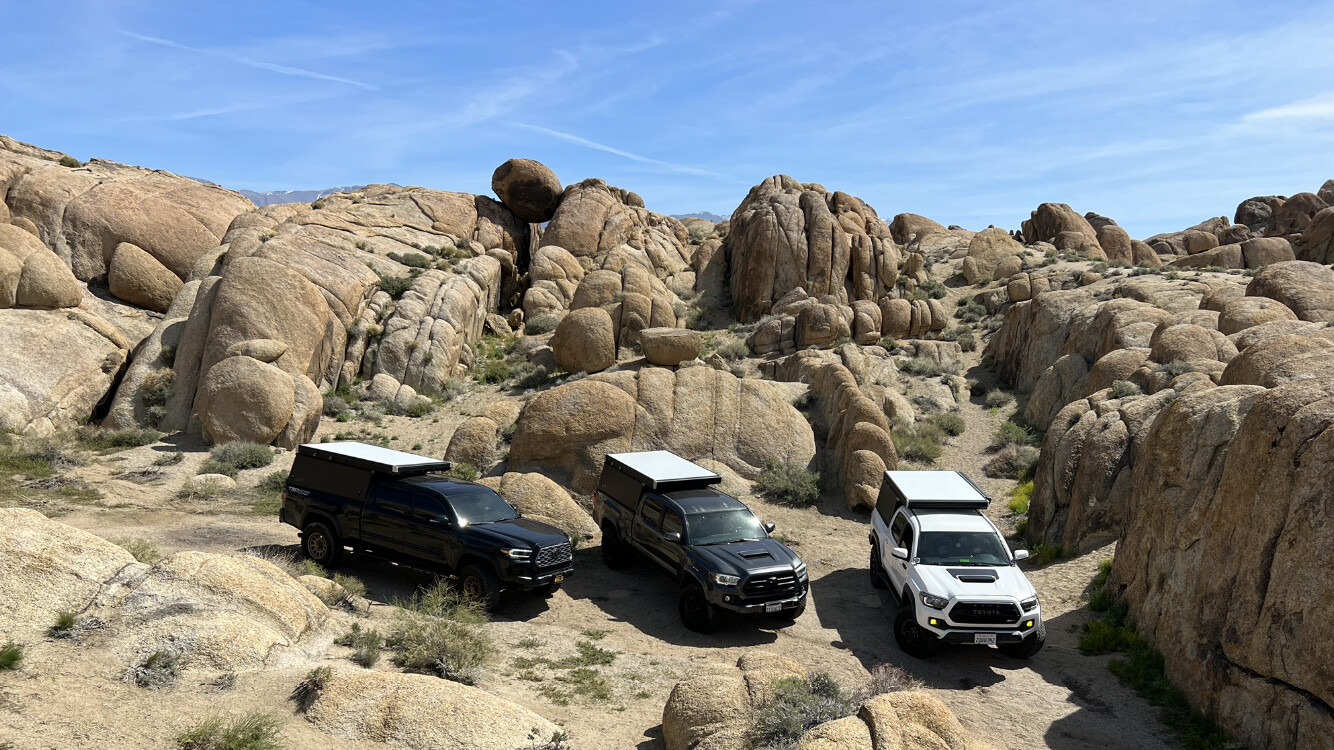
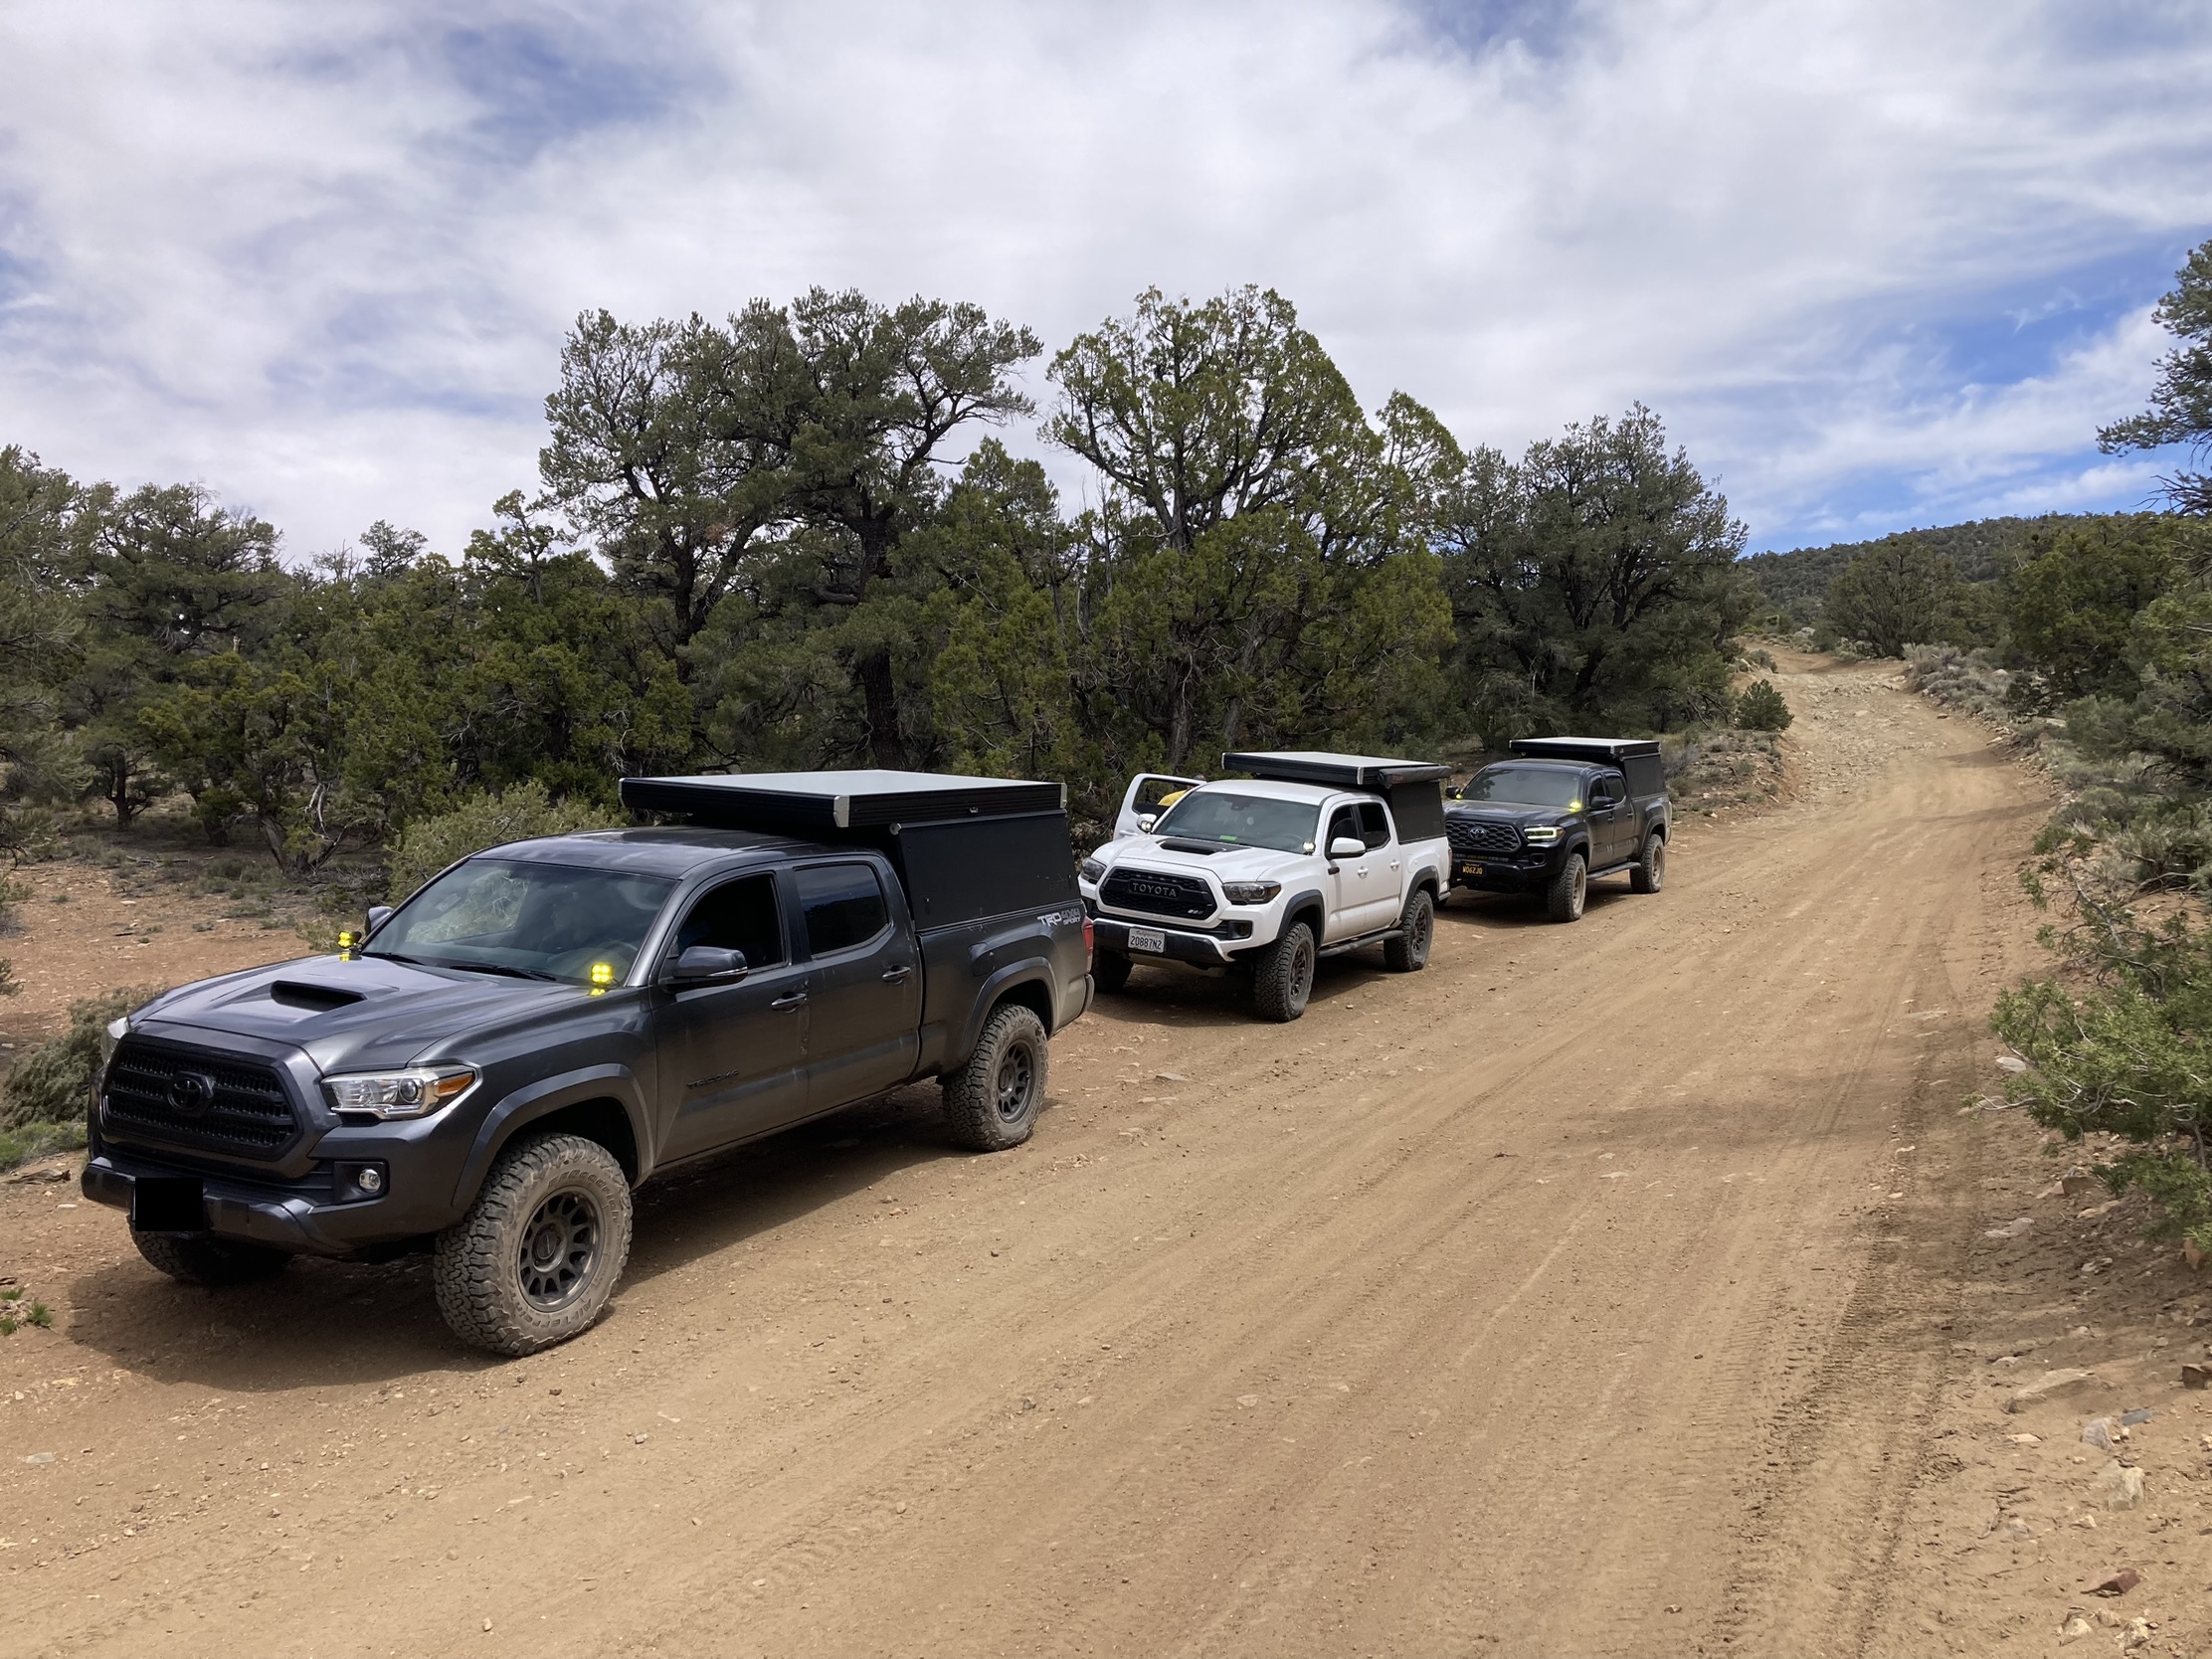
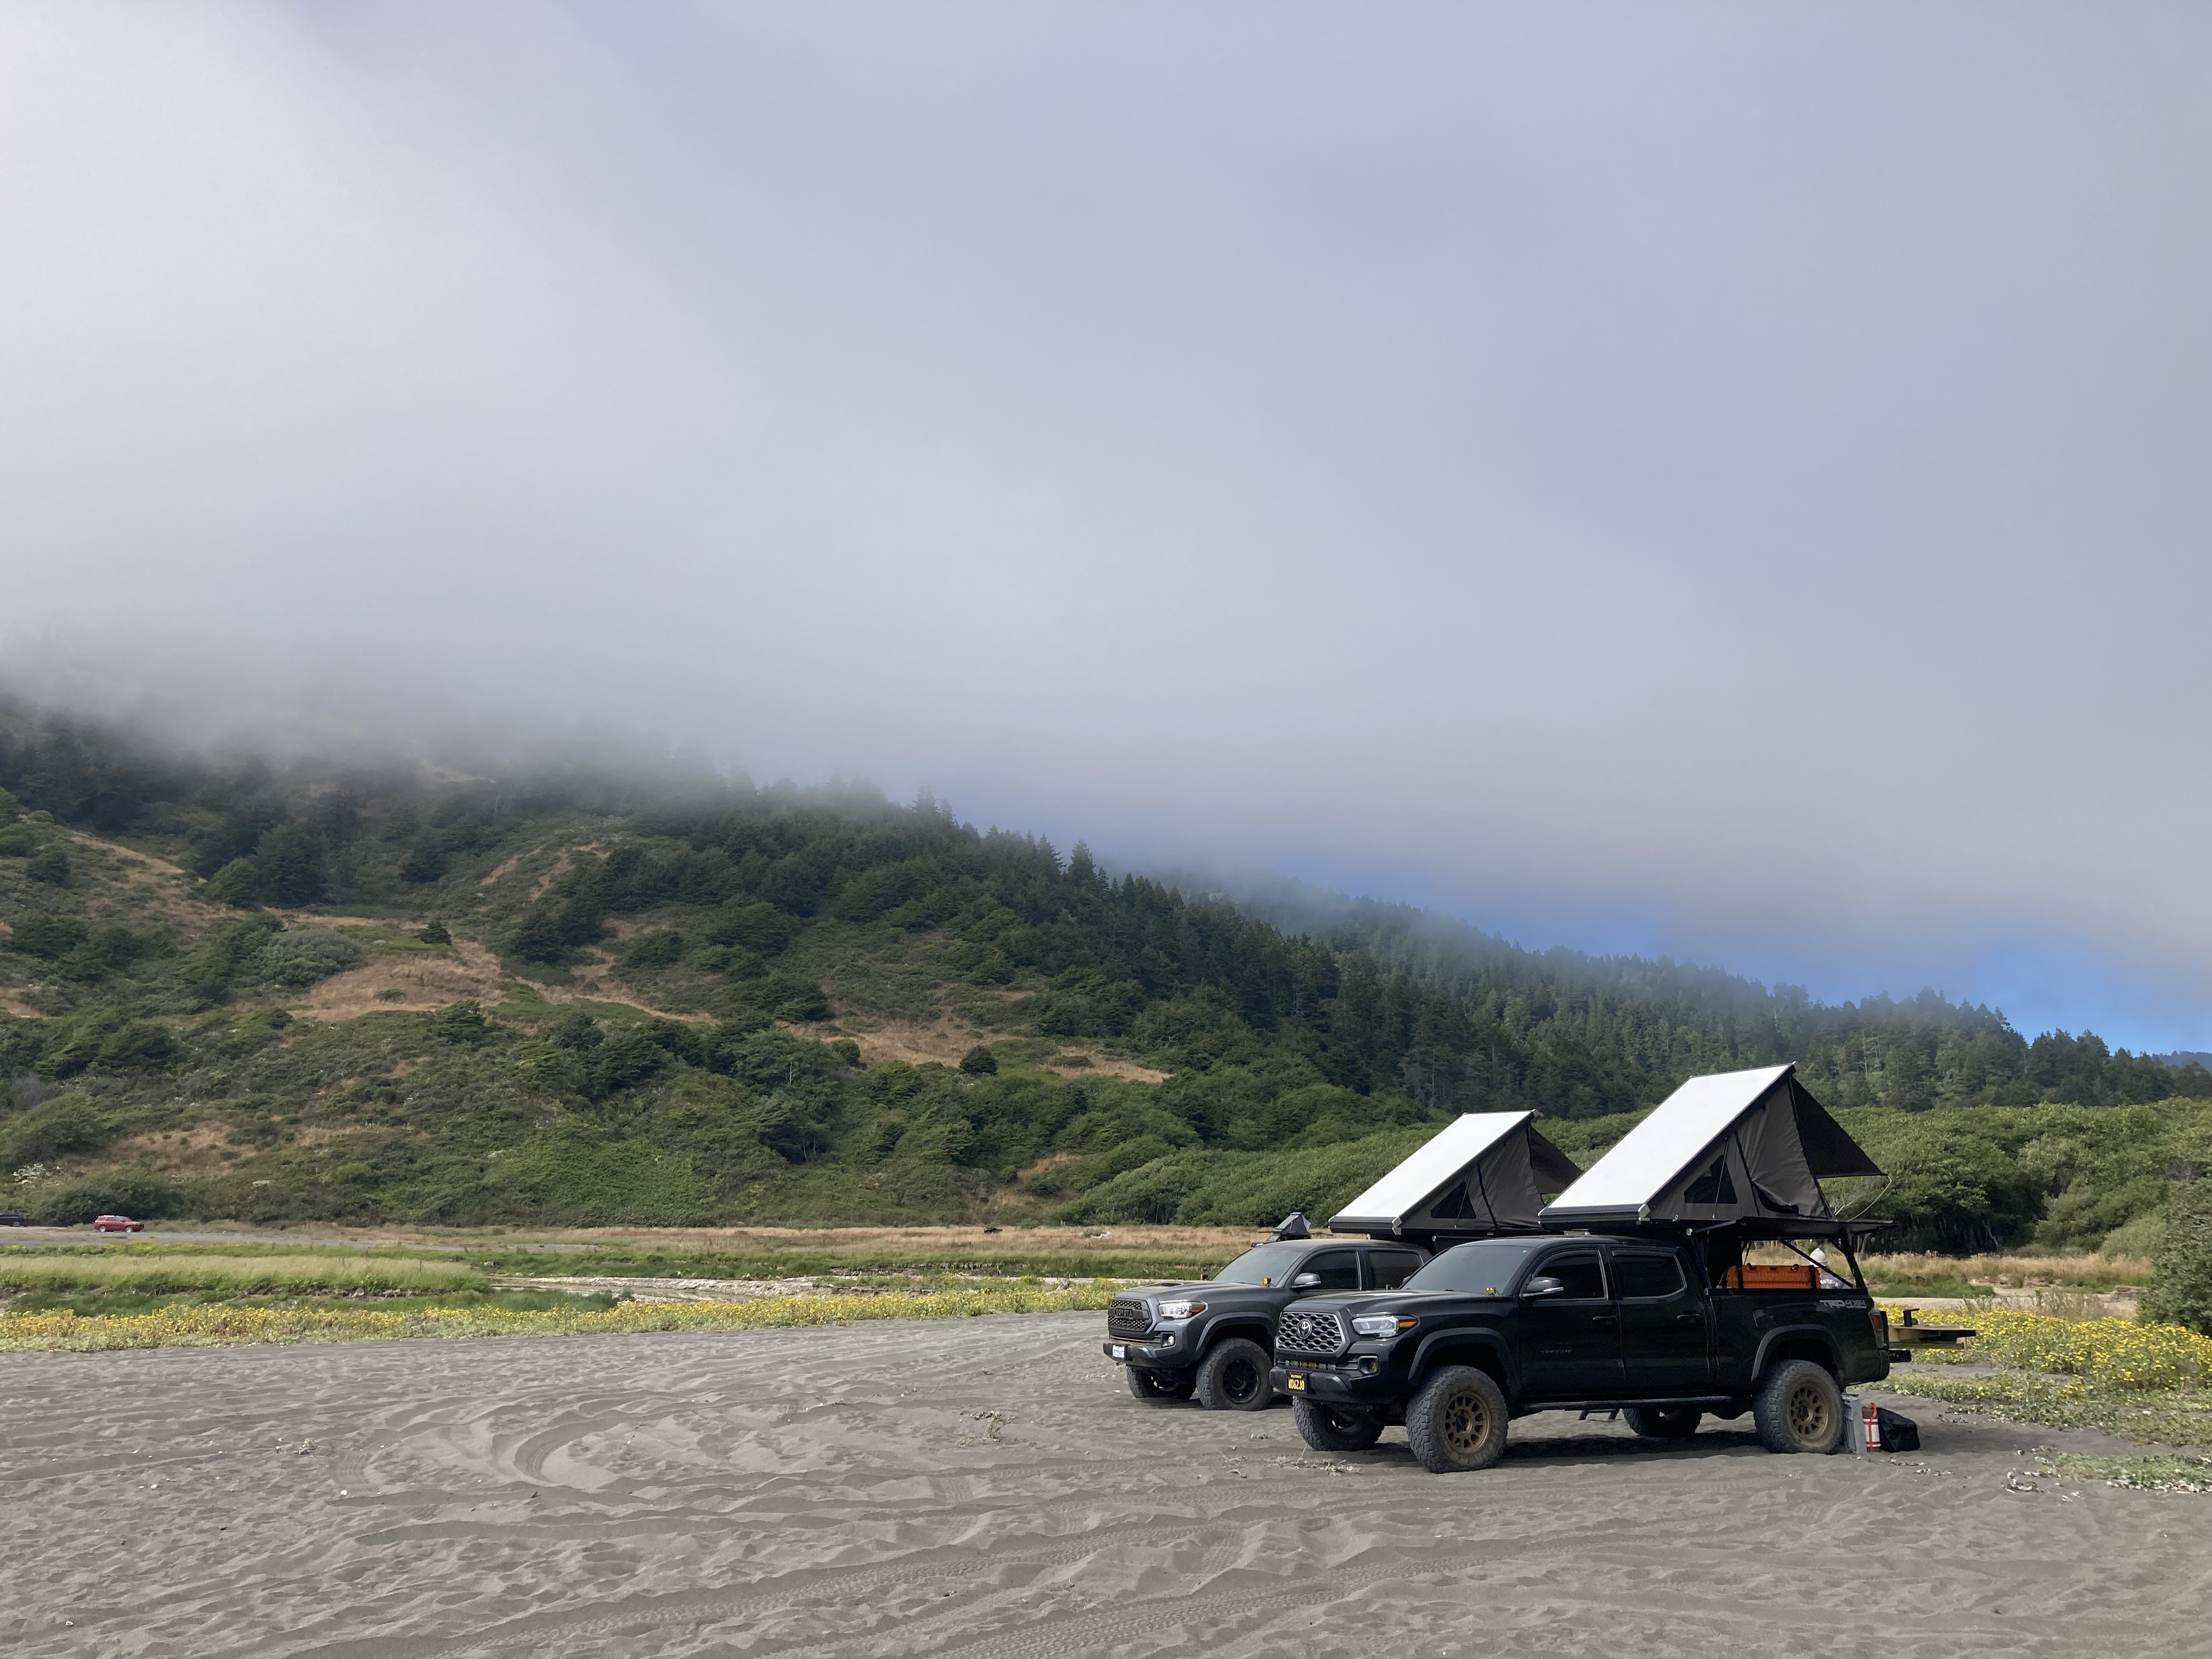
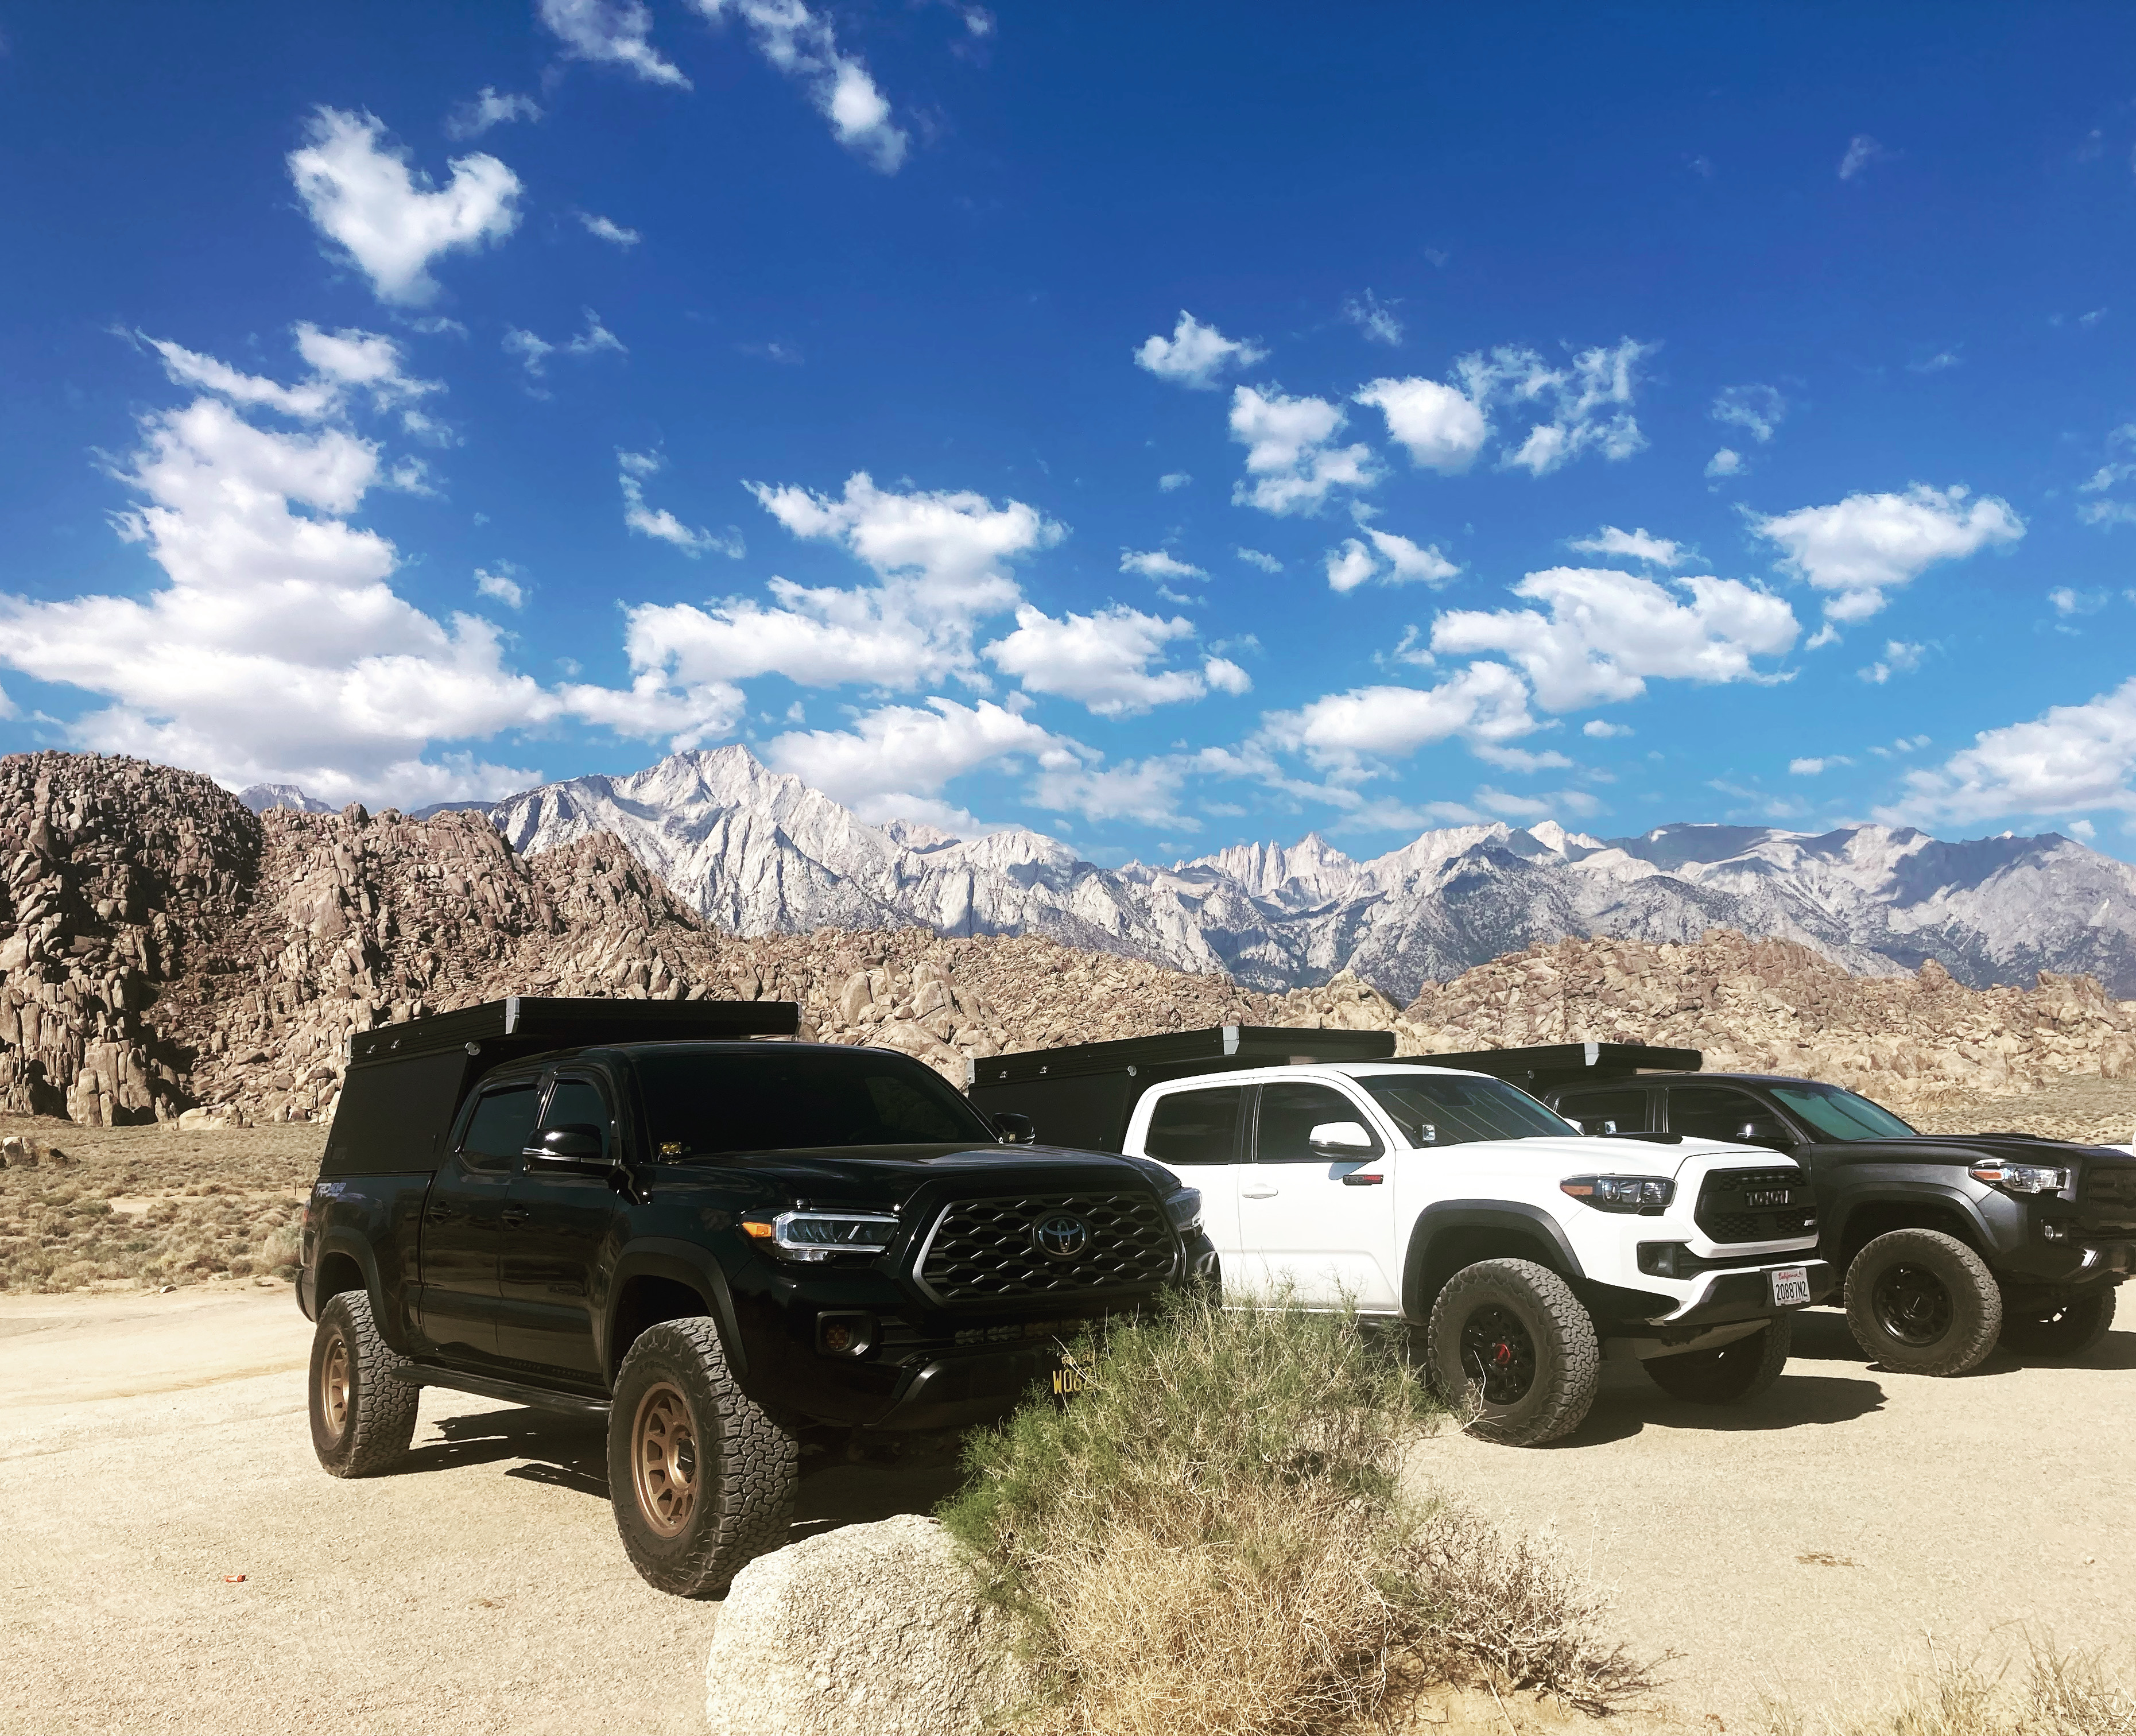
Here’s a few photos of some of our trips: