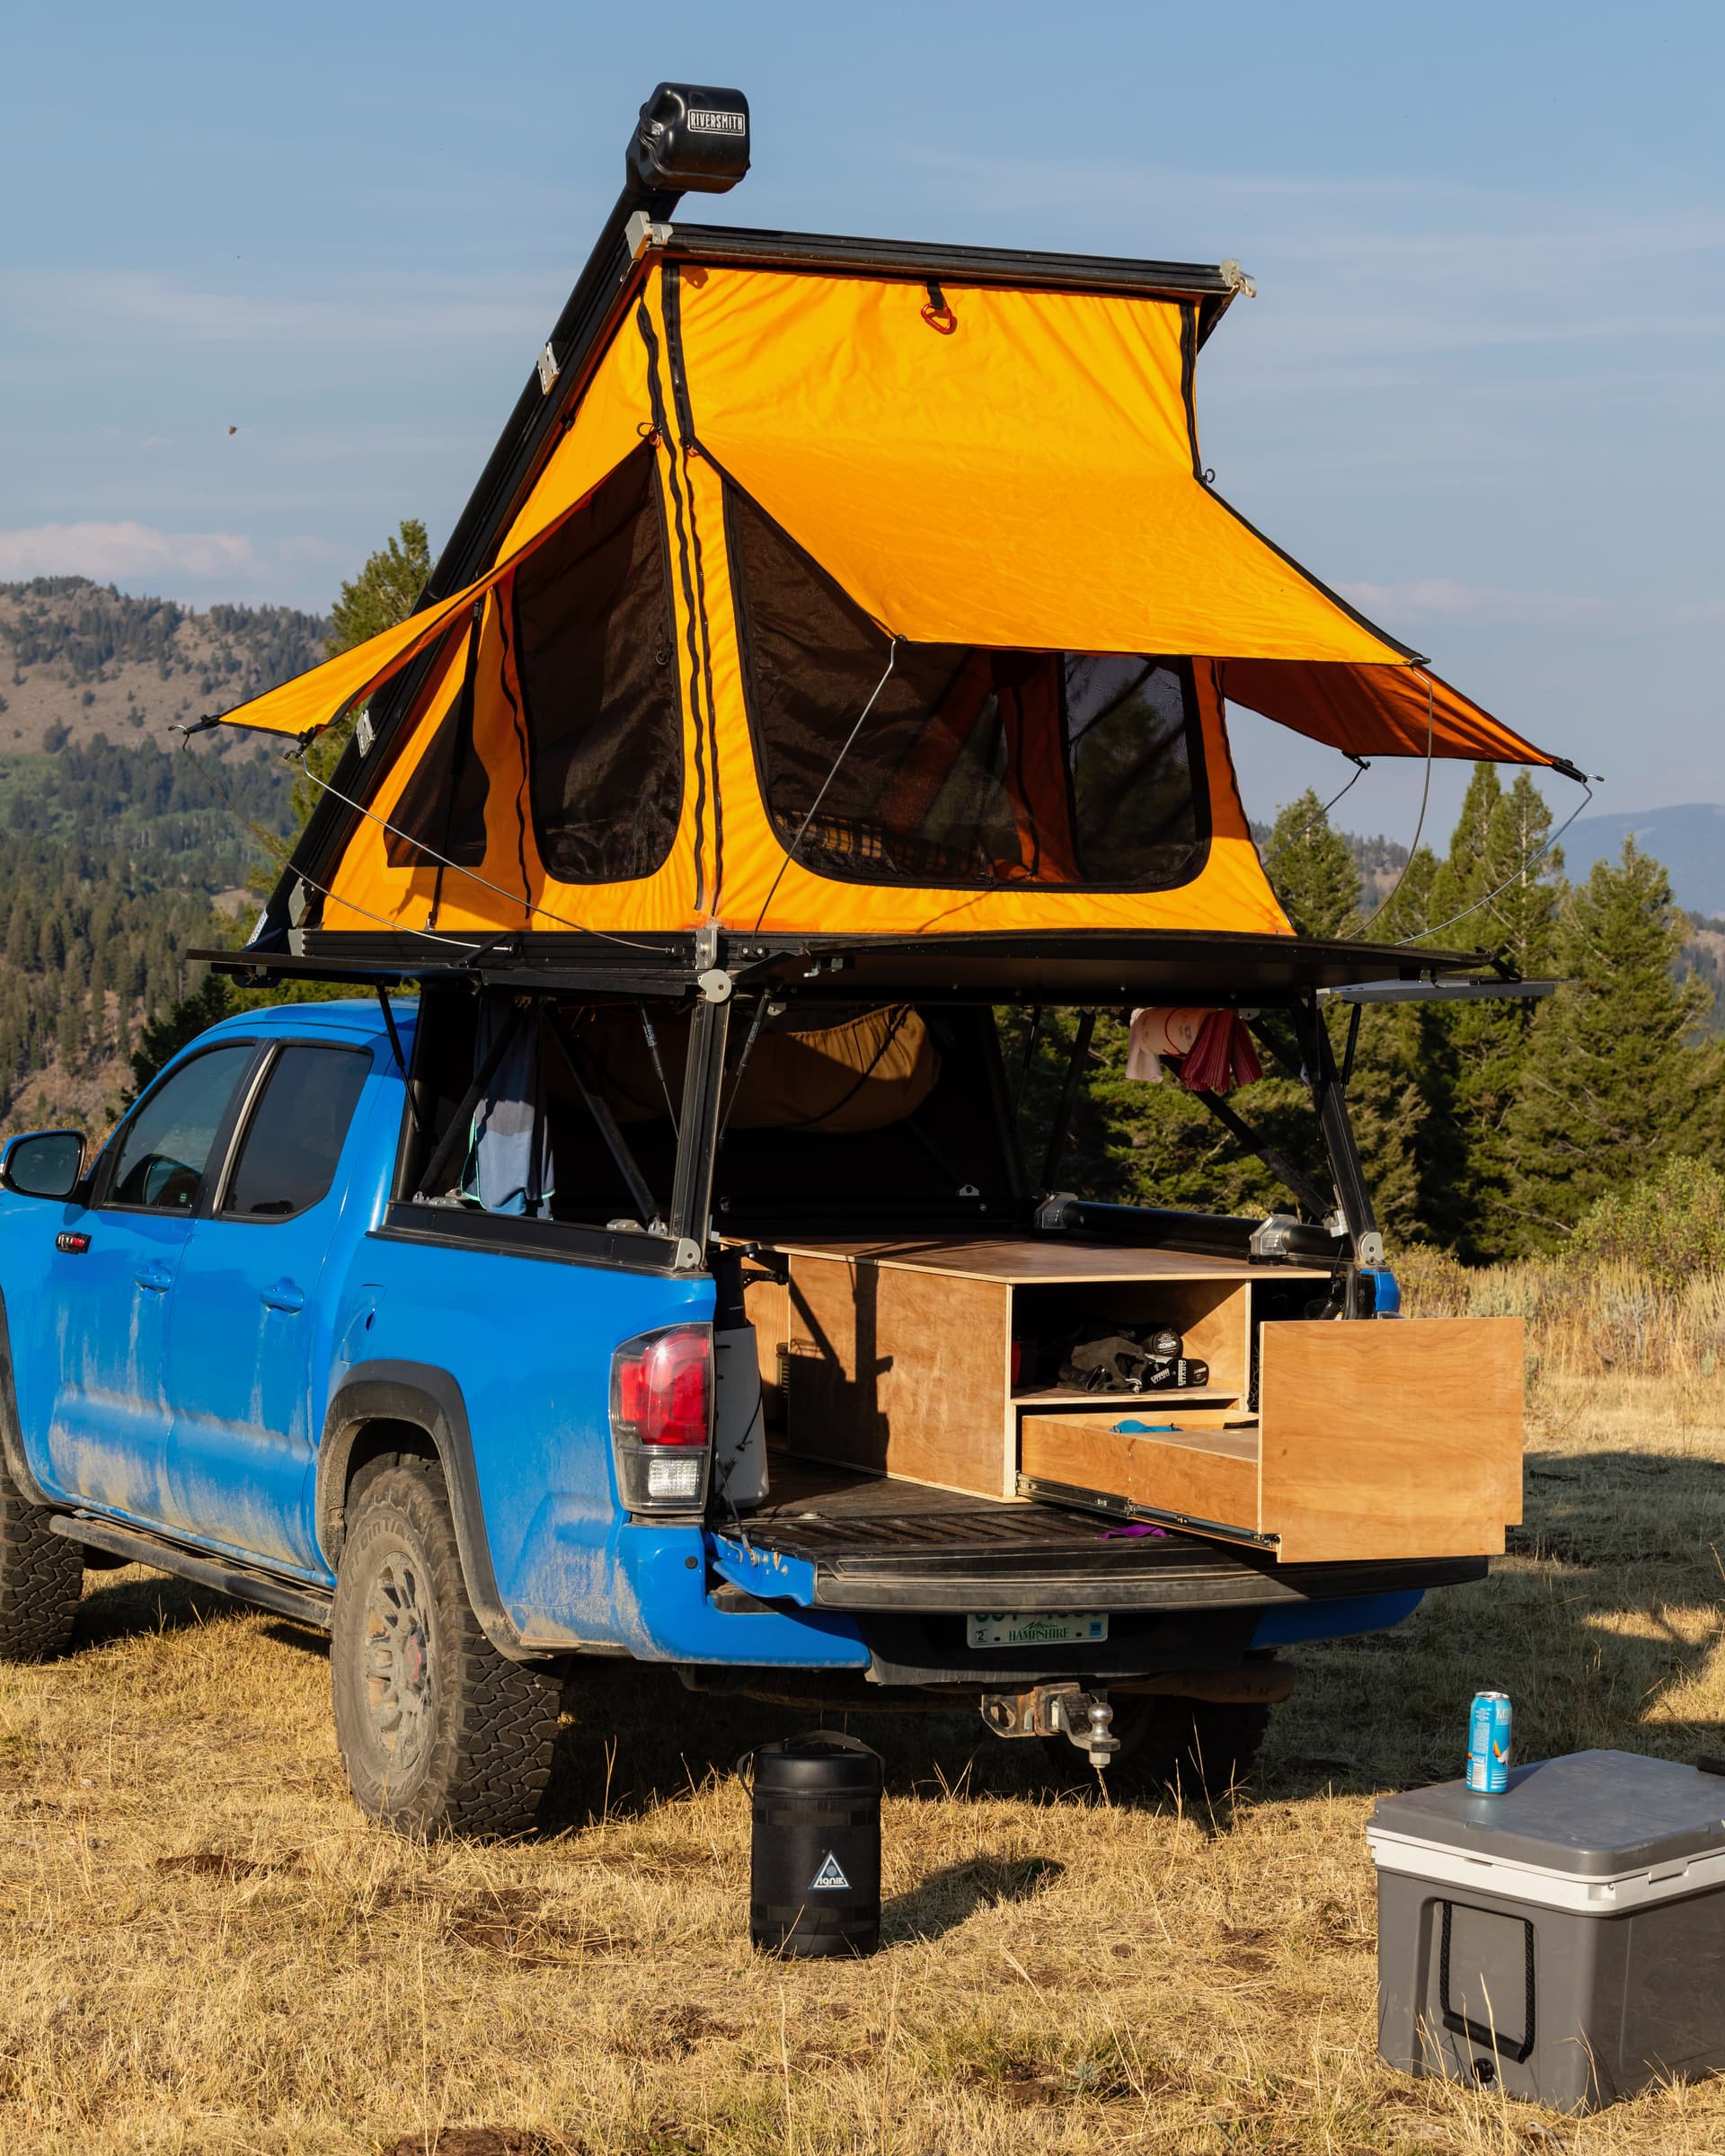
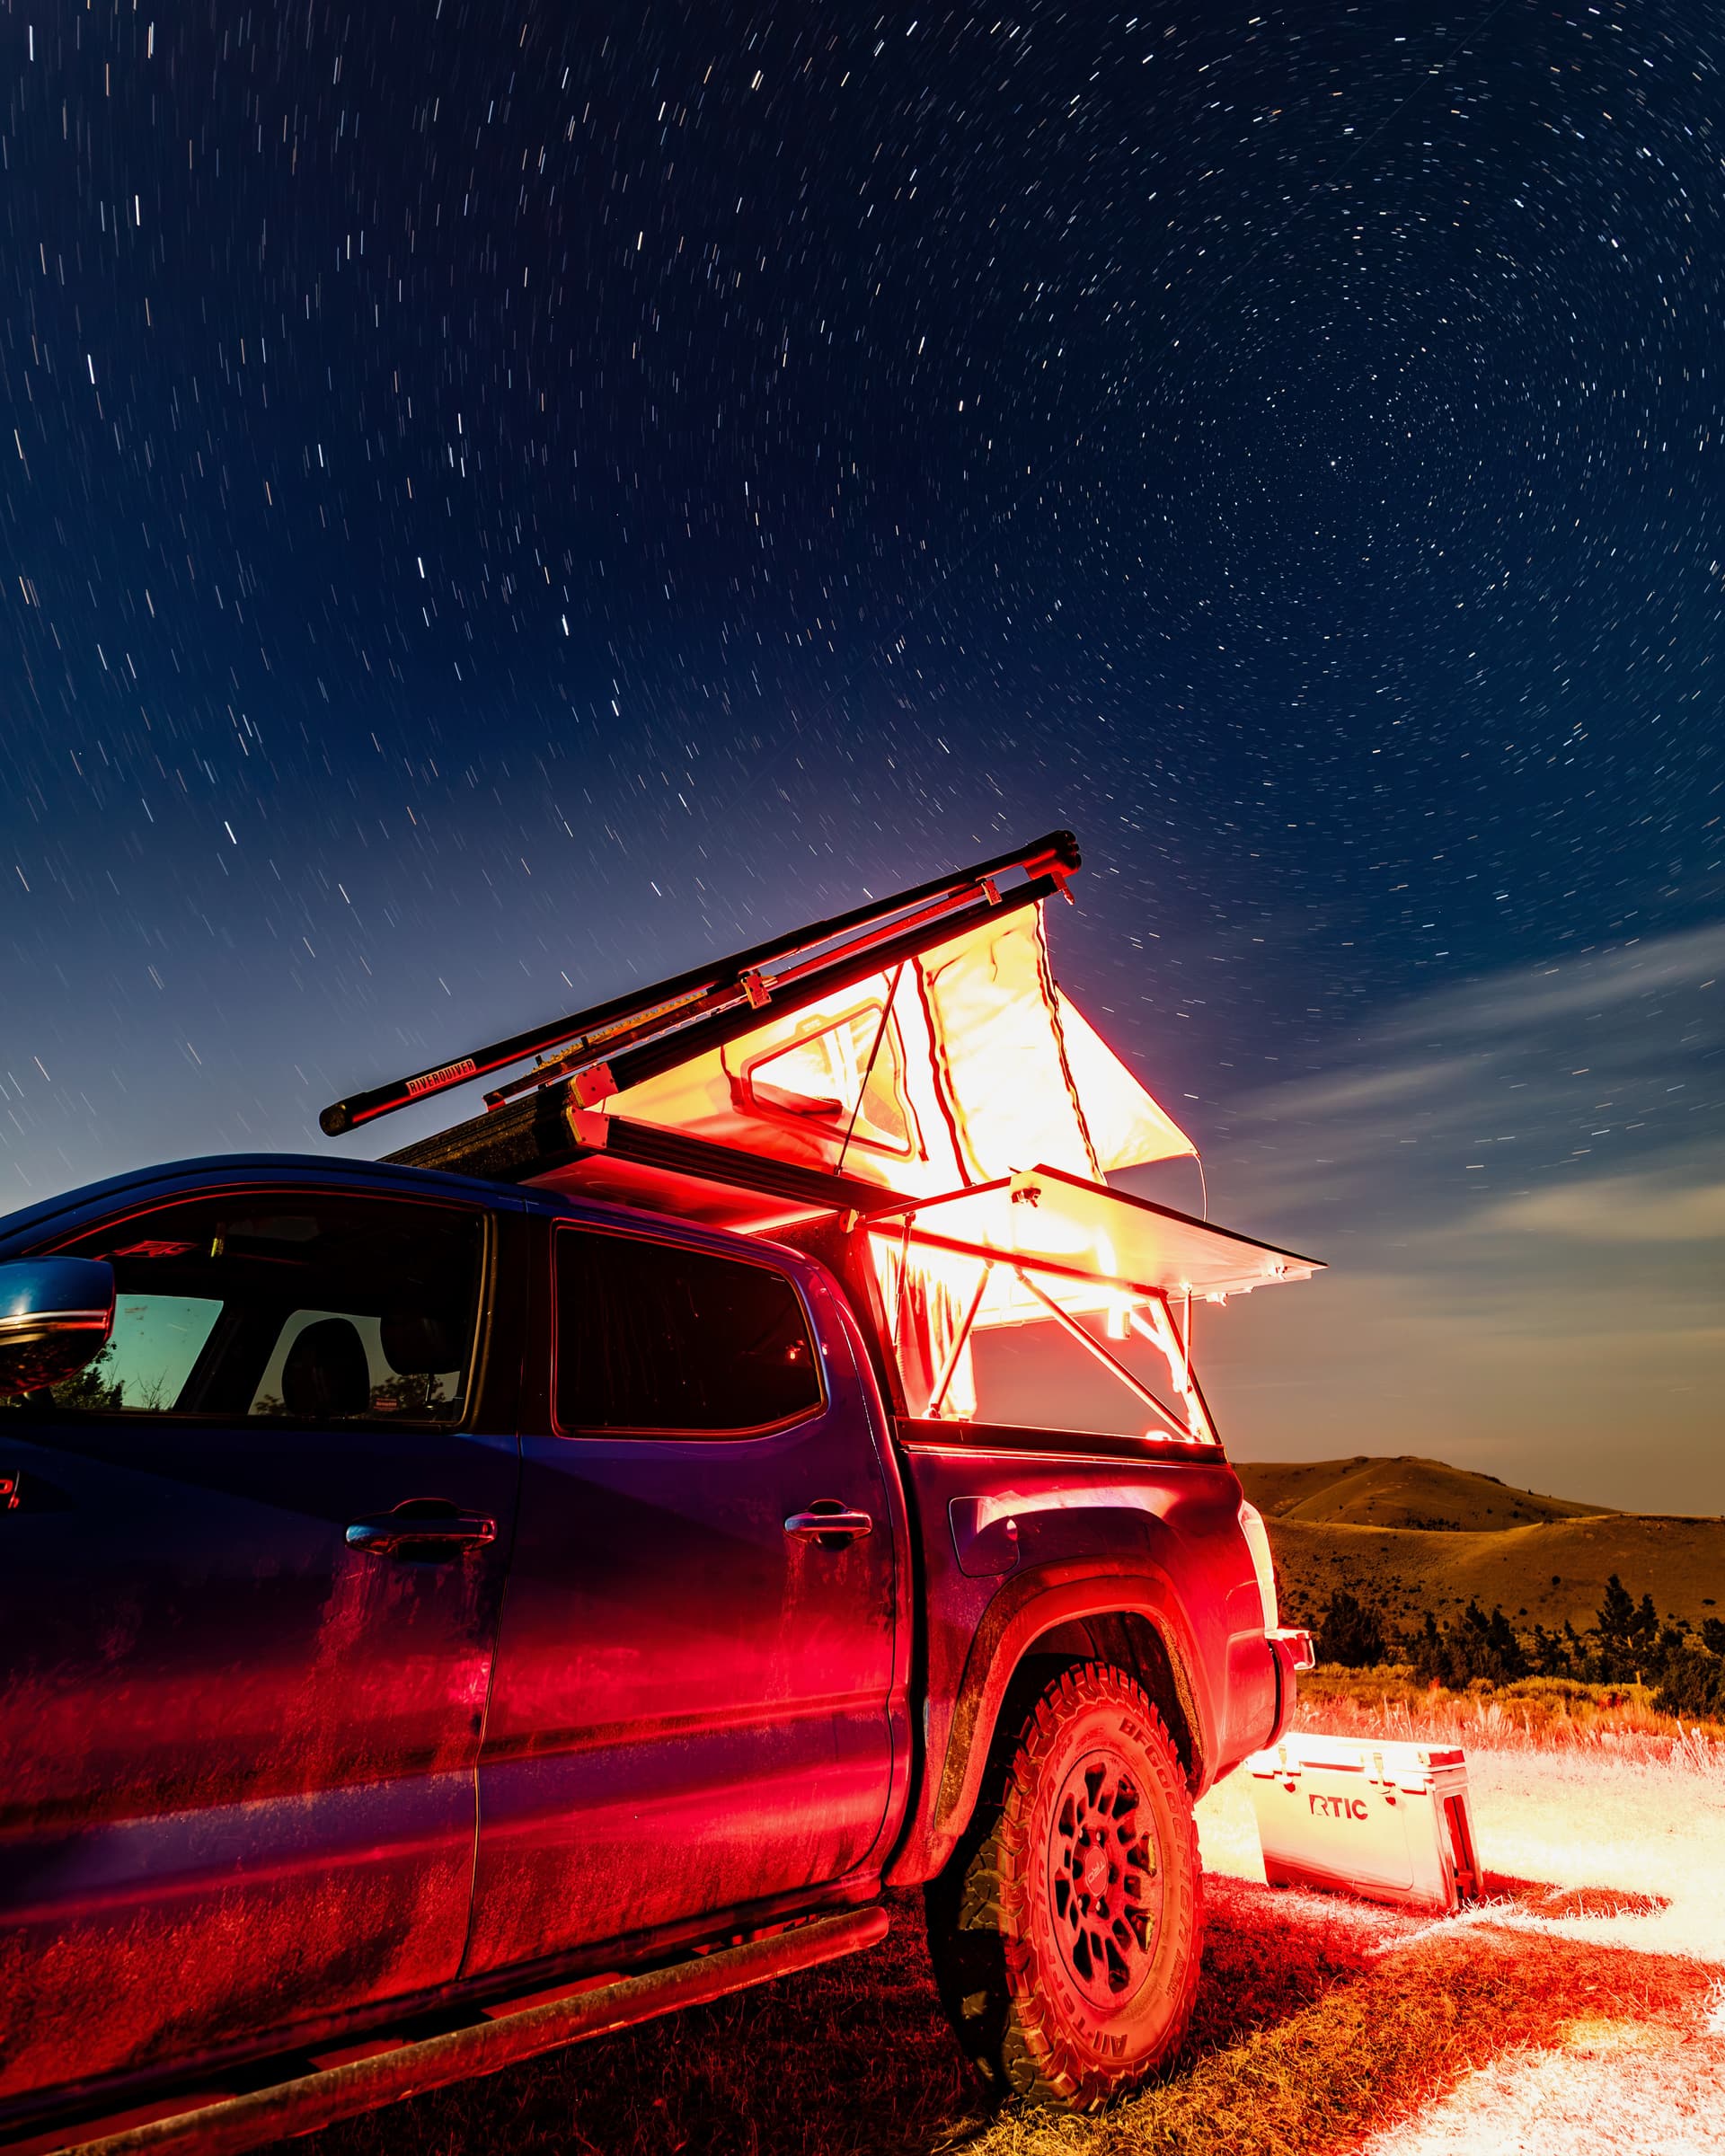
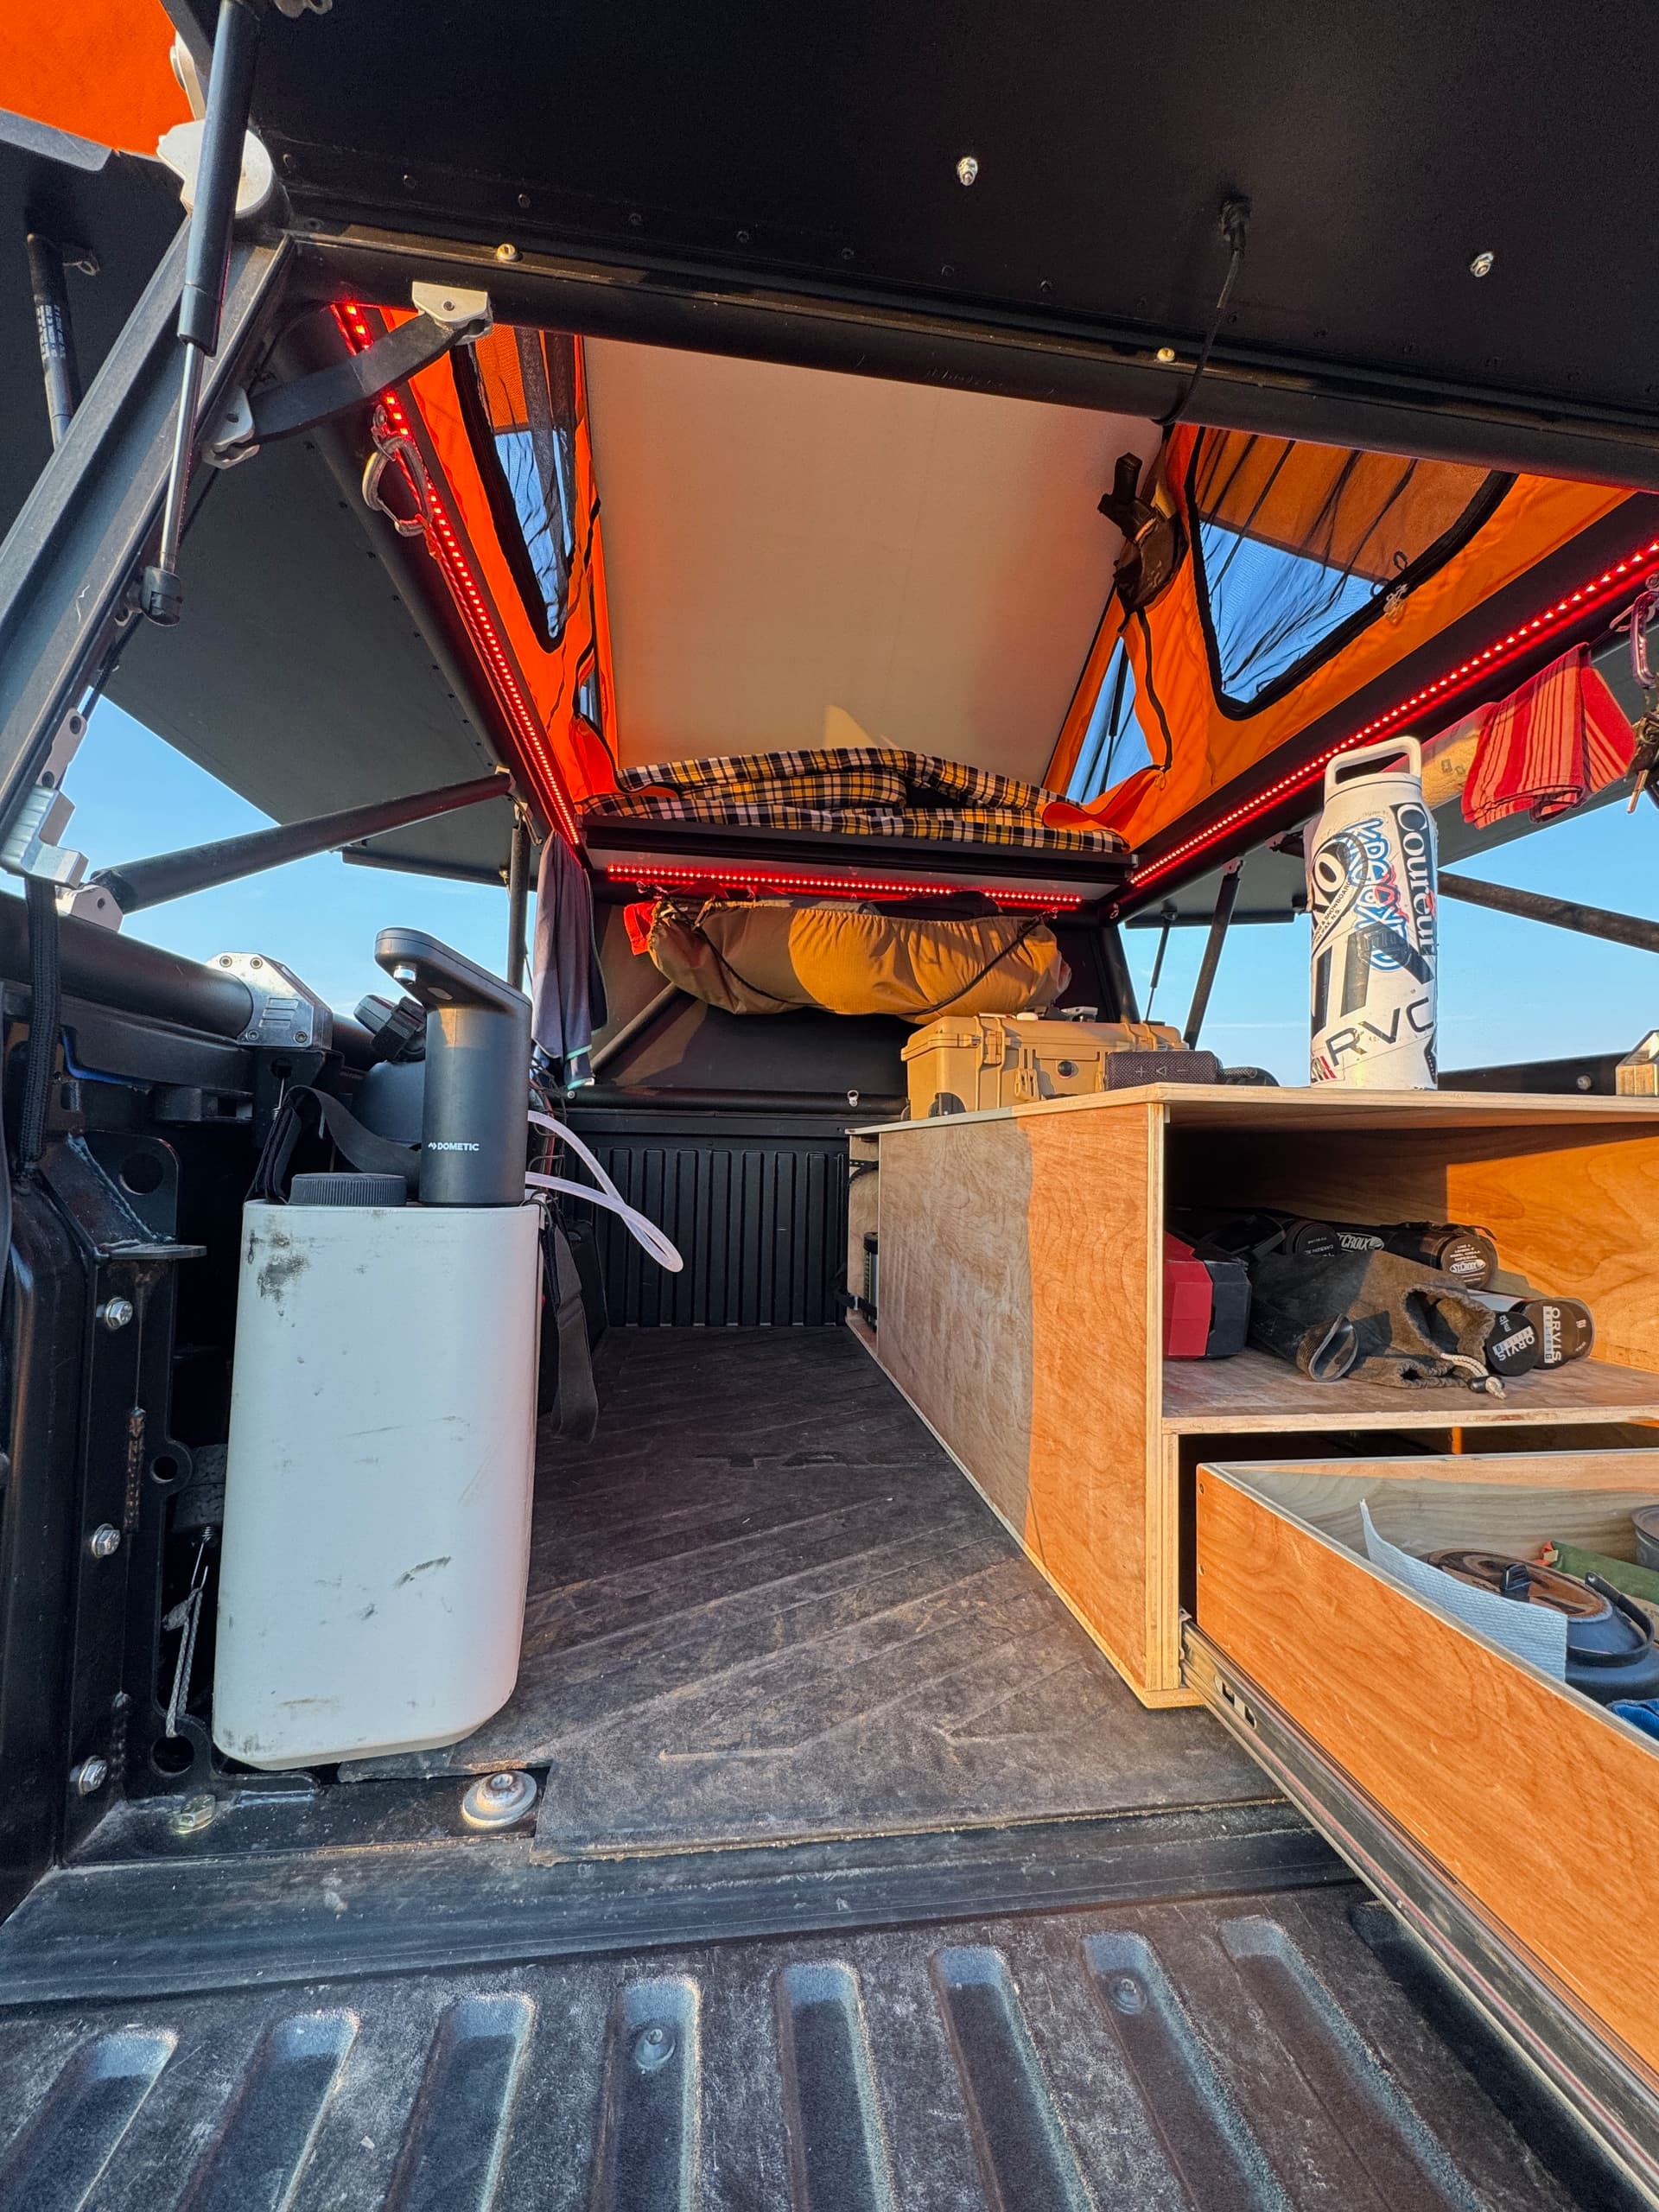
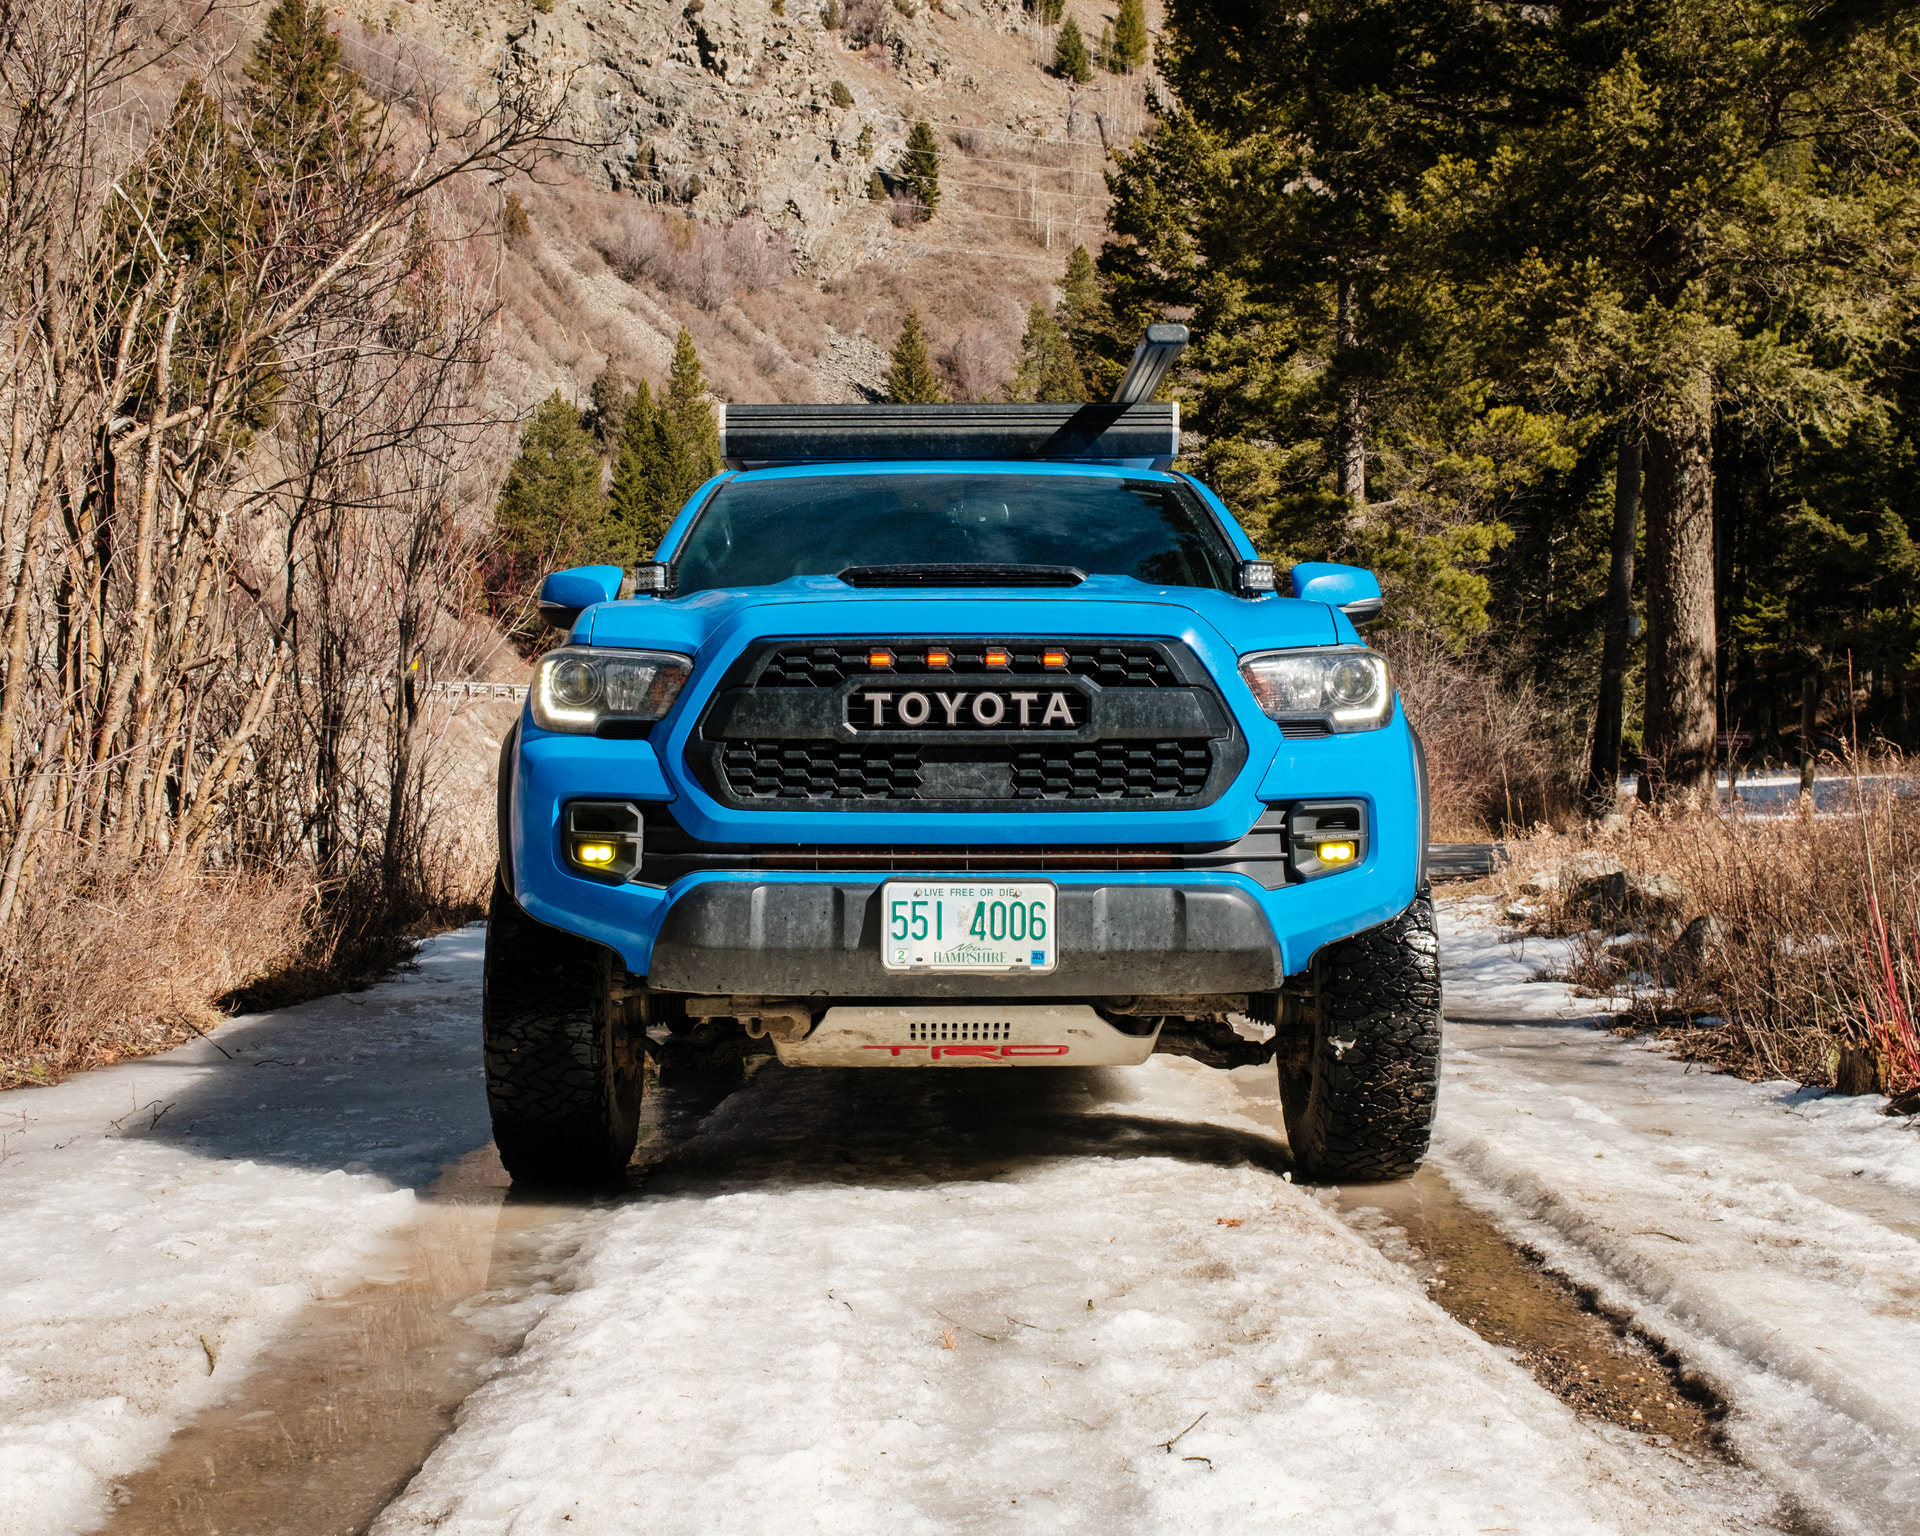
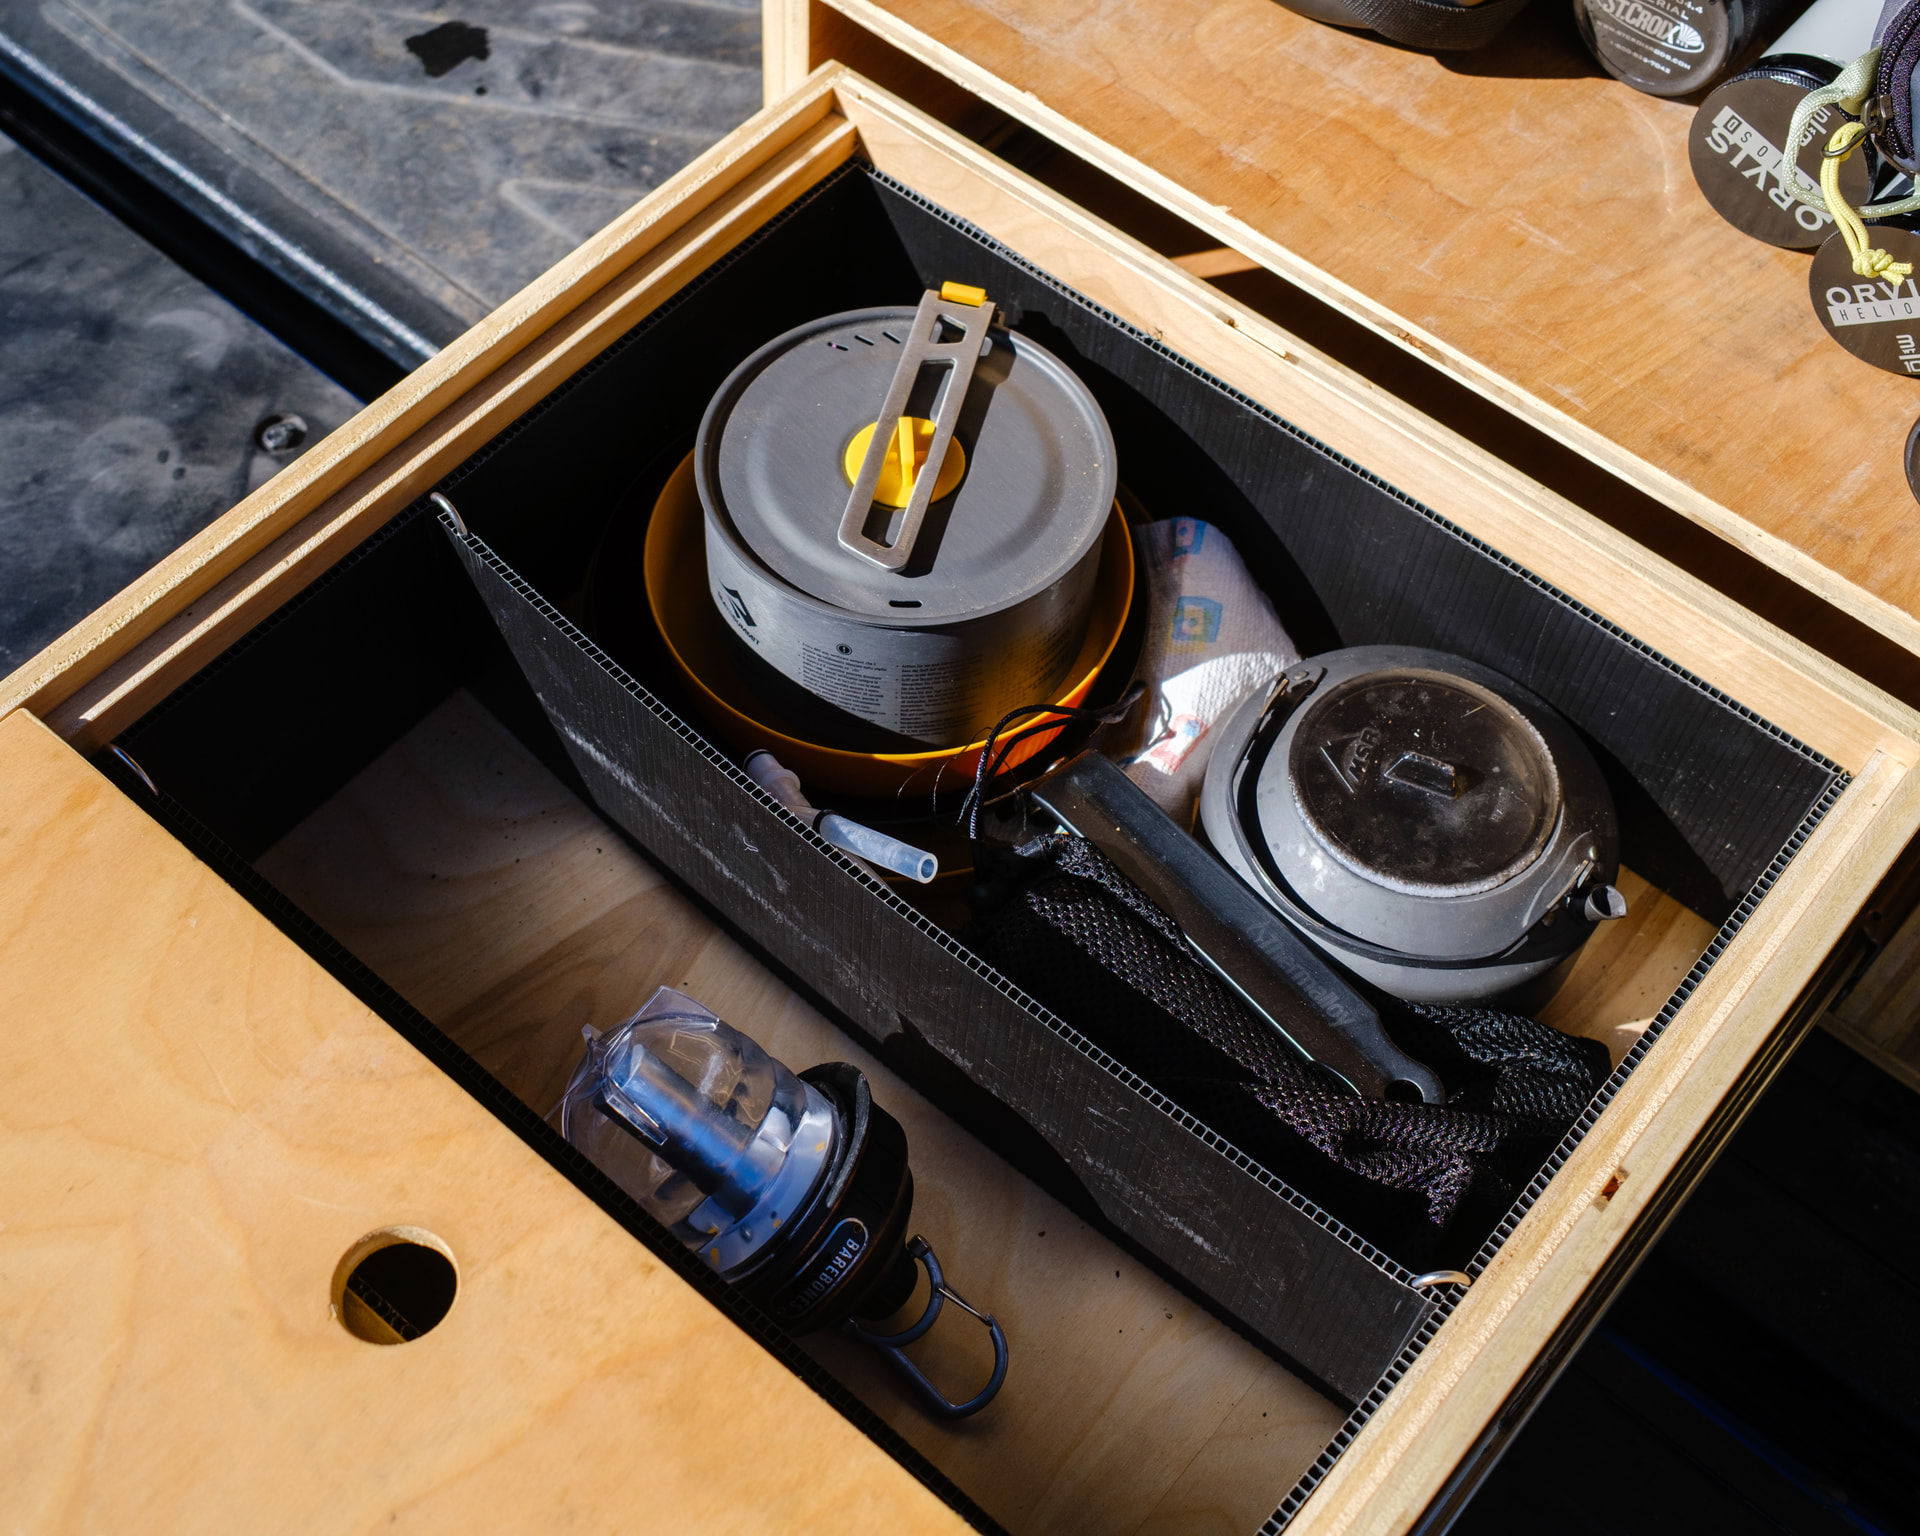
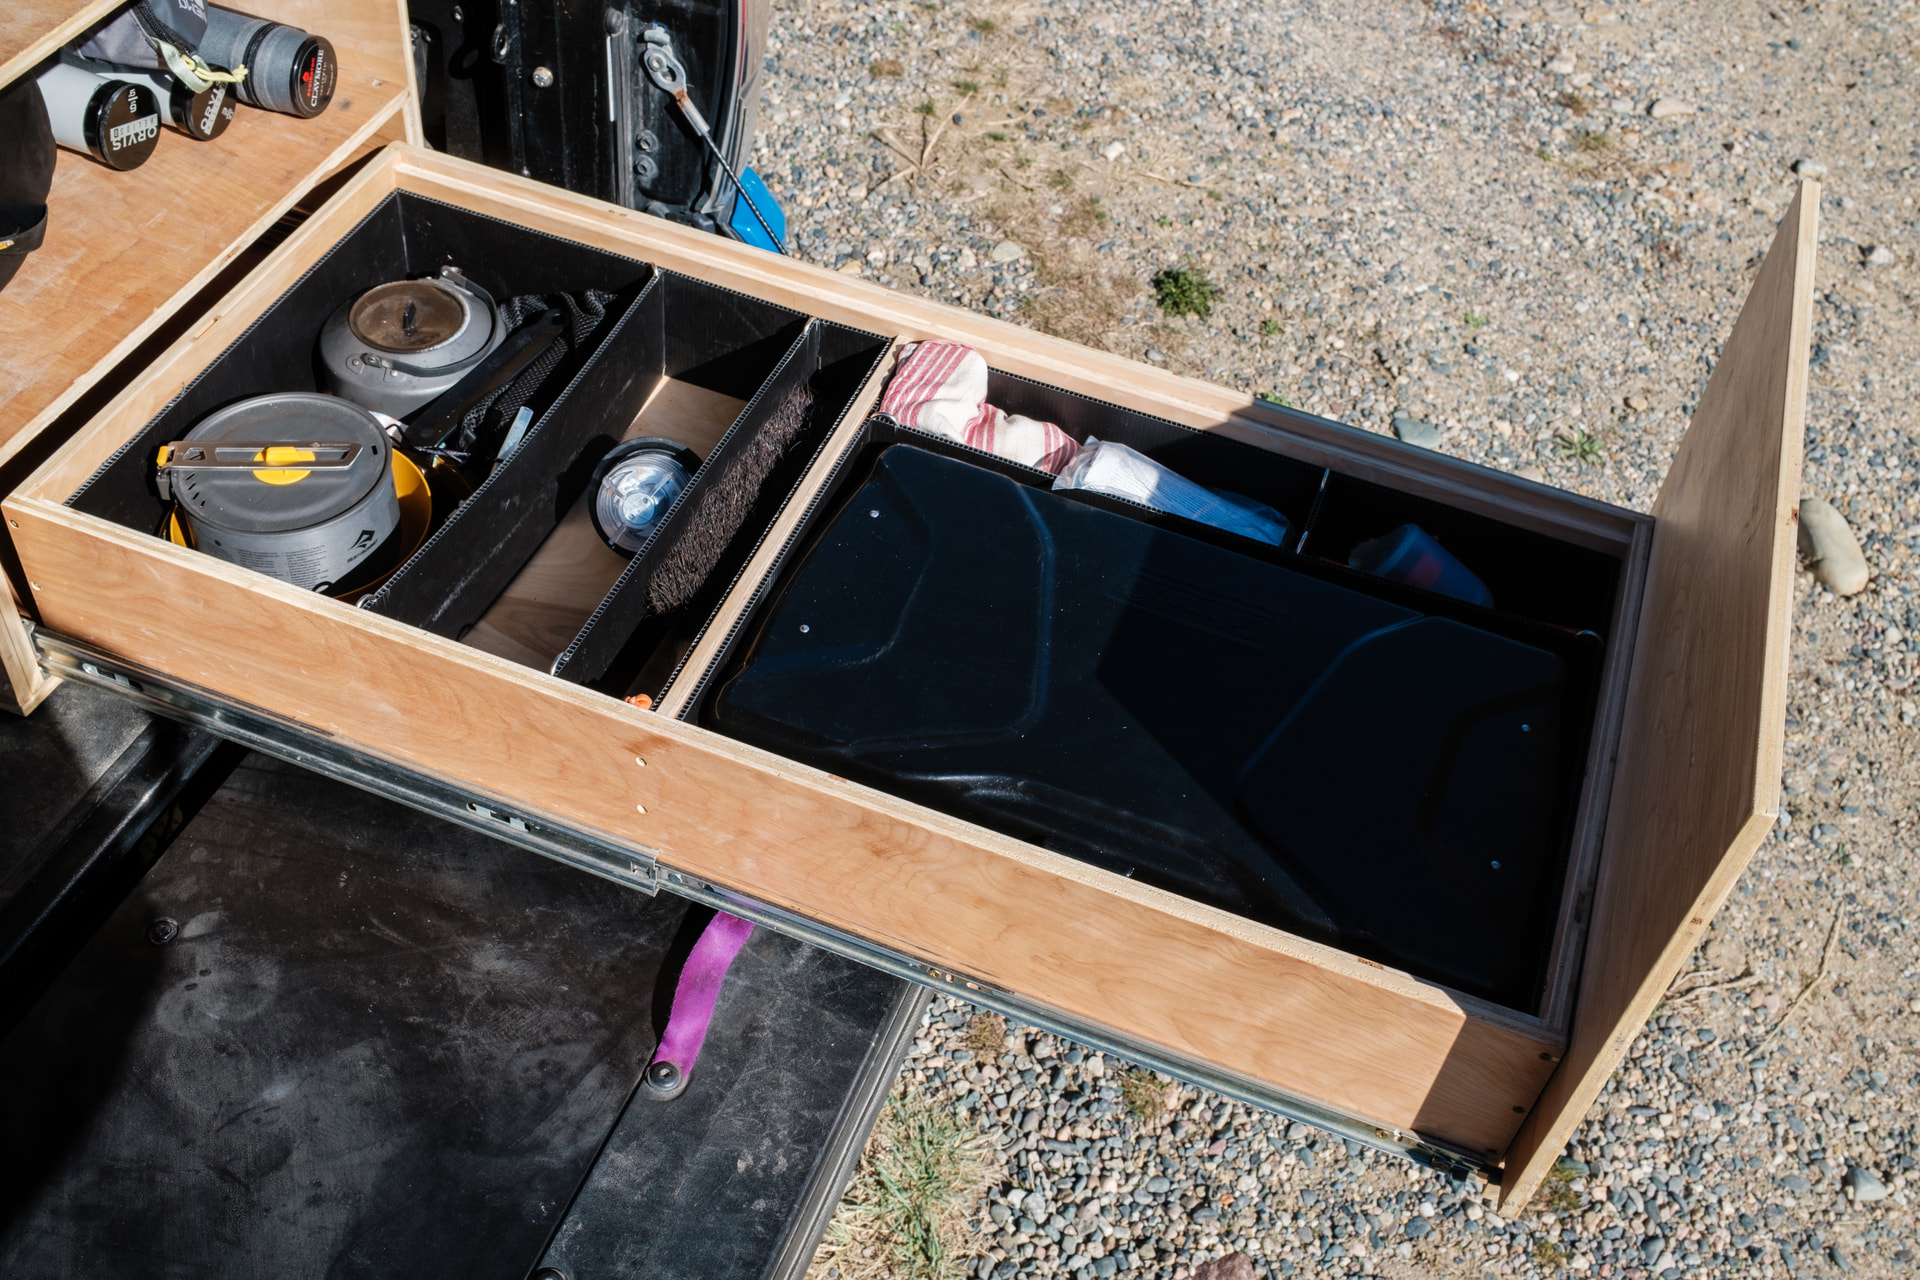
I want to introduce my 2019 Tacoma TRD Pro build to the community. This project initially began about a year ago with the purchase of the truck, followed shortly after by the V2 camper (Build #4496). As of the time I’m writing this, I’ve logged roughly 55 nights in the GFC from East to West Coast with many more to come. After a few trial runs in the camper, it became evident that a build-out would be necessary for future cross-country travel. For the bed build-out, I wanted functional storage to facilitate trips focused on fly fishing, while also allowing for adaptability to other activities. Housing camp kitchen essentials was a must along with additional cooking space for a stove or cutting board. I also wanted it to be removable for beach days when the bed is loaded with surfboards, as well as for the ability to pull everything out for a thorough clean of the interior space. There is definitely a lot of inspiration from Mark’s Tacoma bed build, but with some other tweaks. This is where the rig currently sits, but I’m happy to provide more details on the process and a complete parts list if anyone is interested.
You can follow my adventures on my Instagram @wasted.frames and I’ll do my best to keep up with additions as they come. Cheers everyone, stoked to be a part of the community!
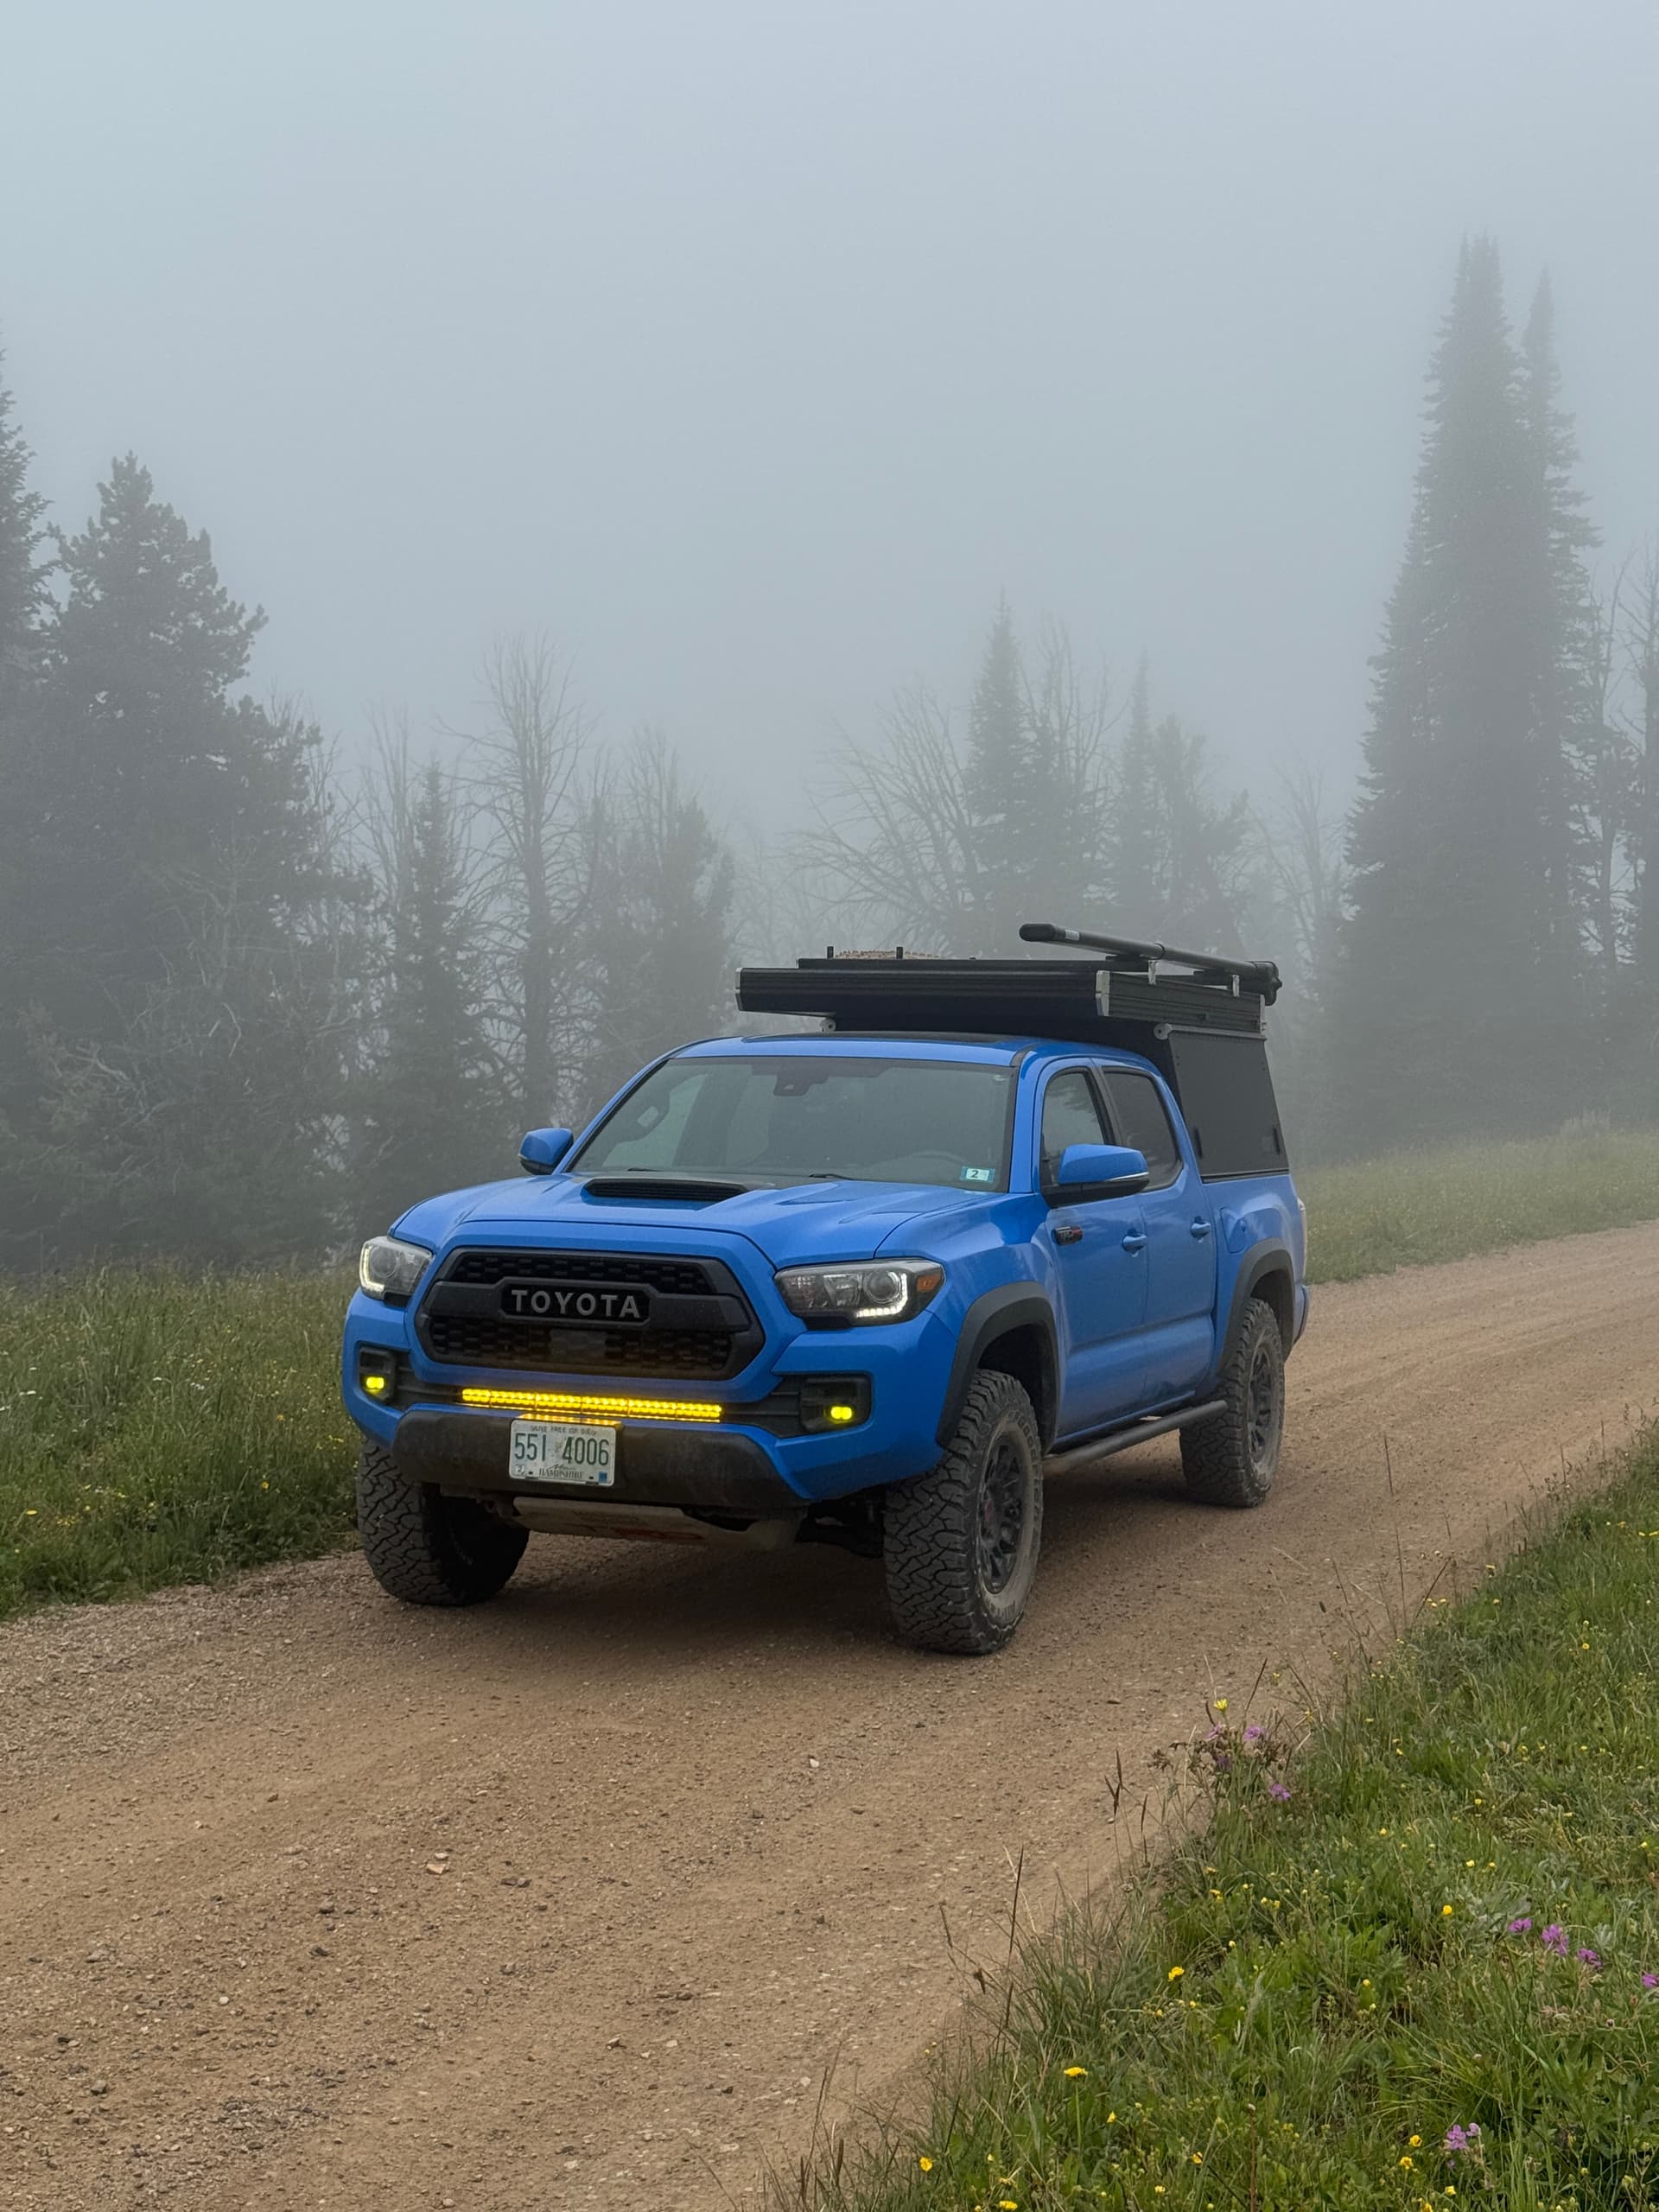
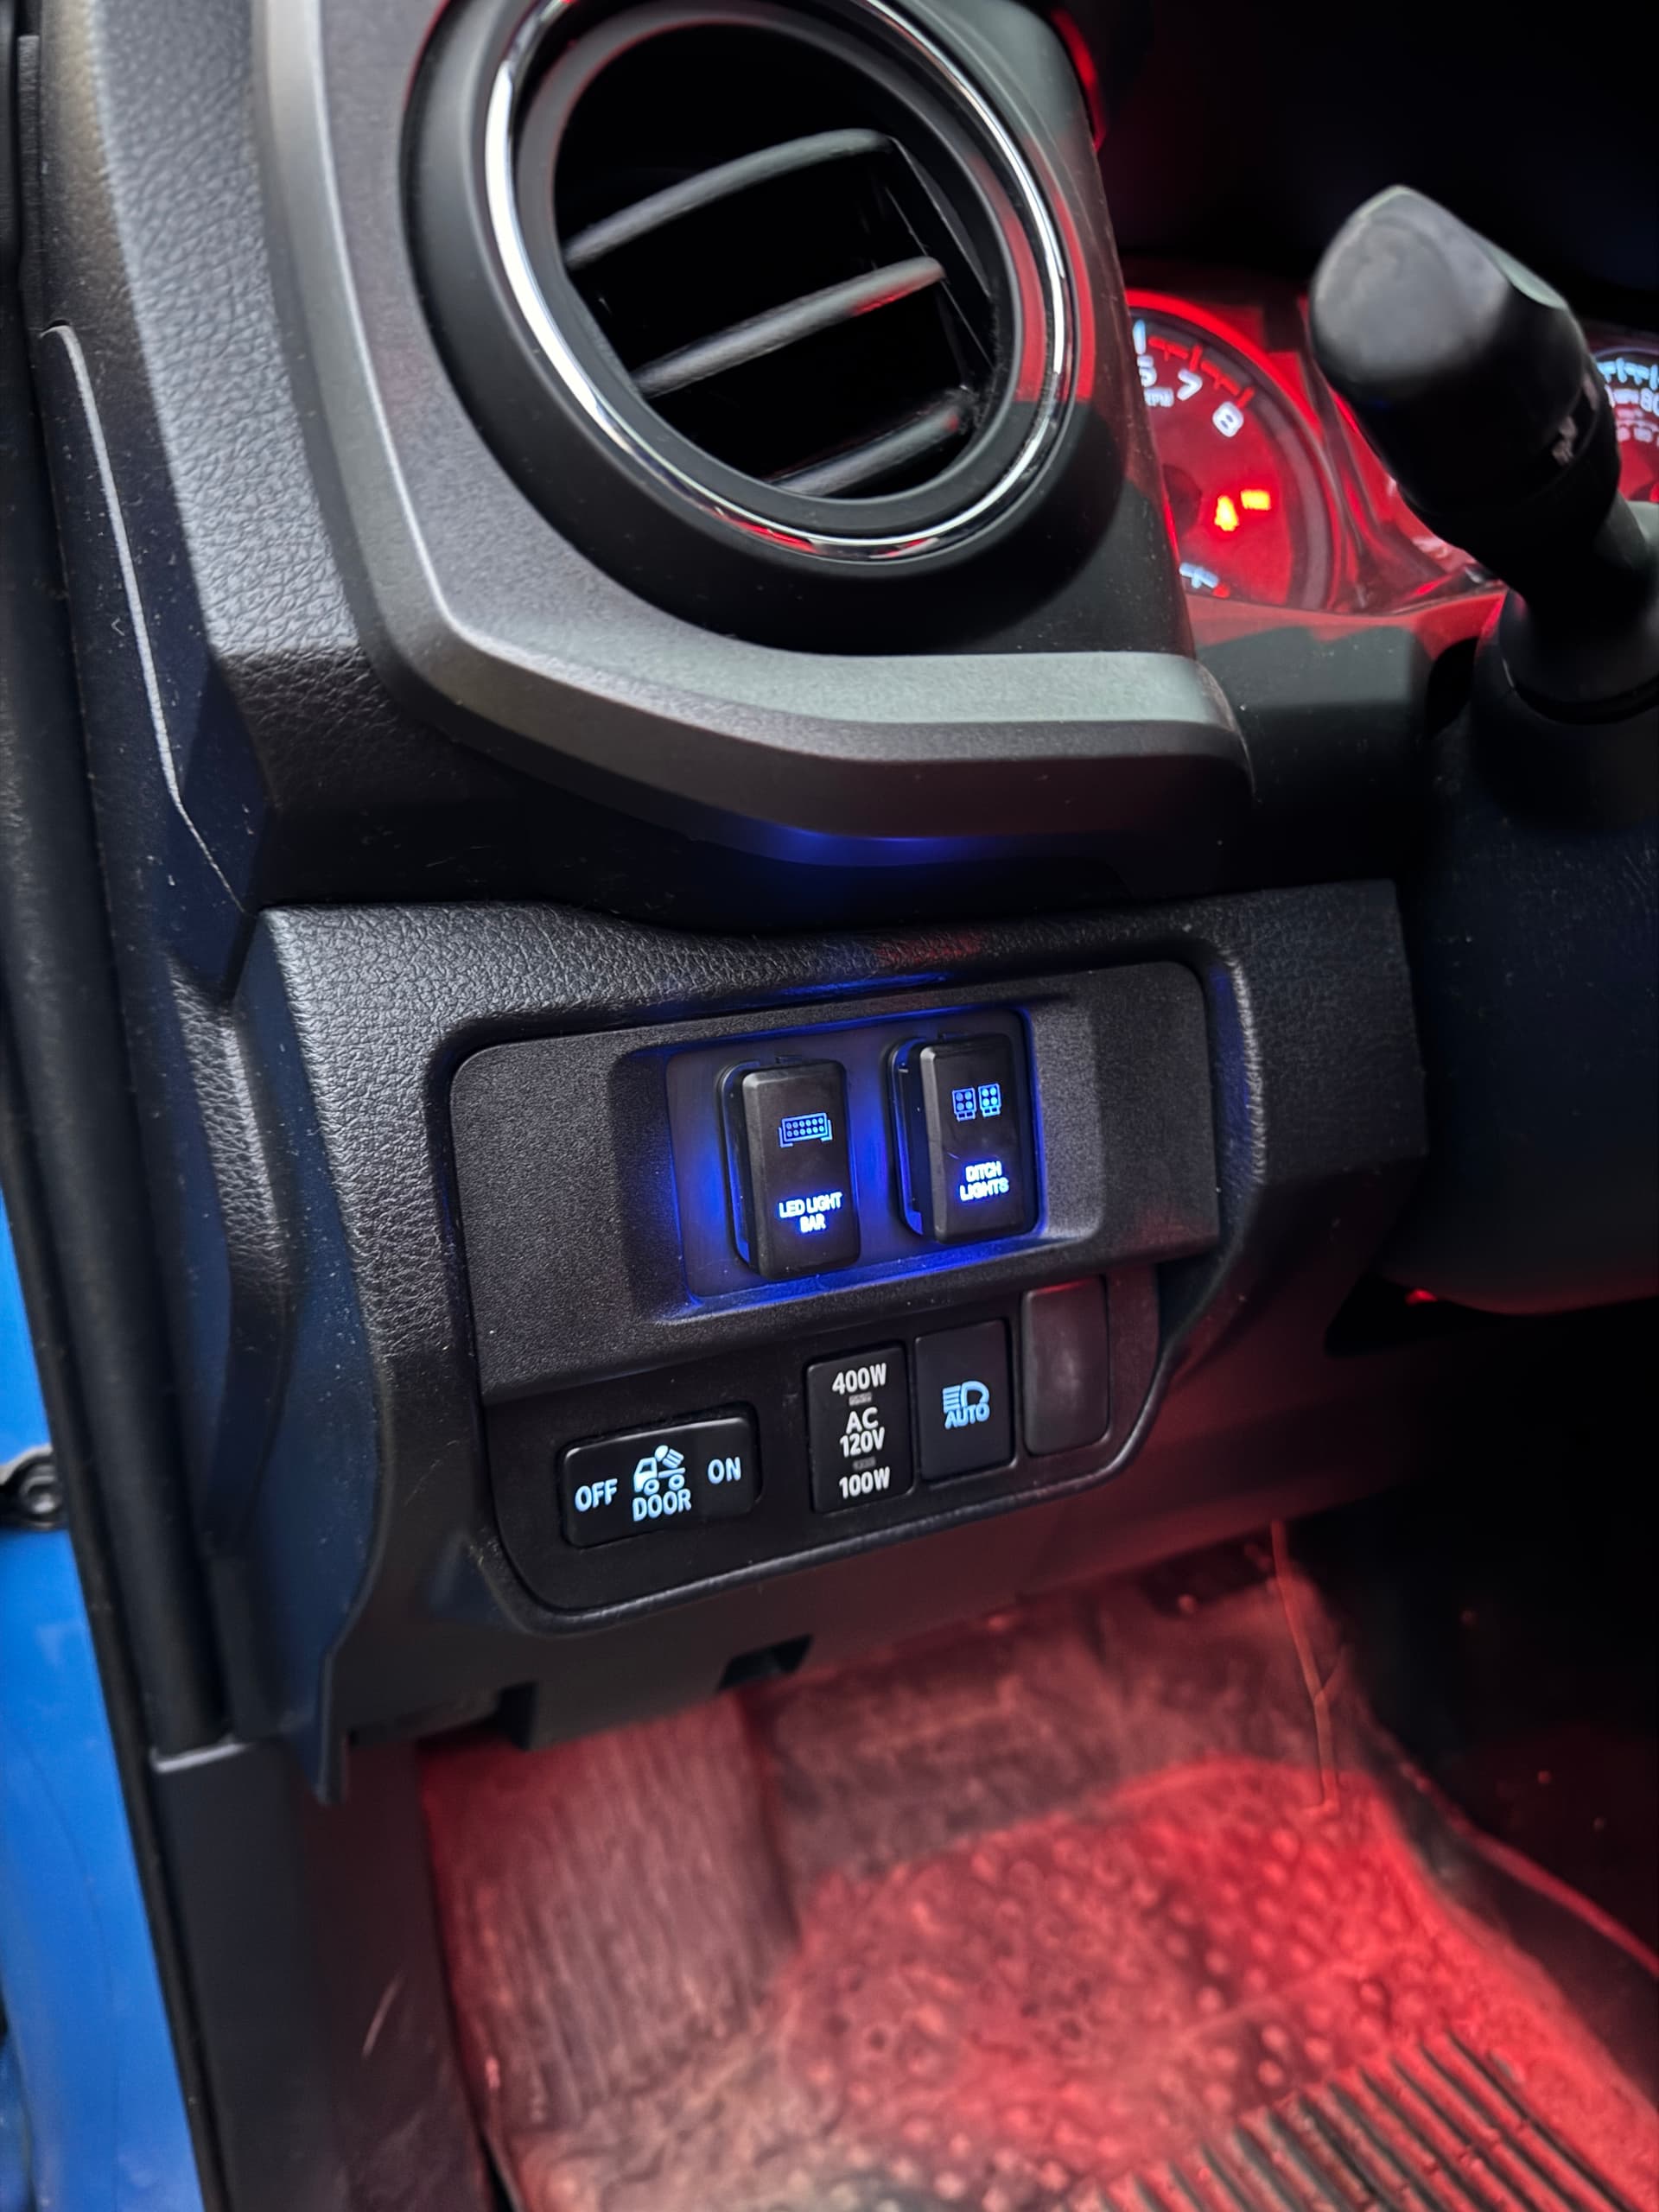
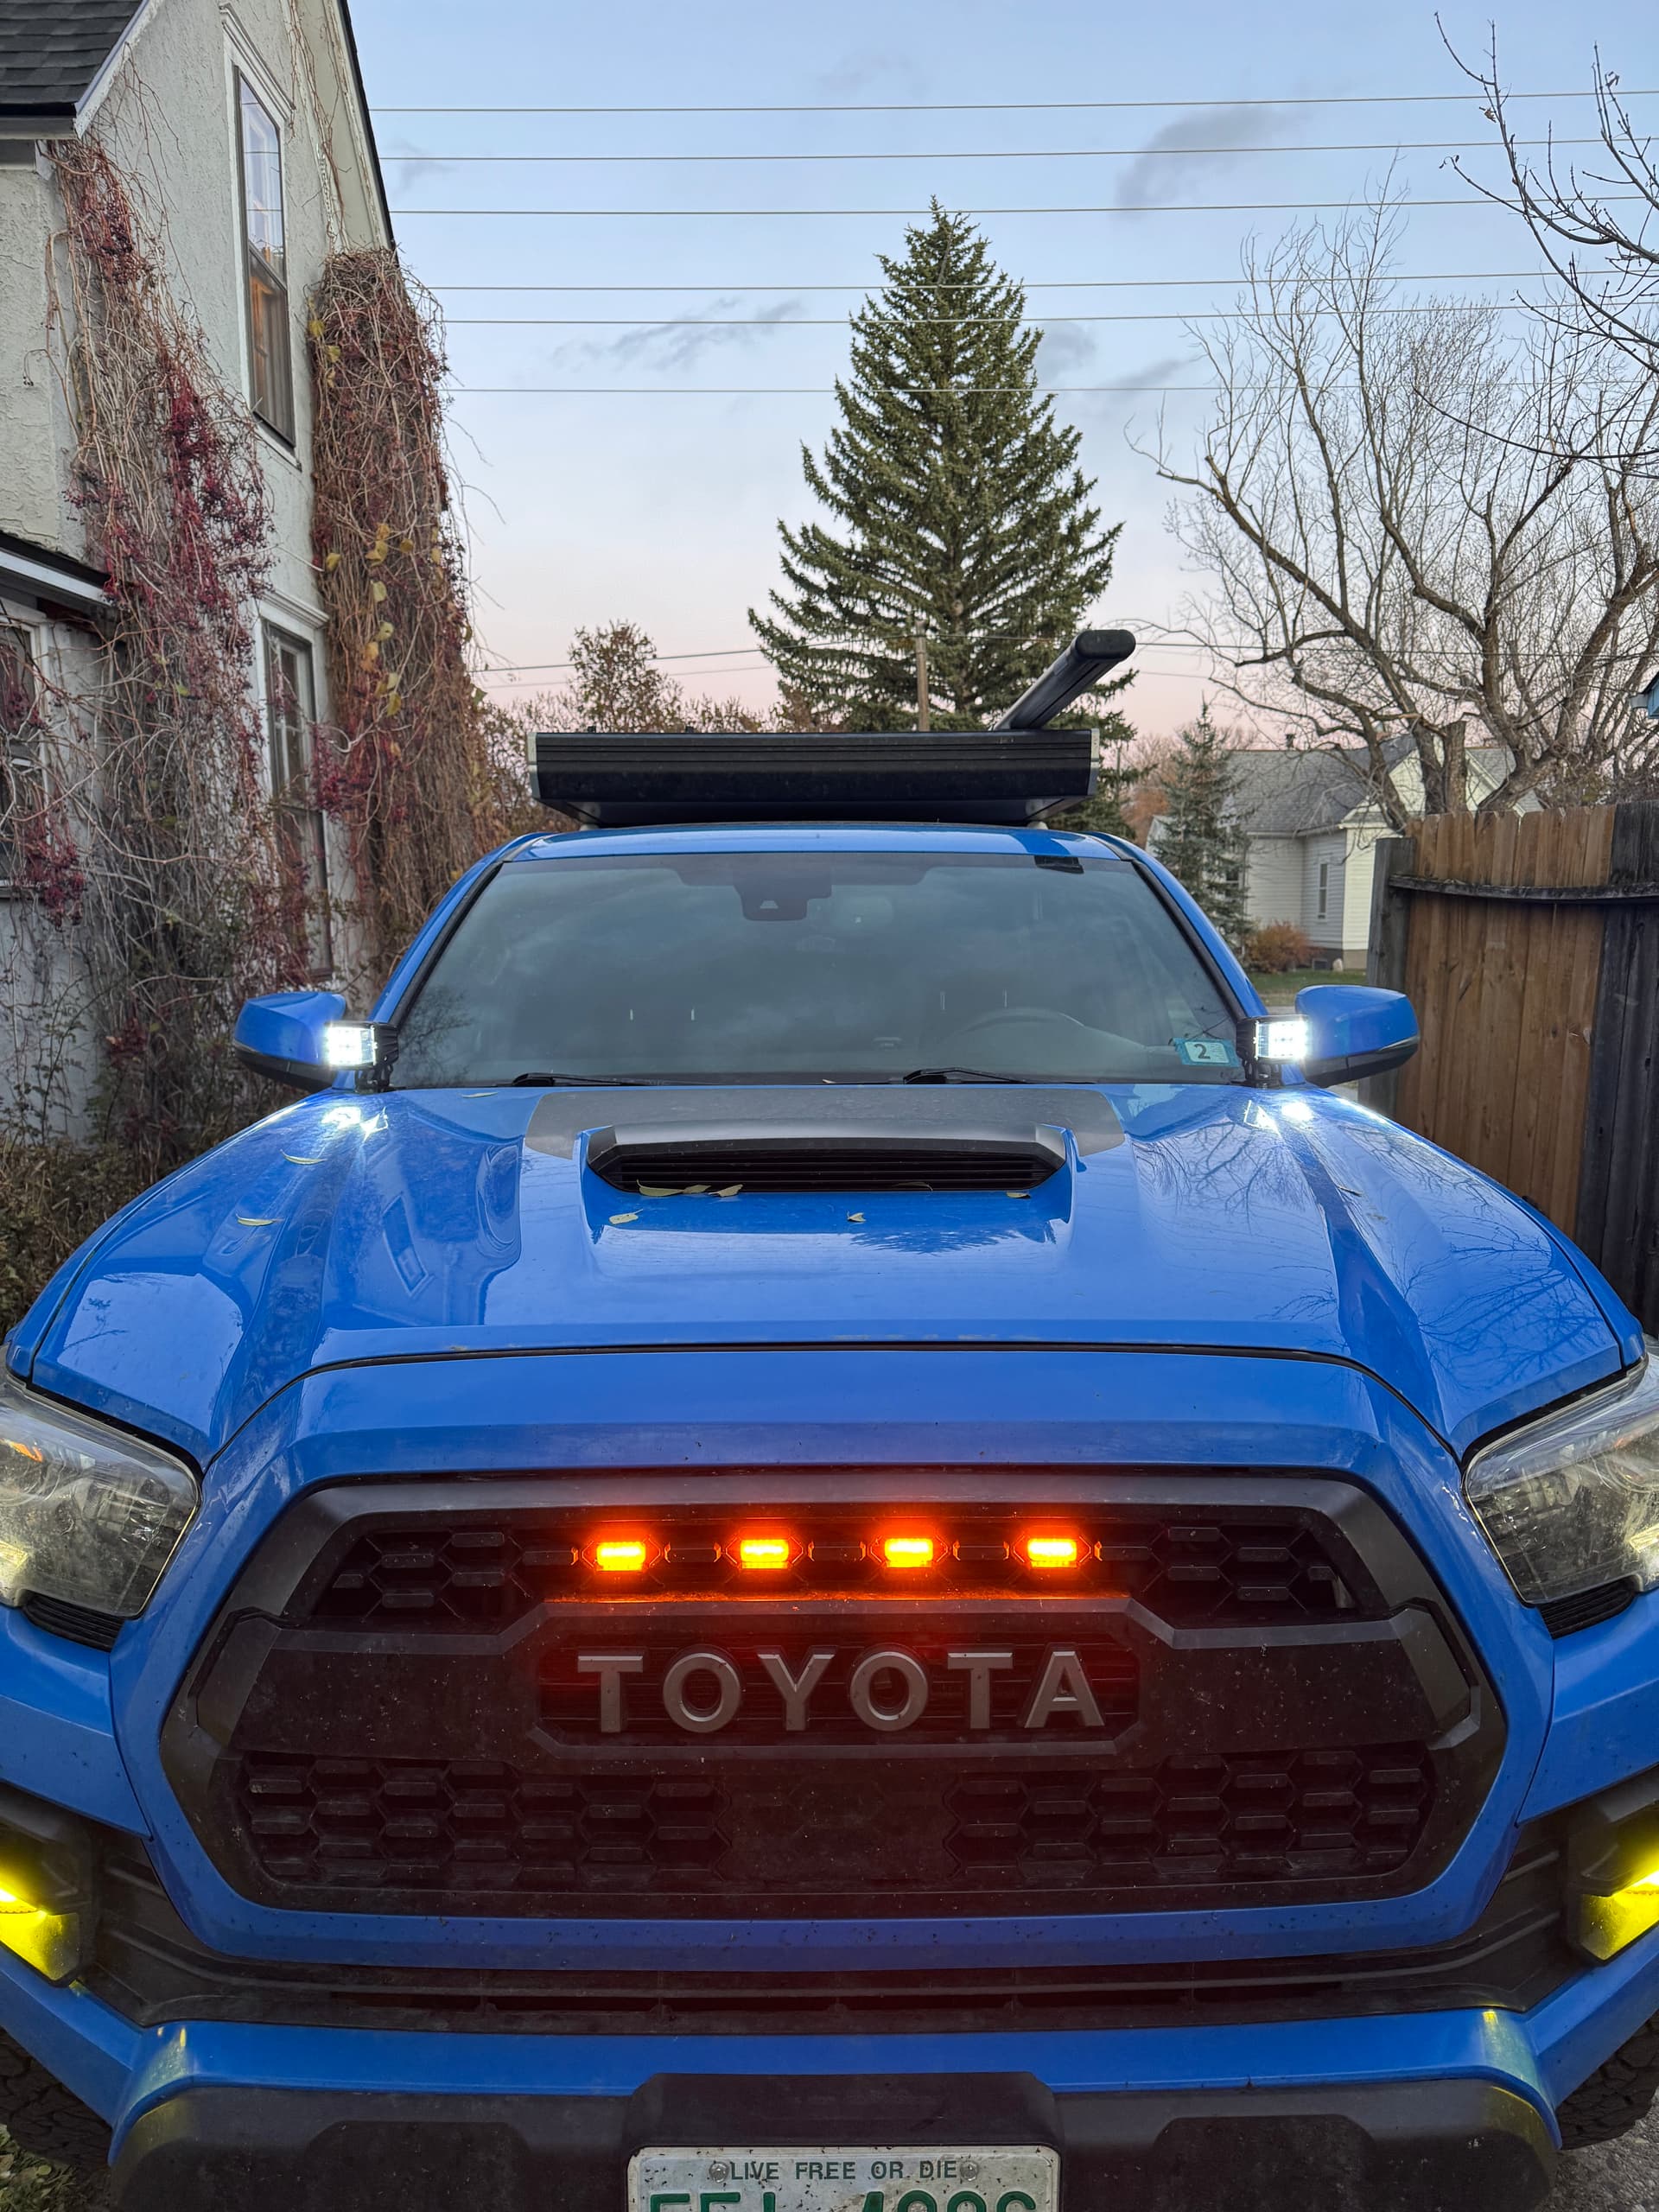
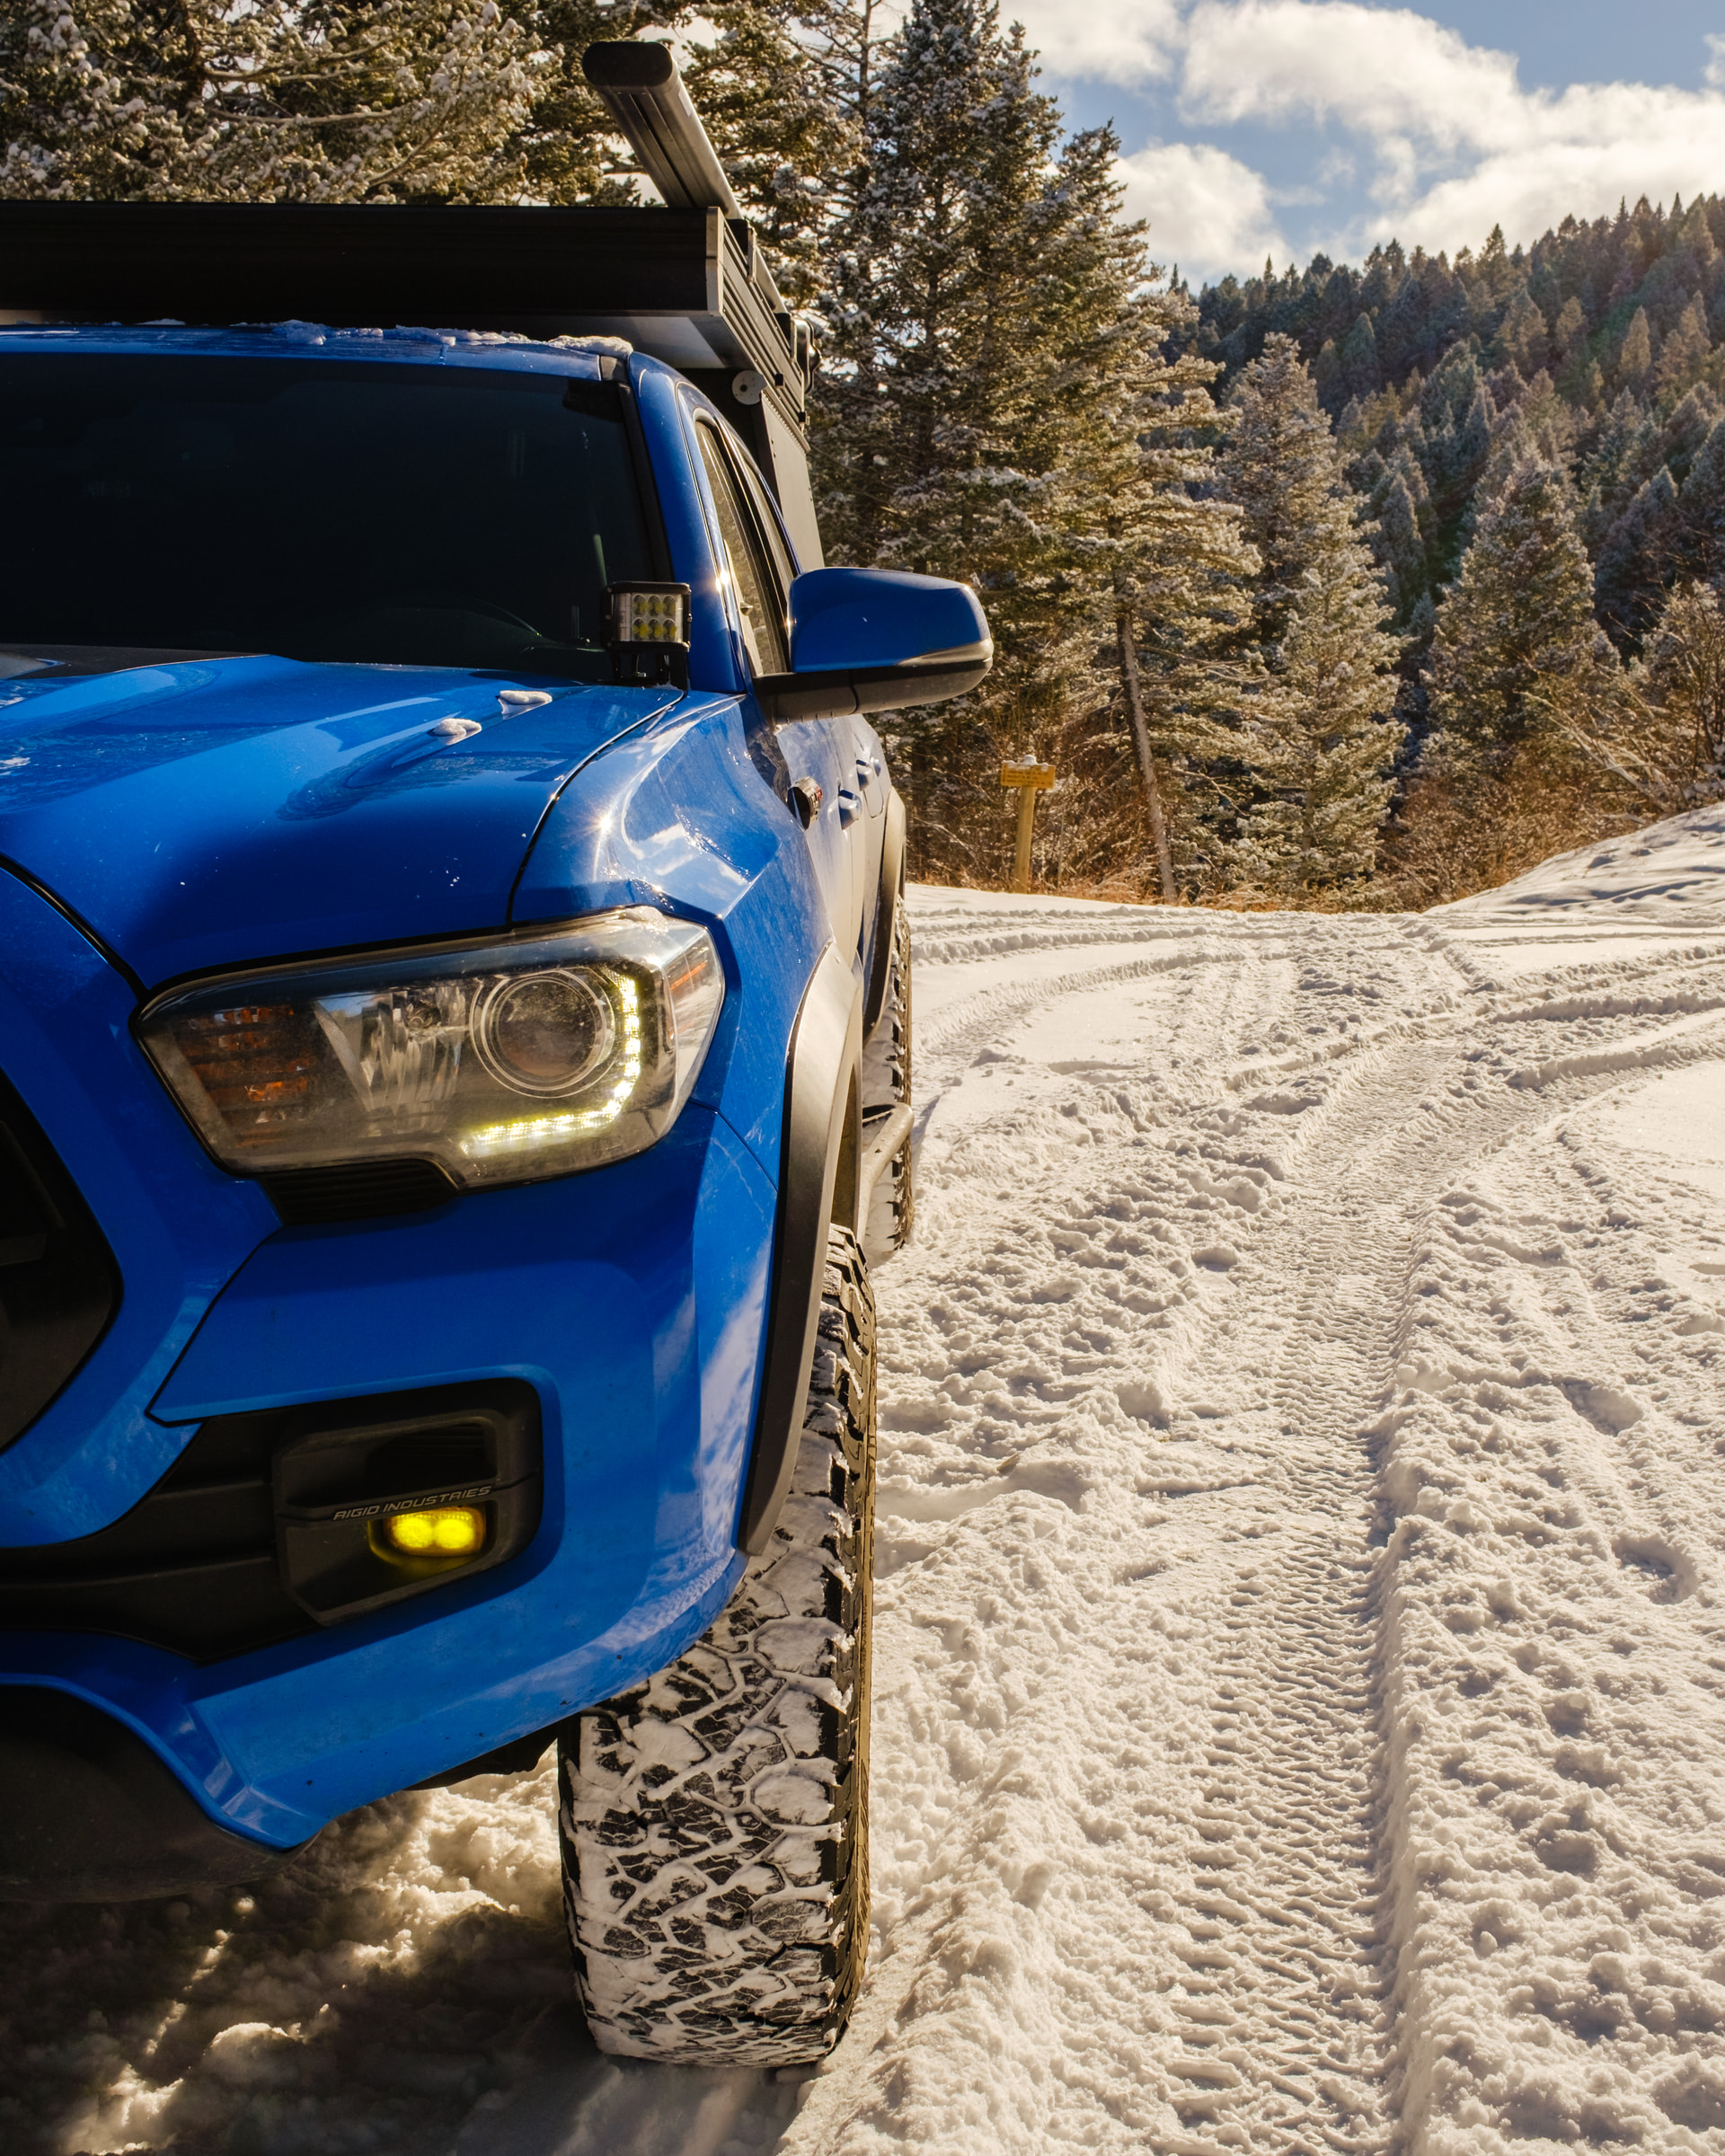
Got some truck stuff done today with the installation of the CaliRaisedLED Ditch Light Kit. The install was super straightforward and added an OEM Style 2 Switch Panel to replace the cubby on the left of the steering wheel. Now the switches for the lightbar and ditch lights are placed a little higher up, making them more accessible in the event of oncoming traffic on the trails. Time will tell how the lights hold up, but for the price, they seem like a decent option.
Raptor Lights were a recent addition as well, but I didn’t document the install process. I still have mixed feelings about wiring them to the DRLs. I think down the road, I may build a relay to run them on a switch.
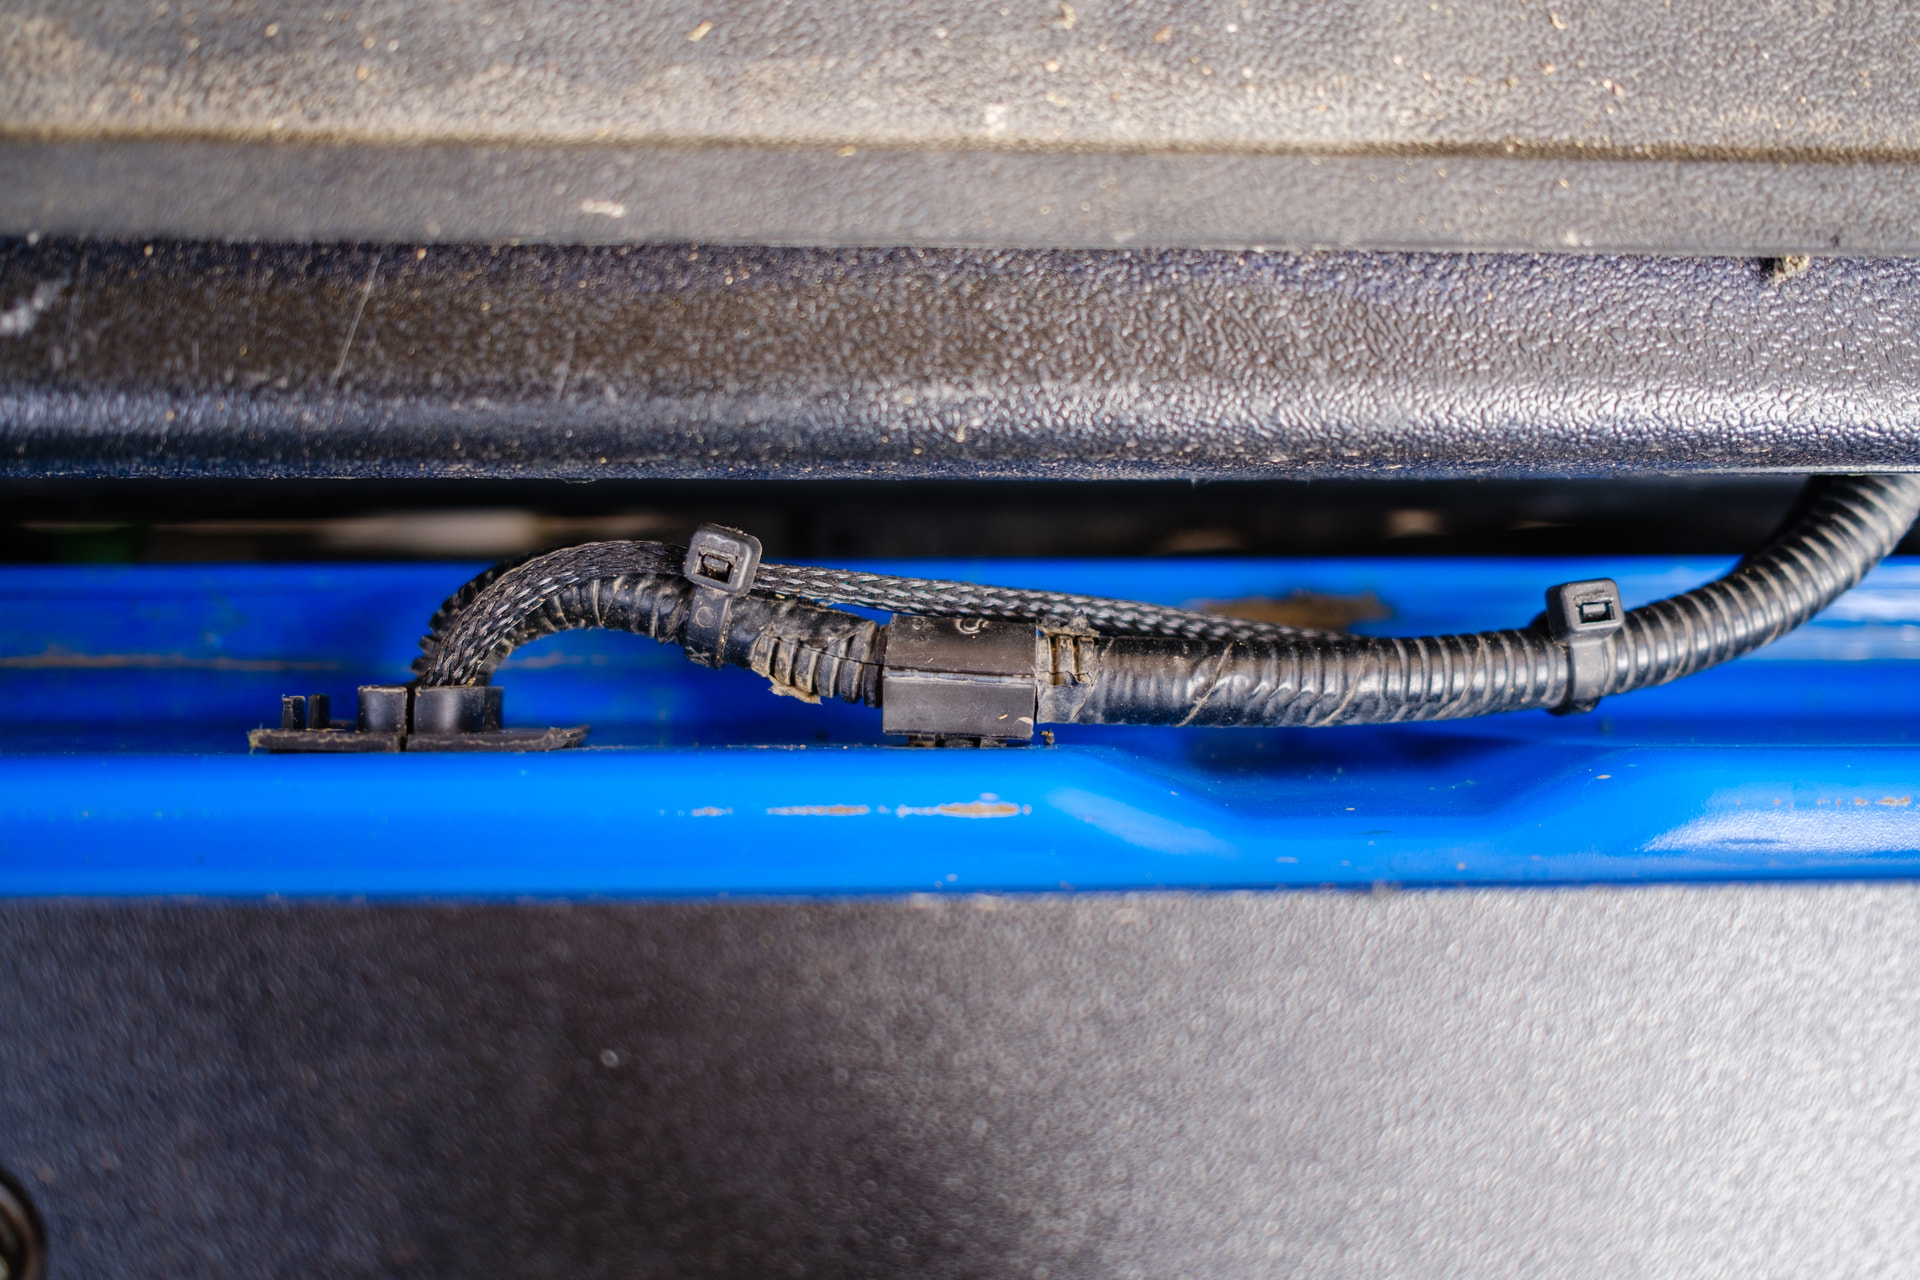
I’ve created a master parts list for those interested and will continue to update the spreadsheet as upgrades happen. In the meantime, I’m waiting on a few things to tidy up some accessory wiring in the engine bay.
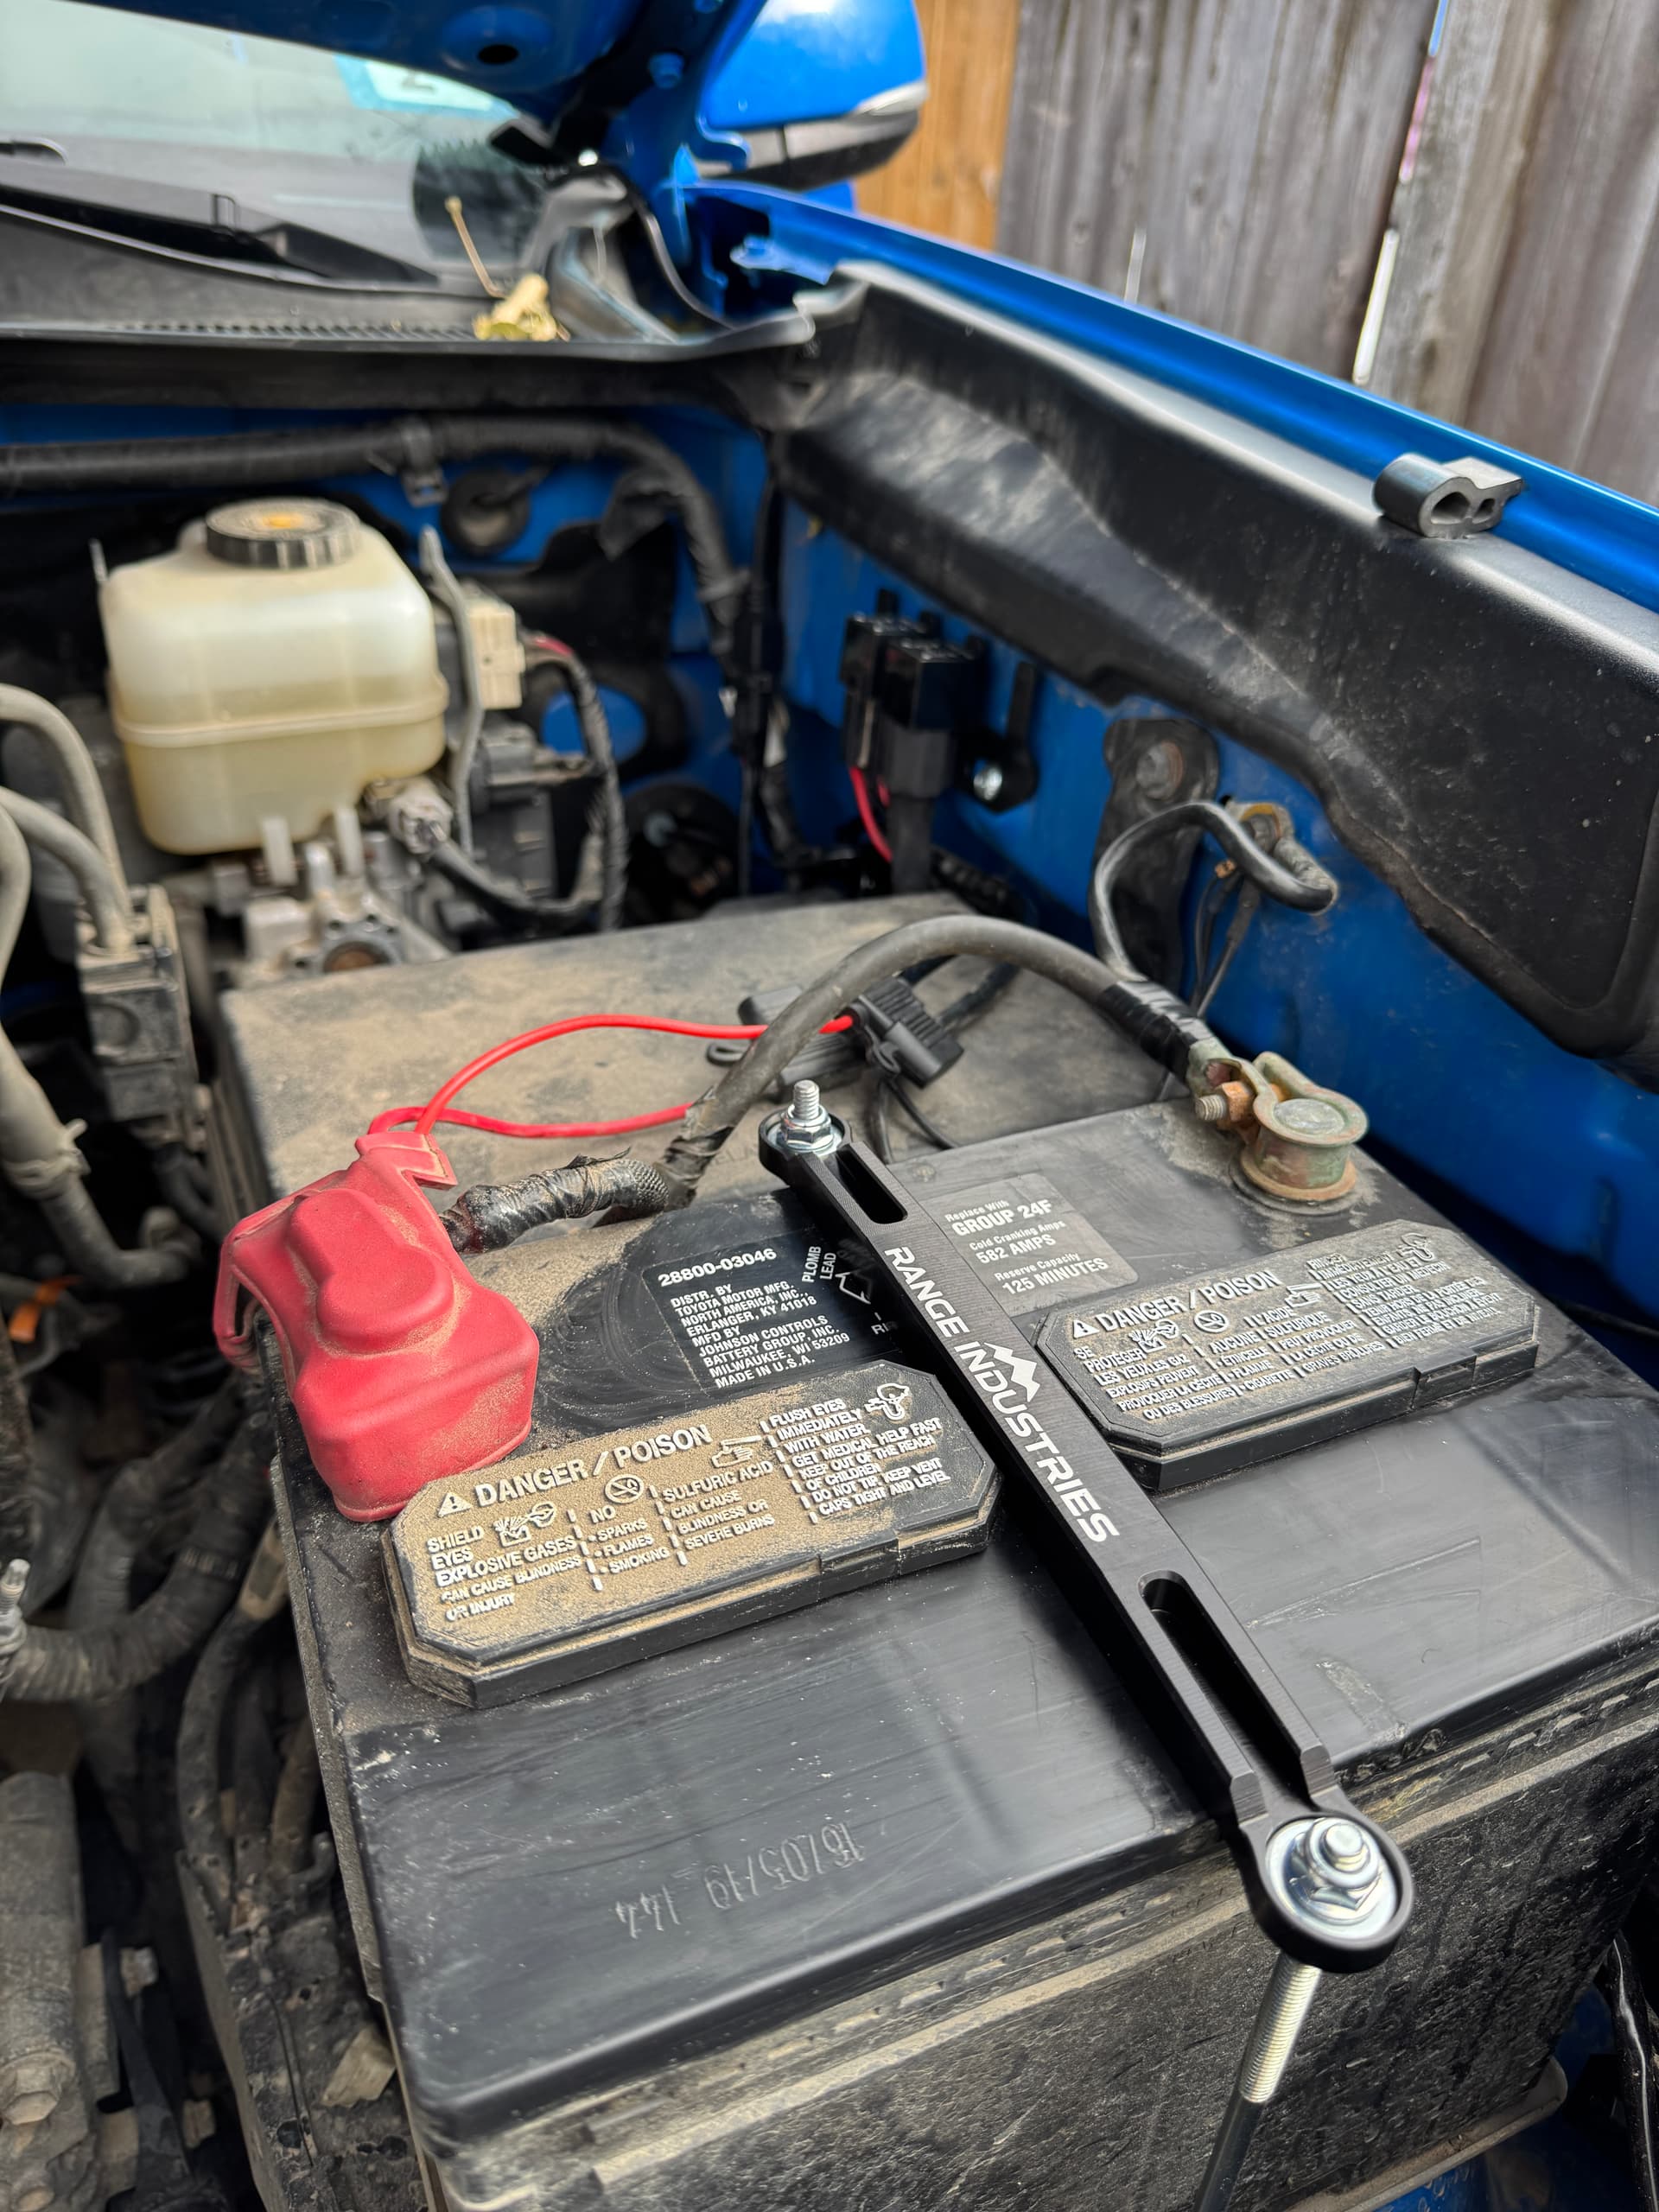
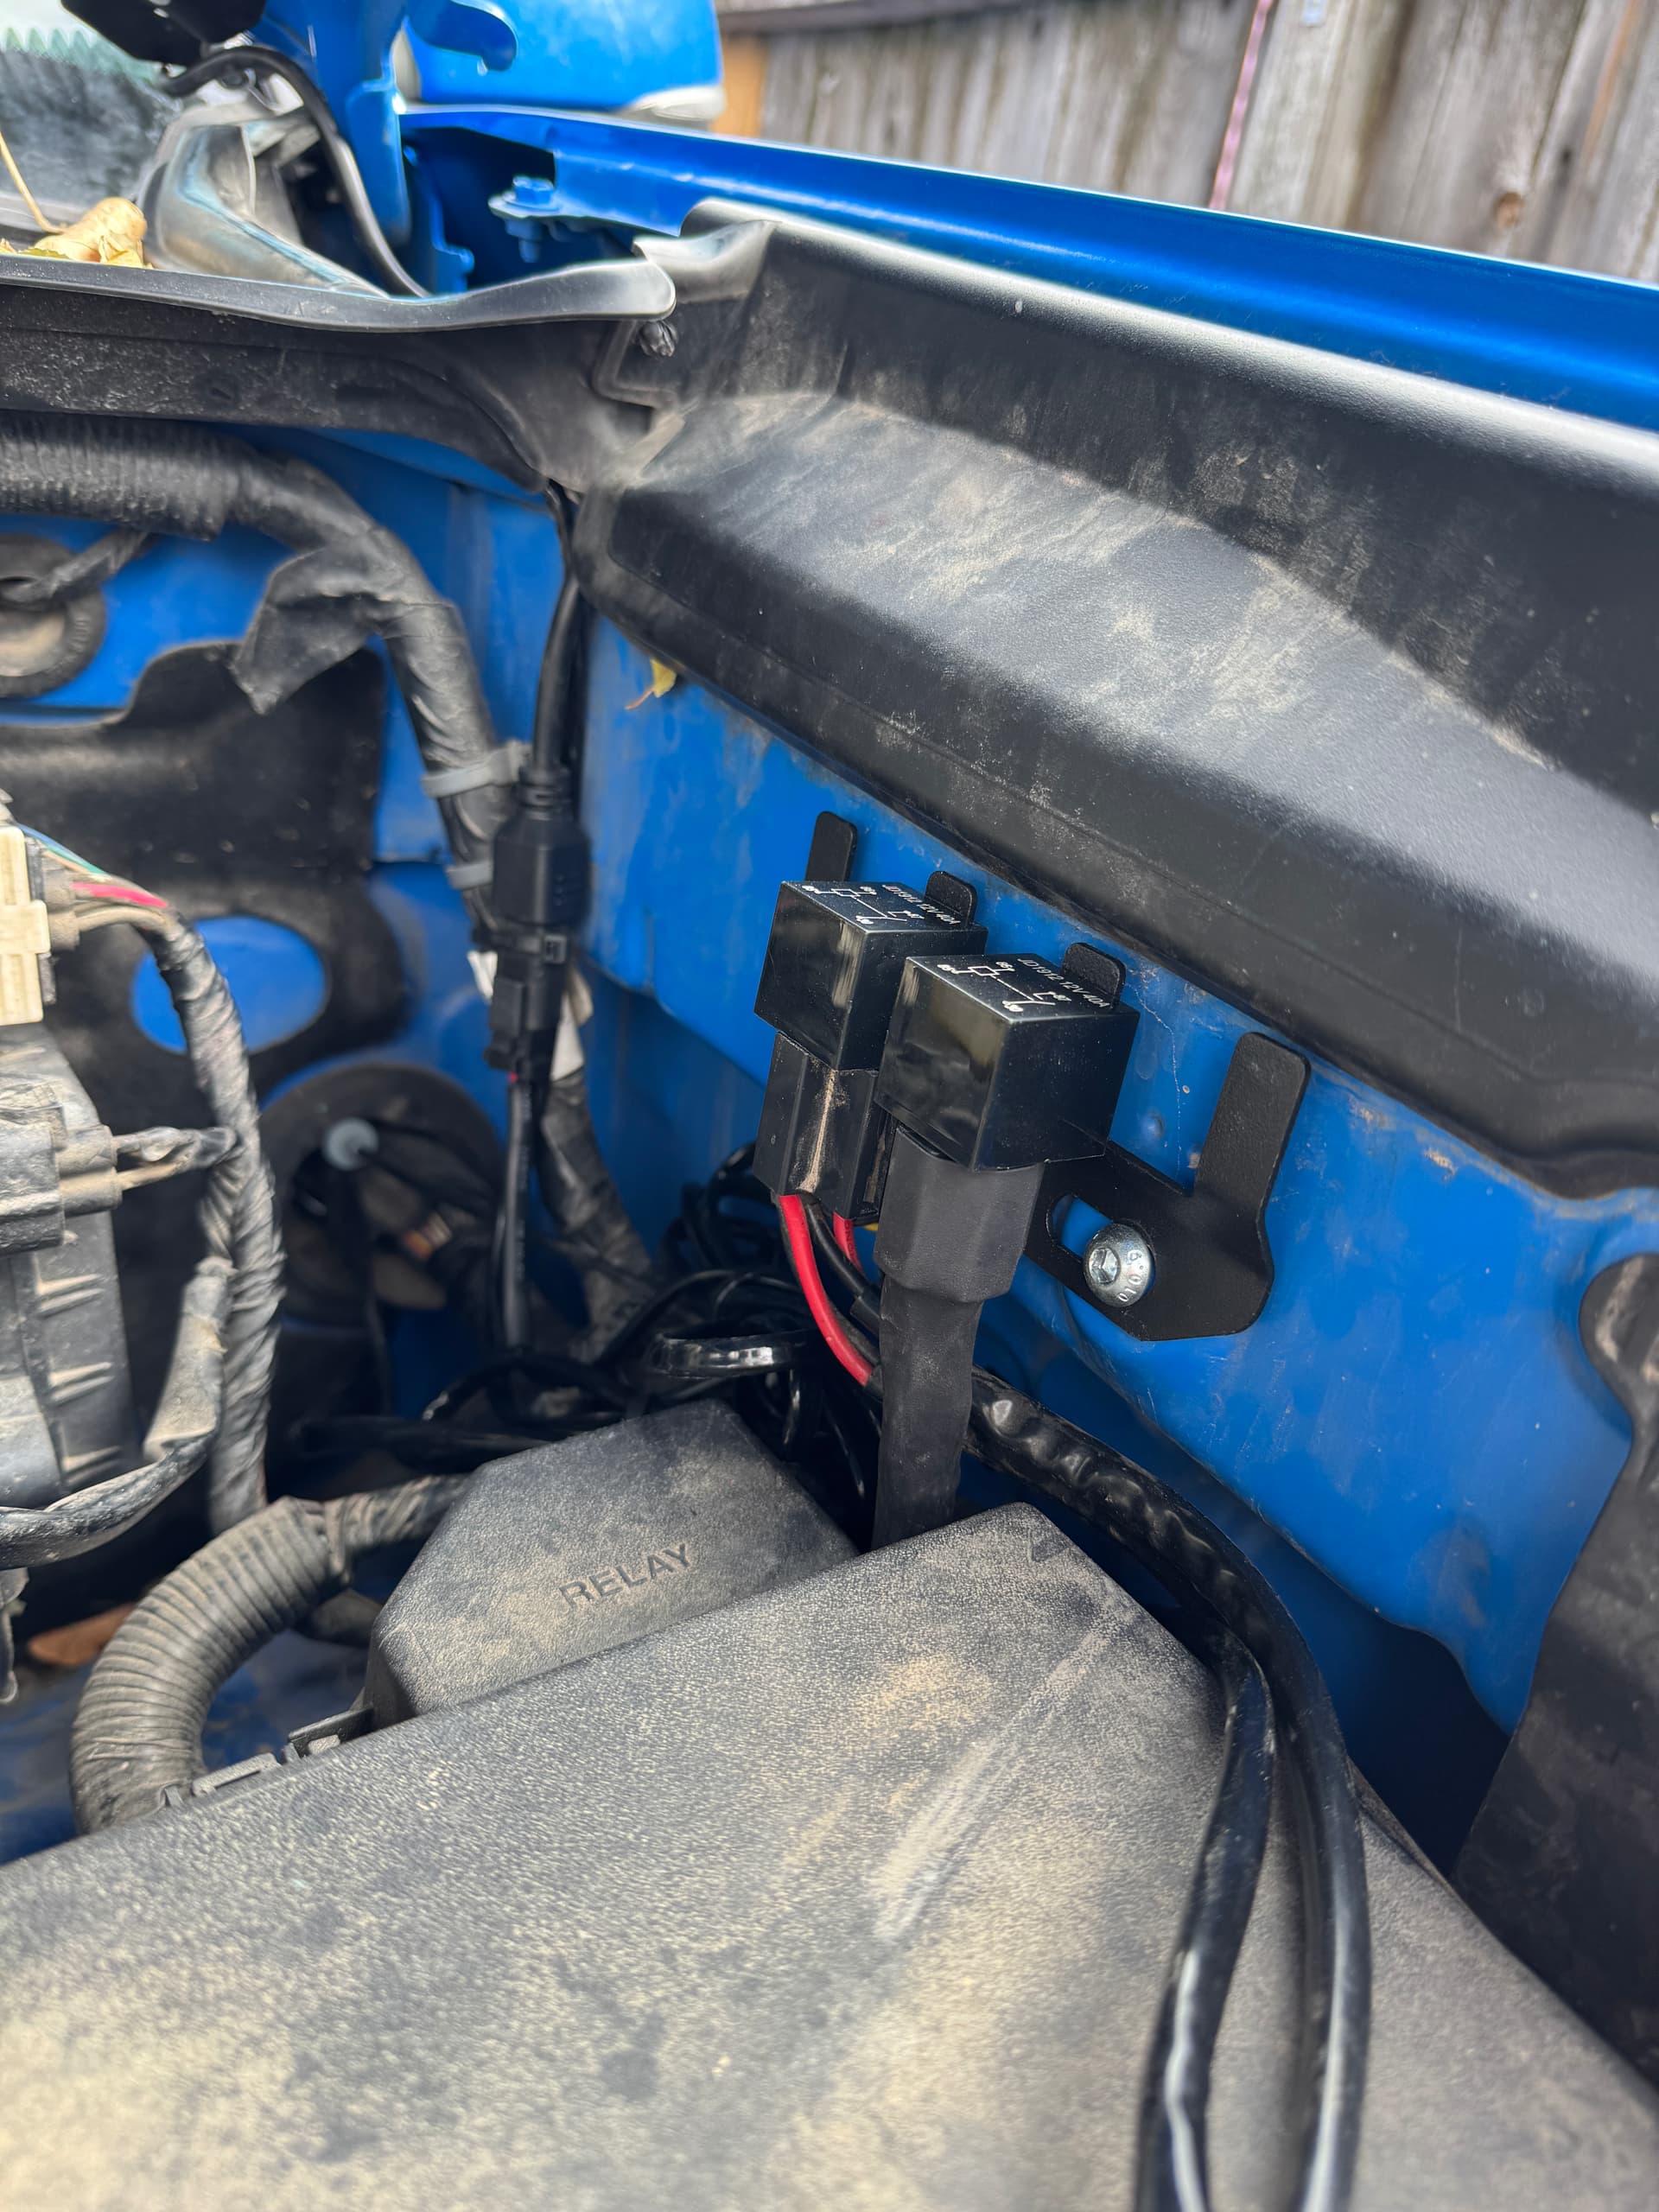
Added the CaliRaisedLED Relay Holder and Range Industries Battery Hold Down kit to the engine bay to clean up some wiring. Battery hold down kit was definitely more of a want than a need, but I’ll likely be swapping out the OEM battery for a fully sealed AGM in the near future. The OEM battery hold down was pretty corroded from the original one seeping out of the top.
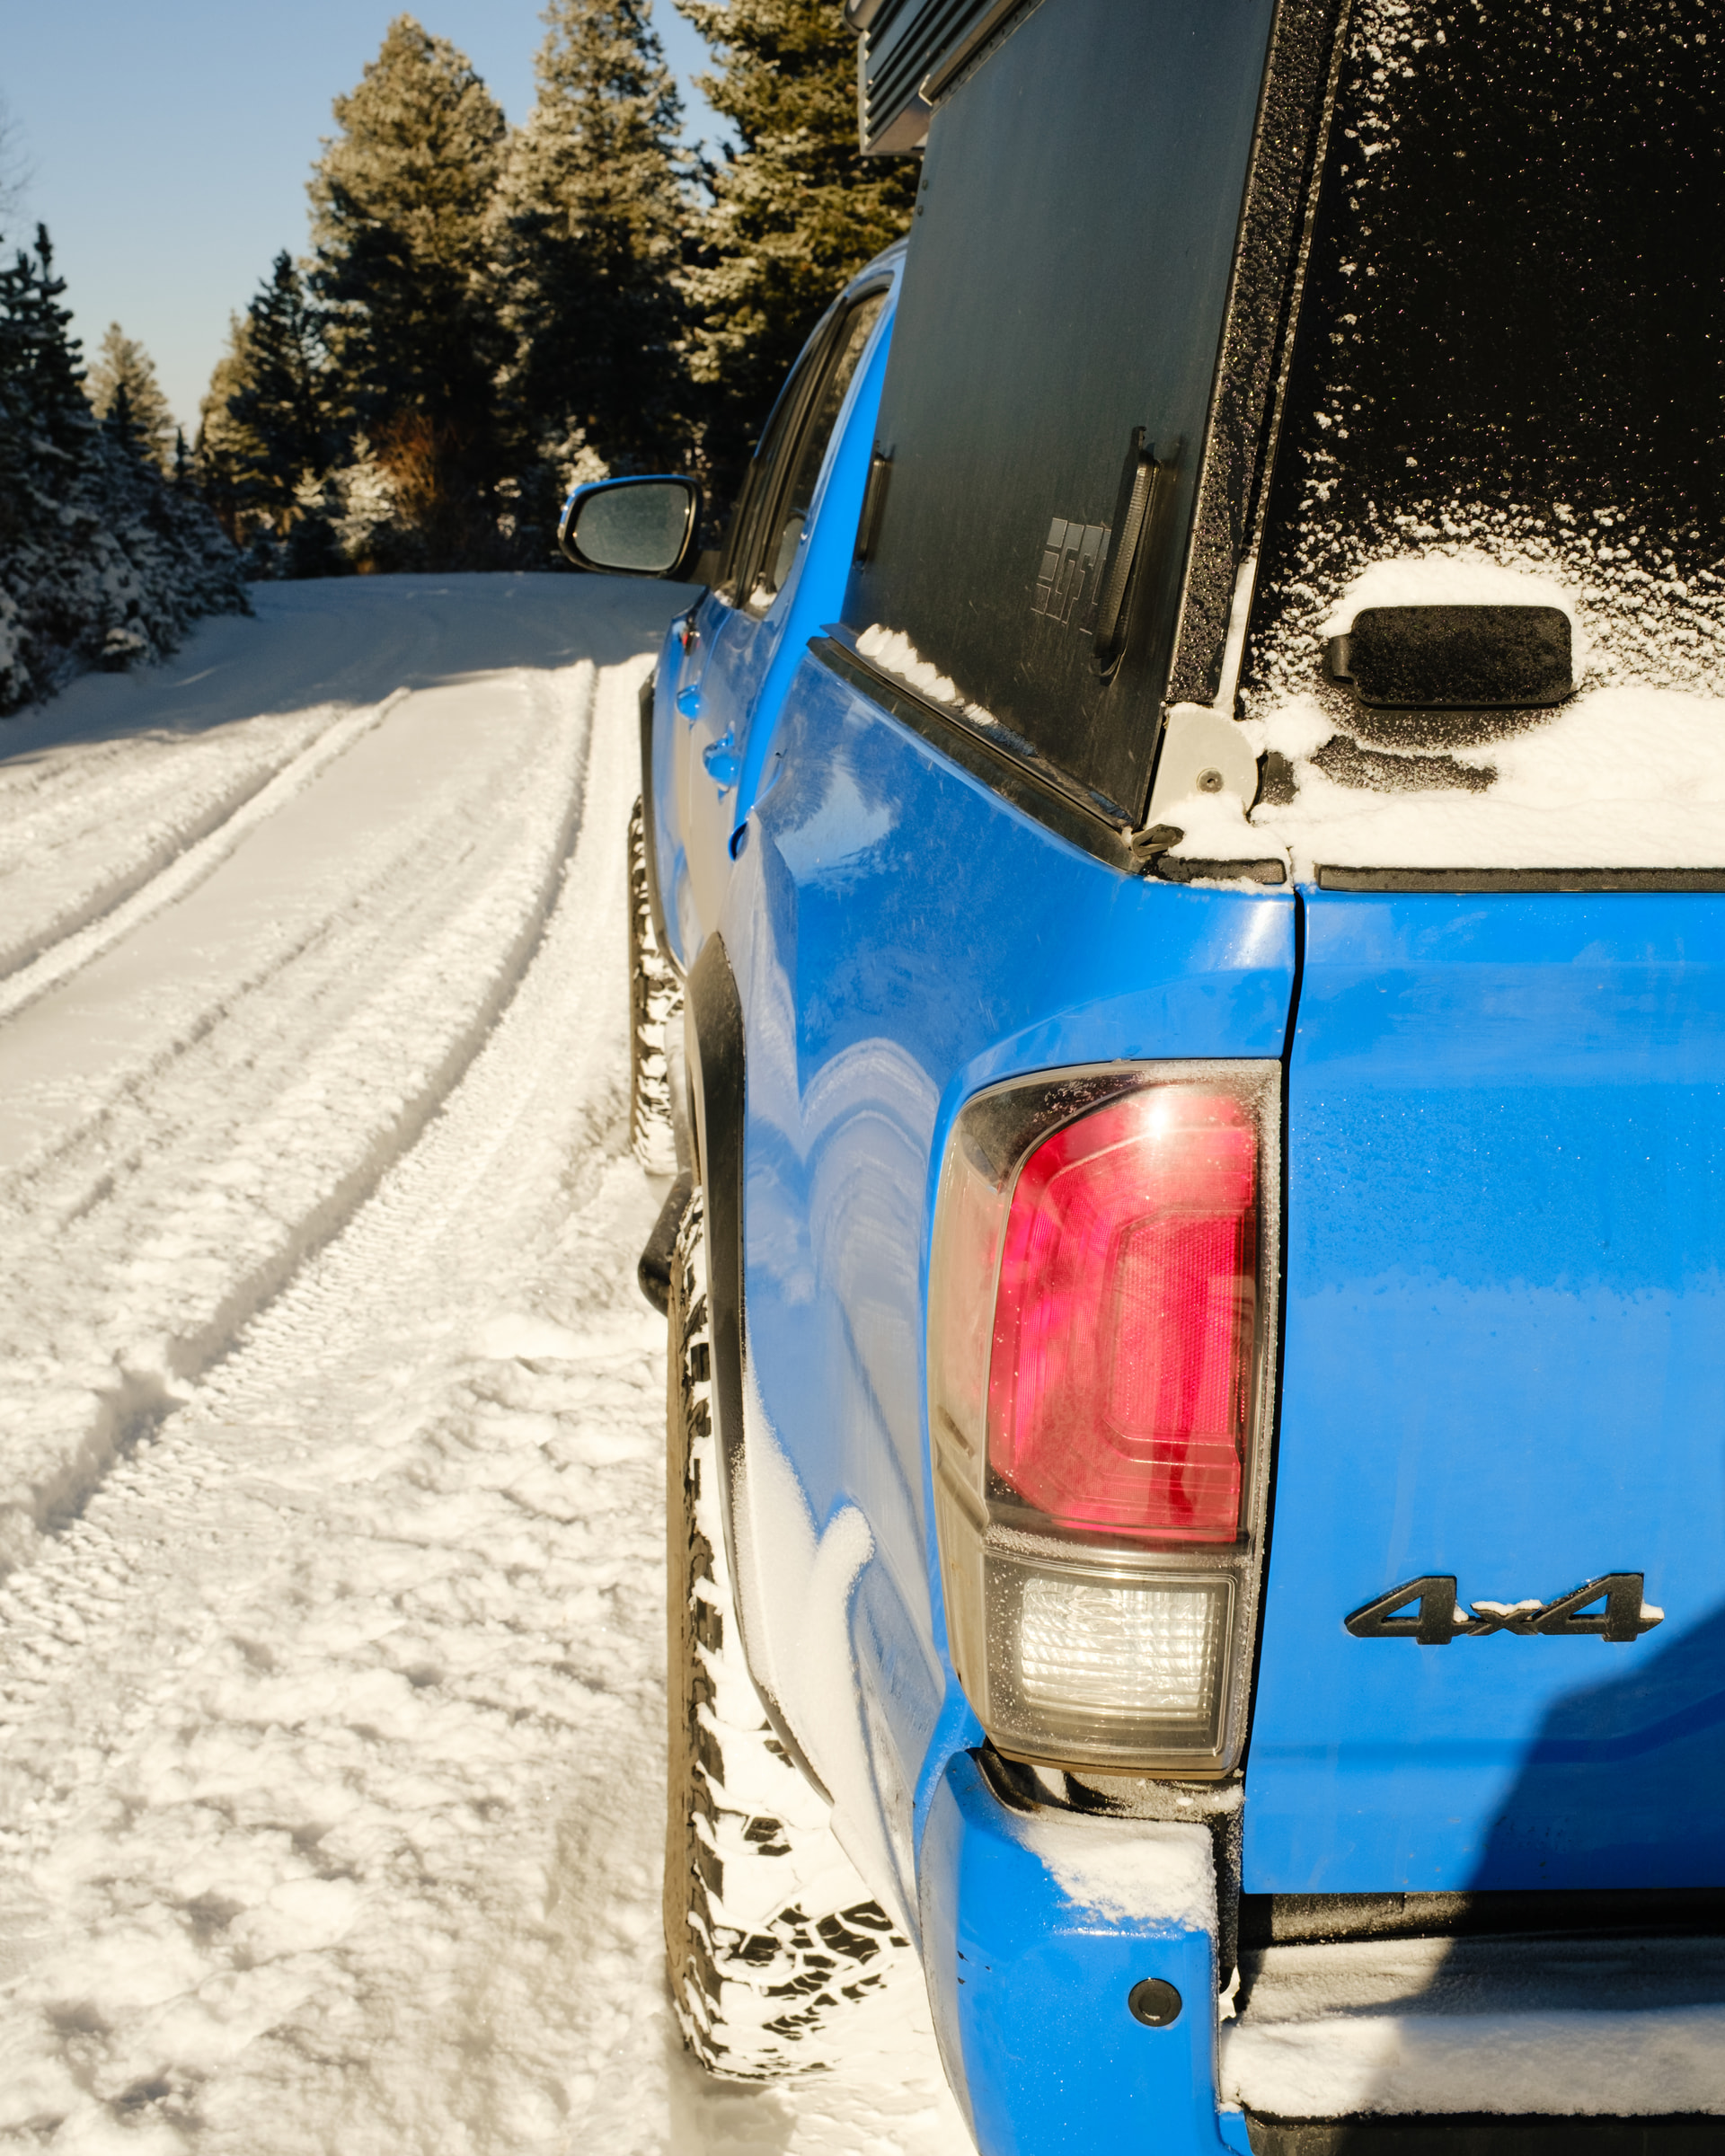
Finally got around to matching the front window tint to the OEM rear privacy glass. I think it looks significantly better than before. Big thanks to Steven at Blacked Out Custom Tinting in Belgrade for sneaking me in.
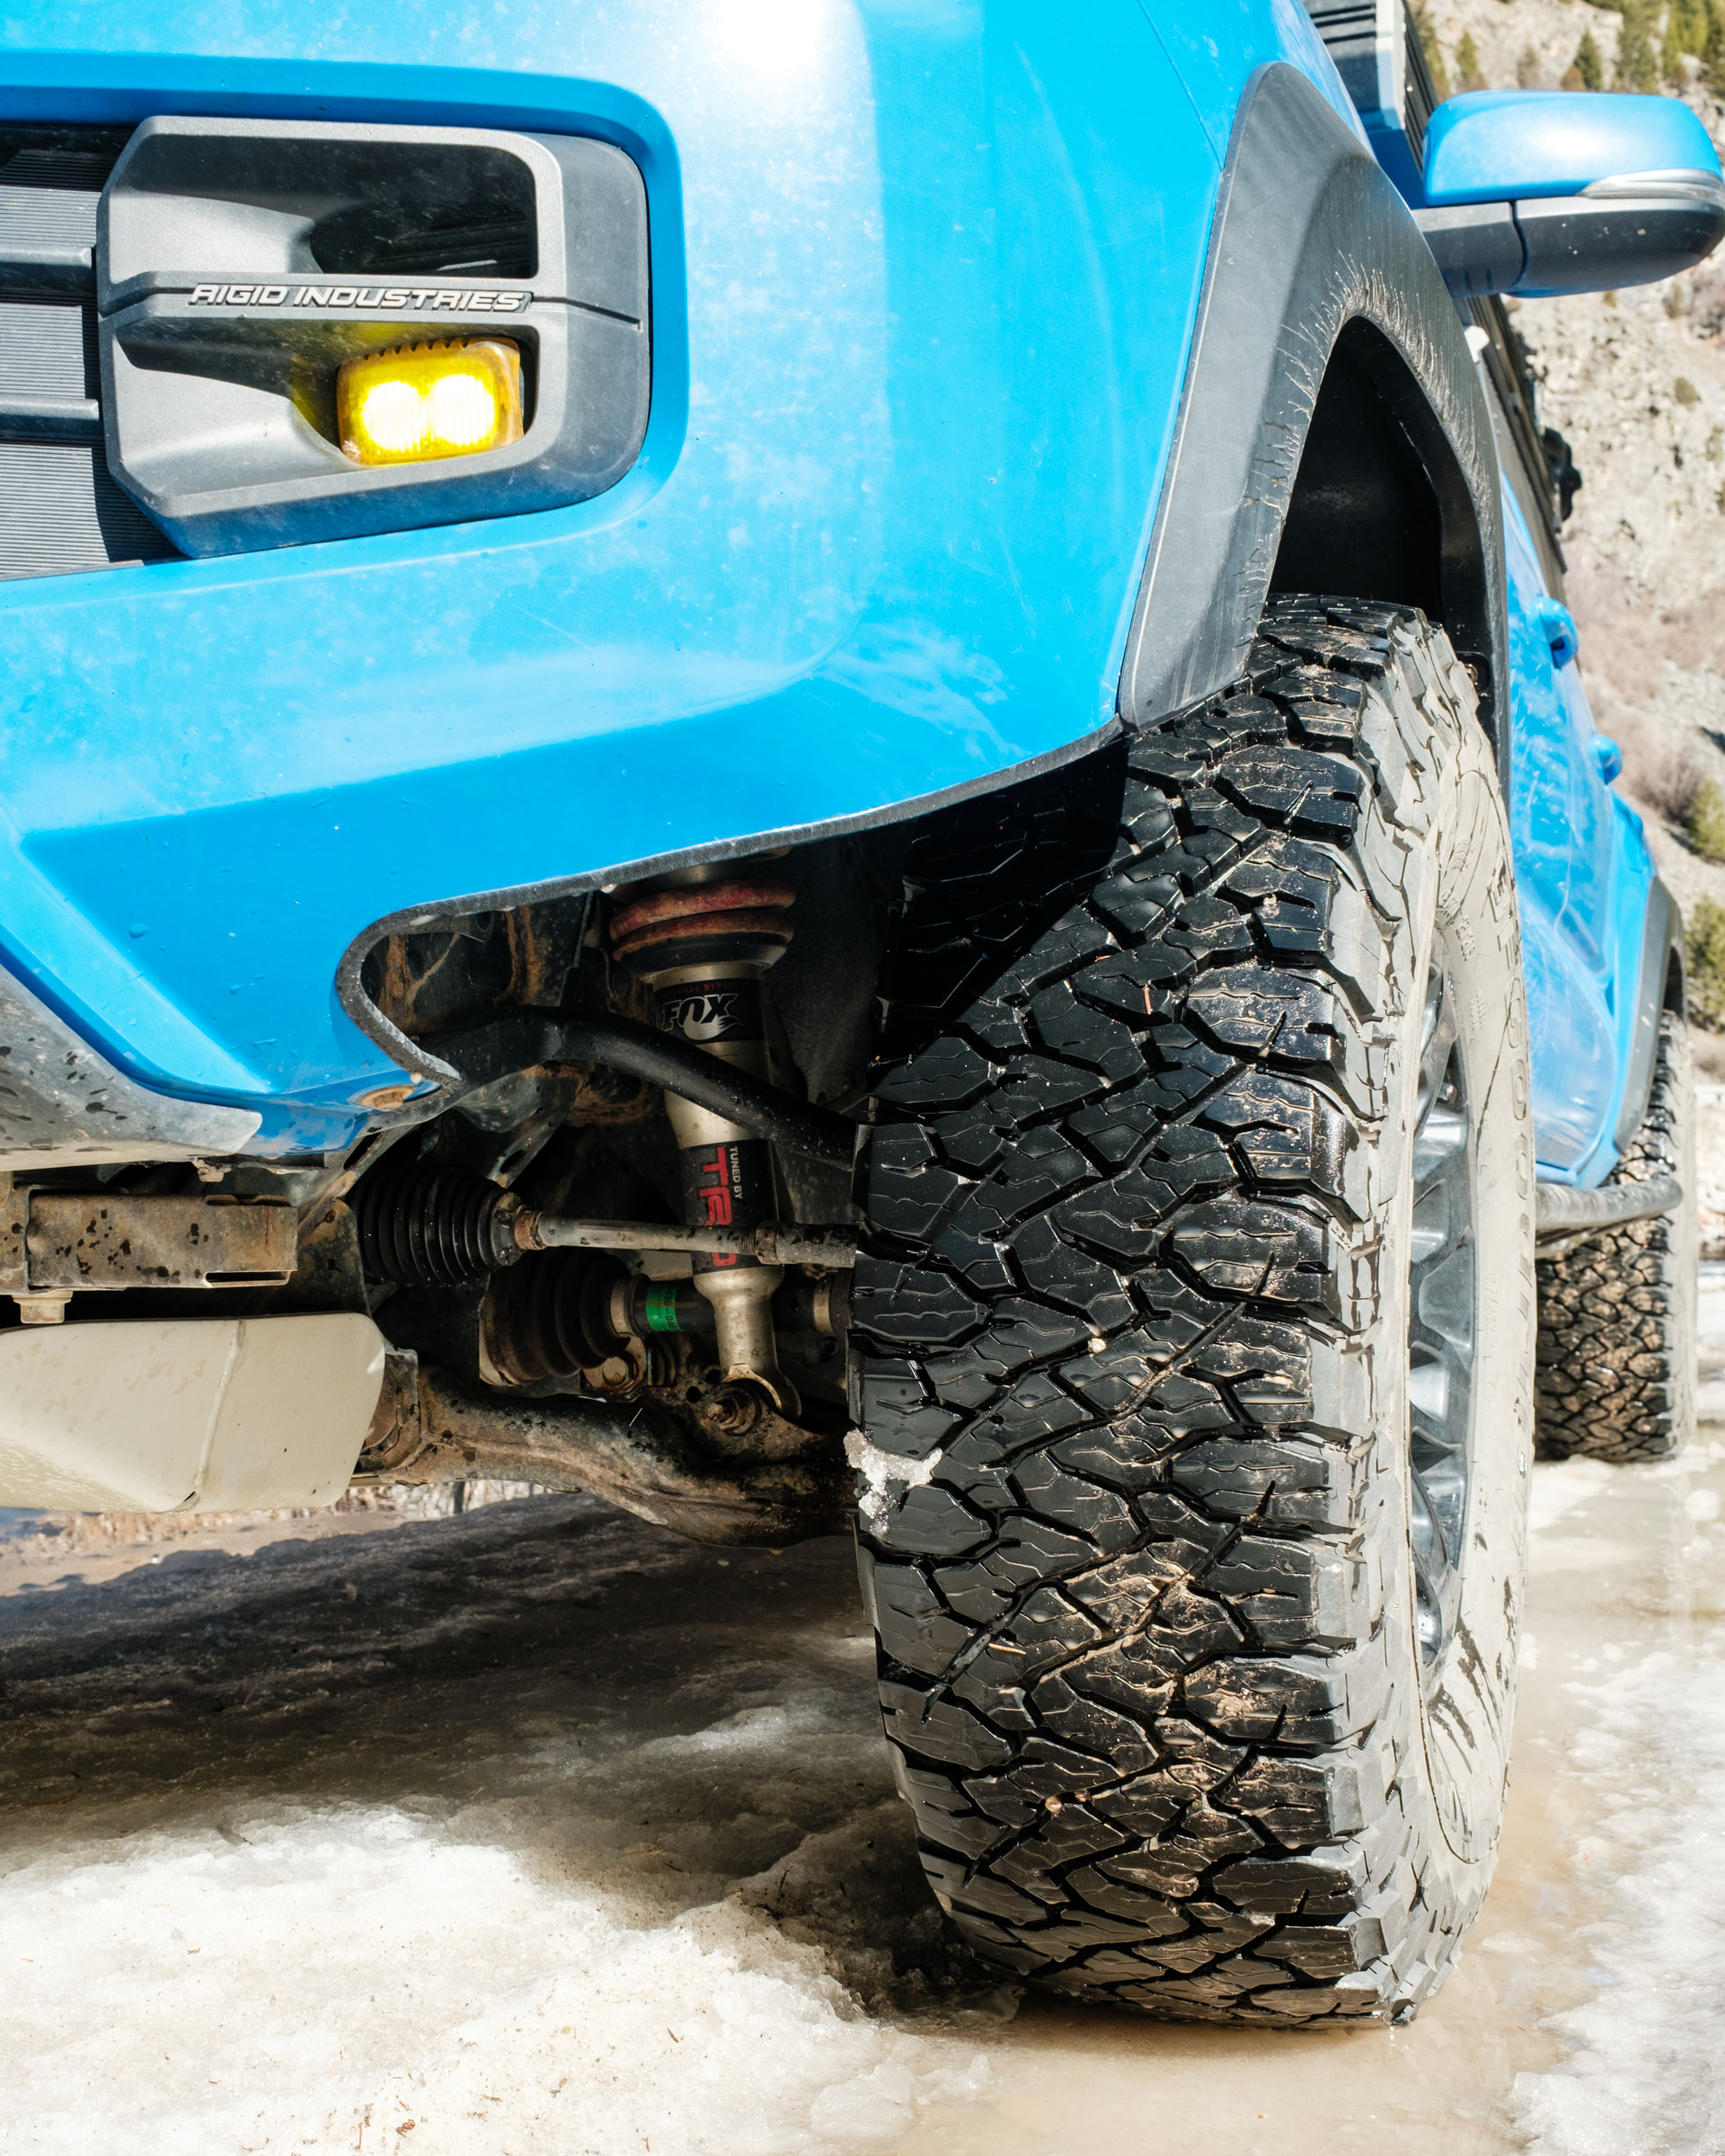
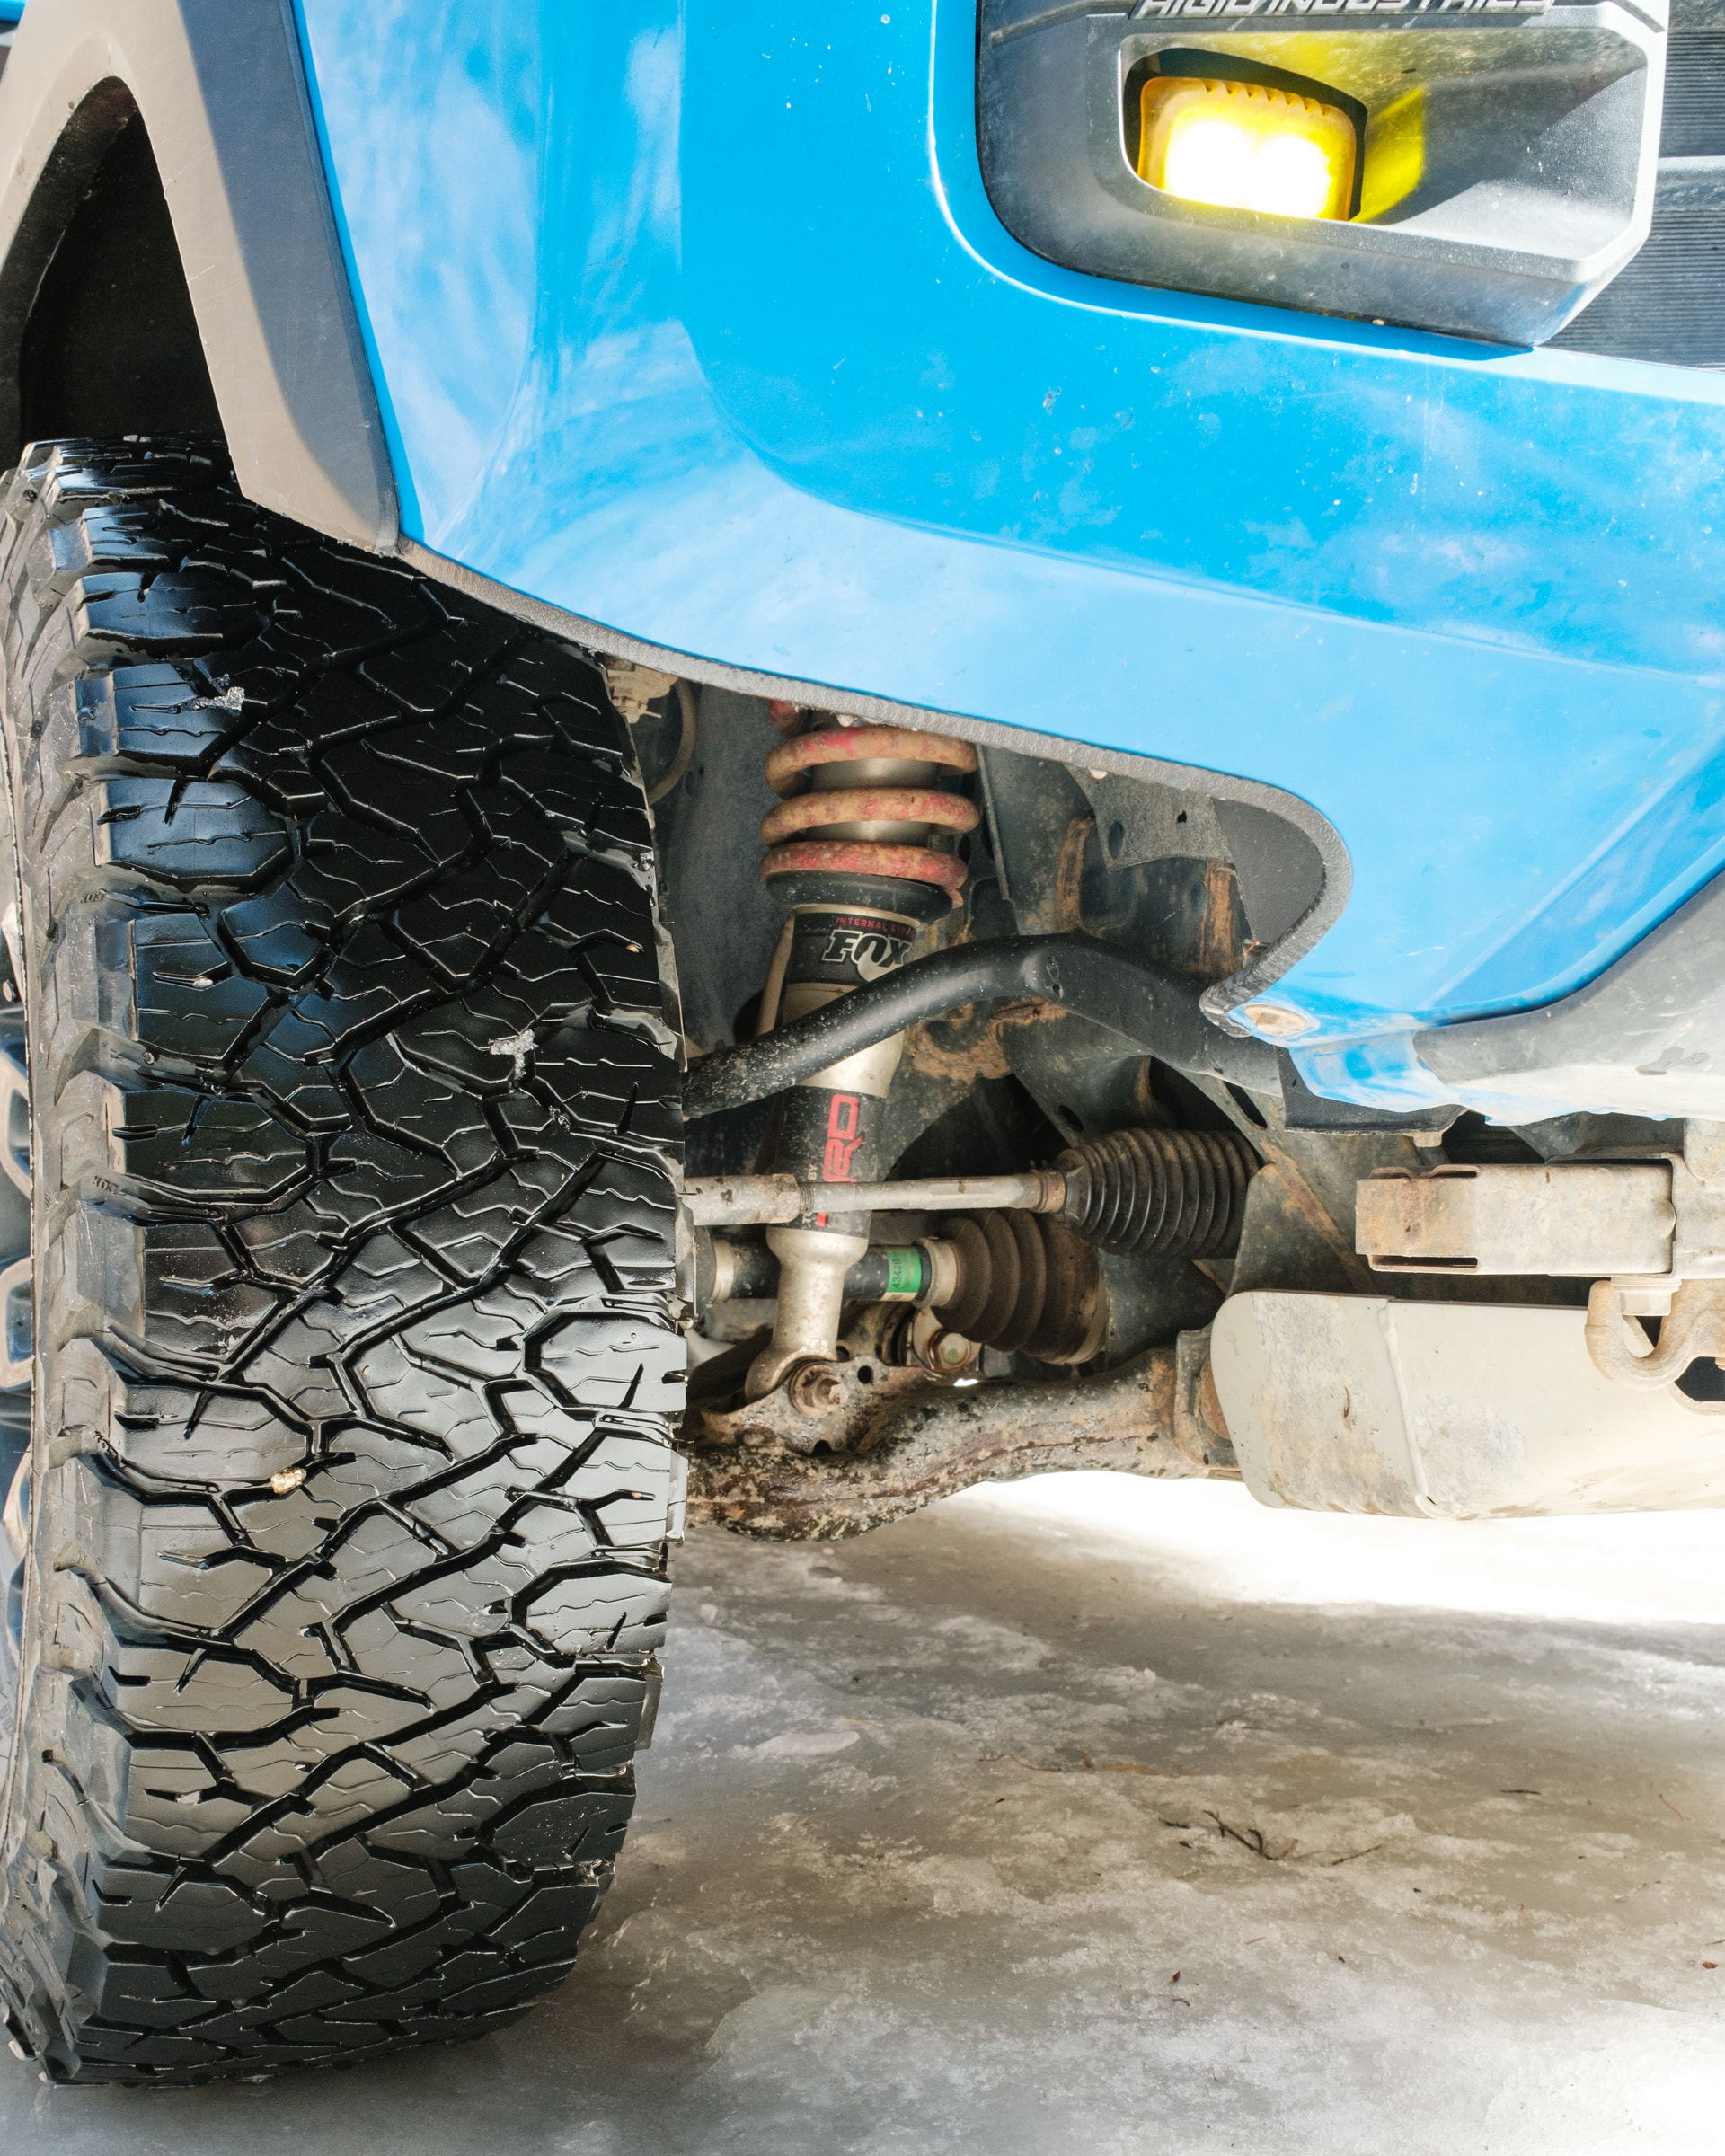
This install was pretty straightforward forward, and the truck definitely has a more aggressive look to it now with some slight tire poke. I still need to flex the truck on some trails to make sure they don’t rub on the fender liner, but for now, I’m happy with them.
So it turned out that the front wheel spacers added enough negative offset that it wound up rubbing the lower portion of the front bumper. This is something I had been looking to do, and this was the excuse to make the cut—definitely a daunting task. I wound up using a 2in hole saw with a centering drill bit for the radius and a multitool for the straight lines, with some Automotive Edge Trim to clean everything up. Eventually, I’d like to add a winch-capable bumper, but this will do for now.
Another recent addition to the truck is the Mountain Hatch Panel, which is a very easy install but one I’m very excited about, as I’m constantly crawling in through the tailgate. I did have to remove the ESI Tailgate Seal Kit in order for the tailgate to close fully. Another thing to add to the to-do list once it gets a bit warmer is to reseal that area.
While the tailgate was off, I went ahead and added a key fob activated remote lock. Another easy addition with many conveniences. This is a game changer, and the truck should’ve come with this from the factory.
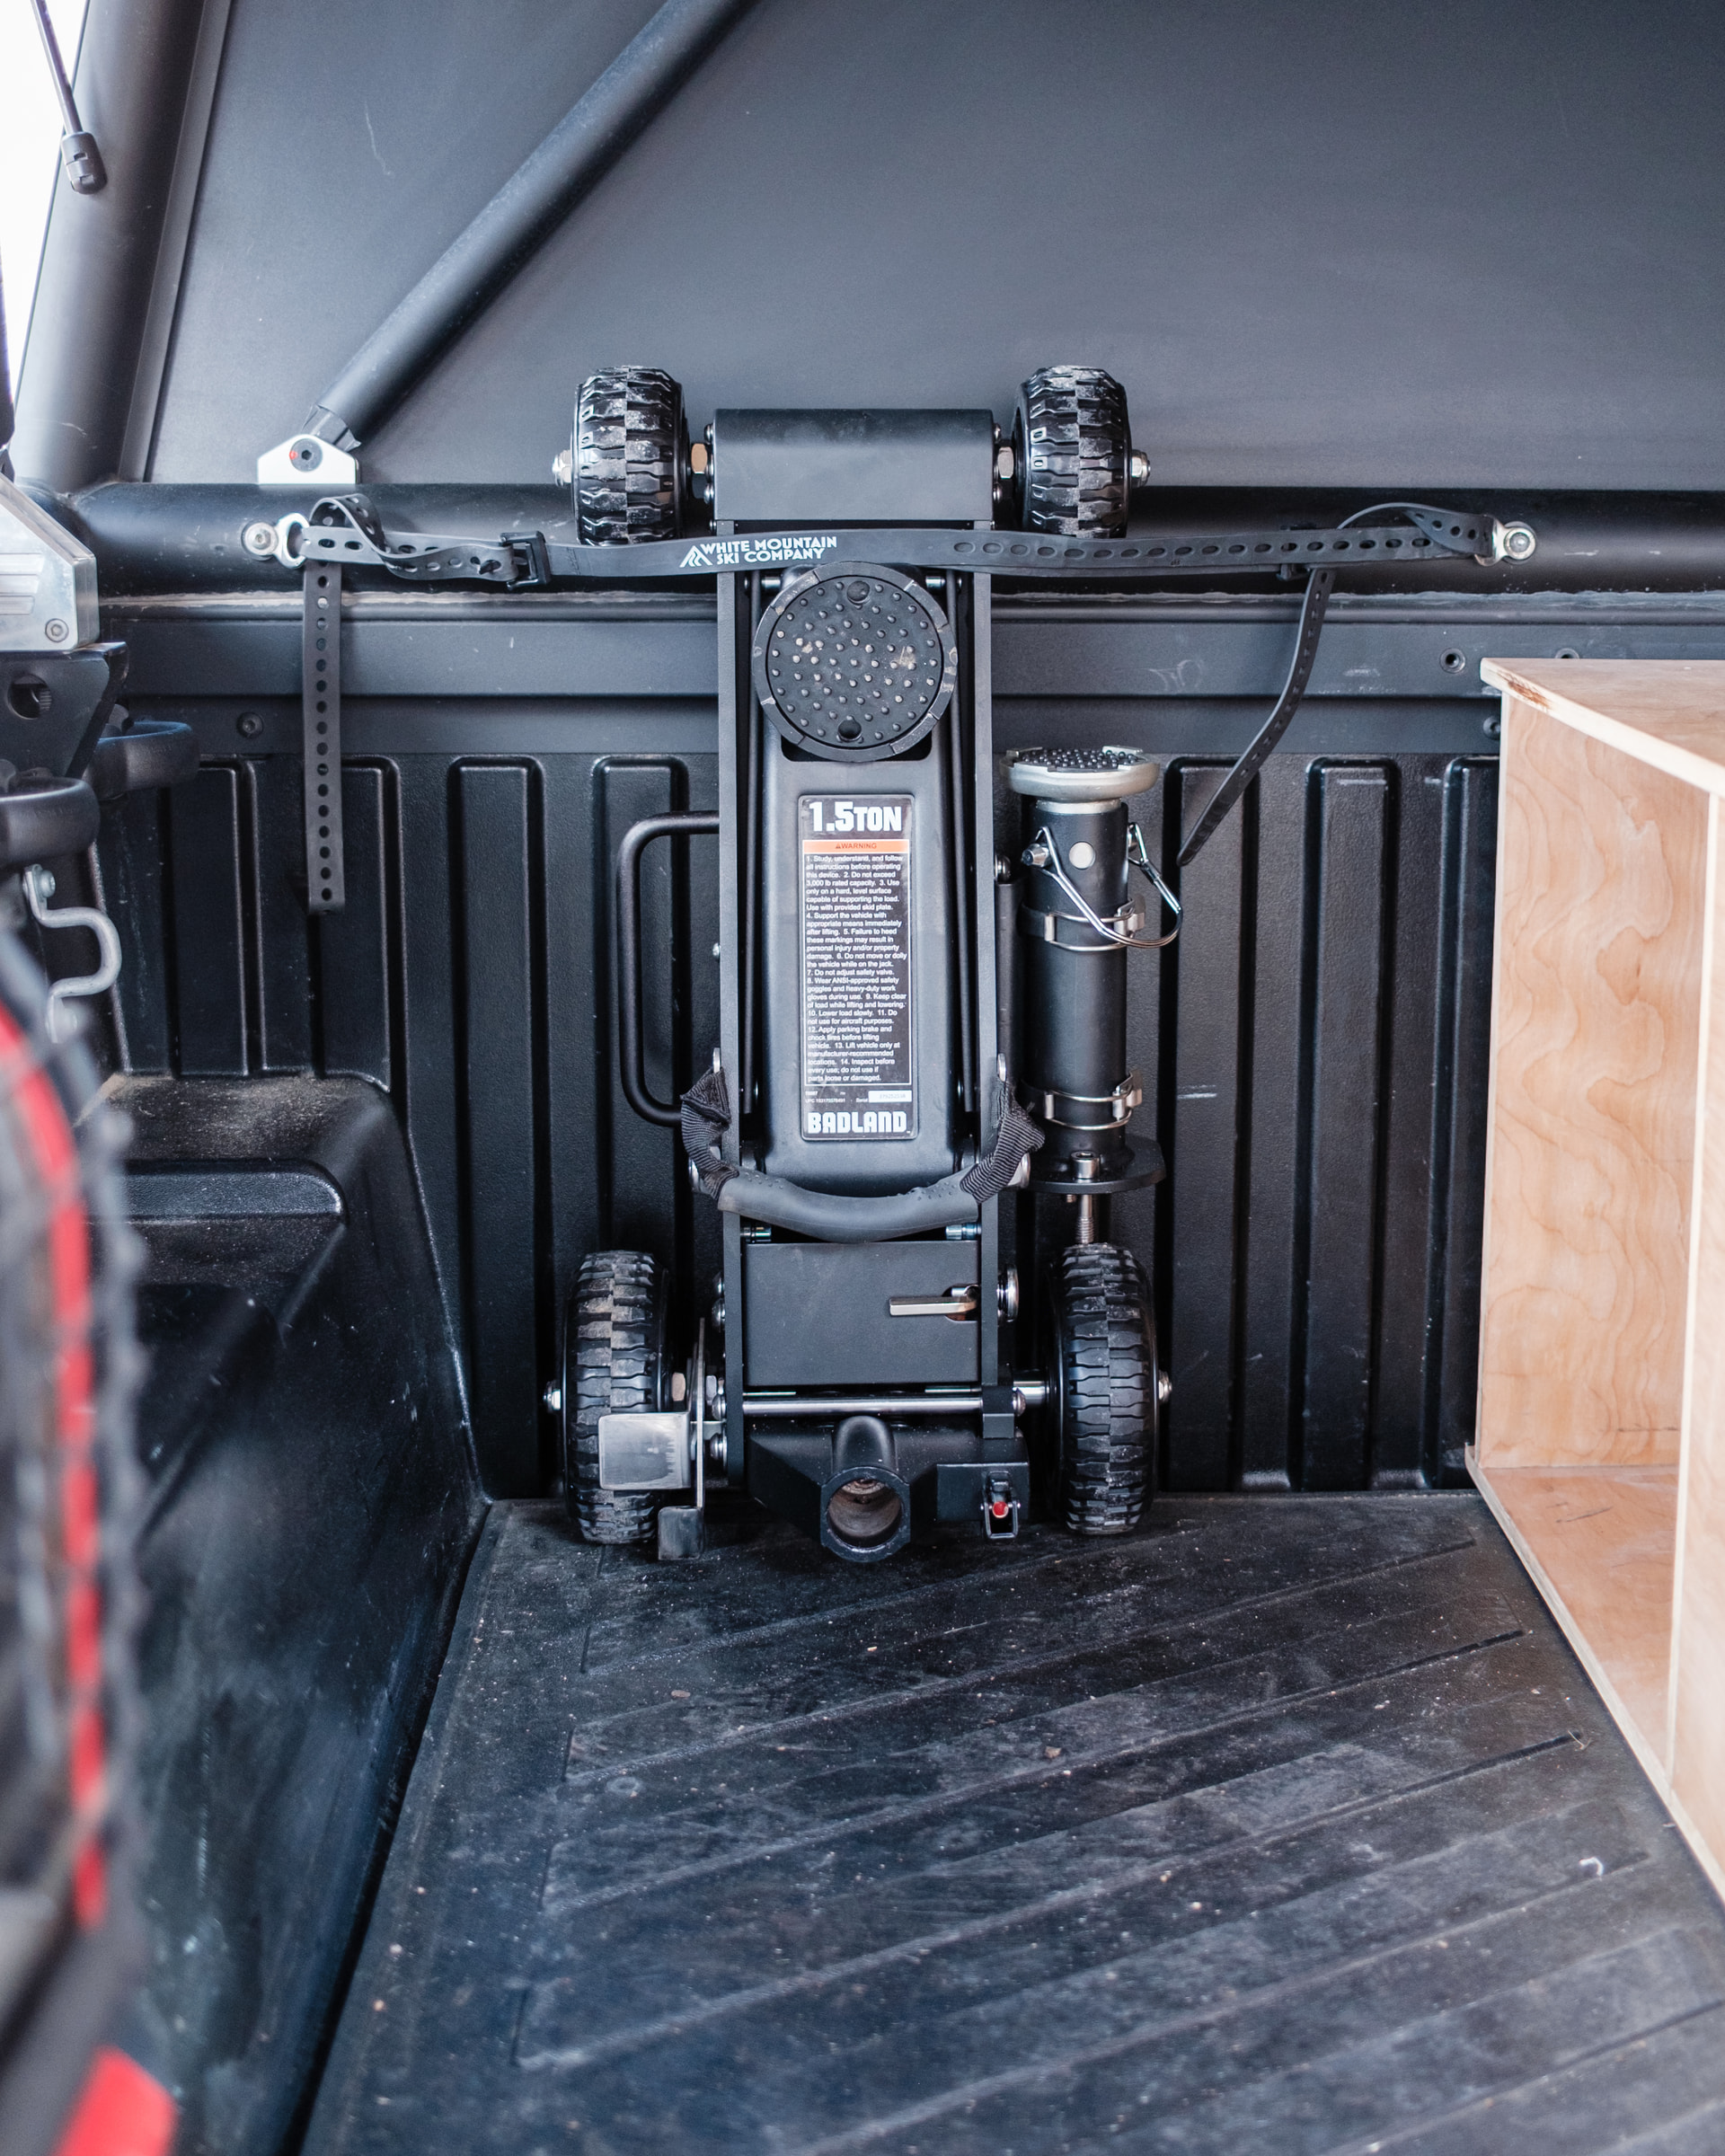
Lastly, I added an off-road jack to the rig for added confidence in case anything fails while on the trail. Plus, it’s nice to have on the side of the road, too. For now, a couple of ski straps hold it to the camper frame with some Canyon Dancer Tie Down Rings but I’d like to mount it more permenantly in the future.
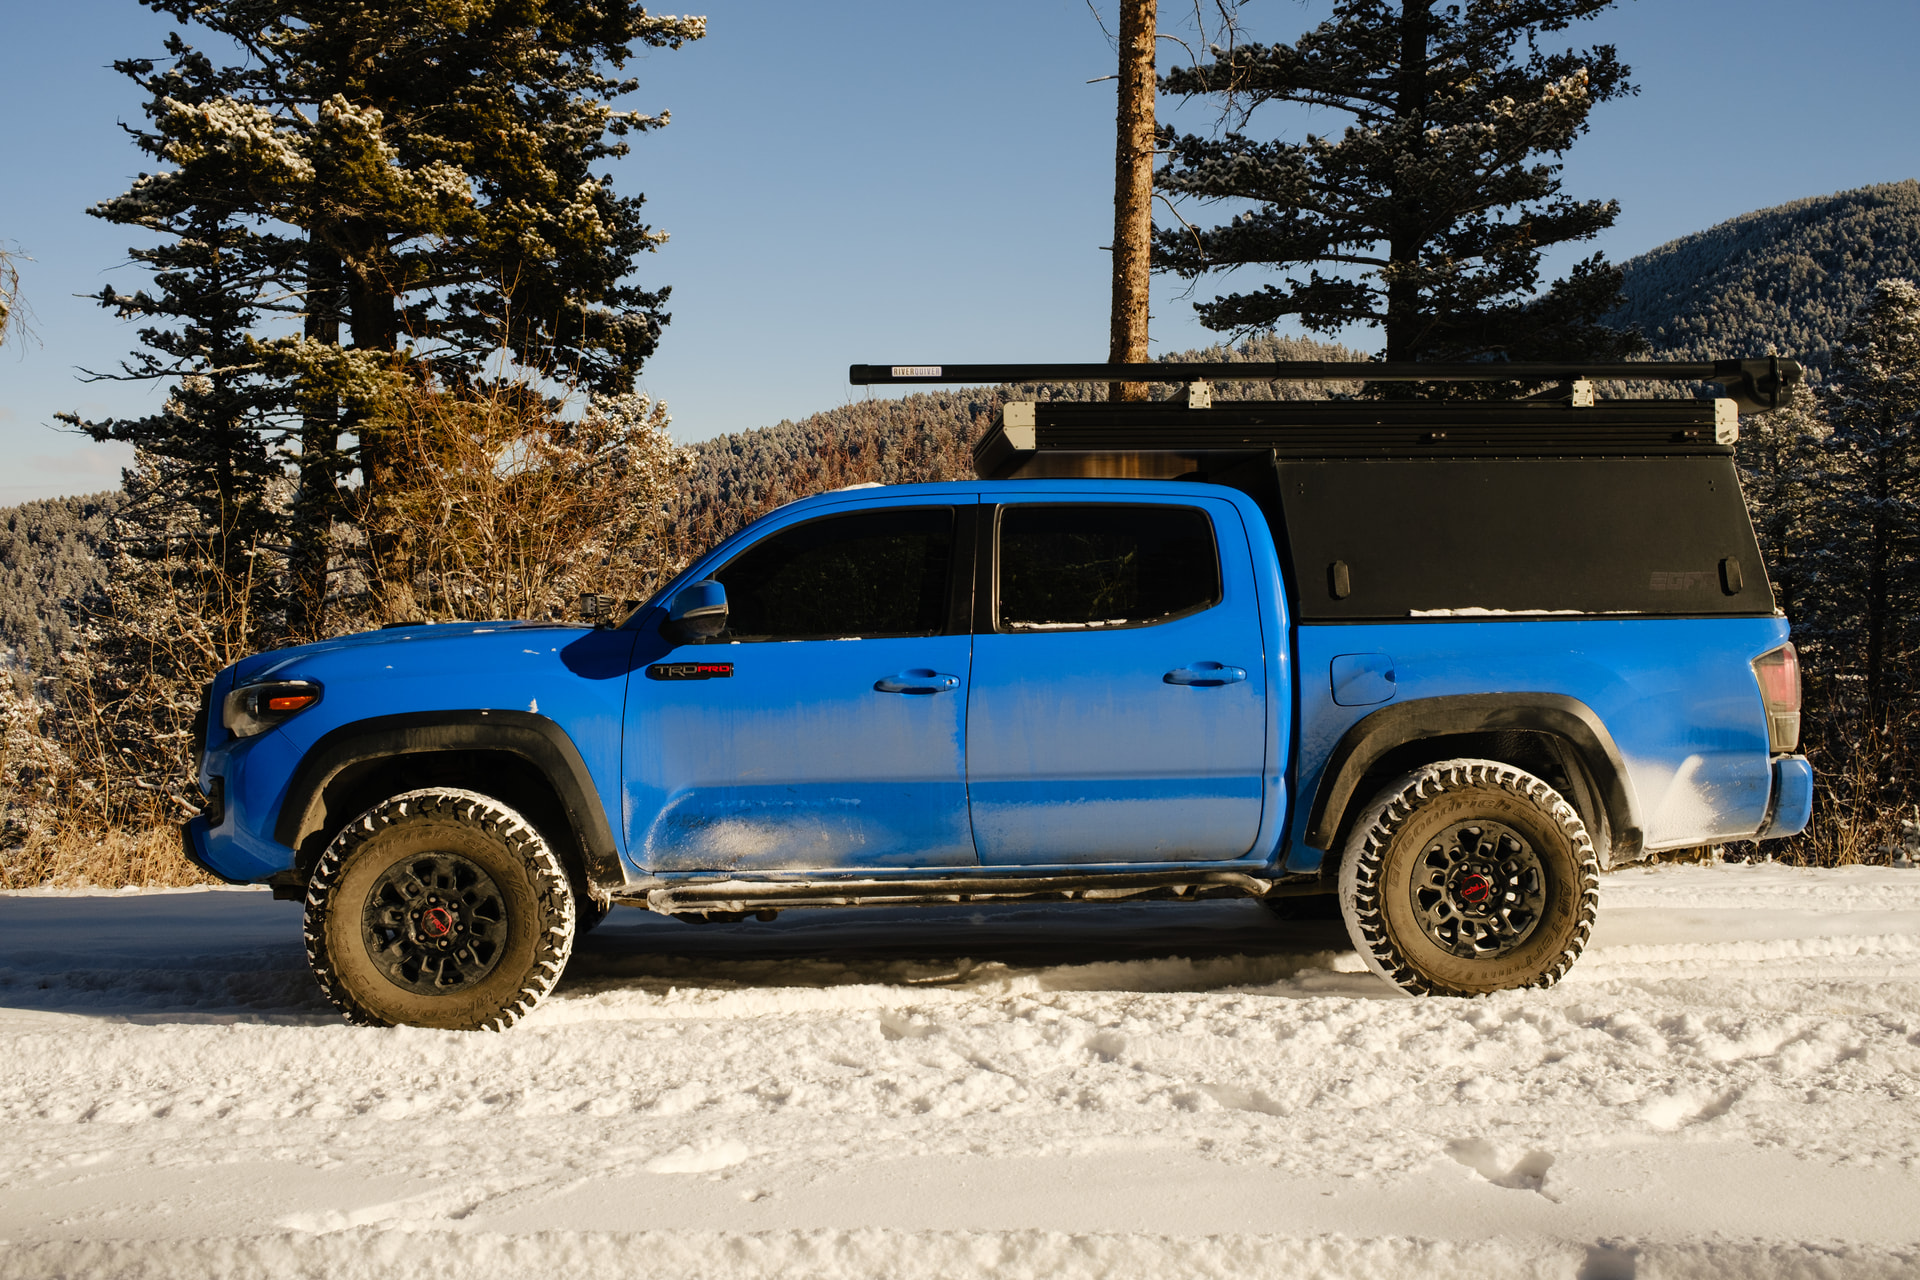
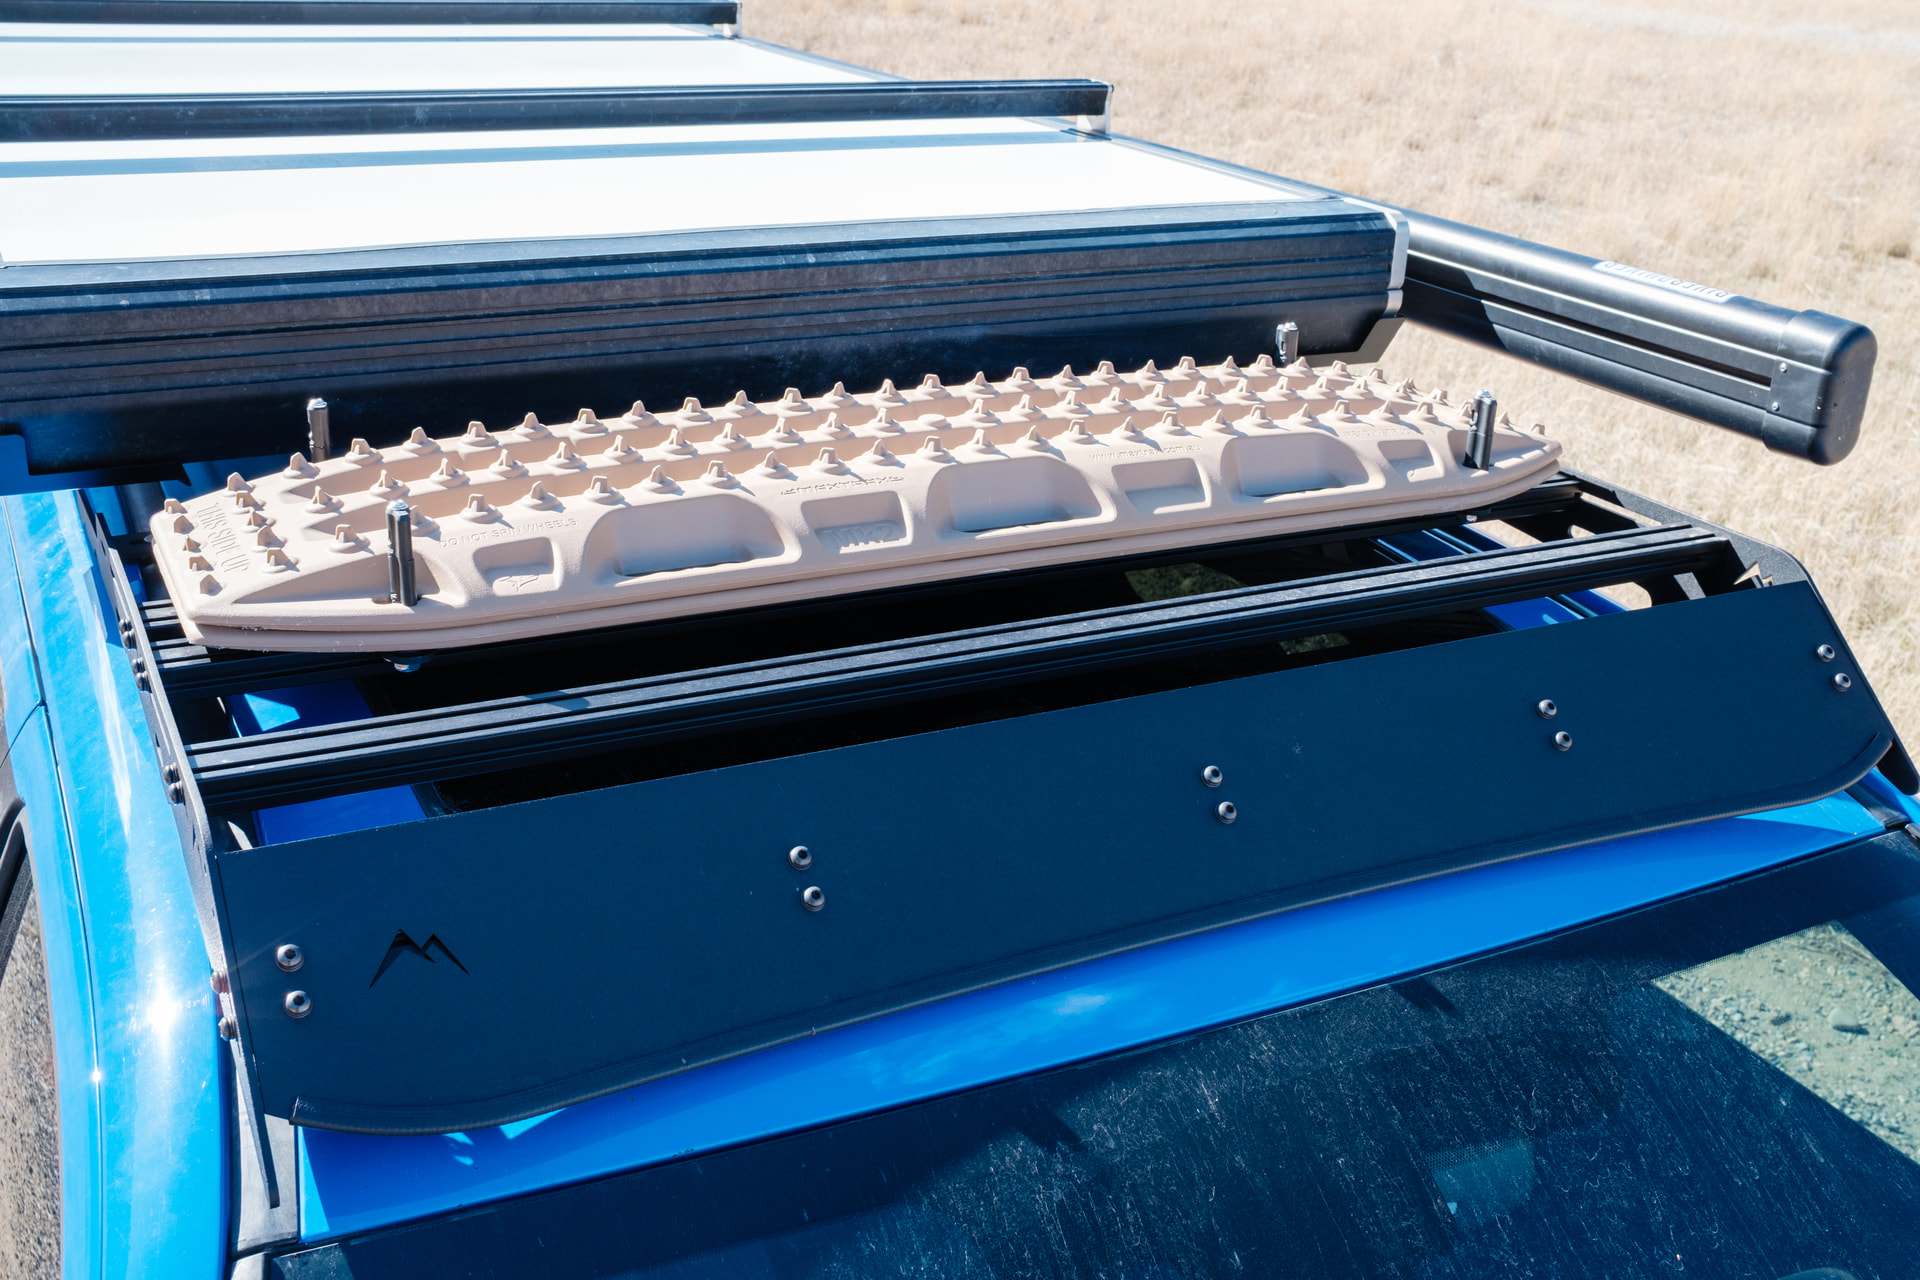
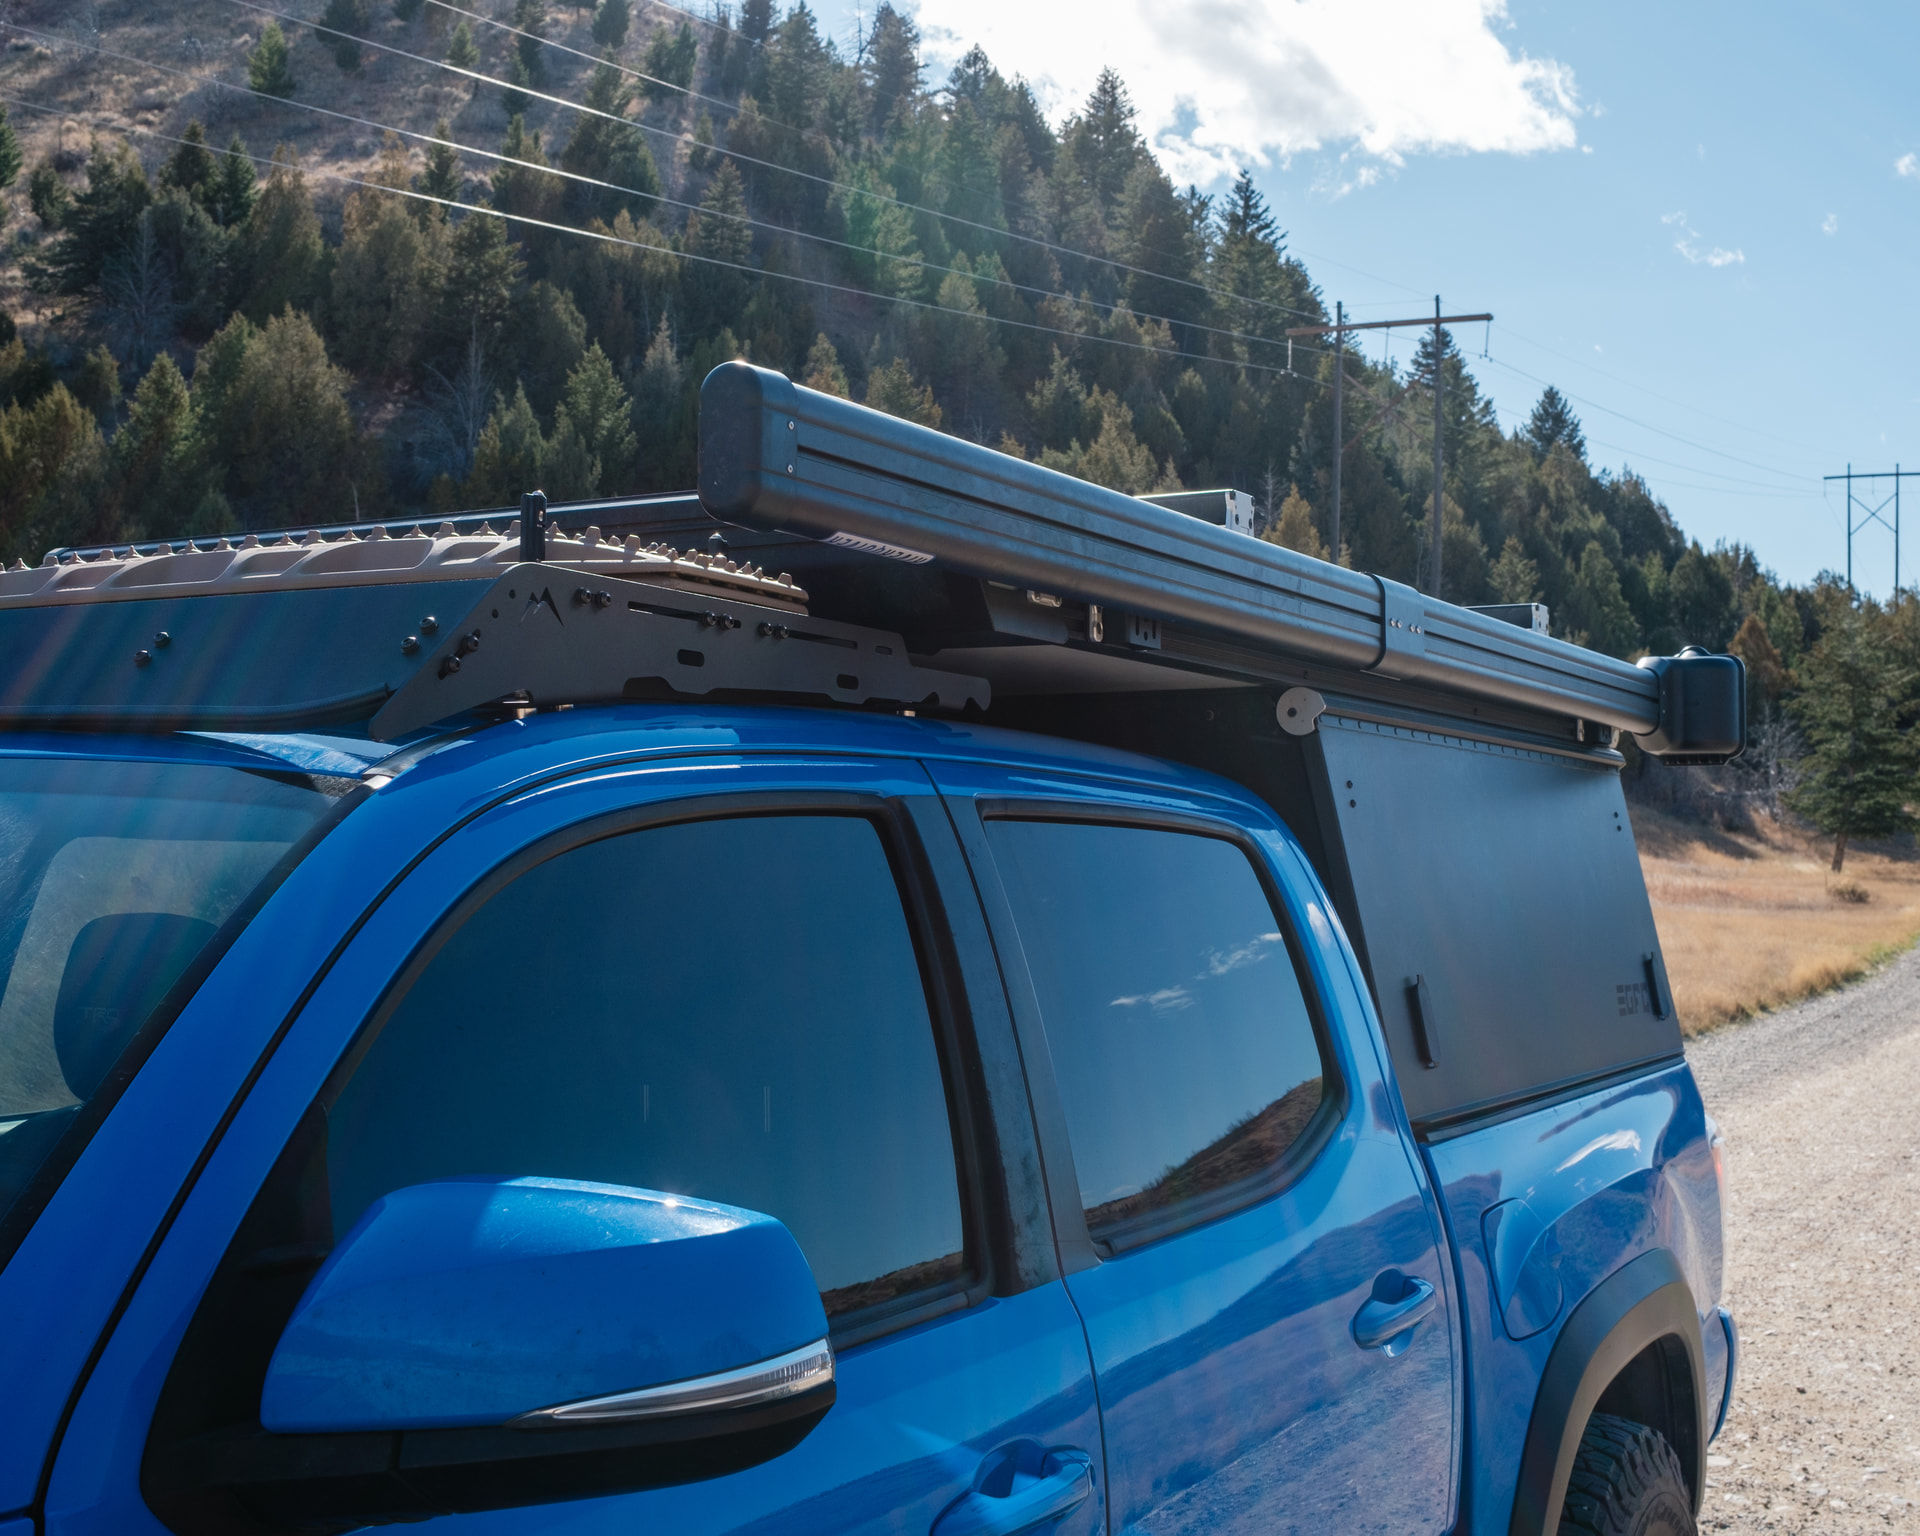
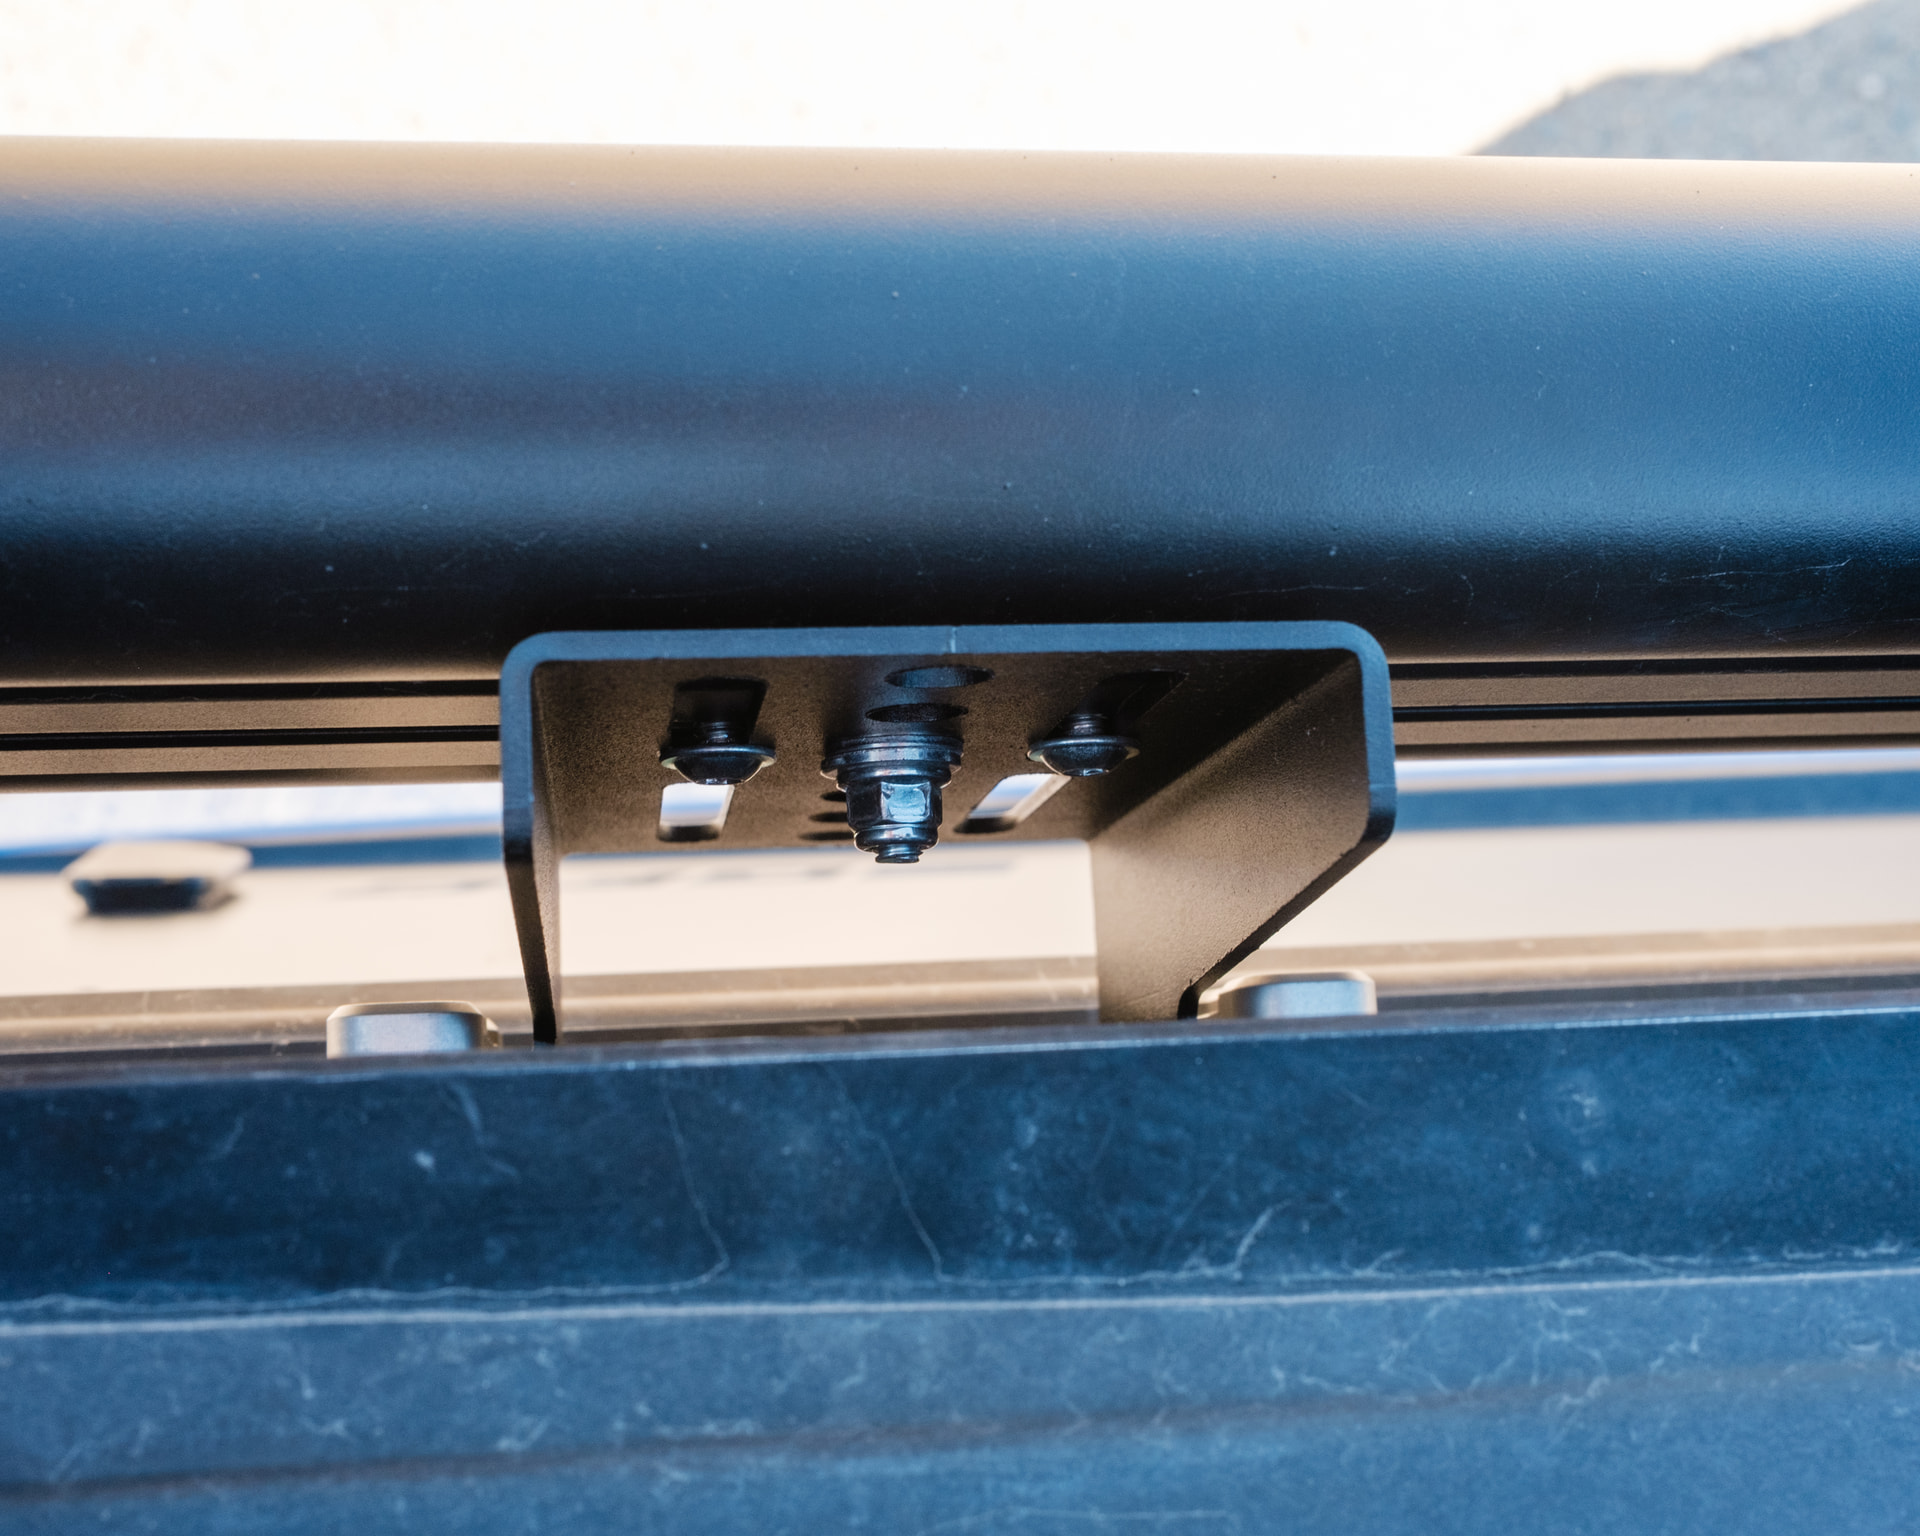
I finally opted to buy a roof rack for the rig and went with the Martin Off-Road Camper Rack and added some Traction Board Mounts from him as well. The install was pretty easy, besides lifting the rack into position. Definitely would have helped to have a second set of hands. Also, be sure to seal the bolt holes well on 3rd-gen Tacomas, as they open into the headliner. The goal with this was to lighten up the tent and free up some roof real estate for solar in the future.
With the addition of the camper rack, my fly rod vault would have to hang off the rear a couple of feet when the tent was open, so I decided to have a crack at mounting it with 2 GFC Universal Mounting Brackets. I spoke with the folks at Riversmith, who assured me that their T-Studs used with the OEM mounts would be strong enough to mount sideways, but I also used the additional studs/hardware from their low-profile mounts for extra support. Having access to the rods while the tent is open will also be a huge benefit.
I figured that before I mounted the rod rack, I should finally get around to grabbing some drip rails, as I’ve been wanting to eliminate water leaking into my back seats whenever it’s raining or snow is melting off the roof.
After seeing @DirtTrailsWanted new bed build, I knew I wanted to steal their divider idea for my rig. I decided to use stainless steel rods for the connectors to prevent rust, but I would recommend using the same materials they did. The stainless steel was a pain to bend.