Alright, have been doing some small projects here and there since I got the camper. Since we always have someone sleeping in the bottom of the camper, it’s nice to give them a little insulation when it’s cold and a little built in padding. Also, when we are hunting and the downstairs is just a changing and hanging out area, it’s nice to have something a little easier on sock feet and insulated as well when cold.
I had a scrap roll of carpet from building our house and I bought some cheap work out interlocking mats from Amazon.
Because of the size of our family (5), I need to always create one more “spot” to sleep for our youngest. I went ahead and mimic’d what I’ve done in the past. Our son can fit sideways still likely for a couple more years, so that should work for a while still. Once he’s bigger, I’ll have to get more creative…
It also works the best in this location when driving. The front window is always where our old dog has liked being and being able to see both forward and back seems to ease some of her anxiety as well when travelling. That rubbed off on our other dog too so they both like to have their perch up at the front of the bed.
Finally, this location is always where we set up the stove and “kitchen” when we are hunting and we aren’t cooking outside due to elements, temperature…etc.
I took a panel I had from another camper and cut it down and modified it to fit between the bed rails. I mounted a ledger angle along the front of the truck bed and two smaller ones along the sides to support it. Notched around the camper mounts, and we are in business.
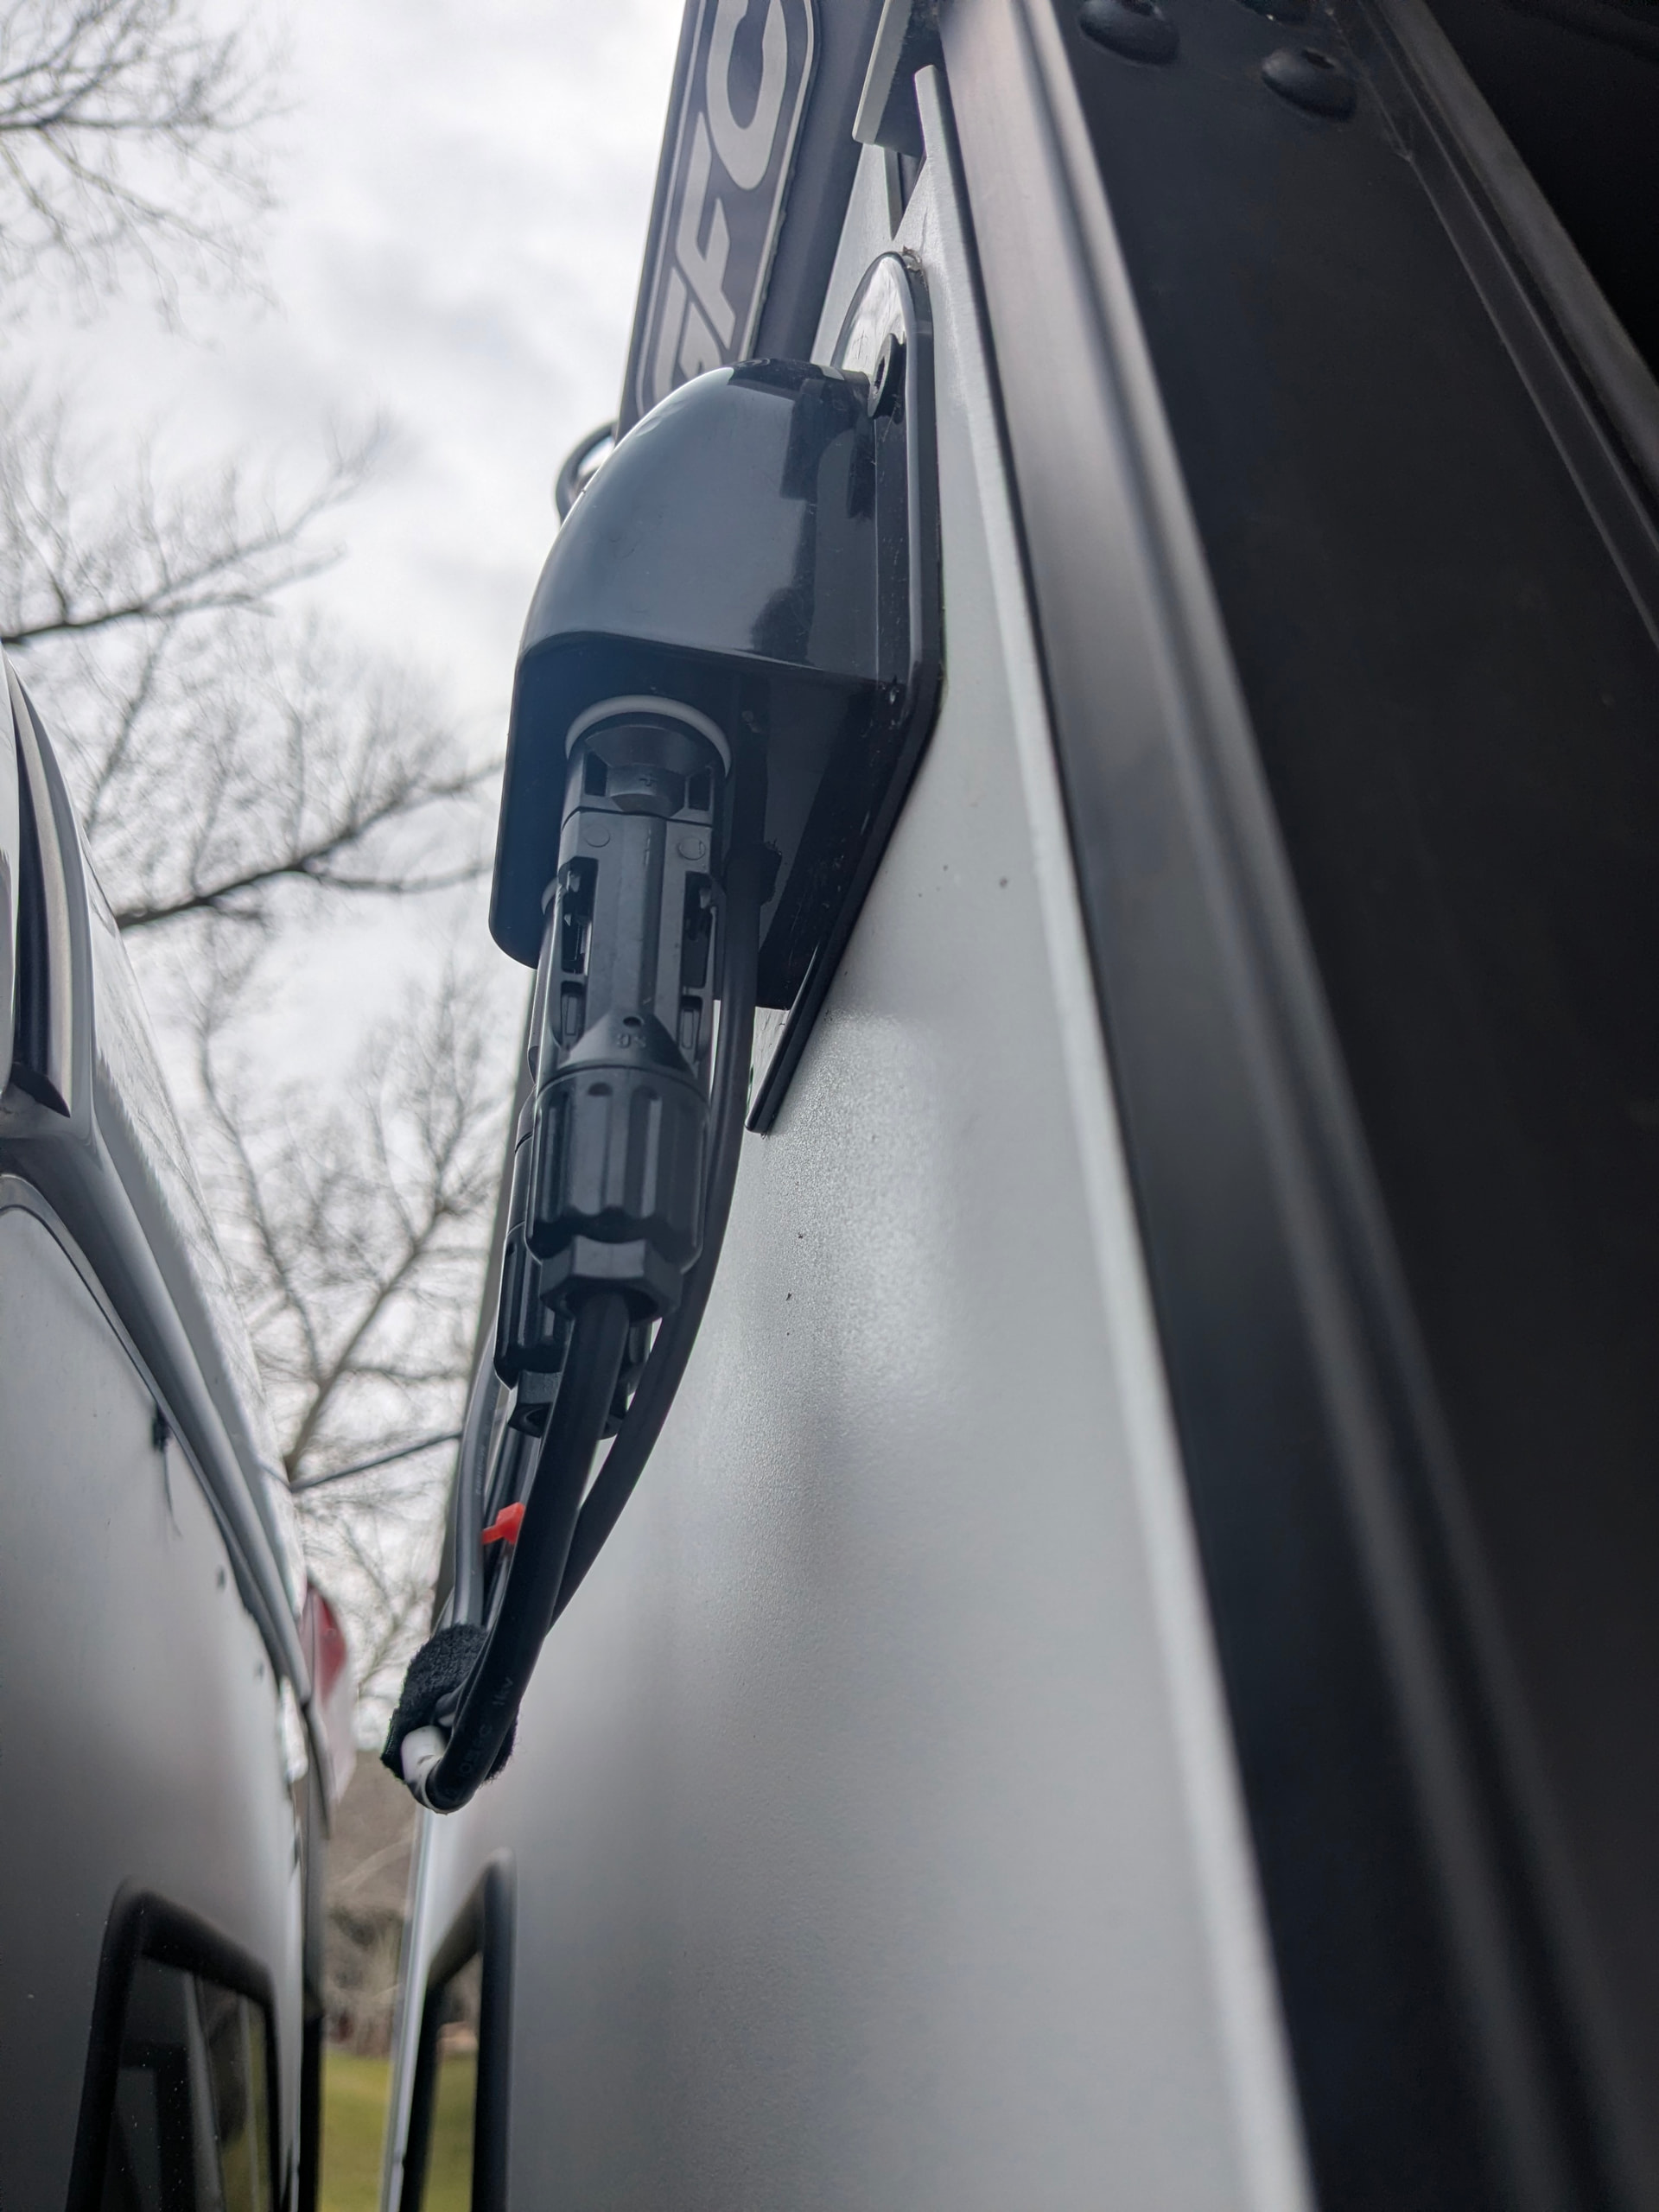
I got two solar panels with the camper that hadn’t been mounted, so mounted it to the beef bars. I used some aluminum angle to help support them. I bought some connectors, wire, and an entrance port to the camper. I left the wires long since I’m not sure on where exactly I’m going to finally mount our house battery.
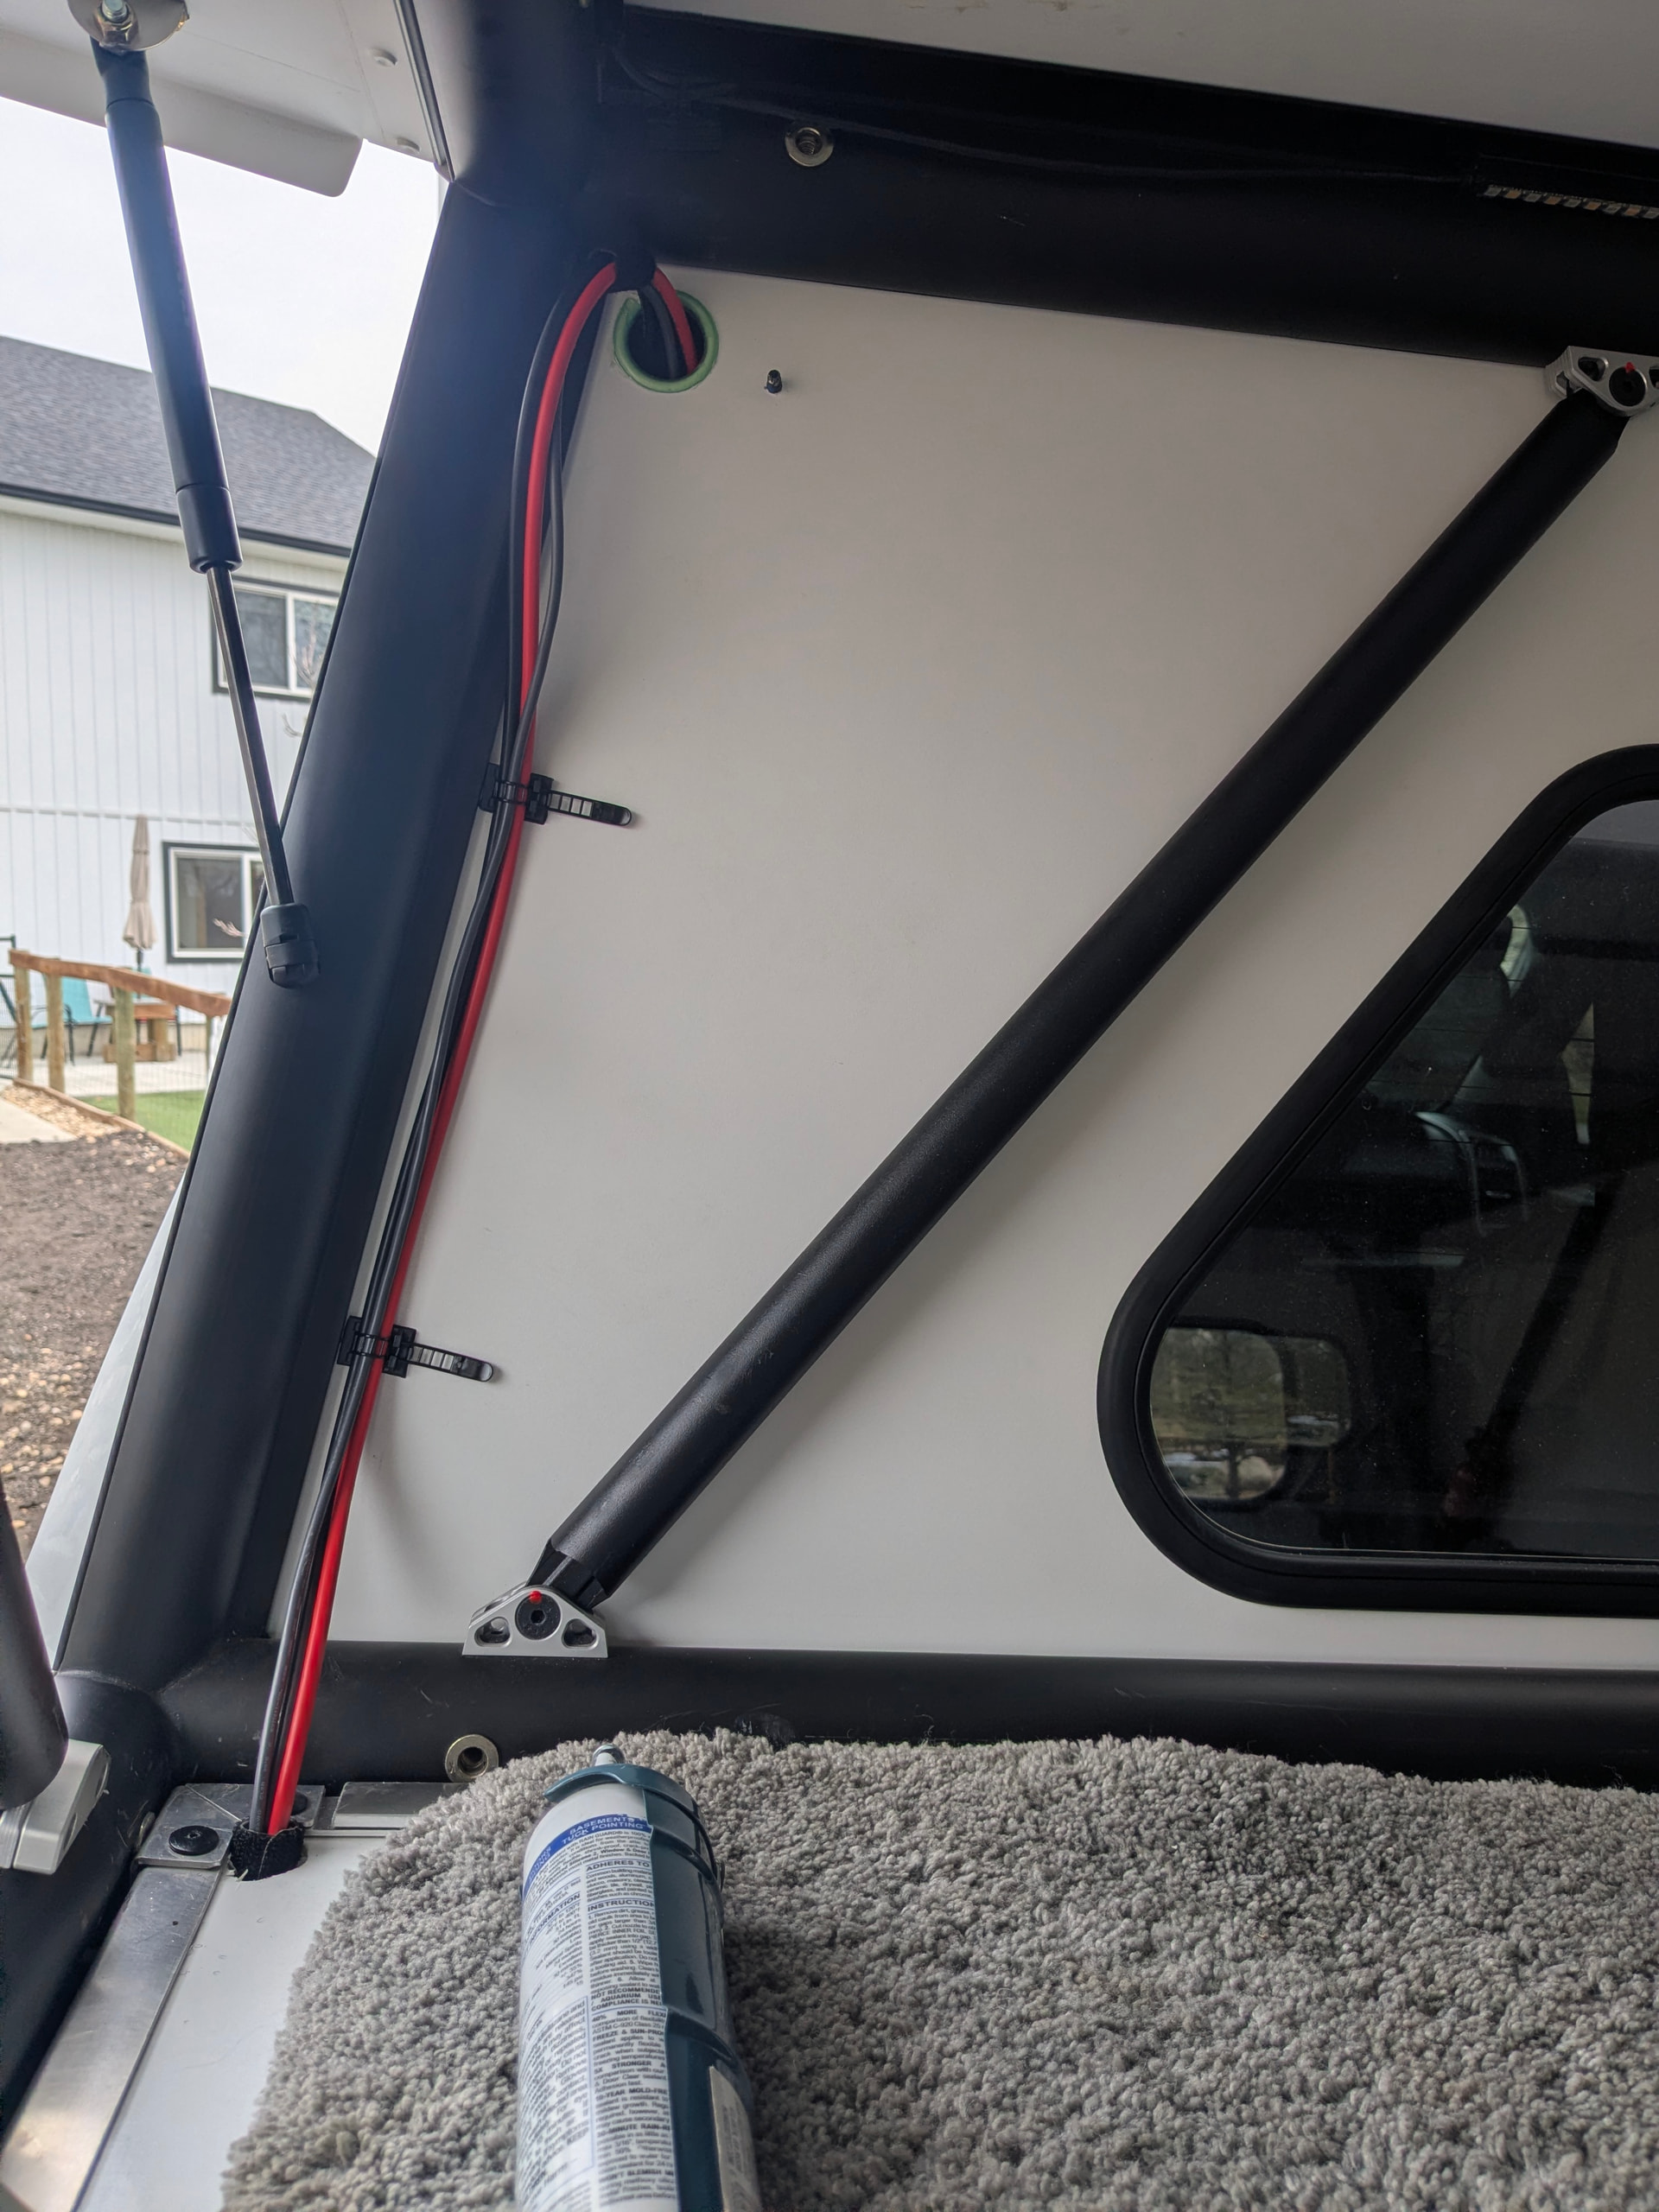
I went ahead and put the entrance on the bulkhead since that won’t ever move, cleaned up the wires, and punched the hole to enter the camper. I ran a gasket around the hole just to avoid the wires ever rubbing and penetrating the insulation.
Tested voltage and continuity and looks like things were right the first time and didn’t have to diagnose where I went wrong. We have 220 watts of solar, which is more than enough for what I will ever need for now at least.
I really wish I had some thin flat panels like a lot of people here, but the panels came with the camper, so I can’t see spending money to buy some when I have some already. Can’t beat "free".
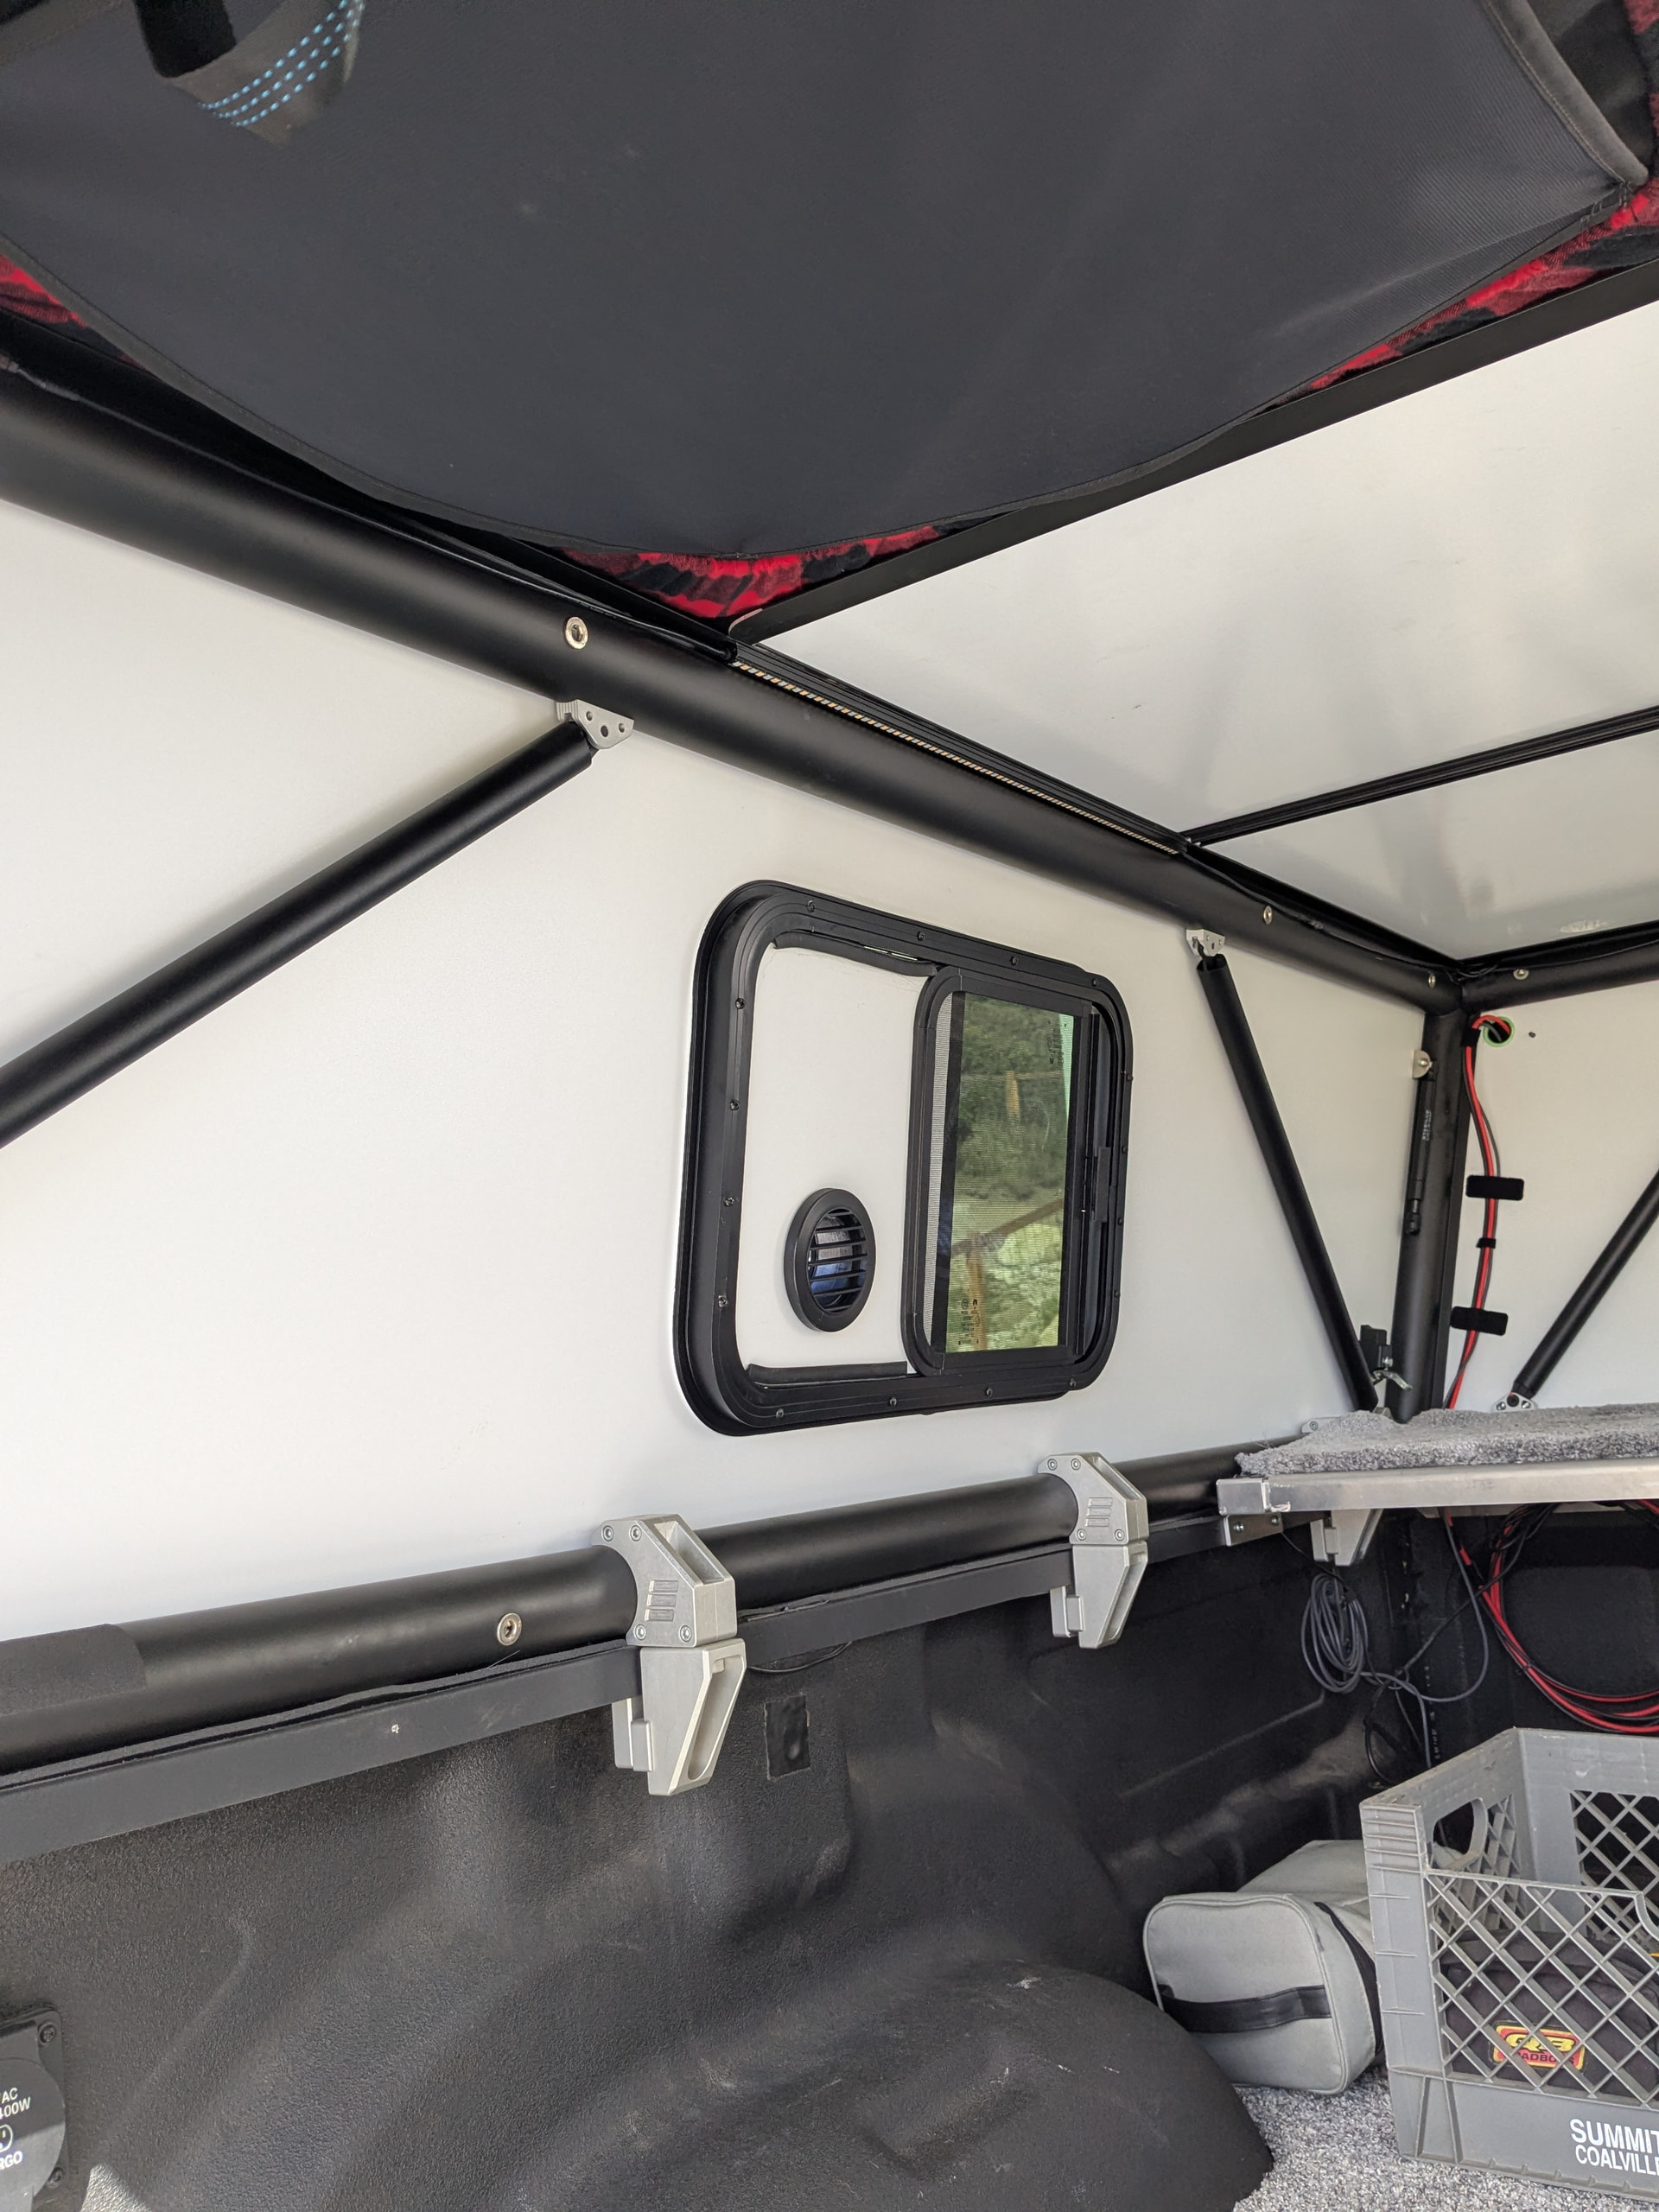
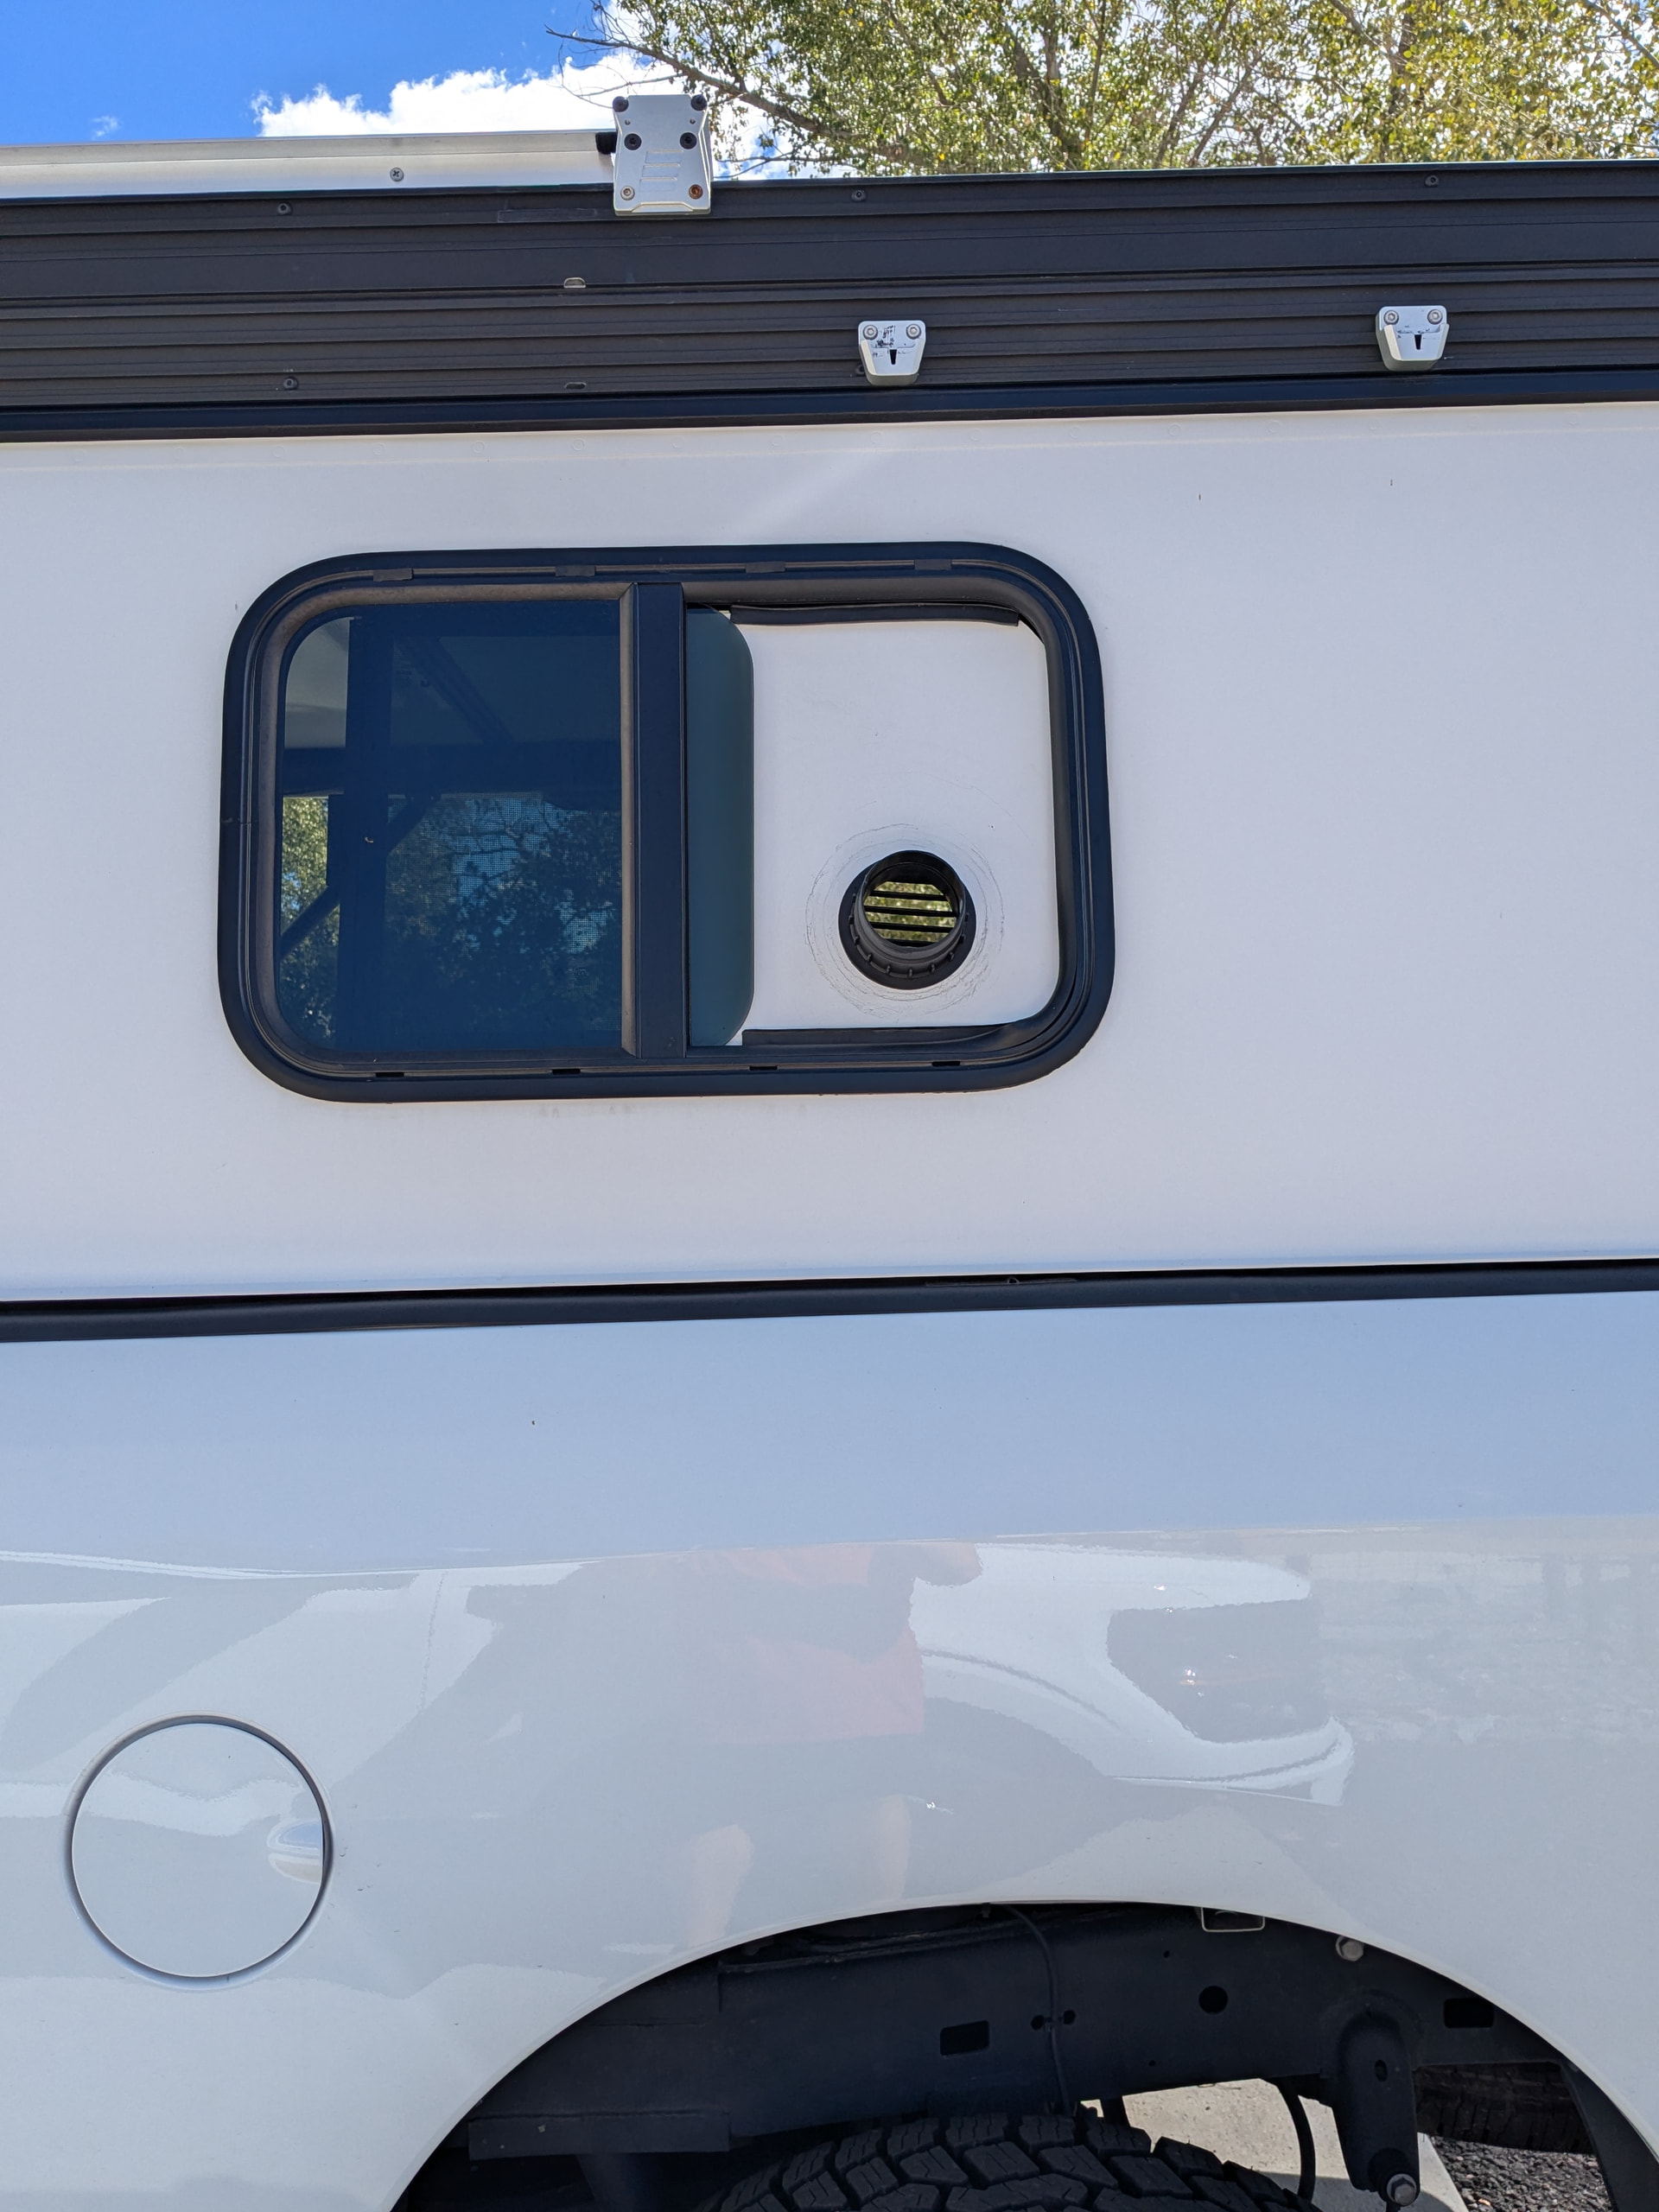
I needed to get some more airflow into the GFC while driving and when camping. Driving for the dogs and camping for whoever is downstairs.
I considered the positive vent style horse trailer vents like a lot of people have done on here, but needed something that could create more airflow especially when stationary. I also like to be able to see out the sides if I end up keeping the lid down when hunting.
I bought some RV windows off Amazon and went to work. I have done windows on both the Flippac and Harker in the past. The Flippac was tough because the sides were partially curved and tough to cut it the right size and the Harker was tough because I had to hold the window myself and trace it myself to get the hole right. The windows I bought came with a cardboard template which was a game changer.
I opted for center of the opening between the cross bracing. It put it fairly in the middle of the outside too.
I used a Dremel tool to get the corners and then used an oscillating tool with a carbide blade for the rest. I have used a jigsaw in the past, but found that as I cut, the shavings would get caught under saw and scratch the finish. I could have taped it all up, but this approach worked really well.
All in all, super happy with it. I put one on each side to get some cross breeze going. It also really opens up the feel when down stairs, which the kids love too so they can see out and still be buttoned up which will be nice when winter camping and we have a heater going.
Thanks! Hoping to get out in the coming weeks to try them out. I’m pretty happy with them. I might need some upgrade door lifts, but want to try them out first.
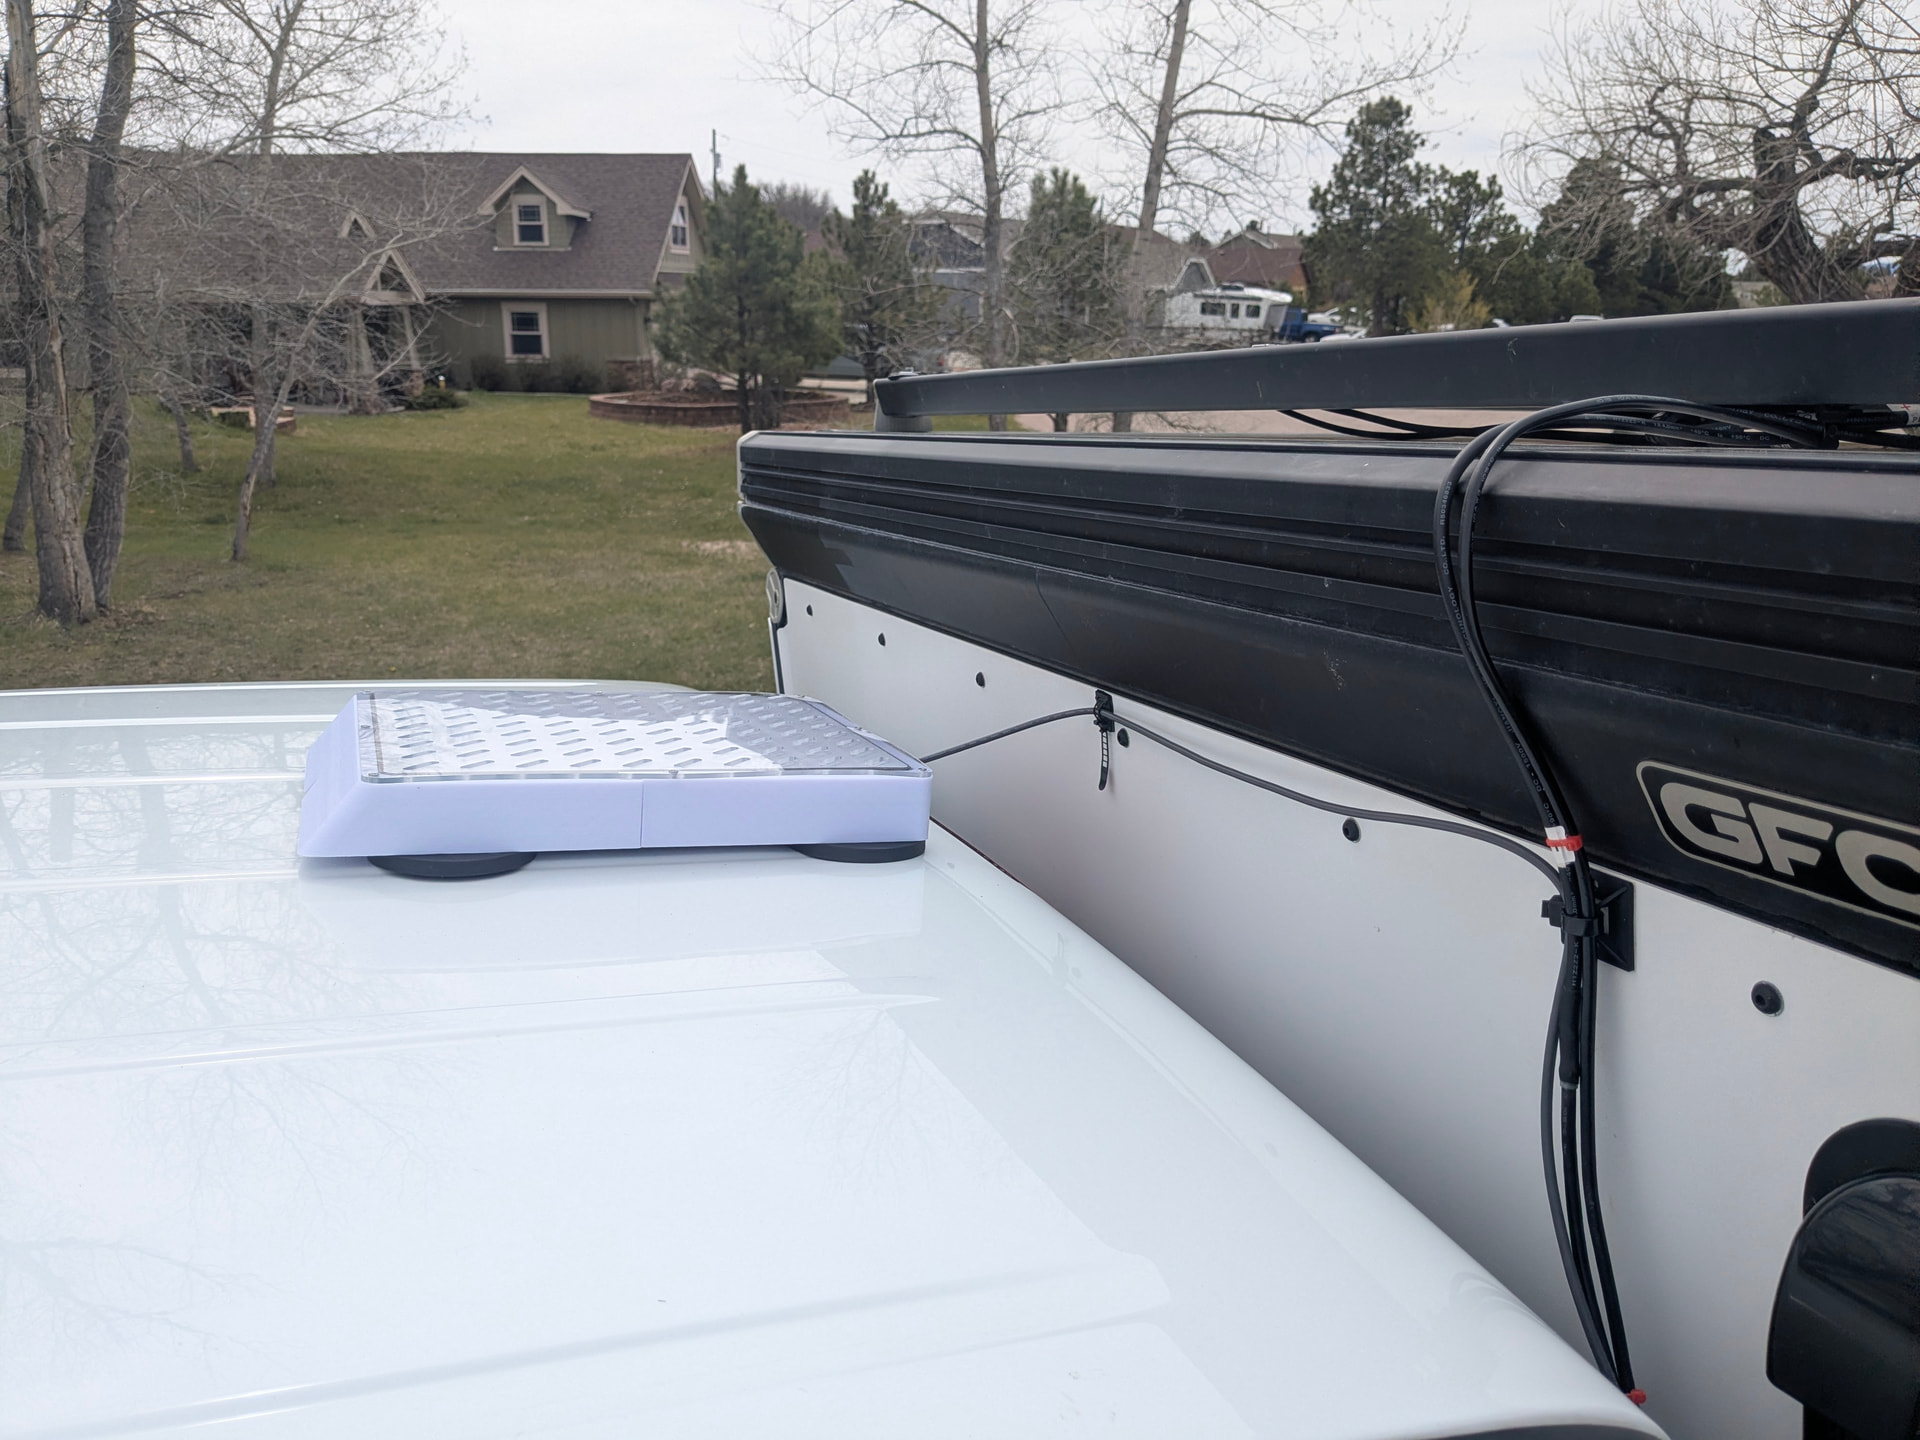
After some back and forth on what I thought might work or not with my Starlink, I decided I really wanted to have service while driving, so went with a magnetic mount on the roof of my RAM and then routed the wiring through the solar entry. (Thanks for the insight on ideas everyone out there!) There was enough roof to get my Dremel in there and get an opening to pass the 12V cable in and routed to the battery.
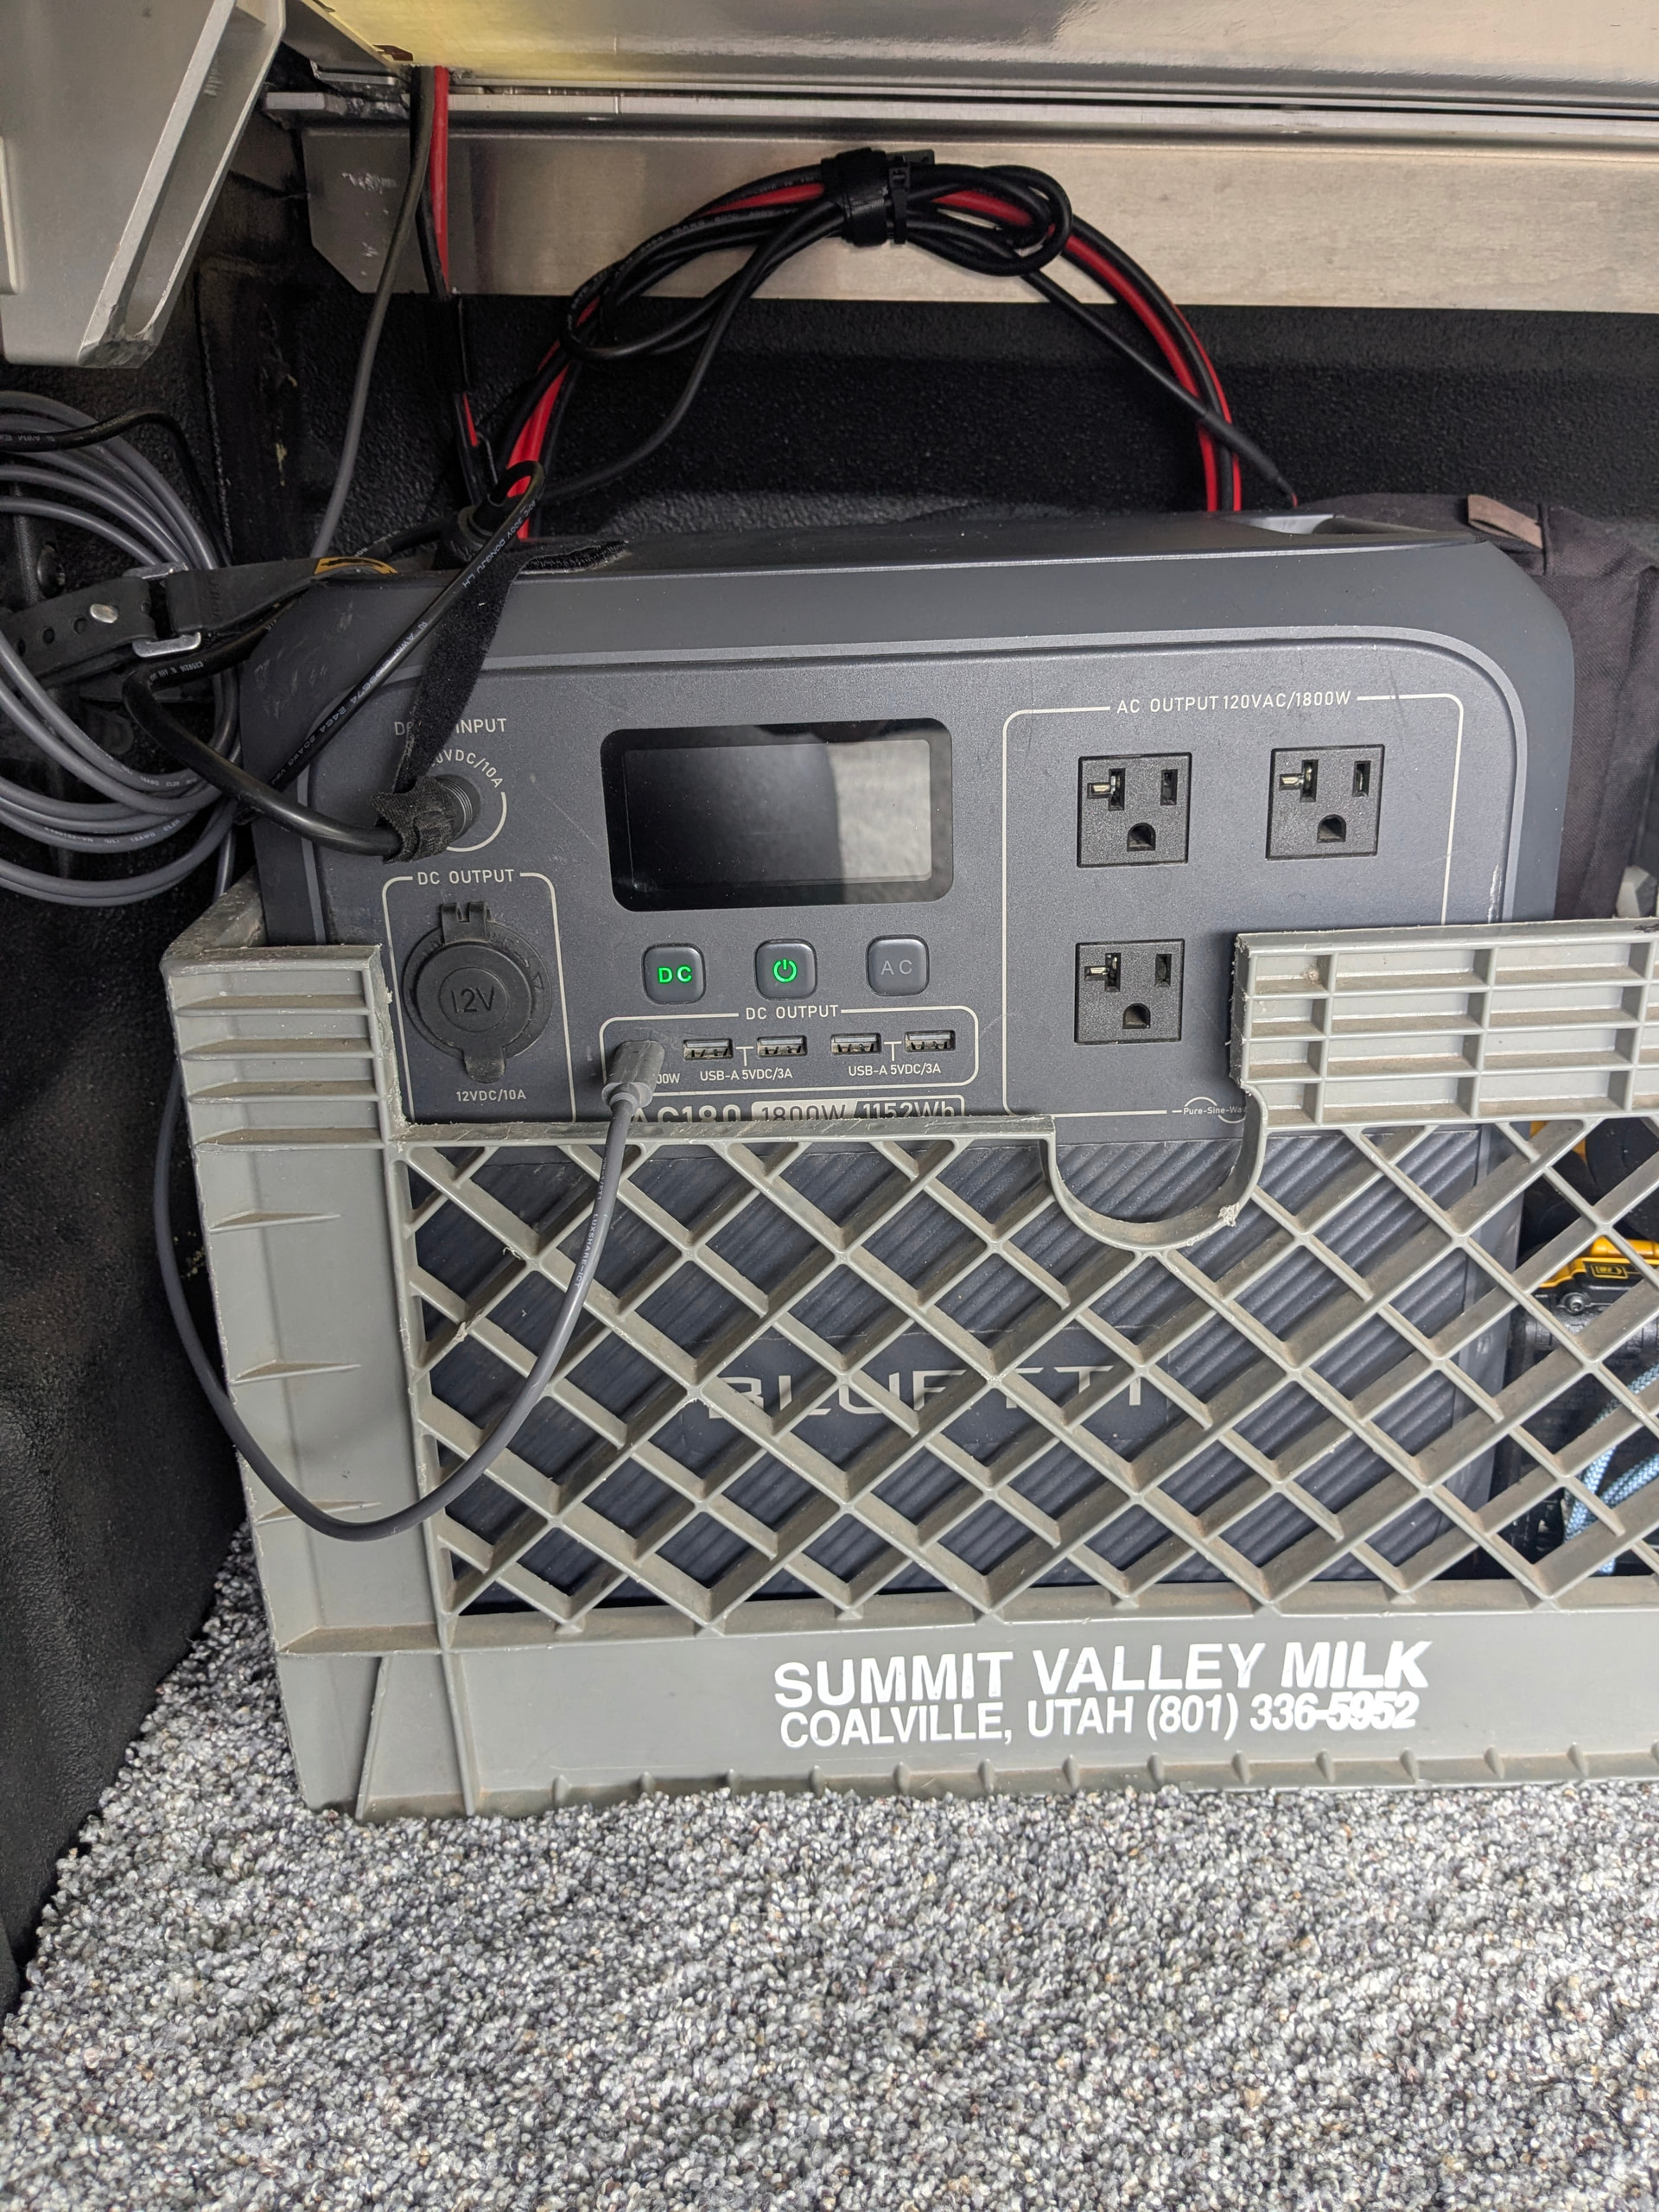
I need to come up with a better way to consolidate and organize my cabling maybe a cabinet system some day, but not sure how it will best work for sleeping and hunting so want to get through a year first. So the vintage milk carrier will work for now.
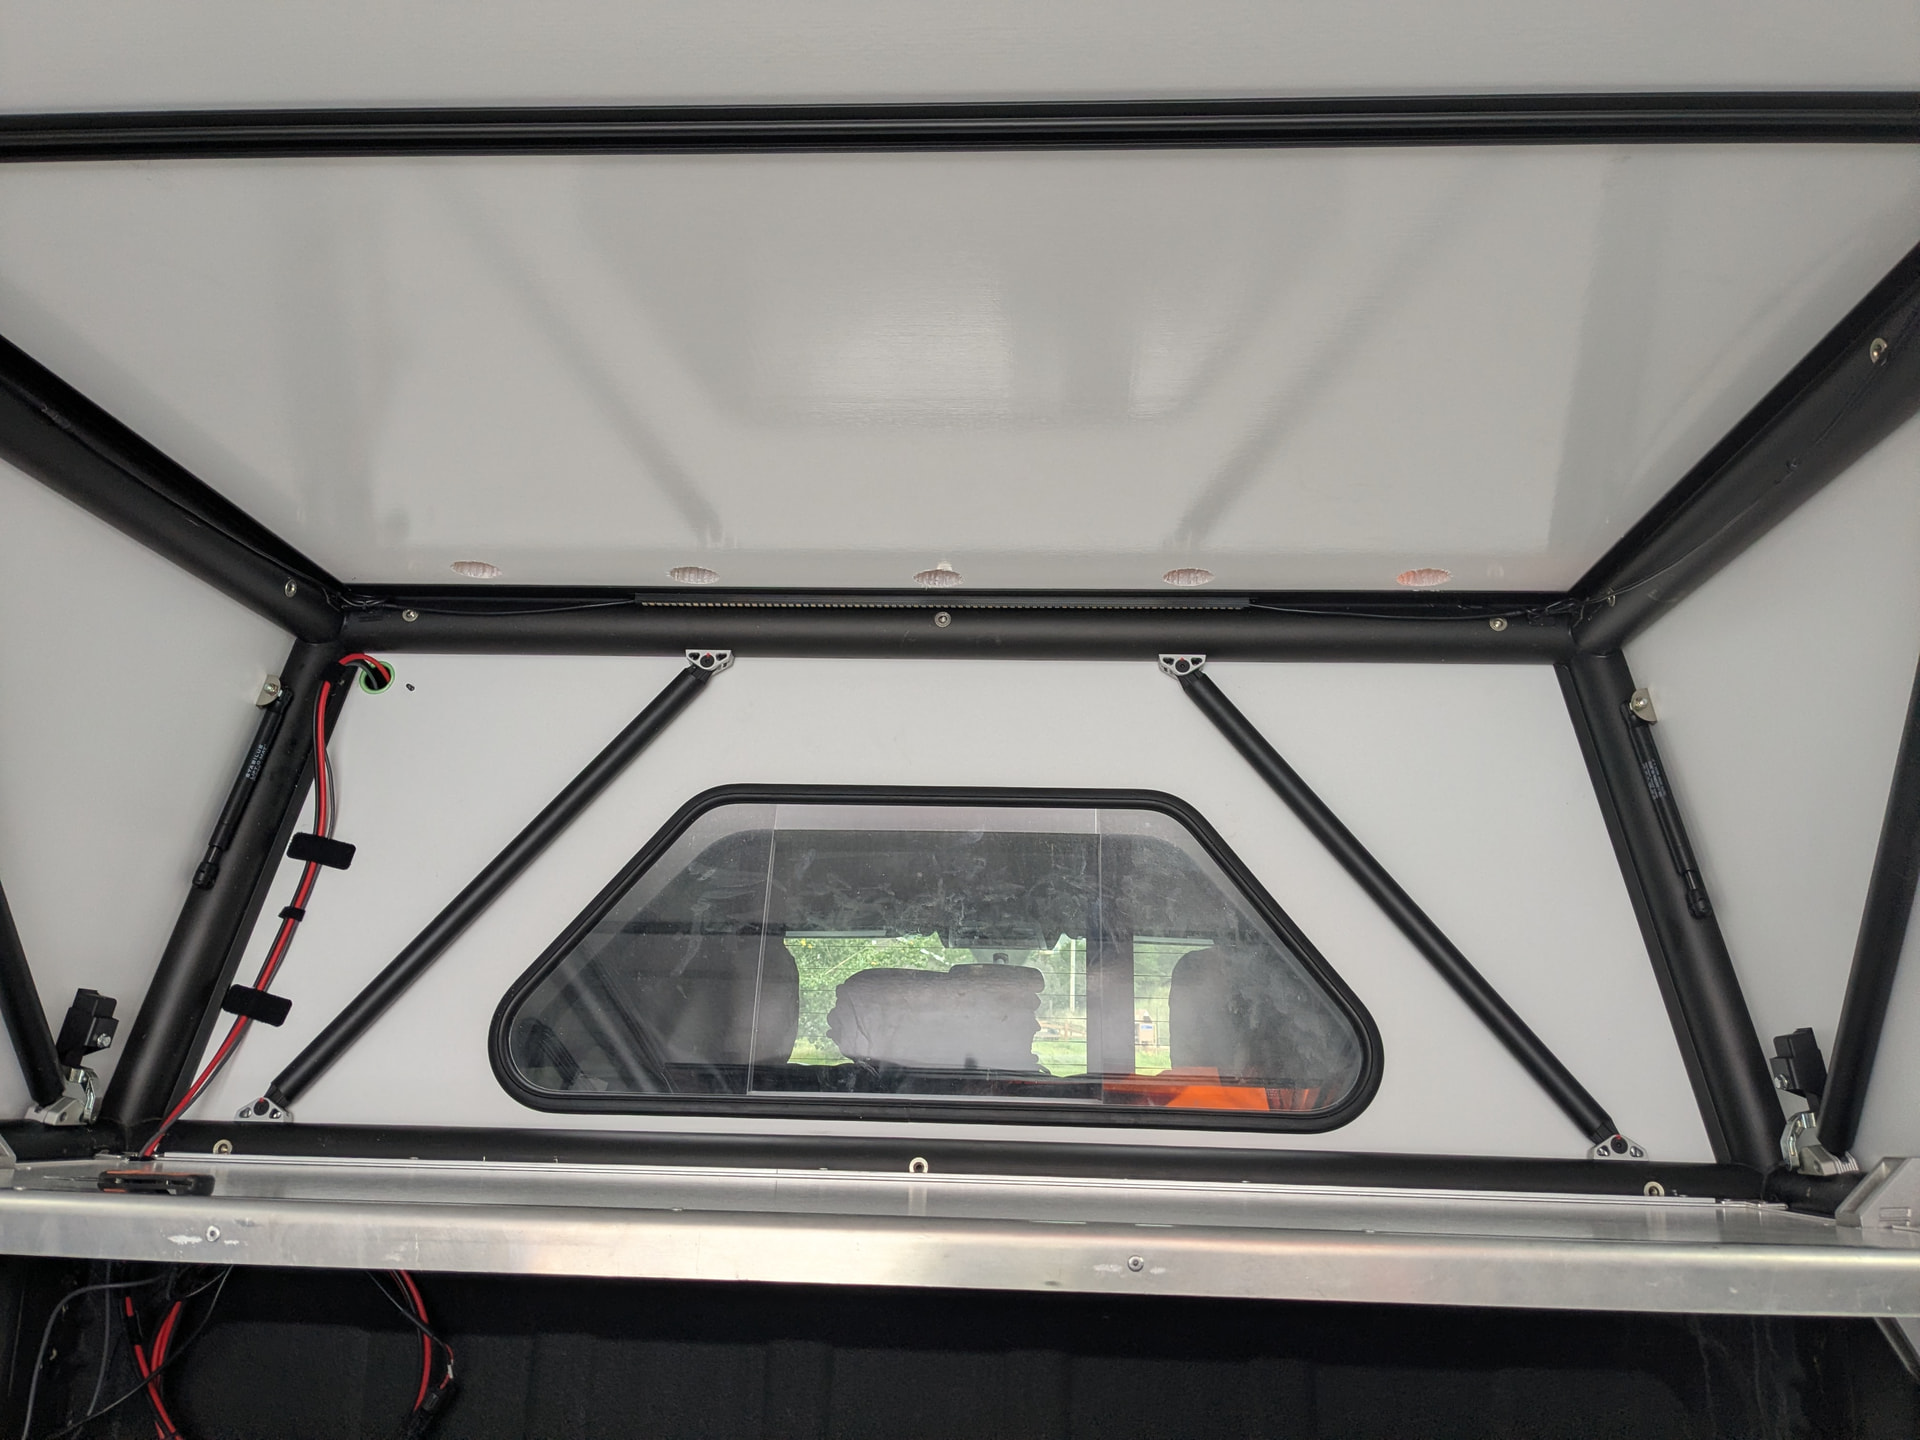
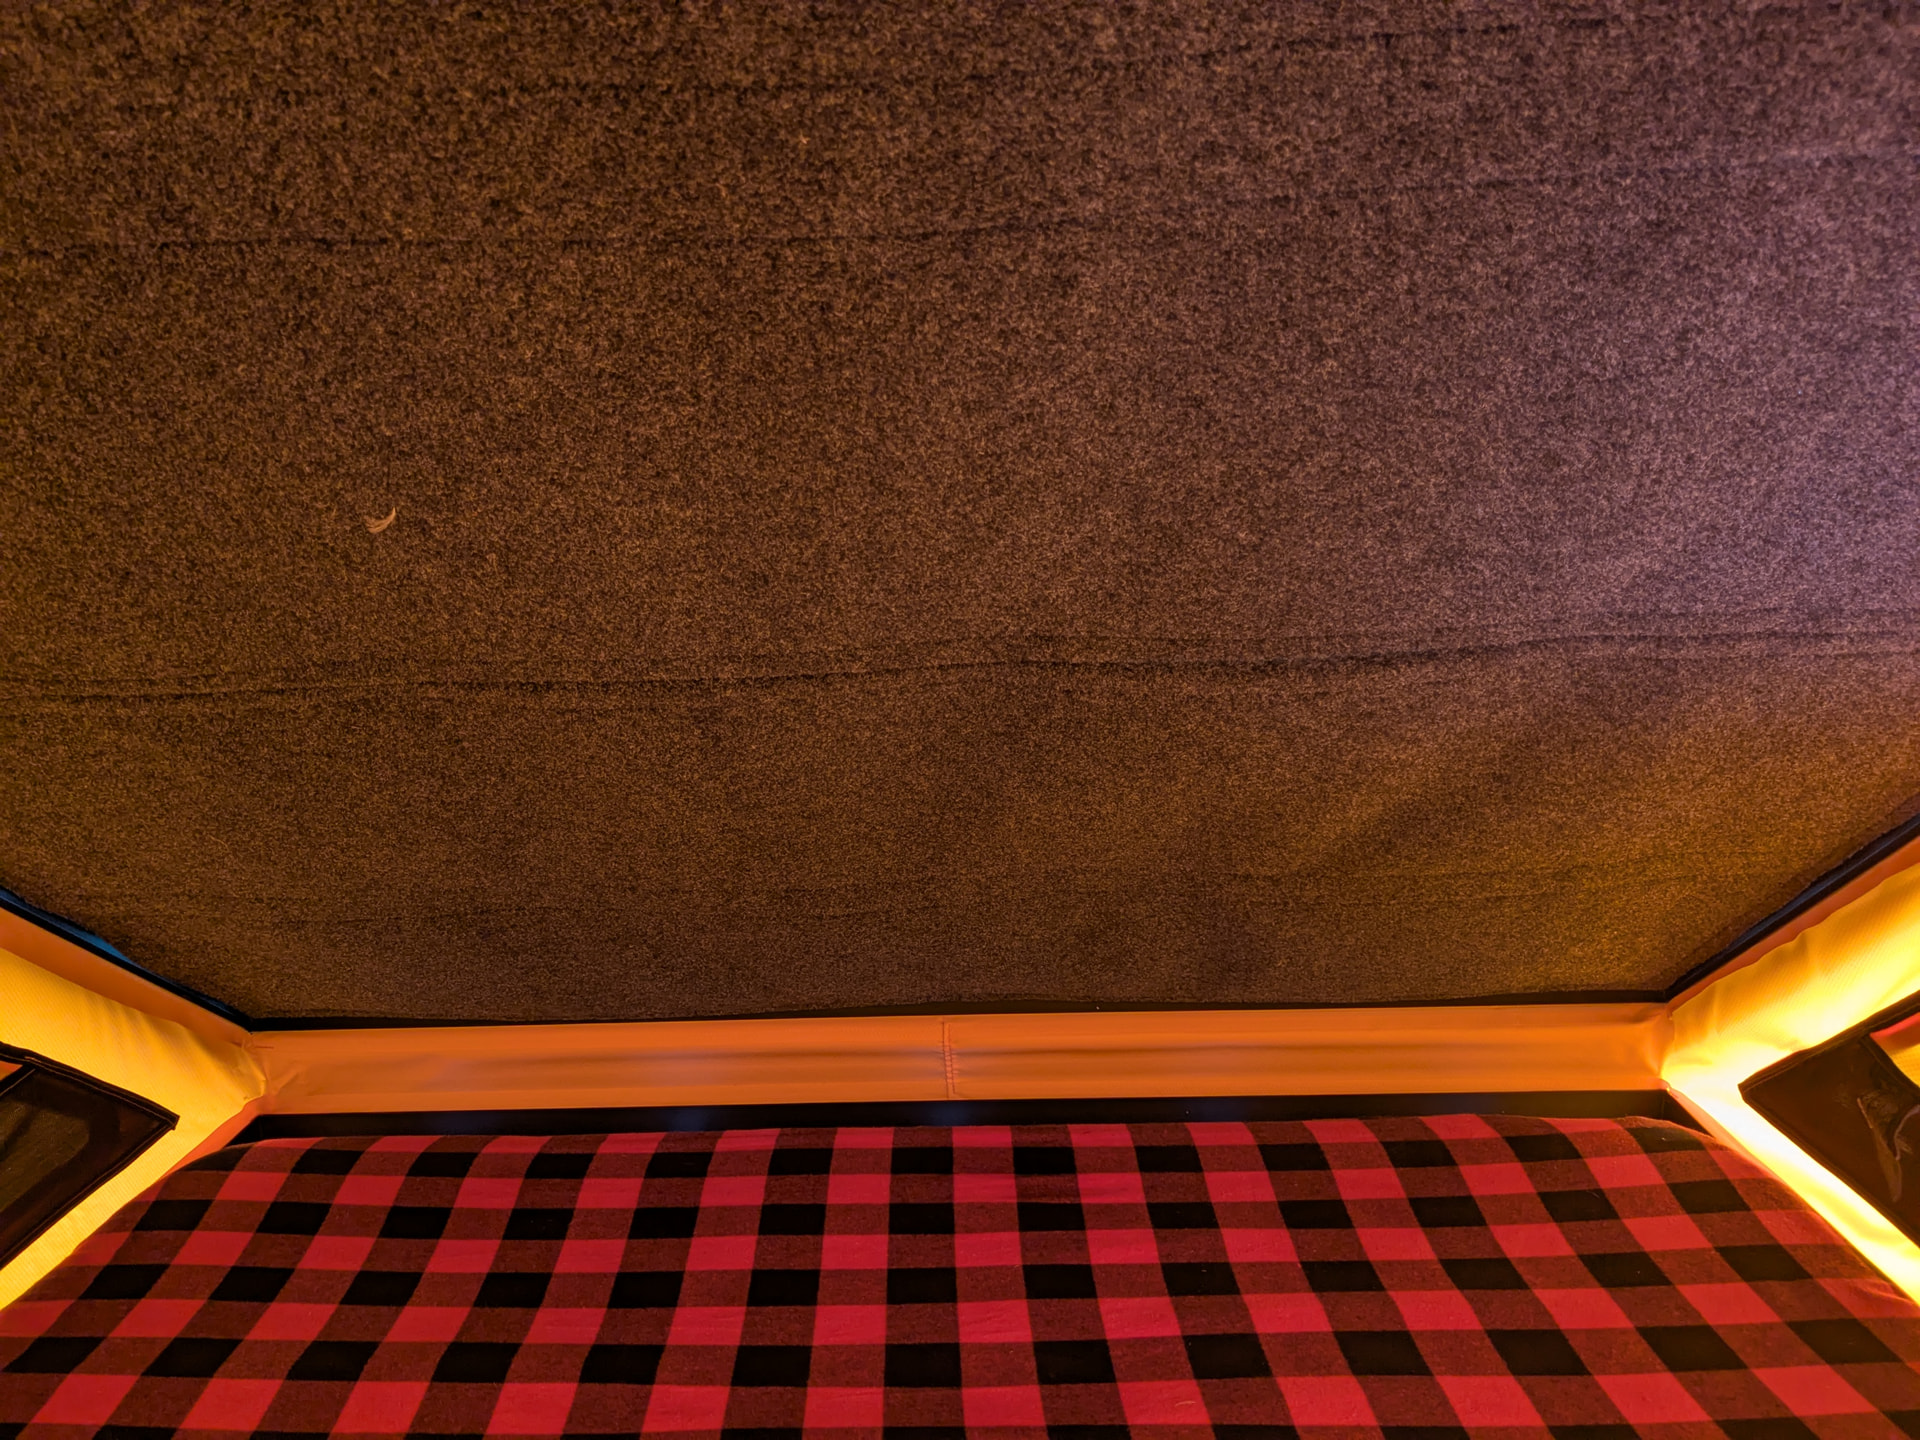
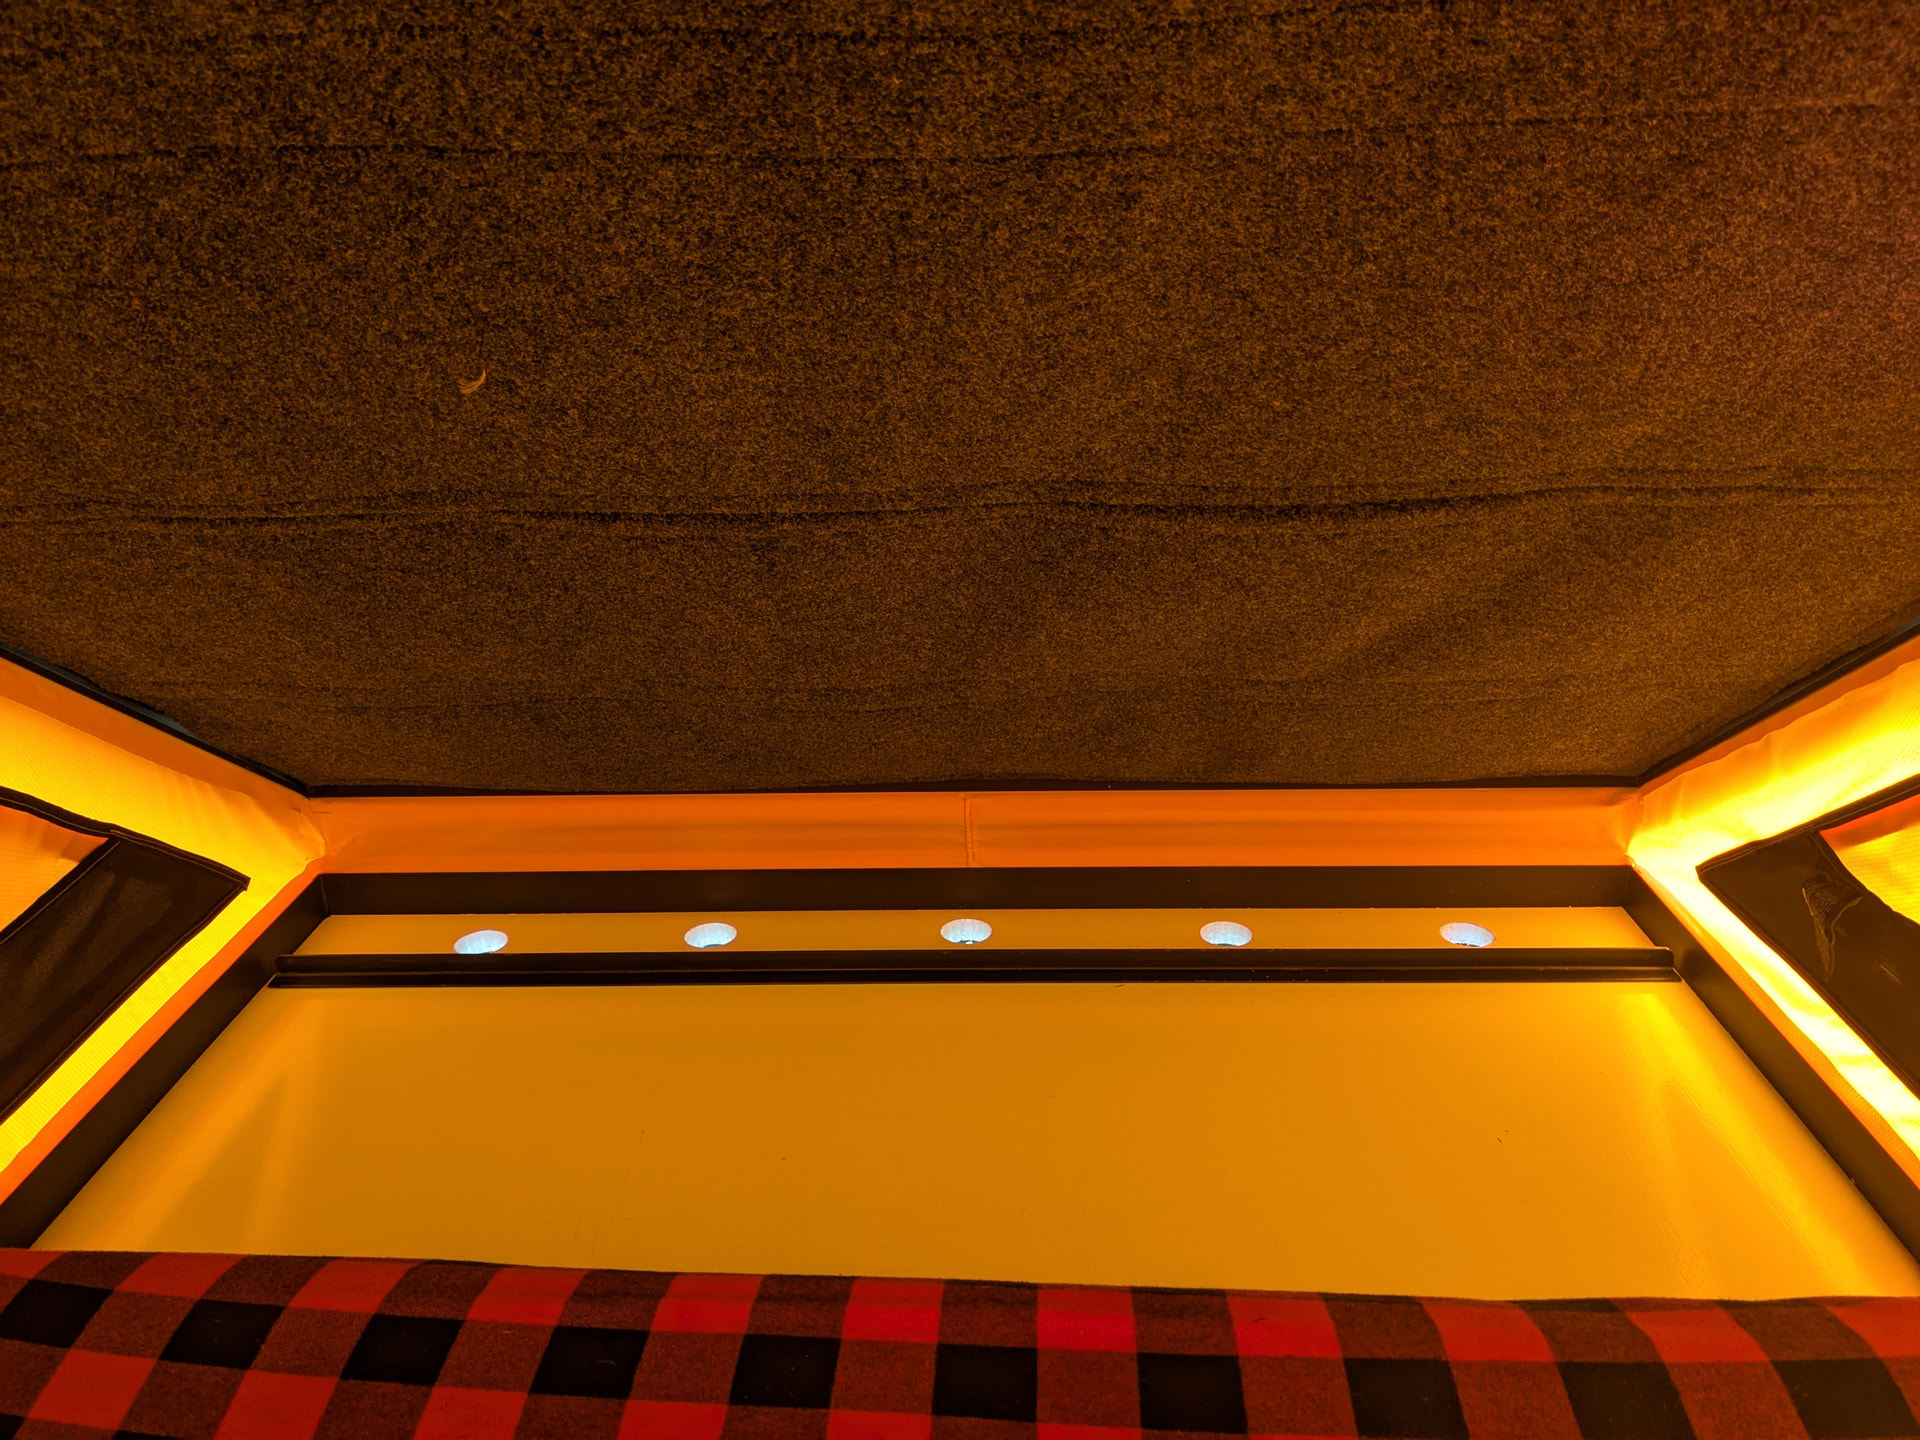
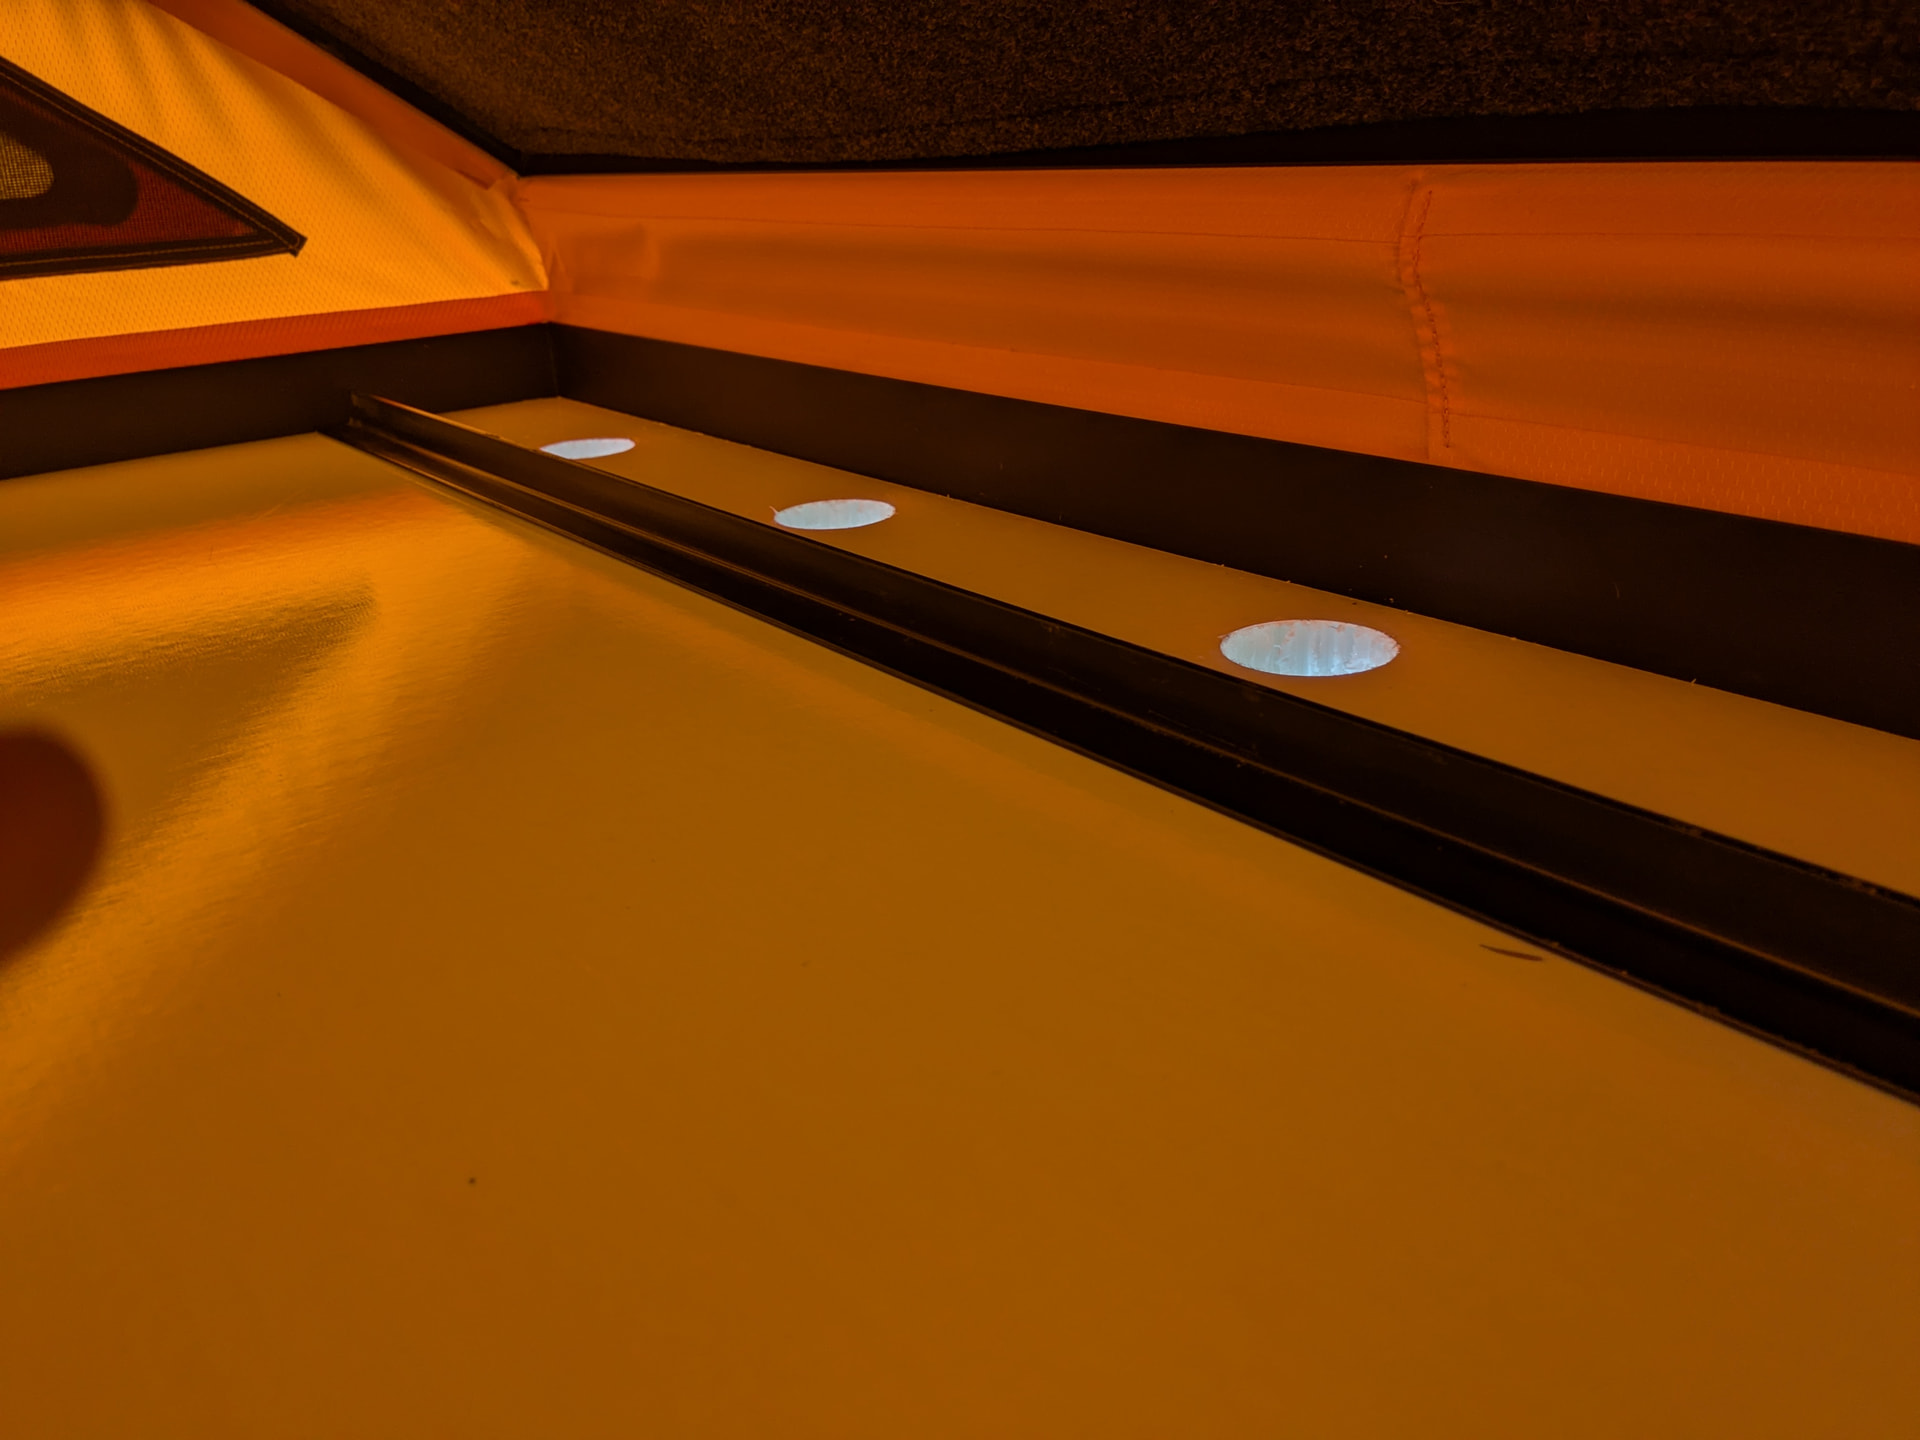
I’ve been trying to solve for some winter camping prep and the one thing that my wife have been struggling with while staying “upstairs”…we can’t hear the kids if they need something down stairs. Definitely a plus for those with a MAX. That pass through space is huge!
I’ve already put two holes in my GFC, so figured another couple small ones won’t hurt. These should allow for us to hear the kids better too and that space really doesn’t serve much purpose because of the wedge. Now I can keep some other small gear items there while travelling too.
One of the benefits of an 8’ bed, is all of that is interior to the camper, so when I route the diesel heater to the downstairs area, I will still get heat up stairs through these vents just through passive air movement. I want to heat the down stairs as a primary since the kids are there, but still get some upstairs. I’ll be using this hunting in the dead of winter too so having the whole area heated up in the mornings will be nice.
I used a hole saw to punch through the immovable bed platform.
Then I added a powdercoated angle that I had leftover and used some VHB tape to put a “curb” at the end to keep the mattress from sliding down during the night.
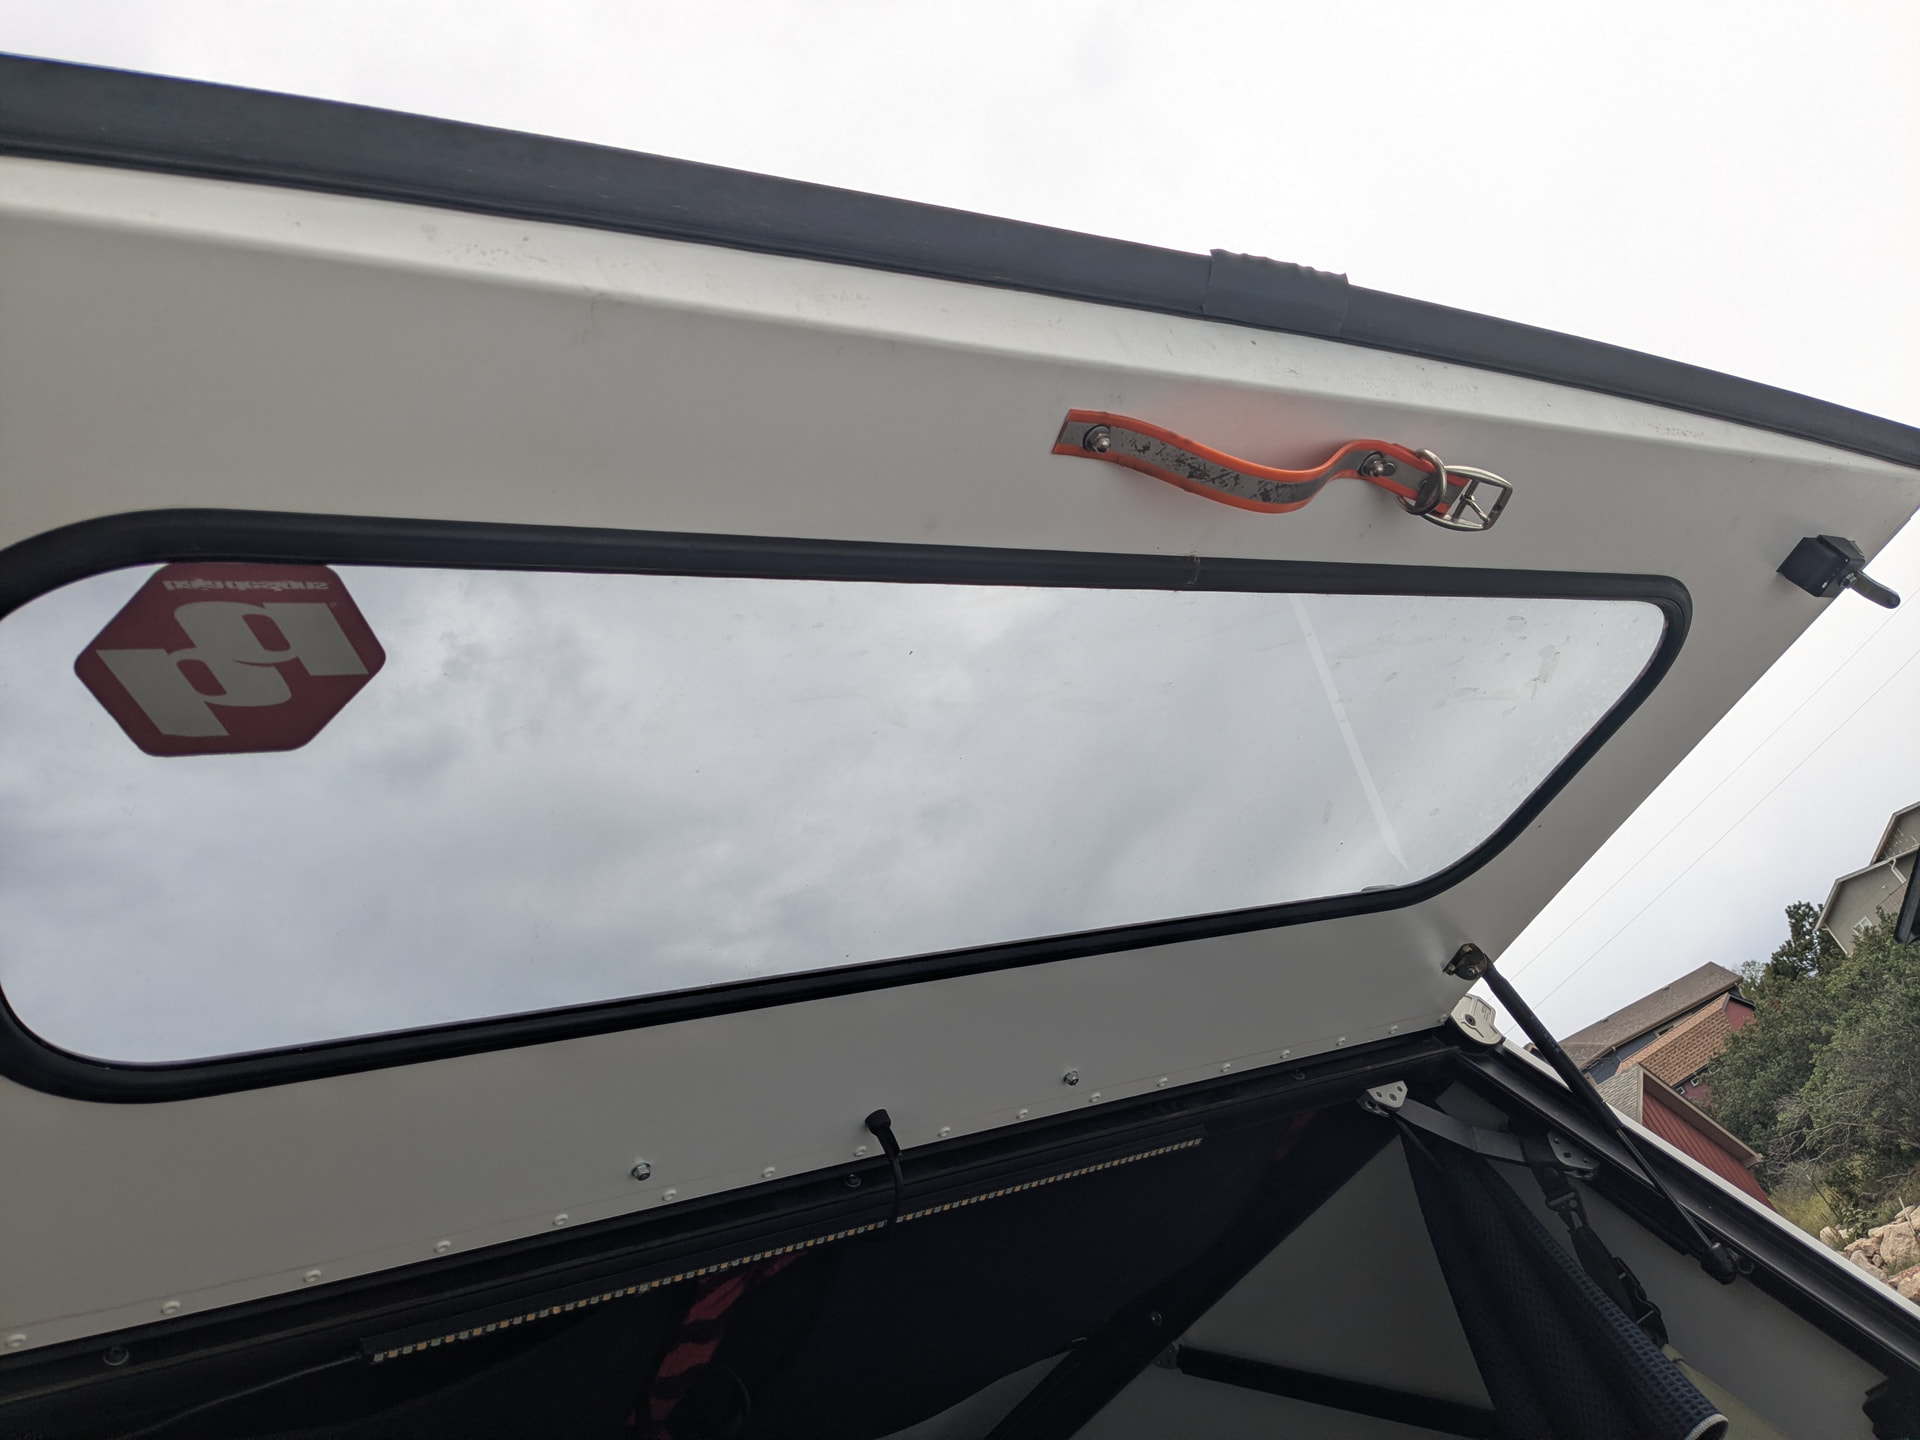
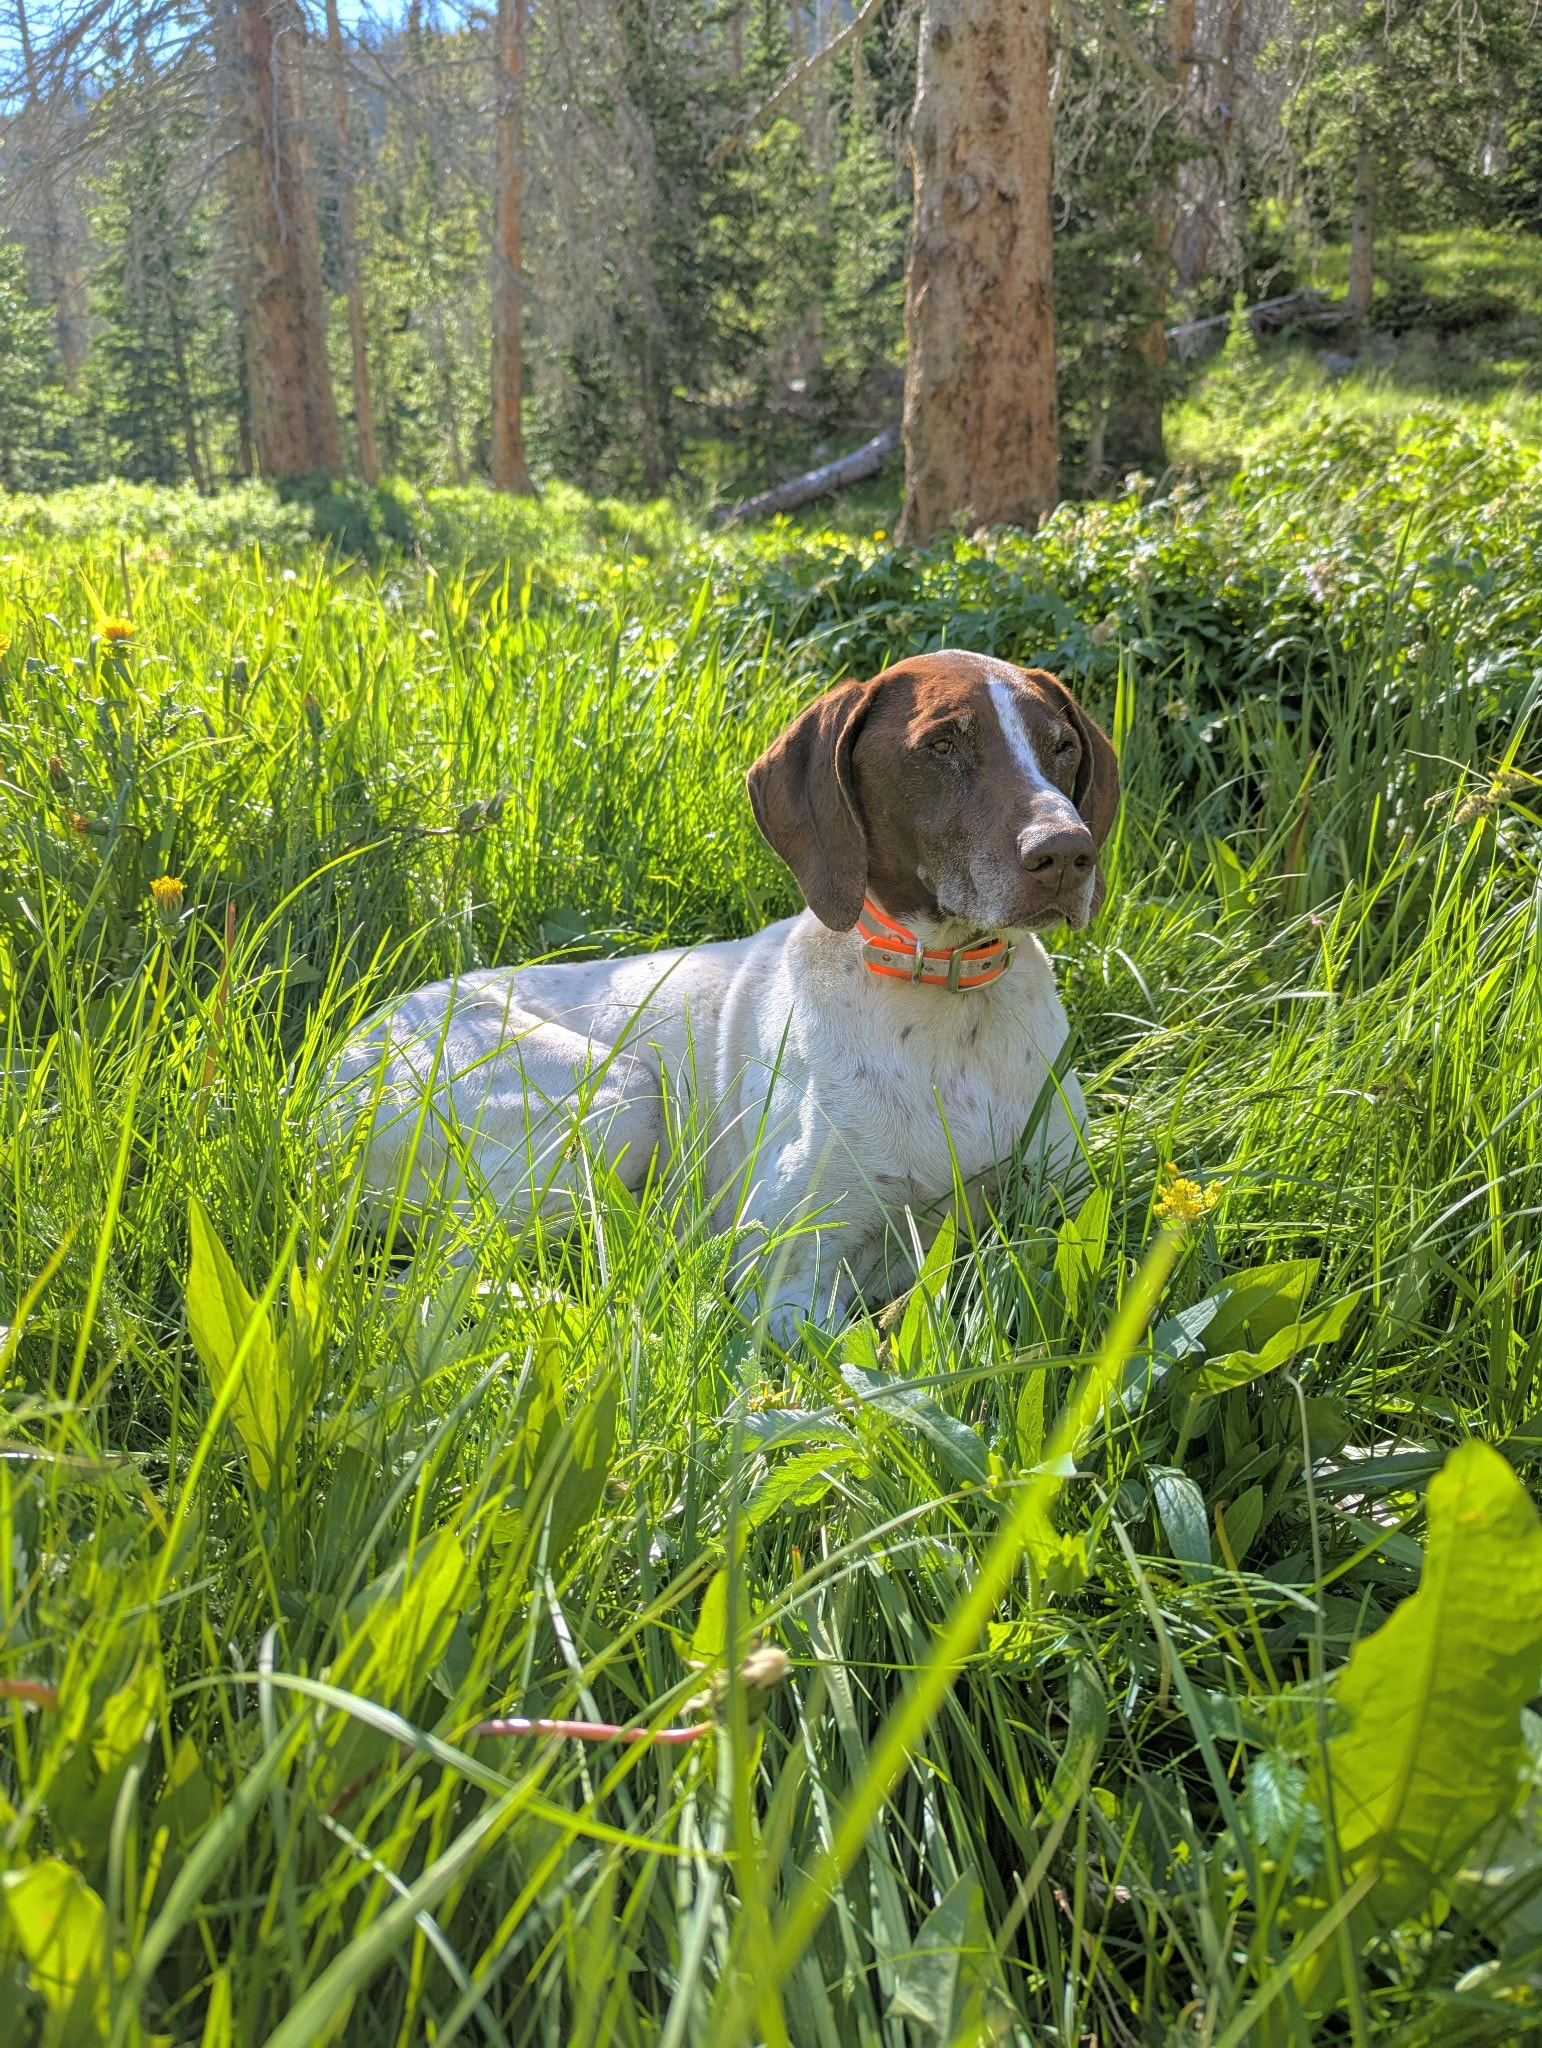
We also lost our first dog of 13 years to old age. Her name was Kimber. We put her old collar on the GFC as the rear hatch pull down. Hell of a dog. She will be missed.
It’s getting to be closer to fall and I’ll be heading into the mountains for some shoulder season camping with the family and some cold weather hunts too.
I was going to wait on the GFC diesel heater solution and final pricing but I figured it probably would be more than I would want to spend likely and I haven’t heard if they were going to start offering them soon enough either.
So I decided to take a chance on a LF Bros plateau heater. The all in one was nice. I had built my own back when I had the Harker and followed the Keegan builds process. It worked, but it was my first shot and there were some things that I wish I had done differently. This seems to be a more polished and put together system anyway.
I cut off the electrical leads and put a 12v cigarette plug connector on it to plug directly to my battery. It ran really well and fired right up.
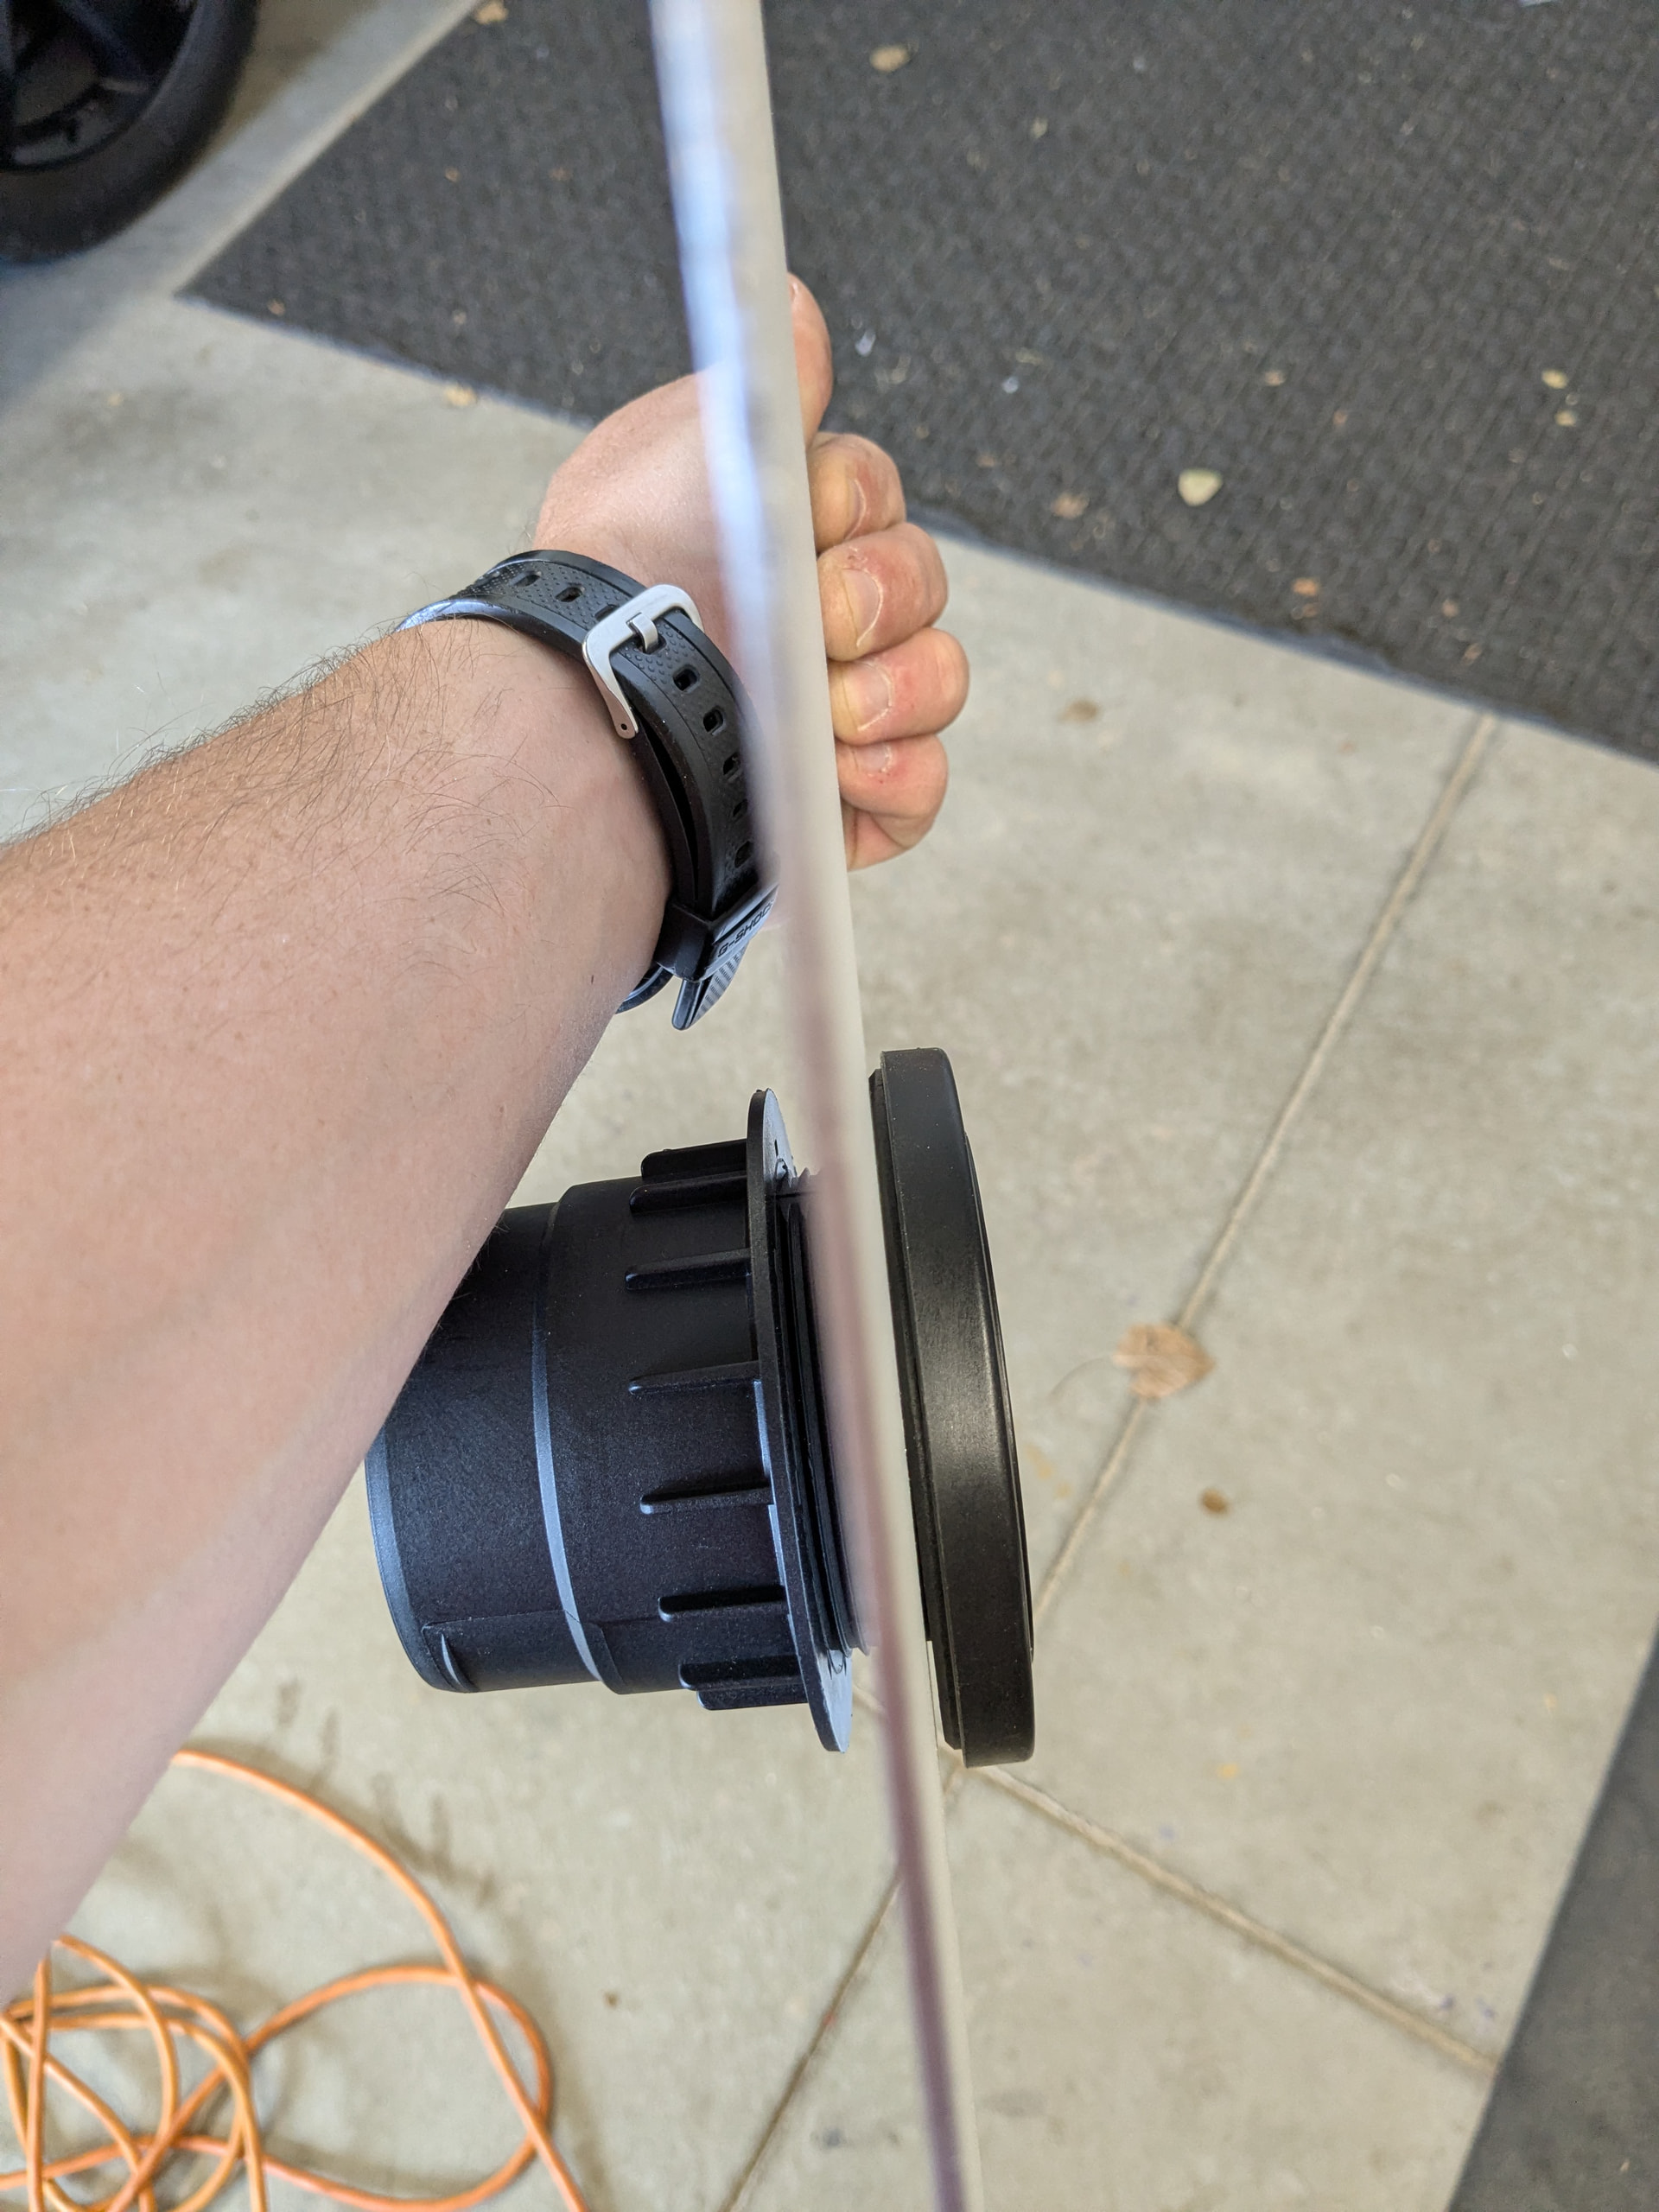
Then I had the next challenge that I hadn’t found a good solution to. How to get the hot air into the tent…
I thought about putting a hole through the truck bed, but didn’t want to have to crawl under the truck to connect the duct each time and I still didn’t know what I would do to get the electrical leads in either.
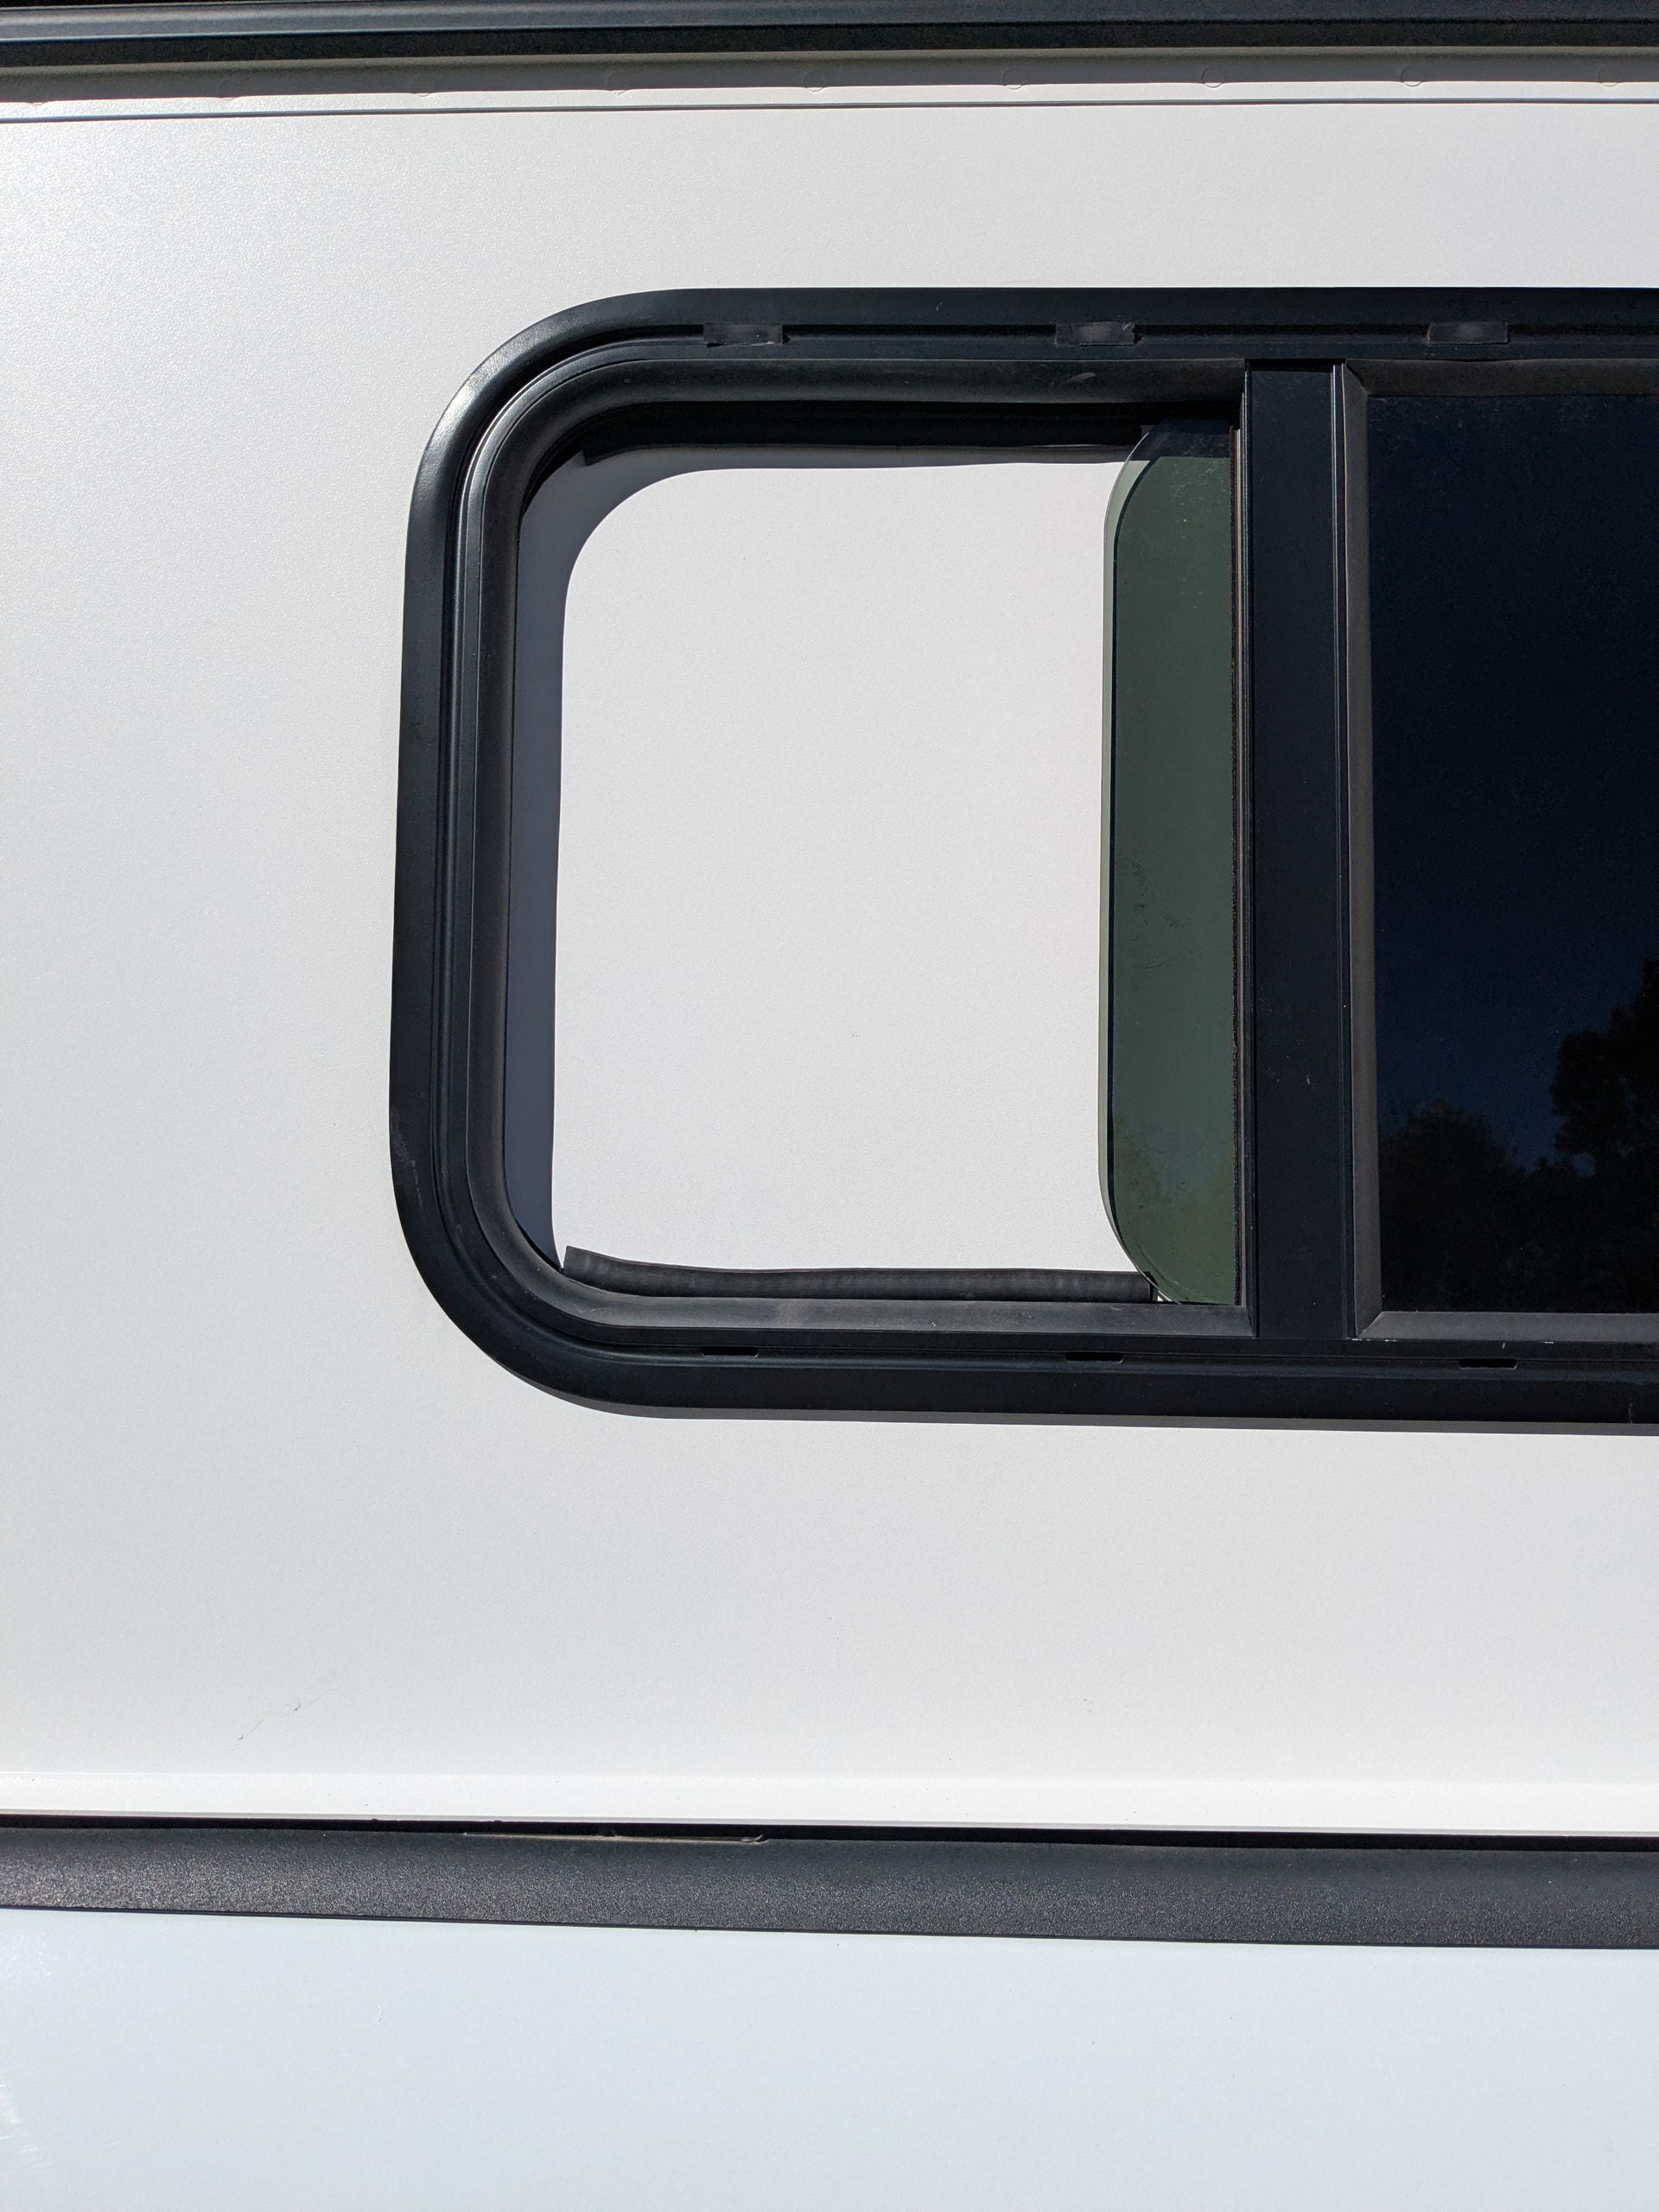
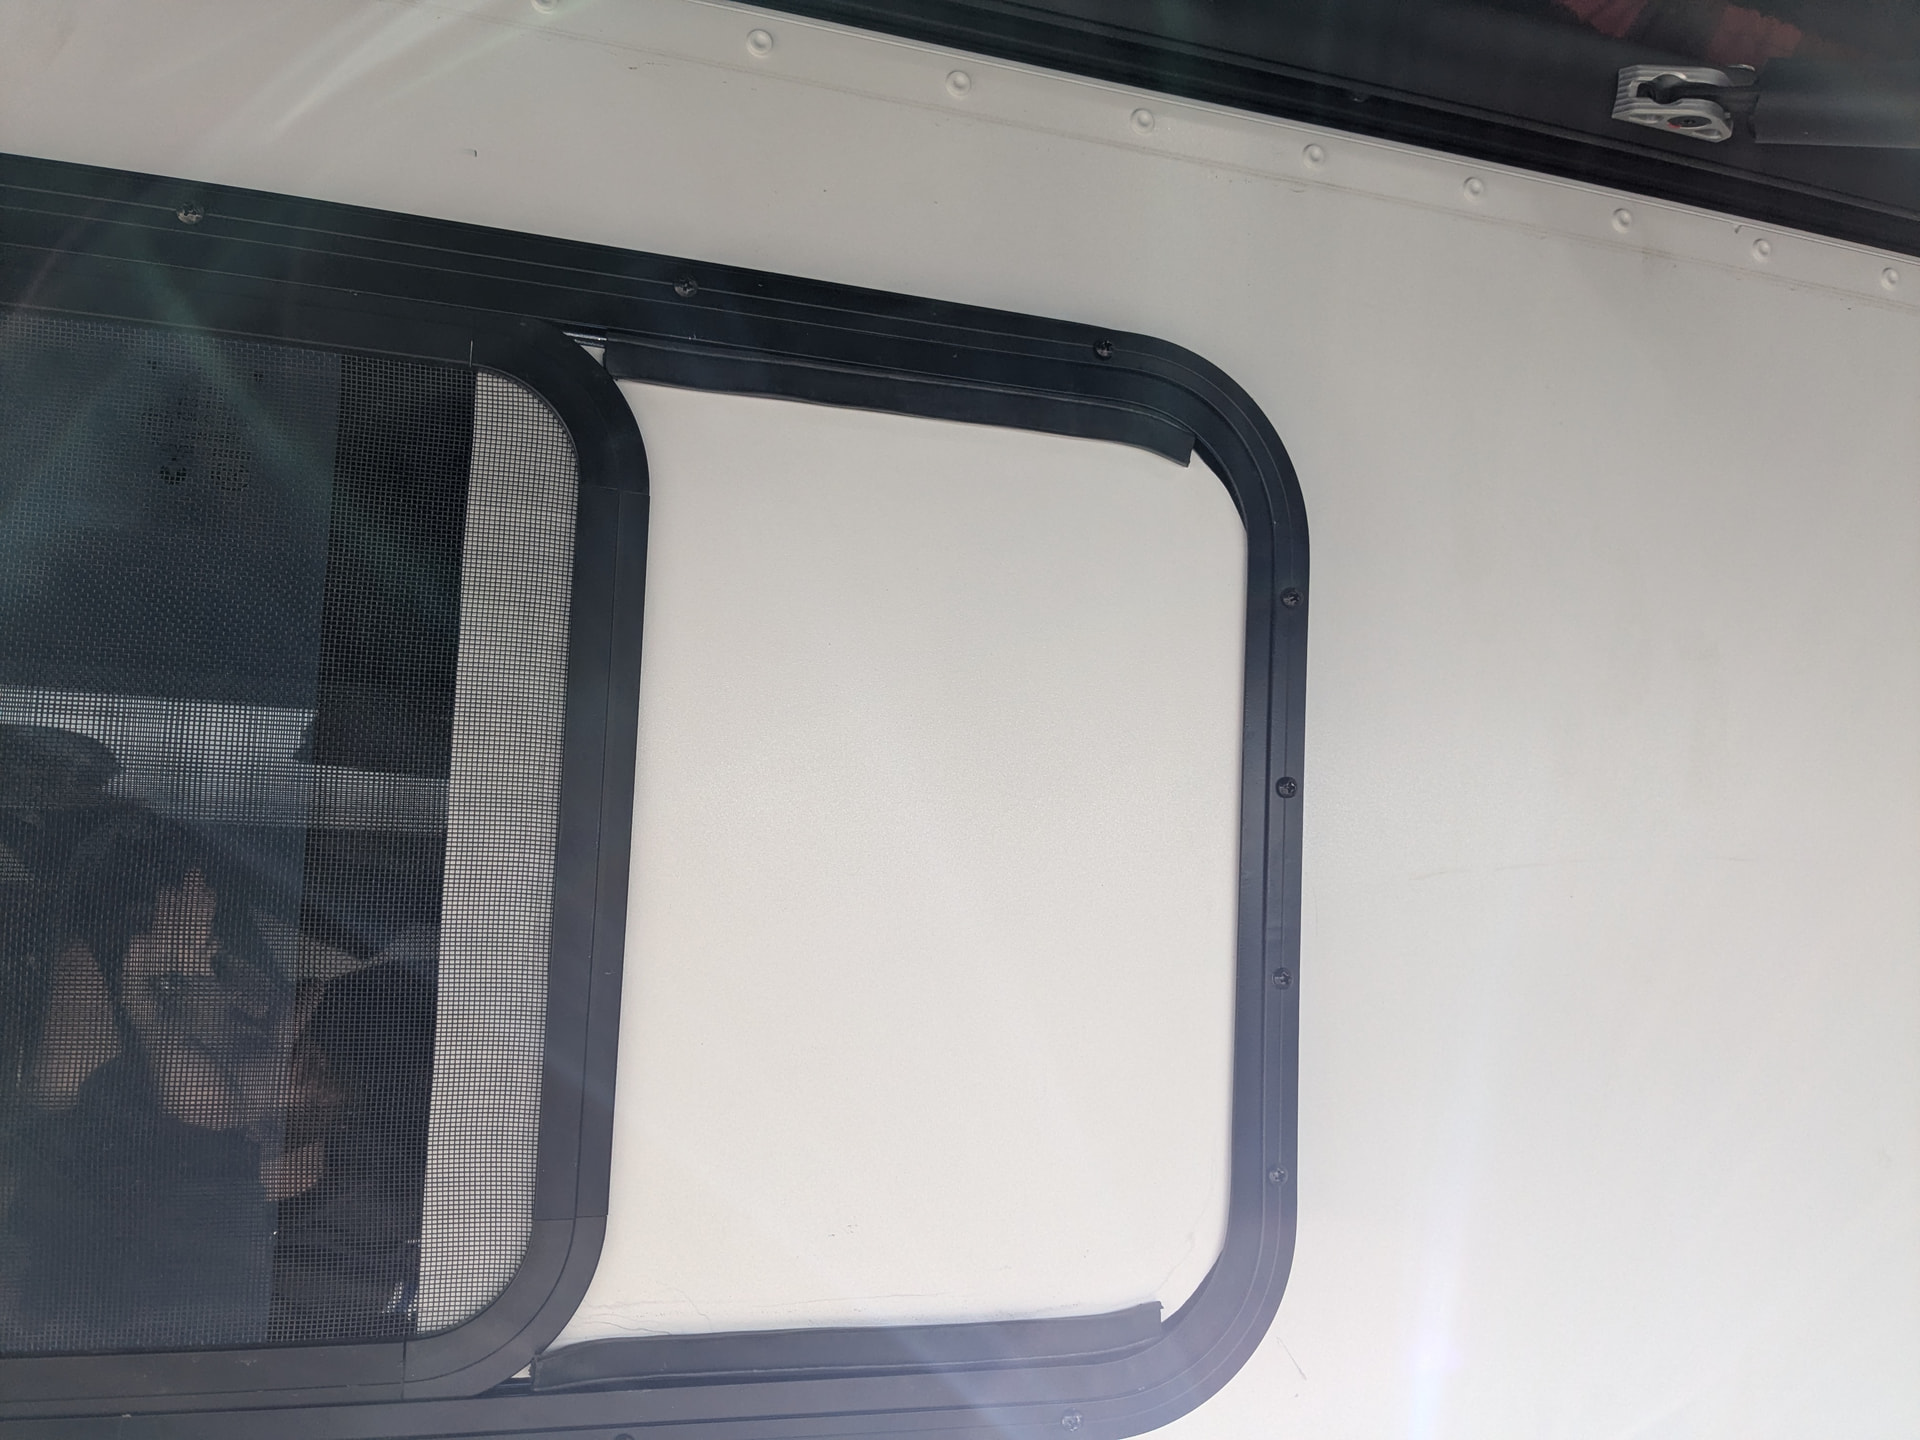
After some thought, I decided to take a piece of aluminum that I had from cutting the windows out and cut it down.
Then I put some automotive weather stripping on it to pressure fit it into the window.
This allows me to slide the piece in between the window and the screen and slide it into the window notch to secure it on two sides and then pressure fit it on the top and bottom. It’s really secure in my test fit.


 .


 maybe a cabinet system some day, but not sure how it will best work for sleeping and hunting so want to get through a year first. So the vintage milk carrier will work for now.
 . These should allow for us to hear the kids better too and that space really doesn’t serve much purpose because of the wedge. Now I can keep some other small gear items there while travelling too.