I started my foray into Go Fast Campers in early 2022 with a V2, after picking up a 2015 Tacoma used with only 17k on the clock. With the 5’ bed, it was a no brainer to make fish camp a whole lot more comfortable. I ended up doing a bit of a build out with the Tacoma, but kept things pretty modular and easy to remove: a couple tie down brackets and screws and everything would come out. Even the drawer was just a slide out bin that I would pull out at the end of a trip and store in the garage. I did a handful of things to the camper over the next few years as I found the need or desire. Some were practical, some were perfect, some were sloppy. Positive pressure vent was perfect, battery powered puck lights were practical, rear curtain using aluminum brackets and para cord was sloppy. Put an amazon ladder with homemade brackets on the side- practical. Put a ROAM 4’ awning on the back (with shorter struts for the rear panel)- perfect. My wife was not interested in camping out of it; a bit small for two, and glamping with clean toilets is her jam. For fly-fishing a week at a time, little buddy heater when needed and a middle of the night Nalgene bottle, it was perfect.
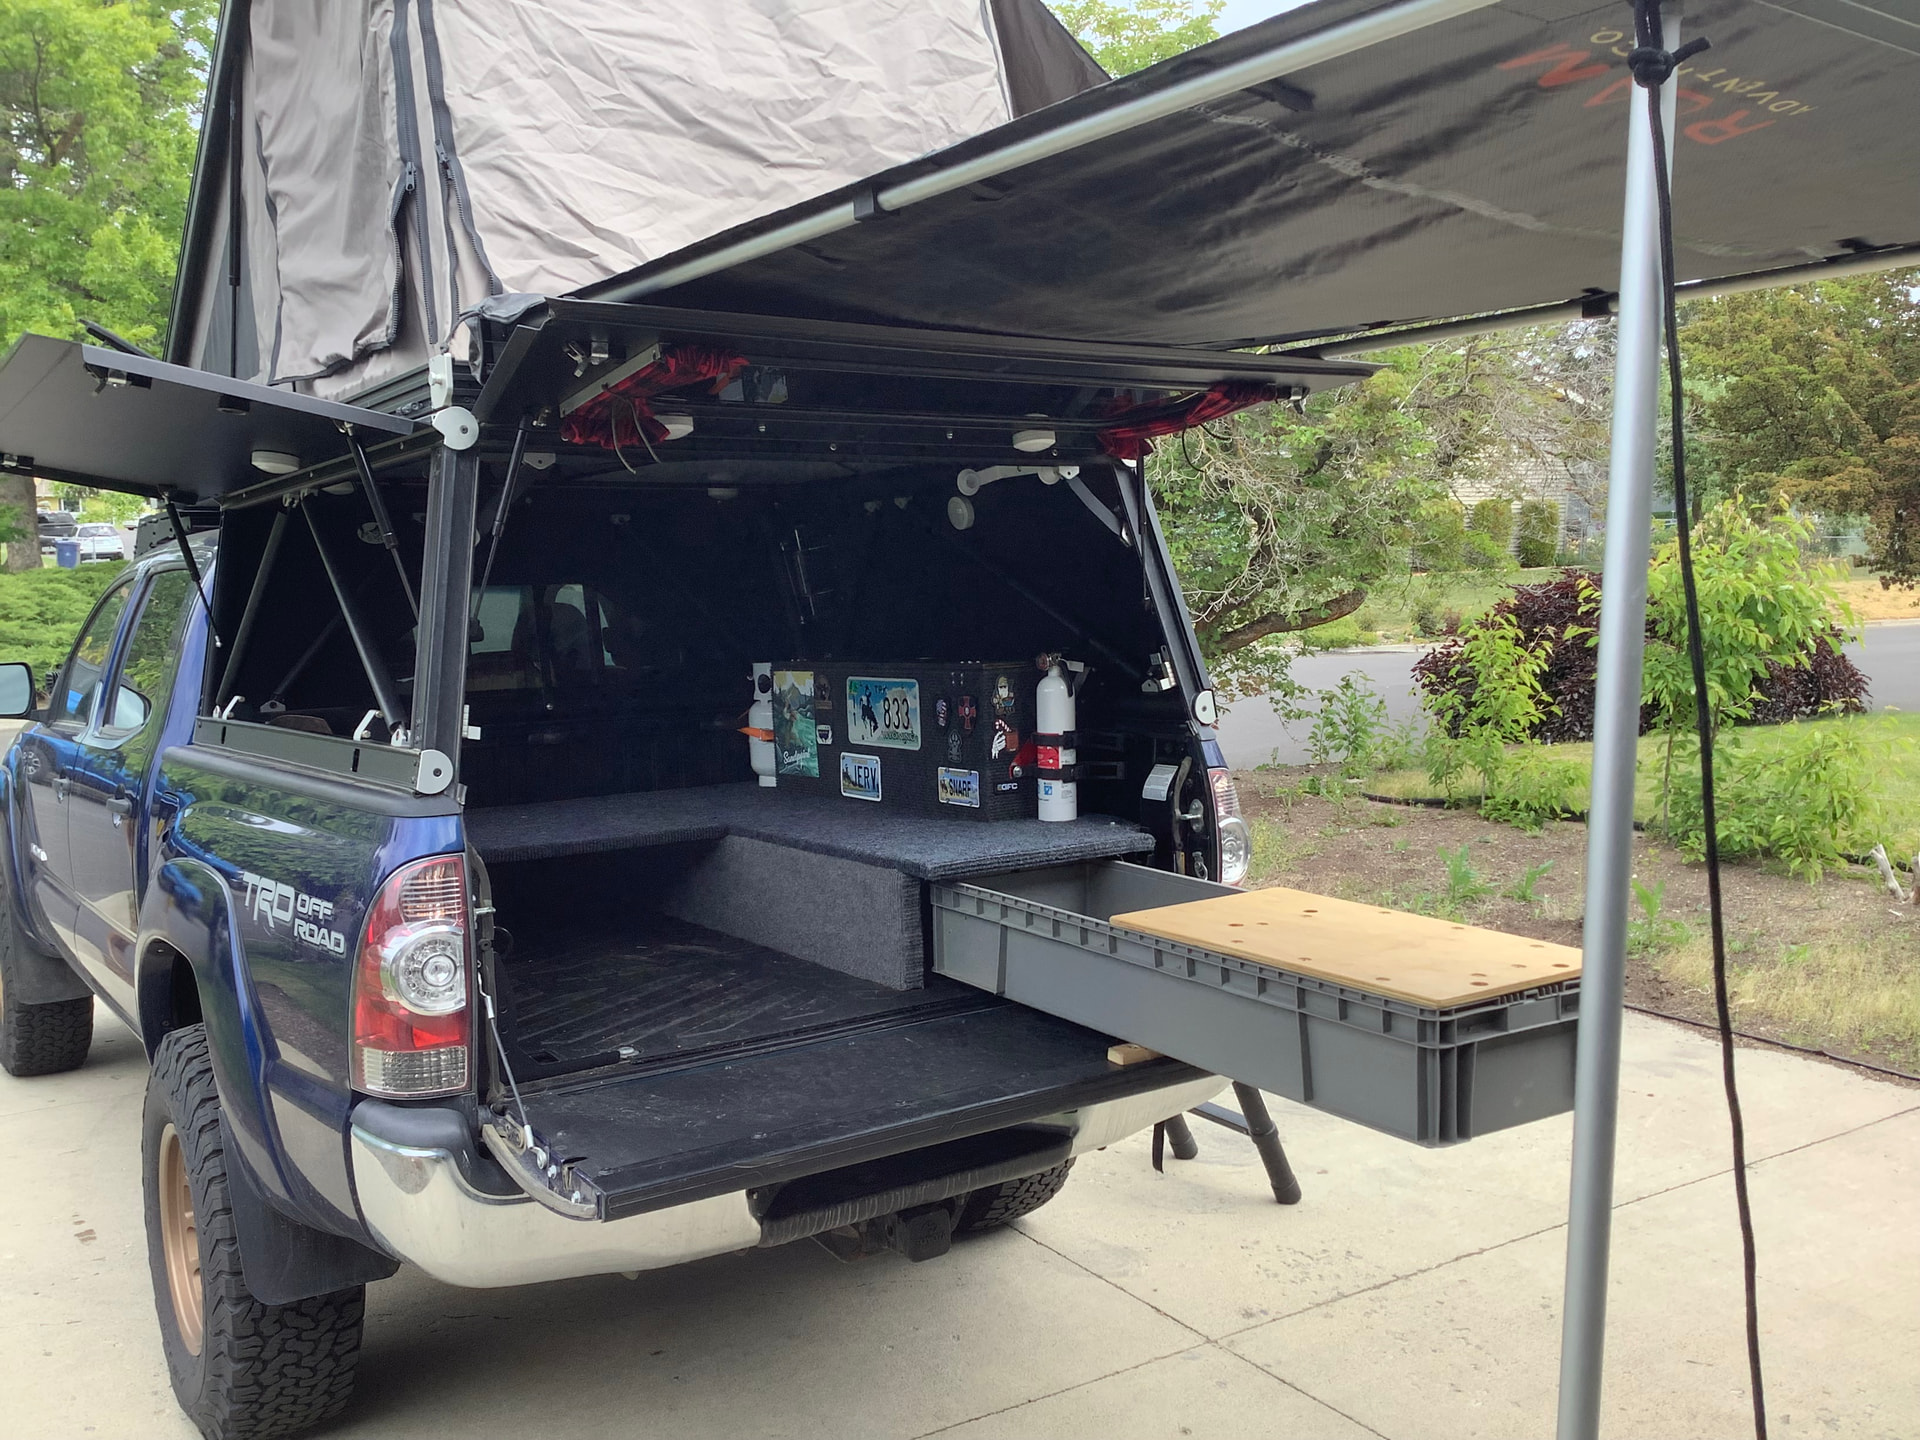
This set up served its purpose perfectly, and I didn’t foresee changing anything. However……
We are a Toyota family. Son has our ‘01 Tacoma with 300k on it, Daughter has our ‘11 RAV4 with 170k on it, wife left the chat with a sporty ‘18 civic, sub in the trunk, Koenig rims, tint,- God Bless you honey. So I got a bug and started looking for Tundras- to pull the sxs was my excuse, although the Tacoma did just fine. Specifically, I wanted a double cab, 5.7L, with bench front- 6 seats (another excuse). The end of 2024 I found a semi-local 2018 SR5 that checked all the boxes, 56k on the clock. Sold. This isn’t a truck build thread, but some lights, suspension, rims….we all do it.
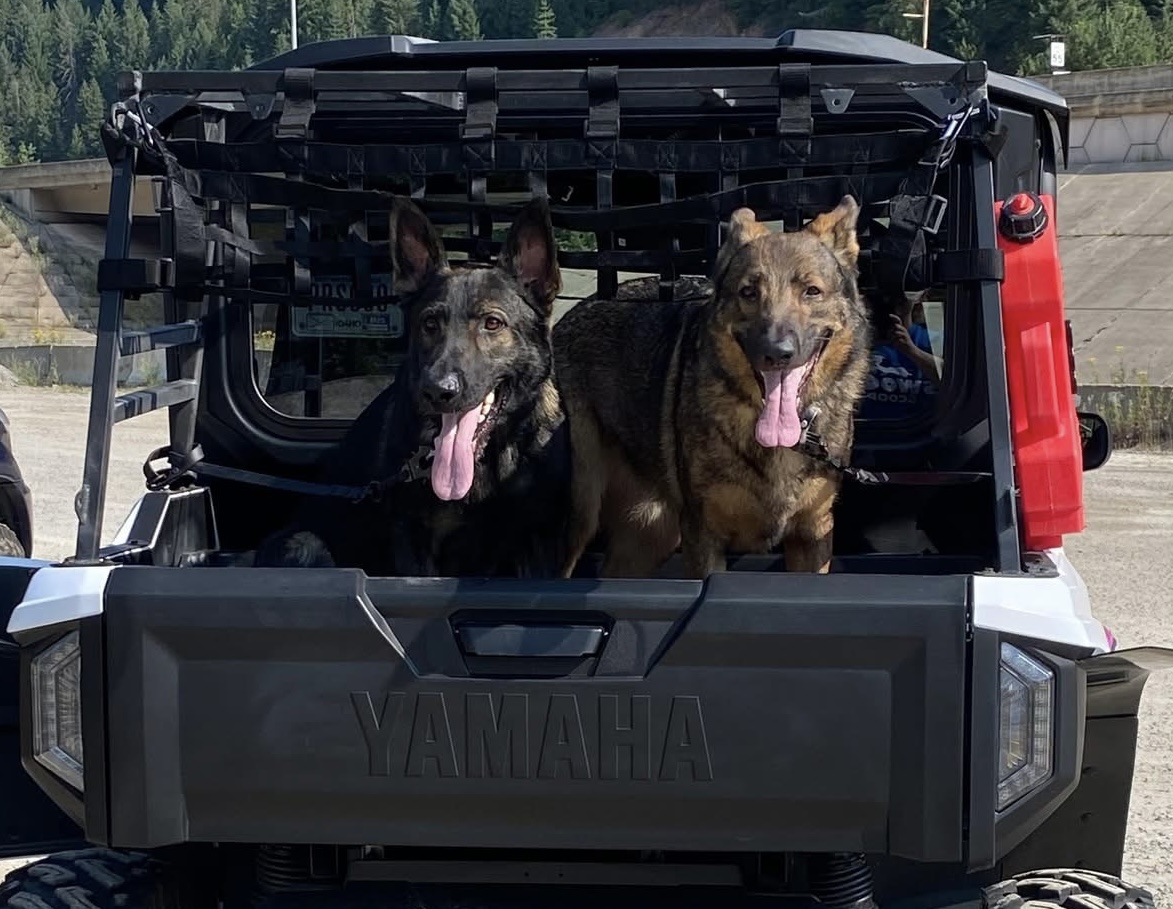
What naturally happened next.. Jeeze this bed is huge, a go fast on this would be nice, those are the XL and wider too, right? Then my wife started in: “That’s big enough for two. I’d camp in that if it had a toilet. There would be room for our dogs.” (two German Shepherds, I’m not sure there is room in a full acre for those two toddlers.)
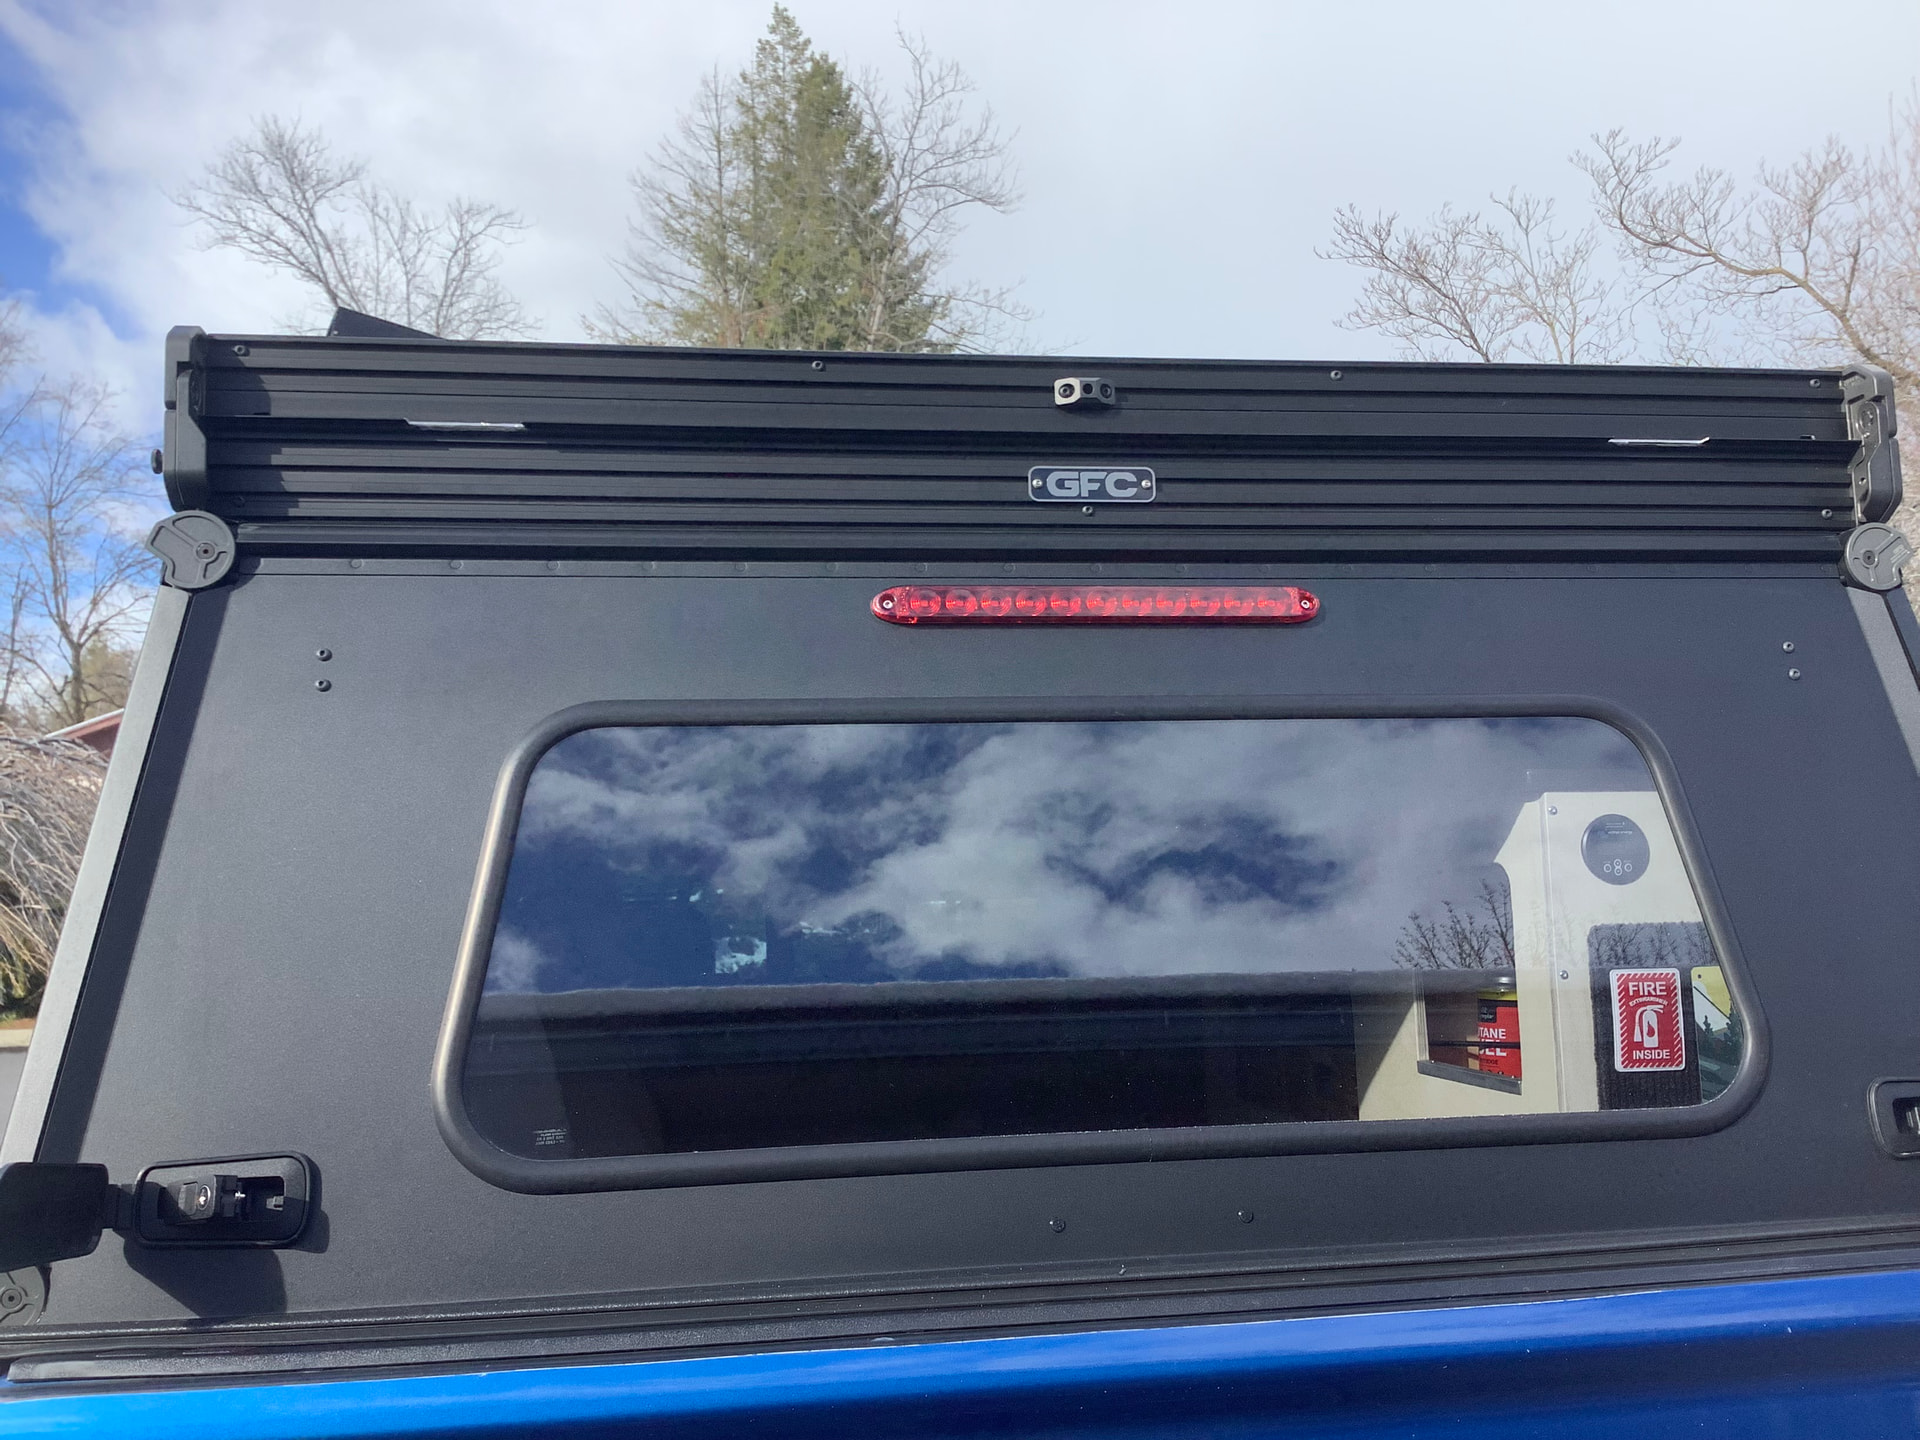
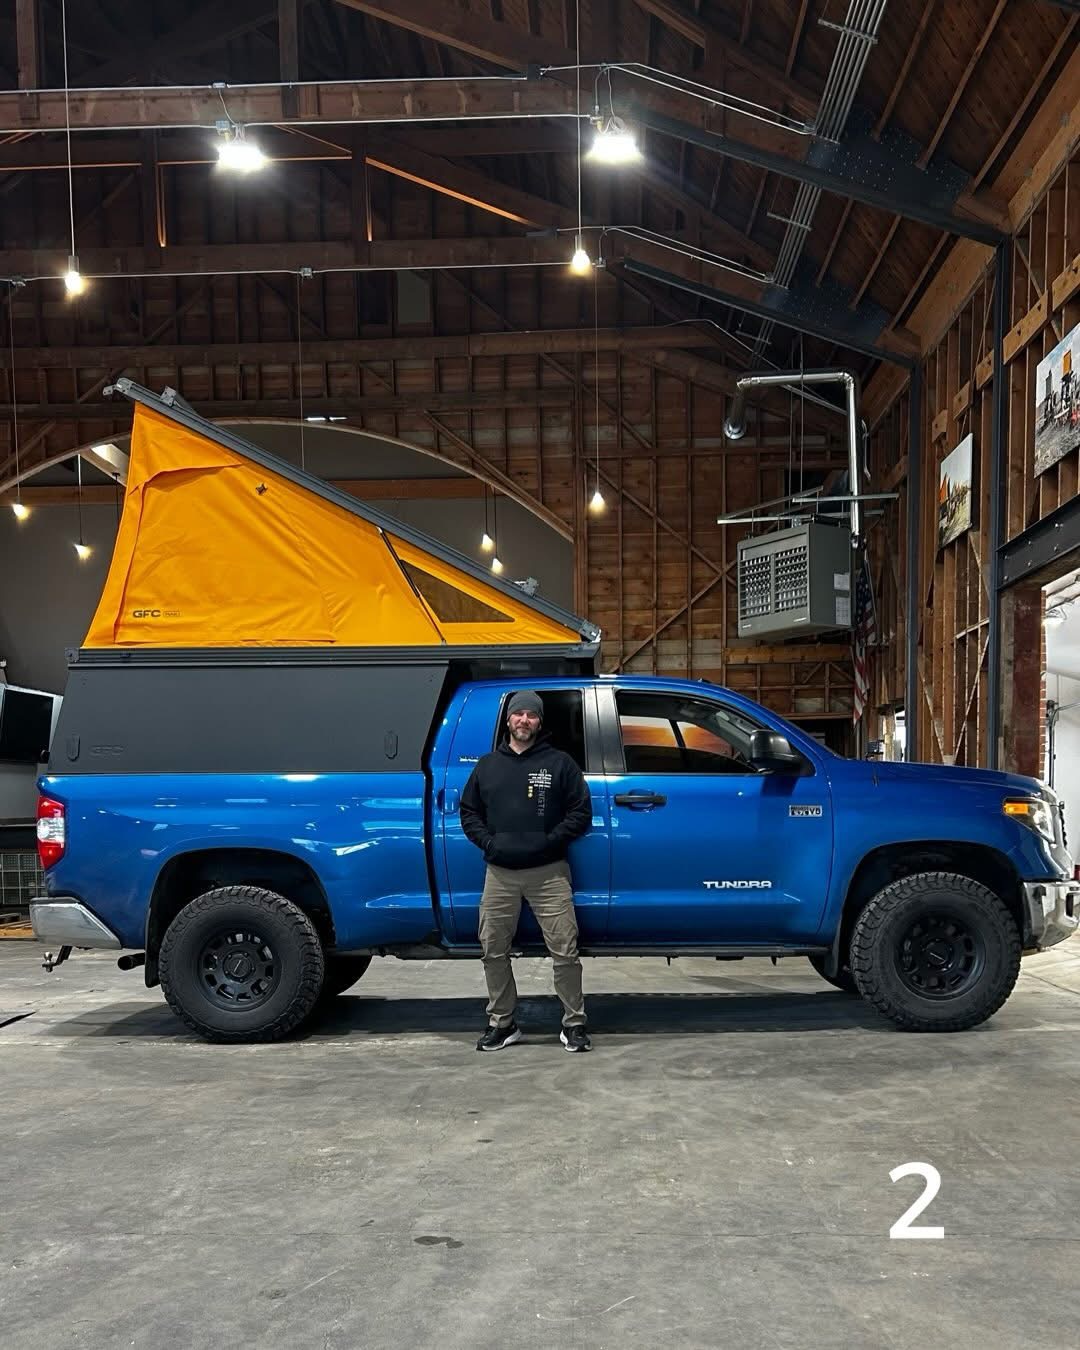
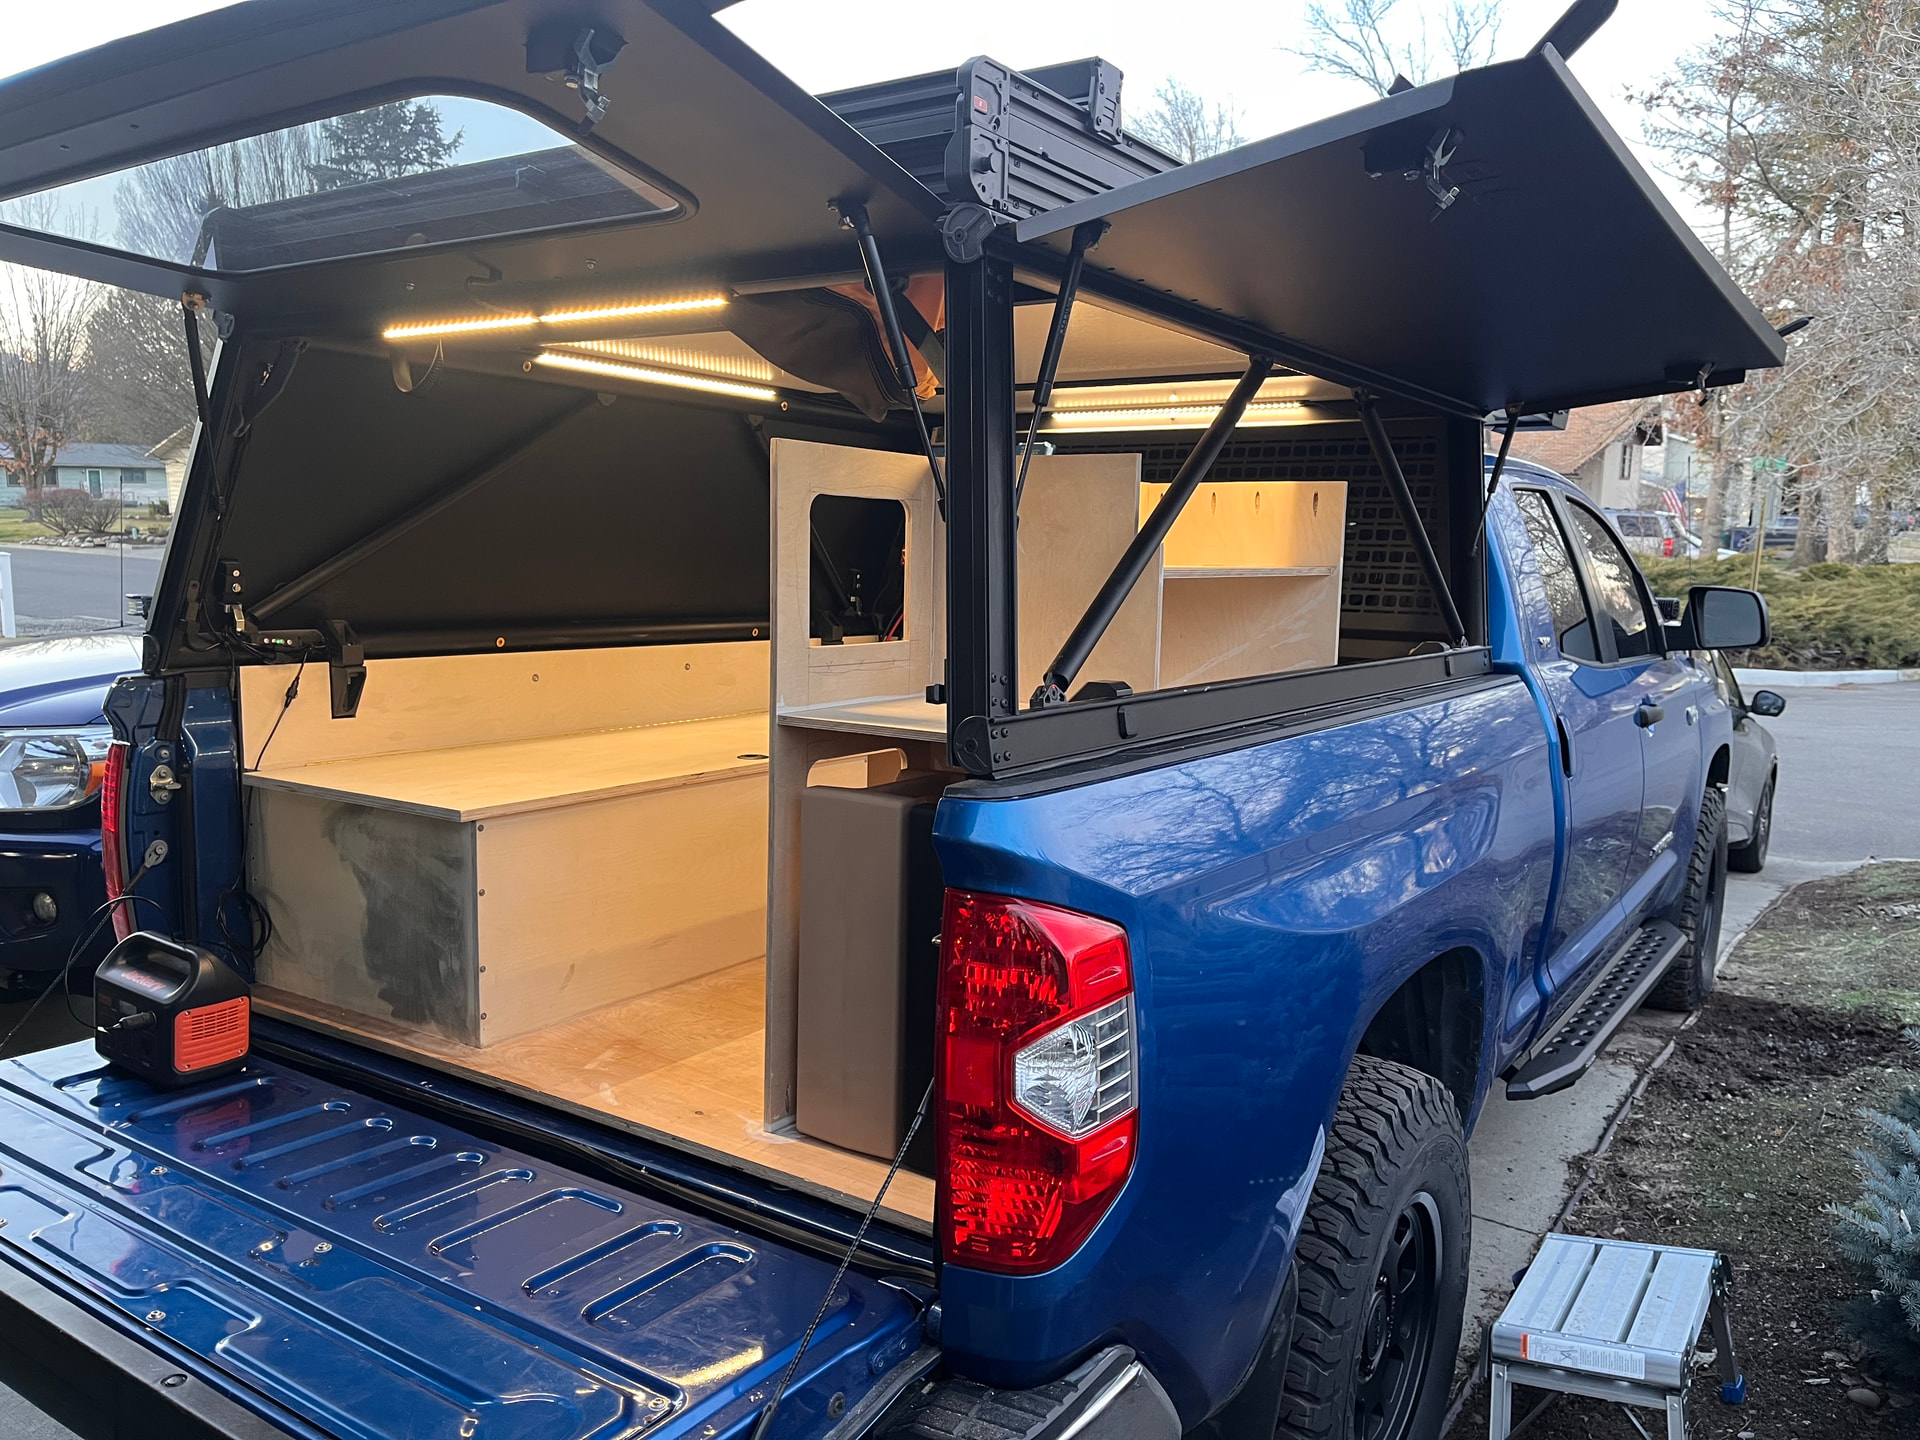
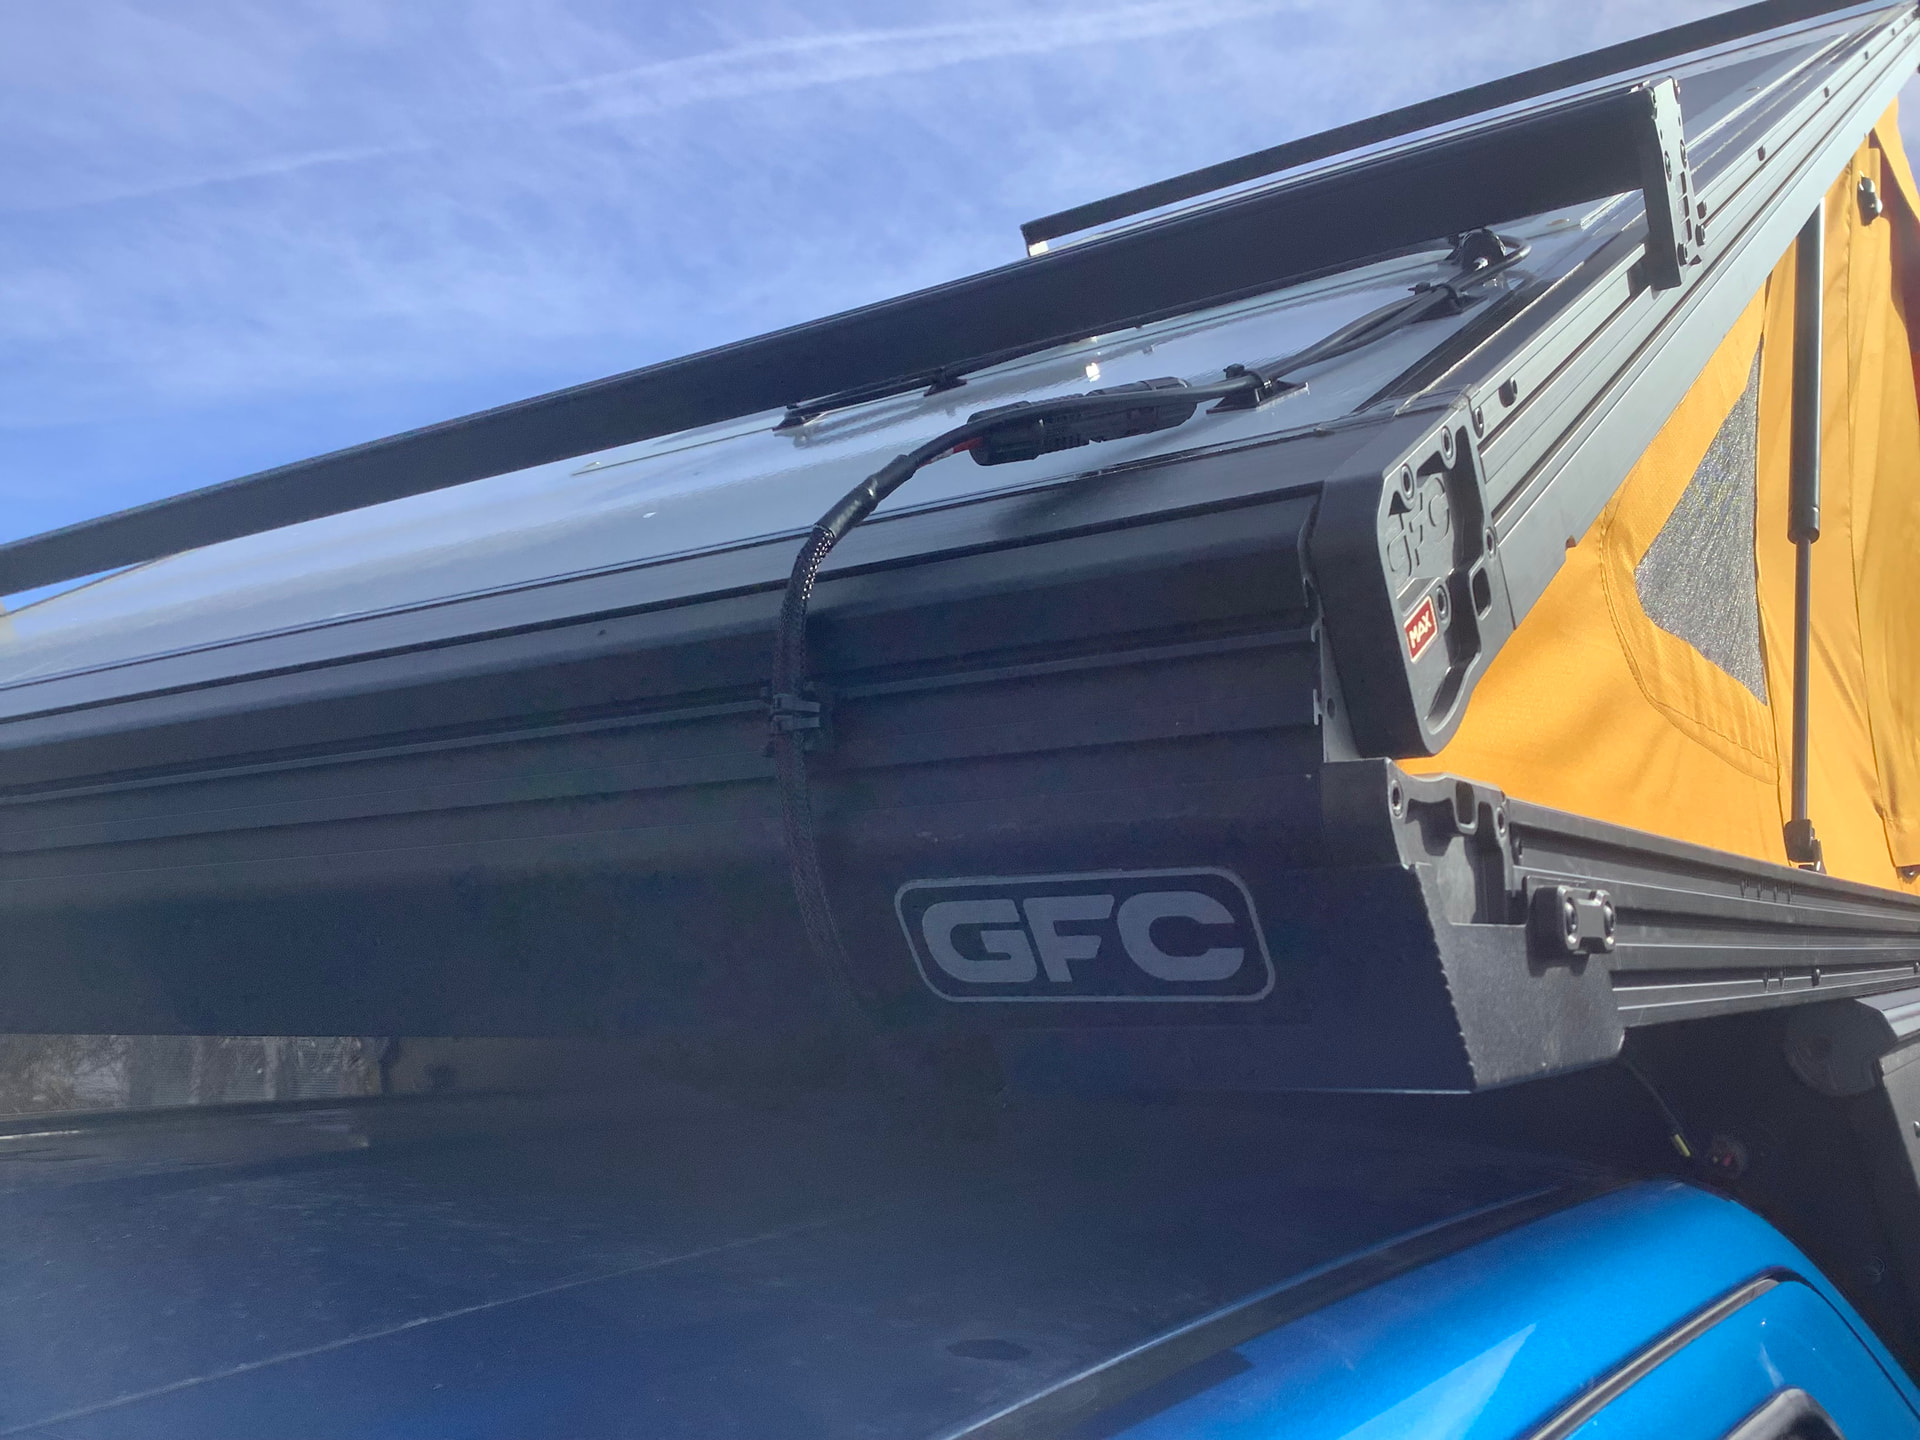
I could sell the Go Fast off the Tacoma, and pick one up for the Tundra…. So that was the thought process, and I decided to jump on the Go Fast website and take a peak at cost and lead time just for fun. What did I see? The MAX. Pass through, slider, lights, Molle panel and updated tent made it really hard to say no. Sold the Tacoma camper (not the truck, ever!) I picked up the MAX in January this year, and with the bed size and extended overhang thinks it looks perfect on the truck!
I was a lot more intentional with this build, rather than slap it in and modify if necessary. I knew I wanted solar, but a closed 12v system. I still work, trips are not months at a time and a dc/dc can always be added down the road if a 314 AH, 200w solar can’t manage some LEDS, fridge etc. I also knew I was not going to worry about the modular/removable easily part- build it the way we wanted. You saw a lot of carpet in the Tacoma photo- not in this one just in case those toddlers end up going. Weight would be a factor, Ride-Rite airbags were in already and Alcan Springs once done and weighed.
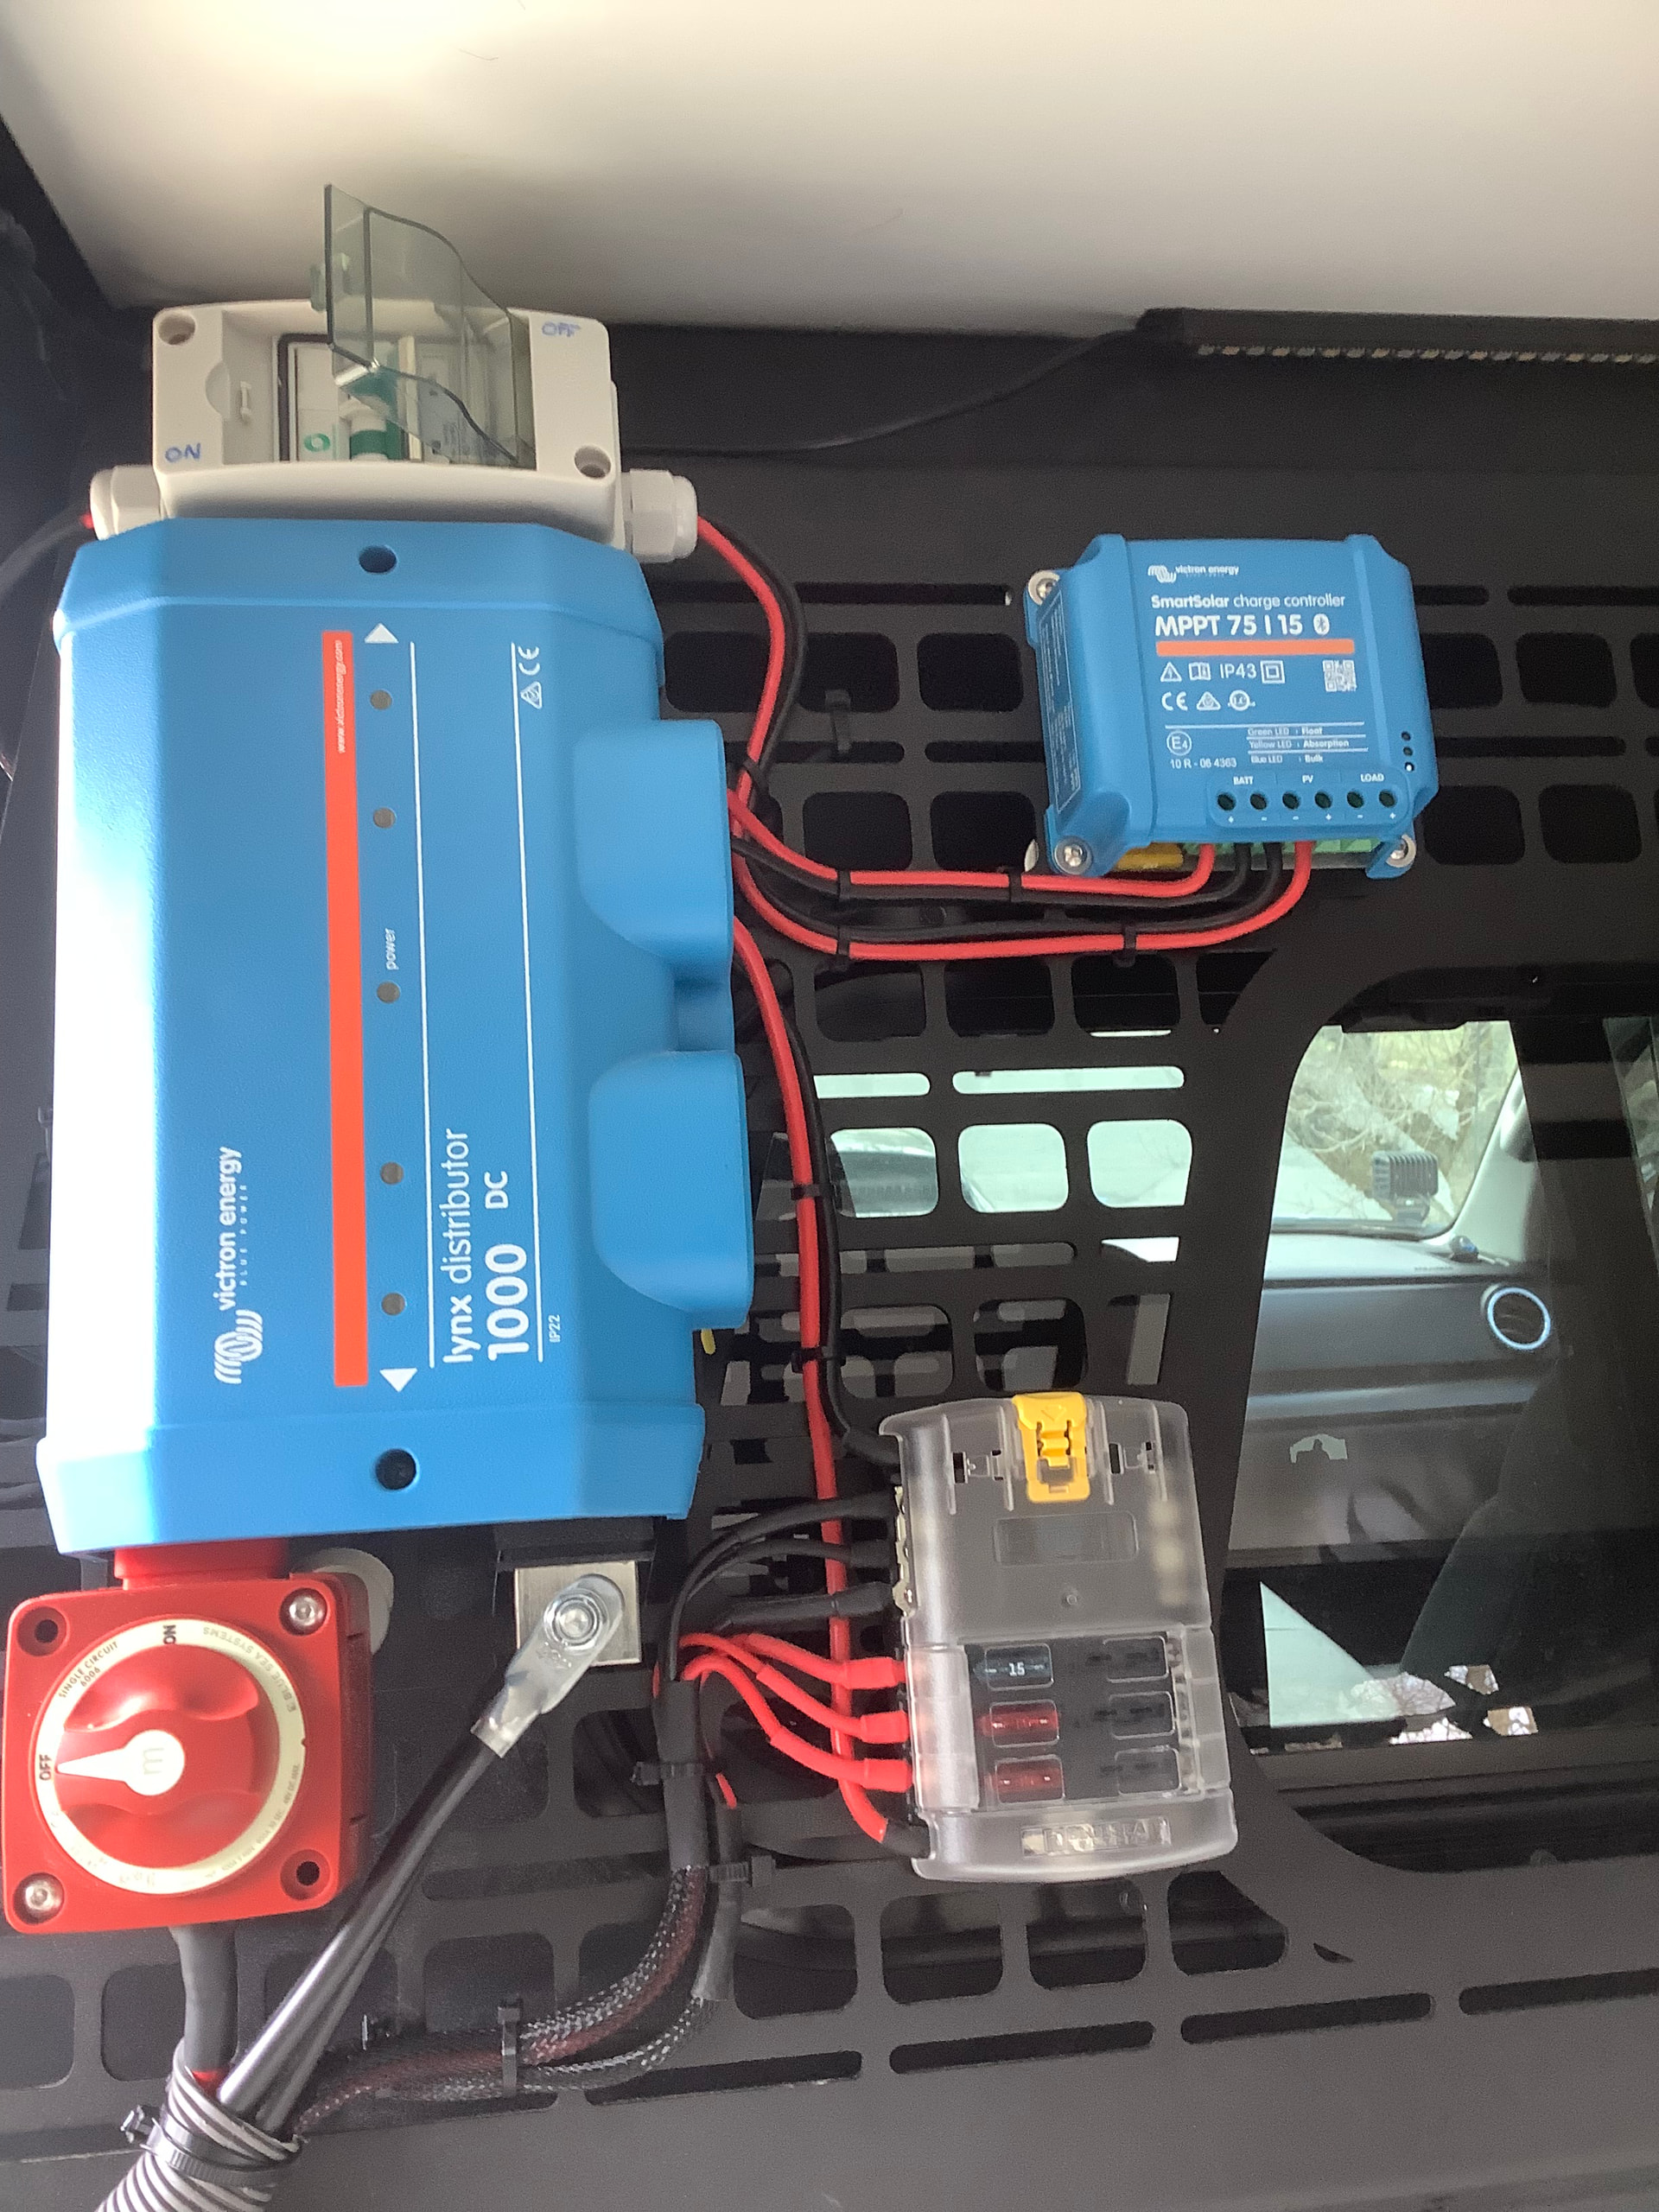
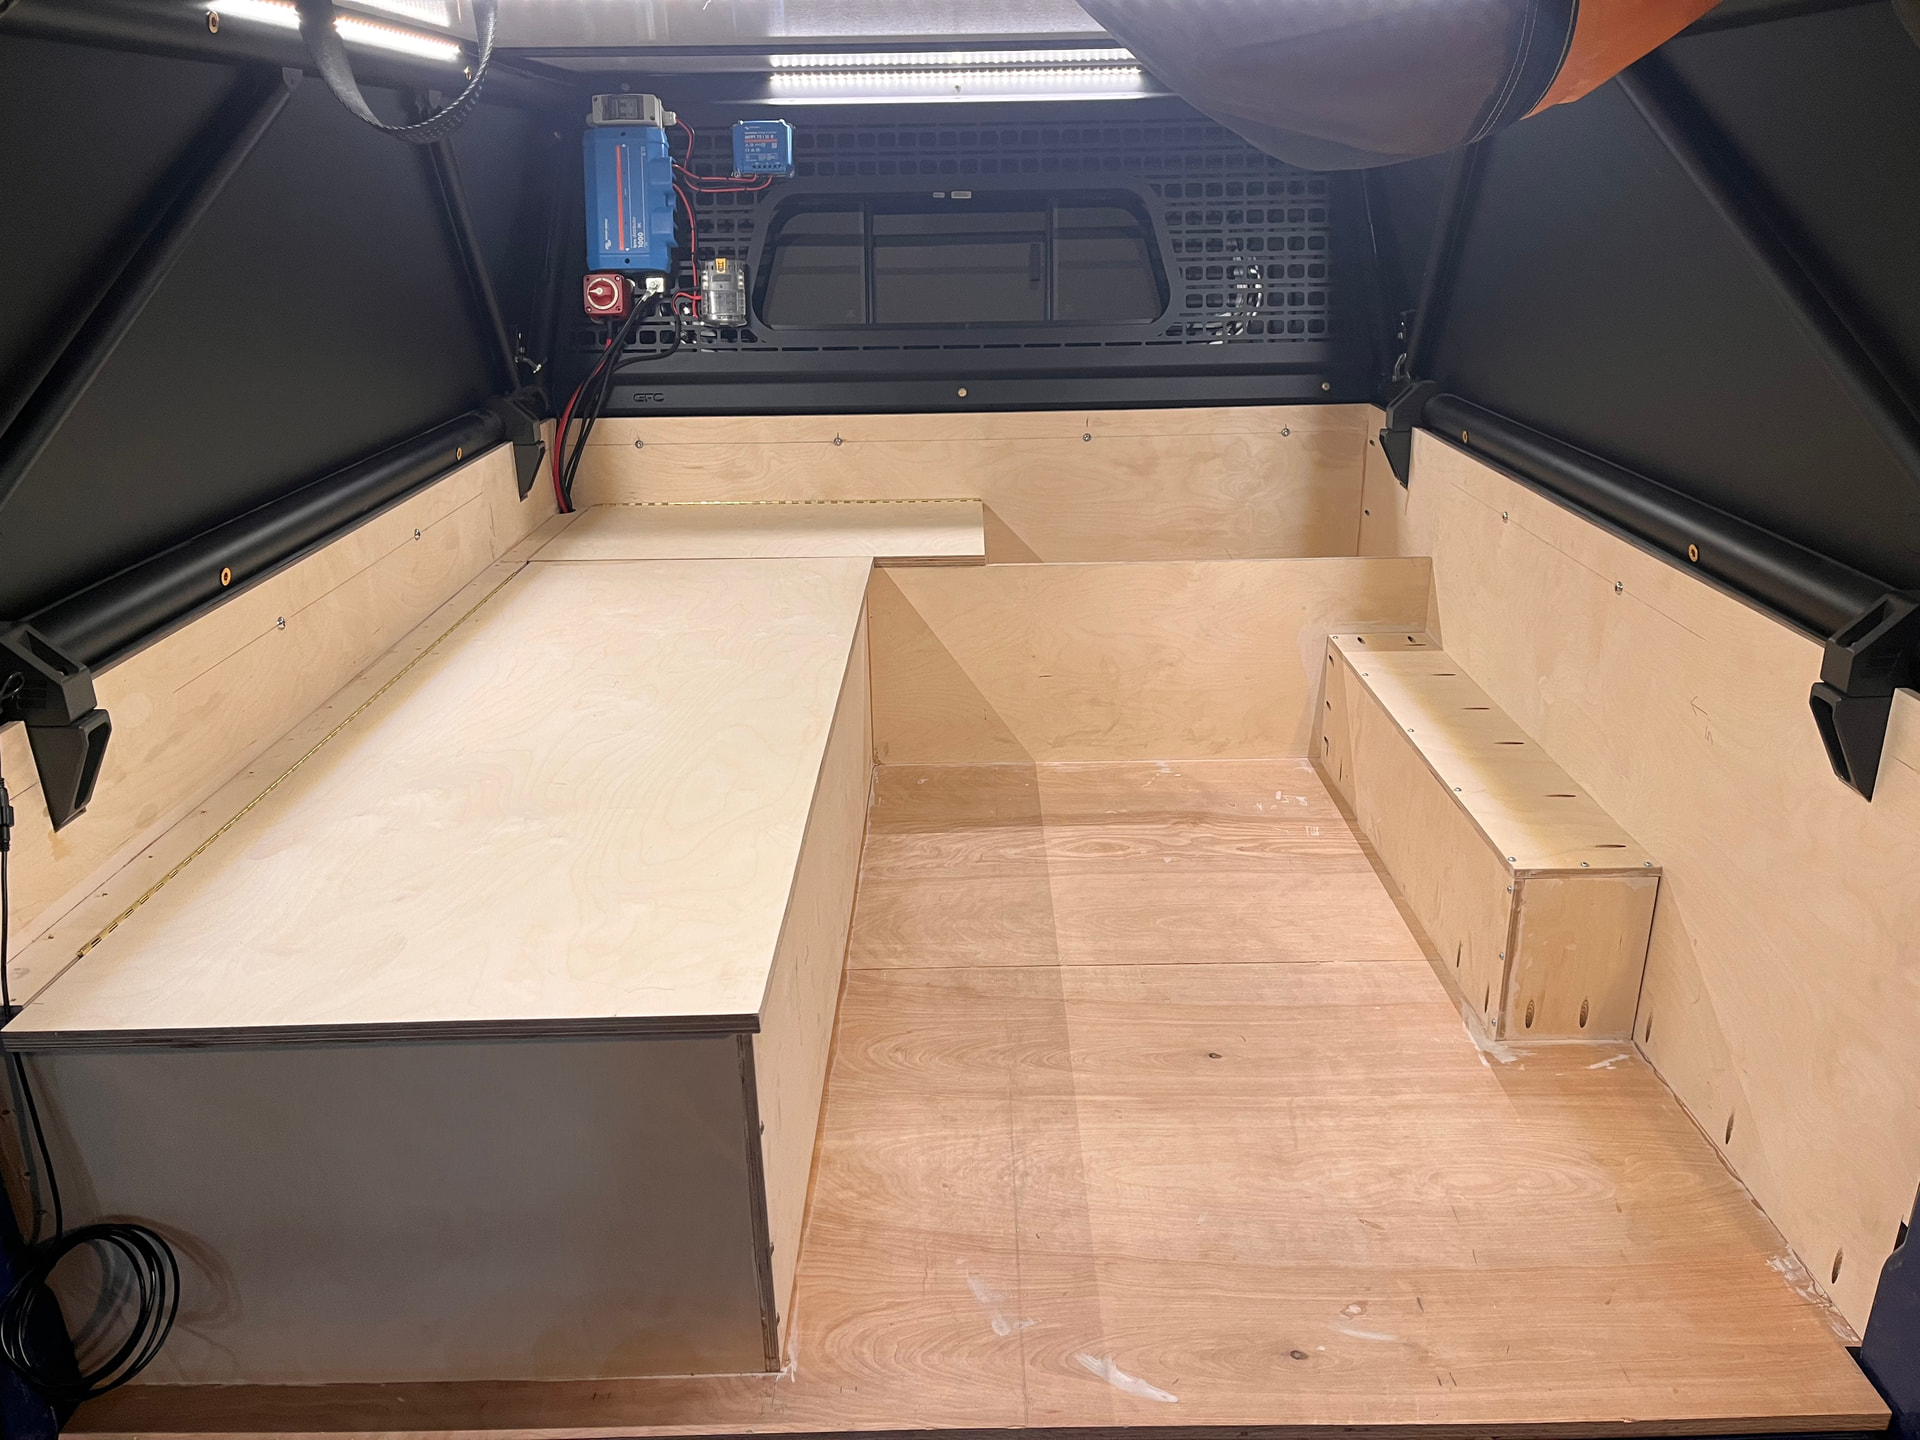
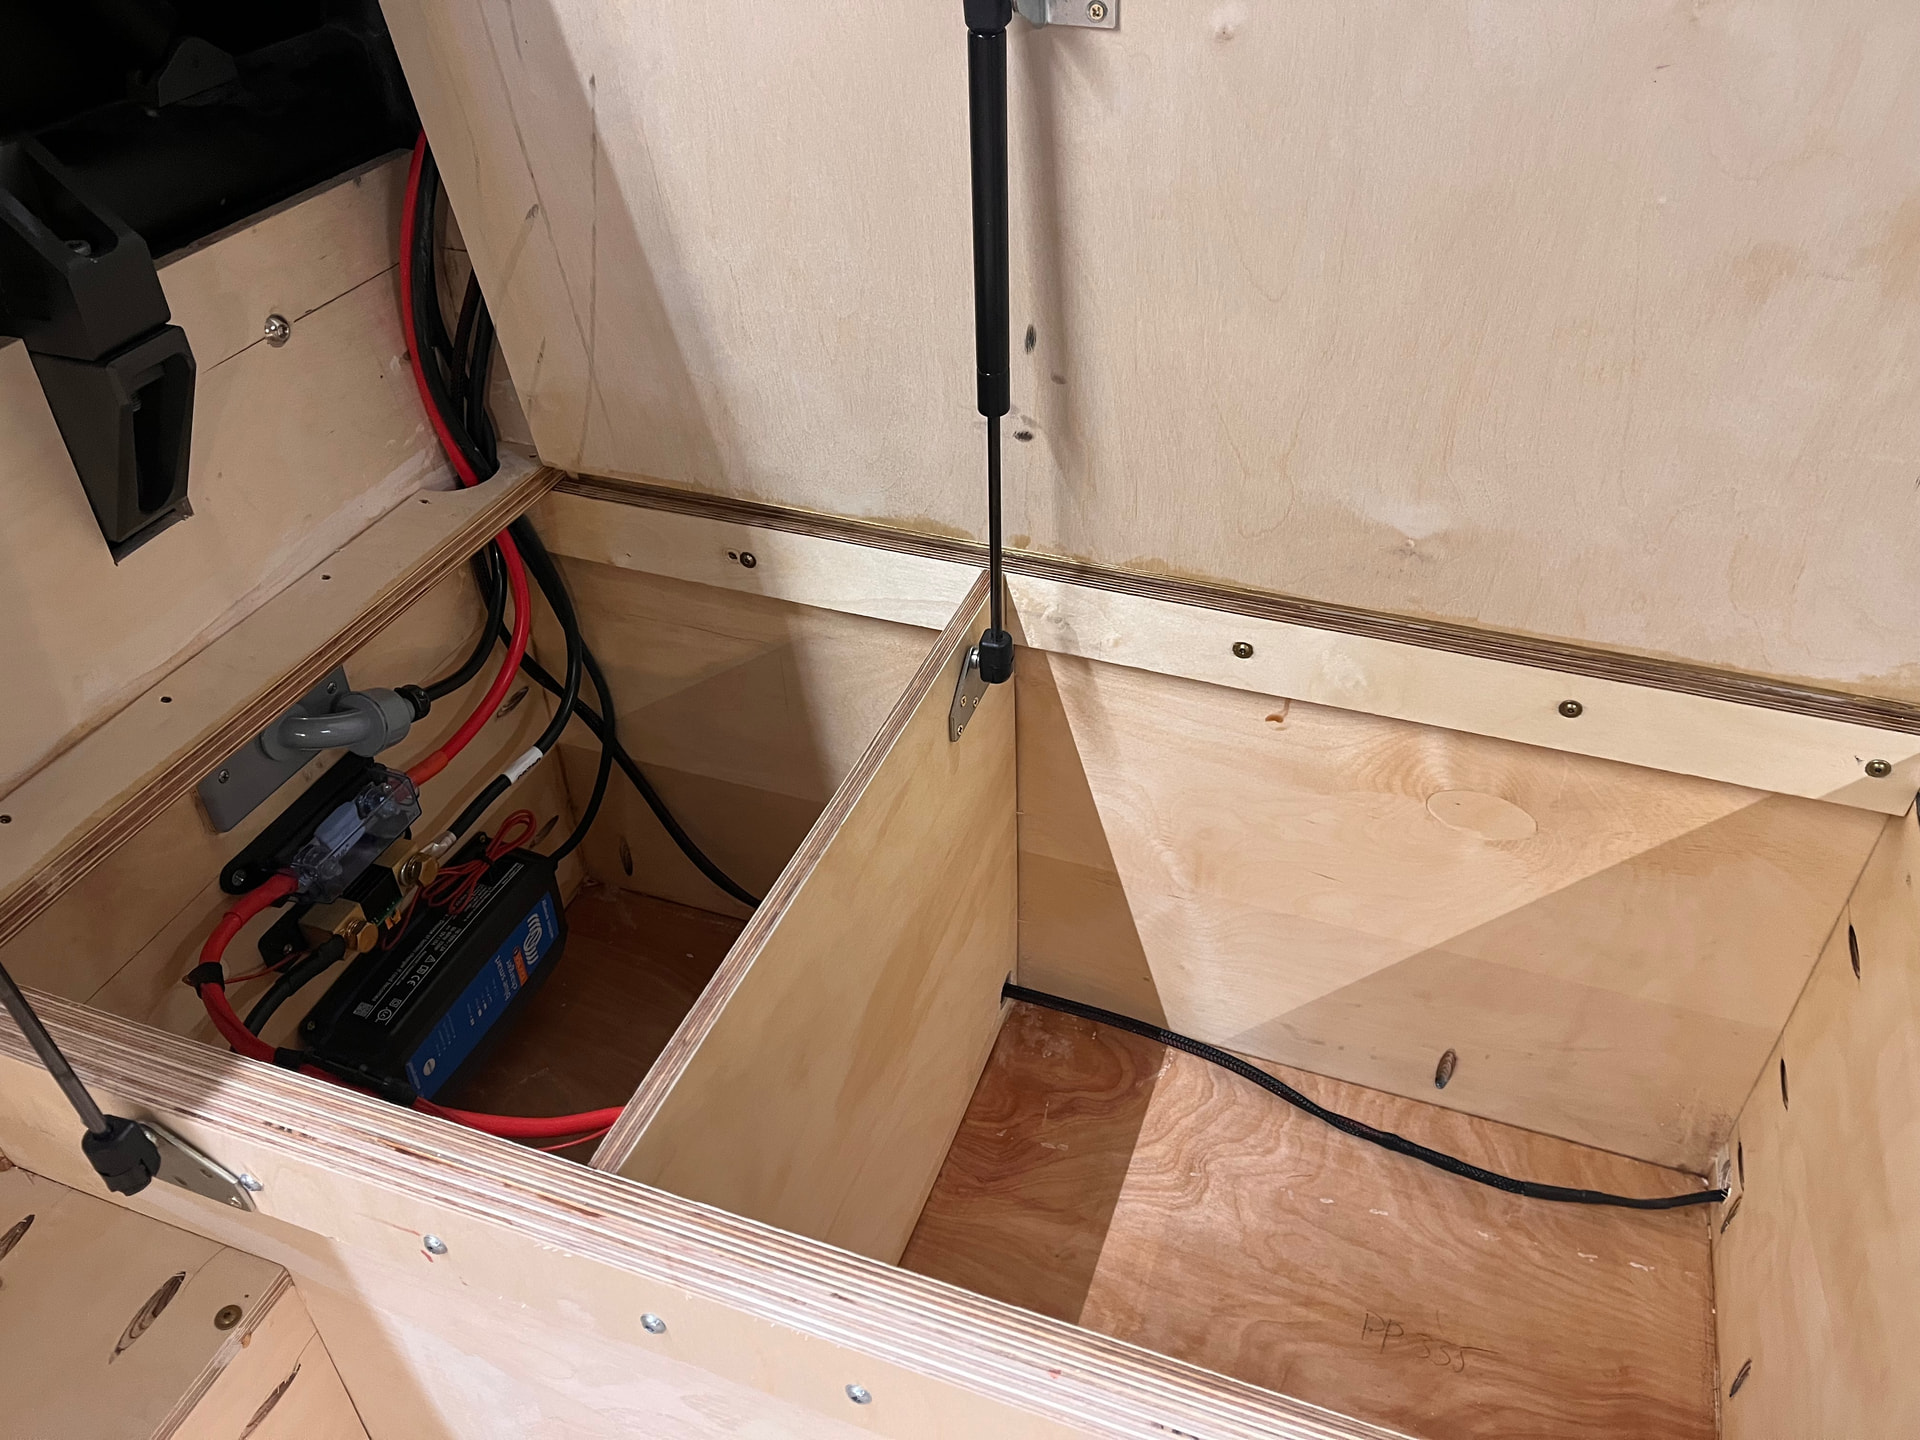
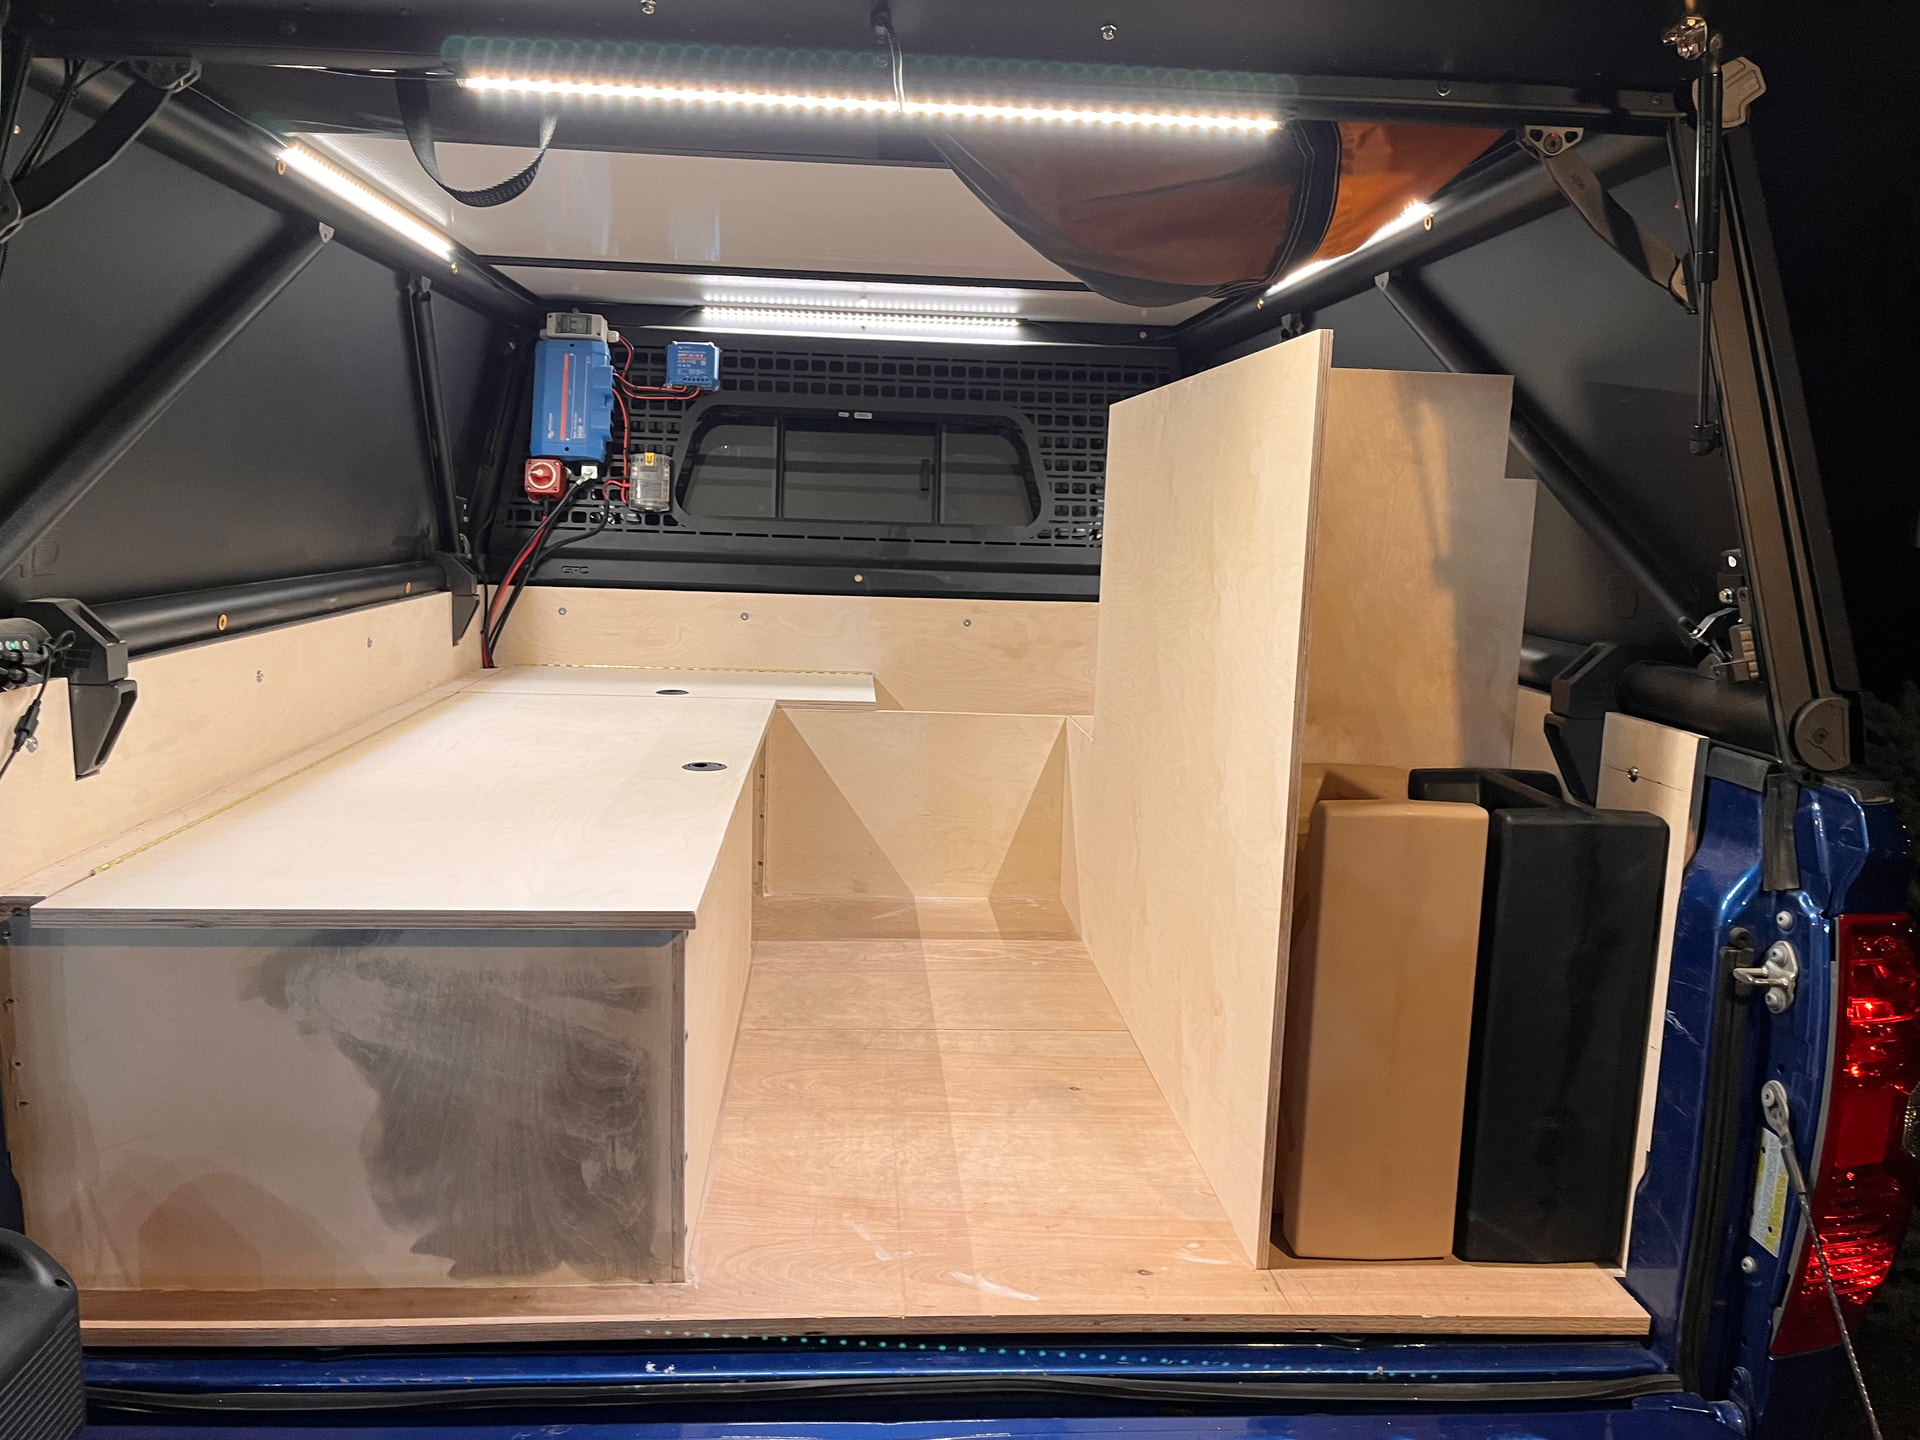
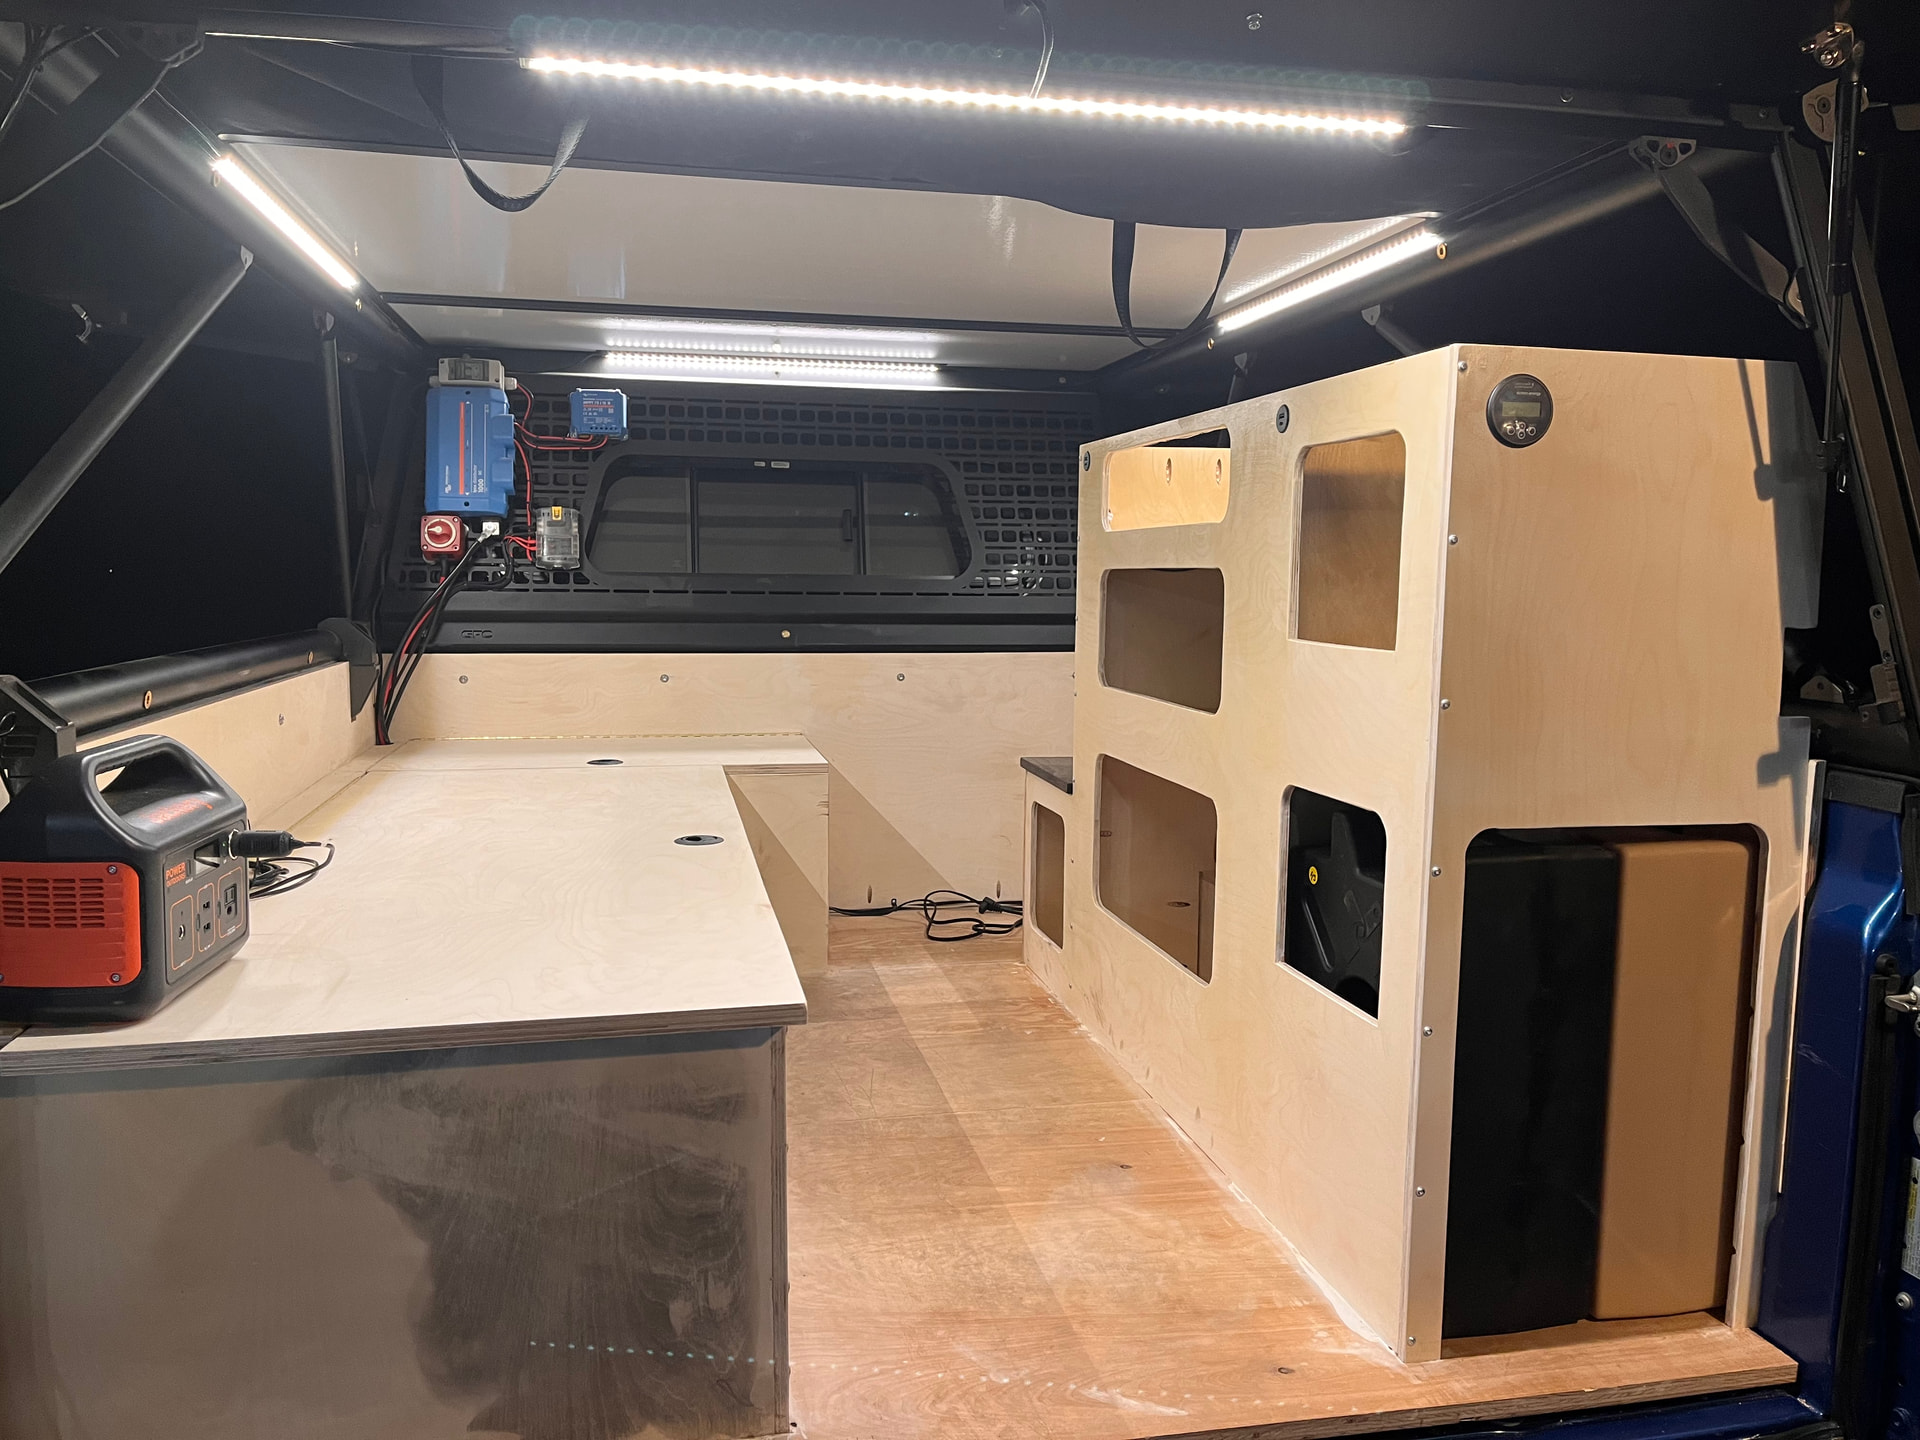
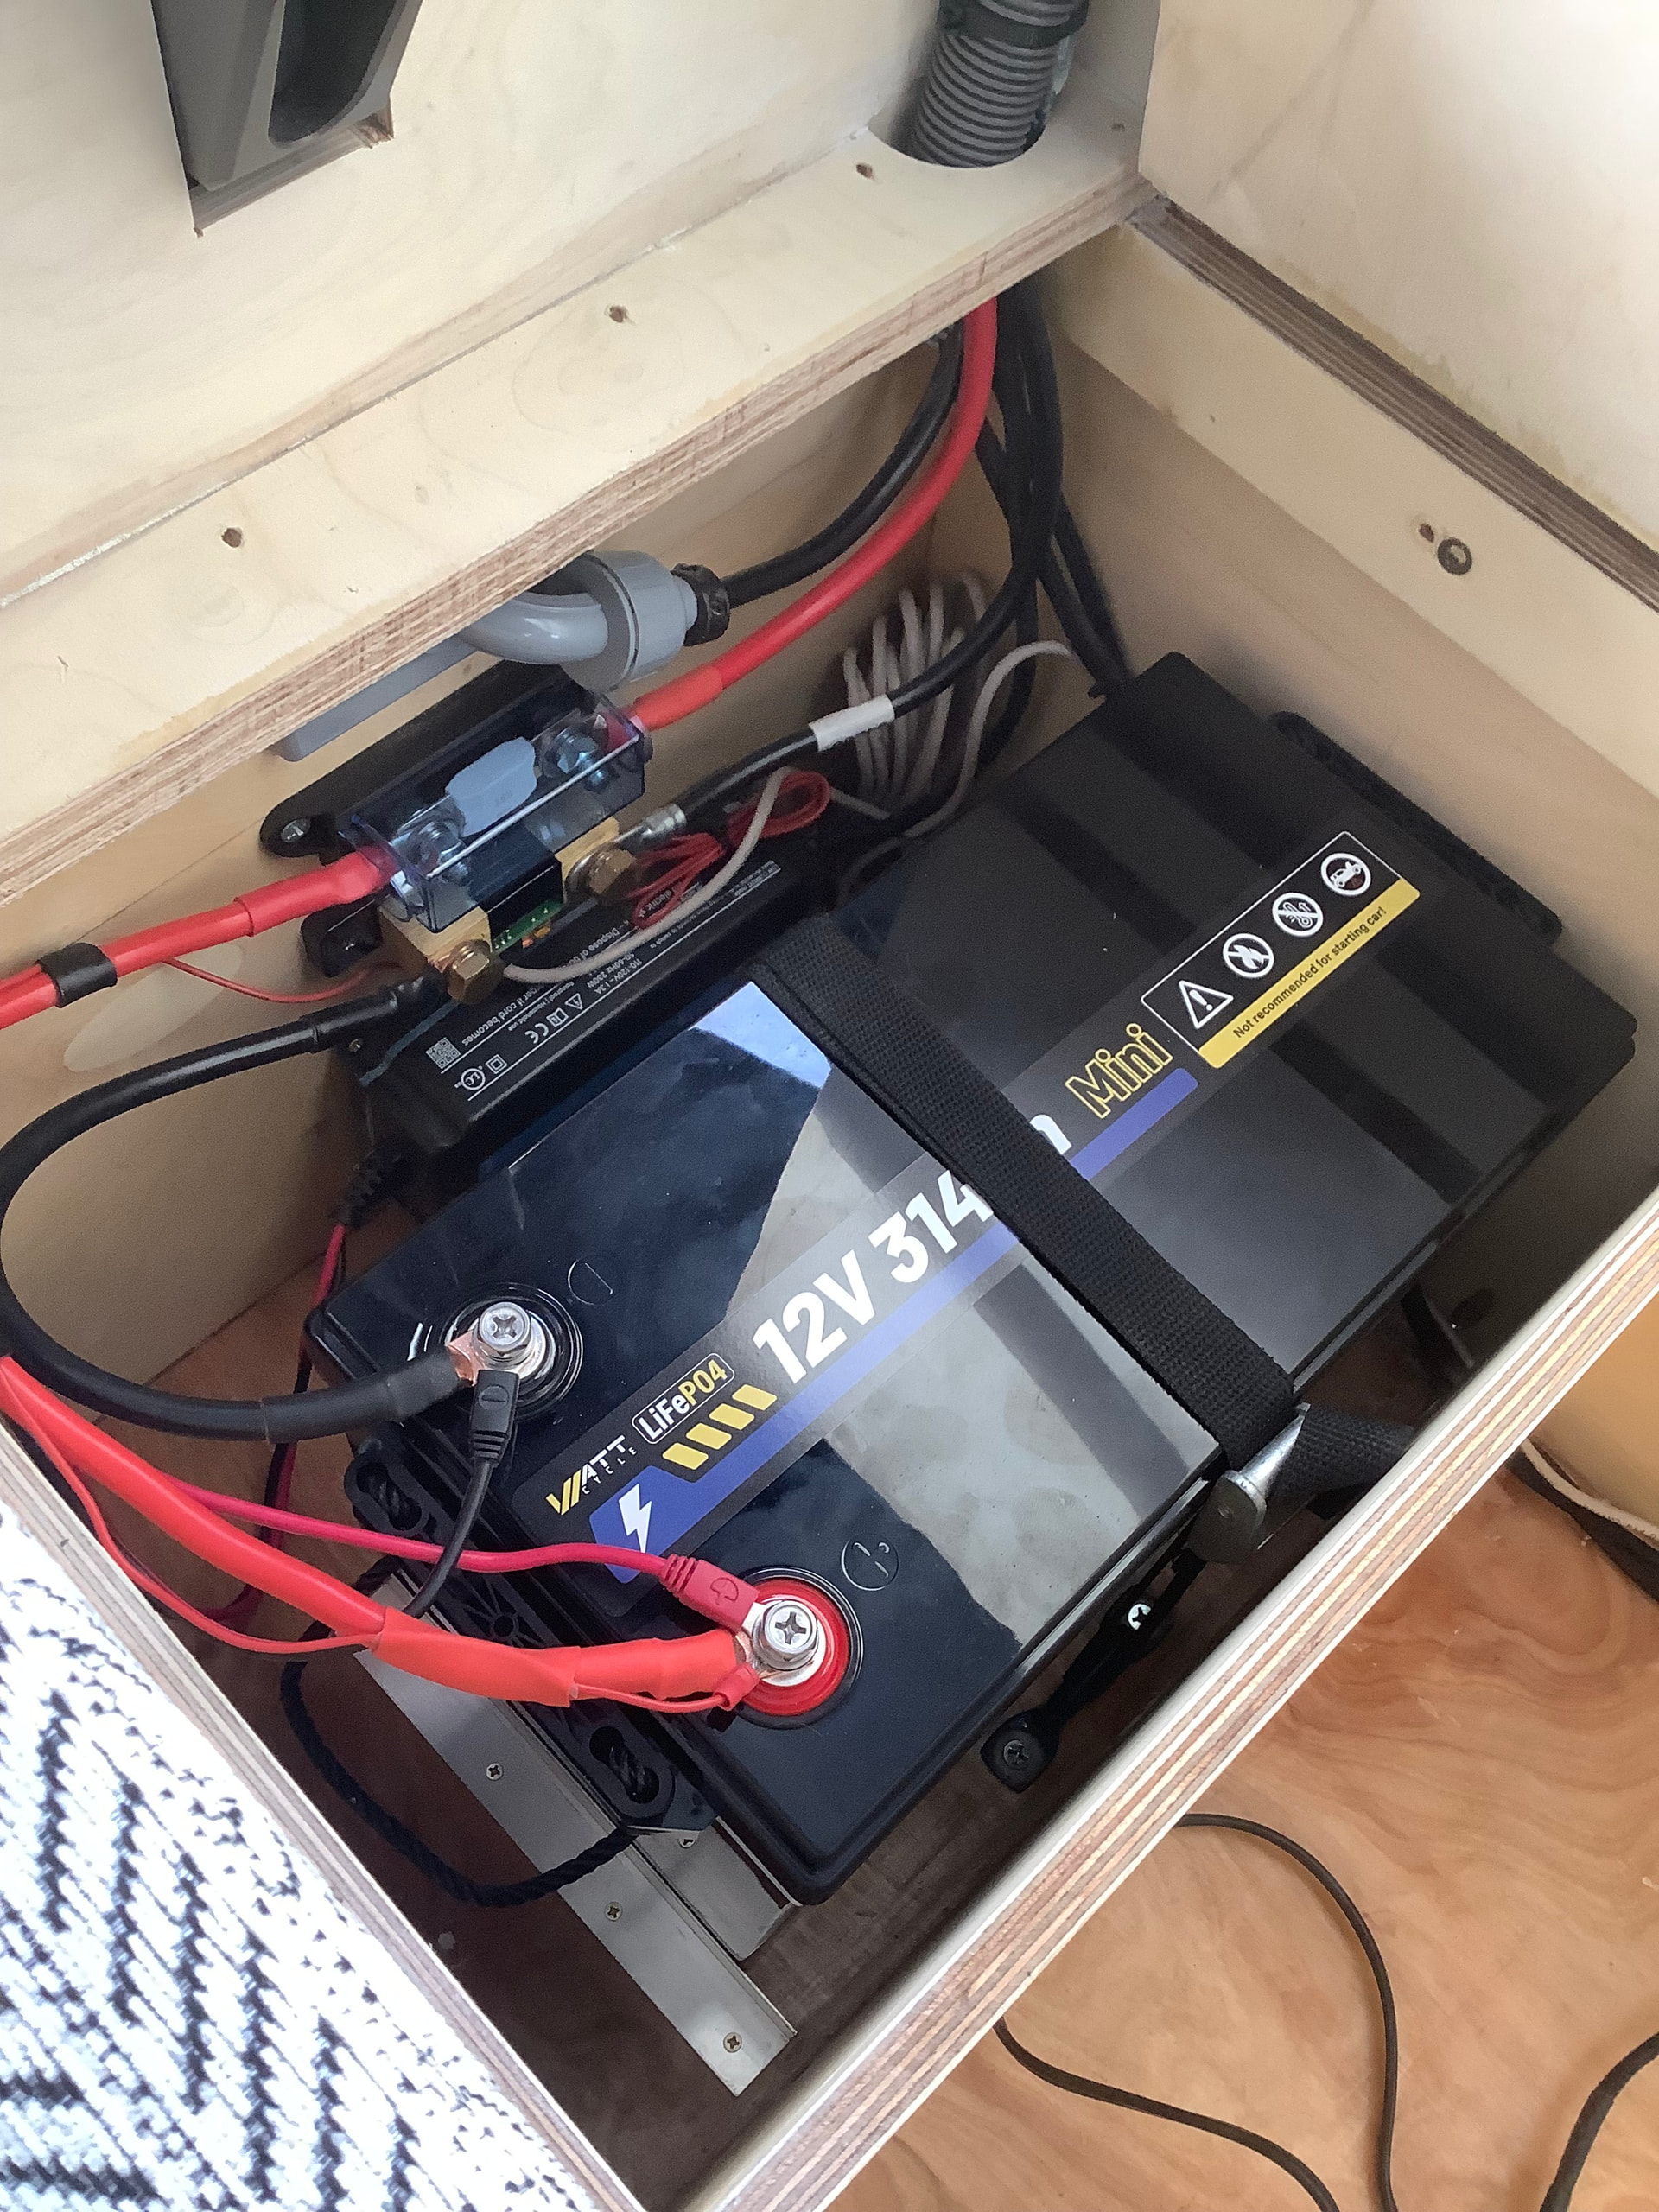
I started with removing the molle panel and setting up the electrical components on it. It’s a very simple solar setup; no inverter, all 12v aside from a 120 battery charger to be able to cool down a fridge and top things off before trip departure. This was a new realm for me, and if you begin the search process into solar there is a lot of information. Explorist.life Electical was a great resource, especially for wiring and wire and fuse size calculators.
The Tundra did not have a bedliner. I didn’t want to worry about a wood floor rubbing through paint and eventual rust so some 1/8” EDPM went down on the bed ridges, with filler support where I thought appropriate. The floor went down first, and is 3/4” regular birch plywood. Then the walls went up around the edge: 1/2” baltic birch. All connections are glued and pocket joined, and yes- the under/back sides spar varnished before assembly (everything is varnished- just in stages). The mounting rail in the bed is the mounting point for the walls, holding everything down. Nothing is mounted to the GFC, and clamps remain accessible for any service needs.


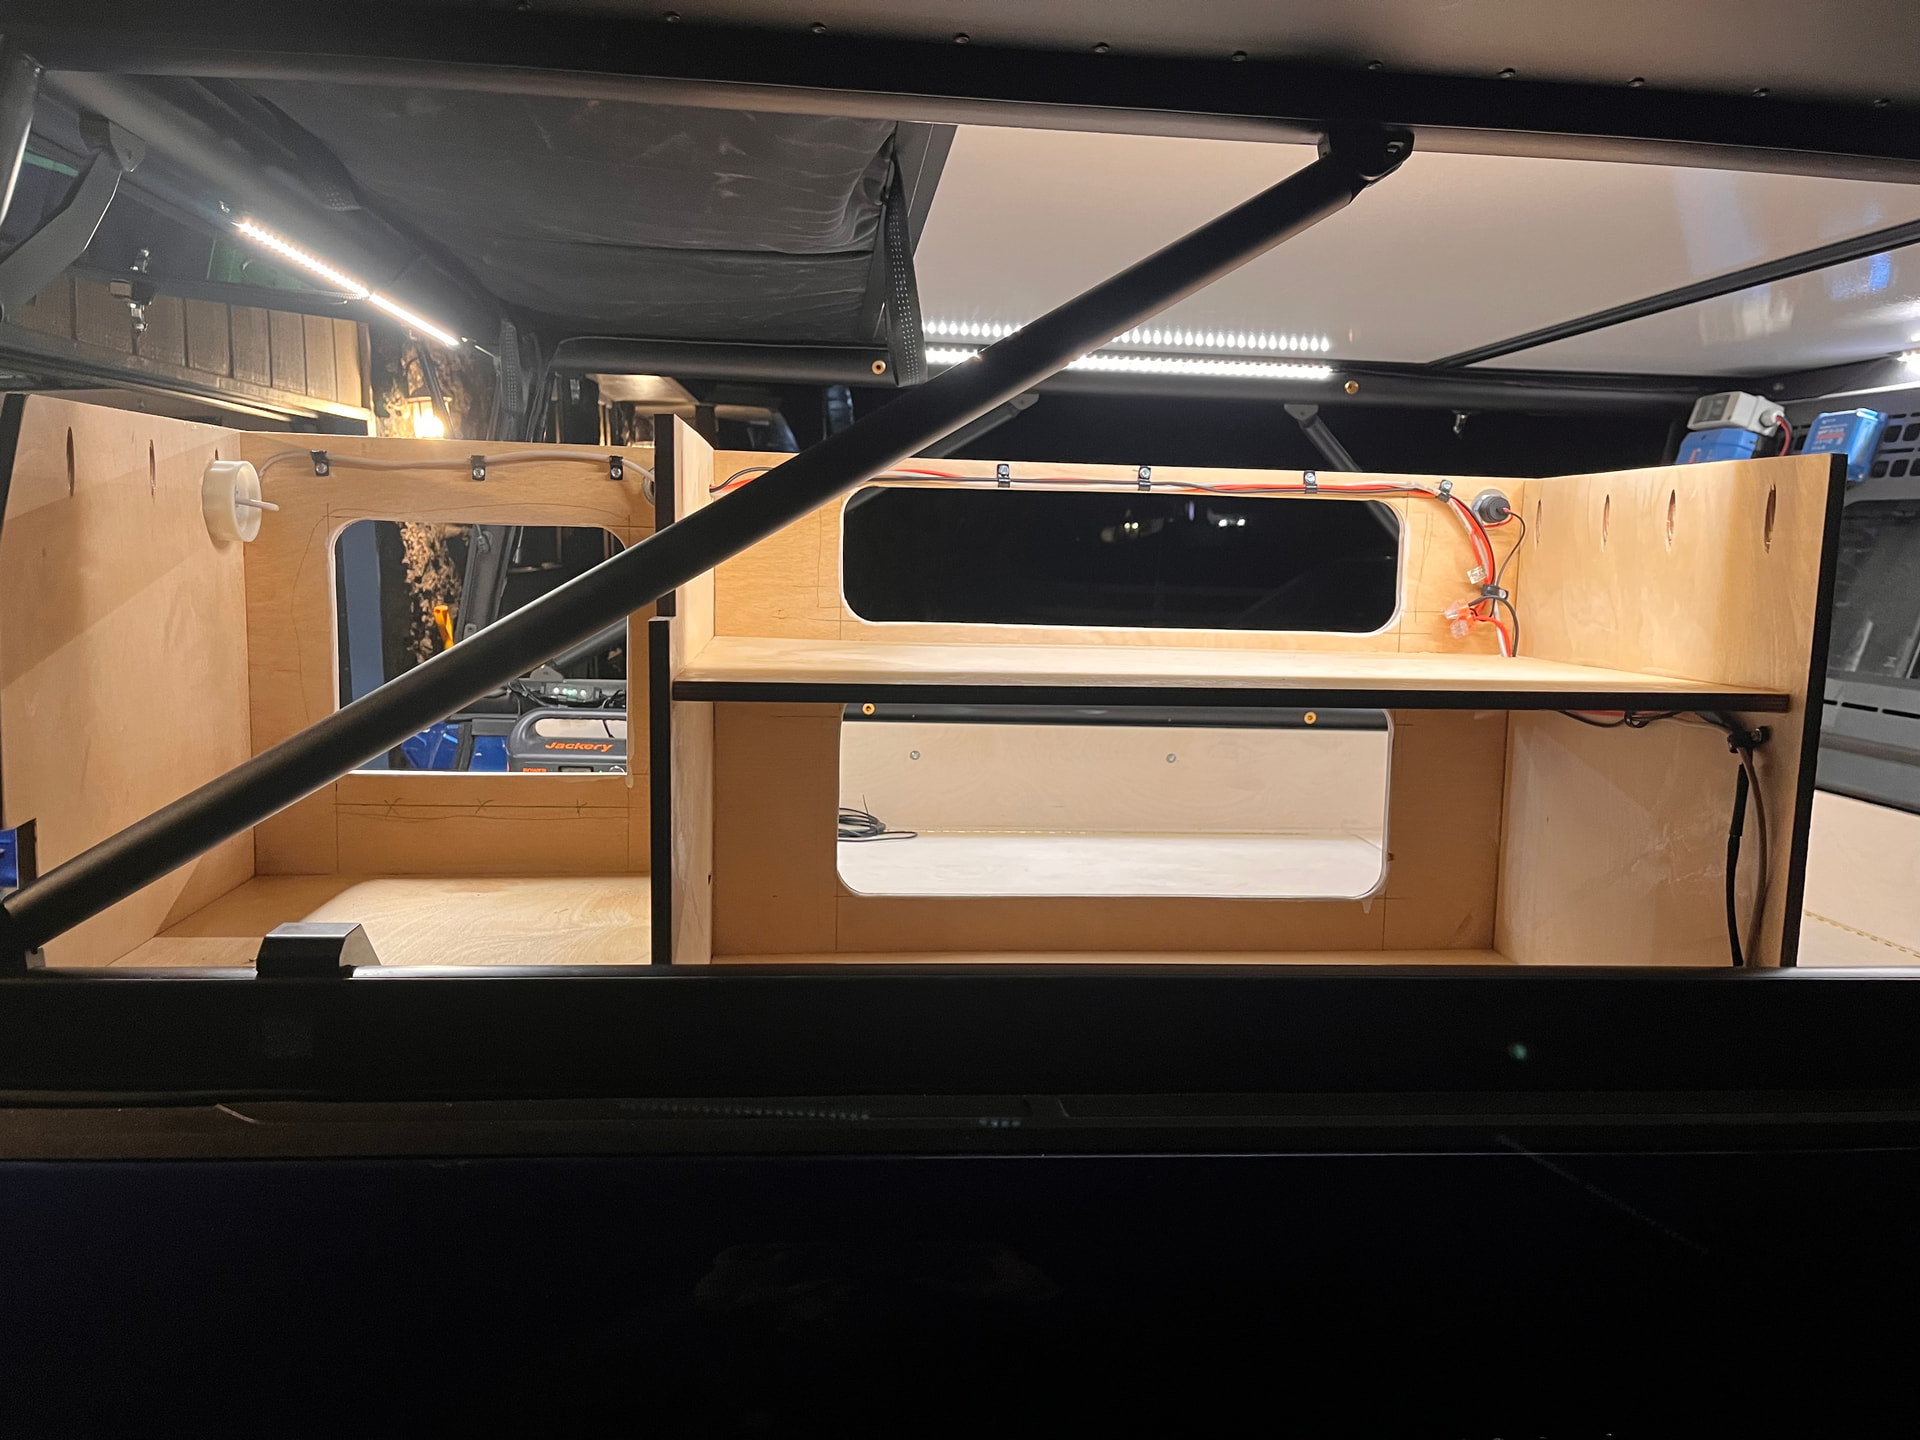
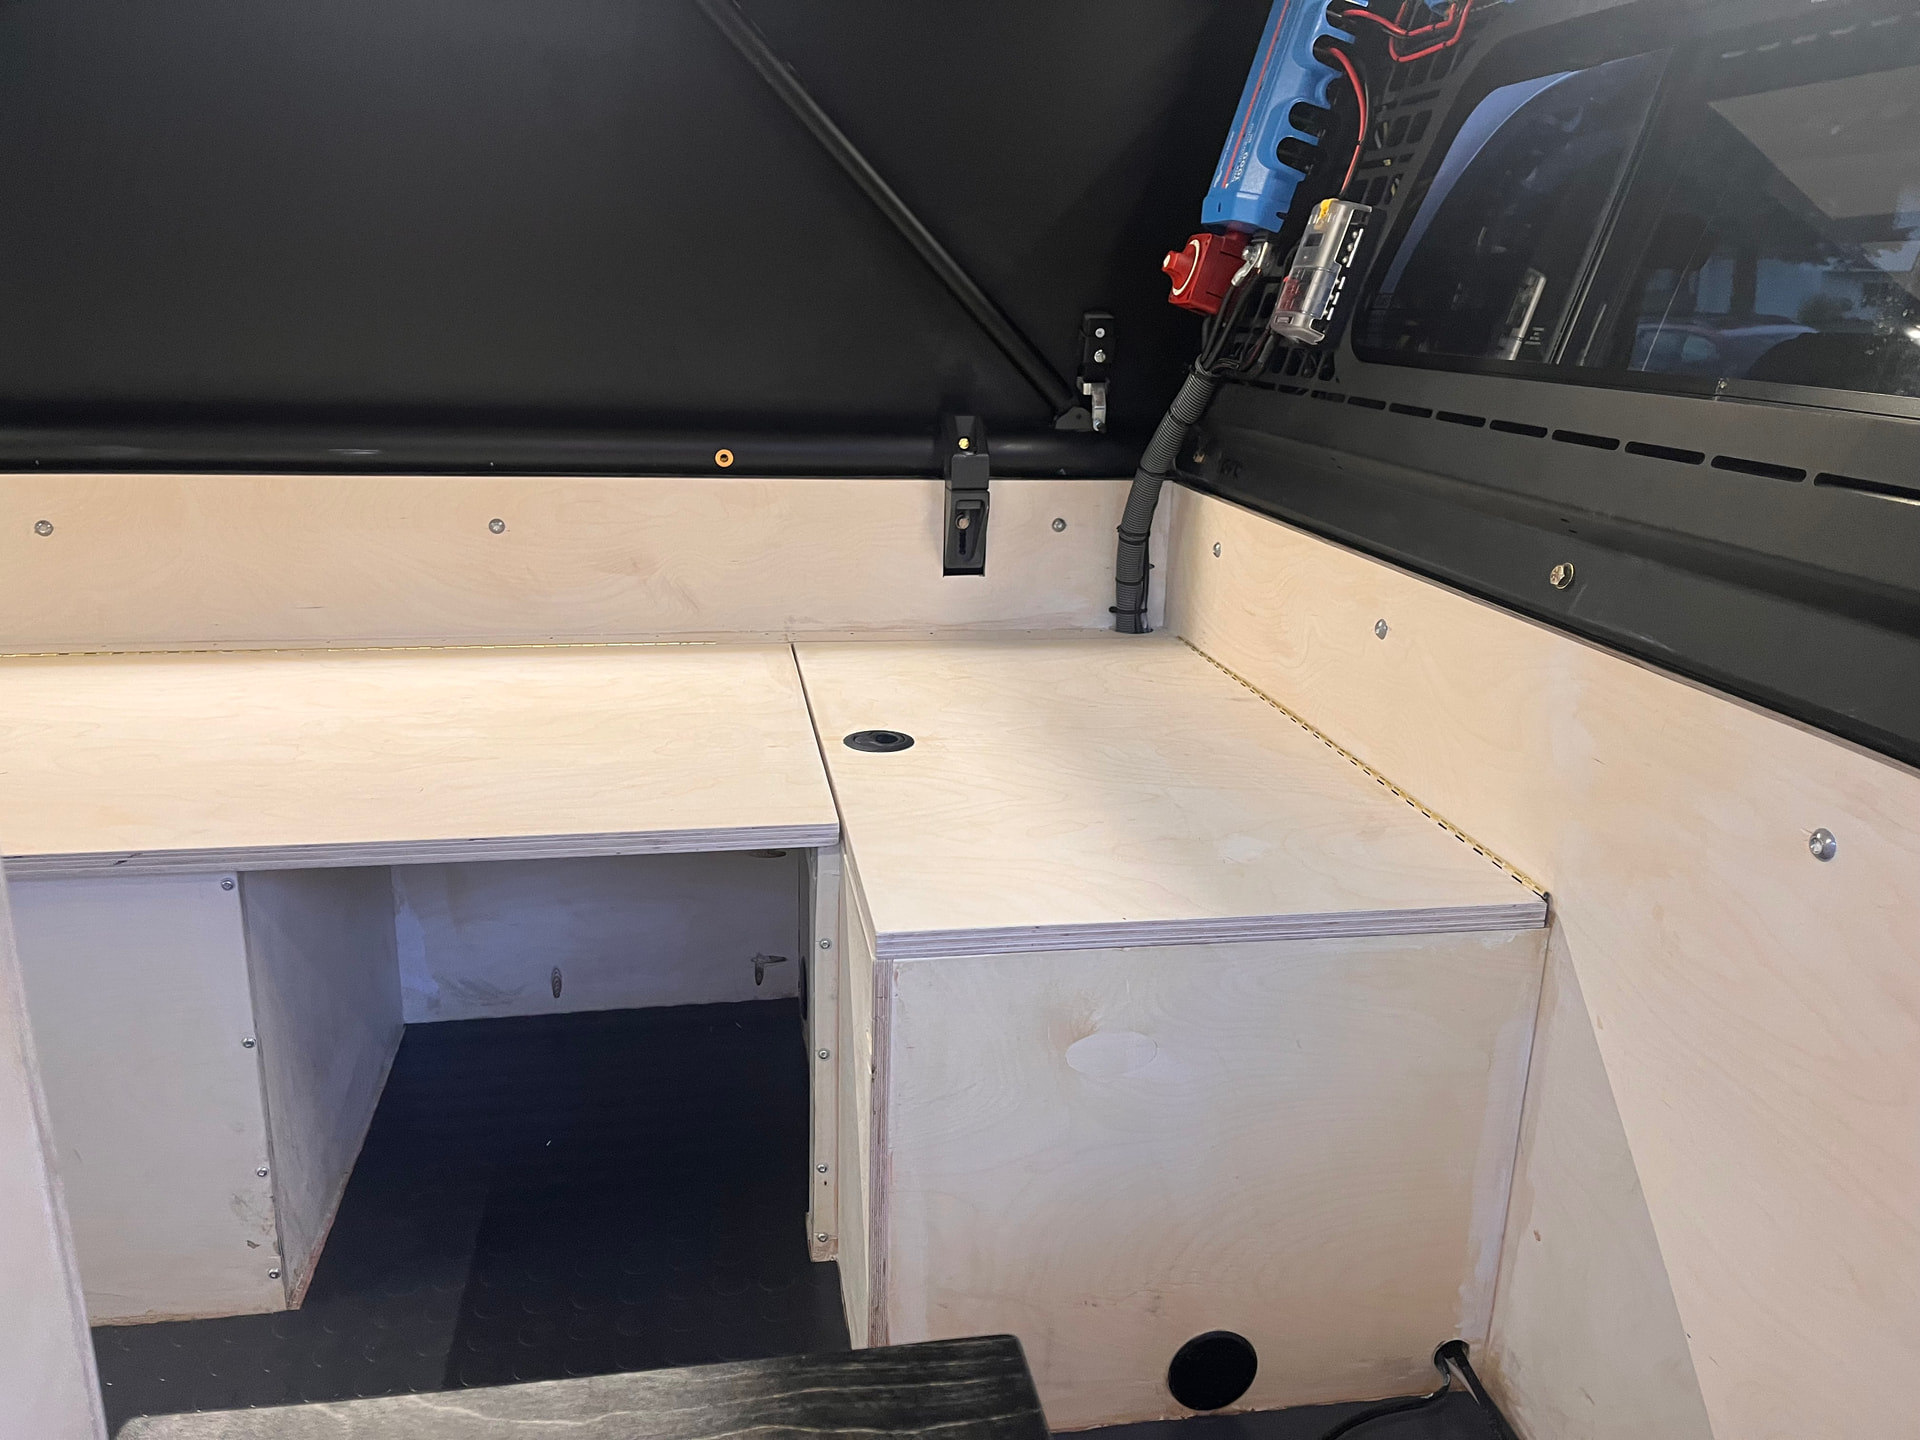
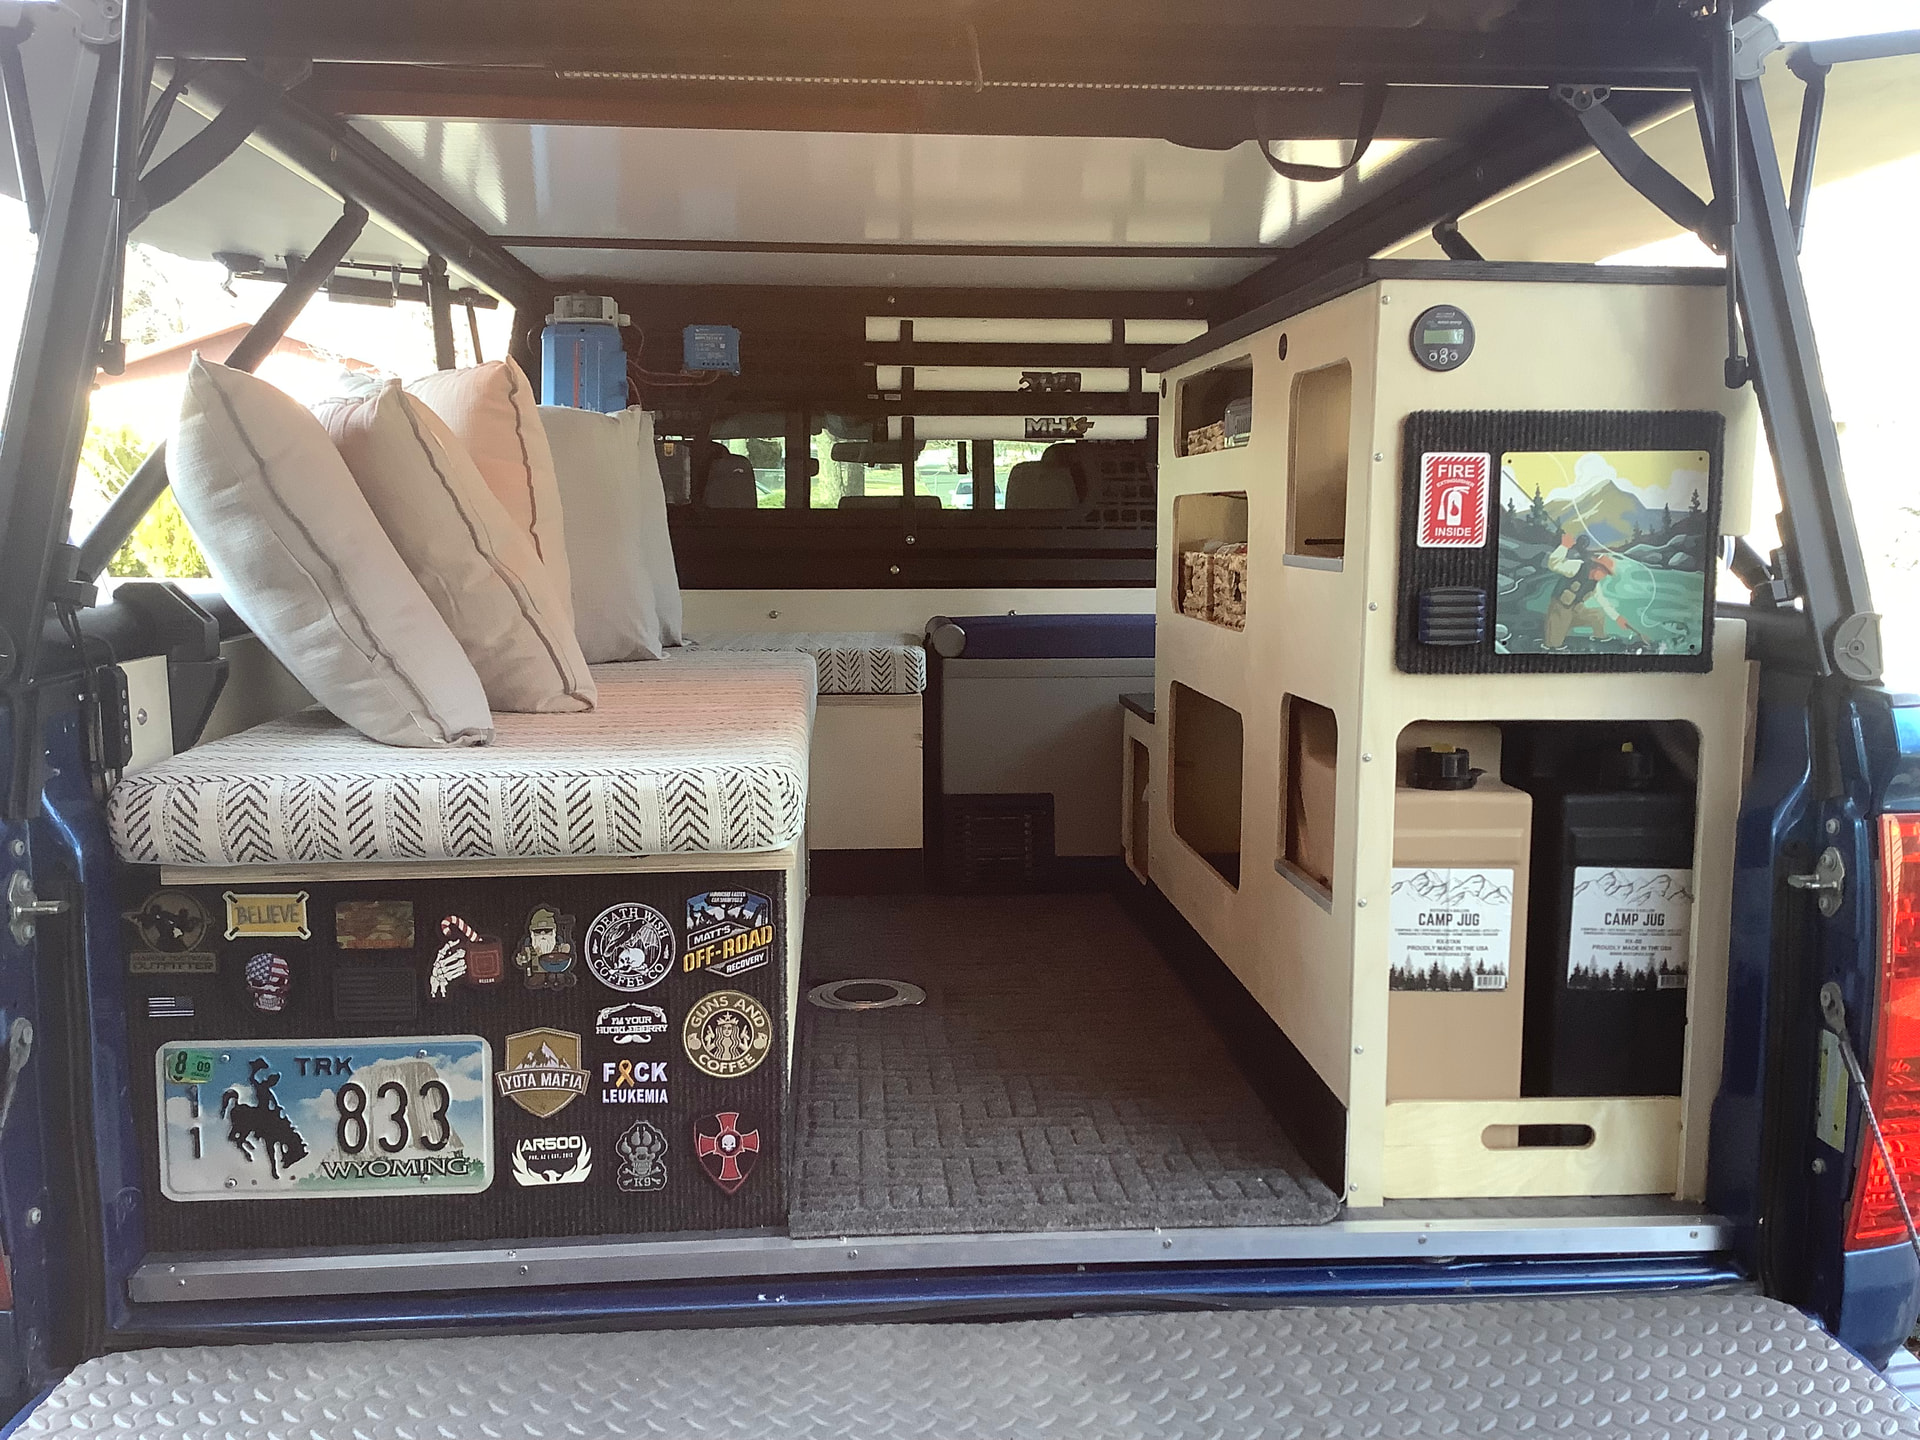
My plans for this build were to have a comfortable bench for two that could double as another bed, storage, battery and fridge across the front wall, and a stand-up height counter along the passenger side. I began with the bench and front wall and closed in the wheel wells. All of this is 1/2” Baltic Birch.

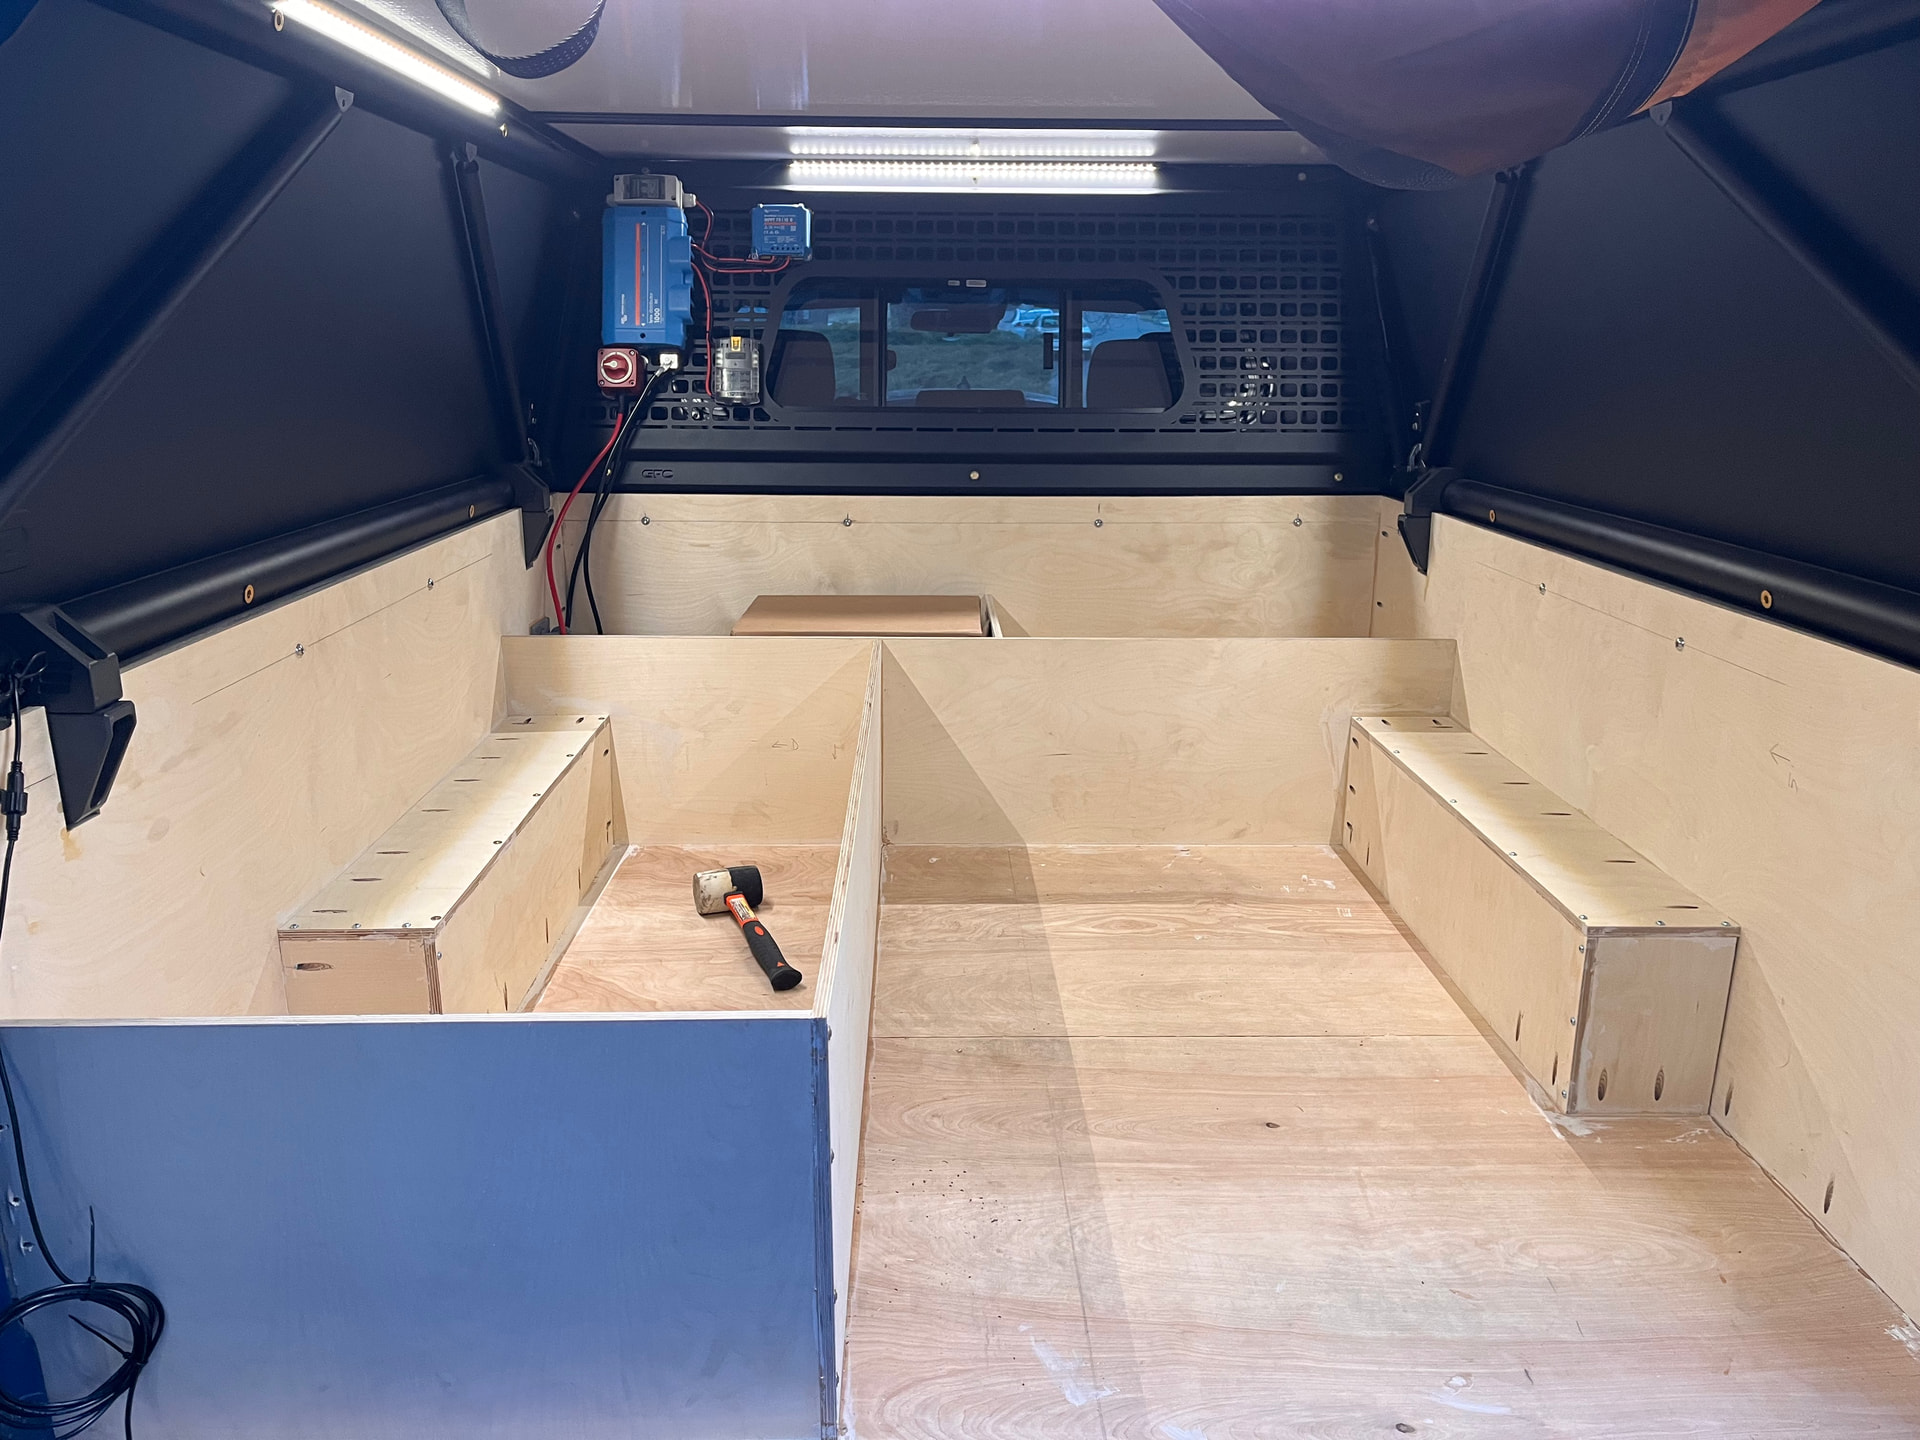
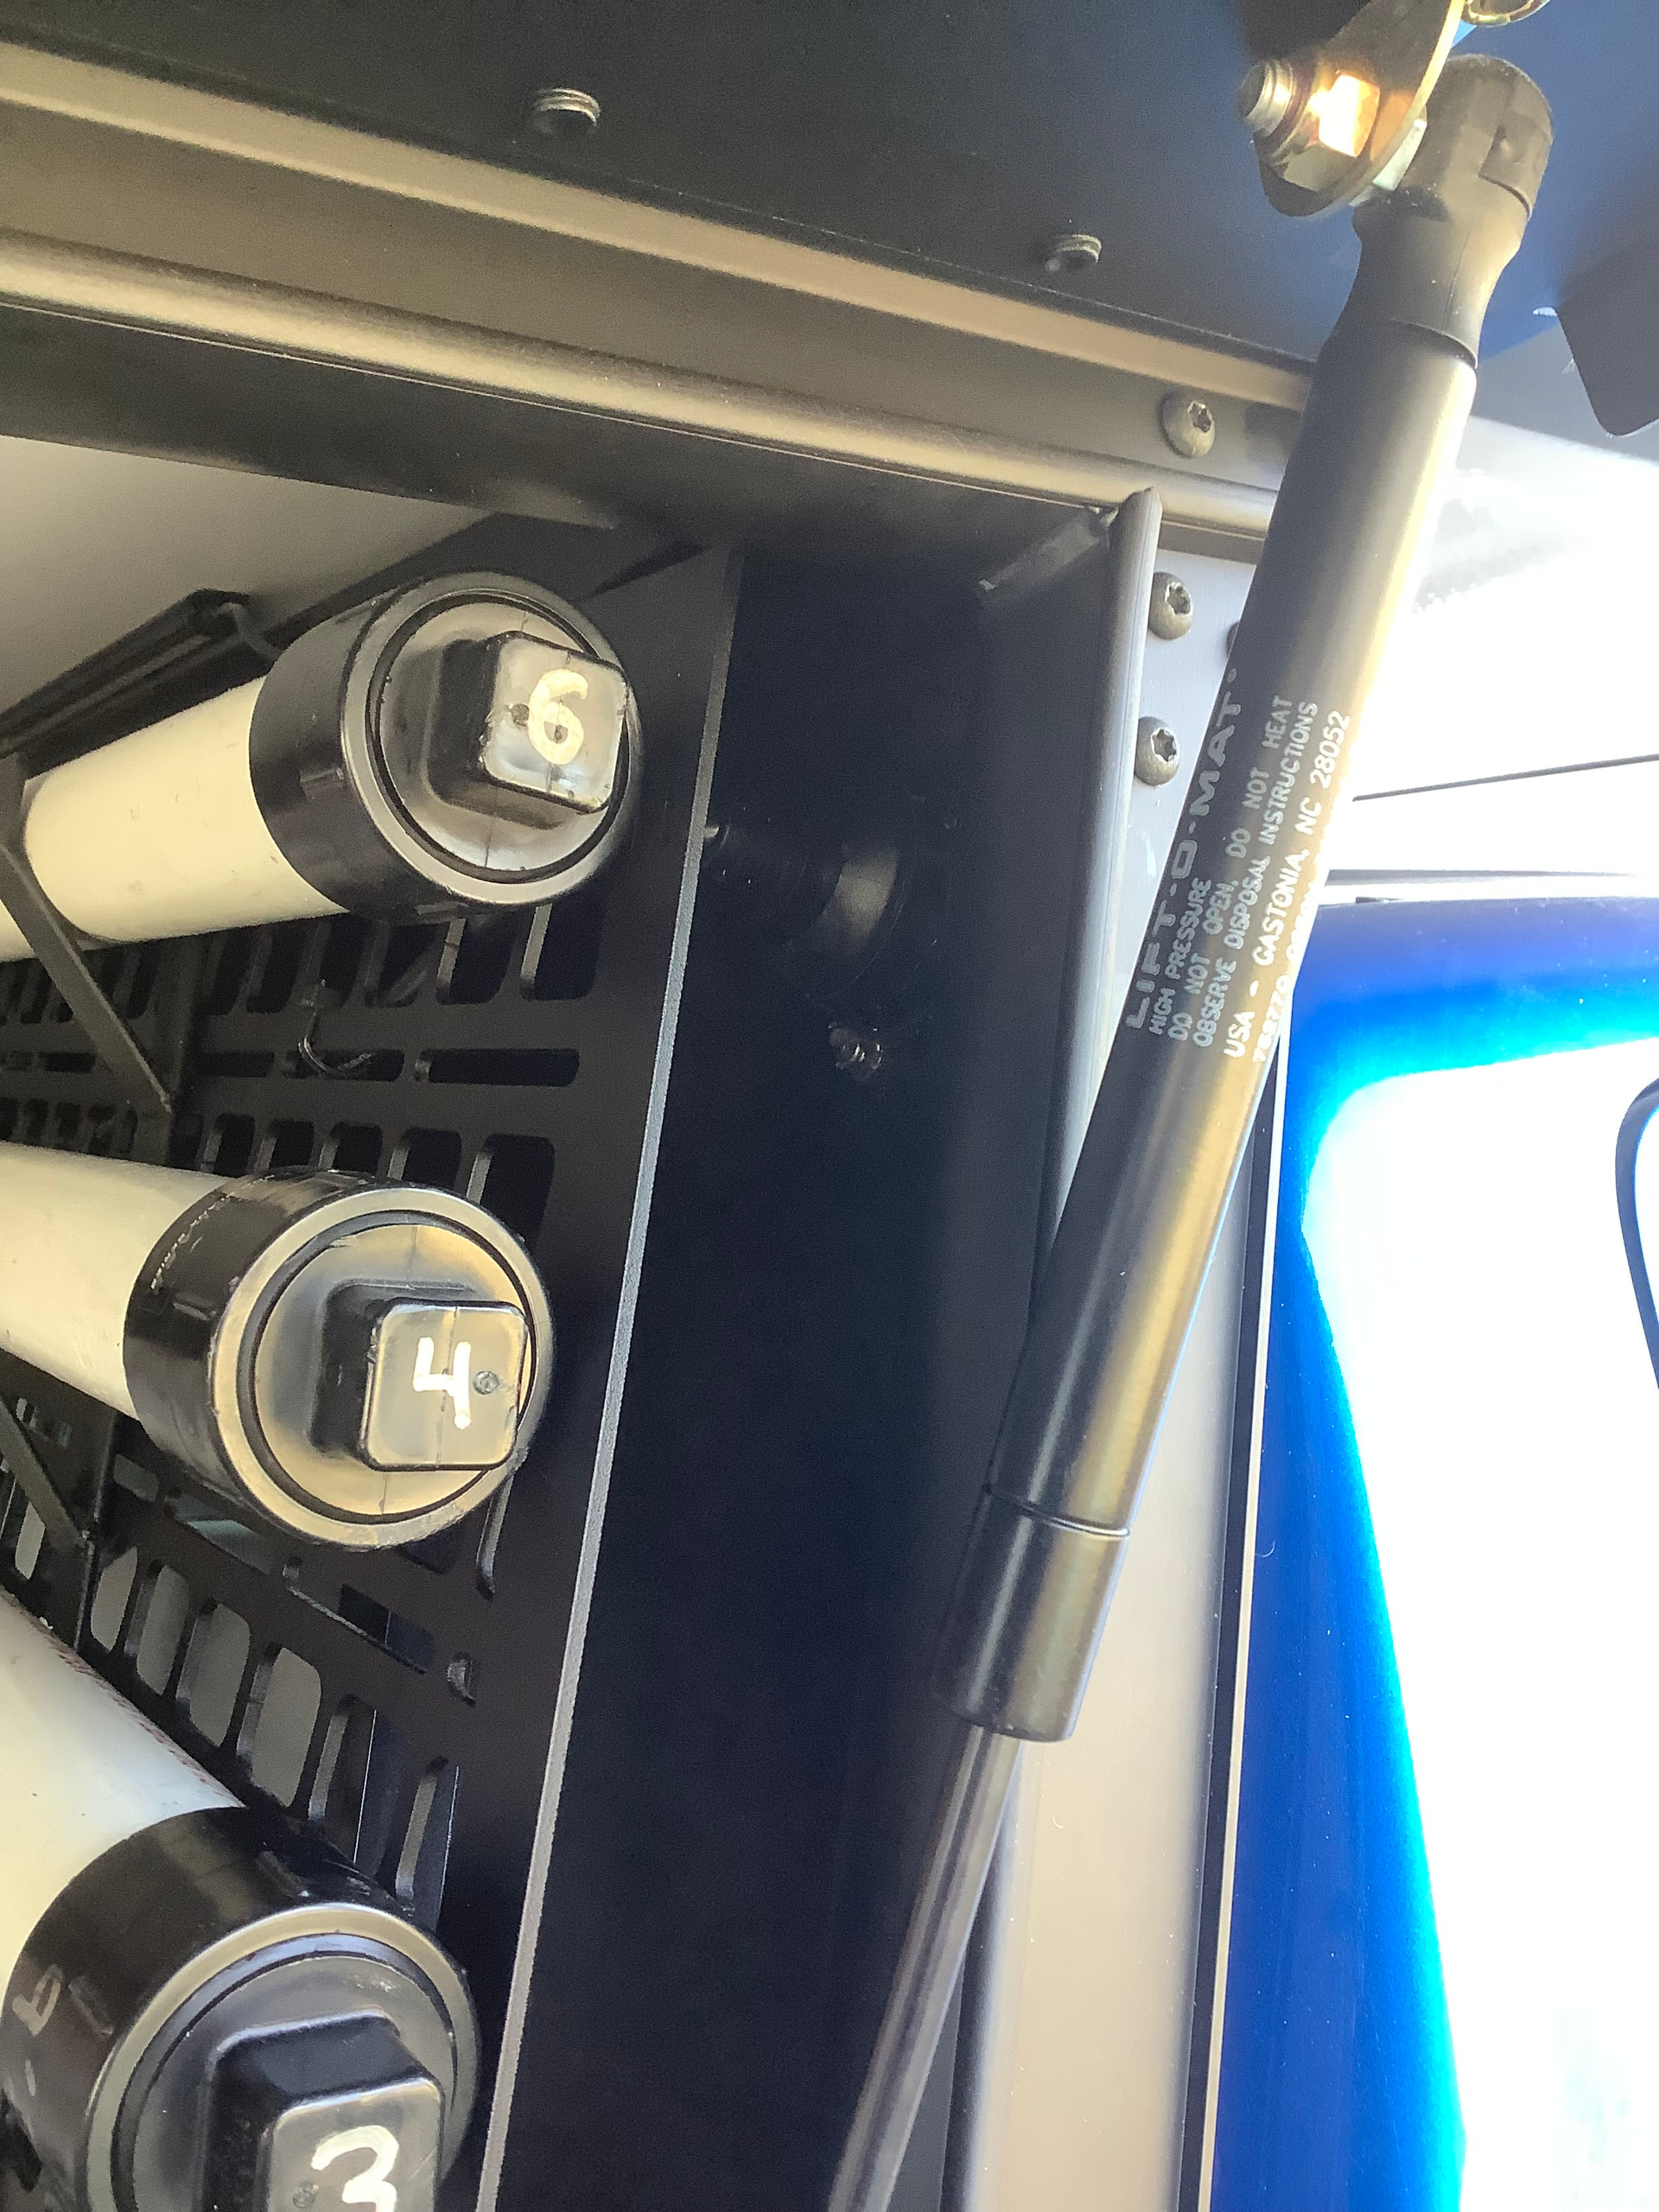
The bench tops went on- 24” wide platform until the front wall portion which is wider to add storage. The tops are 3/4” Baltic Birch and plenty strong in this configuration with no bowing or flexing. Gas struts went on, one for each lid and eventually you will see flush mount slam latches- one each for the lids.
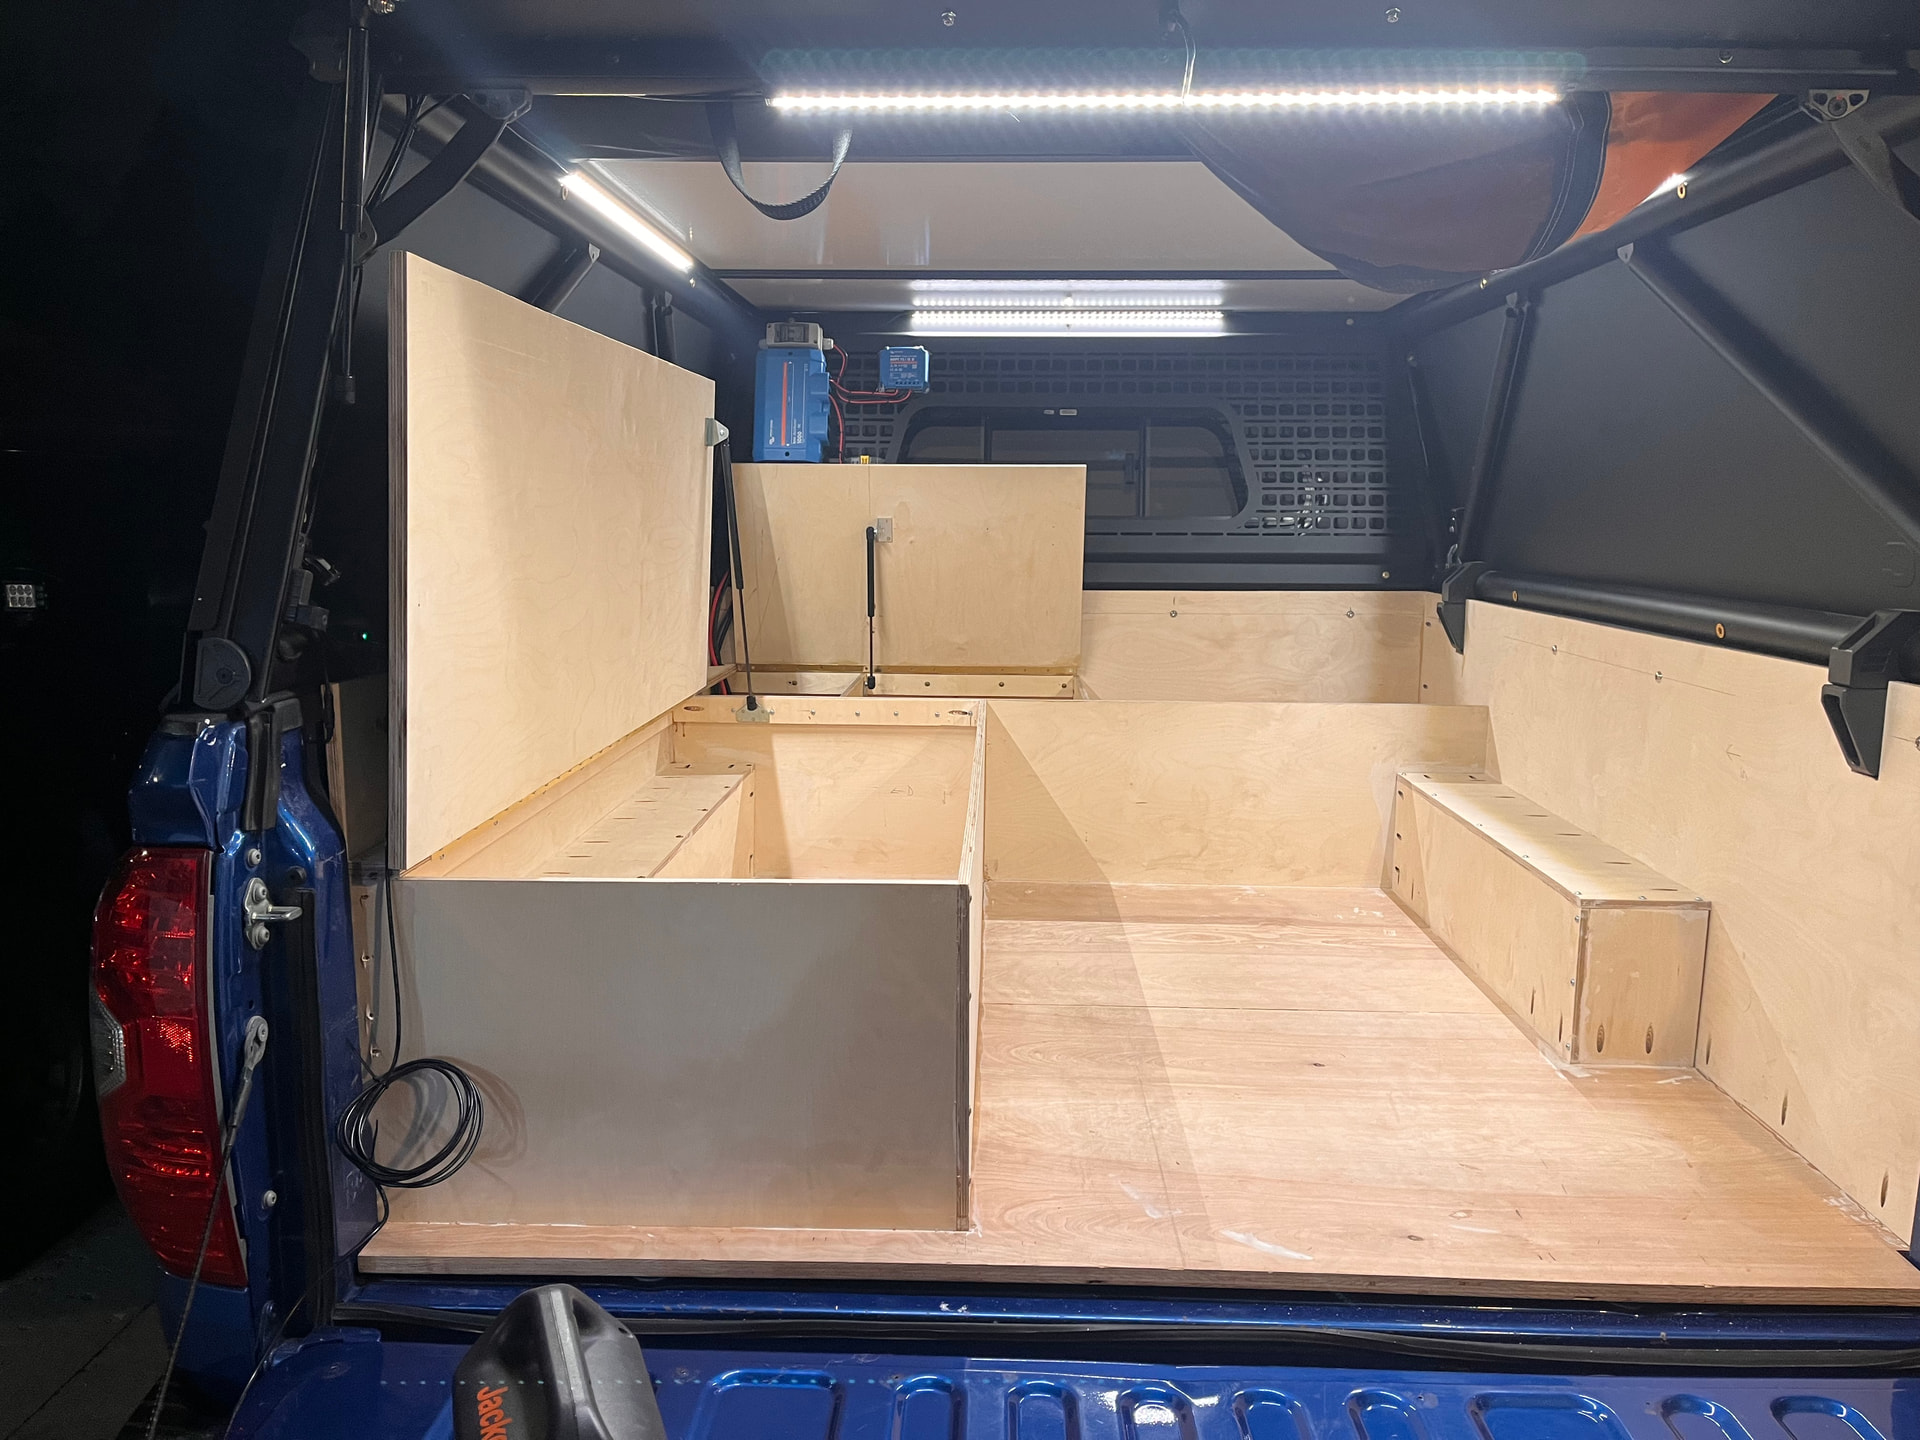
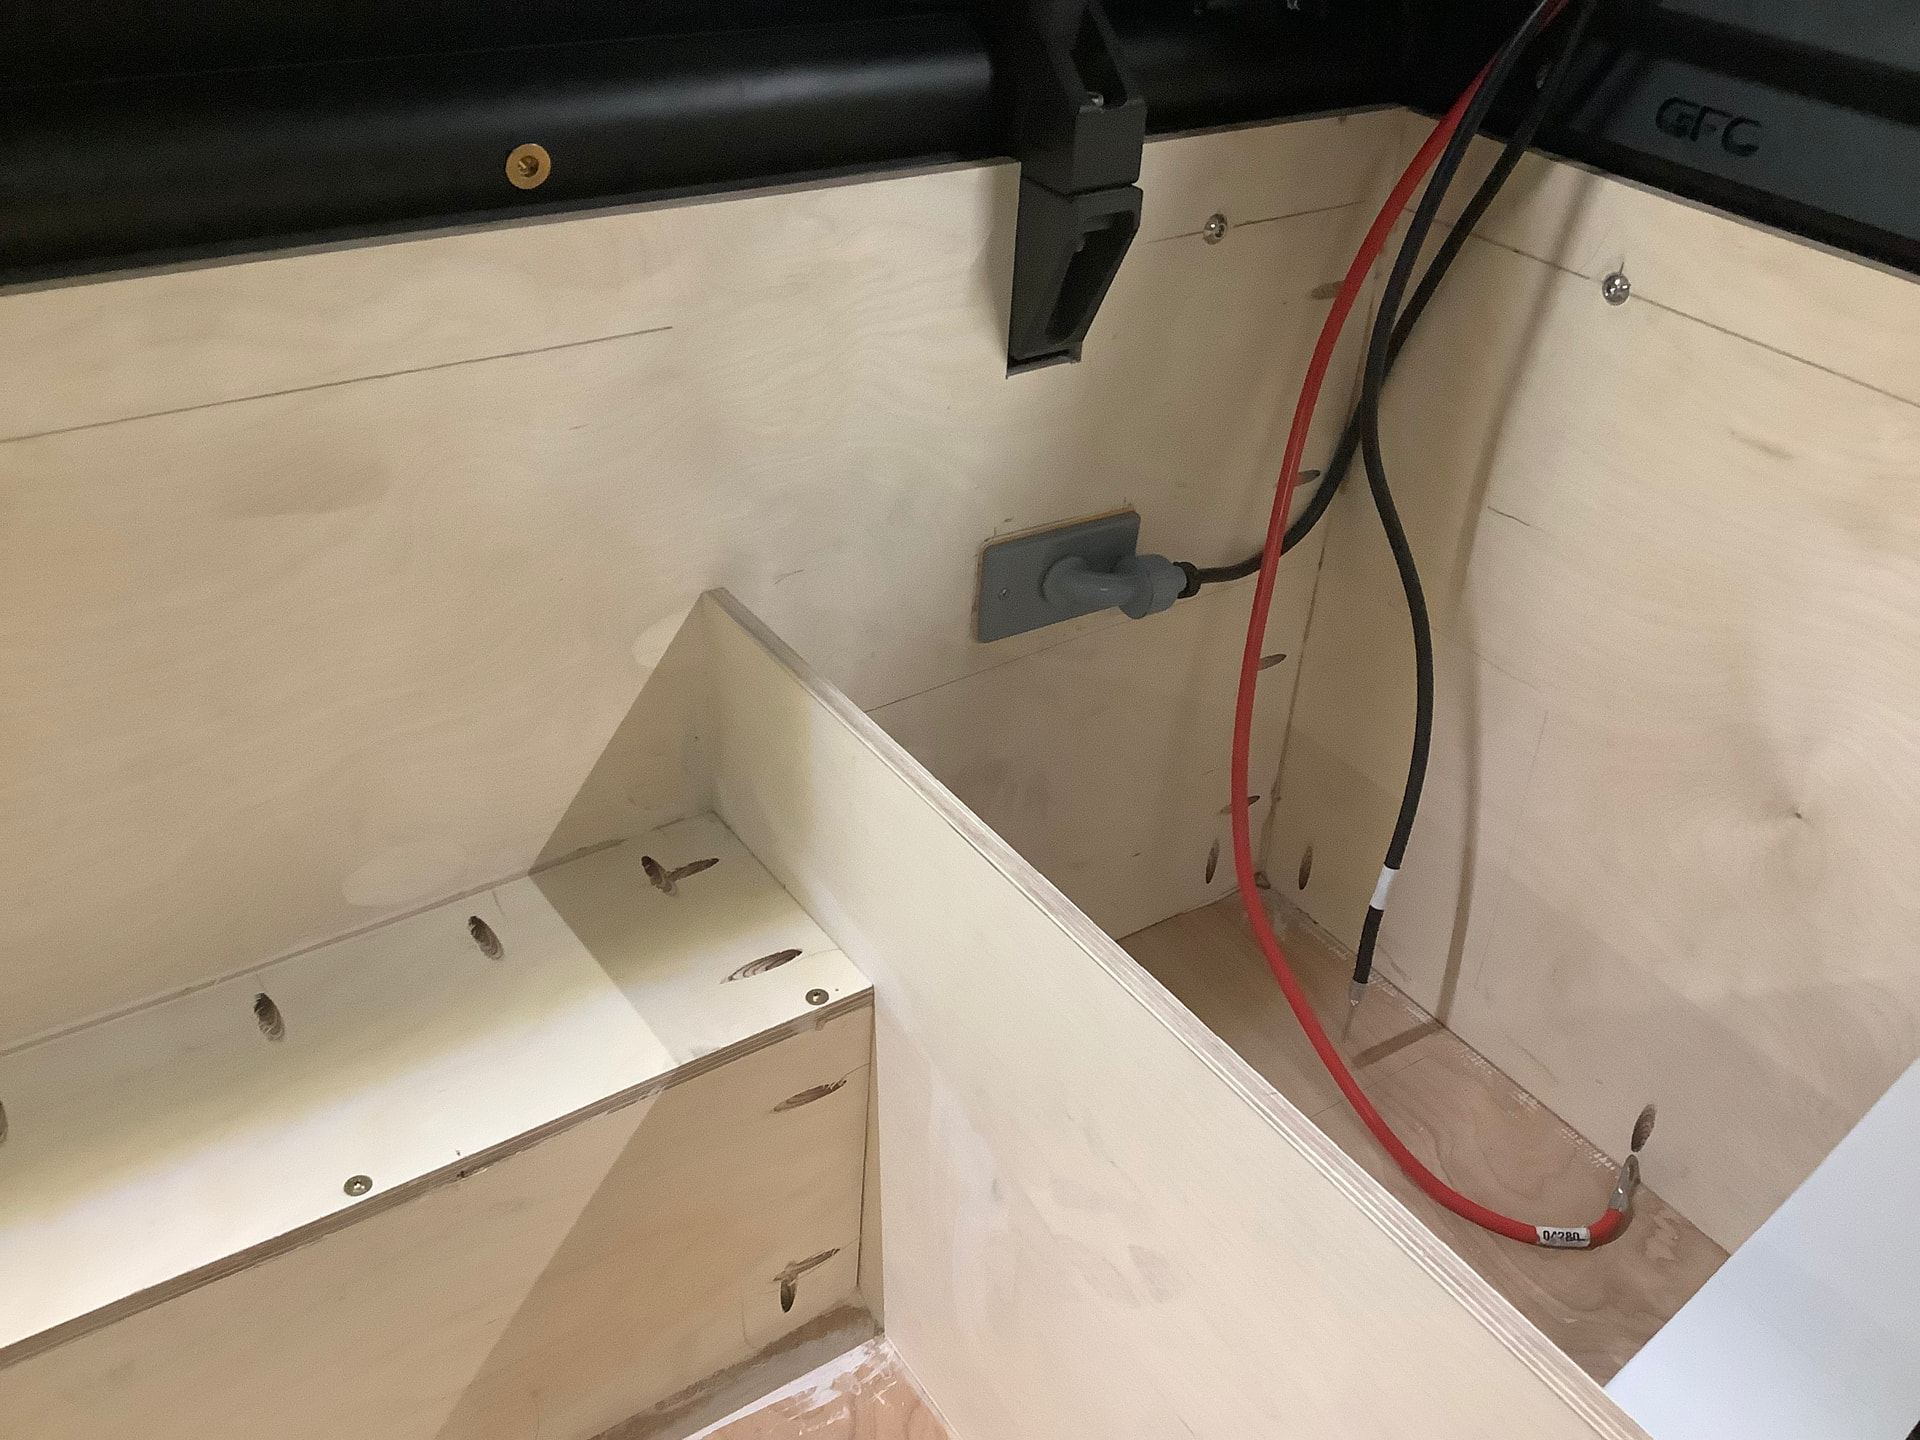
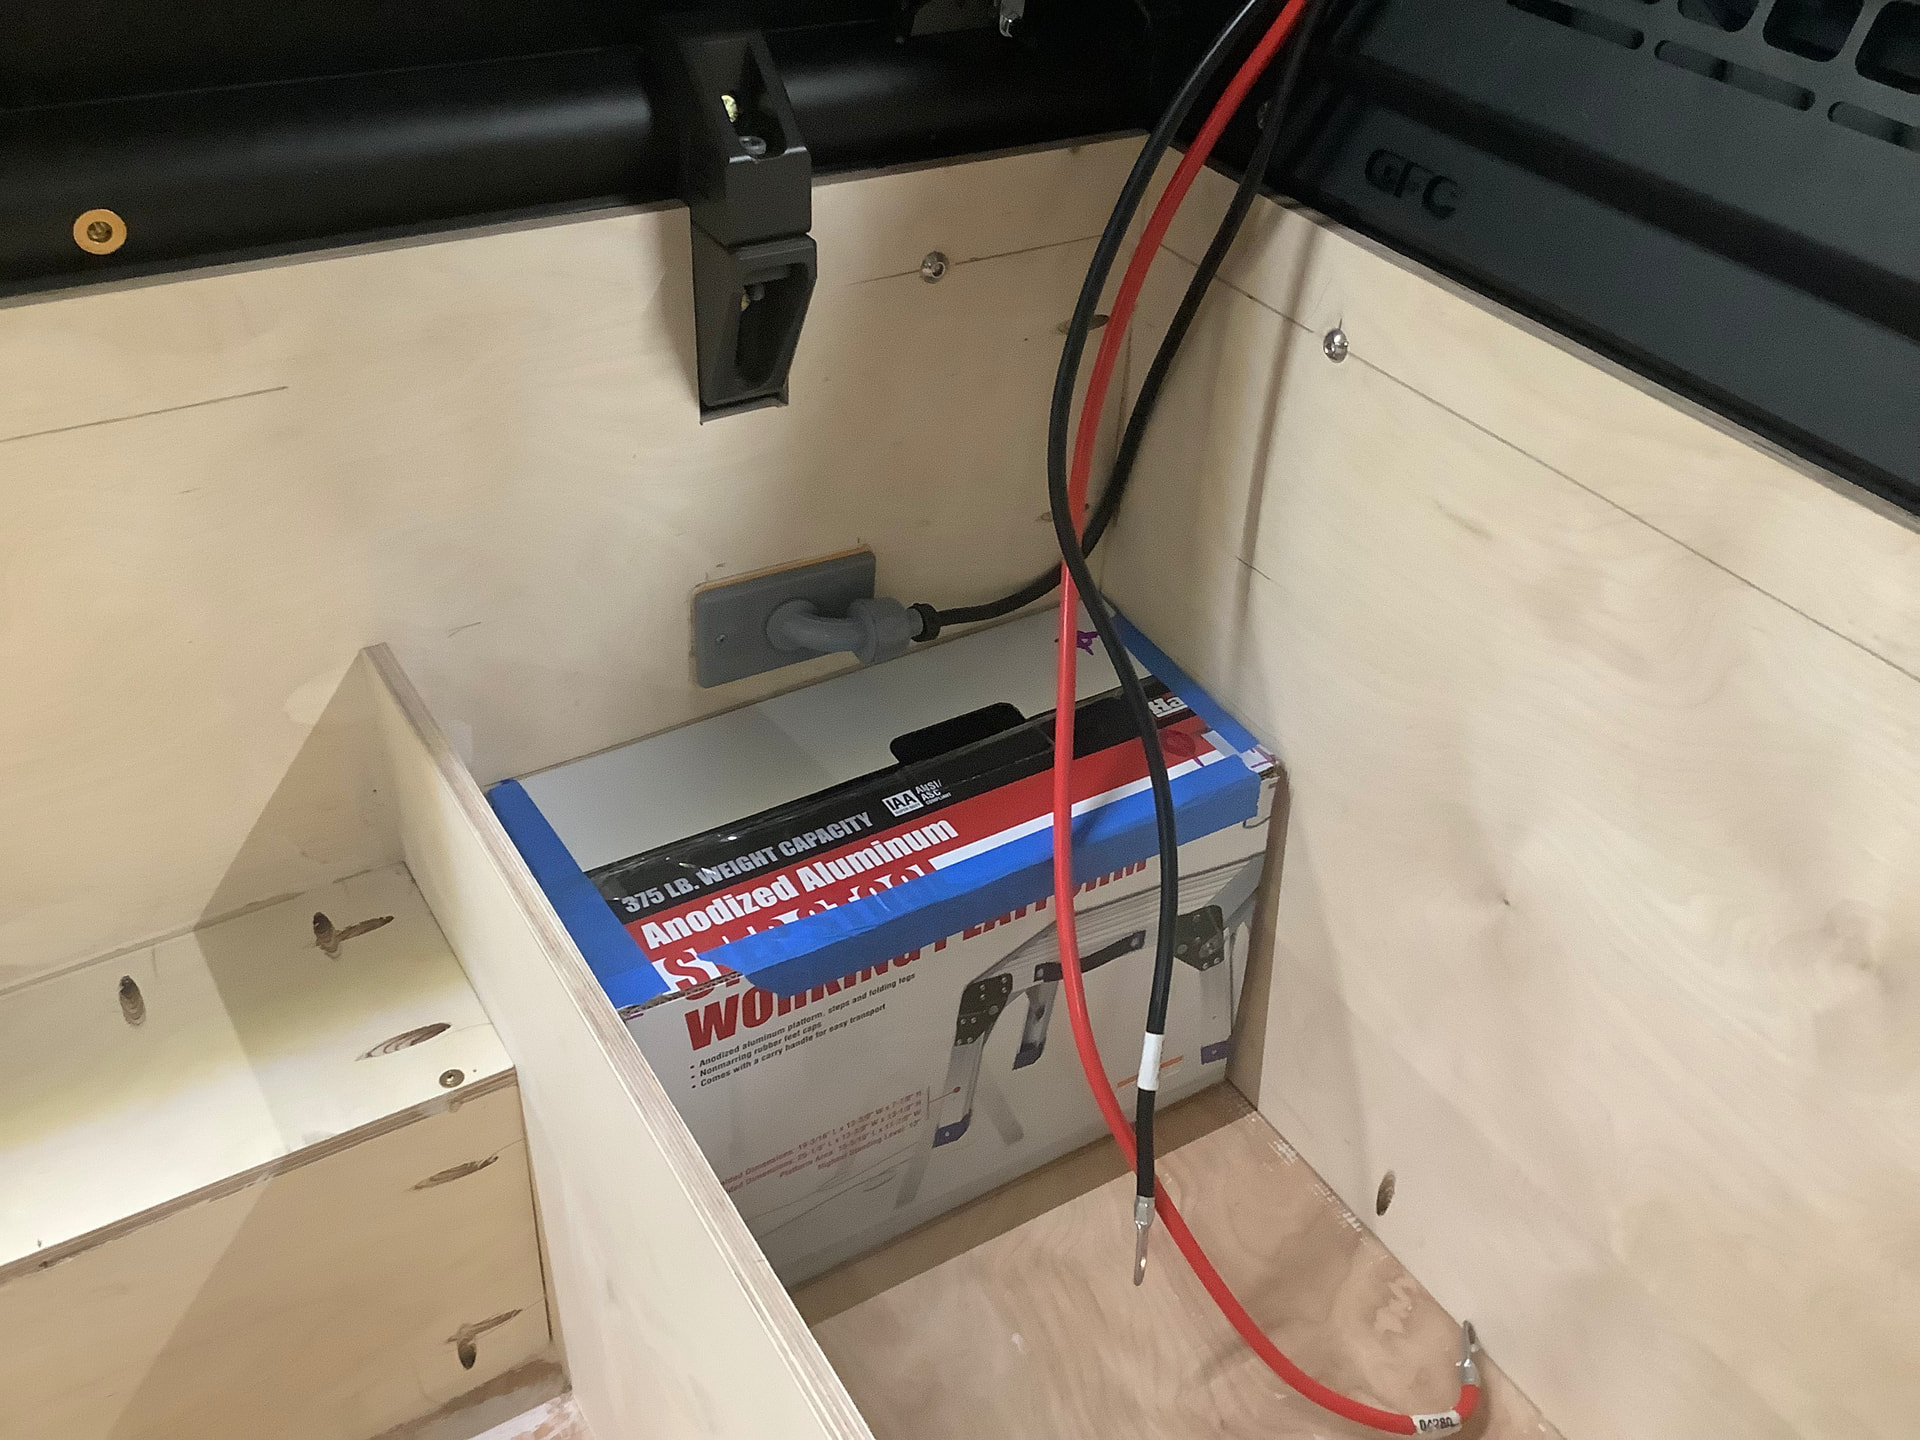
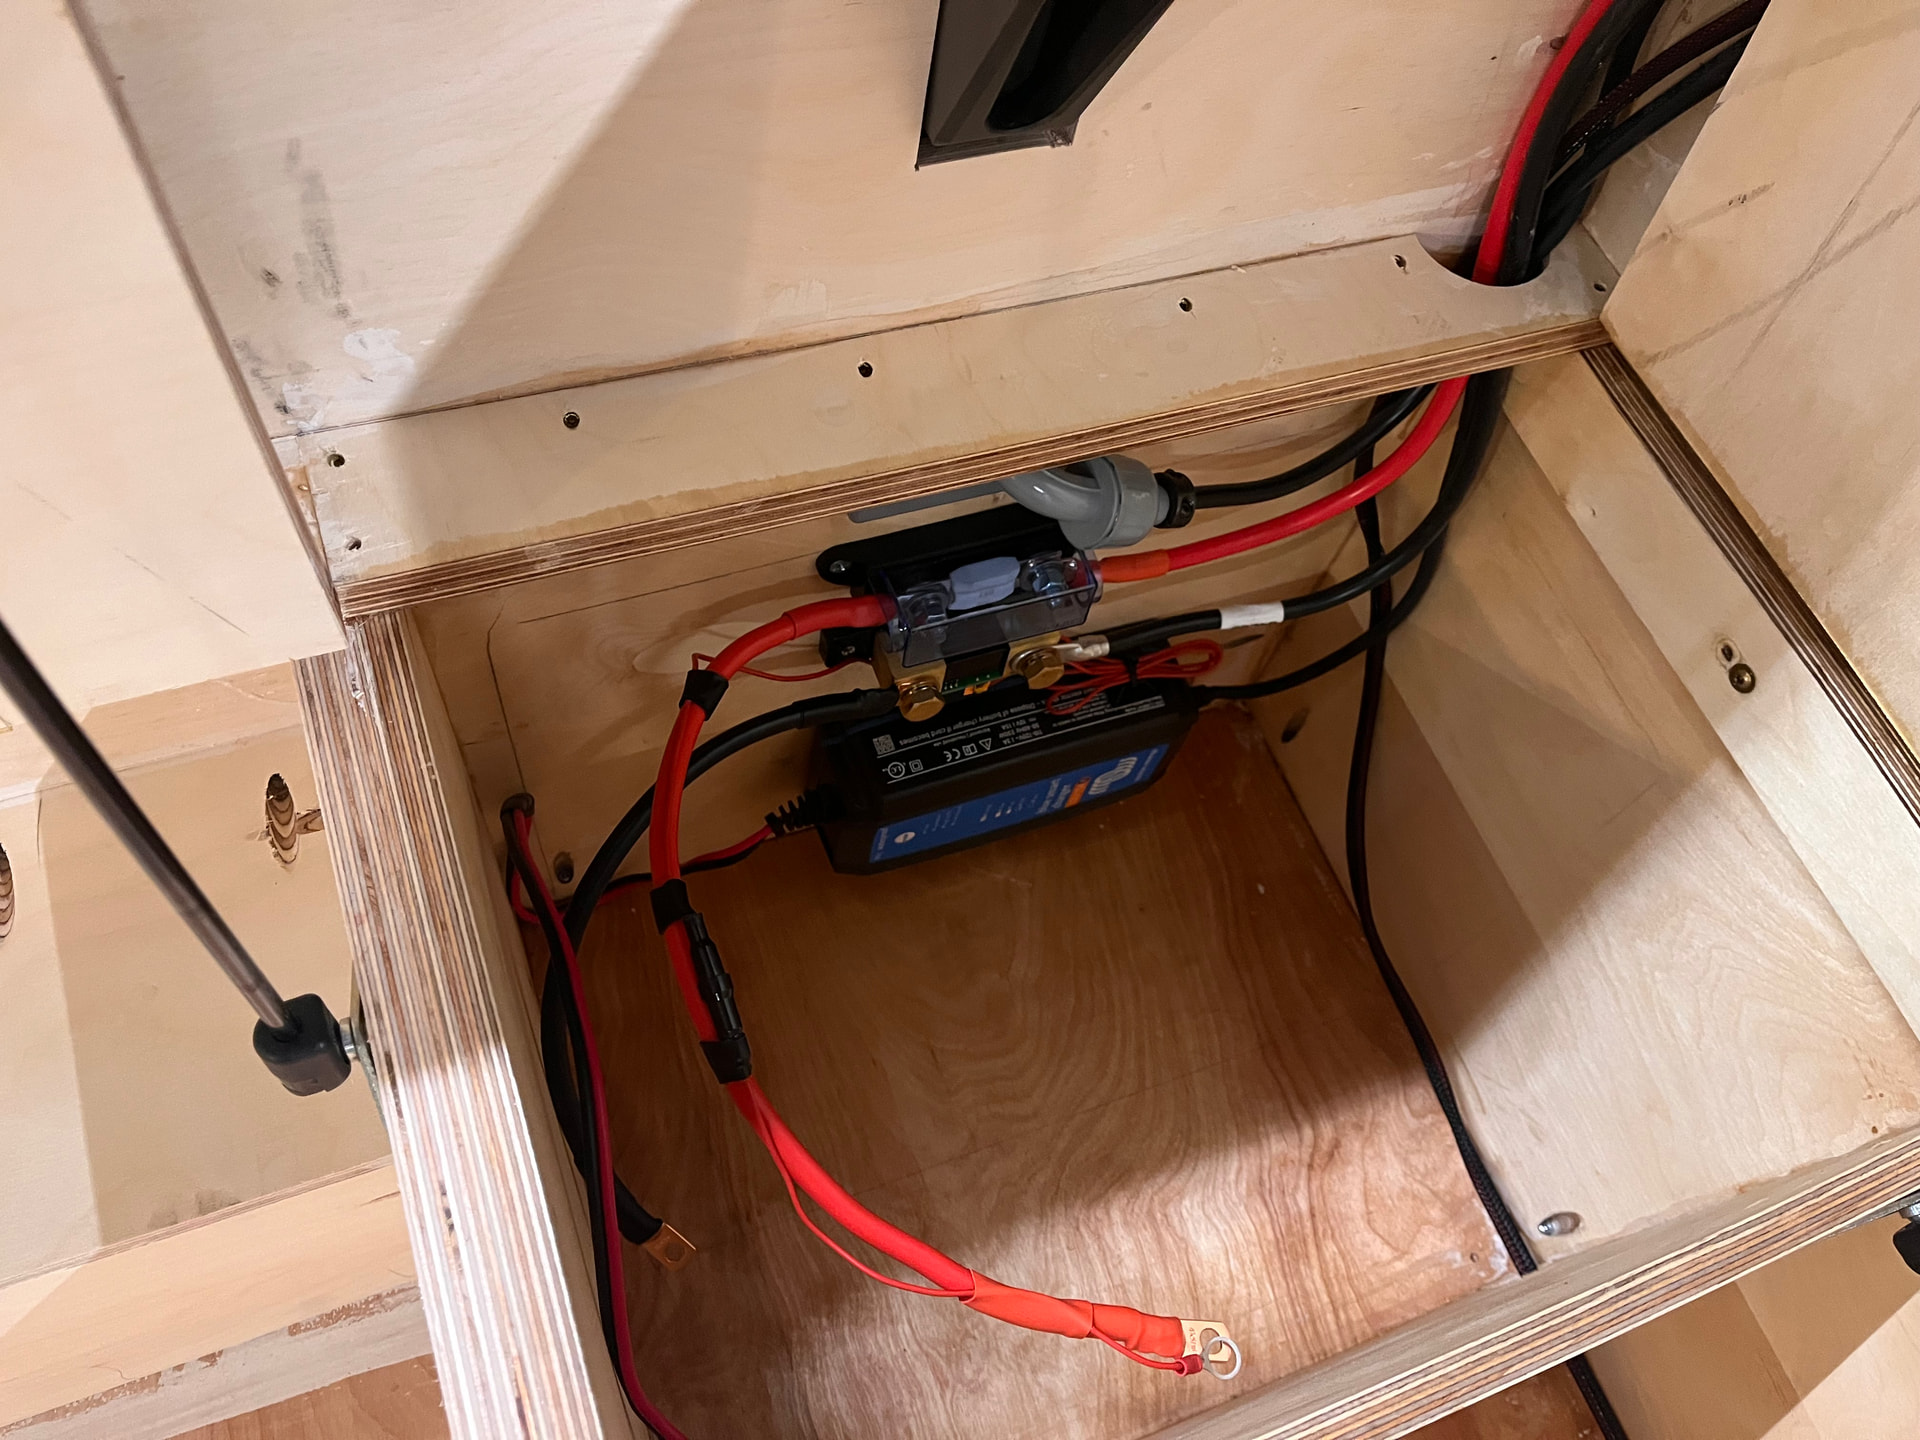
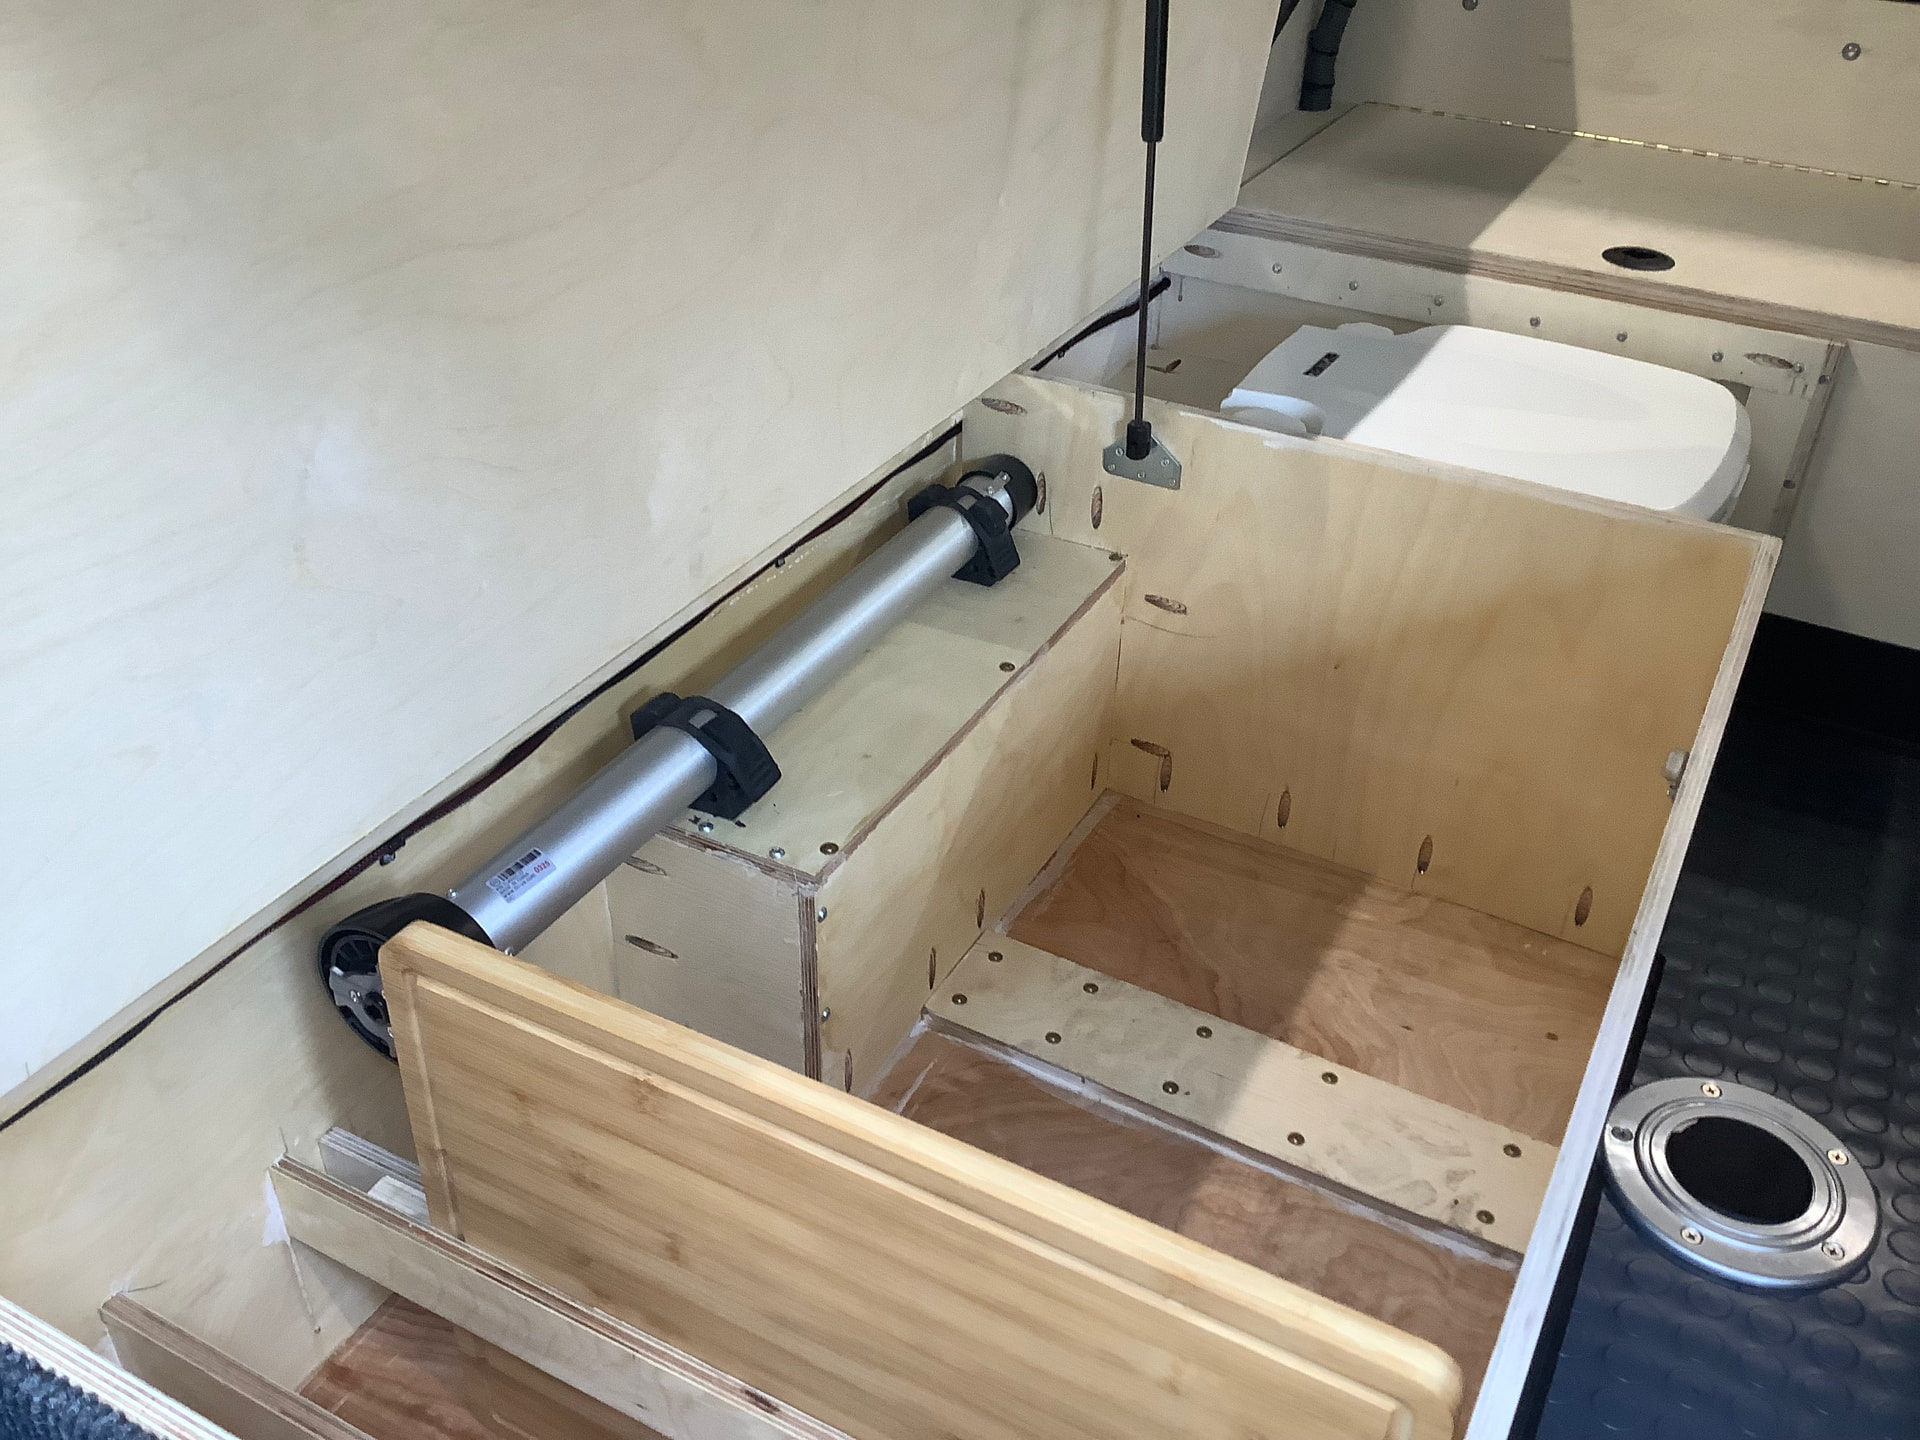
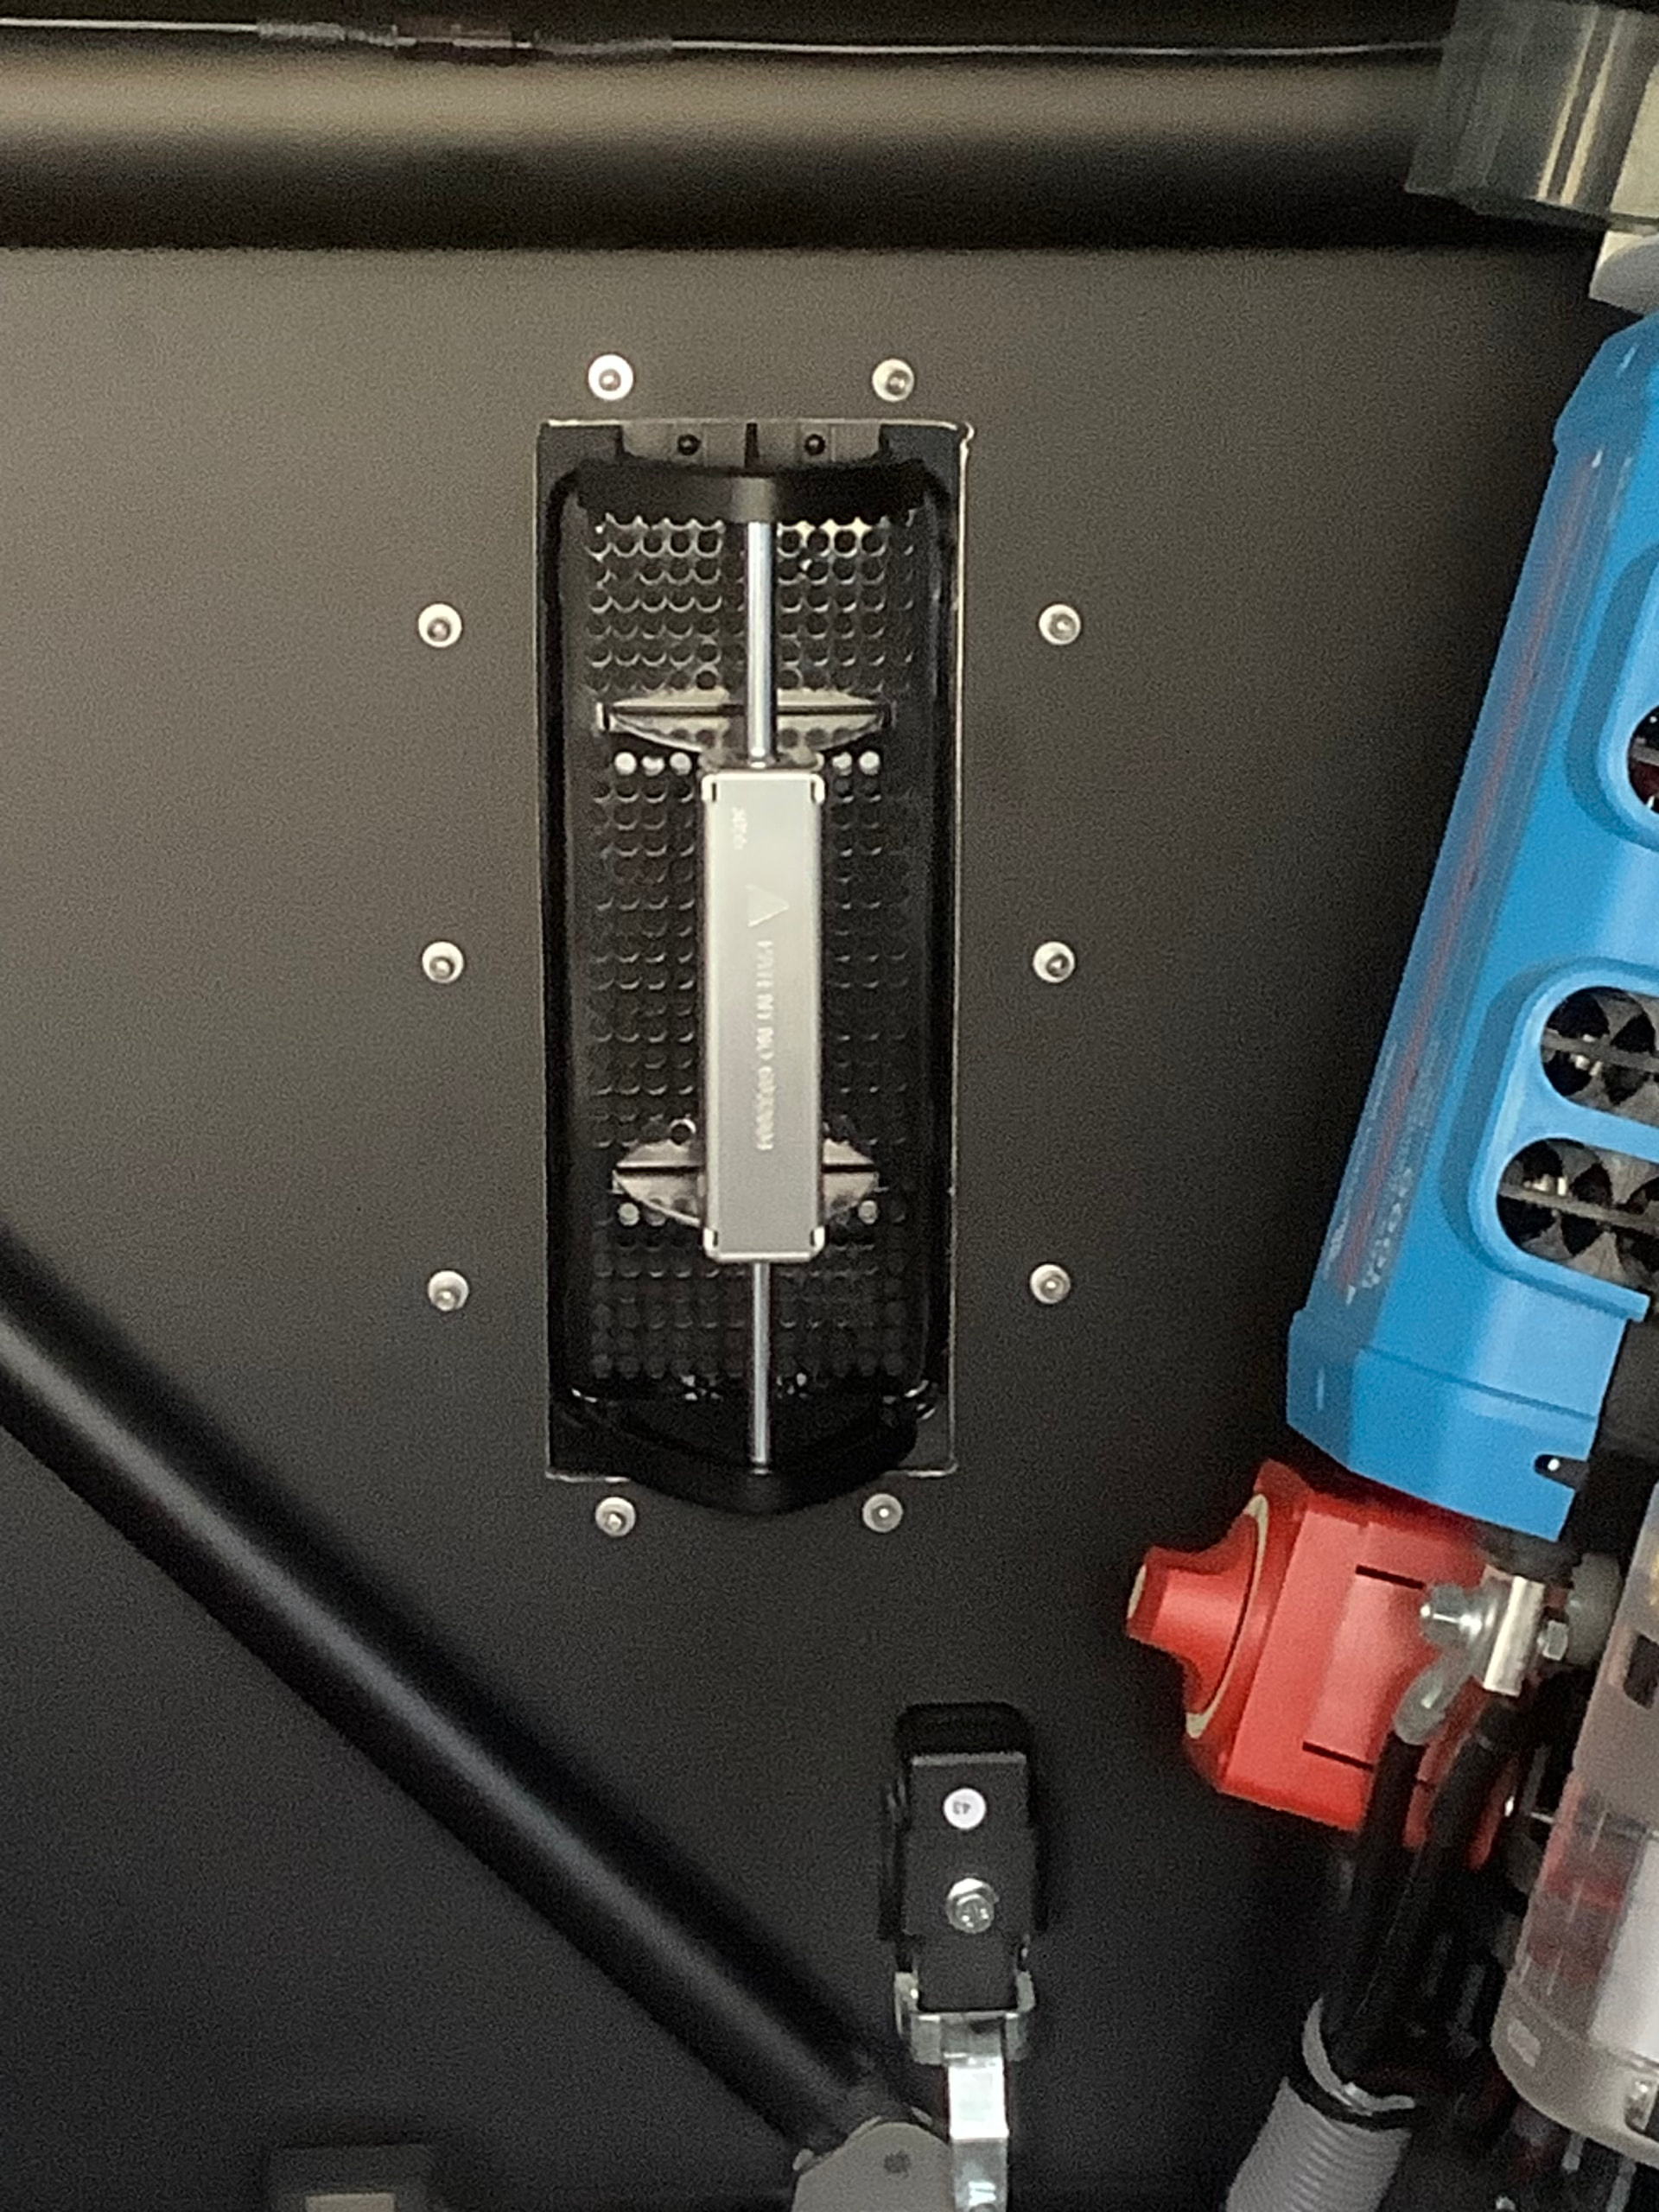
I didn’t have the battery yet- so it might seem silly but measuring a battery and where it goes is one thing. Squeezing it past an angled lid is another- so I made a quick cardboard battery to mock up, ran the cables, cut and crimped to length, and ran a passthrough down to the chassis for the system ground. Battery main fuse, shunt and charger were mounted. Holes were drilled and metal air vents installed to allow air movement into the battery box to keep the battery and wall charger cool.
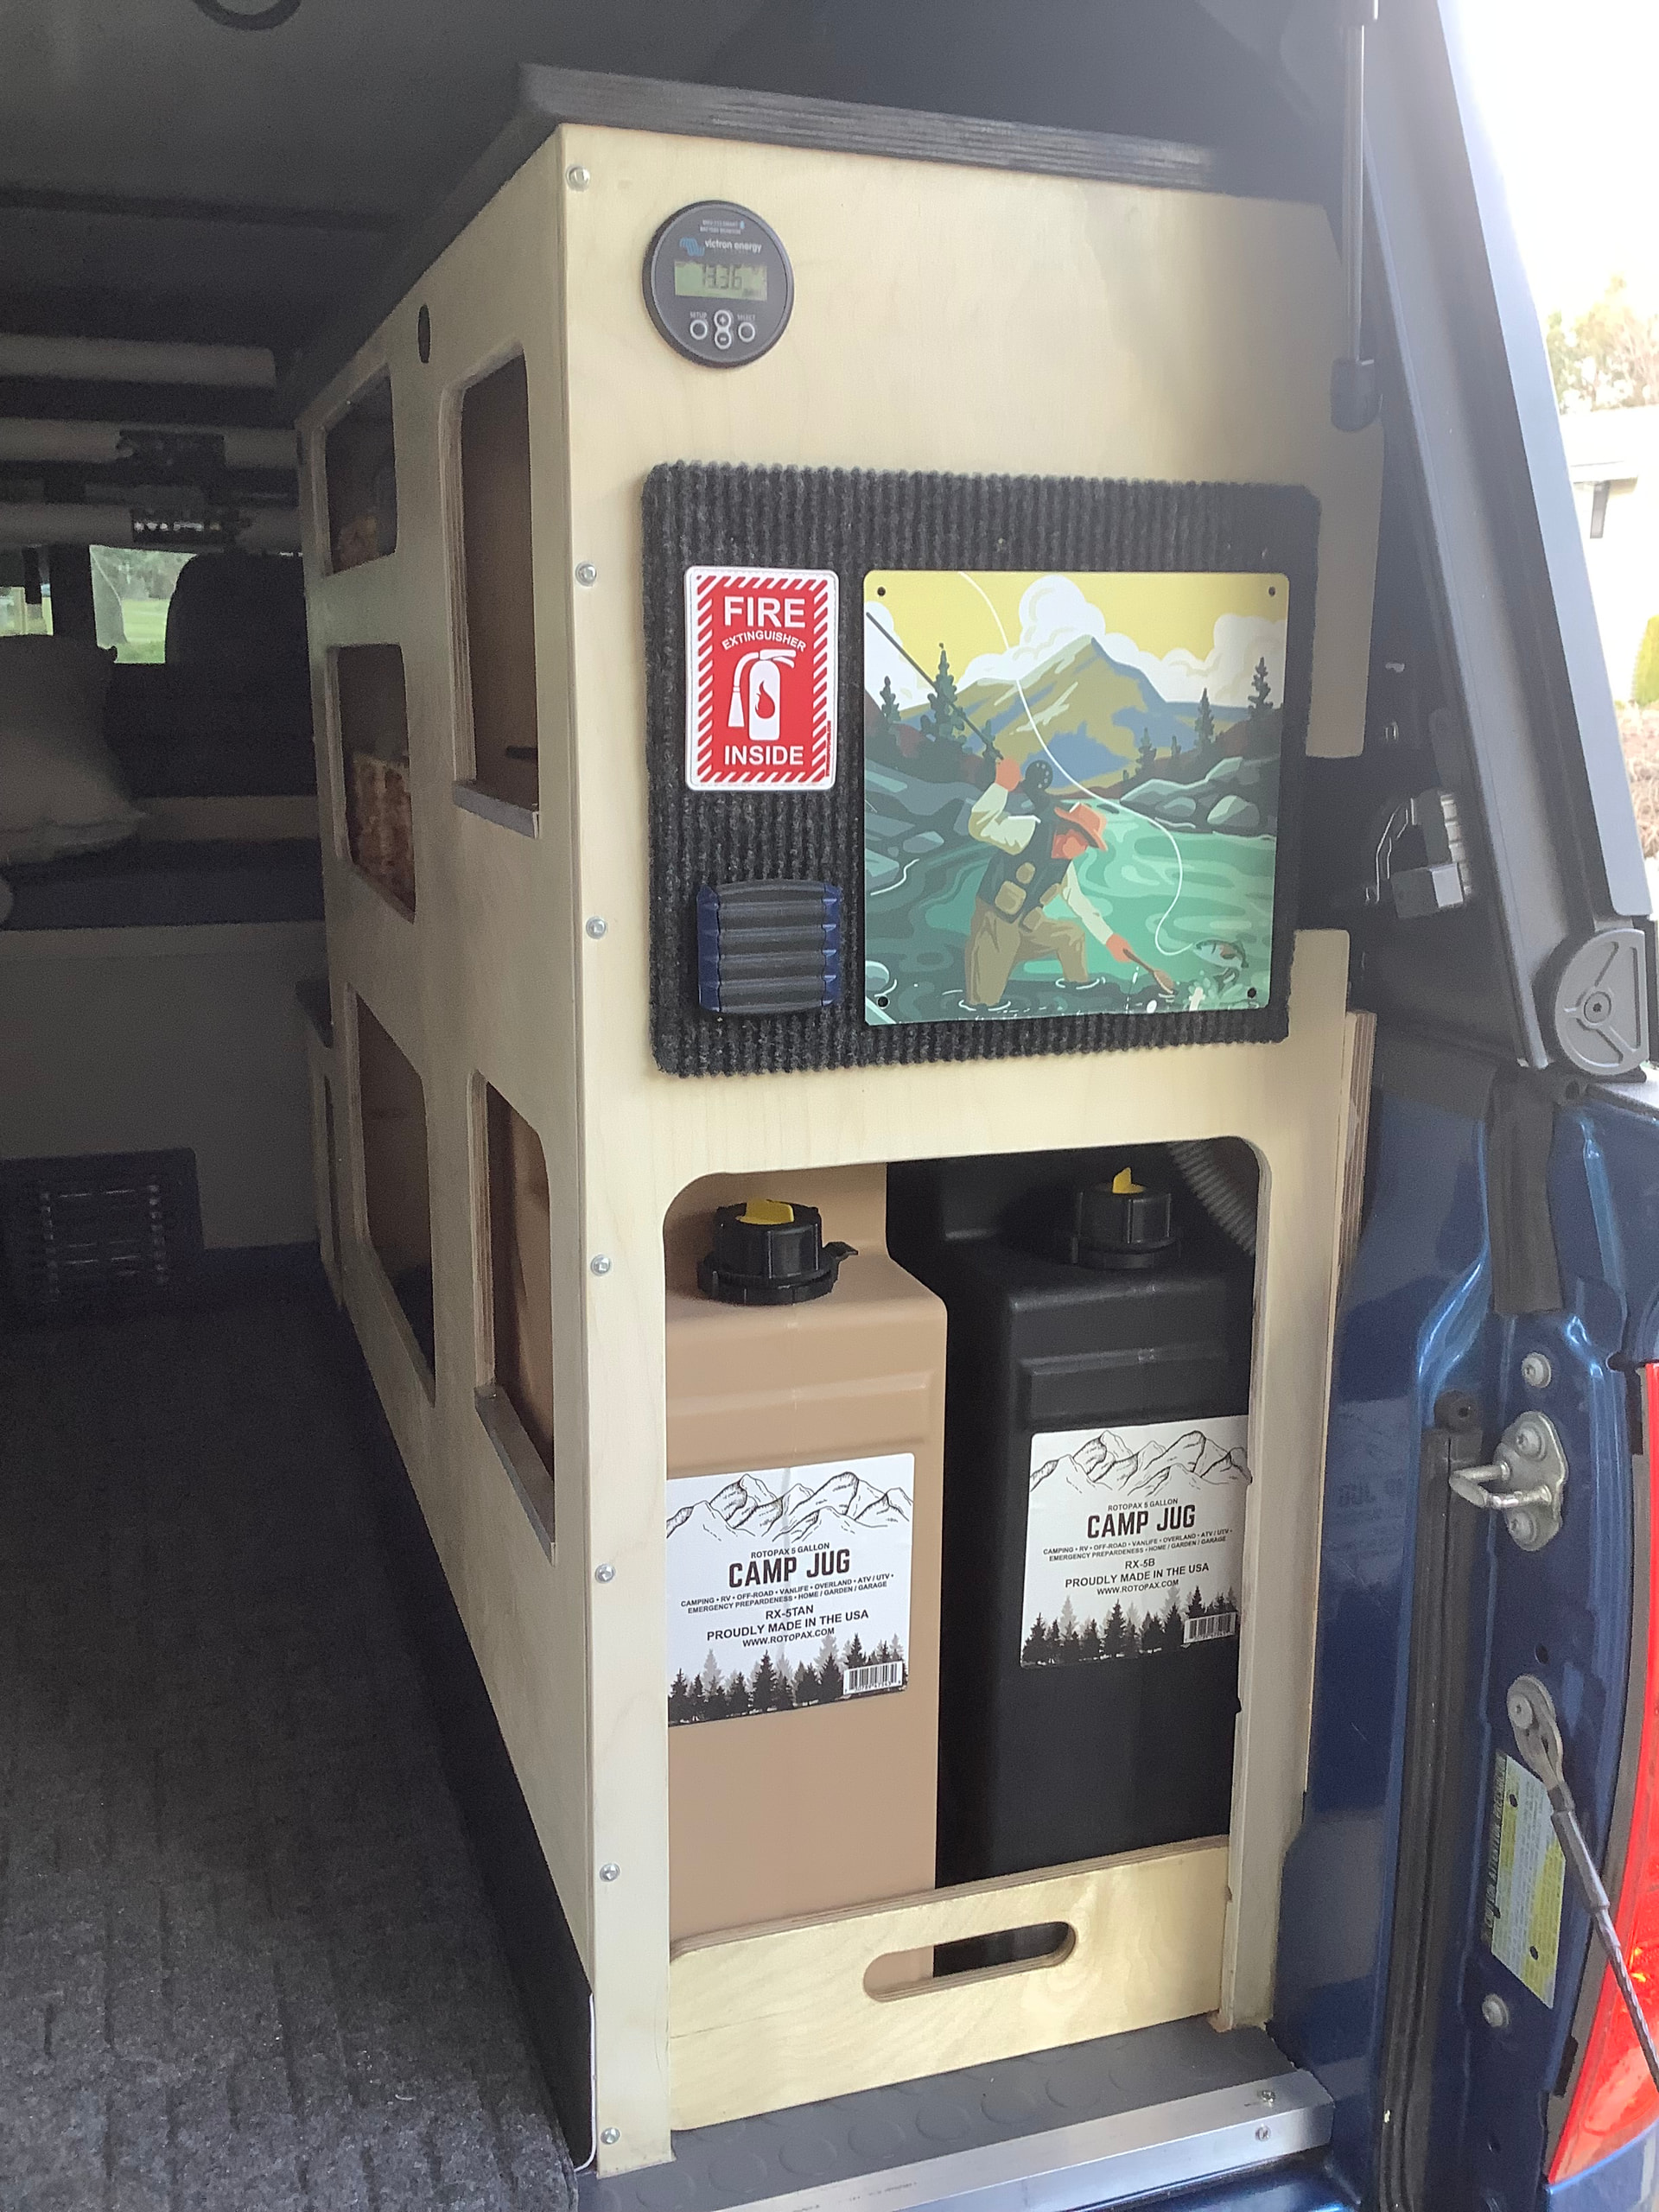
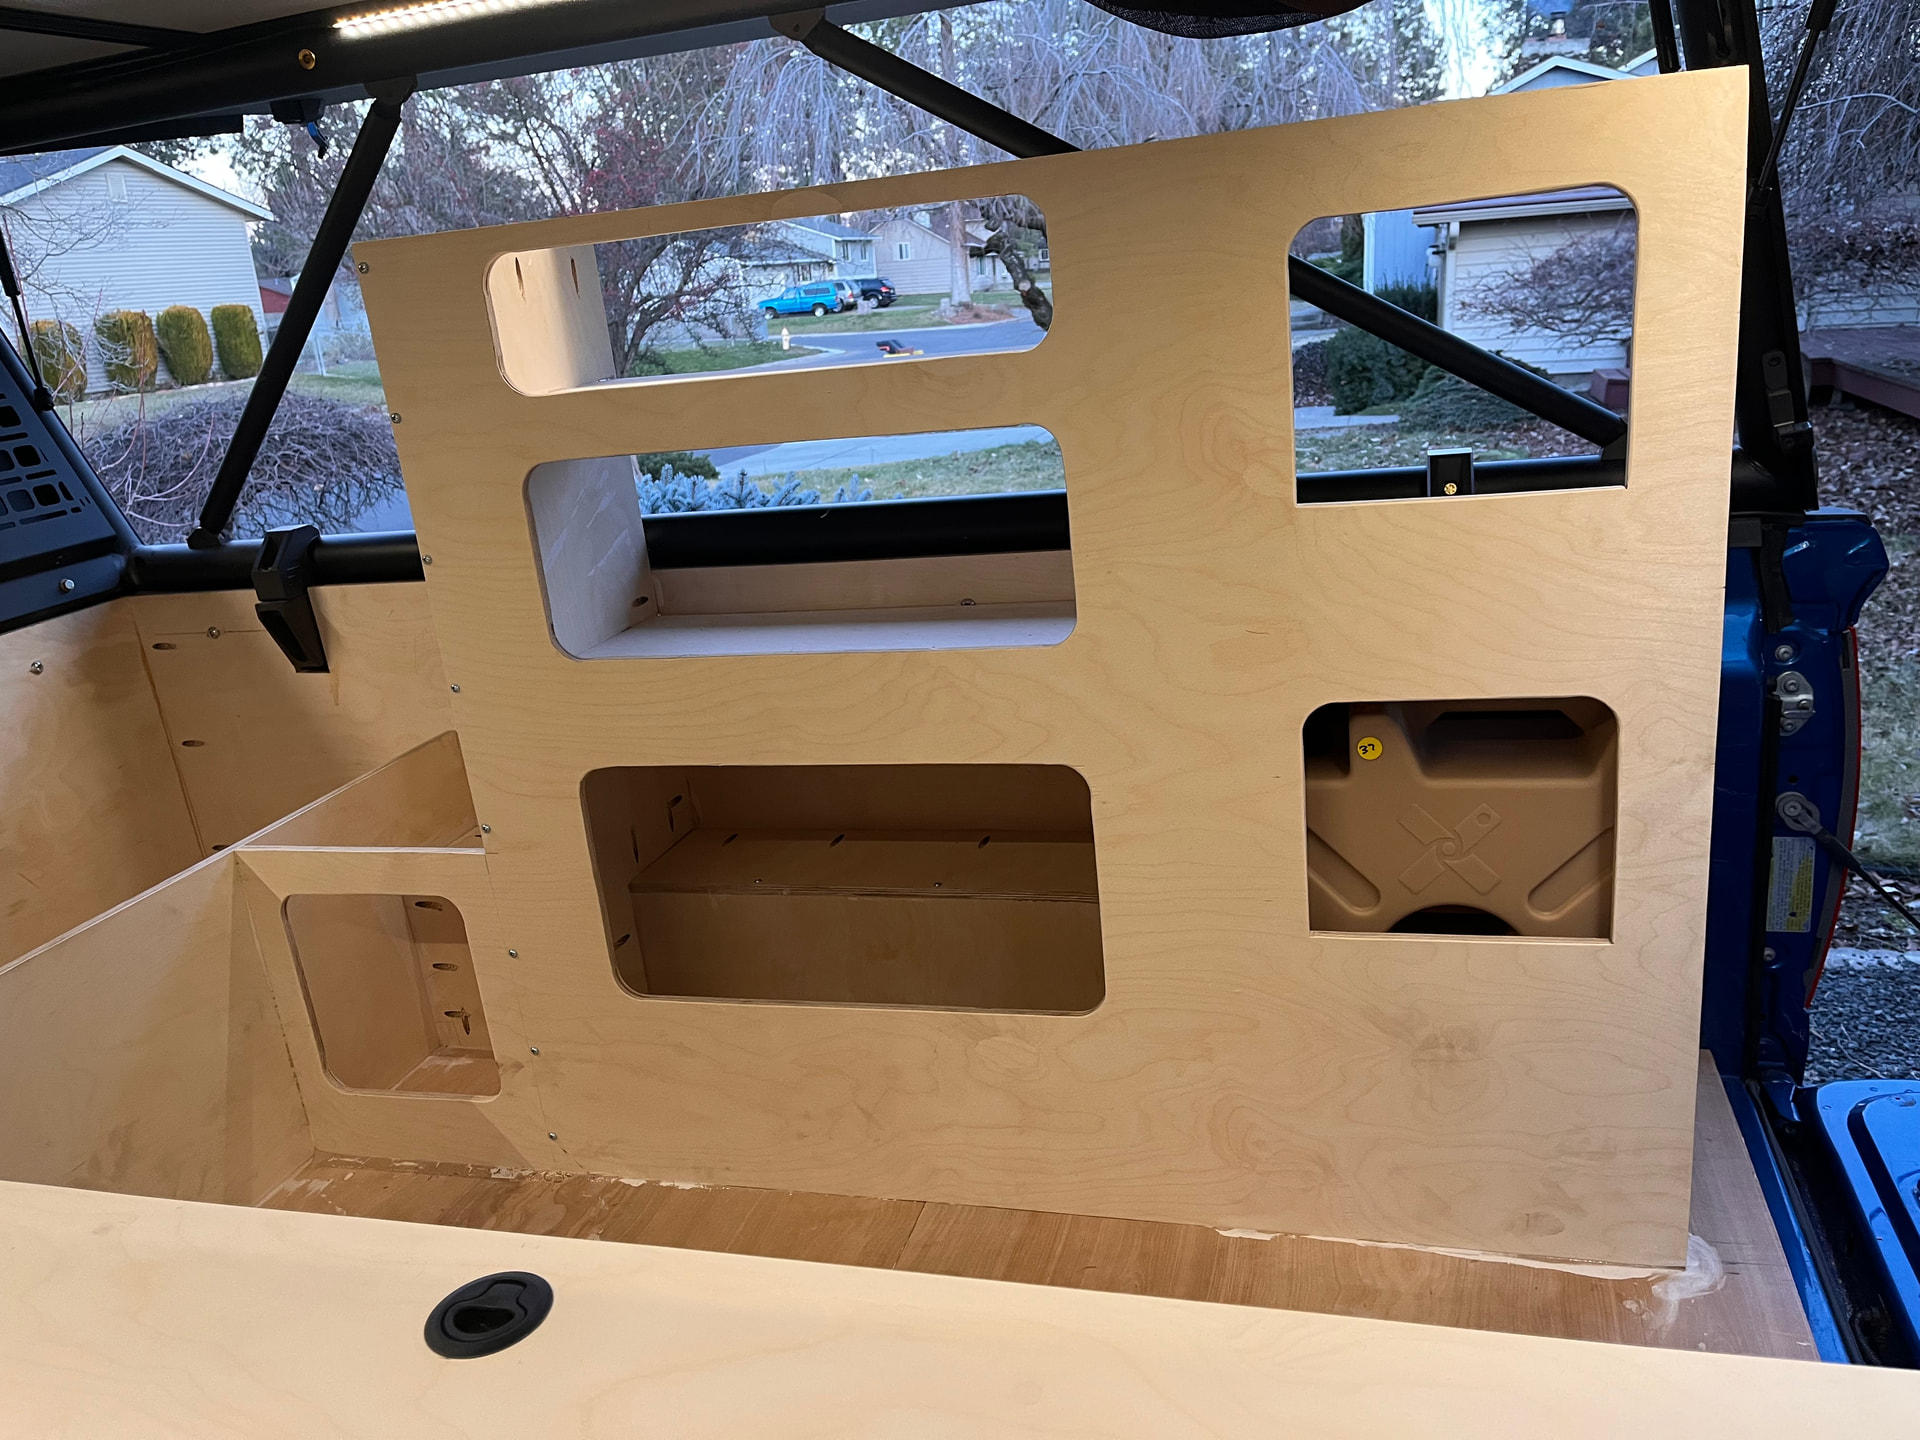
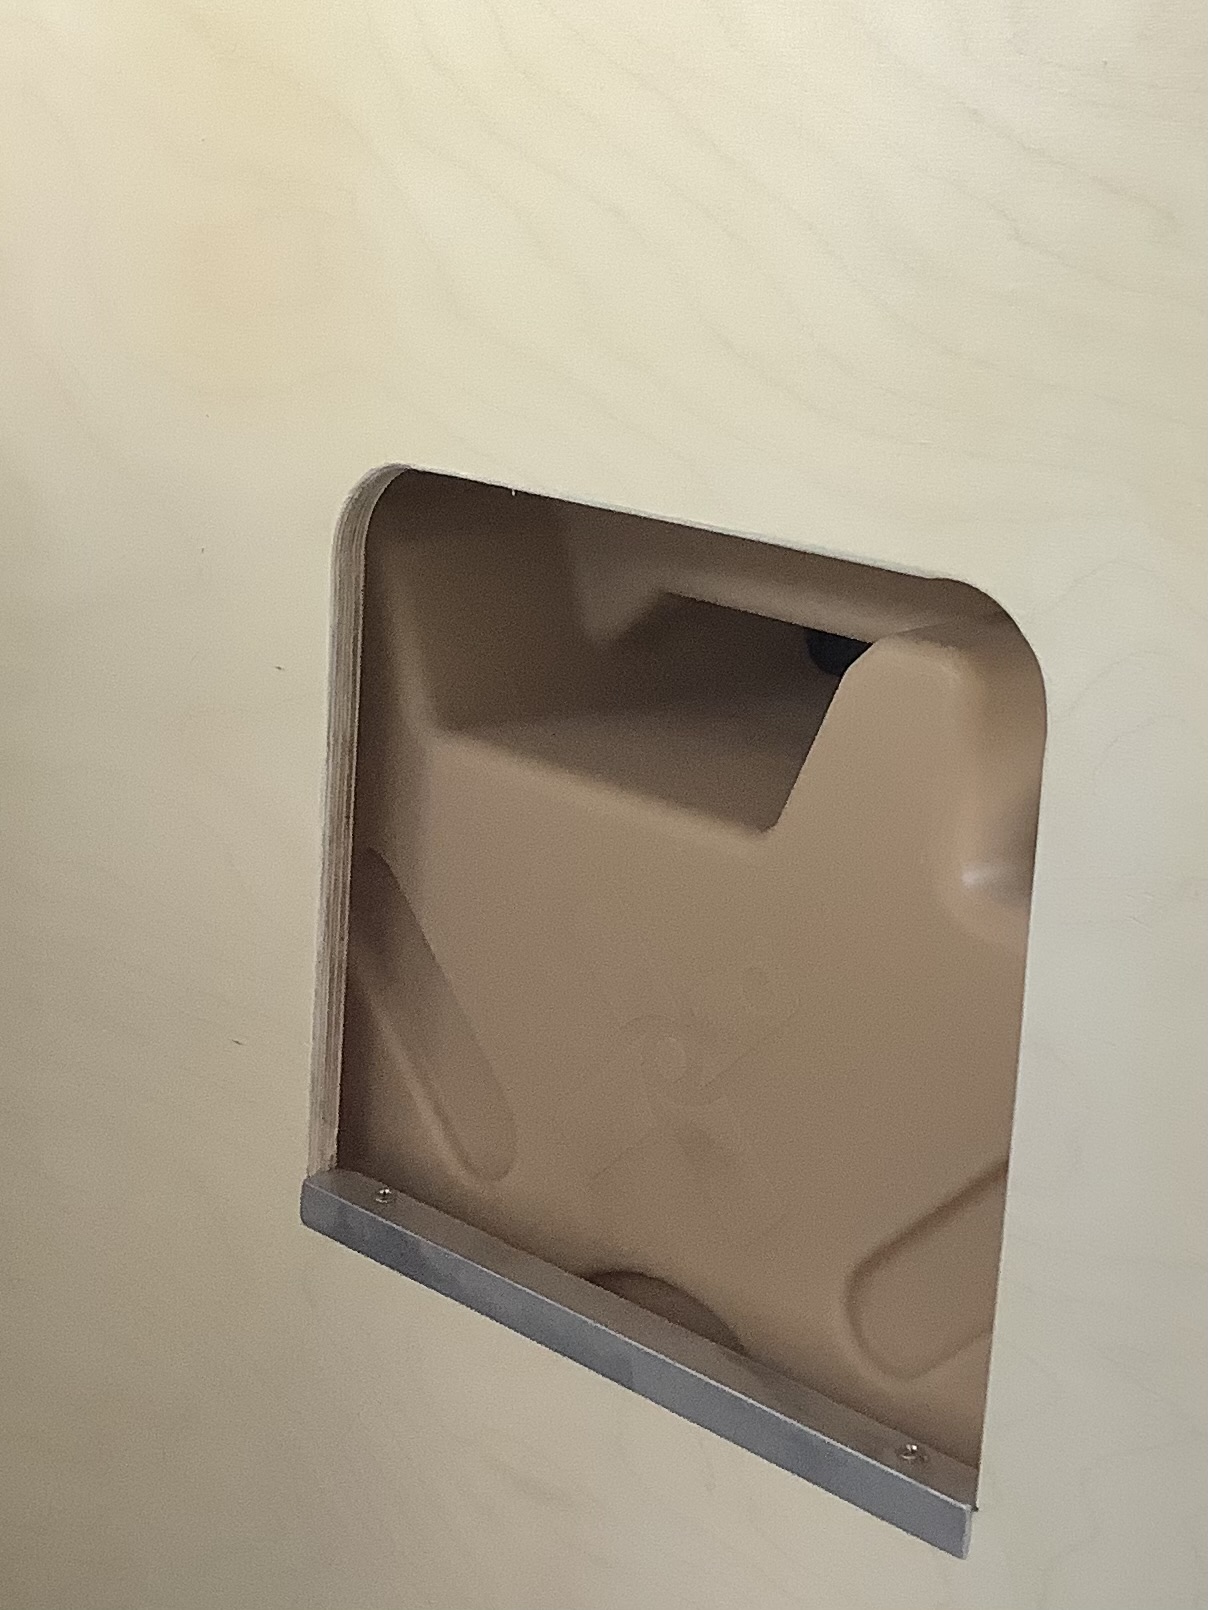
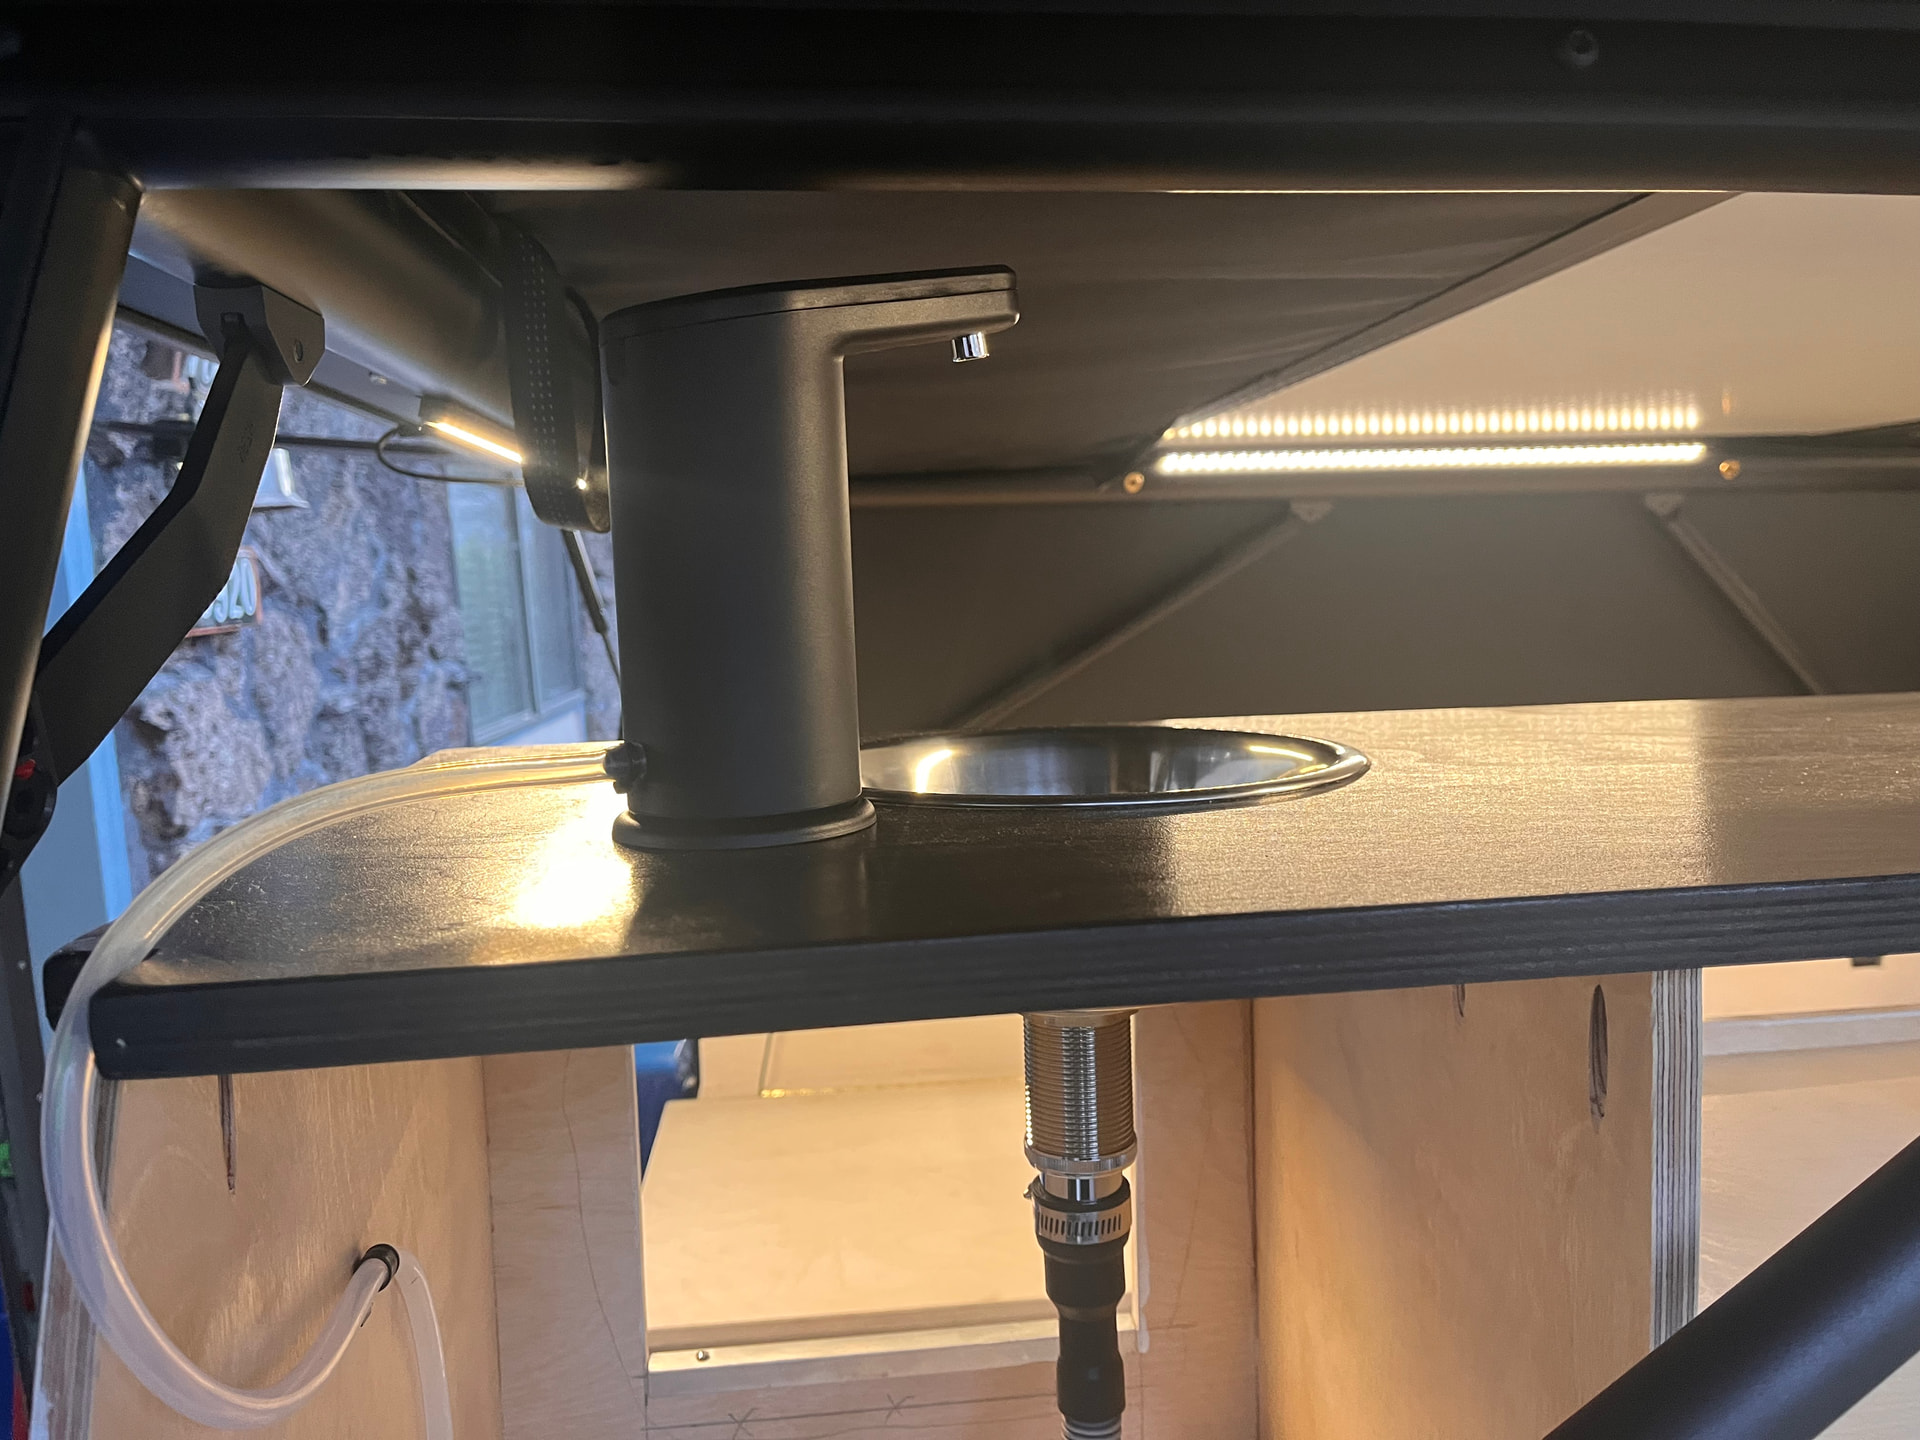
For the standing cabinet side I knew I wanted a sink and an easy water system. Dometic makes their USB rechargeable self contained faucet which would solve the plumbing/pumping/powering need. For water, again I wanted something simple in the form of freshwater and grey water. I found the Rotopax 5 gallon water jugs and wanted to build around those two; tan for fresh, black for grey.

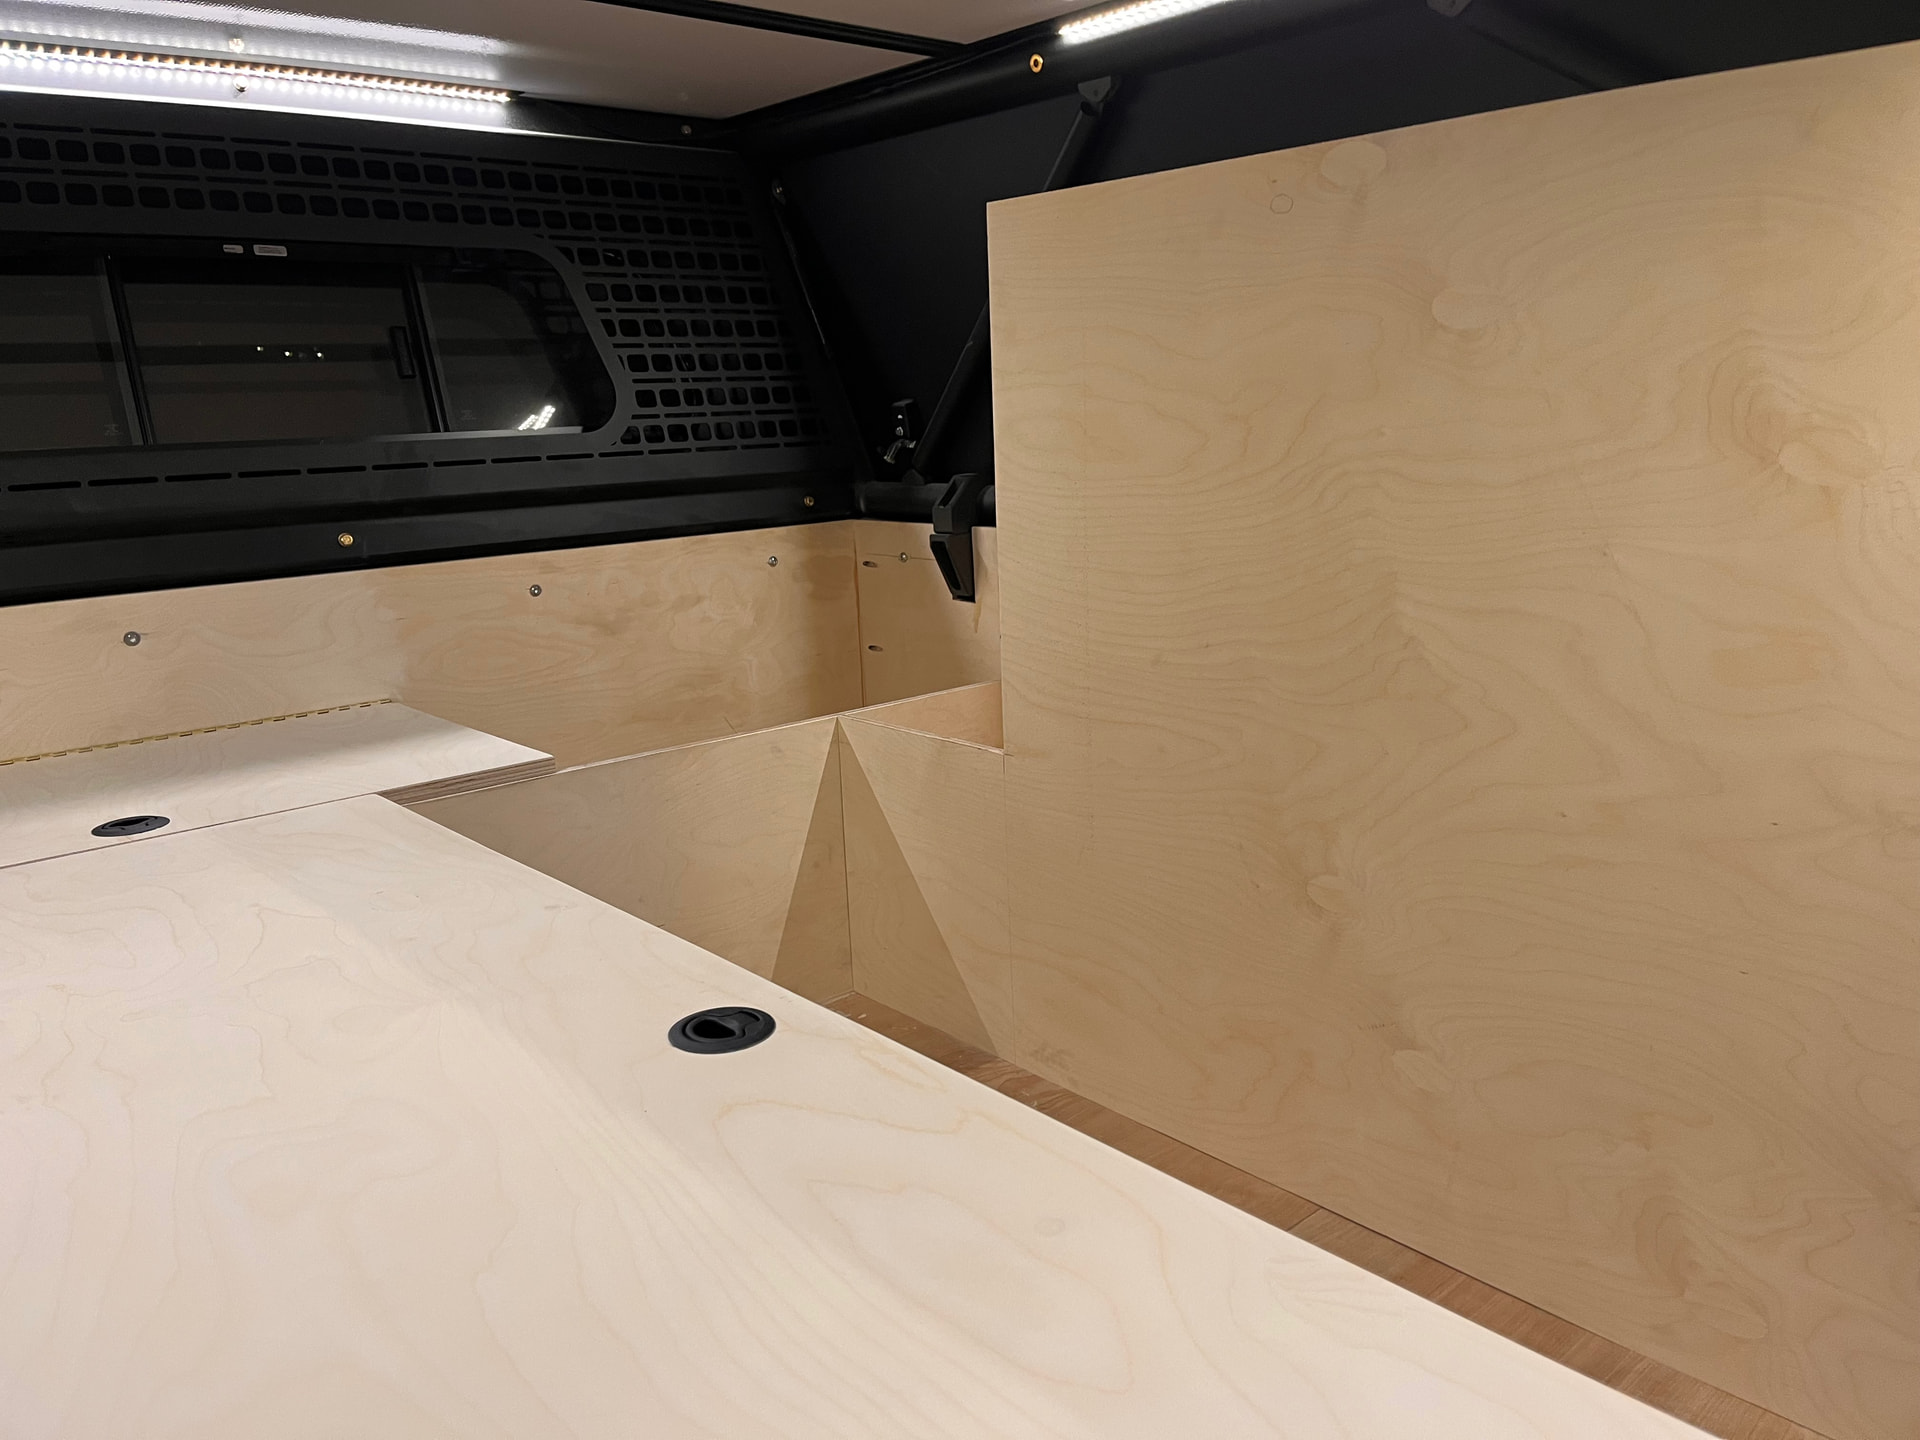
I mocked everything up, again 1/2” Baltic, before marking out the cutout locations and pulling it back out to cut. I used a hole saw for the corners, then jig saw to connect the corners. The only corners I cut to 90 degrees were the bottom corners along the water jugs. Those got 1/2” aluminum C-channel on the bottom edge and serve as steps up through the tent passthrough. I stepped down the portion of the standing cabinet as it neared the fridge location. The fridge is placed with the lid able to open from inside or outside the truck, and I didn’t want that space cramped at all. Plus, It gives an end table or footrest for the bench.
Once I final assembled the cabinet, I wired in two 12v usb/usbc chargers and ran the battery monitor wiring, then mounted the countertop. All the wood is stained white and spar varnished. The countertops however (3/4” Baltic) are stained black and varnished. I ordered wicker baskets to fit, and loosely threw a bunch of shit in there to see what happens driving around. 1/4” bungee material is added in a couple places to keep things in place especially since the back is open to access everything from either inside or outside the truck.
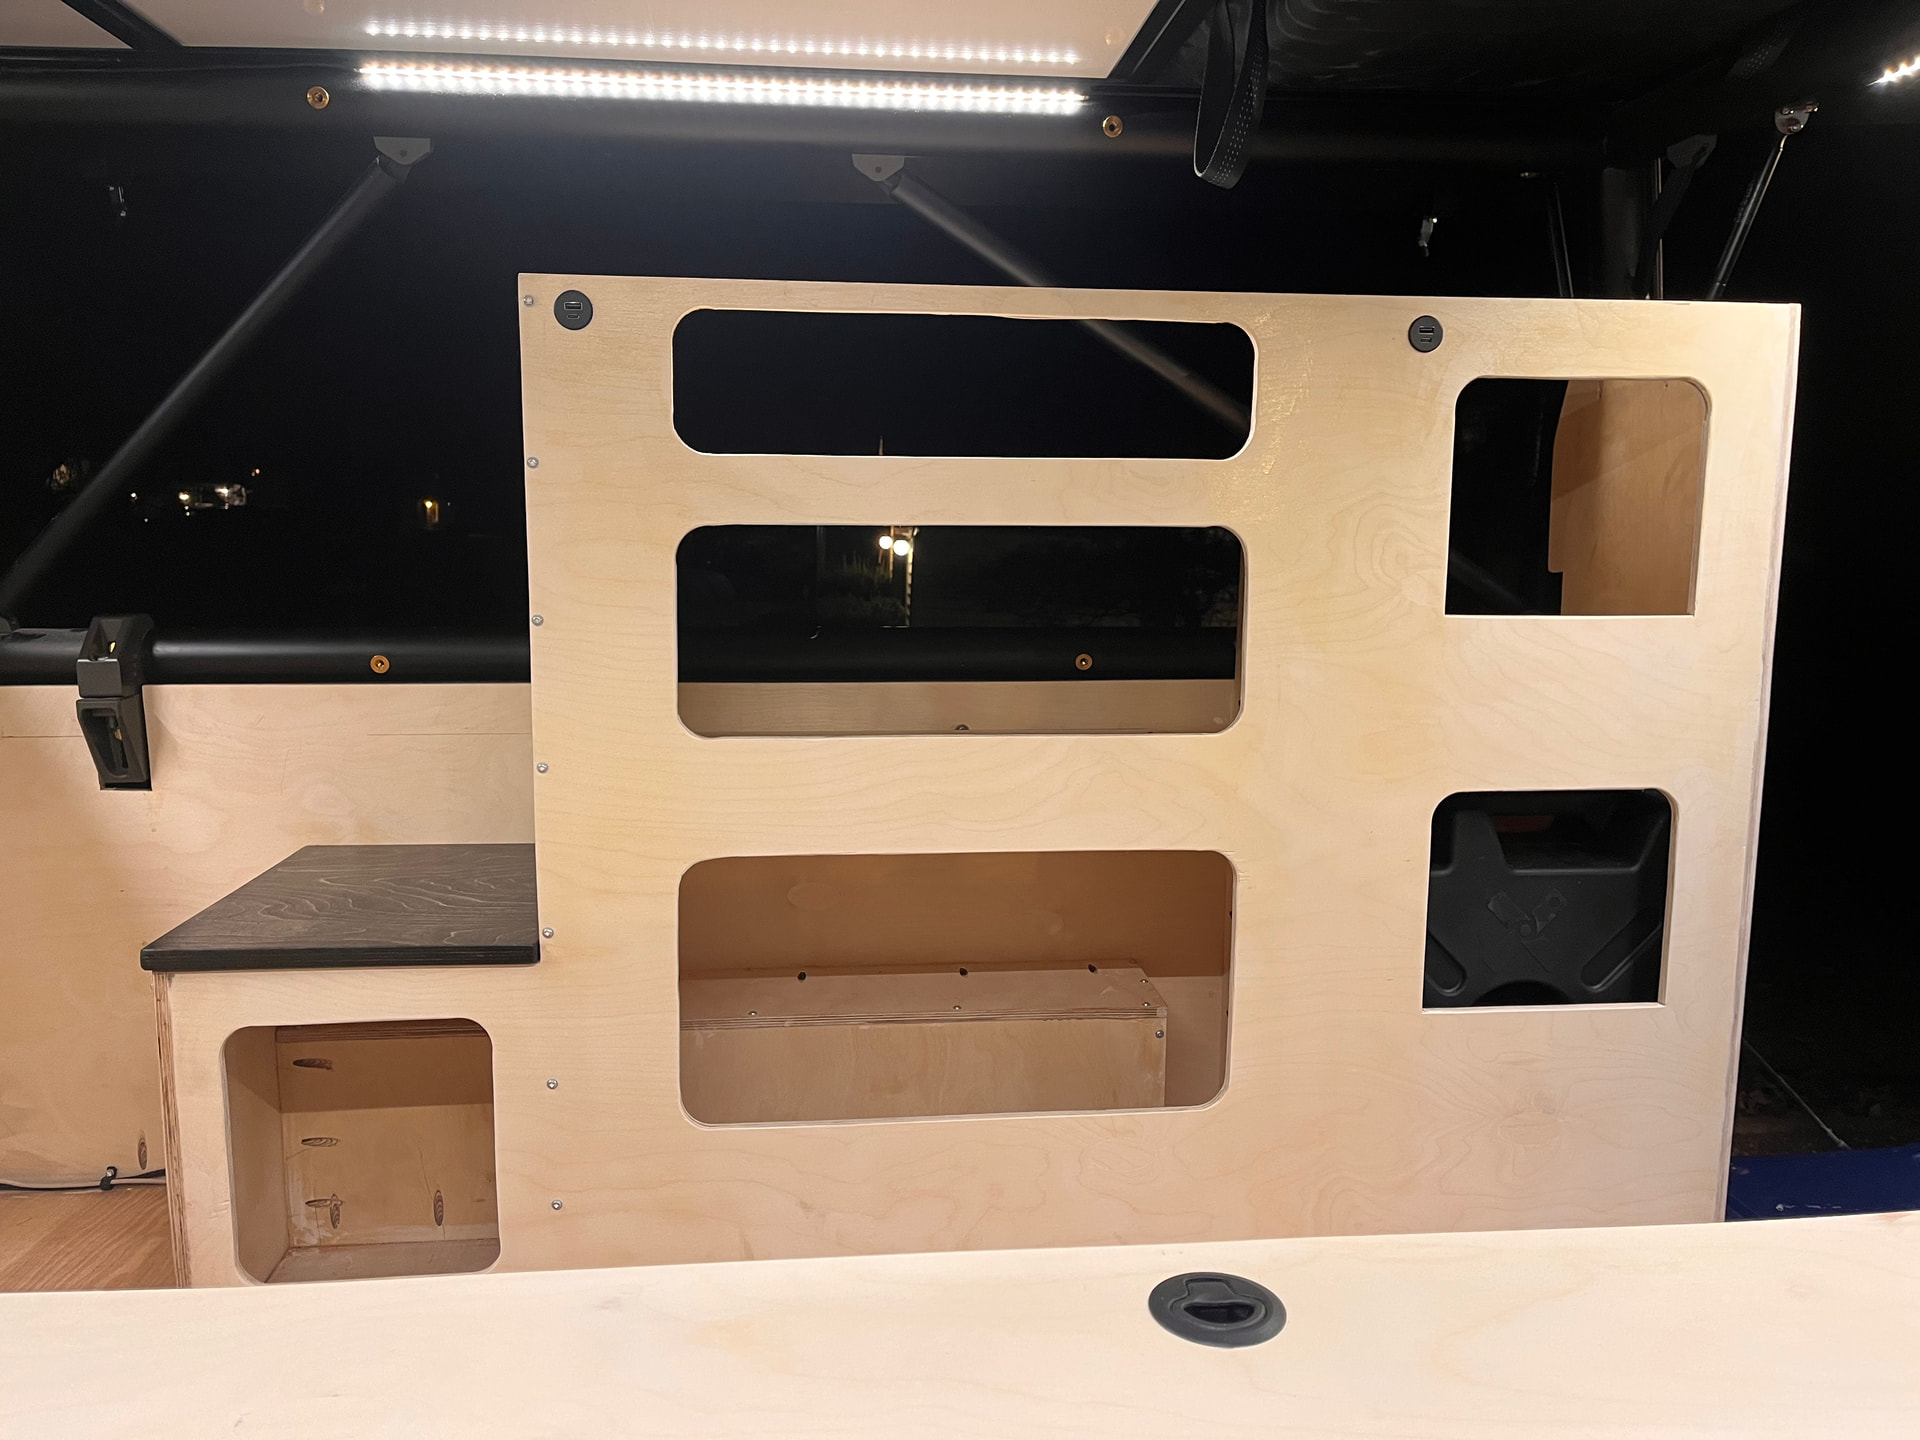
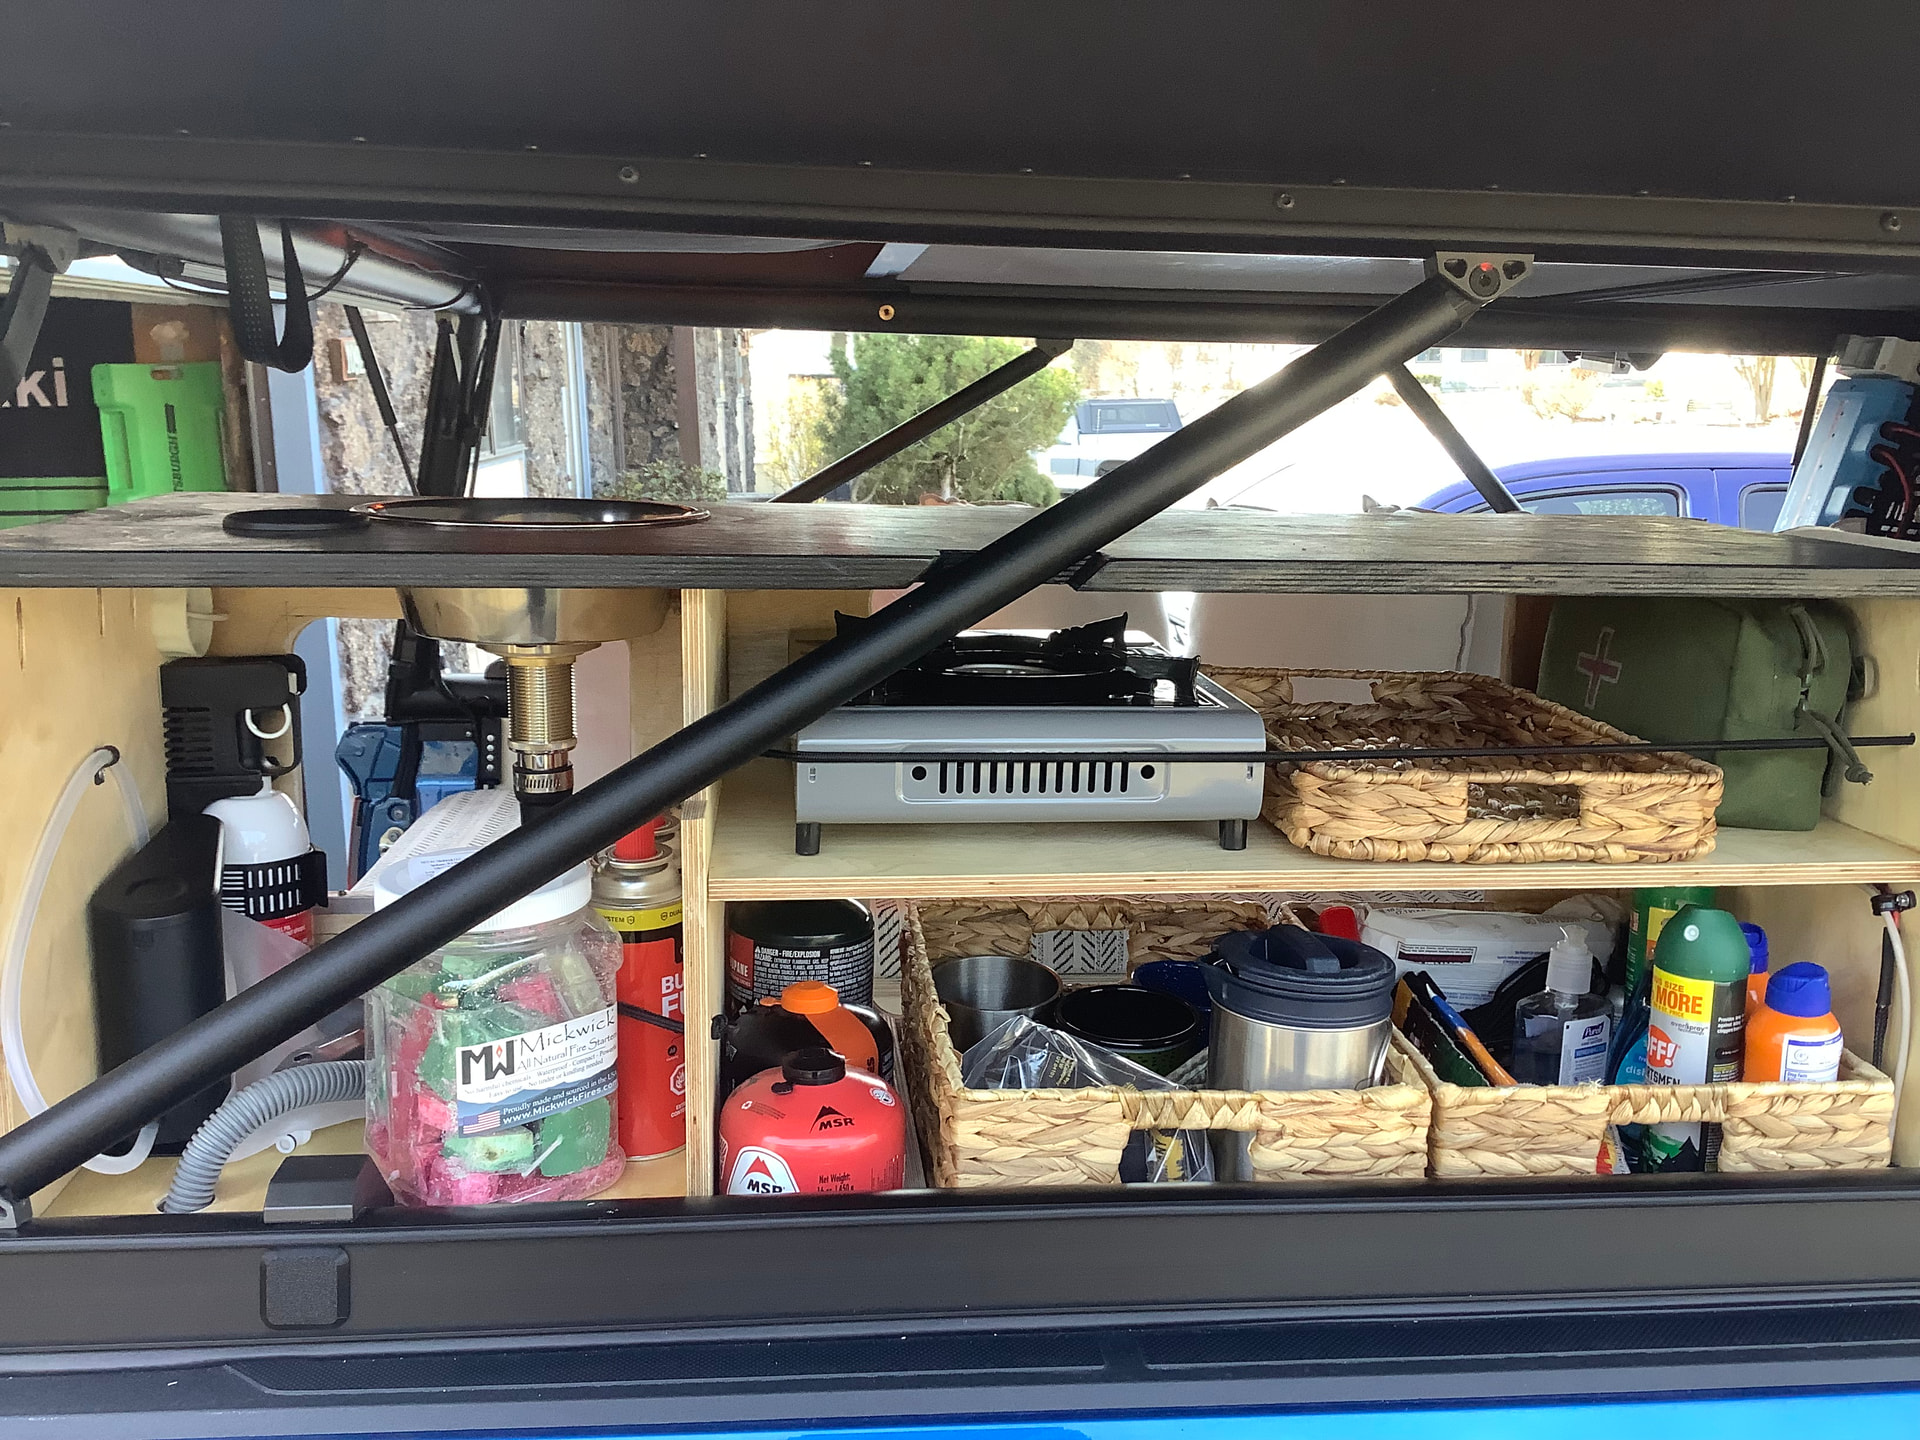
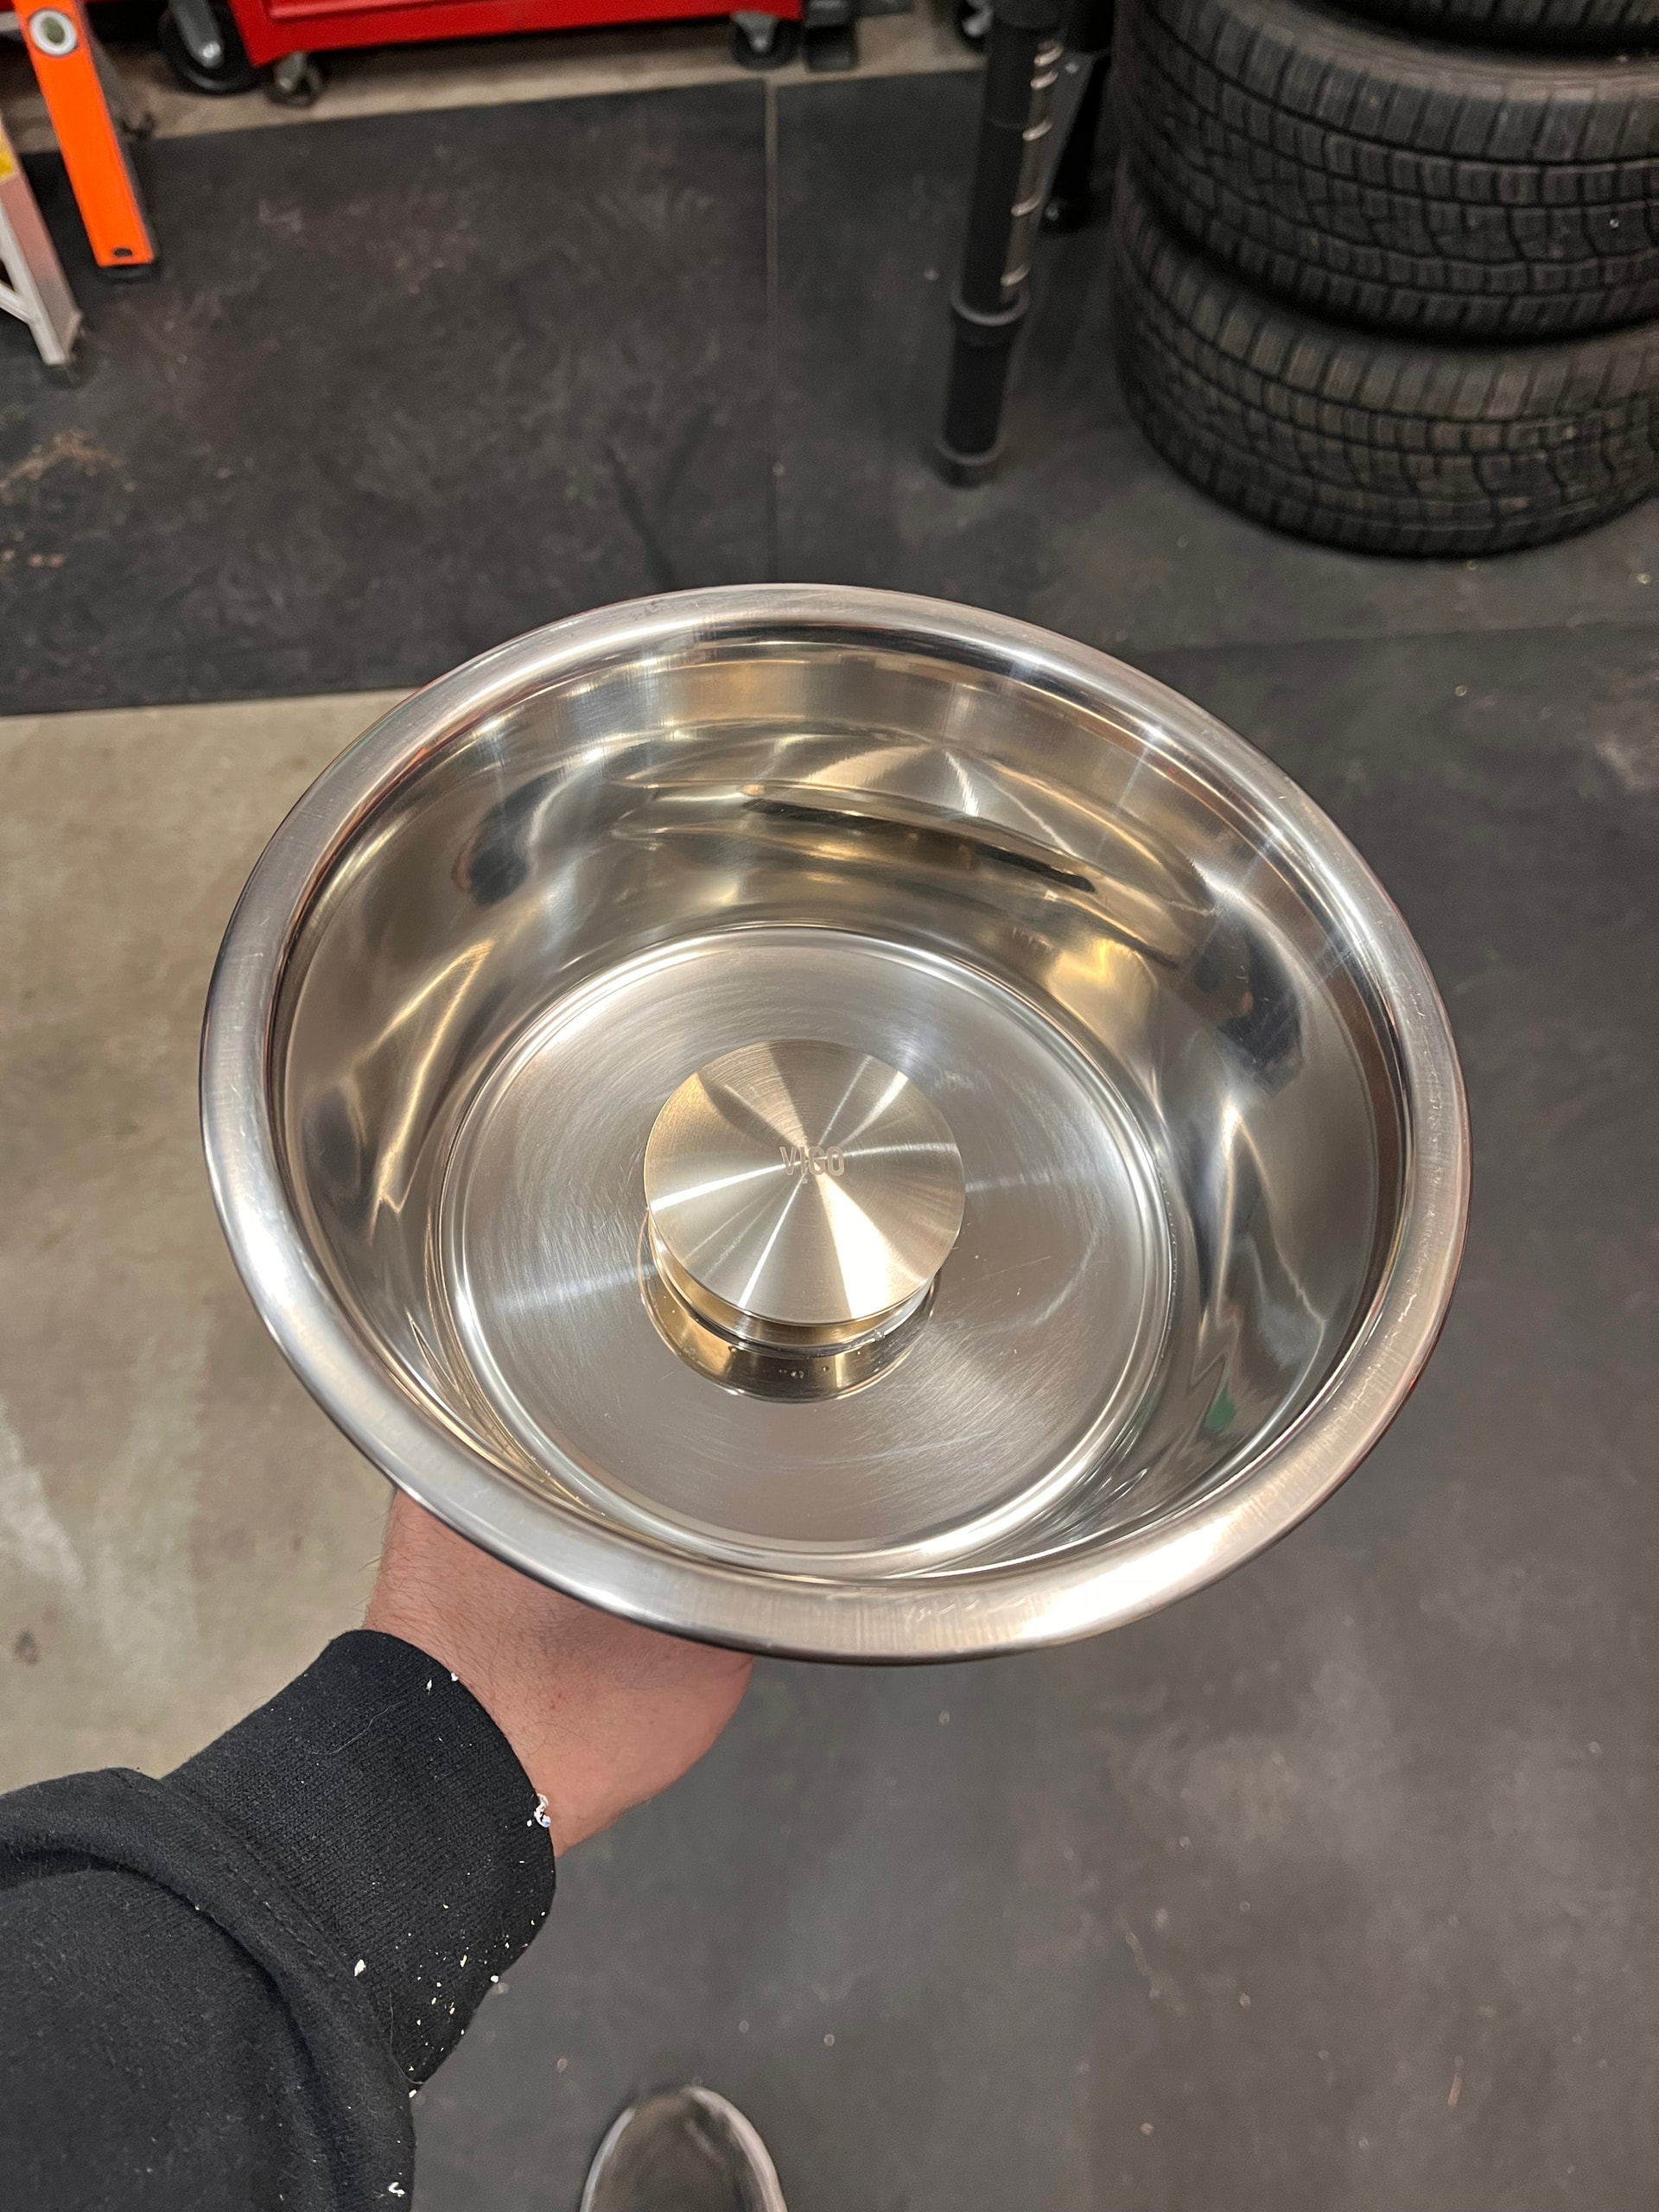
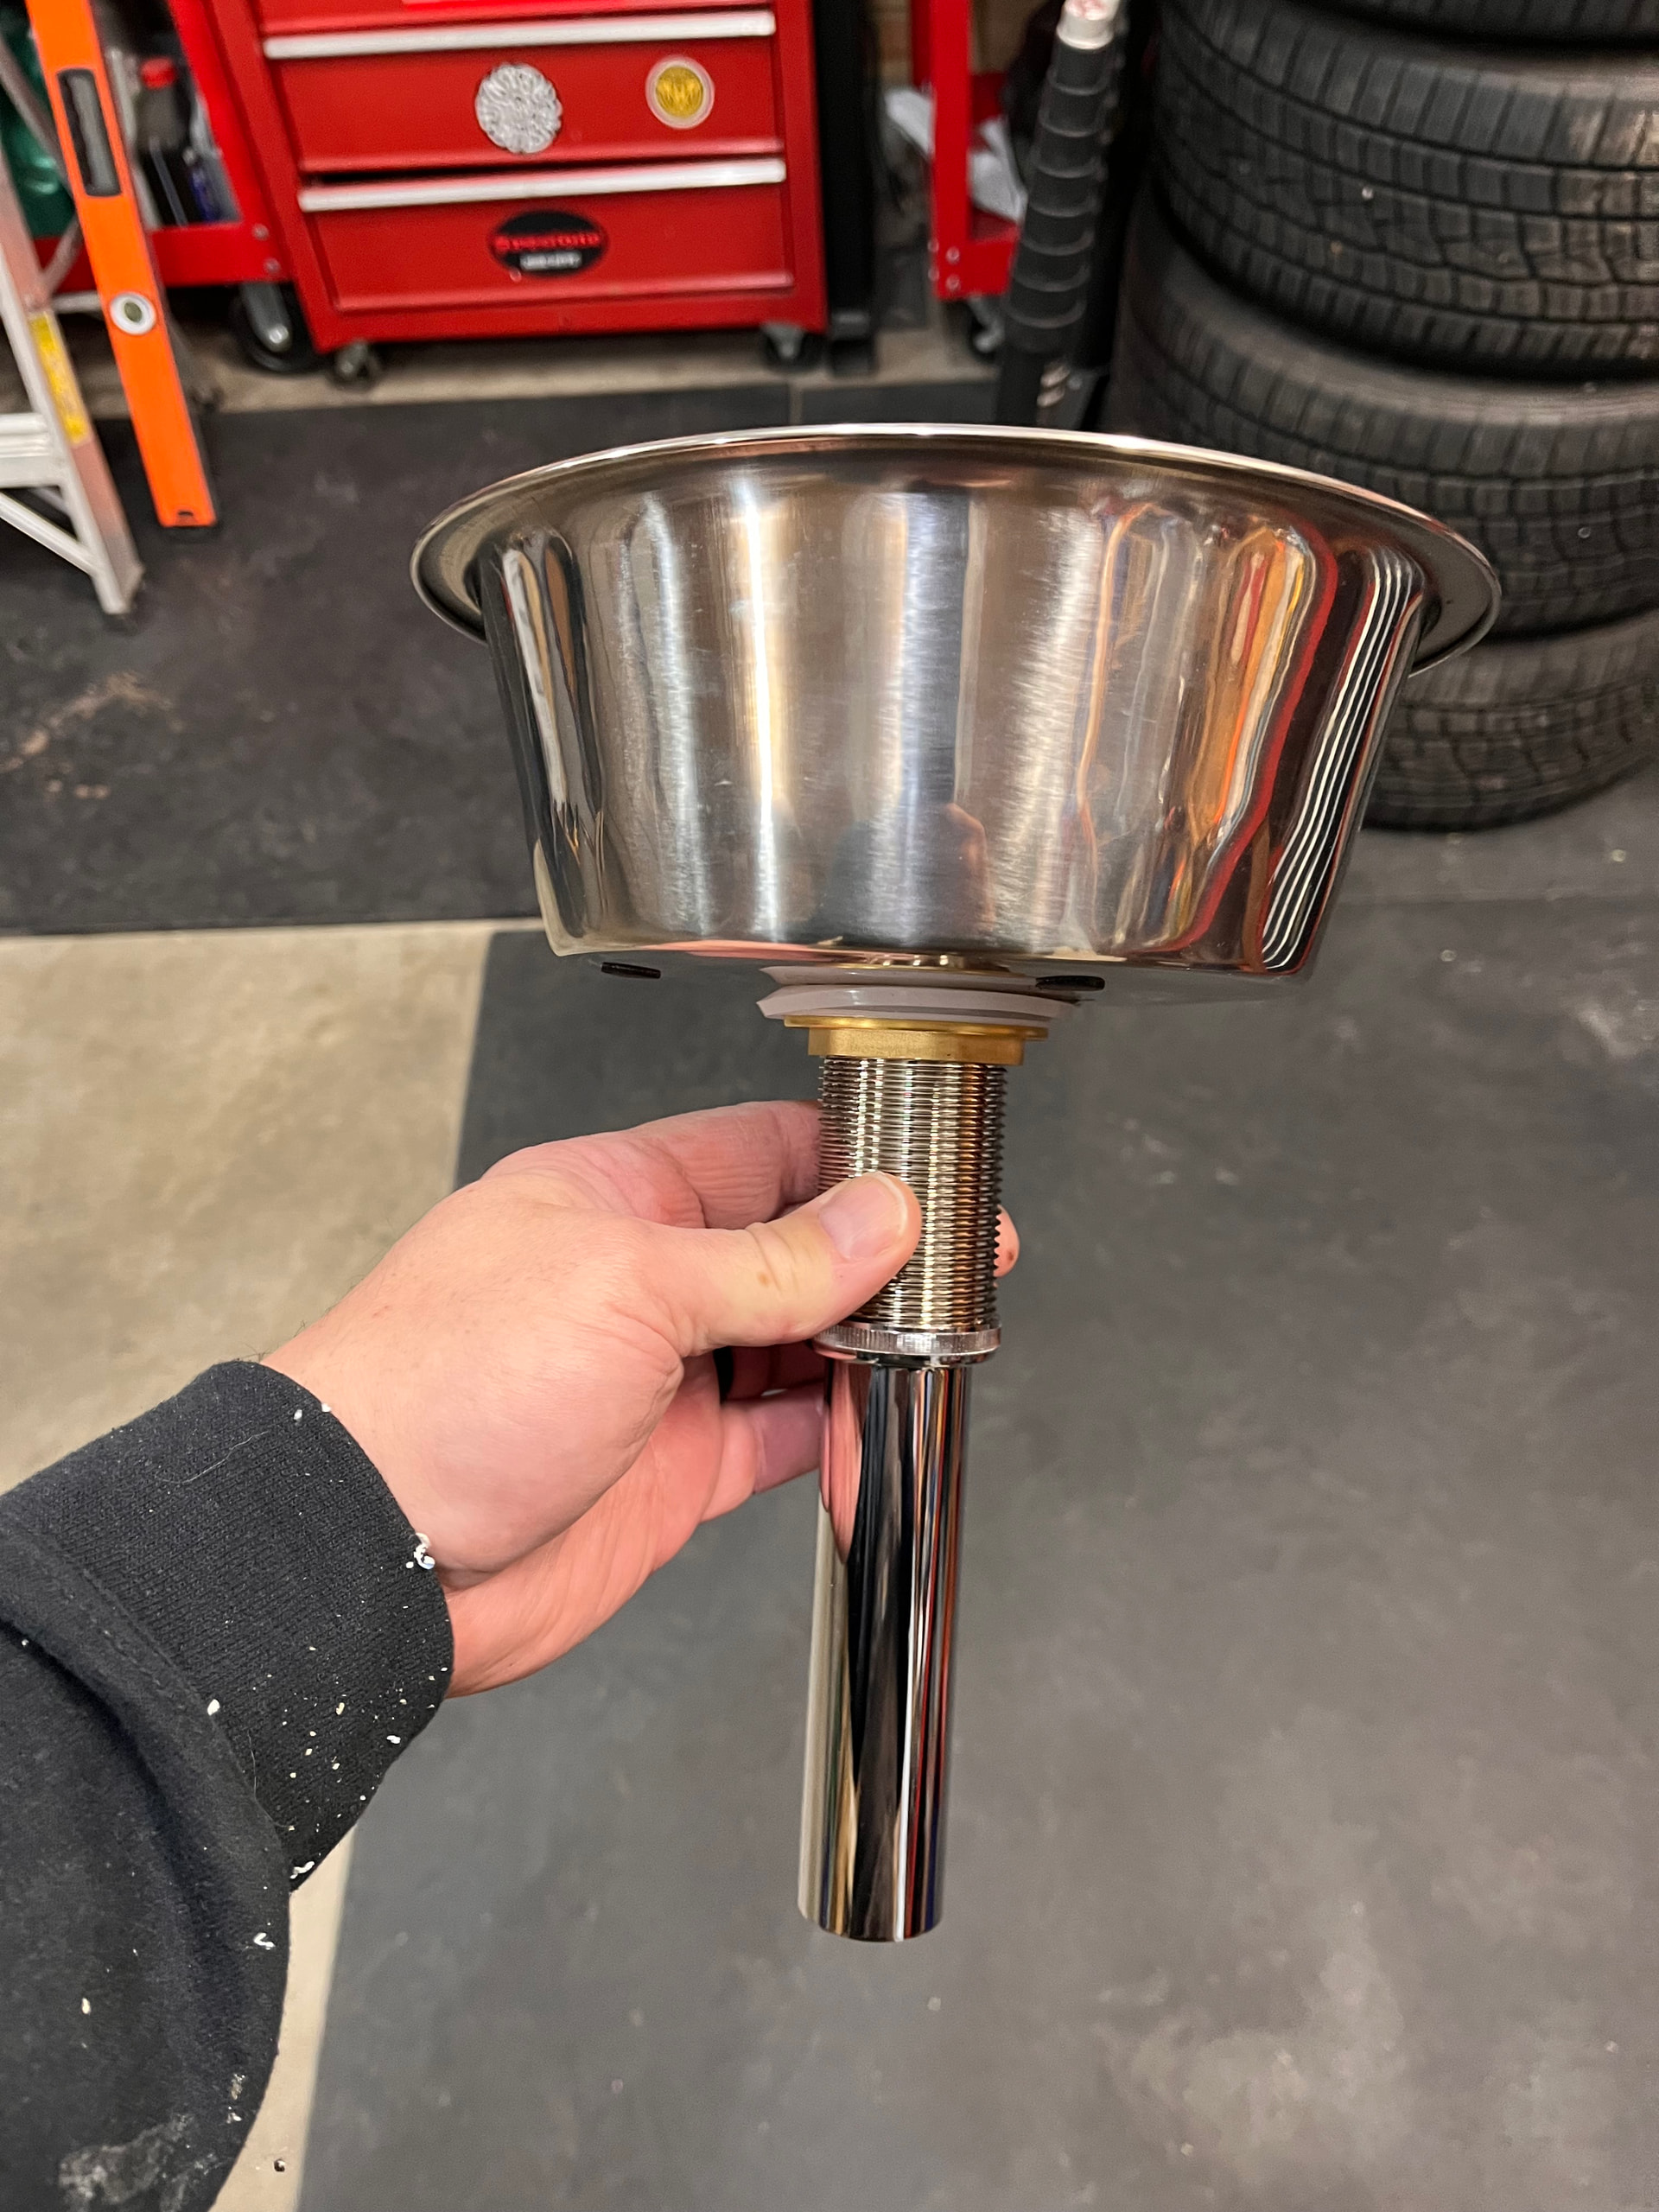
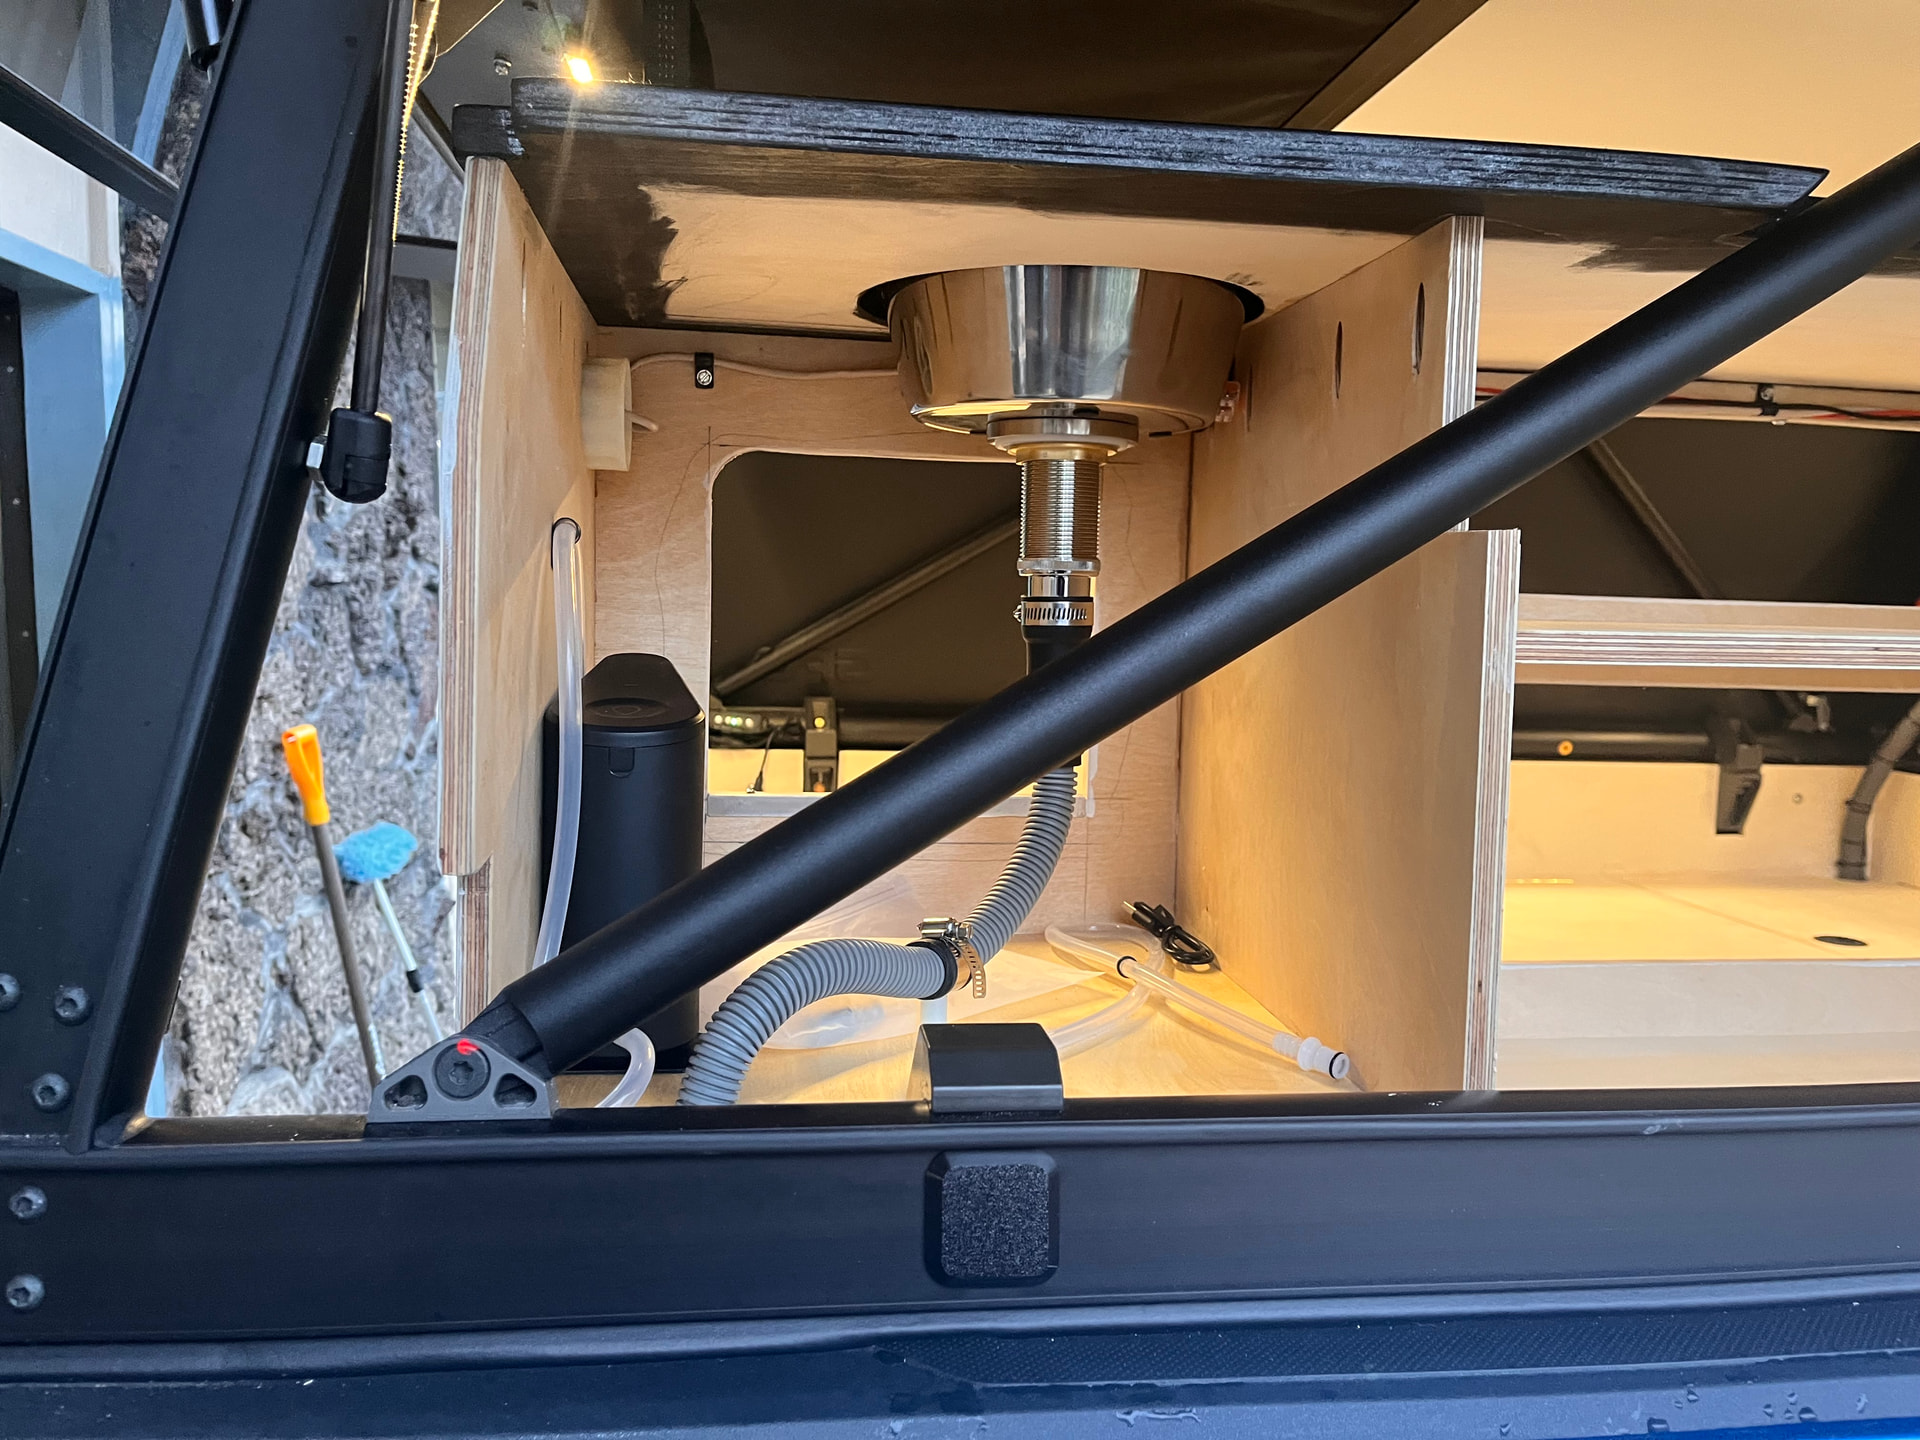
For the sink, I found a $7 stainless dog bowl that was the perfect size. I cut a hole in the bottom and mounted a push button drain, then ran flex tubing down to the black jug. 1/4” silicone hose and a weighted stainless filter are hooked up to the faucet and drop straight into the freshwater jug. The sink is accessible through the tent floor passthrough at all times, And the faucet stores below the sink when traveling.

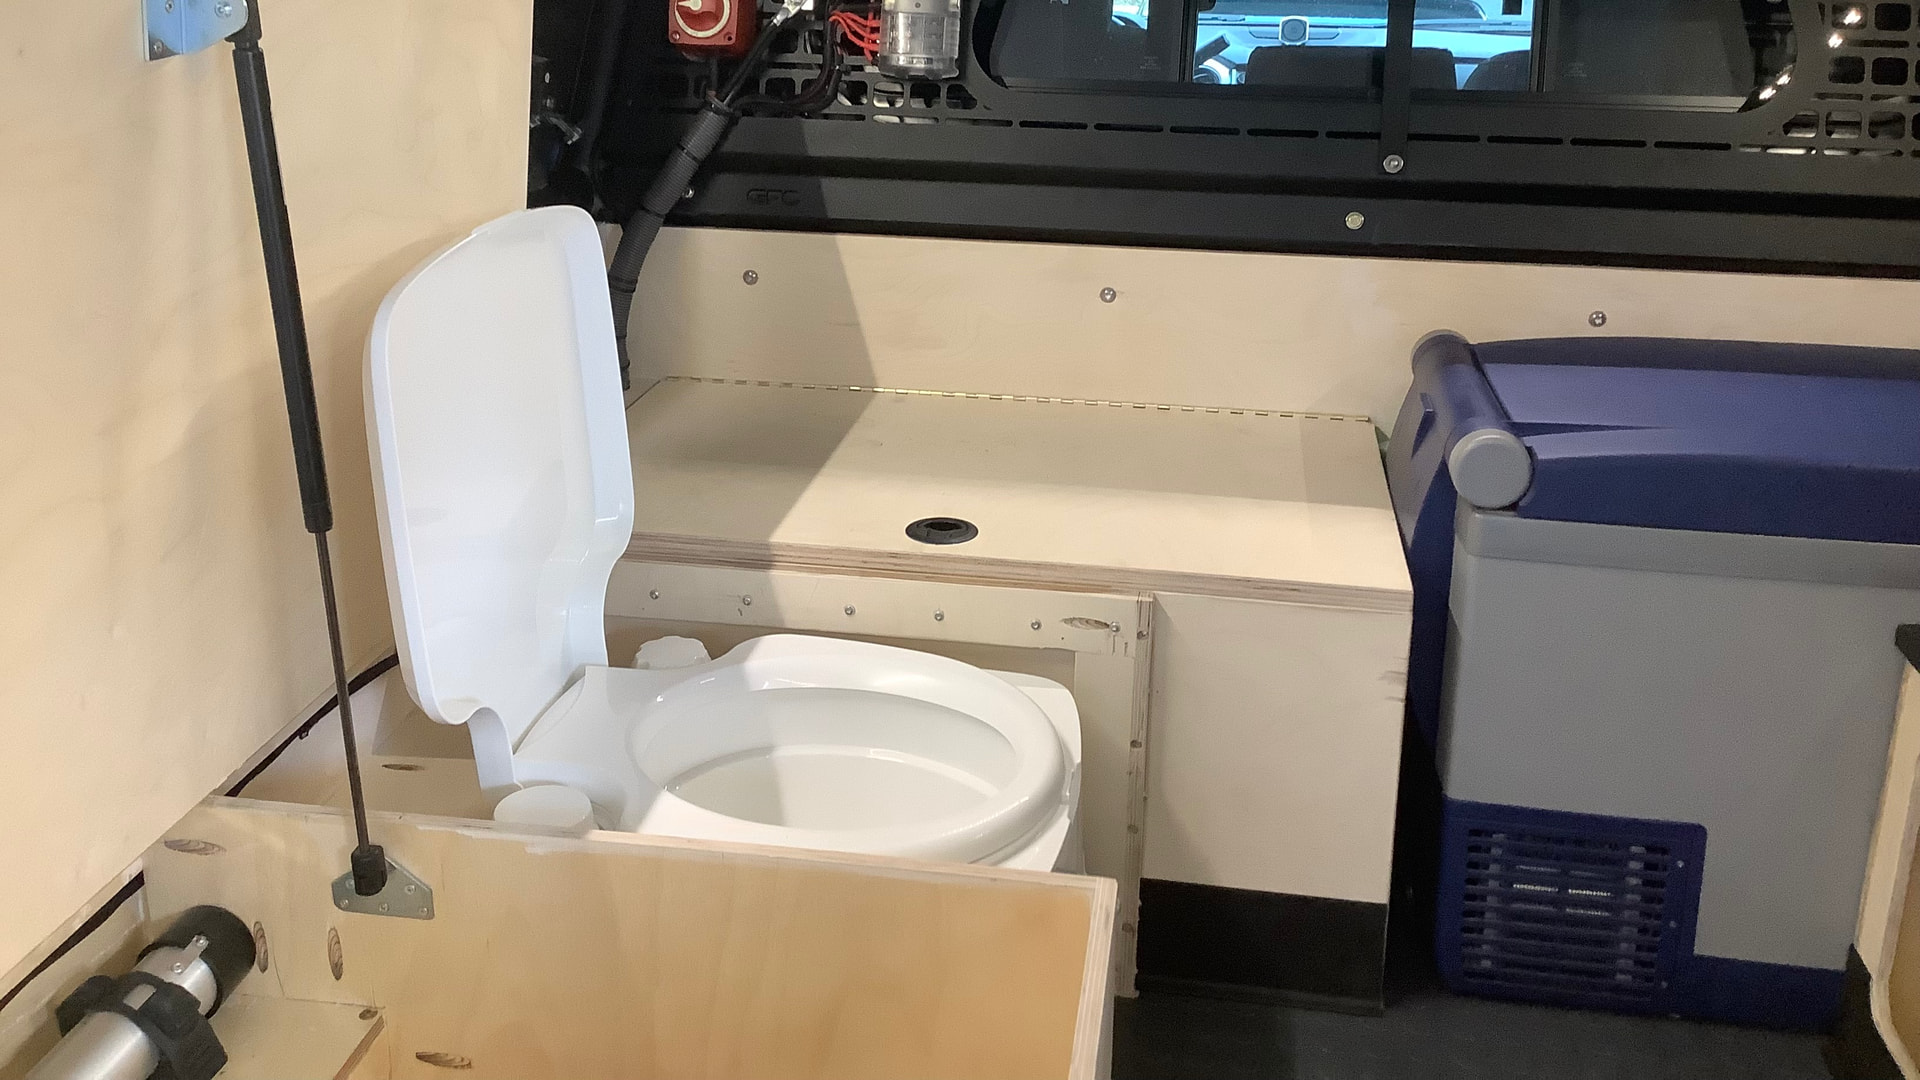
For the bench side, I decided to go with an easily accessible option for the Thetford toilet and re-framed and cut out the toilet opening. Now, simply lift the lid and do your biz.

I also knew I wanted a table, but not something that was always in the way. I found a table leg and mount on amazon that works perfectly; 1/2” high mount on the floor with the leg twisting and locking in place, then top mounts to it. For the table top I used a large bamboo cutting board. The table top is mounted off-center so the bench top can be opened with the table in place, and the leg and top mount inside the bench when not it use.
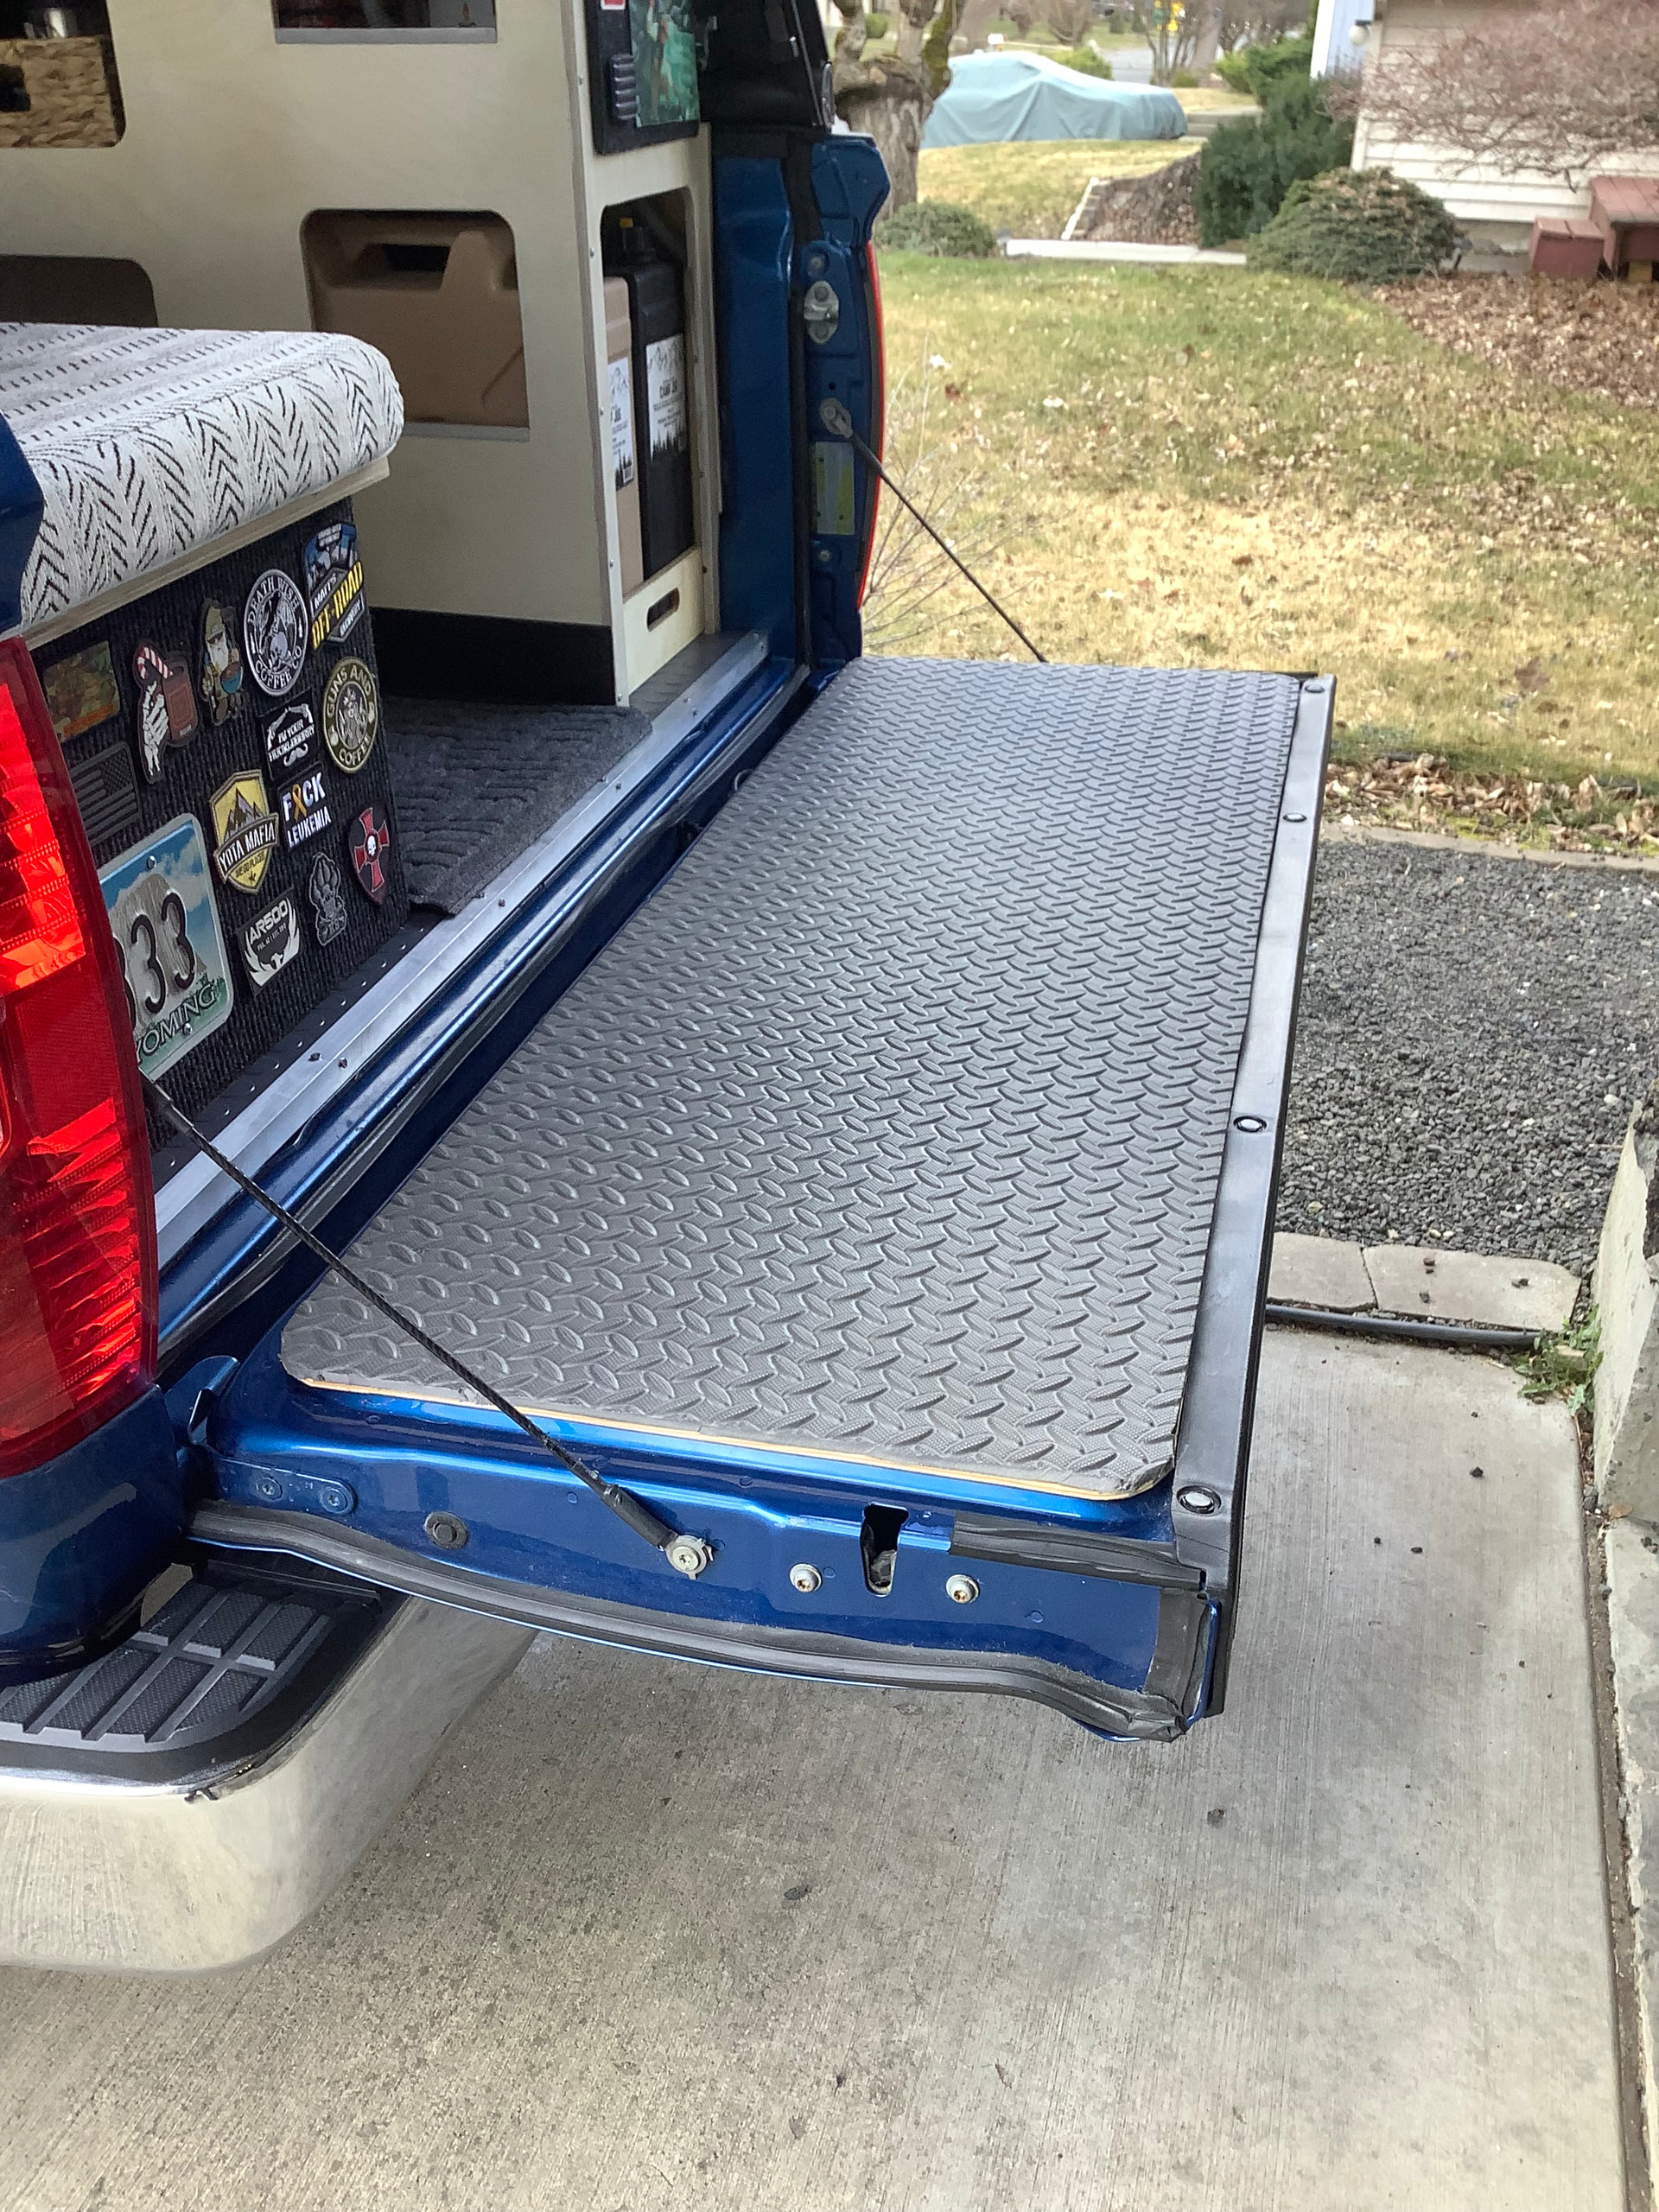
Flooring is a garage coin style floor from Home Depot, stenciled and cut from one sheet. I used linoleum tape to adhere it to the spar varnished wood floor. I pretty quickly noticed that white stain shows to kick marks, which must be why they call it toe kick moulding- so on that went. Lastly for the floor, an outdoor carpet cut to fit so it’s a little cozy on the feet and easy to shake off outside. Tailgate got 1/4” spar varnished plywood with foam mat cut to fit and linoleum taped on. This is light enough that the gate assist still works, and comfy on the knees. I’m not sure it will hold up to dog nails, but again this isn’t really built for them.
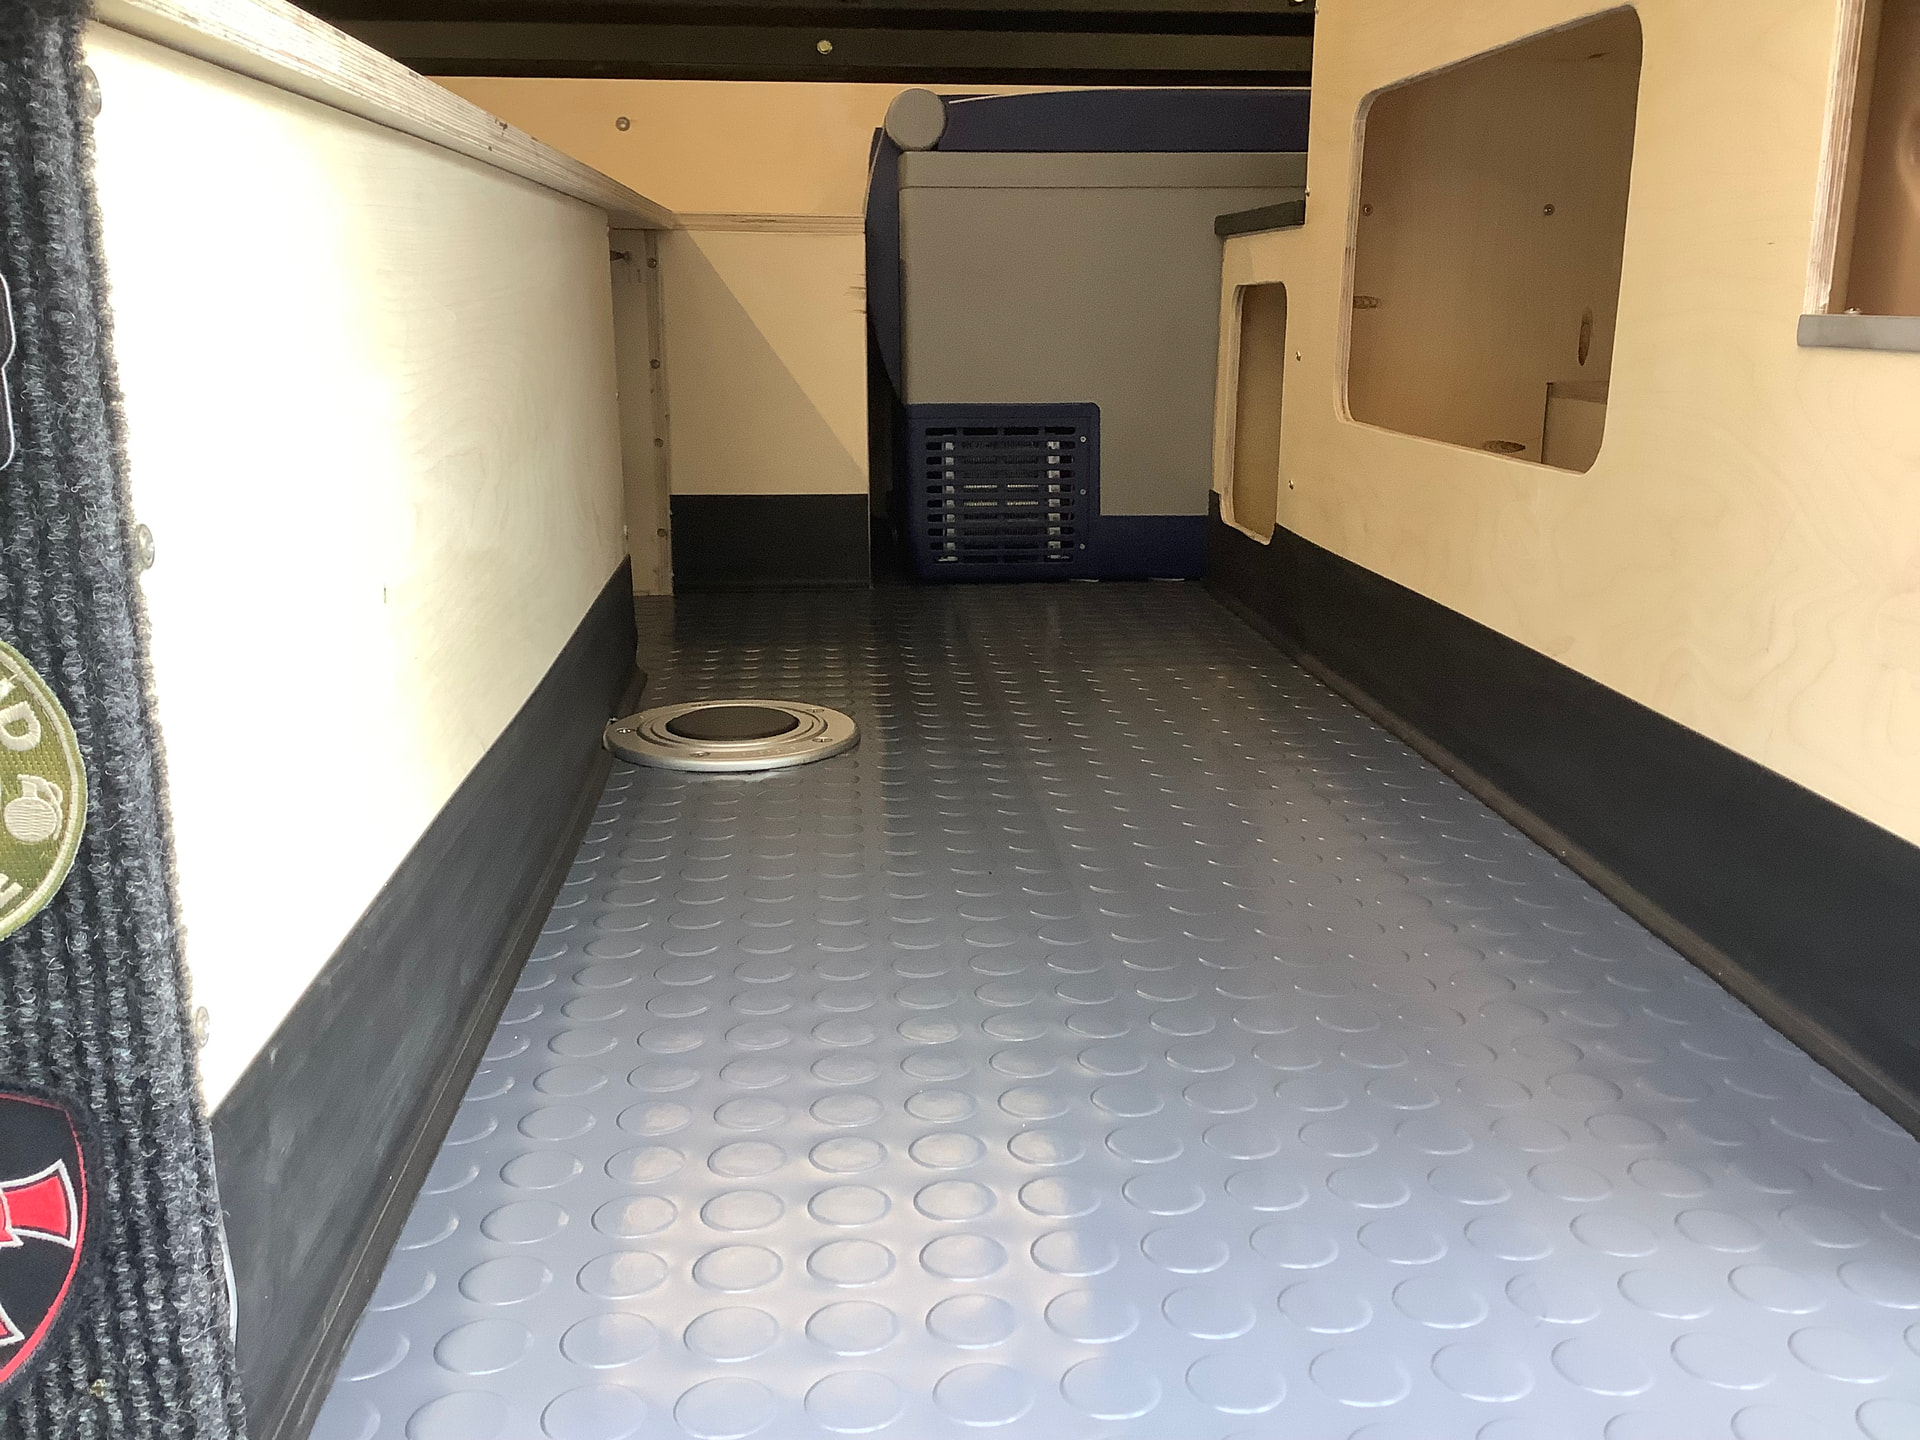
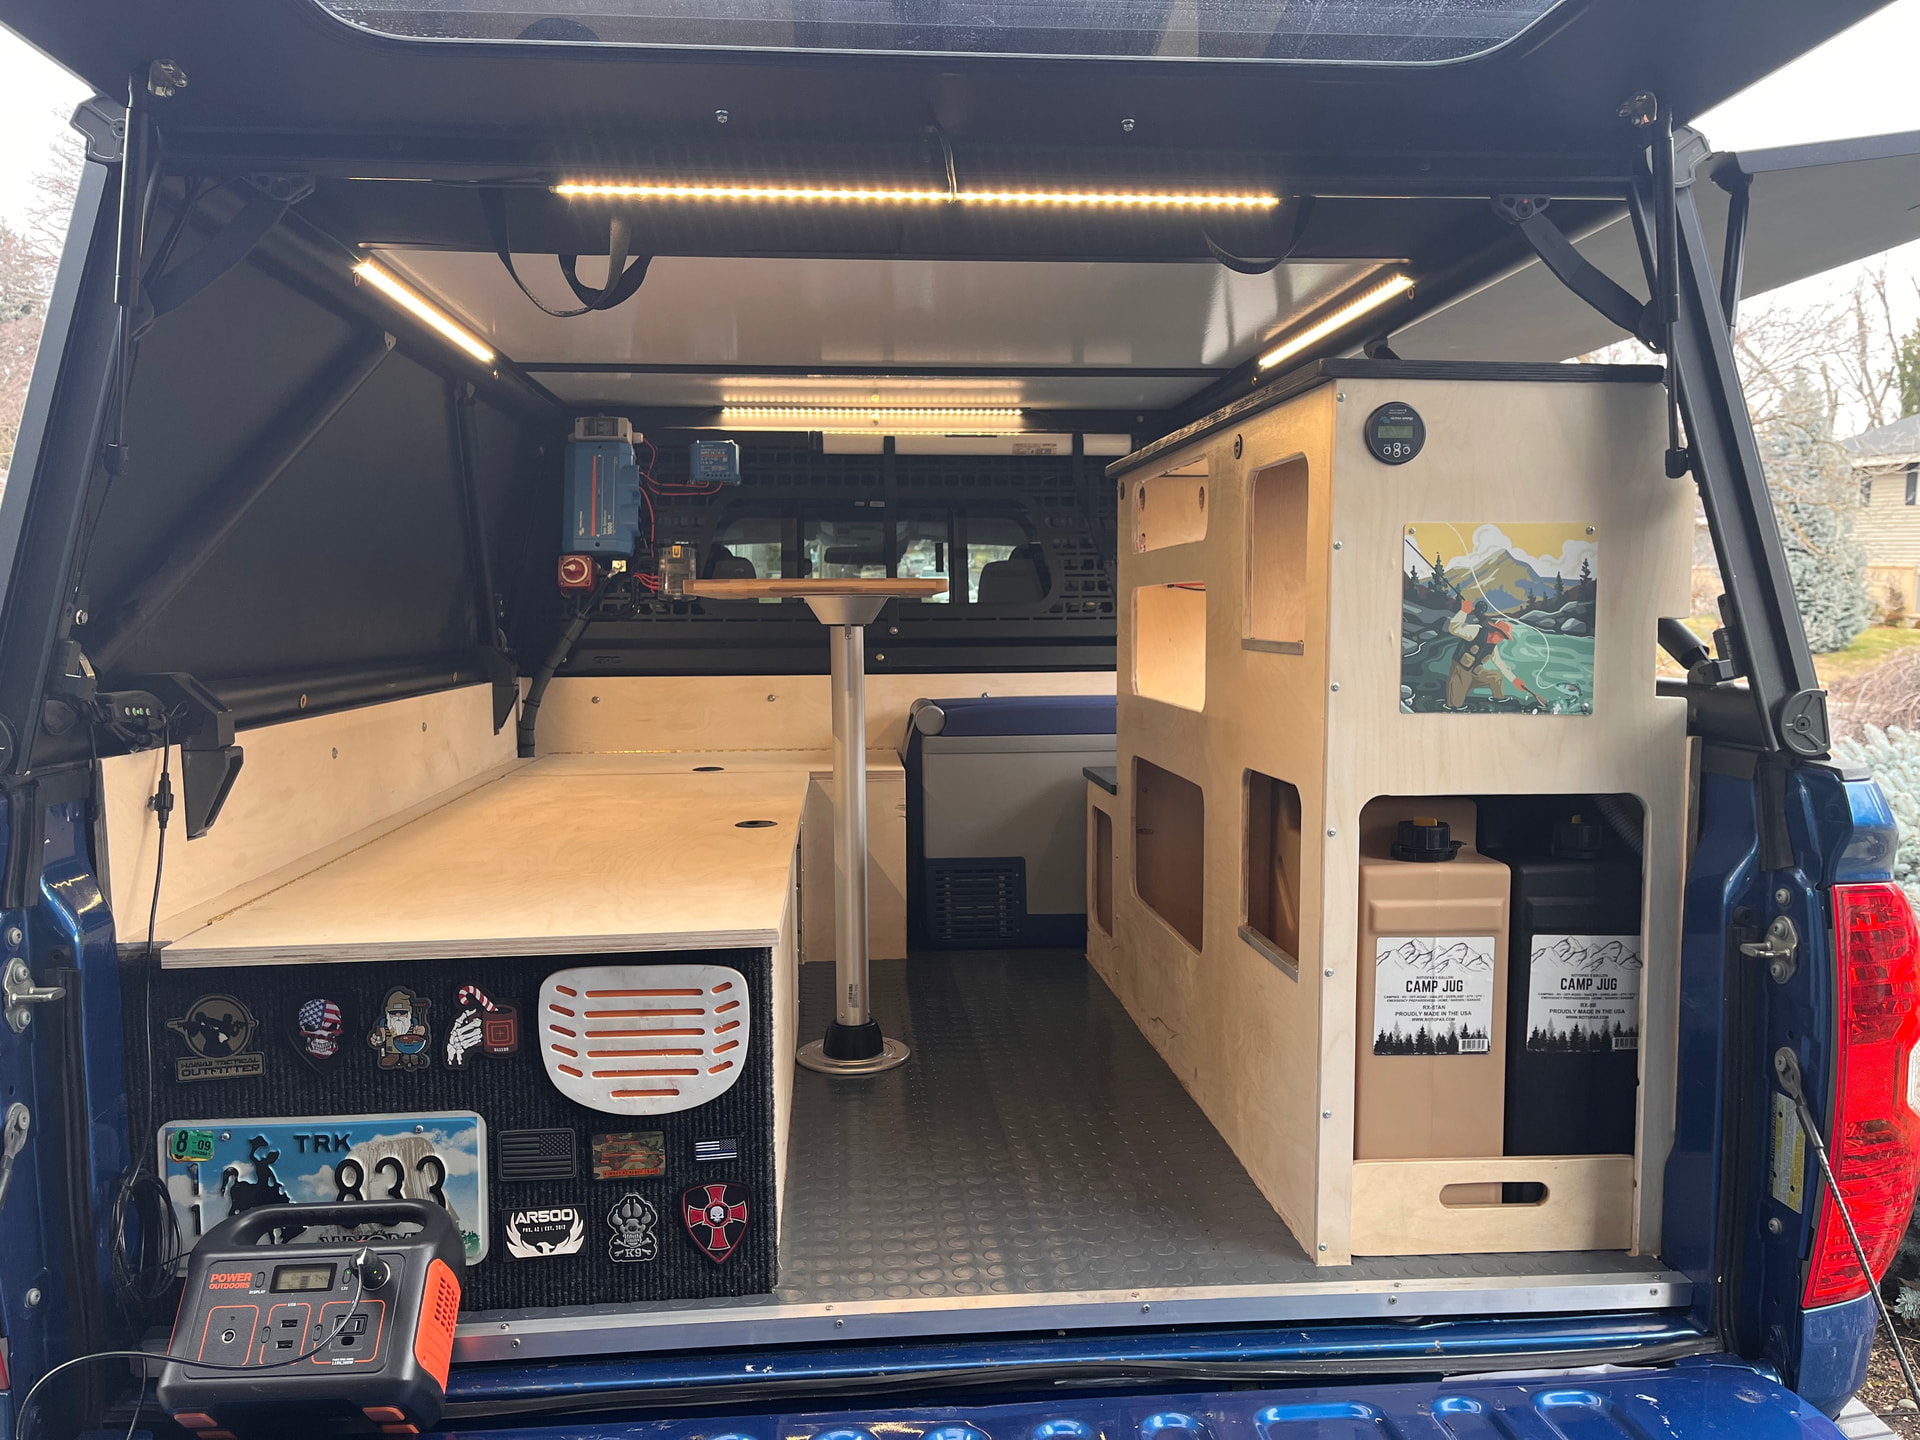
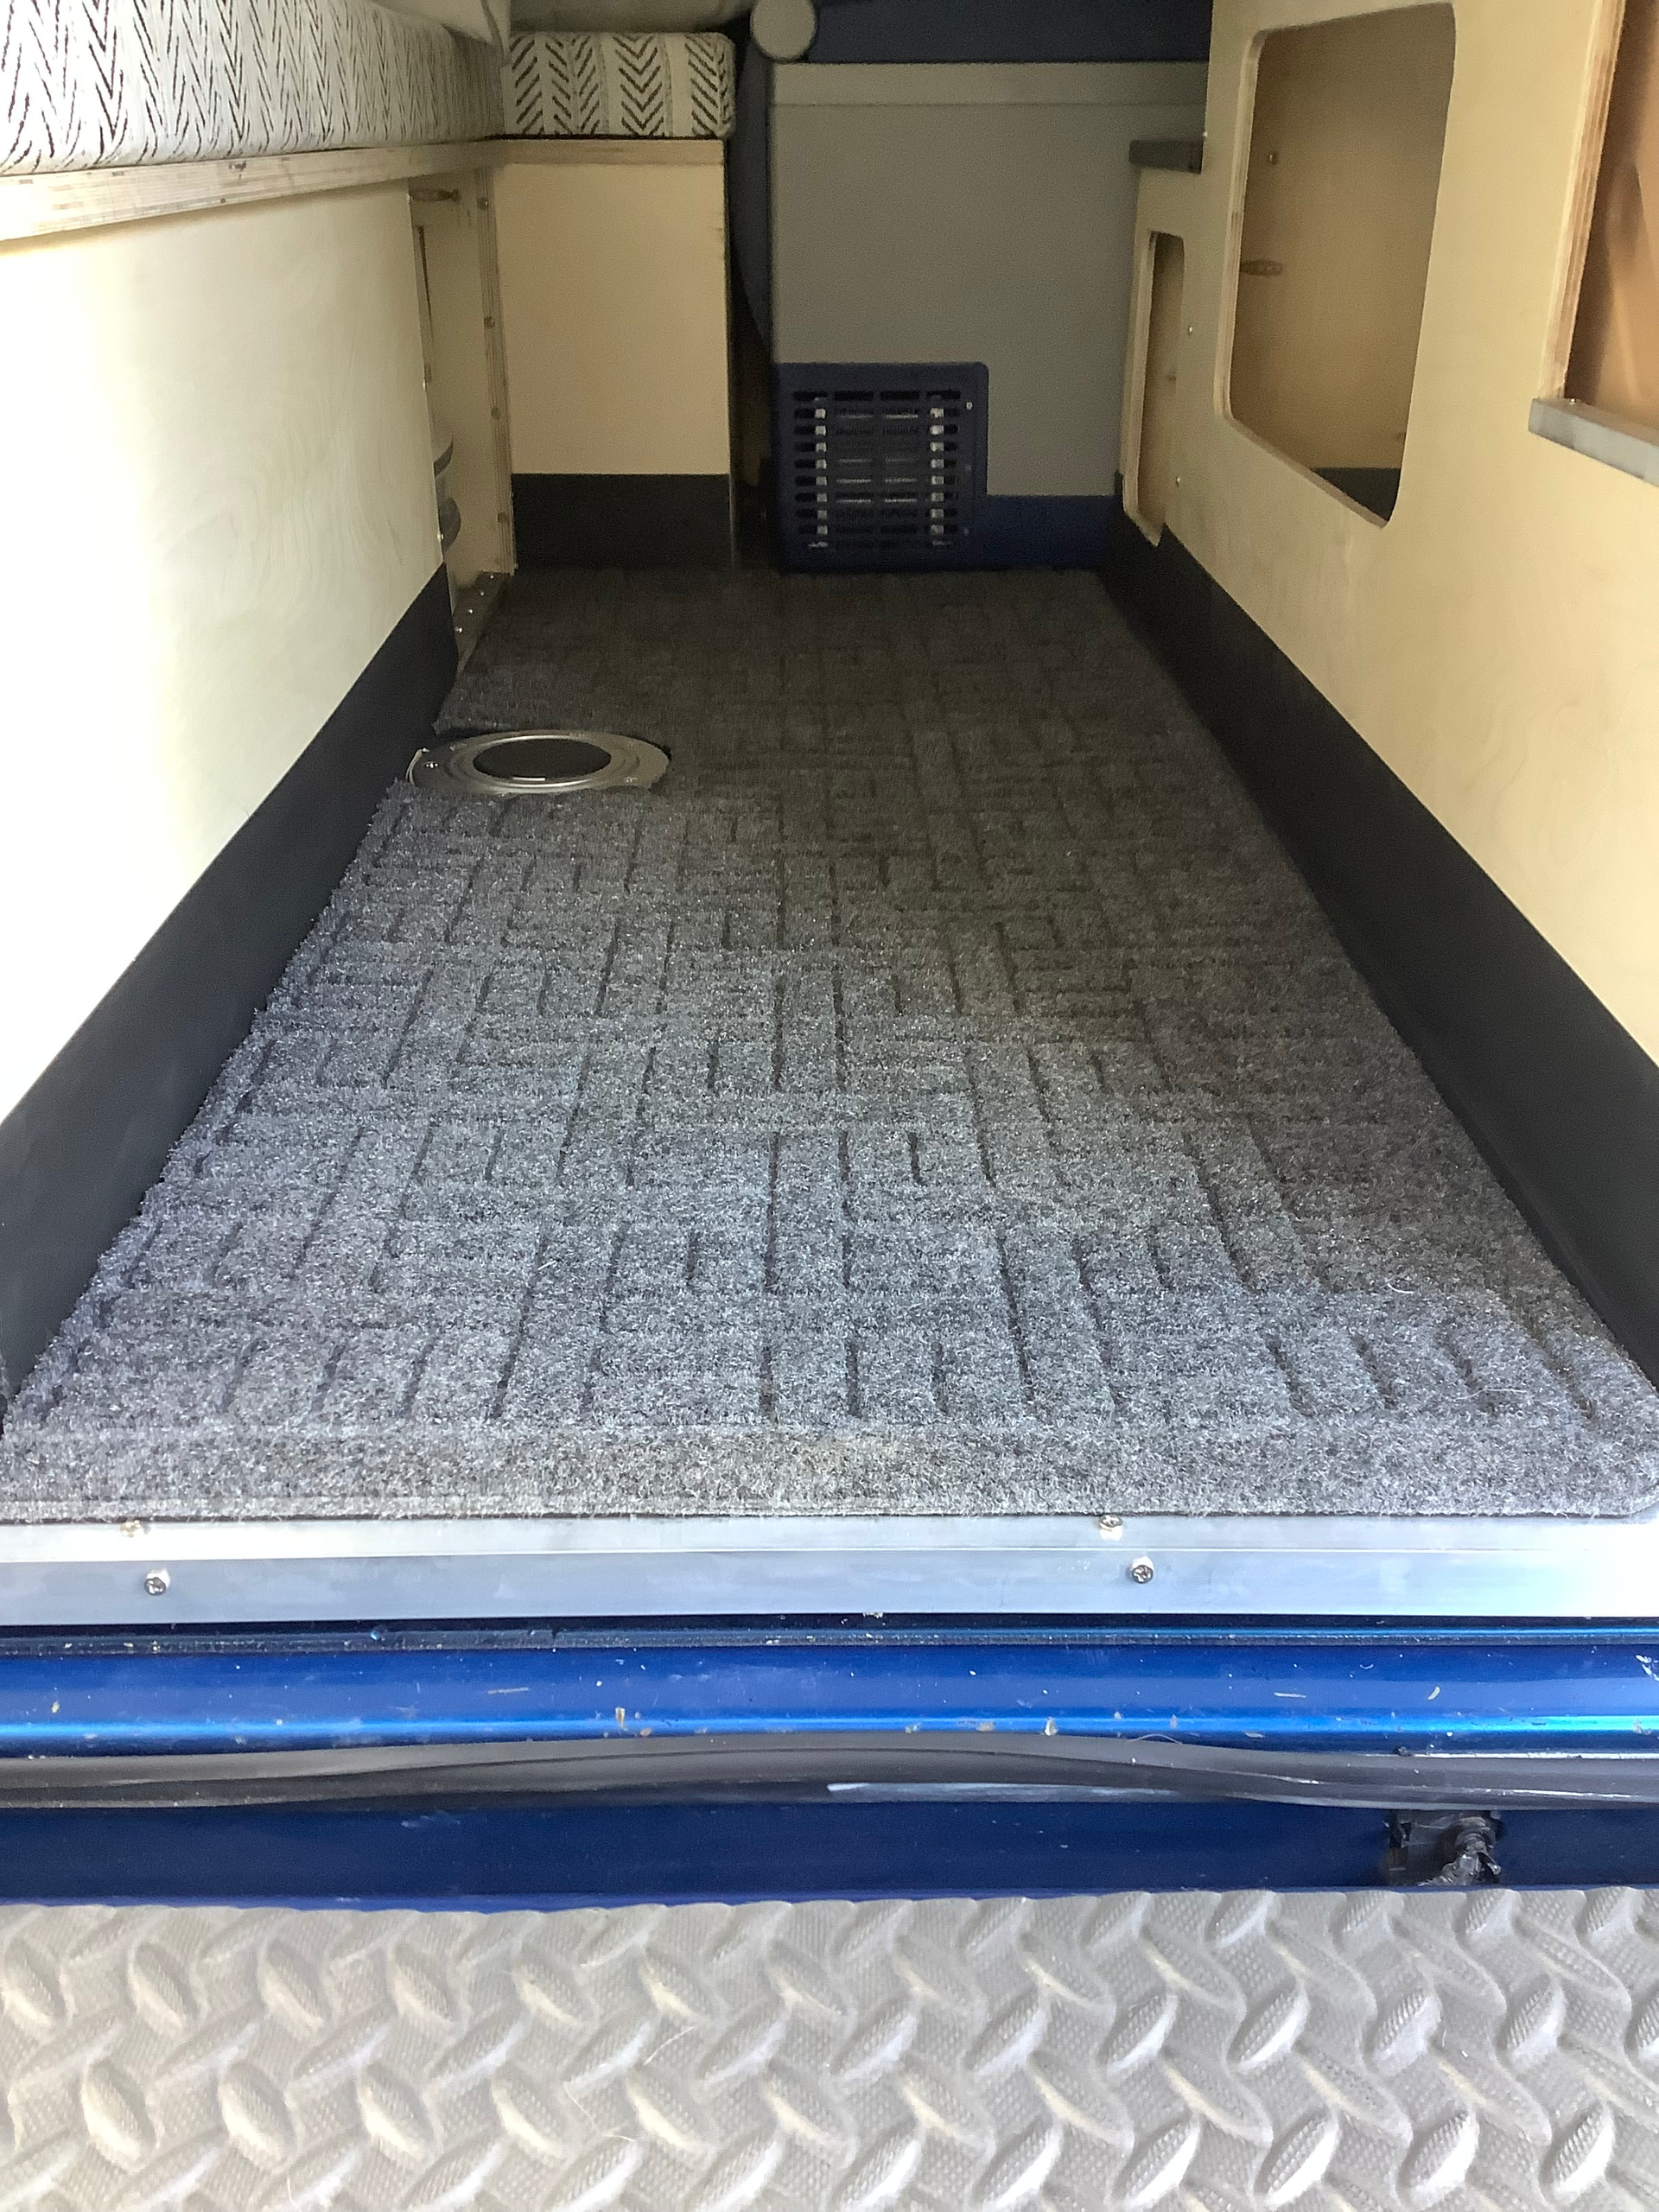
For cushions, I ordered off Amazon- size, thickness, material etc. and they turned out great. For the backrest, simple throw pillows do the trick. Fridge is in place and on its own dedicated circuit. 2” foam is wedged around the edges of the fridge to hold it in place making sure to keep the compressor clear with plenty of room between the compressor grates and the front wall of the camper.
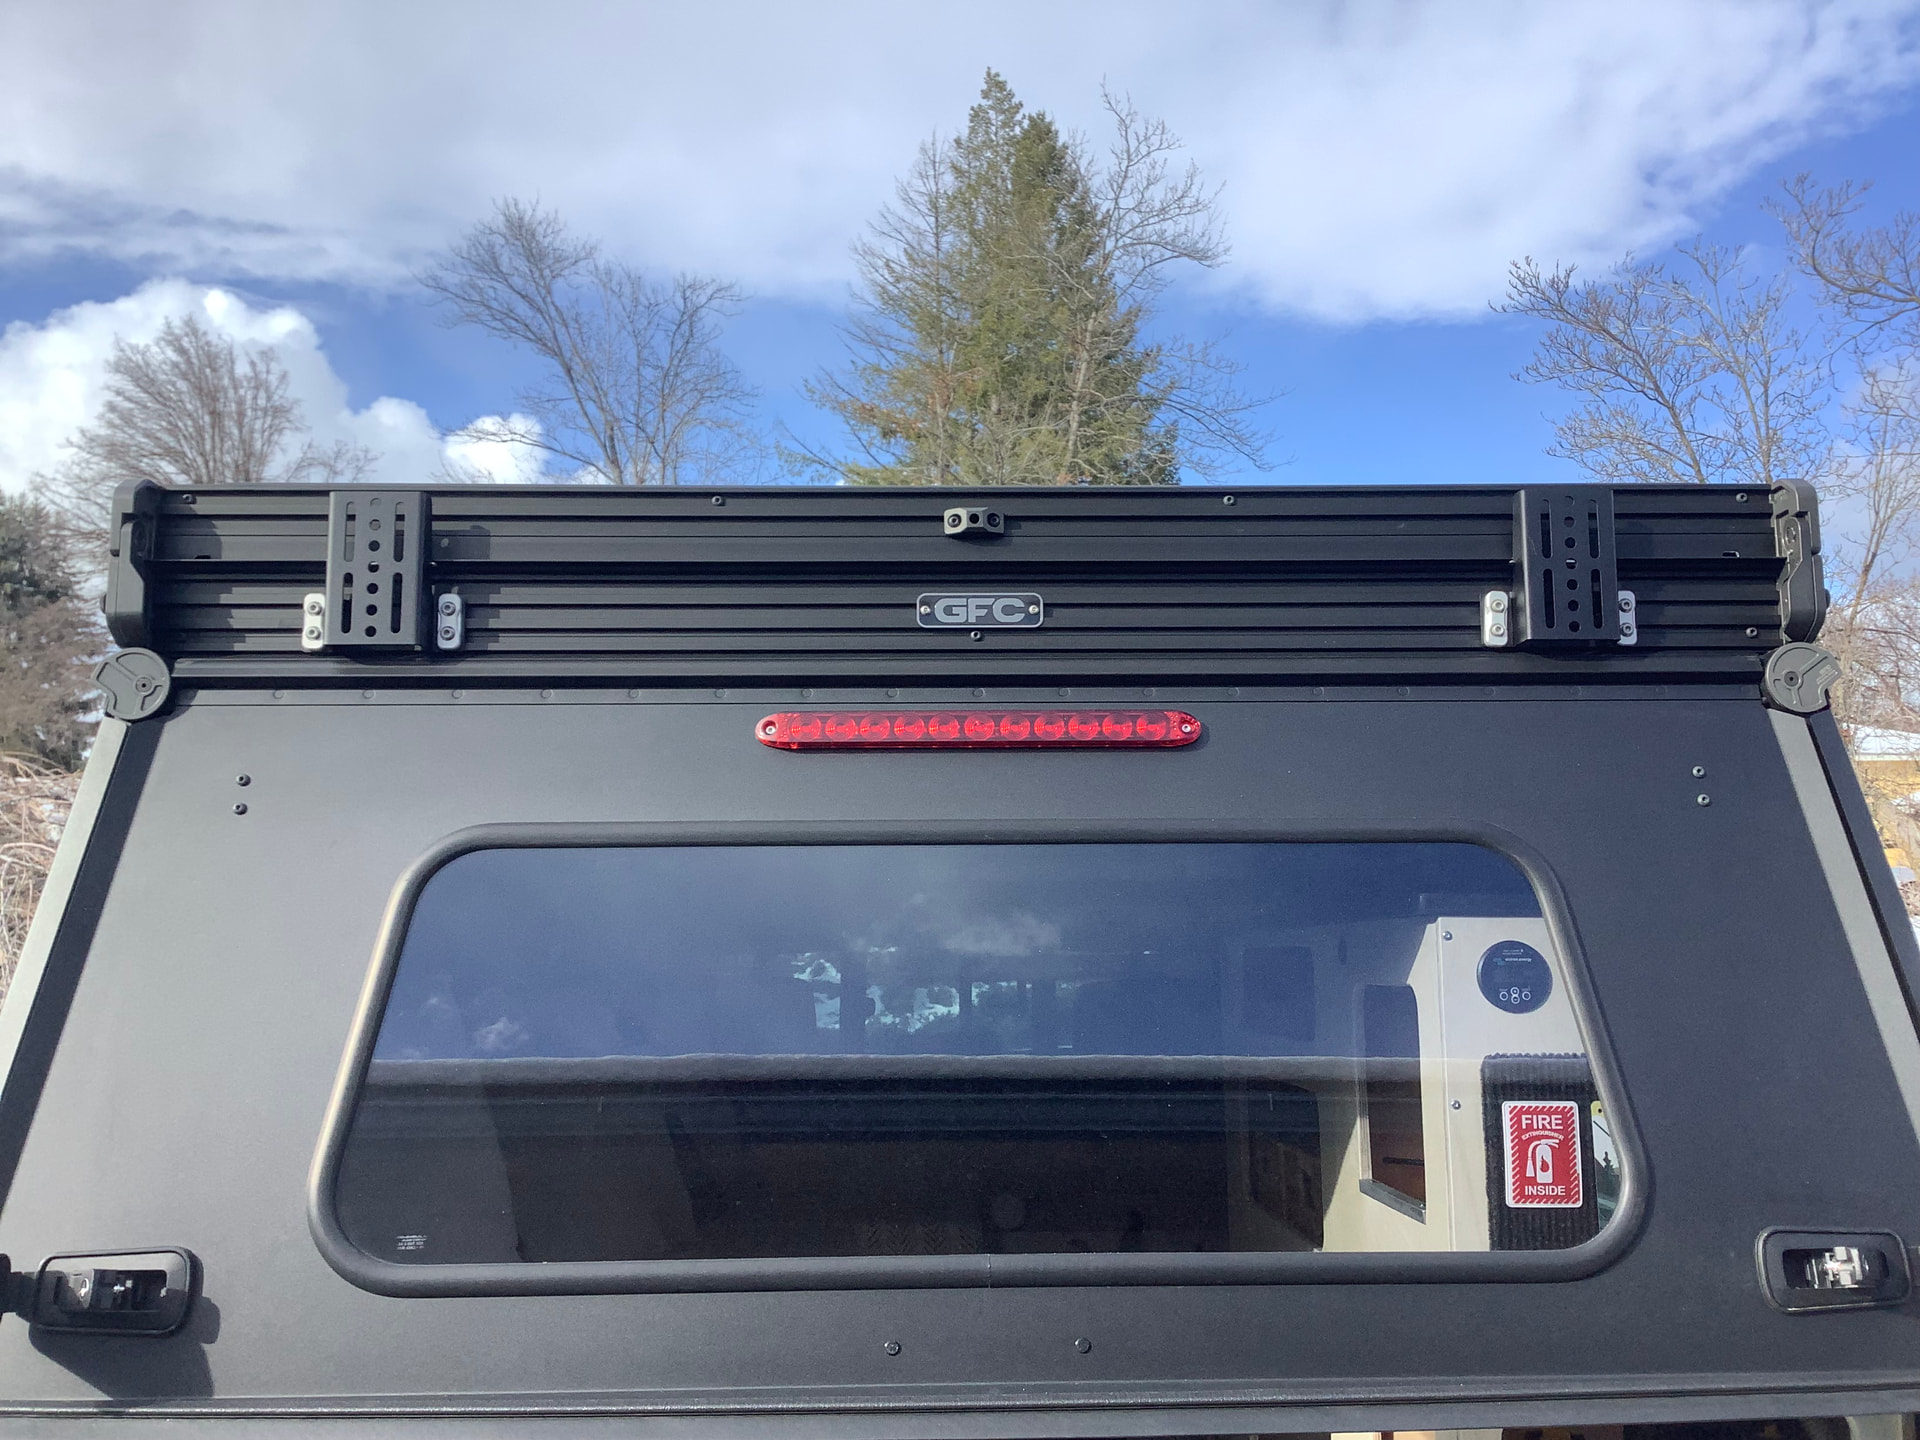
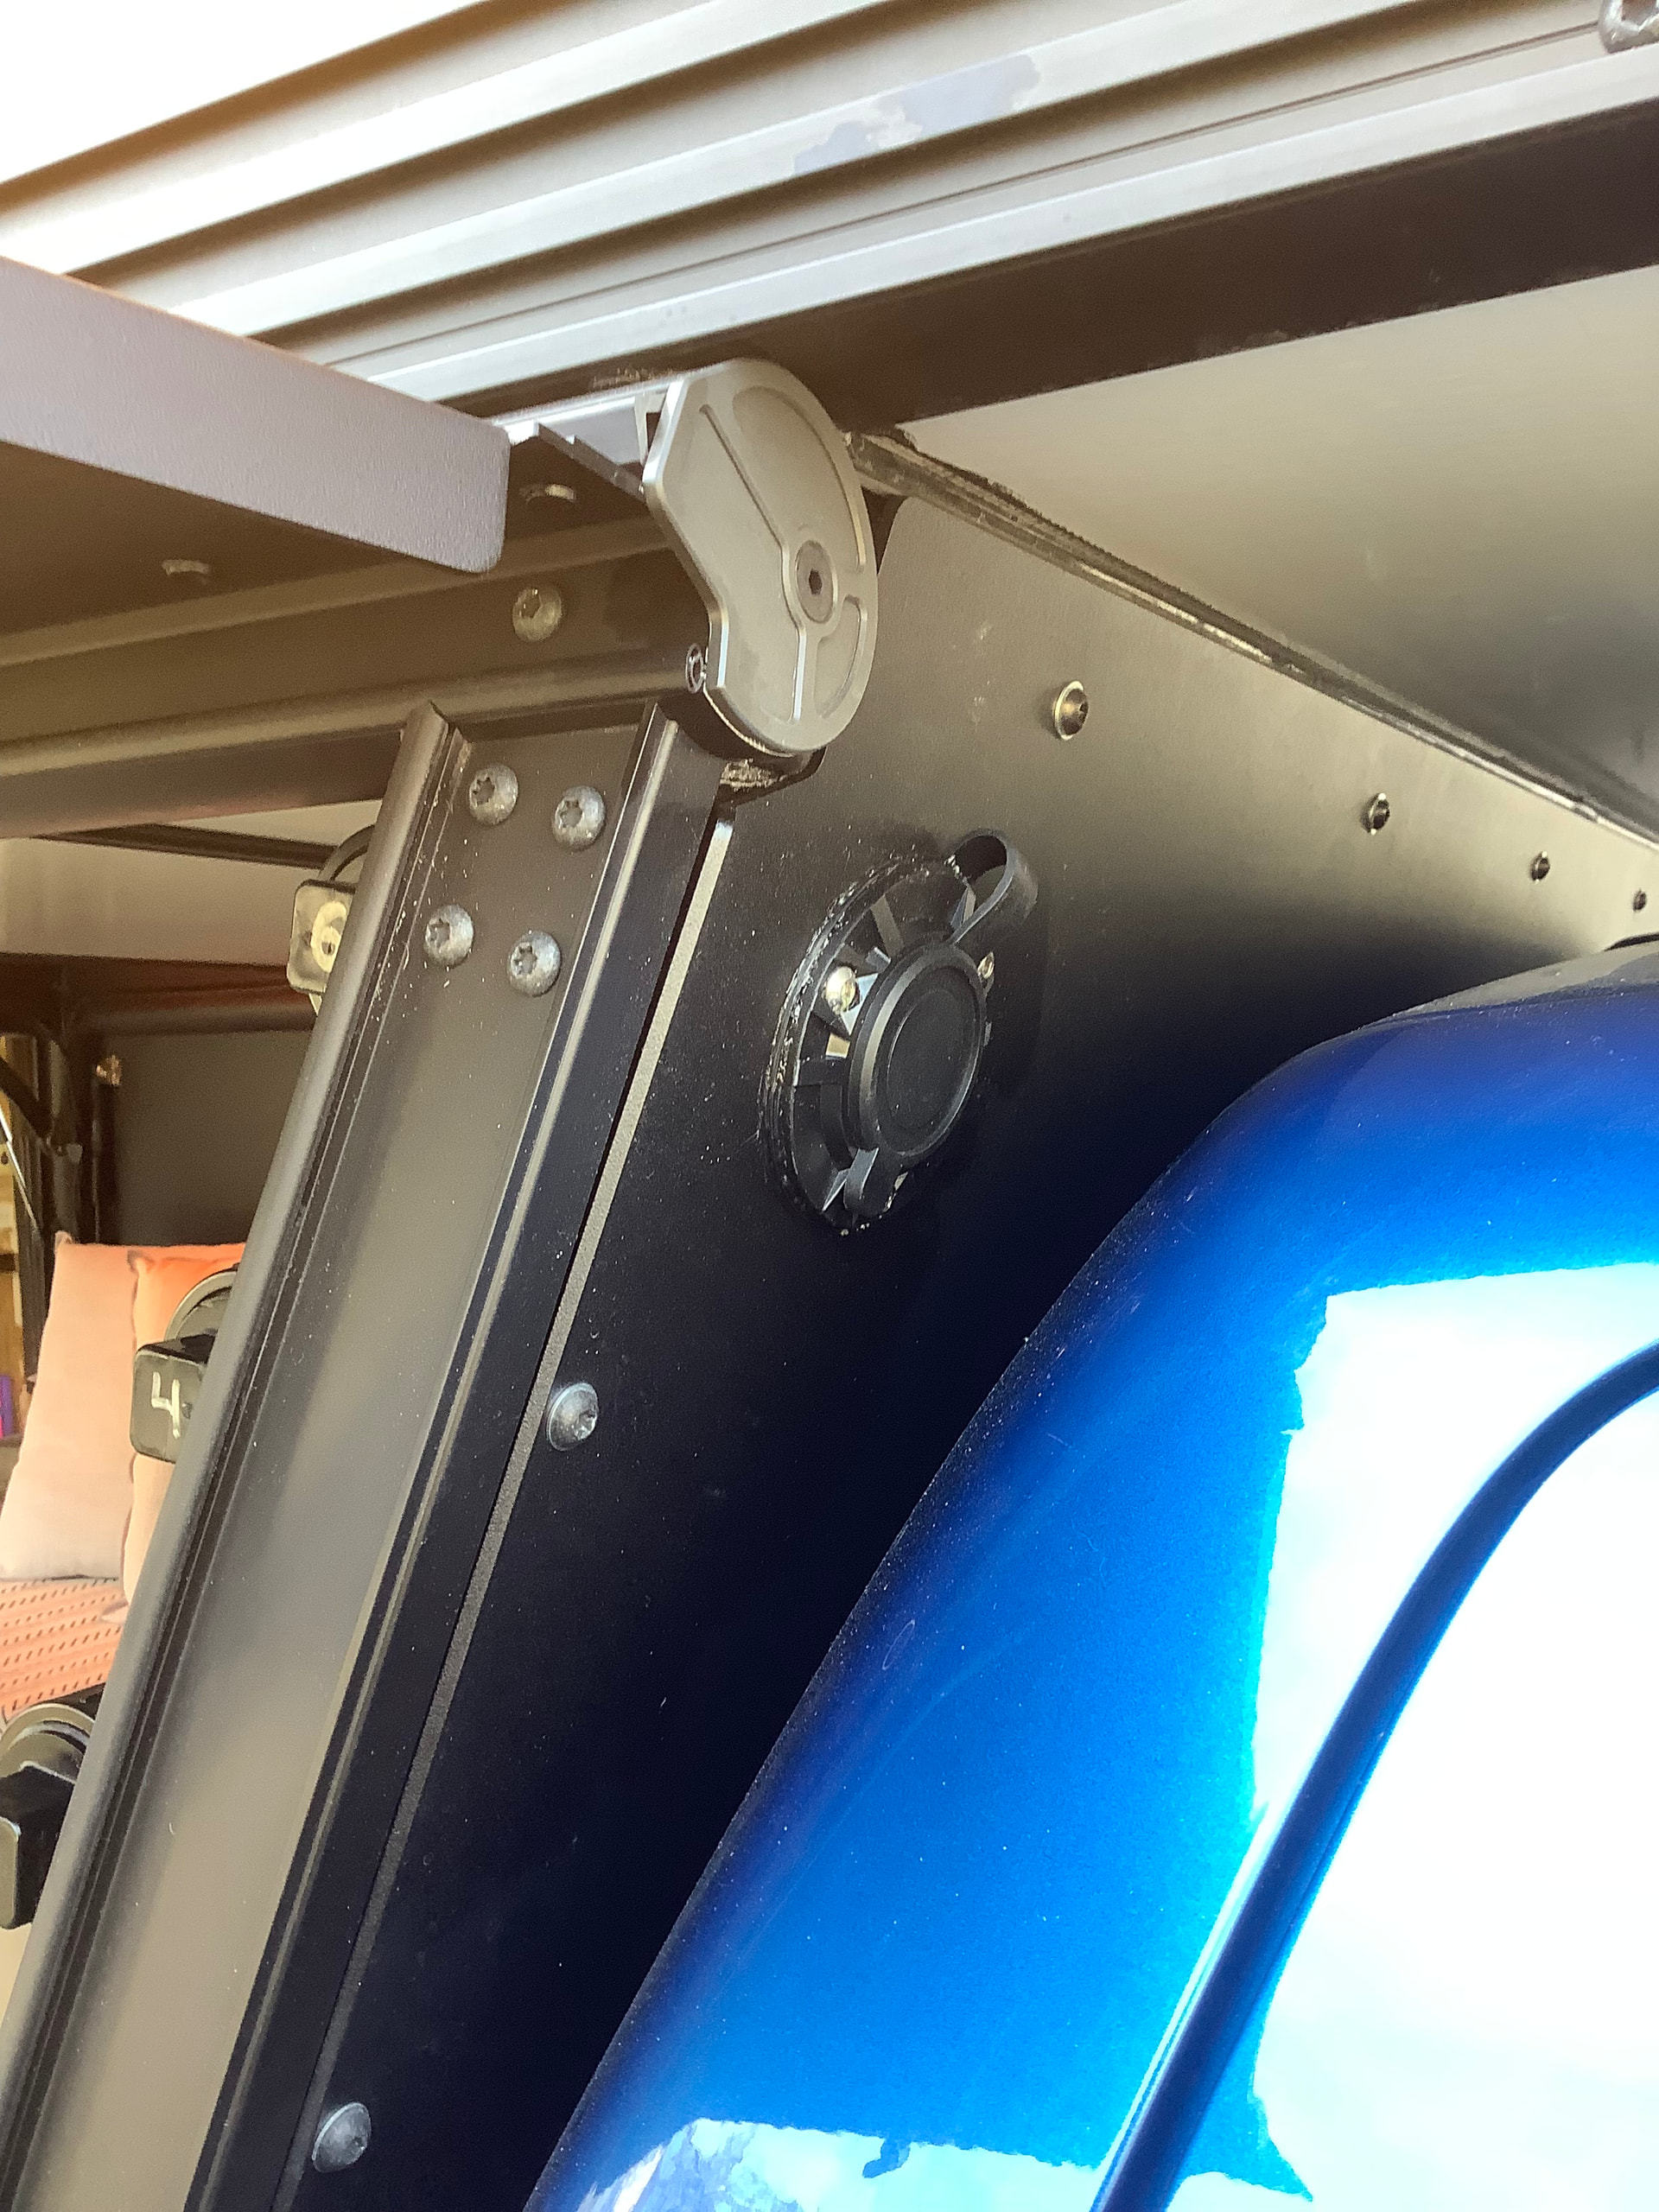
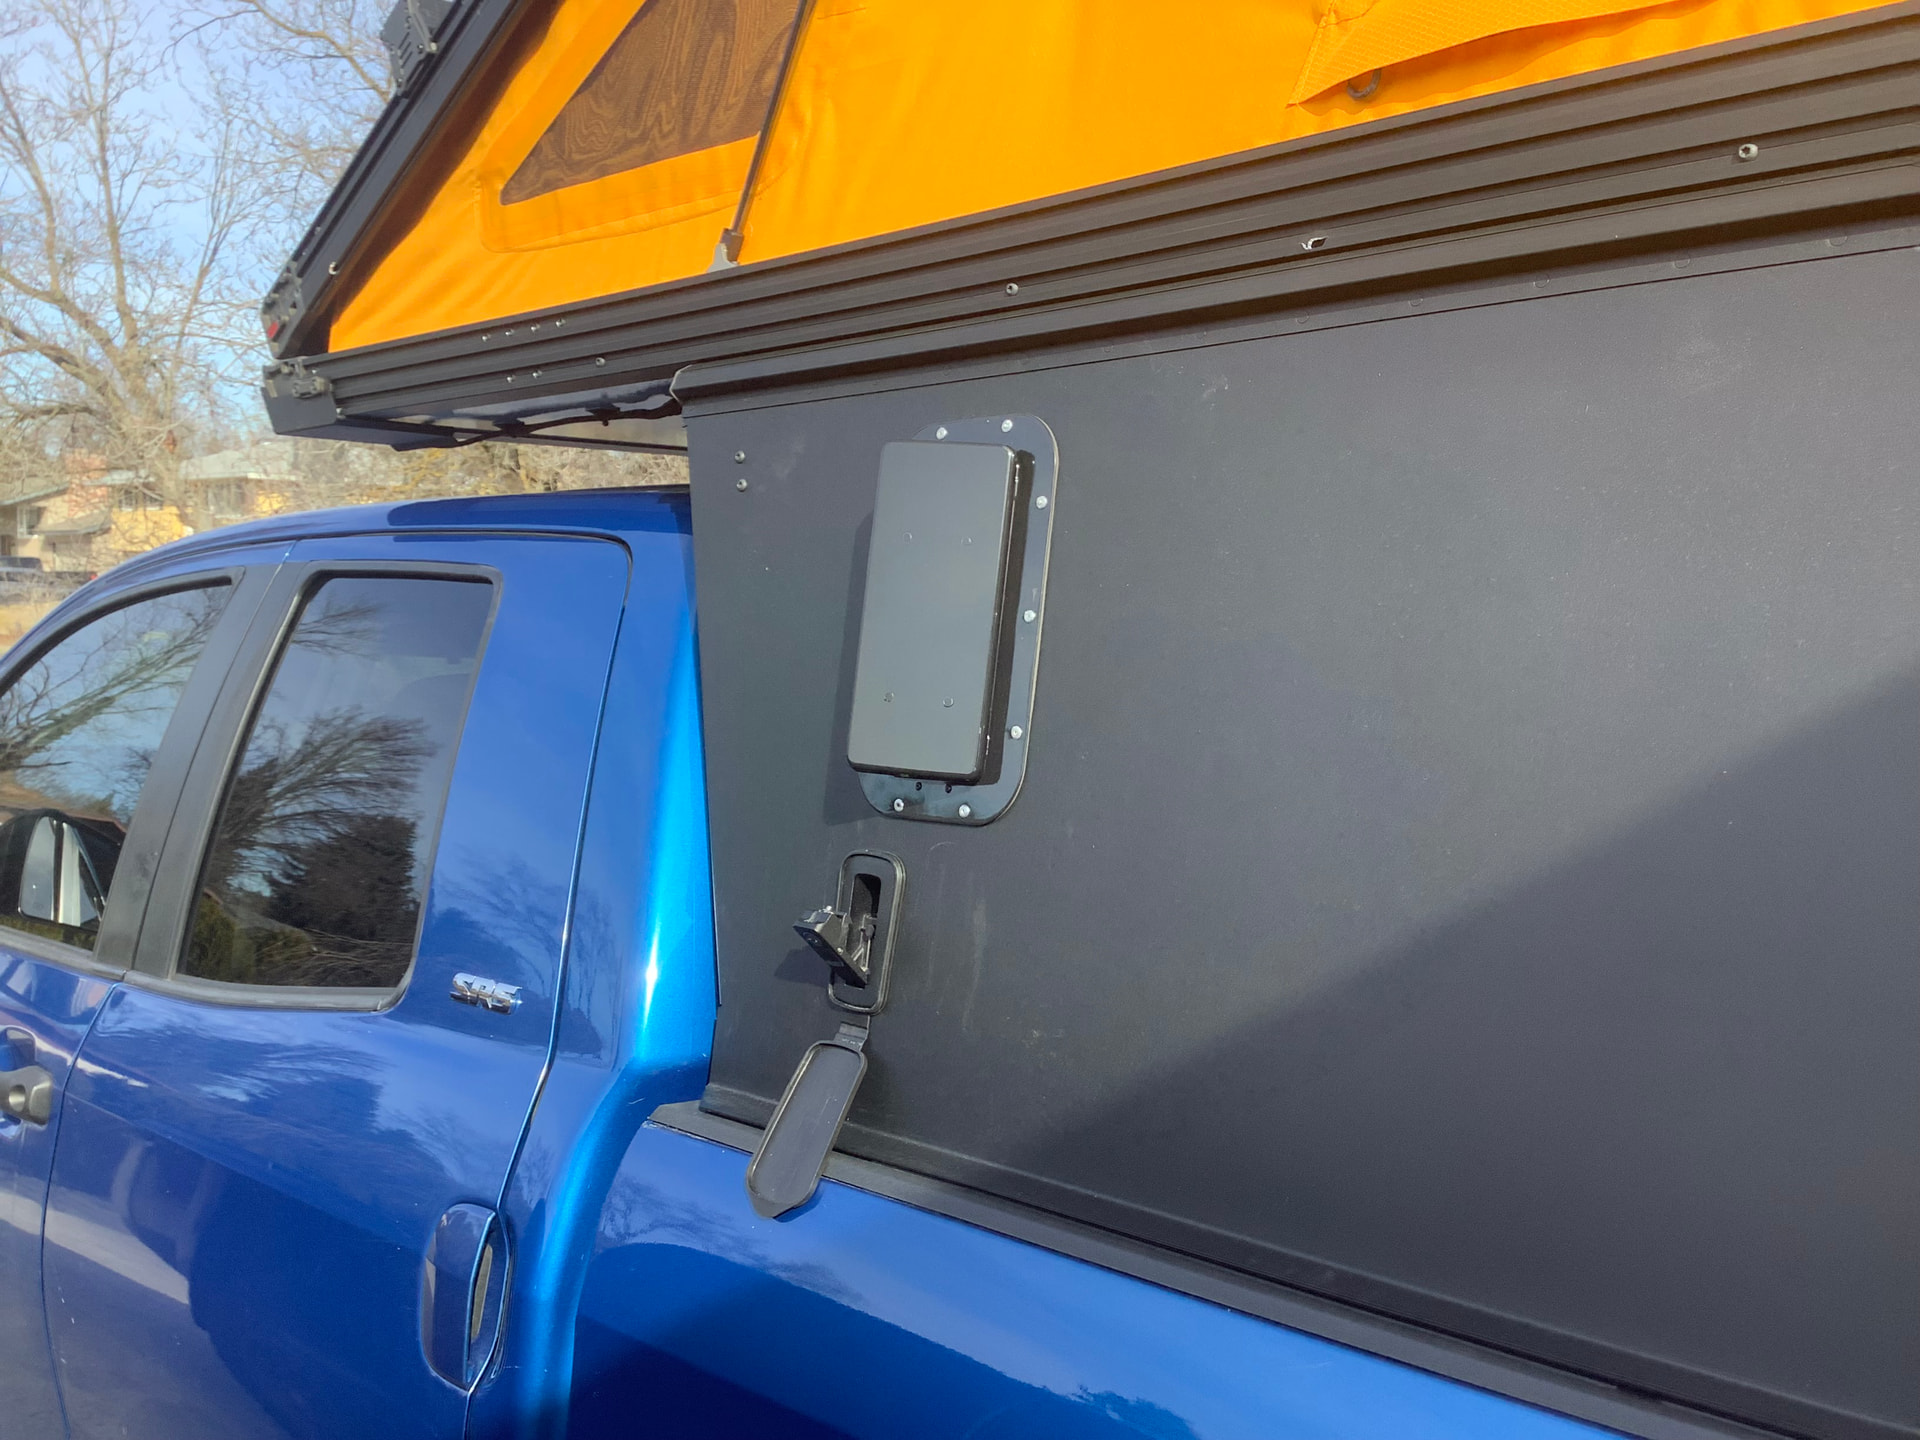
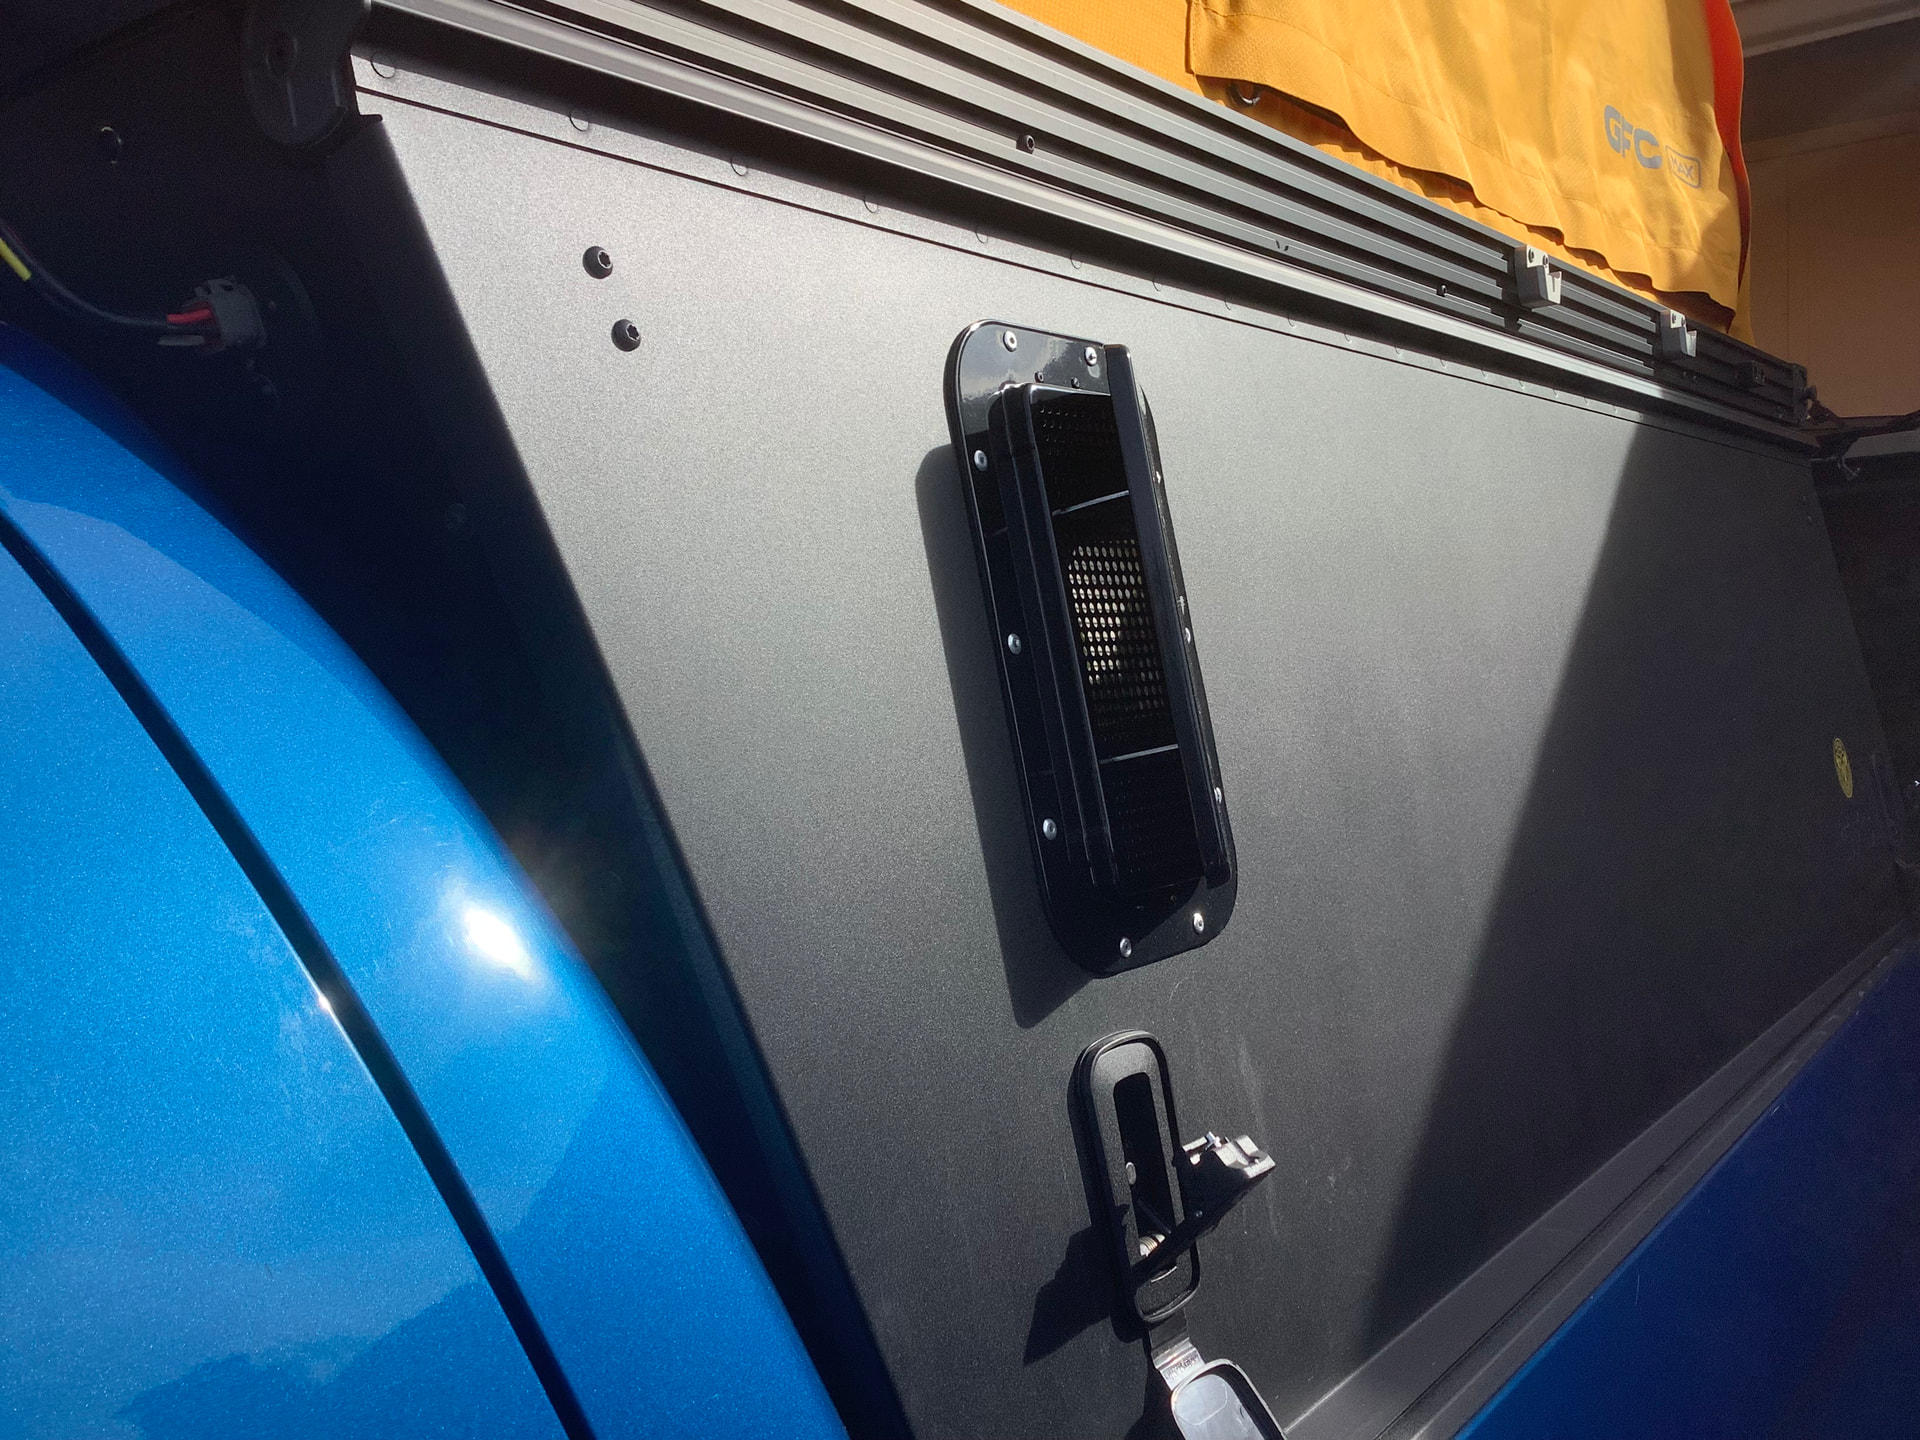
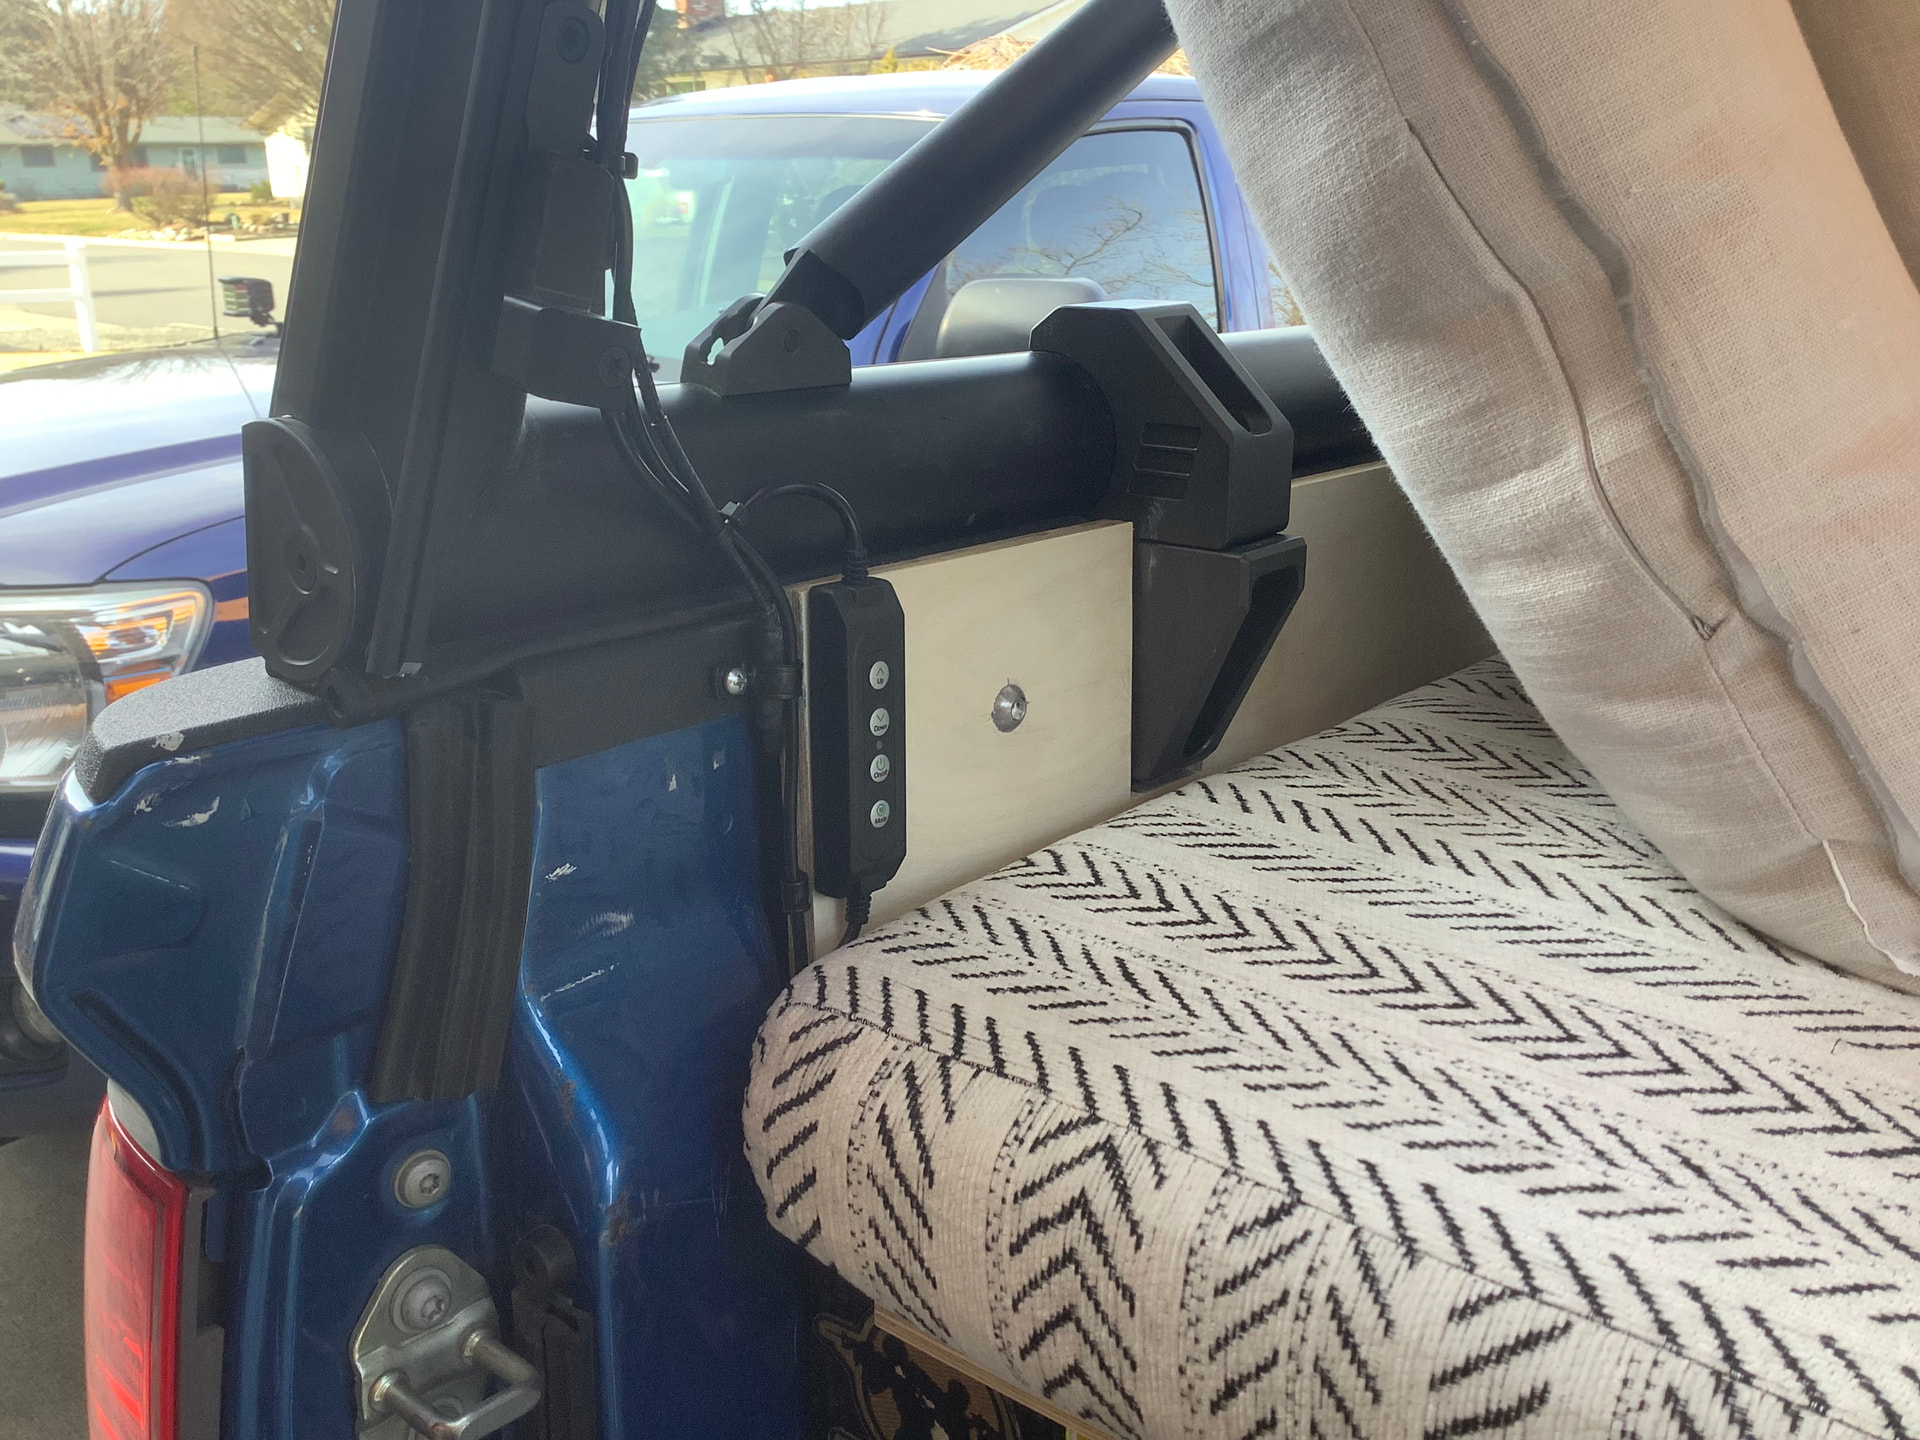
It was kind of bittersweet getting to a finishing touches phase, I’v had a lot of fun with this build. I had welded up some fly rod holders for the Tacoma camper, and those went in this one just perfectly. I then decided to void the warranty on the front panel by mounting a 120 passthrough on the passenger side, run to the wall charger. That went so well that I decided to void the warranty on the driver side panel as well and mount a positive air vent. It’s just a close able vent, weather tight when closed. I had put one on the Tacoma, but thats another example of doing it different this time; I put it on the driver side rather than the passenger side. Why? Simple, It’s a back roads dust mitigator so now I can hop out and open it rather than walk around the truck to do it.

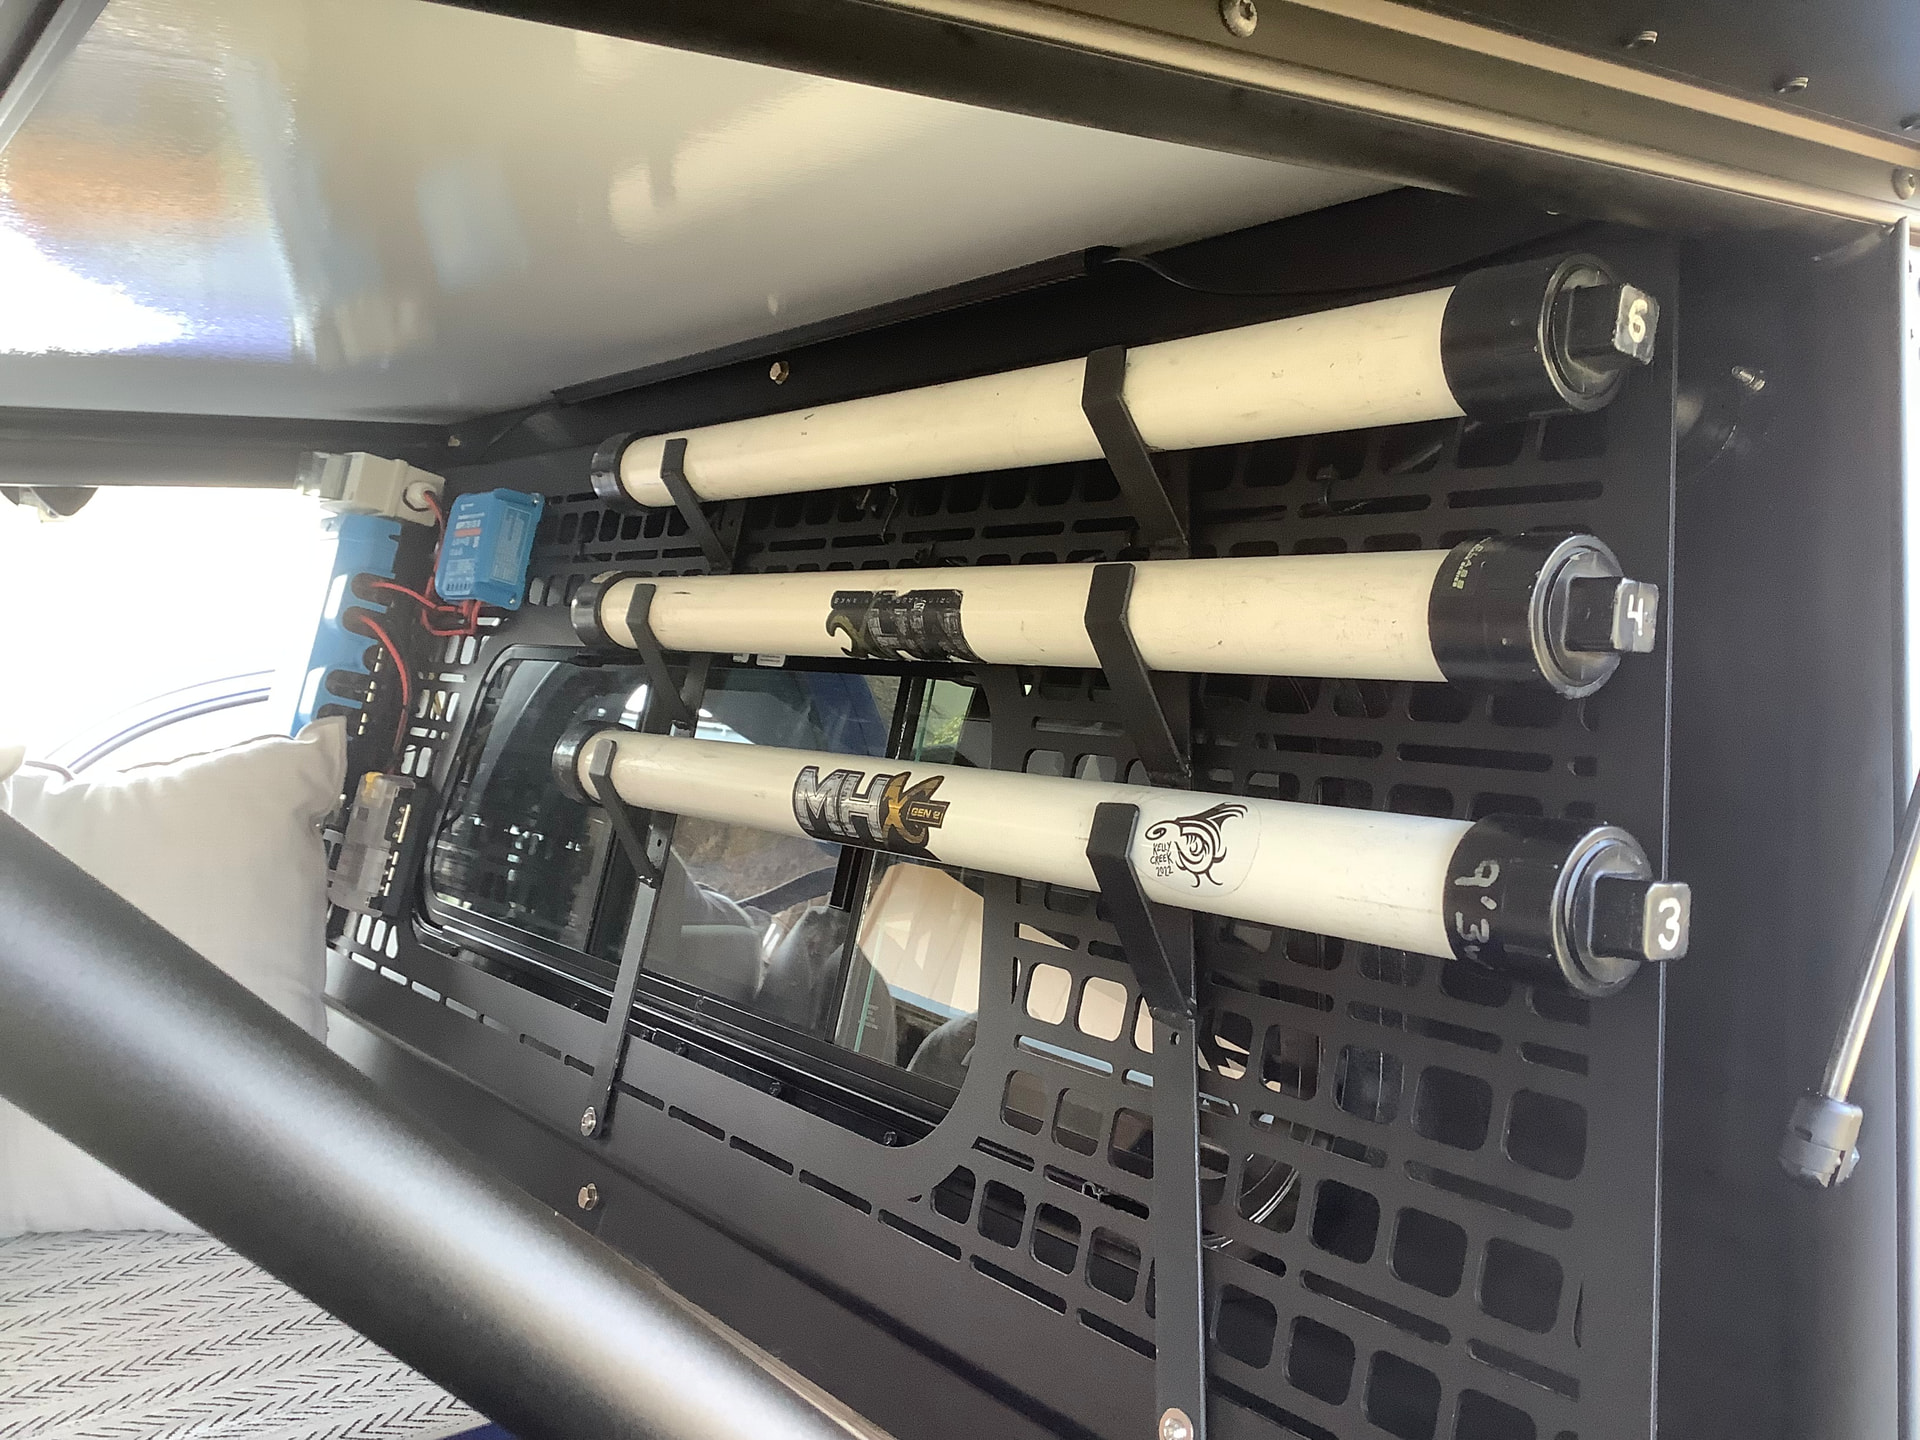
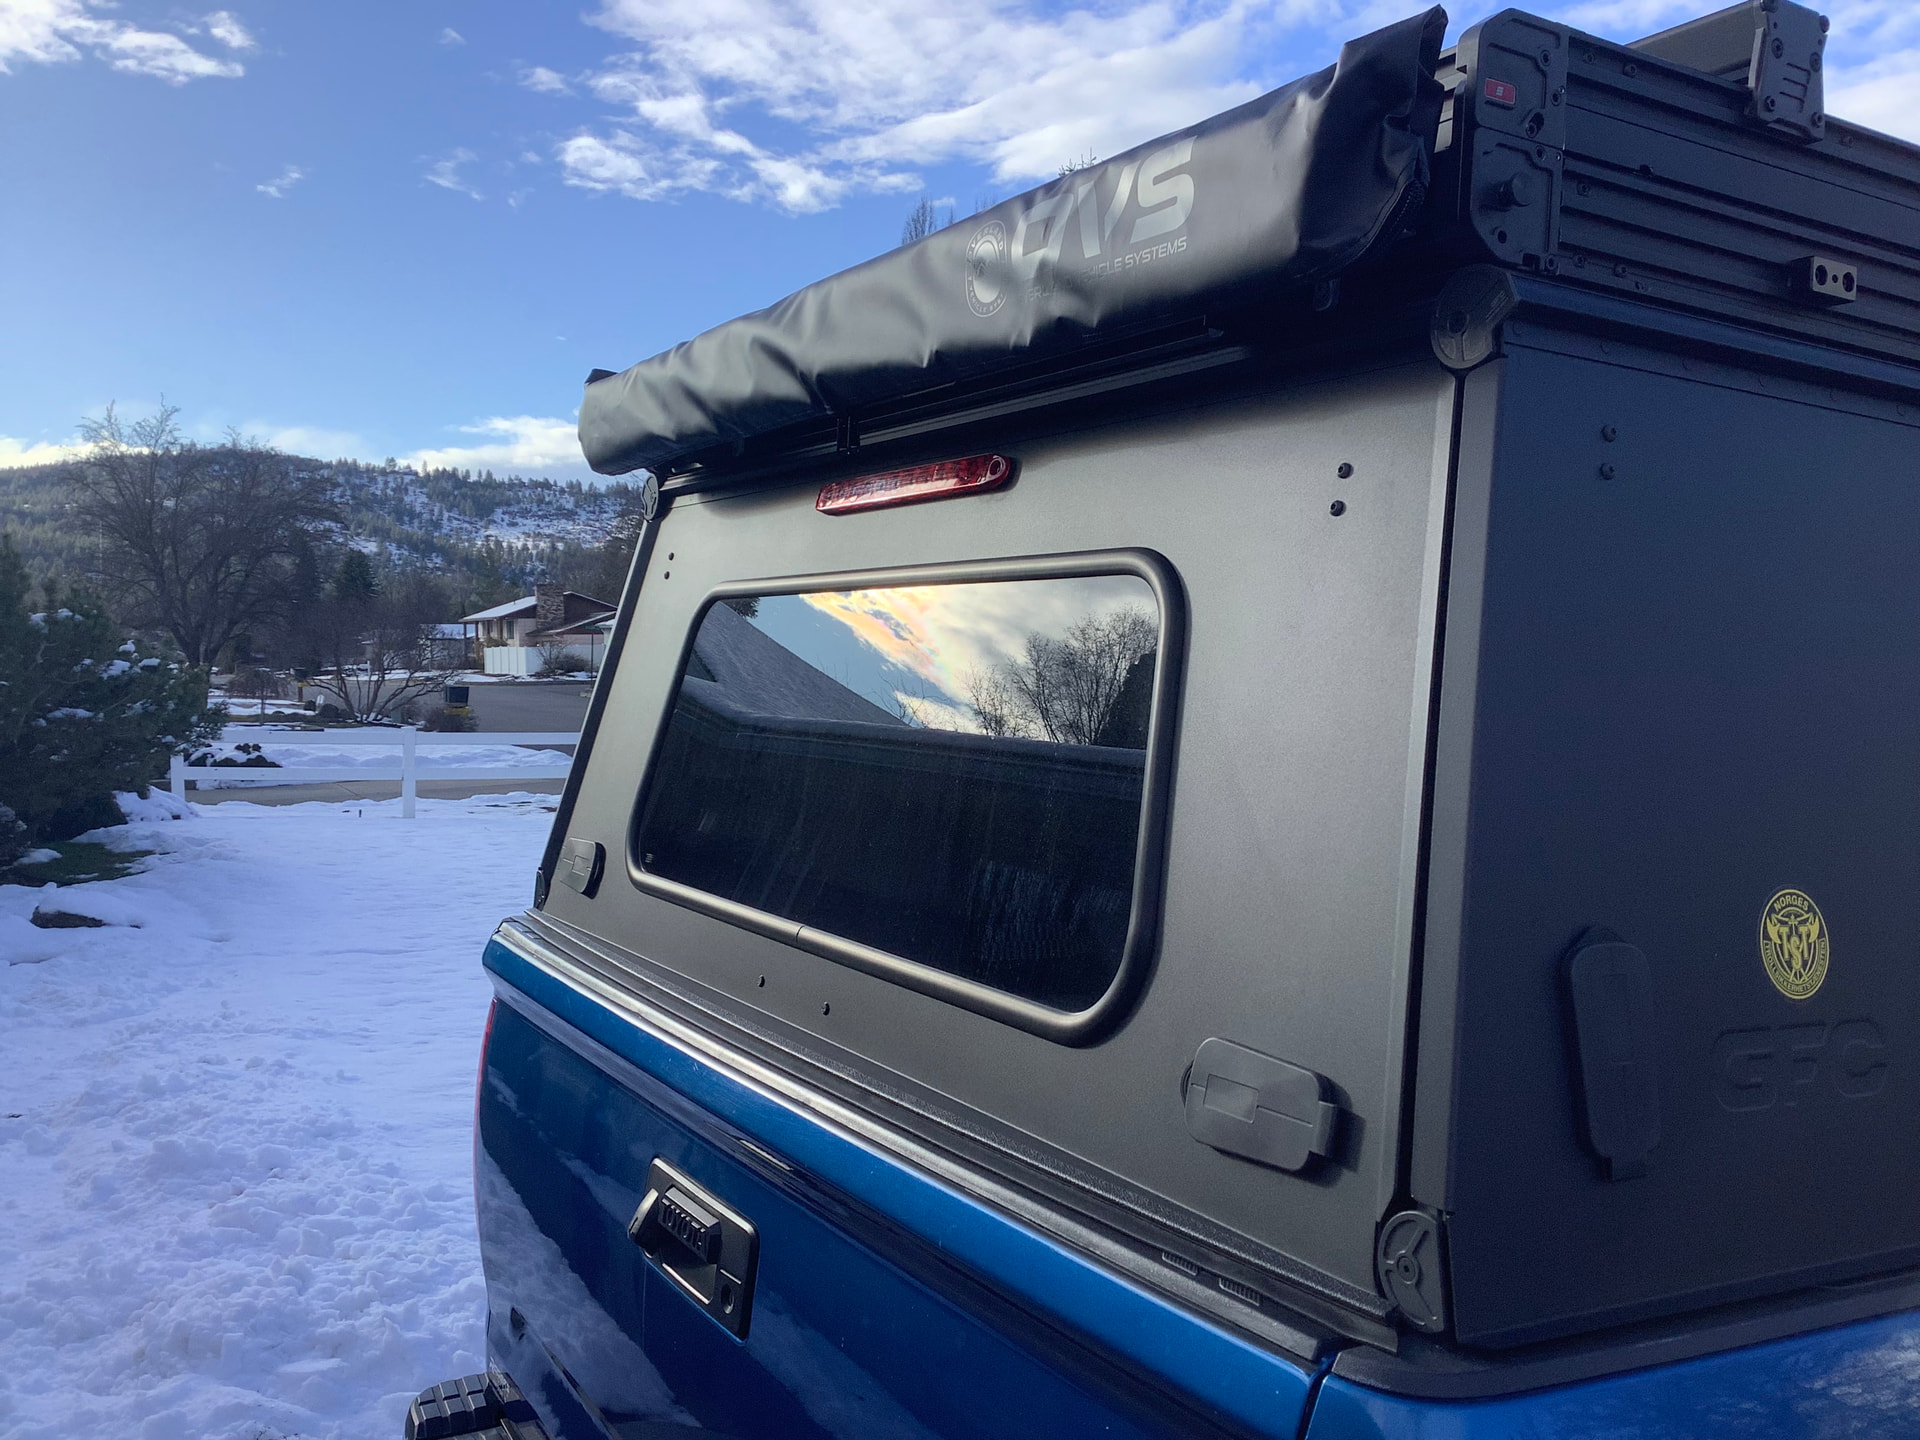
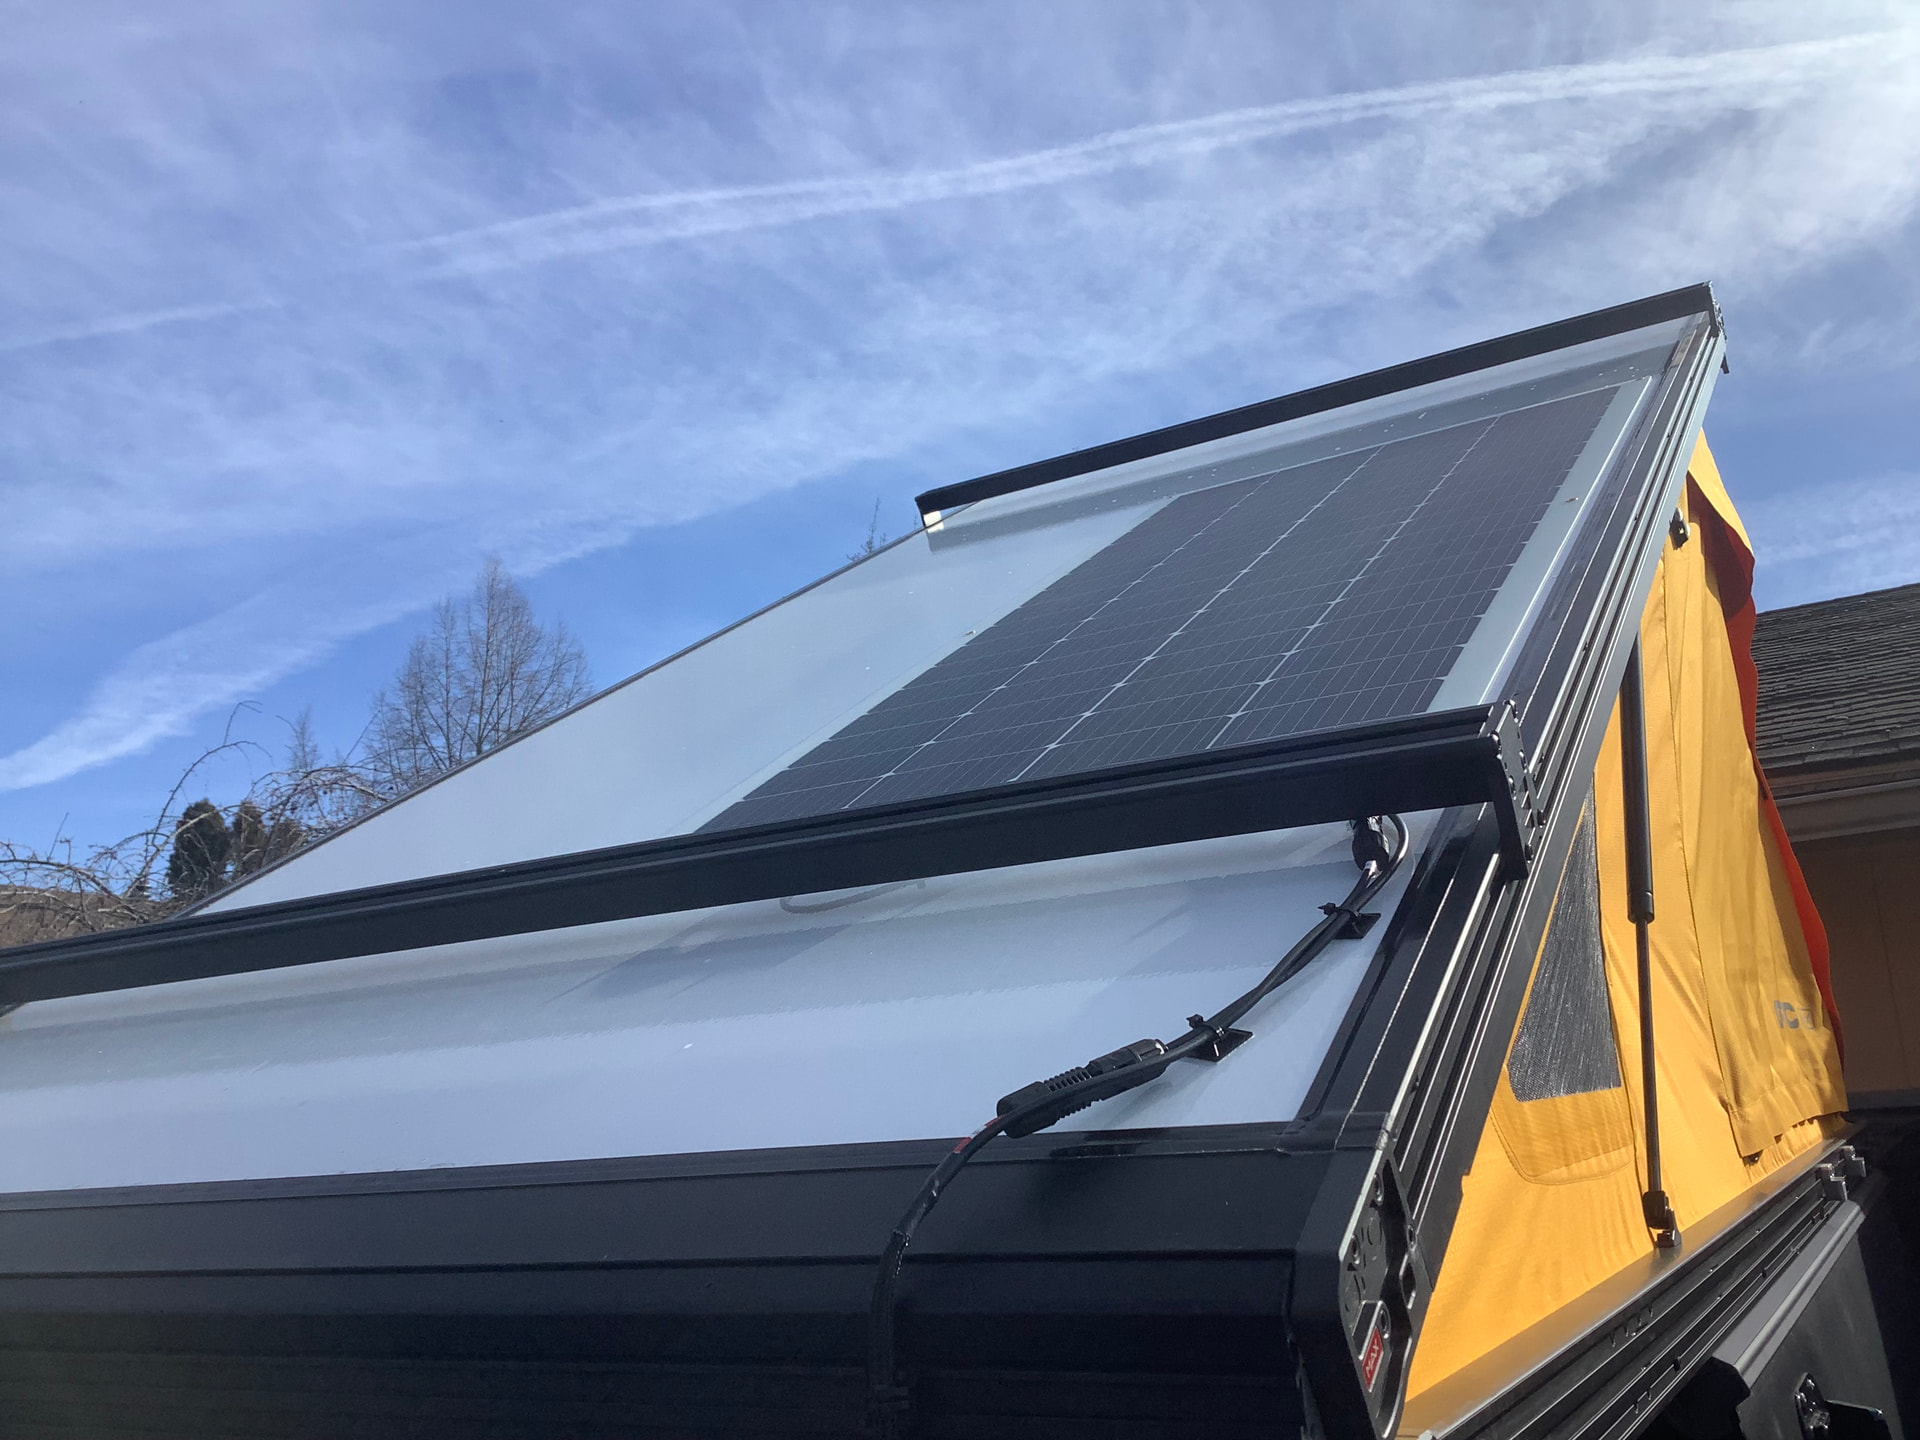
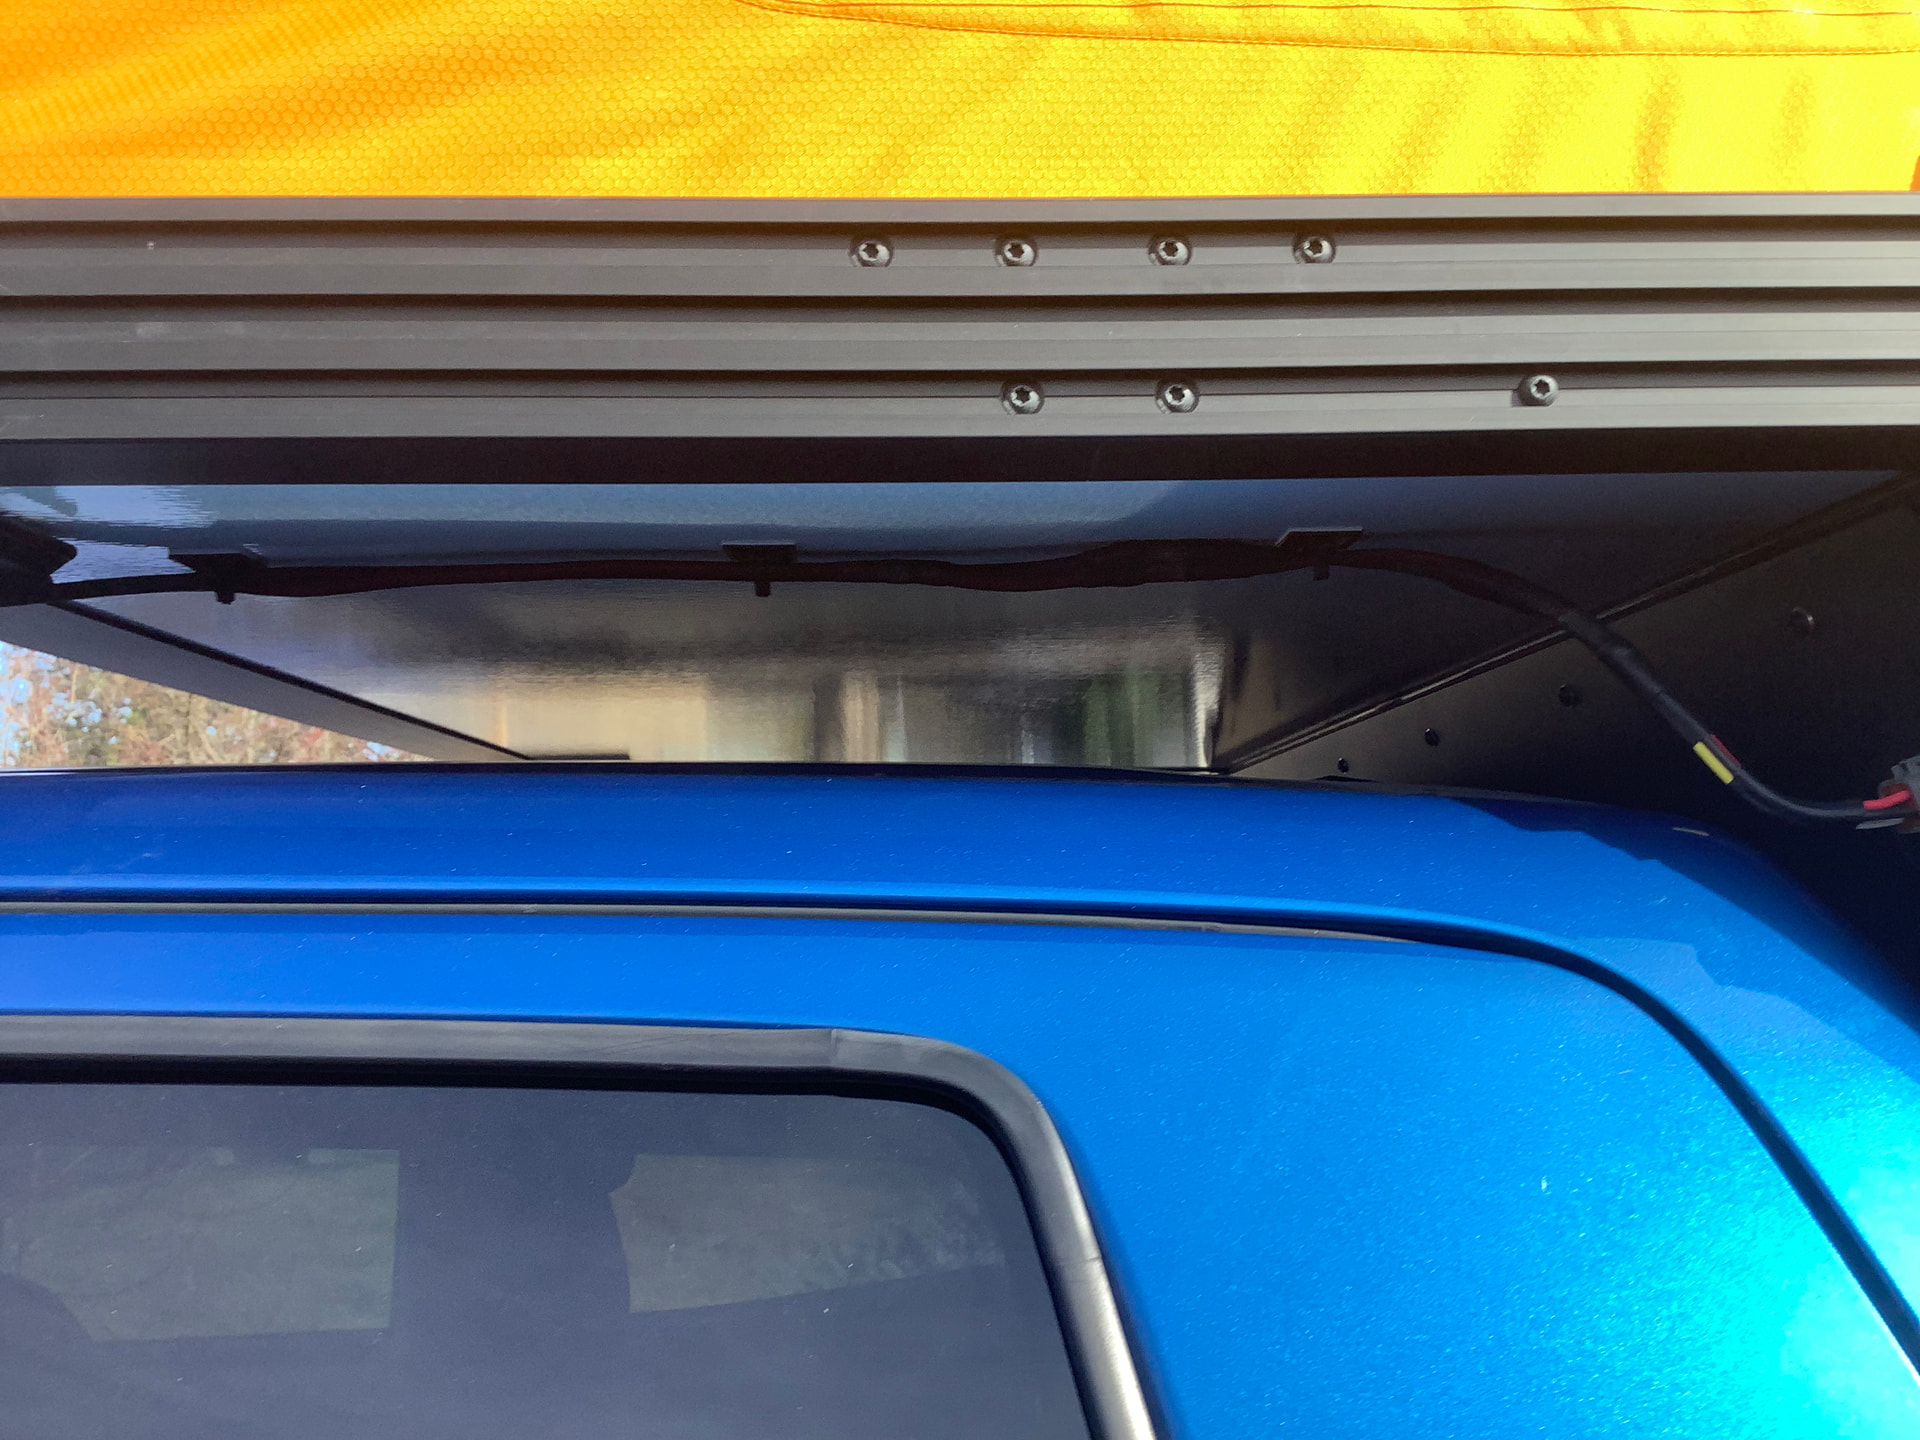
Battery and solar panel arrived. The battery is on a 1/8” thick foam pad and strapped down. Nice thing about the Victron stuff is going into the Victron app and setting the battery parameters and type all in one place, and monitoring the charging and battery from the phone if you want. Solar panel is a Renogy 200w flexible, VBH’d to the roof. Using the GFC solar passthrough wiring made that part super easy. Lastly (for now) I rewired the GFC light switch to its own circuit and cleaned up the wiring a bit.
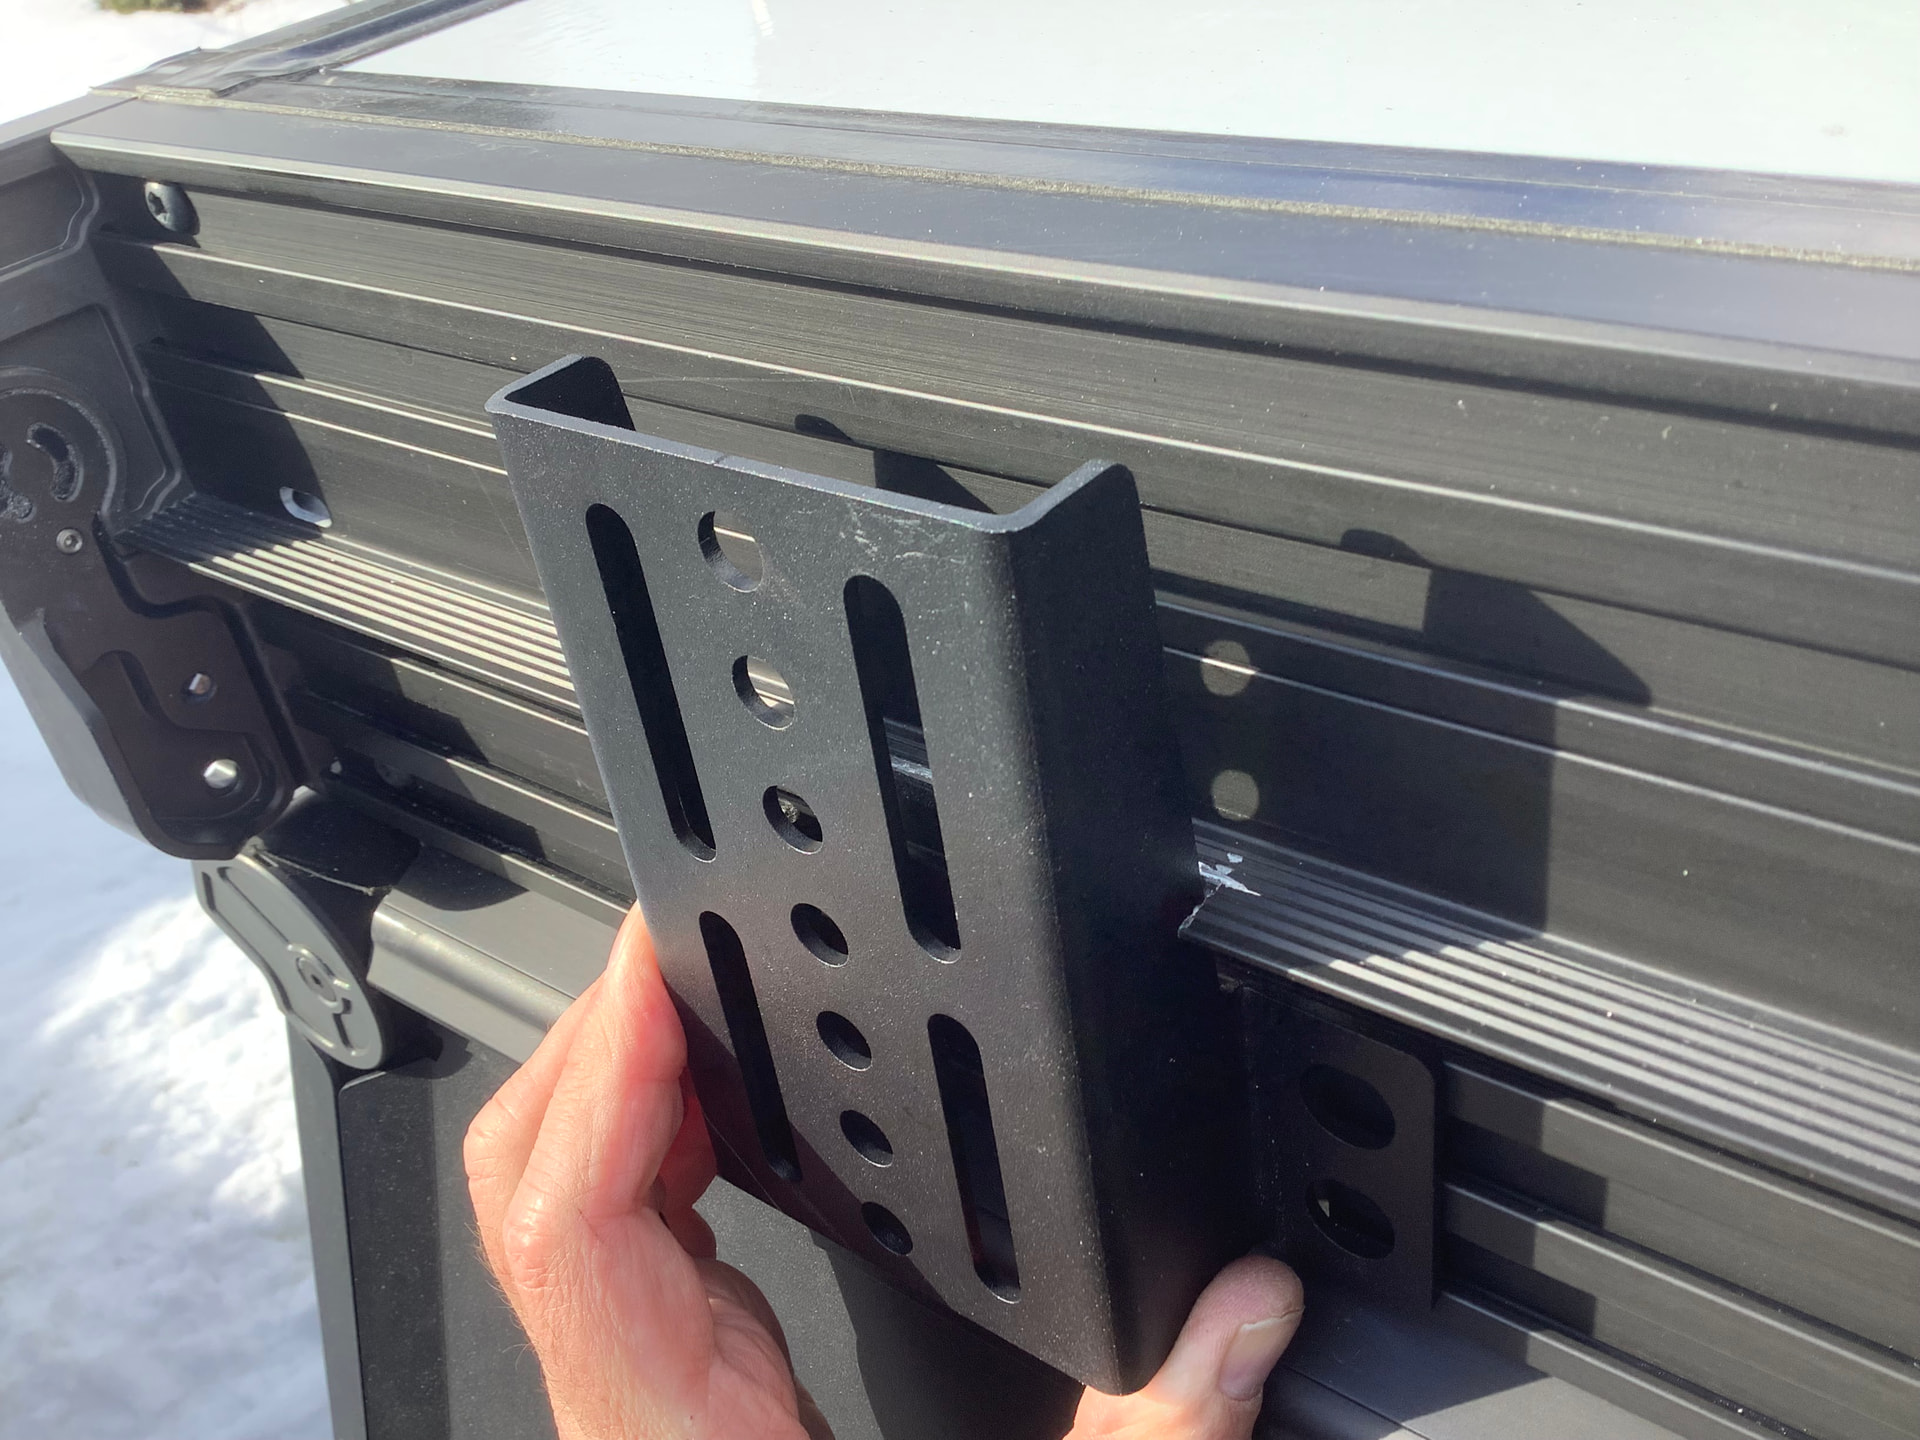
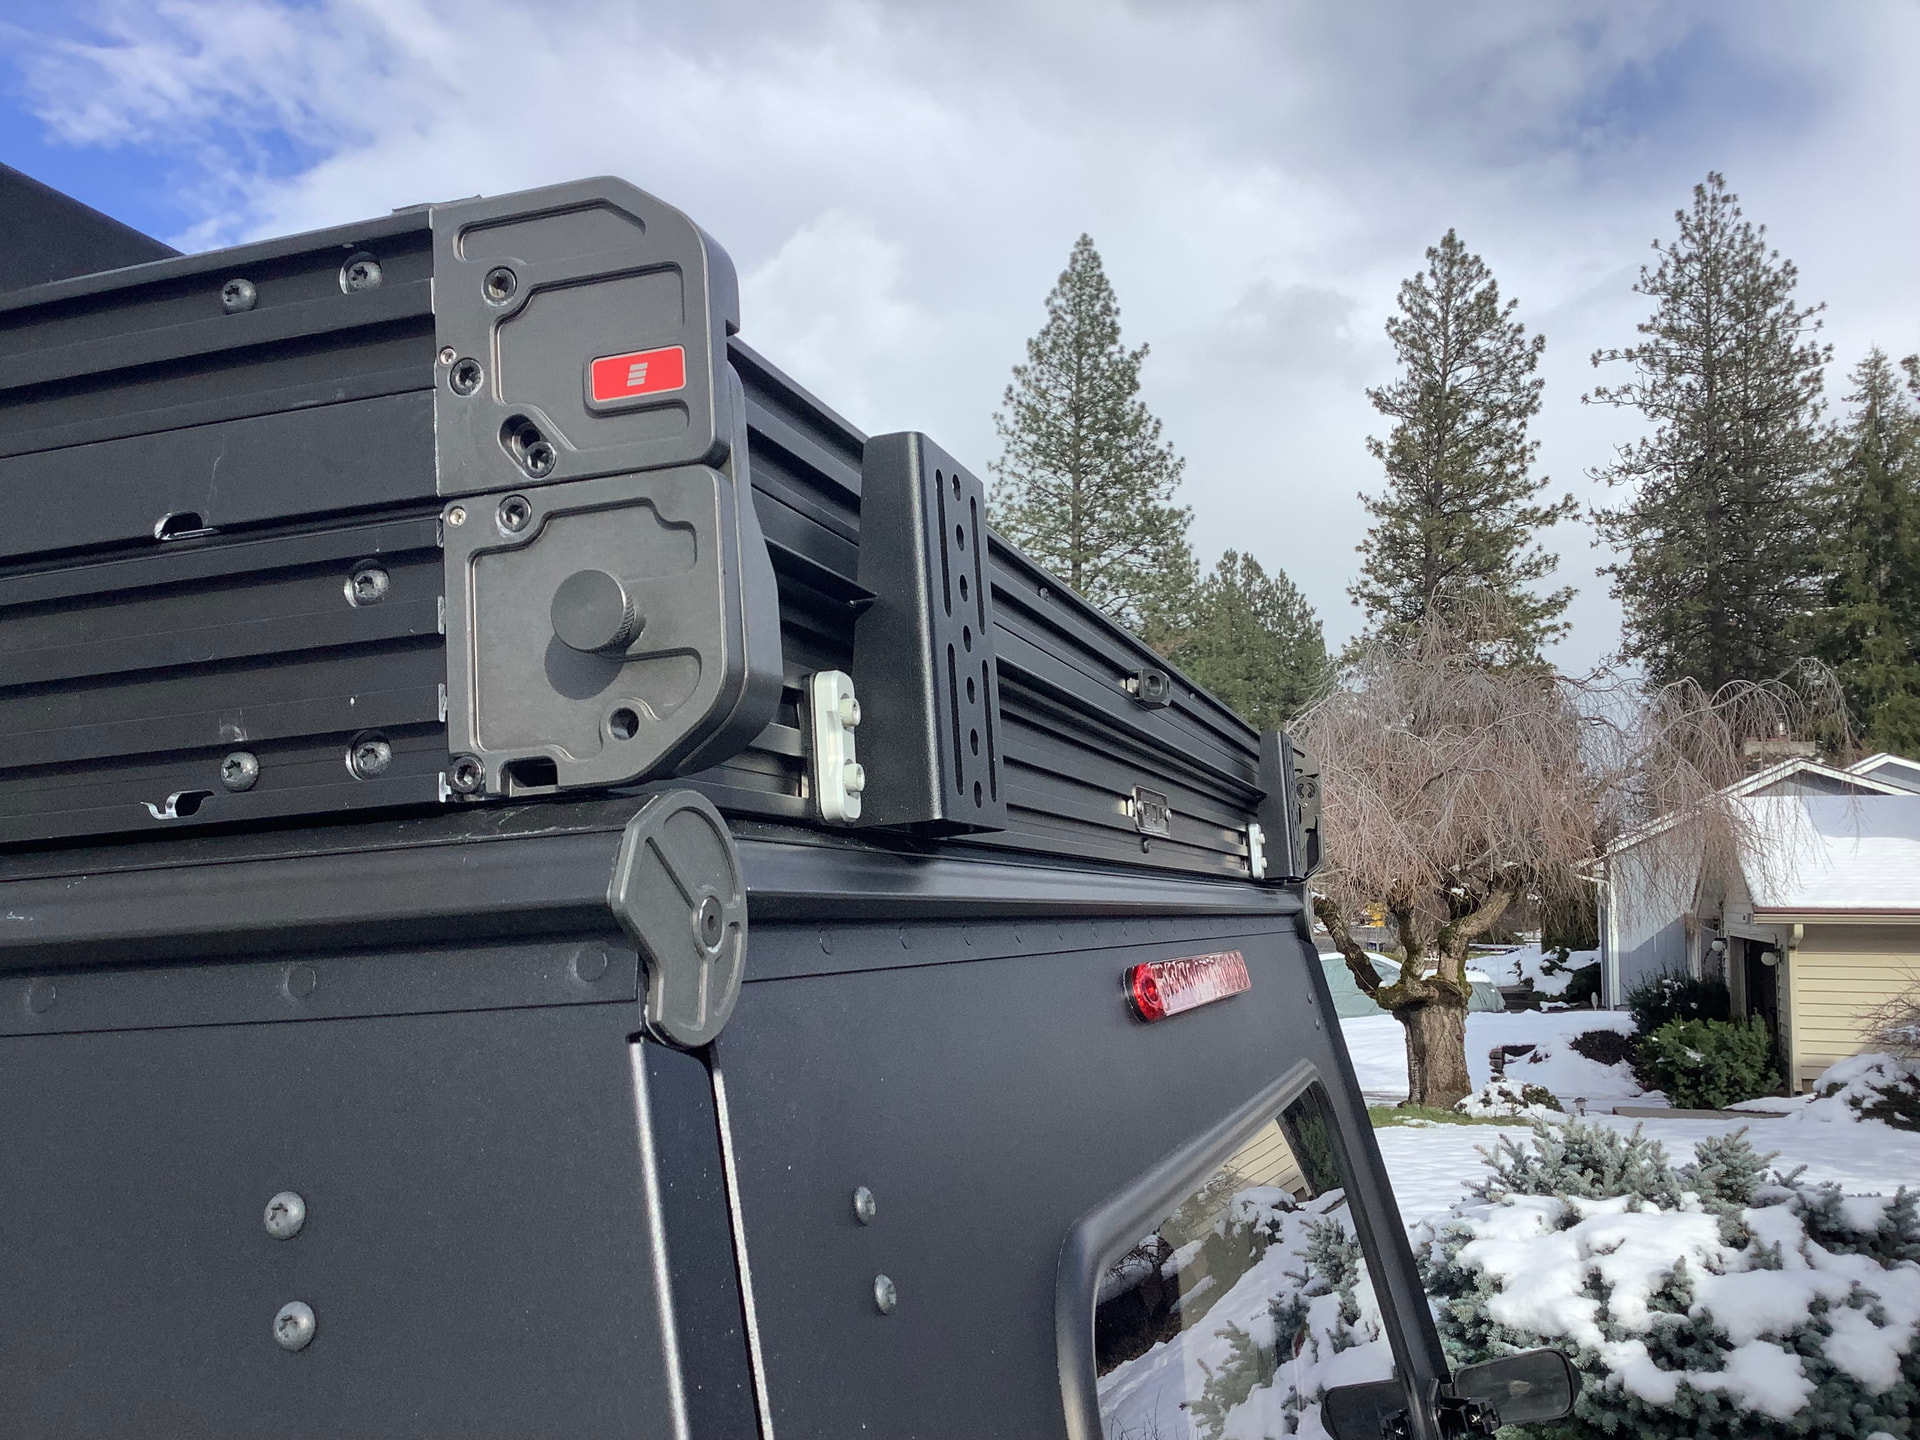
CAT scales show a rear axle weight of 3280, and I have a set of Alcan leaf springs as well as a rear awning on the way. I’m still tossing around maxxair roof fan, but not in a hurry for that yet. The new tent style has vents up high and my little rechargeable fan works great up there for now. Most importantly, got the patches and artwork organized ![]()