Front Aluminum Crossbar Replacement
Tools:
- Soft Mallet/Deadblow Hammer
- #3 Phillips screwdriver/driver bit and drill
- 3/16” Allen Key
- 1/8” Allen Key
- Wooden Block
- Needle-nose Pliers
- Wedge
- Loctite
- T-9 Boeshield or comparable lubricant
- Wire Brush or other cleaning items if necessary
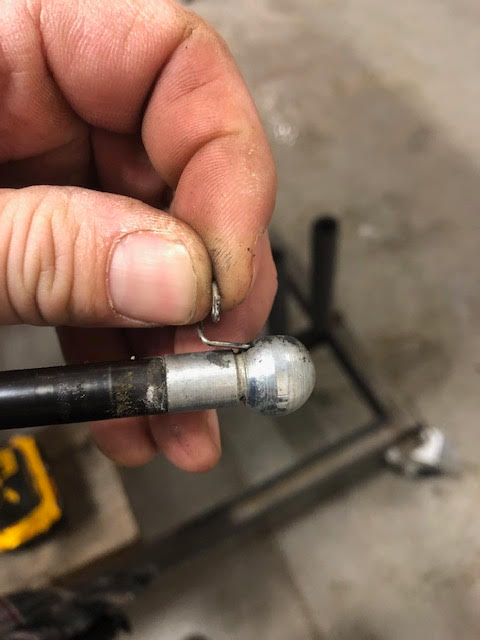
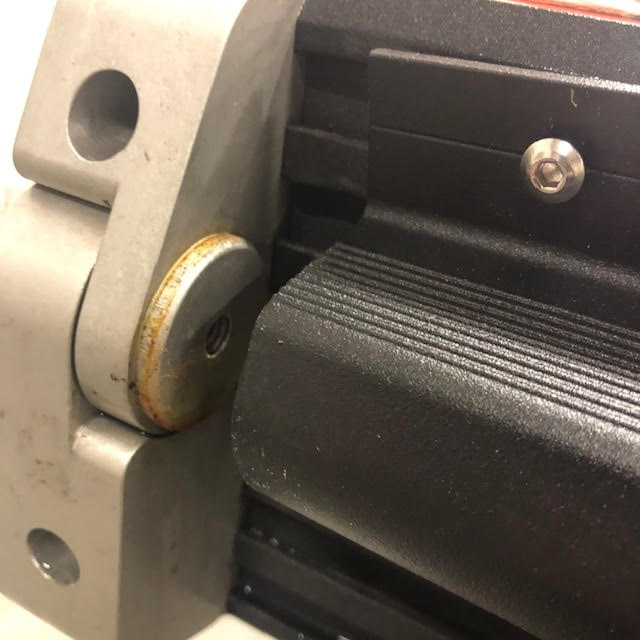
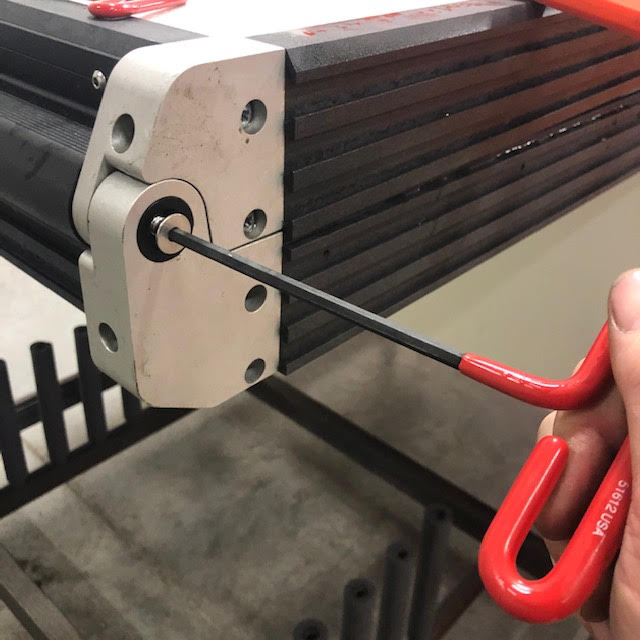
Step 1- Detach tent lifting struts by removing the lower strut clip found on the bottom shock ball mount.
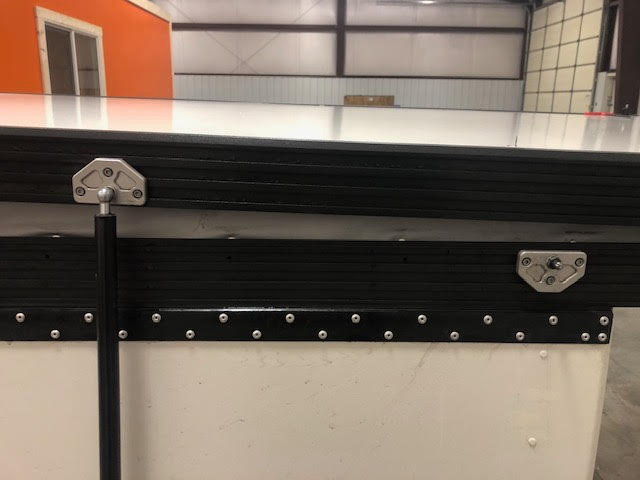

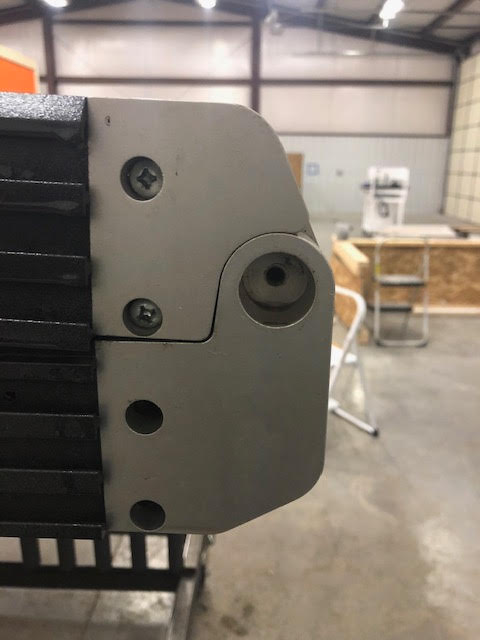
Step 2- Remove the upper extrusion corner screws that face inward toward the camper using a #3 screwdriver or screwdriver bit on a drill. It is only necessary to unscrew one side.
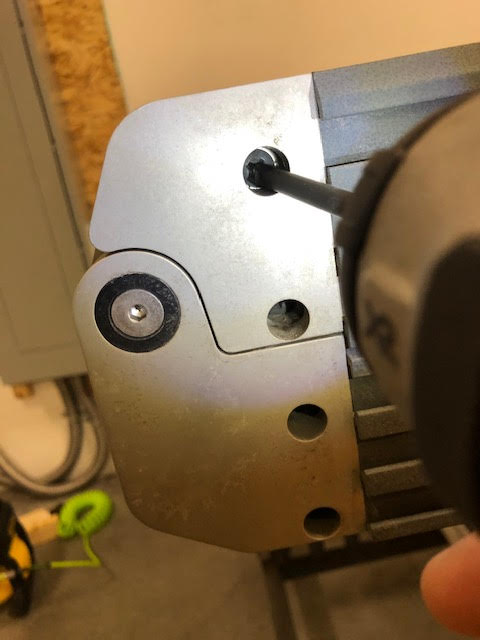
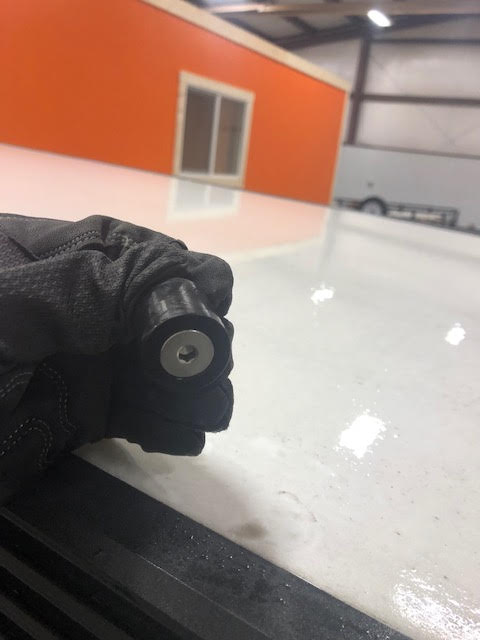
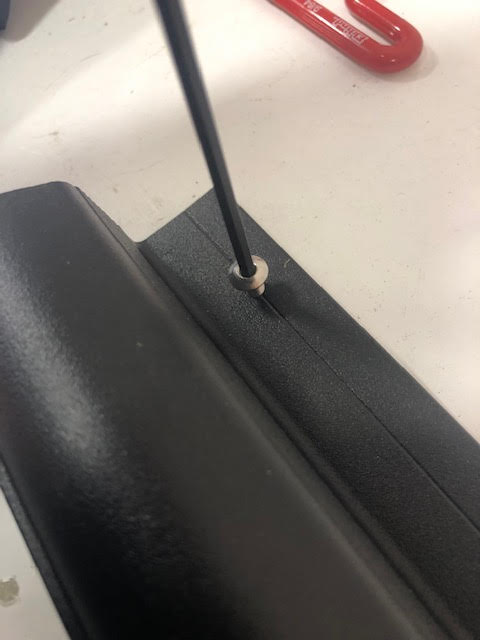
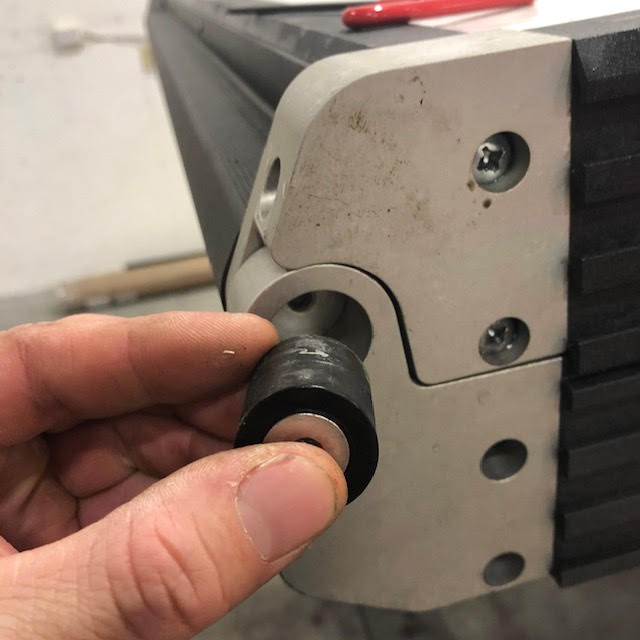
Step 3- Now it is time to remove the 2 bushings in the front hinges of the corner extrusion. You can do this by loosening them with the 3/16” Allen key. Once the bolt is removed you can then pry out the busing, normally using the threads on the bolt is enough to pry the bushing out as it is only press fit in. (Optional pliers or screwdriver can also be used.

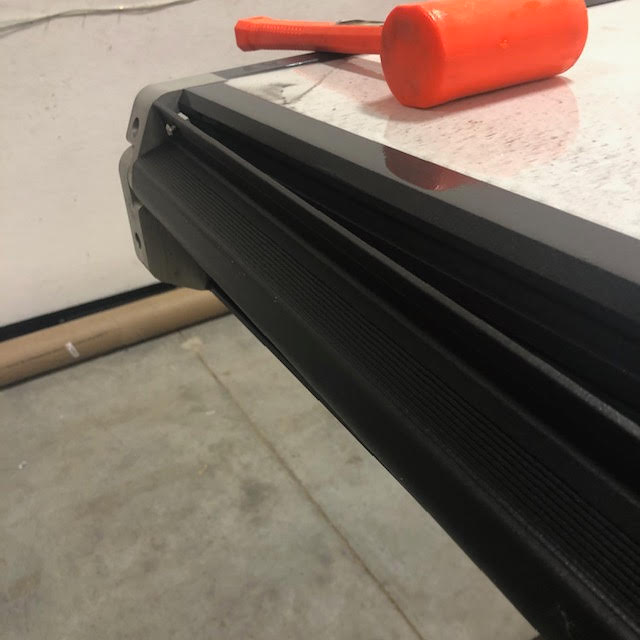
Step 4- Once the hinges are removed you can now freely move the extrusion up or down (still limited by the tent which is fine). Prop the extrusion up on a wooden block to separate the upper and lower front corners
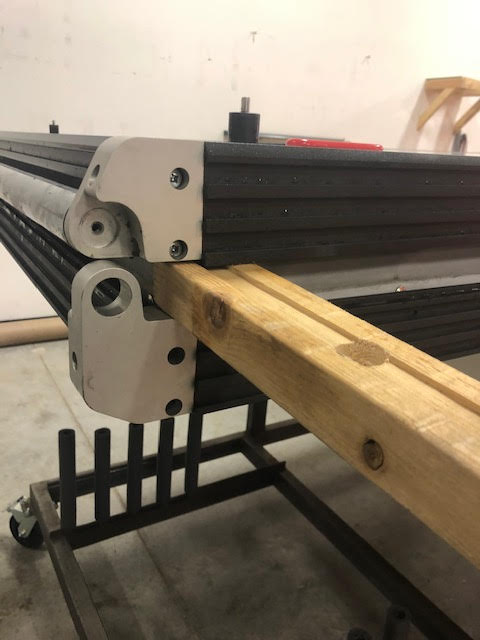
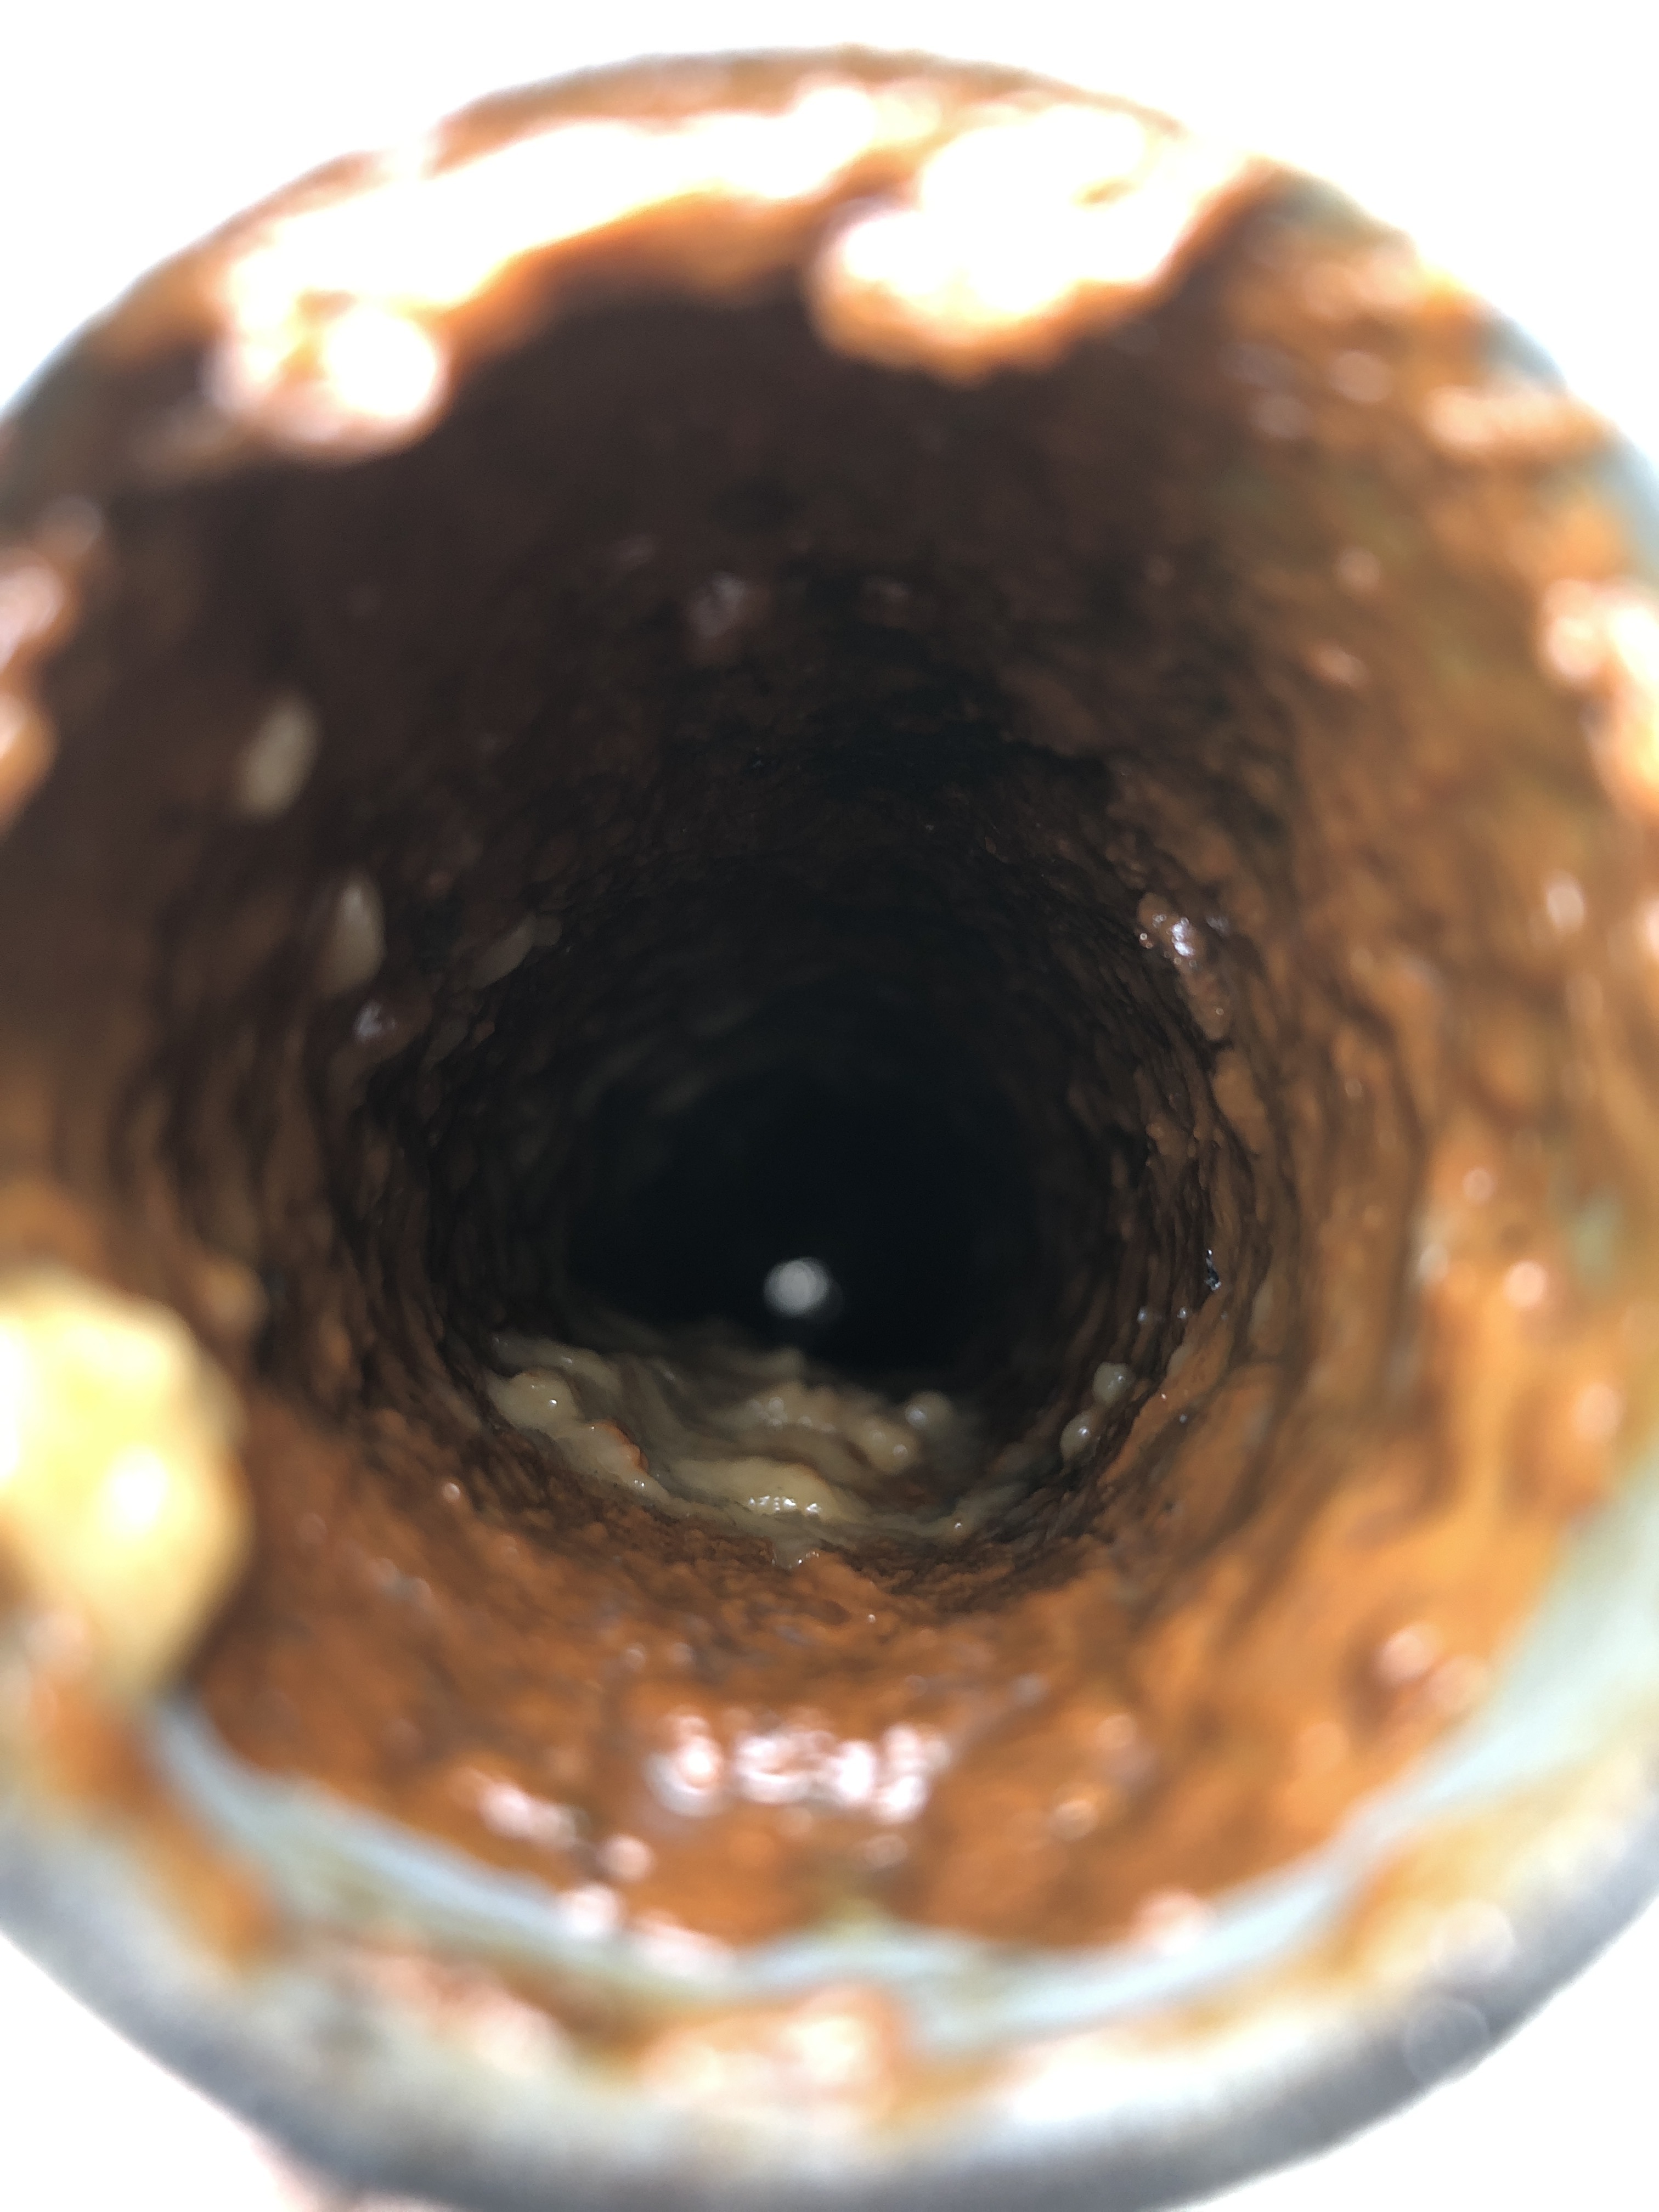
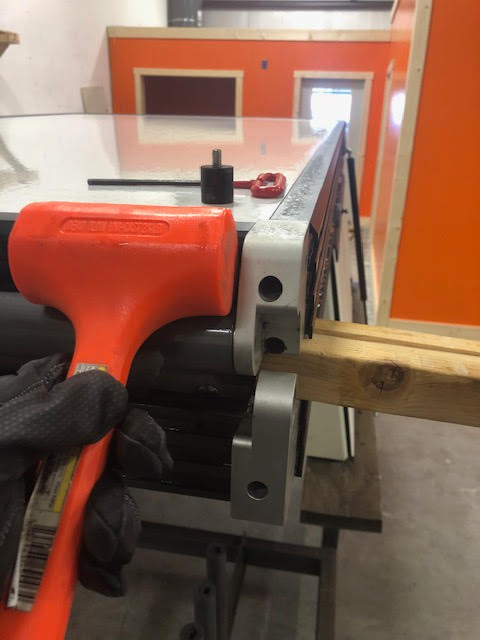
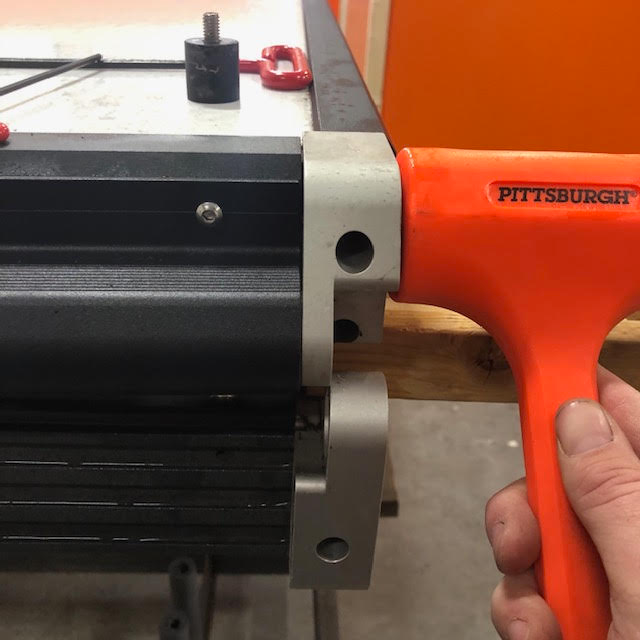
Step 5- Now use the soft mallet/deadblow hammer to gently tap out the upper corner to access the press fitting for the crossbar.
Step 6- Now you can prepare the aluminum crossbar for installation
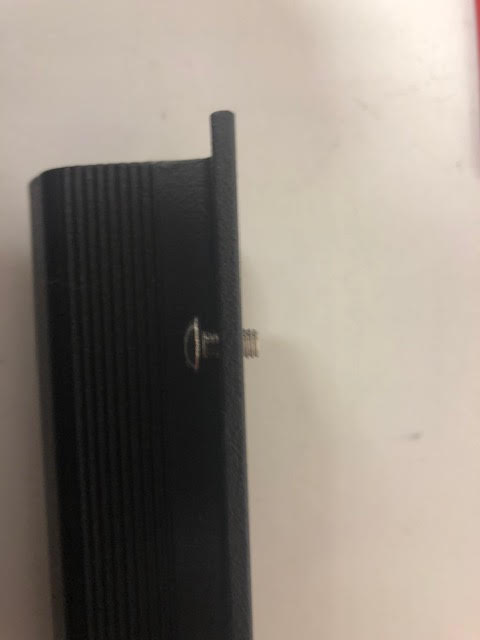
Start by bolting the provided crossbar bolts down into the aluminum crossbar with the ⅛” Allen key. Bolt them down about ½ - ¾ of the way.
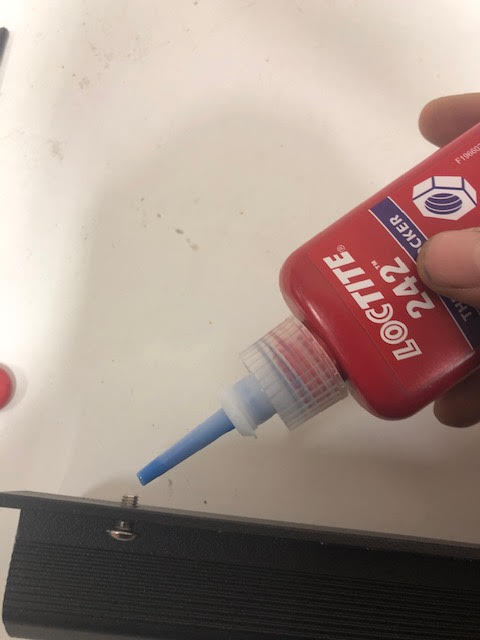
Continue by adding loctite to the bolts and then running the extrusion t-nuts on to the bolts

Step 7- Now that the crossbar has been prepared you can line it up with the press fit ring on the extrusion corner
Step 8- After the extrusion is lined up you can then line up the t-nuts along the back side of the extrusion and set them into the track.
After the extrusion is pressed onto the press fit ring and the t-nuts are lined up you can tighten down all of the t-nuts into the track.
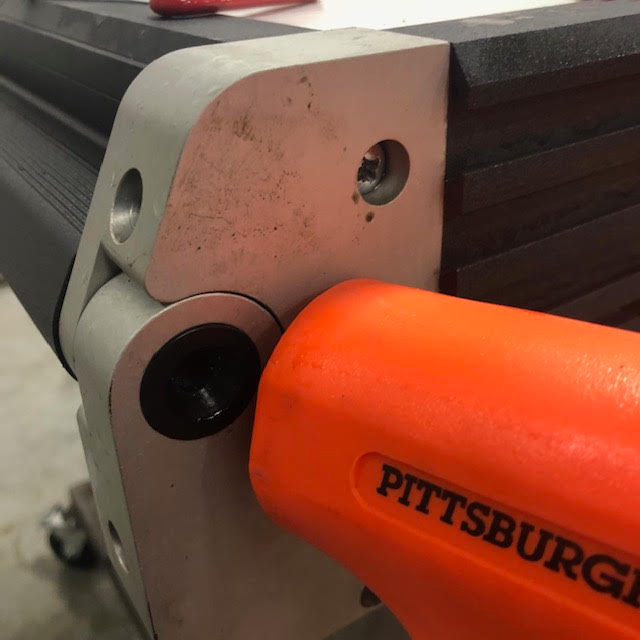
Step 9- You can now use the soft mallet to press the corner back in by gently tapping it back inward. Once the croner is reset you can use your screwdriver or drill to re-tighten the corner screws.
Step 10- Reinstall the front hinge bushings and hardware

It is easiest to use the soft mallet to press the bushing back in and then insert and tighten the Allen head bolt.
Step 11- Reinstall tent lifting struts. First you must prop open the tent, this is much easier with 2 people but if you do not have someone to hold the tent open you can prop it open with a large 2x4. Here I have the tent propped with a spare steel crossbar:
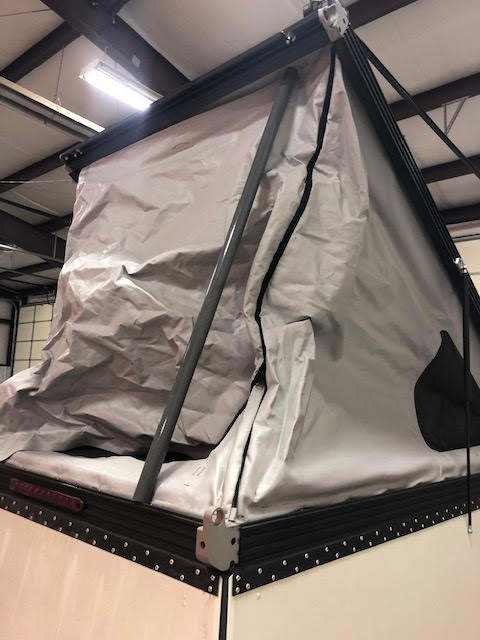
The crossbar is not long enough and definitely makes it much more difficult to do so I recommend using another person or something that is long enough to prop the tent all the way open.
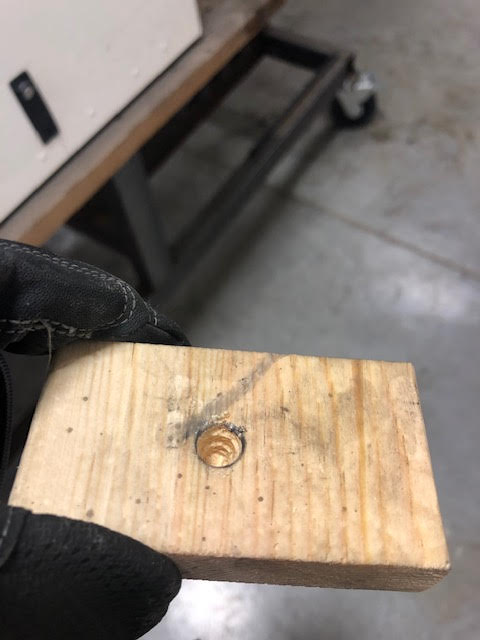
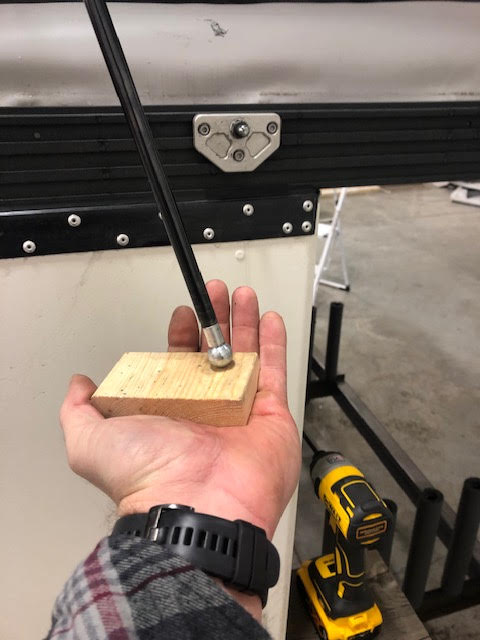
Now I drilled a hole in a small wooden block to use to press the strut up. The hole has to be small enough to not cover the strut ball openings.
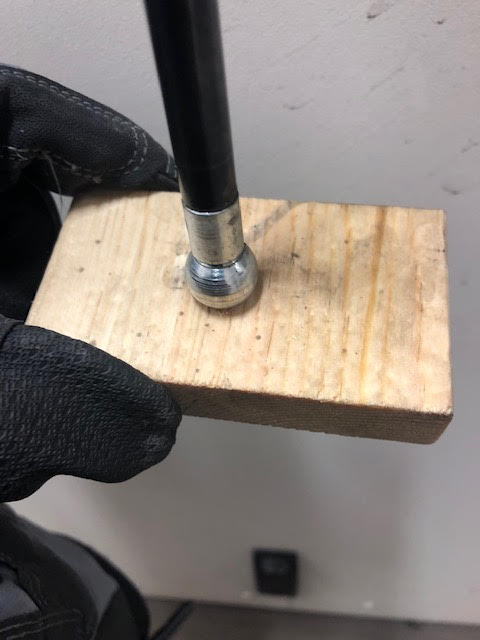
Using the block you can press the strut up into place on the ball mount attached to your extrusion
Now you can reattach the strut clips removed in step one. Make sure the strut clip is inserted all the way into the ball cup and extrudes from the other side.
You have now installed the new aluminum front crossbar.
-Big Mike