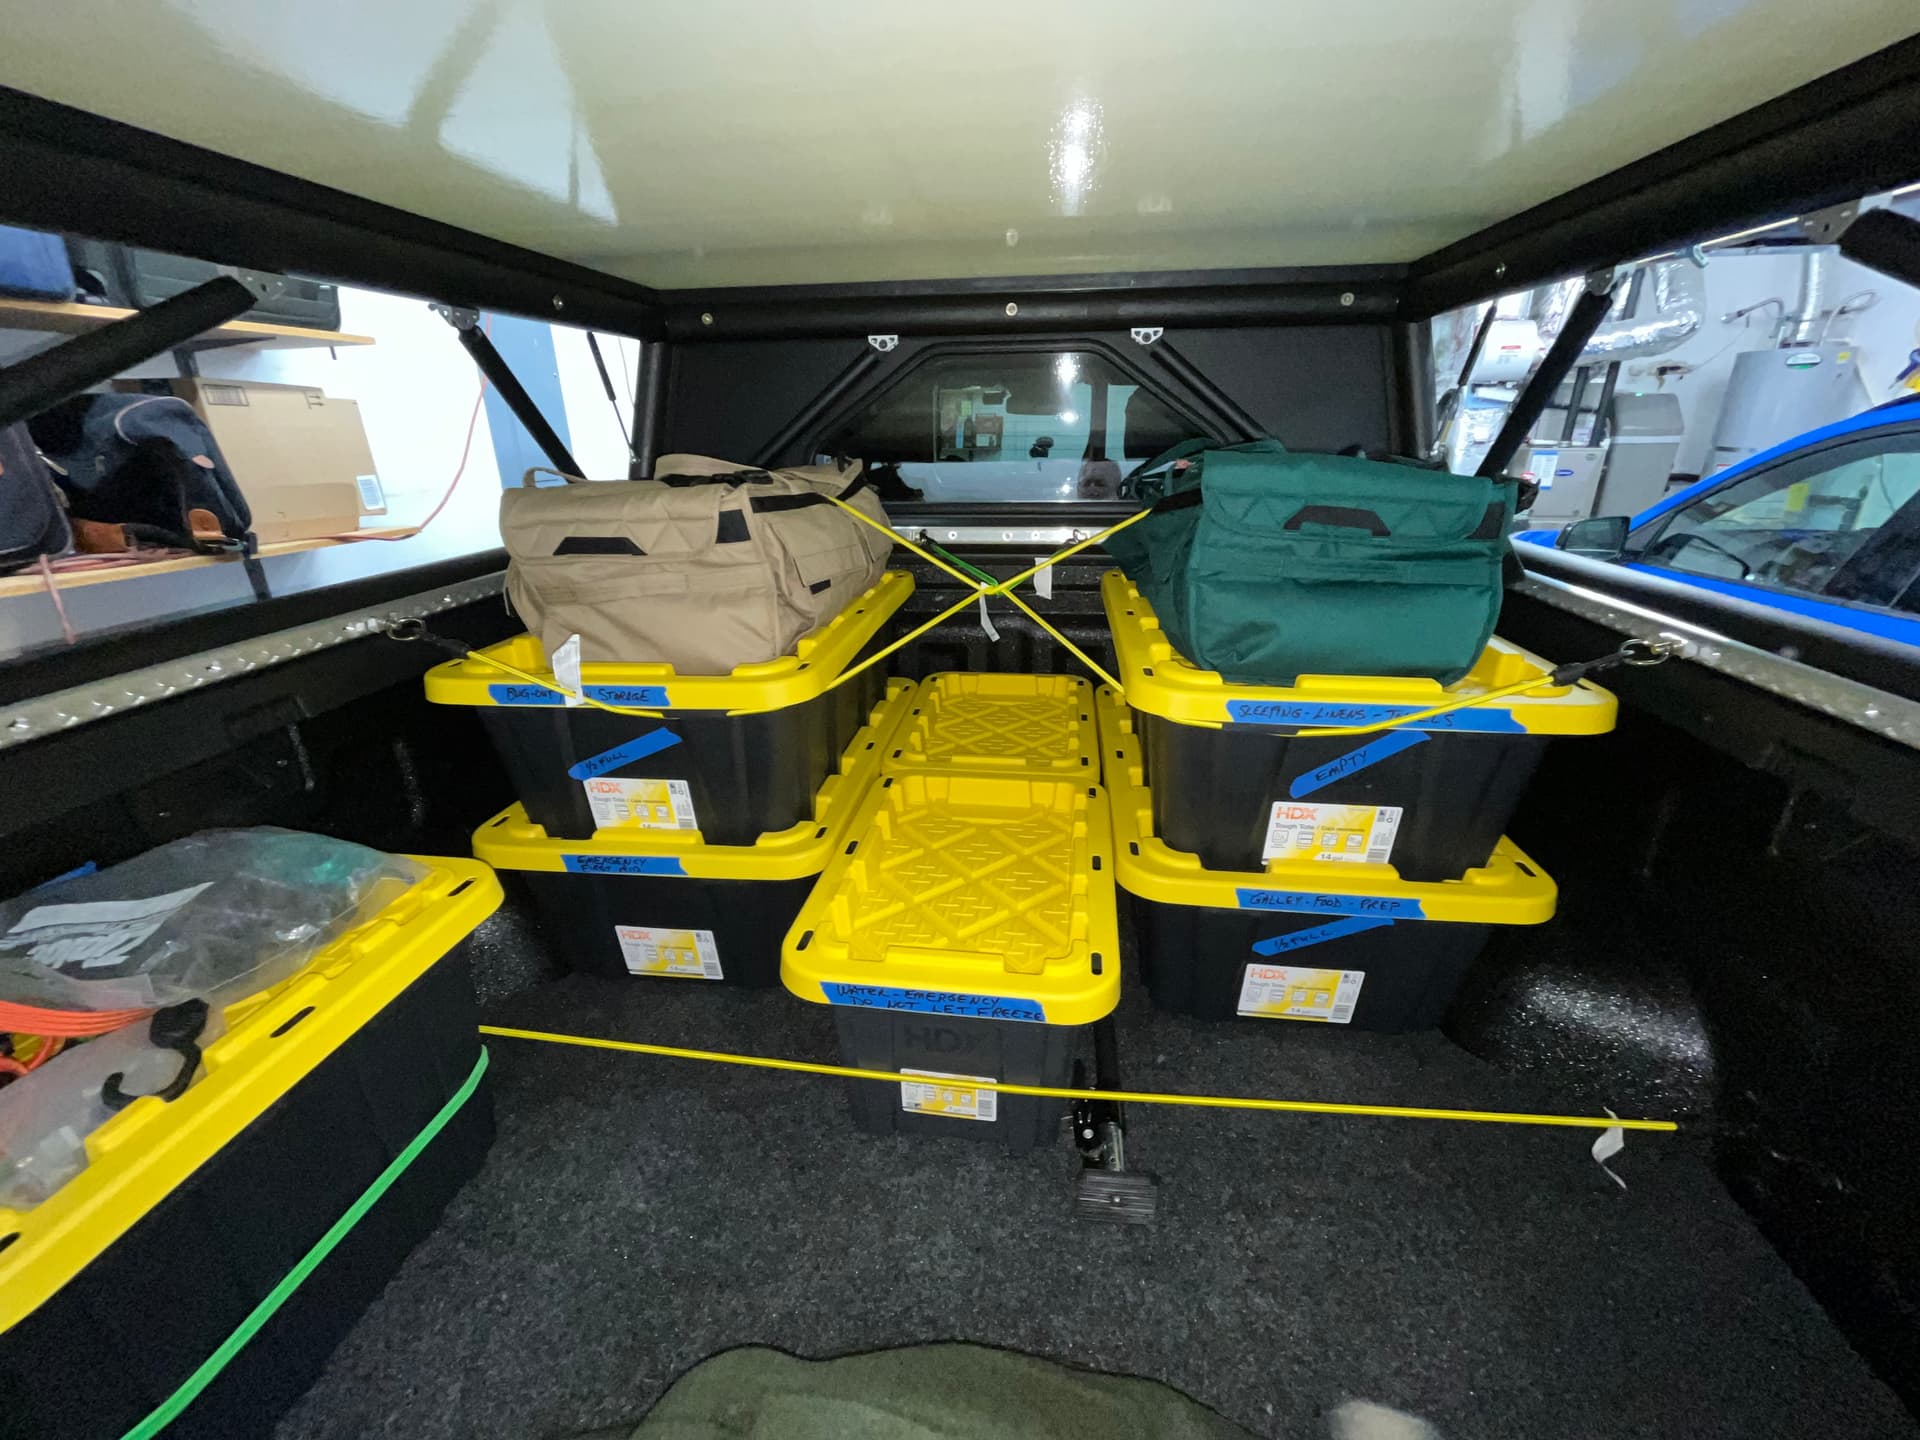
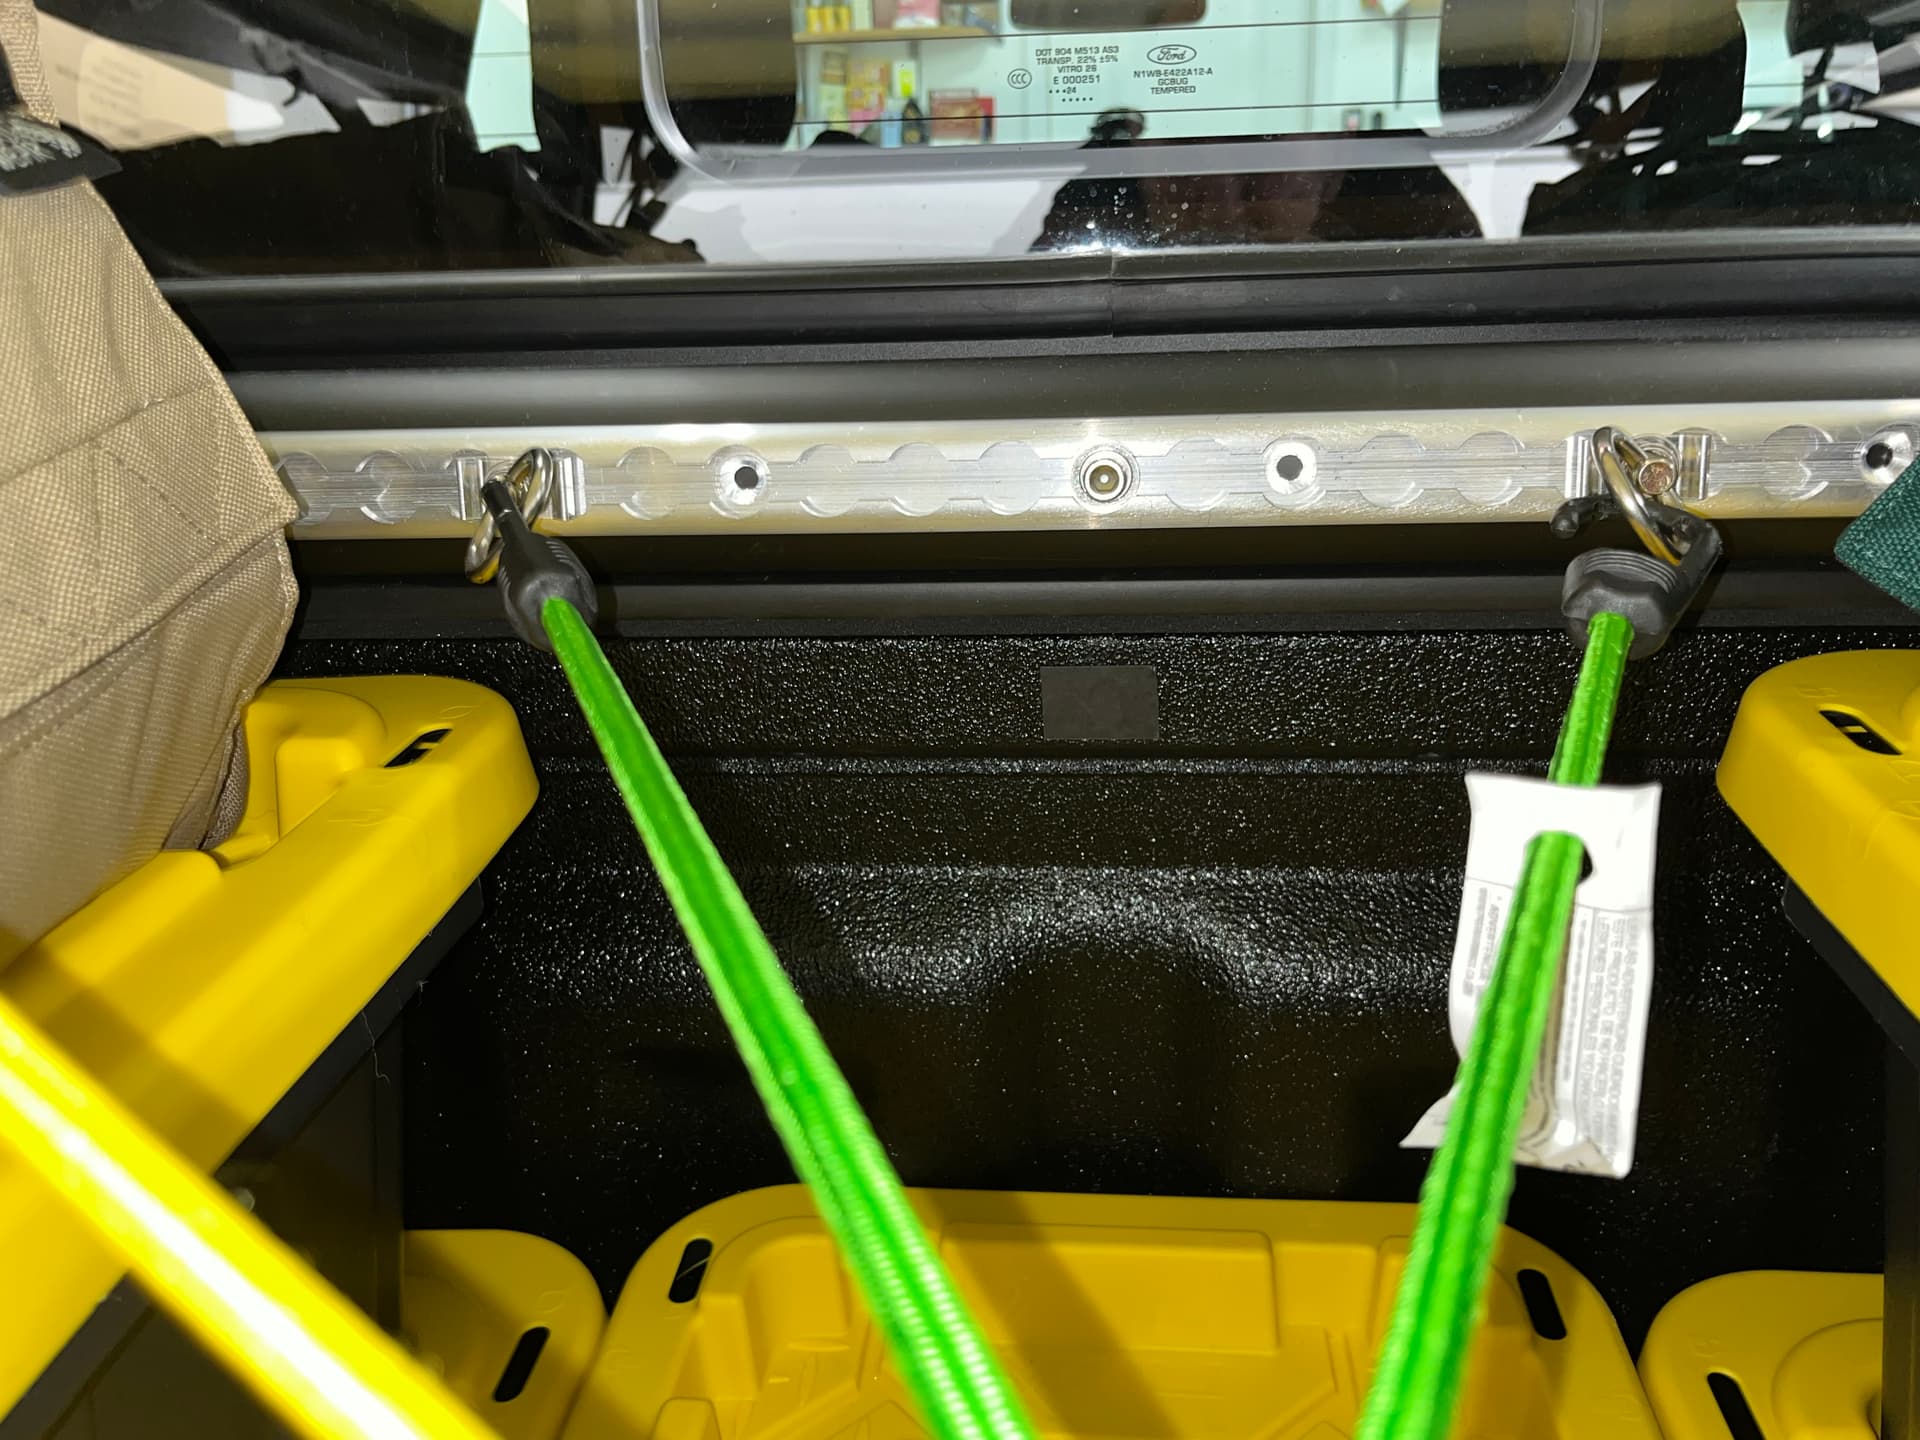
This info is specifically for my 2024 Ranger Raptor, your GFC will probably be different, use what spacing works best! I chose to locate them up high on the GFC rather than on the truck bed itself, for better access when carrying all my HDX bins. Rail tracks would be in the way… with this setup the bins can be pushed completely flush against the front bed rail.

I used 8 foot track kits from Mac’s Custom Tiedowns; there are many sources but I do recommend buying the tie down rings from the same vendor so that they will be sure to fit. Extrusions may vary! Shipping cost varies very little by length, but it is much, MUCH cheaper to buy 8 foot tracks and cut them down than to buy shorter sections. For example a 1 foot kit (2 sections) is $50, an 8 foot one is $180.
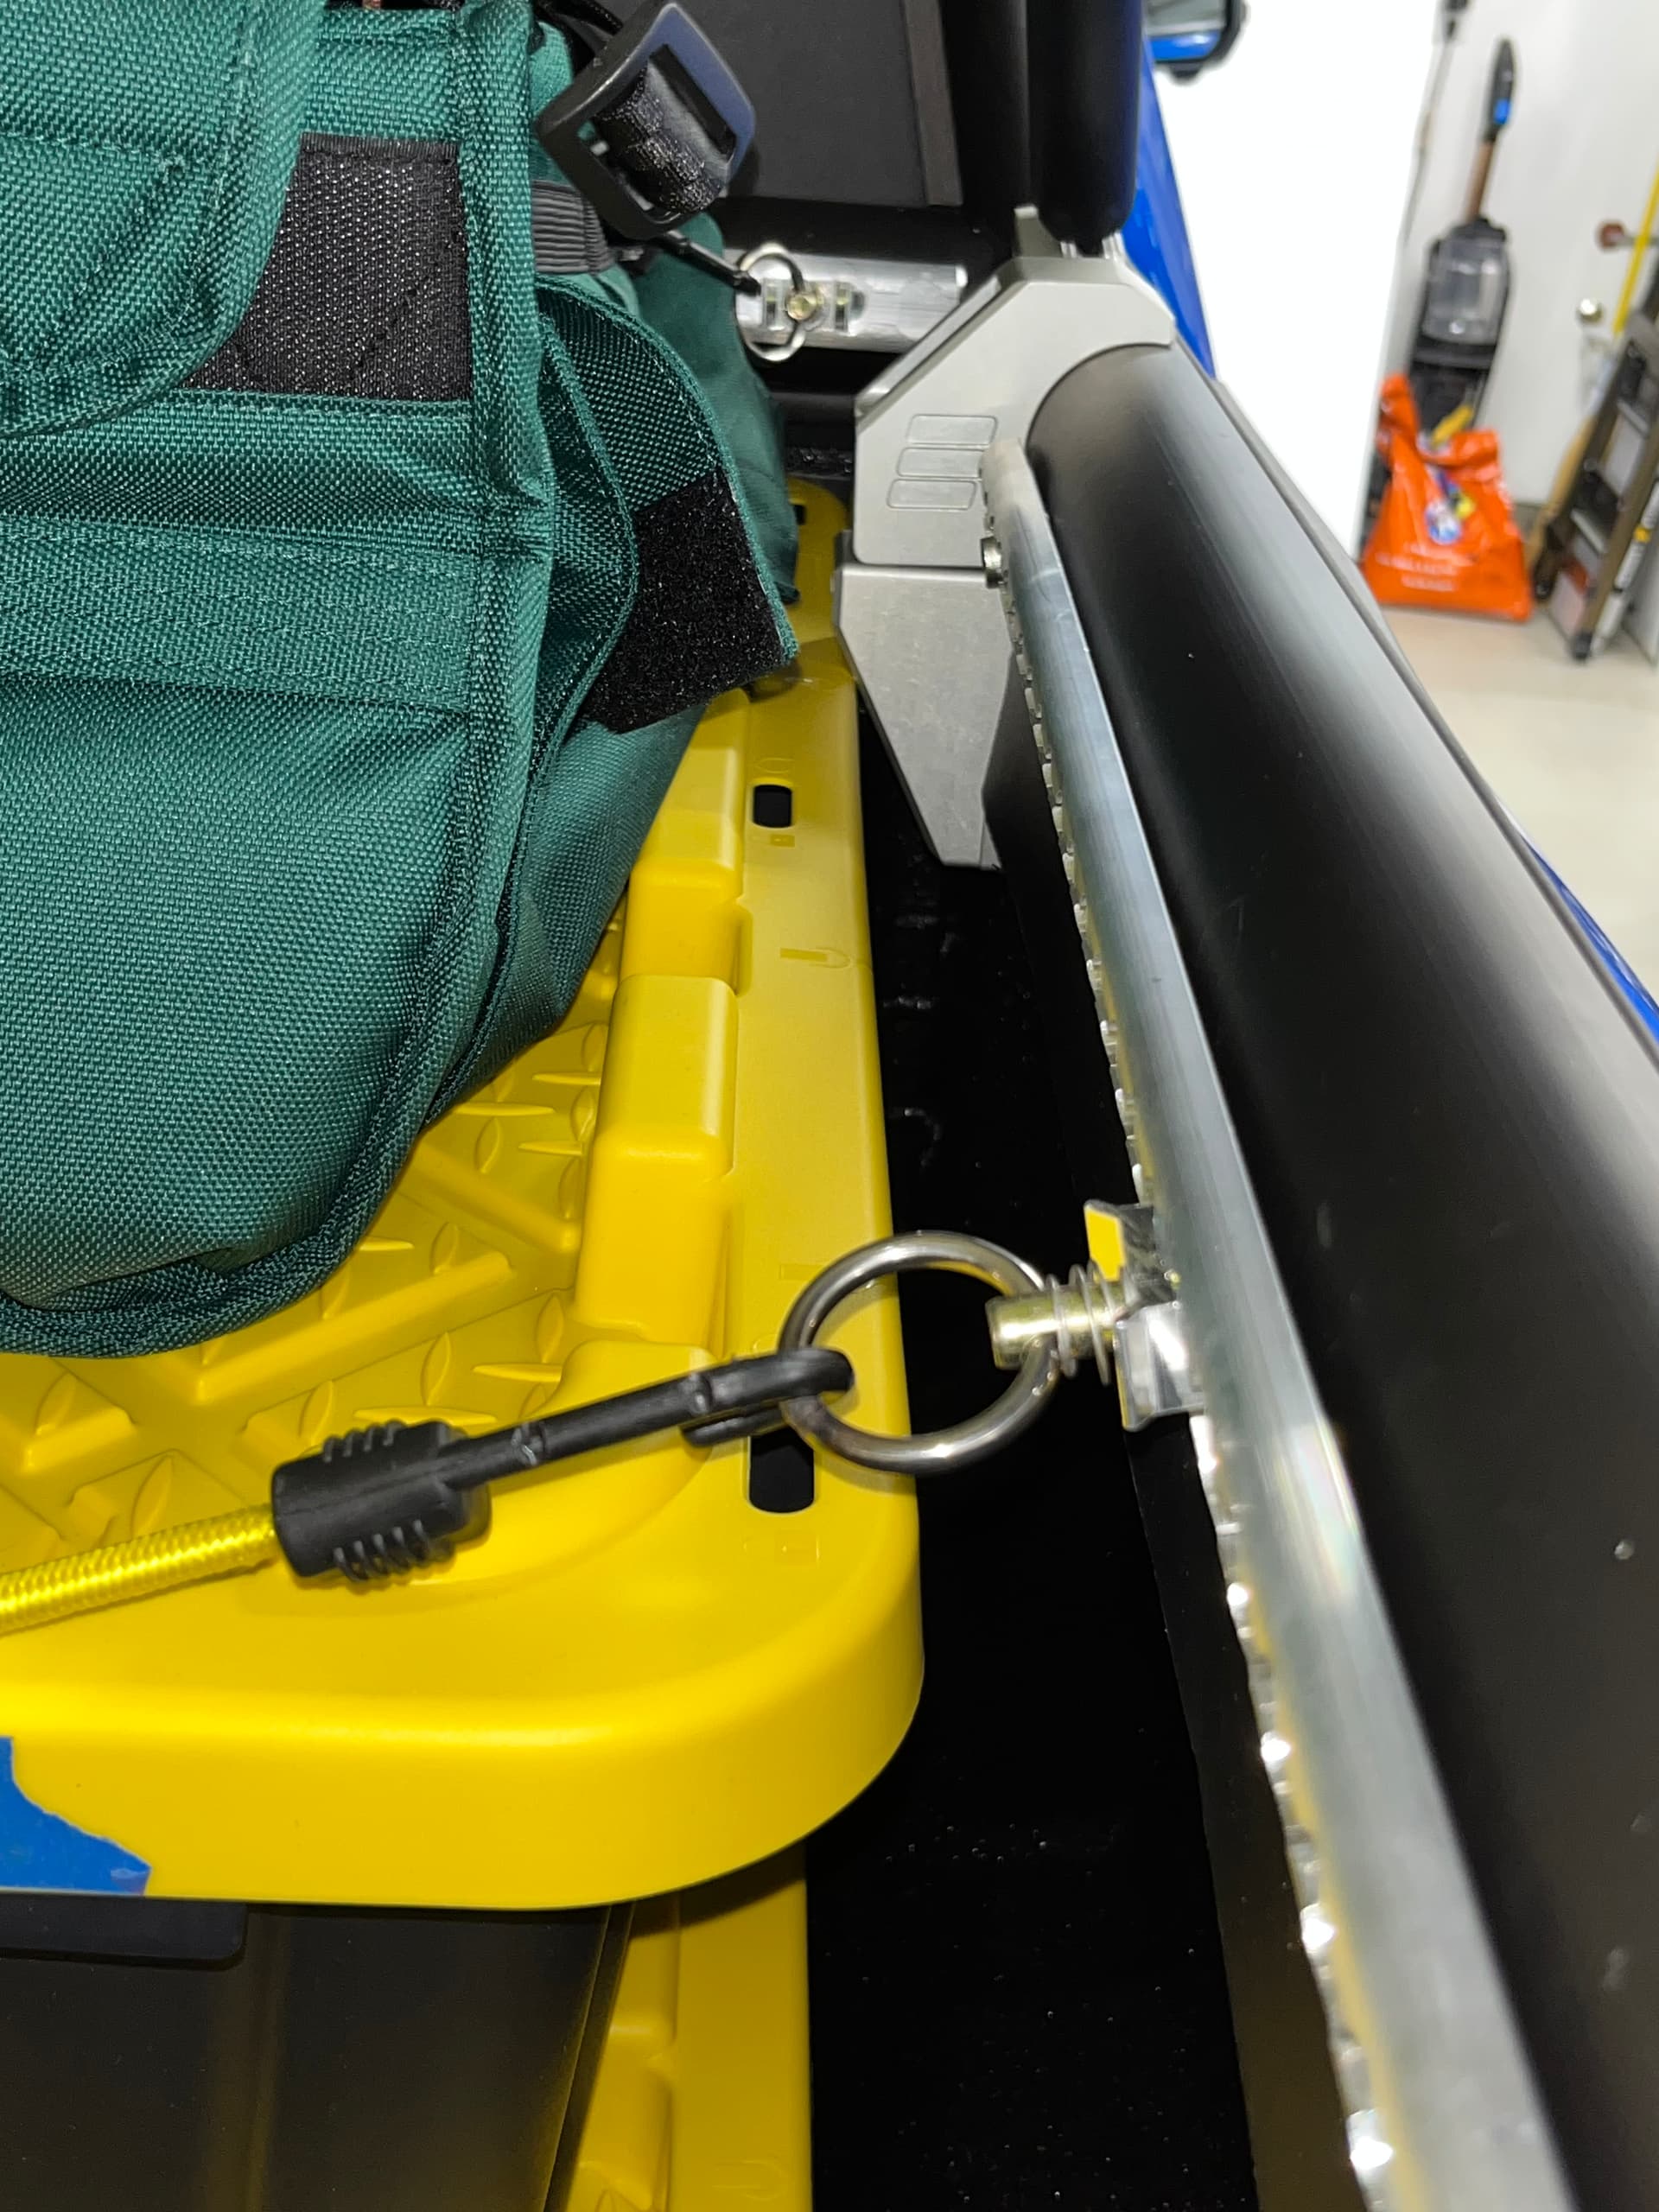
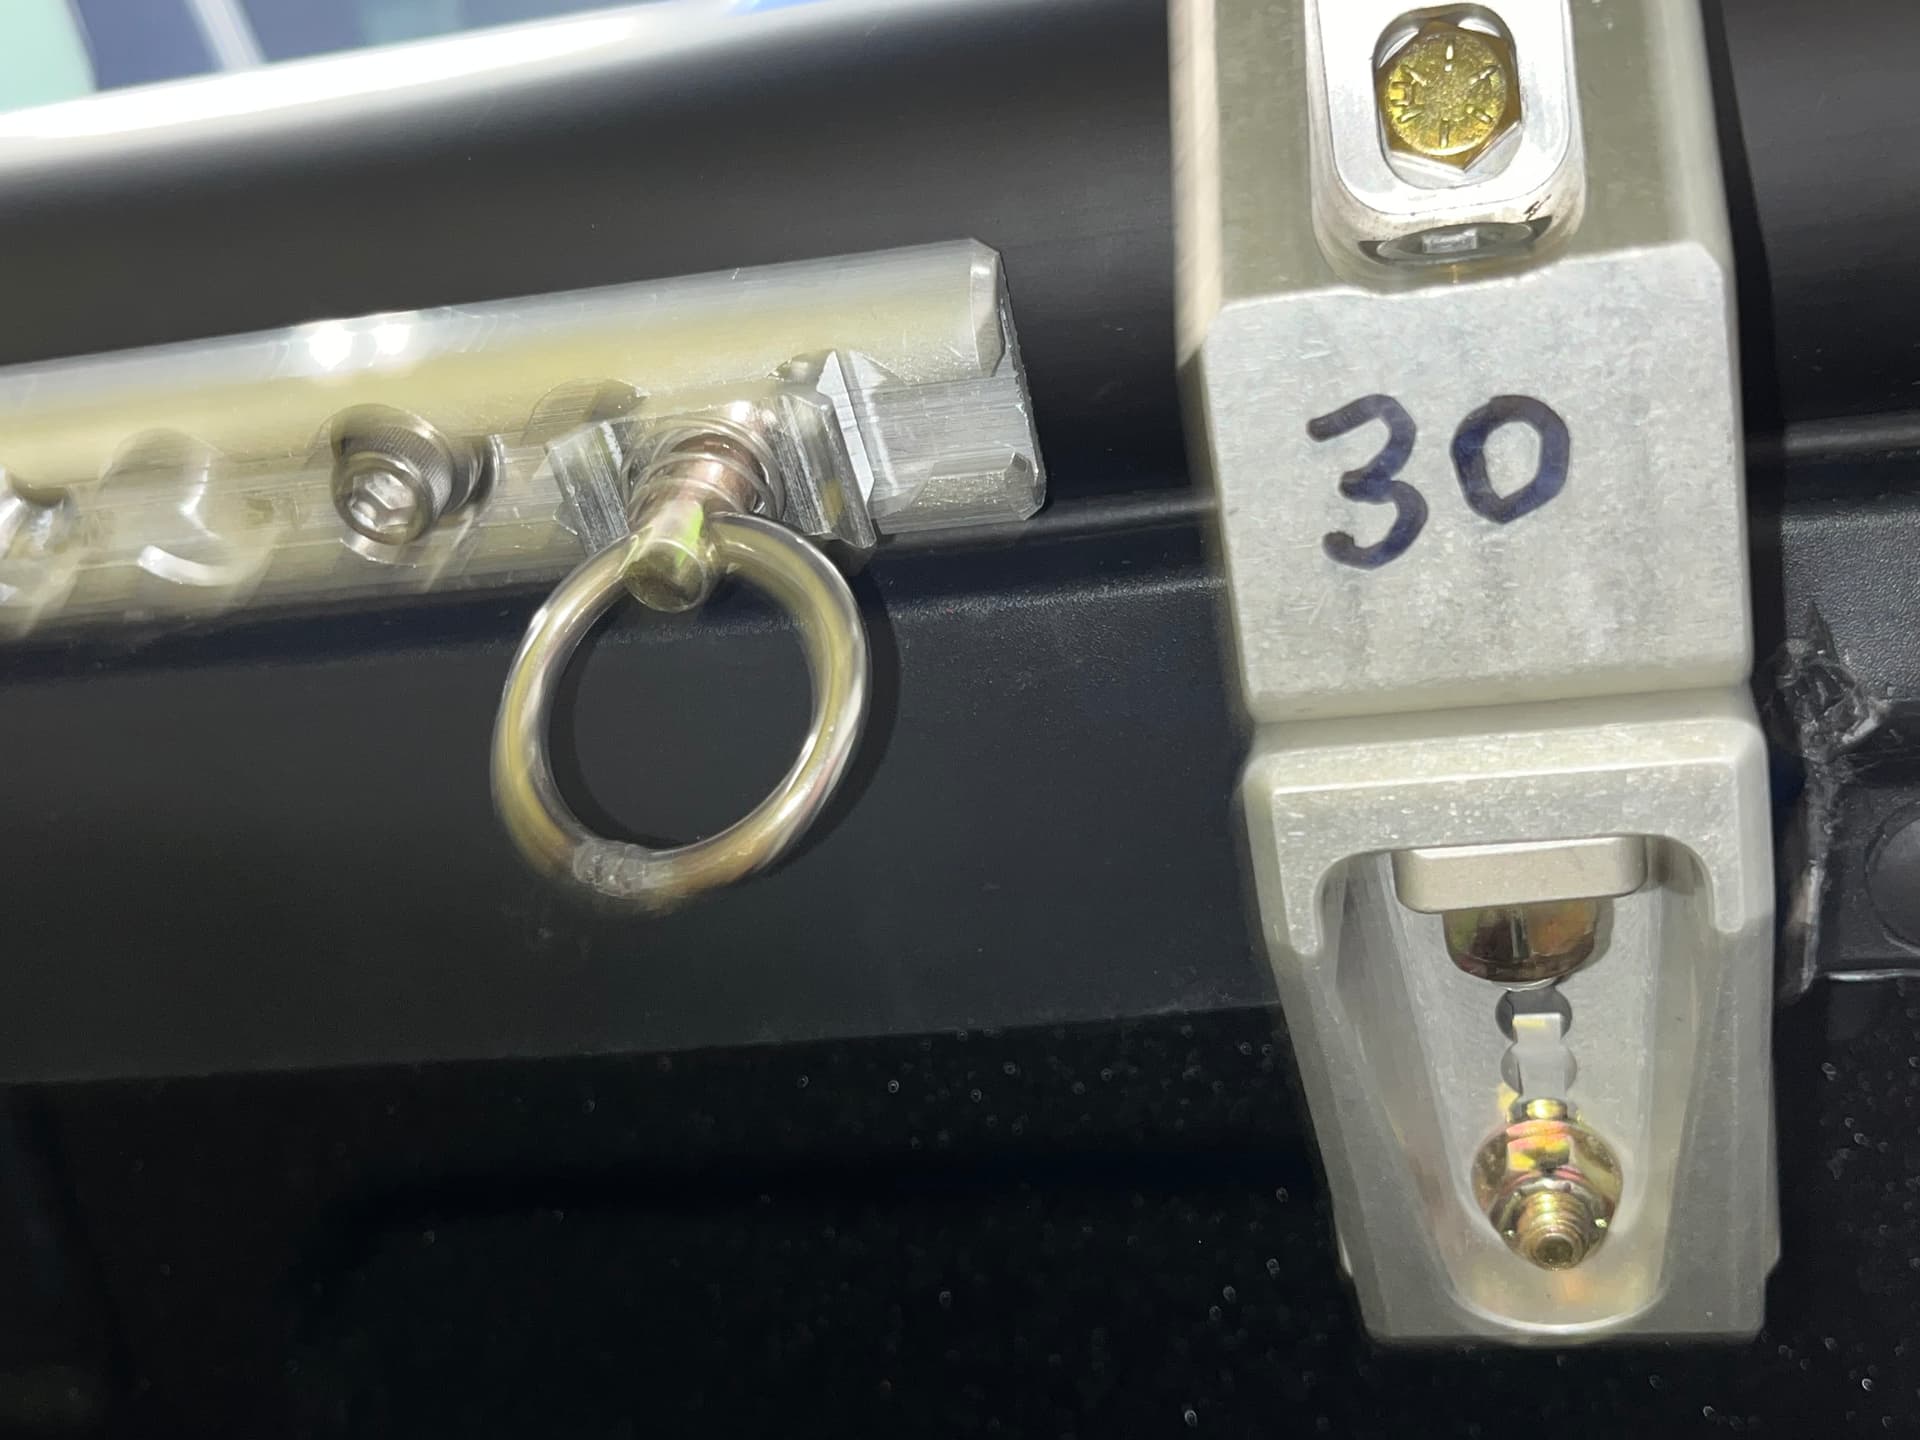
I added a front rail across the bottom of the Topper and one at each side rail. The existing L-track holes are drilled at 6" spacing for 1/4" countersunk screws, the GFC threaded rivets are 5/16"-18.
I used 5/16" stainless Allen head bolts, lock washers and flat washers, lubed with silicone dielectric grease. I cut the two side rails first from a single section. Then I cut the cross rail from the other piece. By careful measuring, the waste material was less than two inches, and I have a 24 " and 39" piece left over for future use…yay!
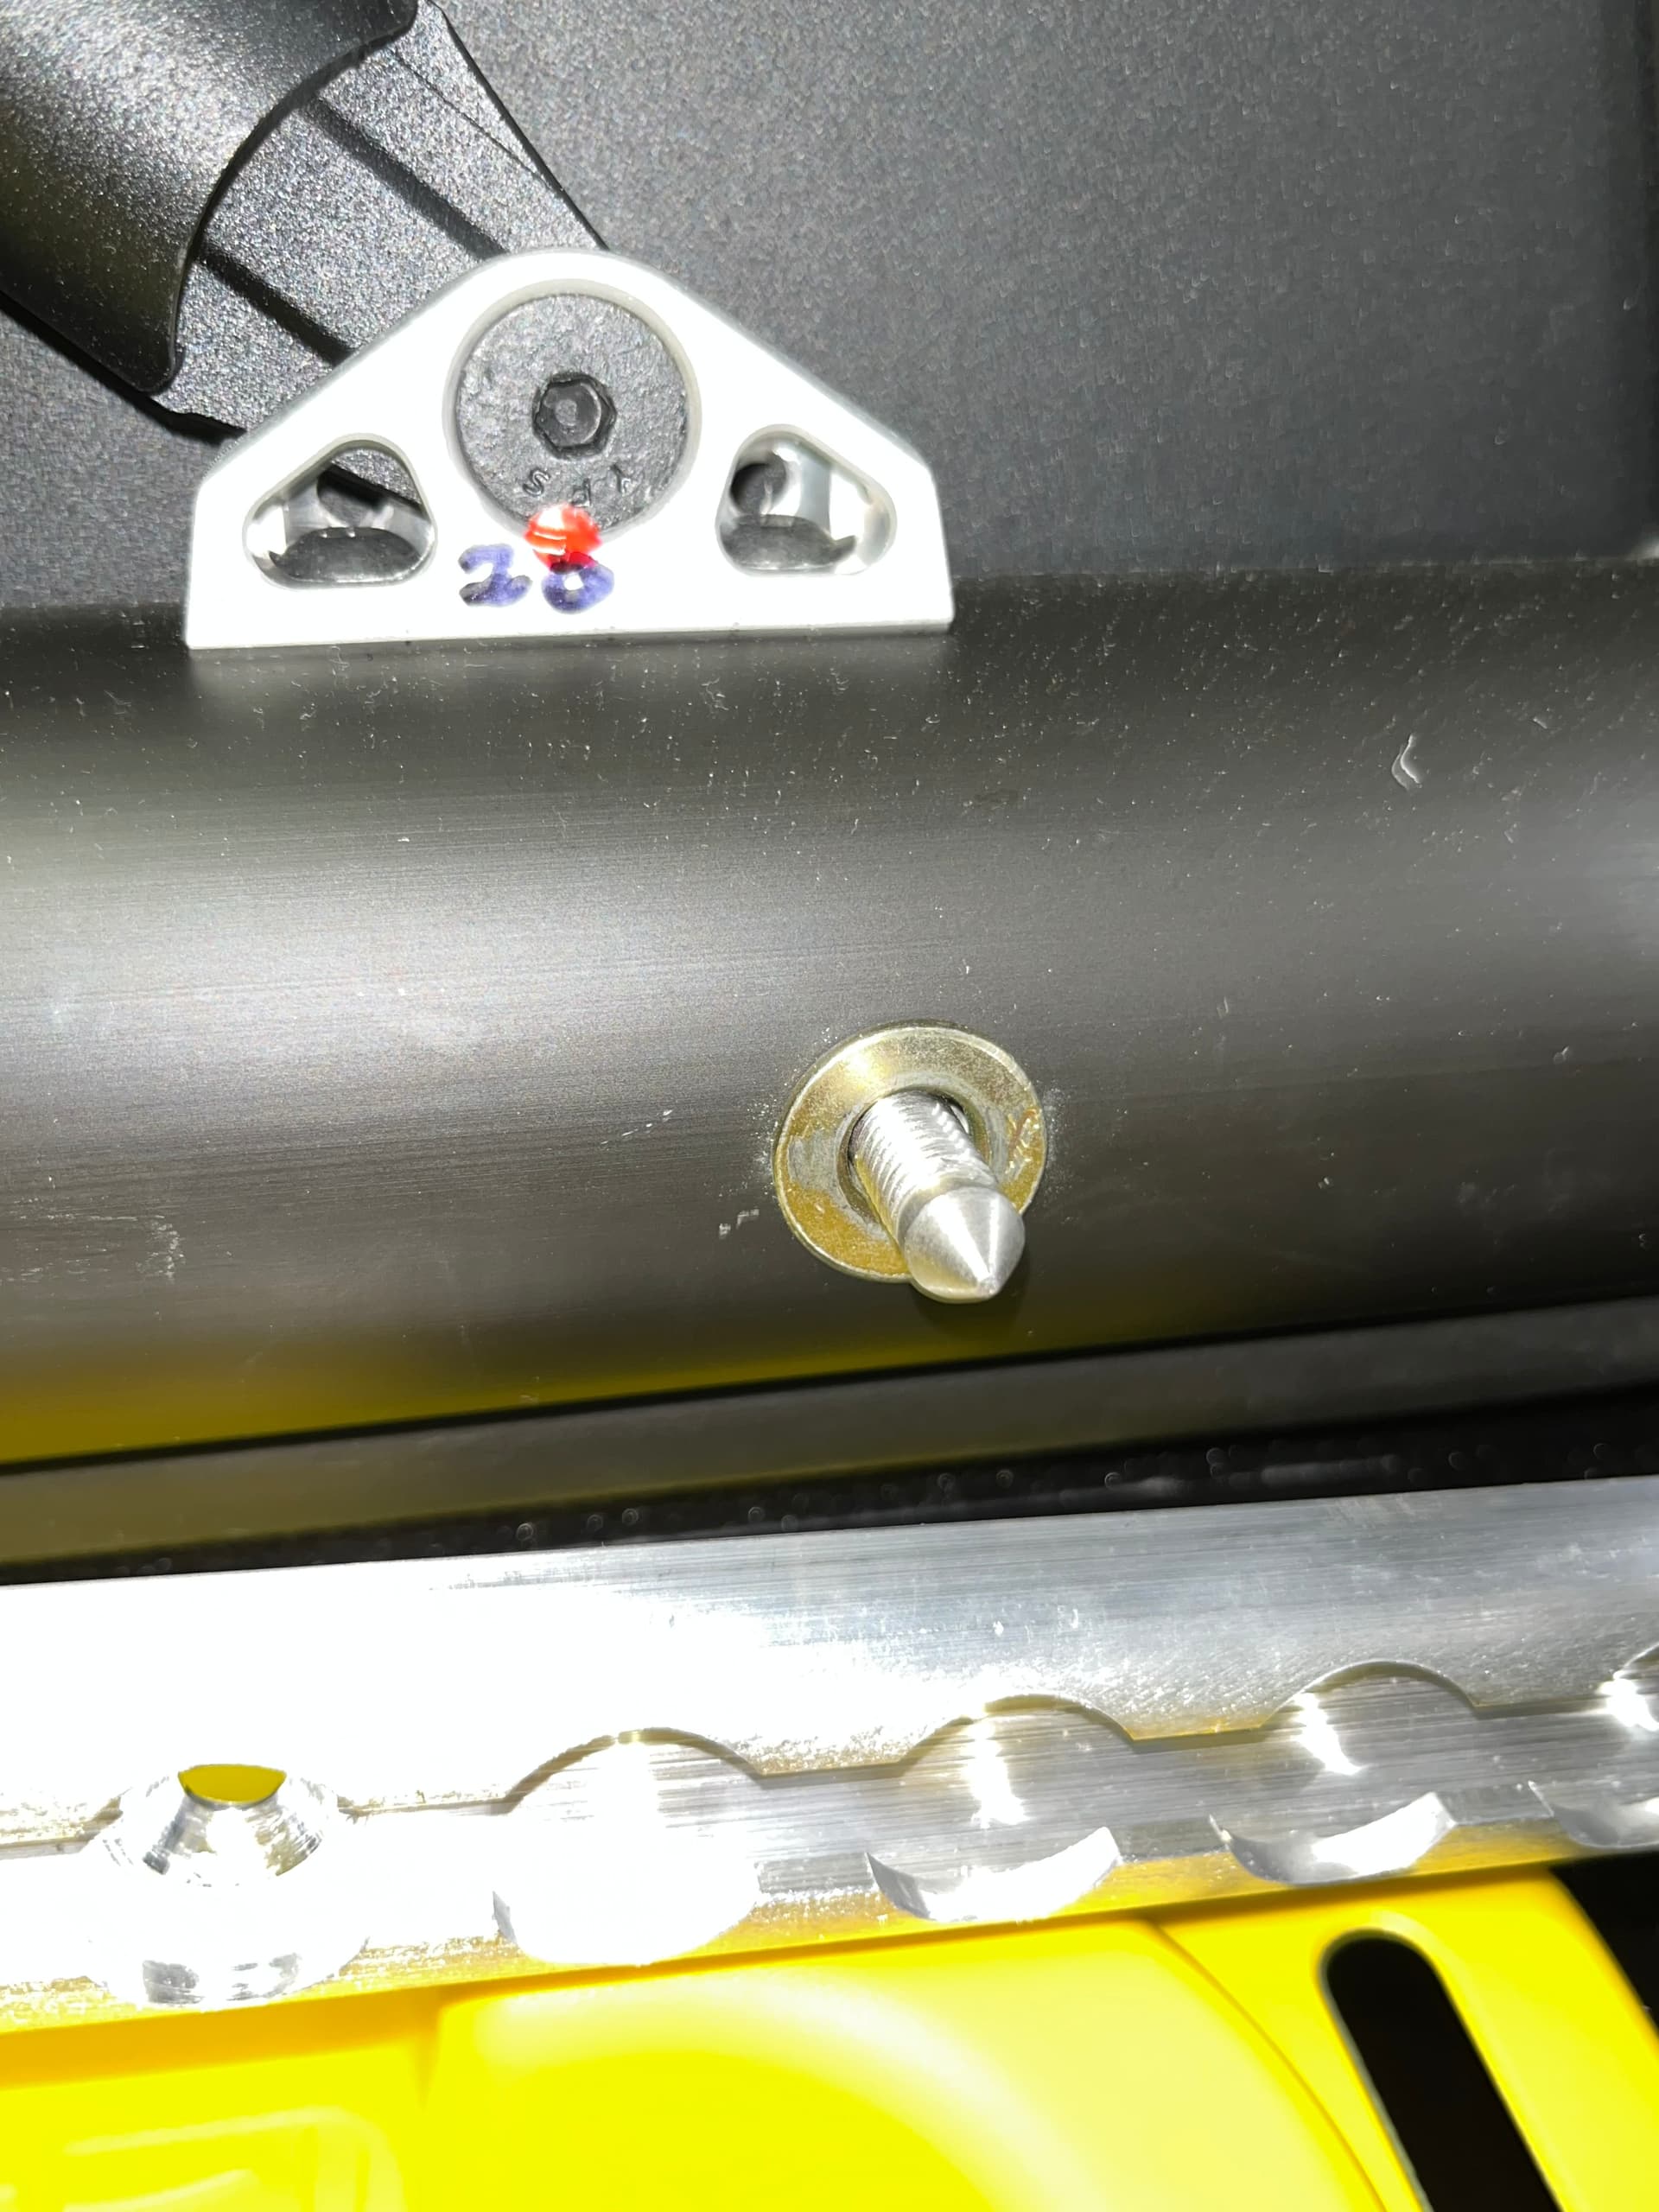
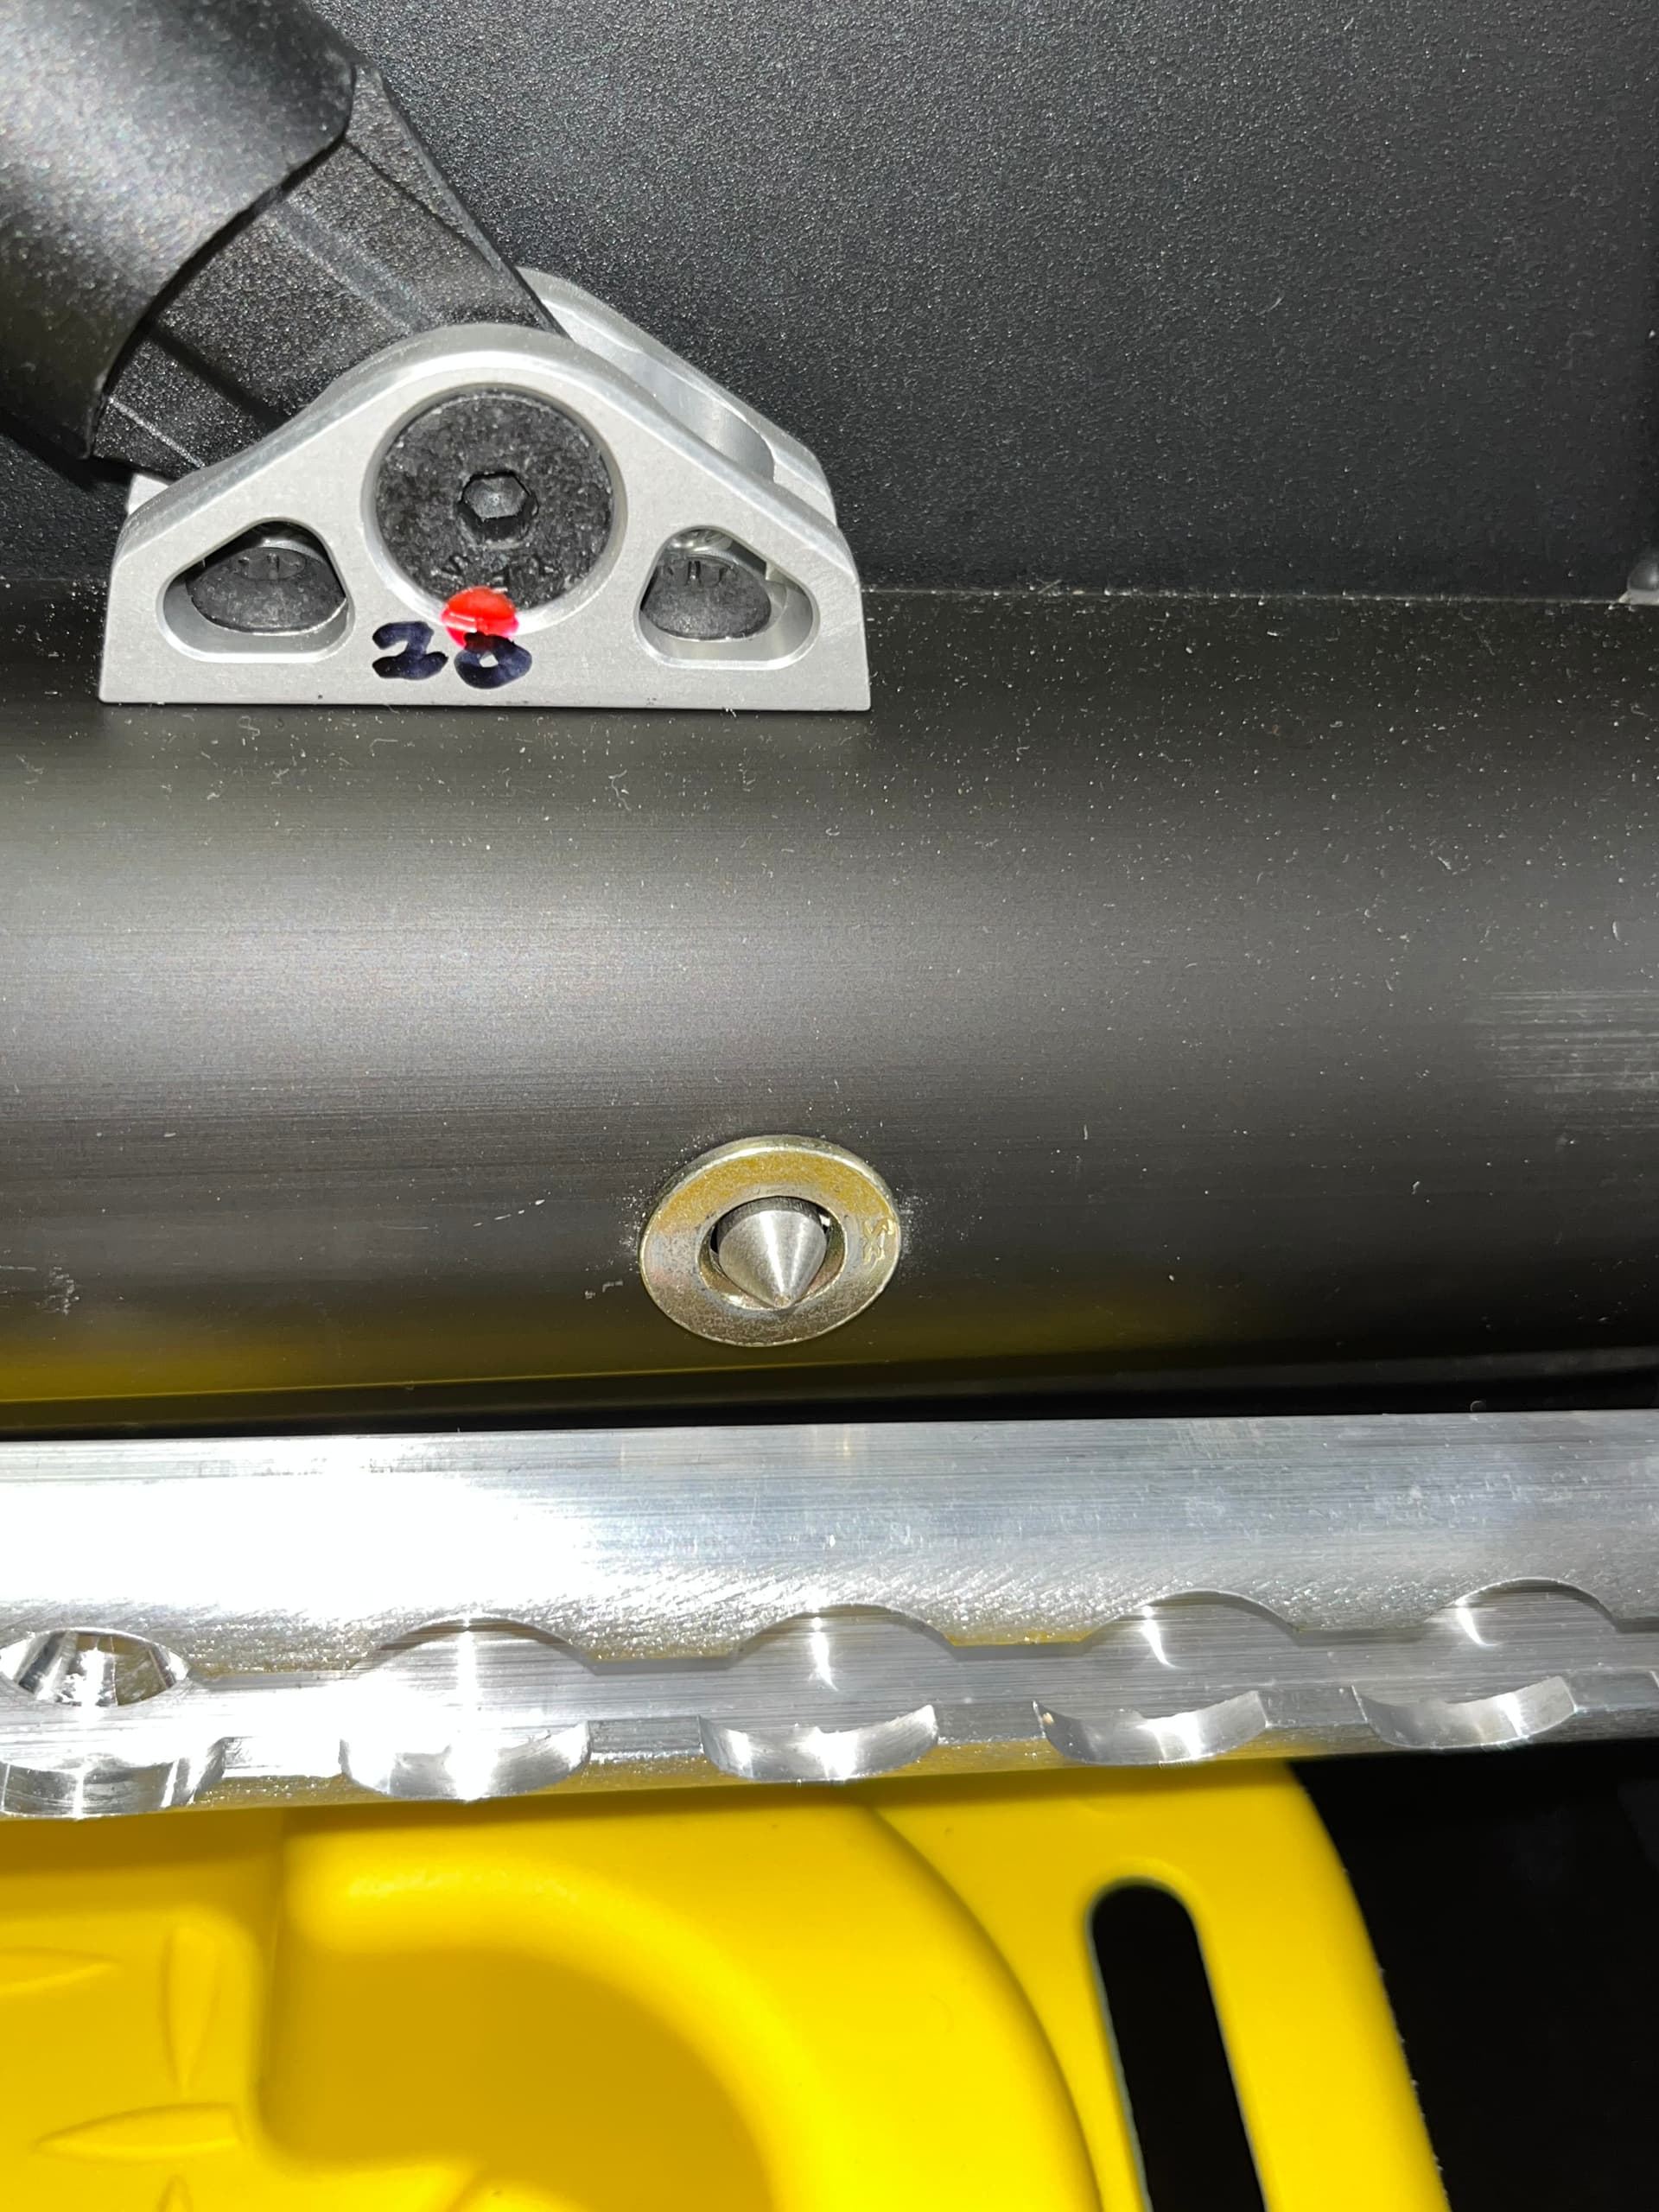
My two side rails had exactly 30" spacing, so it was very easy to transfer them to the new part. The front spacing was weird - the middle hole was centered, but the outside two rivets were at about 23 13/16" spacing and did not match. WHY in the world would the builder choose this spacing? It makes no sense.
Because there are so few rivets it is very important to place the holes precisely and not make them grossly oversized, otherwise the tracks can shift. (If you use the factory 1/4" holes at 6 inch spacing, the rails are very solid, no worries). I drilled 5/16" holes initially, for fitting checks, then later opened them up to the next standard drill size, 11/32’. I center punched the hole locations and drilled them with a floor drill press. You can use a hand drill but that won’t give as nice results.
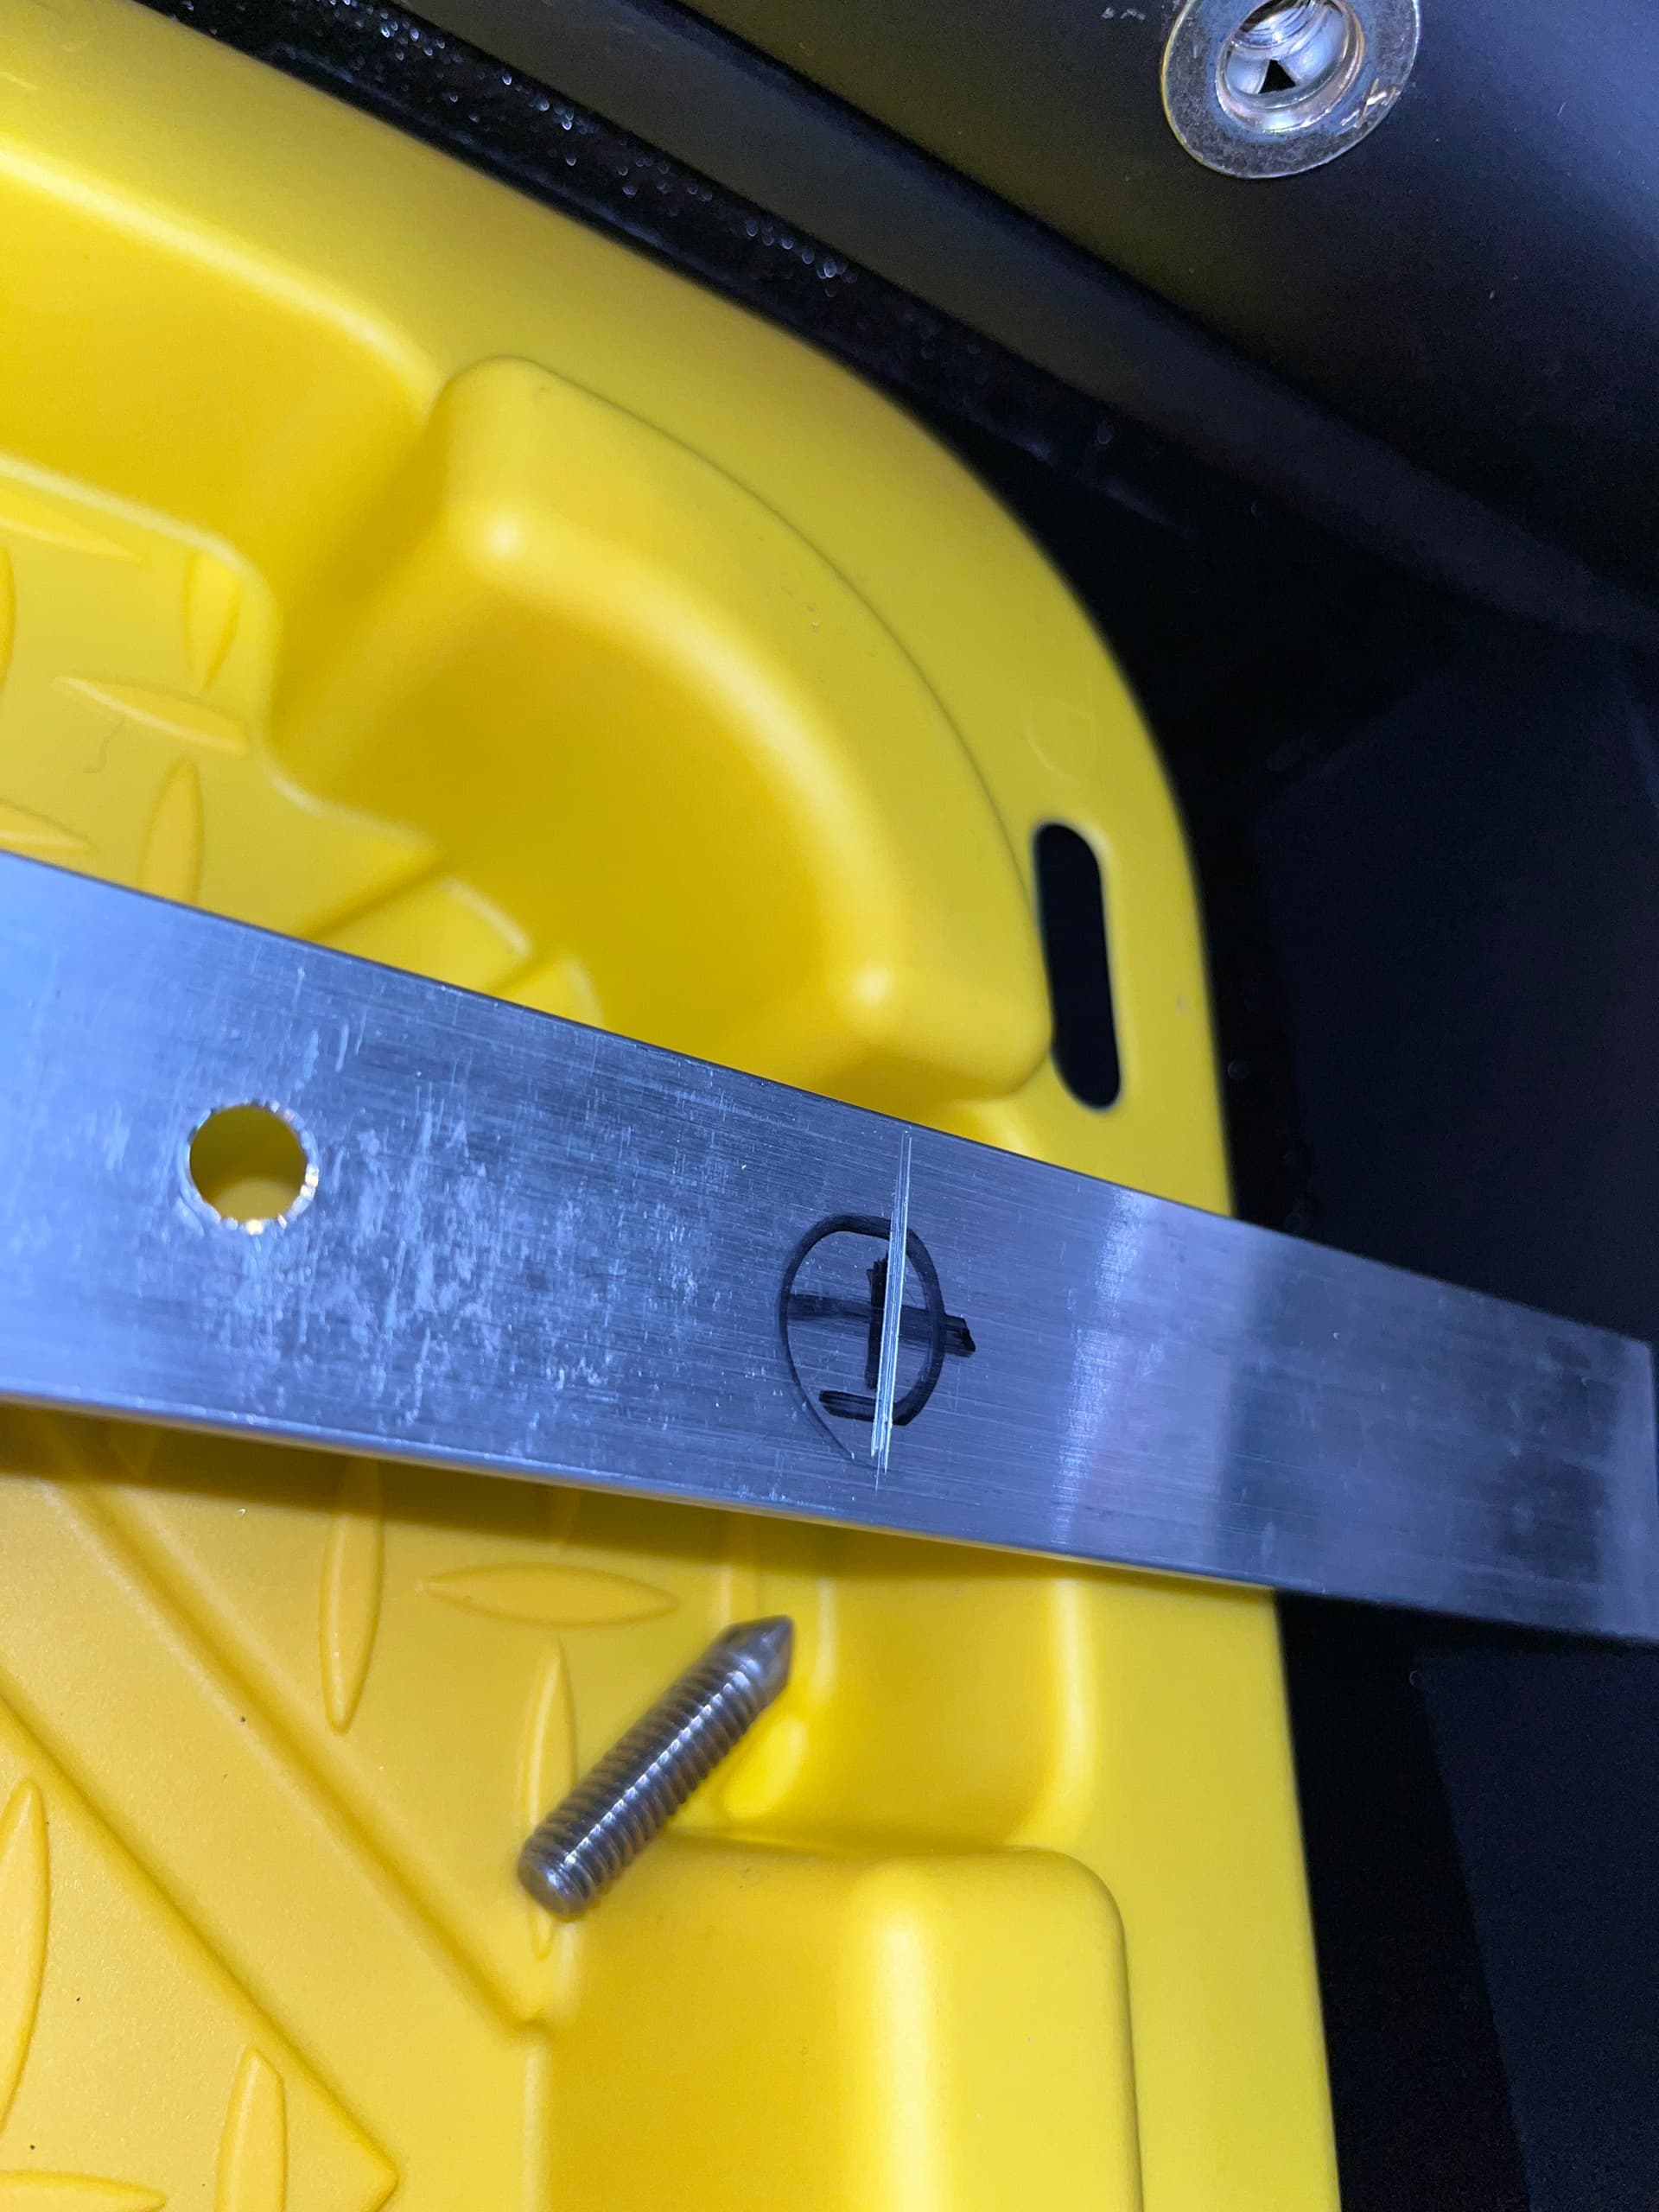
For the front rail I drilled JUST the CENTER hole at 5/16" diameter and temporarily installed it with one bolt. To locate the outer two holes correctly I needed a “hole finder”. I cut off an extra bolt as shown, chucked it in a hand drill, and added a sharp point using a bench grinder. Then I cleaned up the threads carefully with a 5/16"-18 die so that there were no burrs. It is IMPORTANT that the tool screws into each rivet by hand so you can get it out again! There isn’t anything to grab with pliers! Install the finder in one outer hole, and move the rail up and down against it several times. Rotate the finder 180 degrees and repeat. This eliminates any error in the location of the tip. Do this again for the opposite rivet. Remove the rail and drill your holes precisely.
Here is the back side showing the marks. FYI the hole next to it was chamfered with a dull tool that chattered, not mine! :
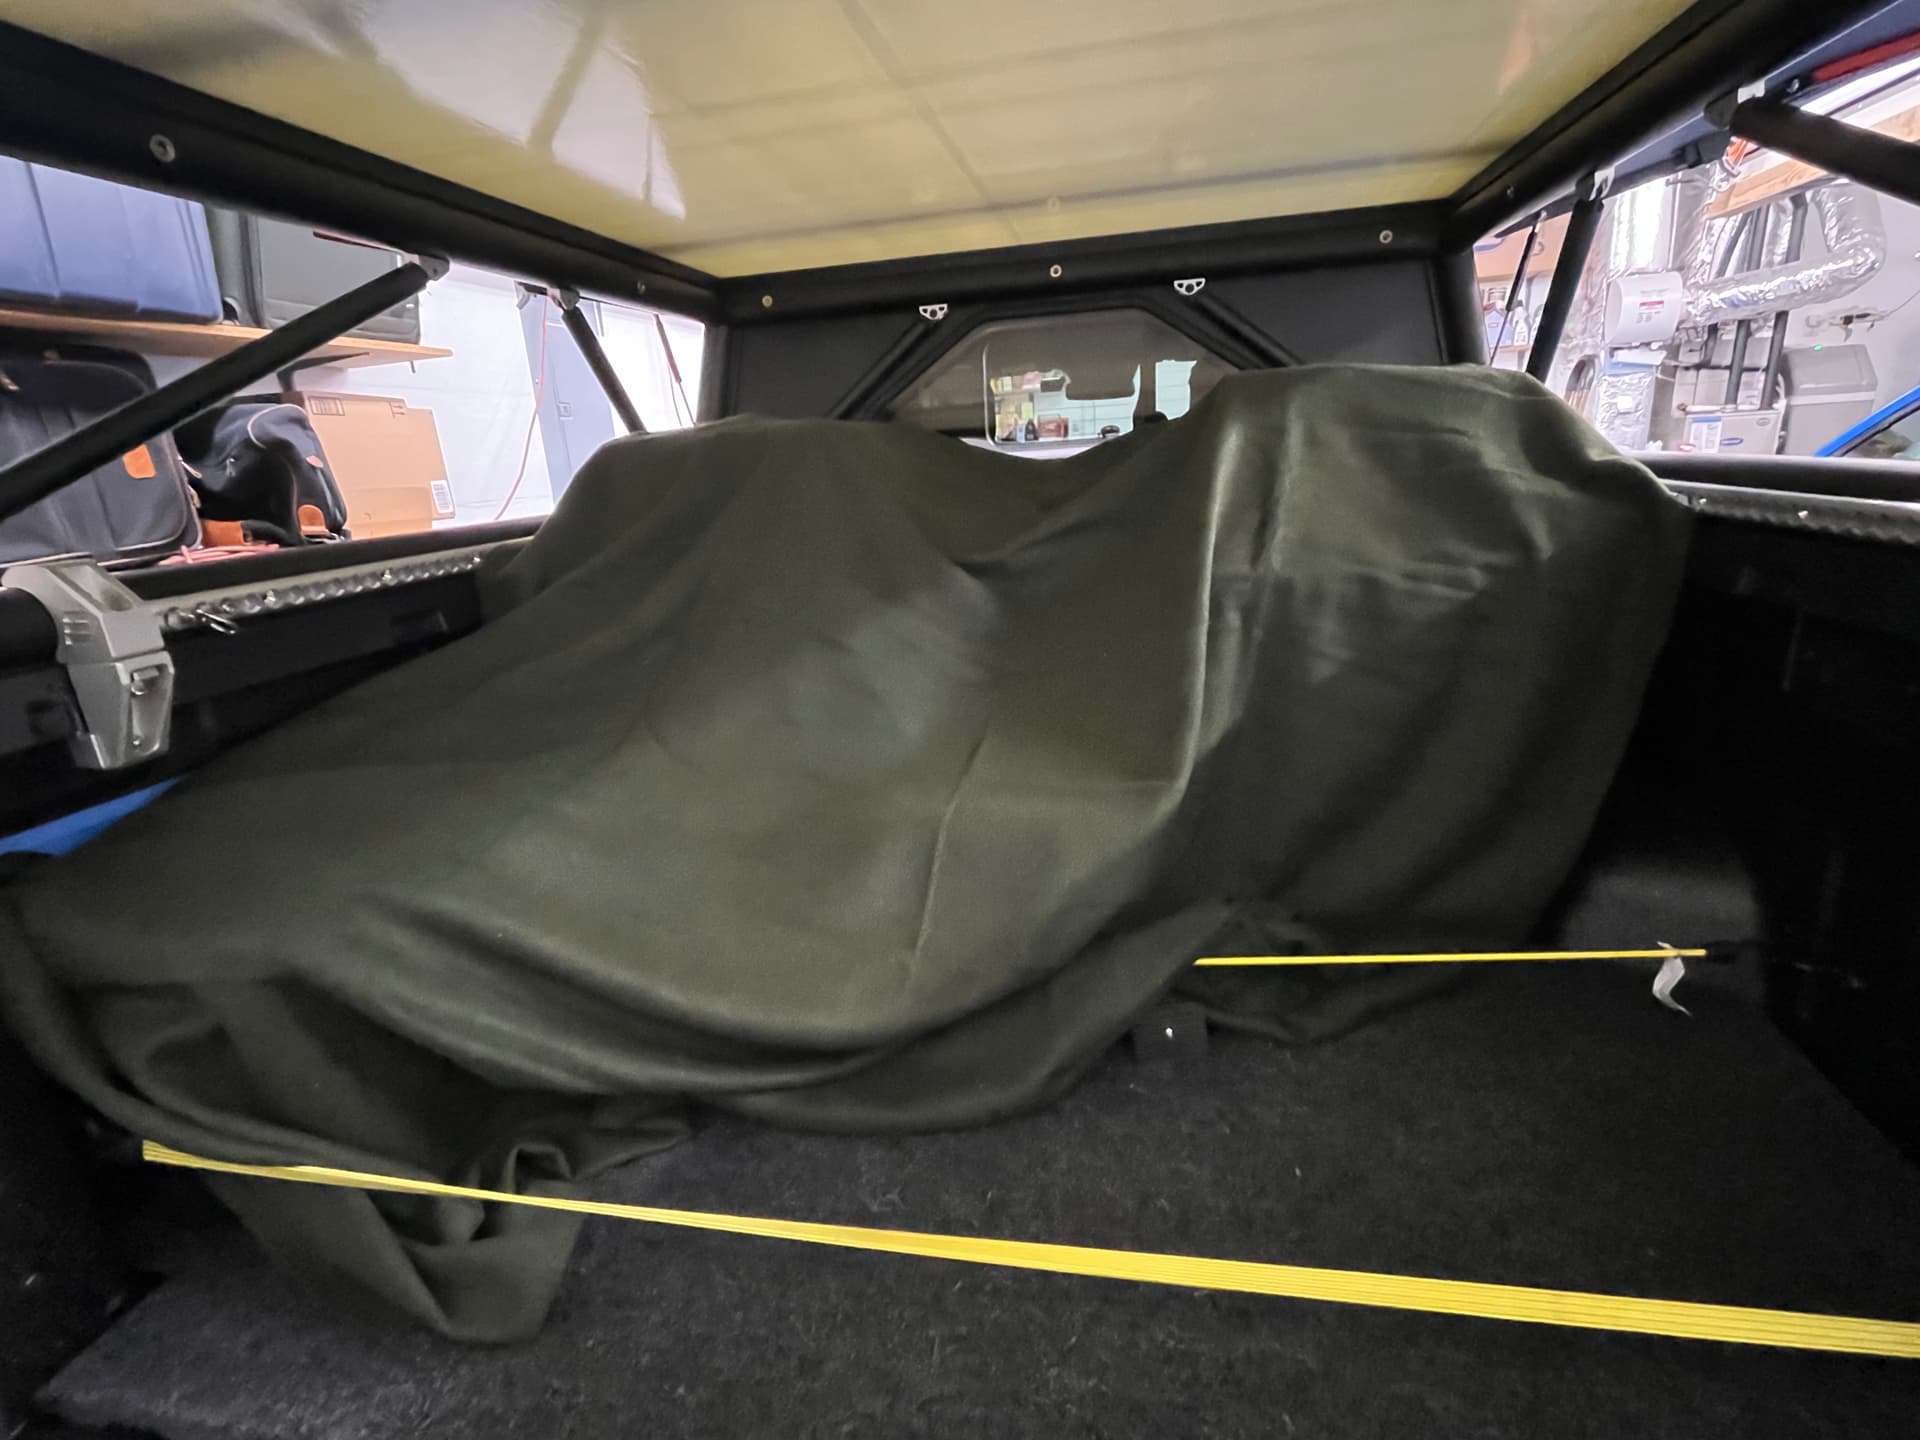
Installation is straightforward. I don’t recommend applying very much load to these since there are so few anchor bolts. Bungees or light duty cam lock straps are perfectly fine. A ratchet strap holding a dirt bike could be very destructive.
John Davies
Spokane WA USA