@MBBME- Well I hope you have a full recovery.
@Dogandagladiator- I can get the staples removed in 8 more days. I don’t know if I’ll be able to ride by then though which is a bummer.
@dmg5000 lol very true!
1 Like
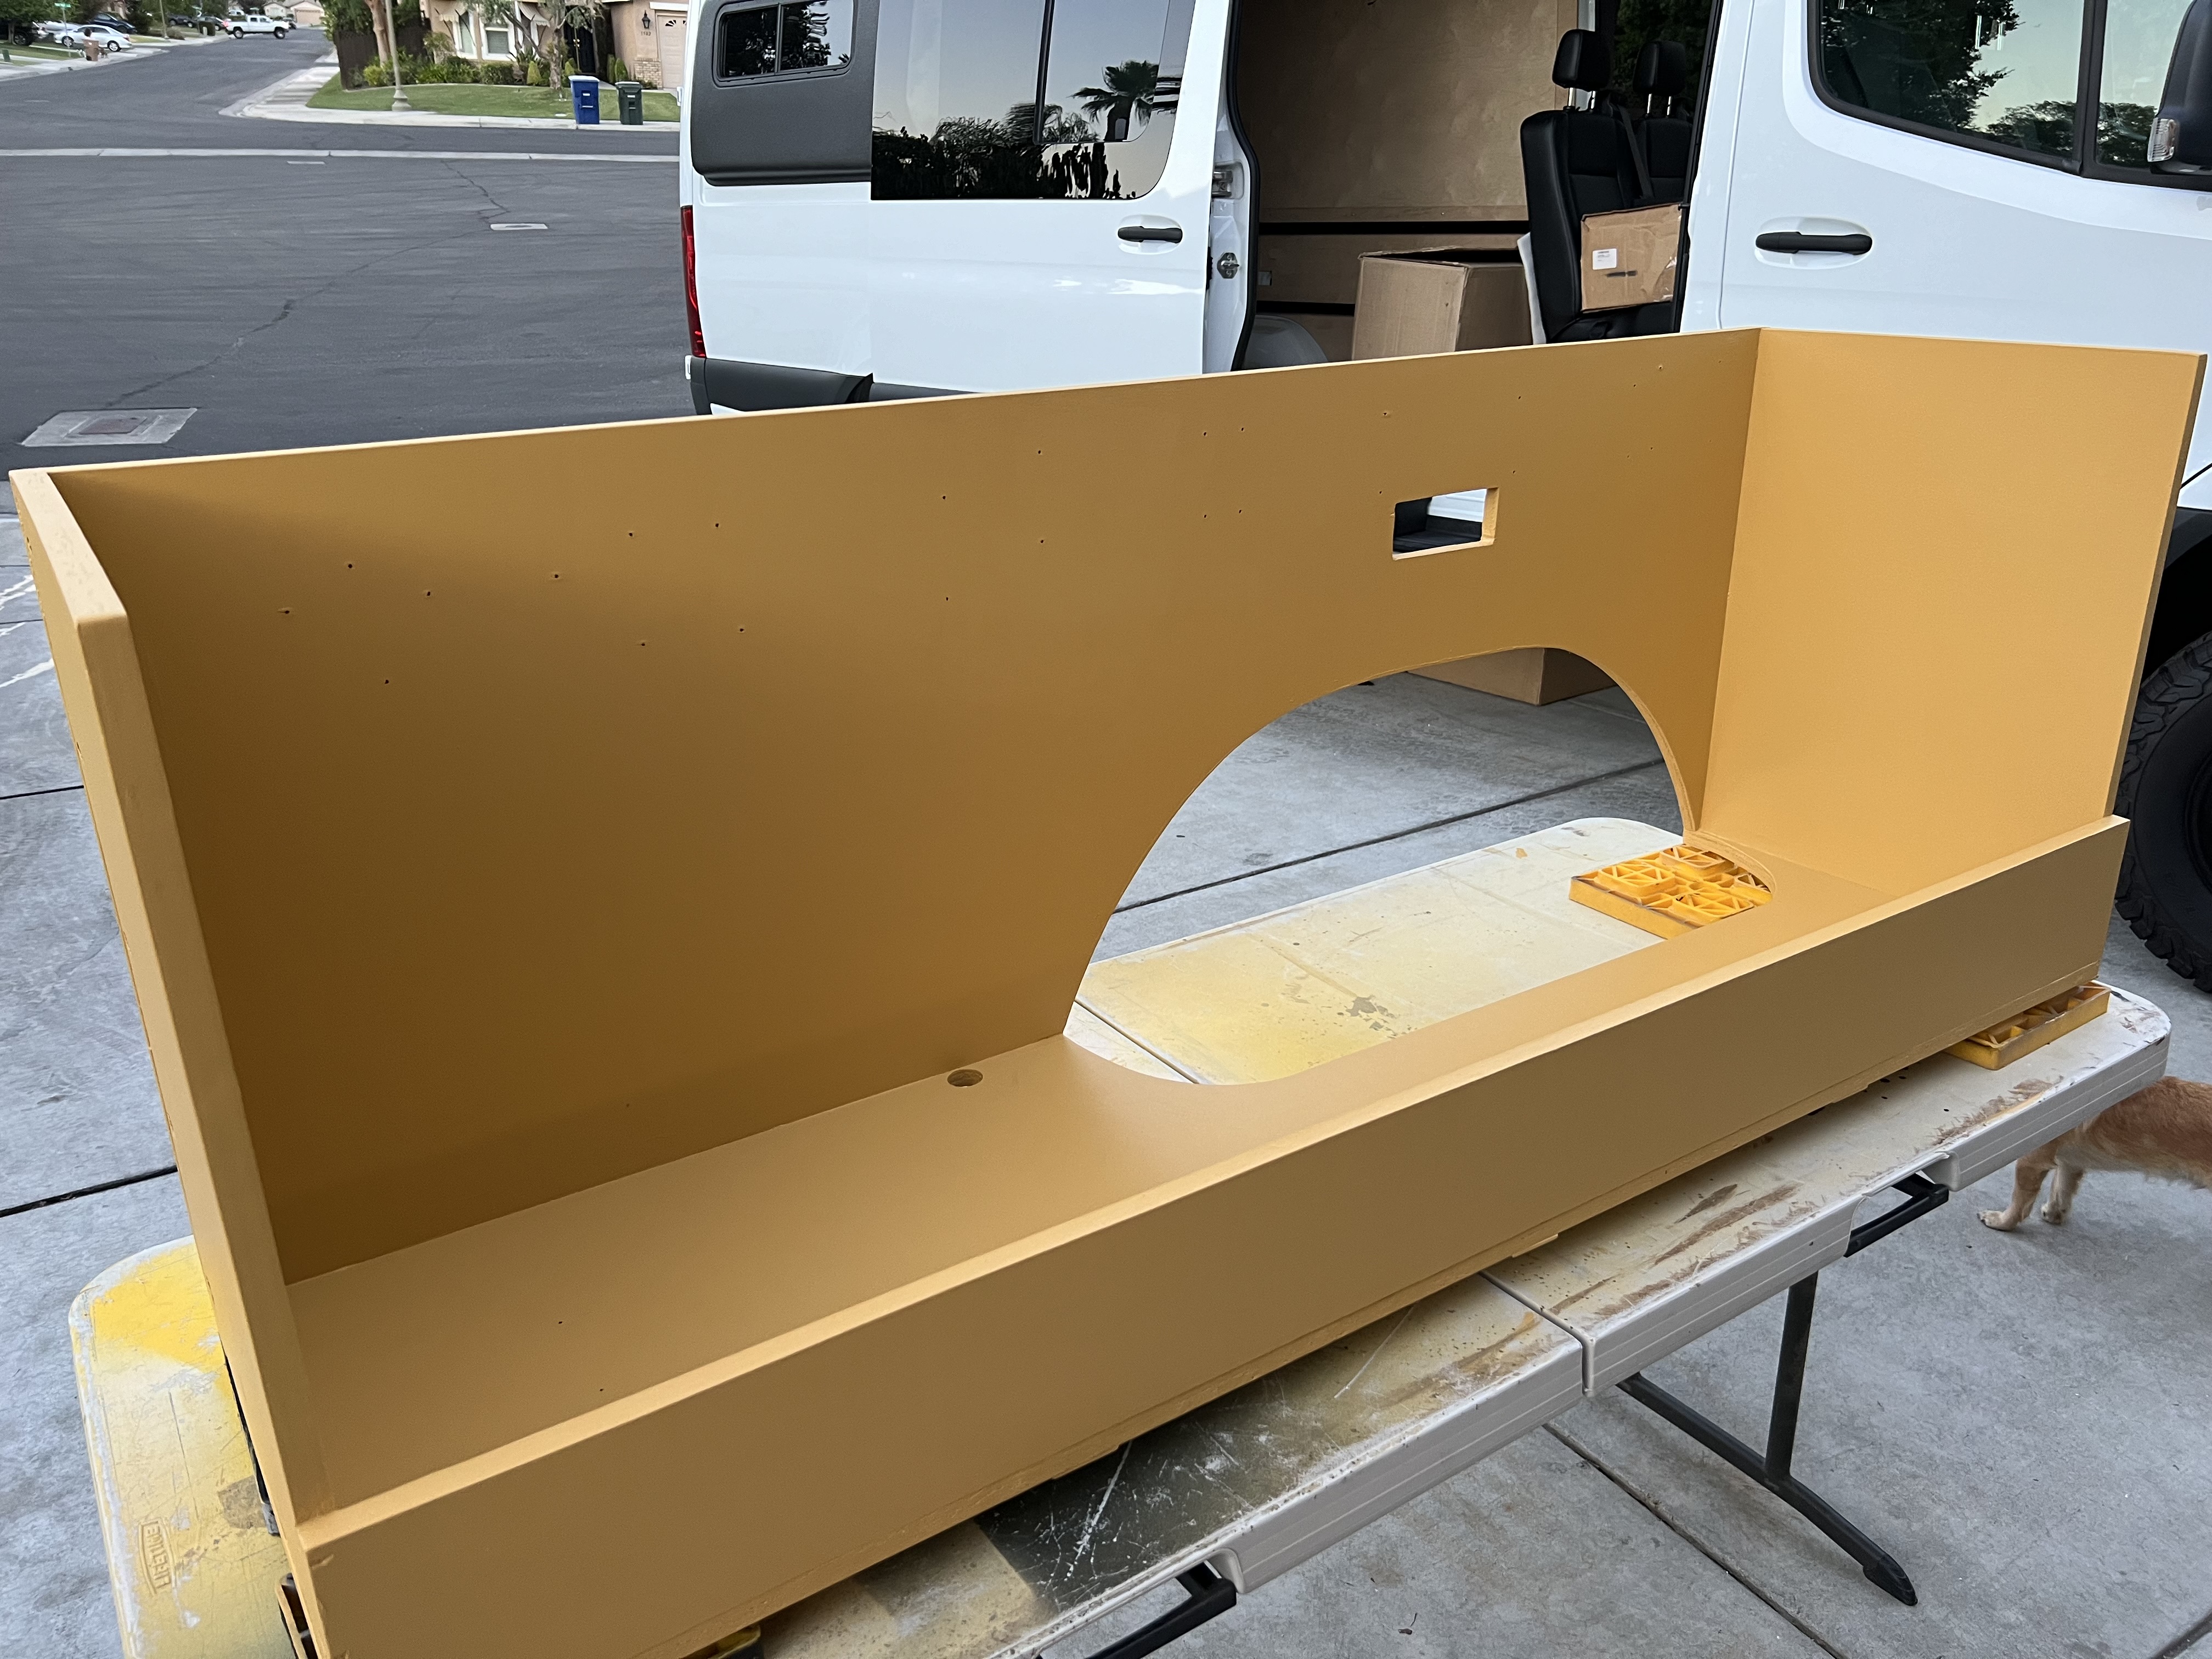
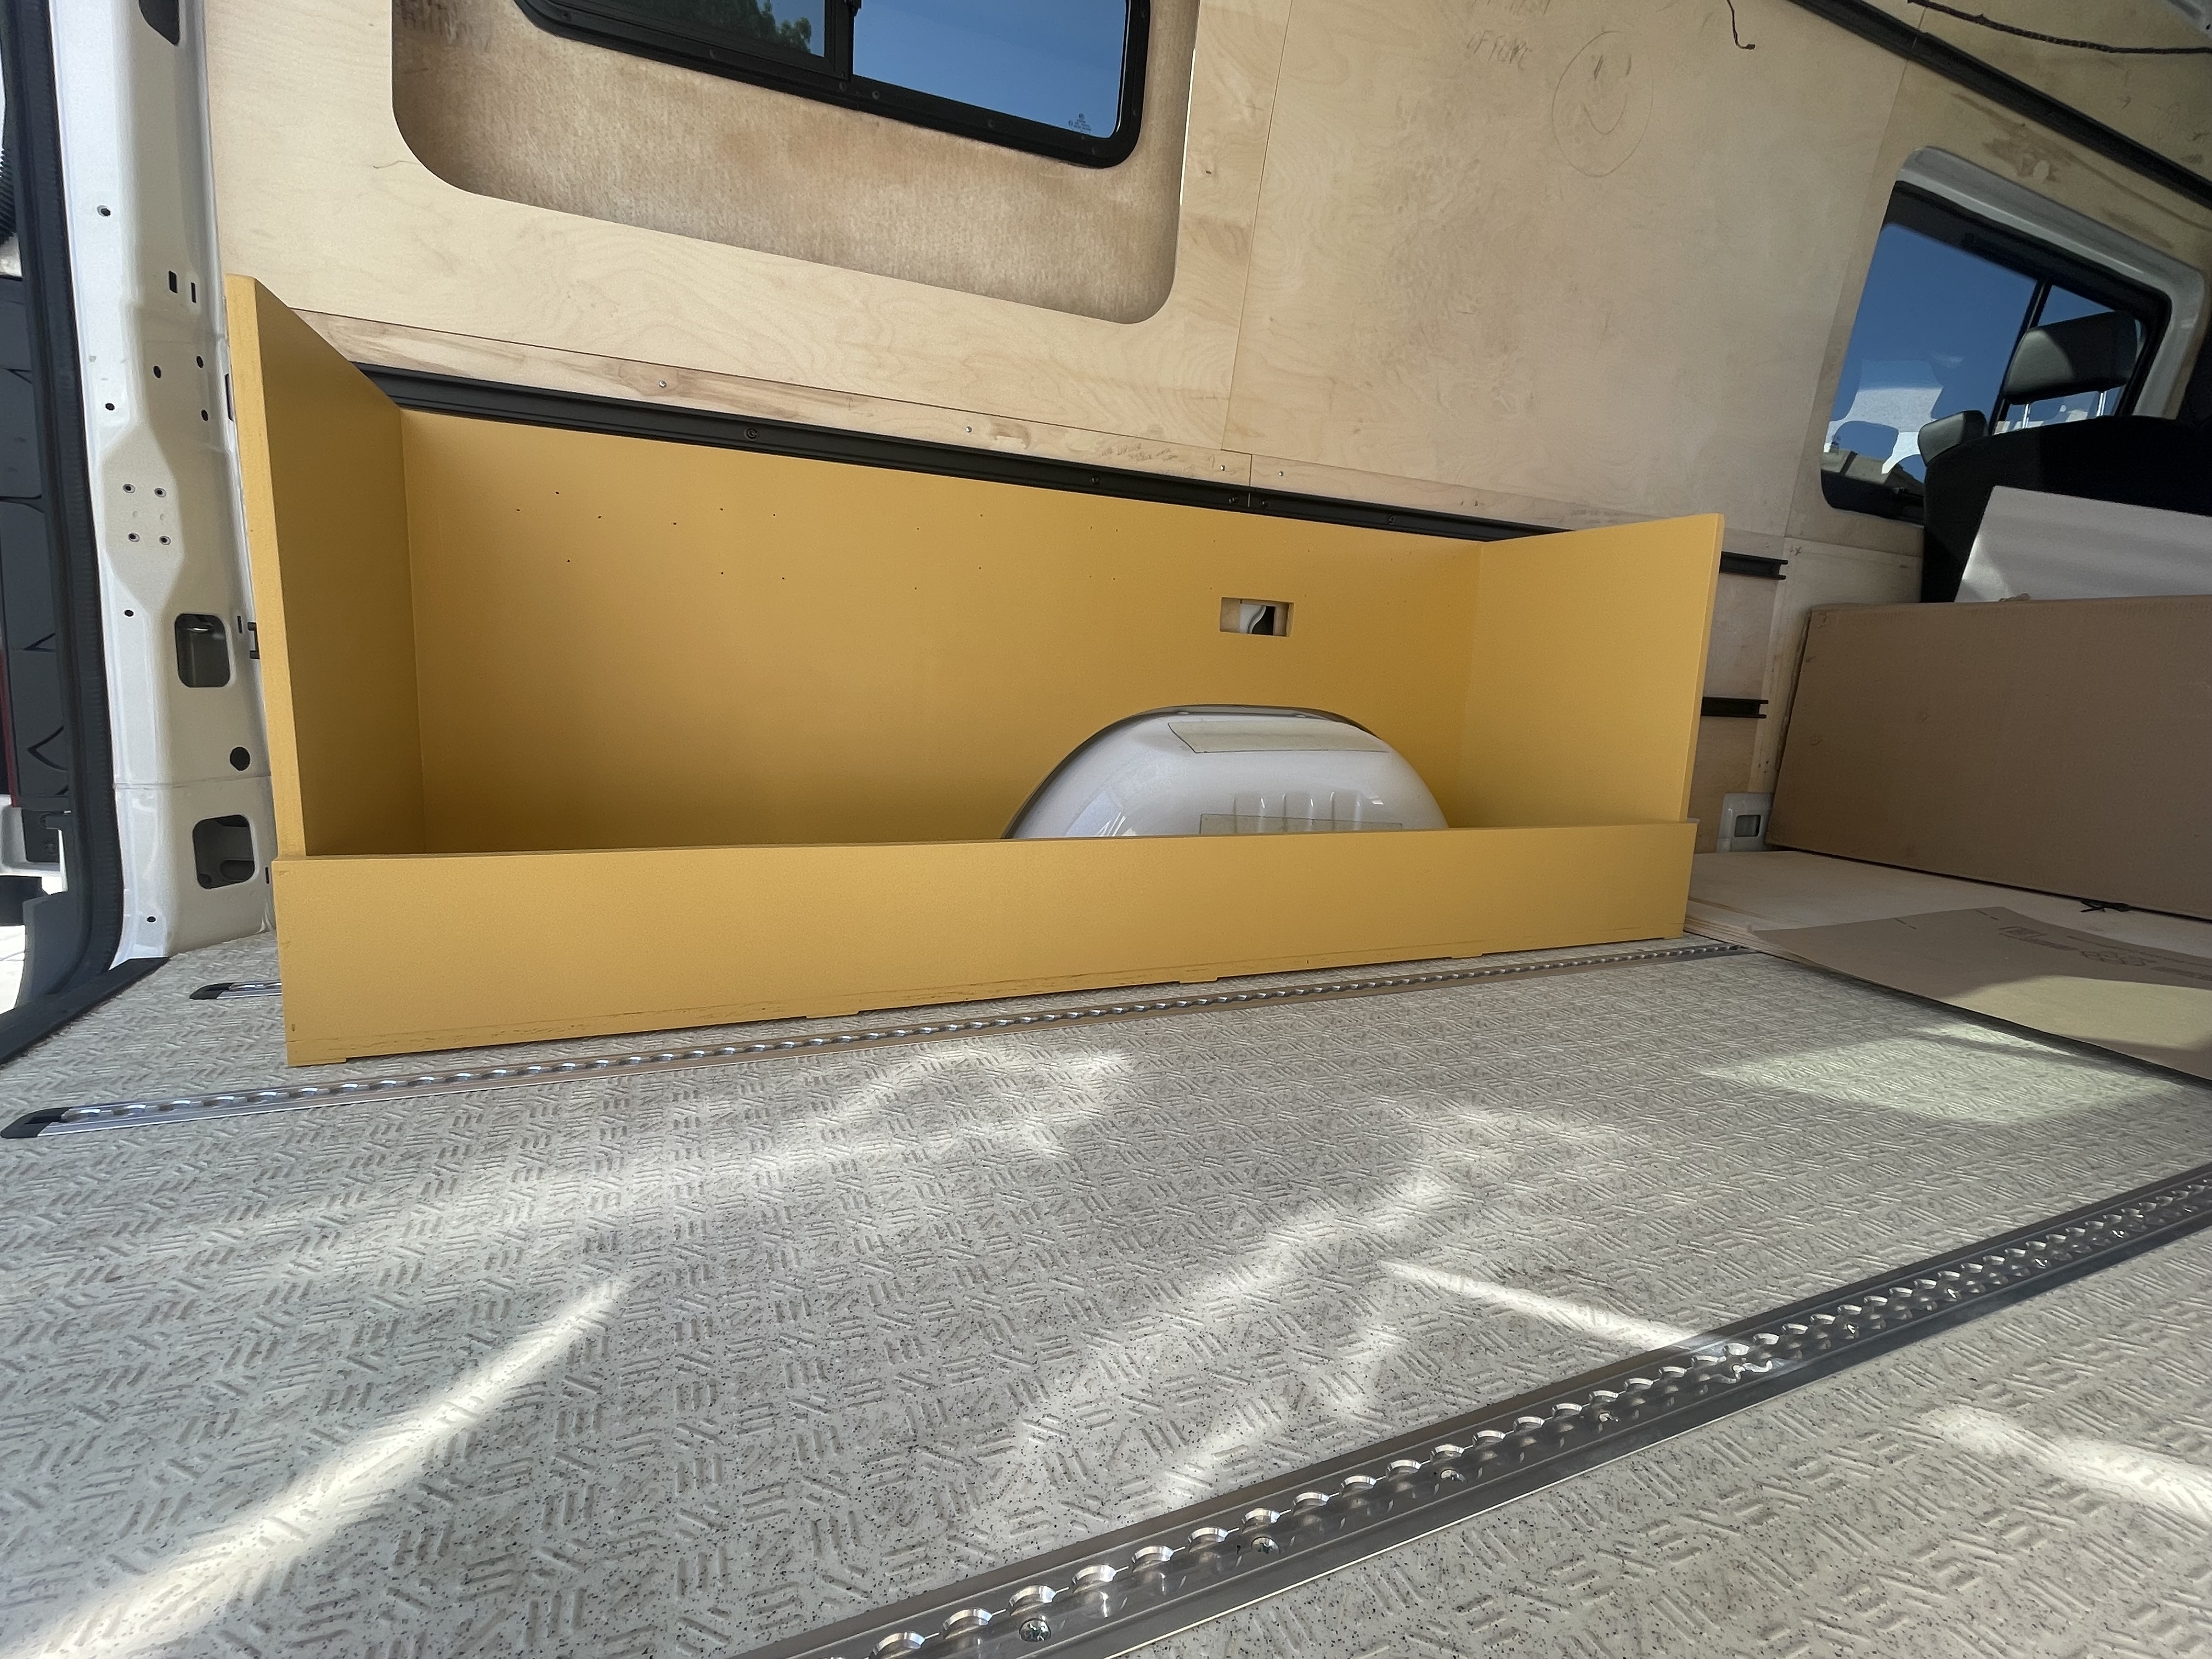
This weekend I built the driver side wheel well electrical box, test fitted the main electrical system components, removed the components and then painted it. The electrical box will be secured via the L-Track on the floor and the unistrut on the wall. My goal is to make this build as modular as possible, without it looking modular. With that said, the electrical box is a stand alone unit, with the aluminum extrusion framed murphy bed system independent of the electrical box for structural support.
The 24V lithium battery system consists of 7000 watt hours of energy, 3000w AC 120V inverter, DC to DC charging, 24V to 12V converter for 12V appliances, Solar charging via 500W on the roof and an additional 200W of ground deployable panels.


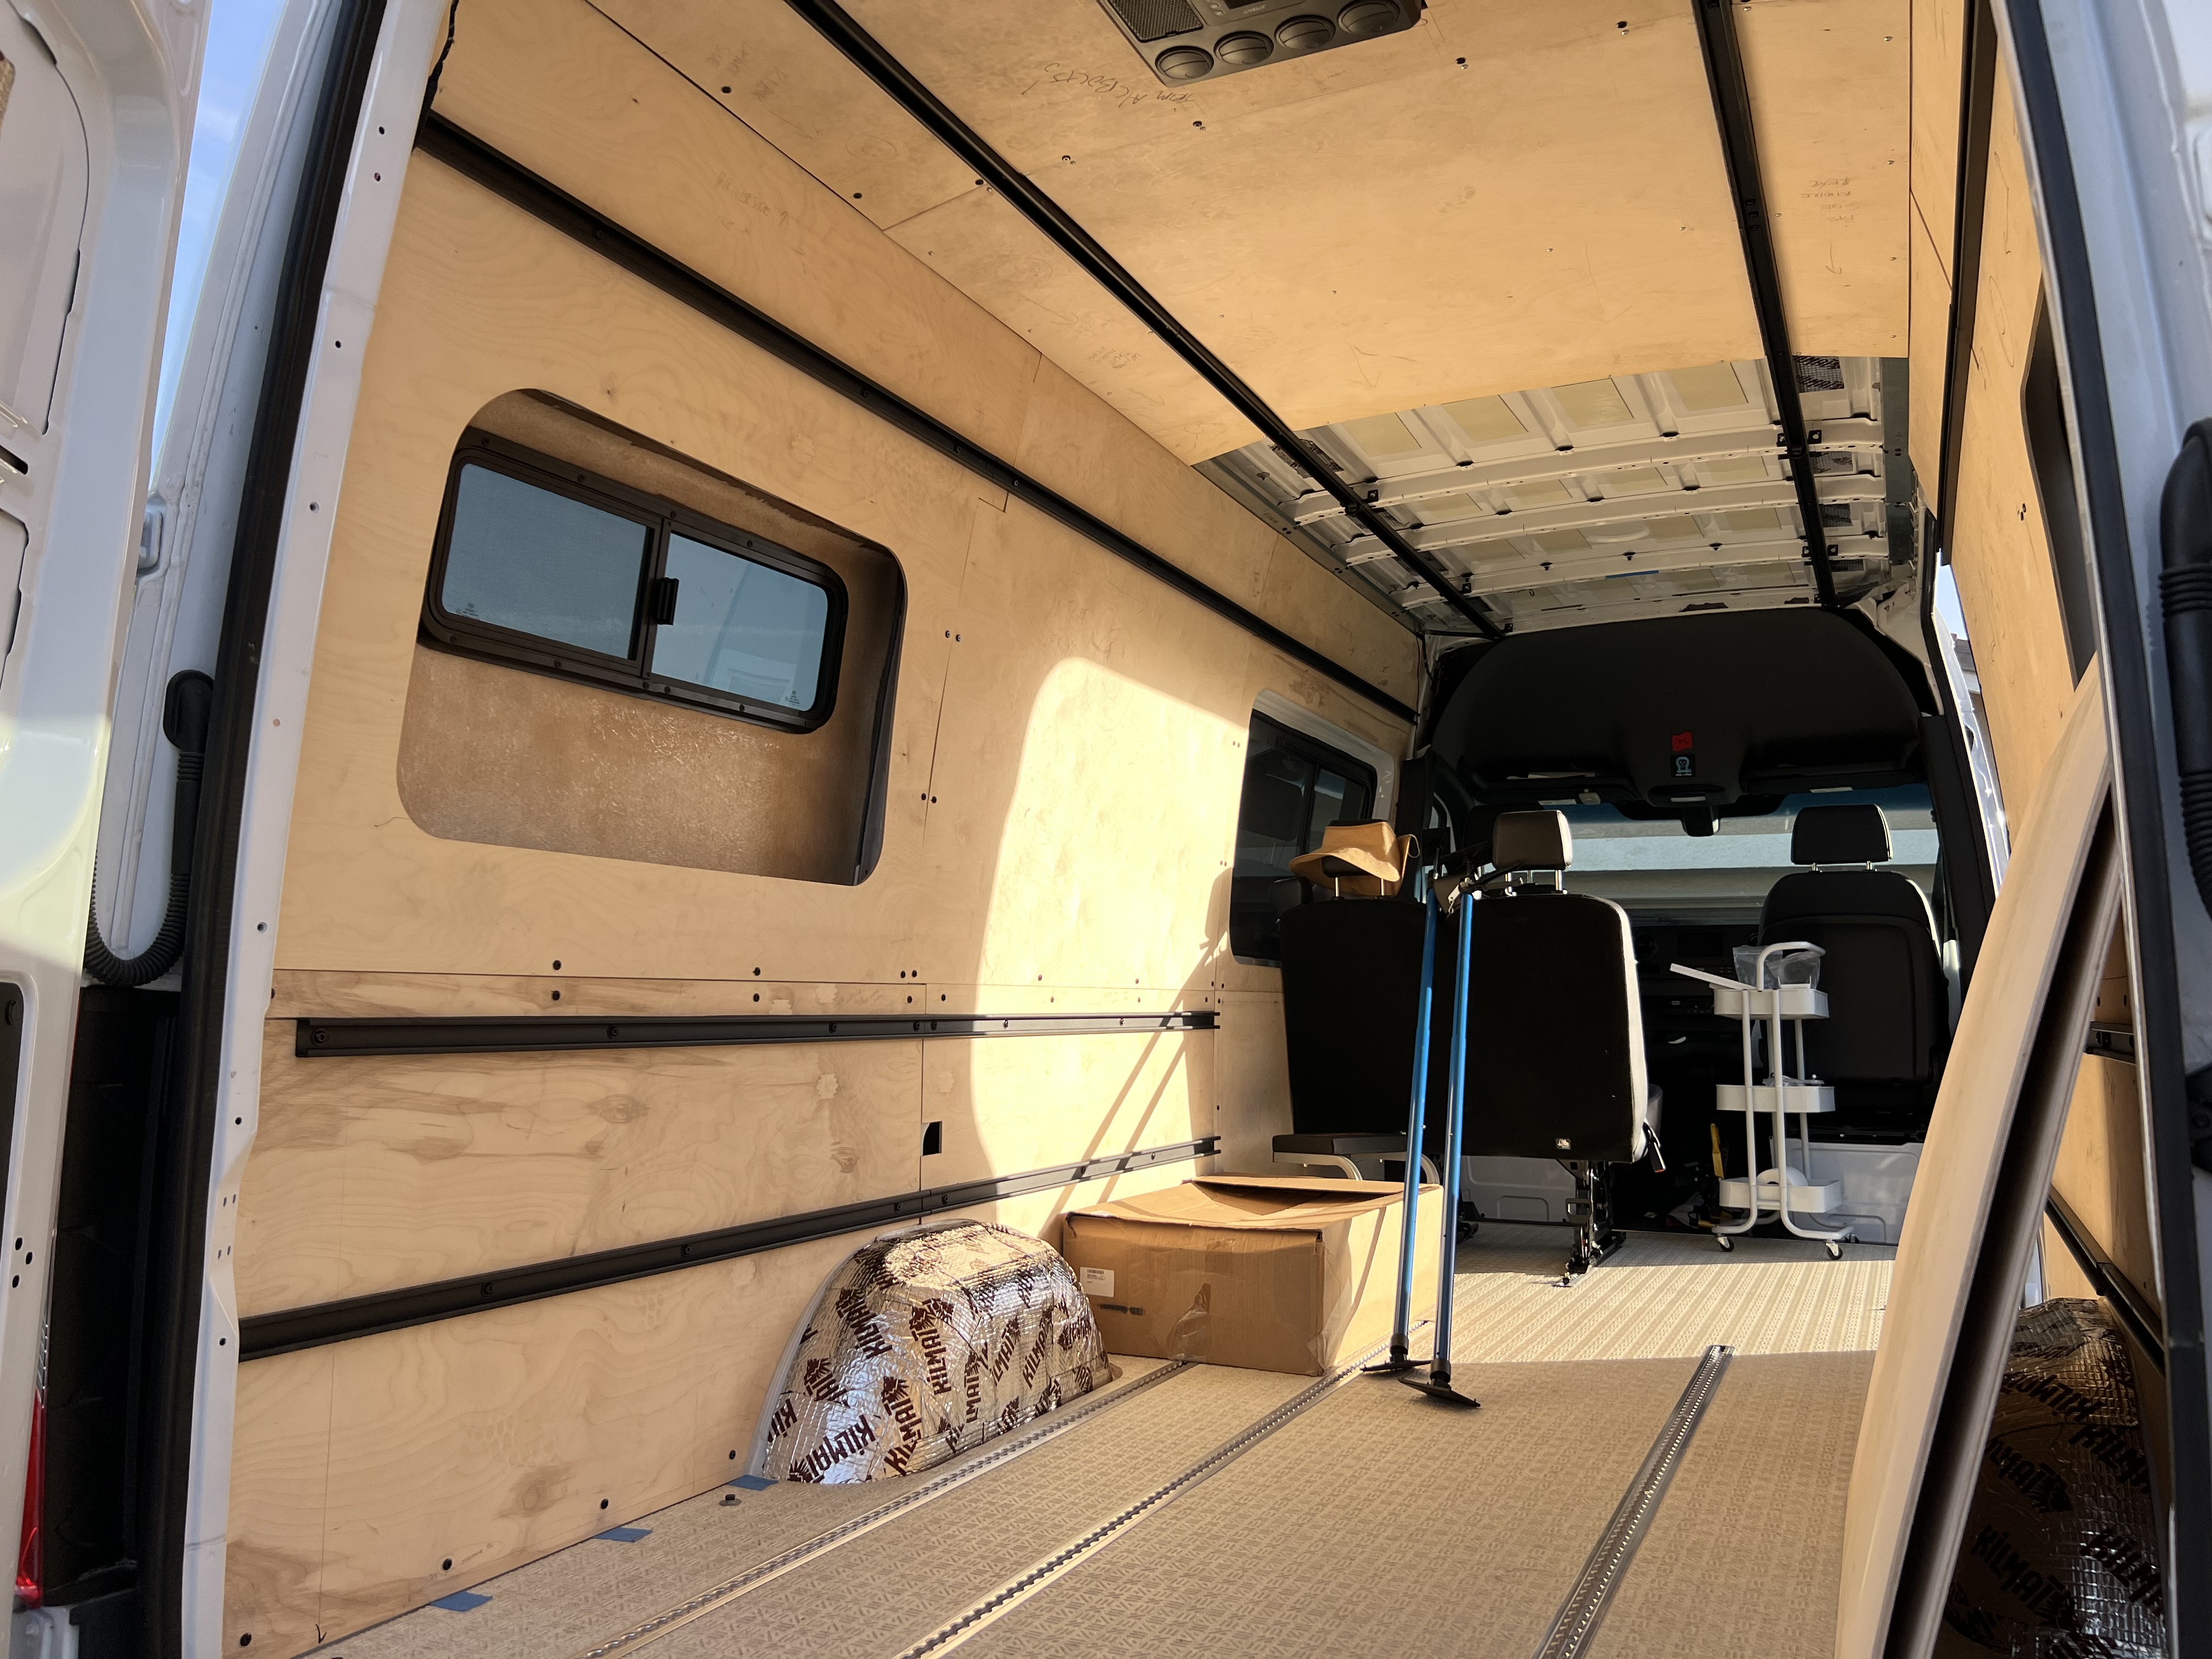
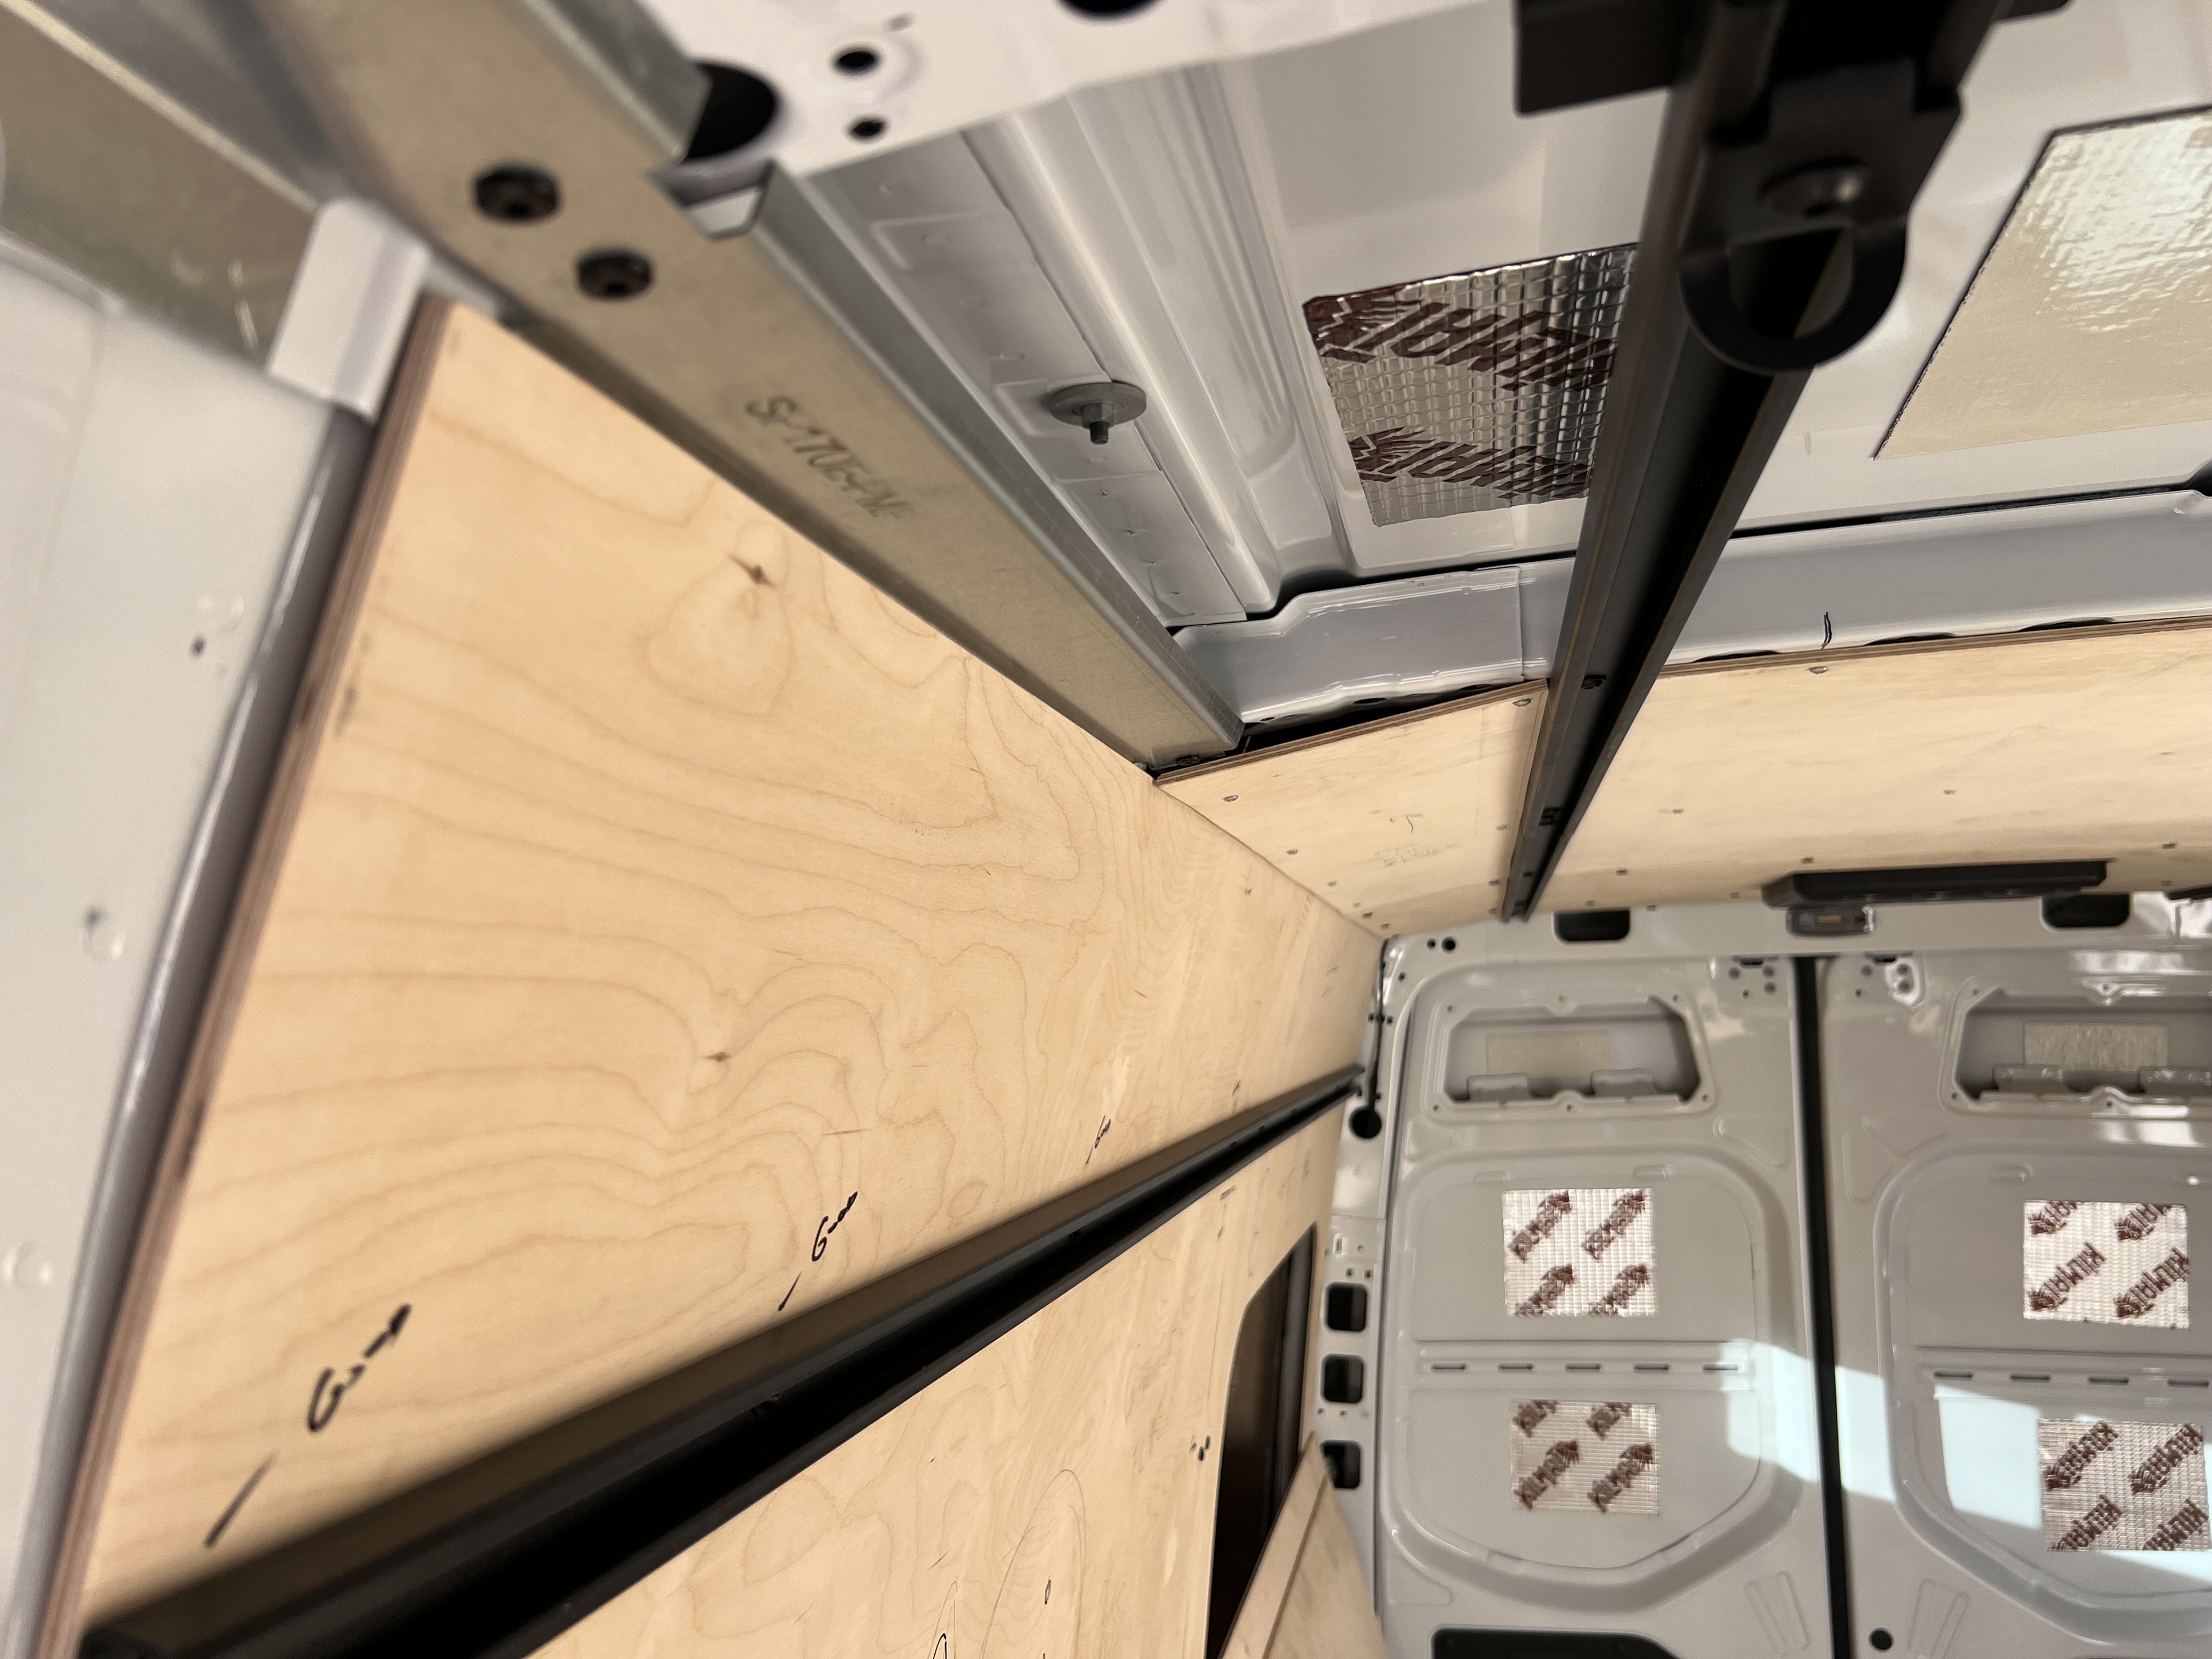
I’m at the stage now where it visually doesn’t look like much progress, but I’ve put in a lot of work. I did not want to use furring strips and wood screws to mount the wood panels. I wanted to mount the panels up via rivnuts and bolts. It is a very tedious and time consuming venture though.
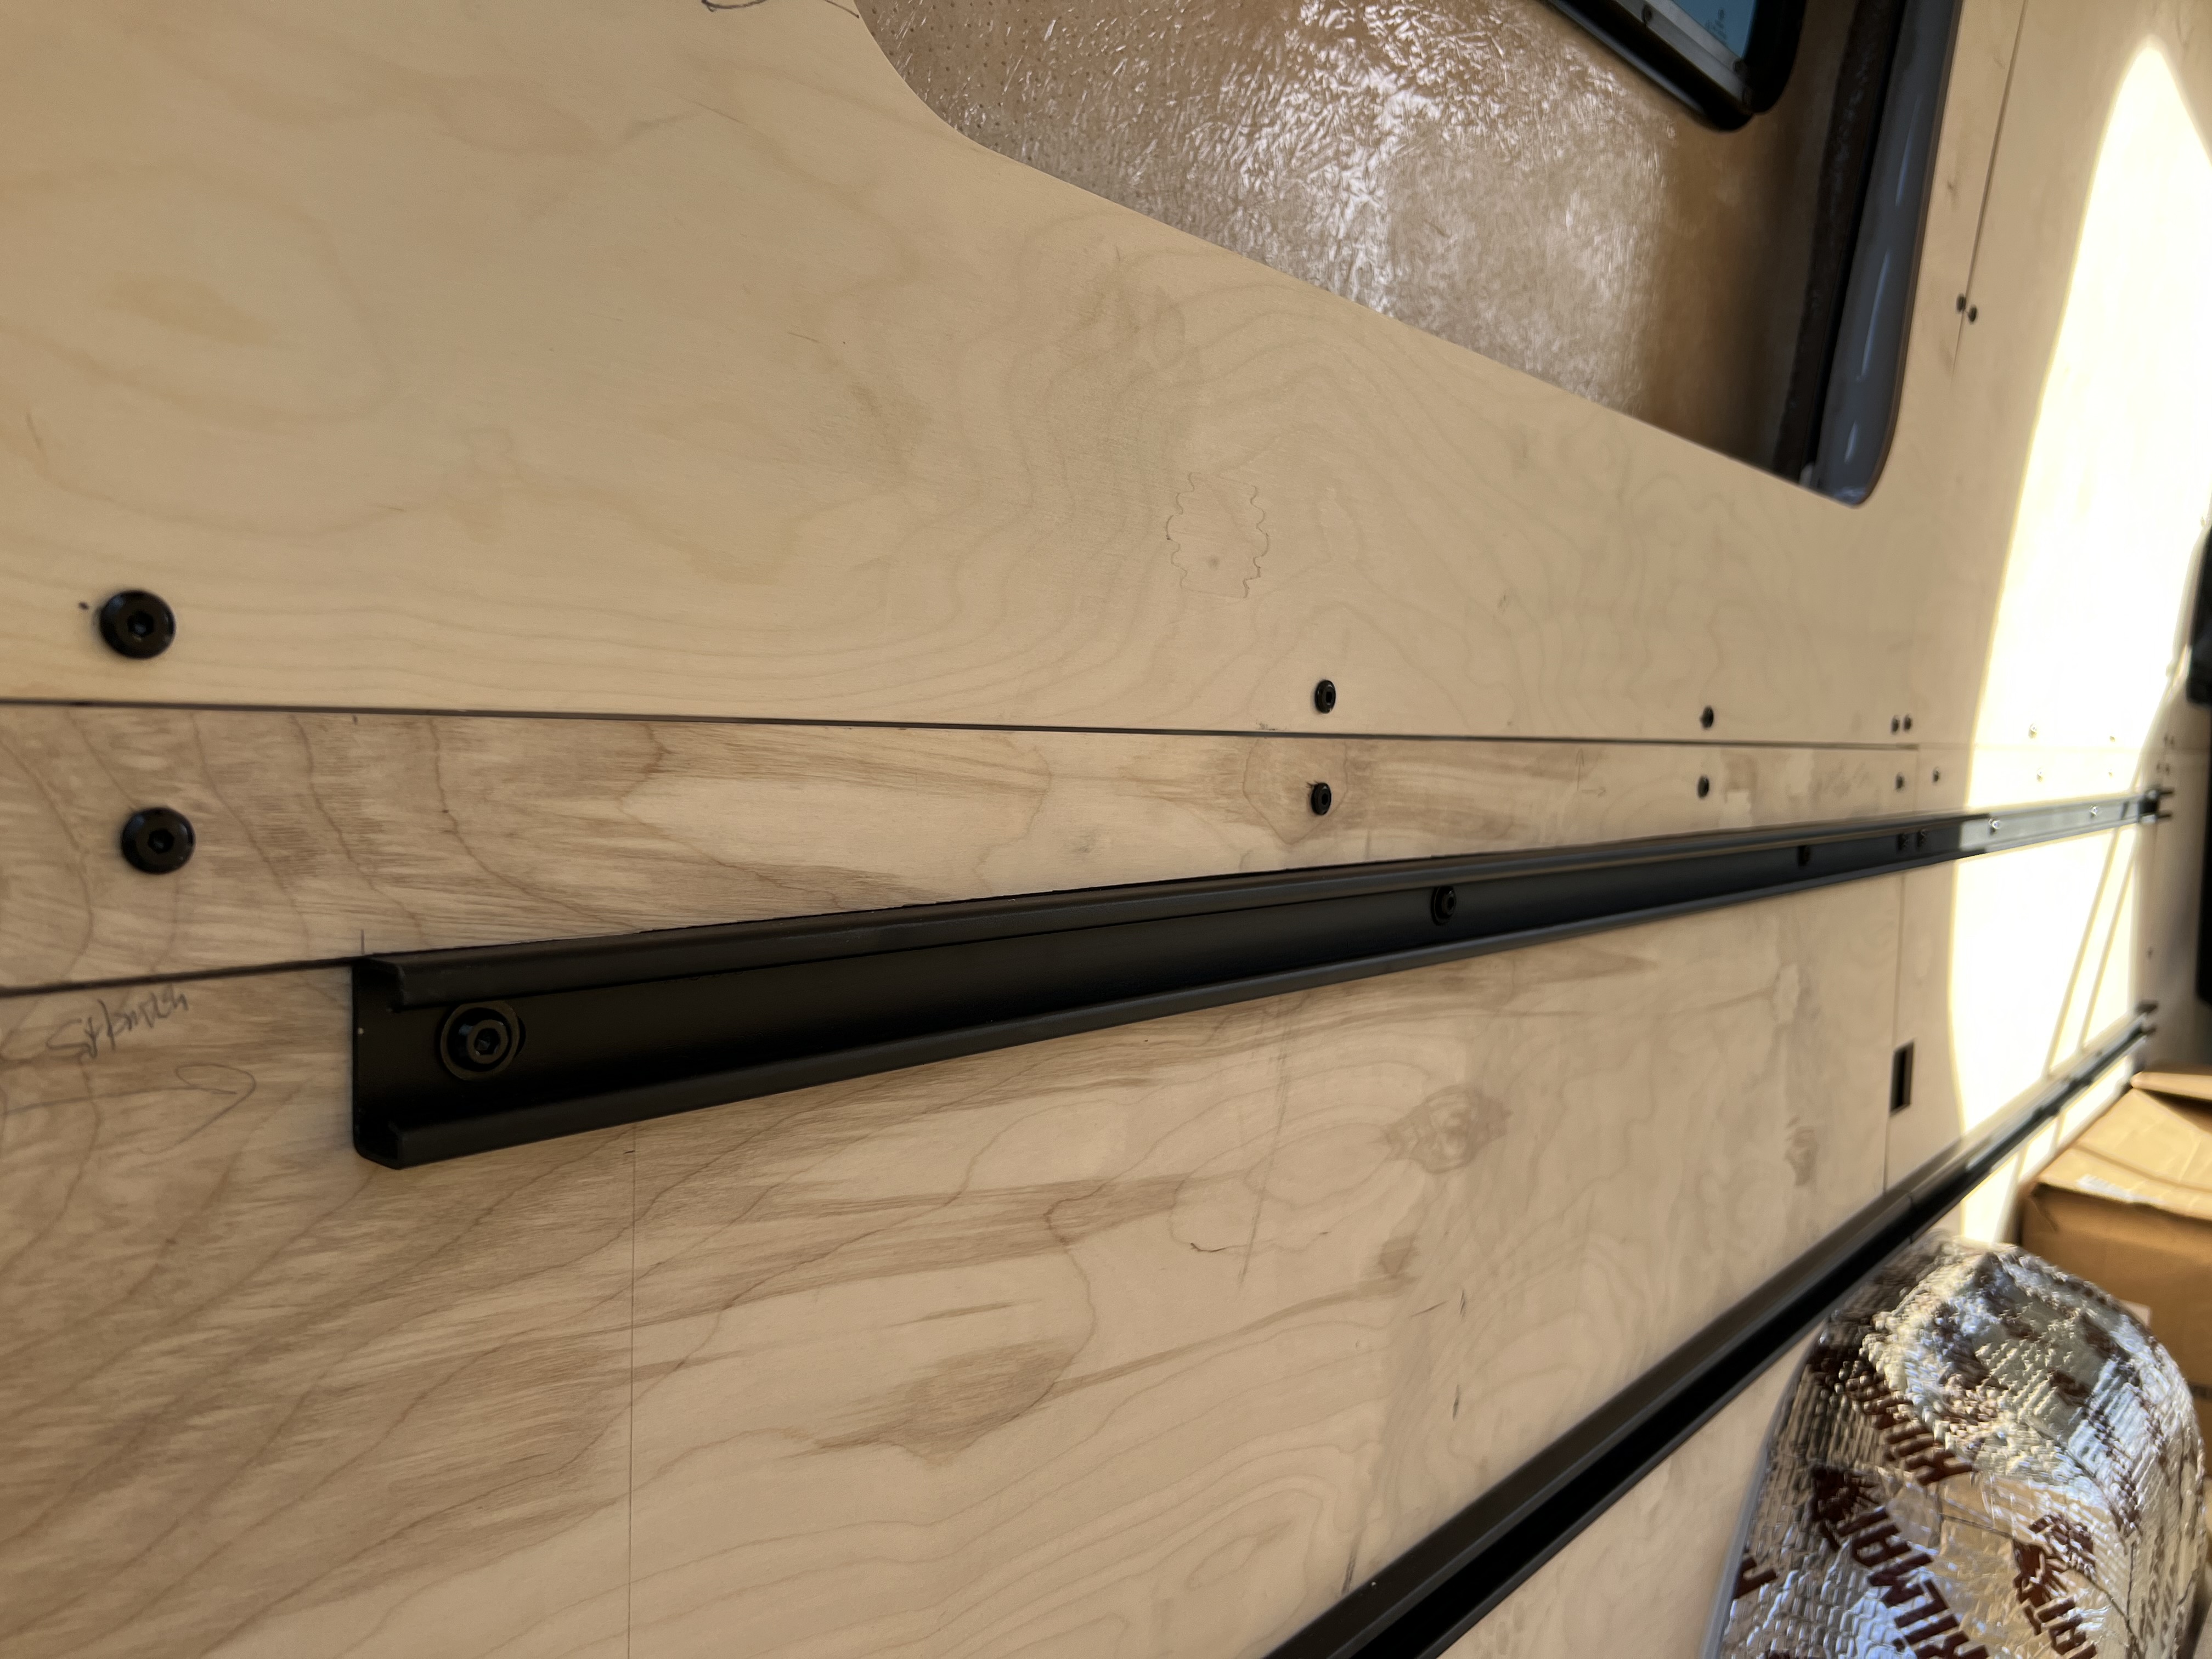
The process for each rivnut install for the wall/ceiling panels is to:
Align the wood panel to desired location,
Install/ Match drill the wood panel into the van ribs by using self tapping screws,
Remove self tapping screws and wood panel,
bore out the self tapping screw hole to a 3/8” hole, (all while using a magnet and vacuum to catch all metal debris),
Paint POR-15 onto the exposed edge of the 3/8” hole,
Install rivnut into 3/8” hole….
So far I’ve done this about 300 times and I still have about 90 more to go.
I also installed a metal trim kit to align the ceiling and wall panels flush. Without this metal trim kit the alignment wouldn’t be that good.
I hope to have this done by this weekend so I can start upholstering the panels.
Doing it right takes time. ![]() I was just thinking this morning about this project and was hoping you’d give us an update!
I was just thinking this morning about this project and was hoping you’d give us an update!
1 Like
@jedgar yeah I keep telling myself that, to be patient and don’t rush it. I sure am ready to move on to the next step though
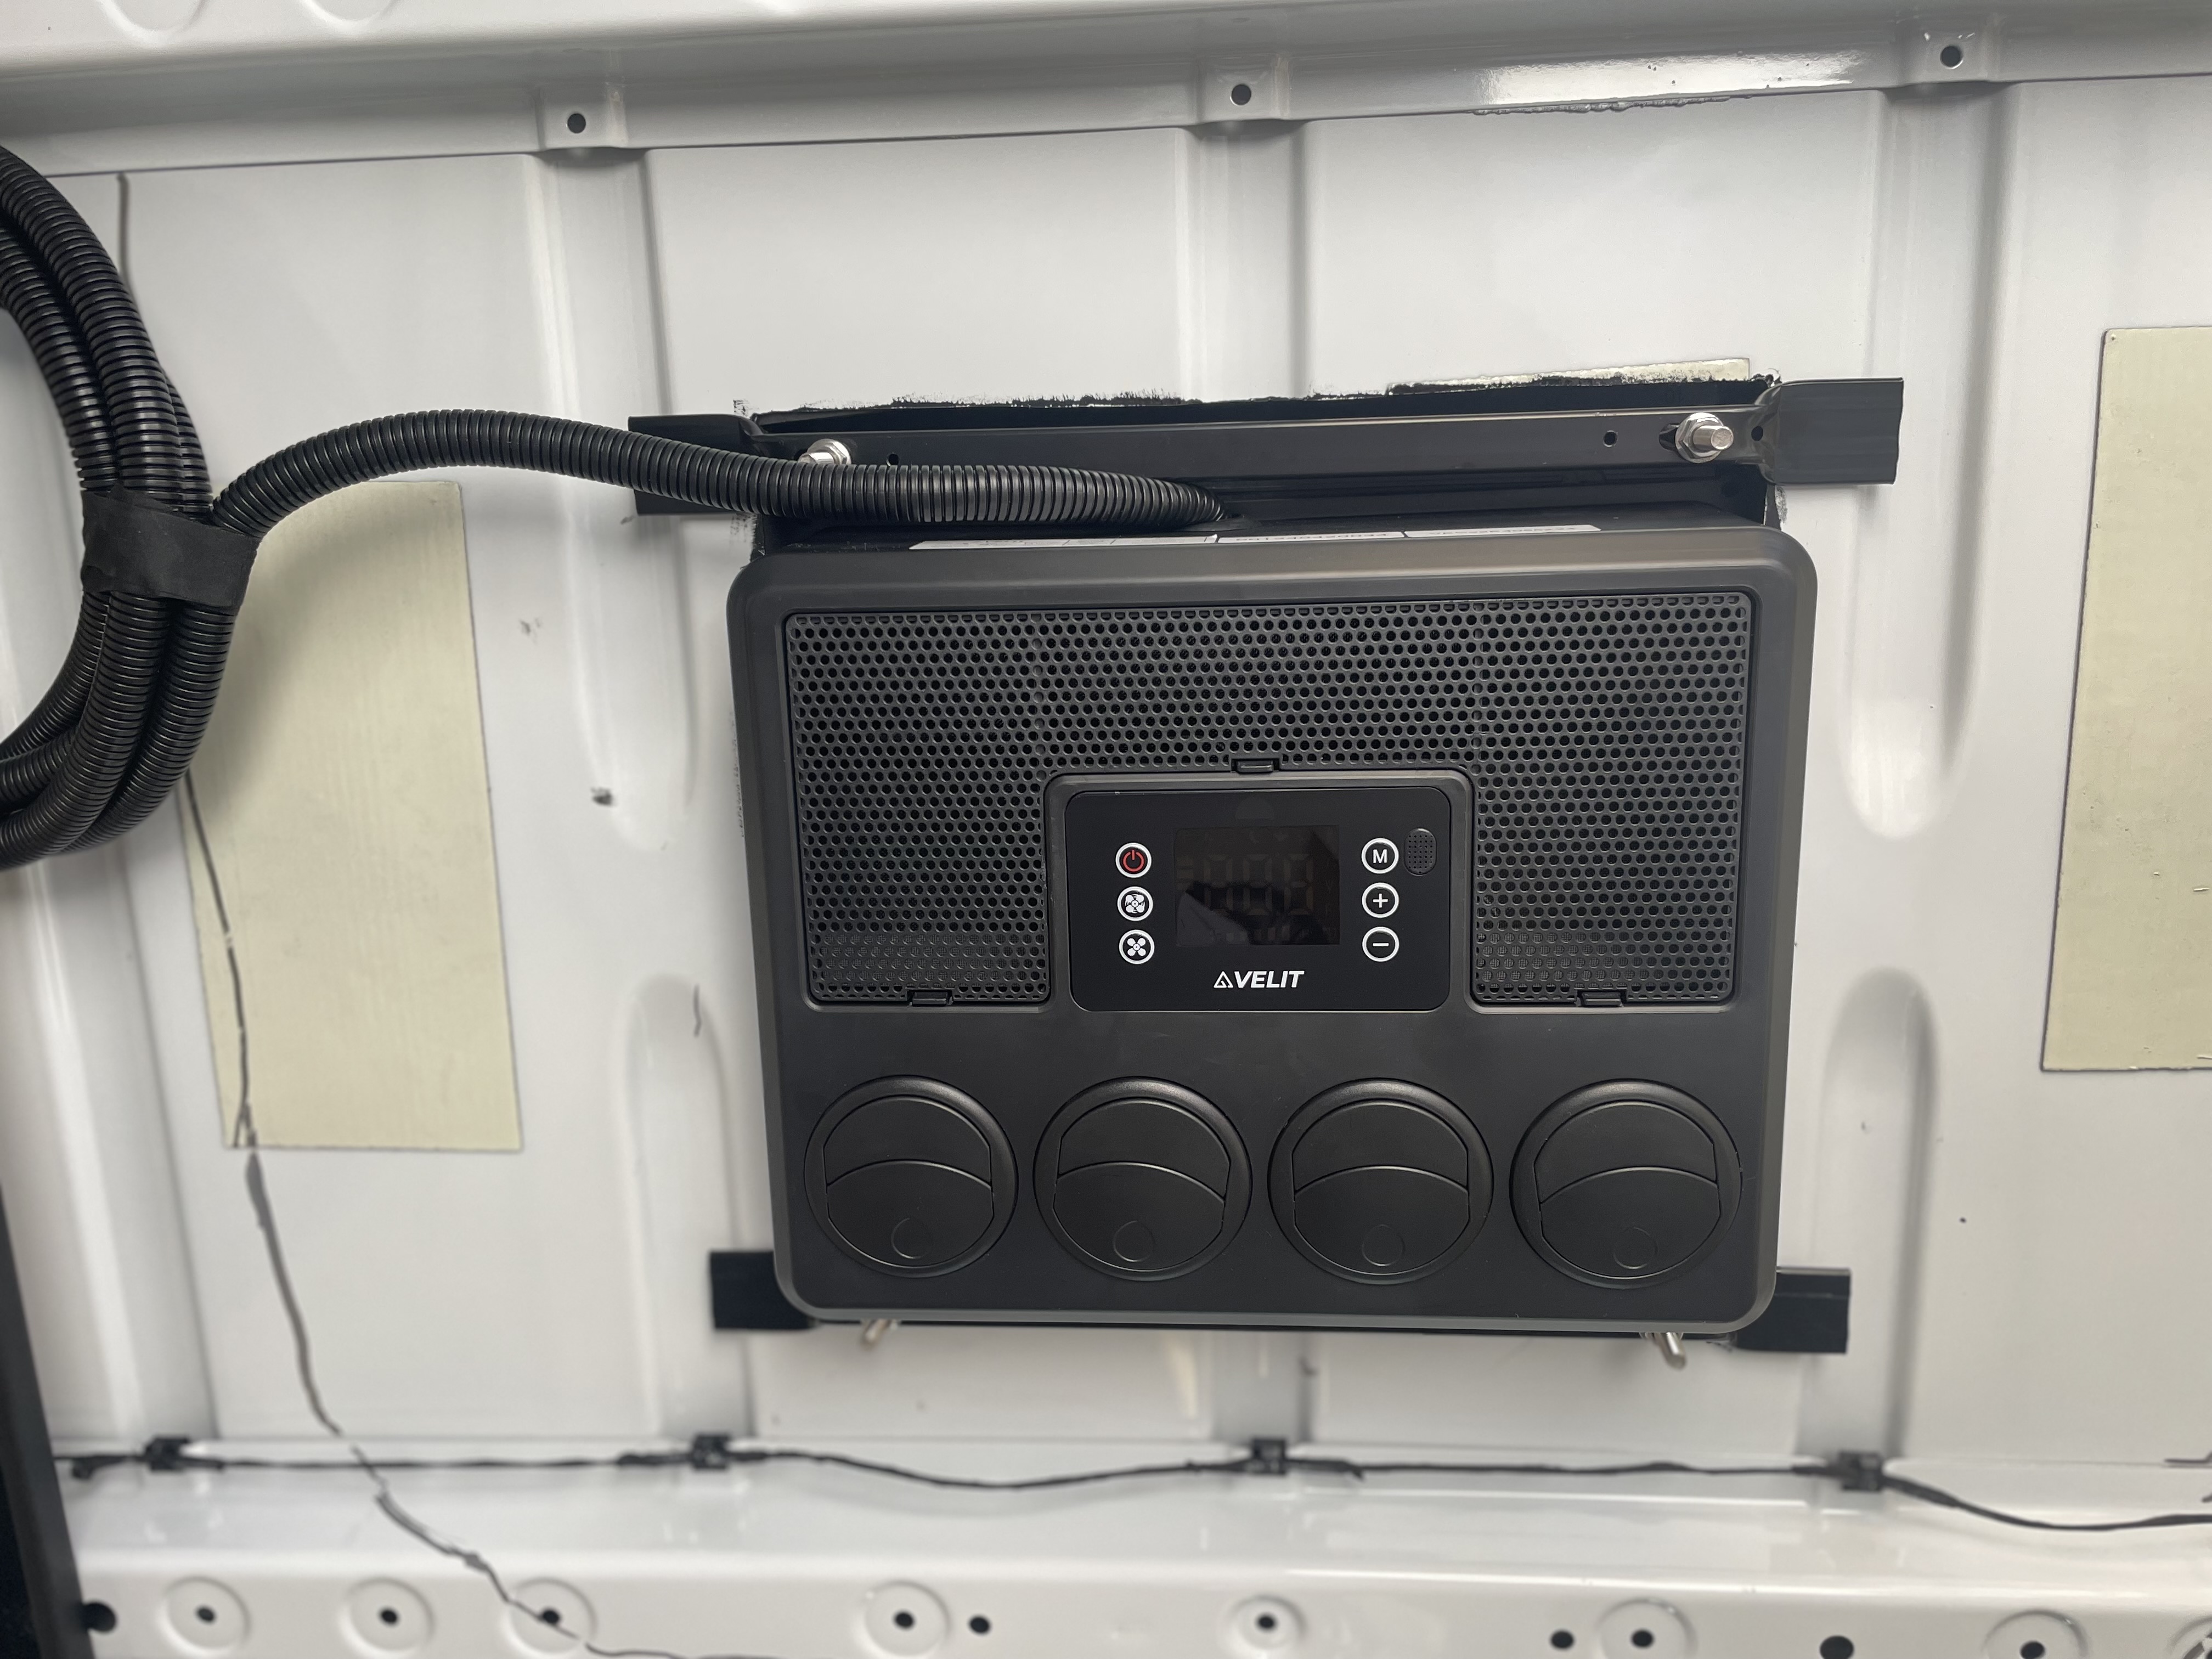
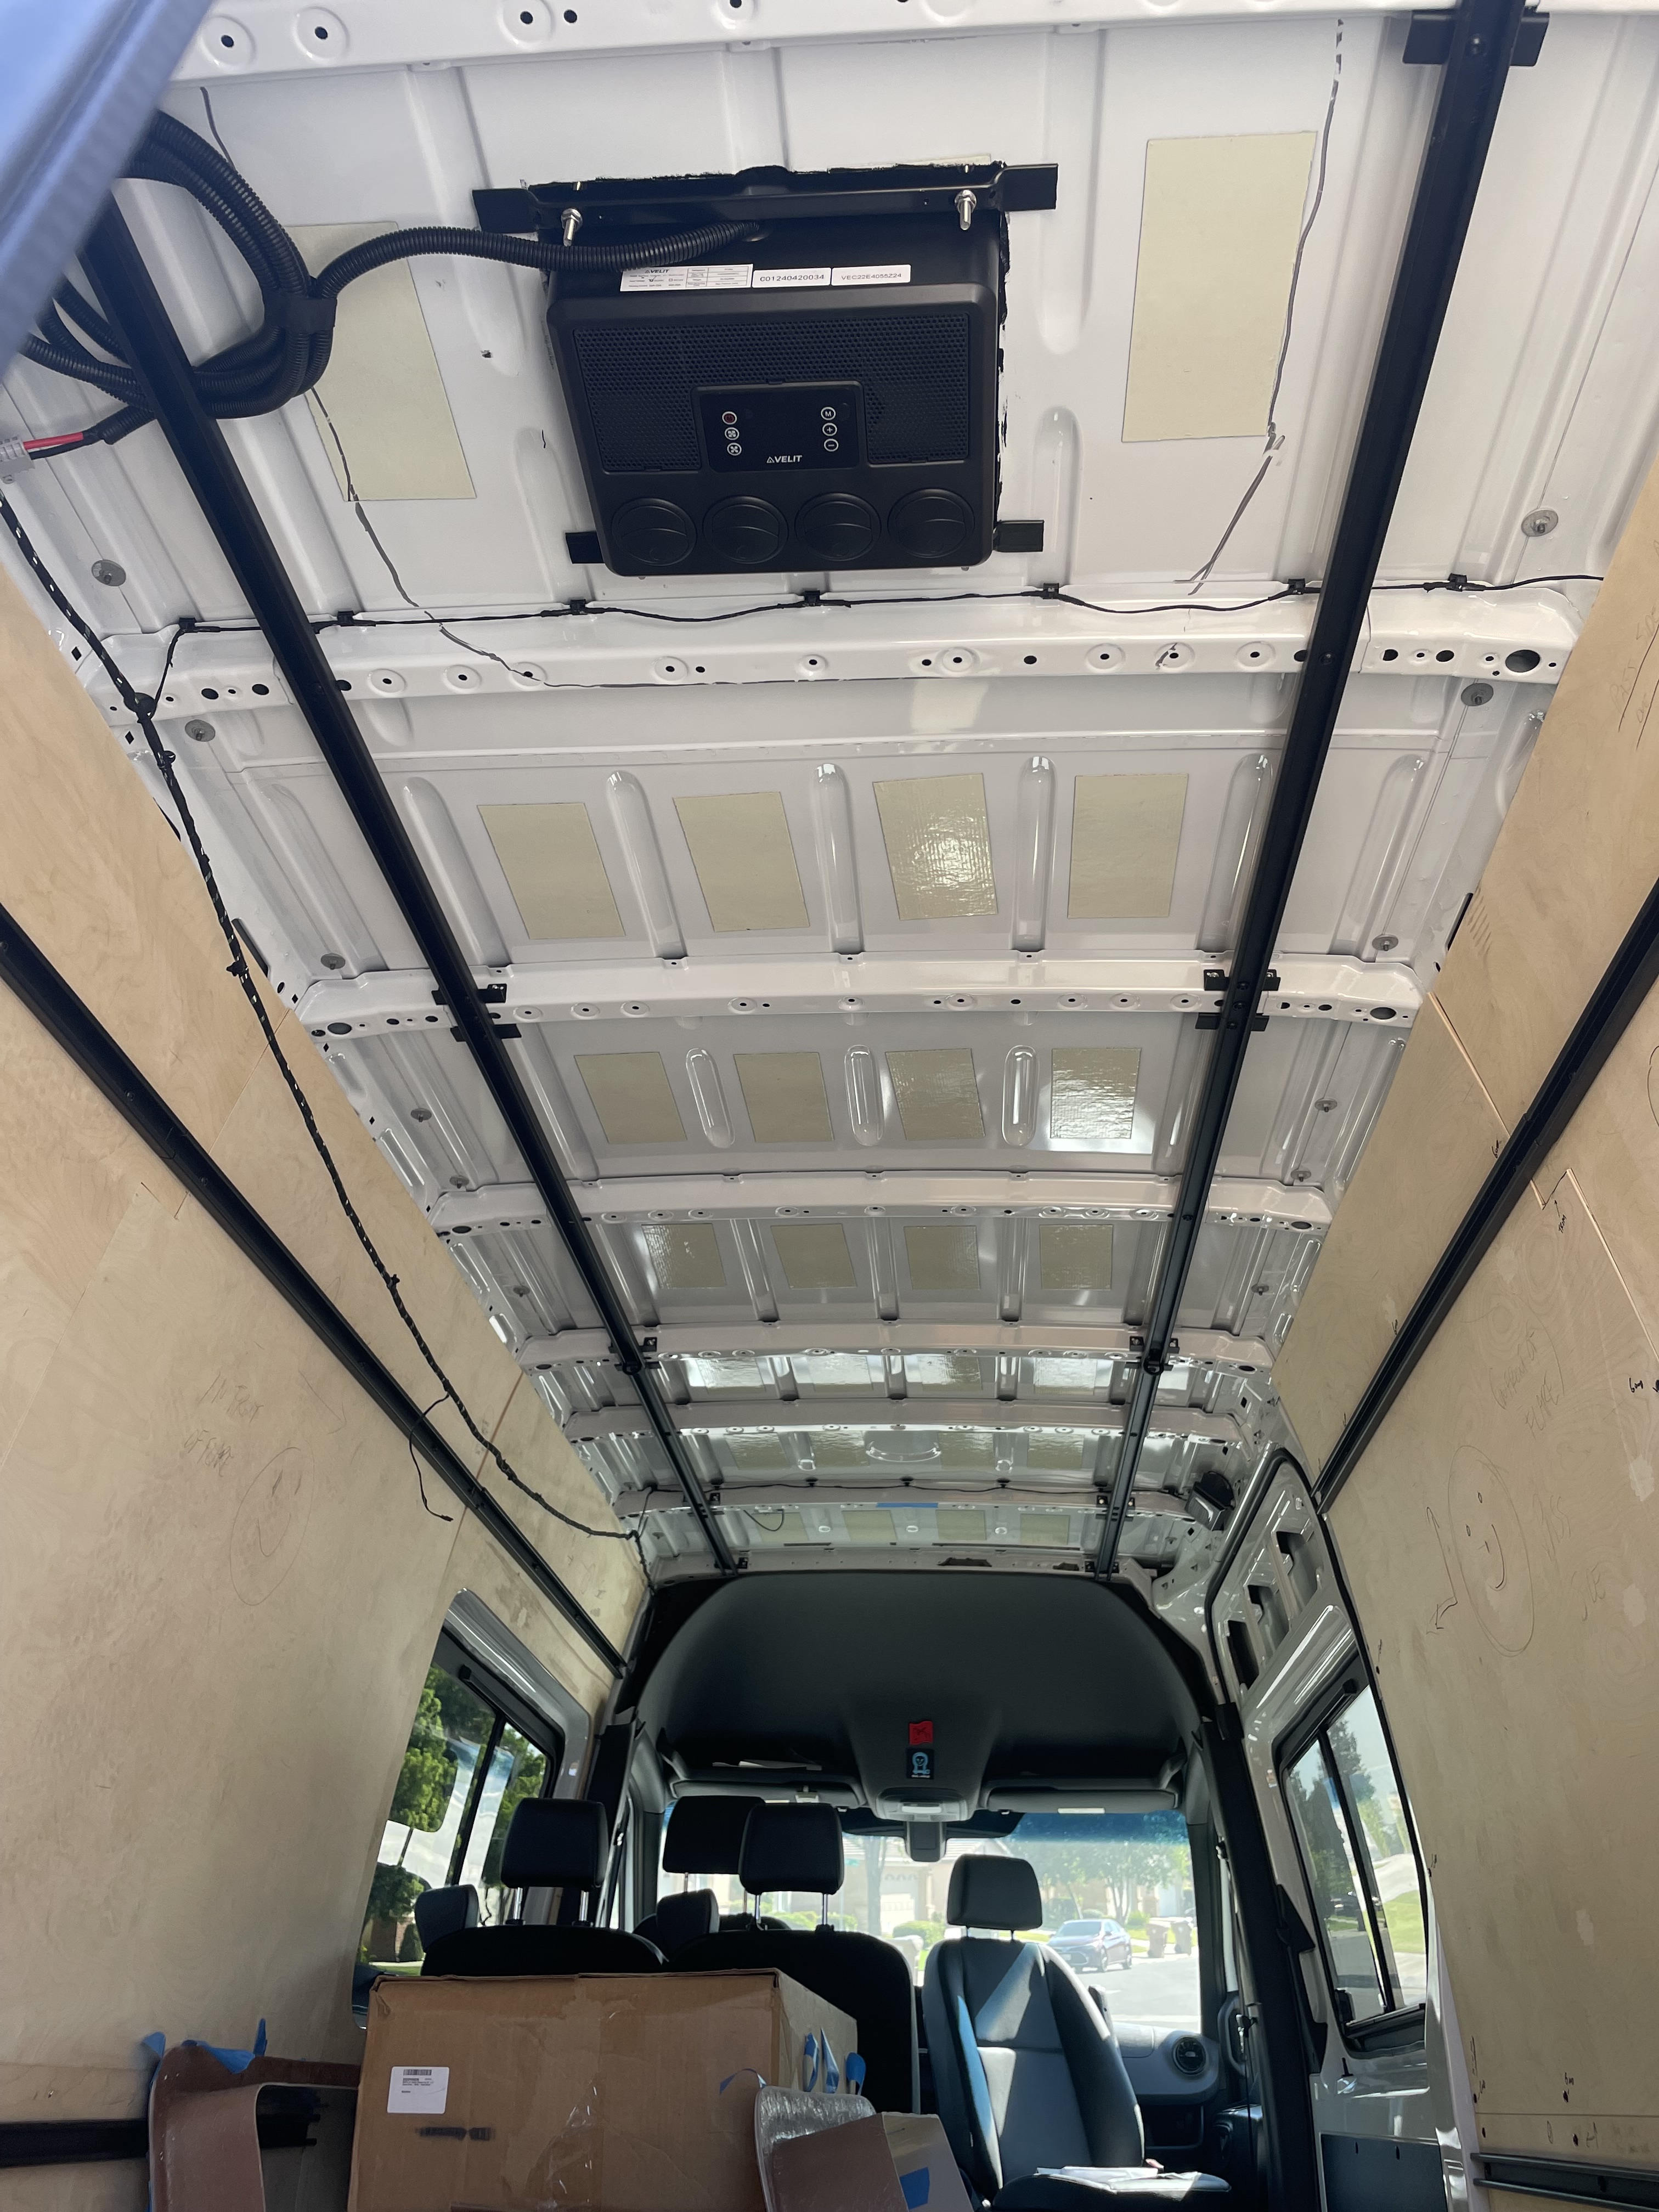
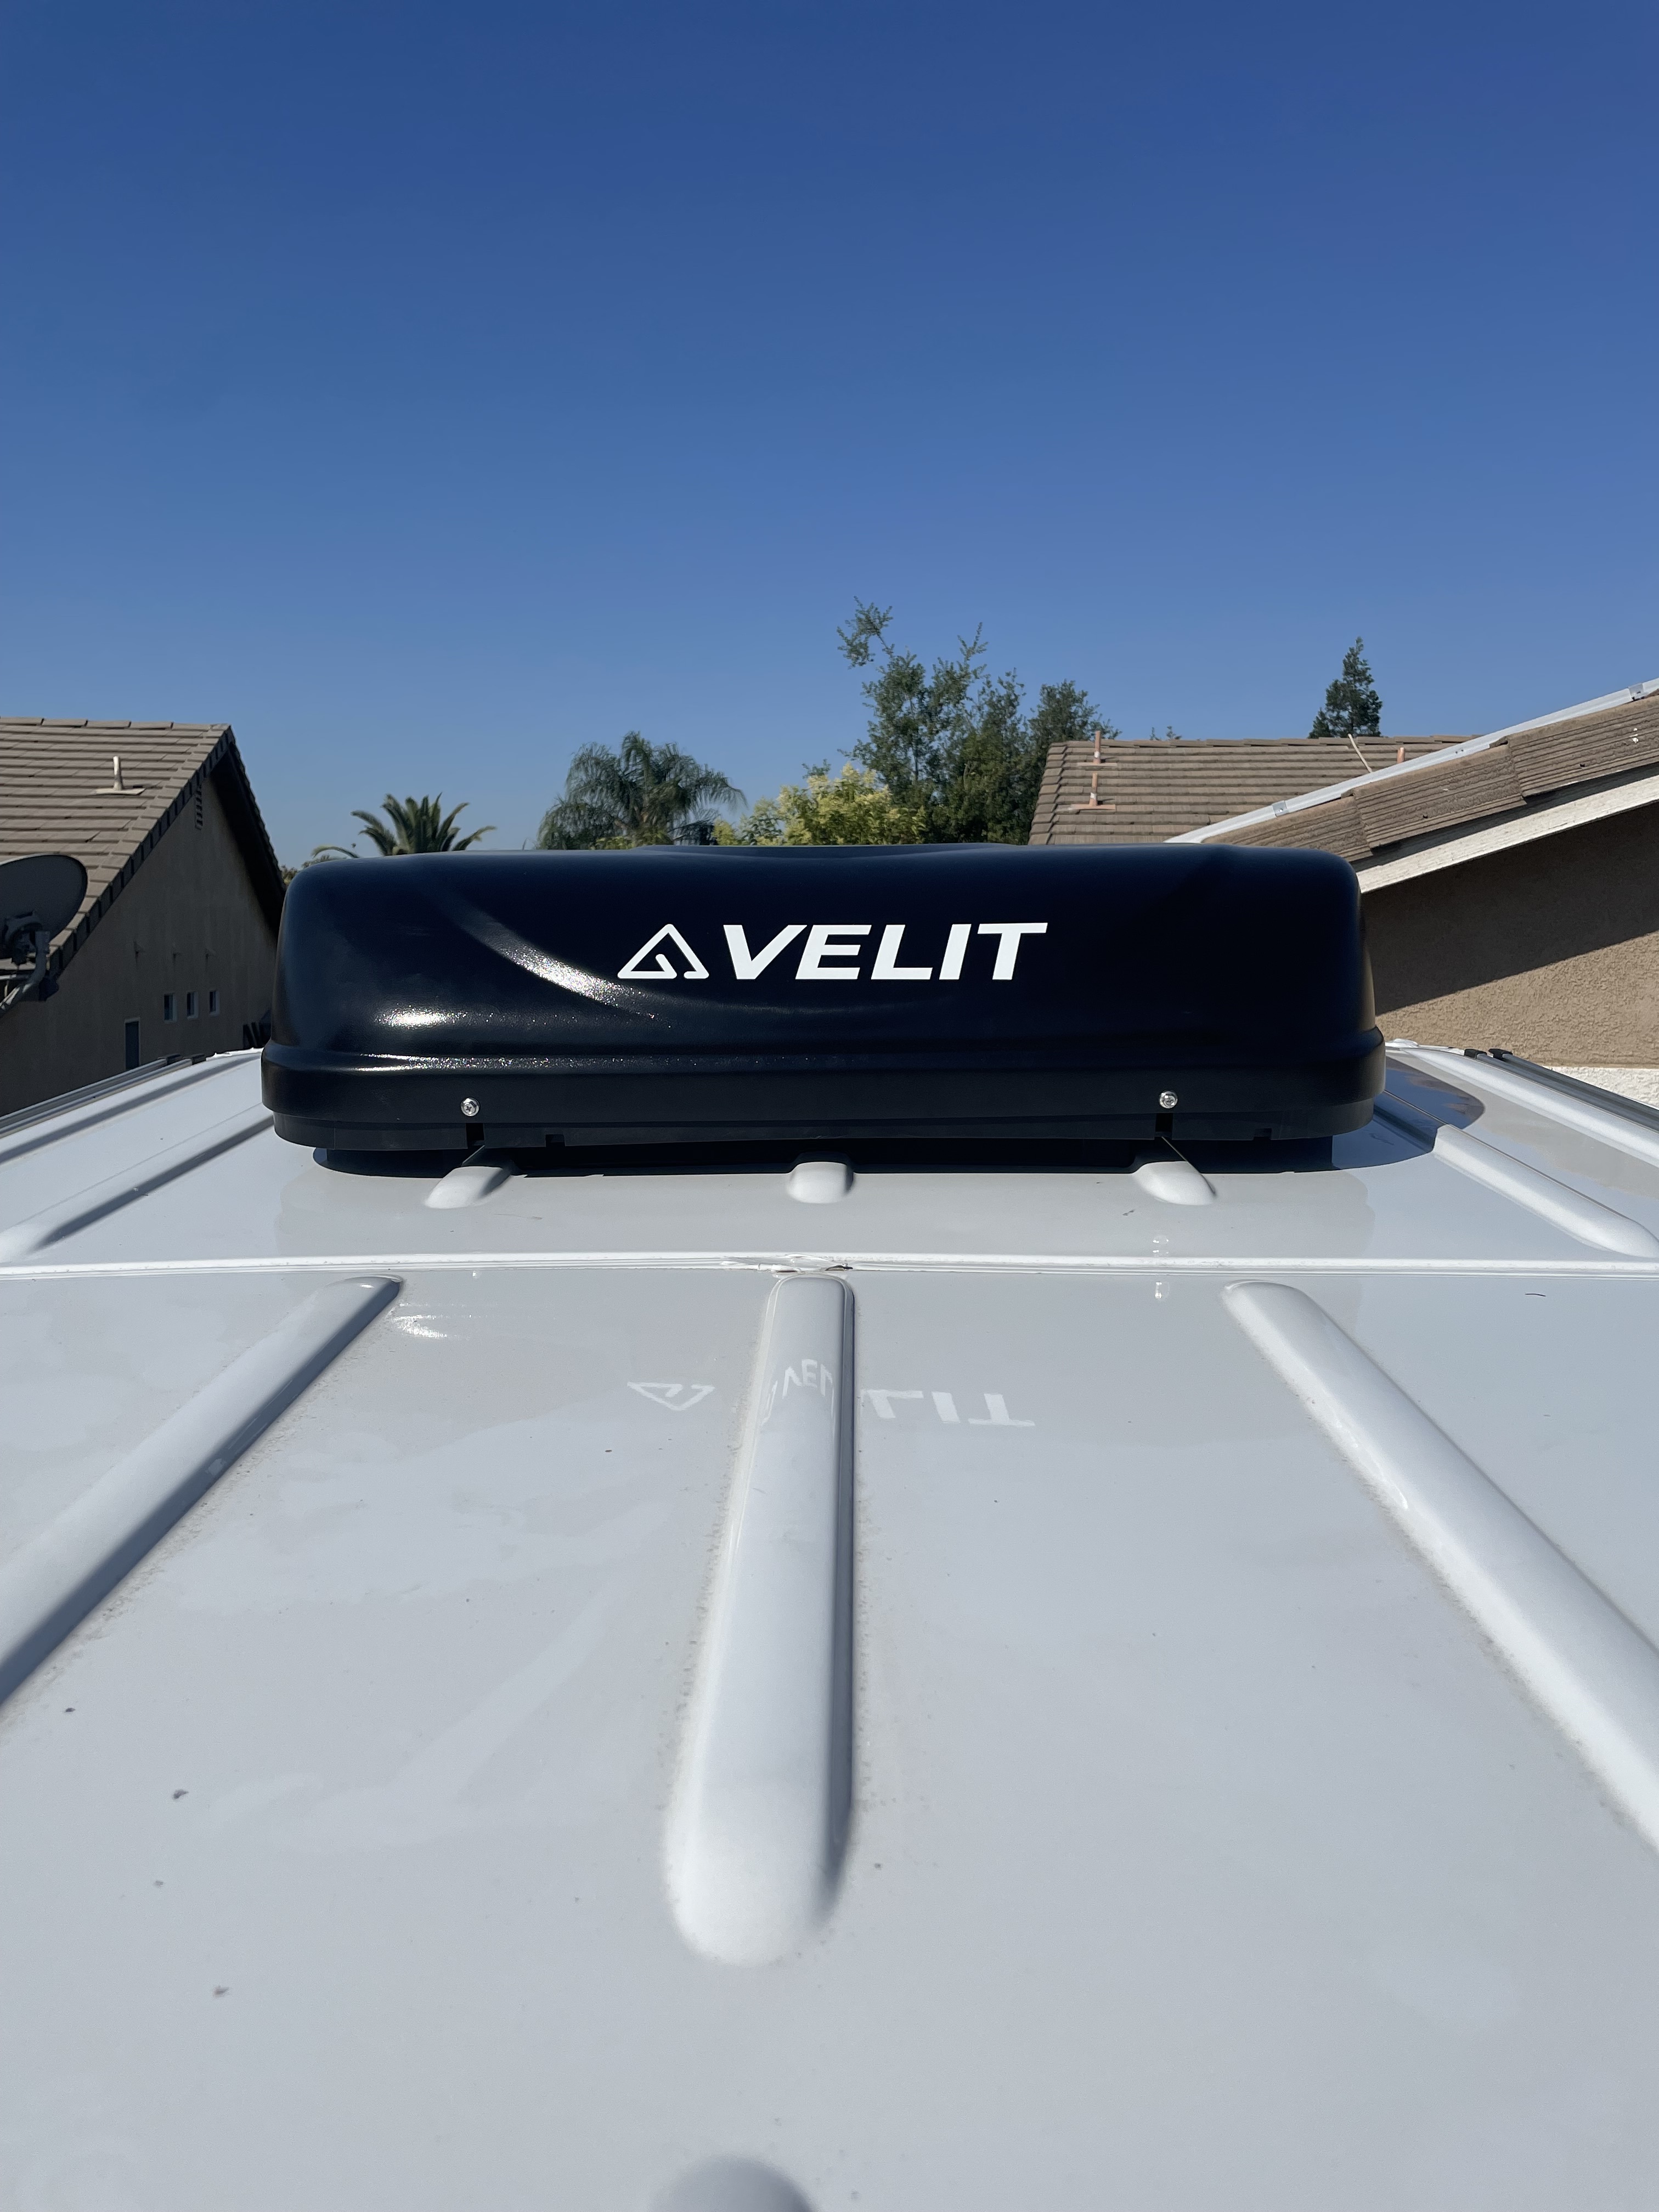
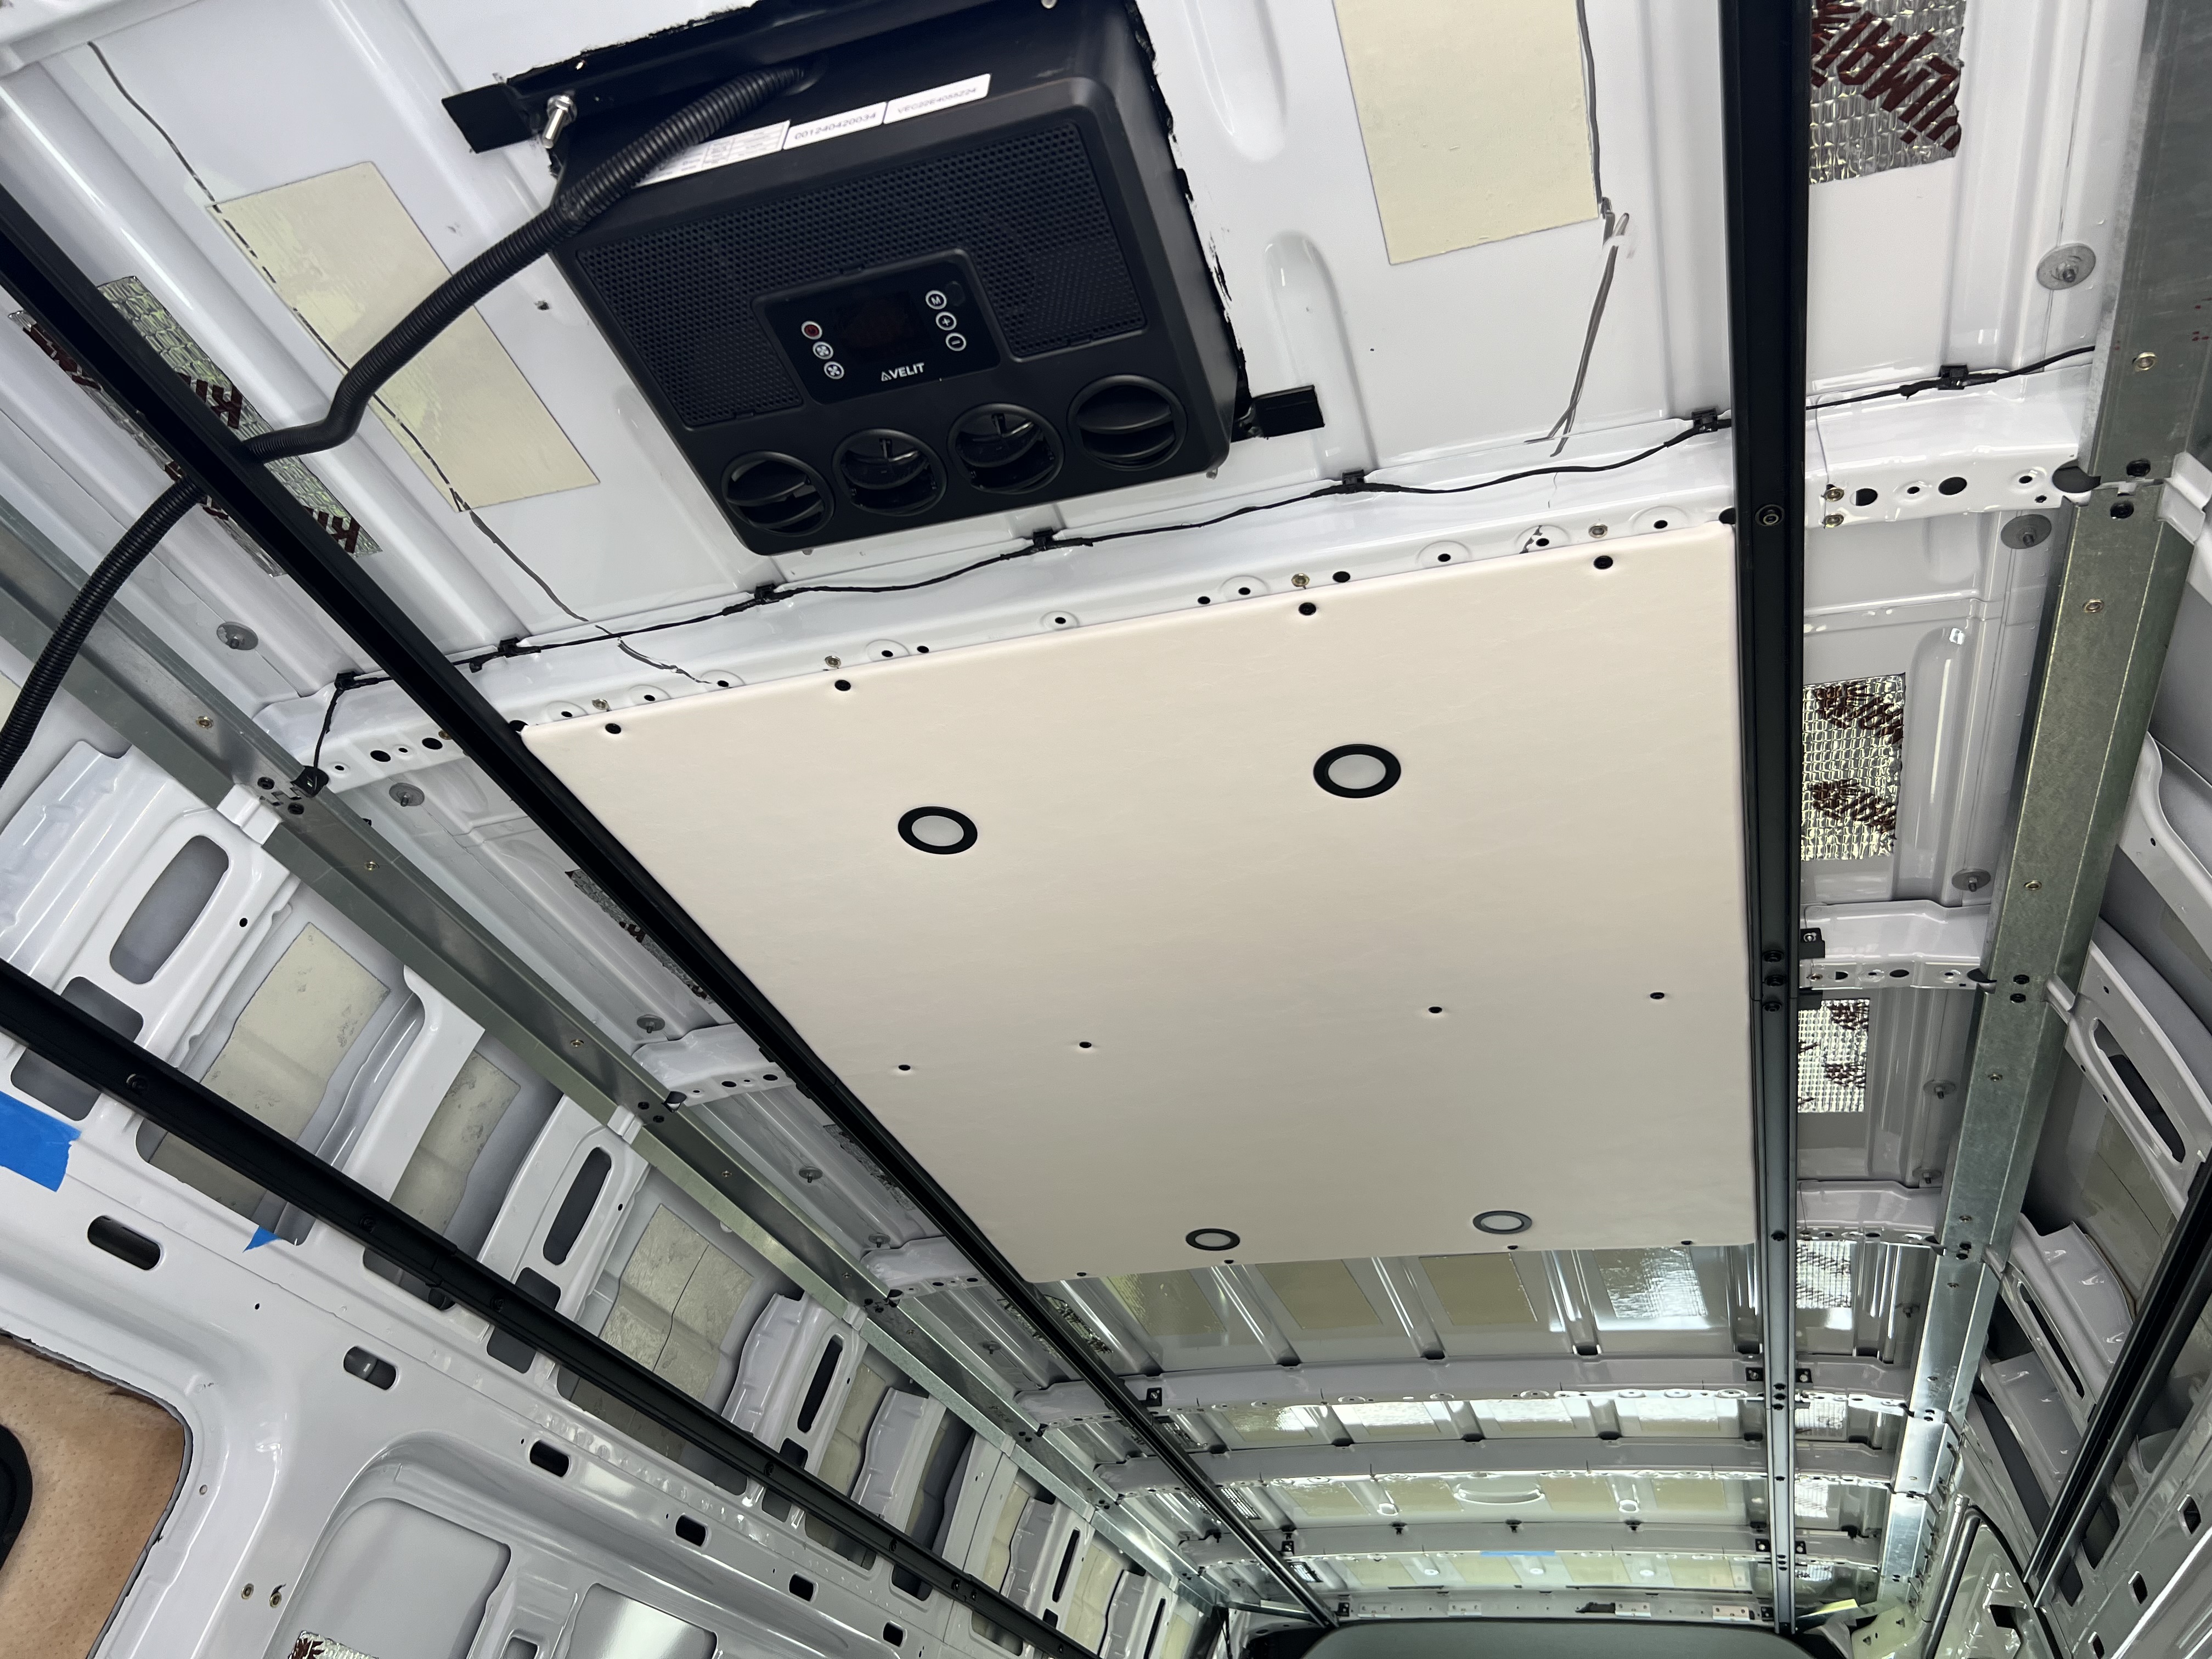
This last week I was able to finish installing the rivet nuts for the wall and ceiling panels. The electrical box is complete and was installed in the van. I was able to test out the 24V AC and am pleasantly surprised with how well it works while only drawing about 600W on Turbo mode.
Our walls and ceiling will have 1/8” Landau Foam as the base layer. The ceiling will be wrapped with a white synthetic leather (vinyl), and the walls will be wrapped with a duramax tweed in oat color. I wanted to wrap one of the panels so did a test run on one of the ceiling panels and it turned out pretty good.
This week I’m hoping to intall a pass through roof gland for wiring, install the solar panels and interior 3M insulation. Once that’s done, I will start running the electrical wires.

2 Likes
With me hopefully installing a modified Go Fast Camper (with pass-thru on the roof), It makes no sense to purchase a $2,000 roof rack in the interim until I get the GFC up there. So, for the time being I wanted an economical way of keeping my batteries charged.
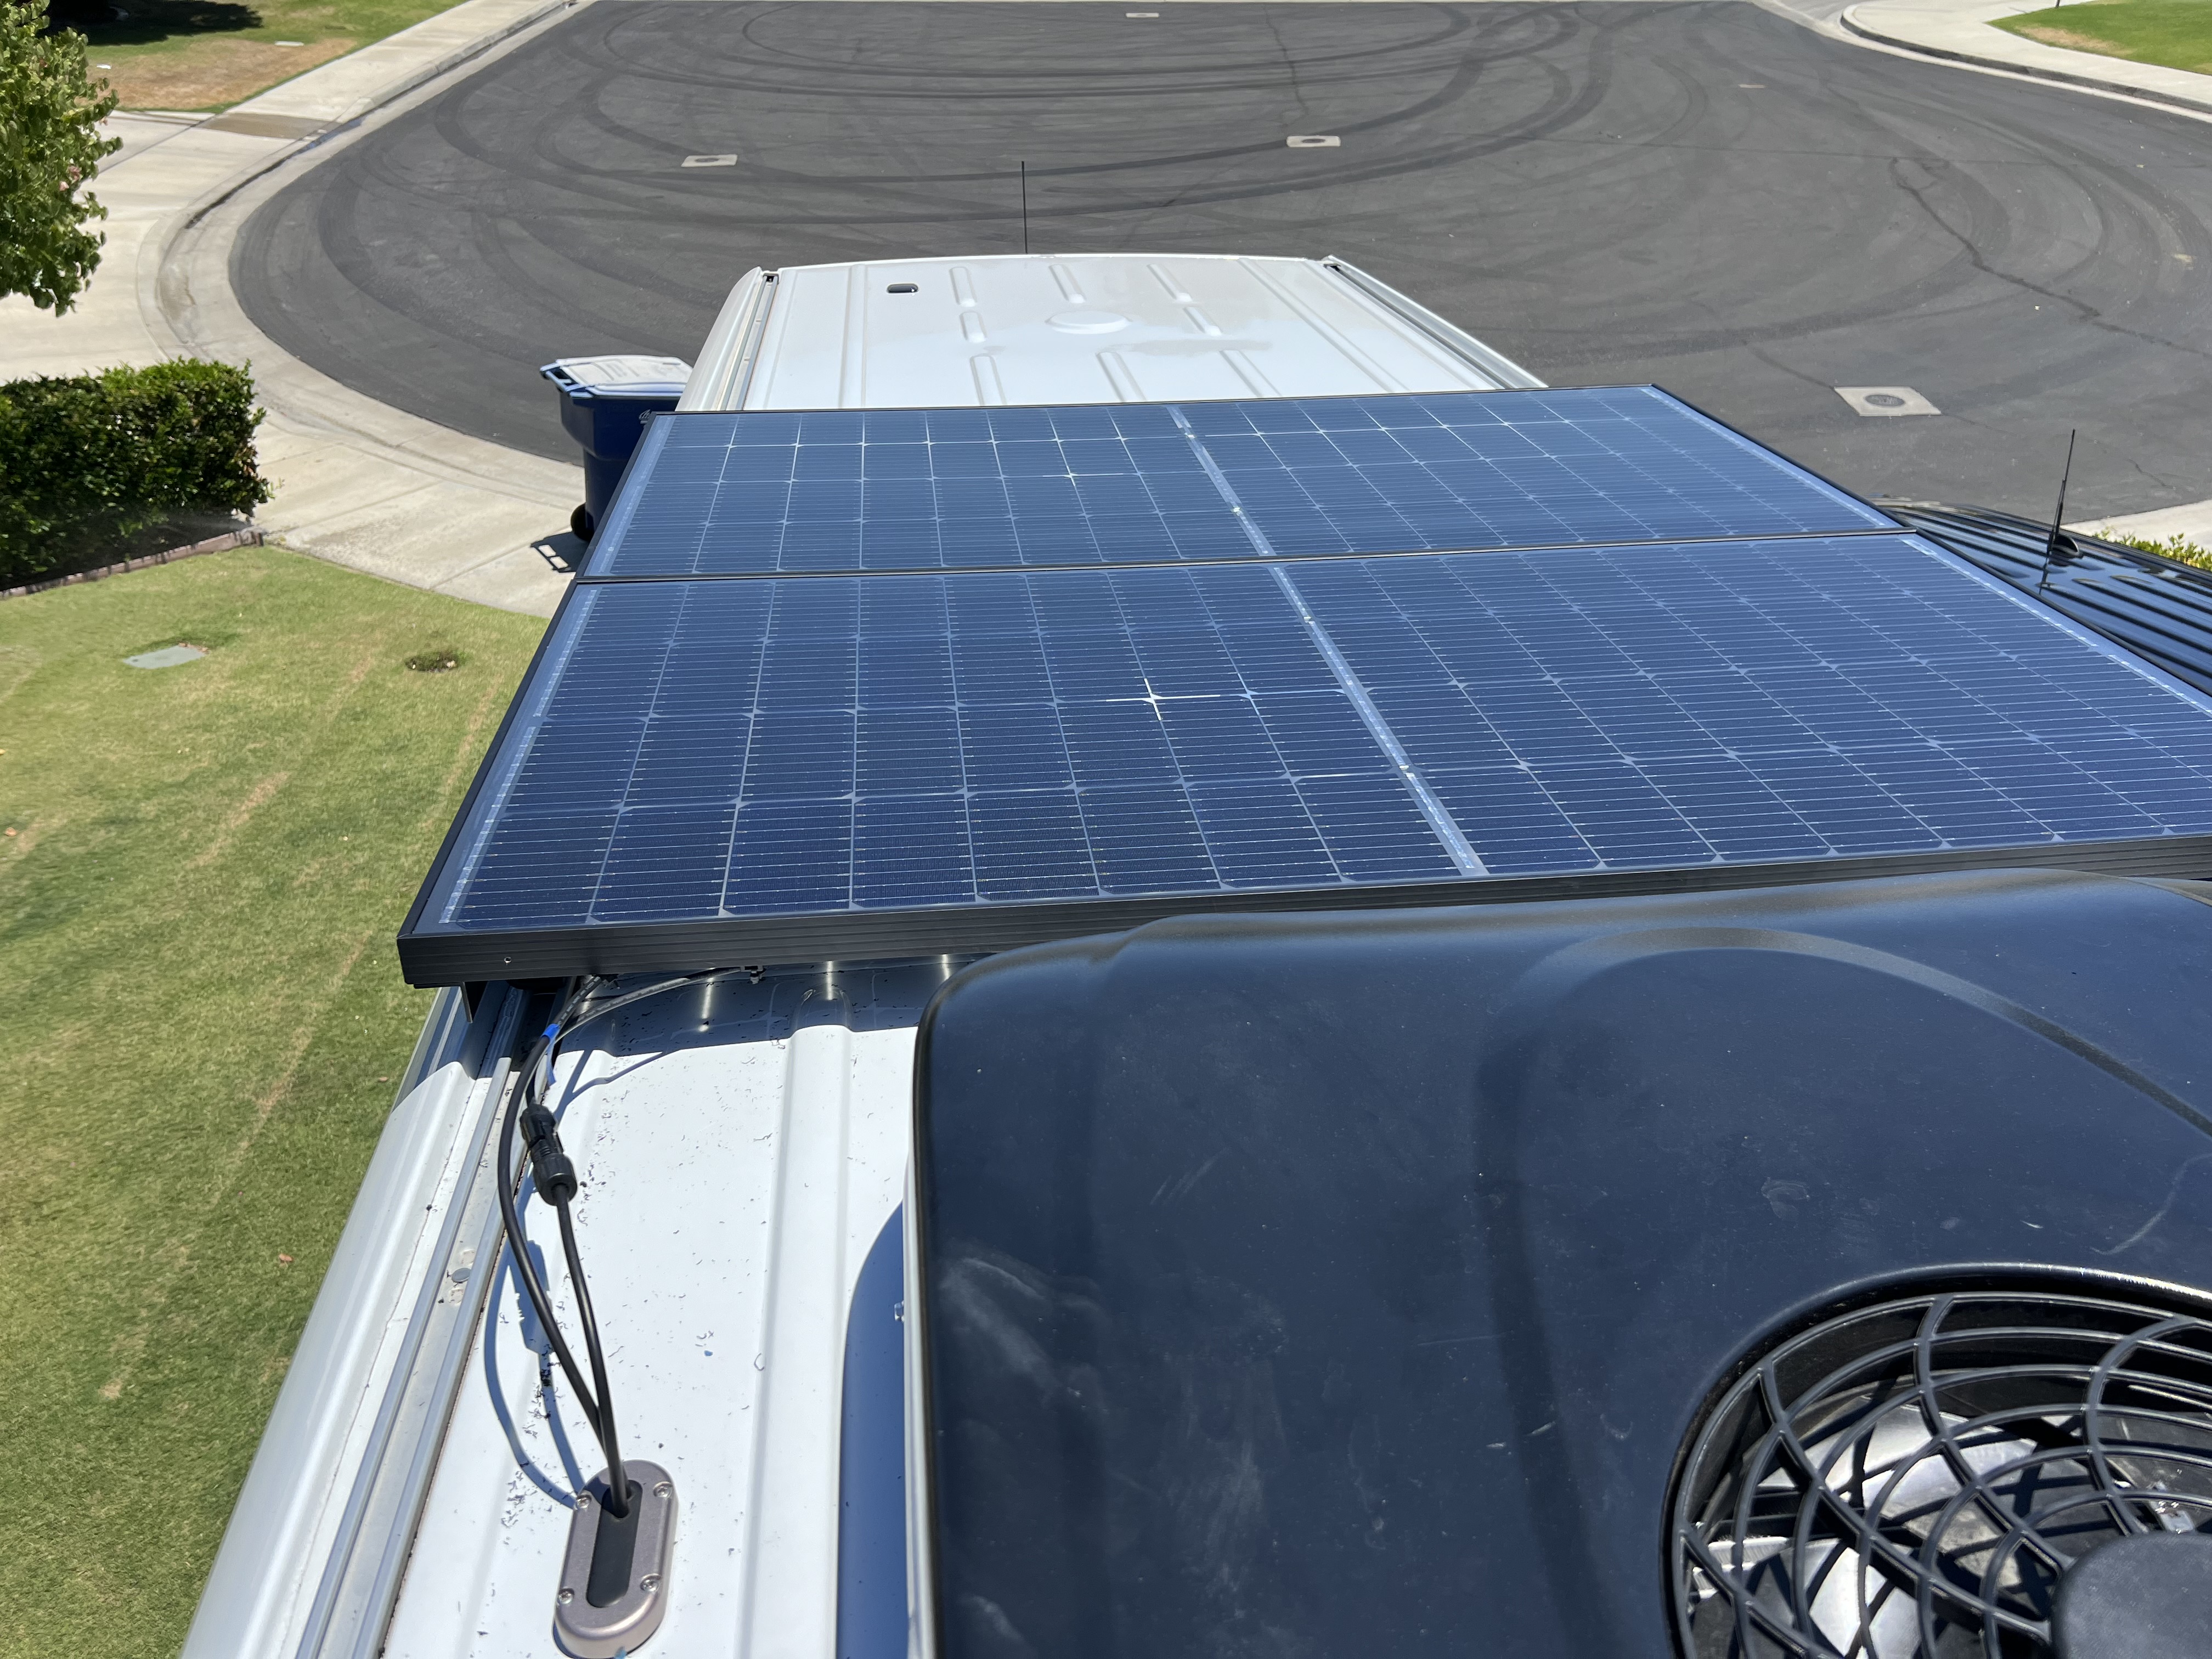
In the last week I installed the (2) 200W Solar Panels, Roof Cable Gland, and finished upholstering the ceiling panels.
In an effort to keep the Van Tax away from this build as much as possible, I DIY’d as much as I could with the solar setup. I spent $100 for two sets of Unaka L-Brackets and hardware (Van Tax included), and then bought some 1/8” thick by 1 1/4” aluminum angle to connect the Unaka Brackets and spray painted the aluminum angle black. All in, I was about $160 into the solar rack, so I saved a decent amount DIY.
NewPowa had a sale on their 200W BiFacial Panels, so I bought two of them for around $330 via Amazon. BiFacial Panels perform best when they are high off the ground and not on a van roof, but the price was cheaper than going the standard Mono Facial route.
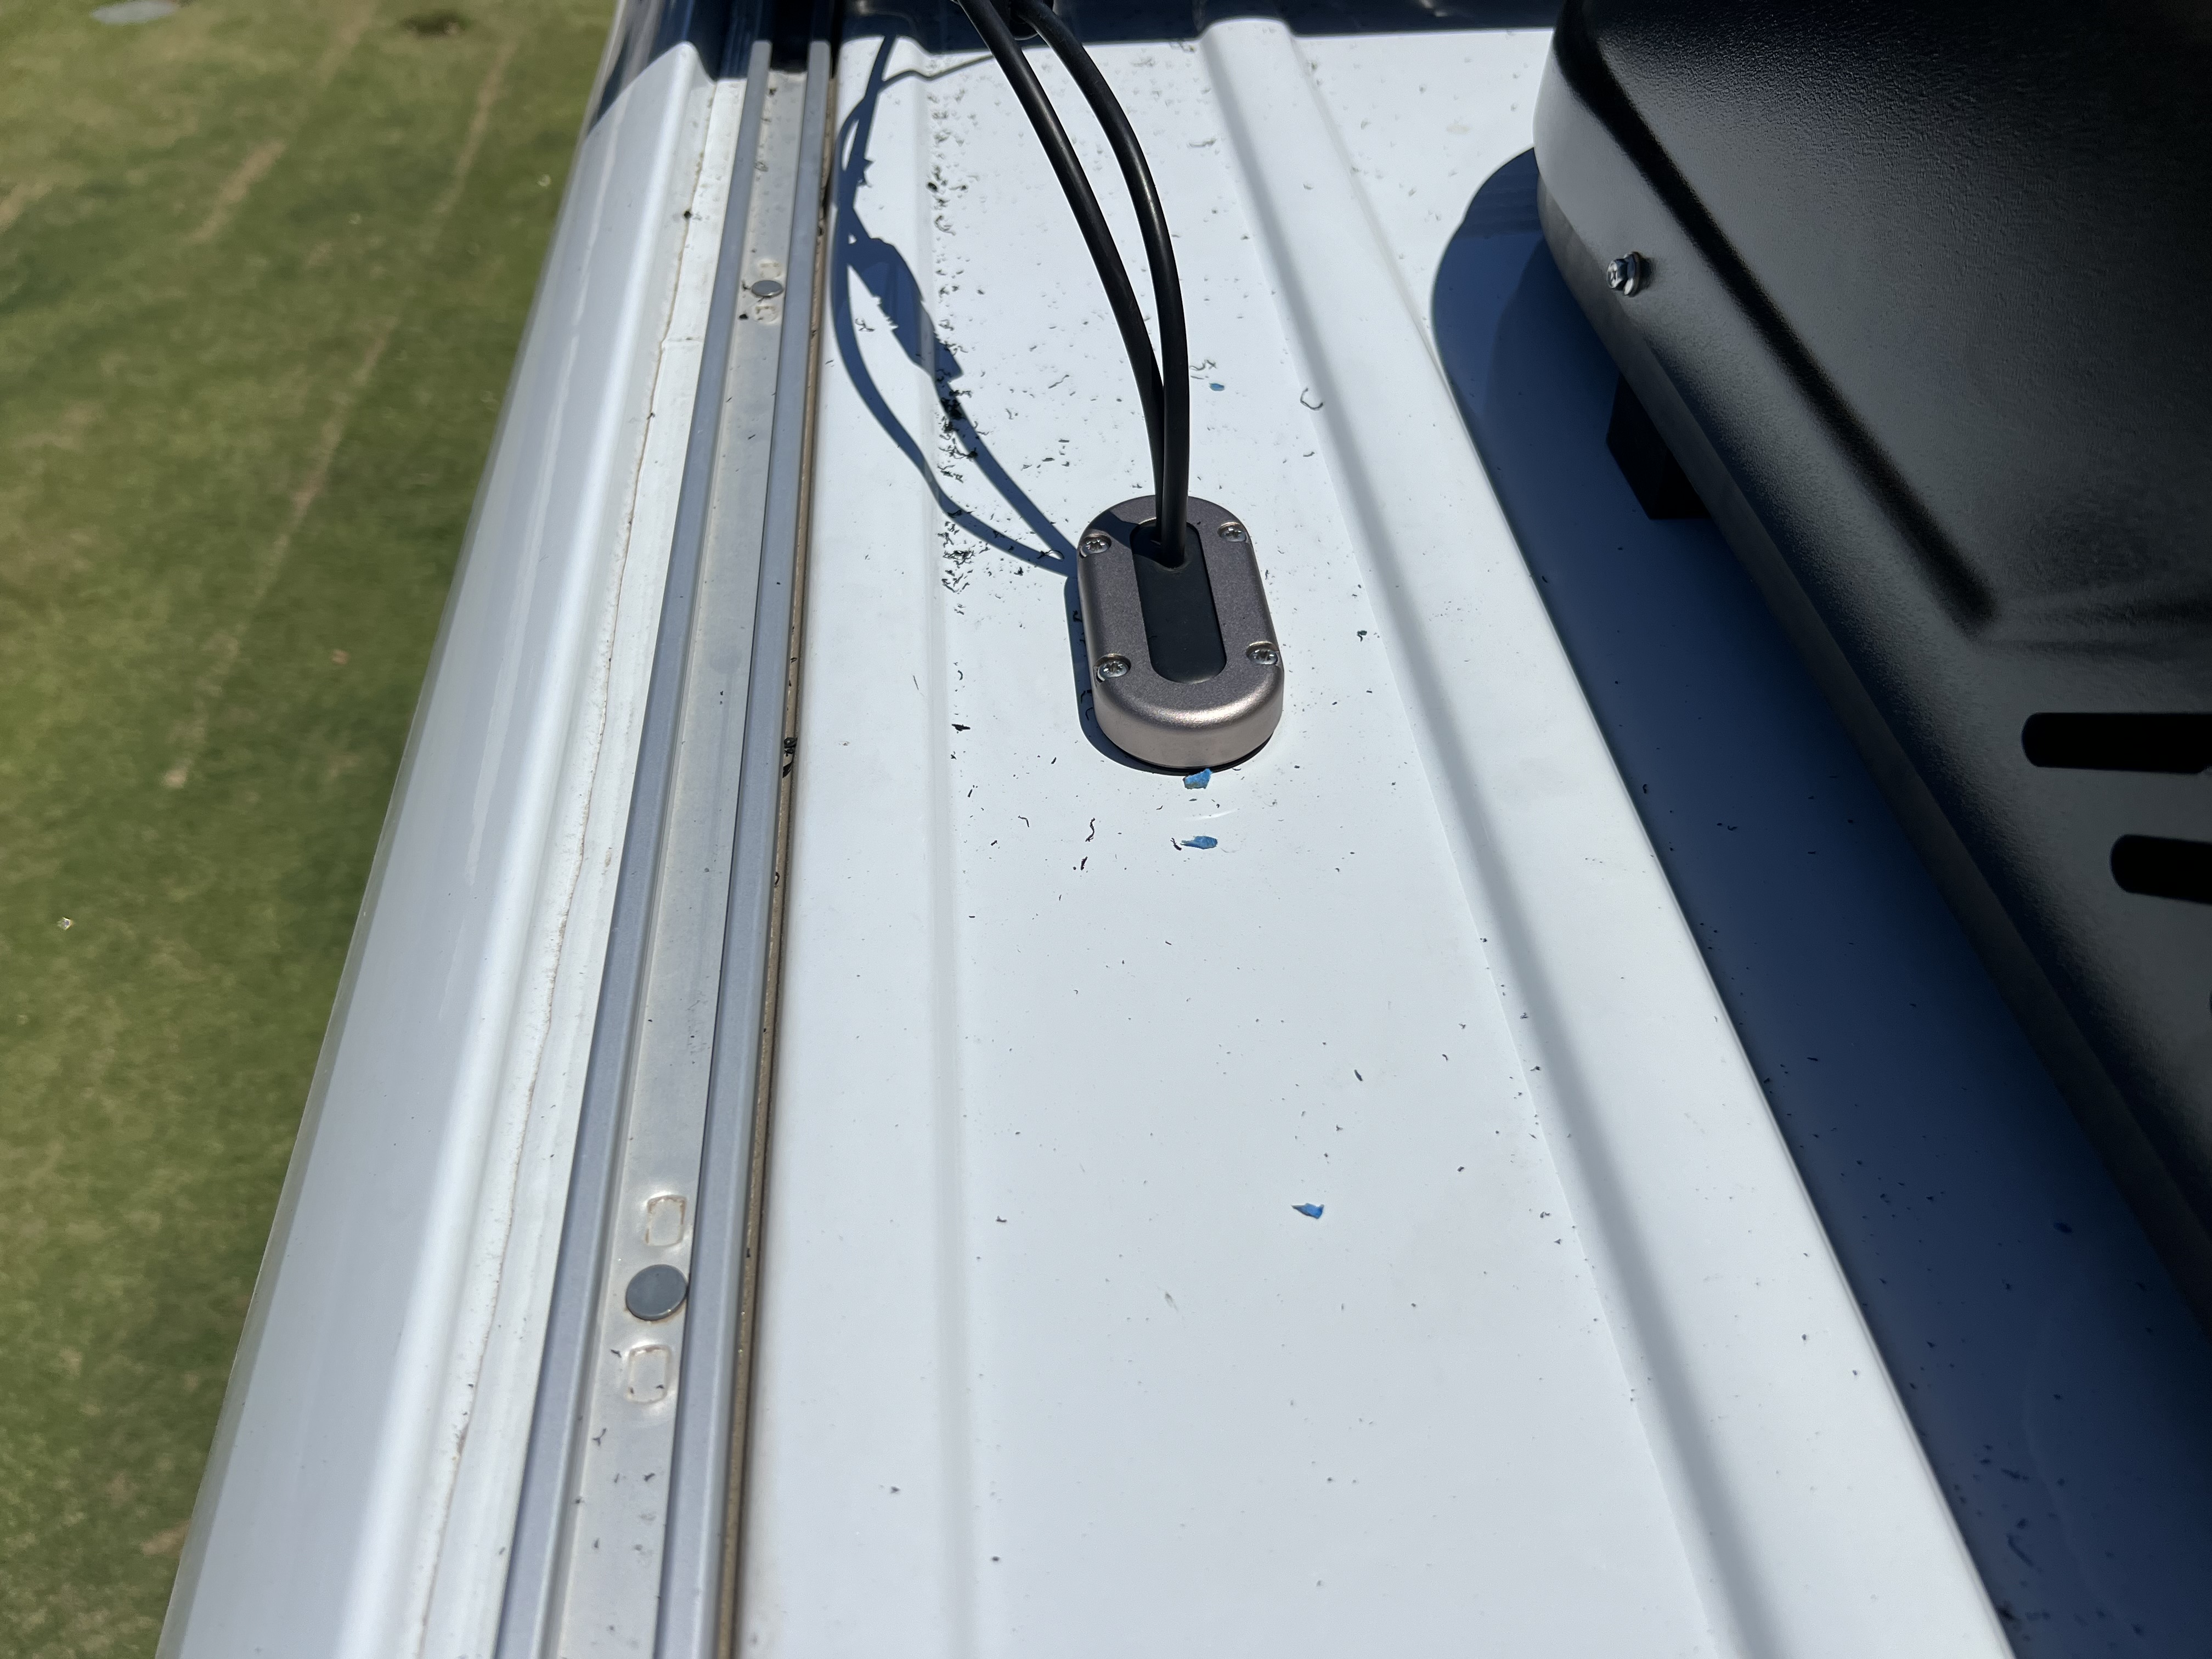
I went with Scan Strut for the pass through gland to run the 10 gauge solar wires into the van and voila! We now have solar!

2 Likes
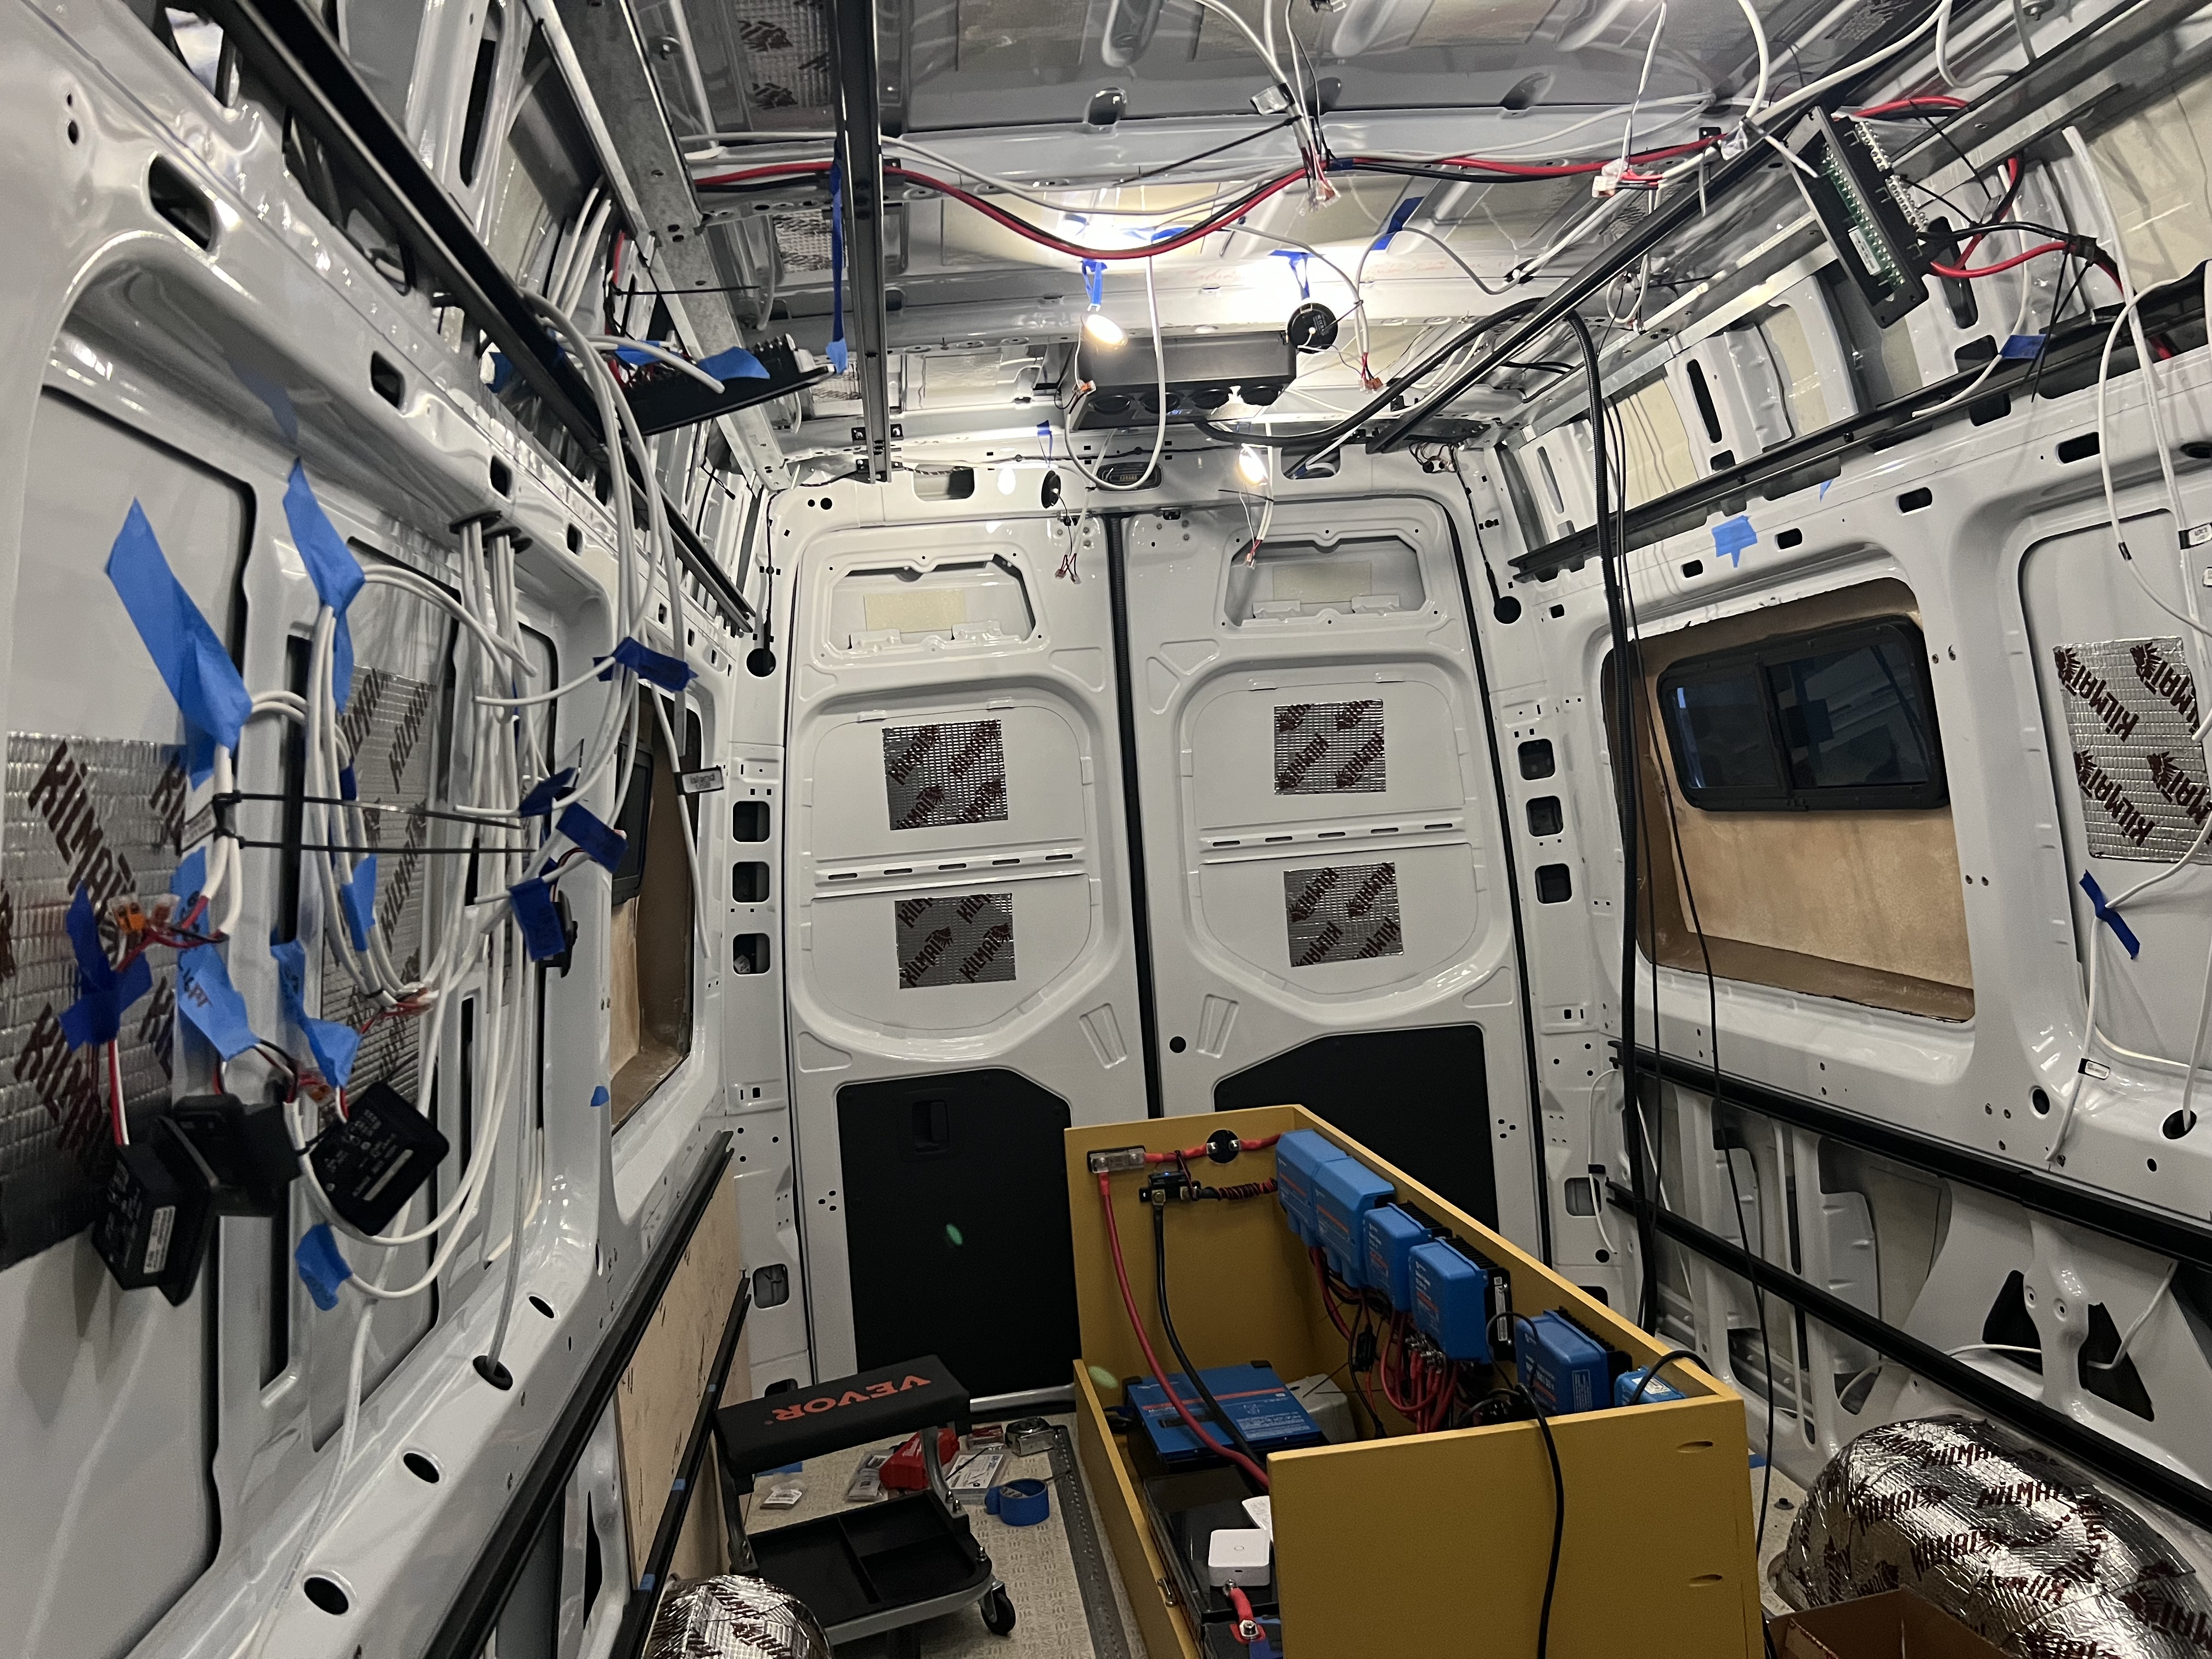
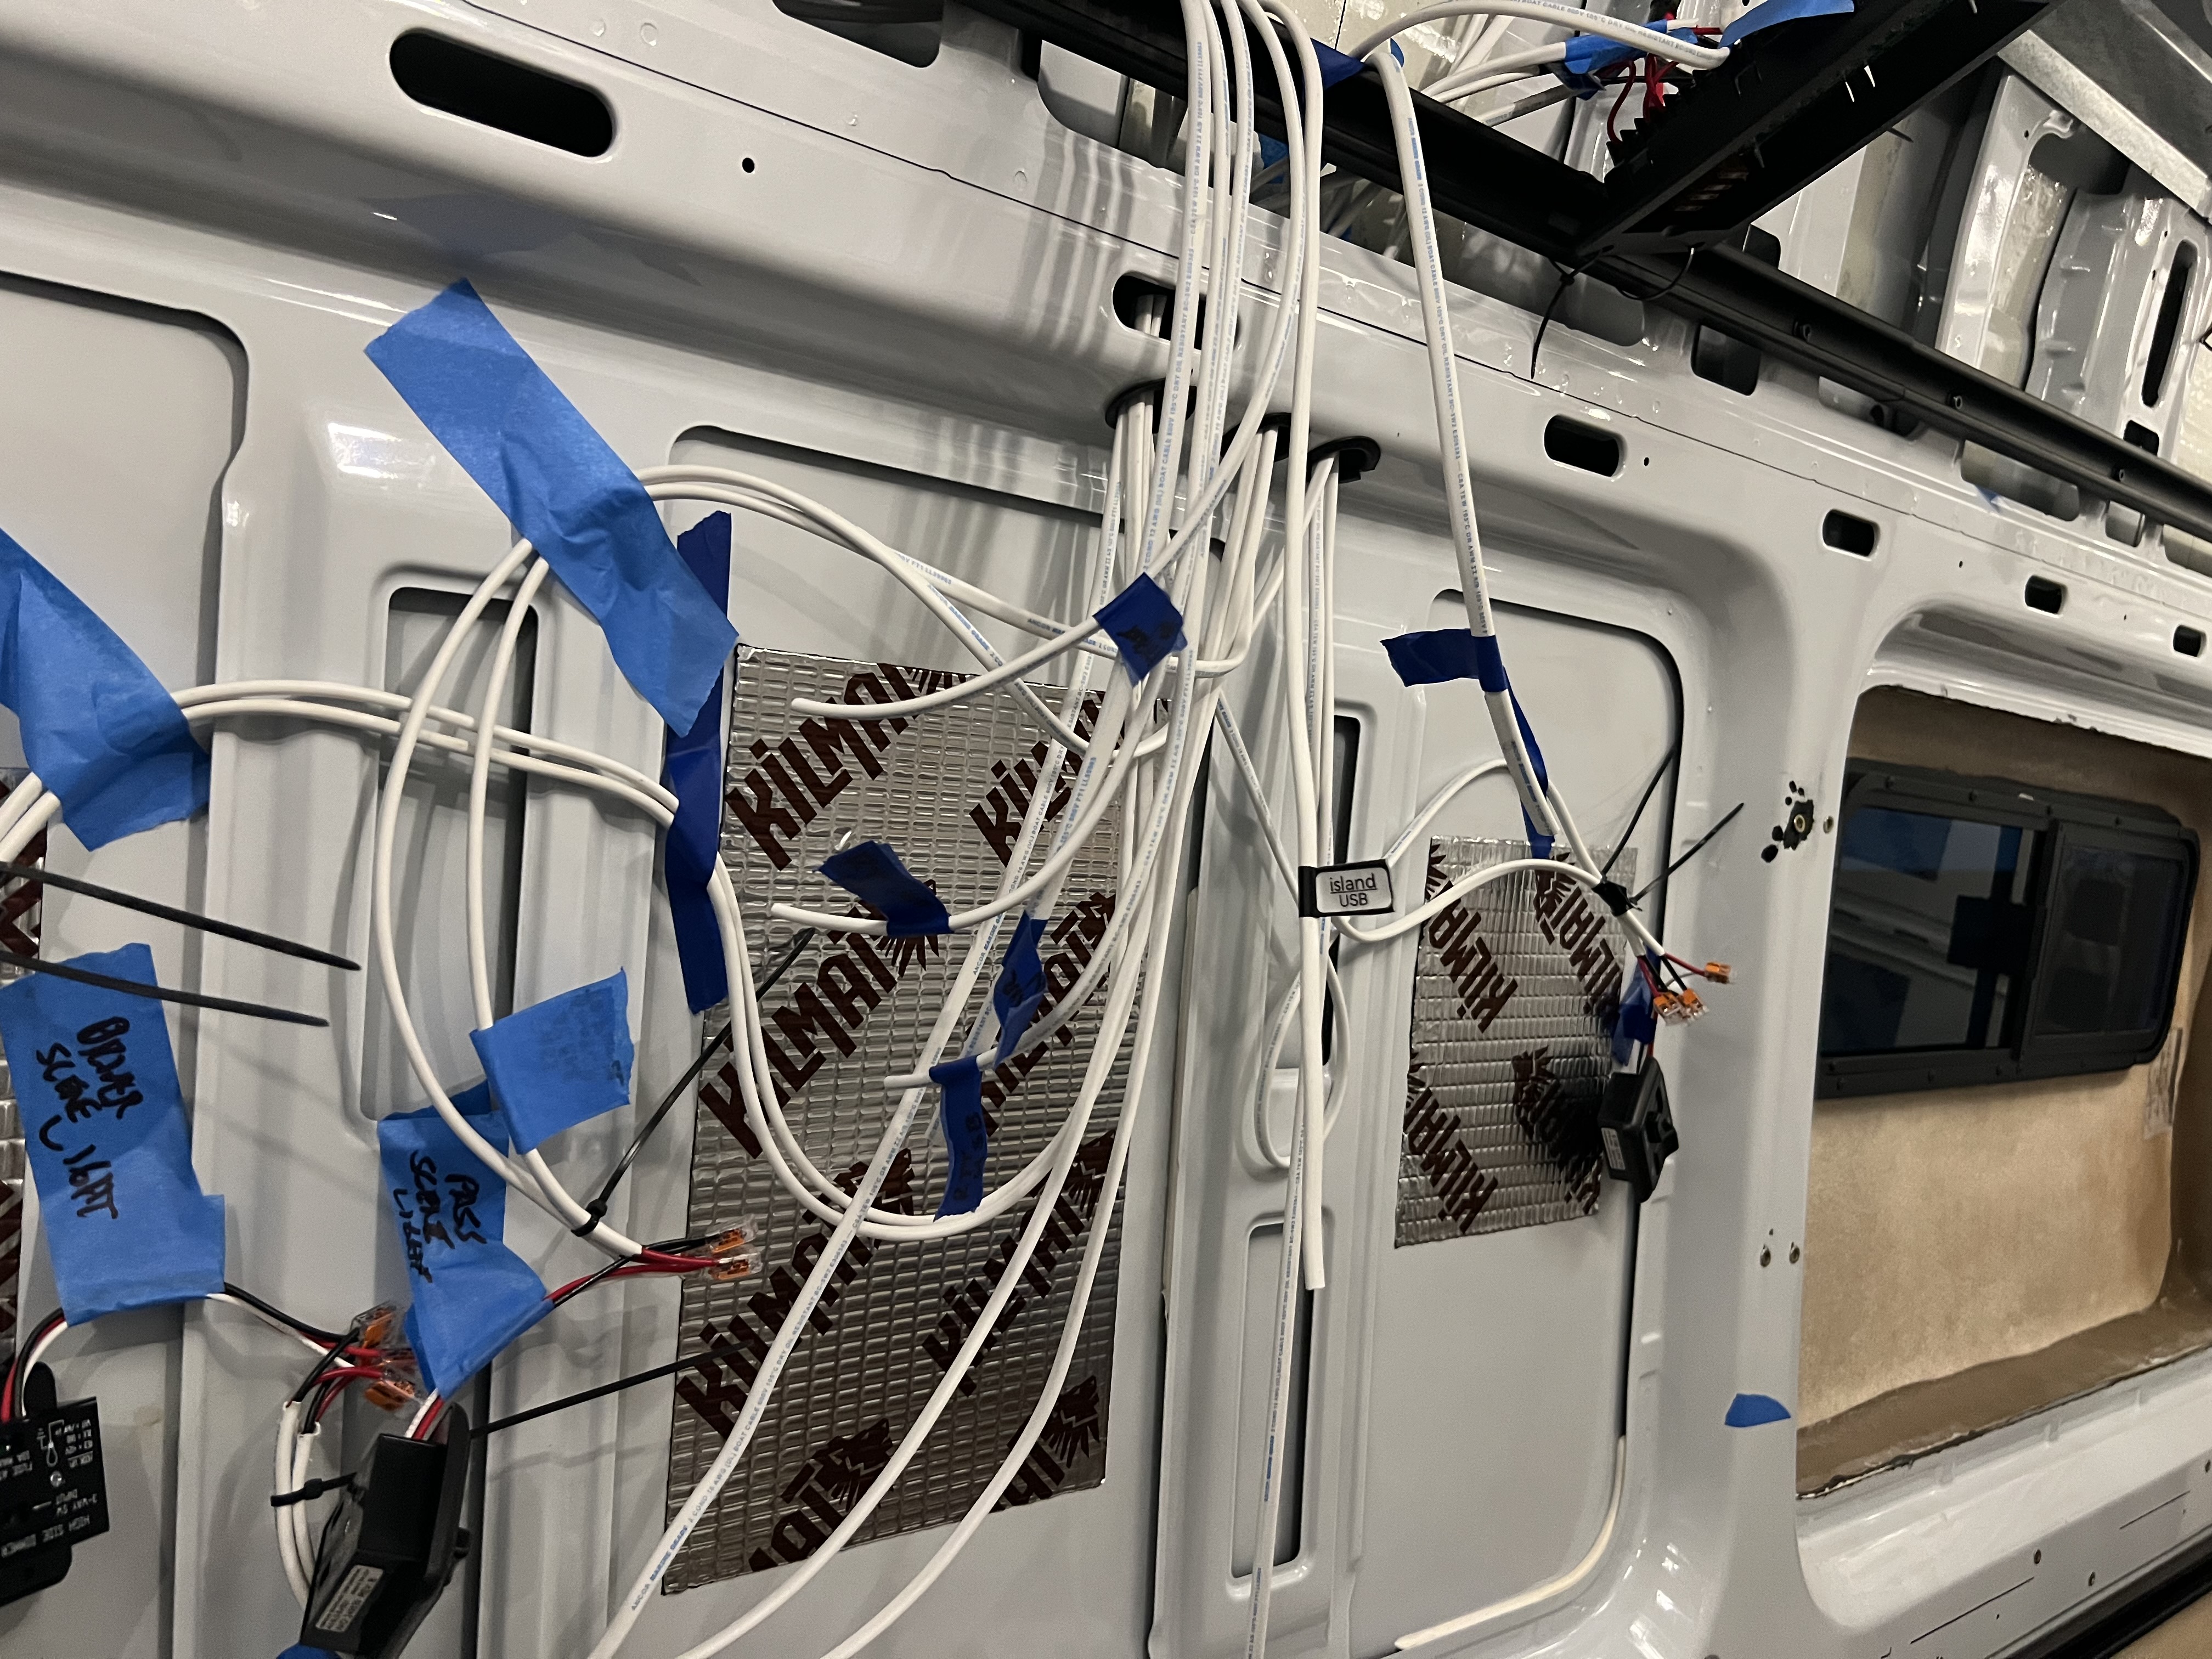
This last week and a half my wife and I have been running and tagging wire throughout the van. To prep the wire run pathways we’ve drilled numerous 1 1/4” holes in the van wall partitions, deburred the edges, painted the exposed metal with POR-15 and installed rubber grommets to protect the wire from being cut by the exposed metal edge. Every location where the duplex and triplex wire will pass through metal or near a metal edge, there will be rubber trim lock and/or a rubber gasket.
So far we’ve ran about 200 feet of marine grade copper stranded duplex wire for all 12V accessories, to include: USB’s, Fridge, Water Pump, Scene Lights, puck lights, Max Air Fan, cabinet lights, Diesel Heater. The ceiling puck lights are split into two separate circuits (Galley and bedroom), and are on dimmer switches.
This weekend we hope to start and complete the 120V AC wiring so we can begin insulation and installing the panels.
I designed our traverse position Murphy bed system on Sketchup and have ordered the aluminum extrusion cut to length. I’m hoping to get it soon so I can begin to build and install it once the panels are in place.


3 Likes
Love it! You are in the weeds for sure, but things will ramp up before you know it. I felt like my travel trailer build was going so slow then it all the sudden we were camping in it.
2 Likes
Yeah the electrical portion has been real time consuming. I can’t wait to move on to the next stage.
damn that is a lot of wiring!
1 Like
Wiring is always more time consuming than I anticipate. I’m looking forward to following this build as it comes together. As a family of four, I’m curious to see what the final seating situation is and how the pass through RTT and sleeping arrangements come together.
1 Like
@ws6616 I know… It is a lot more than I anticipated. I can’t wait to be done with this part.
@stickyTaco I just read through your build thread… Awesome setup! One of our goals with this Sprinter is to make traveling to the destination as painless as possible. With four of us and two dogs, being able to travel comfortably, use the restroom, take a nap, make a sandwich etc. while driving hours/days to the destination, is a huge selling point for us. We also wanted to be able to park at our campsite at night and not have to unload anything if we showed up late. With our Tacoma/GFC combo it would take us on average of 1-2 hours to unload/setup our campsite and another 1-2 hours to take it down/load back up when we were leaving.
The GFC/RTT pass through will be similar to Super Pacific’s “Cloud Cap”. If you haven’t seen the Cloud Cap yet, check it out, its pretty rad.
doesn’t seem like it for you but wiring is the most therapeutic part of any build for me when using quality parts and have a game plan.
like i just be in my little corner connecting and organizing things!
2 Likes
@ws6616 It has been around 110-115F in Bakersfield for the last 10 days so it’s been miserable doing the wiring. If the weather was more bearable I am sure I would enjoy it way more. I can relate to you when I was building the electrical box/ cabinet; but it was only in the 90’s and I was outside of the van.
damn 110-115F. i can relate (that’s what i do at the shop too running wires for offroad/ overland builds lol) but i do it outside not inside.
lmk if you want to borrow my ecoflow wave if you wanna make the trip down to socal. i just need it back by end of the month lol
1 Like
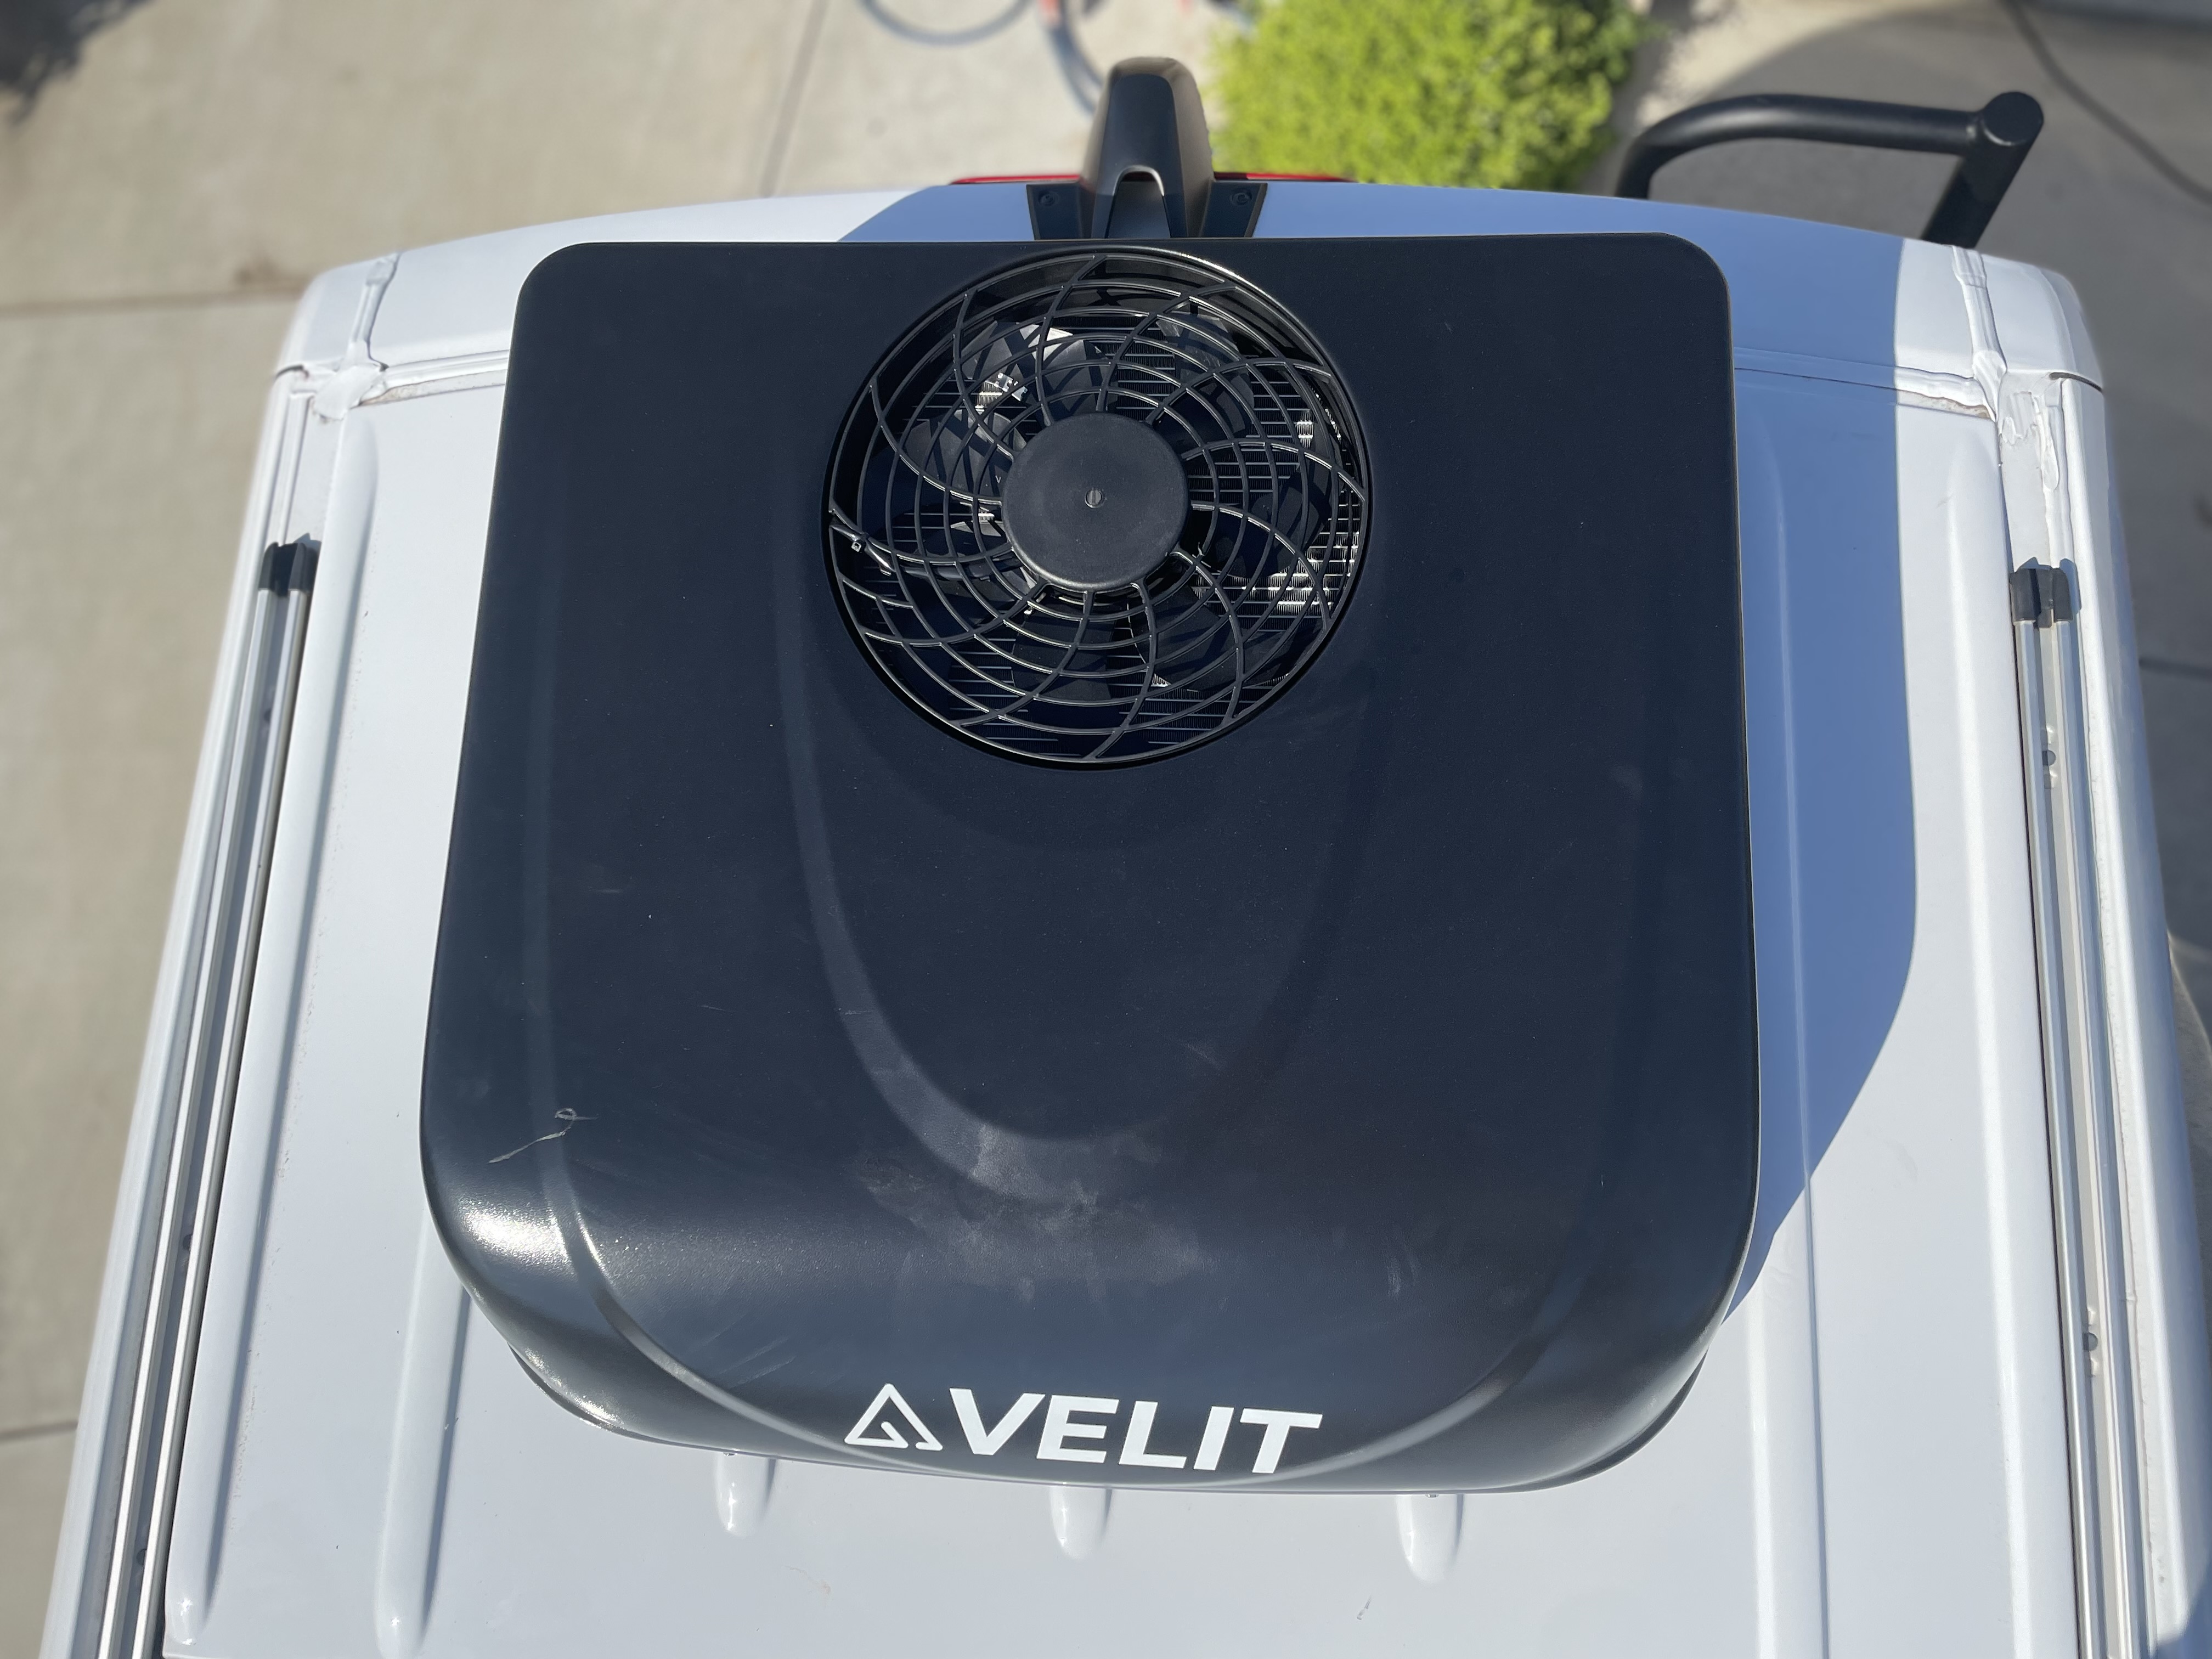
That’s rad you do this kind of stuff for a living! Thanks for the offer on your EcoFlow. I have my roof top AC running when I am in the van, but at these temps and with no van insulation or panels, and exposed windows, the AC barely helps…
bro downside of doing this outside is i now have two different colors on my arm and it’s getting worse LOL
I really want to wear tank top when im at the shop just so i can get the arms in one color but that’s not a good idea when im also dealing with fluids (oil change, fluid change, etc) lol
didn’t realize (forgot) the panels are the main cause of problem… thats a big issue!
1 Like