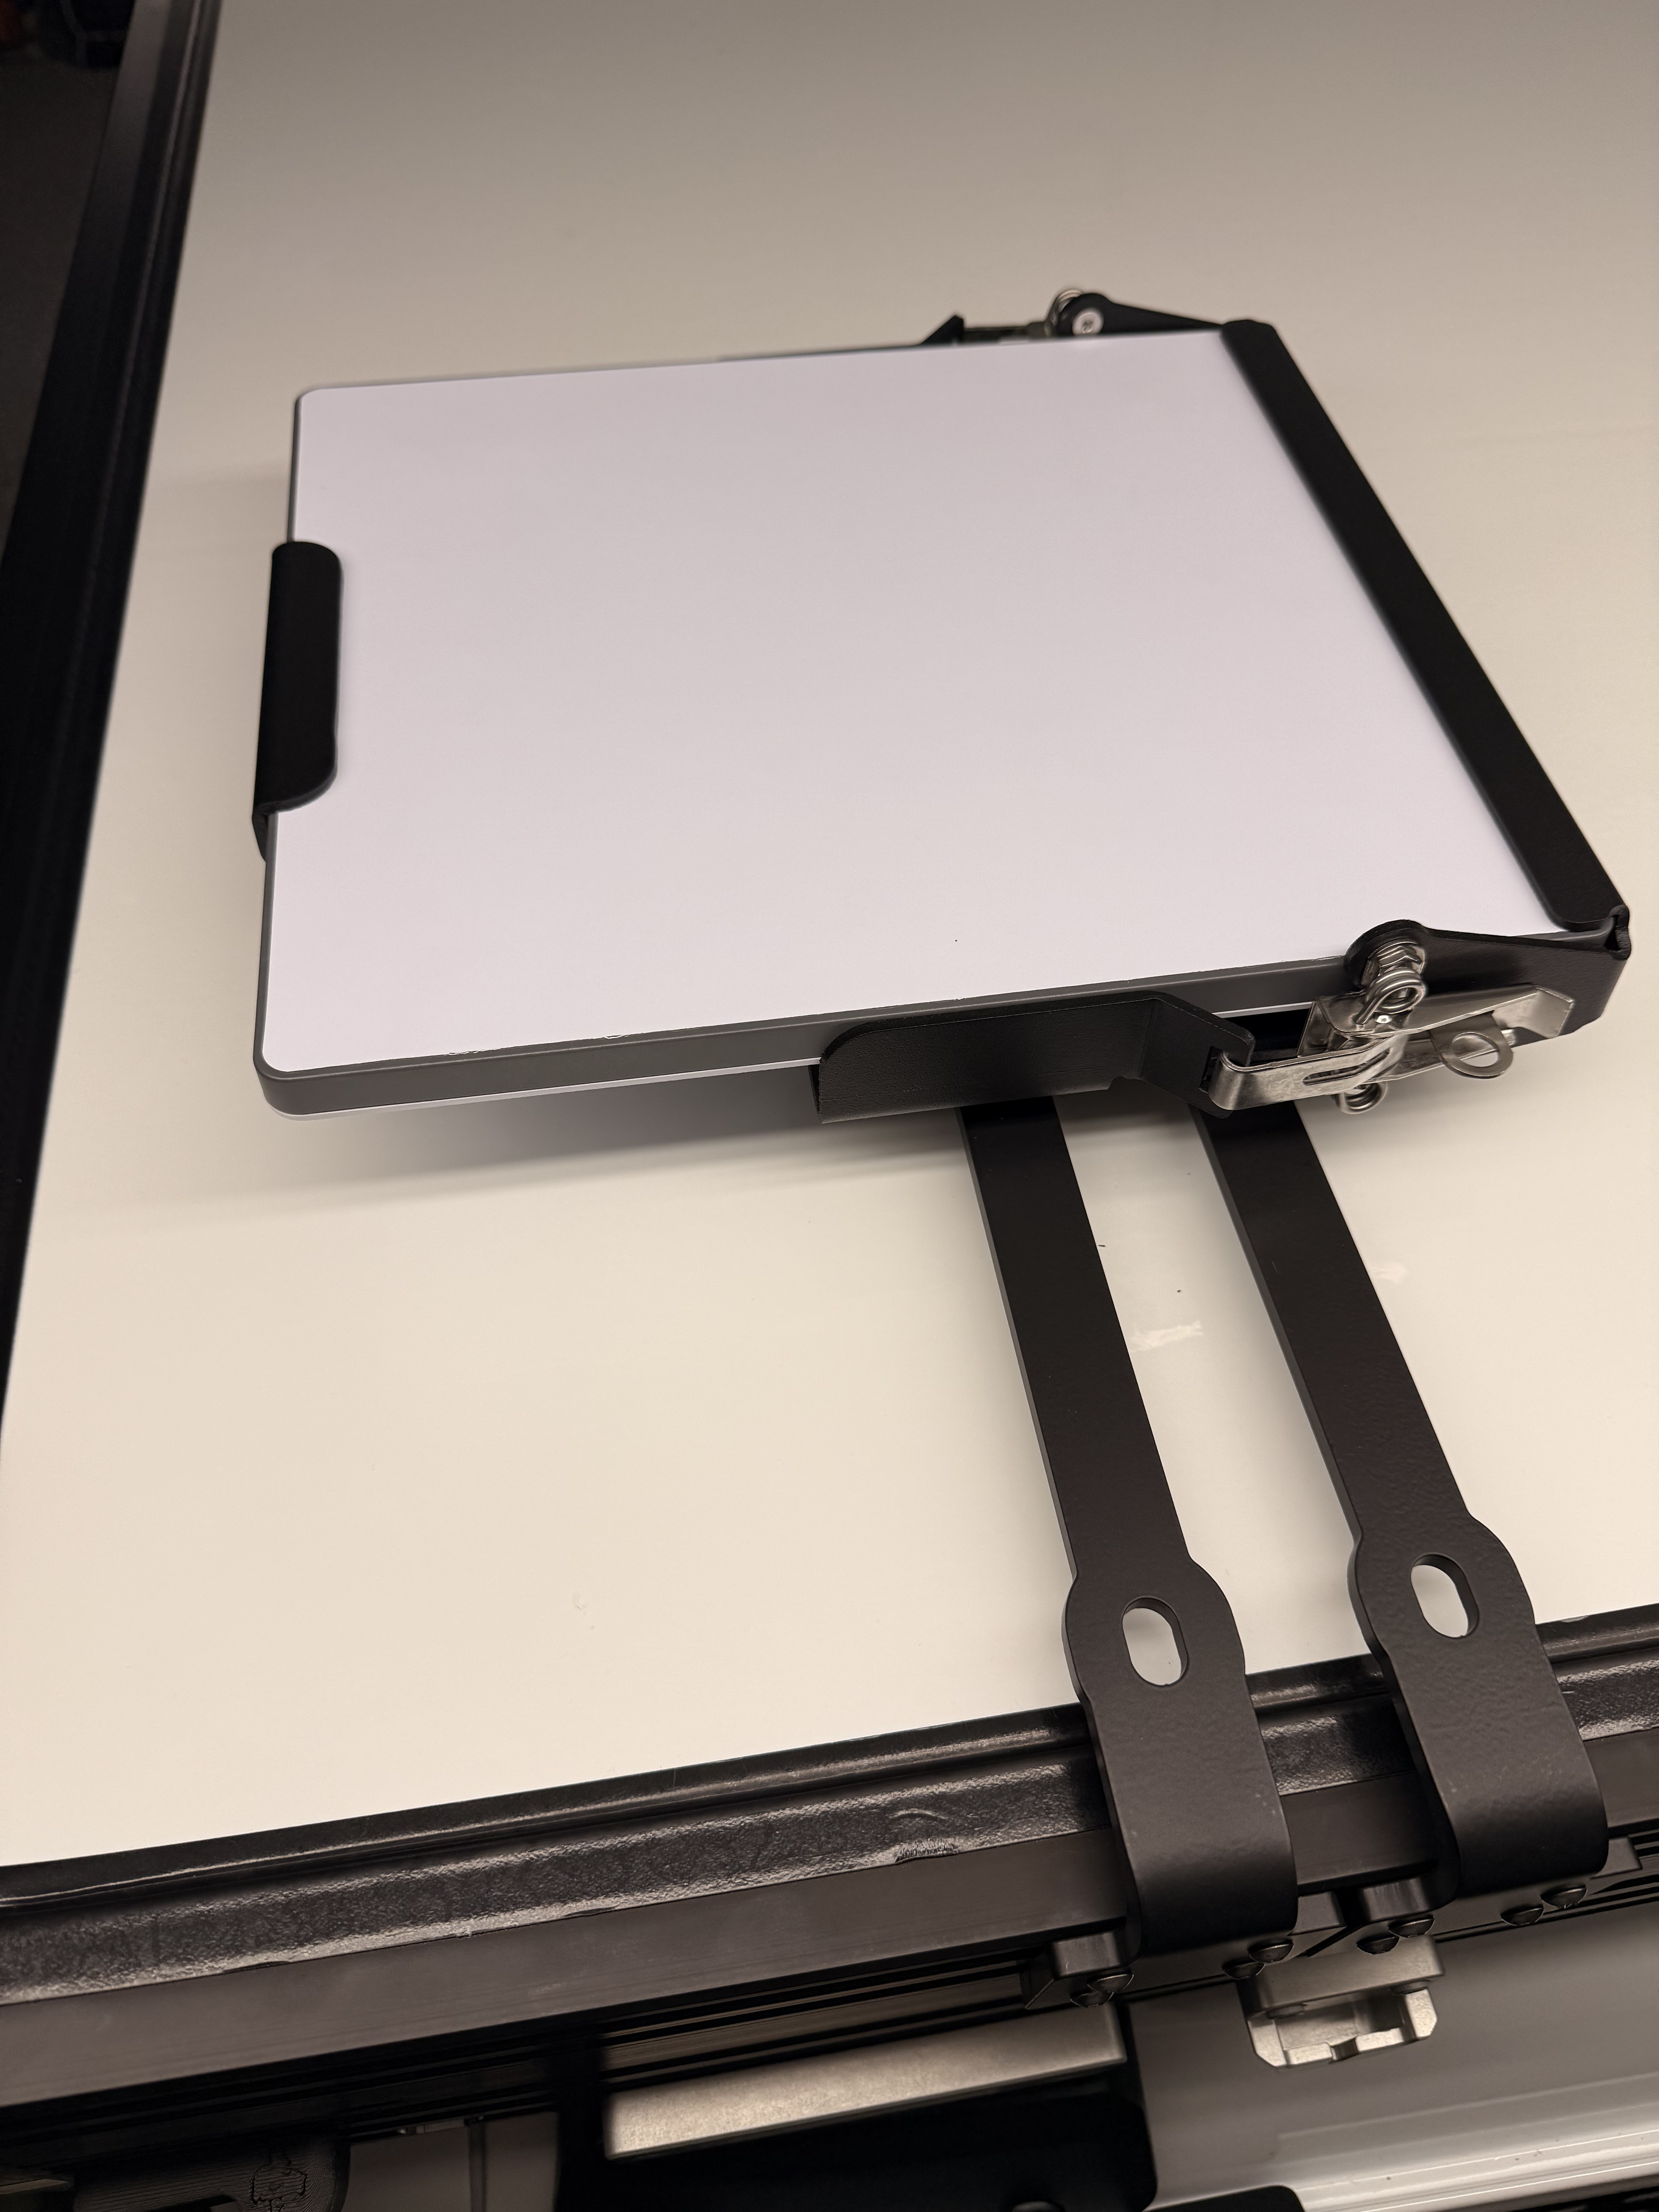
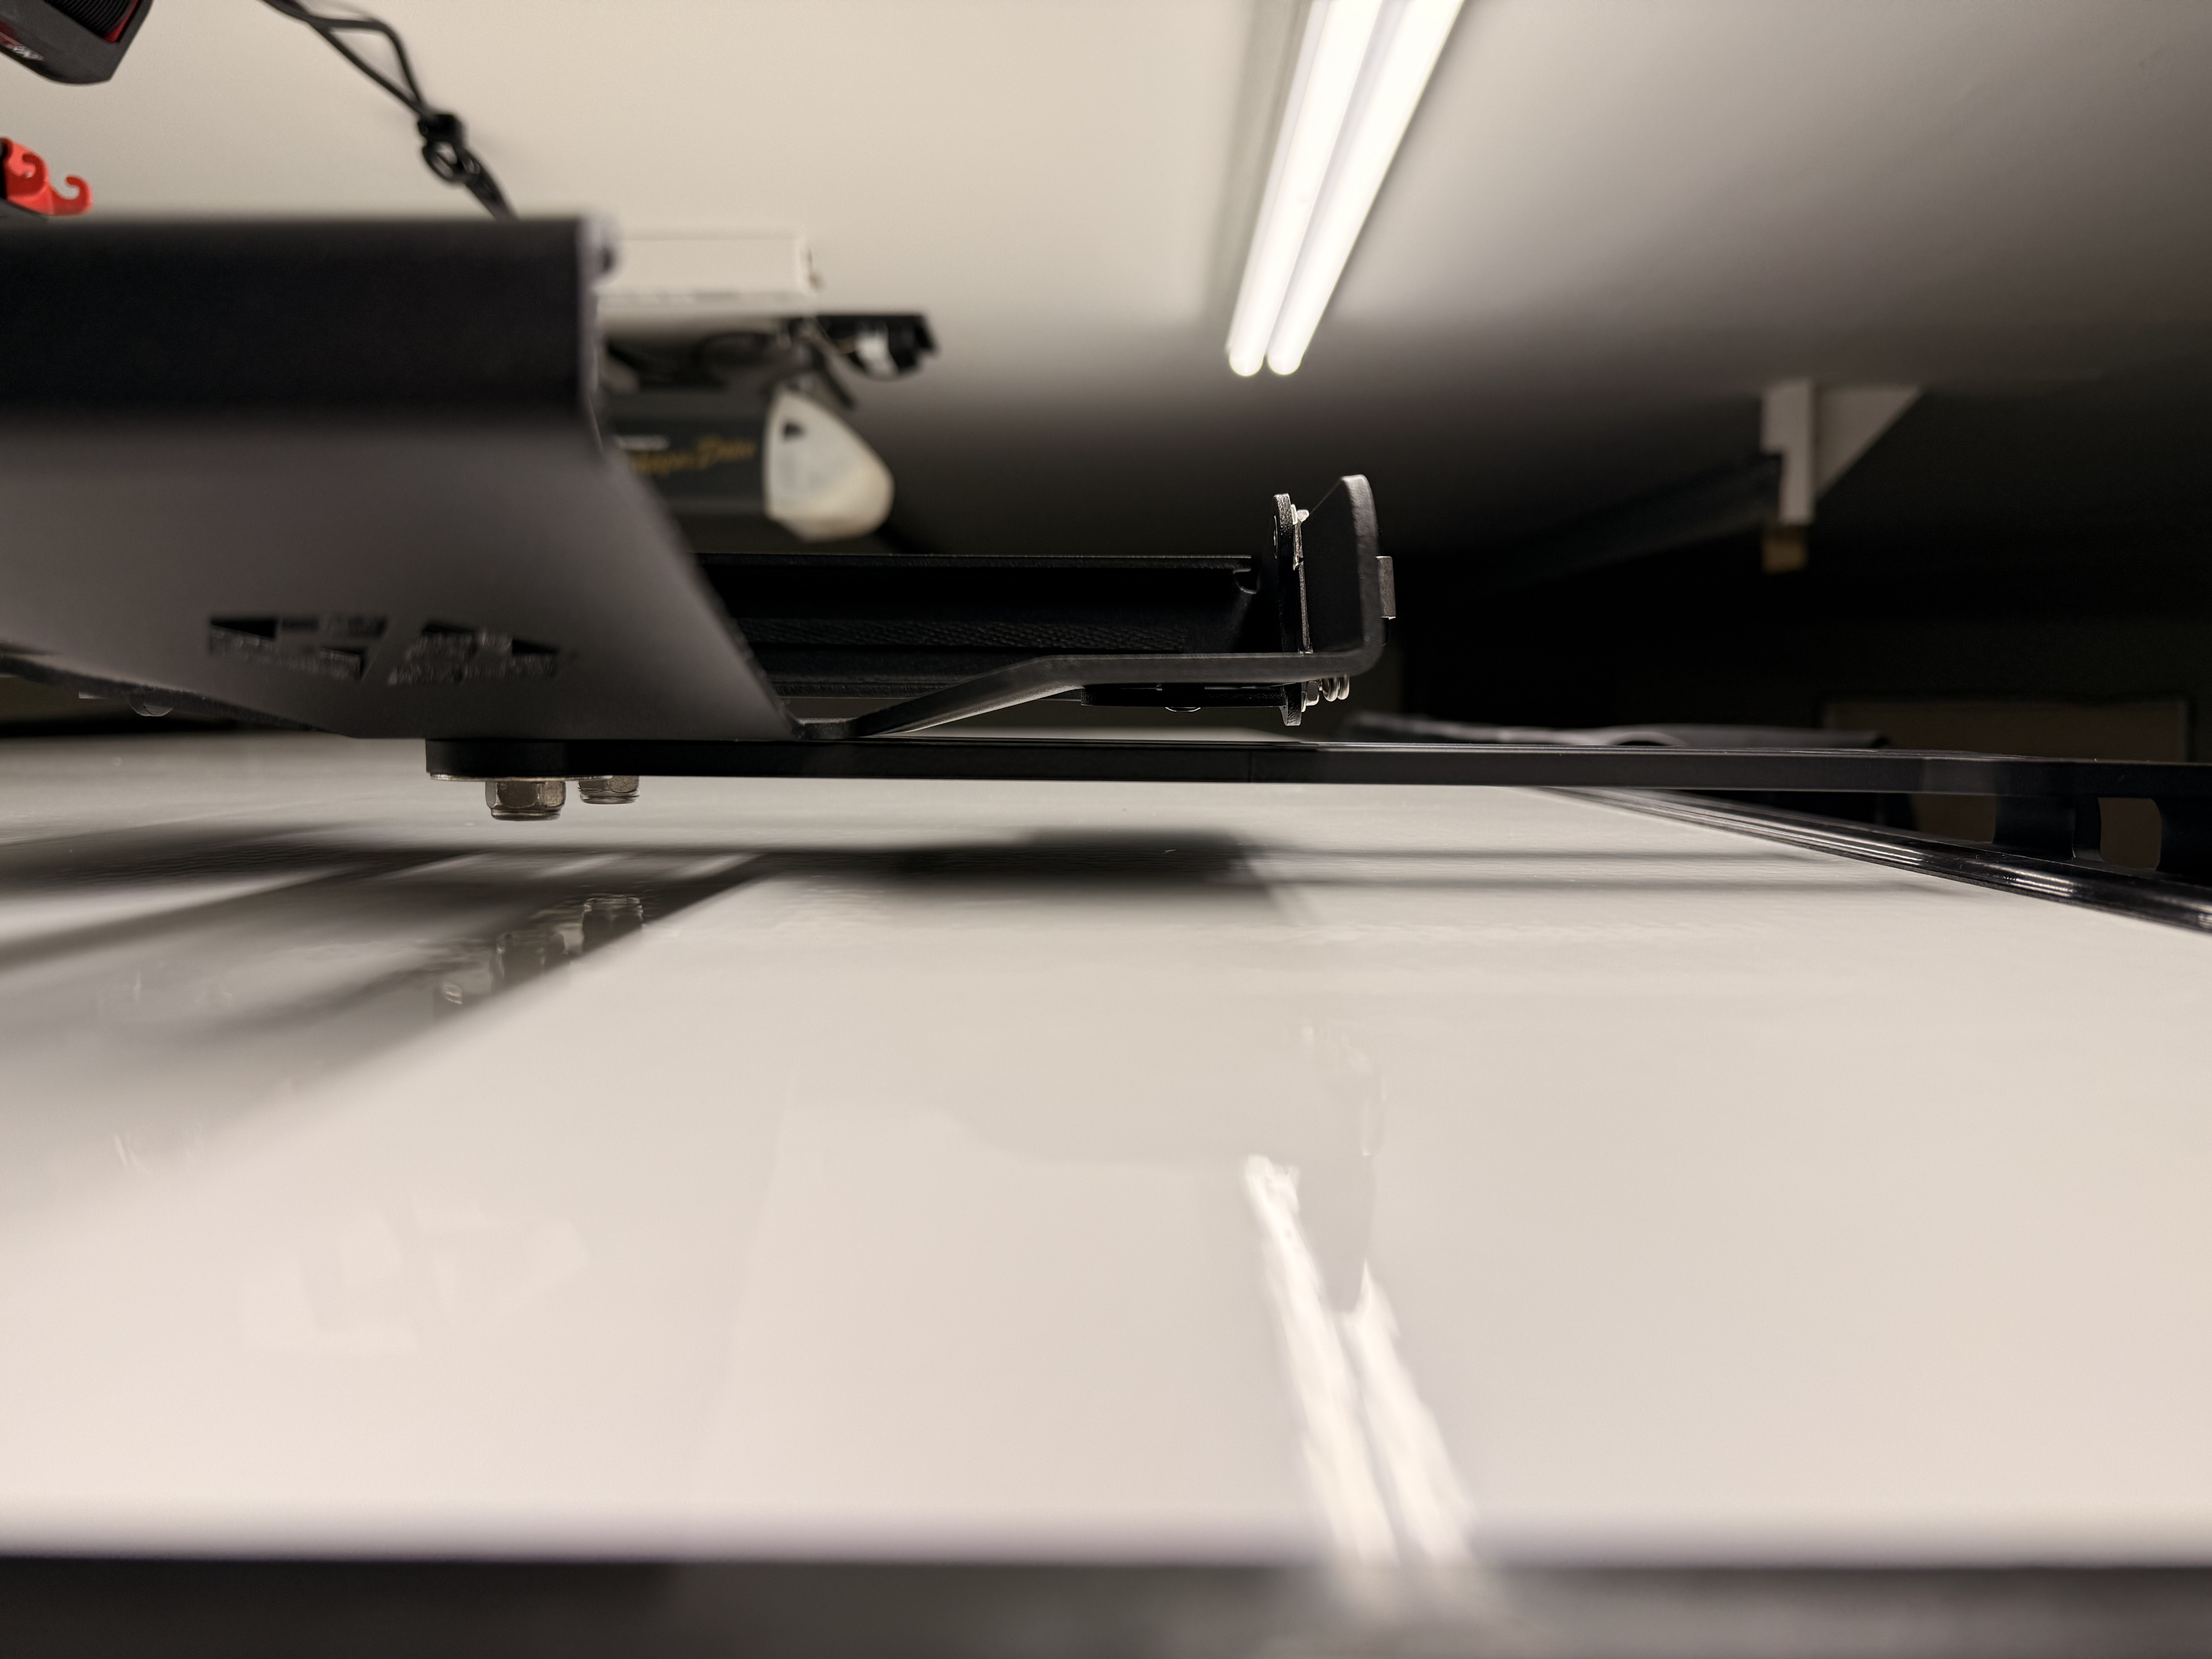
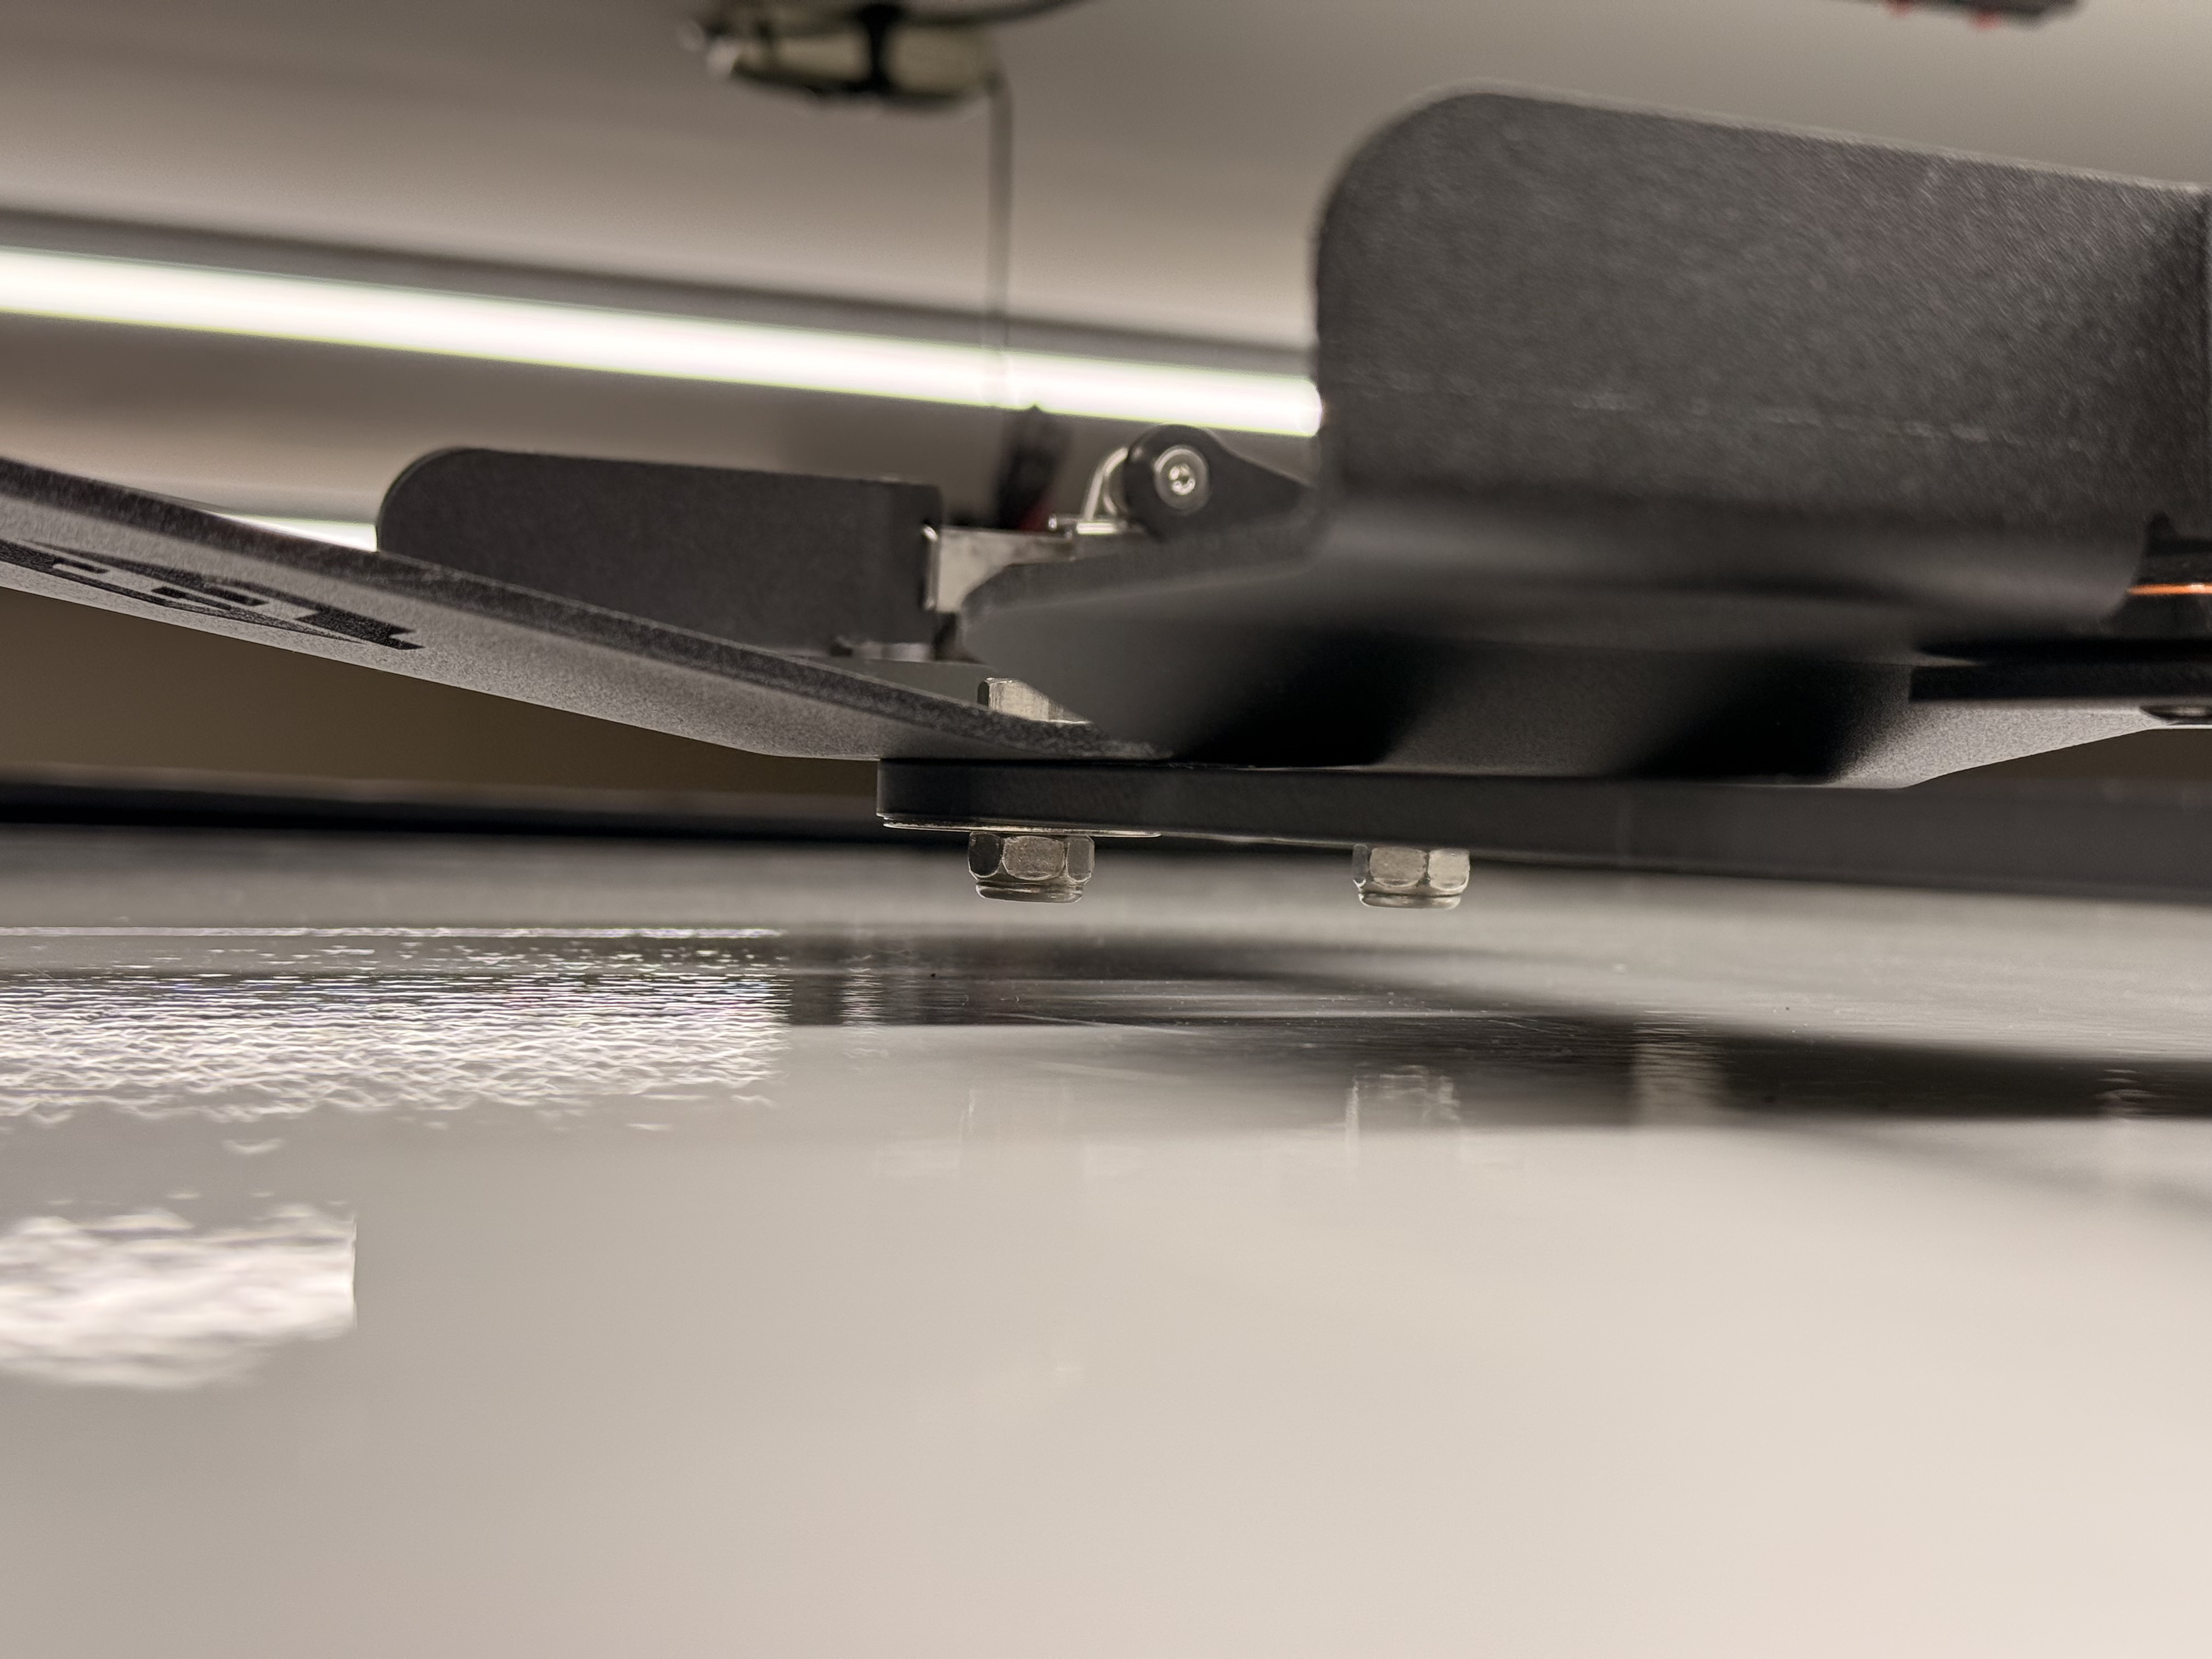
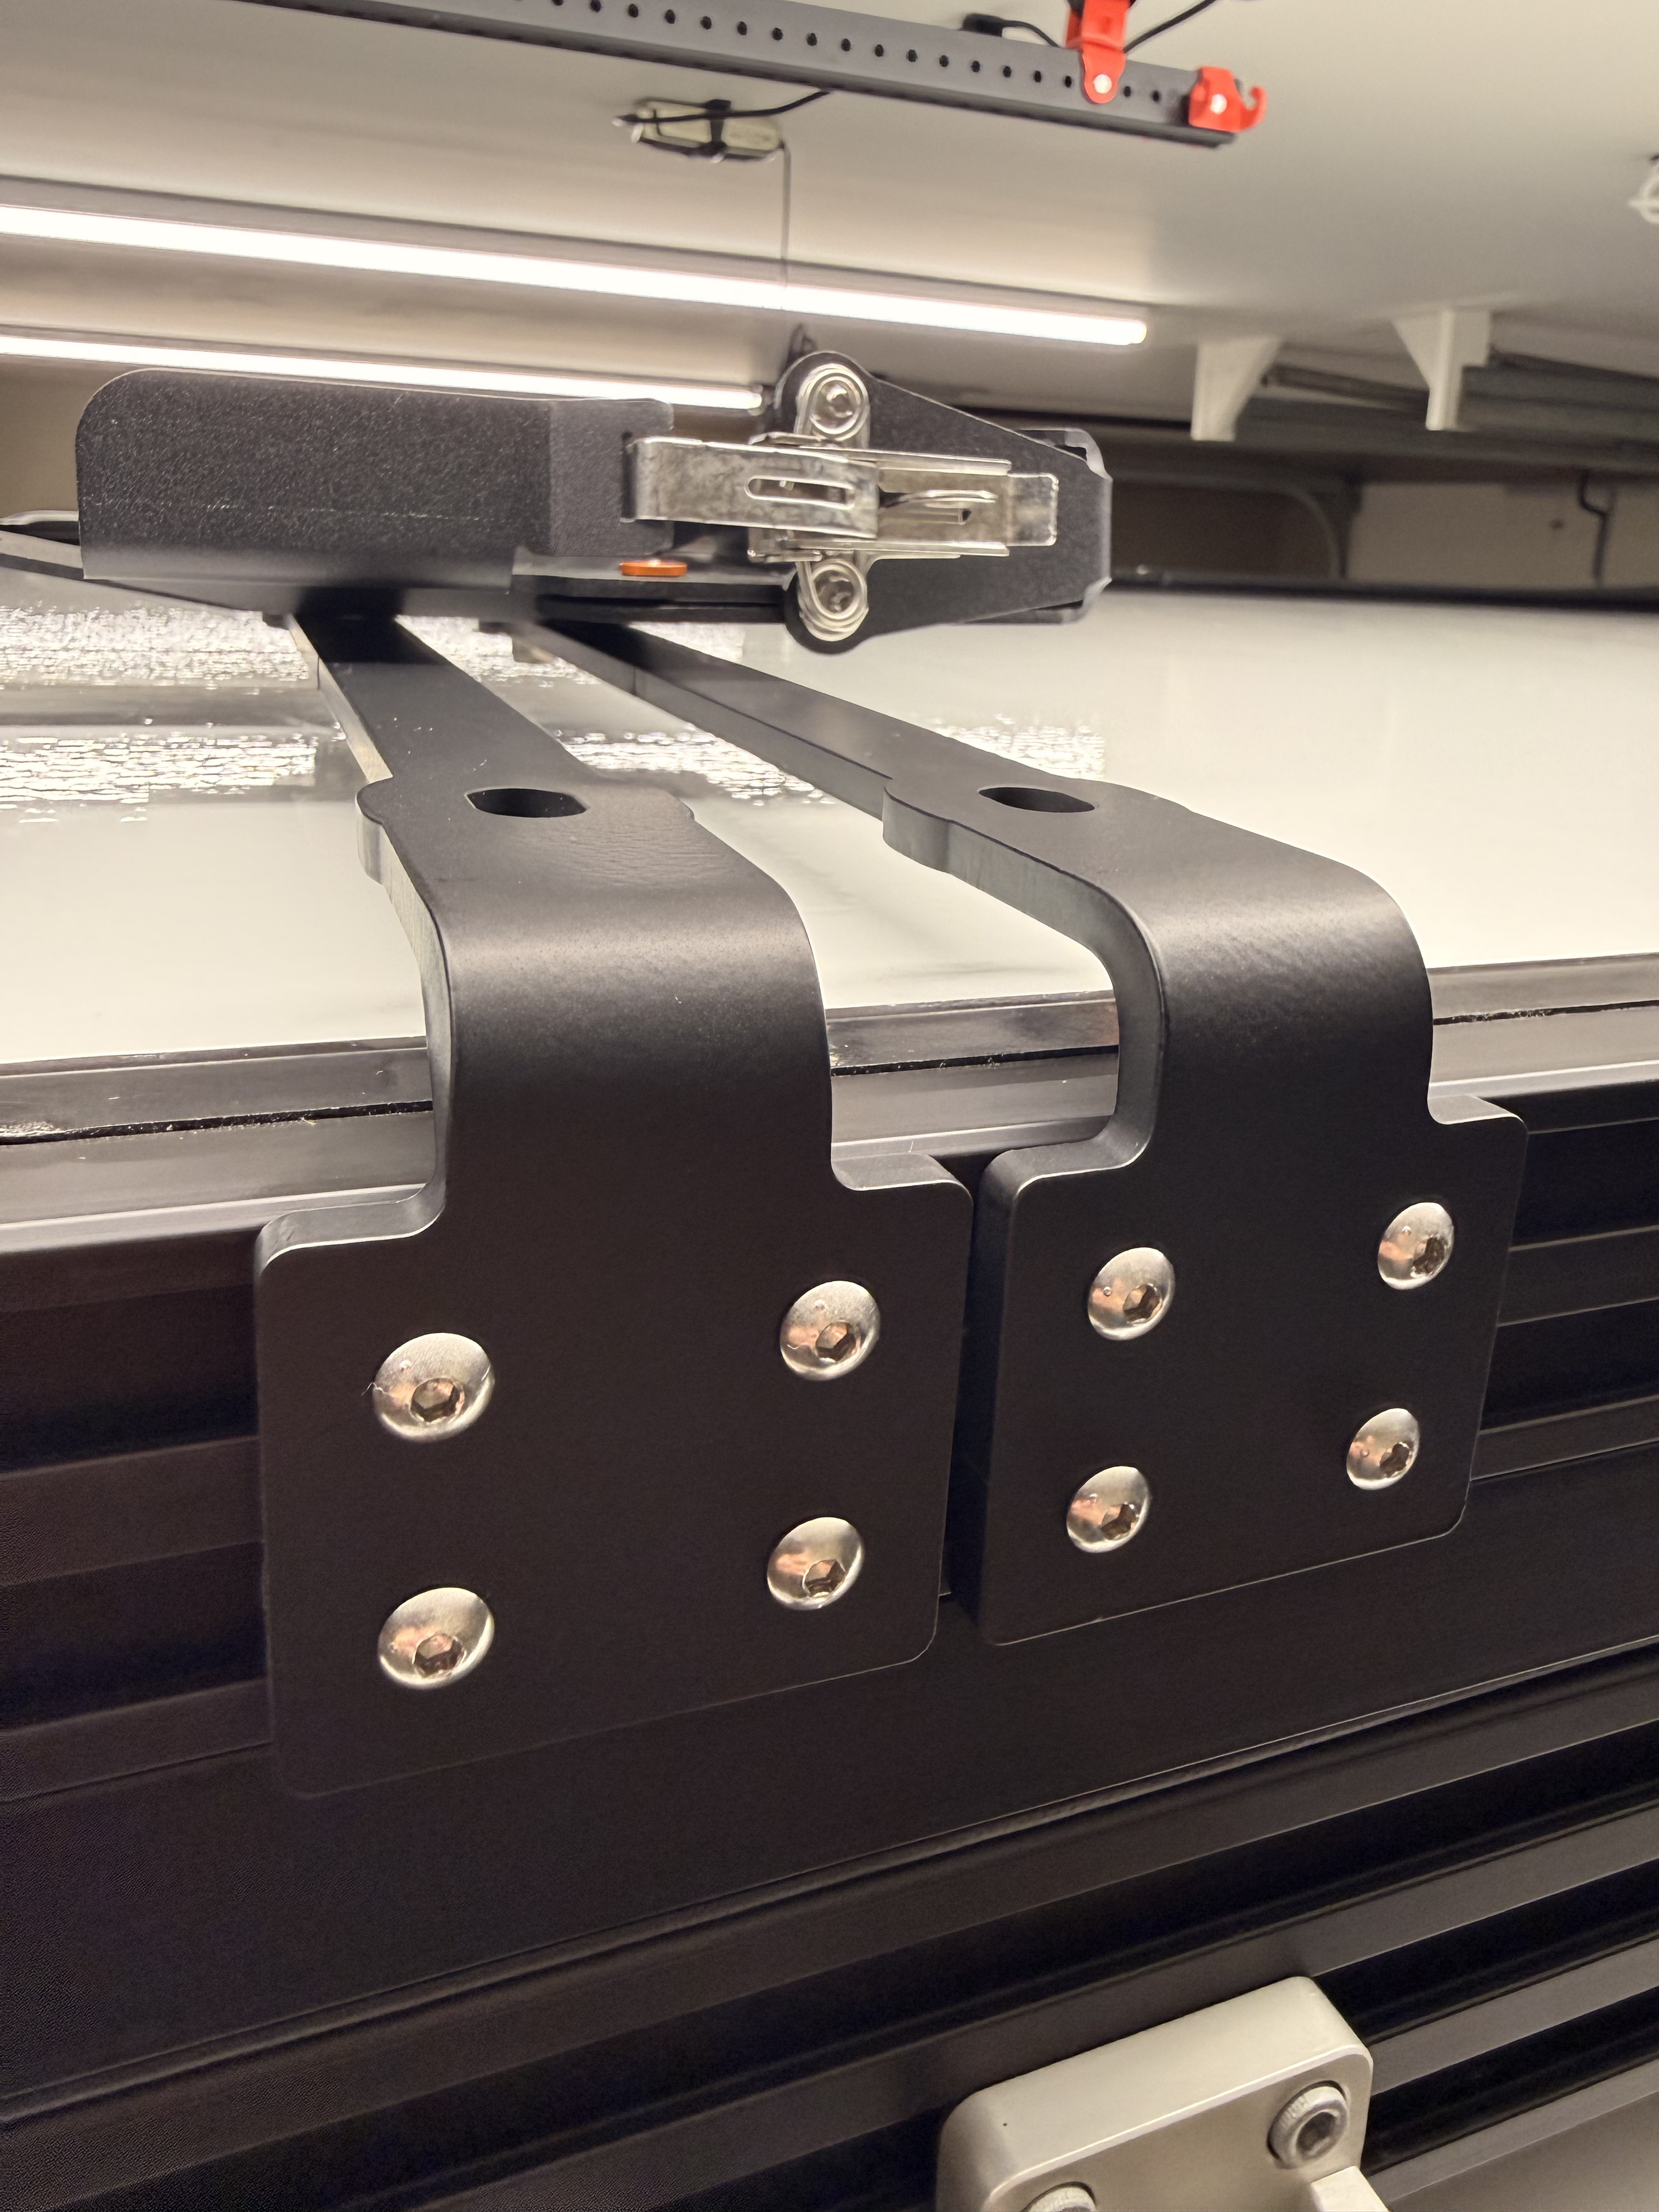
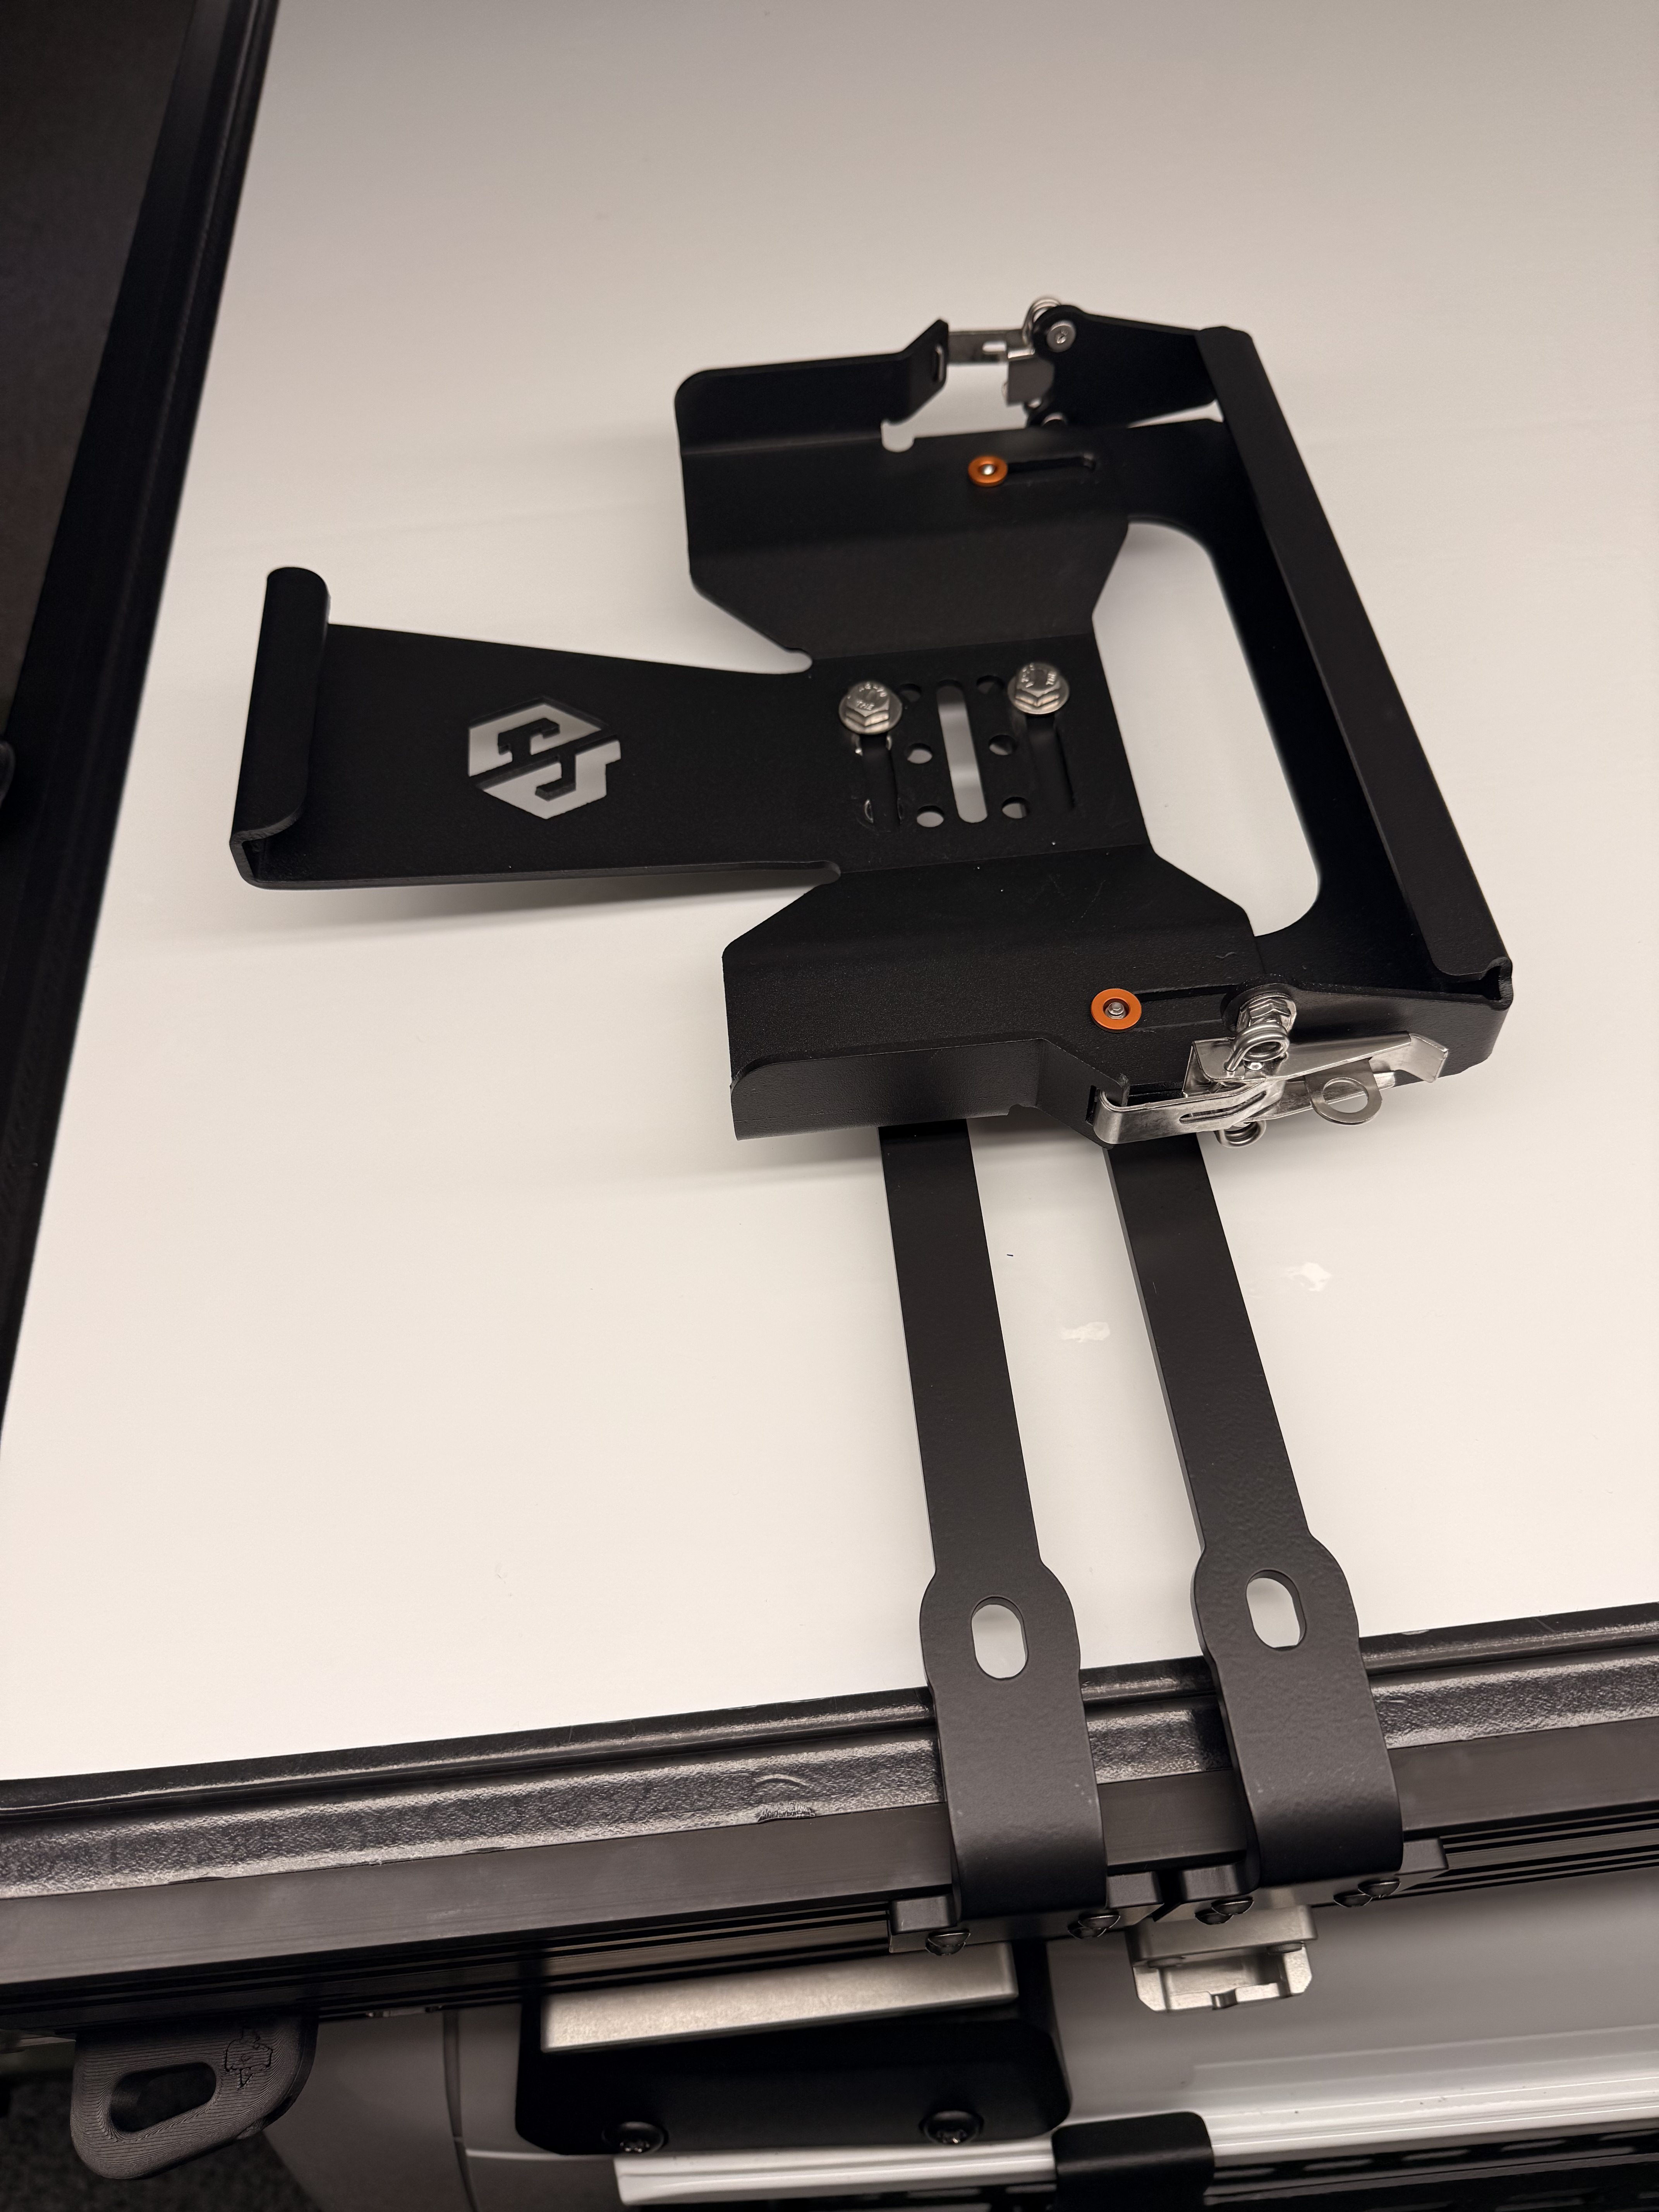
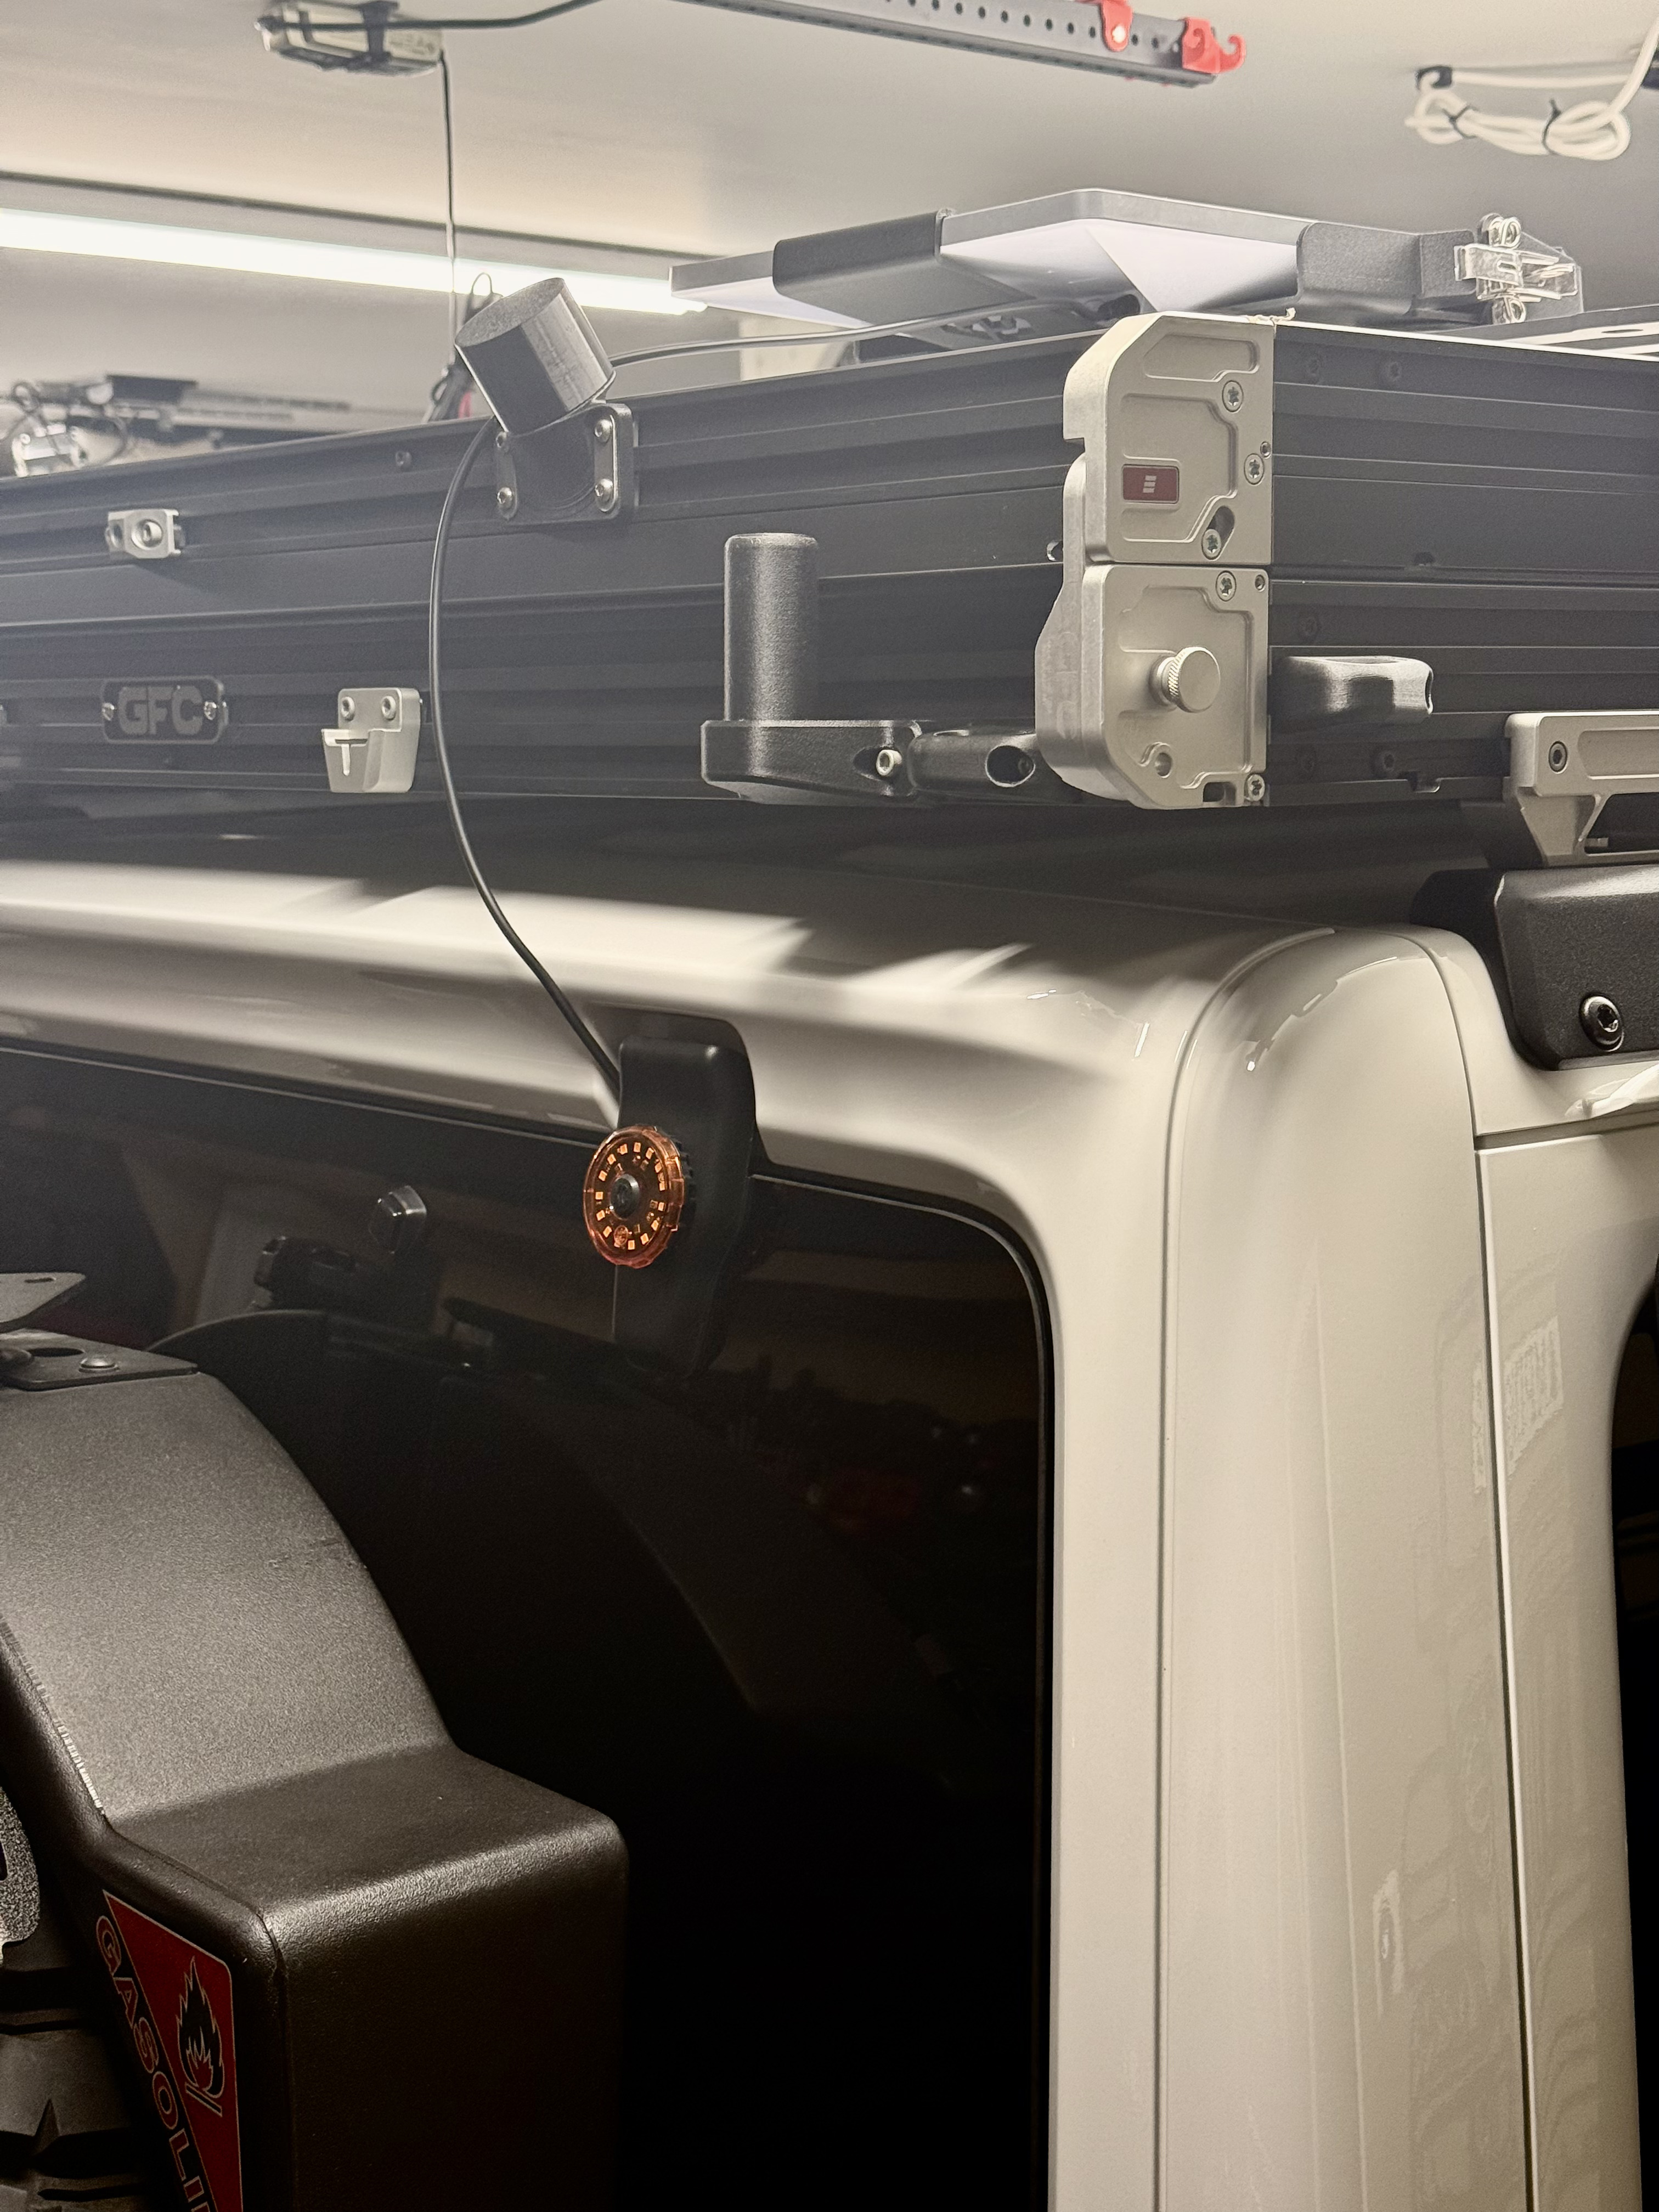
After looking at a bunch of Mini mounting solutions for my GFC, I couldn’t find anything that really checked all the boxes. Most of what I found relied on suction cups or mounting methods that just didn’t fit the overall look and feel of the GFC.
I ended up putting together my own solution using a combination of parts from a couple different vendors.
The foundation is a set of Maxtrax brackets from GFC forum member, Wild_Mitten. They’re originally designed to hold recovery boards, but they turned out to be the perfect mounting point. I paired those with the GP Factor Starlink Mini Mount, and the two worked together surprisingly well.
The result is a clean, low profile install that looks like it belongs on the GFC rather than something added as an afterthought.
What I really like about the GP Factor mount is that it’s not a permanent attachment to the Starlink itself. The mounting hardware stays in place, but the Mini can be removed in seconds by releasing a couple of latches. That makes it easy to take down when needed, while still providing a secure mounting solution when installed. There’s also a provision for a lock, which adds some peace of mind if theft is a concern.
Overall, I’m really happy with how it turned out. It gives me an always-on mounting location for the Mini, keeps the install looking clean, and avoids the suction-cup approach that I wasn’t a fan of.
Figured I’d share in case anyone else is looking for a more integrated Mini solution for their GFC setup.
I just ordered a set of those mounts for Maxtrax but I could see them getting re-purposed. How are you running the cable? Also, where on the roof is it mounted? It’s hard to tell from your pictures.
Mounted rear passenger. For now, I’m running the power cable through the tailgate opening to a Dometic Hardwiring Kit DC mounted on the rear wheel well. From there, it feeds the Redarc TVMS, which is powered by a Redarc 150Ah lithium.
There’s enough slack in the cable when I open the RTT as well. If the Mini complains about orientation with the RTT deployed, I can quickly move it to the KeeganBuilds Mini mount located right behind it. I’ll also secure the cable whenever I’m in motion.
Bought my Starlink Mini a week before my 3-week trip. Started out laying on my bed while on for traveling and then moving it to a 1.5" Ram Ball setup at night so I could point it where I wanted at night.
Surprisingly it spent the last 1.5 weeks permanently mounted on the Ram Ball. Off-roading through San Rafael Swell, out to the Maze Overlook, up and down Elk Ridge and over Elephant hill in Canyonlands. From 50-60 mph on washboard roads to the hail and snow on Elk ridge and the rocks of Elephant Hill, never had an issue with the mount. It will get a permanent mount, but I was impressed how well it worked for a quick and dirty setup.
One really cool feature is the live 3D maps in onX as I traveled. I didn’t know onX would do that but pretty sure I sold a couple more Starlink Mini’s and onX subscriptions to friends in my group.
I bought 2 of the cables, one run into the sleeping area of the camper and the other through the front panel with a watertight cord grip and up to the back of the camper. The mount is attached to the top section of T slots.