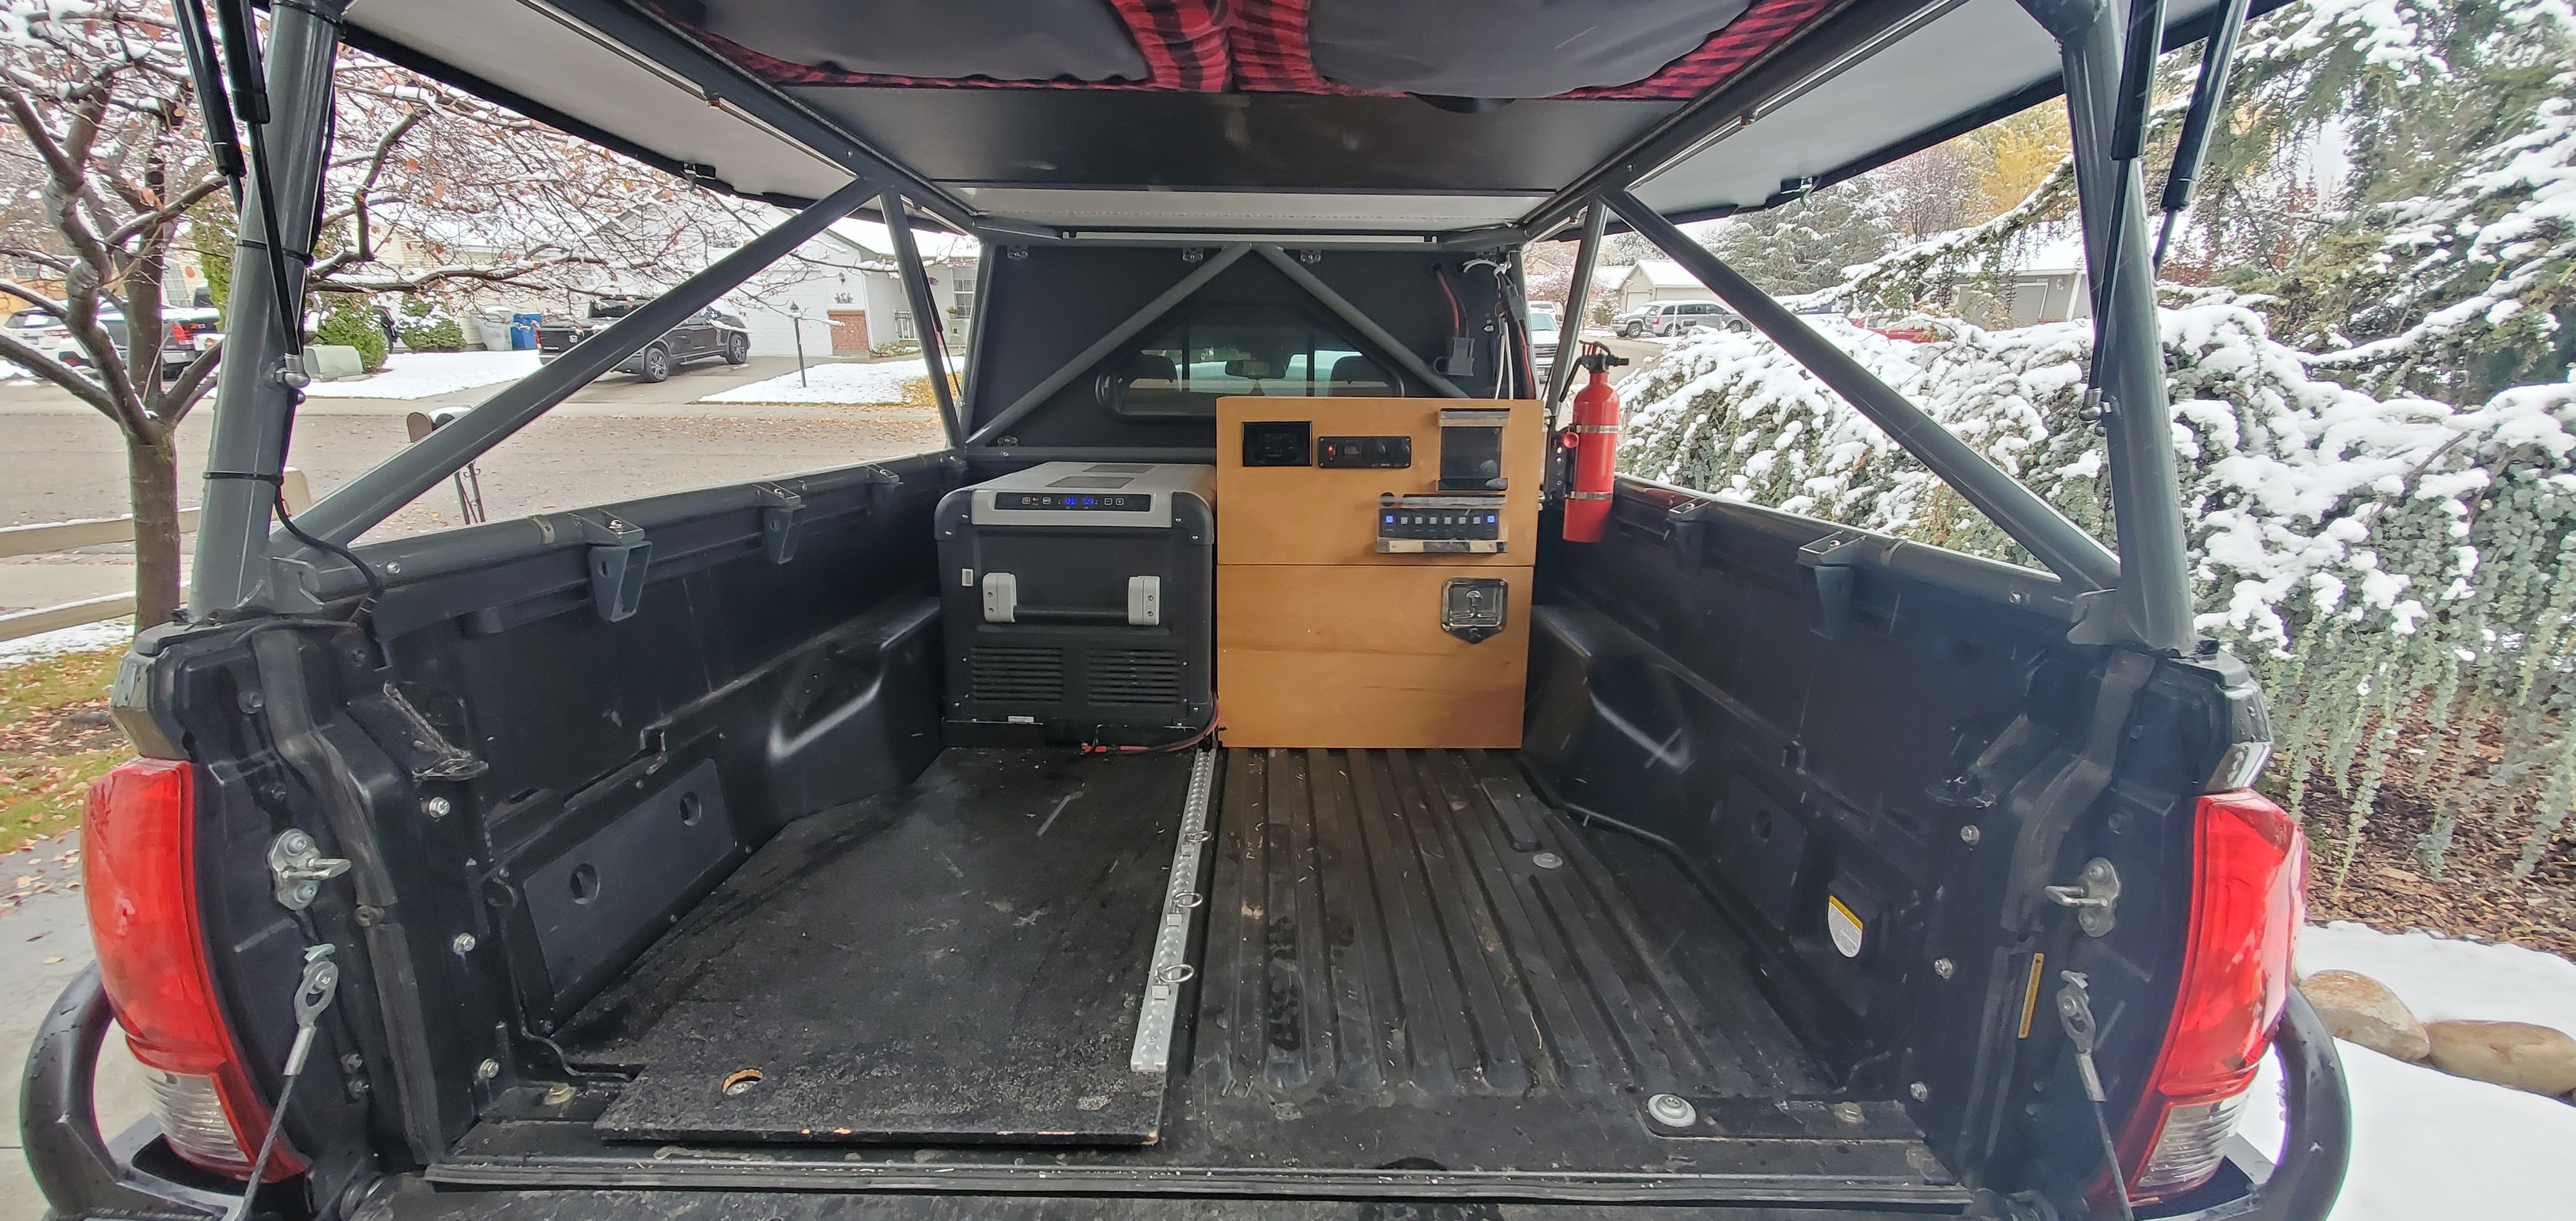
I finally had time to take pictures of my electrical setup in my GFC. Winter has arrived in Idaho and to prevent unnecessary battery degradation I store my setup in my garage when not on a trip. After my initial prototype I designed this second iteration to have quick disconnects of all components (power sources, power sinks, and control) to enable for quick install and removal. It takes about 30 minutes for me to install or remove it. I’ll break this up into multiple posts to make it easier.
Full View
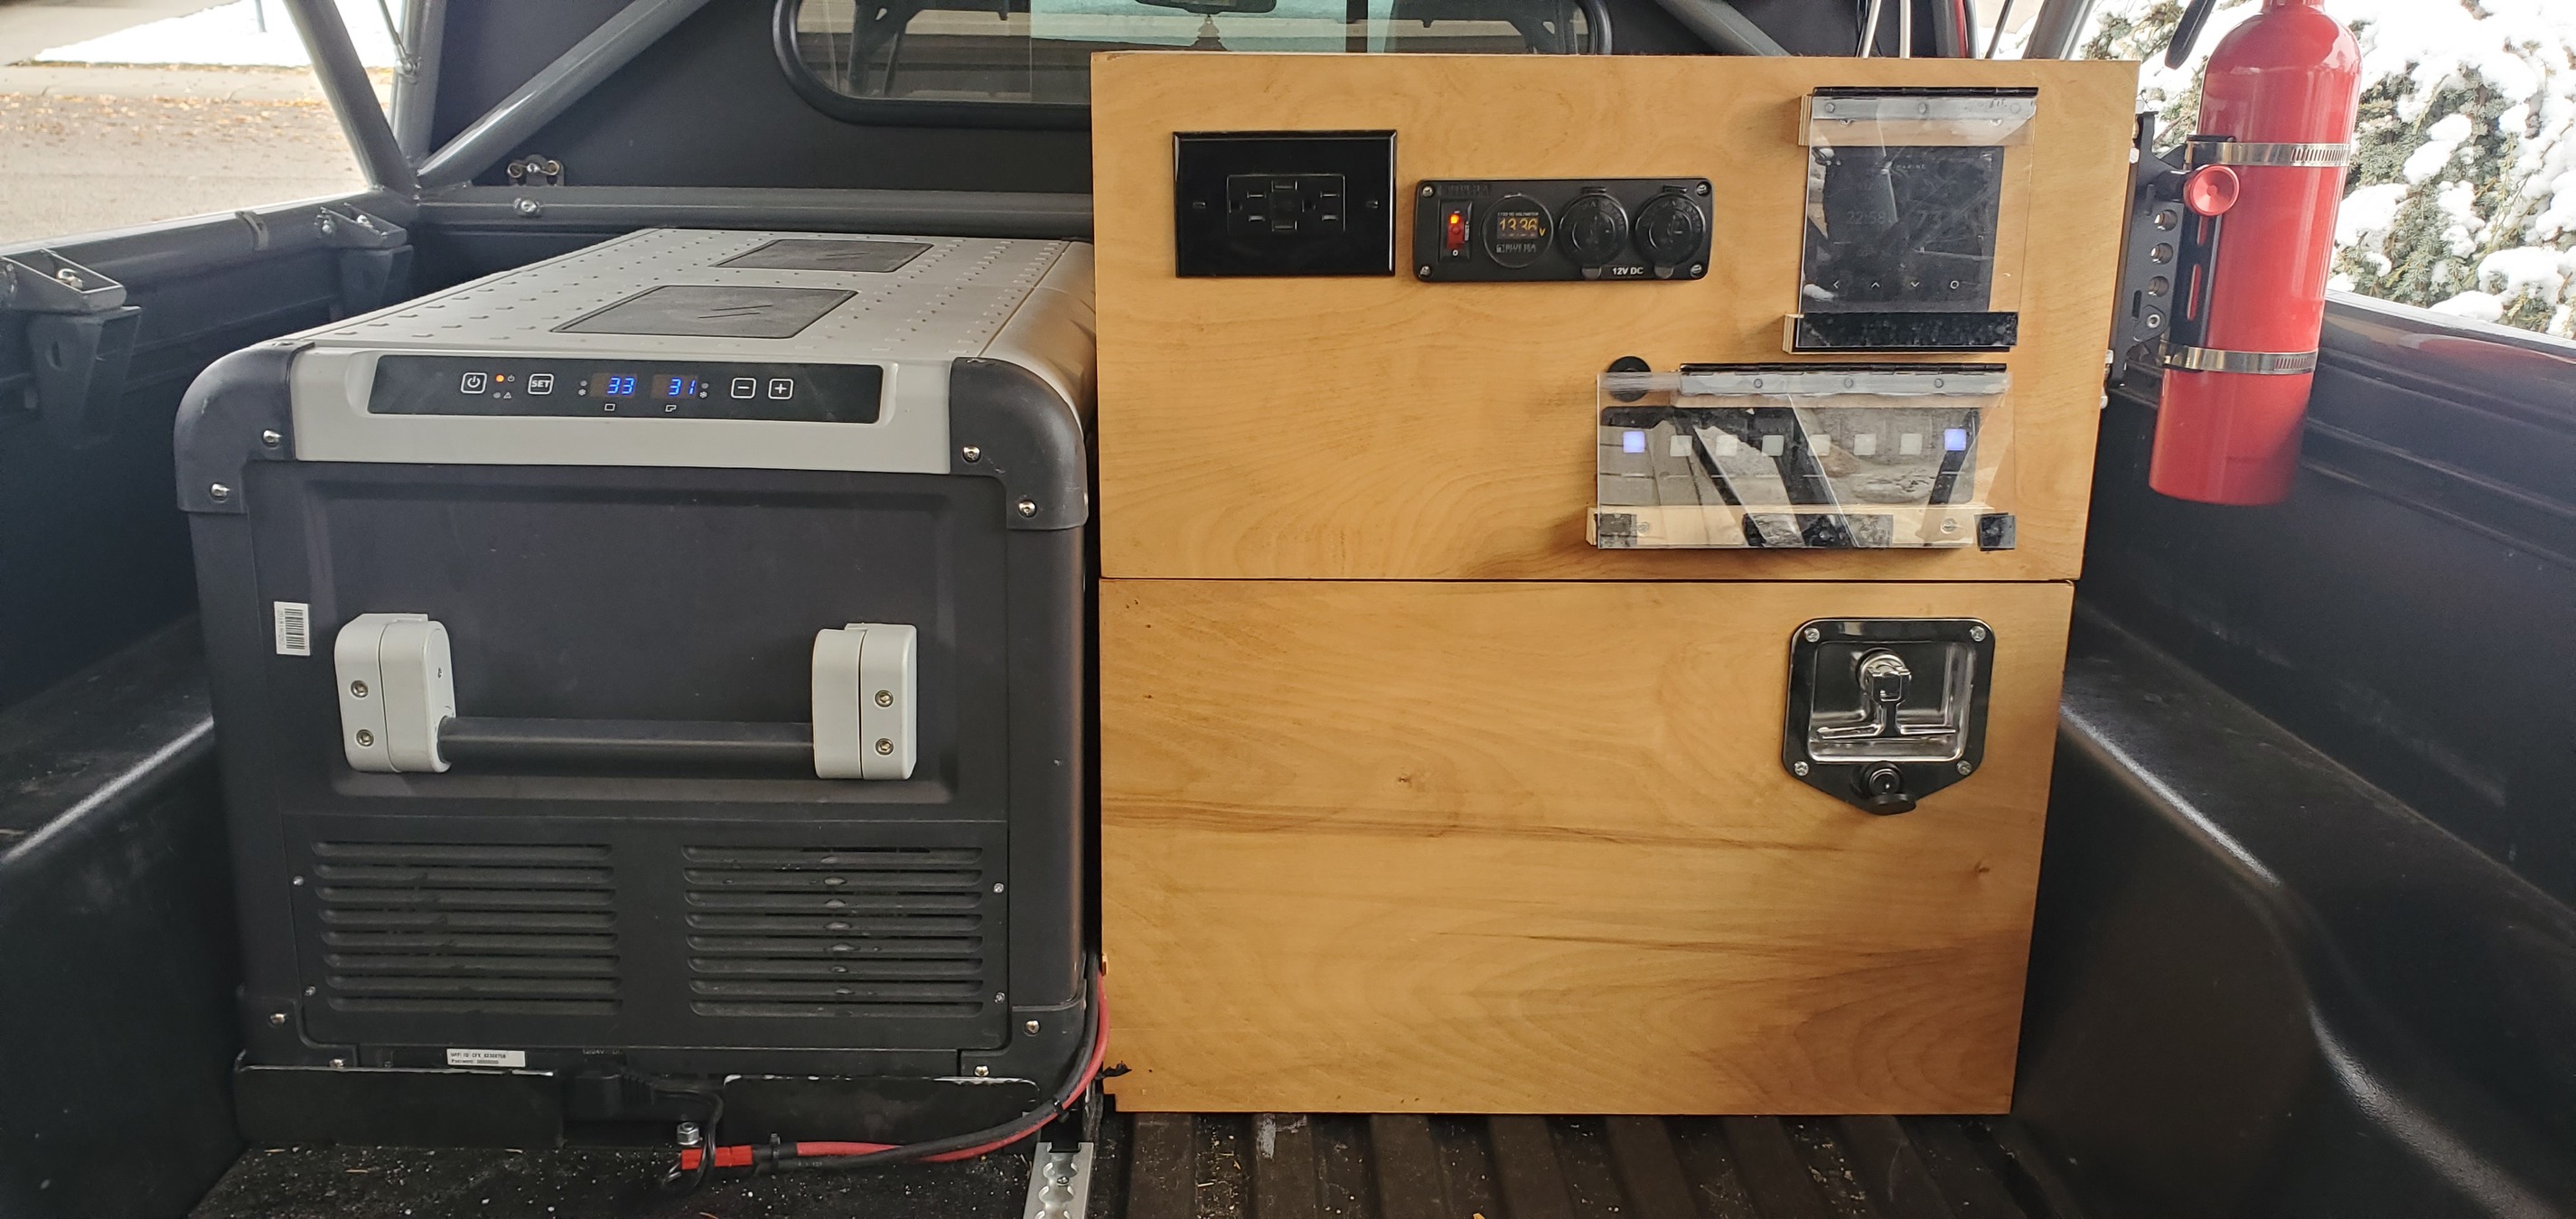
Close-up
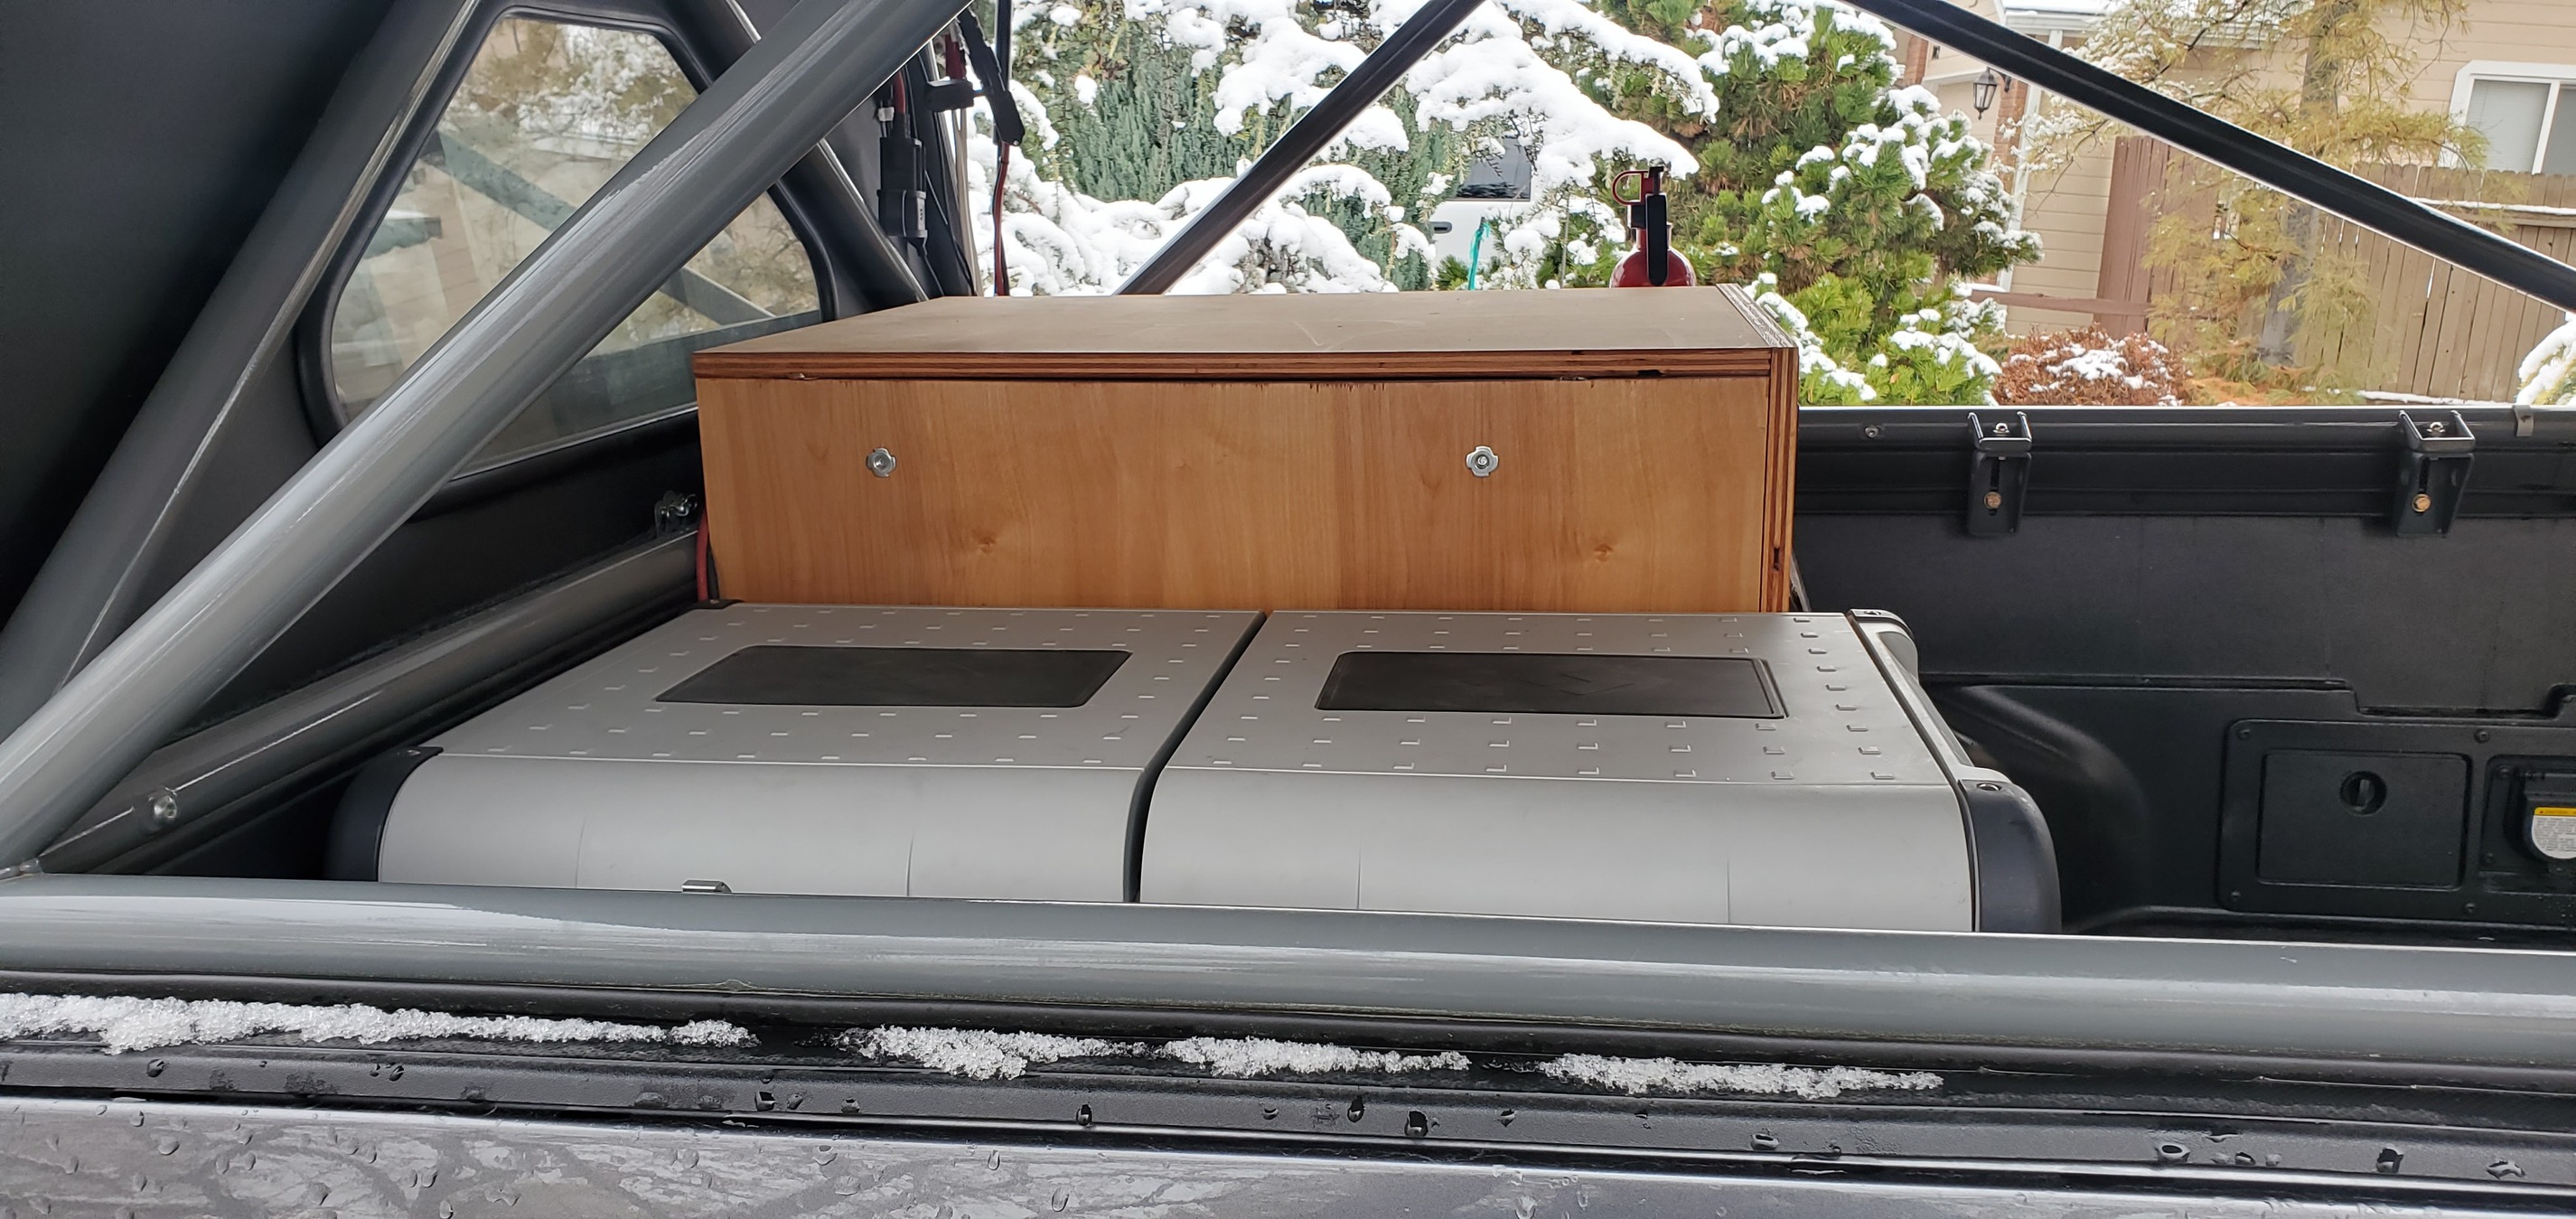
Removed

Driver Side
Passenger Side

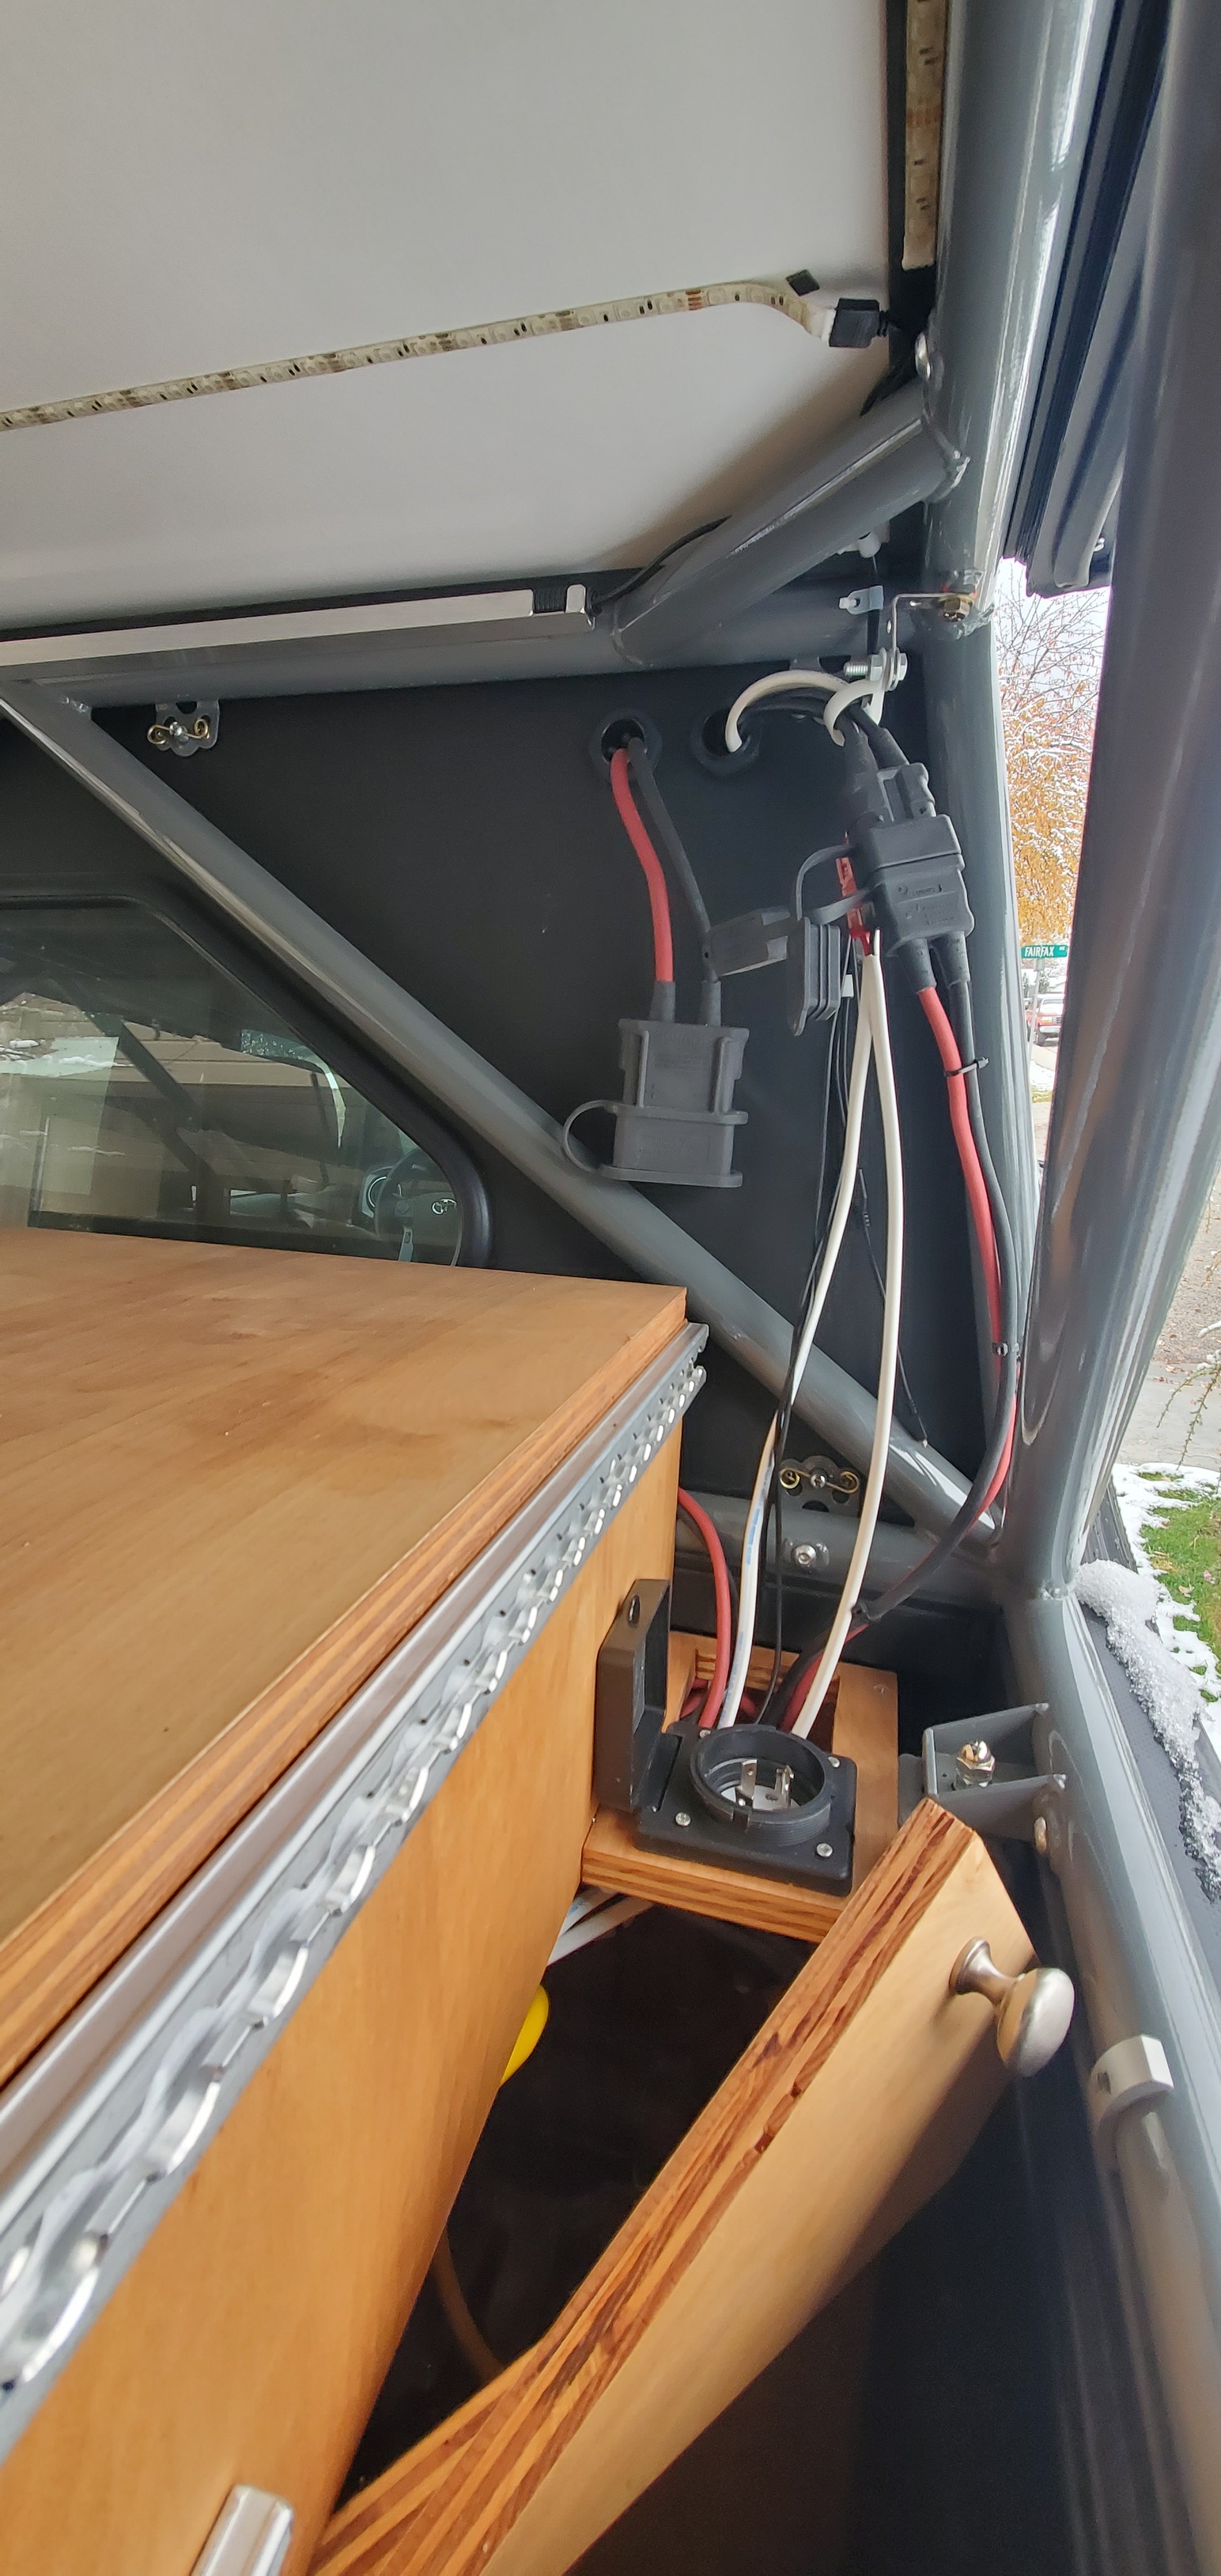
Wiring through GFC panel
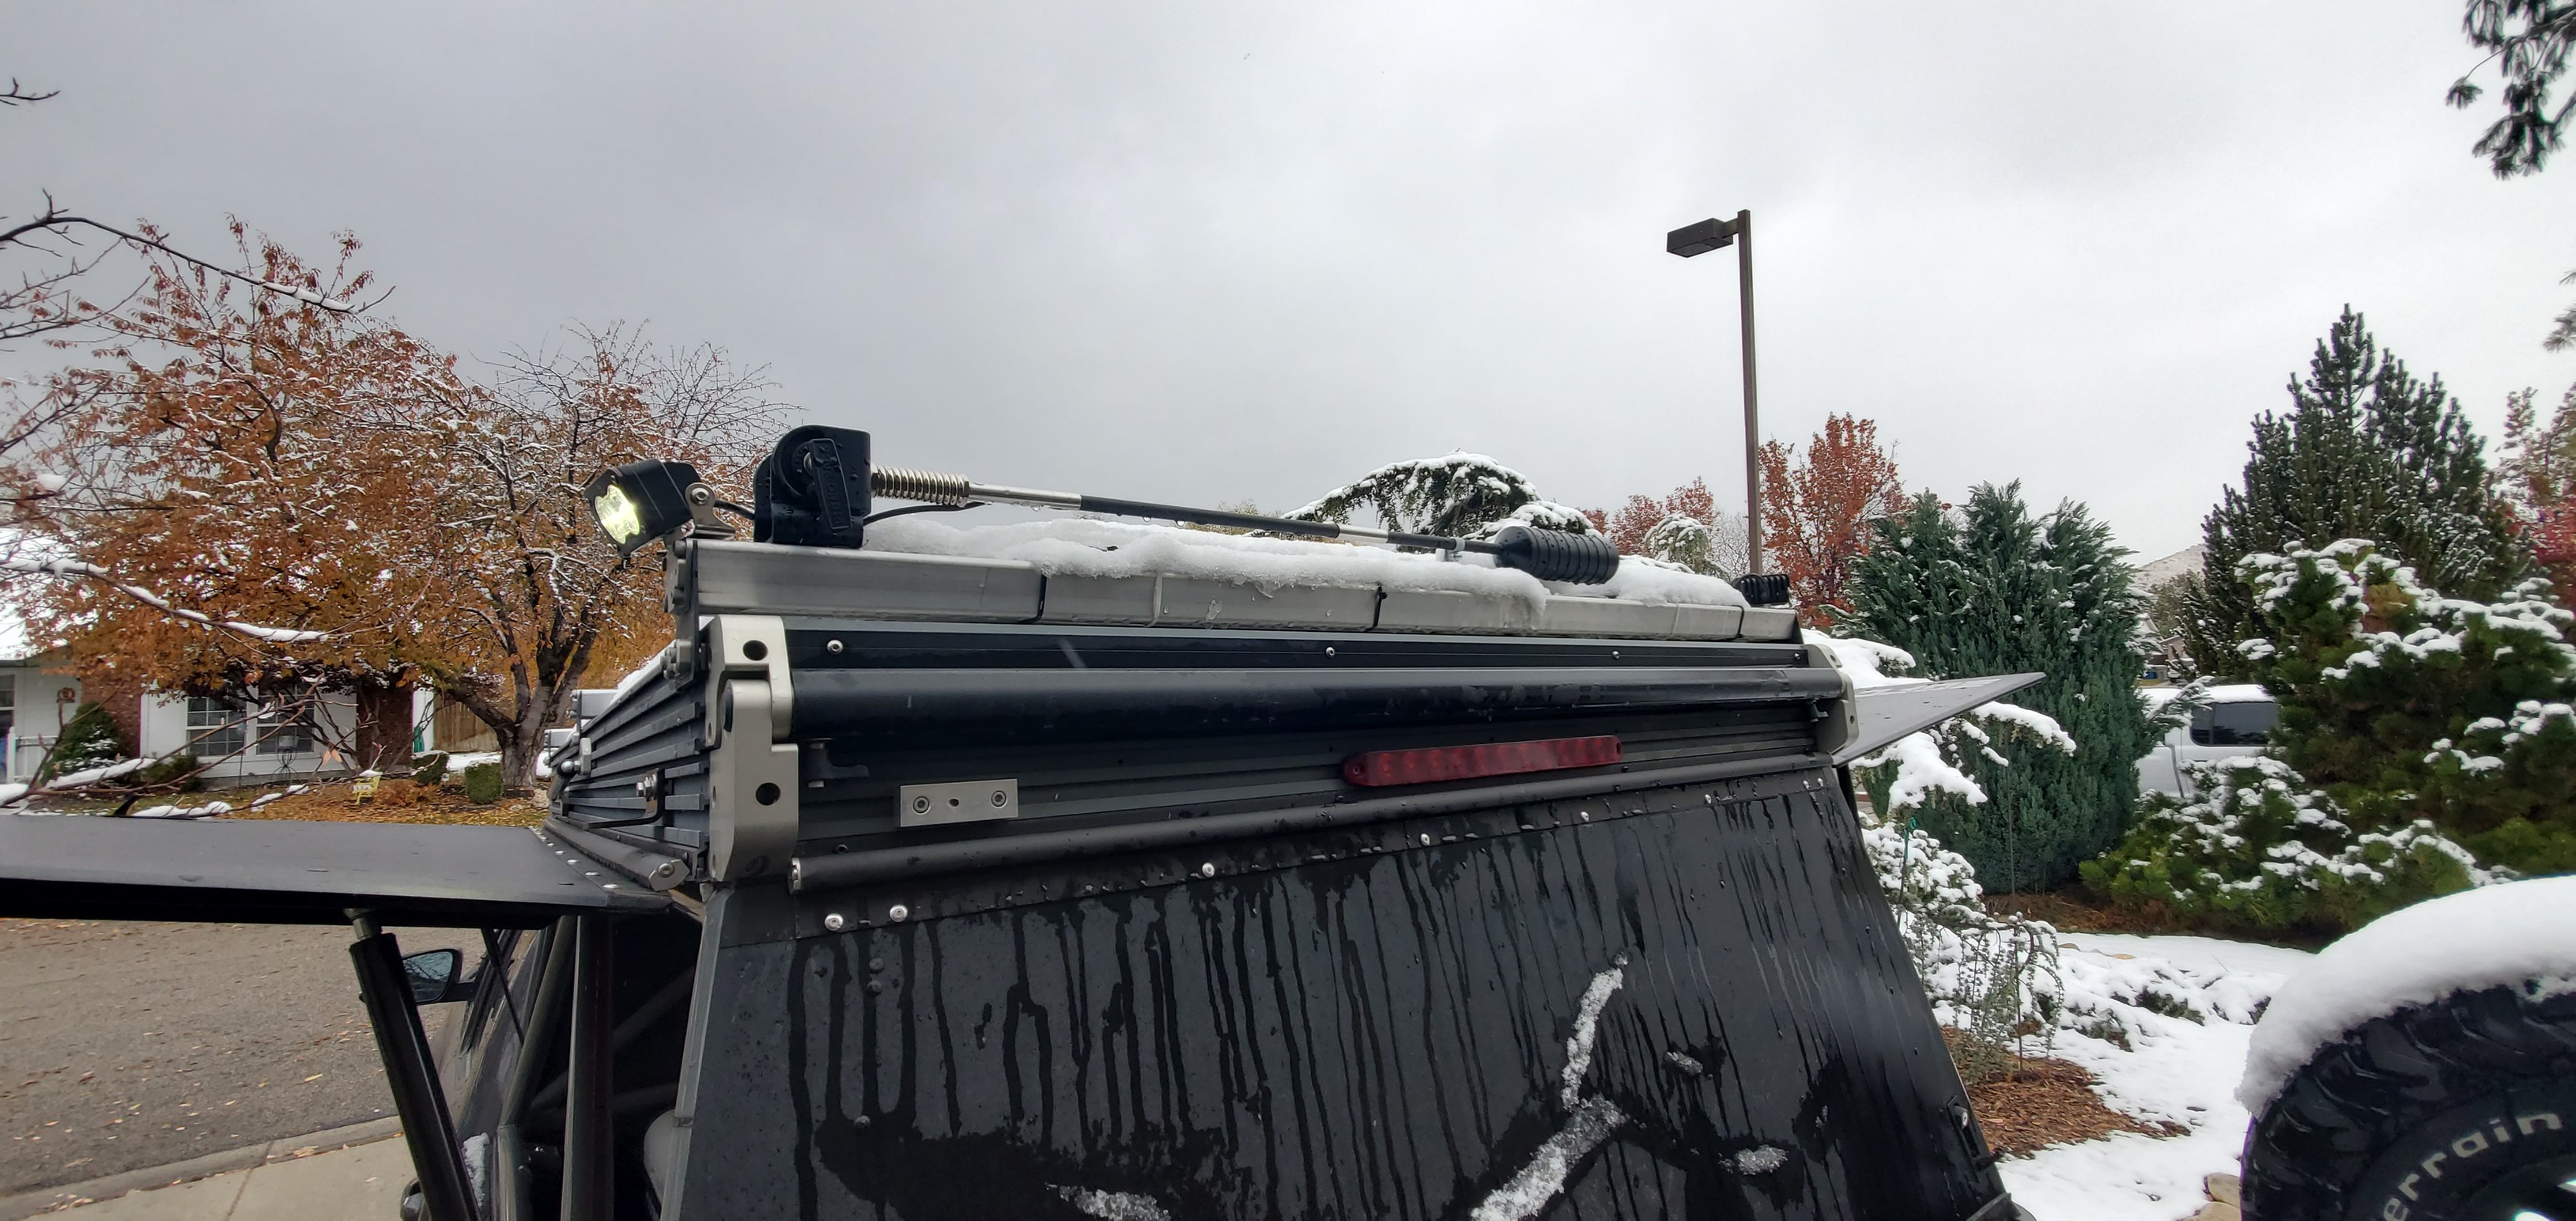
Camp Lights and Weboost Antenna
Solar Panels
