So, I rebuilt my camper. Was it the smartest decision? Maybe. Did I spend too much money on it? Maybe. Why did I do it? Because I wanted to basically.
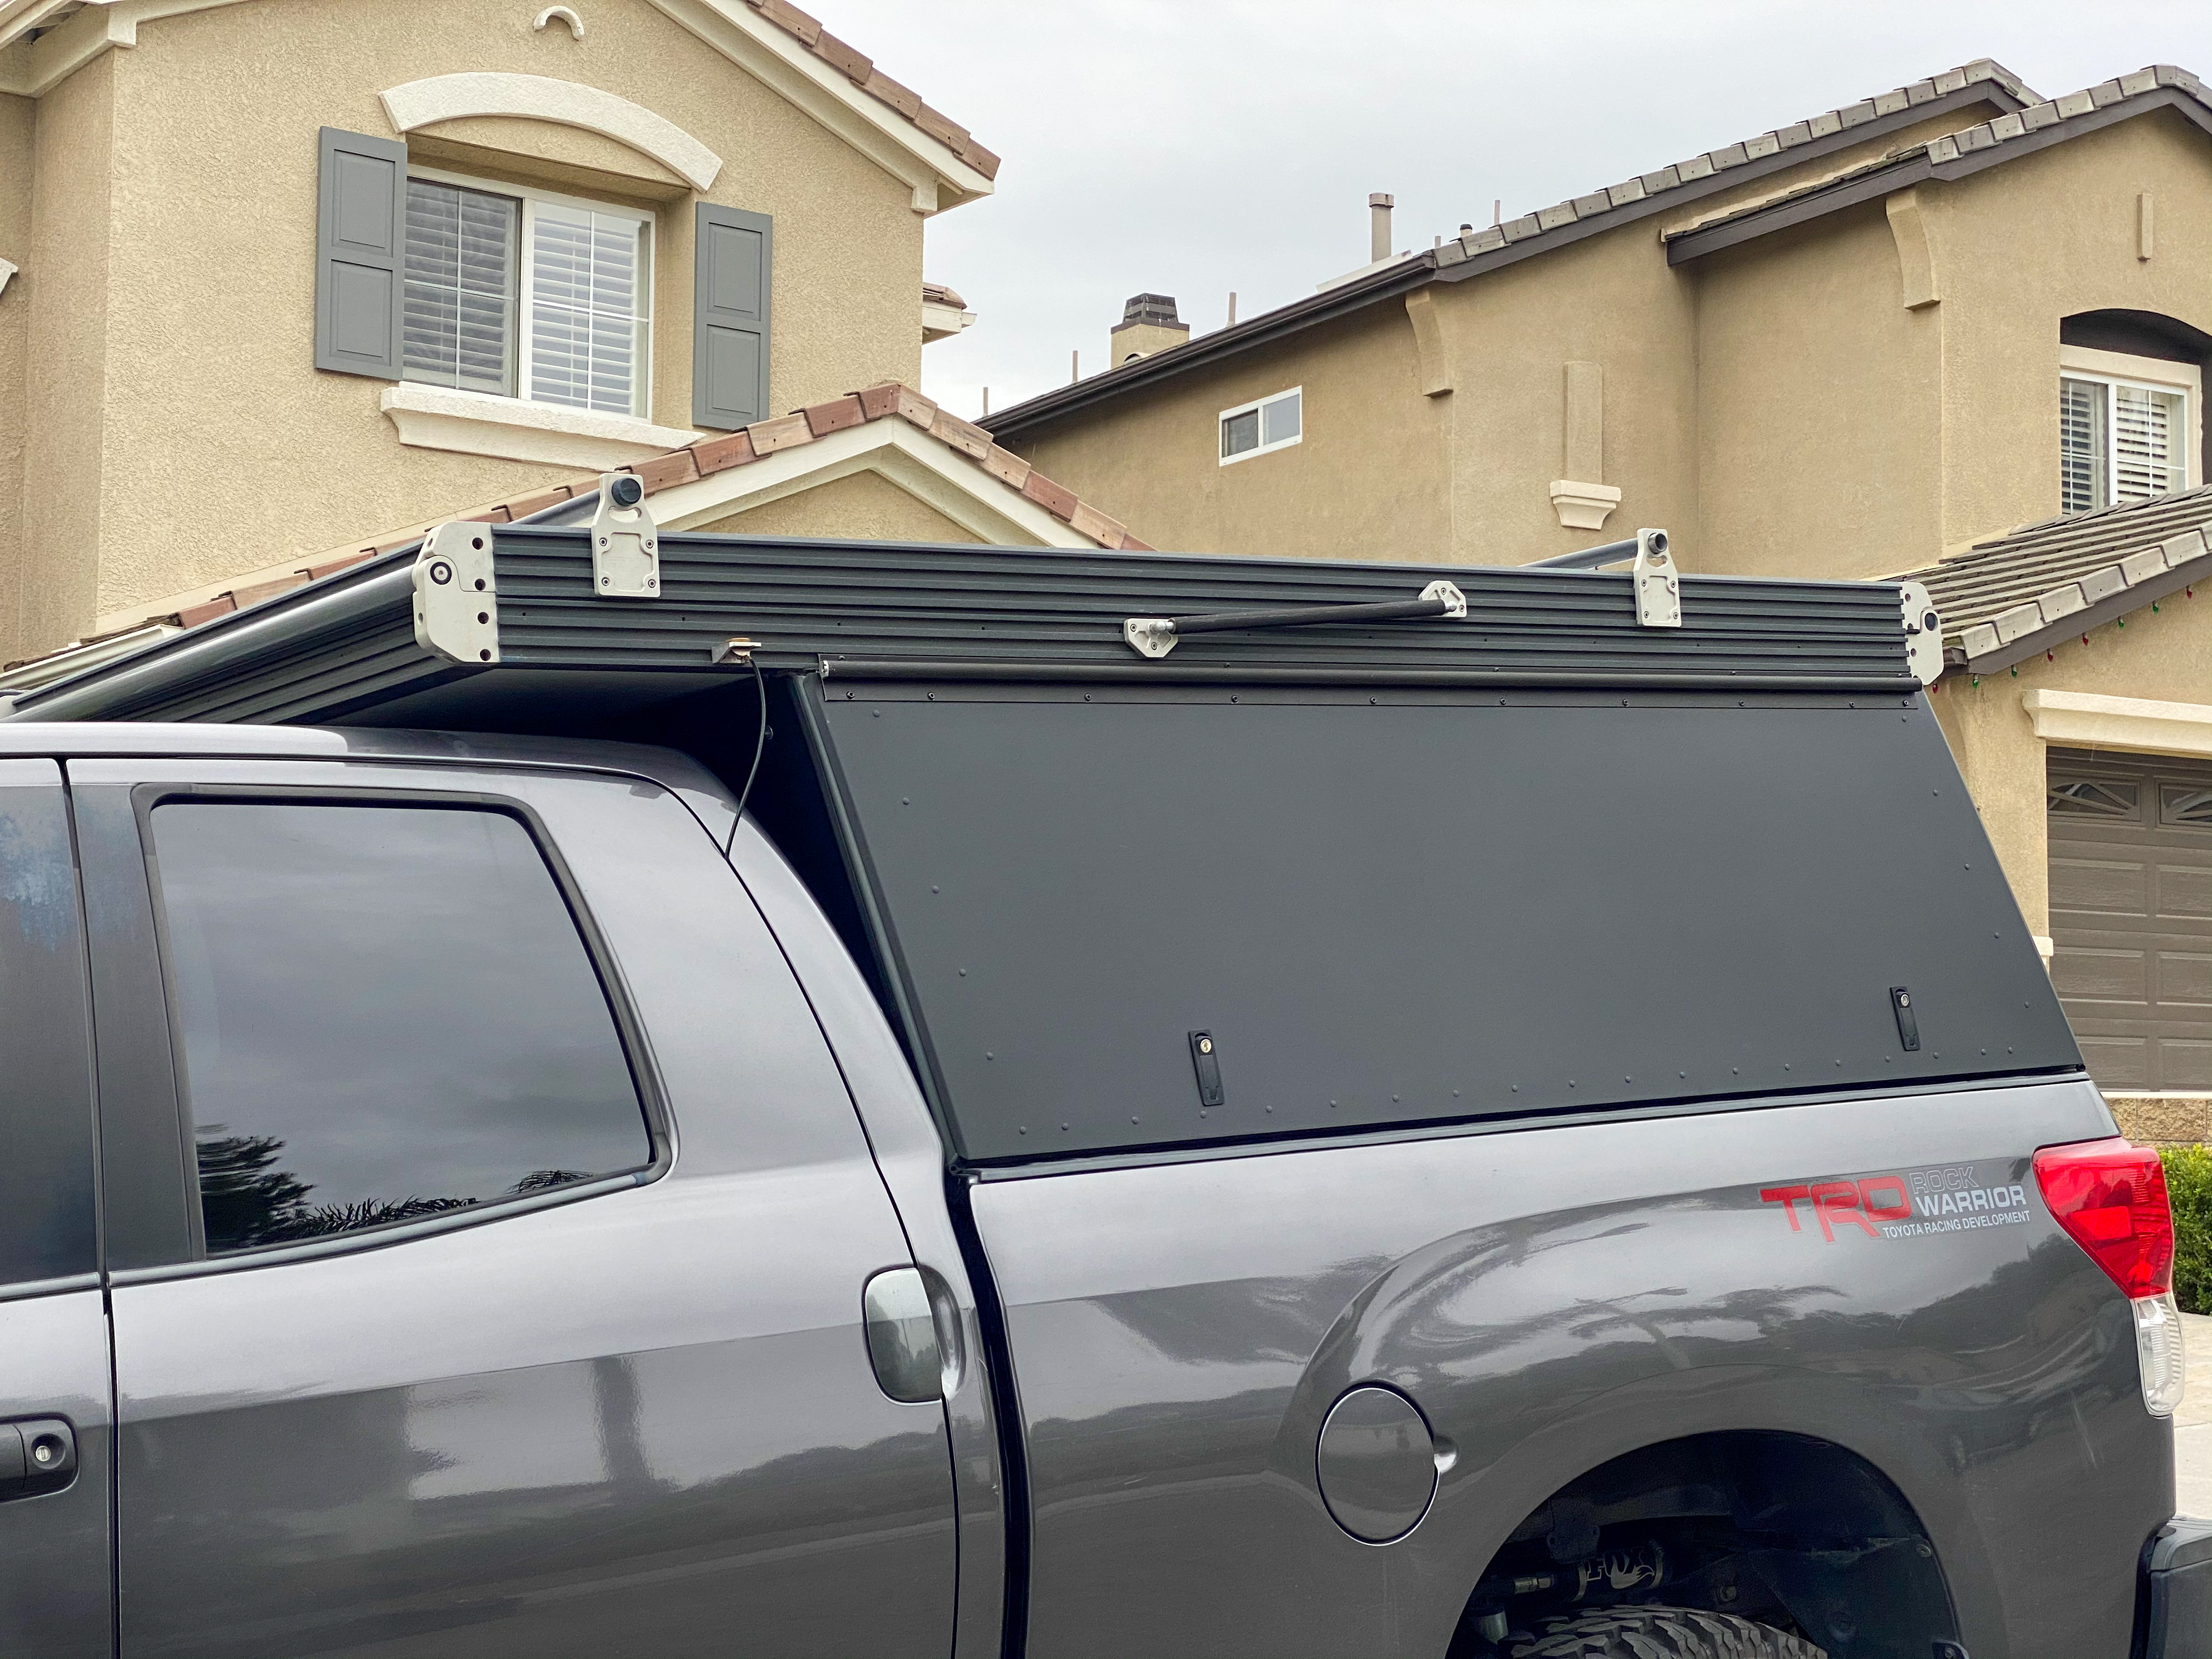
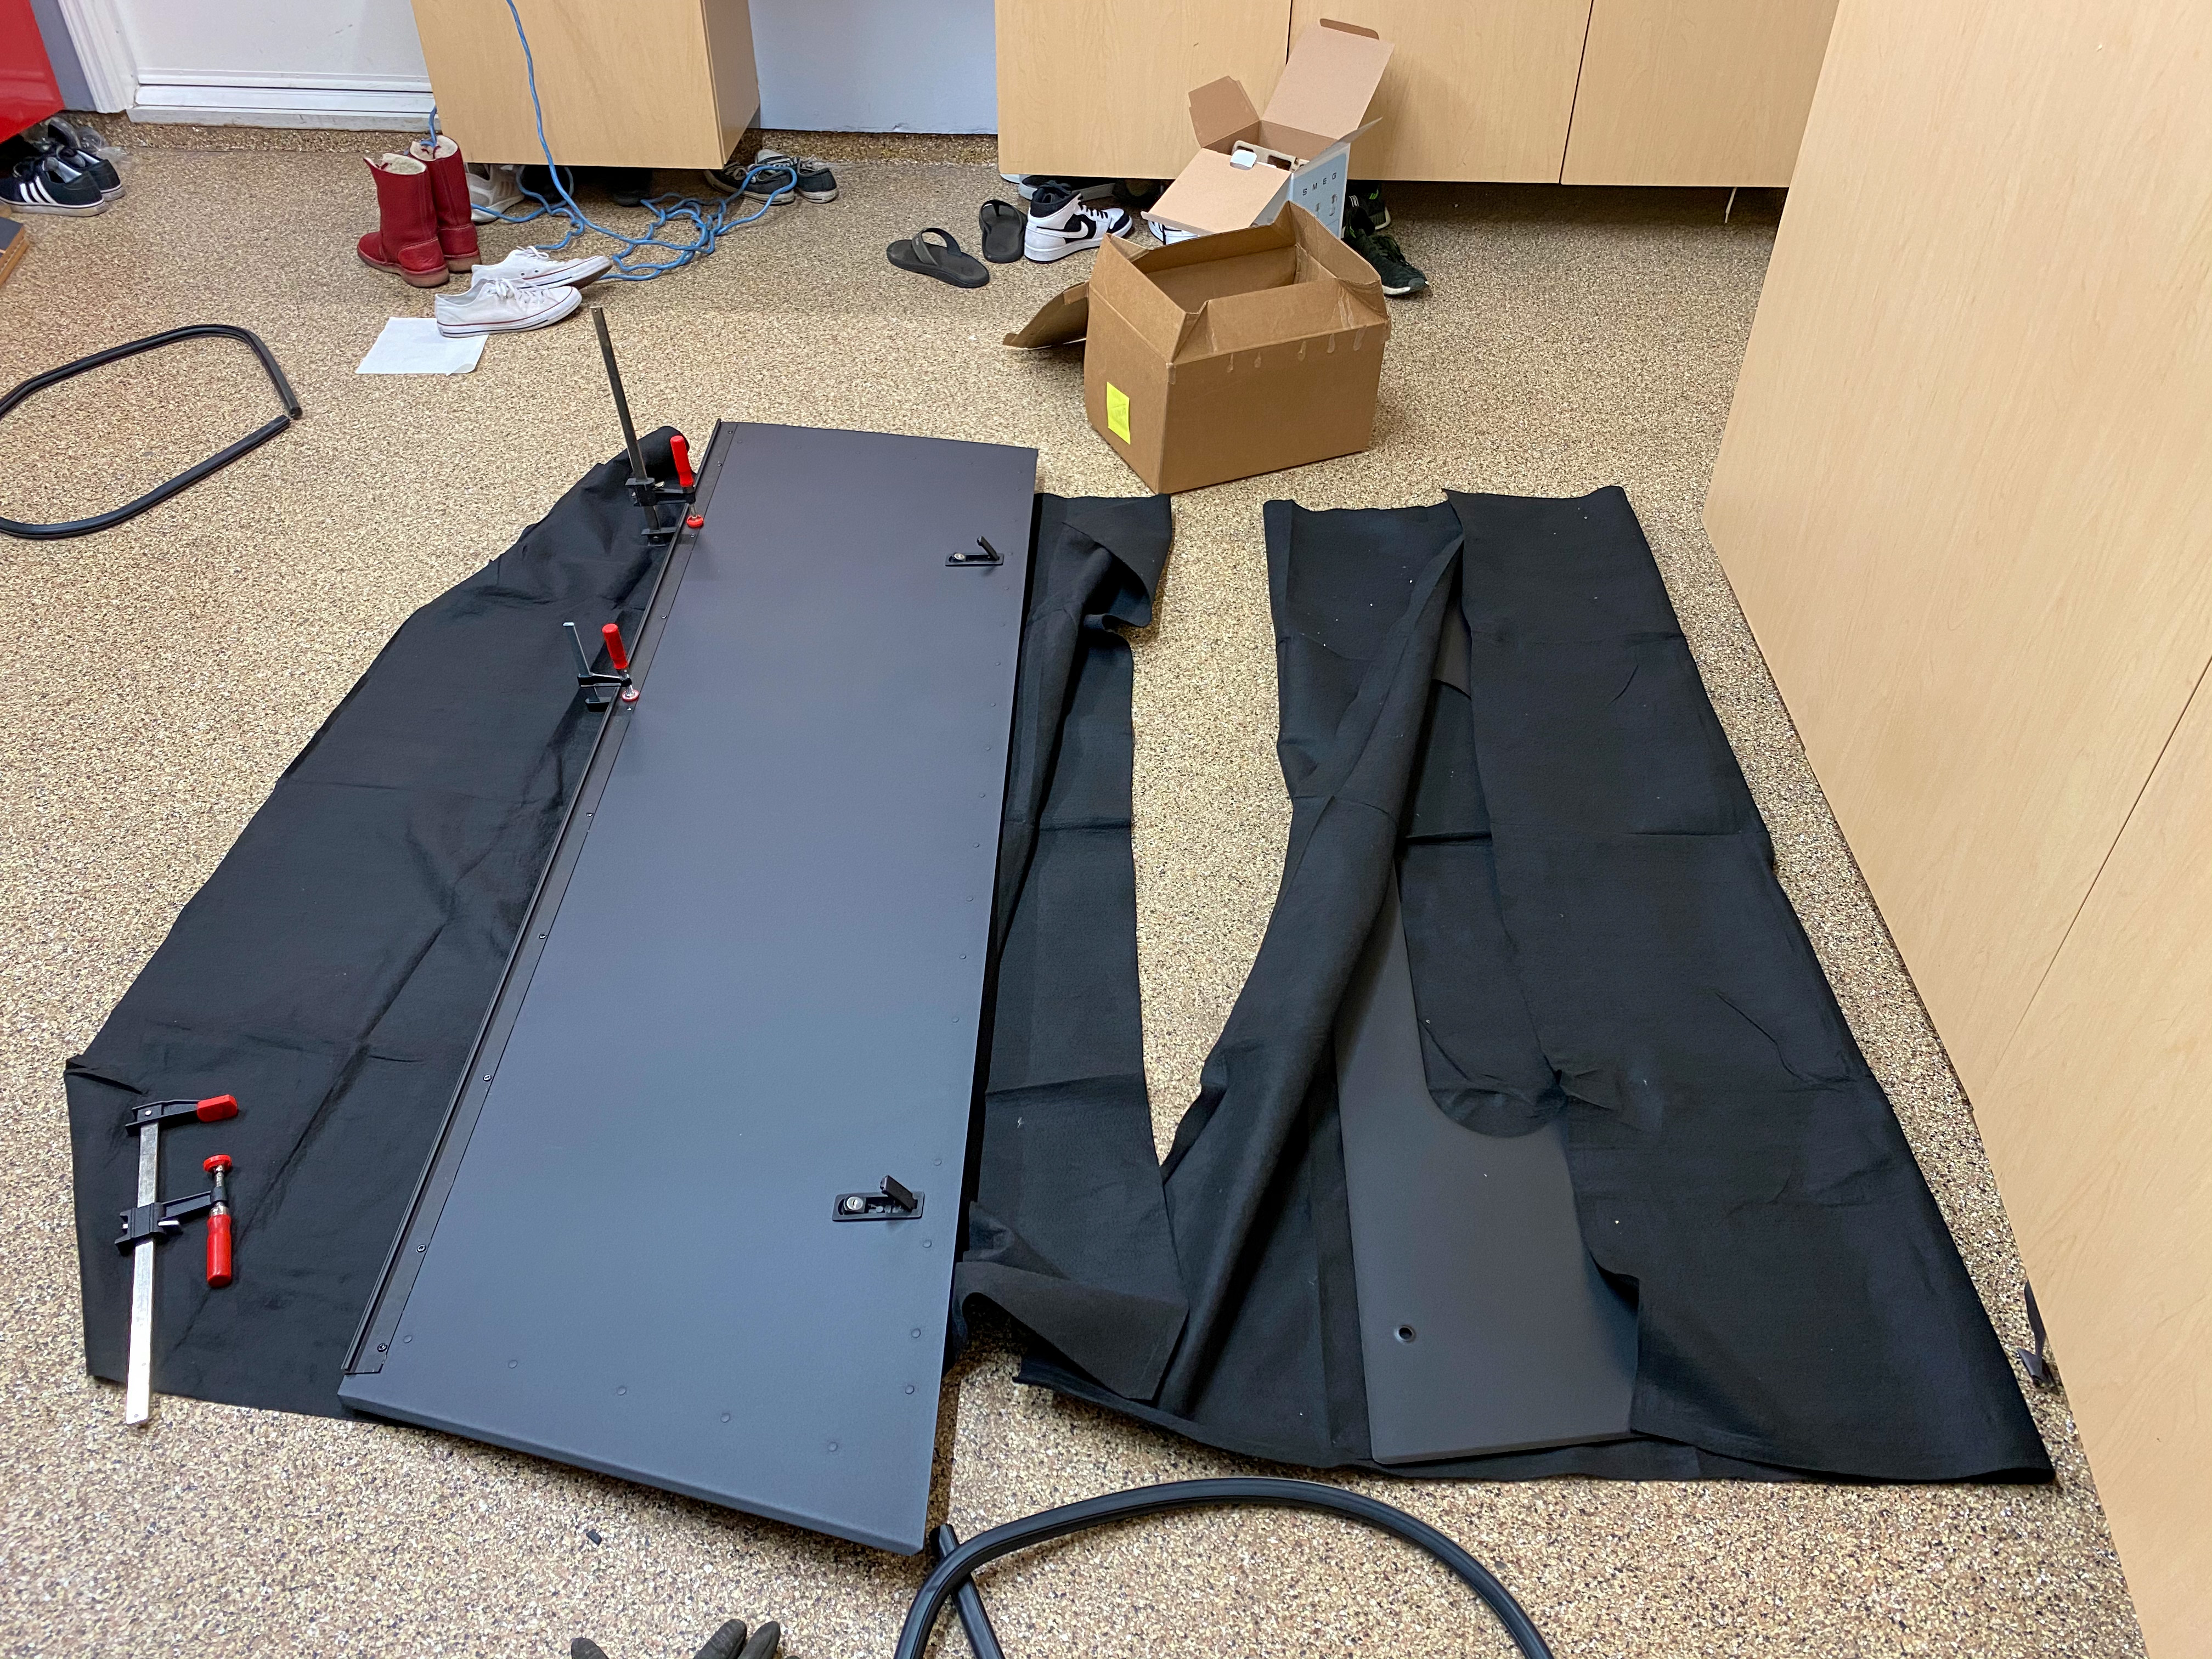
I bought my GFC used from a previous owner that had one major big problem, it had a scratch on the side panel. The scratch was deep and took out some of the powder coat so I knew it had to be replaced and redone at some point. To me cosmetics are secondary to functionality, if it works, I am not going to touch it. But seeing what GFC had done when first creating this product, I am glad to see that they have overcome their issues from the V1 and are moving forward with the V2. What I believe GFC didn’t have when building their first-generation campers was UV resistant powder coat. I contacted Taylor over at GFC and asked if it would be alright if I took apart the panels and had them repowdercoated. I got permission that it wouldn’t affect my warranty. I already had the embassy hinge applied by Big Mike back in October and I got to talk with him about their new hinge which makes it easier. My first step was taking the panels off and stripping them of all the seals, hinges, glass, struts, 3rd brake light, etc. The embassy hinges as well had to come off of the panels. This was the hardest part because the type of glue that GFC uses is a 3M 8407 which is able to basically glue two surfaces together regardless of if the material is powder coated or raw. The technology just within that glue is awesome.
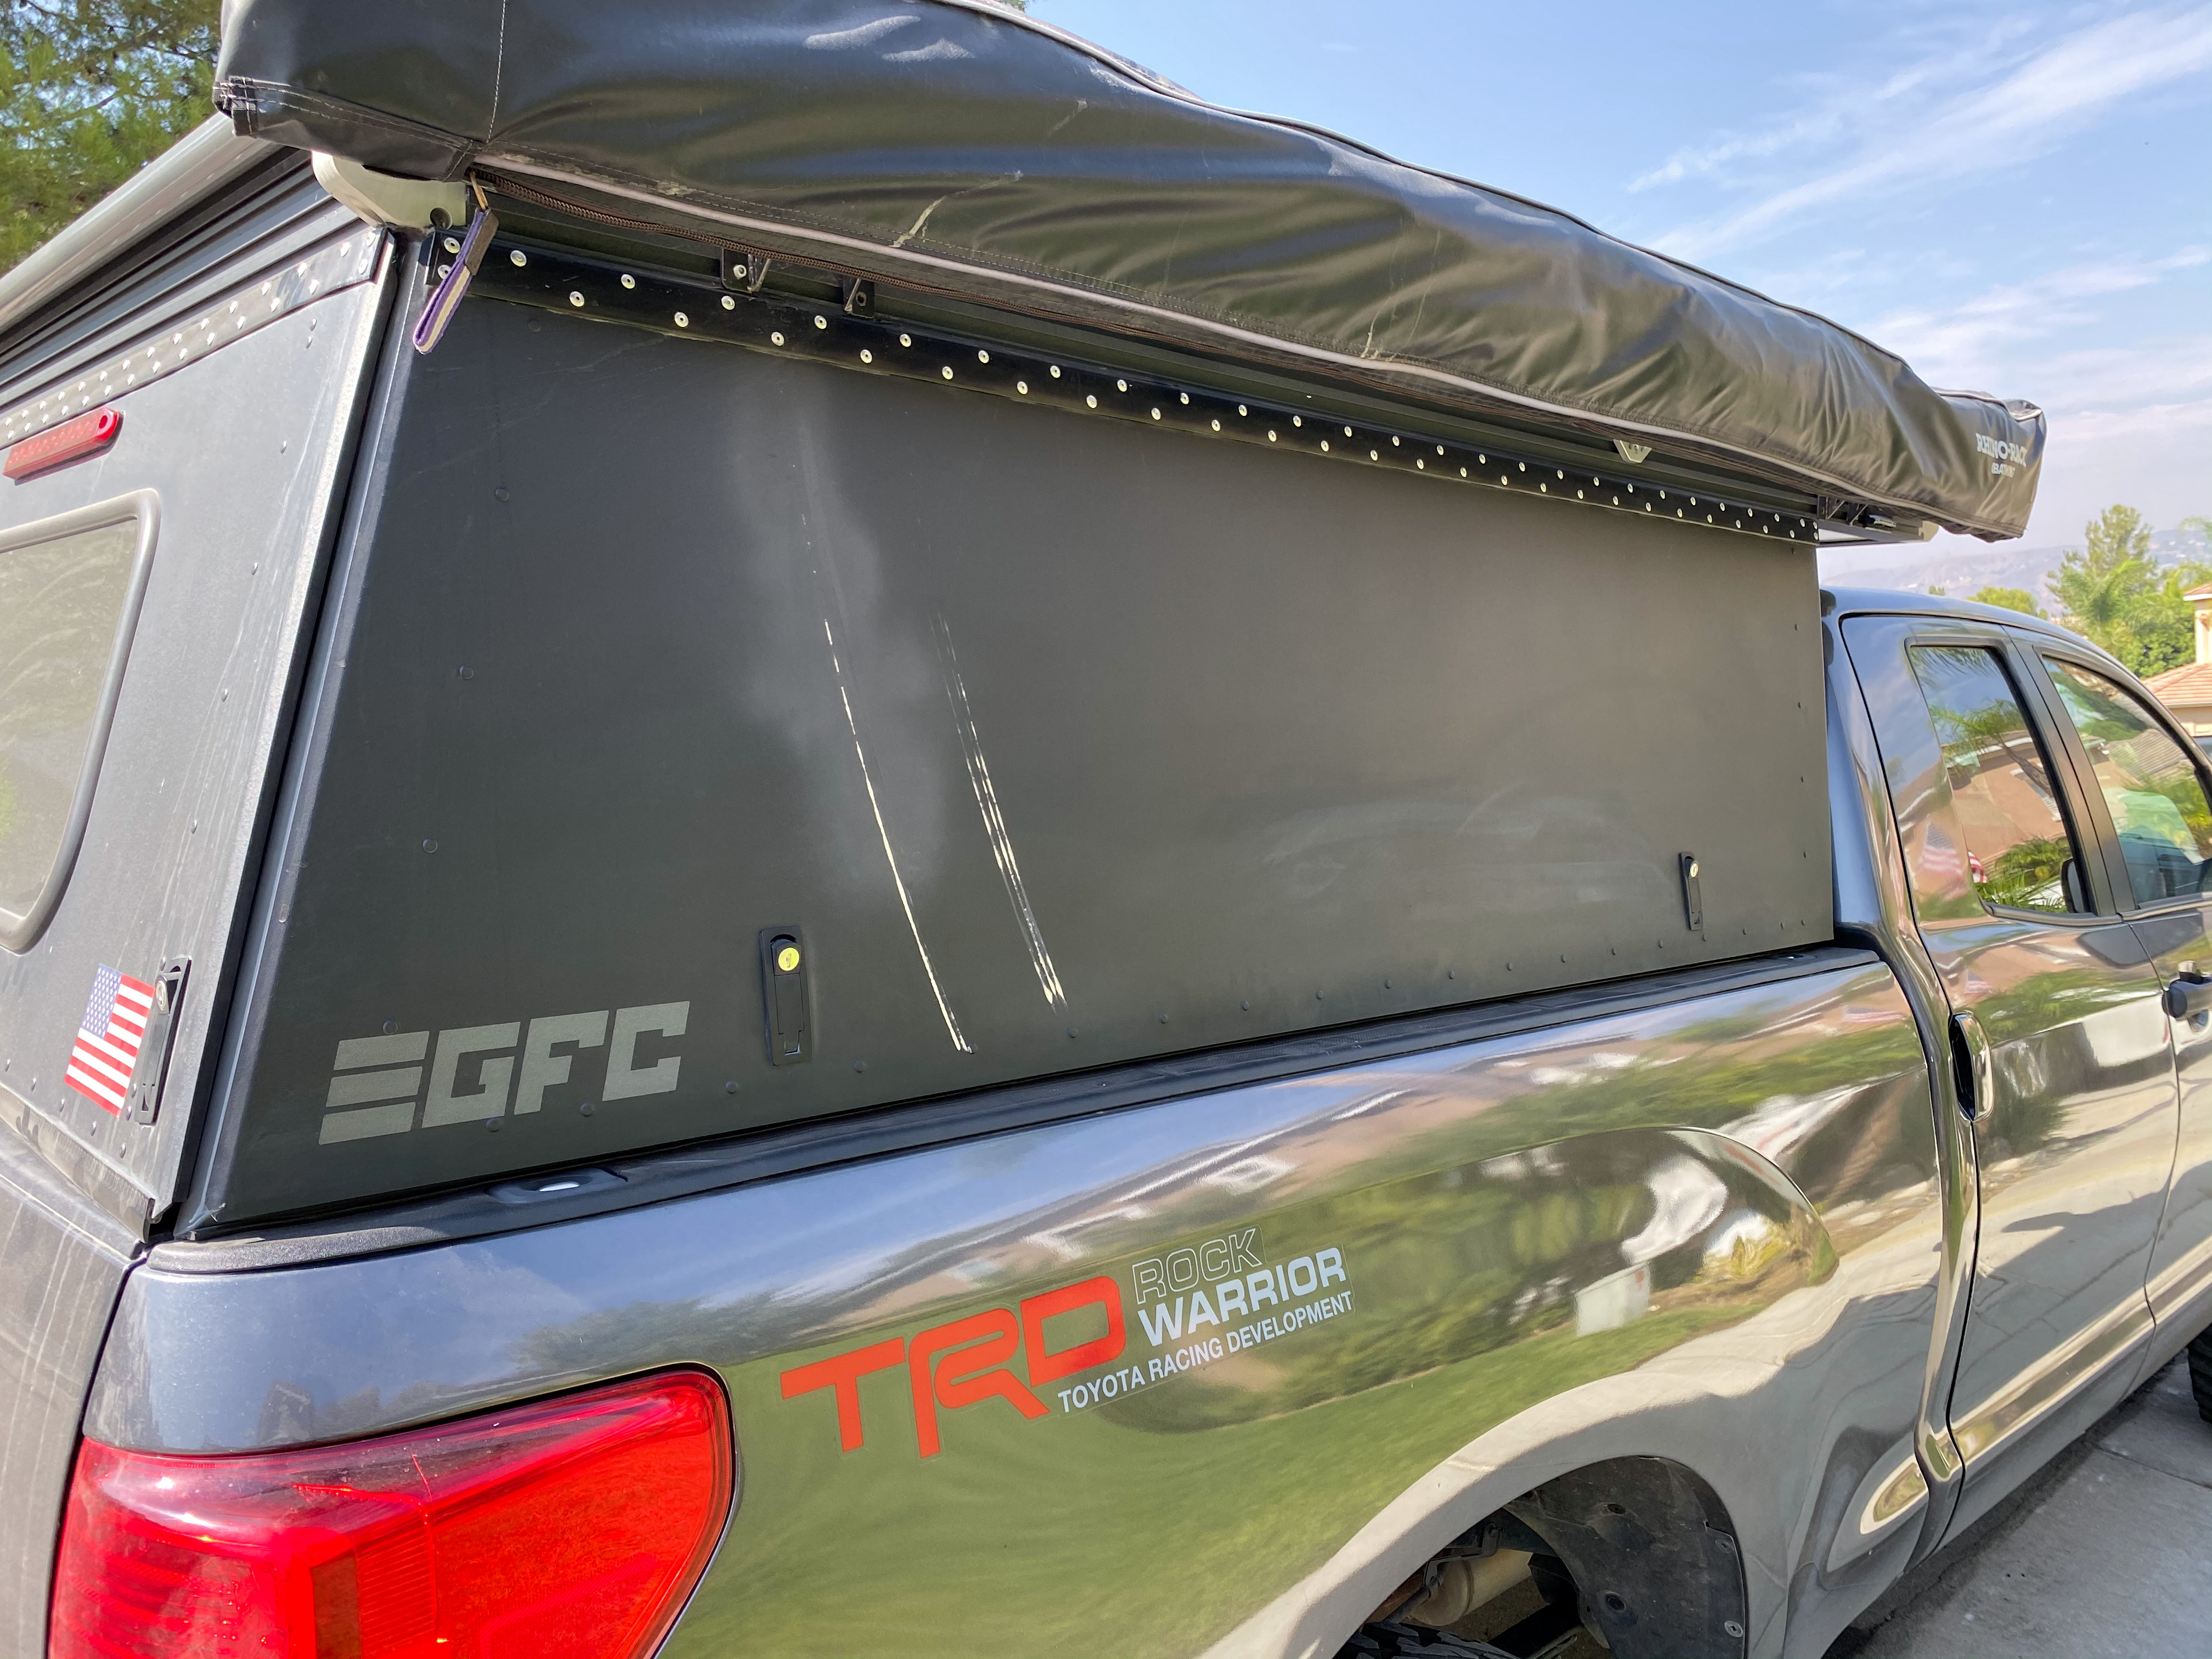
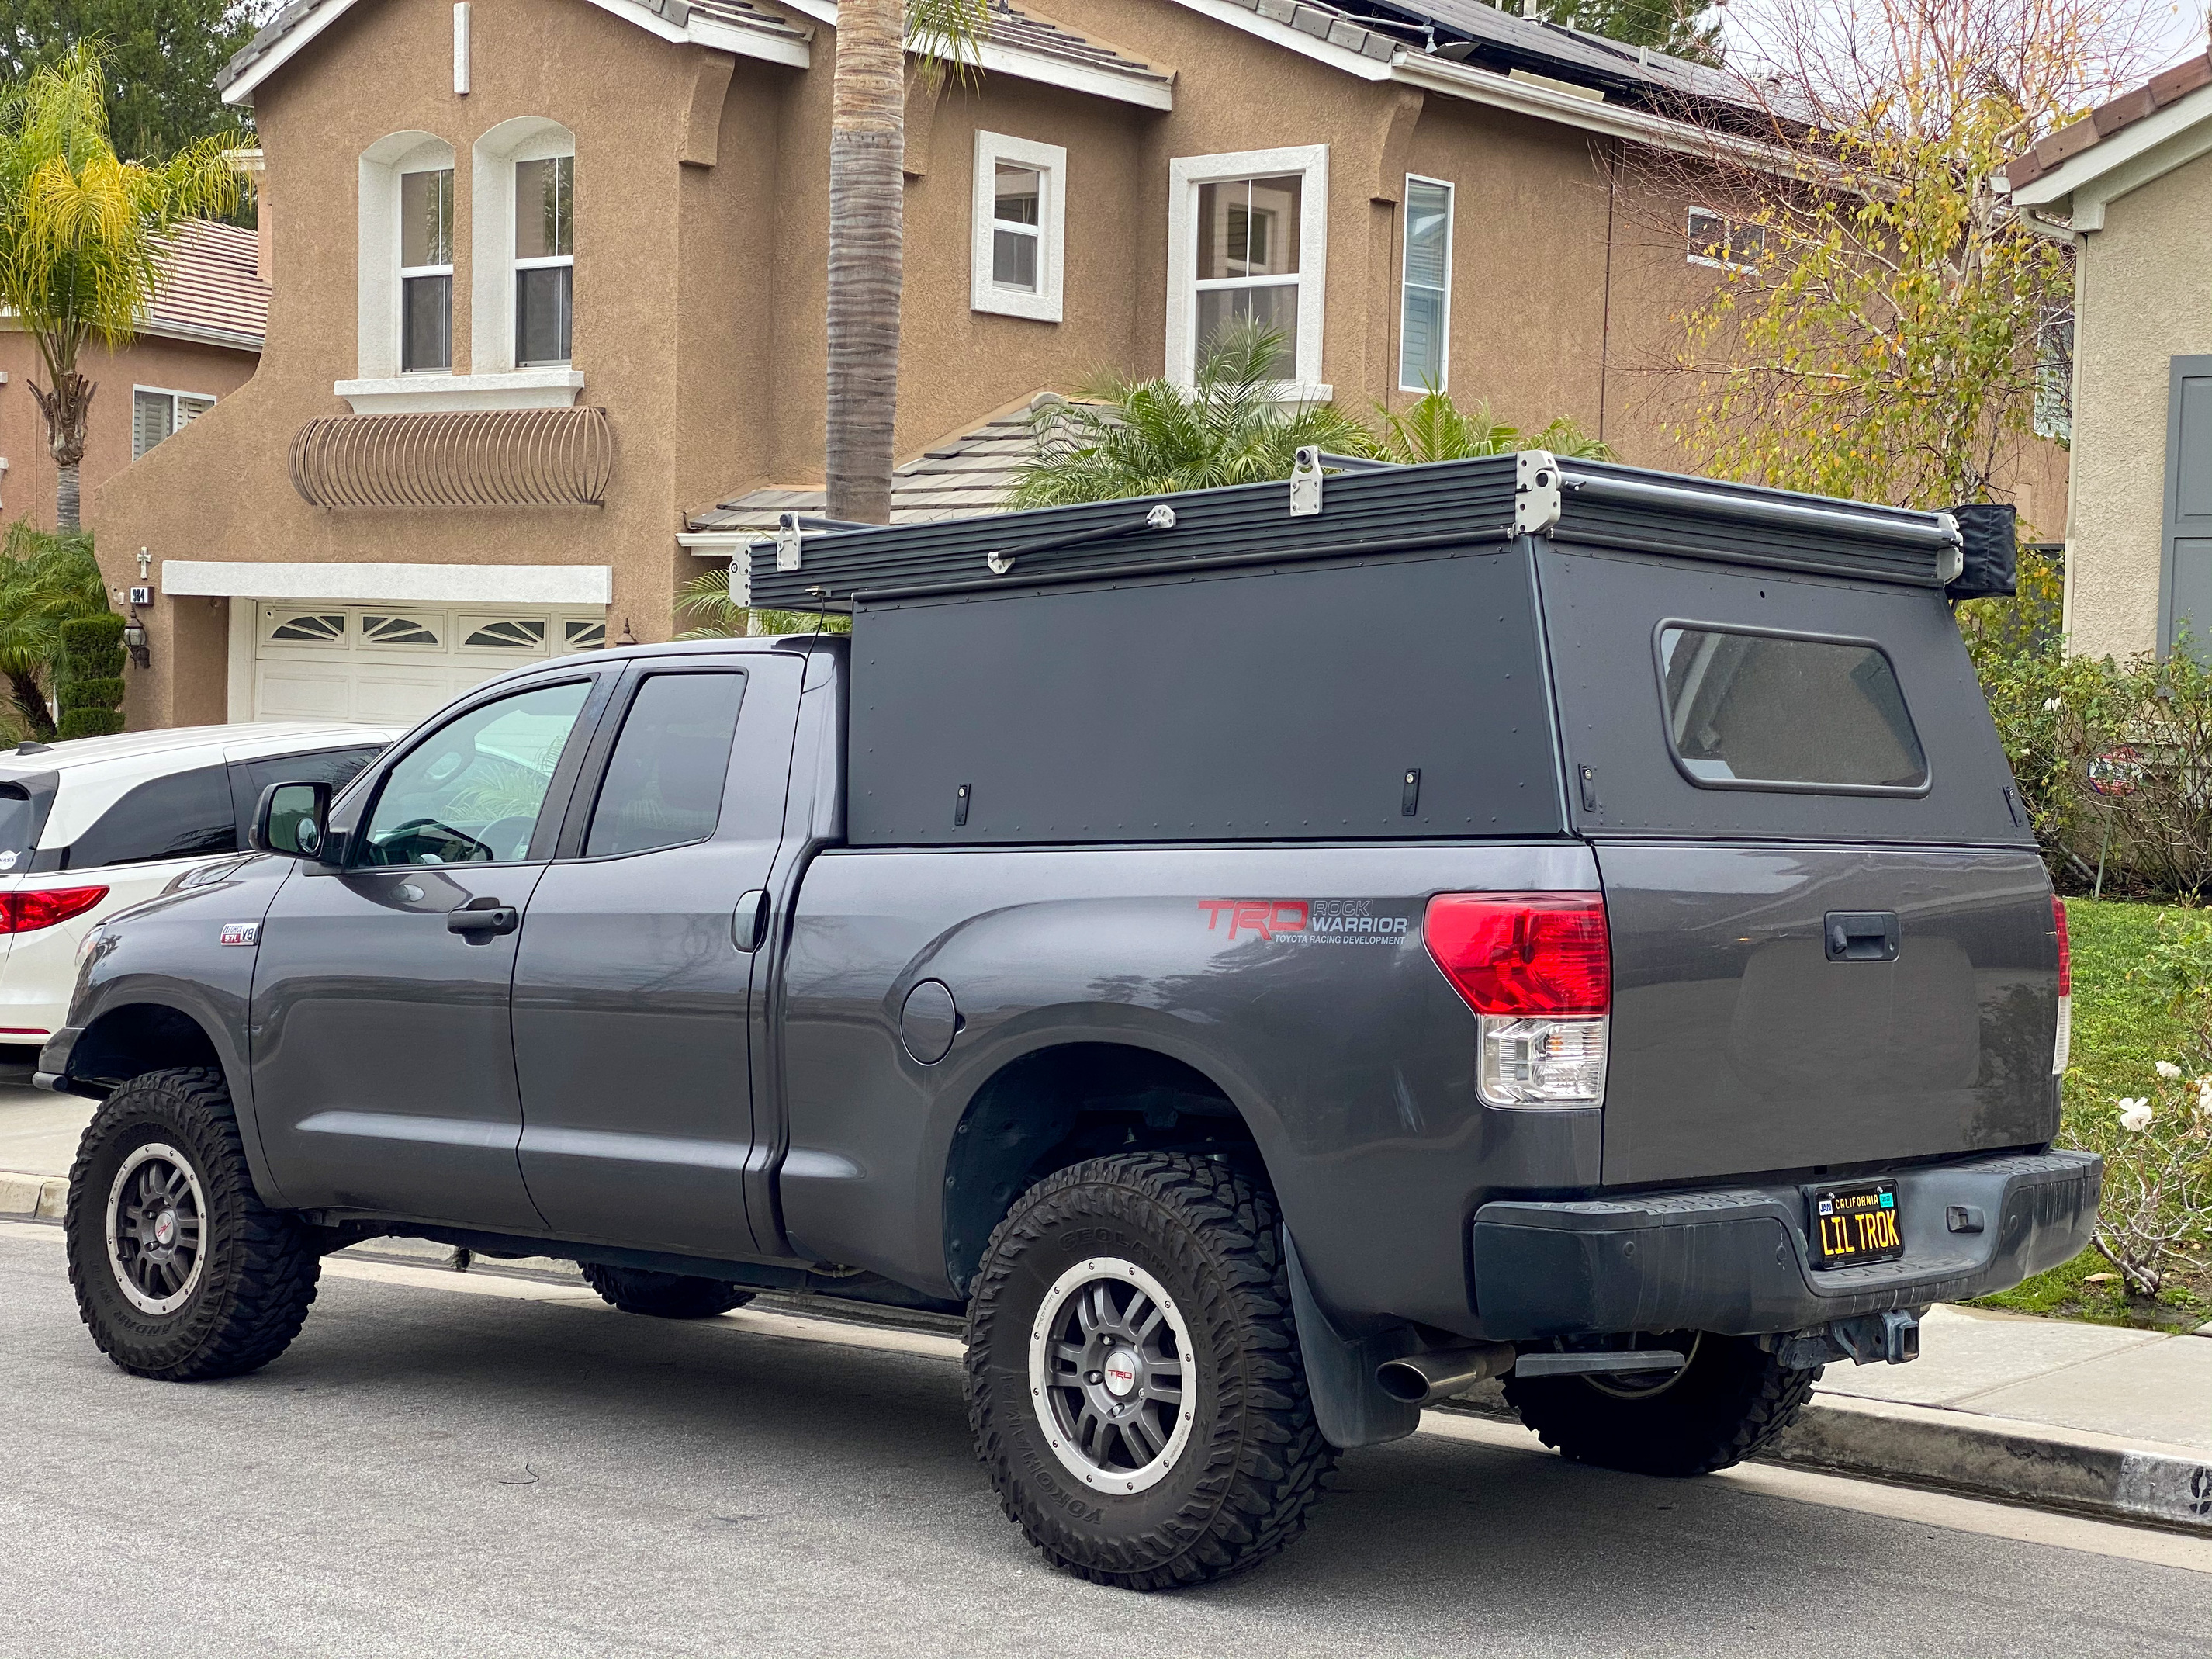
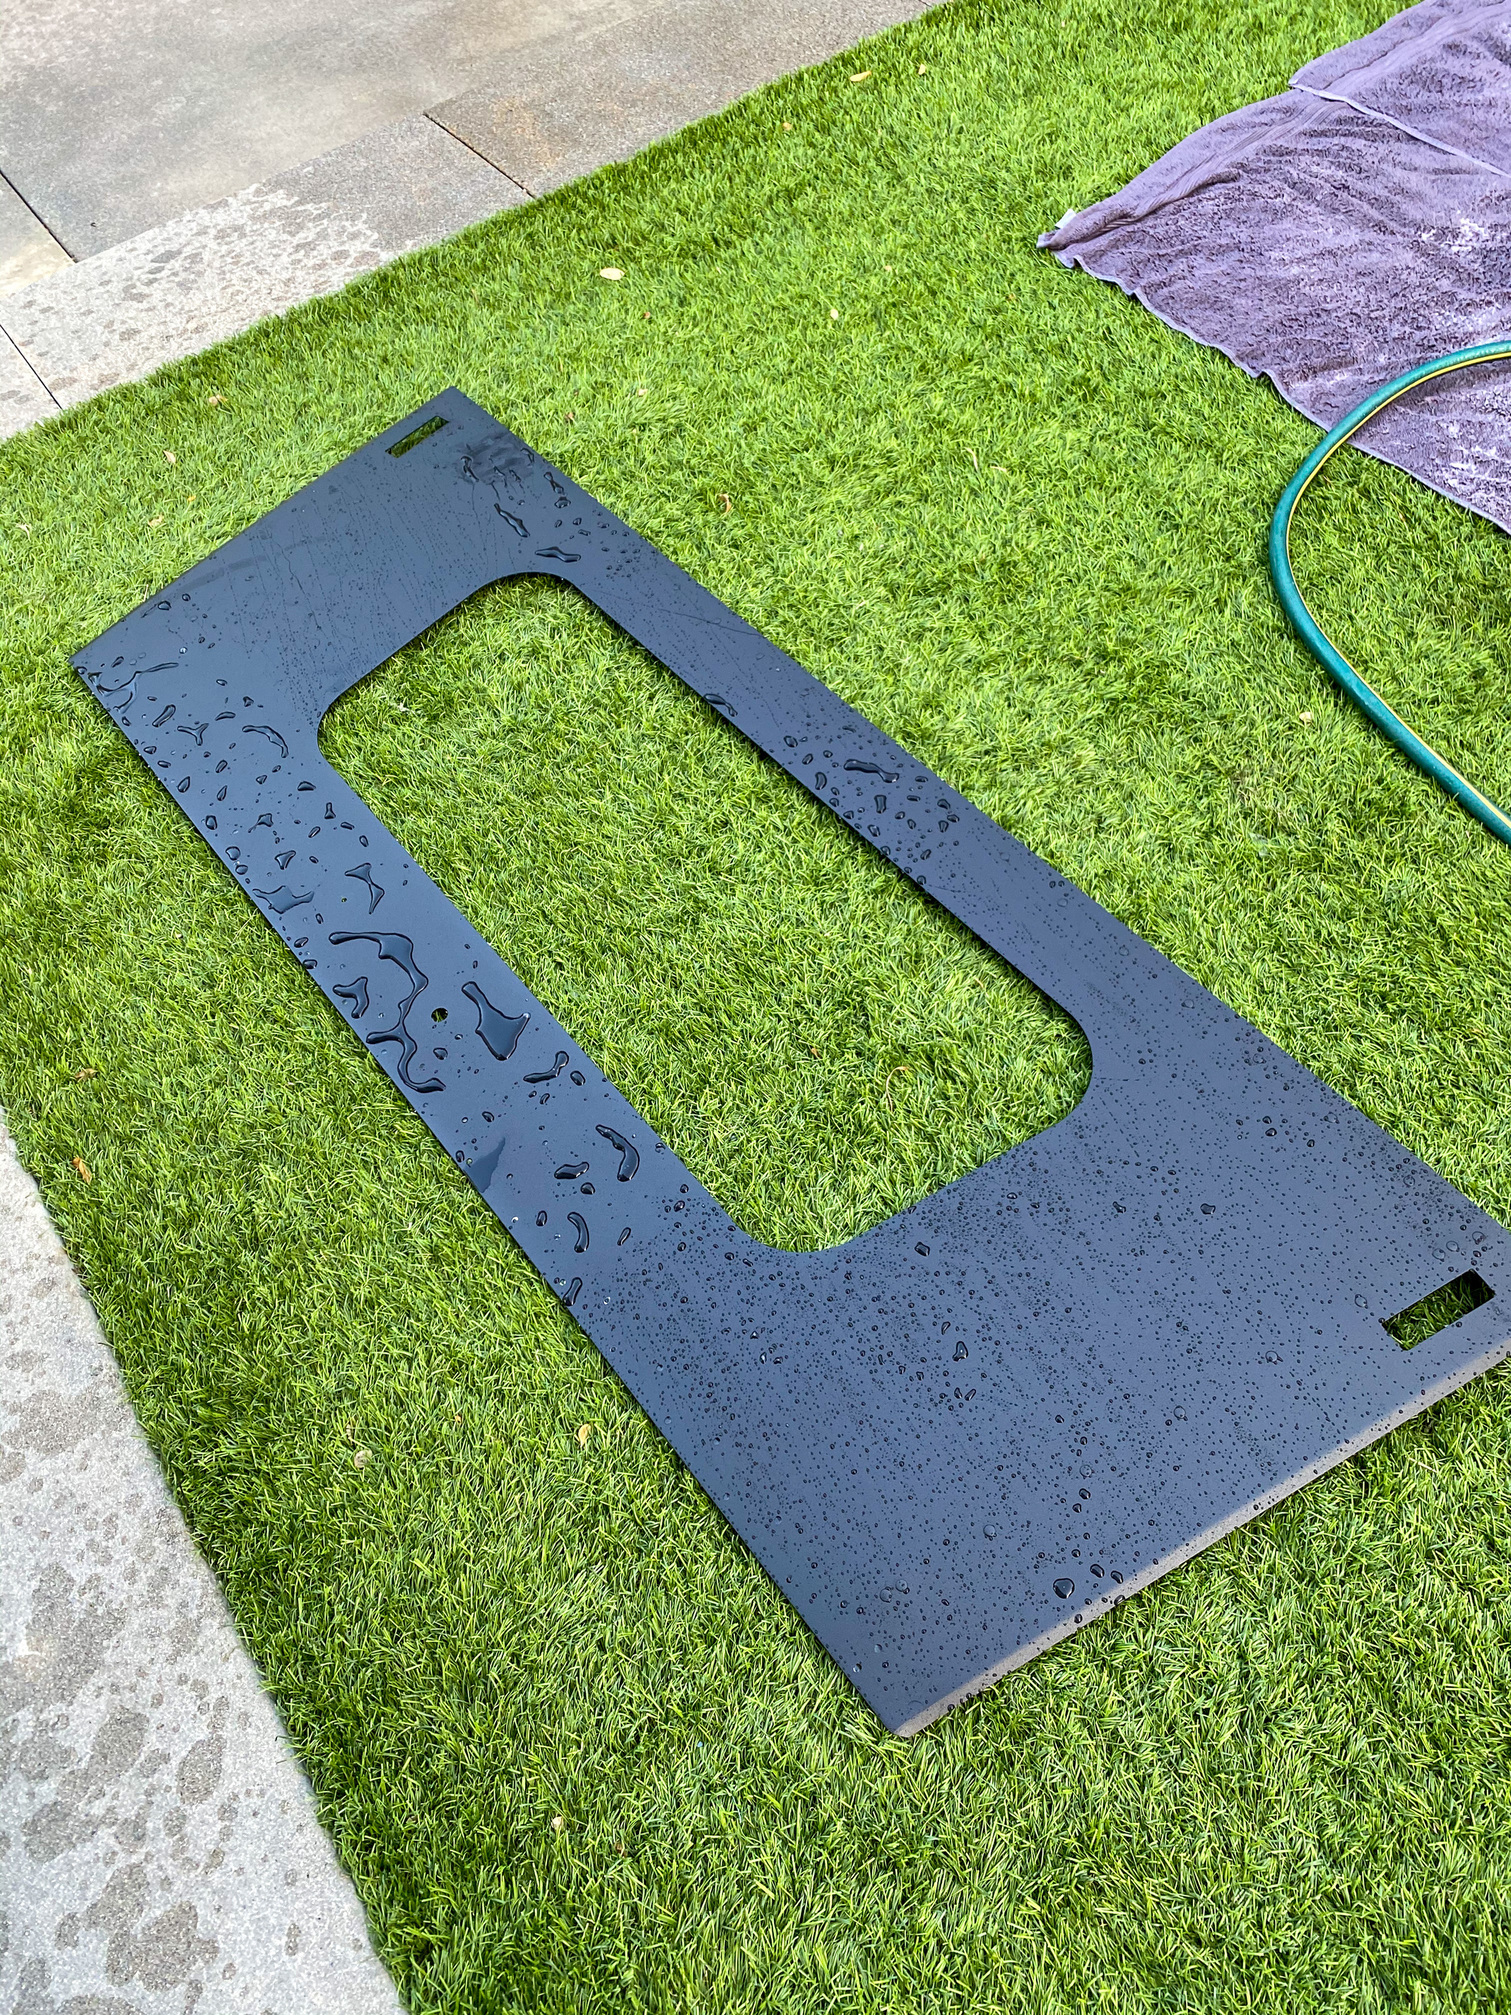
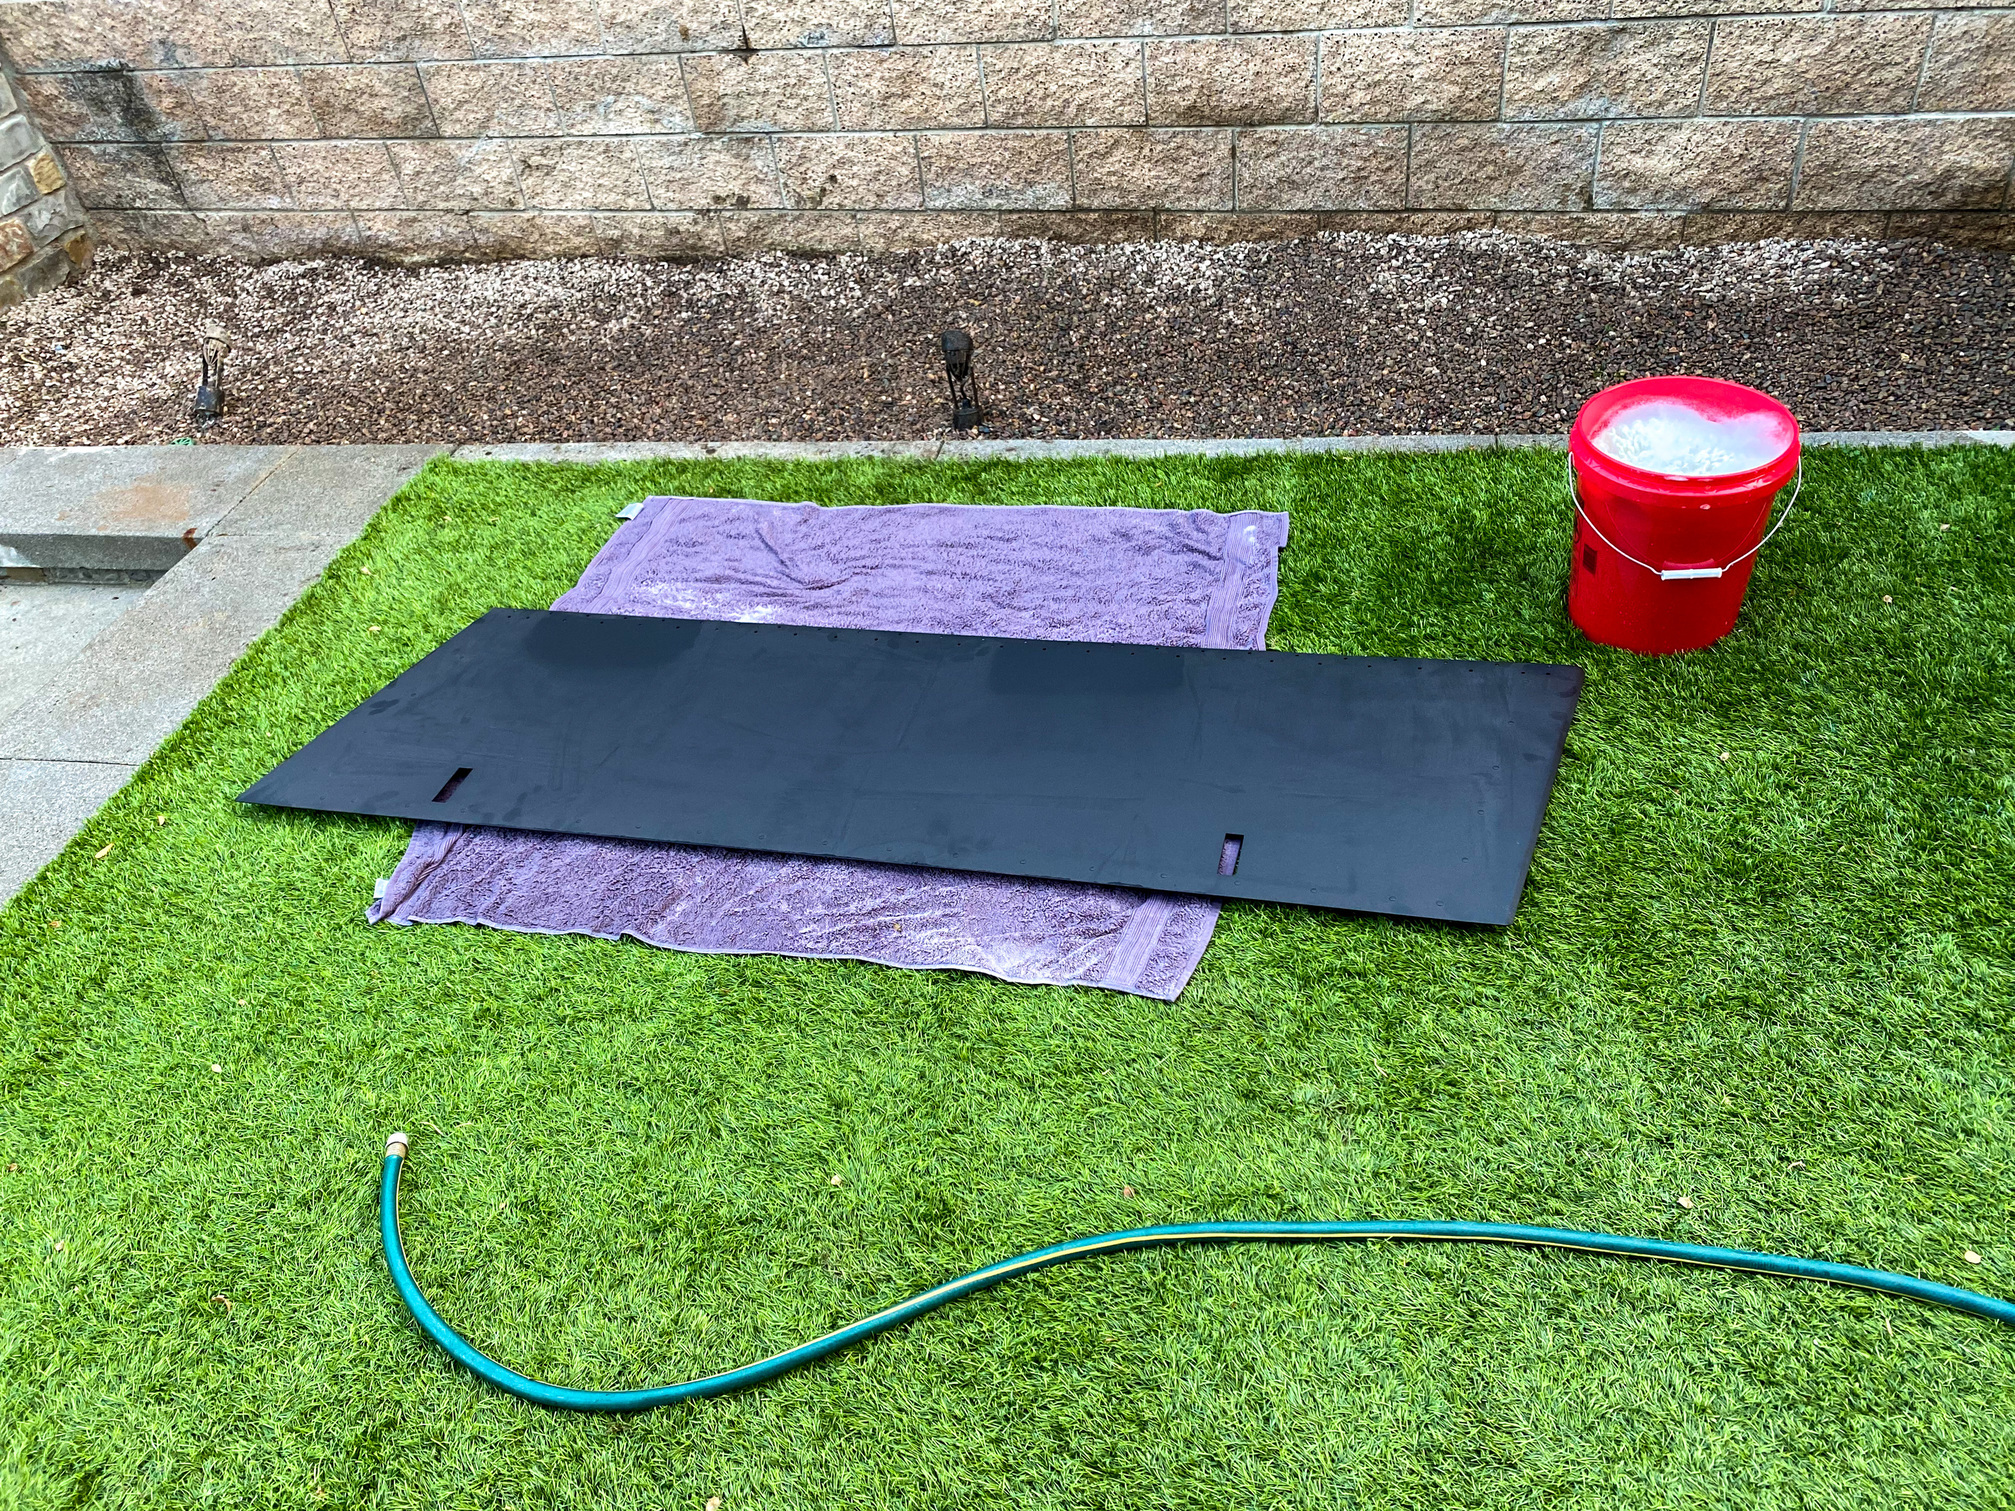
So the biggest reason why I did all this was to #1 to take care of the scratch and #2 because of the live hinge, there were leftover holes in the panels that the Embassy hinge didn’t cover, exposing the camper to getting dust, water, etc. So after stripping the panels, I took the panel to local buddies to fill the extra holes and fix the scratch on the panel.

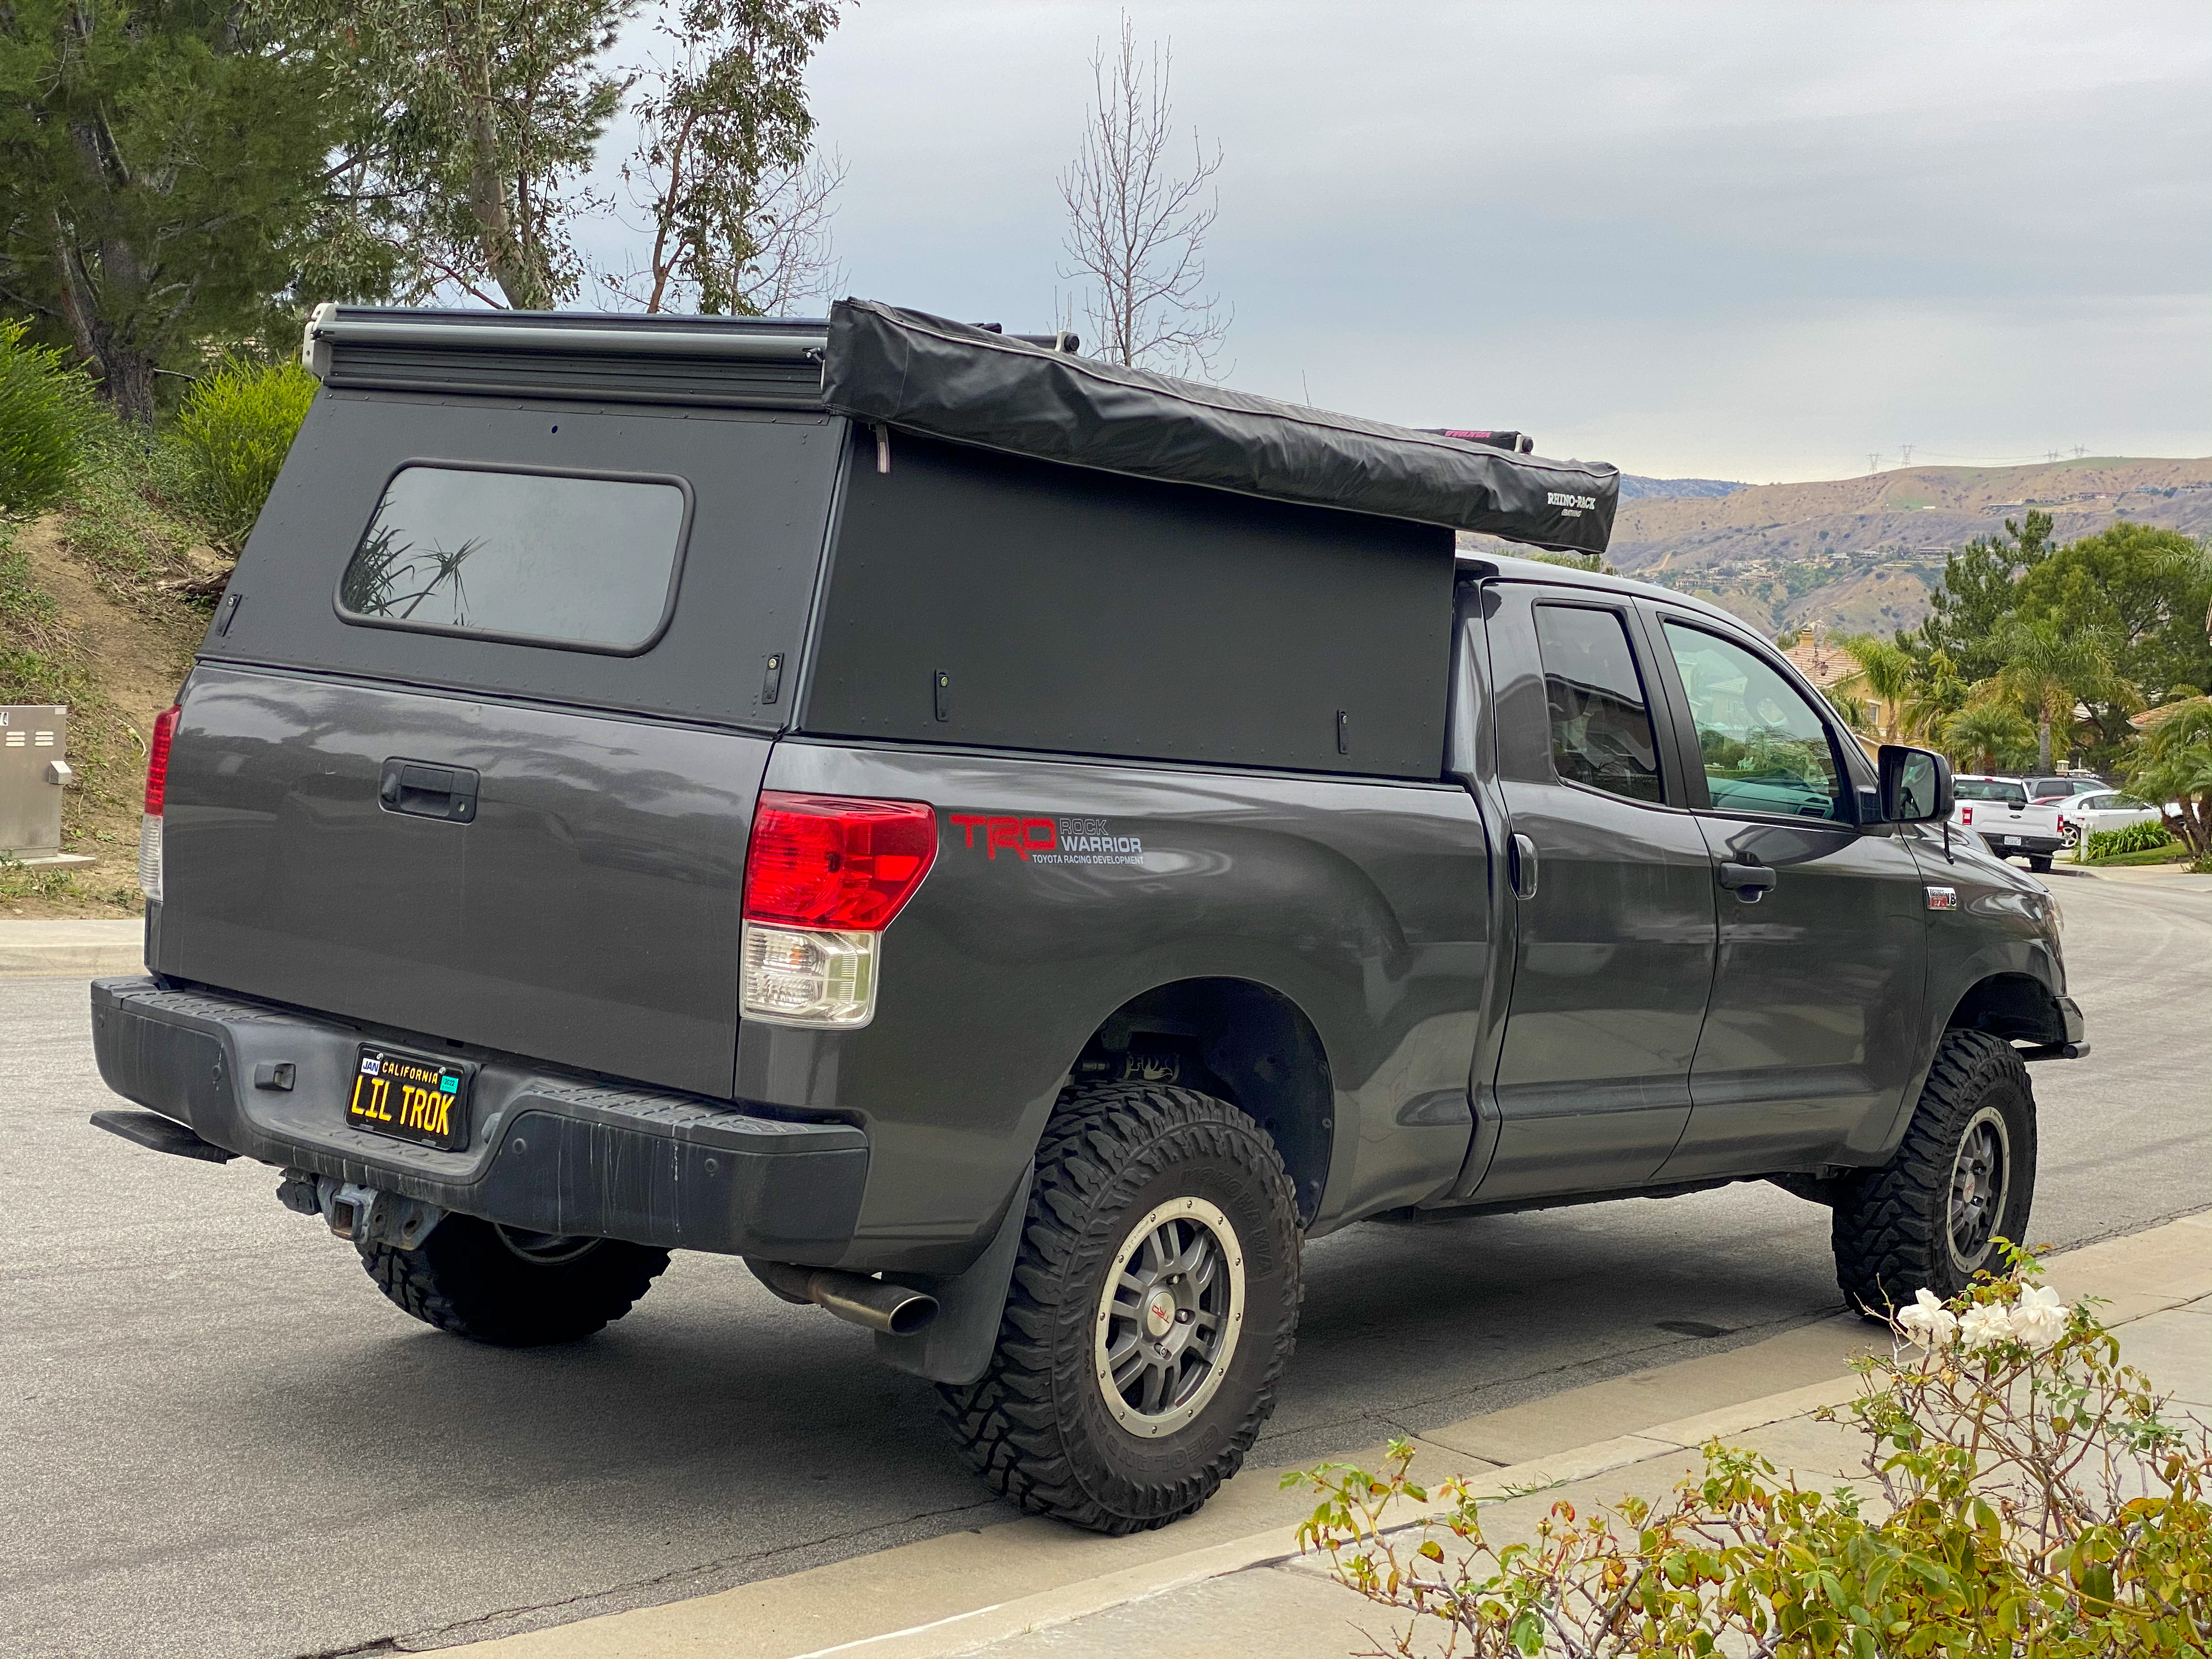
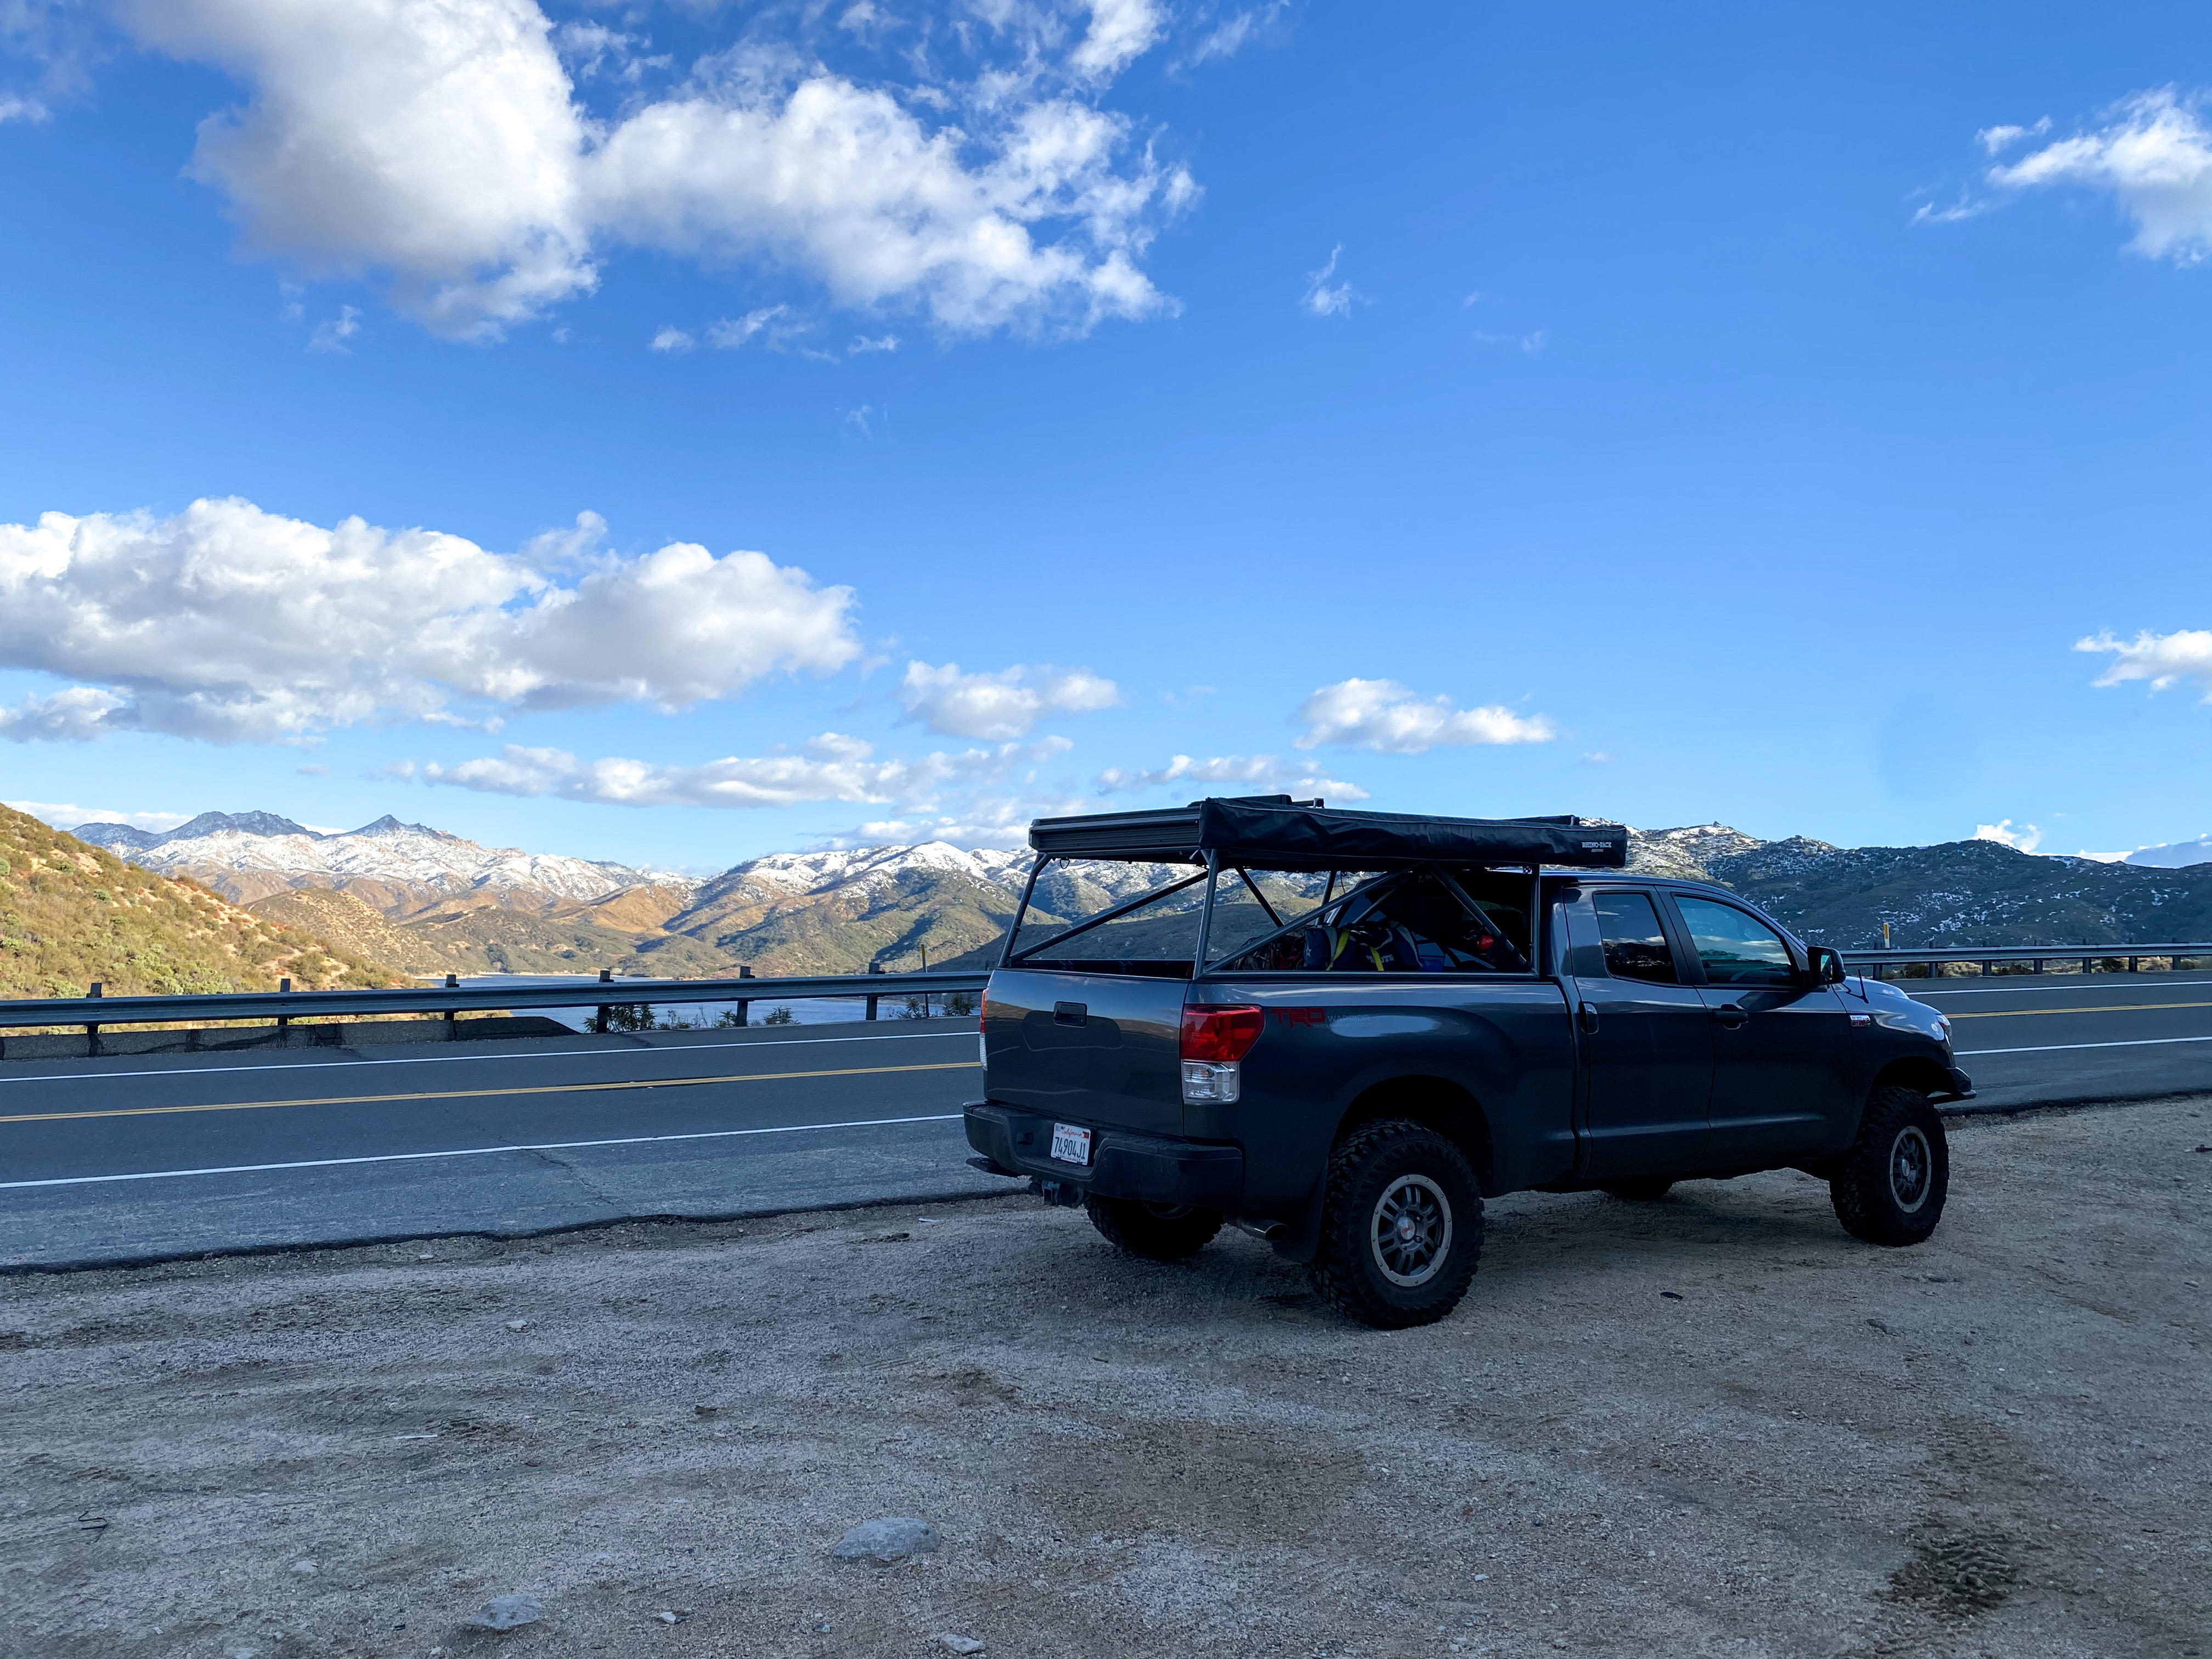
Throwback to the beginning of November I brought the camper to Maverick powder coat in Anaheim, CA for a quote. The guys there are awesome and I have formed a good relationship with them over the years. Mark met with me and asked if I was nuts lol. He knew about GFC and knew it was going to be a ton of work for me to get involved and do the entire project. He even advised me to take it to a paint shop and have them redo it. I “took it under consideration” but eventually went back about a month later with the panels and said “well, I did it.” Mark took extra great care of me and the panels. They are not a huge shop so they have to outsource their stripping on some items because his building won’t allow him to have that big of a sandblasting booth. Total time frame was about 3 weeks for powder coat so the truck was in full-time Cabana mode. I thoroughly enjoying this look of the truck. The fact that it was just a simple look of the tubular frame with a GFC RTT on top was awesome.
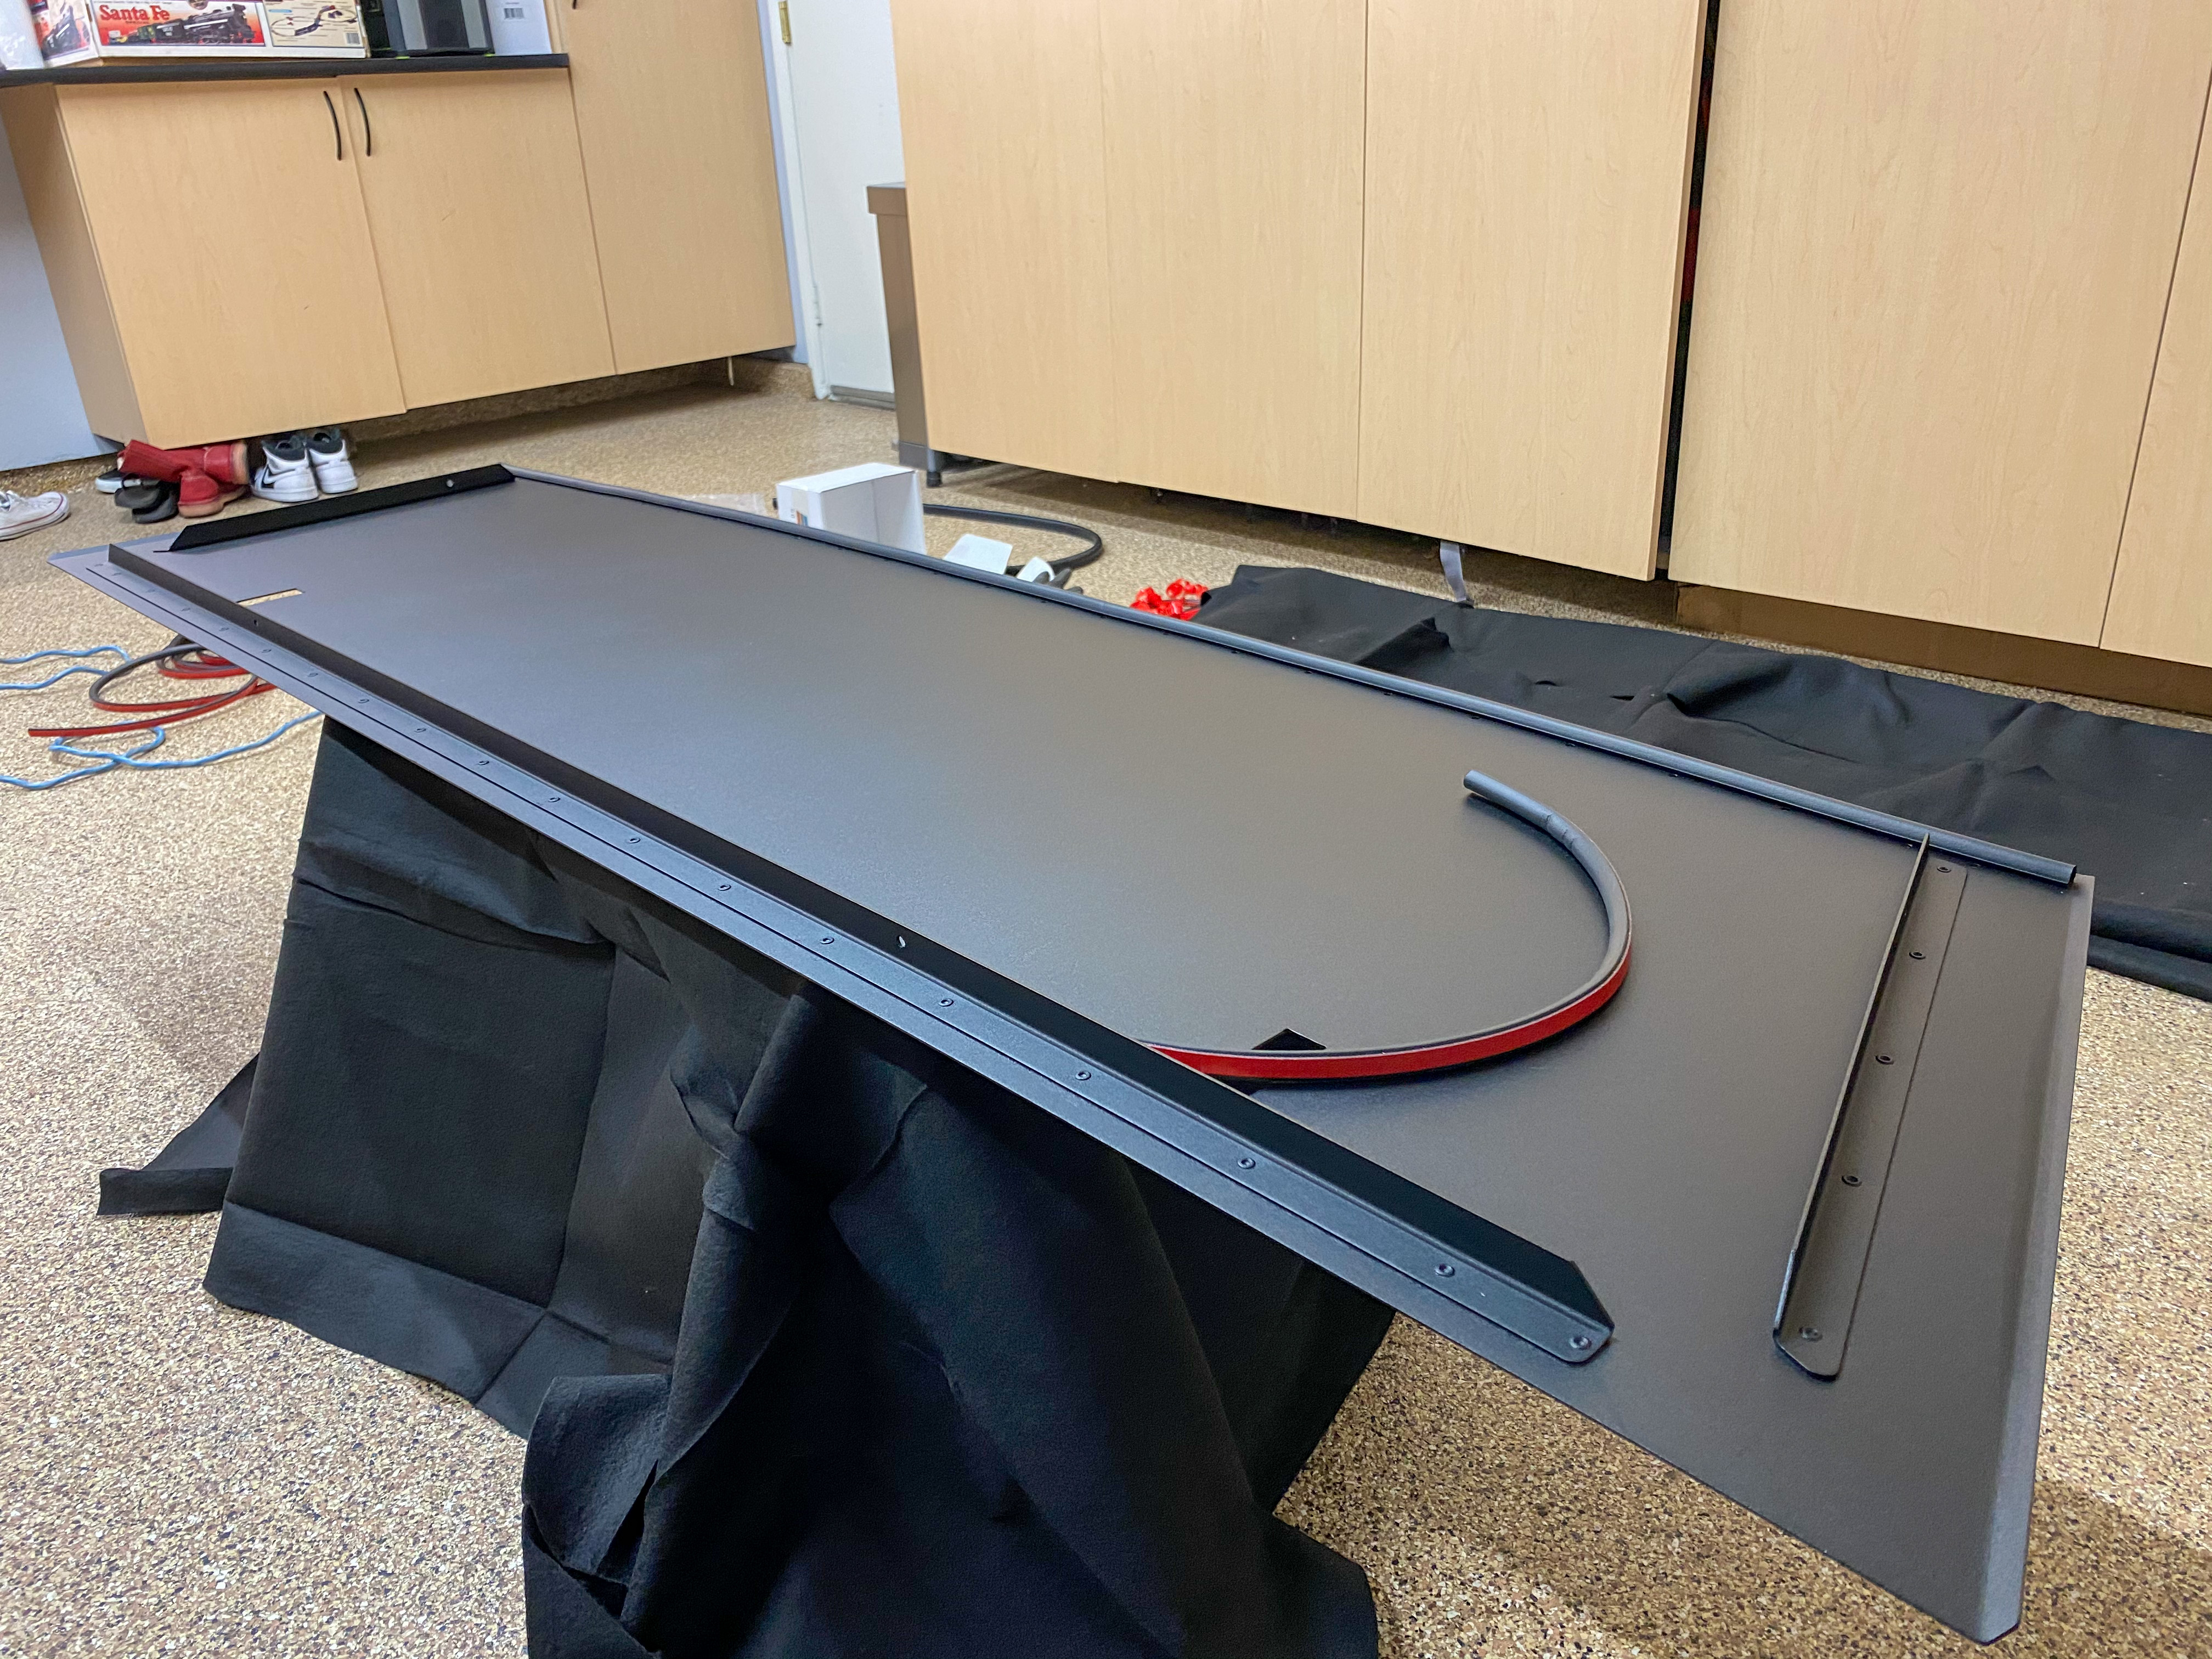

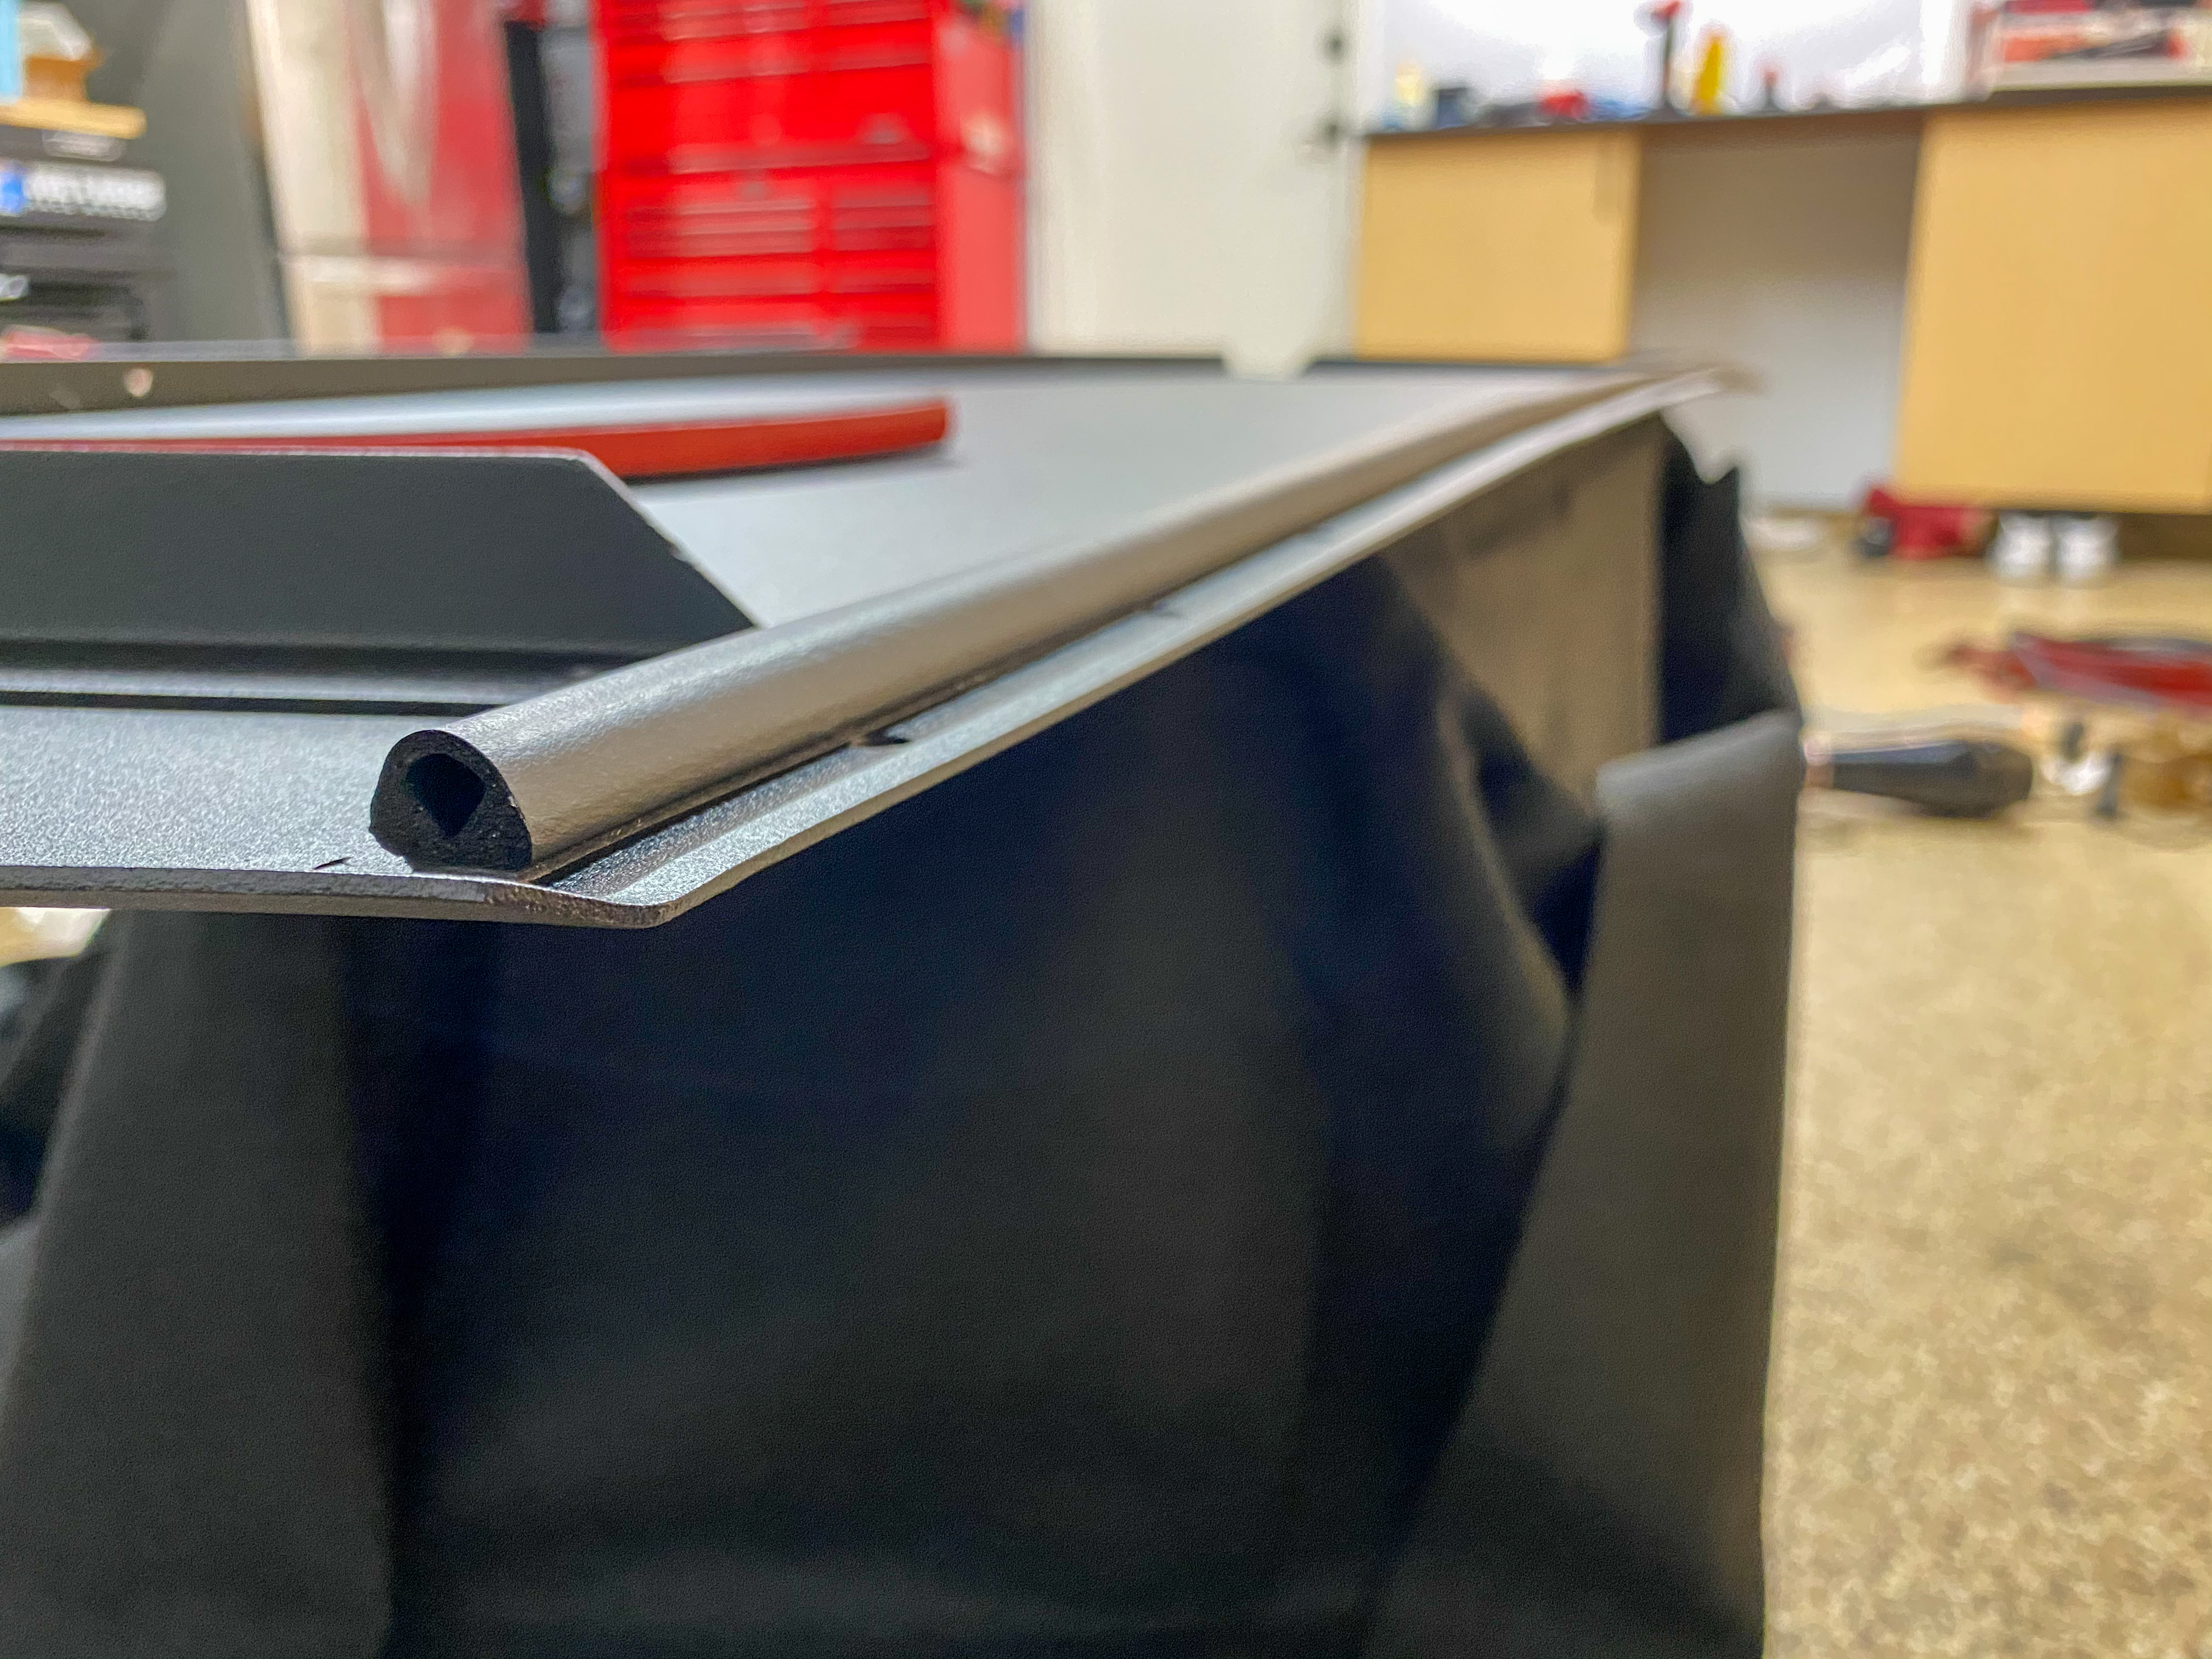
As far as getting the panels back on the truck, I had Taylor from GFC send me all the weatherstripping that they use for the panels. Laying it down would be harder than you think but I would advise you to take picture of your panels before removing the weatherstripping. As far as putting the Embassy hinge back on, I used some 60 grit sandpaper to grind down the glue that was on the hinges. Trust me I tried Goof Off and it did not work. I had to grind the glue down, clean it off with alcohol, and then apply the 3M 8407. The glue is toxic, make sure you apply it outside and go quick because it dries quickly. I utilized black rivets as well to cover the holes for the rivets. If I had to go back, I would utilize black button head bolts as it is just simpler to use than finding the correct size rivet. With a little blue or red loctite, anything can happen.
Overall the camper rebuild was an awesome and fun project for myself and for me to get my camper back to 100%. It looks brand new and doesn’t look like #208. Please feel free to ask questions if you are thinking about doing this to your camper.