SuperLite Leaking - How I Fixed It (UPDATED)

Continuing the discussion from Superlite leaking:

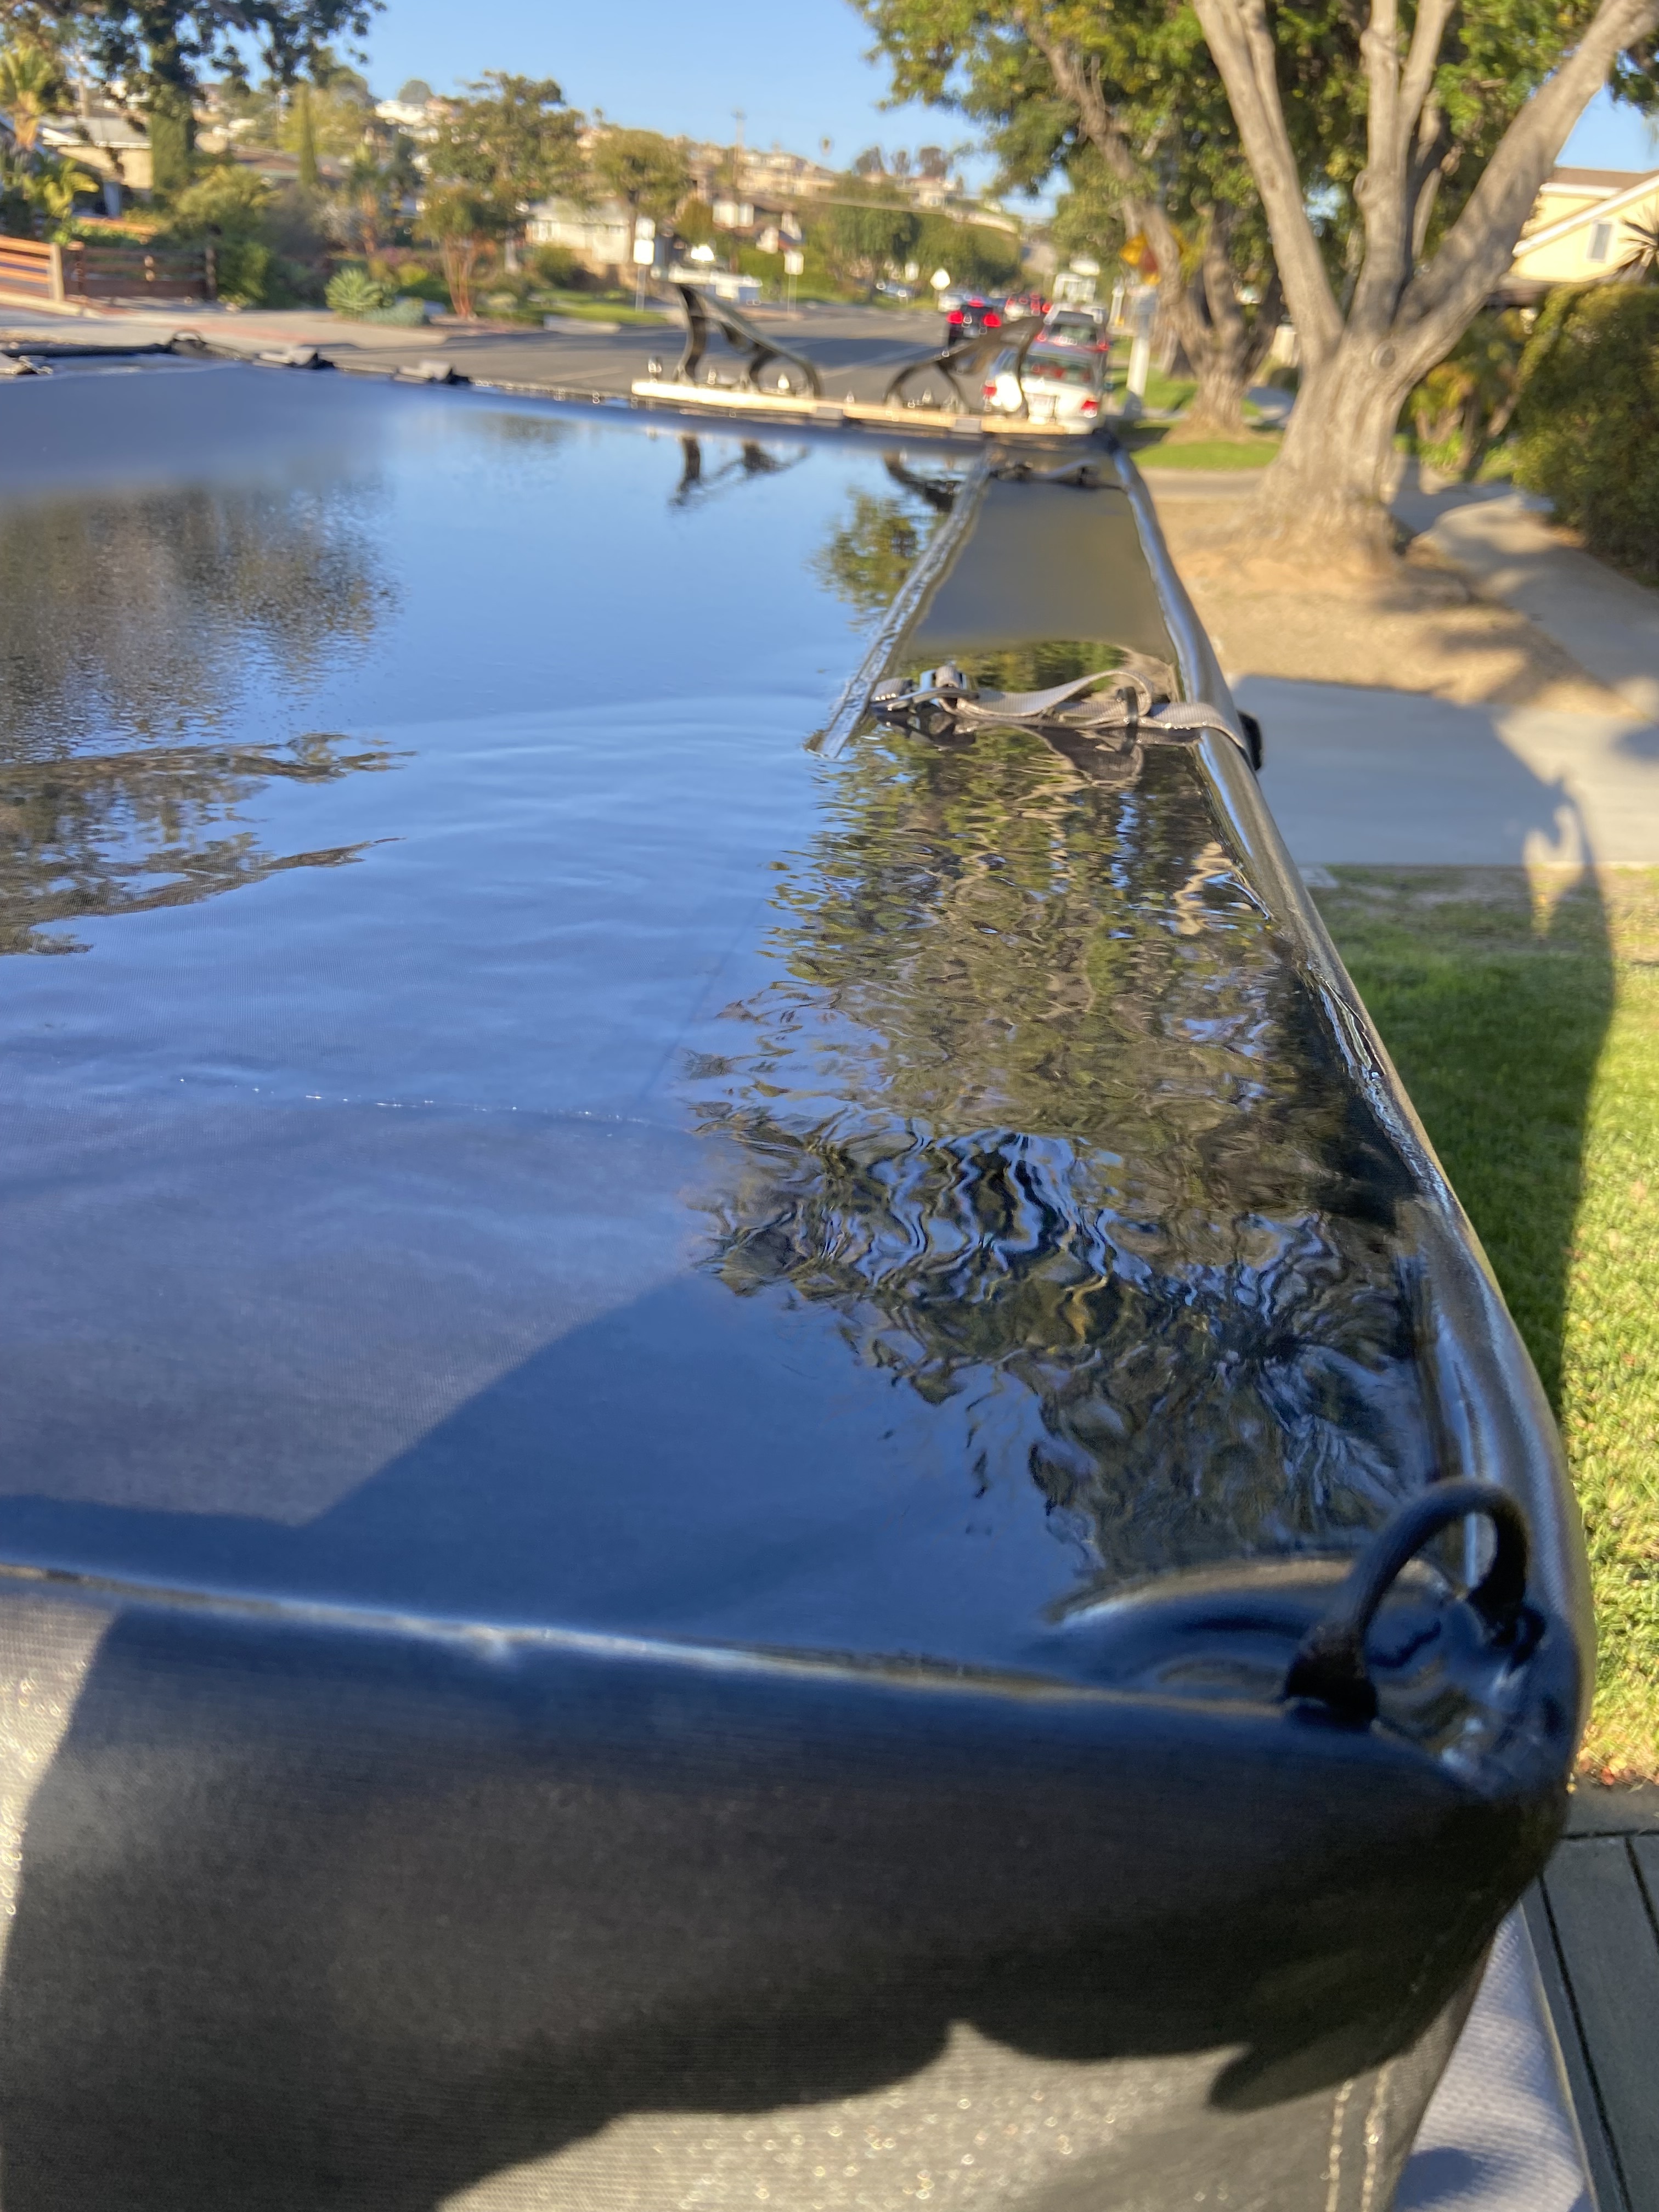
Late February, I submitted a Service Request Form because of the water intrusion problems I had with the SuperLite whenever it rained.

Cole from GFC contacted me and was able to help me out. He suggested I get some Seam Grip (SG) to cover the seams on the top of the SuperLite. I asked him how to apply it and he said he would have a video made detailing the process. A couple of weeks later, I received an email with the following 5 minute video.

In the video, painter’s tape is placed along both sides of the seams. This is followed by a layer of electrical tape on top of the painter’s tape. With a gloved hand, the highly fluid SG was spread over the seam, up to the edge of the tape(s).

Instead of doing all of the taping, I decided to apply it with a 1" brush and a (somewhat) steady hand. Since my tent has been on the truck for over a year, the first step was to clean the seams and stitches with a damp sponge.

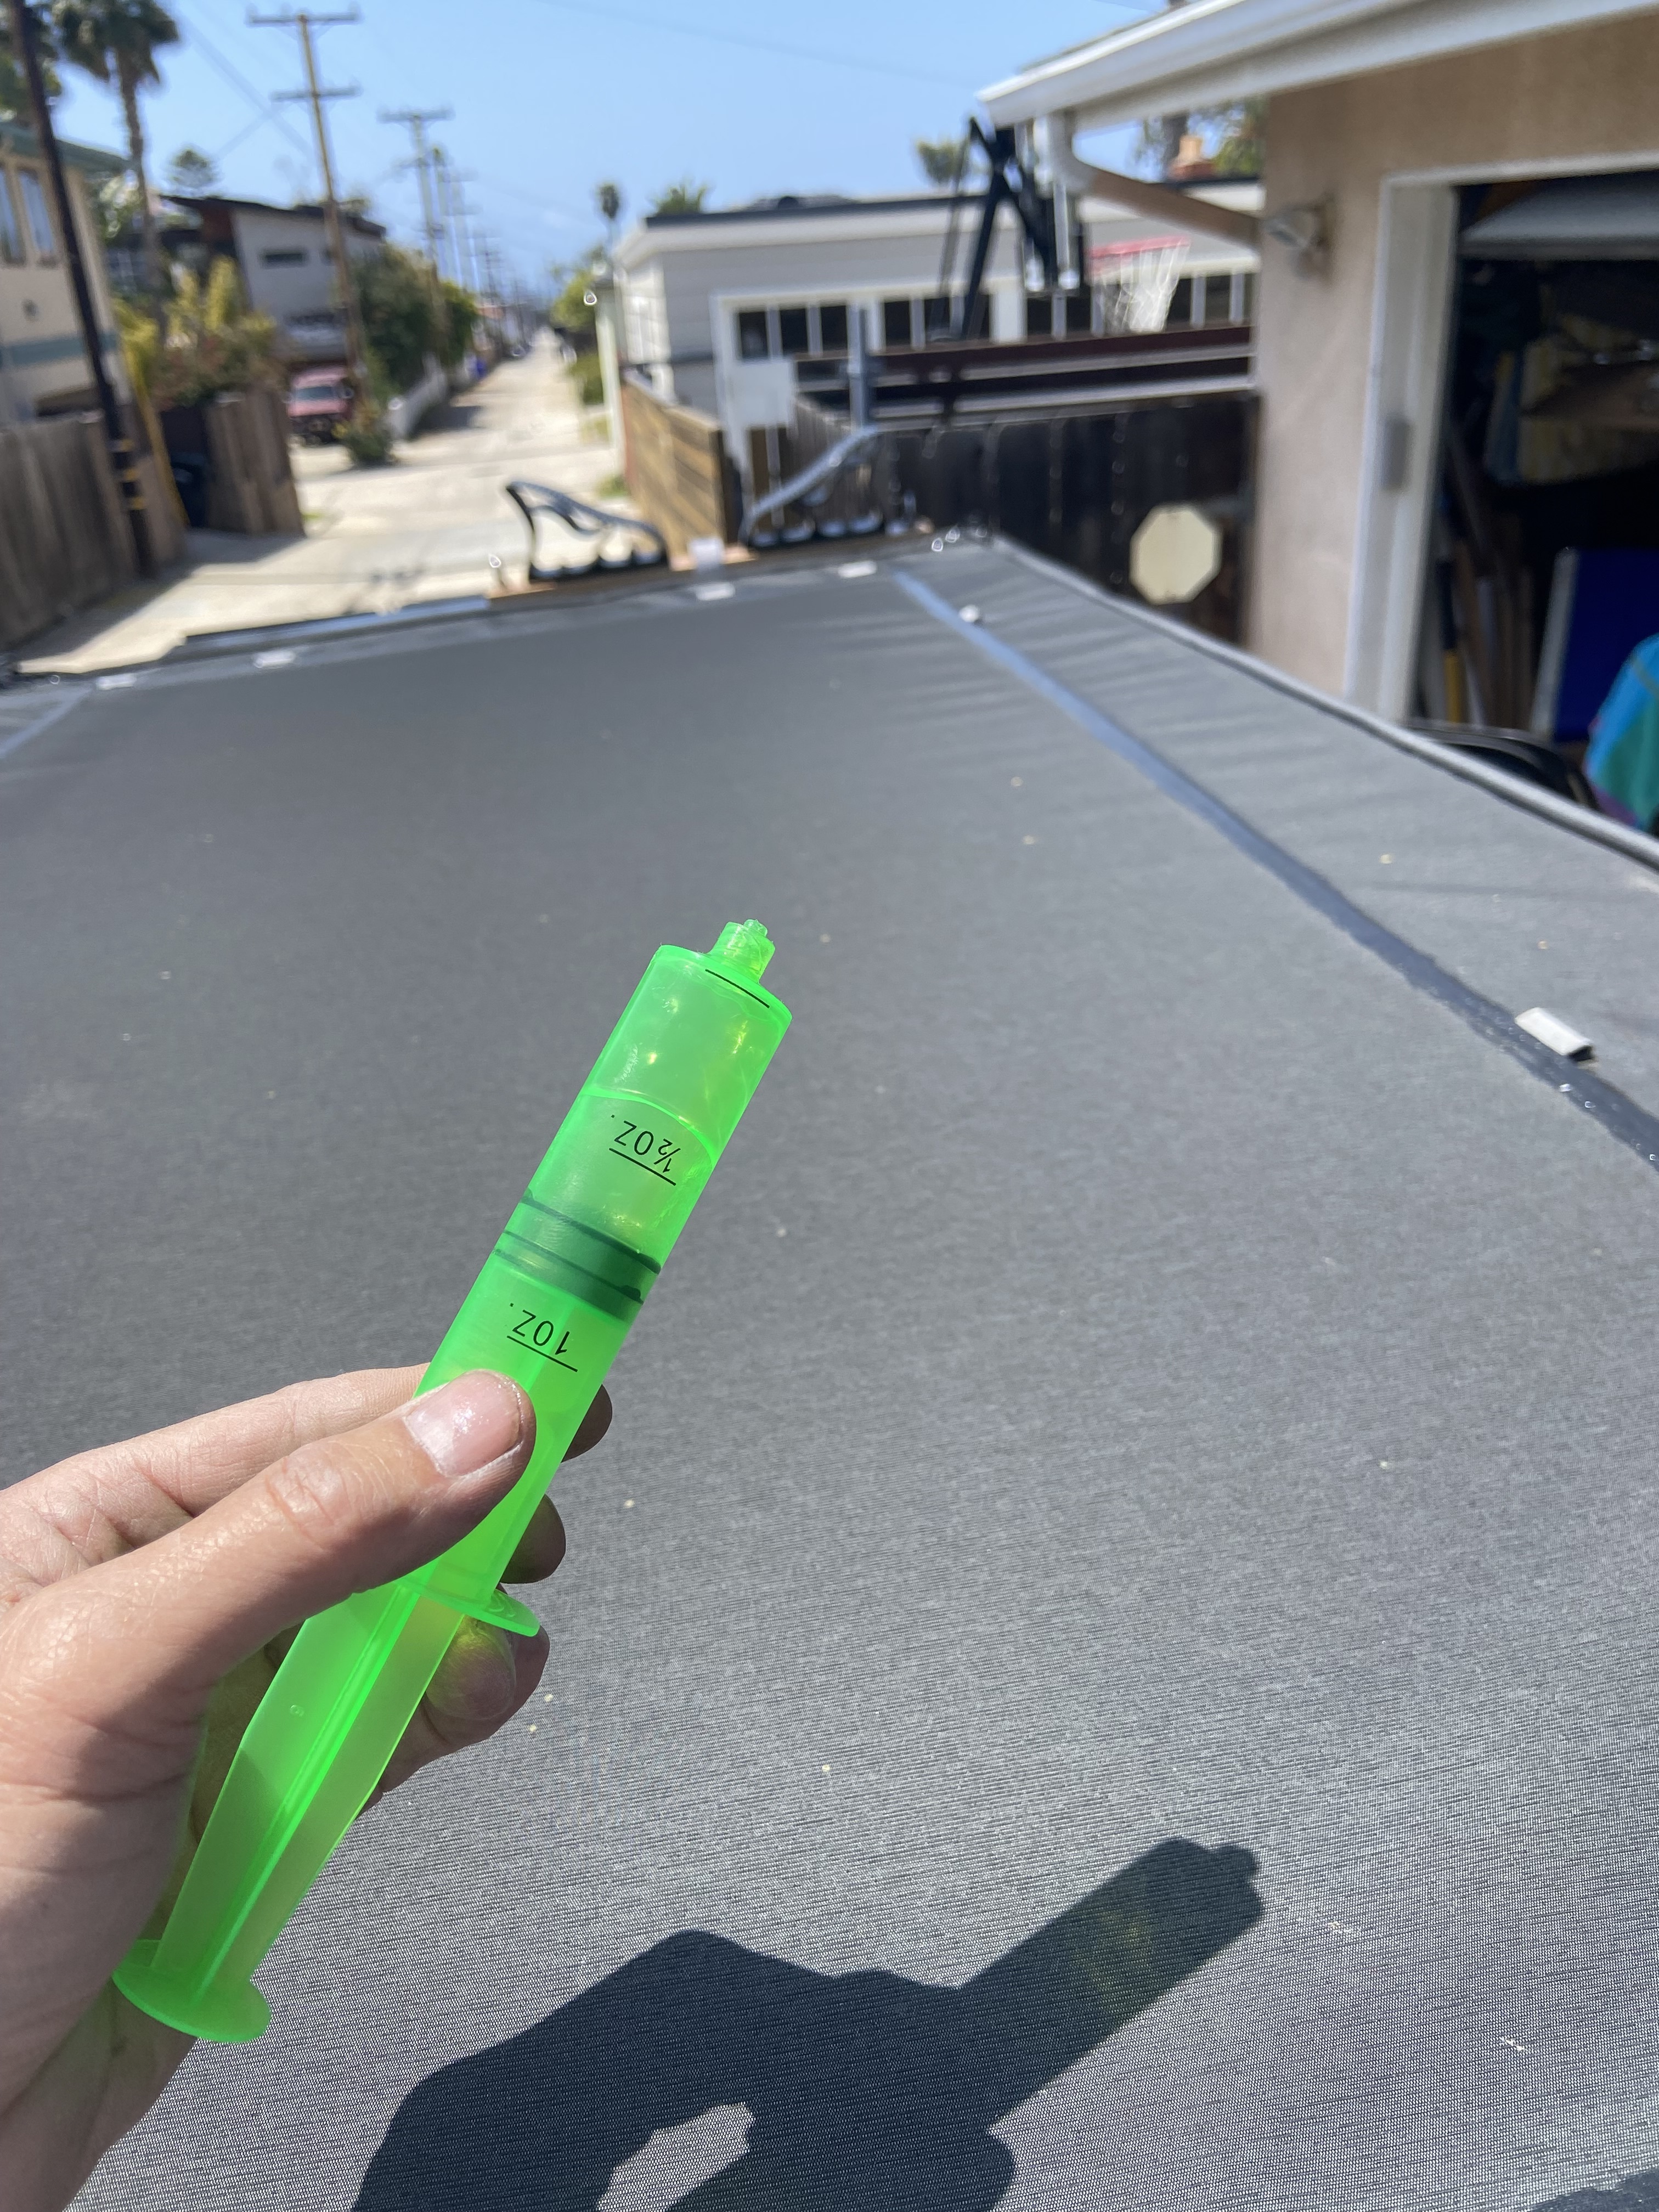
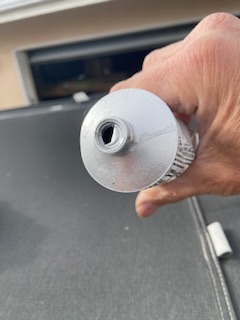
After the surface was prepped, I took the SG and punctured only half of the tube seal. This is important because it will enable you to control the flow better.
image

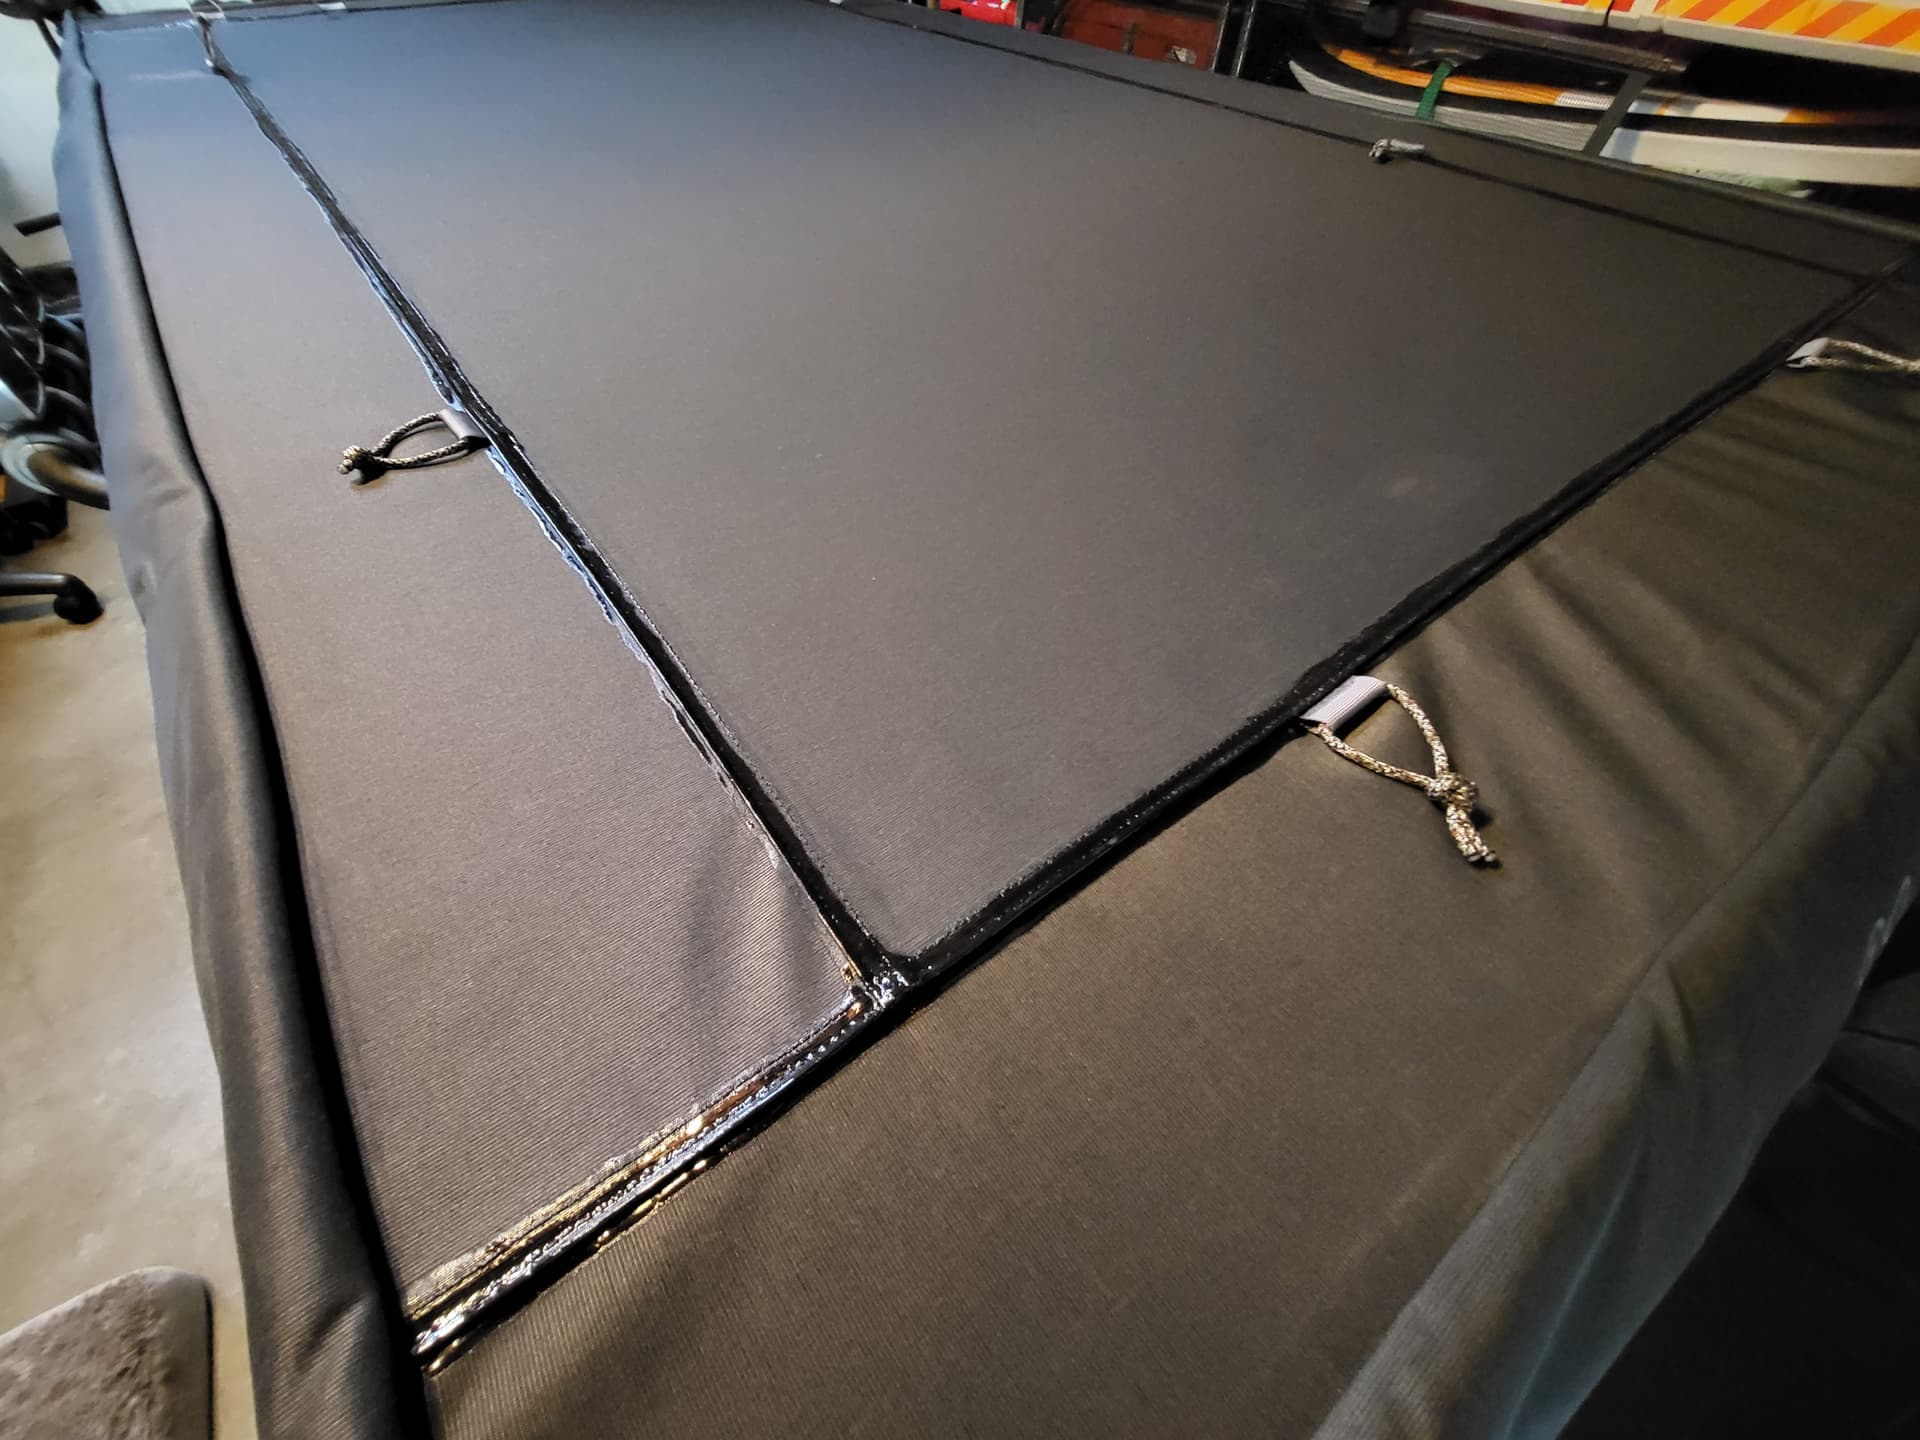
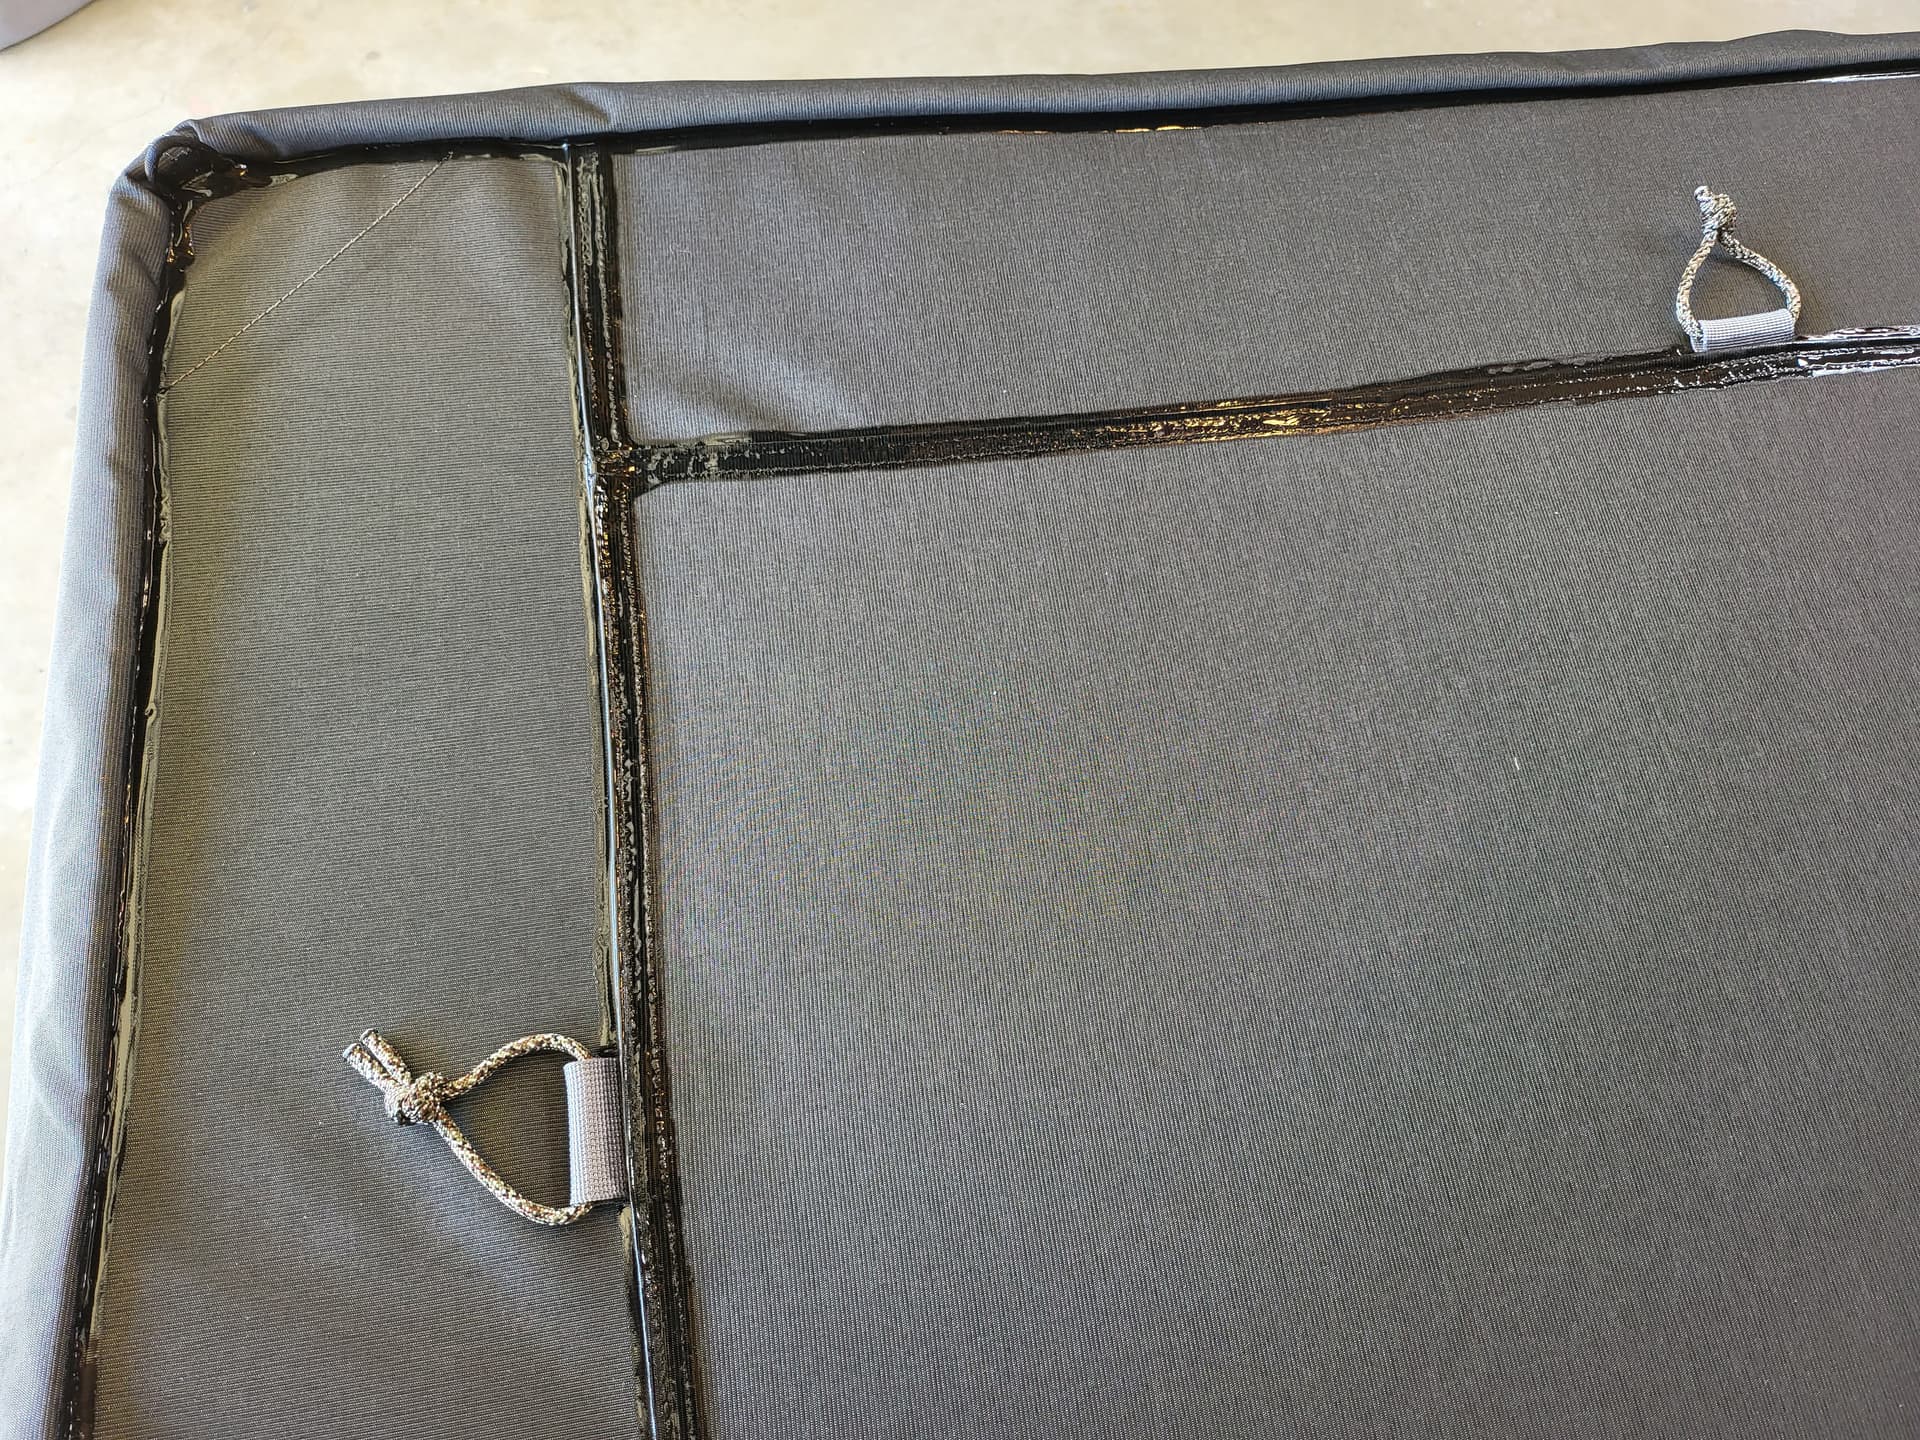
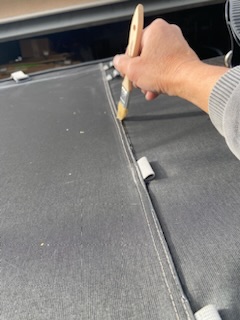
I then held the tube at a 45 degree angle to the raised ridge of the seam and ran a bead along the edge of the seam.
image

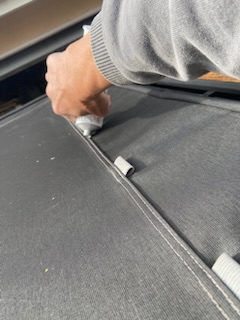
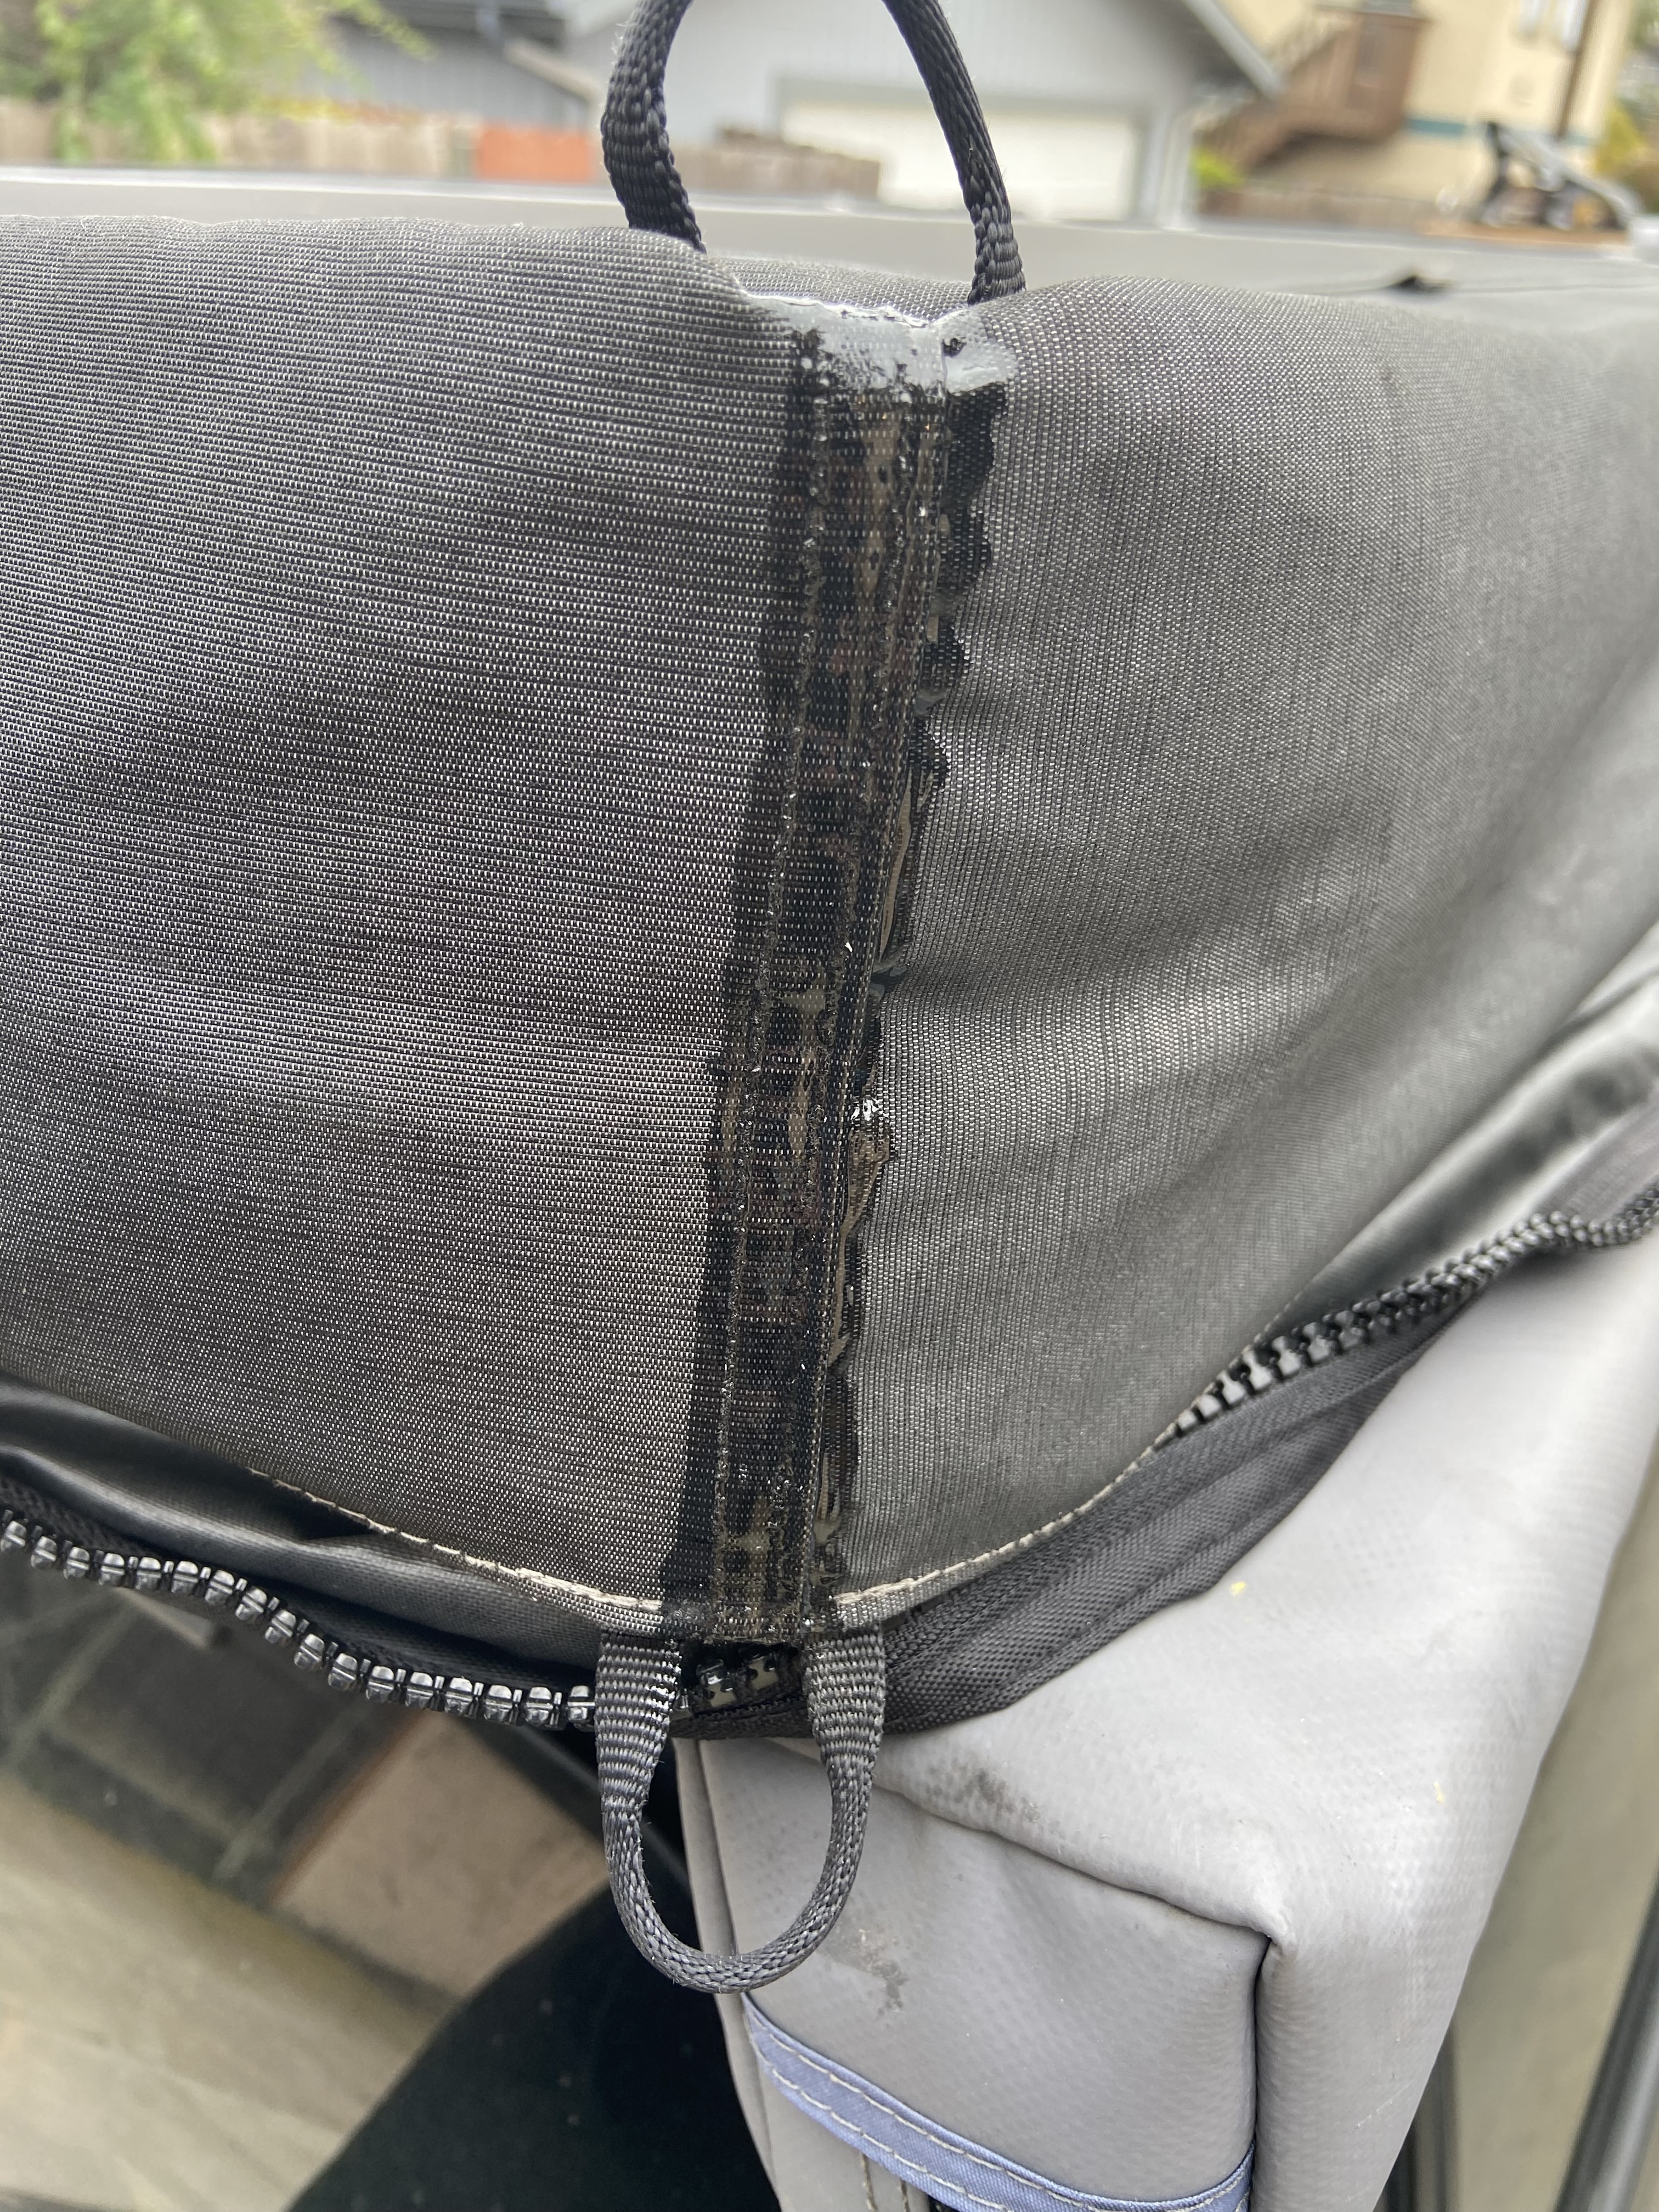
With the brush, the SG was pressed into the seam, and then over the top of the seam.
image

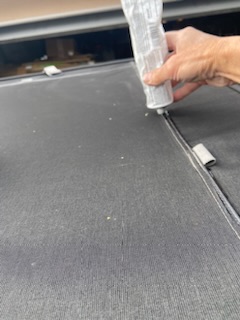
Next, I put the tube vertically over the stitches and ran a wide bead over both rows of the stitches. As I squeezed the tube, I applied enough downward pressure to press the SG into the stitches and to control the flow. I used the brush to evenly spread the SG over the stitches, with about an eighth inch overlap.
image

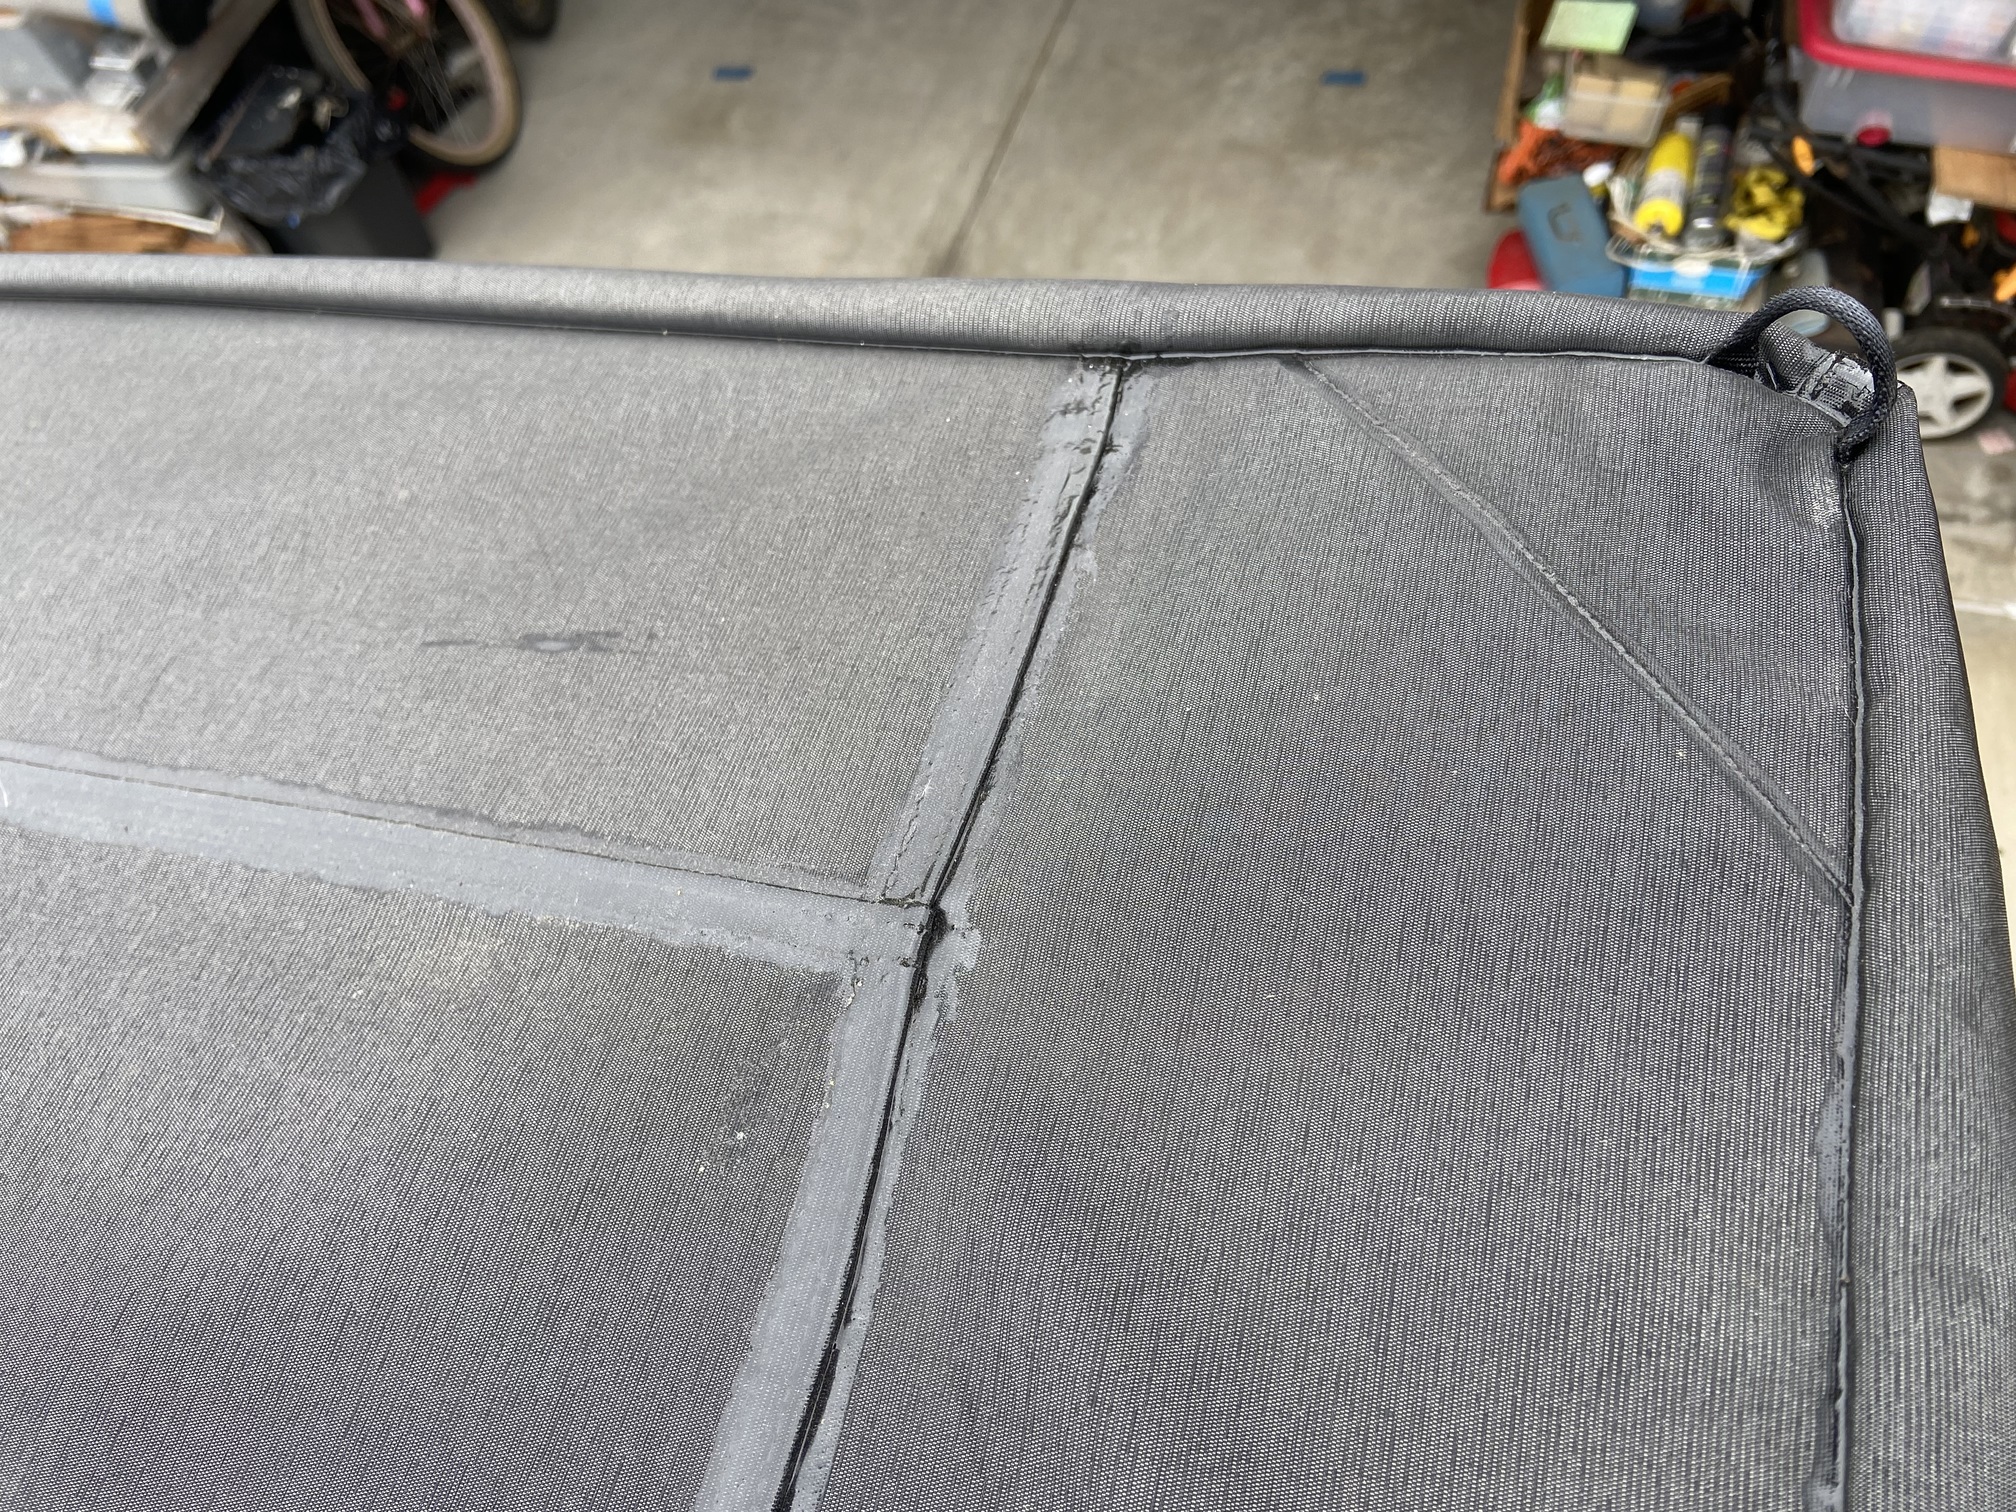
The next day, I applied another layer of SG, paying extra attention to any areas that might have needed more SG.
image
image

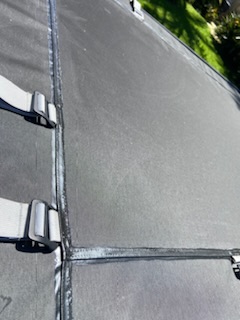
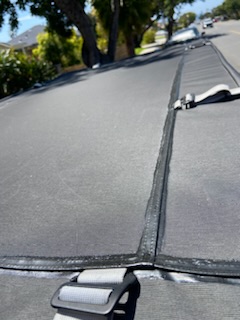
Overall, I like the way it came out. The edges of the SG would have been straighter if I had taped it, but who sees it from the top and from a distance, it looks good.

I would recommend sealing the seams for two reasons. First, and foremost, it weatherproofs the tent. The other benefit is that it also protects the threads from the sun. I noticed while doing this project, the stitches were looking weathered. Applying the Seam Grip now may prevent problems in the future.

10 Likes

In my conversations with GFC, I asked if the perimeter side-to-top seams needed to be sealed and I was assured that it was not necessary. However, I was also told that GFC had not done any extensive water intrusion testing on the SuperLite.

After sealing the double rows of stitching, I decided to do my own testing.

With the garden hose set to full stream, I sprayed water on top of the SL until it was cascading over the side. The next morning revealed a significant amount of water had leaked inside of the tent.

The obvious next step was to seal the perimeter seam. This was actually very easy to do and is hardly noticeable.

I put about an ounce of Seam Grip in a large syringe (bought at Party City) and slowly laid a bead of the SG into the seam. I only worked on about two feet at a time so I could massage it into the seam. This was accomplished by pulling the top and side apart a few times. Extra SG was used in the corners due to the loops and the tendency for water to pool there.

To ensure the seam was sealed, a second bead was added on top of the first. The next day I performed the water test again. This time, only the back corner was damp. Everything else was dry.

The only seams left to do were the two rows of vertical stitching on each corner.

Be careful not to apply too much SG since it will drip onto your vehicle. After you finish, take a few minutes to check each corner a few times and wipe off any drips you see forming.

Another test was performed, but this time the tent was dry! However, the water was only pooling on the top for 3.5 hours because I had to drive my truck. I’m fairly confident the next time the SL gets wet, the tent will remain dry.

1 Like

Seamgripped mine today, but looks like i need to do the outside seams, lol

2 Likes

Done, seamgripped all seams including side seams

4 Likes

Currently have water intrusion issues as well. Been a few months since you guys posted so I’m just following up. Any promising results from this solution? How has the seam grip held up?

I feel like all of this can be immediately remediated with an external cover for long term mounting or for travel in extreme weather. Hope GFC is considering this when they are producing V2 that would be compatible for V1.

After 7 months, the Sure Grip is still doing the job. The tent stays about 95-98% dry. I have not had any water pooling inside of the tent since applying the sealant.

However, I have on occasion opened the tent and found a very slight dampness in a couple of spots. When this happens, I air the tent out to prevent mold from forming.

If you haven’t sealed the seams on your SL, I highly recommend it.