Holy buckets I was on hold for a long time. Hopefully this won’t flag again.
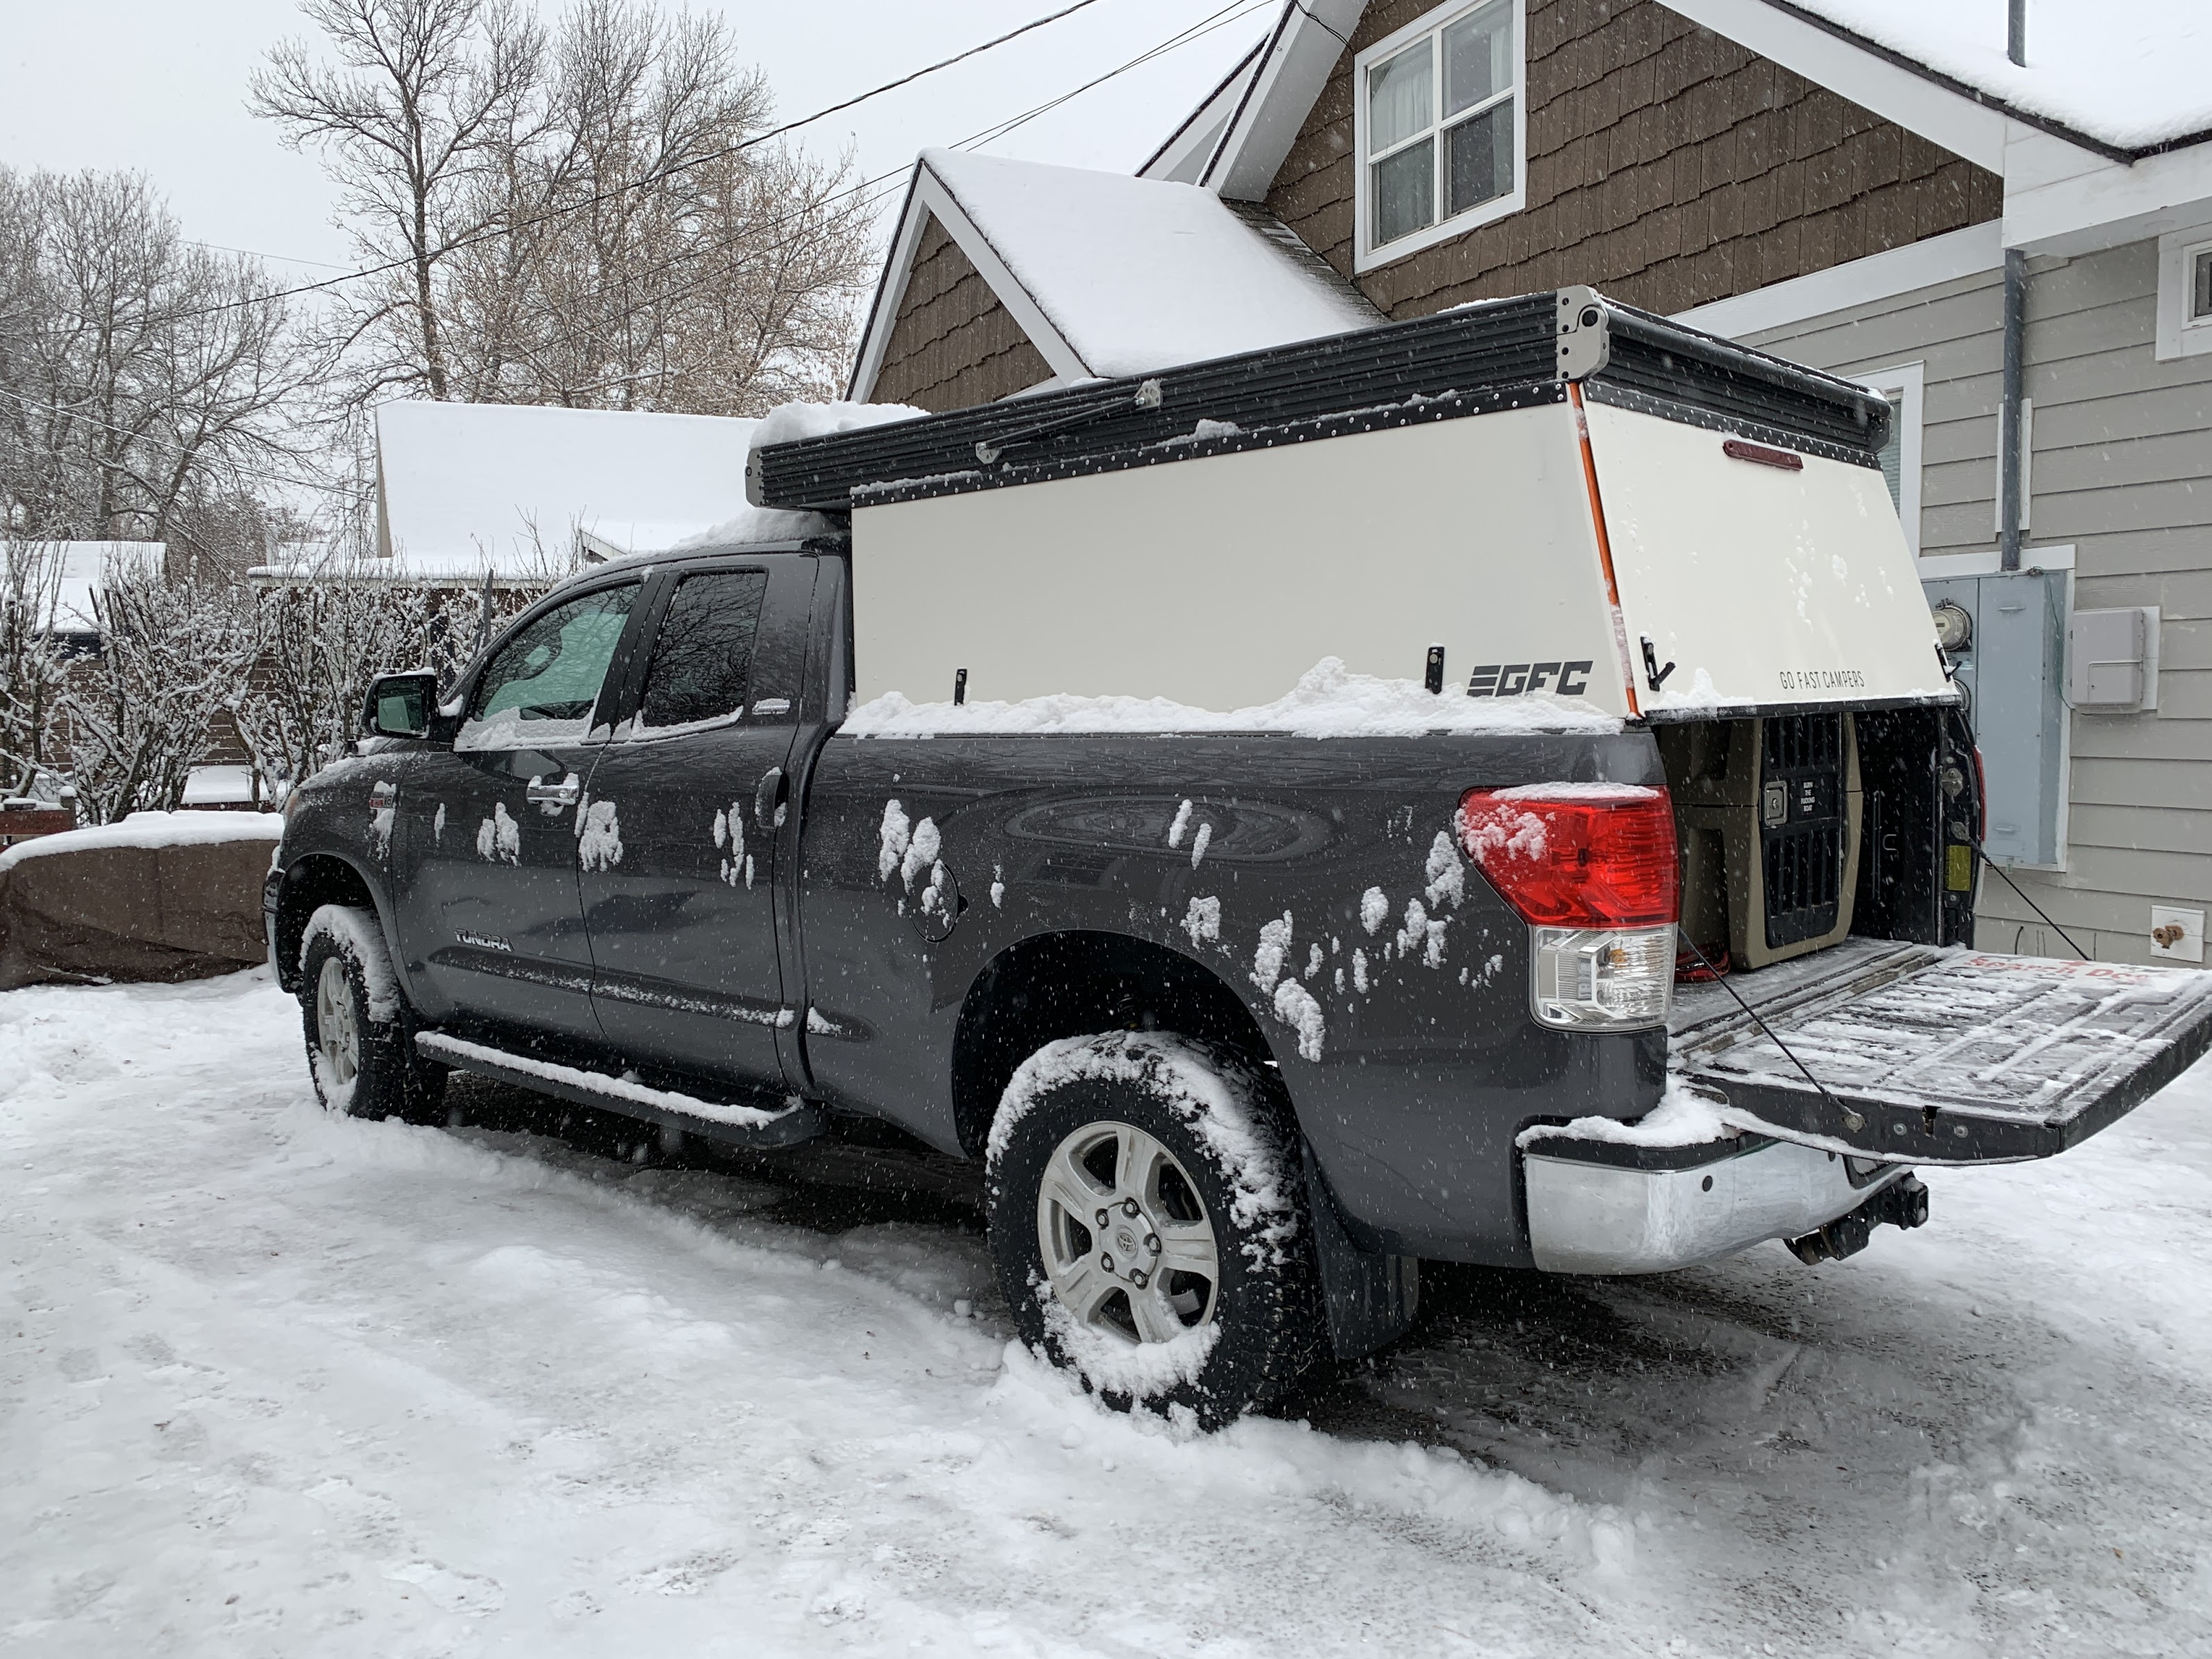
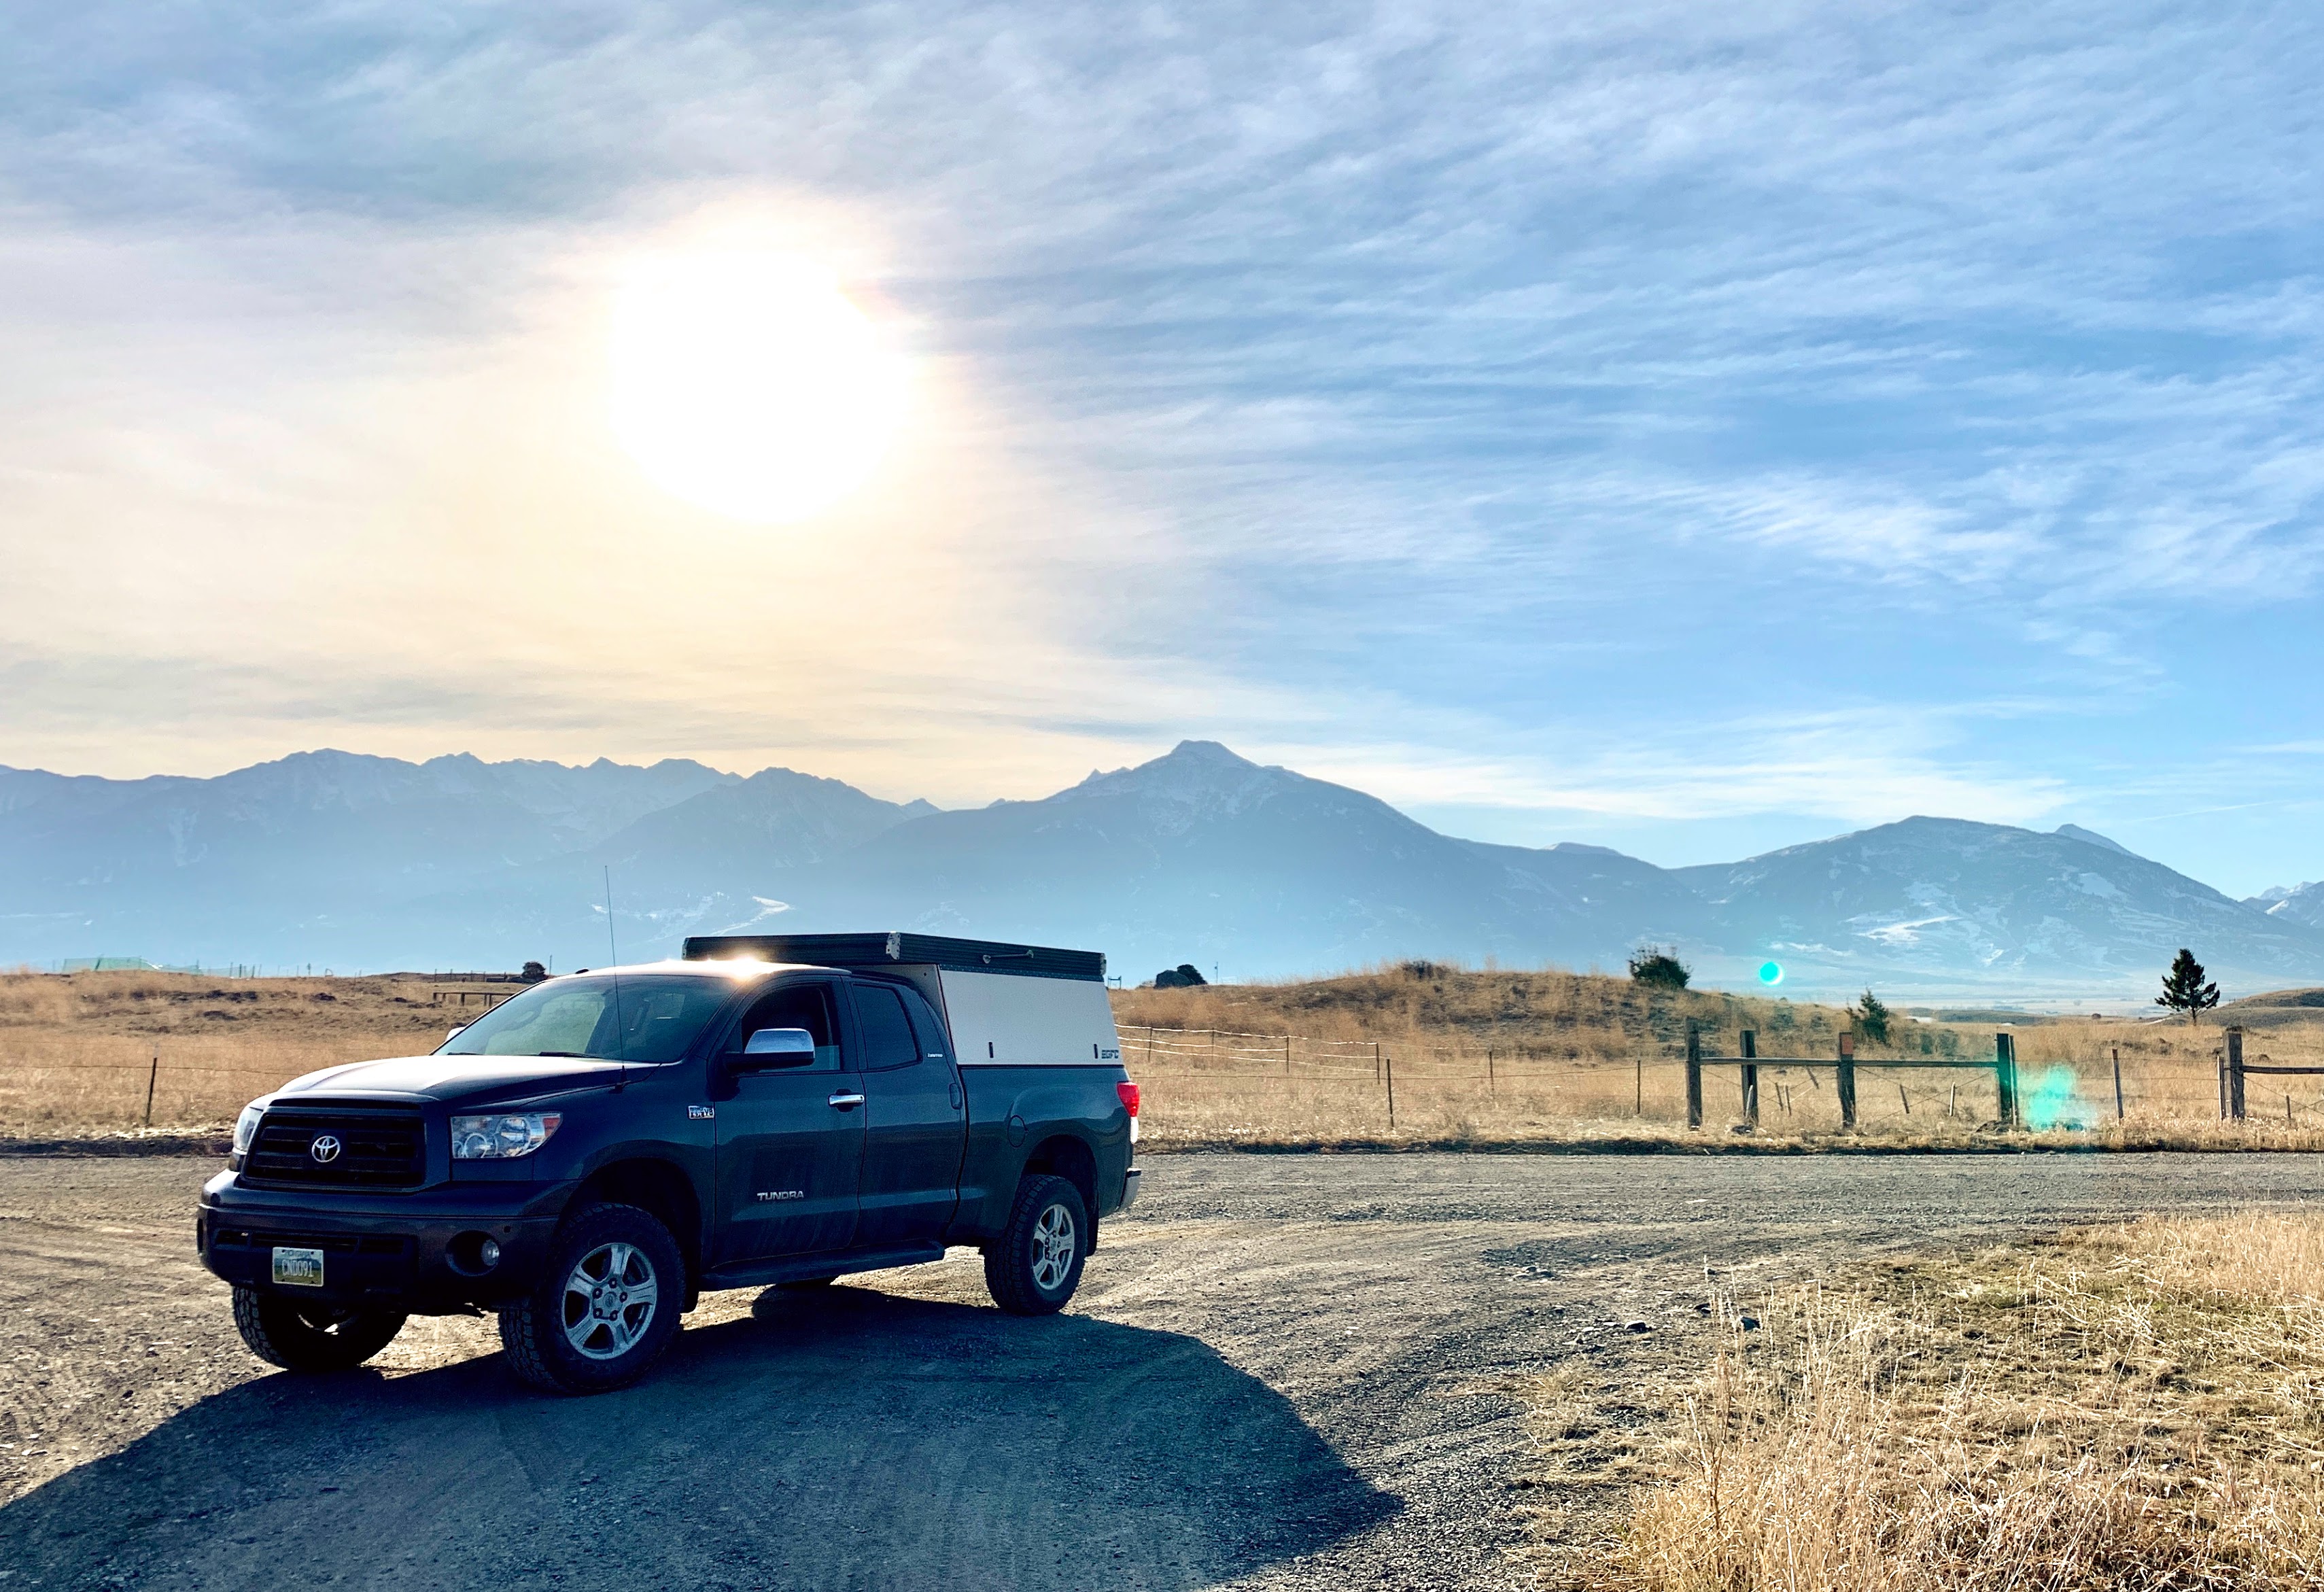
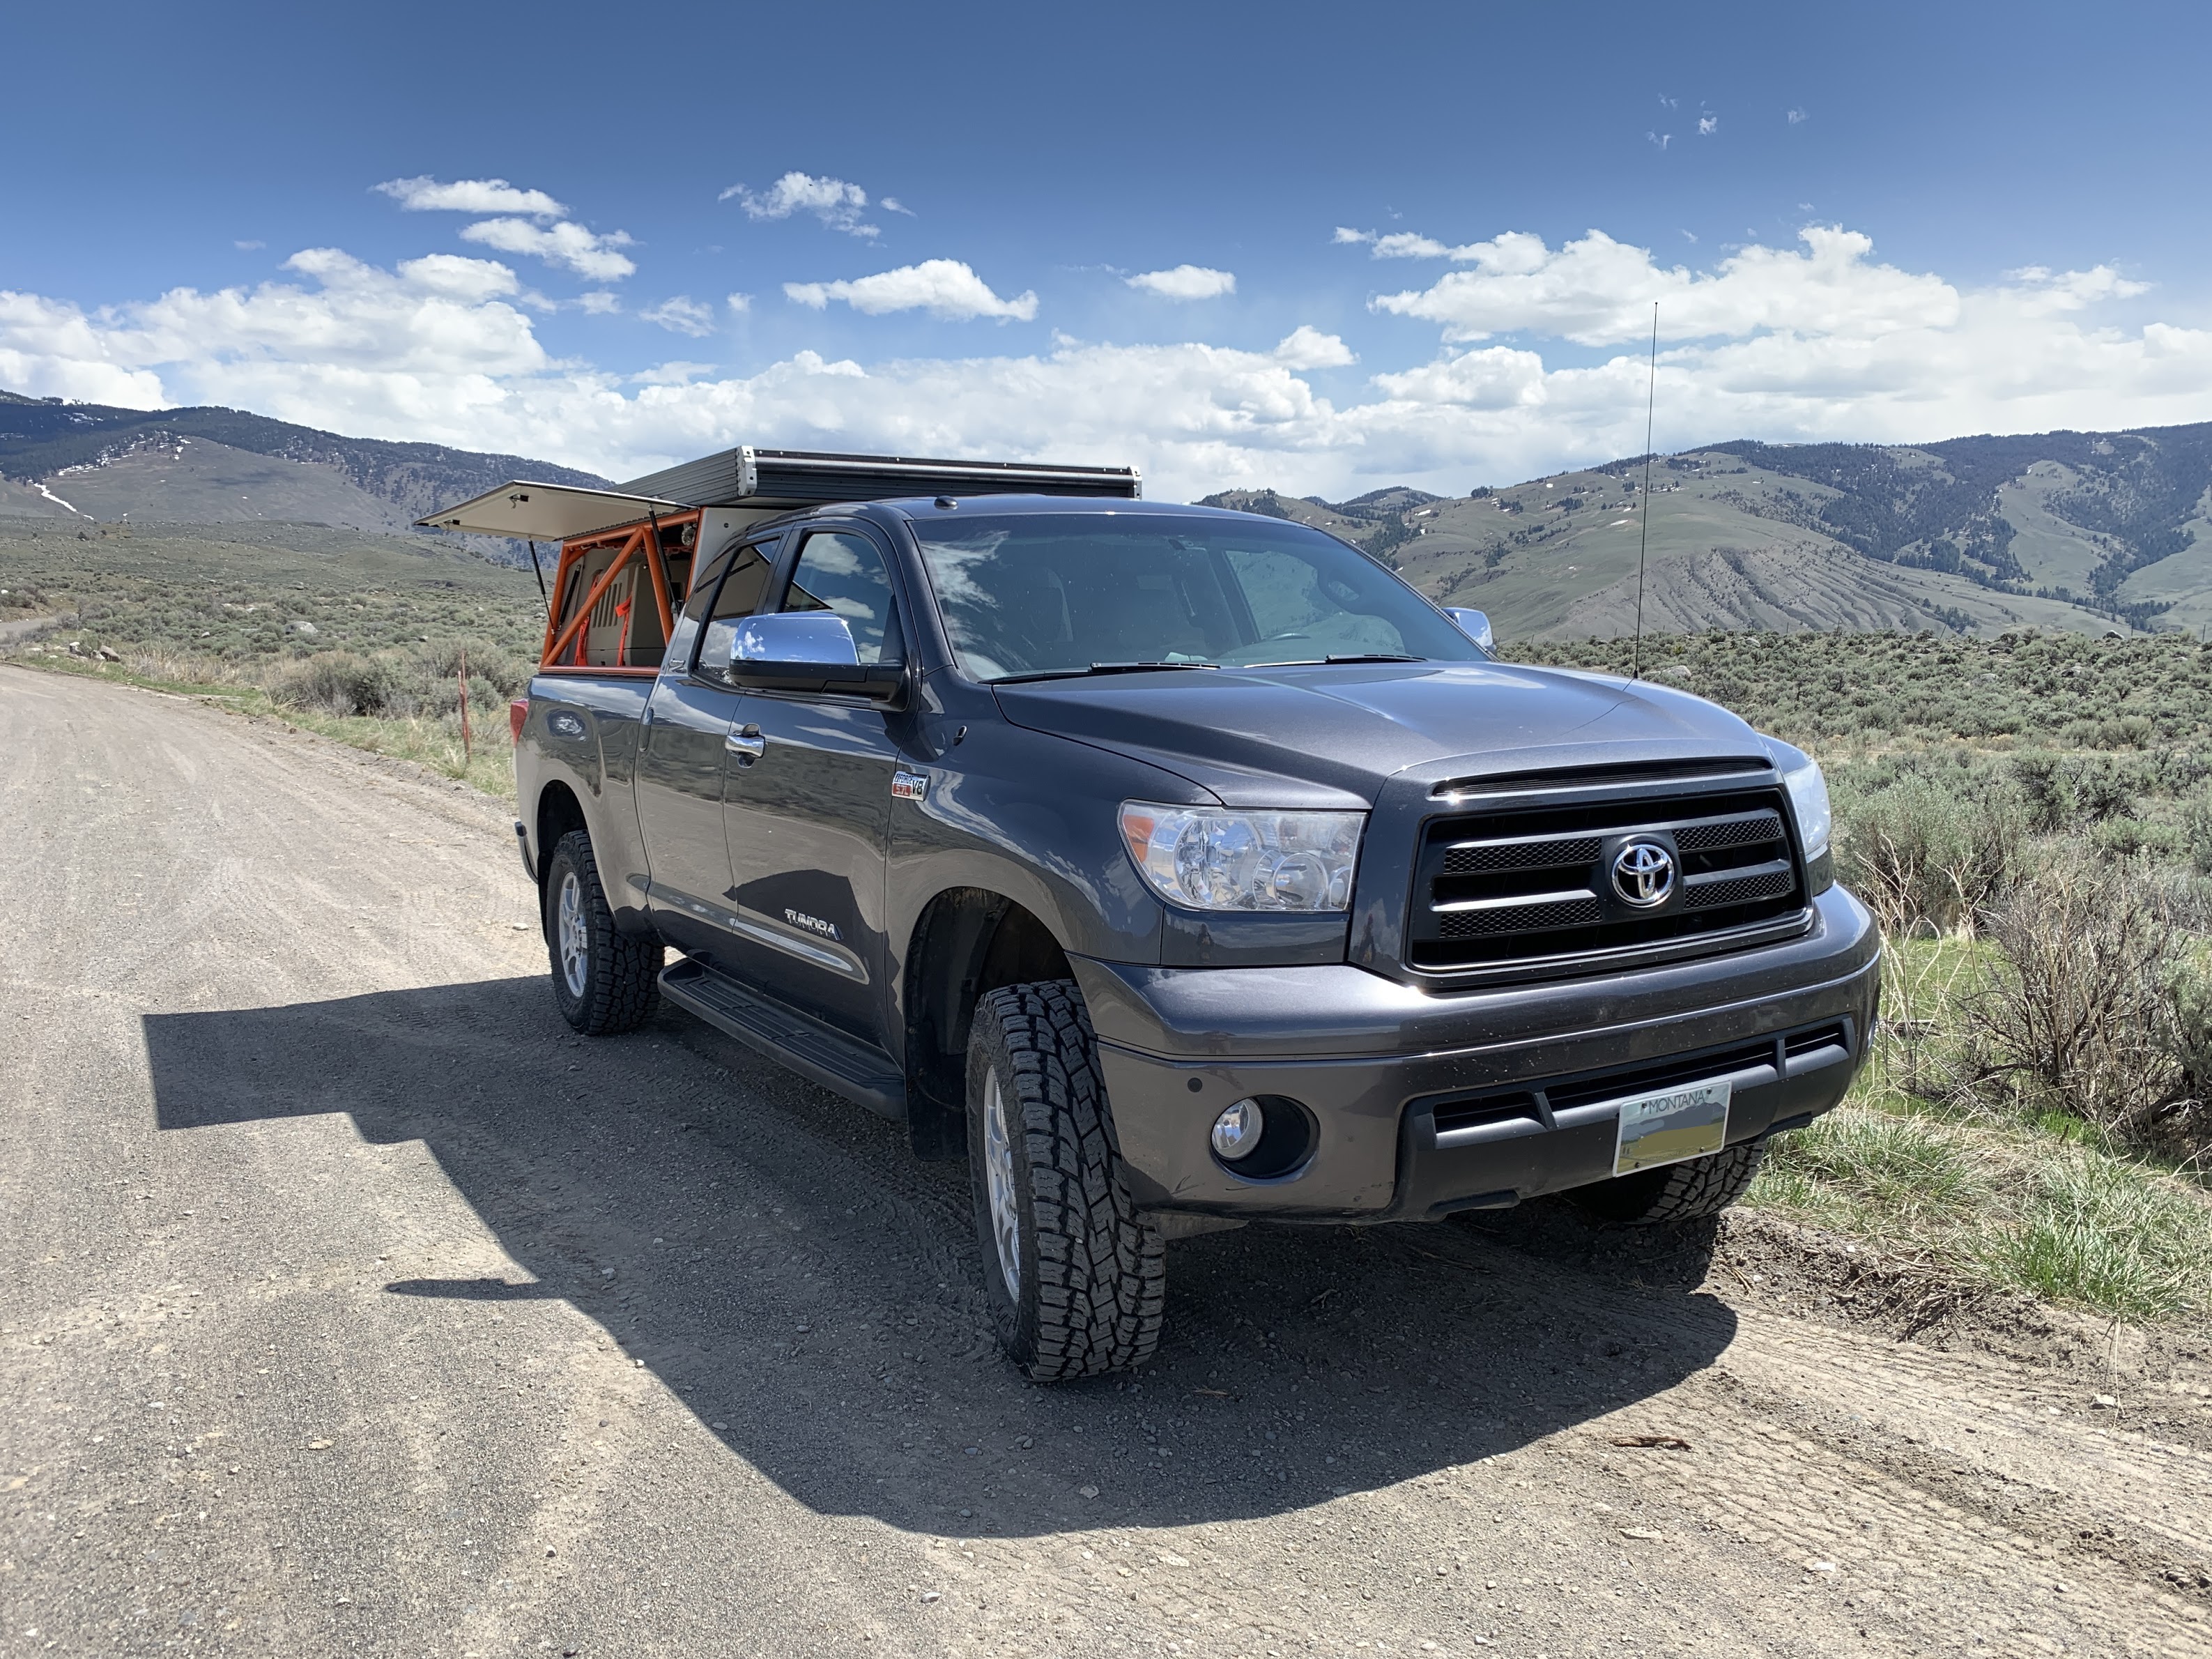
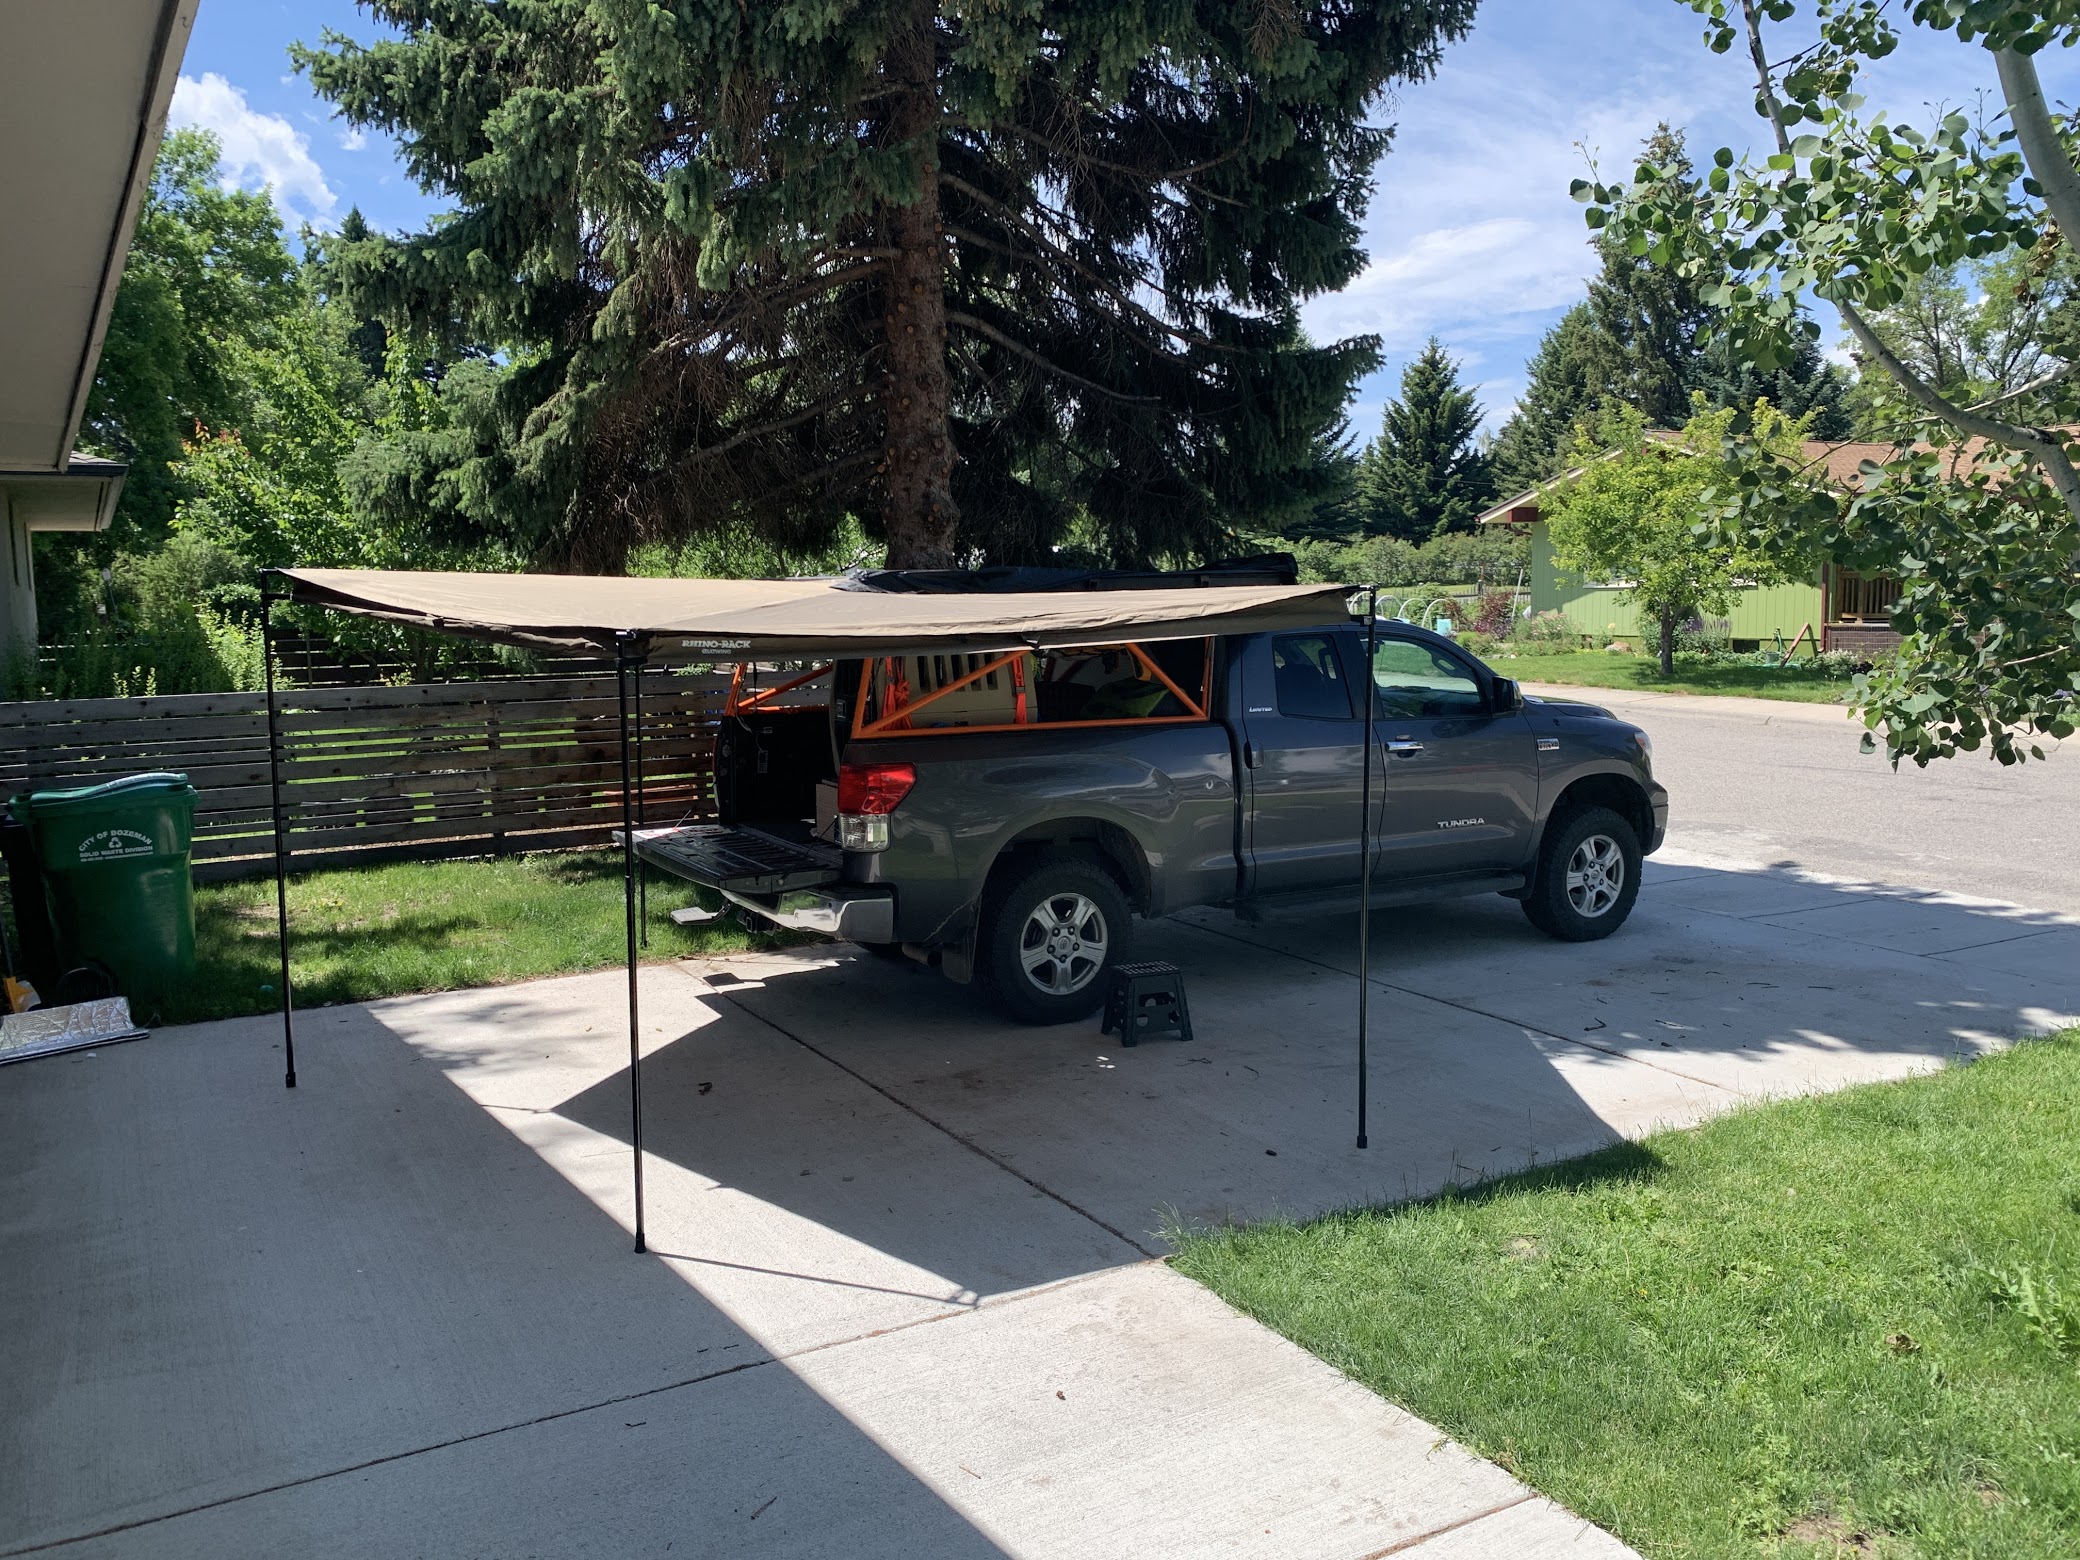
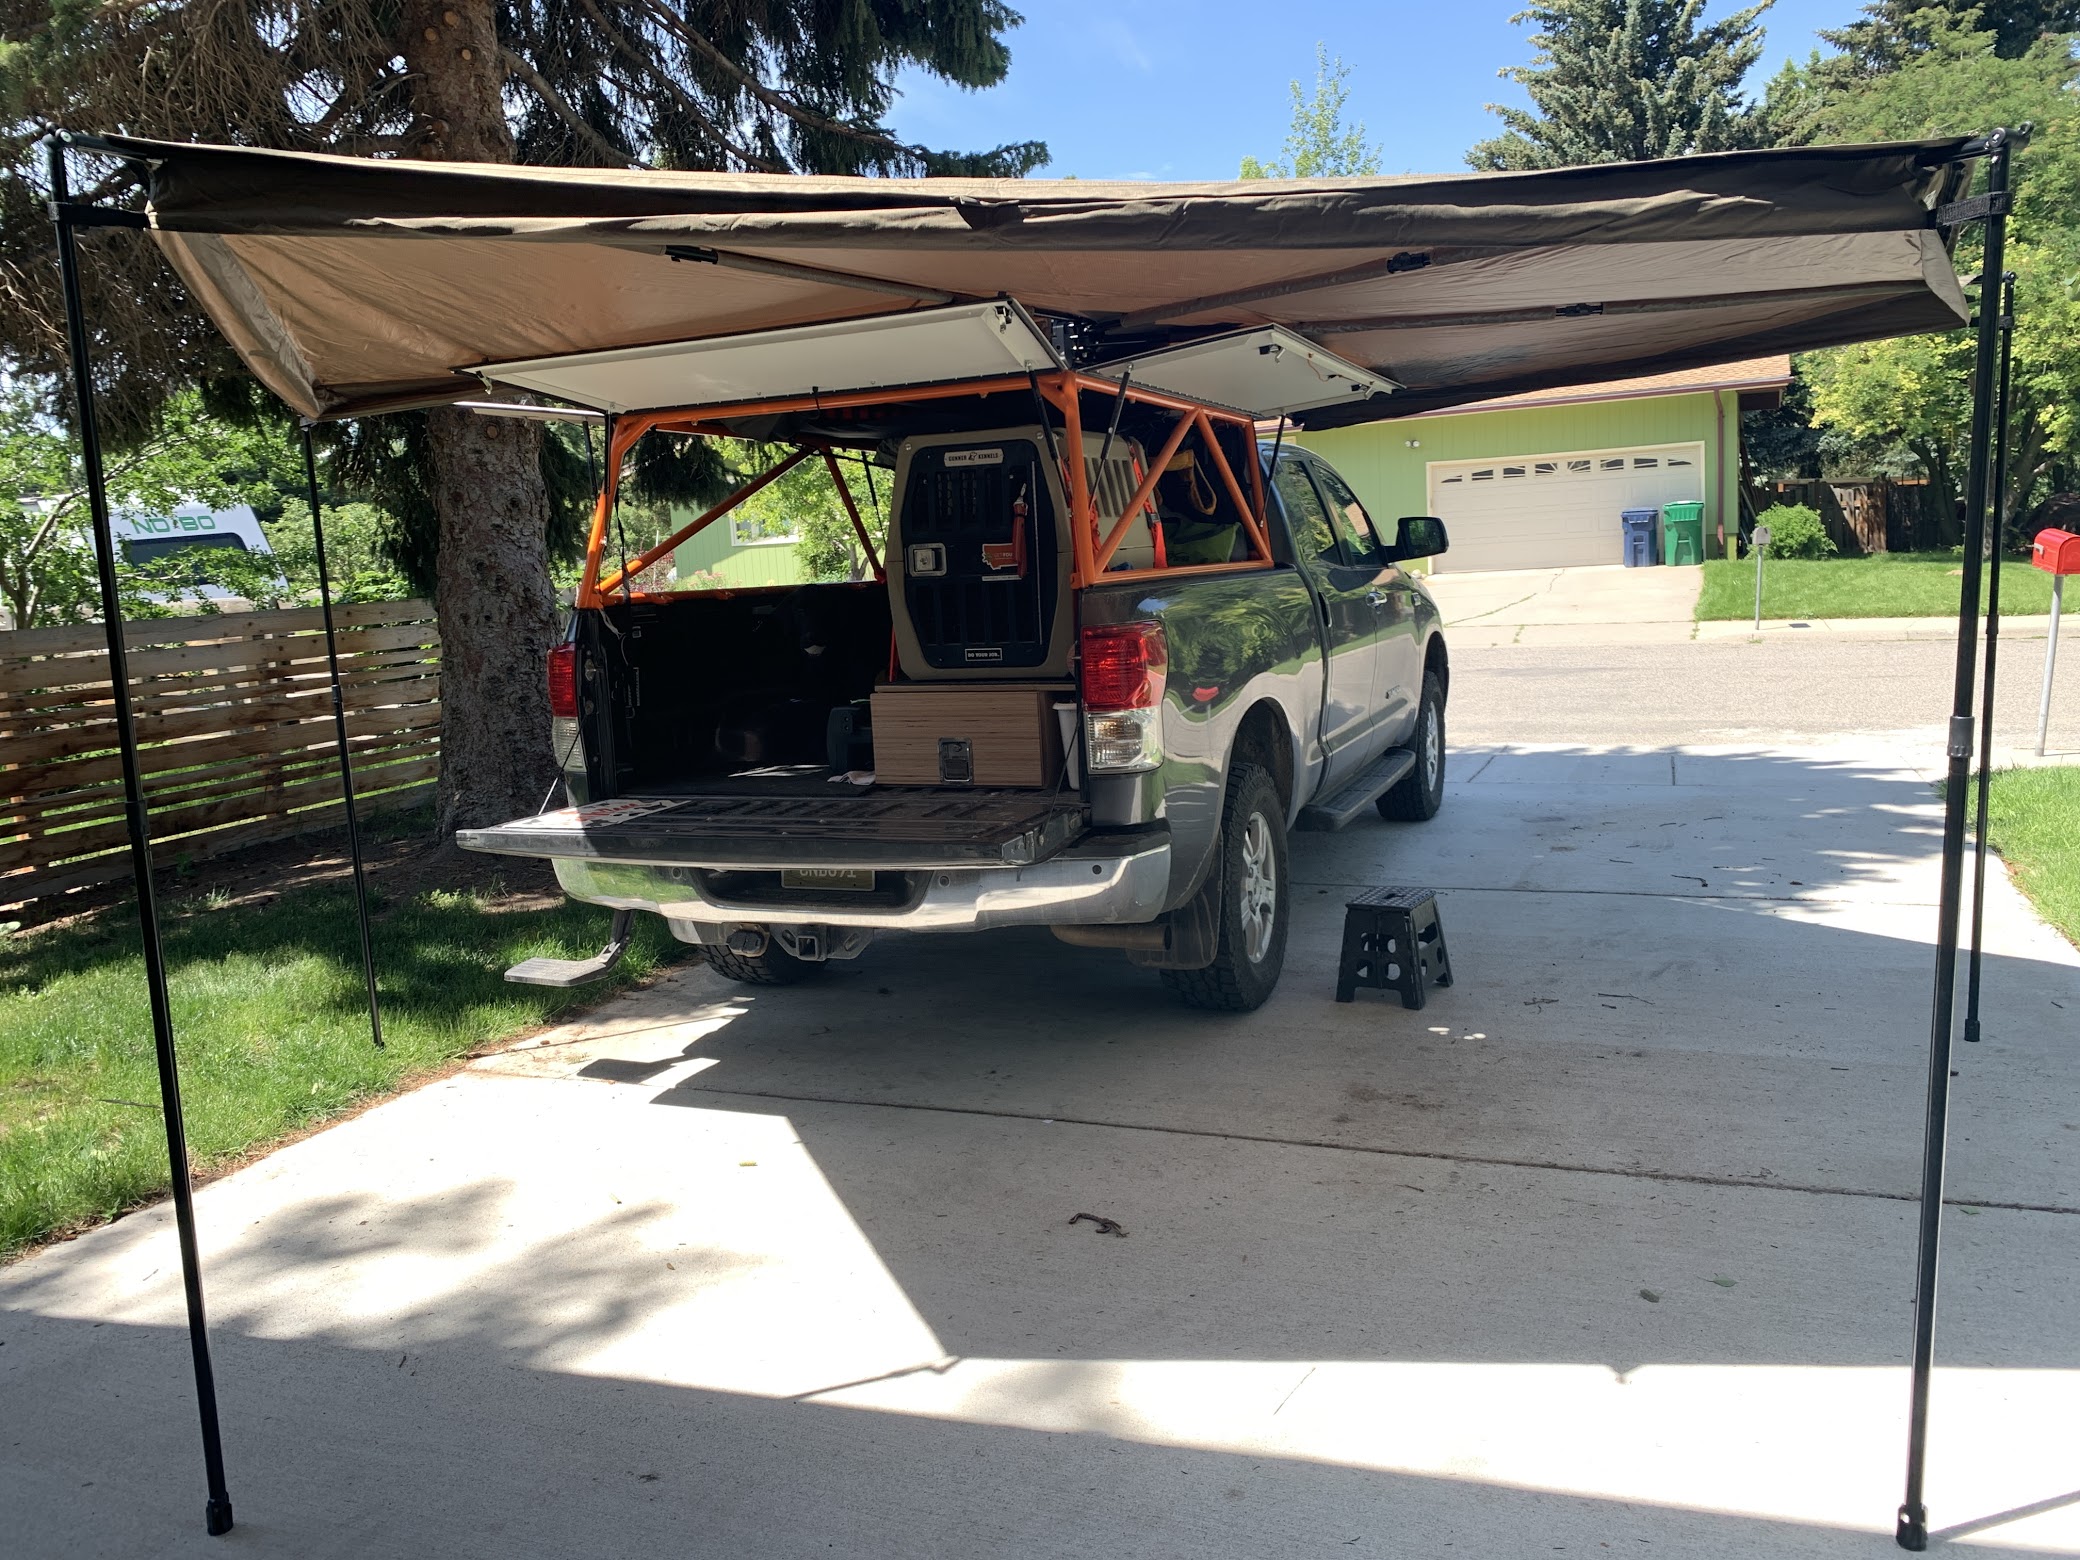
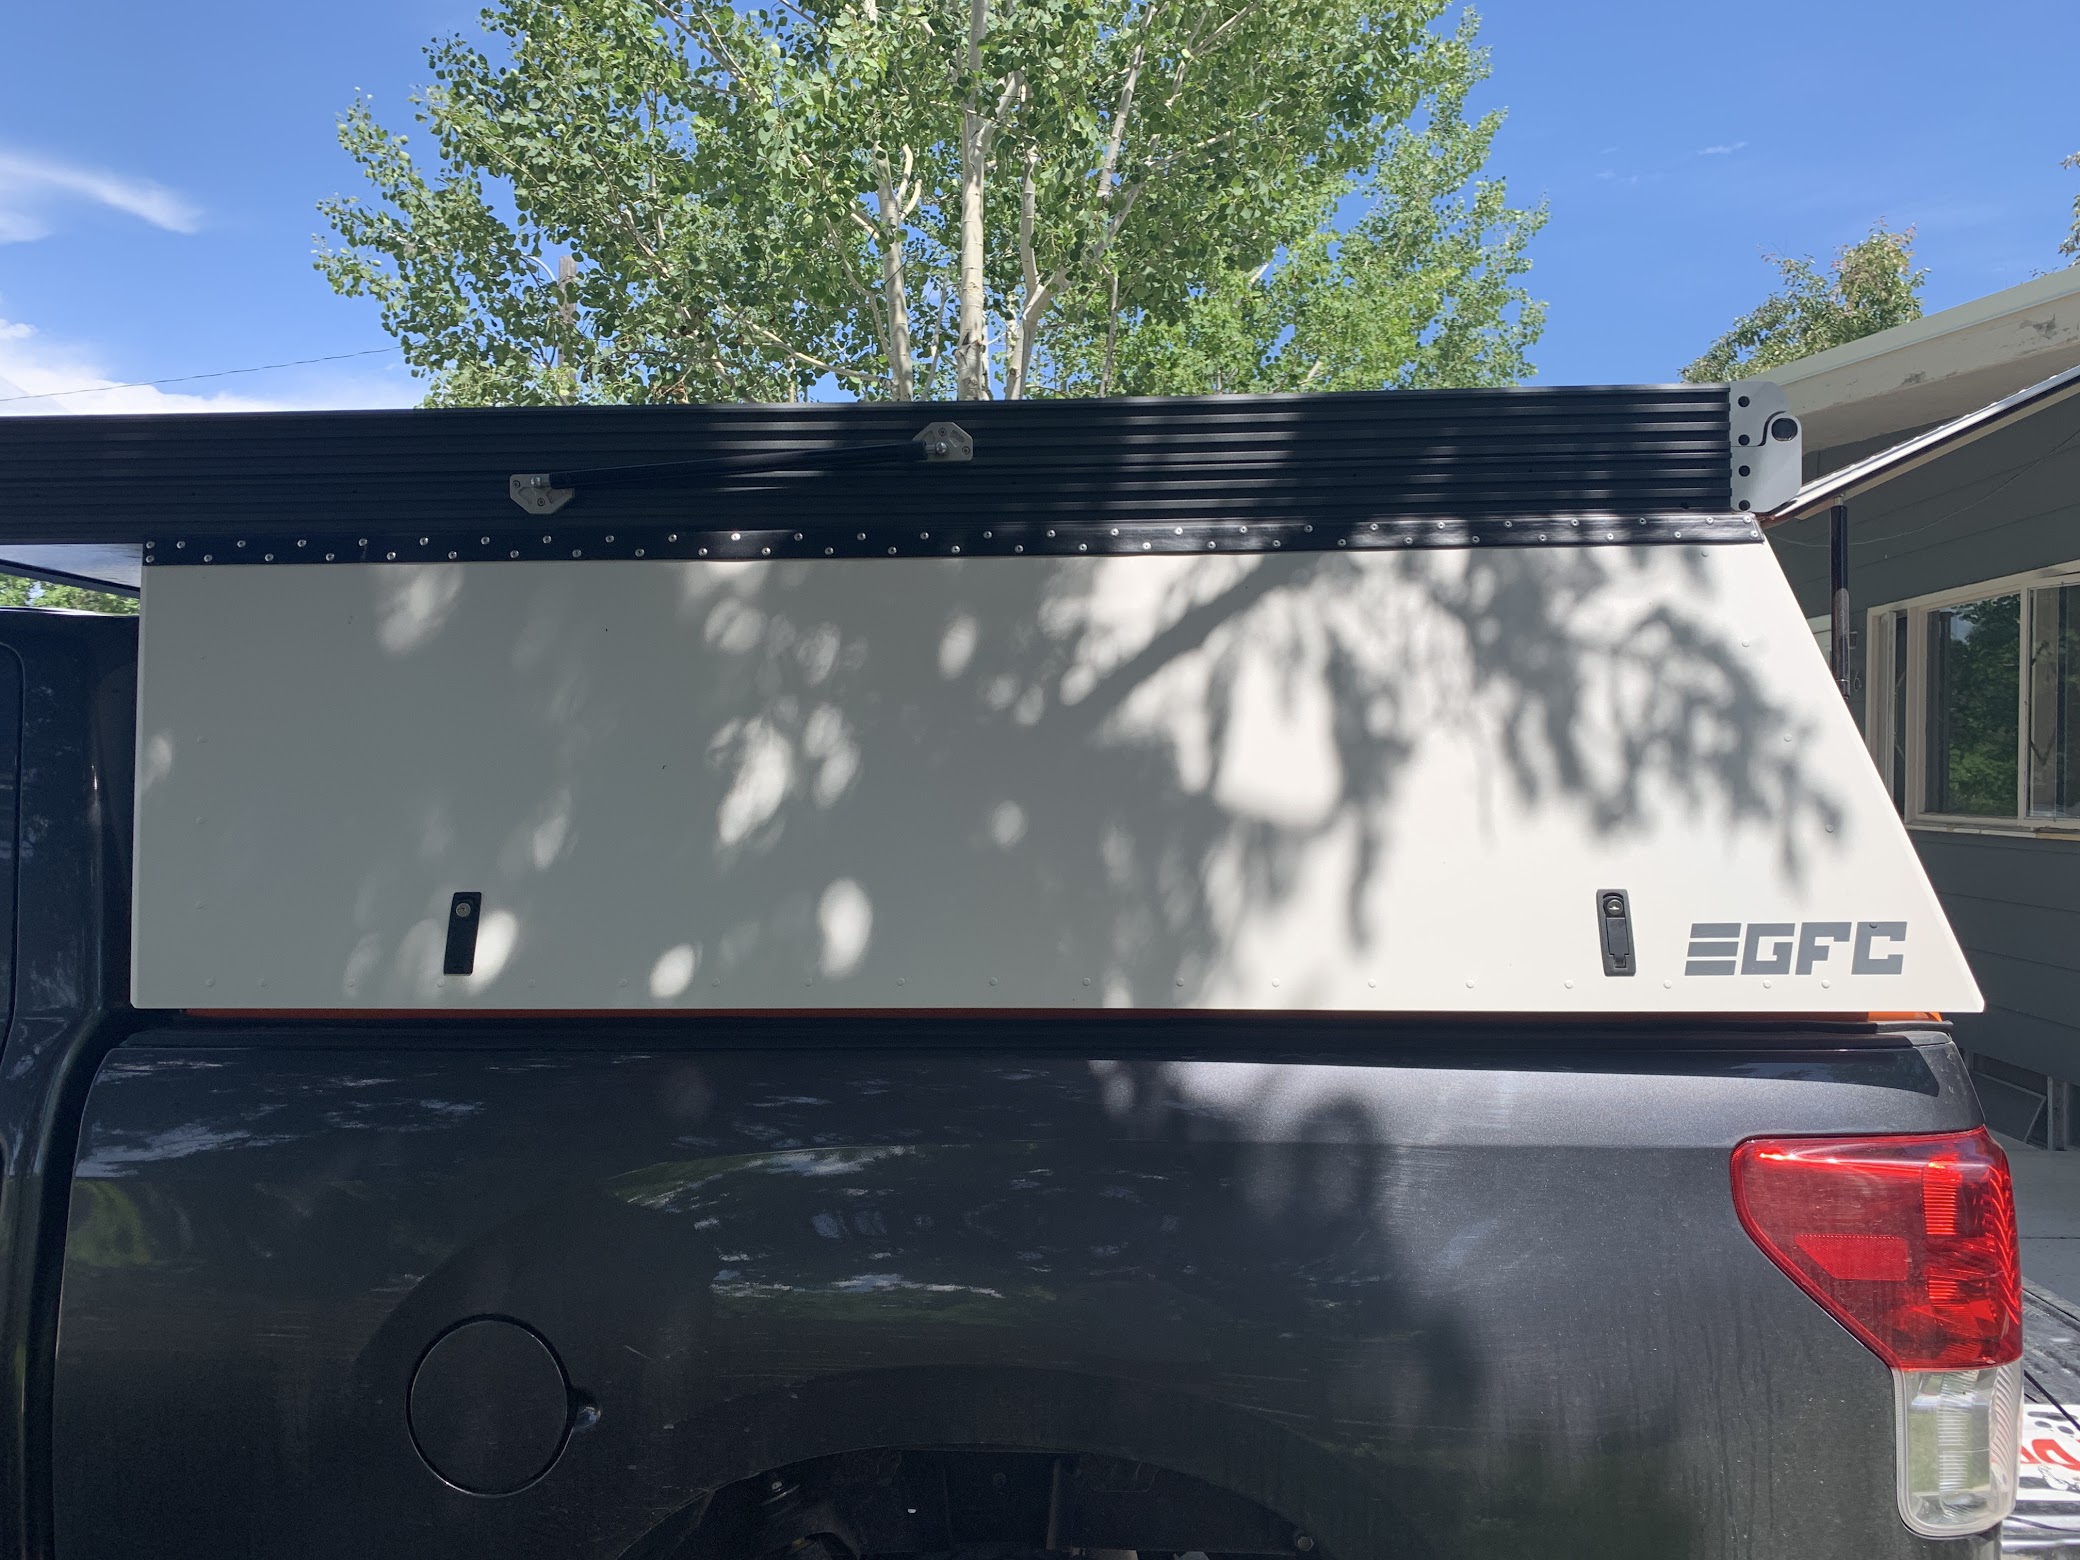
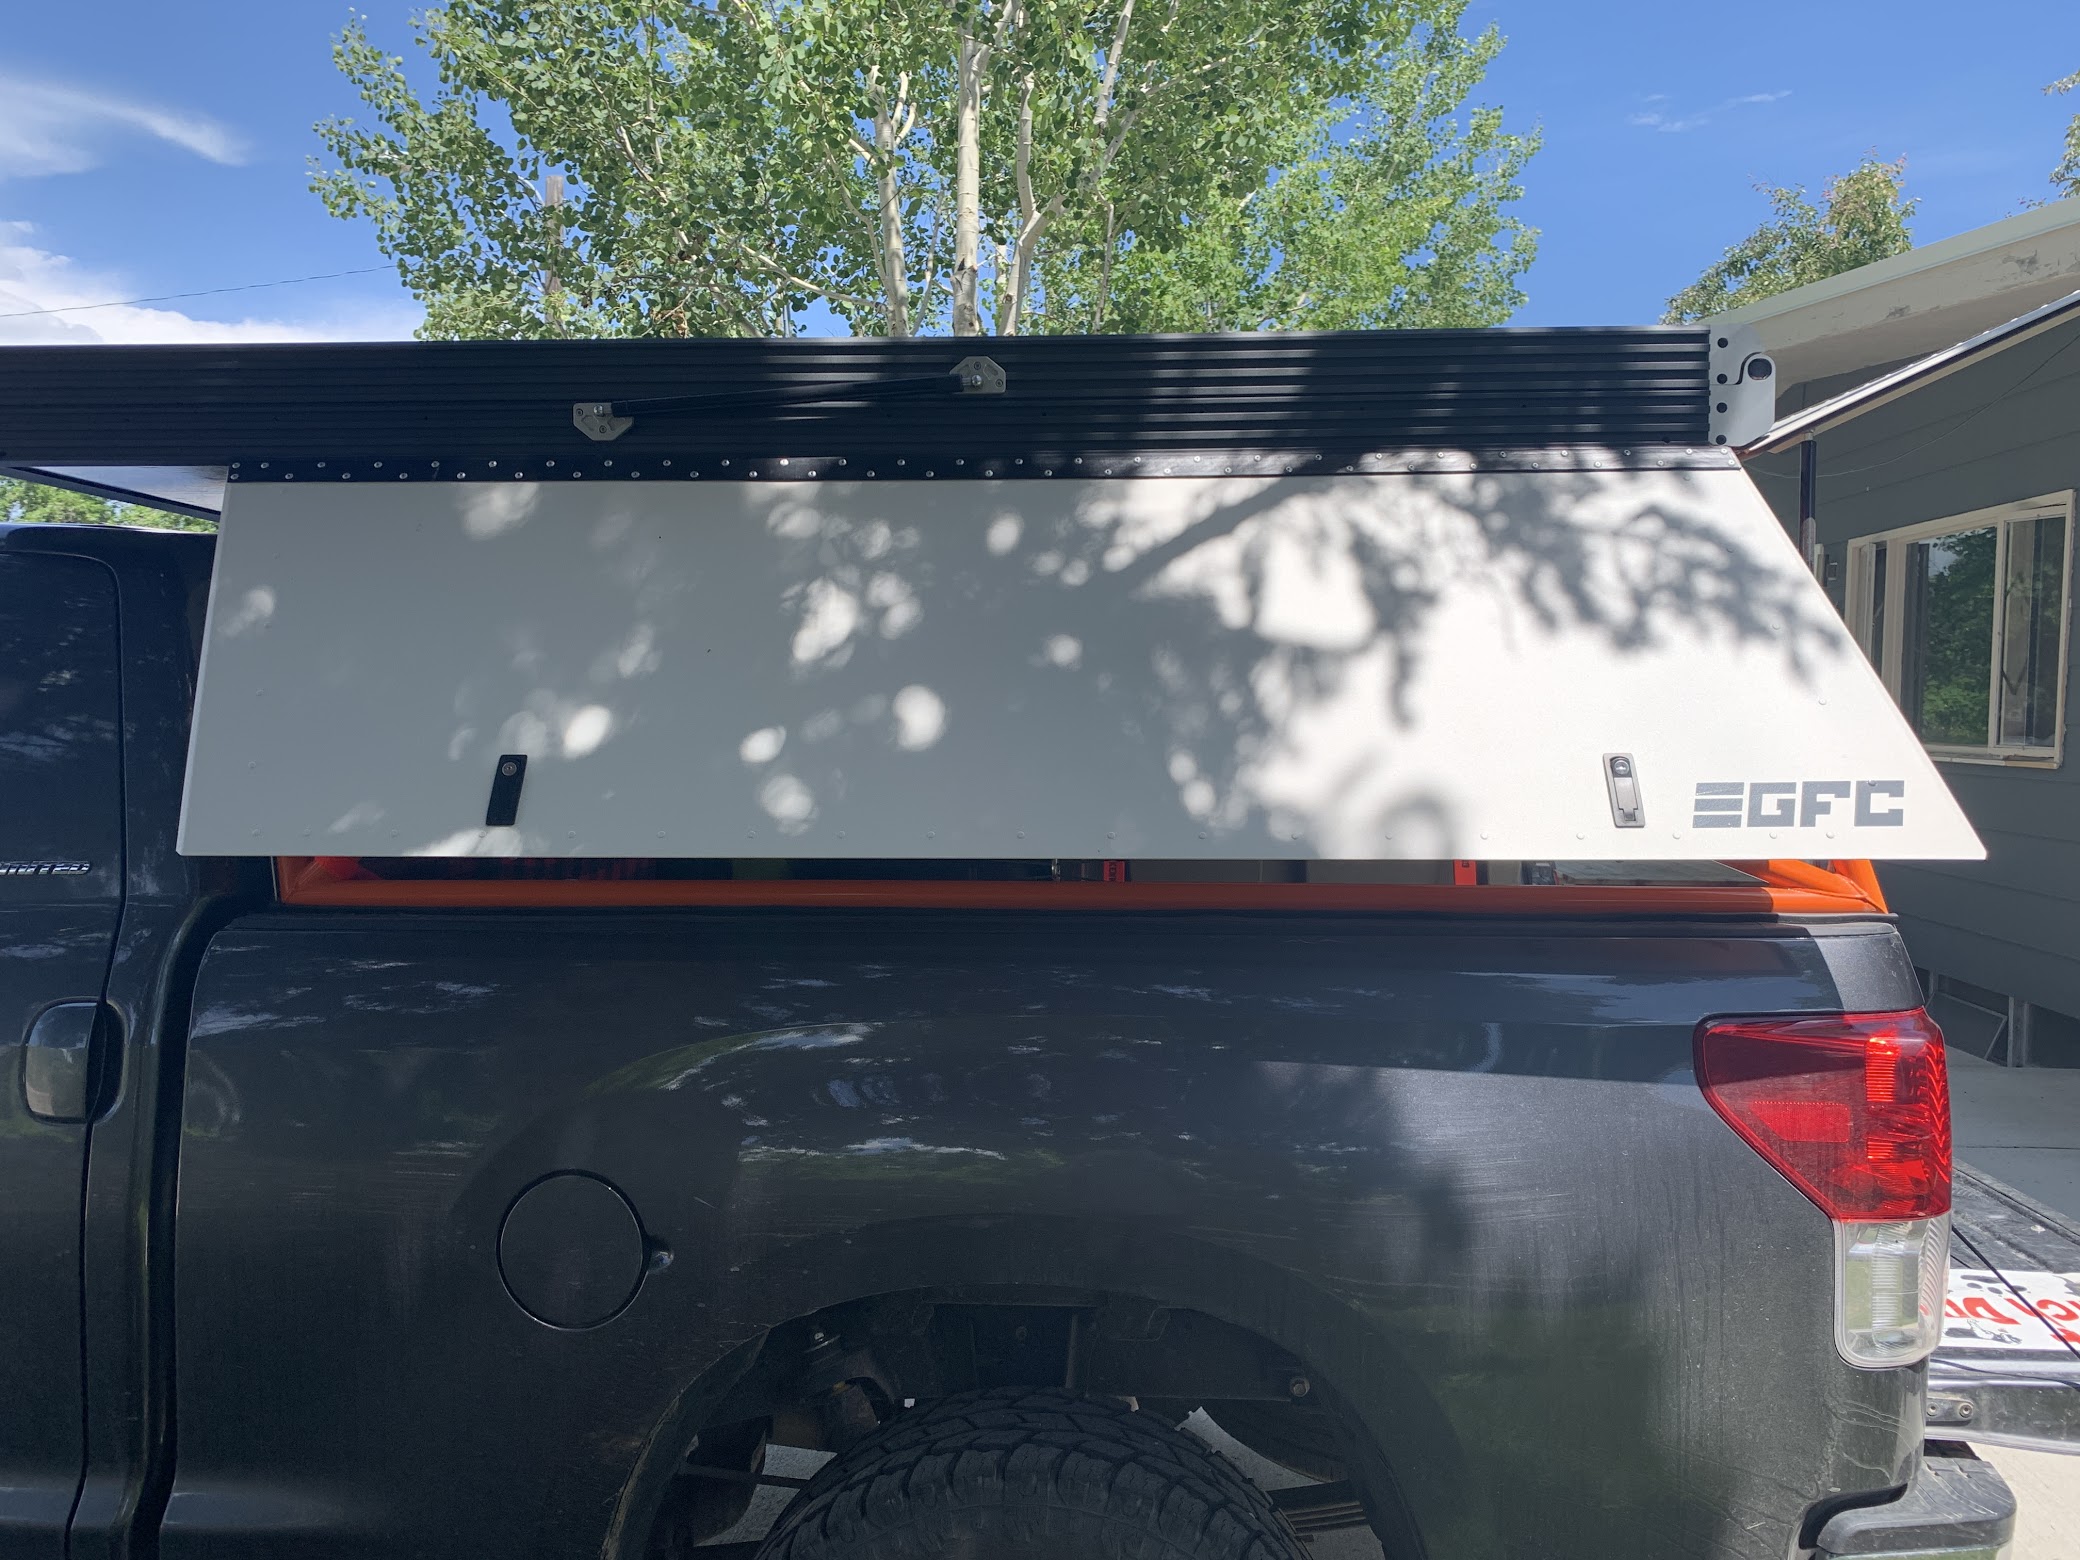
Here’s the truck in not-winter.
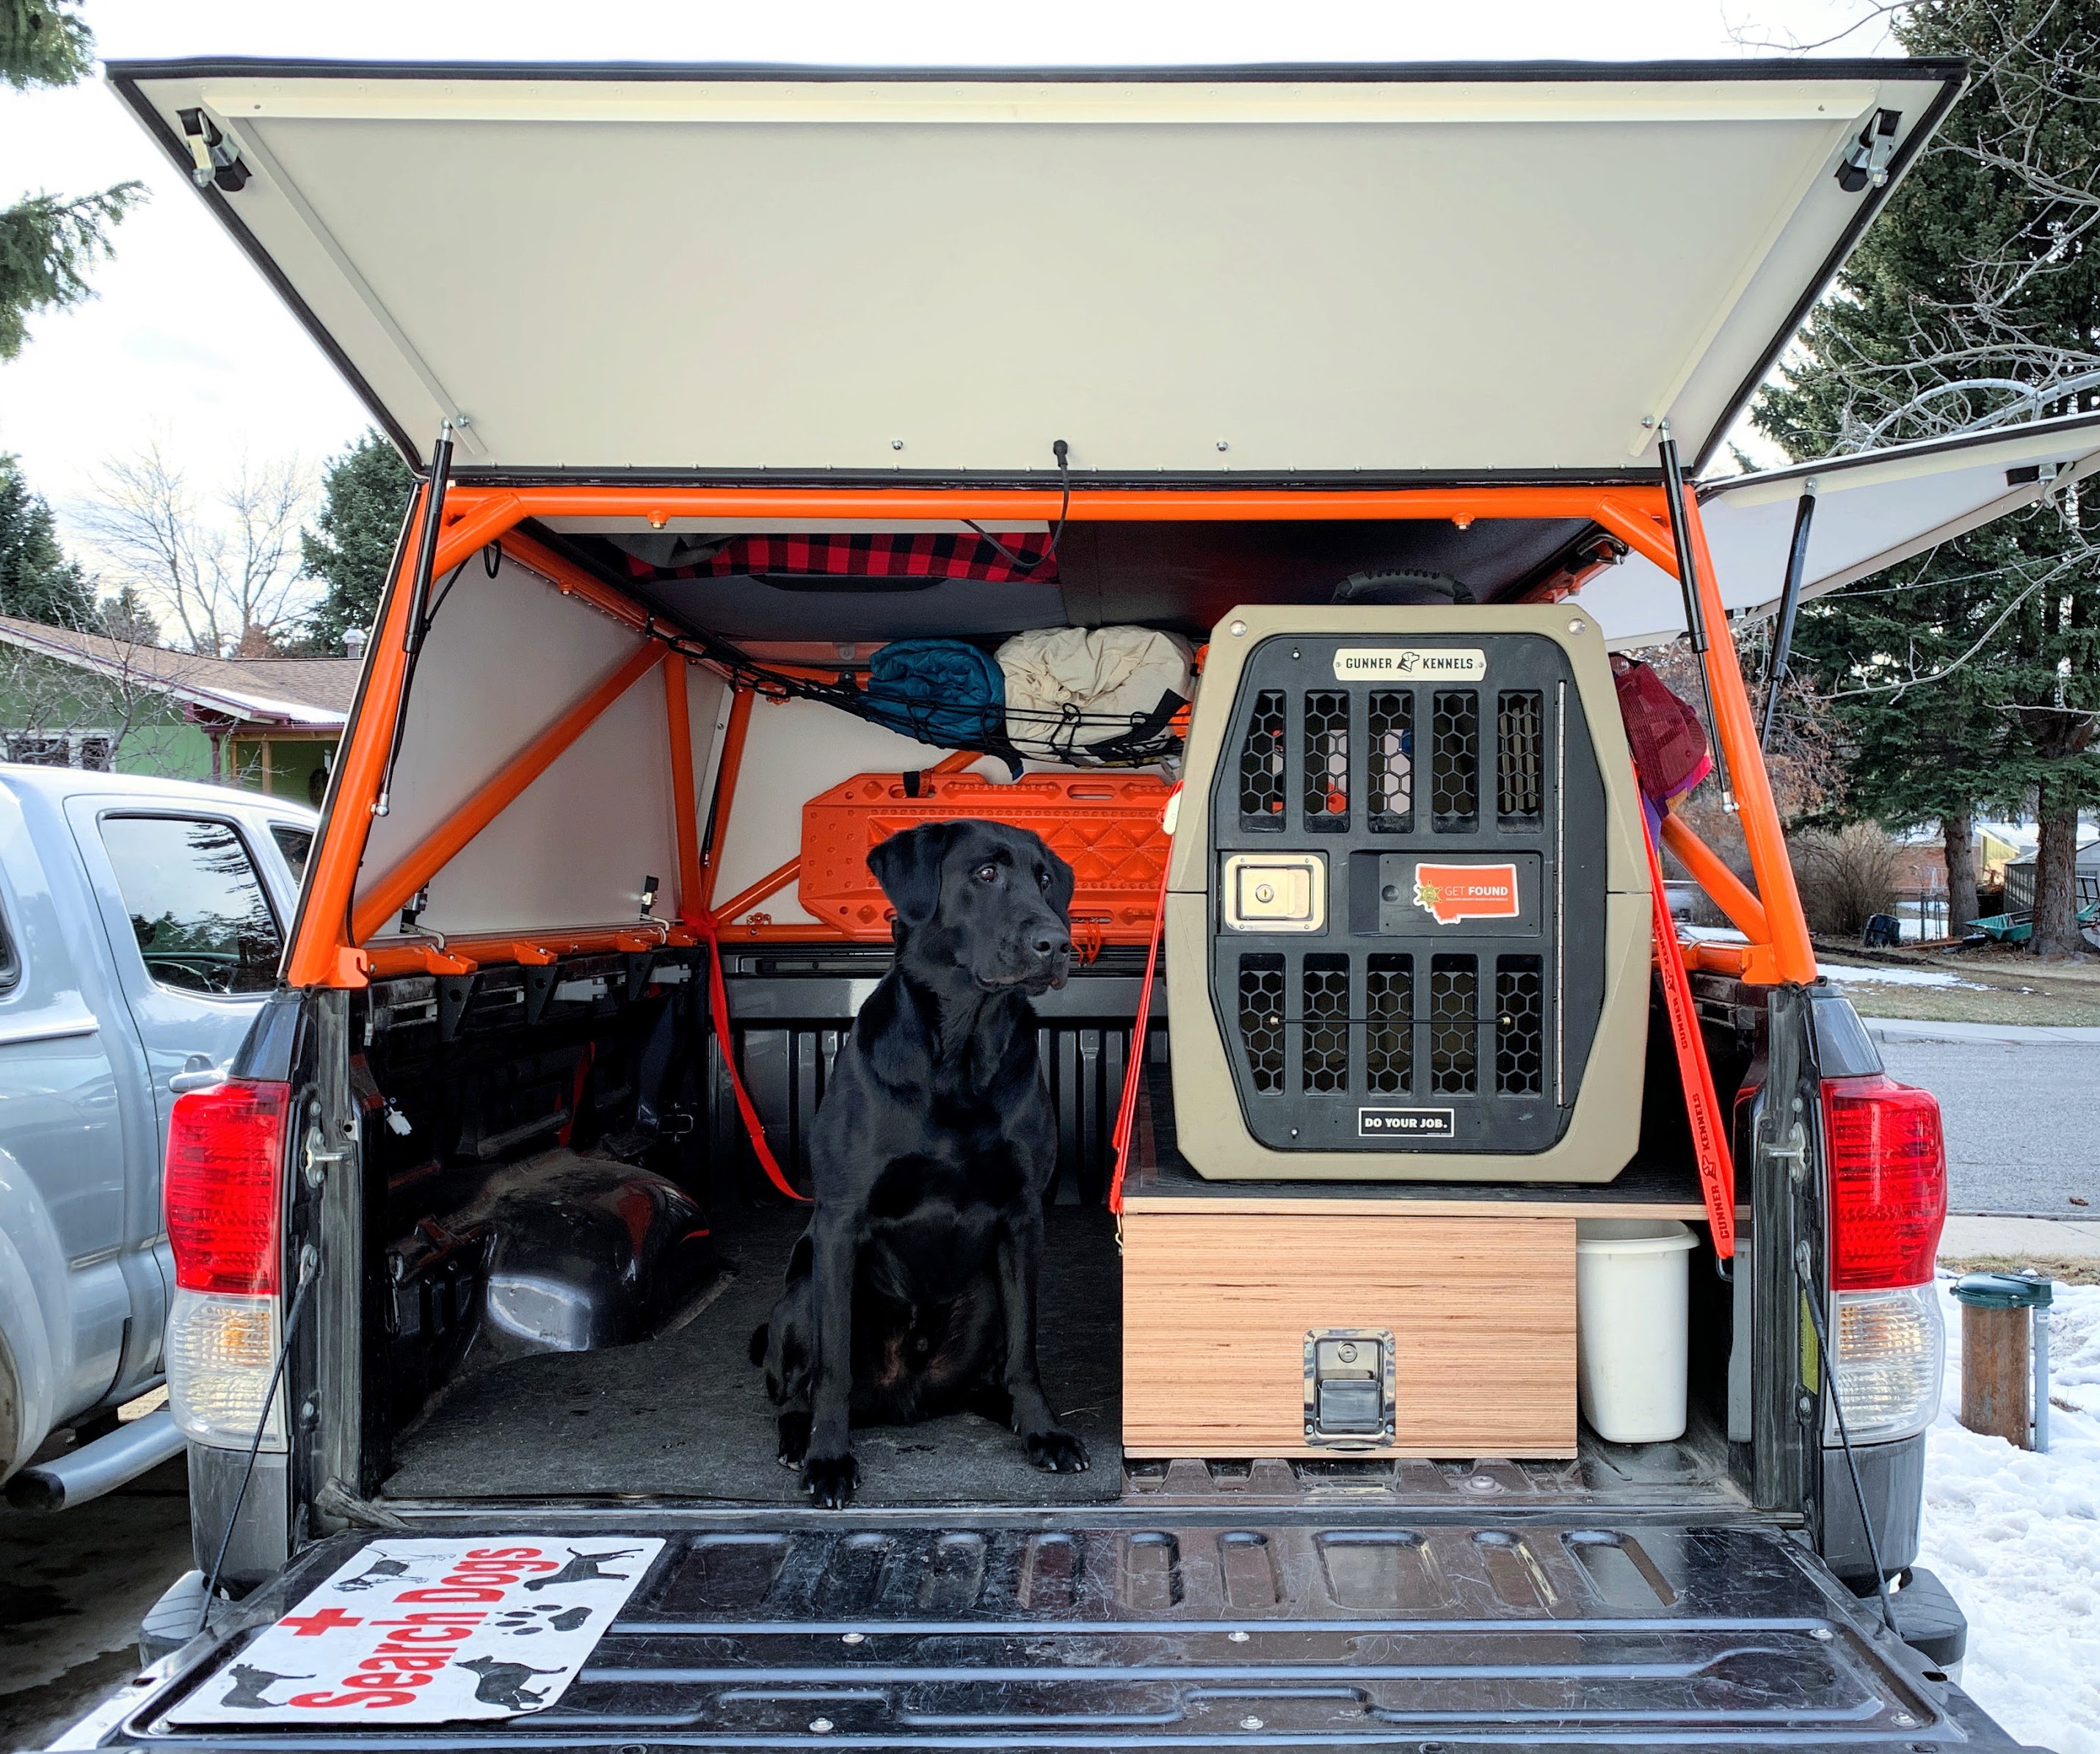
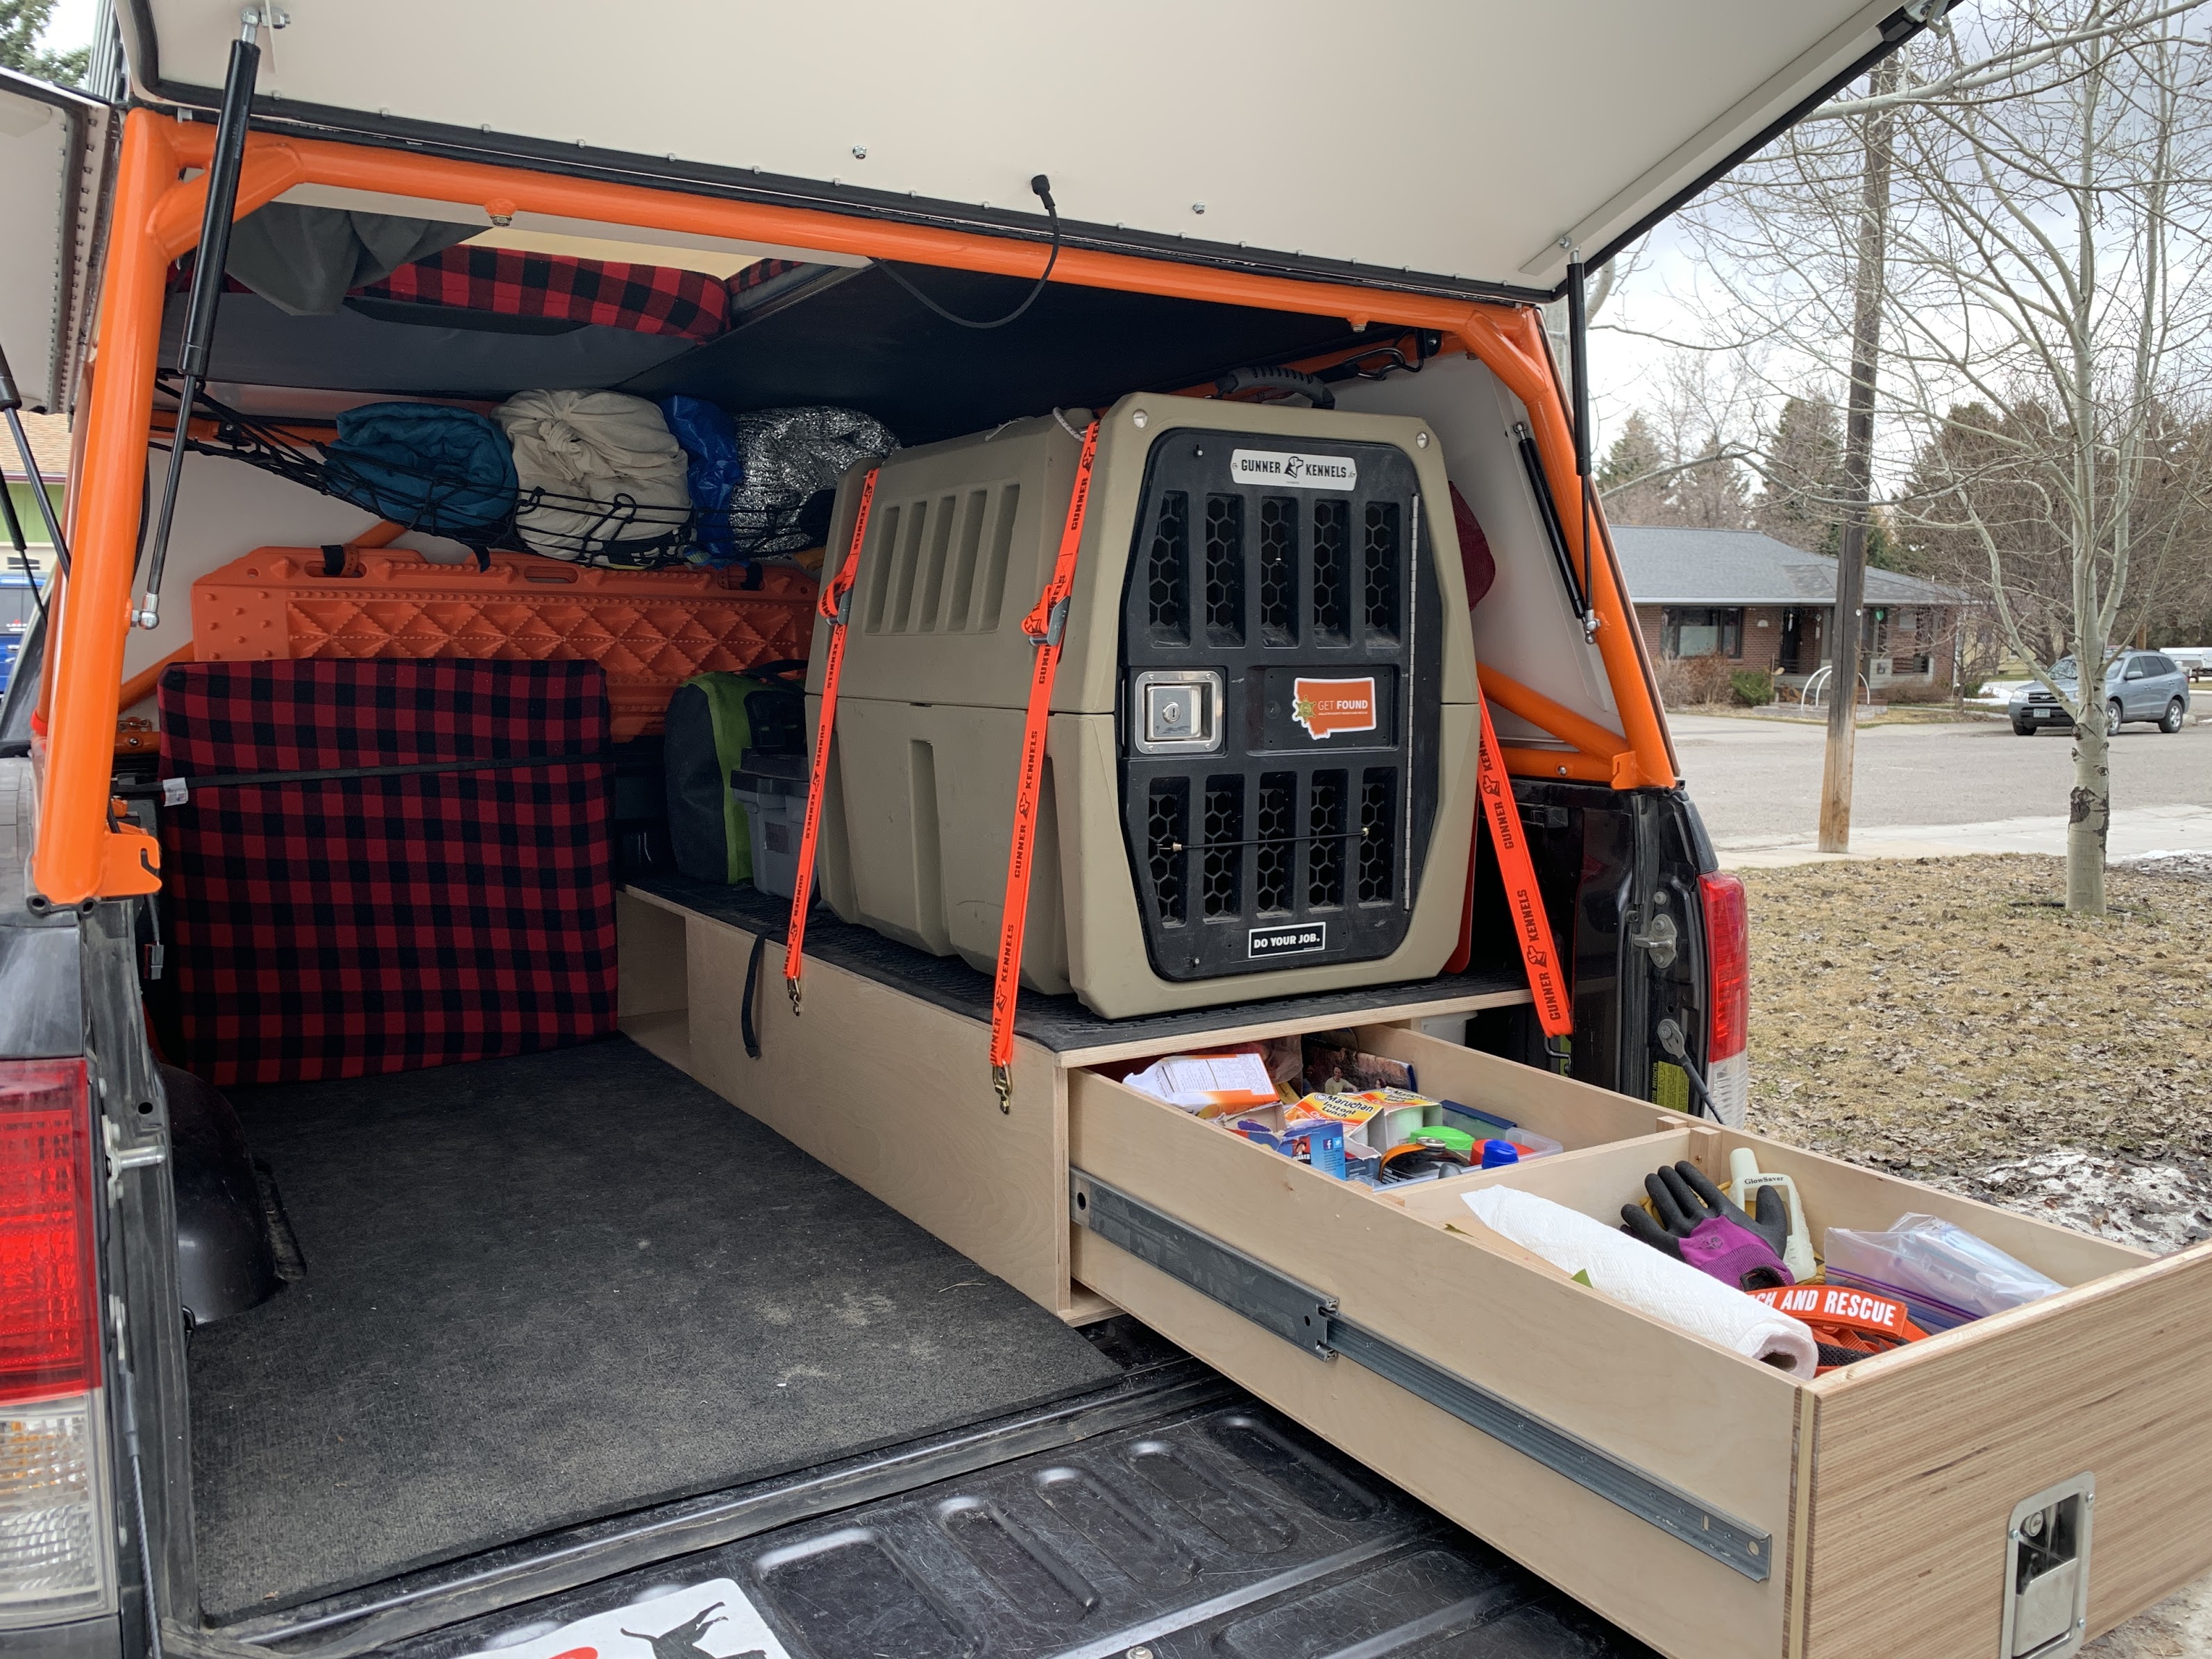
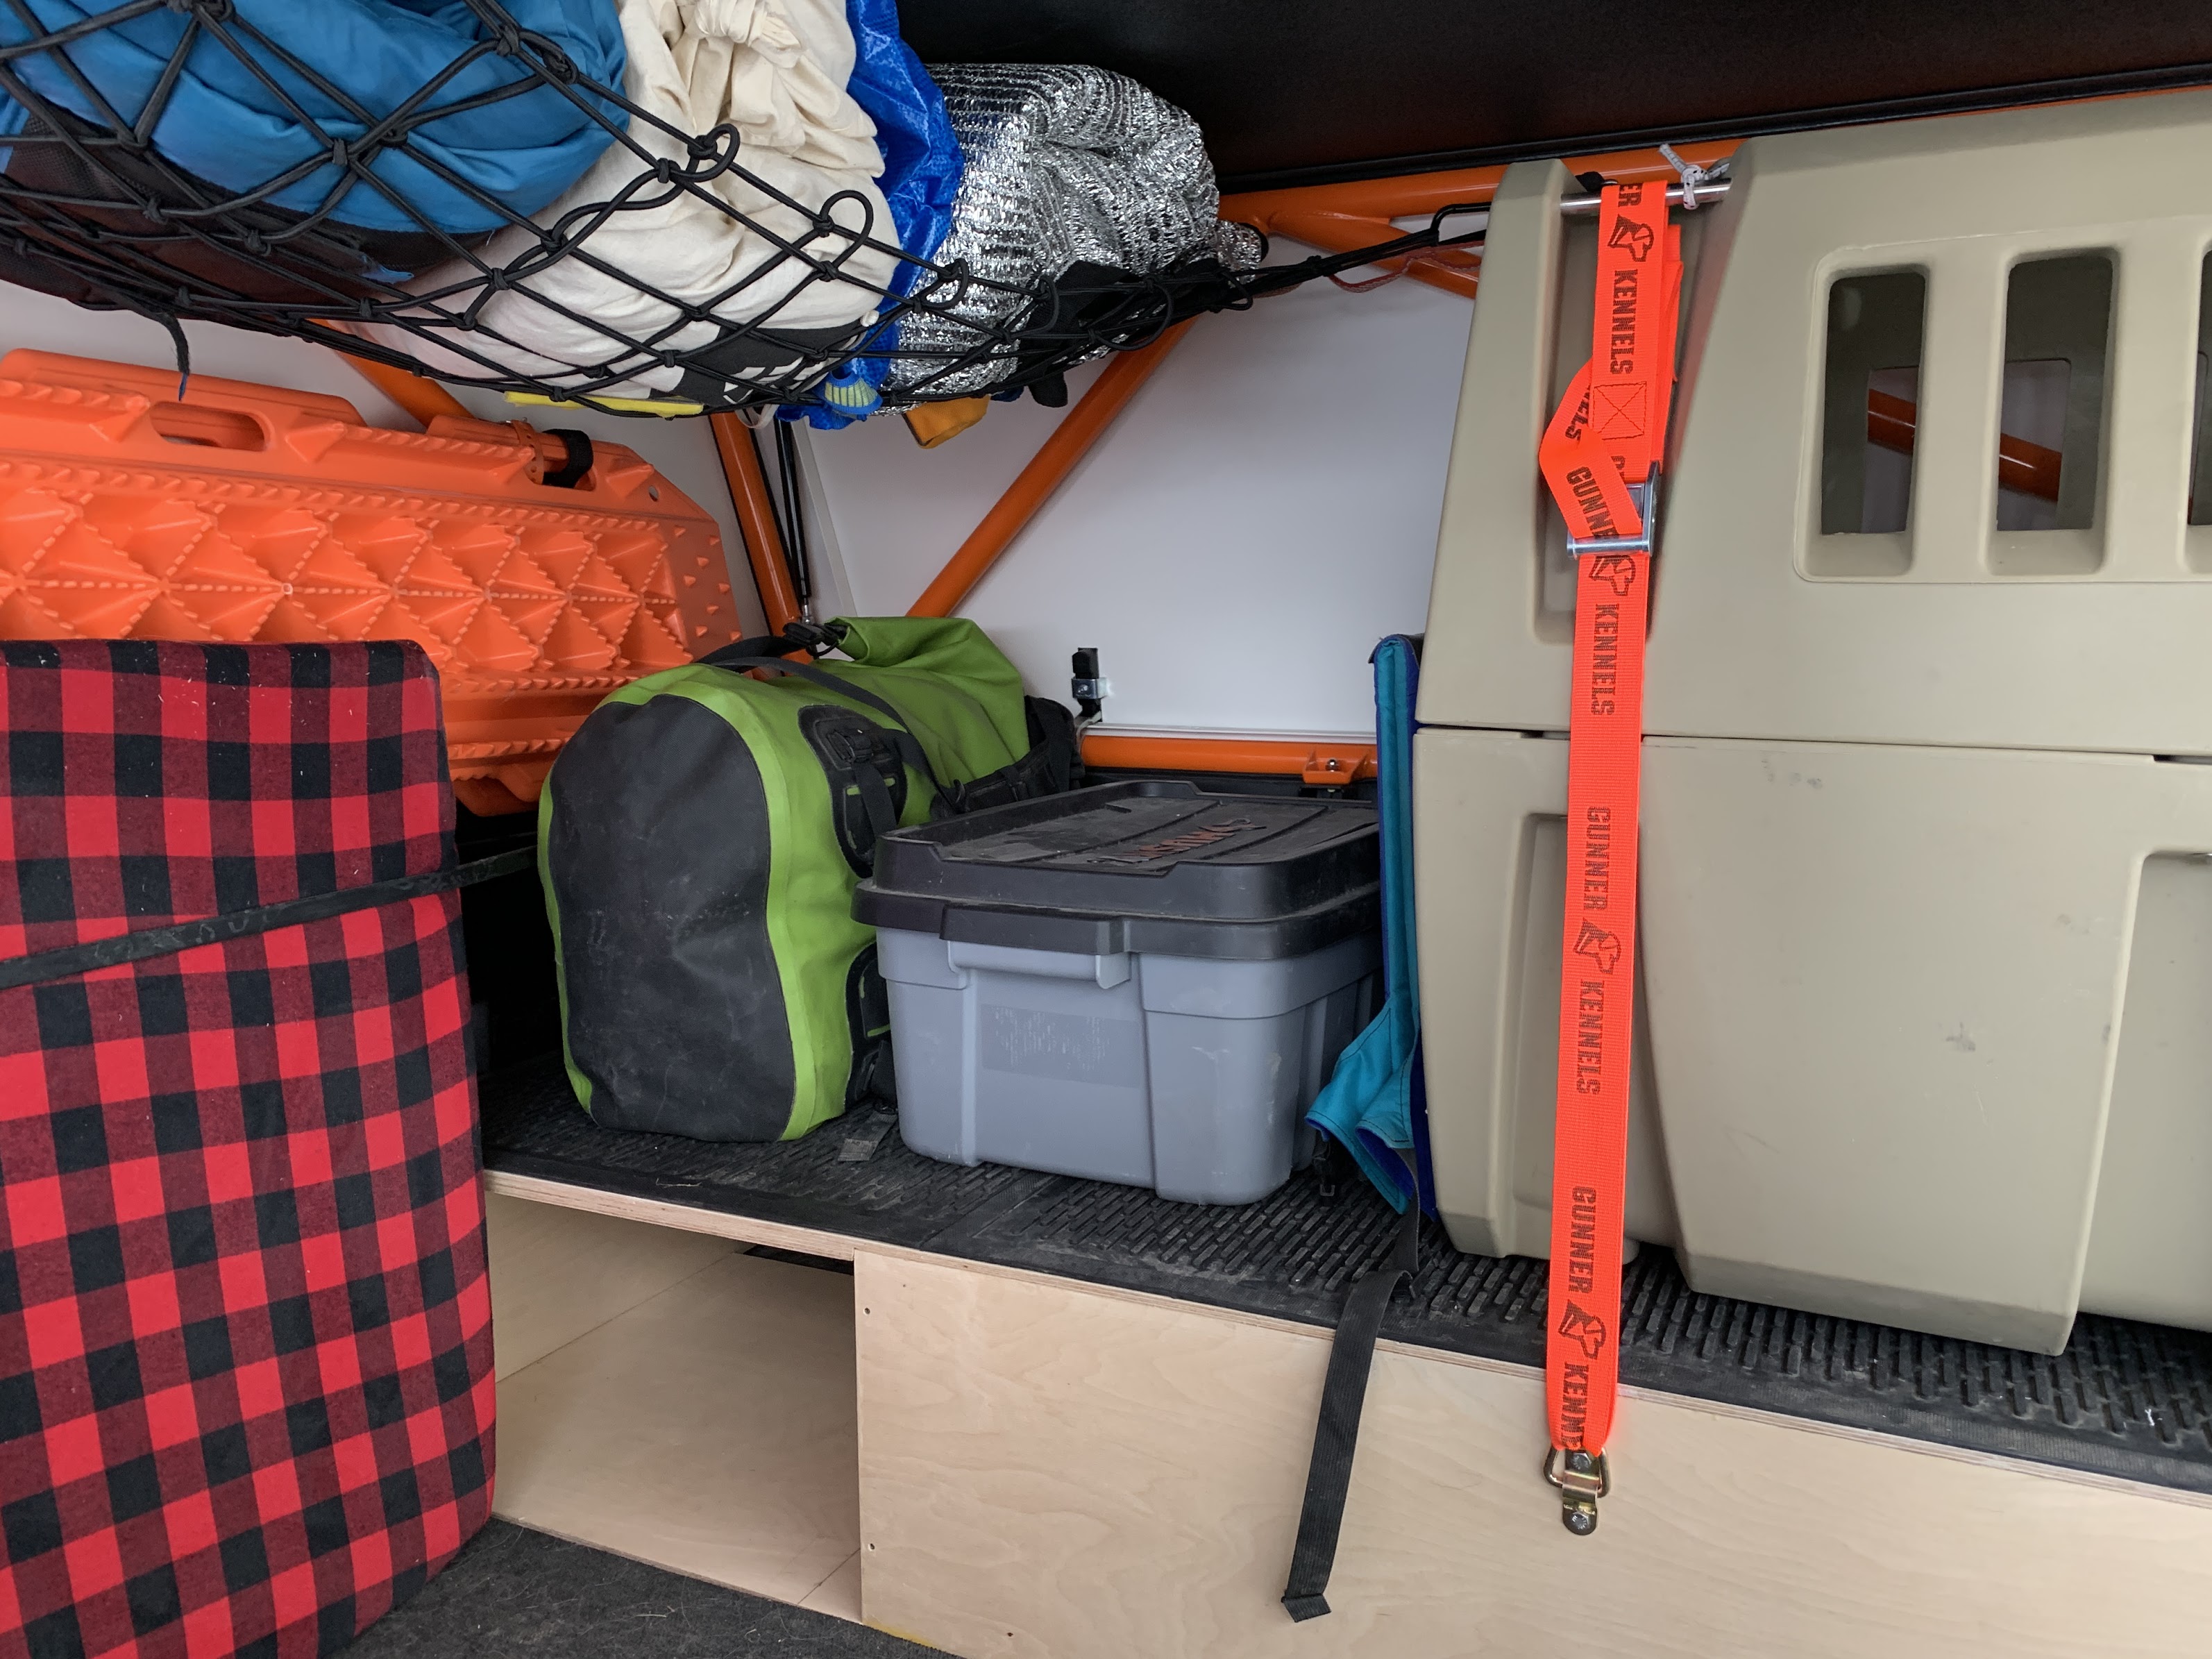
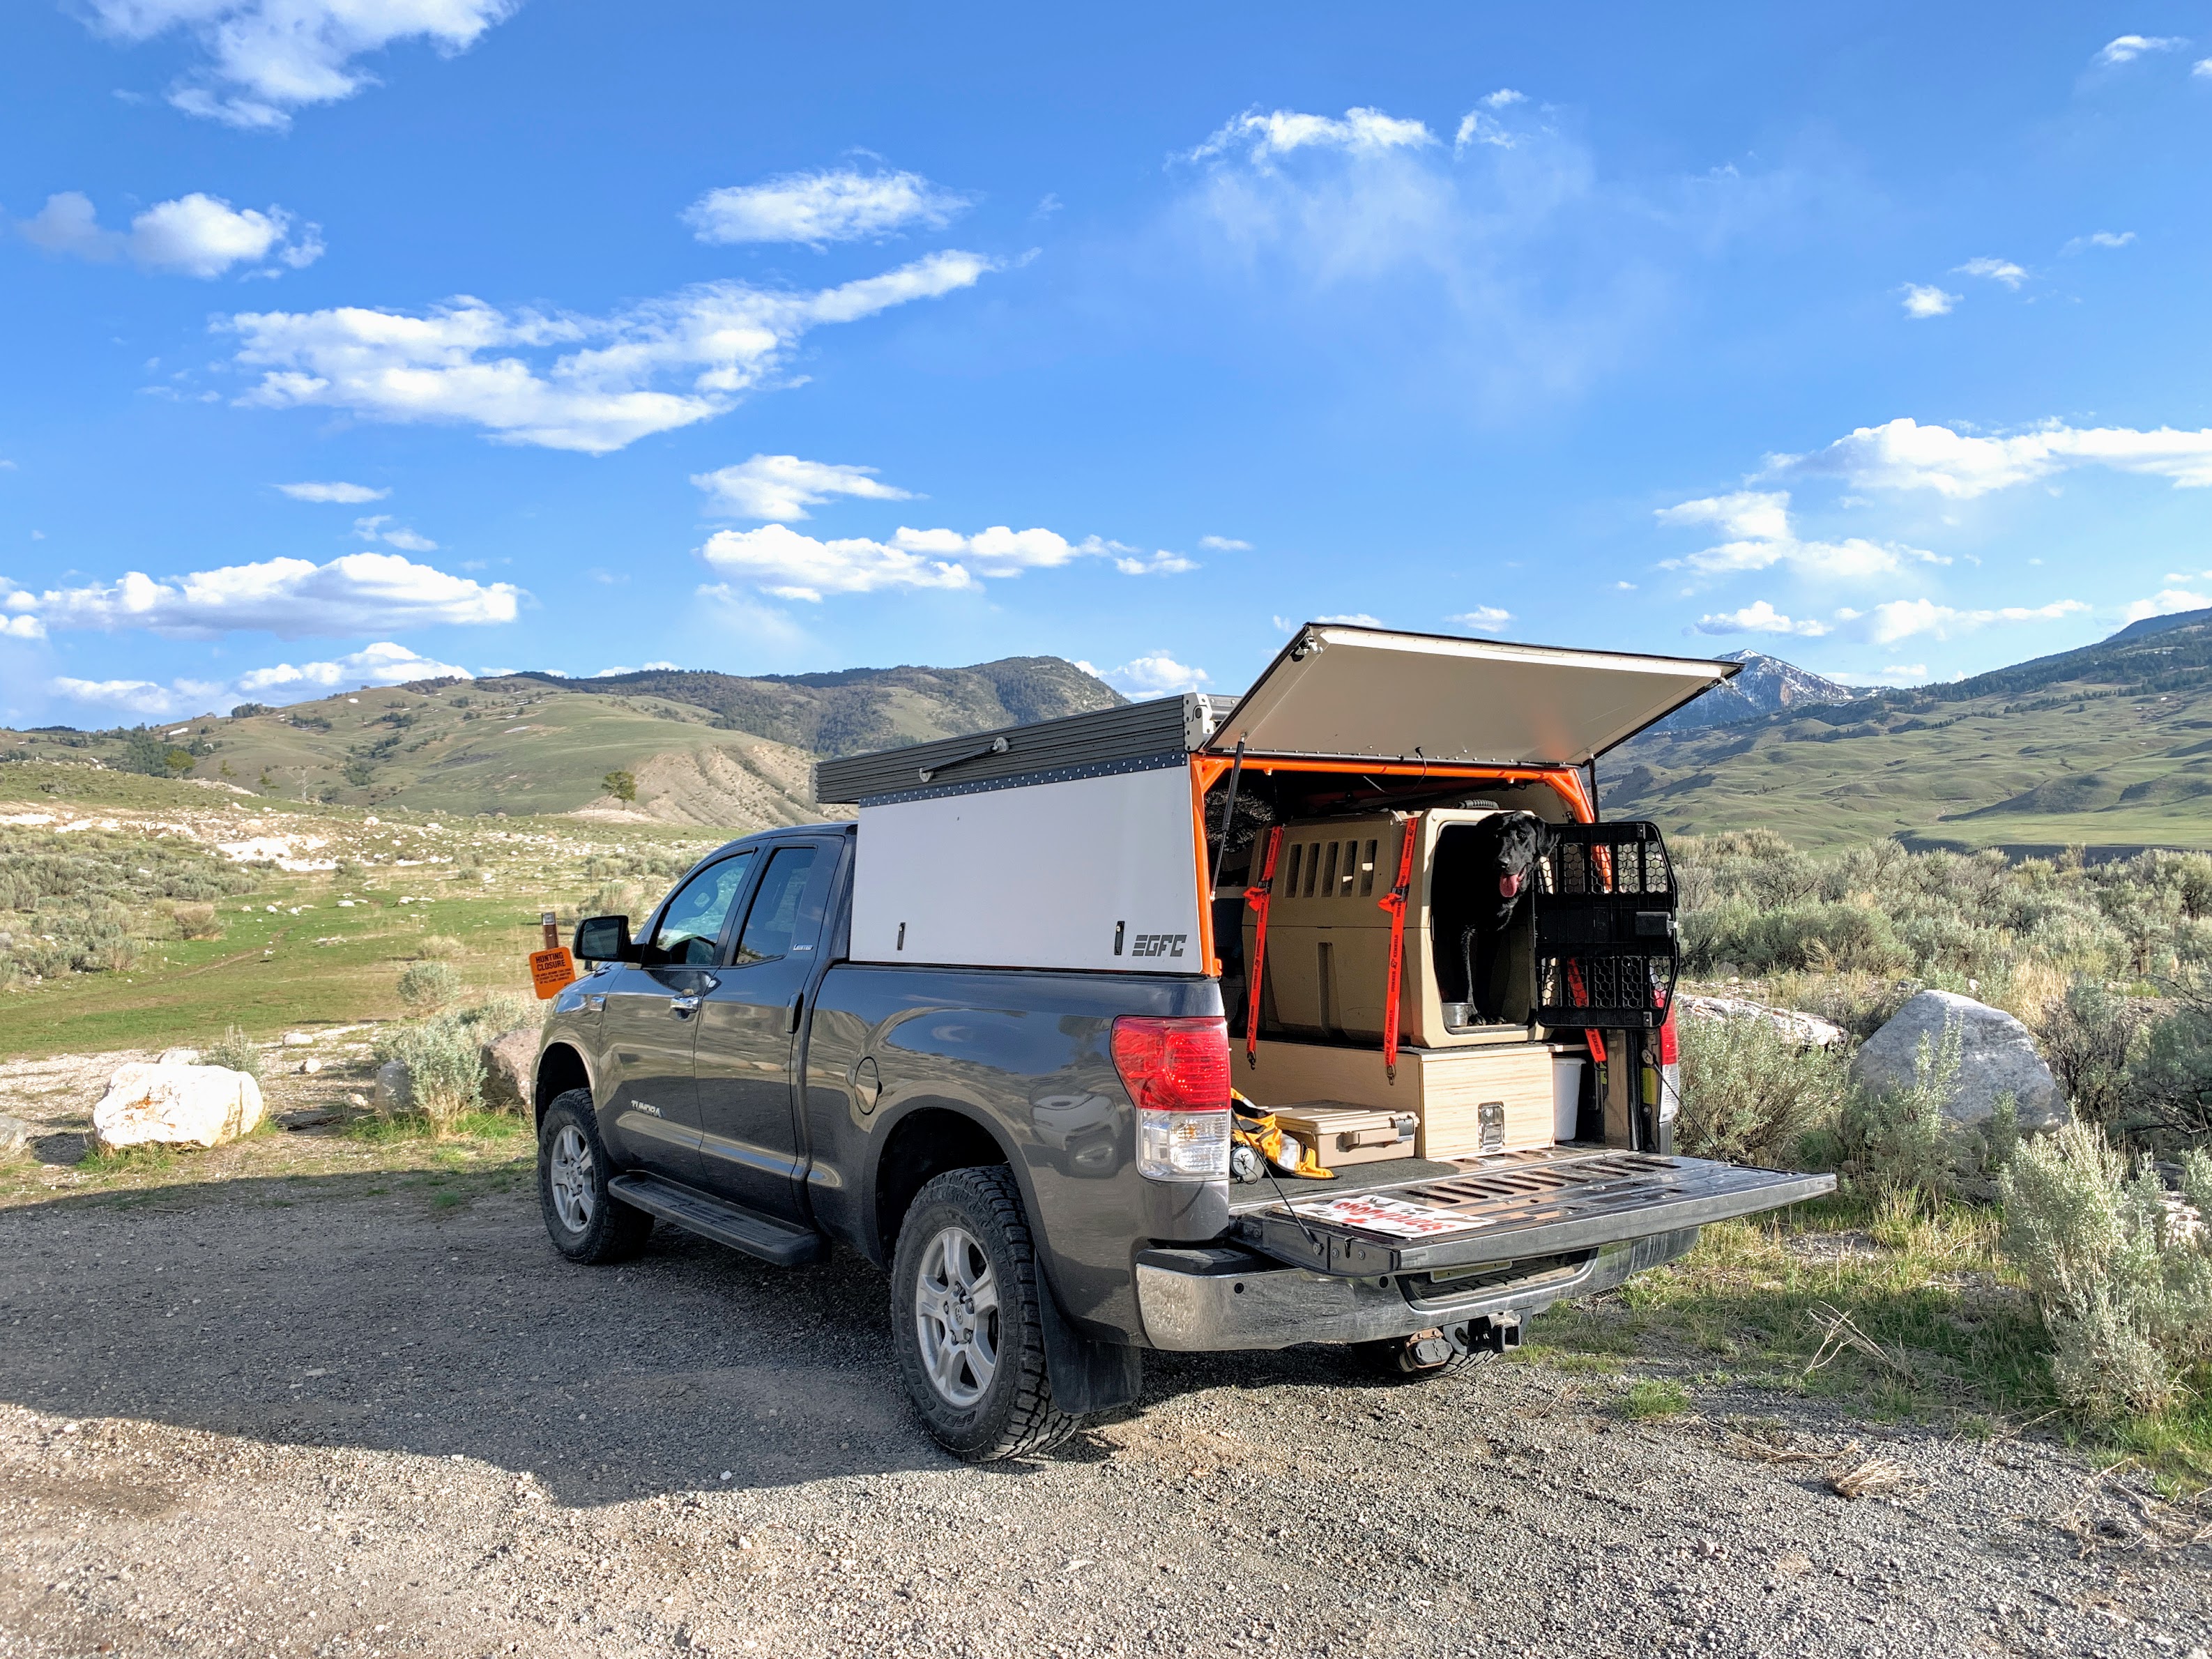
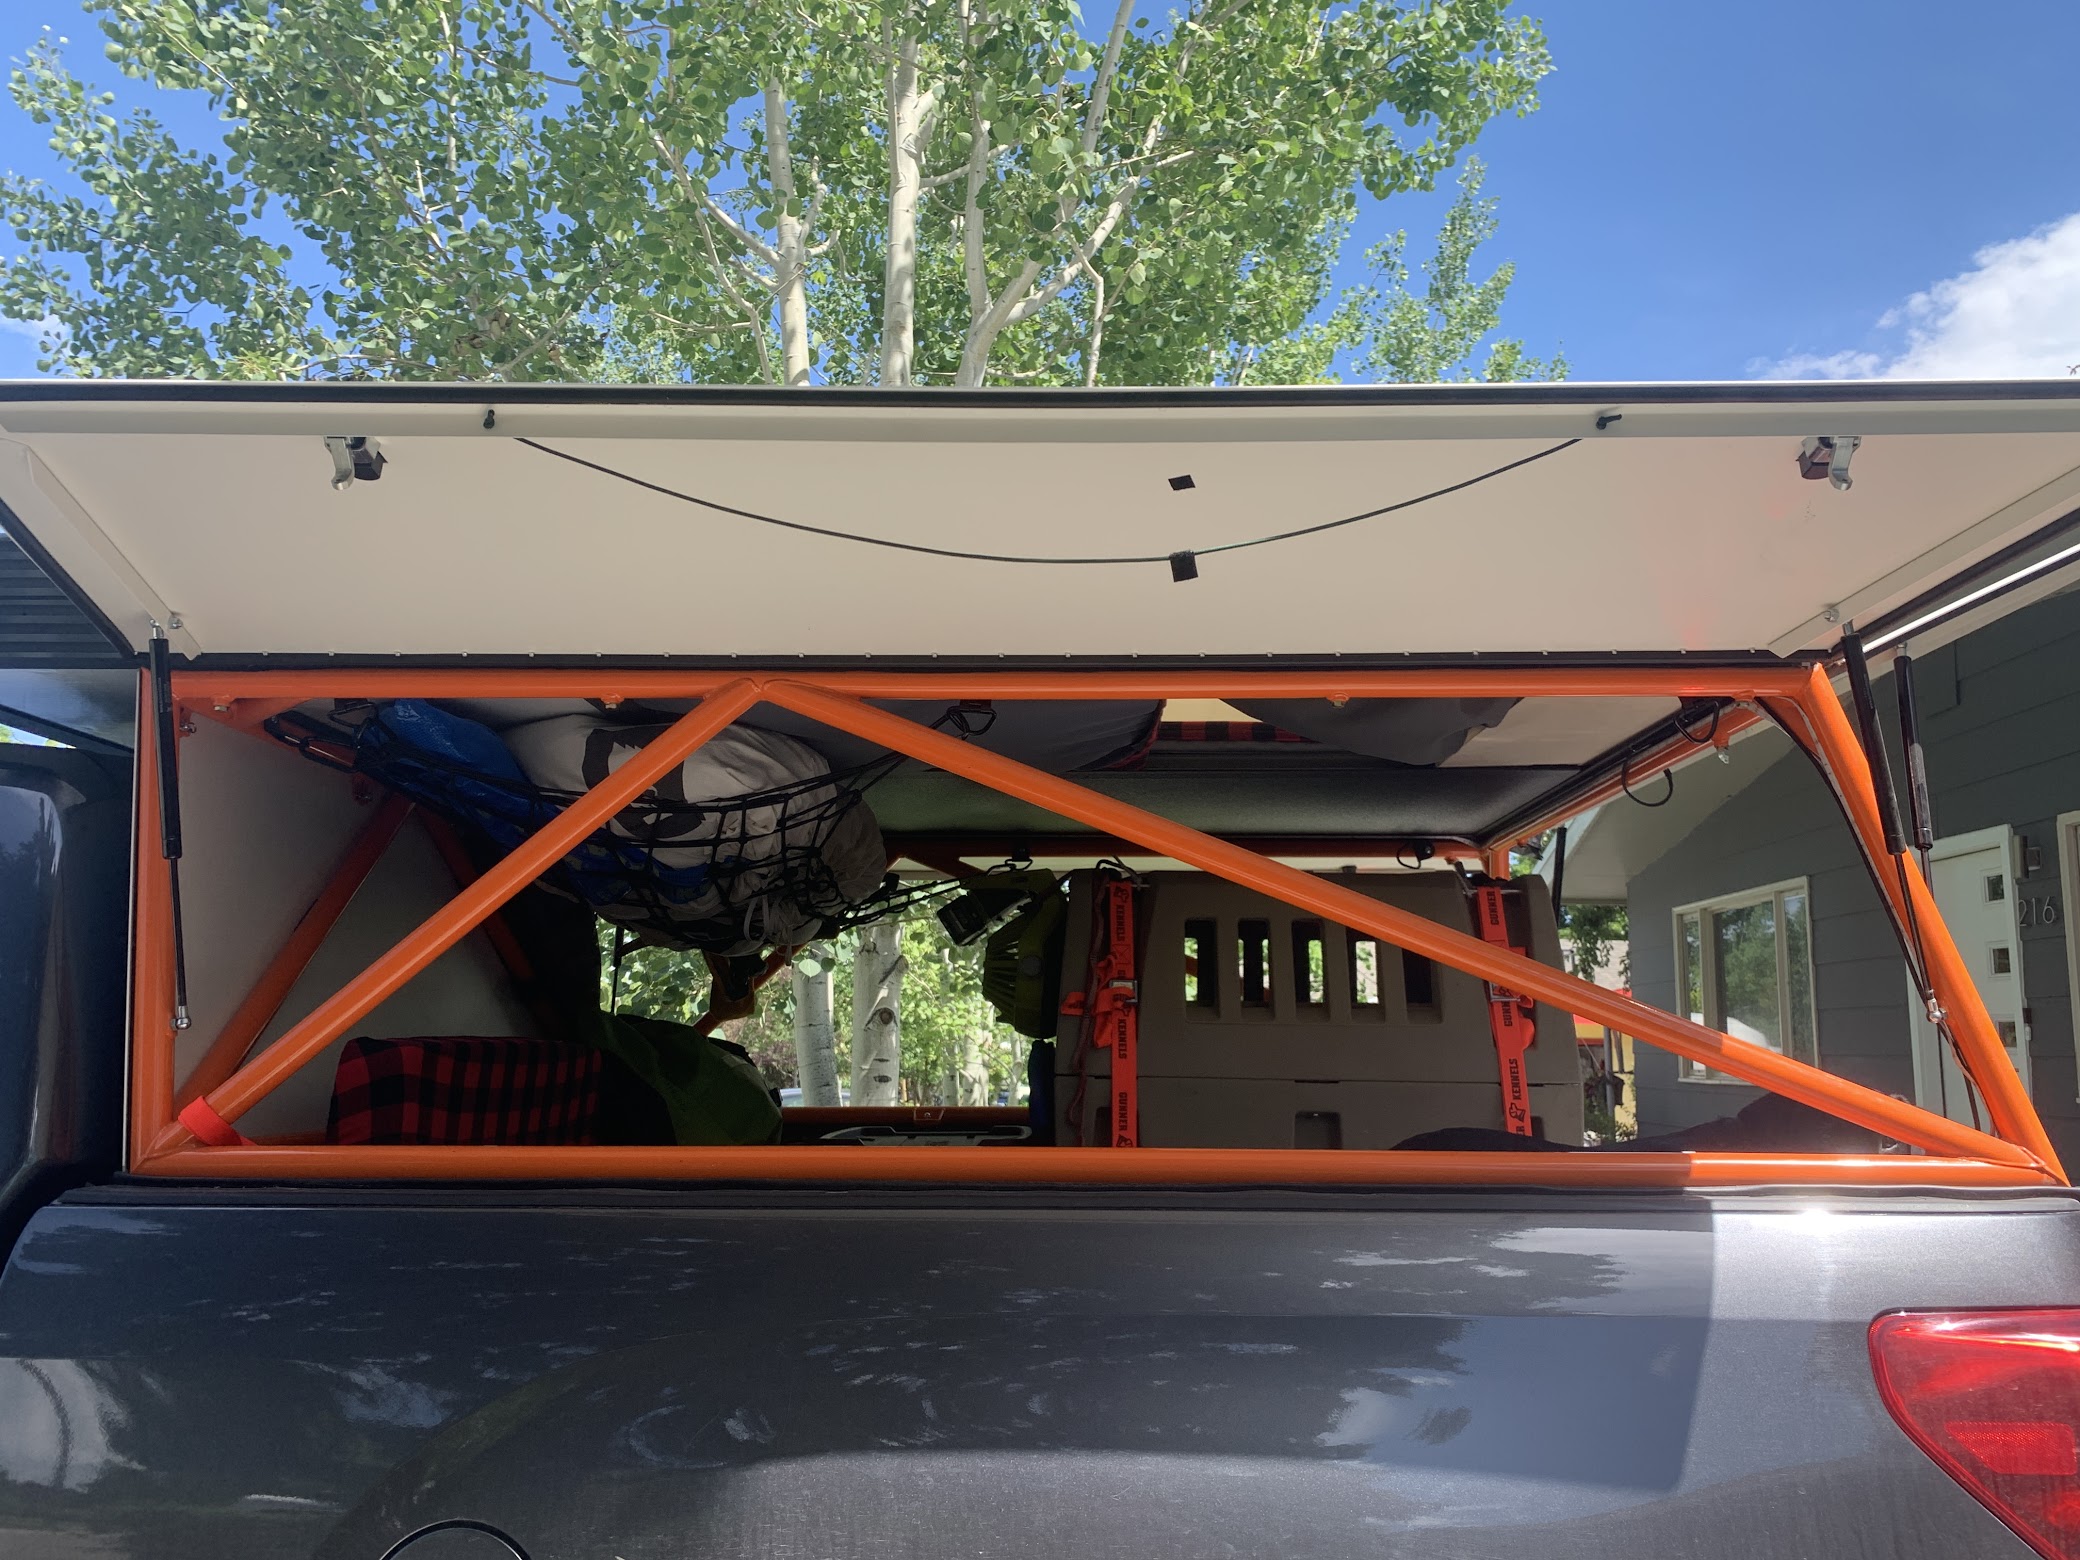
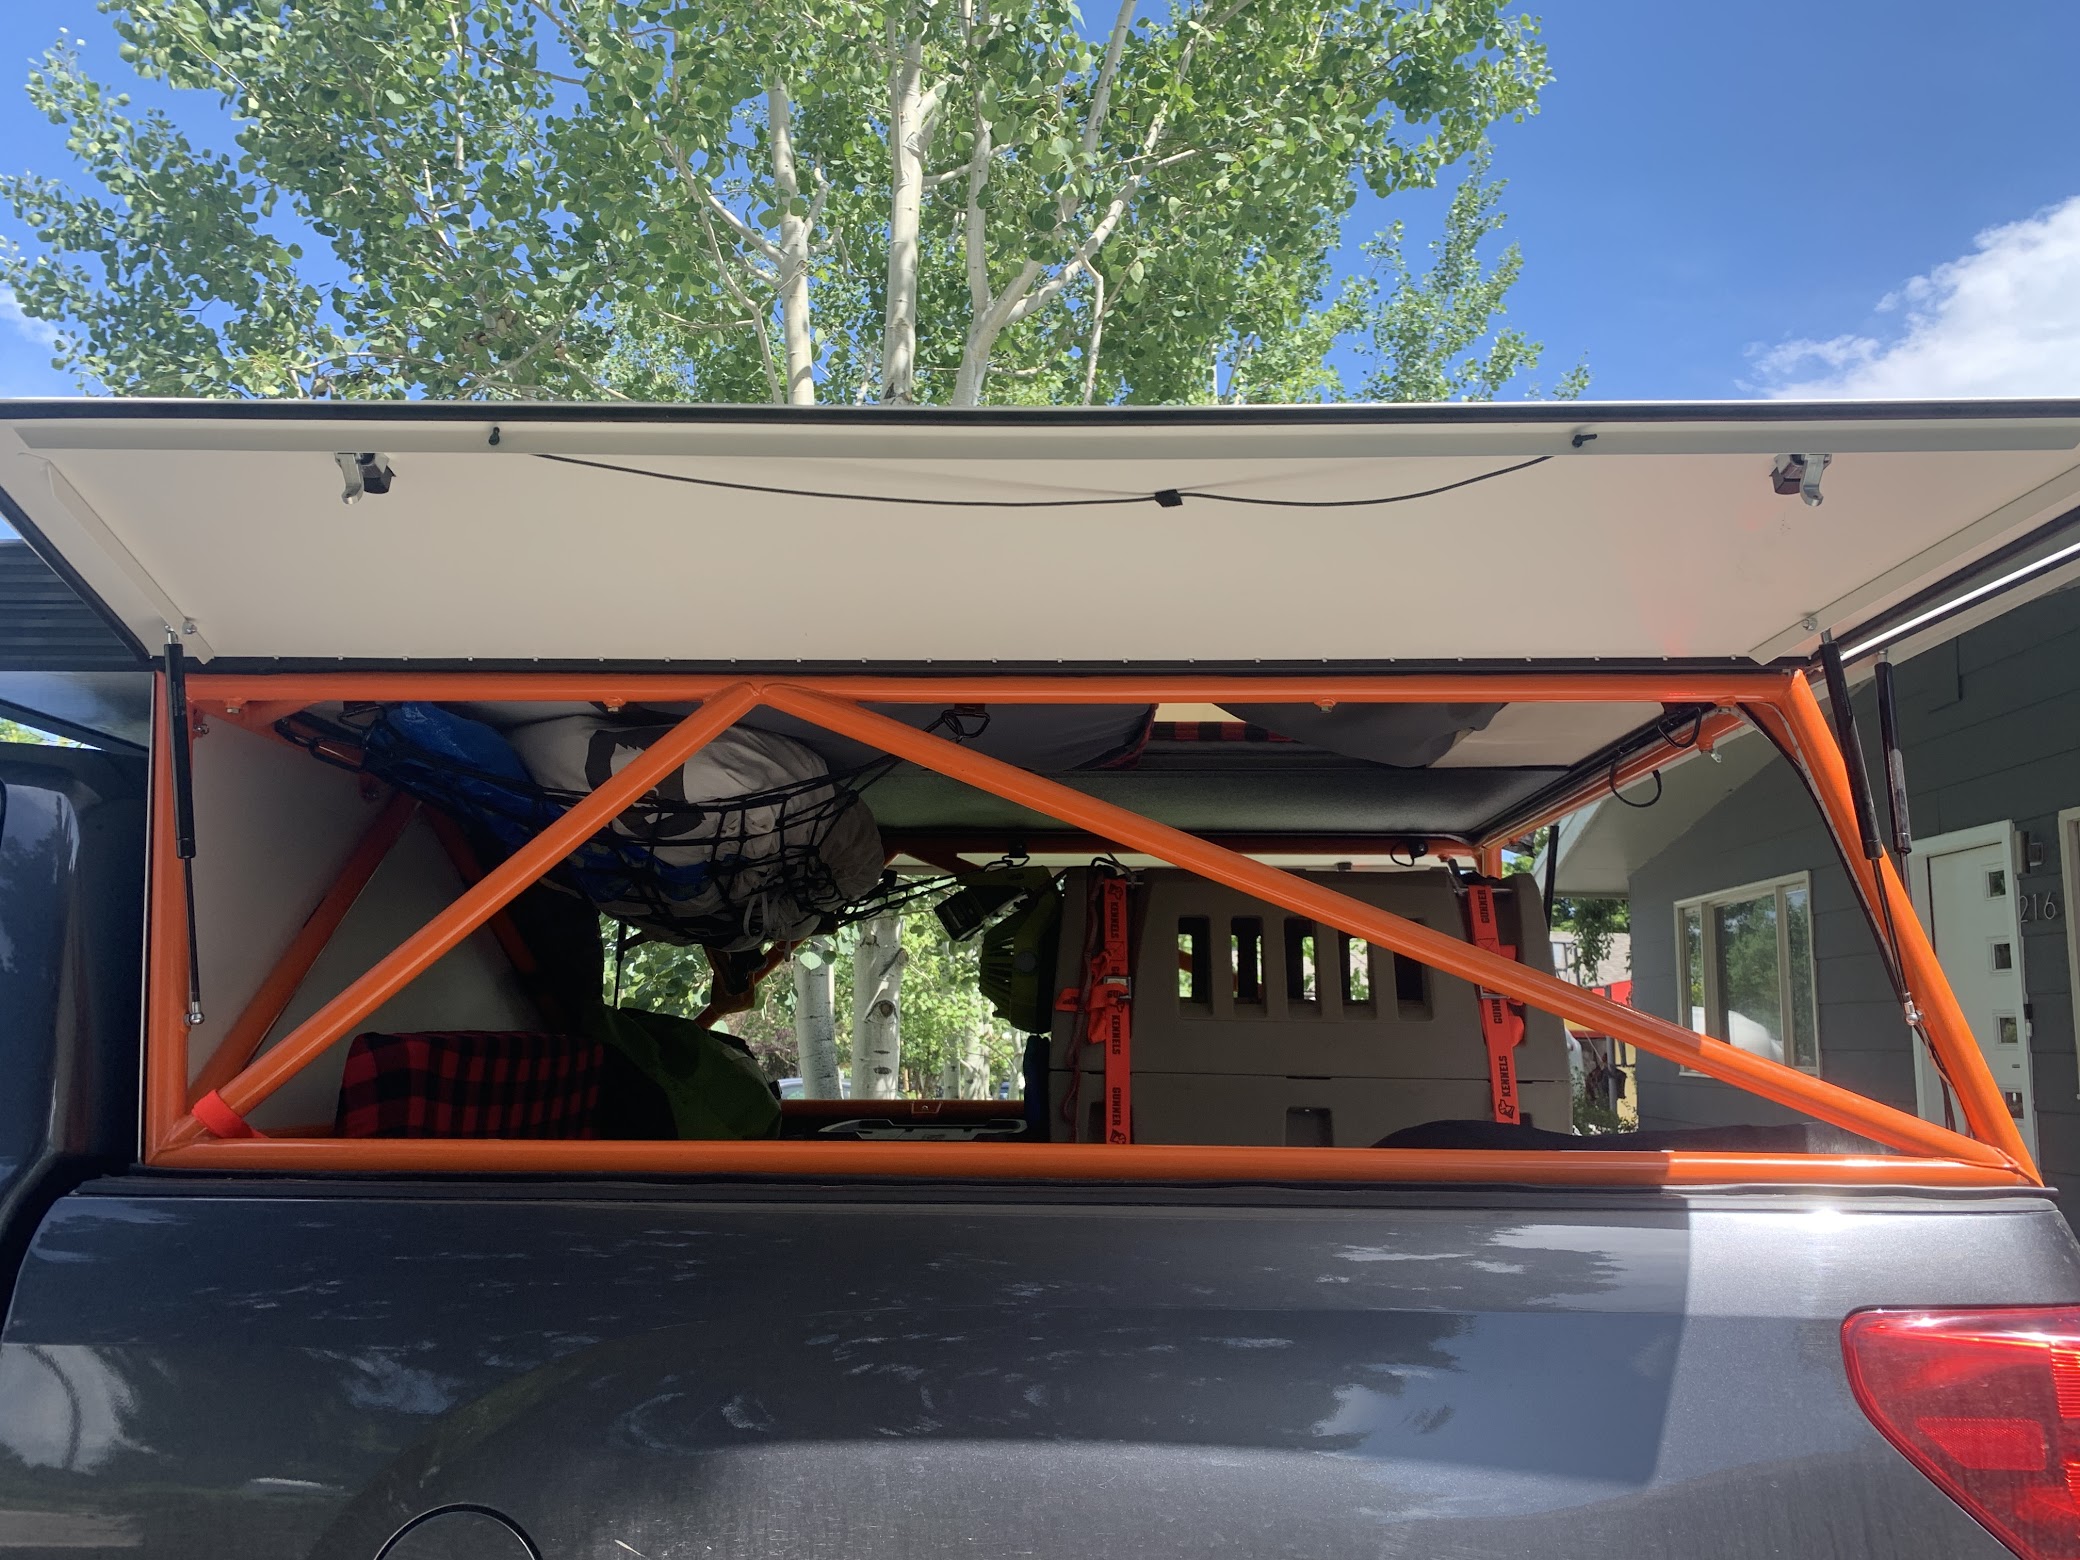
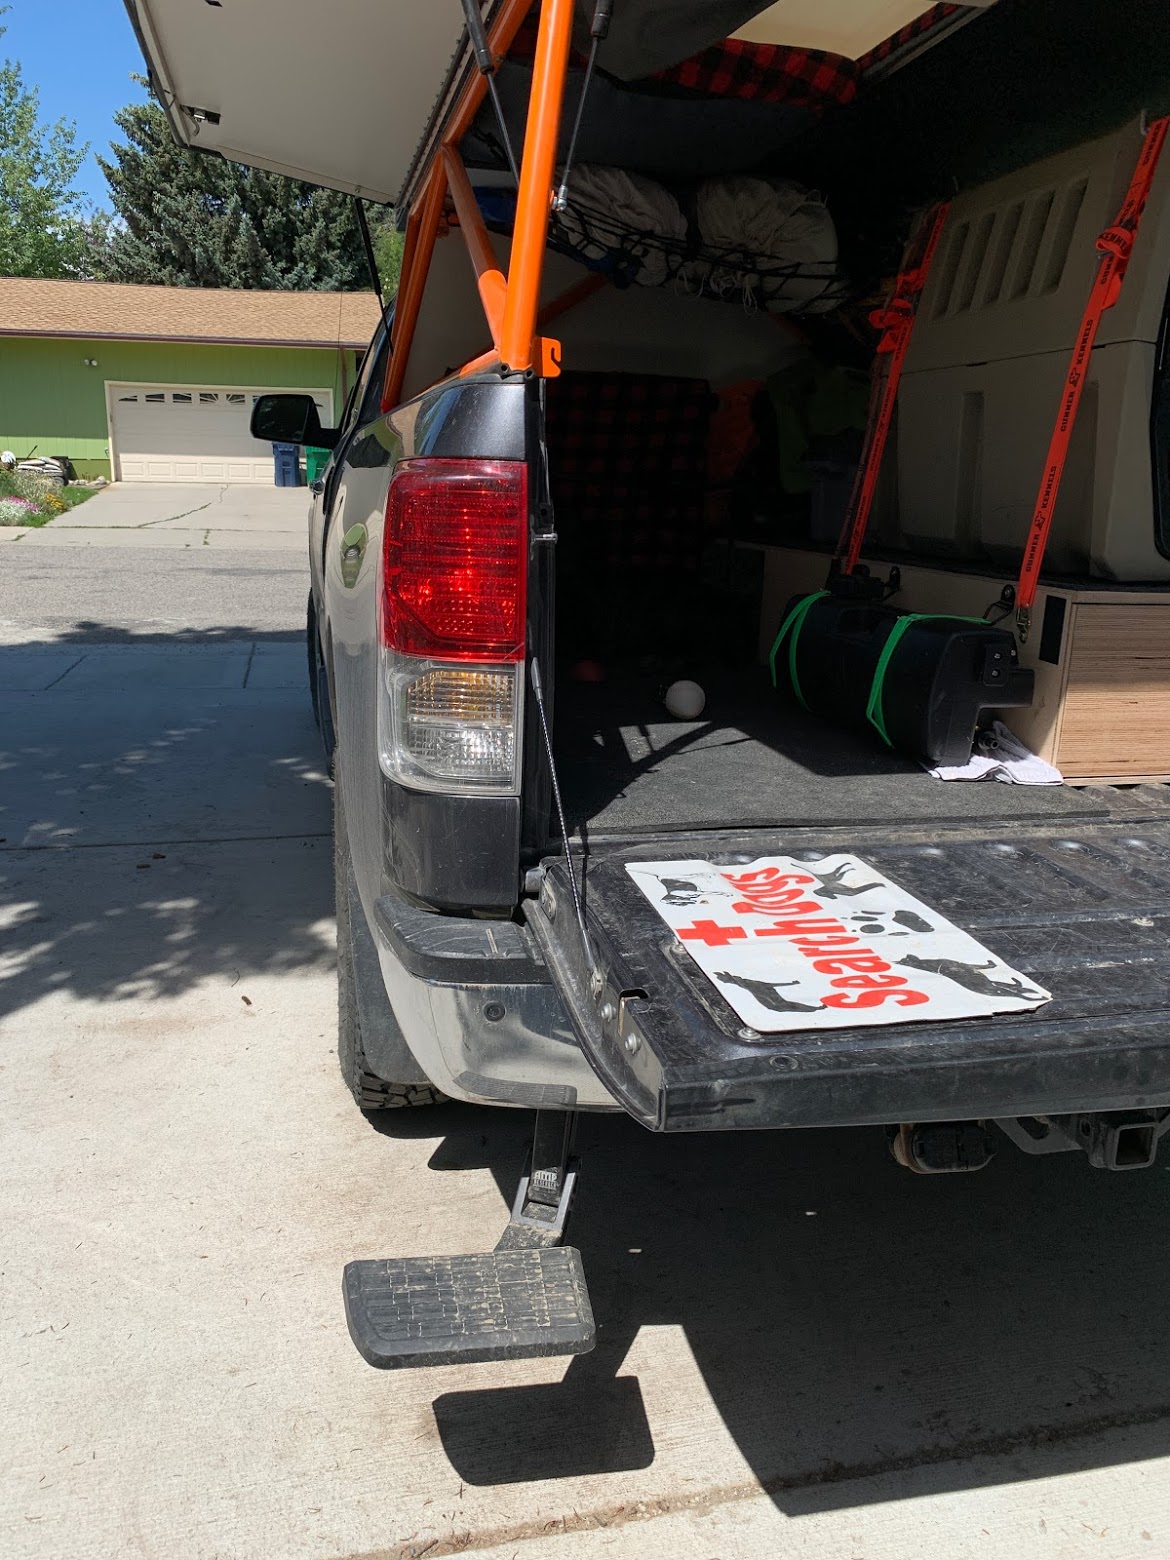
First project was building out a half width drawer that would let me maximize vertical storage space while securely anchoring the Gunner kennel. The drawer goes 3/4 of the way back, to the front of the wheel well, and the remaining space is an open cubby to make use of the extra space on the far side of the wheel well. Bonus – the top of the crate is the perfect counter height for me. (GFC panel is juuuust a touch too high)
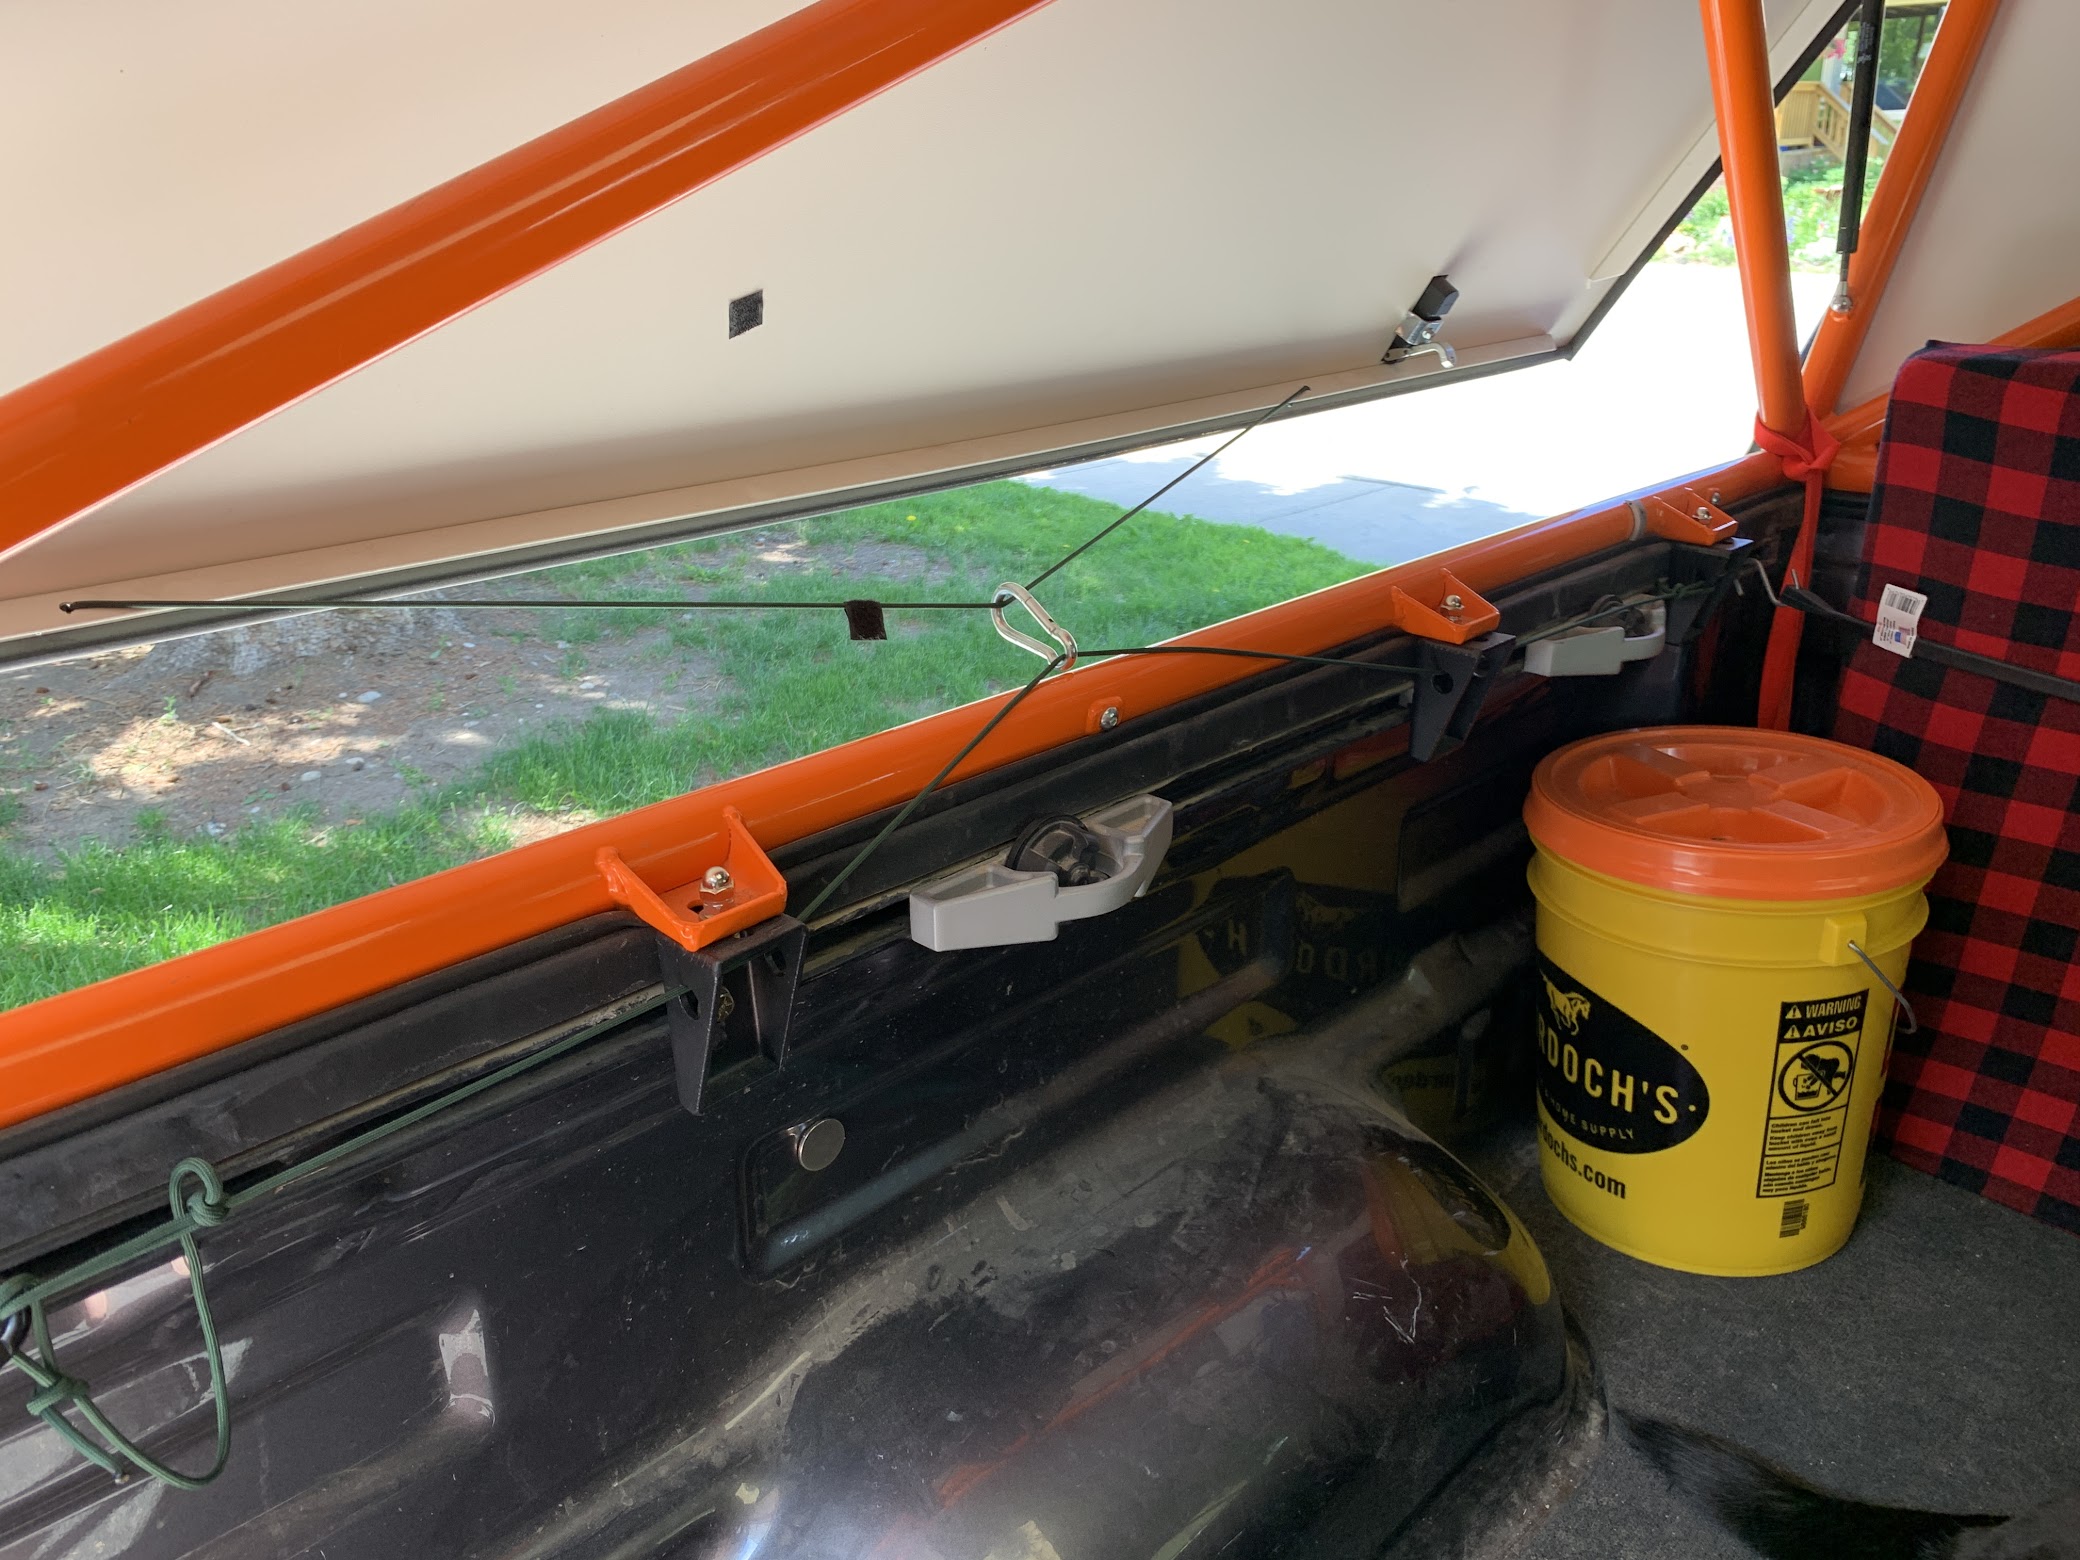
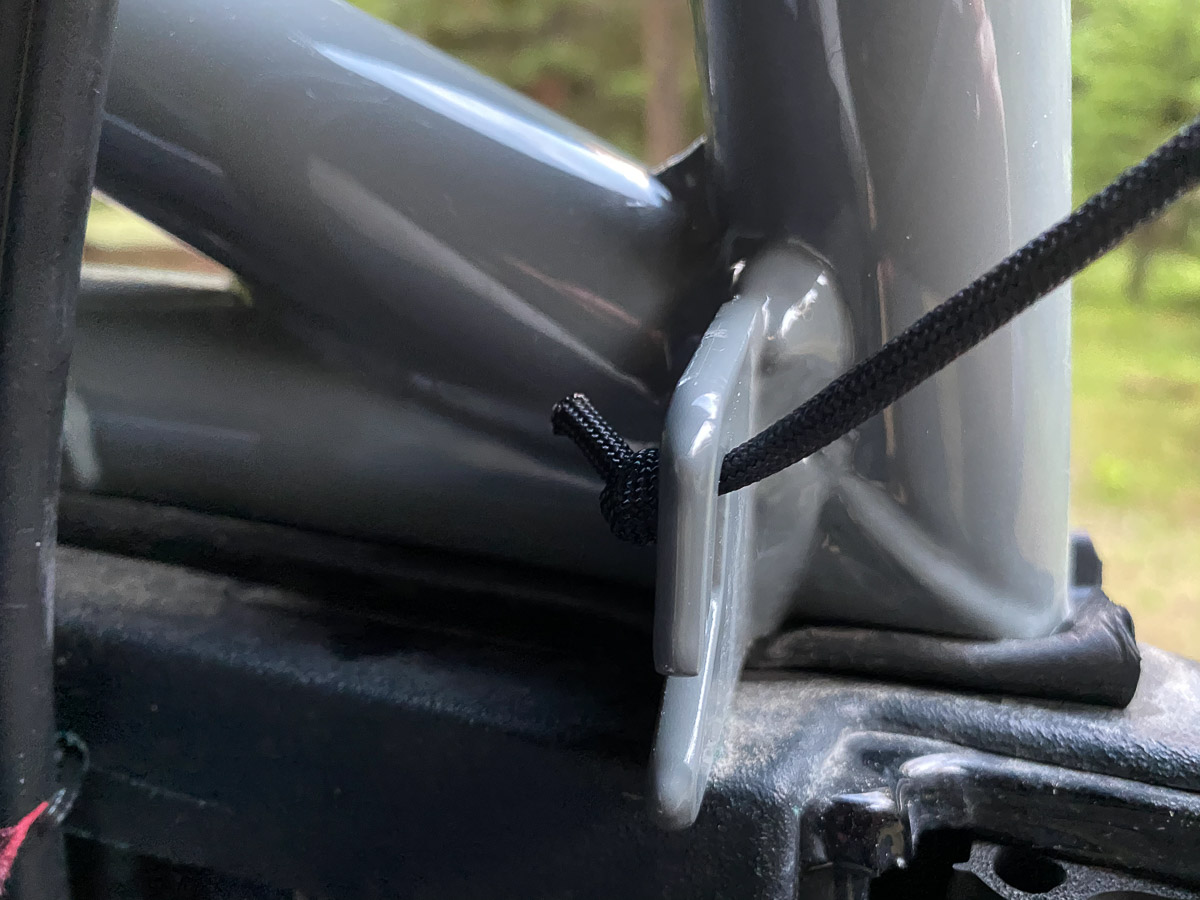
The kennel is anchored to truck tiedowns on the right, and D rings on the left. The box is anchored by one bed bolt (front) and a turnbuckle to a tiedown in the back.
The drawer holds dog gear and a mini-kitchen – jetboil, utensils, many varieties of instant coffee, cup noodles, bars/snacks, a few dehydrated meals.
When we’re “home” I’ll keep some extra gear behind the kennel but for longer trips I’ll use that space for the cooler. I am lazy AF so I’ve tried to design this thing in a way that I don’t need to move anything in order to get something else – AKA no platforms that flip up to expose hidden compartments. Since dogs don’t ride in the cab I use the heck out of that space as well, with some plastic drawer units and hanging storage.
The bungie net is super helpful for storing lightweight stuff like sleeping bags and aluminet. 10/10 would recommend this easy mod.
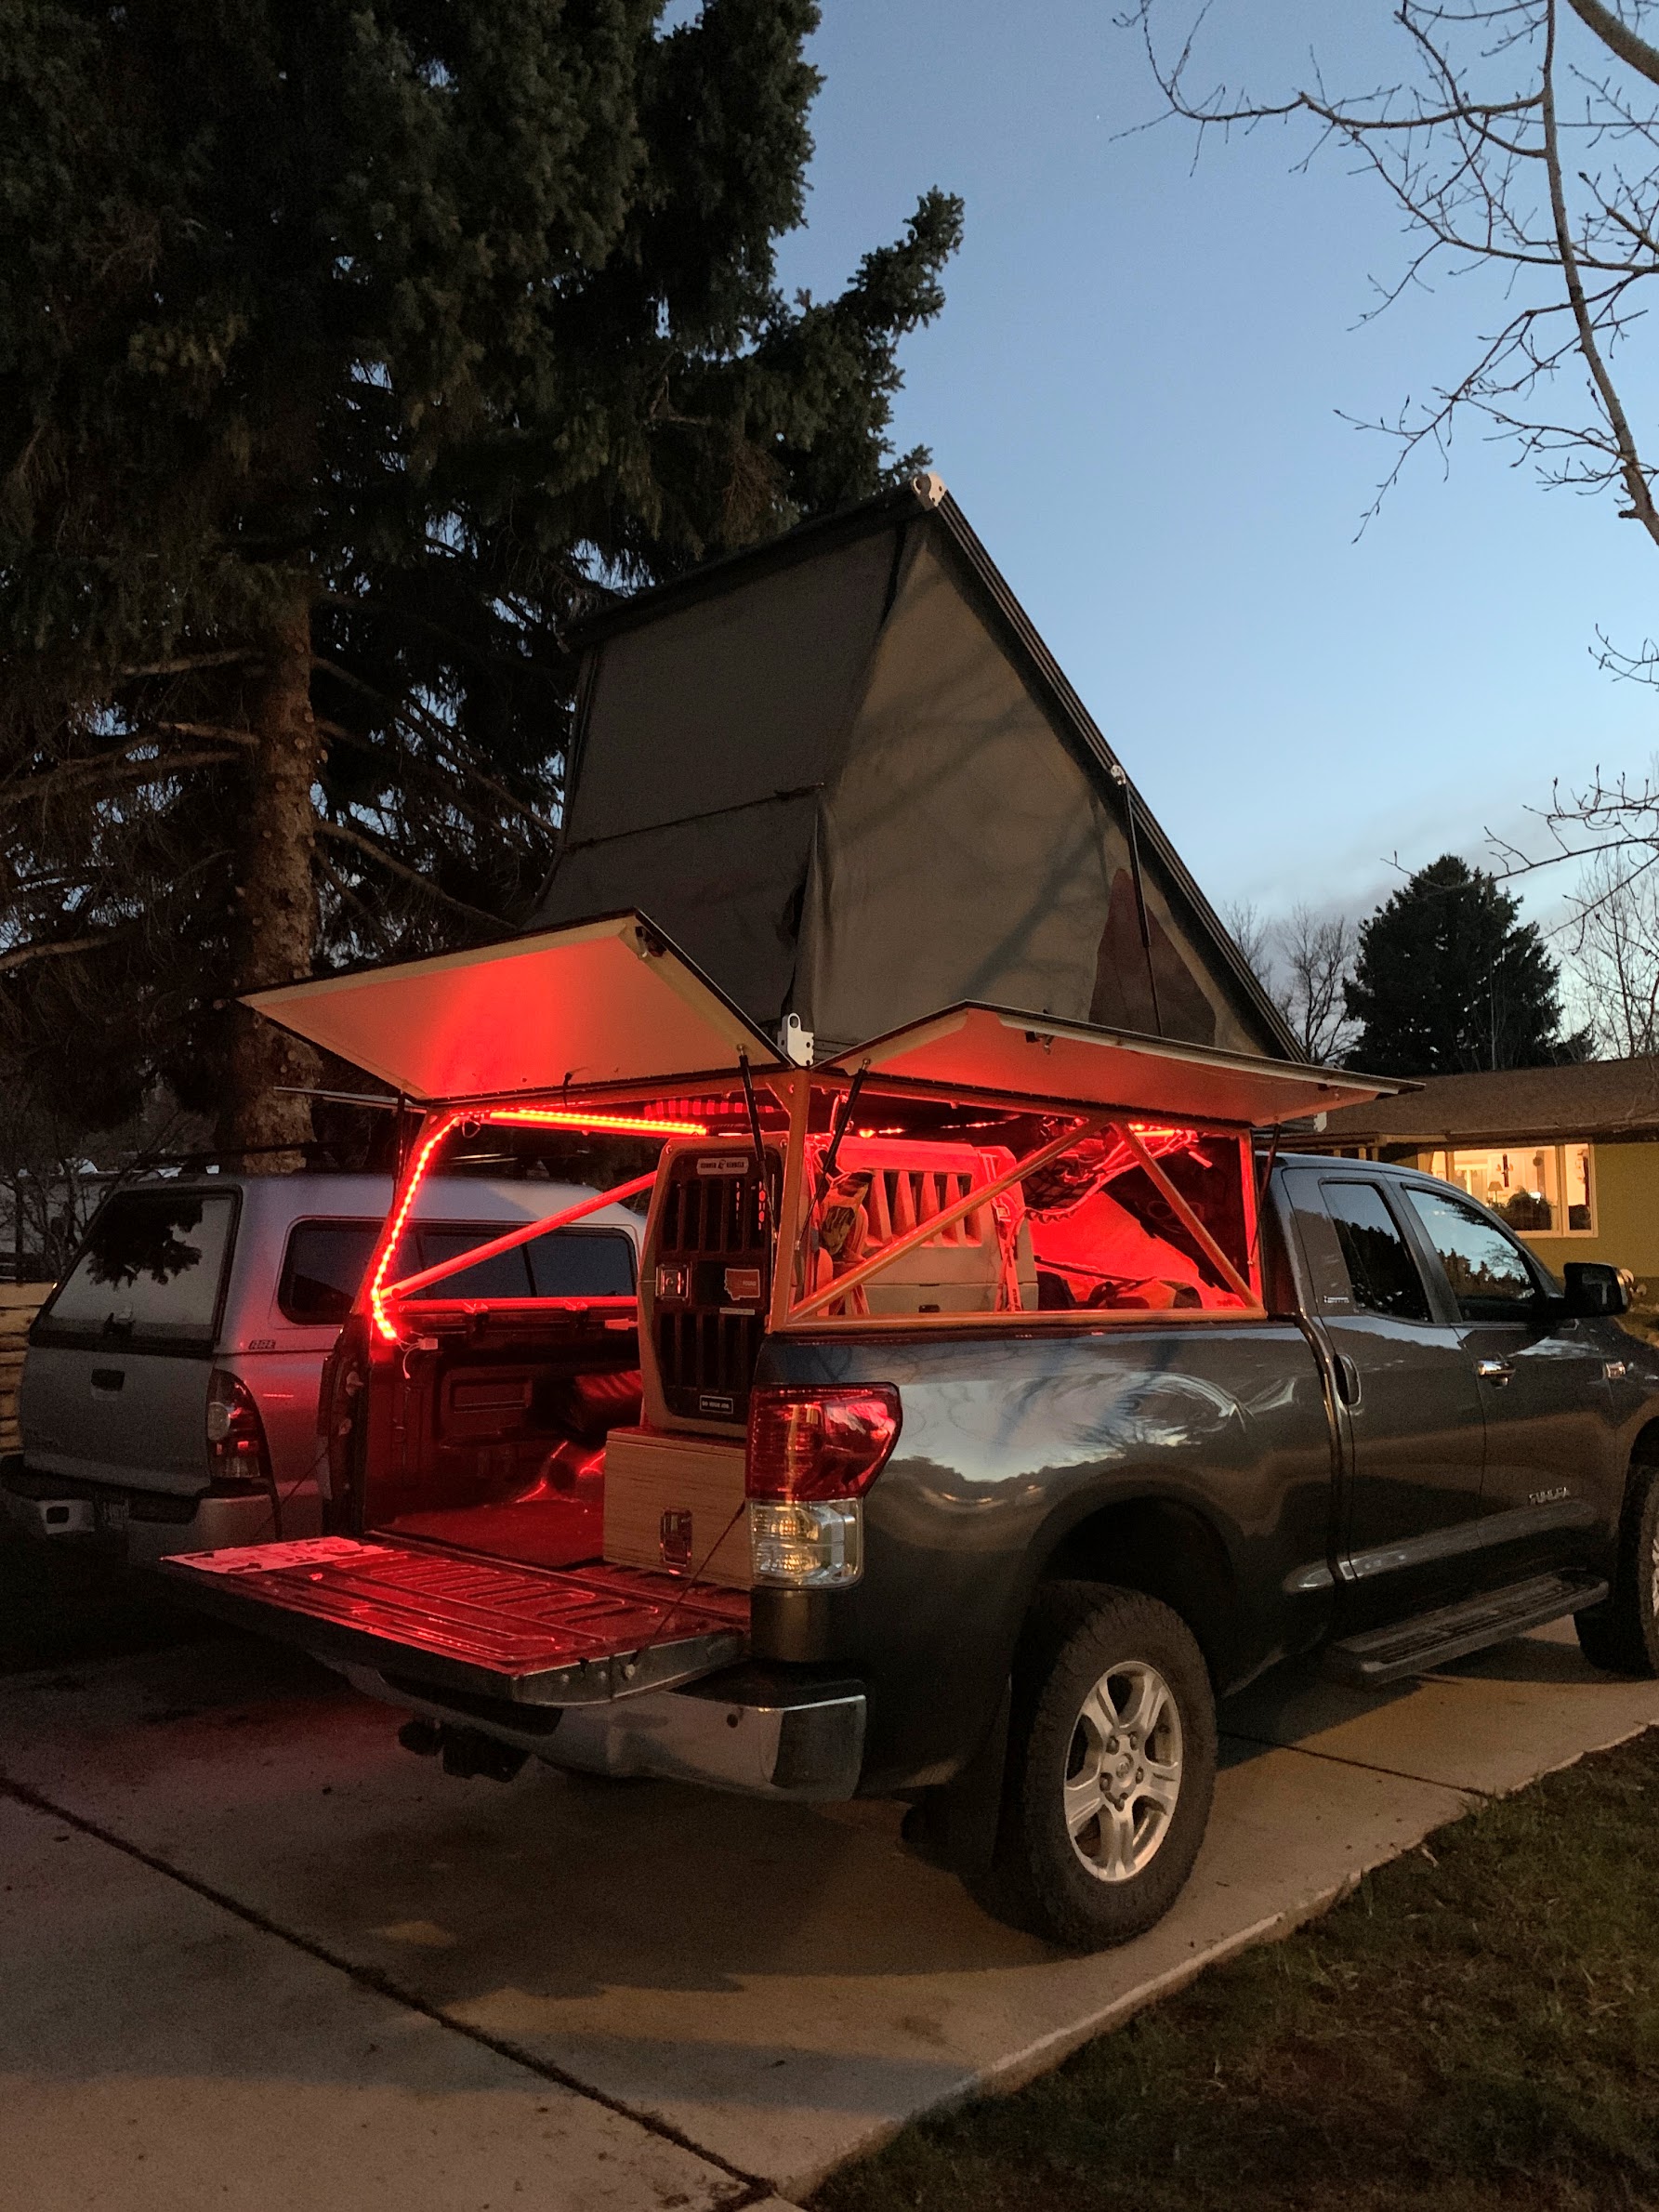
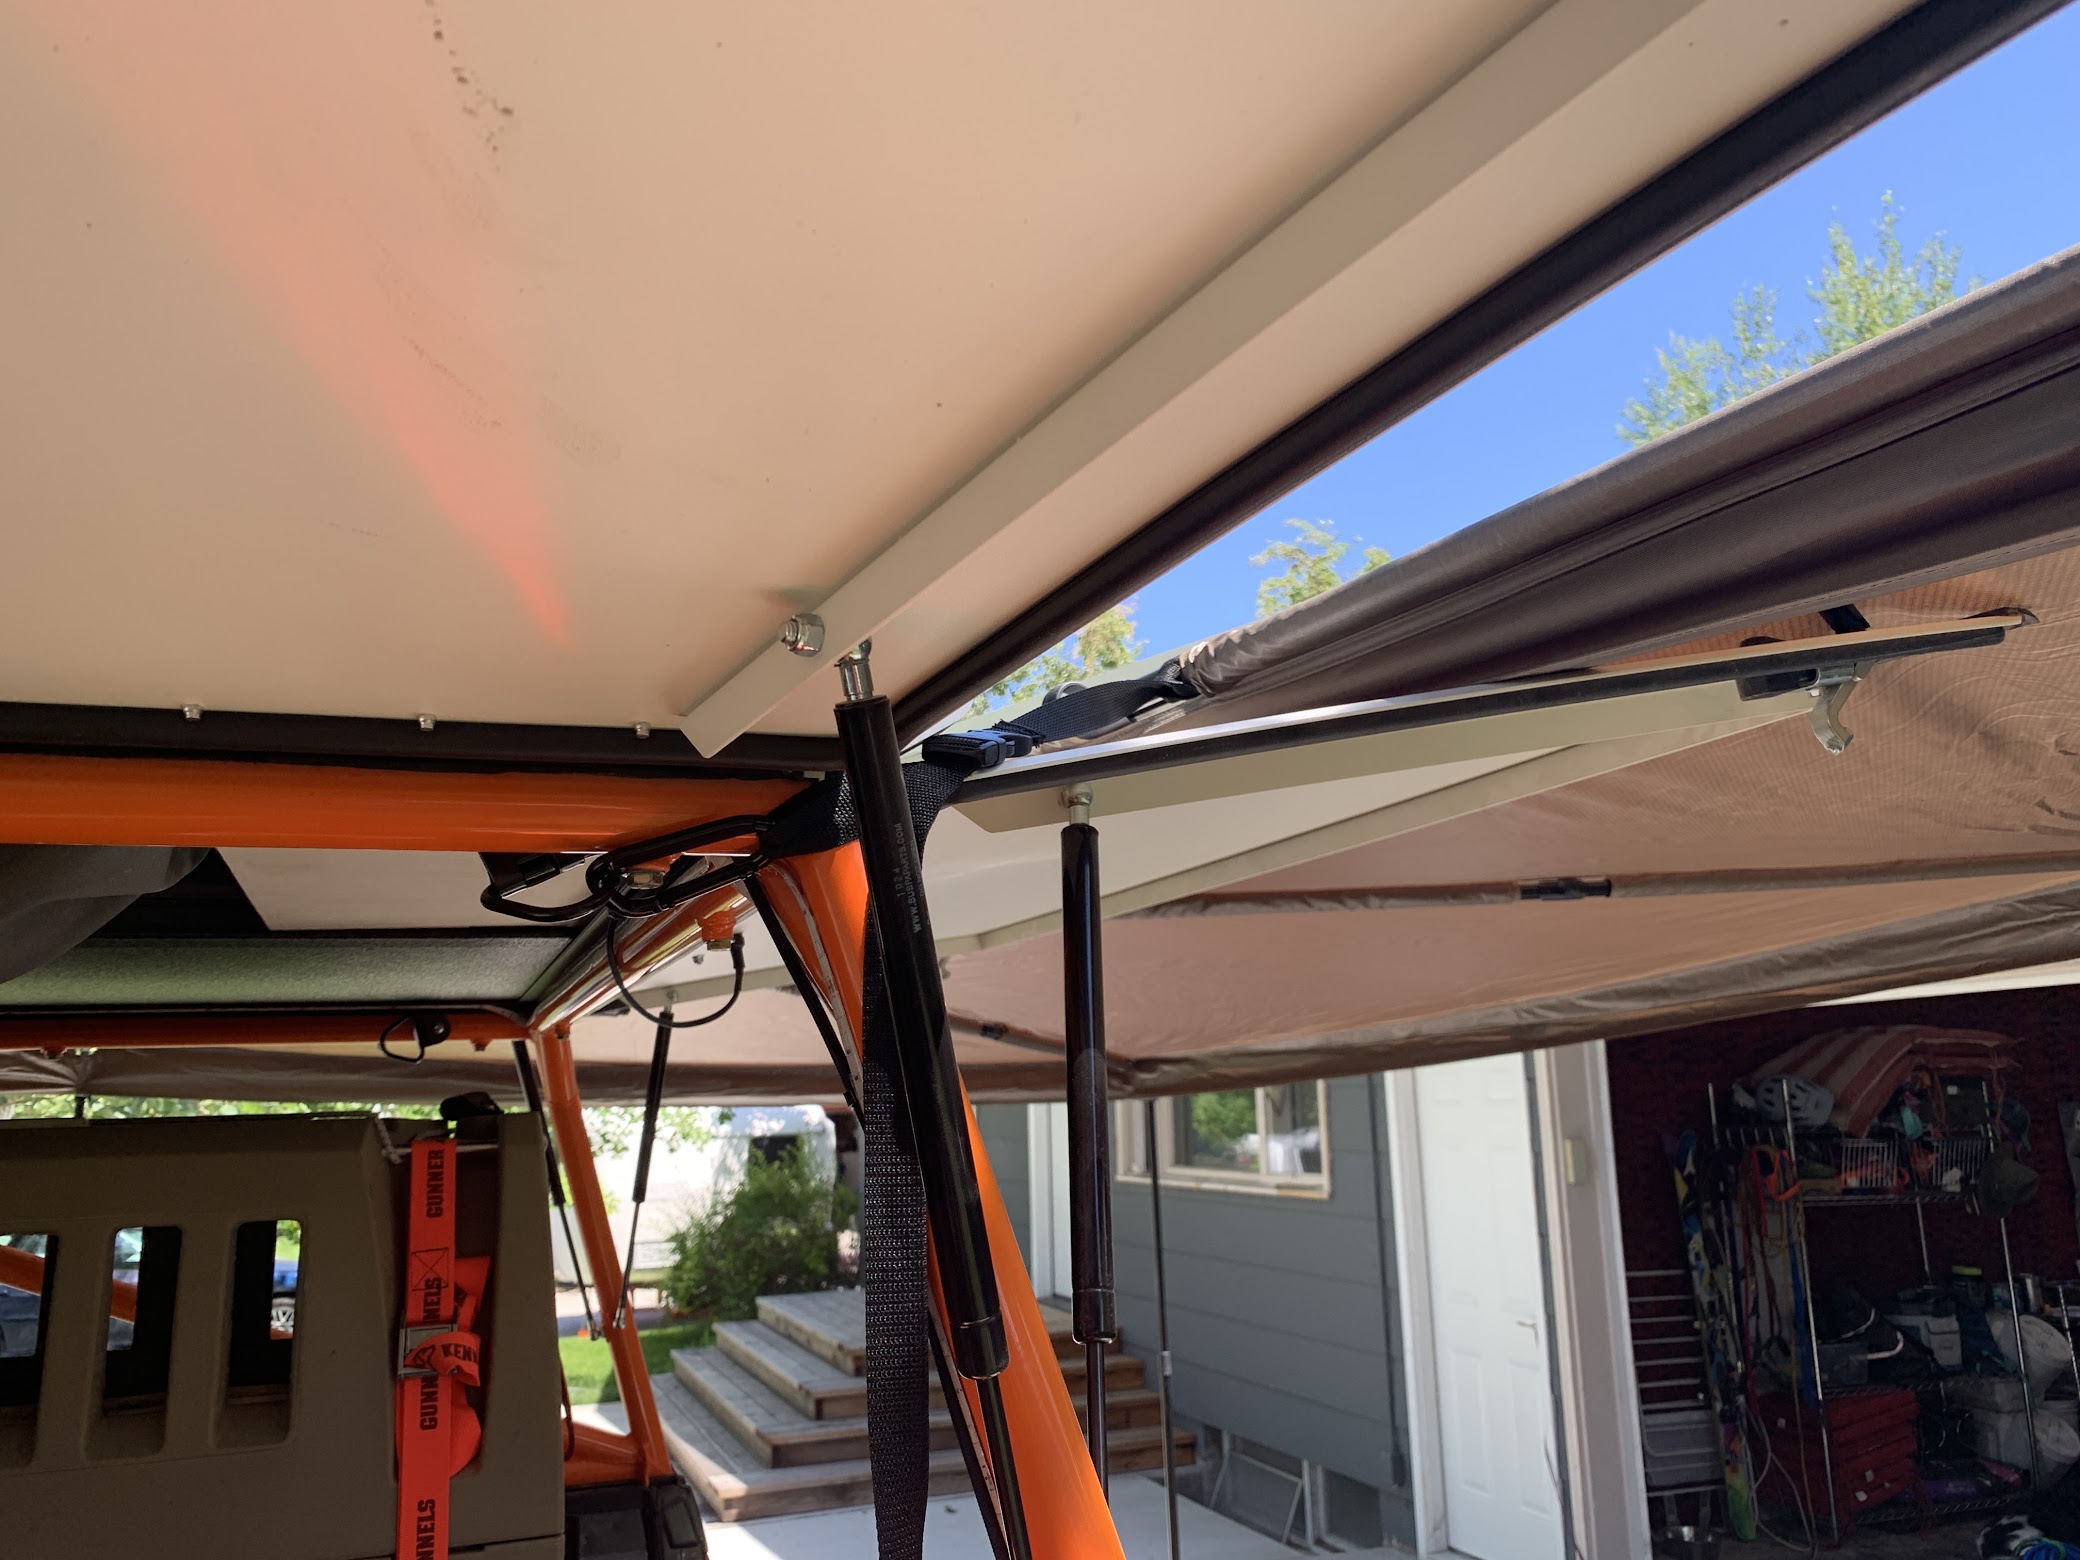
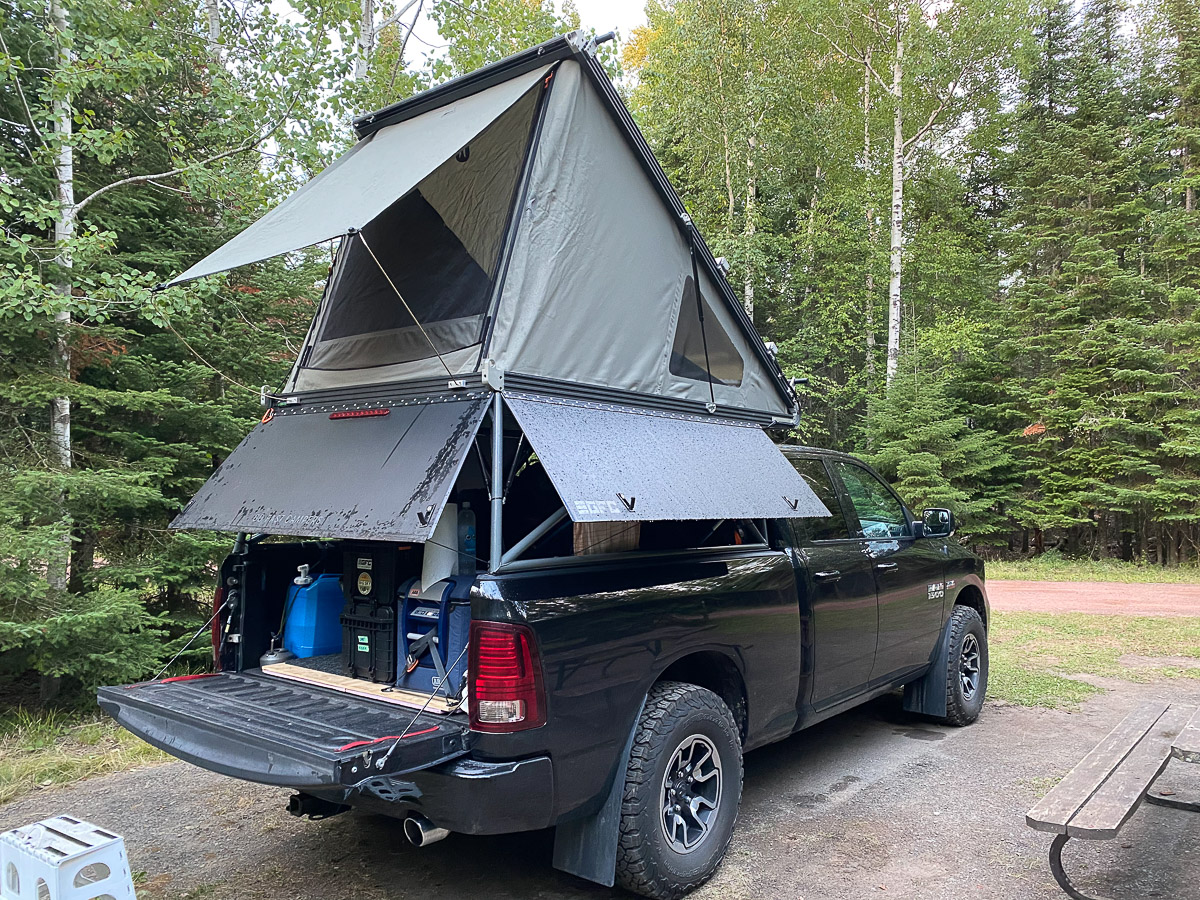
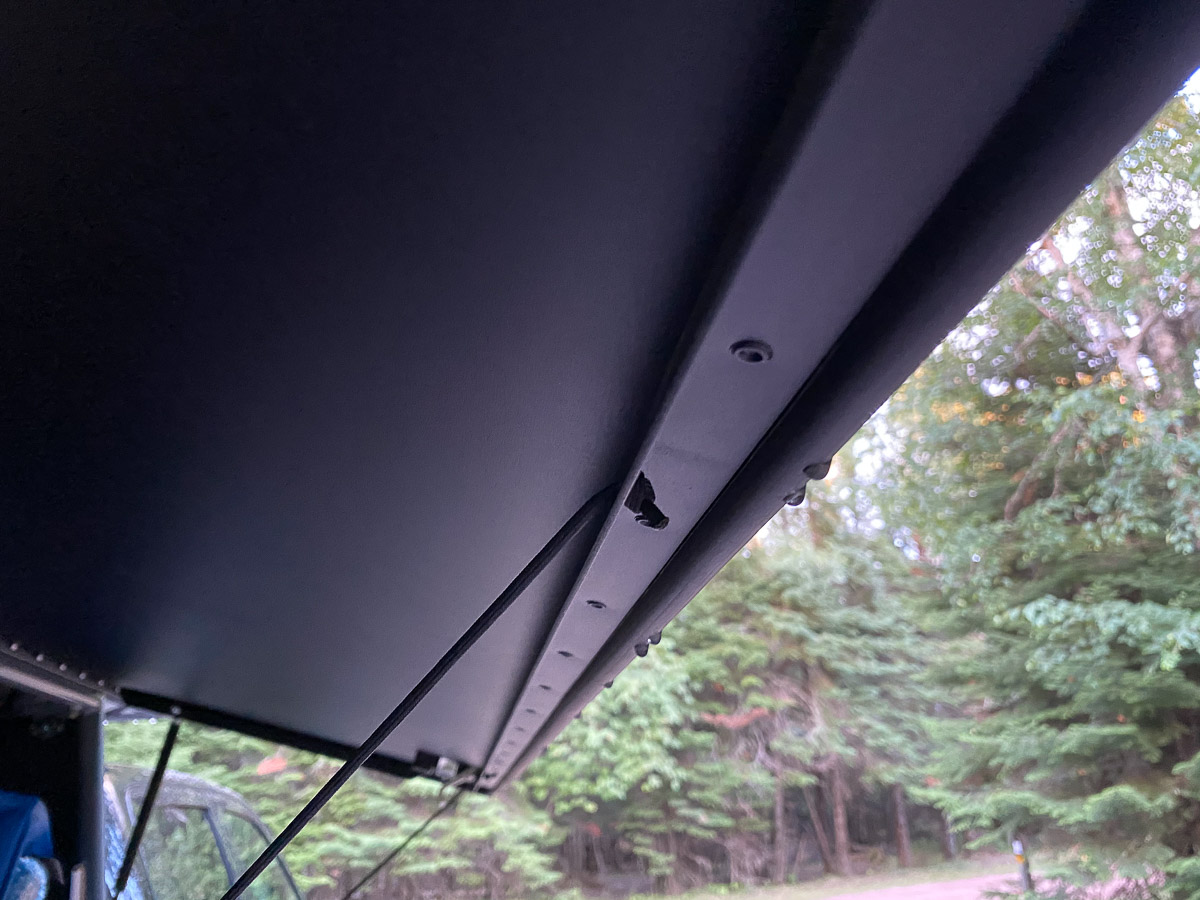
Project two was adding ventilation. I’ve been monitoring temps from the cab using an indoor/outdoor thermometer since last November, and have been seeing a pretty consistent 10º bump with panels closed in full sun. This is no biggie in the winter but will be a problem in the summer months, especially for long driving days. I also have a portable Ryobi fan that I run up next to the crate to ensure he’s getting good air, and I’ll pull him into the cab for anything over 90ºF.
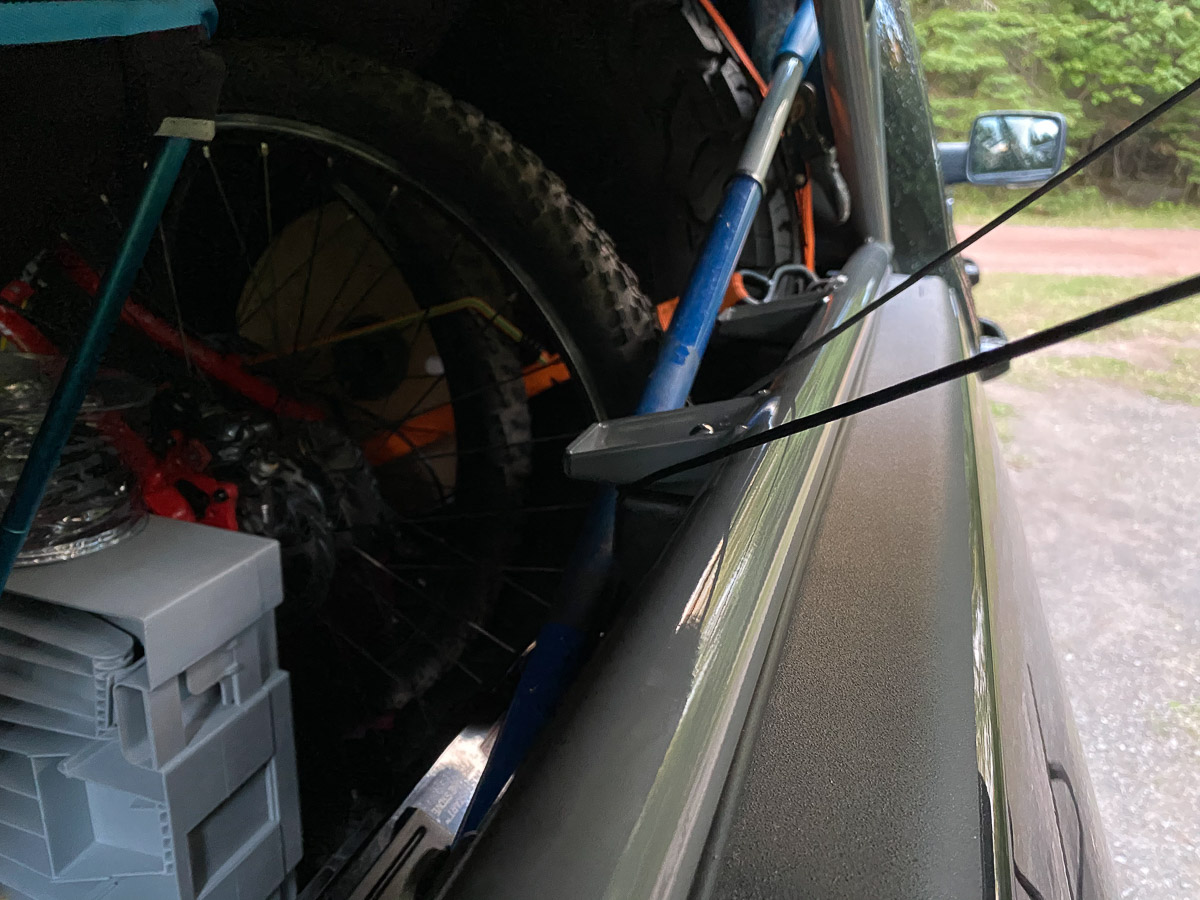
I didn’t want to mess with wiring on the roof so I went with a solar boat fan. It moves approx. 1000 cubic ft / hour – not a ton of airflow, but hopefully enough to help keep temps down. It can run while driving and has a little battery so it can run at night.
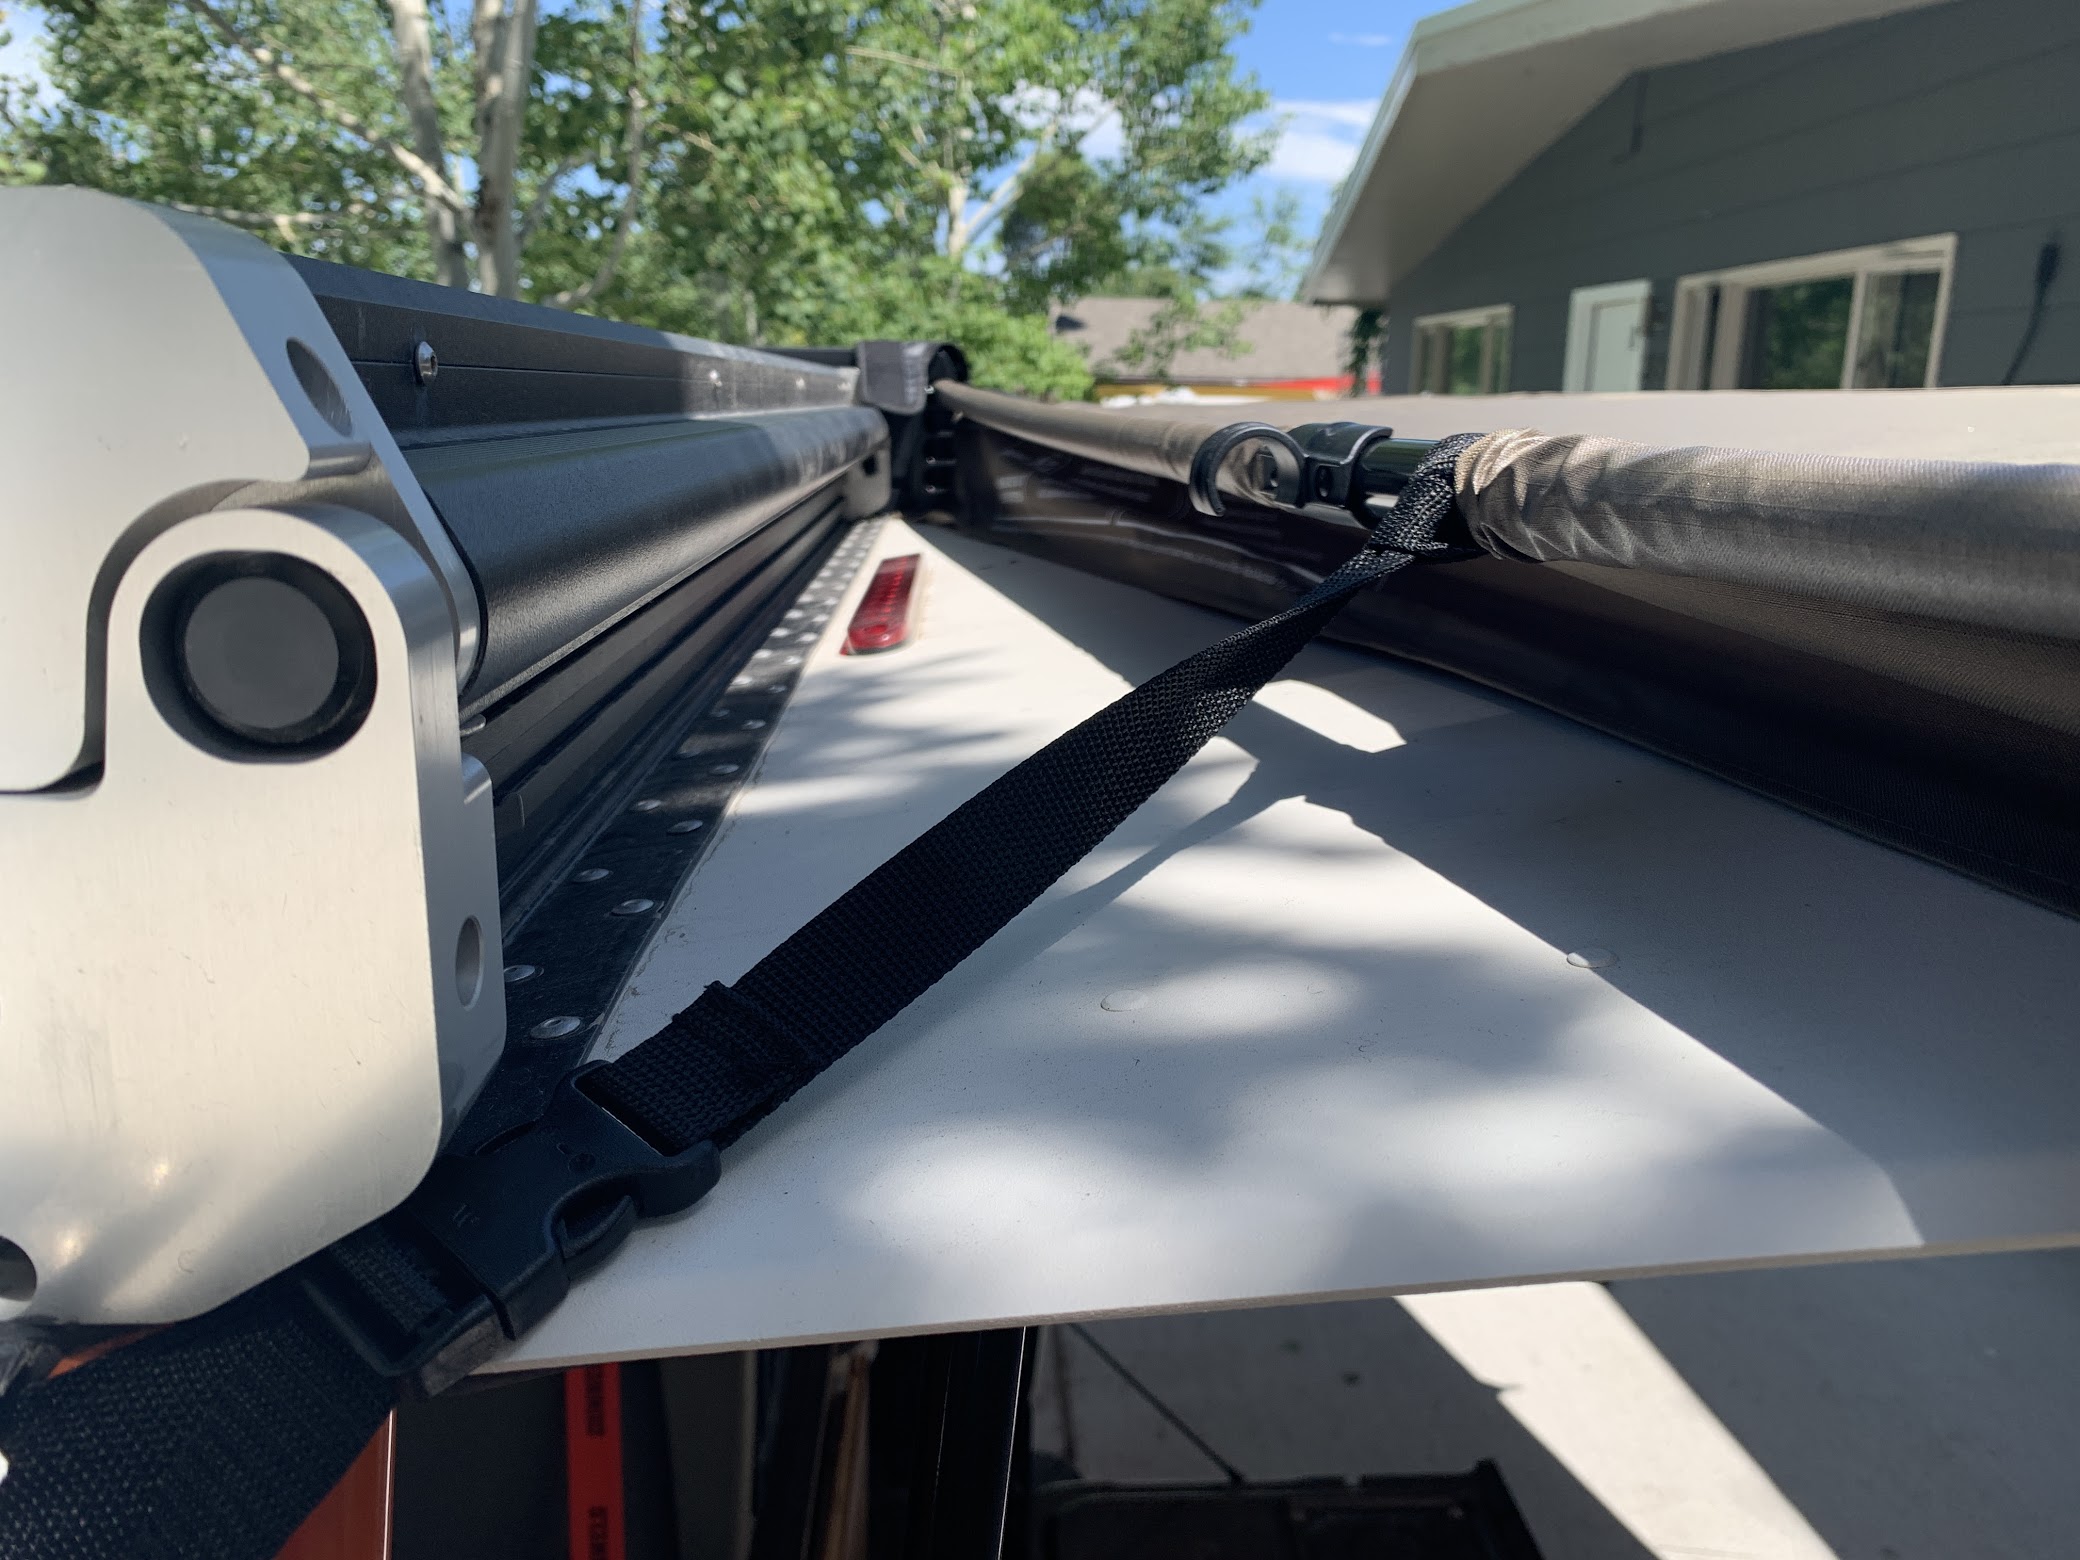
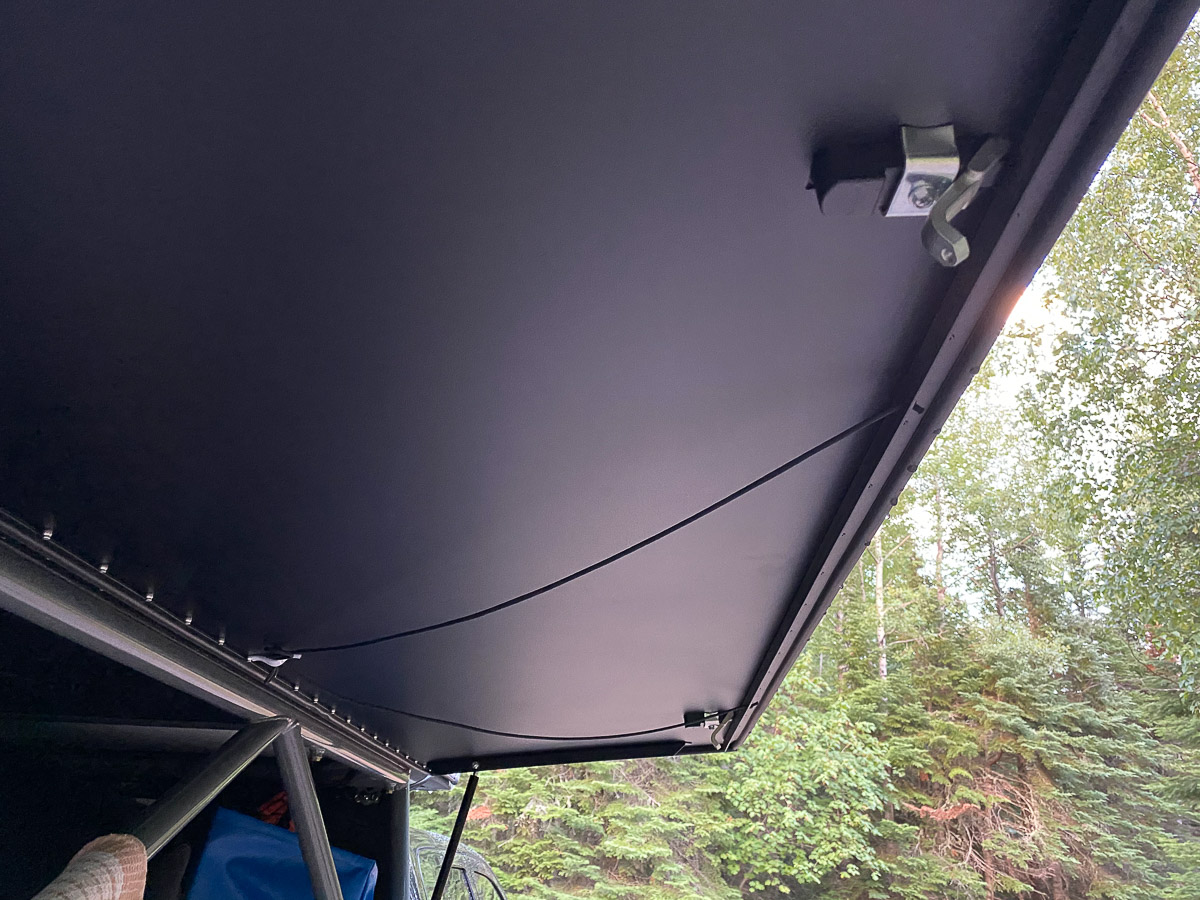
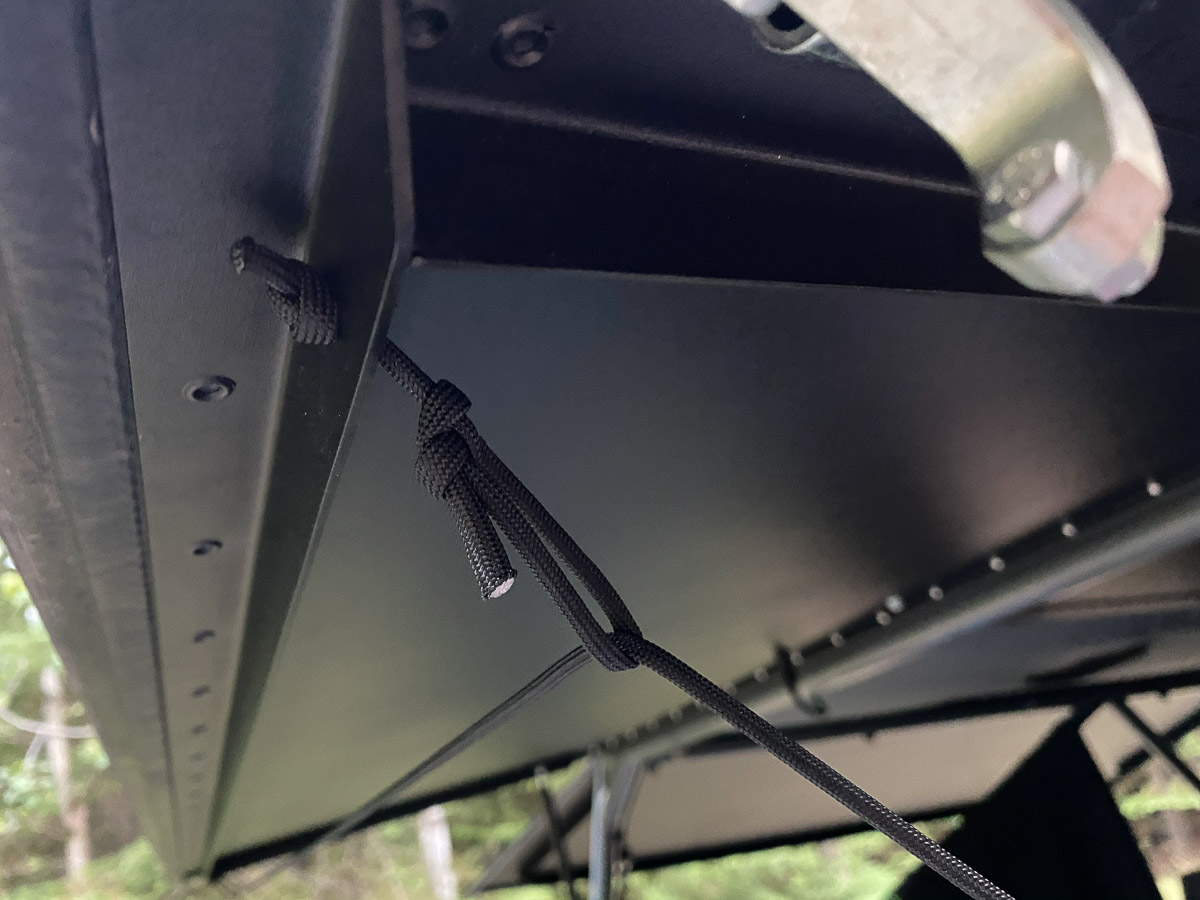
I’m running one panel down to add light / accommodate for the fan. This made the tent fabric droop a little in the front, so I added a piece of 3/4" ply to keep it tucked in.
All in all took me about an hour and a half to install the fan. If the airflow isn’t enough, I can pull it out and add a 12v fan that pumps a little faster.
Upcoming projects include:
-
Custom magnetic tailgate cover + frame bags from VRNCLR
-
LED strings on lower level
-
Window screens for bug season
-
New running boards with a bed step?
-
Rear bumper step? (theme: am not tall)
-
Kinsmen Awning?
-
Waterport? Or some kind of other water thing