I’ve mentioned lighting a few times in this thread. This will be the lighting post. First of all, I’m an optomechanics guy by trade, so lighting is very important to me. Quality of light matters to me.
- This means good color rendition - at a bare minimum, 90CRI emitters
- This means dimmable - nothing worse than inappropriate levels
- This means absolutely no camera artifacts or flicker
I chose a [BuckPuck driver]( BuckPuck DC LED Drivers -). “Buck” drivers reduce incoming voltage to match the LED requirements (so 14.4->12v would work). “Boost” drivers raise incoming voltage. So if you wanted to power from USB or something less than 12V, you’d need boost. This specific driver solves the flicker issues found in cheaper drivers from Amazon, and also gives me dim-to-off capabilities. There’s still a sharp knee where the LEDs turn off early, that’s unavoidable when there are integrated current limiting resistors (basically all “12V” strips). For these strips, I got the 1A model with a 5K pot and 7 pin SIP connector.
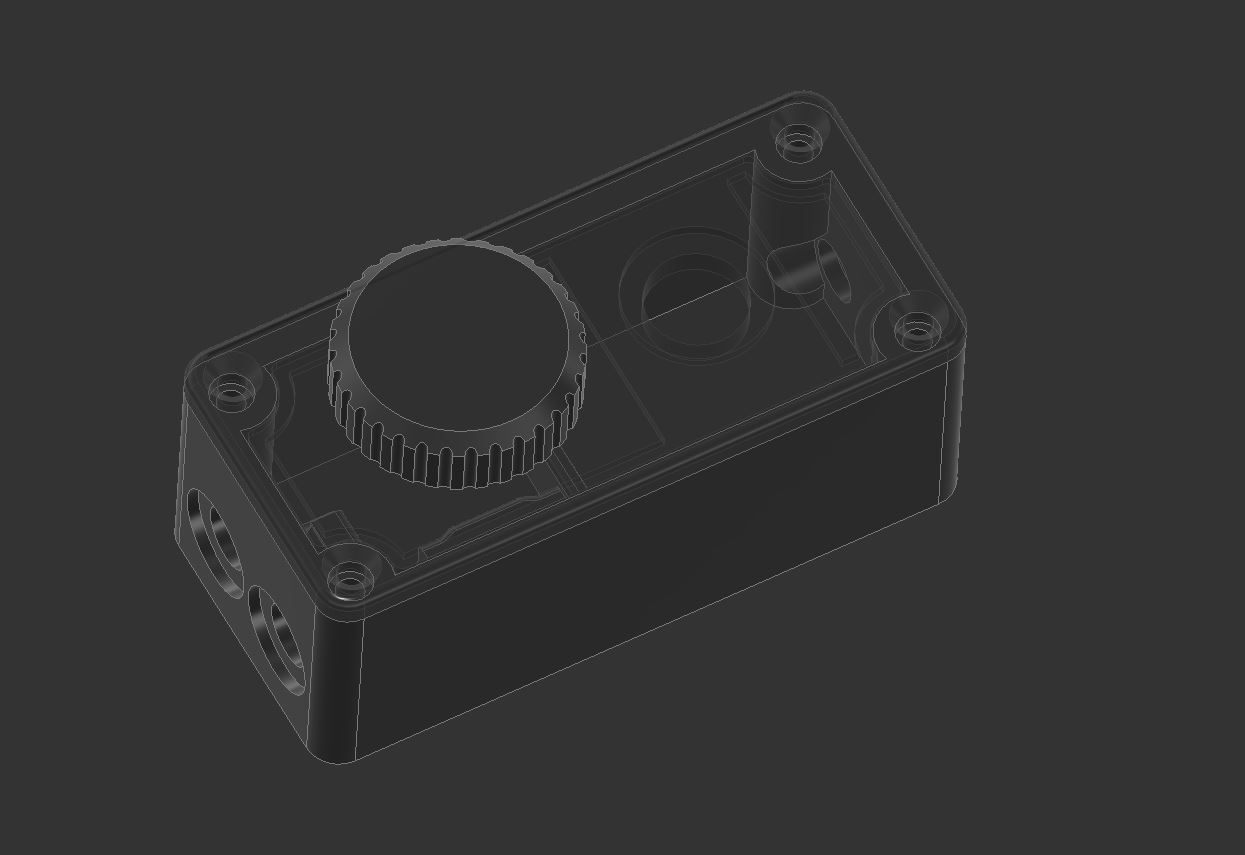
Whipped up a quick prototype enclosure. Needs work but it’s simple and looks good. A big priority for me is positive feedback from every system. In this case, I wanted the switch to be easy to find in the dark and to give very clear feedback that it was pressed. That meant a guitar pedal switch for a maximally satisfying click.
Let’s see if I can embed a Youtube Video:

You can see that the BuckPuck really gives you a lot of flexibility with power. I’m using a Milwaukee M18 battery for prototyping, getting a couple hours of runtime at max brightness.
For those of you with Instagram, here’s a quick way to modify zip tie anchors to channel wires in a setup like this:
https://www.instagram.com/p/Cor7XeEuBqZ/
EDIT:
Here’s a link to the LEDs I used (I think I said 5000k in the video, but I misspoke):
https://www.amazon.com/gp/product/B089NNF3FB/
The guitar pedal switch I used.