Solar and electrical info post
I decided on a minimum of 300W of solar. That’s based on the following needs:
- Razer laptop for CAD work: 230W max draw
- Starlink or other mobile internet: 30-60W
- Phone charging: 10W
- Dometic fridge: 30-50W while cooling
In practice almost every one of these numbers gets derated, but it’s still a healthy power draw. Also, I can’t always count on that sweet sweet California sun. My plan is to work in this thing like an office for 2-3 days at a time. Power has to be there.
I purchased a refurbished Goal Zero Yeti 1000x from Goal Zero’s store. This was a mixed bag. The first one had a high power input port that was broken in a strange, specific way that took a while to figure out. Between 12 and 19 volts, it would short the panels. Below or above that it would work fine. I’m still in the returns process, and ended up just purchasing another unit to get going.
I bought flexible panels. I know they have a bad reputation for longevity, but I have a specific idea here. I want to have 3 permanent, roof-mounted panels, and I don’t want anything shading them (beef bars: bye bye). More importantly, I don’t want them interfering with the already terrible aerodynamics of my truck. I chose these Sunpower panels over the competition. They’re a little more expensive, but also more efficient - up to 25% efficiency per cell. So far they seem to perform exactly to spec.
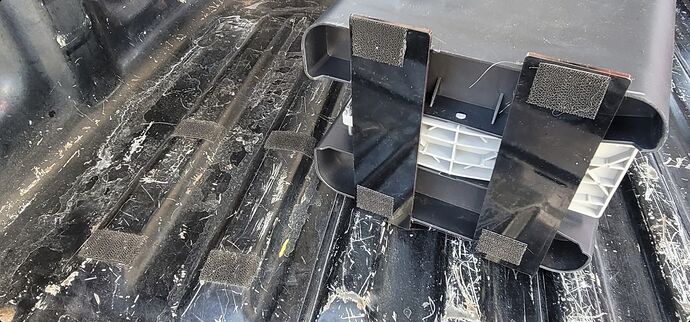
I did a prototype-level install to figure out how to run everything. The roof was cleaned with detergent and then wiped with alcohol. The panels were given a generous run of 3M VHB around the edges and across the middle, with gaps to ensure any trapped water could escape. I made 3D printed wire clamps and attached the wires to the extrusion.The install went smoothly and I promptly took it camping. I figured out a few more simple needs on this trip, like a little base for my working stool that mates with the ridges in the truck bed.
Everything power-related (fridge, solar, charging, yeti 1000x) worked as advertised and I was very happy. Unfortunately a huge wind/snow storm came in and I had to abandon camp and come back to LA. On the way I got sick as hell with some kind of stomach virus and a week later, I’m still recovering.
Today, we had some good sunshine so I wanted to air out the camper. As I was opening it, I noticed the solar panels separating from the roof. This picture doesn’t really show how bad it was, they were actually falling off and it was not a safe situation. I was very careful cleaning and used genuine 3M VHB (the high strength black stuff). The tape adhered perfectly to the panels themselves but peeled from the roof. This leads me to believe that the honeycomb roof panels may be made of polypropylene or another low surface energy plastic. Generally, bonding anything to a low surface energy plastic is tough. At a minimum you need to use a primer. With 3M VHB that primer is Primer 94. I have a 500ml can on order. . I bought mine from Amazon, because McMaster doesn’t carry it. If anyone has a better source, I’m all ears. Most 3M stuff on Amazon is a crapshoot of counterfeit and expired products.
I was pretty bummed about the panels, but it looks like the water intrusion fixes will have me removing and possibly repositioning the panels anyway. So for now I’m just going to take it in stride, and when the time comes, carefully peel it all off and redo it with a cleaned and primed surface. I’m temped to use 3M Dual Lock the 2nd time around, because then if I need to remove the panels, they’ll just snap off. However Dual Lock, the big stuff SJ3350, 250 pins/in, is crazy expensive. I’d probably need $150 worth of Dual Lock. Another thought I have is to seal 3 edges with Sikaflex or whatever GFC uses.
I will continue to update this post with solar and electrical information as I get time. I’m a little bummed that it’s March and I’m not yet really using my mobile office, but it’s just going to take the time it takes.