I do kinda feel that too, I just hope I decide before my 30 days are up 
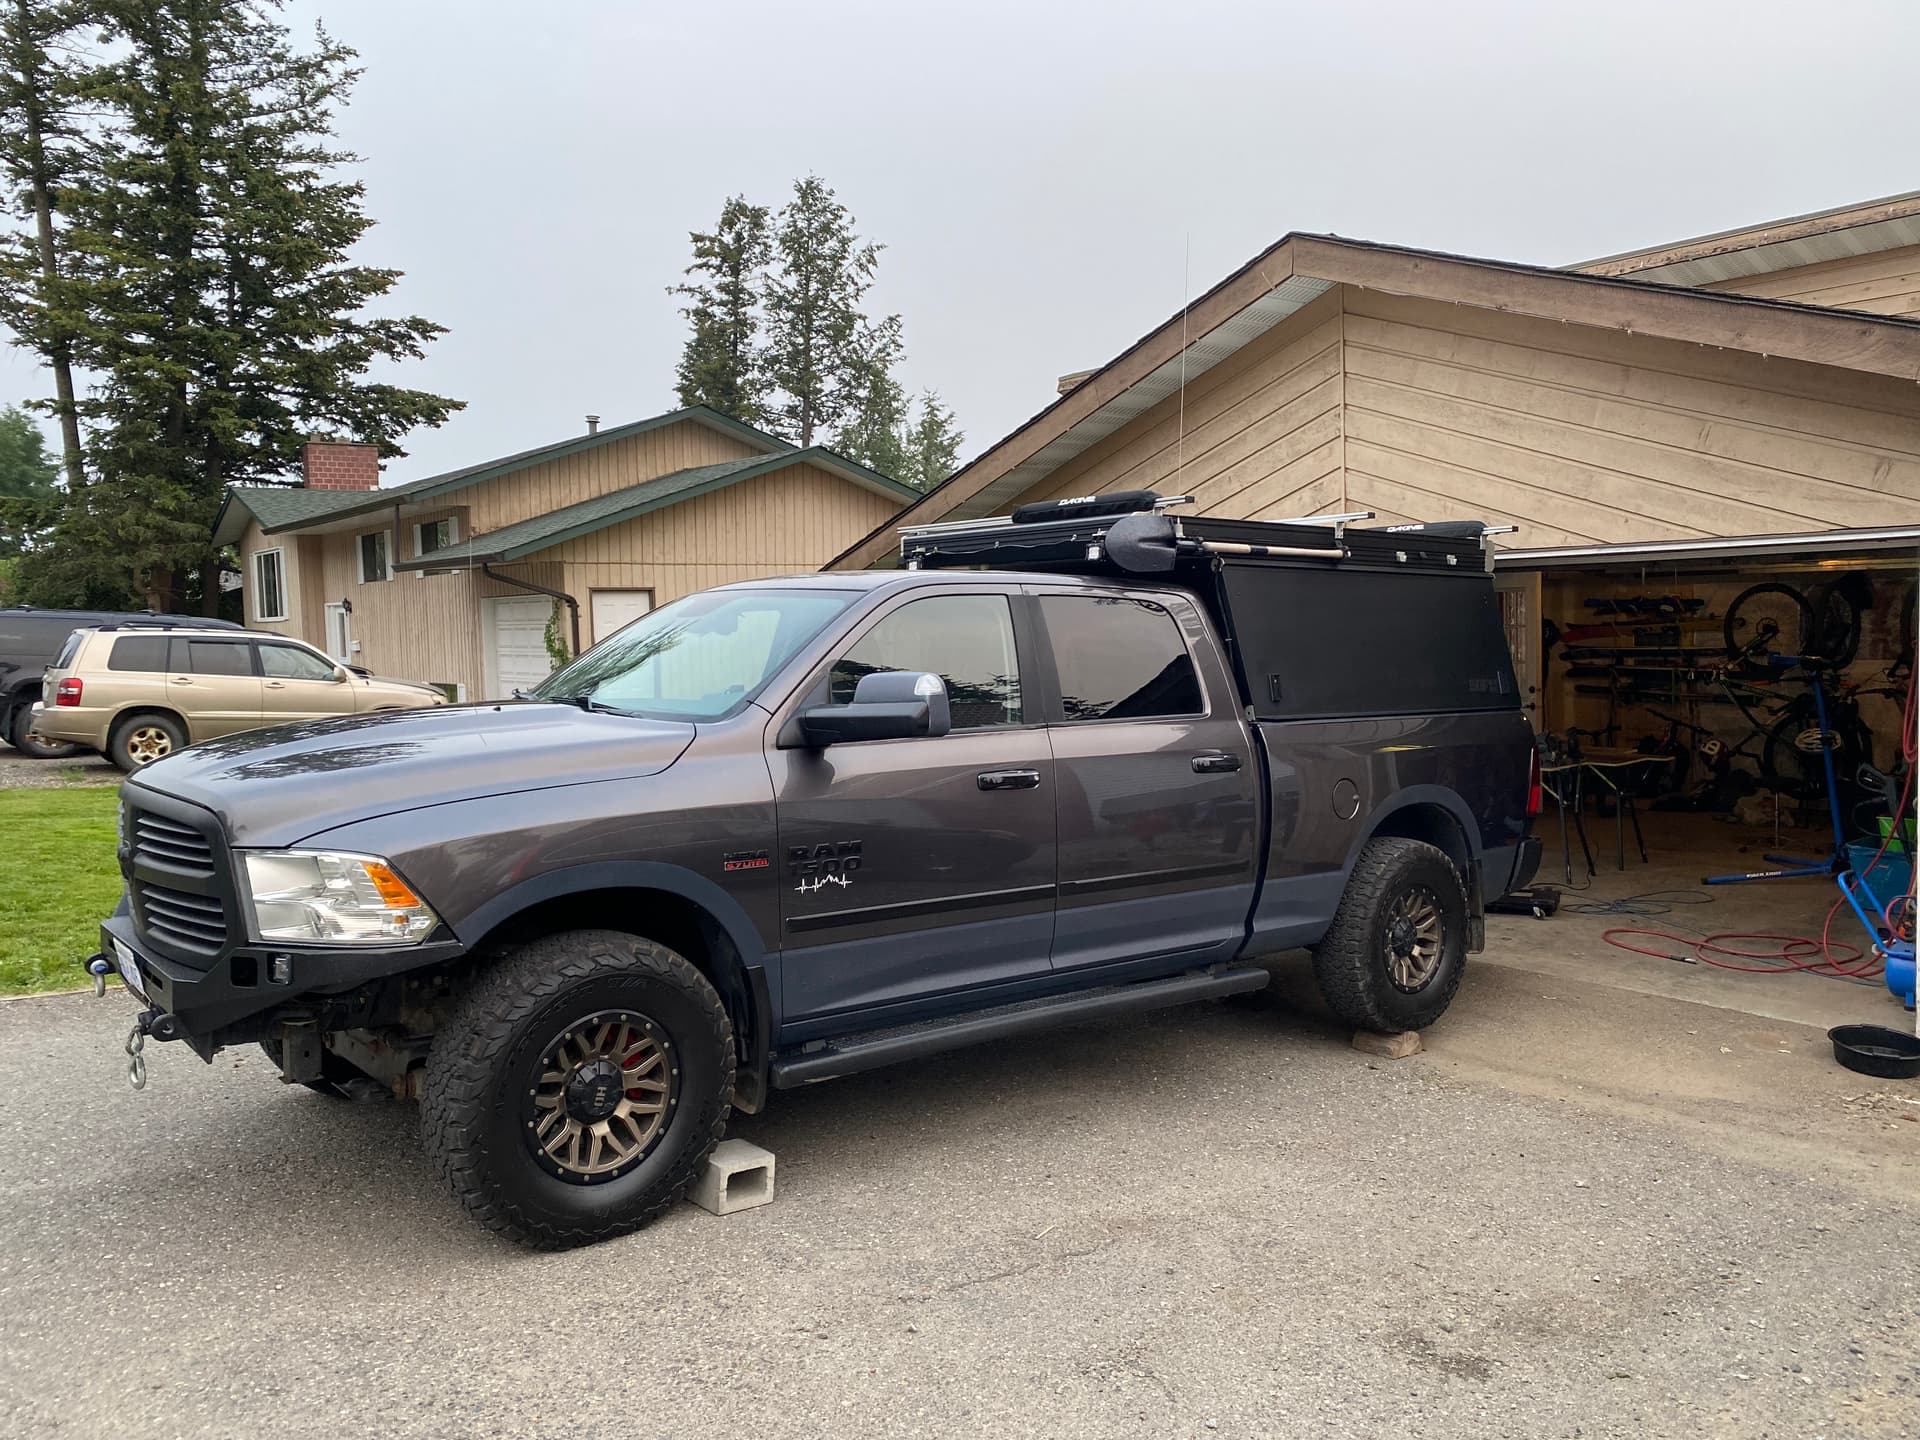
Shameless self plug Just love this rig! It is so dialled right now, but dream of proper suspension upgrade. Heading out for 2 weeks to Revy  Fully loaded up, only things missing are the bikes and the boy. Rockin’ about 55lbs in the air bags.


10 Likes
On my two week adventure we put the set up through the paces. Rattled a few bolts loose on the front end, and had the Mantis Claw somehow fail randomly.

Sent in a service request, and as soon as they got to it they gave me a call. Great work @GFC ! Have a new setup coming, and return label for the one I have so they can backwards engineer what failed. That’s a commitment to a quality product
**I received all my replacement parts in 2 weeks to central BC in Canada. They sent a whole ladder, mantis claws and mounts. I’ve packaged up the old one and shipped it back to them to investigate what failed to cause it to keep coming loose. Love the commitment from the team @GFC
4 Likes
No rest for the wicked. Got home from the 2 week adventure yesterday and onto the summers last project. Raptor line ‘Trigger’ along the wheel wells and rocker panels. I’ve decided to try using their Color match instead of the black two tone. Fingers crossed it’s a good match.
Here’s my slew of packages from amazon to get this going.

I needed to get a few tools which include PPE mask, sprayer, scotch bright, masking paper, 180 grit hook/loop, Air sander, tack cloth, primer, adhesion promoter. All thanks to my work ‘performance points’ got me an amazon gift card
Then I got the mud flaps, running boards, and rear bumper off. Washed the truck in the hopes of getting started tomorrow.

2 Likes
Got started after work. Unfortunately, I wasn’t able to get the one side fully done. So will have to re-degrease tomorrow when I start back up.
That first sand is a tough one on OEM paint


Then trying to get the 1/4” tape in a nice uniform arc 

Almost ready for paint. Going to cut the masking to open the doors and mask the lower rocker inside. Then it’s go time.
5 Likes
Got right back into this afternoon after work 

PAU Color code tint mixed with Tintable Raptor Liner/hardener. I saw a tip to mix it externally because the Tint, Hardener, and Raptor liner don’t all fit in the bottle. Worked great!


Sprayed 1 full bottle to do the whole side and lower kick panels inside the doors. The key is to remove the tape sooner than later. I put down a thin coat of adhesion promoter before spraying the paint. Just to be sure it sticks. I’m very happy with the results. I don’t think I have time to finish the other side this week before we go camping this weekend. So it’ll have to wait to next week
Very excited about how it turned out. Now hopefully it’s dry enough to partially close the doors for the night 
12 Likes
Moved onto the drivers side today on my Raptor liner rocker panel project. Well, got the 1/4” tape on and first yesterday.

Then after work I tried to slam through getting it all done before dark. Got the truck masked and sanded by before dinner.


Then got back into it and got the body cleaned, wiped, primed, adhesive promoter and started spraying. That’s when things started going south . When I started mixing the liner, I must’ve used too much hardener on another project. So it wasn’t quite enough so I don’t think it thinned the liner out enough. Now, I cleaned my UPOL gun with thinner after the last time. So I get my paint all mixed and poured back into the bottle. Go to start spraying and nothing is coming out So as I discovered after it was slightly plugged. Anyhow, I got almost the whole truck done but ran out of paint!


Ordered more liner, tint and hardener. What’s done looks good so far.
3 Likes
What did ya use to mount the shovel?
Quick Fist’s then got a longer bolt from the hardware store for the t-nuts
Quick Fist Original Clamp for Mounting Tools and Equipment 1"-2-1/4" Diameter (Pack of 2) https://a.co/d/fyMeGng
1 Like
Well I finally got my paint and for some reason I was in a big panic to get it done. Excitement I guess, but the job shows the hasty work. I’m not super happy with how the drivers side or mirrors turned out.
Decided to do the mirrors in Raptor liner because I knew I’d have extra. I got greed and it ran.

Drivers mirror looks good

So here’s the lesson kids; first thought best though. When I opened the package and saw the bottle of hardener it said 8oz(for 1L). I thought, I should use the measuring cup that came with the other kit. I didn’t…so I poured all the hardener and liner, and tint into the bucket. I immediately knew I fucked up! I knew it was too thin and too light. Then instead of stopping and thinking about a solution I just carried on.
It only shows I think if you know it’s there and look for it.

This mirror I fucked up and it ran. I tried to fix it and ran out of paint. I’ll sand this one down and re-do it at some point in time.

Overall it looks good and glad I fixed the rust, cleaned it to steel, primed it and put a good coat. Hope it lasts.
7 Likes
Looks good overall! Some sun and road grime and the color difference will blend for sure.
2 Likes
Thanks Josh, that’s my hope. There’s a good chance I’ll make some kind of change. Been really thinking of lining the whole thing. Then I won’t need to worry about the mis match 
1 Like
Got the mud flaps and running boards on today. Truck looks pretty good and slight ‘custom’ mod mistake.

2 Likes
With winter on the horizon I decided to try a different configuration in my diesel heater case. The issue I’m trying to resolve is exhaust fumes getting pulled into the heated air. This was caused by having the exhaust and intake air in the same airspace. I thought I would be able to tighten the exhaust enough to not have leaks. It didn’t work.
So here we go; I pulled it apart, drilled the case to allow for the heater to be mounted on its side. This would make all connections outside the case.


Then I had to re-orient the output to the other side of the case. This is because with these heaters mounted on their sides. The fuel inlet has to be on the top of the intake air and exhaust. So the added benefit of getting outside air from outside the case as well.
This is the case when it’s all packed up and ready for the lid.

1 Like
Busy week, must have a busy mind which explains the project distractions.
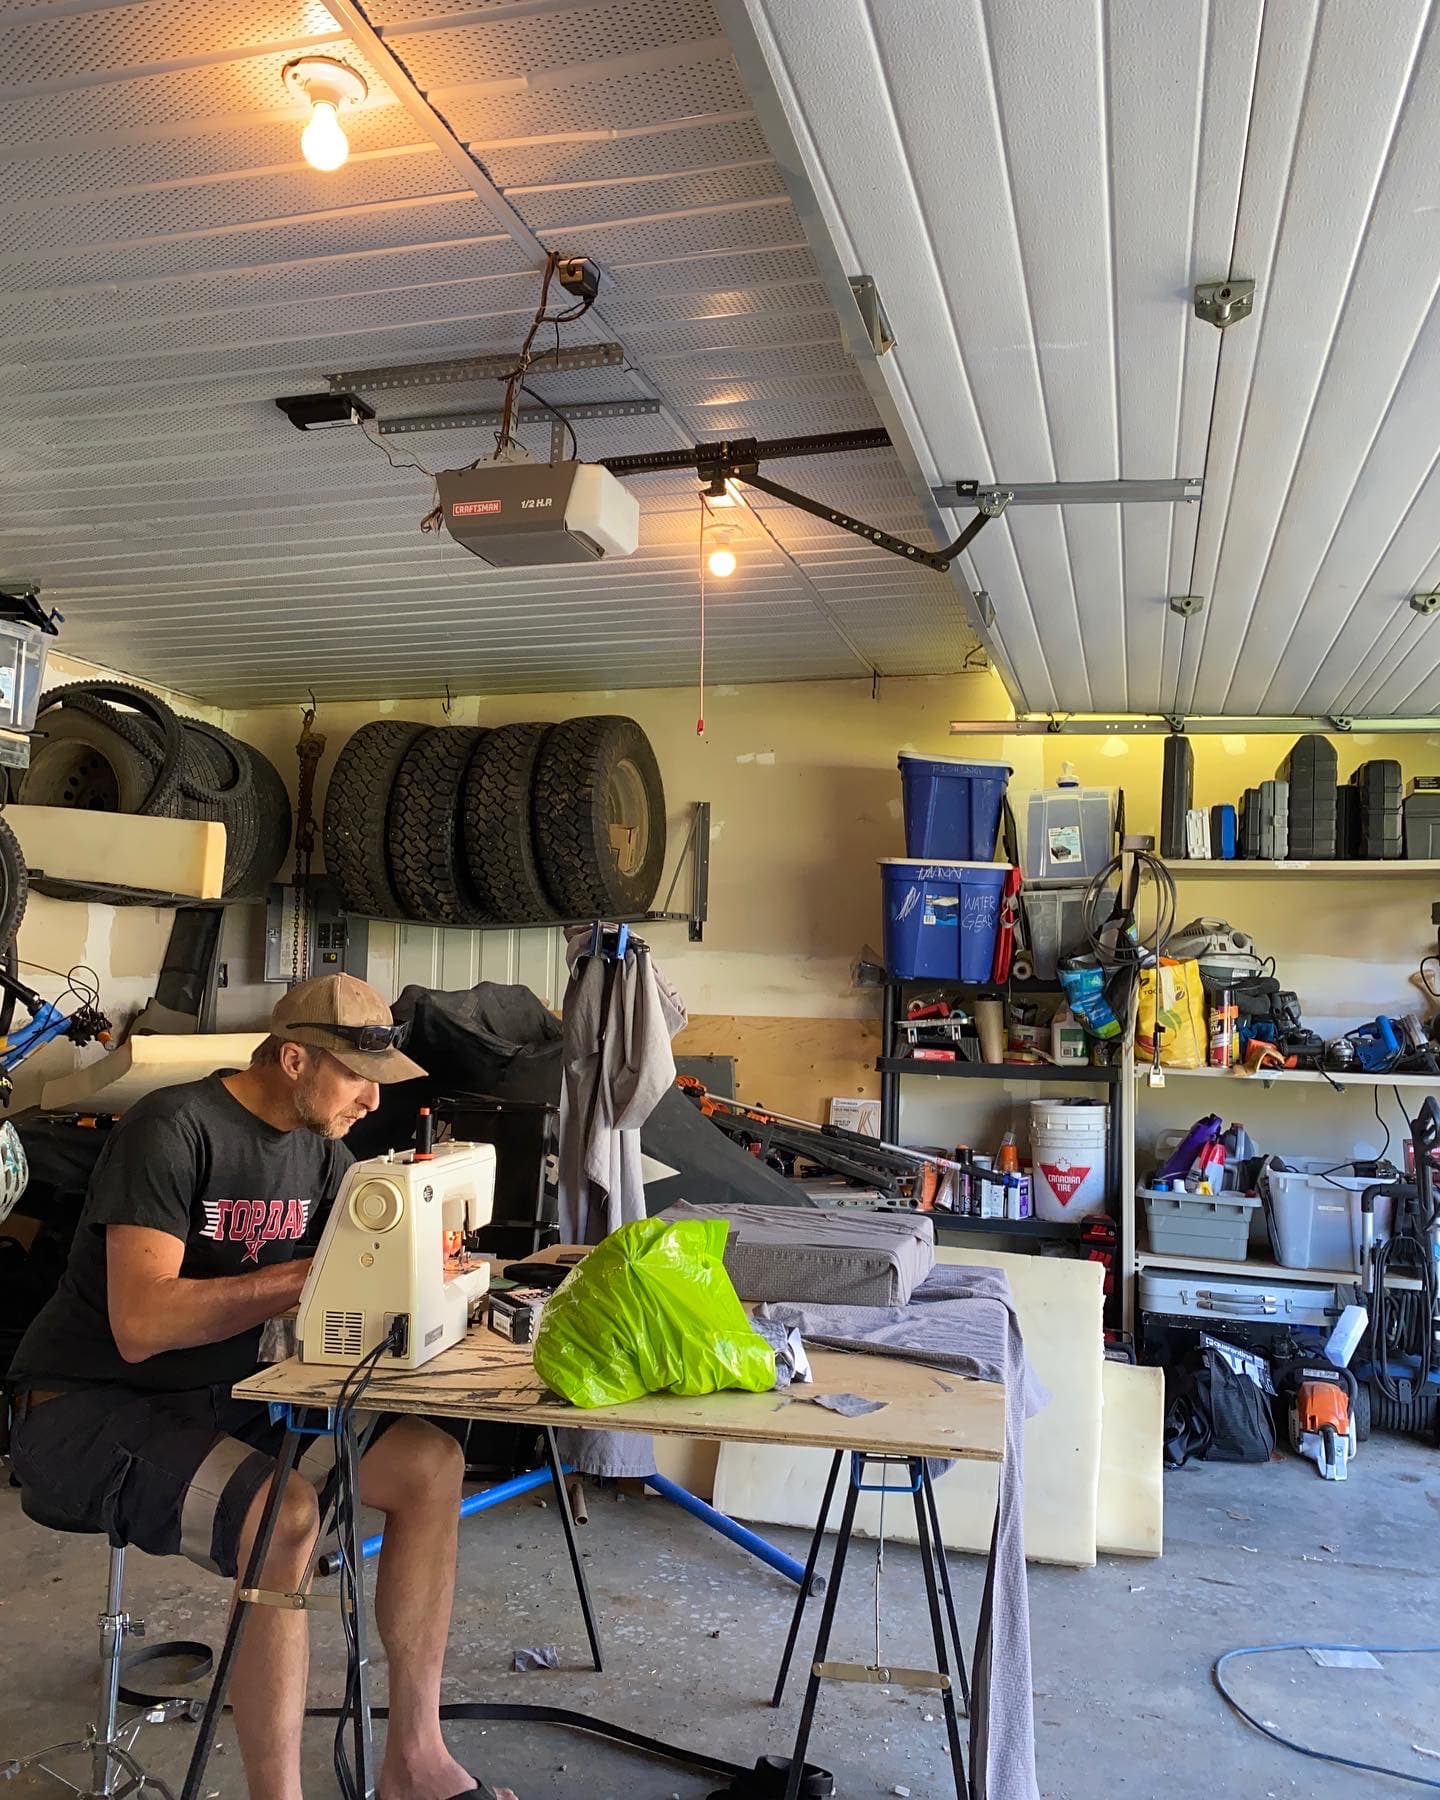
Cut up some 4” foam I had kicking around into a lower transform-a-bed in the lower for when the whole fam is partying.

Then I packed the sewing machine to the garage and made some fitted sheets from an old top sheet we don’t use (because who uses top sheets when you have duvets?)

I think I’m getting better. I had never done a ZigZag stitch before.

Test fits look good, works great as a couch!!!

Then in typical ‘Wes’ fashion of 150% giv’r I managed to break a foot sewing the elastics on

2 Likes
I know right??? I have no idea what happened, but it doesn’t surprise me that I was givin’ er a little too hard eh? I know what you’re saying, I’ve been holding off on getting a welder, but I know I need one and want one. I want to make some rock slides and need to make a skid plate for my high clearance bumper.
Luckily for me geometry isn’t for me, so the whole CAD 3D printer idea is out. I tried looking into some of the free cad stuff to try to design some stuff and I suck.
1 Like
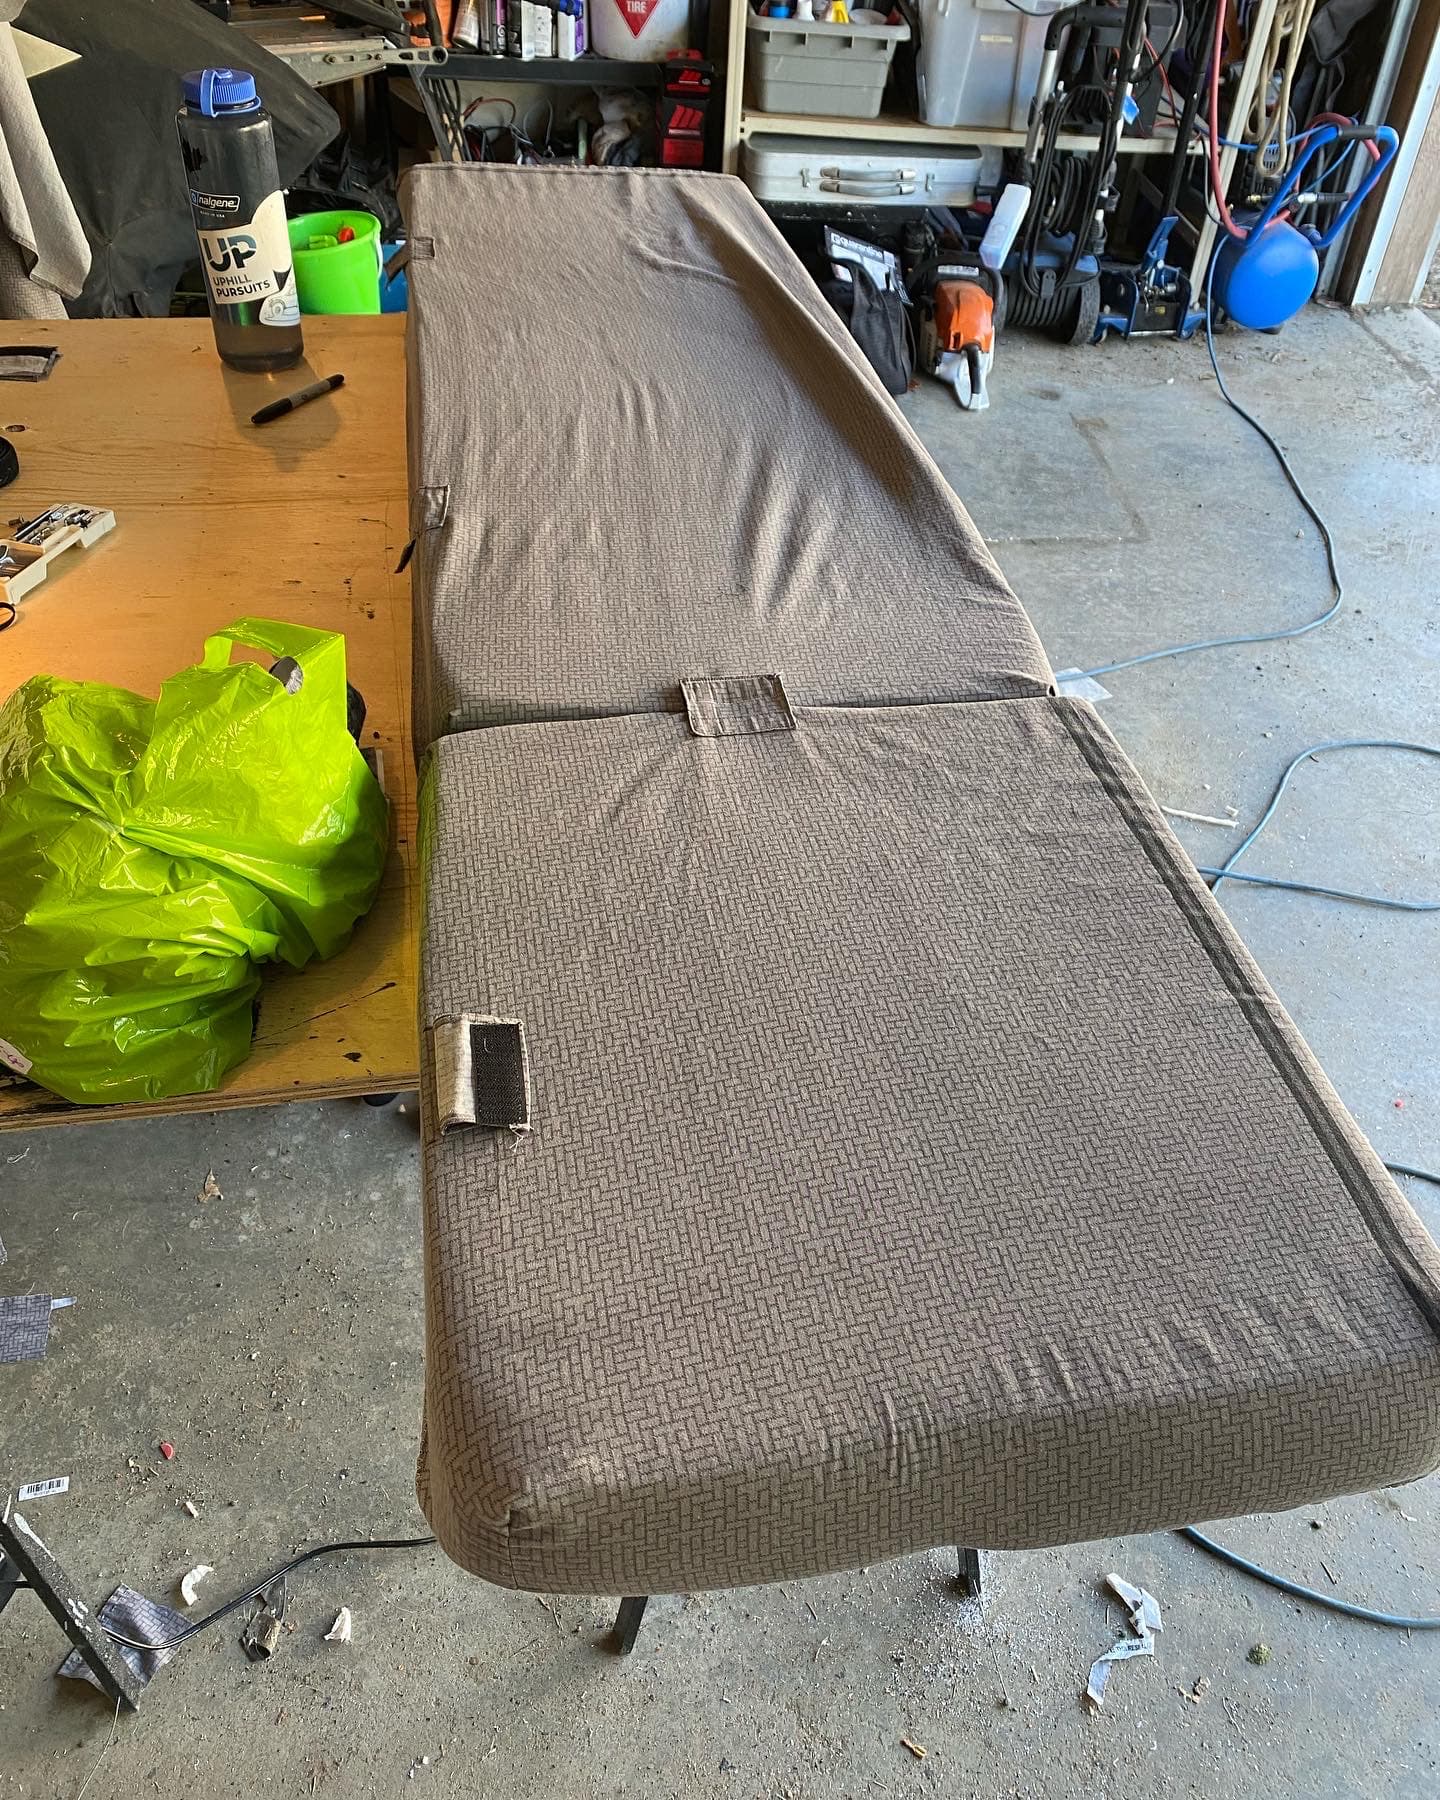
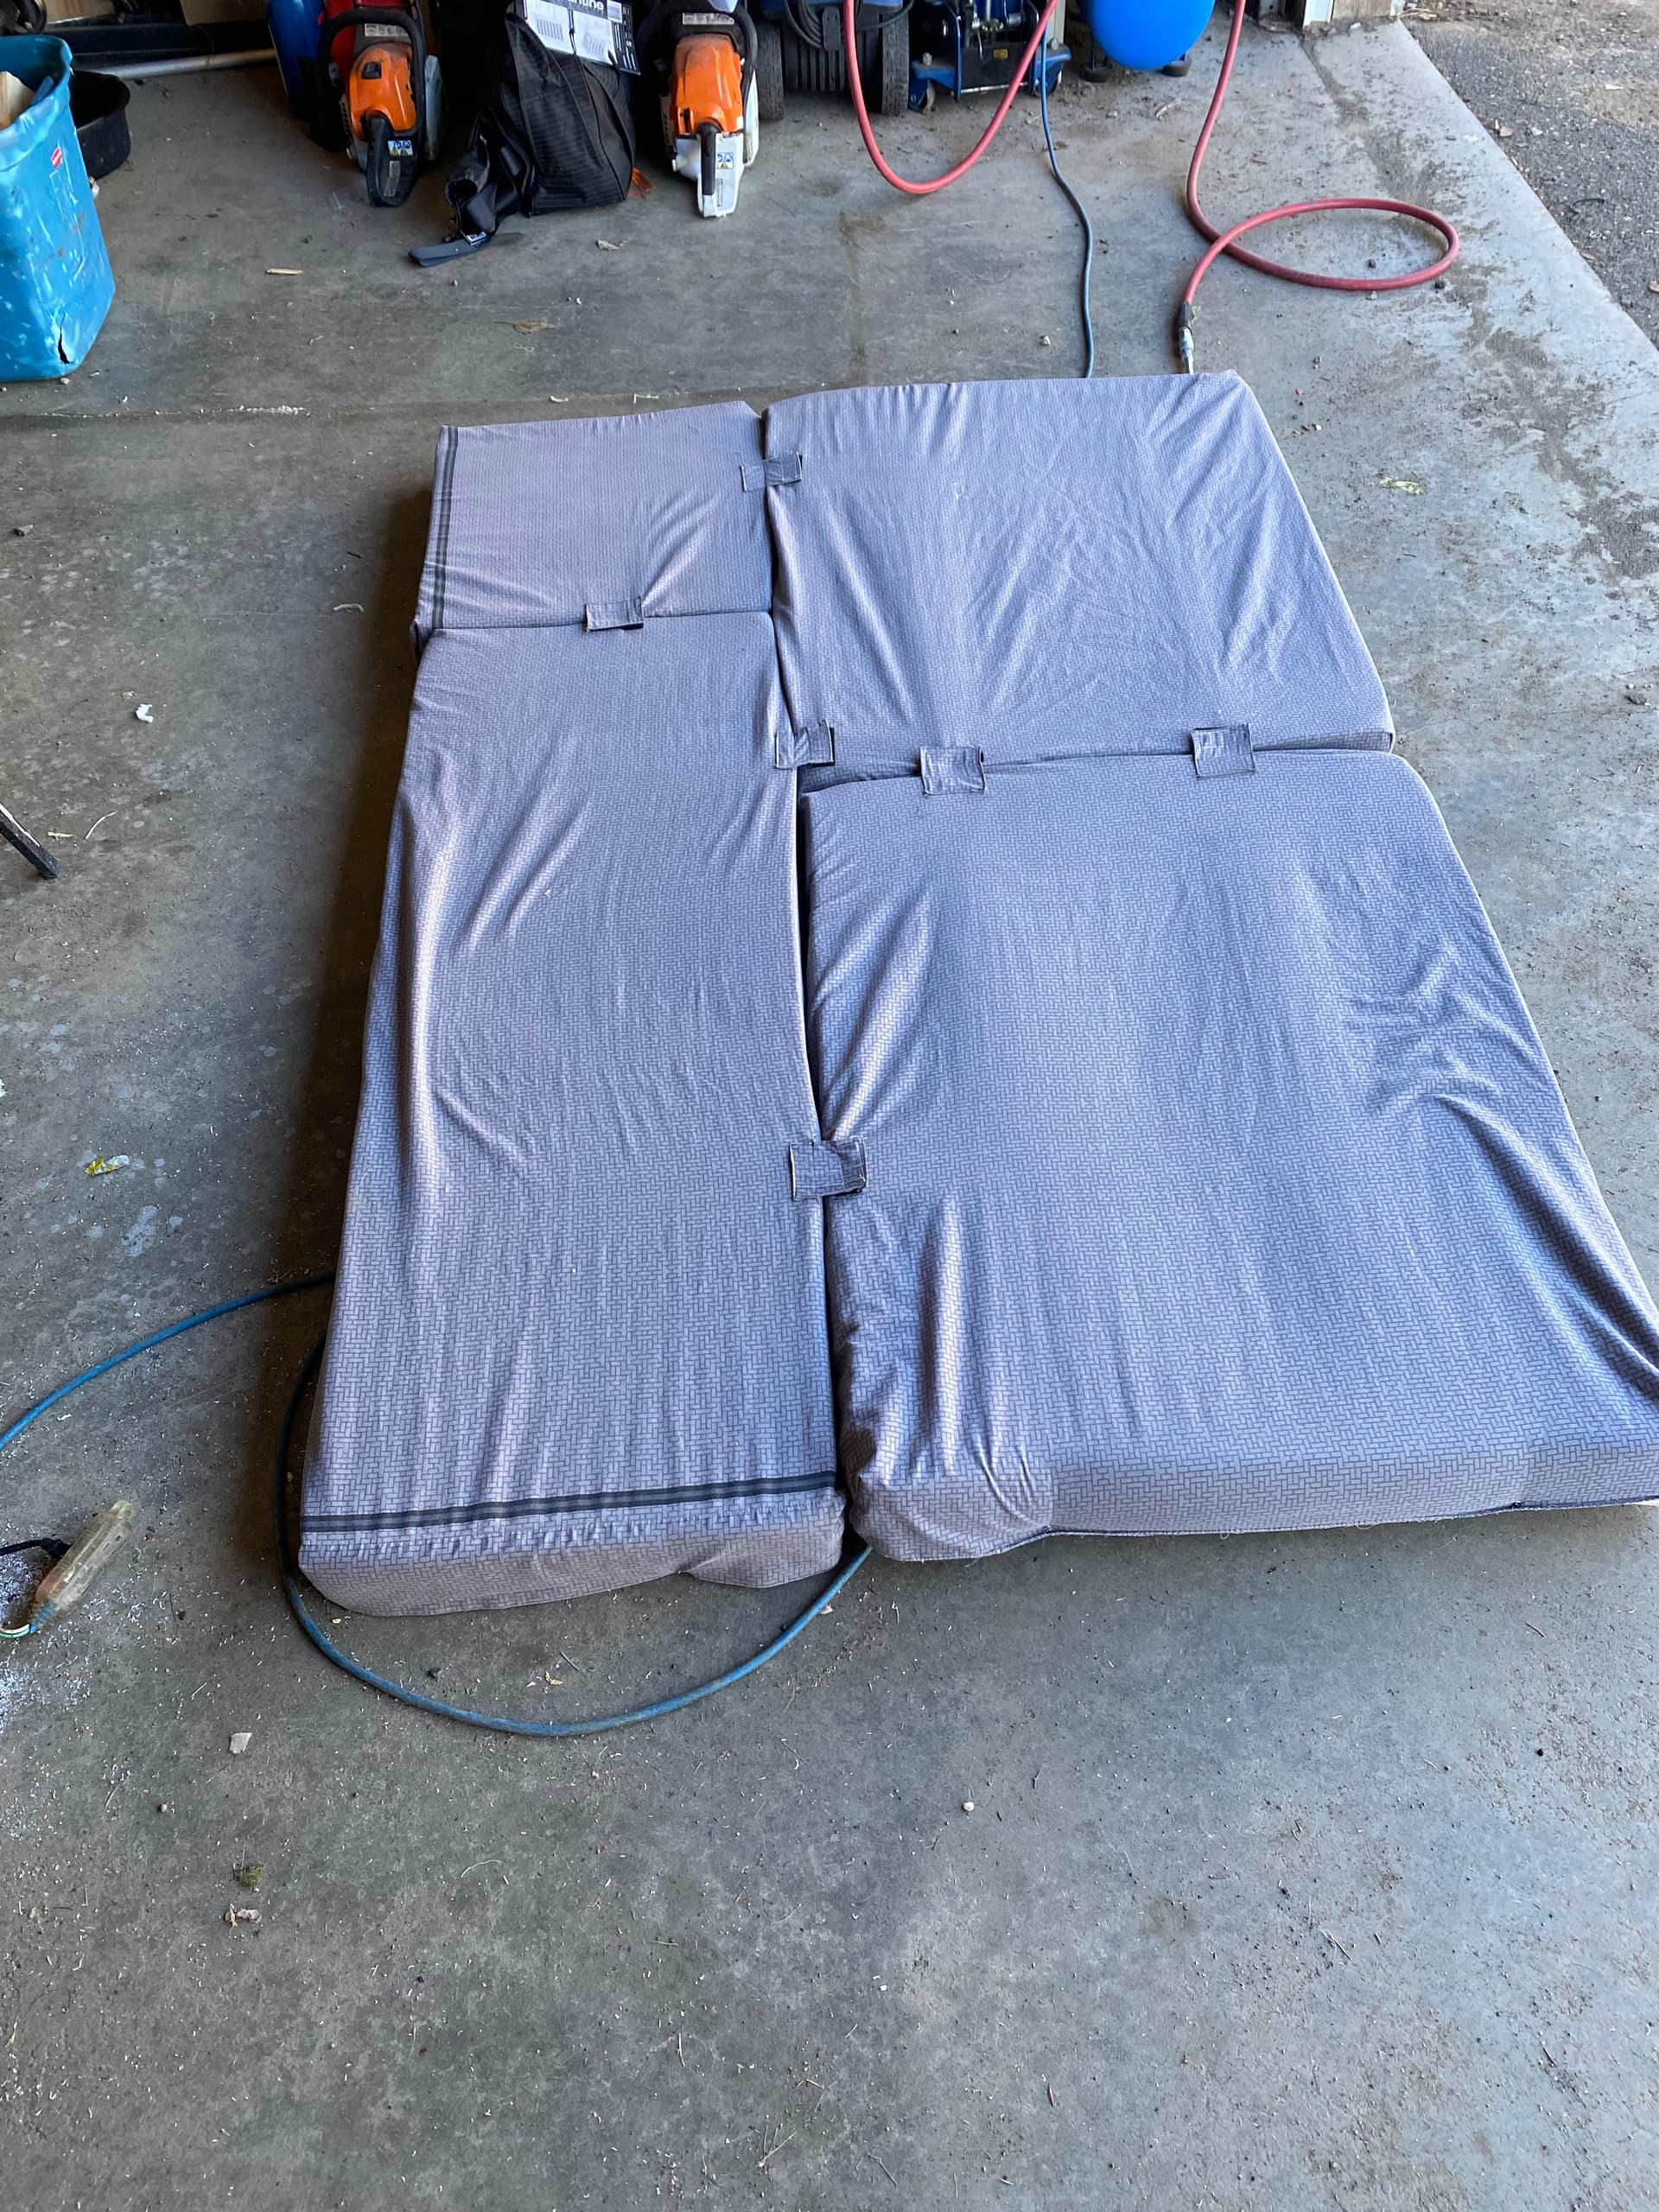
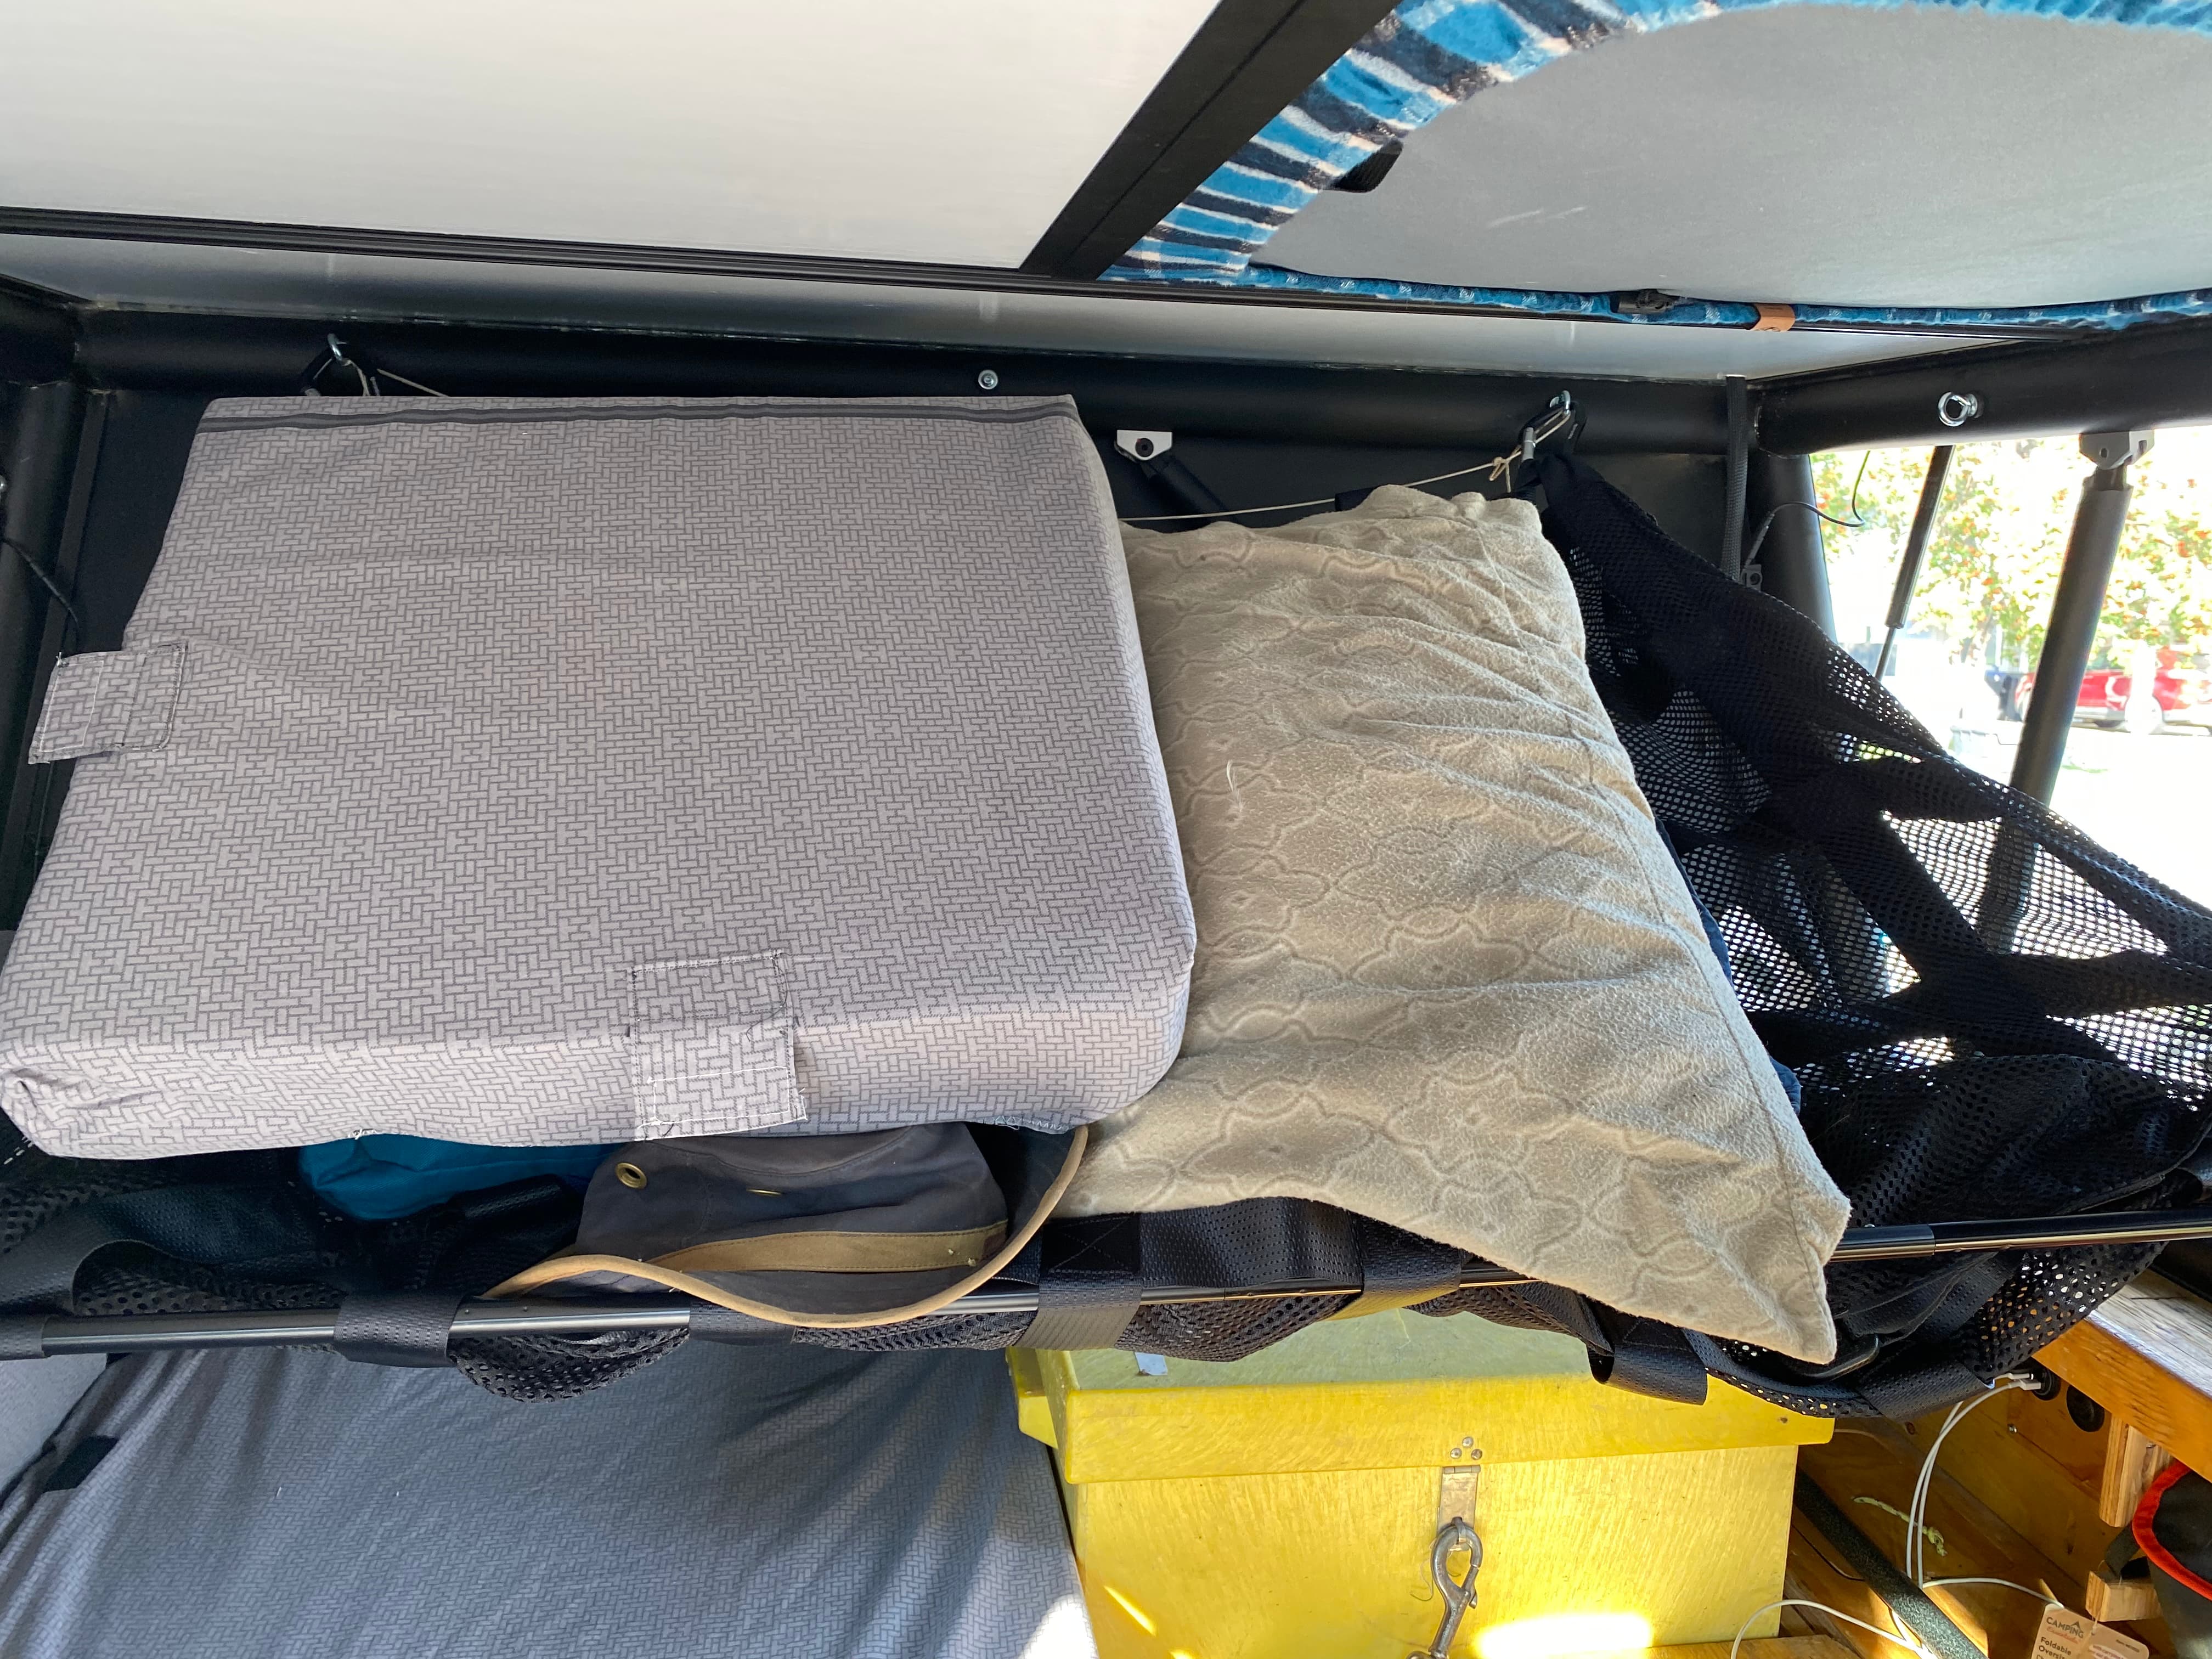
Got to some more sewing once we tested out the Trigger ‘Love Seat’. Found the pieces were moving around in the night. Also the 3” foam is too soft so we’ve ordered up some closed cell foldable pads to mod to fit the panels.
2 Likes
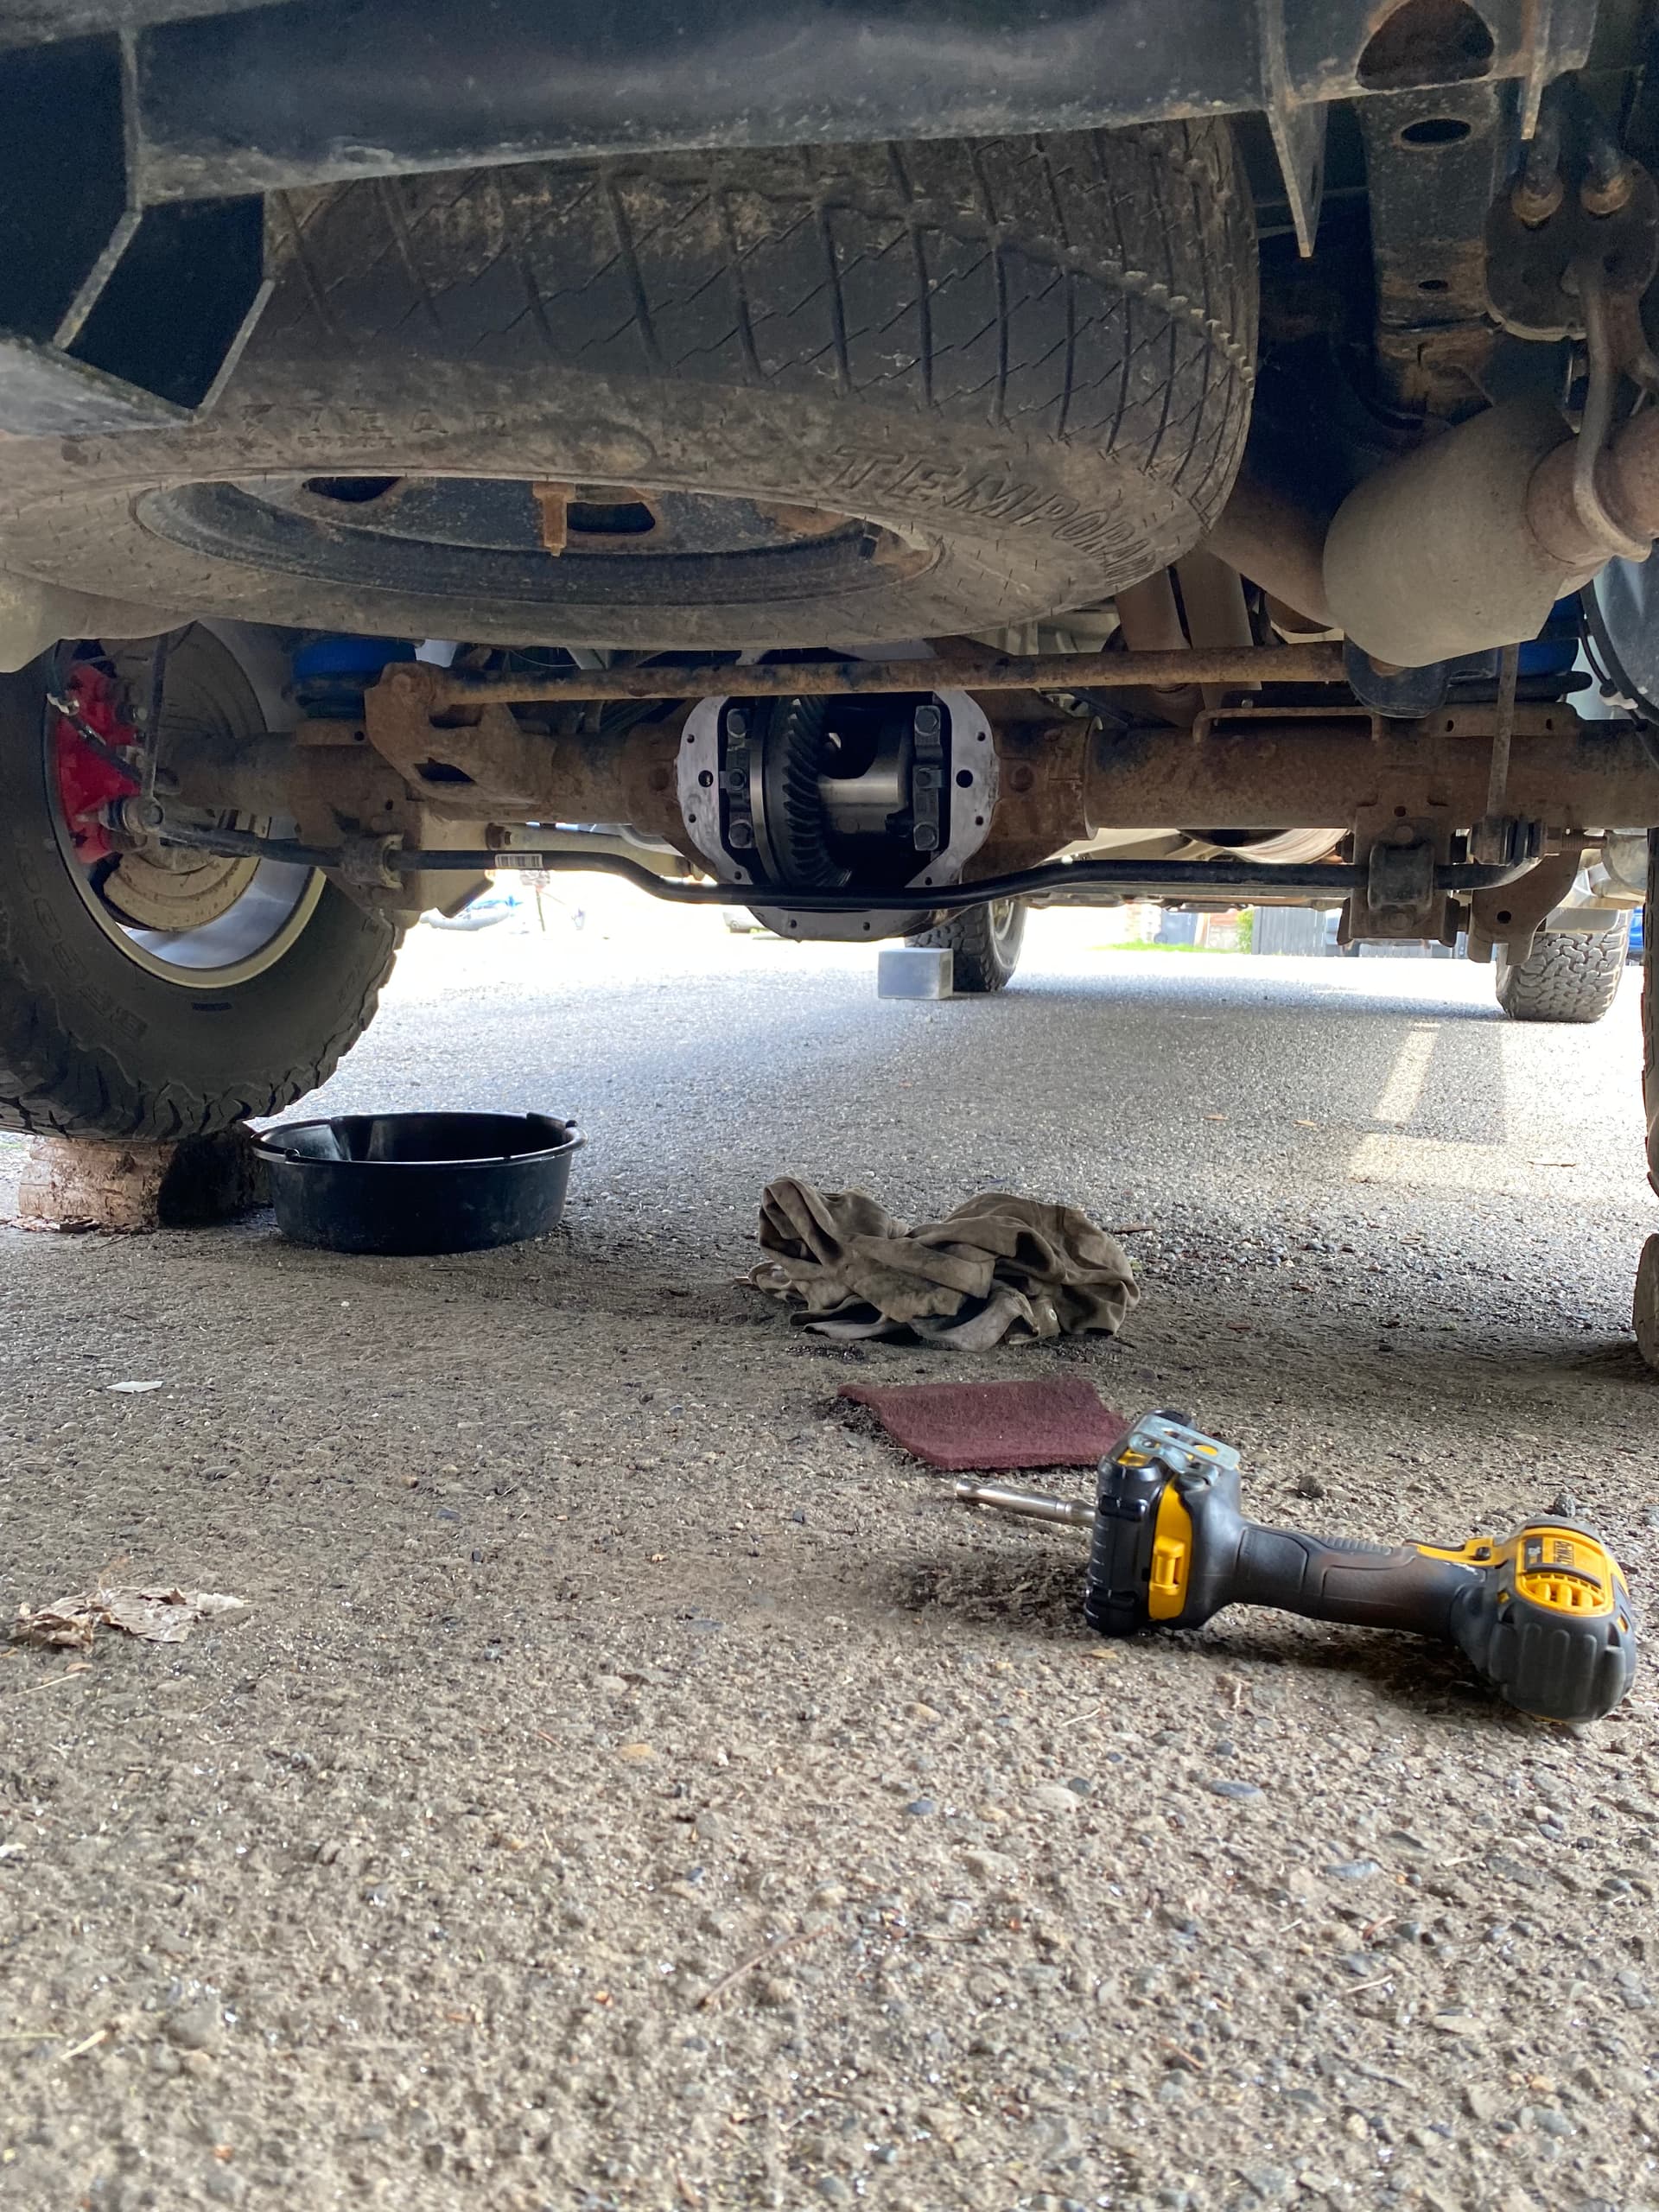
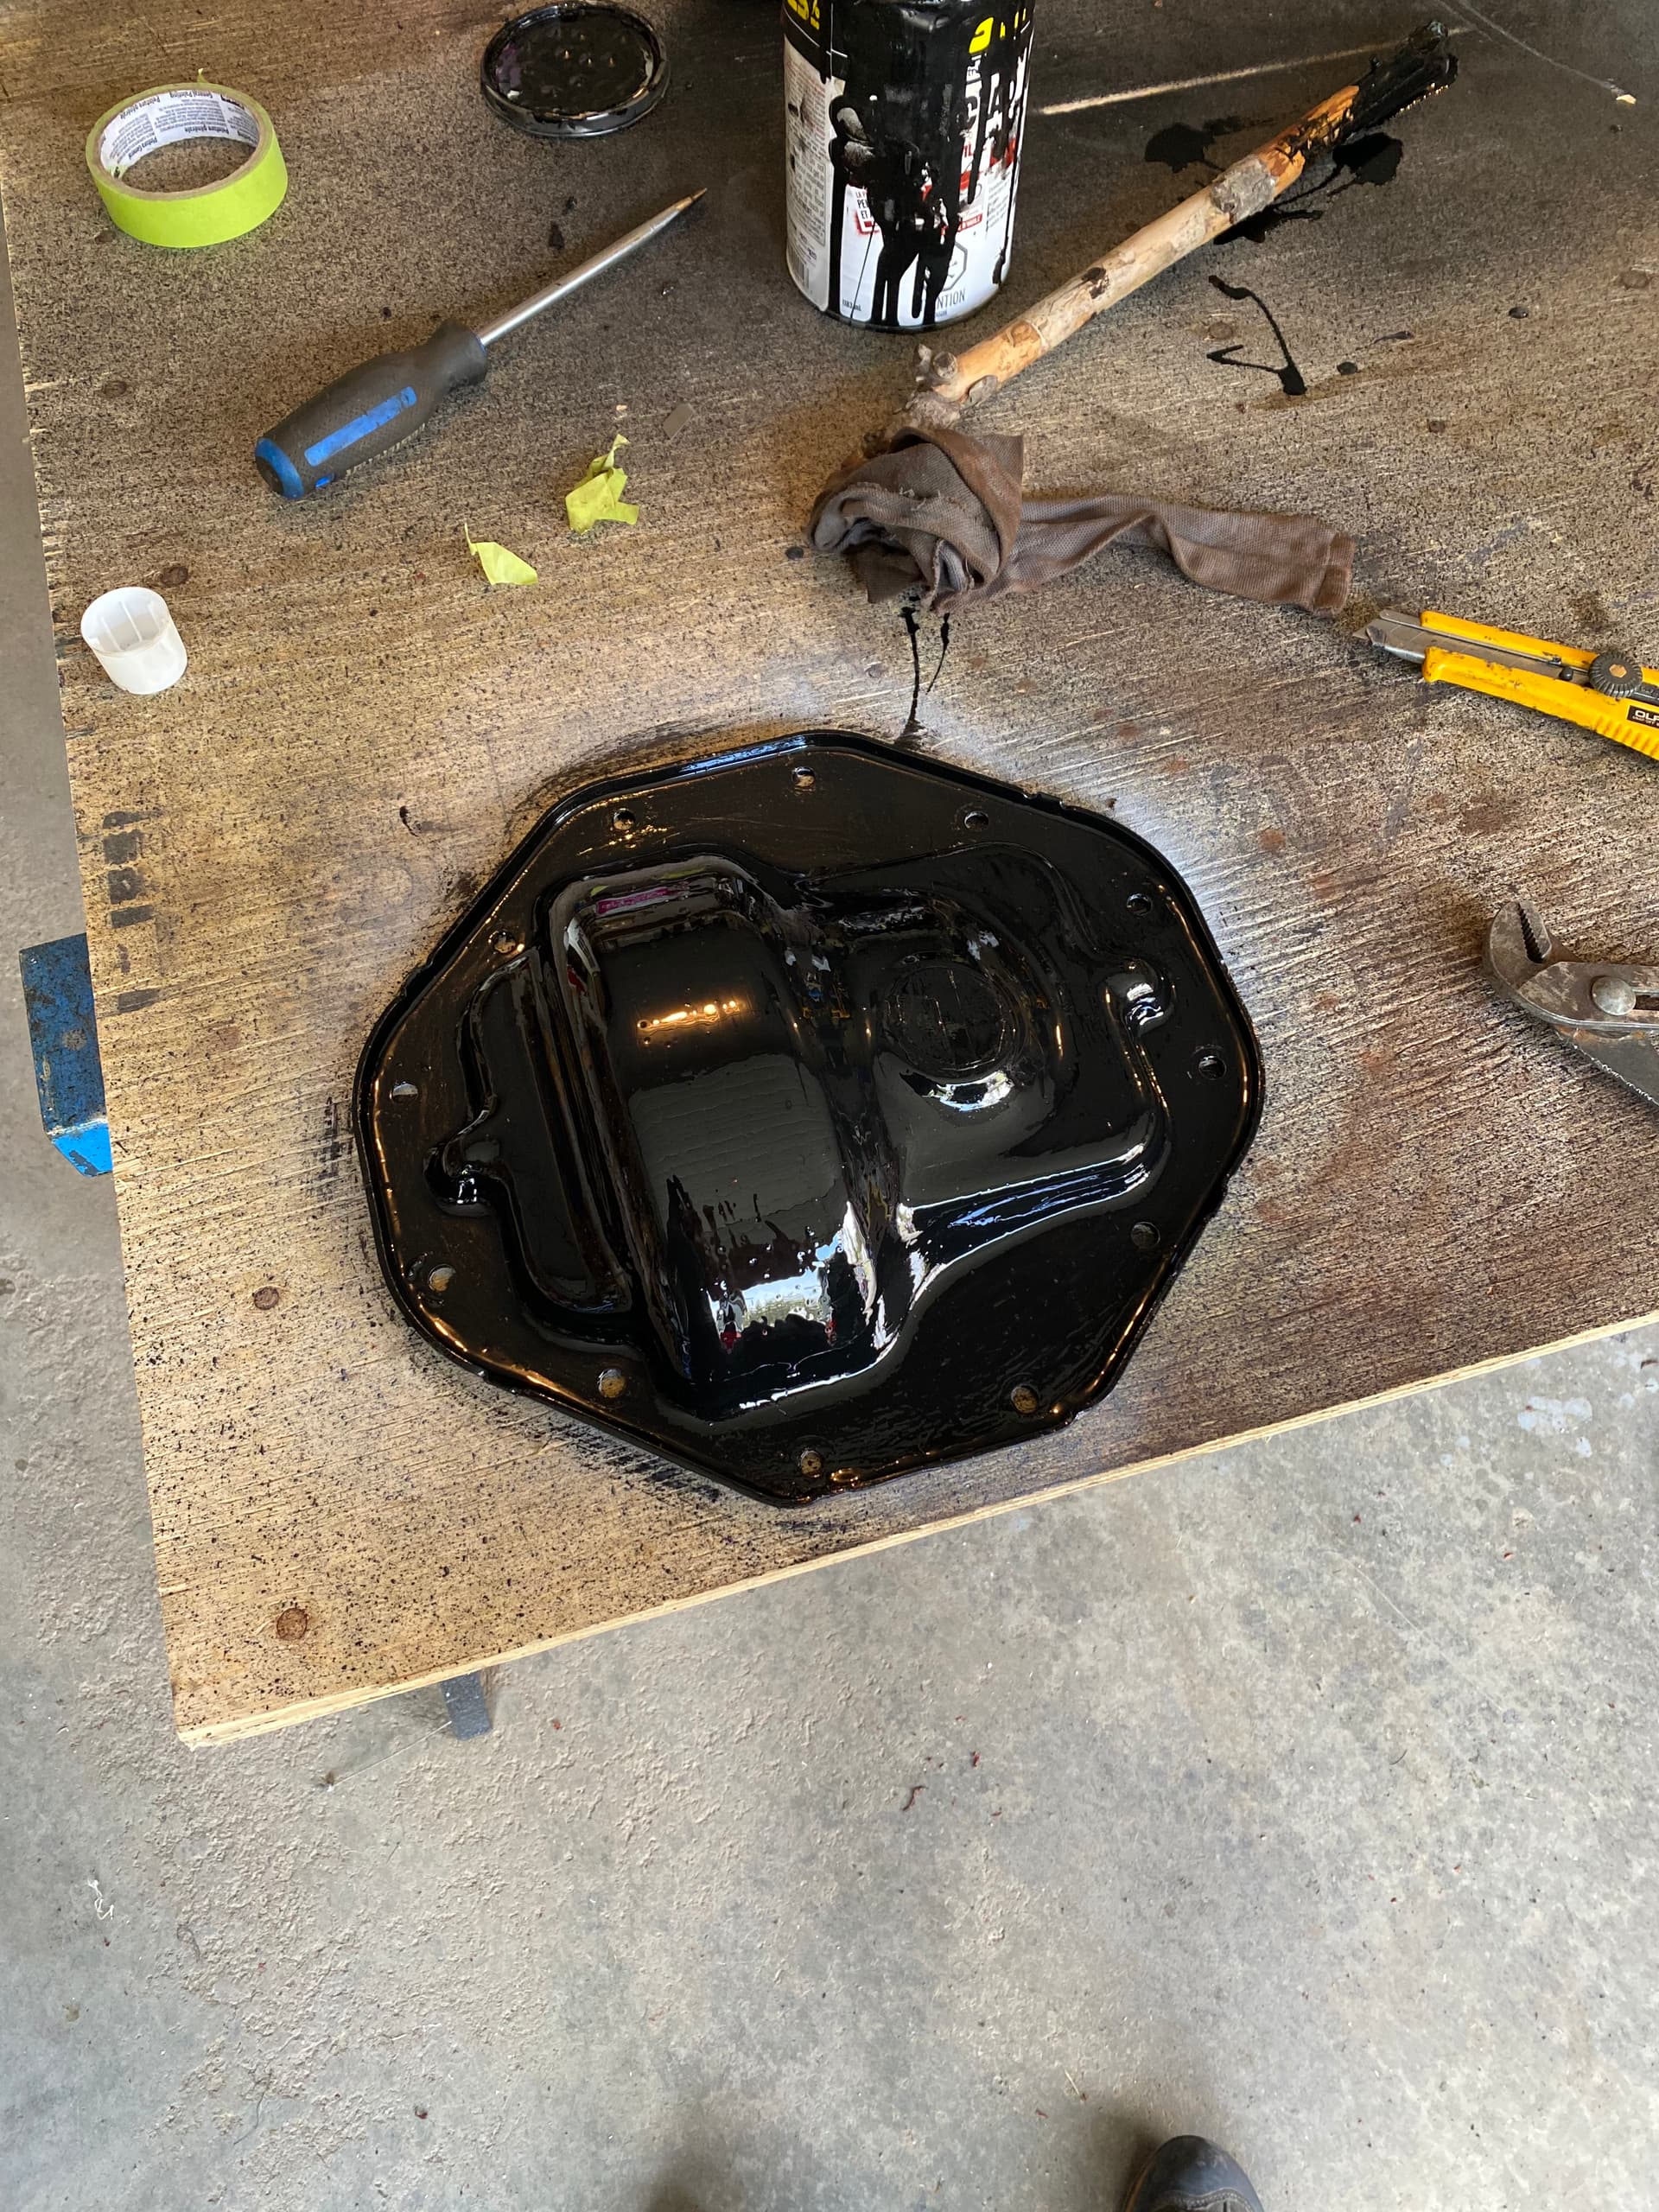
Had to re-do my rear axle oil and gasket. Kinda glad I did, dusty roads wreak havoc.
Figured while I wait for the paint to dry I’d take the clay bar to the truck to buff out some ‘Cariboo pin striping’ Fairly happy with the results.
2 Likes
Found this laying around about to be thrown in the garbage at work!!!
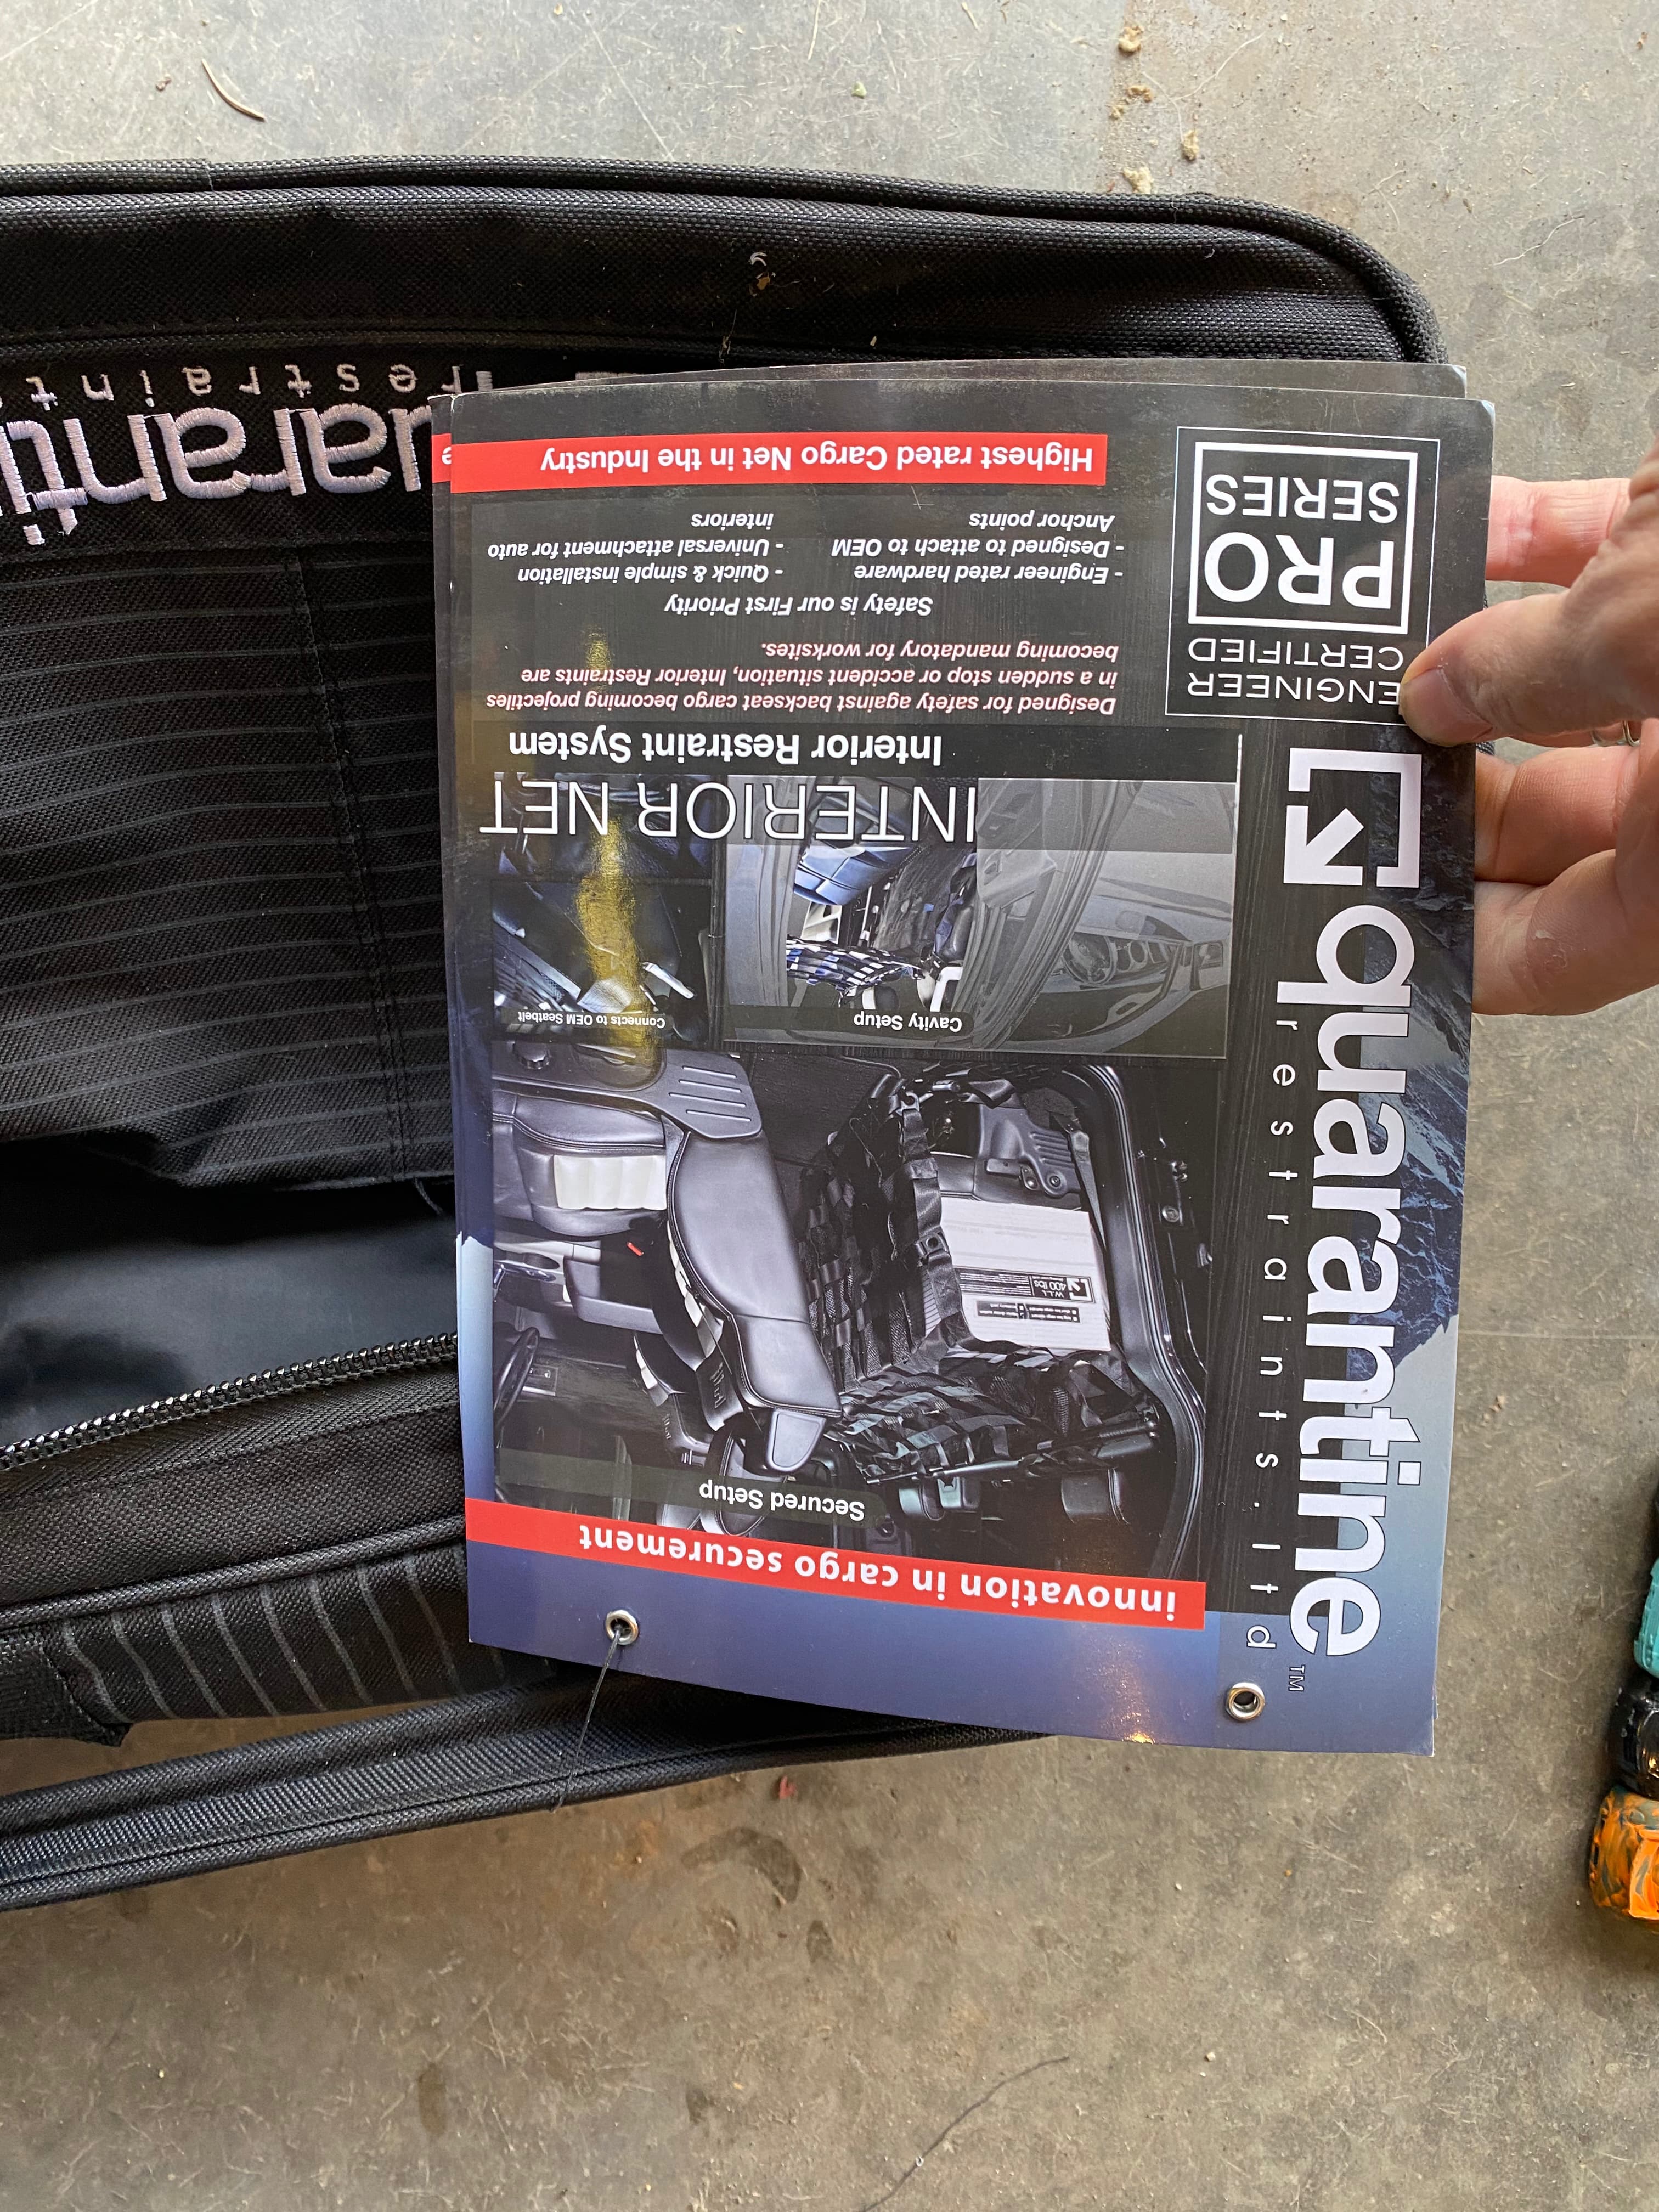

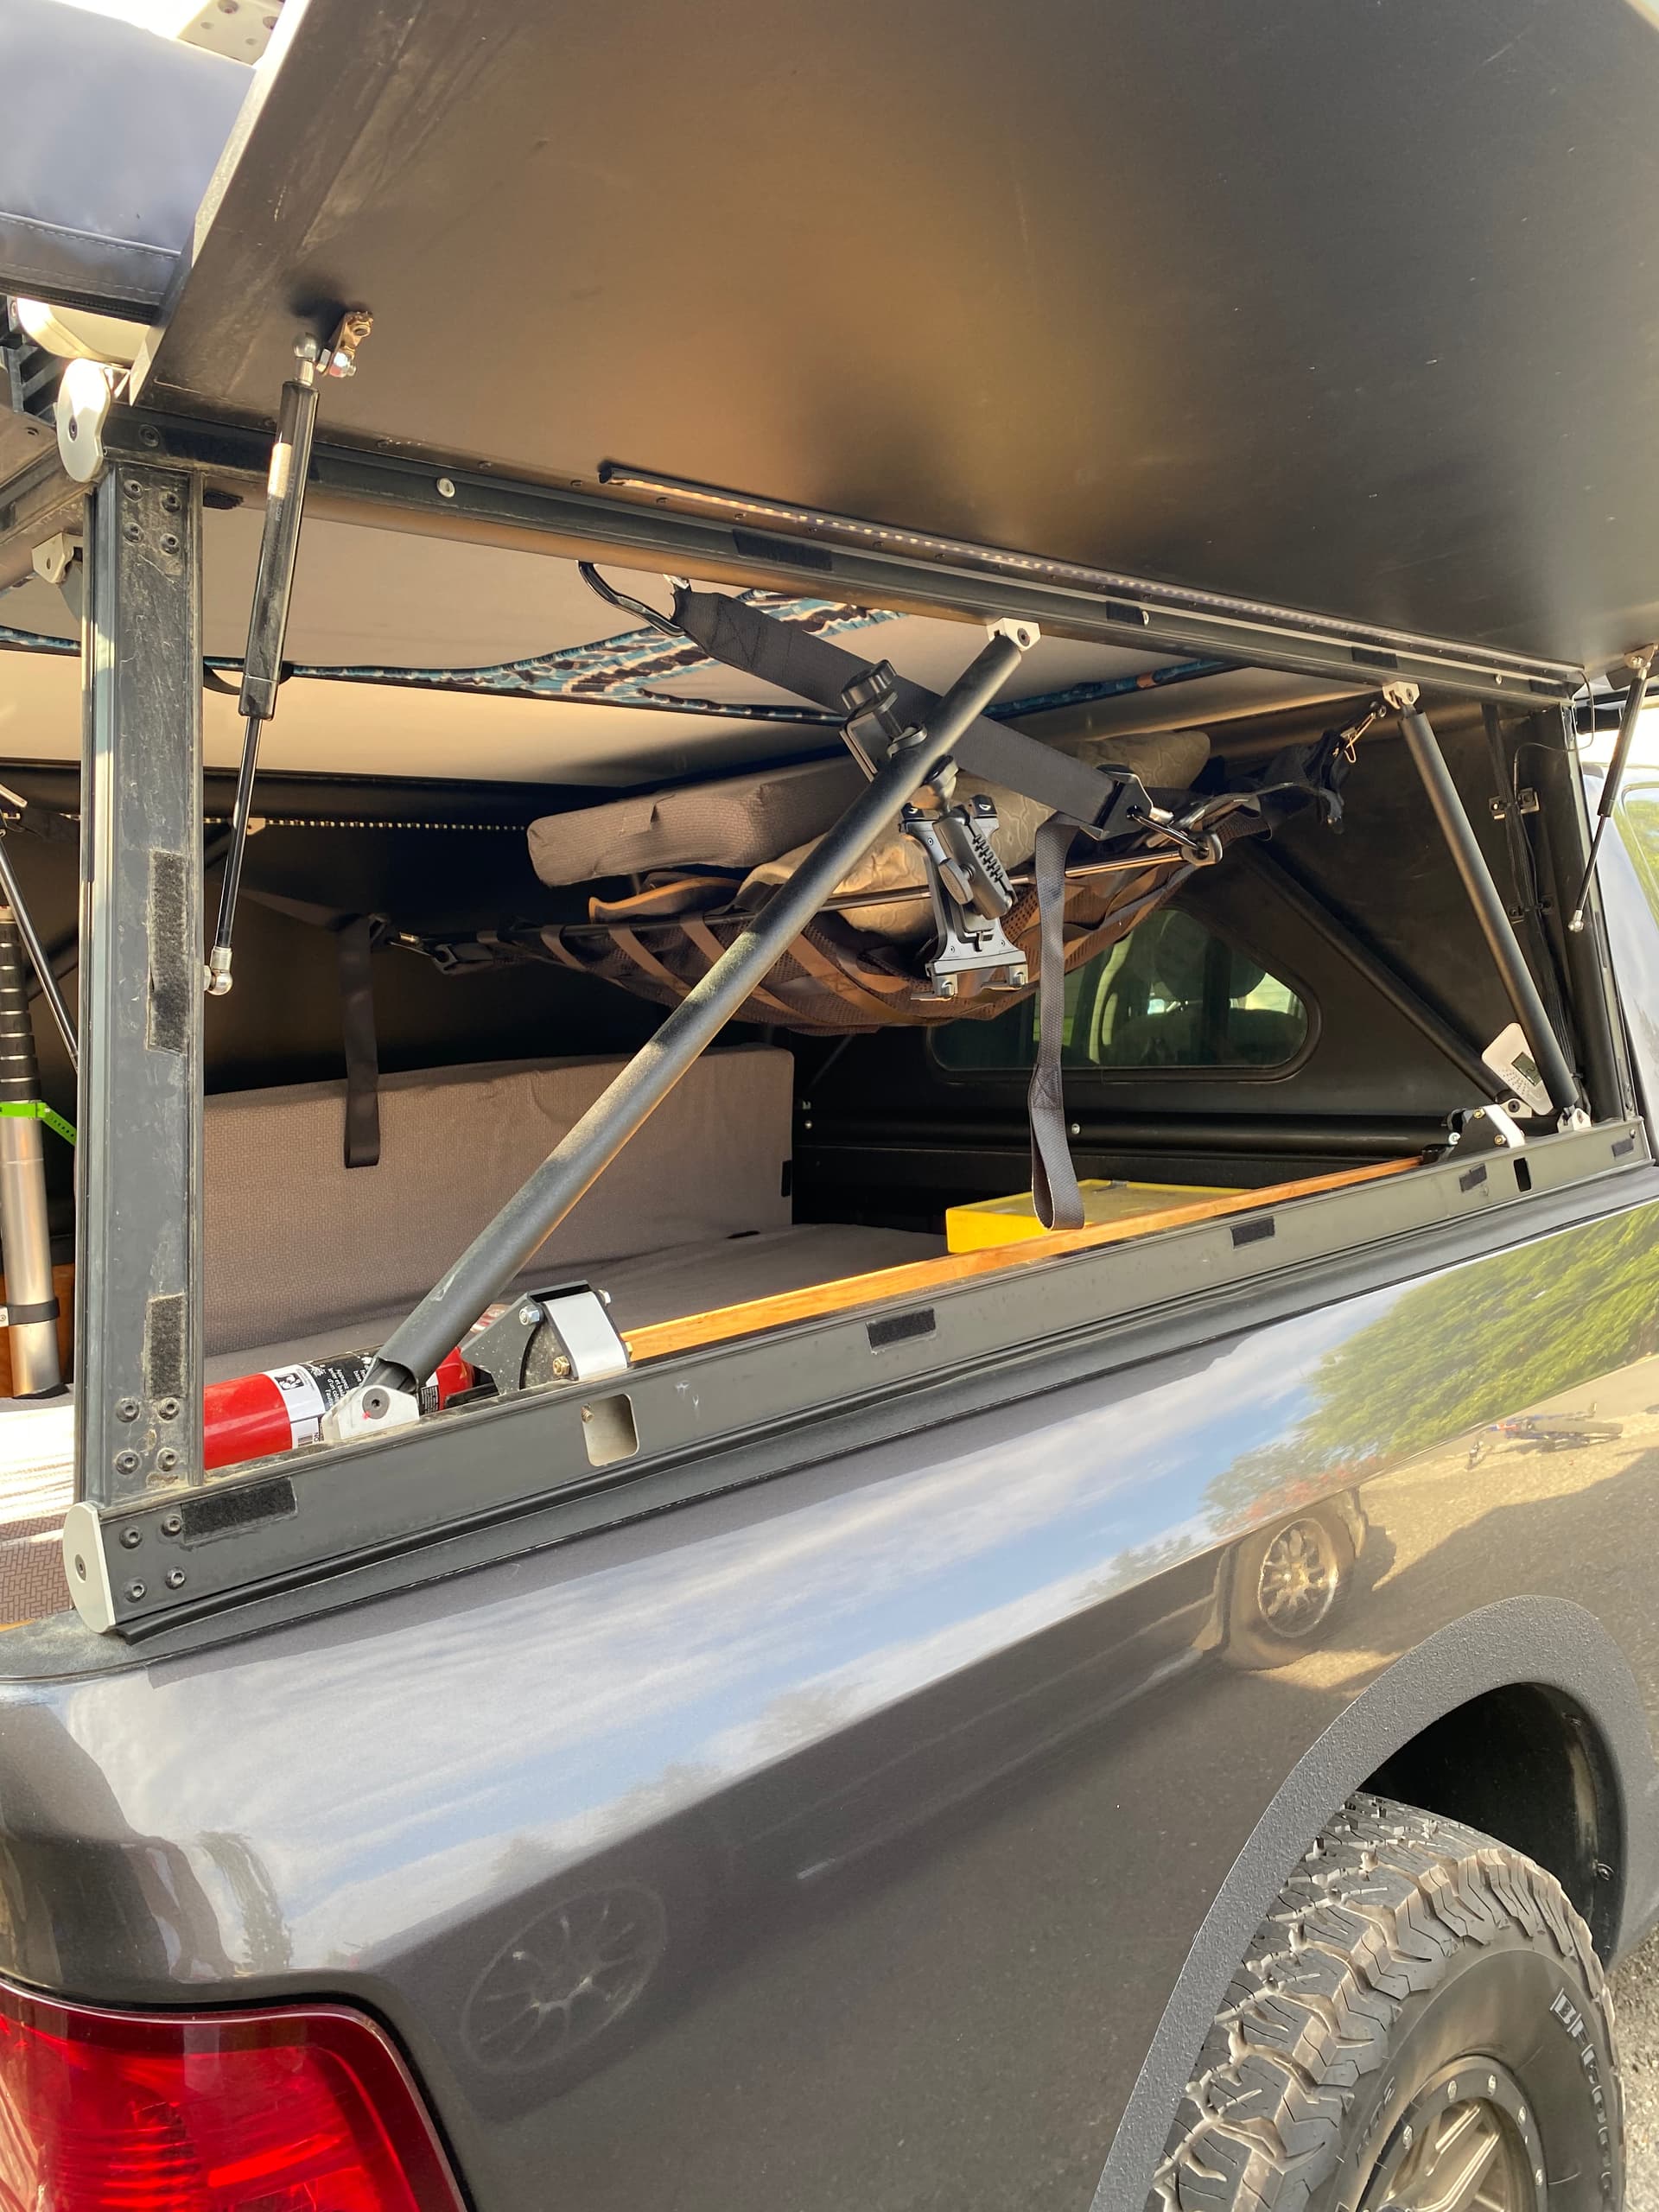
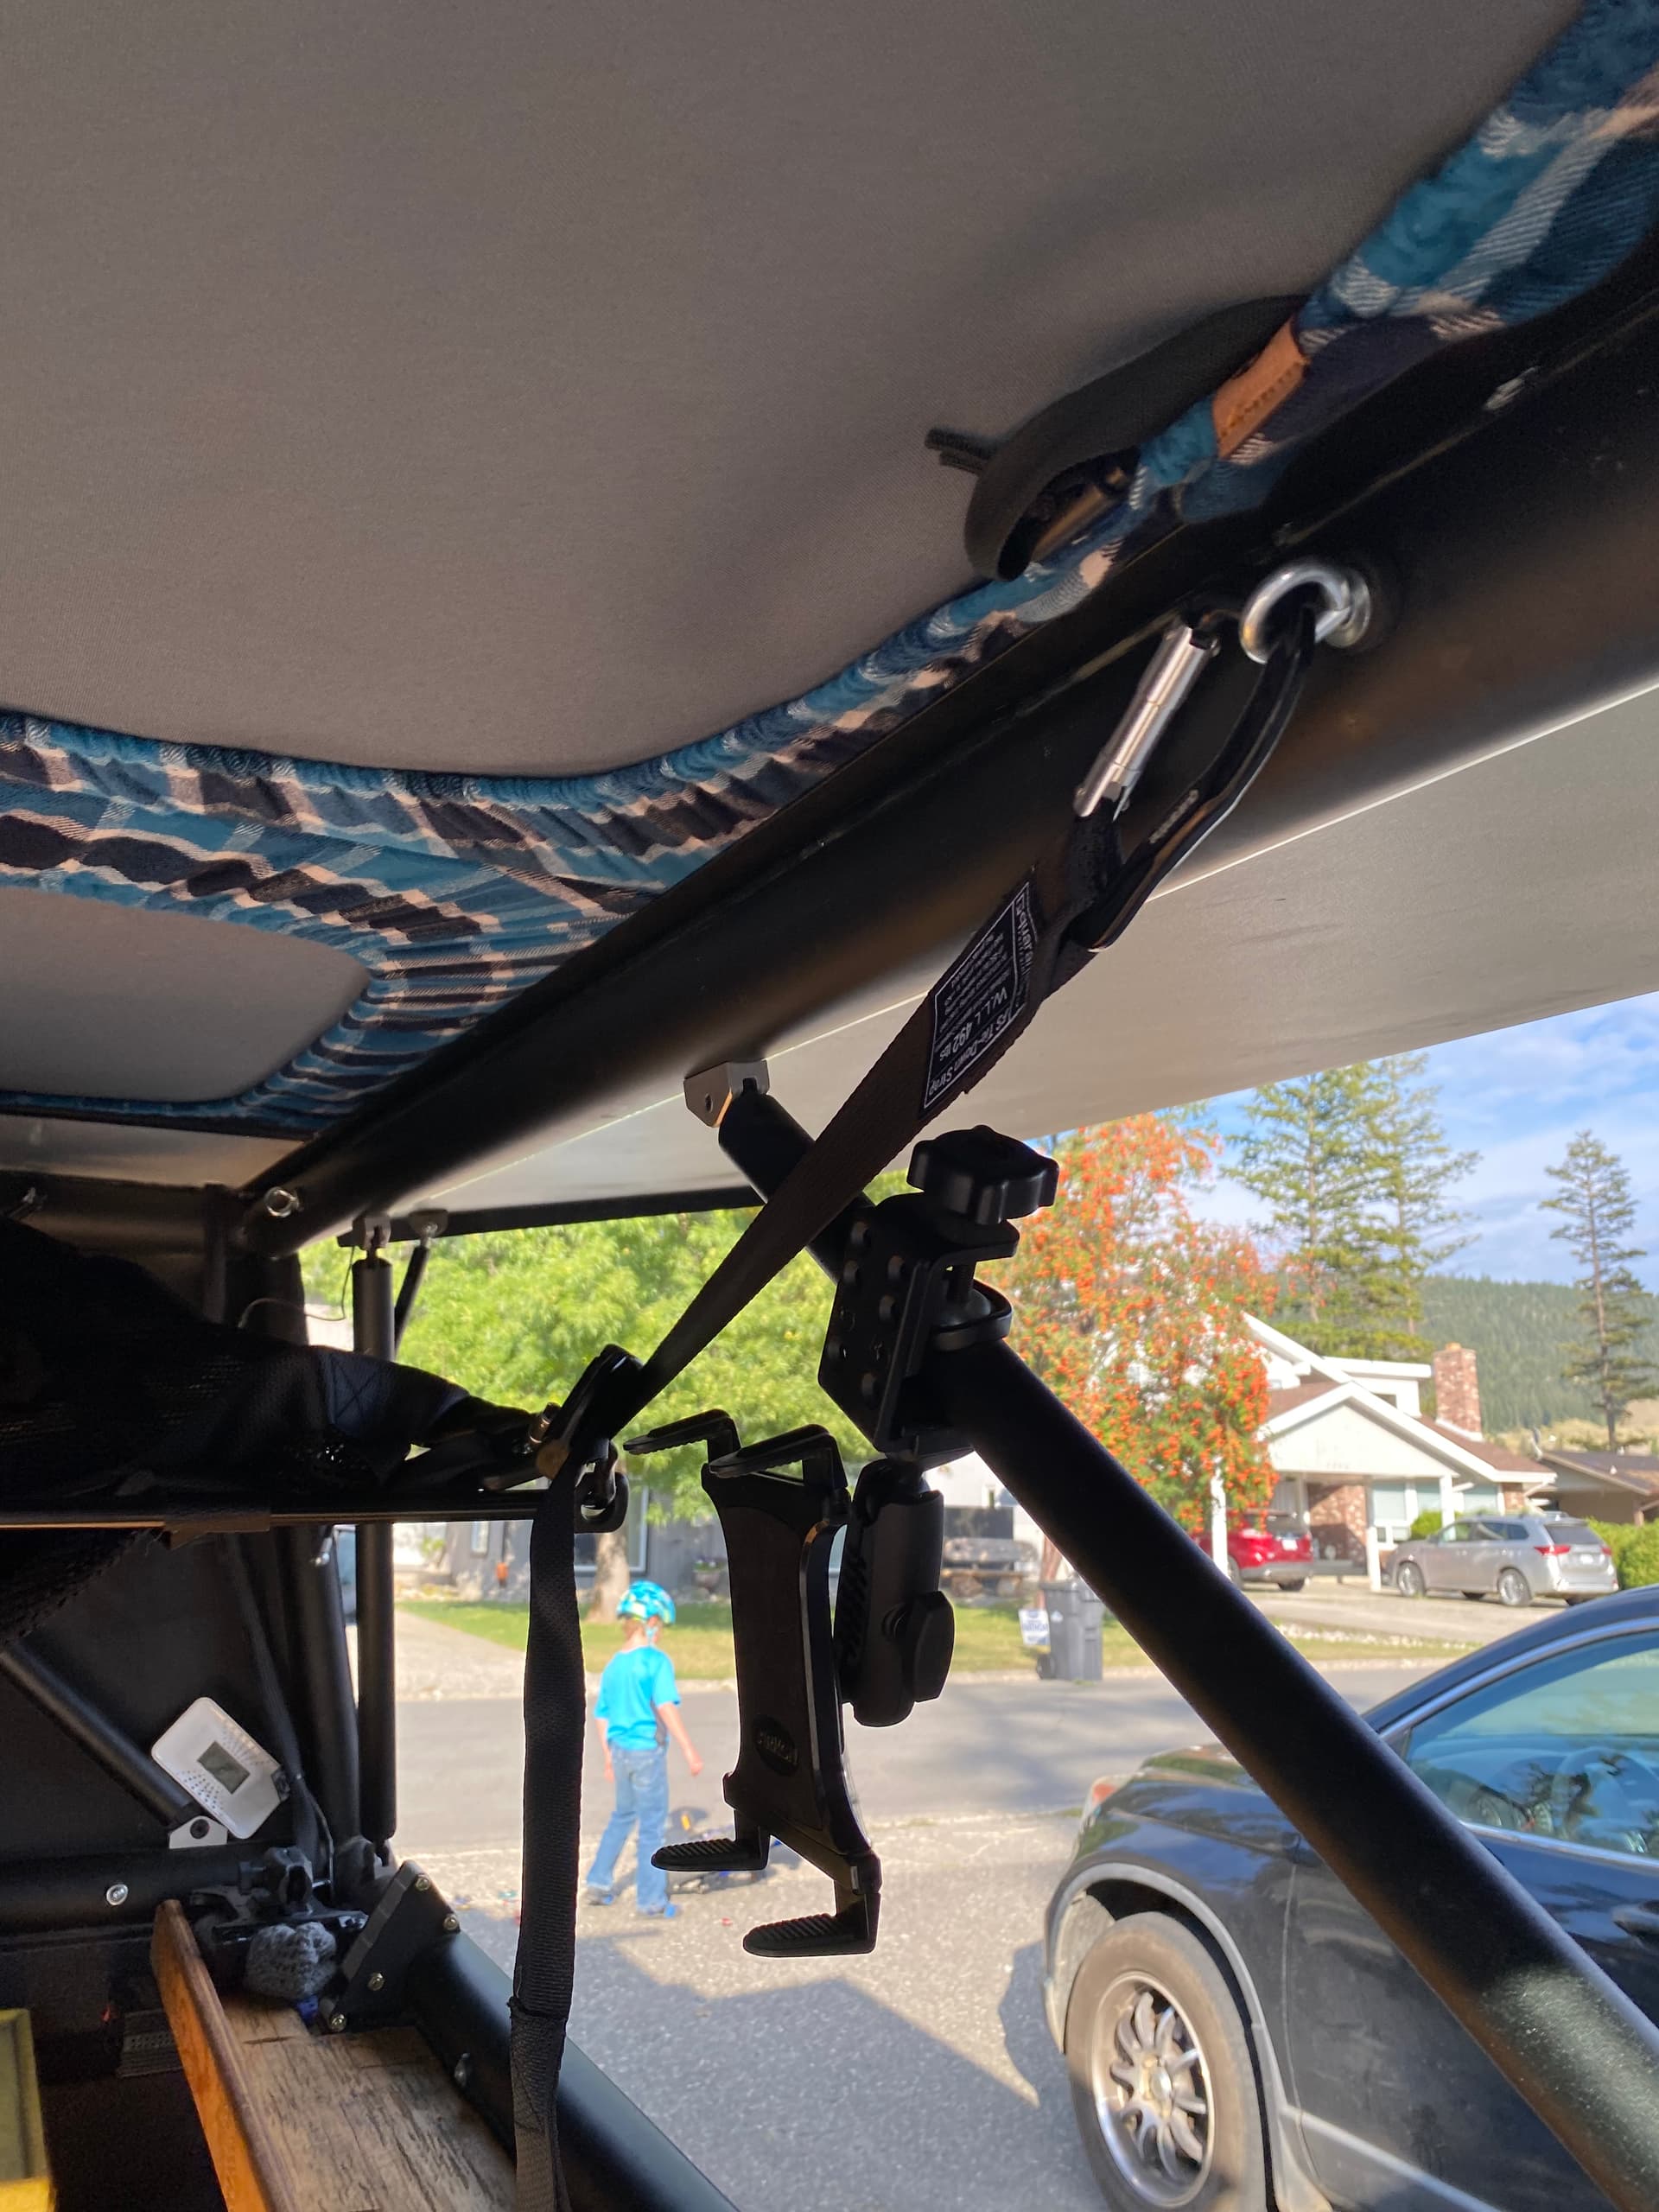
I could probably cut out a section and sew it back together, but it is perfect for the XL in a Ram. The real question is, how strong are those rubber insert threads? @GFC_Support What do you think? Think that will pull out of there? Not a huge amount of side pull; but I like to rally ![]()
3 Likes
I’d be curious what you find out. I just put a net in mine using them too.