I always forget that when you add and do all the mods to trucks, that means all the maintenance and repairs down the road haha!
Right? and keeping it looking tight is hard when you rally it!![]() . It’s abundantly clear that I’m going to need to relocate my exhaust, bob the lower section of the box, and build a high clearance rear bumper. Which means more seasonal rust repair LOL…
. It’s abundantly clear that I’m going to need to relocate my exhaust, bob the lower section of the box, and build a high clearance rear bumper. Which means more seasonal rust repair LOL…
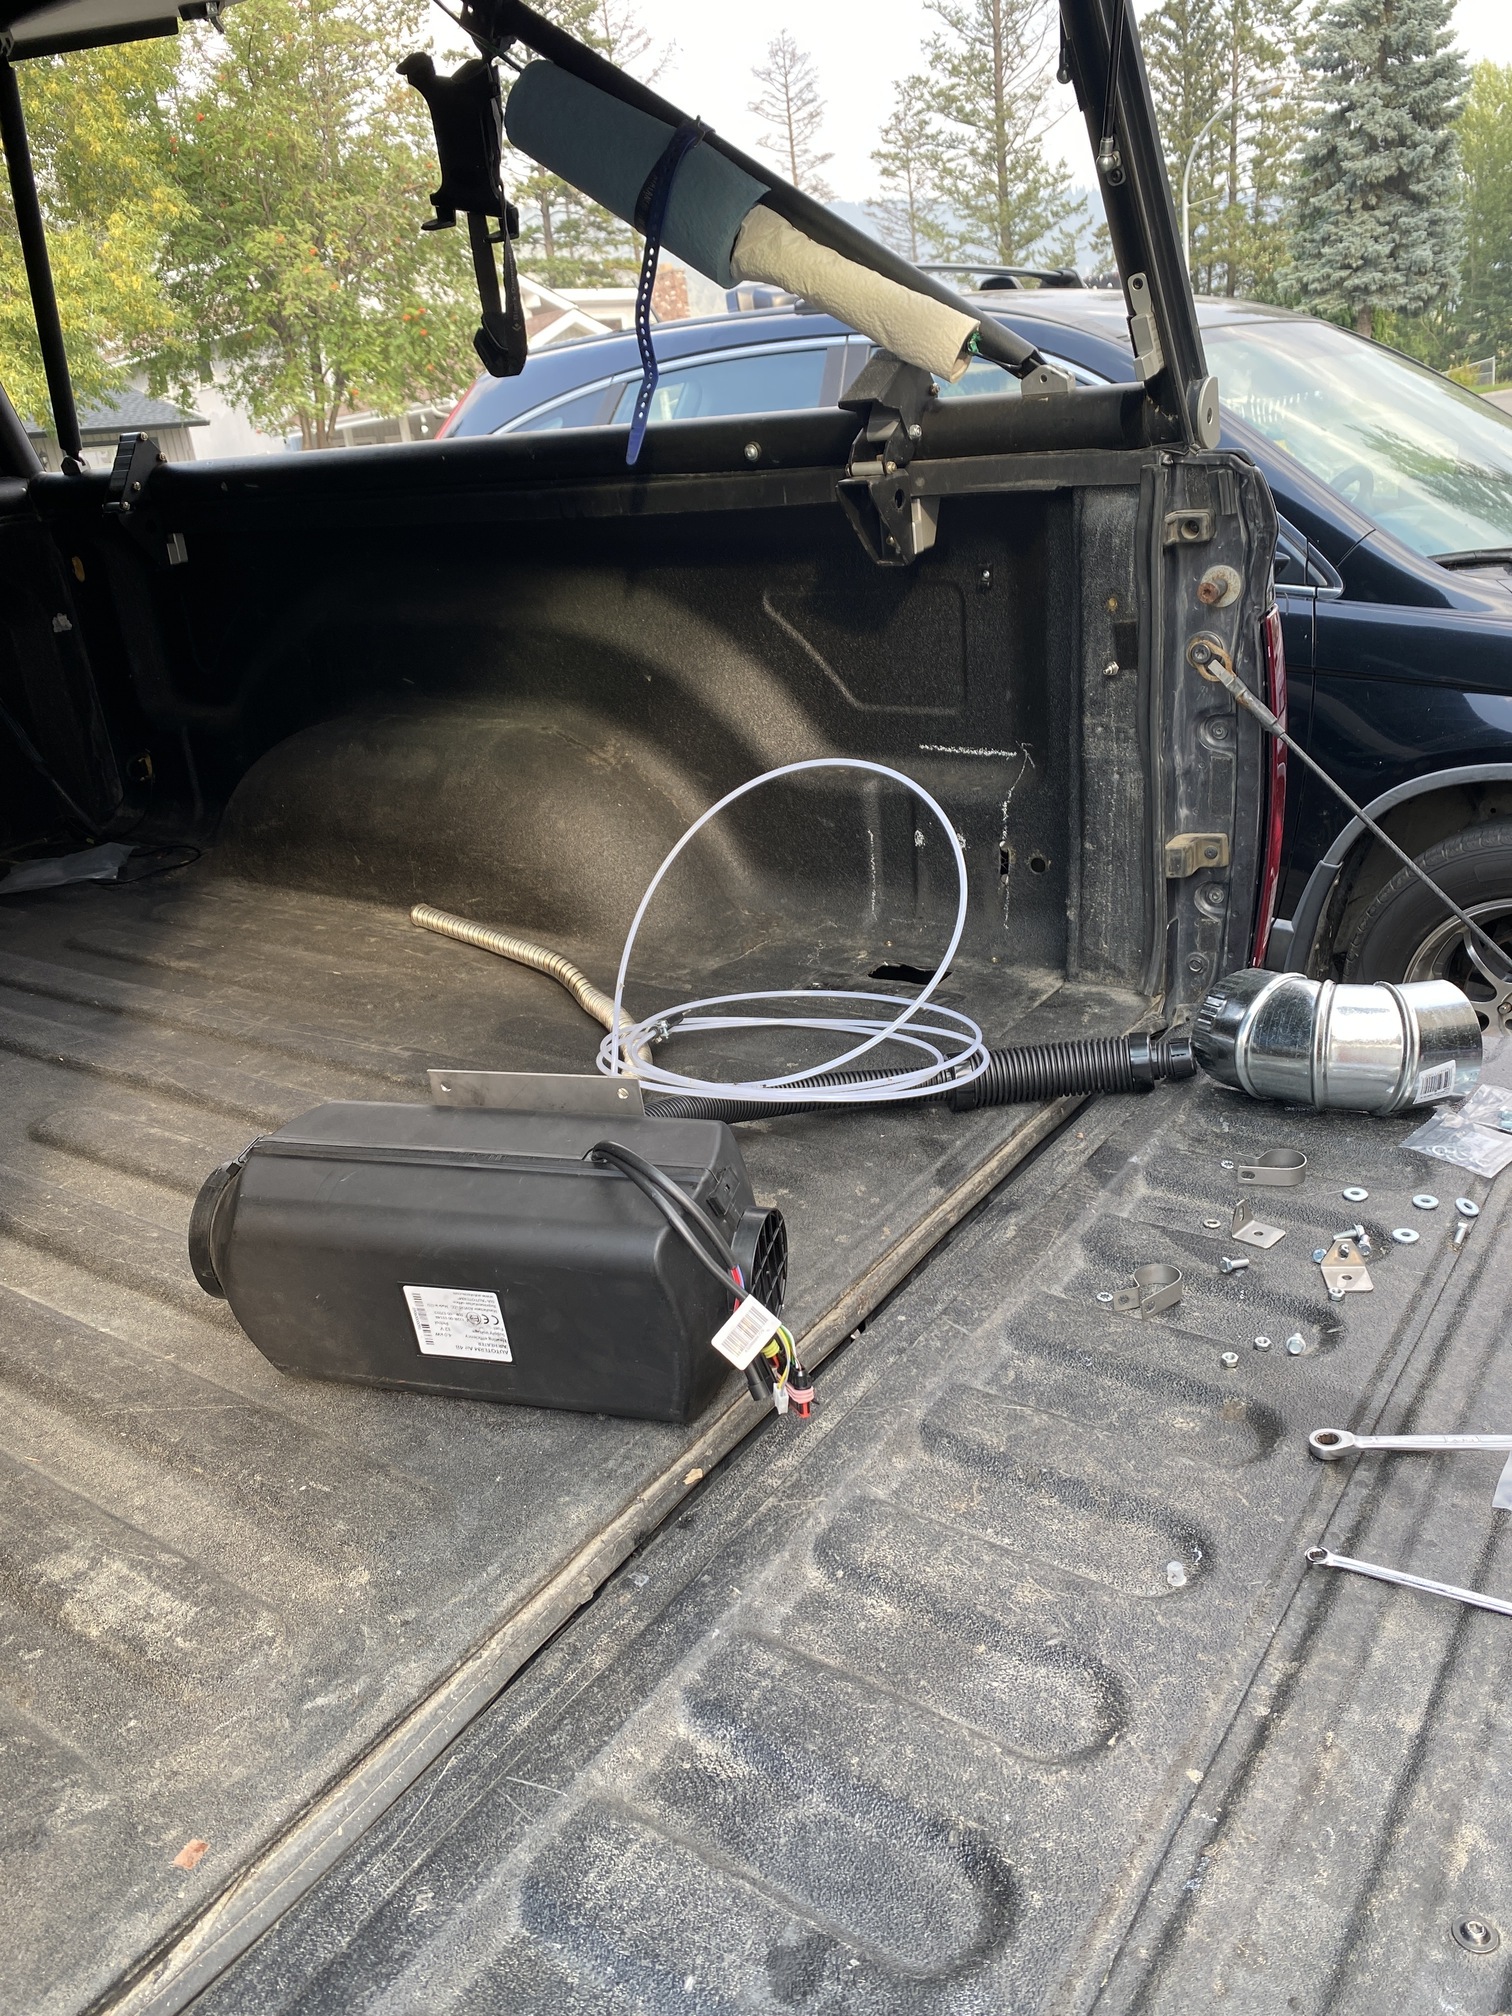
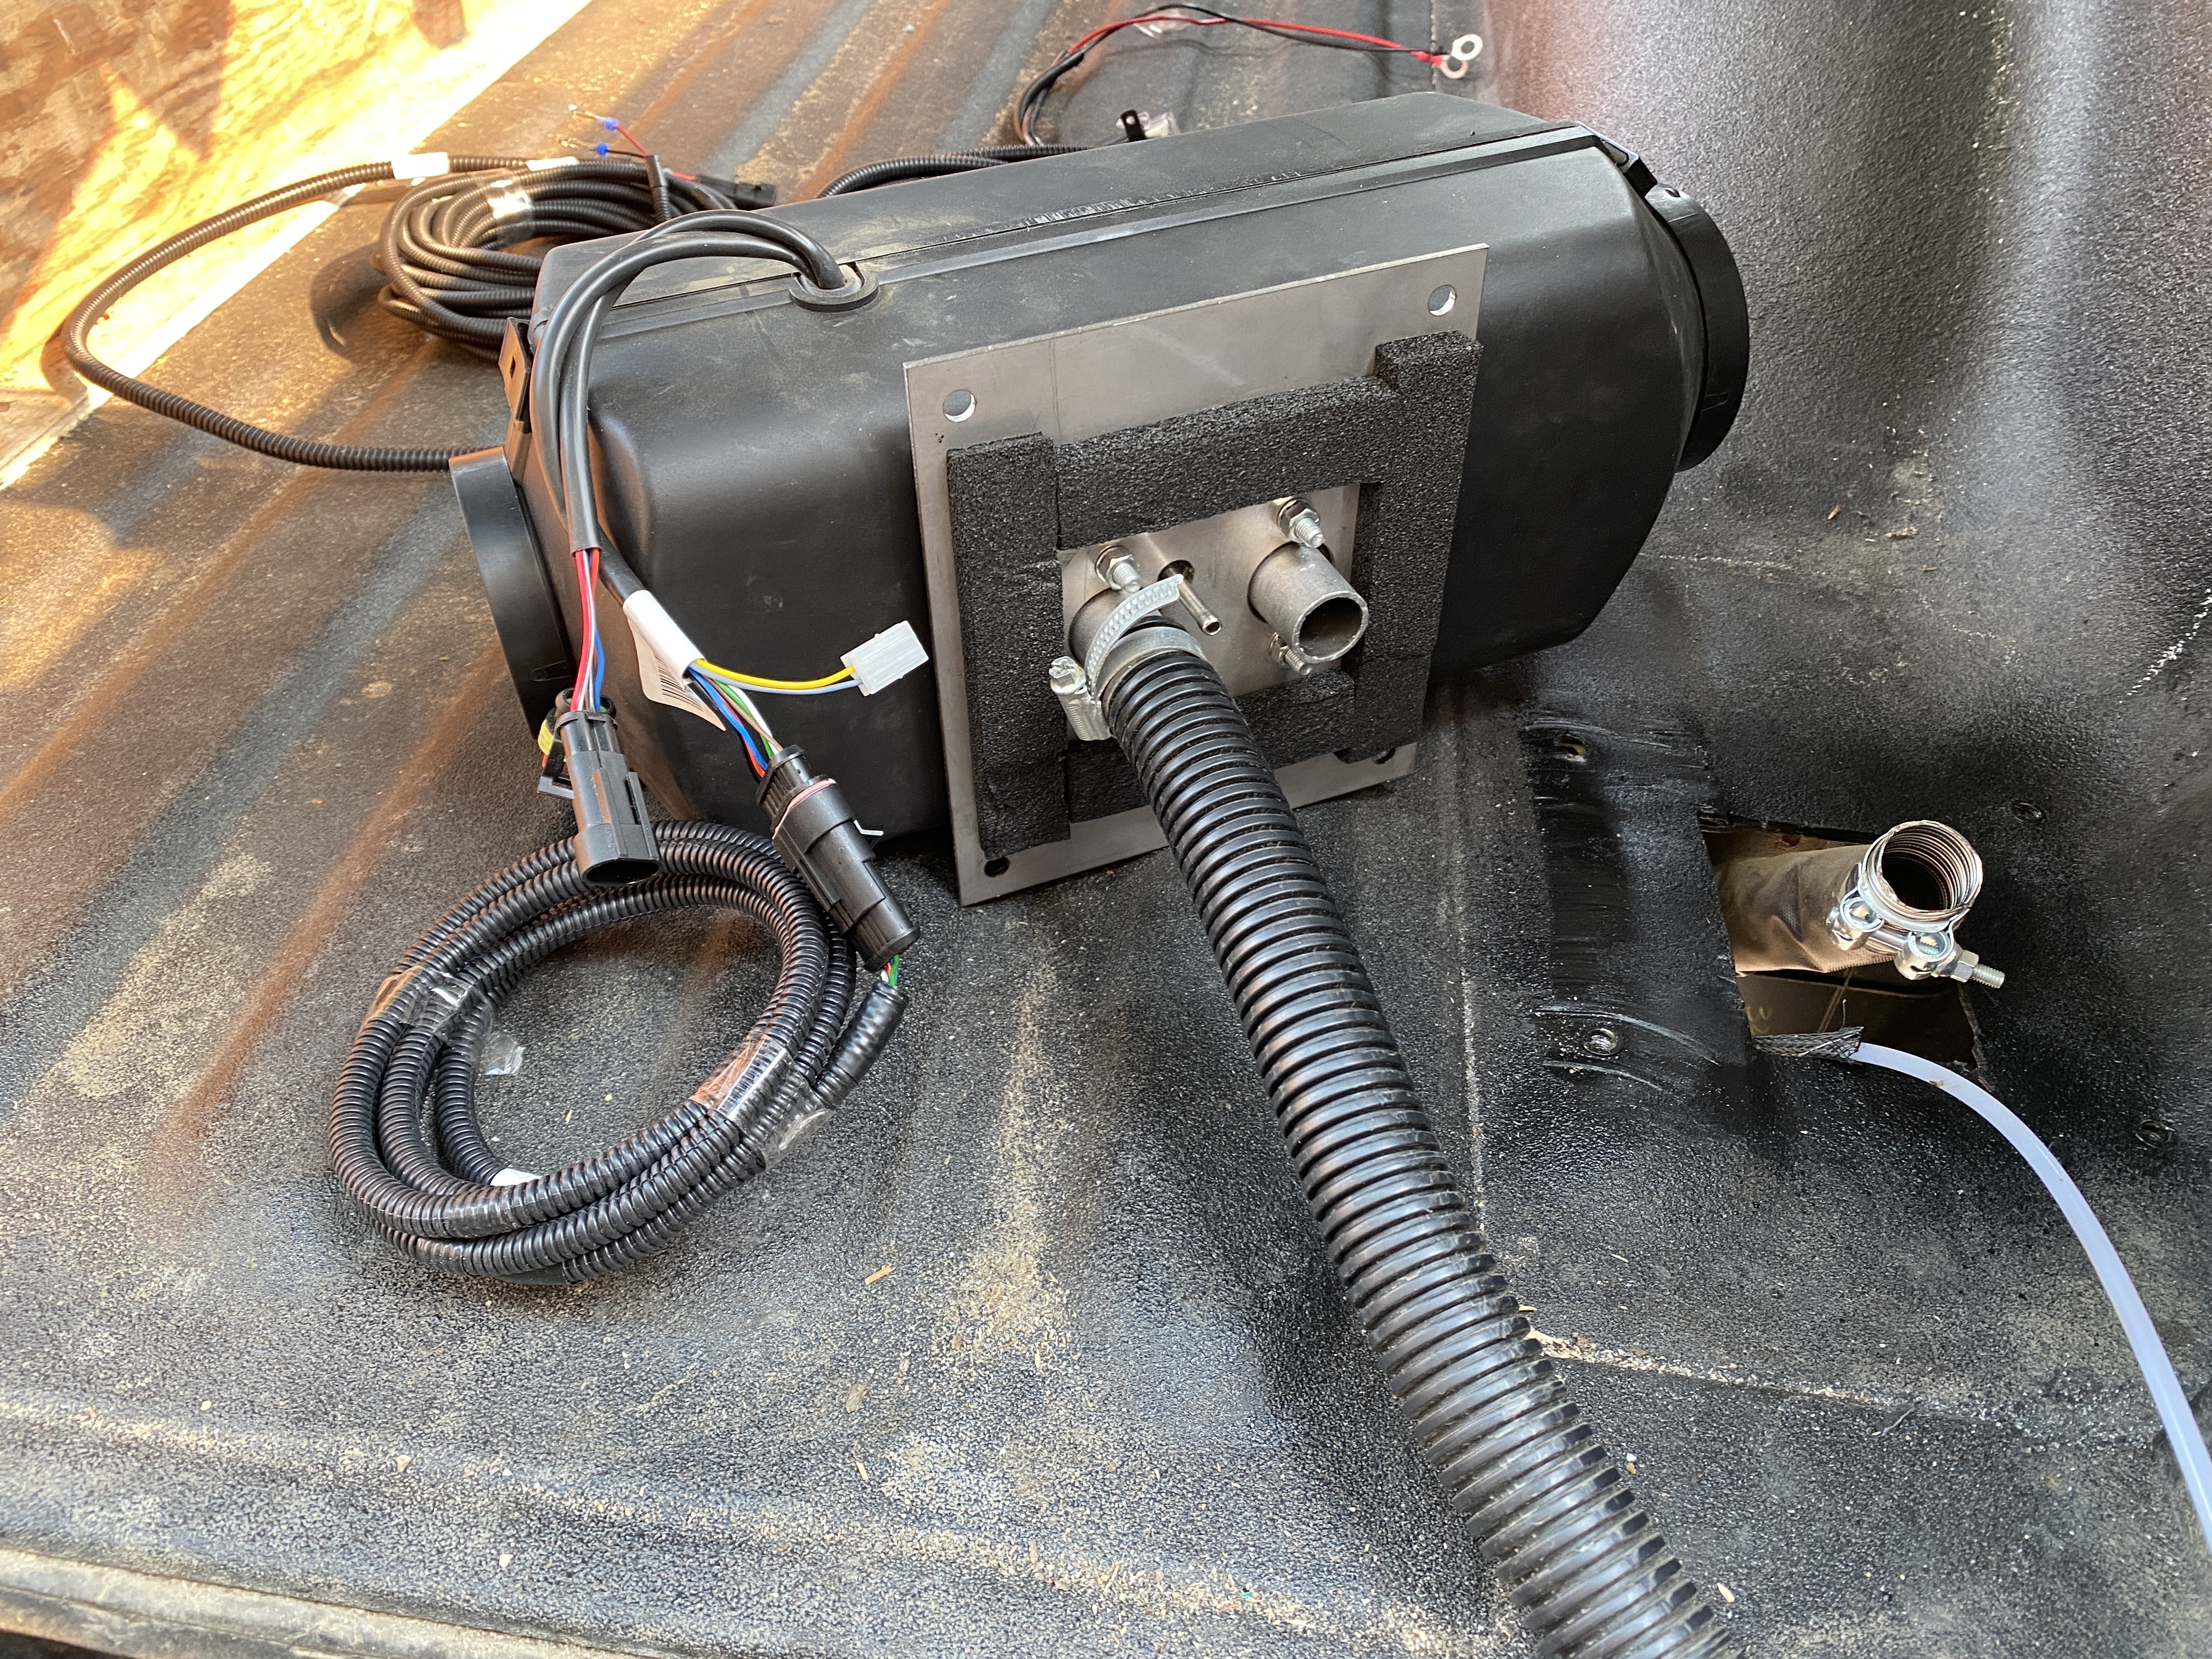
Ok, so time to tackle the next thing on the list. Installing the Autoterm Petrol Air heater. I’m making a big commitment as I plan on cutting a hole in the box. From a use of space point, I’m thinking in the back left corner.
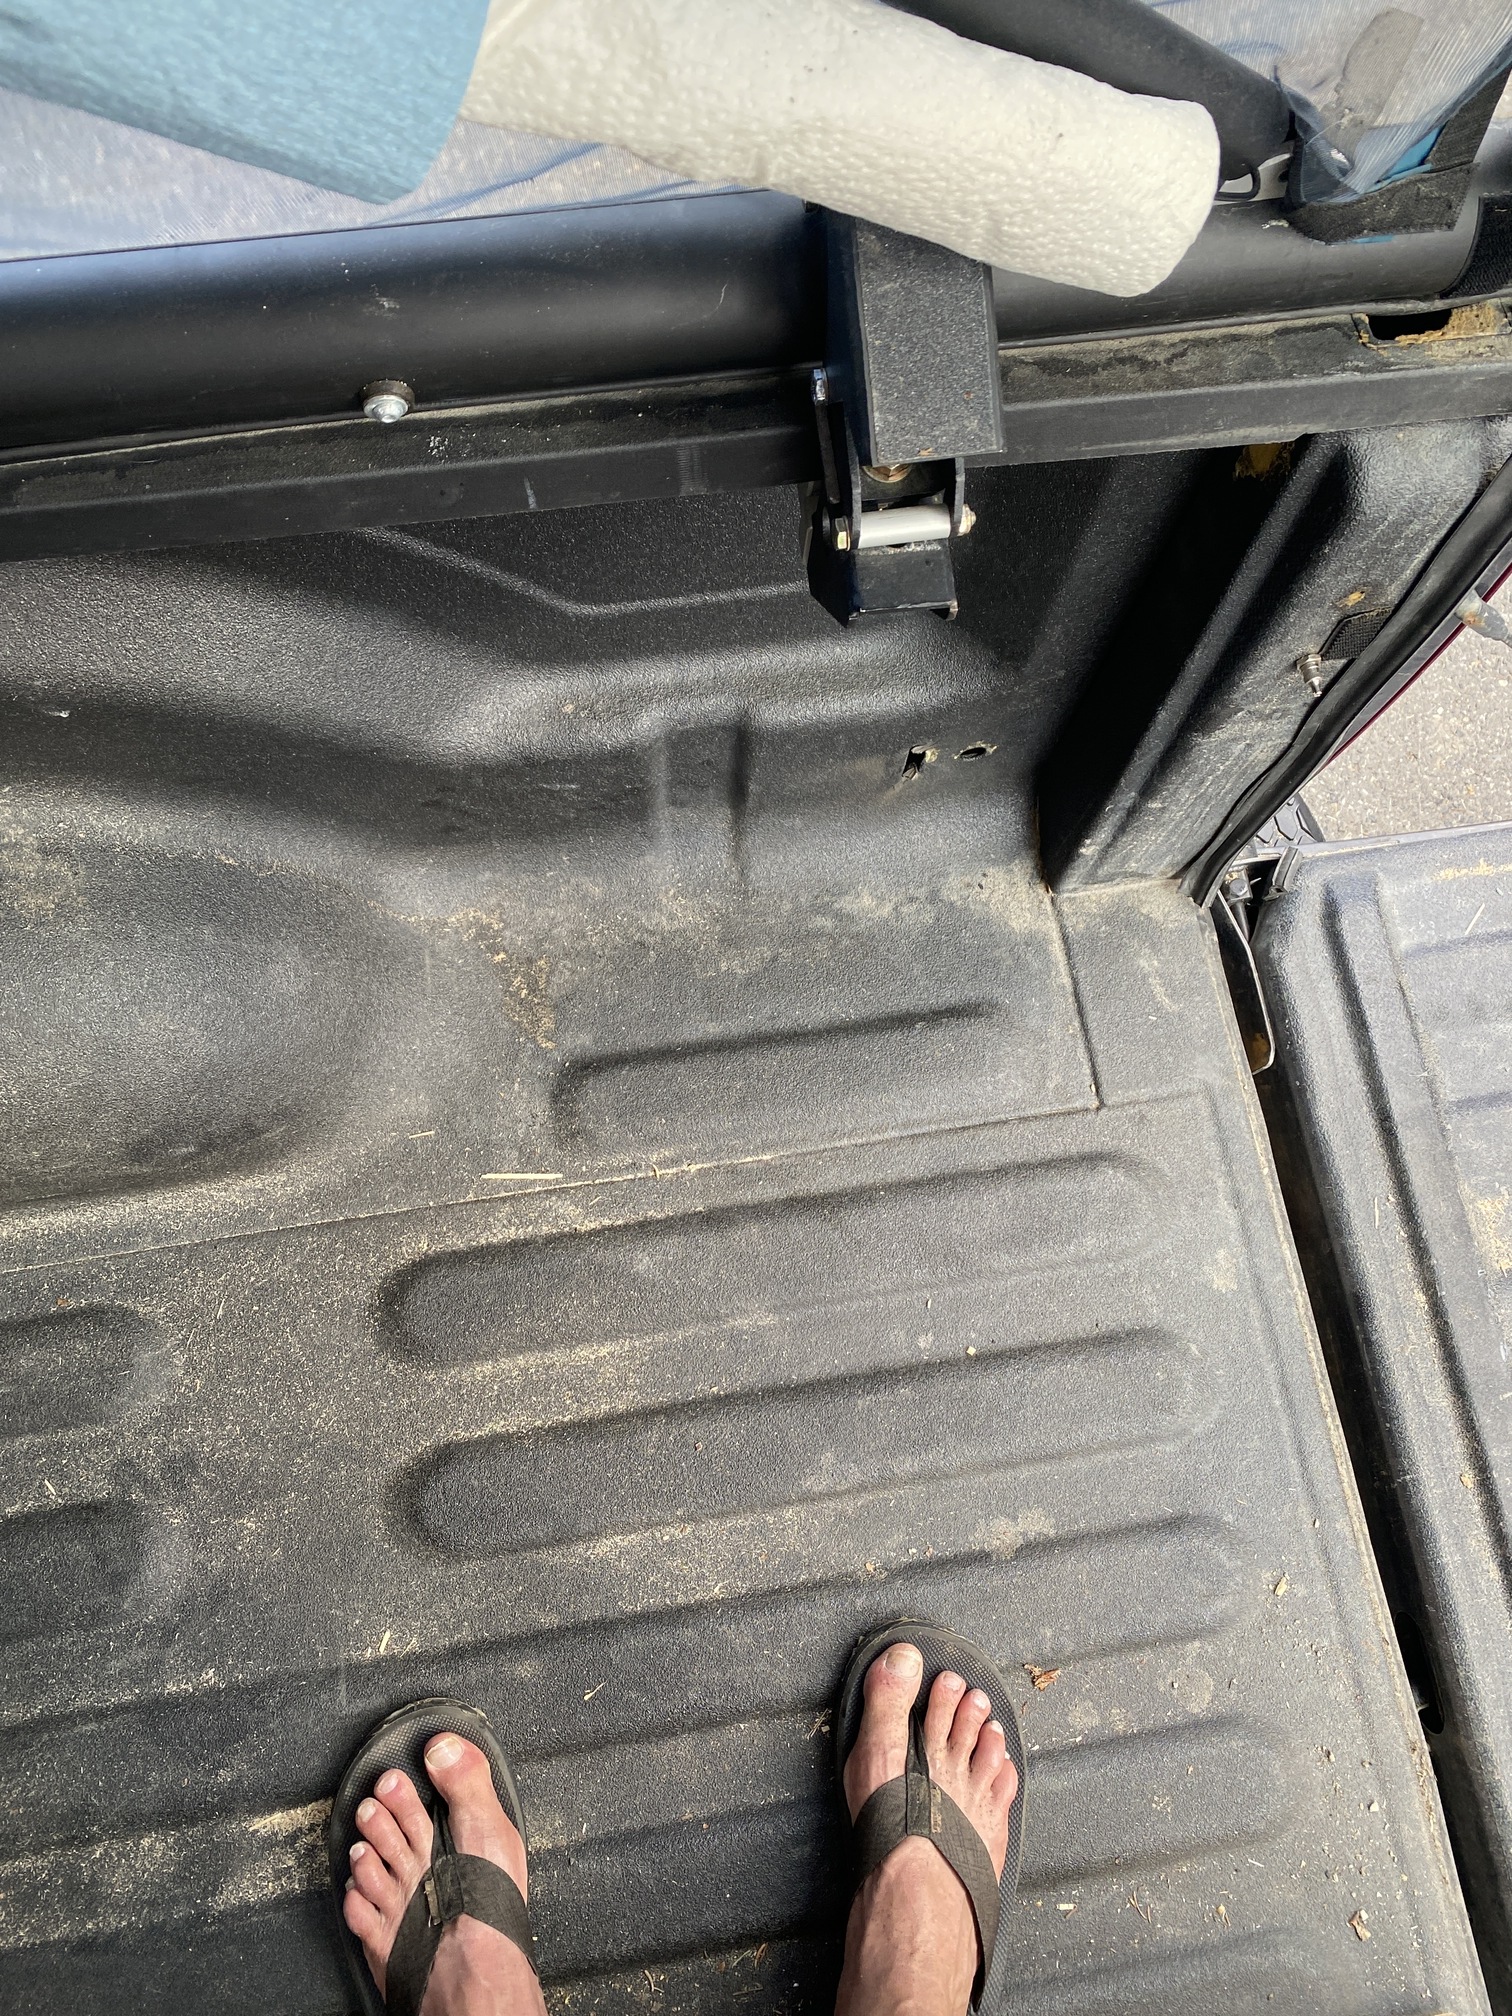
I would have to mount it on its side as straight down is right into a box rail. The issue with this is it is TIGHT! I fear that it’s not going to be able to get the air out of the shelf that’s there, or have enough intake air. Then it’s so tightly packed it would be hard to disassemble if it requires service.
So, that got me thinking that at the bulkhead may be the best option. The only downside is not being able to extend the exhaust away from the truck.
Hmmmm….anyone with experience having the heater mounted at the bulkhead?
Ok, so I still haven’t committed yet to cutting this hole. I’m really torn between space, and maintenance. Tucked up behind the right wheel well on it’s side it is out of the way. But maintenance would require removing the right side shelf of the build out. ![]()
OR if i put it in the centre of the rig by the bulkhead it’s extremely easy to work on, but loose valuable floor space for gear storage while in transport….
In the meantime, I figured I would do a test burn on the unit. The one downside to these Autotherm heaters is unlike the Chinese knock offs, there’s no controller sequence for fuel line purging. It took over an hour of false starts before the fuel lines were primed. So, if you get one of these and don’t have patience; I suggest you by the priming pump.
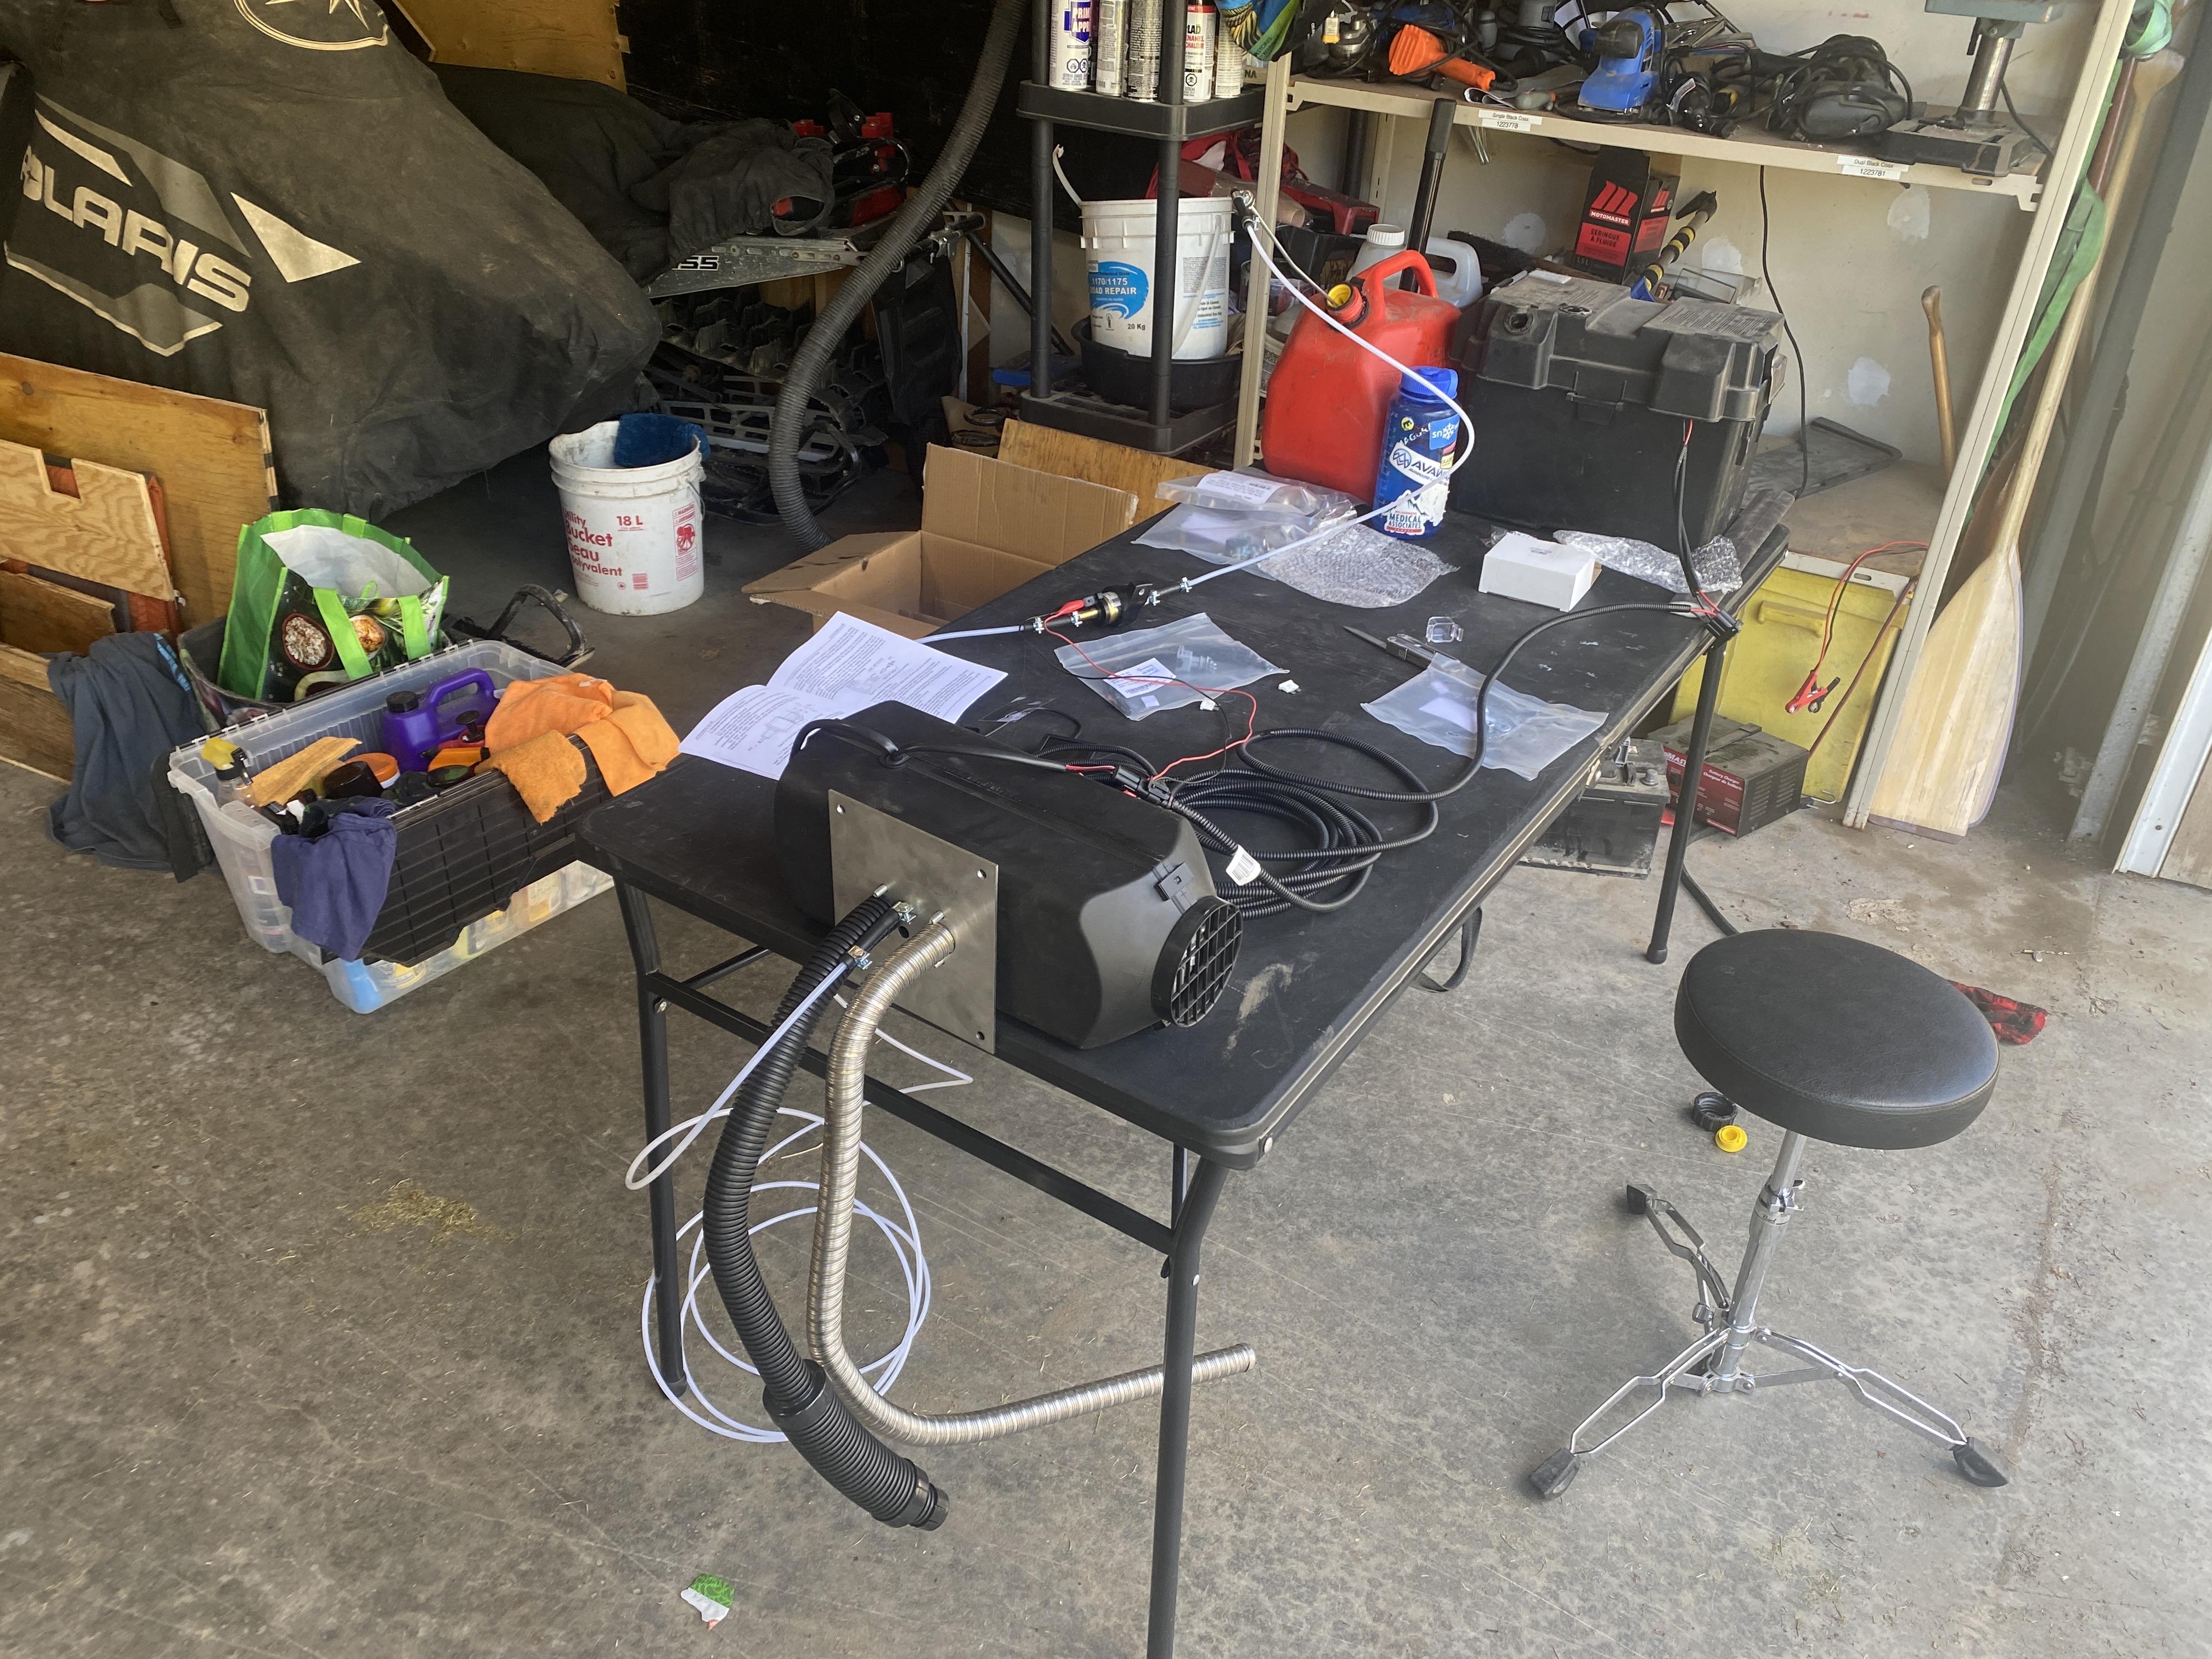
Before you say anything, yes I considered the gasoline fumes and the proximity to the battery for testing. My theory is no story is good without some form of risk ![]()
Anyways, the heater is ripping! Now I need to lift the box up on the truck so I can get to the fuel tank and plumb in this standpipe. Anyone wanna help? Oh…and decide where I’m going to put it.
2 Likes
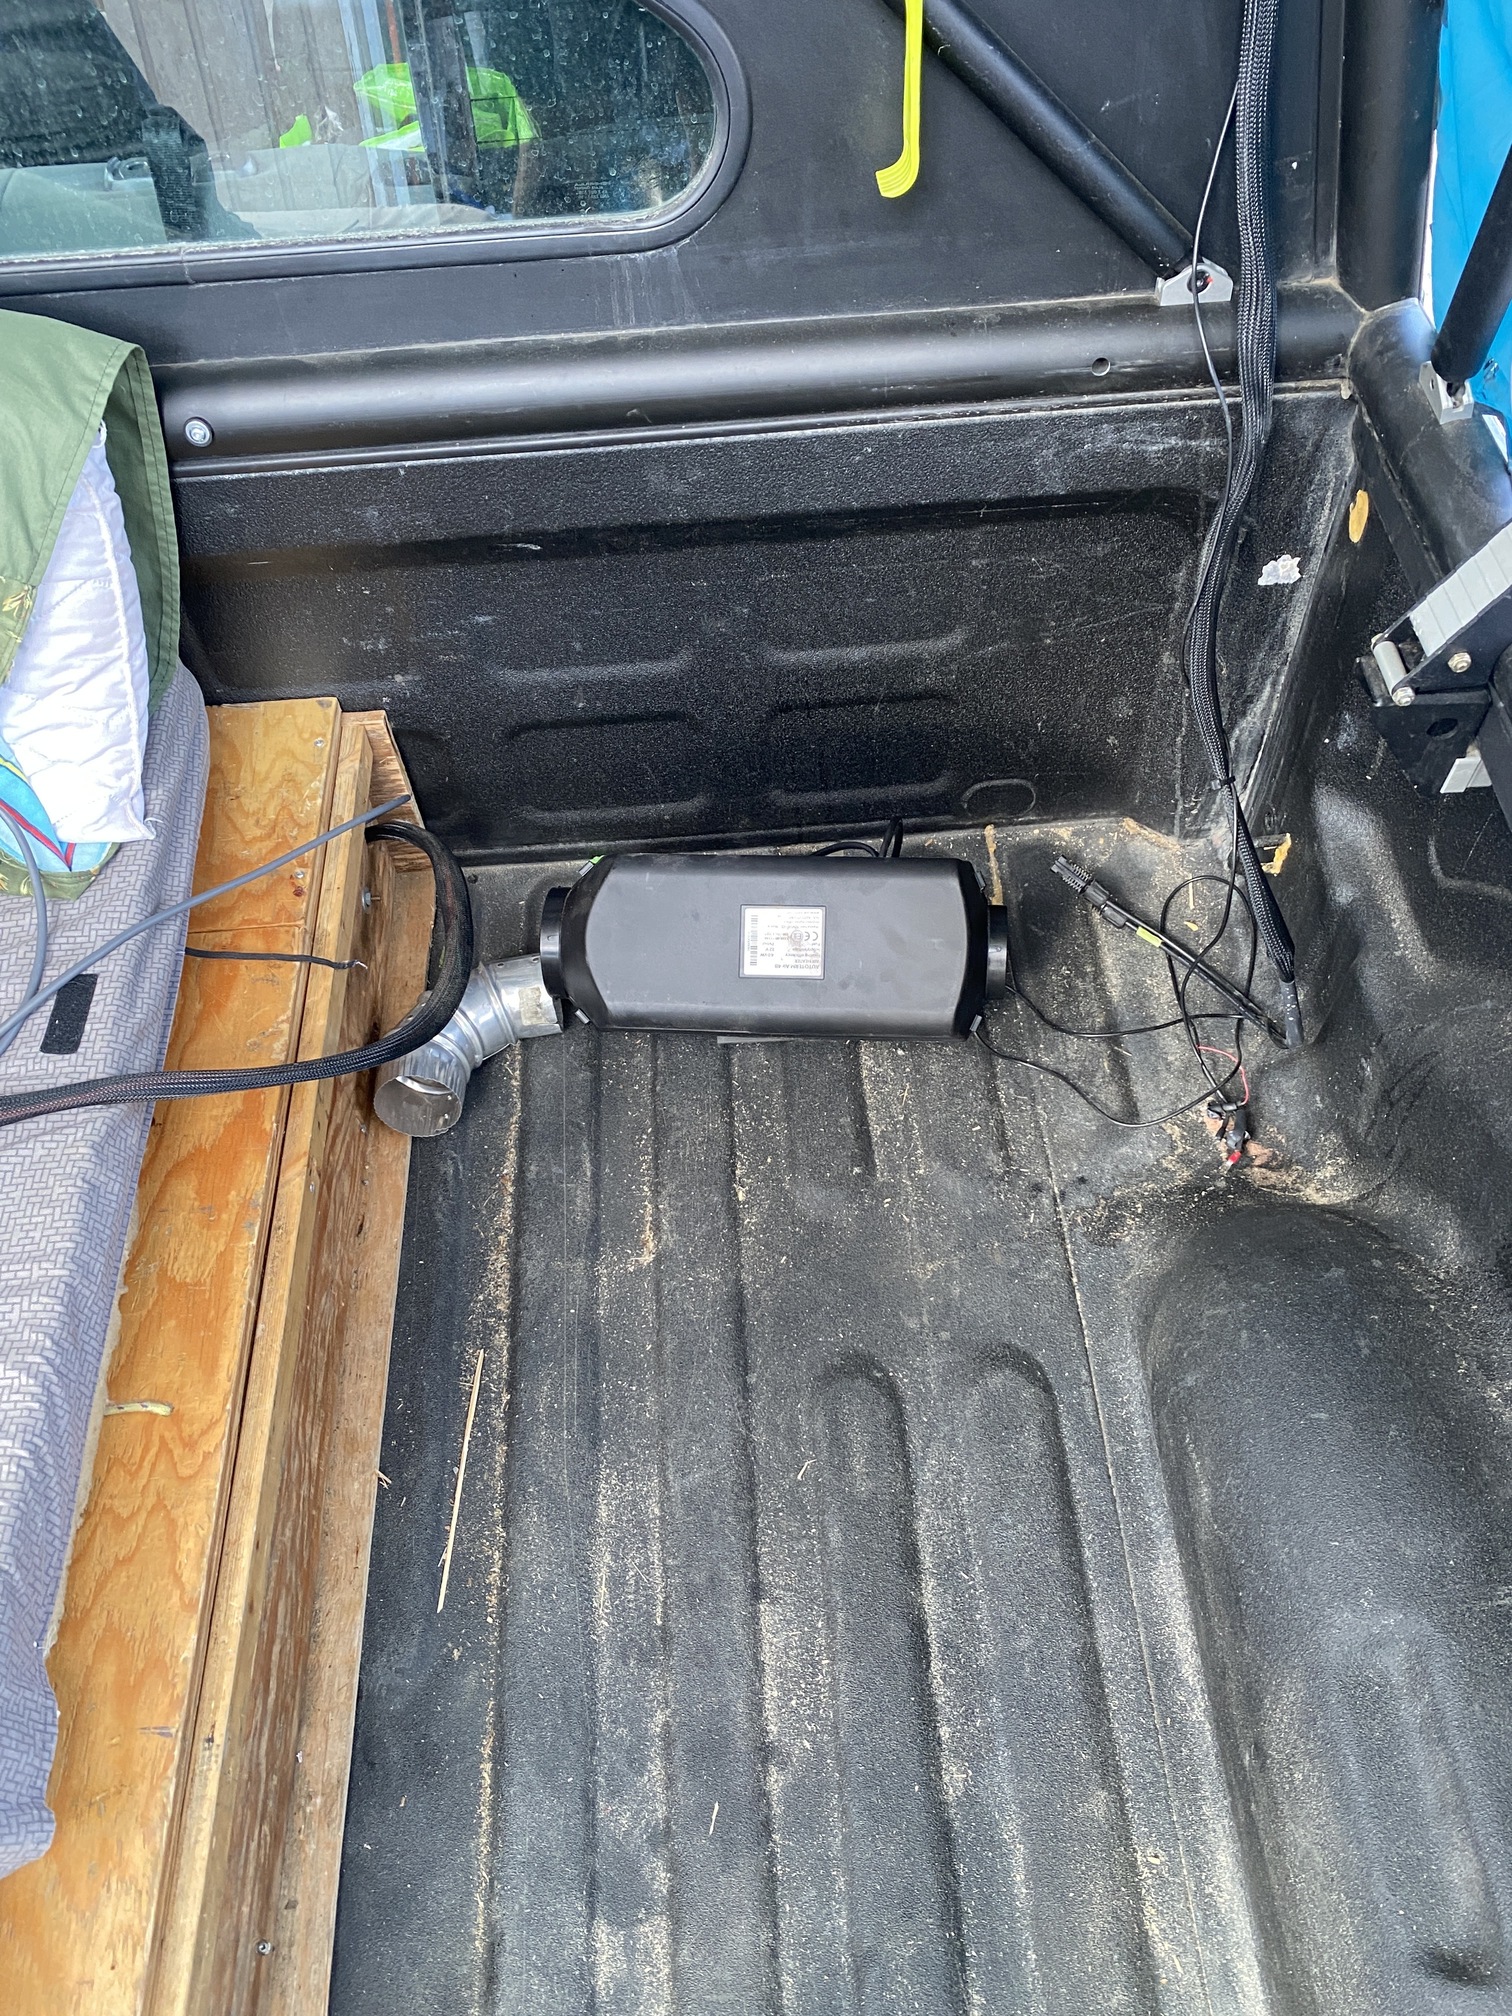
I finally committed to cutting this hole. I opted to risk maintenance ease for function. Deciding to instal it behind the right rear wheel well. It’s tight, but I knew it would fit as I had drafted it in TinkerCAD. What it didn’t account for was the the one support rib being right where on of the rivnuts would be placed.
Originally I was going to mount it on its side, as you can see in the first picture. Then I measured again and committed to putting on the floor.

I’ve seen guys do this with tape, but I’m still struggling to figure out why? It did not help me zip cut straighter
The point of no return. I tried to flatten and grind down the bed liner. Neither of which went as planned. Got the rivnuts in, man, that tool is the coolest. It has be thinking of putting 8 on the bed floor to bolt down the platform.
First test fit, the moment of truth
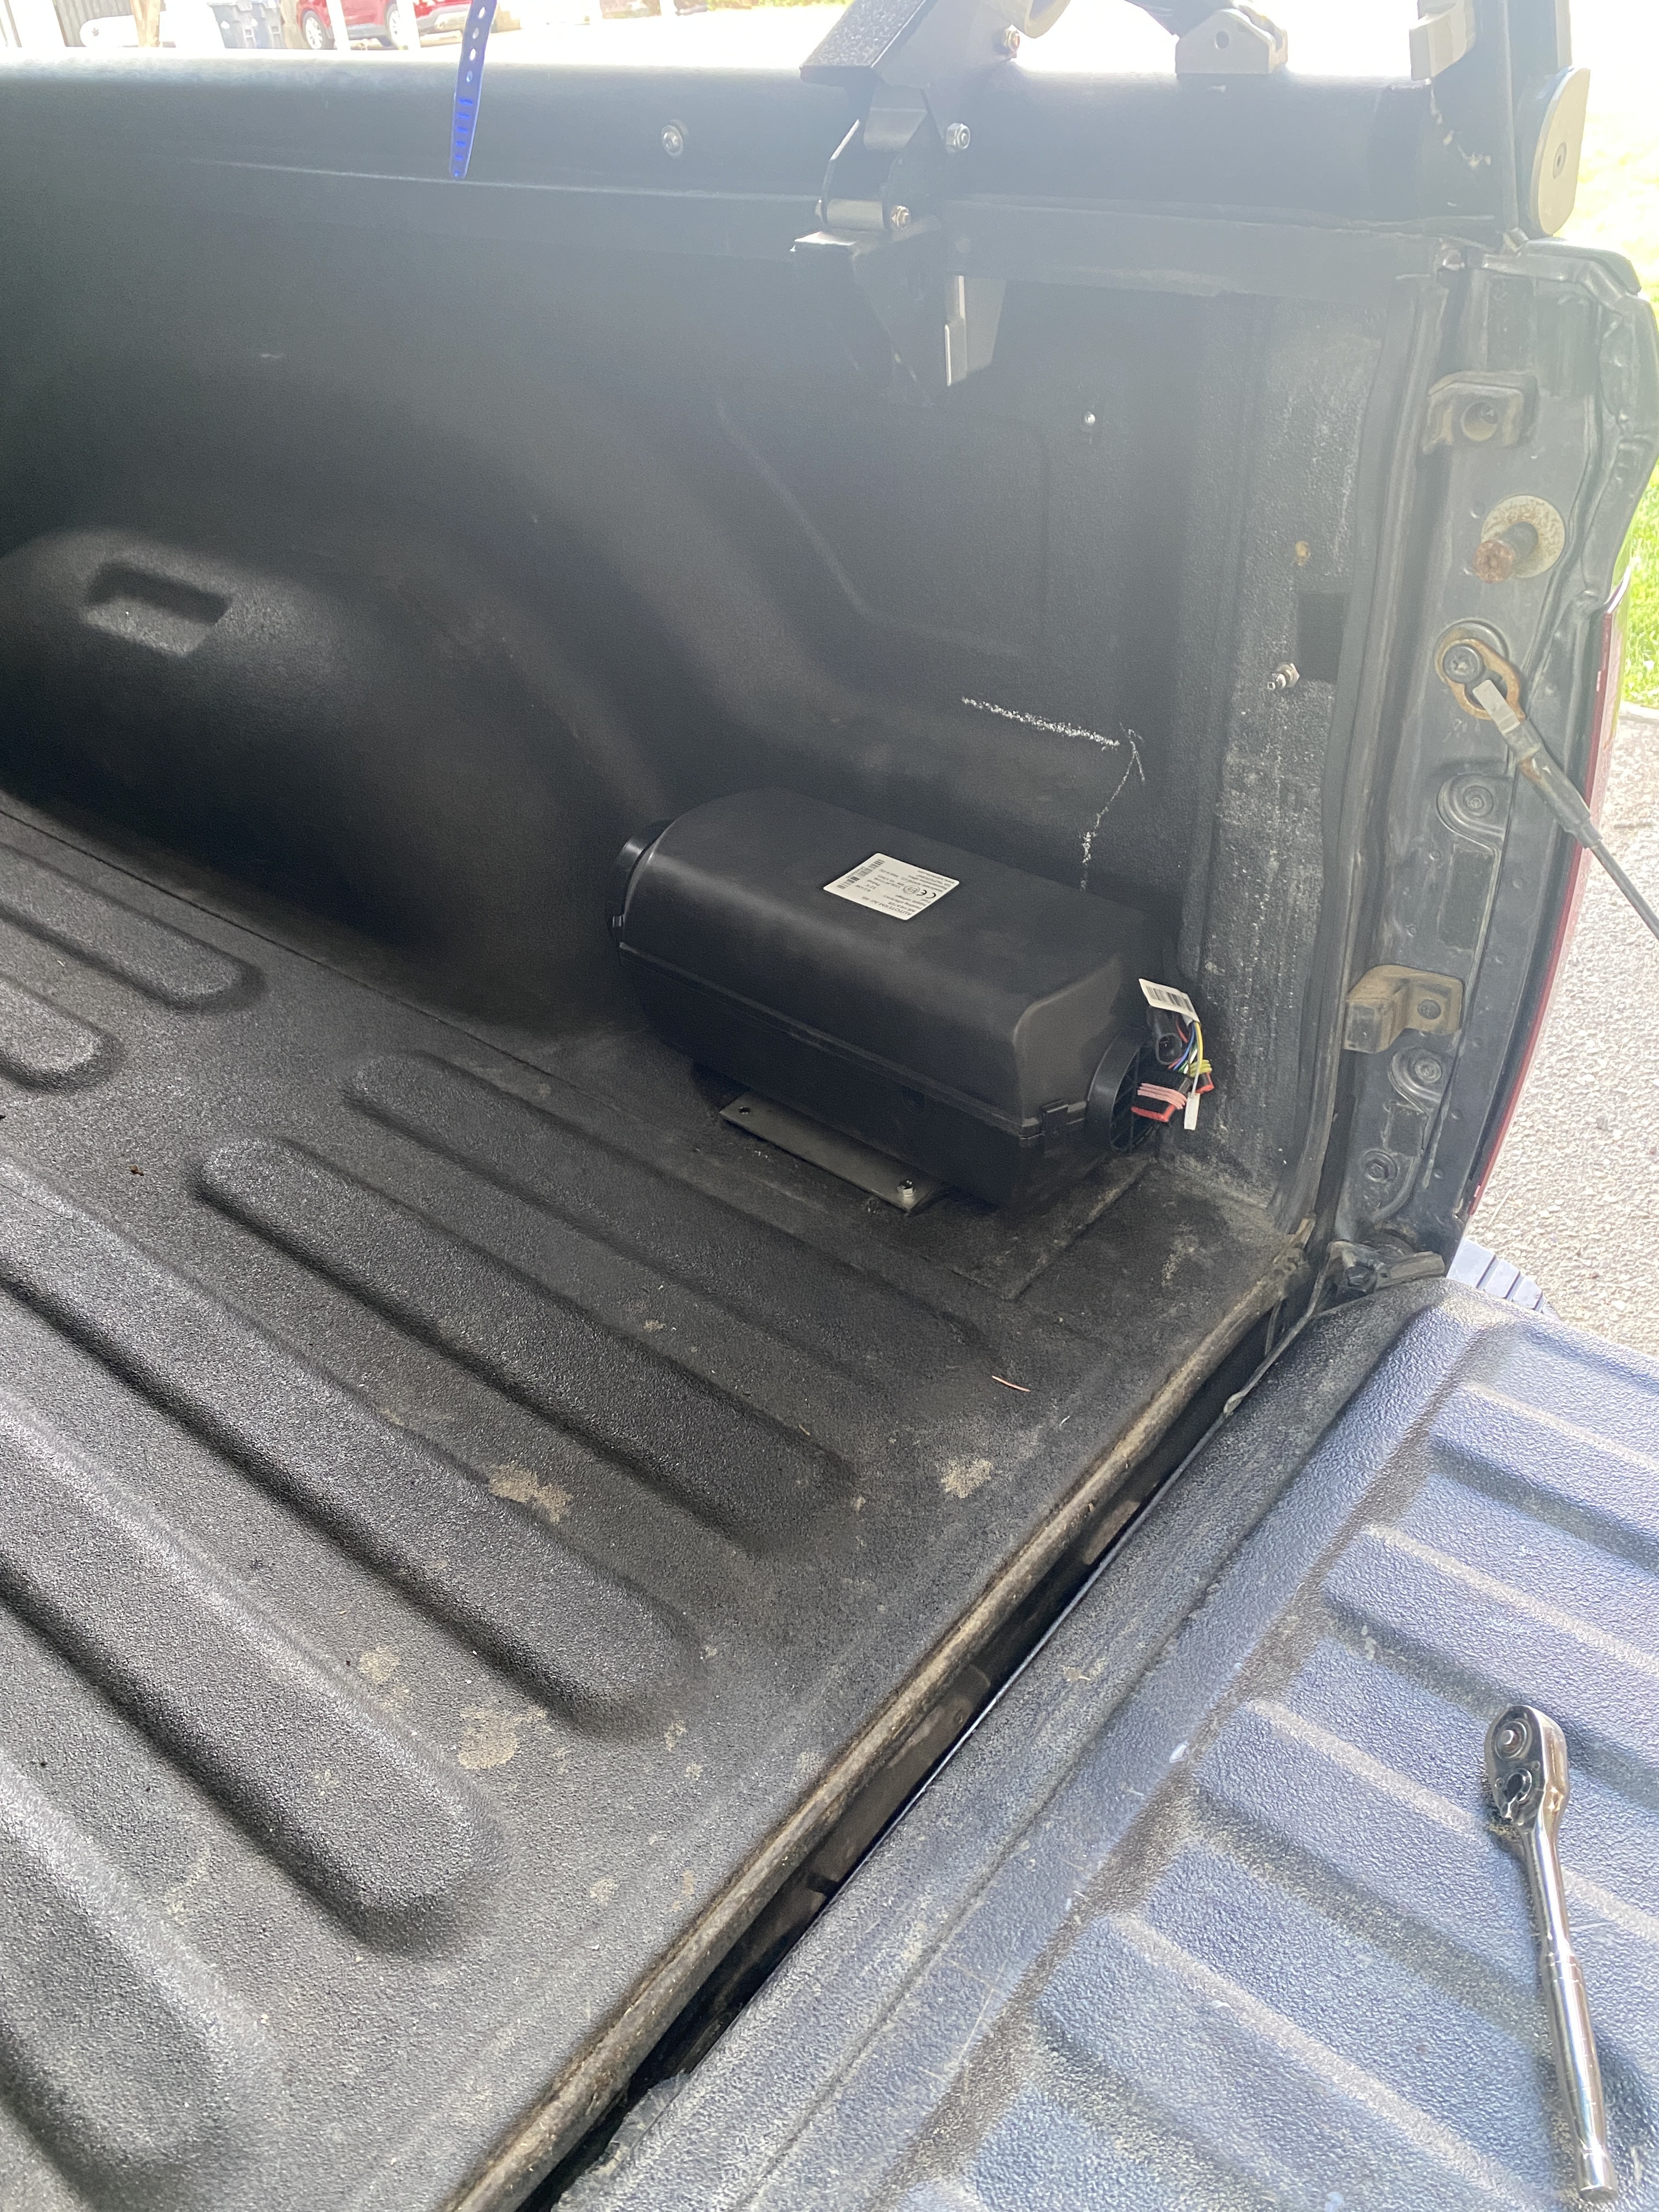
Like a glove!

When I get back from this trip I’m going to pull it out and make the hole a little bit bigger. Right now, it’s a little tight.
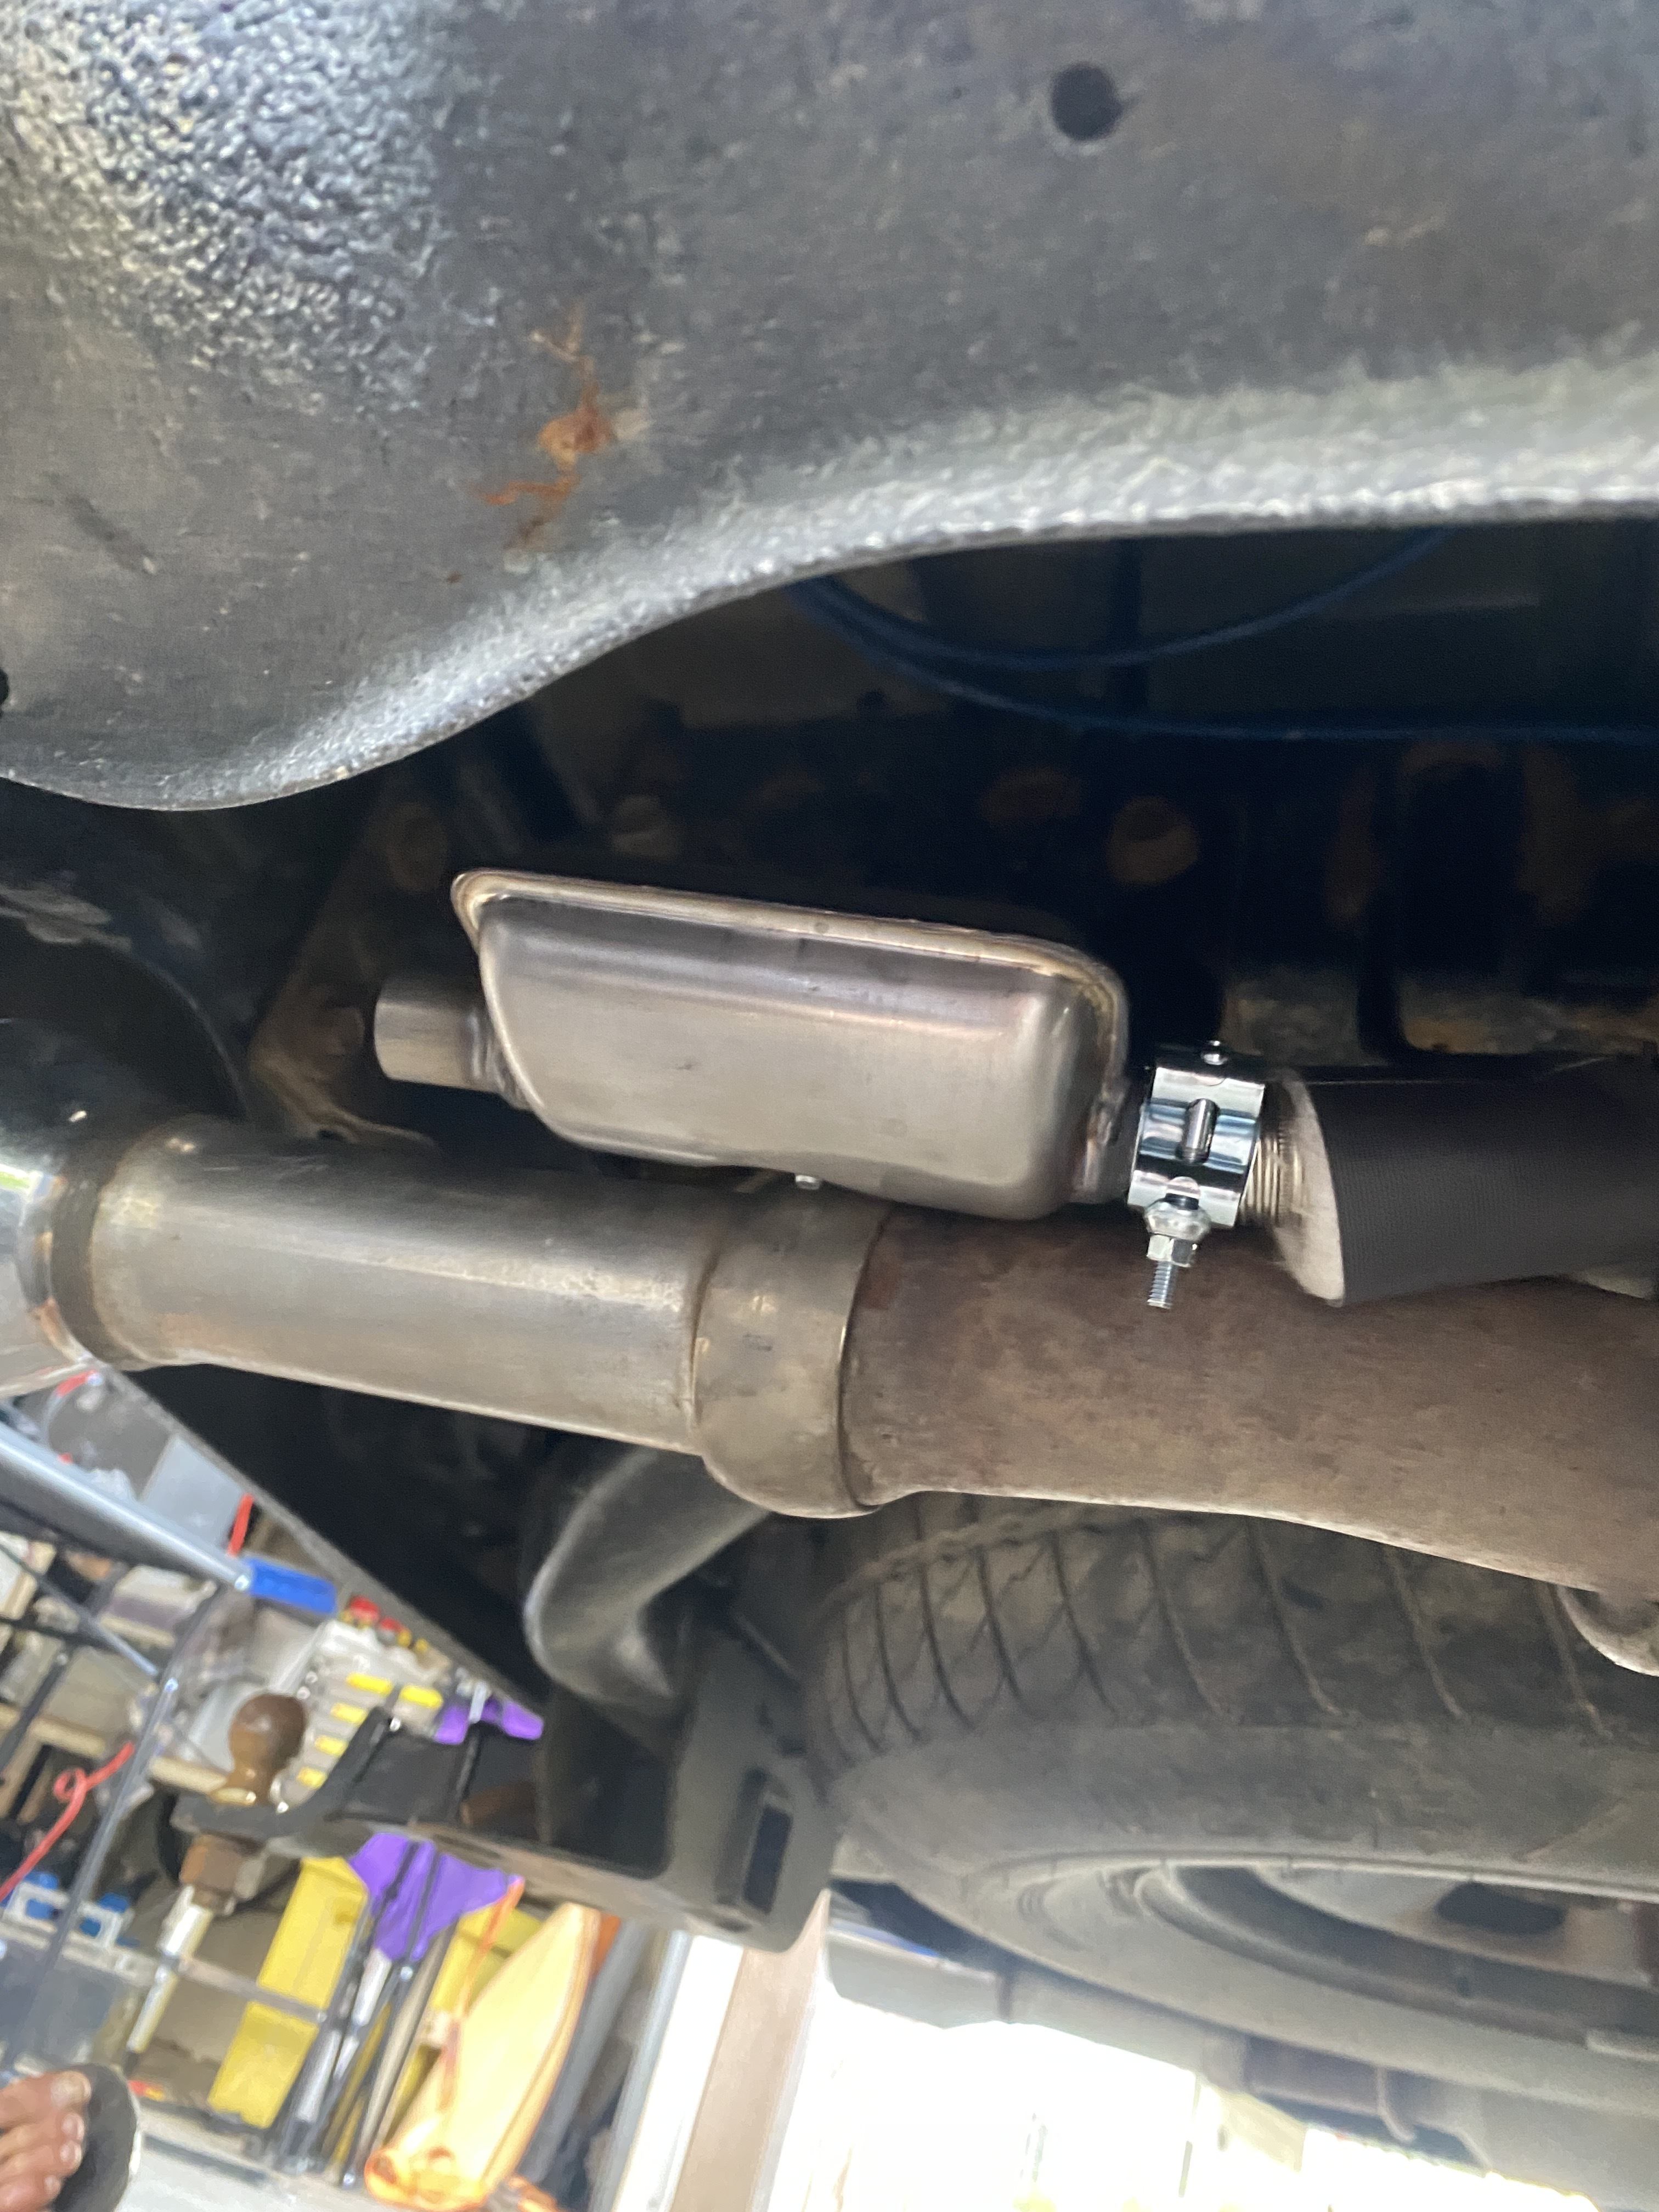
I got the exhaust sorted. Thankfully, one of the perks of my truck getting rear ended is I got new exhaust tips that weren’t welded on. So I was able to use the bolt and used bigger nuts as a spacer to bolt the mount on. I’ll carry the remaining 1.5’ exhaust pipe and put it on at camp to get the fumes a little further from the truck
Here it is in its 75% complete phase; which is where it will sit for the next week. I’m stoked on how this is going so far. When I get back from this course I’m going to lift the truck box and plumb in the fuel standpipe.
Any Tips?
2 Likes
My lovely took the rig down to Revy to bring the boys to a bike camp ![]() . She was nervous as hell, and the rig put her through her paces. Running these things the first time alone can be taxing. Not to mention her worry of damaging something, which I assure her was fine if she did.
. She was nervous as hell, and the rig put her through her paces. Running these things the first time alone can be taxing. Not to mention her worry of damaging something, which I assure her was fine if she did.
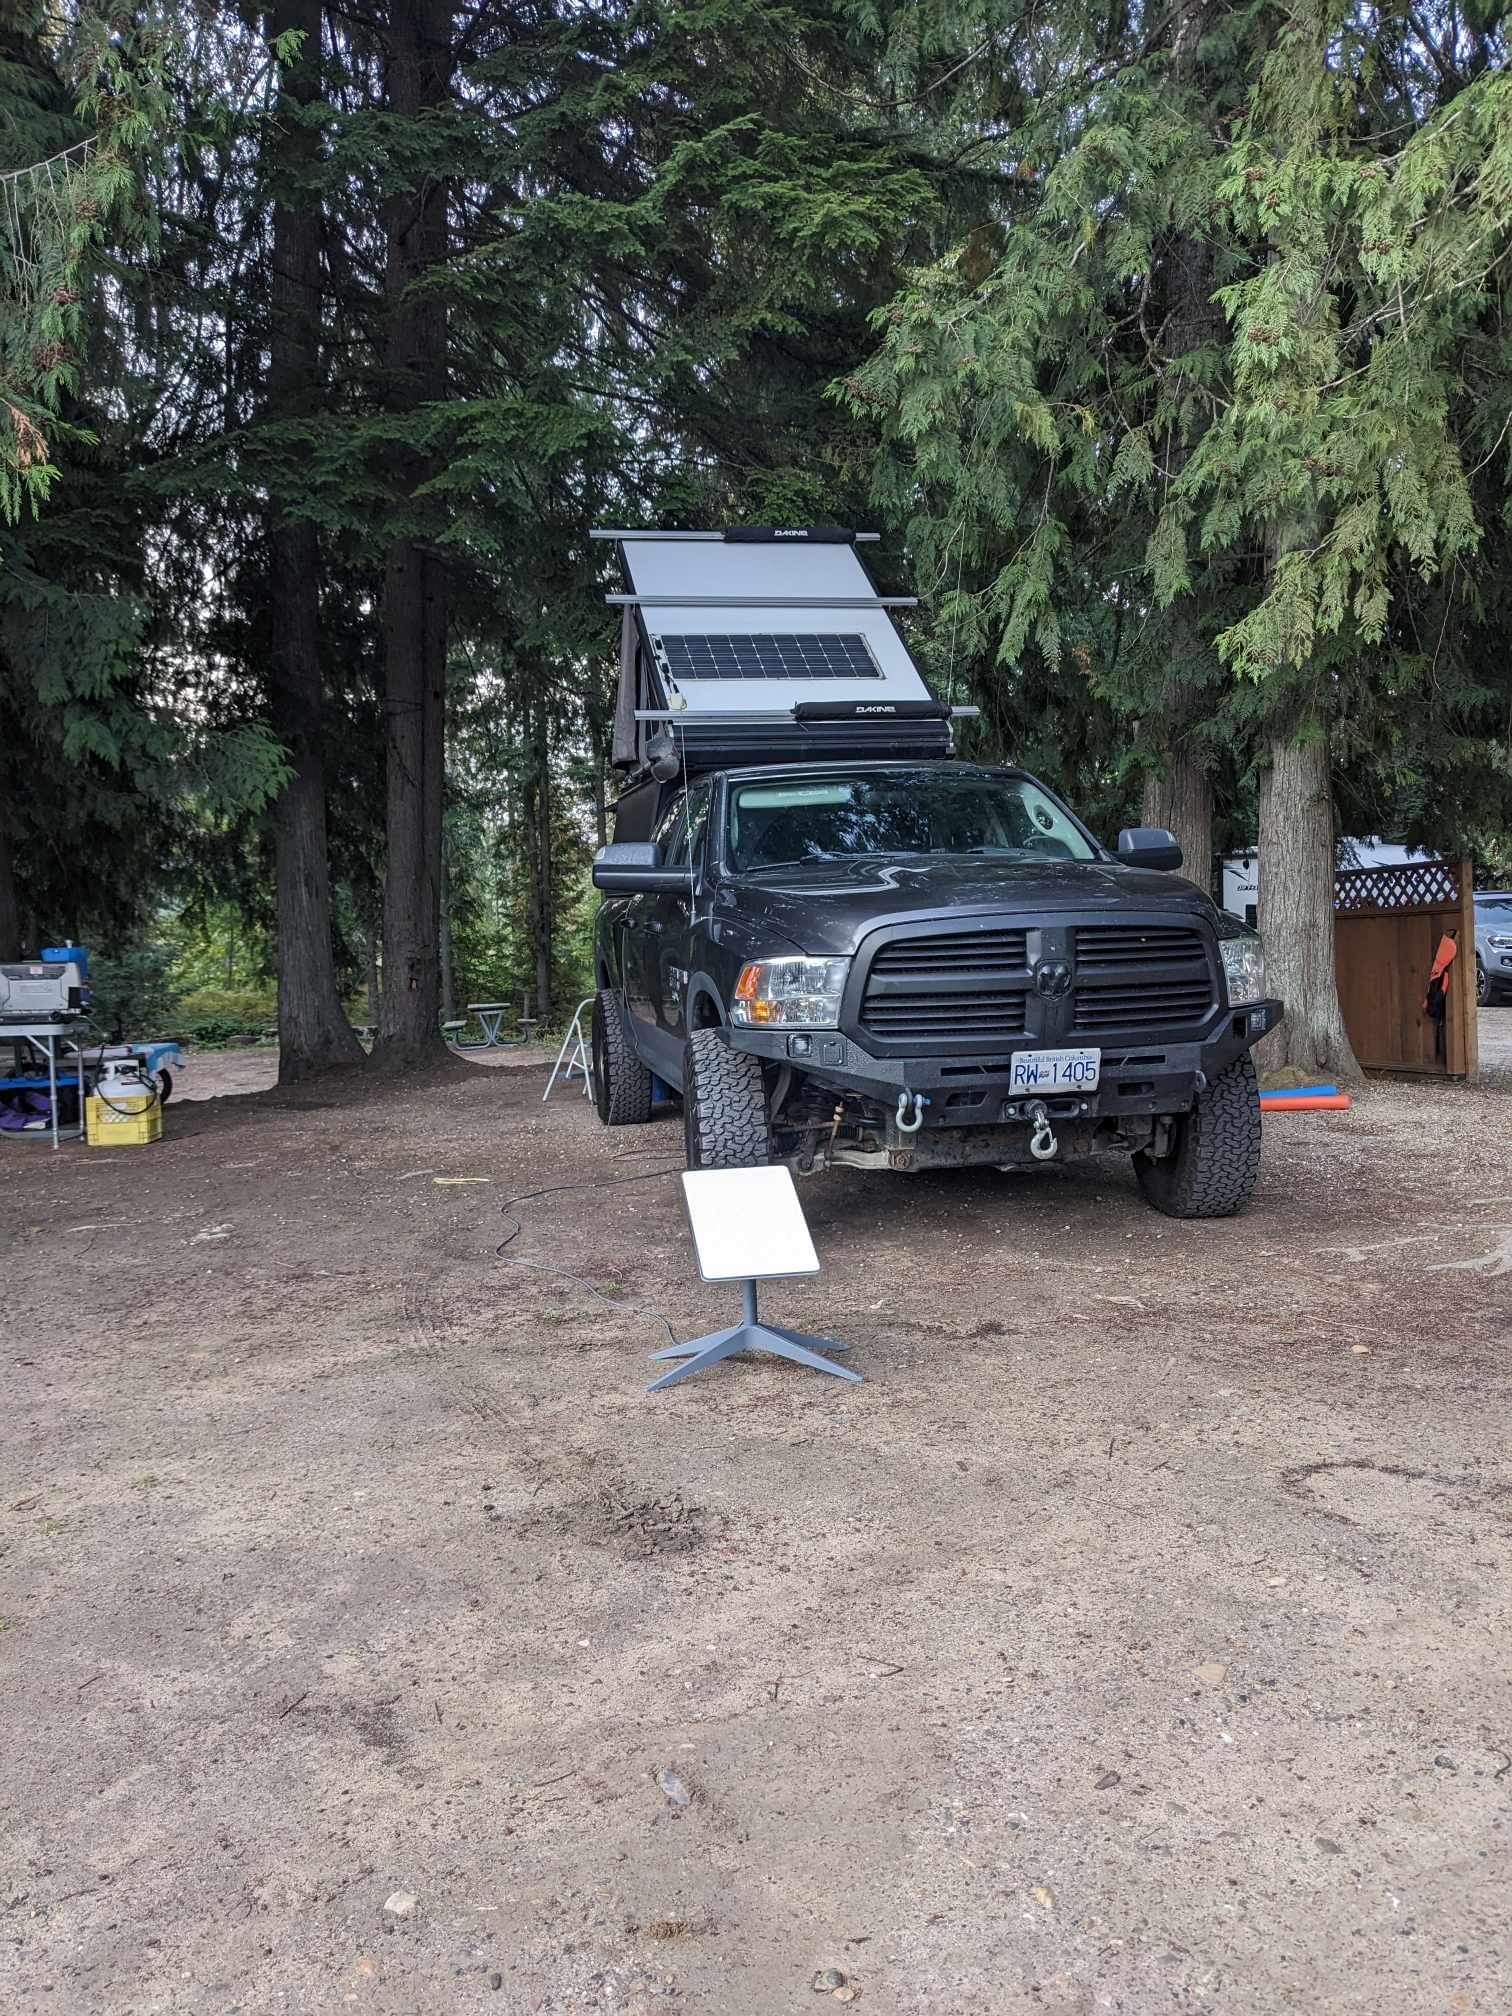
First thing, a lesson I forgot to share with her. Don’t plan and business meetings close to your arrival time at camp. This will inevitably result in dishy throwing a fit, especially if you choose a spot based on personal comfort vs. Line of sight for internet.
One of the most obnoxious things in my rig that I’m not willing to shell out the big bucks for. Is a more comprehensive DC/DC system. When running the starlink with only 100W solar, charging a laptop and dishy will deplete a 100ah Battery. So our solution is the DC/DC charger which requires the truck to be running. But, we run ours on a switch in the event that we have shore power to run the truck. Anyhow, the big thing is you can forget this on and the Renogy DC/DC is not smart enough to not KILL your truck battery.
So that was the first lesson Amber learned. Luckily I carry a boost in the truck for this very reason. So she was able to get the truck started. Then another quirk of the DC/DC charger is that if it gets a fault, say ‘Low supply voltage’ both sides of the charger will need to be disconnected to reset it. My lovely wife followed directions and got this all sorted again and was back to charging.
Unfortunately, she didn’t quite remember this. So had to repeat this process one more time ![]() .
.
She managed to make it almost all the way home unscathed from damage. When out of no where at dusk in BC she hit a Deer ![]() . Now I can truely vouch for Coastal Offroads Bumper!
. Now I can truely vouch for Coastal Offroads Bumper!
Everyone was perfectly fine, aside from the poor deer.

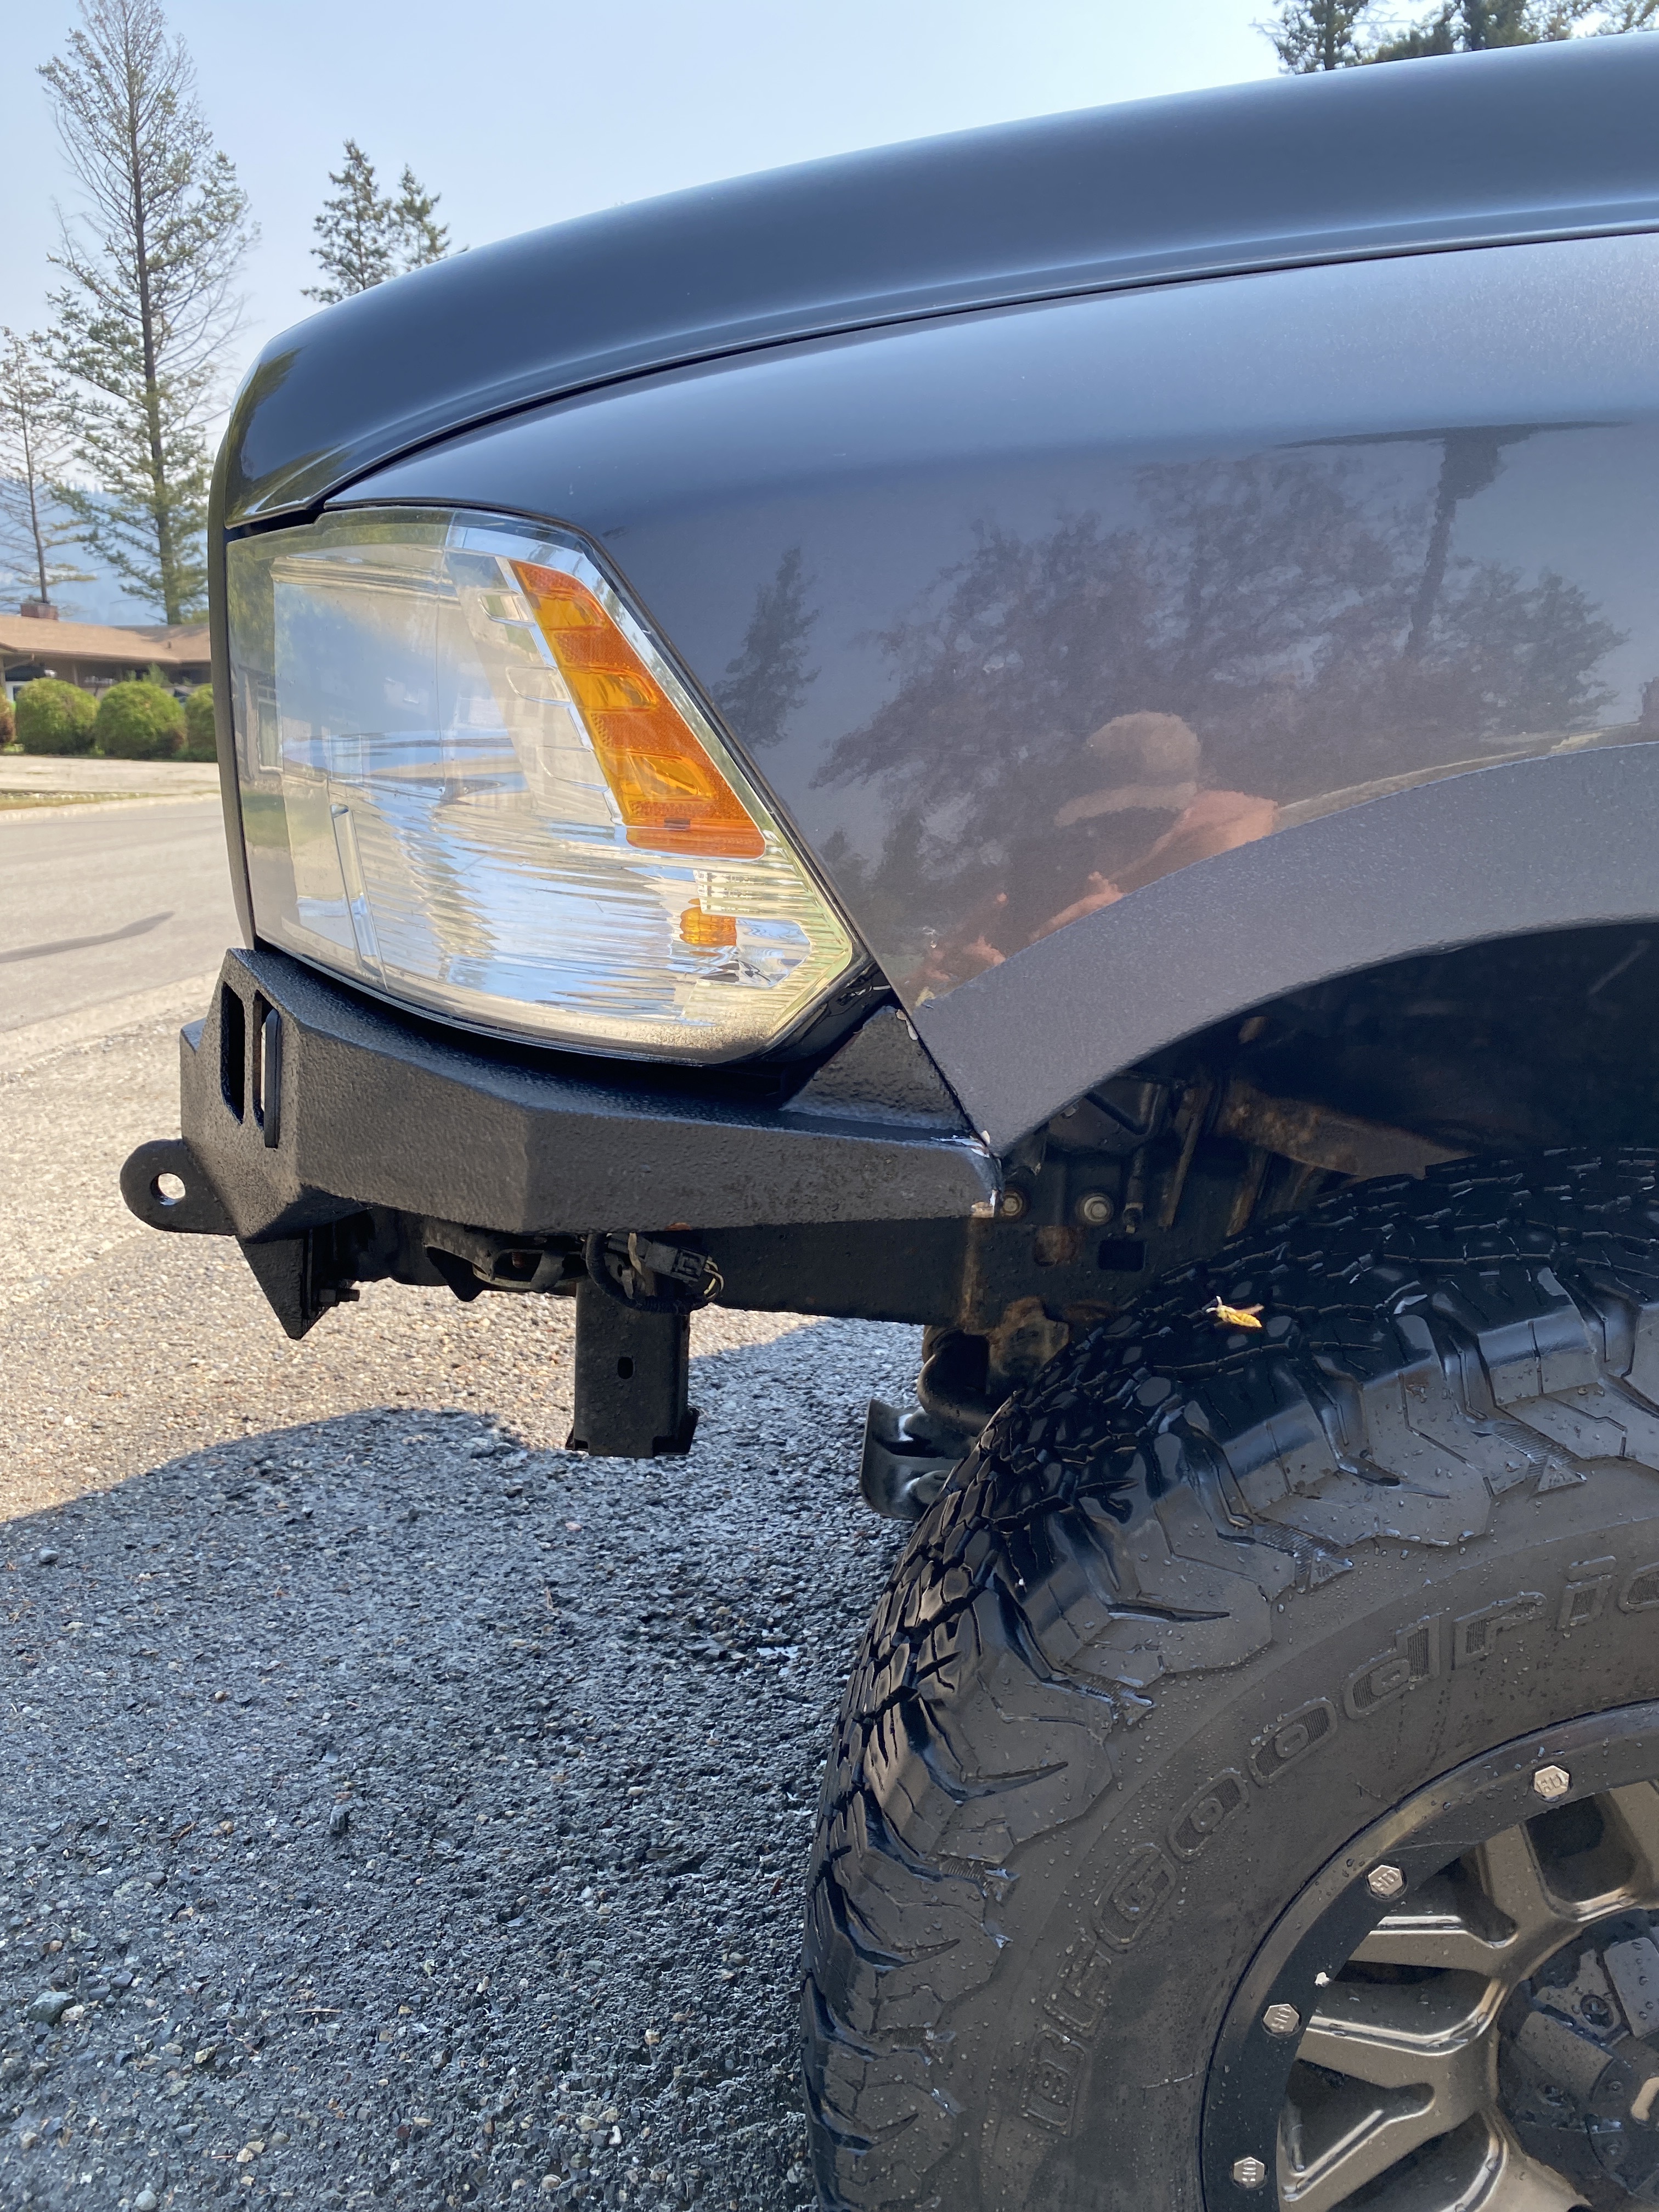
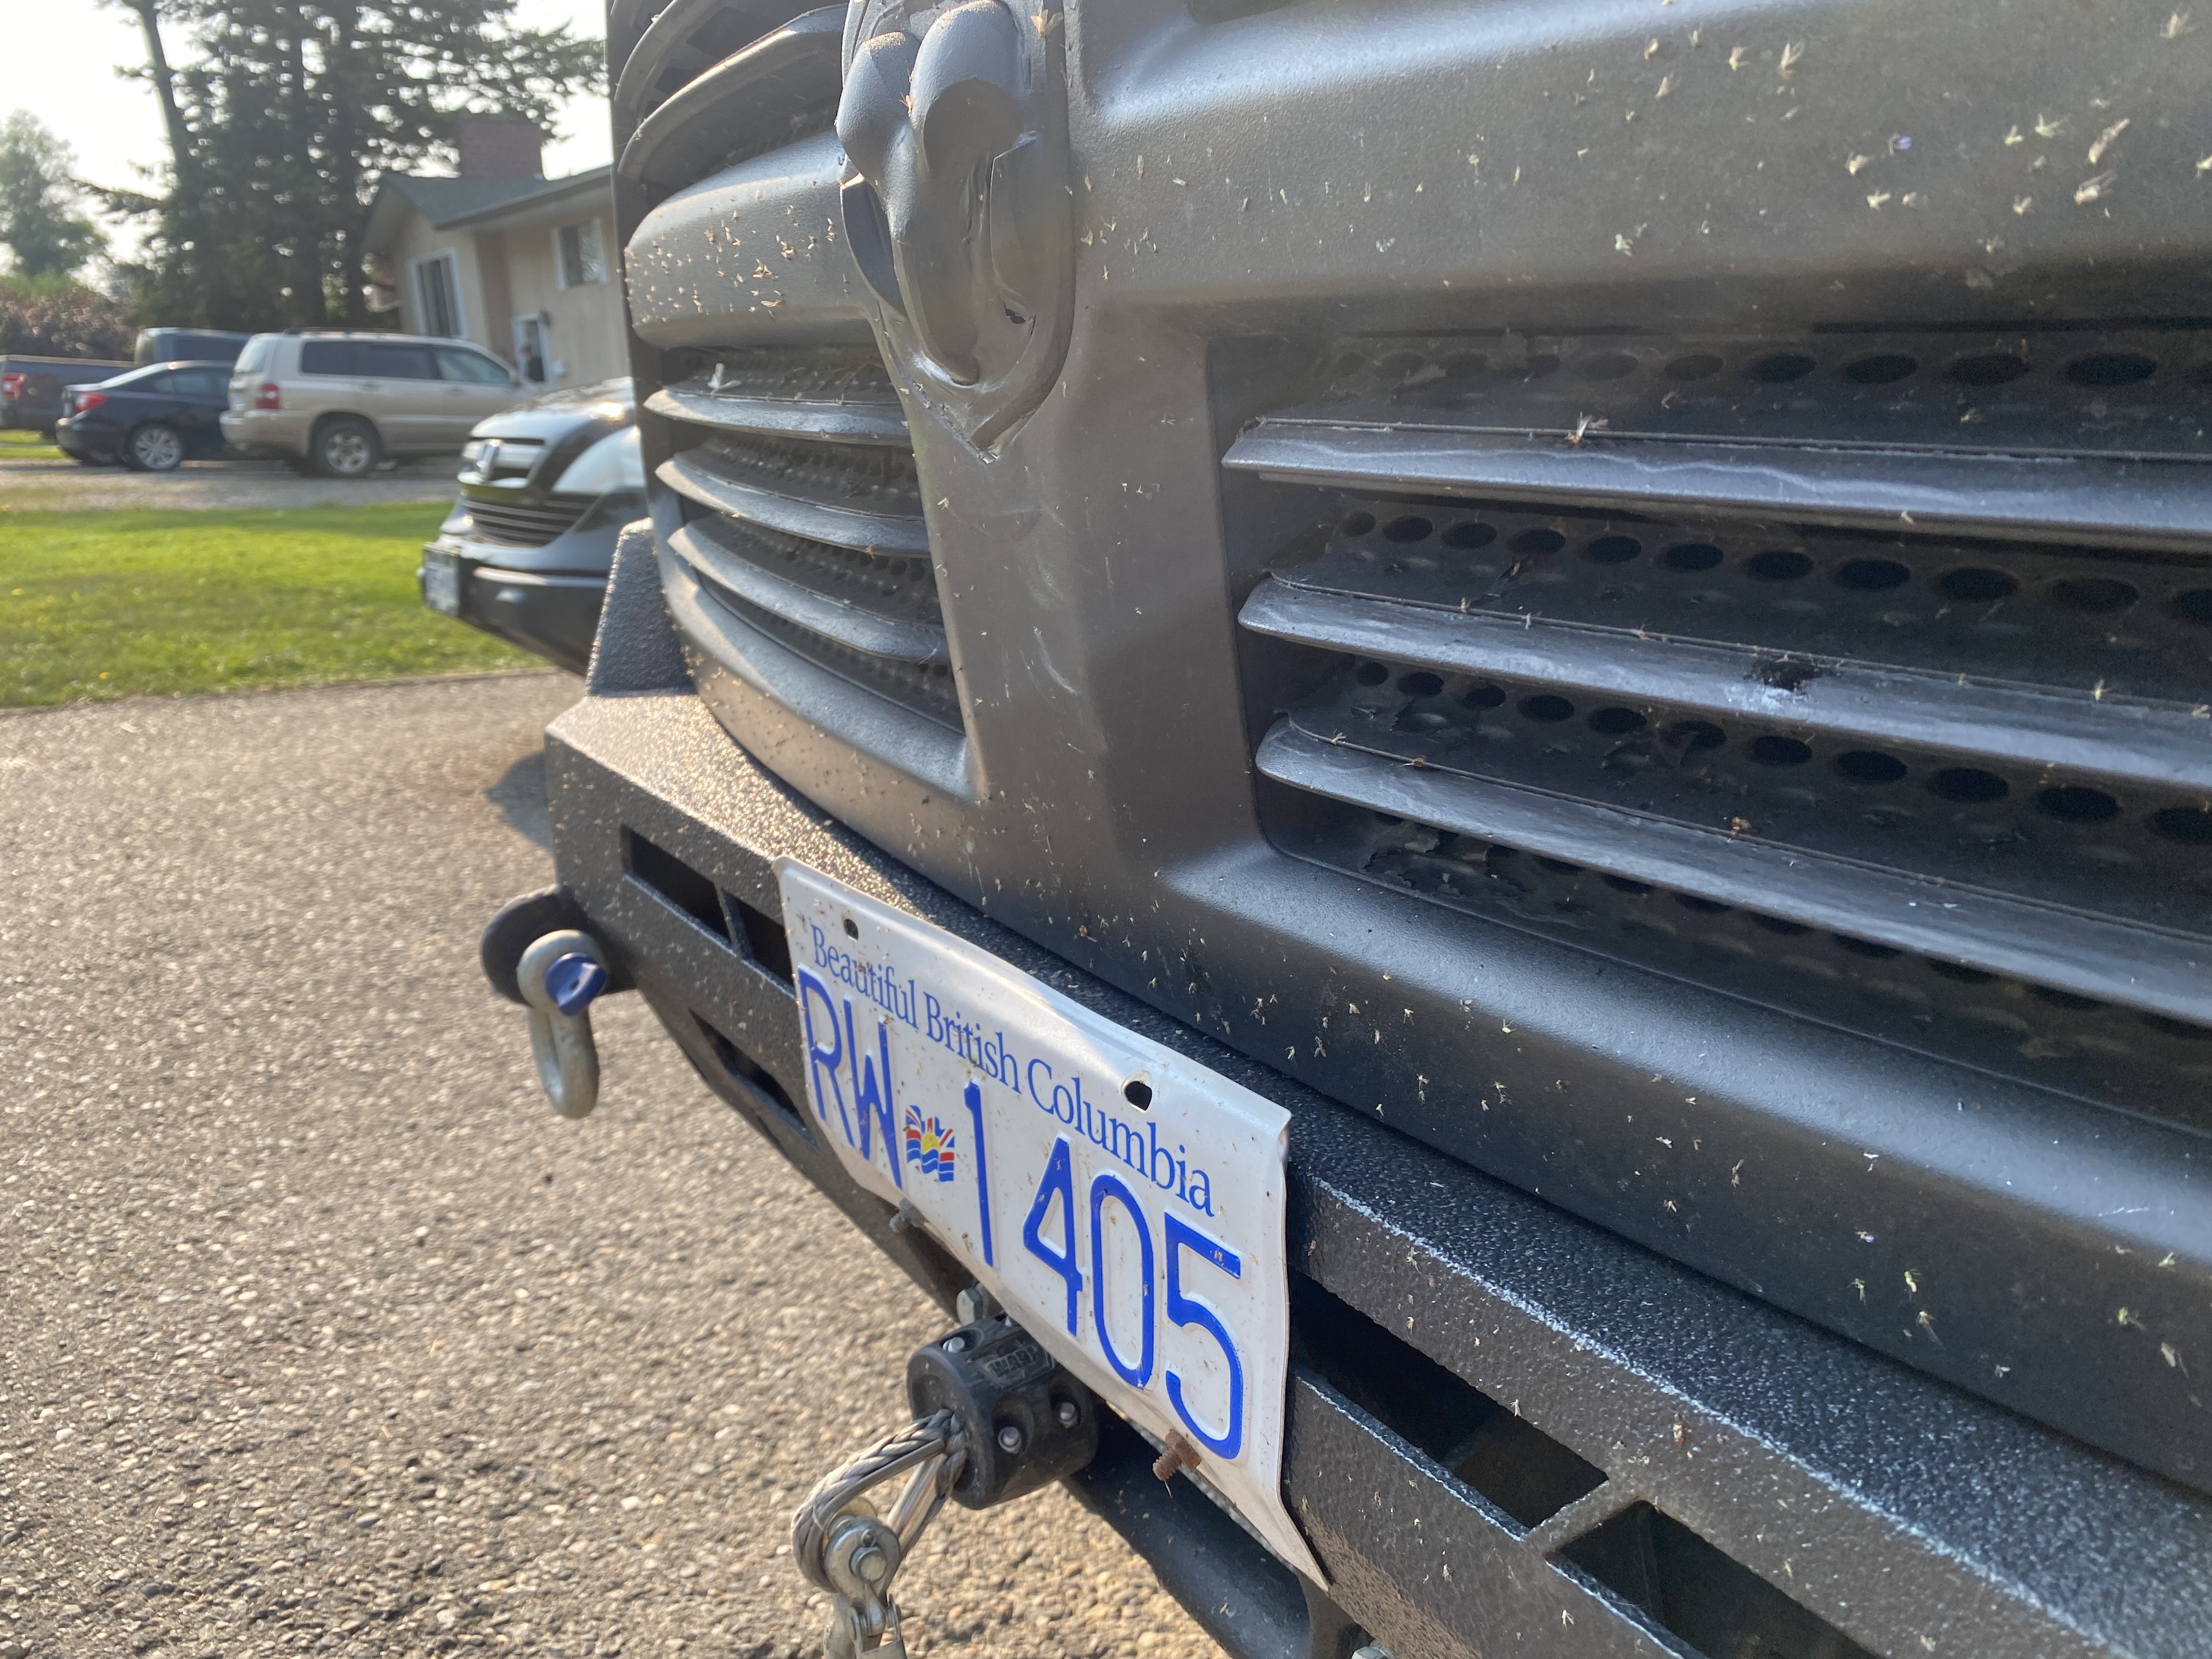
So if you’re contemplating an off-road bumper do it! Had the rig still be running stock. The truck would’ve been undrivable and had likely deployed the airbags. But since the steel took the brunt of the impact they were able to continue on their marry little way.
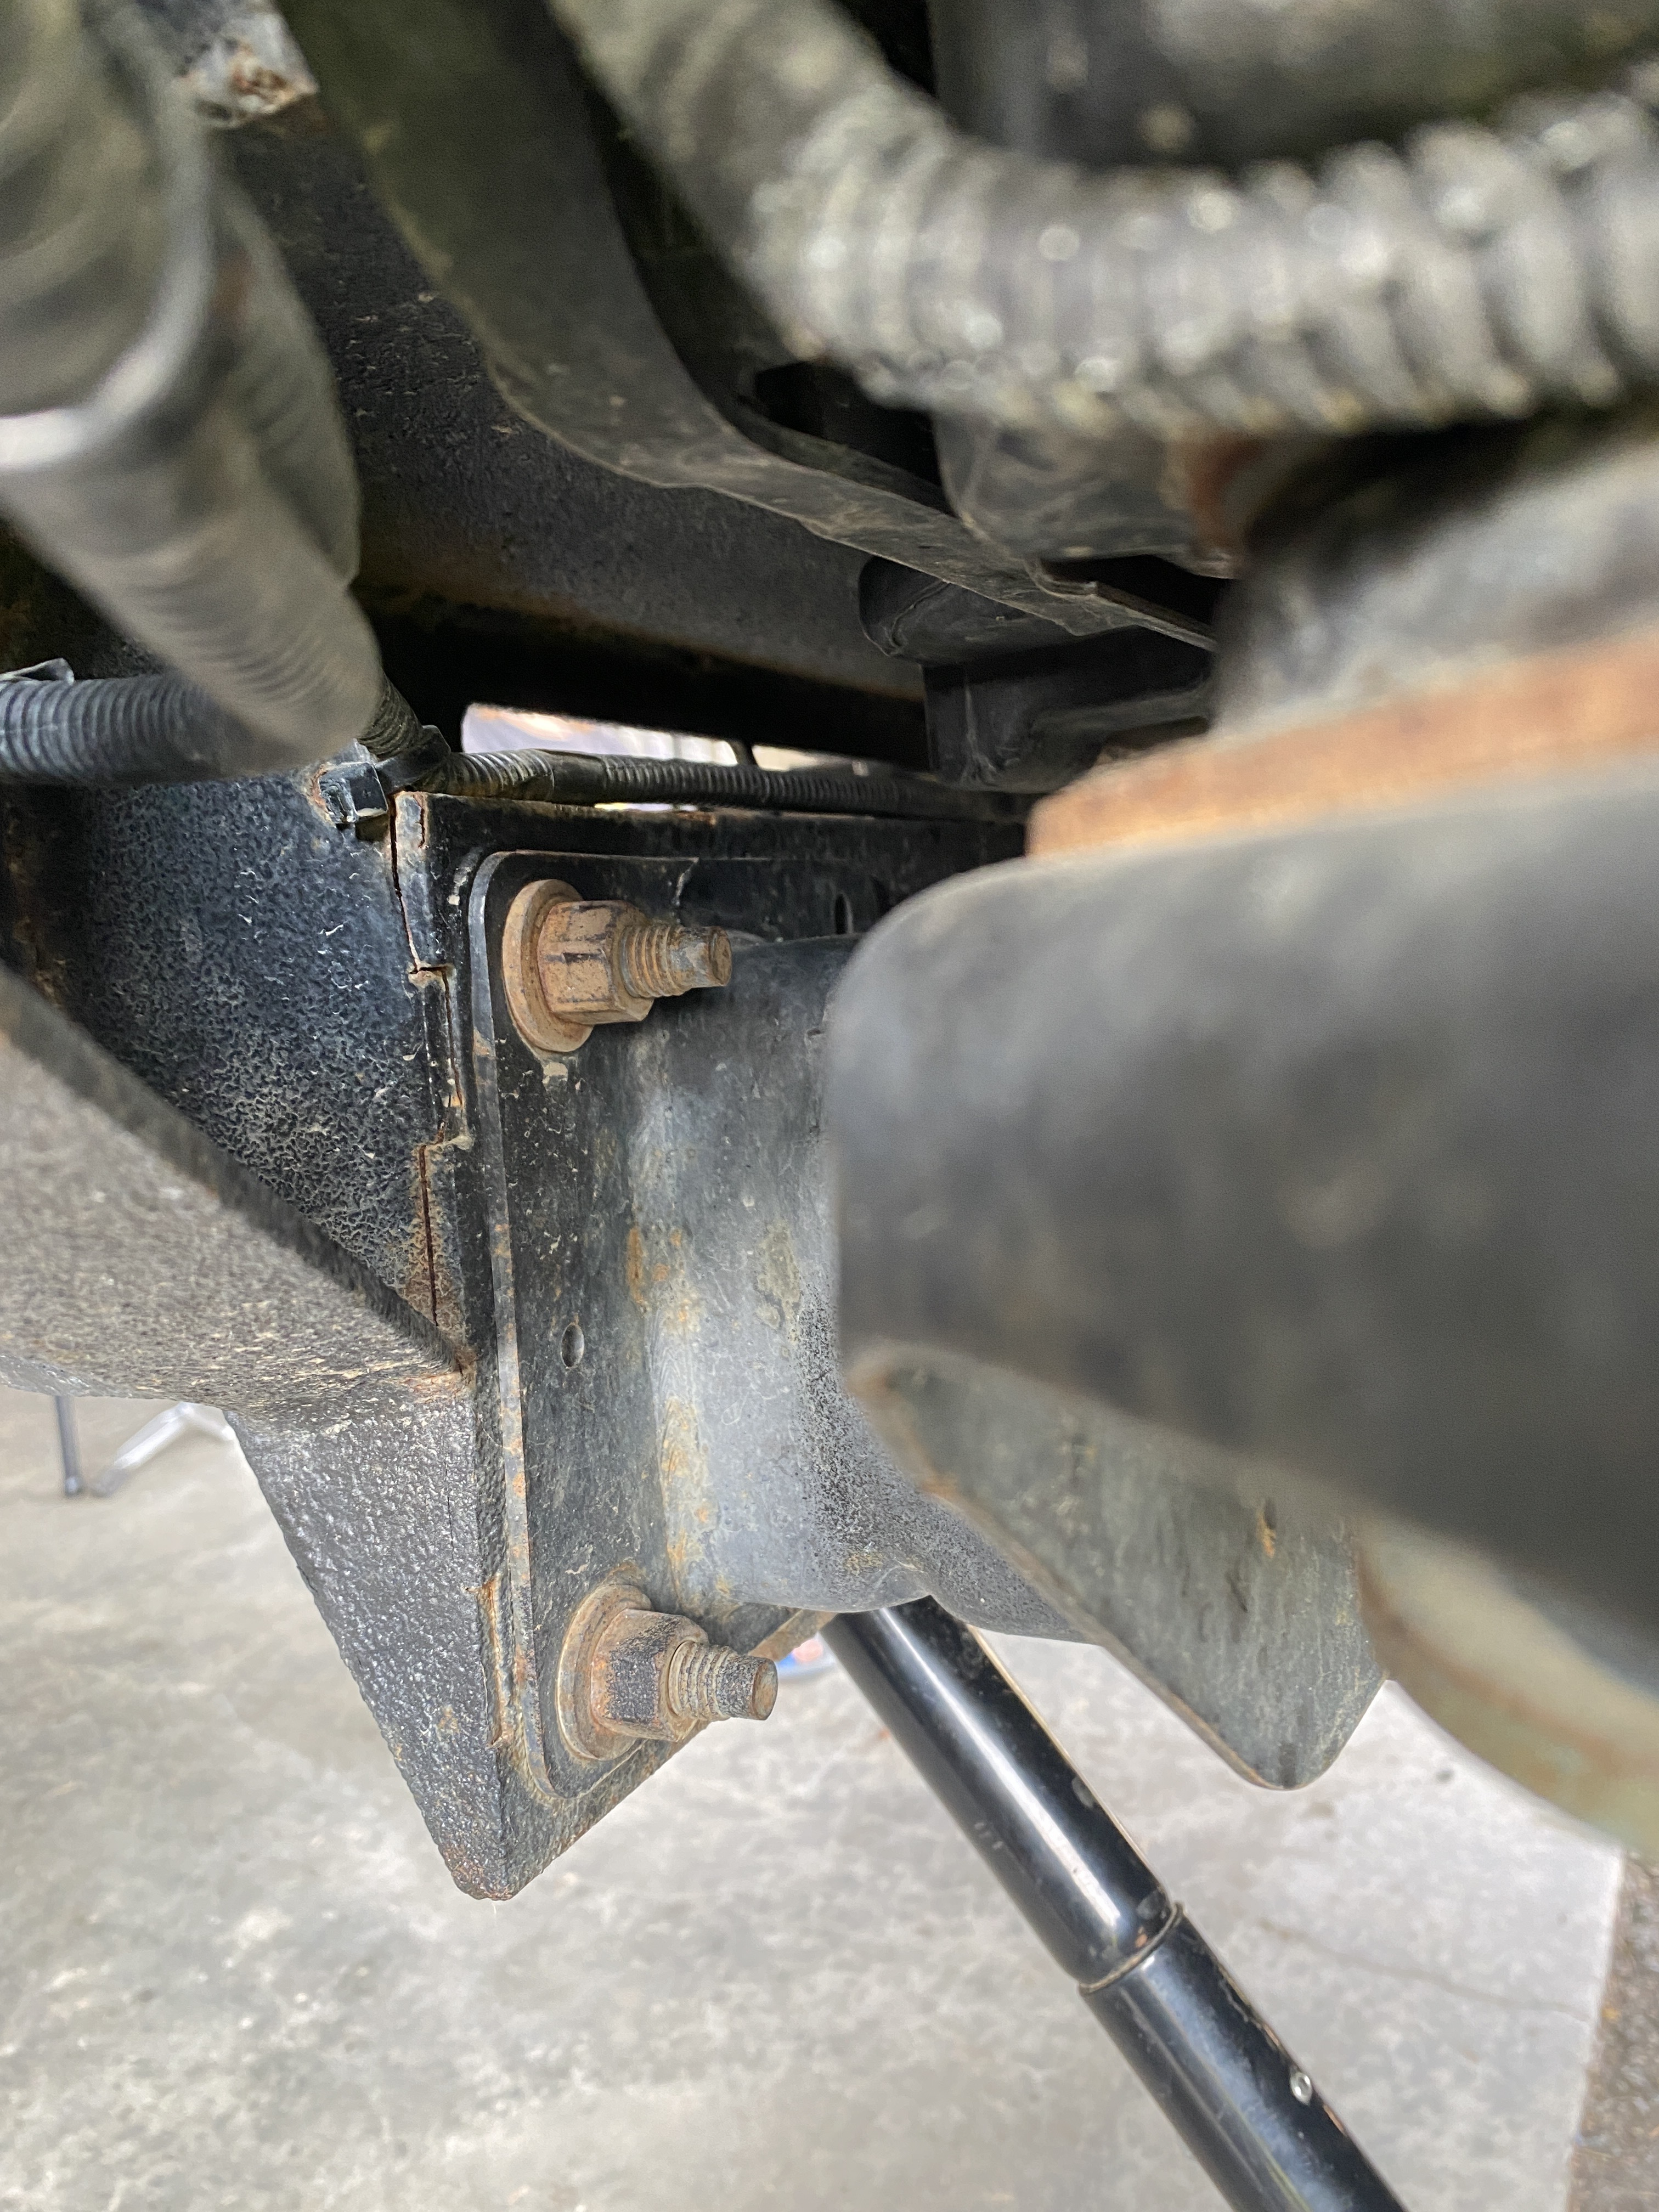
Now to figure out now to bend the back plate back and maybe straighten the bumper mount.
Got a rig? Gonna rally it? Better be ready to fix it!
1 Like
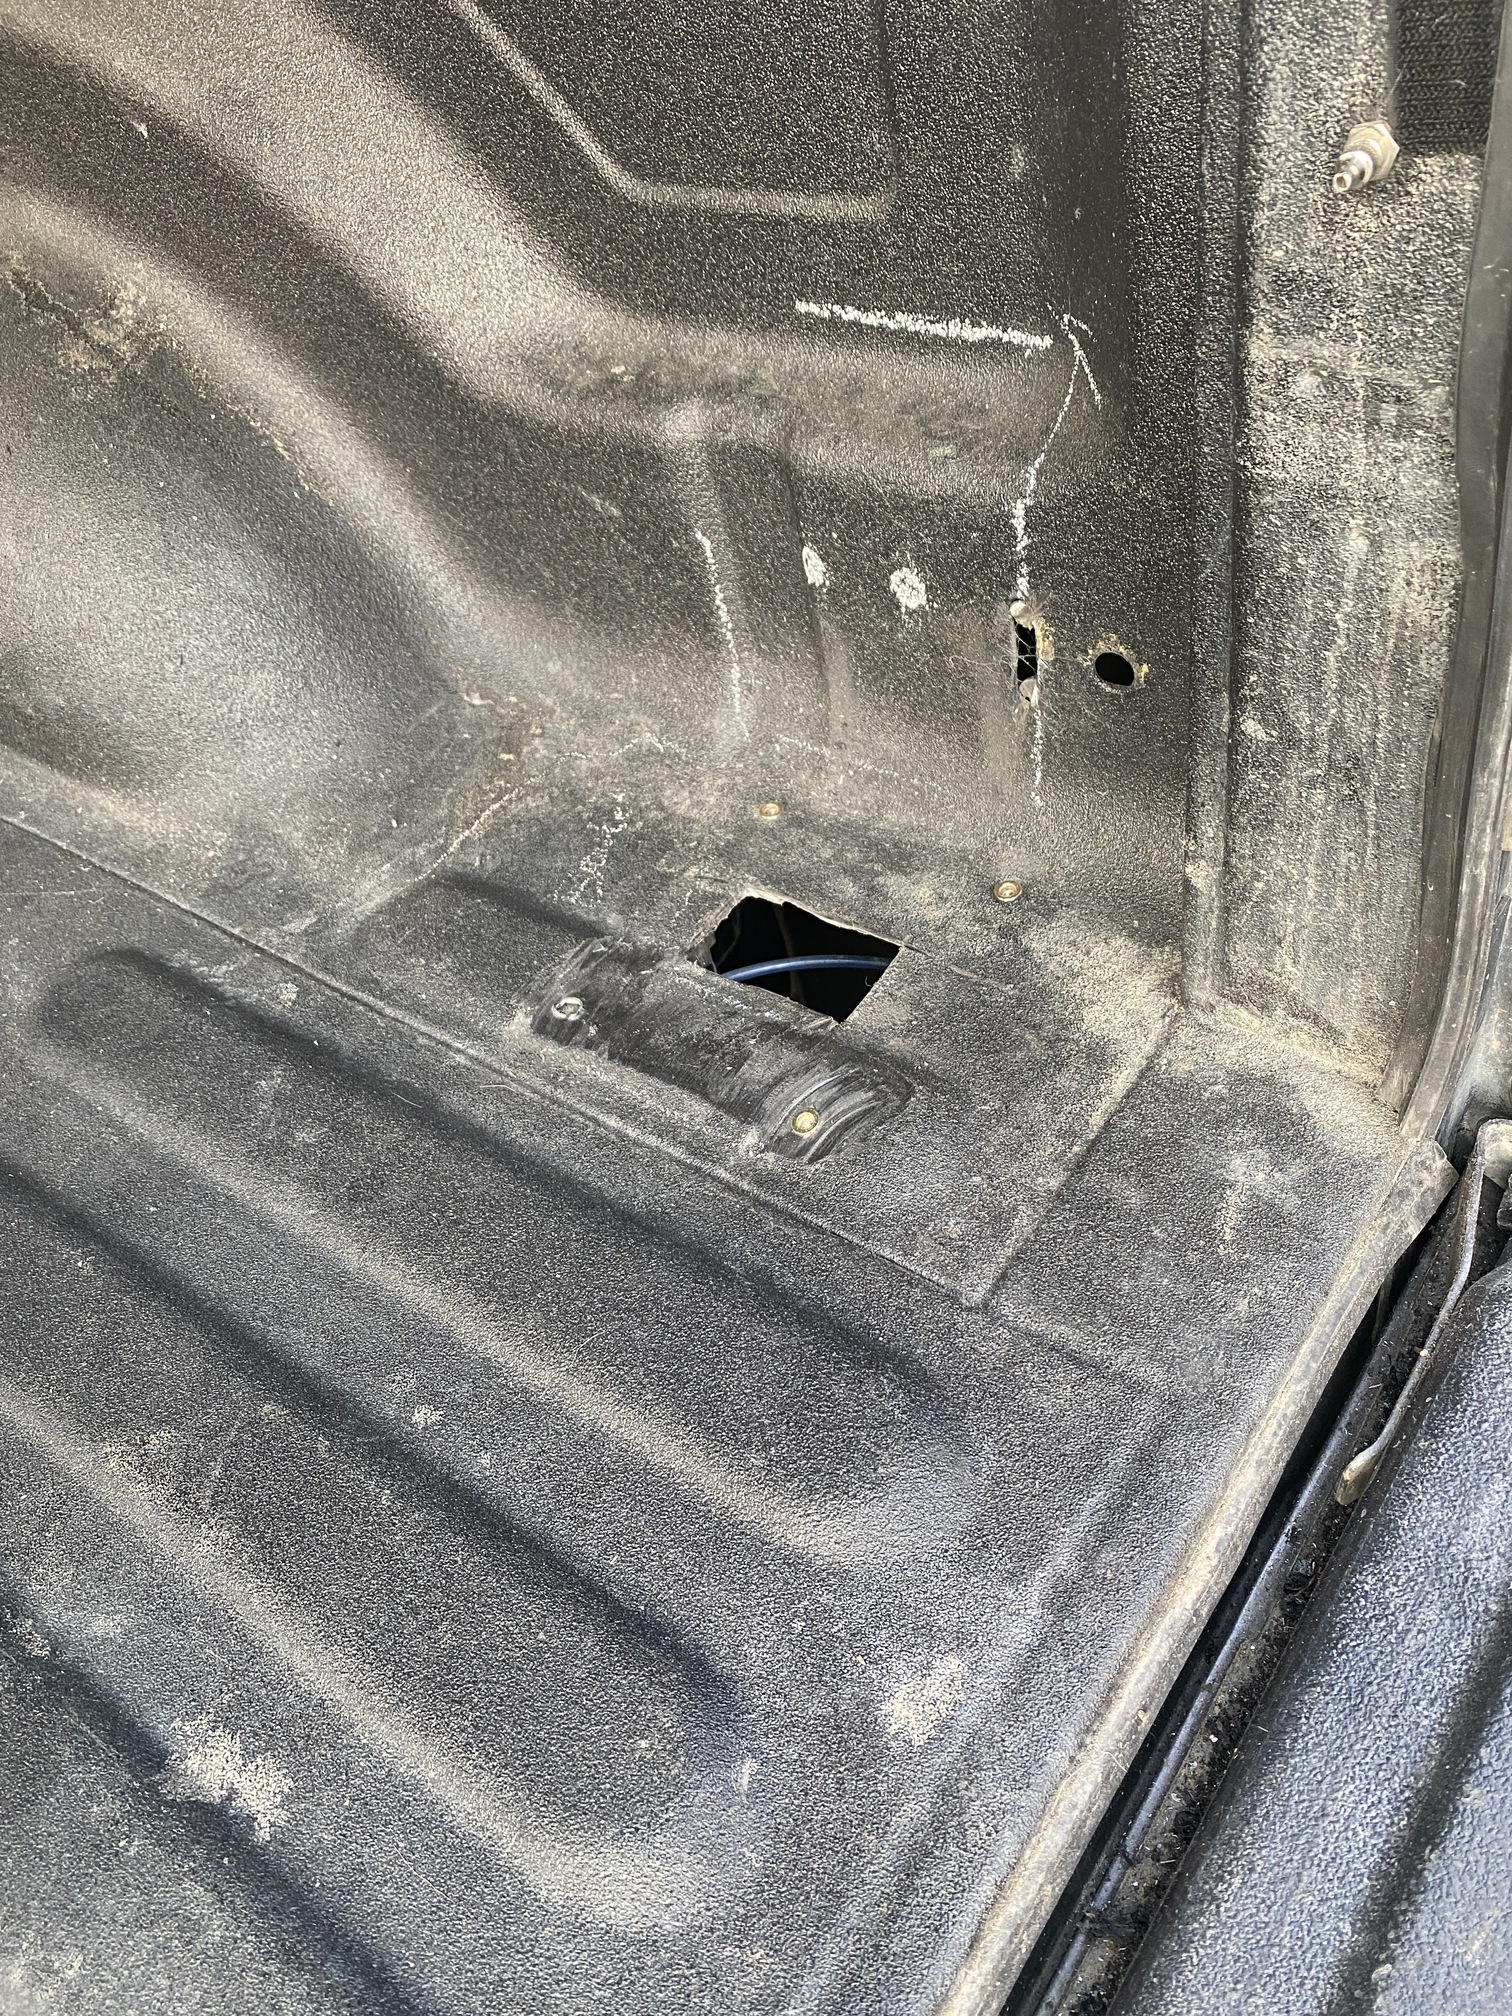
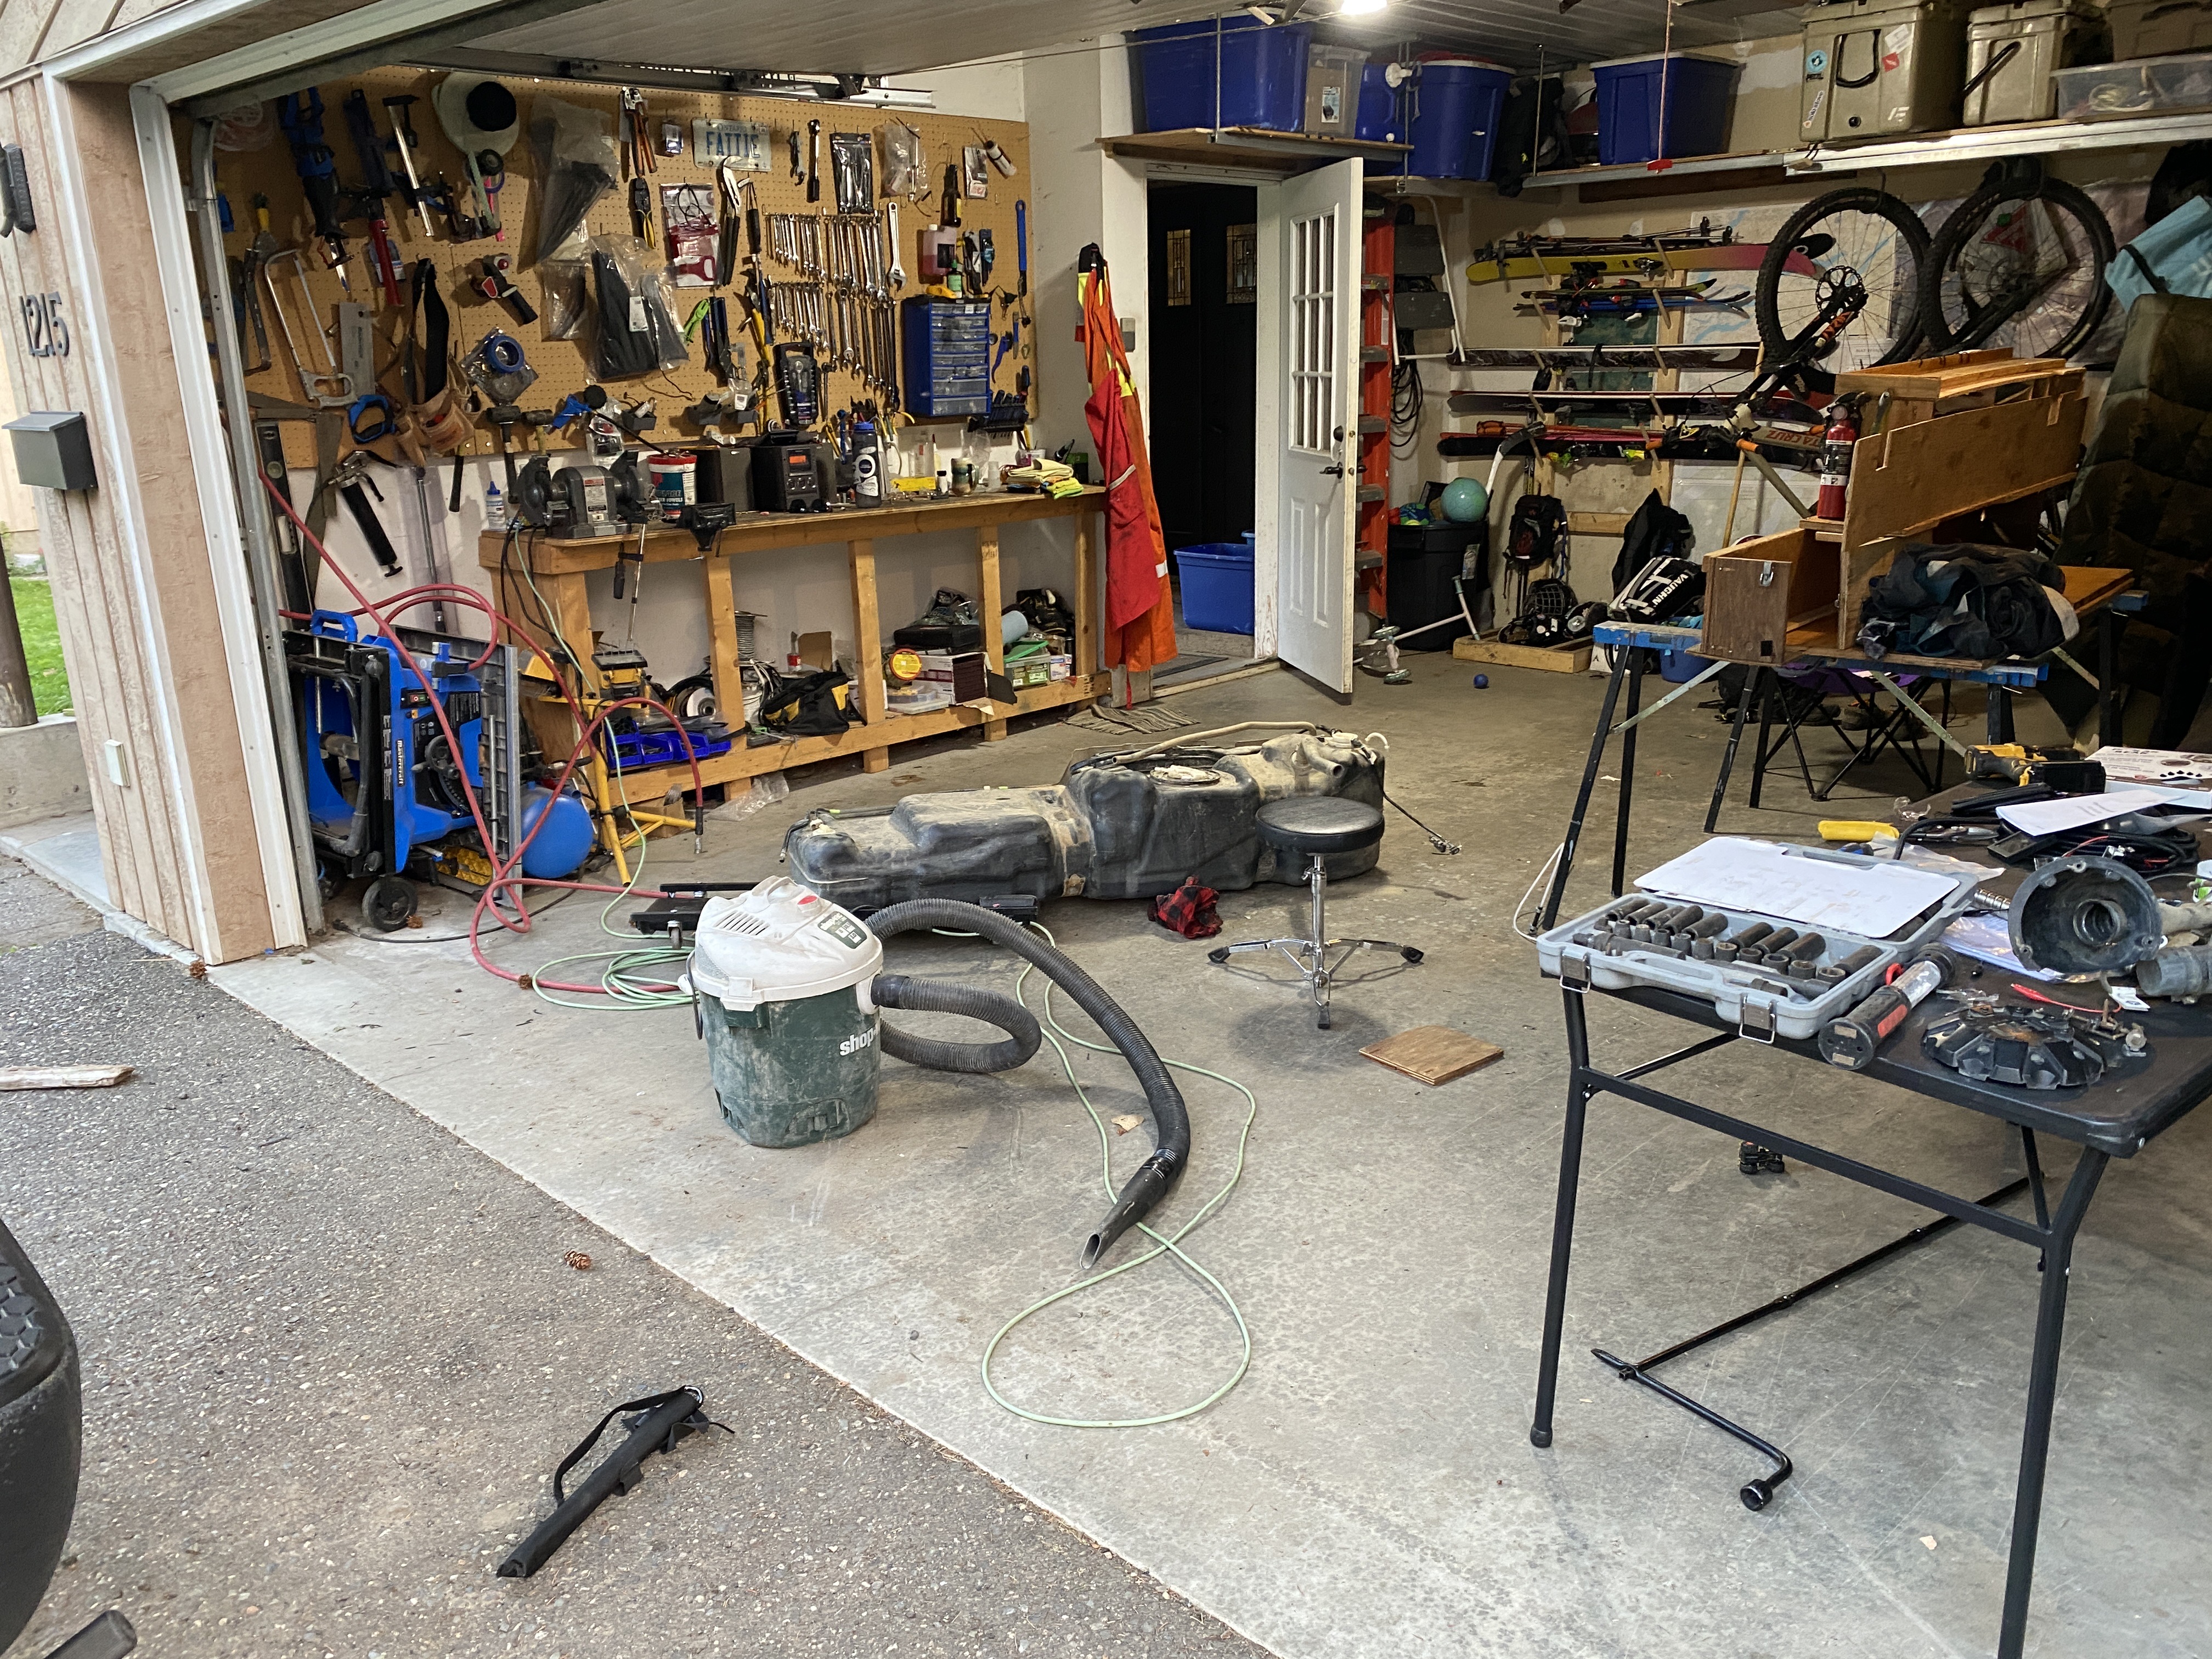
Despite all this, I have proceeded with my Planar heater install. Originally I was going to unbolt the box and tilt it up. Then I crawled under and looked at the electrical connectors….
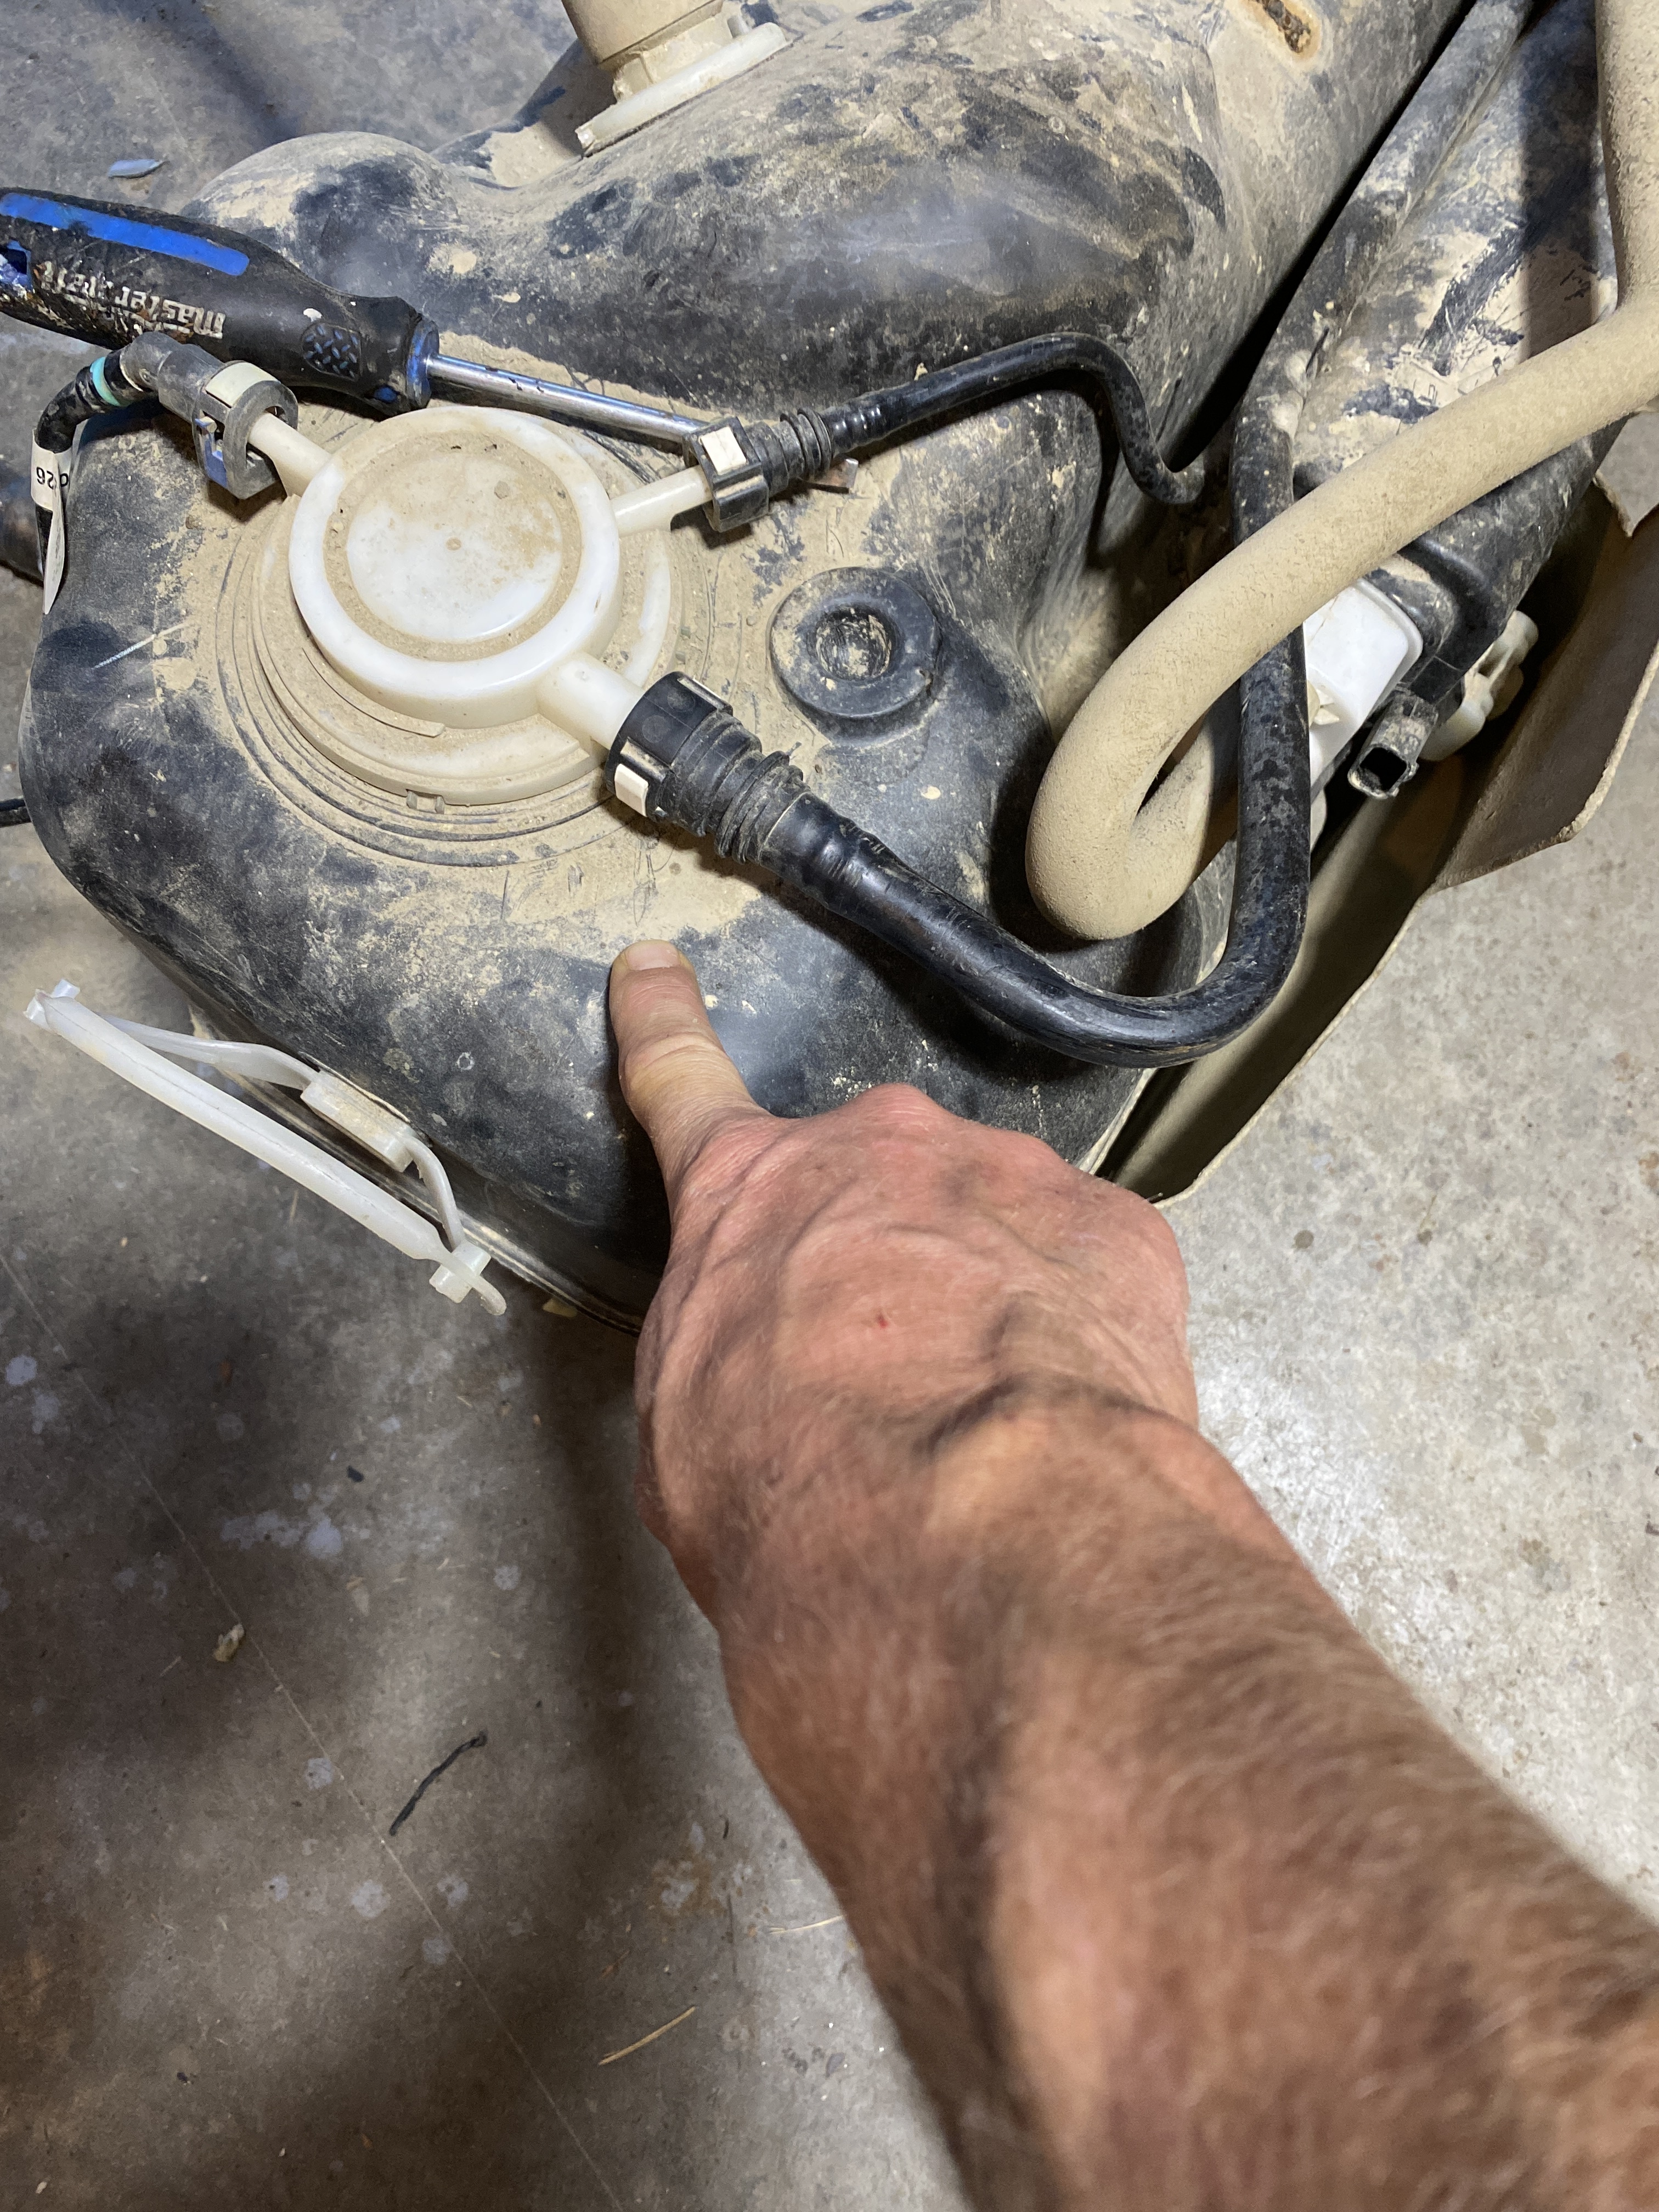
So I rolled towards the Center and saw two nuts holding the tank straps. So, I proceeded to drop the tank and clean up the hole for the heater in the box.

No my prettiest work, but it will be covered up

On YouTube, dudes showroom clean 1500 tank came off in like 6 minutes. Why did my 10 year old northern bc truck take like 7 hours. That includes parenting
Tomorrow I shall drill a hole right there!
Have found a spot just above the spare for the pump that should be easy to get to and out of the elements a little.
1 Like
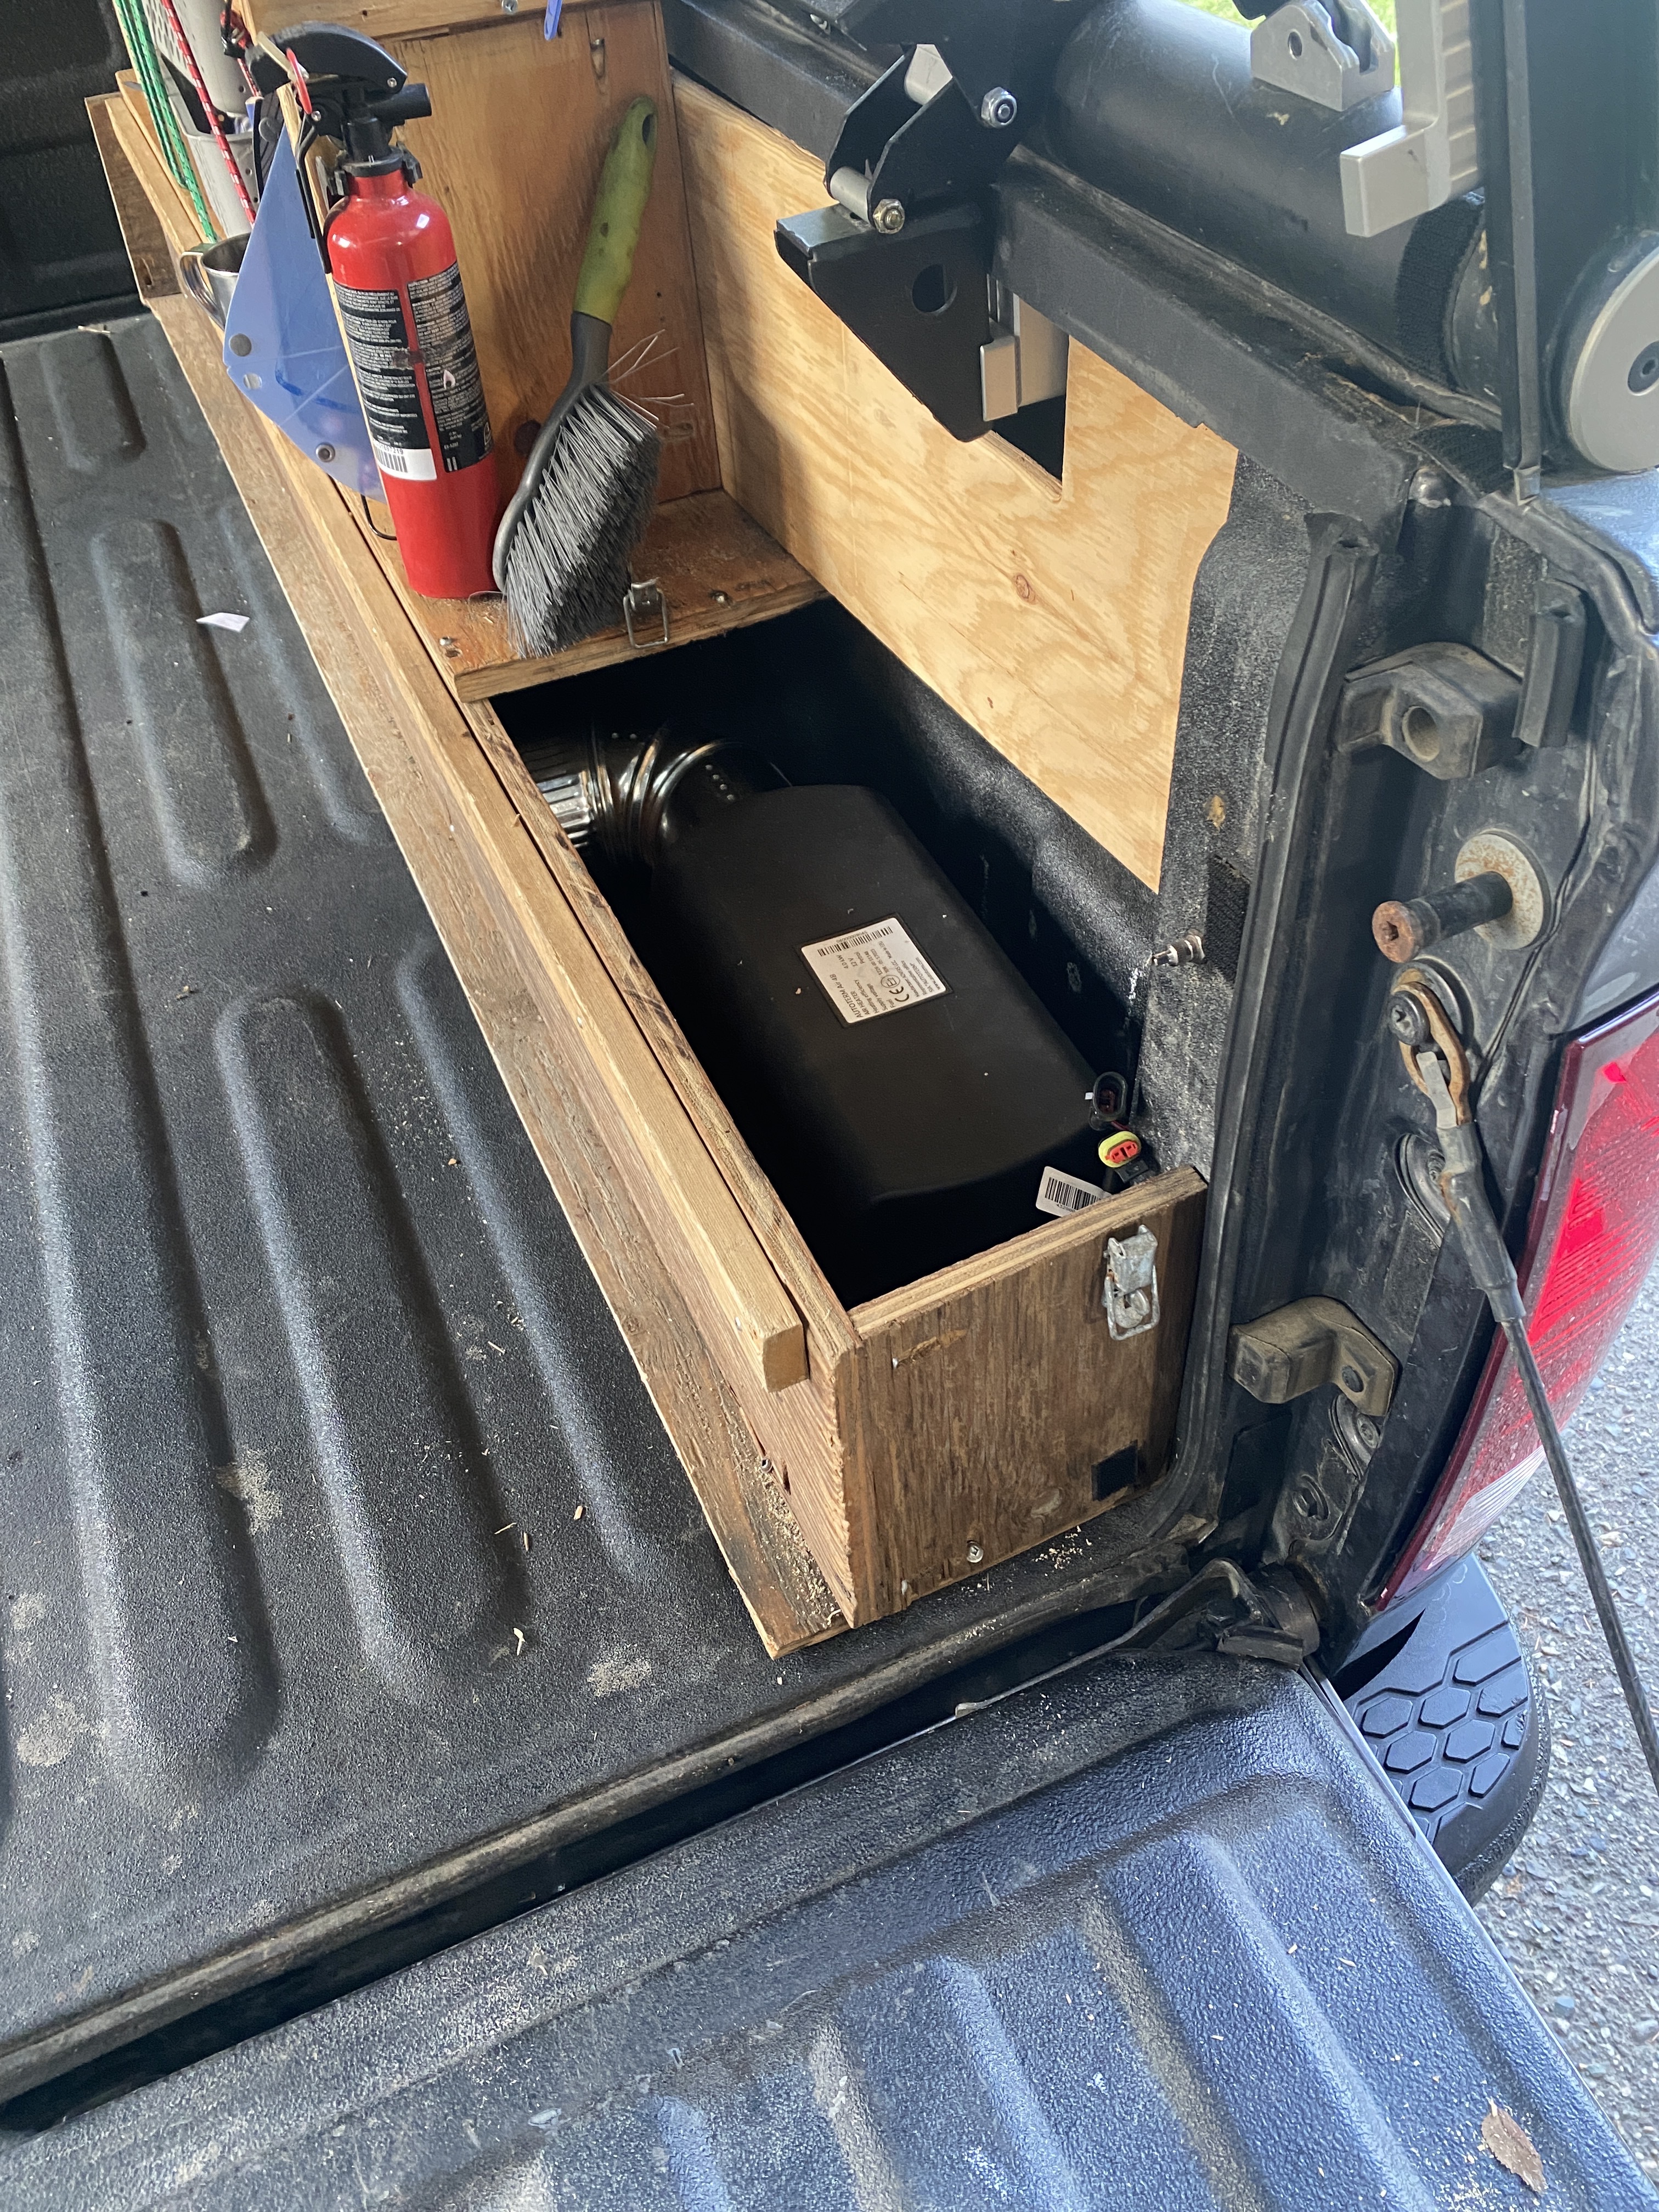
First things first this morning; Thought I’d show off how I did the weather stripping under the heater. Then connected the exhaust and fuel line.
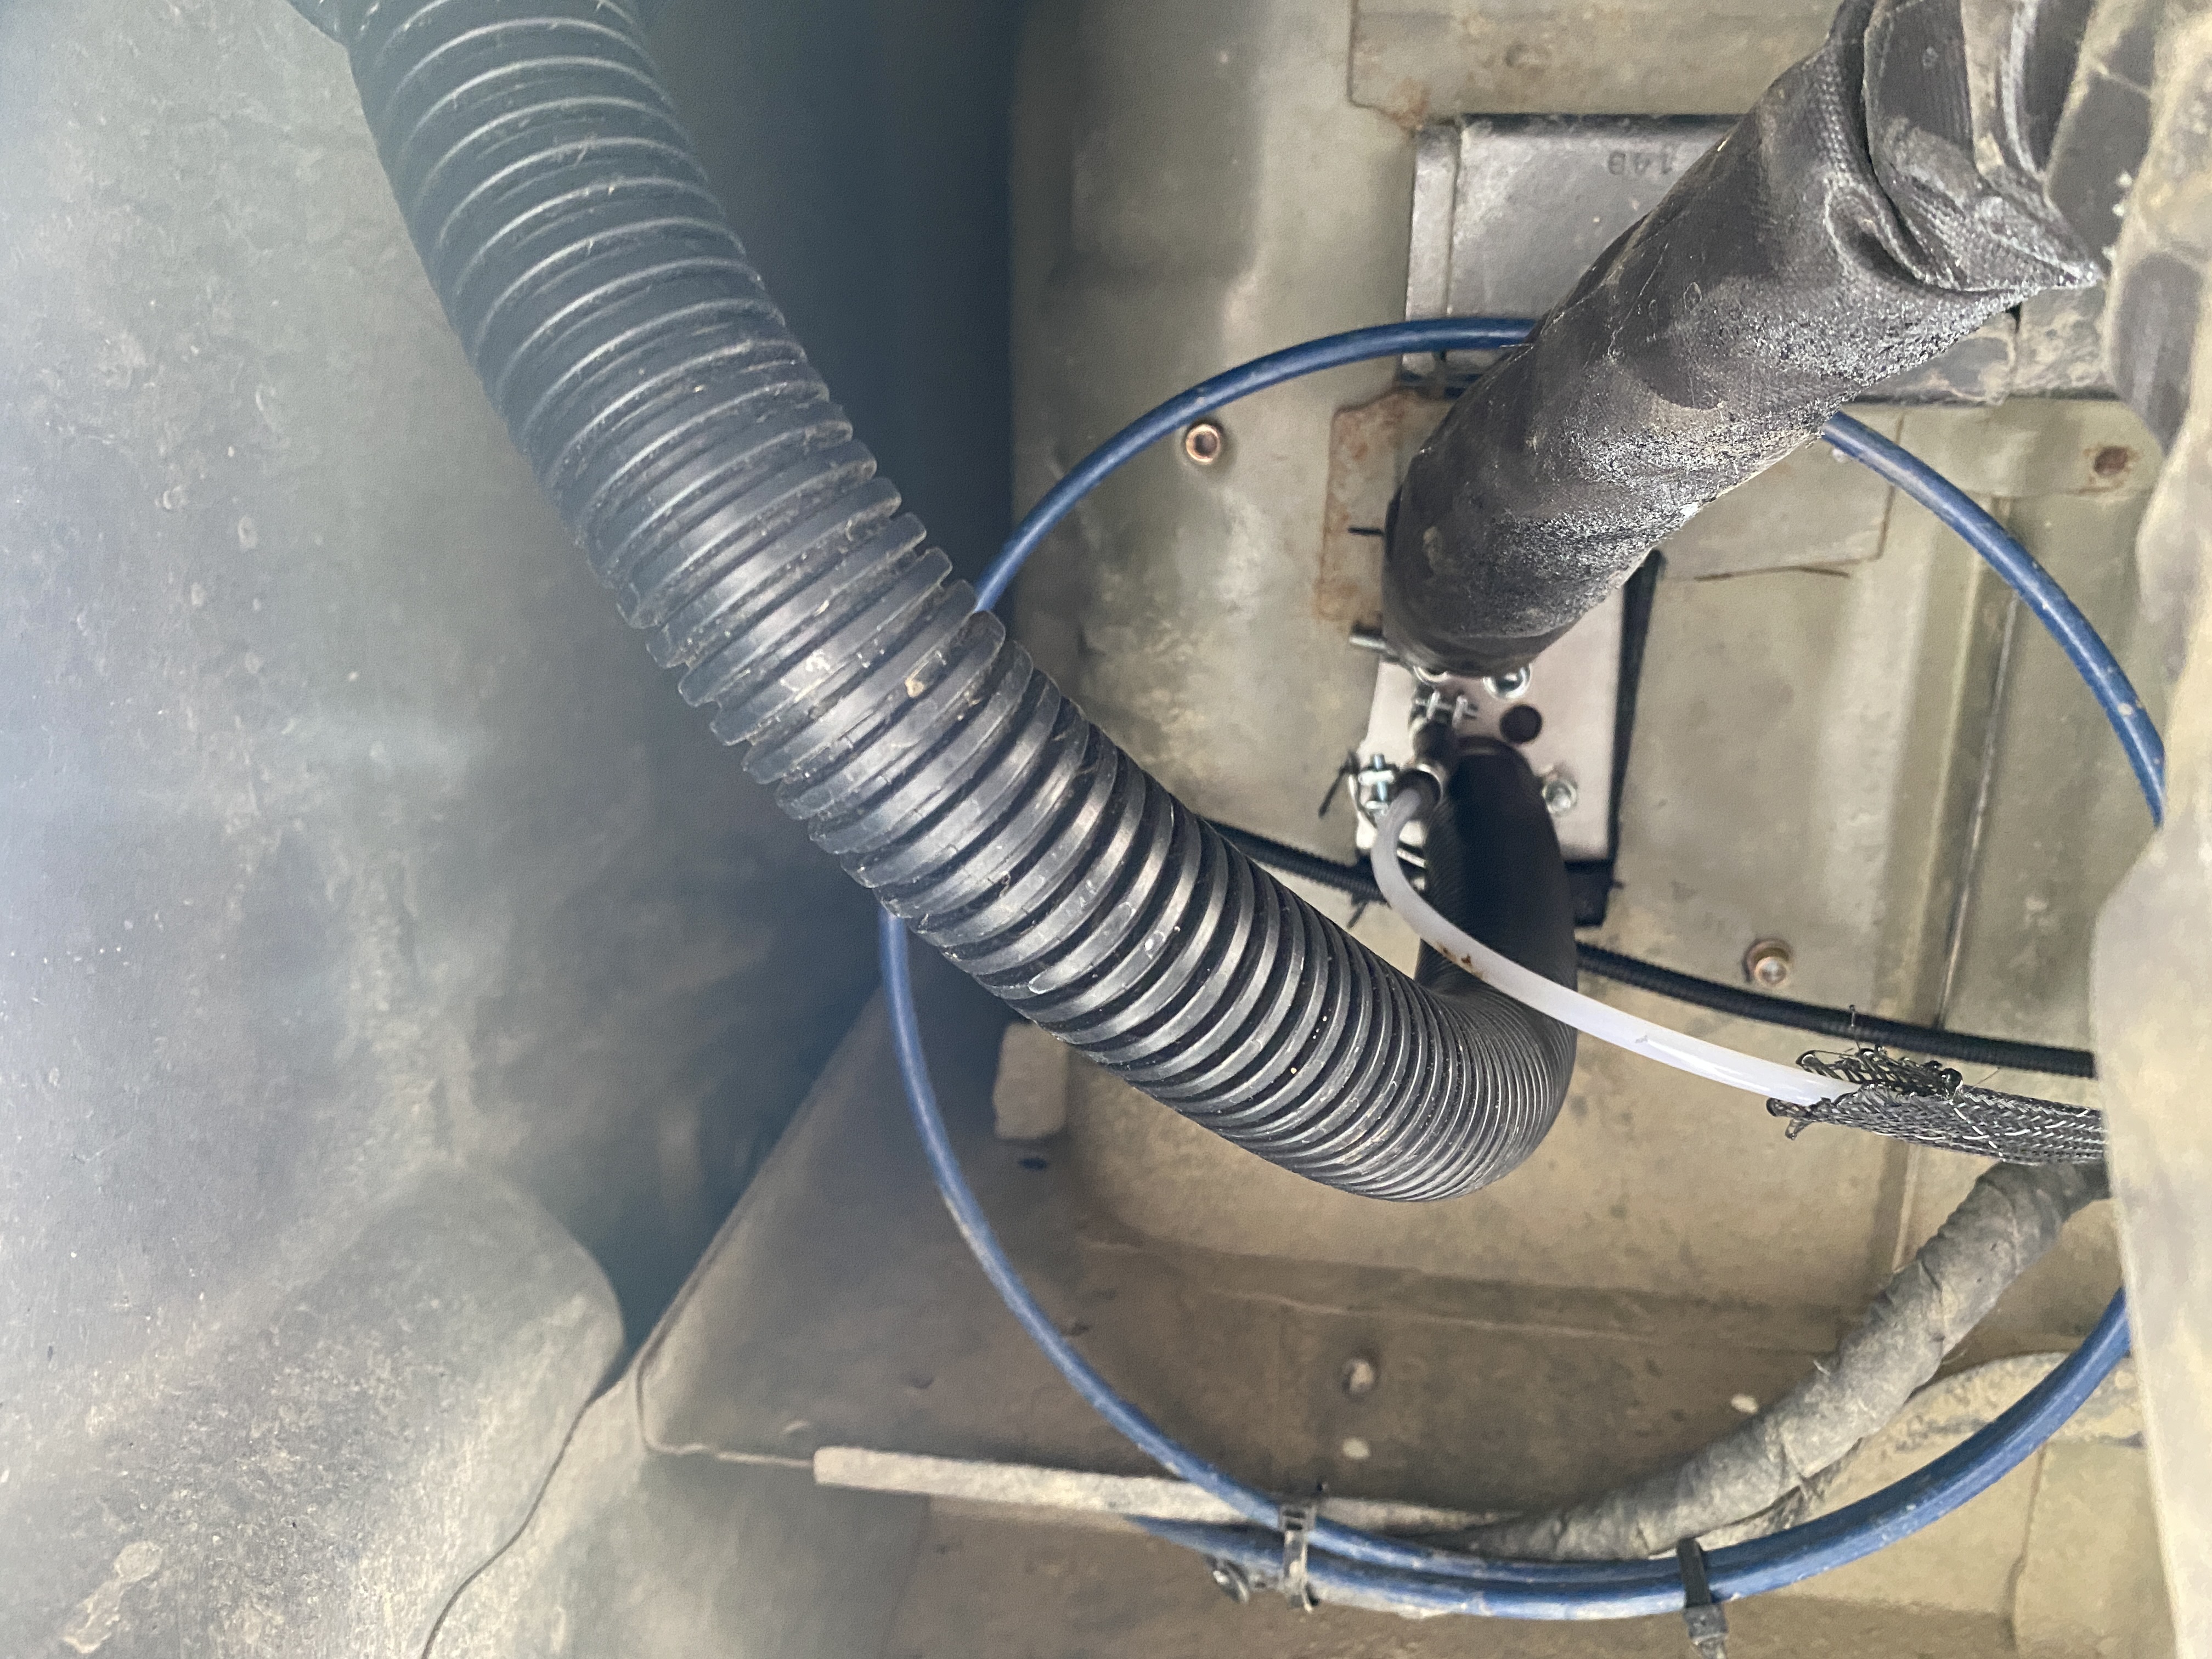
Everything looking nice and snug up there.
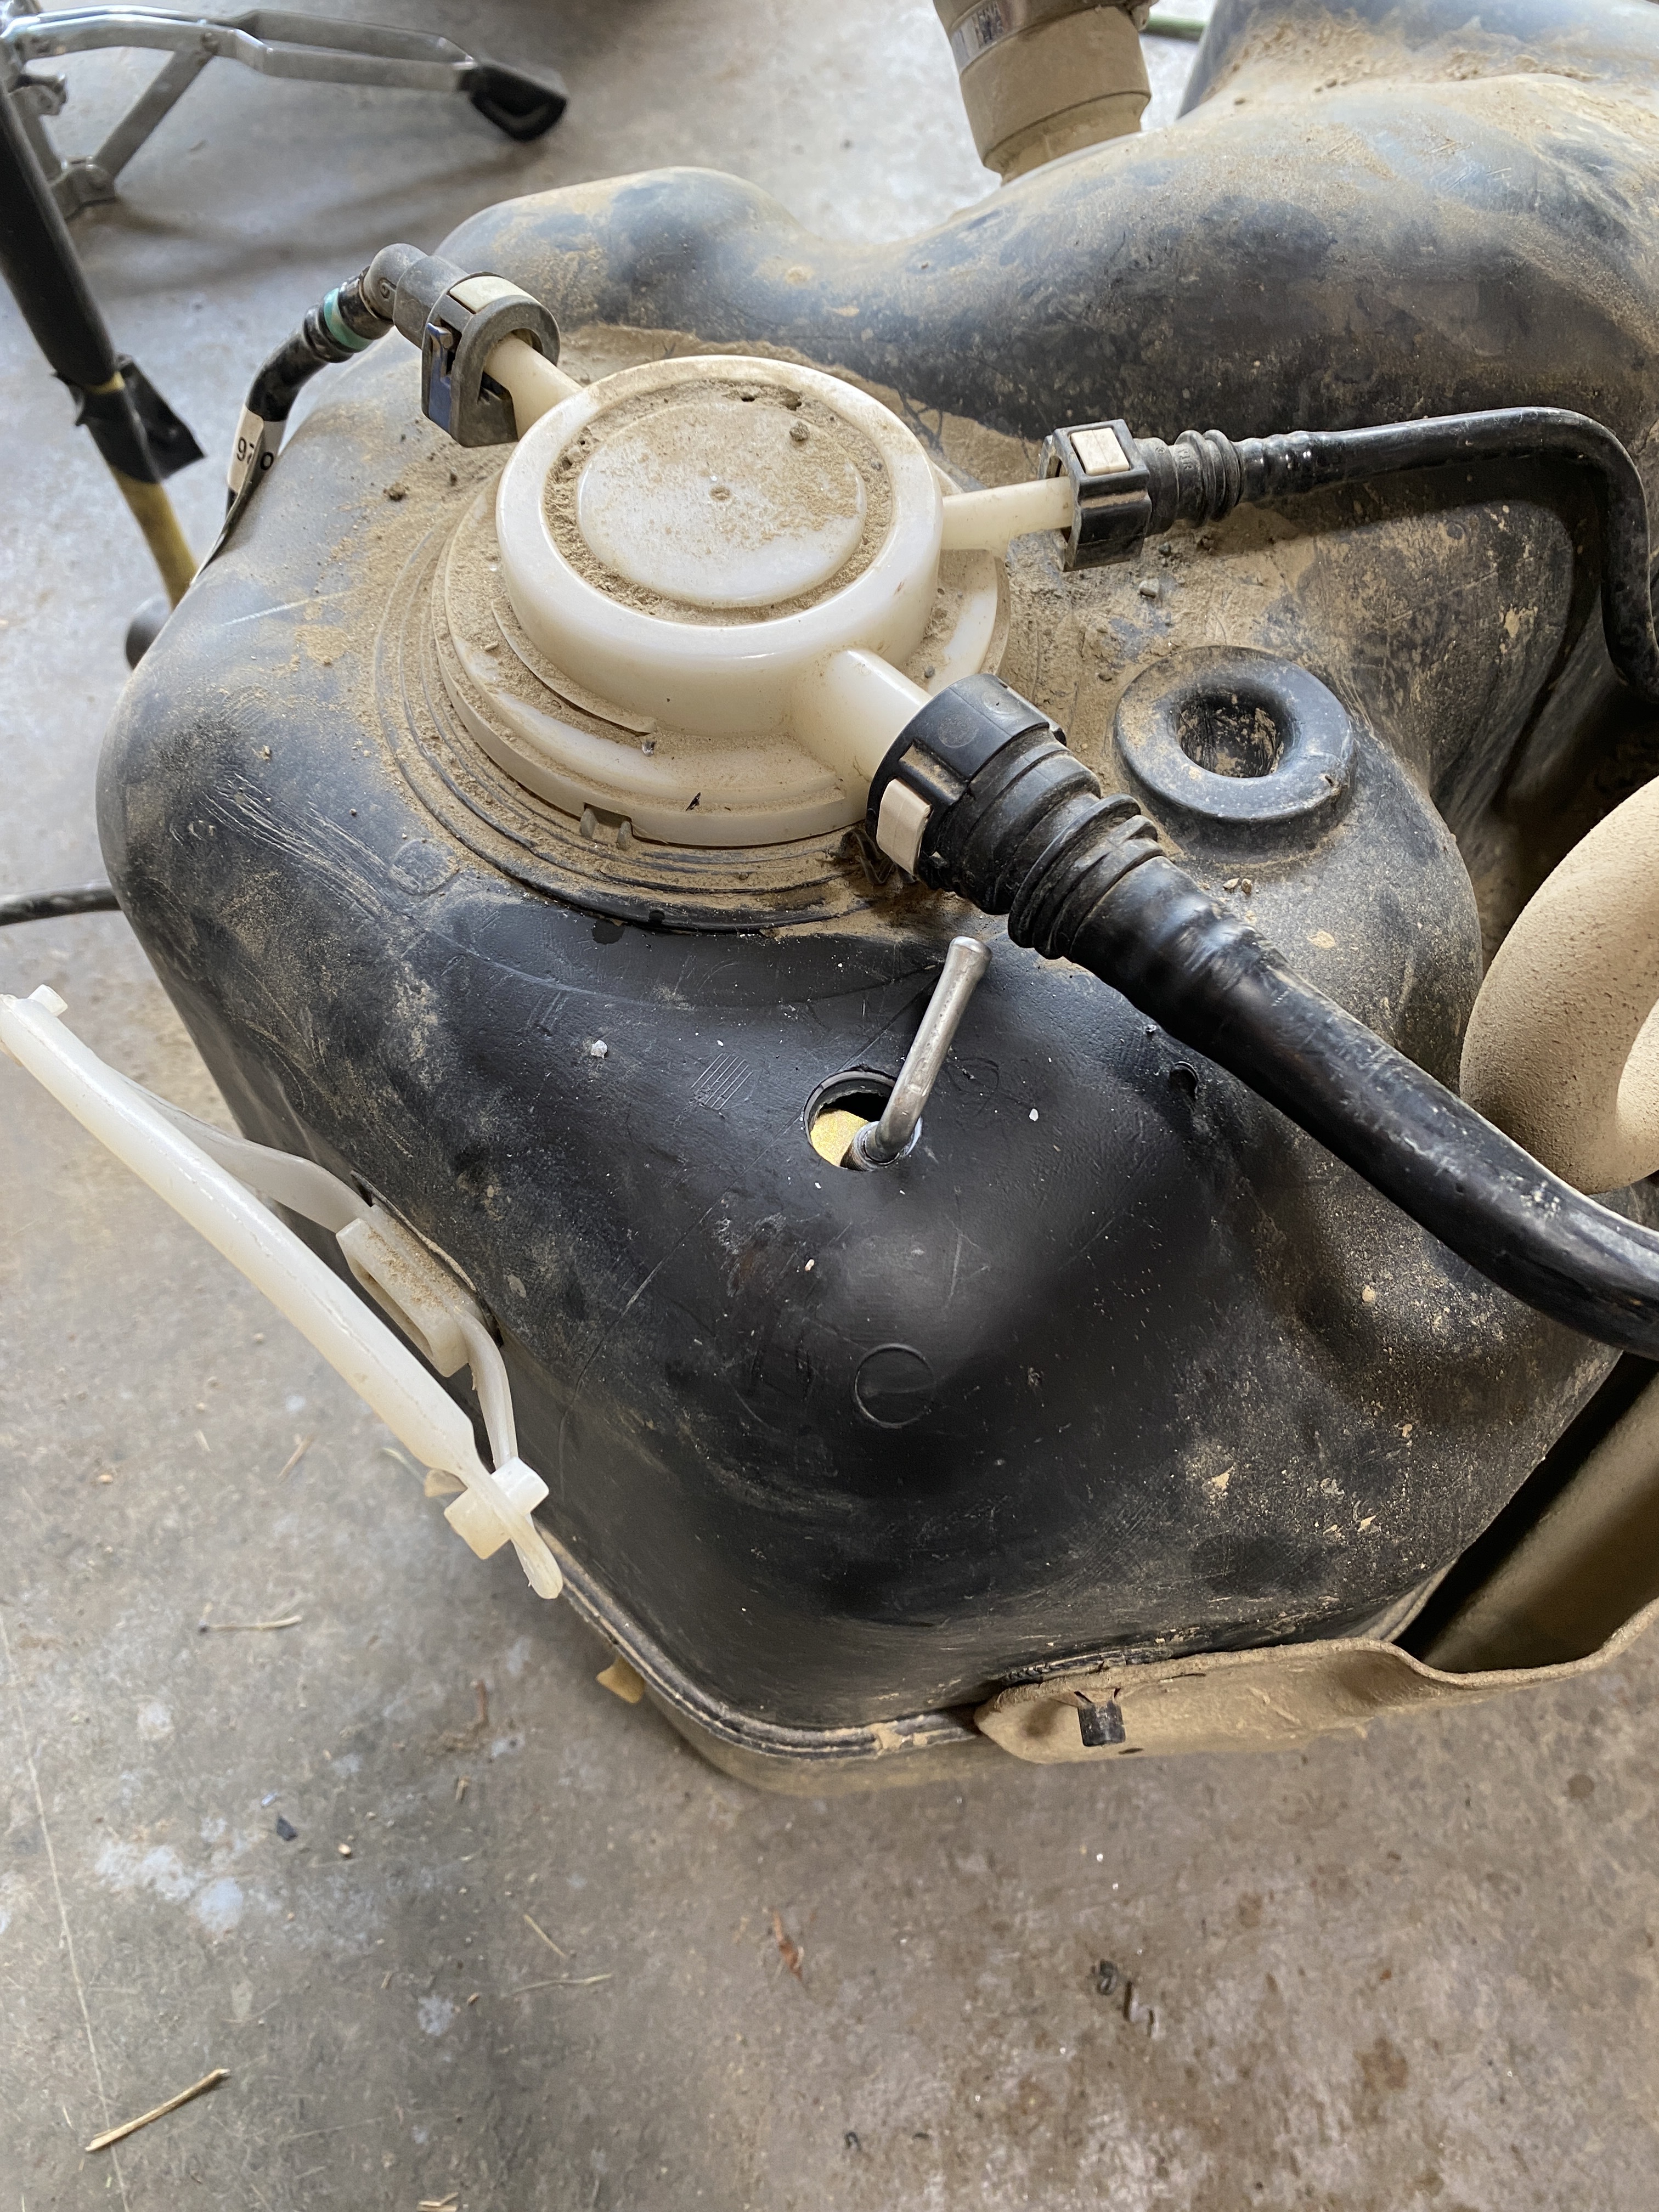
I don’t know what’s more stressful, cutting a hole in the box. Or drilling a hole in your fuel tank!
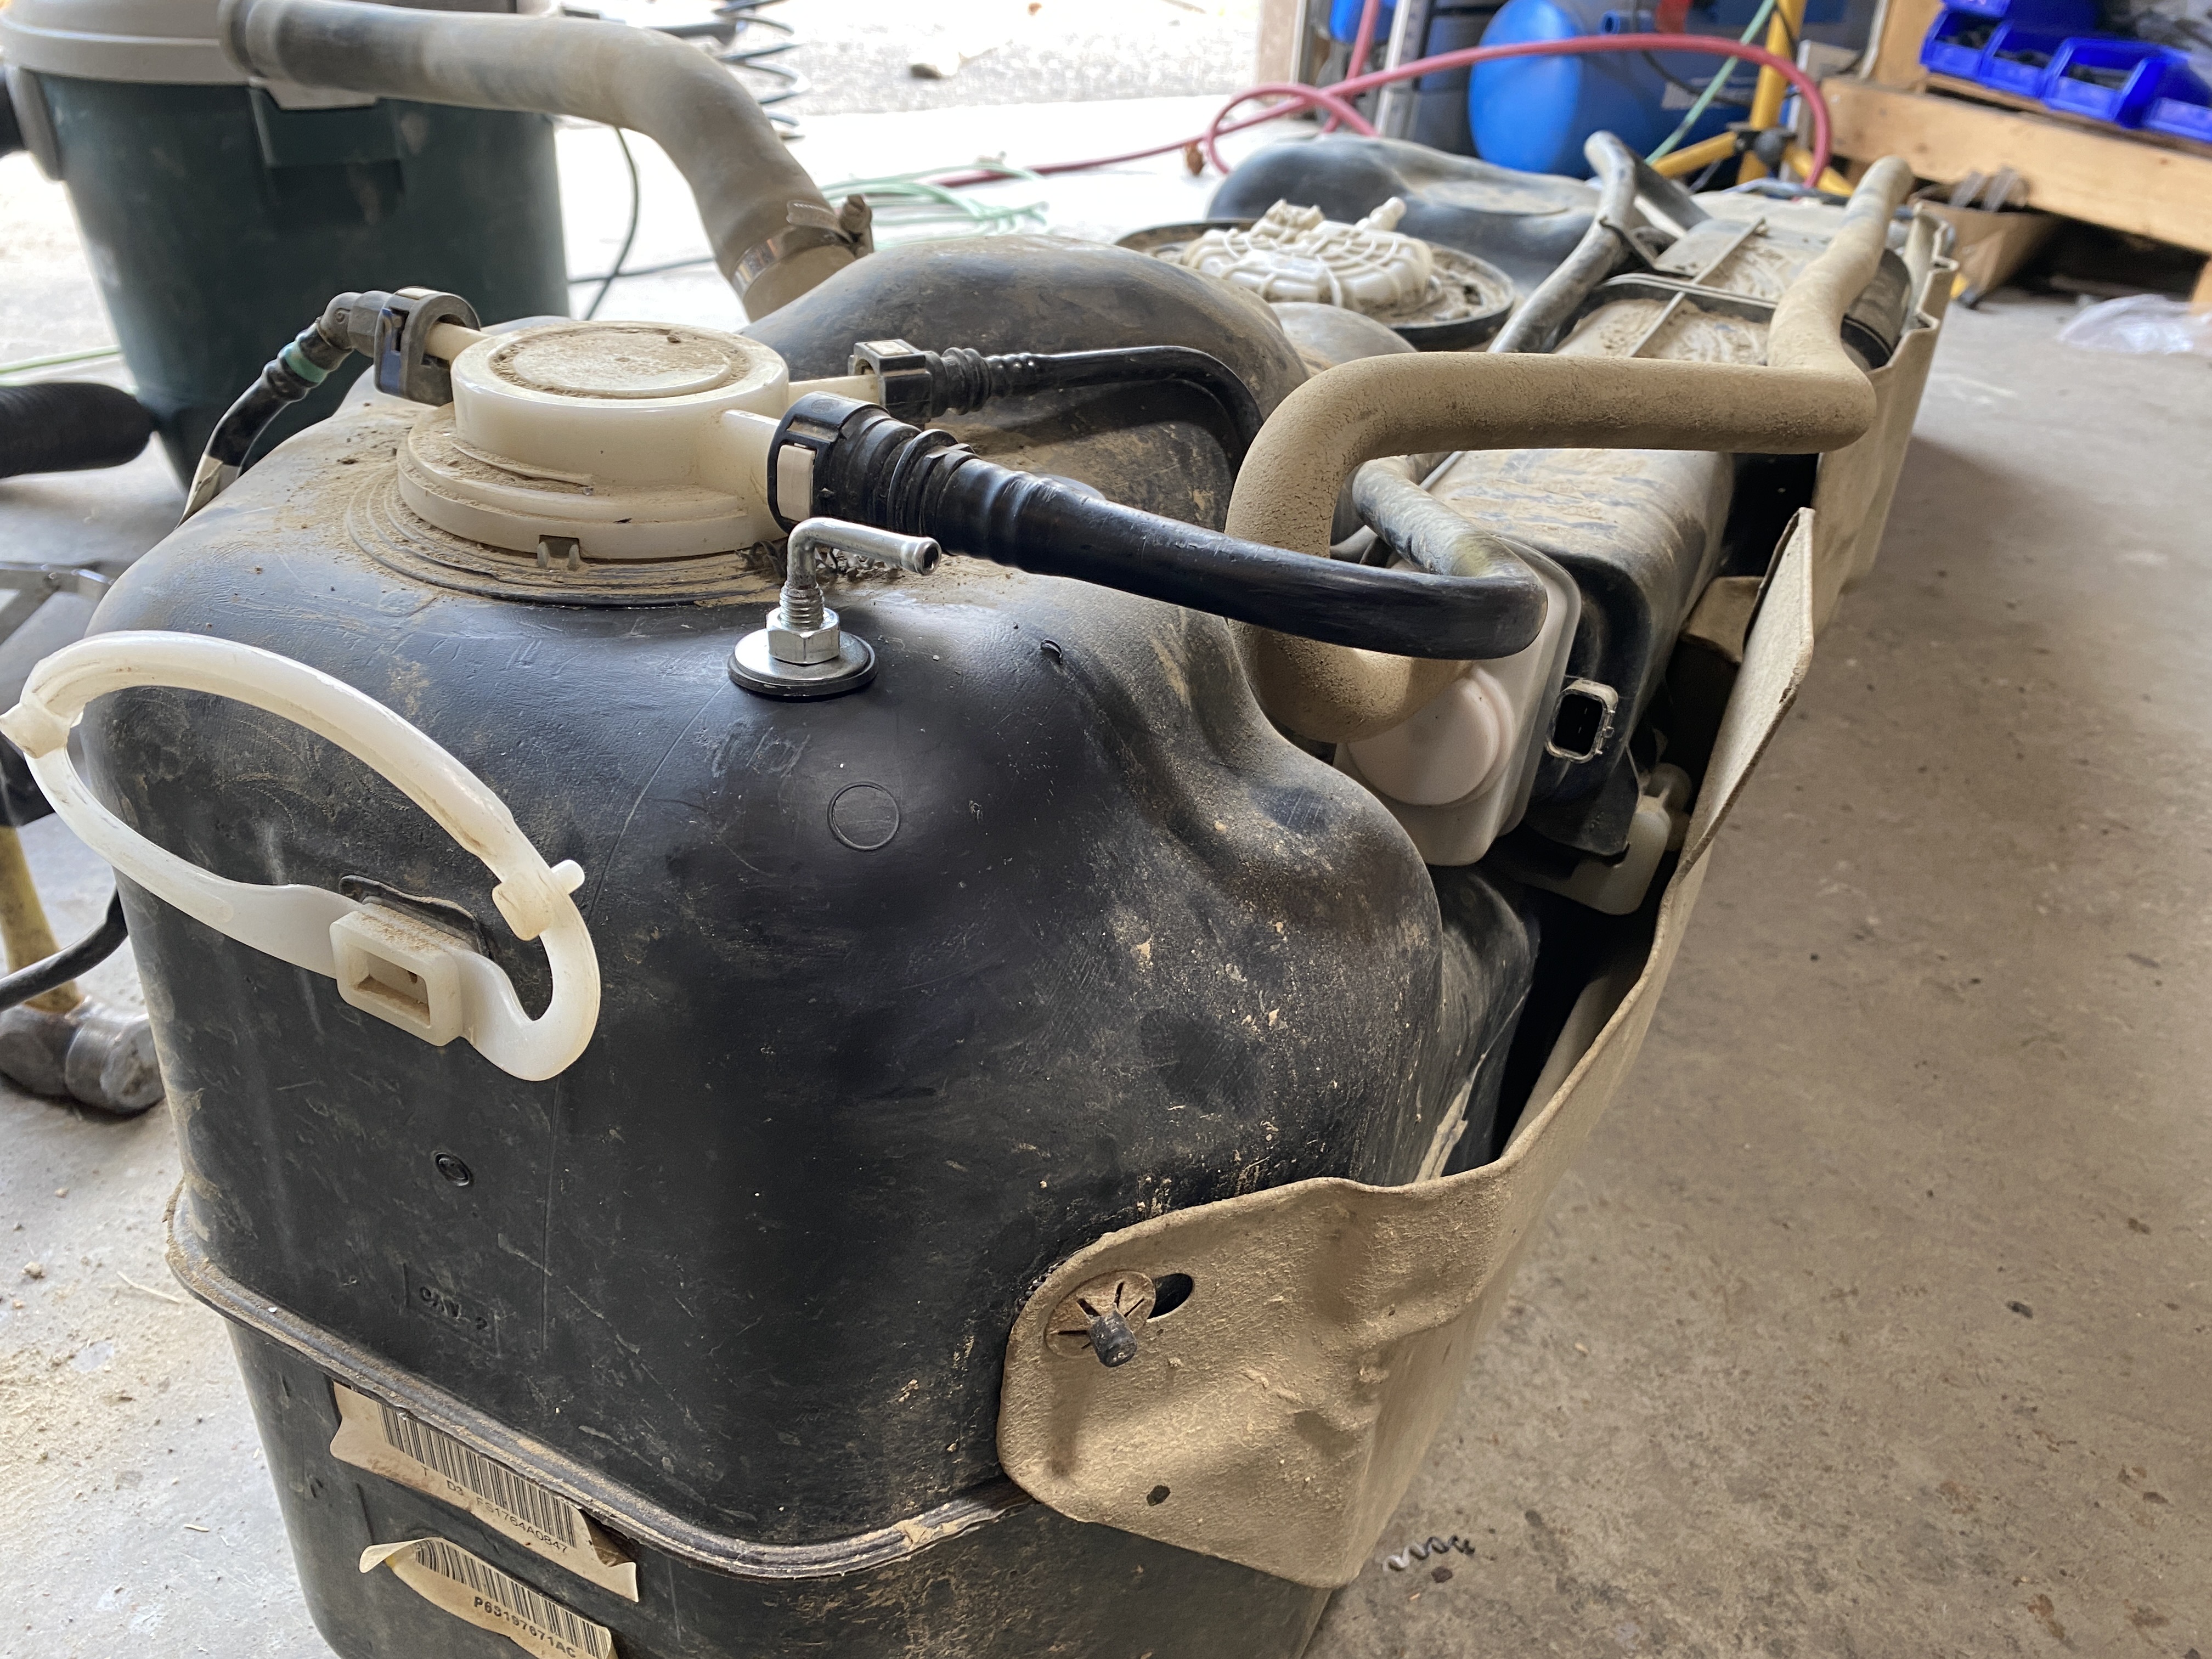
I actually ended up rotating the standpipe 180 degrees to get the line further from the exhaust. Thought I’d do the smart thing and ground test the heater before wrestling the tank back into place.
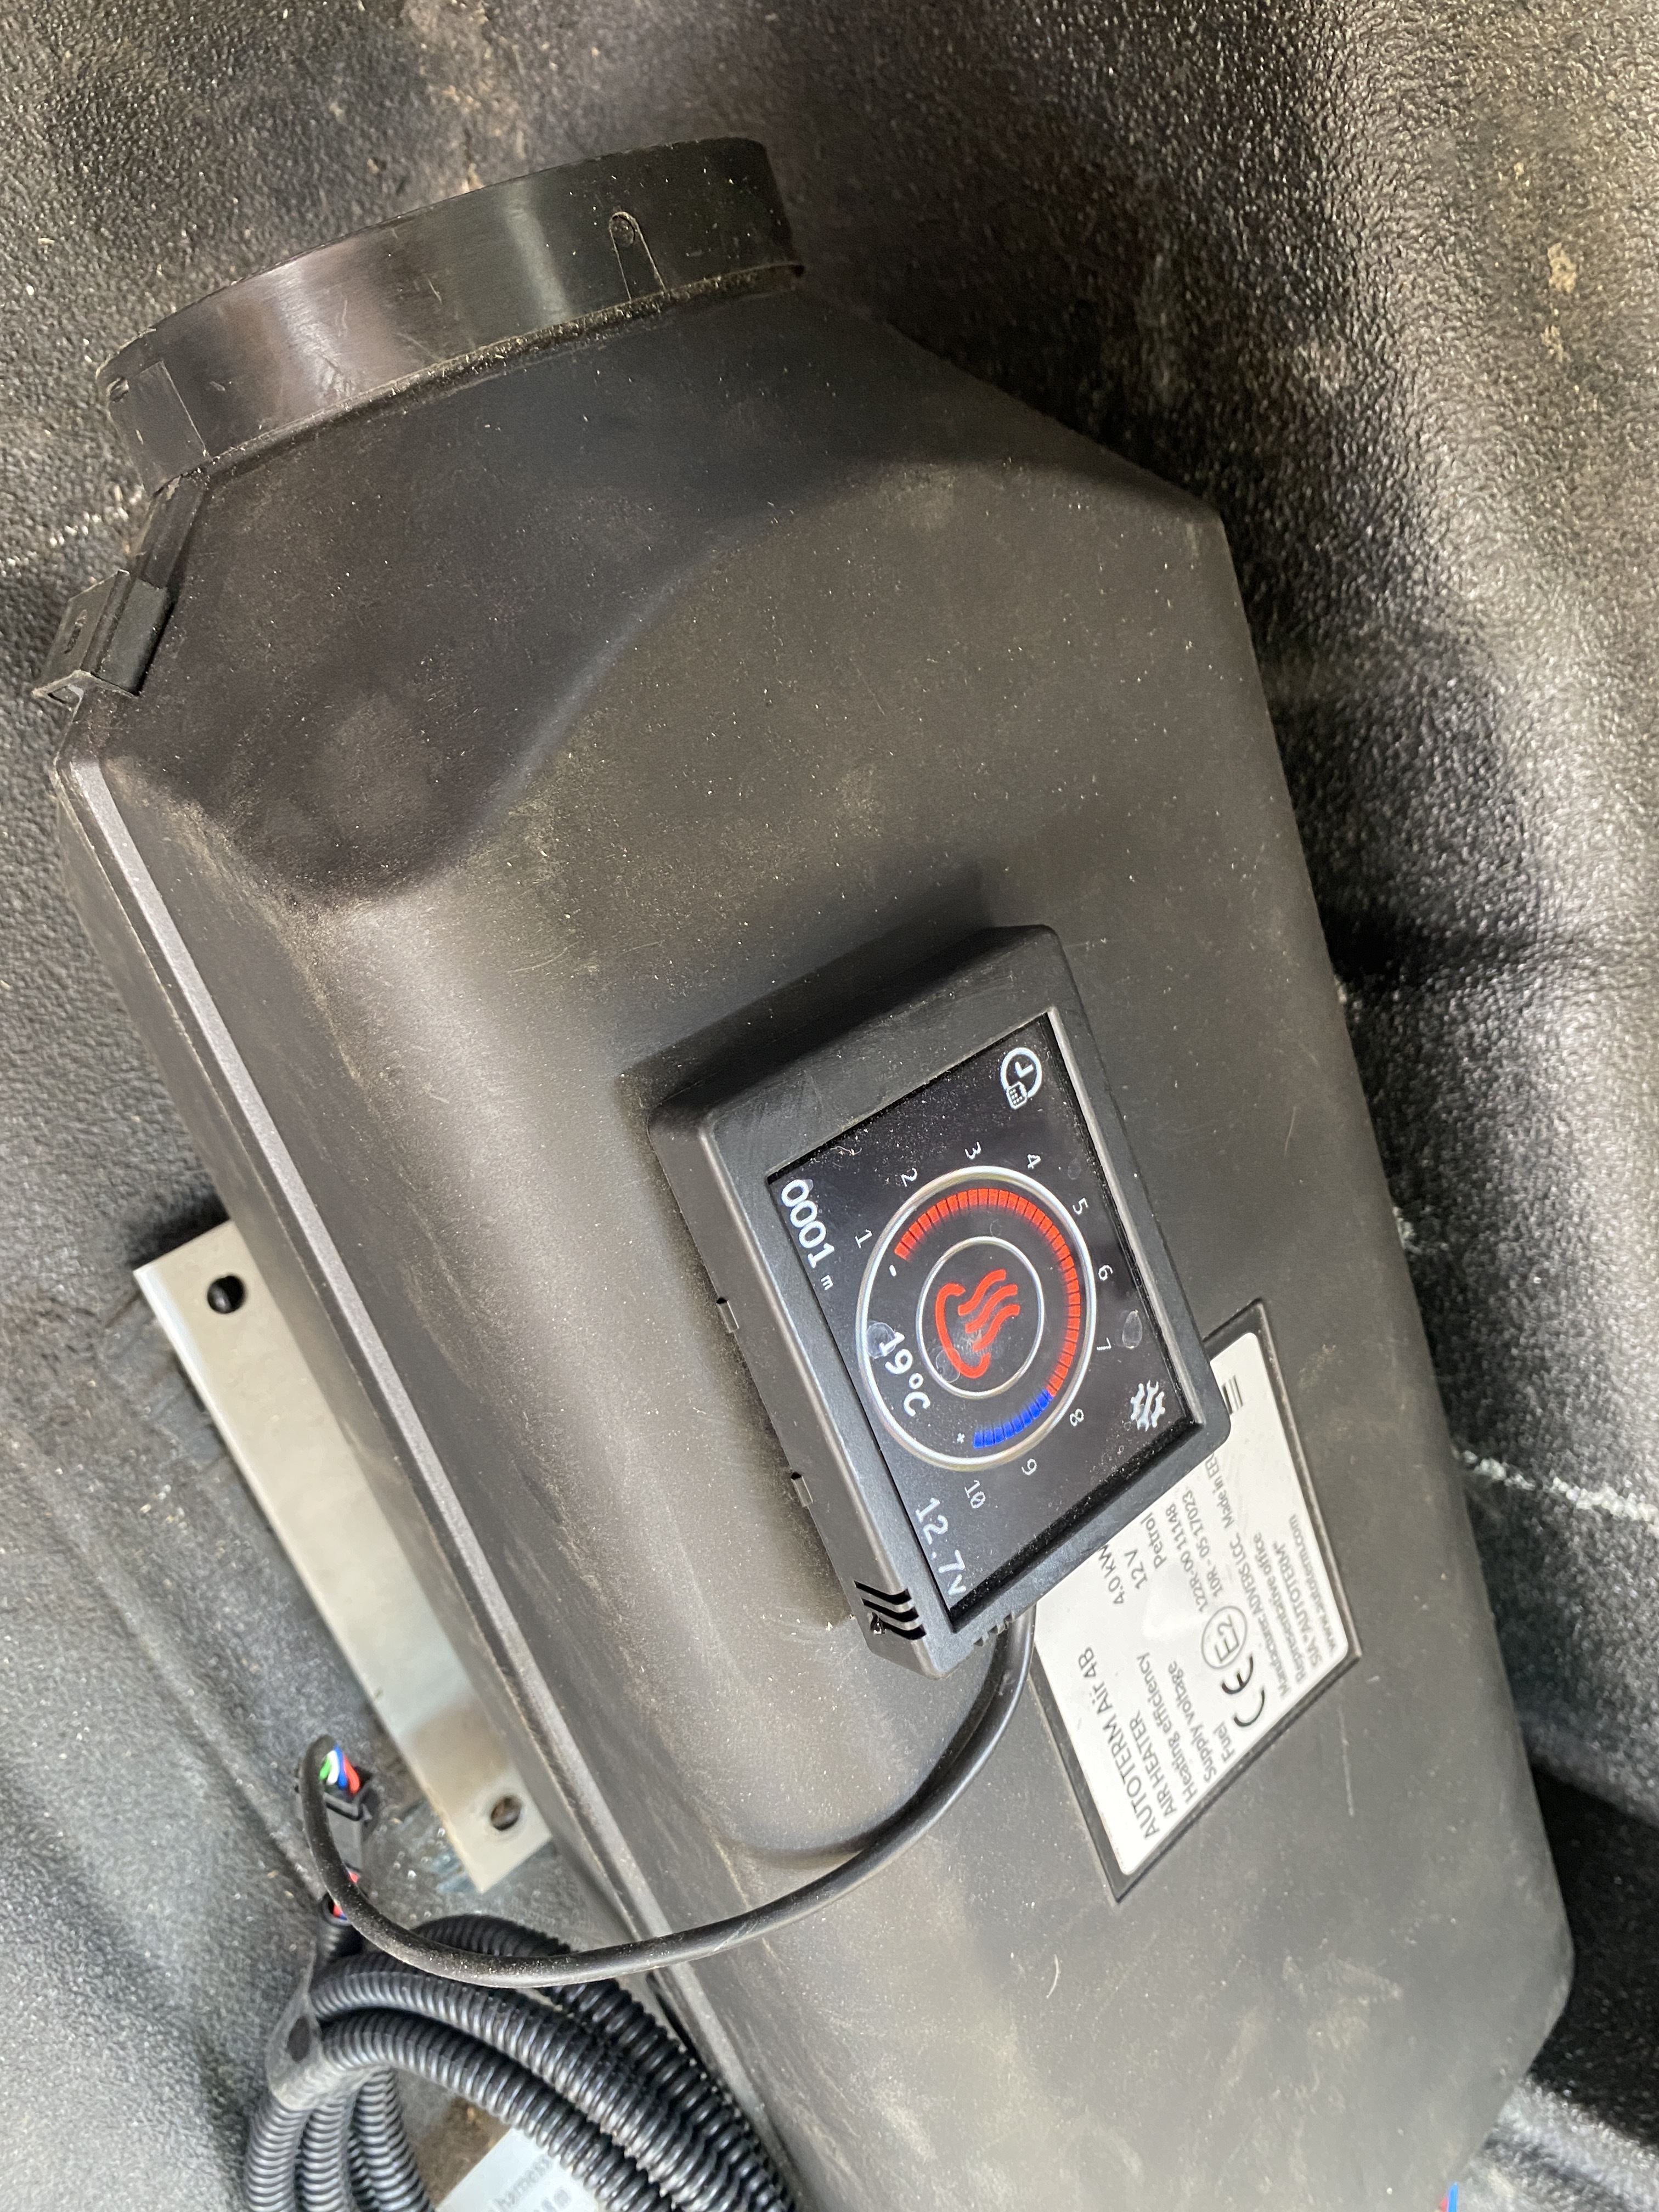
Took about 5 or 6 false starts before the heater fired up. Once it started I’m pretty stoked on the heat this thing puts out for 4kw.
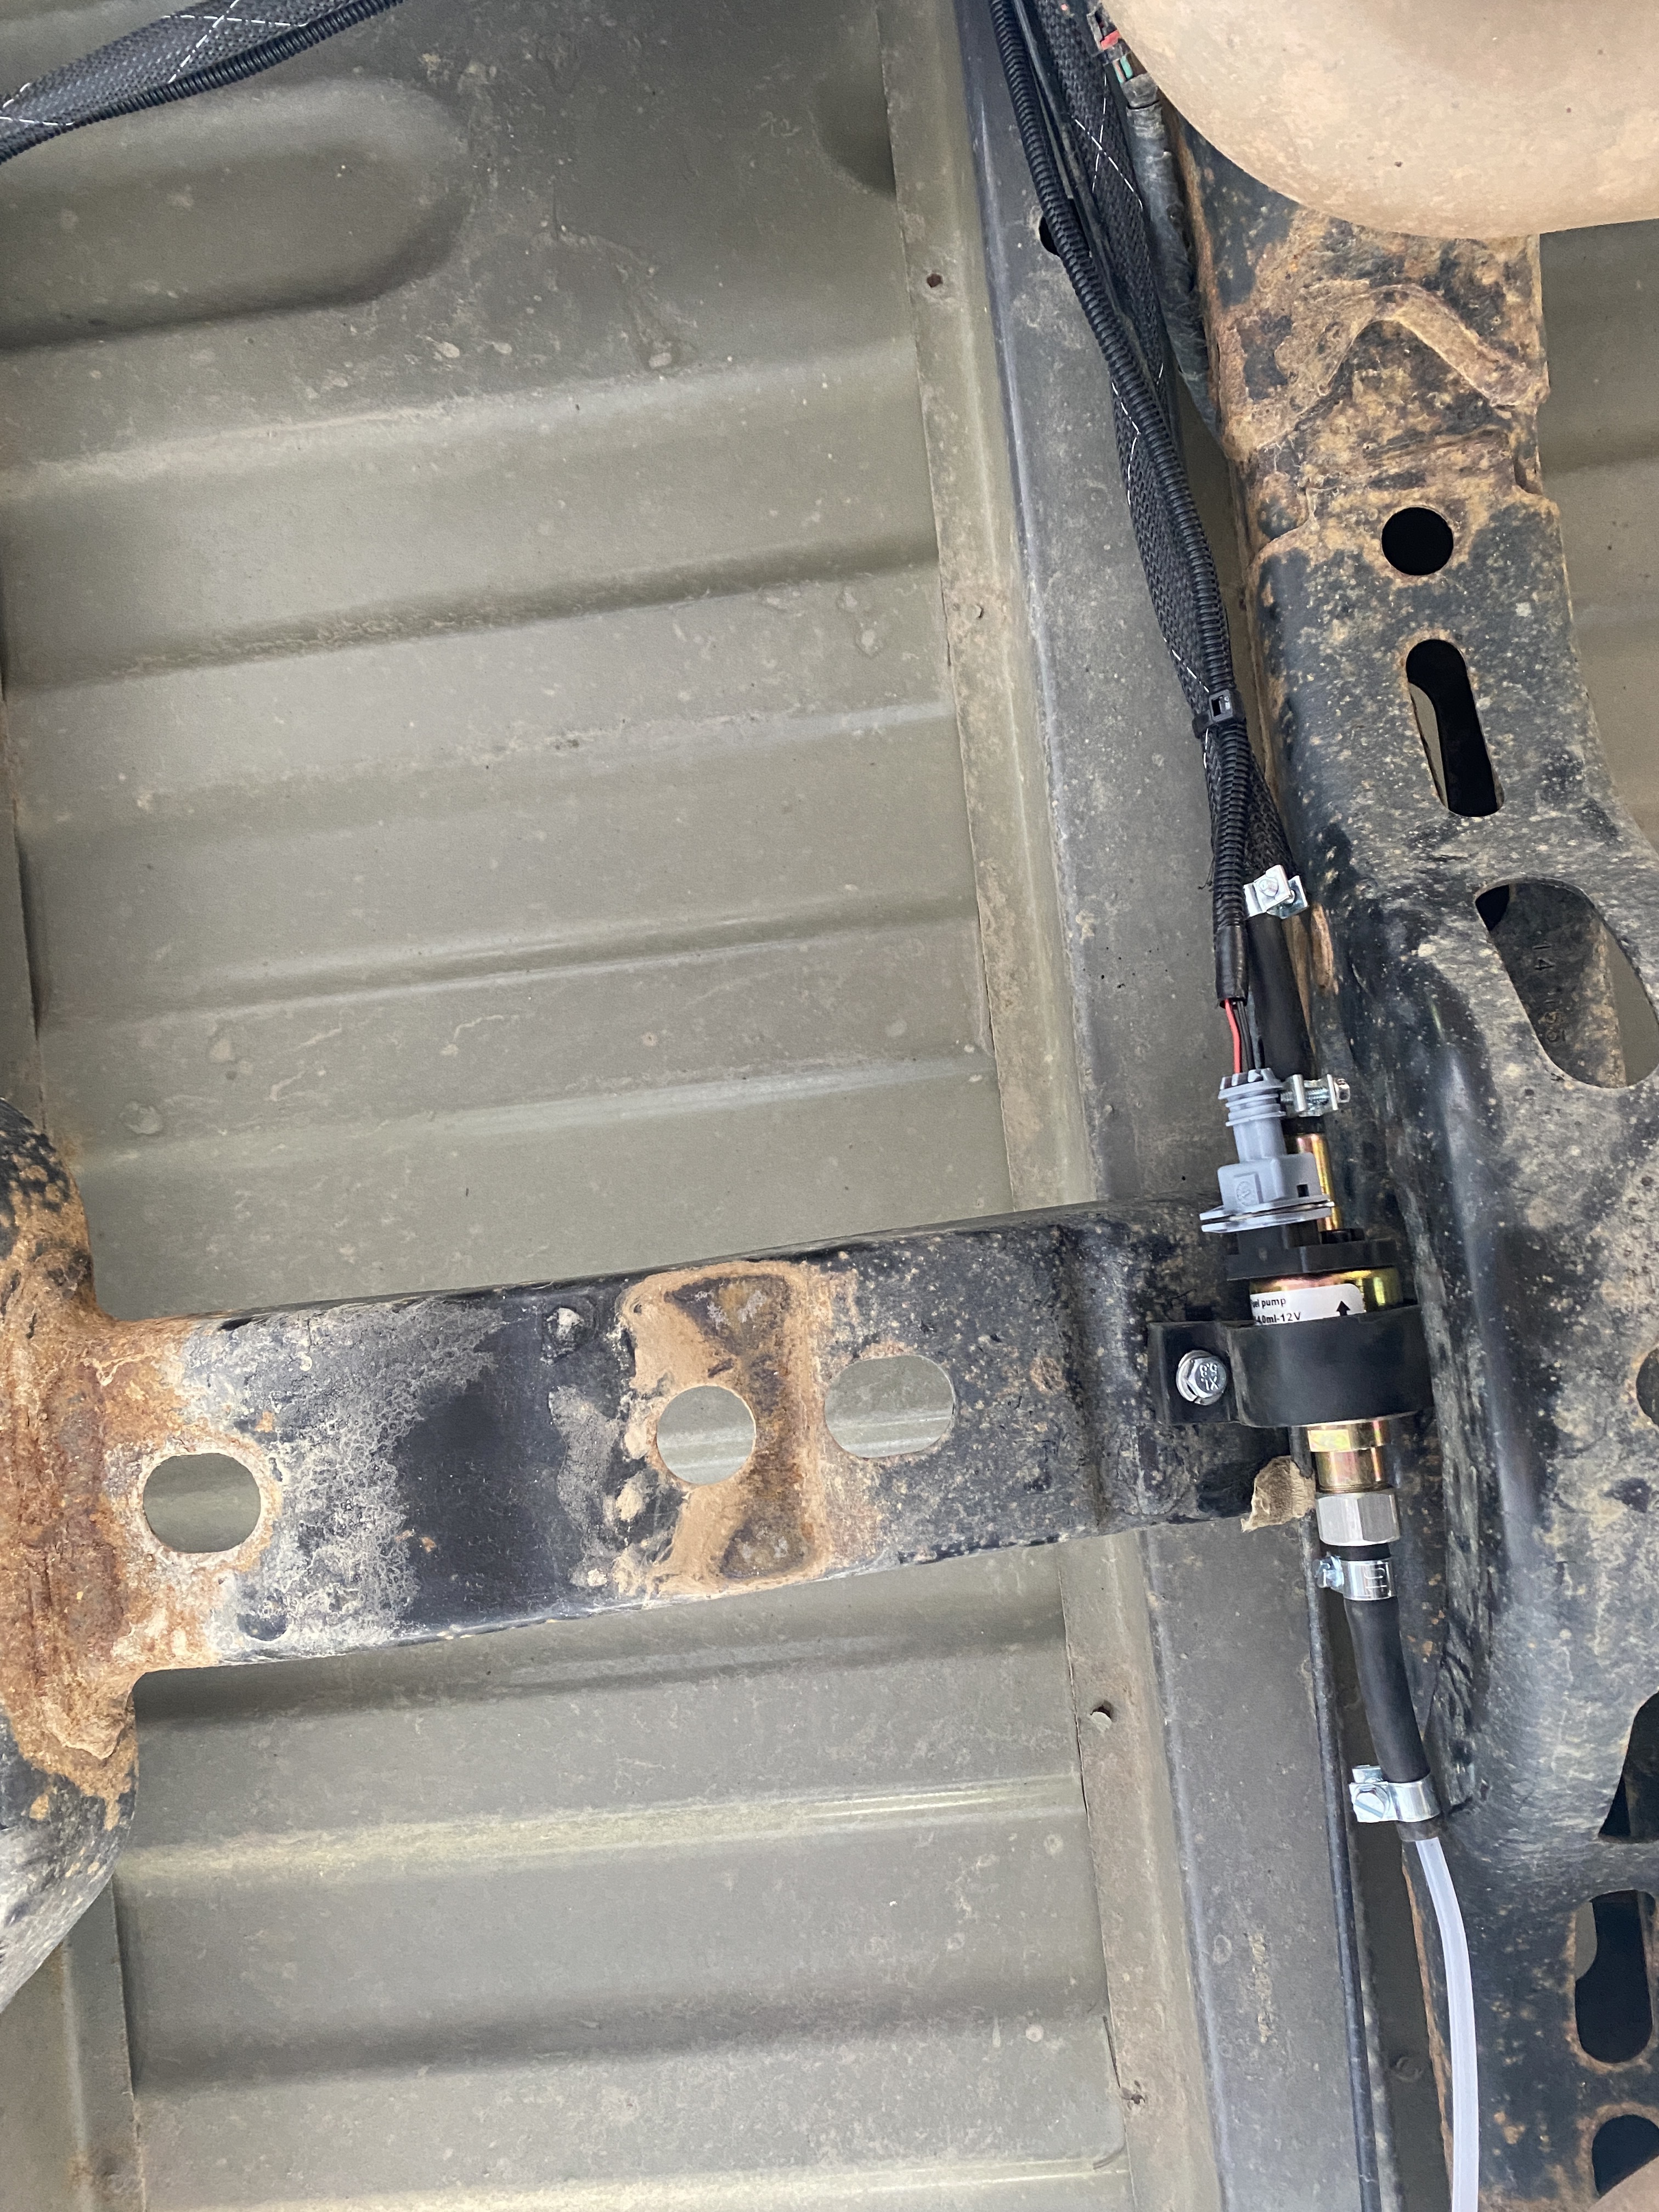
Punched in a rivnut and bolted the pump up.
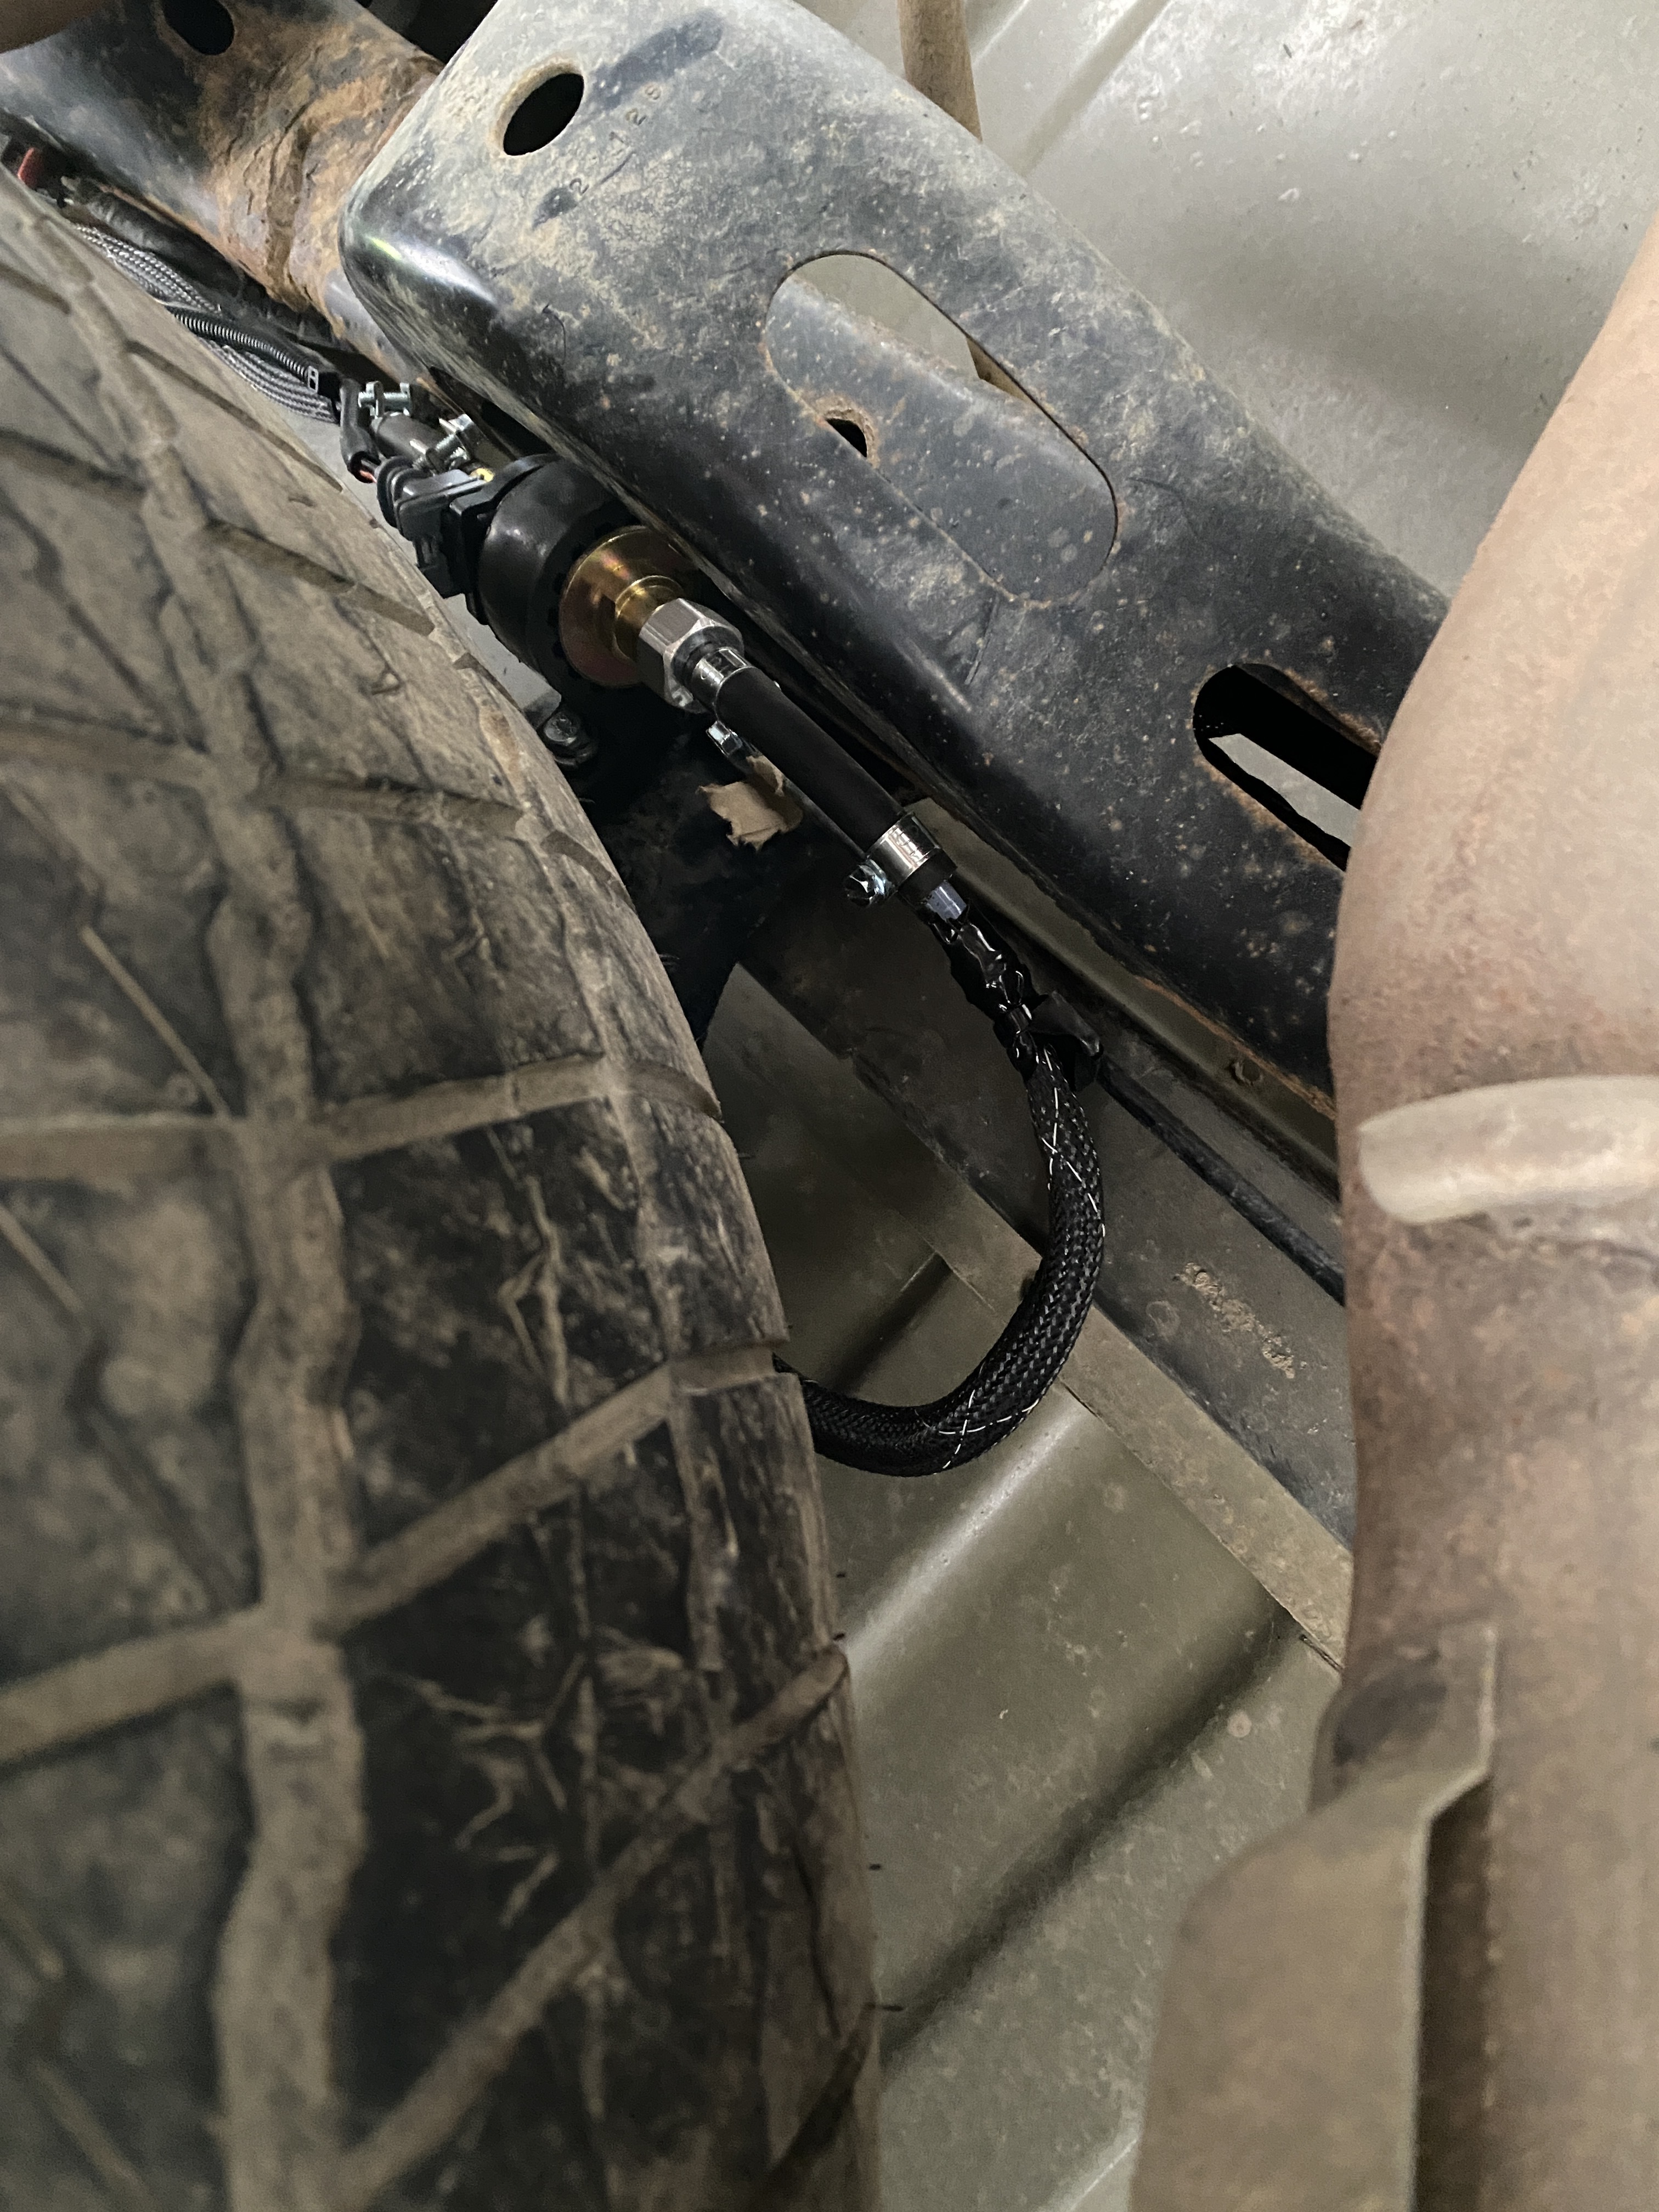
Checking the clearance by the spare tire. Looks good! So far I am STOKED with this upgrade. Having the heater permanently installed is going to be a game changer for us!
2 Likes
Having that tap right into the diesel tank will be a game changer for you. One less thing to worry about bringing with you and also dealing with diesel spilling, etc.
Exactly! Although this one is actually a petrol version, so it’s able to use my normal fuel tank!! ![]() No more dealing with two fuels, and you’re right. Spilling diesel all inside!
No more dealing with two fuels, and you’re right. Spilling diesel all inside!
The only downside is they don’t have a Bluetooth remote yet. Having that would be a true game changer. Turn the heater on 20 mins before you pull up to the trail head. ![]()
How much was that one? Most of the gas ones I have seen are super pricey compared to the diesel ones.
Yeah, definitely not $200 ![]() after almost 3 seasons with the diesel heater I felt it was time to step up in quality. So yes, it was $1500cad.
after almost 3 seasons with the diesel heater I felt it was time to step up in quality. So yes, it was $1500cad.
![]()
1 Like
Final touches before we take the rig down to Vancouver to park it for two weeks while we all go to Finland ![]()
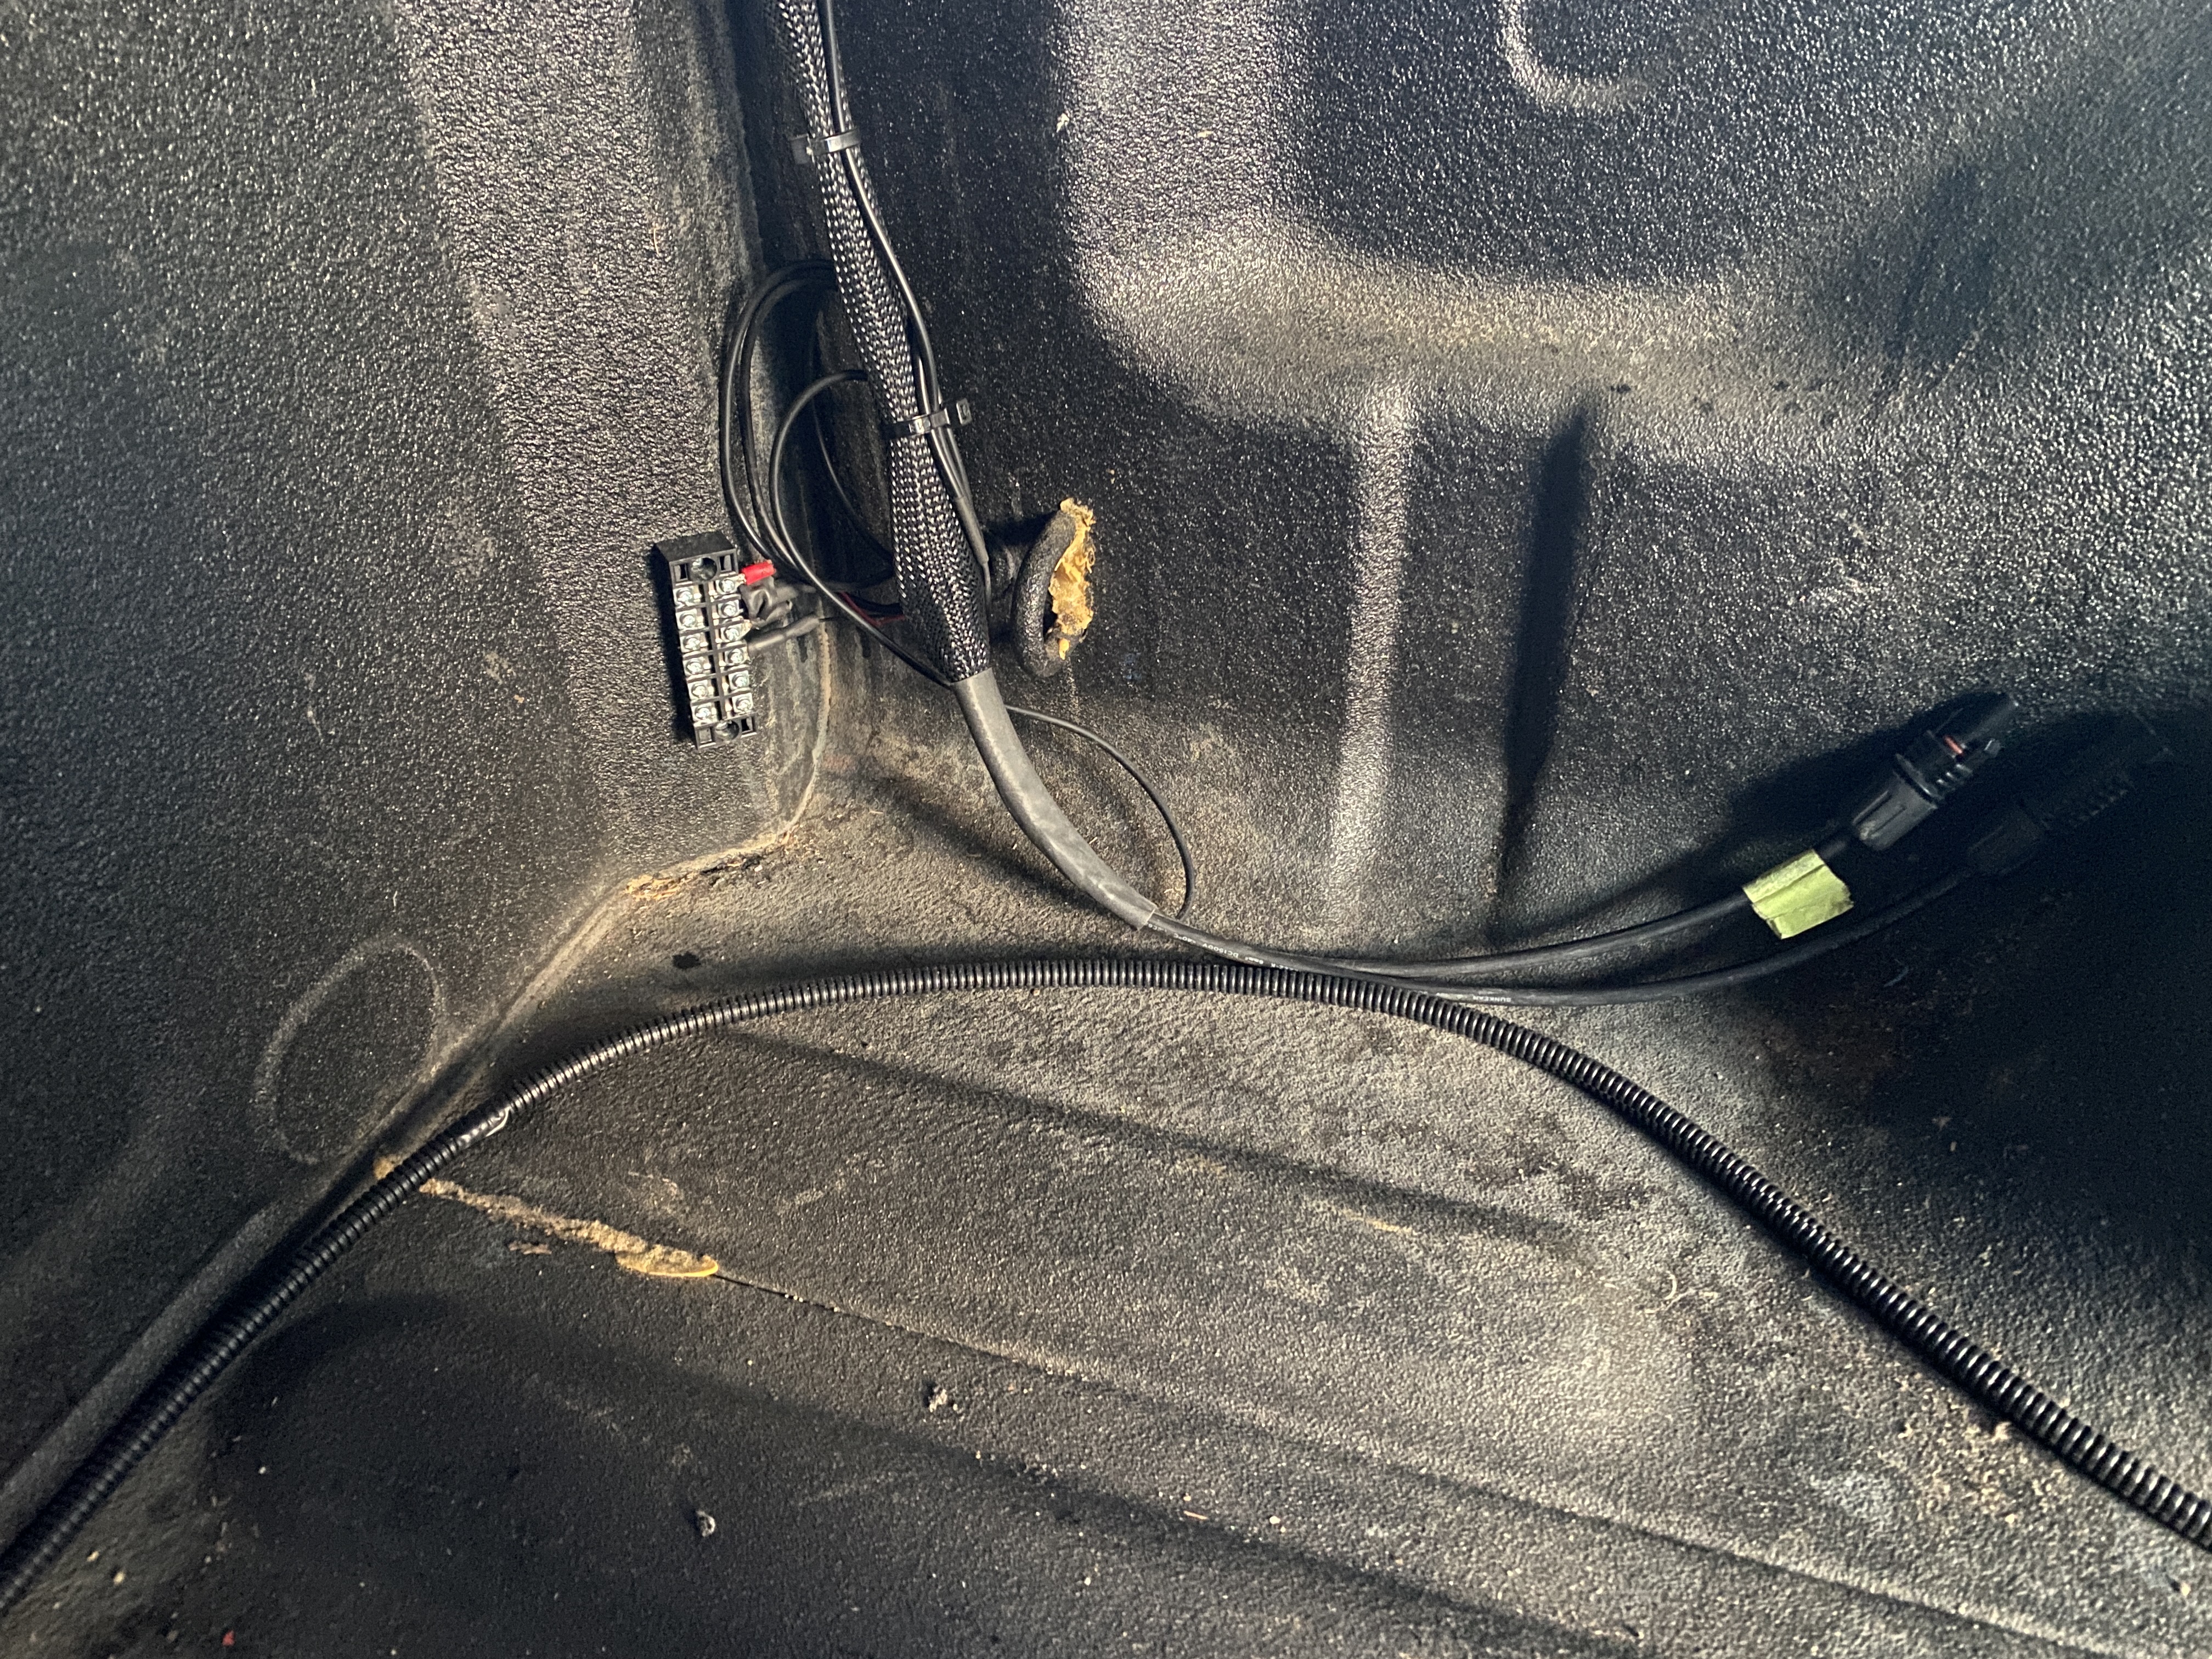
Finally committed to mounting a terminal block for my passenger side features (upstairs lights, right side door lights, Heater at some point)
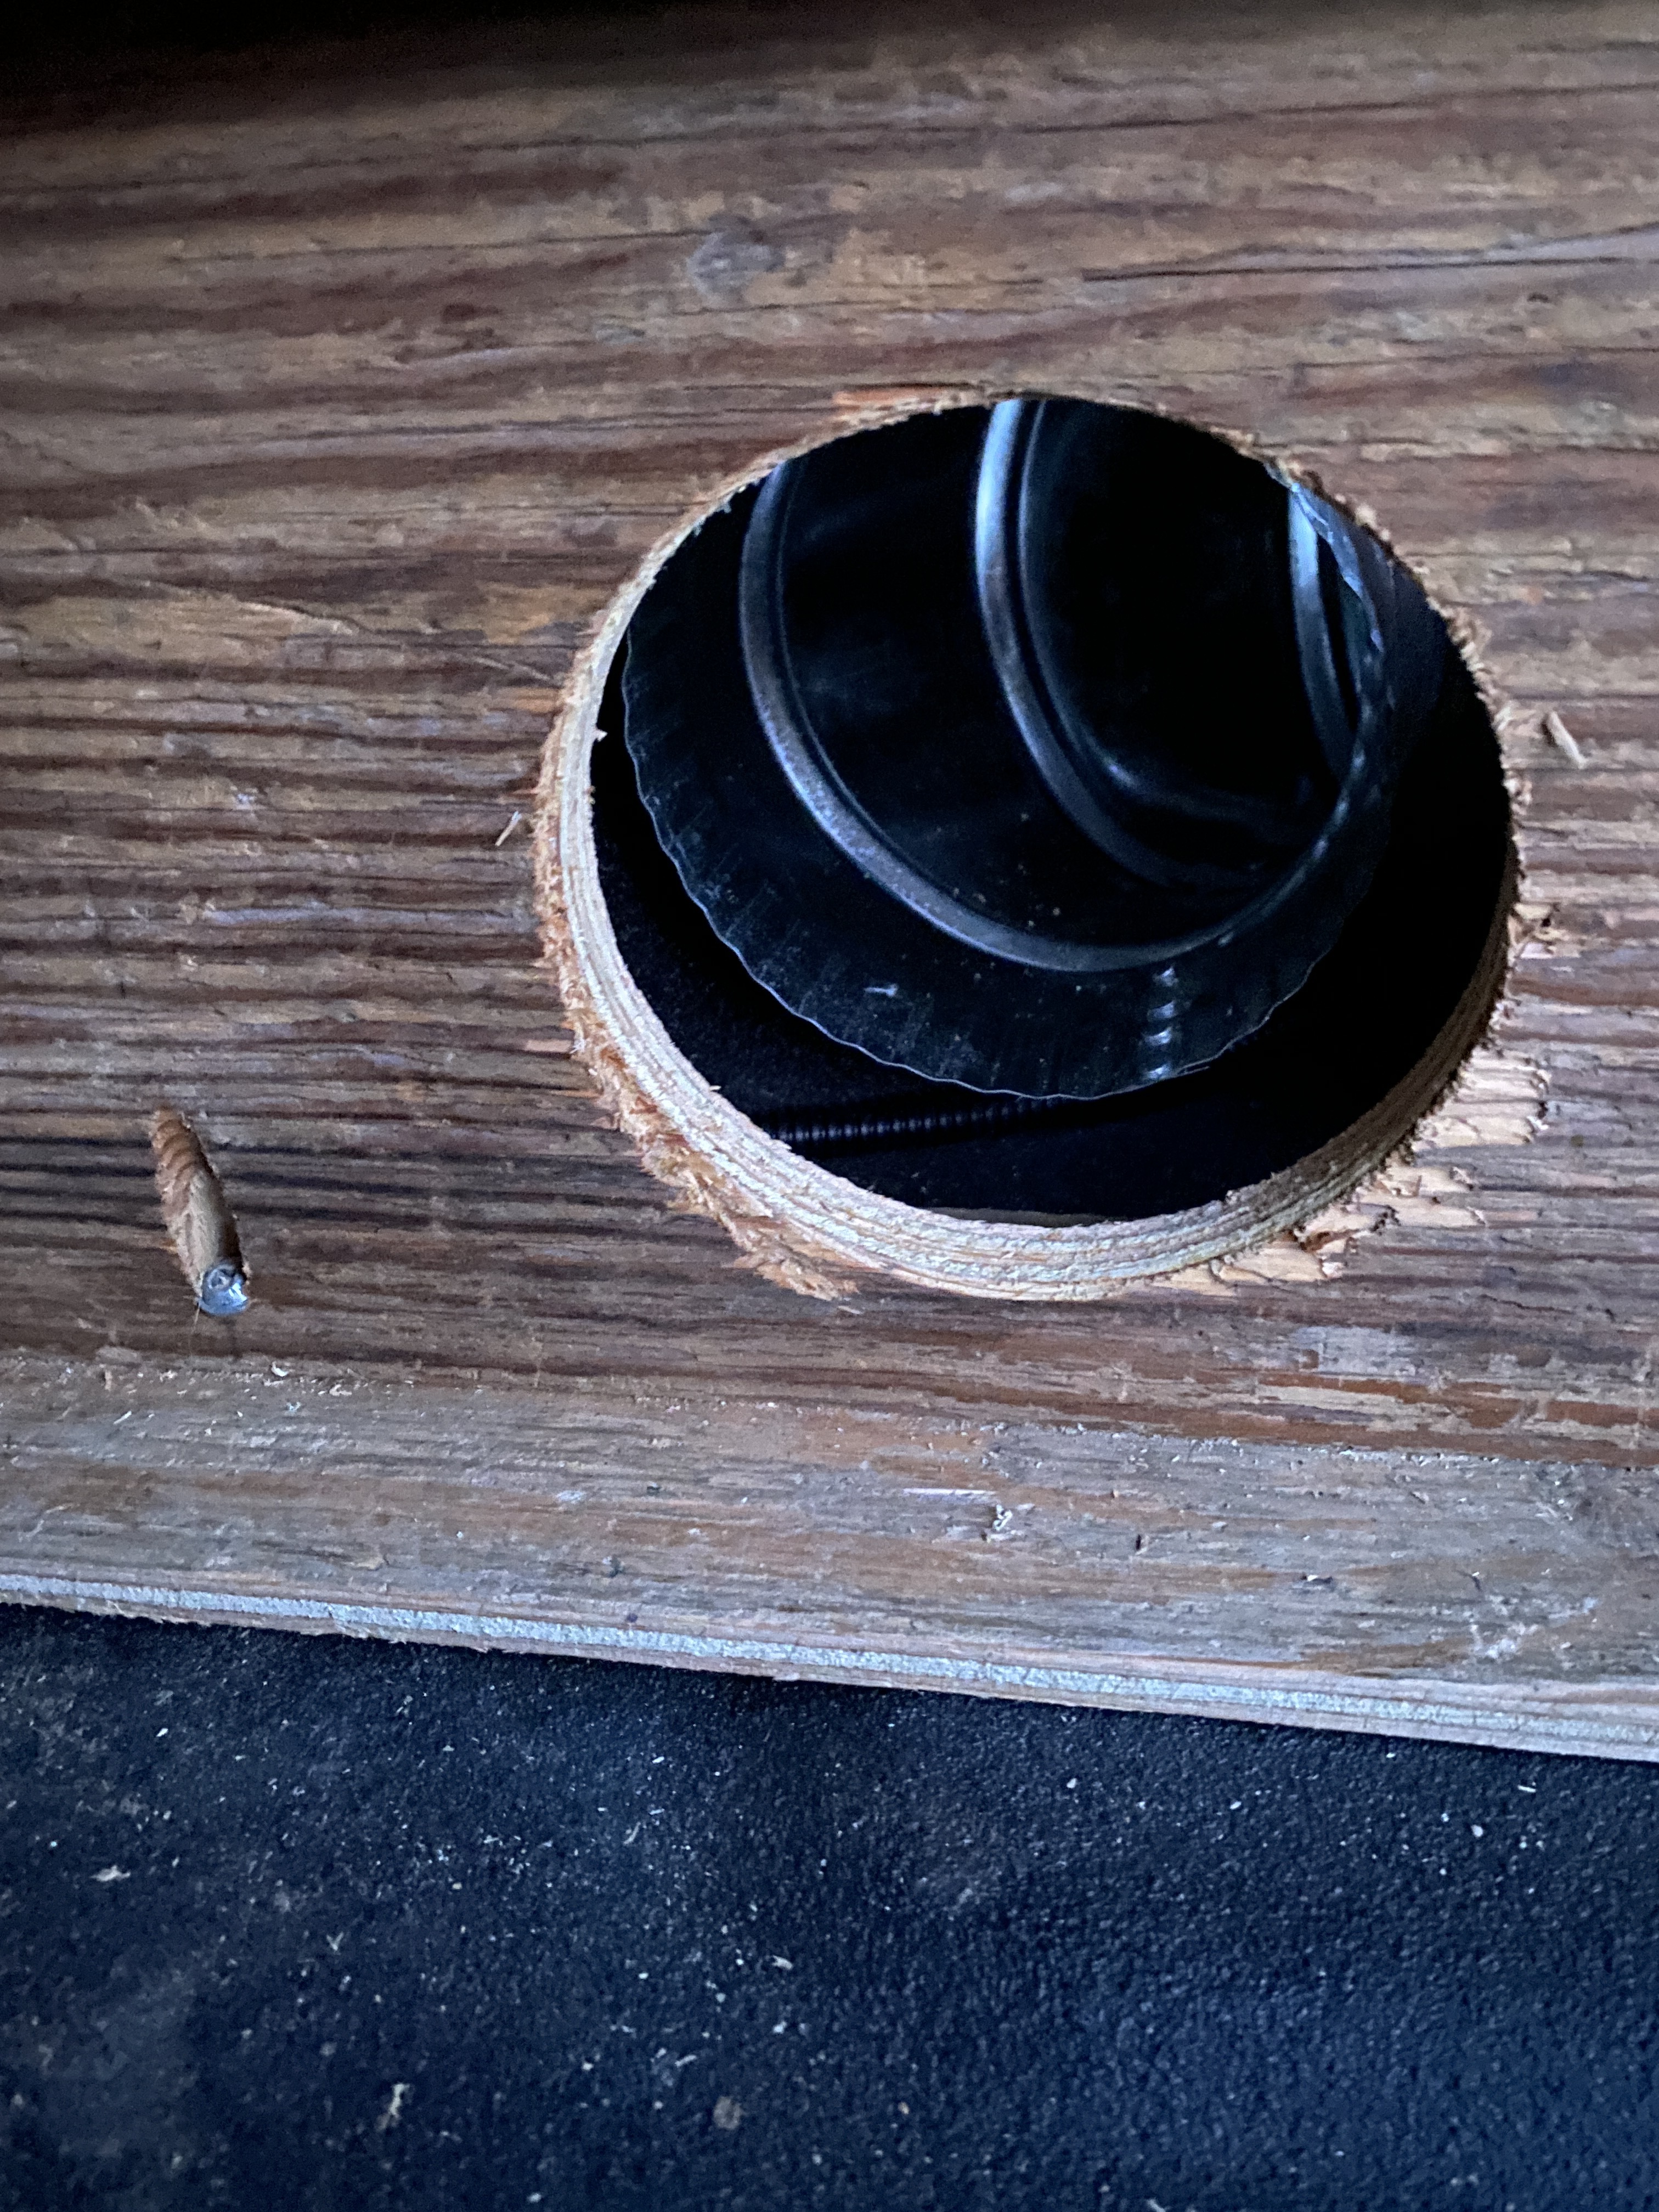
Eyeballed the 4” hole, although I found a rectangle vent cover in the garage that may fit perfectly. I couldn’t find a 4 to 3” adaptor in town to save my life.
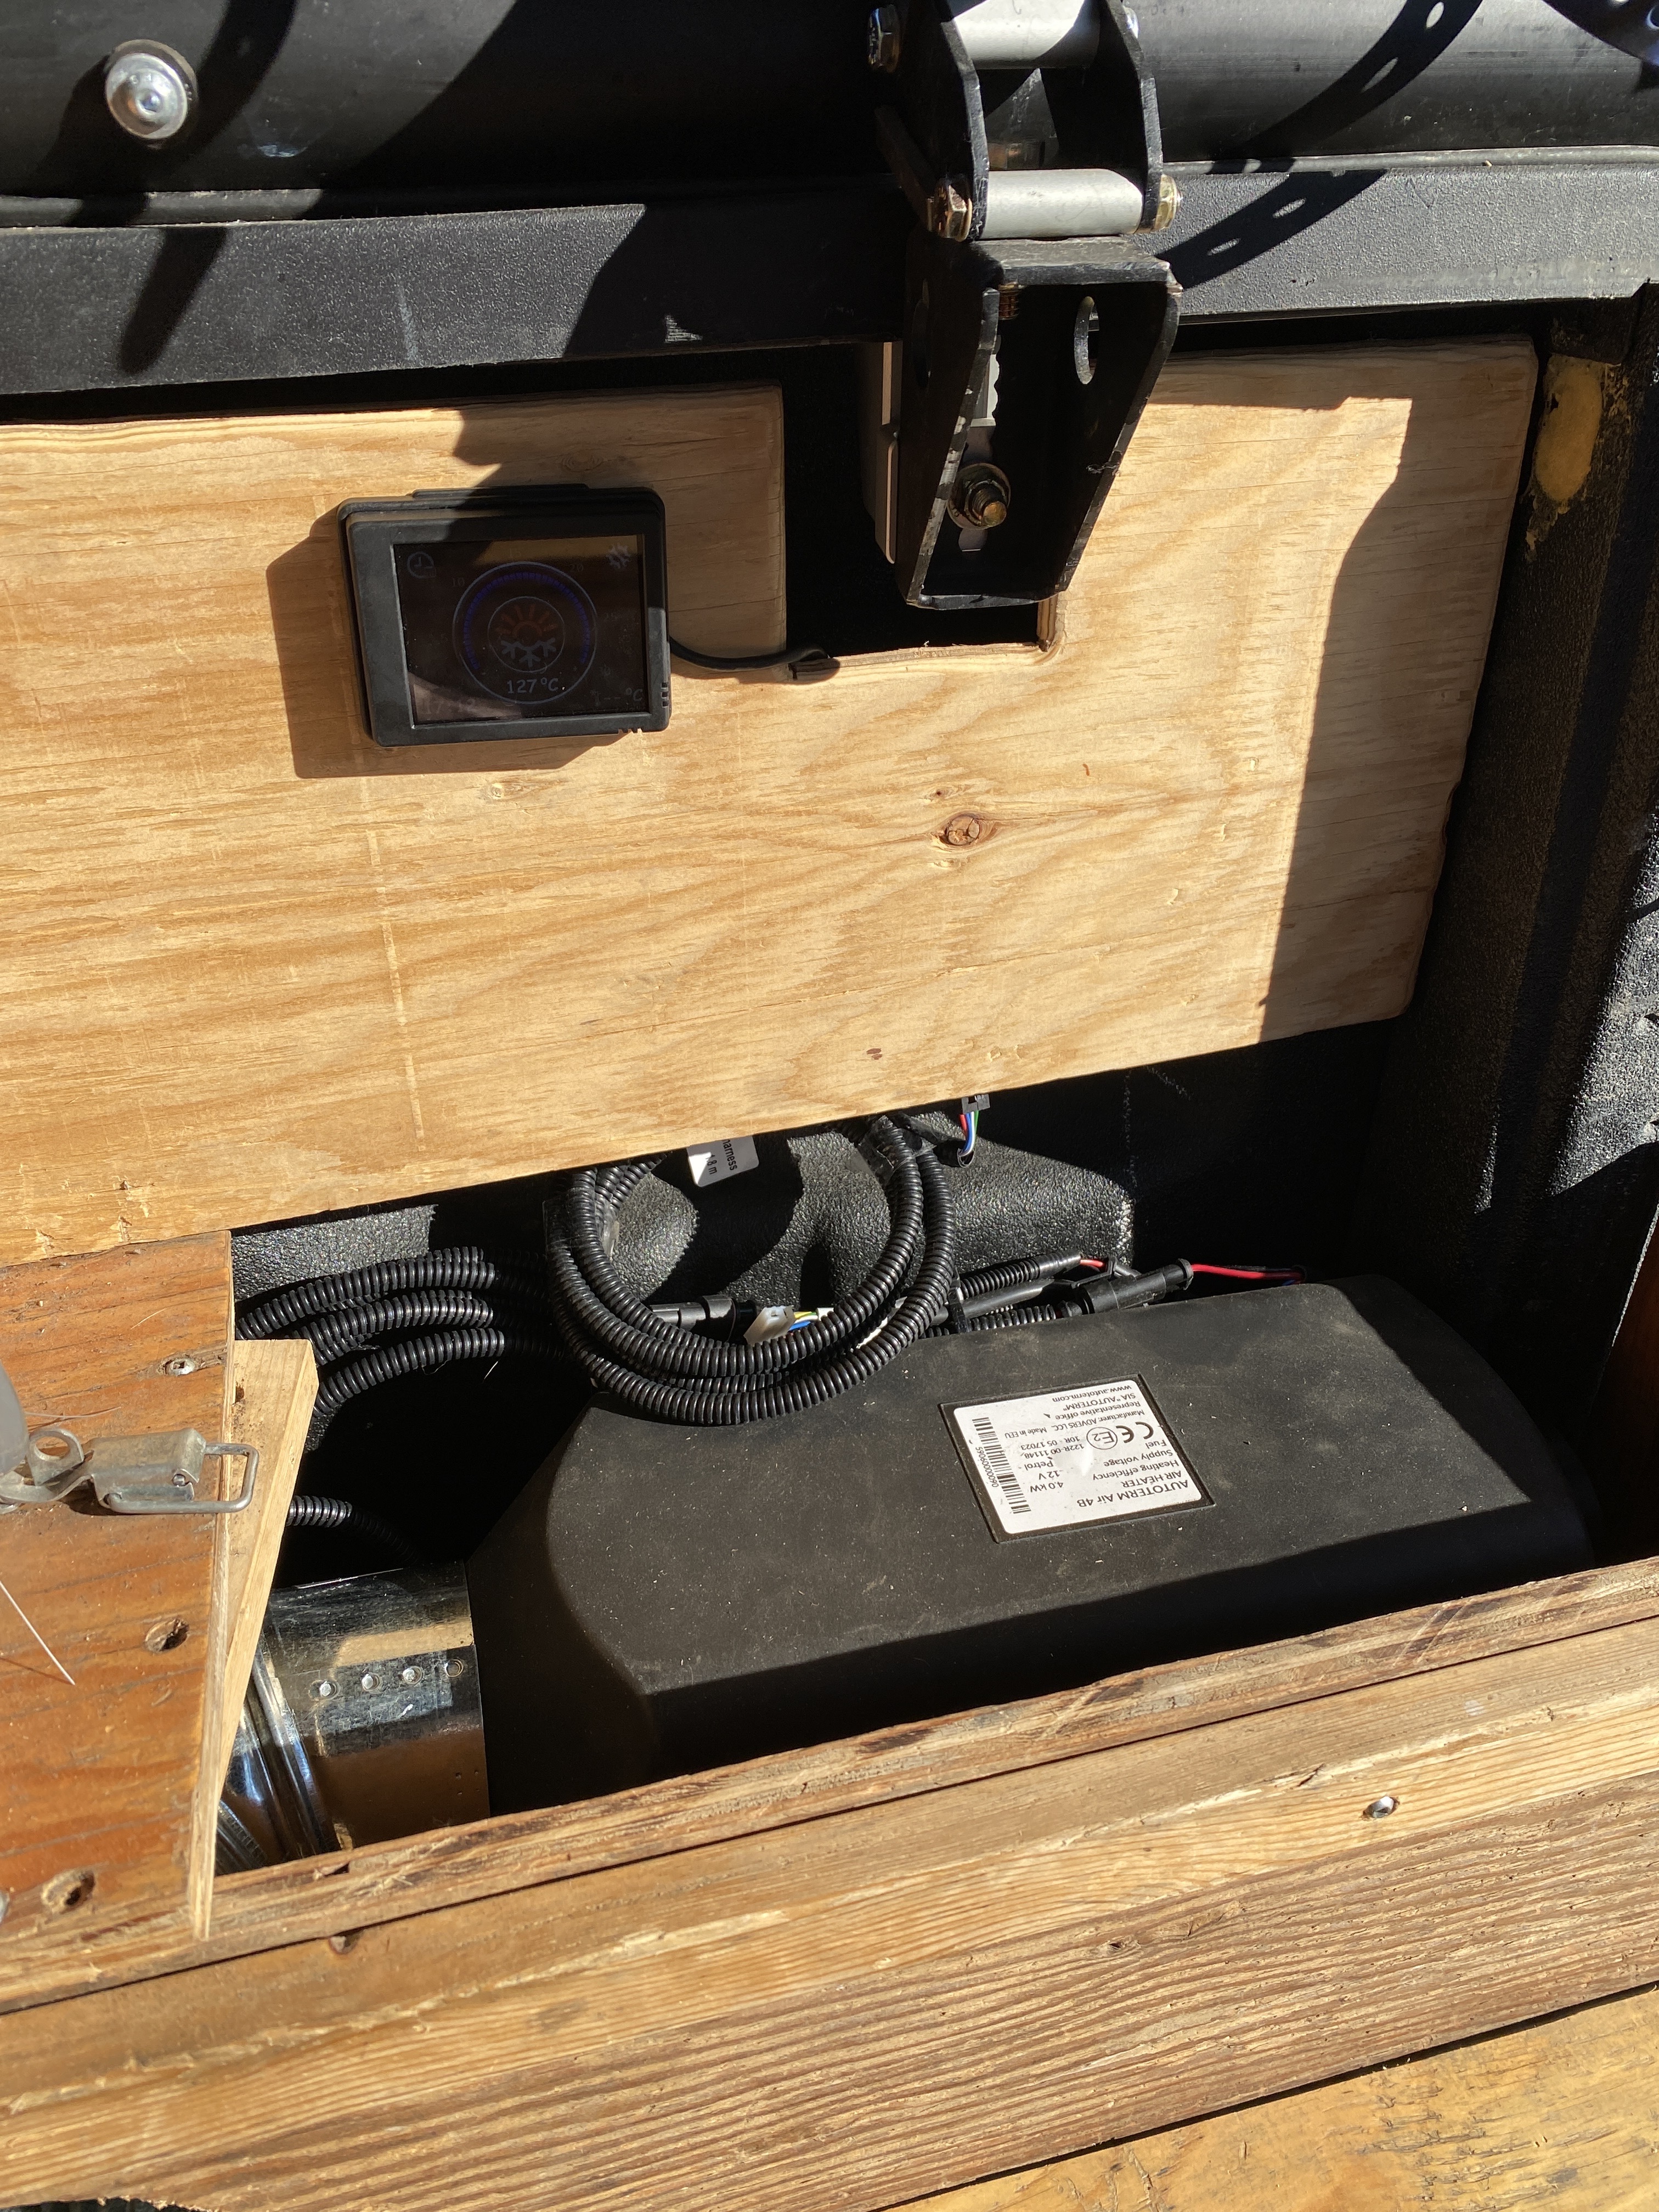
Finished up the controller mount. Next thing is to burn in the heater one night in the driveway and make sure everything works before I we need it on the way back Oct 1
2 Likes
Well…real life use of the ‘performance’ callipers from PowerStop. Not so great, front right calliper seized today just about 1 year to the day from installing them.
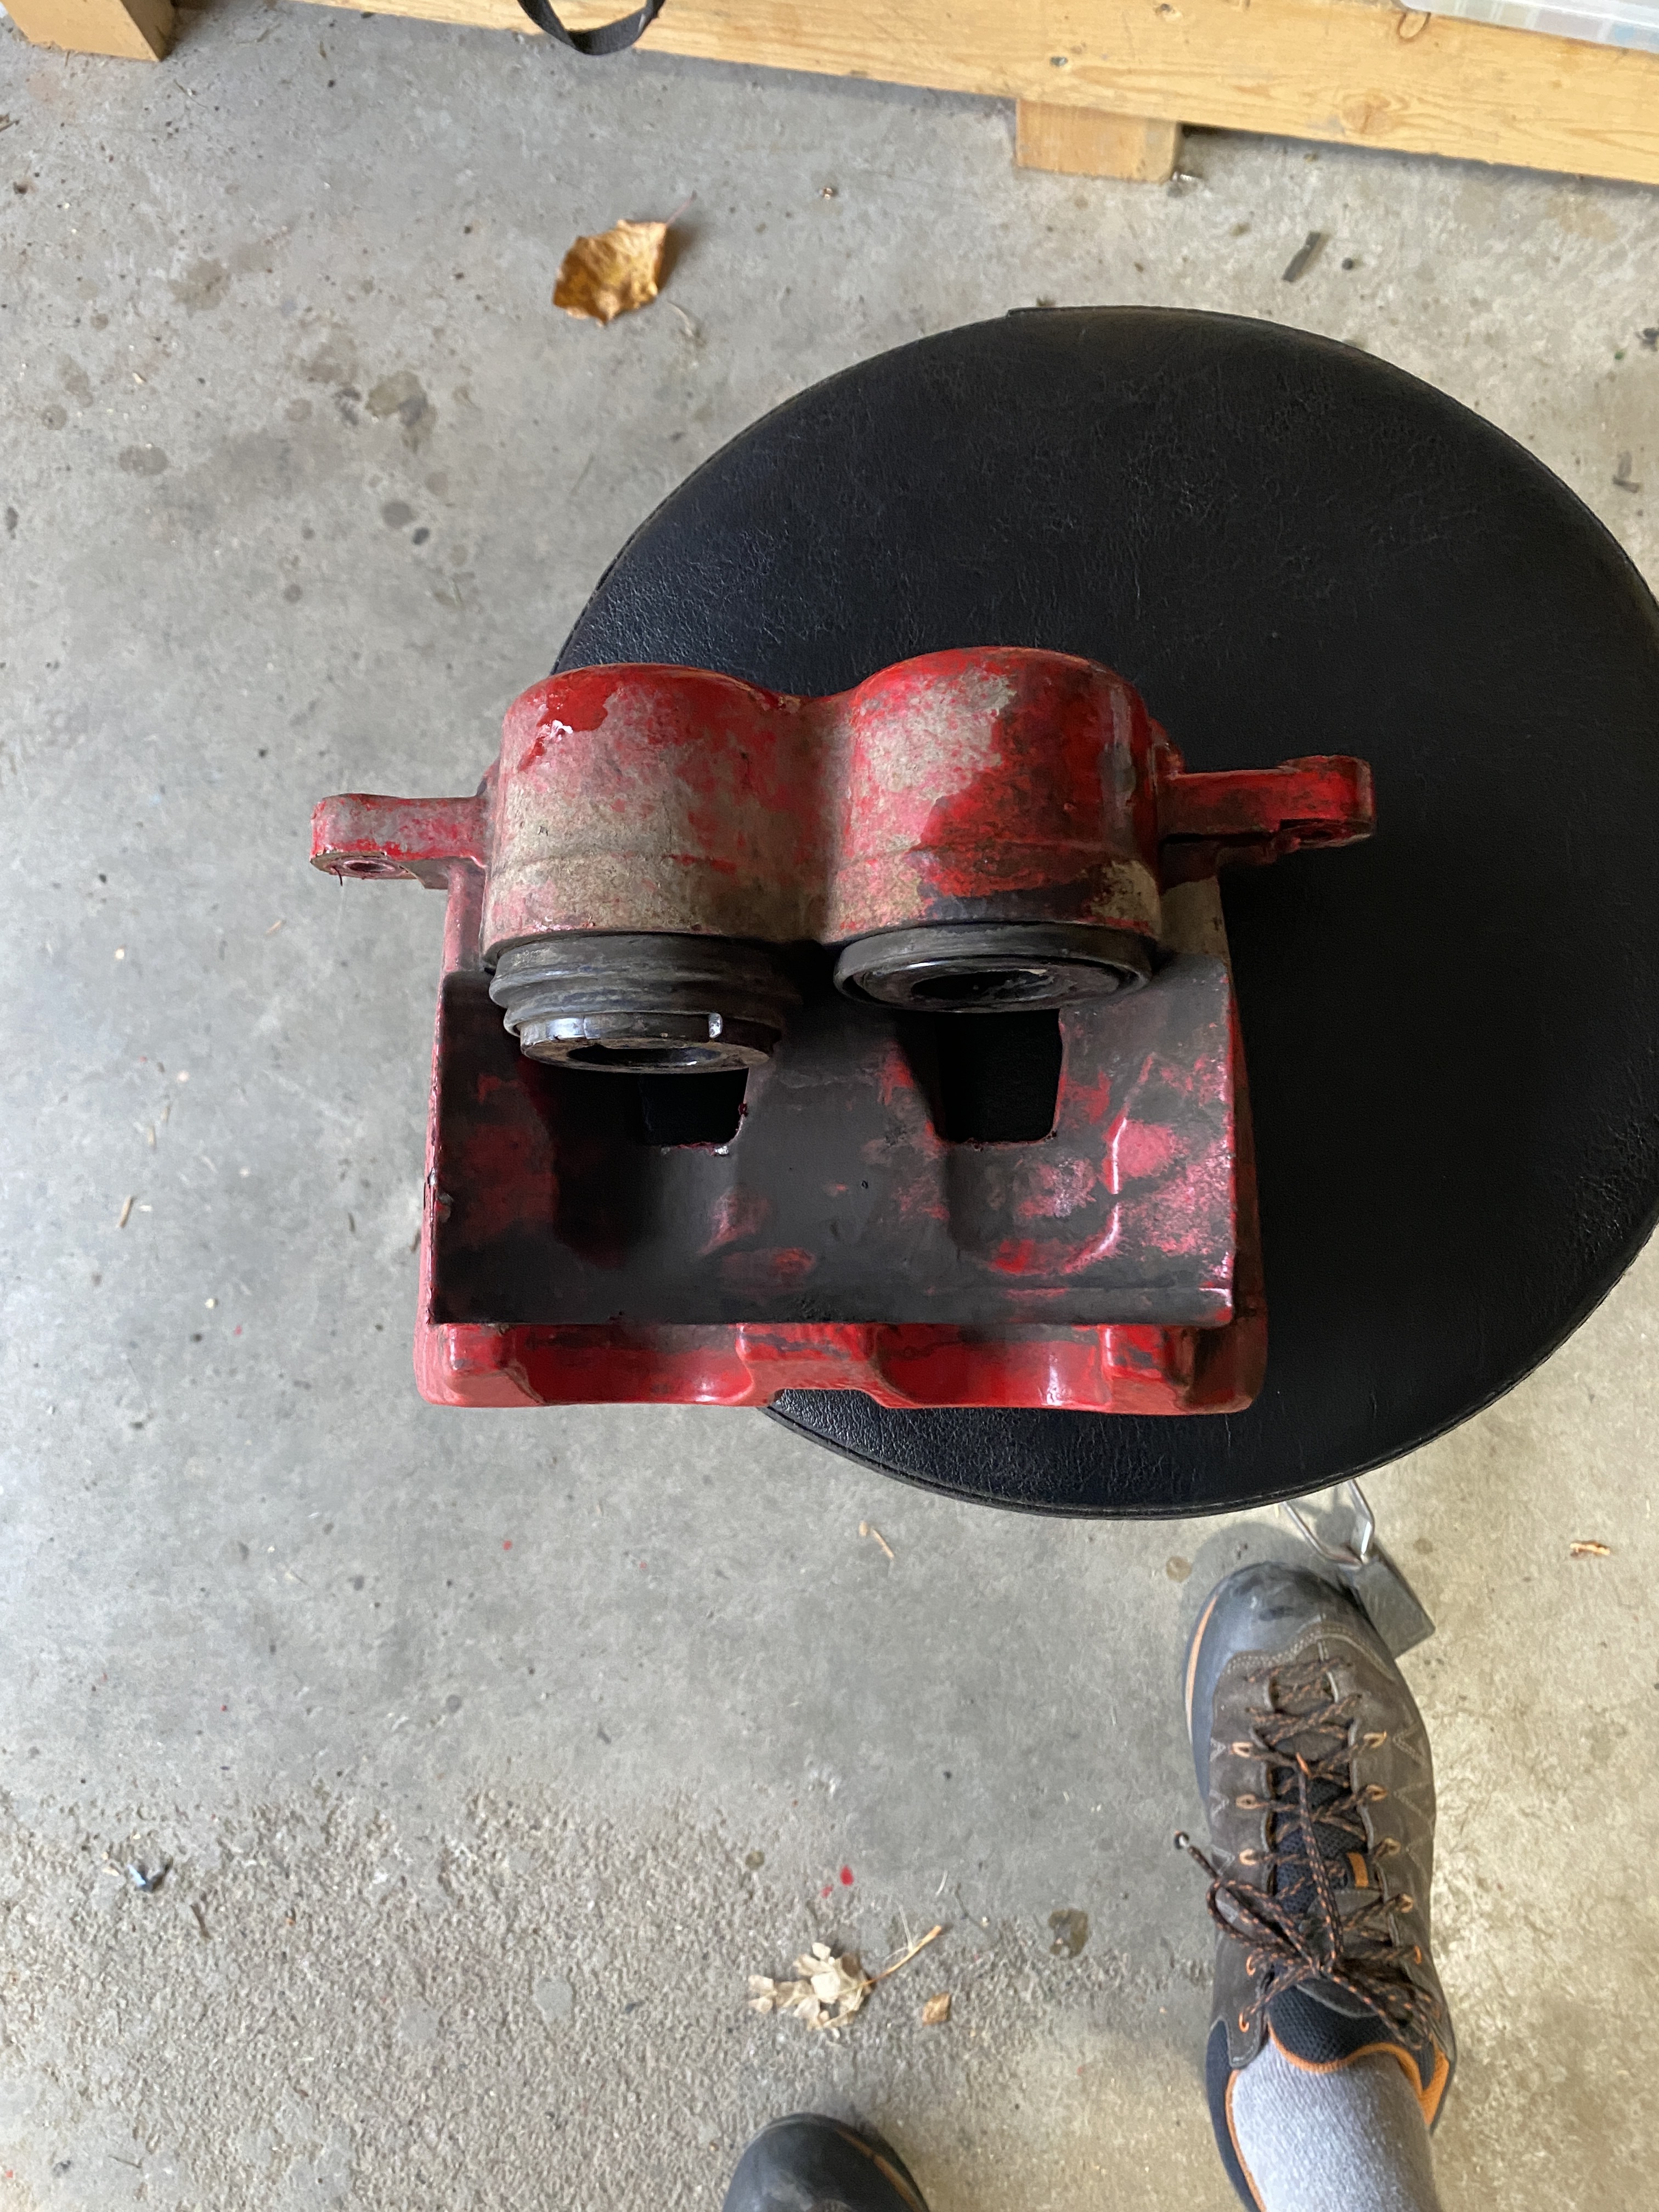
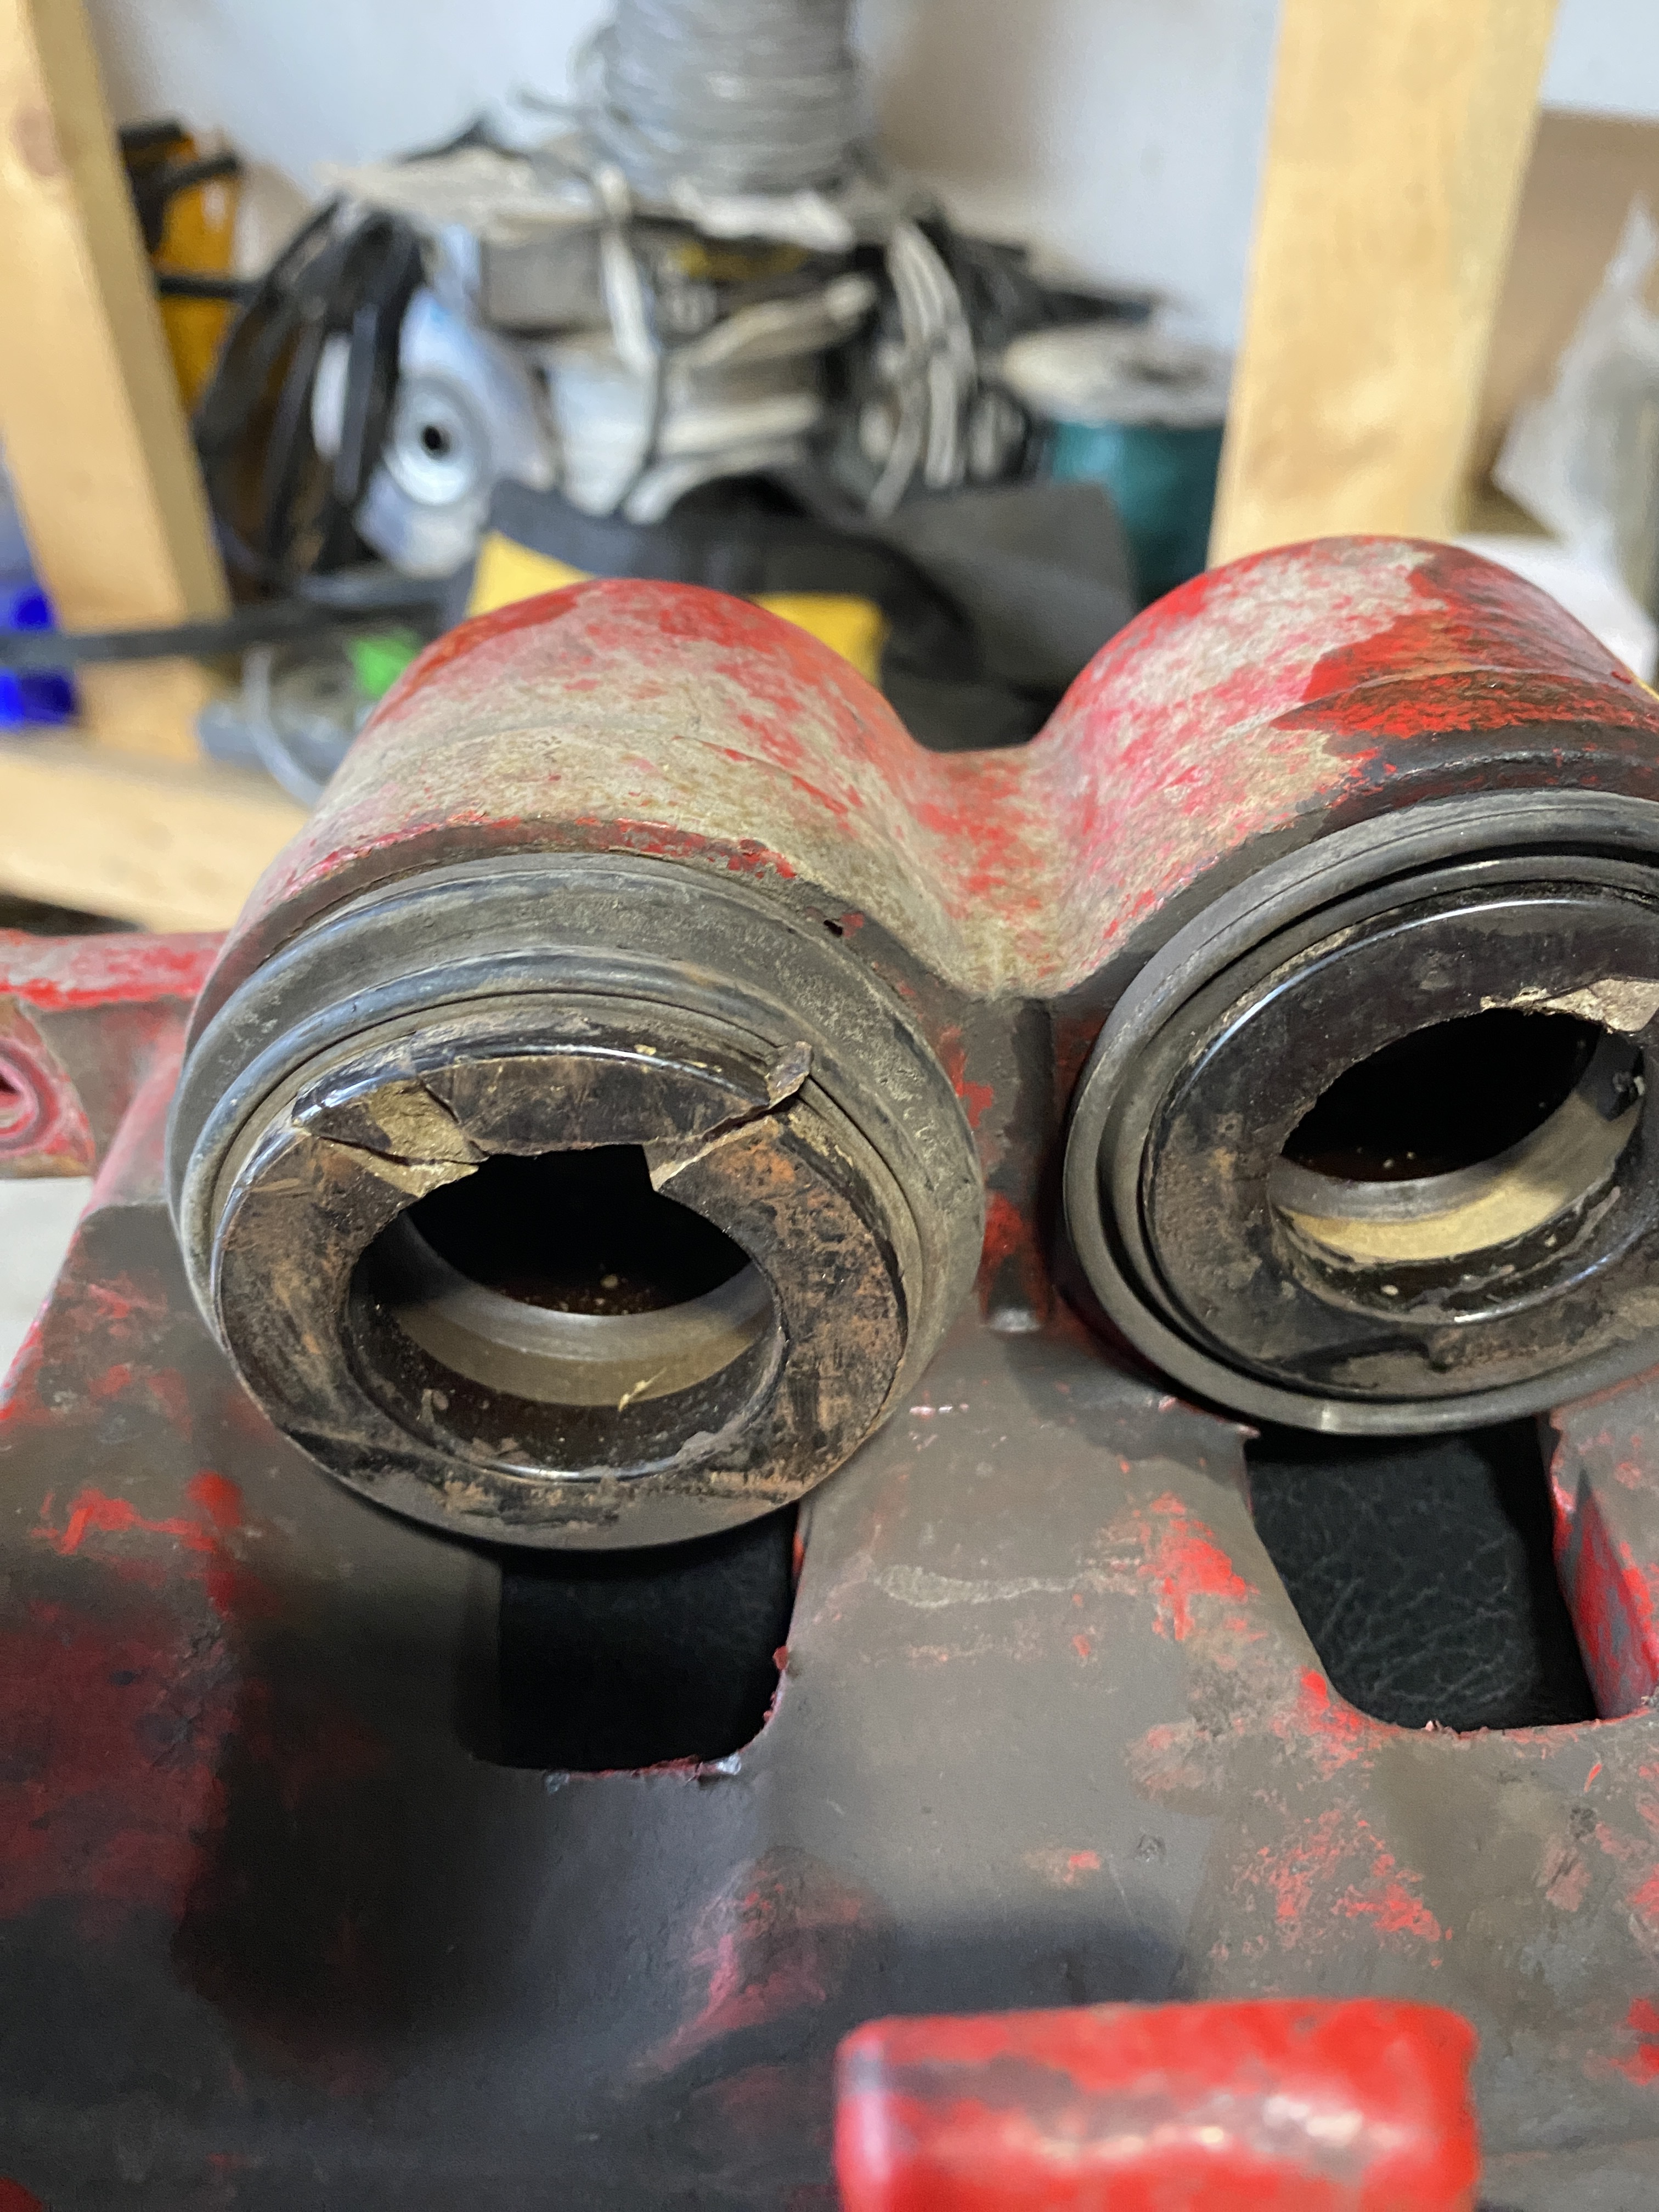
Of course I found this out after driving to my pals house with the boys. I’m off to Penticton tomorrow, so looks like I’m swapping a calliper.
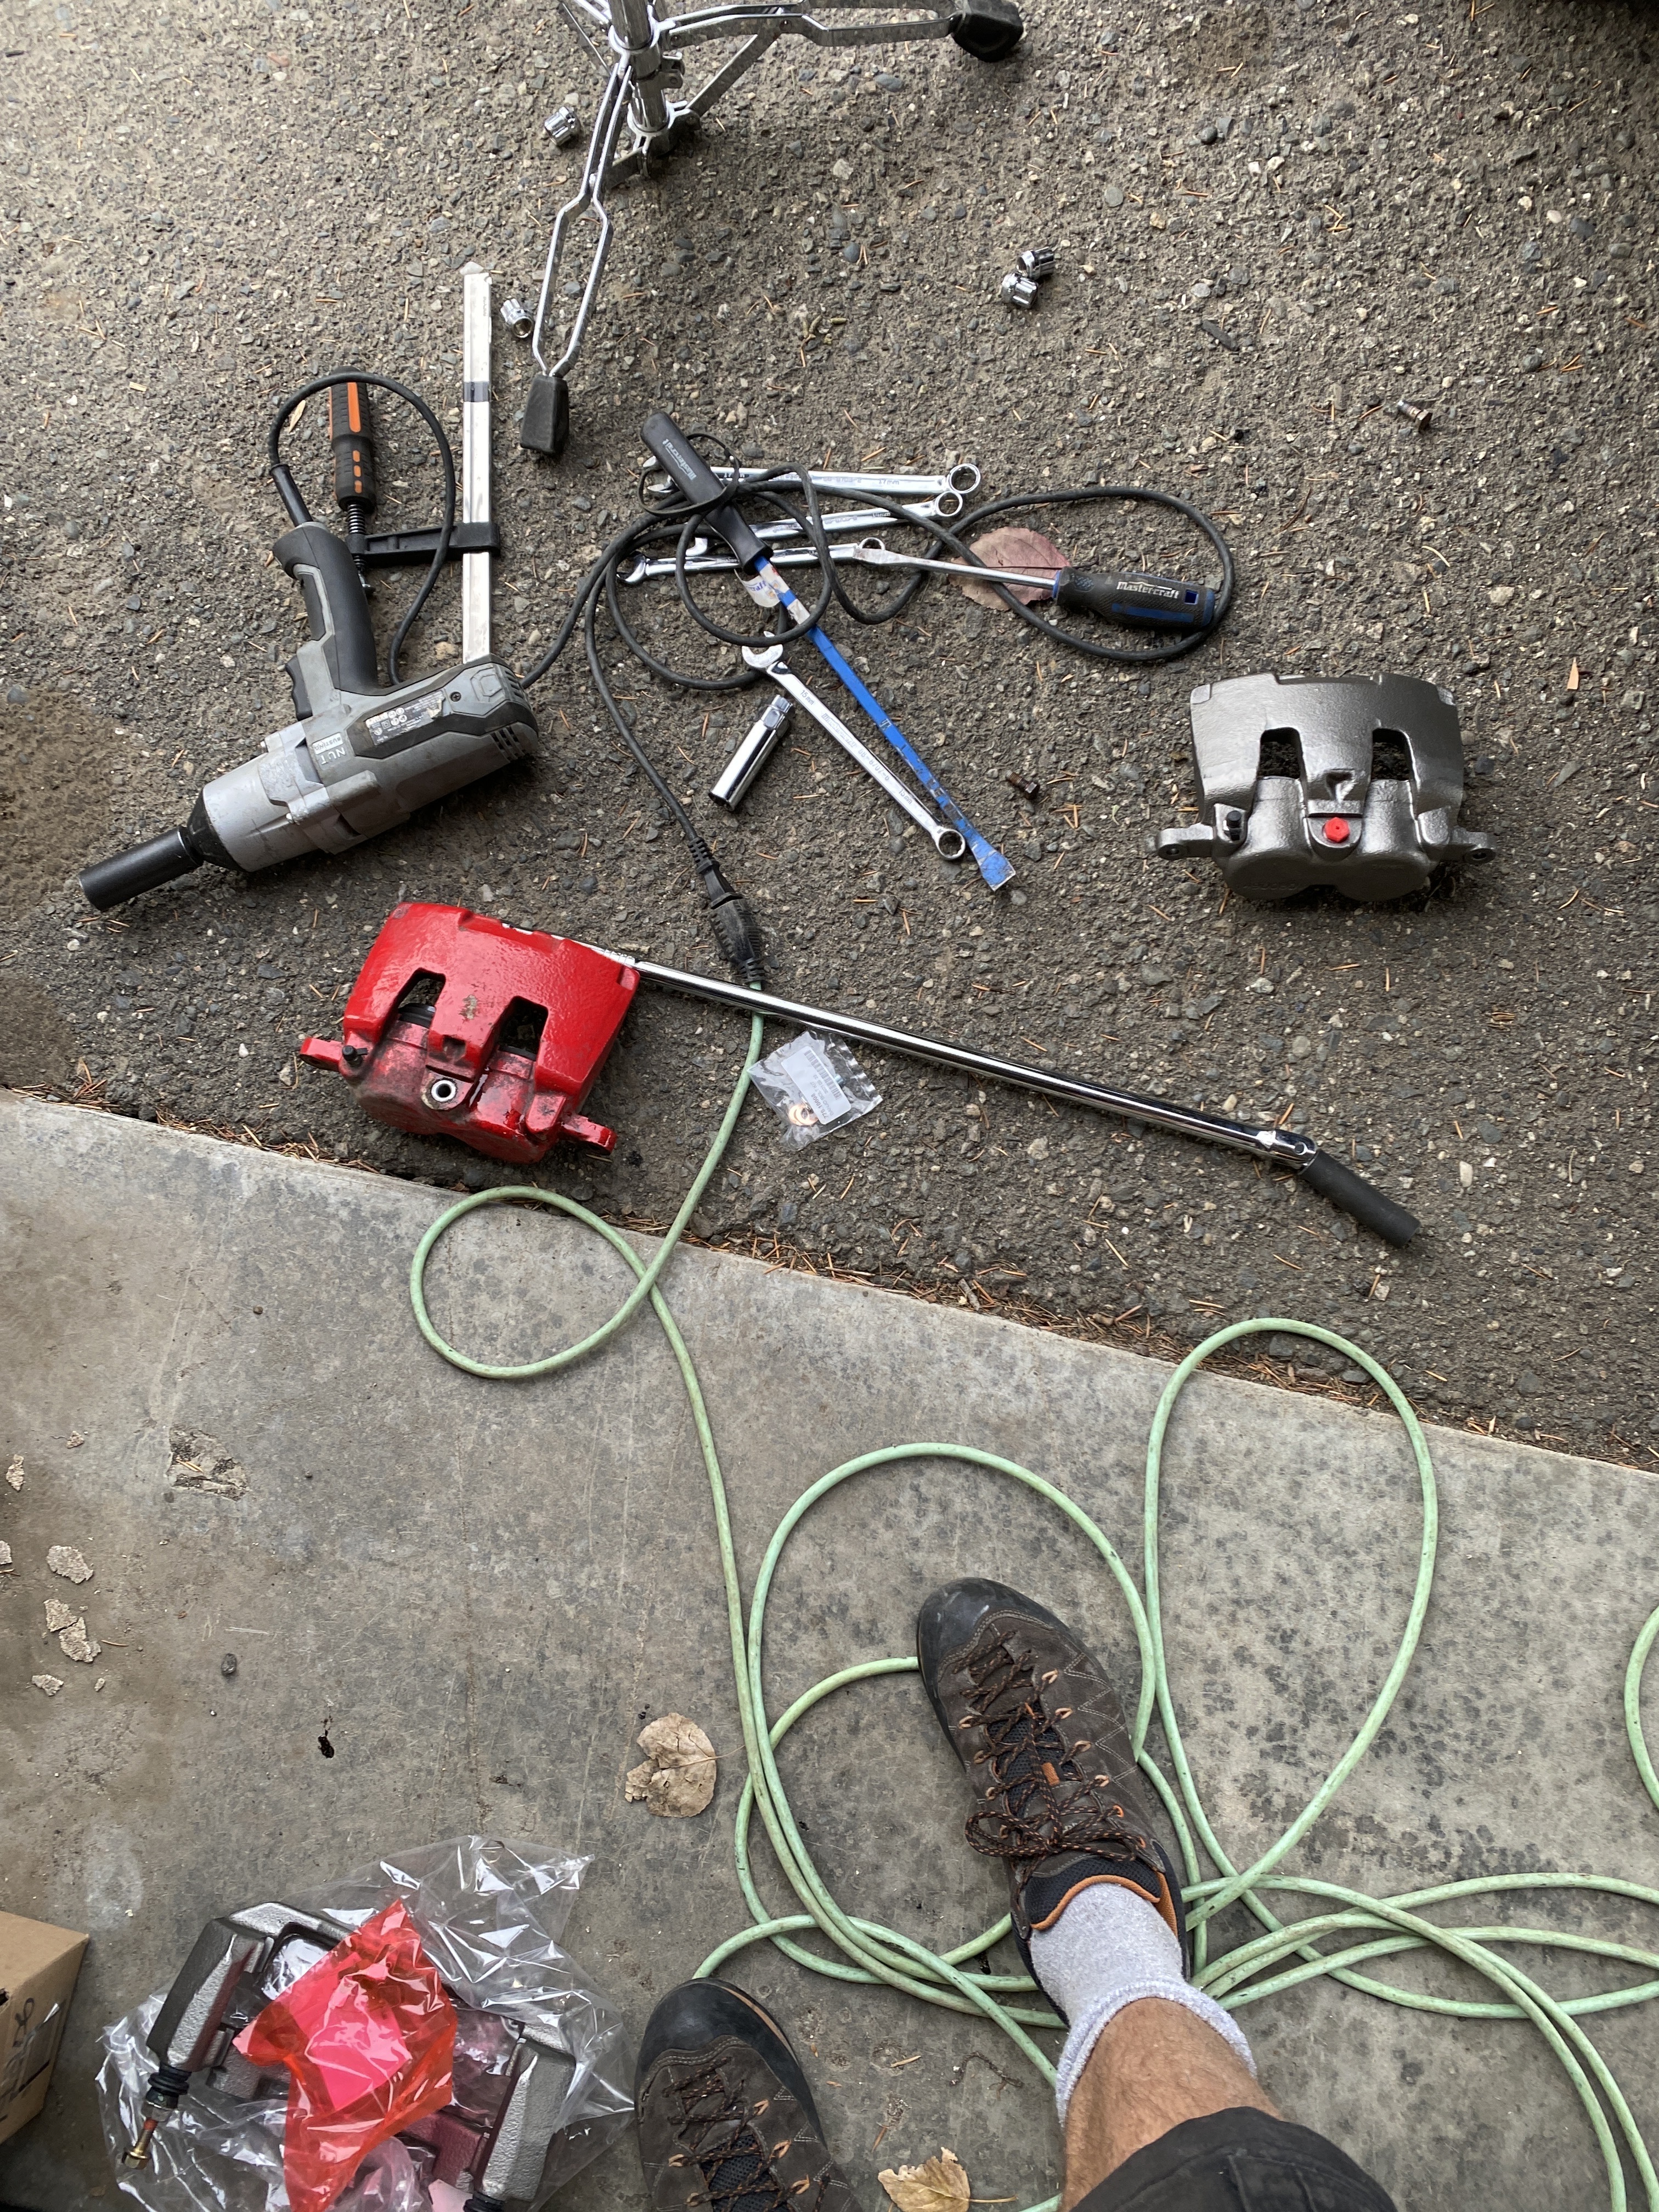
Local NAPA had one, I had my old cores from last October still. An hour later, I had a new calliper on and bled. I bought the left front as well. I’ve been suspicious of these callipers for a while. So I may swap it out when I get to camp in Penticton.
Hoping to ride while I’m down there while I camp for work.
1 Like
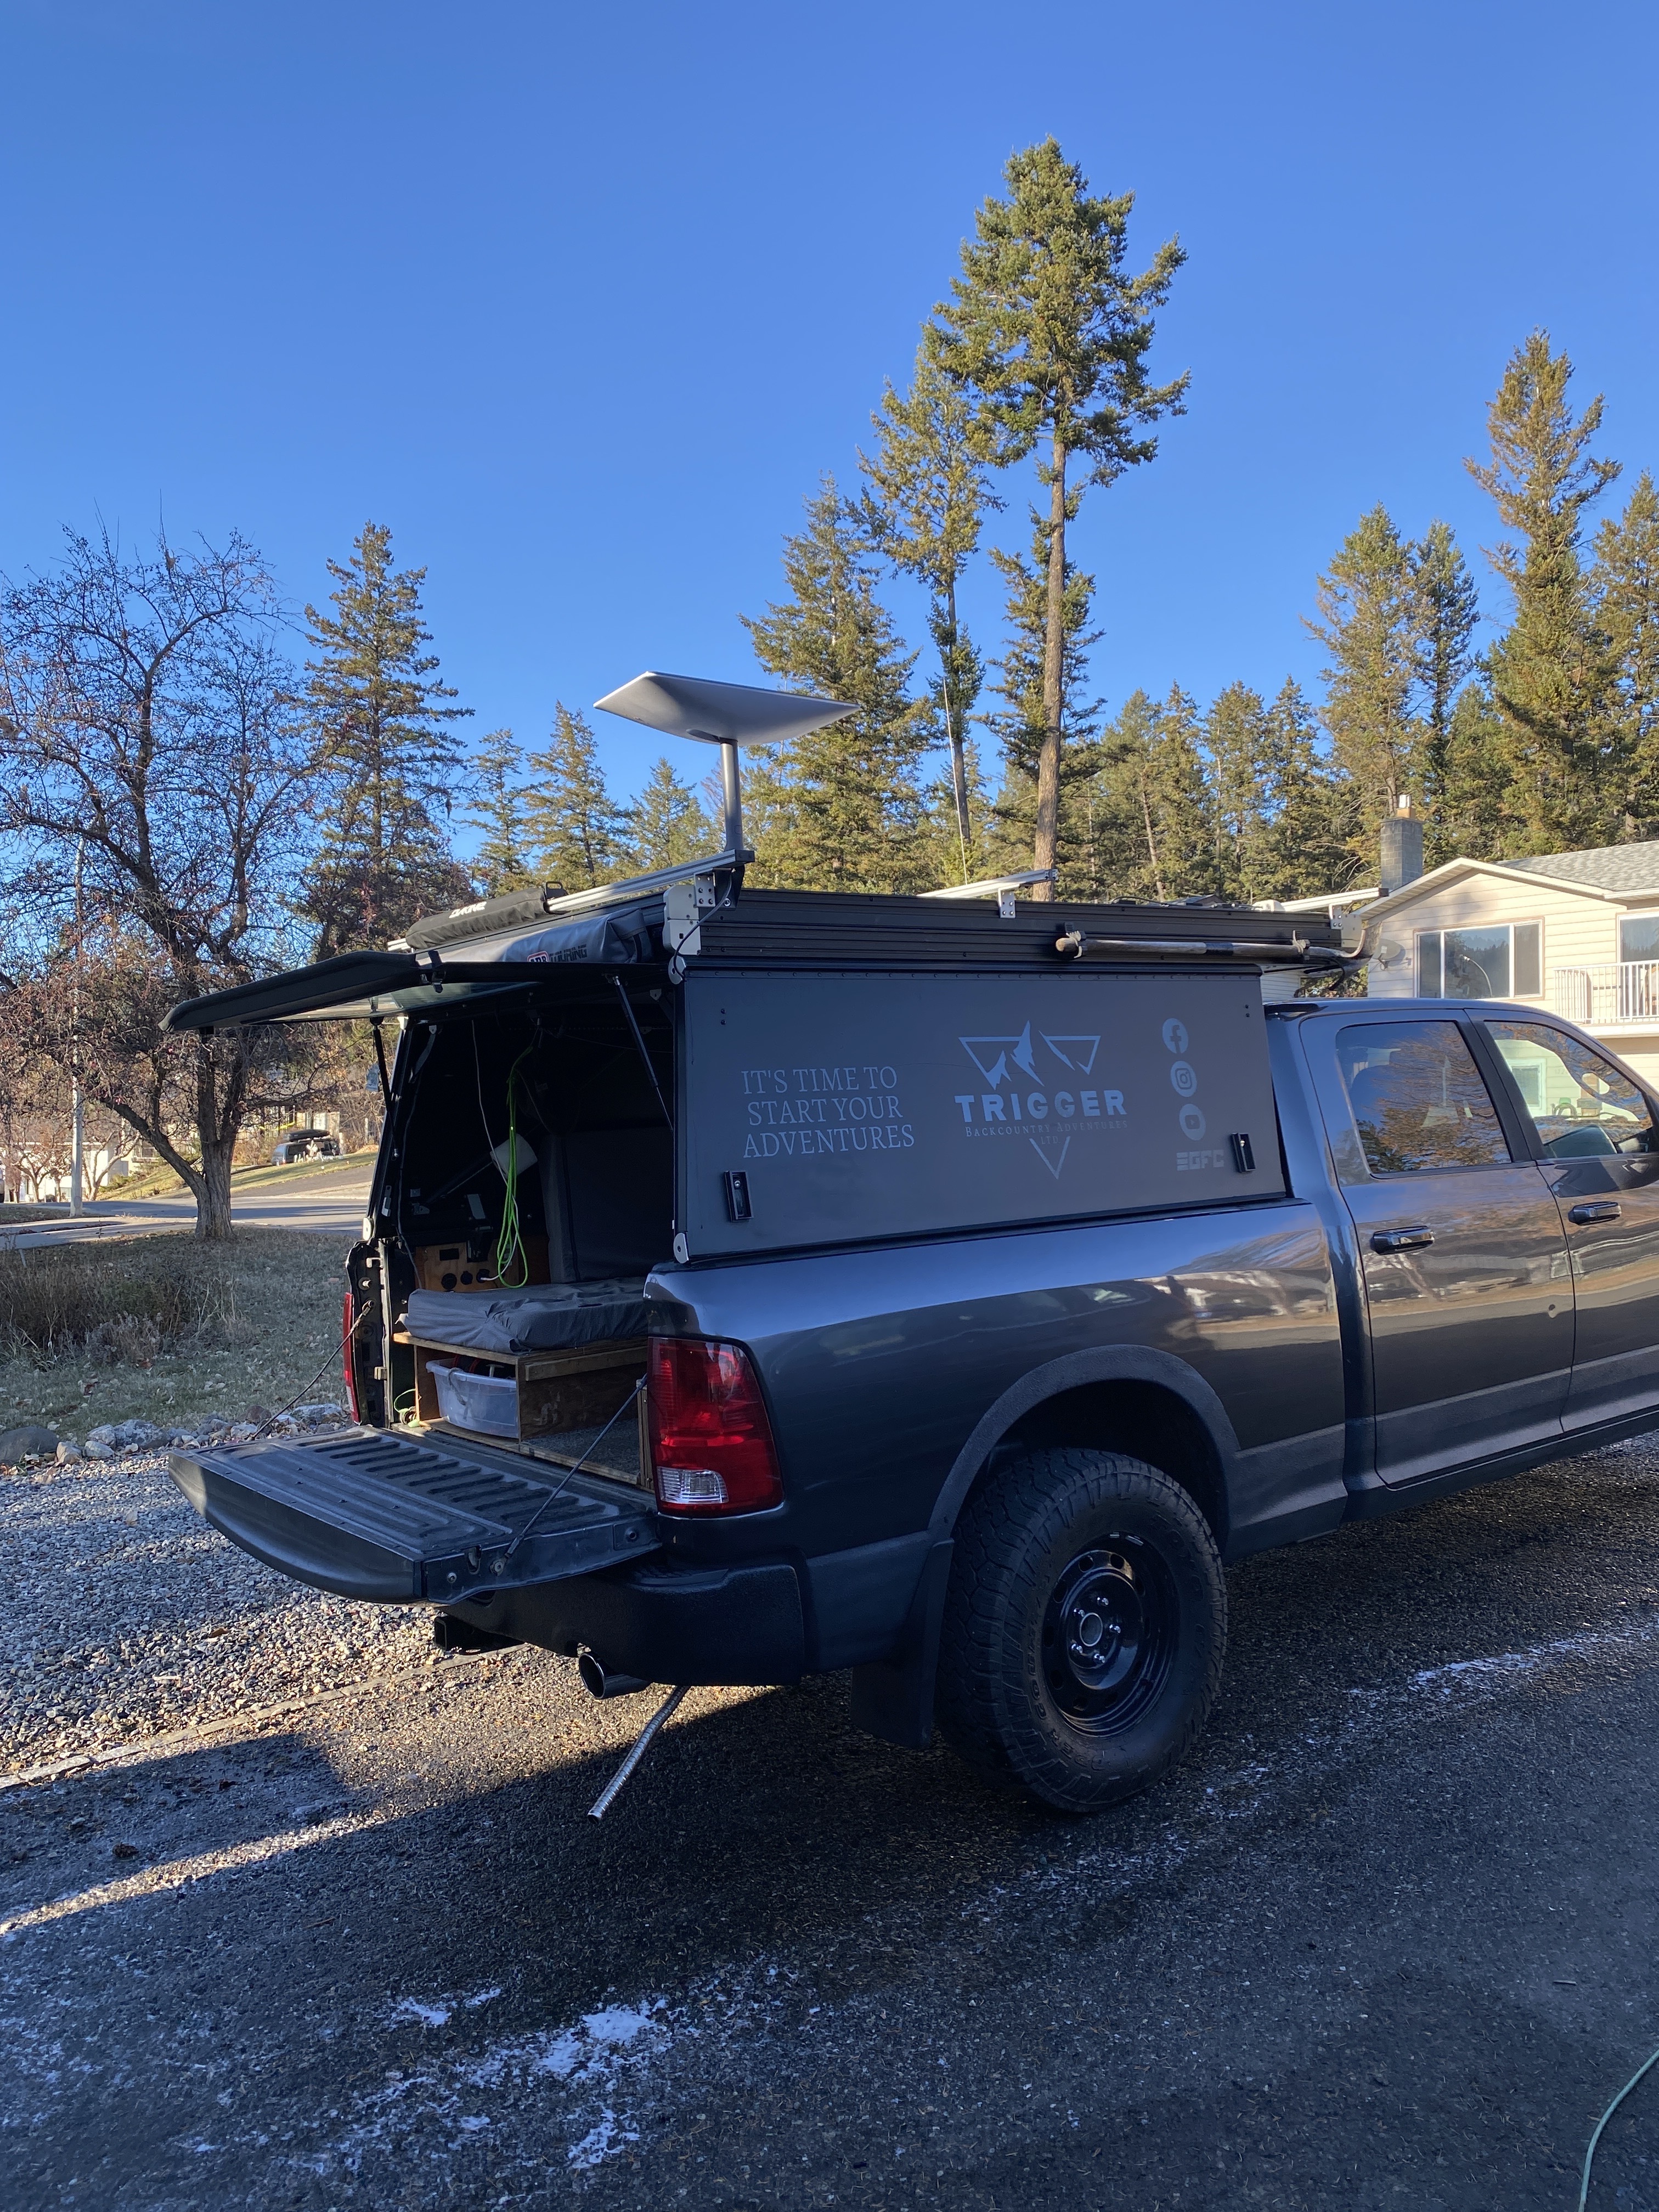
Got my decaling done for the business, pretty stoked on how it turned out. Also testing out options for the short mount Starlink mount. I’ll put more information up on this as I make adjustments. I will say, the holes don’t line up in the extrusion, also to use the larger t-nuts I had to use the drill press to make the hole bigger. I’m contemplating drilling into the no-extrusion part of the tent and put a riv nut in to make the bracket more stable for mobile use.
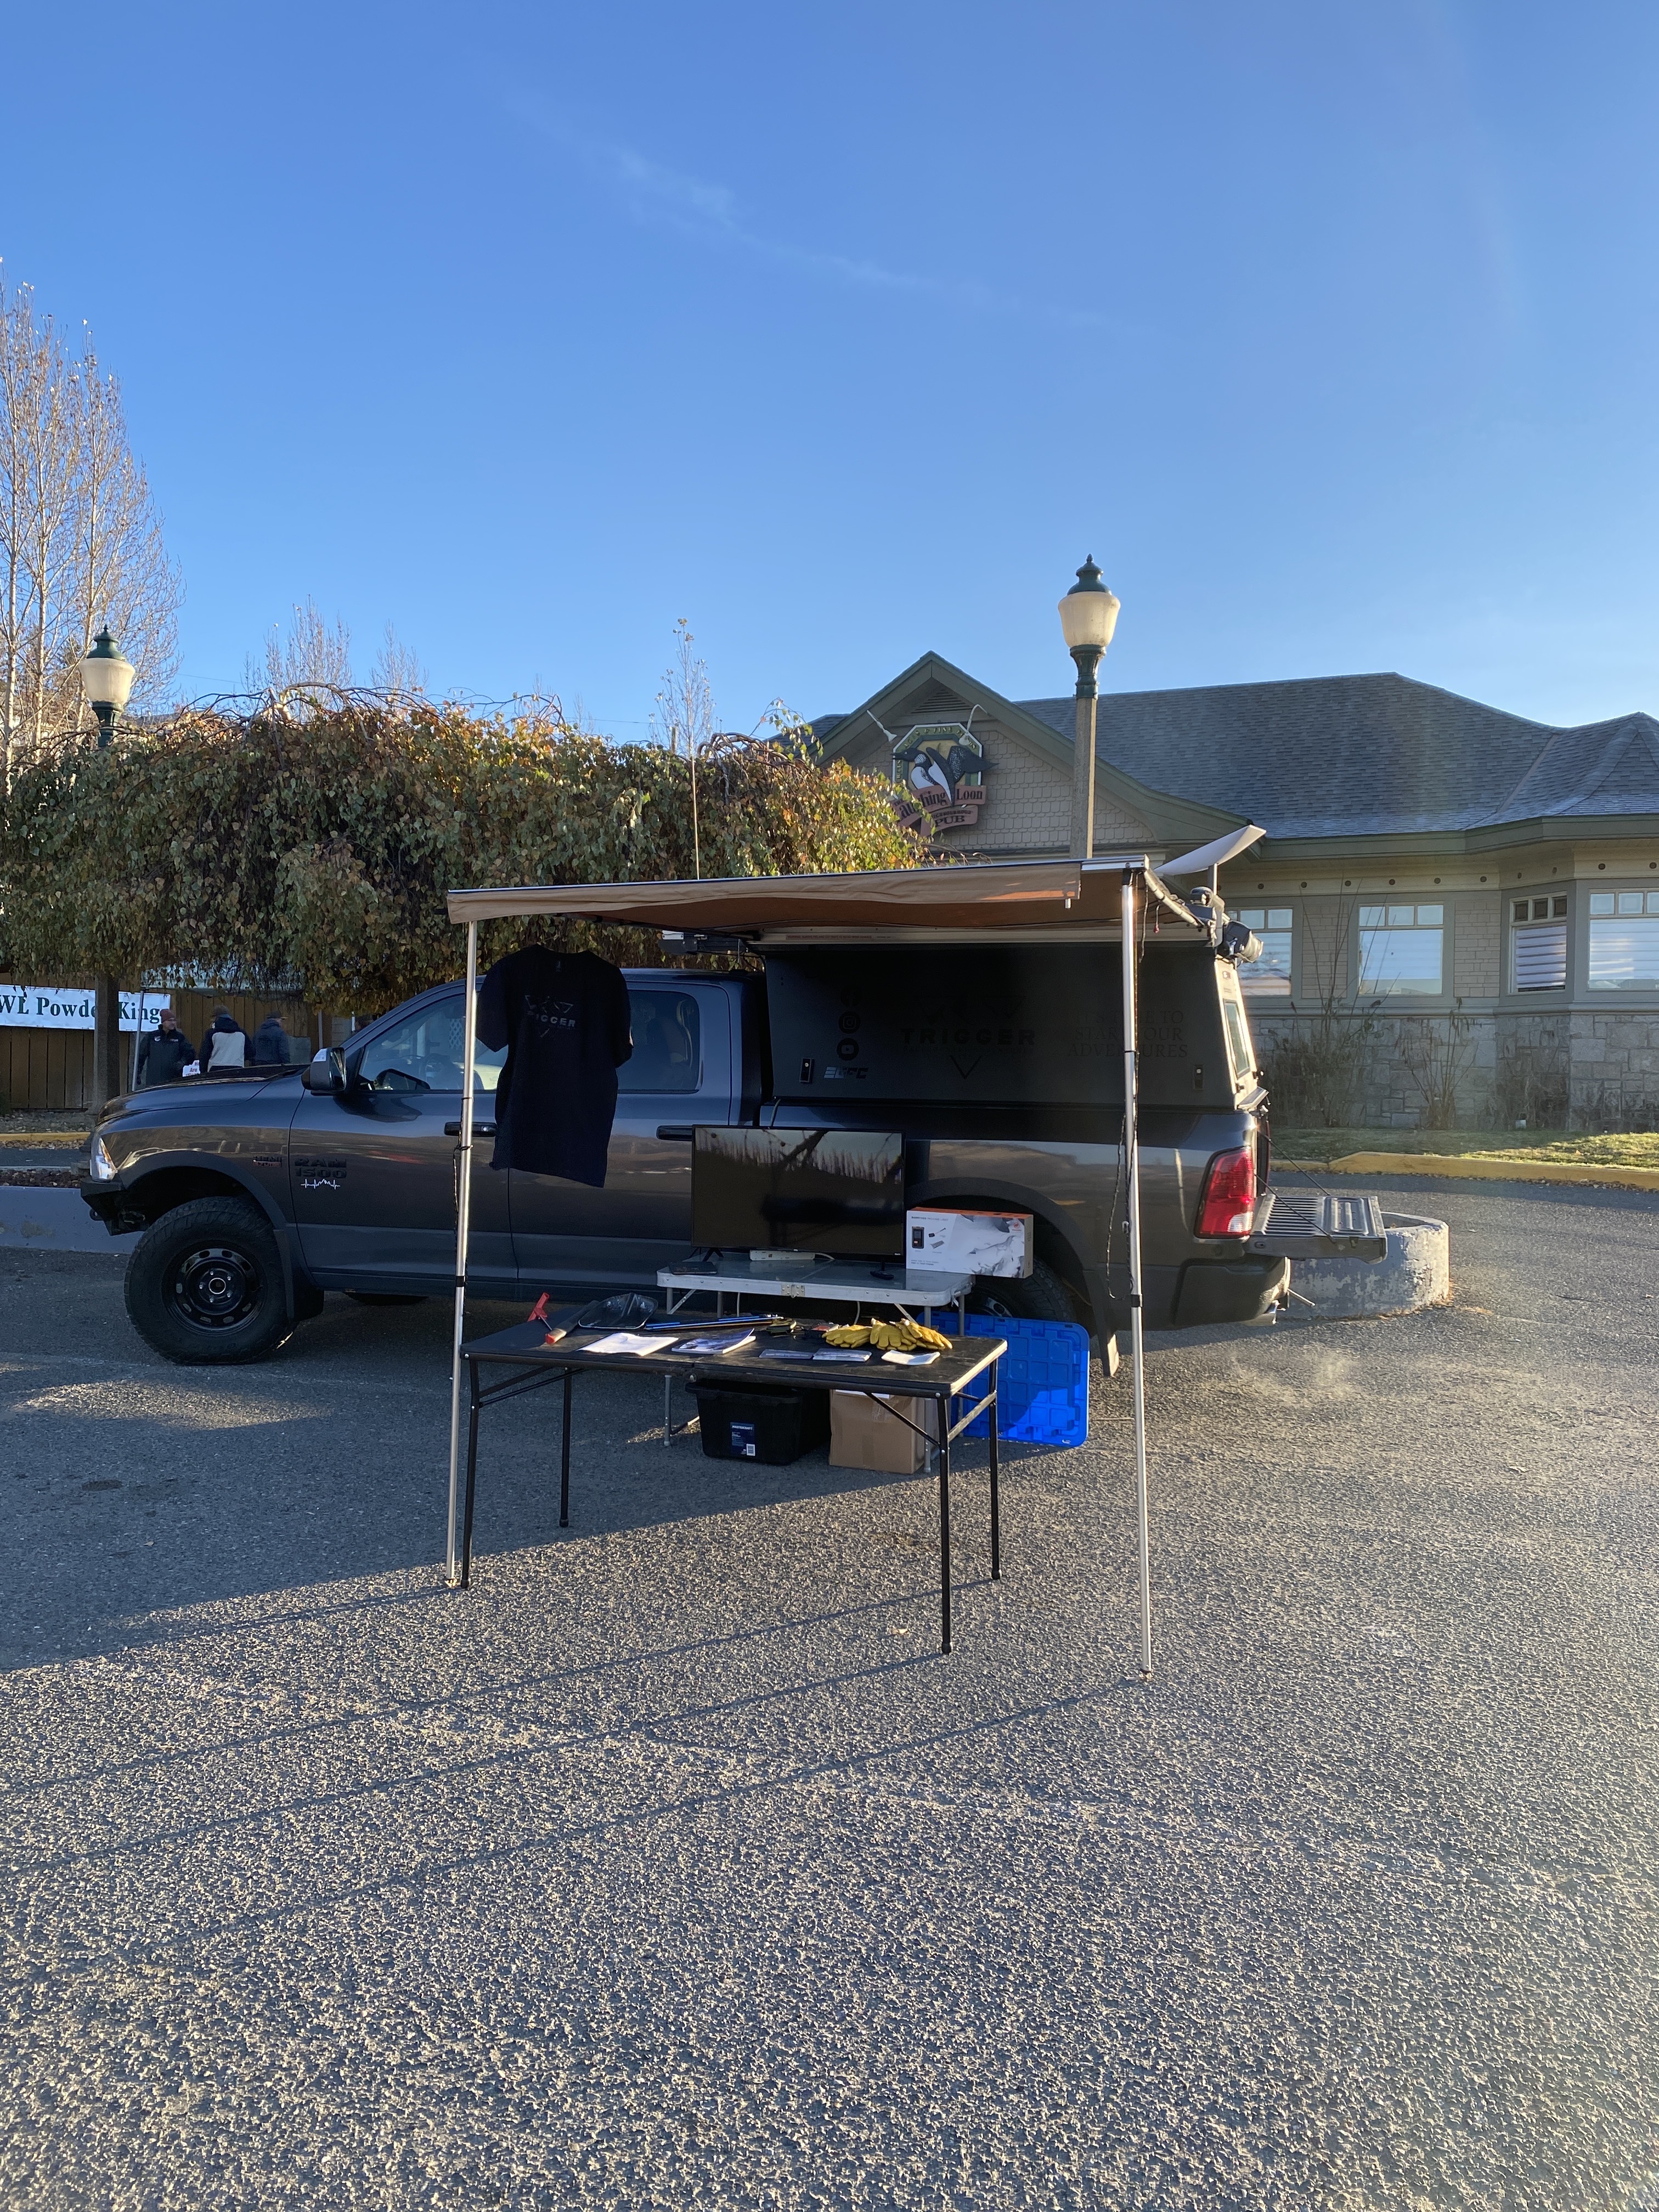
Then just a glory shot from the local Sled trade show selling some Avalanche courses
6 Likes
Looks great Wes! Congrats on the new venture!
1 Like
It’s picking up! ![]()
1 Like
Too bad youre not closer id take the avy course you offer, rig is looking good!
1 Like
I had the same thoughts! Still easing into it. Have a splitboard but mostly skin up the resorts for exercise.
1 Like
We welcome out of towners ![]()
1 Like