2014 Ram Big Horn - Build out

I replaced all of the GFC accessory allen bolts with stainless. Salt in Ontario isn’t pretty either.

Same boat as you with the powder coated accessories. Even taking it off in the winter I have rust issues.

The side rails on the GFC do flex a good bit, so it’s possible you installed last year with them bowed out and are bowed in now. Second benefit of the roof rack is adding some rigidity up there.

1 Like

So as ‘ski season’ as I’m allowed due to family obligations, so I’m told. I decided I would tackle cleaning up the side electrical panels that have been butchered through various iterations of the build.

Then, as you would guess…it has turned into contemplative ways to reduce the weight of the add-ons without spending any money.


After being in this setup for over two years. I’m finally going to move the electrical to reduce the amount of copper running throughout the rig. The plan is once the dust settles from quitting my full-time career to chase a dream. I intend on permanently install one of these:

Then I can finally be free of that extra step when I arrive at camp. It’ll just be, level the rig, pop the tent and go.

4 Likes

I like the sound of this!

4 Likes

Today’s weight loss program…


Washed out a pound of dirt :joy:


It was a circular saw routine…


No regrets; but no going back


…then a jigsaw routine


Then a test fit…


Then reality. All distribution wiring done.


Lost the storage space, but I barely used it because it was a pain in the ass. Now it’ll be power, then chains and tools in the other spot (as it was before)

Next to shed the copper run by at least 10’ by now relocating the power to the same side and closer to the truck battery.

1 Like

First full wire test fit on the V3 of this platform that started as a sheet of salvaged 1/2” plywood and 2x4’s from a salvaged pallet in 2014. Planning to head to the dump to weigh my truck and see what I’ve shed from the re-model.


New panel wiring, then realized…I should put in a switched 12V for exterior awning light on the rear.

The test fit isn’t meant to be pretty. It’s just to get the wire lengths for the passenger side power connections.

Definitely much happier with cutting out 3/8 panels that I can take off to access the clamps. And all the hack job that was done to V2 of the platform during the transition from topper to GFC.

Next tidy up the wiring on this side, then move onto relocating the truck 12V run from the right rear to the left front of the box. Then pulling off the GFC to finally bring the truck to the body shop to get the rear end repaired from the accident in December. :raised_hands:

1 Like

So, managed to get the wiring tidied up and I’m pretty happy with he results. I unfortunately blew up my inverter because I forgot I flipped my battery. :man_shrugging:

Anyhow, here’s some more progress on the pre-work before the truck goes to the body shop.


Back of the wiring. Waiting on the arrival of my amazon order with the Anderson connectors for the DC to DC input and ACC.


Got a spot for my inverter, but otherwise very happy with how this worked out. I’m trying to figure out how to create secure storage for some hand tools (electrical) and spare parts.

Only got one day left to get all my measurements and test fitting done. So I’m hastily building out the other half. I have gotten all of the measurements I need. Gonna be excited to have this cleaned up.


Then the boys came over and helped slide the GFC off. The sled trailer is able to line up perfectly with the tailgate when it’s down. So we just slid it along some 2x4’s, then tipped it onto the trailer. Not the most graceful, but best we could do with 3 dudes.


My kids think the truck looks ‘sick’ without the GFC on. :joy:

3 Likes

The new ‘cafe’ side is done. Or as coined on the last adventure ‘Donger’s Delights’ featuring Donger’s hot coffee and Stag Chilli special. Flogging Molly and Oasis can Fck off! They are not welcome!


Mock up, dollar store bins and scraps from what was cut out of the floor.


The only money I spent was $14 at the dollar store for the bins and $40 at Canadian Tire for the water Jerry. Suggestions on hand pump faucets?


Sanded and ready for install.

Another thing that arrived was my new Autoterm Petrol air heater!! I ordered it on a Sunday and it showed up on Tuesday! Amazing service from Planar heaters.


I’ve got my fingers crossed that the body shop working on my truck will let me come plumb in the standpipe while the box is off. I asked them if I could take the truck home once the box is off to refinish the frame; they didn’t call back. :joy::man_shrugging: Can’t blame a guy for wanting to do some preventive maintenance when the opportunity is there.

Now to wait for the truck to return from paint.

6 Likes

Hmmm, what to do? Got the truck back today, of course only had a quick look at the work when I picked it up. Should’ve looked closer. Now the question is, do I bother…


Still wrinkled behind the mud flap


Something is not straight here still…I still think insurance should just replace the box.


Brand new drivers side fender and paint. They scratched it.

The big one for me is the tailgate. It’s been a pain to open since the accident and my backup camera is all fogged up.

Get a new one

3 Likes

That’s totally what I’m aiming for! LOL

So after the last ski trip which included a lot of mud. The truck was making a racket from the brakes. I had convince myself it was a rock. So I decided to take a peak.


Ooops…So the real question I needed answered was, when did I replaced these? LOL I thought it was 6 months… 2014 Ram Big Horn - Build out - #75 by Dignon
According to my posts here, it was Oct 2021 :joy:

Figure I’ll give these a try, Fleet Napa pads…Heck if they’re good enough for the cops, they’re good enough for me!


Bought the fancy ones last time, and they didn’t like the cheese grater rotors.

Fronts seem fine :raised_hands:

Todays adventure changed from taking the box off to working on some battle scars, and installing a cleaner Shore power input.


The idea :thinking:


The solution. Used a spare piece from the diesel heater to make a panel. I painted that panel with bed liner. Installed the socked wired into an extension cord; to which my charger and block heater connect.

I think it worked out pretty good.


Re painted some tattered scares from trees, rocks, salt, who knows what else. Canadian tire spray on bed liner.

Then I contemplated if I’ll ever be happy with the repair on the truck…new truck thoughts…

2 Likes

No new truck…I remembered that I don’t want payments again. So, I took some time to lay out the heater and confirm where I can cut a hole. I tried idea 1, Left side rear; really close to the fuel tank, easy power connection…can’t cut a hole there.


Where the mounting plate would be cuts right through one of the box frame rails. :-1:

So, then looked at option 2. There’s enough room to have the exhaust run between the fender and the inner box. So I could mount it on its side. In the end, this is likely the option I’m going to go for; but actually on the other side. It’ll be easier to access it when it needs some trouble shooting.


It’s going to be perfect like this on the other side. Pictures to come when that project starts.

In re-assembling the rig, I decided to make connecting and disconnecting a little easier. I installed some Anderson plugs, and the ignition trigger with some connectors.


Truck side, I messed up the connectors on the IGN wire; I put the male spade connector on that end. That should be female because if the switch were On on the dash. That would be hot and could short out. The other cable is for the floods on the camper stowed there until I install the camper again.

Platform side, it’s a little tight; but I used nothing but salvaged cabling from the previous version.

There it is installed, I’m happy with how it turned out. Stashing my radio antenna end in there until I find a clean way to get it in the cab.

So loading the GFC on off the sled trailer was a total shit show! The one guy at the back dropped it and some how it only scuffed the newly painted fender :man_shrugging:. I laughed and said ‘Holy shit boys, you’re getting the whole Wes’ ideas gone wrong experience!’ Then we got it on there and I got to work putting the platform back in and hooking it up.


Key tools for this, Volt meter, heat shrink, heat gun, connectors, Advil (for the crouching)

Everything fit, hooked up and worked as expected.

All in an afternoons work :joy:

Then we packed up, and went camping!


To be continued…

4 Likes

My boys, 5 and 7, have been hassling me to put the truck in the Car Clubs Show ‘n’ Shine. So, I registered us today and began working on cleaning the rig with a fine tooth comb. Not really…more like a poorly washed paint brush.


Engine compartment…check

I also got the final component of my electrical setup. My replacement 400W inverter, since I blew mine up. We’ll see how it does. Going to use it mostly for running the Starlink and maybe charging laptops.

Still more new toys on the way…then I must just CAMP!

*the car show went off without a hitch. Got a lot of love and questions about the @GFC wish I would’ve had some swag for the folks. I guy could get used to showin’ off this rig at shows and expo’s.


4 Likes

Well the last bits for bit showed up today…if I can manage to keep to my word of not spending in June :joy:

I’ll be patient with the install of these items, which will be hard because I’m stoked to check it all out.

I’ve got 4 x 1/2” wheel spacers from Rough Country - this is the fix a clearance concern with brake lines and chains. That’s a quickie.

Then my most exciting part. It’s taken months of looking, emailing spring companies, talking to people like @Hardcharger about his experience with the same truck. I decided to go with these springs:

Since I’m rolling about 700lbs constant weight I’m hoping I’ll be in the sweet spot on these springs. Then I’m going to pair them with these Fox Performance 2.0 BDS shocks. I scored them on market place from a guy that bought them for a 8” lift and they’re 4-6”. Best part, $340 for the pair shipped from Vancouver! So, I’ll have WAYYY more travel then I’ll ever intend on using :joy:

Then I swear, camping!

4 Likes

Well I got after it! But not before discovering the ‘sweet deal’ I got on these shocks was because the seller wasn’t forthcoming. I’m going to have to replace the shock sleeves as they’re not the right ID for the 12.7mm bolt used in the rear end of the ram. So either going to source those or press the old ones out of the stock shocks.

Either way, they’re going to fit but I didn’t get them installed yet. However, I did embark on installing the Coil springs and spacers.


First side is done, and addressed a gunked up brake calliper pin. Then the spacers, and I’m REALLY happy with the stance this give the rig. Also, the clearance concerns I had with the brake components is now gone….but with that is going to come more rock chips and a dirtier truck unless I put flares on.


Got the other side done and buttoned up. The coil spring is supposed to be a 2” lift spring, so far it looks like I maybe got 1/4” over what I had with the stock springs. I do have 3 pallets in the back of the truck through, so that’s an extra 150lbs or so I’d guess. I didn’t put the bags back in yet because I want to test the ride with the stock shocks.

If the shocks are tired, I would guess they’d sag, so I’m hoping when I put the new shocks on I might get a bit more lift. As it stands I’m at like 6.75” wheel to well, and I believe I was 6.5” prior.

Now we camp!!!

2 Likes

Who wore it better :joy:. Williams Lake may be a 1 horse town, but there’s 2 GFC’s. Guessing my pals partner is out for a ride. Was gonna pop their tent for shits and giggles…but thought better of it :joy:

3 Likes

Took the new springs out for a test rally this morning. Had to retrieve some stuff from an undisclosed location :wink:


Super impressed with the difference in the rear end. Now I really want a set for the front. No air bags installed, and my base gear was in the truck. On the barely driven dirt road at 110km/hr the rear end managed the chatter and didn’t get loose. Great mission out to one of my favorite places in the world!

4 Likes

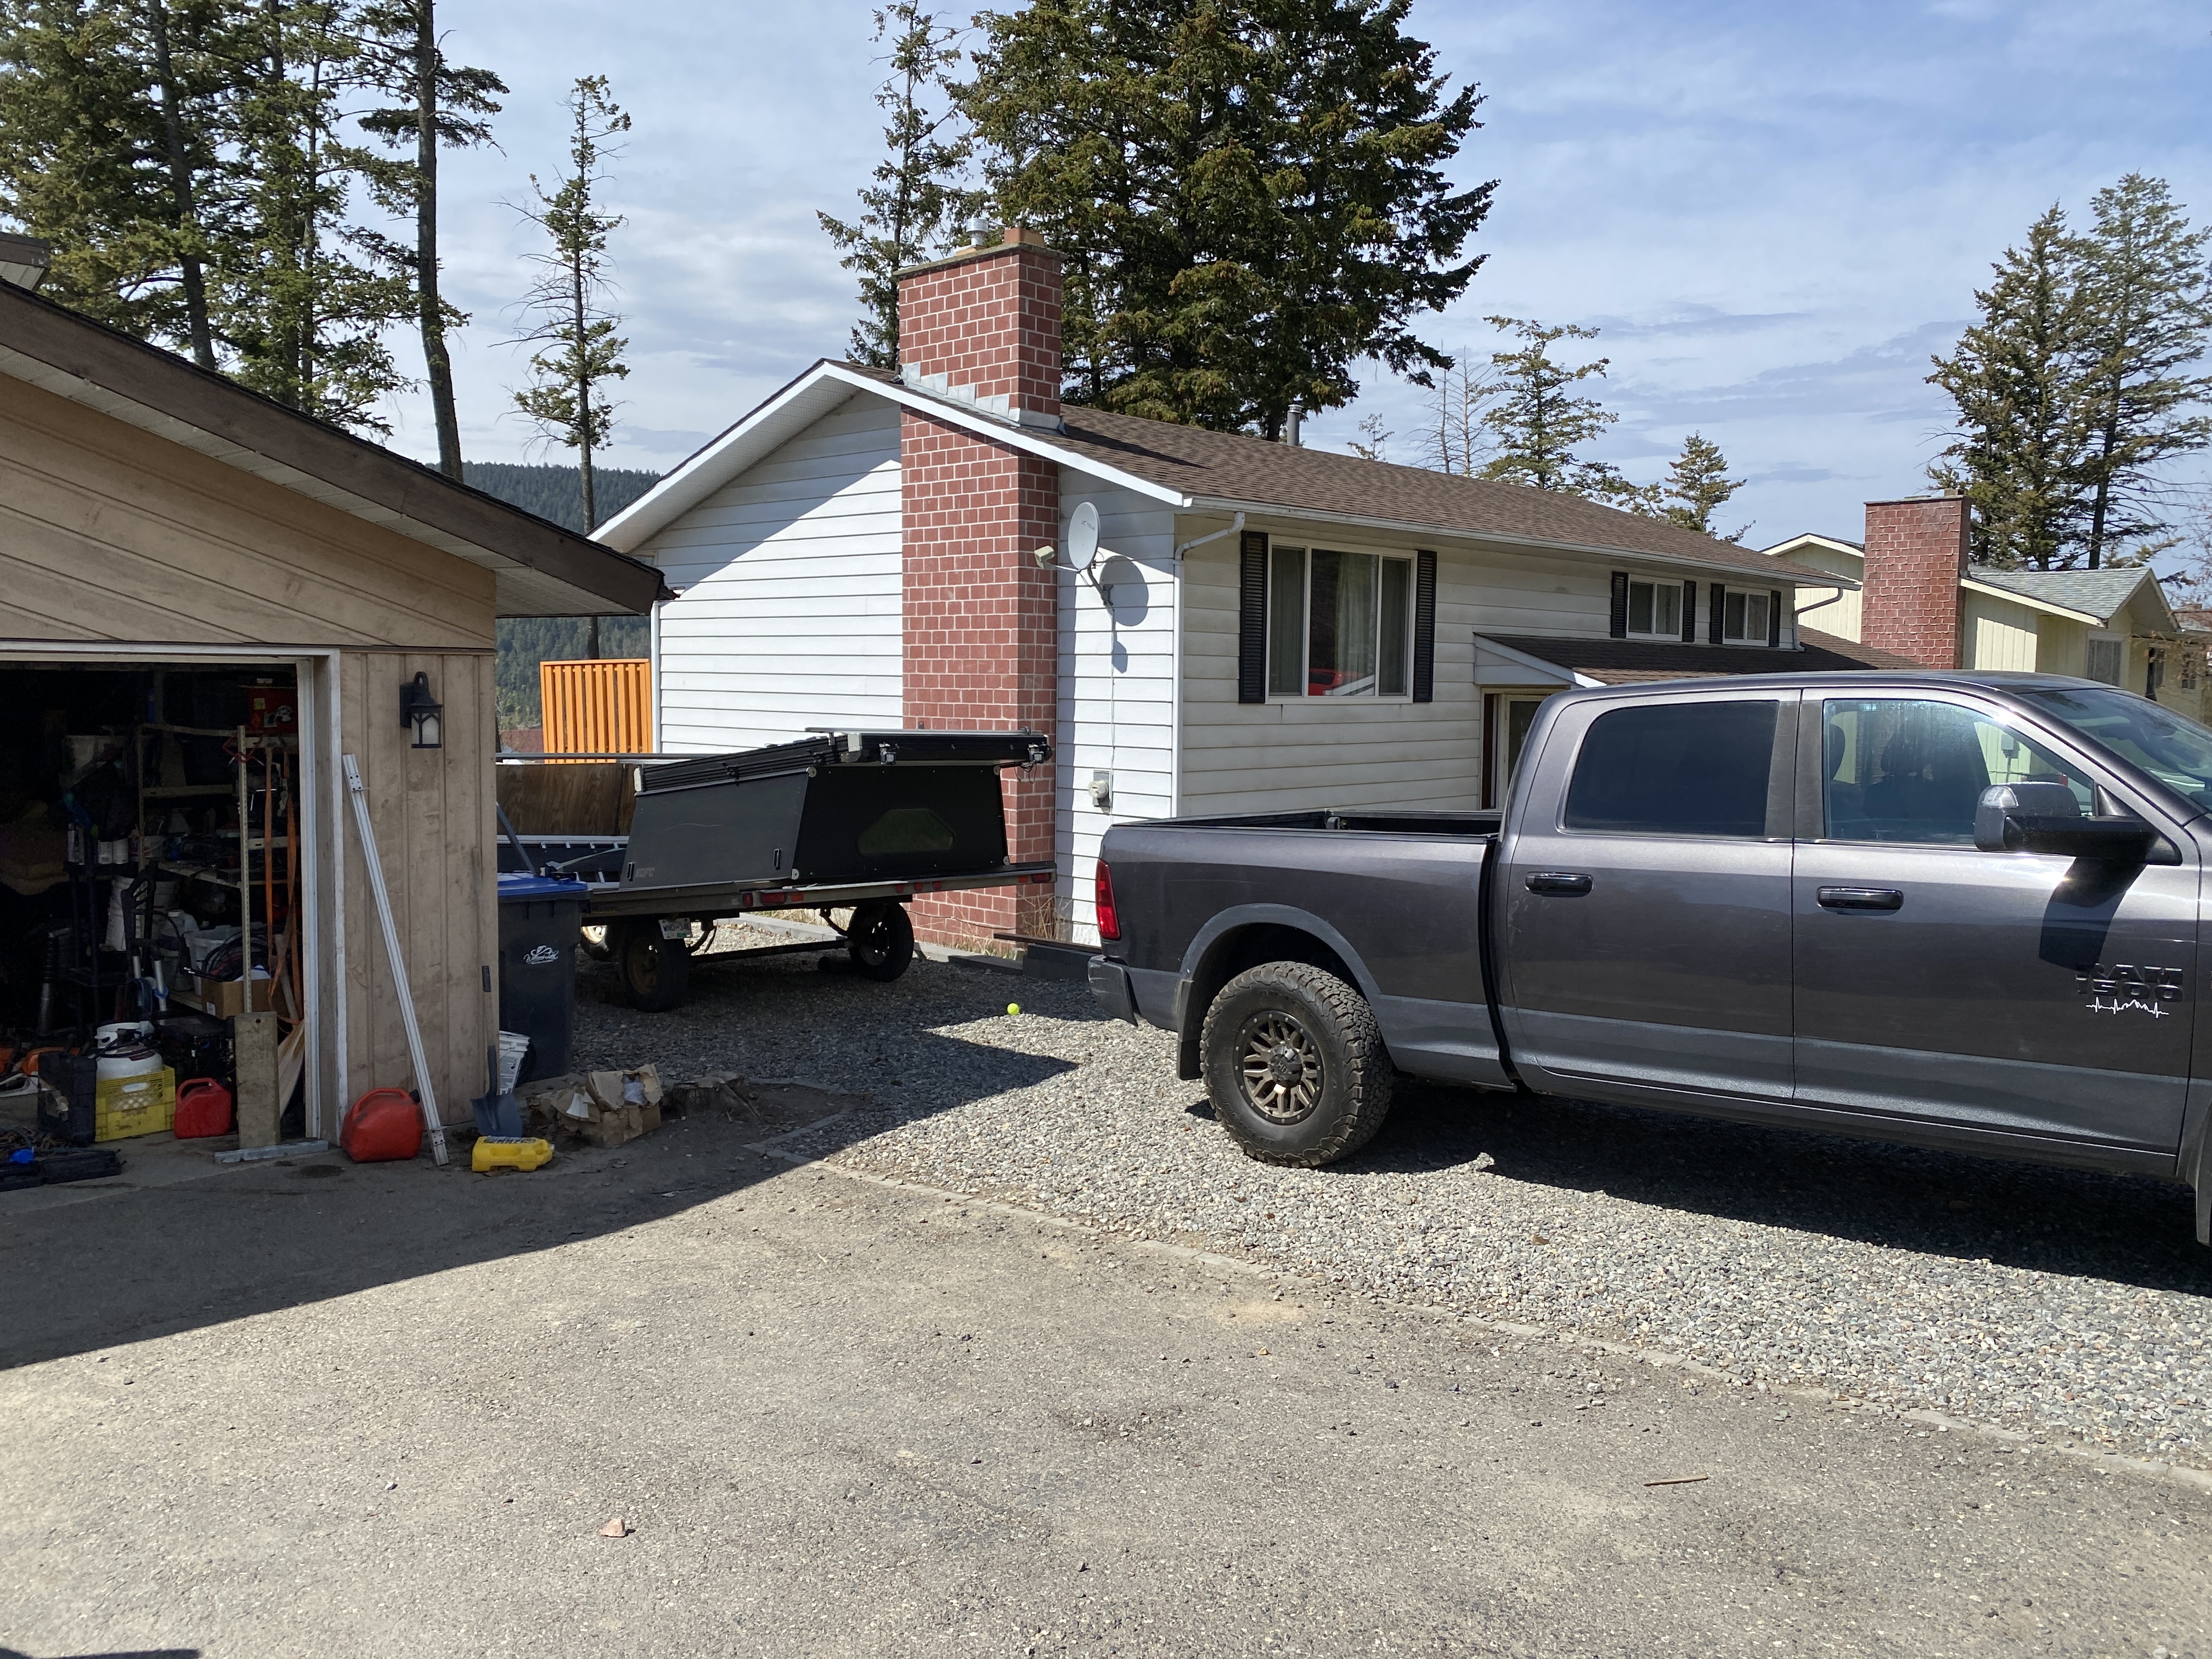
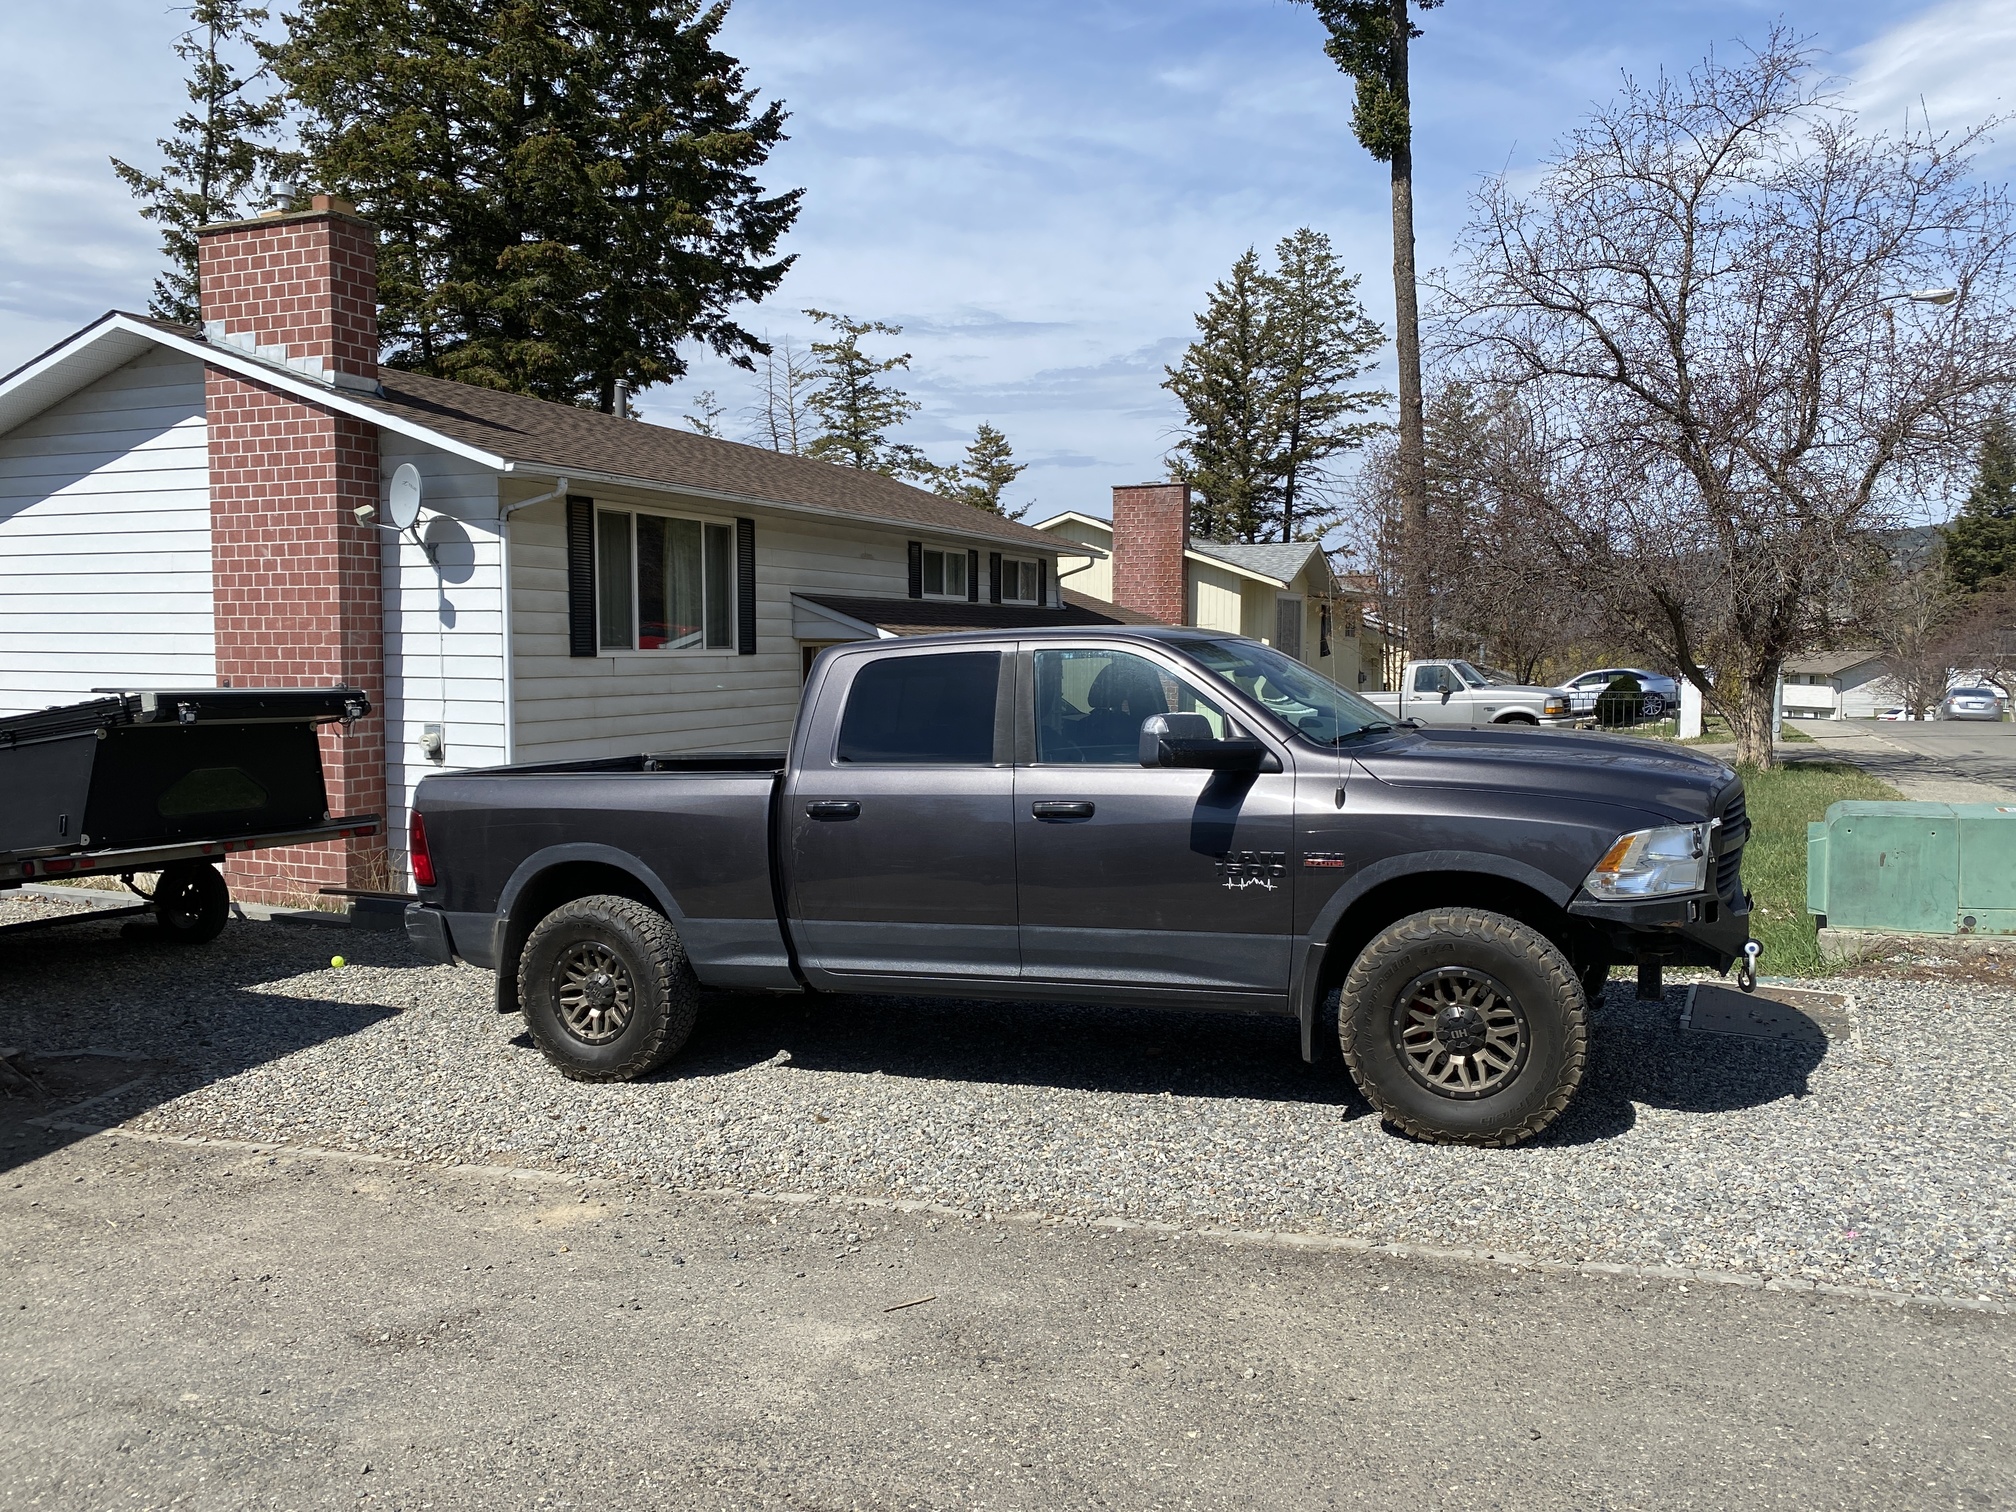
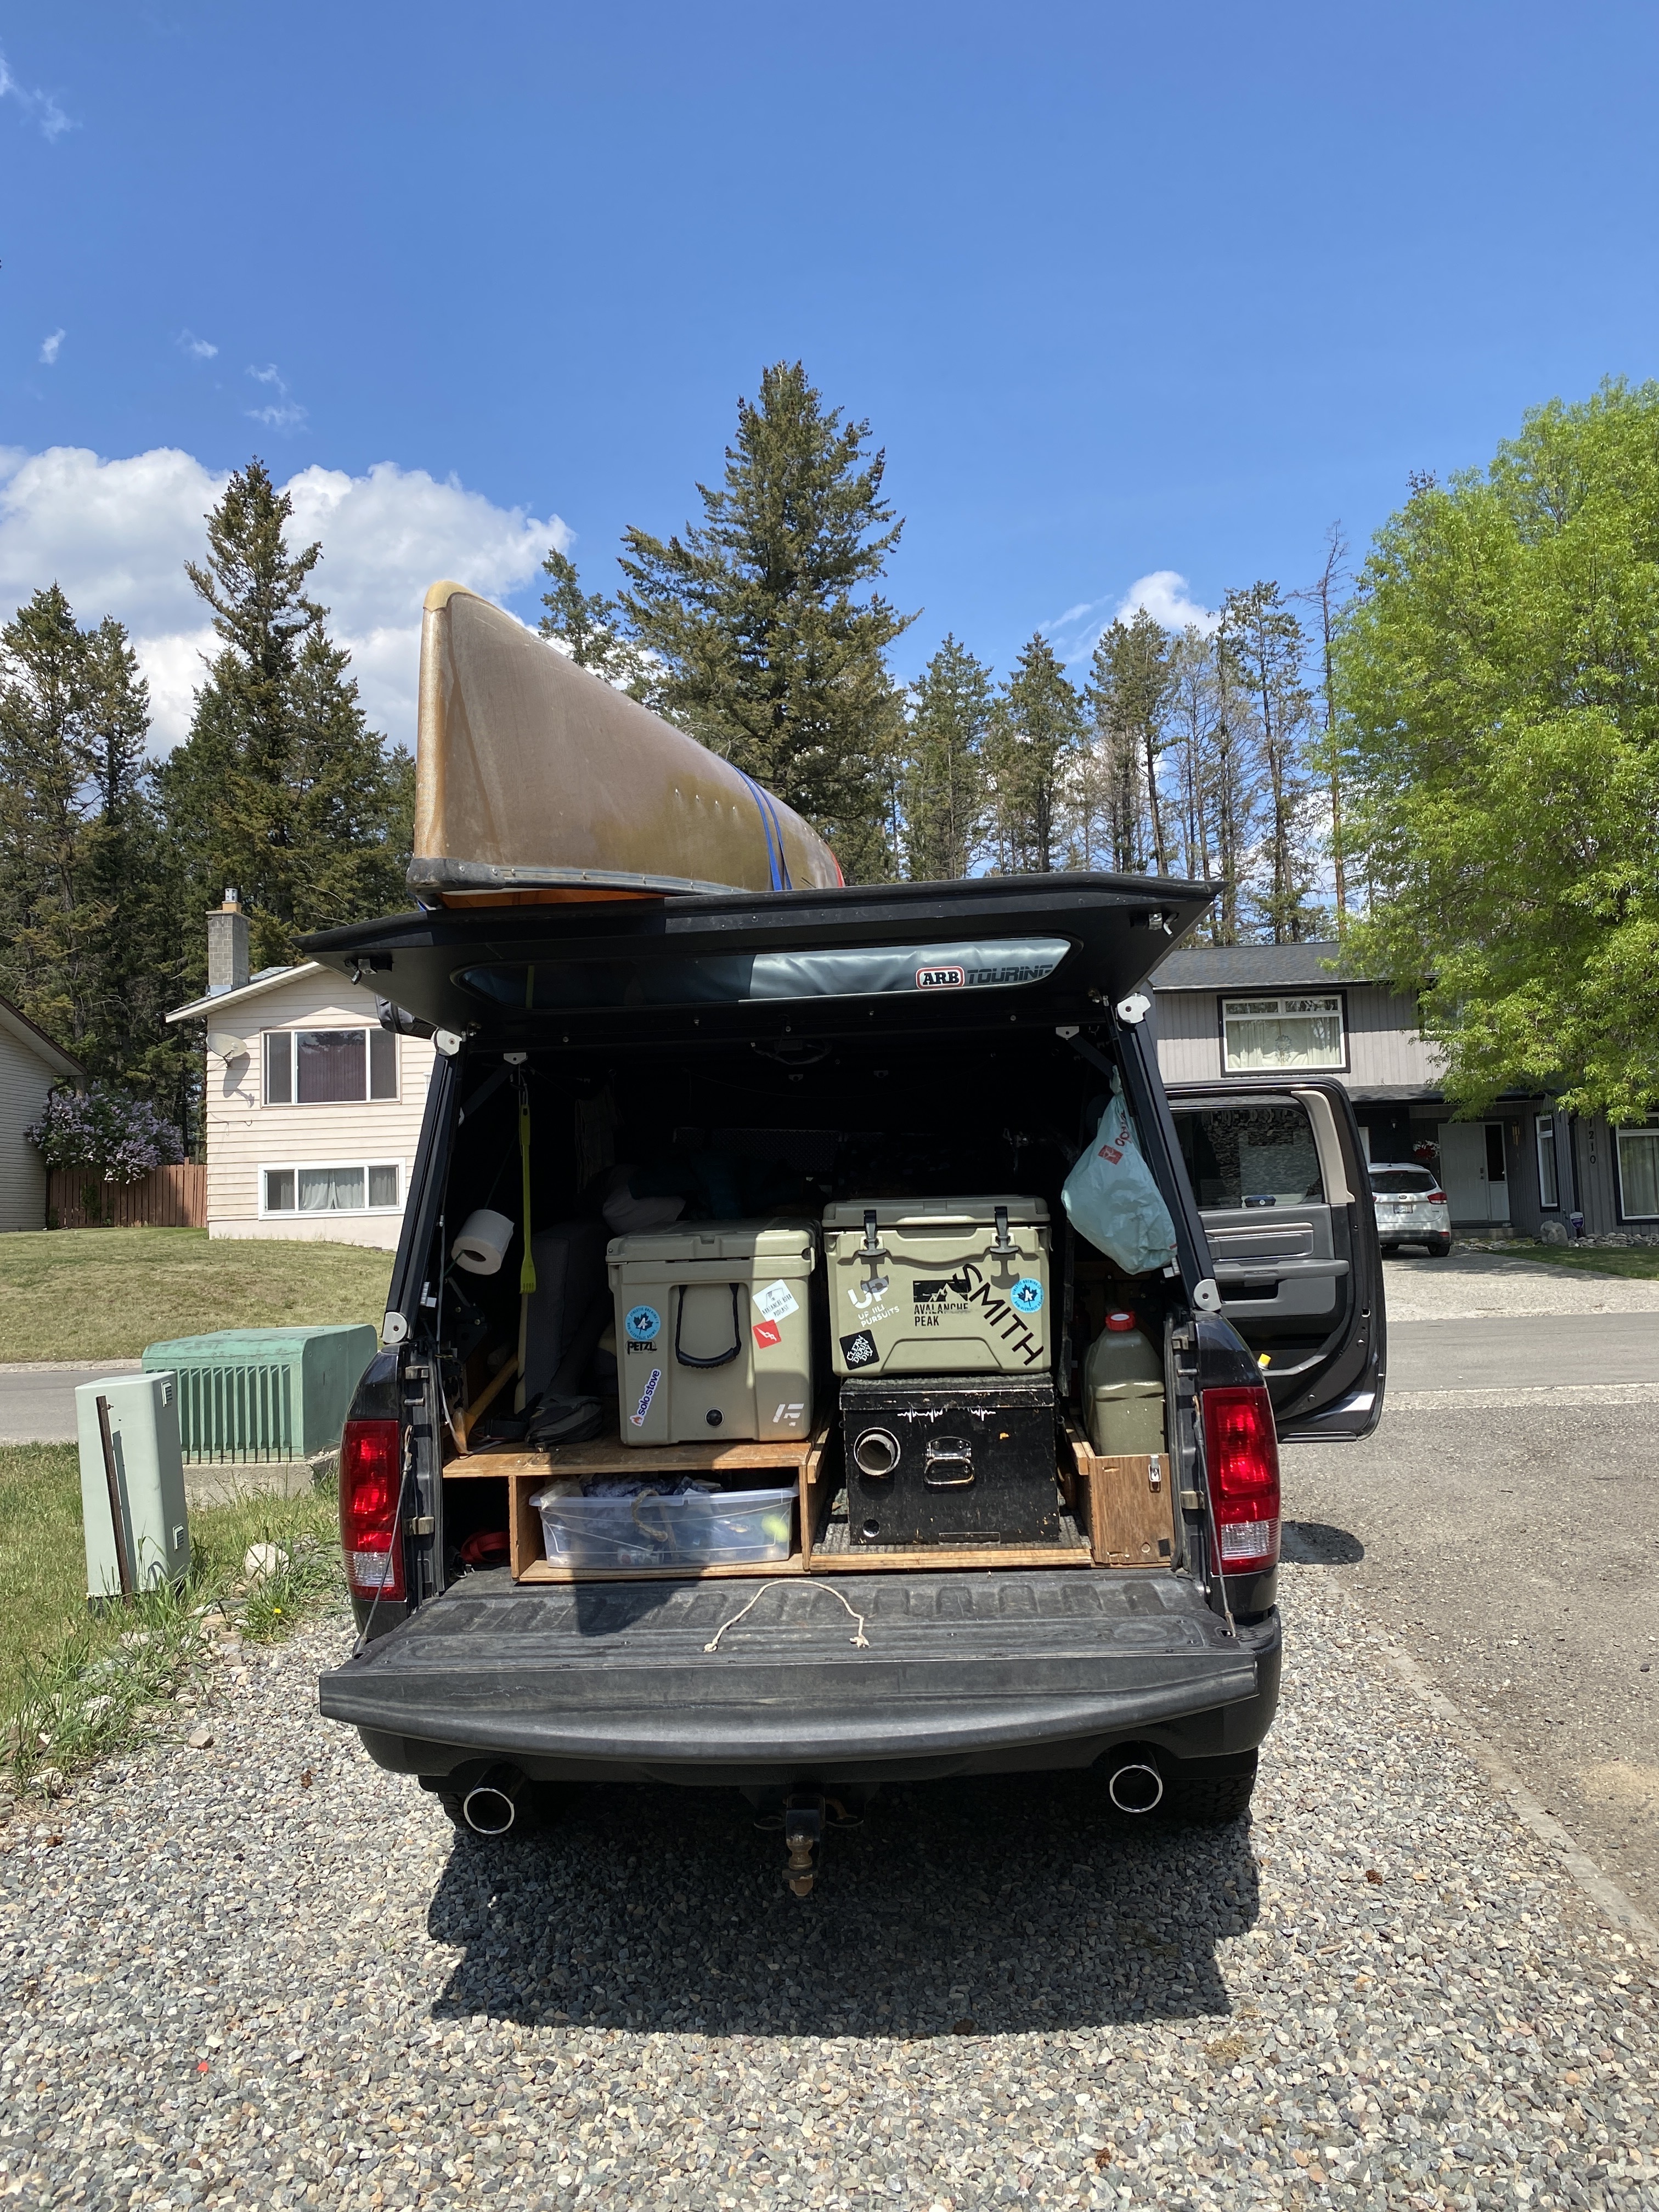
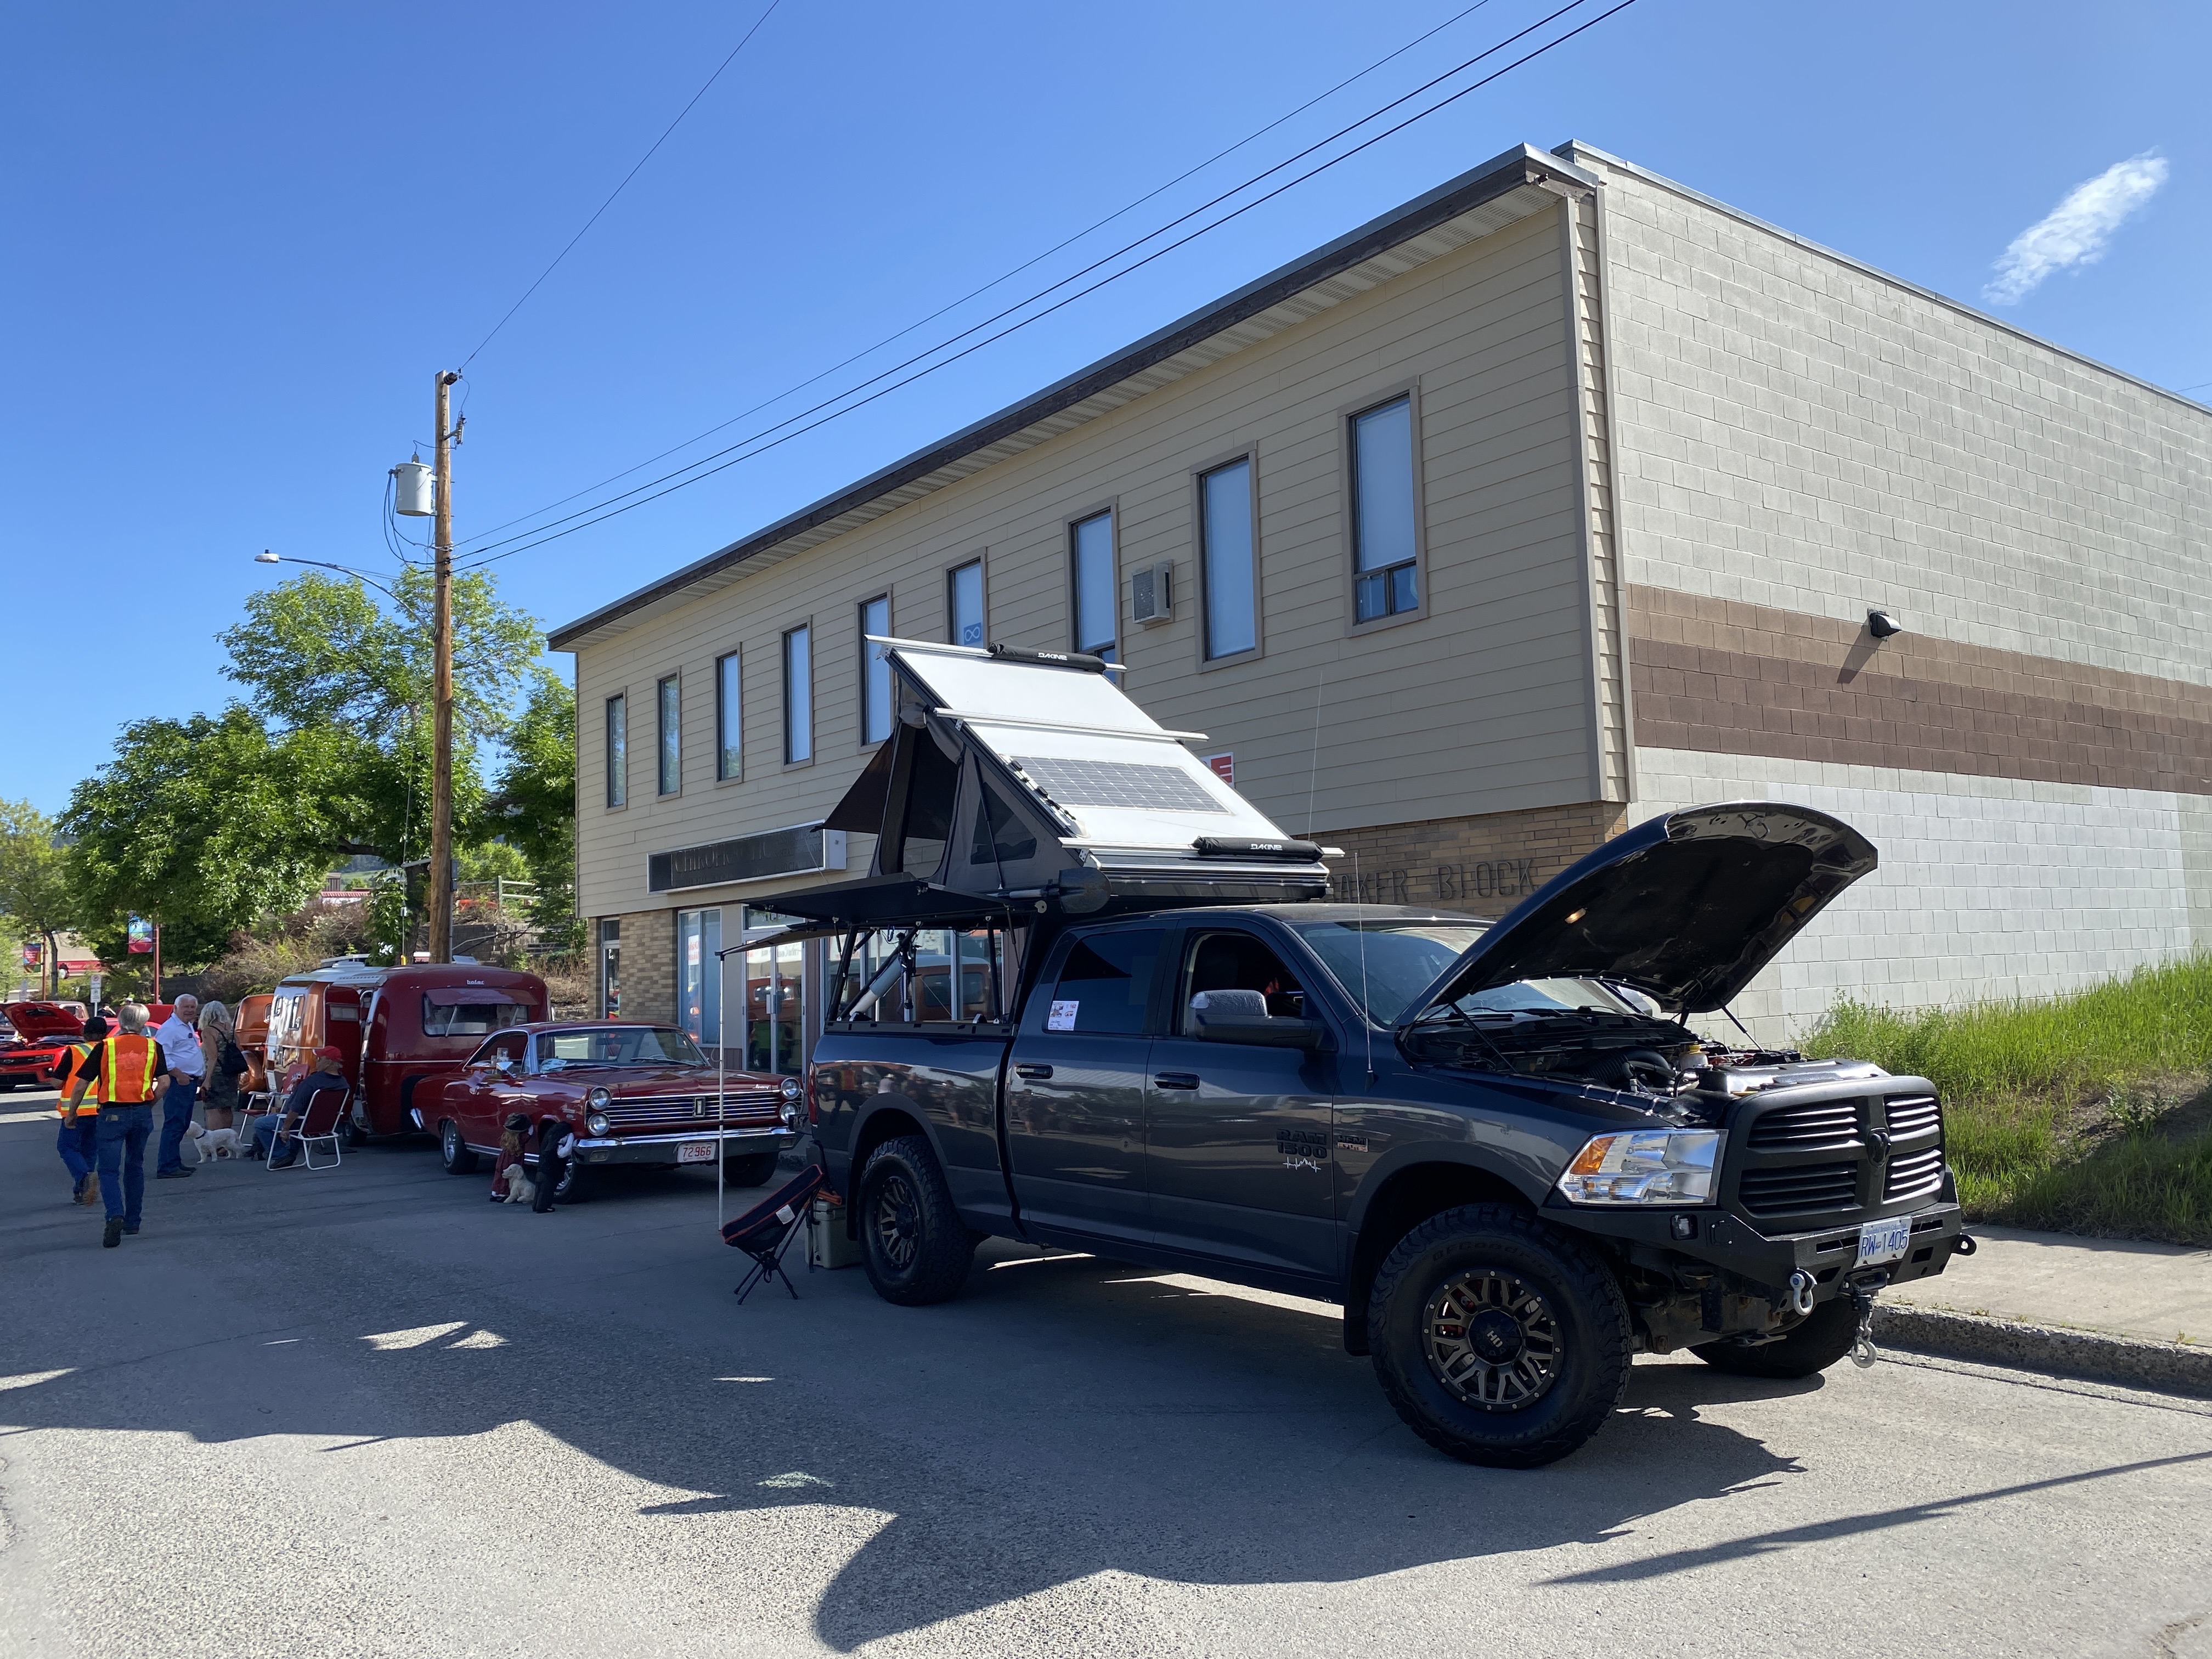
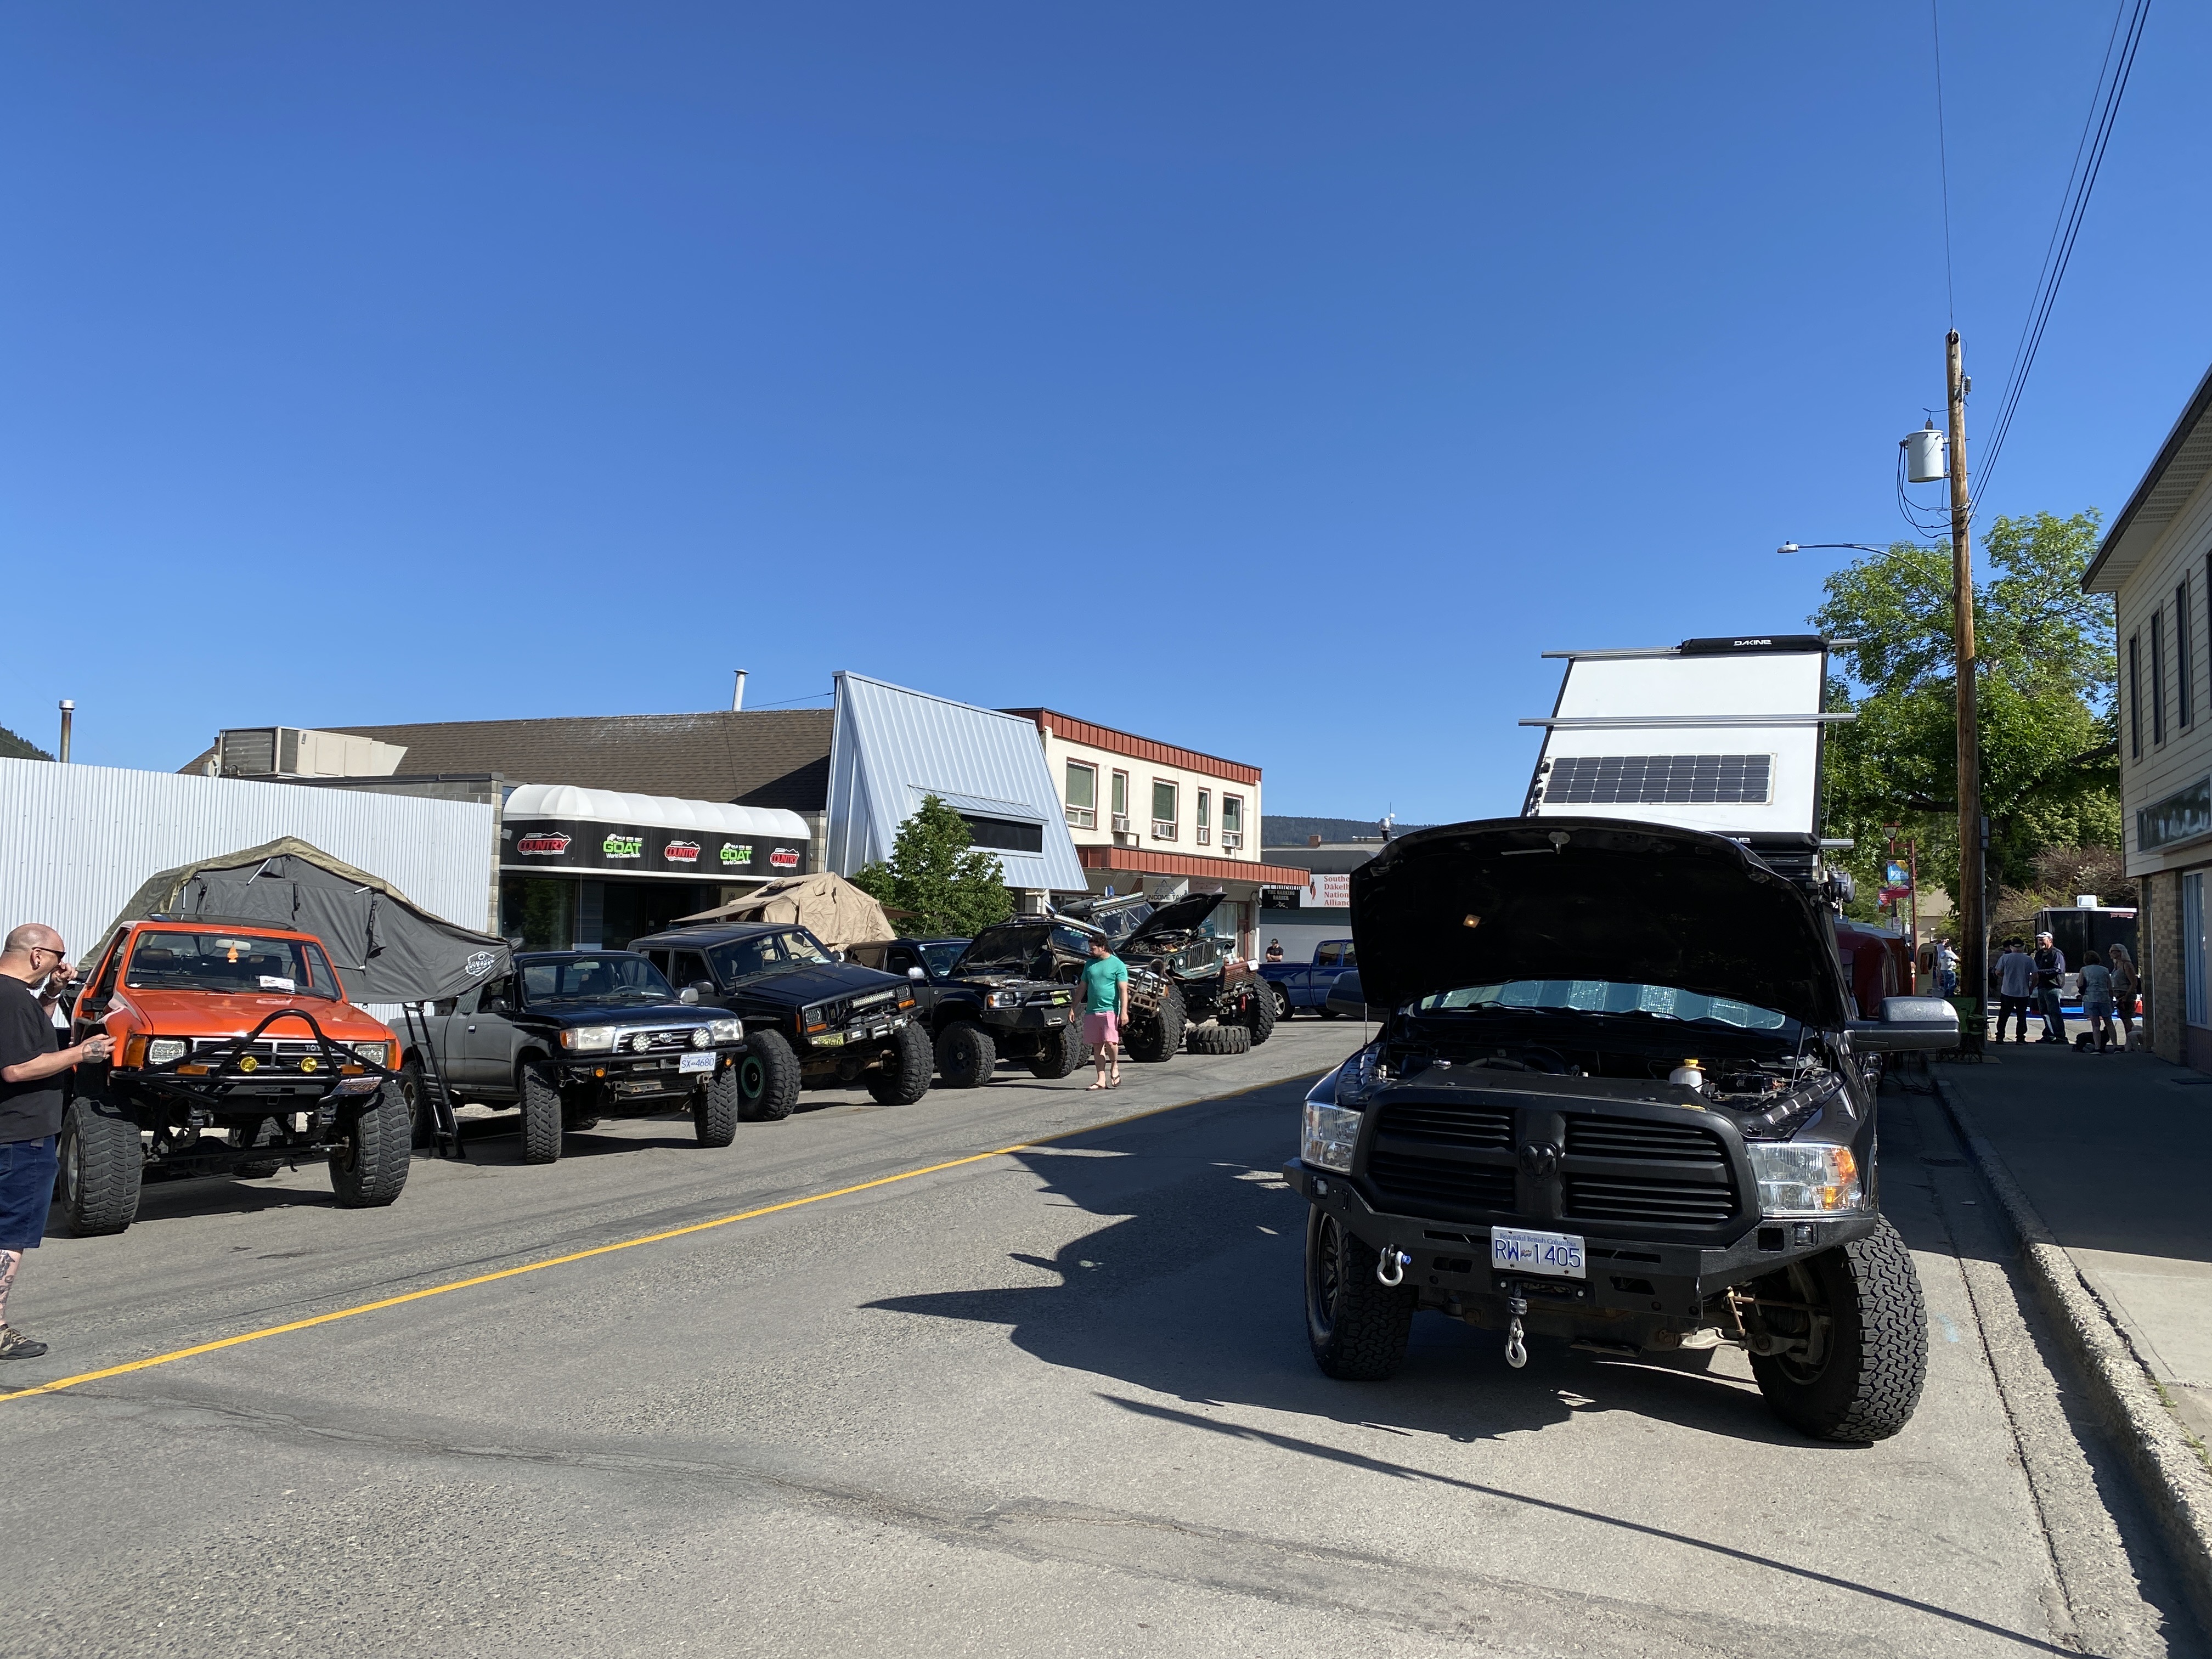
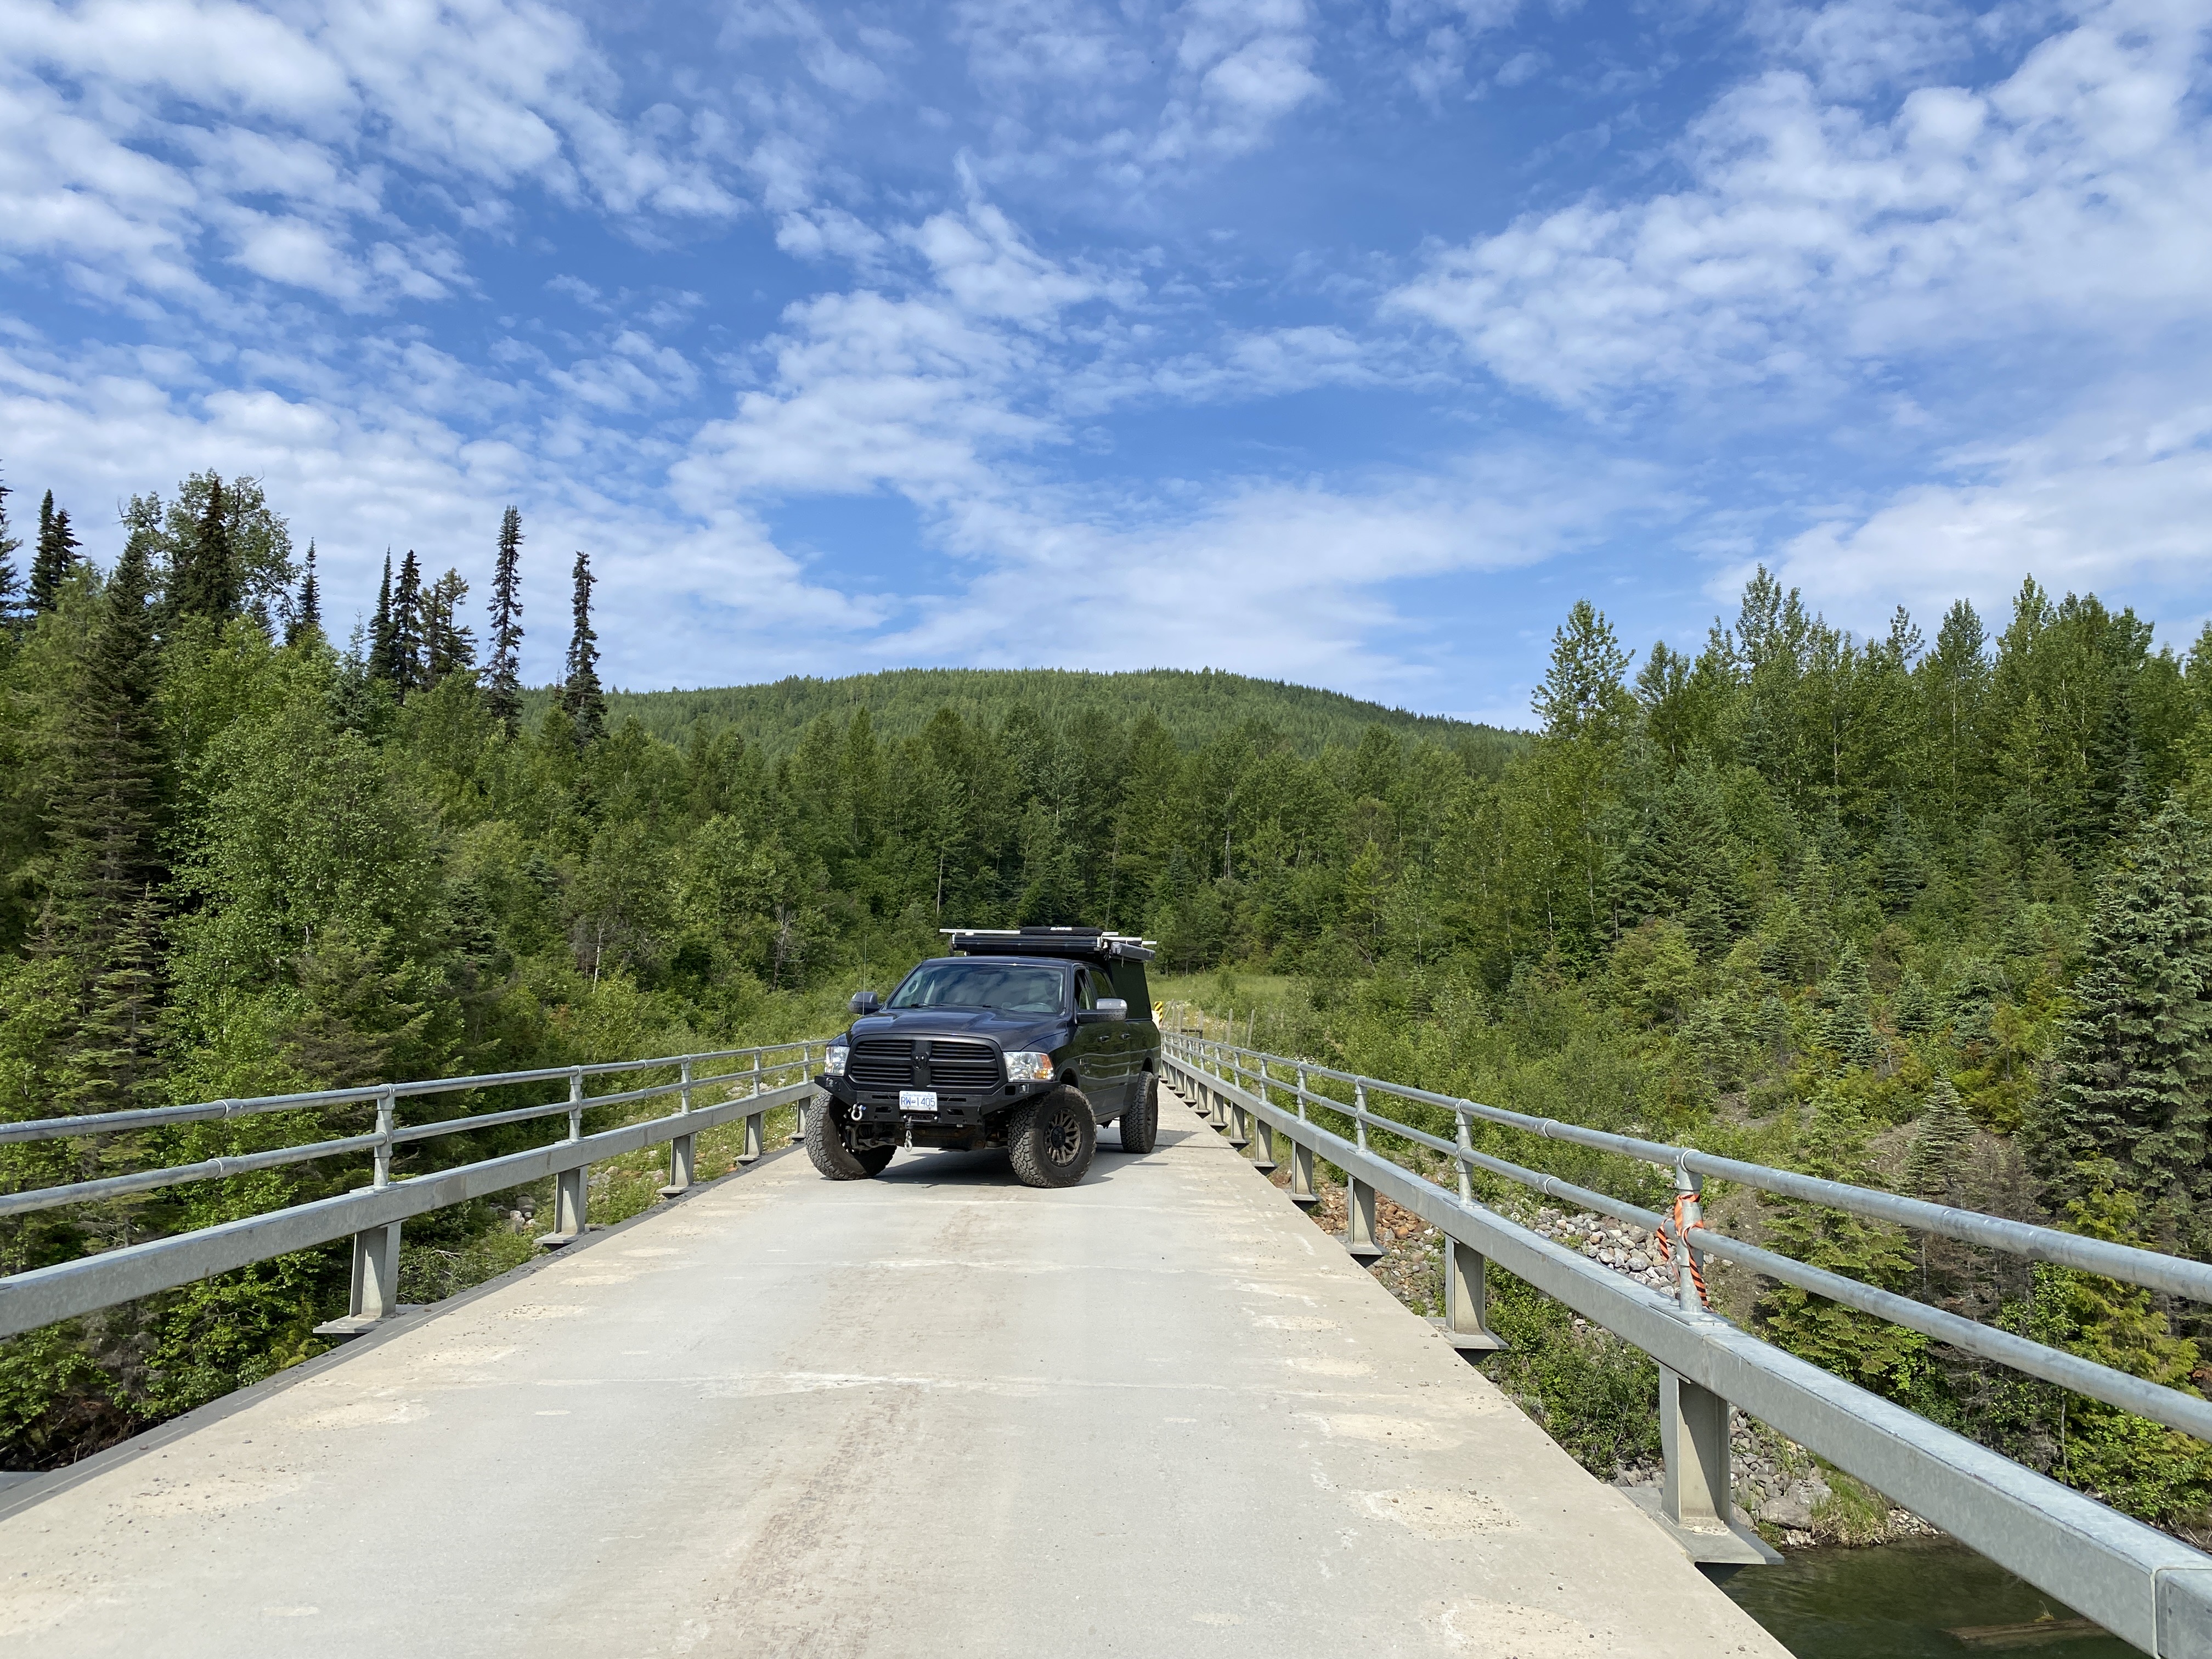
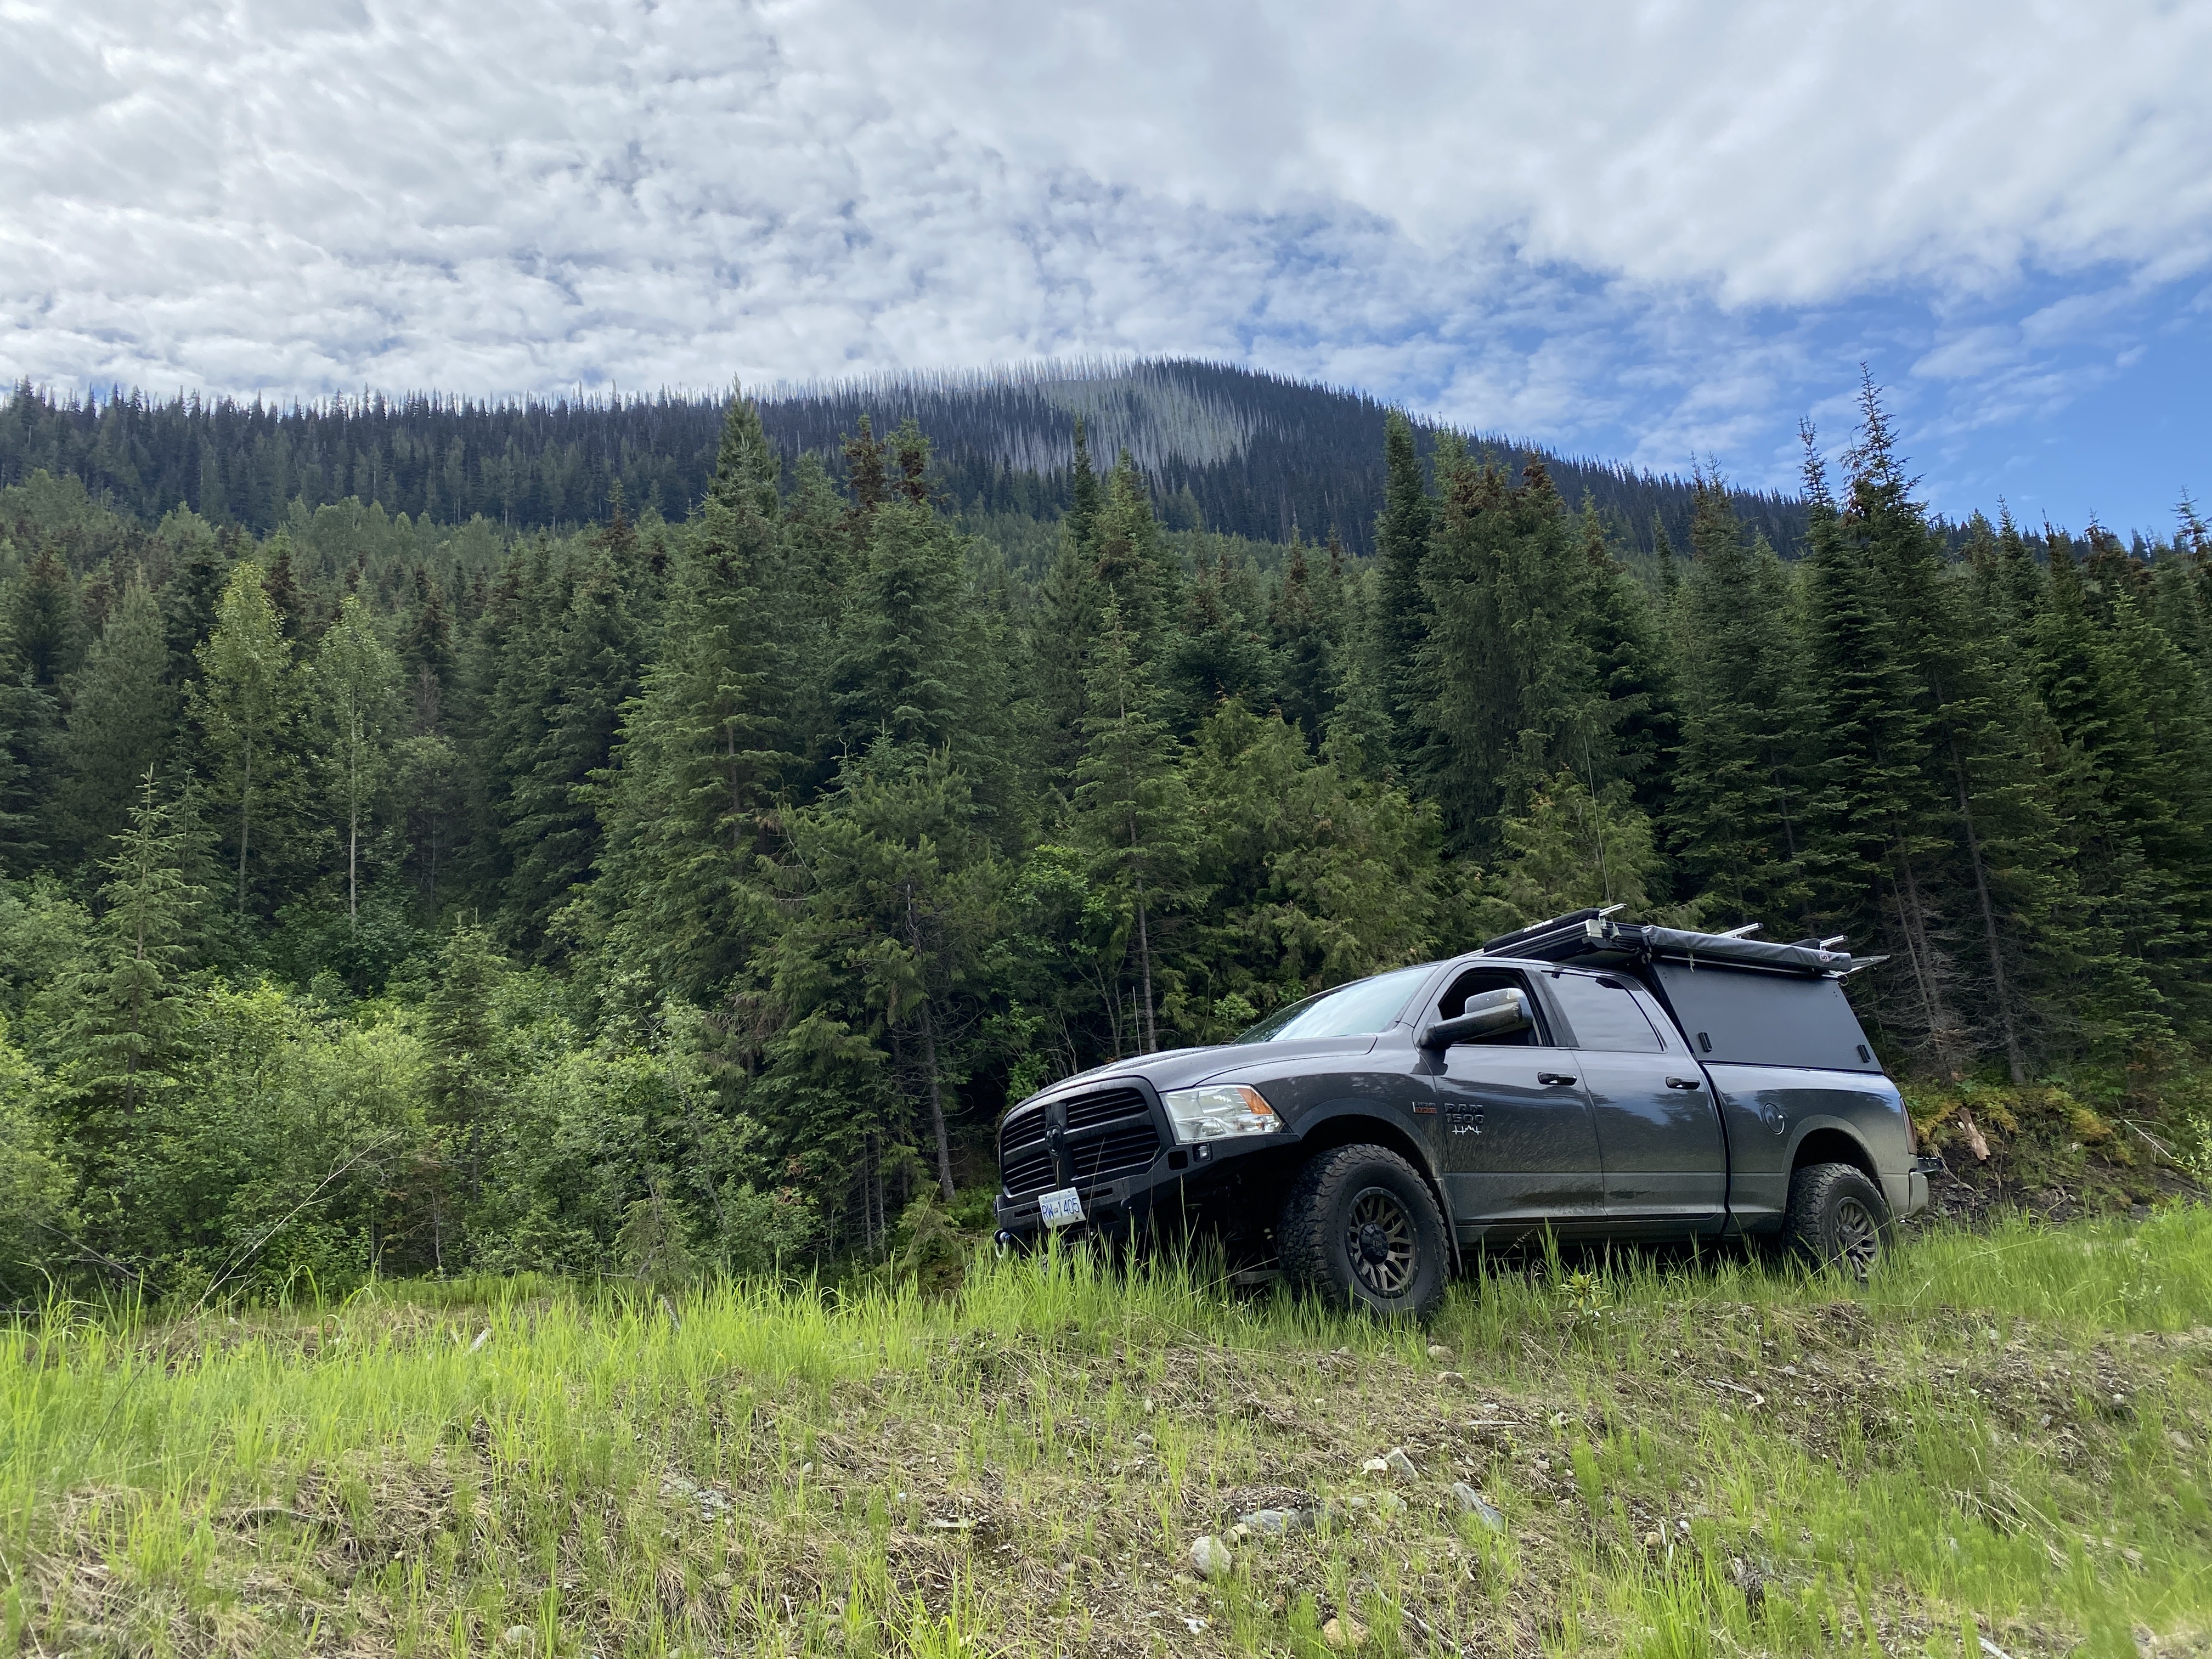
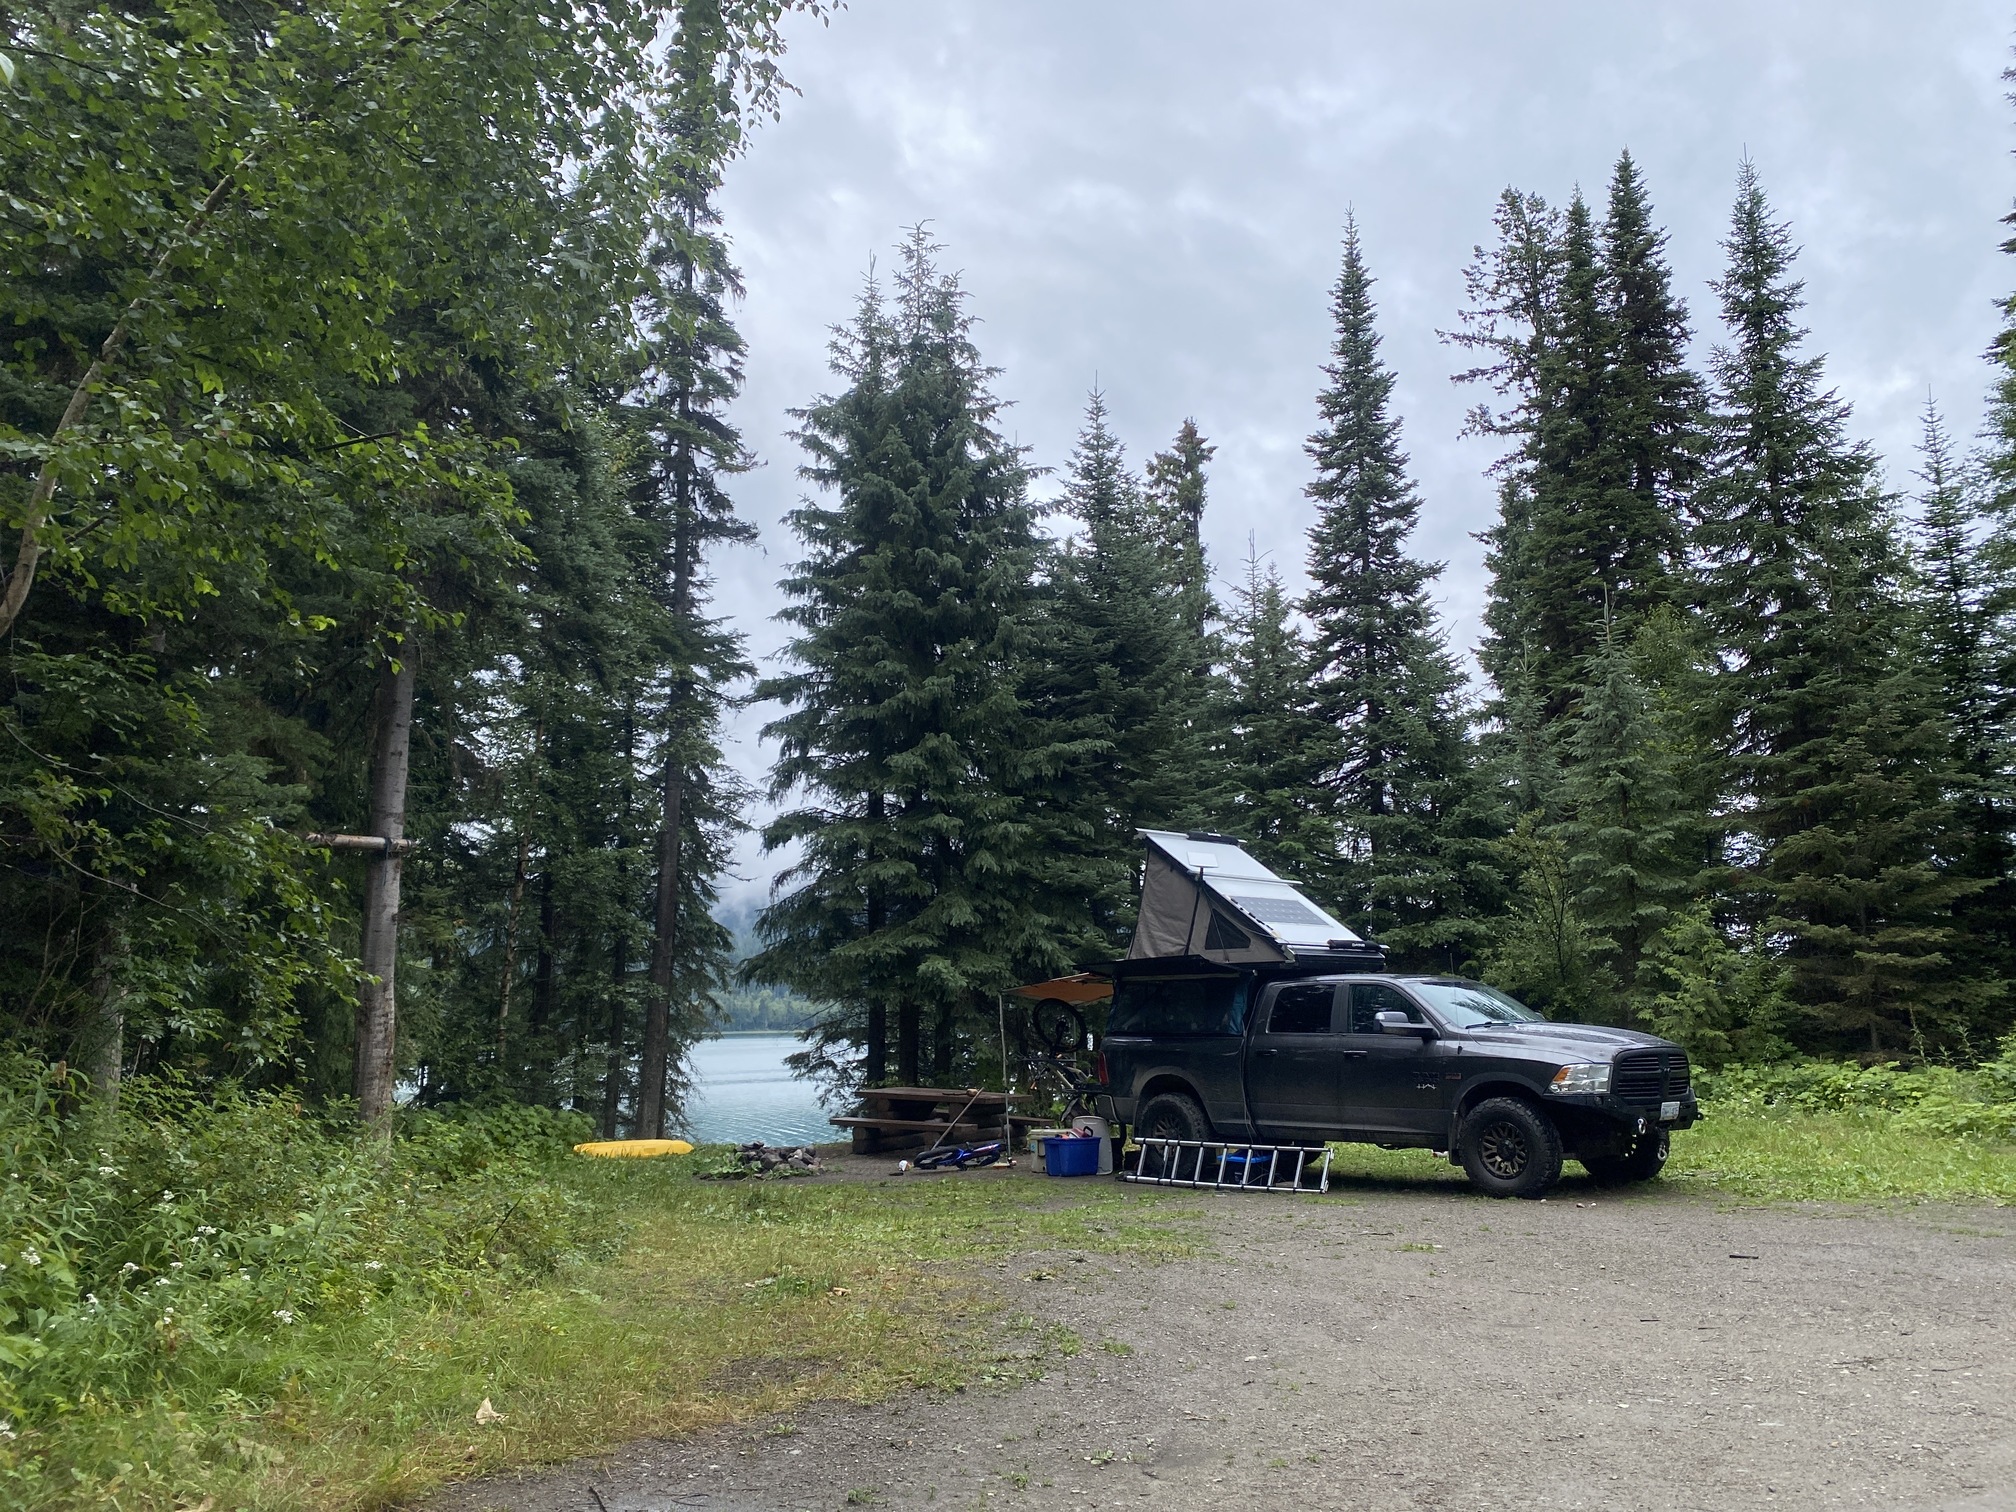
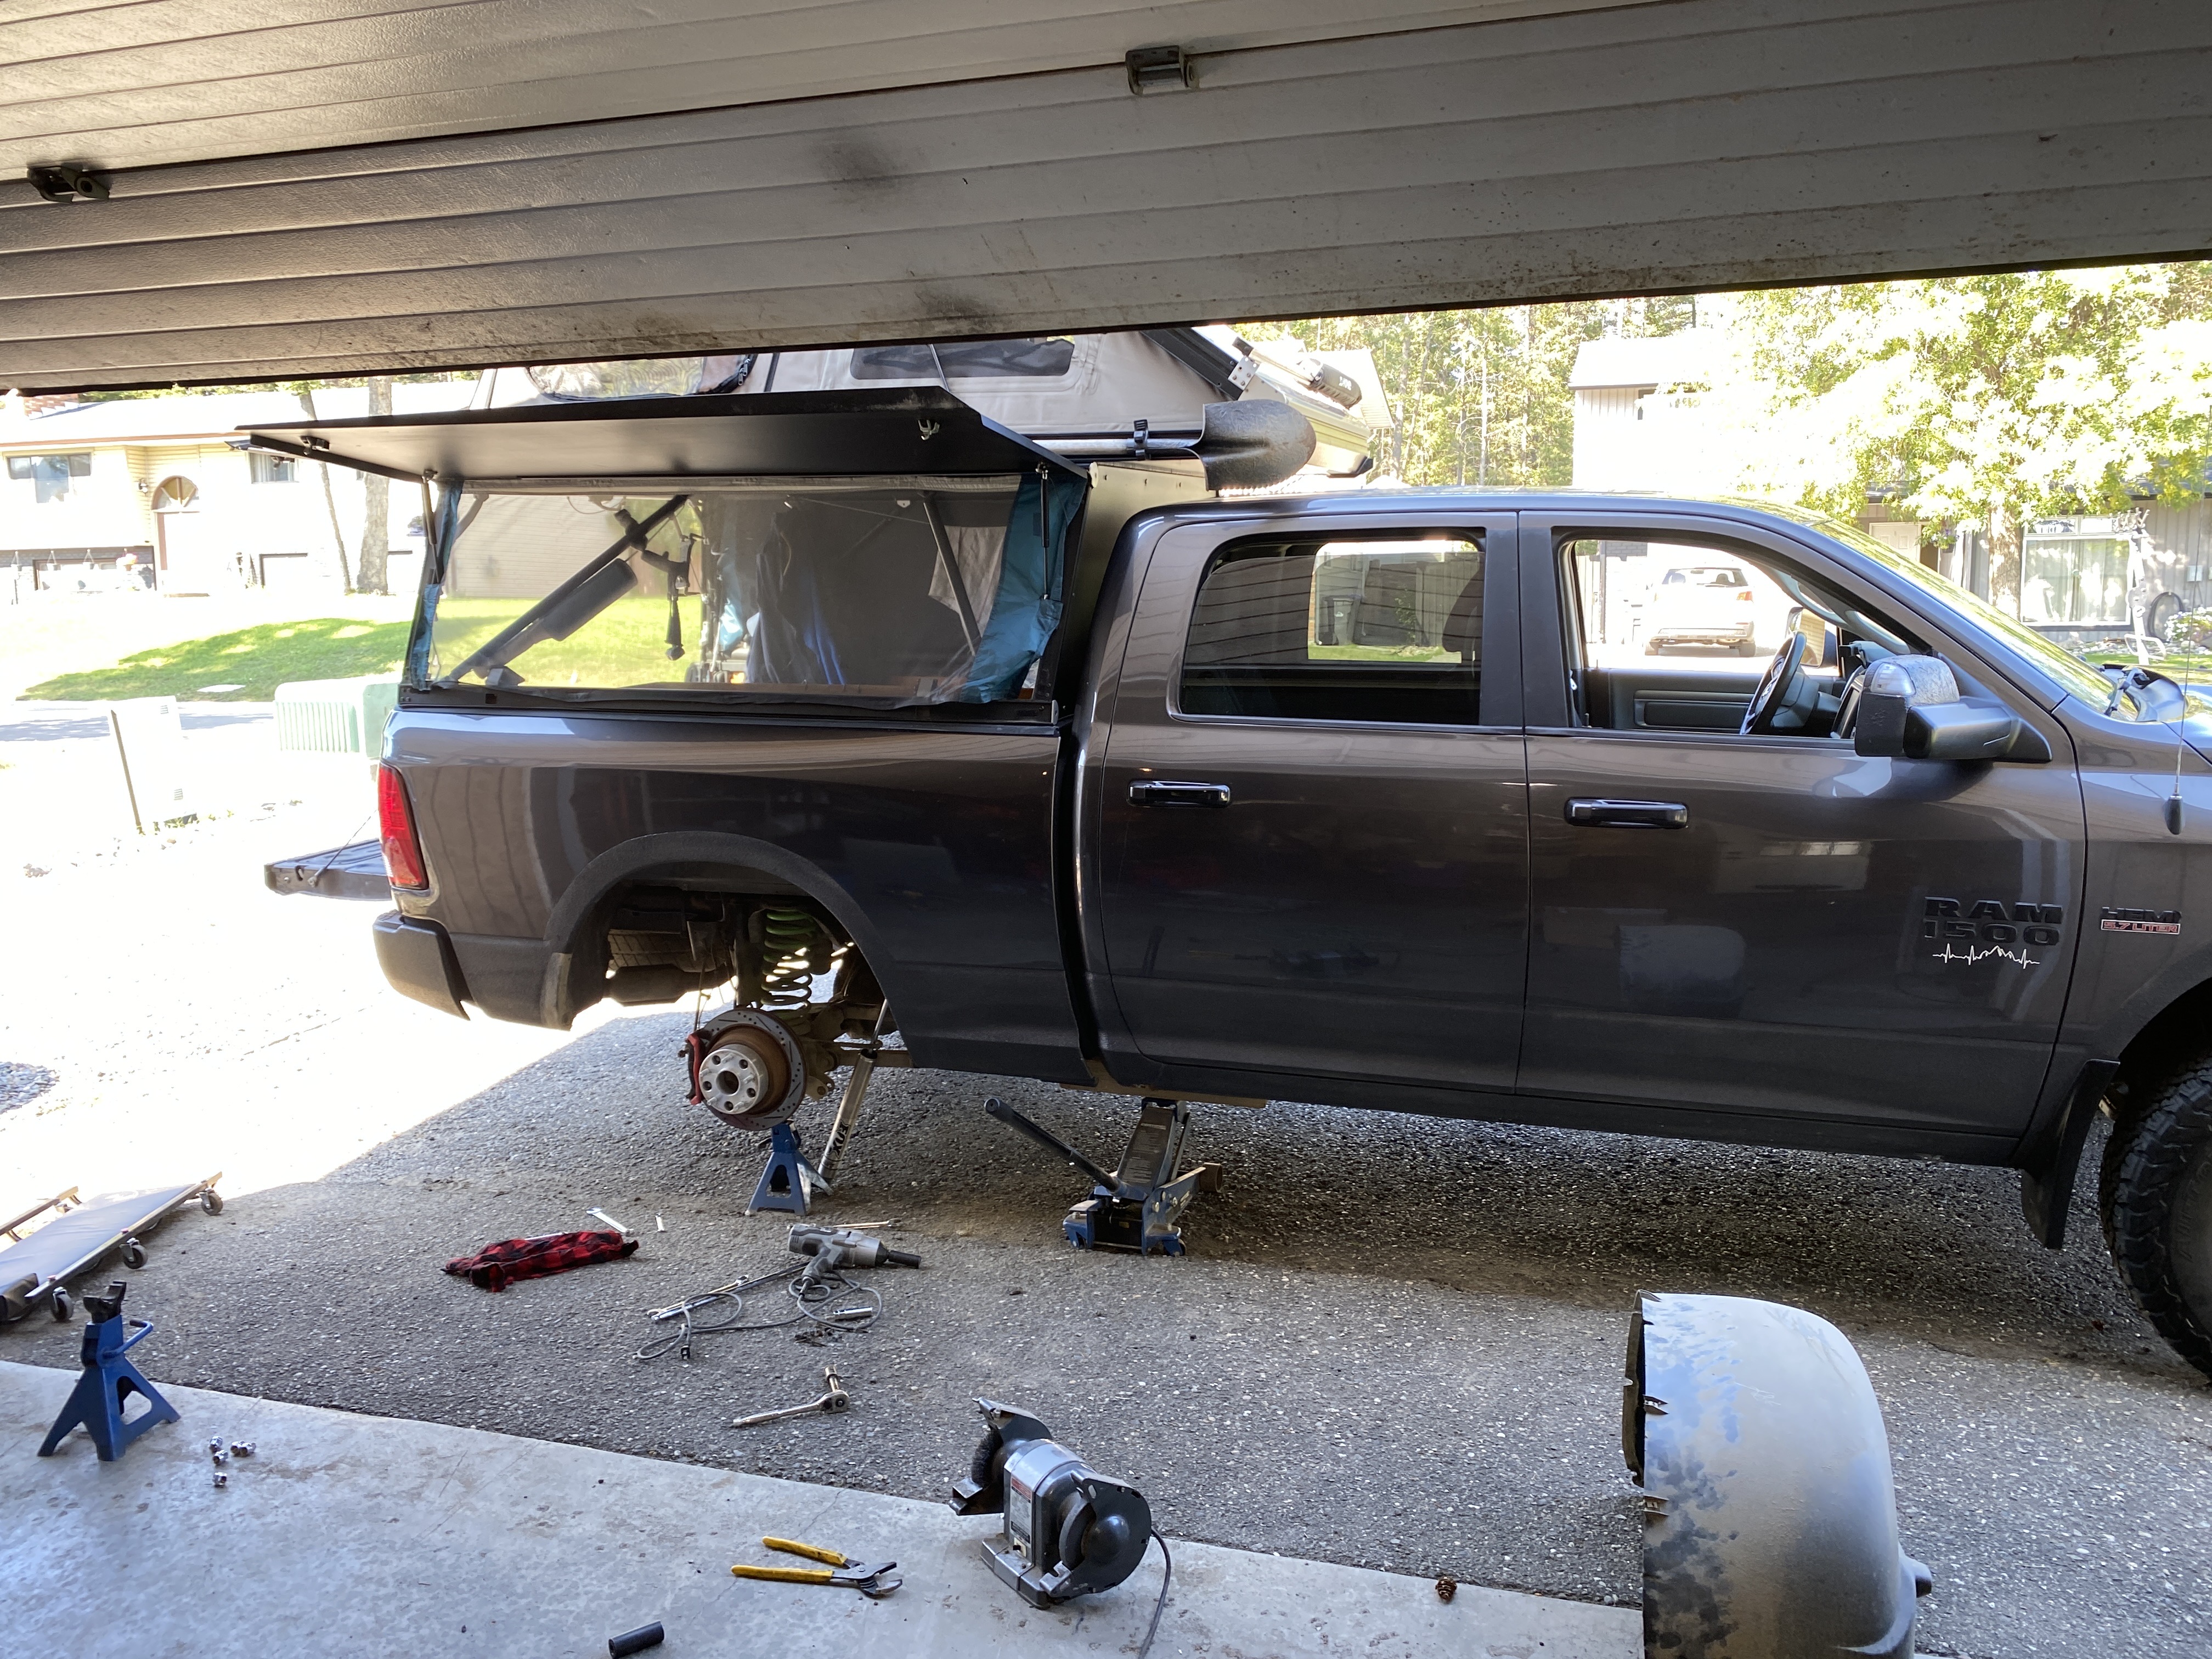
Well, I finally have a weekend to reset and I took an extra easy day to start it all off. Who would’ve thought working IT in wildfire would be so busy :joy:. Plan A was to take one kid this weekend, but I knew that wasn’t going to be a thing. Packed both boys into the rig and rallied out to my favorite area.

Had to stop in the little community of Likely for a few hours to talk business which brought the boys and I to the rec site quite late.

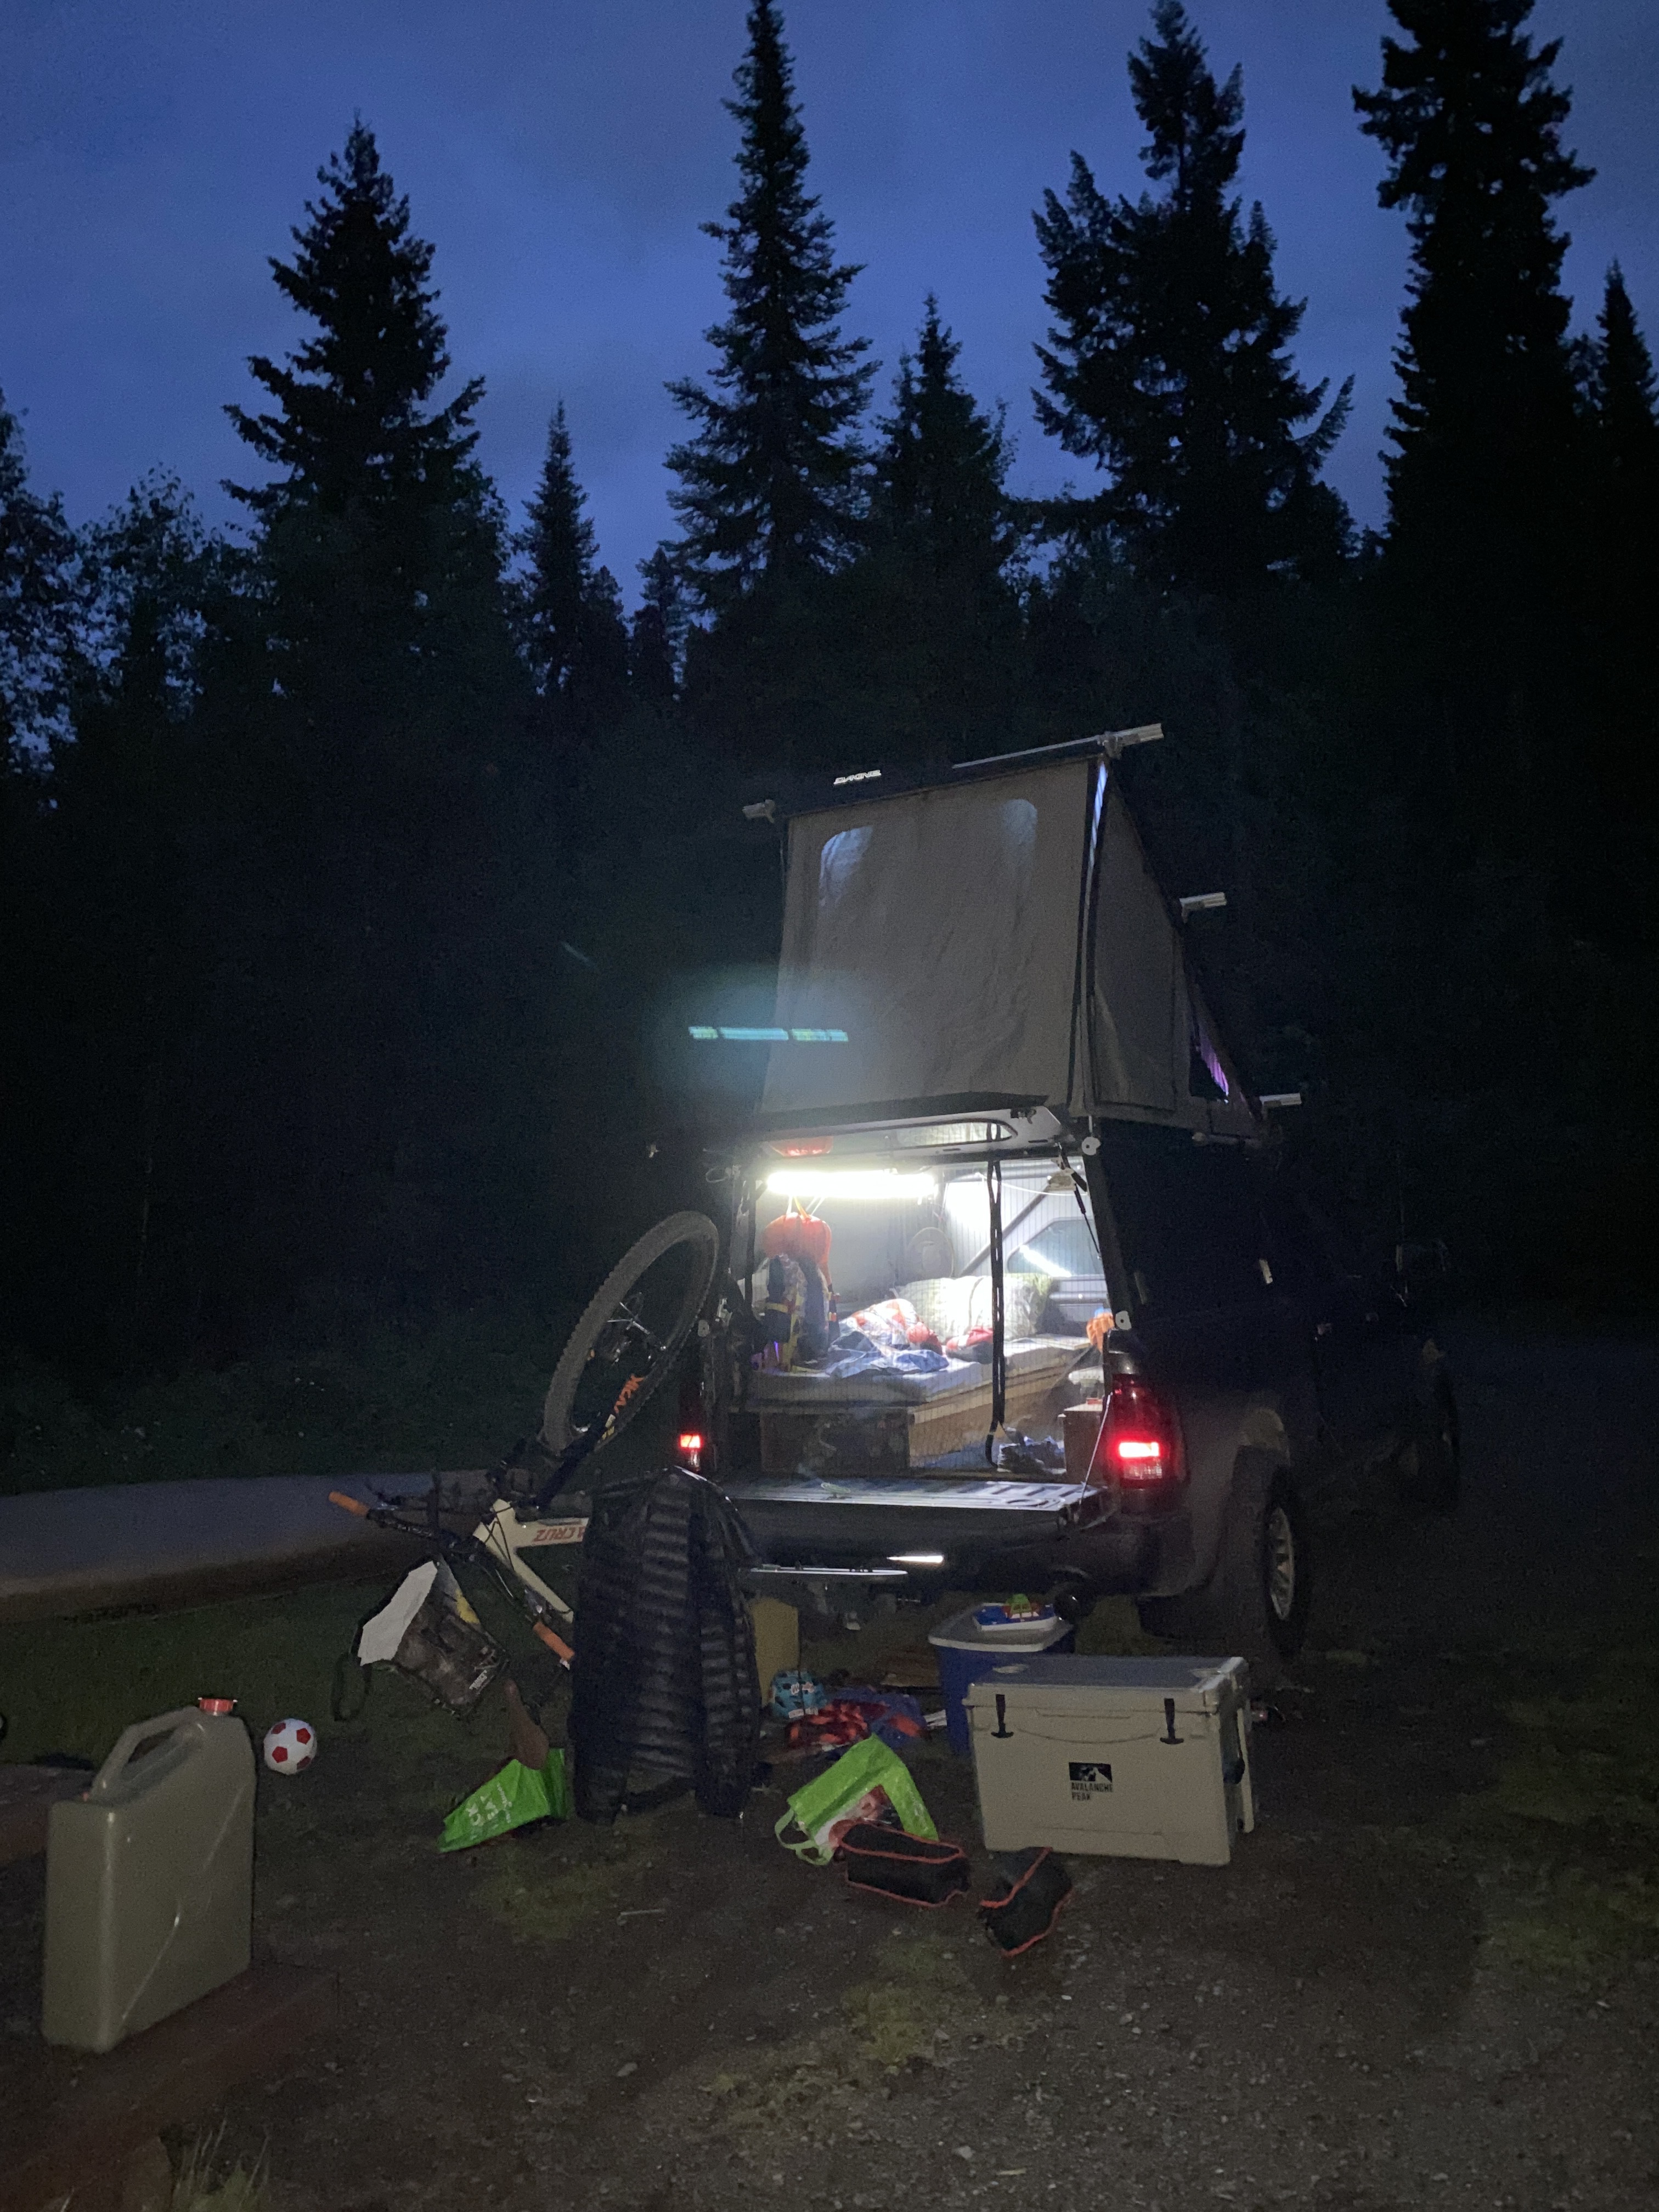
I needed to get the kids settled, so I fired everything out of the truck shotgun style and put on some Looney Toons DVD. I had to work the next morning so I quickly set up the Starlink.

This is when I was reminded of the fact that these units can take an extremely long time to update. Especially when you’re in the confines of BC’s beautiful rec sites. I got it working well enough to check in figuring that would do the trick.

This was my original evening setup which changed multiple times. I got it working well enough to try and sign in to work. No dice, no stable connection in this location. Then I had to take a side bar on the starlink to deal with the first challenge of the day. Cooking breakfast in the rain with two kids, while you’re trying to work.

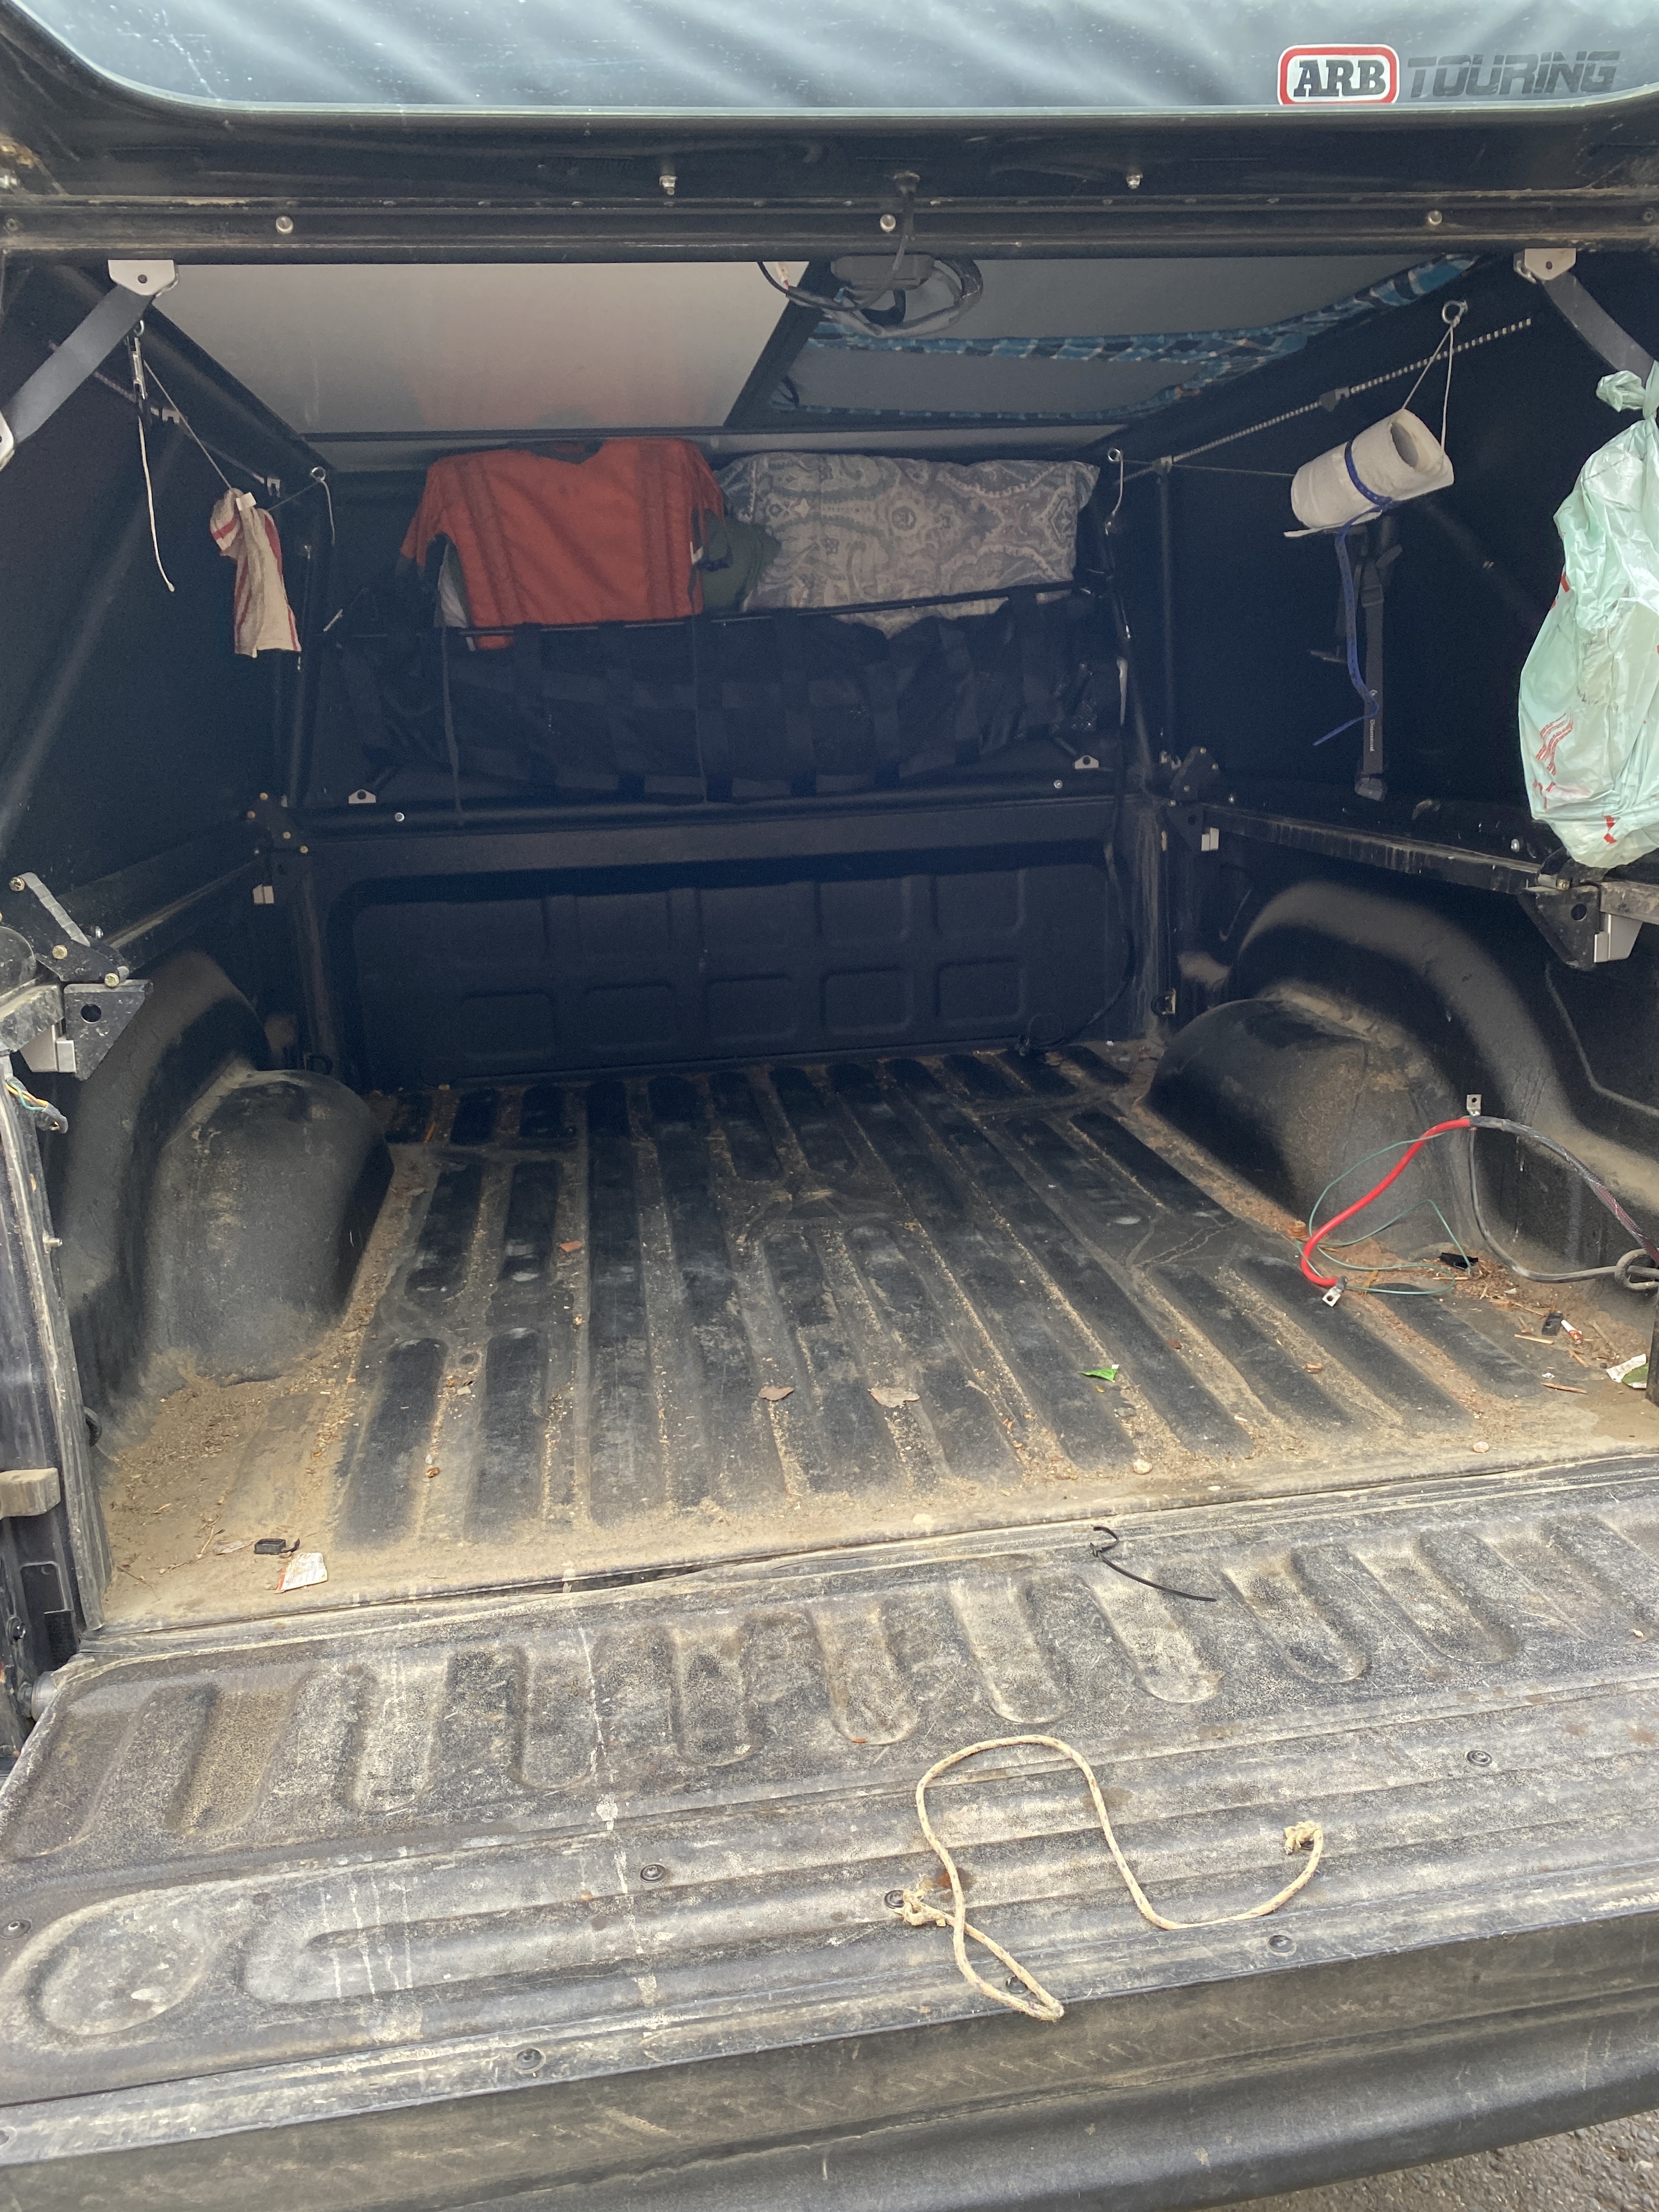
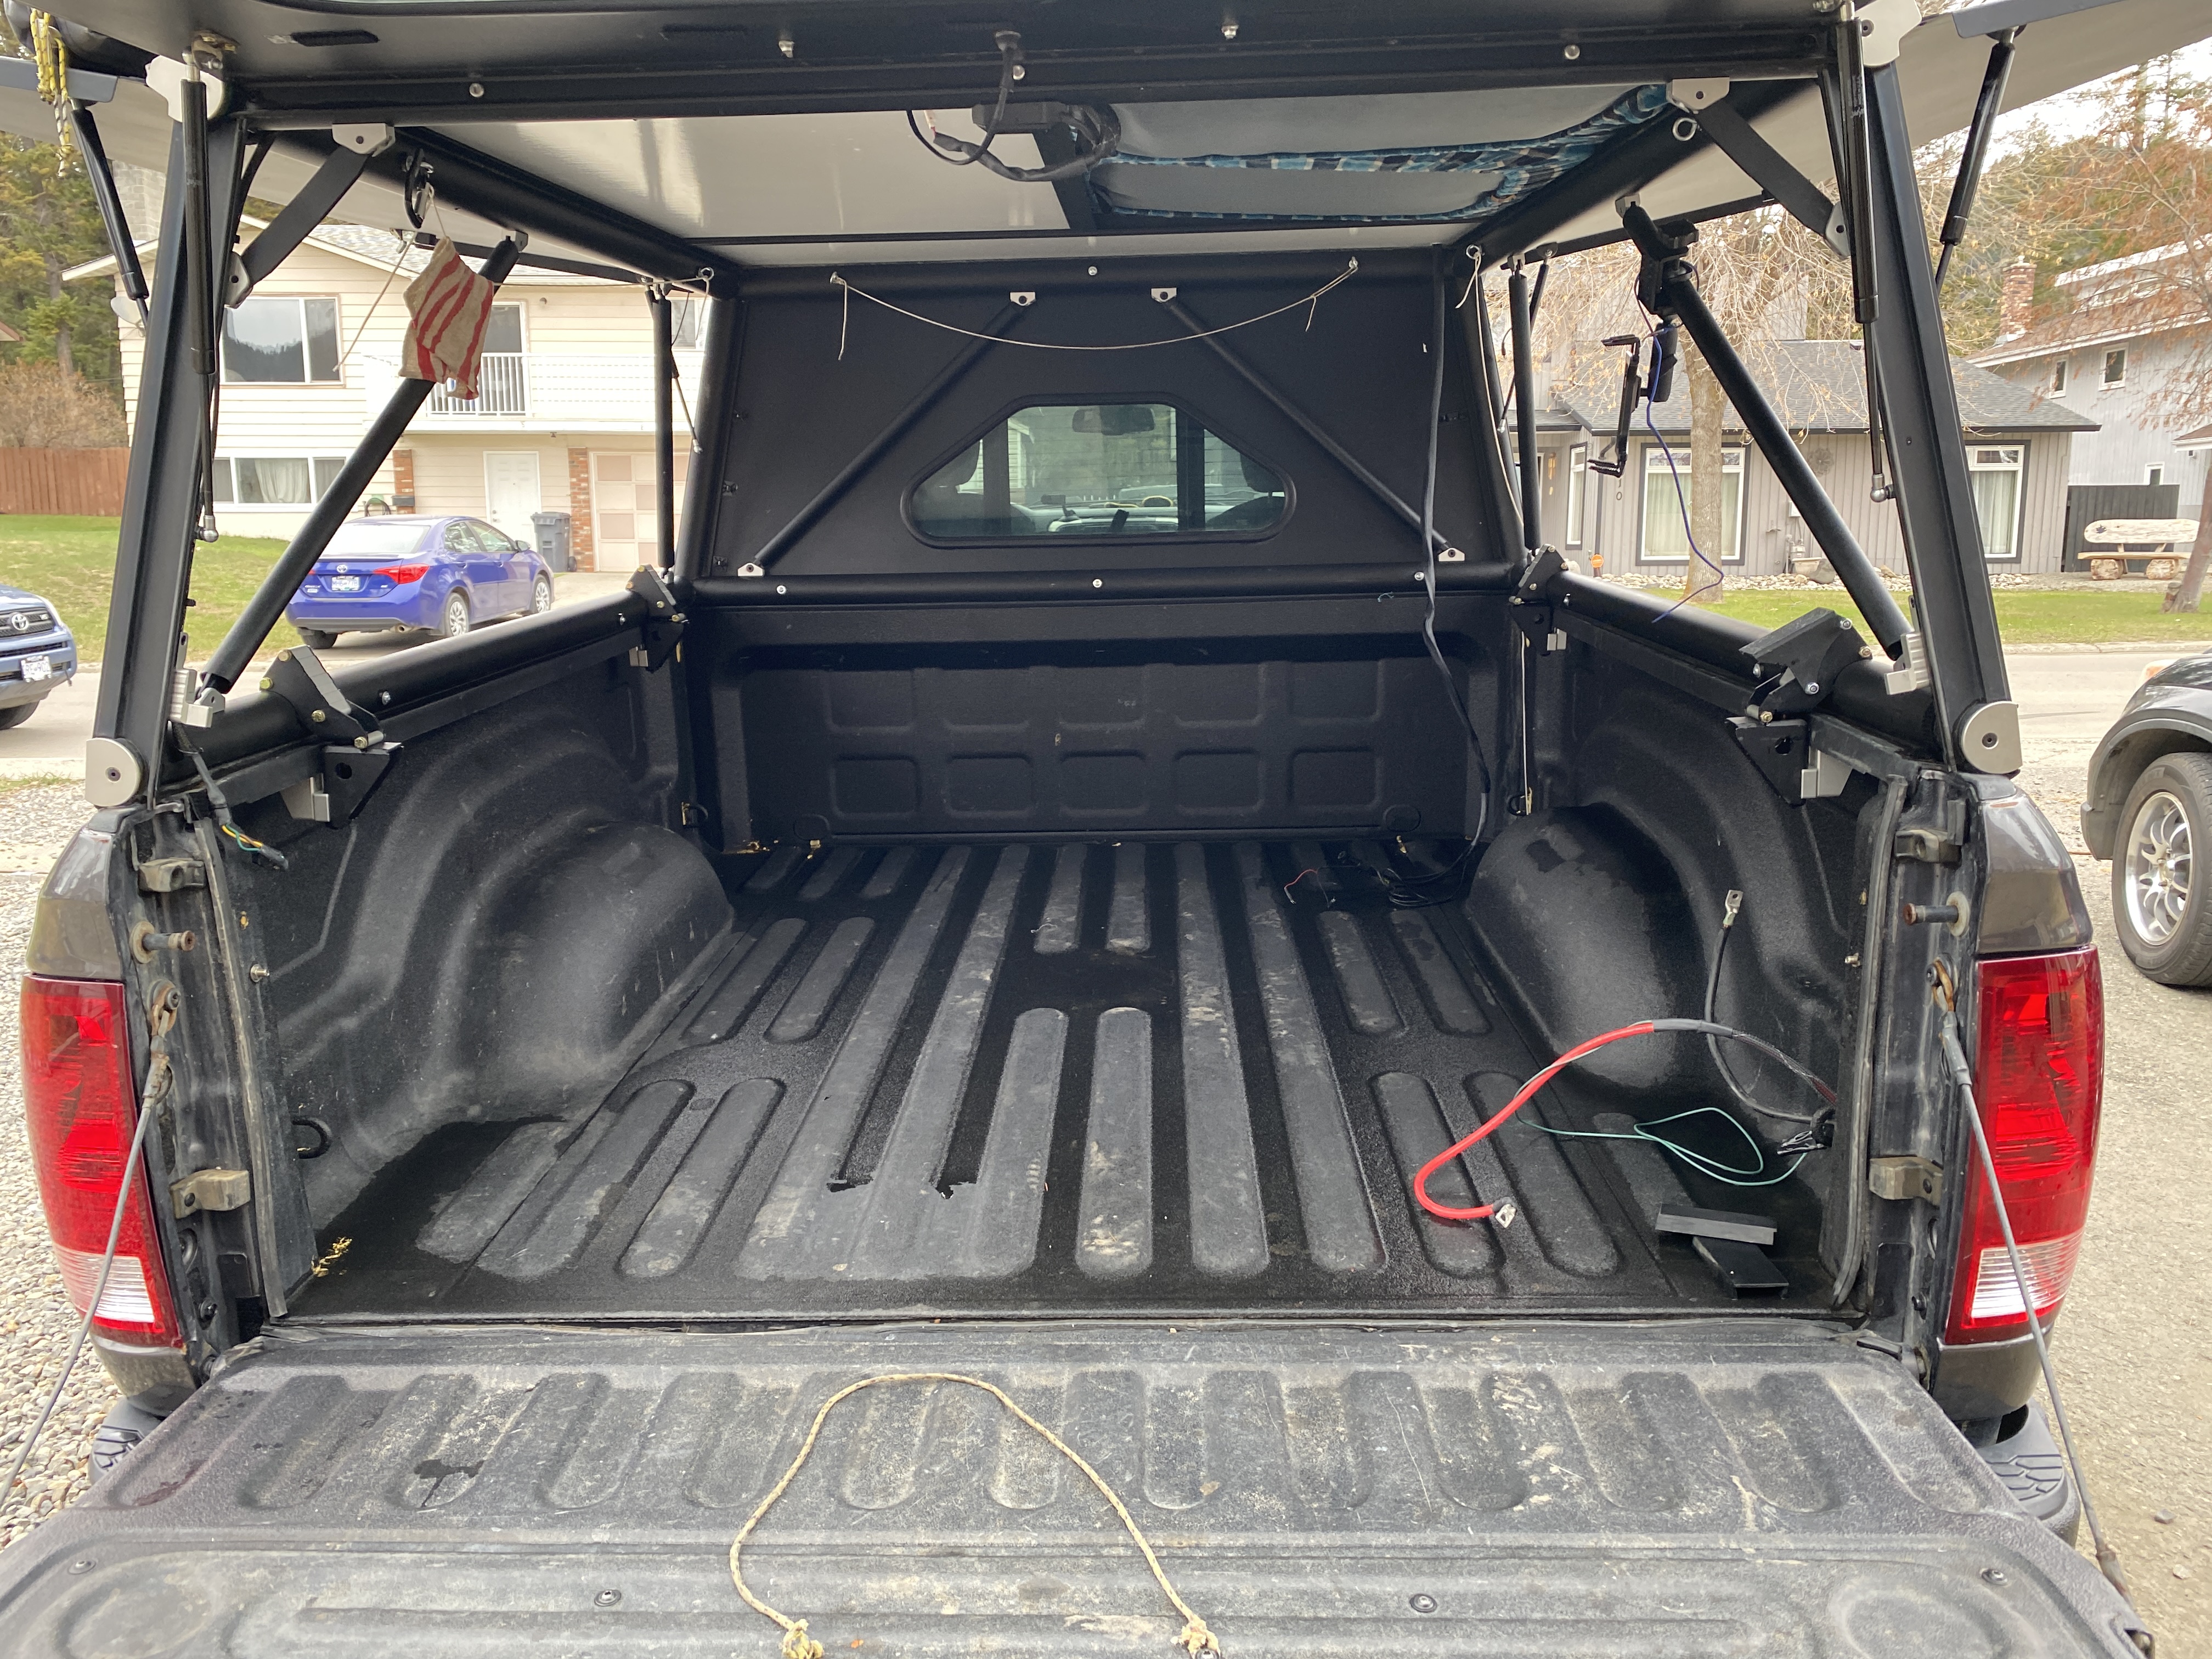
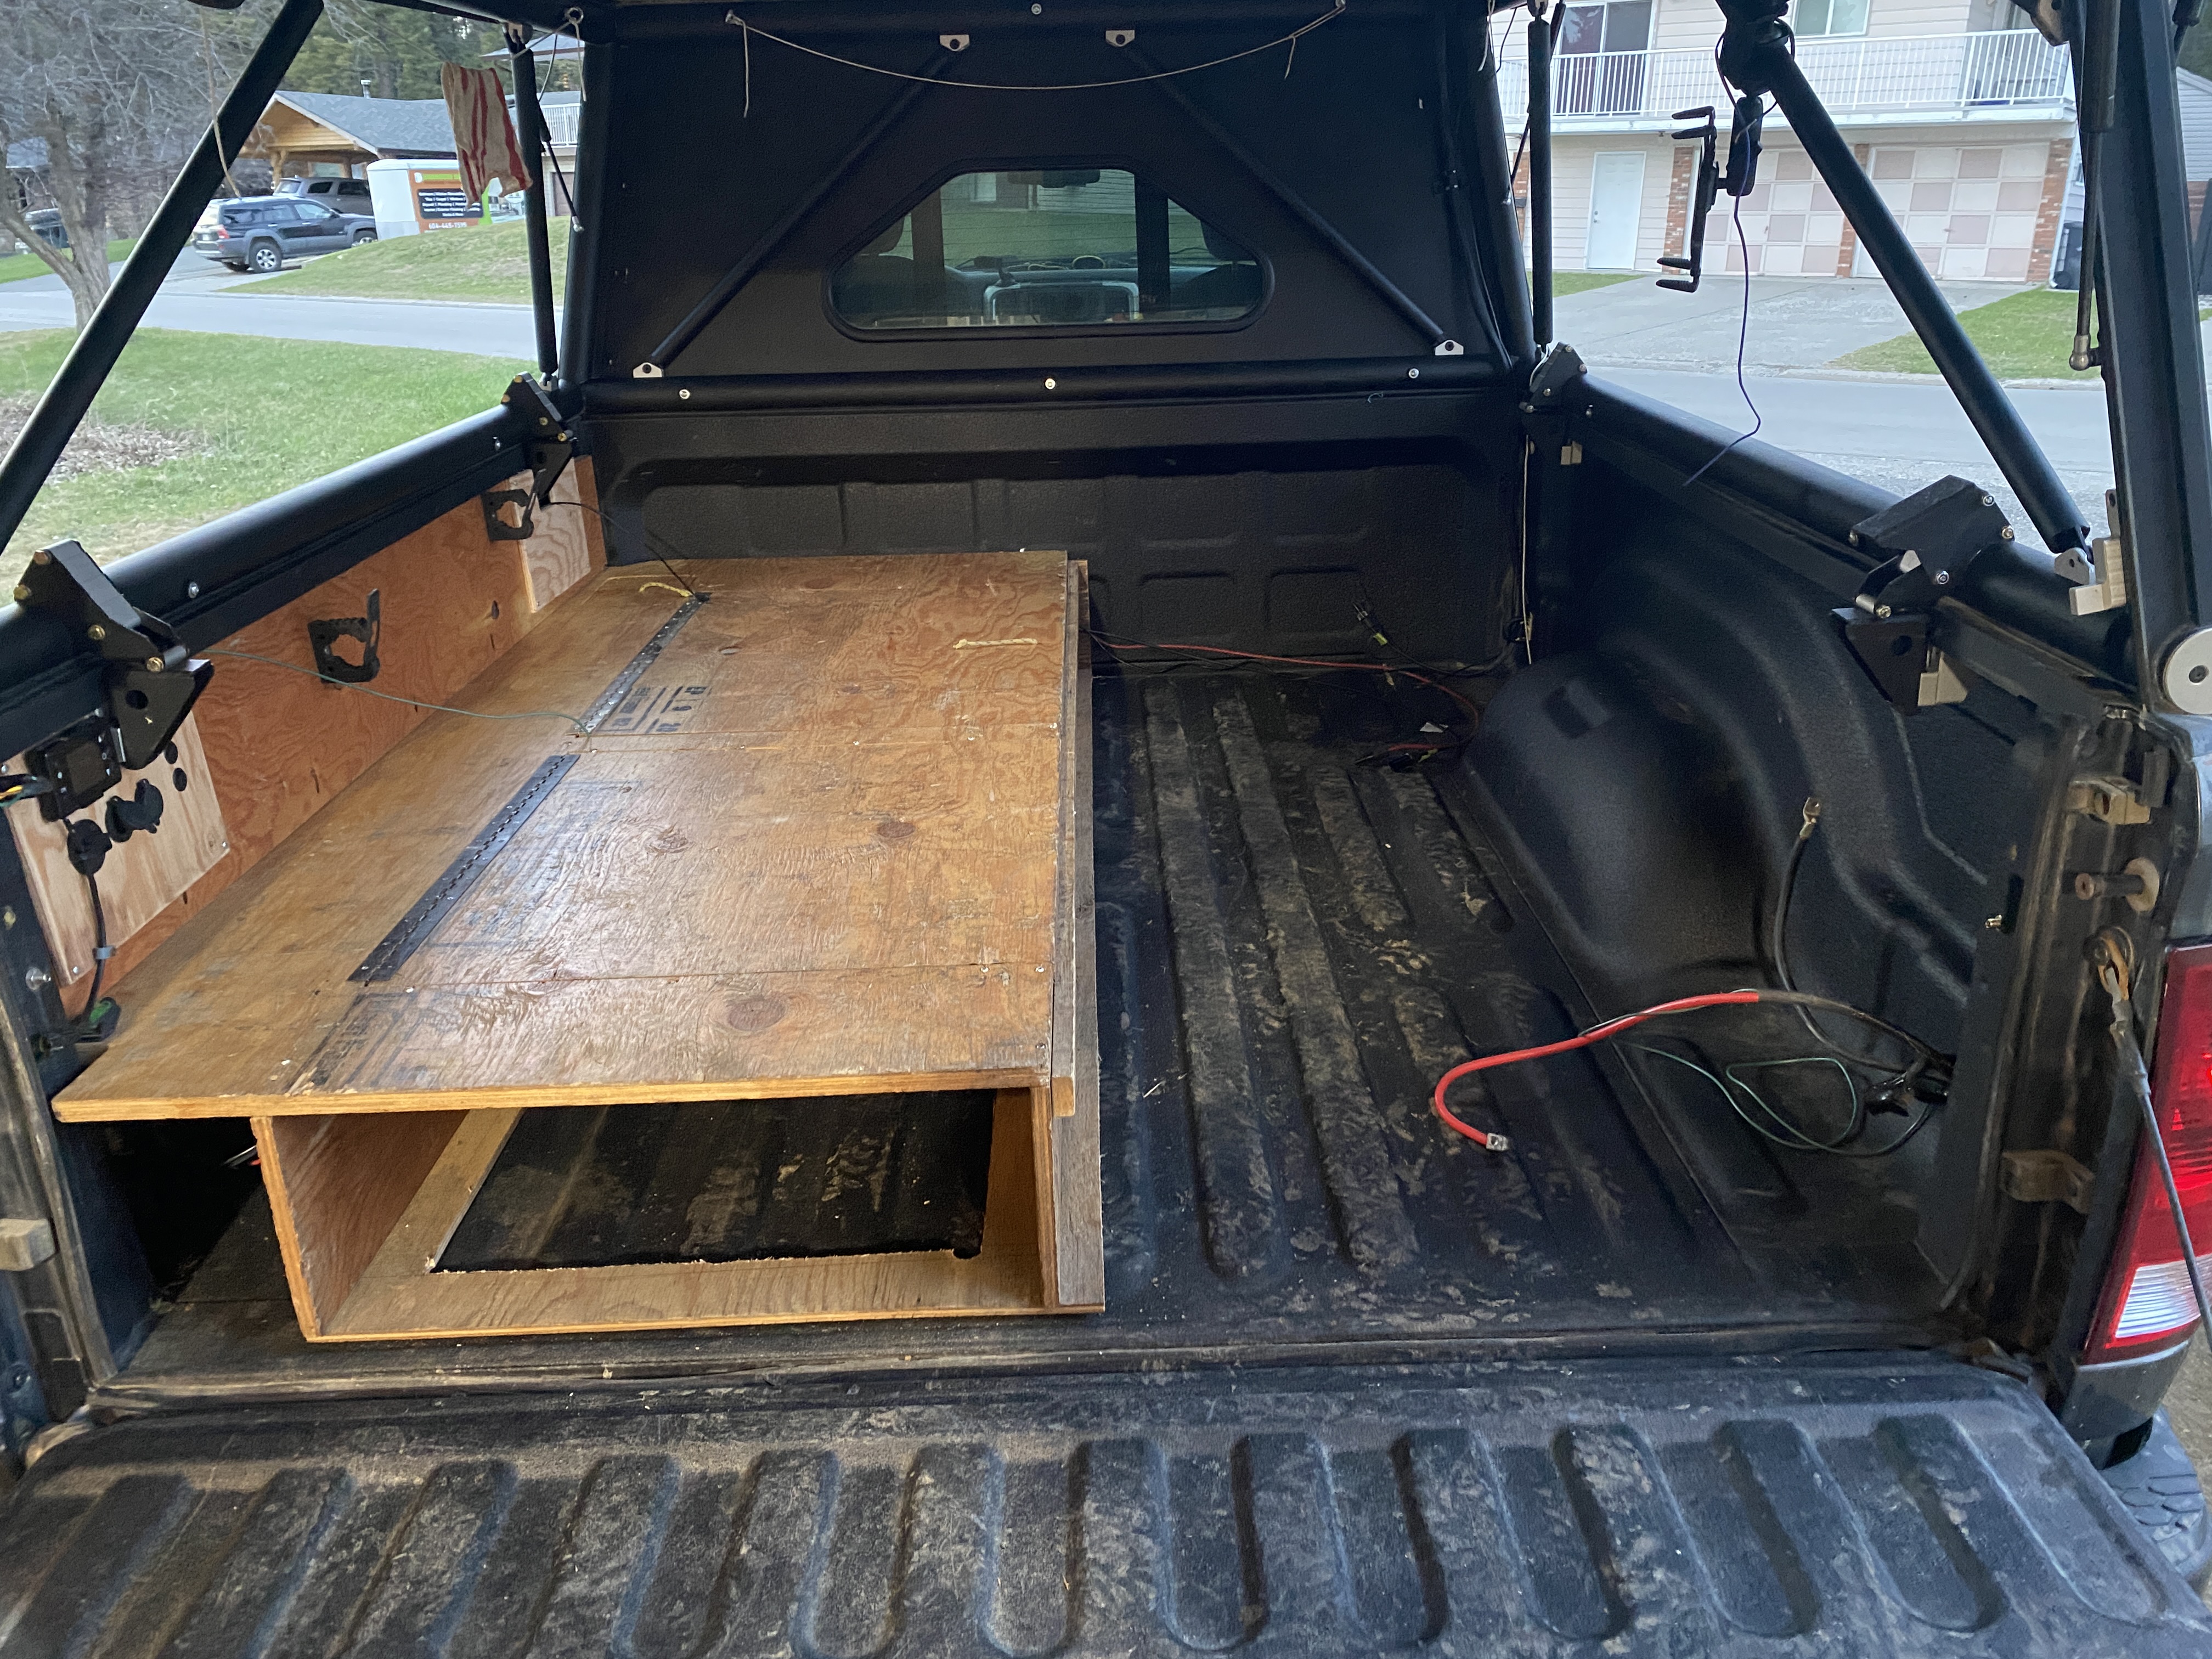
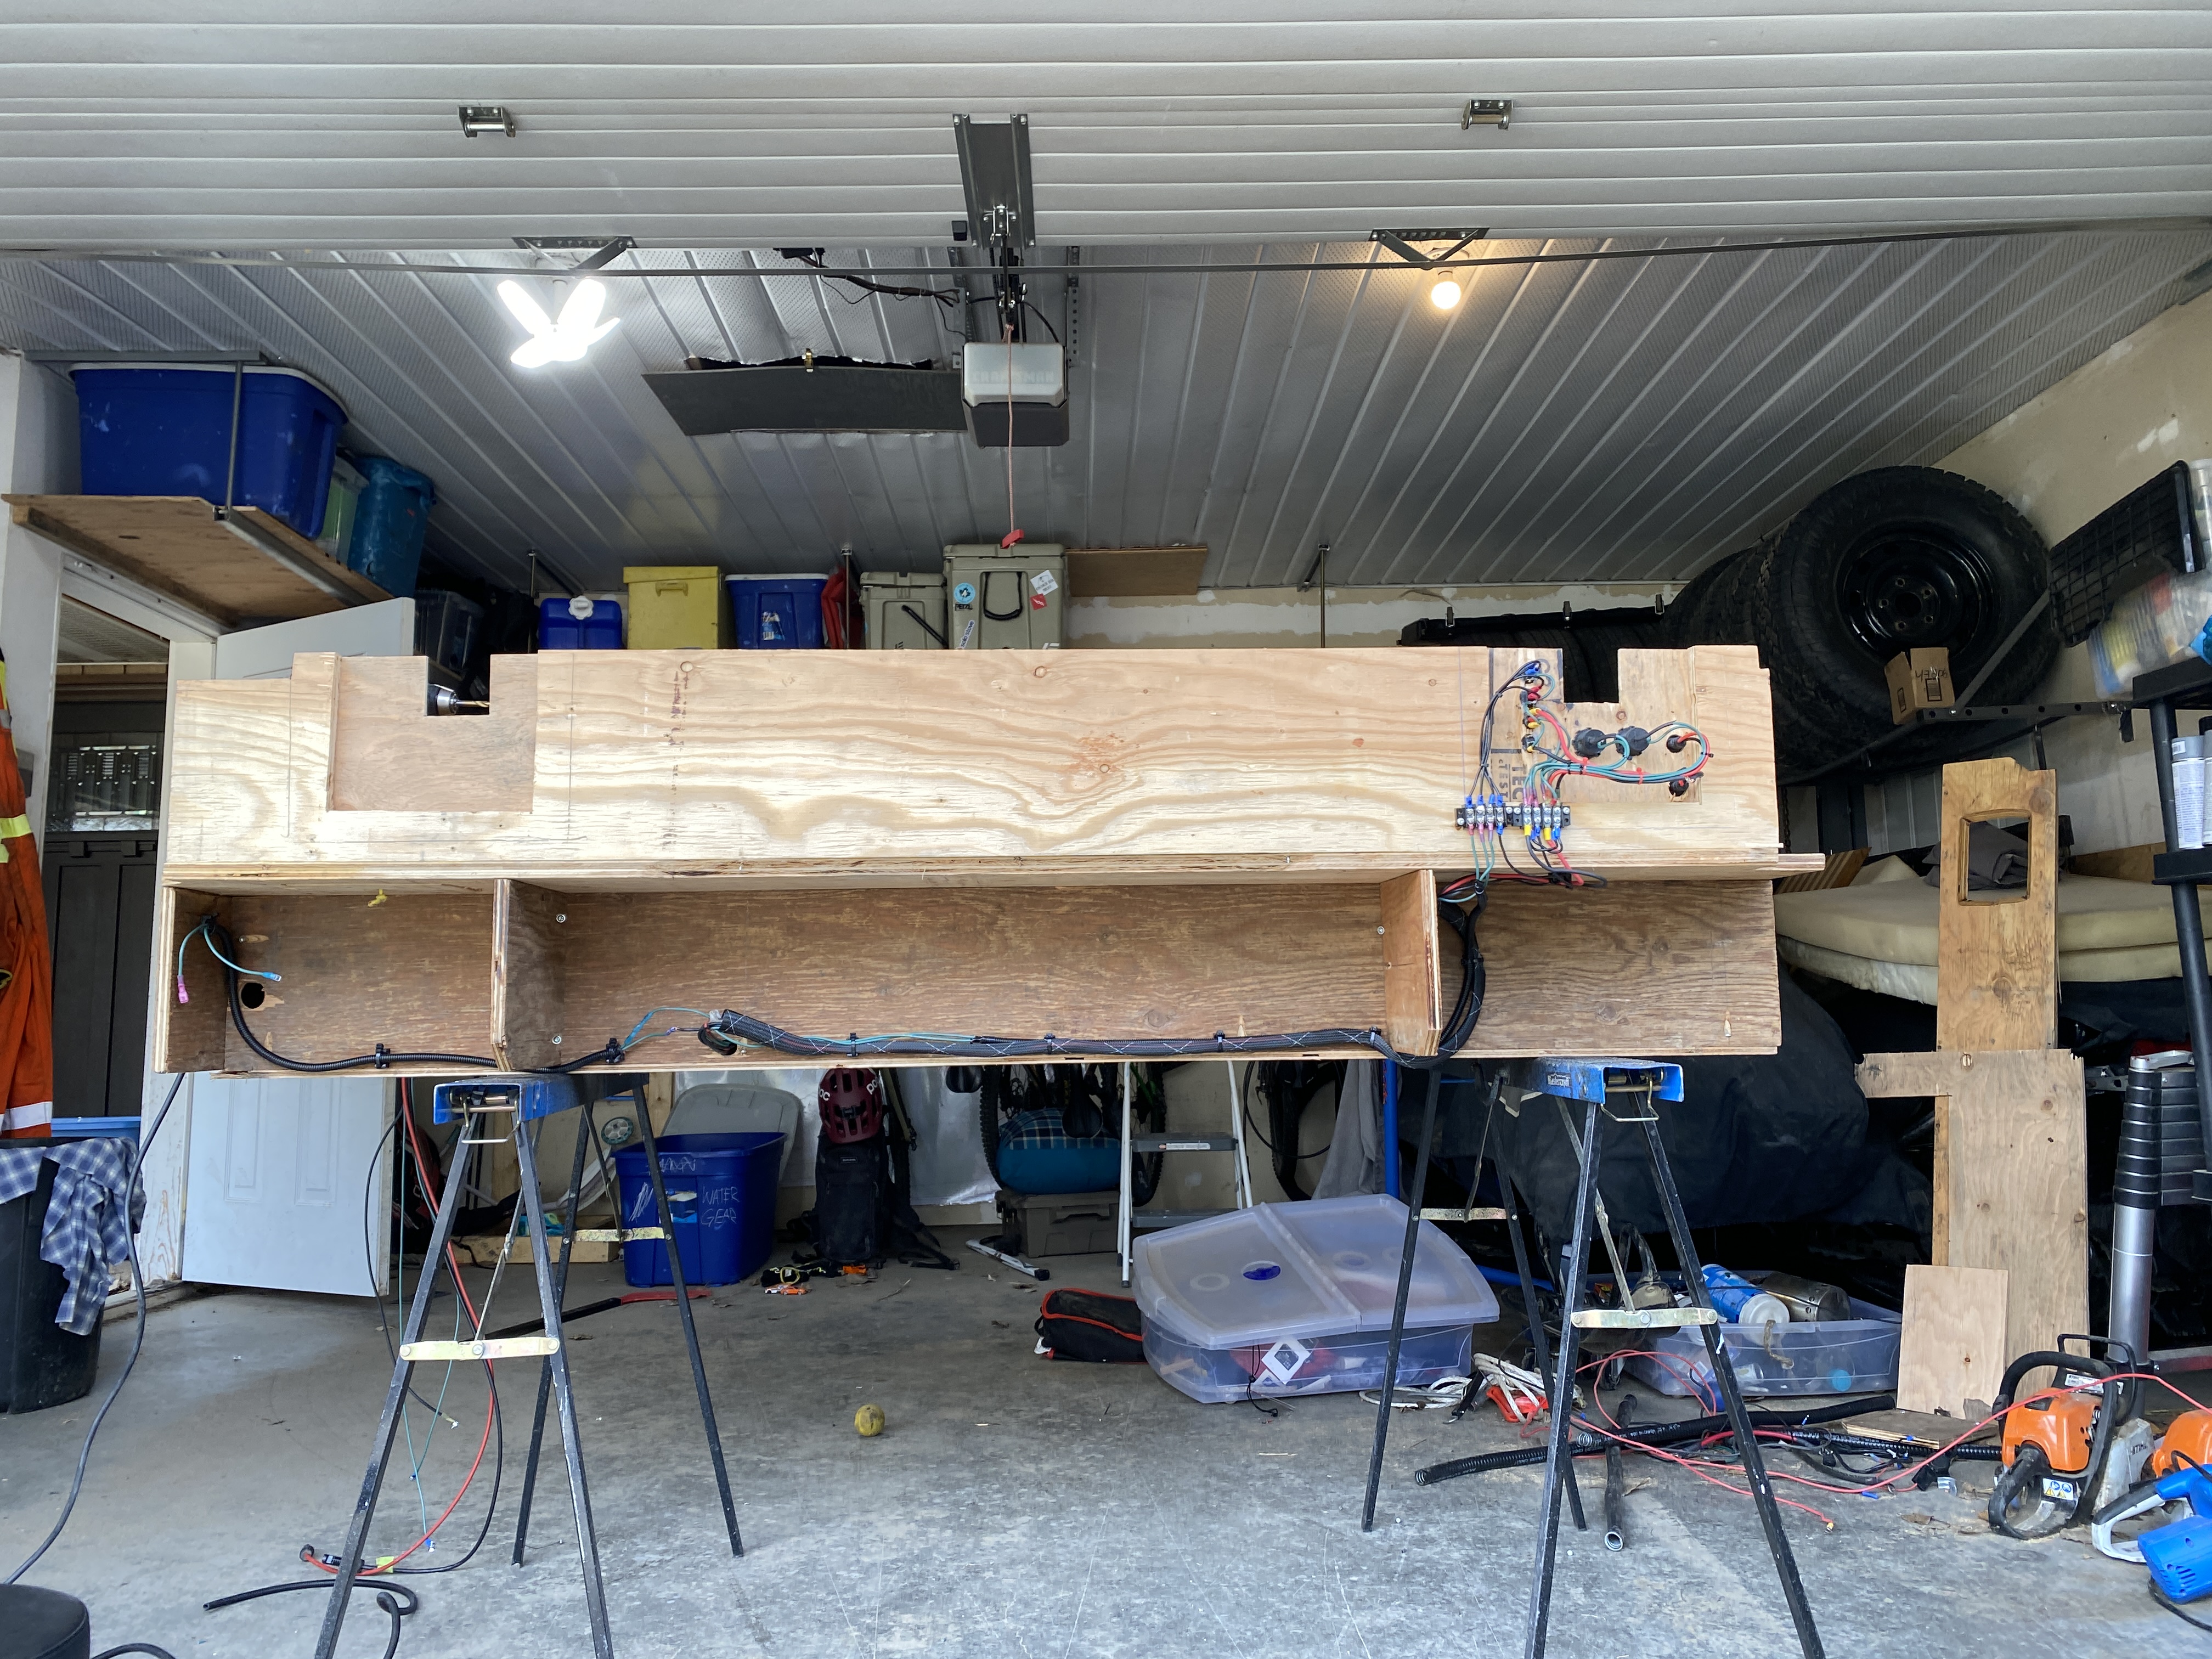
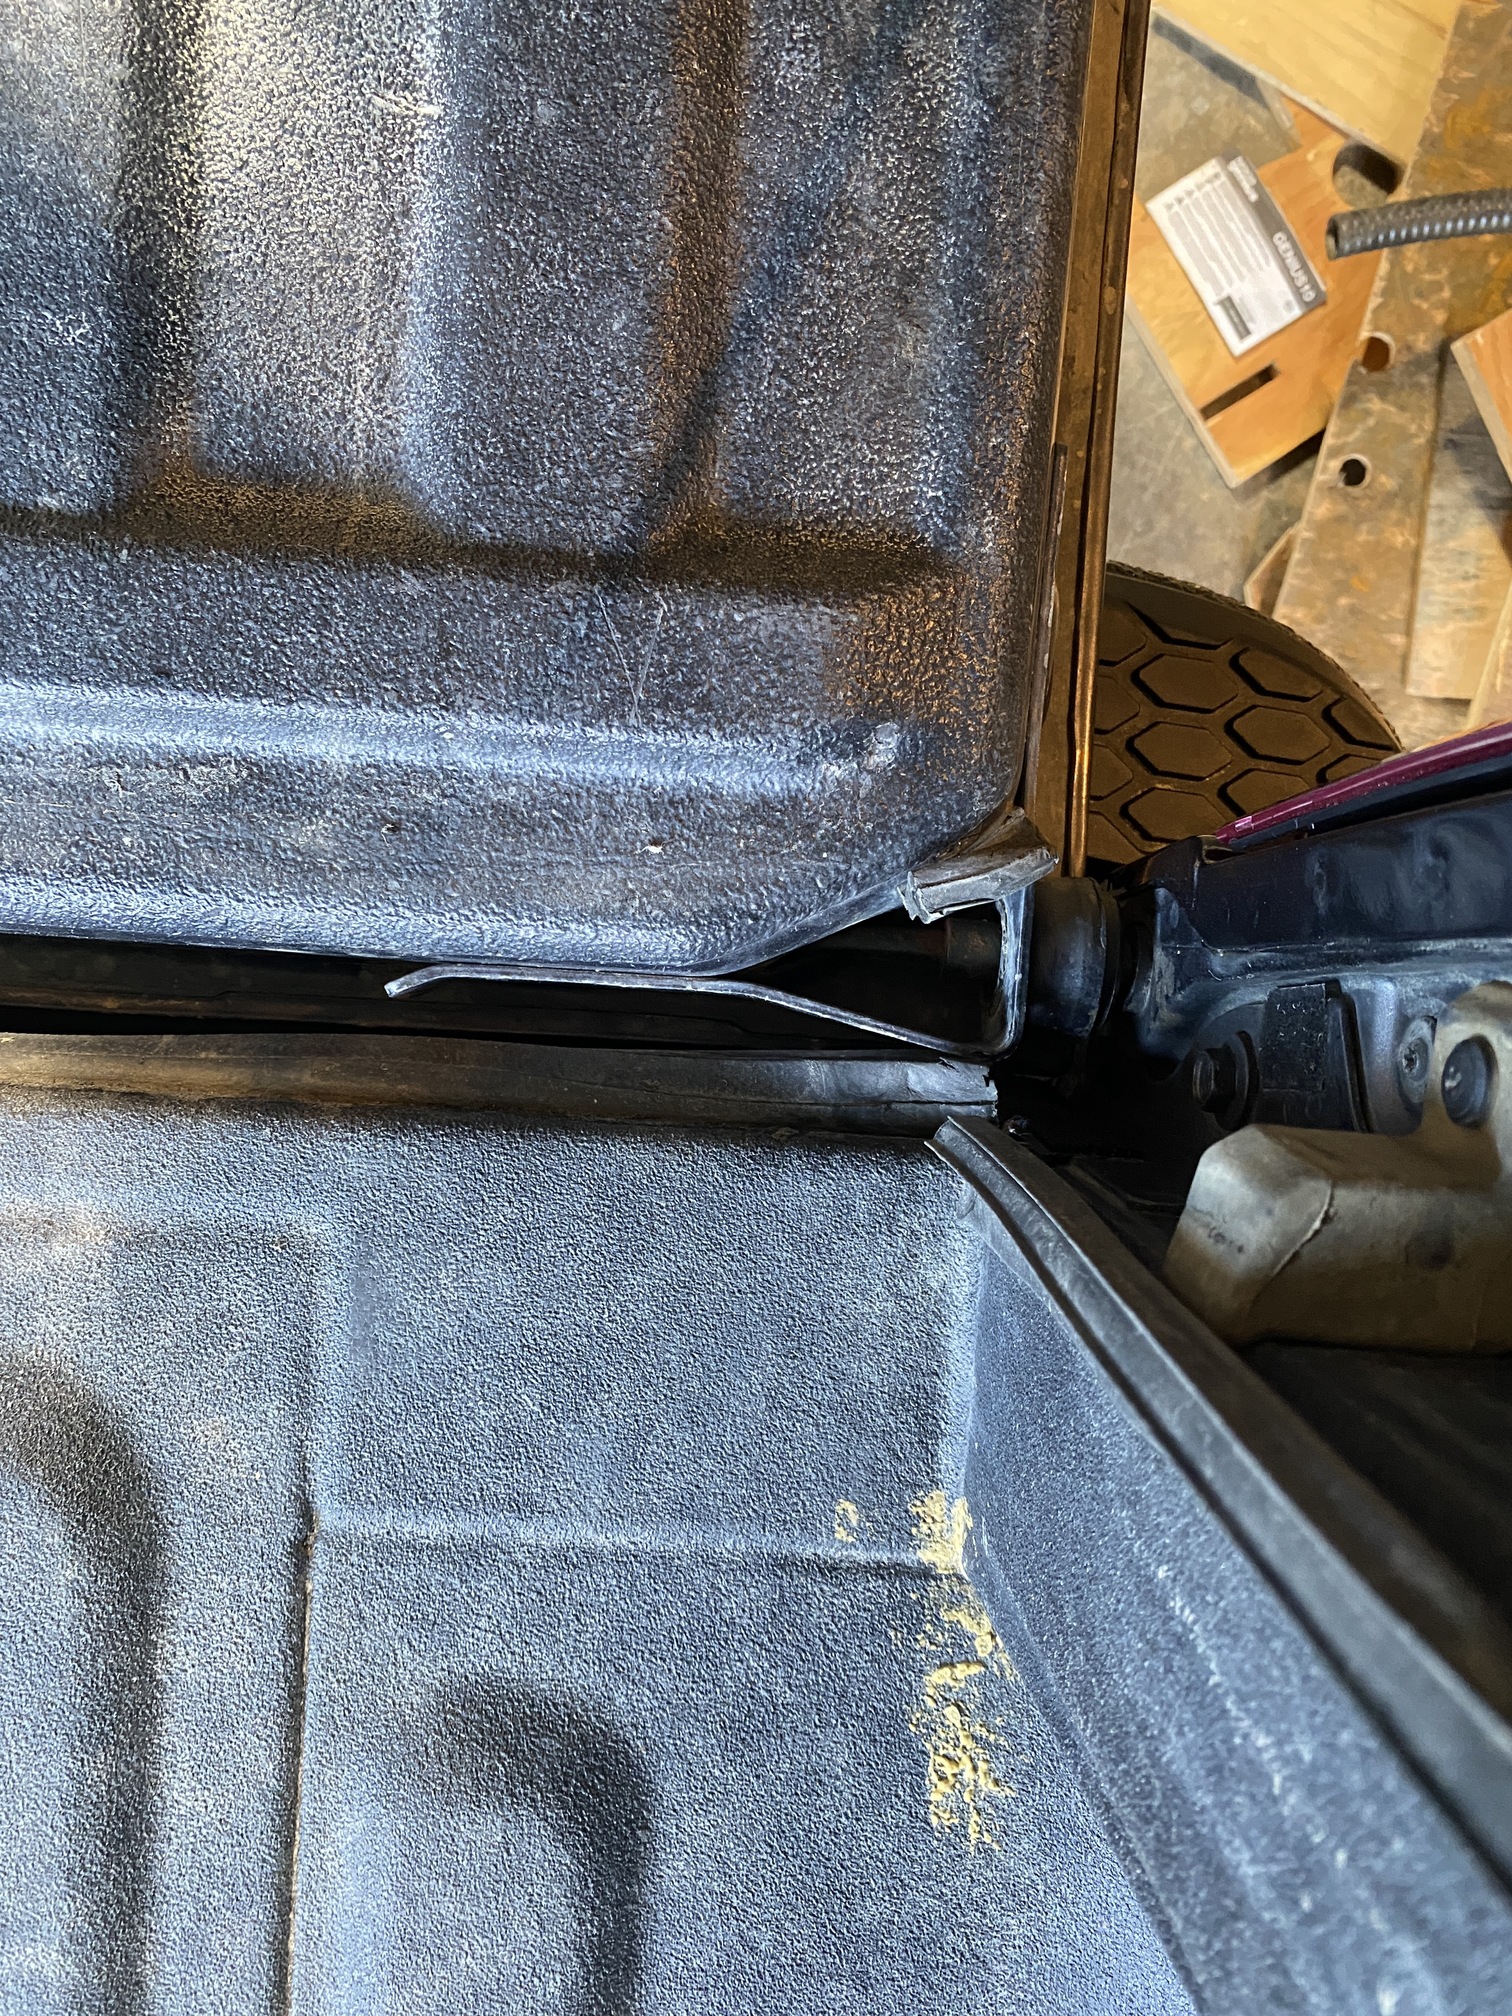
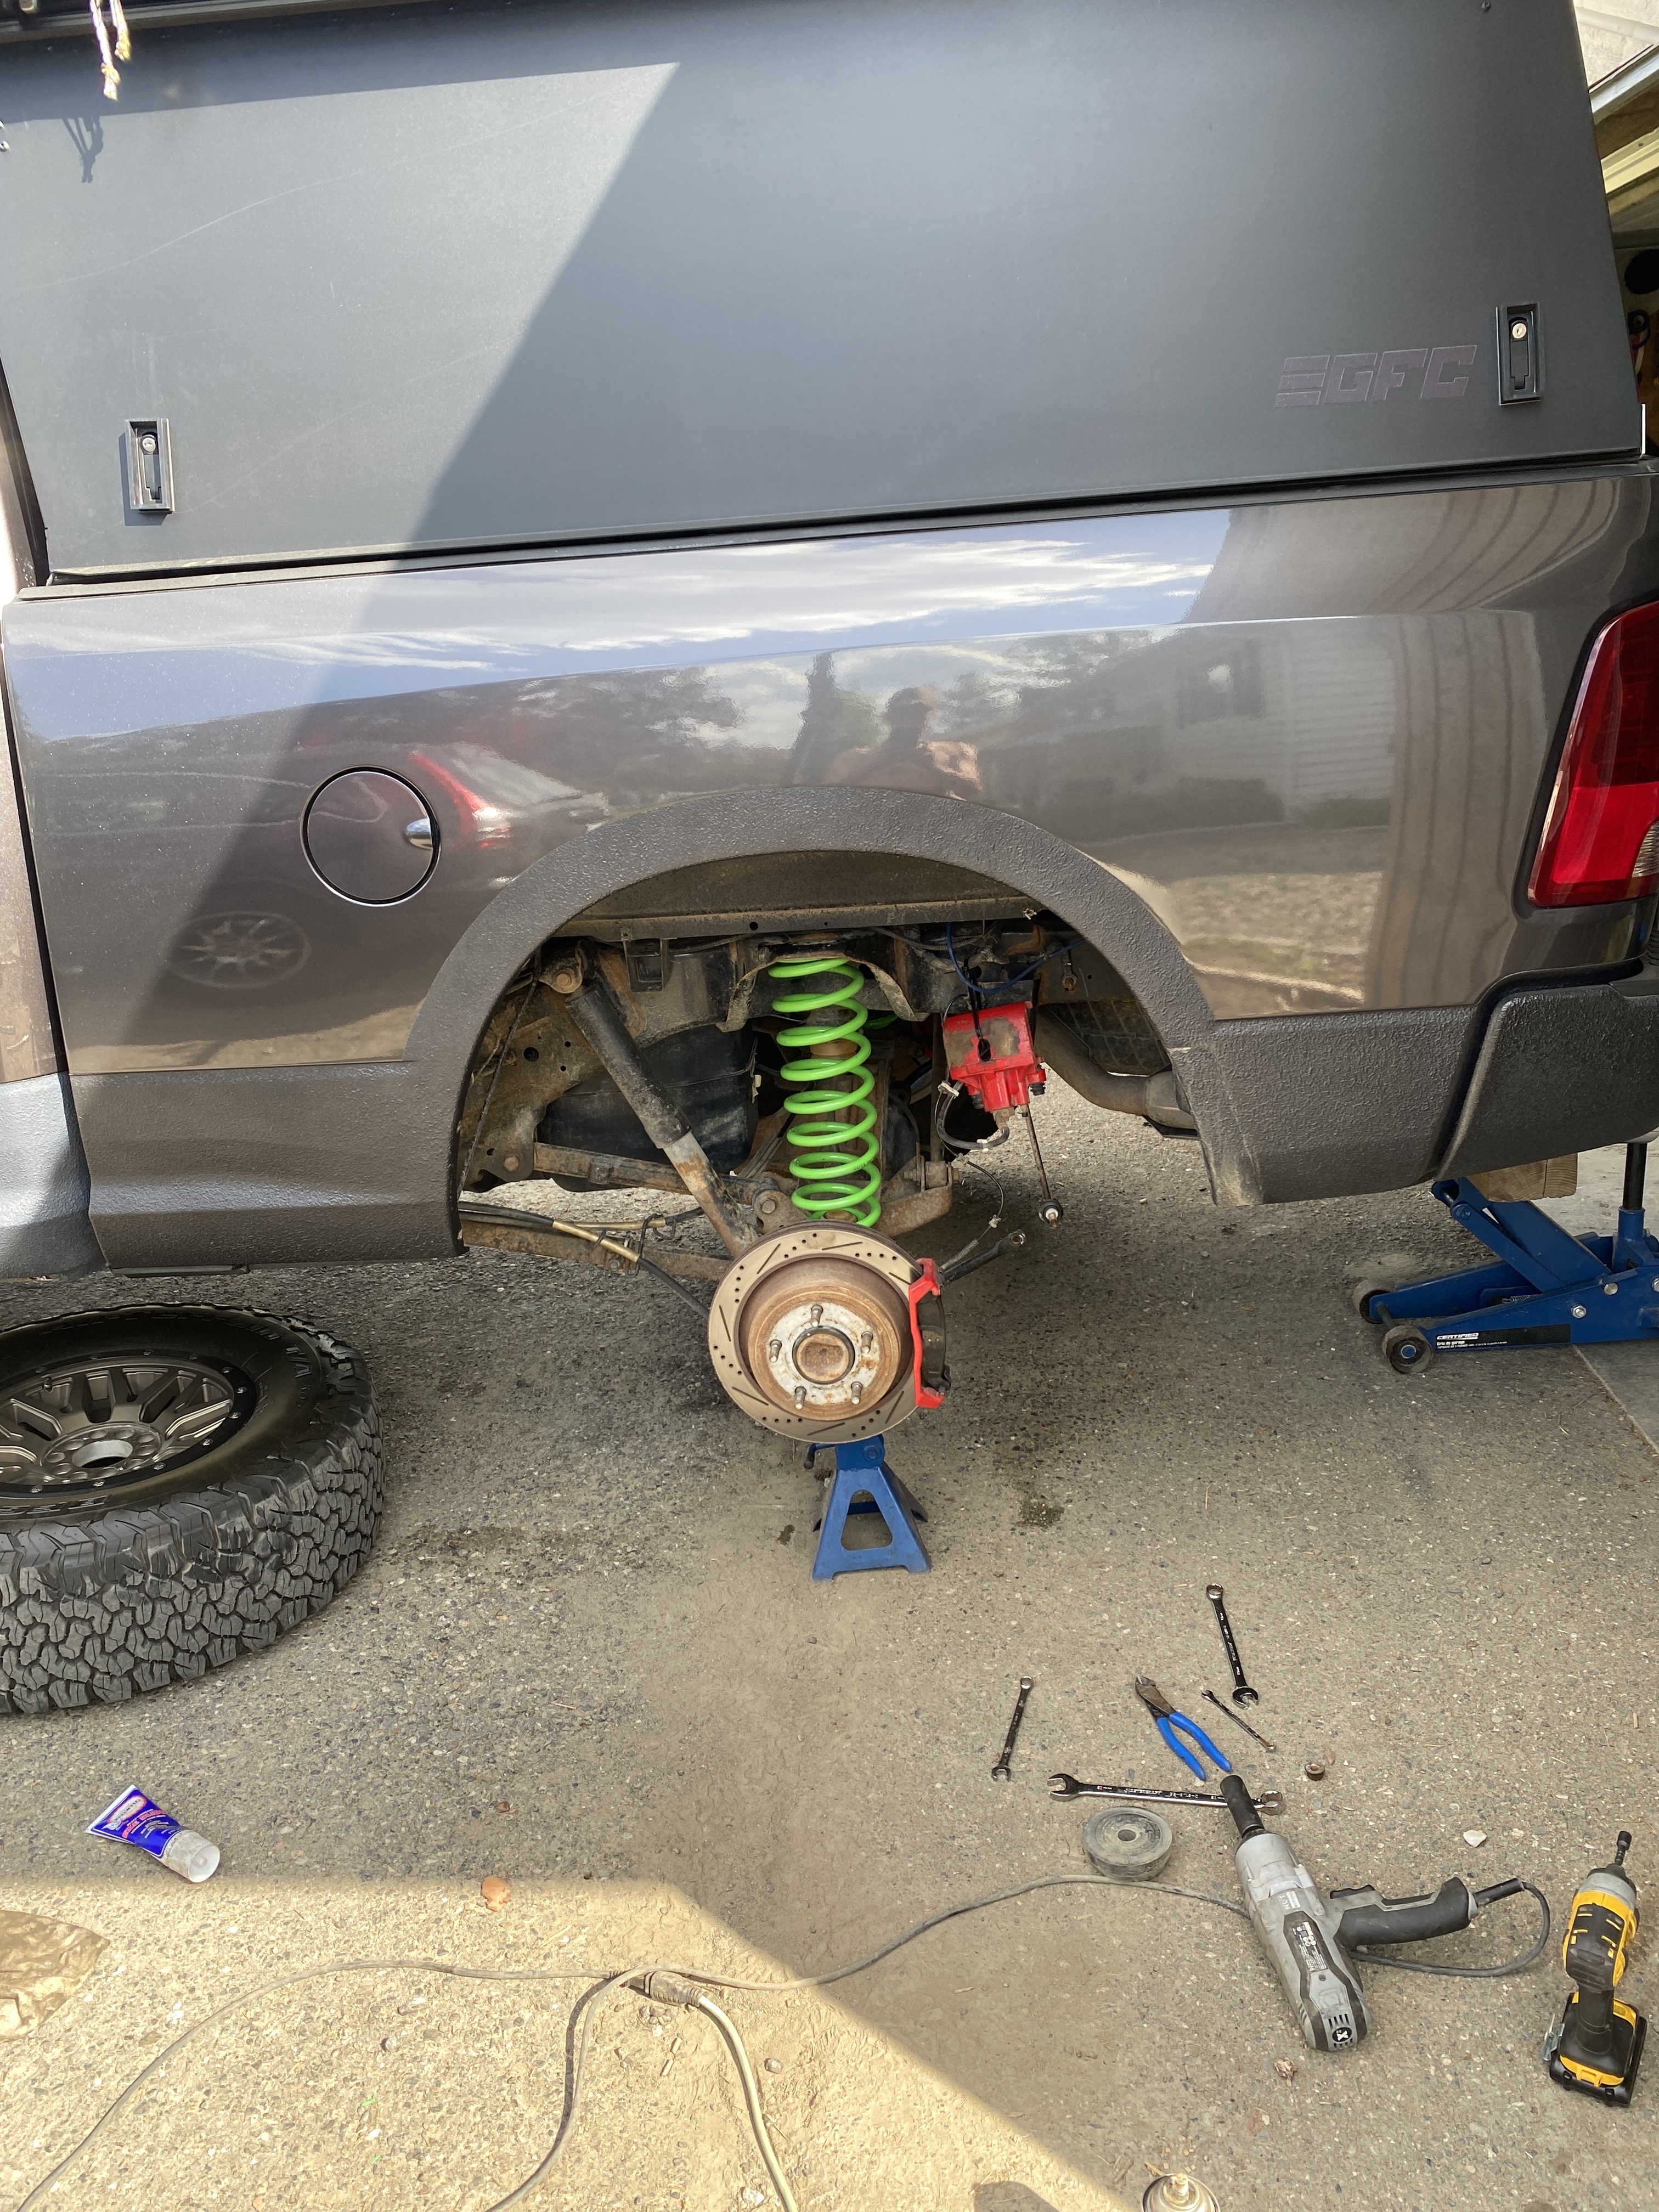
Once I was done that, I came in to a suspicious amount of water splashed in the front right corner. Now, as a father, you’d expect my first instinct would be to question the children. Which I did, and since they’re still learning the difference between the truth. I can never really trust them. As I investigated further I noticed water making it’s way down the underside of the sleeping platform to the extrusion and dripping.

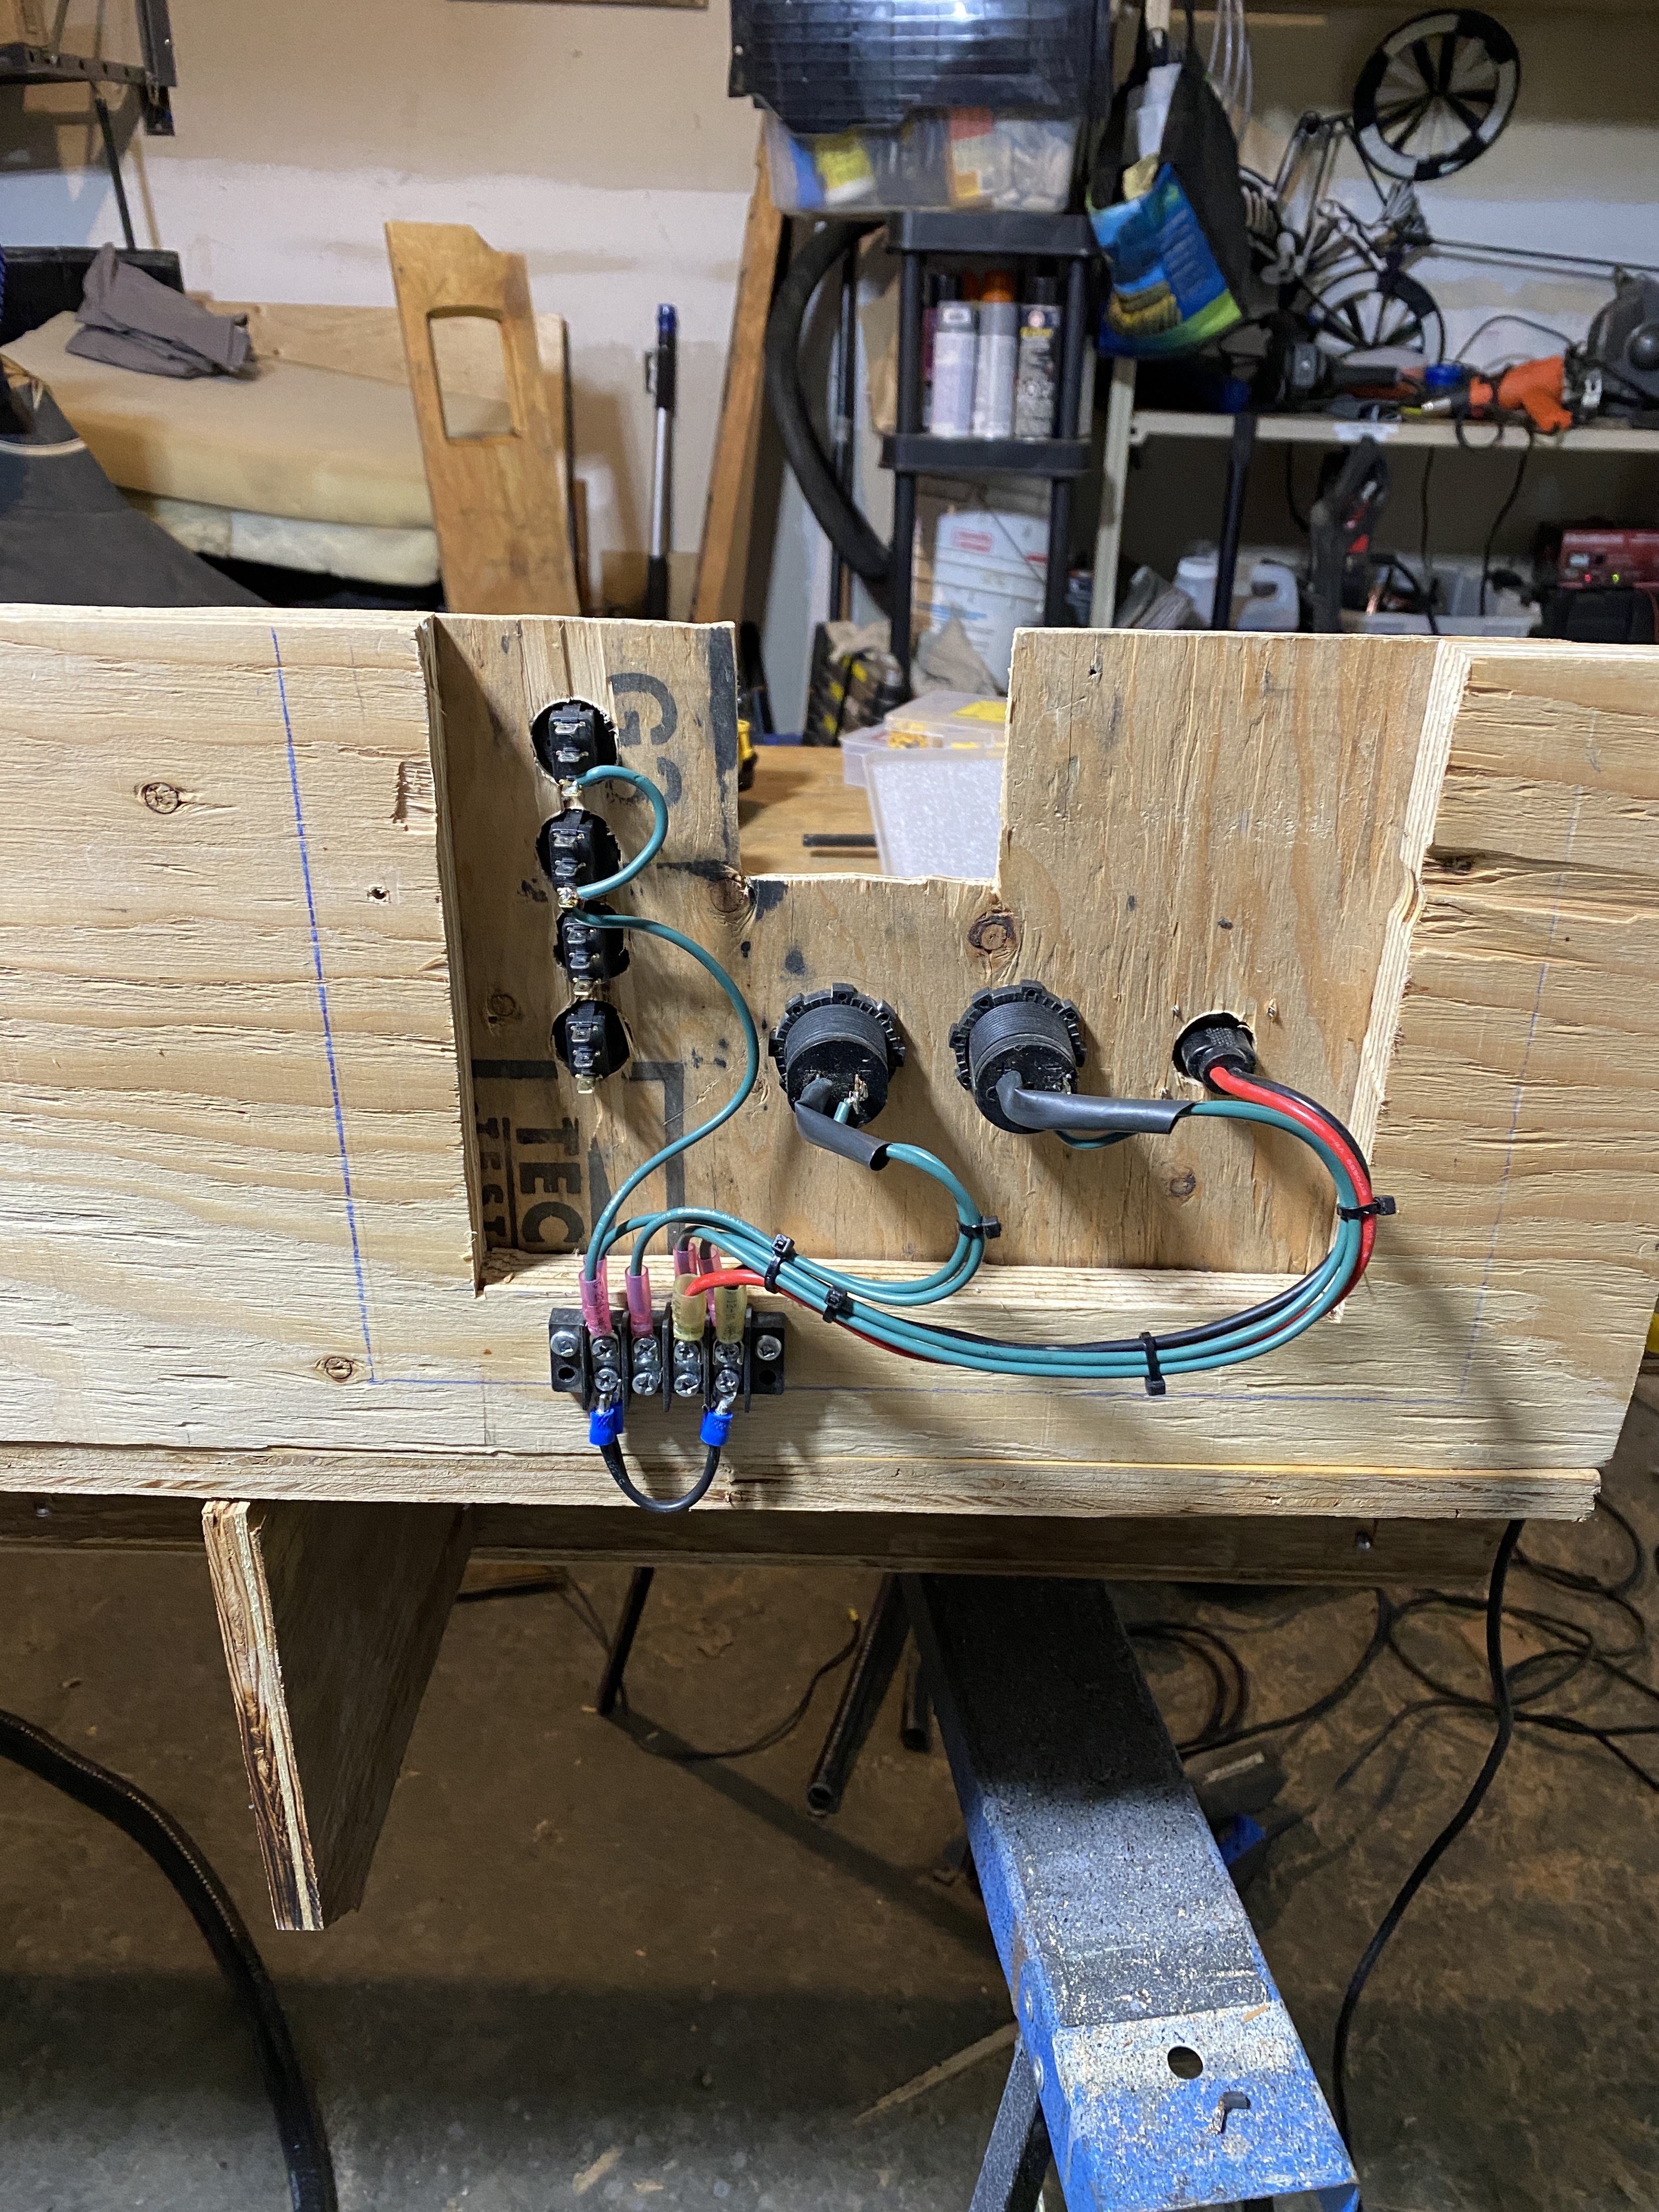
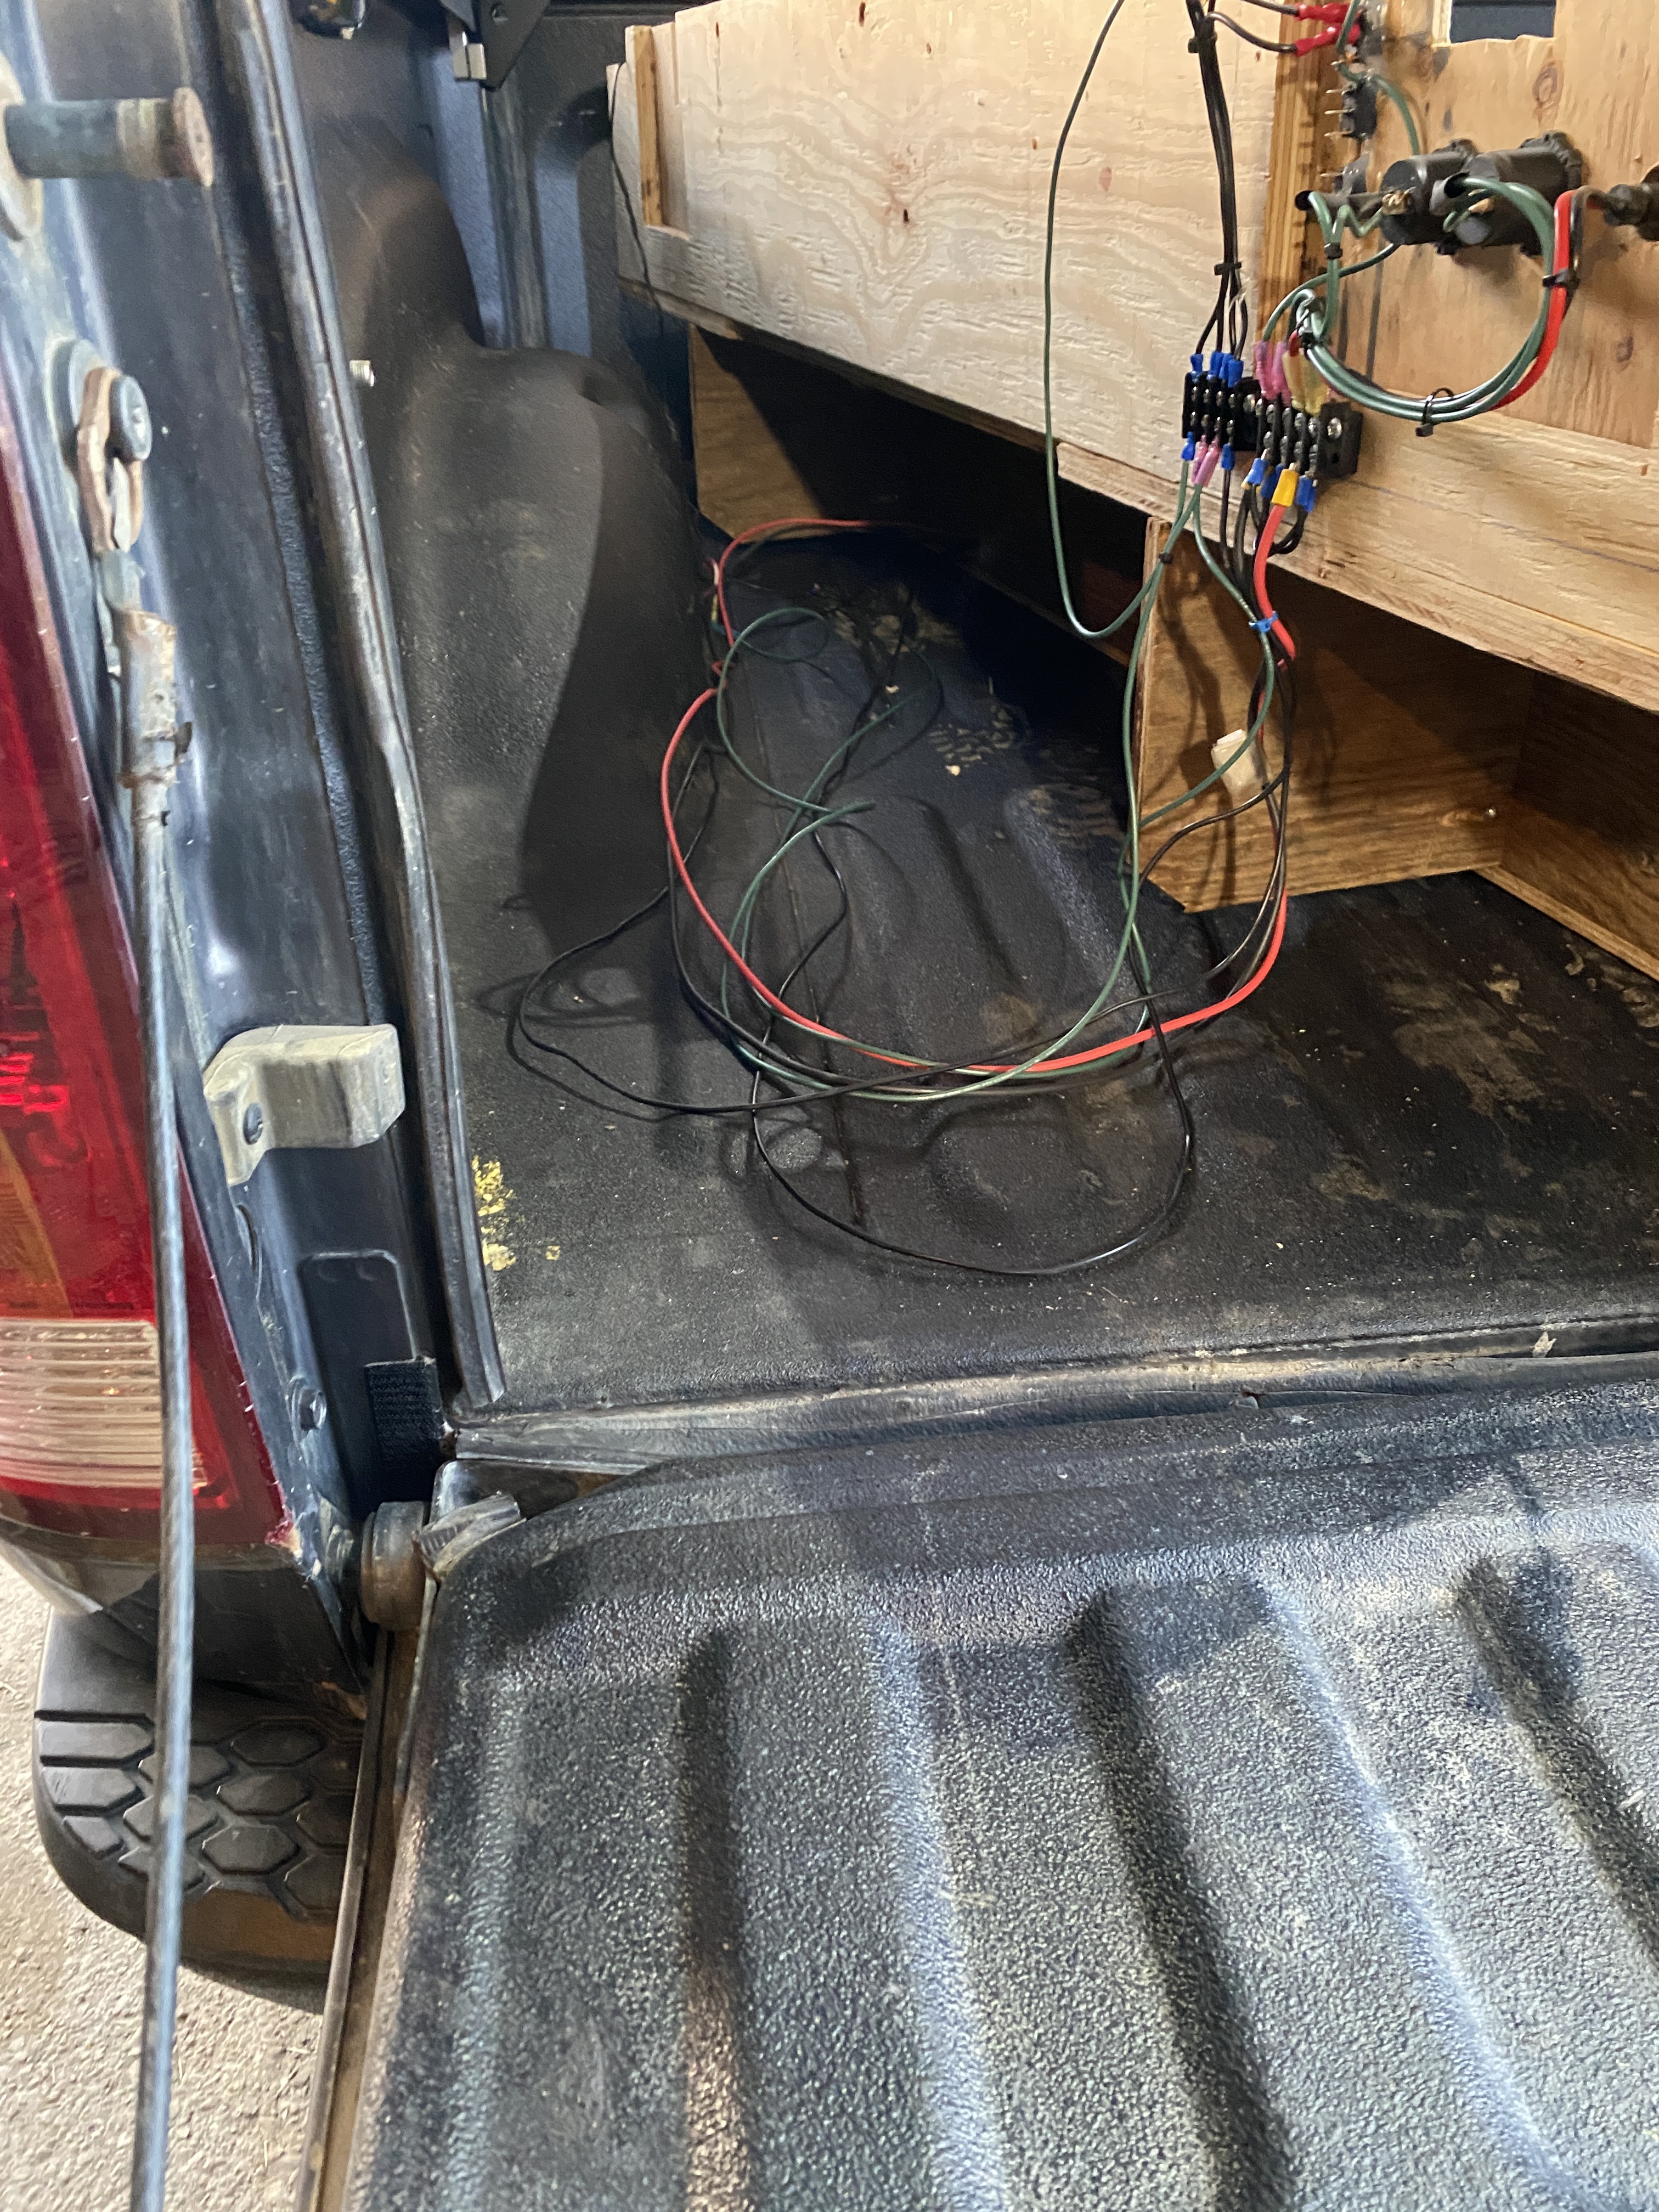
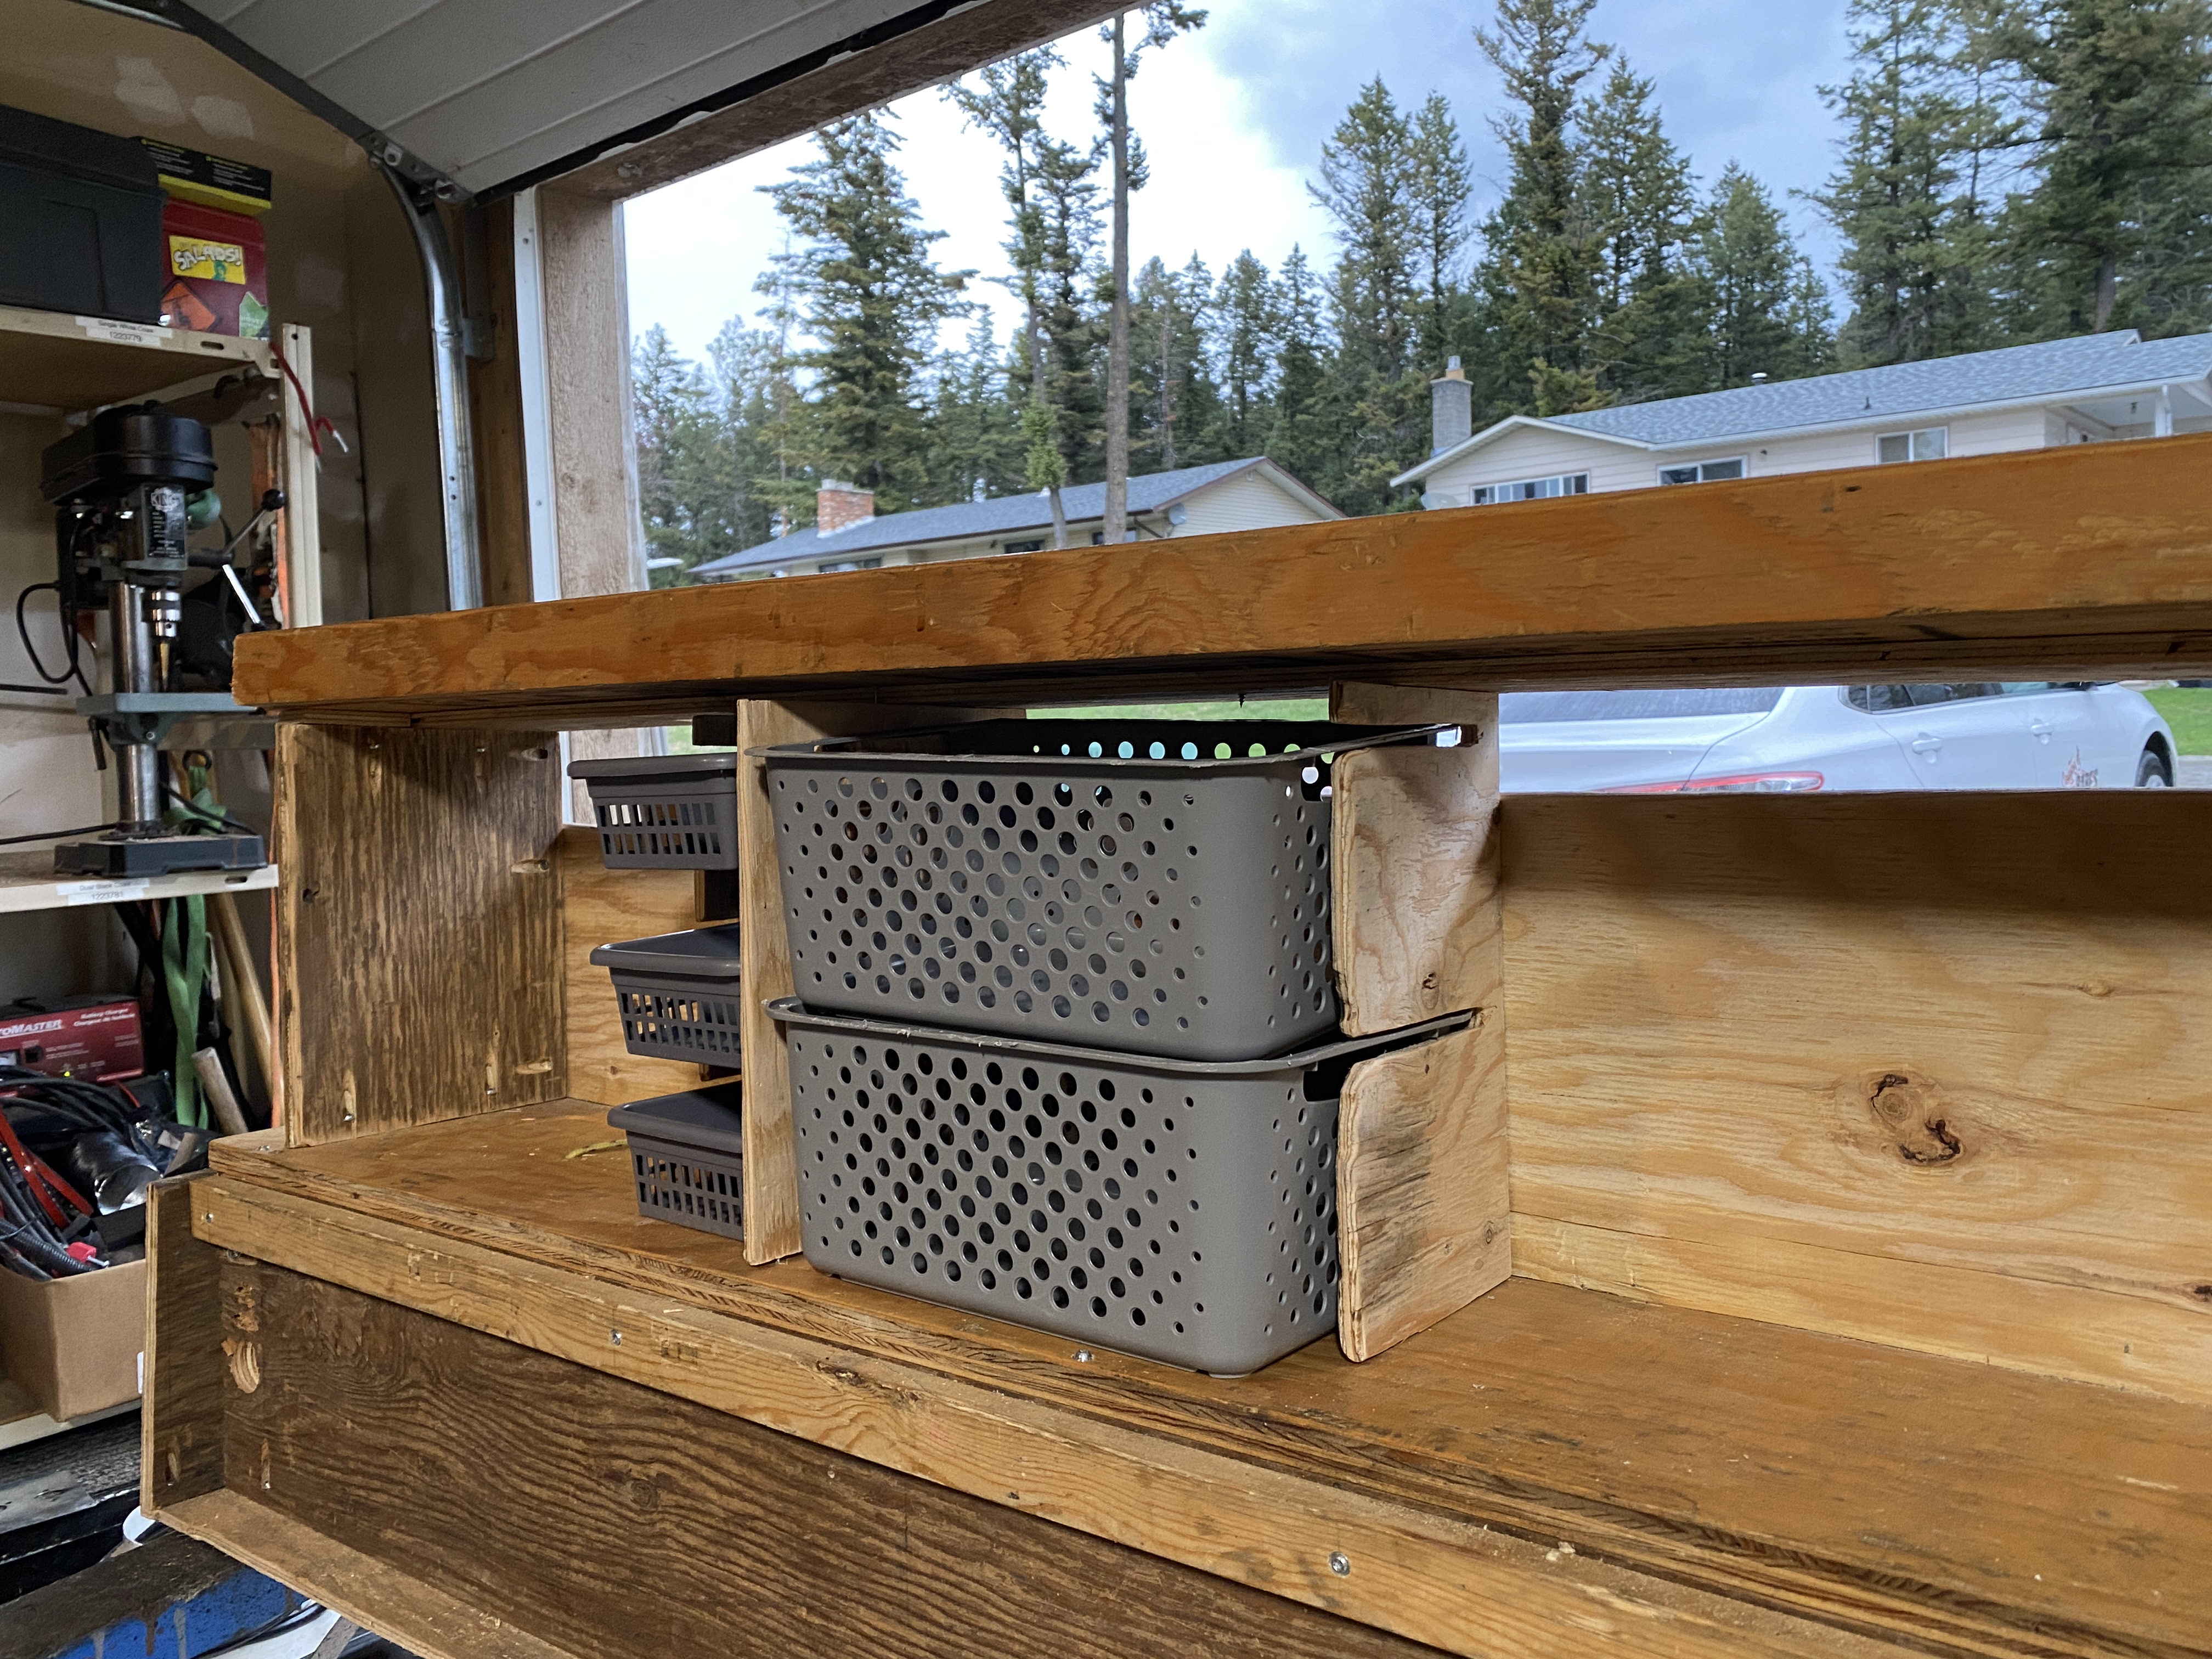
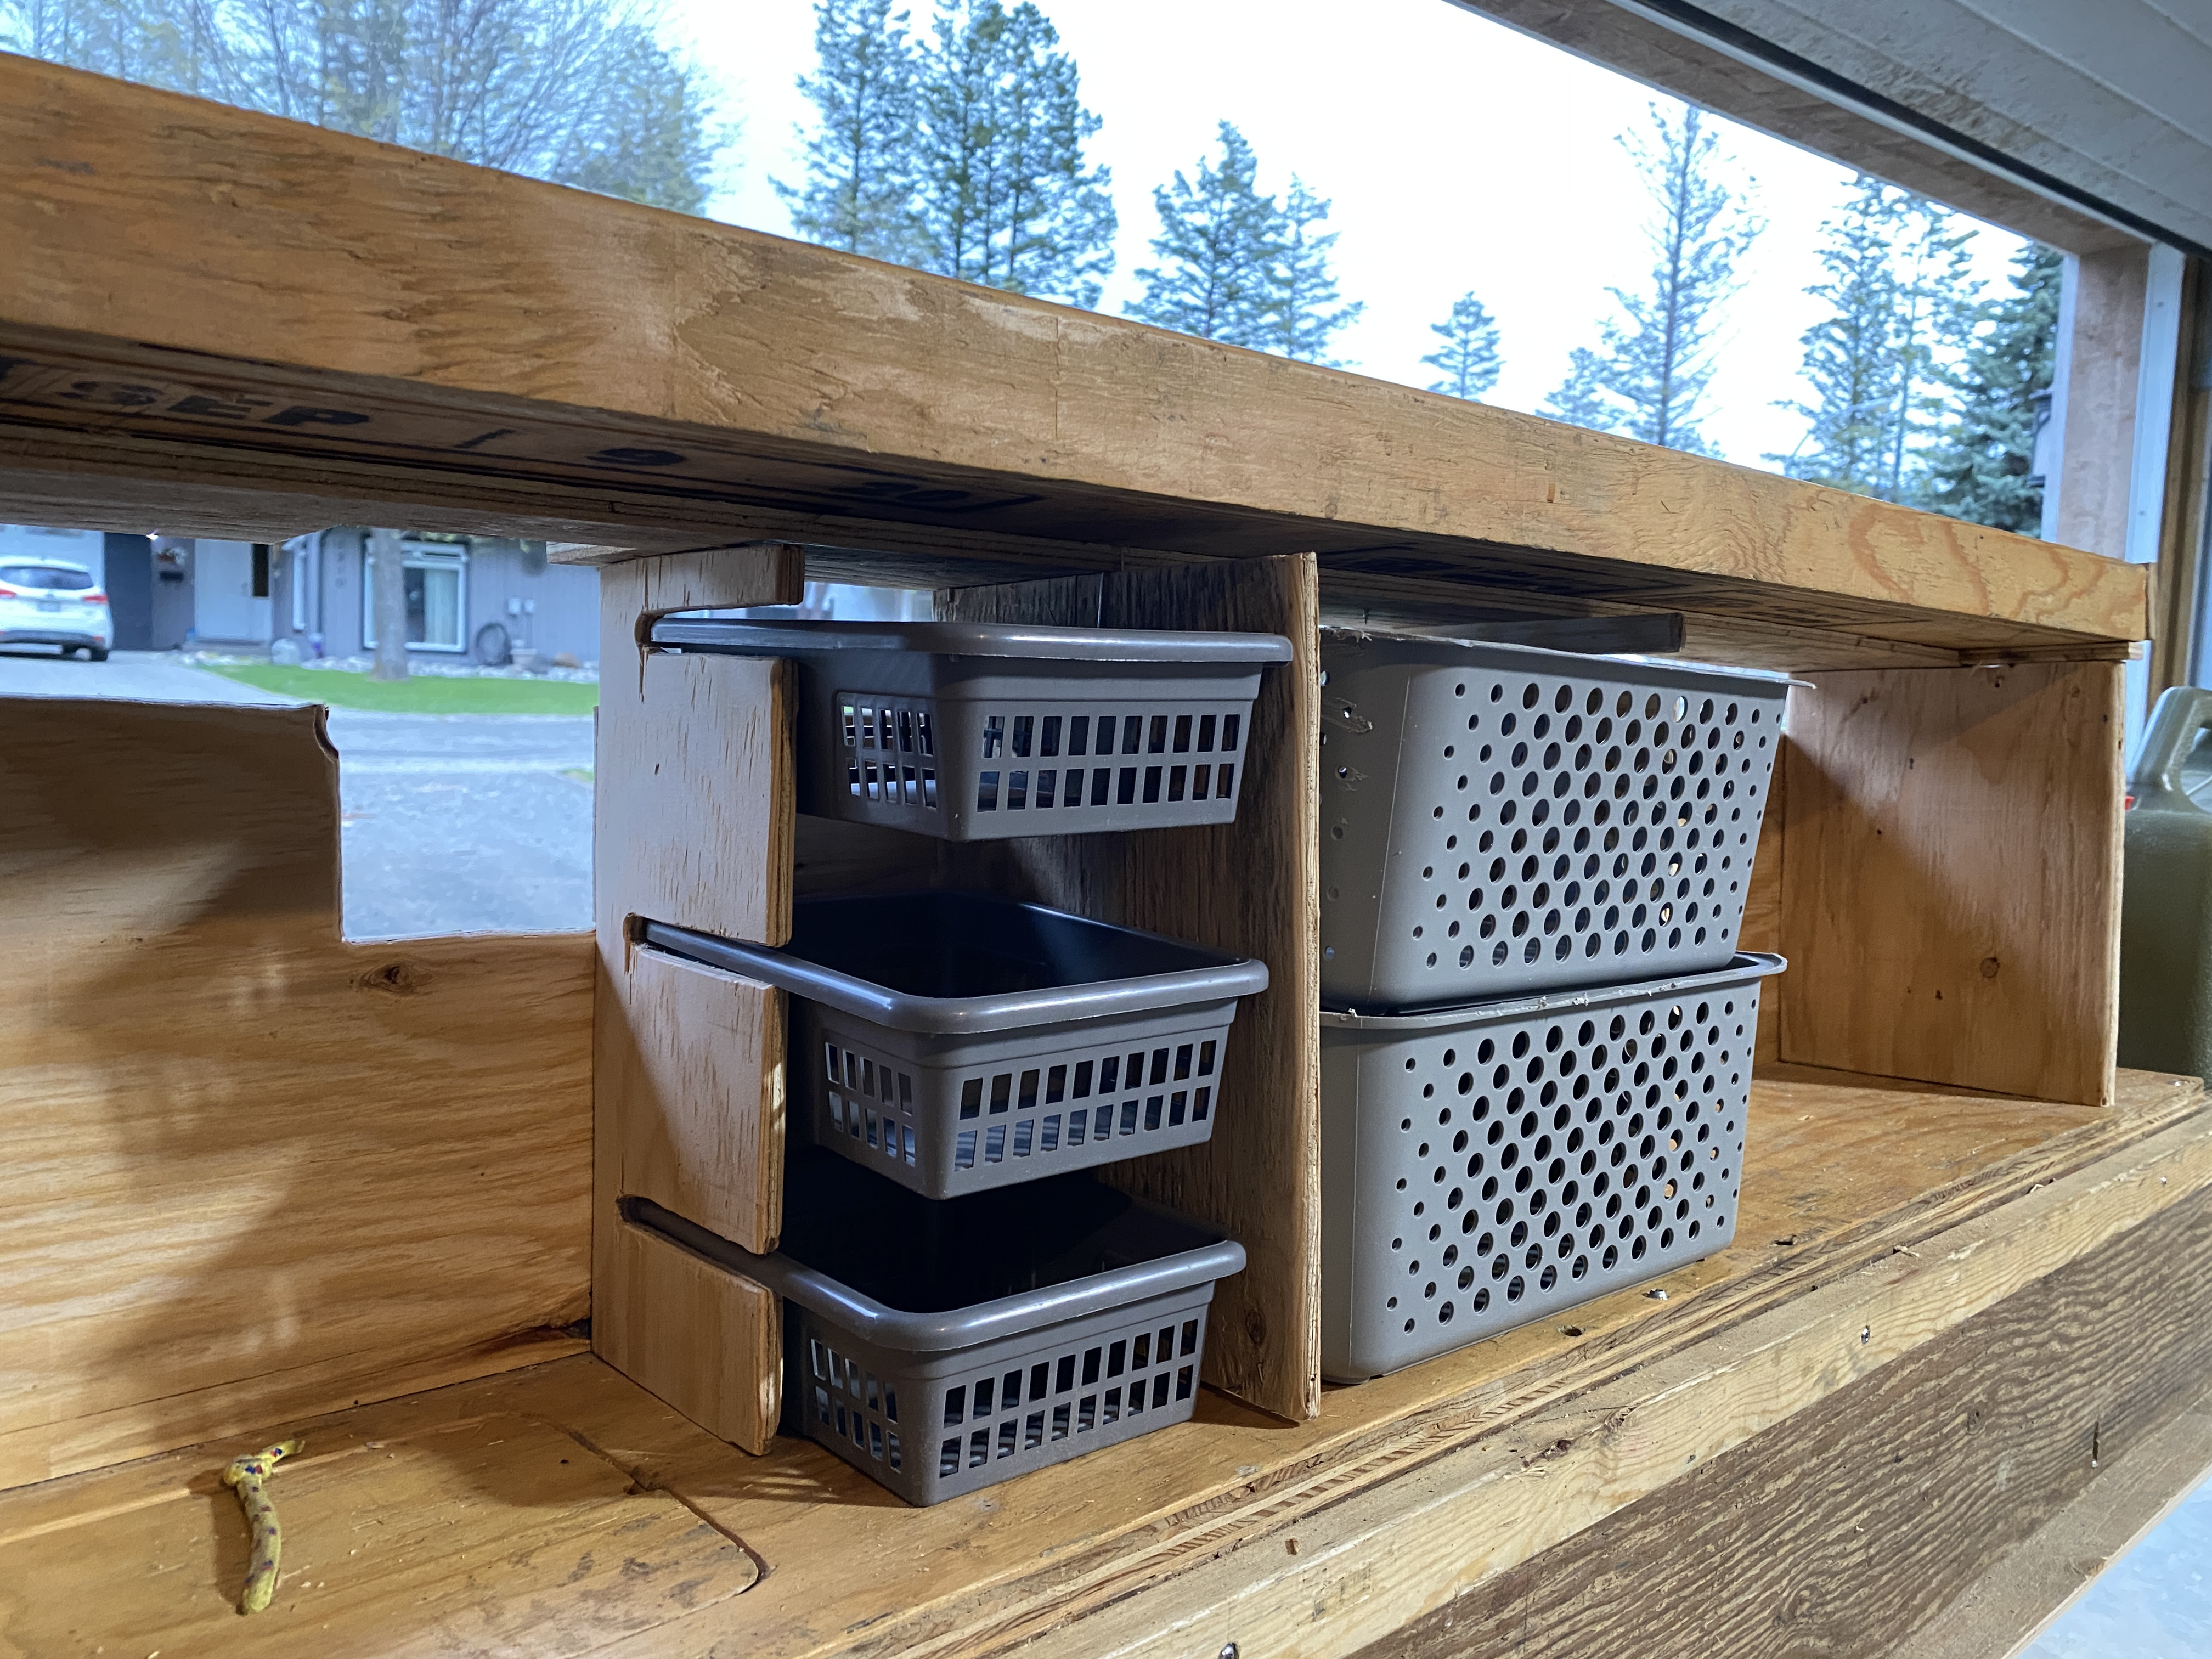
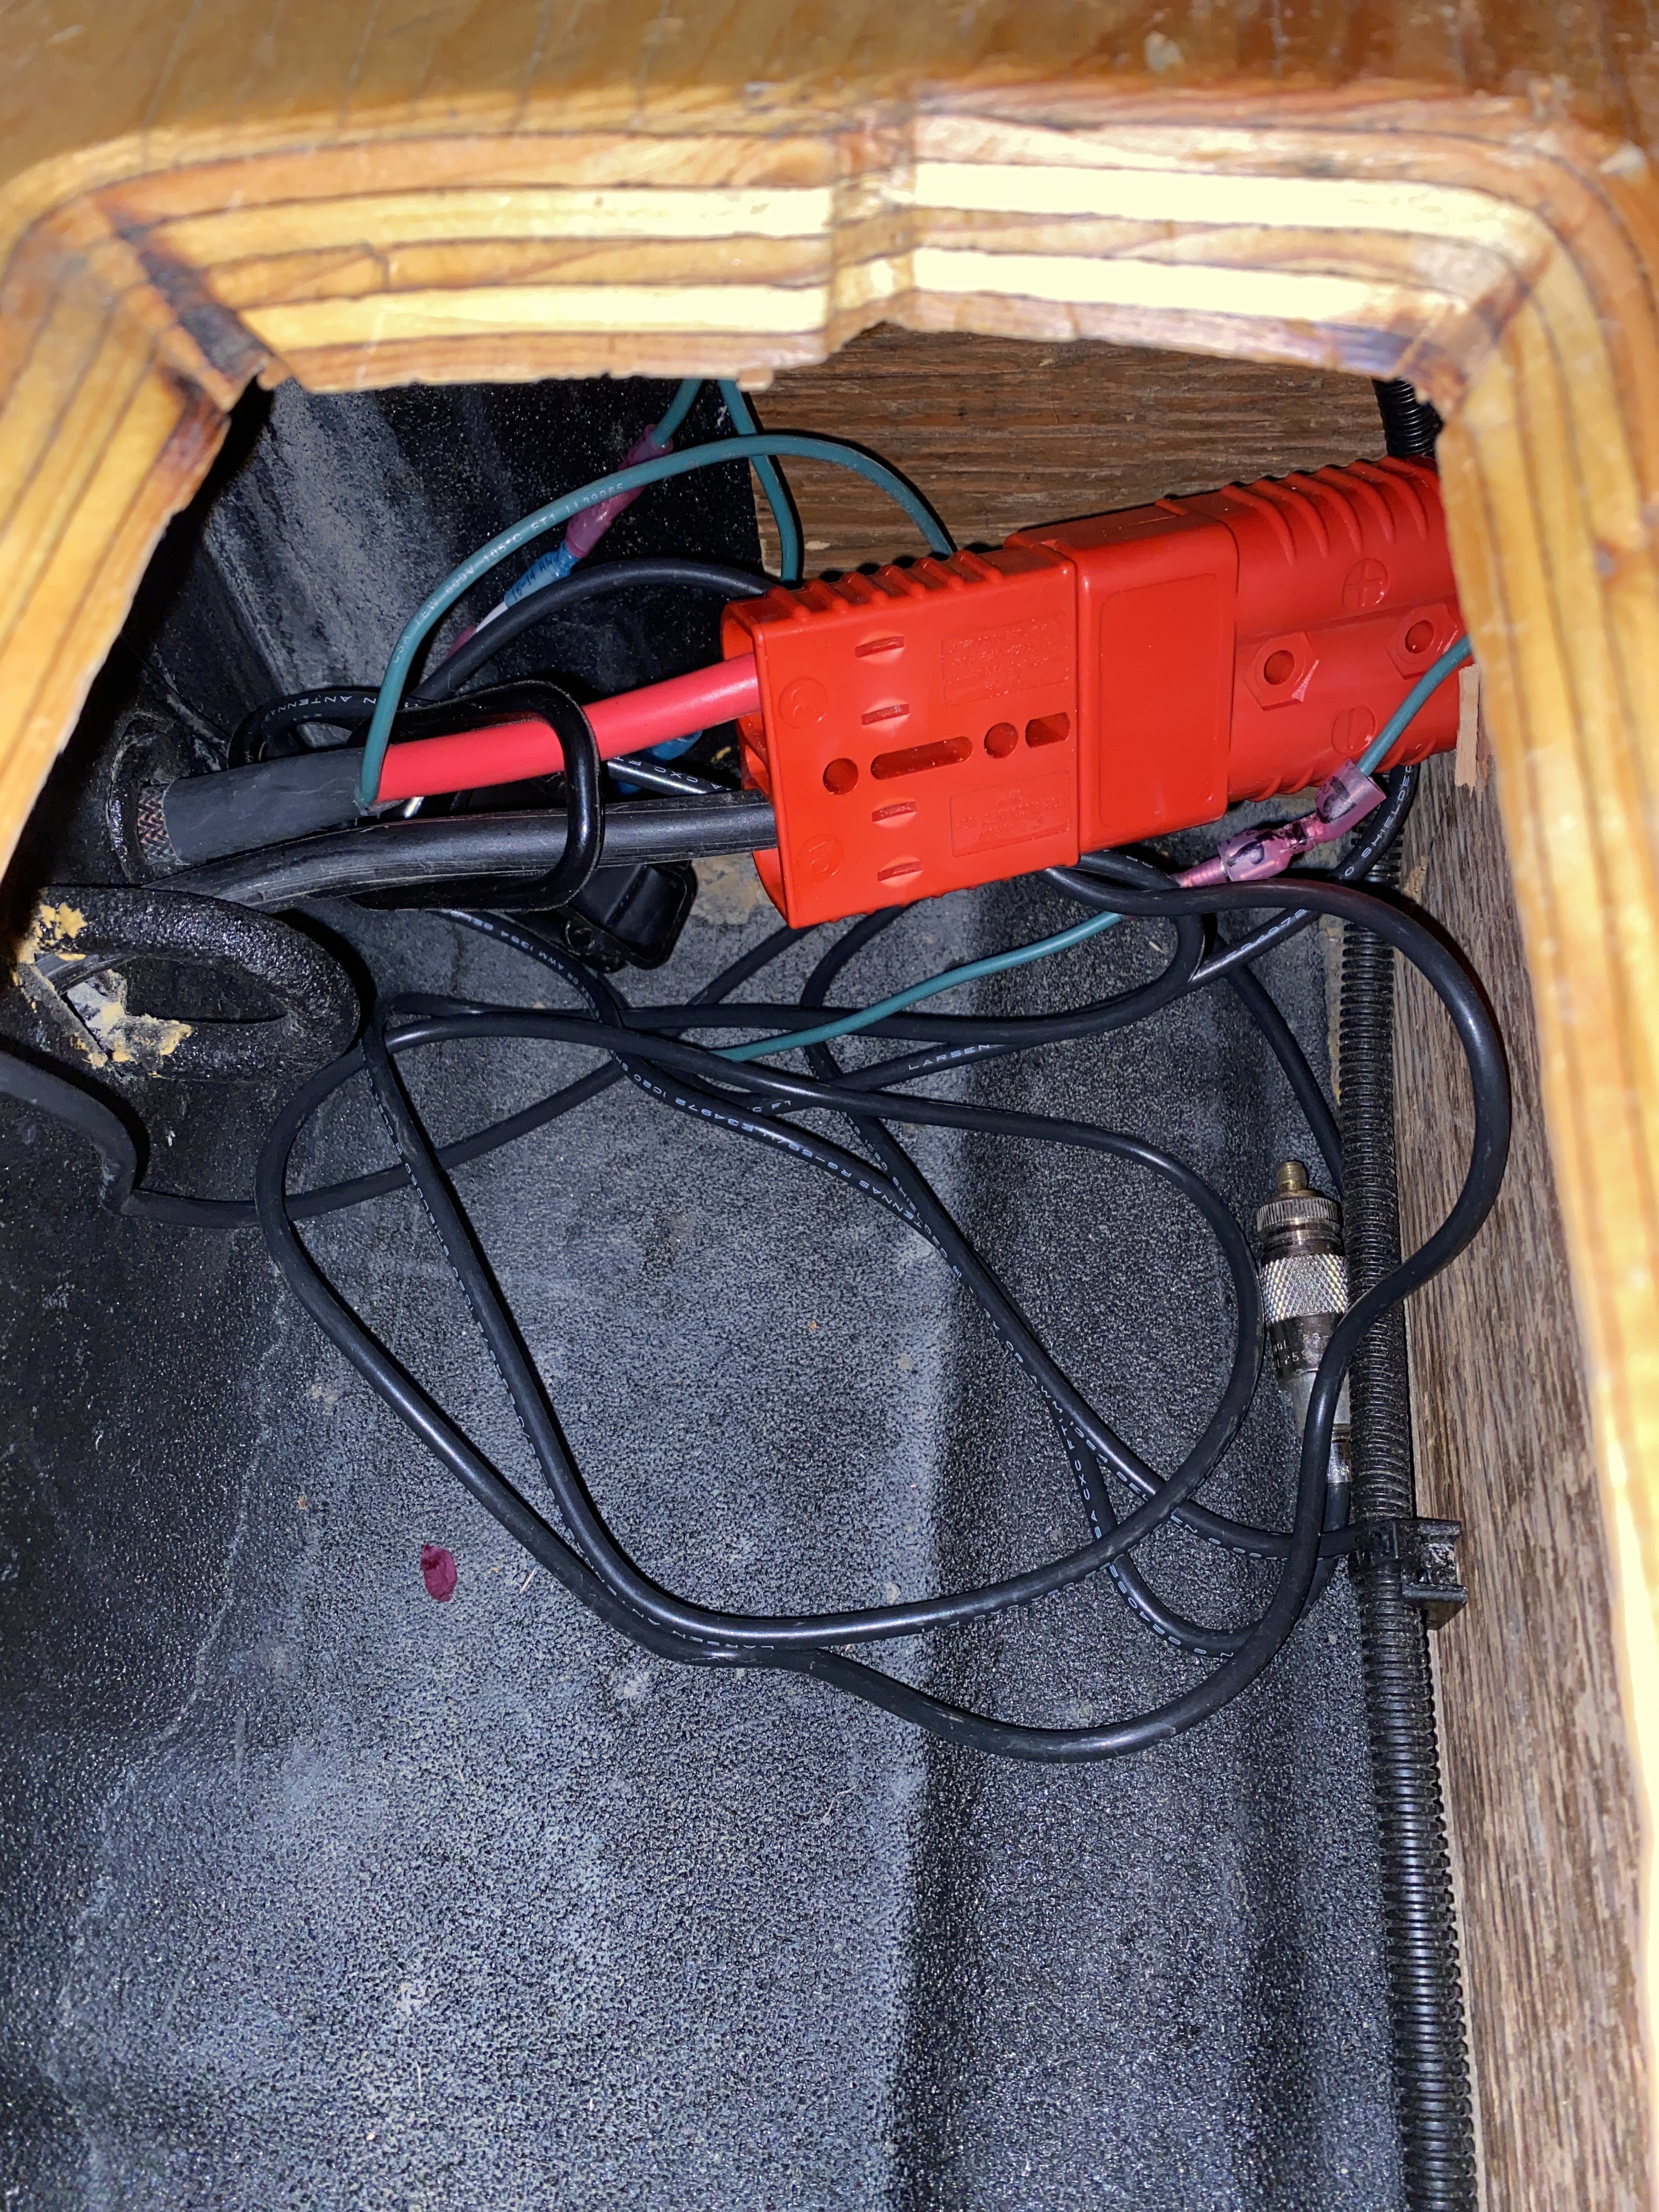
I placed the cup there in the meantime as I searched out the culprit. At this point it is raining heavily and the children are up top eating eggs, bacon and watching looney toons. I investigated the changes I have made that have since resulted in this. Where’s Dishy?

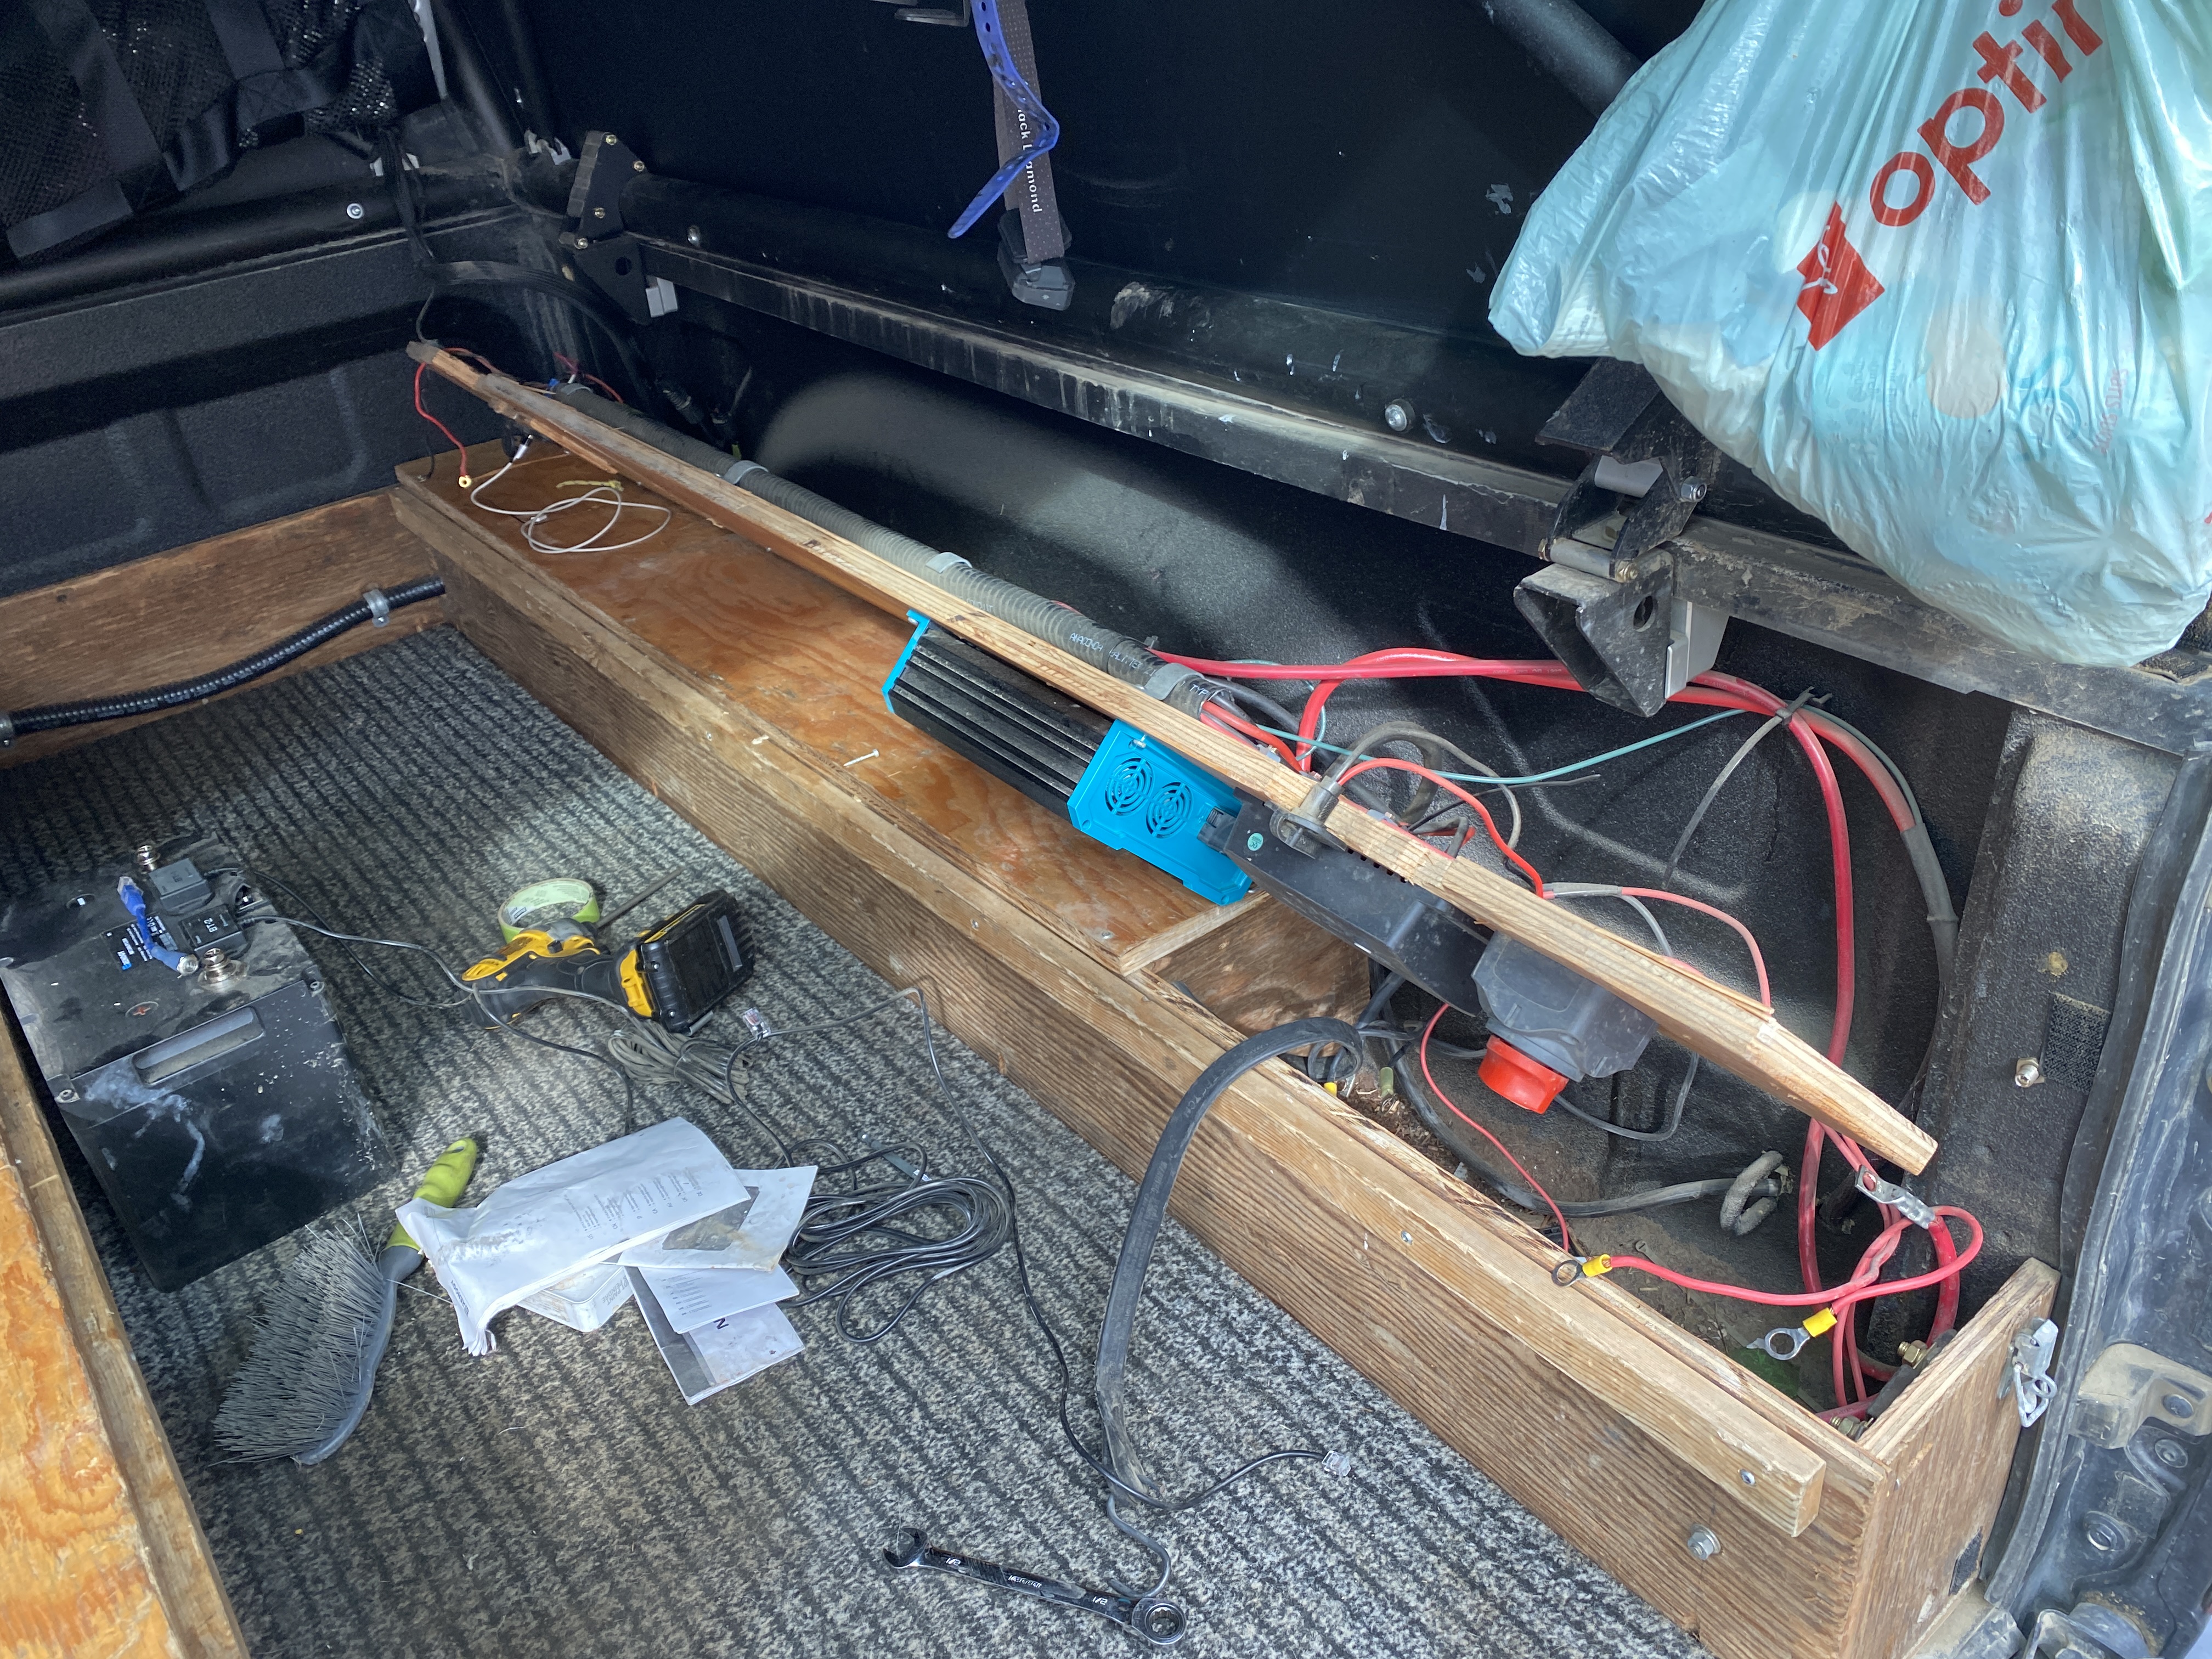
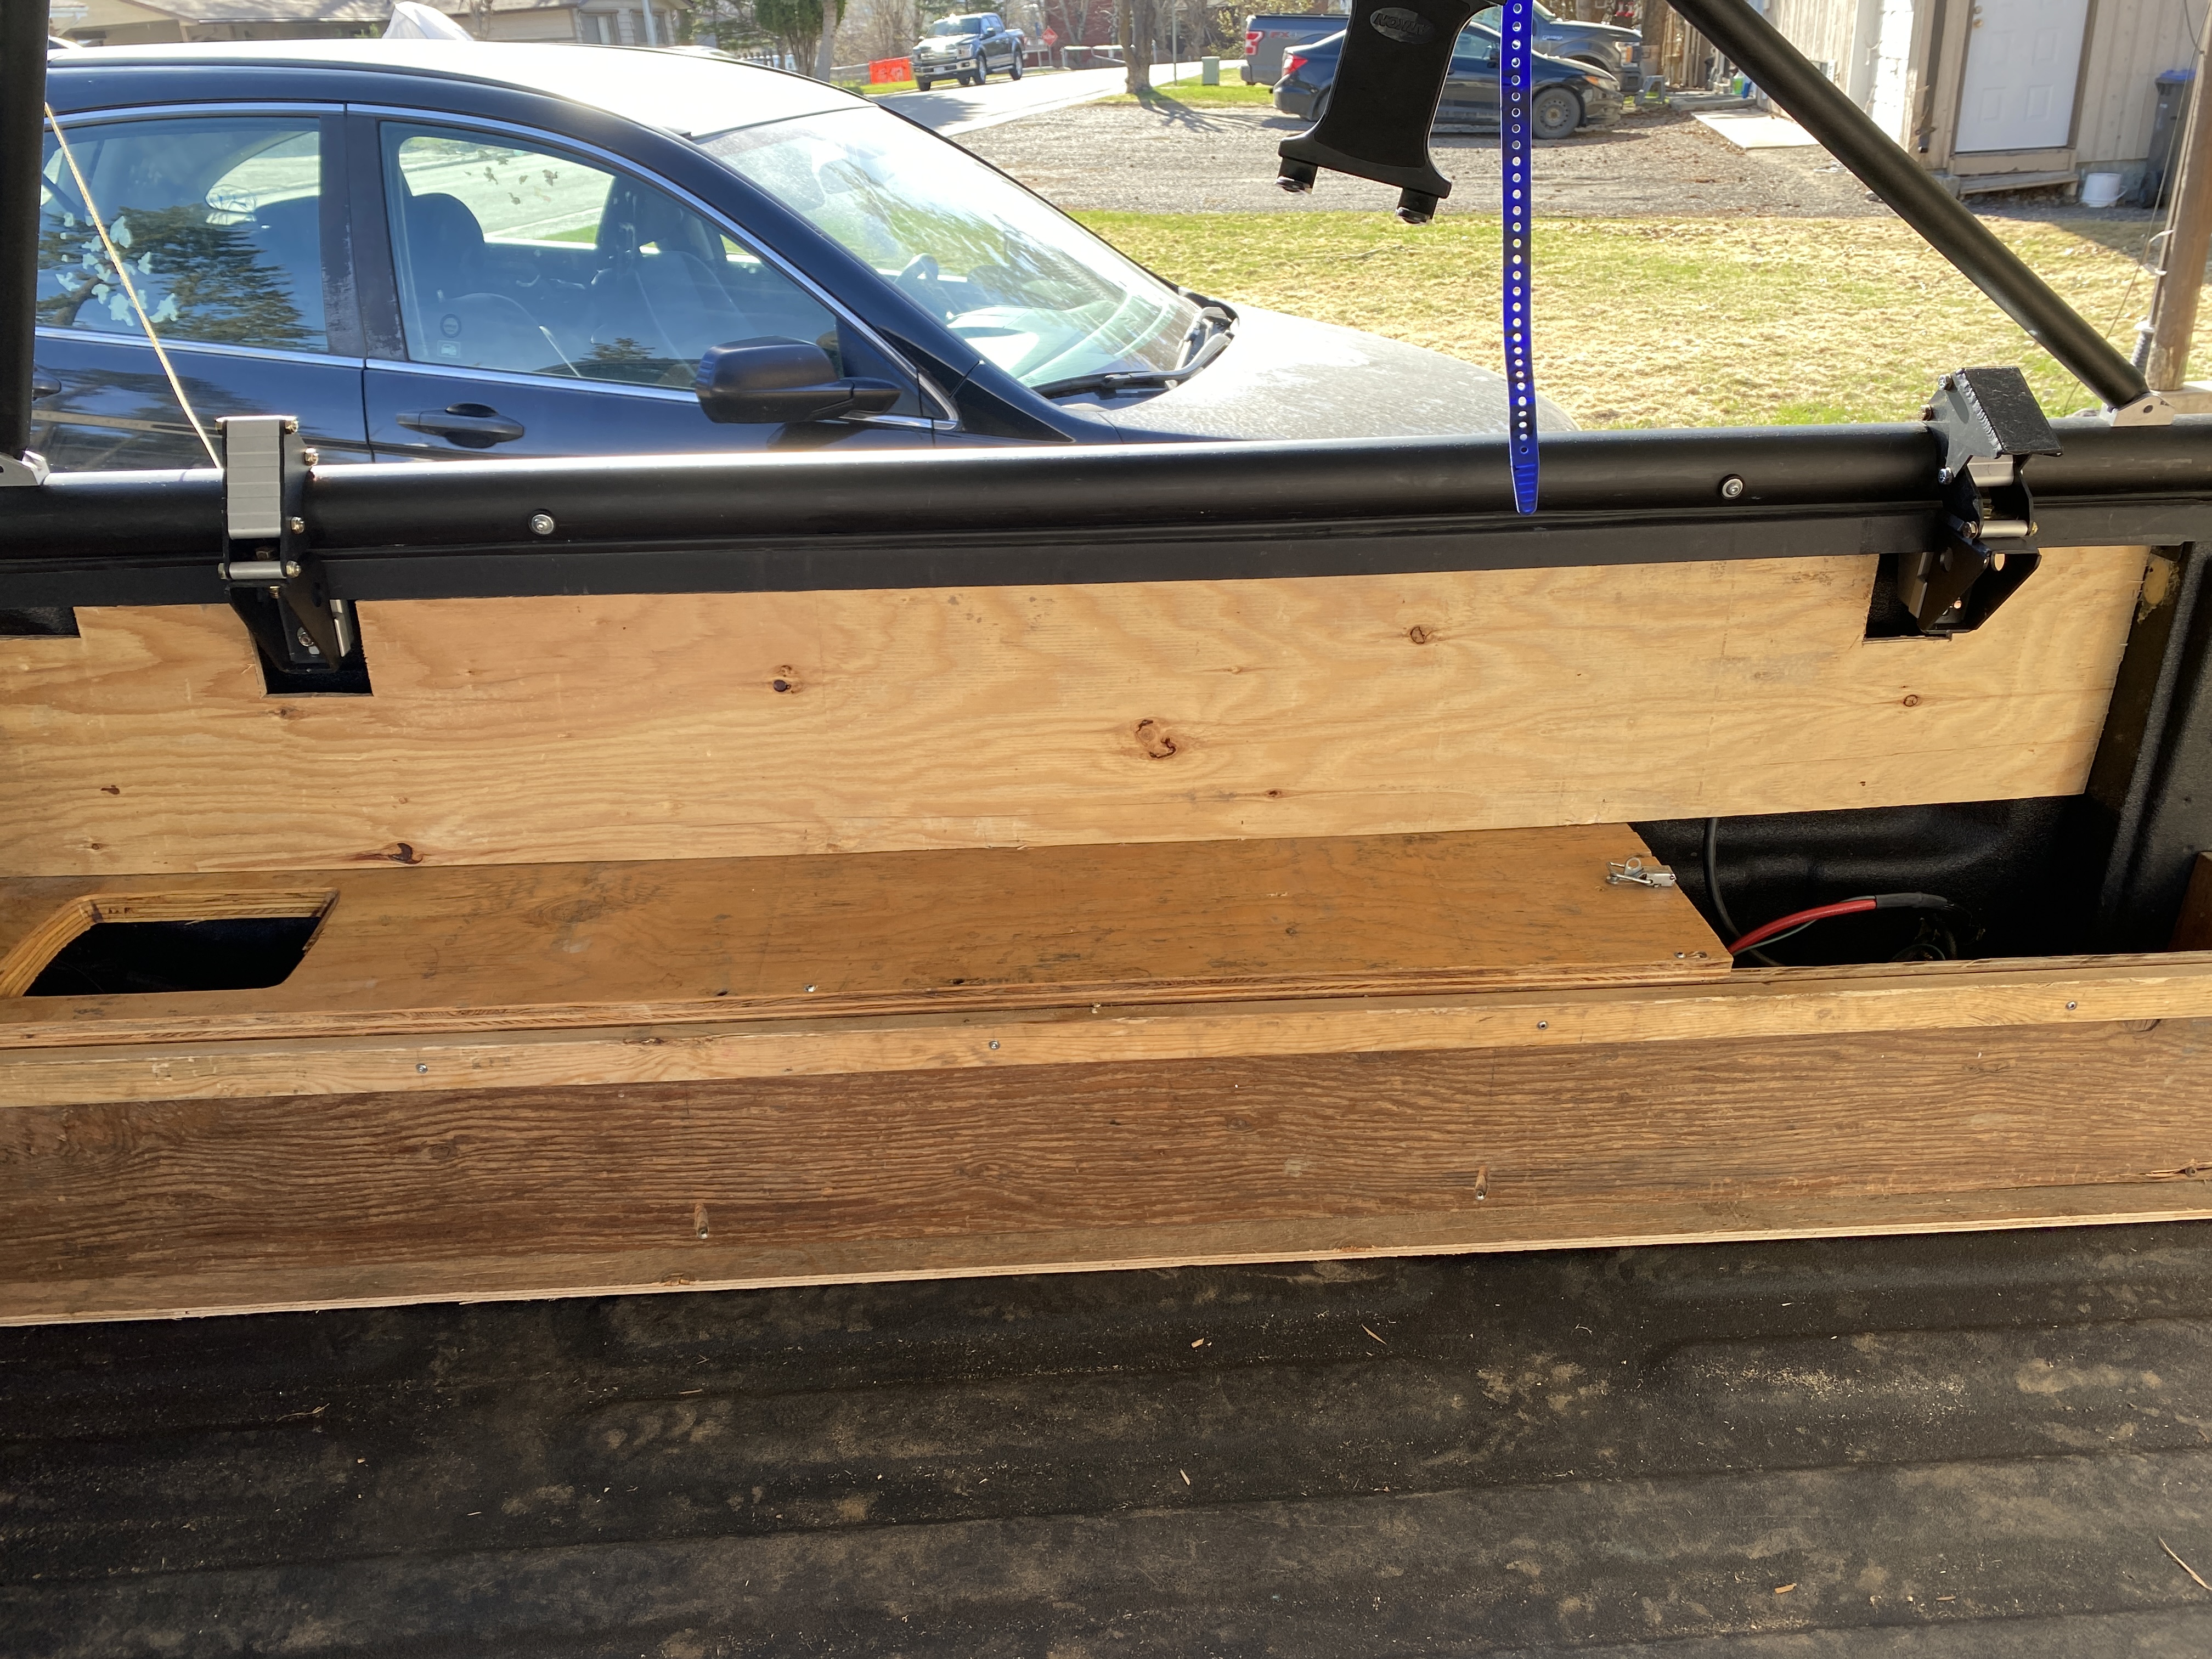
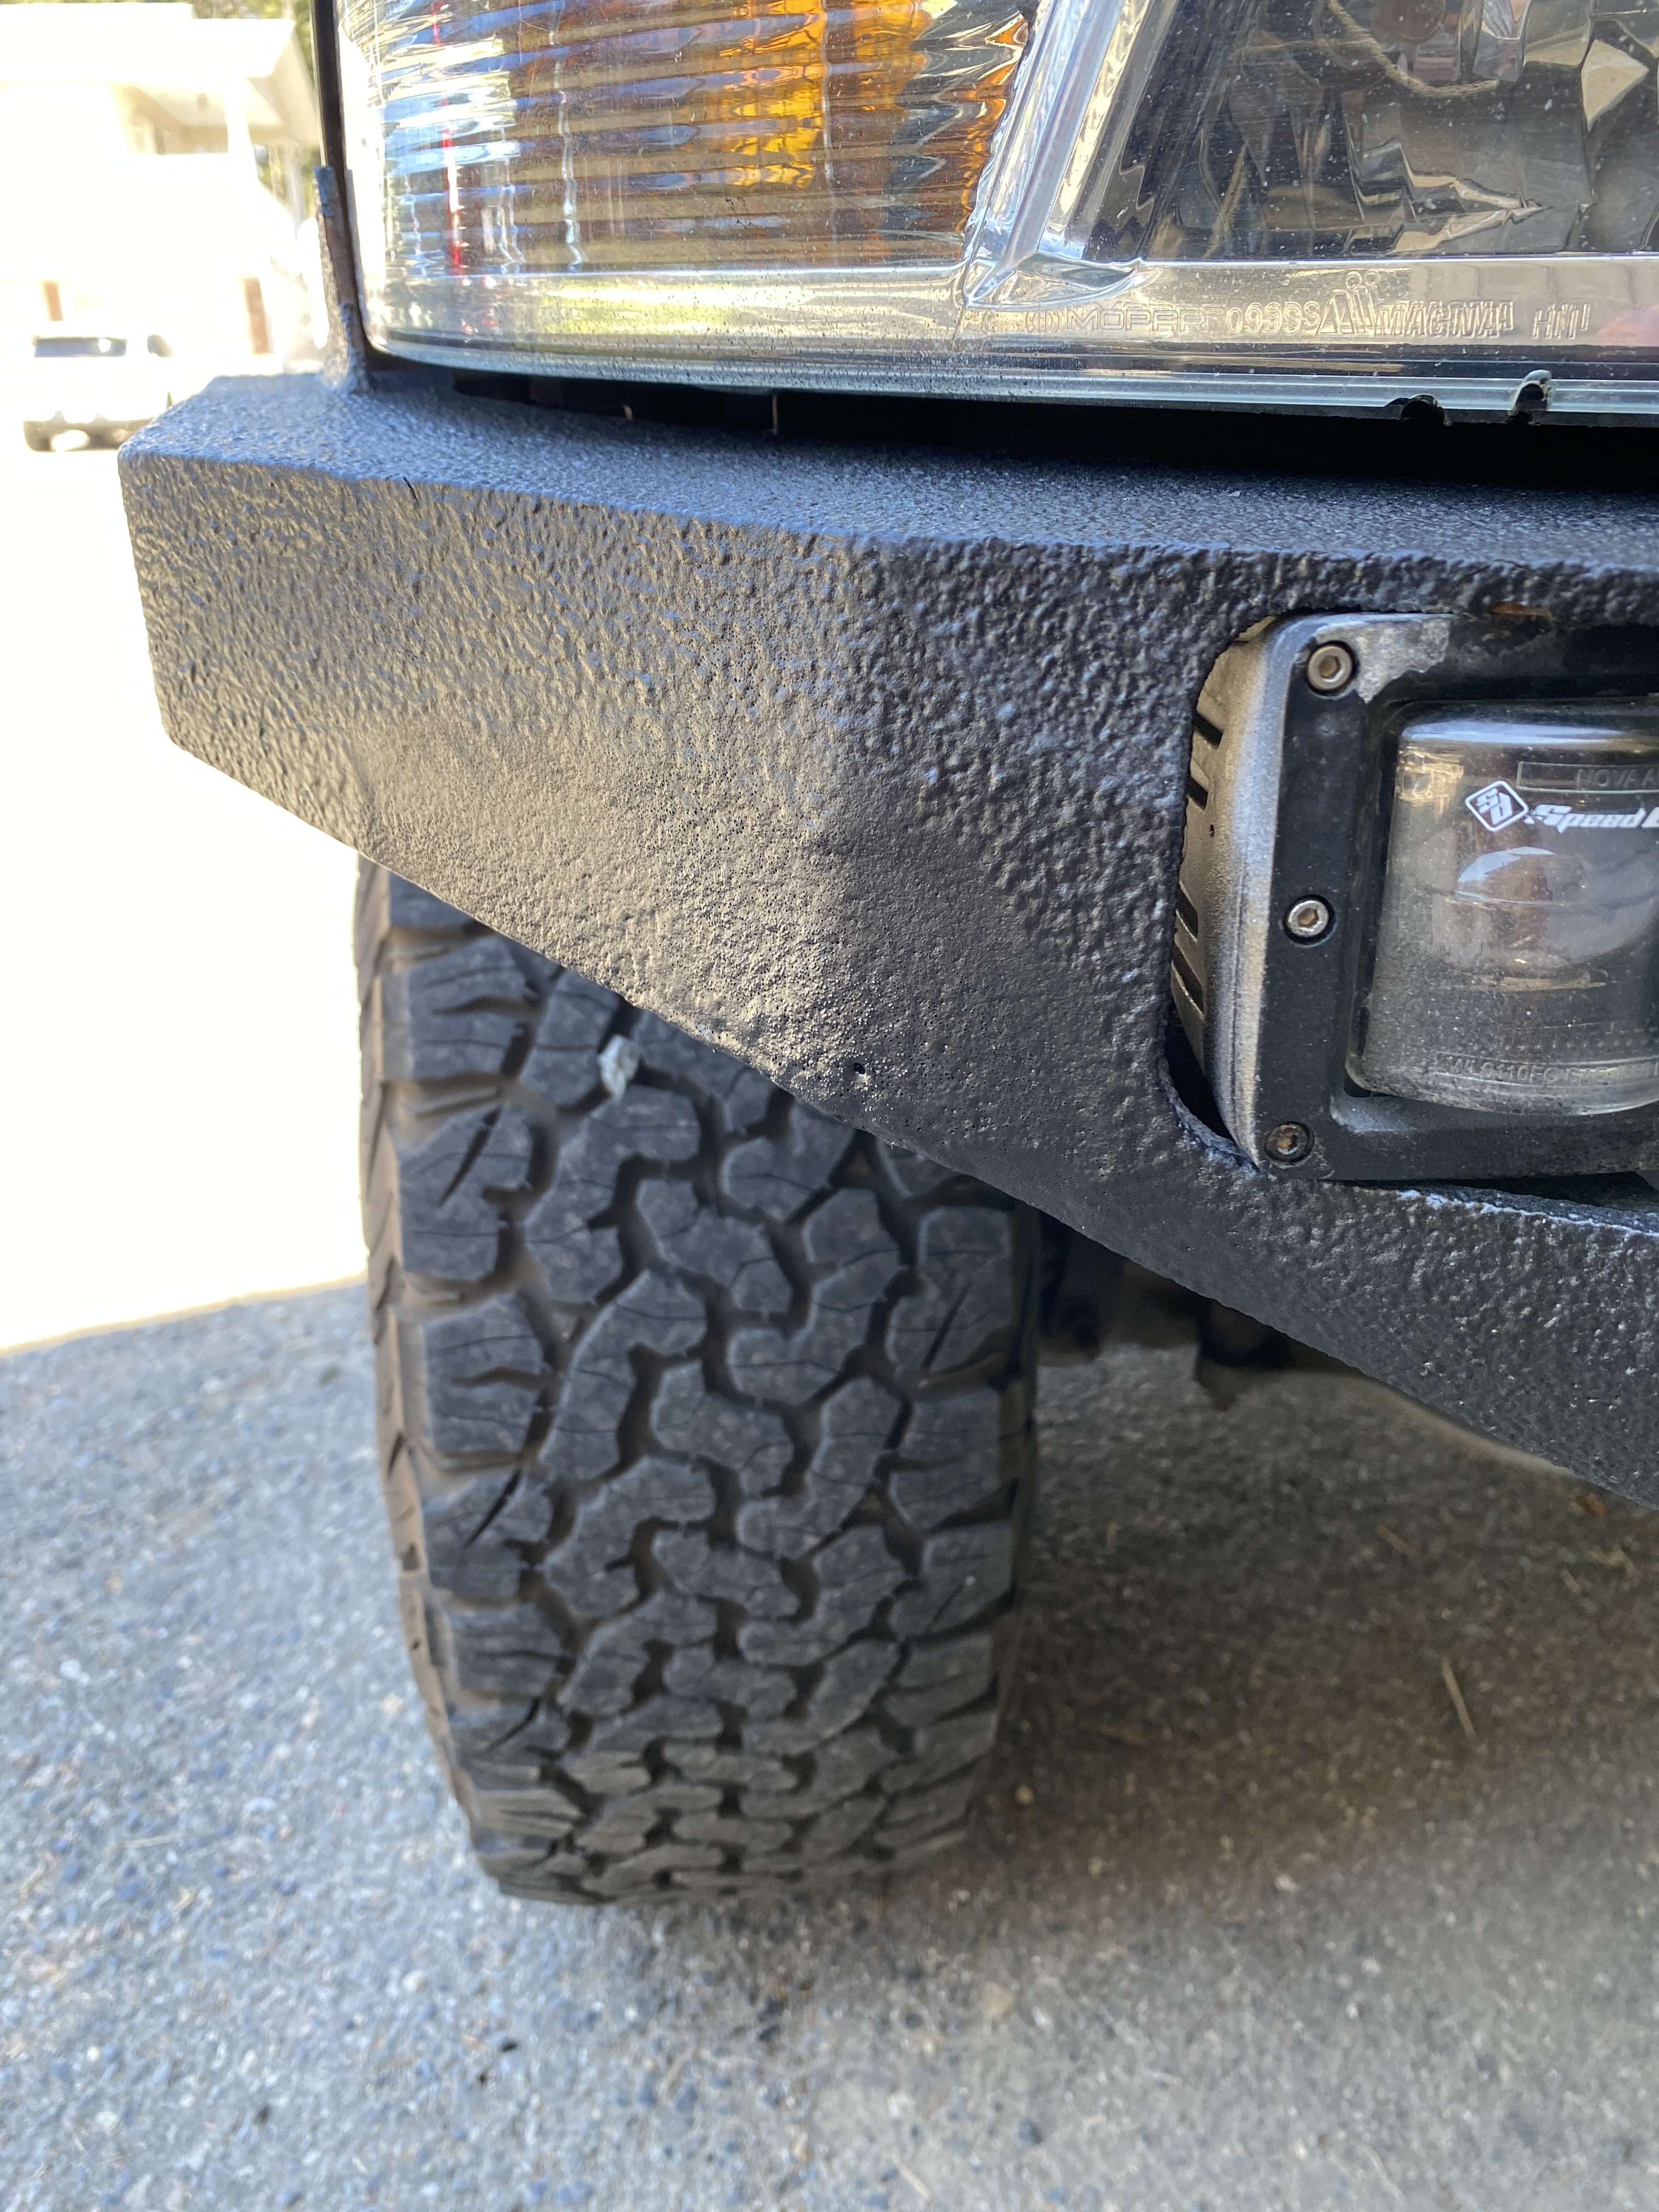
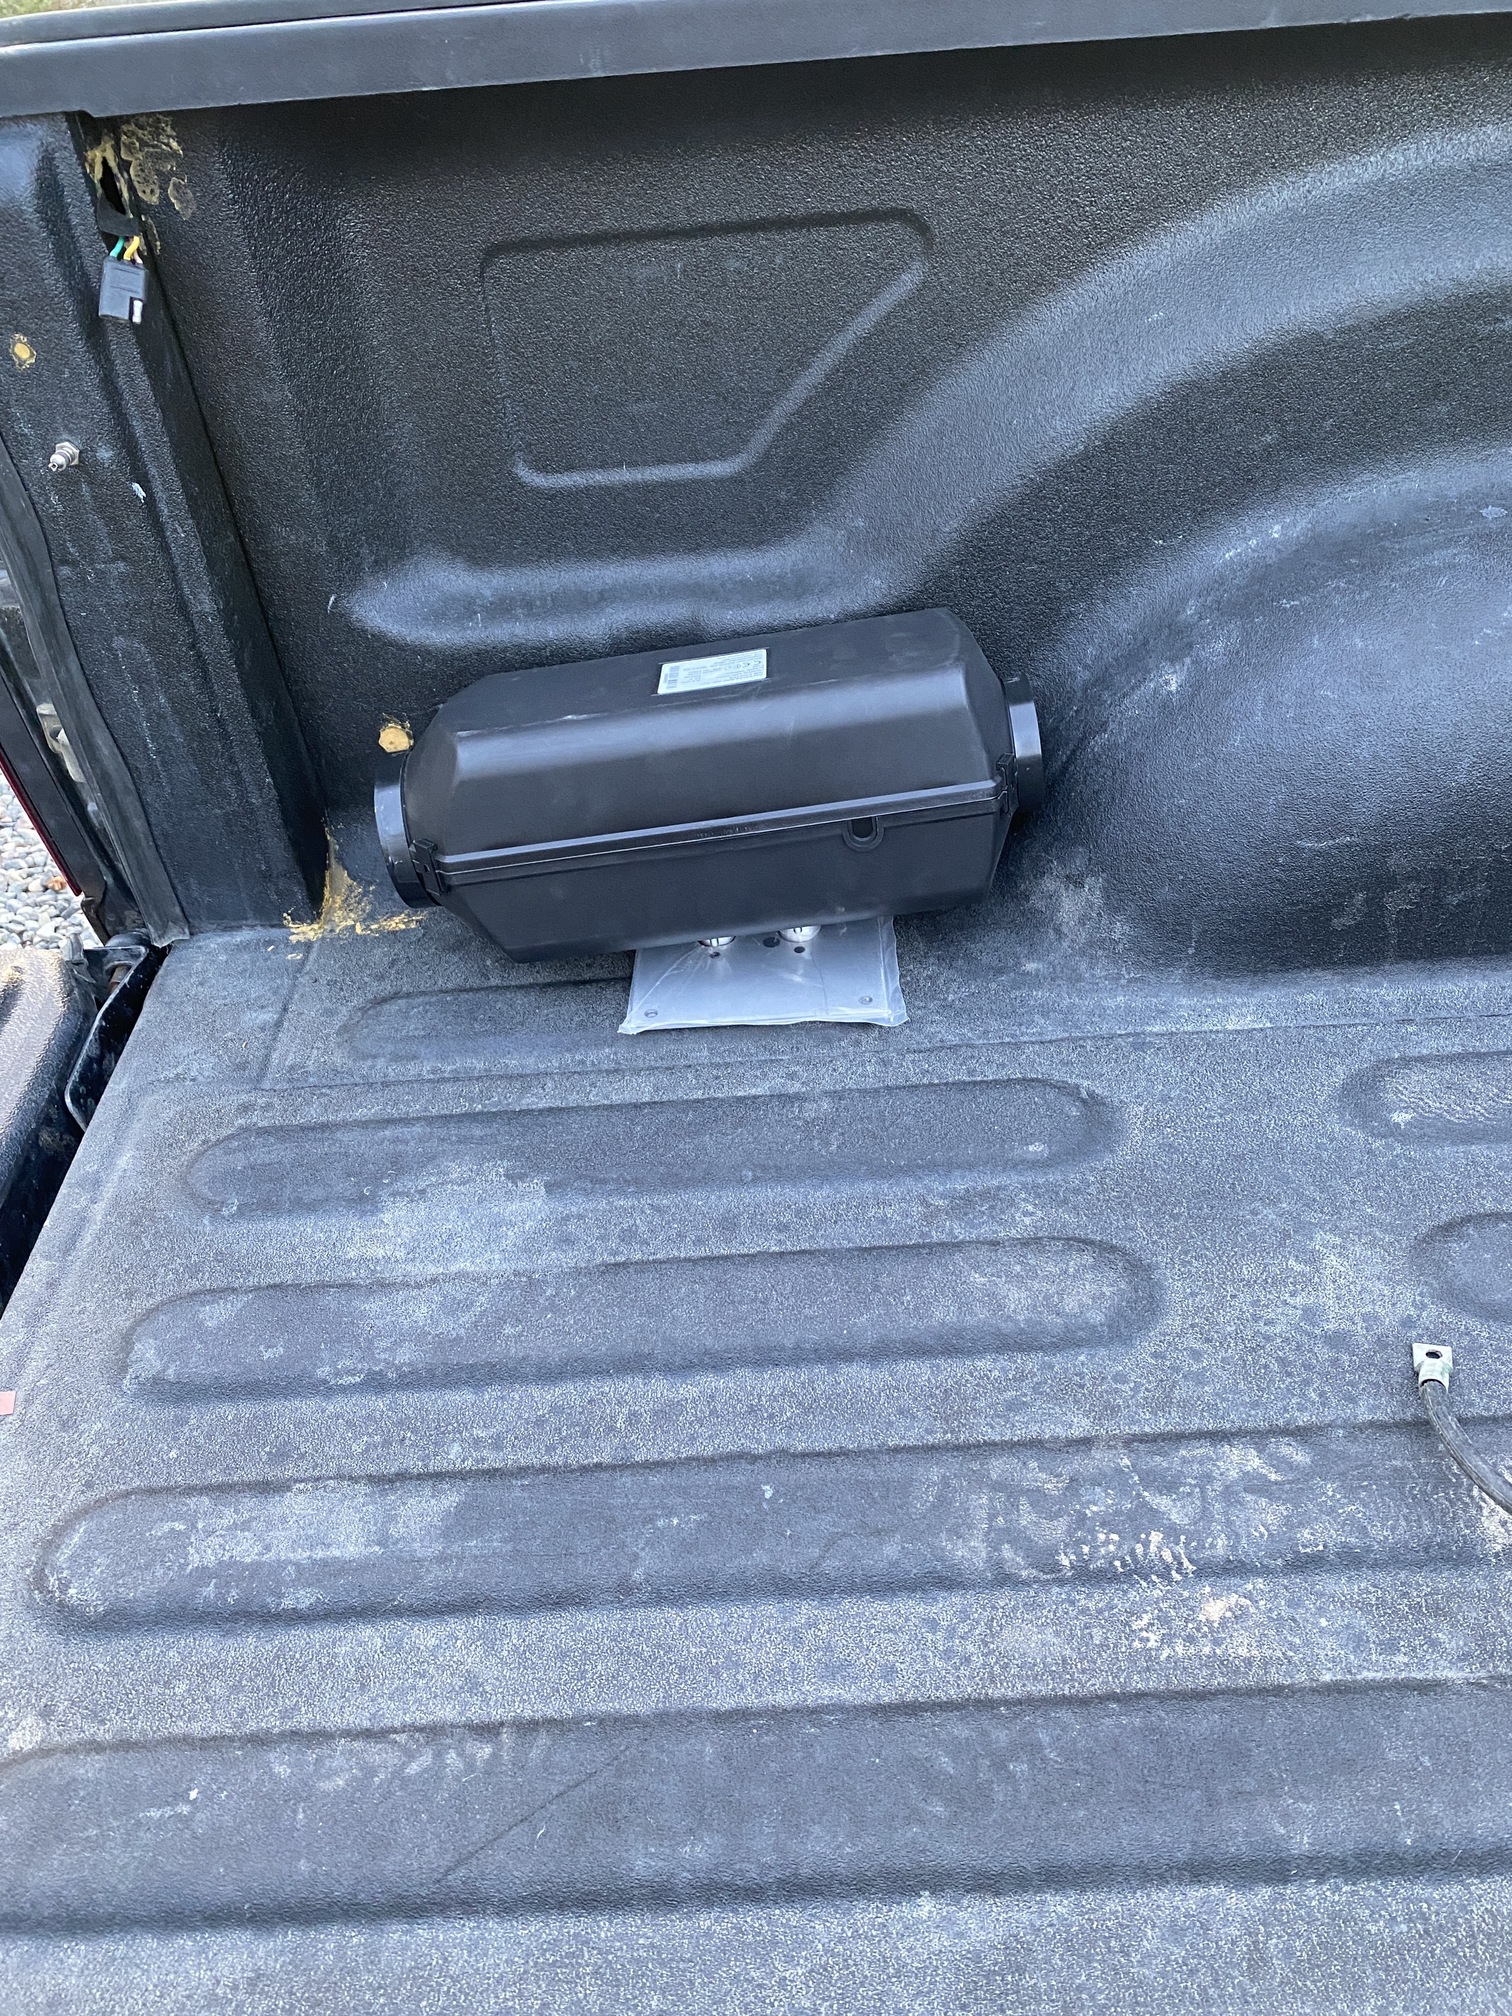
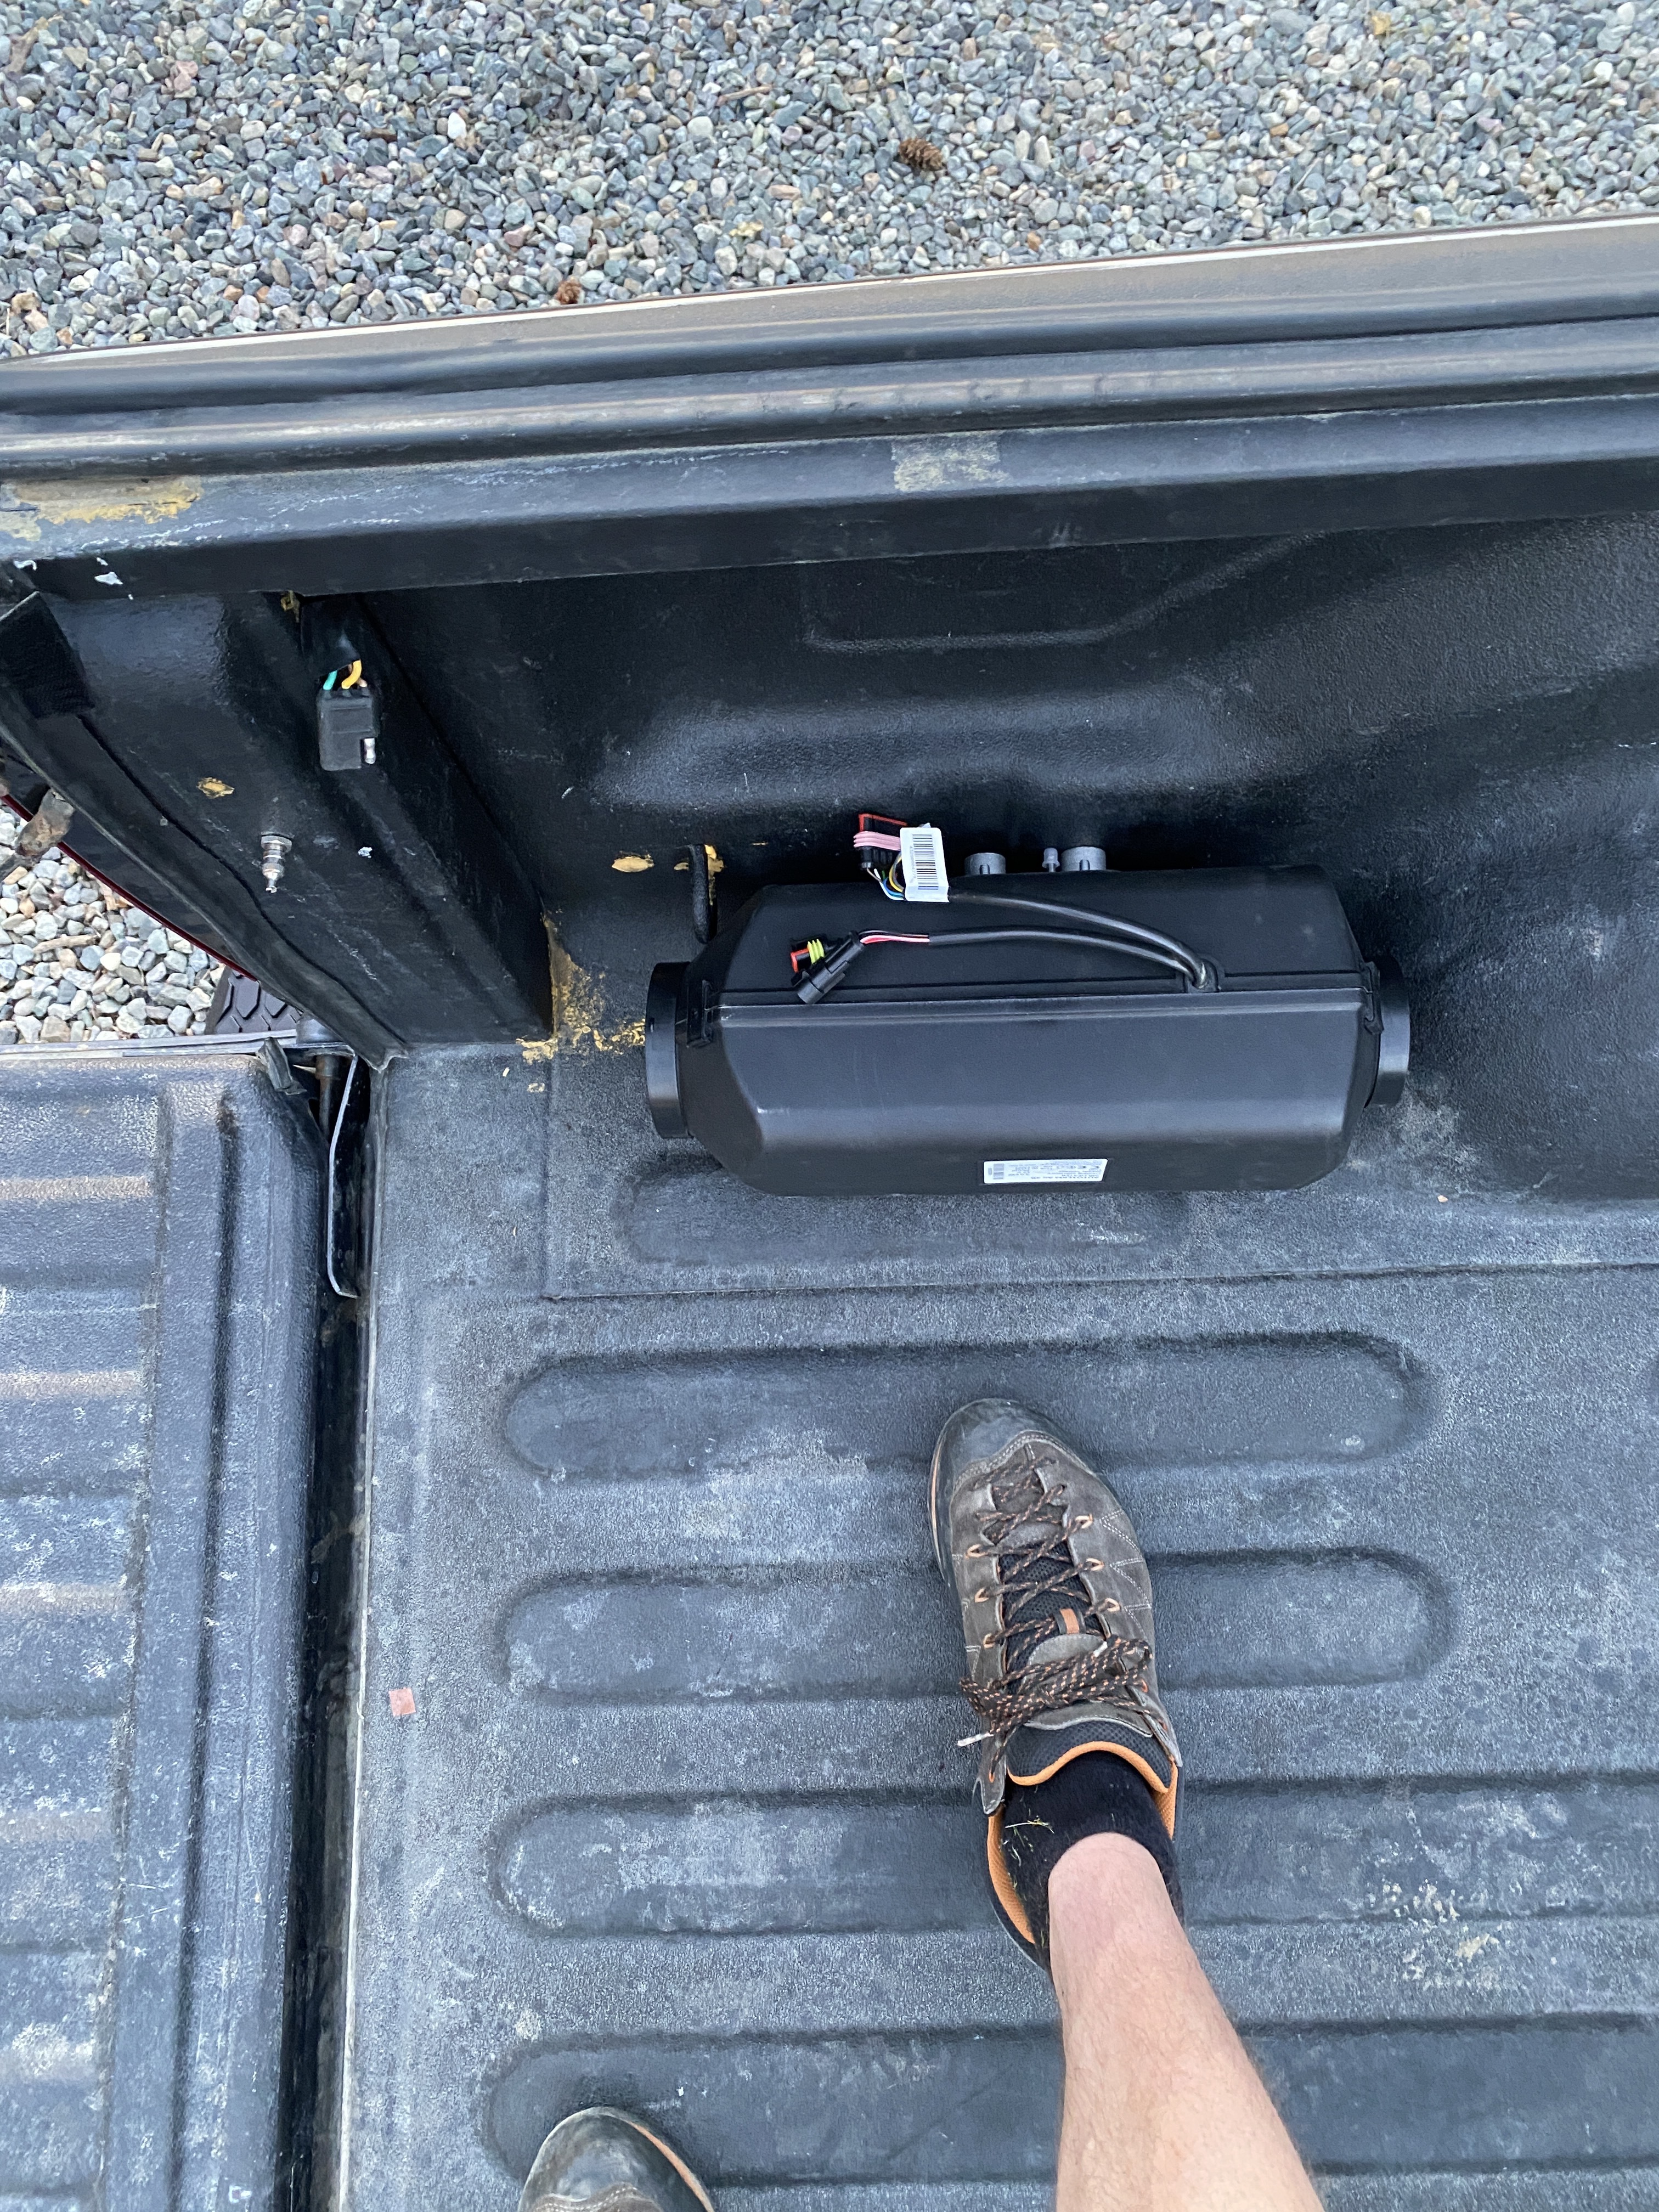
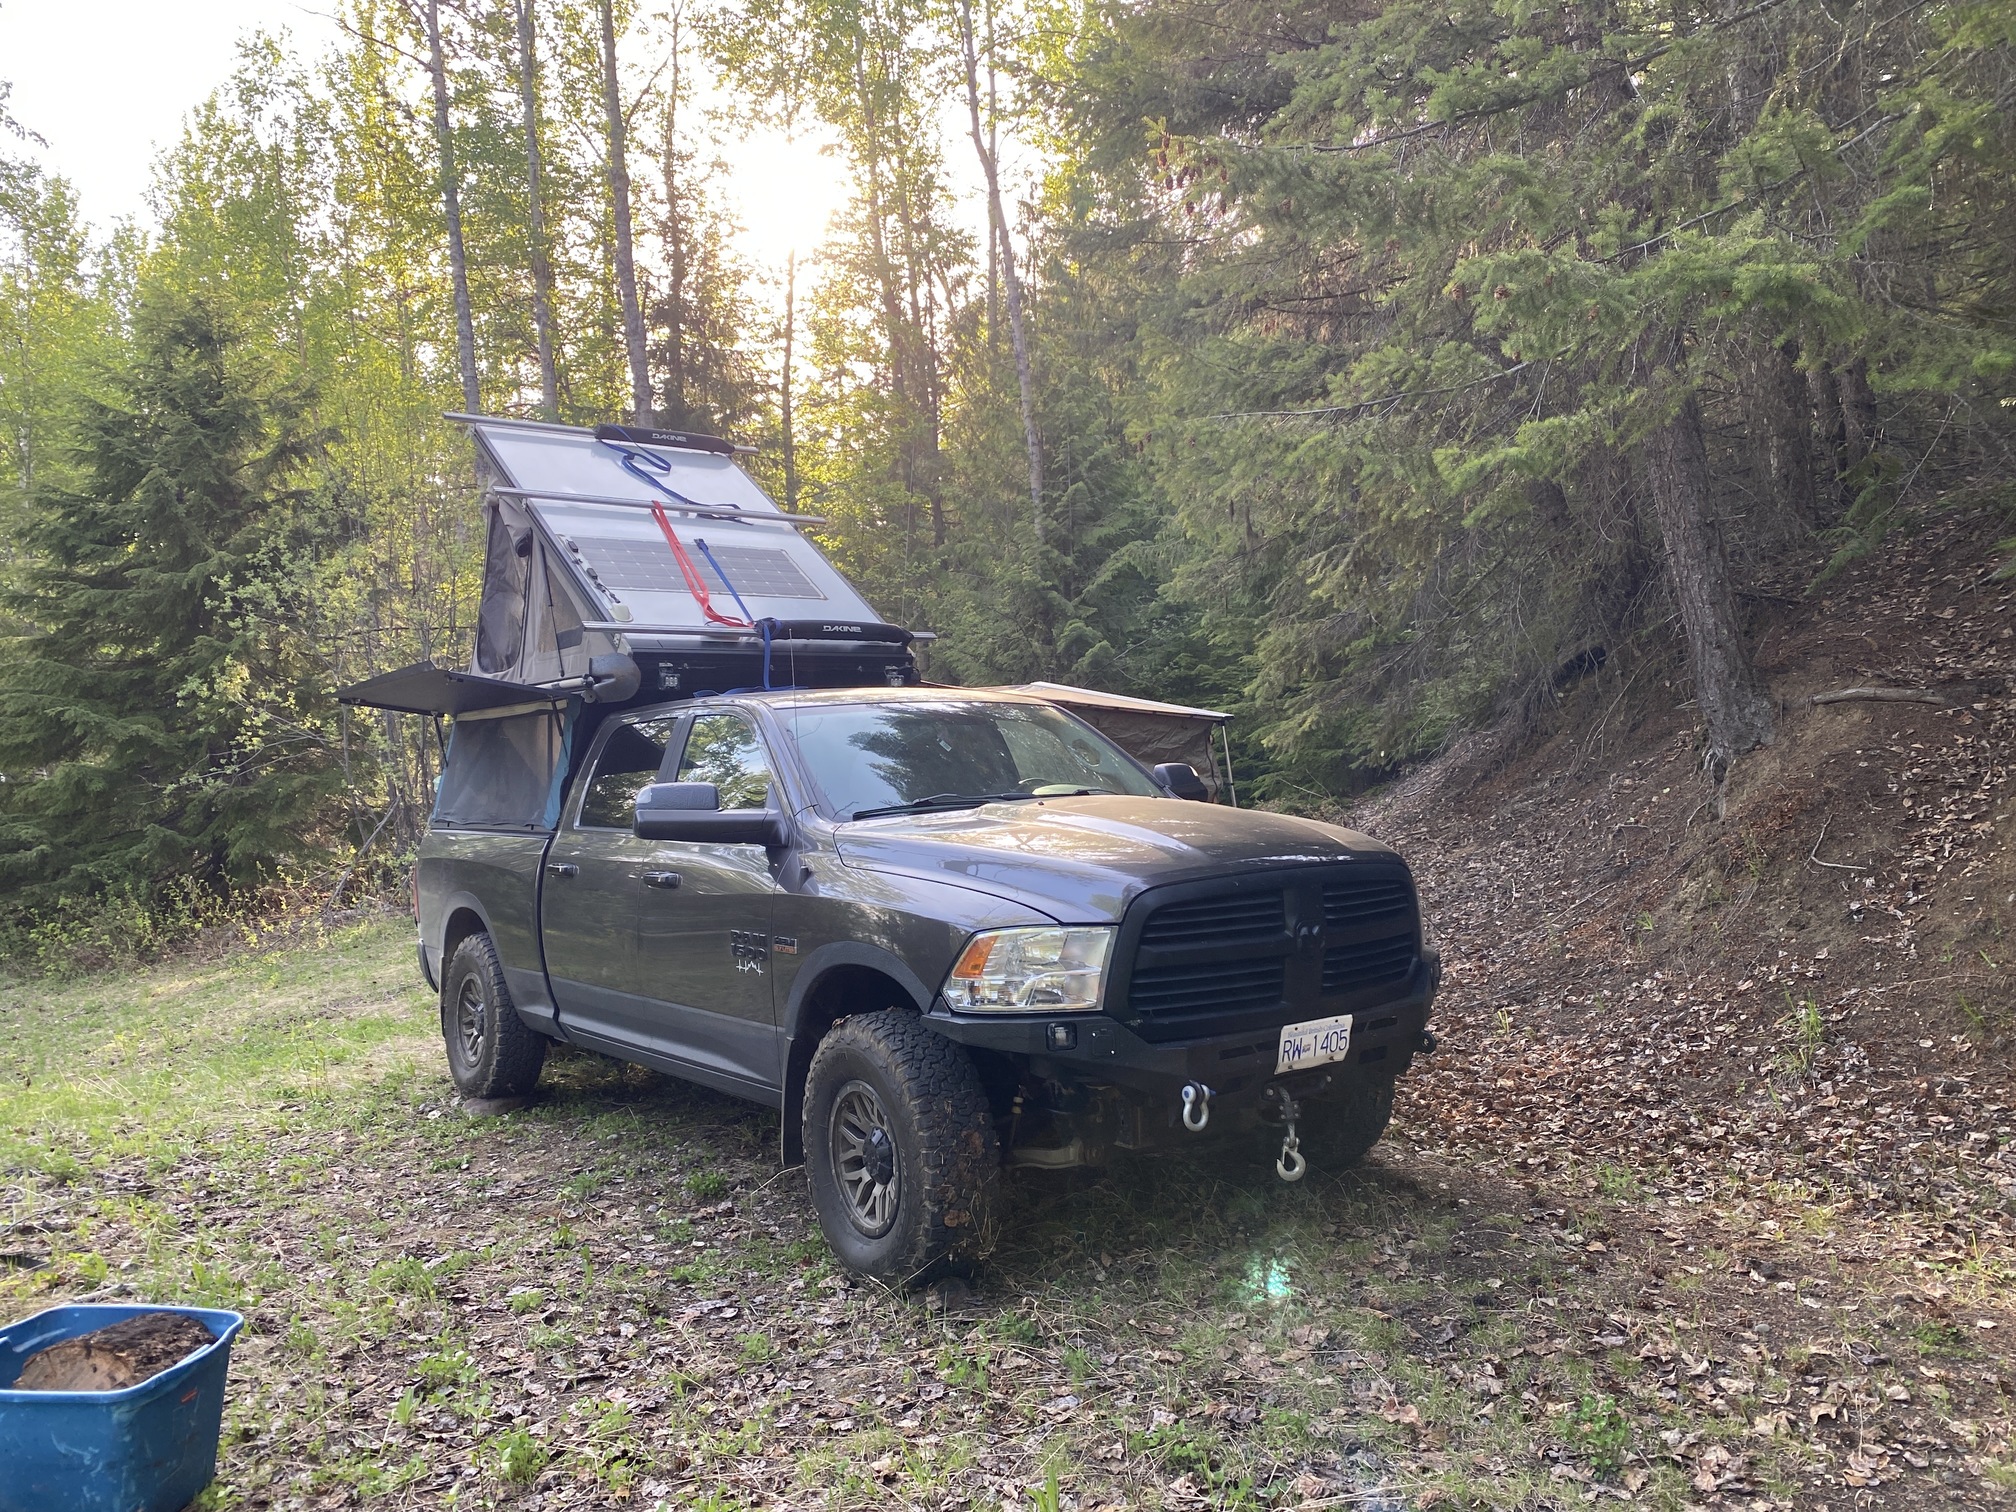
During the breakfast prep, I opted to move the starlink onto the roof. Tried various things like just putting it on the roof. It DOES NOT like to not be level. Then I figured…why not take the shovel off and test the two ‘qwik fists’ i have and mount it in the extrusion. So that’s what I did.

While doing that I came back in and it dawned on me. The truck isn’t level, that’s why it’s leaking. When I was up on the ladder fiddling with the starlink. I noticed that during heavy rain the way the camper is it just can’t shed the water quick enough. So a little makes it’s way along the edge. Well, this neat thing called gravity showed me that it’s flowing towards the back.

Water intrusion issue solved!!!

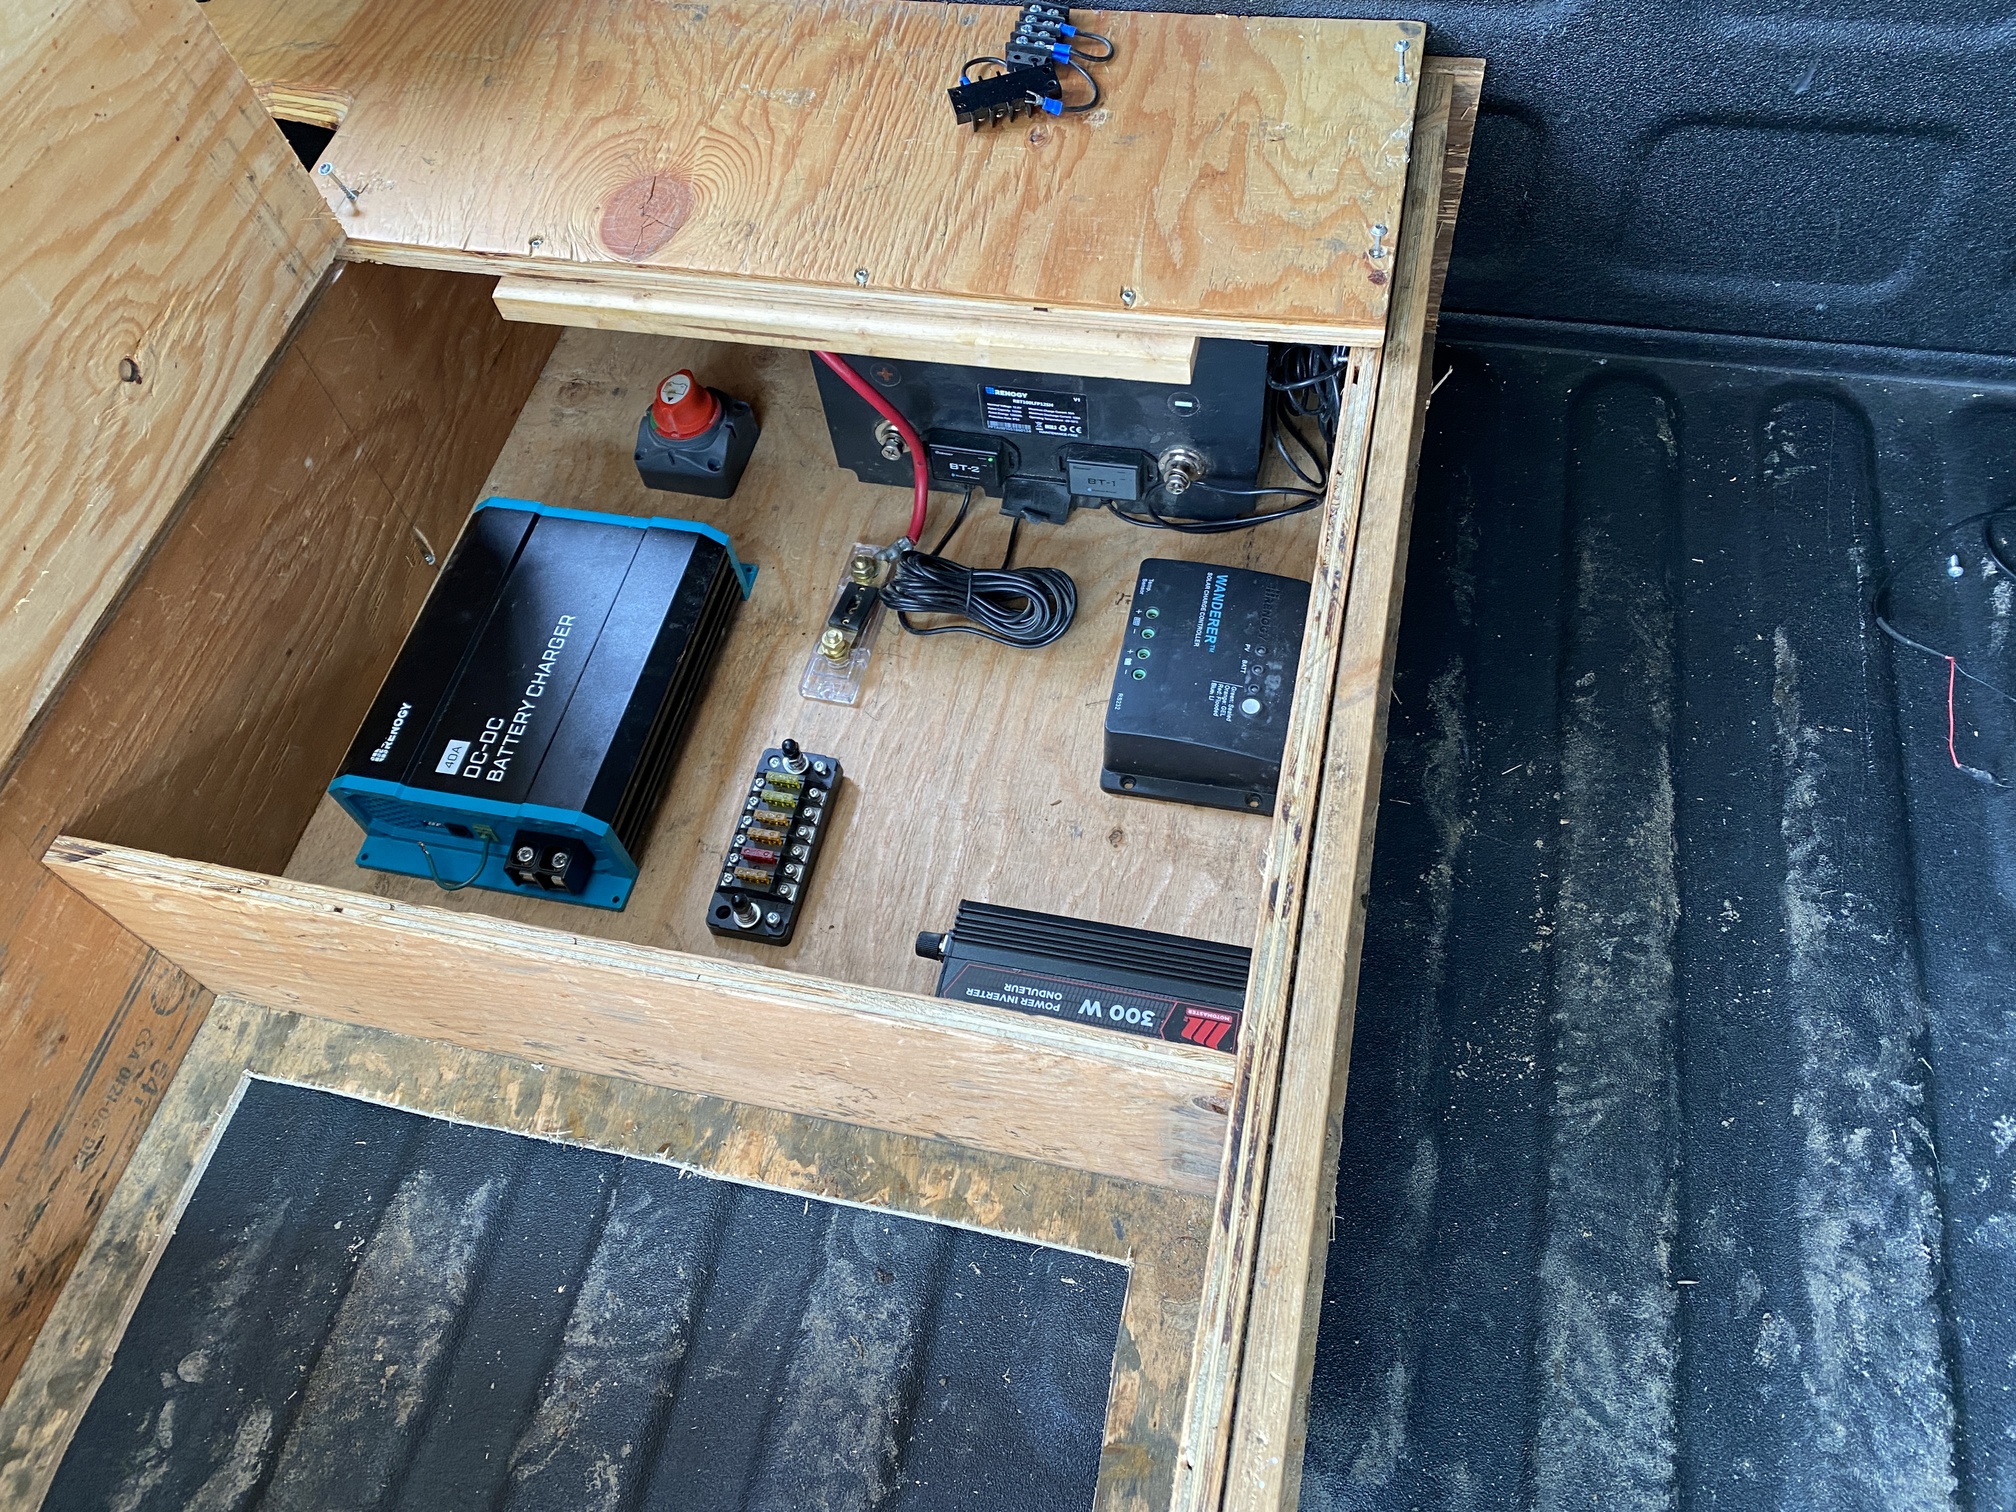
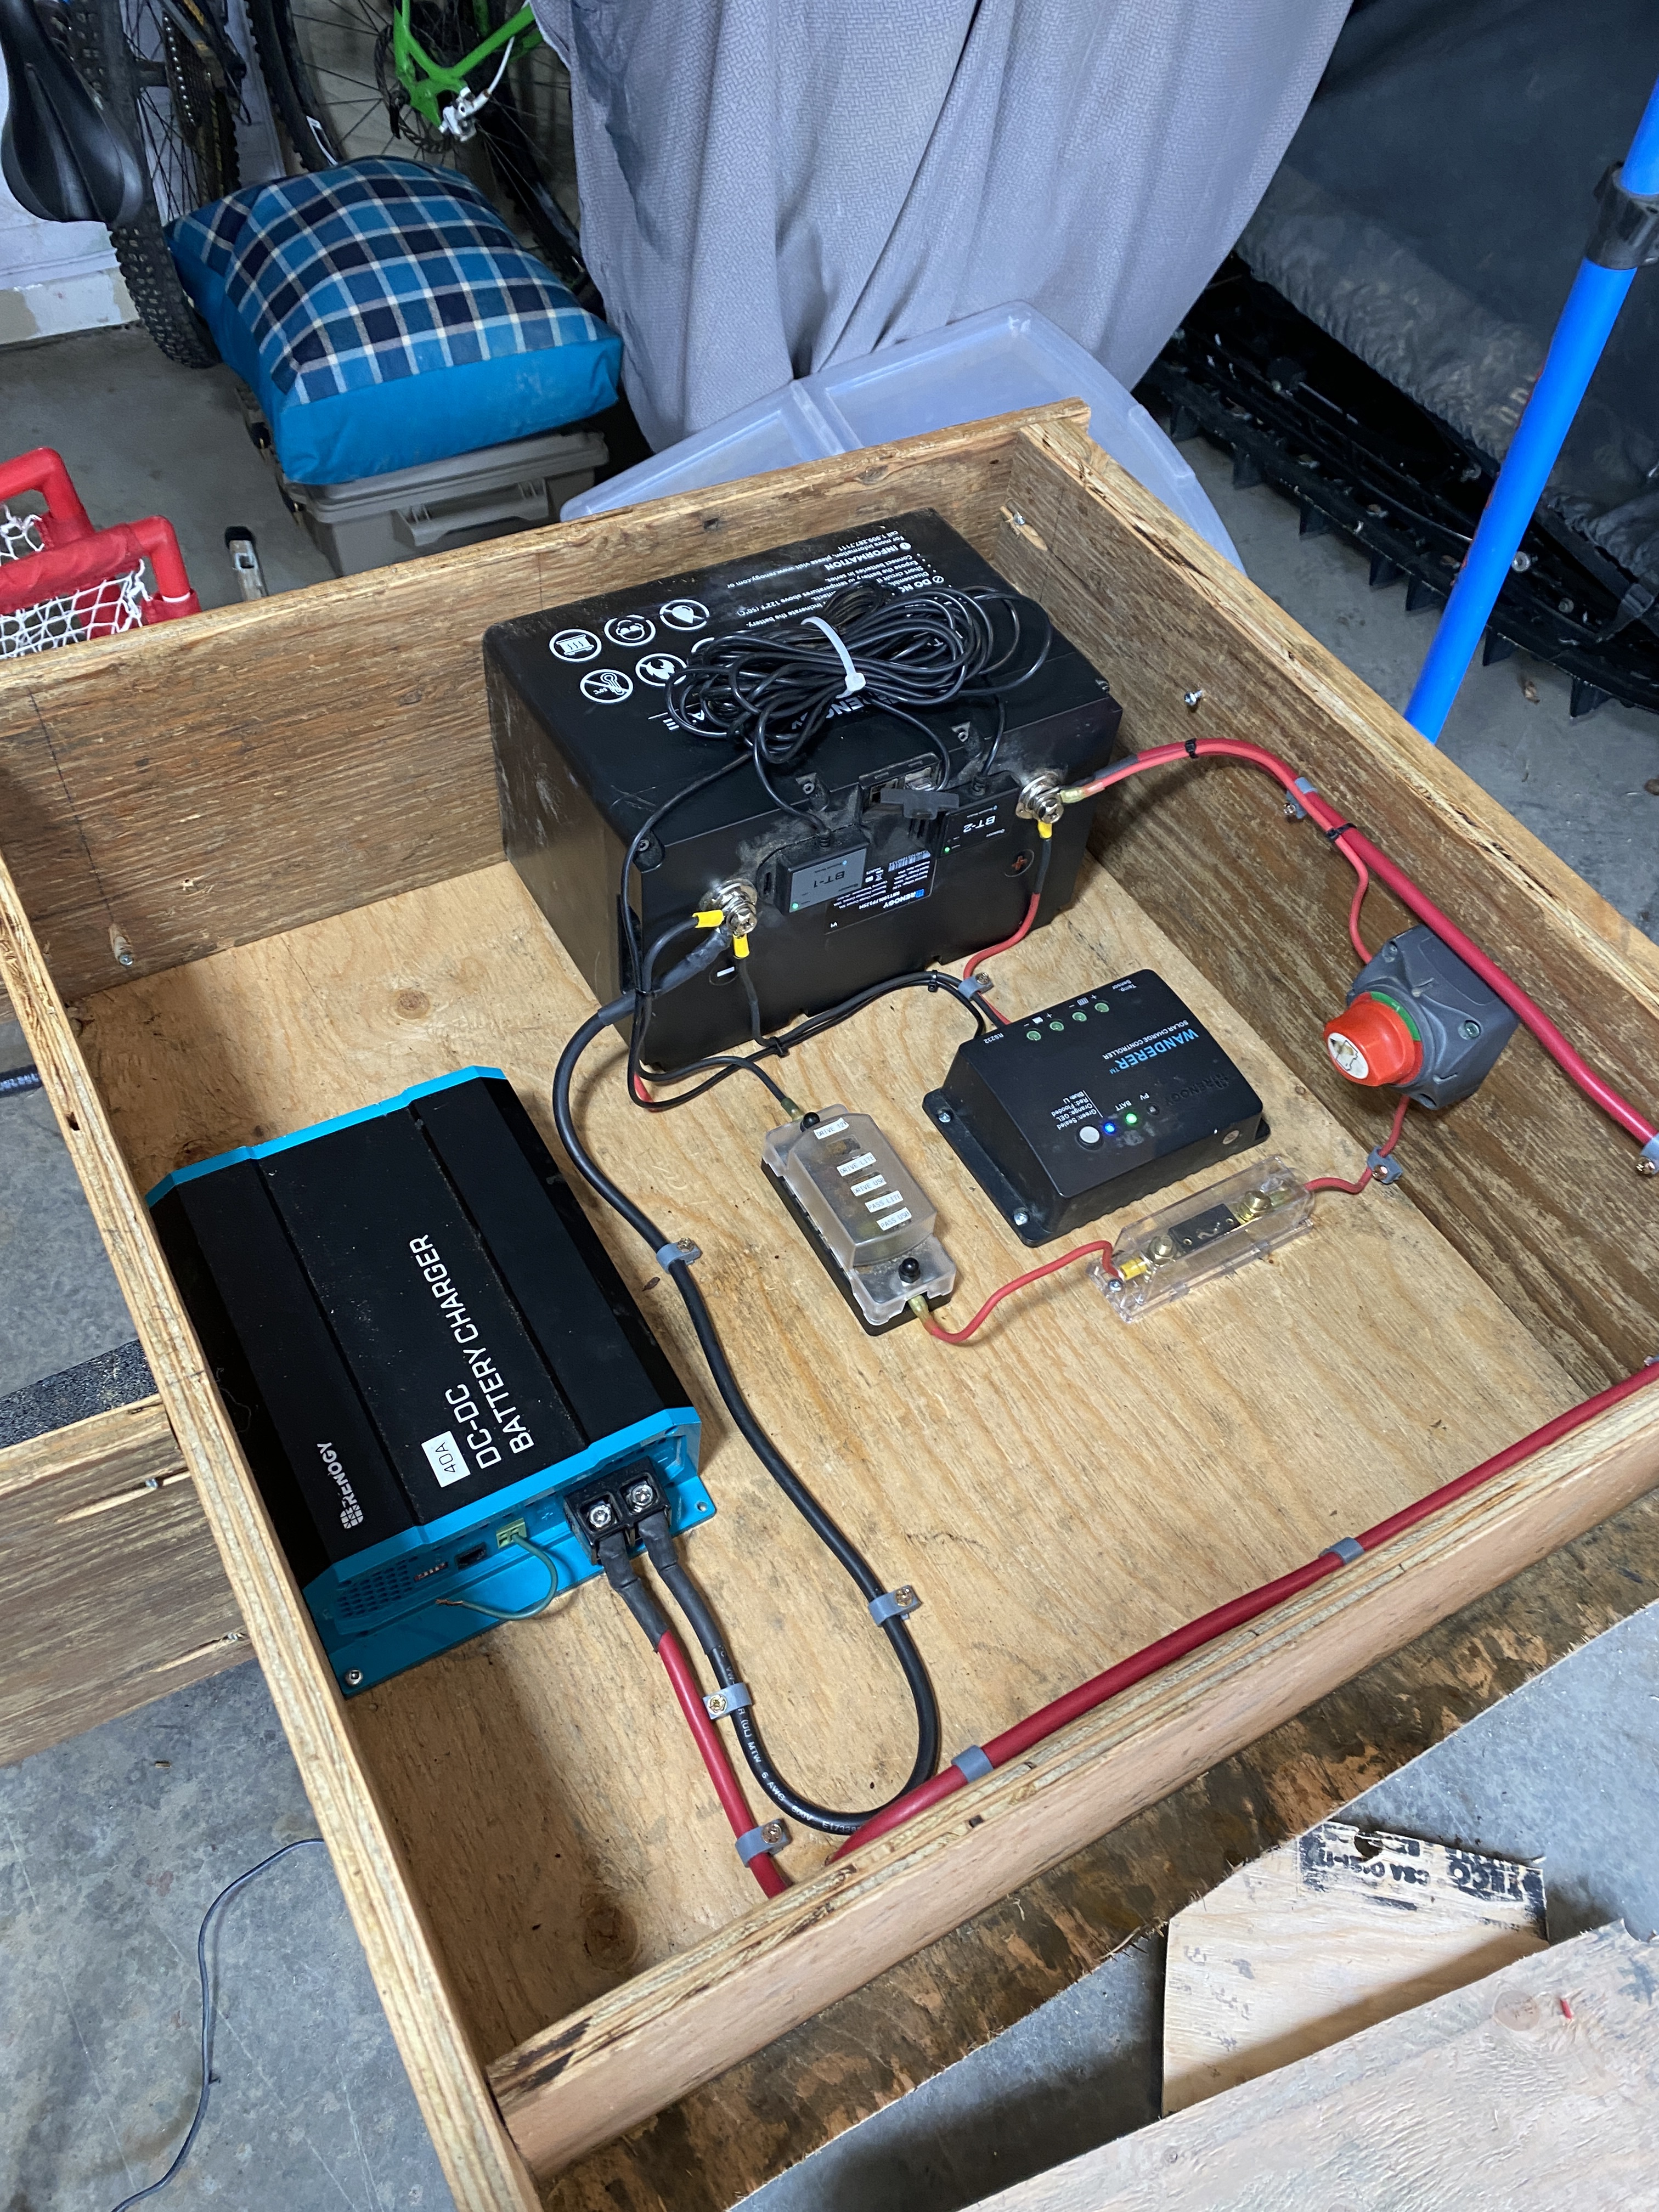
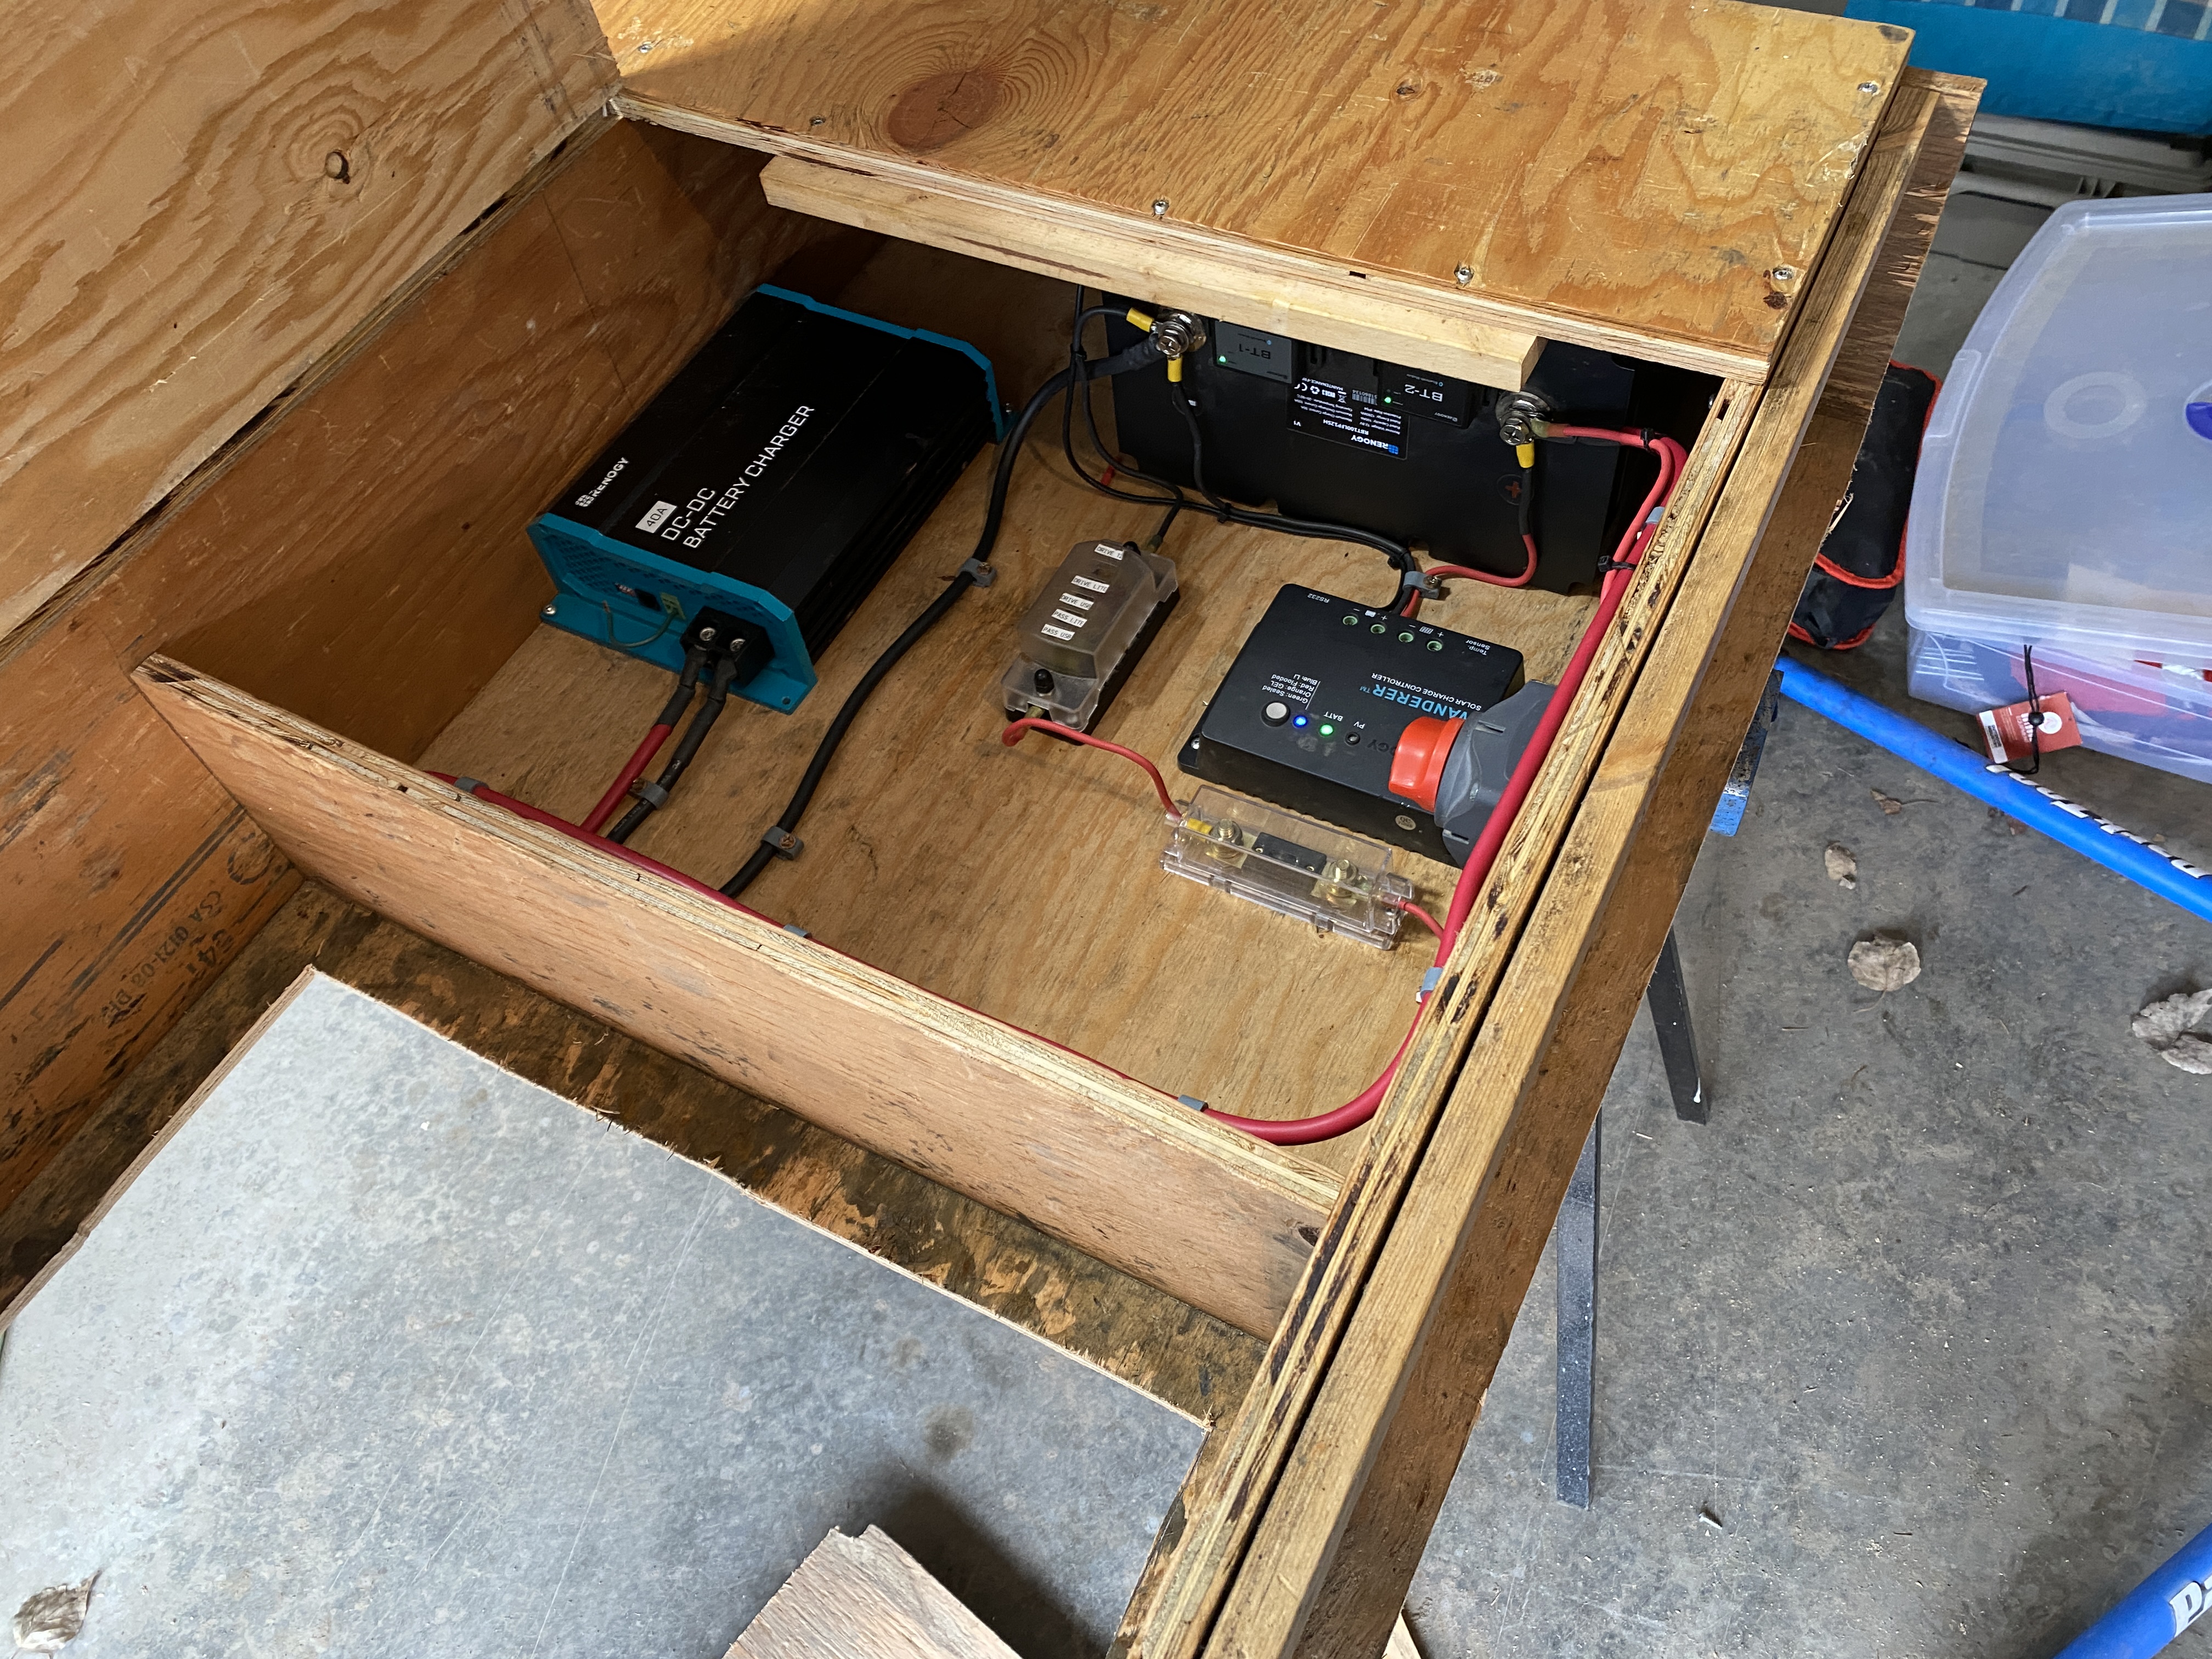
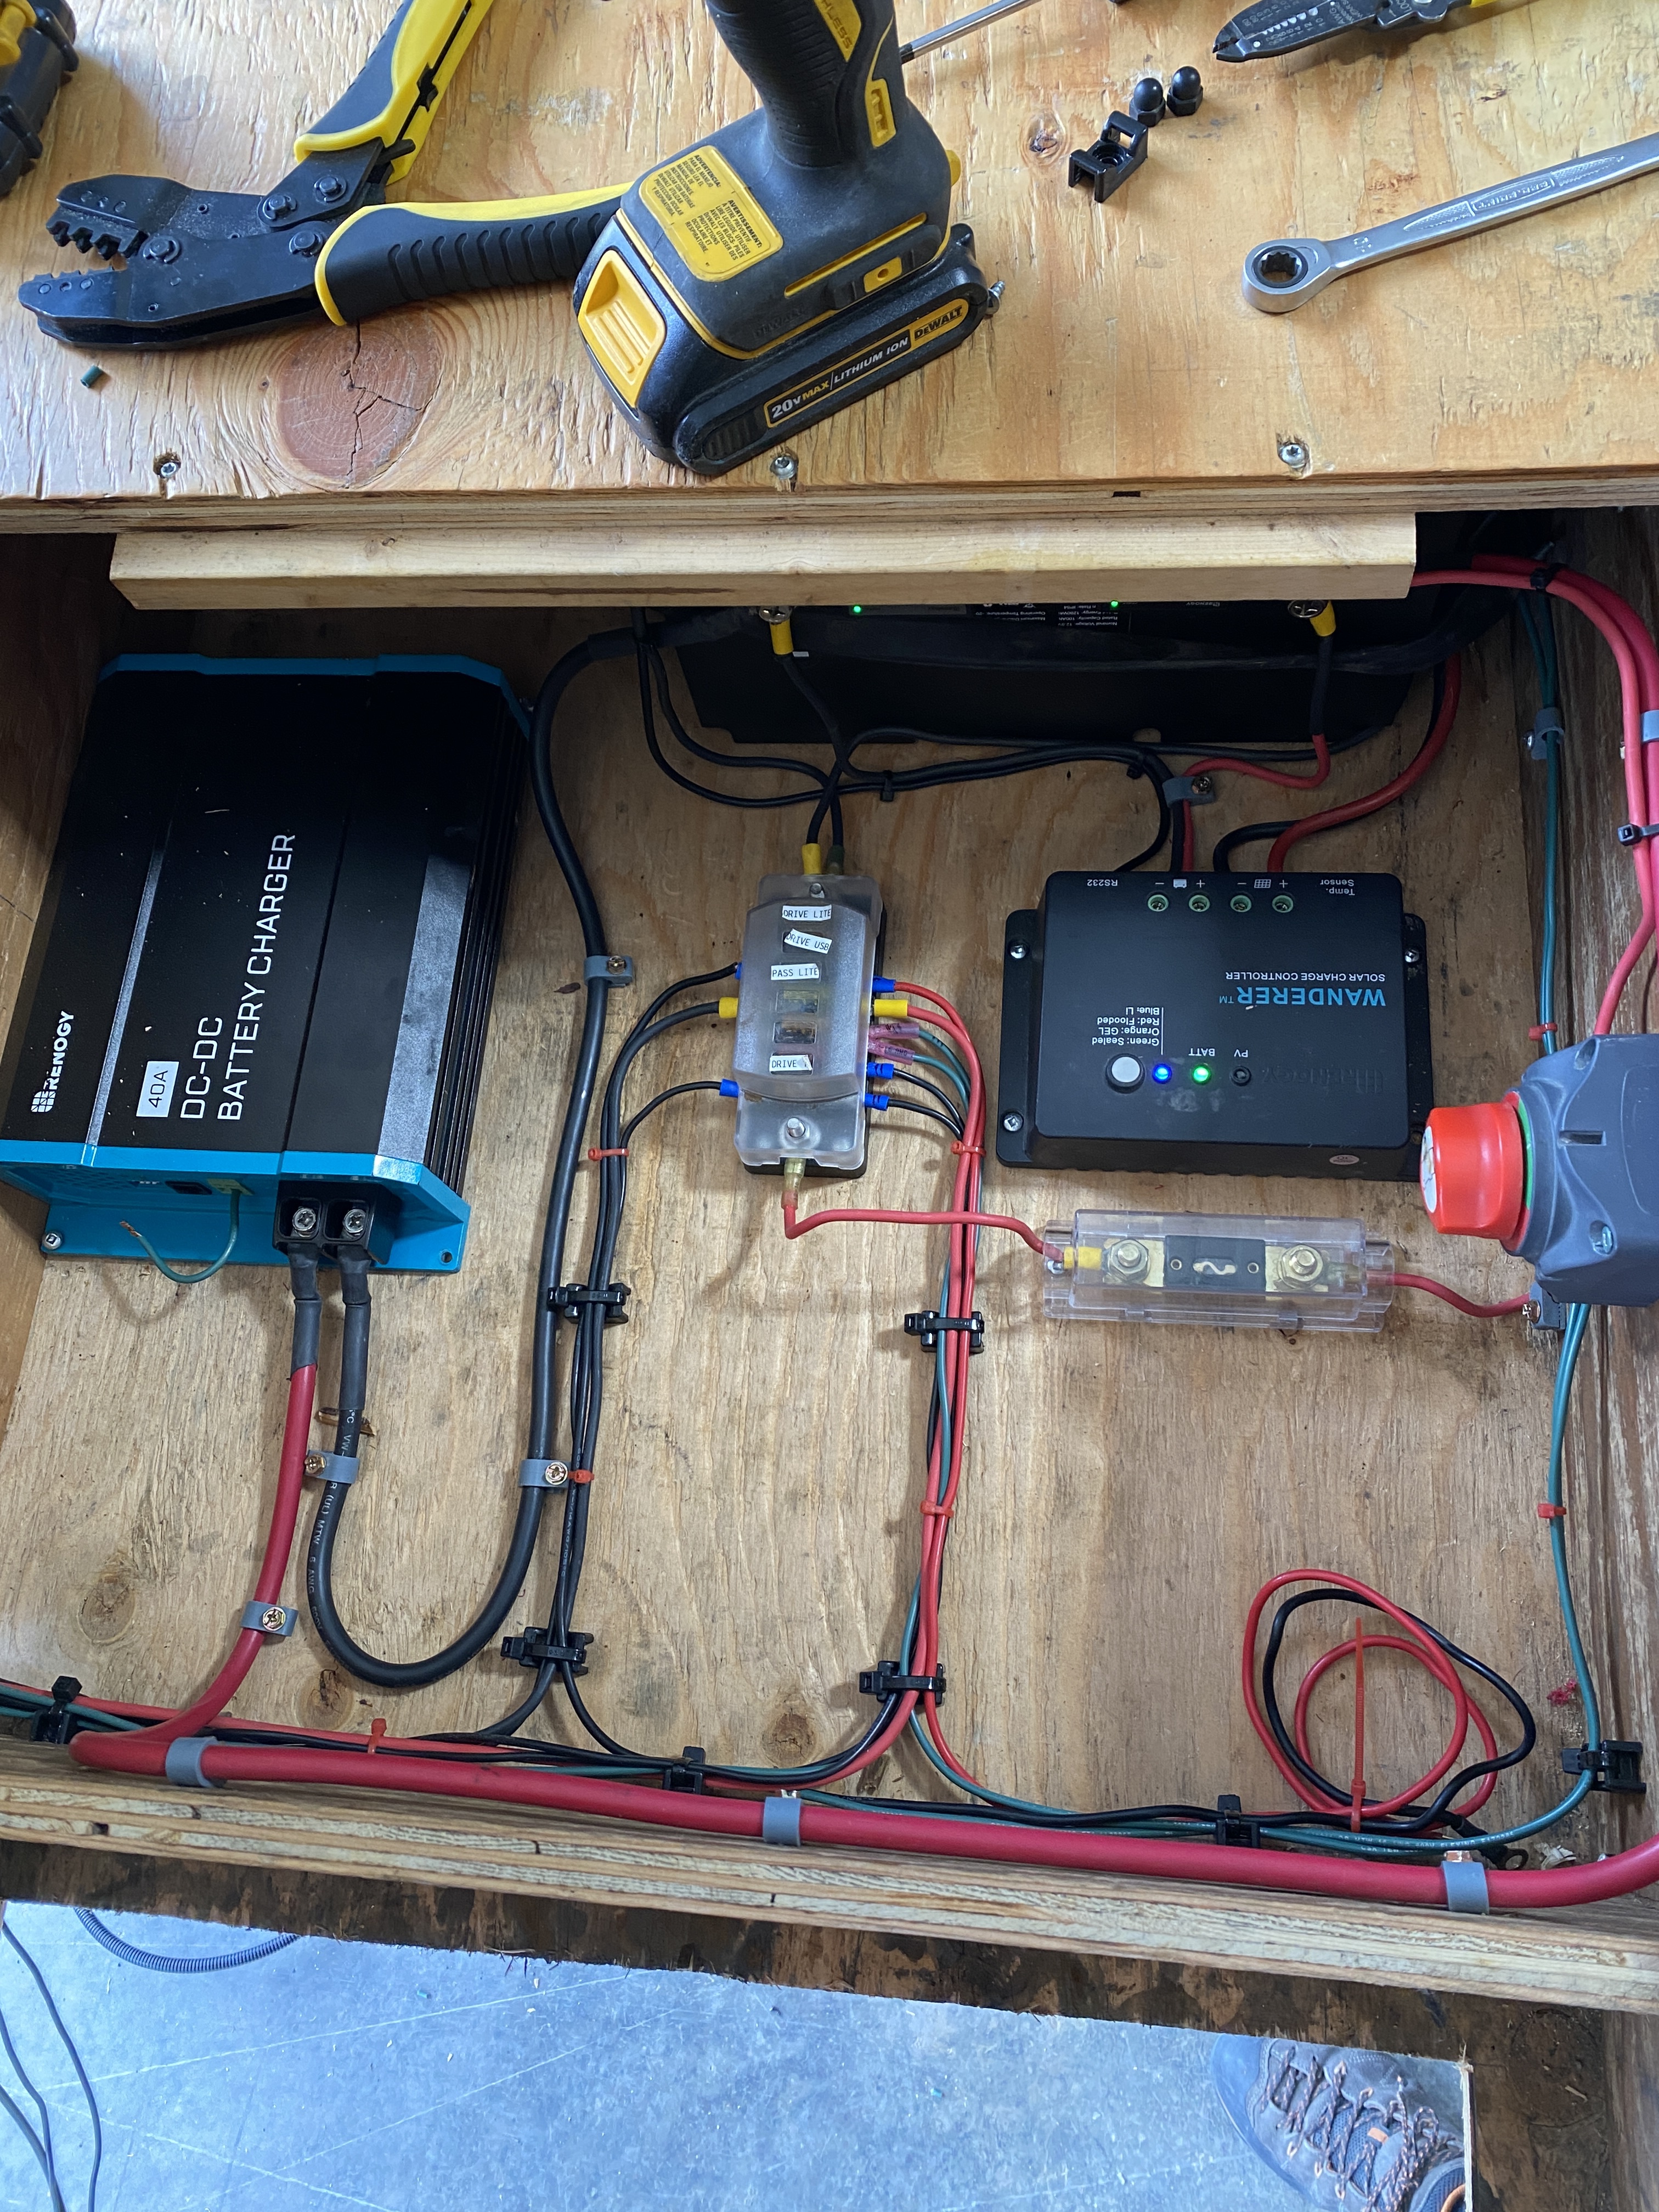
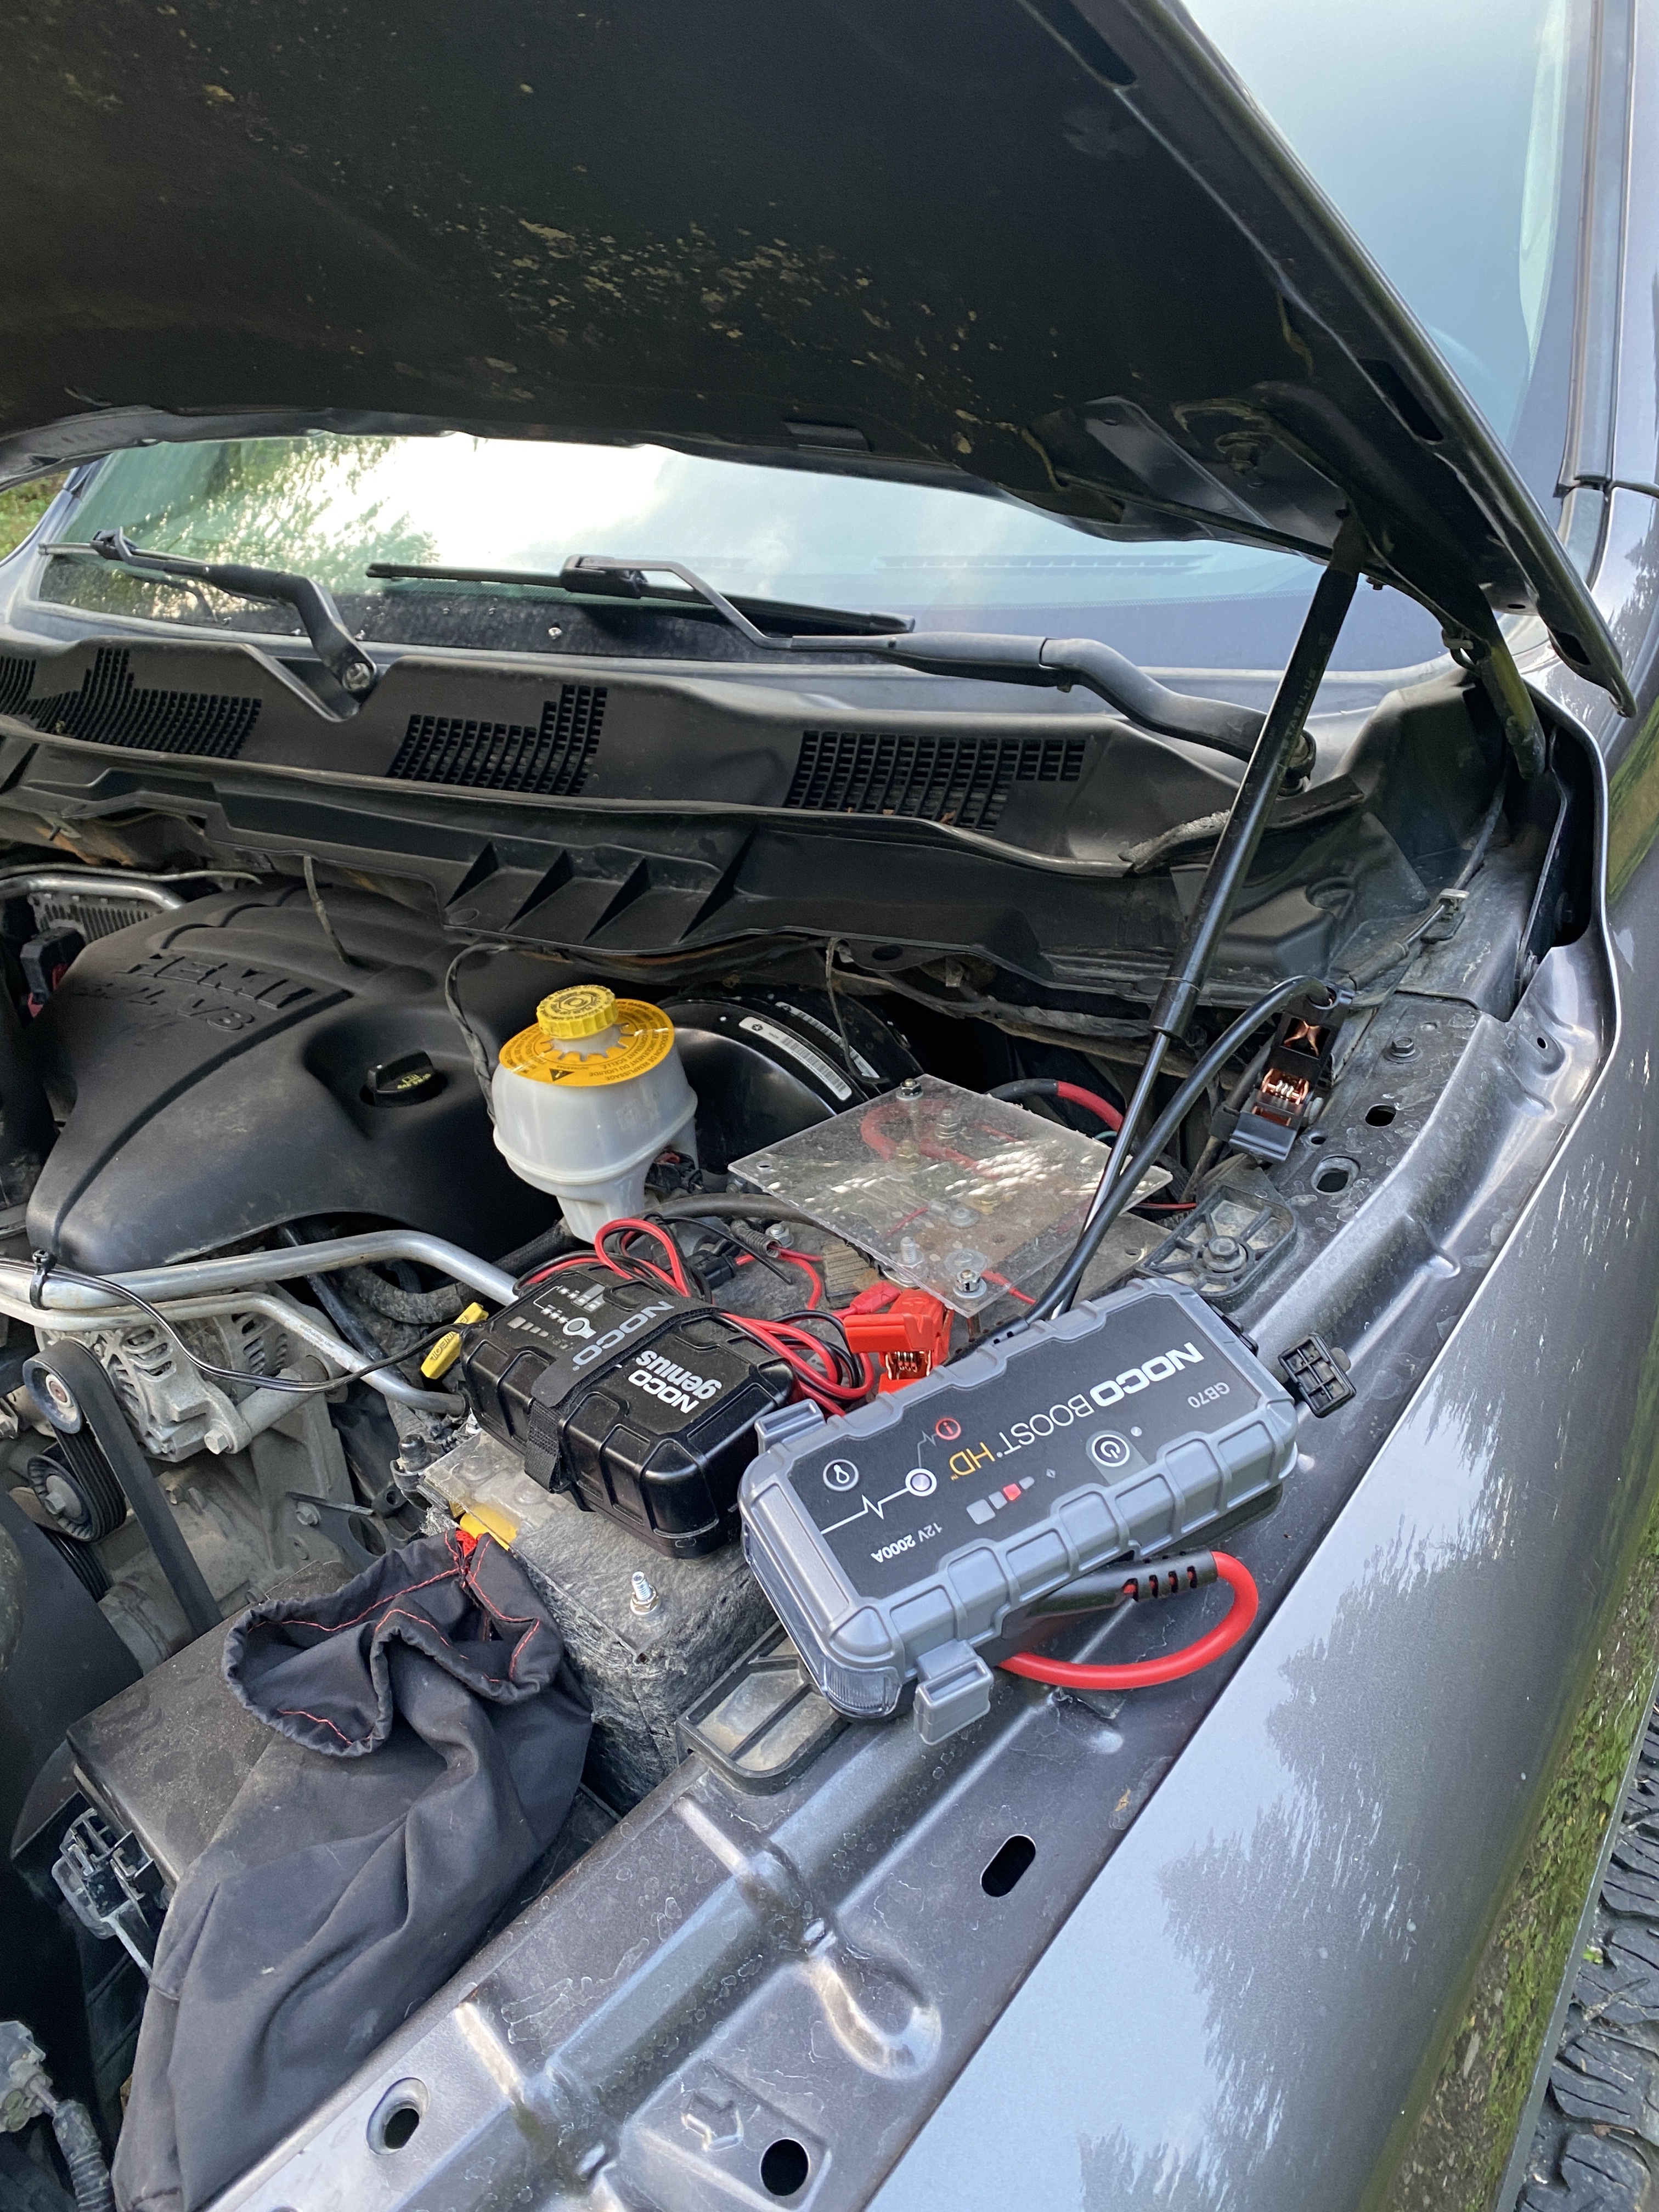
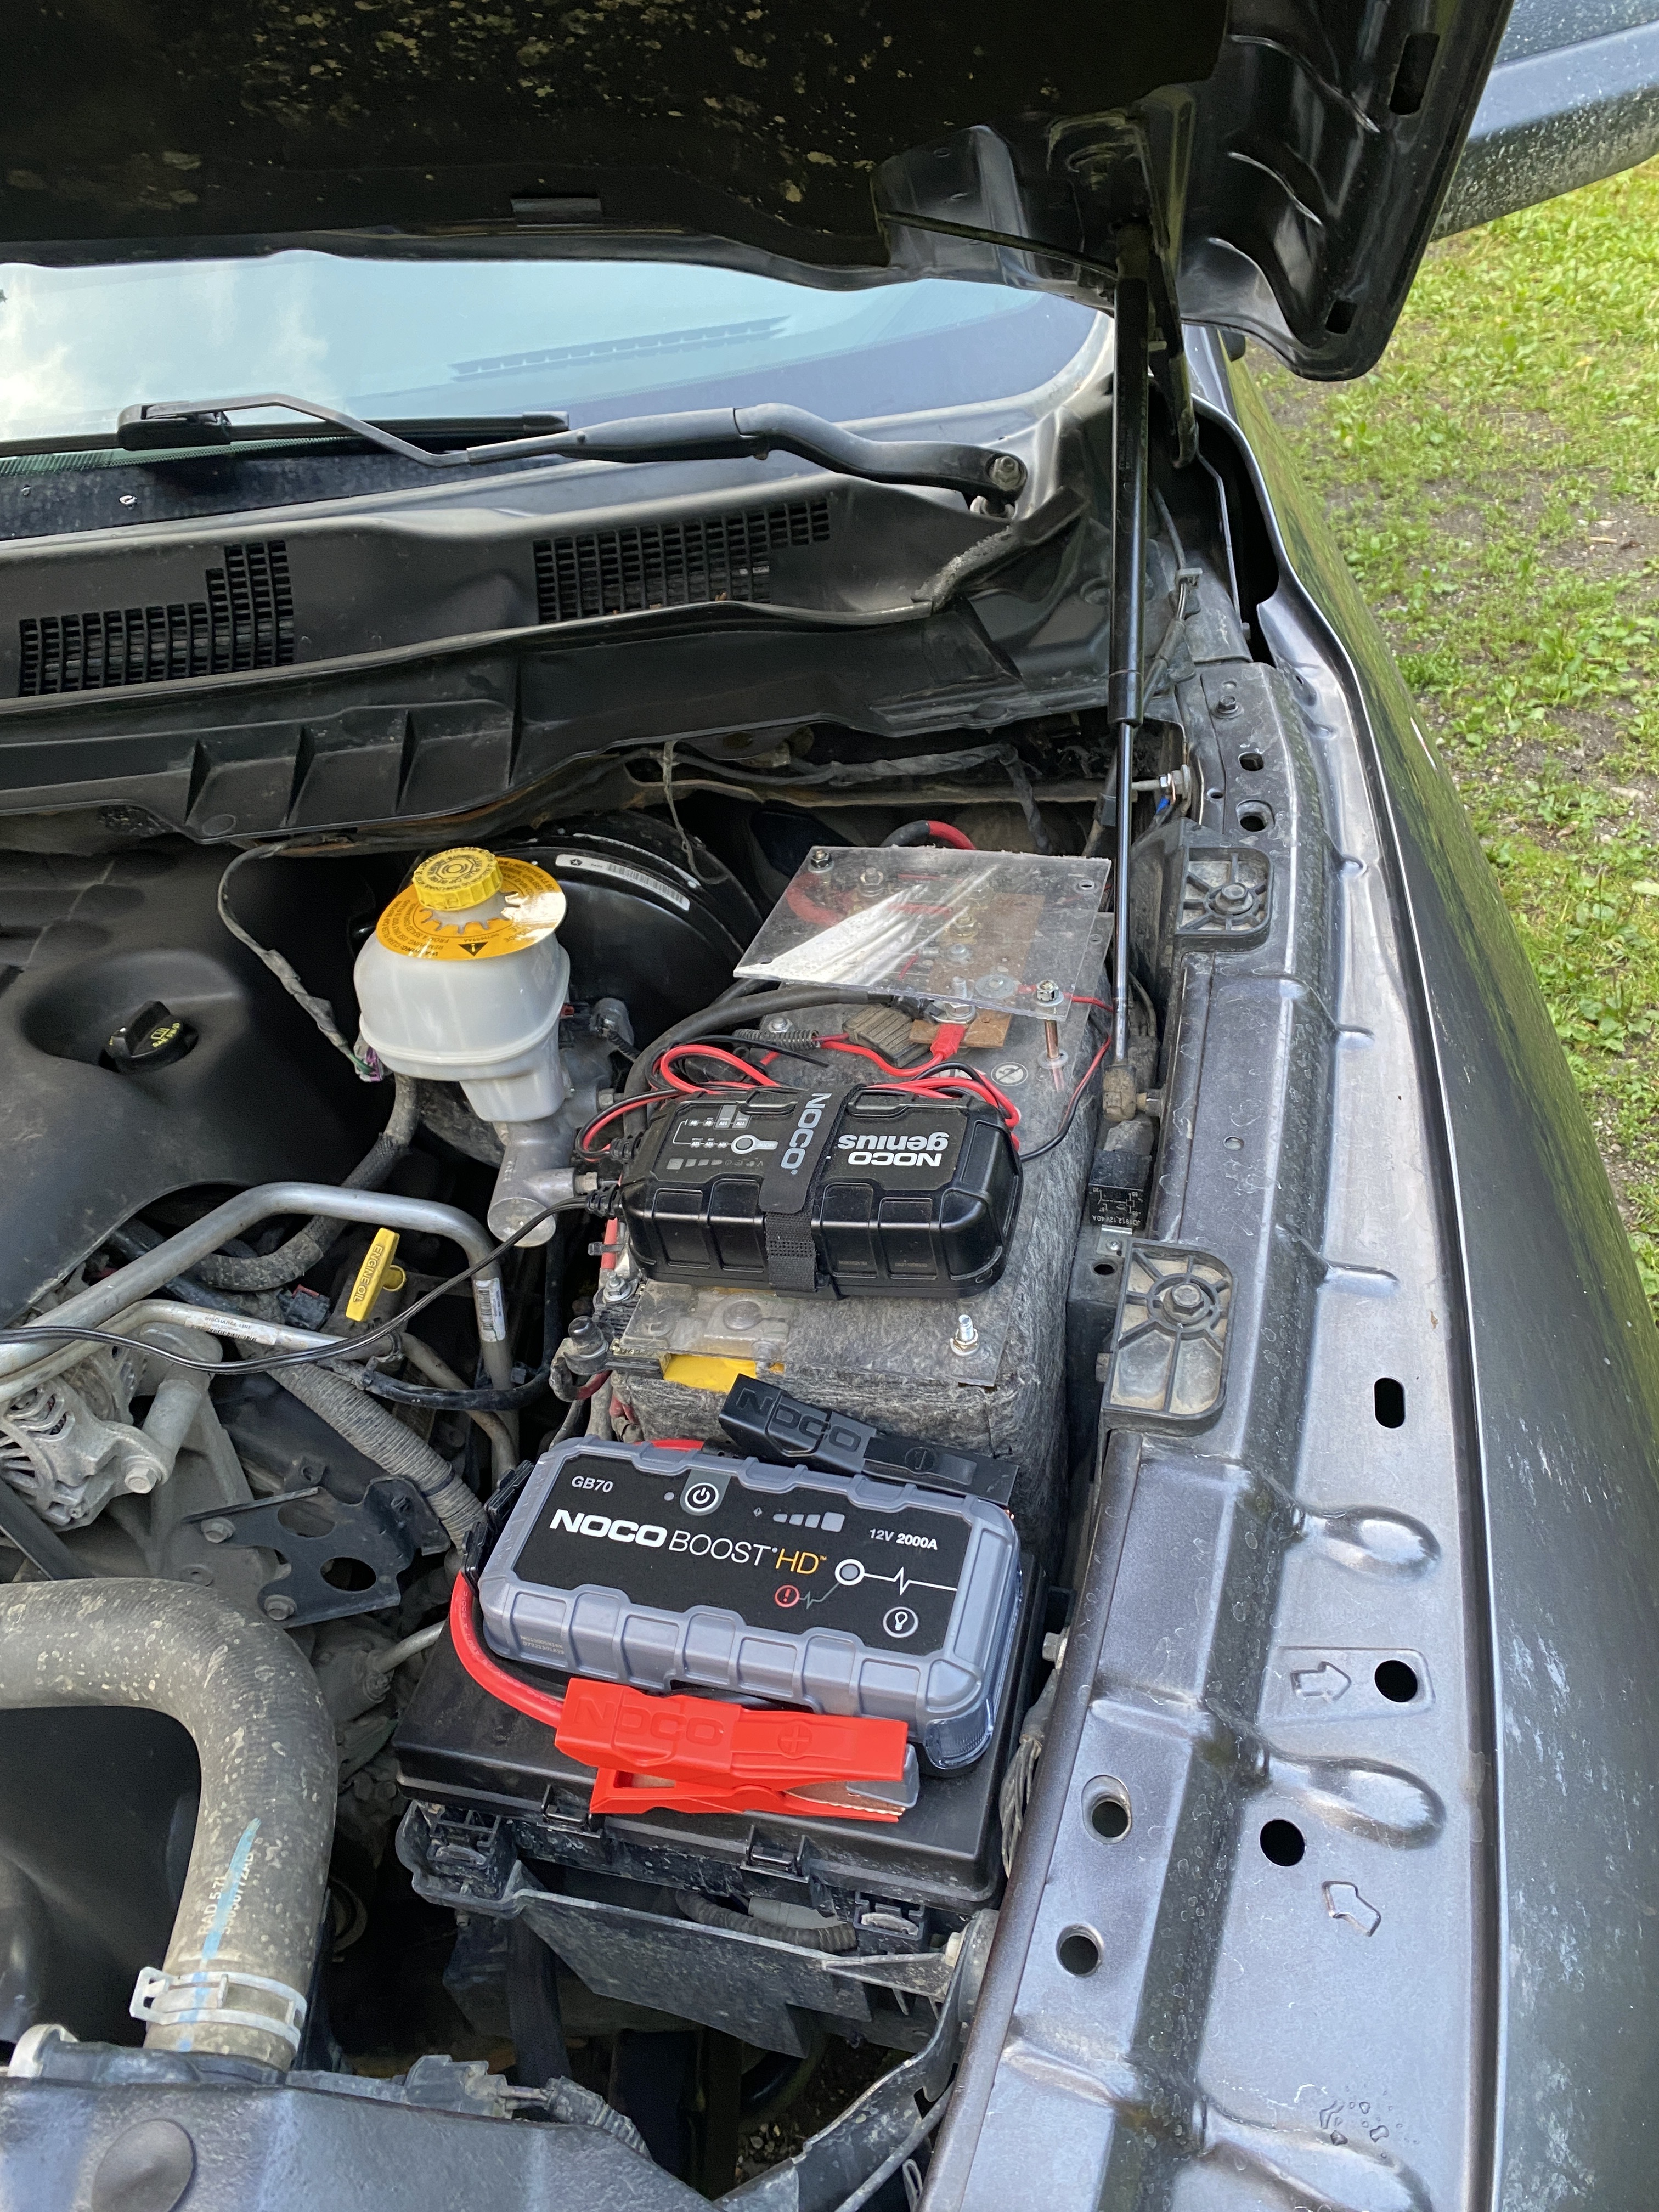
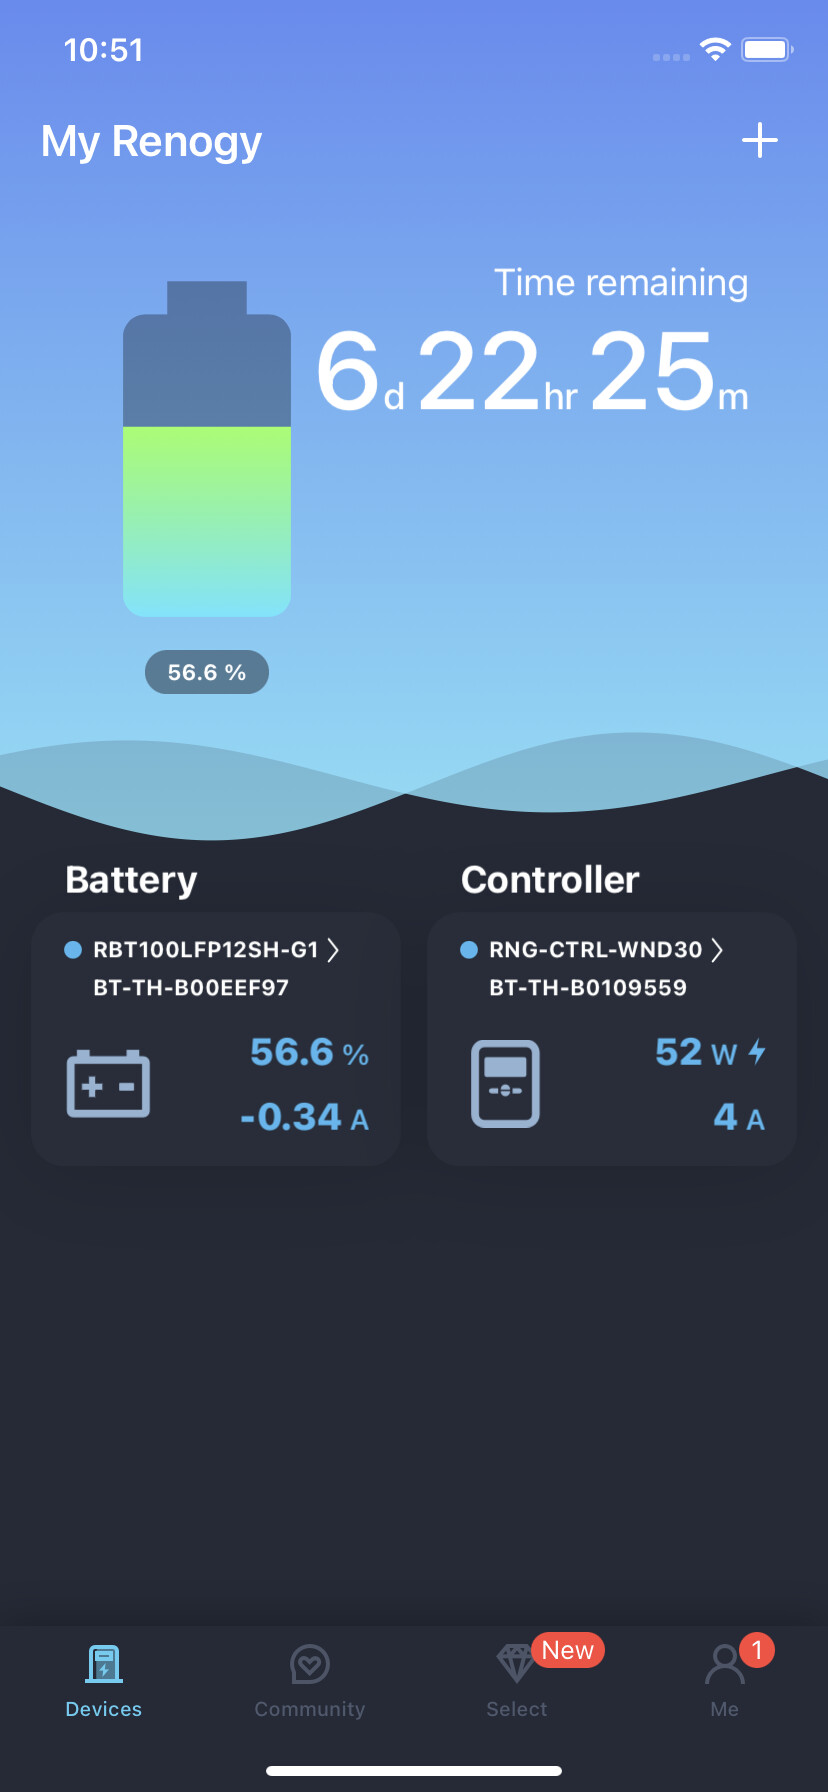
Now, during all this the Starlink is doing its thing. I didn’t take a shot of the usage overnight, but I was down so I started the truck and turned on the dC to DC charger.

I let it run for a bit while I tried to work. Then I thought I would try the DC to DC charger without the truck running. I had a thought that it should not deplete the truck battery because it surely must have some form of protection. It did not.

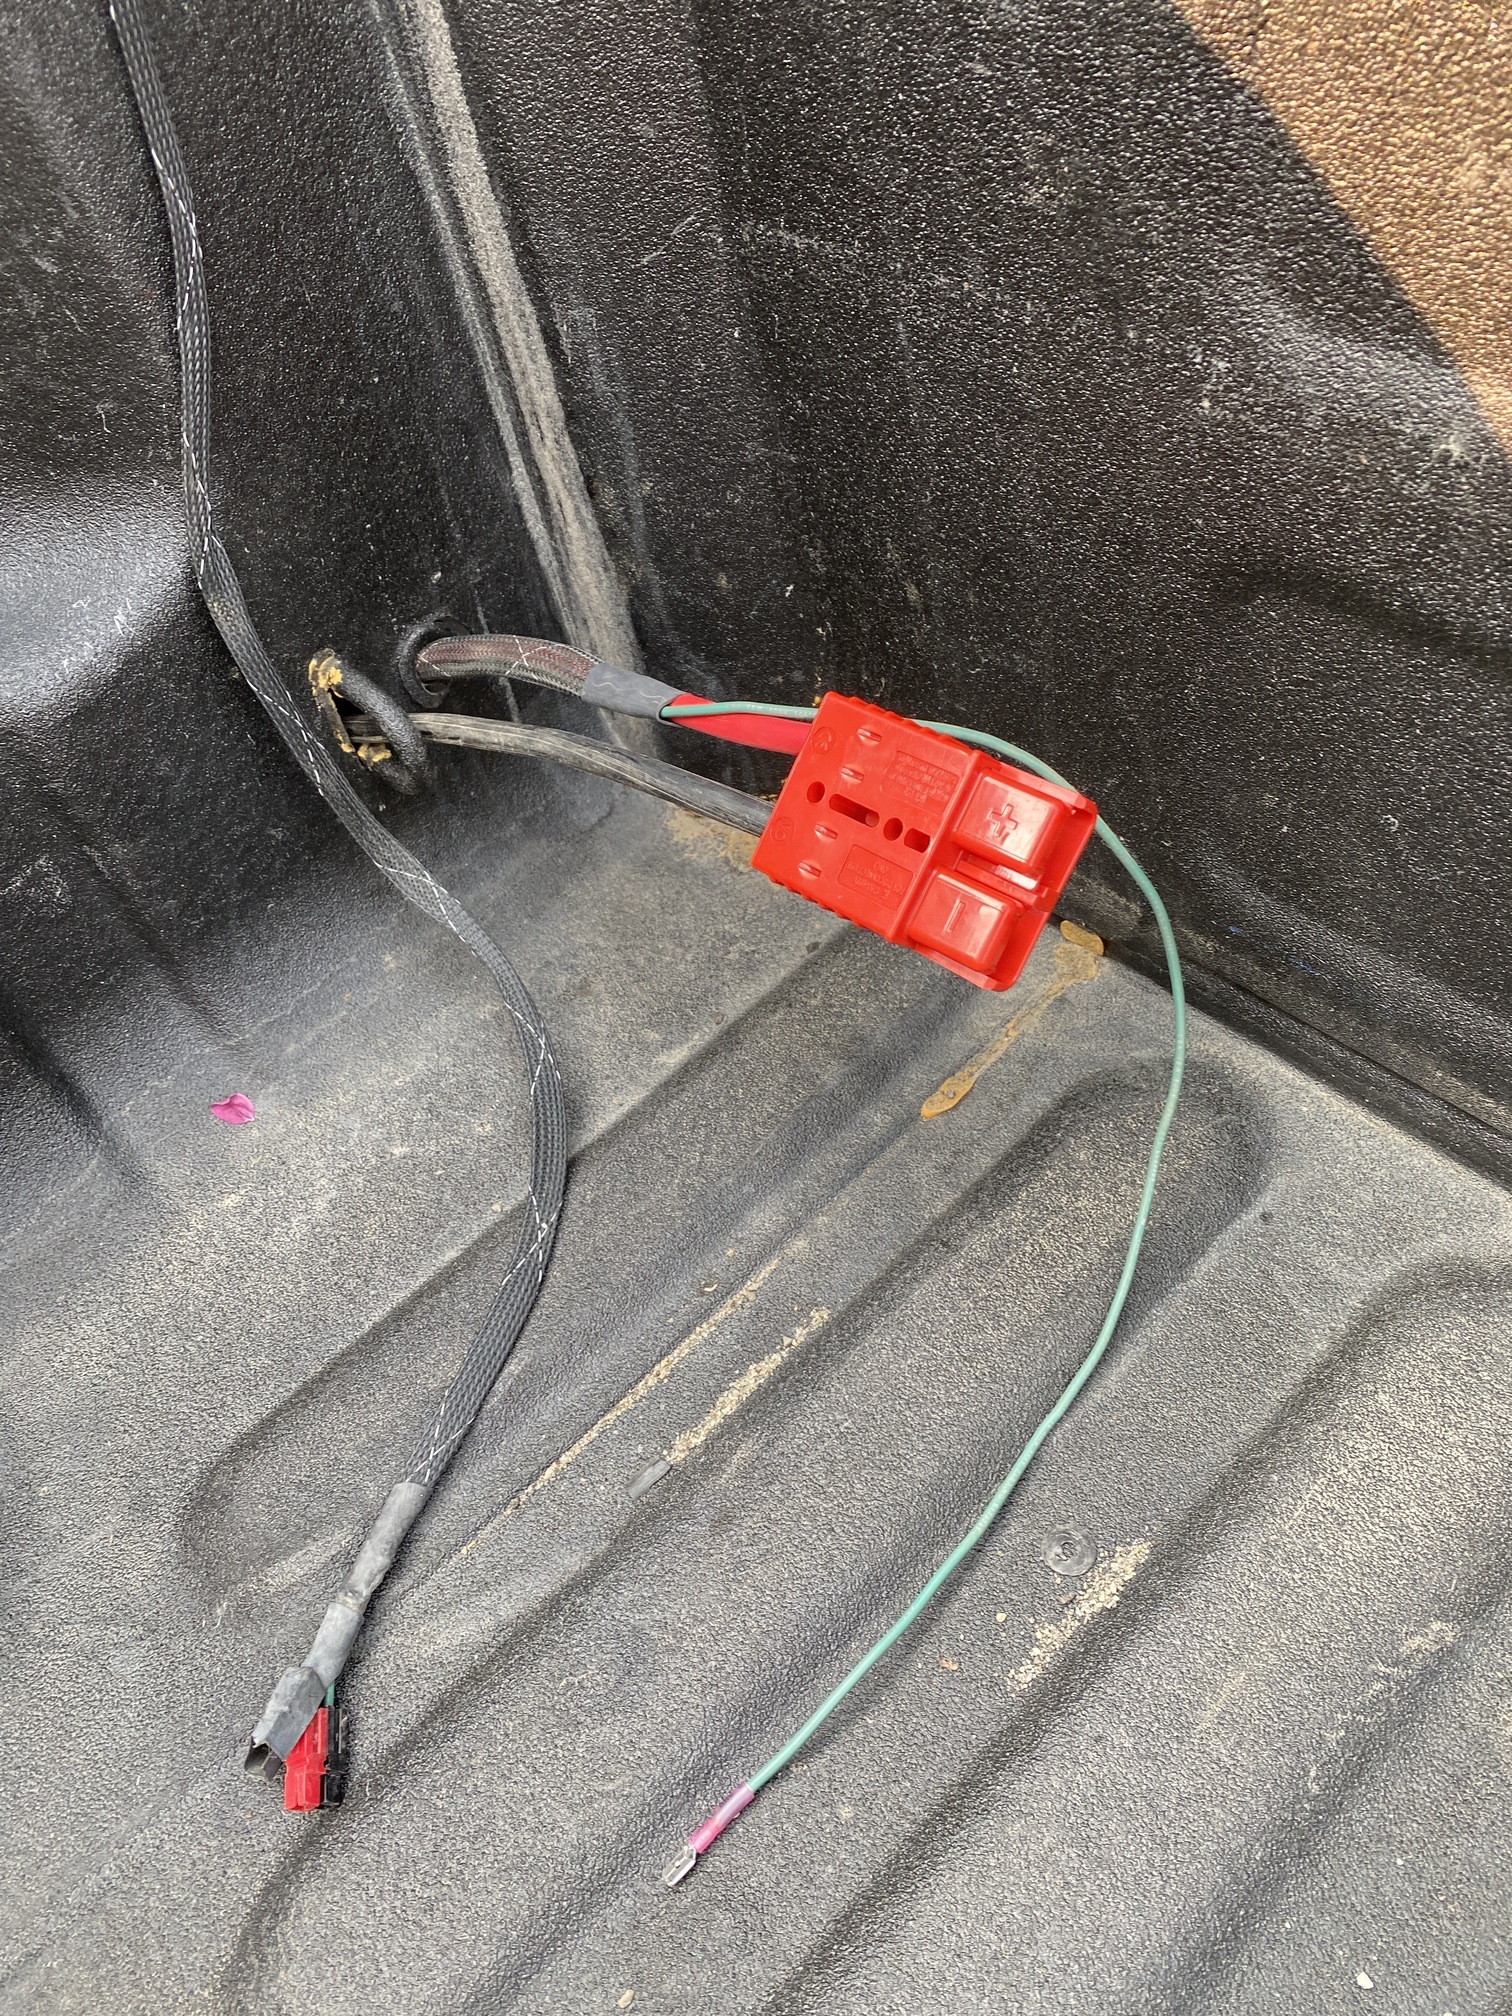
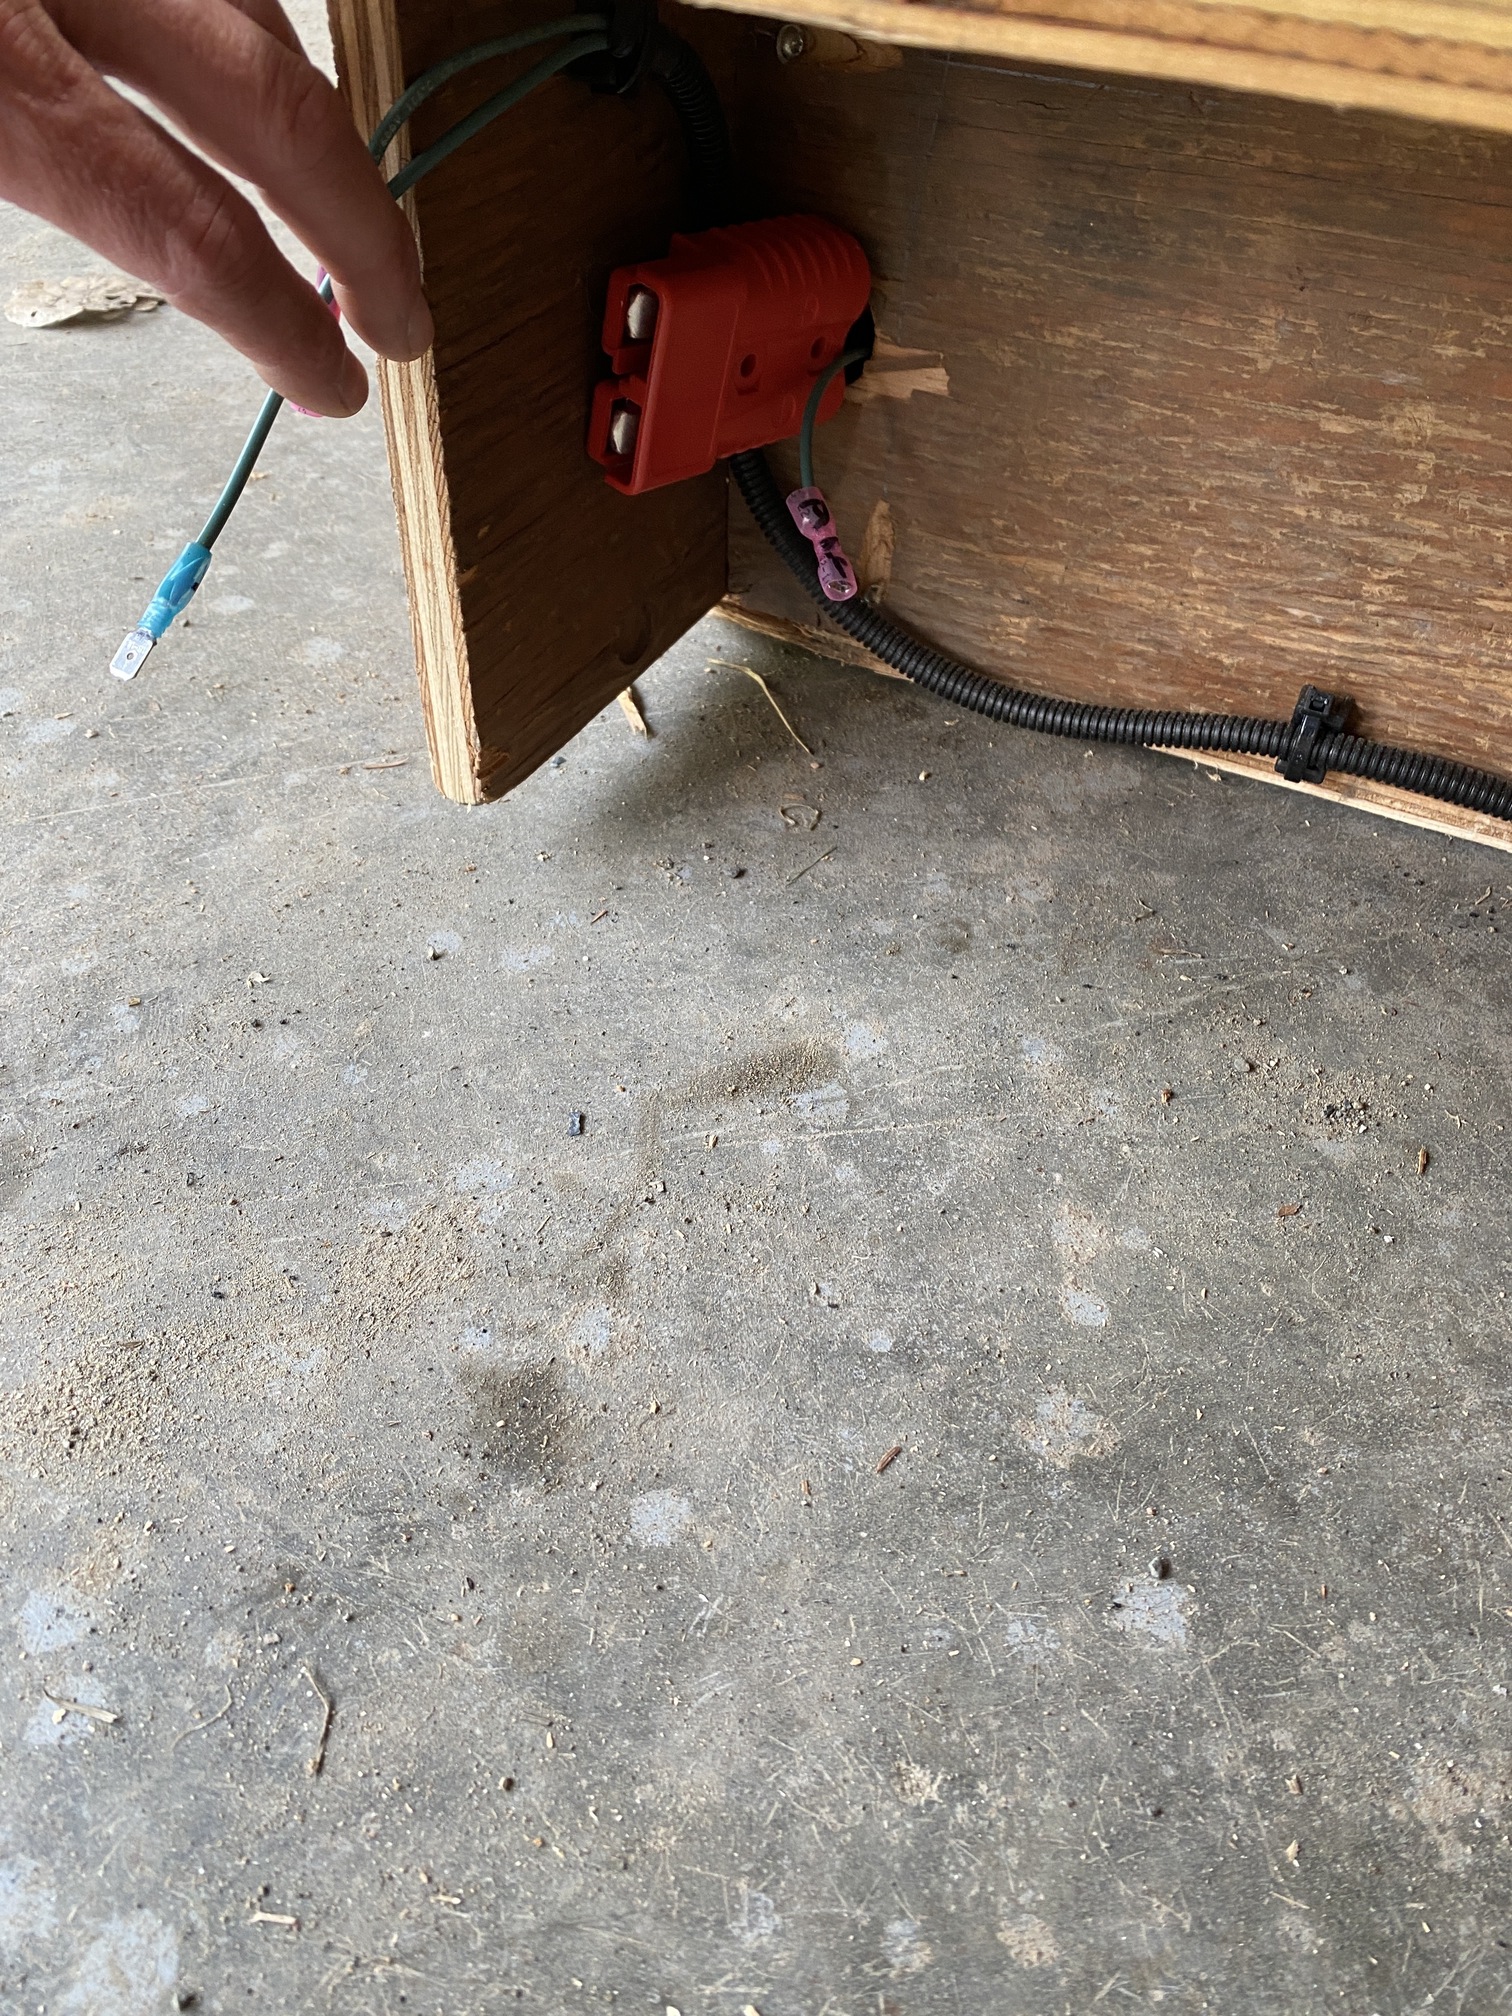
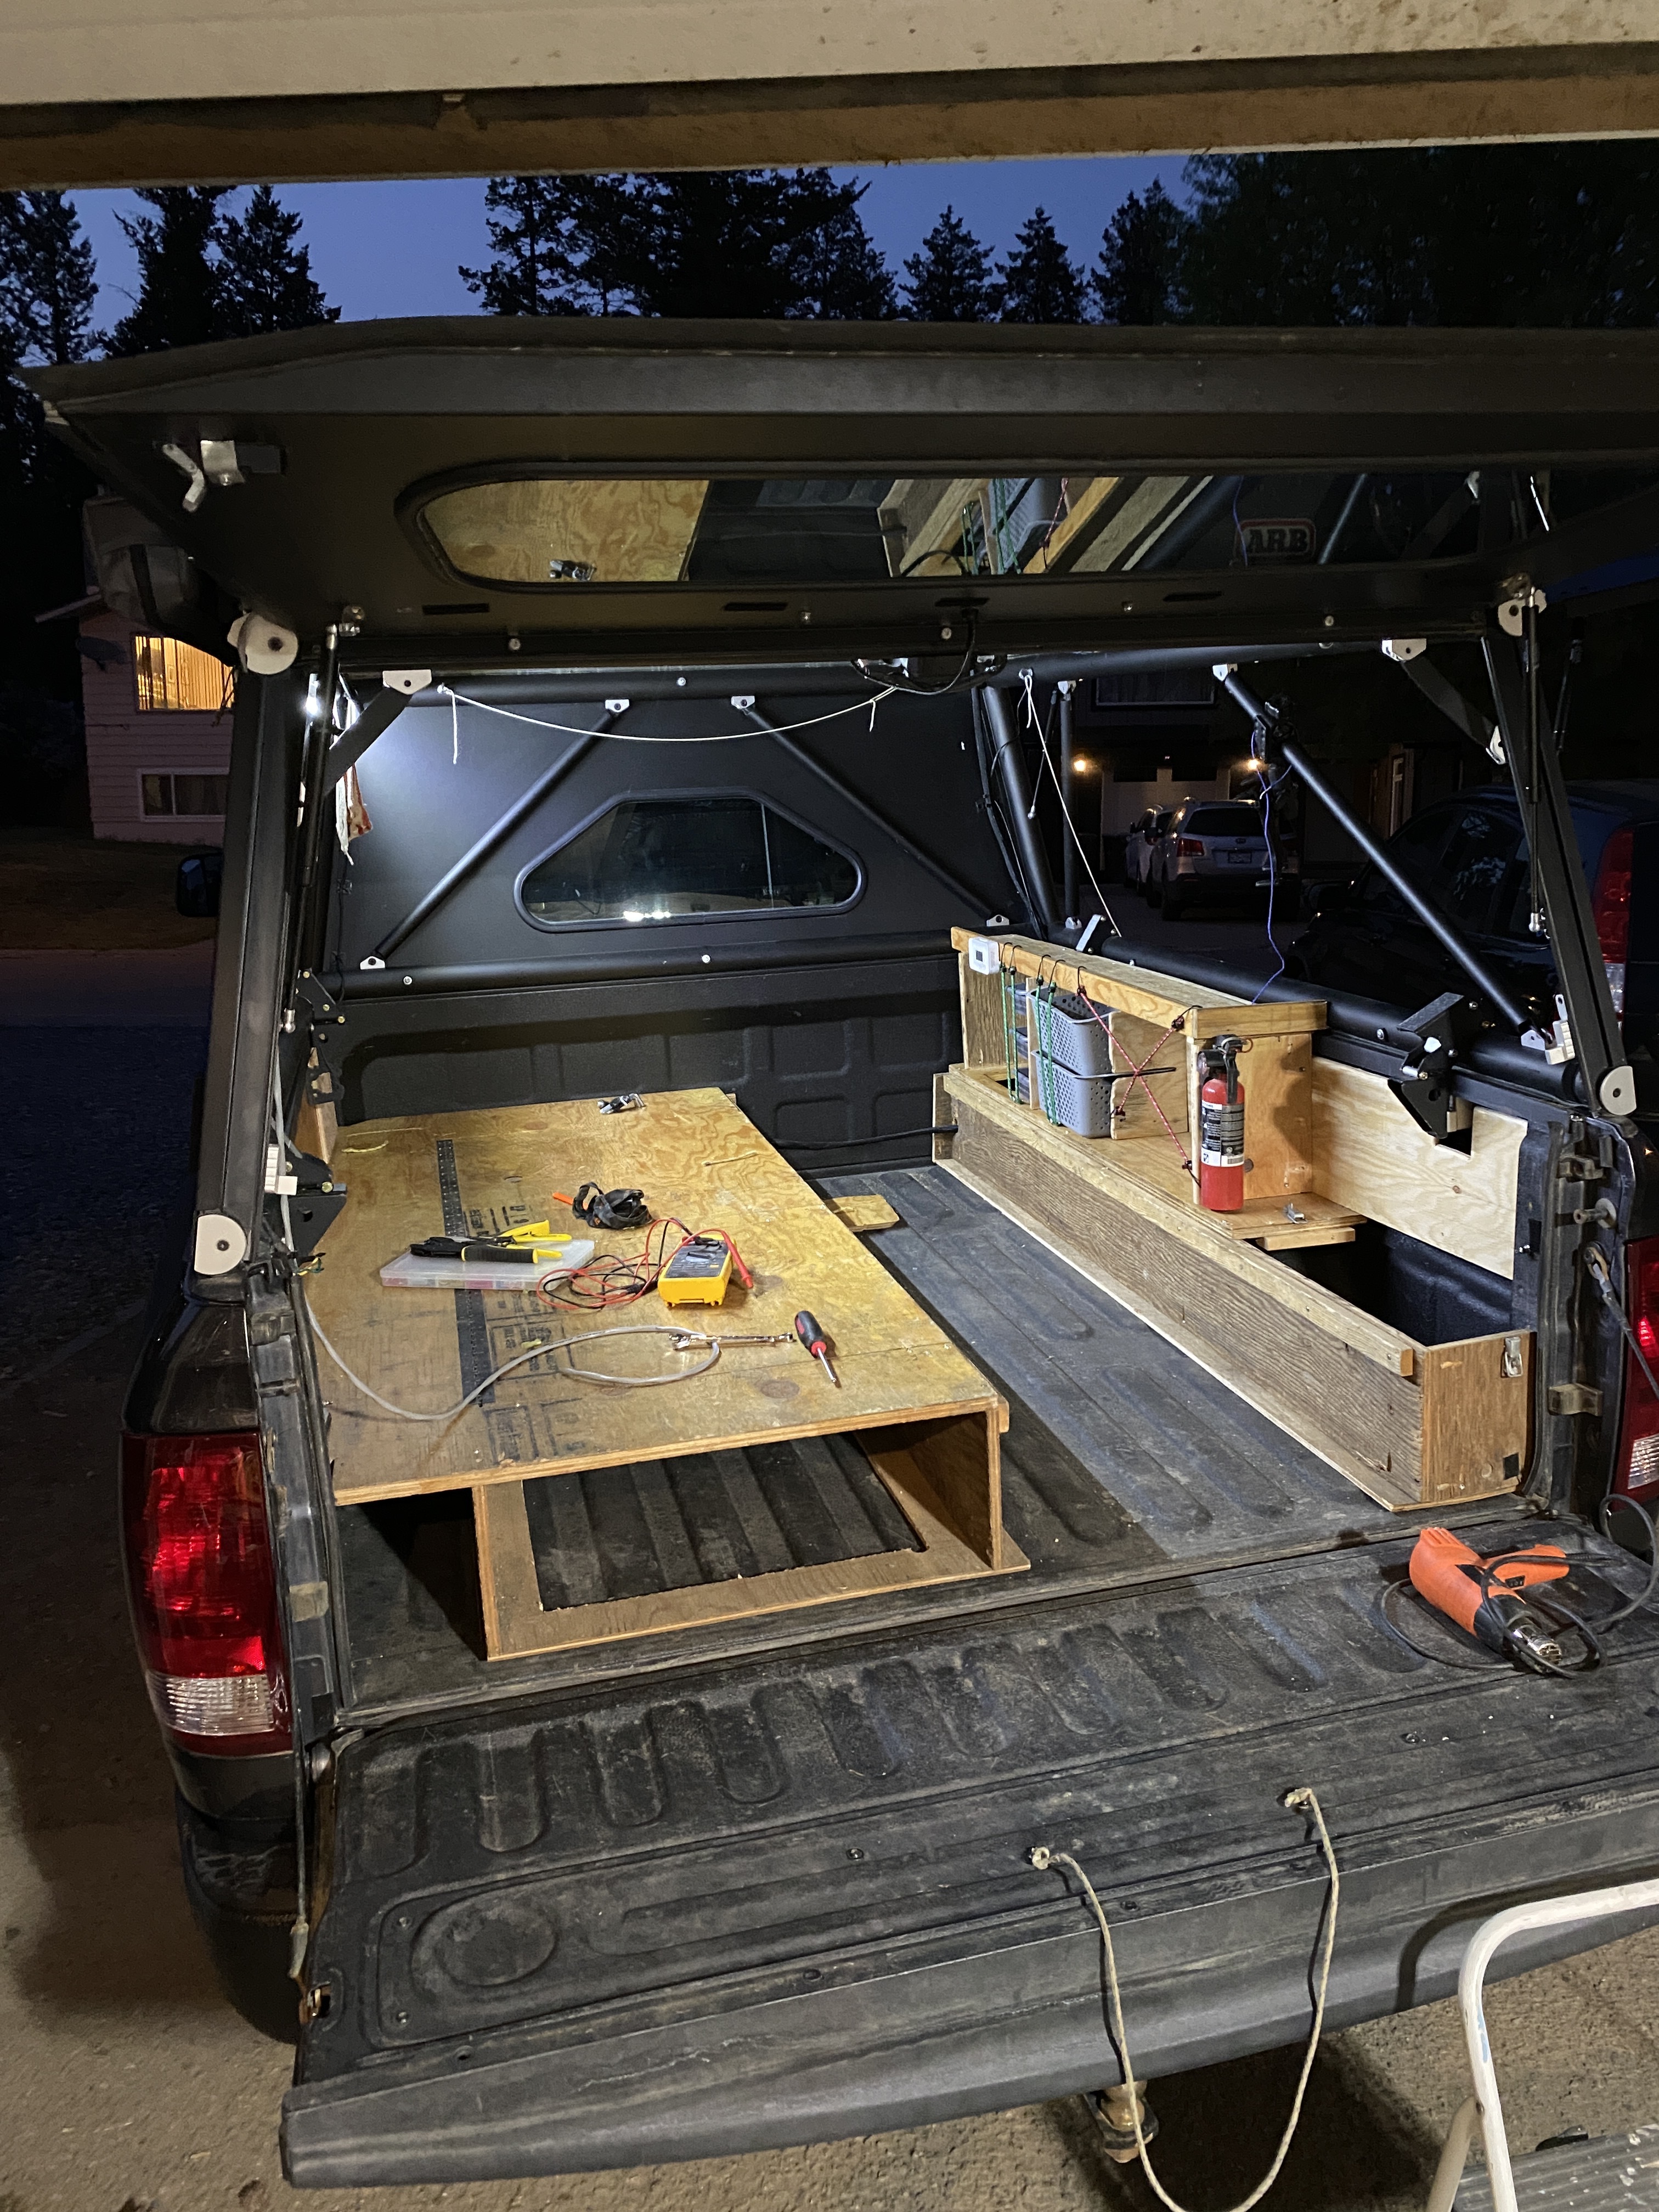
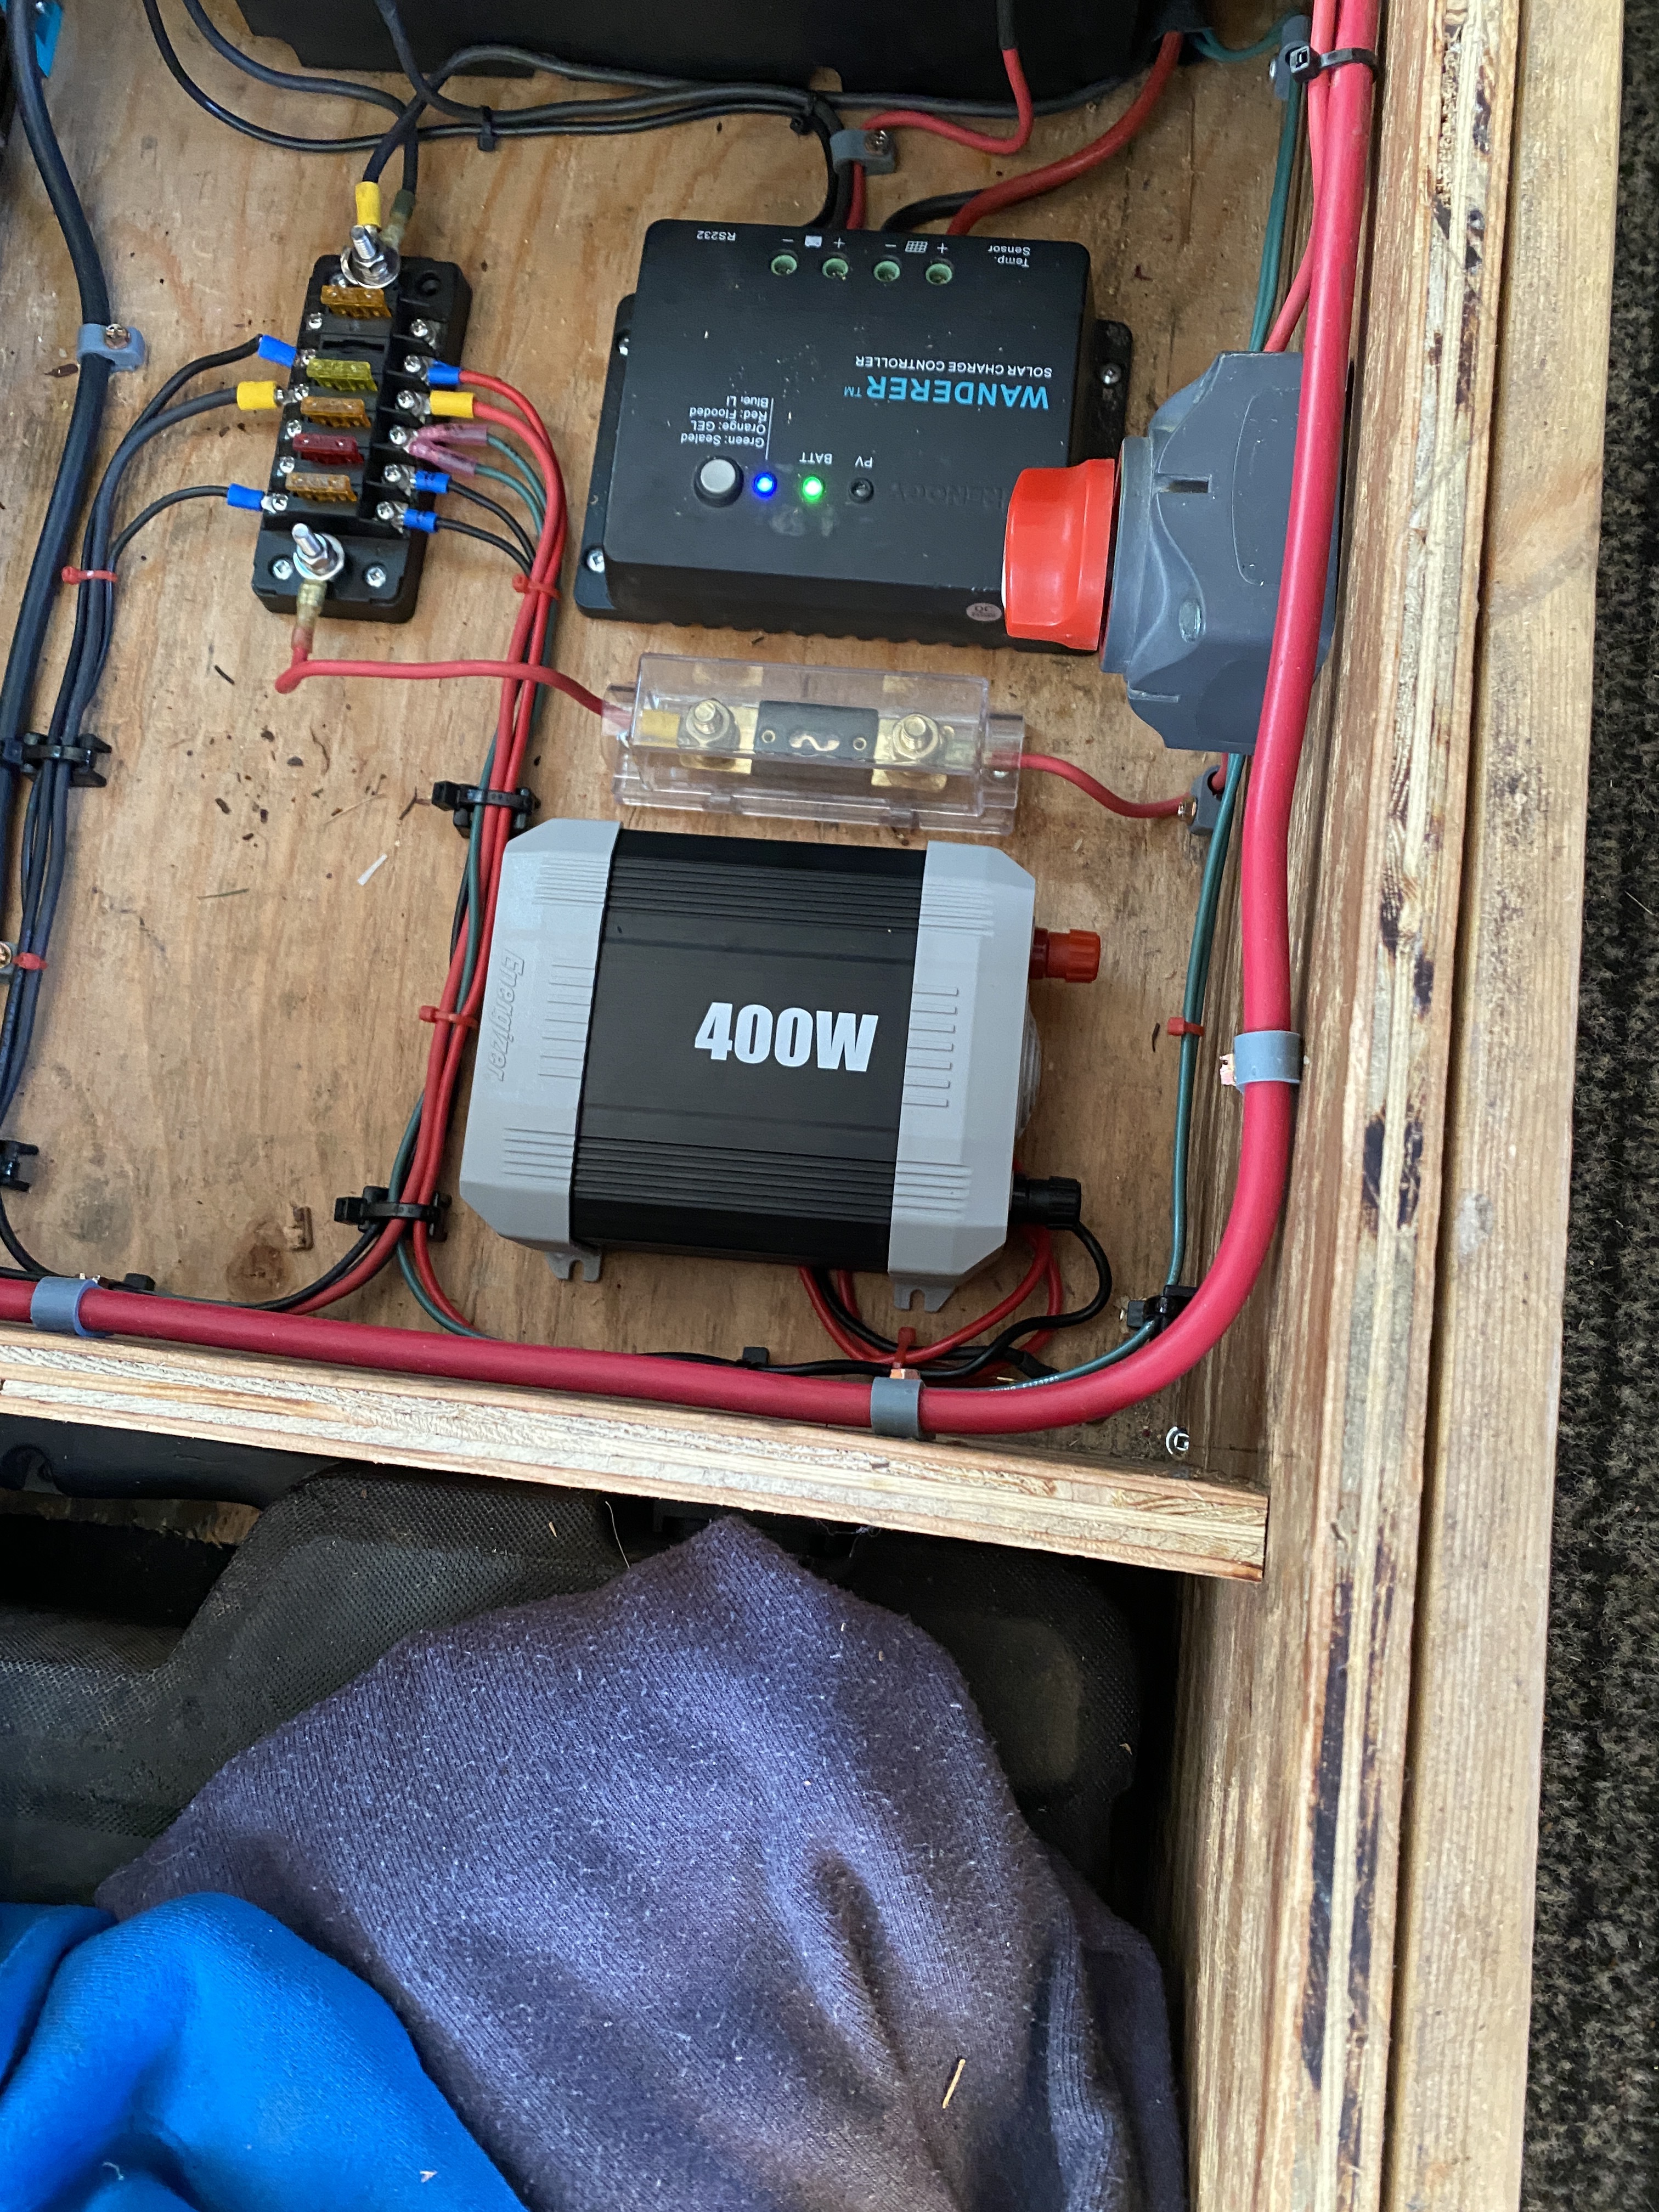
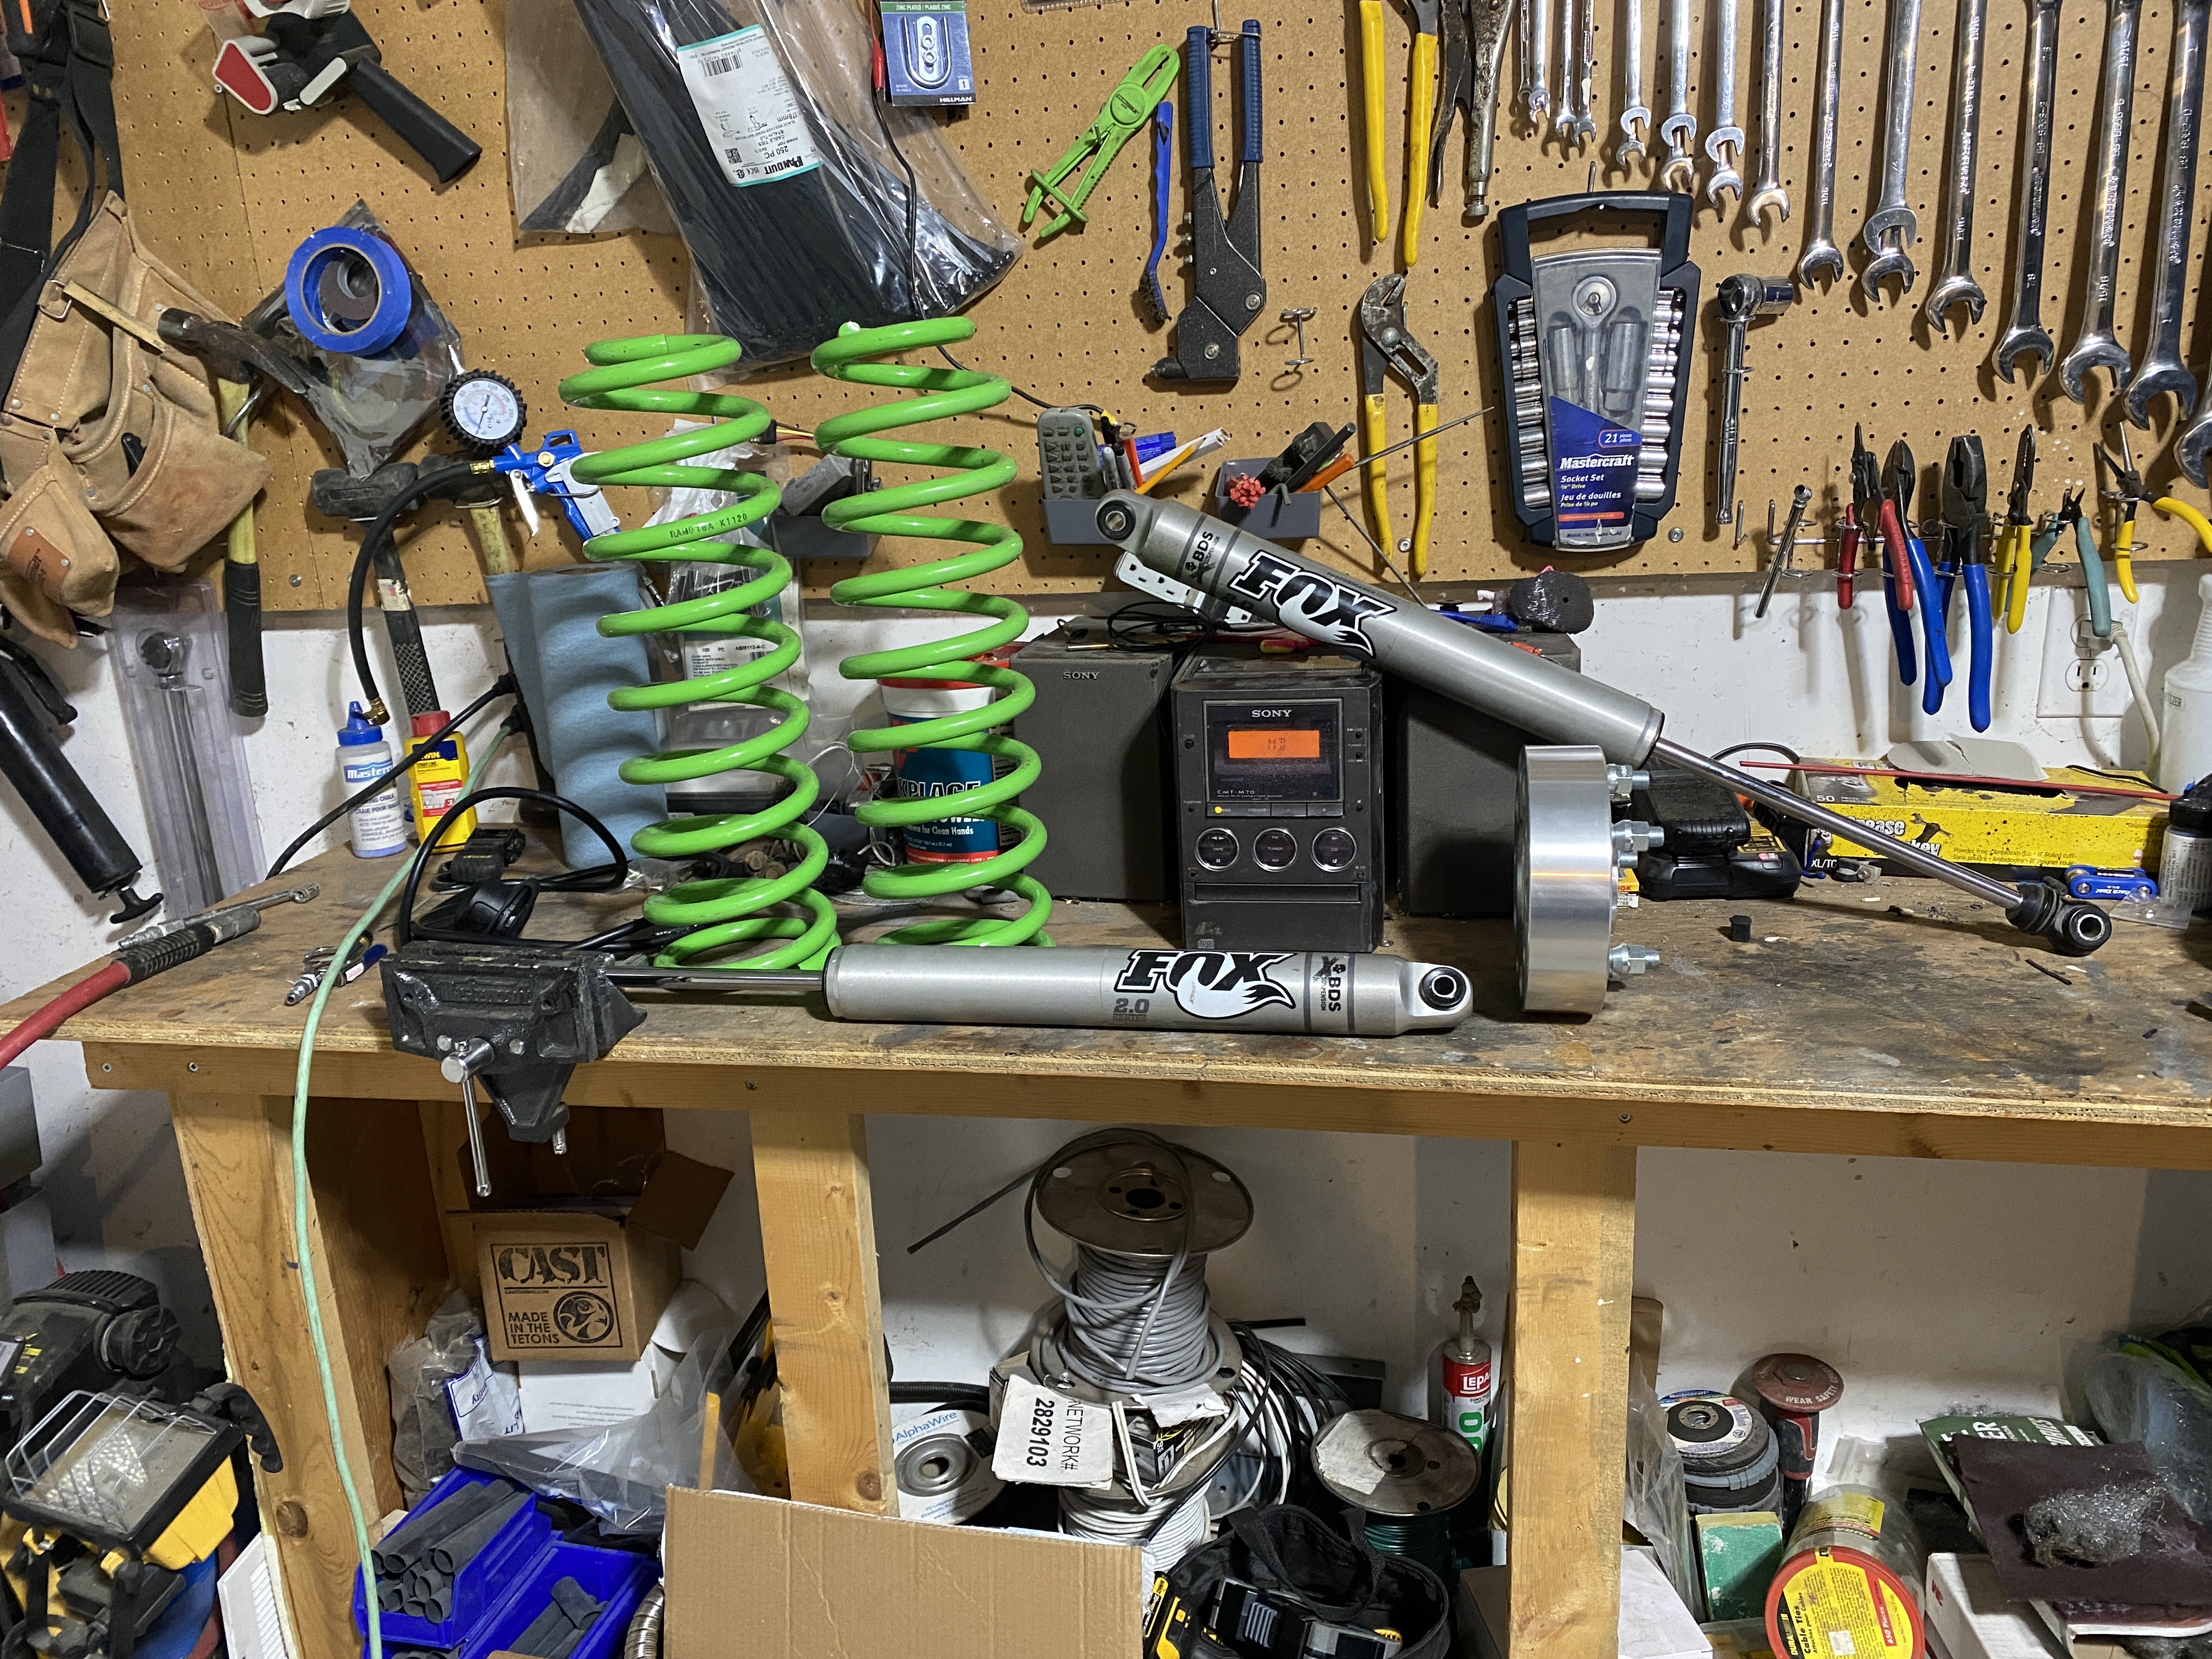
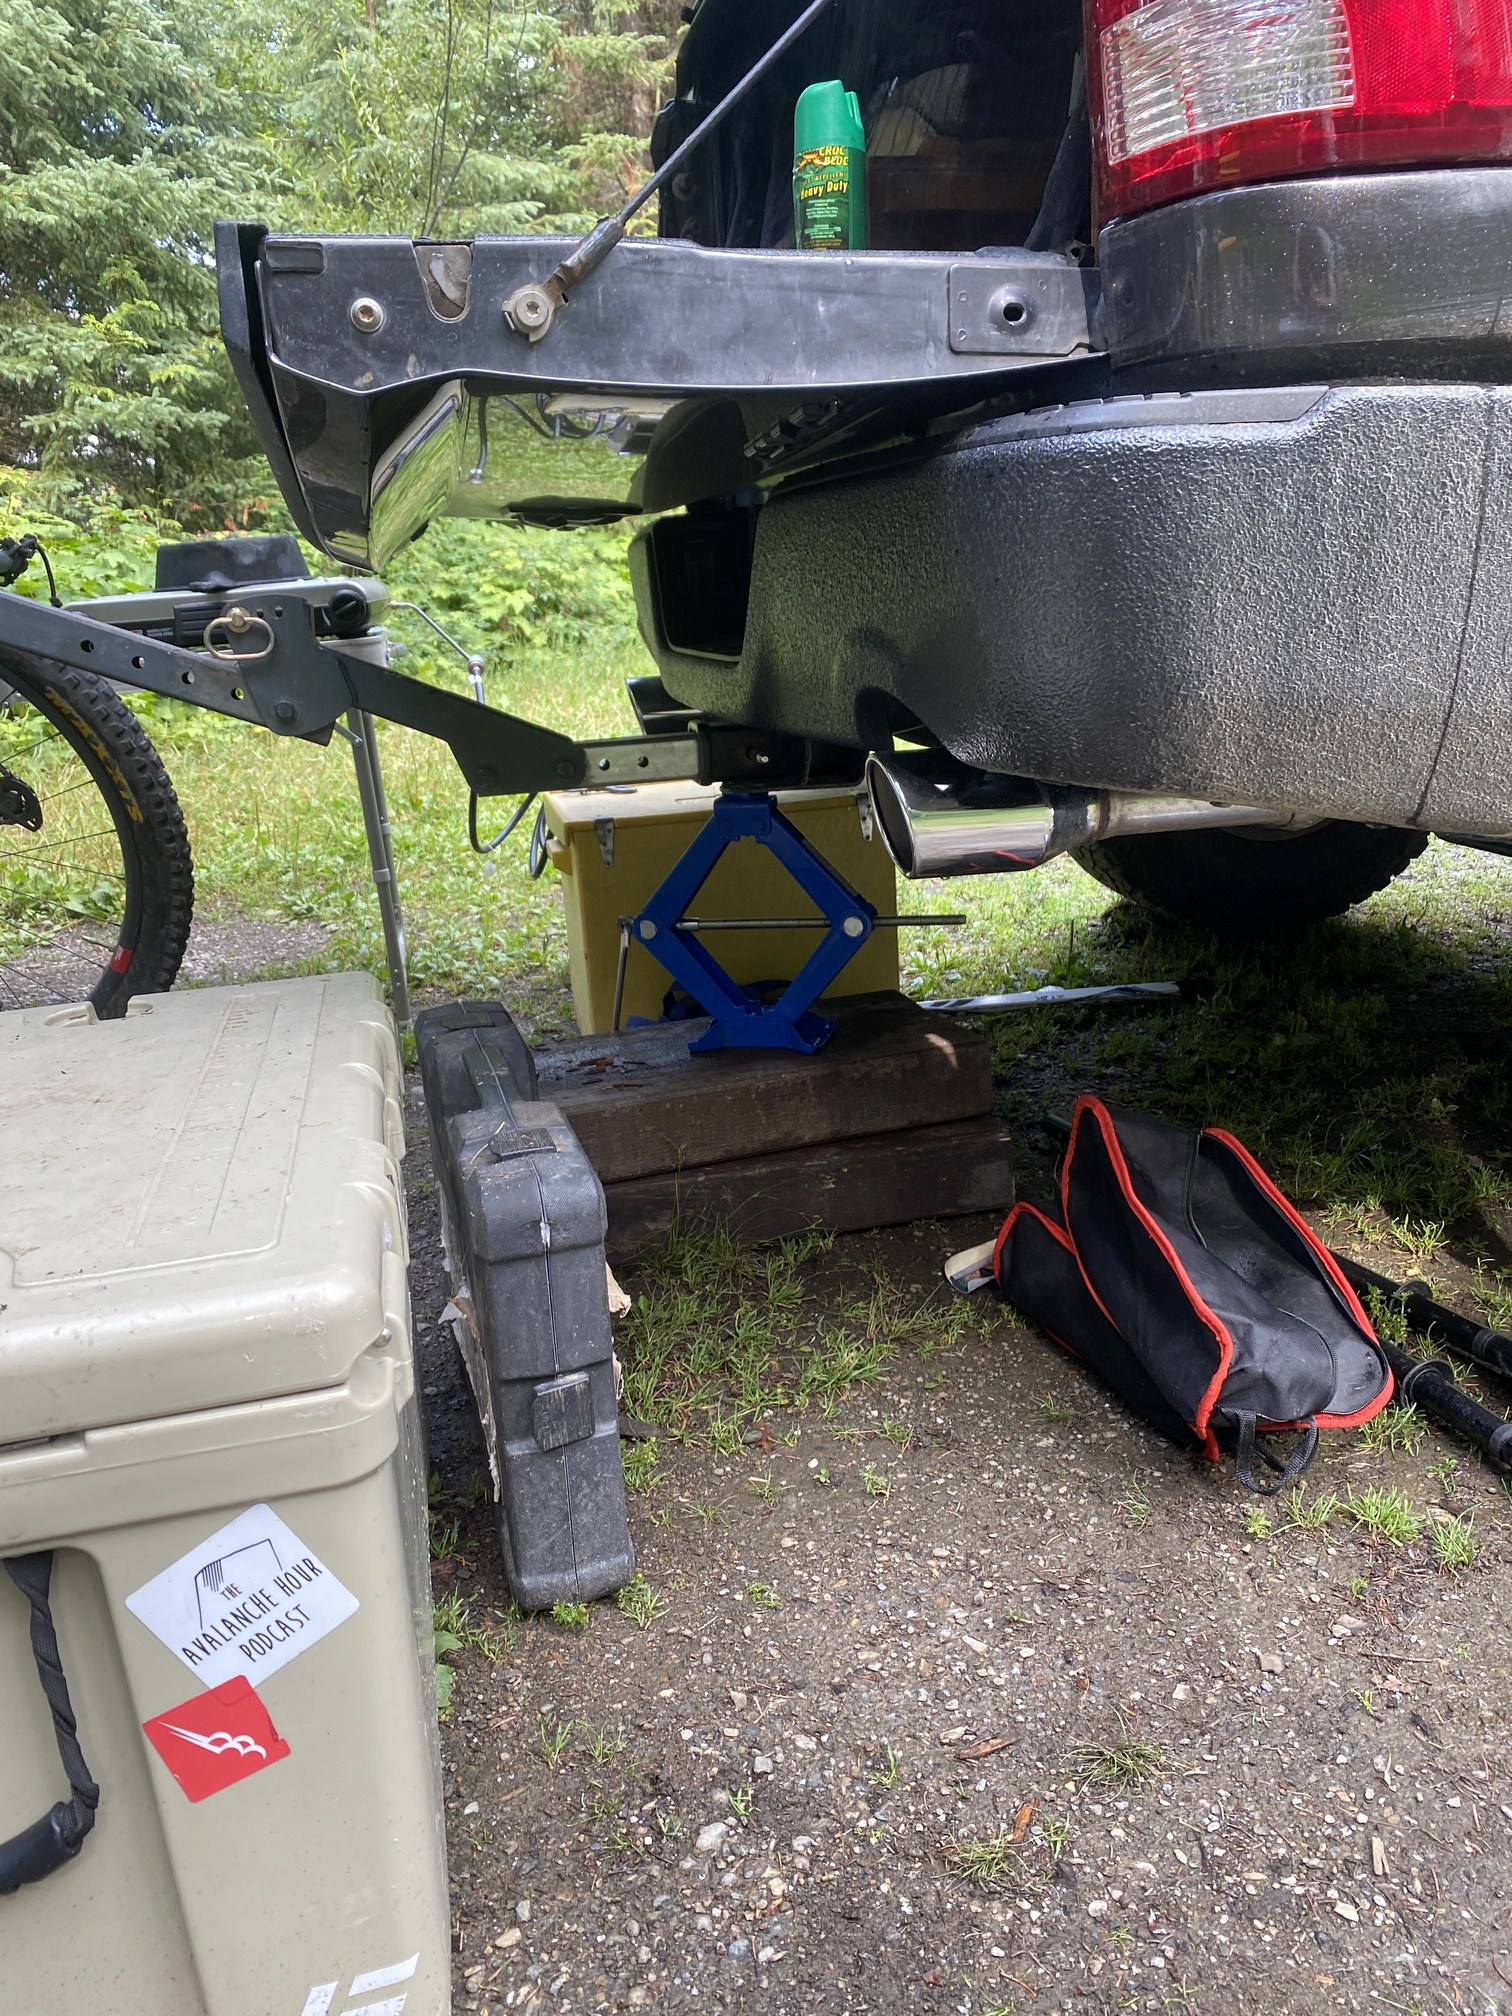
Luckily, I knew I had the NOCO Boost on hand. So hooked that up and flashed the rig back up. Then I thought ‘Hmmm, I wonder if I should mount this here?’ Thoughts?

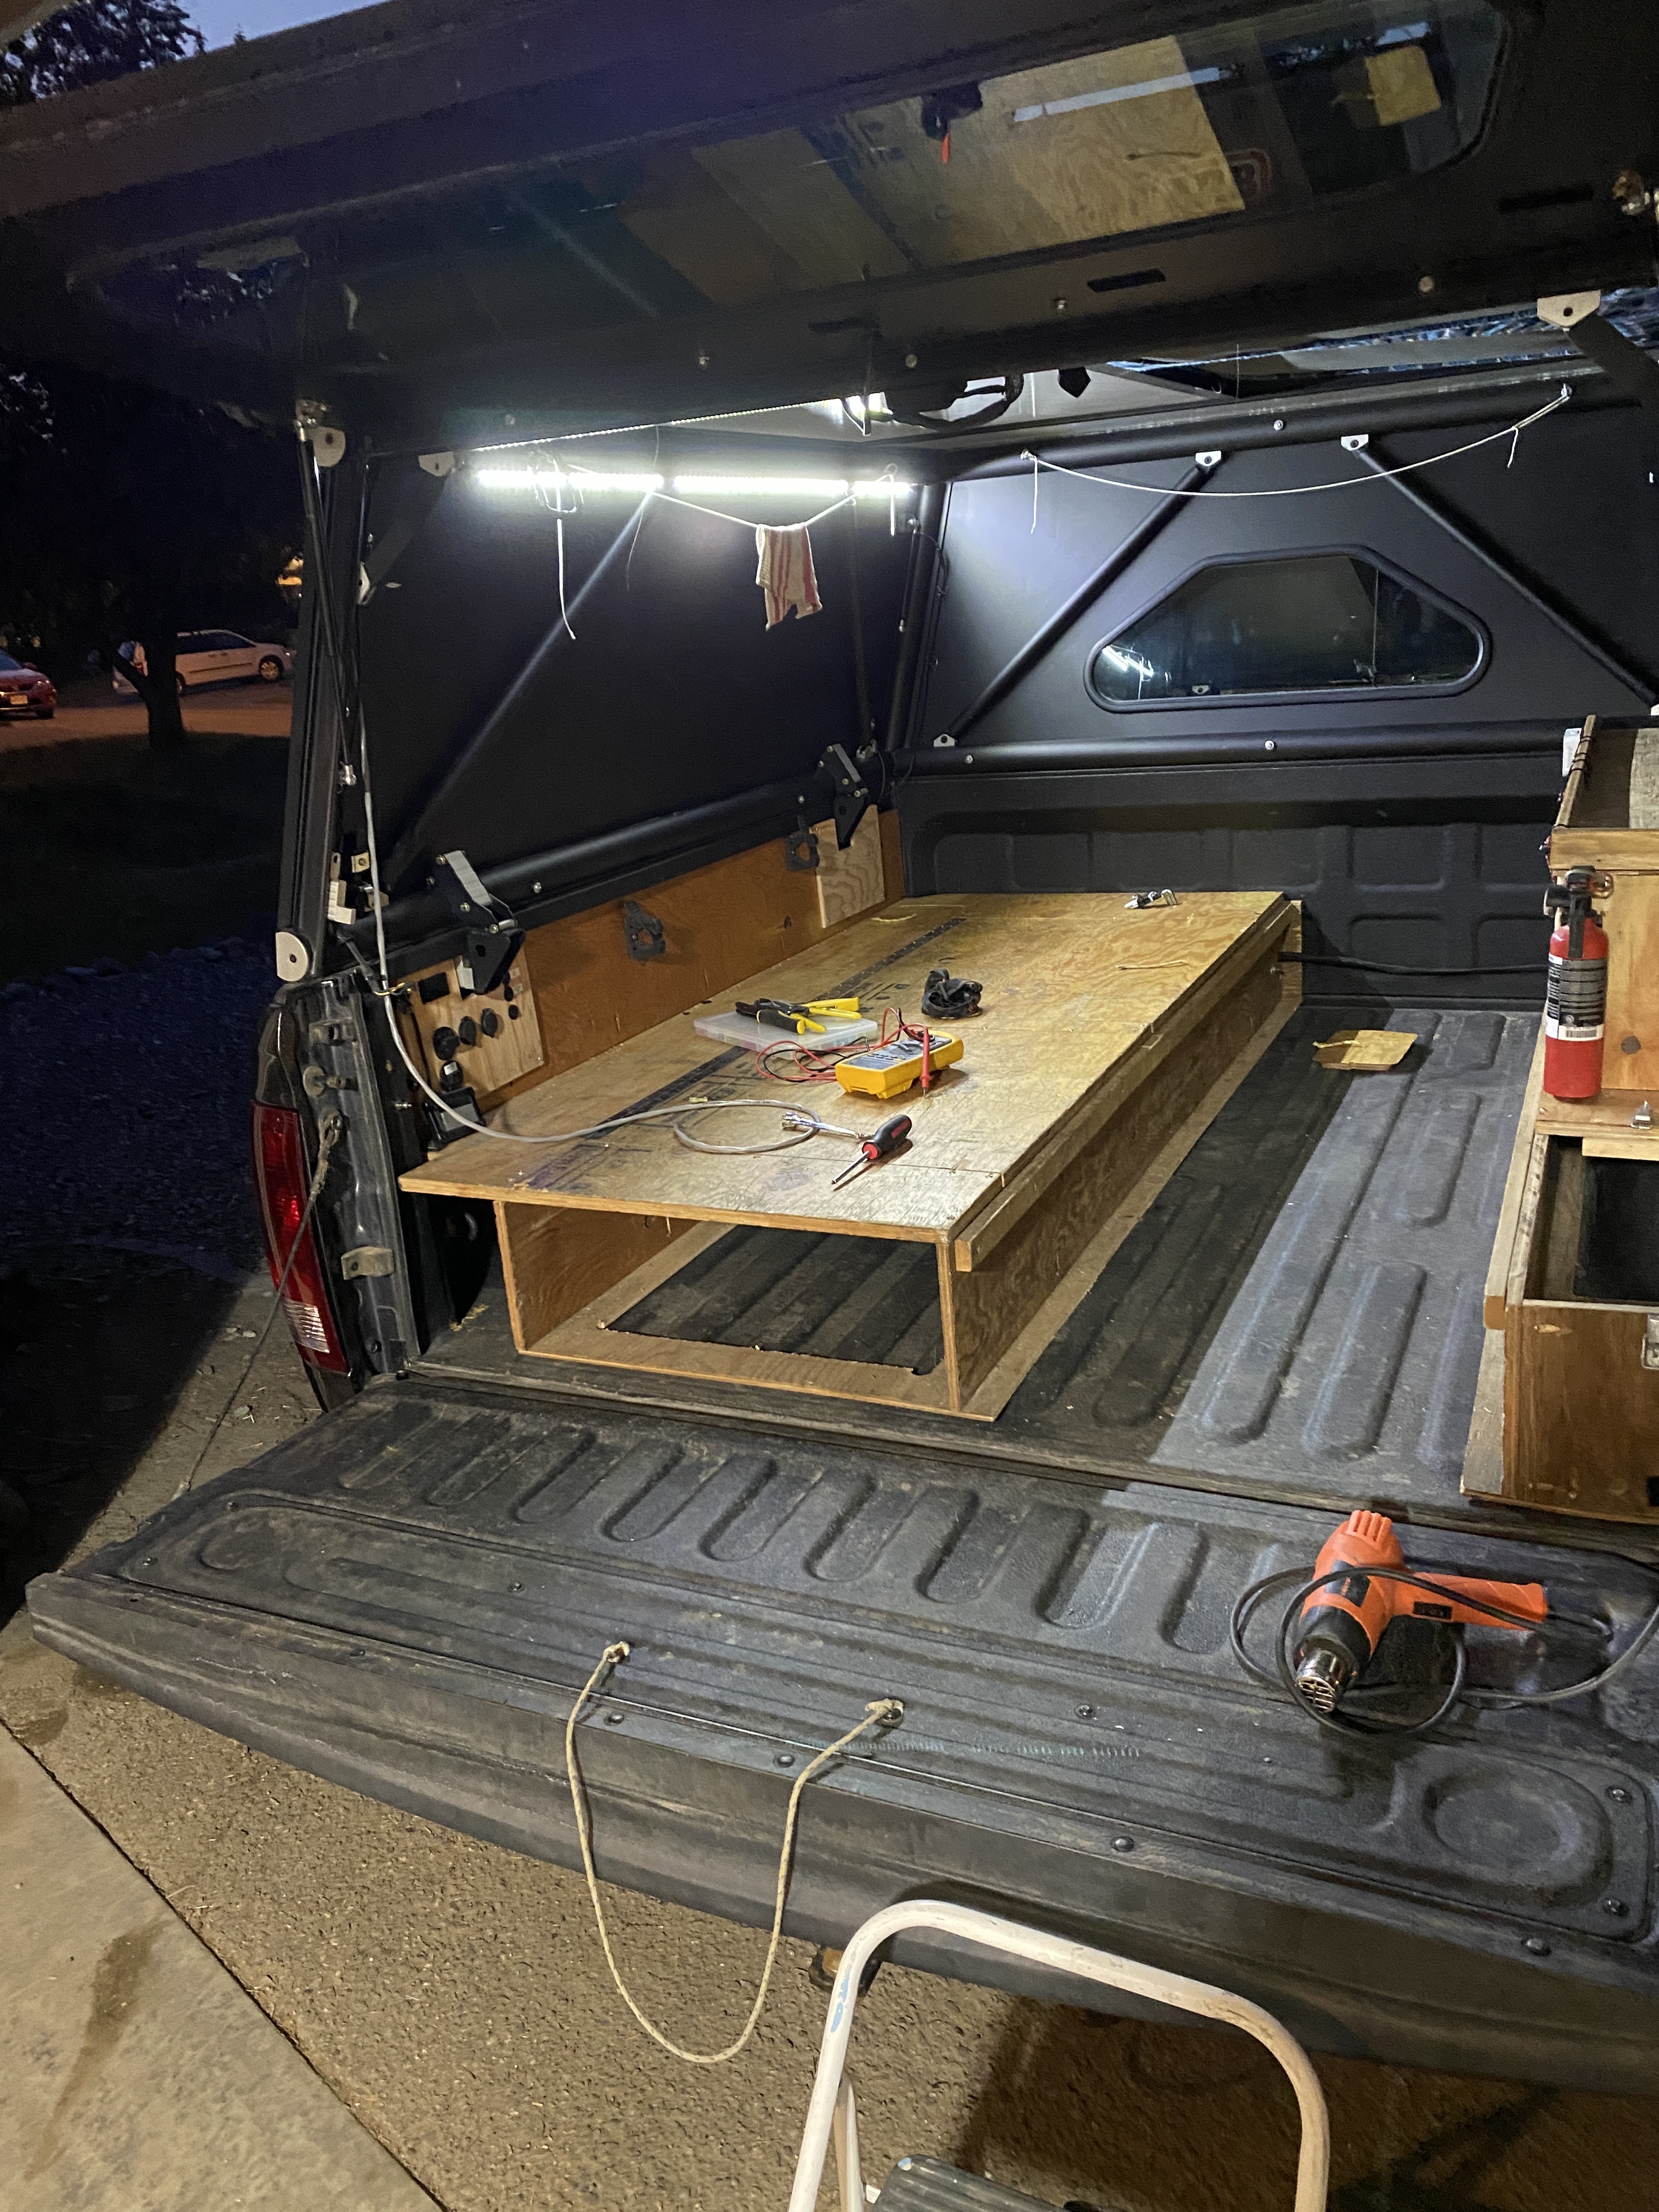
As you can see I’m not getting much work done, but that’s ok, the starlink isn’t providing a consistent enough connection yet to connect to the VPN. But, it did finally give me stable enough internet to work from 10am to 4pm. Here’s where I was at power wise at the end of the day with a laptop and the

You can see, the two while trying to work consume quite a bit of juice. 100W solar isn’t gonna keep you steady in Central BC that’s for sure. Not unless you have no trees :joy:.
So as you can see it takes about 52W. I figure when it’s time to upgrade the solar I will go with one big 400W solar panel.

With the work day done it was time to entertain the kiddos. Off fishing we went!

7 Likes

Another long weekend around the house on Standby for work. So…might as well tick a couple items of the truck ‘To Do’ list.

Item 1:

Remove rear Shocks, remove bushing sleeves, press bushing sleeves into Fox 2.0 Bushings. Remove rear springs.

Item 2:

Re-install Firestone Coil bags, and install FB Marketplace ‘score’ :man_shrugging:. (Take note here folks that know me, tell me if you can guess the outcome)


Roughed in place


So, it turns out unlike the Fox bushing sleeves that popped out with a little WD and a flathead; The stock ones are heat glued onto the bushing. This got messy after this so no pictures were harmed in the Hillbilly mods I did to get those sleeves suitable for those shocks.

Read to go, I think this gonna look good!

That did not go smoothly. I basically cut the old bushing off the sleeves with a cutting disk. Then used a wire week brush to clean the rest off. Built a jig using Ready Rod, some washers and some nuts. This would allow me to press the bushings in.

It went ok, but wasn’t as easy as just spending the extra $200 on the RIGHT shock. But…how else can you learn patience and perseverance.


Then comes the real question!!! Fuck? Looks to me like maybe my shock body is too big. I was told these were from a 4th Gen, but maybe it was a 4th Gen 1 ton!

Not a lot of up-stroke there!

looks like I need more lift :joy:

2 Likes