they want people to pay shops to do it because… people have fked it up before.
and also wait till you do the 2.5 performance elite ones lol i just did my front and rear a month or so ago
on the 5th gen this is what i did:
I love that you have VAR offside lines (Soccer joke) checking the level. I should try that. And…thank you for making me laugh this morning, the finger is a great pic!
hahahahah the lines were for me to confirm levelness in a graphic way. Photoshop to the rescue! lolll
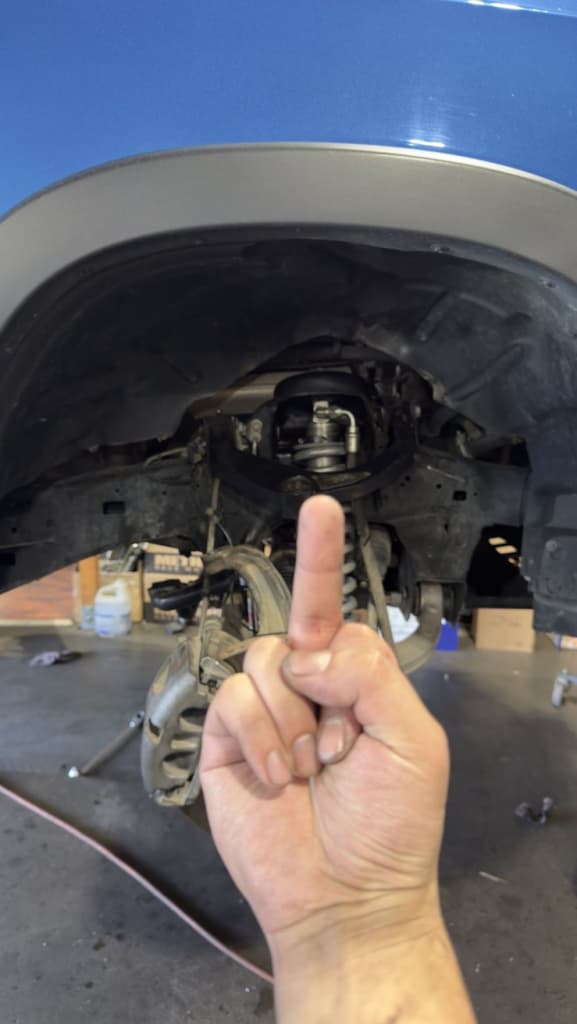
and that finger was exactly how I felt at the time. to do the Fox 2.5 on DT, the lower spring cup needs to be removed and the only way to do so is to turn the lower shock fork… with like 200lb/ ft of force or something… while the whole coilover is sitting on a spring compressor.
then I put everything back, put the truck off the lift, then found out my front was way too high and preload needed to be reduced even more due to higher spring rates. so everything off again (luckily no more messing with the lower spring cup). that finger was: f you. i should have gone with King.
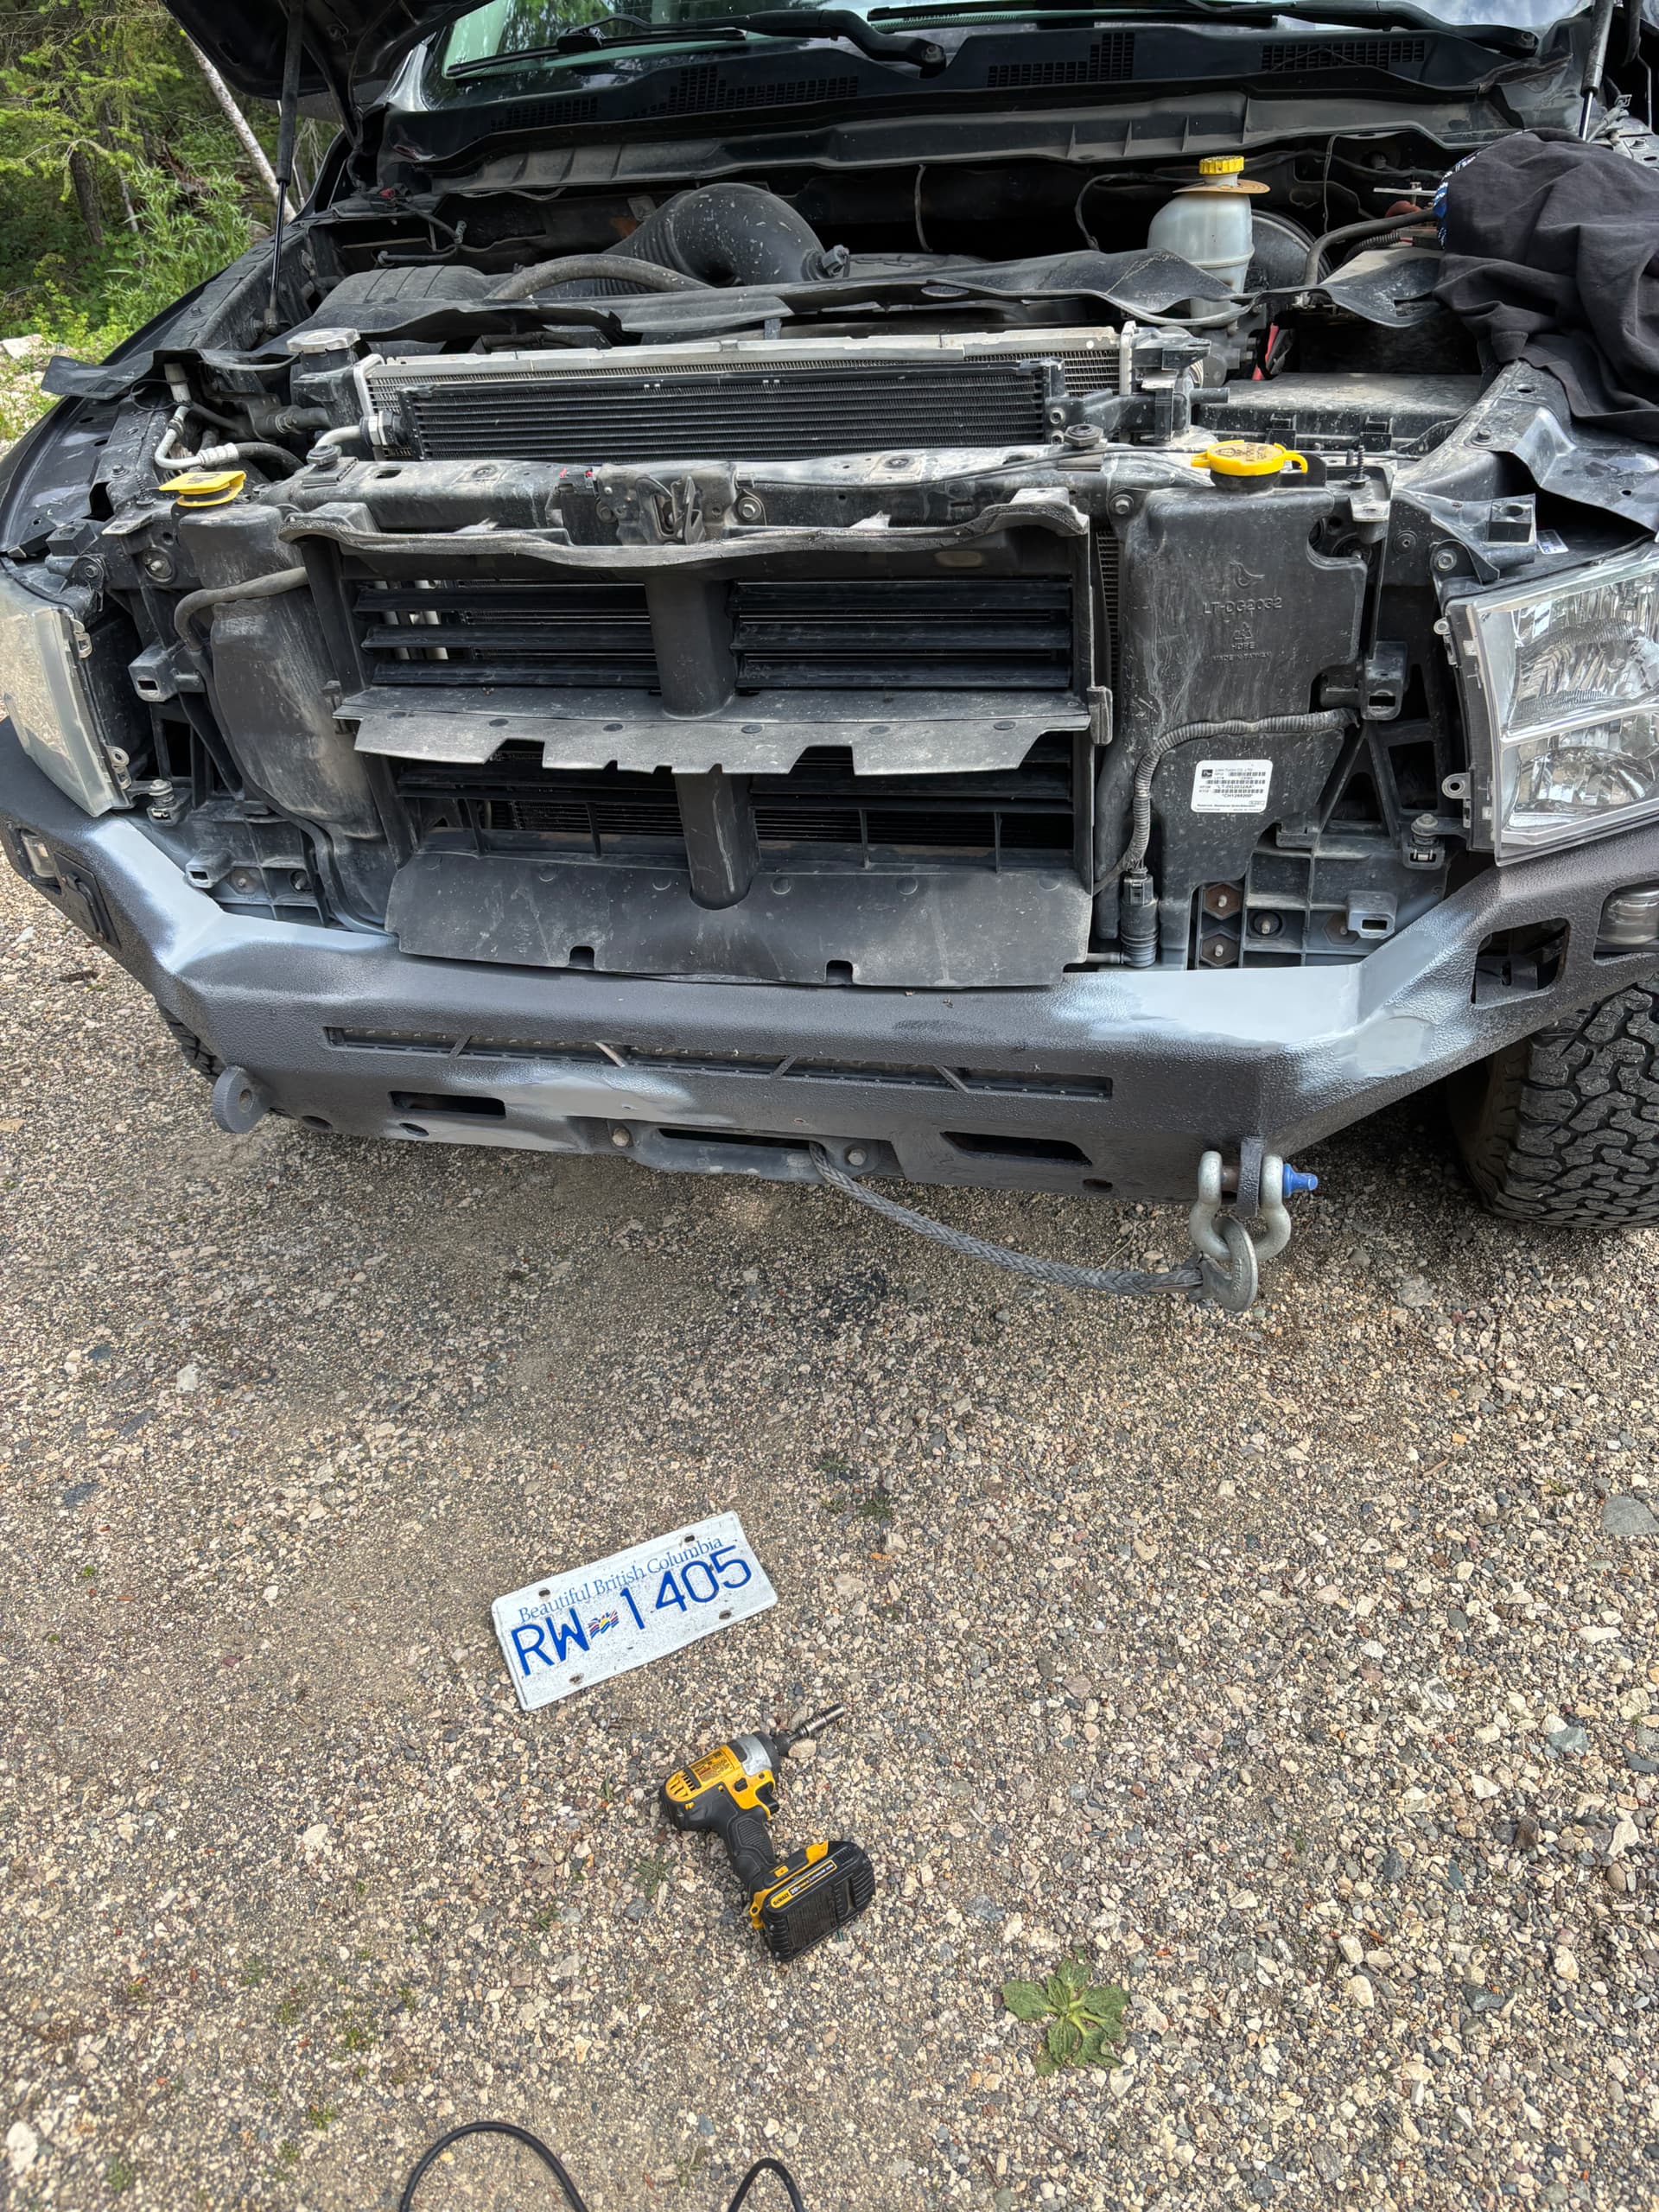
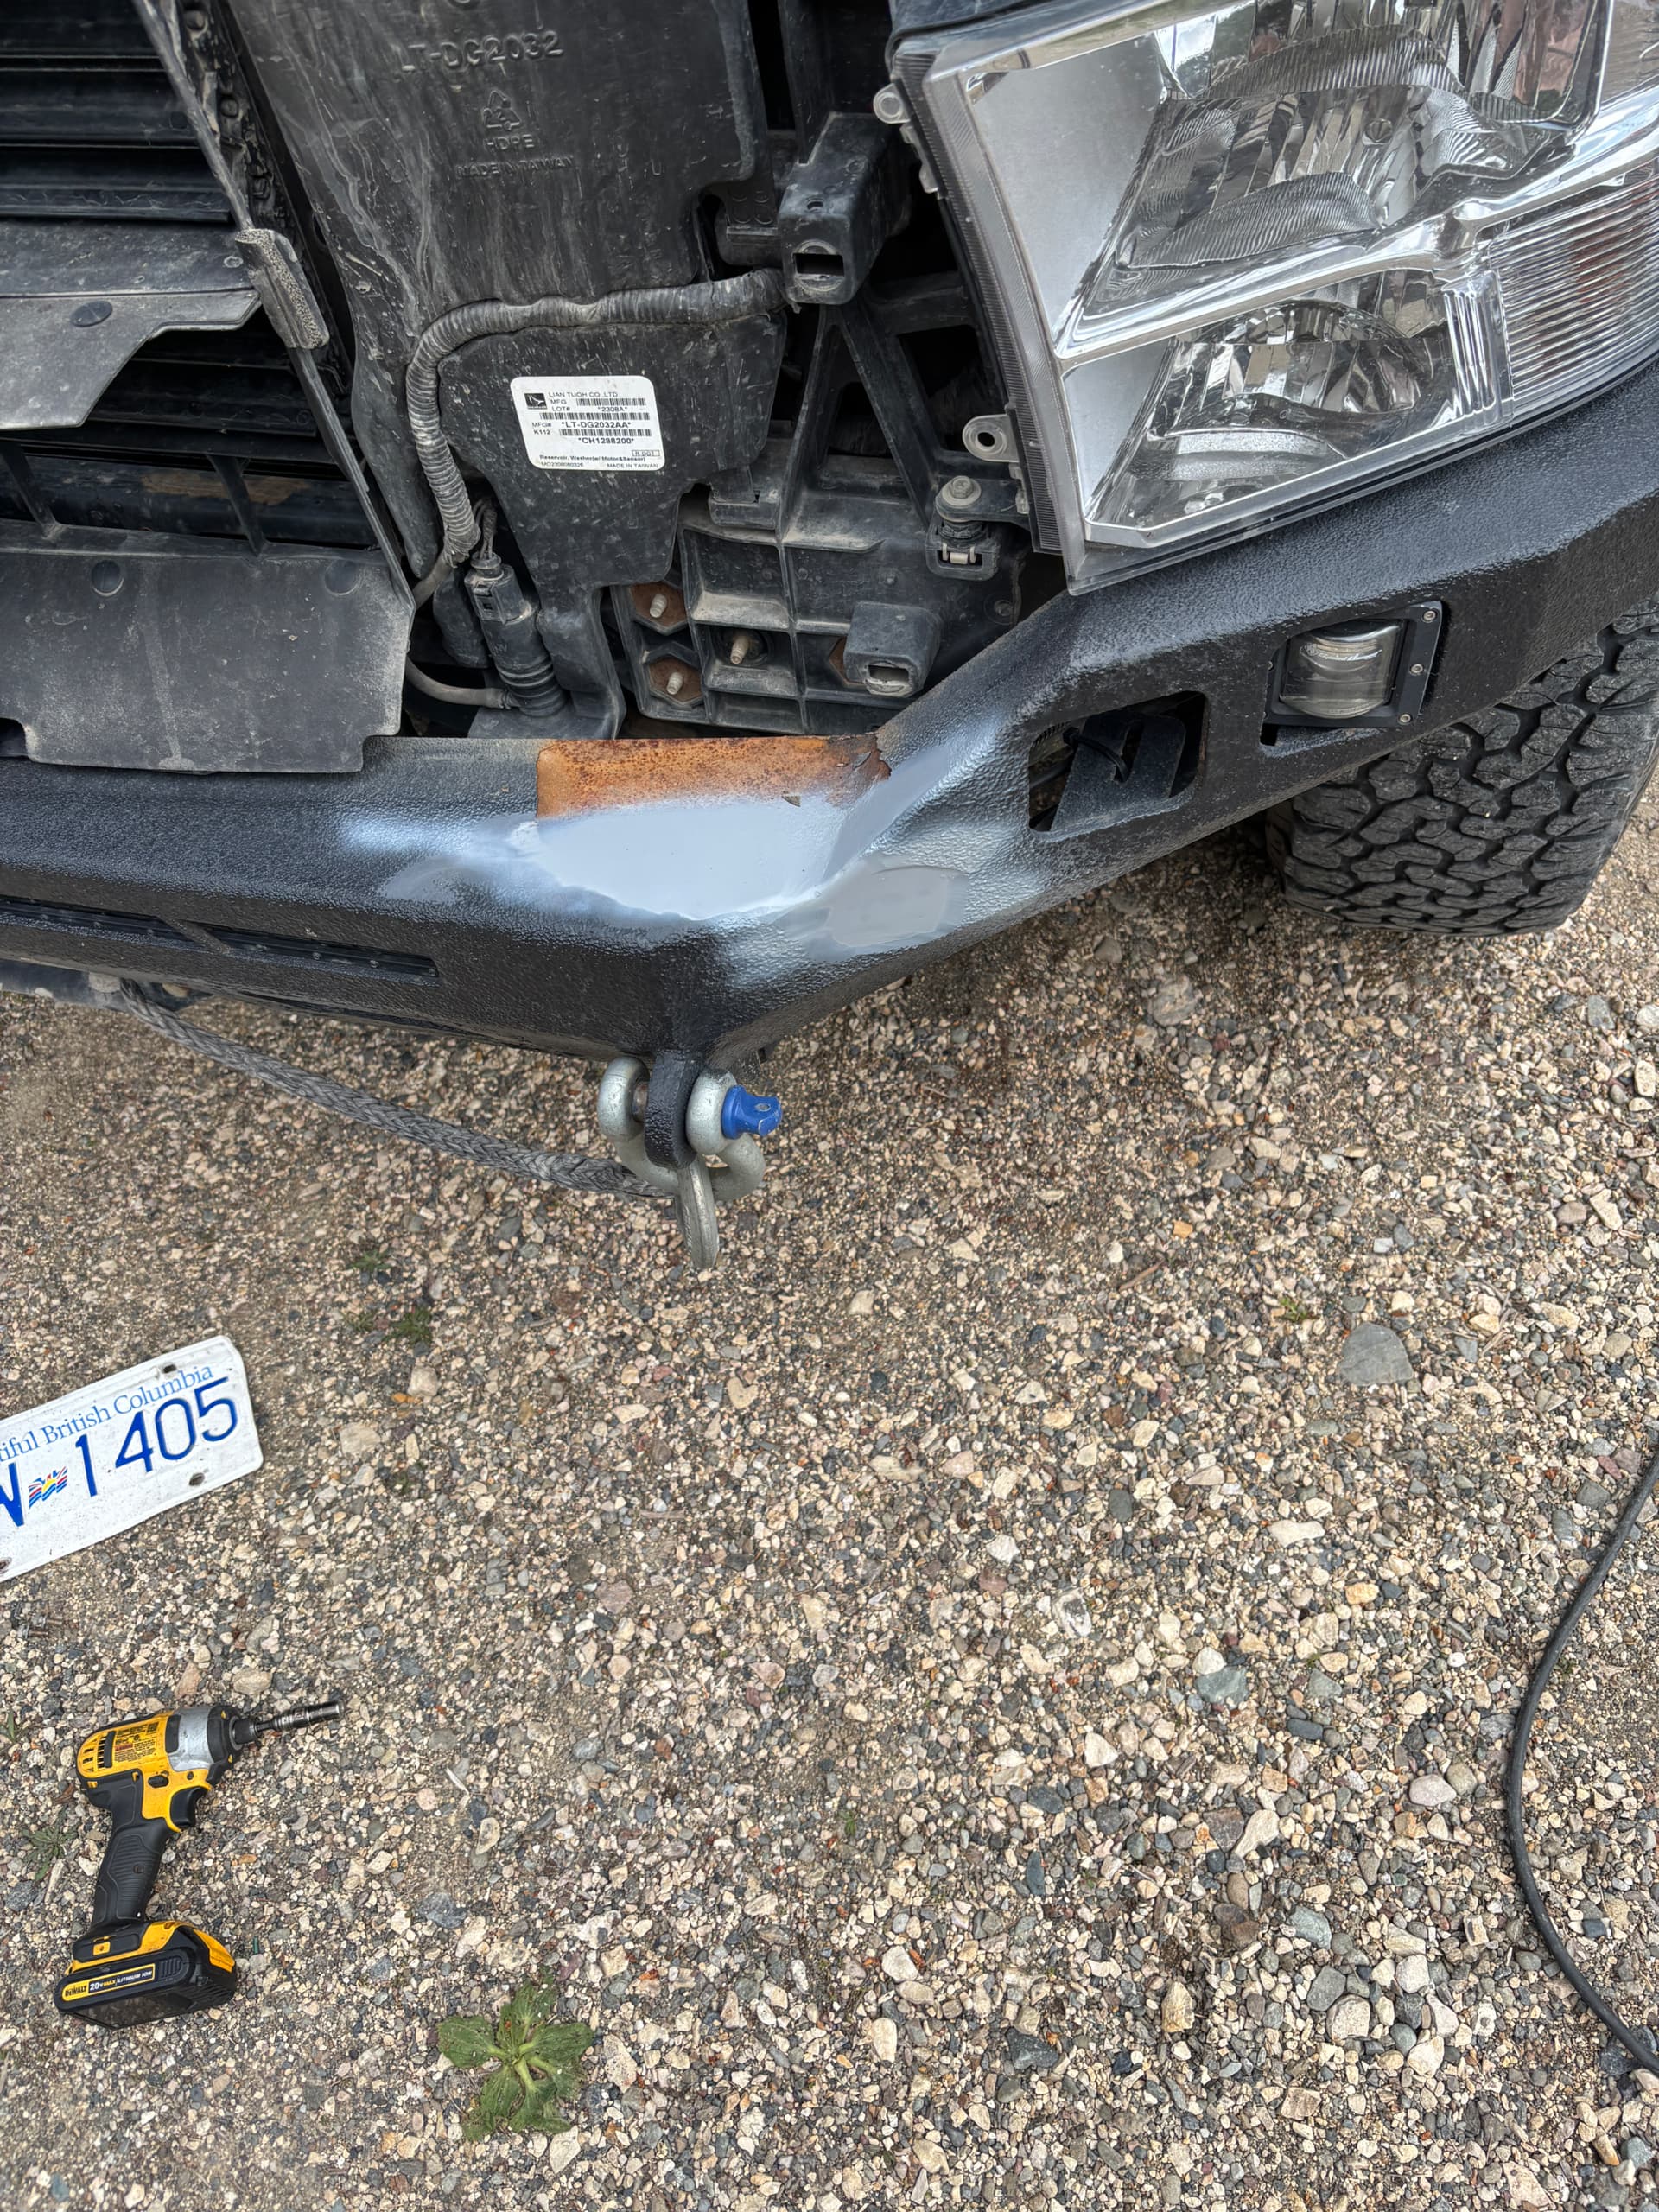
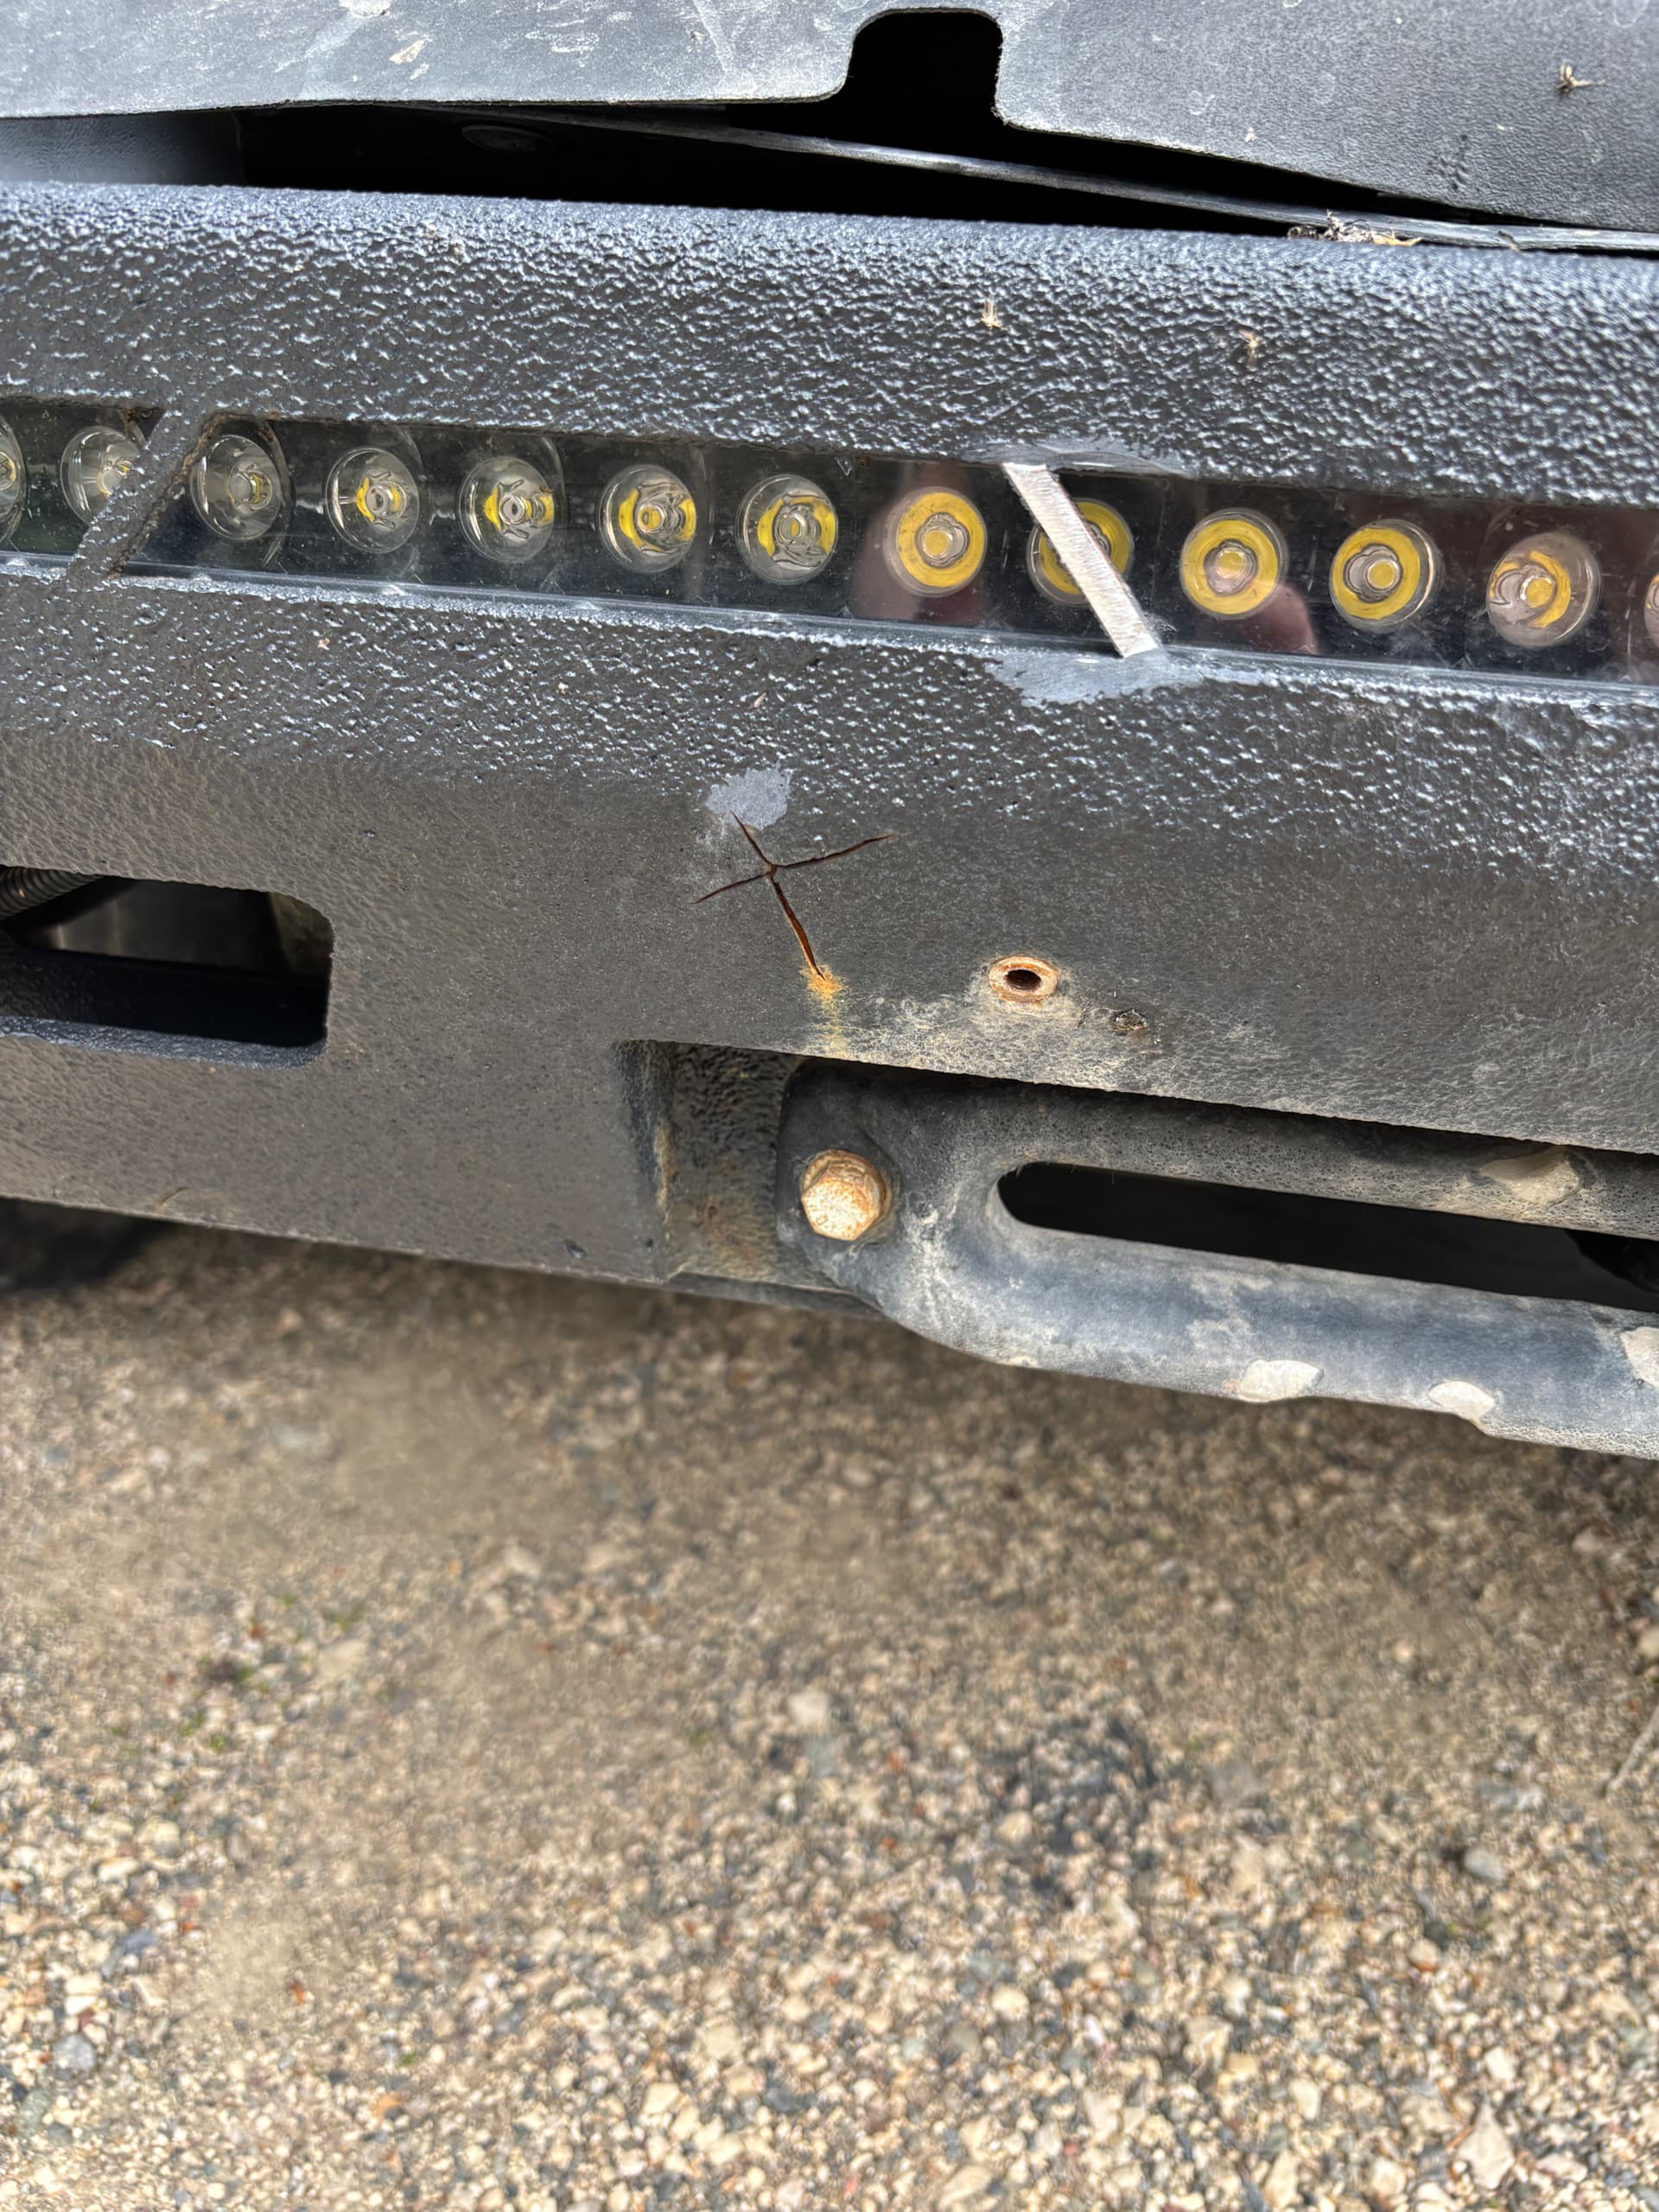
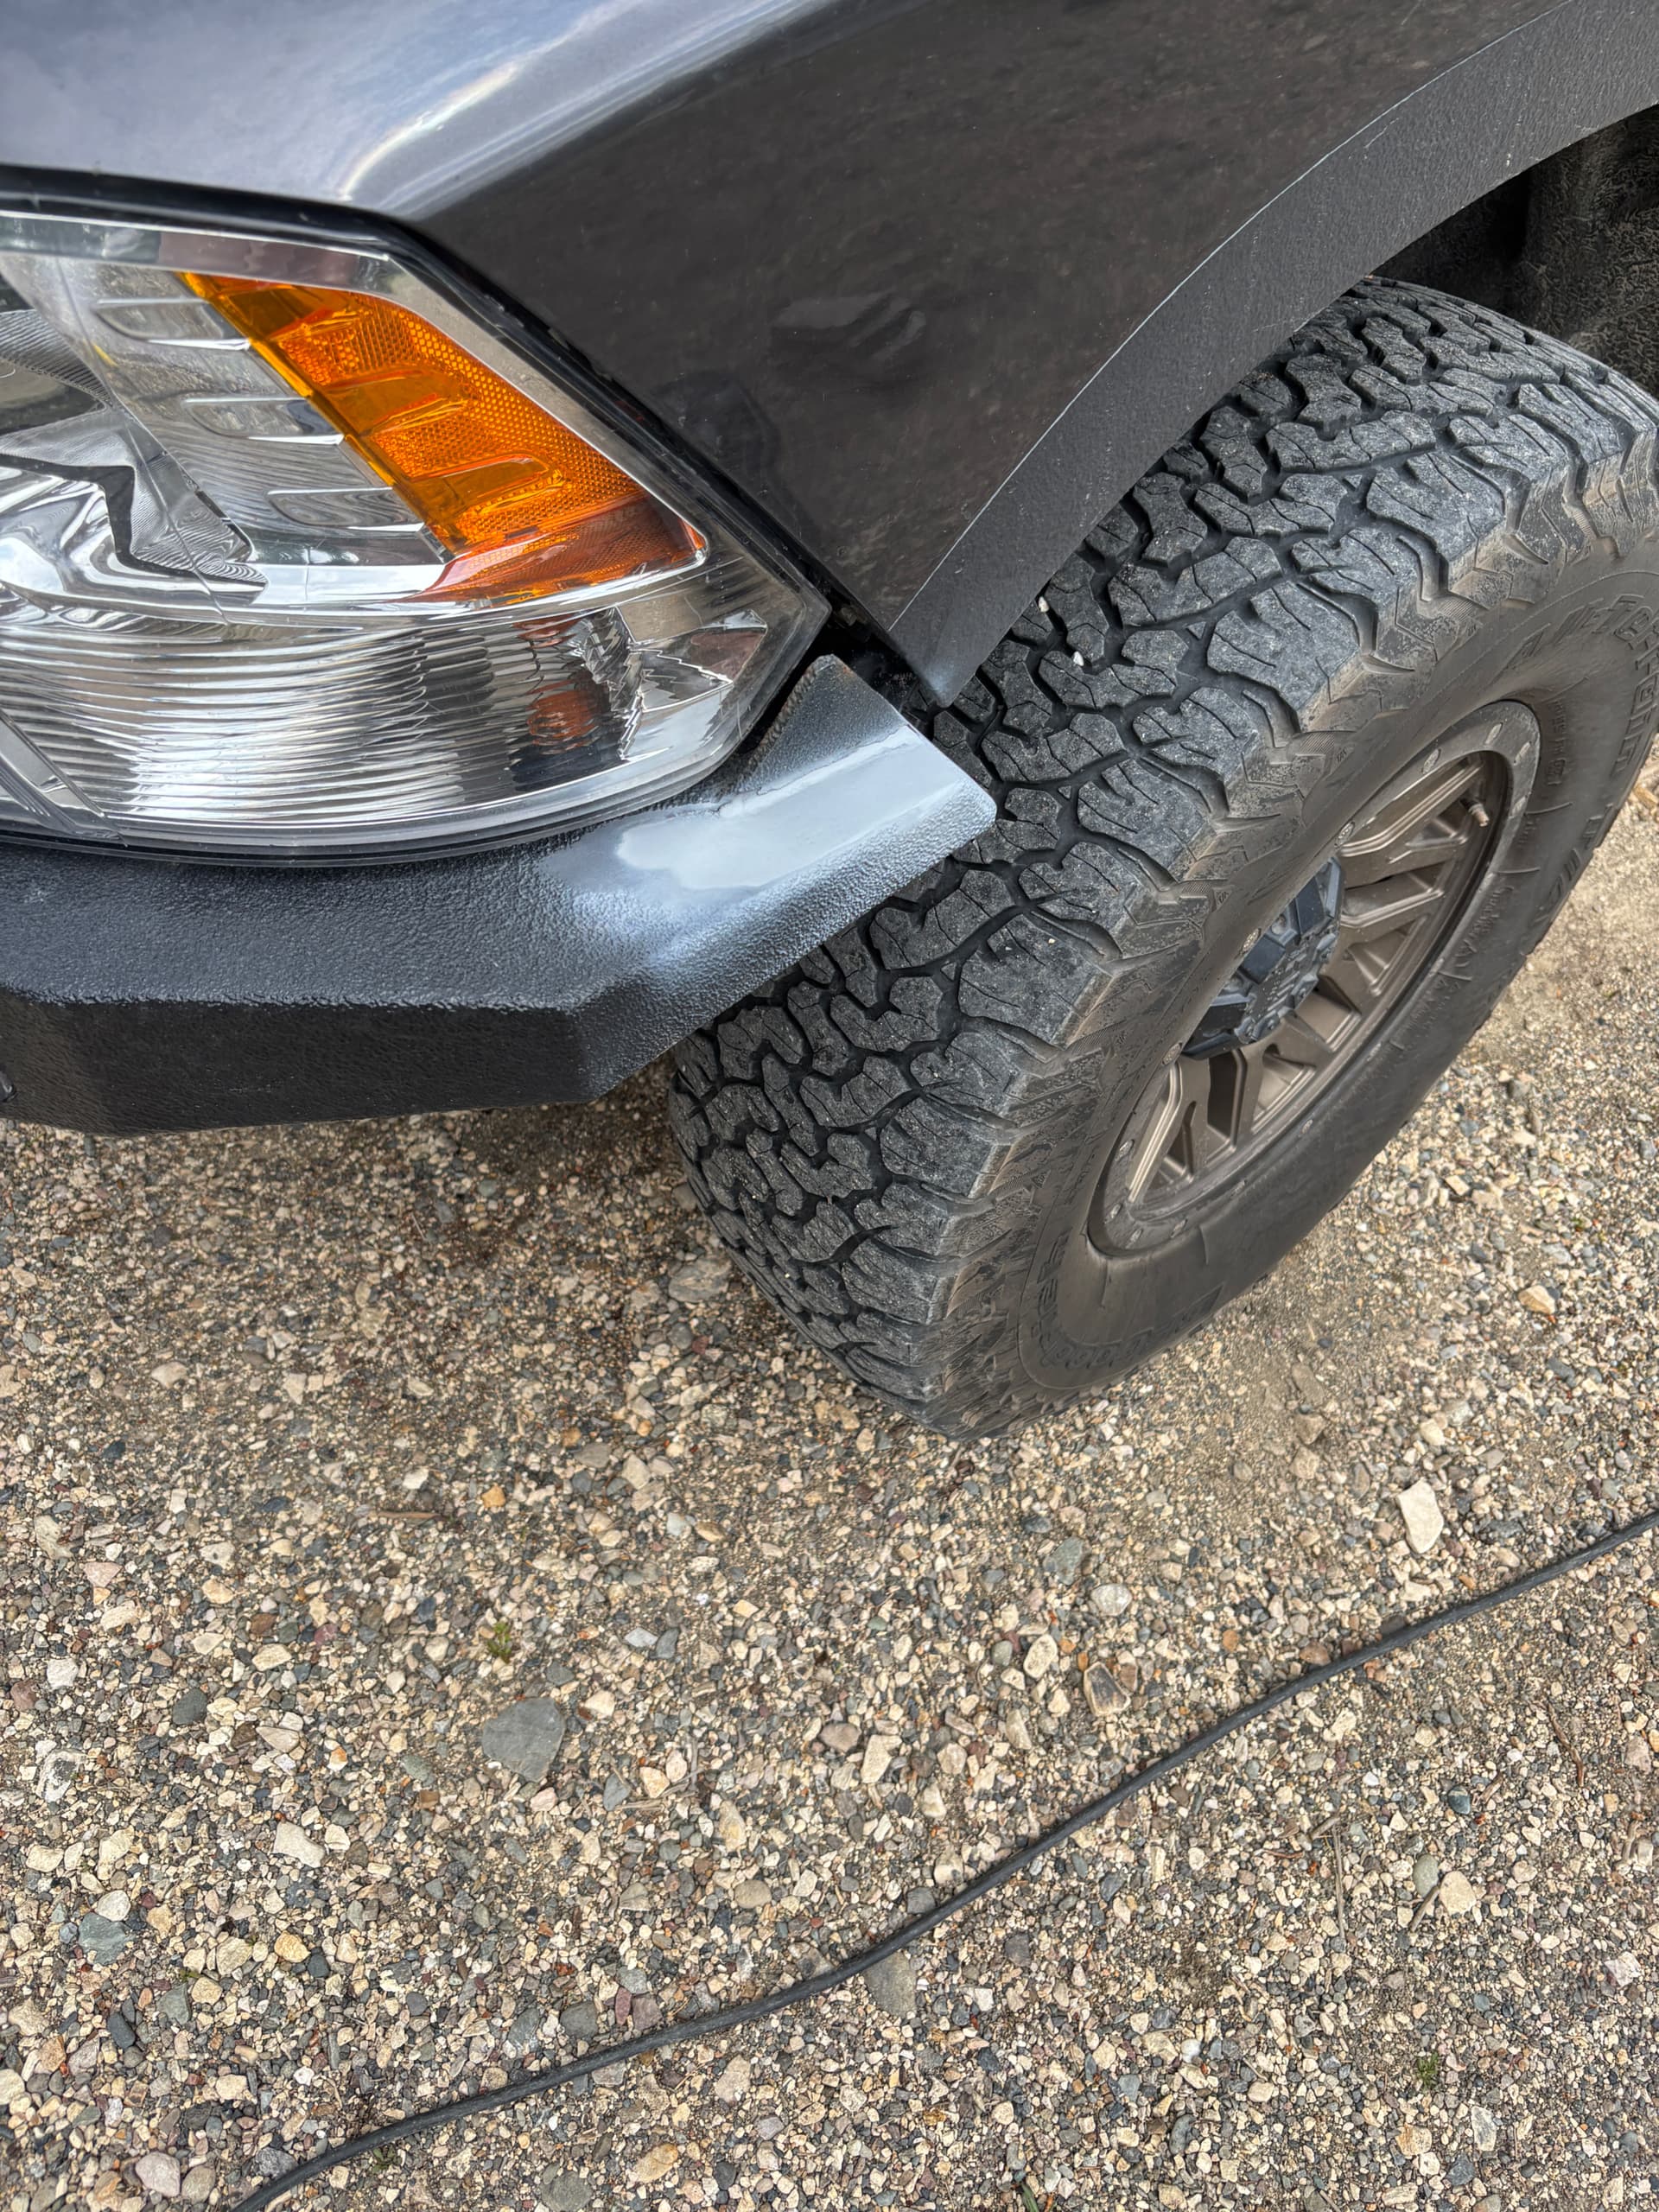
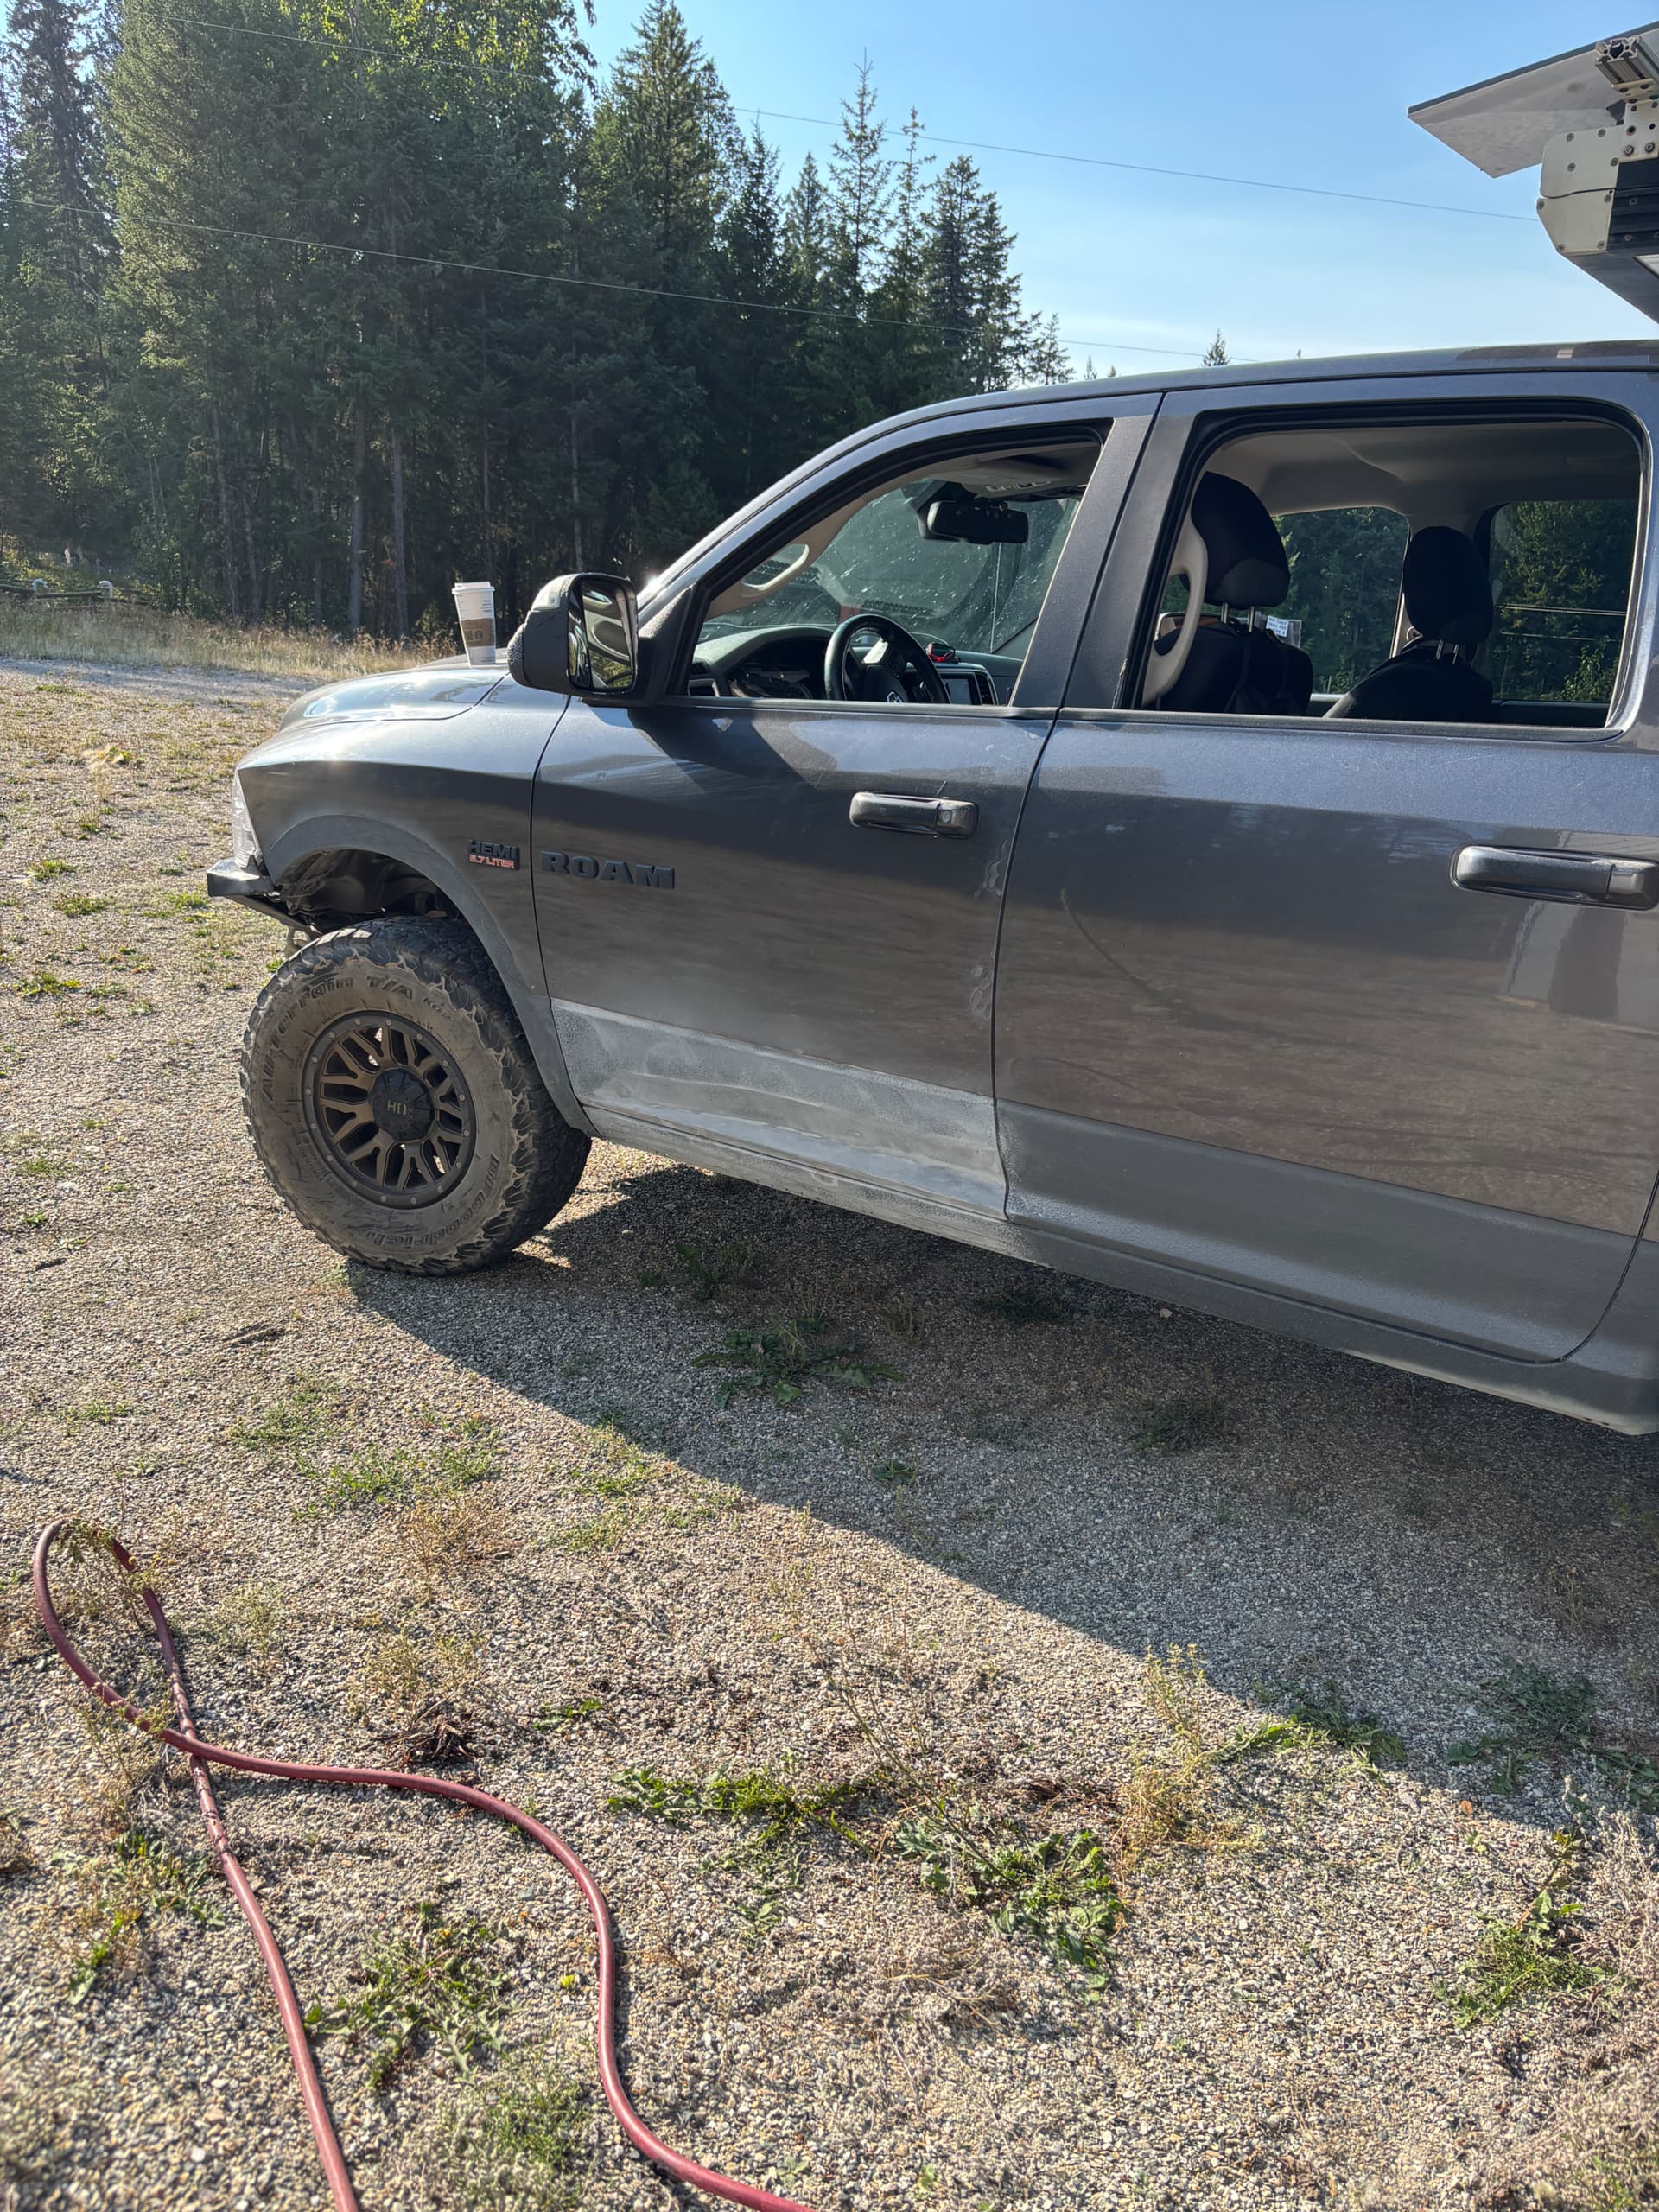
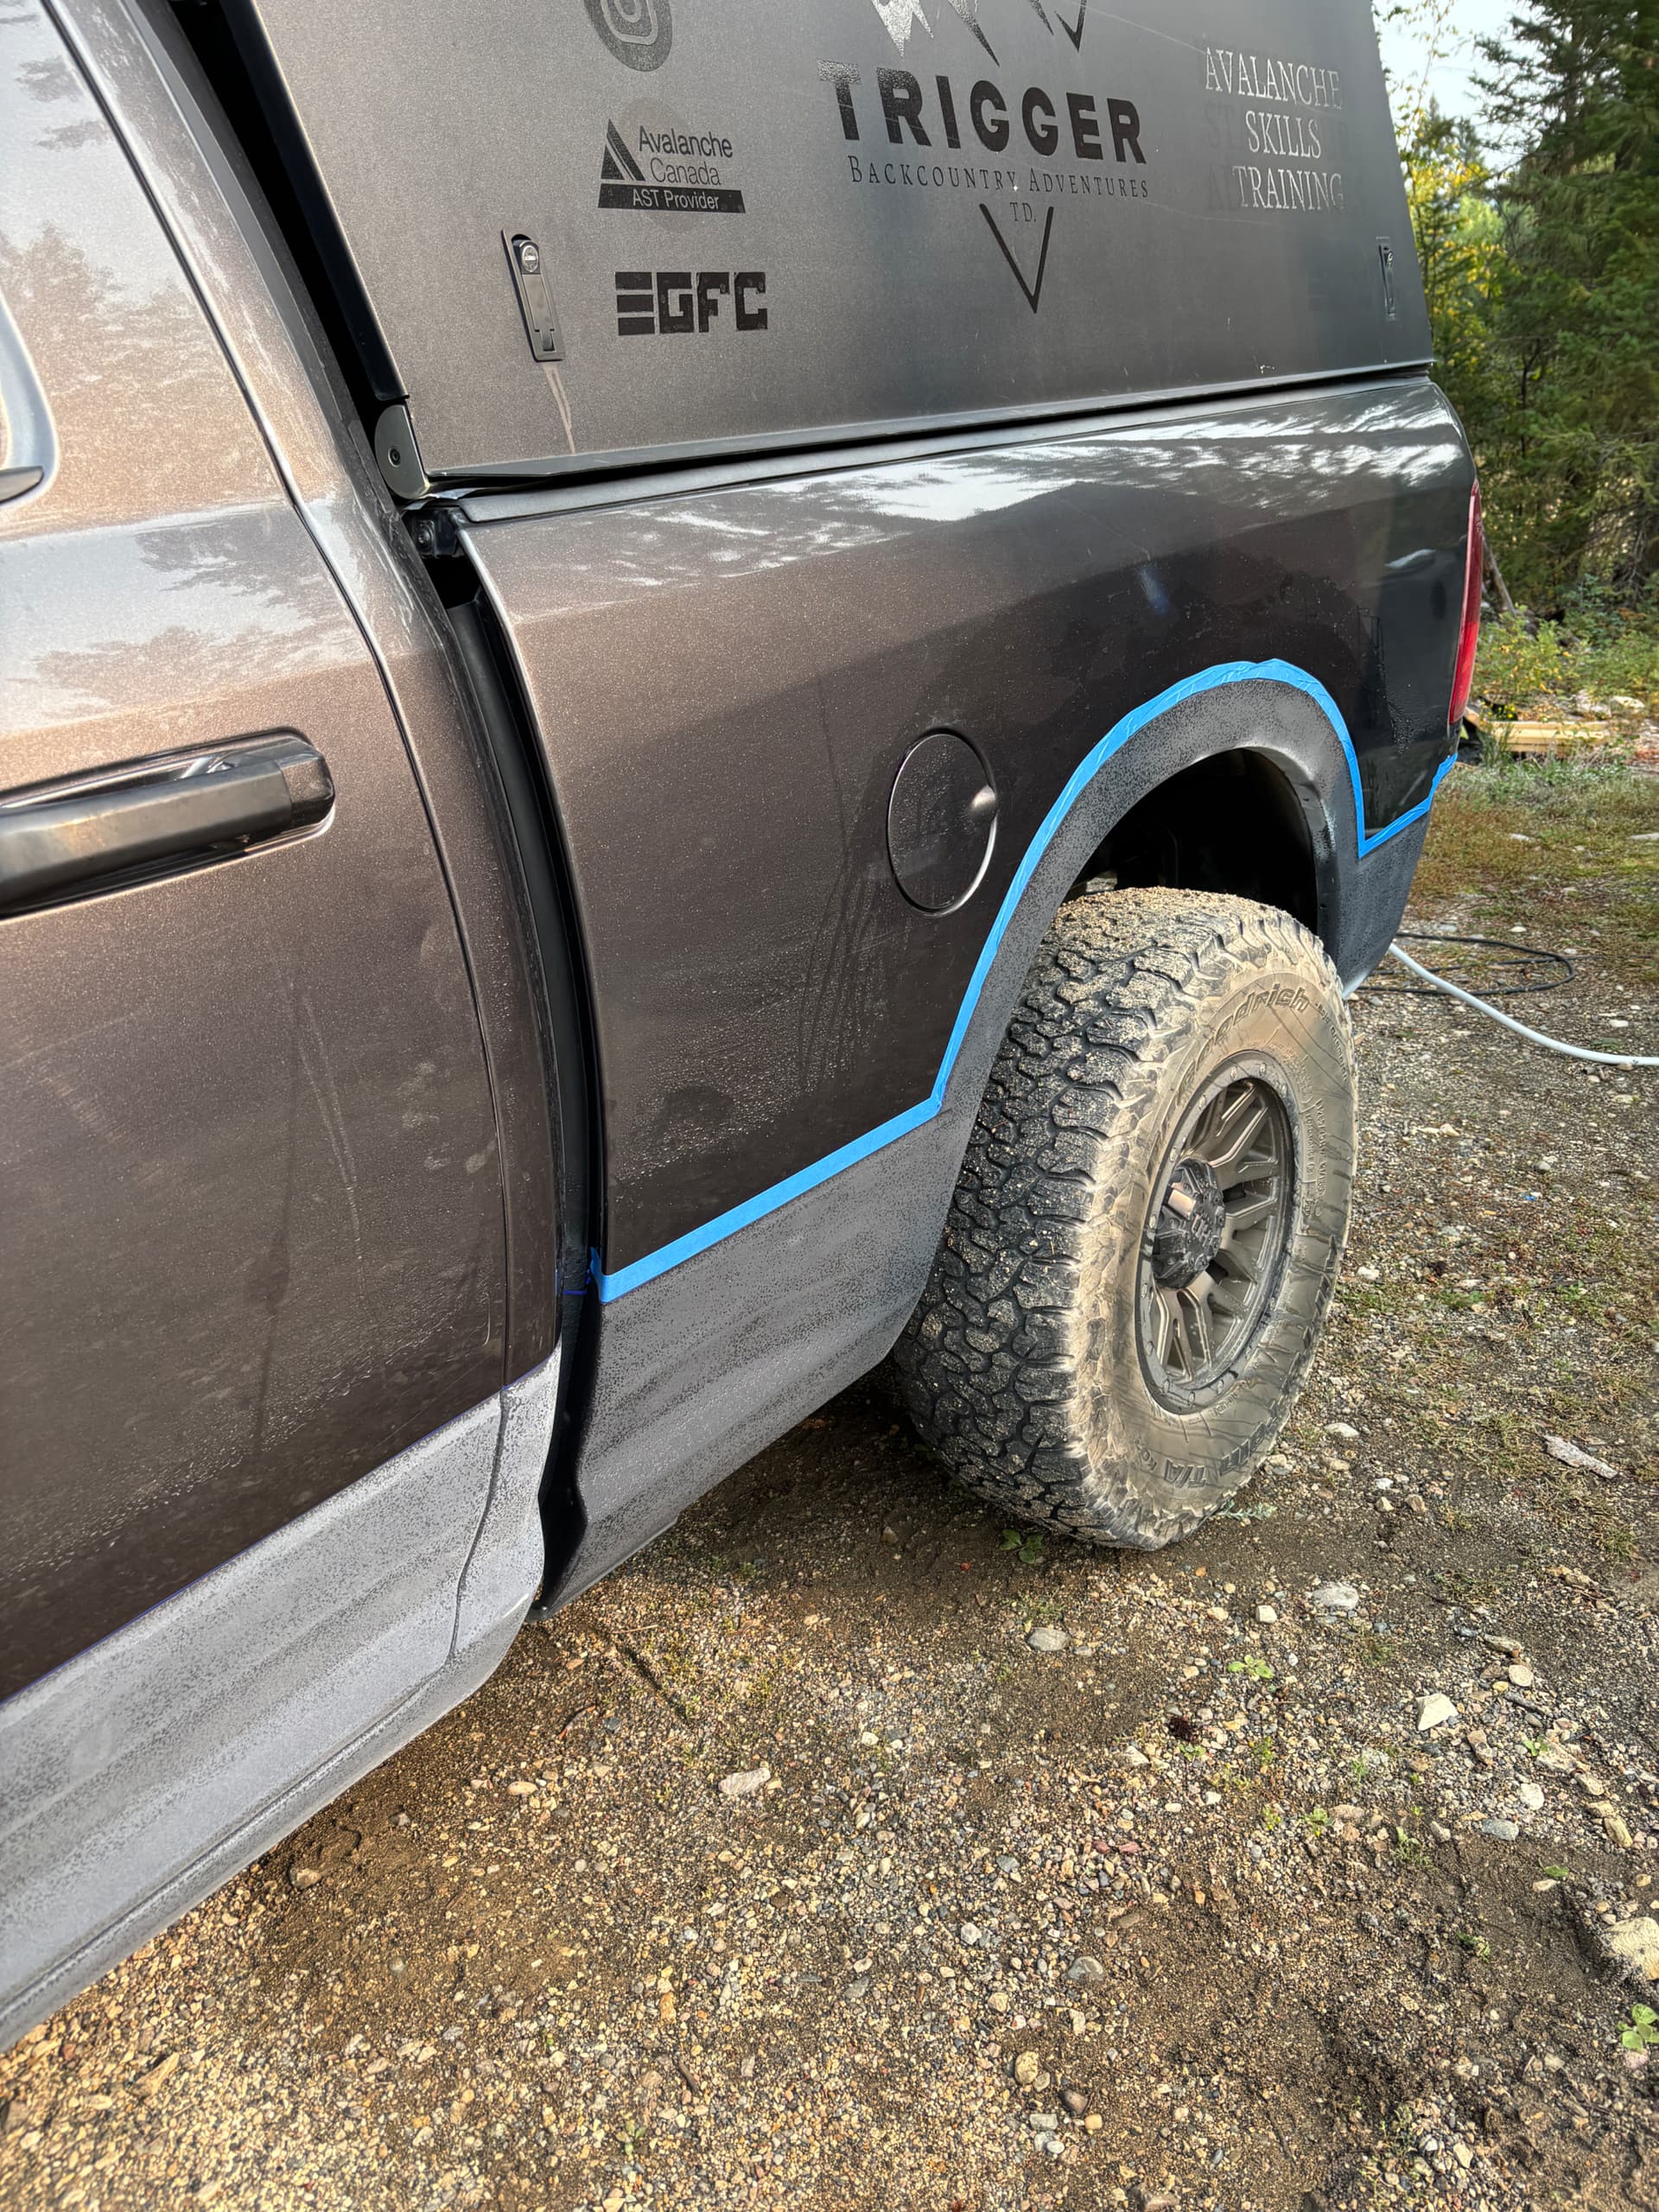
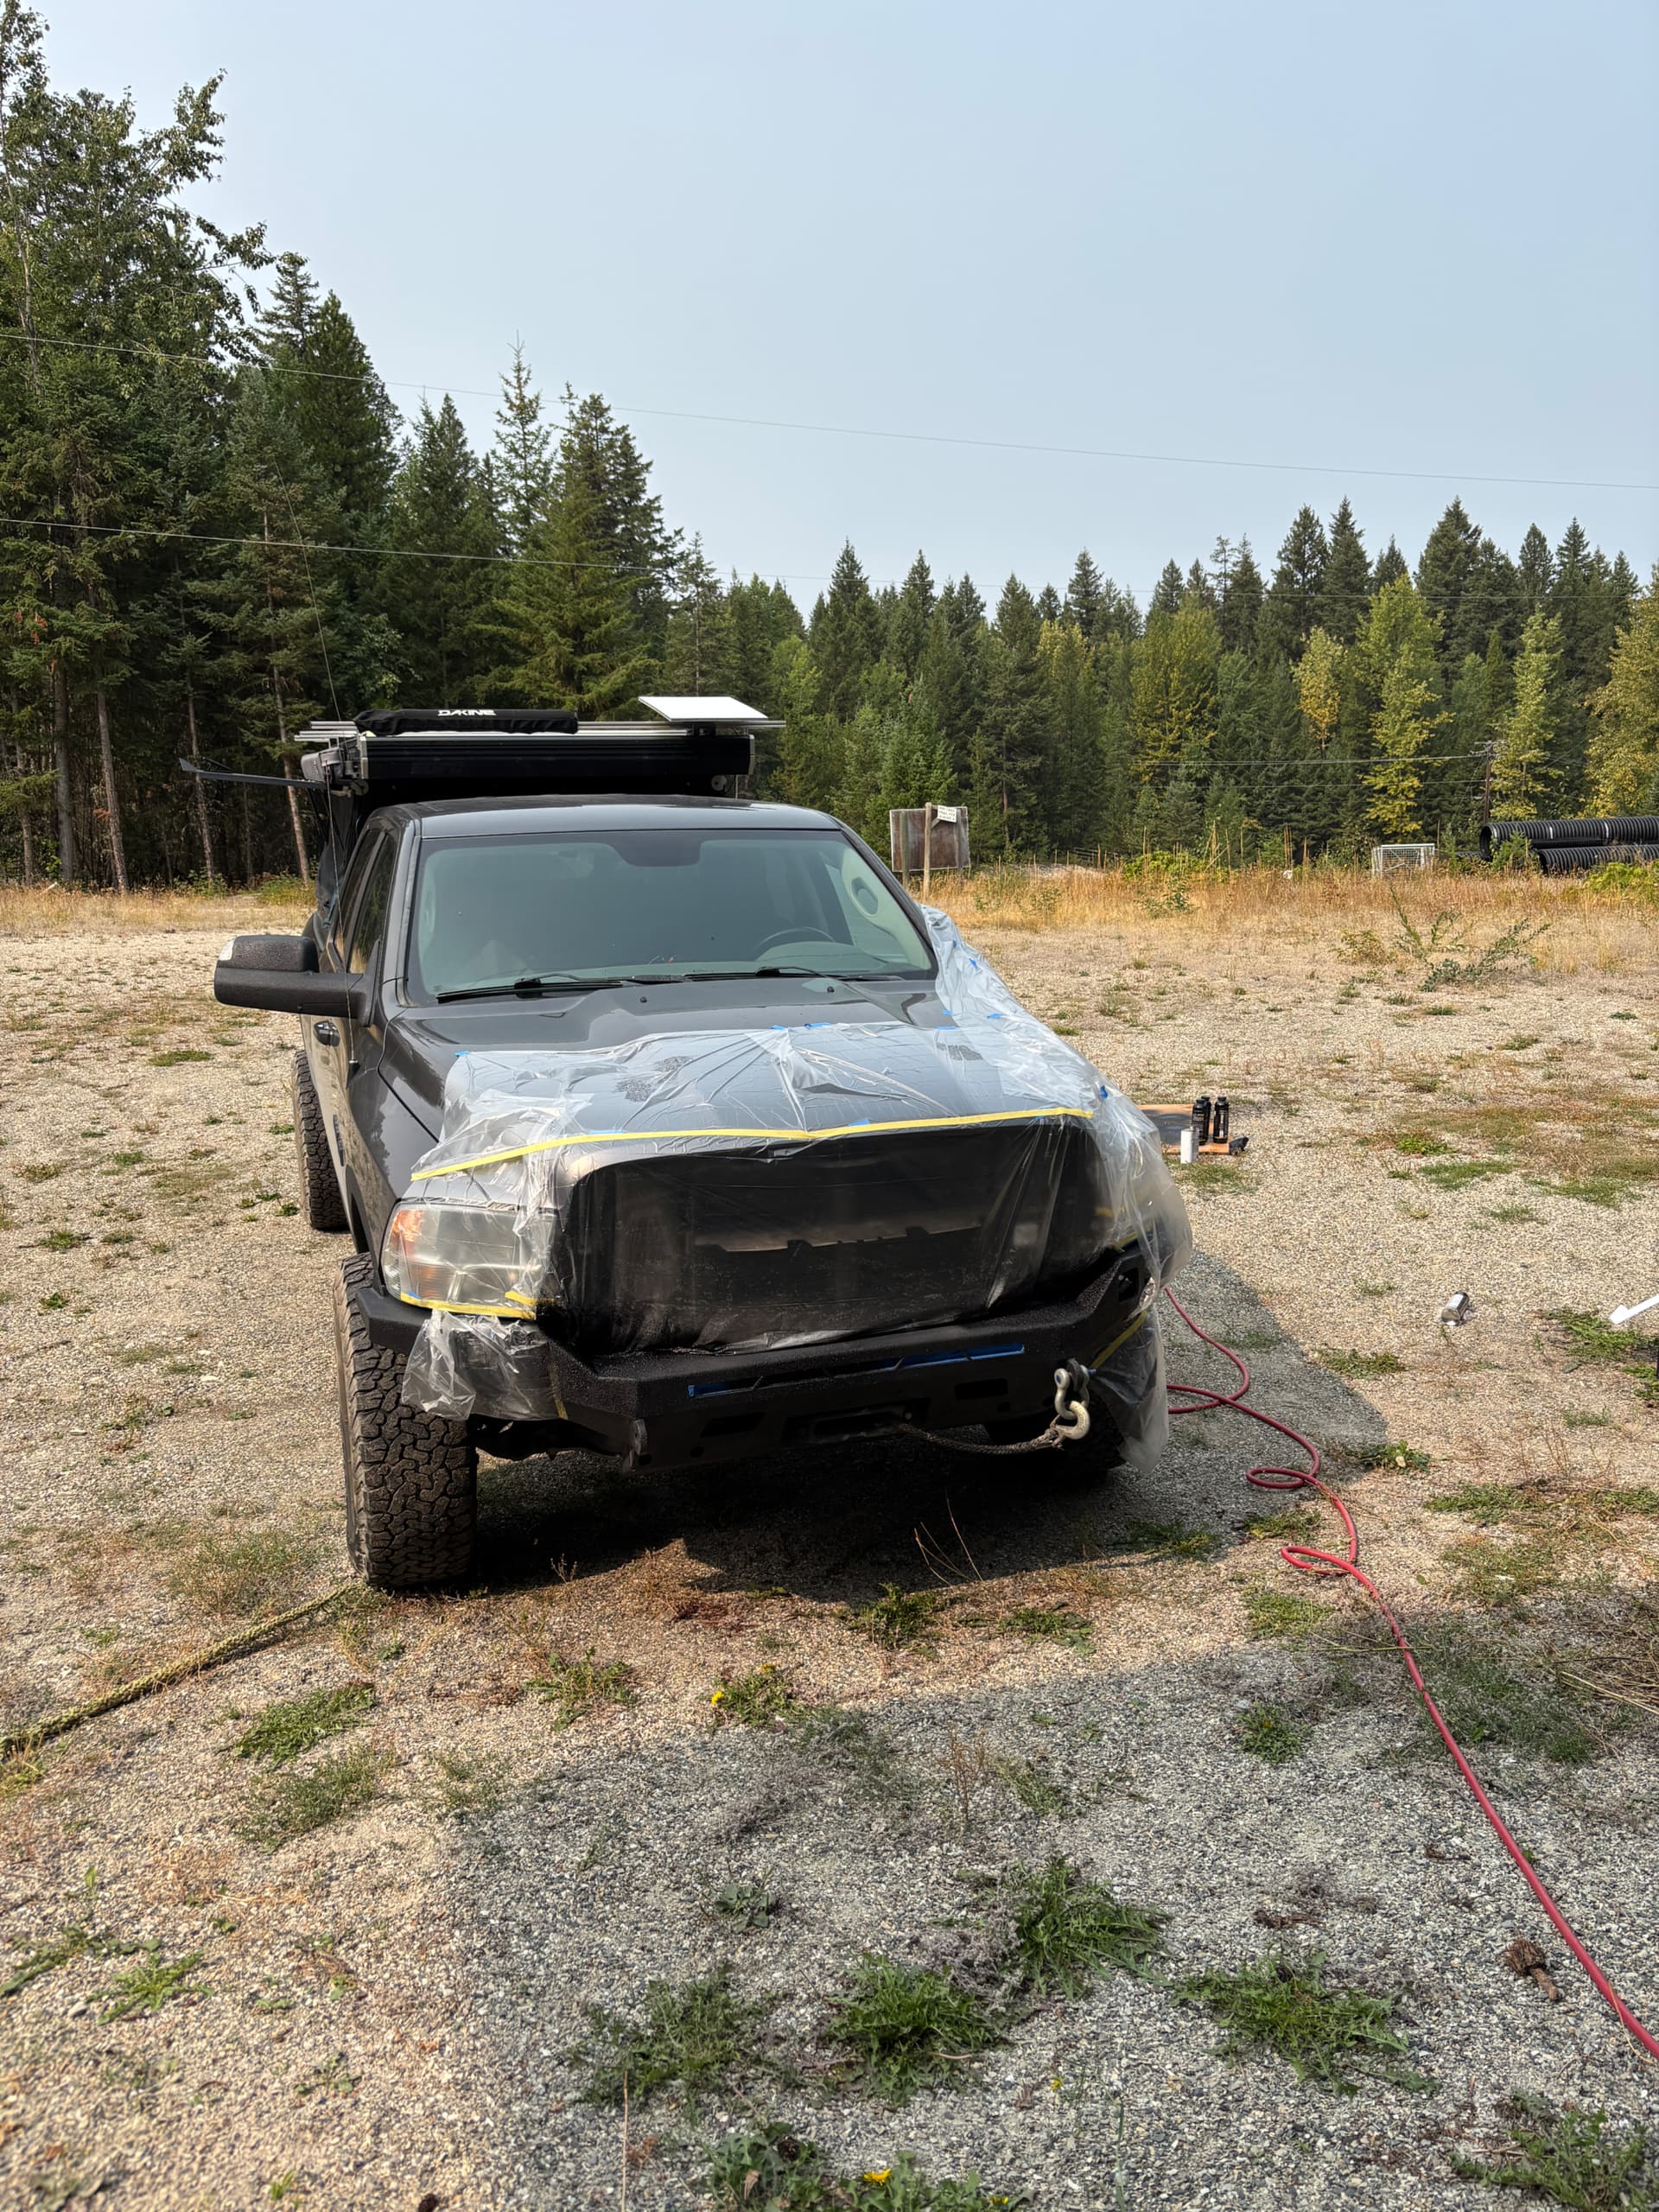
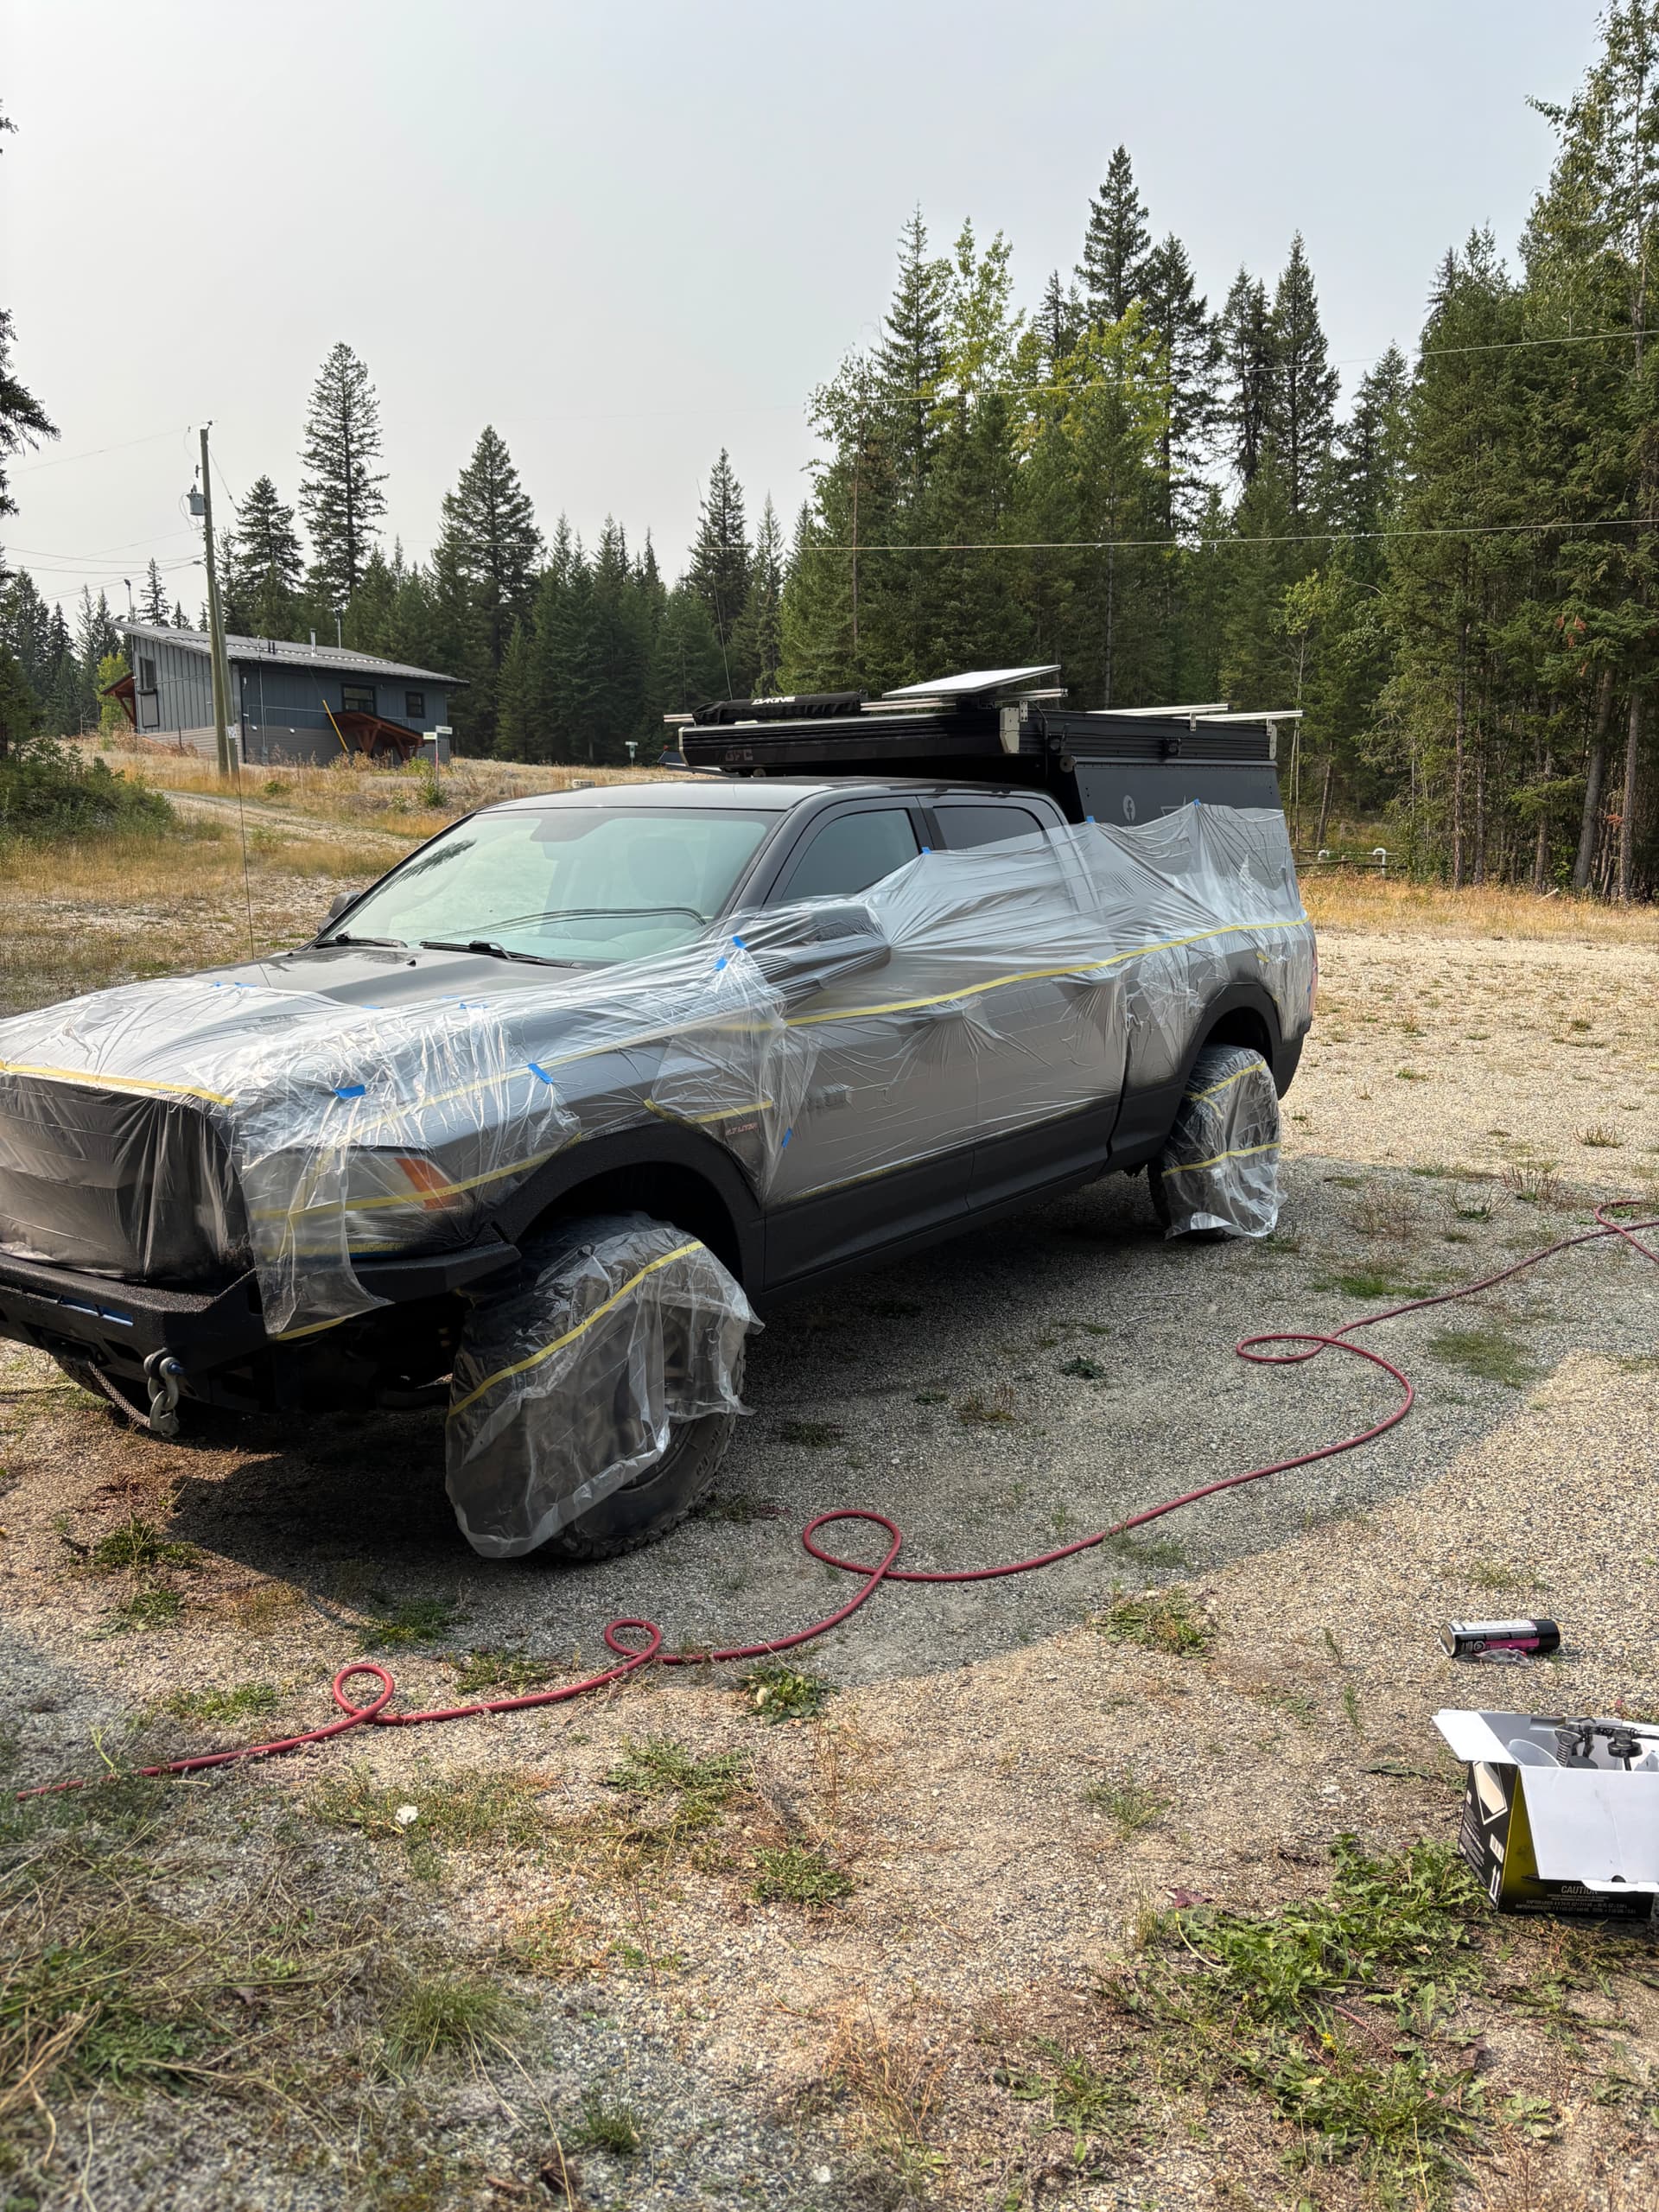
Once you put a ‘Steel’ bumper on a truck the work never stops. If you wanna keep your rig looking tight up here in the north; you pretty much have to repaint things every year. In this case however, I clearly did a piss poor job of cleaning before painting. My raptor liner was blistered. Not to self, make sure metal is clean and dry before paint.
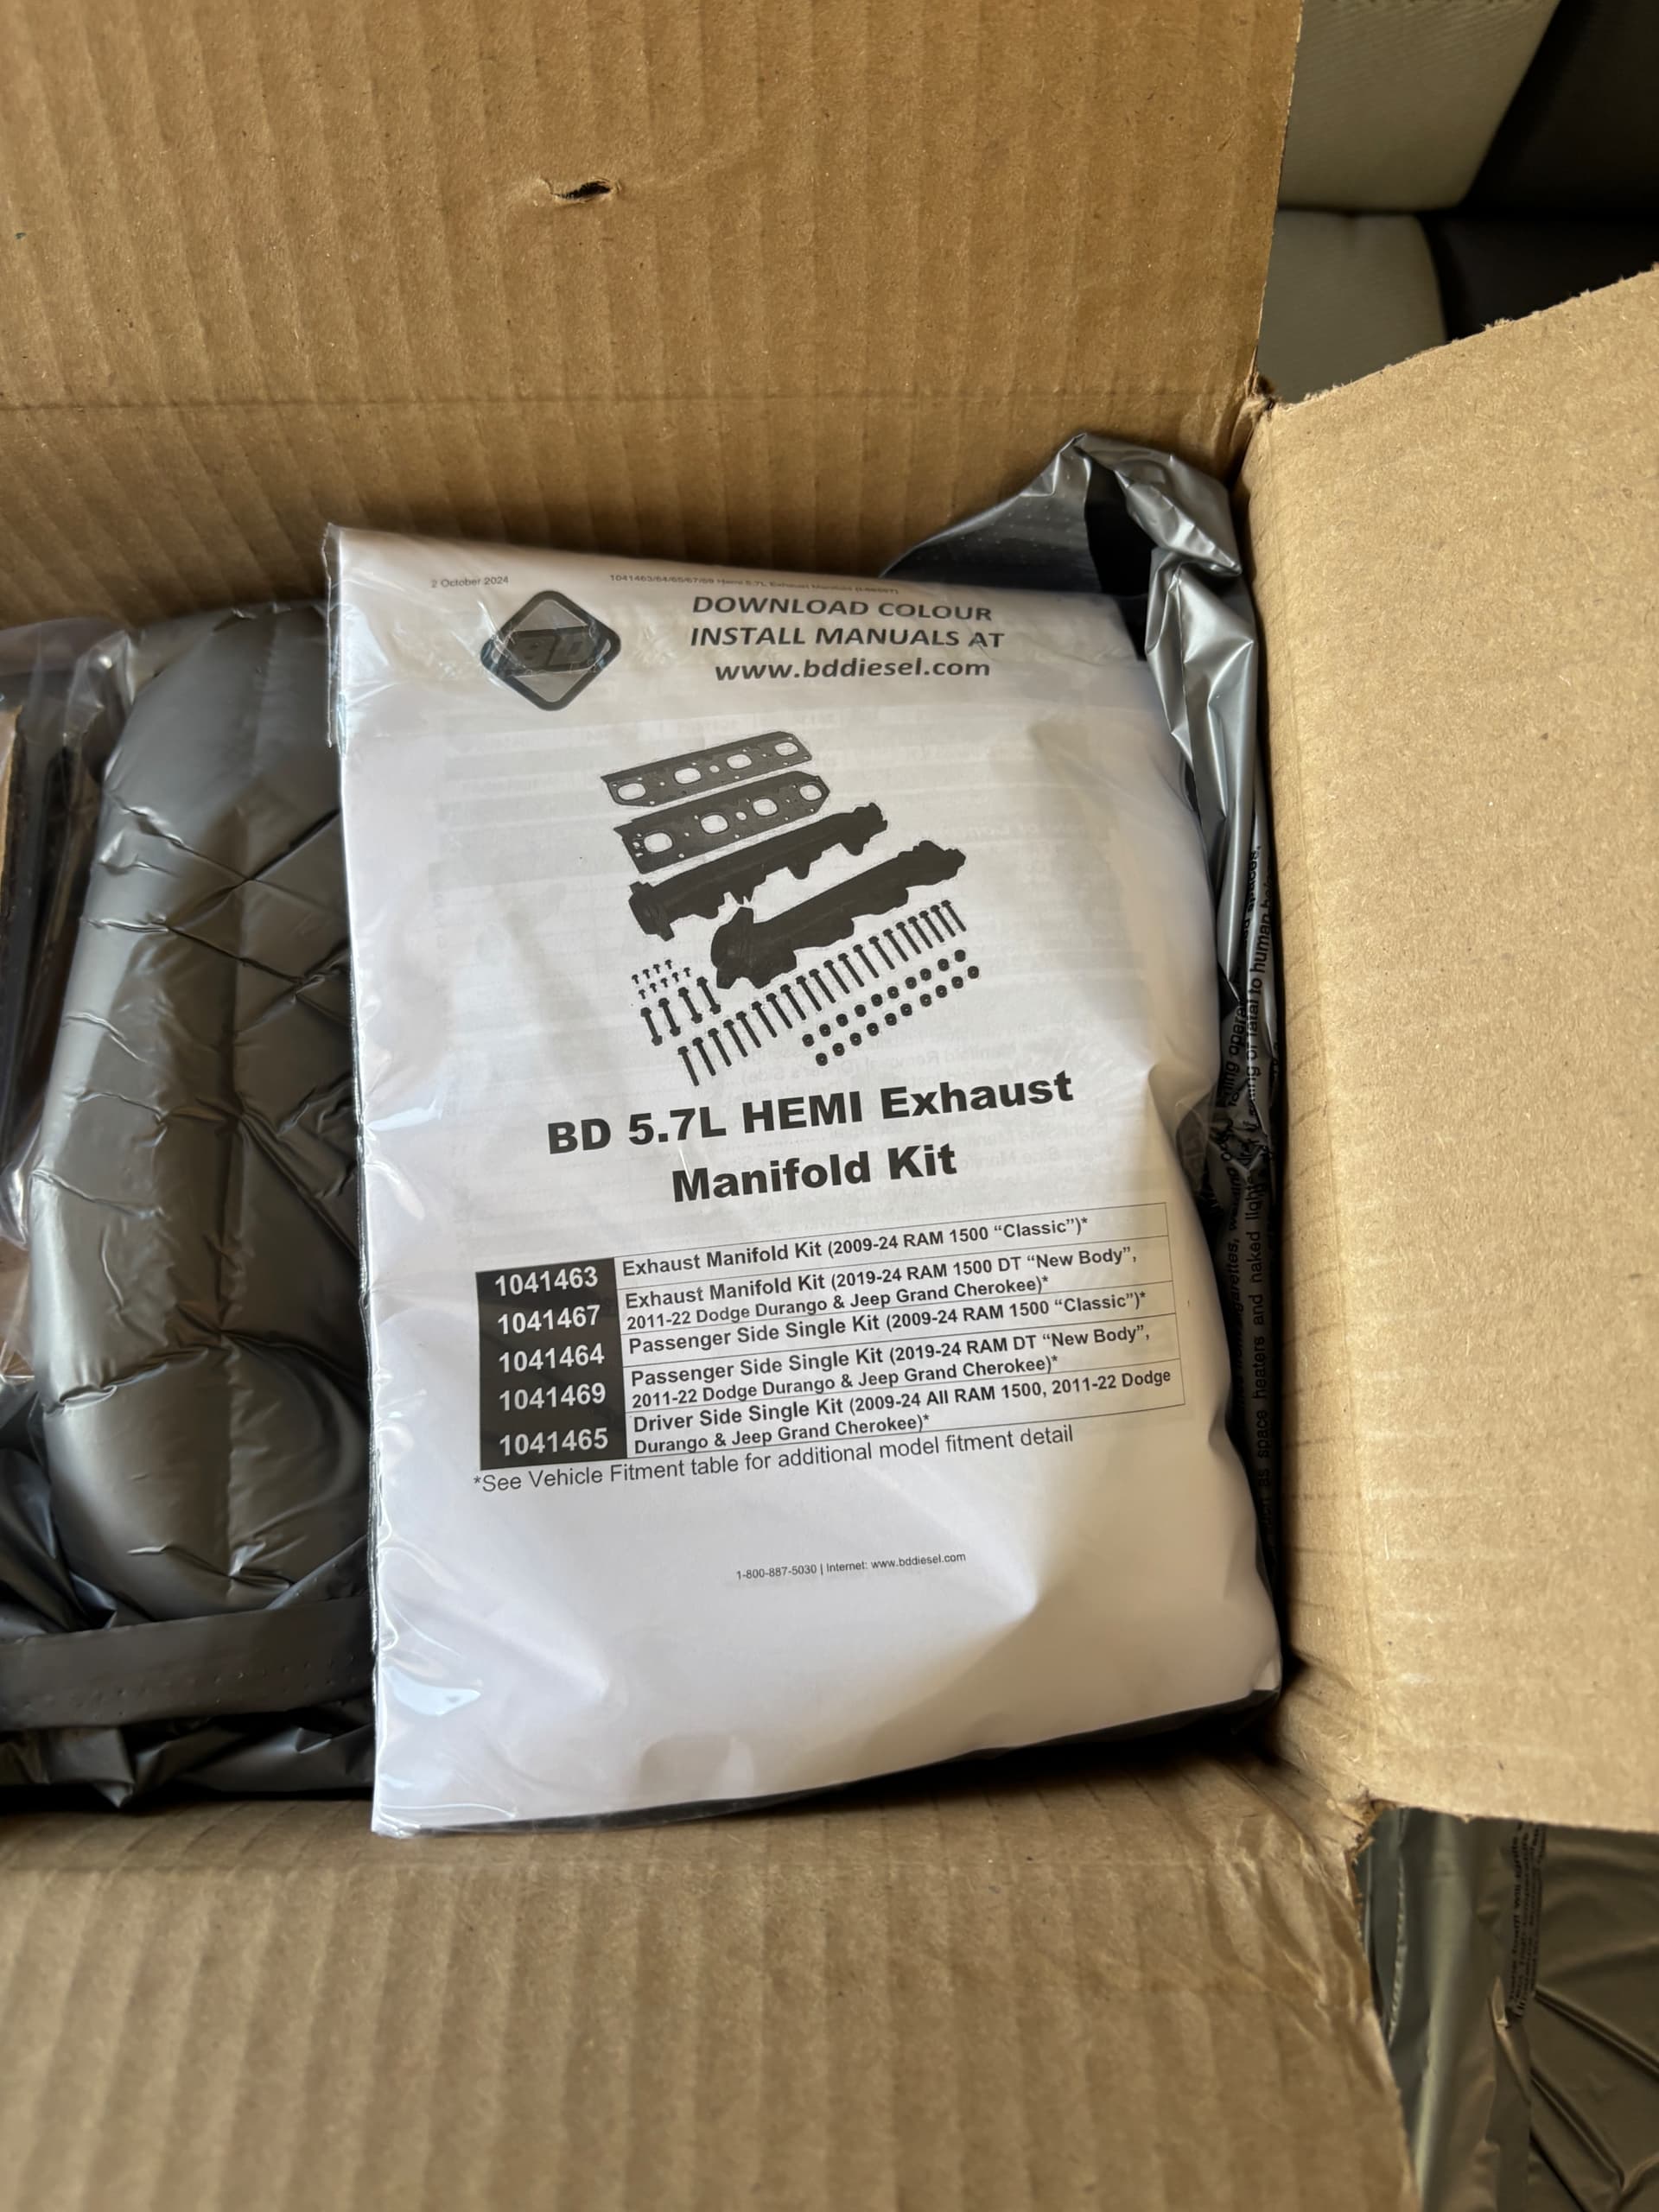
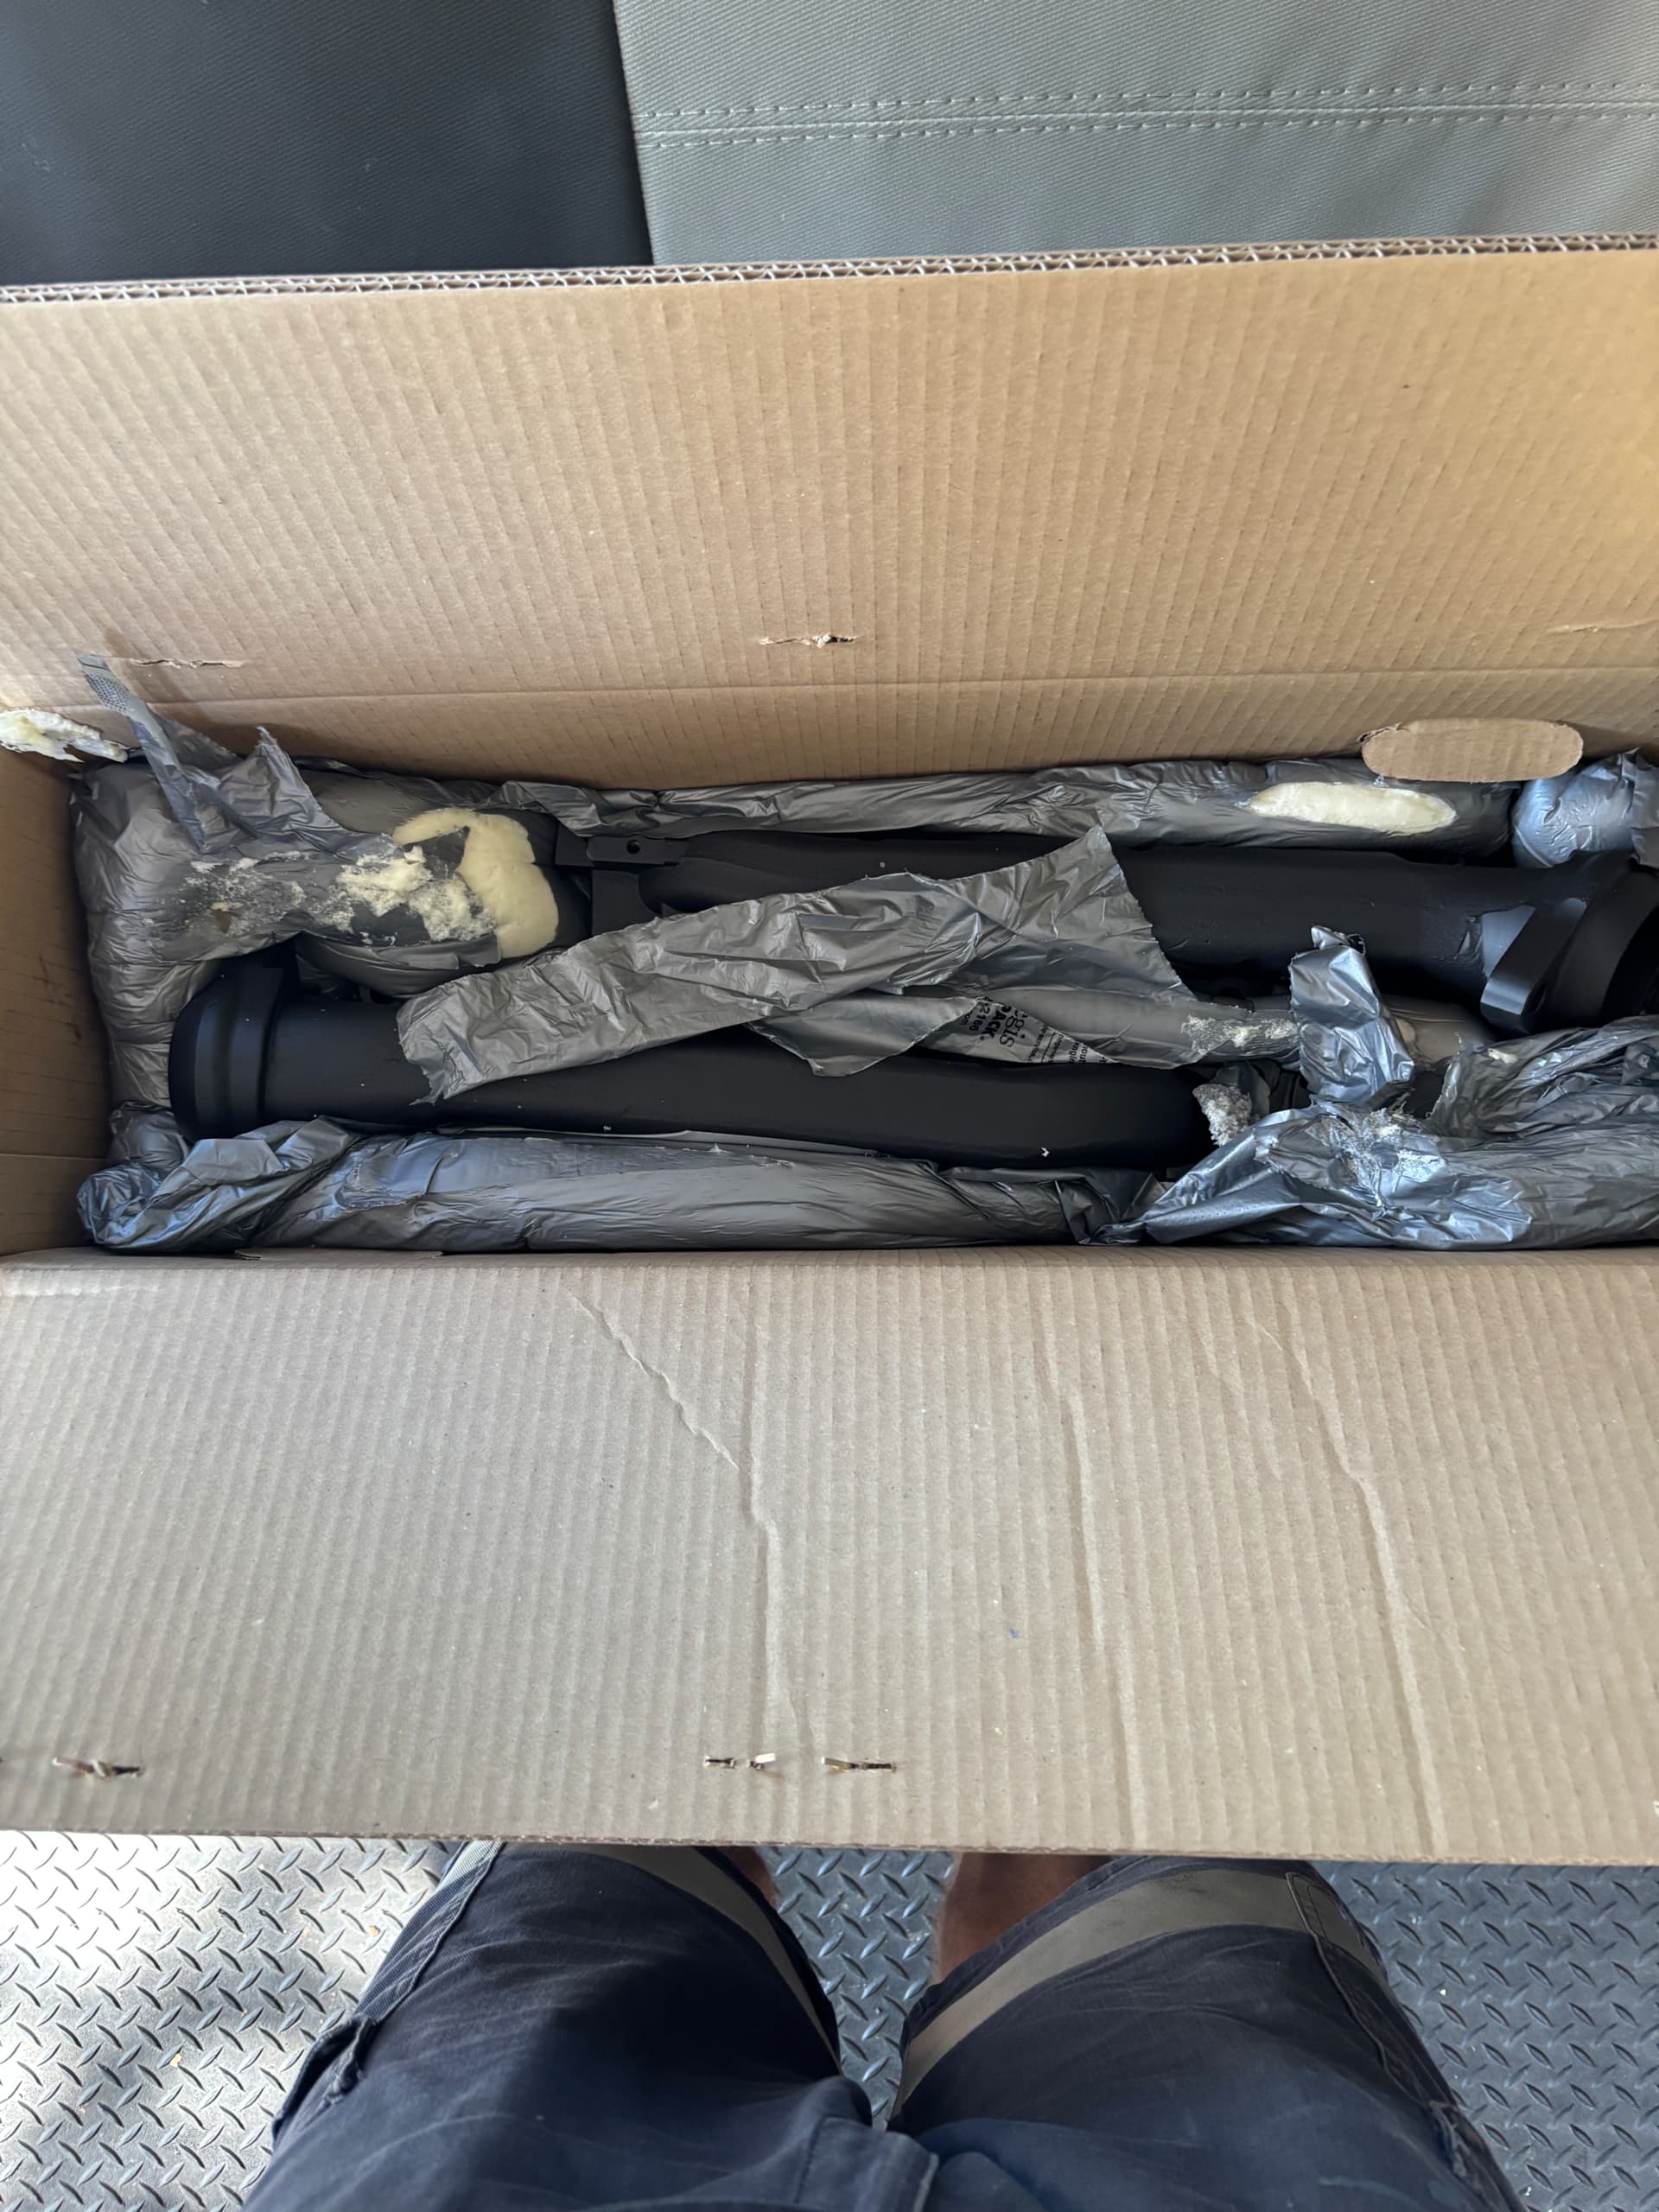
I figured I’d fix my ‘Hemi Tick’. The internets says these manifolds are the ones to solve the defect. This will be the second time I have to replace the passenger side. So the good news is getting these shipped from BD Diesel was super fast! SO I recommend it!
Now for the bad news. The dipstick/heatsheild/manifold bold has snapped off at the head on the drivers side. For those of you not familiar with doing a manifold on the drivers side, is there is usually WAY more stuff in the way. So having a broken stud at the head on this side is not ideal. So far the first shop I contacted said ‘We won’t do it, we don’t have time. I’ve seen these go horribly wrong.’
So that’s promising.
Stay tuned, I’m going to do the passenger side because I know that stud has some meat that I can get some vice grips on to spin it out. Hopefully…
Well, I decided to just pay a shop to do the manifolds. Turned out to be a great choice. Truck sounds brand new now. No more ‘Tick’. Pretty stoked for 197 000 km! Got my GFC and the truck had 80 000km’s four years ago.
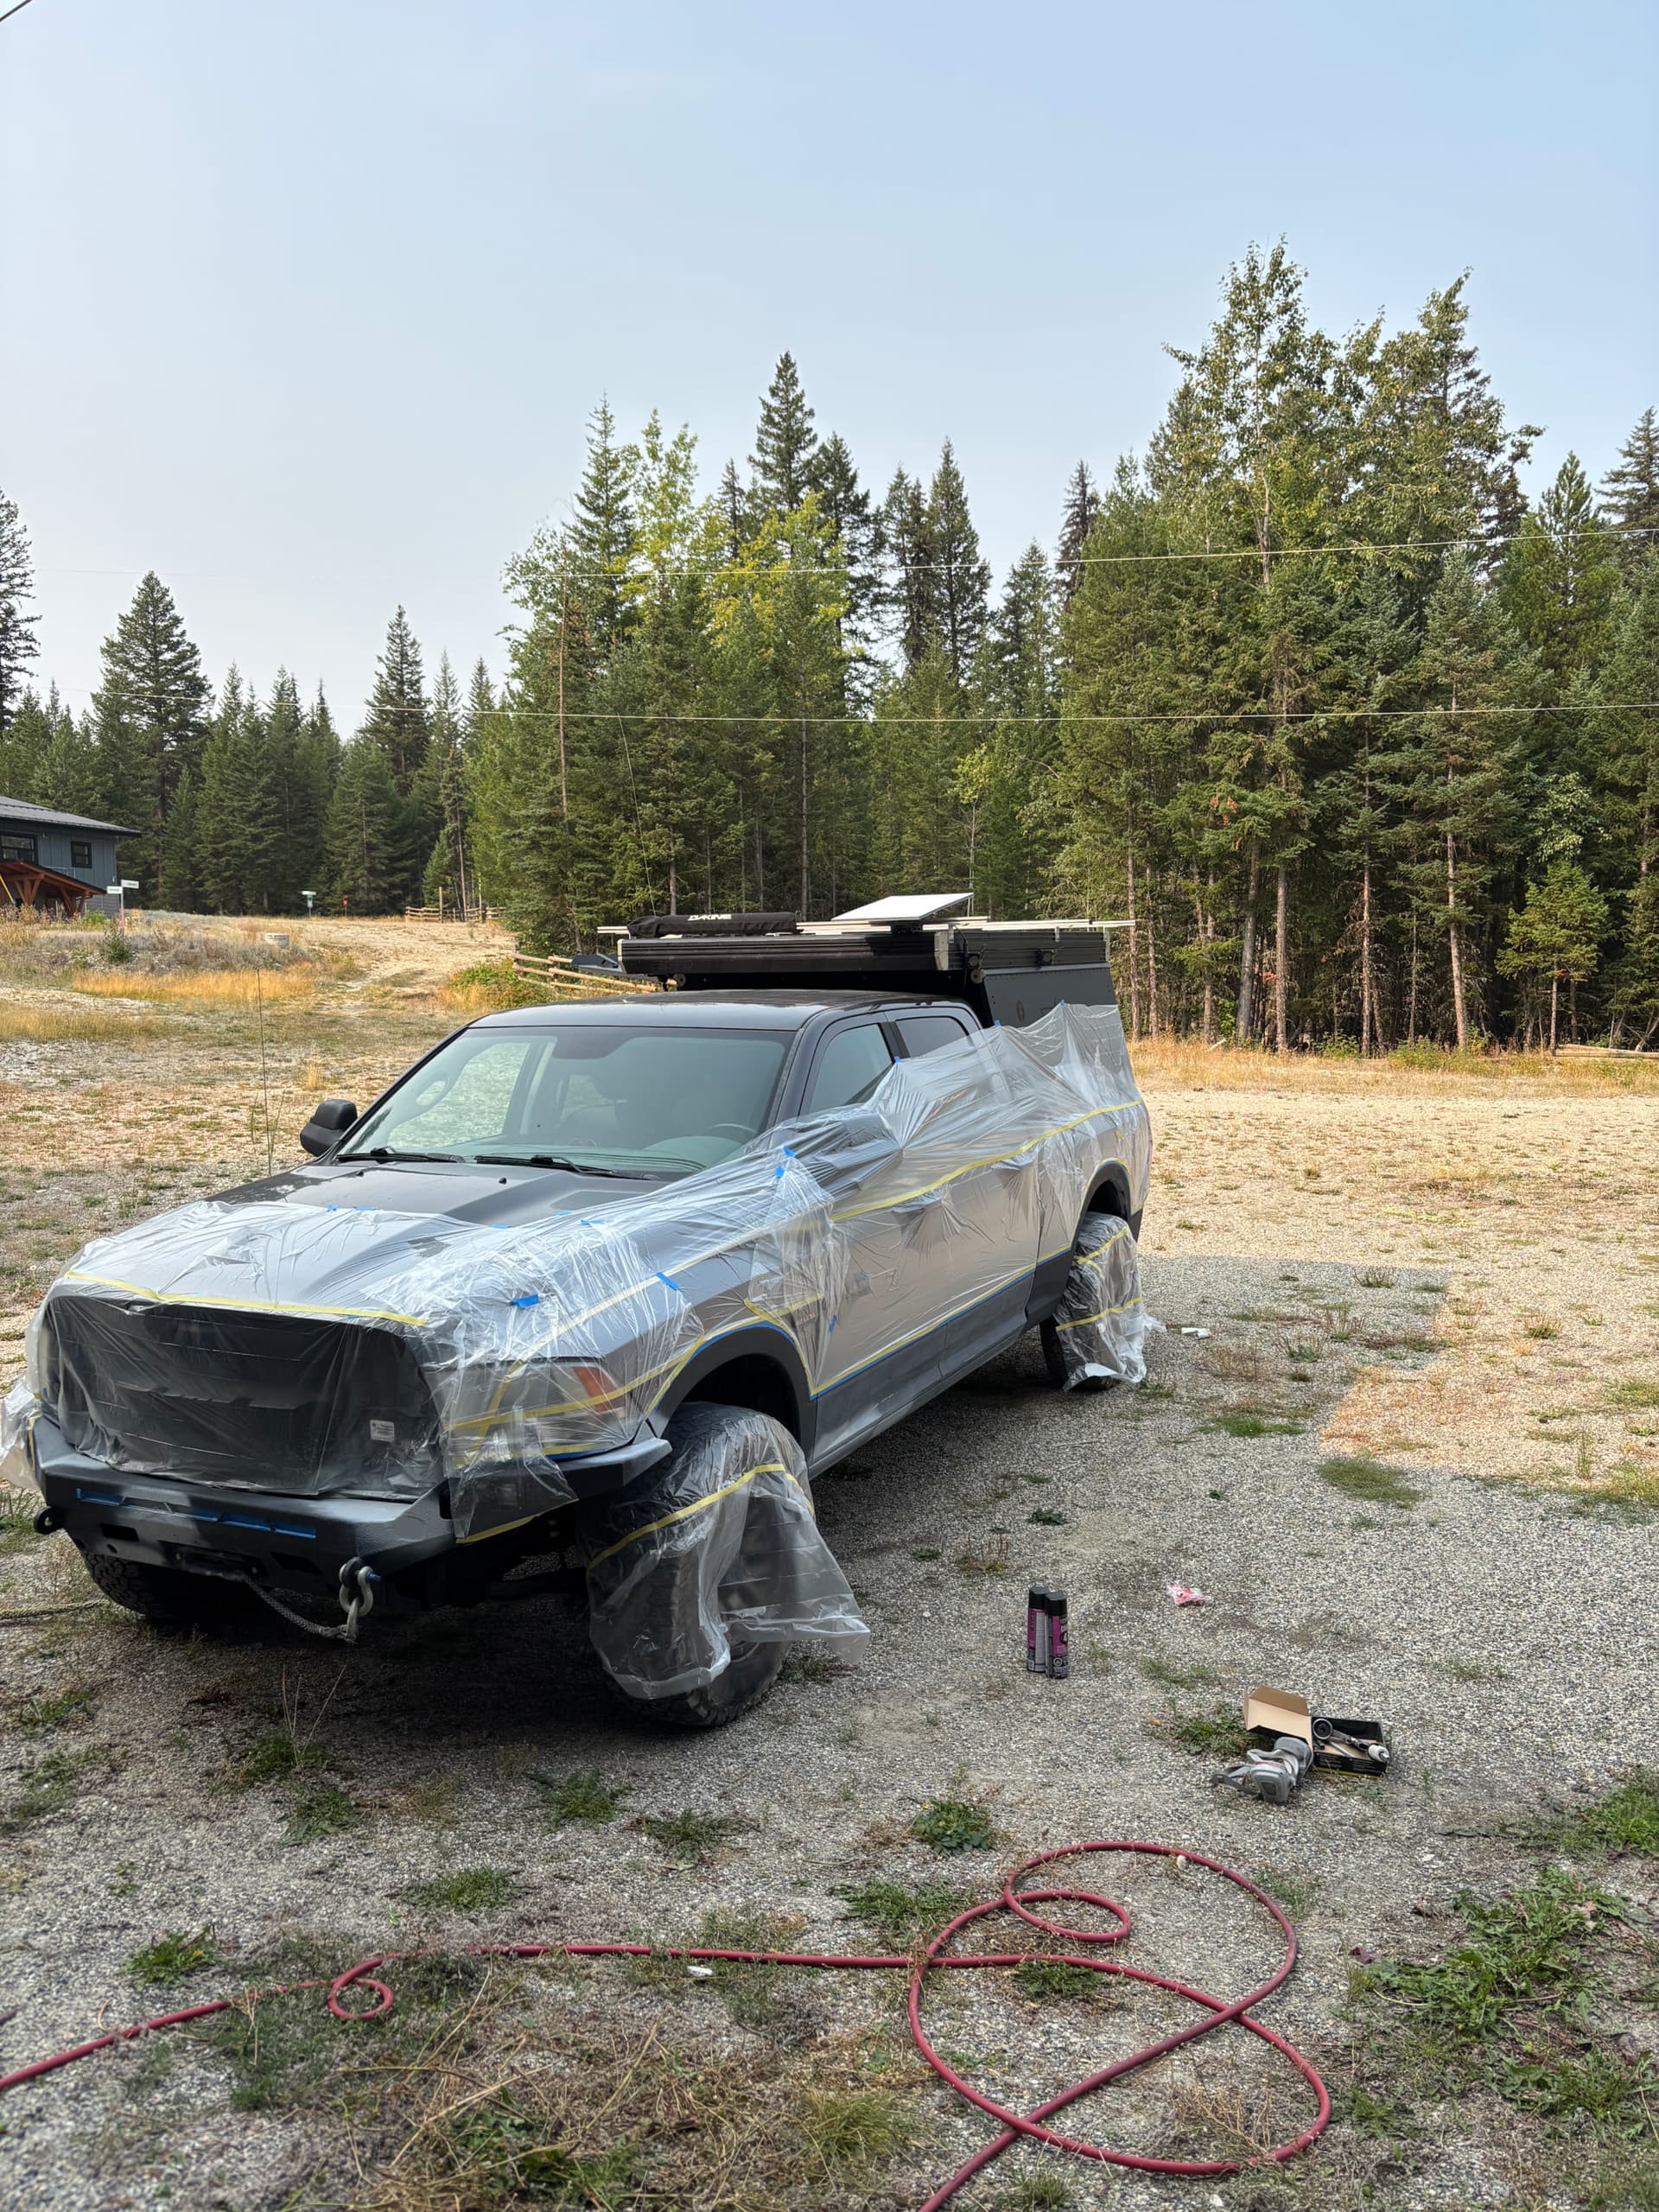
Onto the next project of finally finishing the raptor liner on the drivers side.
If anyone knows anything about compressors, LOL. I got two that either don’t build enough pressure or stops cutting in. I got two new pressure switches coming.
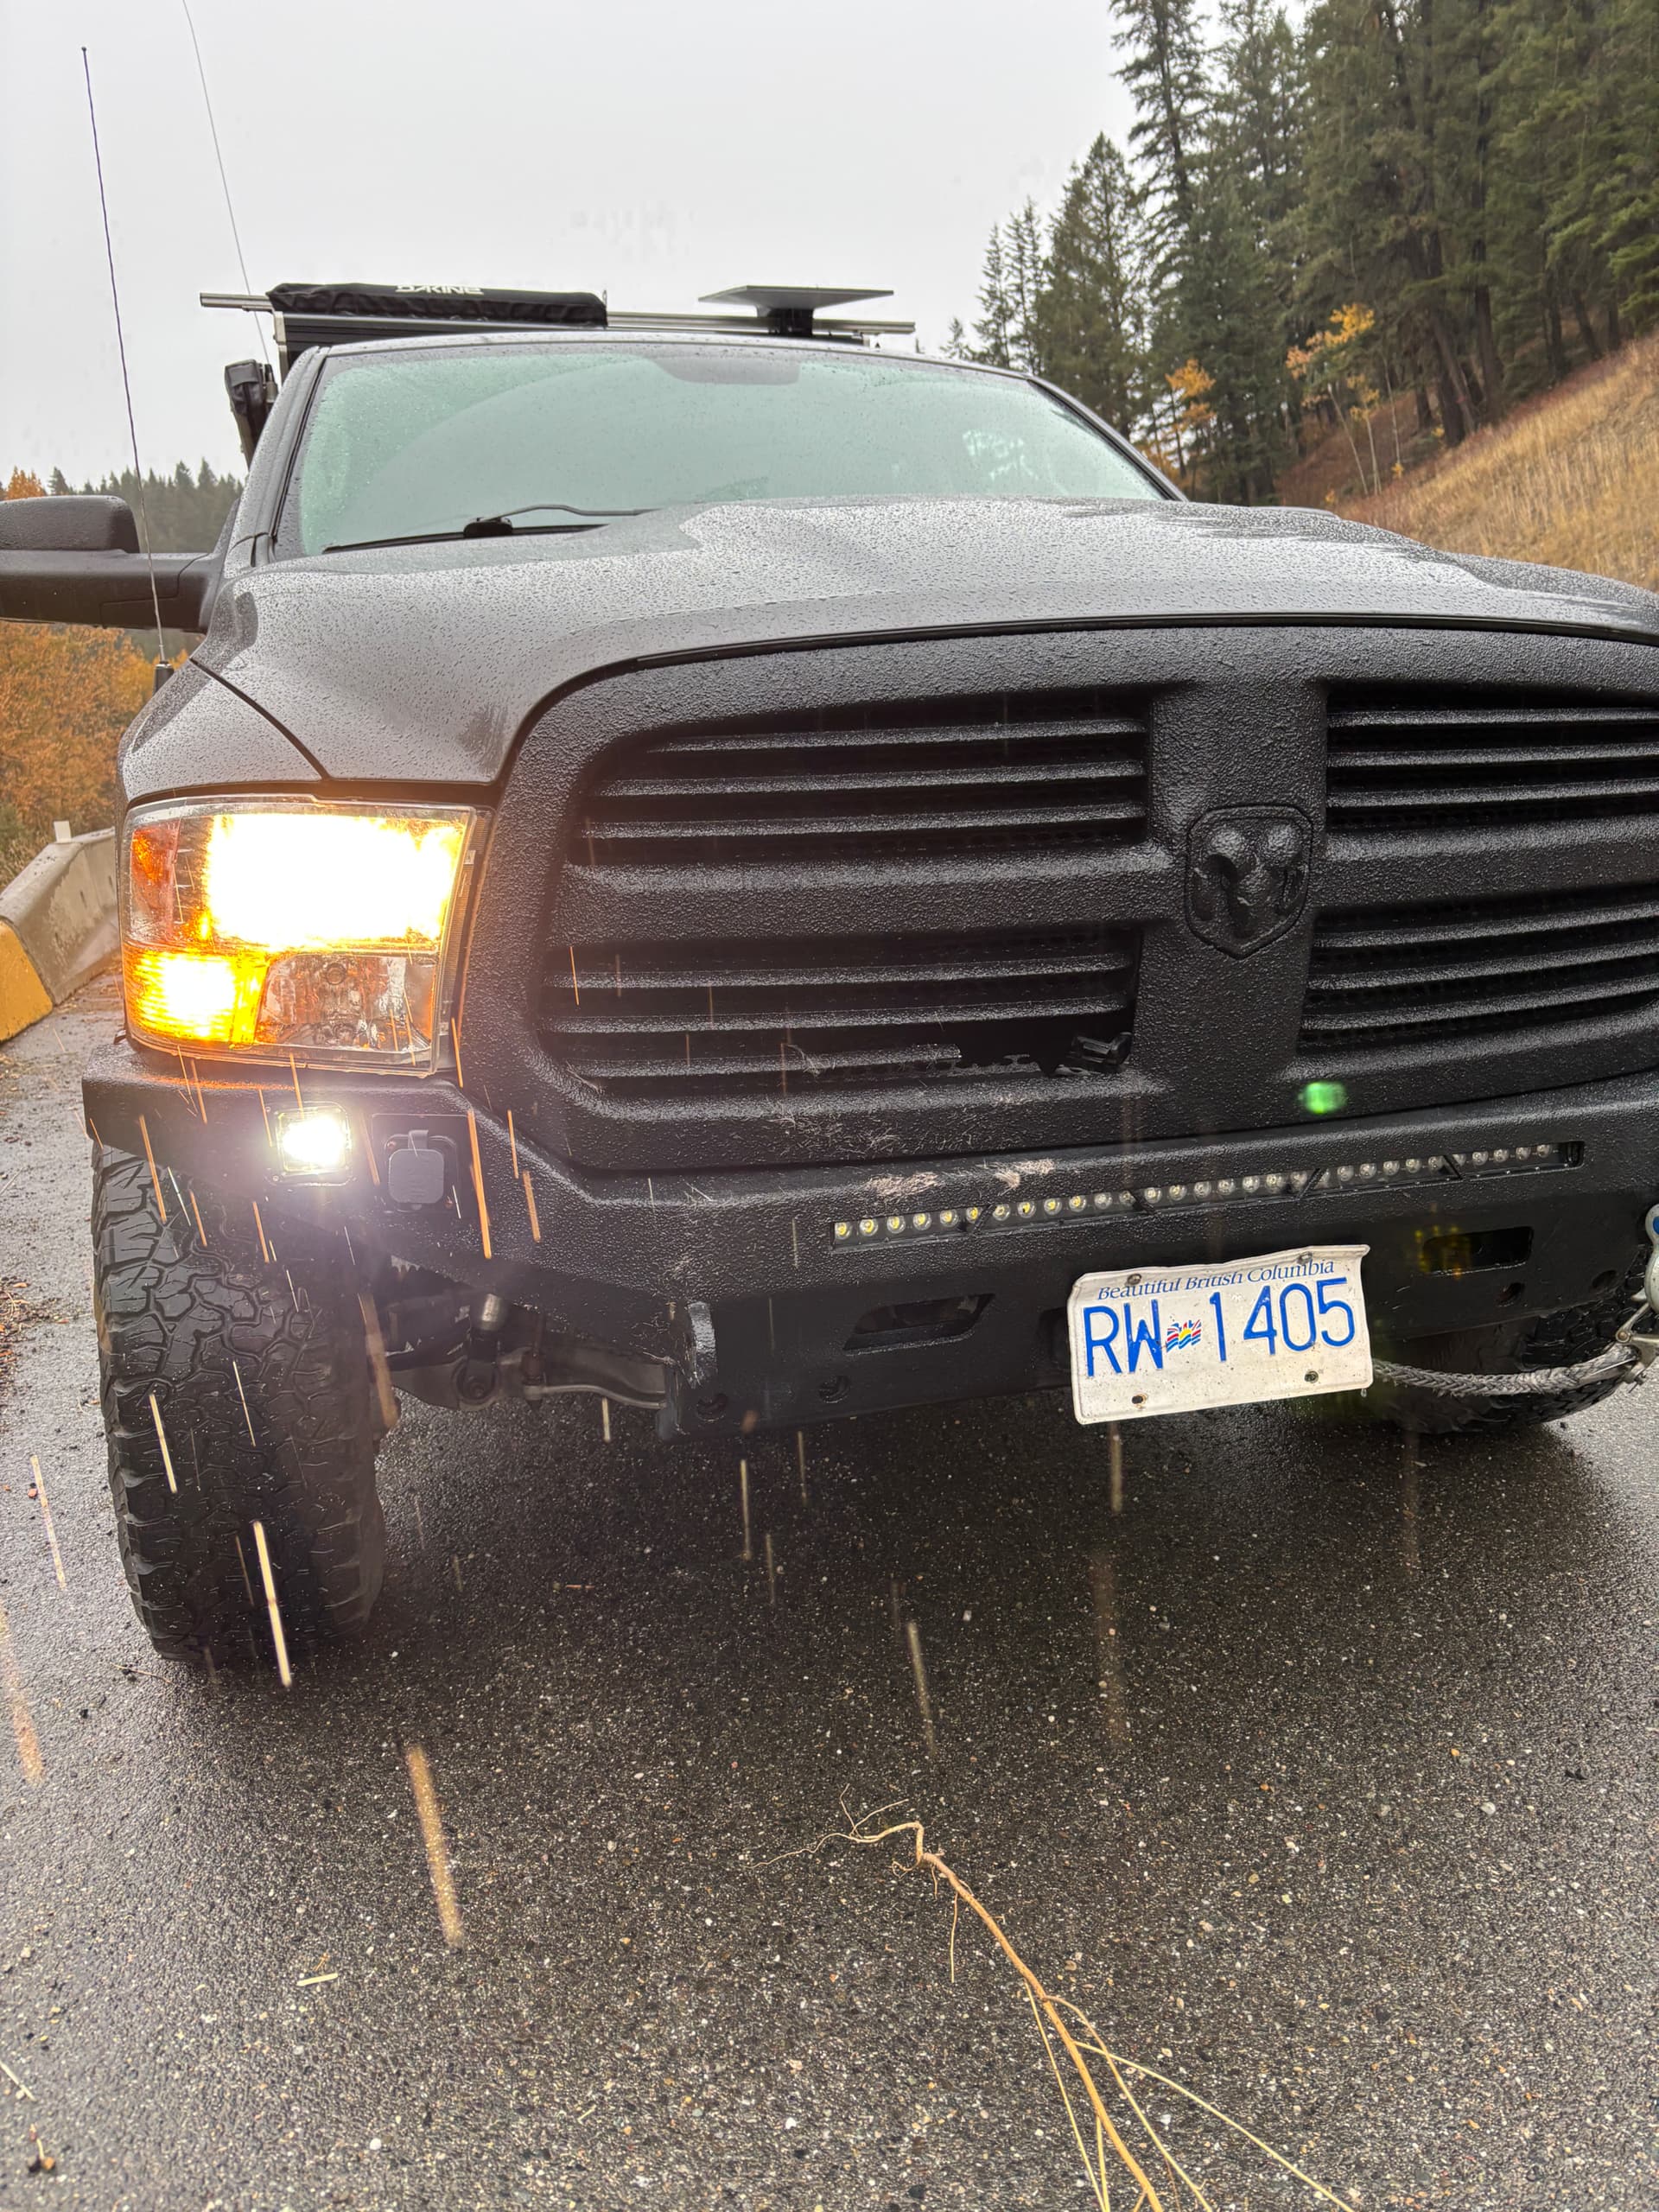
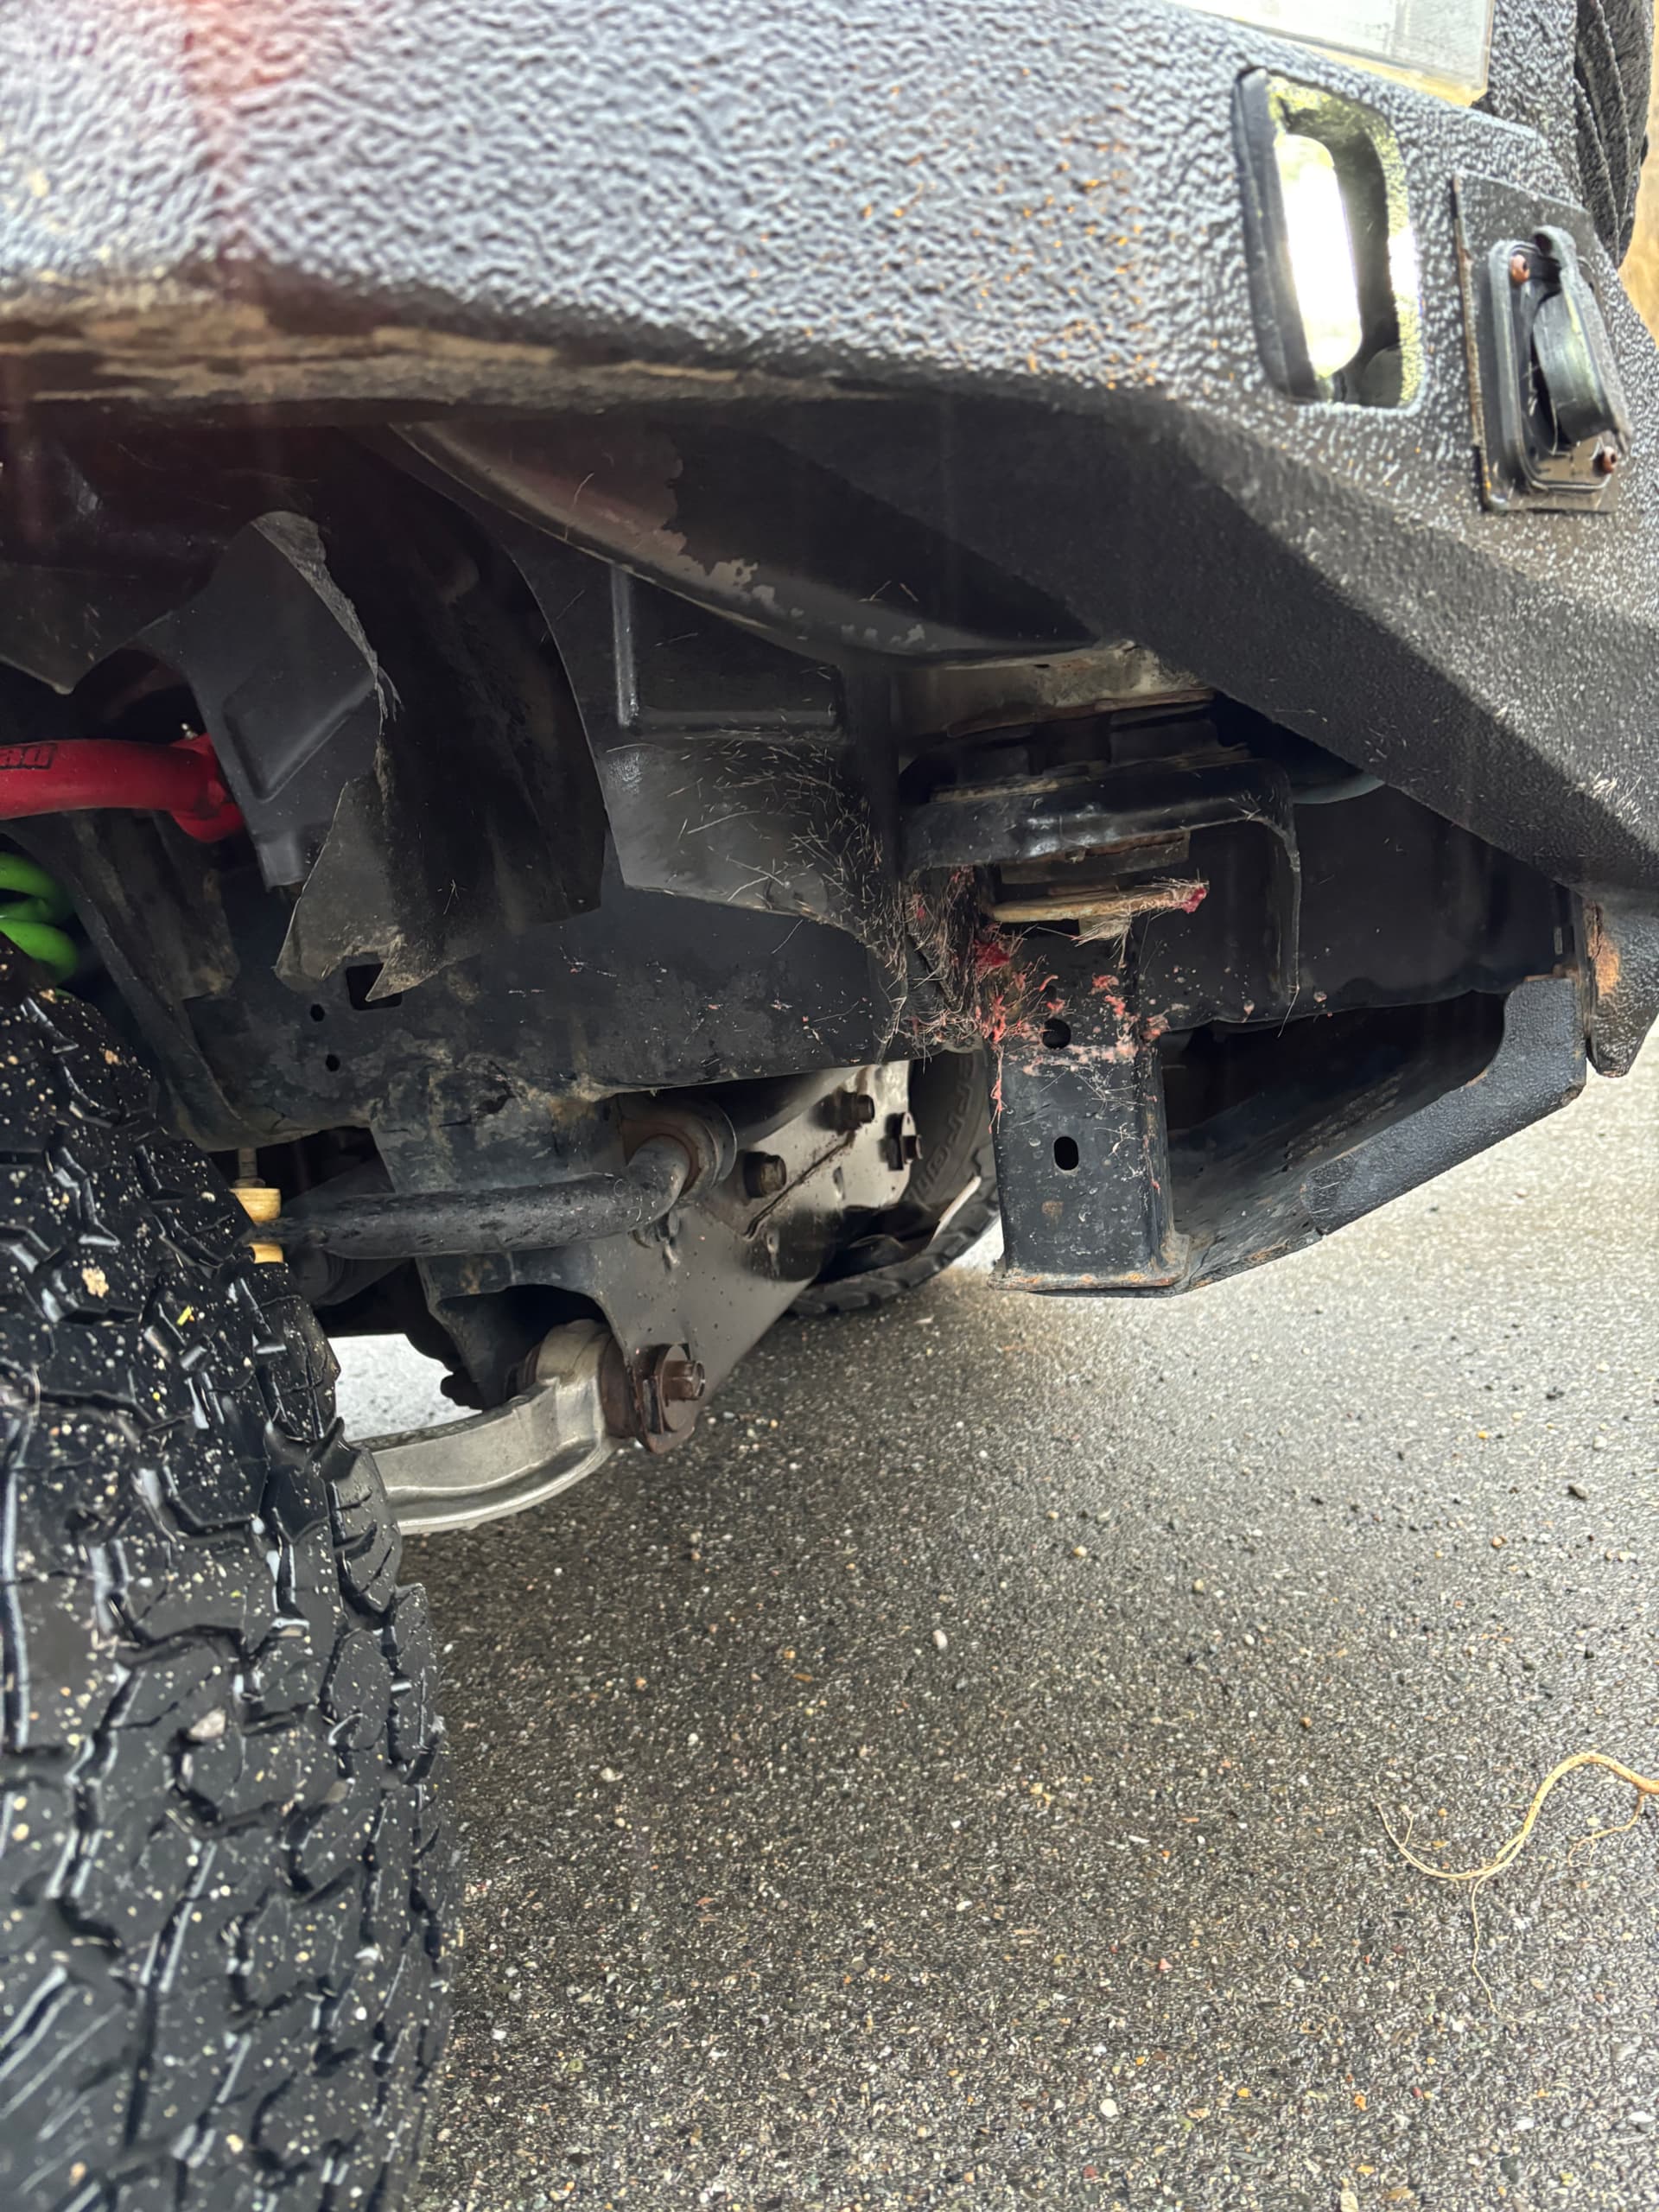
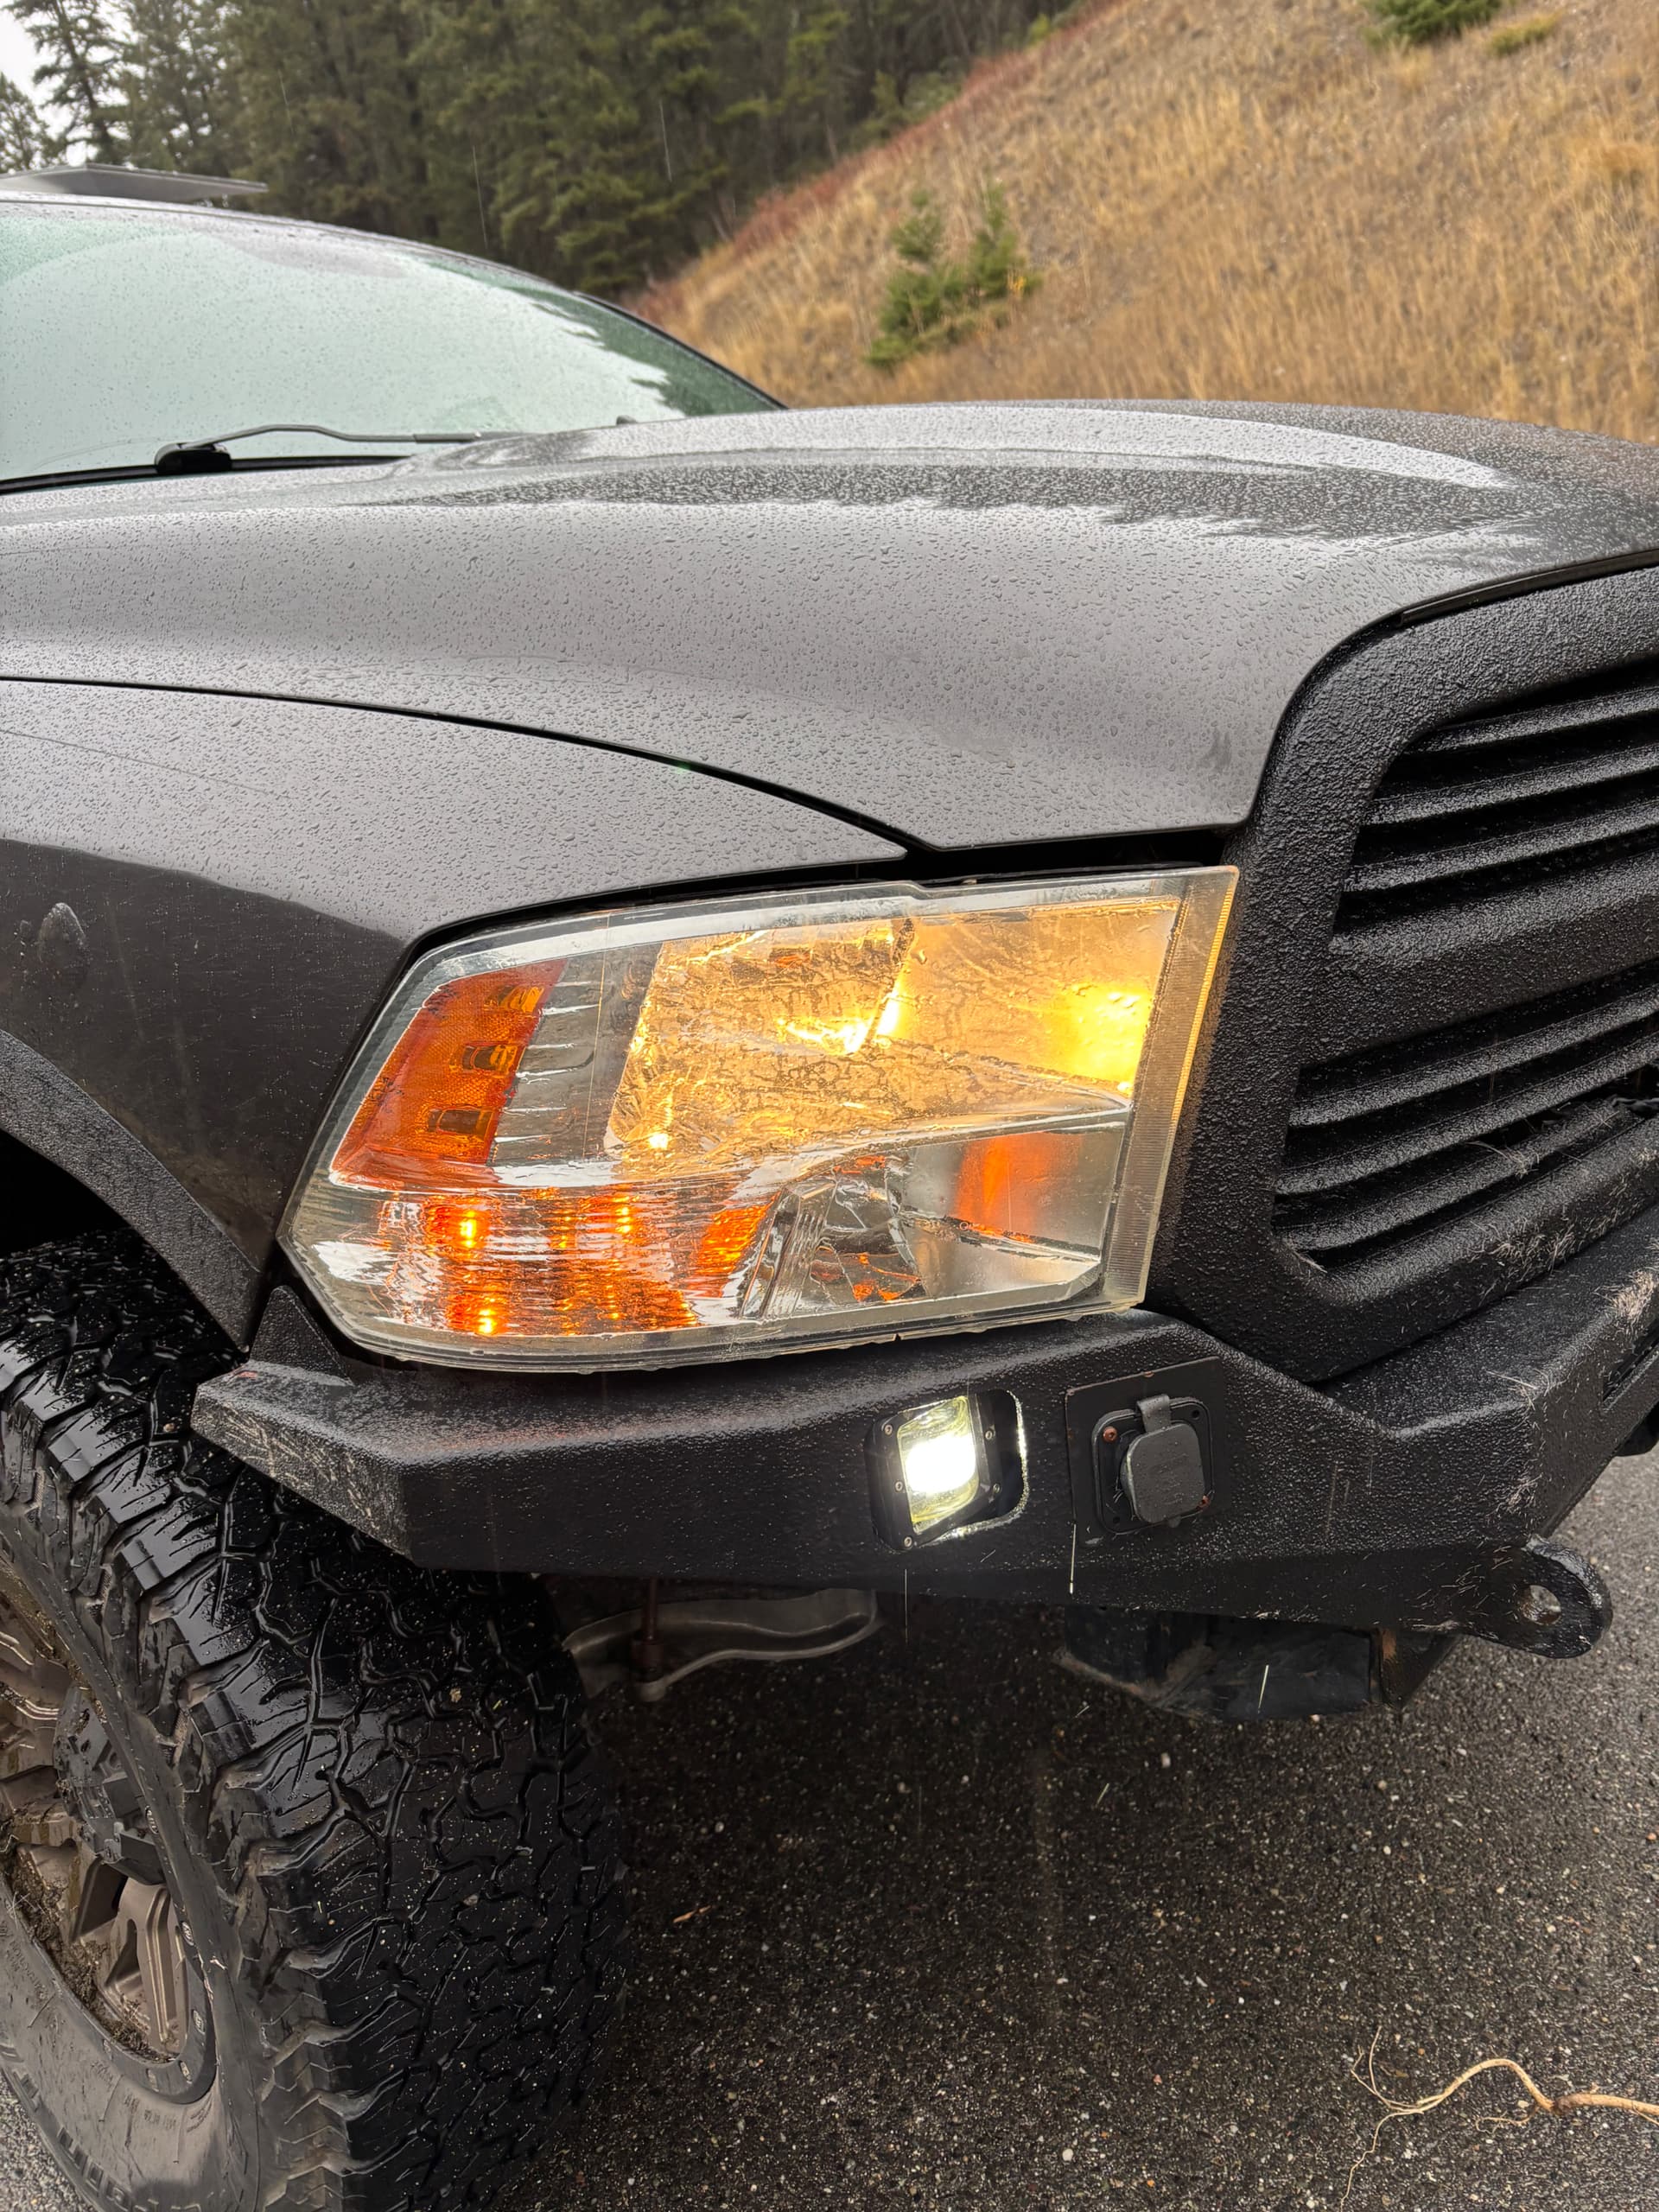
Man! This truck loves deer! Hit another deer this time the right side got damaged. But once again Coastal off-road bumper for the win!! Well back to the shop, short lived month with no damage.
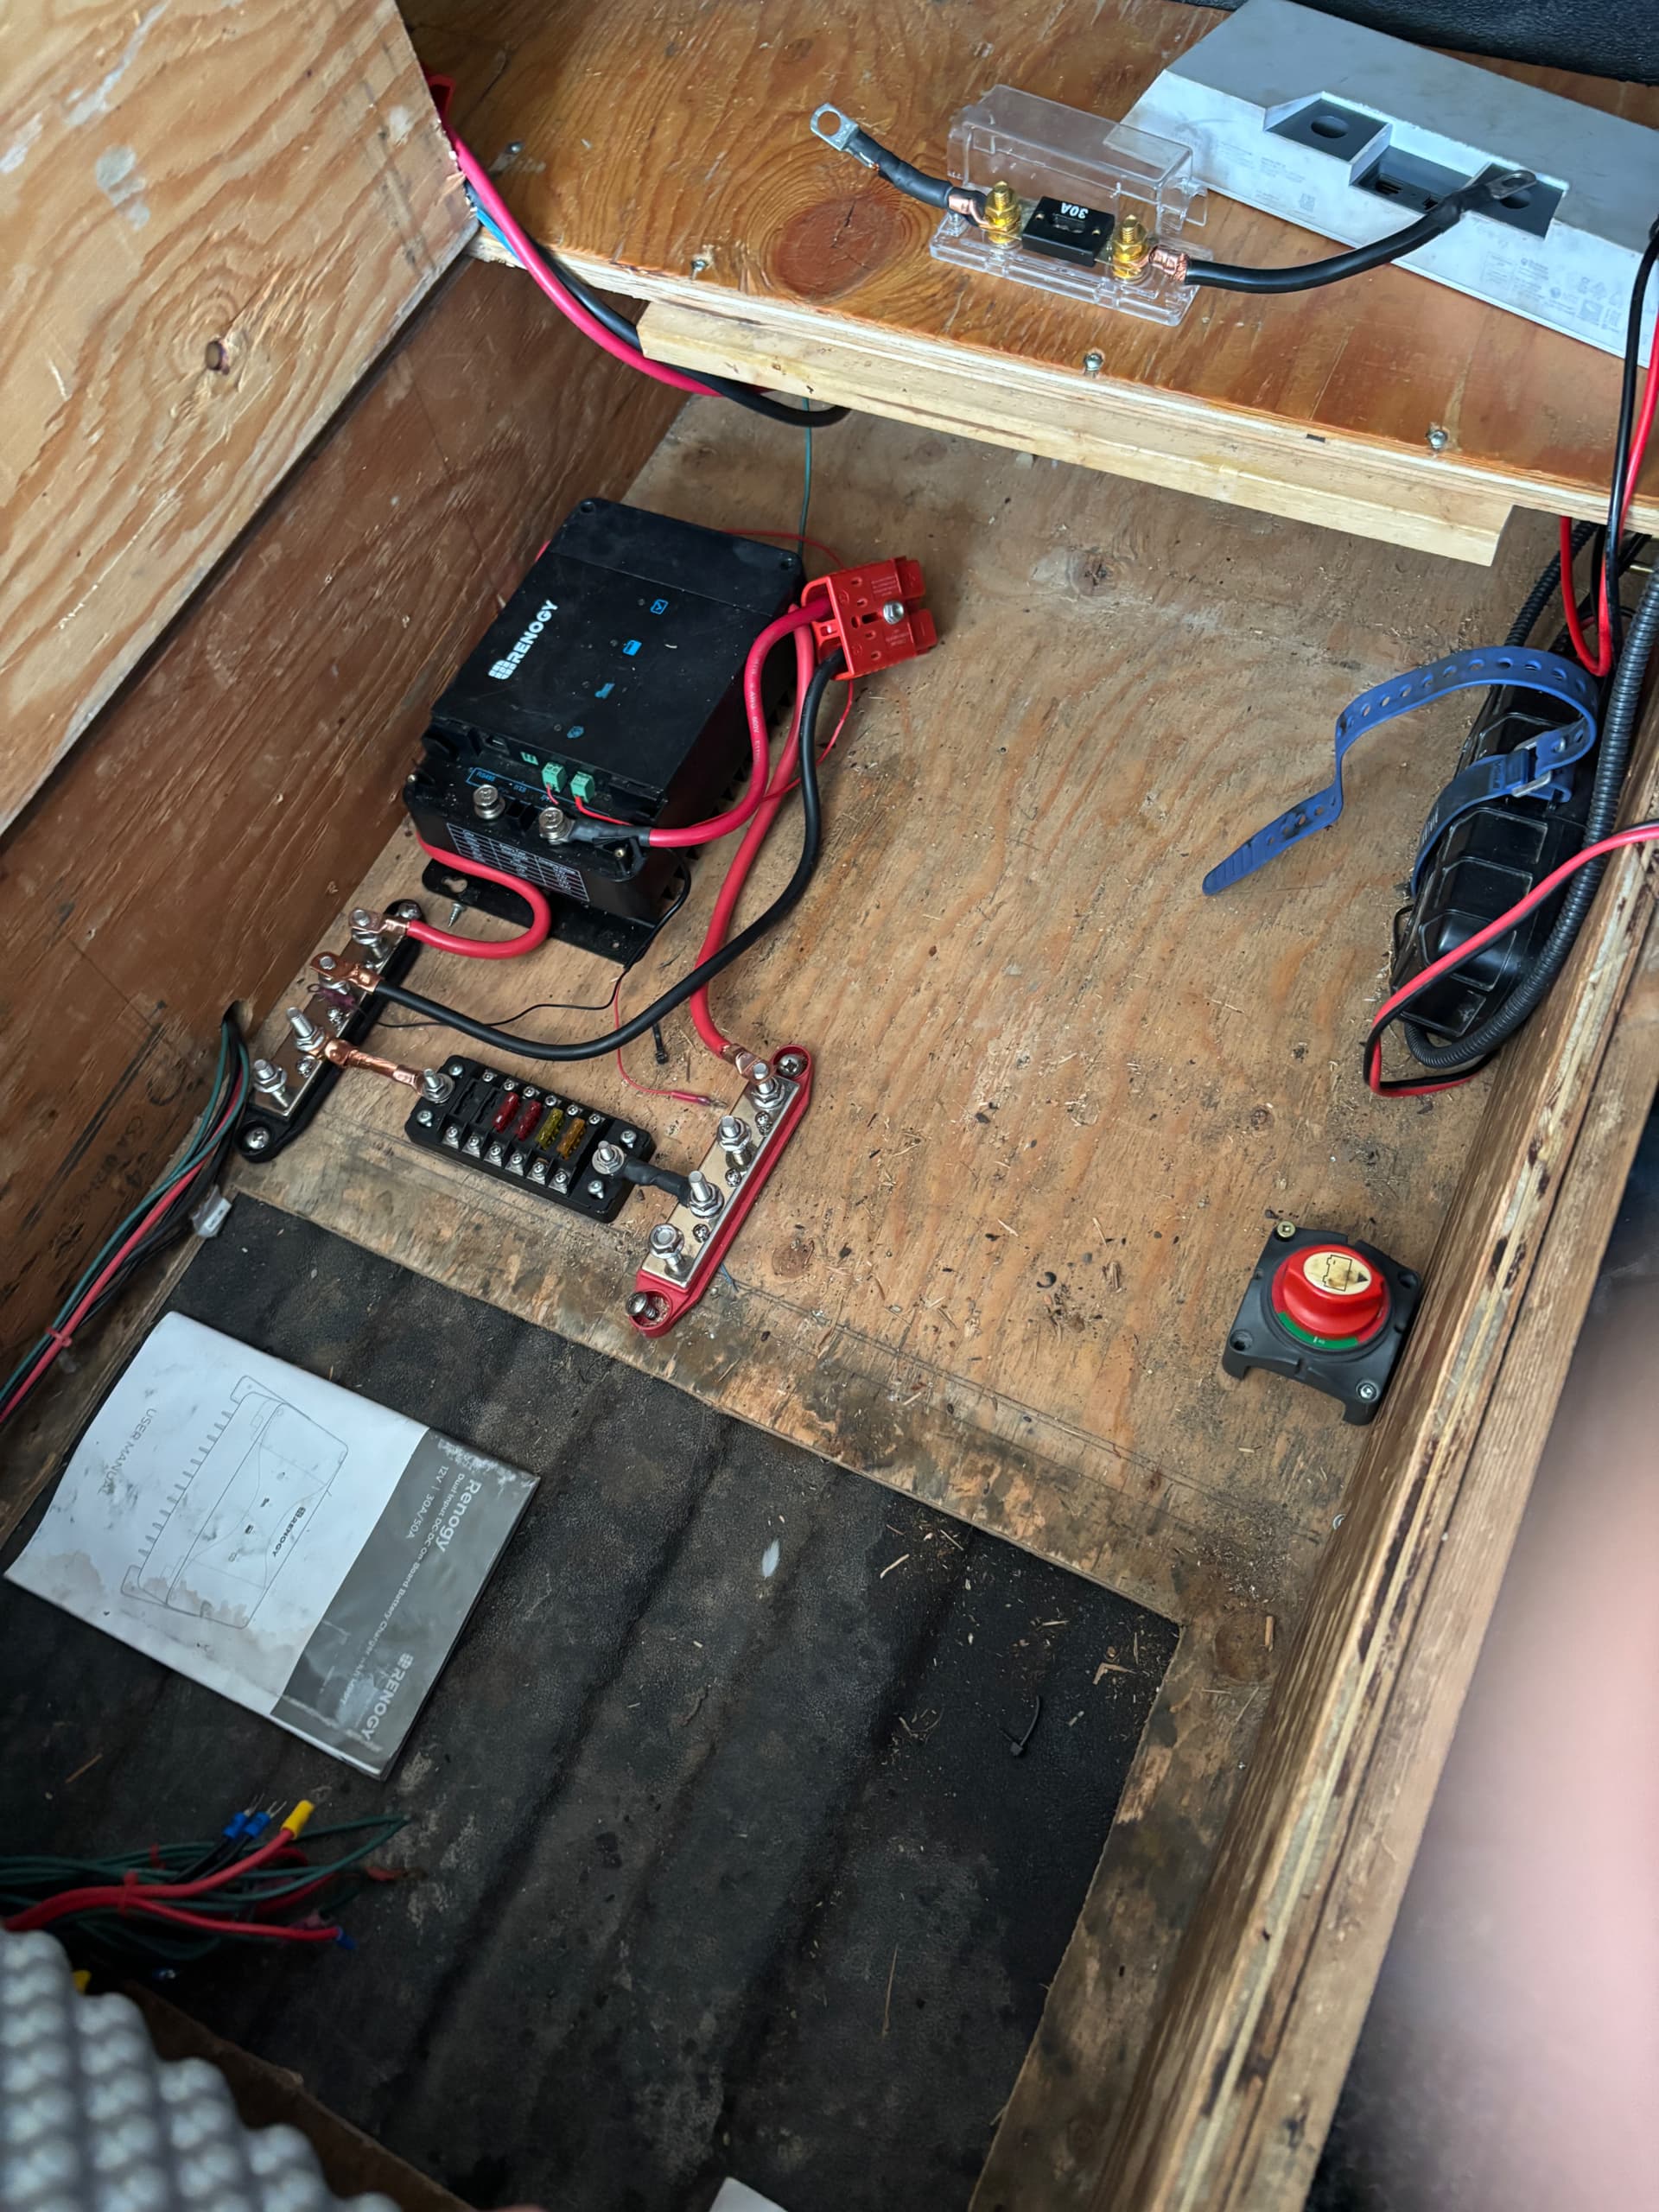
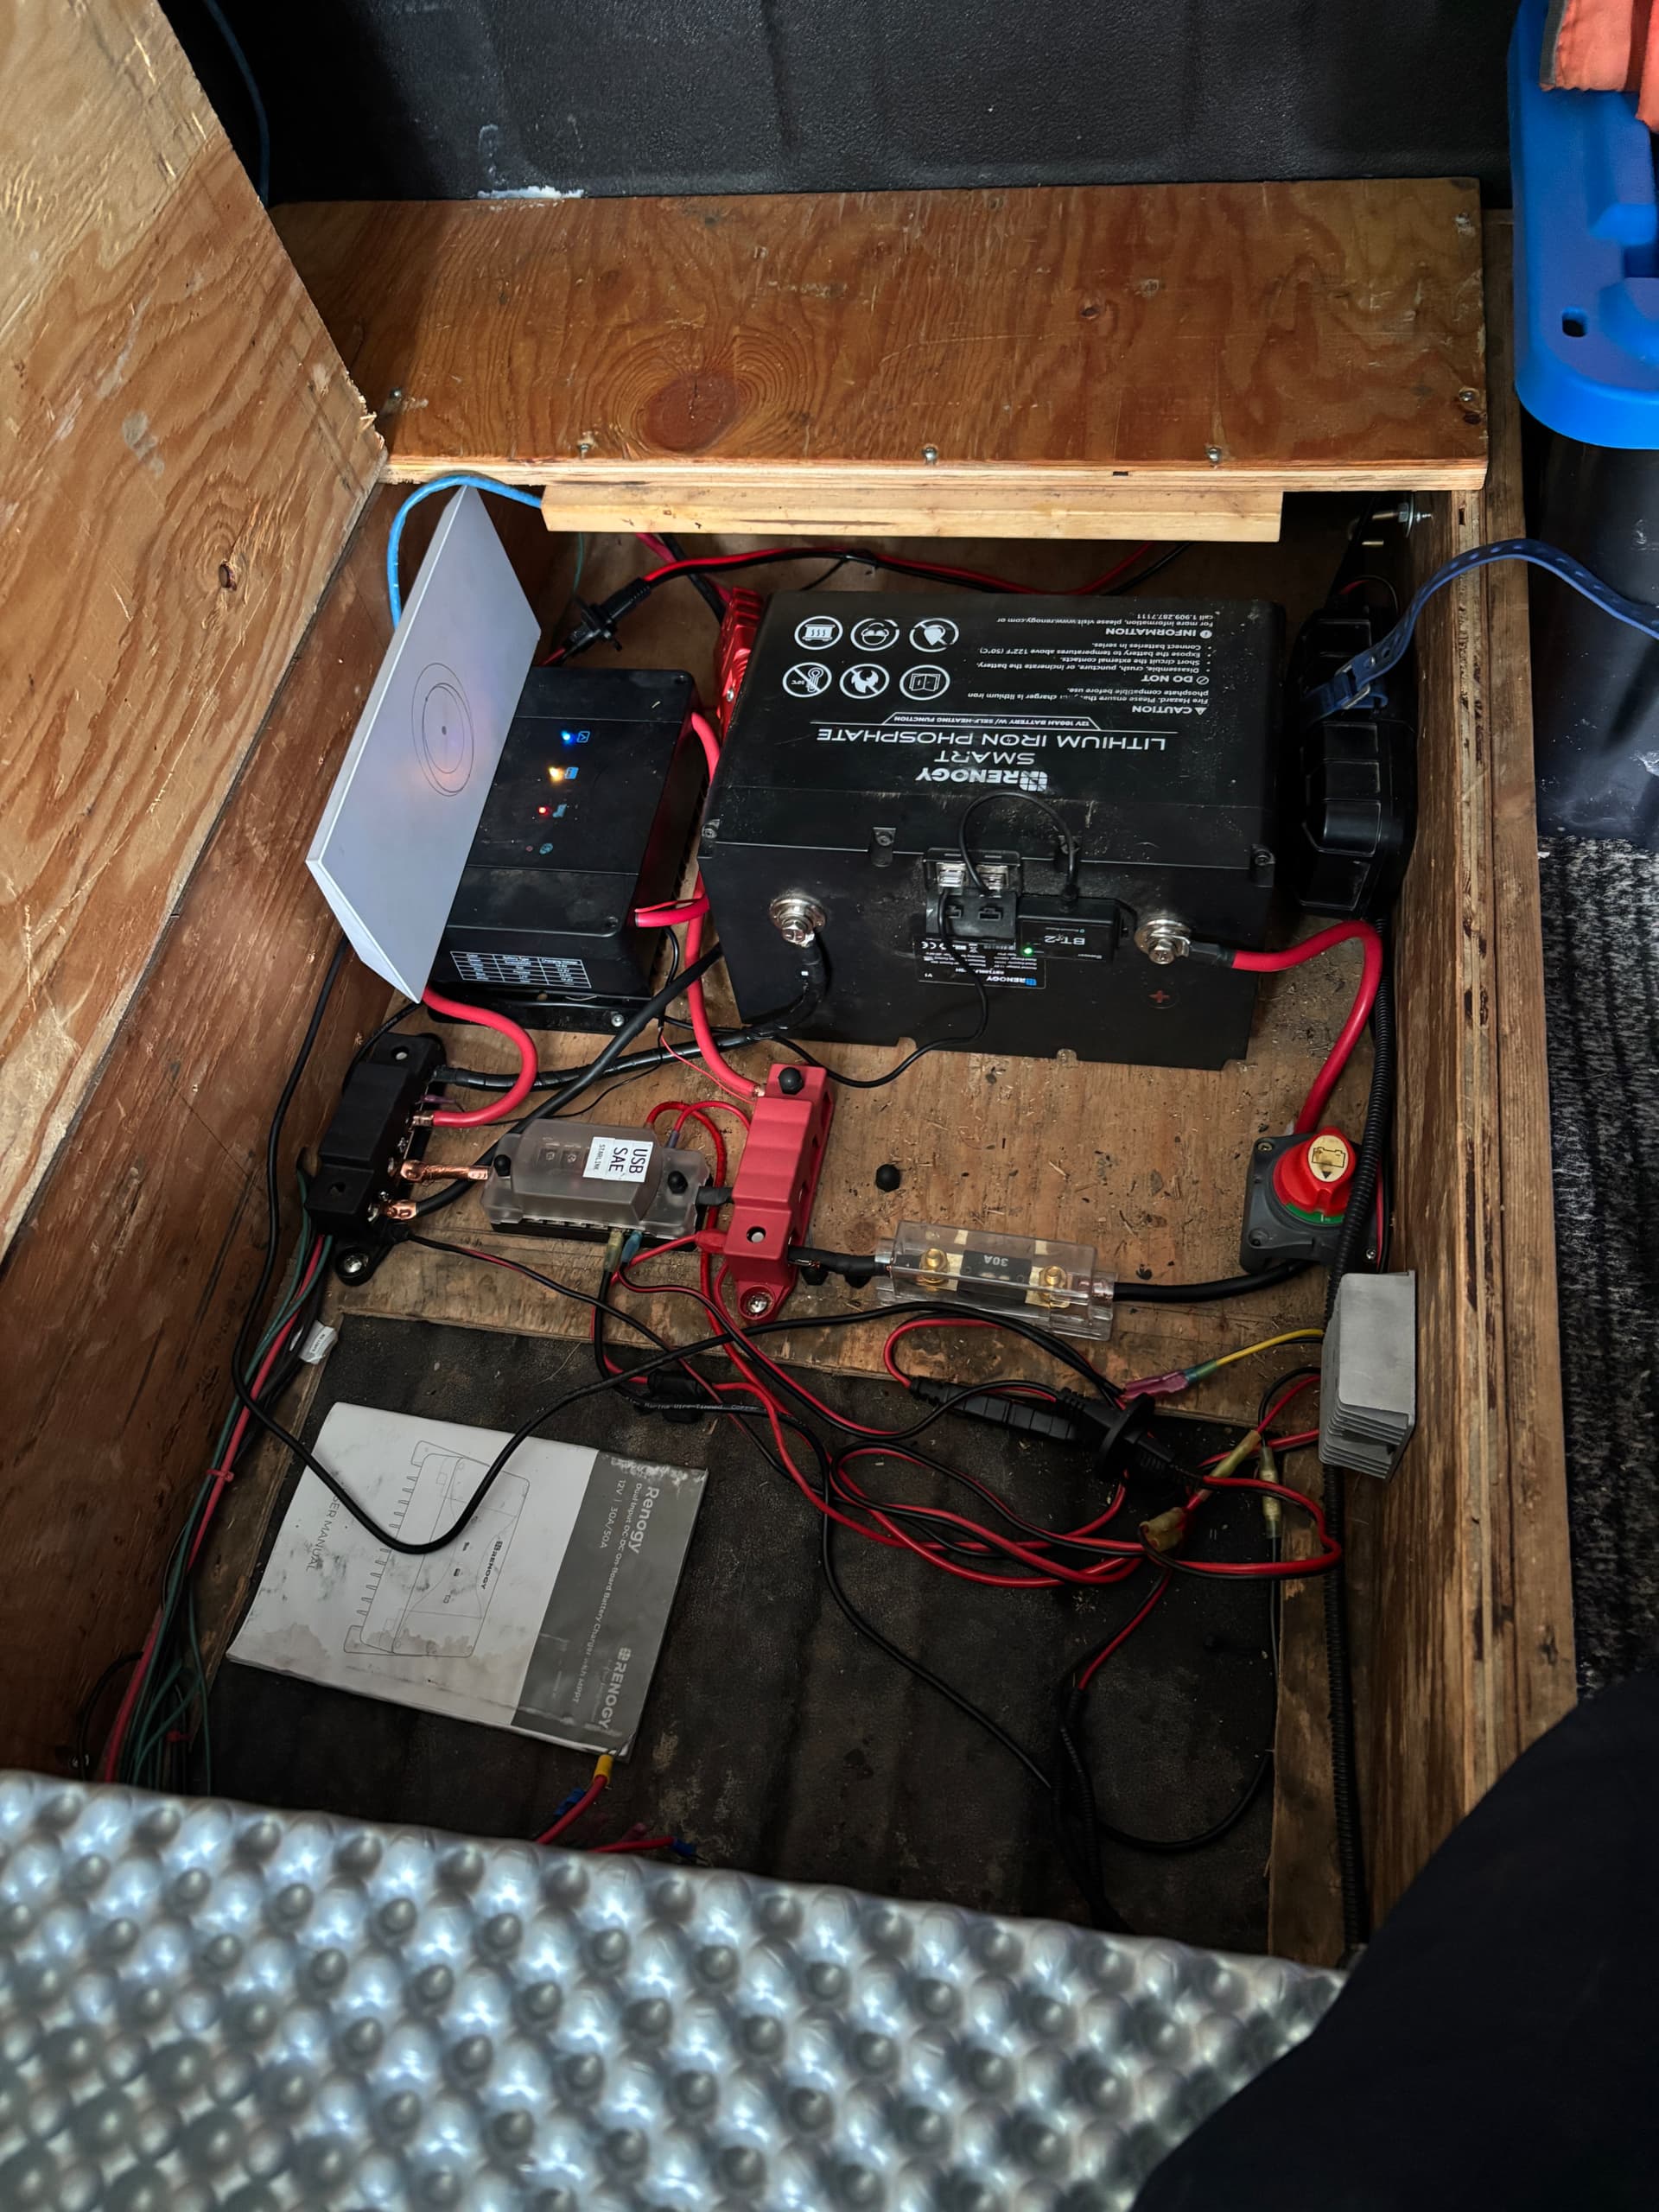
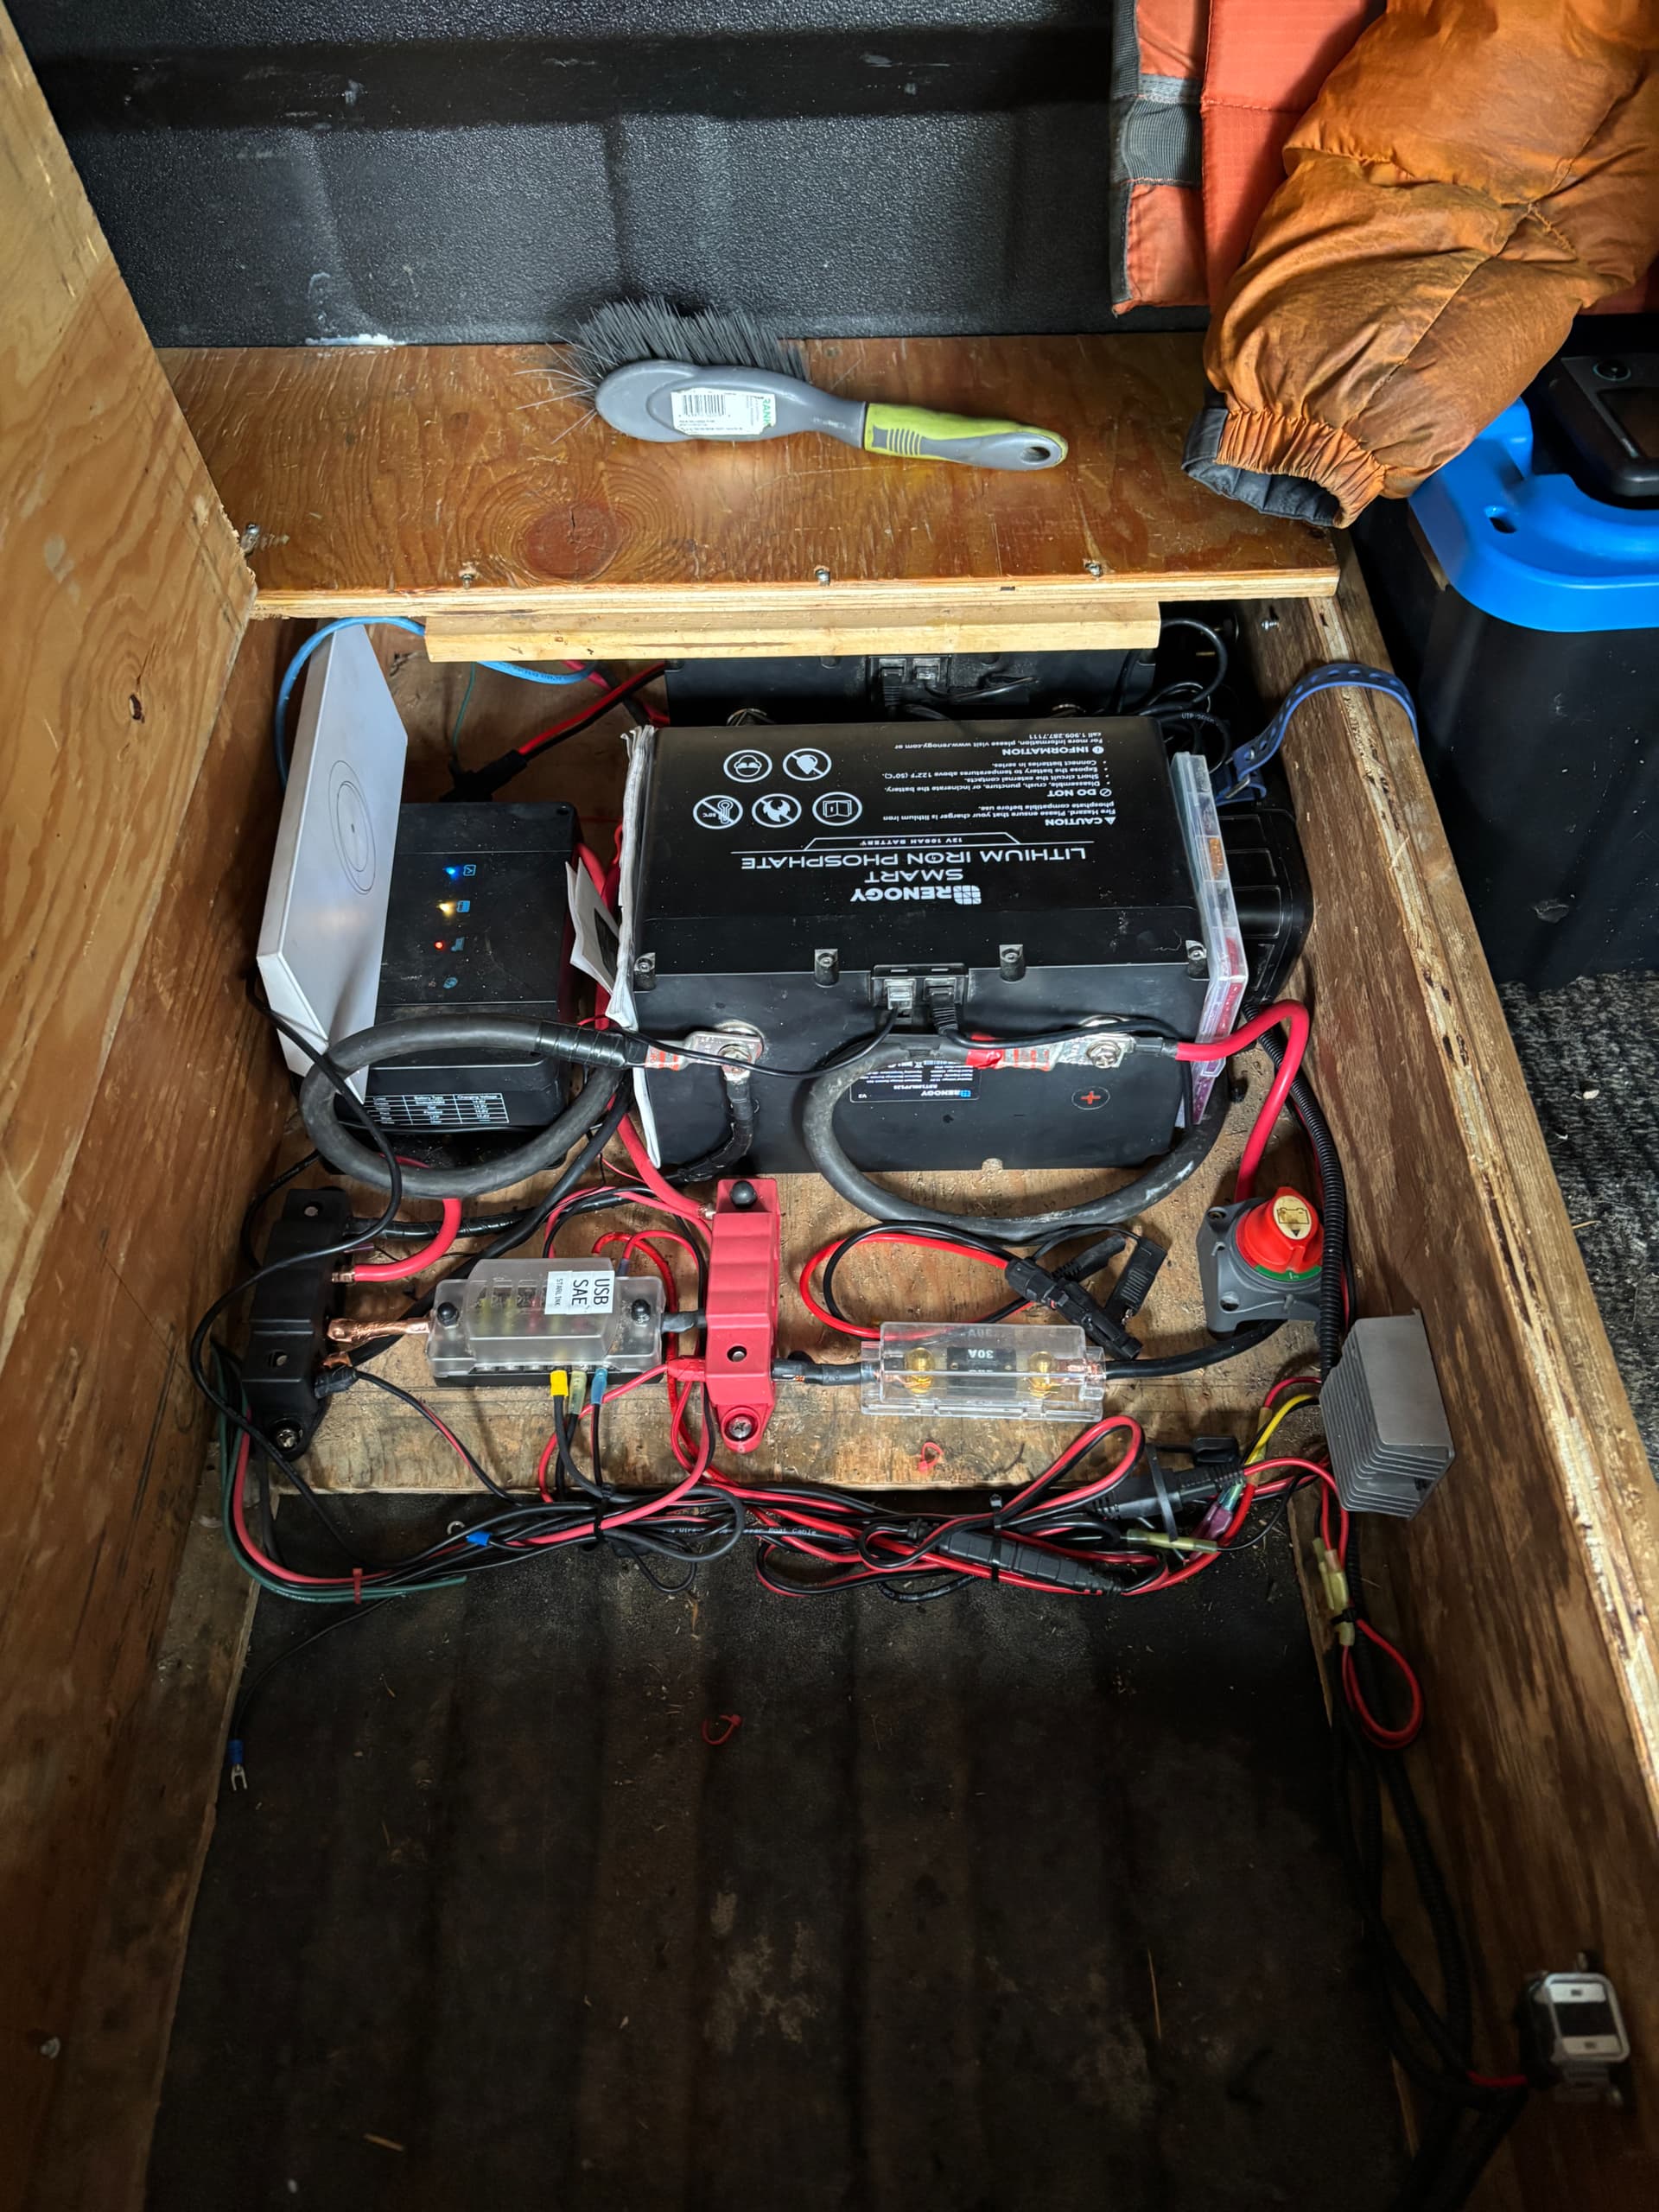
Facebook market place for the win! I scored 2 x Renogy 100aH lithium batteries for $300! So I’m going to upgrade the rig to 200aH and use the other 100aH in the trailer.
I gave a mouse a 500km ride on my last trip. Set a live trap and got rid of him the next day. Didn’t re-bait the trap and had another in there a day later. Pretty sure the trap becomes an attractant. My food is all packed away in hard cases, all they seemed to want was the paper towel.
I’ve caught two so far, little buggers. Stoked on the batteries, it’s finally the right amount of power for how I use the rig. Bummer though during the re-jig something happened to my dc charger and it’s not seeing 14v off the alternator
The Renogy 30a charger failed. Great on Renogy though, pretty painless. Took a couple pictures of my measurements to show that I was getting the 13v from the truck. Also 13 V to the ign trigger.
They are shipping me a new unit.
So far though I’ve gone through two chargers from Renogy. At least the warrantee is good.
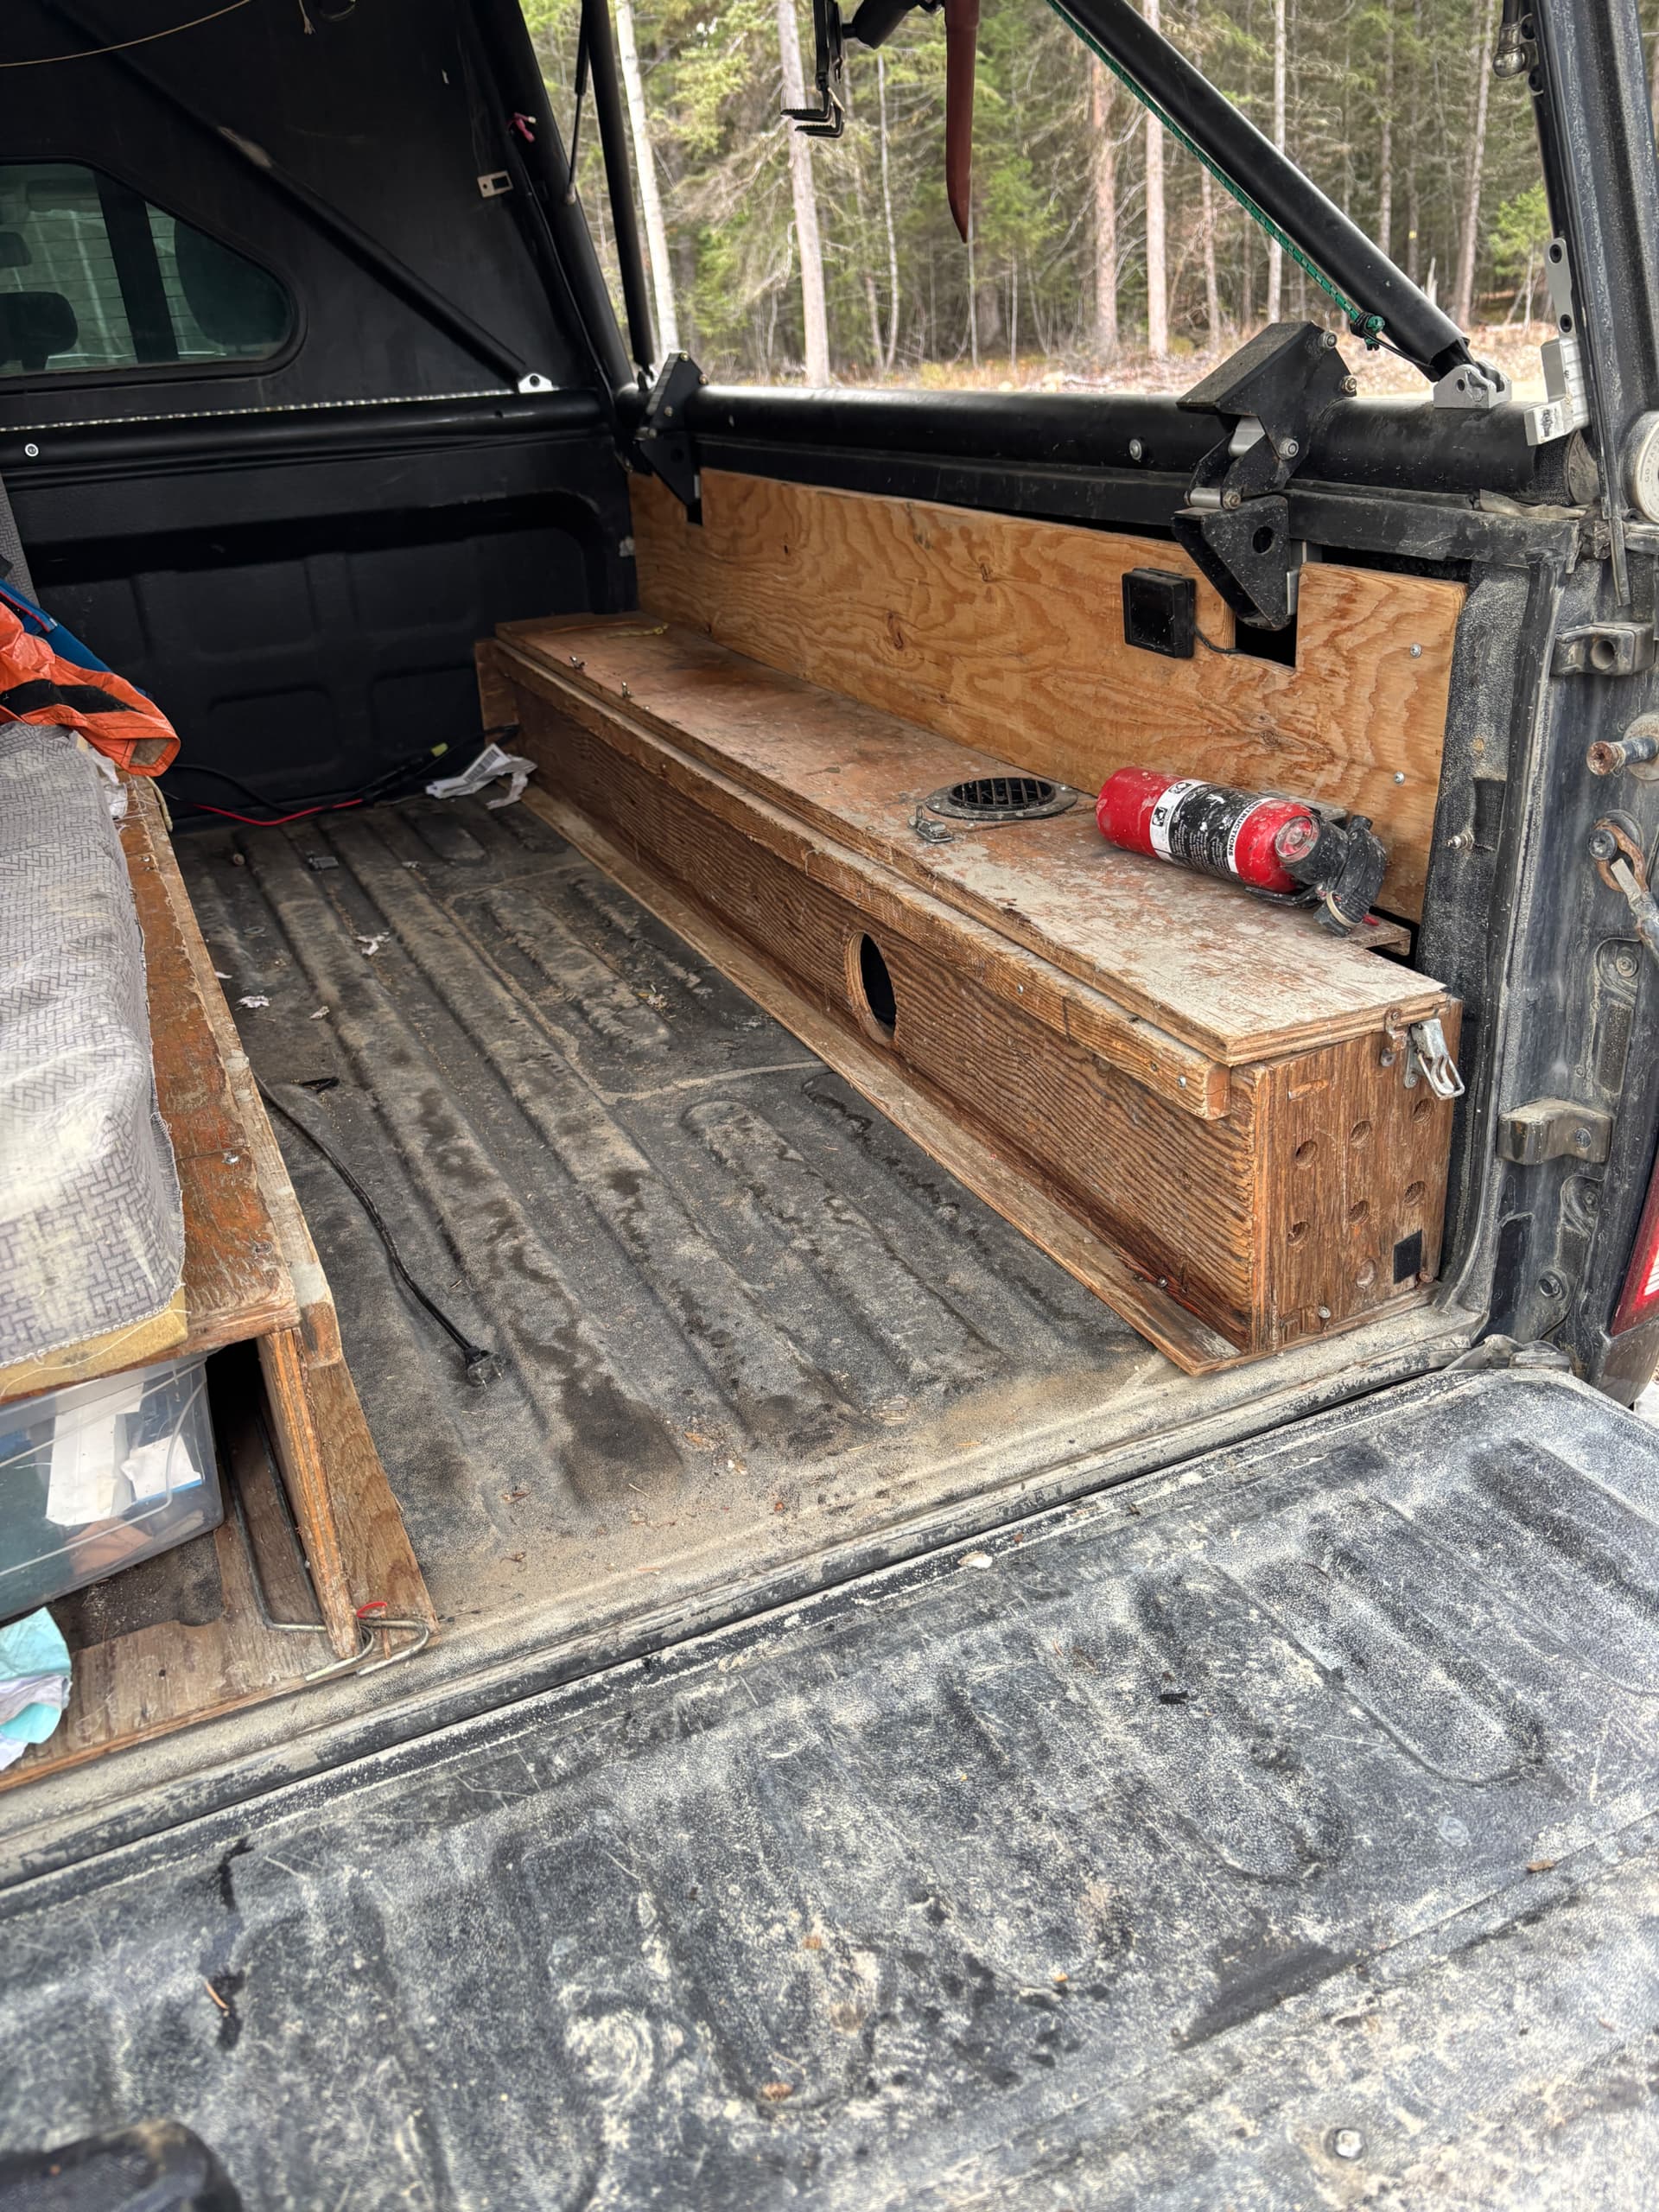
I’m thinking of replacing the Autoterm Petrol heater I have. I have never been able to get it to run consistently. However, I have loved having a stealth setup for times that I don’t want to pop the tent. I’m trying to figure out the best way to install a diesel heater in the same spot. The problem is I don’t know what to do with the tank.
Anyone have any Diesel heater installs in Petrol vehicles? Where did you mount the tank? I have a hole cut in the box already so I’d like to use the same mounting location.
I bought a metal tank I bolt to the bedrails of my tacoma, found it on the tacoma forums. A little spendy but its been the cleanest option I’ve found. I’ve tried a few self-made options and this was the most leak proof. Diesel fuel smells.
Can I see what you came up with? I’m thinking the same thing of mounting a metal tank to the wall of my build out. Only downside is my vent comes up right where I’d prefer to mount it, LOL.
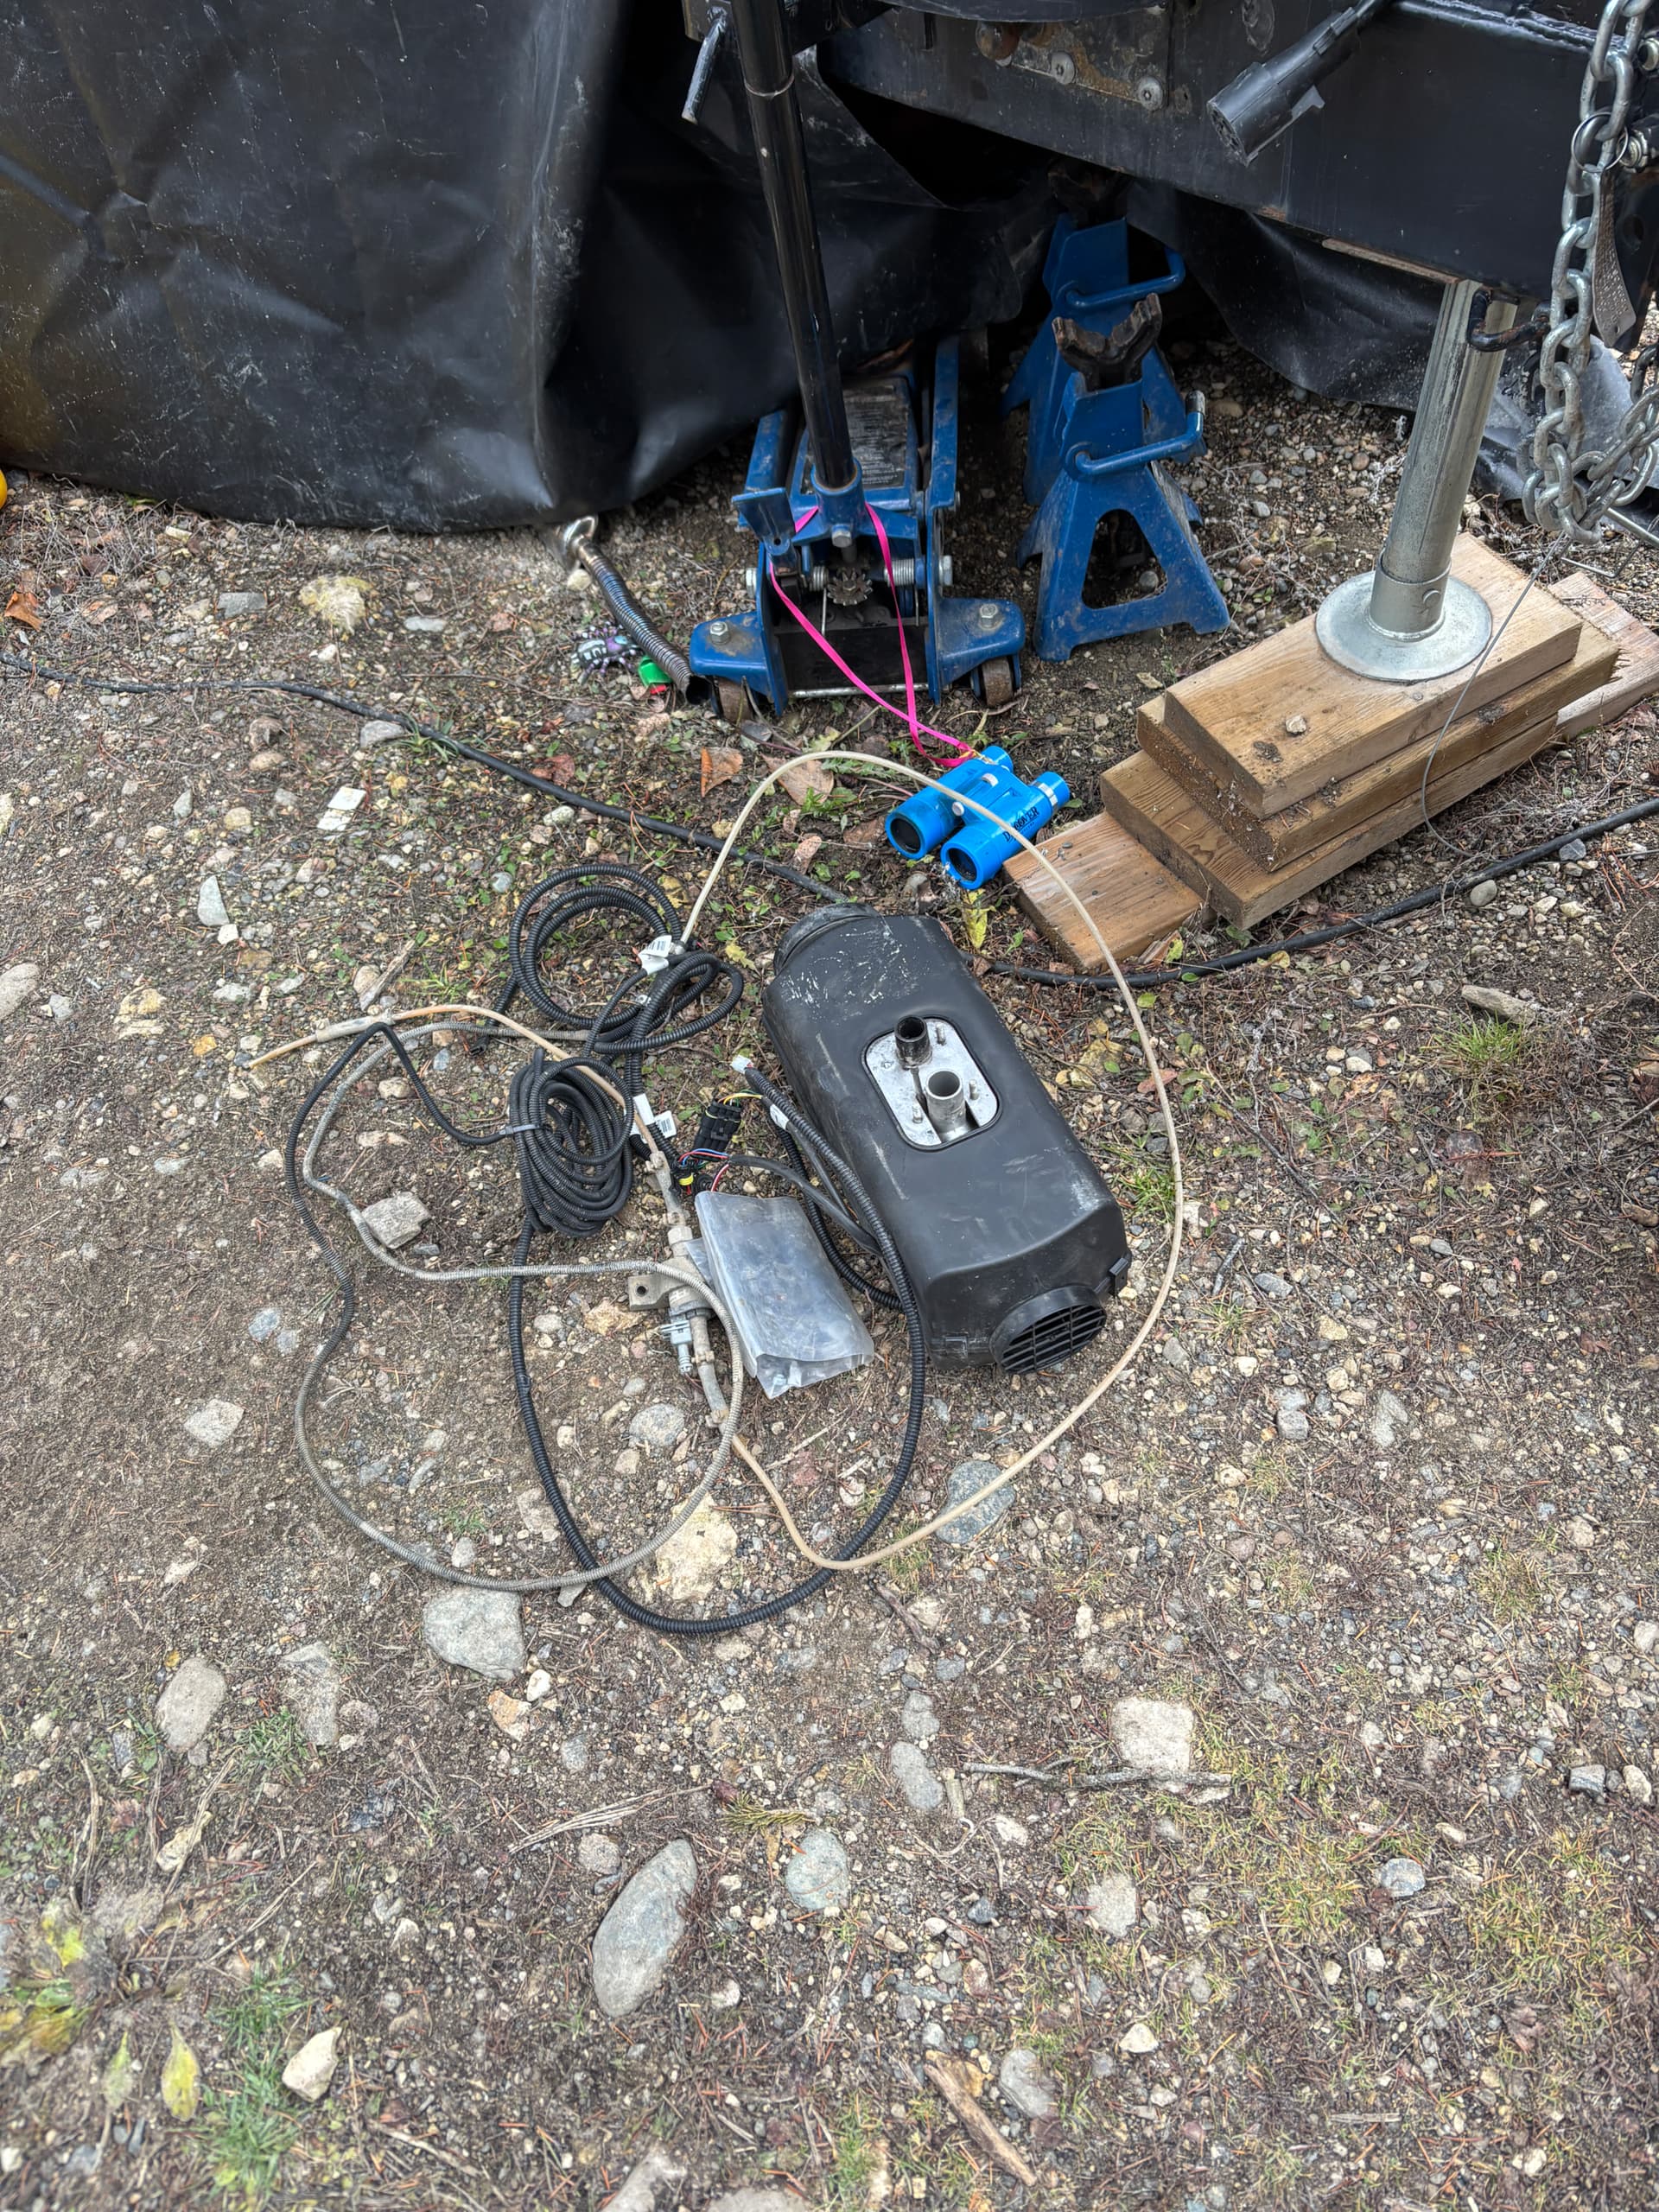
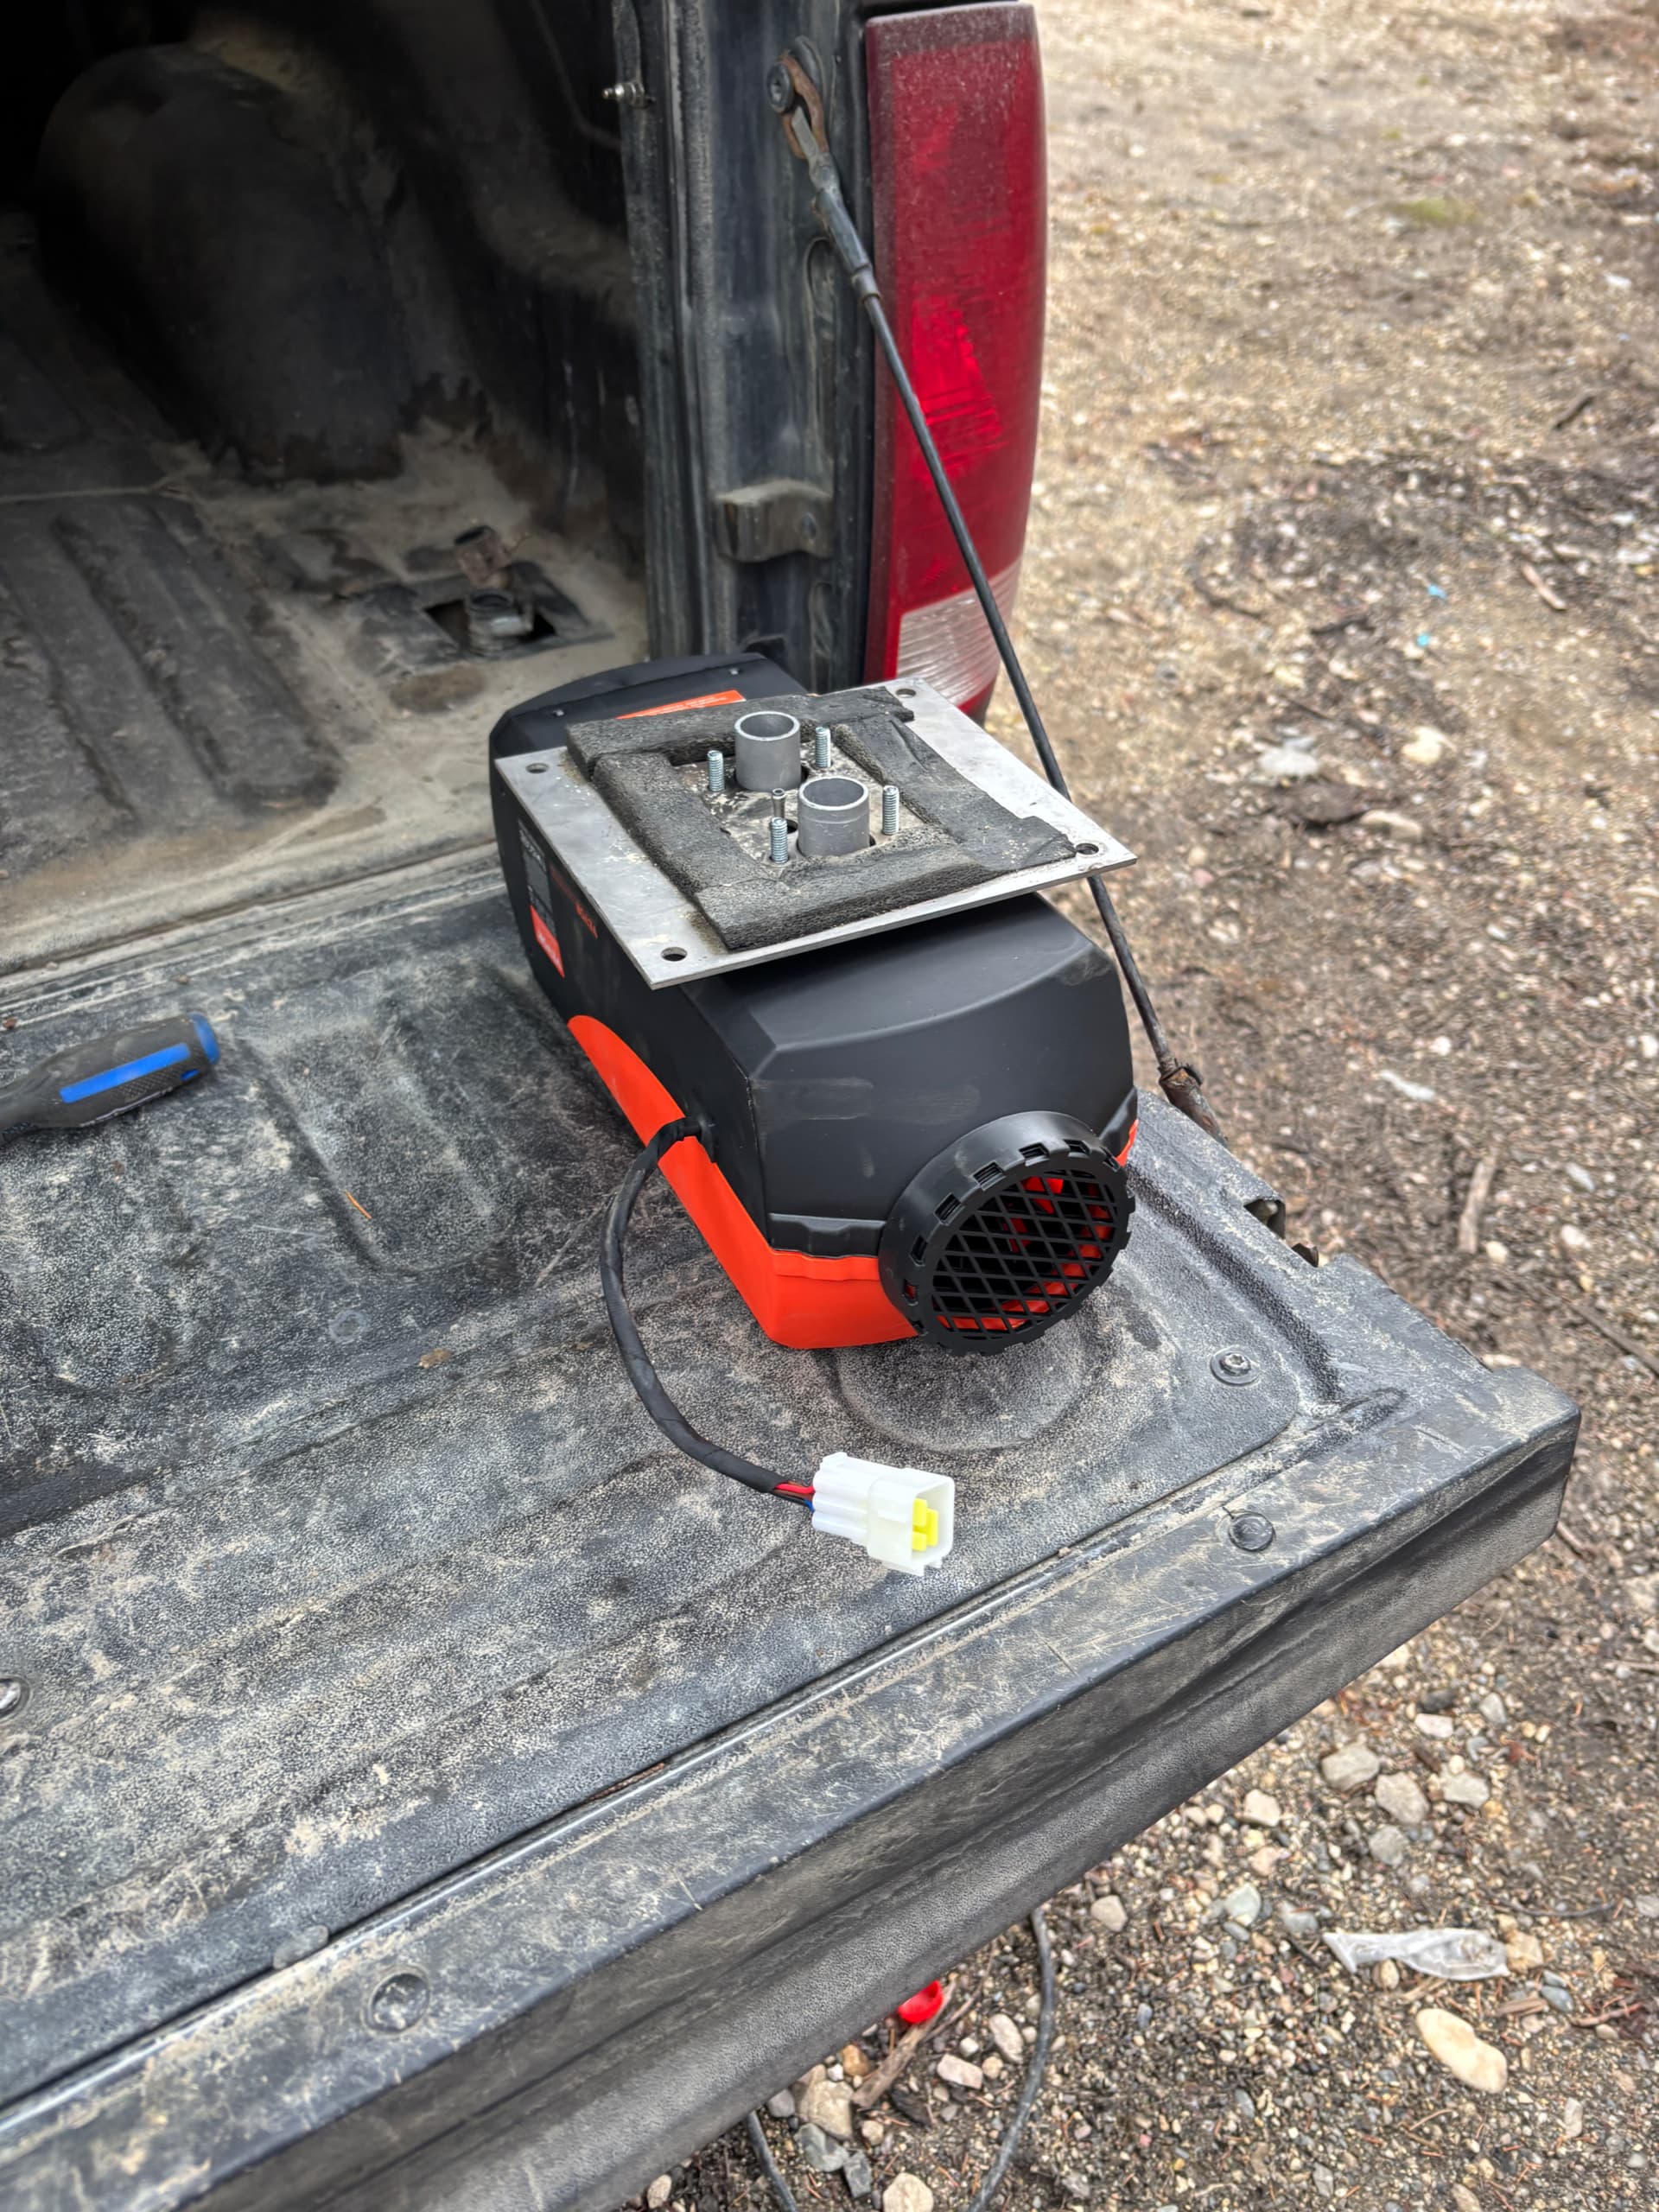
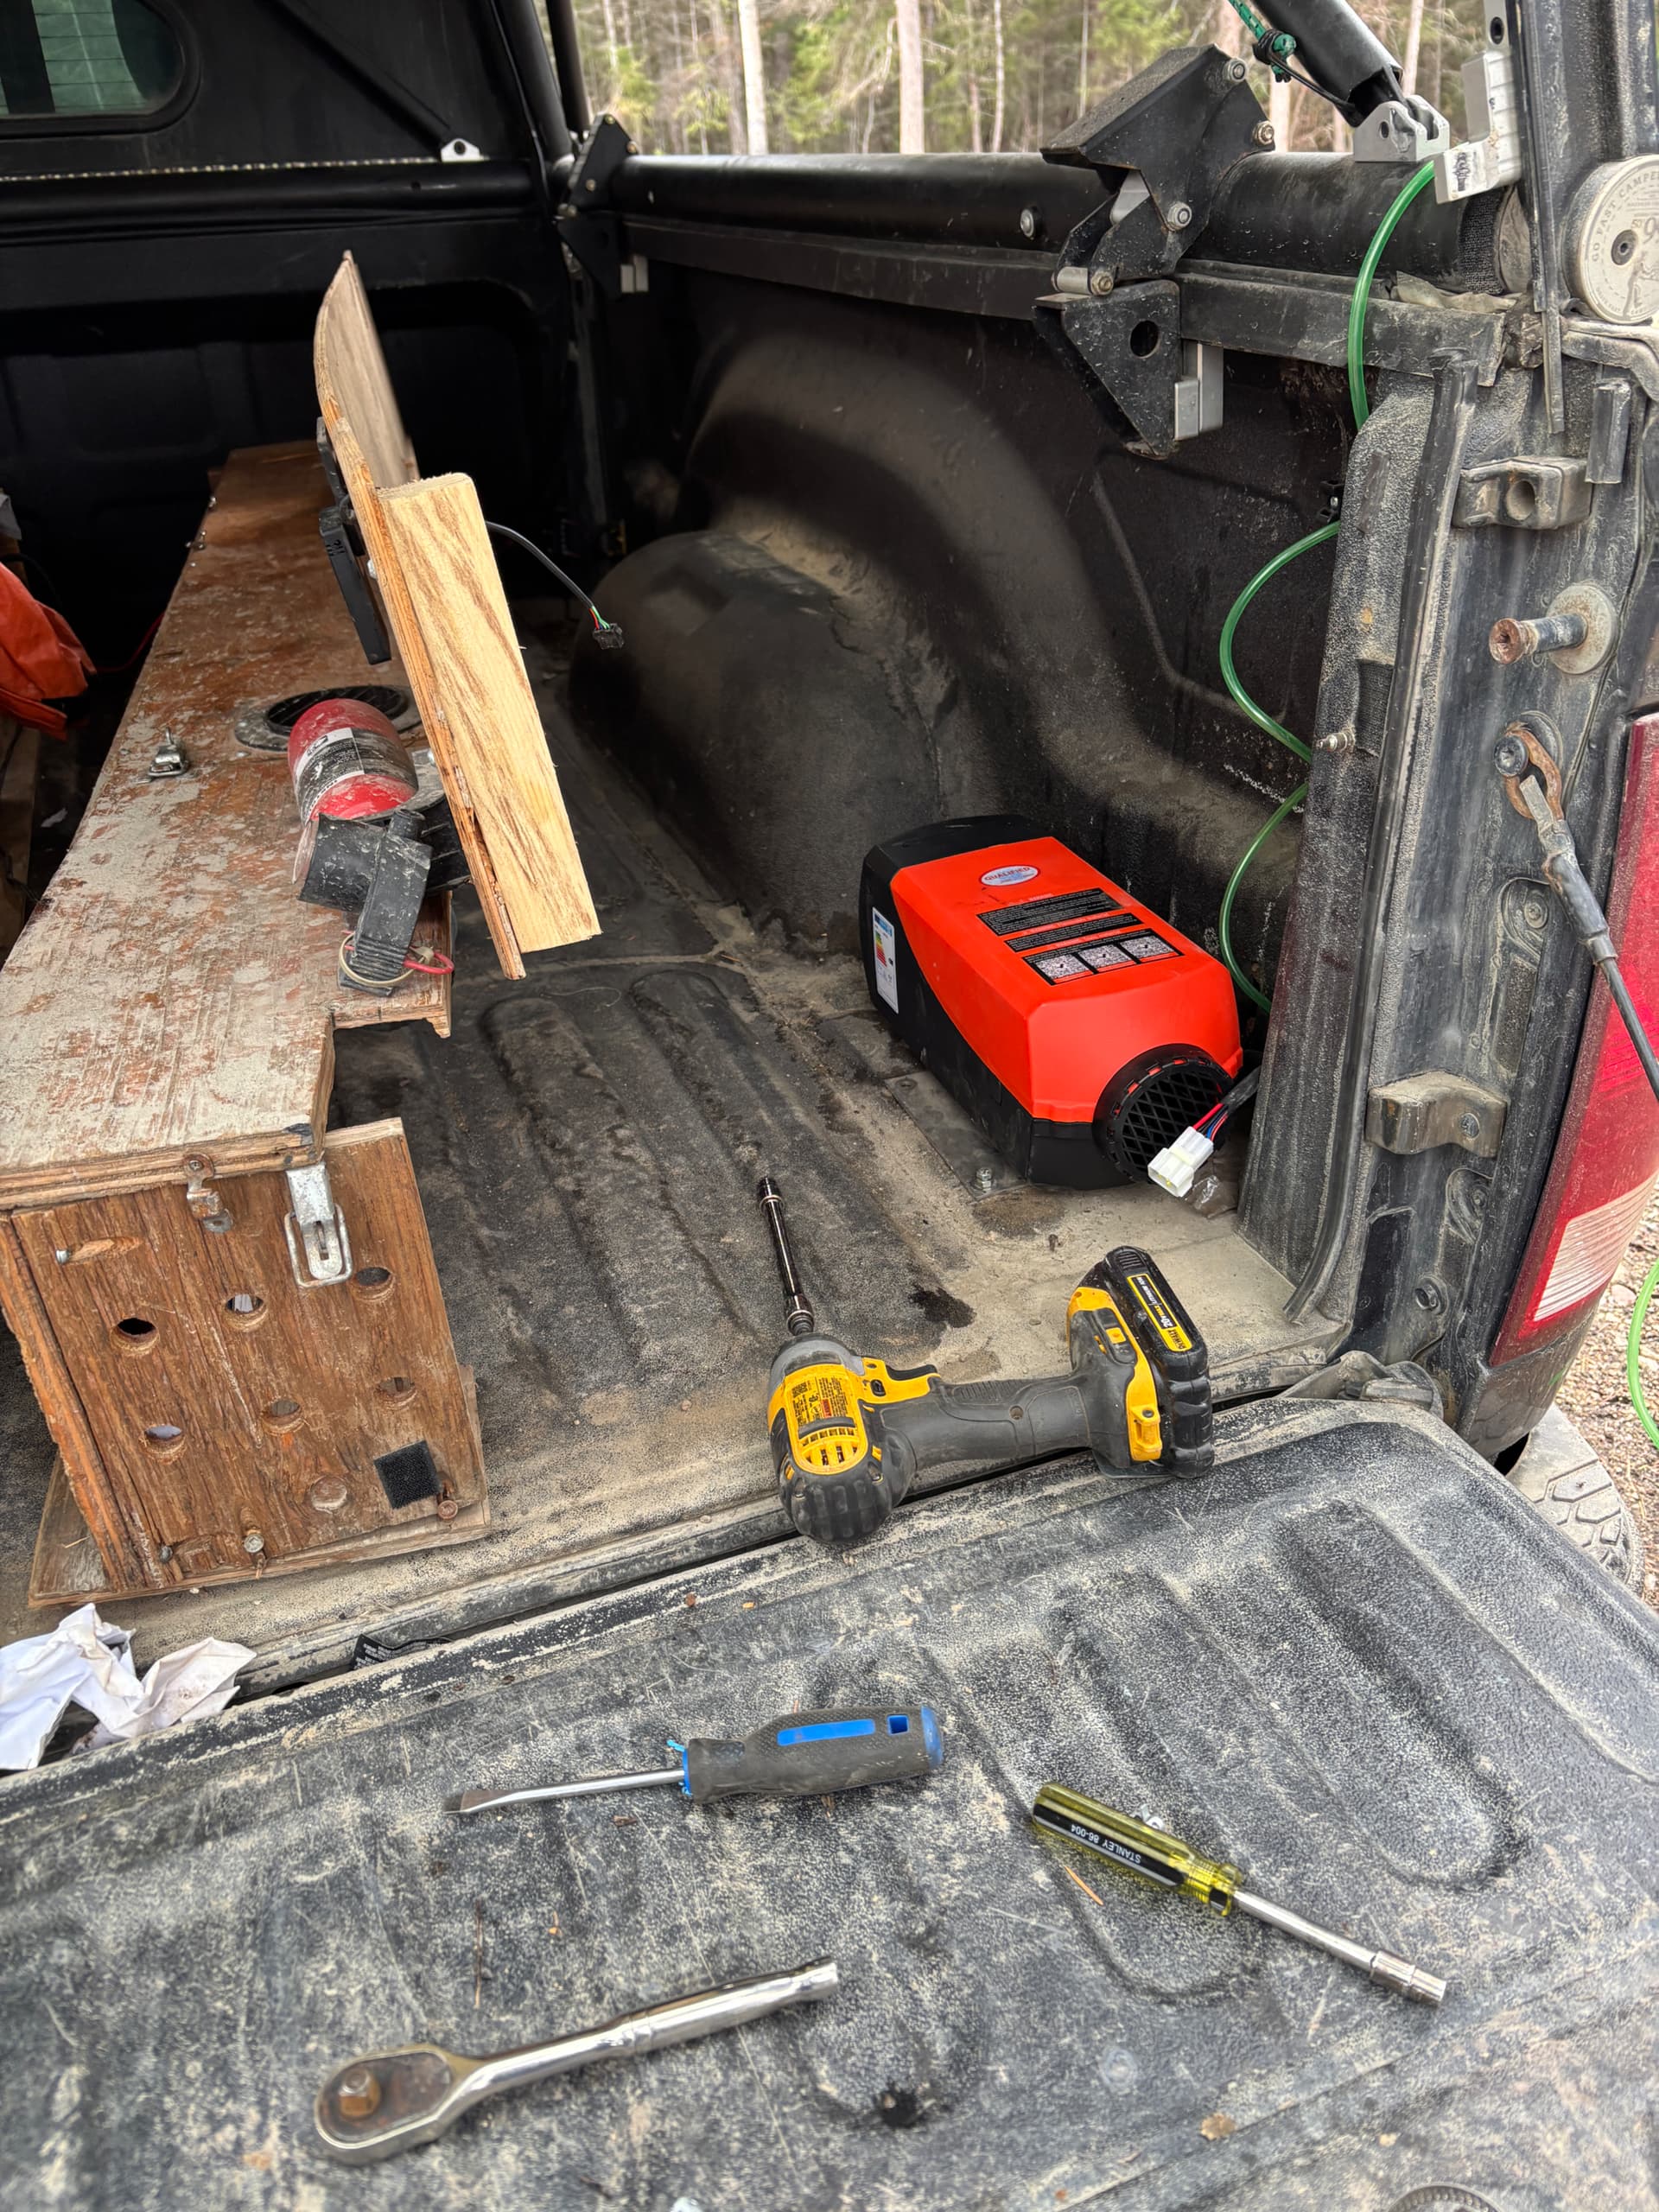
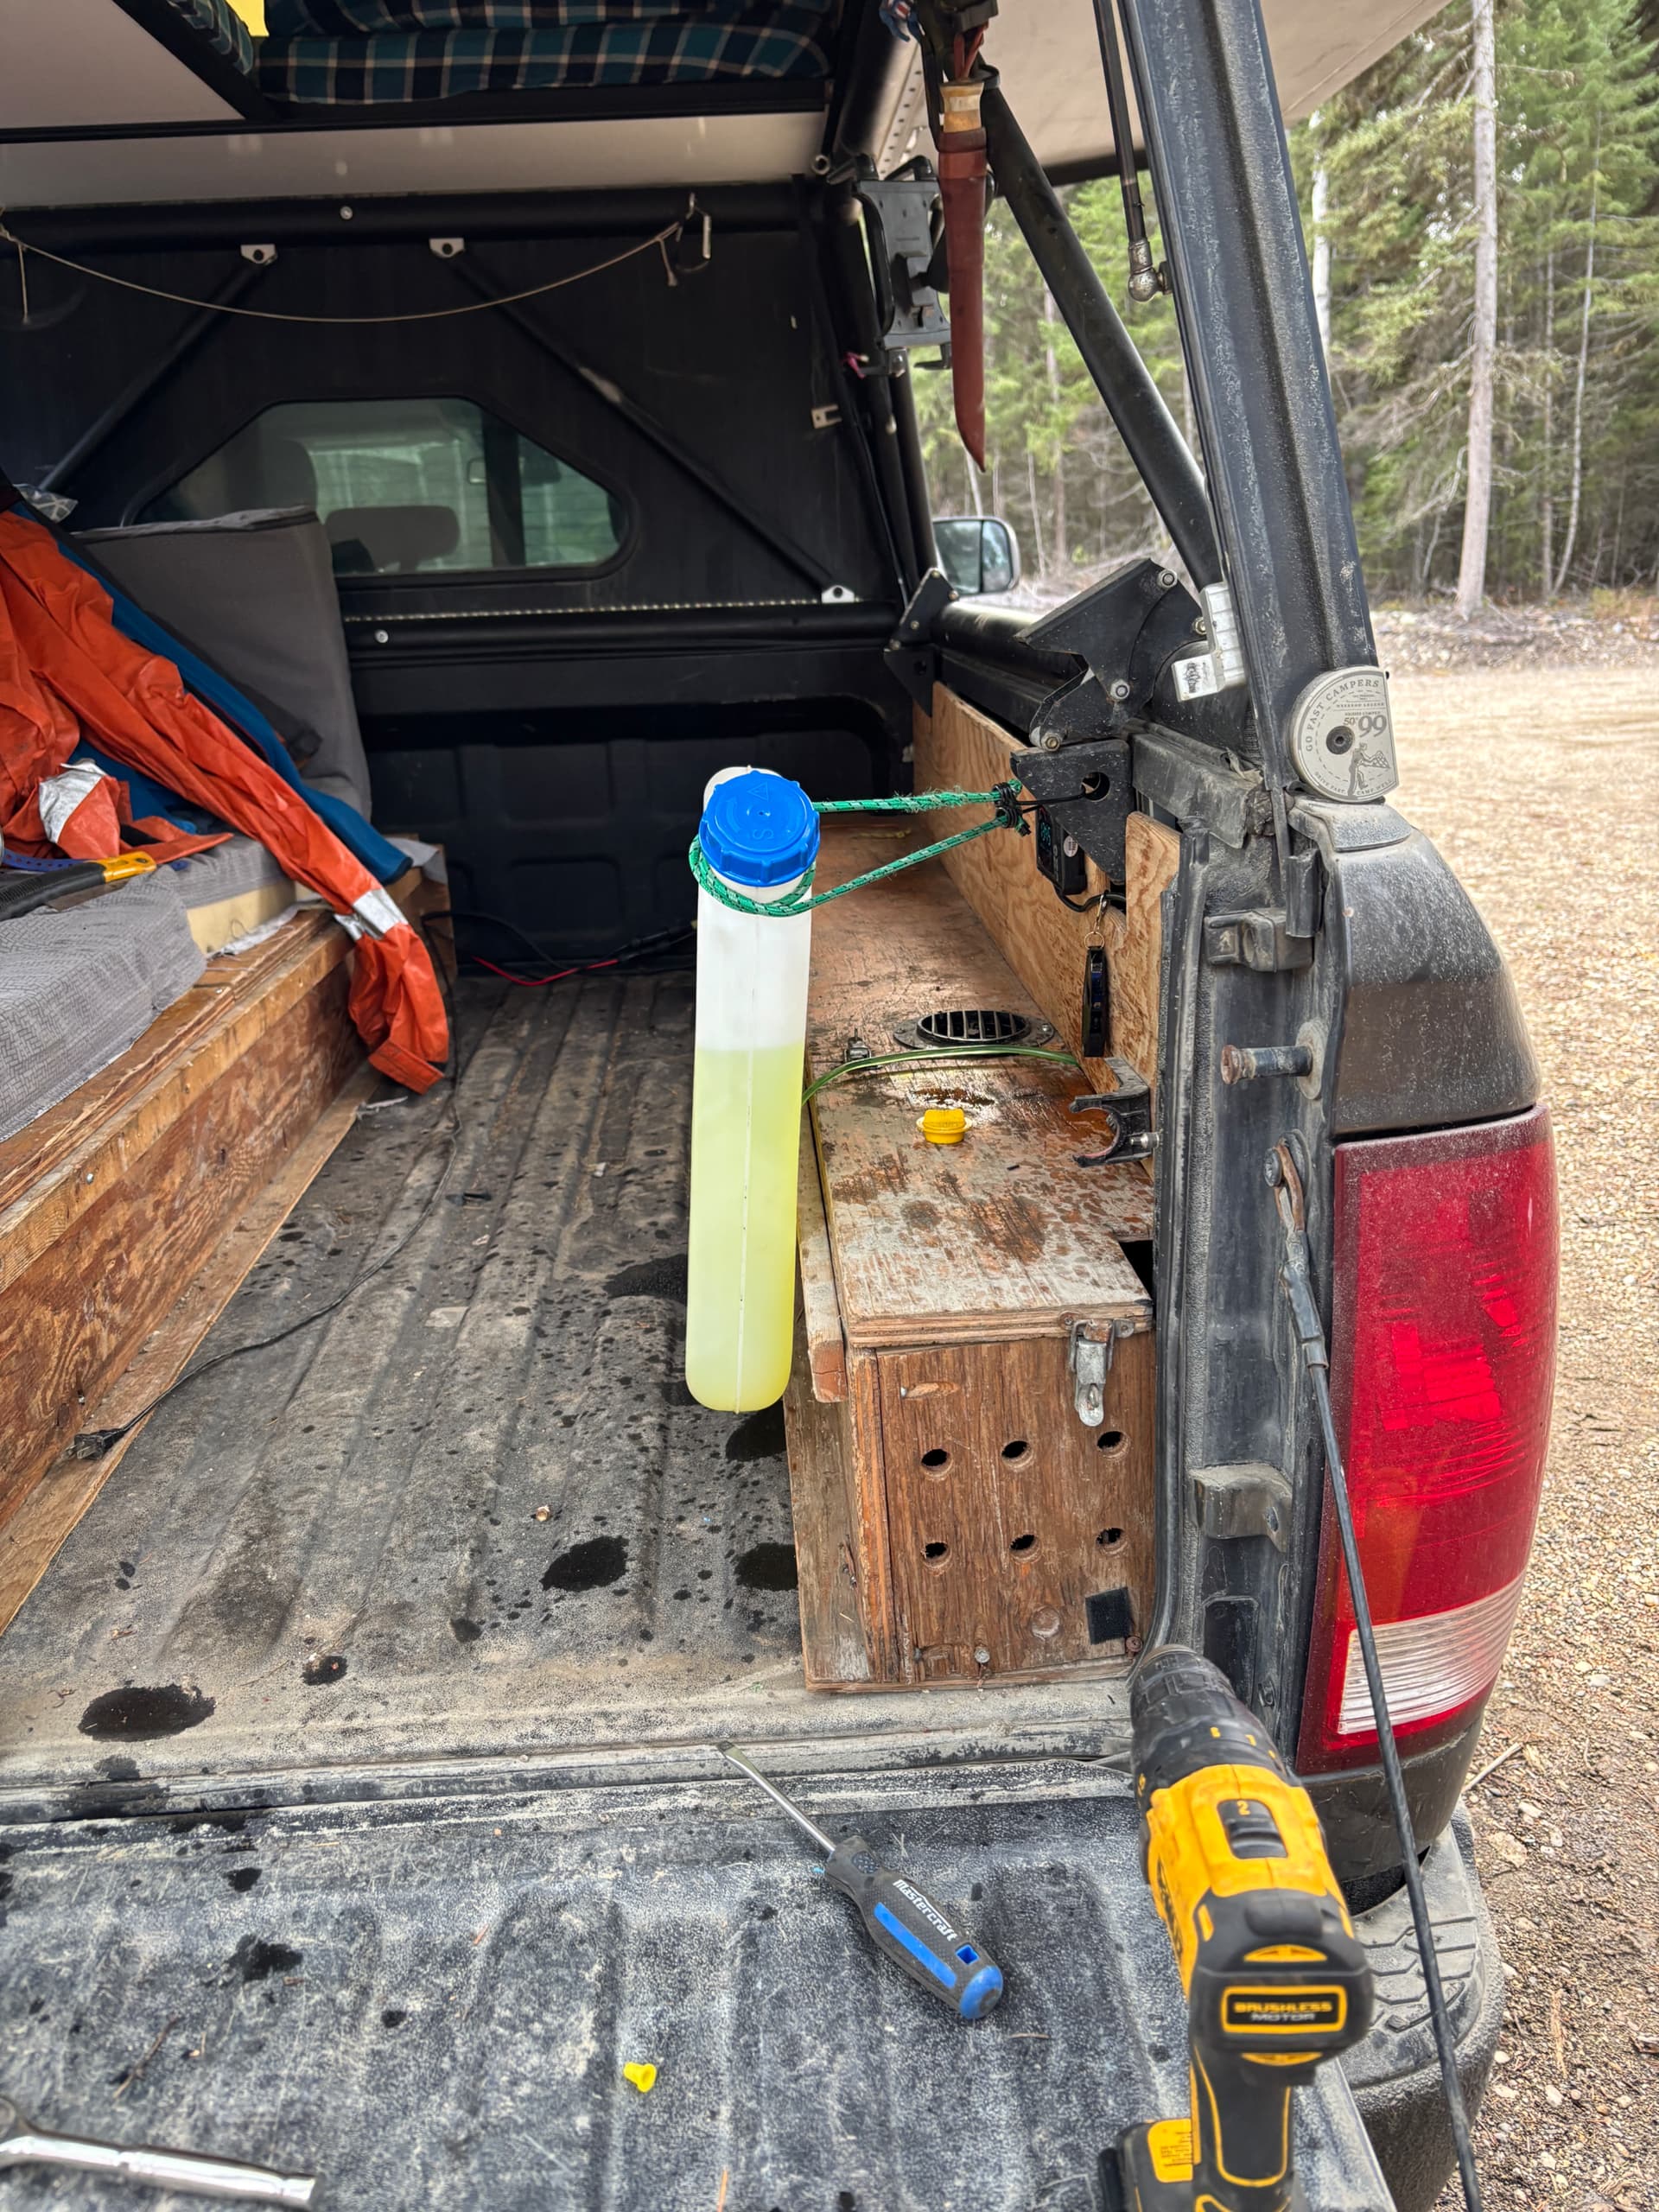
So I picked up a Vevor Bluetooth diesel heater off Amazon for $160 to replace my faulty Autoterm $1600 heater. As I’ve mentioned I like having a stealth setup, but my truck is gasoline and I didn’t want to deal with a tank.
After three years of battling with this Autoterm petrol heater I’m throwing in the towel! I think it’s my install as other users have reported this heater working fine. So, I’d sell it super cheap to someone who wants to give it a shot $500.
I was able to use the higher end exhaust and intake from the other heater. Then looped the fuel line through one of the box pass thru. Mounted the pump on the box wall with a self taper.
I got this install done in an hour or so and the heater fired right up. It’s now been running uninterrupted for the last 9 hours. Something that Autoterm heater could never do and I can control it with Bluetooth!