2022 Ram 1500 Rebel Boogielander Build

What is Boogielander?

Boogielander is combination of two words: boogie and overland.

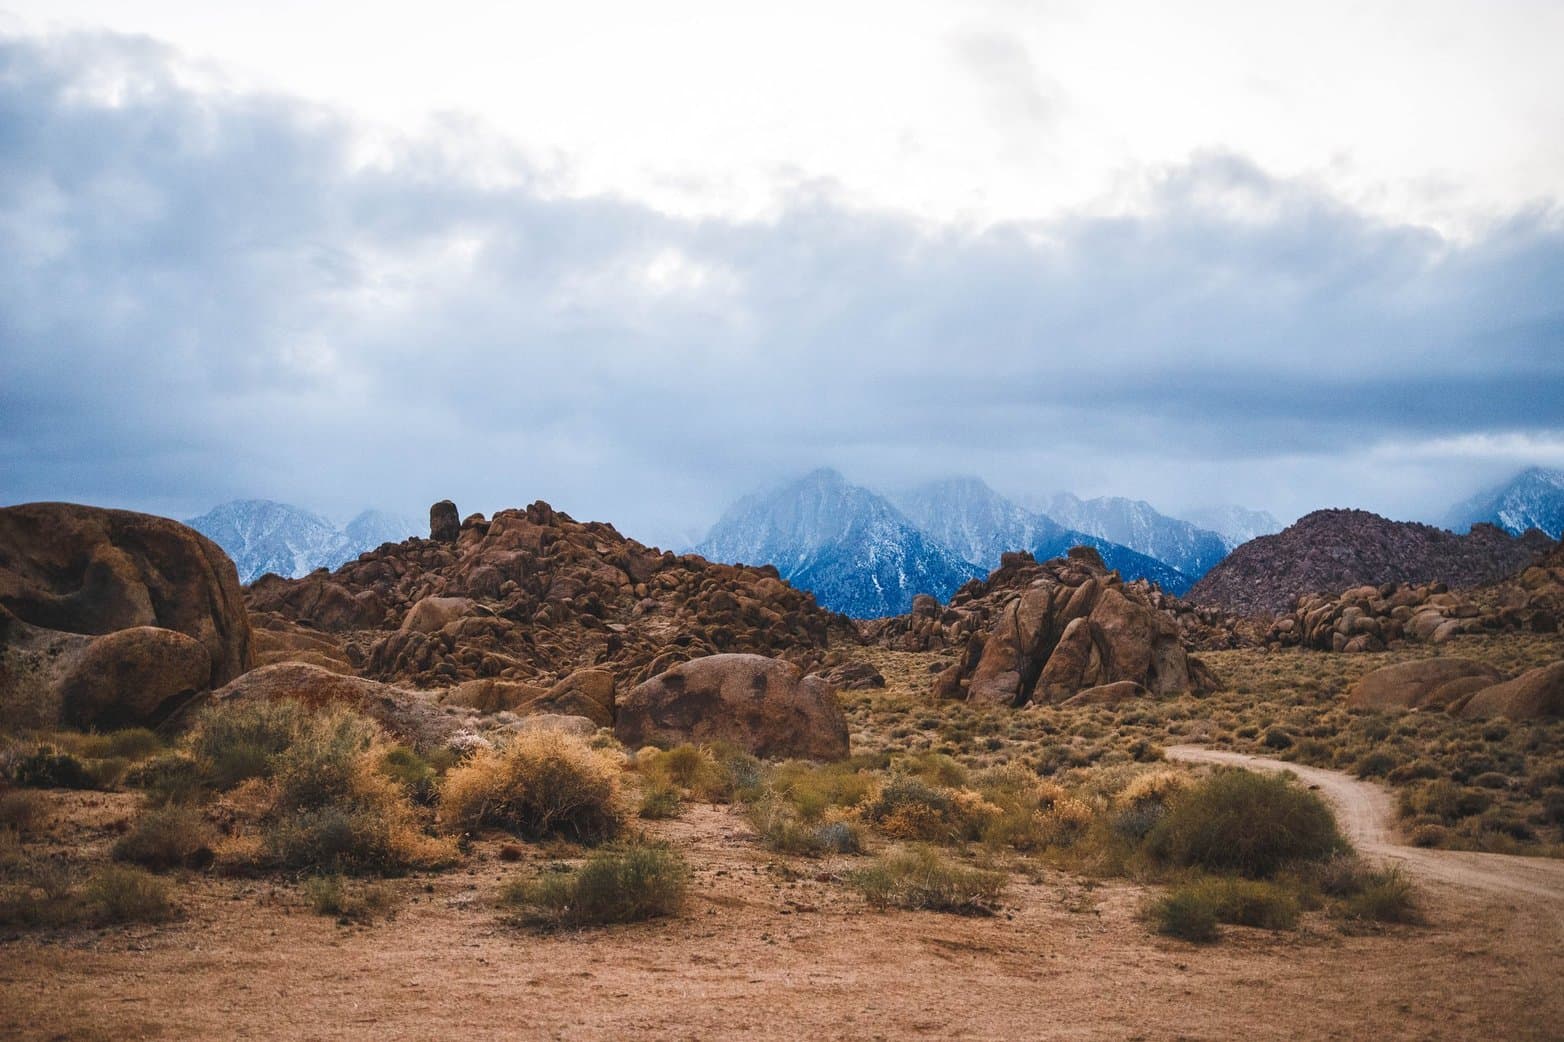
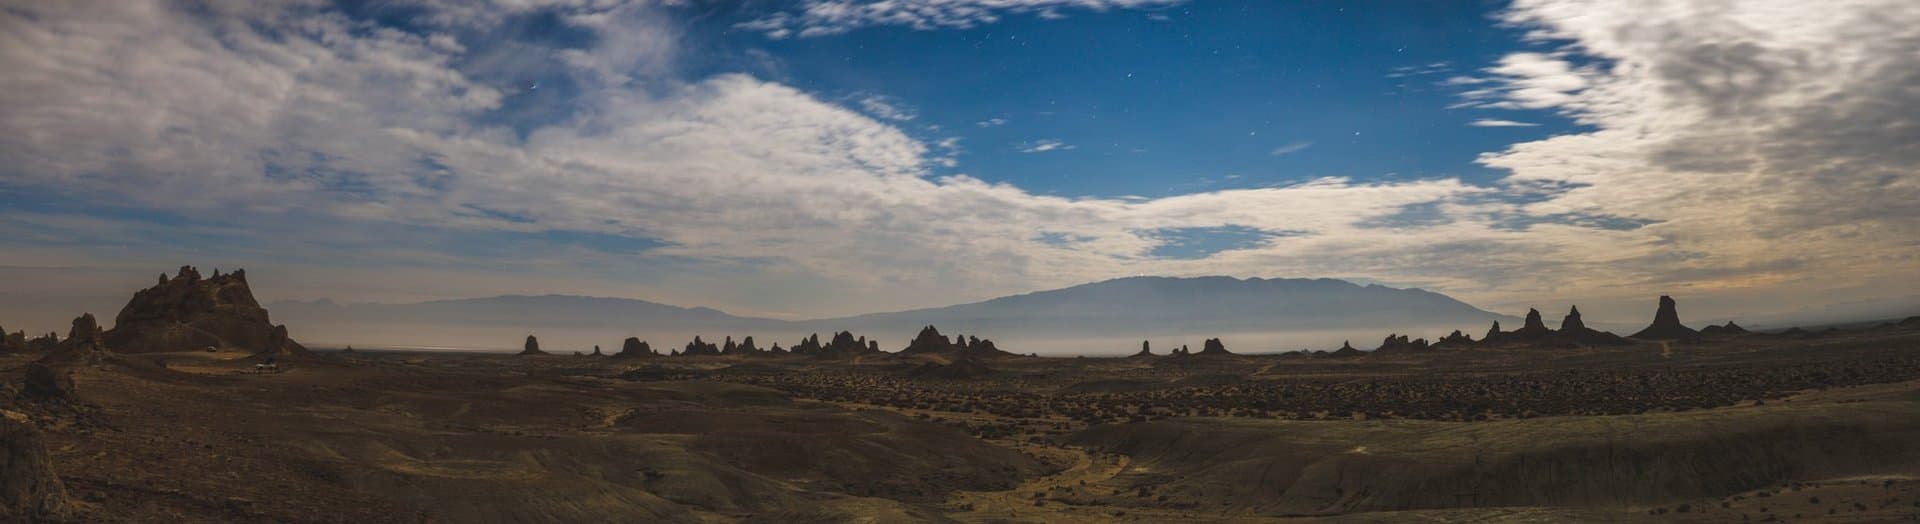
Boogie refers to the act of going fast through desert terrains, especially skipping through whoops, bumps, and dips. Catching air is not required, but strongly encouraged.

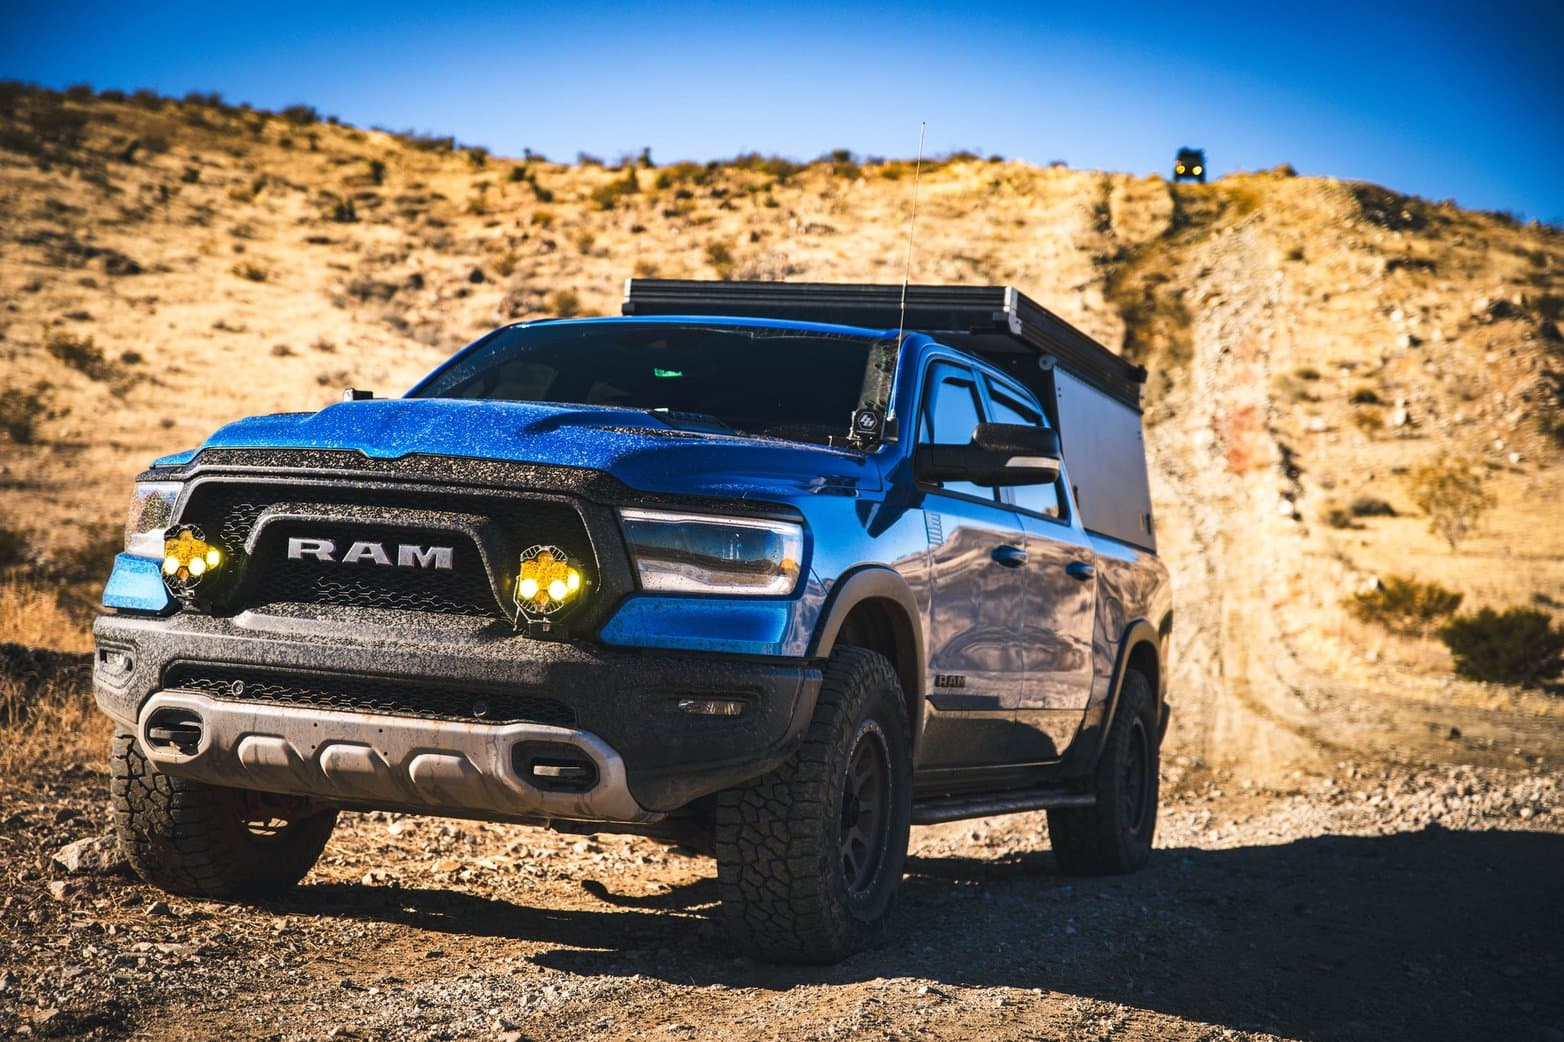
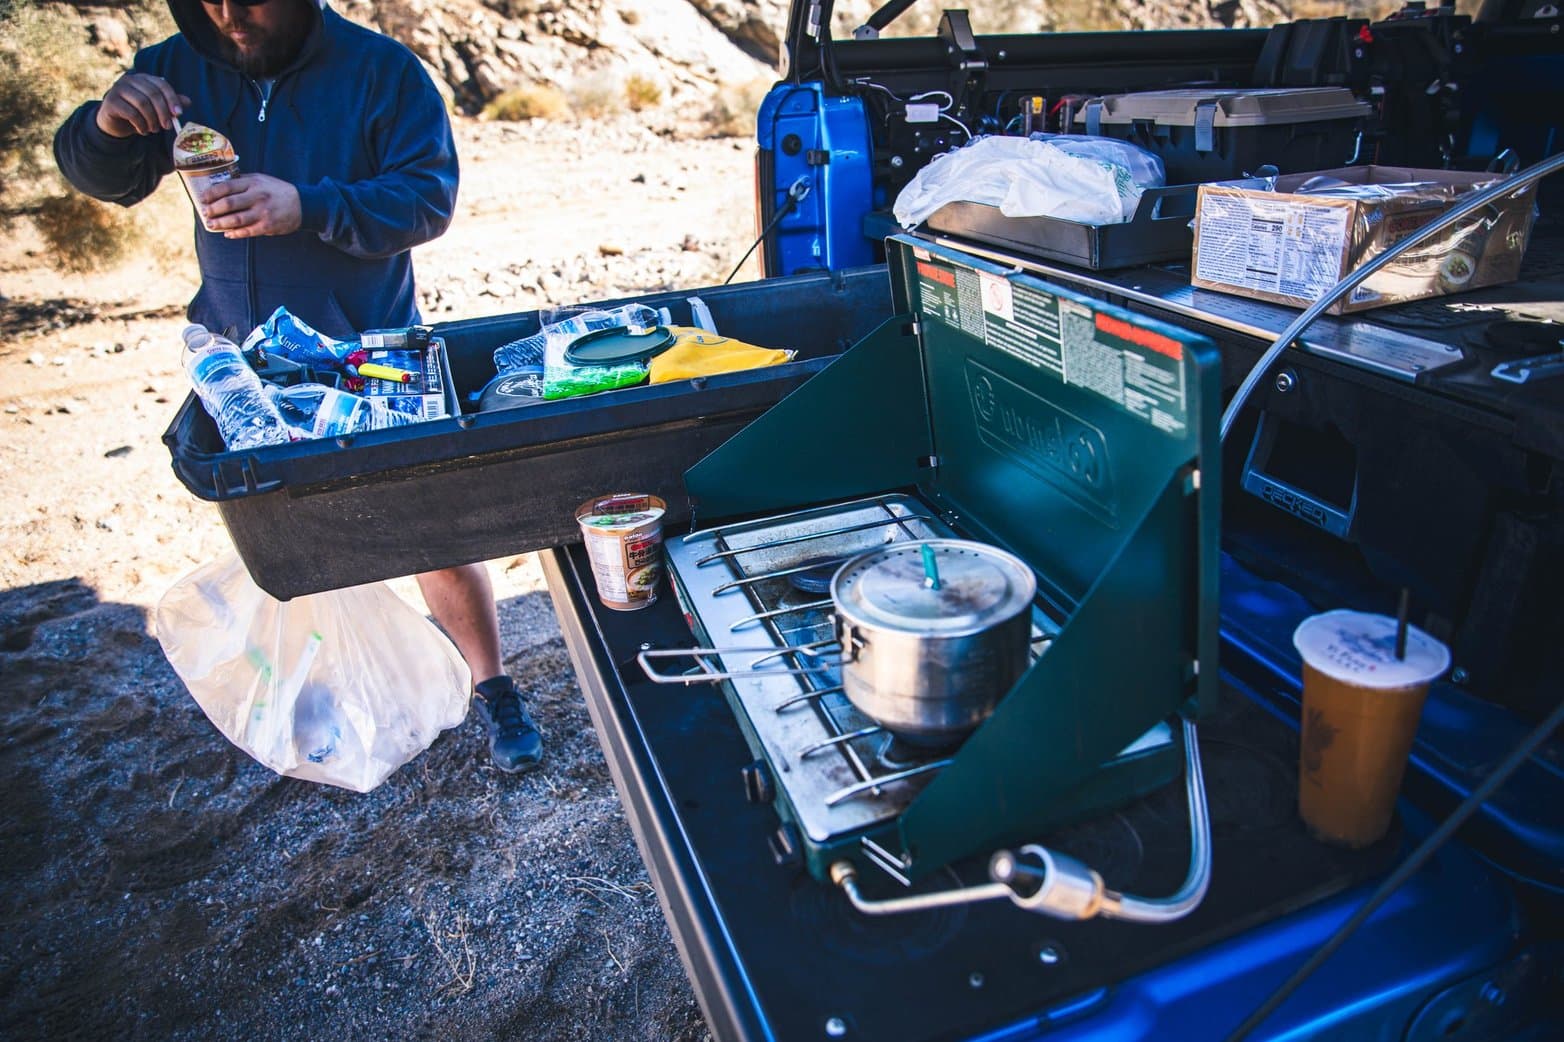
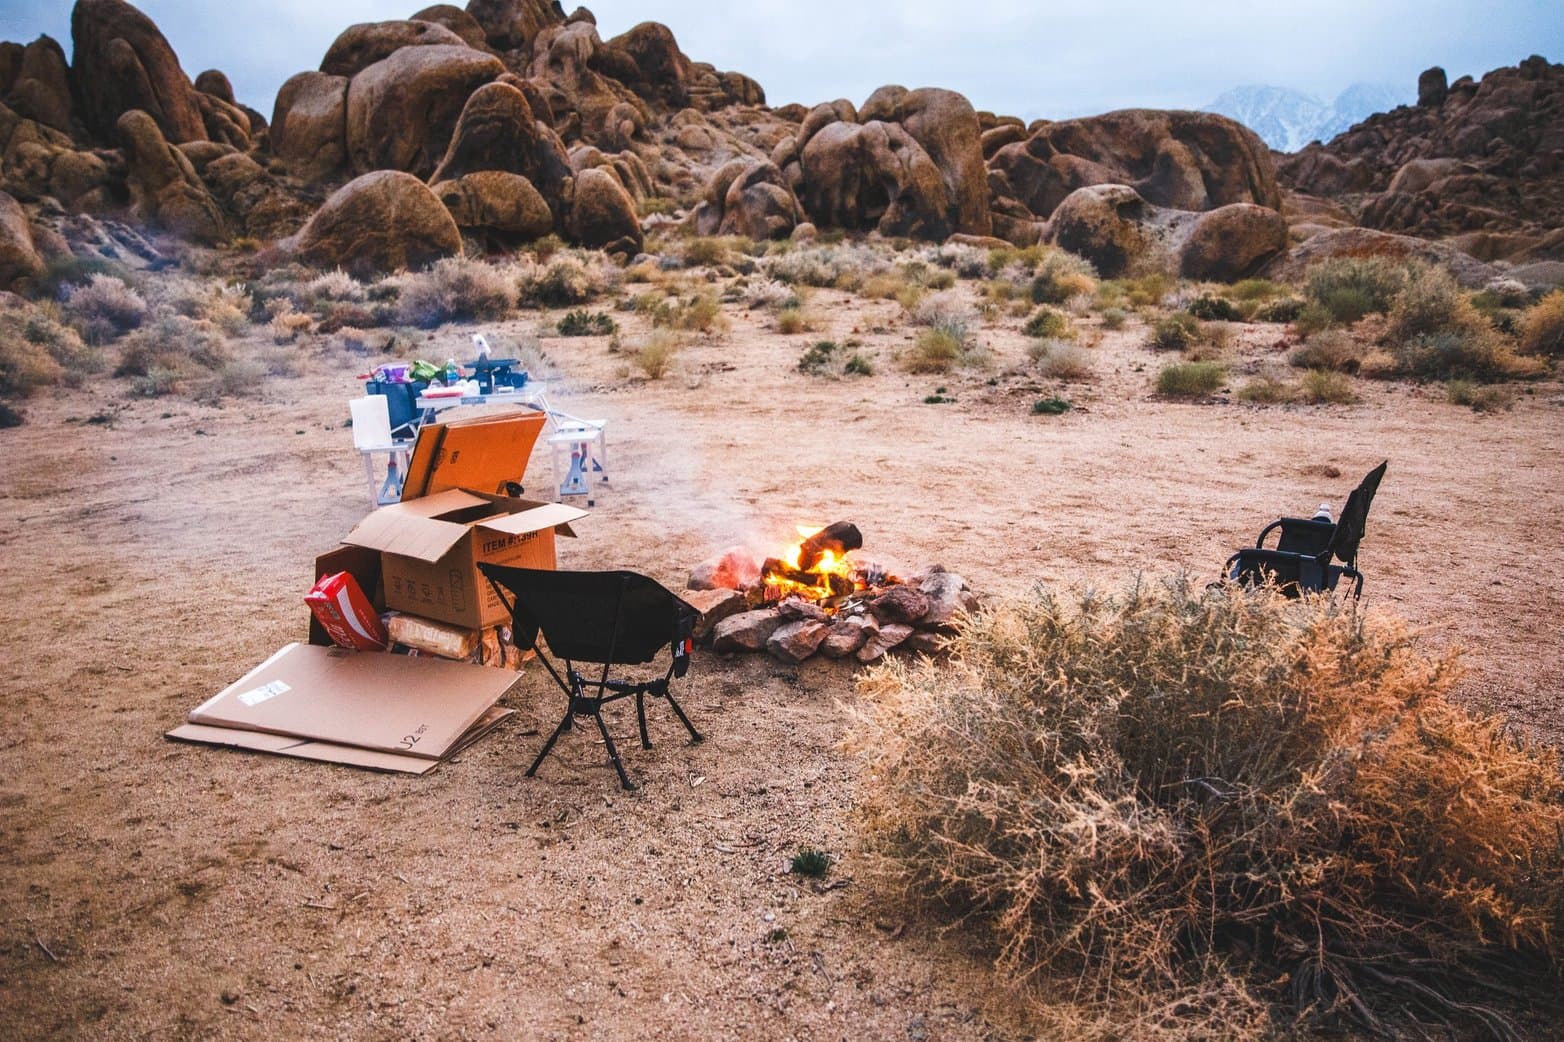
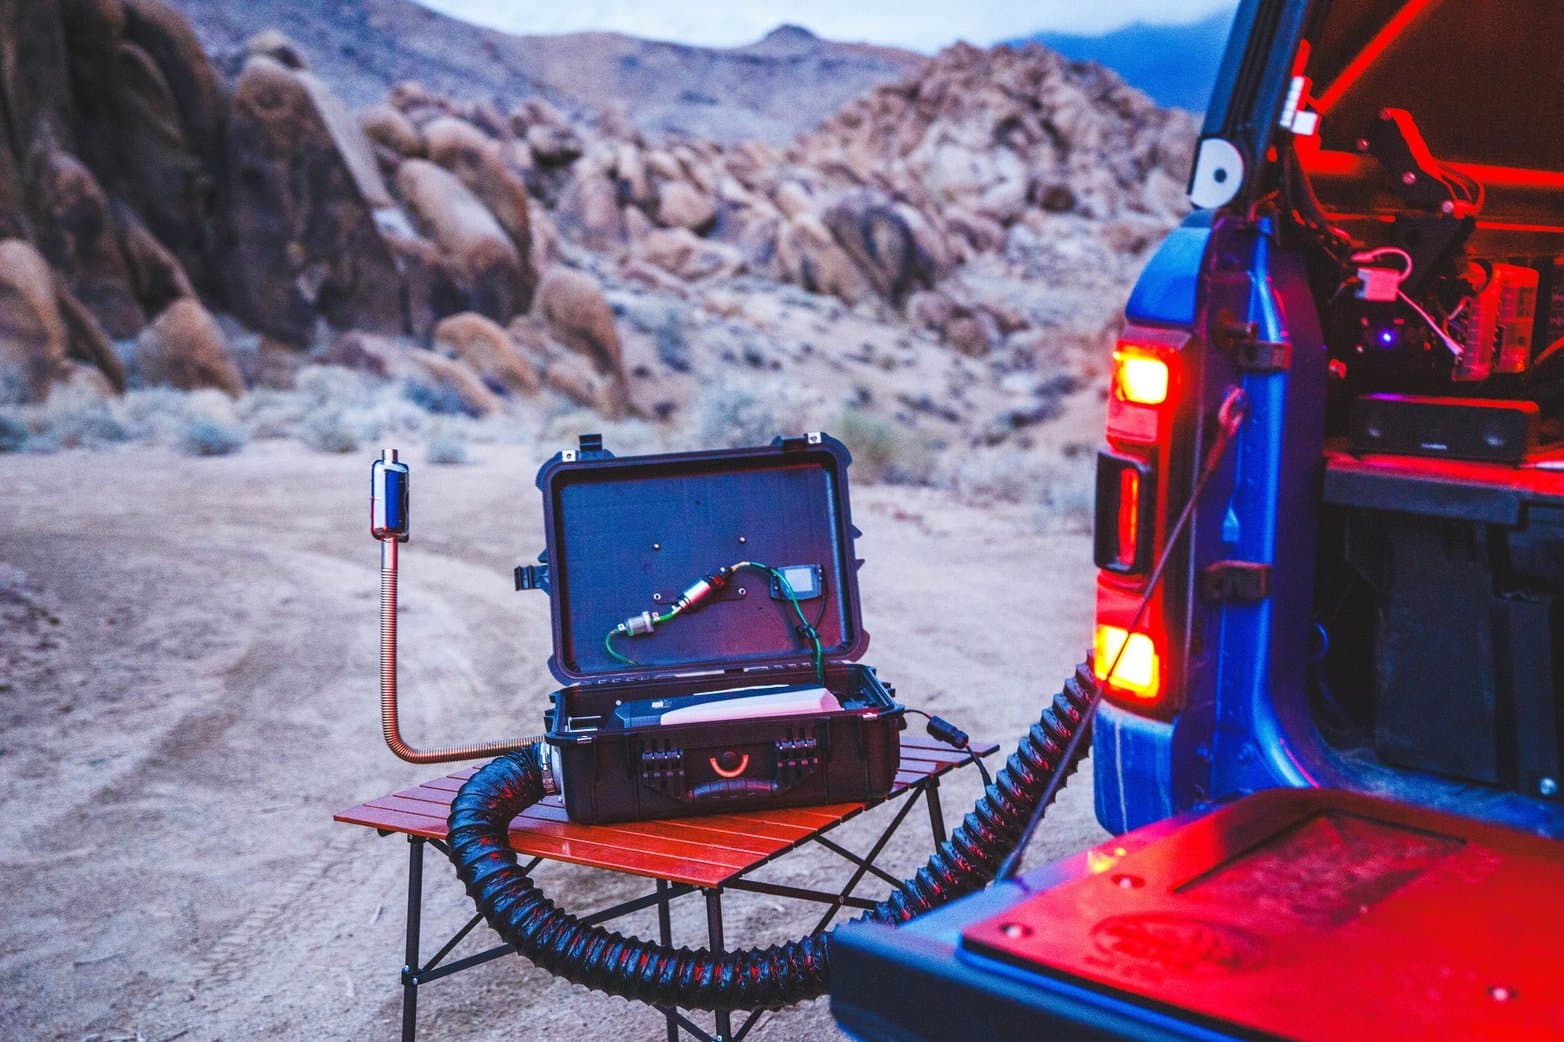
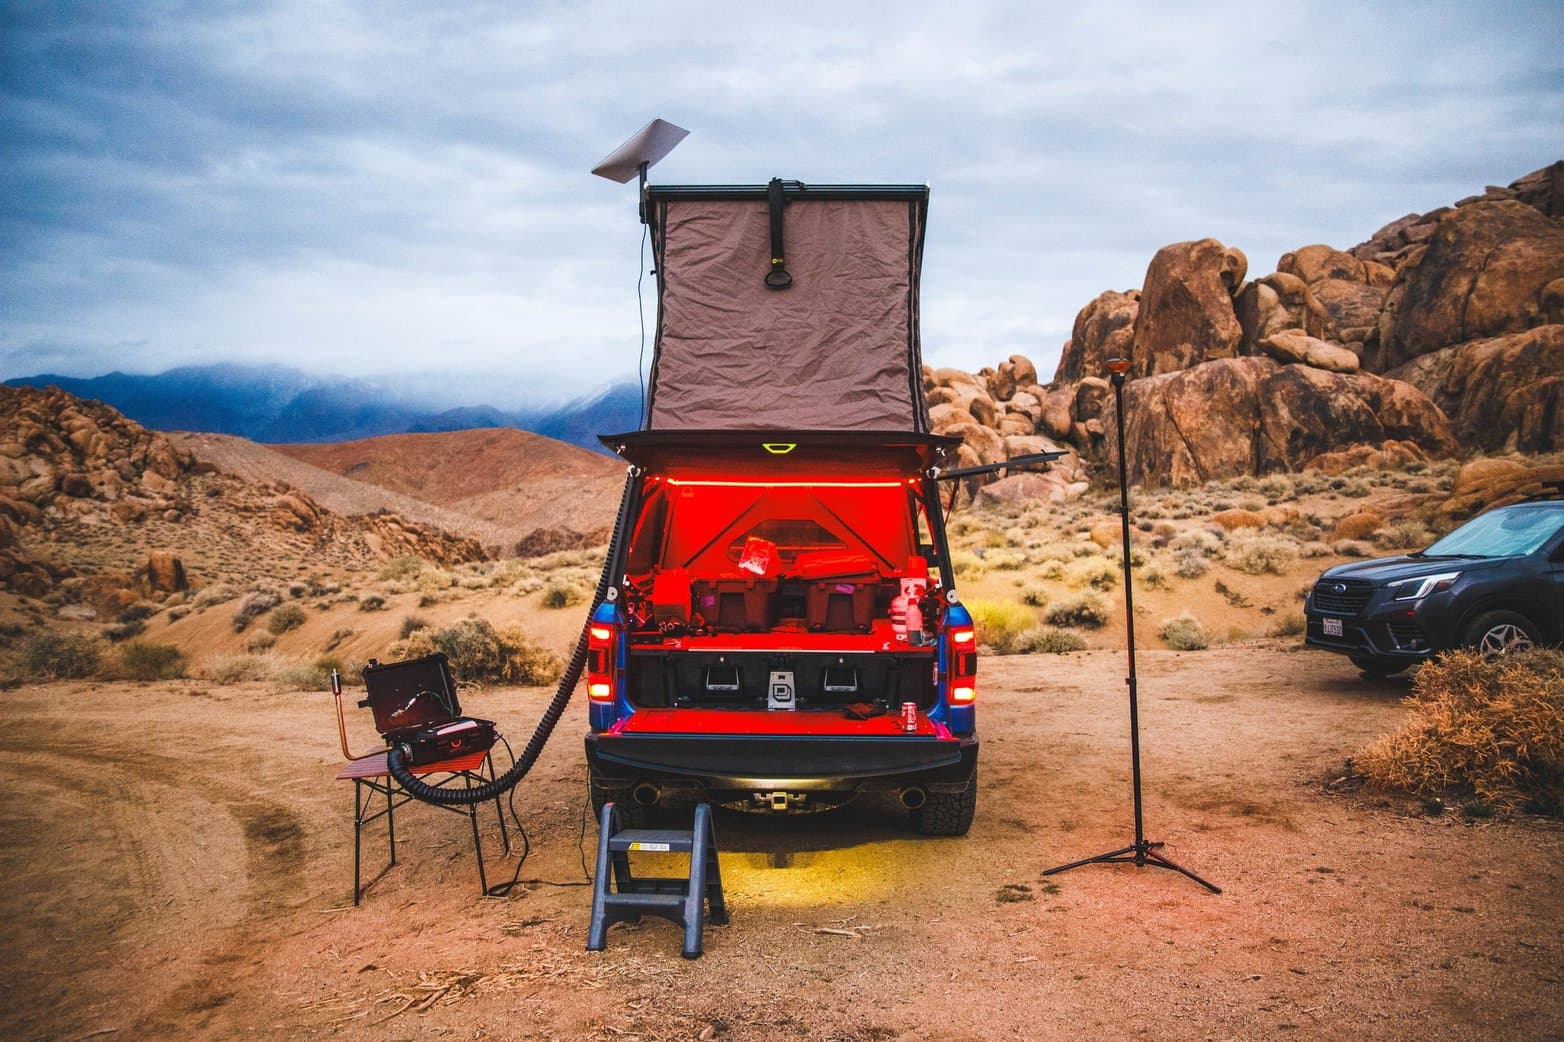
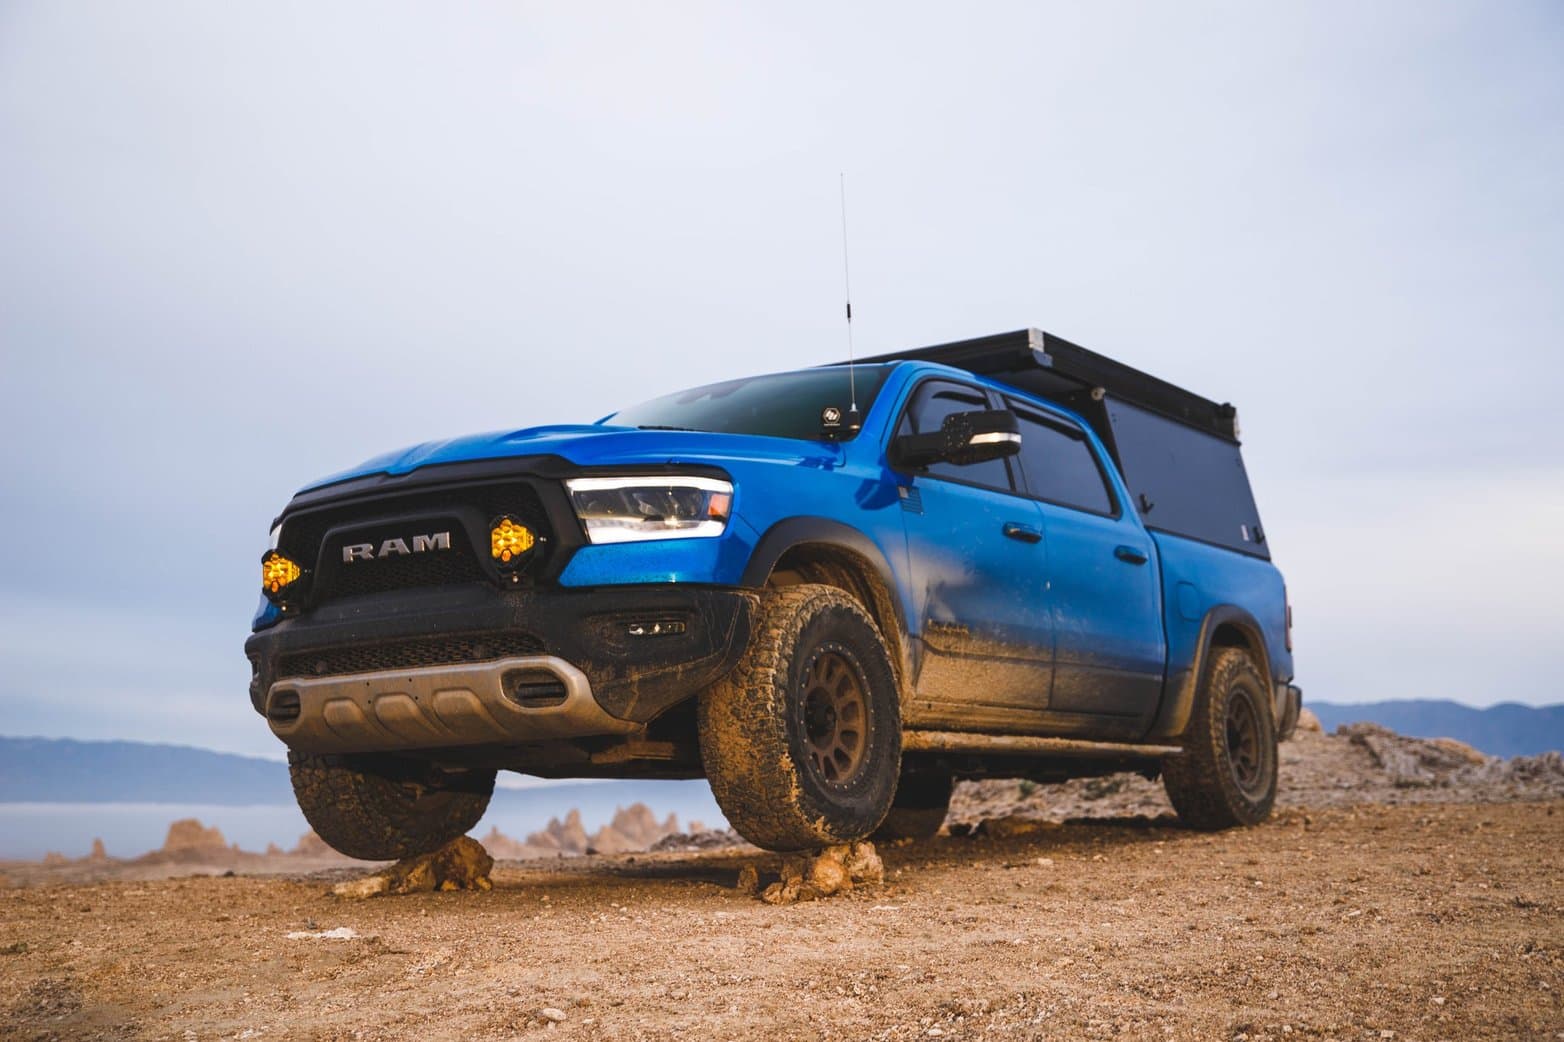
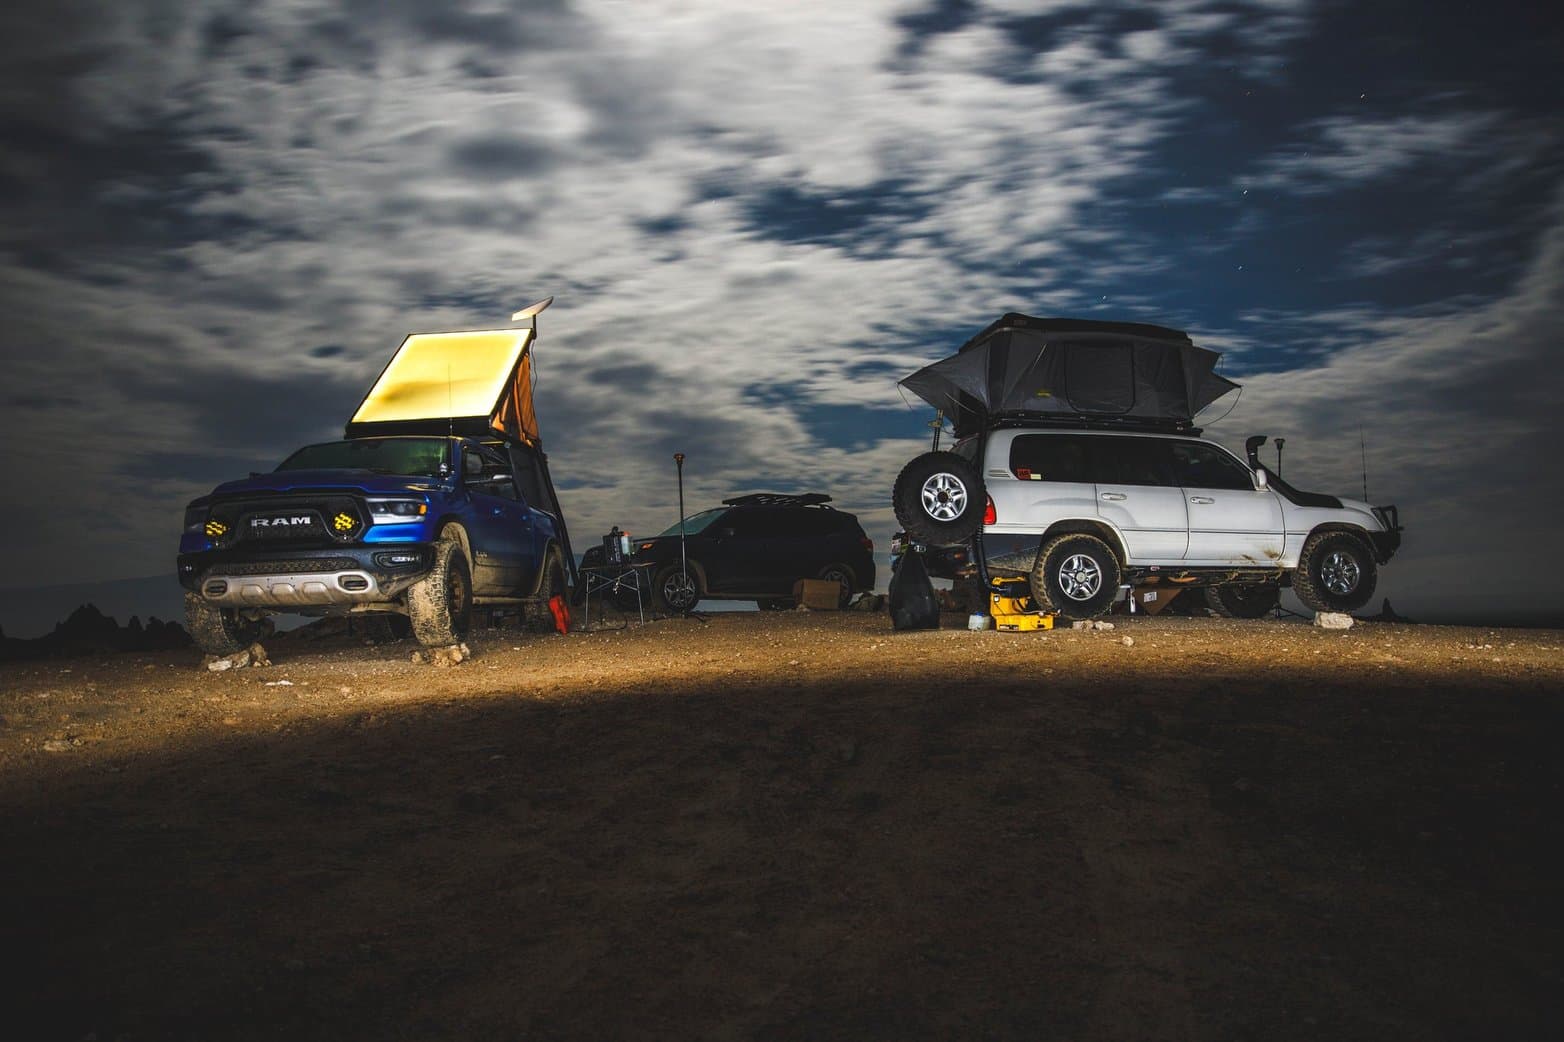
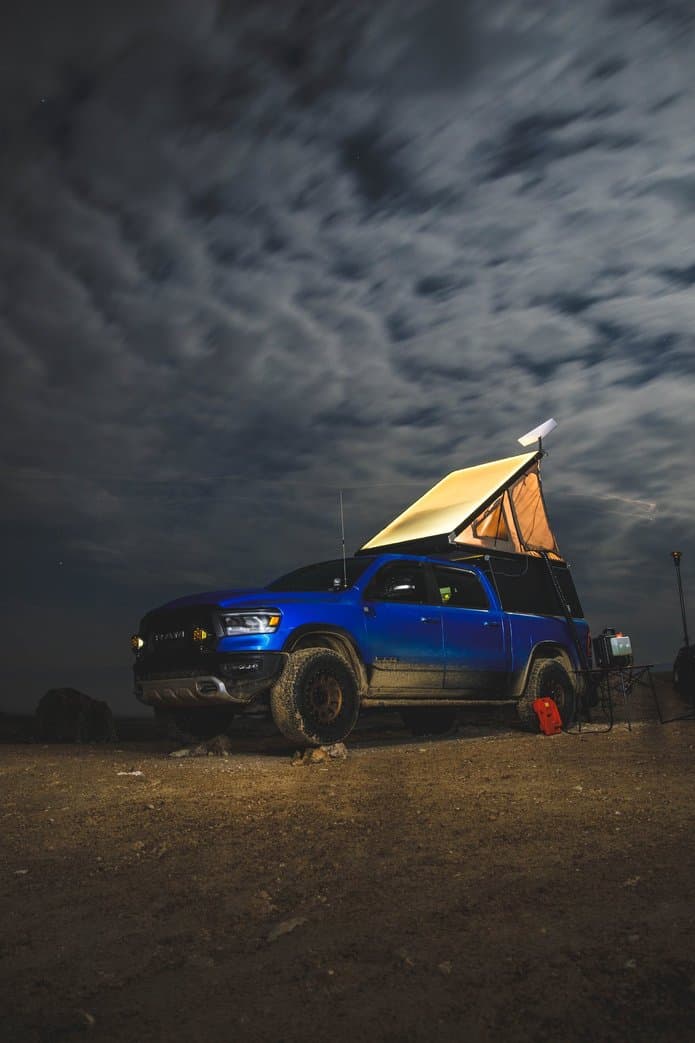
Overlander refers to people who participate in overlanding, which is an activity in which participants drive long distances to some remote locations to camp, and often off-road driving of various terrains is required. The process of getting there is a big part of “fun,” while destination is equally important. Modern overlanders are often associated as gear junkies or bougie campers, and I may or may not have the problem of carrying too much gears that I don’t use.

Combining the two concepts, it is easy to see what “boogielander” is: it is someone who enjoys overlanding and boogieing, and I will explain more on that later.

To see how I arrived at where I am today, you can read about my 4Runner build here and why I decided to let it go.

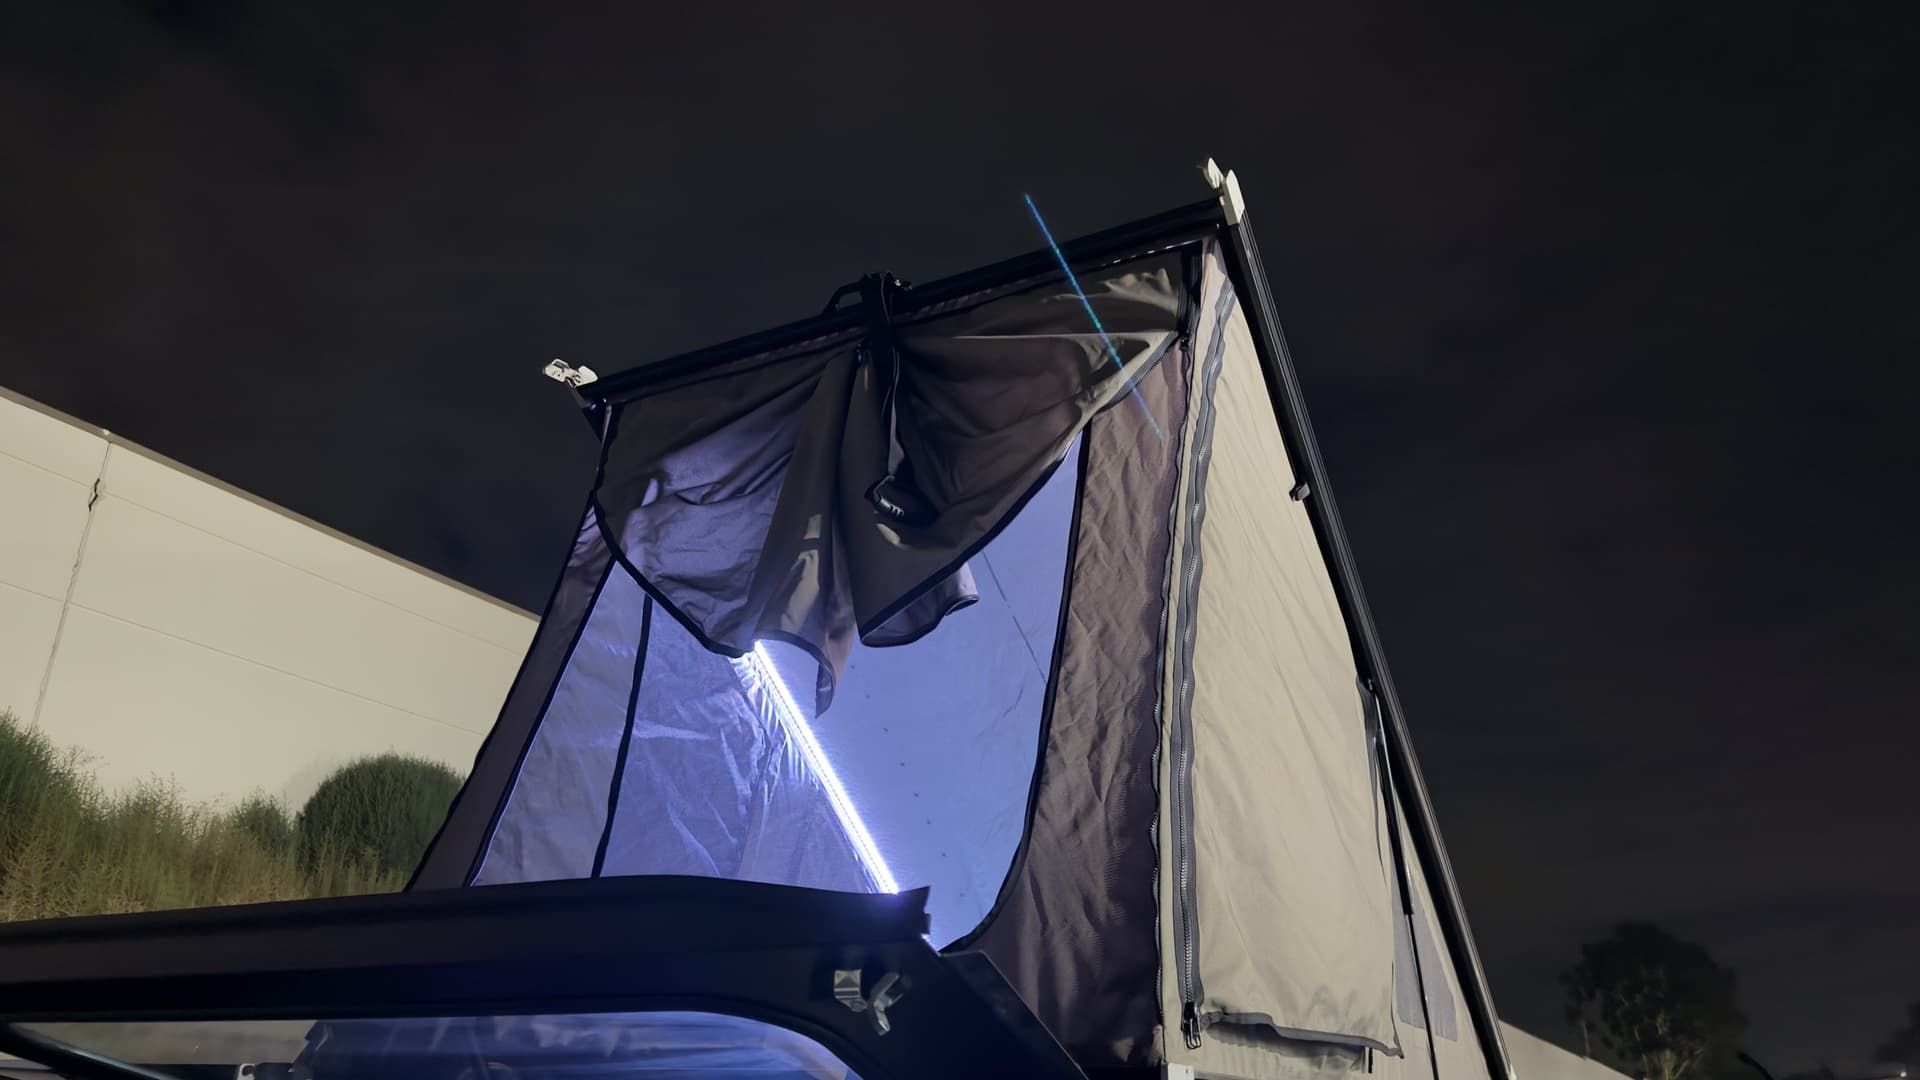
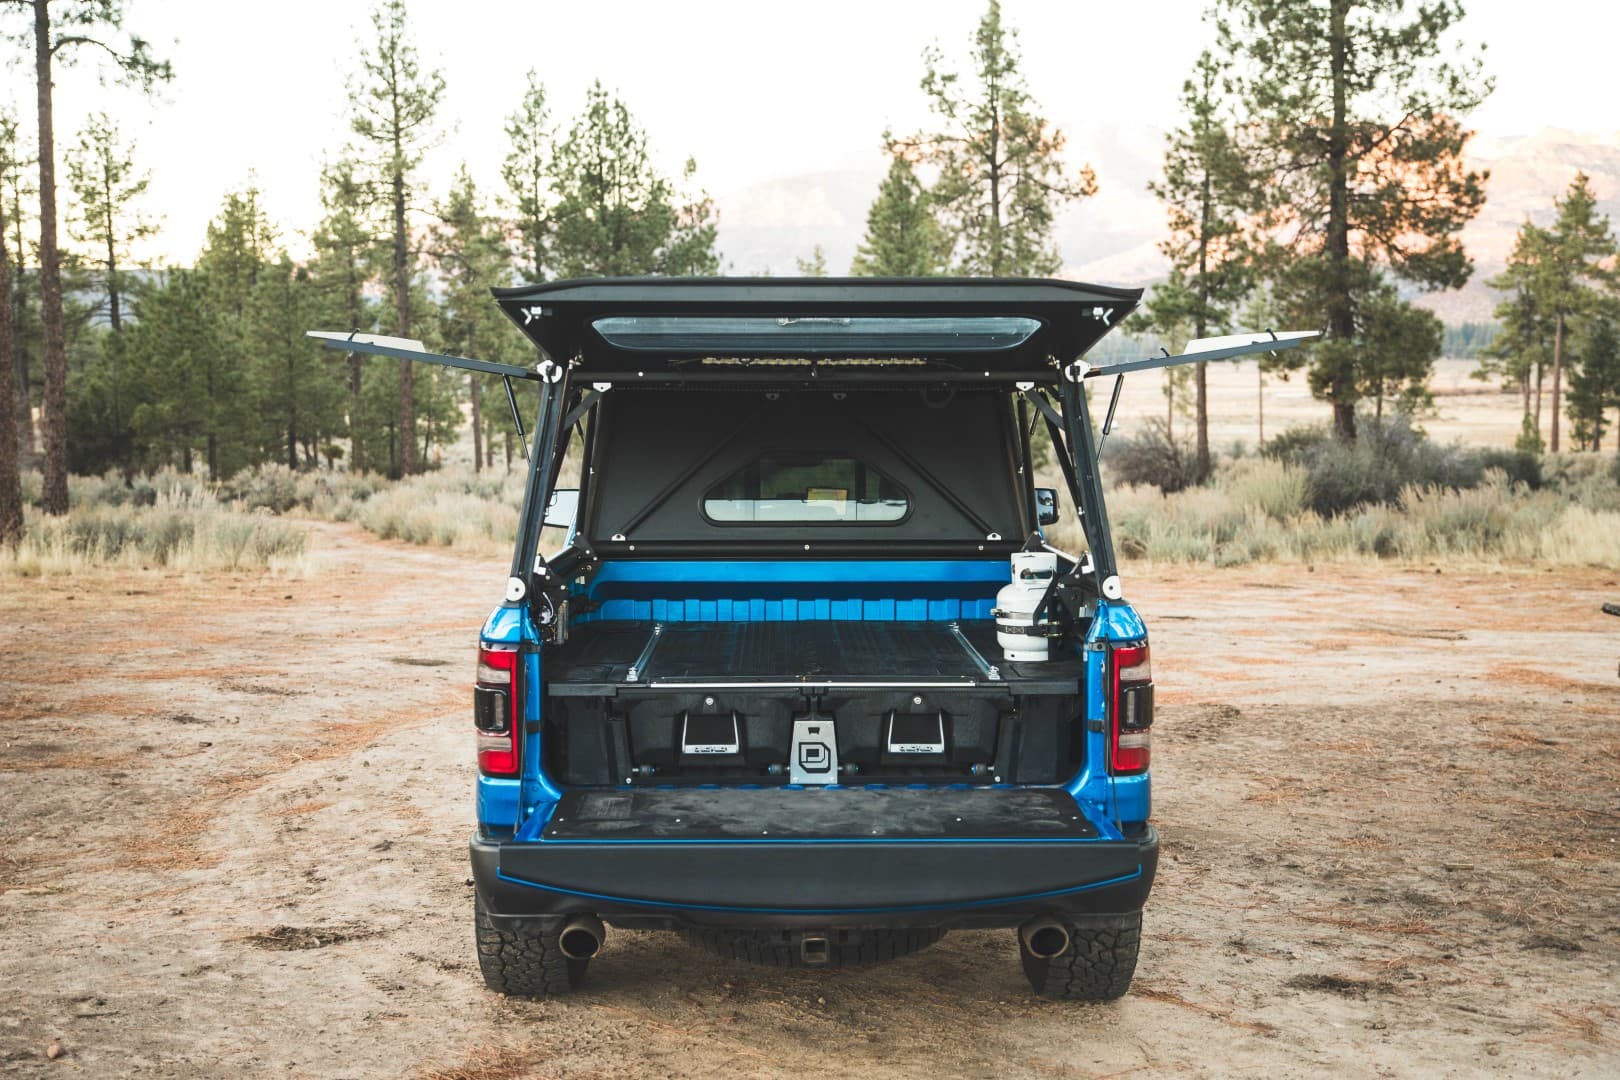
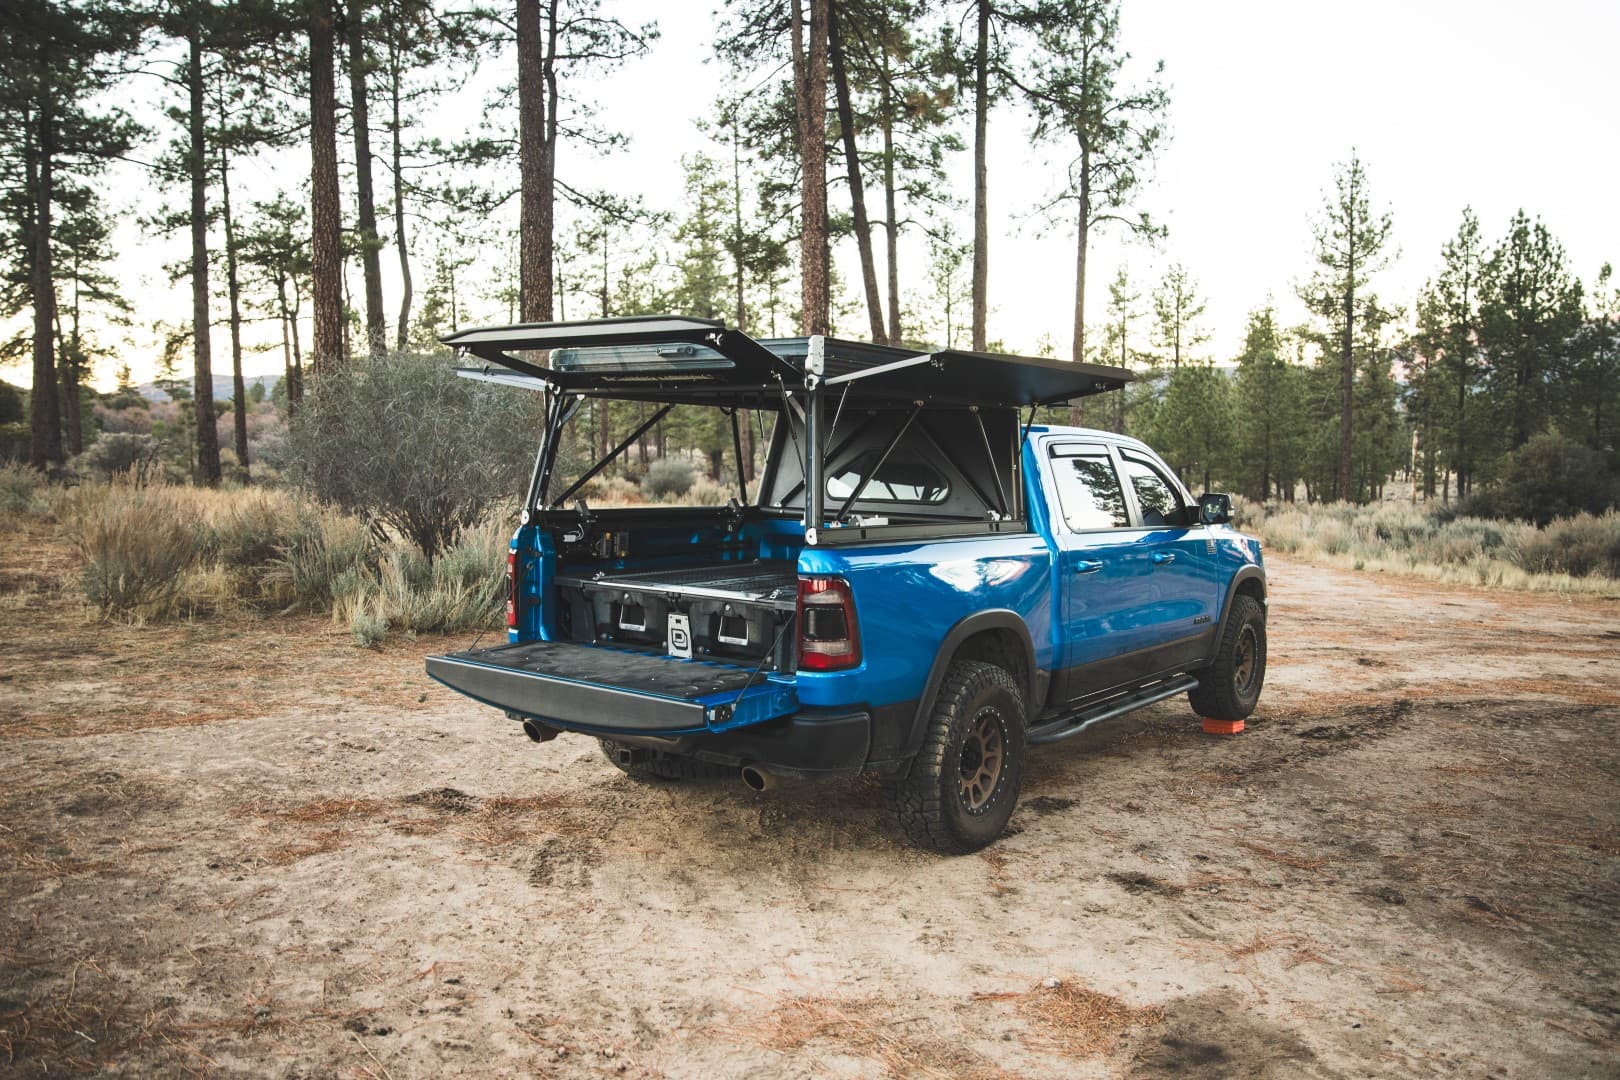
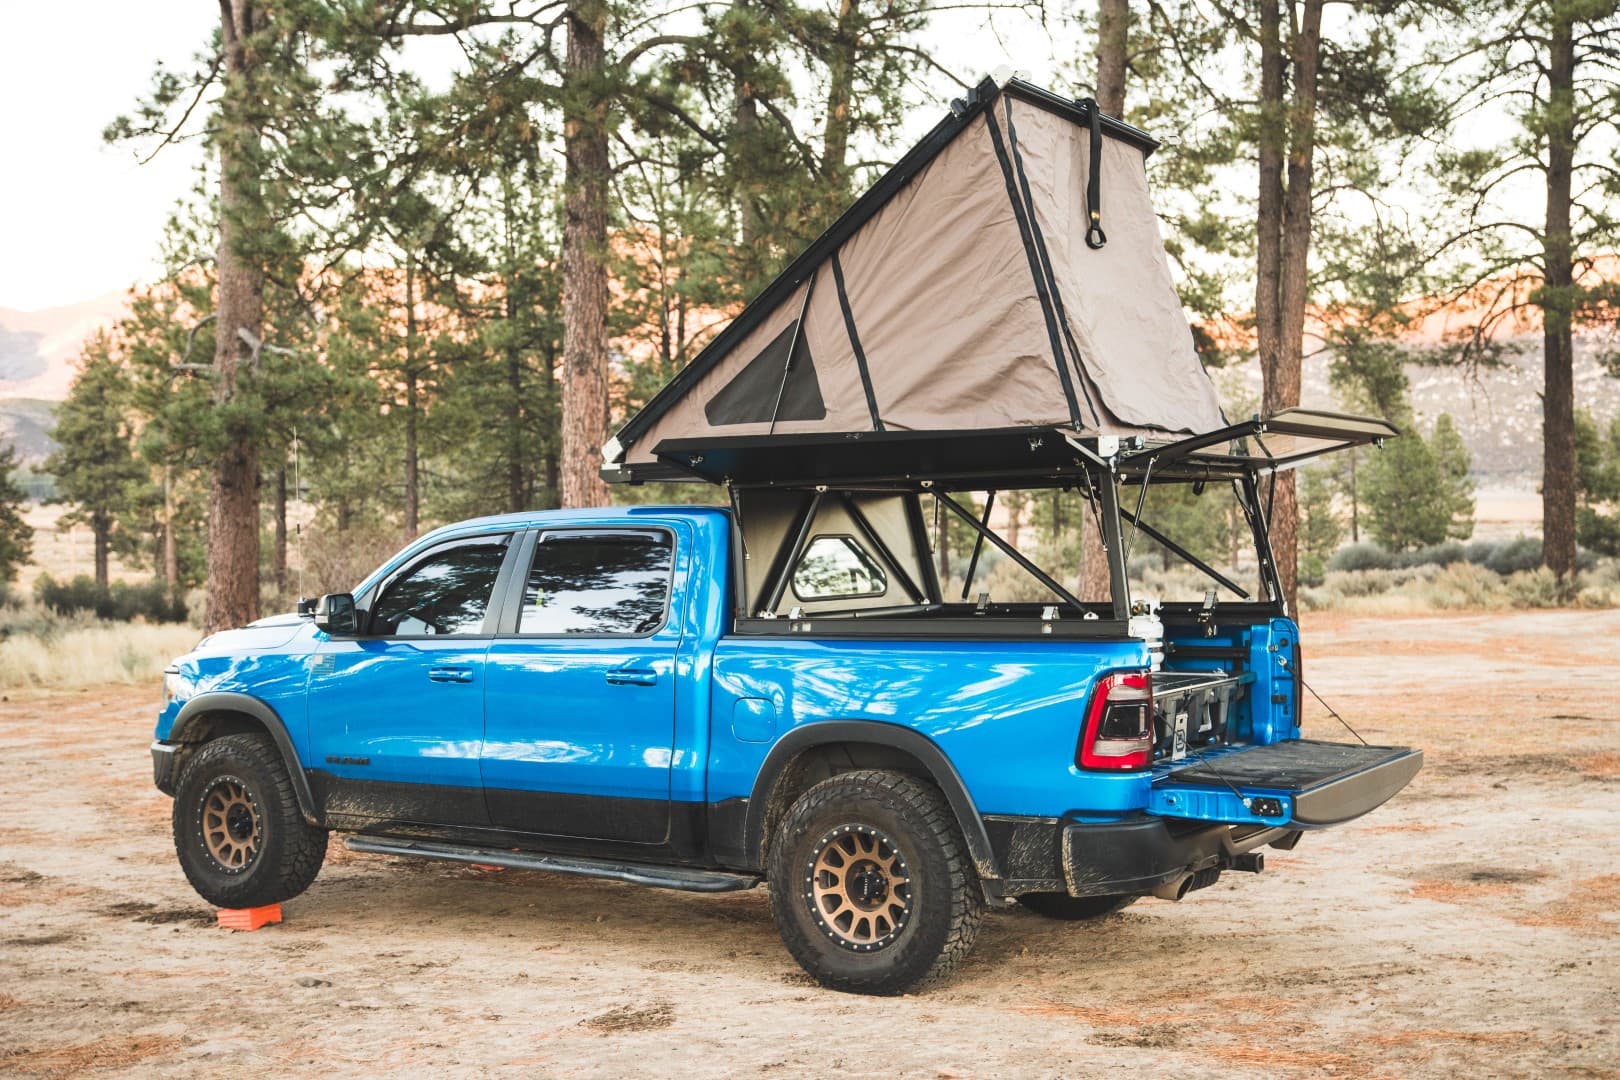
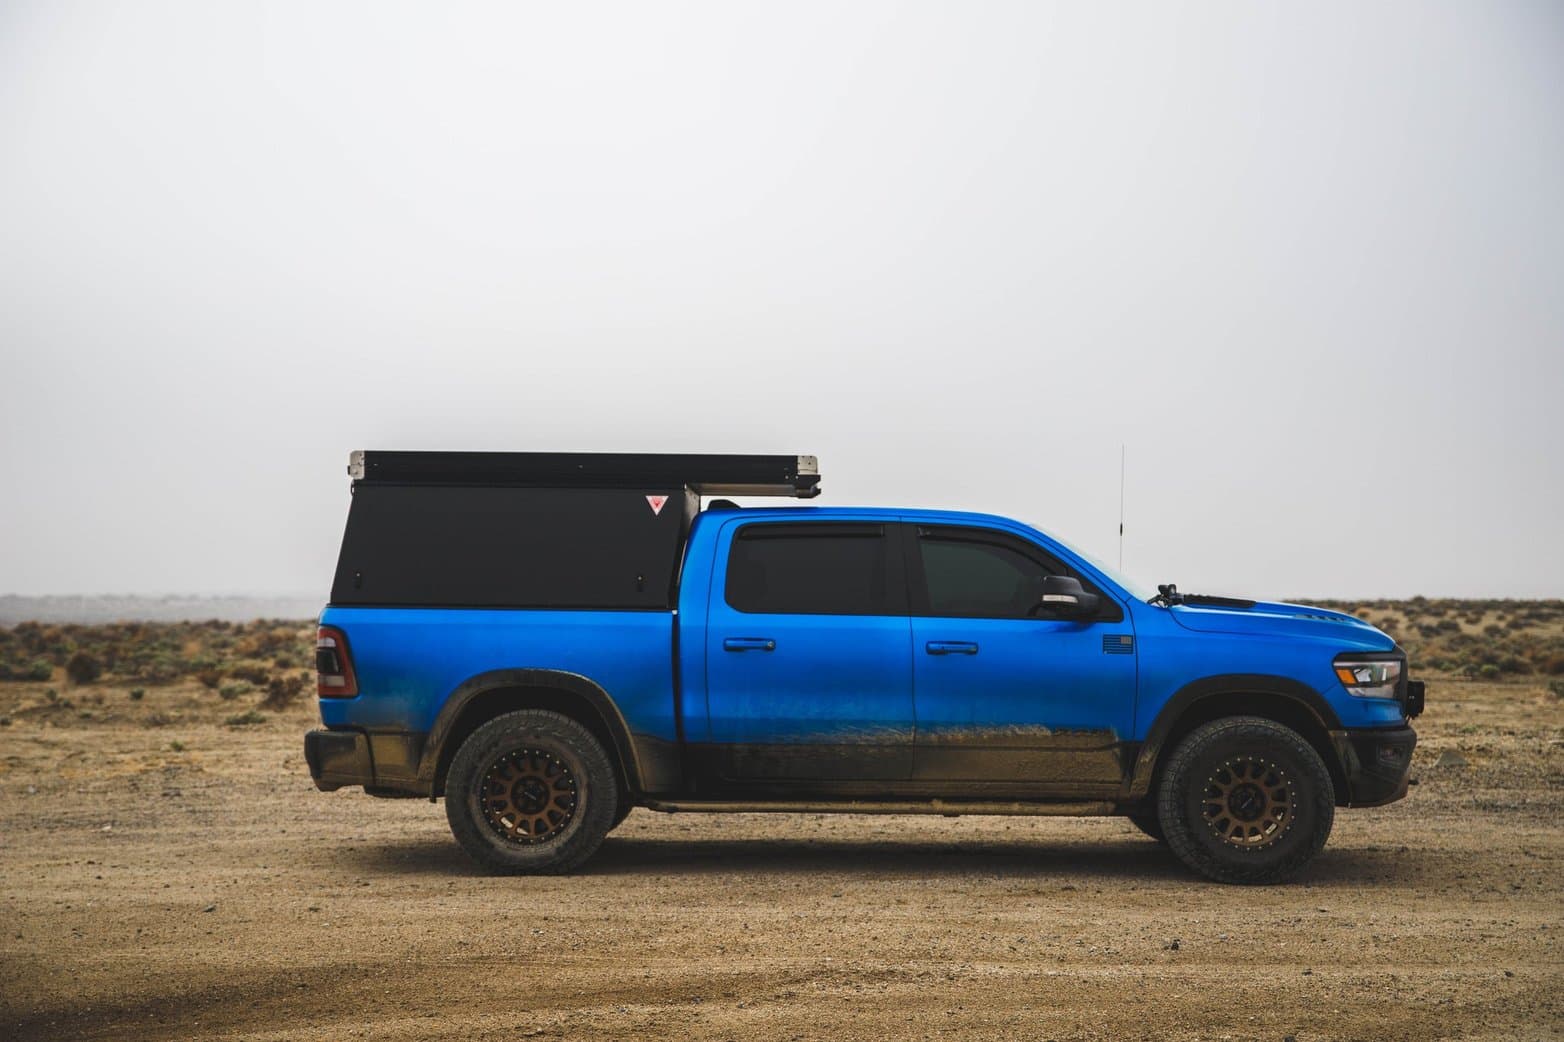
To save to get to the GFC build, you can read about the build here

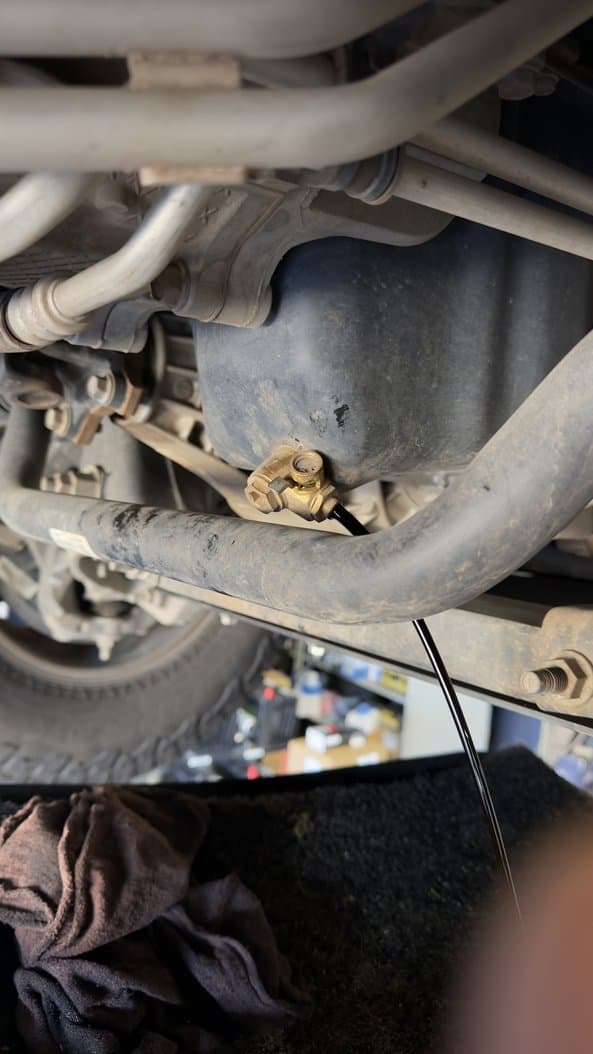
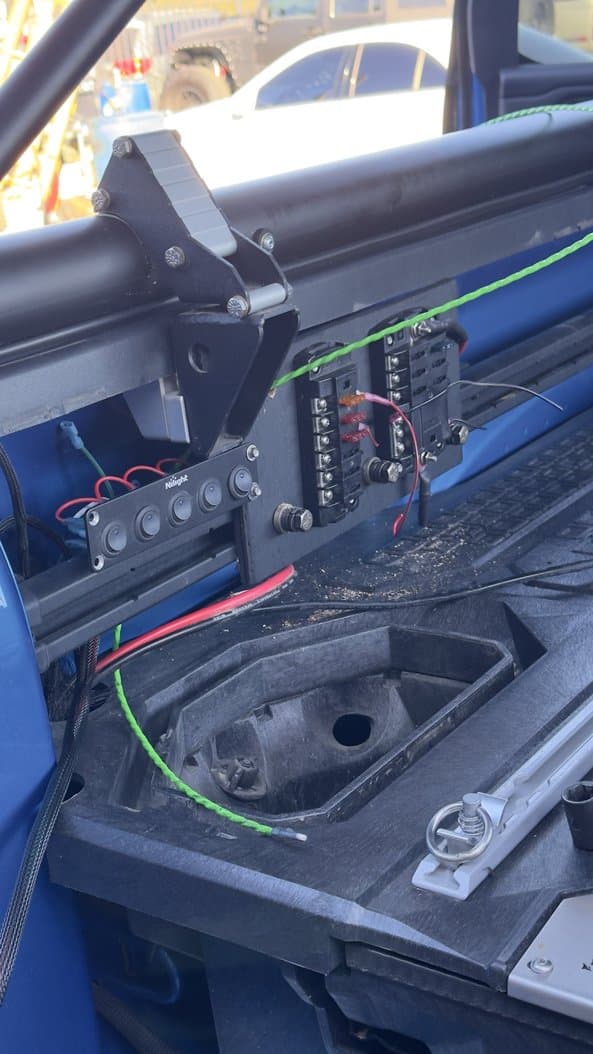
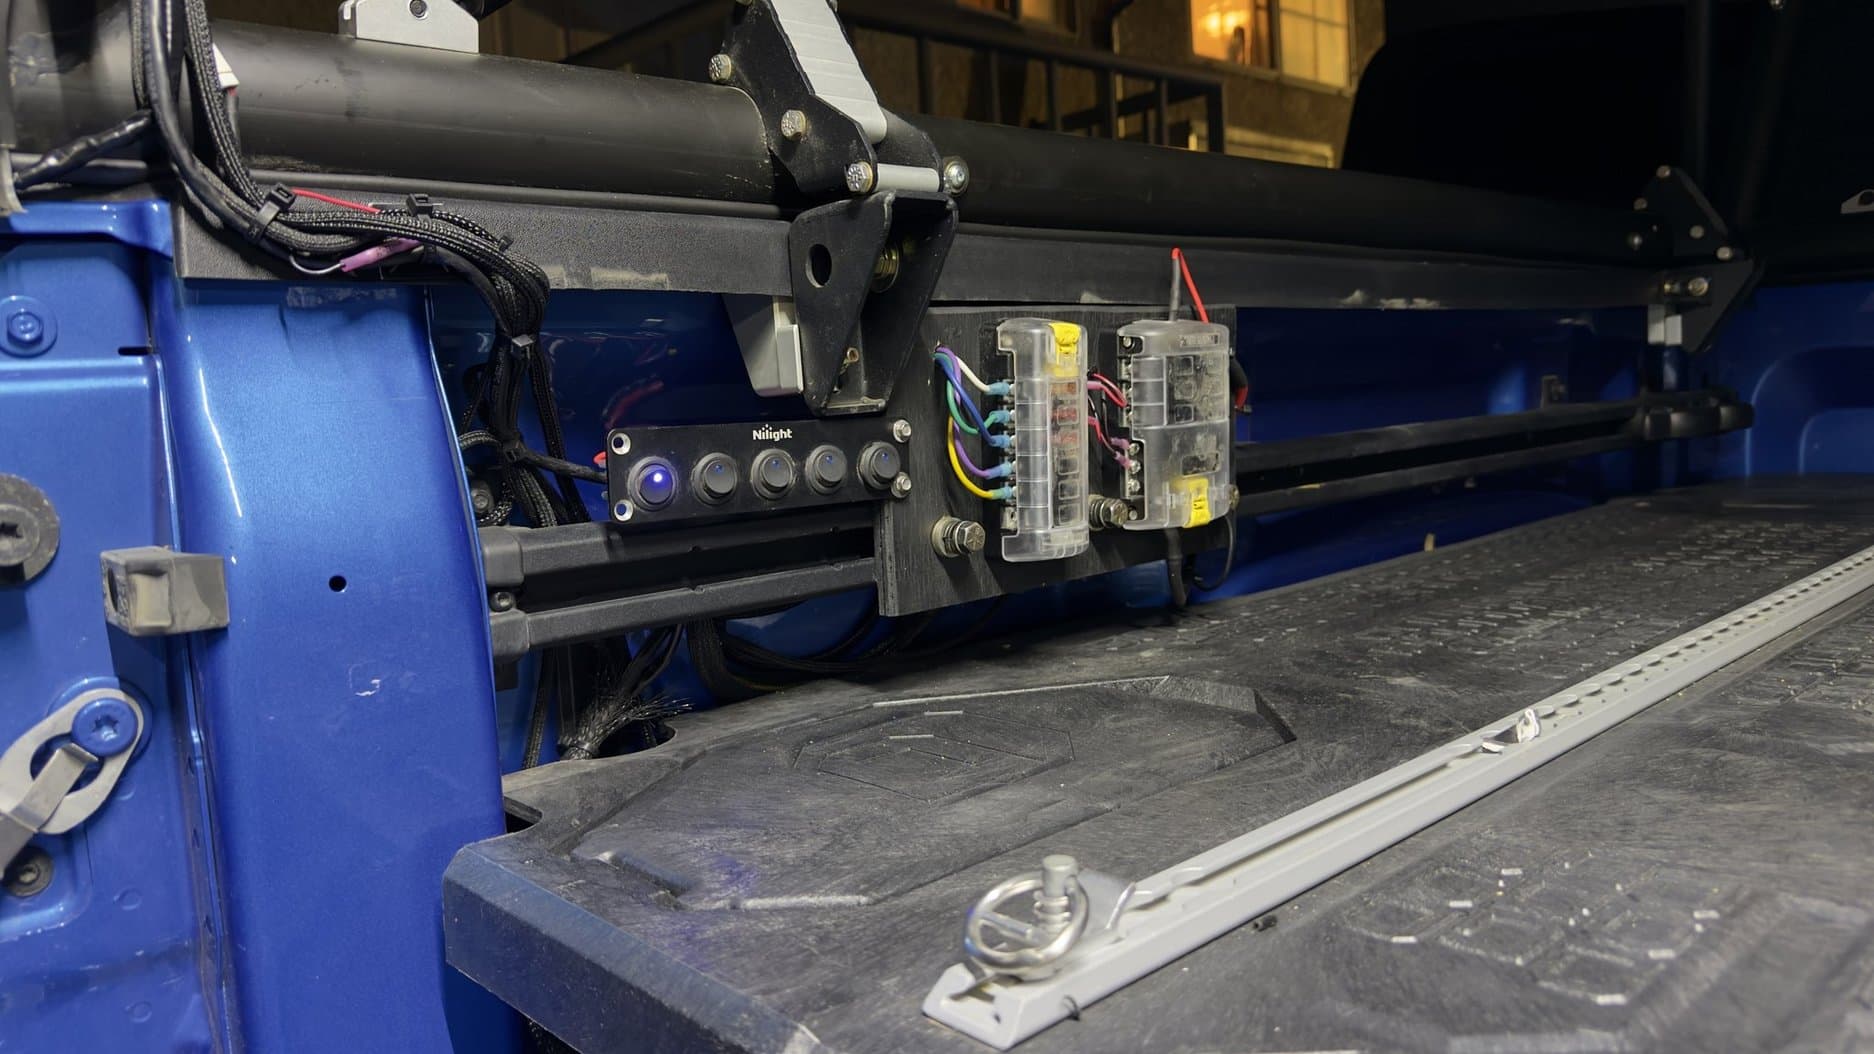
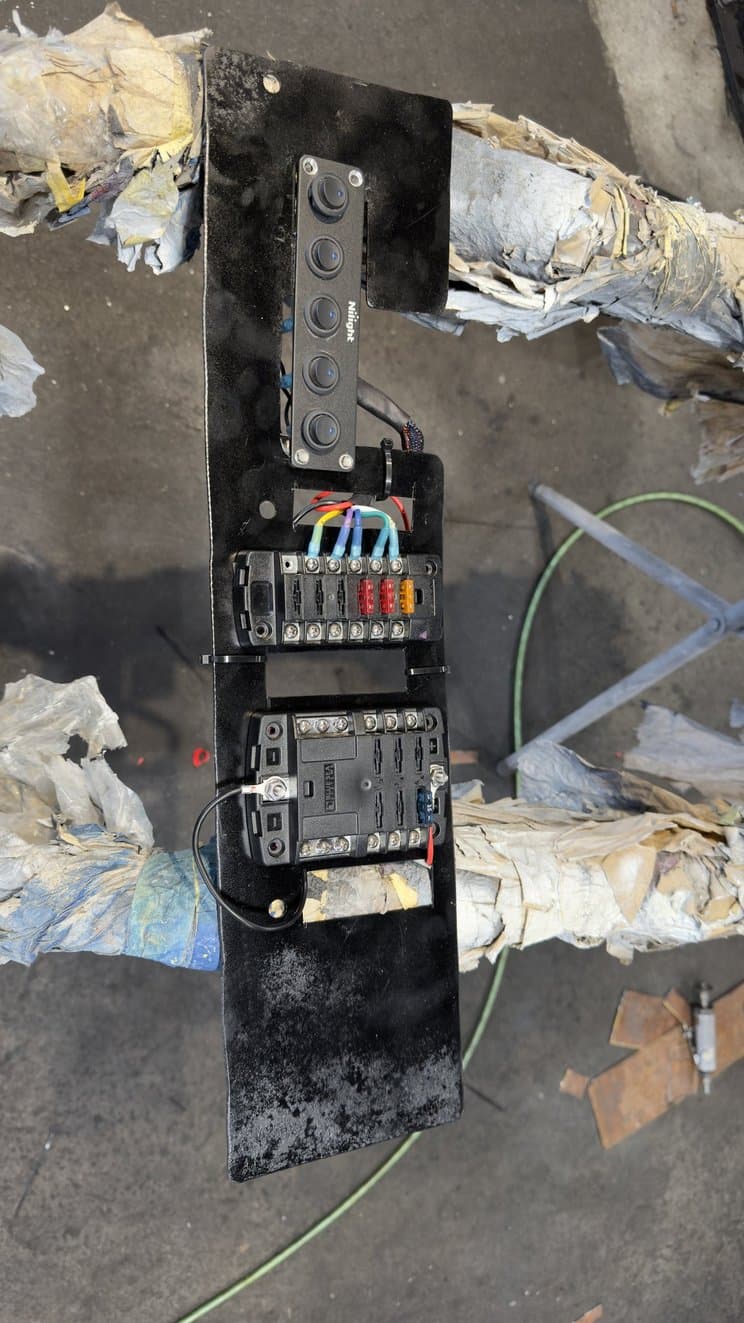
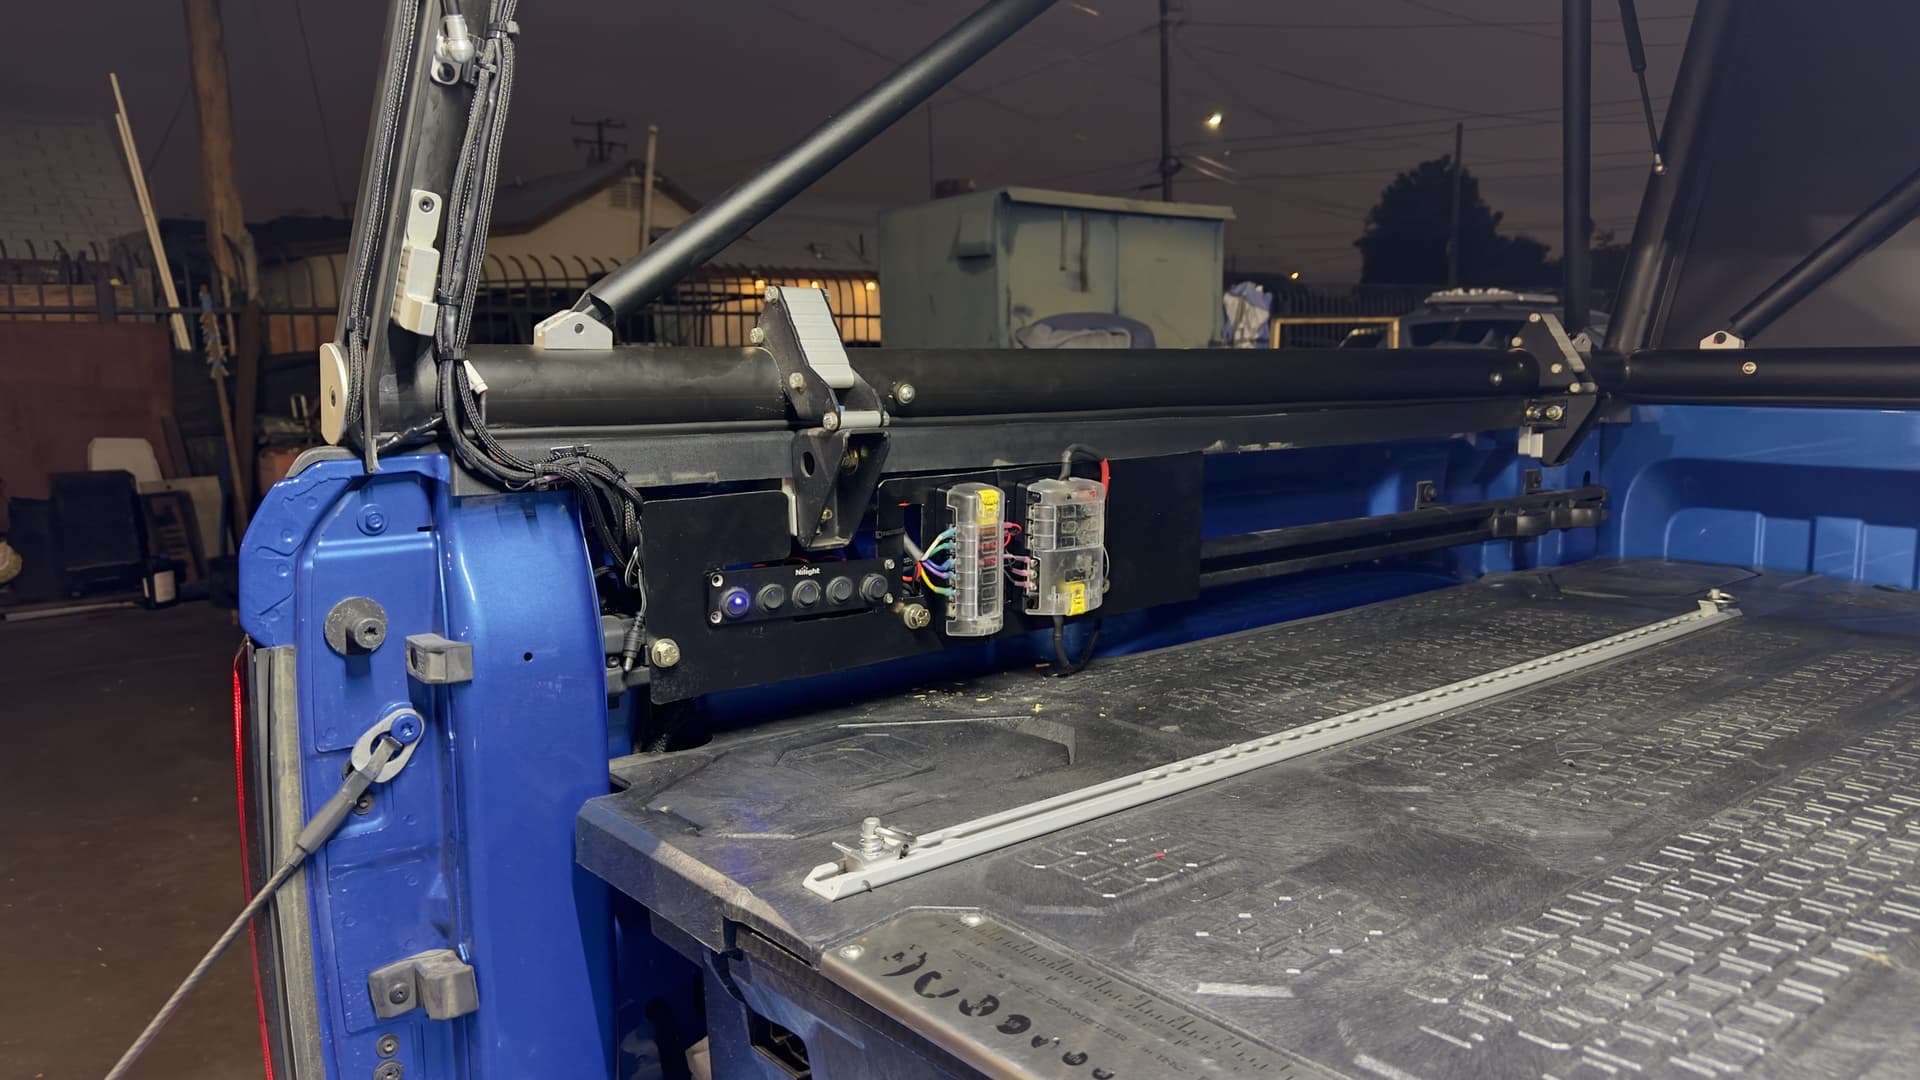
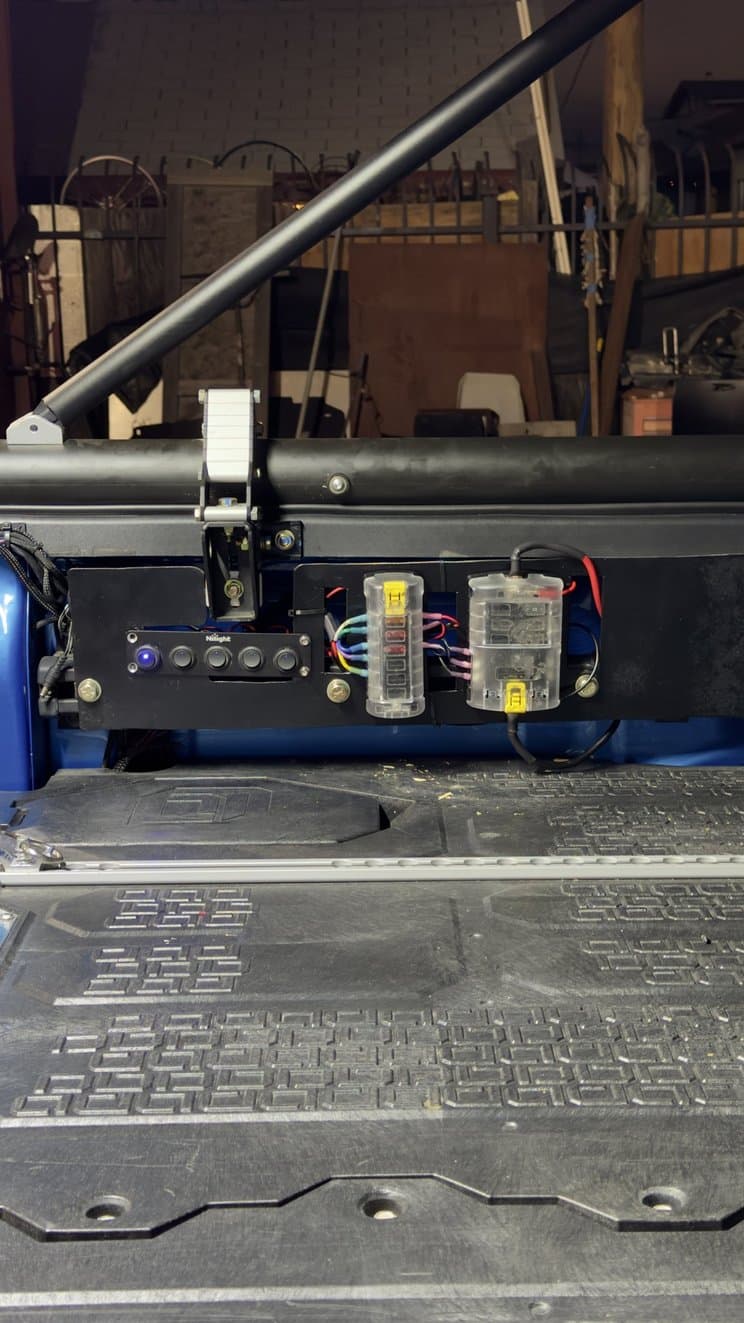
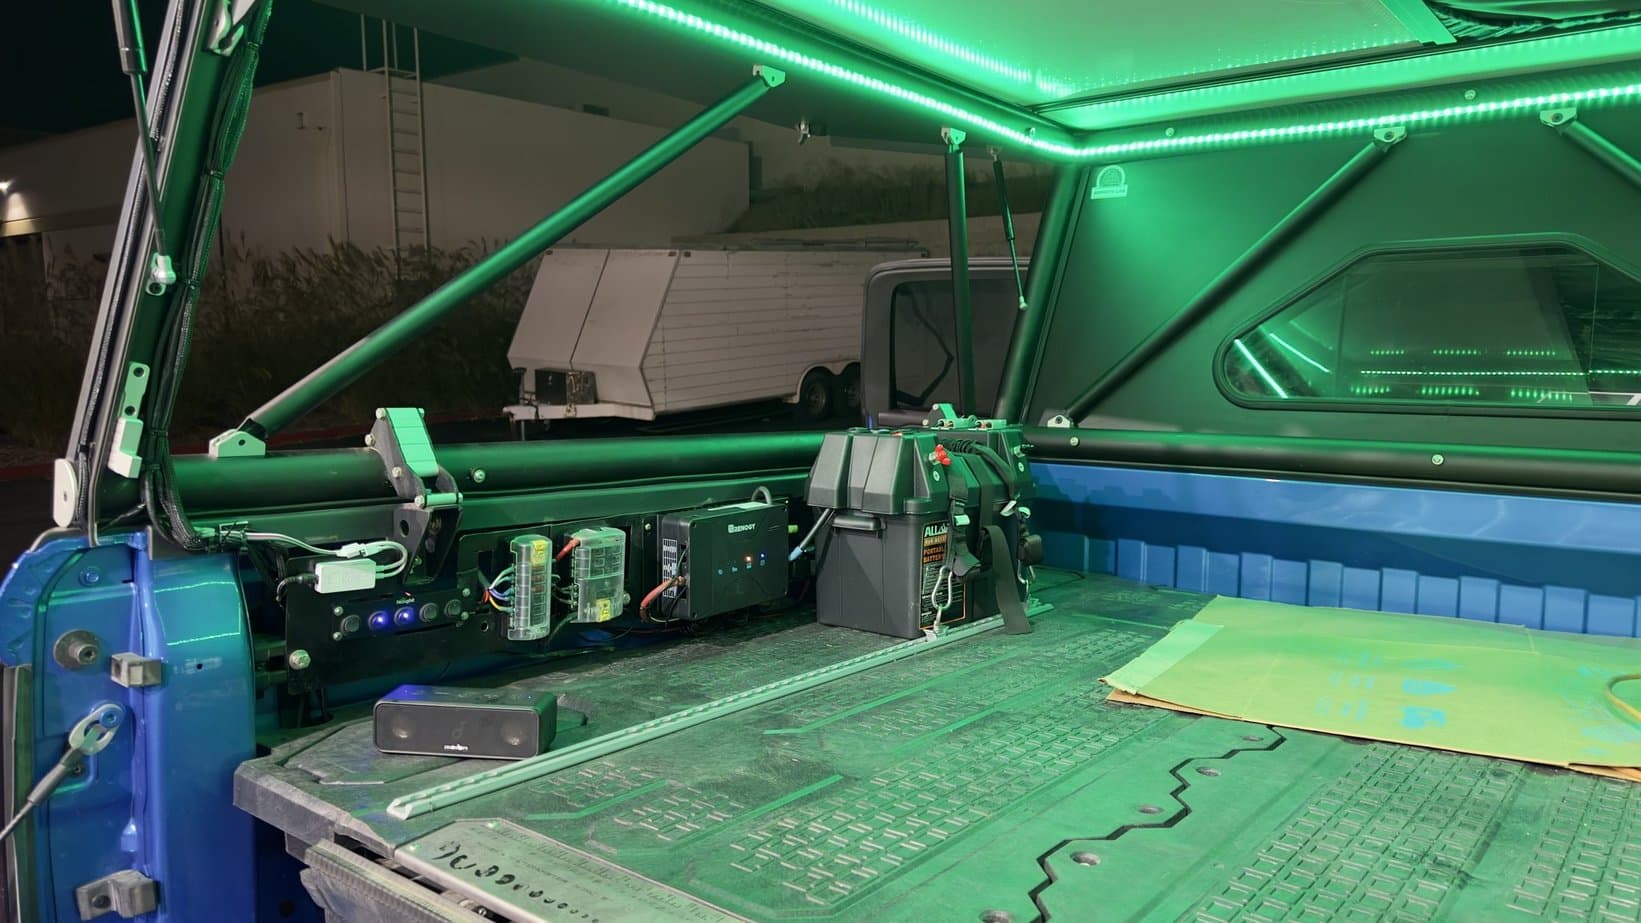
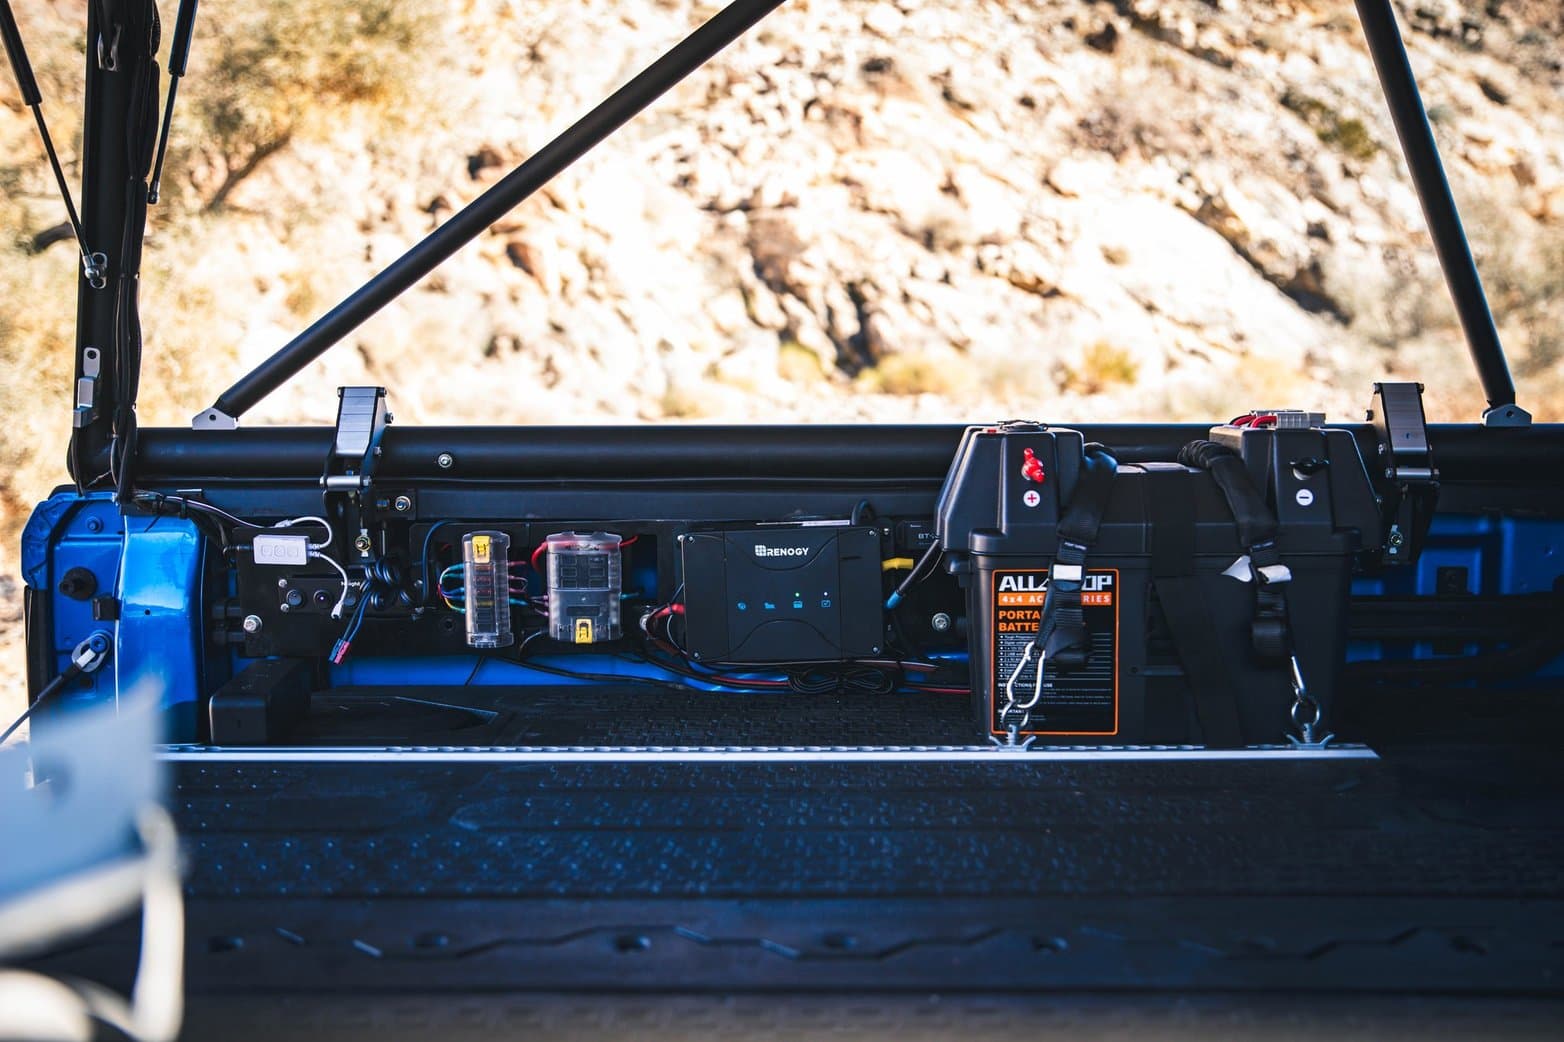
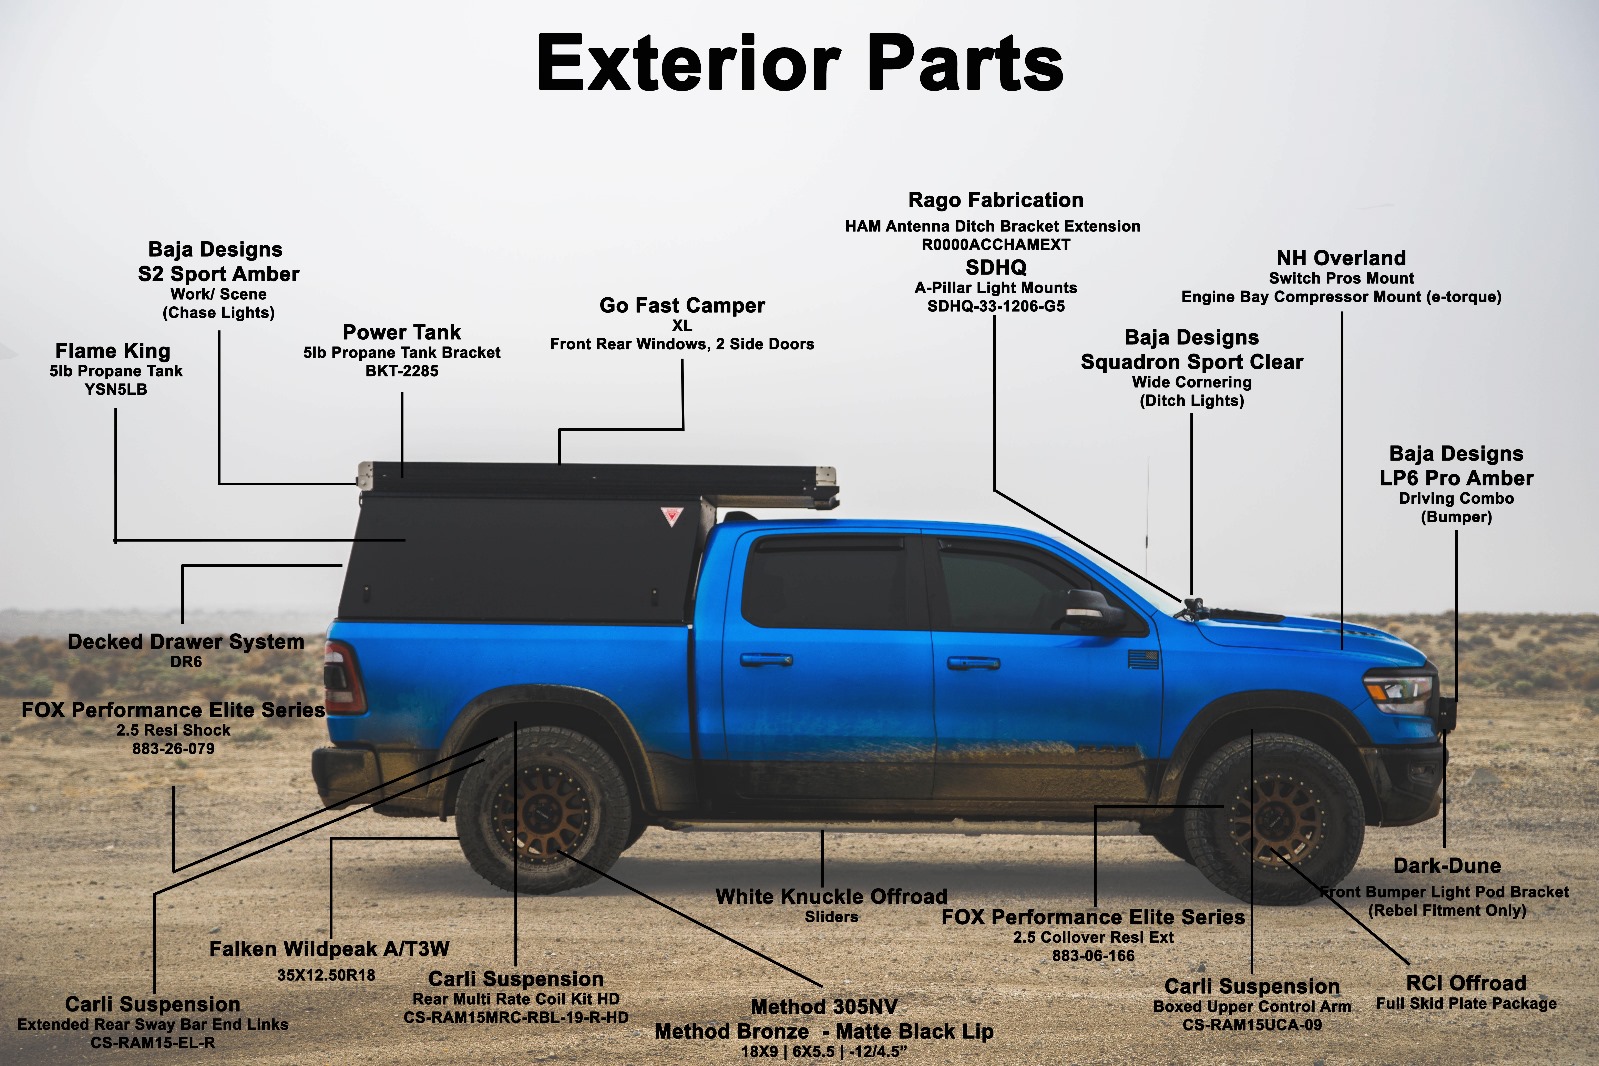
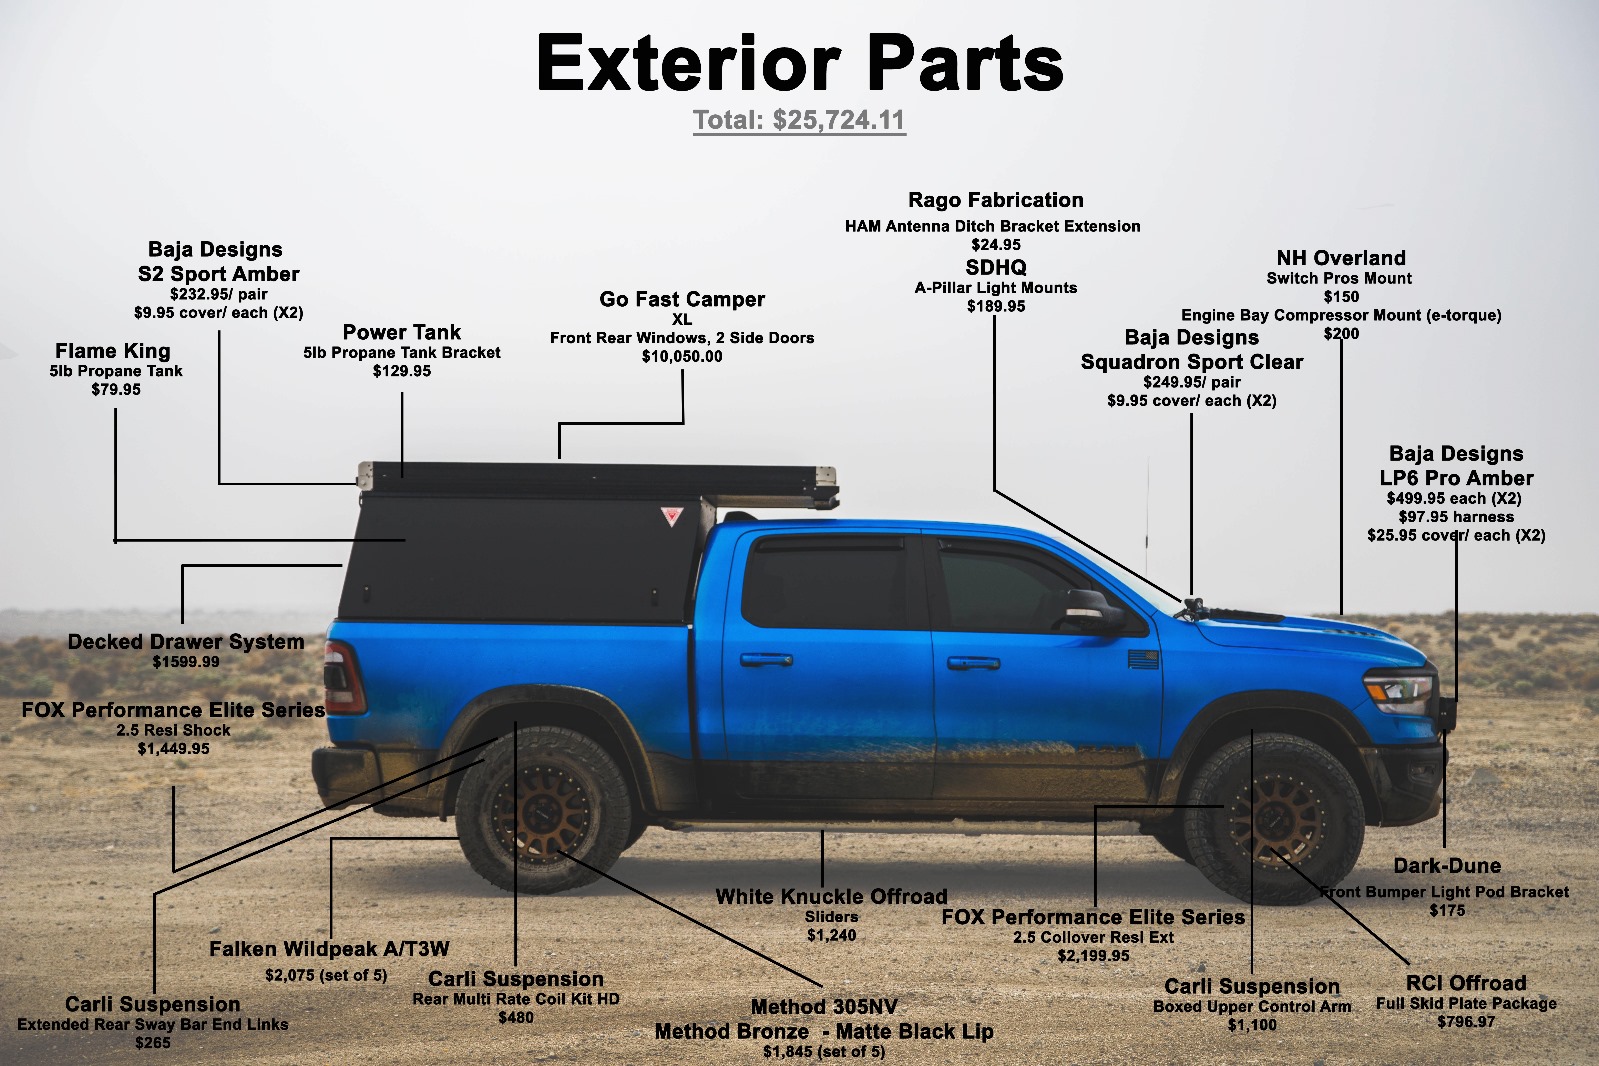
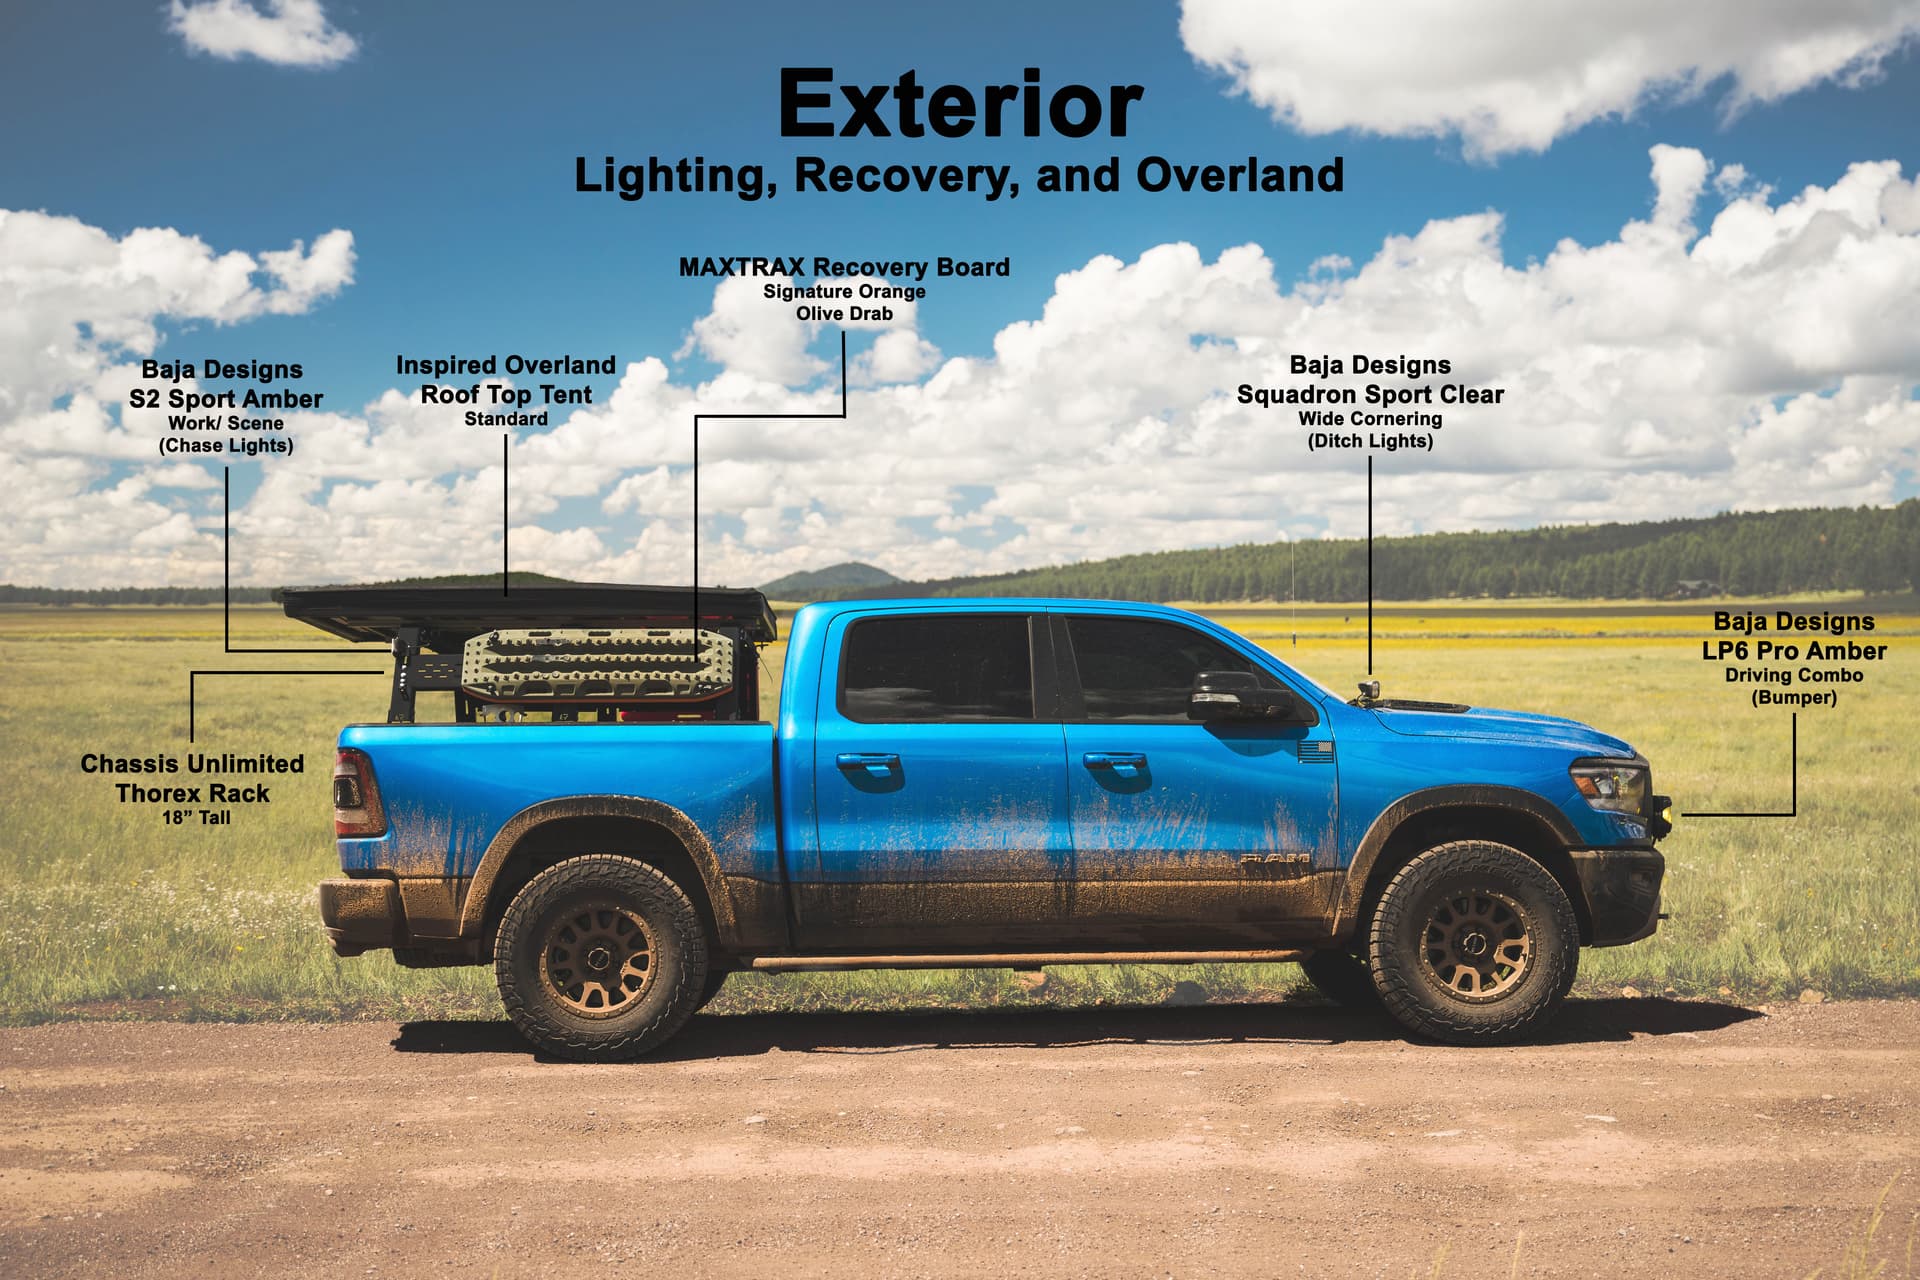
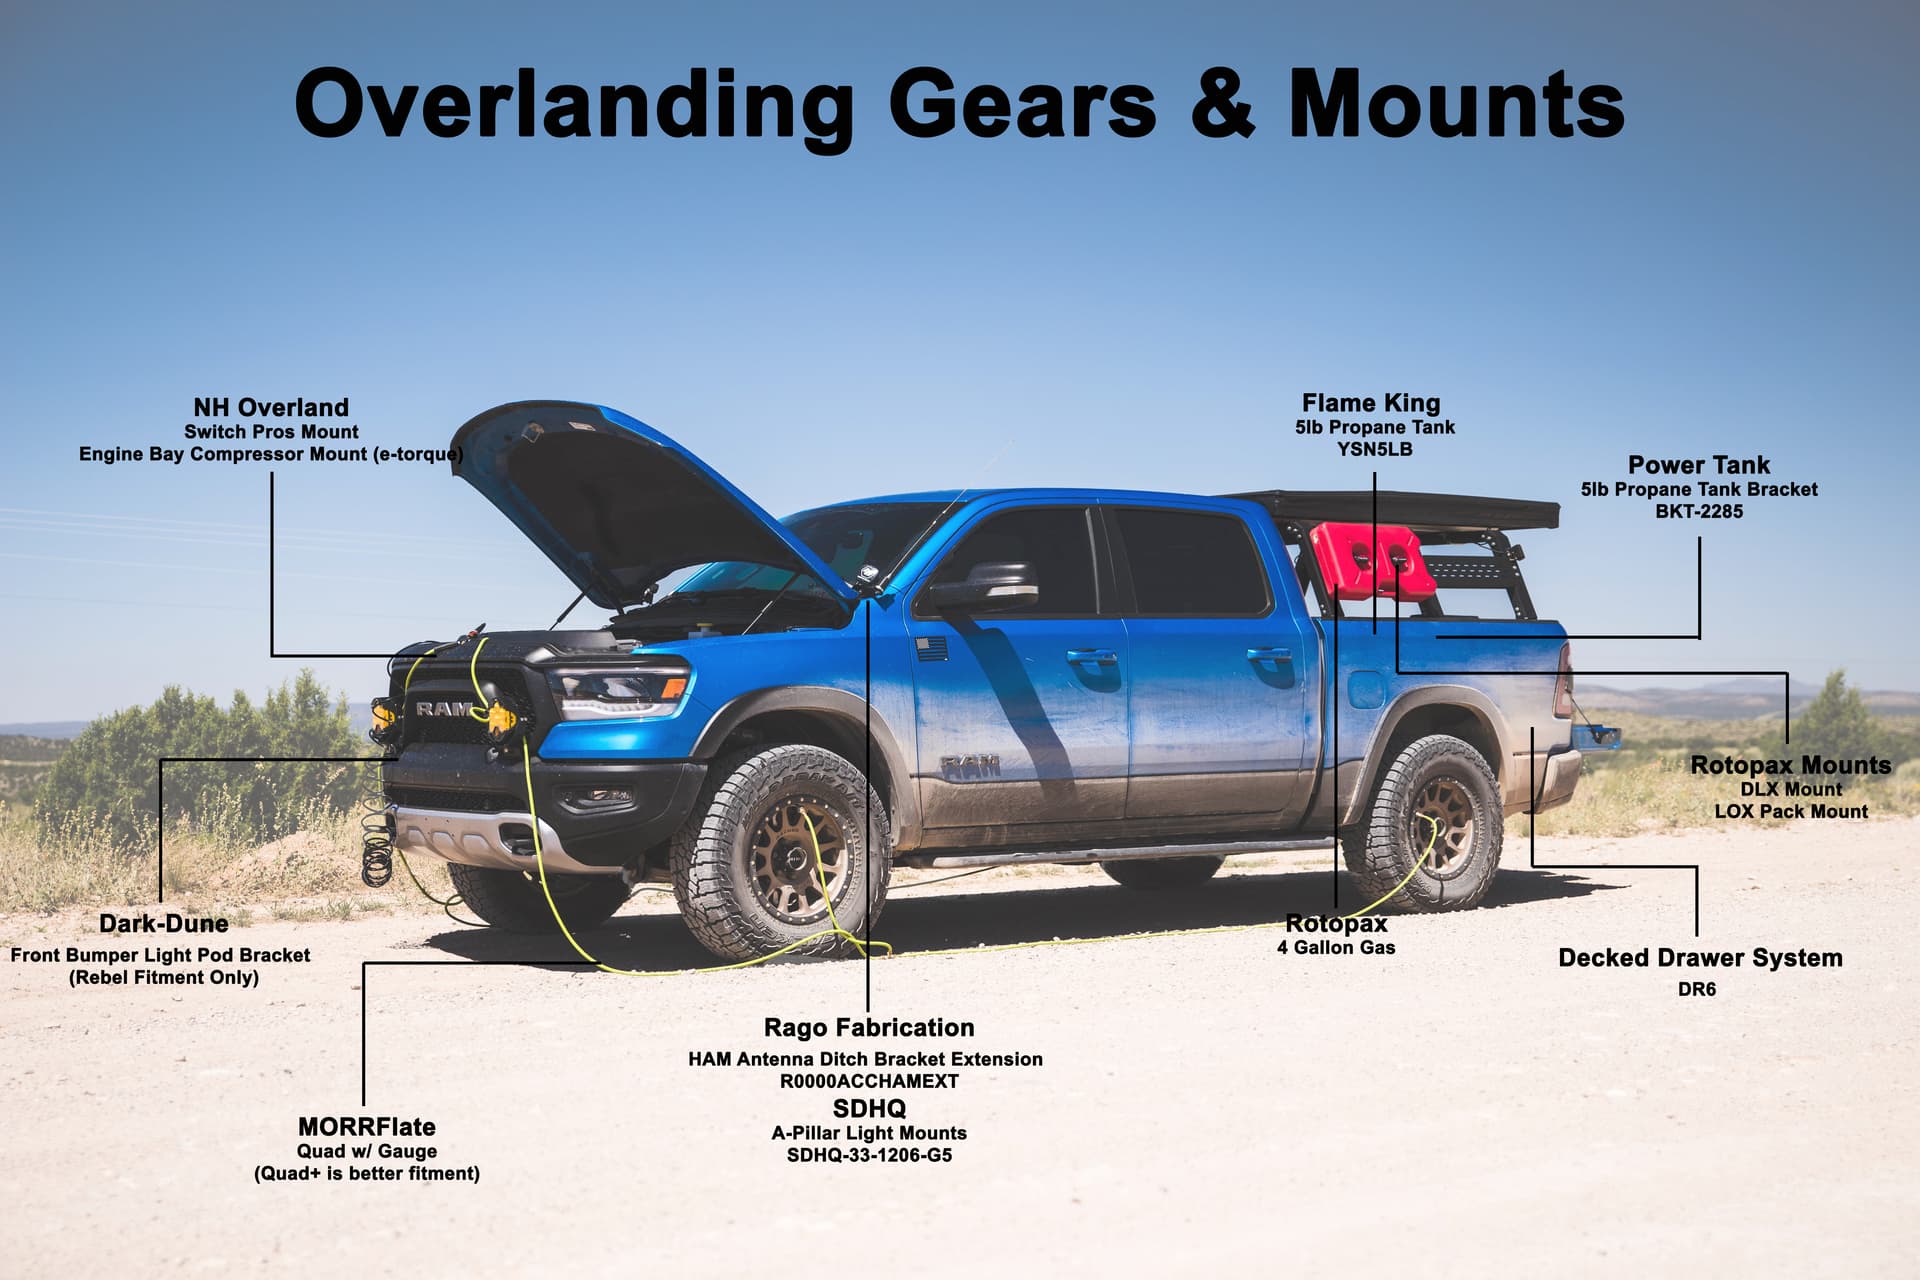
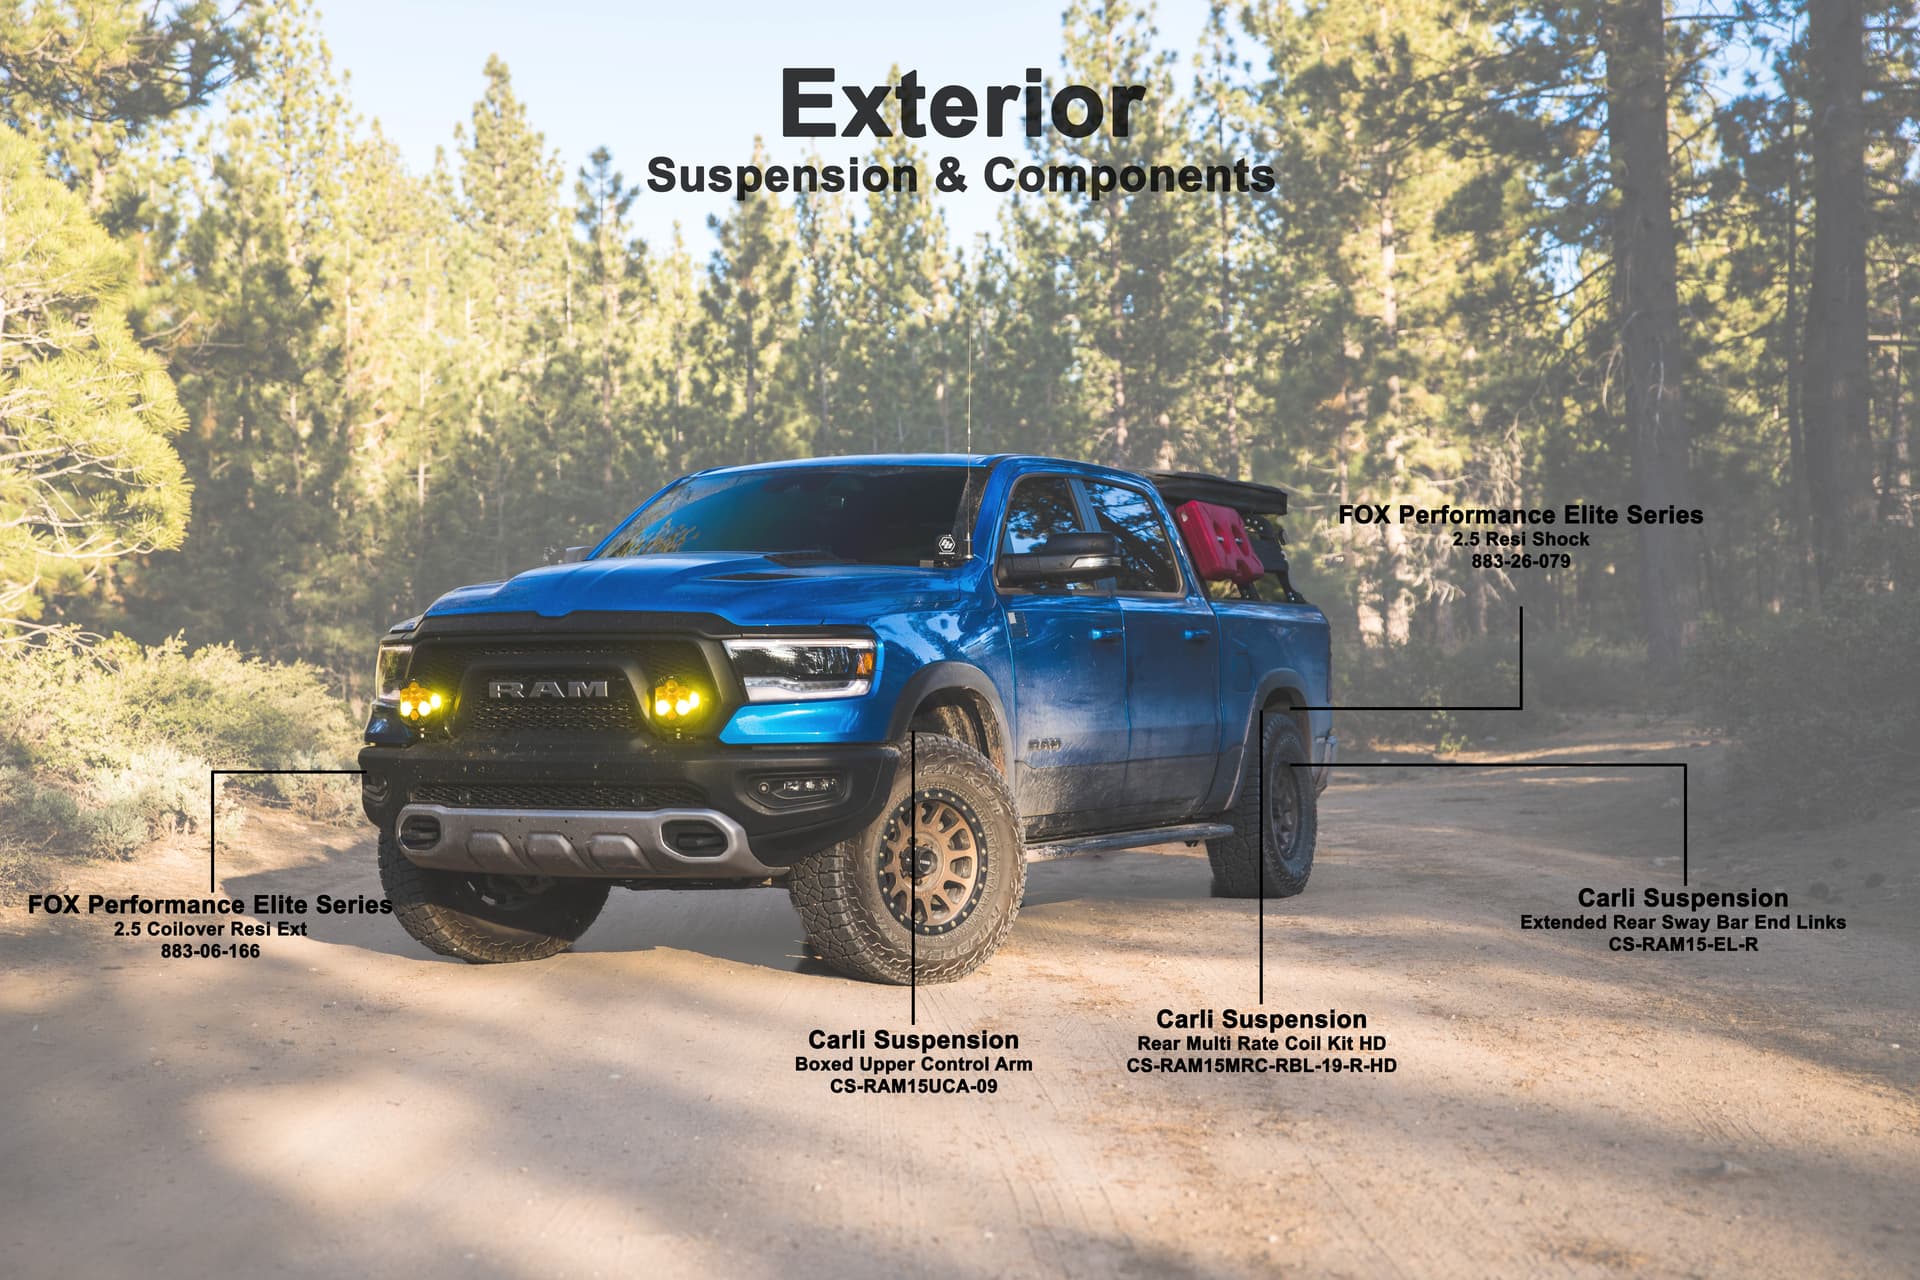
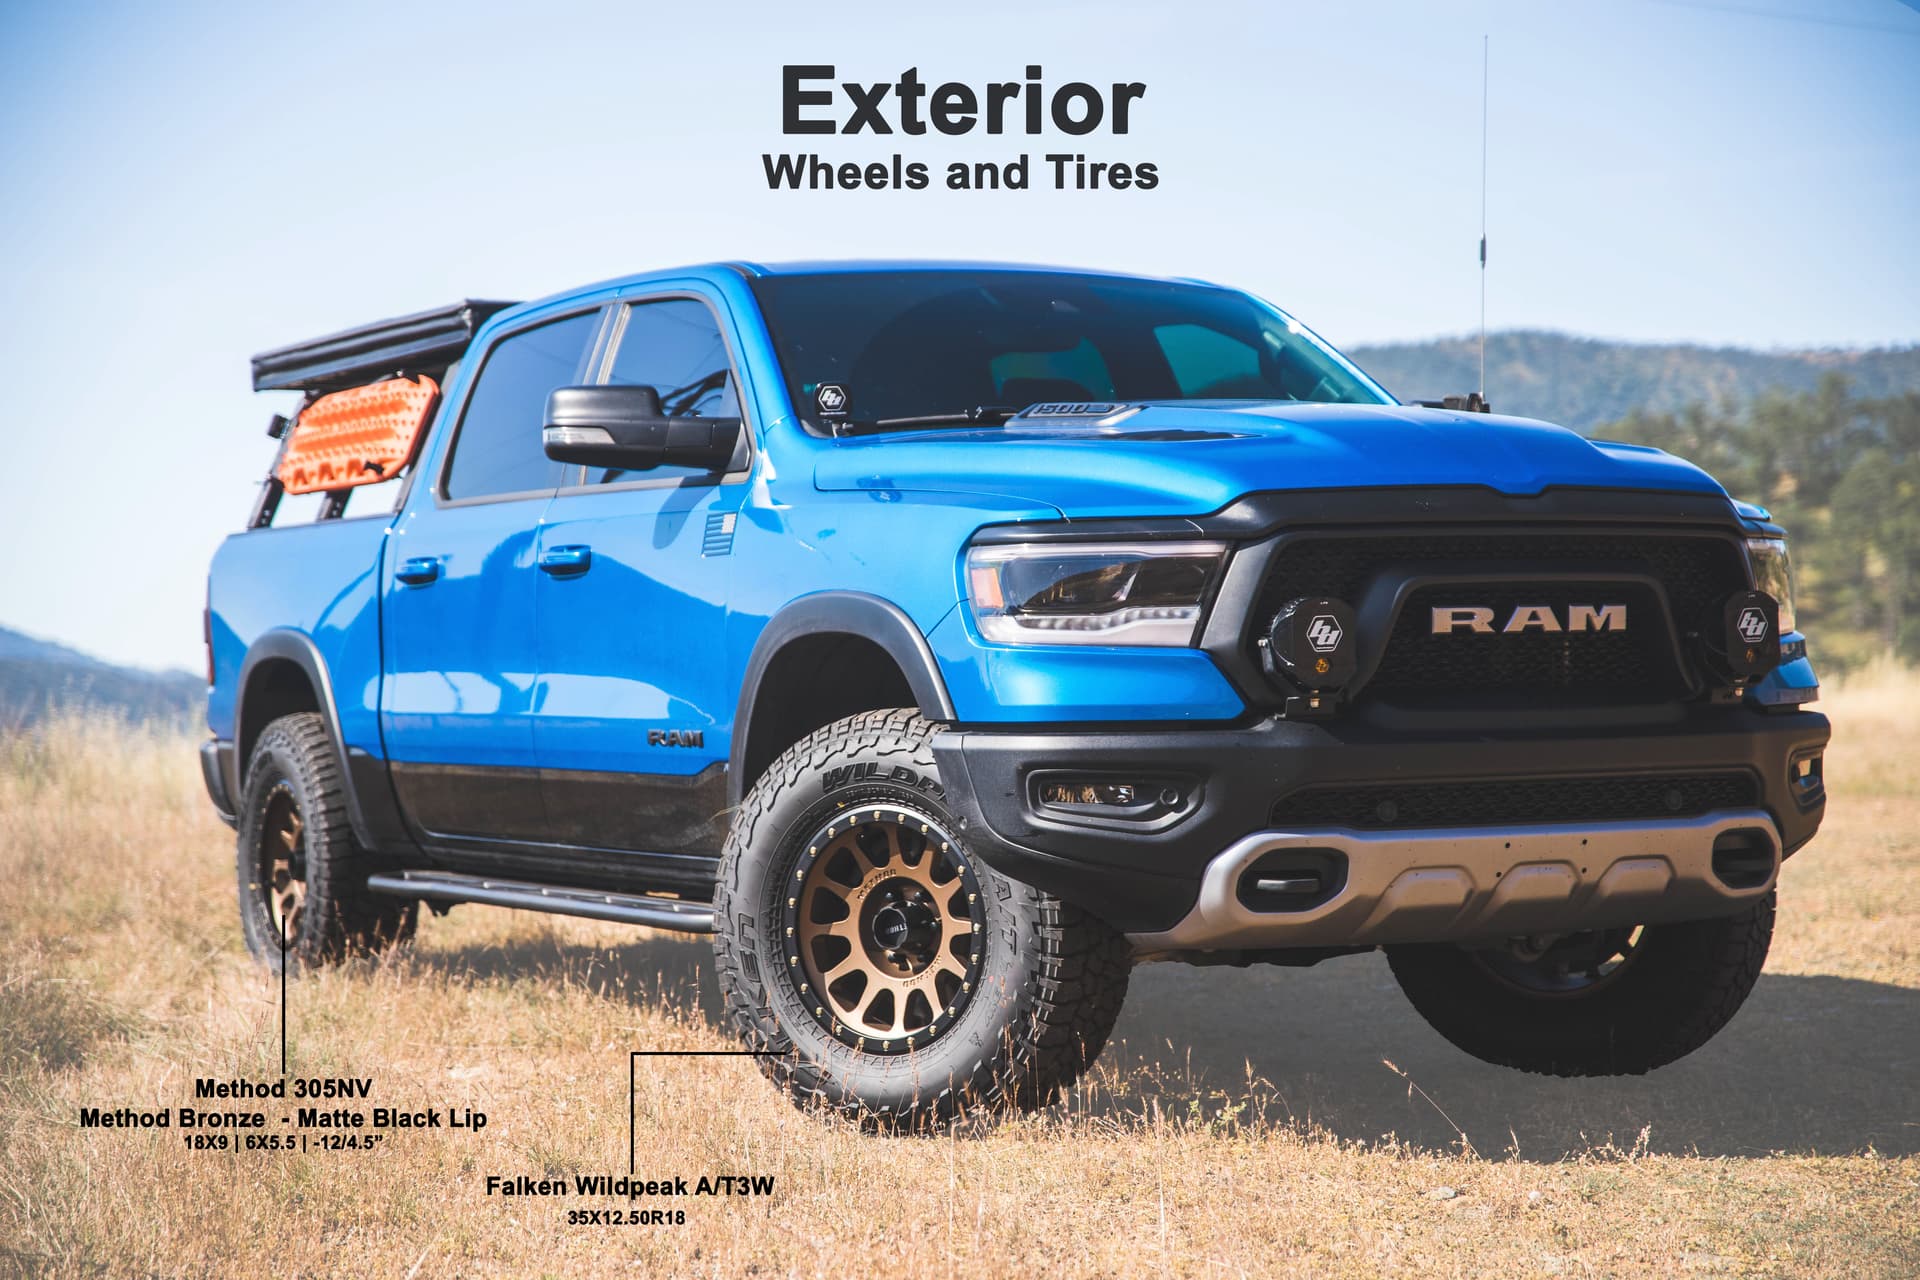
Here’s an incomplete list of mods done prior to GFC (I just need time to create the images):


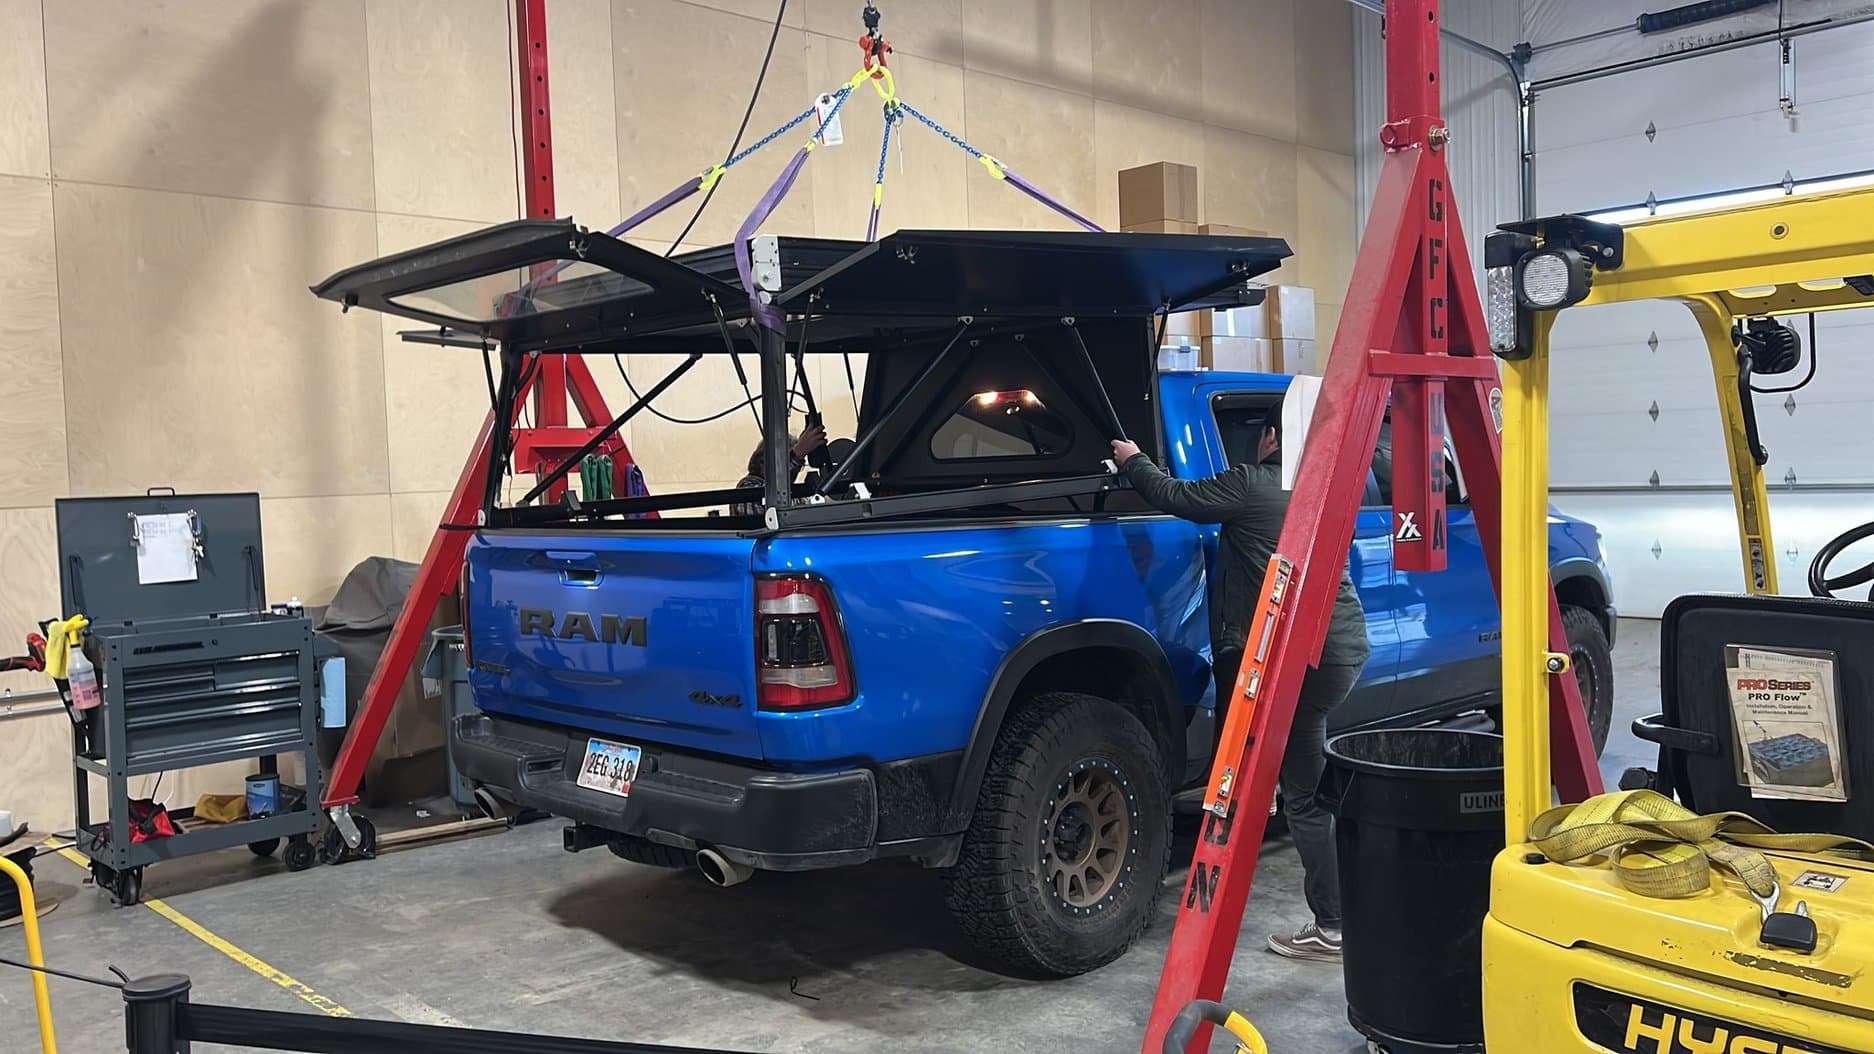
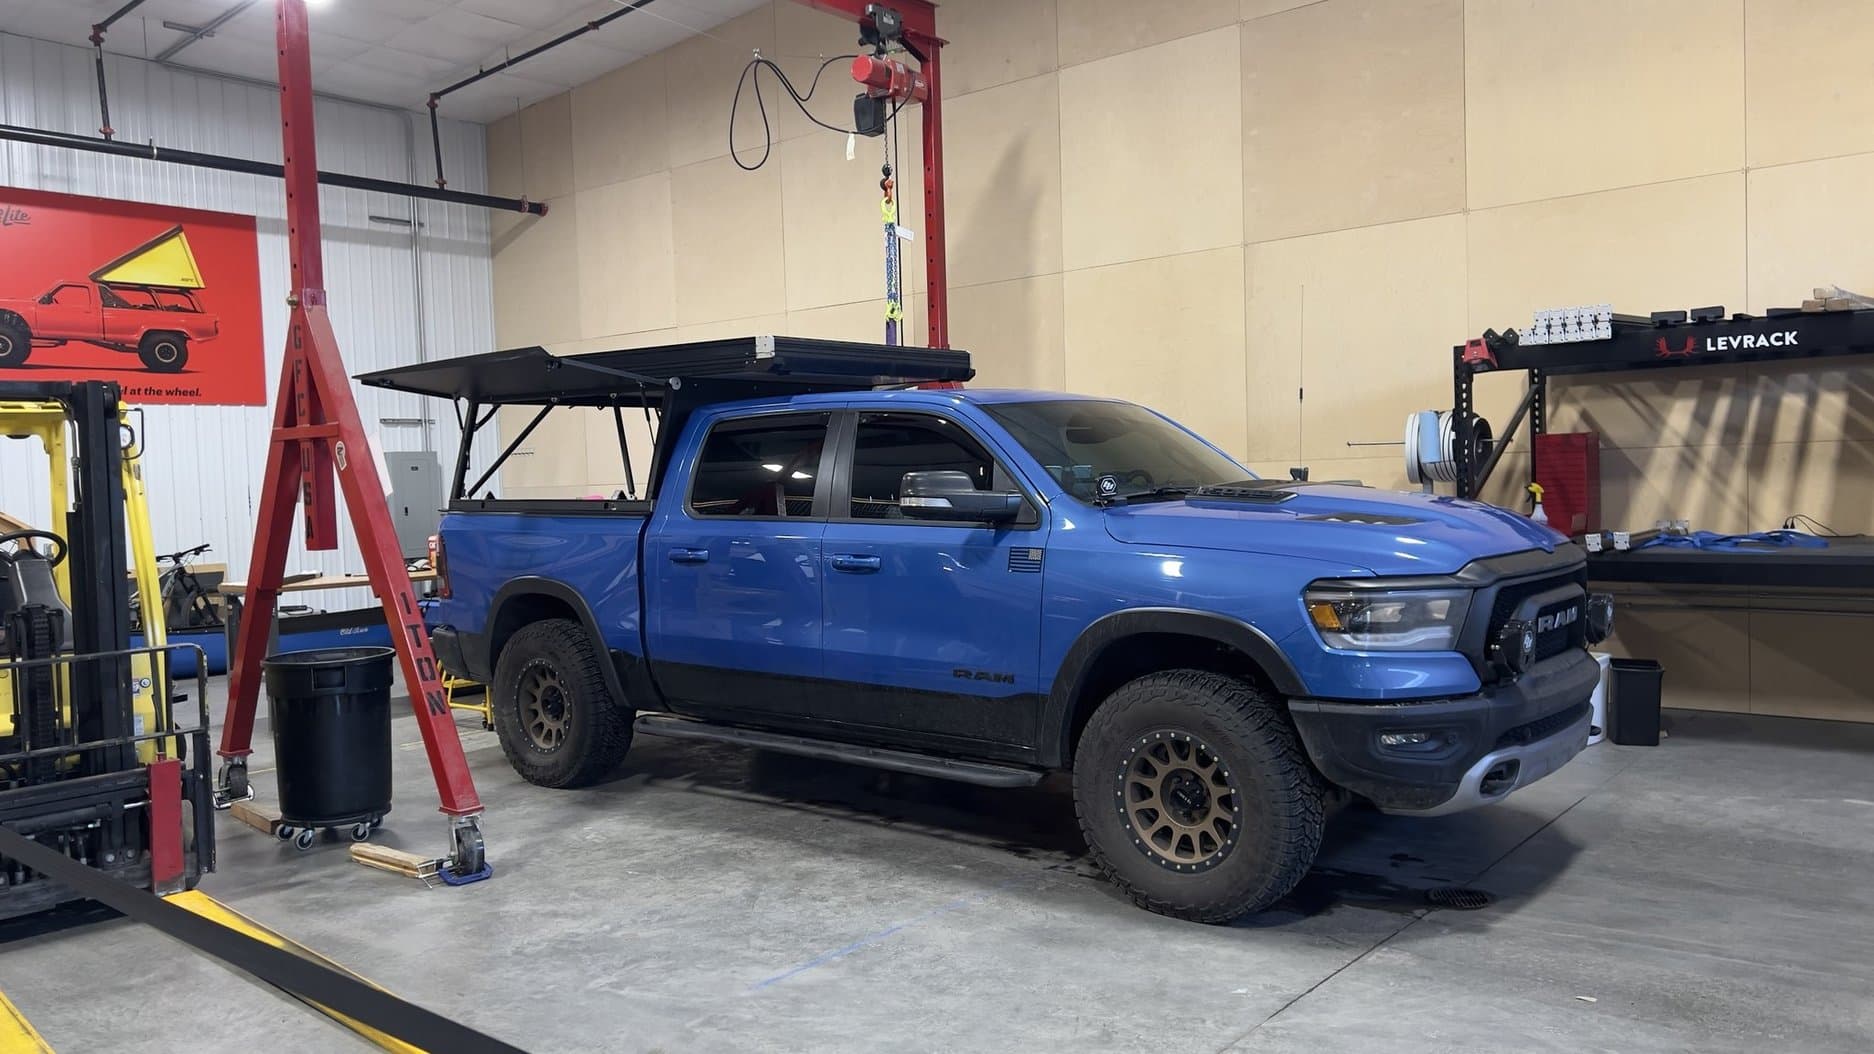
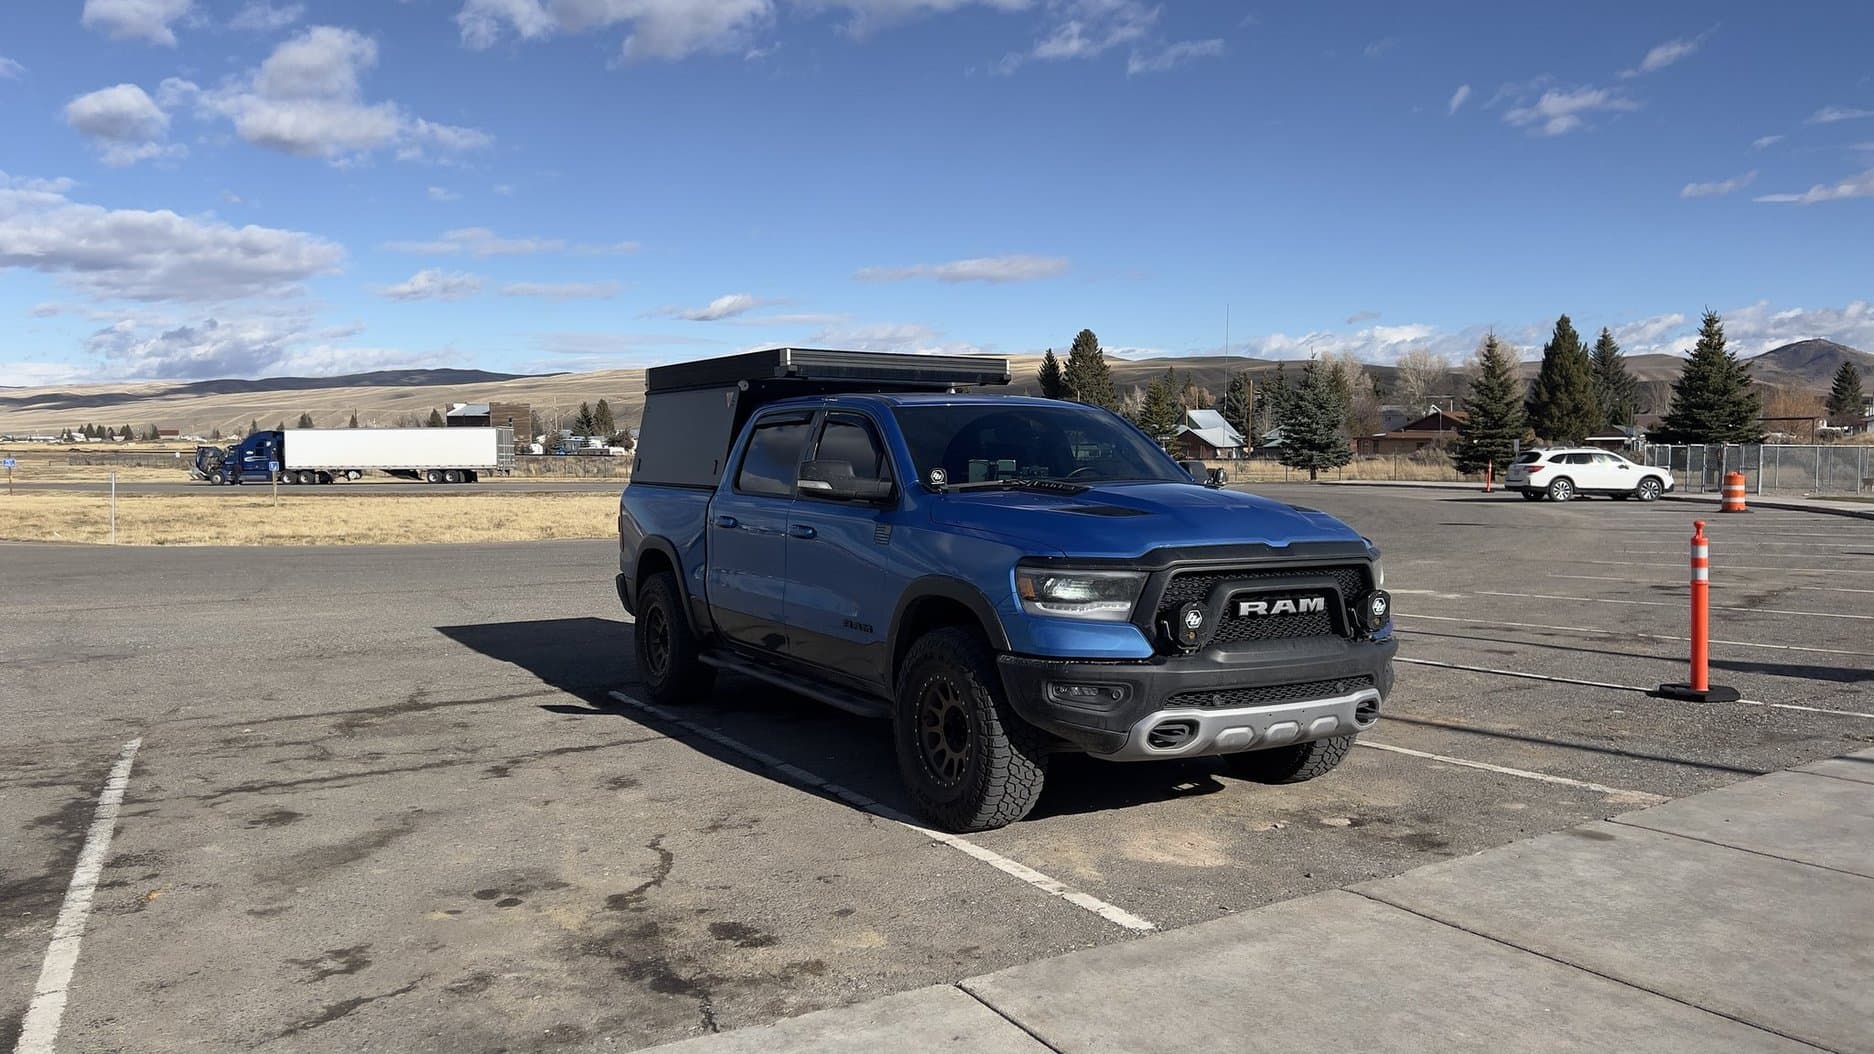
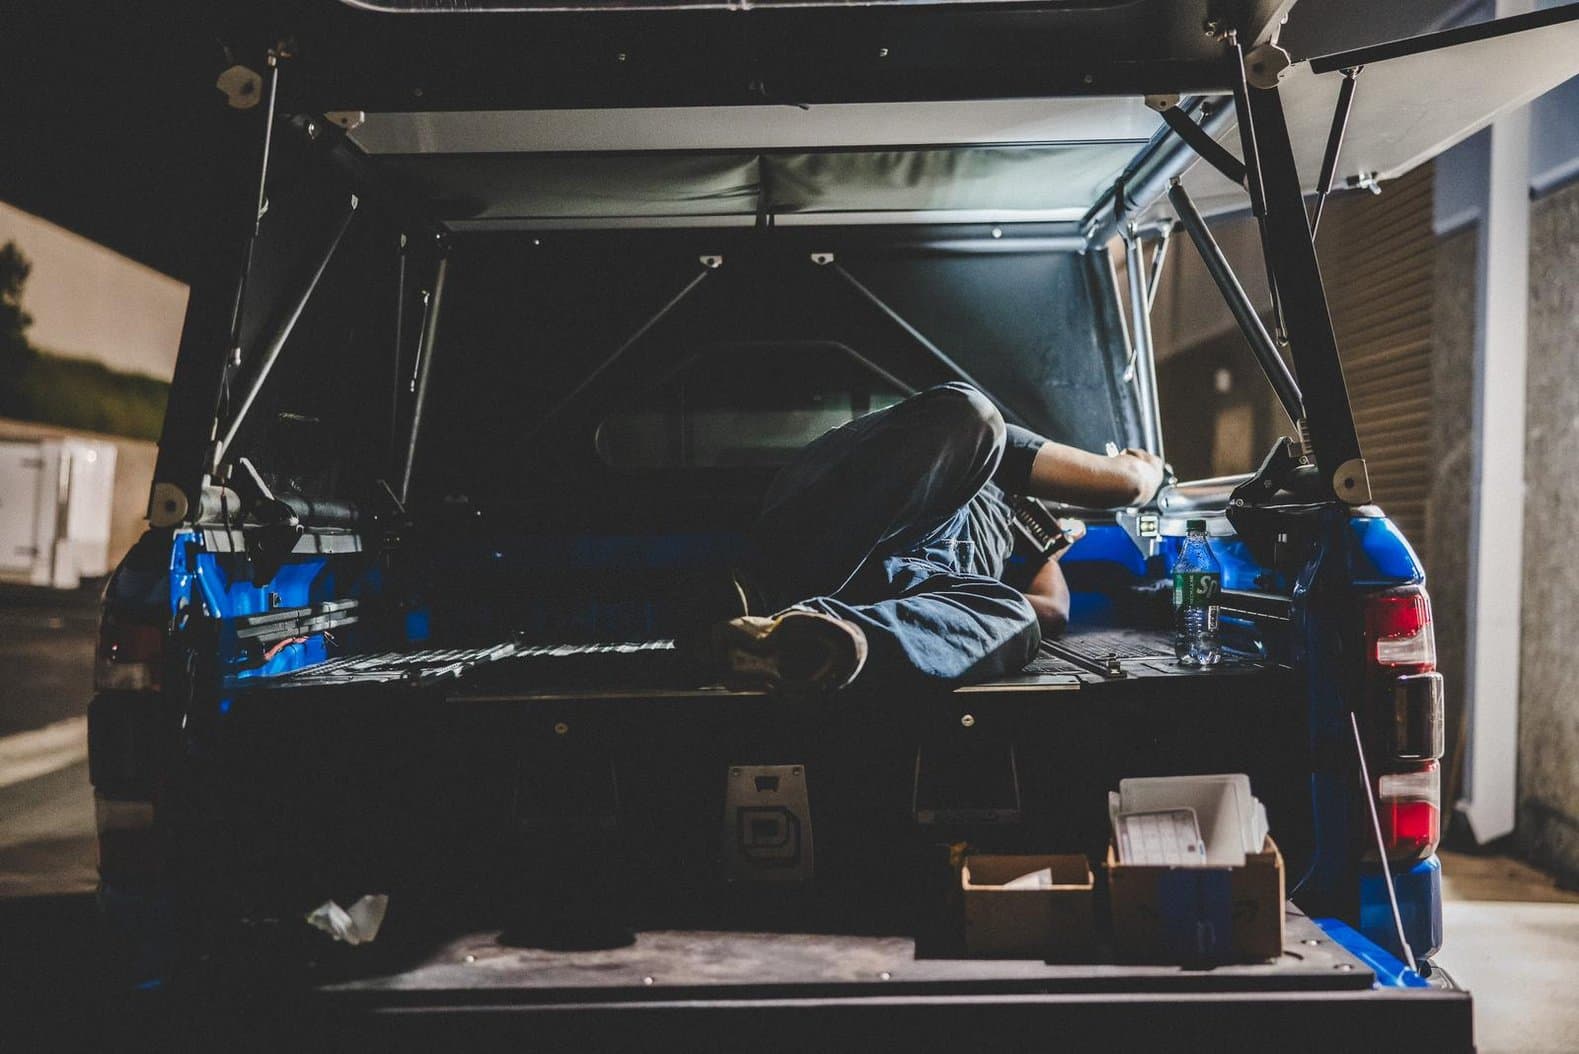
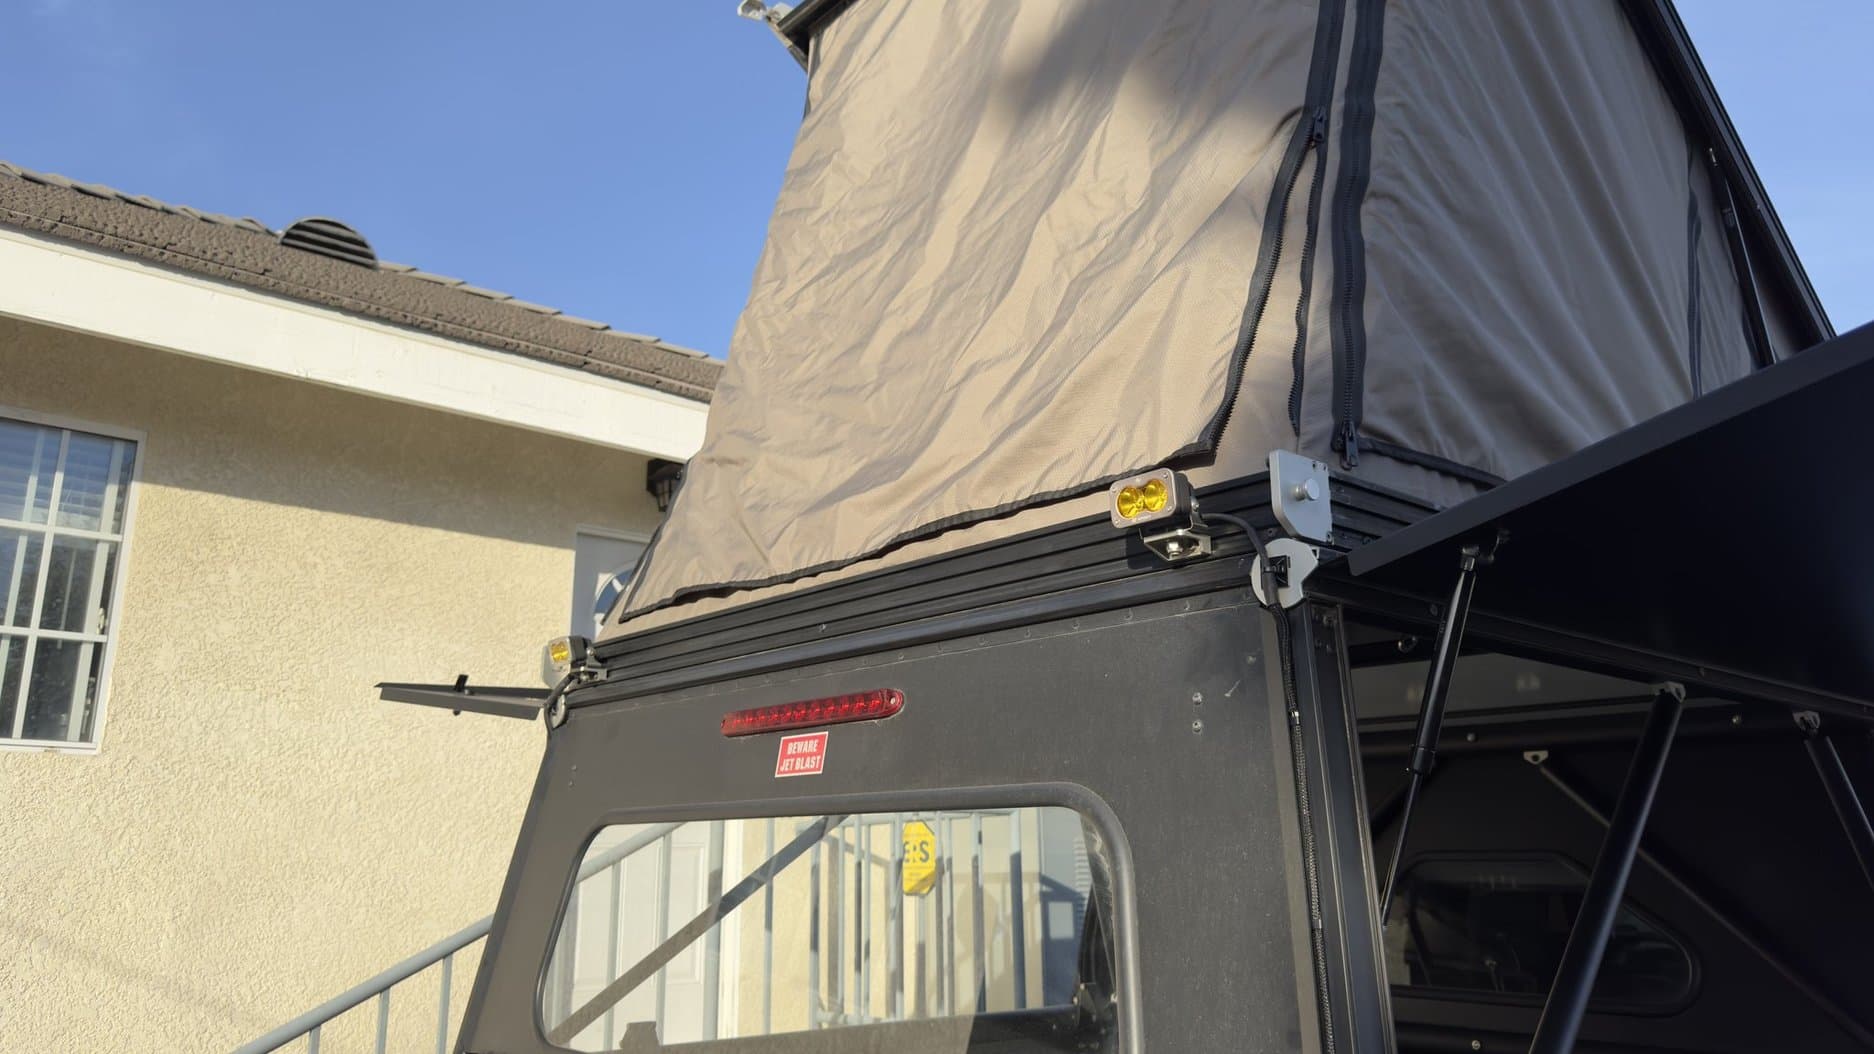
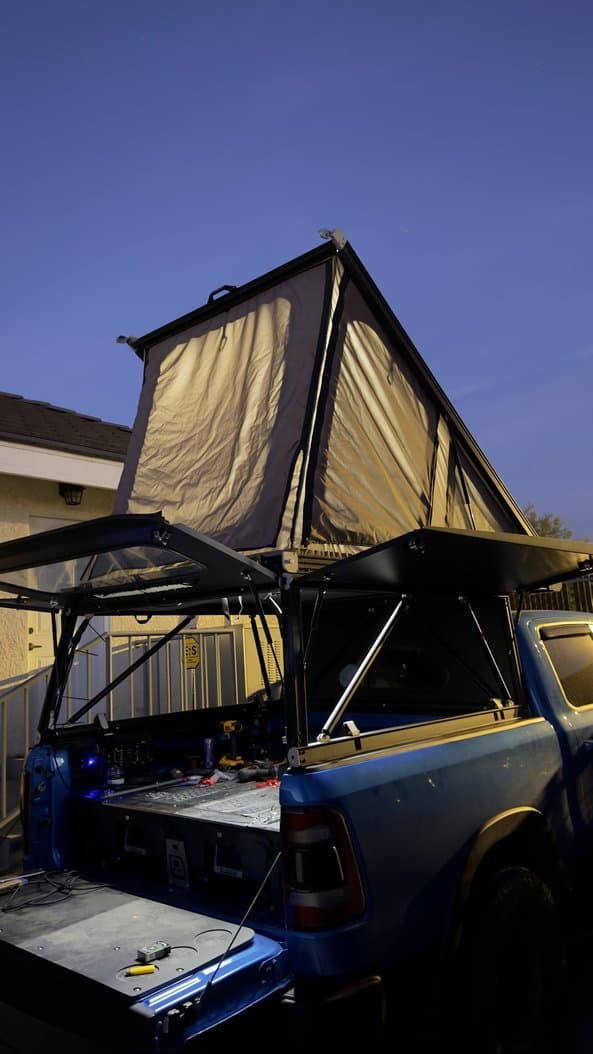
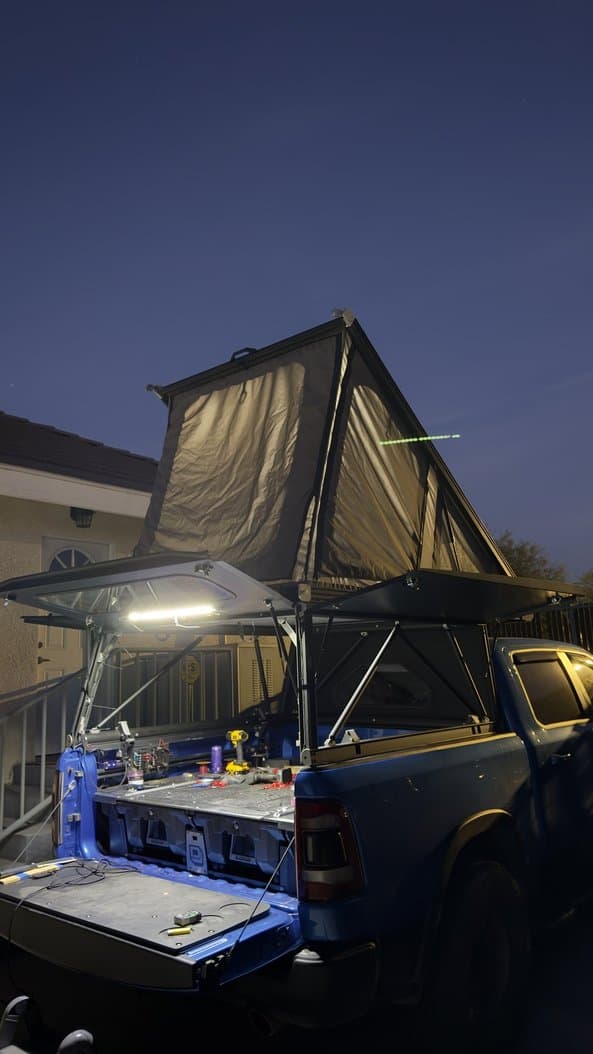
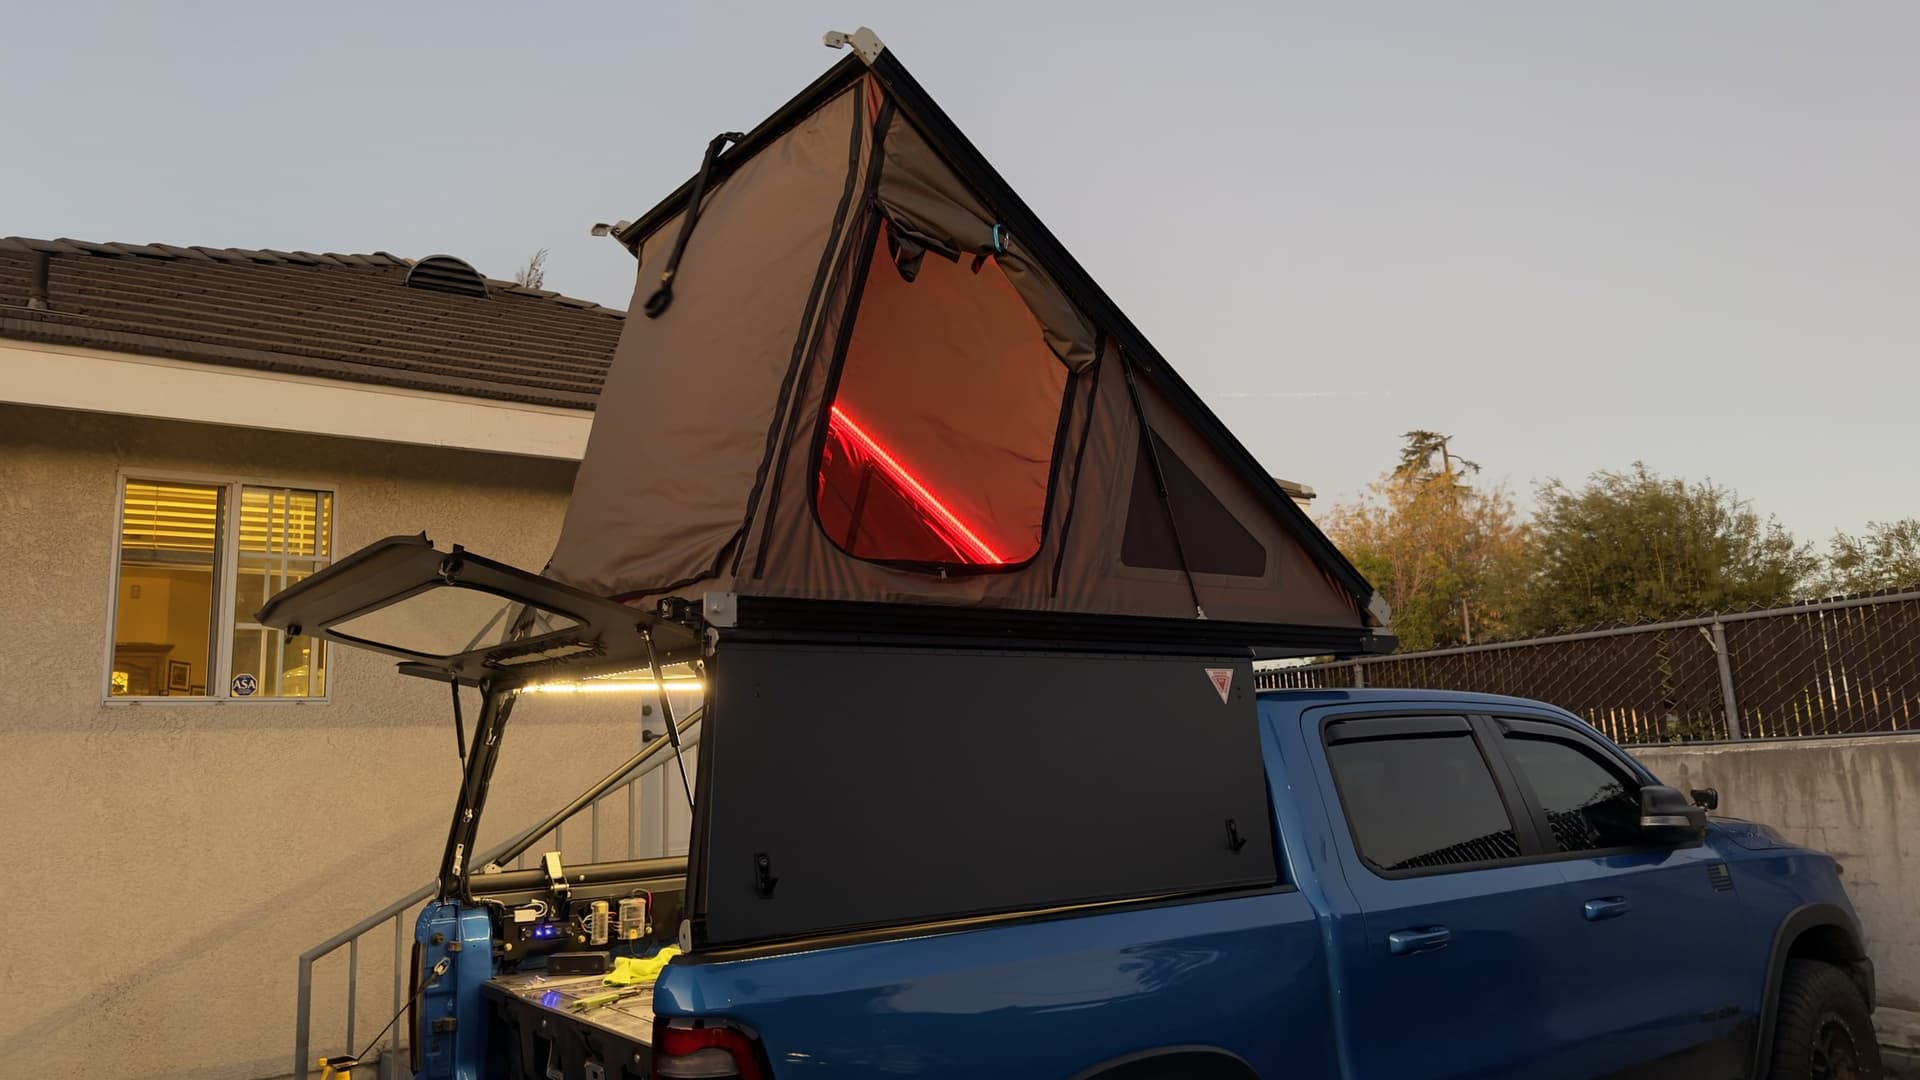
The plan was always to go GFC since I started the build in 2022, but funding was an issue at the time after all the mods. So I told myself I’d go GFC before summer of 2024, before my planned Alaska trip in September 2024. But one day, one of my customers at the shop expressed interest in my roof tent and before I knew it, hands were shaken and a verbal deal was made. So, I moved up my time table and found @redleader selling his.

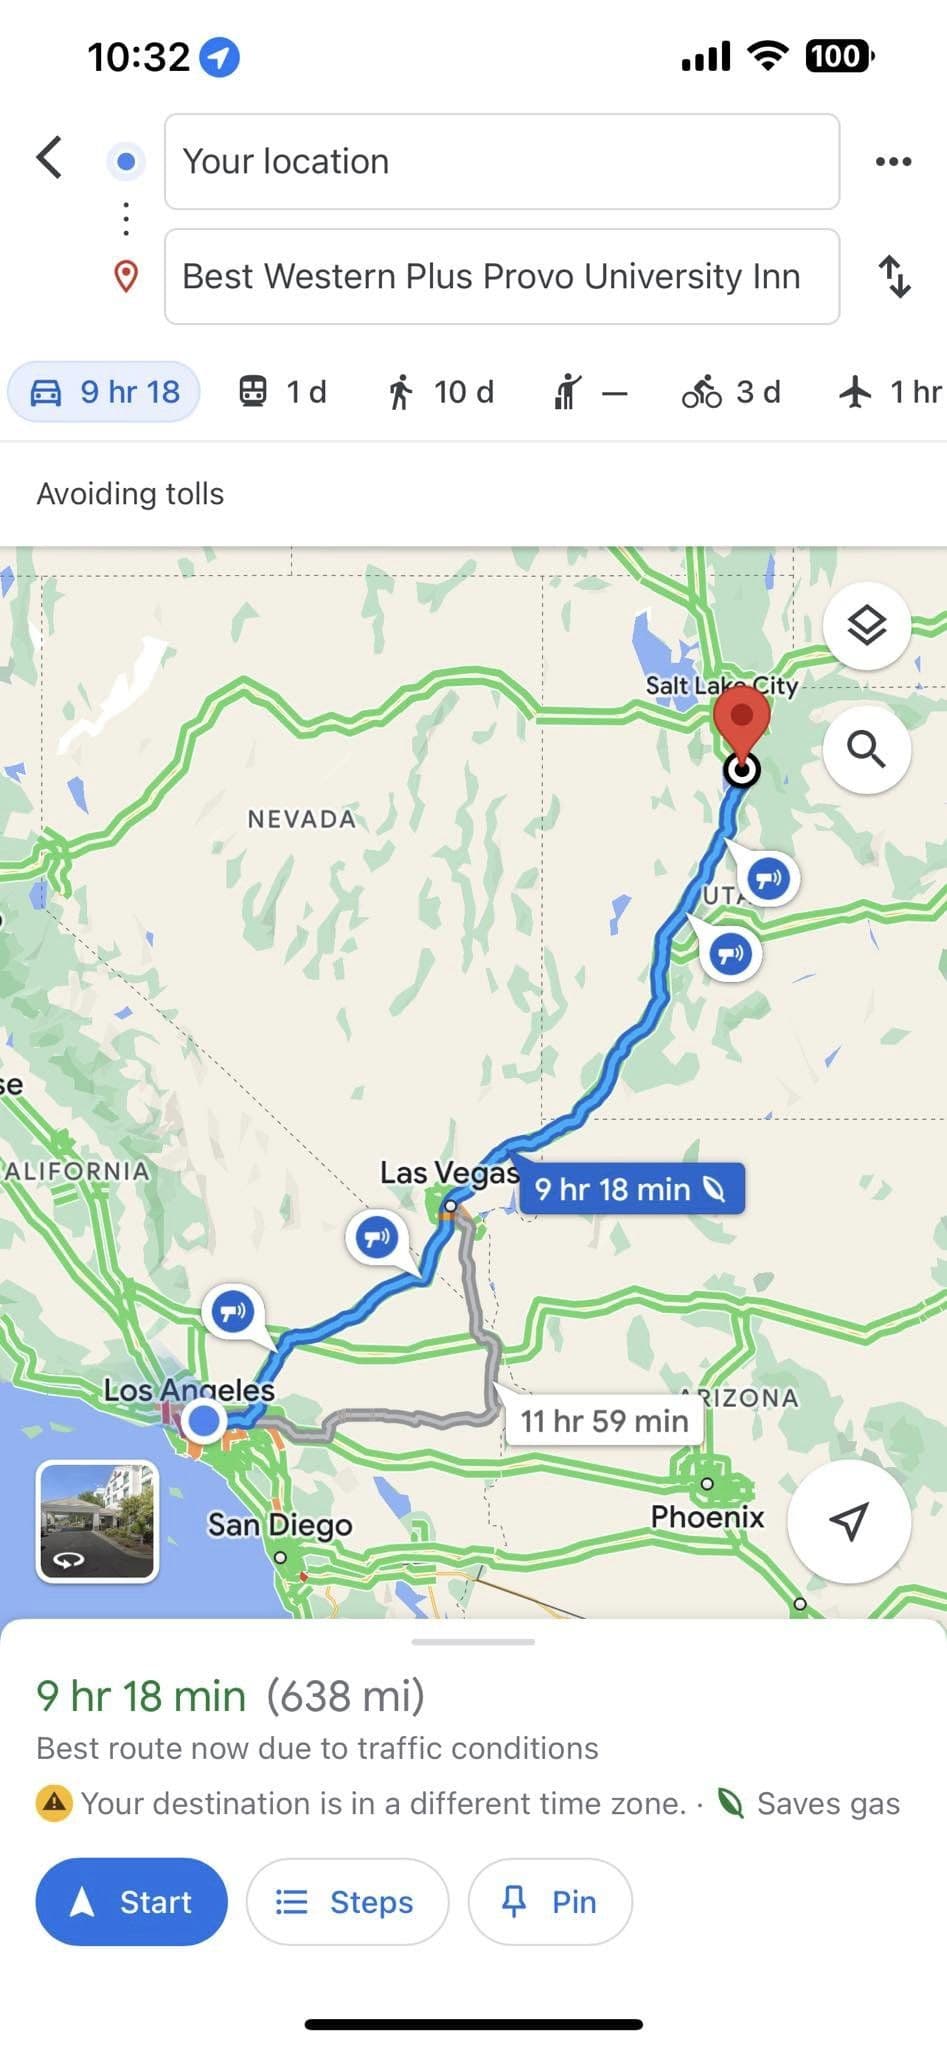
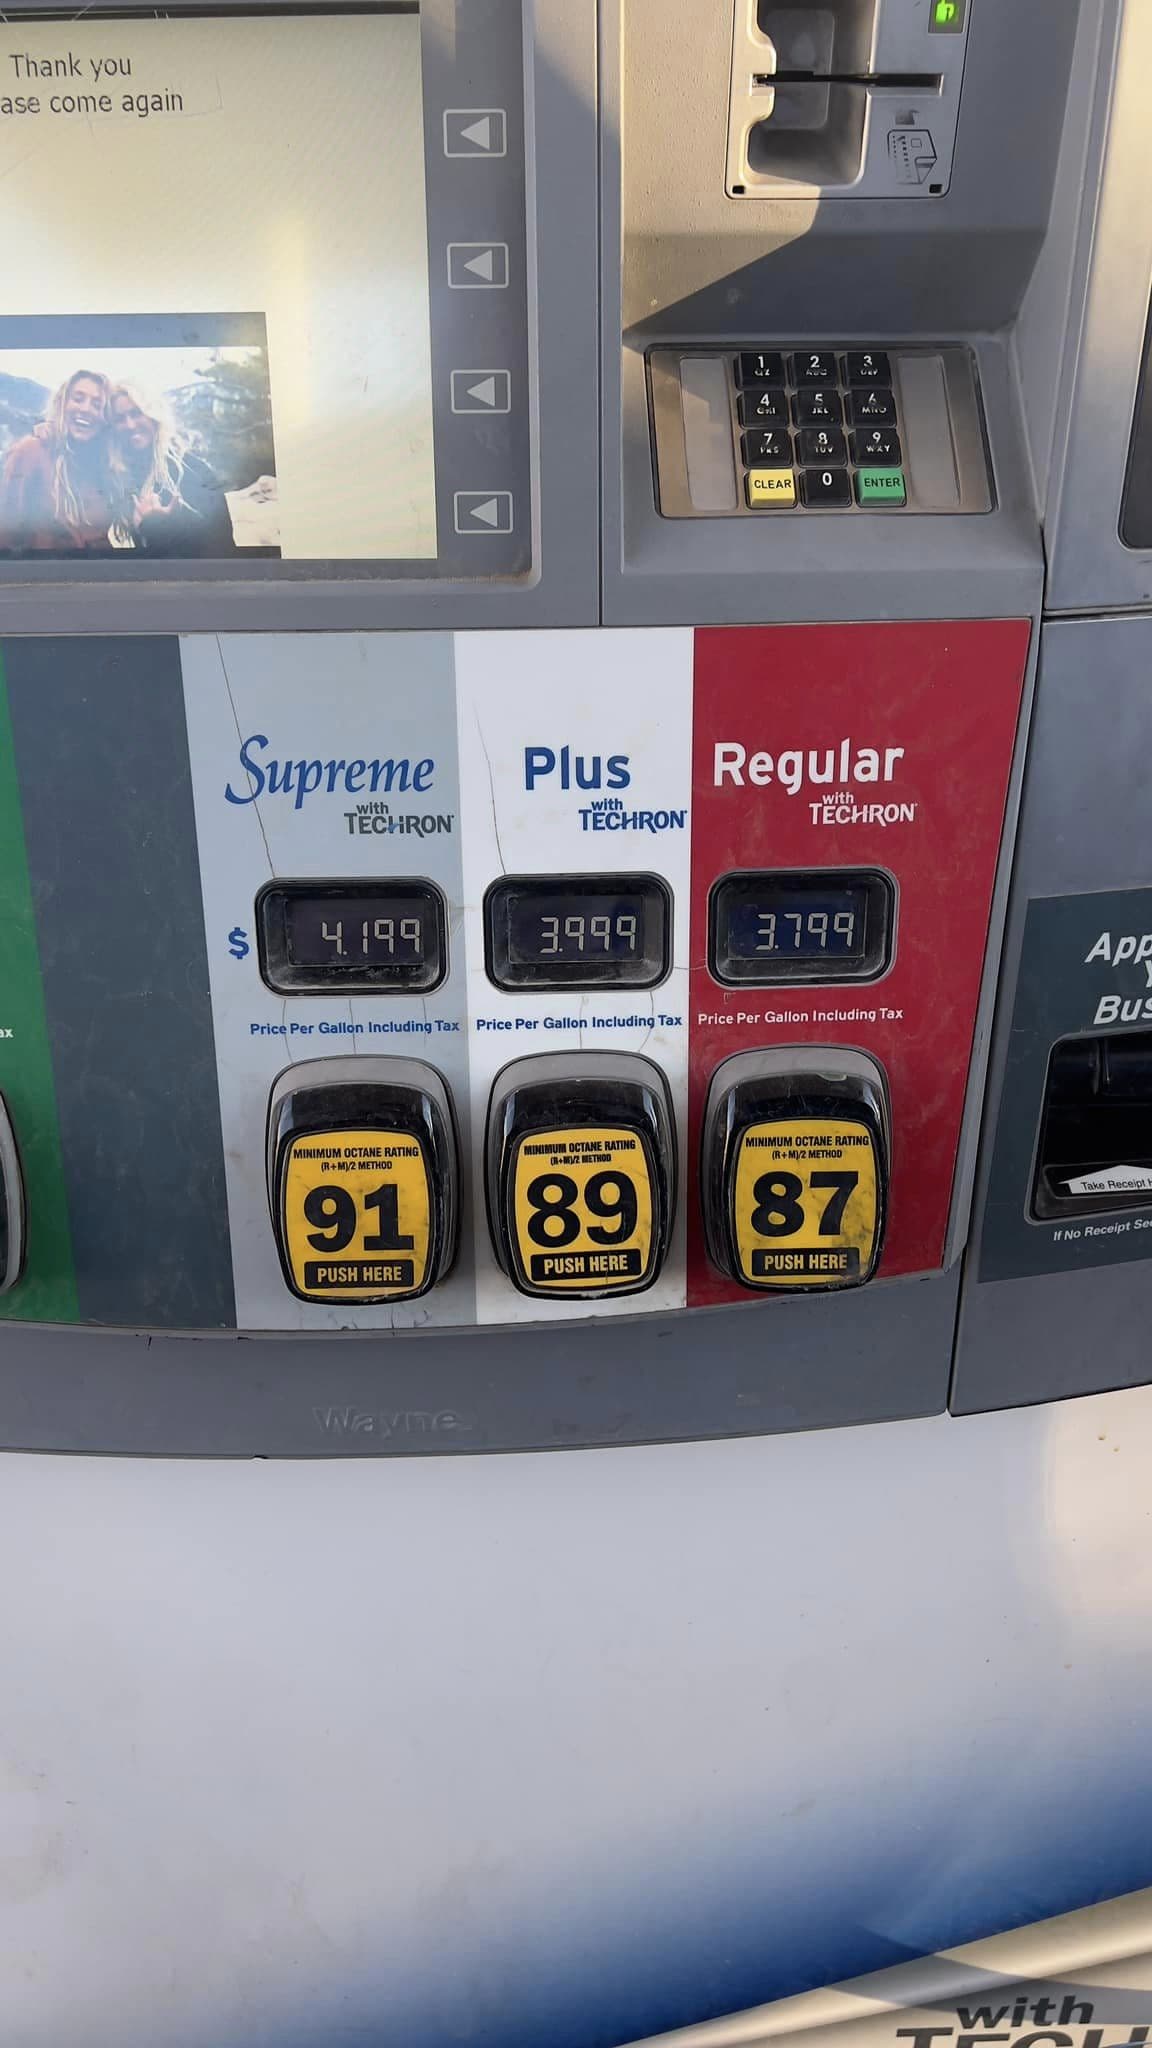
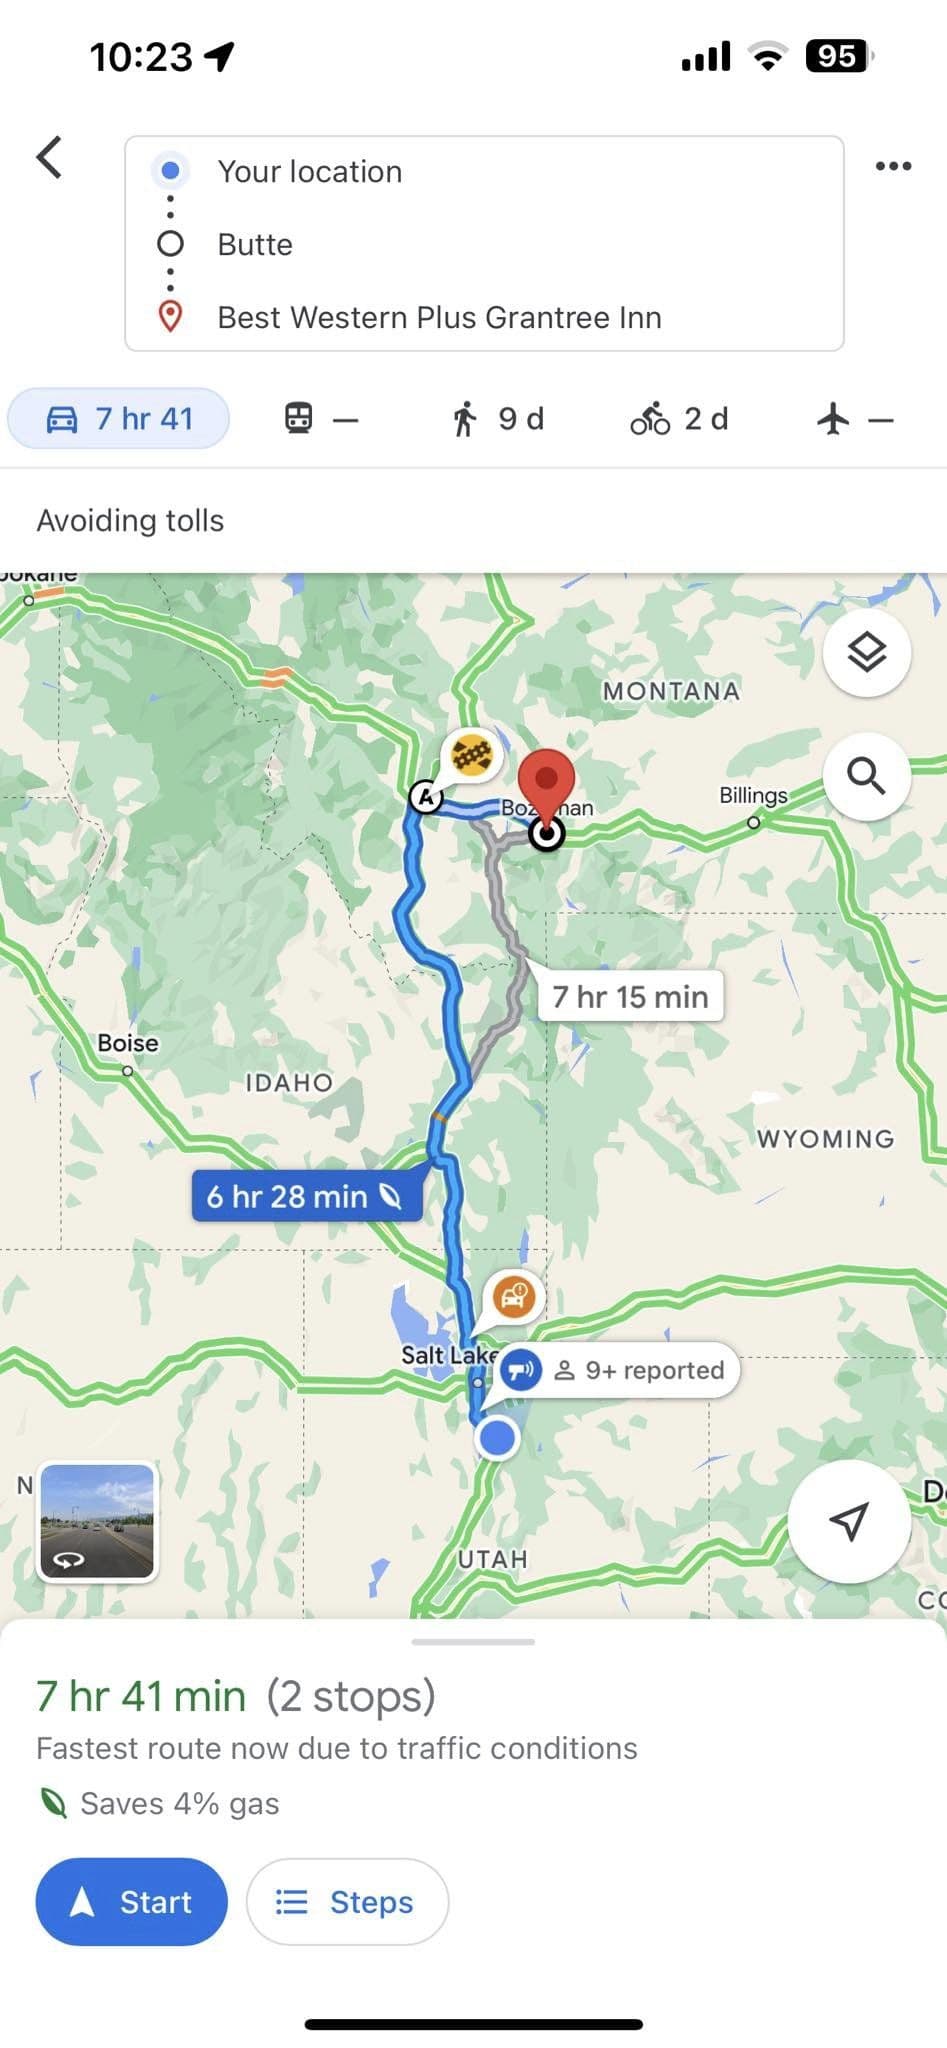
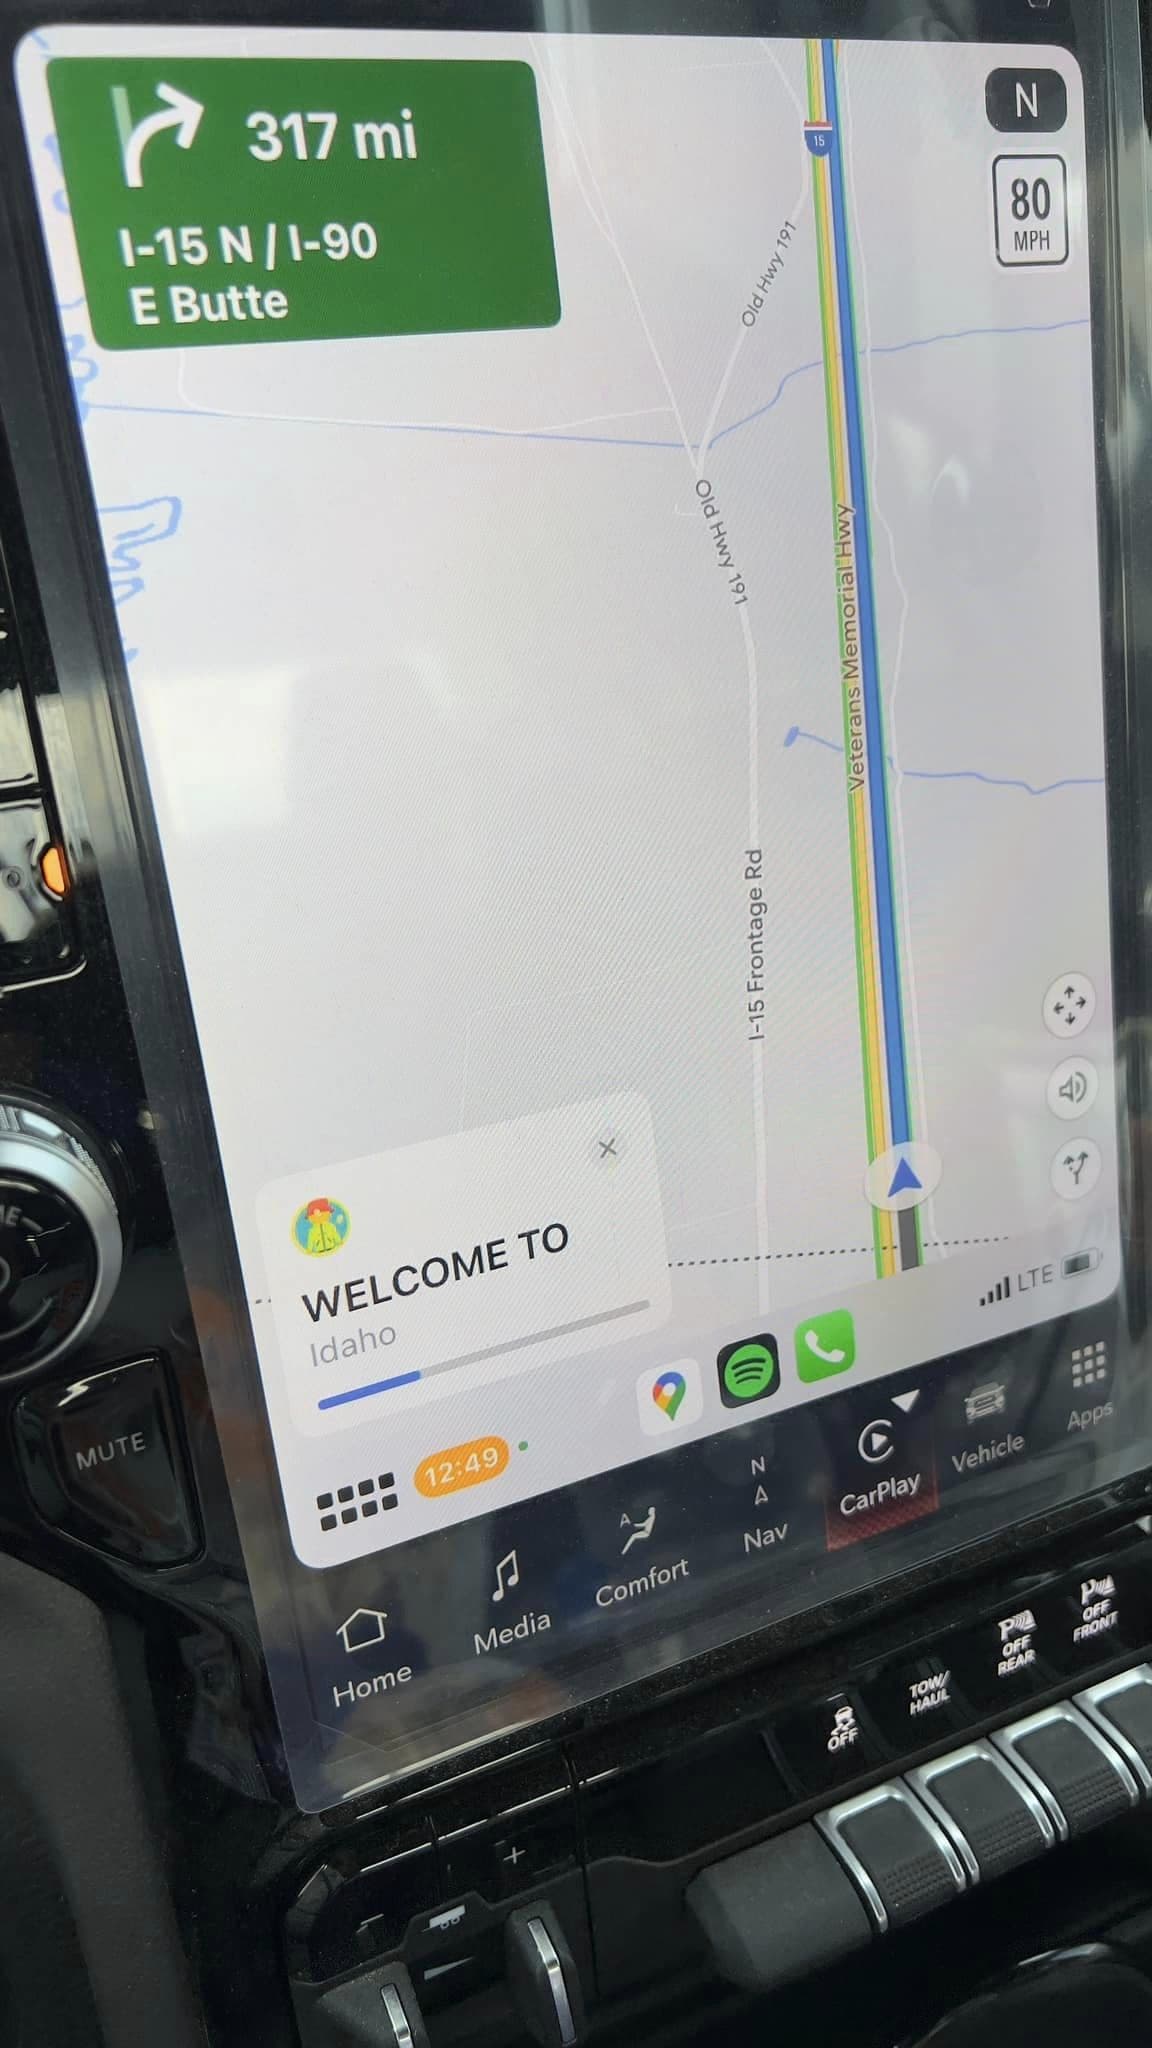
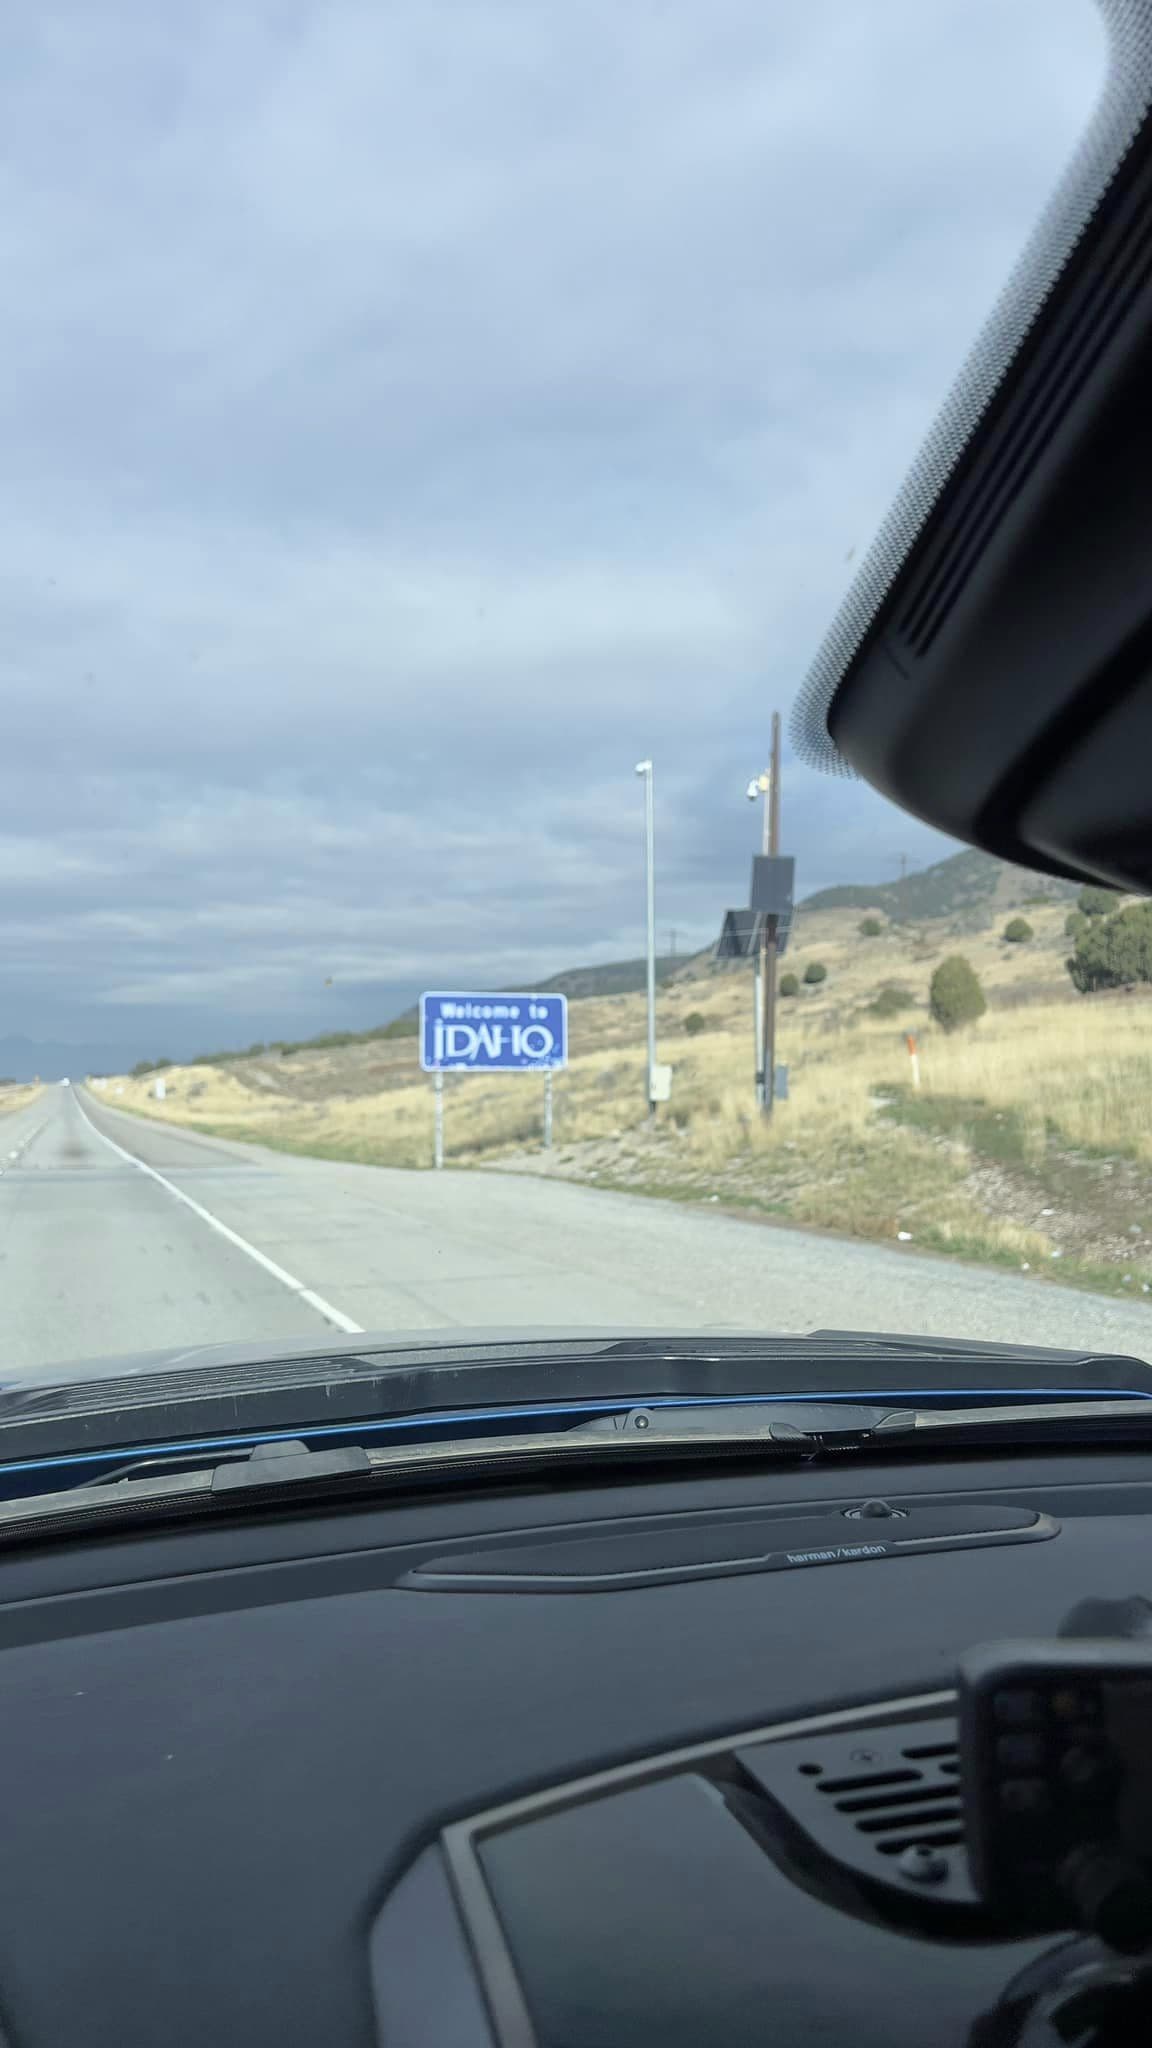
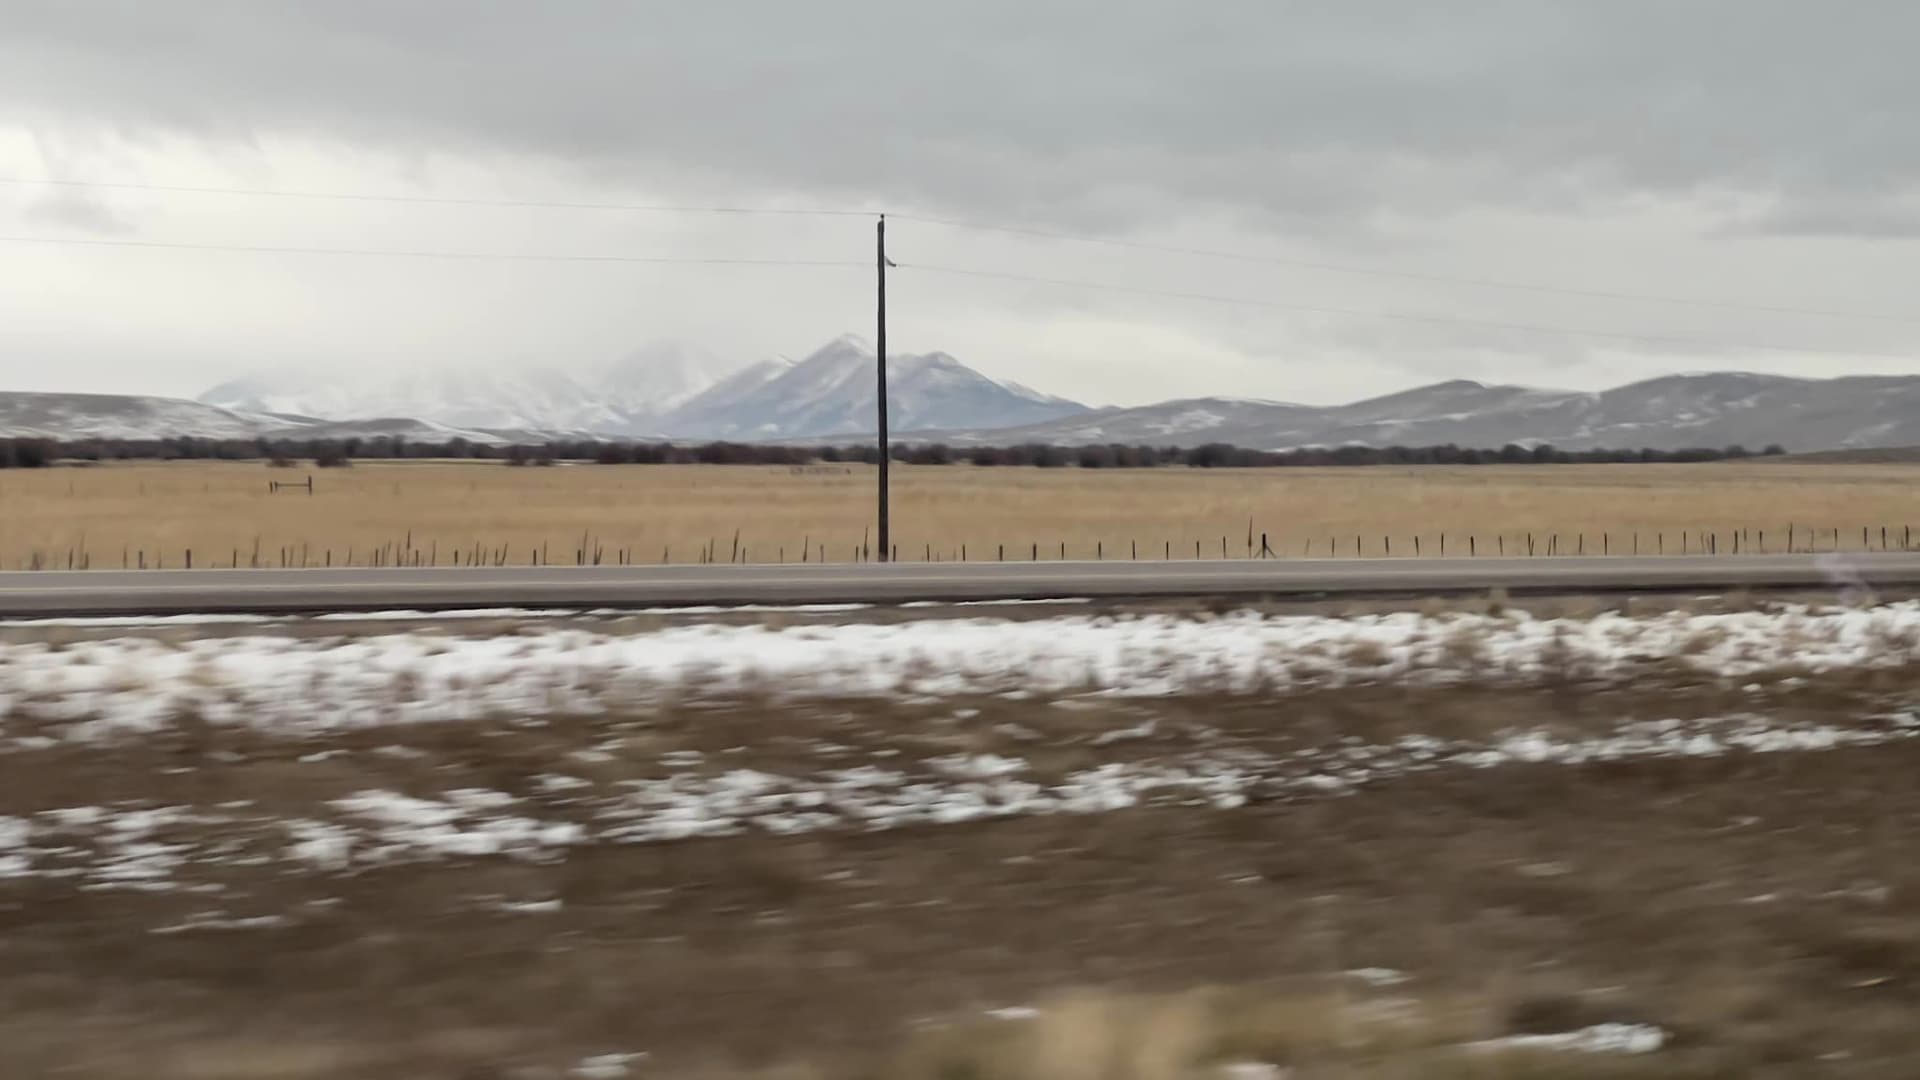
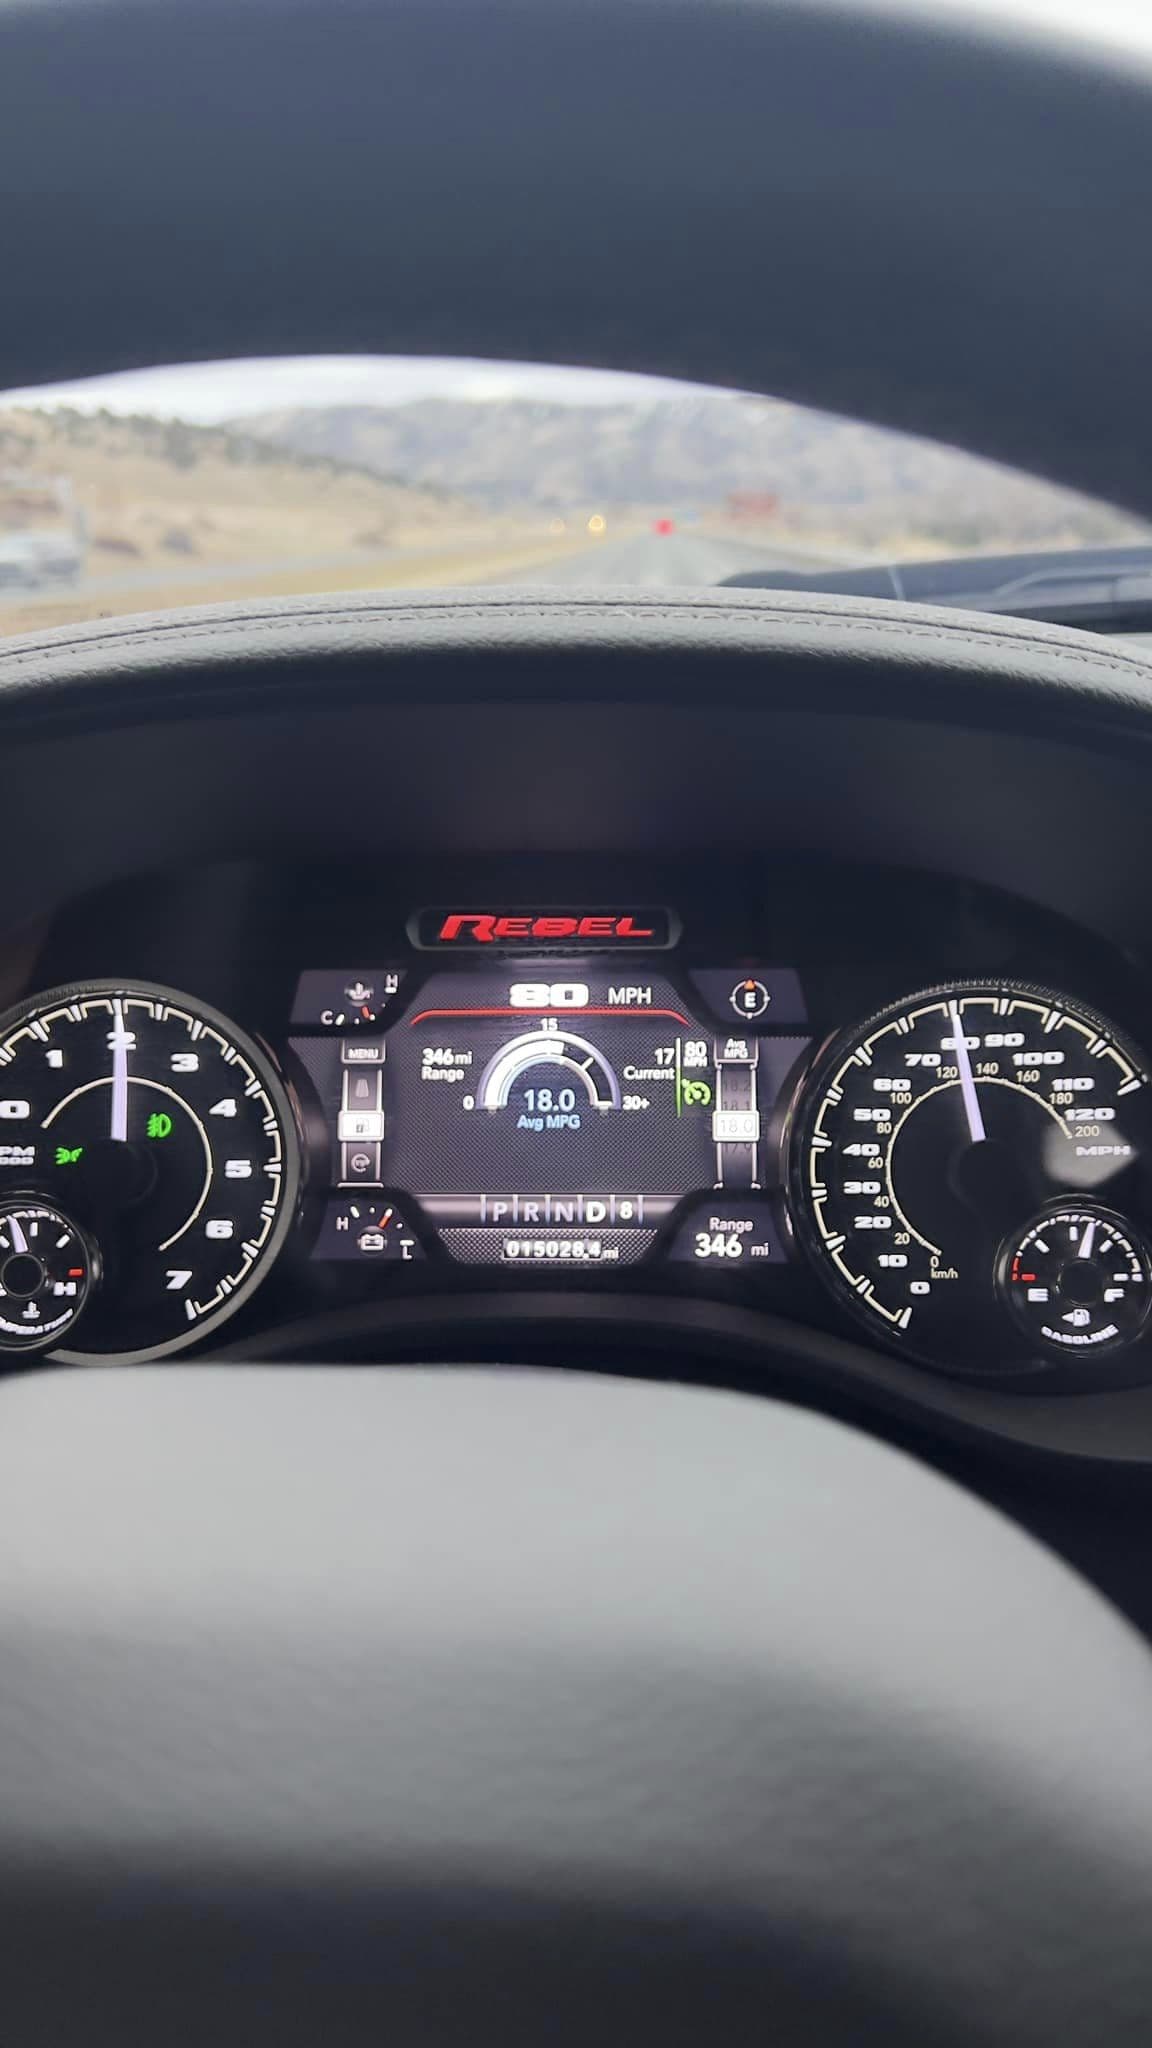
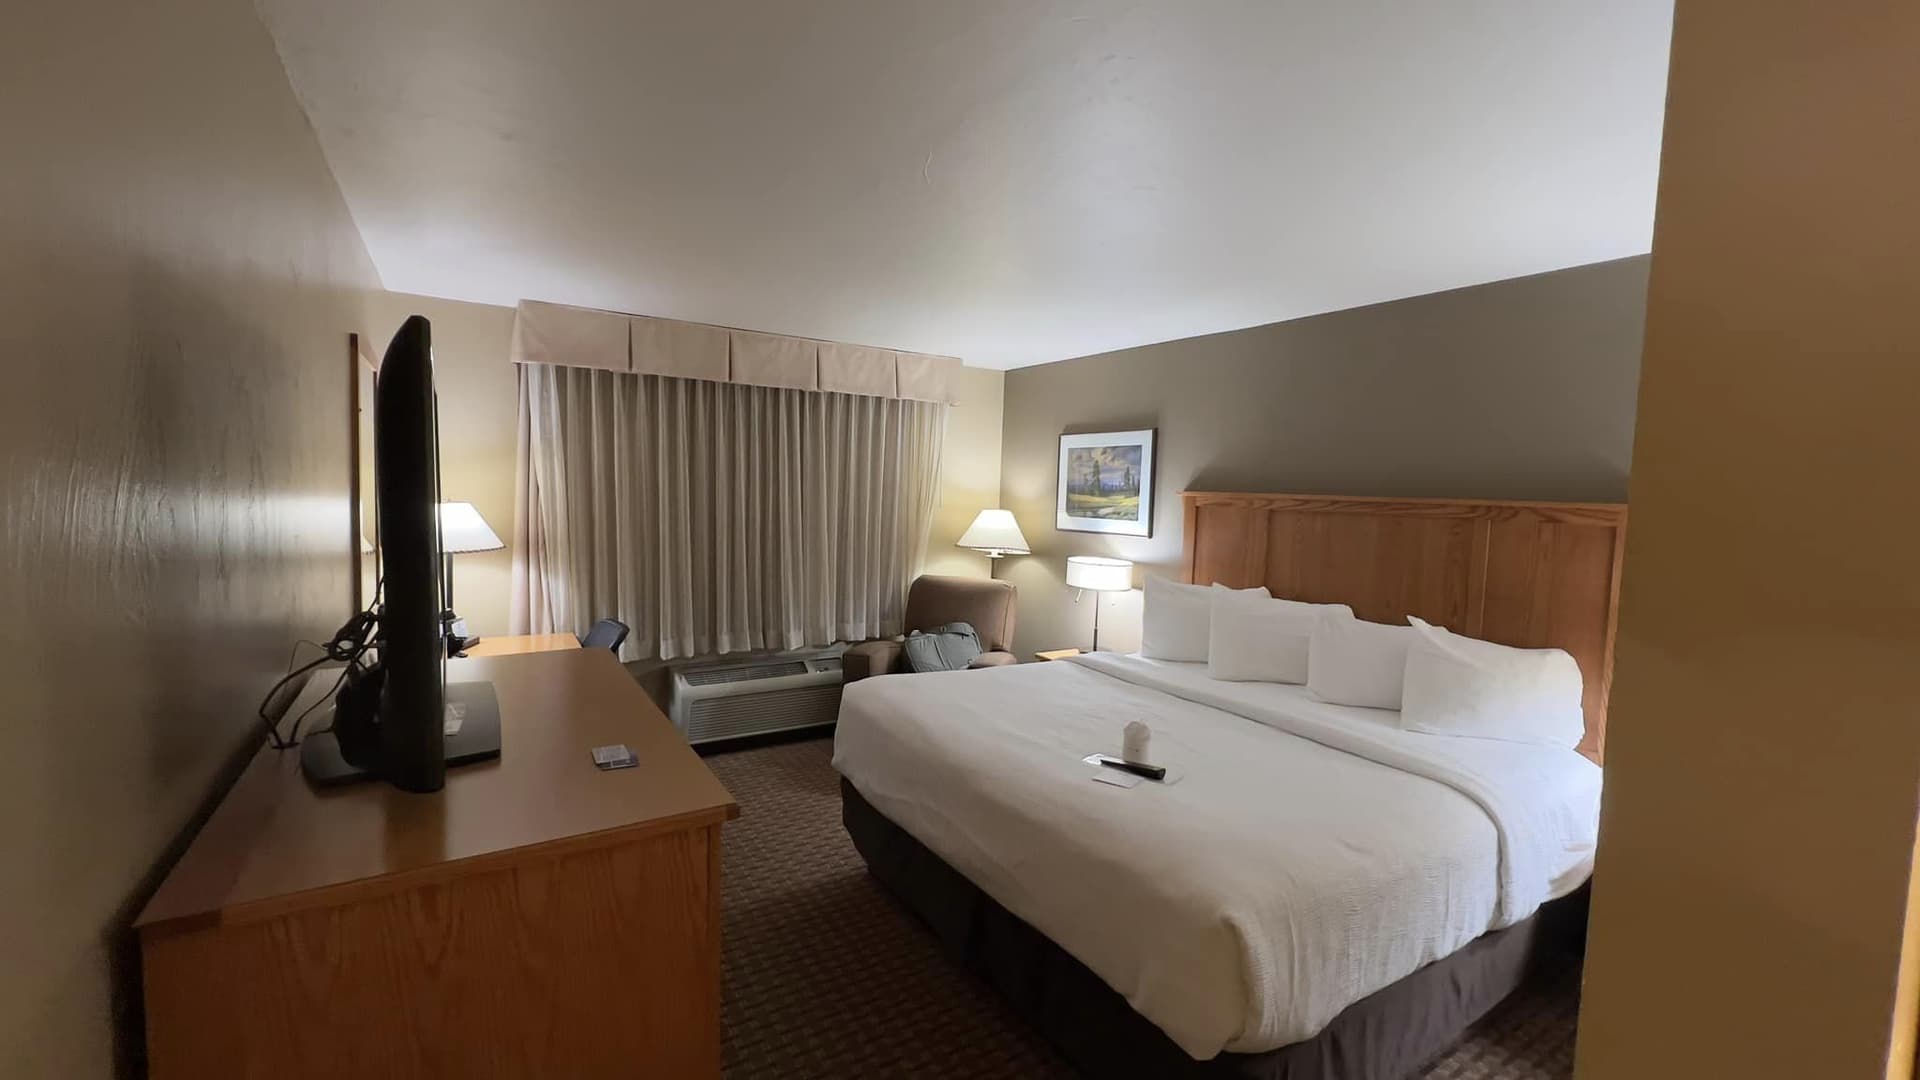
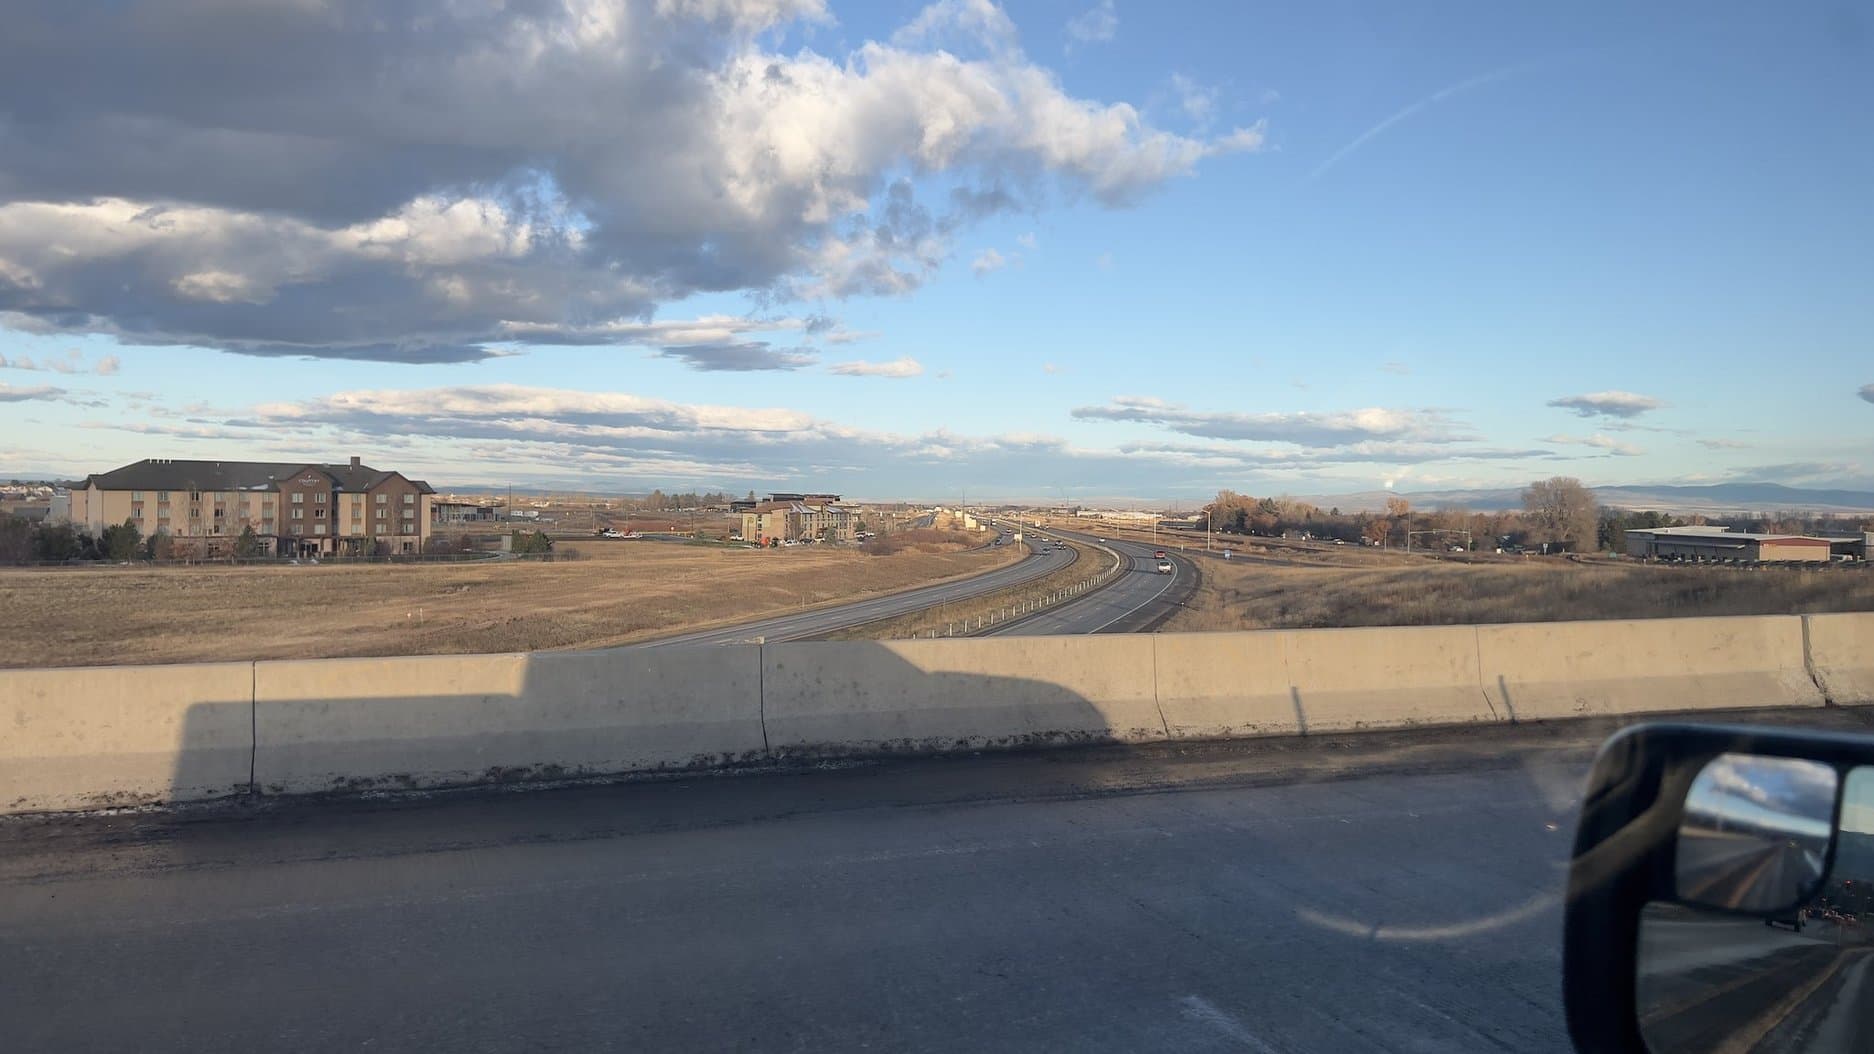
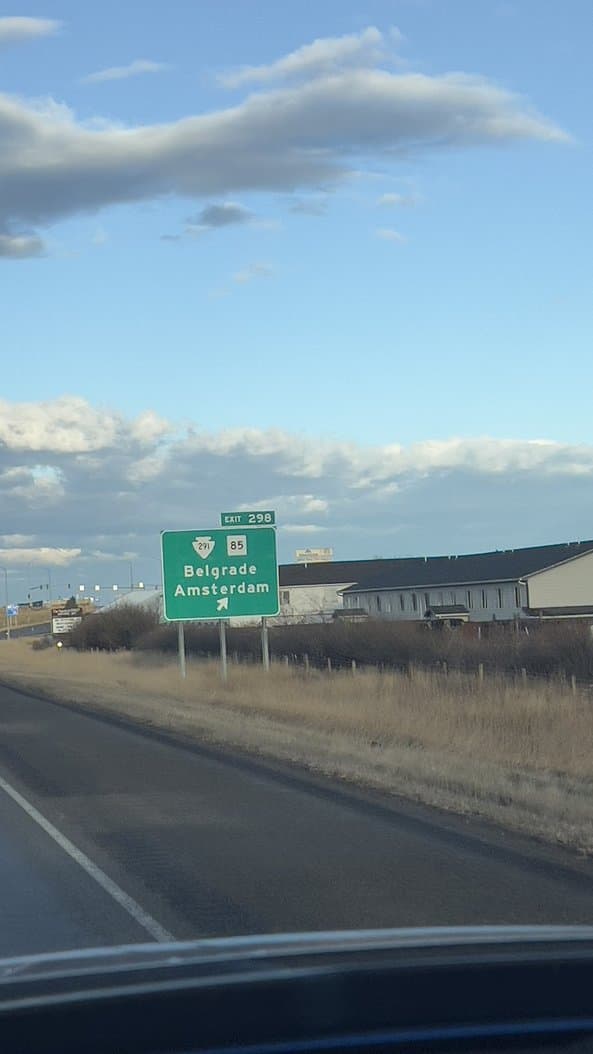
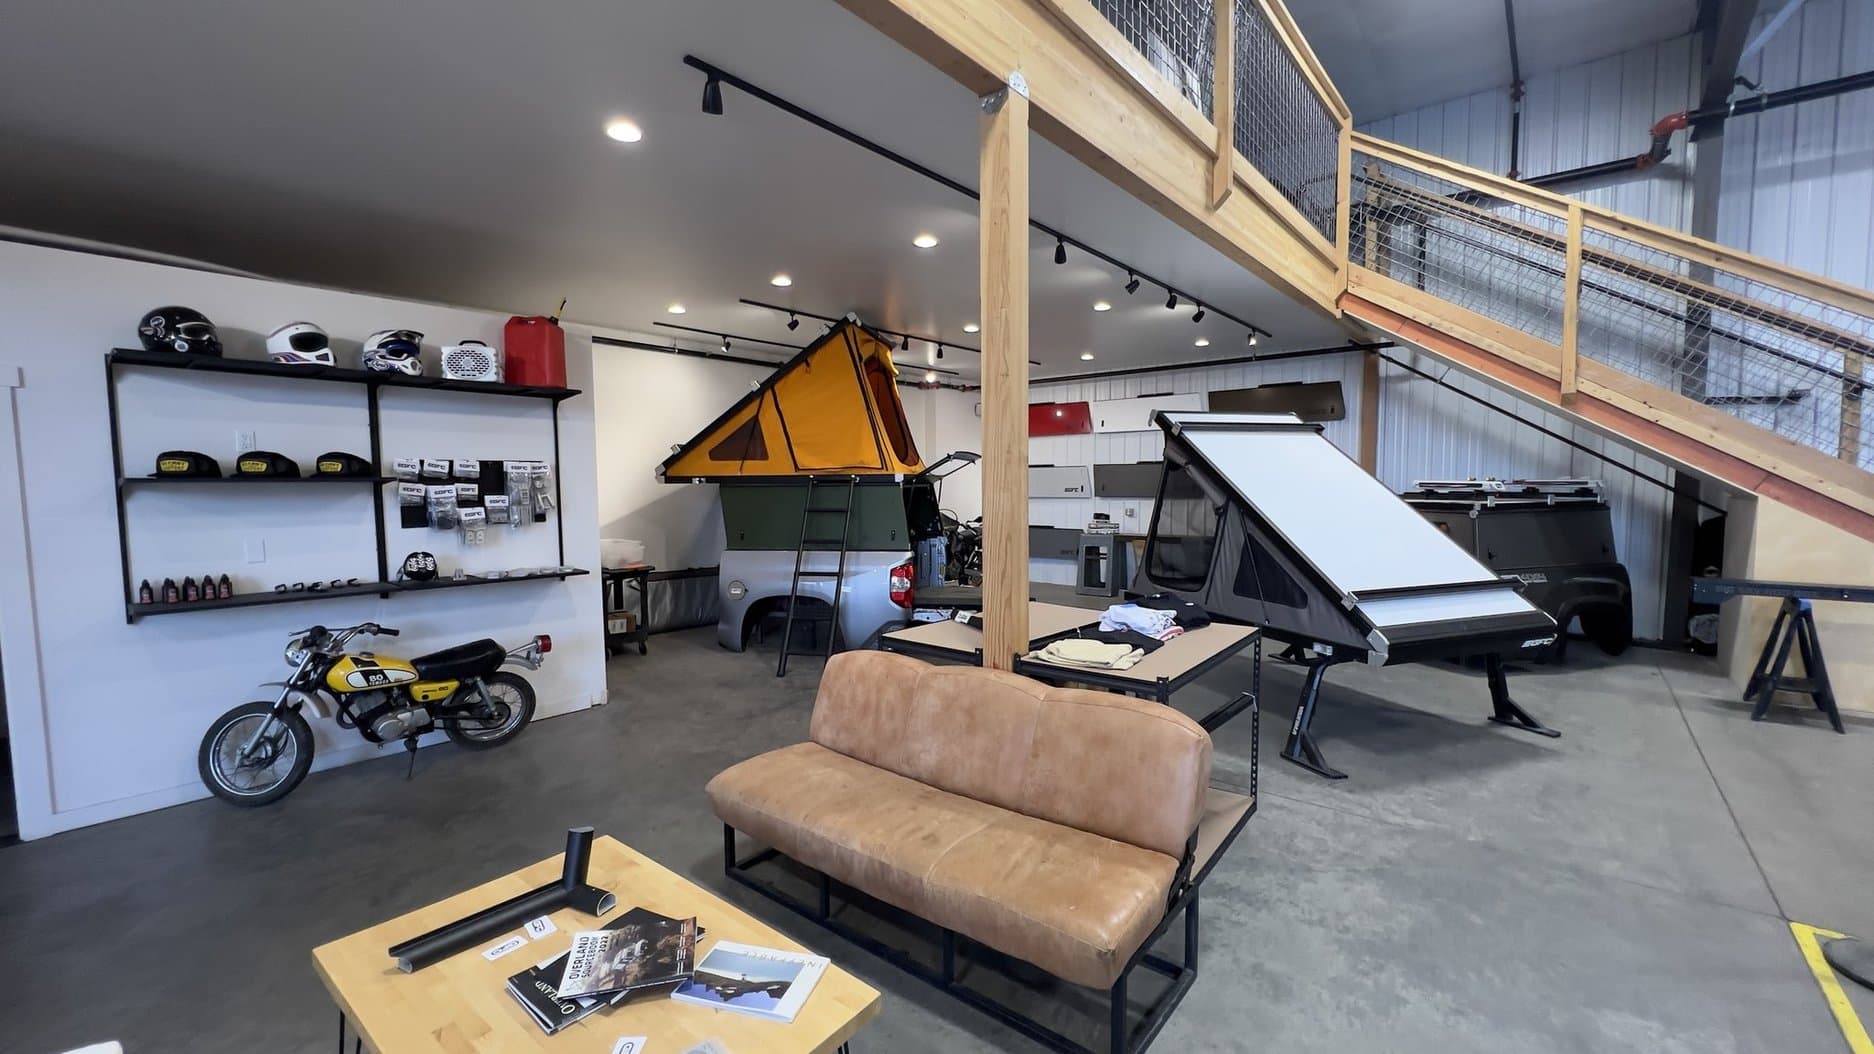
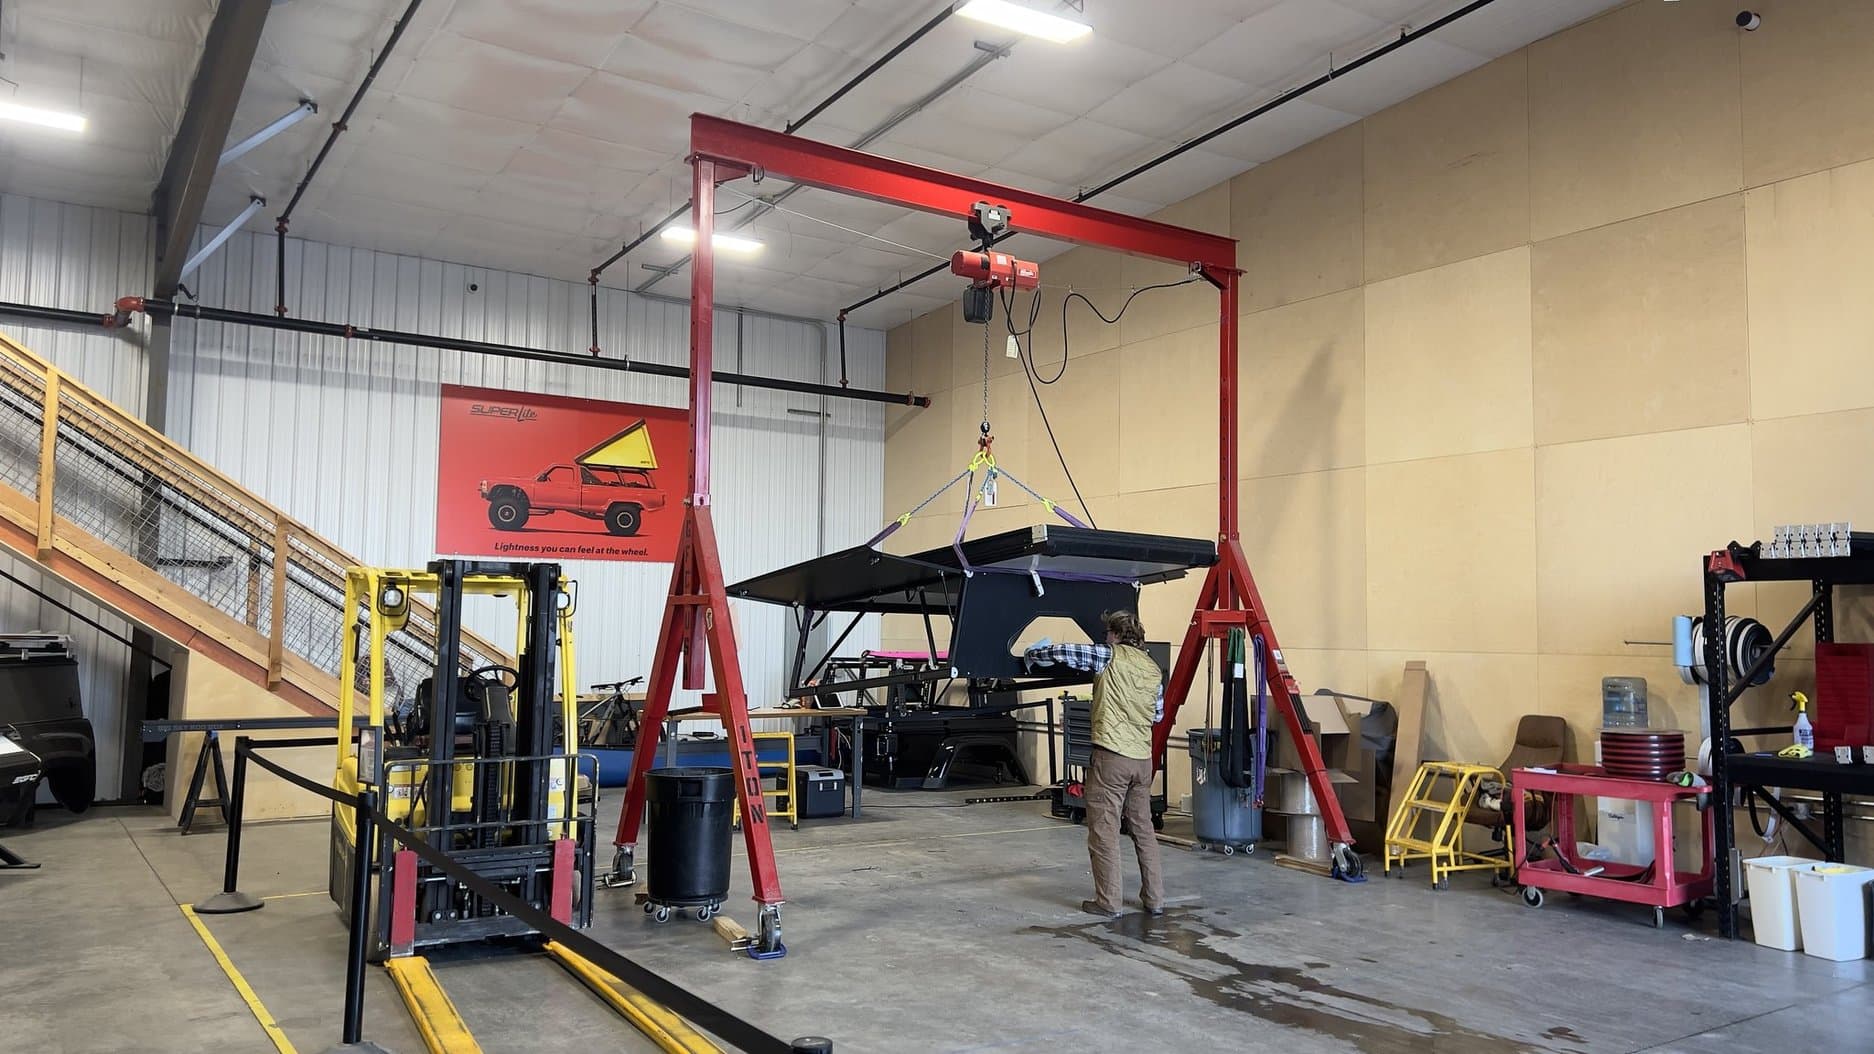
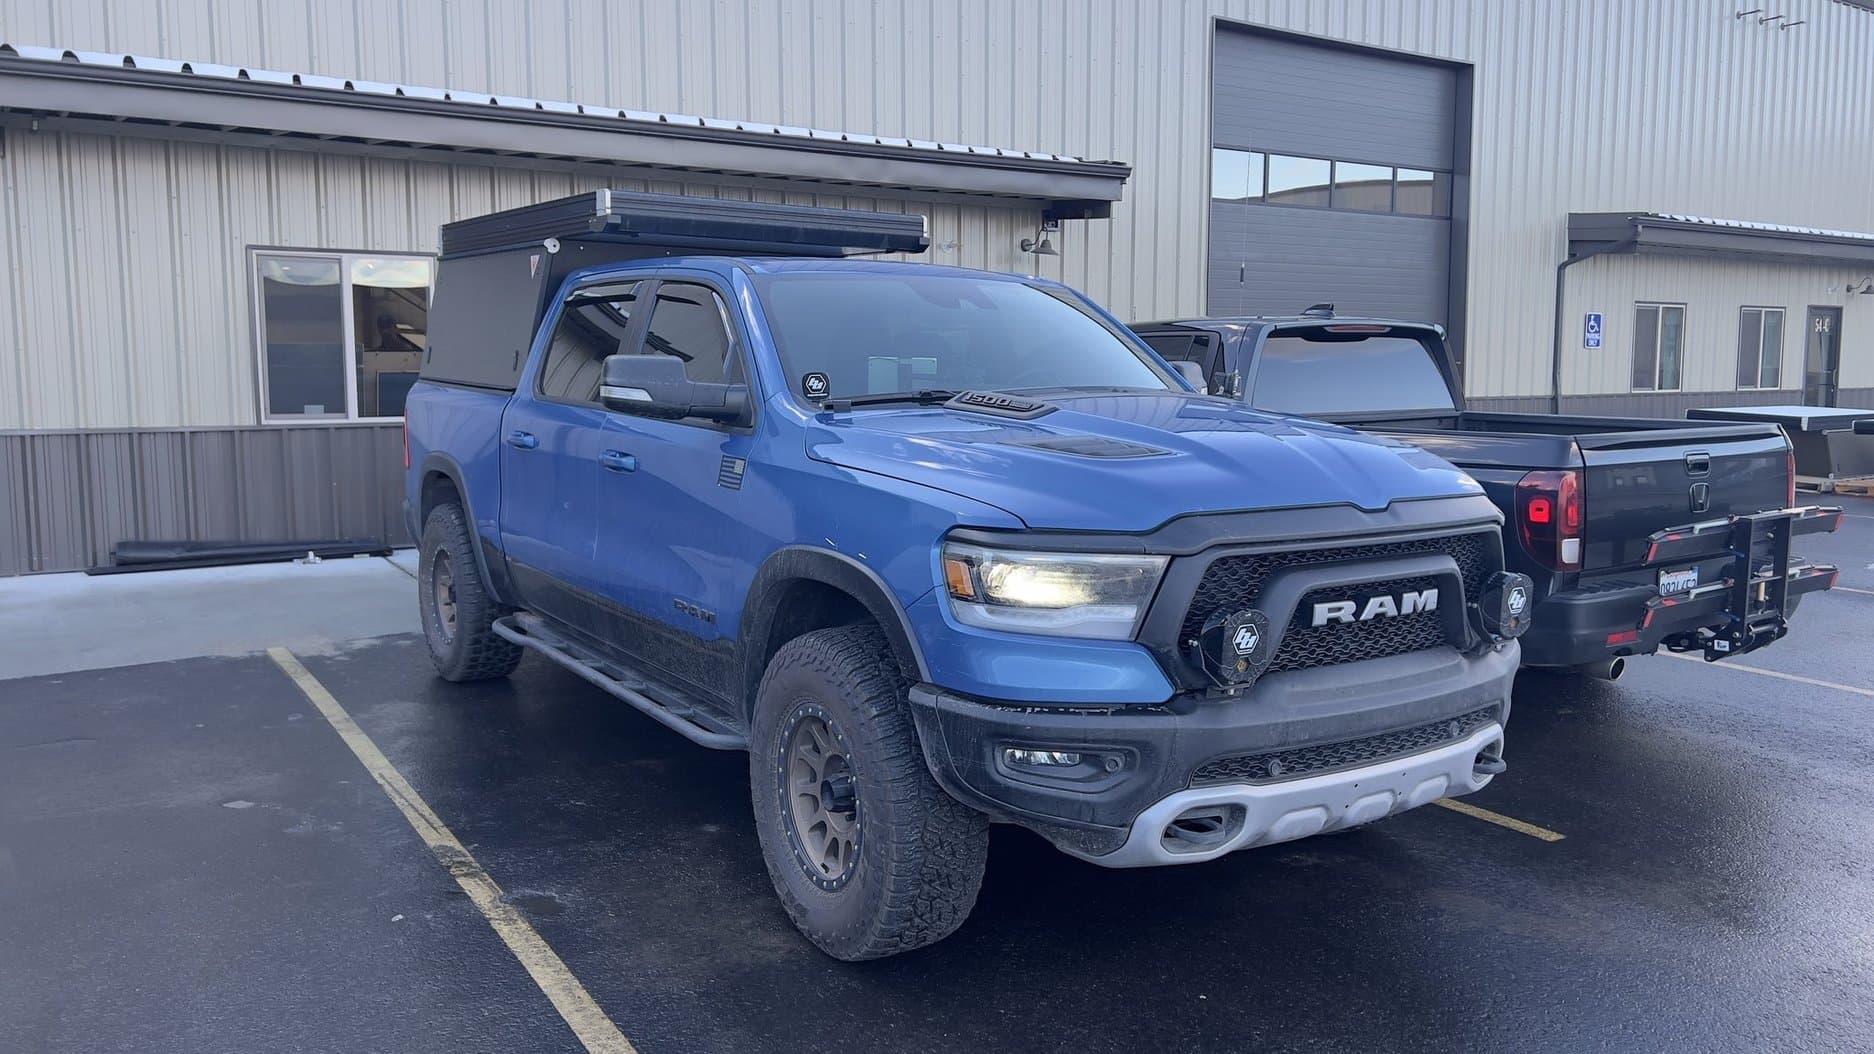
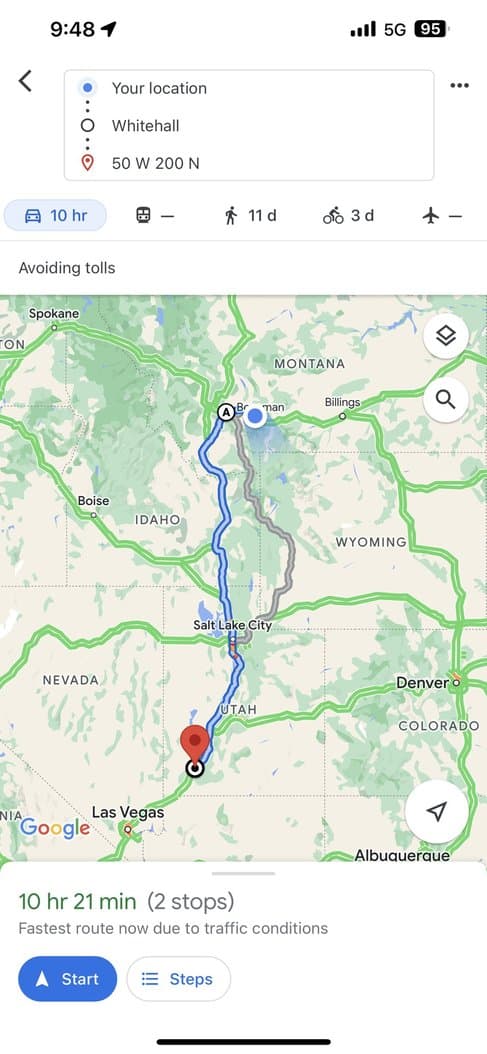
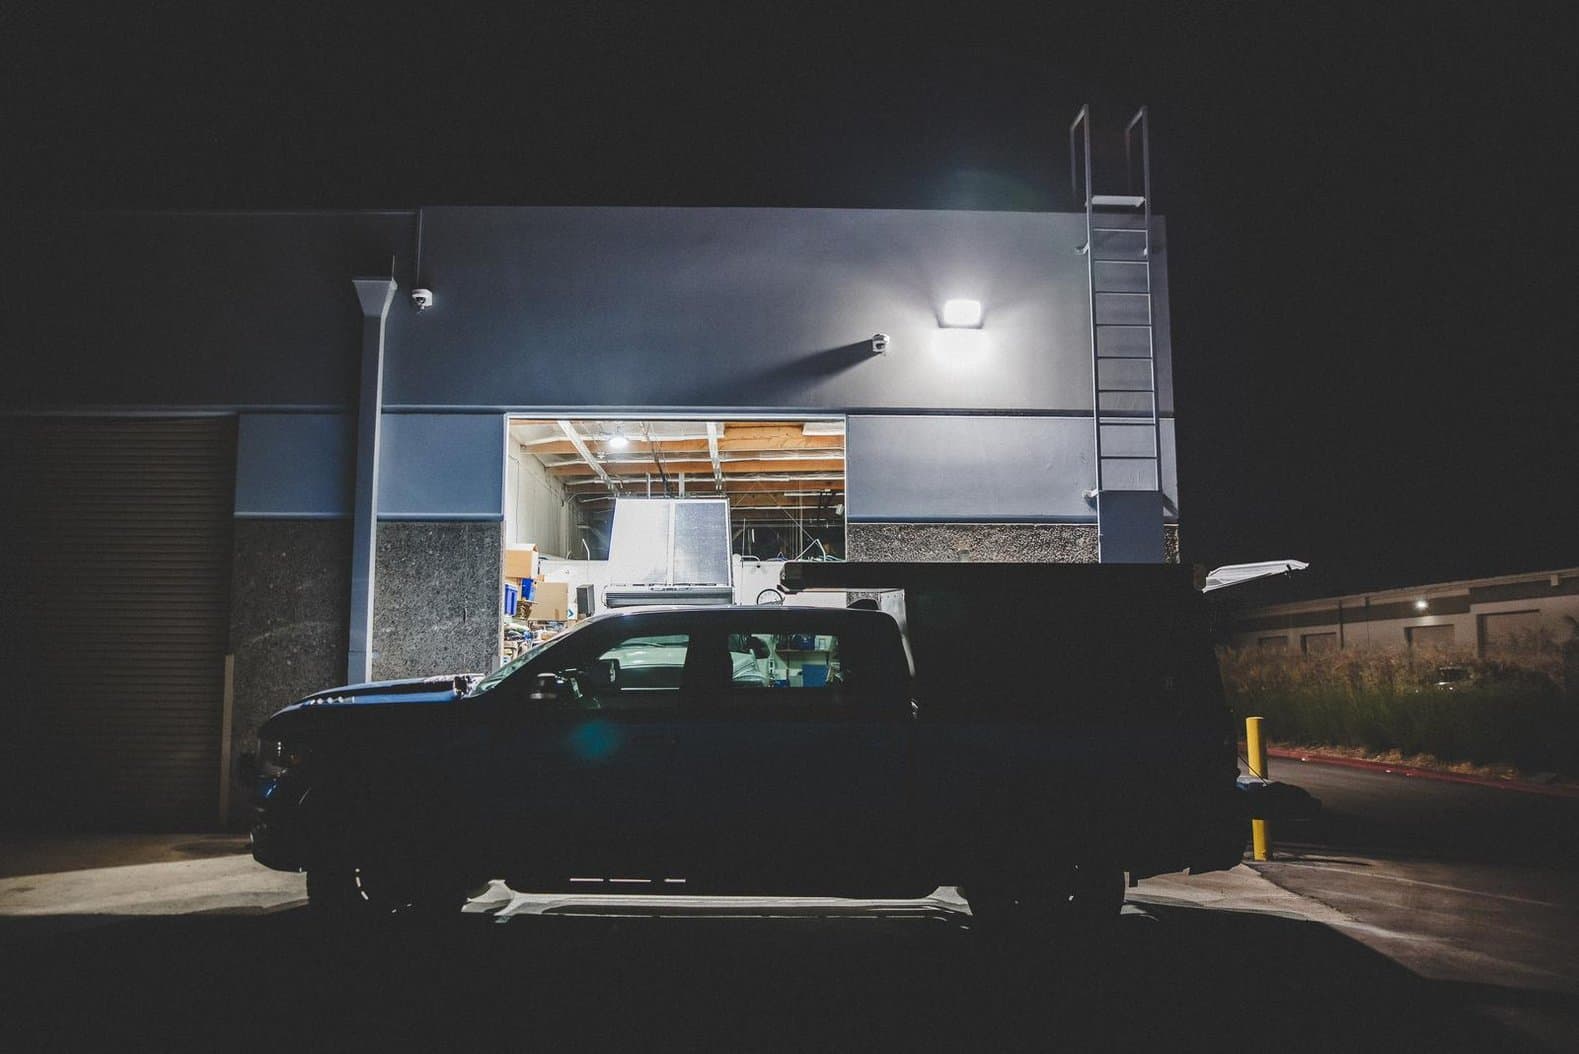
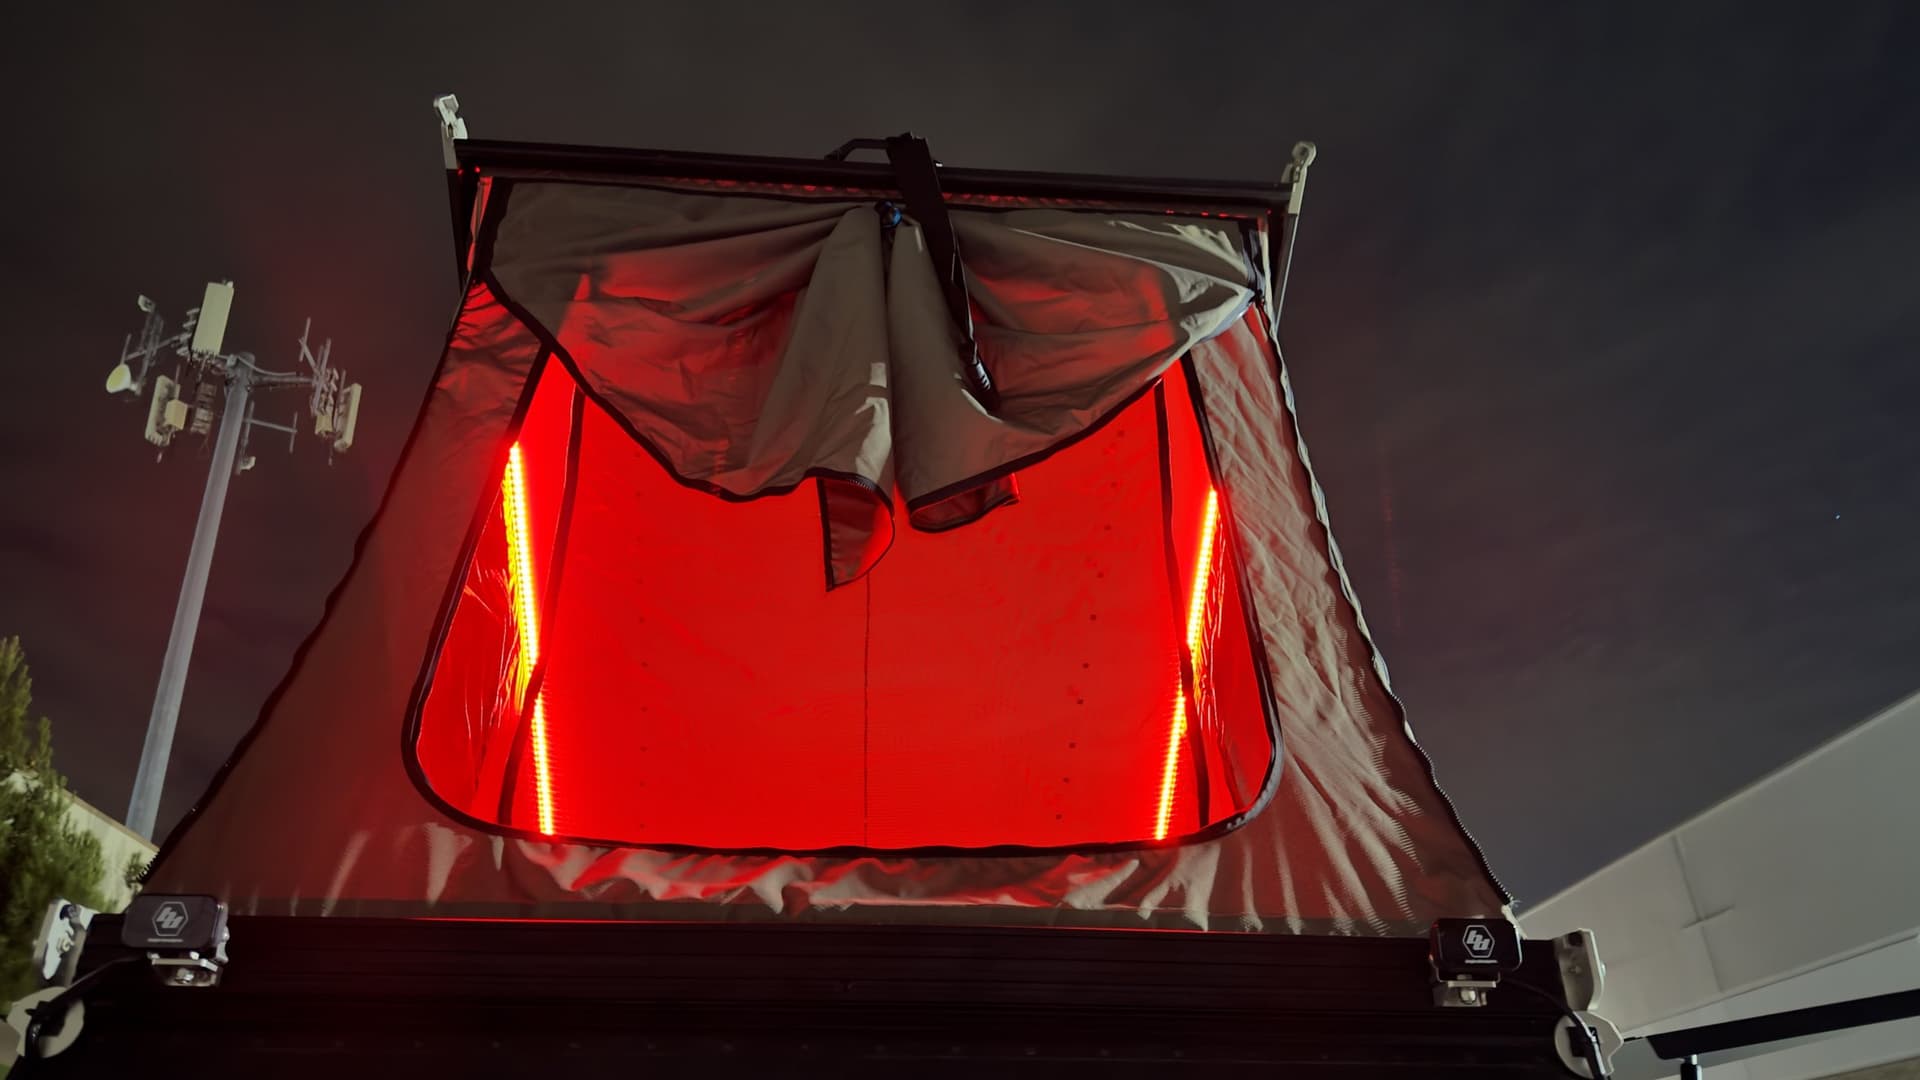
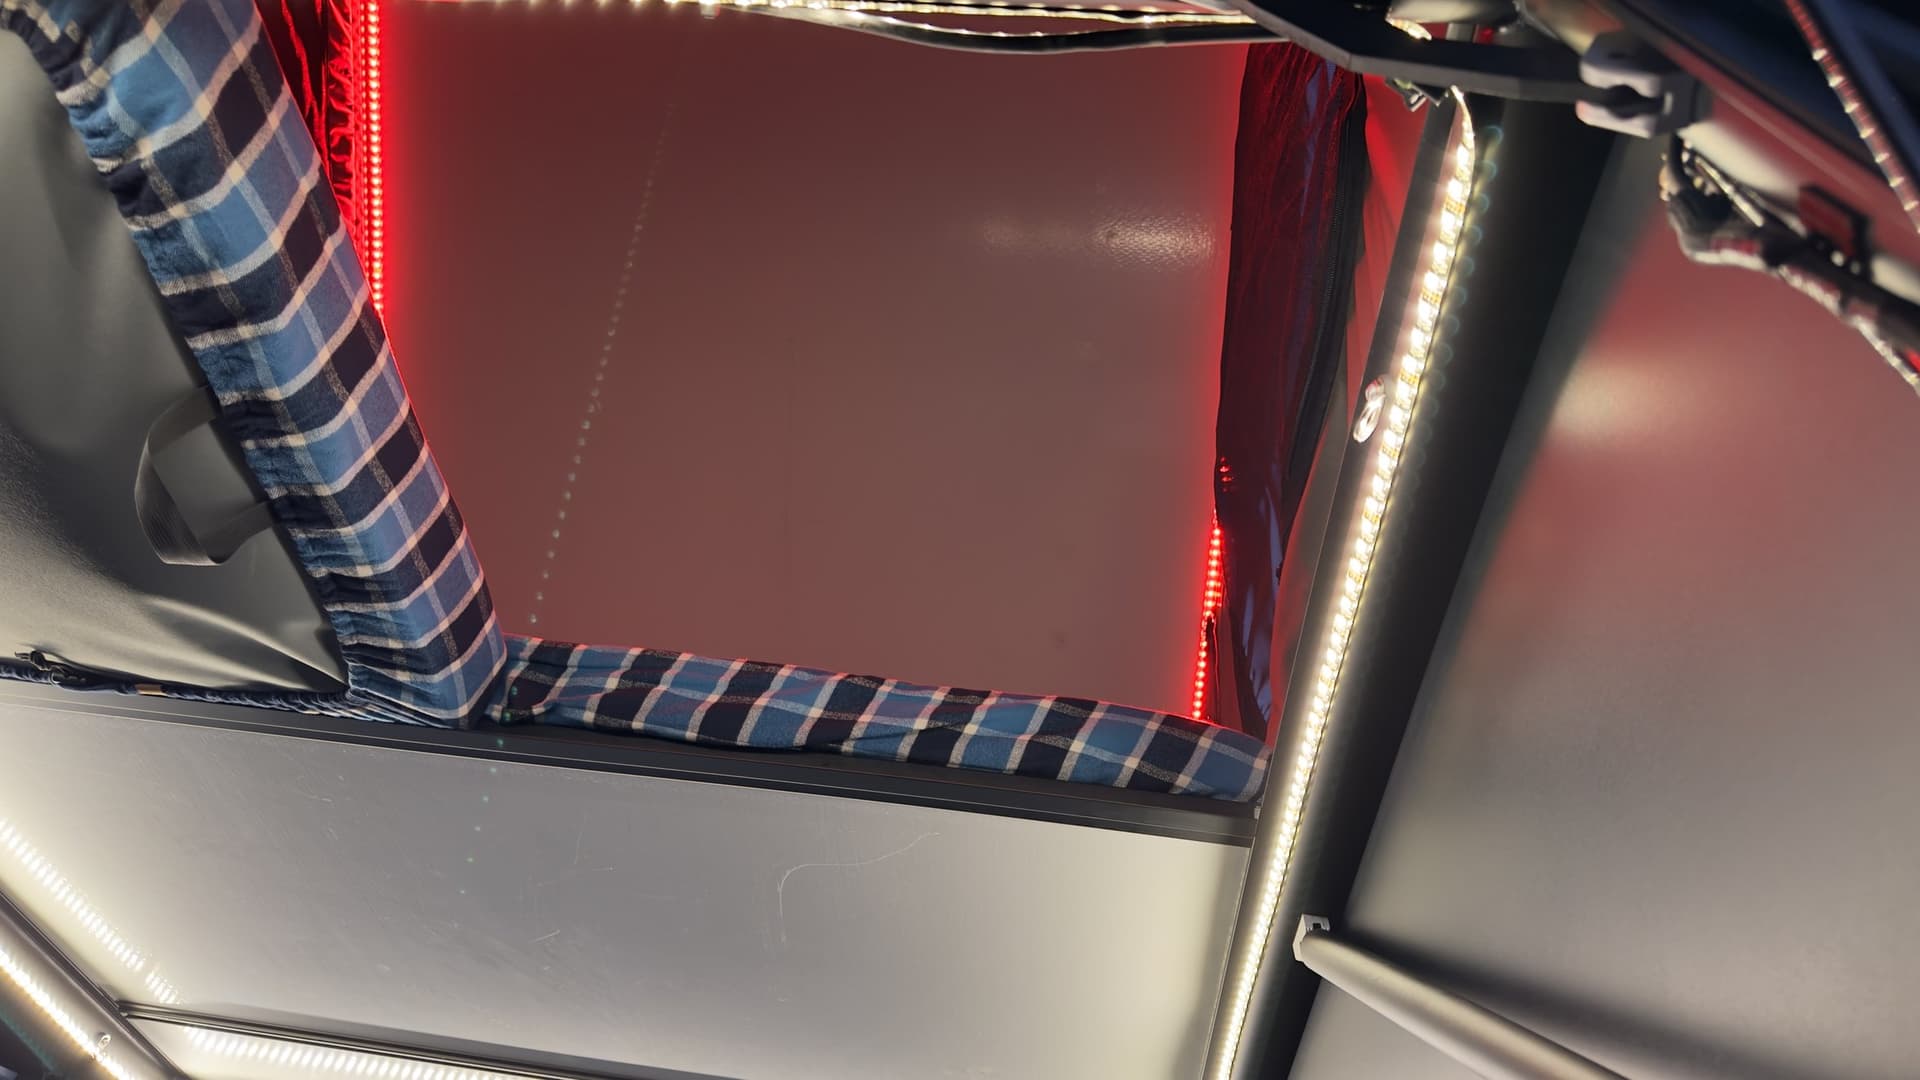
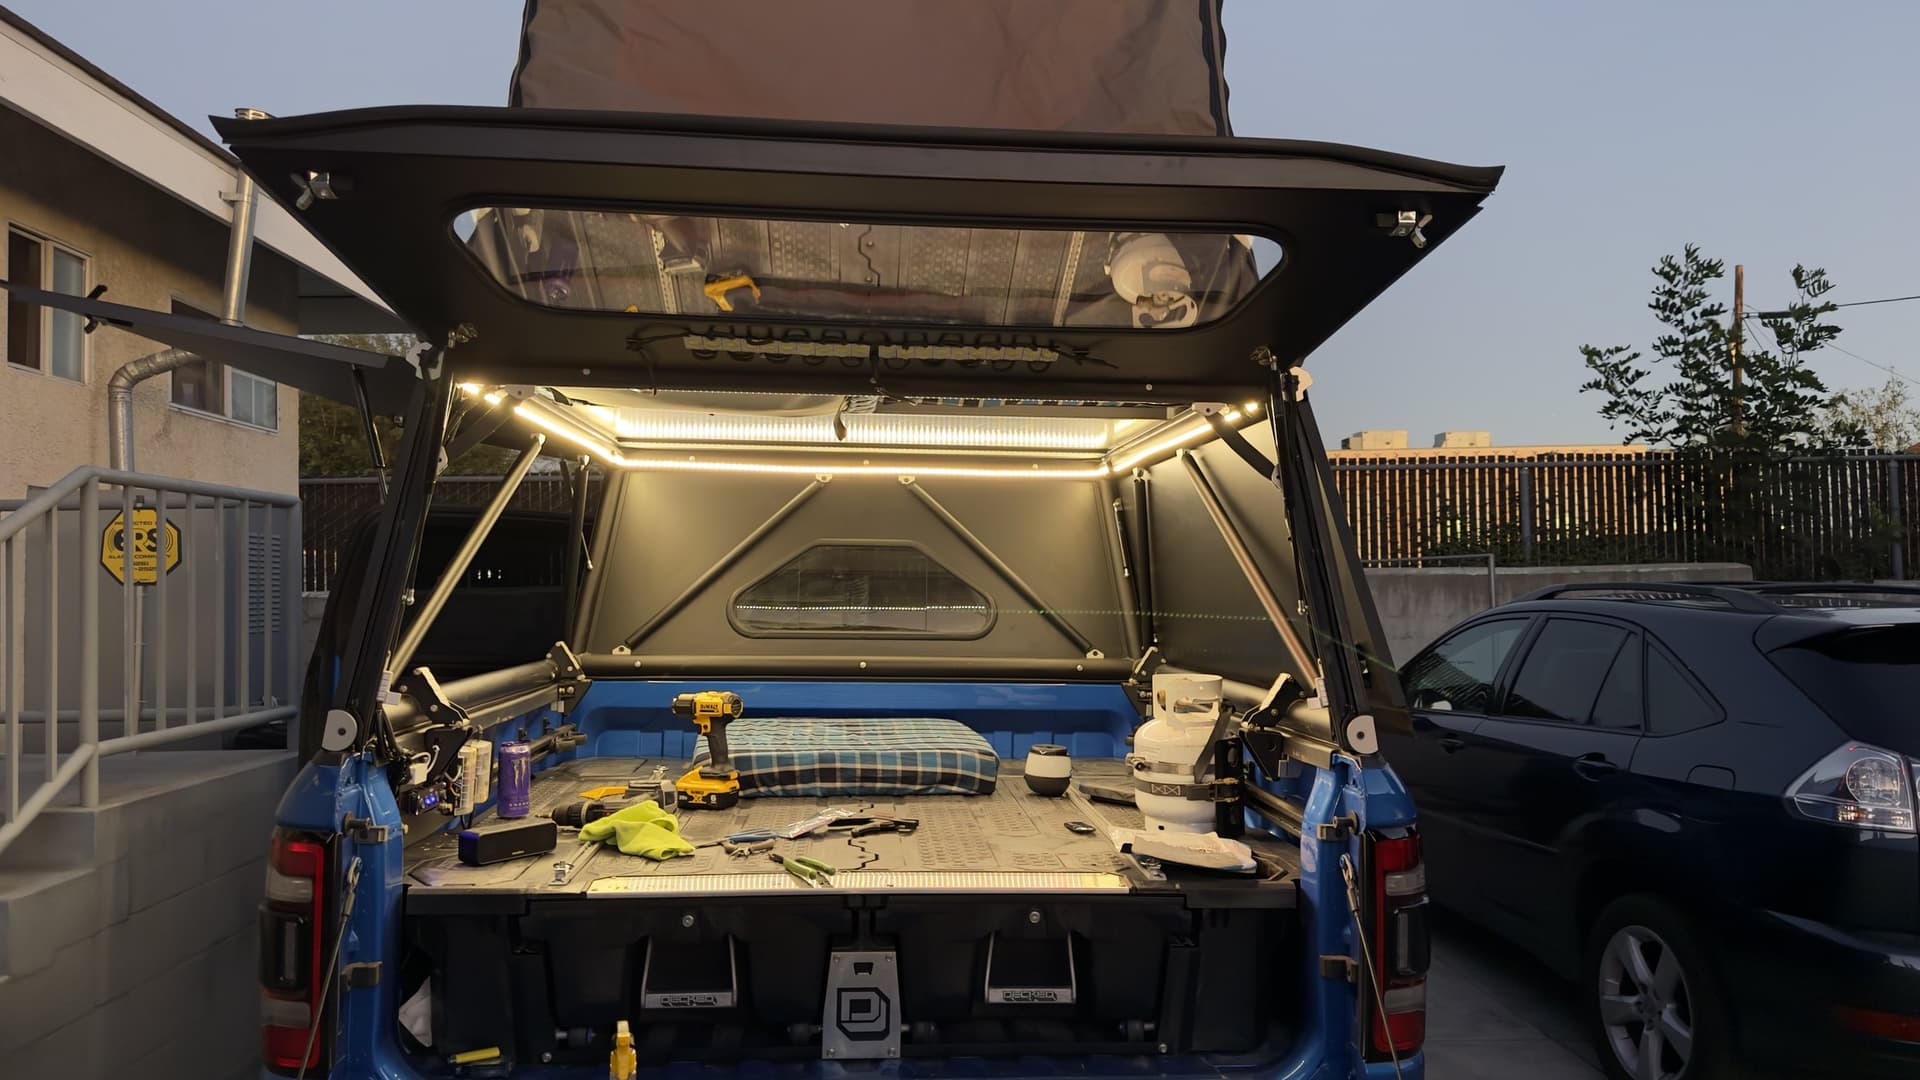
After talking to some local guys and @redleader , I decided to buy Zach’s camper. Deal was made and arrangement made with GFC HQ for install, and here I am, sitting in my hotel room in Bozeman typing this up.

Really excited to start this journey and have inside access to the tent!

*If anyone’s looking for hotel stay in Bozeman, the Best Western Gran Tree Inn is great. Front Desk agent Autumn was really friendly and seems to know who GFC is lol

3 Likes

Sorry in advance these two posts are so unorganized and poorly written. I’m too excited and too tired at the same time. It will get better I promise.

A little bit more background:

I came out to Bozeman from SoCal, took half off the week off to make the trip. That’s 16 hours drive one way but I spent one night in Provo, one night in Bozeman, and then last night will be in Cedar City before I make the last 6 or 7 hour drive back home.

Some pictures of the first 2 days of the trip:


Leaving home


Headinig up I-15 pass my playground - Barstow area


Crossing into Primm


This is the wrong week to pass by Vegas… construction on I-15 and SEMA. It was a mess


This is cheap by my standard…


Crossing into AZ near sunset


41F at Provo. Pretty cold lol

Day 2


Provo to Bozeman. I ended up not following a completely different route that’s not listed


Gas in Provo. Not bad but higher than I expected. I didn’t hunt for gas I just get whatever I could


North bound on I-15


This was the first time I see 18 wheelers taking any lane they please.


Clear sky at SLC


Crossed into Idaho


Welcome to Idaho sign


Crossed into MT.


Temp dropped and snow found on road in MT


18 MPG was the highest I got this whole trip with empty bed going 75-80 even on hill climbs.


I probably will be too excited to sleep tonight lol

2 Likes

So on Friday morning I woke up, left the hotel, and headed to GFC HQ.


image
Arrived at 9AM right at my appointment time. @redleader was there already and we greeted each other. Then, they pulled his truck in to remove the camper from his truck. That whole process took no more than 5 minutes. We chatted while GFC did their thing.
Shortly after, they were done and redleader bid farewell.


While HQ was installing my camper, I walked around the showroom and looked at their displays.

My camper was in the air while being cleaned

prep work done, lowered to my truck.

installed!

drove all the way out here, gotta take a pic in front of HQ!
image
With camper fitted, time to head south.

Small town Bozeman. It kind of reminded me of my days in MI. Small town vibes. People much more friendly than west coast.

Overcast, better pick up my pace before it start to rain!

Clear sky, clear freeway, life’s good!

snow capped mountains
image
highest elevation registered for this trip
image
mpg went down so much with the camper. Later on I learned I was going against the wind coming back south.

restrom break.
image
back to SLC

And traffic…

UT at sunset is beautiful.

more desert susnet

Saturday I got home. nothing to write about that part of the trip lol because that’s the part I hated the most

2 Likes

Great tracking pics and descriptions. I live in SLC, and have traveled those same routes to SoCal and Montana frequently. I had to chuckle at the “back to SLC…and traffic” comments - that’s my daily grind to and from work.

1 Like

And, good looking rig, before AND after the install.

1 Like

thanks!
That friday afternoon traffic was no fun. A lot more traffic than I anticipated!

Congrats! And long live the boogielander!!!

1 Like

Thanks!!

Last weekend immediately after I return from my MT install trip I stopped at my friend’s place to install stabilizing brackets.

Before I got mine we had 2 GFCs in our group:

But the taco’s gone so now we’re down to 2 Rams with GFC.
Anyways, through our experiences with the Taco and the 2500, we found out that during high speed desert runs when going through whoops the rear end bucks around and momentum of this up and down travel shifts the camper. This is just physics and nothing we do to the suspension can prevent this bucking motion (the 2500 has Carli Dominator kit with Kings and proper leaf springs. the taco was on King and added-a-leaf, so not suspension issue) and as a result, the solution to camper shifting lies at the mating point between bed and camper.
The clamps GFC use are perfect. They keep the camper attached to the bed and prevents the left-right motion, however, there’s nothing that keeps the camper from moving forward and back along the bed. So we found some 90 degree brackets, drilled into the bed, and secure with nuts and bolts.

After a year’s of desert runs on the 2500 it’s proven this method solves the issue.

1 Like

This past weekend:


I started the weekend with an overdue oil change. Before I left for GFC HQ I only had about 1000 miles left before my 5k oil change interval, but for us doing any service or work before big trip is a big no no. So I just made sure the fluids were good and tires were inflated and setoff.
image
The Fumoto Valve is such a great addition. Keep the draining process nice and clean.

Then the wiring began:
image
I made a temporary mounting plate for the switches and fuse block. These were all stuff I used with my bed rack and RTT setup. I’m waiting for the shop’s fabricator to order some metal plates so I can cut them to the size I need and then do the swap.
I decided to use plywood for now and start wiring everything in because I needed a visual representation before I started to cut metal plate. Again, this is mickey mouse and messy but only temporary.


I also put the chase lights back on. These are 6 years old BD S2s that have been with me since the beginning. I had to cut and extend the harness but that was the easy part. The harder part was figuring out how to hide the wires without pinching them. I ended up routing the wires along the channel and looped them back in on the other side following the tubes.


Then installed some tent lights. These are truck bed led strips that I bought over a year ago but never used, that’s why there’s wire next to the right strip. I also thought I bought red leds and didn’t find out these are white till after I finished. Great! Now I gotta either take these out for reds or install red ones too.
I used the truck bed led strips because they’re just sitting in the garage and they come with a switch. So, the genius part of me hooked this to one of the switches at the panel for dual switch control. Now, I can turn the light off upstairs instead of having to go downstairs to turn the lights off. In addition, the lower floor switch acts as a master just in case the switch upstairs get toggled accidentally while the tent is closed.

image

image
Also installed cooking lights. These are takeoffs from before and I spent so much time cleaning up the tape residual and applying new 3M VHB that I should’ve just got new ones. Maybe next year or whenever I start attending shows.


Cleaned up the electrical panel a bit before calling it.


Propane tank went back in its original location.

1 Like

This week I made some improvements to what I did last week:

The wood panel was replaced with a metal one that I cut myself. This is the first time I did metalwork without using template or instruction, so basically means I eyeballed and freehanded everything.


If I was to do it again I’d probably use a different method of cutting to make the outside line more straight. If I was to make this to sell then for sure it’d be CNC-ed and powdercoated.

The panel started out as a scrap piece of metal plate that I found at the shop, sitting outside rusting away:
image
I marked the lines where I’d cut for the GFC mounts, and then after cutting I realized I cut off the wrong part… I followed my reference line instead of the cut line.
So I yeeted it across the shop and then went for a redo.

An hour later, I got the finished piece.
image
The result of freehand… the outside lines were wavy but maybe later down the line when I have more practice or learn how to use a plasma cutter I’ll give it a redo for more features.

Since this sits inside the GFC and is not a SEMA build, I just coated it with black paint. In a way, this is still a mock up and not something I’m 100% satisfied with. If the truck’s going to SEMA 2024 then for sure I’d get it CNC-ed and powdercoated.

I then installed the electrical components back in. My dumbass forgot to order the bolts and nuts for the Blue Sea stuff, so for now everything is VHB taped in place. VHB should hold, but I’ll add the nuts and bolts once they arrive on Tuesday.
image

So 4 hours after I started the panel finally went back in and is functional 100%.

I cut the slots for wires to pass through. Looking at it, I’ll slide the whole thing back a bit more when the electrical hardware arrive.
image

I also yanked out the bed light kit inside the tent and replaced it with RGBW


The light strips follow the entire tent for maximum light coverage and brightness.
I also installed a controller so I can control it with remote, and it also has a mic so it dances with music.
I will be doing the same for the camper area as well with another controller.

And the sheets arrived!
image

Today I finished most of the things I had planned for “Stage 1” of the GFC:


Installed the overland softgoods foam

Installed the sheets

Started wiring the downstairs lights

Got the downstairs controller delivered so finished the project.

After burning my fingers at least 20 times I removed the VHB residues on the top

Loving the warm white

Also installed the starlink mount

1 Like

well today i edited the photos I took for the shakedown camping trip I did with my GFC over the weekend. Again, these are posted here before they go on my Instagram.


There are a few problems that I found immediately and need to be addressed as soon as possible:

1: Power and electrical
Problem: currently all the lights in the camper are powered by the starting battery. Although LEDs shouldn’t draw that much power, but power draw can be significant if used extensively. Plus the problematic stock starting battery doesn’t give me a lot of confidence. I am also planning to run a diesel heater as well so the power issue needs to be addressed. I also ran starlink for the night, had it on for about 8 hours. My Ecoflow system (3kw combined) went down 60% just running fridge and starlink. I think the problem is the dish was turning on the heating function too much due to the ambient temperature being around 30s.
Solution: I am adding a secondary battery (100ah deep cycle LiFEPO4) and pairing it with a DC-DC charger that has MPPT built in. That presents other problems too.

1-1:
Problem: camper secondary battery (house battery) charger is 50A, which is too much for ~10ft of travel distance for the 8AWG I installed previously.
Solution: replace 8AWG with 6AWG. I am going to attach the 6AWG to the 8AWG and pull so I can reroute it while replacing. 2 birds with 1 stone.

1-2:
Problem: Mounting of house battery and charger:
Solution: fabricating my own battery box and attach it to the bed rail and the plate I made the weekend before. Hopefully this requires minimum amount of work.

2: Tent/ camper Insulation
Problem: Camper and tent do not offer great insulation. Ambient temp was around 30s at night and I was inside the camper wearing a ski jacket. I ran propane heater but once the temperature got up and I turn it off the camper doesn’t have great heat retention.
Solution: instead of running propane heater, I will put together the diesel heater I got last year (finally) and run that instead. At least now I have multiple level of heater control instead of just low and high, and I don’t have to worry about carbon monoxide and condensation.

I will be running the diesel heater with the house battery instead of using EcoFlow to run it.

3: Charging
Problem: I replaced the DC-DC charger I have for the cab area for the EcoFlow. I went from 12/12 to 12/24, basically doubling the output so I can fully charge the Ecoflows (3kw) within one day of driving. I set the new charger to push out 30V, maxing it out. Then I tripped the fuse for the charger. Upon further investigation, I realized that pushing 450w out of the DC-DC charger requires more than 30A of fuse on the input side.
Solution: Solution 1 is to replace the 30A fuse on the input side with 40A and hope it solves the problem. If it doesn’t then solution 2 will be using a 40A circuit breaker that splits off the 8AWG that I ran into the cab. IF that still trips the breaker then I will try 50A. For now I downed it to 24V output pushing about 350W and all is good. So I have strong hope for 40A fuse will be able to handle 30V of output.

Overall, I am happy that I went on this shakedown one night trip to find all these problems. I wouldn’t have found these problems without actually putting it out there and field test everything!

5 Likes

So to address the problems that I found at camp last time and prepare for Alaska in 2024, I’ve gone ahead and overhauled the electrical systems.
image

  1. DC-DC charger for cab
    Instead of messing about with the 40A fuse in the Blue Sea Grounded Fuse Block (which is rated to 30A max), I’ve gone and added a 40A circuit breaker that splits off the power supply side of the fuse block. So far I’ve stepped it up to 26V and EcoFlows are getting about 375wh of input without tripping the breaker. I will try to push the output more to get to 450Wh and see what happens.

  1. Bed Side Electrical
    I’ve gone with a Renogy 50A DC-DC charger with MPPT for the camper power supply and added a Li Times 12v 100ah LiFEPO4 as house battery inside camper. I’ve gone dual battery!
    To do that, I need to replace the 8AWG cables with 6AWG to safely handle the power need of the 50A DC-DC charger. My original plan was to attach new 6AWG to 8AWG and pull, since the 8AWG were sleeved and routed nicely, it’d be a pain to have to take the entire thing out and rerun. Then, I realized: I actually ran the chase lights wires inside the very same sleeve, so I had no choice but to re run everything.
    I ended up pulling everything and reran the harnesses, and this time I sleeved the chase lights harness by themselves and the 6AWG by themselves.
    Then, I extended the original plate I made through welding. It was my first time welding and boy… it was a disaster lol But I tested the strength of the extended plate and it held just fine. I mounted the Renogy and decided to buy a battery box instead of welding a box myself. I ended up using an All-Top box that has built in 50A fused connectors (2 of them), various ciggy sockets, and voltage read out.
    Mounting of the battery box was the next challenging part. Originally I thought of fabricating a bracket to mount to the bed rails and then have the battery box mounted to that. Then, I accidentally found out that the distance between my Decked drawer tie down rails and the bed rails is perfect fit for the box. My friend gave me a pair of Frontrunner Stratchits, so we tied it to the bed rail cleats and the Decked Tie Down track. To test it, I shook the box to see if it moved at all, and the truck rocked side to side instead.
    Mission success!

  2. Conclusion
    So with electrical problems solved, I now have combined 4000wh of electrical power onboard for overlanding use. The Ecoflow will be used for the fridge and Starlink, while the house battery will be used for camper lighting and diesel heater since I won’t have to worry about tripping Ecoflow’s 12v ciggy socket fuse when starting the heater. In the summer, I’ll add an inverter and use the house battery to run the Ecoflow Wave air conditioner I have.
    In the event that I setup basecamp, I will have solar panel on top of GFC to charge the house battery via Renogy (hence the MPPT equipped DC-DC charger) and have separate 320w panels for the Ecoflow.
    My biggest drawback would be using up one side of bed rail, but that is least of my worries since I have Decked tie down tracks for me to secure anything else that I may need to secure. In addition, the truck is solely used for overlanding and desert play only, so I don’t need it to do truck things. As such, I am perfectly ok with sacrificing one bed rail for the electrical components.

  3. Future Items
    Next, I will be searching for boxes that fit in between the tracks to hold my portable toilet, stool, leveling blocks, firewood, and other misc. items. Currently everything (other than firewood) sits inside the cab in the backseat, and I’d like to open up that space for clean stuff only (like sleeping bags and pillows). I am also looking to cut my own MOLLE panel for the front side. Maybe later down the line I’ll also redo the electrical systems to fit them into a more compact package.

2 Likes

Well, forgot to update the build thread.
Now that everything is completed it’s time to test the build, so day before Christmas Eve we did a short trip in Mojave Desert to see how everything holds up when playing in the desert.


It had just rained for the few days before the trip so the trail had multiple puddles and was muddle in some sections.

Lunch time.

It sure looked like everything held up. Even my janky welding job!

1 Like

Over the New Years weekend I put the camper and the electrical work to test:
Will the Lithium Battery be able to handle running camper lights for hours and running the diesel heater all night, and will the diesel heater make downstairs warm enough to be cozy? Also, will driving as few as 3 hours be enough to charge both the Lithium battery AND the EcoFlows back to 100%?


To perform this test, we went to Alabama Hills for the first night of our trip.

Finally, camp fires are allowed!

Diesel heater is such a life saver.

Home is setup! I got the heater and Starlink running. Camper light was previously set to red when I was packing at home to help preserve night time vision and was later set to warm white.

Friend cooked Kimichi fried rice.


We also had Korean BBQ at campsite too: Pork Jowl and Pork Belly were on the grill that night

Shorty after dinner we burned all of our firewood by 8PM, so we all retired into our vehicles to keep warm.
I came out to take a leak at around 11PM after 2 hours of Reacher, and discovered the moon had came out already. So I attempted my first ever long exposure pano shot.

The next morning I discovered my diesel heater had ran out of fuel, that’s why it shut down at around 7AM. On the other hand, the camper battery and the Ecoflow still had juice. Battery camper was reading 13v while the Ecoflow was down to 15% with Starlink on the whole night.


Being on full 40PSI, the road at Alabama Hills were a bit washboardy and for some odd reason my Victron wouldn’t push out over 9v to charge the Ecoflow. Later I found out it was because the washboard surface was messing up the ignition trigger wire so I switched it to power supply mode. All was good after.


Took 20 pictures to piece this pano shot together. My PC crashed 3 times doing this.


For the second night of test, we went to Trona Pinnacles. It was only about 2 hours away from Alabama Hills, so with all the picture taking and offroading combined I only had about 3 hours of drive time.
Surprisingly, Ecoflow was at 100% and the camper battery was at 14v by the time we arrived.

Trail was quite muddy


We had steak for dinner.

After counting down I did some more long exposure shots while my friends all went to bed.
image

This was at 1AM at night, not 1PM.

This time I learned to top off my diesel tank and also set my starlink to sleep mode before I go to bed, and woke up to around 13v in camper battery and over 40% in Ecoflow the next day


All in all, good trip and good testing. I just need to find a way to secure the ign trigger cable!

5 Likes

I love seeing the testing. Was just out in Mojave myself (around NYE). I think your build has convinced me to get a higher output alternator and connect my power system to it for charging.

ah we missed each other by a week.

regarding higher output alternator:
I do not have a higer output alternator. What I have is the e-torque system (a mild-hybrid system that I am expecting to fail at some point and cost me an arm and leg to fix) that uses a 48v generator instead of a traditional alternator. This is how it works: belt-driven alternator generates 48v of DC power that is stored in the 48v lithium battery inside the cab behind rear seats. Then, a sensor on the starting battery tells the onboard, OE DC-DC charger if it requires charging. If so, charging of the starting battery commences. If not, once the 48v lithium battery is fully charged the generator disengages. The 48v battery also powers the onboard electronics when the start/stop engages during idling, as well as help turn the rear wheels half a revolution when brake is disengaged and tranny is in drive (ie: starting from red light).

So, basically with all of the stuff I’m running, I created 2 more system that constantly draw from the battery and forces the generator to engage. The beauty of this is the 2 system I added are independent from the vehicle, so if there’s any time I need to troubleshoot or anything, I can disengage one or both systems and cut the power draw.

Using the Victron 12/24 Isolated DC-DC charger, I’m actually only getting 15A draw from the battery and the charger steps it up from 12v to 26v (I set mine to 26v since I guesstimate it to be the most balanced point between output and temperature management). On the other hand, the Renogy MPPT DC-DC charger for the bed side draws maximum of 50A, but in reality even with a full night of usage it’s only drawing like 5A or so to top it off. I’ve never seen it draw more than 5A during my testing.

So with combined of 20A, I’m actually well within the OE spec. I think if you do what I did and my math is correct (I have no formal education background in these electrical engineering stuff… I learned the basics from my friend who has electrical engineering background and I only learned the most basic, so my math could be wrong lol but so far truck hasn’t caught fire yet lol) you should be OK with the stock alternator. Unless you have a different setup that draws more amperage then a higher output alternator is needed.

Even when I have the LP6s running (I turn them on when doing desert runs in convoy so the guy in front of me can see where I am, even in day time) and charging both systems they were perfectly fine too.

1 Like

so I have some guys asking me about my build and part number, etc. So I made this updated graphic as a cheat sheet for those who want to do things correctly.

Then my high school buddies were asking me how much I spent, so I did some modifications to the above graphic, checked the most updated MSRP, and pulled out the calculator:


This is without tax and installation/ labor.

In reality, that is exactly NOT what I paid lol. I guess perks of working in the industry and knowing where to look for deals do pay off: I get everything at discount (if we don’t have accounts with the manufacturer) and at cost (if we have accounts with the manufacturer or distributor) and I do the installation myself. So realistically with labor and tax and paying MSRP this would be a $30k build, while my actual out of pocket cost is probably $15-17k or so since I did have stuff I took off from my previous rig and account for all the savings I got.

And I haven’t done the interior and electrical graphic yet… heck I’m half way to a sprinter van factoring in the cost of the truck lol

1 Like

quite a few were done between last update and now:
Early February we visited Death Valley to see the limited time, once-in-a-lifetime reemergence of Manly Lake:


The white beach is where Bad Water Boardwalk is and the little dots are the tourists.


Mirror-like lake when the wind stopped blowing. The white stuff on the ground is salt.

caught reflection of our convoy. This really made me want to get a telephoto lens.

Then we went back the next day, when the sun was hiding behind storm clouds. I also happened to injure my ankle the day before the trip, so I didn’t go down to the “beach” this time.

We were stopped at a section of controlled one way traffic. I was the lead. Oh, and I forgot to mention that I swapped out my Squadron Sports ditch light to XL Racers Edition just the day before.

1 Like