Rear Aluminum Crossbar Replacement
Tools:
- Soft Mallet/Deadblow Hammer
- #3 Phillips screwdriver/driver bit and drill
- 1/8” Allen Key
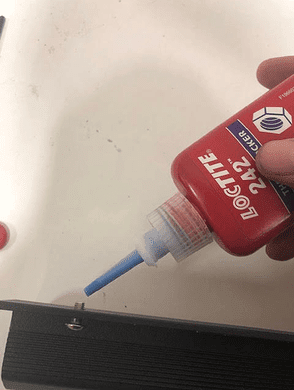
- Loctite
Step 1- Remove extrusion corner screws that face inward toward the camper using a #3 screwdriver or screwdriver bit on a drill. It is only necessary to unscrew one side.
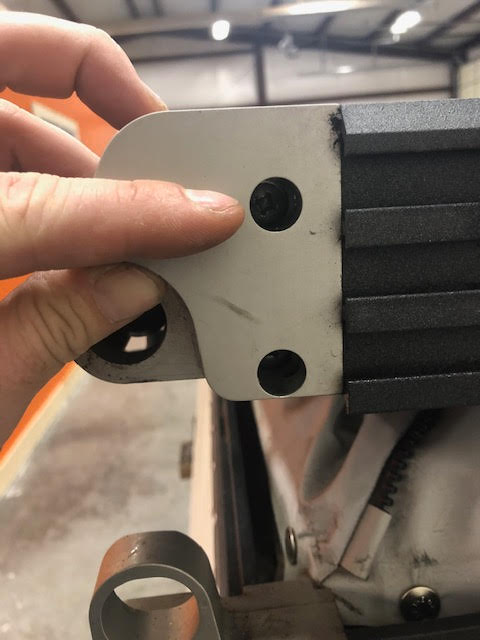
*Note: Be careful when removing as to not strip the screws
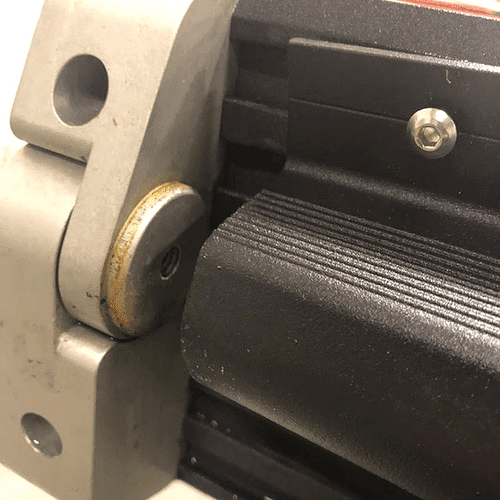
Step 2- Once the screws are removed use the soft mallet to gently tap out the corner outward away from the tent.
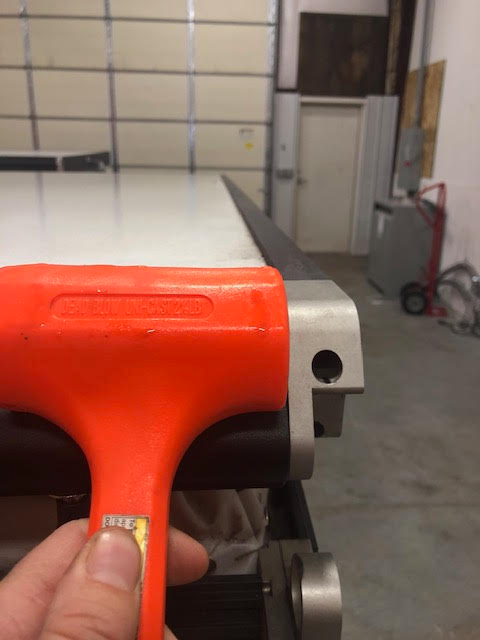
*Note: keep one hand on the steel bar so it does not fall down when it is pressed out.
Step 3- Now you can prepare the aluminum crossbar for installation
Start by bolting the provided crossbar bolts down into the aluminum crossbar with the ⅛” Allen key. Bolt them down about ½ - ¾ of the way.
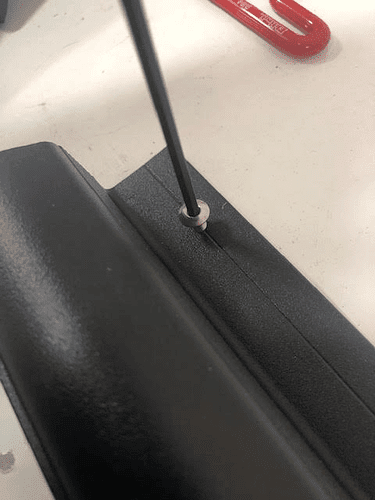
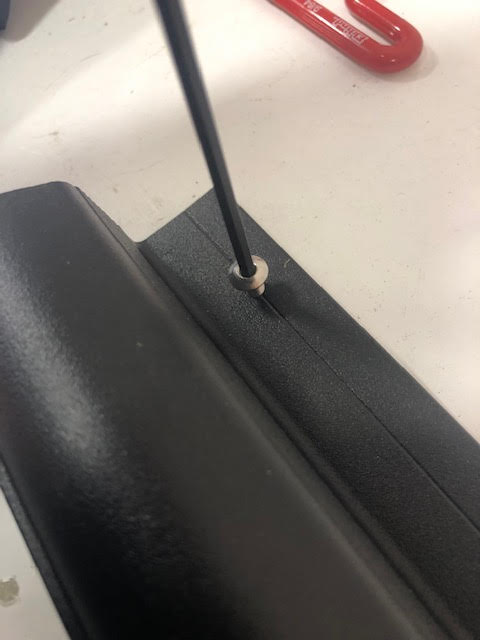
Continue by adding loctite to the bolts and then running the extrusion t-nuts on to the bolts

Step 4- Now that the crossbar has been prepared you can line it up with the press fit ring on the extrusion corner. Reinstall the crossbar by setting the crossbar on the press fit cap on the inside of the extrusion corner
Step 5- After the extrusion is lined up you can then line up the t-nuts along the back side of the extrusion and set them into the track.
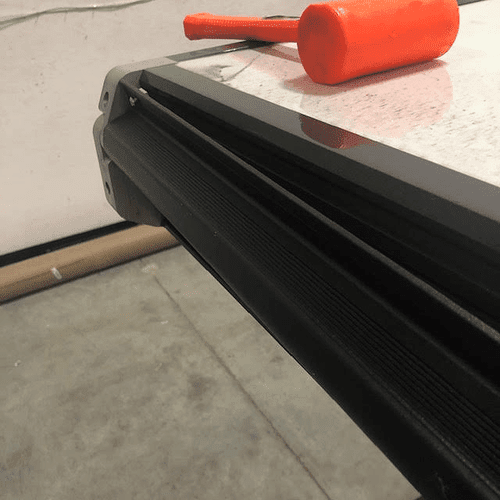
After the extrusion is pressed onto the press fit ring and the t-nuts are lined up you can tighten down all of the t-nuts into the track.
*Note: Front crossbar shown
Step 6- You can now use the soft mallet to press the corner back in by gently tapping it back inward. Once the croner is reset you can use your screwdriver or drill to re-tighten the corner screws.
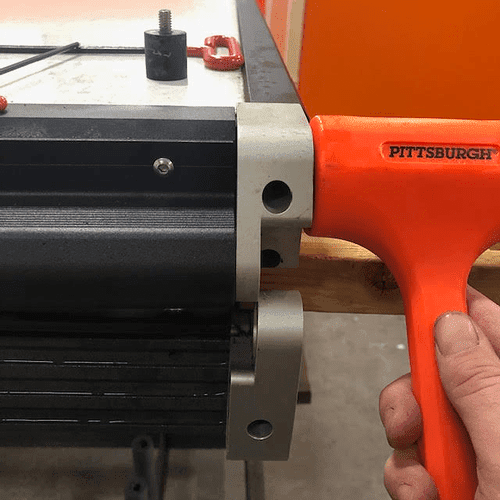
*Note: Front crossbar shown
*Note: Take care to make sure the corner is hammered all the way back in so that you do not strip or break the screw when re-tightening.
The Aluminum tube should come with new pins and hardware, preassembled. If there is any issue figuring that out please send an email to Mike@gfcengineering.com
You have now completed replacement of the steel crossbar with the aluminum crossbar.
-Big Mike