Changed some of the clearances and adding mounts to work with the GFC/Gzila track nuts
@Eisenheim Has a very similar design he sells and they are on sale right now too. Seems like you have all the skills/equipment to do it yourself, but for folks that don’t: https://www.etsy.com/shop/3DProtoLab?coupon=GETAGRIP
2 Likes
@jedgar Thanks man!
@HighVoltOverland good design, remarkably similar. Interested to see what you make it out of!
Hey thanks!
Yeah, there aren’t very many ways to make a grab handle that has a full length surface for adhesive mounting.
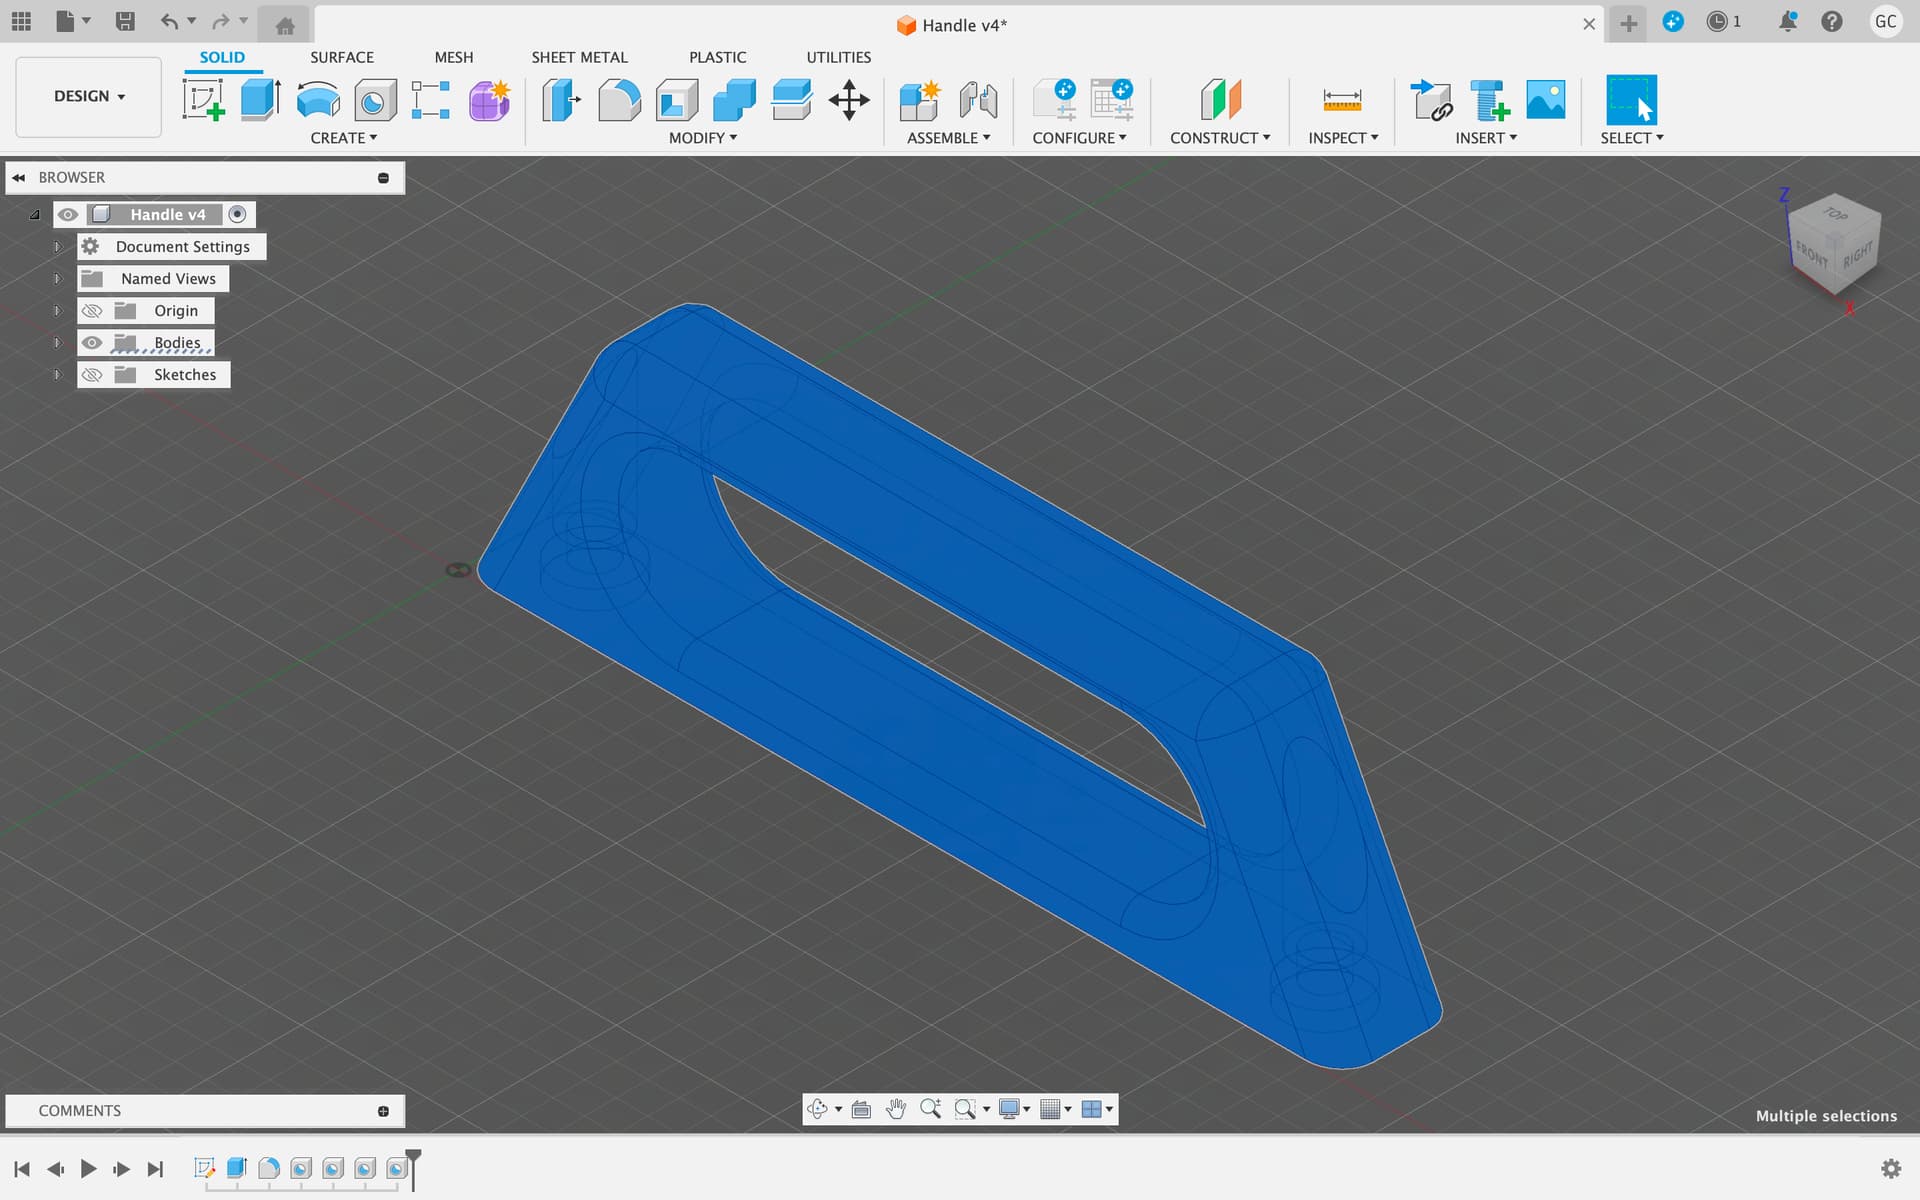
I’m still pretty new to 3D printing, this was my first project to use the sketch function to make a shape that isn’t a perfect circle or rectangle
Is there any benefit (I’m guessing structurally ?) to the internal corners your design has vs just using an ellipse?
Yea handles are kind of just…handles, can’t really change them up that much. The shape is just a mix of function, form and predictable repeatability in the materials I use.
2 Likes
I finally found my roll of VHB and I installed some of the little 3D printed parts I’ve made in the past couple weeks.
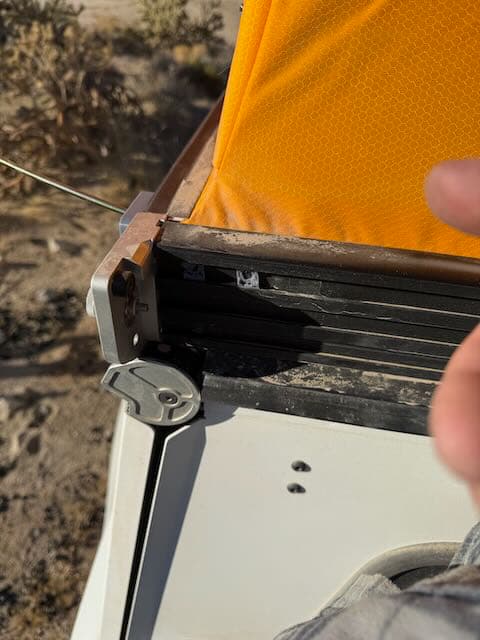
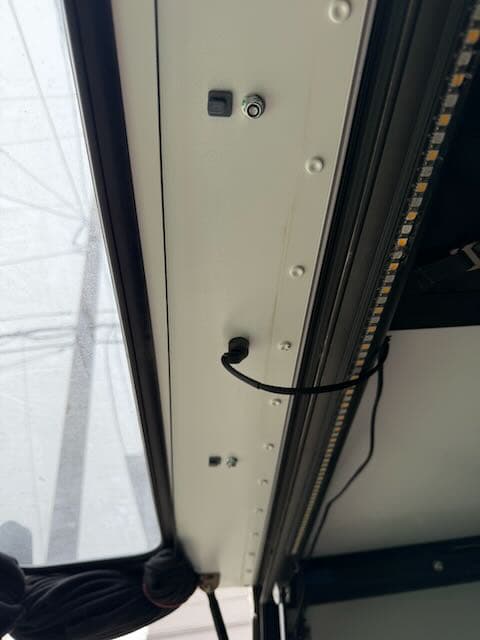
I designed some basic blocks to hold my awning poles. I tested using all 3d printed parts but the tension was too high and snapped the printed track nuts.

I redesigned to be compatible with the gzila hardware and its been okay, but I probably have to print at a higher infill as the pole holding hole is getting stretched by the metal rod.
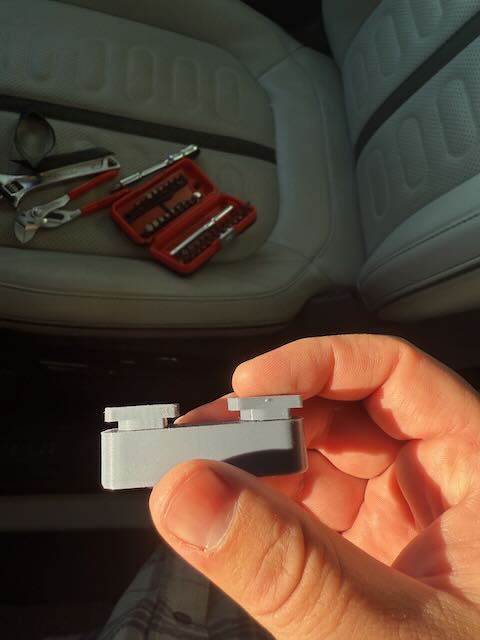
I also printed the handle I posted about earlier.
It handles.
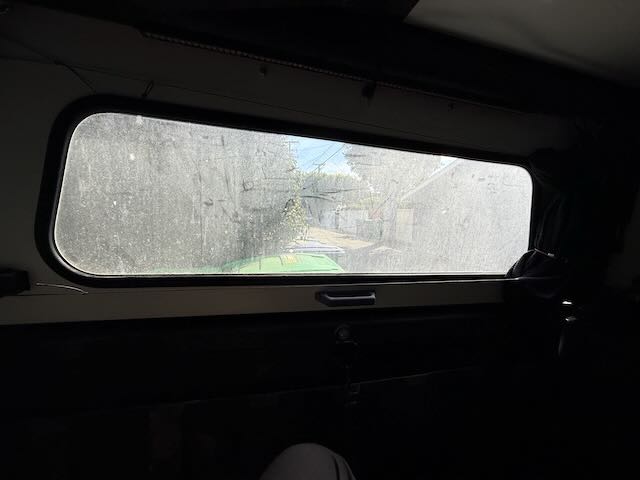
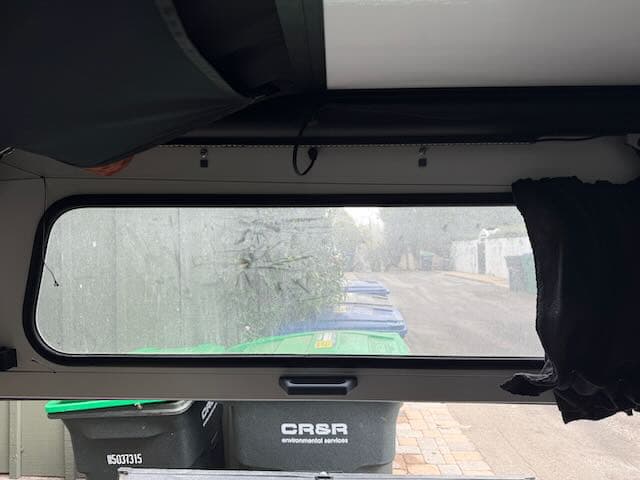
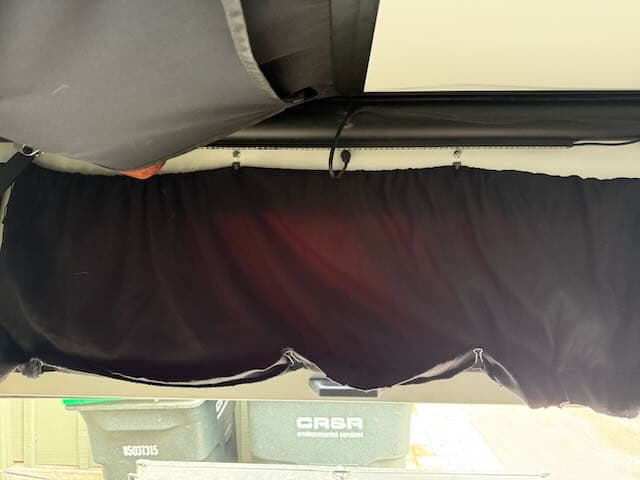
I also added some micro cord and made a super simple privacy curtain with some scrap fabric I had kicking around and made some little clips to hold the “curtain”

2 Likes
I finally got around to making a better StarLink mount.
The OEM RAM track mount was too big and didn’t clamp well in the proprietary GFC extrusions.
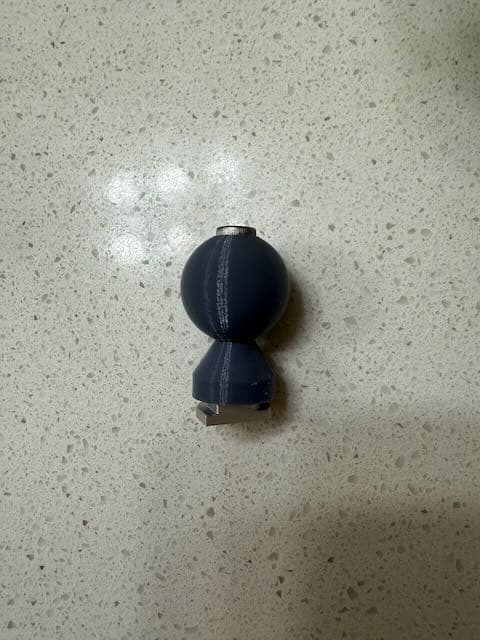
I modeled a basic ram ball (1 inch) that has a recess for the 1/4-20 bump out on the gfc/gzila track nuts and a 1.5" 1/4-20 Hex socket cap screw
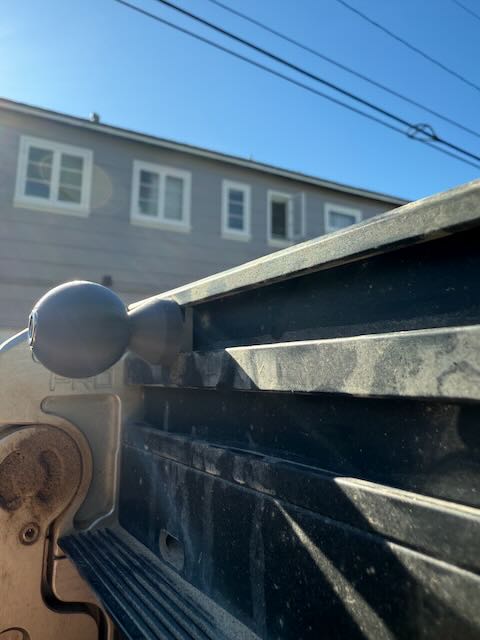
It worked okay but I noticed that it had very little camping force from the exterior. Additionally, unless I cranked down the ball could still rotate.
I added a face skirt to add additional clamping force and some wings that slot into either side of the track nut when screwed on.
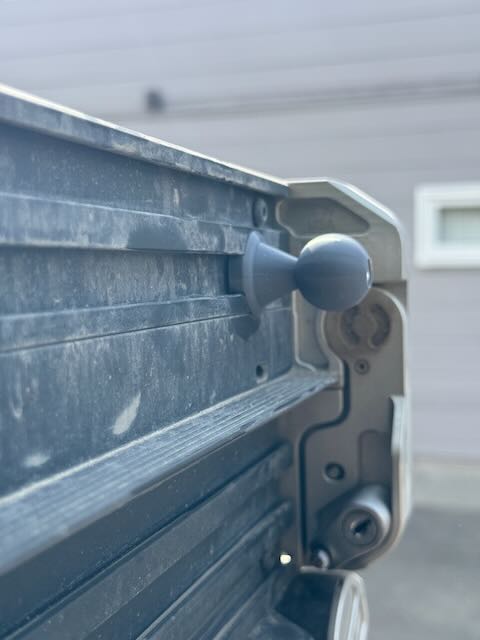
Very pleased with it, it’s rock solid and doesn’t wiggle at all.
I also moved it to the lower/ upper track so it has more surface area/ friction points but still will move with the roof line as needed
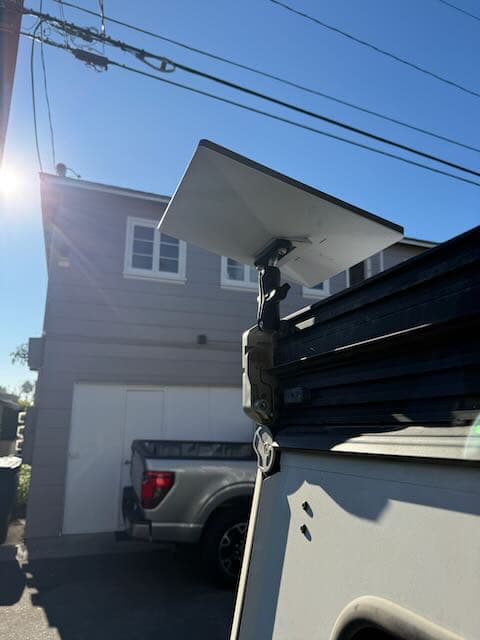
I am leaving it mounted to the track full time and will just throw my Starlink on it when needed.
I like the RAM mount as it gives me multi-axis adjustability, meaning I can park in any direction and point the dish at the right angle and direction no matter where my truck is facing and whether or not the canopy is deployed or stowed
I need to figure out some index lines or something so I can “preset” the angle when the tent is up and not have to worry about fiddling with it in the up position.
3 Likes
I really wanted a holder for my tent locks, so naturally I stumbled upon @Vice_Chief 's Lock Locker solution:
UMF Locker Locker Pair
I think he’s made a great product and have only heard good feedback on his set up!
But, with a baby on the way I’ve been trying to tighten the belt where possible. and figured a couple hours of printing and caliper work could save me some cash.
I started looking at some simple solutions and was a bit frustrated that my self made awning mounts were right in the spot that I think would be ideal to hold the locks.
Then I realized I could just add a loop to my awning!
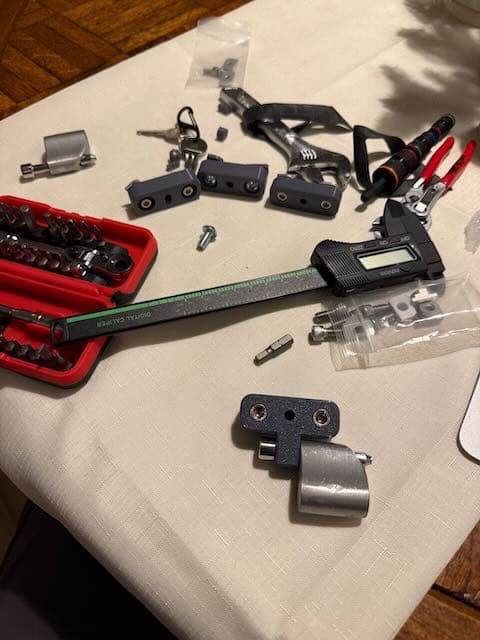
Here is V1, mostly just made it to verify clearances,
I modeled a a non-ambi set, will likely use those as it helps the hardware look more centered when in use.
I’ll have to reprint in 100% infill so the pole hole doesn’t get completely blown out.
2 Likes
Thanks for the write up! I just picked up my GFC last weekend and was looking at ways to get the third brake light working. Does it still work consistently for you? I have seen a lot of attempts in other forums where they wired it, but it occasionally caused the third brake light to trigger when turn signals were on.
Also did you have to pick up some additional wire, or was the three enough slack to make it work?
Thanks for the info, I definitely will be going back and forth with you for references. Good work so far
1 Like
I went into the harness where the 3rd brake light is, not the turn signals so no need for extra trailer wiring modules or converters
Absolutely no issues still
You’ll need some wire
I had some speaker wire on hand, less than 10ft from r so, but will eventually change it out for a less ugly wire
Thanks for the info, I will definitely be using this method. How did you decide to run the camper lighting? I was temporarily running it with the 12v plug in the gear tunnel but was curious if anyone did something better.
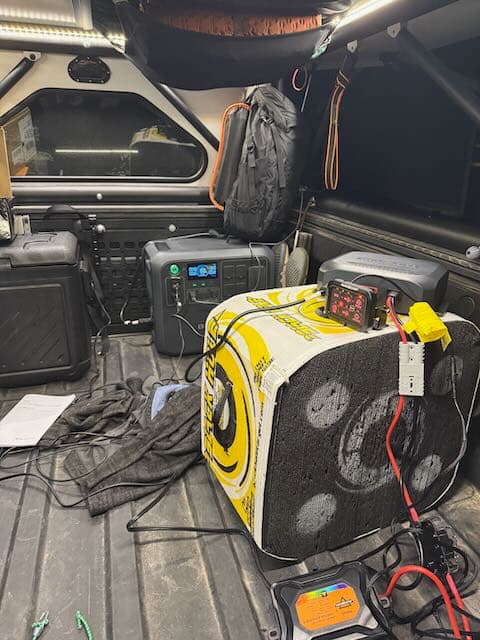
Initially I picked out and had a small power supply with a 5521 like this:
I Just plugged it into the 120v outlets in the bed for convenience.
Since then I have moved around my auxiliary battery setup and wired in a switch panel.
I’ll do a more official write up after things die down but this is the POC I have from wiring it up last week:
why is my mind going straight to the off-label uses for this thing ![]()
I’m listening…
How are you liking your GFC on your Rivian? I’m getting mine installed in a week or two. Any tips? Thanks for posting instructions on getting the brake light working.
So far I’m still thoroughly enjoying the camper.
About two weeks after my wife and I drove up to Montana we found out we were having a baby, so the anticipated tempo of campouts this year are much lower.
If you intend to lock your tent you can get the matched sets of Reese Locks from GFC at delivery.
I forgot to do that and bought like 15 on Amazon so I could find a matched set.
If you have the time I recommend trying to pre-wire the third brake light. Just get the tap from the interior through the wall of the truck bed and back to the driver side corner.
I planned on wiring it up so I brought my tools with me driving up to Montana but I also remove my seat like once a month so it’s a pretty painless process even on the rad.
I recommend carrying a good little ratcheting bit driver set.
I have the meme Icon one from HF and its been great.
There’s lots of little things that you can adjust/ tune on the camper with one.
Anticipate having to wait for the headliner.
I’m still waiting on mine, lots of folks here really like complaining about it.
keep a microfiber towel in the sleeping compartment and you’ll be fine.
Careful using the bedding catches, they don’t stay very tight. Mine only held a hest pillow and a wool blanket but they’ve stretched out significantly over the past few months.
2 Likes
Congrats on the kid!
1 Like
Congrats @HighVoltOverland ! Kids love GFCs!
3 Likes
Thanks!
I’ve learned that recently.
Family gatherings now include “playing in the truck treehouse” out in the driveway.
3 Likes
Congratulations on the growing family! Thanks for the tips. I ordered the wire connectors you recommended. I’ve never taken my back seat out before but I’ll give it a shot this weekend to see if I can prewire for the brake light. I’m surprised they’re still shipping new campers without the headliner. I guess I’ll have to wait and see if mine is complete.
1 Like