yes i read through the TW thread, but didn’t recall seeing whether it sat flush or not…
the through bolt option wouldn’t be a bad idea… wouldn’t have to do all the holes through the trim either
yes i read through the TW thread, but didn’t recall seeing whether it sat flush or not…
the through bolt option wouldn’t be a bad idea… wouldn’t have to do all the holes through the trim either
Hey gents: What sealant did you use? I don’t know what will stick to the roof material. I was thinking 3M 4200. I’ve worked with it before on boats.
from what i’ve read, you use some butyl seal tape between the fan and the roof top. then follow up with lap sealant around the edge and covering the bolts.
Thank you very mucho!
Duuuuude I am so stoked for this topper!! So many cool mods you can do to this thing!
This is a bad ass build! Love the color scheme!
Also for those worried about it sticking up too high wouldnt a Beef rack installation protect it from tree limbs?
This is exactly what I used.
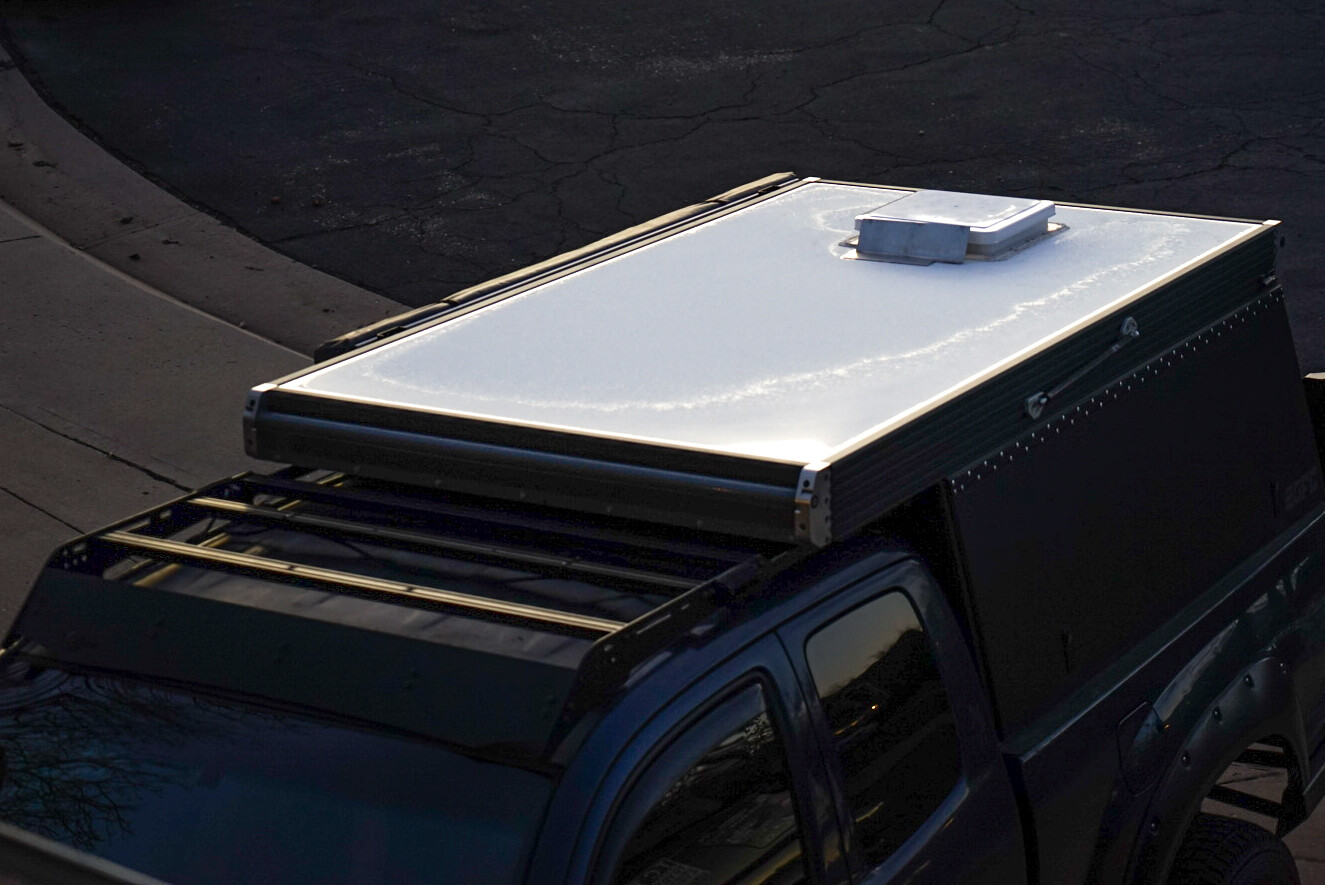
Got my fantastic fan dropped in today… not a bad job. Took longer than expected but you only get one shot at it so I took my time.
One thing I looked at first was the space inside when the lid is closed. I didn’t want the majority of the sides folded in where the fan was so I made my cut started 10" from the back edge. It will place the fan where there is less fabric inside. I thought about going further and starting 22" in then it would be free of all fabric. Figured if I needed the fan on with the top closed, I’d just take the two cushions out
Used a washer for setting the t nuts…
After seeing some of the corner bolts still visible on other installs, I left those out. Use some double sided tape and rtv to help keep the corners down.
To help drop the fan in place, I put the bolts in from inside so it fell in place right the first drop.
Then finished off with some lap sealant. Its self leveling so it smoothed out a bit more over time.
I still have to cut off the excess bolt length inside and put my trim piece in… then wiring but I have a lot of other wiring to do inside so that’ll wait. Going to swap the dome lid for a flat one and install a aluminum lip in front to protect the fan.
swapped out the fan cover to a flat lid to save a couple inches of clearance. talked with dometic and they were able to warranty me a different lid since there was not an option to get the flat lid at purchase. it comes with the flat lid (i chose to go with white vs the smoked) and a new lever that needs to be installed since the slide track is different between the flat lid and the domed lid.

Looks great! I’ve been thinking about getting the Beef Rack for my solar panel then I realized yours is not the Beef Rack…well done!
Do you have any info on the extrusion/brackets used for the rack that you are willing to share?
When you have time any chance you could snap a pic of the panel/rack from the side? Curious to see how recessed the solar panel is from the rack.
This is order numbers from 8020.net. I had to tap the the sides and I used 1/4-20.
Awesome! Thanks for the info. I’m thinking of trying out the black anodized…
Kind of late on this topic but quick question if anyone knows. If you have a carpet kit in the bed of the truck do you think that might cut down on any condensation issues?
Thanks,
Josh
This has nothing to do with condensation in the truck bed. This is completely about condensation in the tent when sleeping. The old material was not breathable at all causing rain on the inside. The new material is much more tent like.
Has that eliminated most of your condensation?
Looks good. How did you mount that to the tent roof?
Peace.
I totally get that. My point was that often condensation can come from the floor if it’s cold underneath and there is heat above the surface. I get this in my apartment living above the main garage and a poor installation of vapor barrier. So my thought was, if the bed was insulated with a carpet kit or actual insulation it might keep condensation down because it might help limit some of the contrast in temp from body heat and outside temp.