Show me your solar set up

Installed a couple Renogy 100W panels along with a custom rack I built out of 3060 extrusion. The rack is fairly low profile (~3/4" above honeycomb) & very strong. Can handle me walking up there without deflection and I’m sure at least as strong as the beef bars. Both panels in parallel are giving fairly consistent power (averaging 90-120W) in the CA sun, which keeps my goal zero topped off while running the dometic fridge behind my drivers seat.

3 Likes

hey @slopes925 what are you using to attach the solar panel to your DIY rack?

Also for the holes going from the brackets to the gfc, did you need to drill them out more?

1 Like

Hey folks! We make custom carbon fibre solar panels that are 1/4 the weight and profile of standard glass panels and 30% more efficient than thin-film (we use 23% efficiency cells from Sun Power, which are near the top of the market). Our mounting hardware is designed to allow the panels to be removable, so you can get ideal charging throughout the day, regardless of where/how you are parked. We are predominately operating the teardrop market , as we can mold them to a custom radius, but see an ideal application for folks like yourselves due to the weight, durability, efficiency and multi-use case. To be clear, you could suspend this panel on either end and stand on it with no issues. It is completely structural. If you have any questions, let me know!

8 Likes

I used some flat plate brackets by 8020 that are meant to transition their 10 to 15 series extrusions. There’s a step in the bracket, which keeps the face of panel slightly lower than my crossbars. Picture of the underside.

Edit: the bracket part number for anyone that wants it is 4524.

5 Likes


2 Rich Solar 80W cigs panels mounted using factory adhesive and sealed with butyl sealant. Left room for a third panel if I need to upgrade (I won’t)

100amh Battle Born

Bluetooth shunt

Lots of wiring

2 fuse blocks (one for cab and one for camper)

Still need to add wire loom for the panels, but I’m happy with how it came out.

3 Likes

:wave:
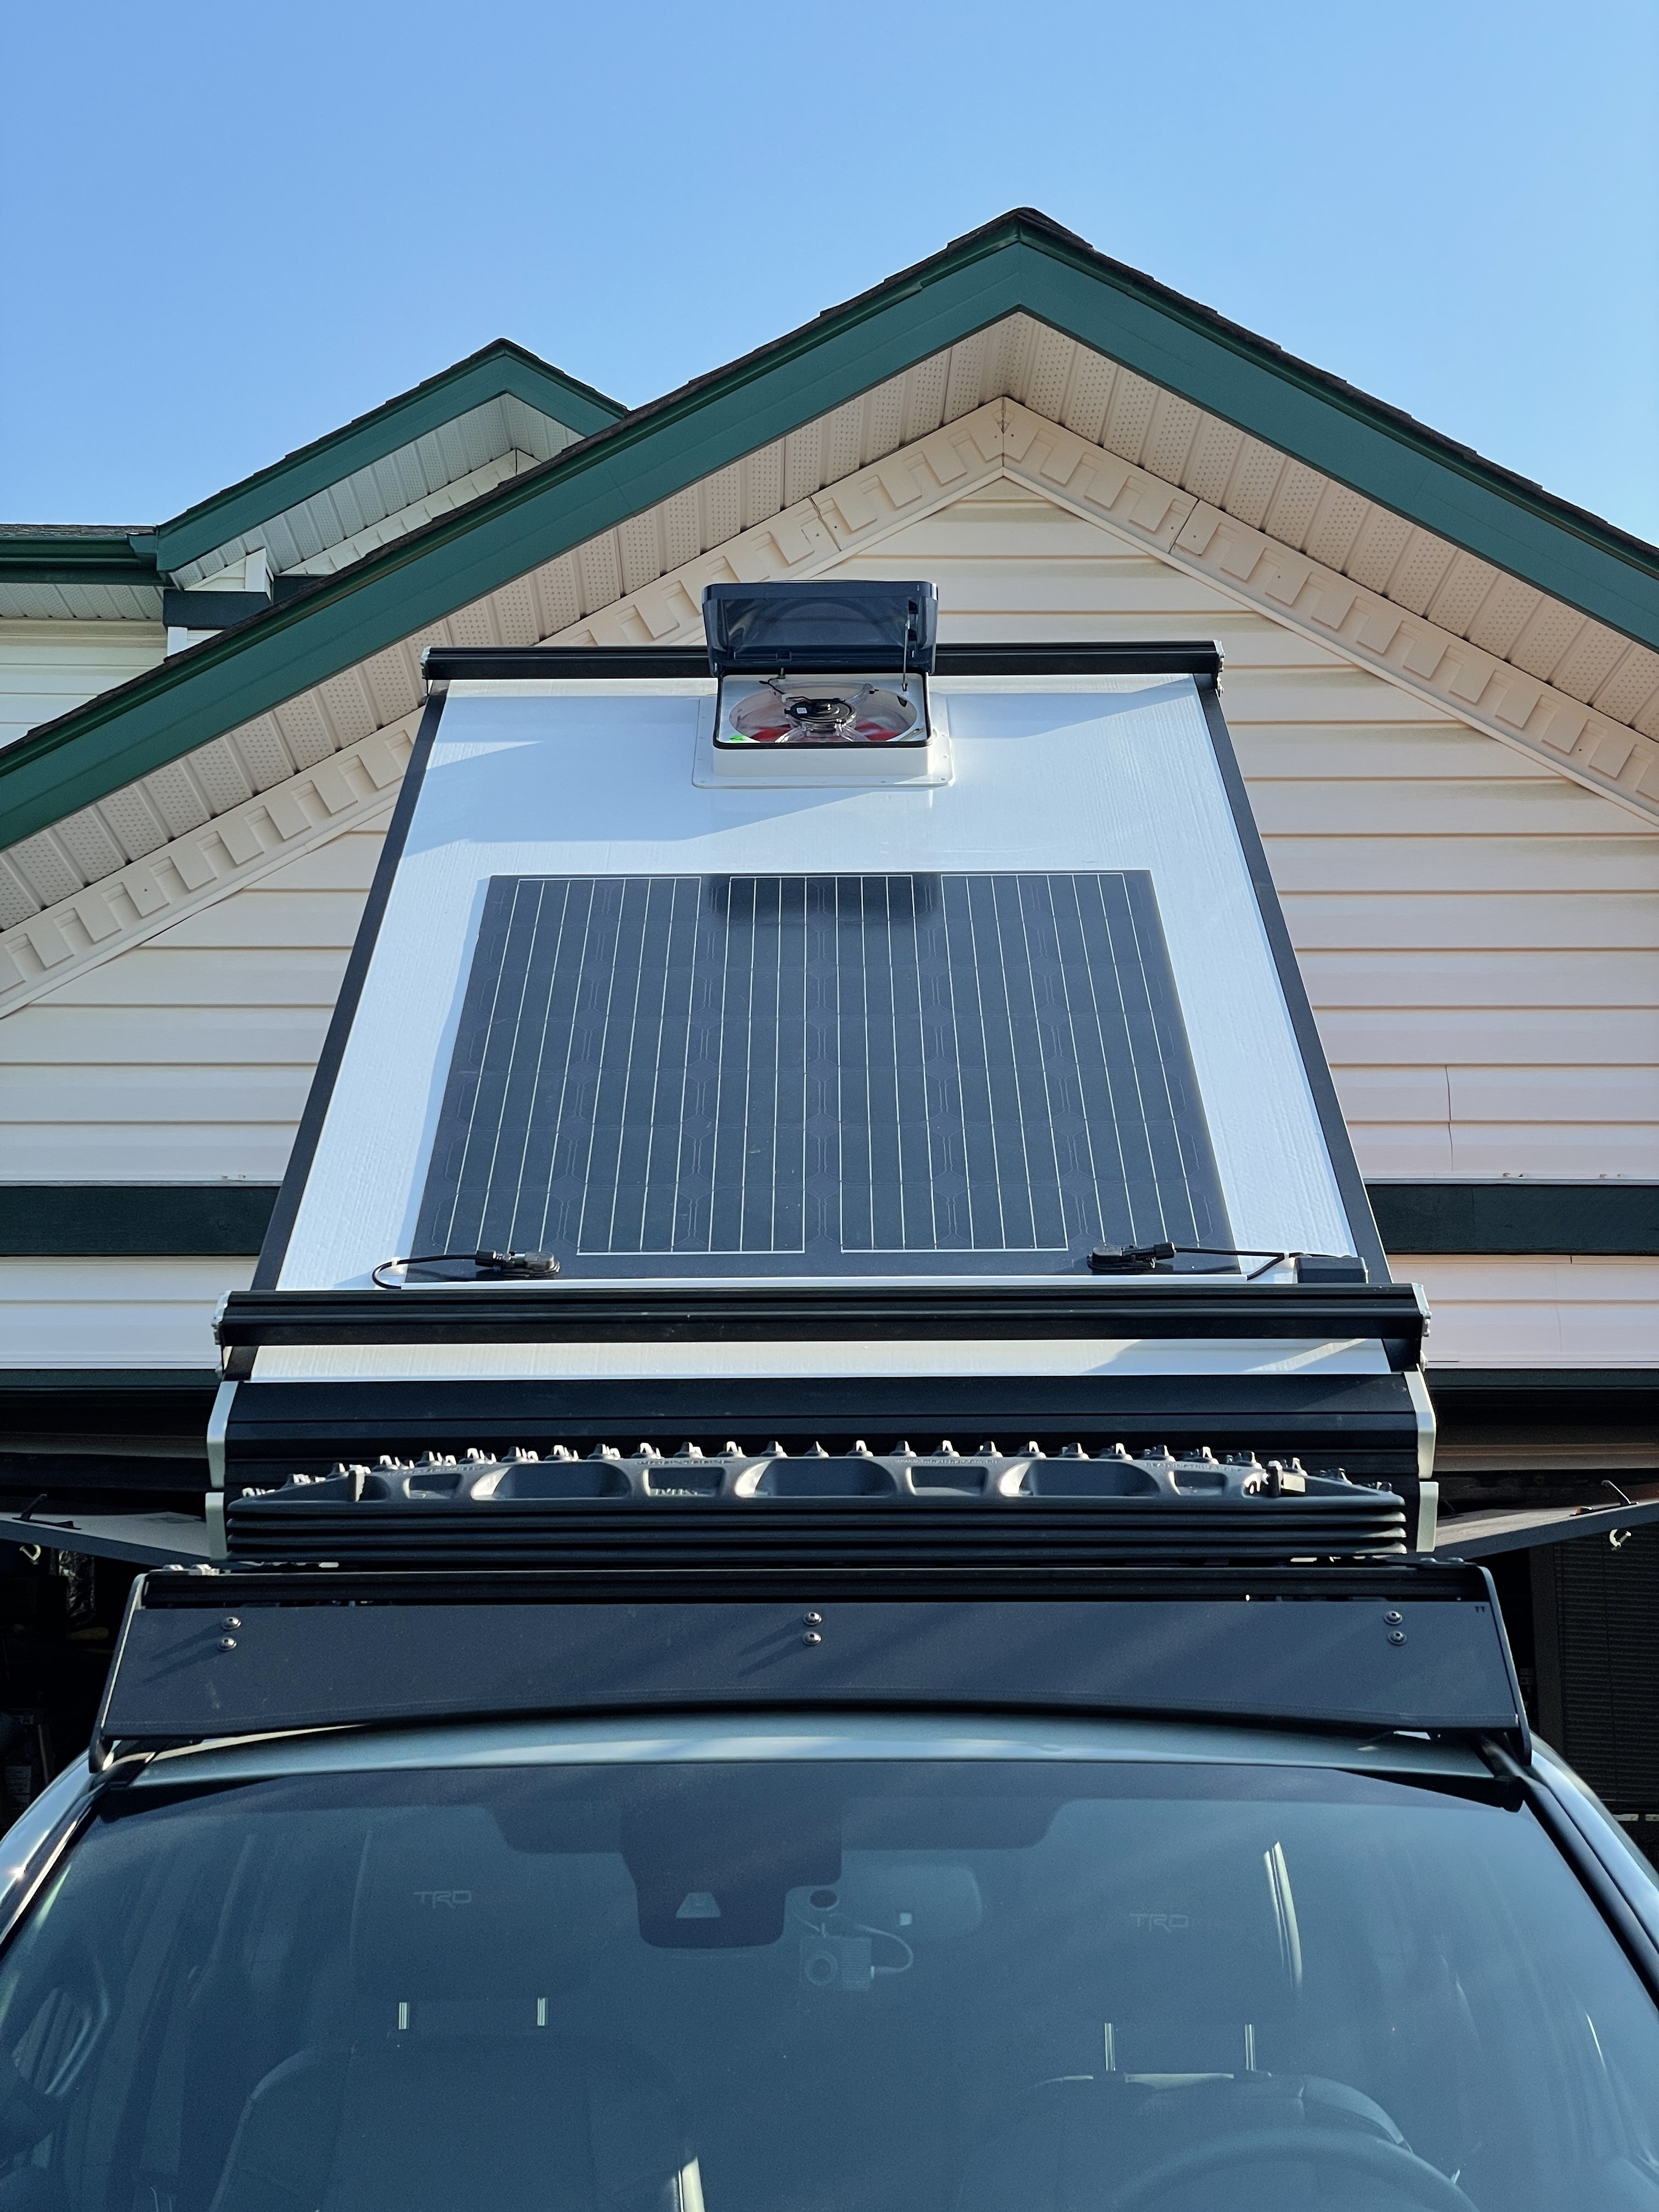
Finally got around to mounting my Sunflare Xplor Adventure Panel. more details can be found here.

5 Likes

I am running a similar setup with 100w of solar and got the smaller 55Ah Battle Born Battery. The battery is extremely impressive and is ten fold better than anything I have used to date. I have found the 55ah and 100w of solar to be sufficient and have had the fridge run for weeks on end without coming close to shutting down. The battery seems to take a charge faster than anything I’ve used, could be the LIFEPO4 chemistry.

2 Likes

Are you using that in all temperature ranges or is that just in moderate temps?

So I get a chance to setup up my solar again on a new unit. I can’t seem to find the build on here where the user used a solar cable gland. I have one now on my camper, but it came with screws. This new one doesn’t. What would be the best way to fasten the gland to the roof without screws?

First thought is to use 1/4” 3M VHB, as I’m using 1” 3M VHB to mount the renogy 100W panel. Both of which I thought I would RTV around the edges for additional seal and hold. Thoughts?

Cheers,

WG

1 Like

I cut 4 strips of vhb tape and made a perfect square perimeter of the foot of my gland. Then I covered over the edges once it was mounted with externabond tape. So far so good. Survived the bomb cyclone here on the west coast earlier this week without a drop inside

2 Likes

Trying to figure this out myself.

So far, I did as suggested. Used 1/4” VHB tape and RTV for the gland and 1” VHB with RTV around the seams for the panel. It seems to be holding up, but I definitely have my concerns.

2 Likes

Mine has held up so far pretty good. I went thru all my cables and put the sheaths on them that protect them from uv.
I’m finding my fridge ( iceco jl42 ) with half capacity inside of primarily soda water cans will stay at 34*F constant and draw from my goal zero 1000x overnight ( roughly 12 hours without sunlight) 25% -30% of my battery. My truck is in the sun in the am around 8, and the battery will be at full capacity by lunchtime(noon or so) . The 2 x 100w renogy flexible panels are a nice addition to my camper, stoked to have it. When i dont need the fridge, i just unplug the fridge from the goal zero and that’s it, super simple.
Temps in socal have been in the low 90s mid day, when parked into the sun i dont really feel like its any hotter inside than without the panels on the roof.it actually gives me a nicer shaded area since light doesn’t penetrate the panels, so depending non how far back you mount them, i have mine on the back 2/3s. I get darker shade in the most used area of the camper.

1 Like

I plan on running my panels to a bluetti ac200max with a built in MPPT. This should be sufficient for what I need. I’m also running dual batteries so eventually I may have a switch upstream from the bluetti to switch between the 2. By the way. Renogy and BougeRv are both having Black Friday pricing today still.

You bet, it’s totally separate from the truck. Not too interested in going down the rabbit hole of dual batteries, isolators, etc.

3 Likes

200 Watts of solar into a National Luna25 Power Pack with 100ah lithium battery

Has anyone found a roof gasket that is just barely big enough for cables? I have limited garage clearance and had hoped to do a gasket but the renology one is ~1.5 inch tall which isn’t going to work. I only need the truck in the garage when I work on it (only level surface) and already have to air down or have it loaded to fit :joy:

1 Like

I went a different route on my setup. Used flanged SAE plugs to pass the wires through. Panels are held on with VHB tape. 1" at the front, 1/2" the rest of the perimeter and a couple strips in the middle.


13 Likes

Yes! This is exactly what I need to do. Thanks for sharing. Where did you source the port through the panel? I also hadn’t realized cables could run through that rear support tube, ha, so thanks for that

3 Likes

Using those tubes cleaned up my setup tremendously. You can stuff quite a bit through them too. I use the driver rear tube as well, for a small lighting harness.

8 Likes