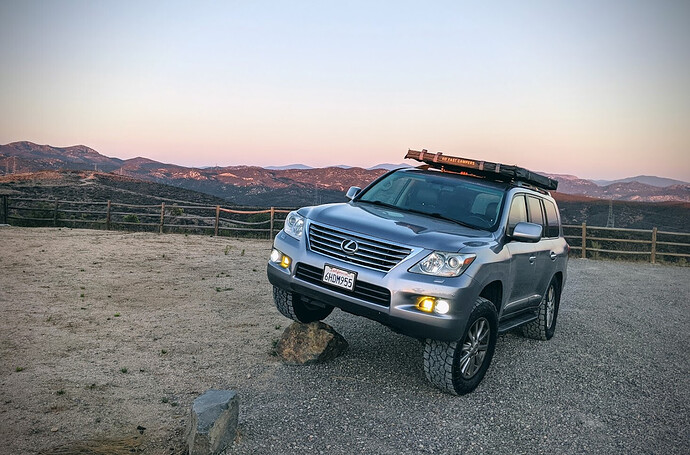
5th gen 4Runner. Don’t think I could move the tent further back bc it would interfere with the trunk hatch when opened
I used the included hardware. wasn’t easy to install, but now I just unbolt those crossbars if I need to remove the tent. also thinking about getting some 80-20 hardware to mount the tent too…
on my 4runner the extrusion overhangs the wind faring by 4 or 5 inches.
I have a light bar at the fairing though that sits about 3/4" higher than the crossbars. That means the extrusions would interfere with the light bar, no?
edit: probably going to just get some aluminum bar stock and shim where the tent will attach with the mounting hardware so the extrusions will clear the top of the front fairing by 1" unless others have some good/clean suggestions
The mounting slot comes right to the start of the wind fairing. I doubt you could have a light bar up there.
think maybe a light bar clamp could be rigged to the ends of the two main rails? I’m hoping yes
So that it pushes the bar out? It’s possible.
Isn’t the point of the quick release mounts is so a person could quickly remove the tent. So you have the quick release mounts and still unbolt the cross bars from your rack to remove the tent?
I don’t have the QR mounts…
Got my Superlite! Communication, shipping, and delivery couldn’t have been smoother.
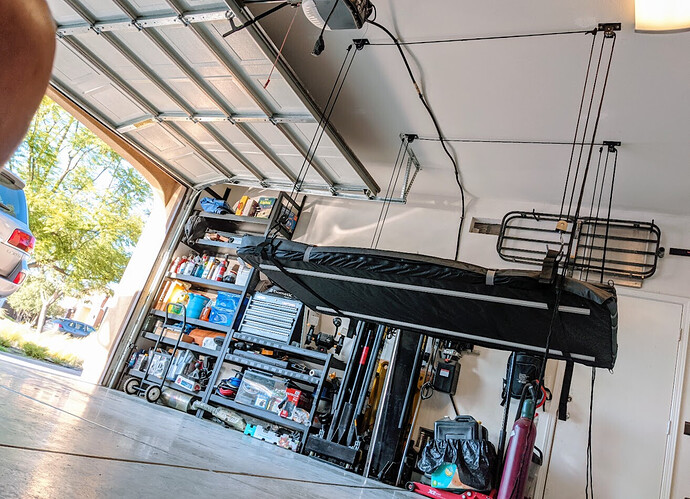
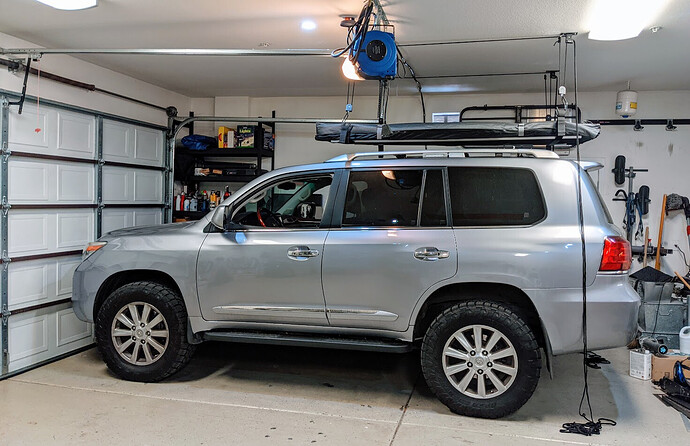
First order of business is to not get too excited, and mount the tent. Need to setup the hoist (and storage) in my garage first. This now allows me to easily hoist the tent for actual mounting. Better than trying to throw the tent on top of a large SUV on 35s, which isn’t exactly something the wife will appreciate helping with.
Using 2x garage bike/kayak ceiling hoists, each rated at 125lbs (or 250lbs total). The Superlite is childs play to it and makes hoisting super easy and controlled 1 man operation. I can adjust tilt or height to each corner individually. Was easy to mount into 2 ceiling joists 48" apart which is just right for the 50" width Superlite. I did modify the brackets and hangers a bit to tuck it 10" closer to the ceiling. Hoist kit - https://www.amazon.com/gp/product/B07Z92YKLM
Now to the fun part to mount it to the car…tomorrow.
Just picked up mine. Too tall at 6’6” so I am selling it. See details in marketplace on the forum.
I was brainstorming of a way to make for more useful length. Perhaps using you all as a sounding board.
Was thinking to try and put a pool noodle or the like within the leading edge of the tent. This could potentially prop up the foot of the tent to make more clearance and usable length for tall people? May also help to put a gentle rounded profile on the leading edge of the tent for less turbulent and more silent aero?
This would work (well, the extra clearance — not sure about the aero aspect). My wife and I took an 11-day trip as our second time out with the Superlite a month ago and leaned a lot about the Superlite in daily usage.
The wasted space up front bothered me and even at 5’ 8", if I didn’t have my head right at the top edge of the tent, my toes would touch the roof. I had thought about a piece of foam or something but never got around to it.
What occurred to me was that my wife had her yoga mat with her, and I squeeze the rolled-up mat up front (while loosening up the front straps) and pushing up on the roof — that gets you a couple of inches easy and I then slept with no worries of my toes touching the roof. We’d remove the yoga mat when we’re break camp.
Any recommendations on hardware for mounting the quick releases to a Prinsu rack?
Another way to get more foot room is just stuff a pillow in each corner. Works quite well. I also made a couple of notched pieces of wood that fit between the loops on the outside which push the roof up a bit as well.
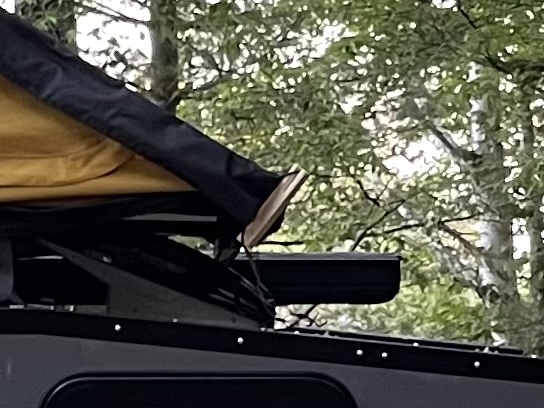
Can you provide a more detailed photo, please?
Zooming in or close up shot would be great. Interior viewwould also be useful
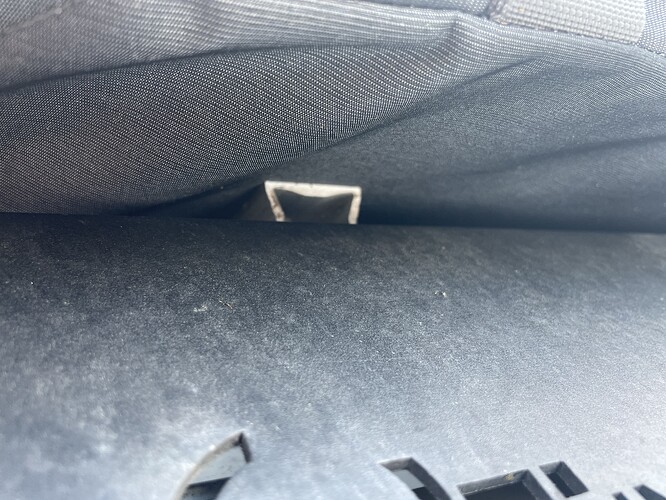
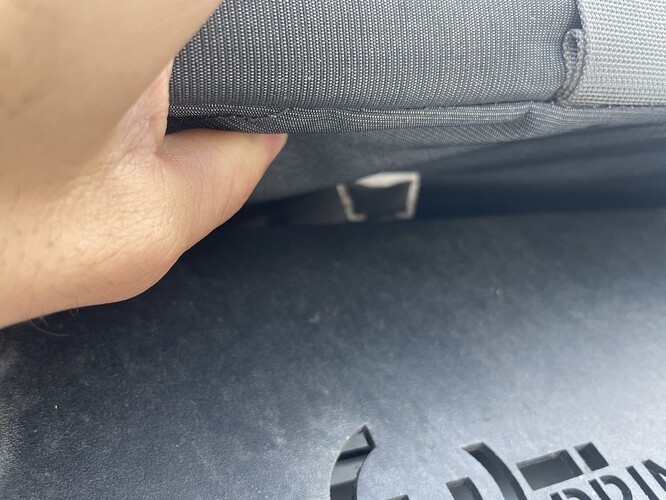
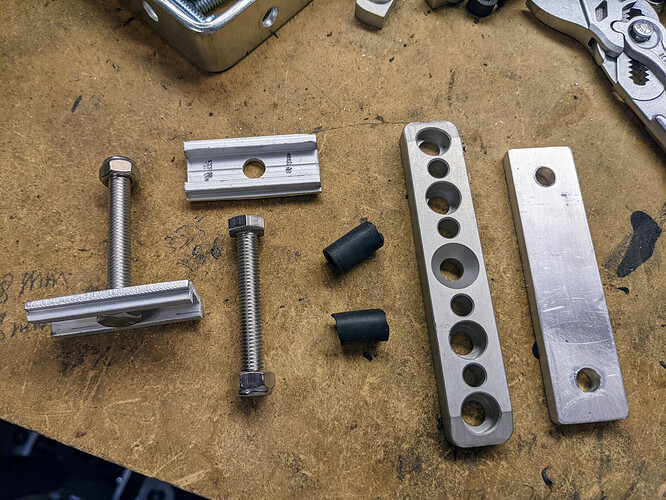
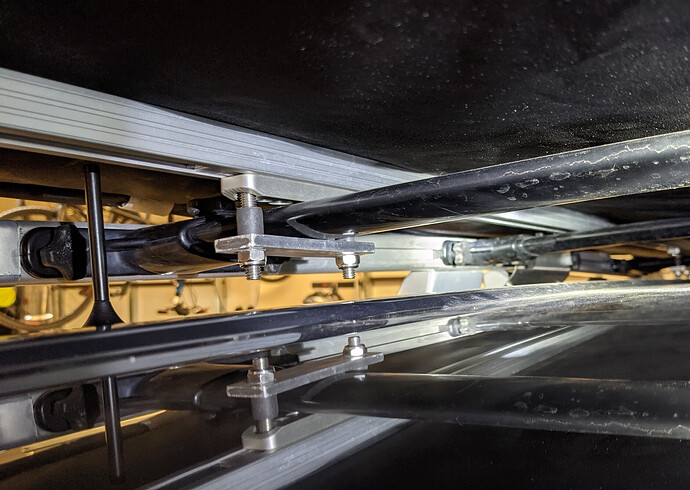
Mounted! Took a bit to get the mounting accessories sorted but I’ve got a nicely workable setup now. IMO, the provided hardware is less than desirable. I’ll give GFC credit on trying to be creative with mounts, but the T-nuts are really hard to use and probably prone to install errors and a potential safety hazard, trying to mount with the limited clearance and visibility most racks have. Better off with the classic sliding brackets that feed in the end of the extrusion.
So that’s what I bought and did some customization to work with the Superlite rails and my stock OEM Toyota cross bars.
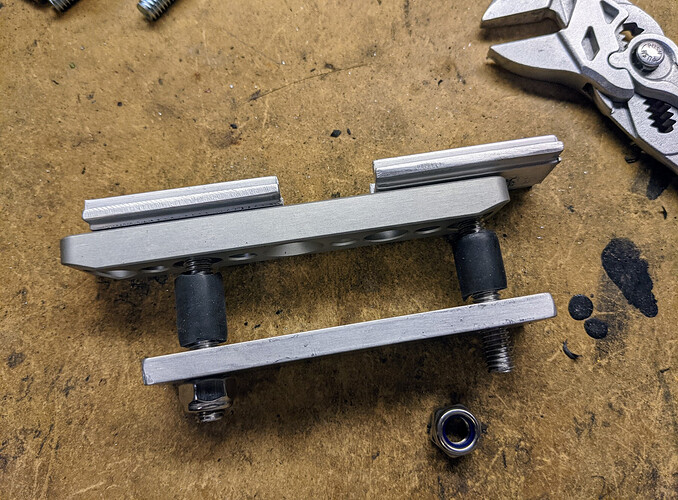
Hardware looks like this, and is way easier to install confidently. Even with one hand. I’m using the GFC provided bar is a minor riser to clear some things on my roof.
Where did you source the brackets?
I’m hesitant to recommend the ones I got as they were actually too wide for the Superlite rail. I believe they were 1.25" wide and the Superlite needs 1" wide brackets. Used a bench grinder to modify them to the right dimensions. I made the clamp bracket out of 1"x1/4" aluminum stock. The awesome thing is at that all the hardware sits in place and it’s just a matter of turning the bottom bracket 90* around the cross bar once sitting on it, slide the bolt in, and threading the lock nut. No potential for error.
Hopefully GFC can provide the sliding brackets as an option. Or better is that they include these as they are probably more viable for common installations (like my stock Toyota rack). The provide hardware has zero chance of working for my setup and that’s after trying to get the right size bolts and having lots of tools on hand. At least that’s my perspective having used a few RTTs over the years.
