Where did you source the mesh webbing? I’m looking to make something similar to store the sleeping bags and pillow.
It’s just off of amazon. It was a little bigger than I had hoped so had to pre-stretch it to mount it so it wouldn’t hang down too low.
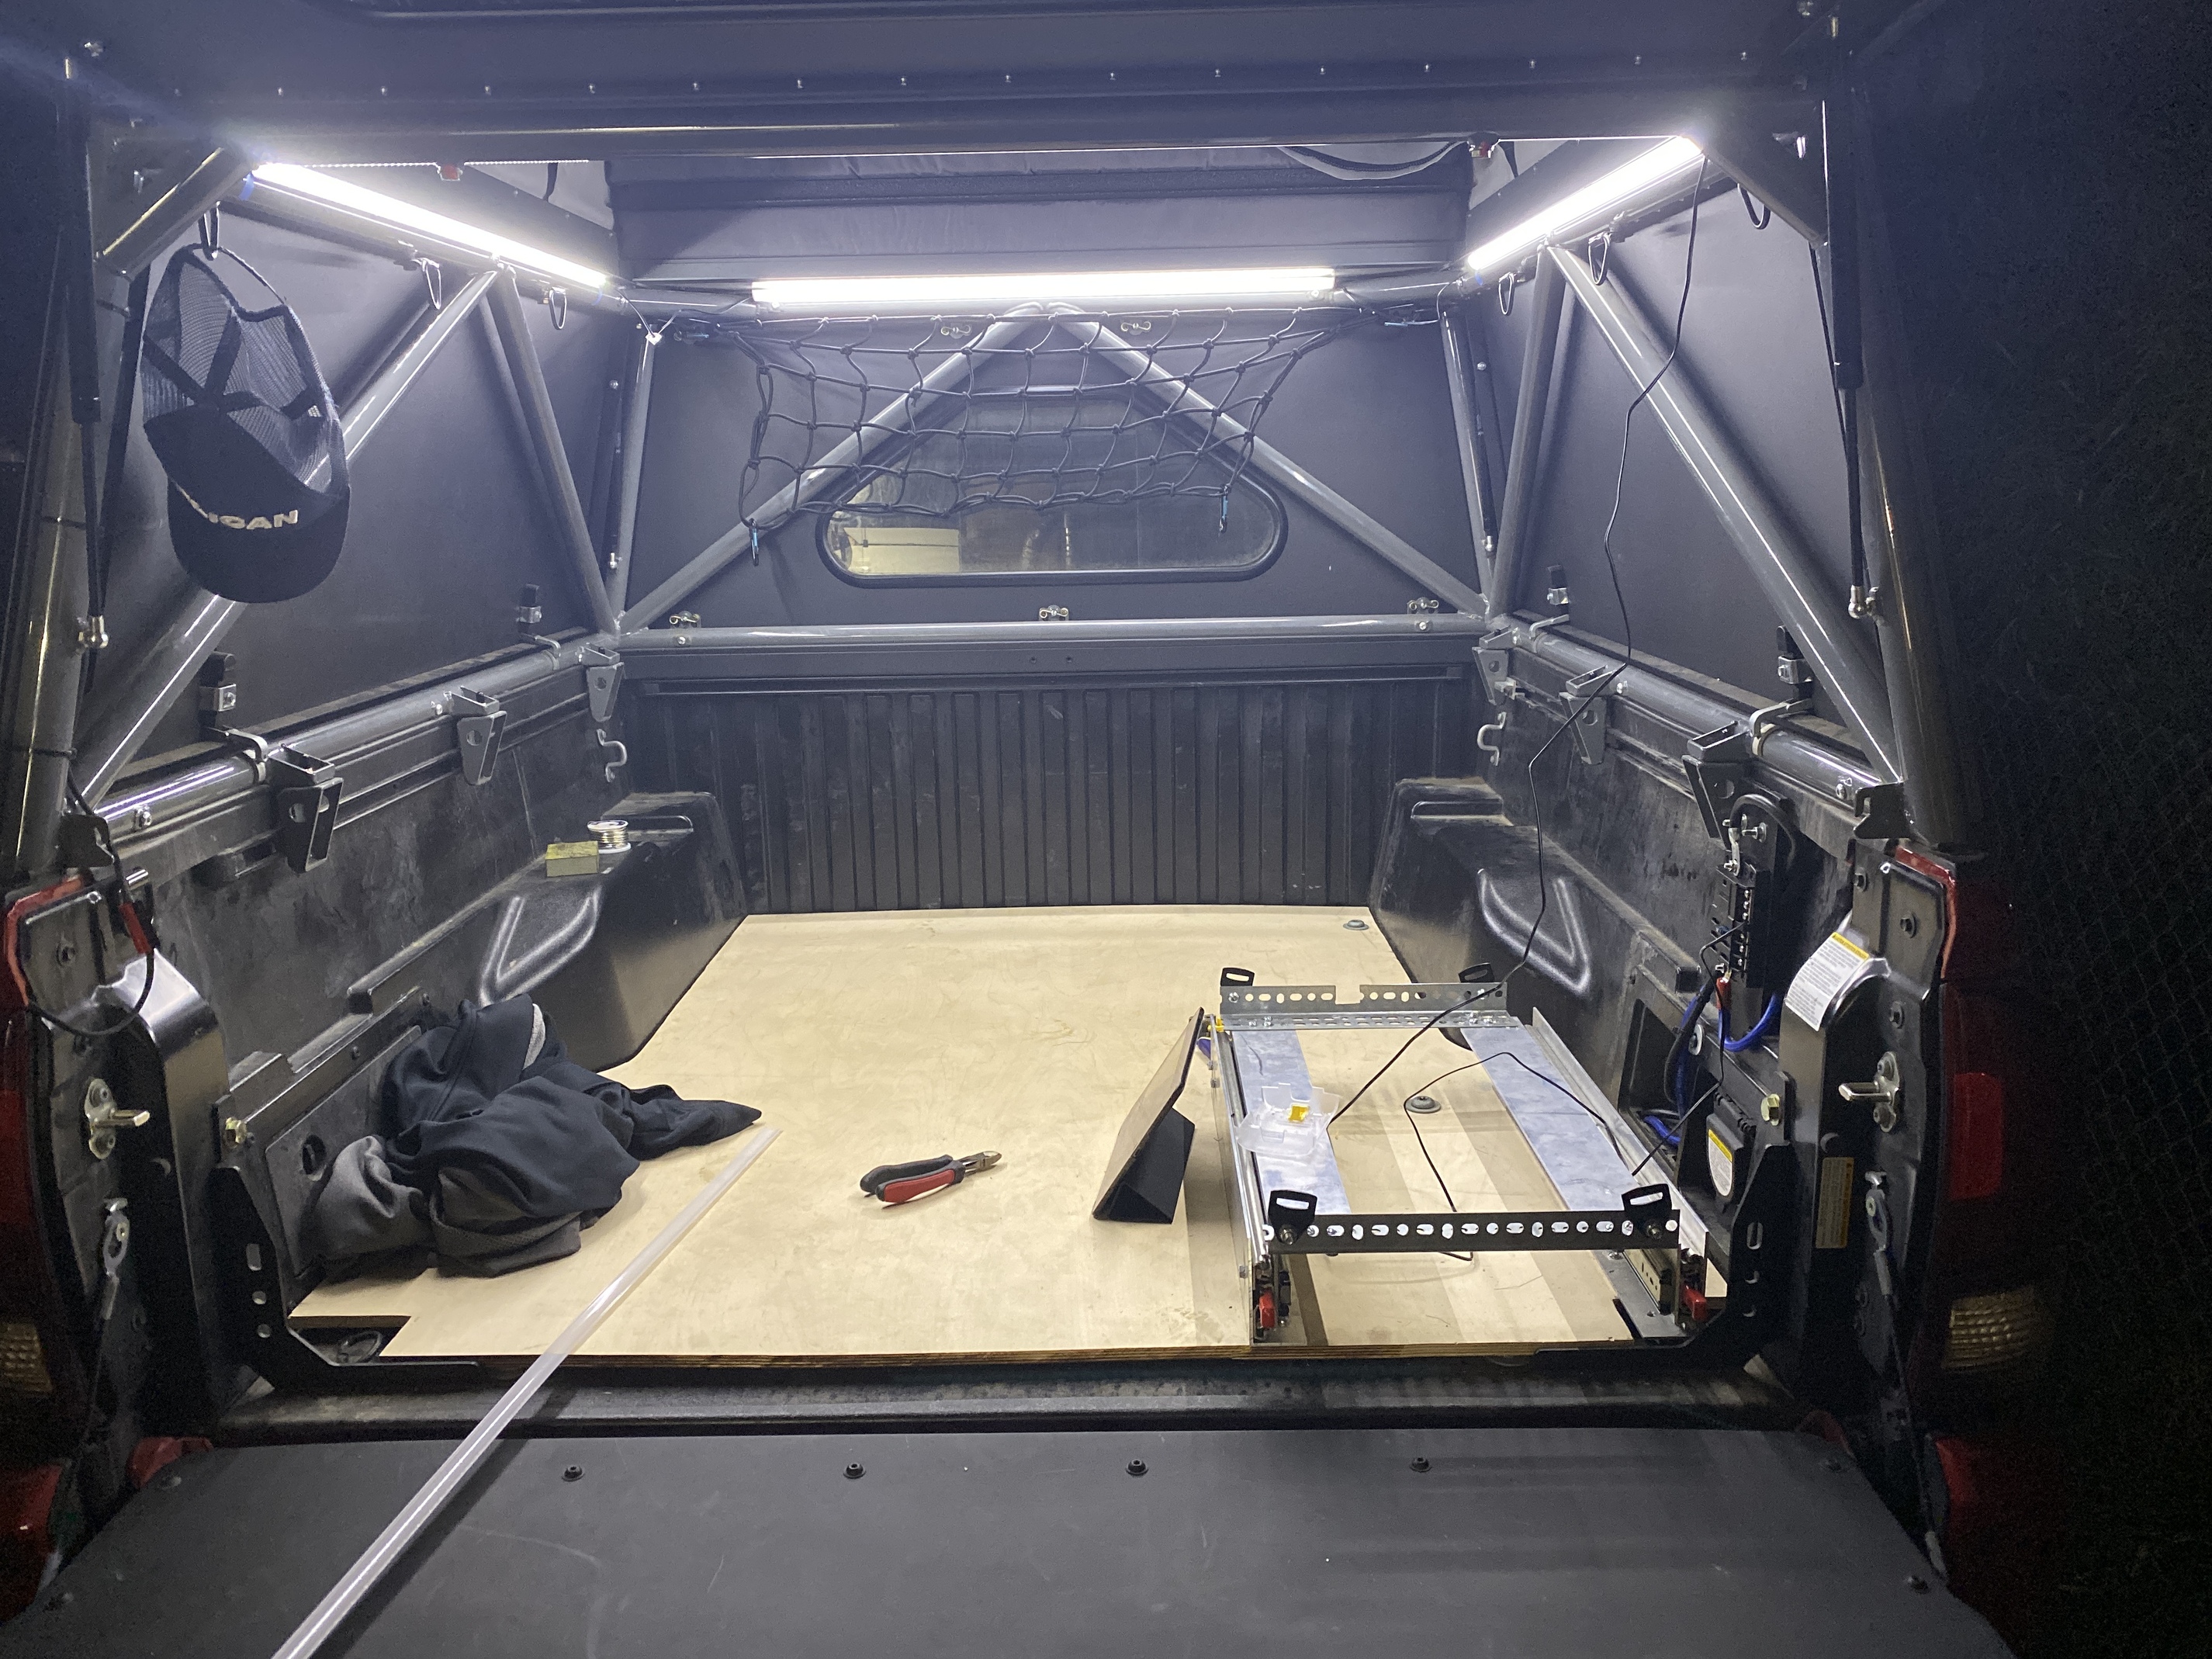
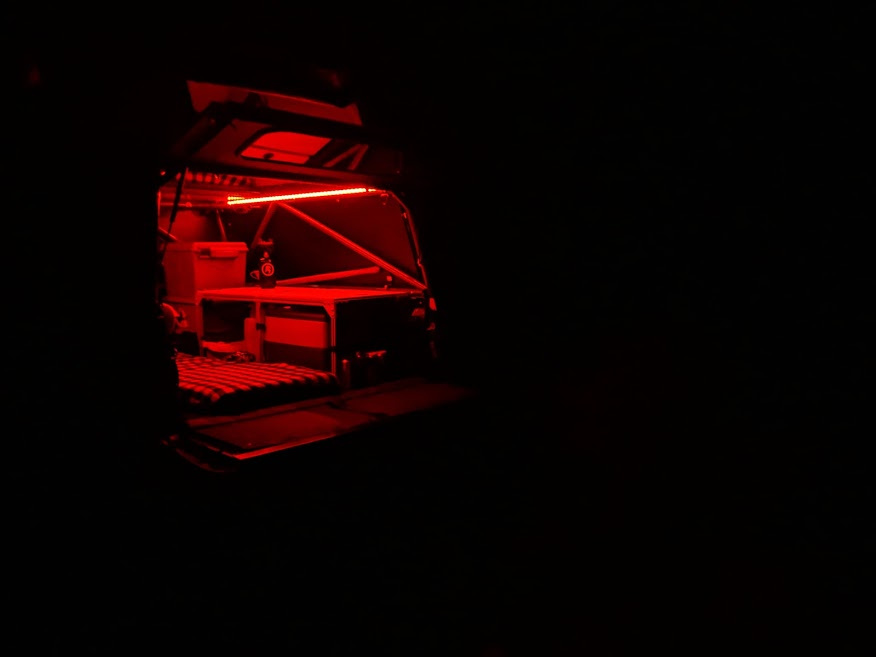
This is my work in progress so far. Just finished mounting the lights. I’ll be building a cabinet around my fridge next.
4 Likes
Are you tapping into existing wiring to power the lights? Did you have to cut through the bed? I’m slowly approaching the point where I need to bite the bullet and cut into my bed near the cab to run all my connections (alternator power source, solar power, lighting cables, etc) and have been trawling the internet for any clean, watertight solutions for getting cables into the taco’s bed.
Watertight! Haha! 
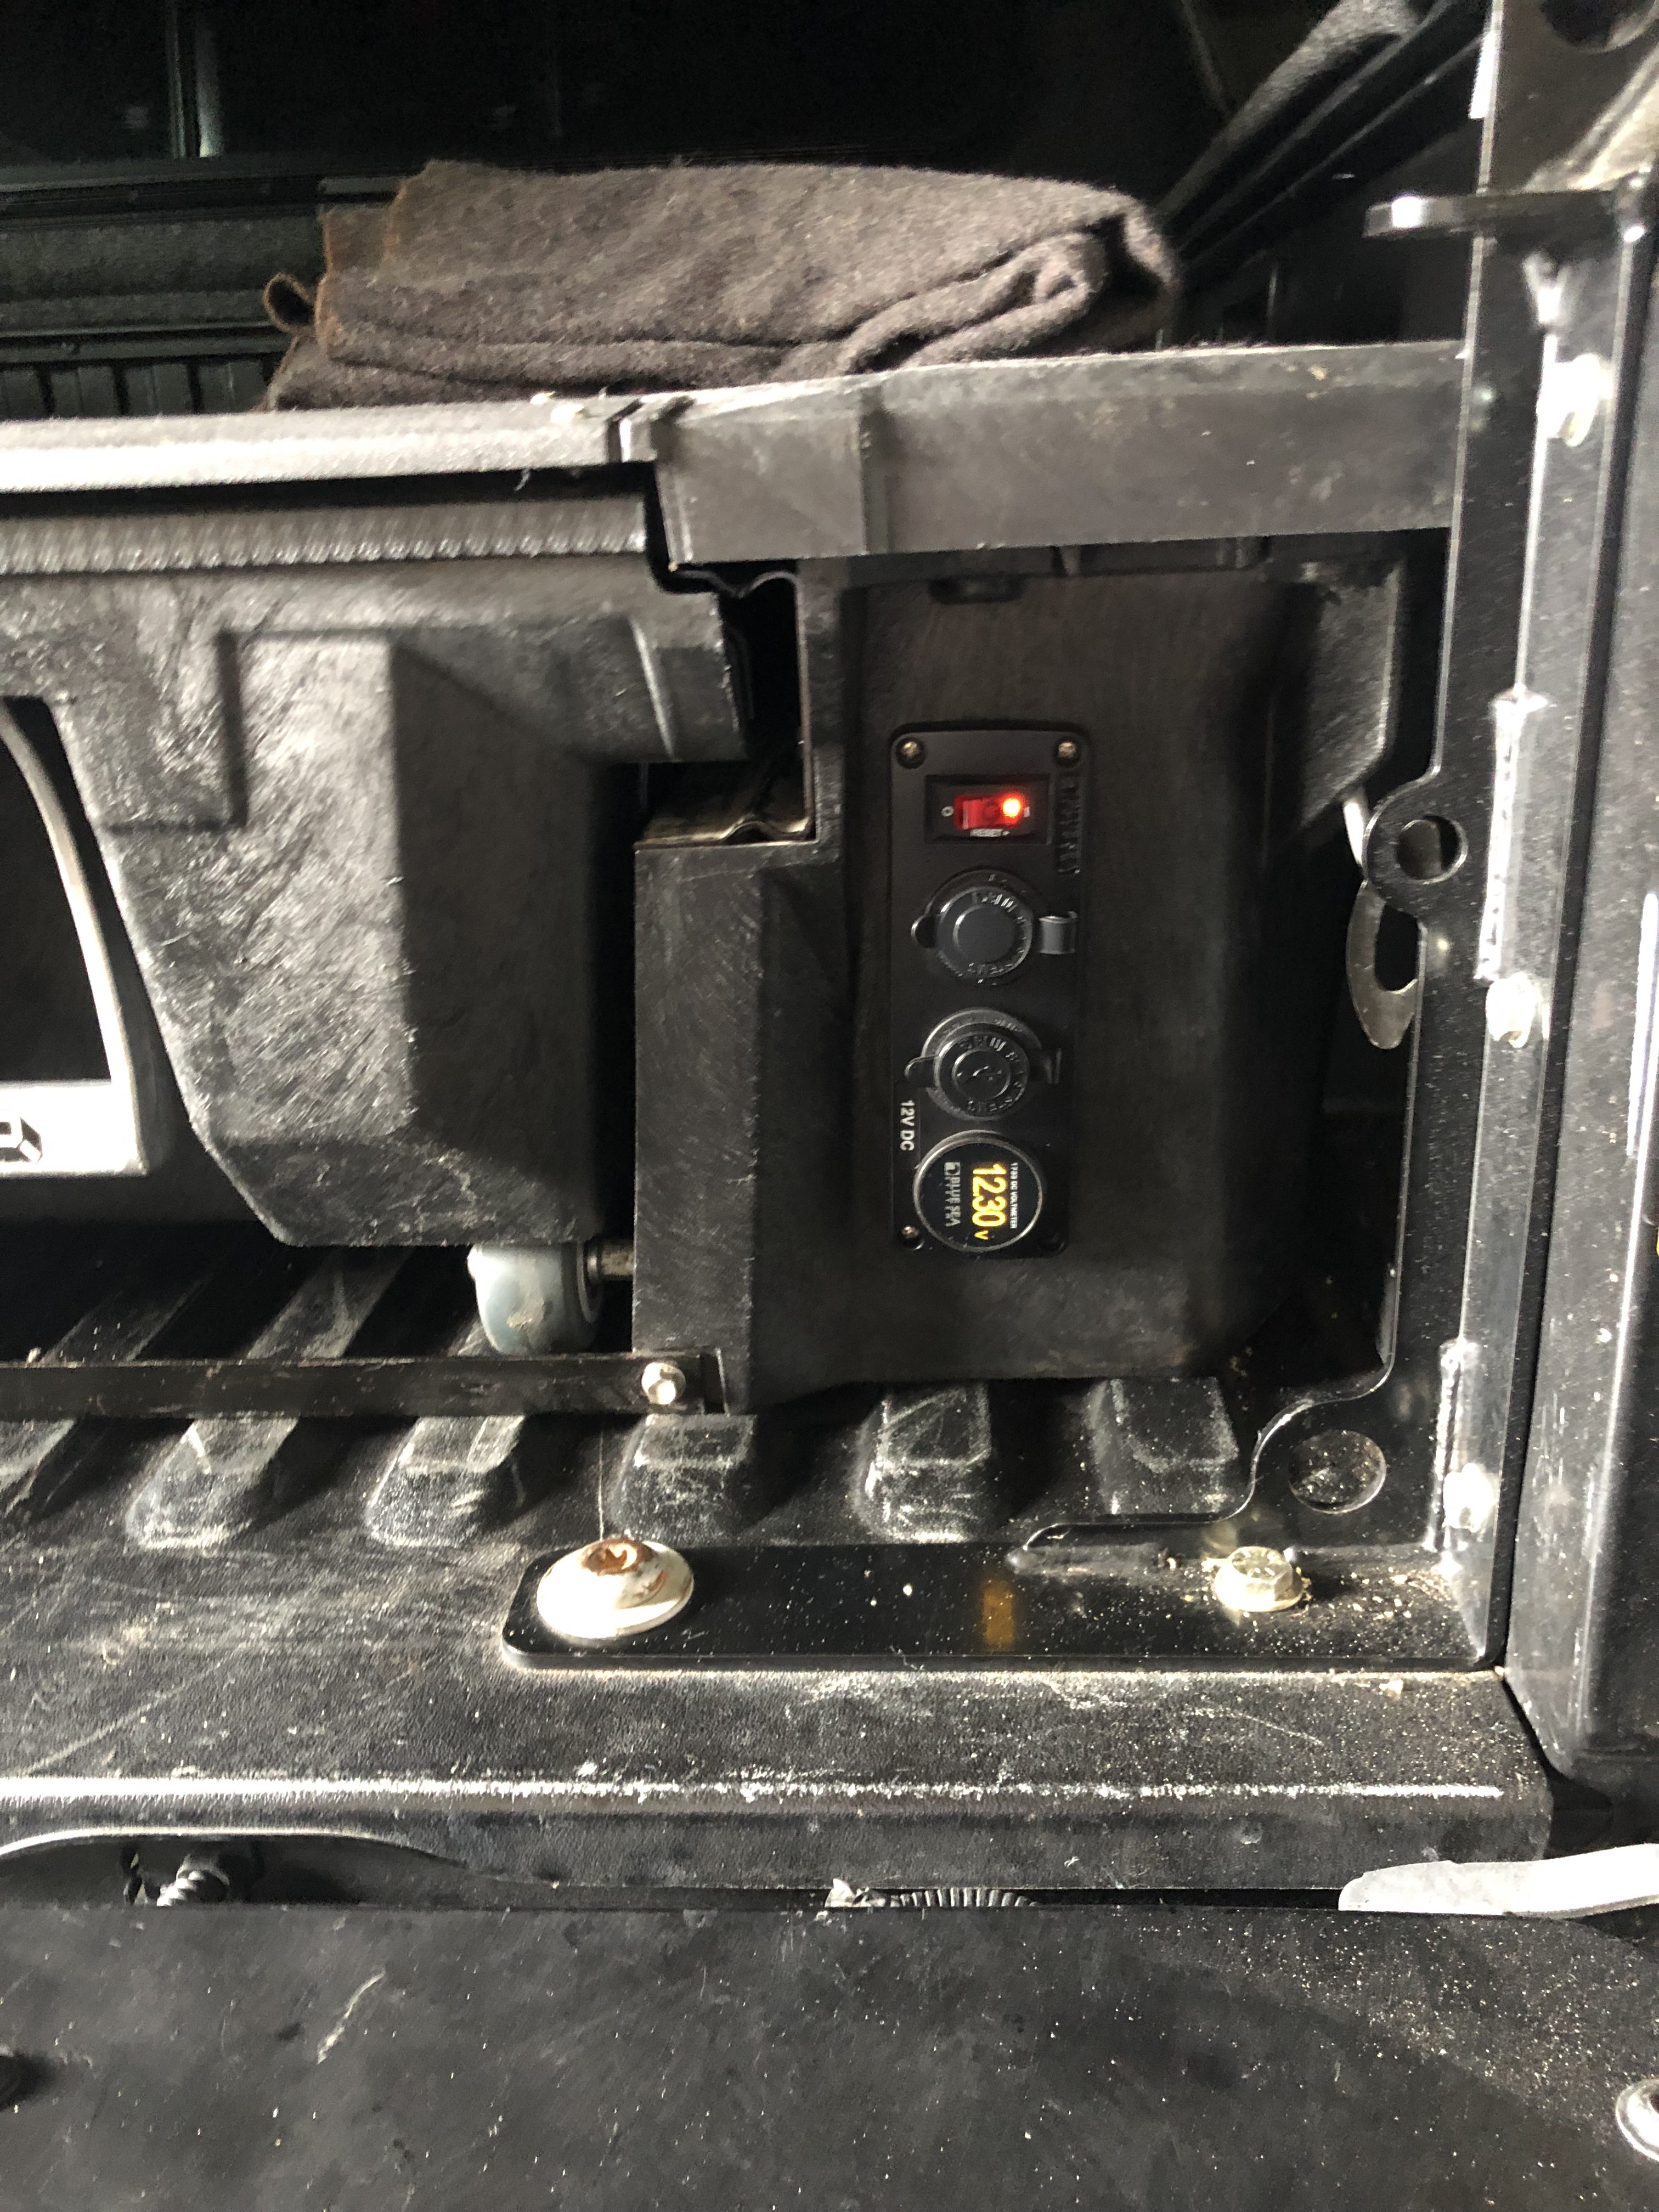
I did not want to cut into the bed, so I ran 4awg into the small cubby on the passenger side of the bed. By taking the door off, the cables fit right through the bottom catches. I’ll figure out a way to seal the holes, but there has been pretty minimal water intrusion there in the past. No drilling required! I have a 6 gang fuse box mounted to the bed rail.
1 Like
How did you attach that cargo net? I tried zooming in on your pic but can’t tell.
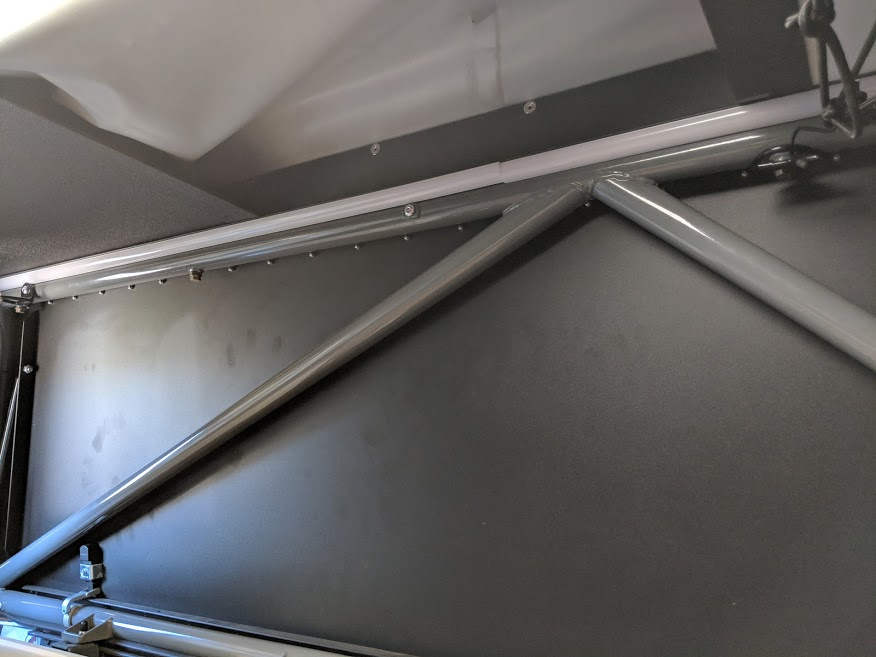
I mounted D rings to the accessory nuts in the frame. I then used carabiners to attach the net to the rings
2 Likes
What d rings did you use for the mesh webbing
1 Like
My plan is to run large gauge (undecided yet, but bigger than the current 10AWG I have for the fridge) to the front of the bed and then cut the perfect hole for an Anderson connector. Then plug the camper into the Anderson on the inside of the bed to my panel with everything on it.
PowerWerx sells these panels mounts for PowerPoles. https://powerwerx.com/panelpole-panel-mount-powerpole-housing
They make for clean interior installs, but not weather proof on the backside, so perhaps not the best option for connecting thru the side of the bed.
I am exploring bringing wire up through drain holes in side panel of truck bed in the zr2. The double walled side panels already have exsisting ports. will see. getting close to production. excited.
Just replied to a different thread. This is how I built out my taco
1 Like
Some really nice work in here!
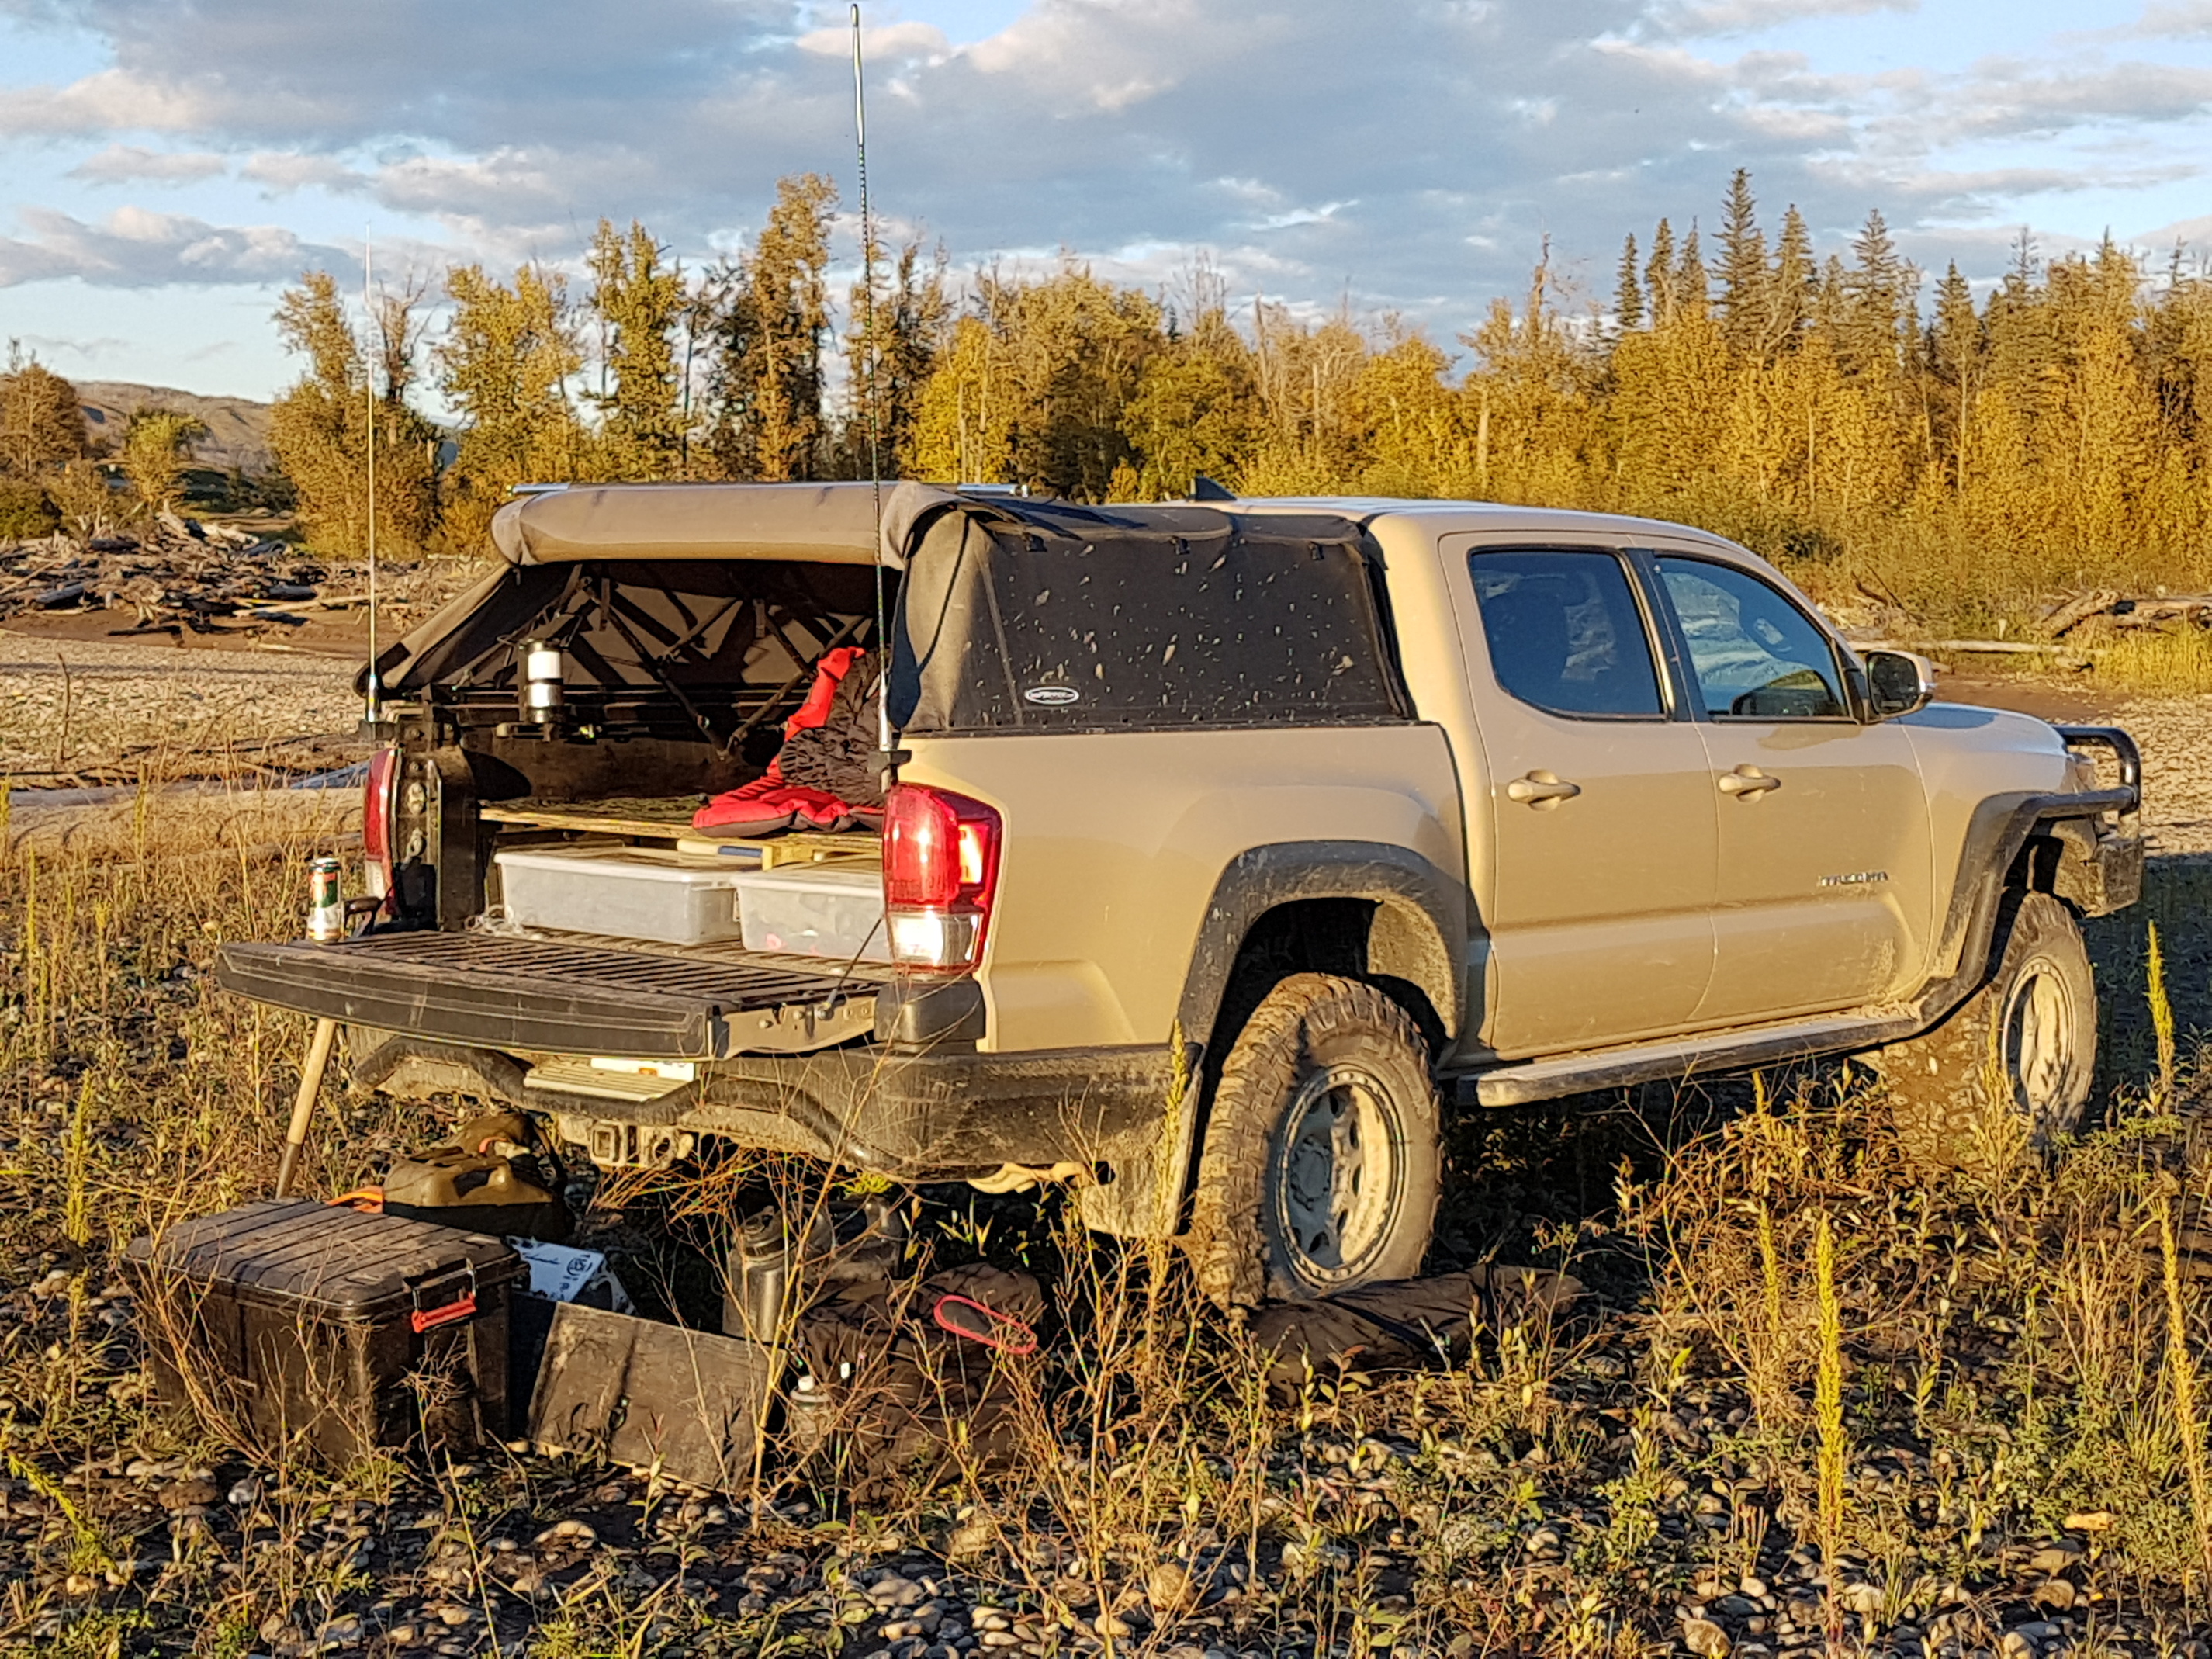
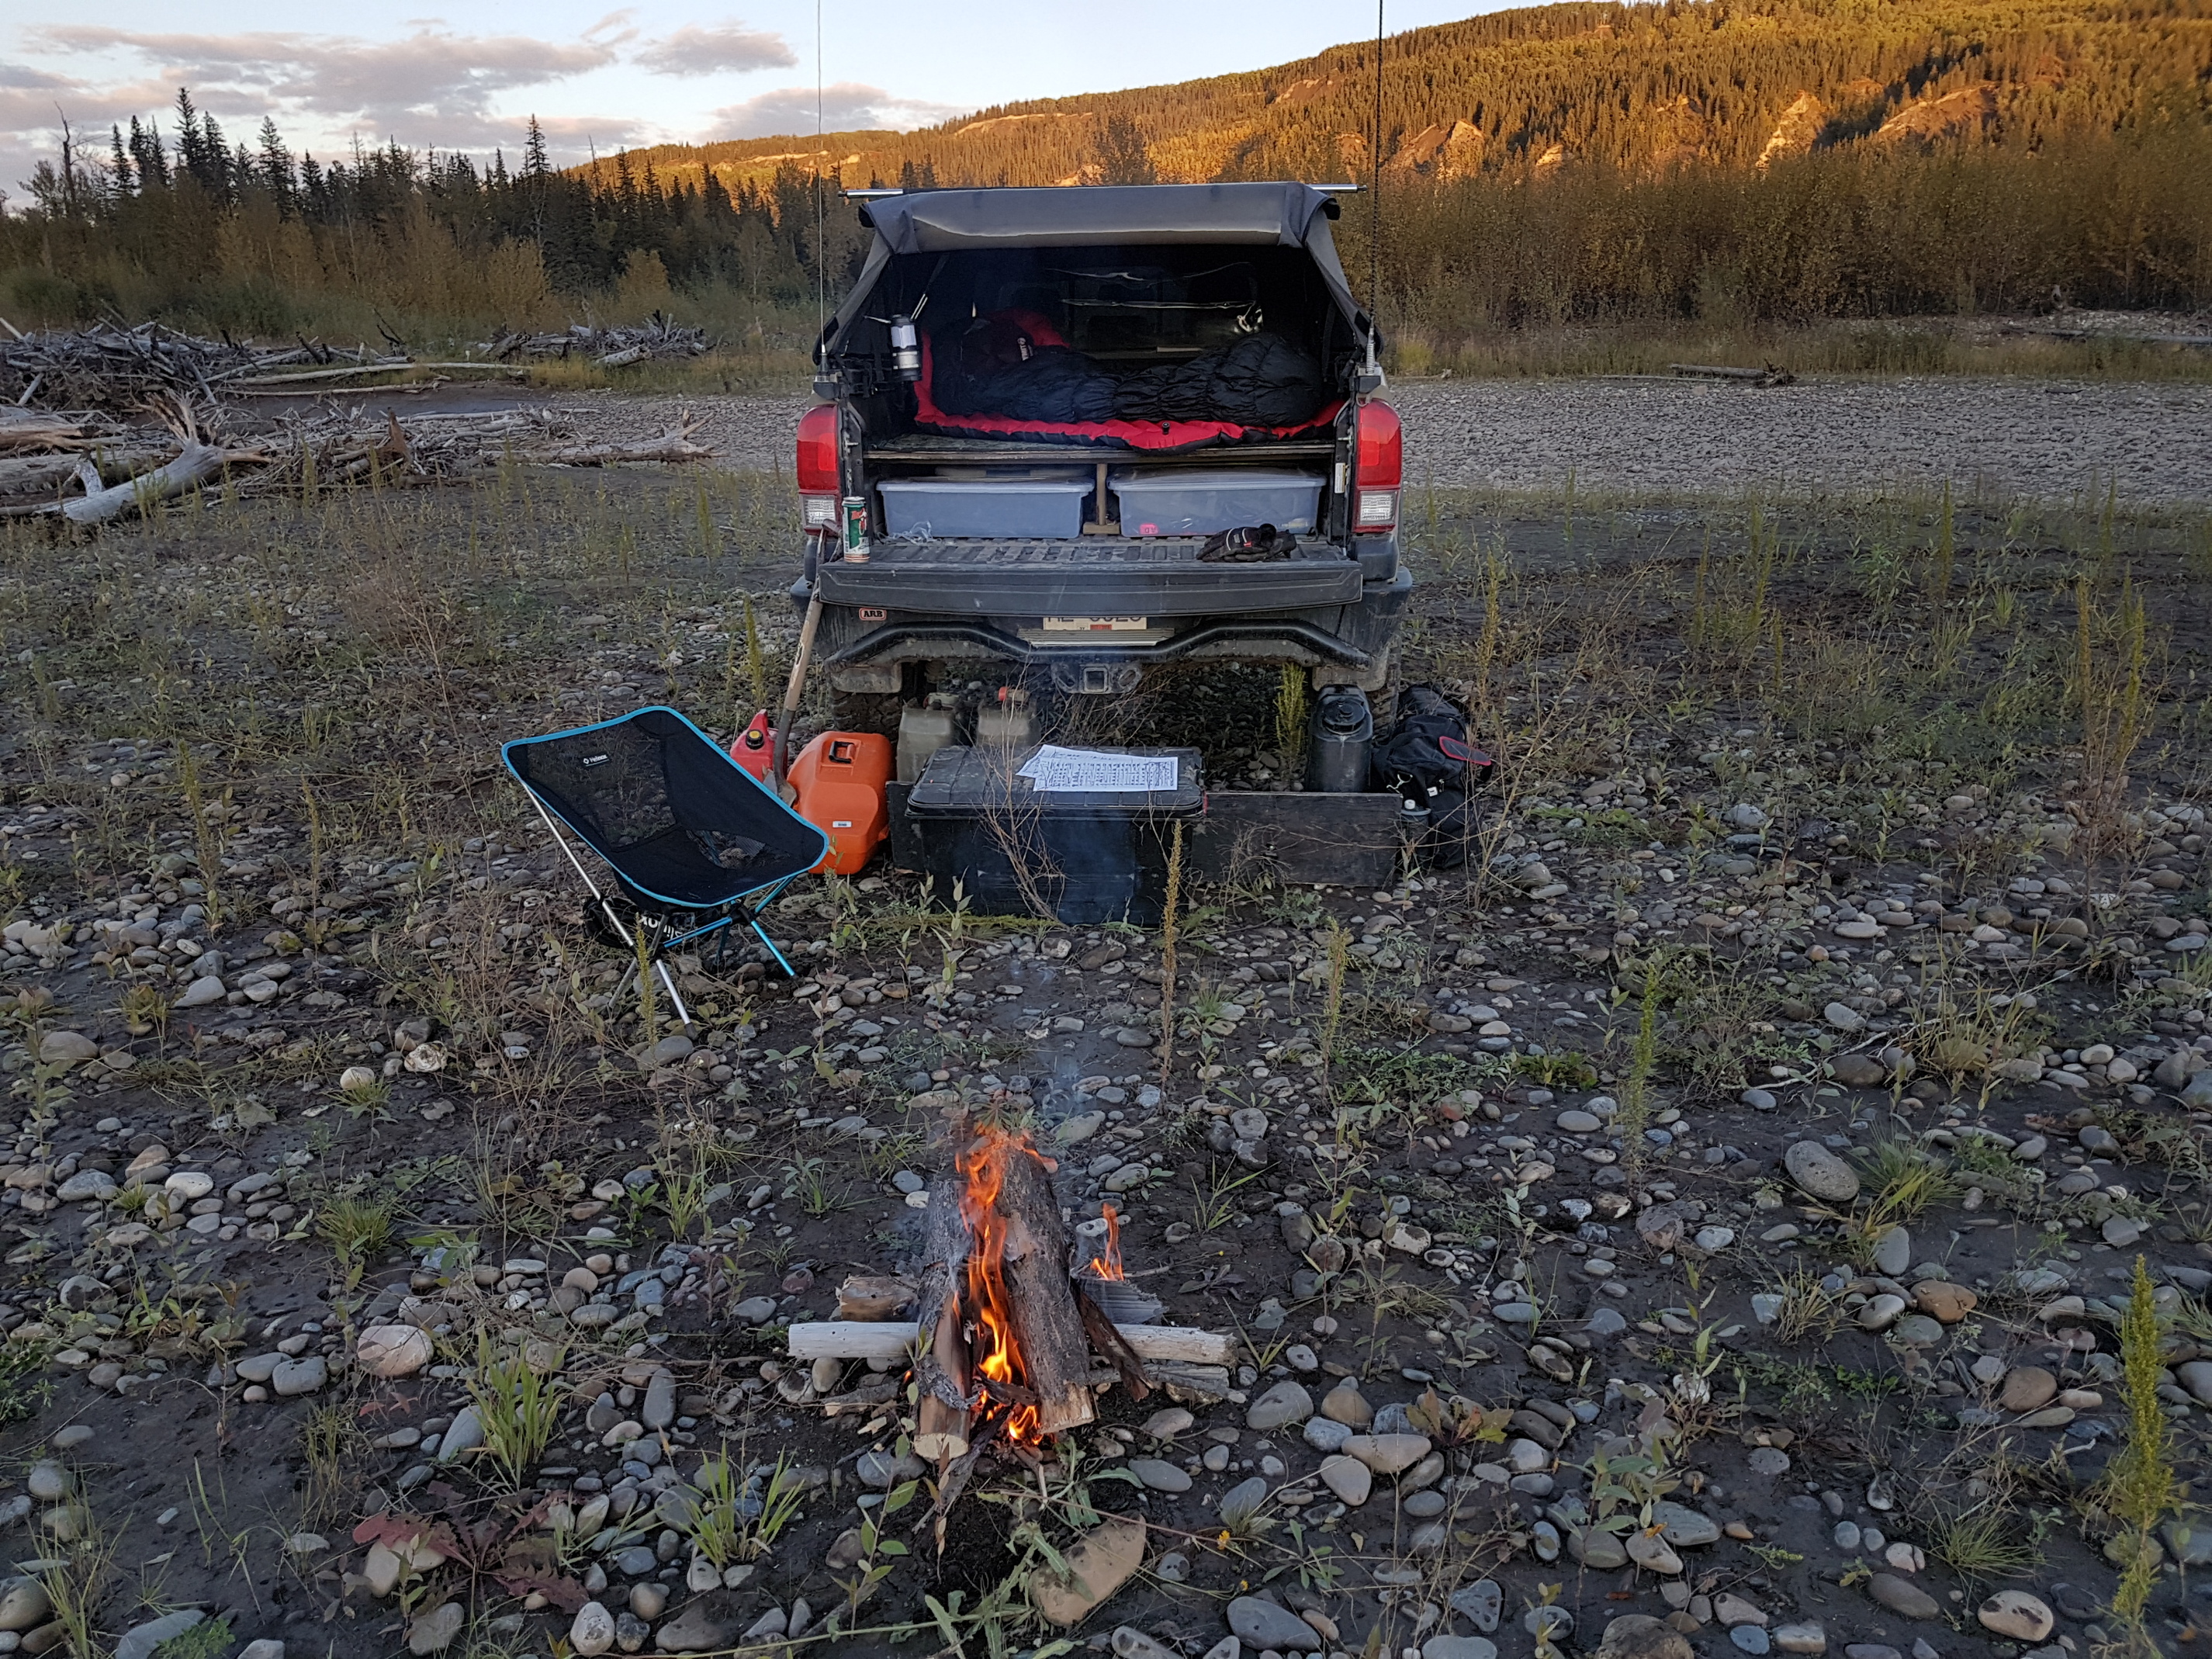
I use my truck for a lot of different stuff, and also like to be able to wash it out from time to time so I’ve tried to keep things modular, easy to remove, and light.
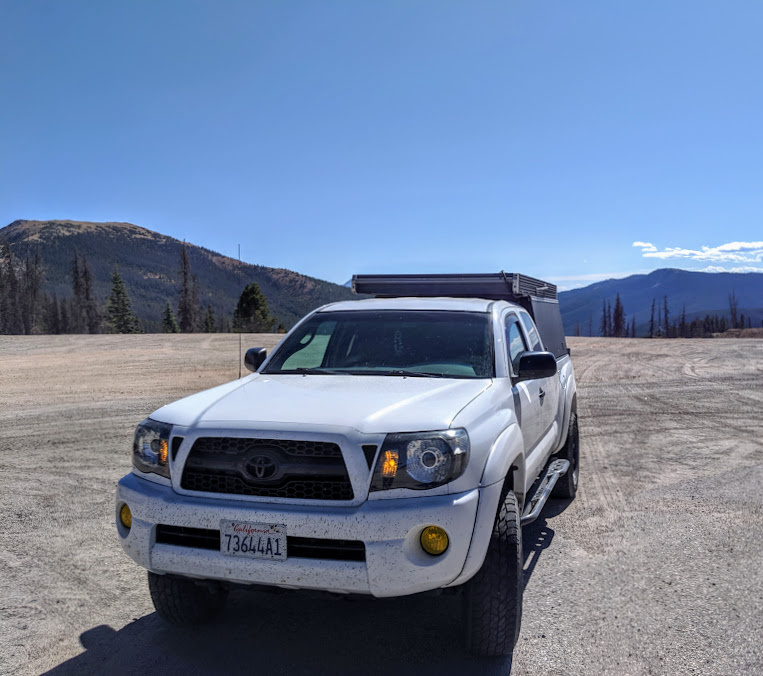
This is the general set-up I’ve come to that’s served me well for many long weekend trips this summer and I did a week long trip in early Oct from SF, to Moab, Crested Butte, Colorado Springs, and then back.
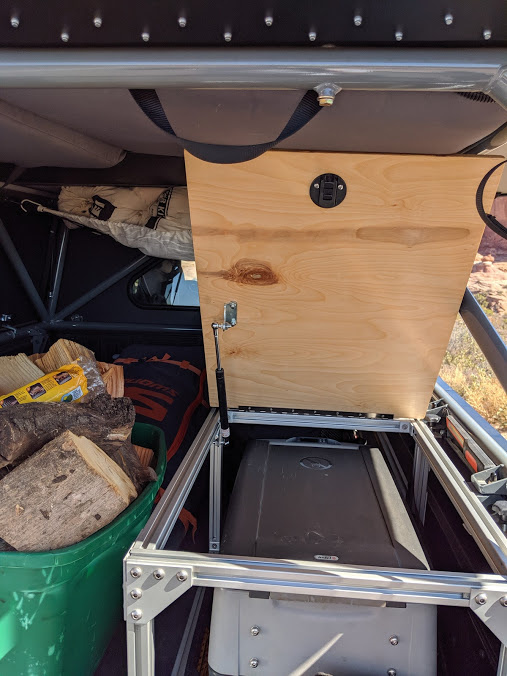
The “cabinet” is anchored to the accessory rail by three simple brackets with thumb screws and quick to remove. It makes a good step for getting up into bed, but also people can sit on it like a bench when hanging out while another sits on the floor against the cab.
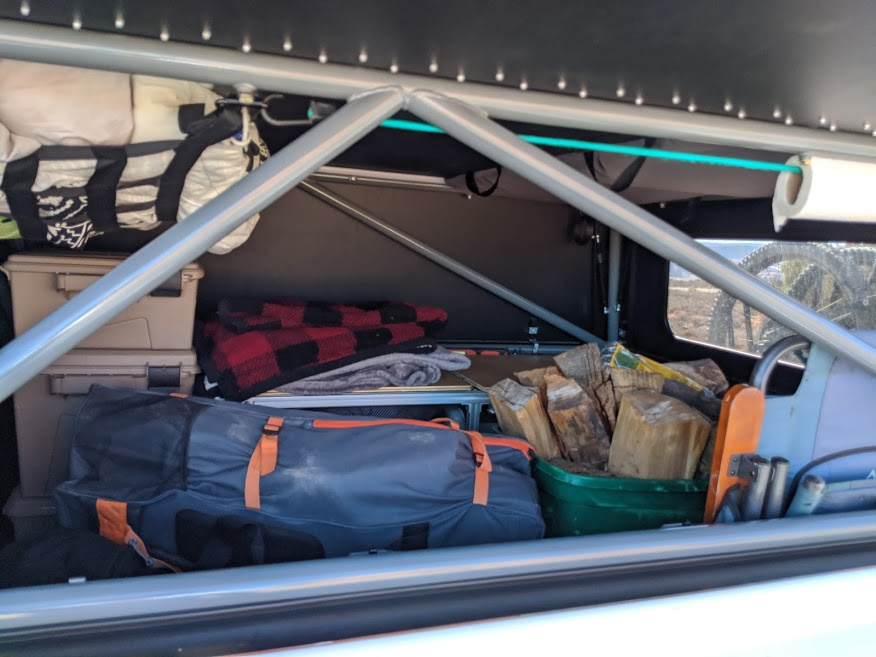
Kitchen stuff, food, tools, and misc camp gear are kept in totes that stack in the front corner. Sleeping gear goes in the cargo net.
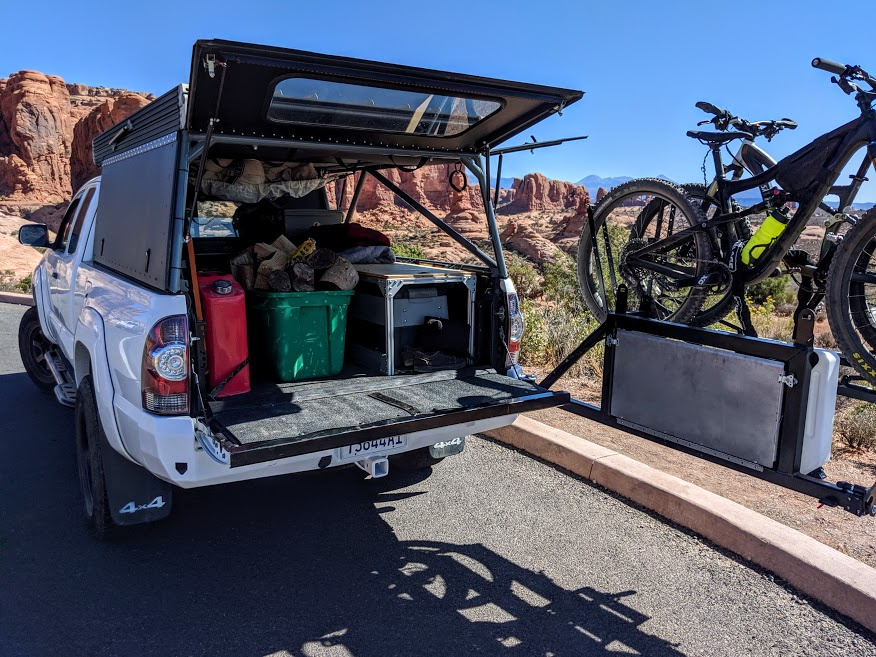
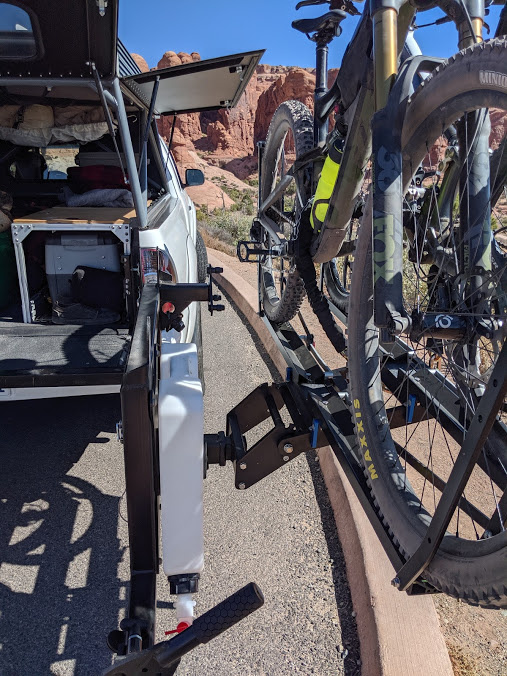
I’m hooked on the fold down camp table, water rotopax with go-westy spigot and bike rack on the bumper swing out.
8 Likes
I really lile your set up. Especially the bike rack/table water thing. How do I make that happen? Please more details so I can copy you. Thanks!
1 Like
Haha - Thanks dude. It’s a 4x Innovations rear bumper with their swing out, rotopax mount, the camp table option, and I had them add a piece of receiver tube for the bike rack which they were really cool about doing and only added $50 to the cost.
Bike rack is by 1-up - who interestingly enough are located just down the road from 4x innovations in Wisconsin.
The water spout is sold by Go Westy - I spent way too much money for what it is, but it works great. Stole the idea from one of the Drifter builds on Tacoma World.
The cabinet is made from 80/20 extrusion I scavenged from my work was headed to the scrap yard - I threw it together with what I had on hand before a trip last Thanksgiving - assuming I would re-do it and pimp it out, but one year later I’ve been spending more of my free time just using it and it’s been fine.
Old pic, but in the bed cubby on the passenger side I made a little power center where I plug in the fridge and charge my phone.

You’ve seen my lights - here is a daytime pic:
Night time:
I kept the cabinet narrow enough to leave 25" between the wheel well and edge of the cabinet - one small bed panel and the long one combine perfectly if I want to sleep downstairs when I am solo. Also leaves quite a bit of room for stashing the bikes inside with the wheels off if I am going to be away from the rig for a while.
Think that’s about it. Happy to answer questions. Still some more things I will eventually do but it’s functional enough that it’s hard to motivate.
Top of Monarch Pass at the continental divide:
4 Likes
I’m still waiting for my GFC but built this in anticipation:
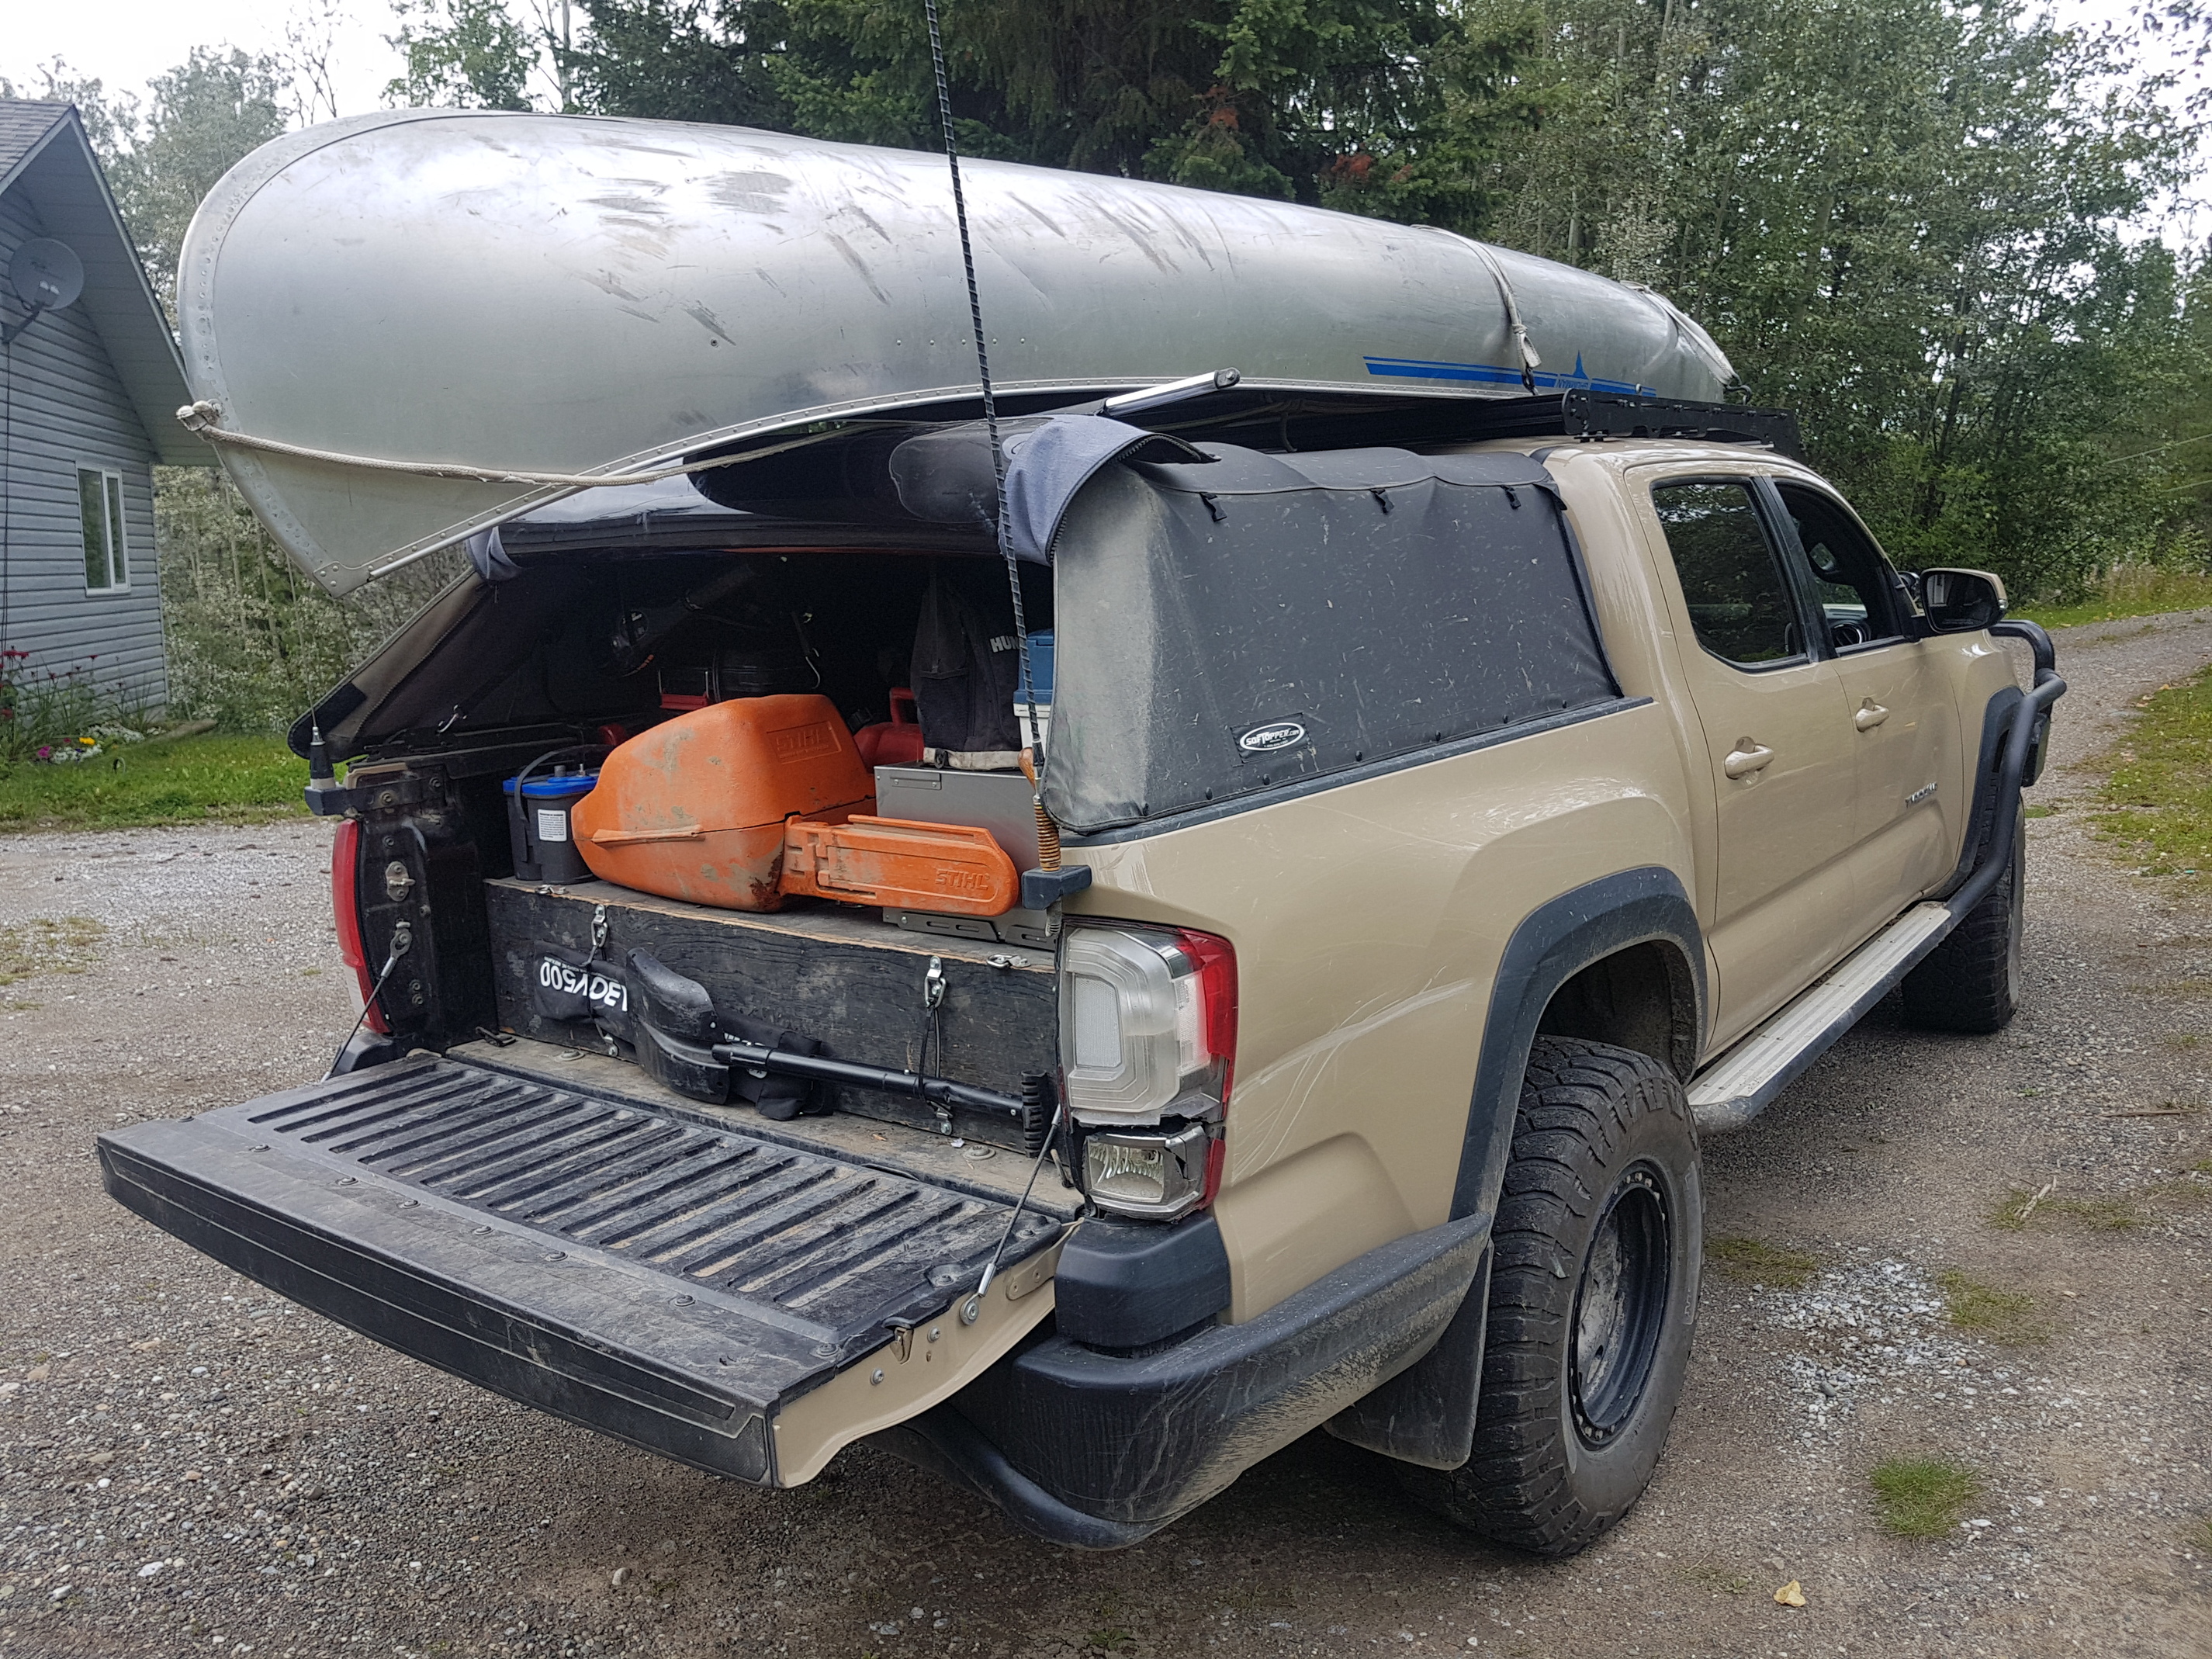
This one has a full flat surface & two wheeled bins inside it that are 4’ long 47L Sterilite and 2 - 1’ long 14L Sterilite bins on the end. Bins are carried by Walmart. Built with not quite 1.5 sheets of 3/4 pressure treated T&G plywood ( sq ft wise its 80 % of 1 sheet), 3 pressure treated 1×4’s, 8 galvanized steel braces, 40 screws.
The frame is boards that sit in the pockets built into the box, there are boards used for support in the middle. Cut to perfect length so the bins don’t move around. The door in the back slides in place between the plywood floor and the frame of the box.
I put D-rings where needed and coated it with bed liner.
Weight of platform is roughly 72 lbs according to my rough estimates. You can lose at least 20 lbs by going with 1/2" thick lesser grade plywood. In 3/4" plywood variation it easily supports on rough roads a Arctic Cat Thundercat ATV ~ 700 lbs. Its secure with the locking tailgate, holds all my camping gear on one side, recovery gear, parts & tools etc in a 47 L on the other side. 14 L for dry stuff. 60 L ARB fridge in backseat .
Backpacking type Camp chairs, tarps, tarp poles and camp table in the middle between the braces. Axe, saw and shovel are attached to the slide in door. It uses almost every inch of available space.
The last 13" closest to the cab is a T&G panel…remove it and you can slide in three 20 L military type fuel/water cans, however there is a cost. You lose the 14 L containers on the end…but the fuel cans site as low as possible and does notź block your view out the rear window.
I’m 5’11" tall and I just barely fit diagnolly in the box. Cost me about $ 150 to build and about 2 hours of time. Allows my truck to still be used as a truck while allowing all my camping gear ready to roll at a moment’s notice.
2 Likes
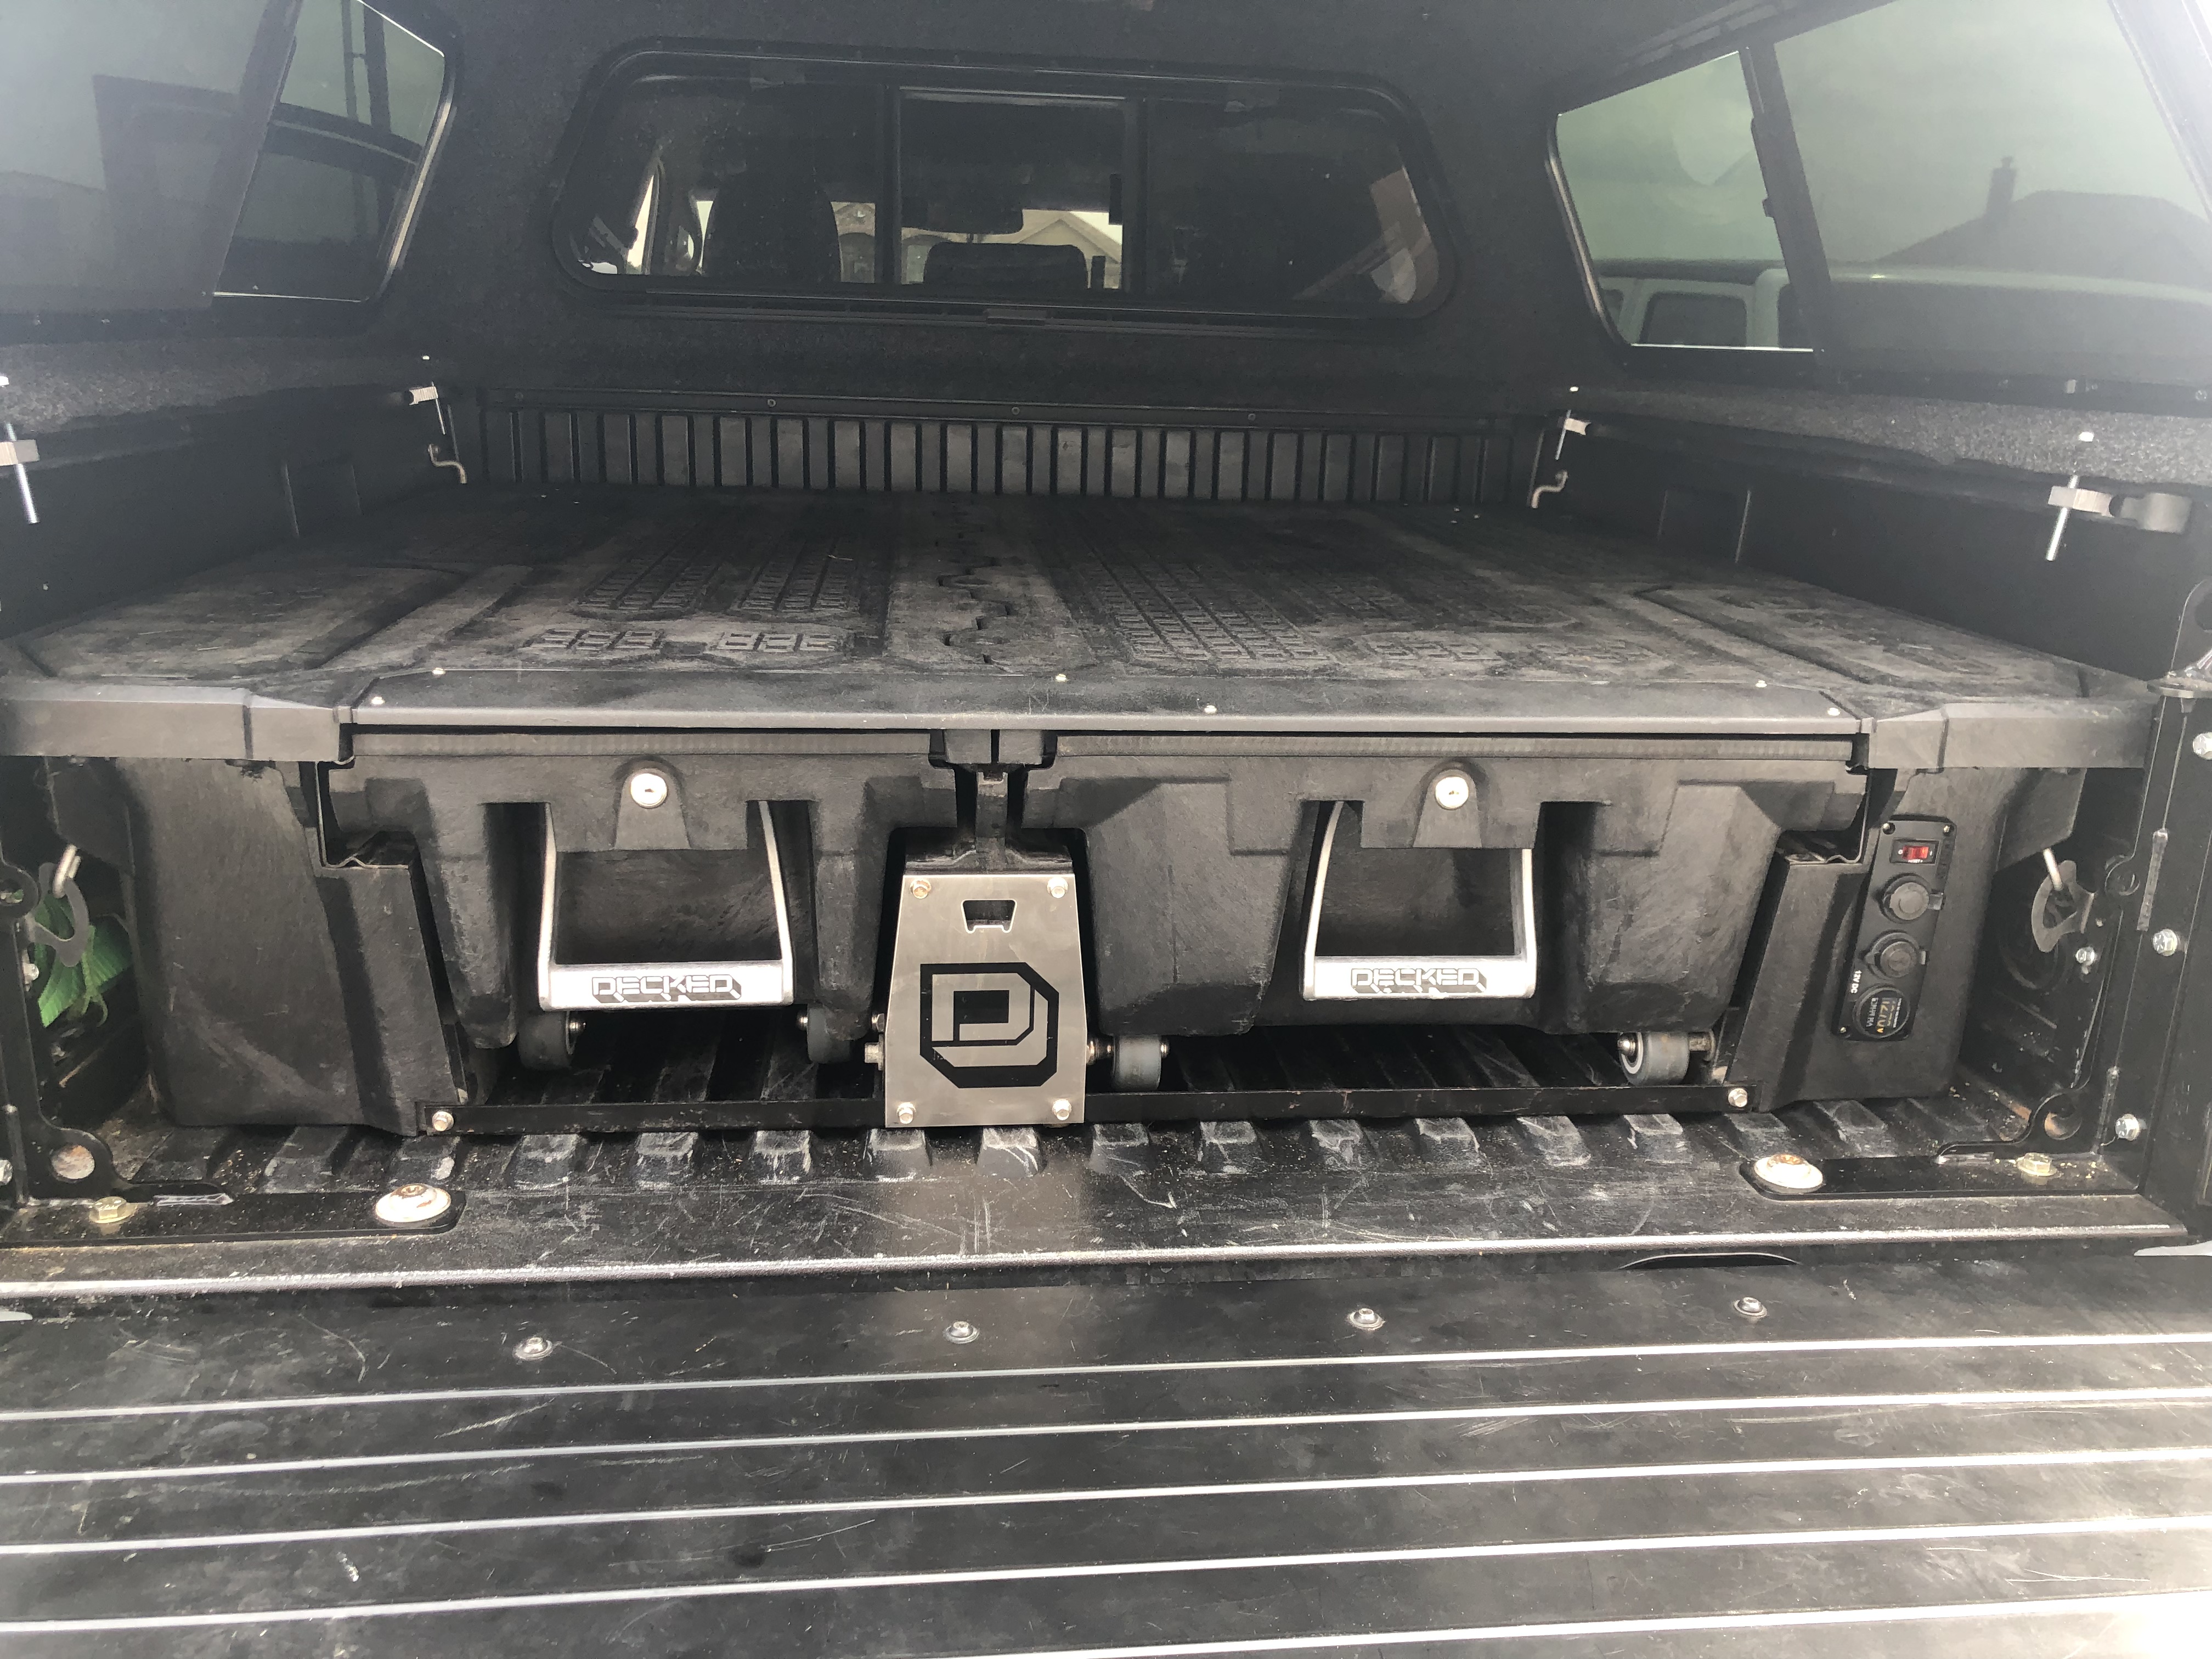
I’ll be keeping my decked for when I install my GFC. I’ve installed a bluesea power strip ran to a fuse block in the sealed bedside cubby. From the fuse block to the aux battery in the front. I plan to mount a Dometic 75DZ on a tilt down slide in the back left corner. The clearance on the GFC should allow for fridge access while in the truck bed but most of it’s use will be tilted back when I prep food on the tailgate.
2 Likes
Any chance you can share a link to the net you are using to store bed material?
Do you have a link to the storage unit that your bed sleeping gear is?