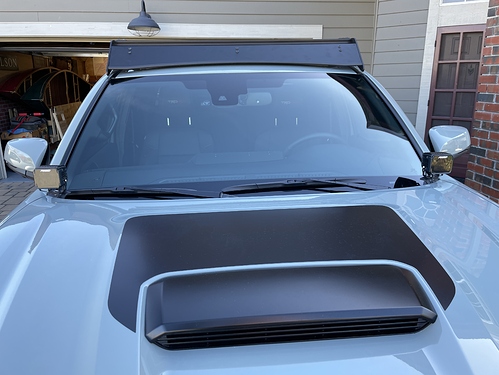
Julian's 2021 TRD Pro Build

Hey y’all!

Build Start 10/29/20:

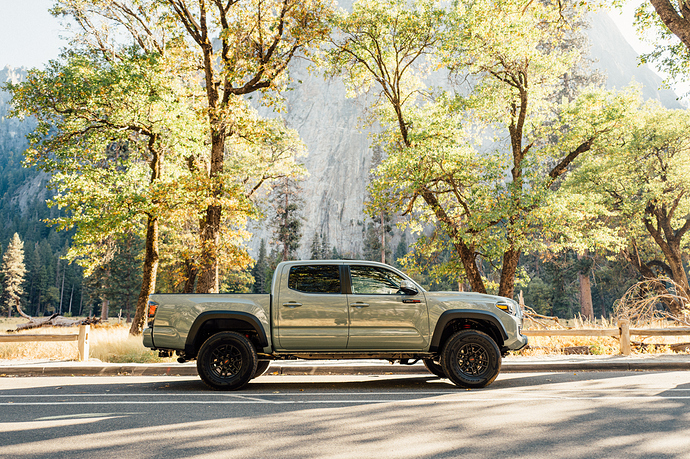
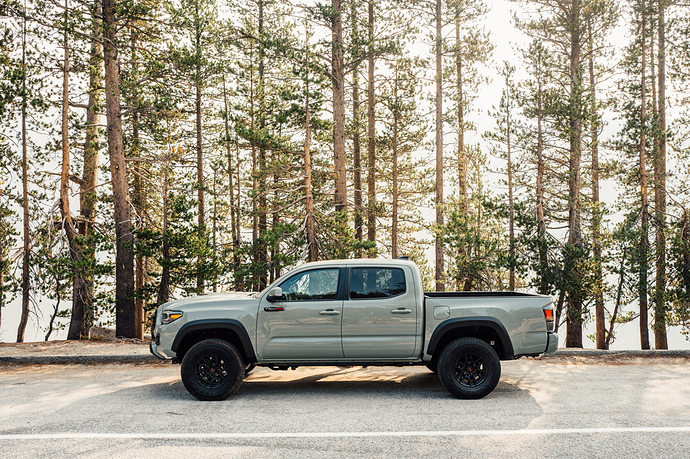
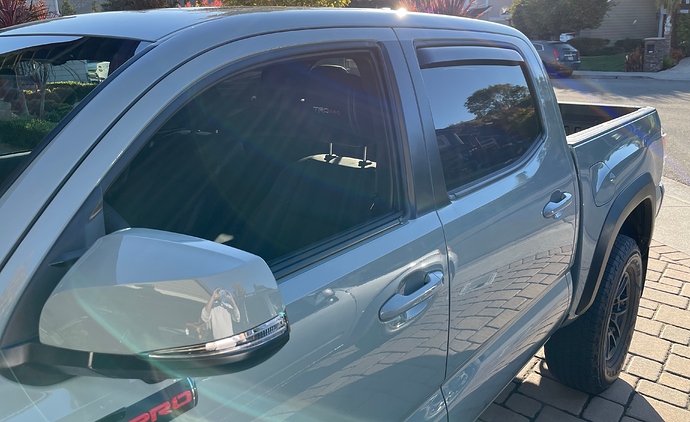
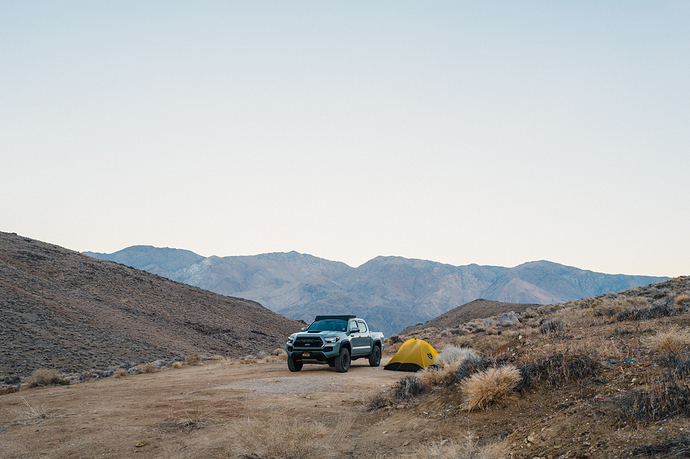
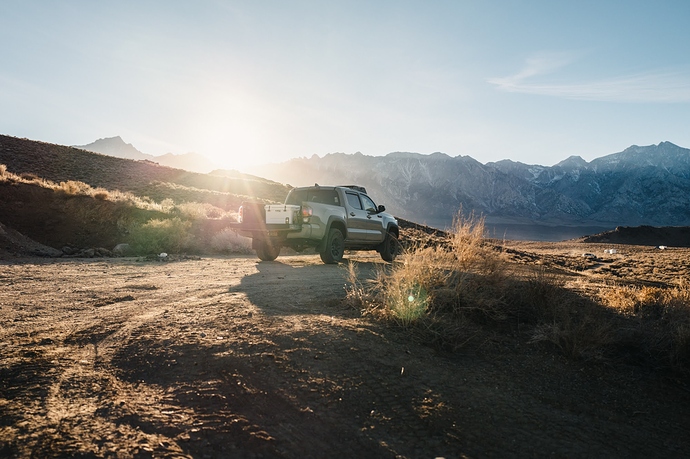
My GFC is “Ready for Production.” I’ll be installing it on my fresh off the factory floor 2021 Tacoma TRD Pro in Lunar Rock. (Love how different the color of this truck looks in different light — Pictured below at El Cap Meadow and Tenaya Lake this past weekend)

I’m going to document my build on this thread as I prepare for the GFC install and will do my best to keep everything in chronological order as I do it to hopefully help out future builders! (Just as y’all have already helped me out.)

Goals with this build:

My wife and I spend weeks at a time on the road in the outdoors and we’re out camping every weekend (We work in the outdoor industry). To date we’ve relied on our trusty NEMO ground tent and have taken it all over the continent. After many years of living that ground floor tent + hatchback vehicle life we’re (finally) ready to make the jump to a build out that is touch easier to setup (enter the GFC) along with making it a touch easier to access the remote locations we frequent (enter the Taco).

18 Likes

Great looking truck!

1 Like

I’m curious - are you leaving your suspension stock ? Also, have you been recommended to change your leaf pack? Sometimes I get tempted to go back to stock lol. That’s why I’m curious! I have a 19 TRD pro. Nice lookin truck!

1 Like

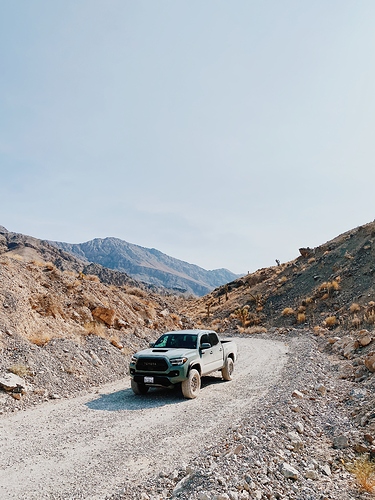
Thanks @jedgar and @pilitojrs! Truck is still very new to me — I’ve only put 1,500 miles on it… However have managed to get out to the Racetrack in Death Valley and roll down a few under maintained forest roads up in the Sierra. With that being said, I’m pleasantly surprised with the suspension, wheels, and tires thus far considering everything is factory/stock. Time will tell after I get few more miles down, and all the weight from the camper build in… tires and leaf pack would be first to go.

2 Likes

Build Update 11/01/20:


VRNCLR Frame Bags:

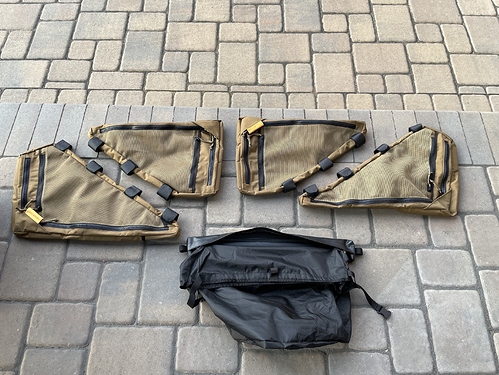
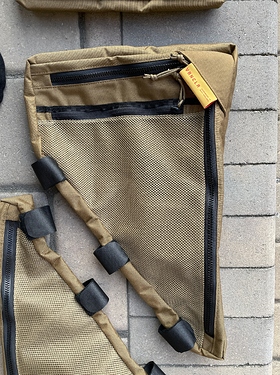
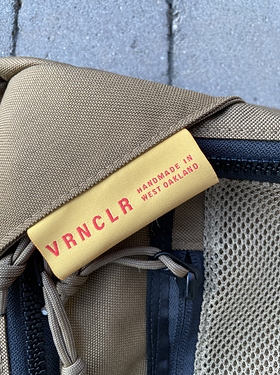
• I picked up my VRNCLR Frame Bag Kit from Tom at his shop in Oakland. This was the first frame bag kit he’s done in Coyote. They look amazing, the quality is top notch, and I highly, highly, highly recommend you get a set for your GFC. I don’t even have my camper yet and I’m already wanting to scheme on more goods with him.


Cali Raised Bed Channel Supports

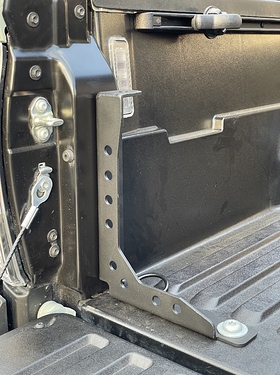
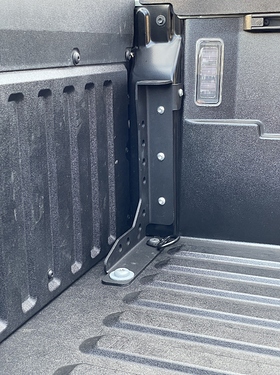
These Cali Raised bed stiffeners were another easy install. (You just have to pop the tail light out and drill 4 holes.) Not quite as beefy as the Total Chaos stiffeners but will get the job done and introduce a bunch of great tie down points.


Overland Equipped Auxiliary Fuse Block:

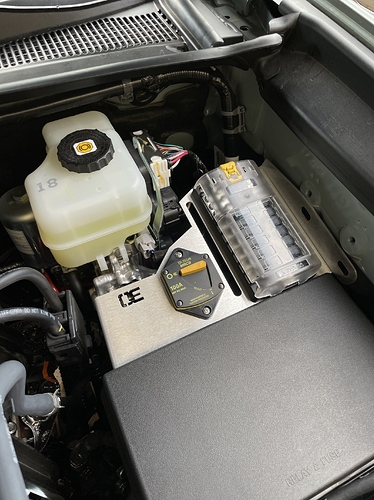
Not ready to mount this just yet but I mocked up my Overland Equipped auxiliary fuse block along with my Blue Sea Systems Fuse Block and Circuit Breaker. All front of house accessories (Lights, etc.) will go through here. Camper goods will go through a second aux/house battery — more on this later.


Toyota OEM accessories installed:

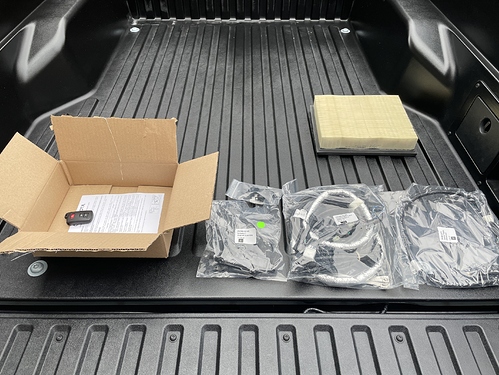
OEM Remote Tailgate Lock Kit — This was a super easy install, no drilling required, just running the wire housing from the tailgate to the cab (There is a pre-drilled hole with a grommet under the passenger seat) and have found it very convenient. Heads up the actuator is a touch louder than I was expecting, but not a bother, have gotten use to it.

OEM Bed Lighting Kit — These lights are crazy bright and have been super helpful to prep dinner and set up camp in the dark. (Still living that ground tent life.)

OEM Mudguards — Still not sure how I feel about these, doing their job, but may have to come off if/when I ever move away from the stock wheels.

OEM Wheel Locks & OEM Spare Tire Lock — Safety first?

OEM Hitch Plug — Keeps the dust out, looks good.

OEM Tailgate Inserts & OEM Door Sill Protectors — They look great.


Other:

• Windows were been tinted by the great crew at CaliTint. (Highly recommend to my fellow Bay Area GFC owners!)

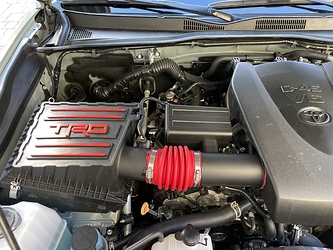
• Dropped in a reusable K&N Cabin Air Filter and a reusable TRD Performance Air Filter — full TRD Air Intake is going in next weekend, just ran out of time.


Going to do my best to continue to post updates and link to everything I can on this thread, this forum has been super helpful in planning out my camper and want to return the favor. Feel free to ask any questions or message me here.

3 Likes

that is a lot of highlys, given lack of a GFC upon which to install them. :wink:

tell me more about that tailgate lock thingamajig

1 Like

Hey @Nevadan! Tom may even deserve a few more “Highly’s” :wink: — He puts so much love and care into his products. I’ve purchased many small batch / custom made bags for my bicycles and gear over the years and these are hands down my favorite.

Re: Remote Tailgate Lock — Its an OEM accessory that taps into the keyless remote system and allows you to use your factory fob to lock and unlock the tailgate. (No need to retrieve that flimsy little key out of the 3rd gen fob).

It’s an easy install, simply have to bolt the actuator onto the locking mechanism and run a pre-wired cable under the truck into the cab (Following the backup camera cable). There’s even a predrilled hole w/ grommet to feed the wiring into cab. Whole install took less than an hour. No special tools or drilling required.

2 Likes

Build update 11/07/20:


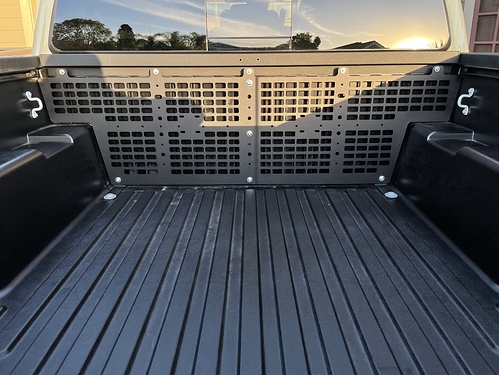
Cali Raised Front Bed MOLLE System

Mounted this Cali Raised MOLLE System to the front of the bed to introduce some mounting options for items I’d like to leave in the camper year round (Hatchet, Shovel, Fire Extinguisher, etc.) — Not going to mount anything till the GFC goes on, however. Easy install, no drilling required, uses exisiting factory mounting points*

*I did have to run one of the factory bed frame bolts through a die as its super malleable and got a little messed up on the way out. Be cautious, and use a lot of patience when removing and torquing these. (Pro-tip: Frame bolt requires a M12-1.25 die/tap)


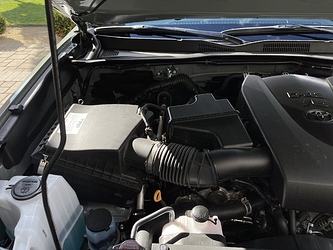
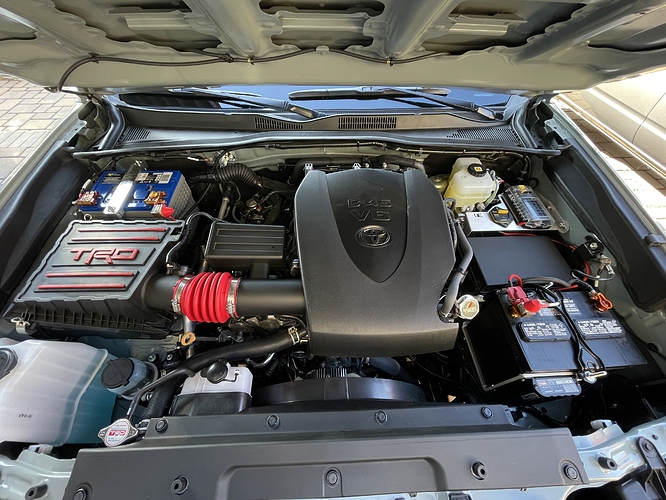
Tacoma TRD Performance Cold Air Intake System

Dropped in the TRD Cold Air Intake this morning. This modification was 100% a want not a need. Paired it with the TRD Oil Cap (JPN Version) and the TRD Radiator Cap for consistency :nerd_face:. (Again, all wants, not needs.)


MESO Customs Interior Chrome Delete Kits

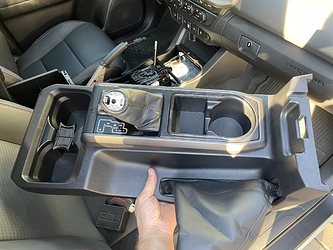
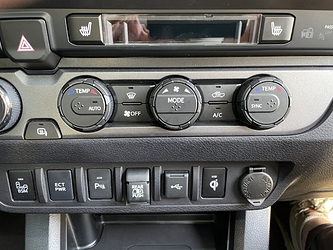
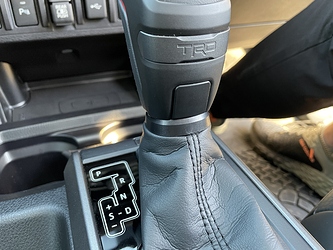
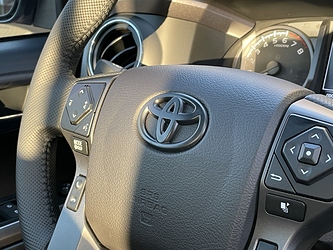
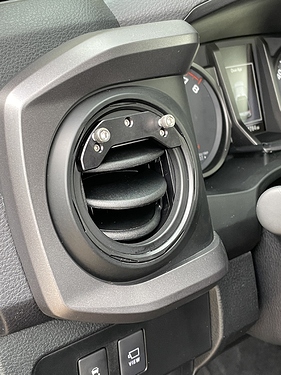
Dropped in a handful of the MESO Customs chrome delete pieces to murder out the cabin. Including the Climate Control Rings, a few pieces from the Interior Chrome Delete Kit, Steering Wheel Cover, Coin Tray Bucket, and Door Handle Covers. The remaining rings will go in later when I take the whole dash apart (Waiting for another dash-centric modification to arrive.)


AVS Vent Shades

Dropped the AVS visors into the back of the cab… still debating if I want to drop them into the front of the cab.


That’s it for this update. Eagerly awaiting my “In production” email. :metal:

1 Like

What are your thoughts on the trd cold air intake? I’ve gone back and forth about getting one.

1 Like

@T1OVERLAND First highly subjective impressions: Feeling a touch more responsiveness from a complete stop. No audible changes from inside the cab to my ear, perhaps a hair throatier when merging onto freeway. These results match my expectations for what I was going to get out of it.

1 Like

Thanks for the input, I didn’t expect much either, wondering if there are some long term benefits.

1 Like

Build Update 11/15/20:


Off-Grid Engineering Dual Battery Kit (DC to DC Charging)

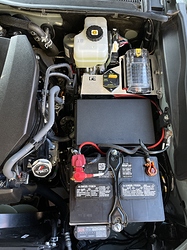
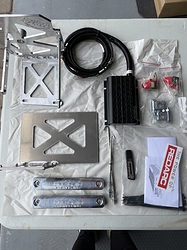
Dropped in the OGE DC to DC Dual Battery Kit under the hood. The kit utilizes REDARC’s BCDC1225D which mounts directly onto OGE’s custom starter battery bracket. Pretty effortless install however I did experience two hiccups. I had to alter the factory battery tie down to accommodate the kit’s J Hooks (not readily compatible as advertised) and had to run the kit’s provided auxiliary battery tie down posts through a die as they arrived imperfect. (With that being said, I would still recommend this kit!)

Once the GFC is on, I’ll add a circuit breaker to the auxiliary battery under the hood (somehow) and run a wire under the body to the bed (routing TBD). This isolated aux battery will allow me to power all the camper’s goodies (Blue Sea Socket Panel, Dometic Fan, Dometic Fridge, Matt Gecko Lights, etc.) without having to worry about draining the starter. The REDARC is also wired for solar as an alternative charging method in addition to the alternator.

I also took this opportunity to mount the Overland Equipped Auxiliary Fuse Block. All components run through this fuse block will be powered by the starter battery (isolated from the aux battery) and will be for the “front of house” accessories (ditch lights, light bars, rock lights, etc.) Breaker is off for now.


Expedition Essentials 3TPAM & Hondo Garage Mount

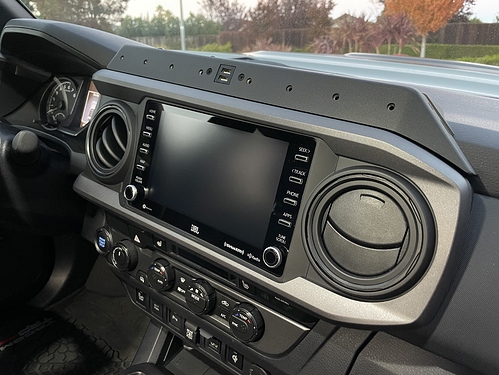
I dropped the Expedition Essentials powered accessory mount into the cab, along with the Hondo Garage Un-Holey Mount. So many mounting options :grimacing:. You can also see all the MESO Customs Black Out / Chrome Delete pieces installed here (All pieces are linked above on last update).

(Even after an hour of tinkering I couldn’t get the 3TPAM to sit flush on the curve of the radio bezel) :man_shrugging:


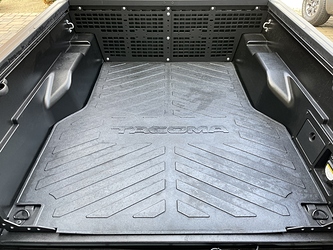
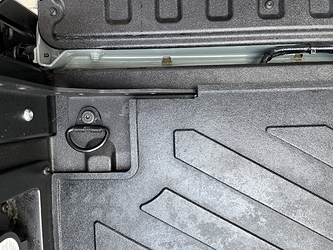
OEM Tacoma Bed Mat

Dropped in the OEM Bed Mat and notched out the corners to fit around the Cali-Raised components.


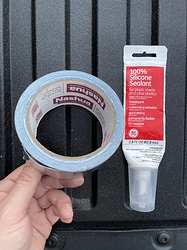
Weather Proofing the Bed (Phase I)

I plugged all the holes and the perimeter of the bed rail caps with weatherproofing foil tape and silicone sealant. I just went to town on it and placed the rail caps back in. Feeling good about this sealant job—I was shocked at how much desert dust was already under there considering the truck is only 1 month old.


2 Likes

Great build so far! Where in particular did you weatherproof the bed? I need to do the same to mine. How easily could the silicone and tape be removed if needed?

1 Like

Not trying to rain on your parade, but a word of advice about the OGE aux battery. Not sure how you plan to use it and how often you find yourself in cold weather with aux batteries needs but it is something to keep in mind. AGM batteries have terrible performance in cold weather when it comes to the amount of energy available.

I did a lot of research into OGE and comparable setups to power dashcams in park mode. I looked into various AGM batteries and sizes as well as potentially using a LiFePo4 battery as the aux. AGM didn’t supply the power I needed in cold weather and LiFePo4 batteries aren’t rated to withstand the potentially higher temps under the hood.

I have two 170 Ah LiFePo4 house batteries in my truck bed that I use to power everything since my electrical needs are higher than the average person’s. Your mileage my vary based on how you use your setup.

Stats about cold battery performance: https://battlebornbatteries.com/lead-is-dead-white-paper-study/
The white paper is put out by a LiFePo4 batter company so you might take it with a grain of salt, but there are other studies that mirror their results. I have also experienced poor AGM performance in cold temps in my line of study/work.

3 Likes

@Llcooljake Thanks! So this was just one tiny piece of the weather proofing puzzle. The silicone and weather proofing foil tape were place under the Bed Side Rail Caps to plug the clip holes and line the edges. All of this is contained under the cap (Not visible). I should never have to take the caps off again. Theoretically, if I did have to remove them, the tape and silicone will not impede me from doing so and could be re-sealed.

Heya @PNW! Thanks for sharing your findings here, greatly appreciated! I went through the exact same exercise you describe above and went deep on Lithium v. AGM setups. Everything from looking at plug-n-play Goal Zero setups to DIY, including utilizing Battleborn batteries. In the end I went with an AGM as the estimated output will still greatly exceed my needs (in all temps) in addition to being able to keep it tucked away under the hood. (Which is a no-go for lithium) This was very important to me to save on available bed space. Finally, living in California means I experience very few below freezing days and most out of state travel takes place over the spring/summer months.

At the end of the day, I don’t believe there is such thing as a perfect or correct battery setup. It’s simply a matter of determining exactly what variables are more important to you and planning for or handling the trade offs accordingly. :metal:

3 Likes

Build Update 02/25/21:

[NEW MASTER PARTS LIST HERE]


Stoked to share that my camper (V2 w/ Black panels, both windows, double tent doors, tangerine fabric, and “Prime Rib” accessory Package) has been produced and is ready for pickup! Install is scheduled for the second week of March.

I’ve been busy working and camping these past few months (like in the Eastern Sierra pictured below) and have slacked on build updates. I’ll do my best to catch up on what’s happened below.

I also took the time to create a Master Parts List that captures every component I’ve purchased for the build. Many components have yet to be installed so you won’t find photos or details on this thread just yet.


MESO Customs Ultimate Turn Signals

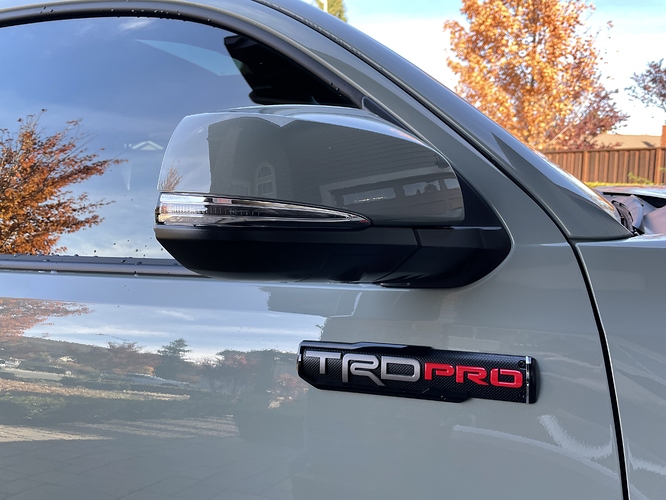
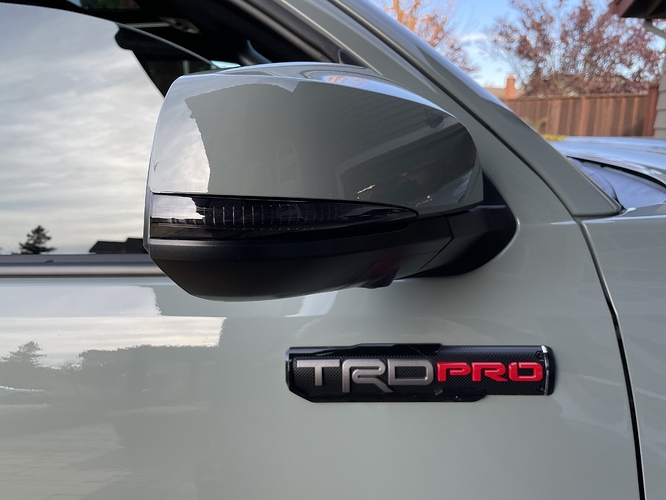
Murders out the turn signals on your side mirrors (Before and after below).


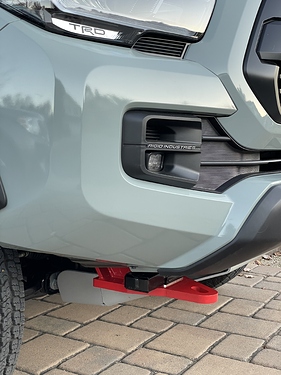
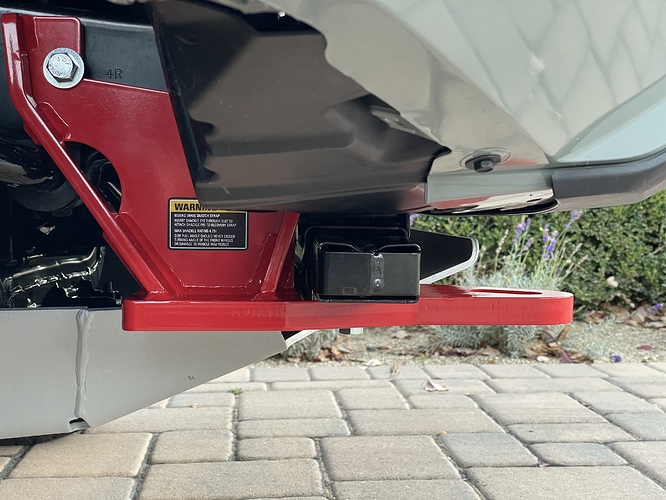
ARB Recovery Point

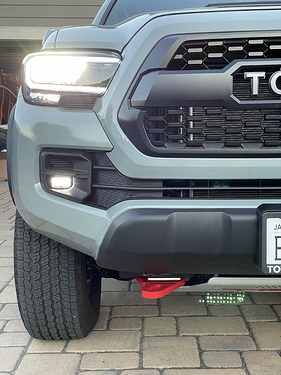
The ARB Recovery Point was a major PITA to install but happy to have it done. Medium to Hard difficulty—requires drilling into the frame of the truck and threading some bolts completely blind in a very tight space. Would not want to have to do this again.


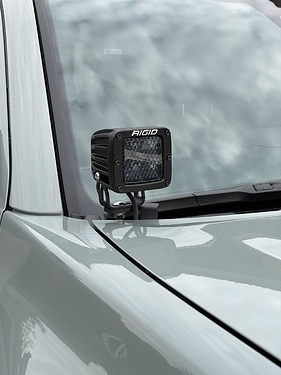
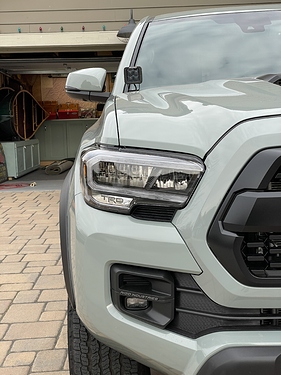
Rigid Industries Ditch Lights w/ Cali-Raised Mounting brackets

Mounted Rigid’s Flood/Diffused Pods (Midnight Edition) on Cali Raised’s Hood Mount Brackets.


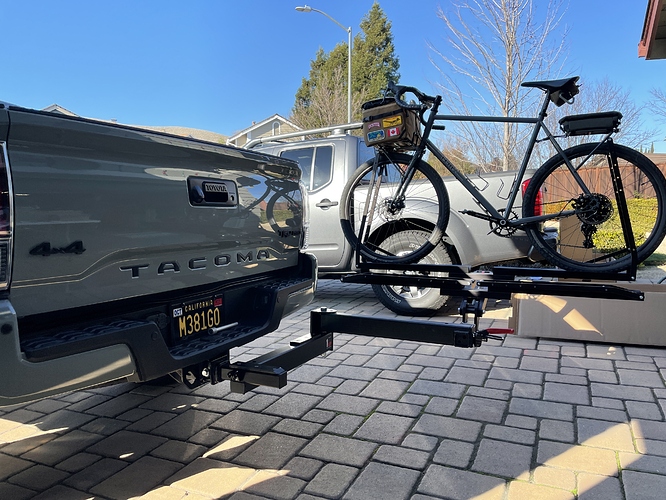
1UP USA Equip-D Double Bike Rack

I’m not leaving this on the truck 24/7 but tested out my new 1UP Bike Rack and Swing Away accessory.


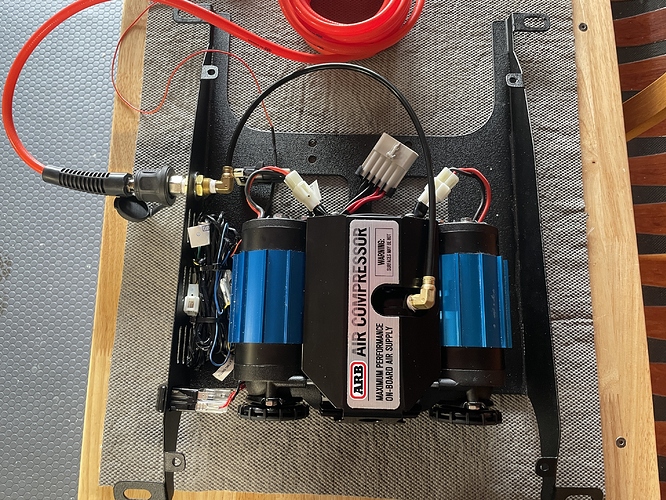
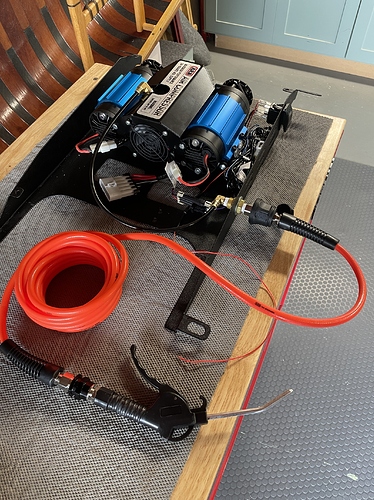
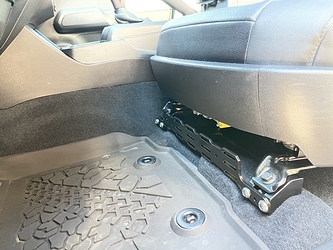
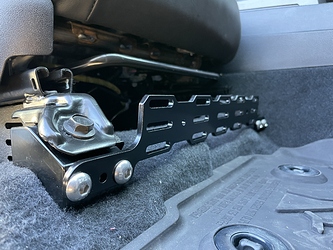
Desert Does It Under Seat Compressor Mount Bracket

I haven’t installed this just yet but have mocked it up with my Twin 12V ARB Compressor & Accessories.


VRNCLR V2 Frame Bag Update

If you’ve been following this thread since the beginning you’re aware that I proactively picked up a full VRNCLR frame bag kit from Tom here in Oakland. Once Tom learned that I was getting a V2 he was amazing about swapping the bags out for his fresh off the press V2 version. Should be getting these from him in about a month. Stoked to get 'em mounted and take some shots for Tom.


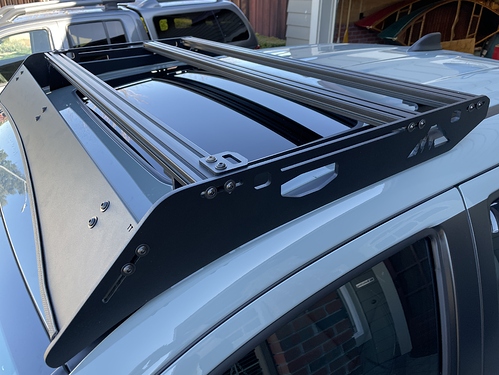
Sherpa Equipement Co. Animas Camper Rack

I installed Sherpa’s Animas Rack, along with some new controls in the cab, and mounting panels. I’ll photograph and share these in the coming weeks (with the camper installed!)


Excited to get into the difficult parts of this build… Getting solar set up, installing the fan in the top of camper, running power to the bed, mounting permanent lights, control panels, etc. etc. More to come! :metal:

5 Likes

Build Update 02/28/21


Desert Does It Components

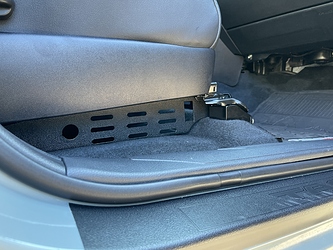
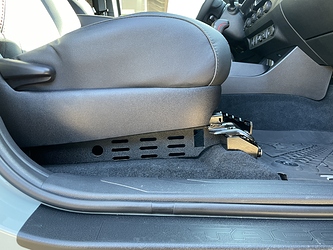
Dropped in DDI’s Seat Jackers and Multi Mount Panels under both the passenger and driver seats. Also went ahead and dropped in DDI’s Under Seat Compressor Mount on the passenger side.

I had to rip out the actual ARB compressor as the one Amazon sent me was DOA. Will get it replaced in the coming weeks. I also have DDI’s rear MMPs but haven’t installed just yet.


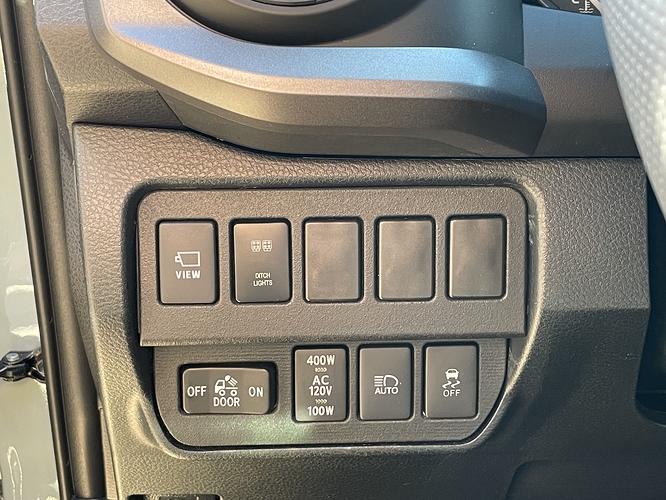
Cali Raised Custom Switch Panel

Replaced the factory driver side switch panel with a custom arrangement from Cali Raised to clean the panel up and add some slots. Also took this opportunity to rearrange the factory placement of switches—was such a hodgepodge before.

3 Likes

Build Update 03/14/21


Install Day!

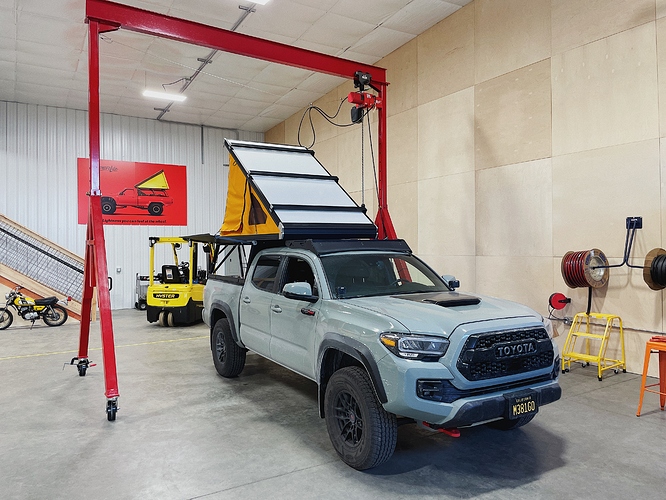
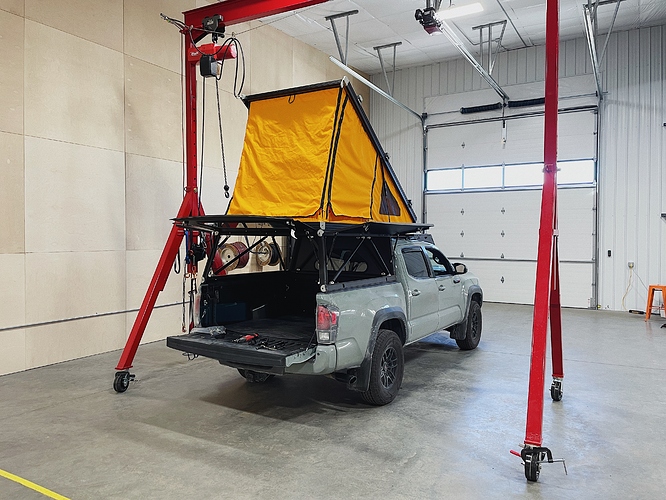
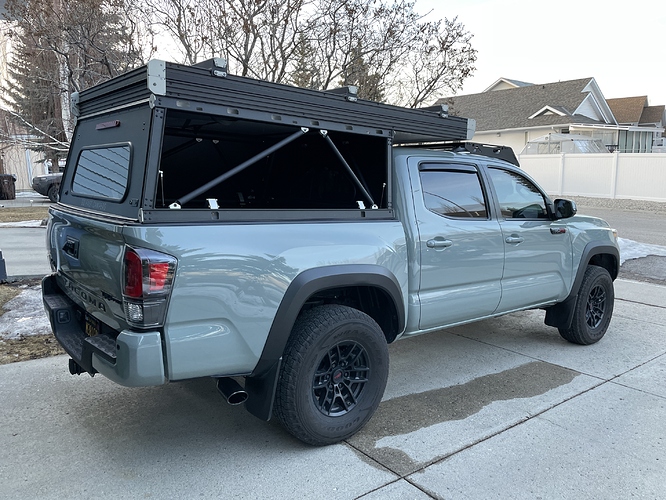
Made the trip up to Bozeman from the Bay Area this weekend for the big day. The install crew at GFC were great, as was the entire experience! Loving the V2 colors and build. Everything is top-notch. More to come here…

8 Likes

Looking good! I’m jealous of those black beef bars.

1 Like

Build Update 03/20/21


Third Brake Light Install

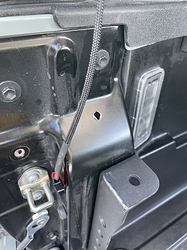
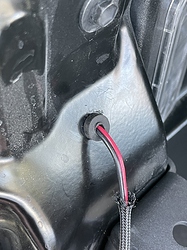
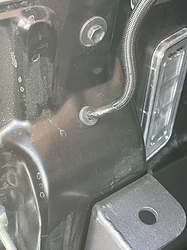
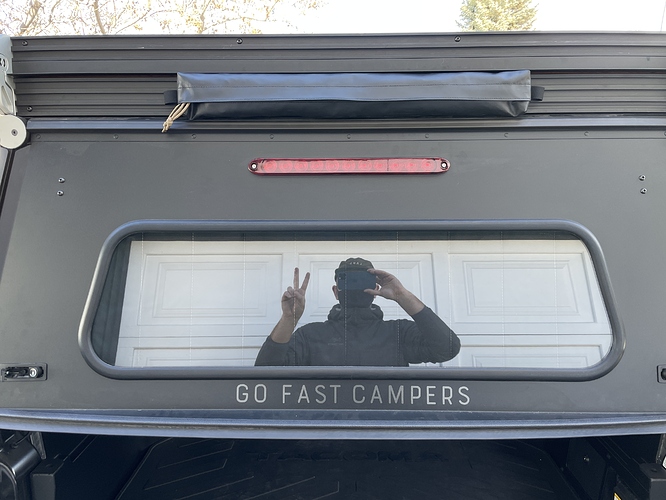
I used GFC’s provided wiring harness to tap into the driver side tail light. I opt’d to drill a small hole and drop in a grommet to route the wiring harness v. squeezing it through the small crack at the top of the bed. (was worried about rubbing on metal) Still need to wrap the whole exposed portion of harness in some sheathing and affix to side of bed to clean it up. (Progress photos below)


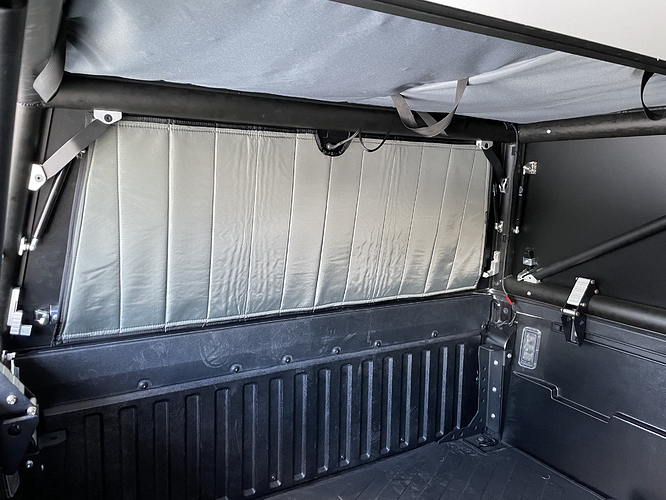
Strawfoot Rear Window Shade

Dropped in the magnets for my rear window privacy shade made by Strawfoot. This was designed for the V1 but still fits :pray: …Unfortunately the front window shade does not fit the V2. If anyone with a V1 is interested in it DM me on here, can sell/ship to you at a discount.
VRNCLR Boot Bag

Dropped in Tom’s Boot Bag on the rear t-track. So sleek.


First time removing side panel on V2

It was not immediately intuitive to me on how to remove the panel—even with the quick release fasteners1 and struts removed there was a ton of resistance and I didn’t want to force it. After exchanging emails with GFC 2 I learned that there is a bottom lip that the hinge sits in that requires a fair amount of force/prying to pop it out of.

It also required a fair amount of force to get it back in place so the quick release fasteners would engage (aka. a few taps from the rubber mallet to have it fall back into the bottom lip/track…) The fasteners refused to budge without doing this. I’m not sure if this is expected or if the tolerances on my specific panel/track are not exactly 100% dialed. Either way, I now understand the process and it all makes sense, but don’t see myself removing them that frequently…

1 The quick release fasteners are super malleable and prone to stripping, so be careful. I filed down a flat head screwdriver to fit the slot perfectly. (I shared this feedback w/ GFC) Thankfully these are easily replaceable need be and GFC said they can provide new ones if worn out.

2 GFC crew was super helpful and quick with their email responses to help me get it off. They also shared that they’ll be dropping a video with step-by-step instructions

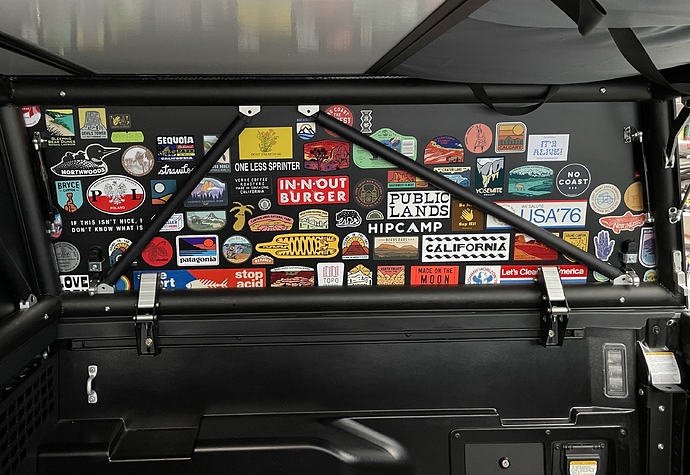
Sticker wall

I finally found a solid place to commit to slapping down my multi-year collection of gift shop travel stickers. Once this panel is full I’m calling it there. Leaving the others clean—and yes, this is why the panel came off. :grimacing:


All for now!

11 Likes