V2 Retroactive Build Update 04/14/24 — Assembly and Finishing Details
Alright! This is going to be a long post.
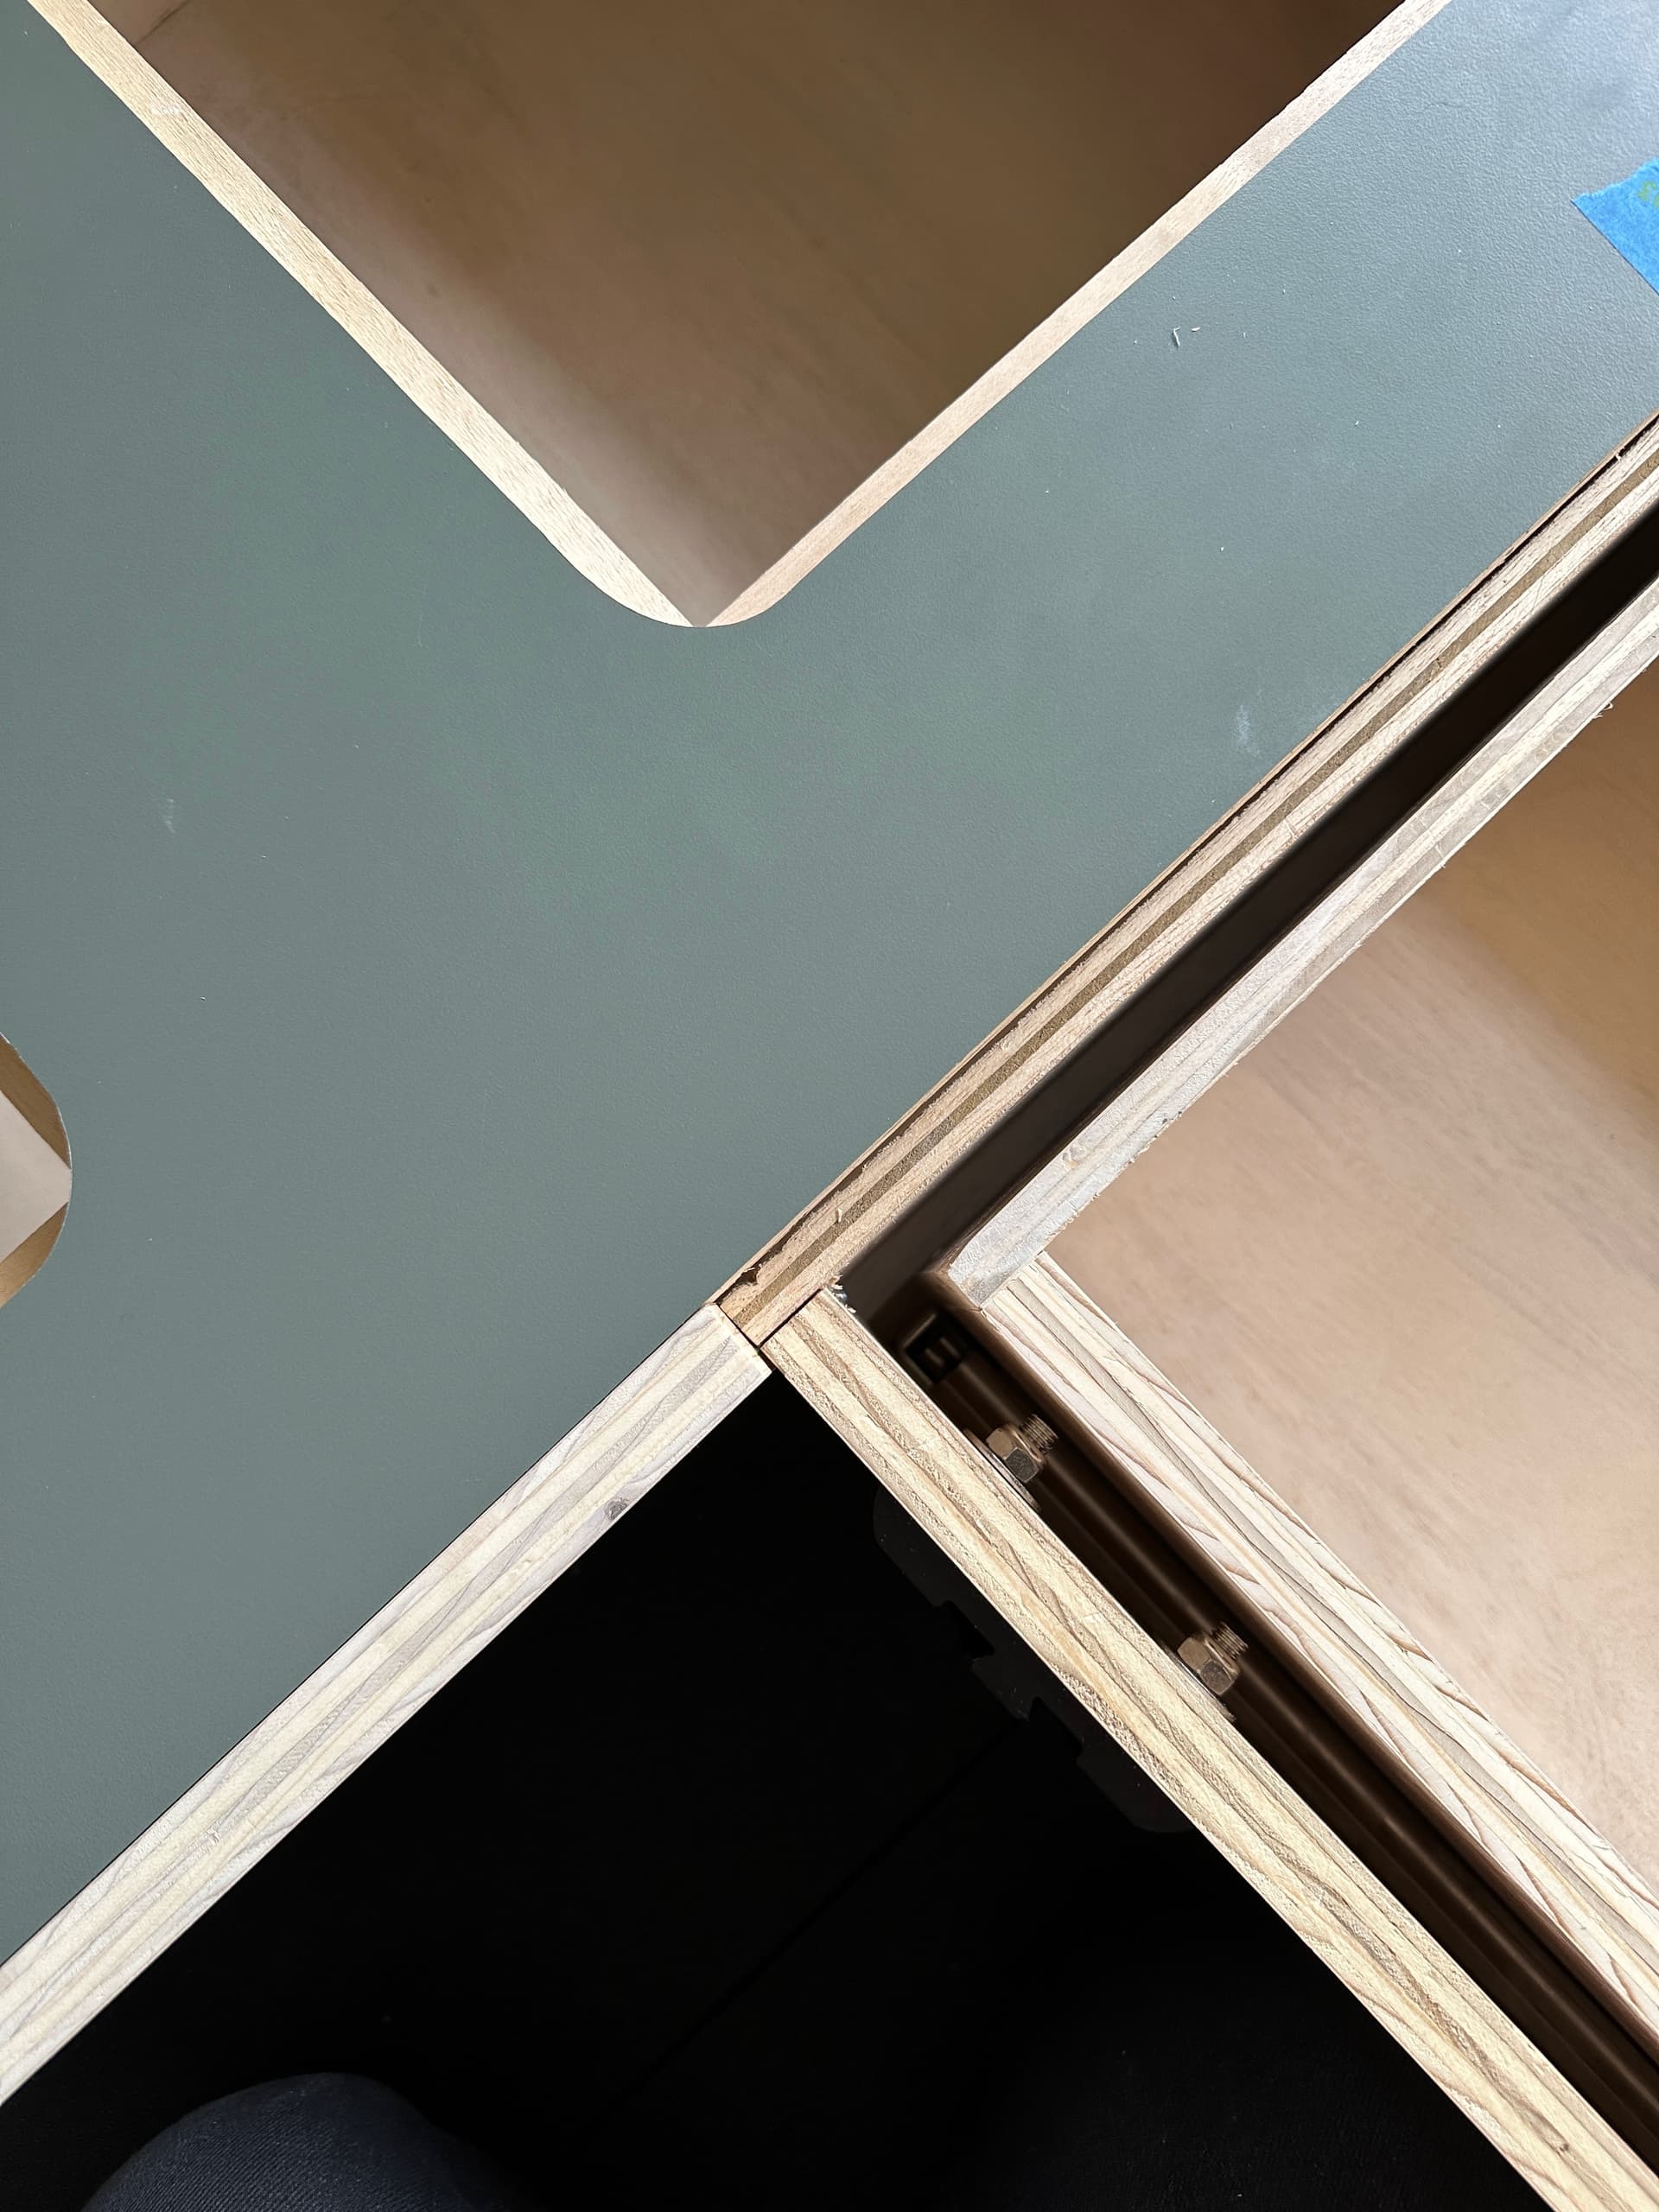
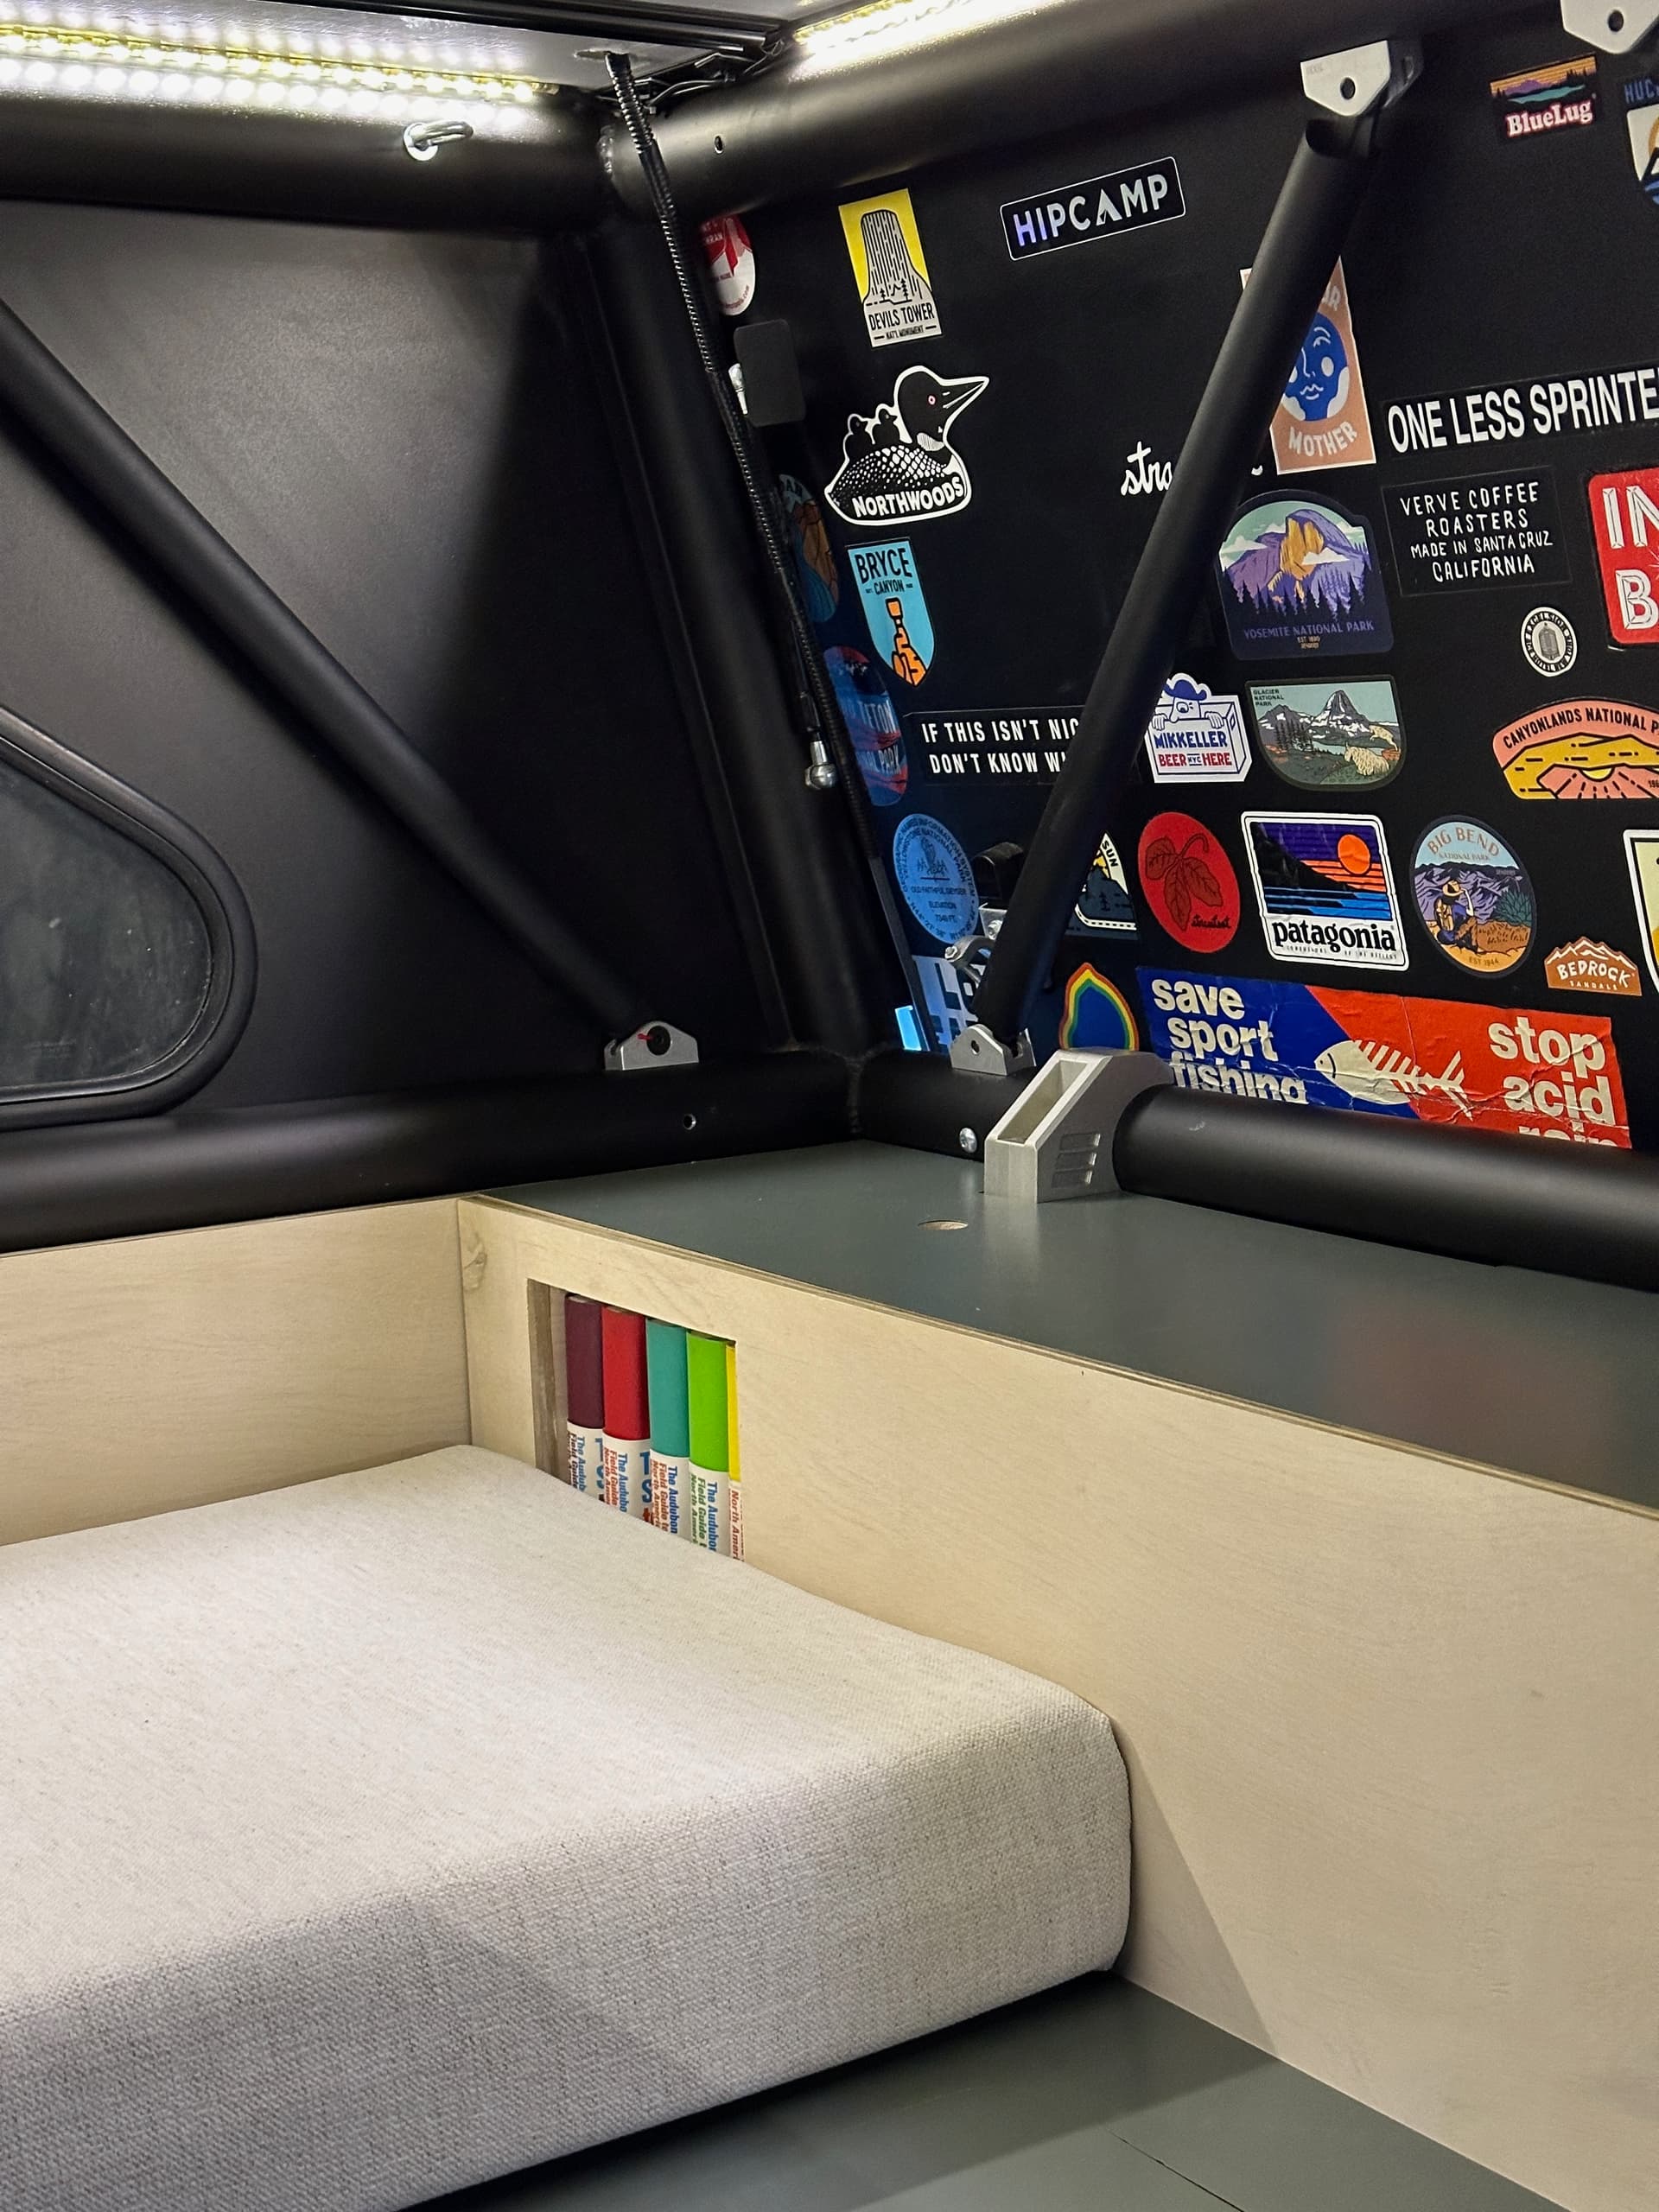
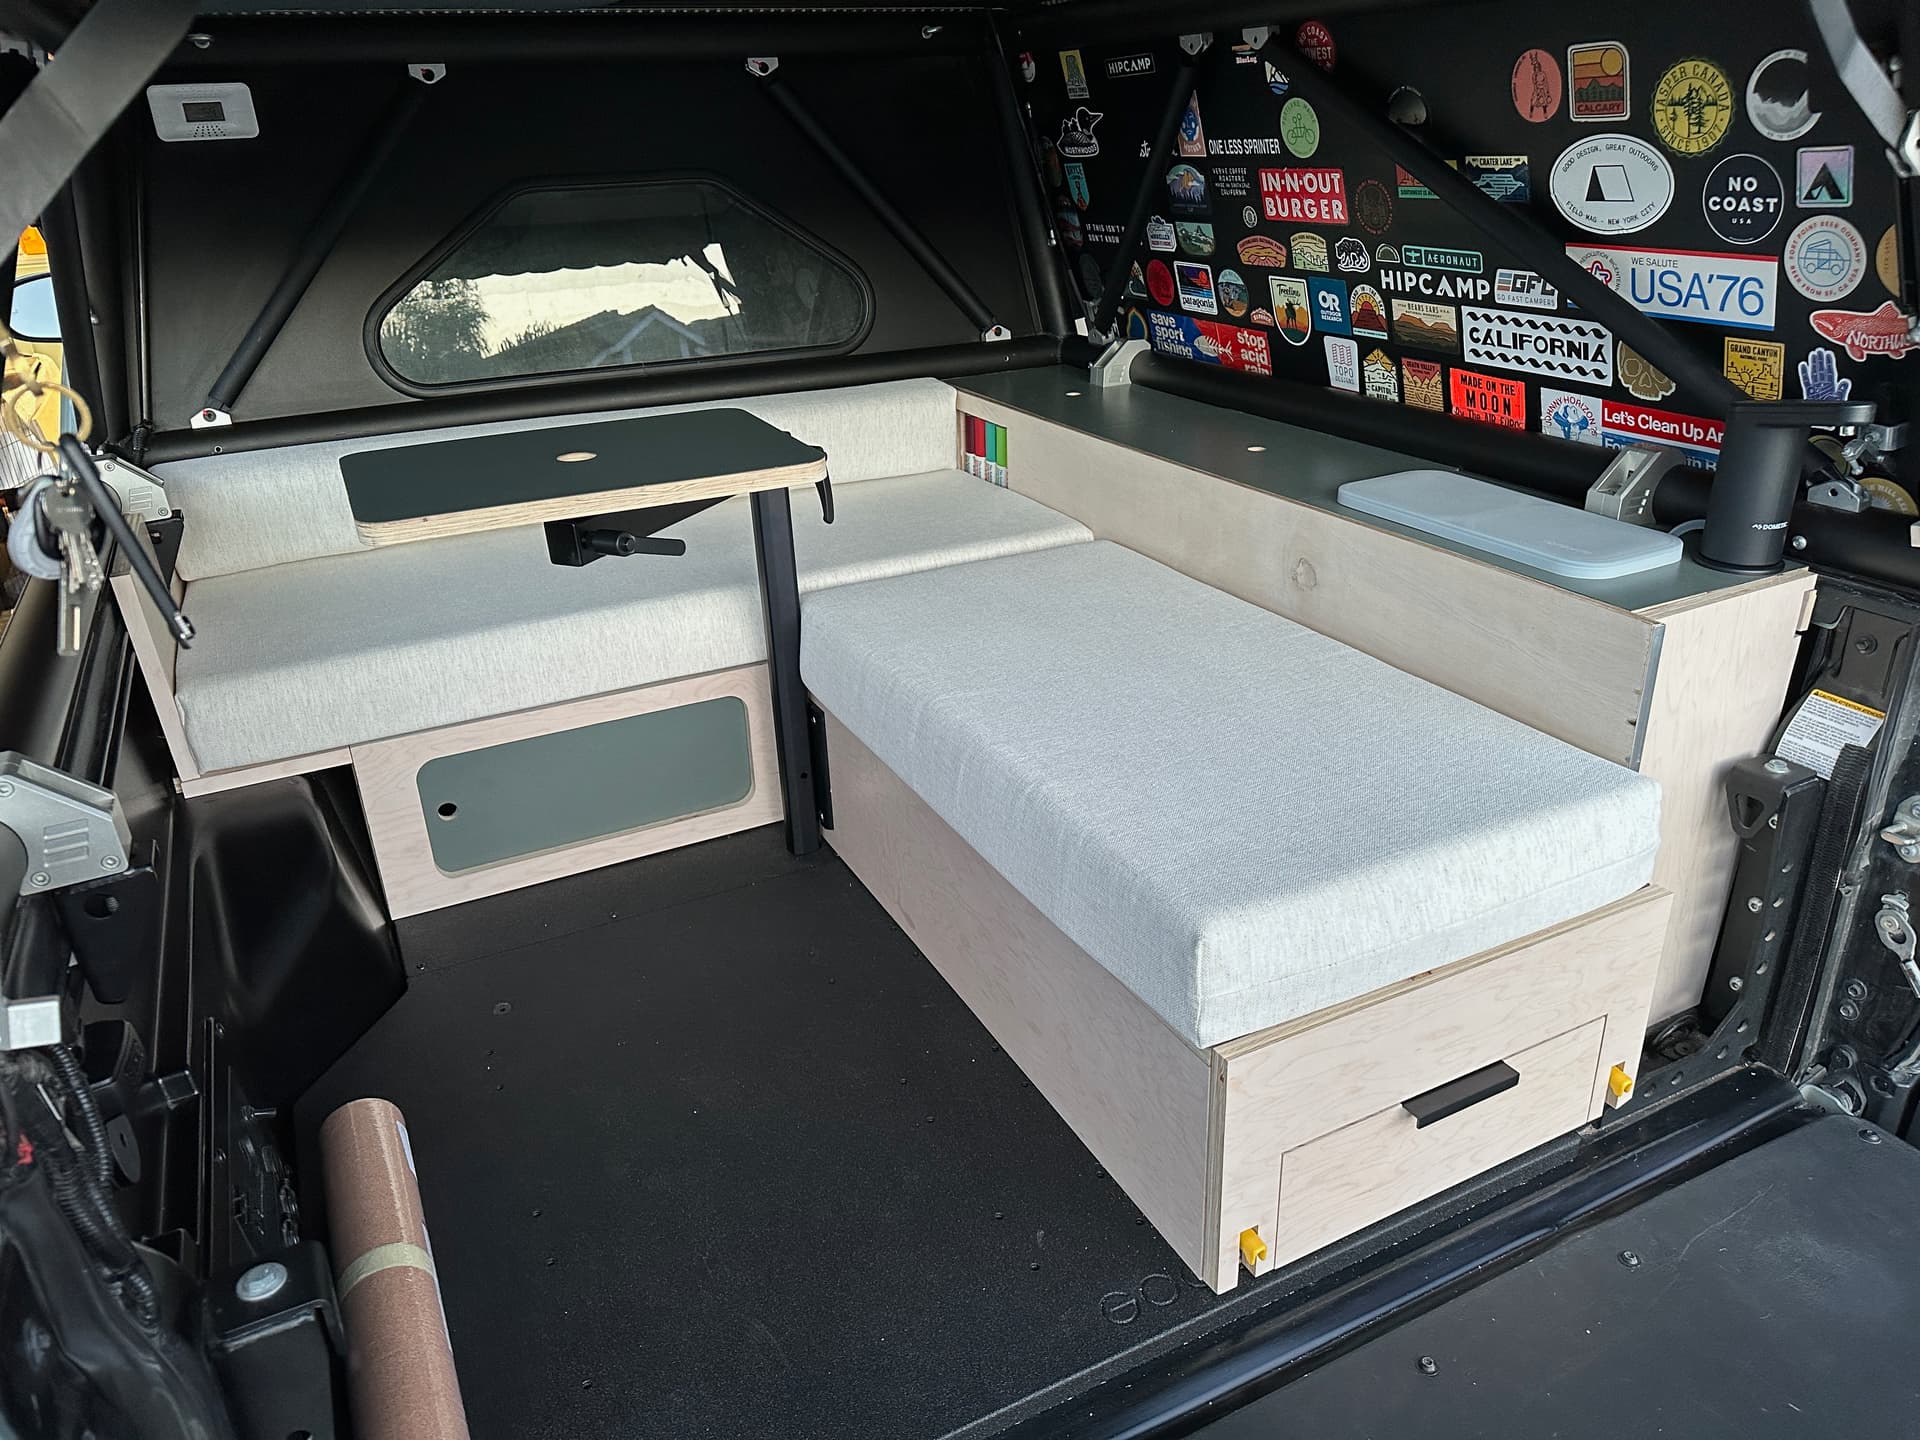
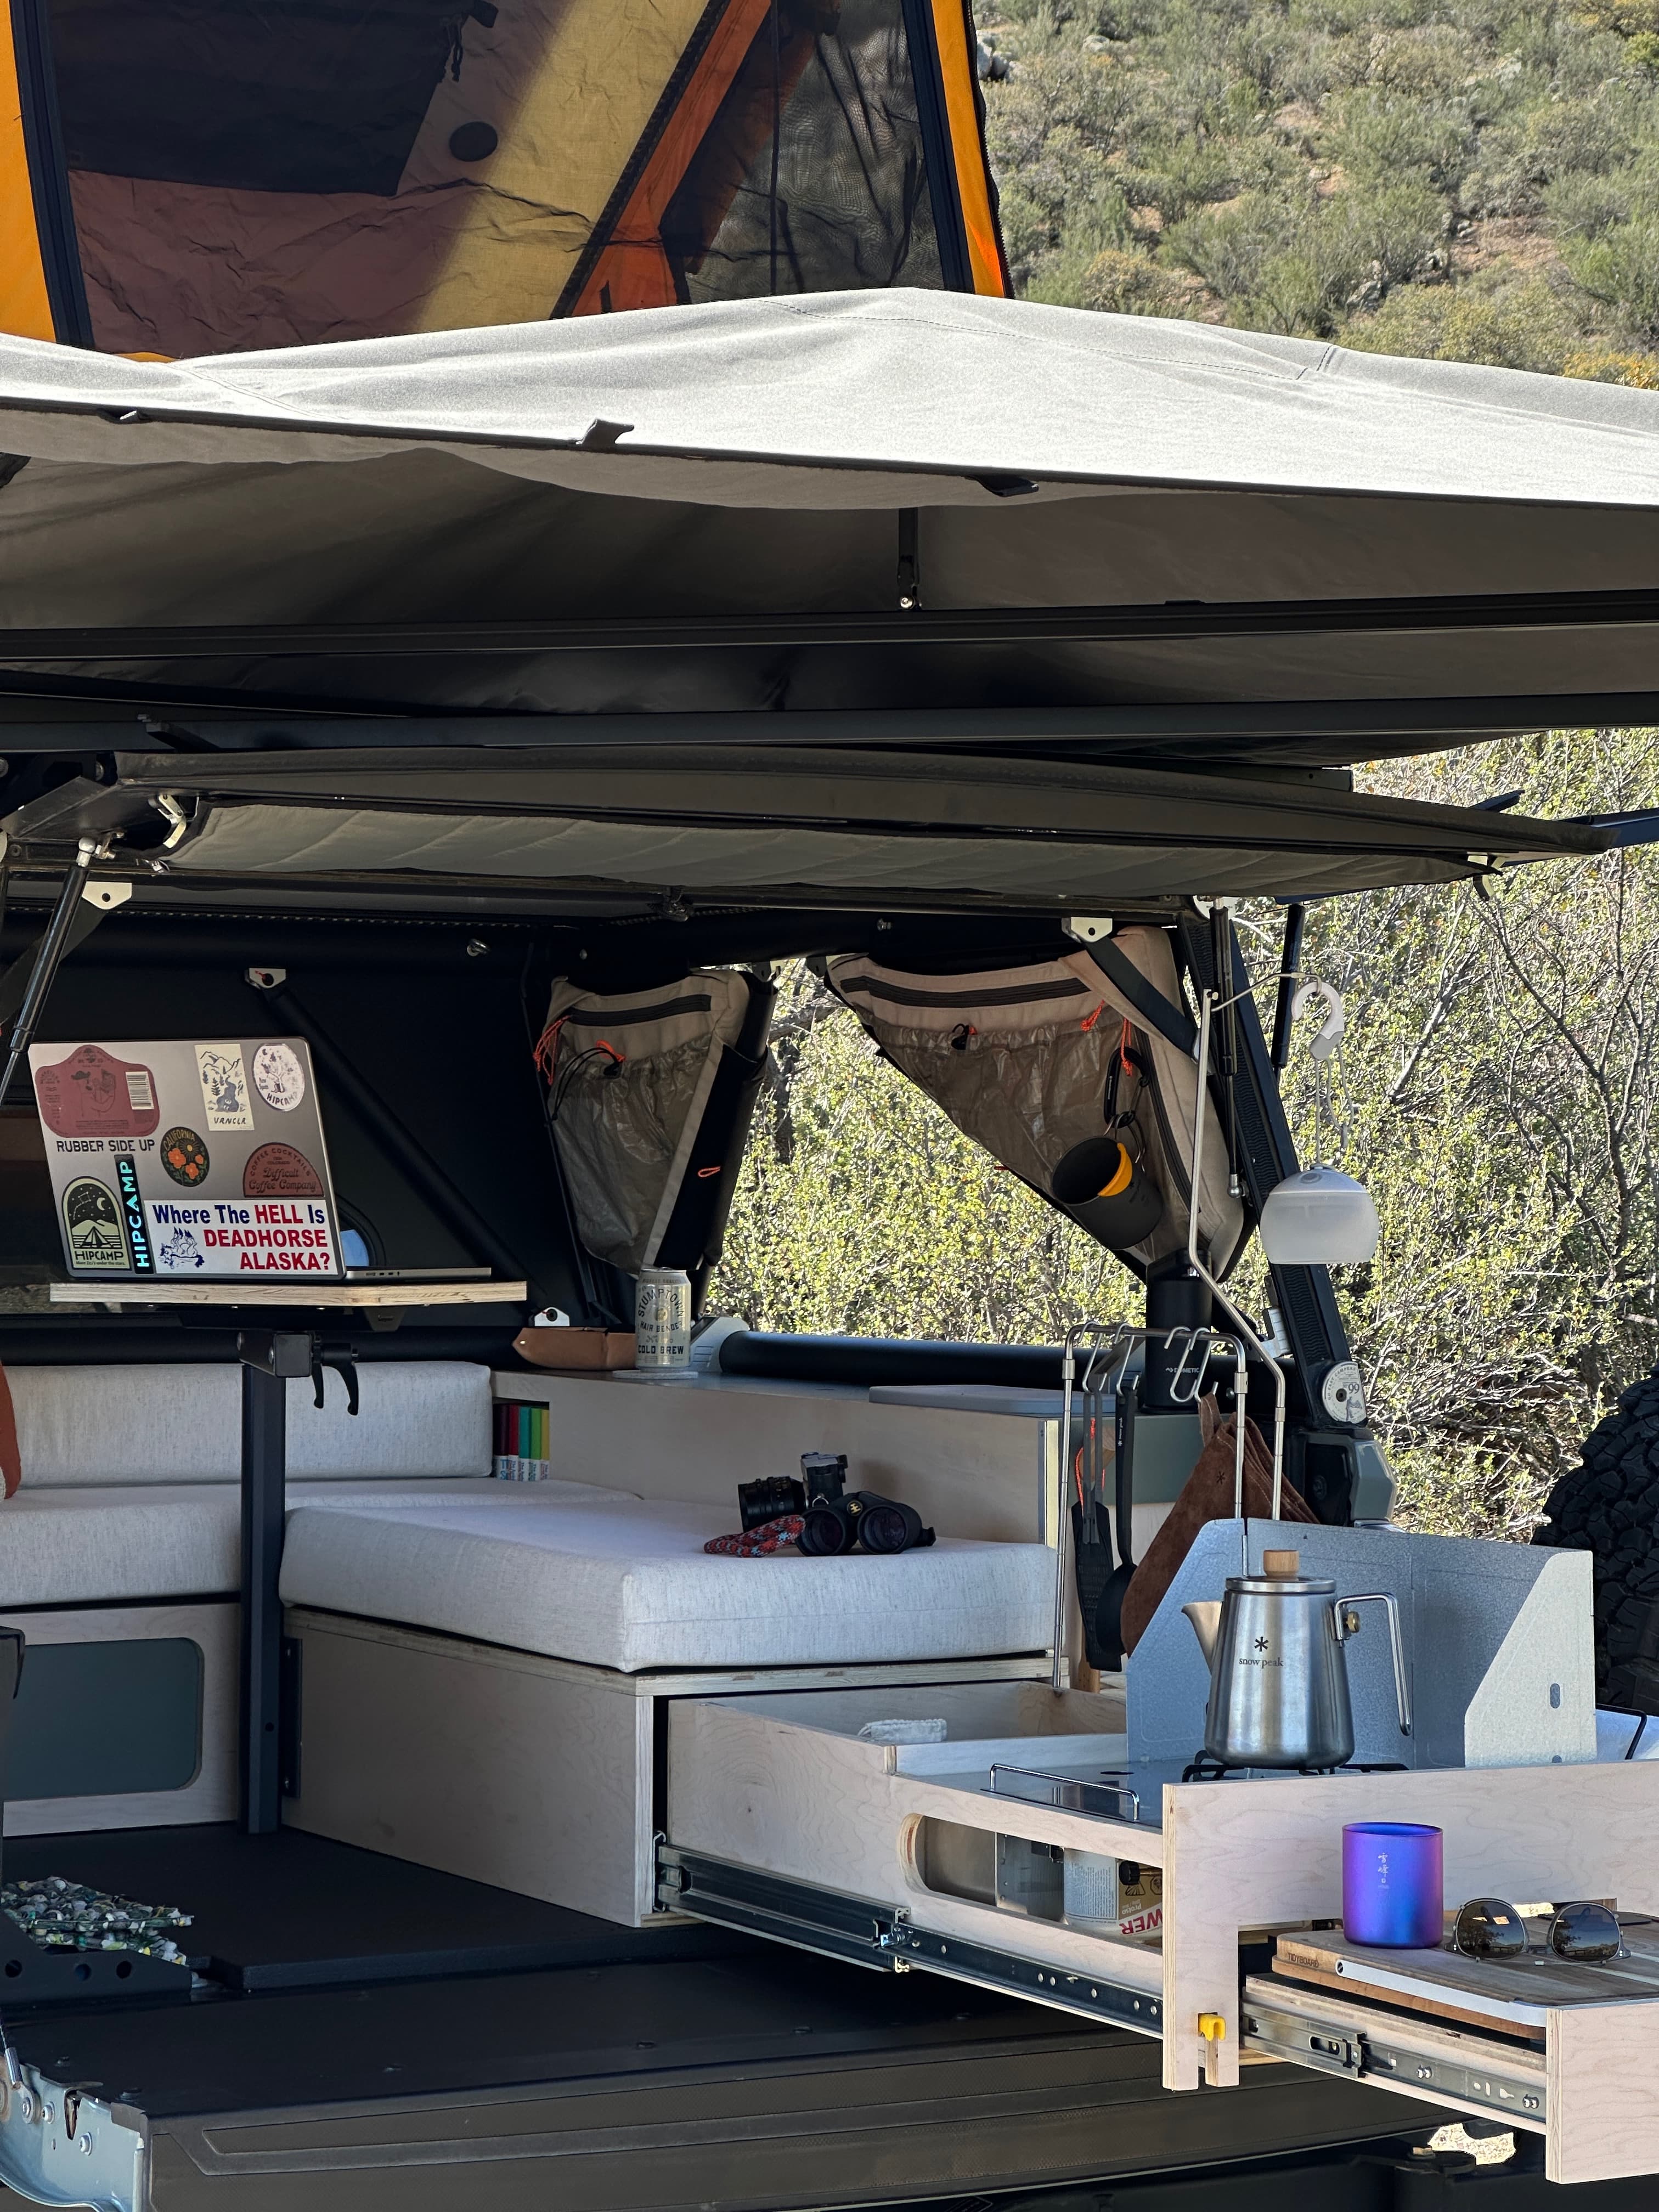
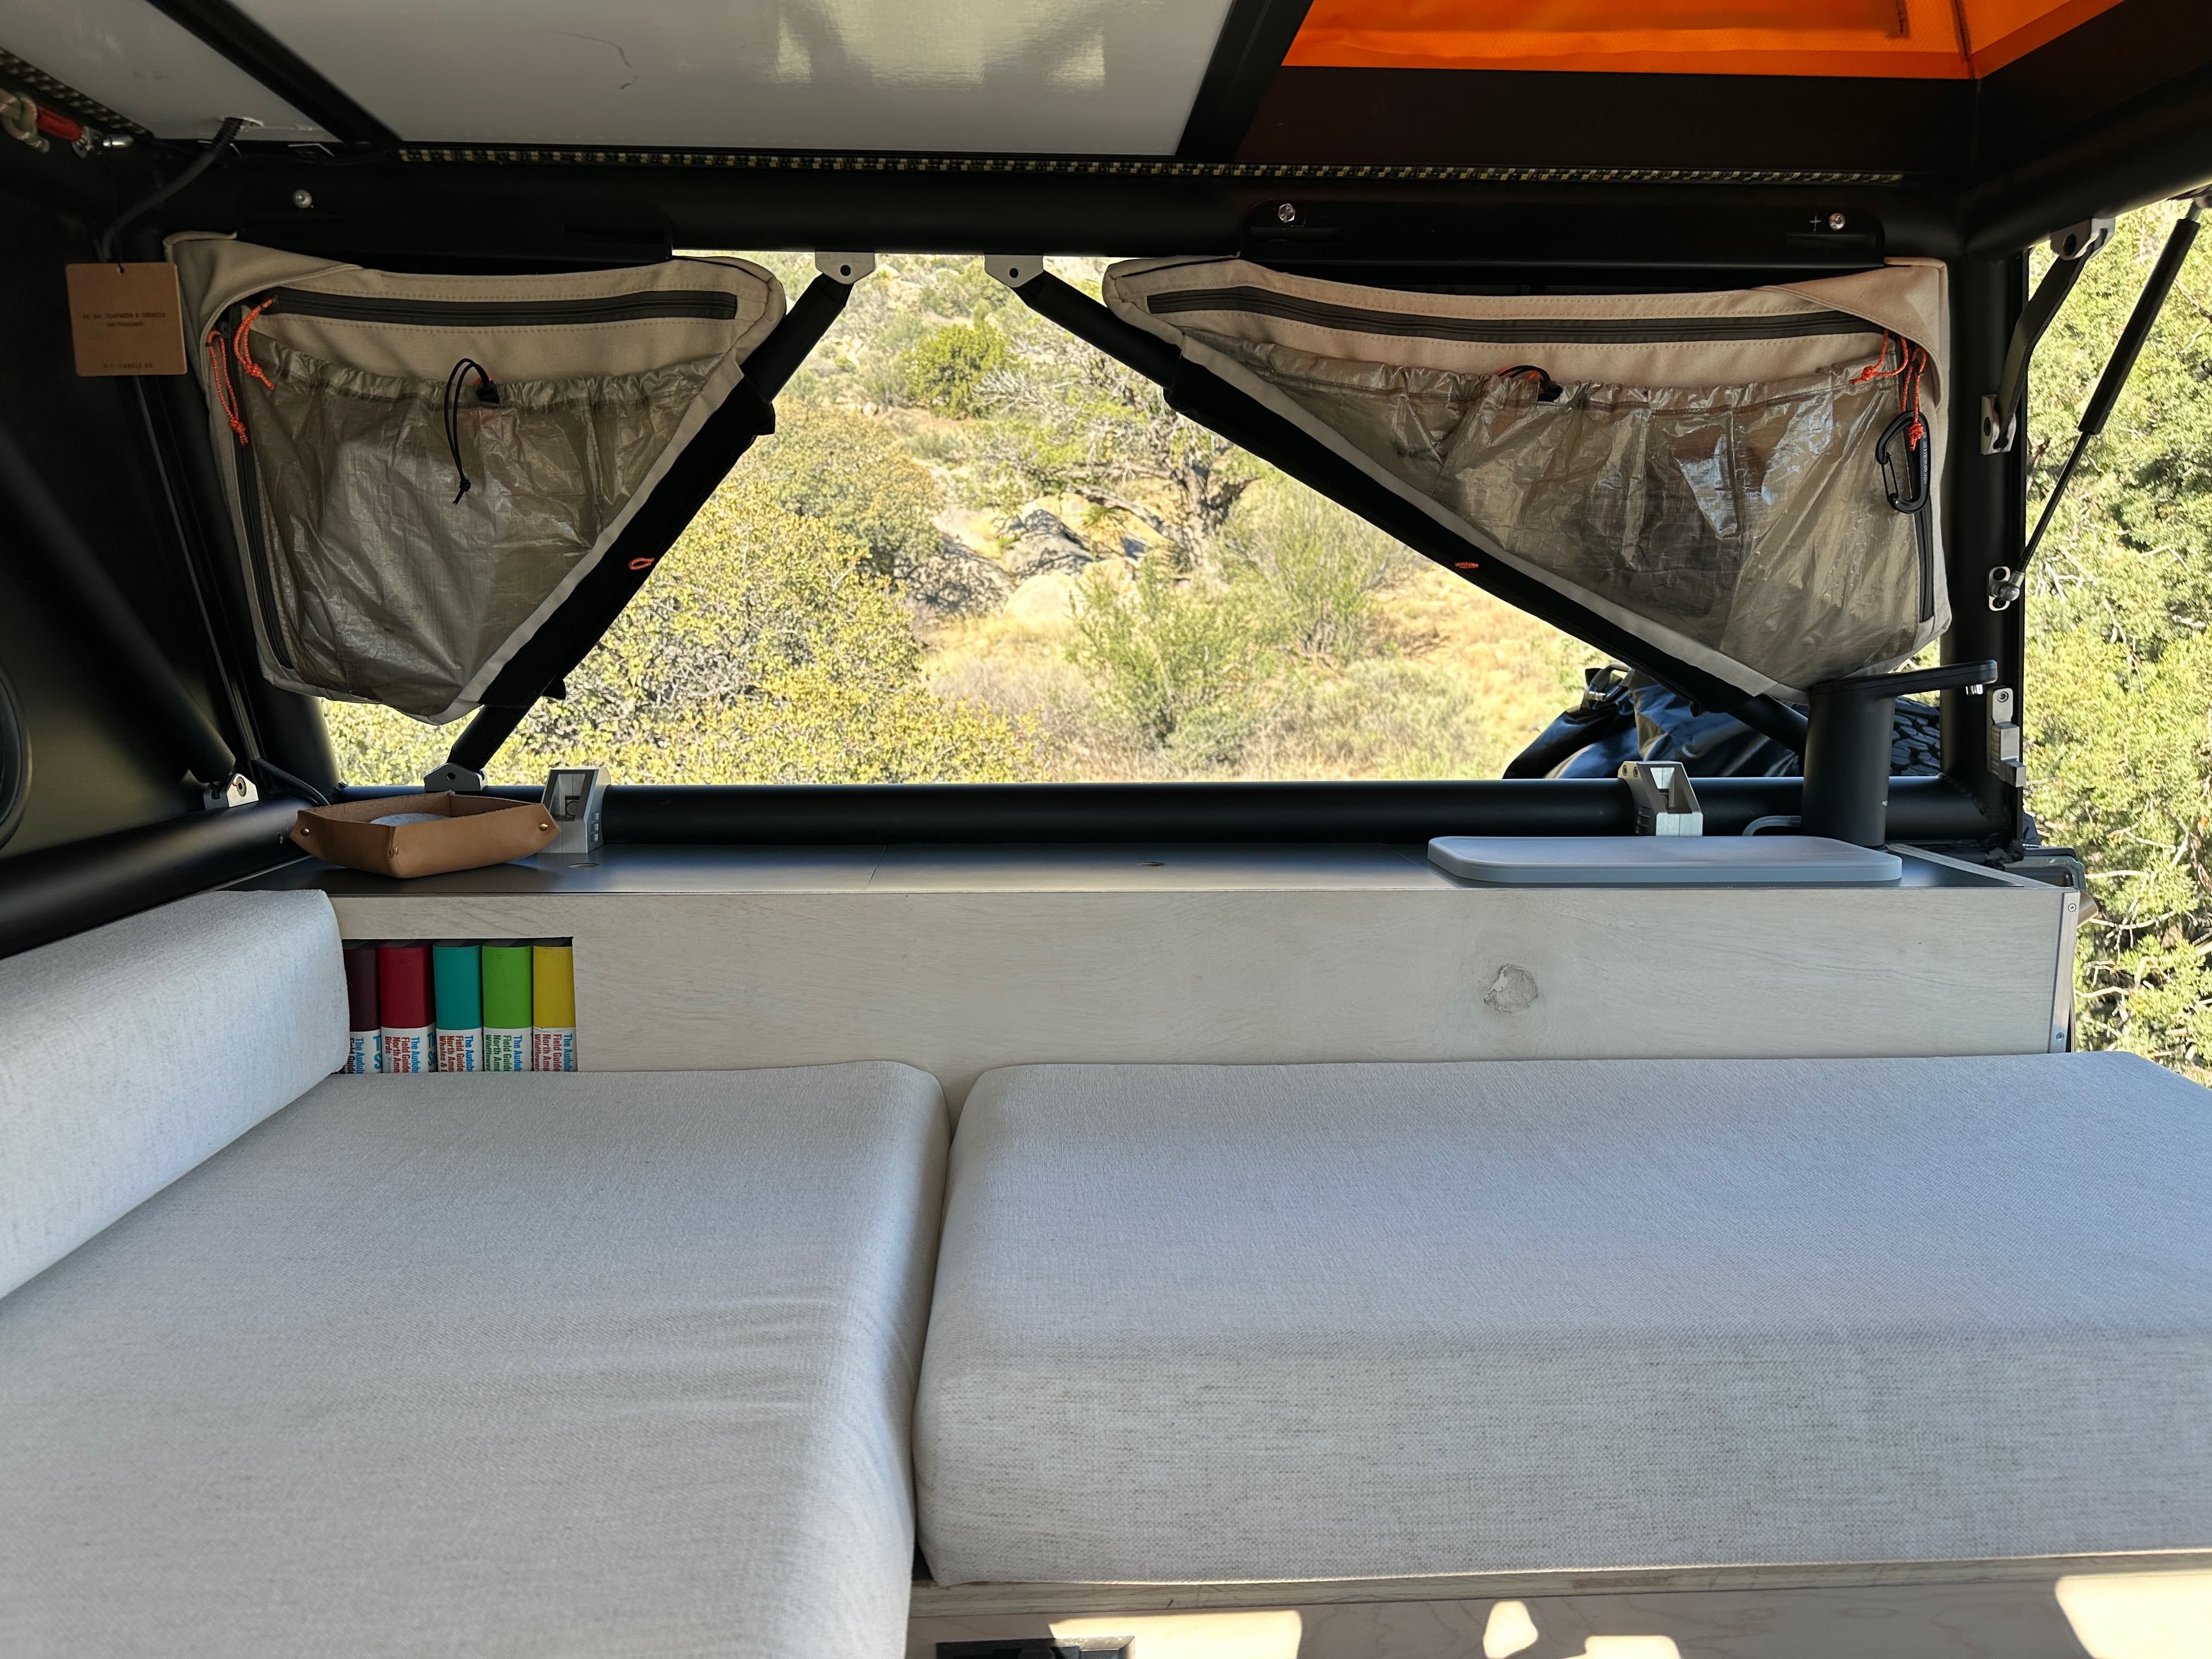
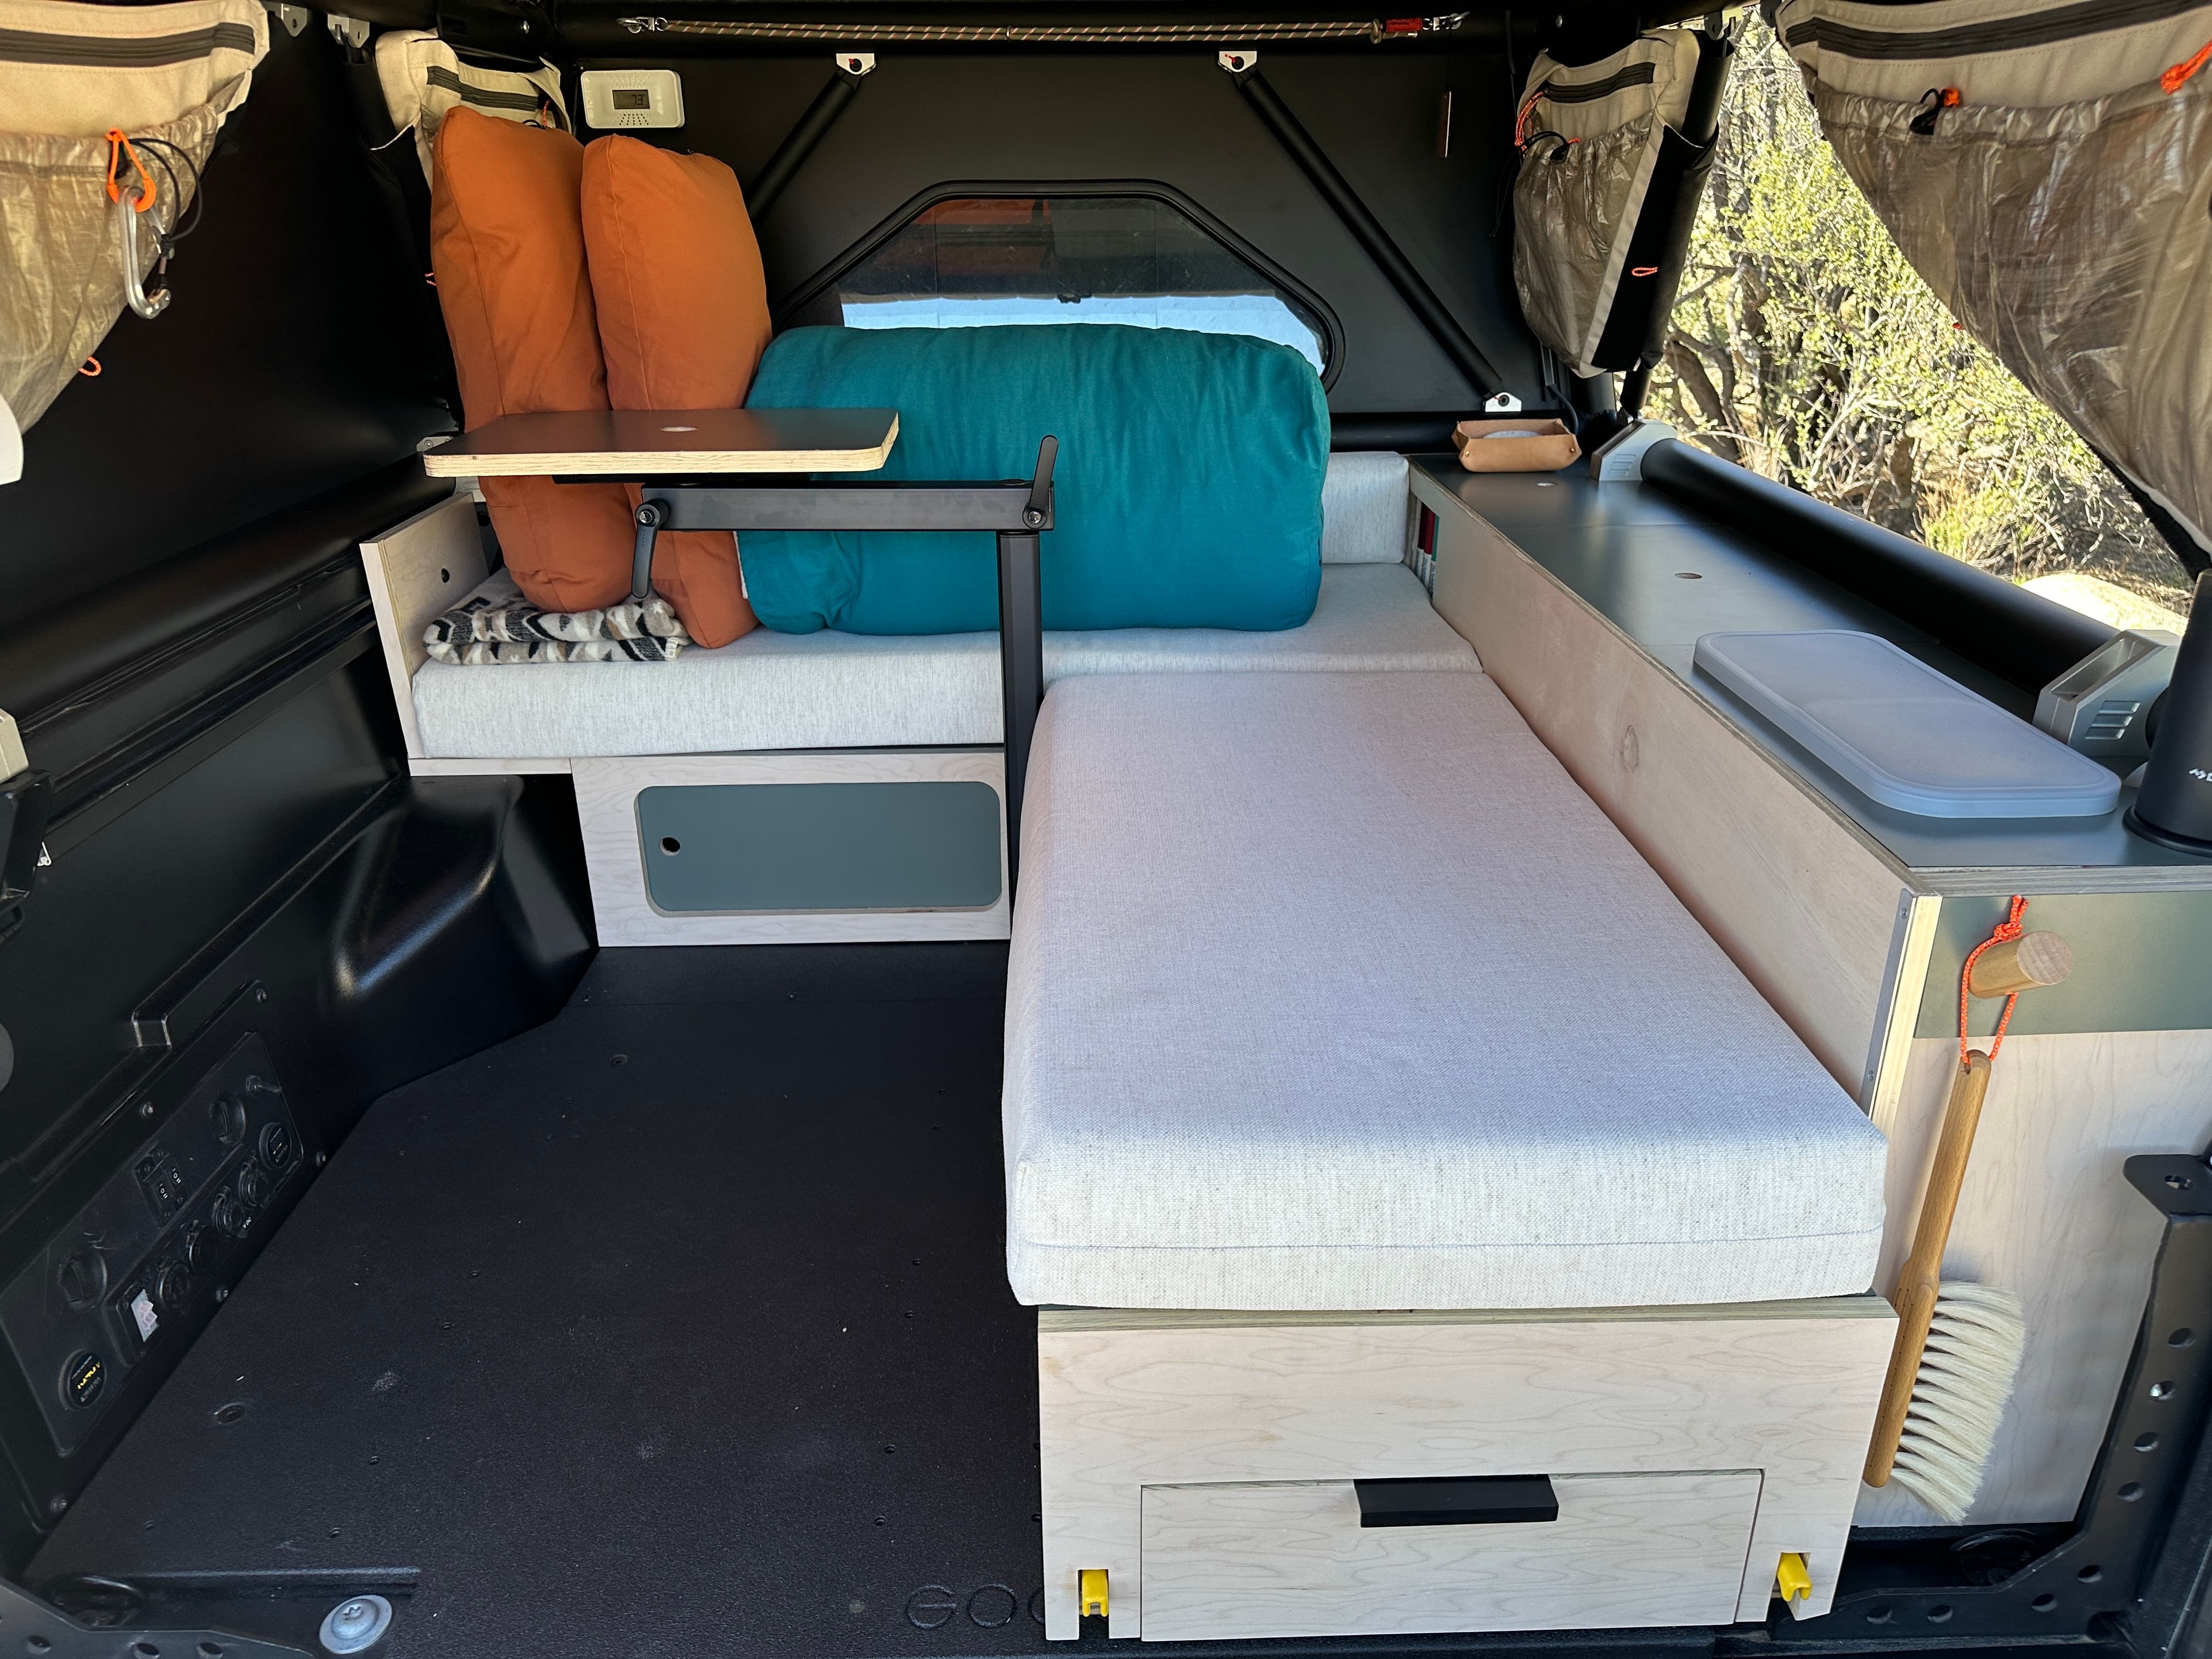
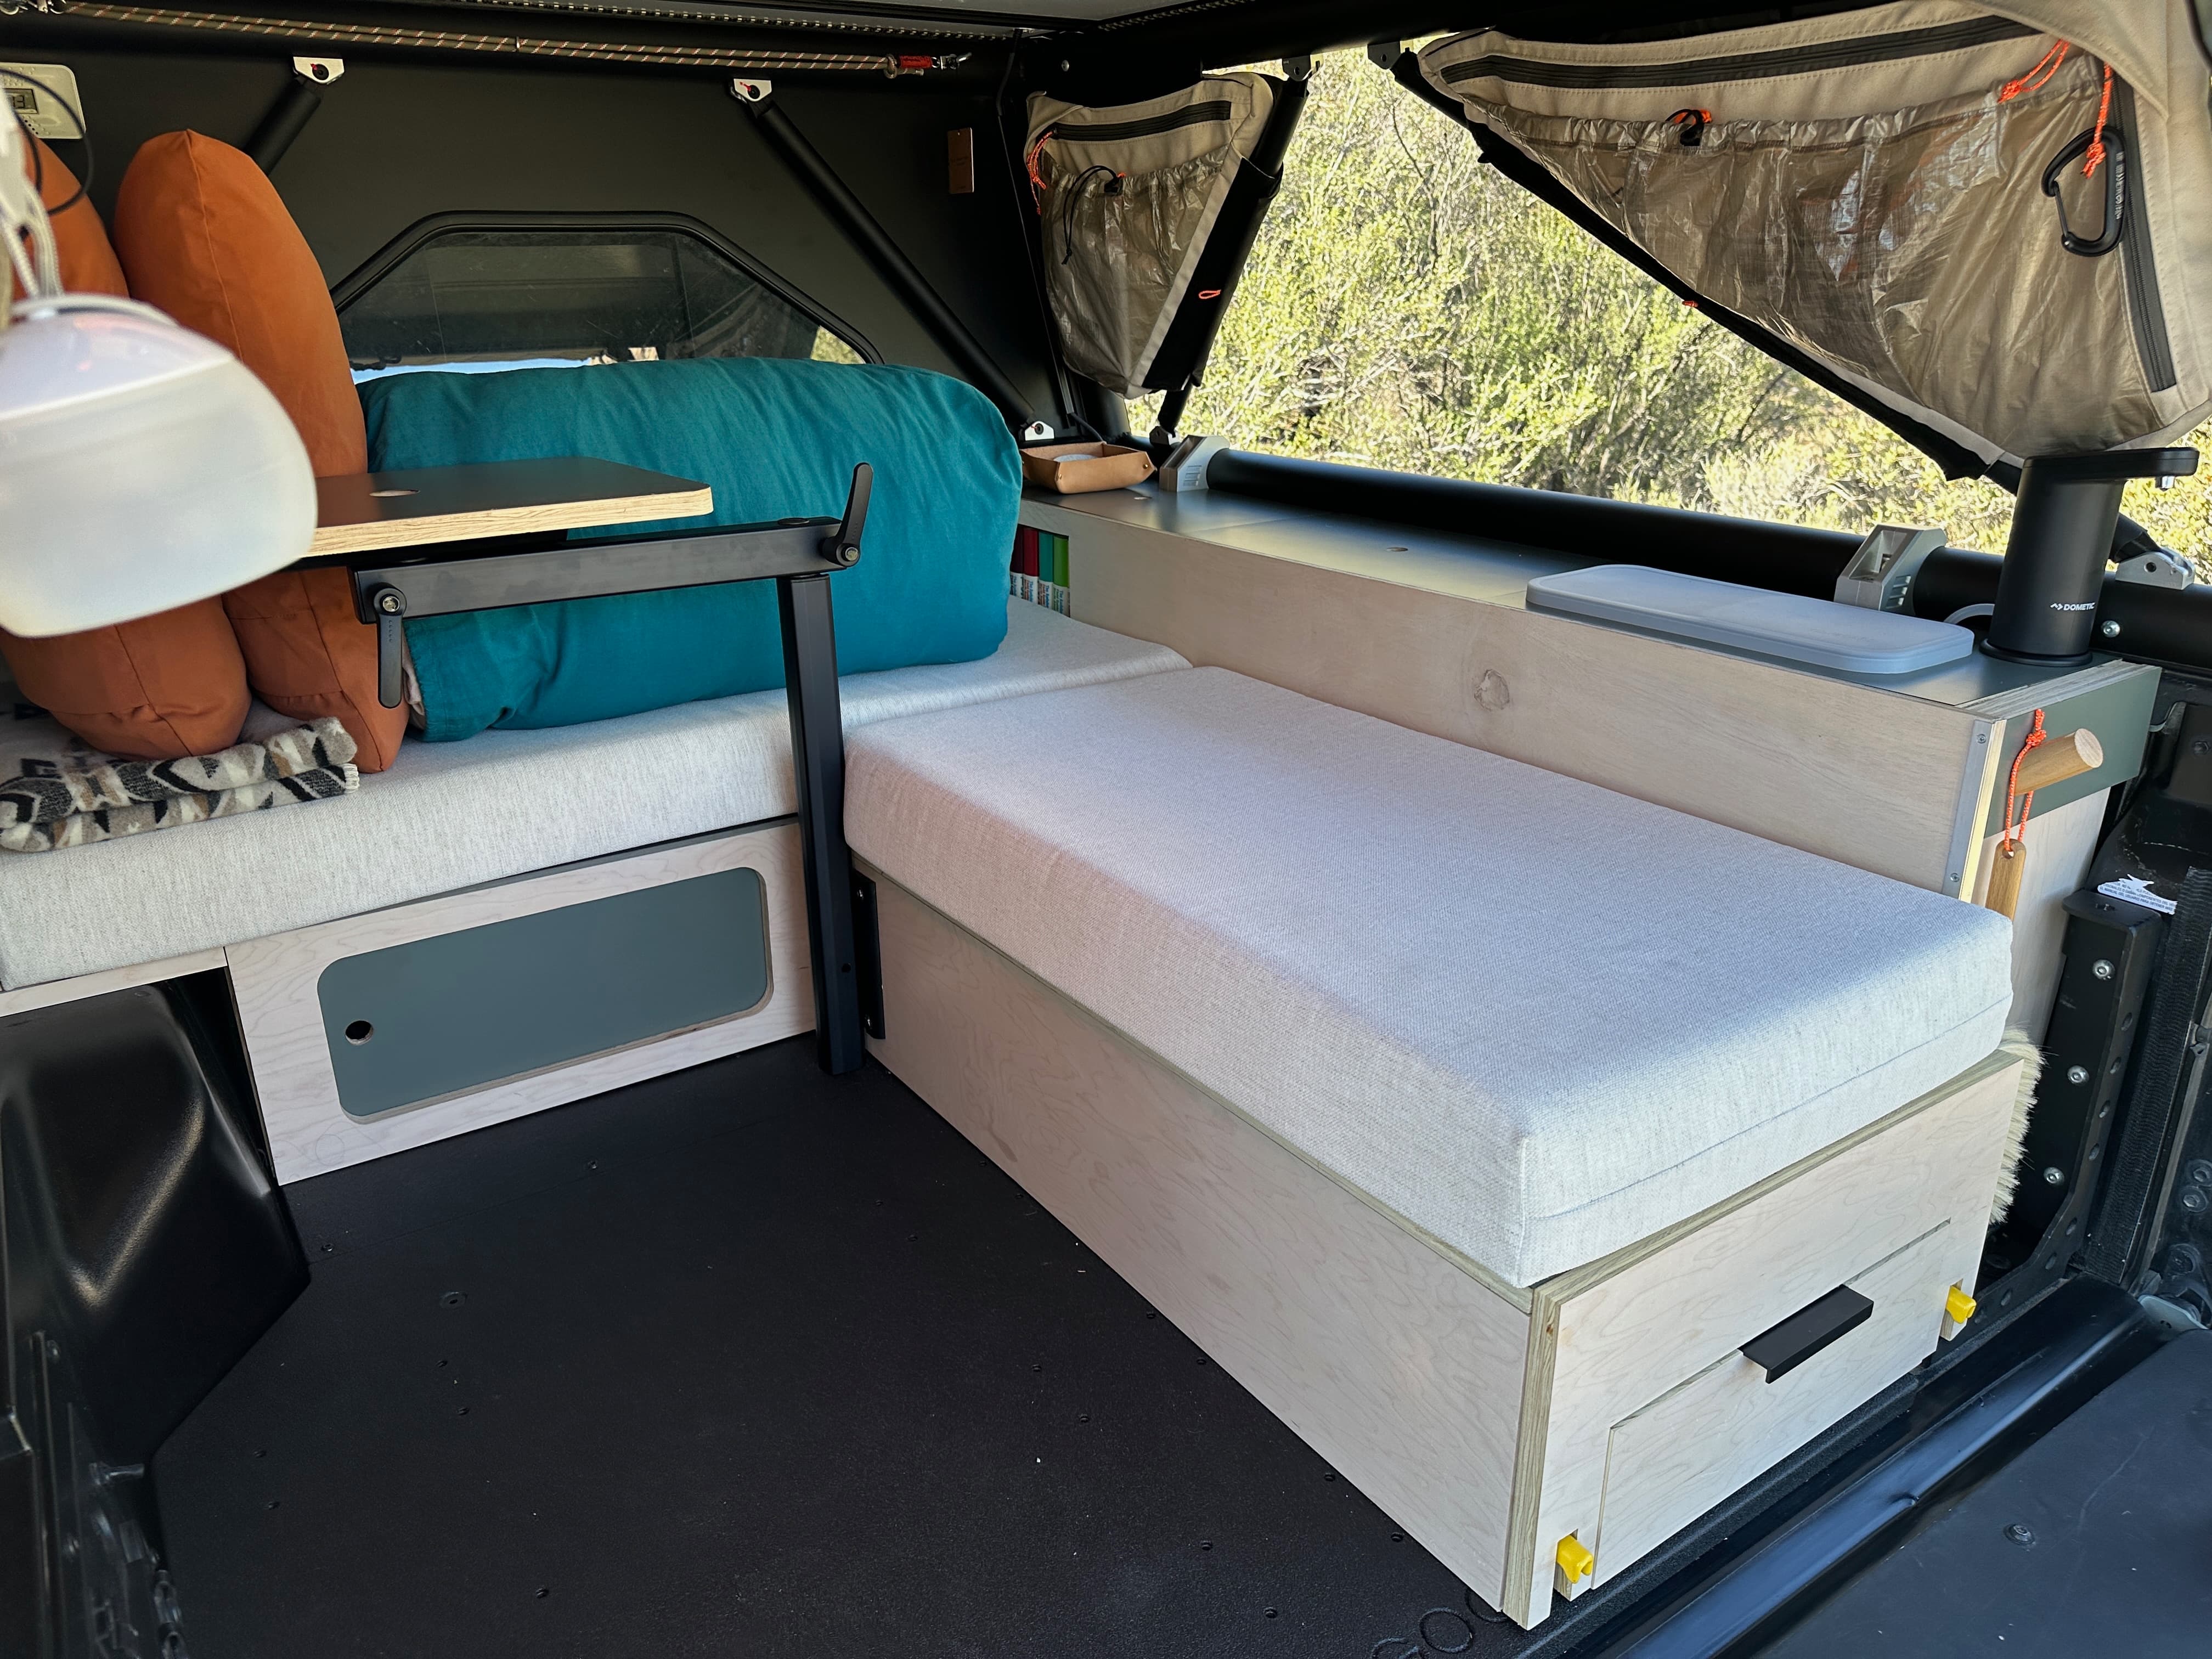
The first step was to add “cleats” to support the cubby lids on the drawer cabinet and bulkhead bench.
We used wood for the cleats on the bulkhead bench and aluminum on the drawer cabinet for a lower profile to clear the kitchen drawer.

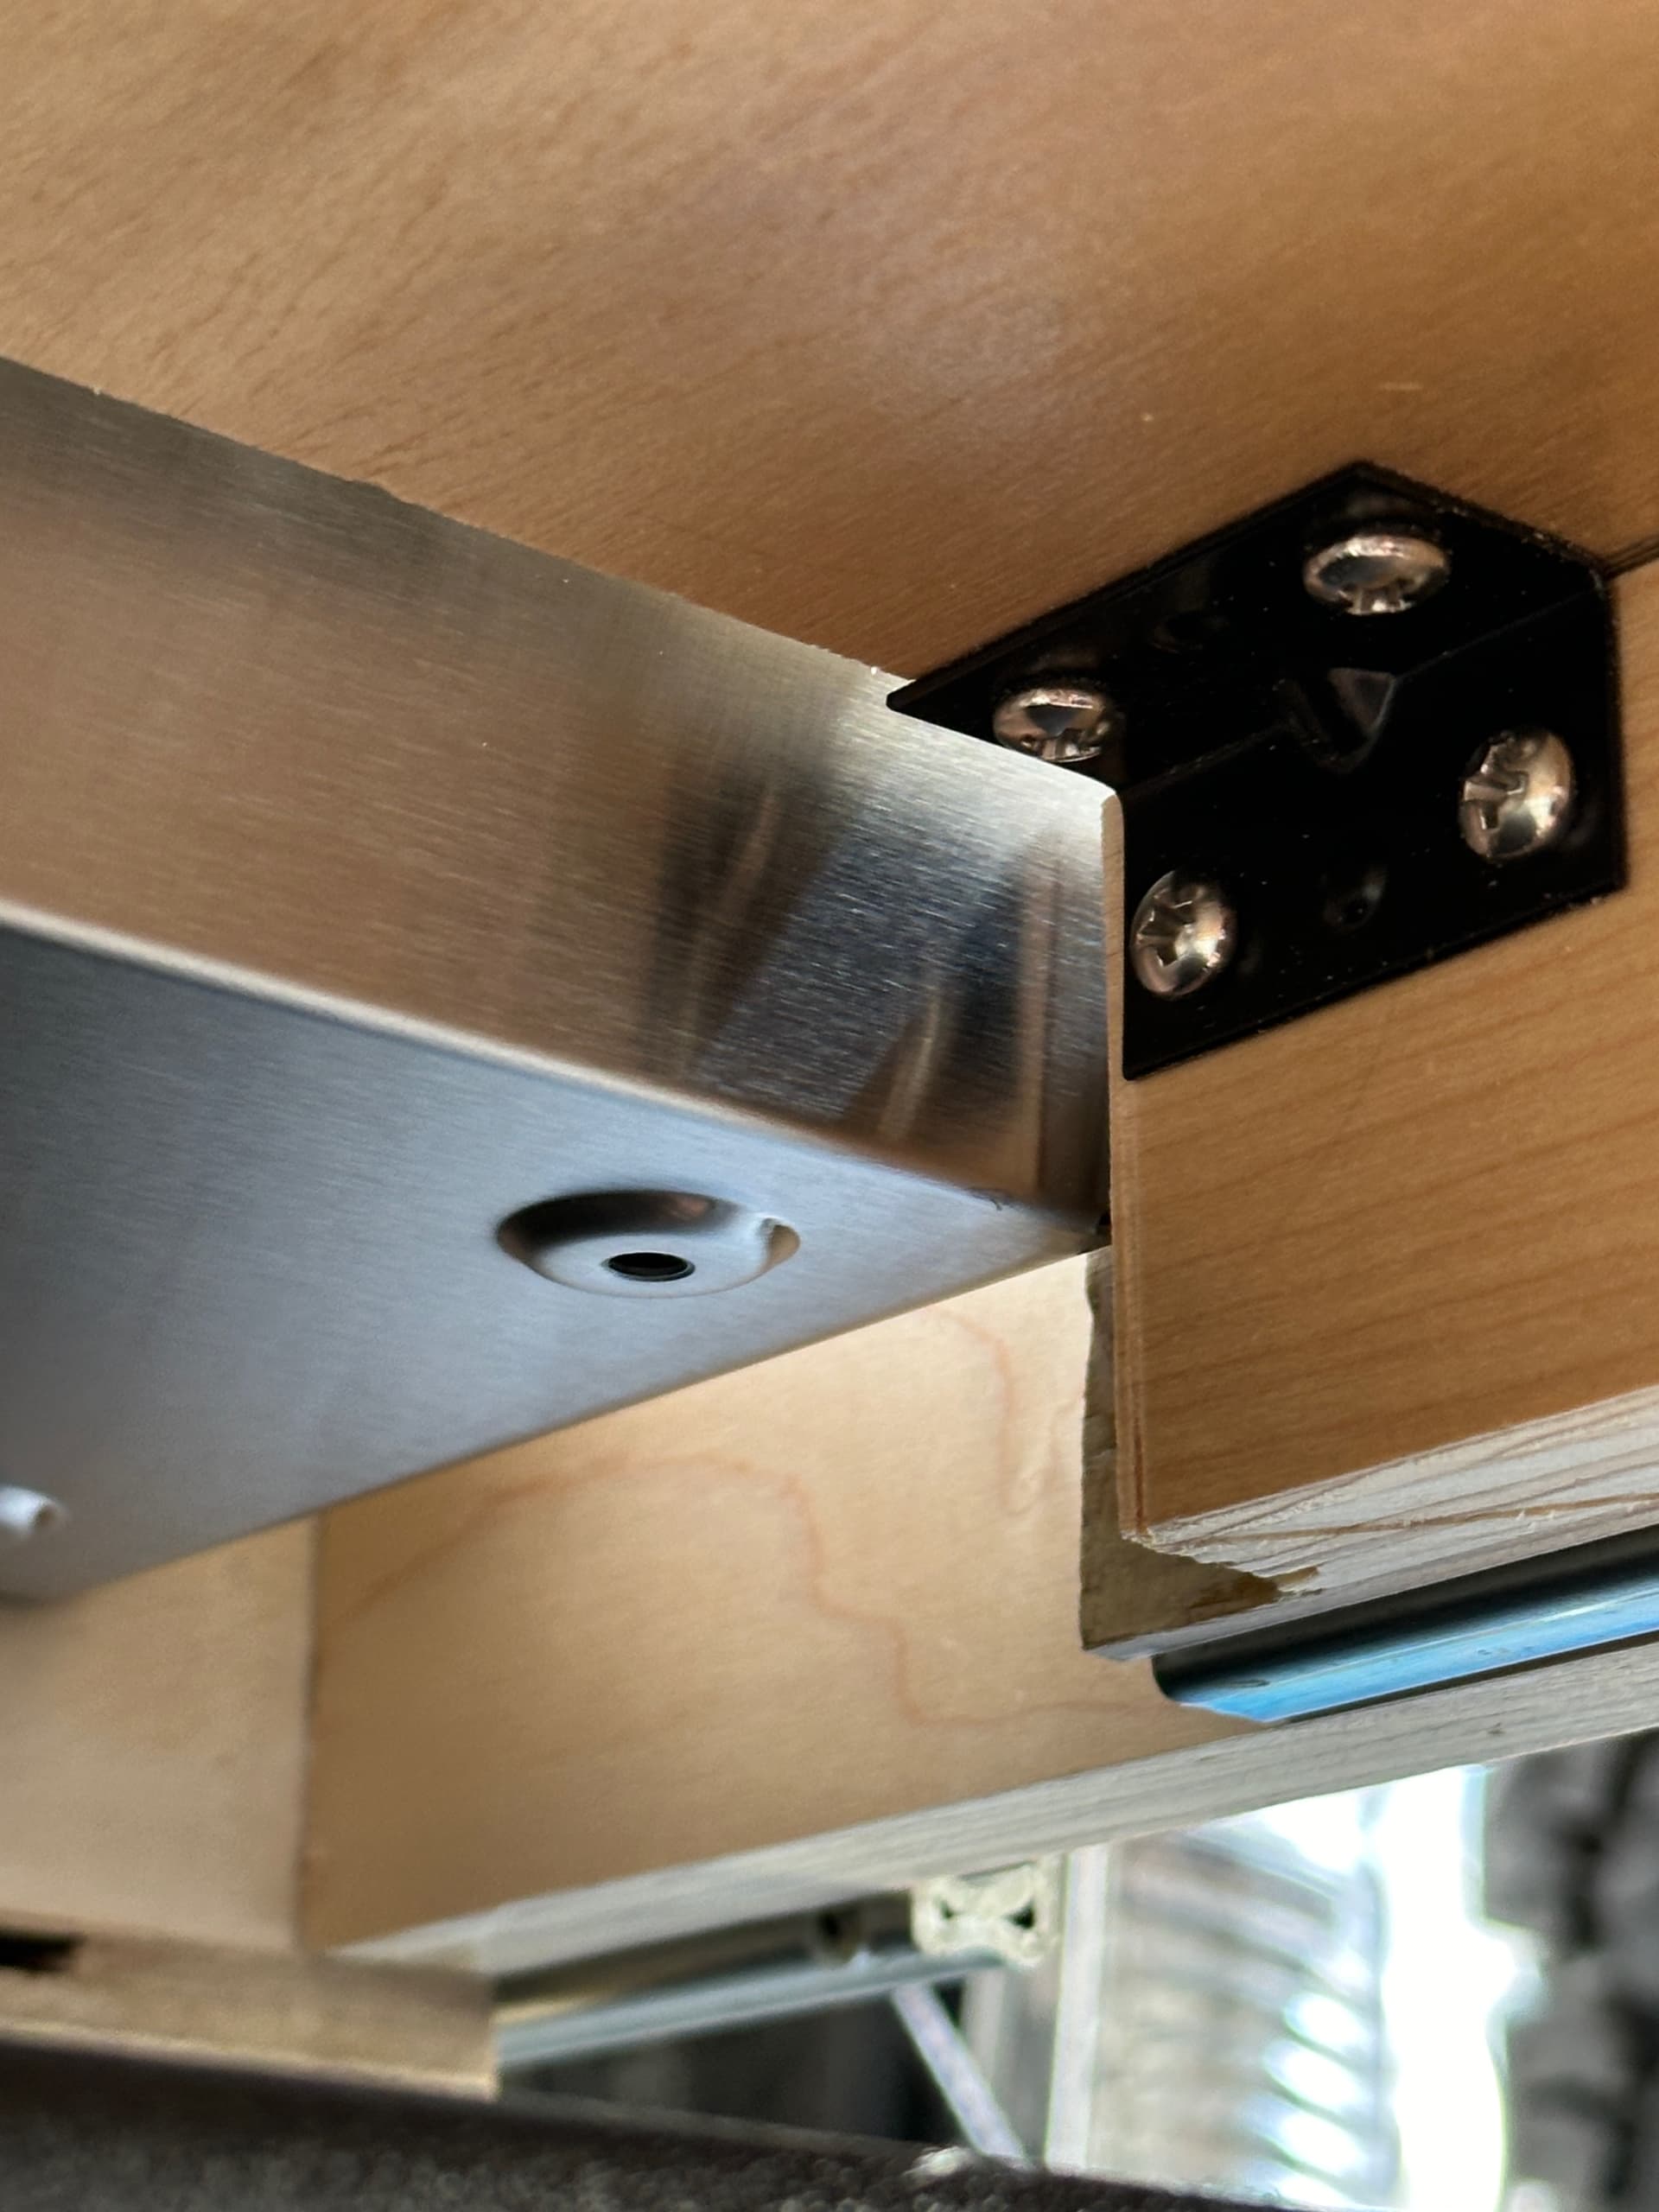
Before affixing the tops we mounted the Lagun Table System. With some dumb luck the lower mounting holes on the bracket aligned perfectly with existing holes in the rail slide. The top bolts were cut down in length to clear the drawer itself.

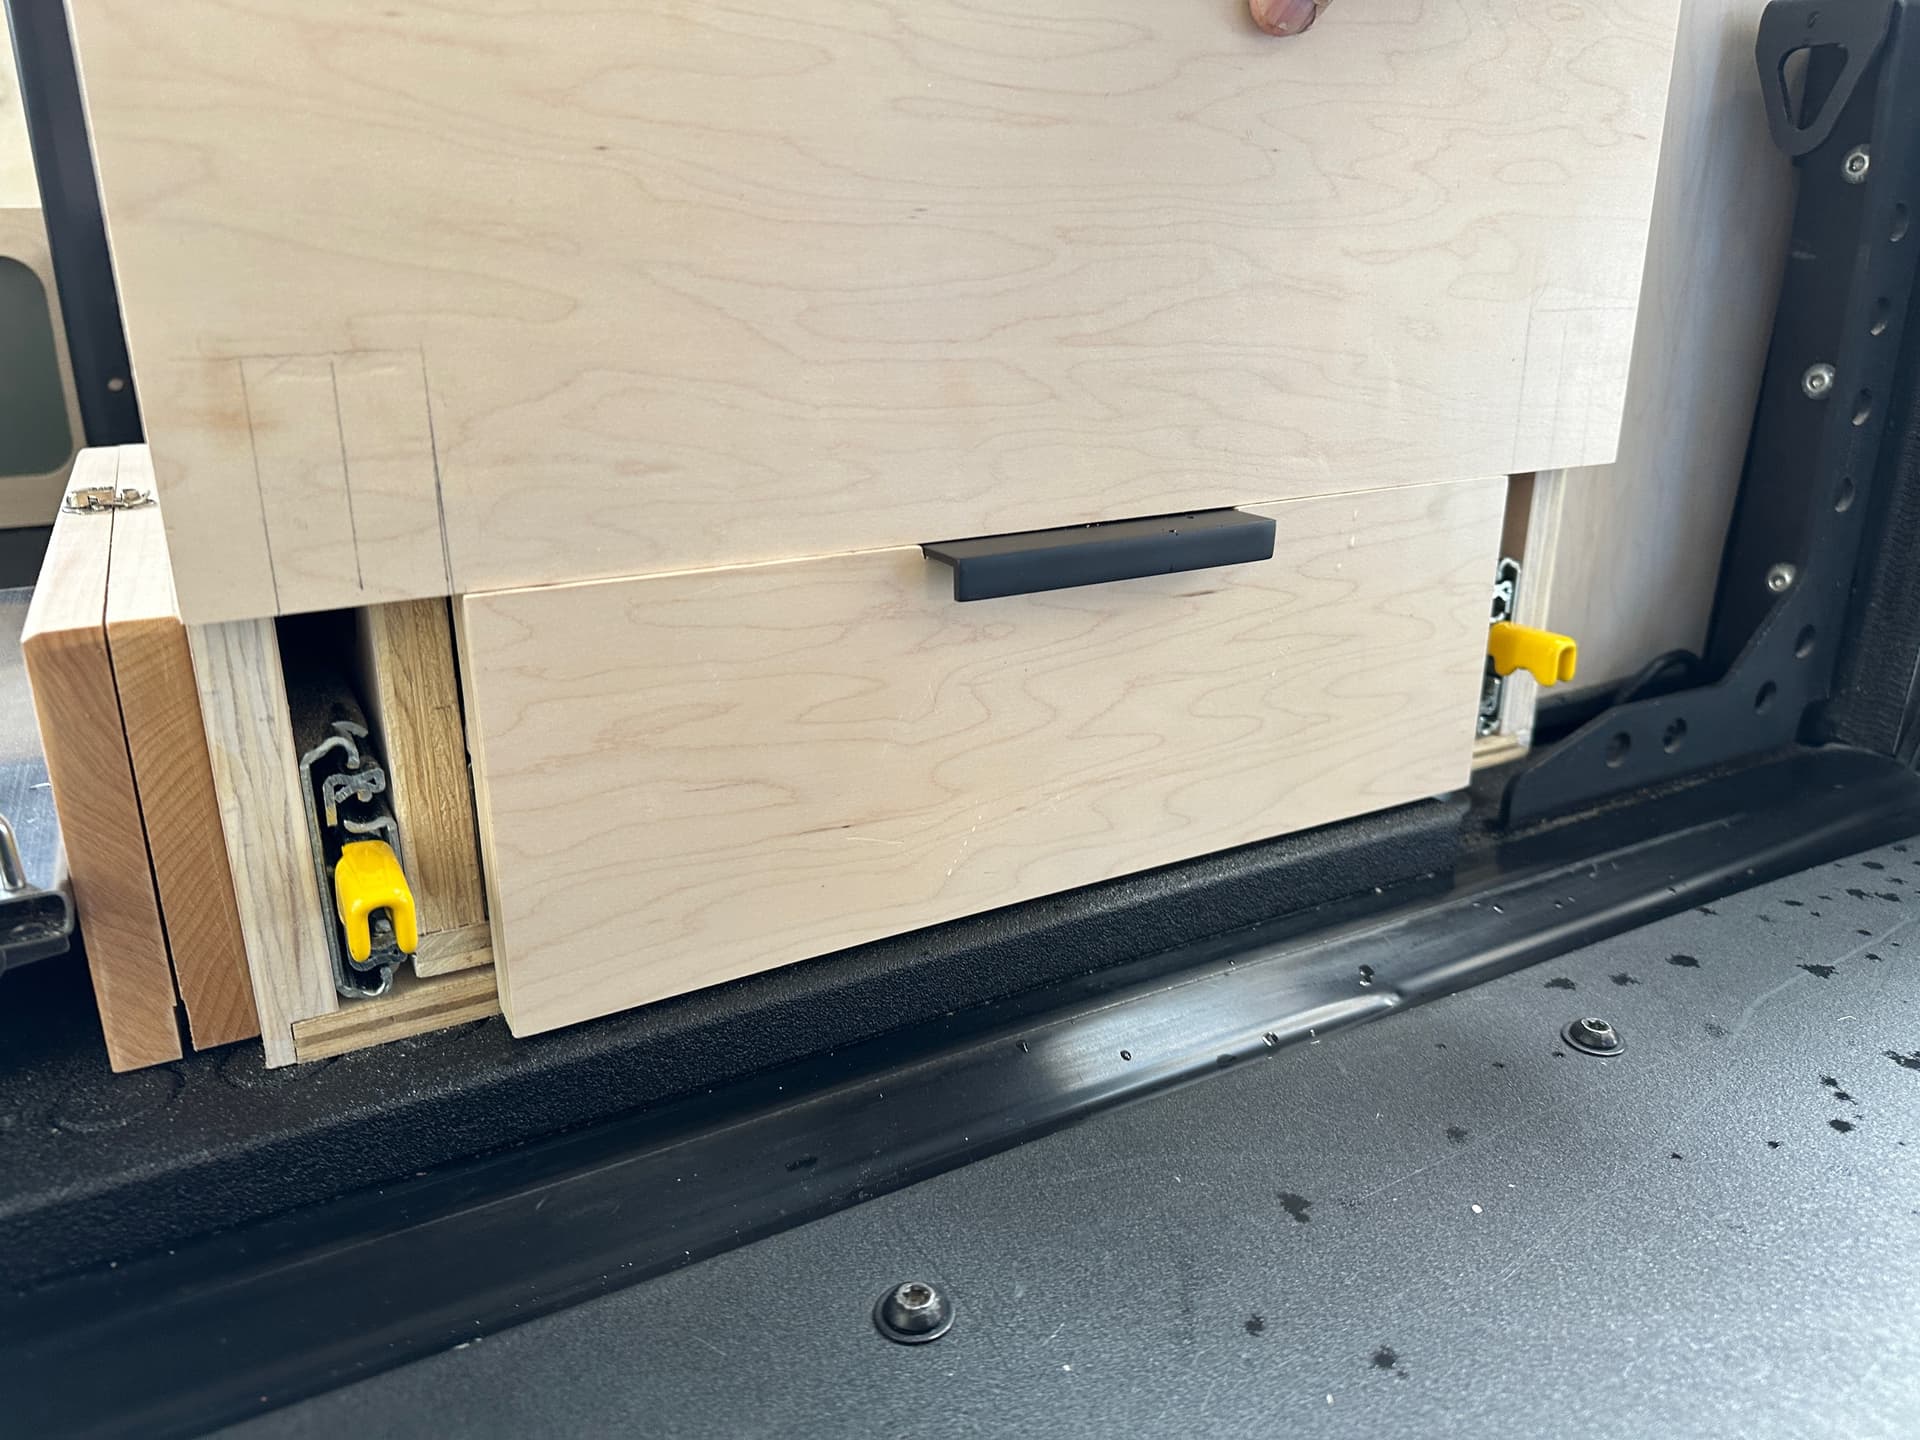
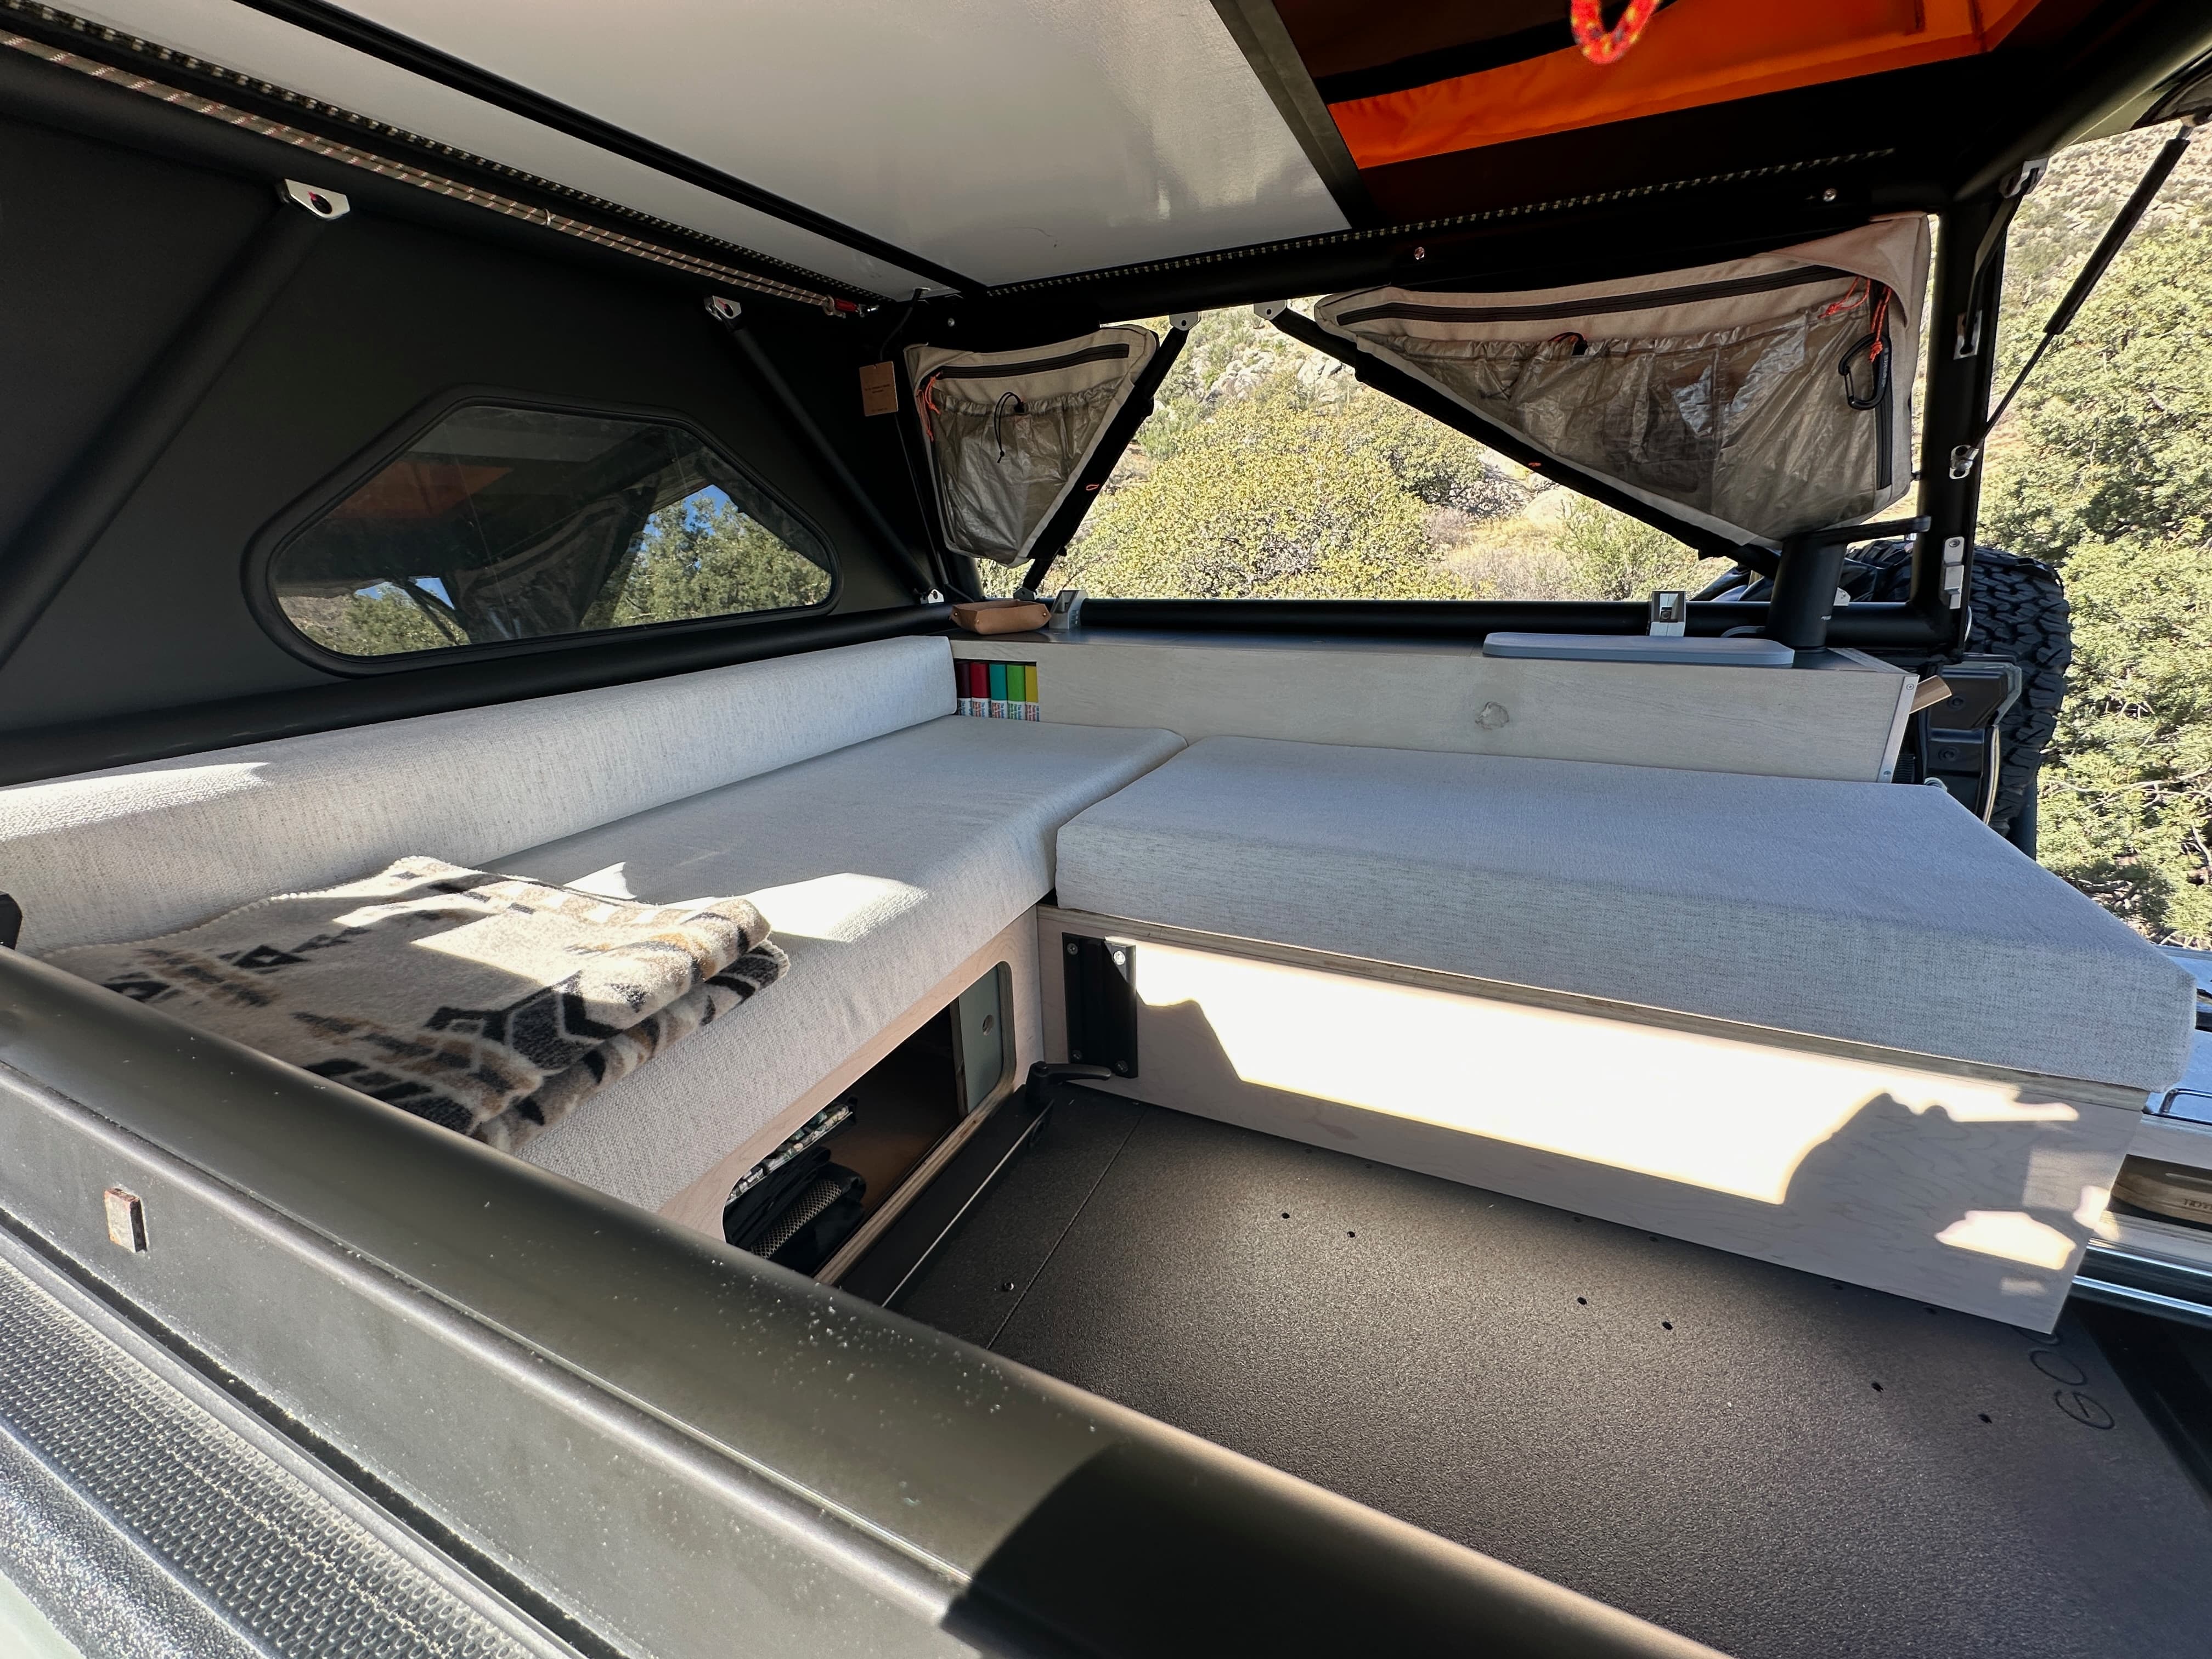
We also installed the hardware (A few pieces of aluminum angle) to guide and keep the sliding door face in place.
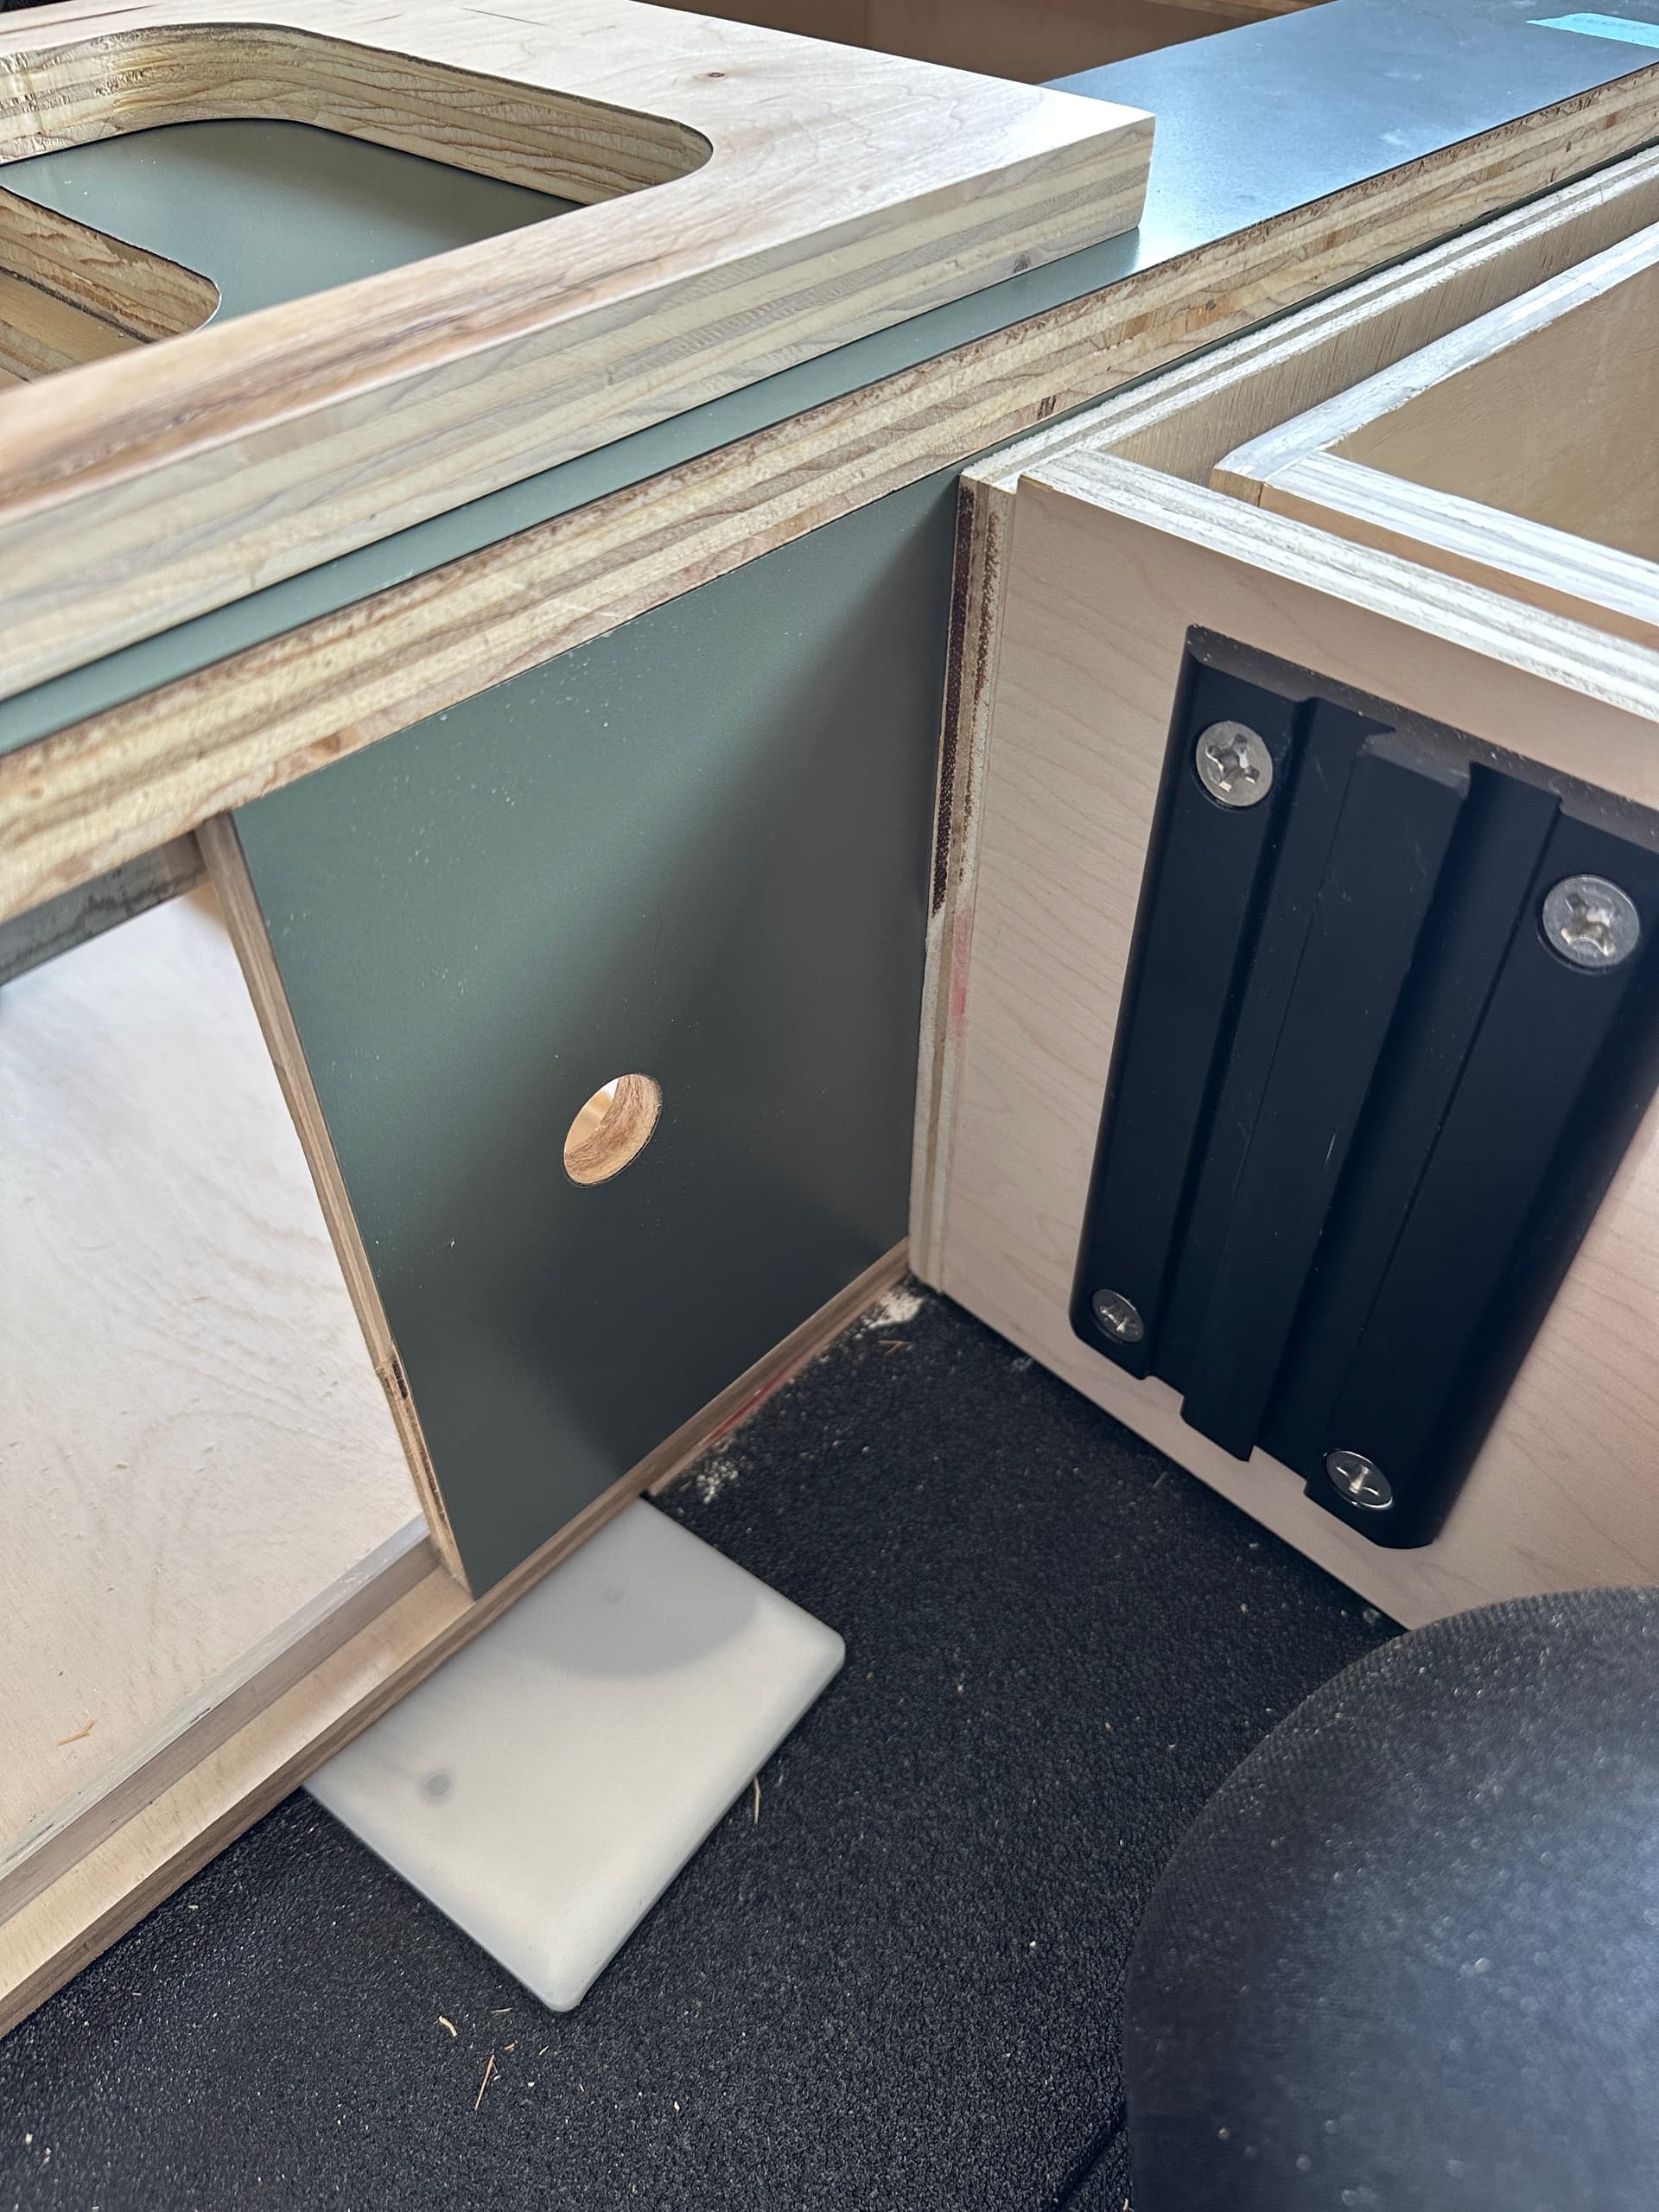

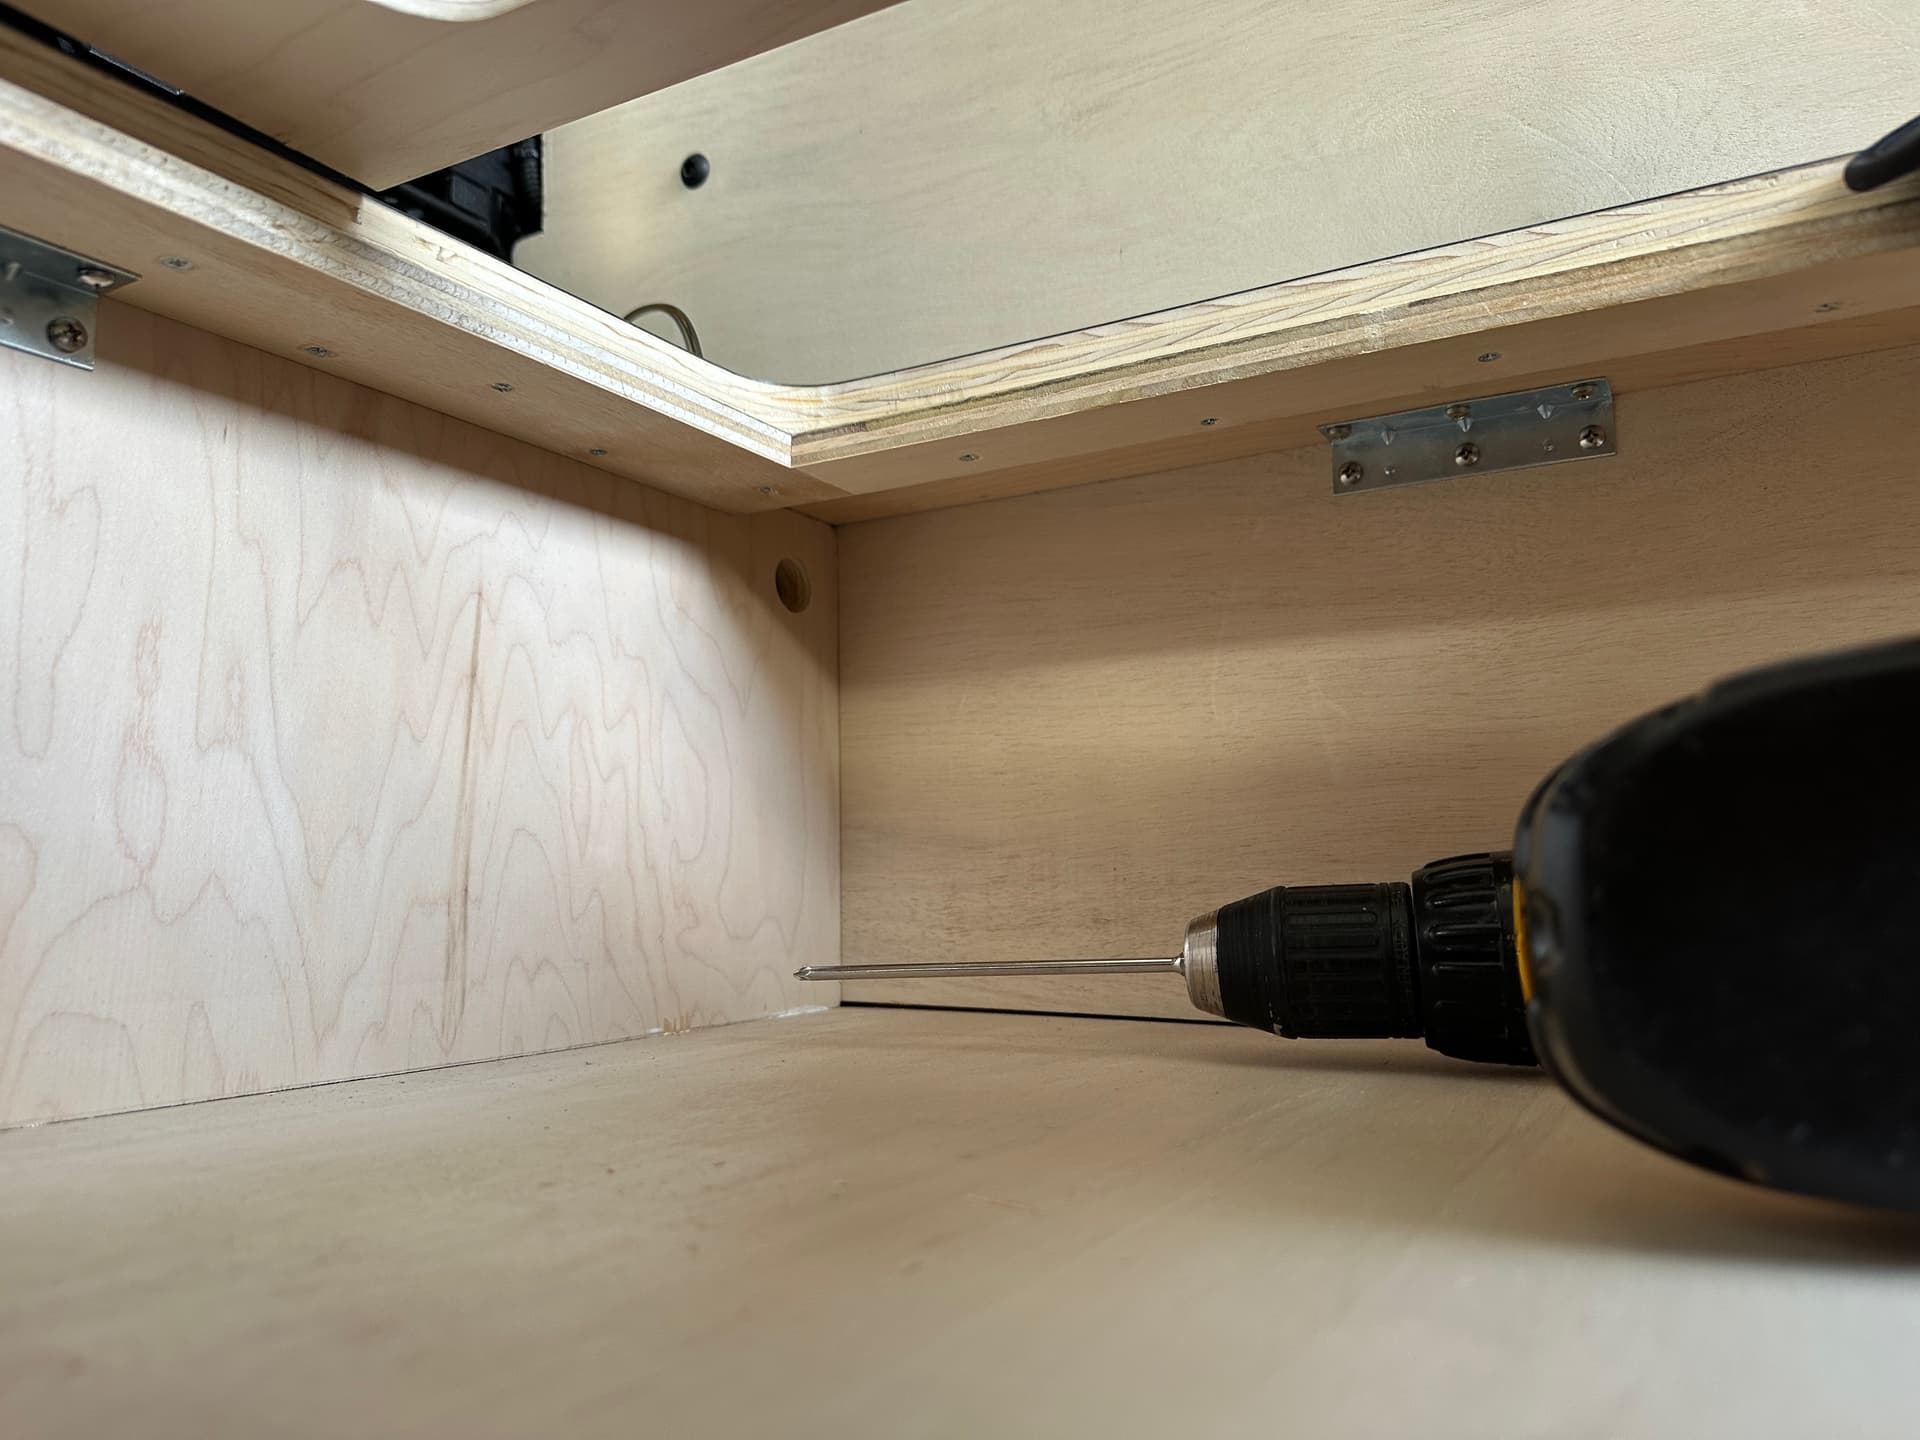
At this point we were ready to screw in the tops of the bulkhead bench and drawer cabinet.

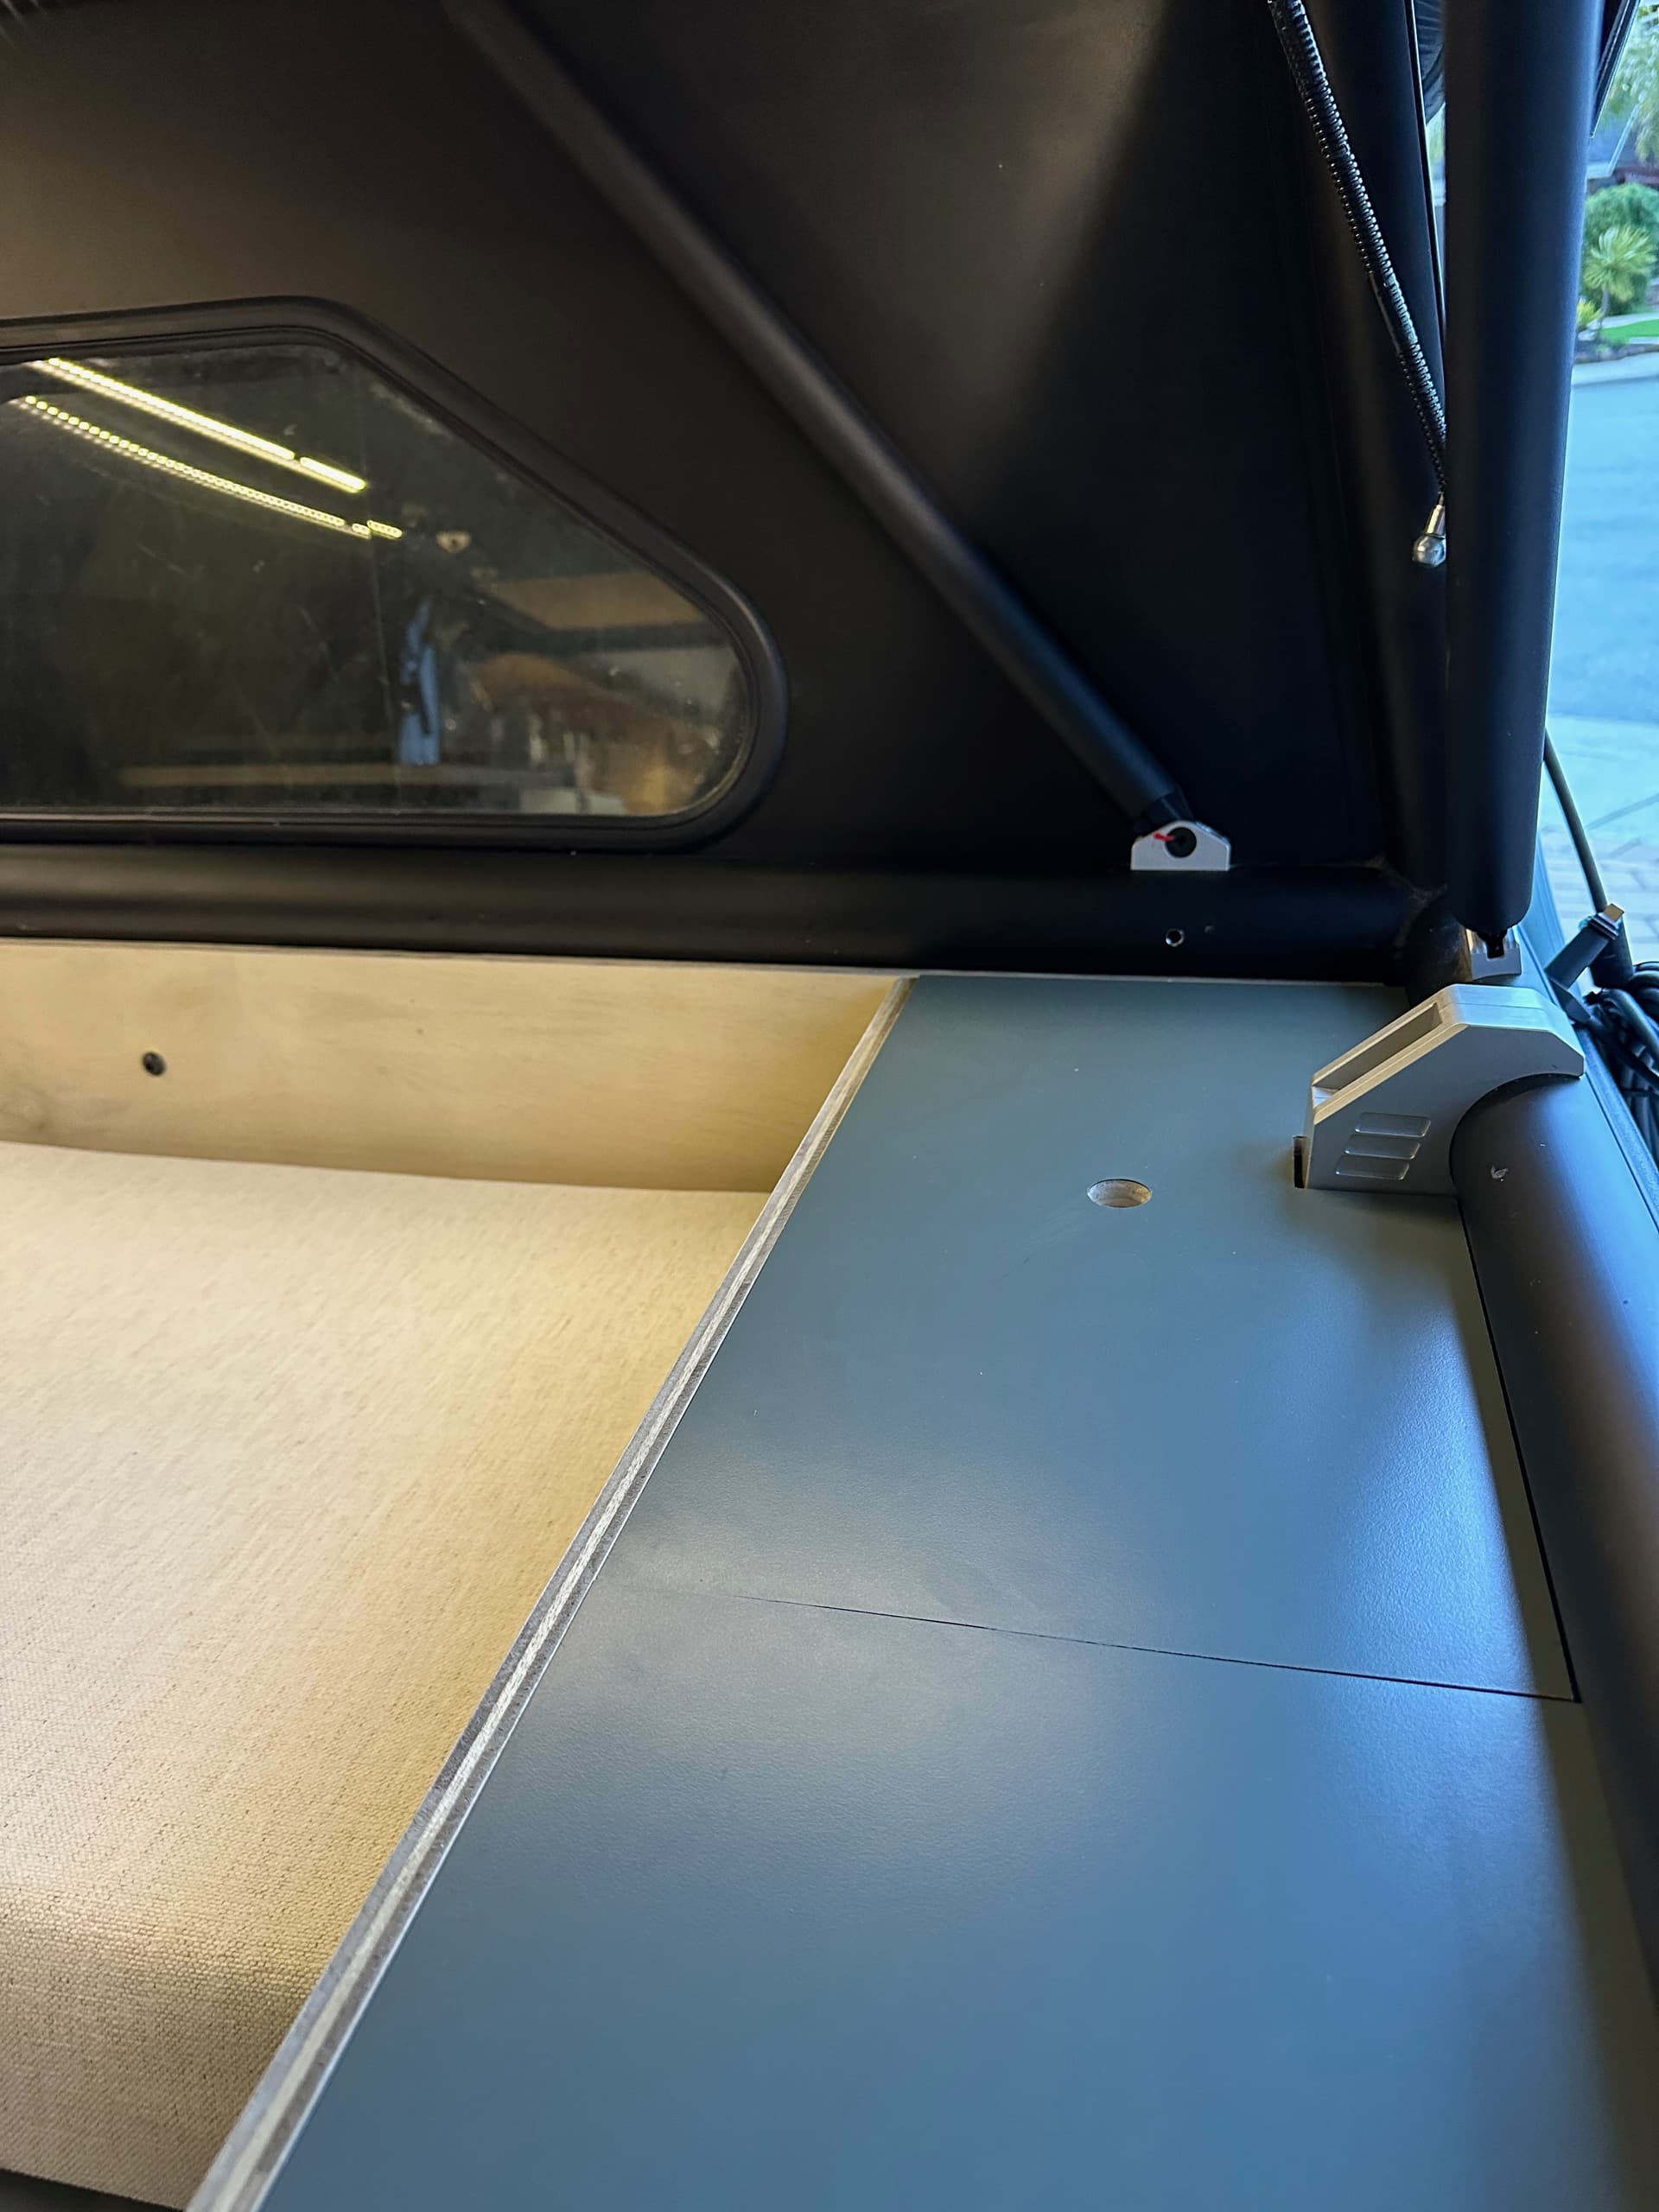
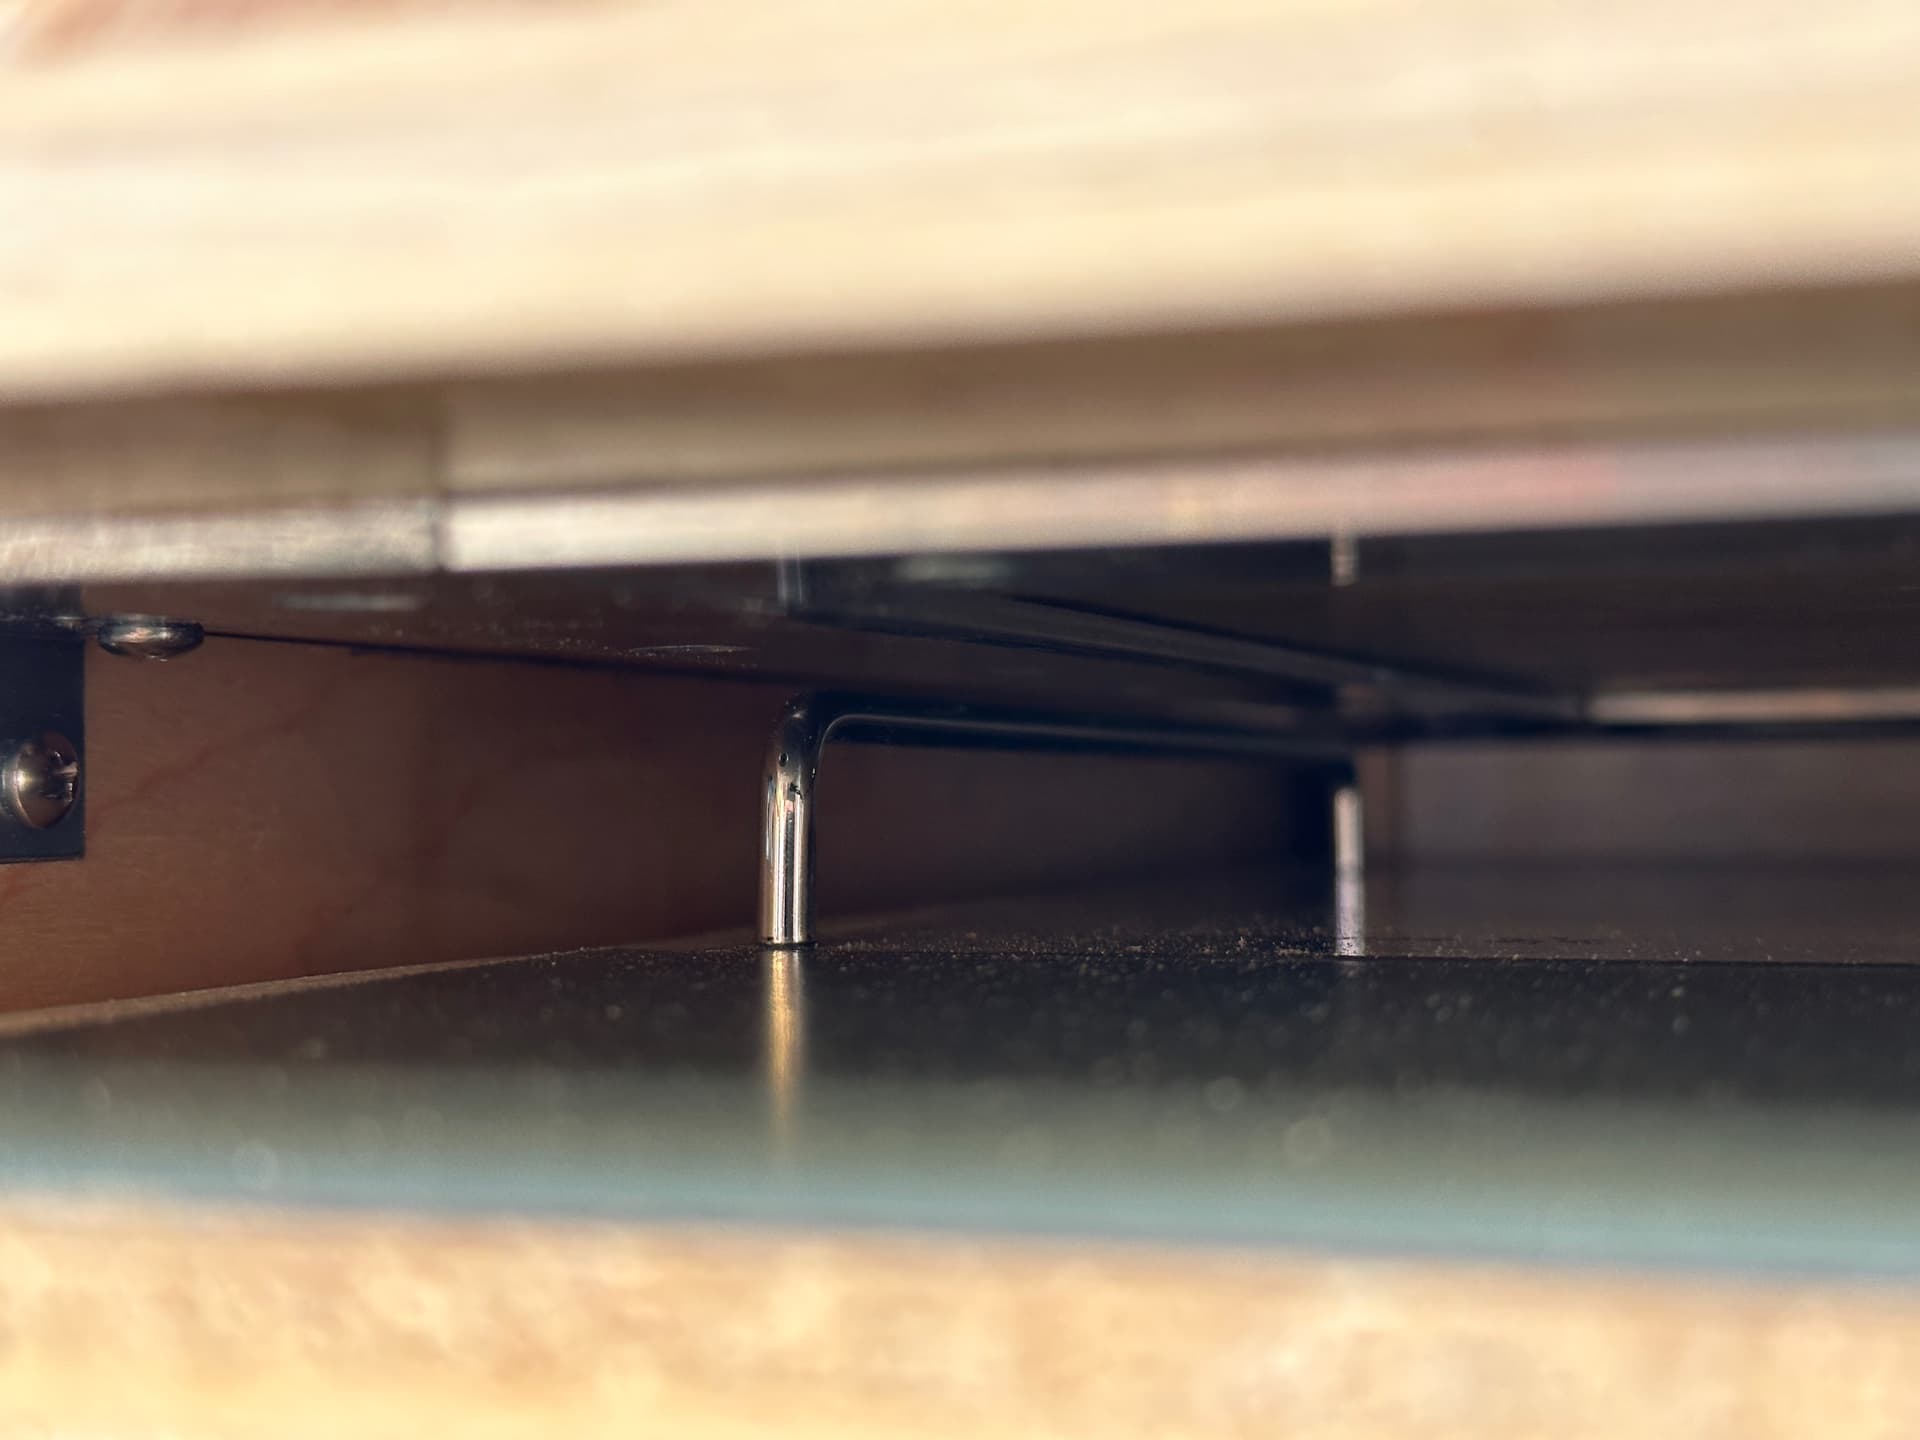
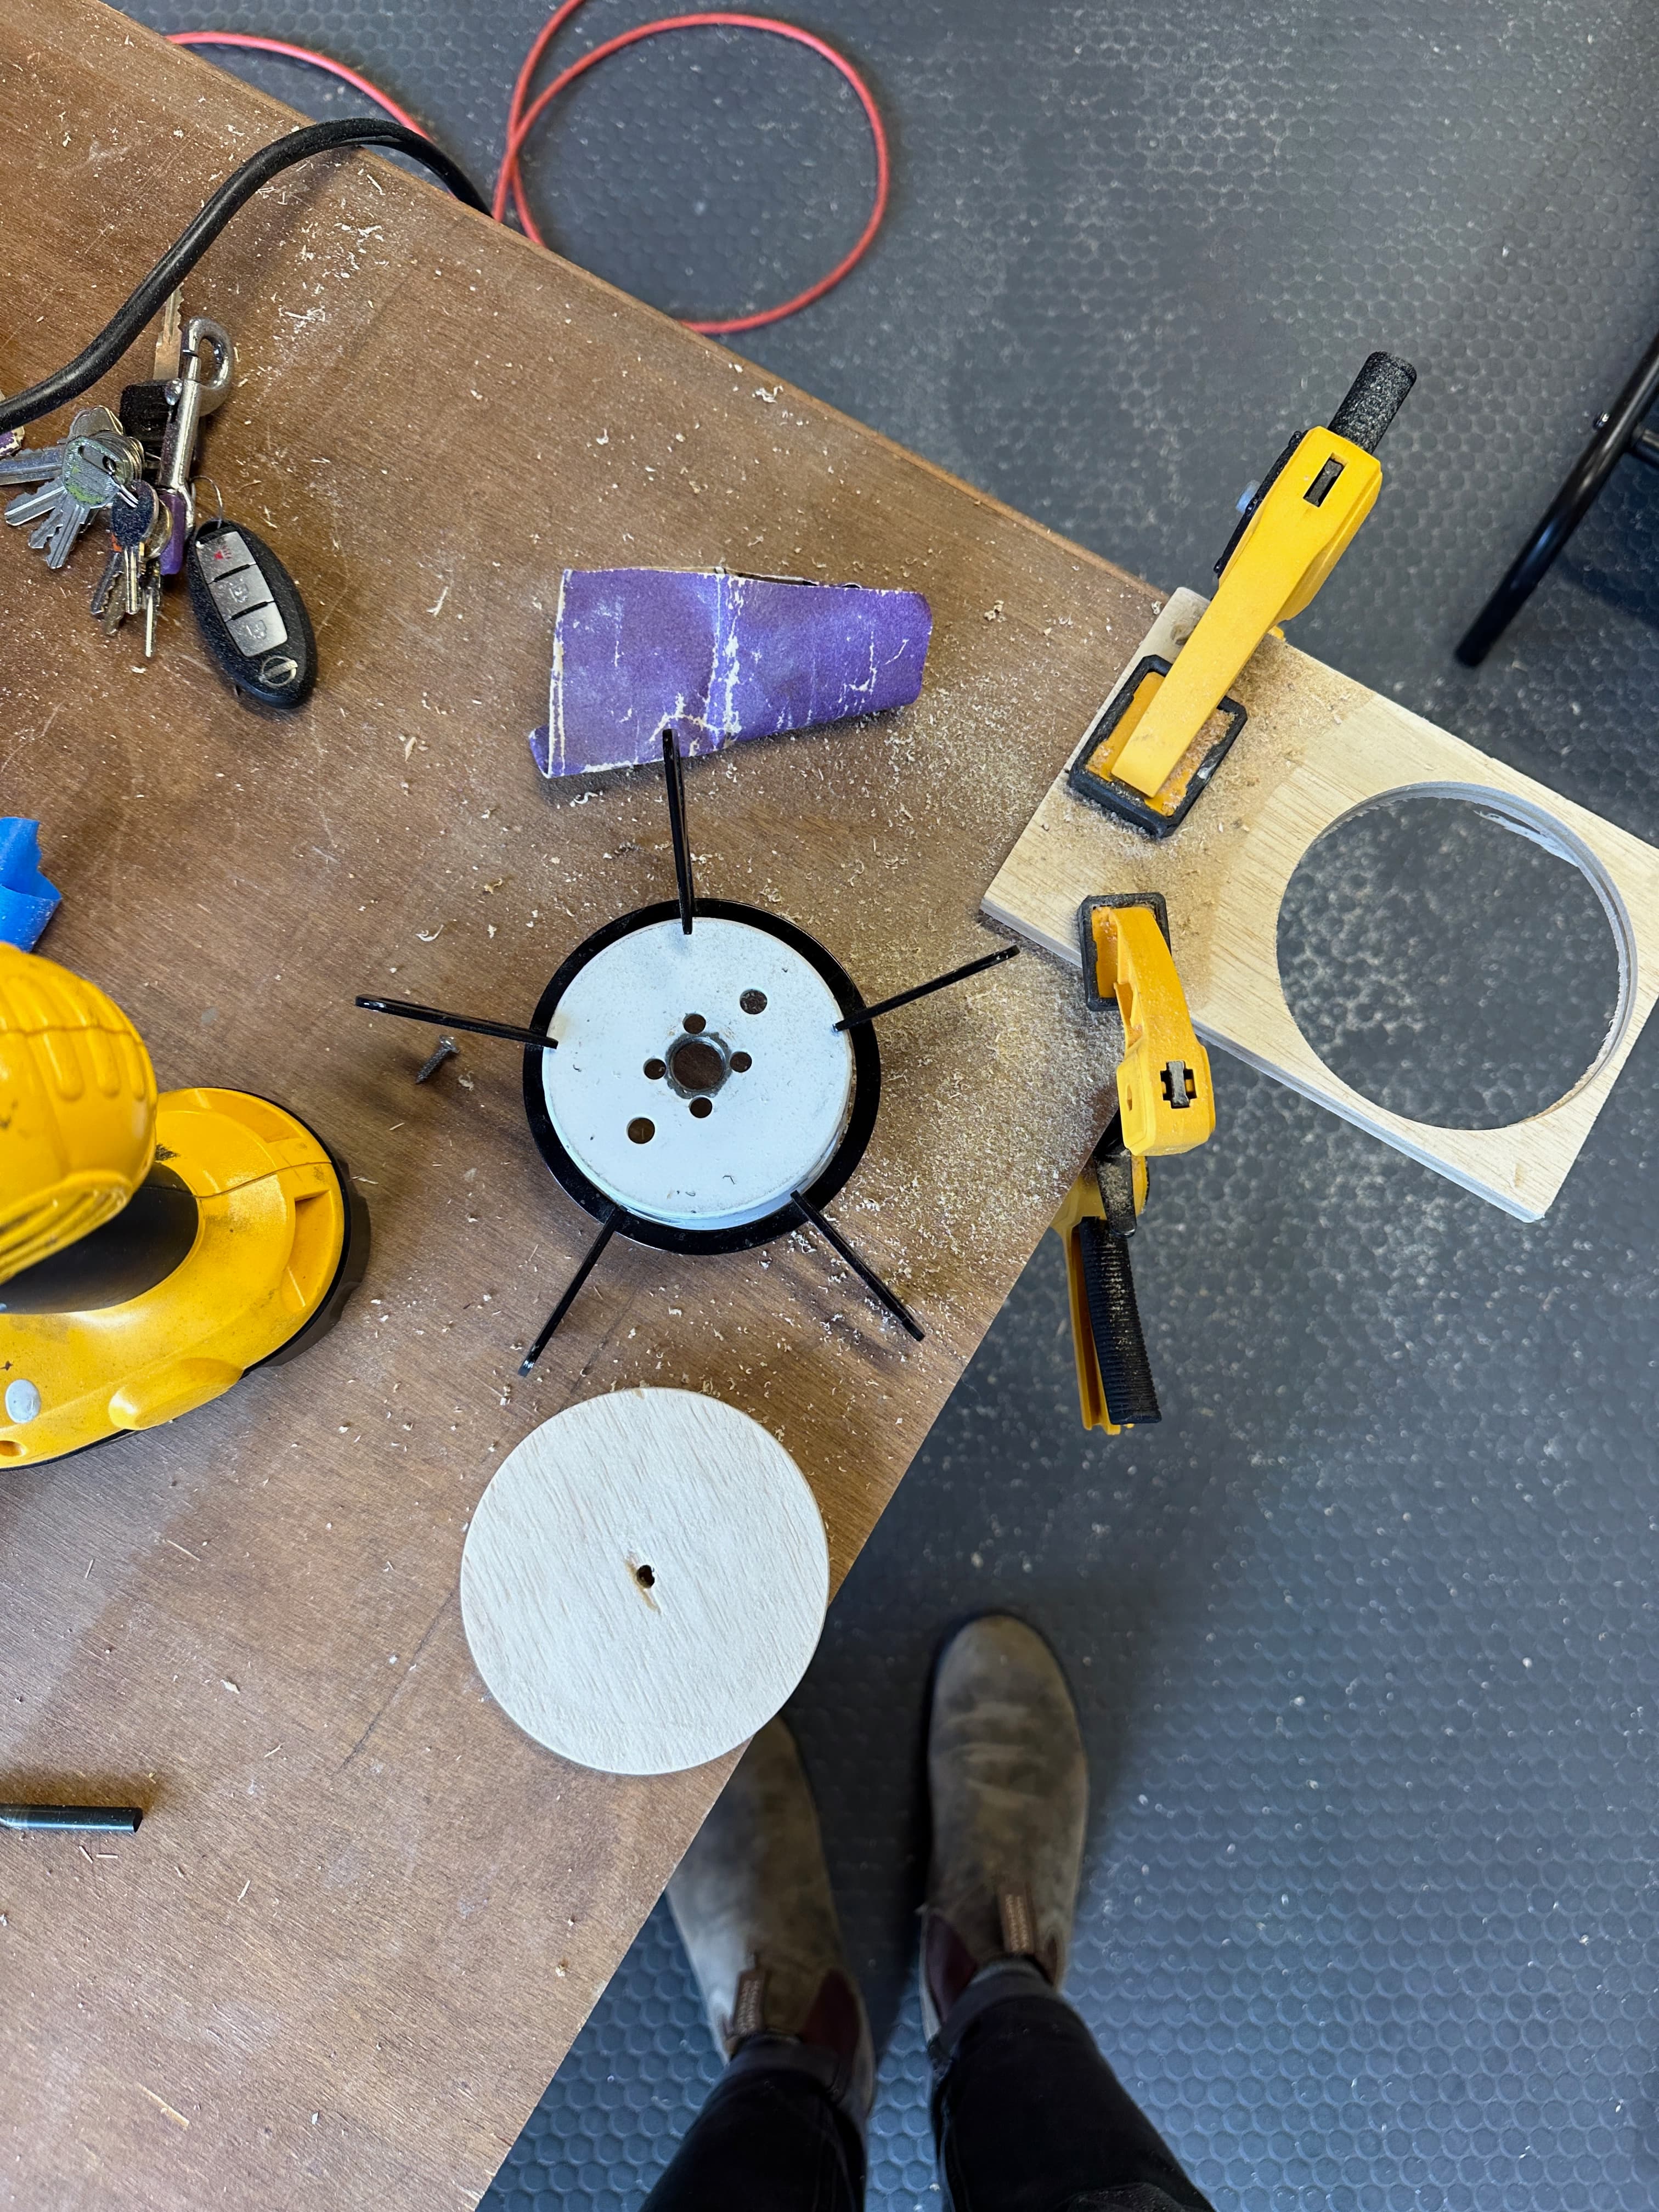
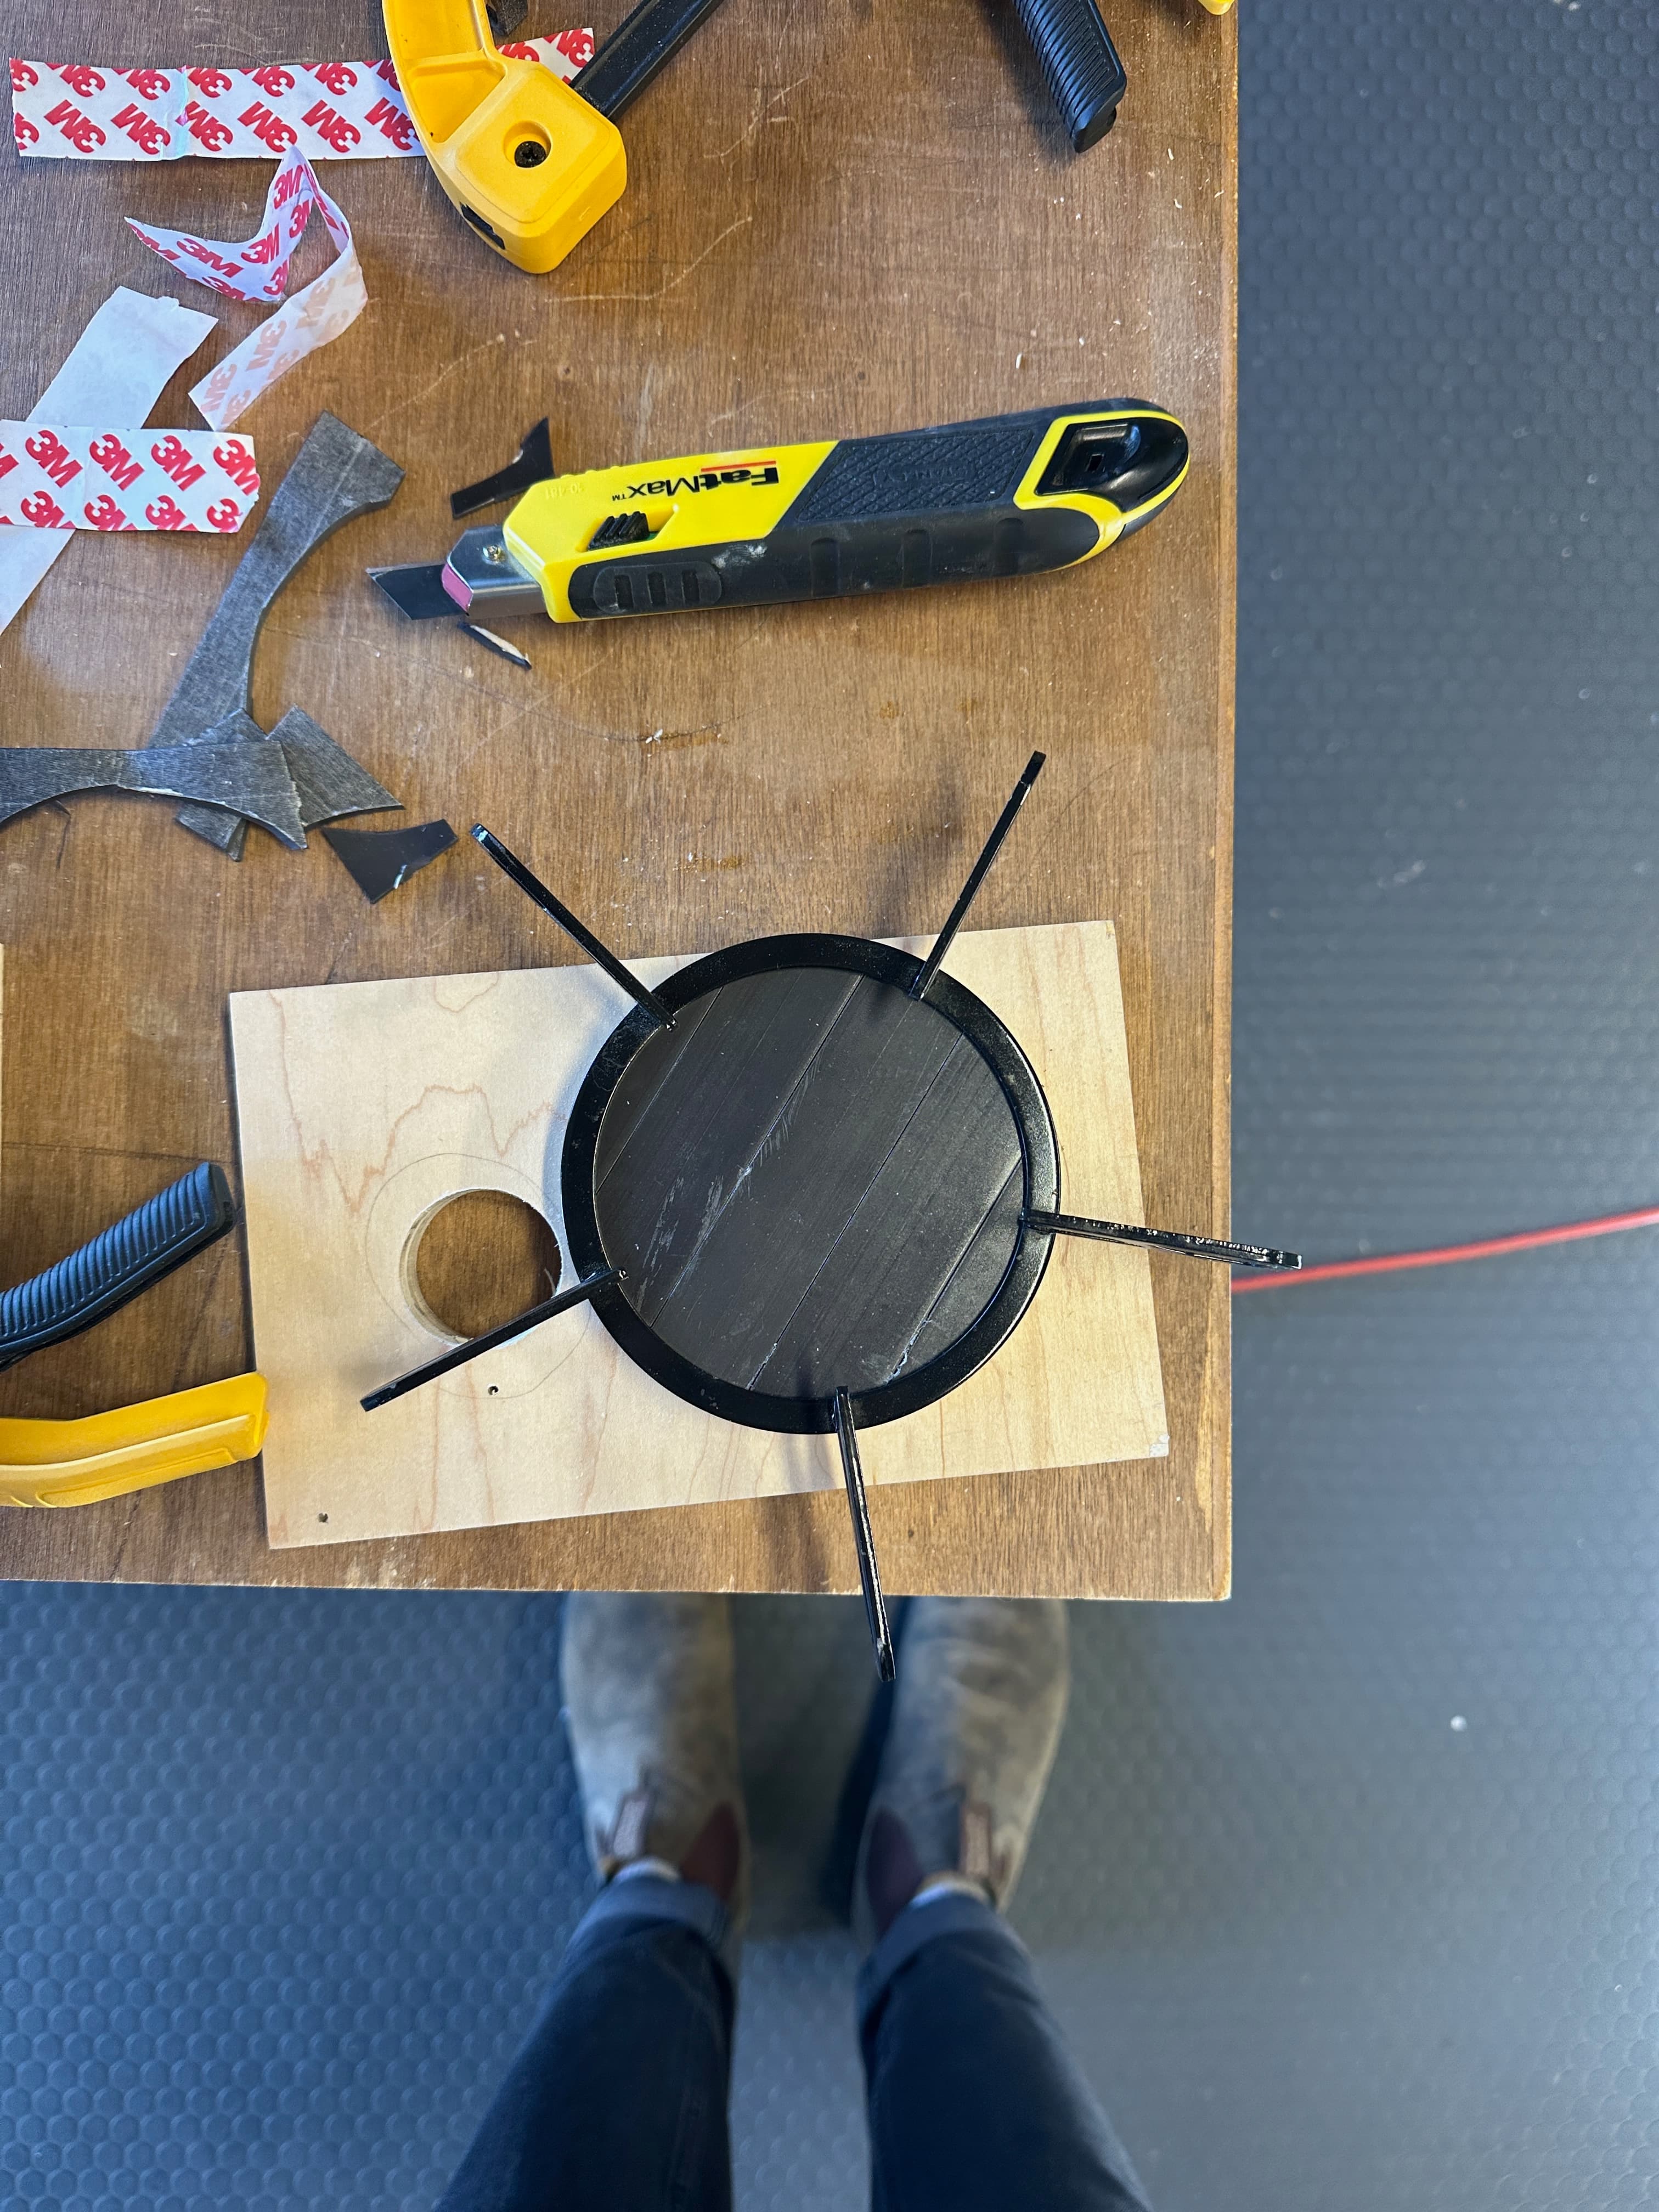
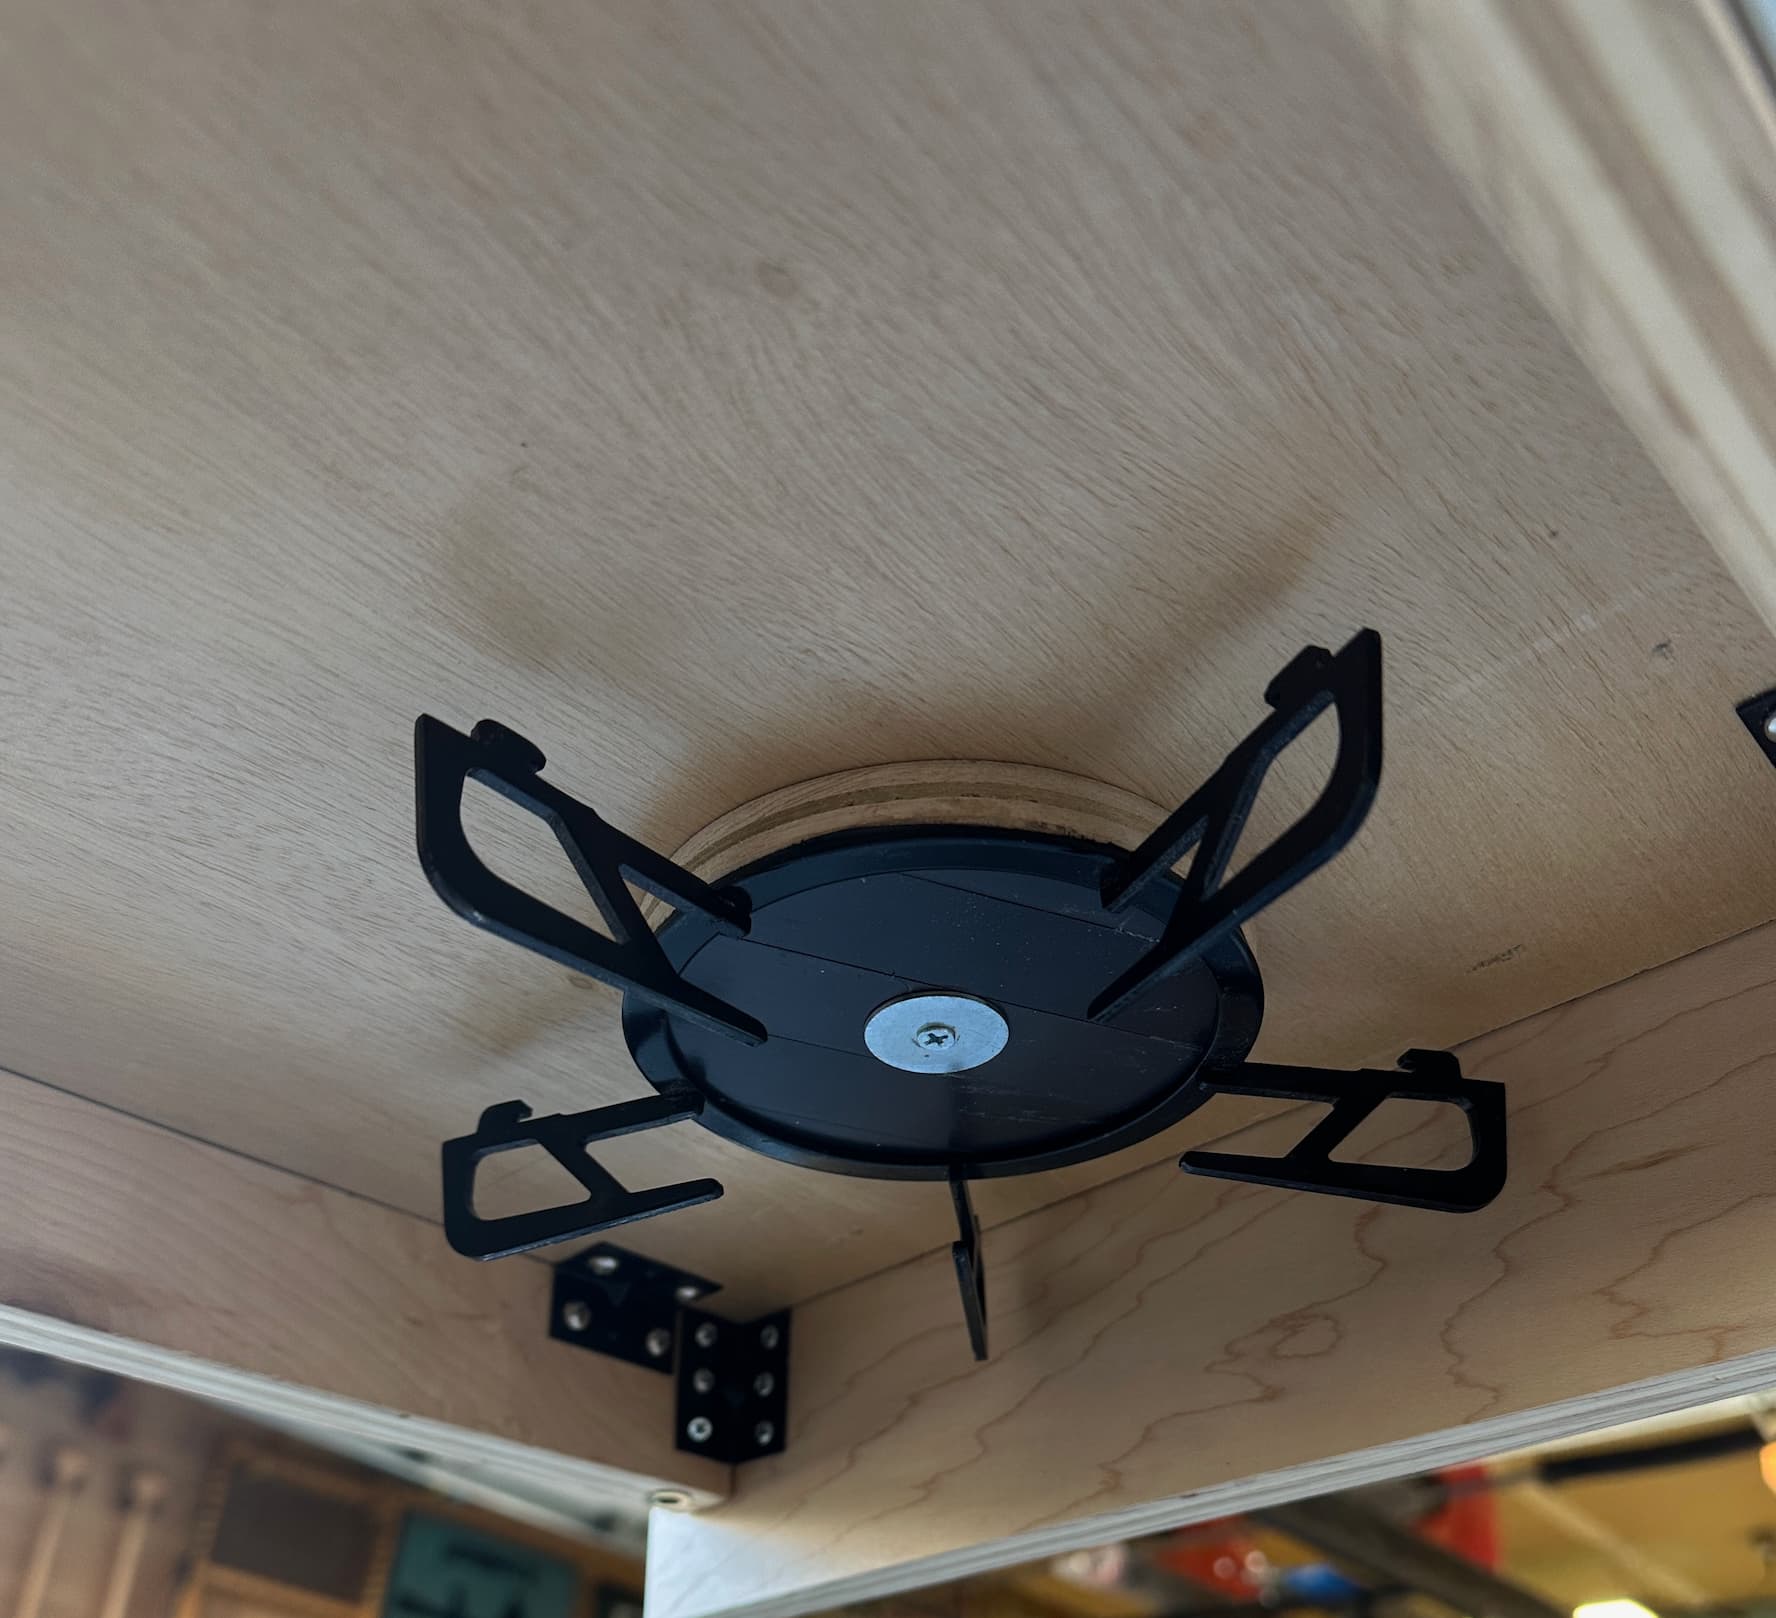
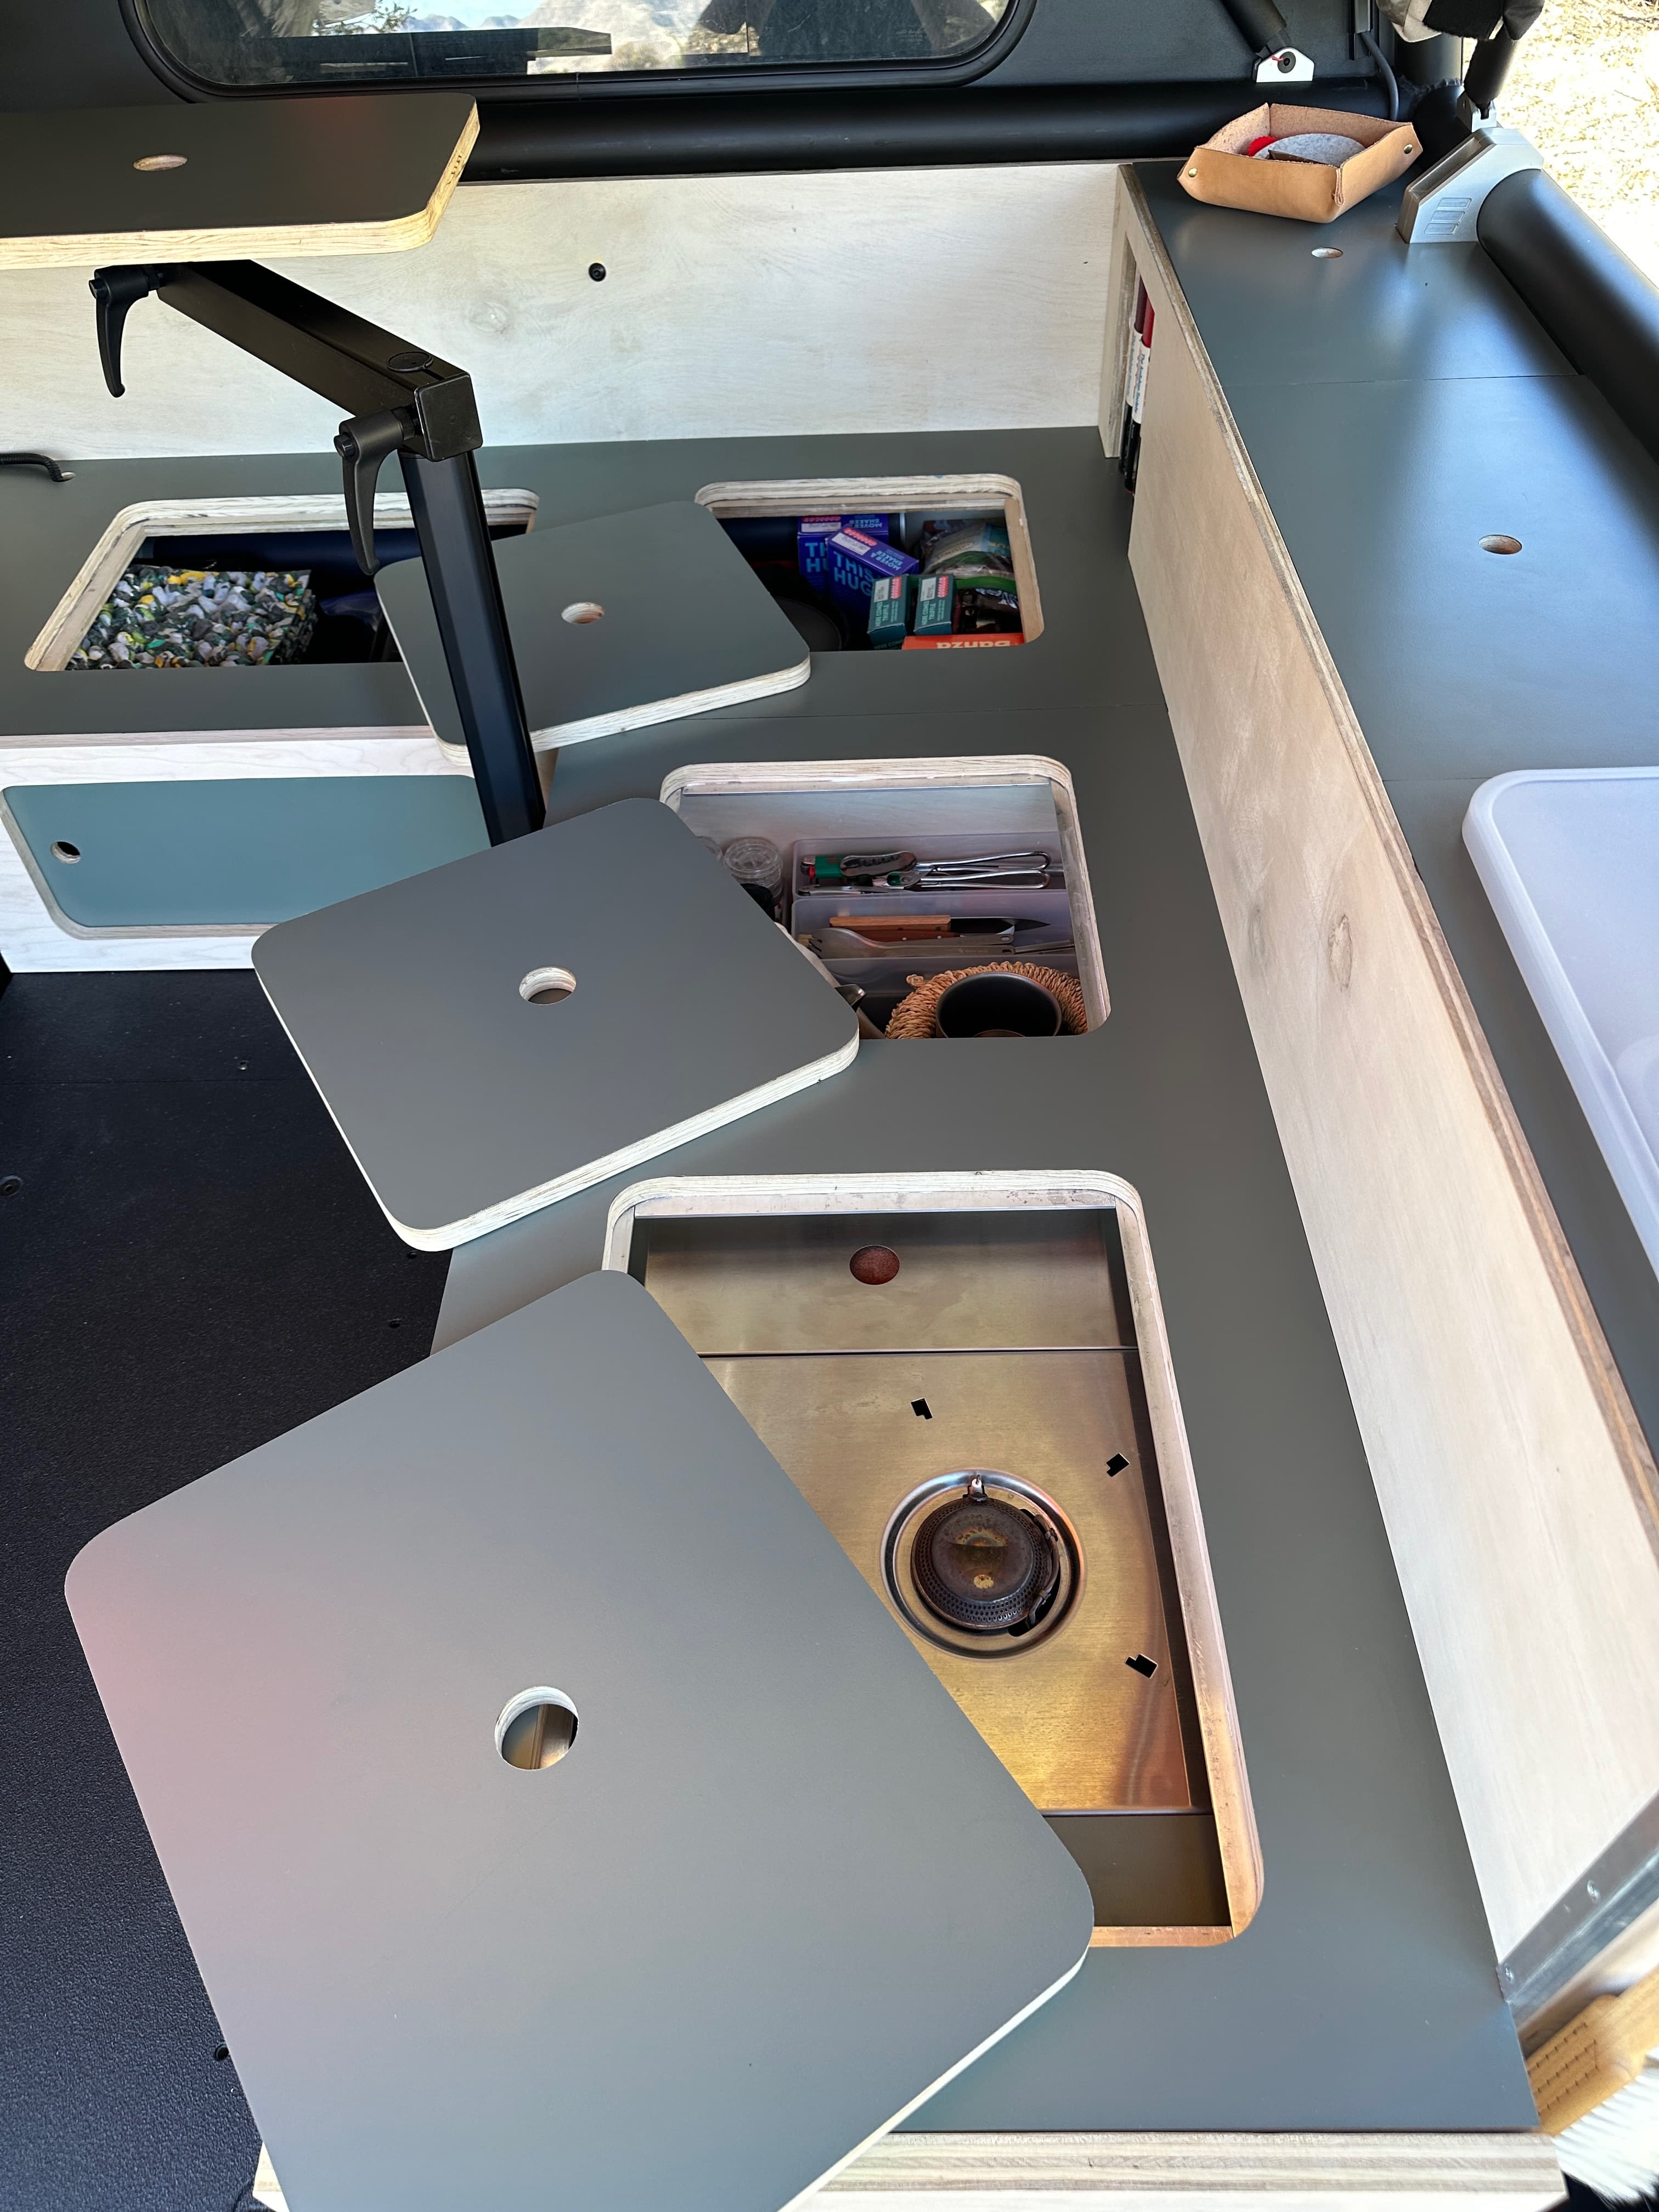
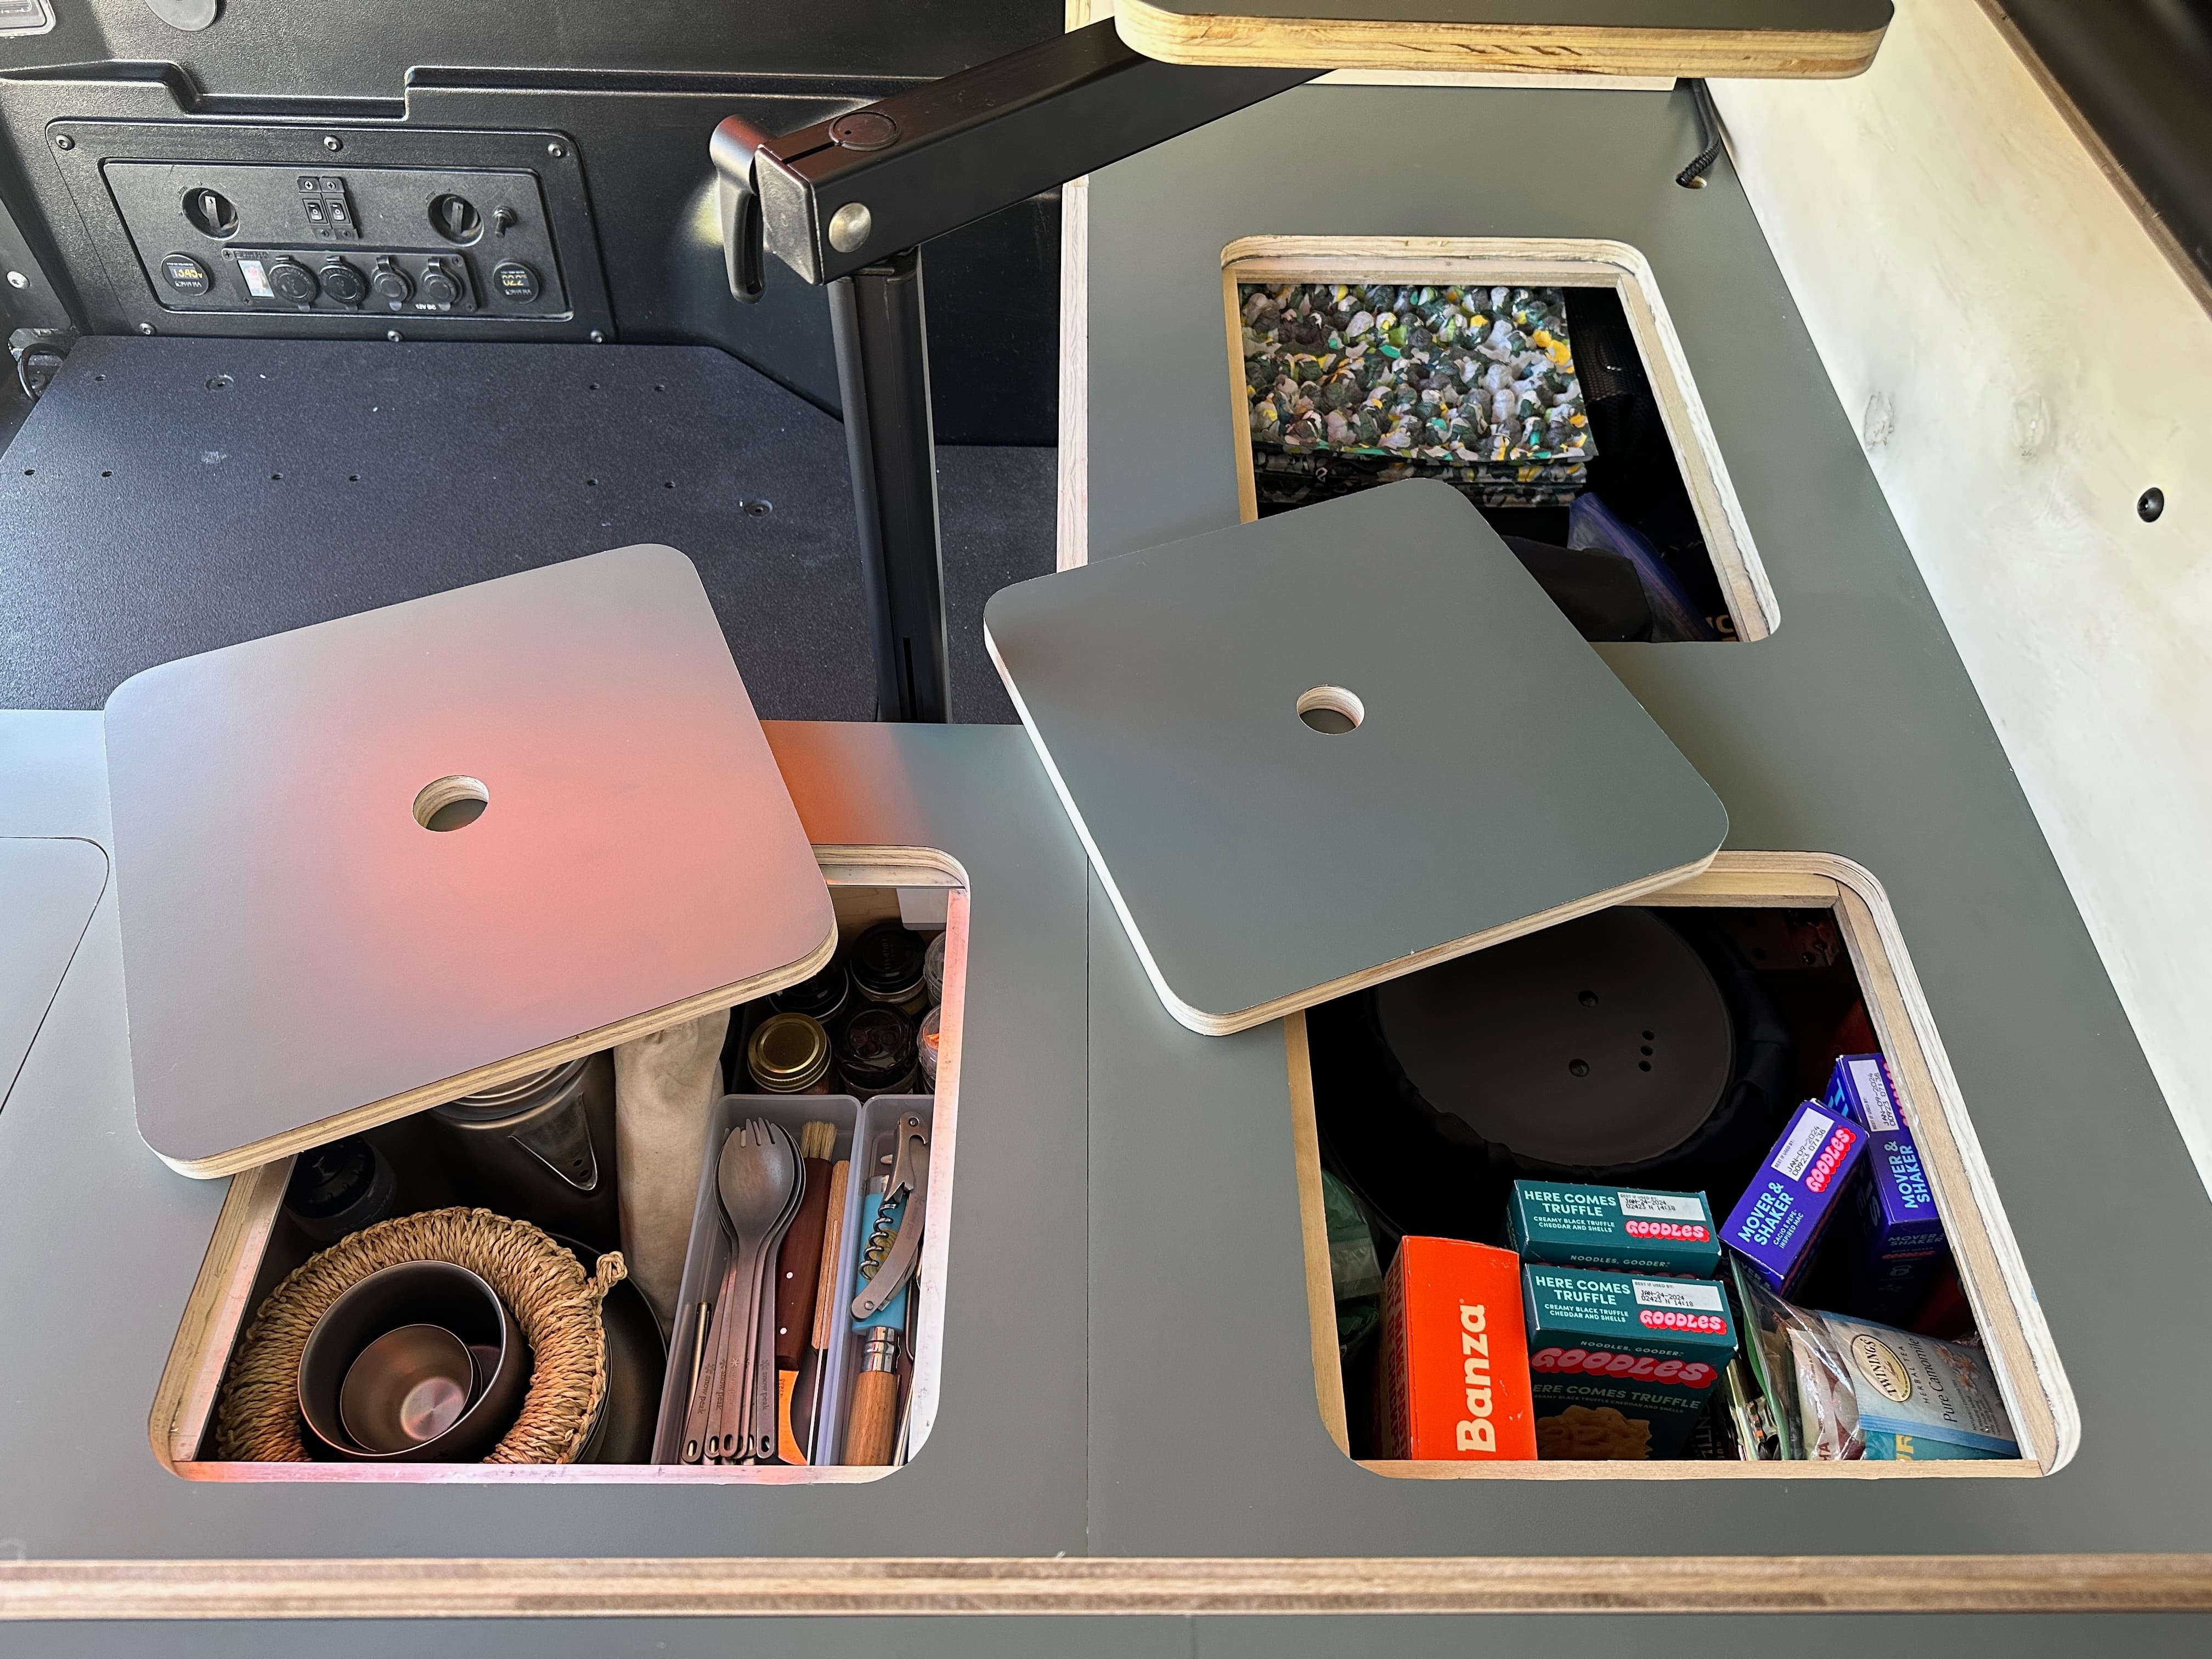
Next up we tackled the “Garage” and the “Kitchen sink”. First we built out a simple cleat system with a mix of aluminum angle pieces and 3/4" wood for the laminated garage lids to sit on and cut out holes around the GFC brackets for a tight and clean look.
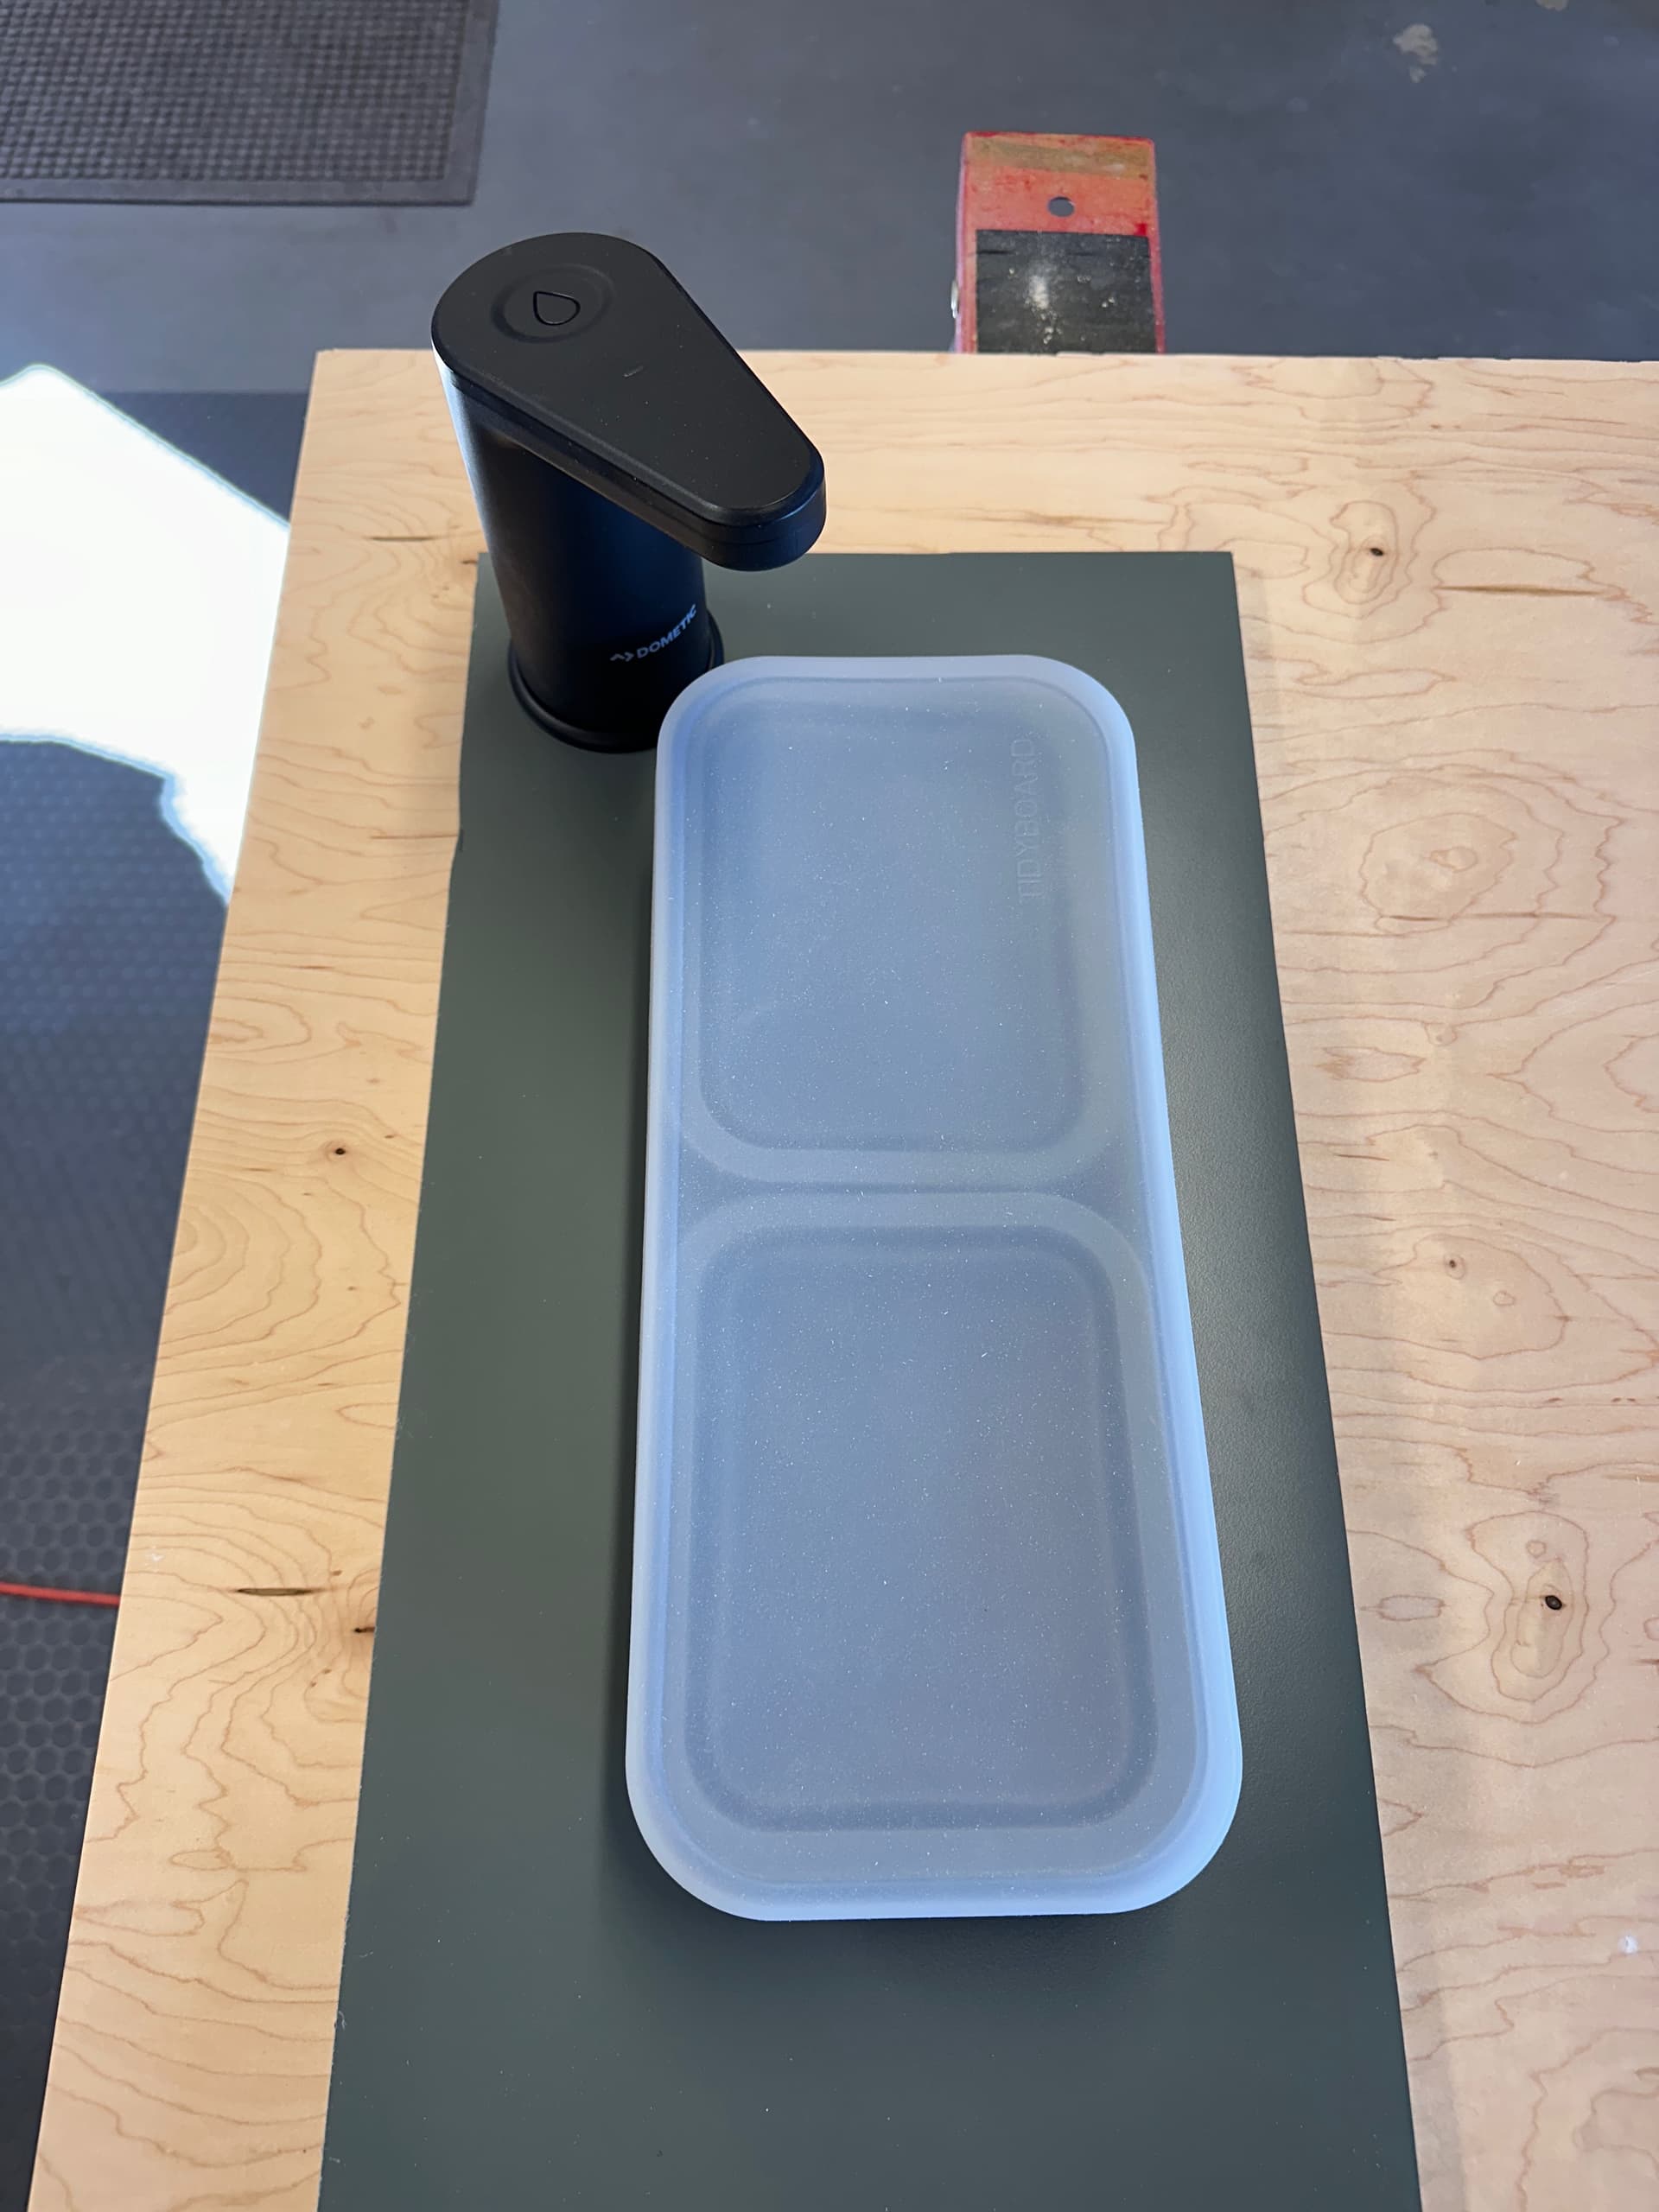
For the “sink” we cut out a hole for a large Tidy Board container (note: There is no drain on the container, its just a catch). We’ve yet to actually use it as a sink, it’s more so just a place to store the container when the kitchen drawer is closed.


(Credit where credit is due: The long and skinny “Garage” concept, faucet placement, and water jug placement are all directly inspired by and copied from @DirtTrailsWanted build.
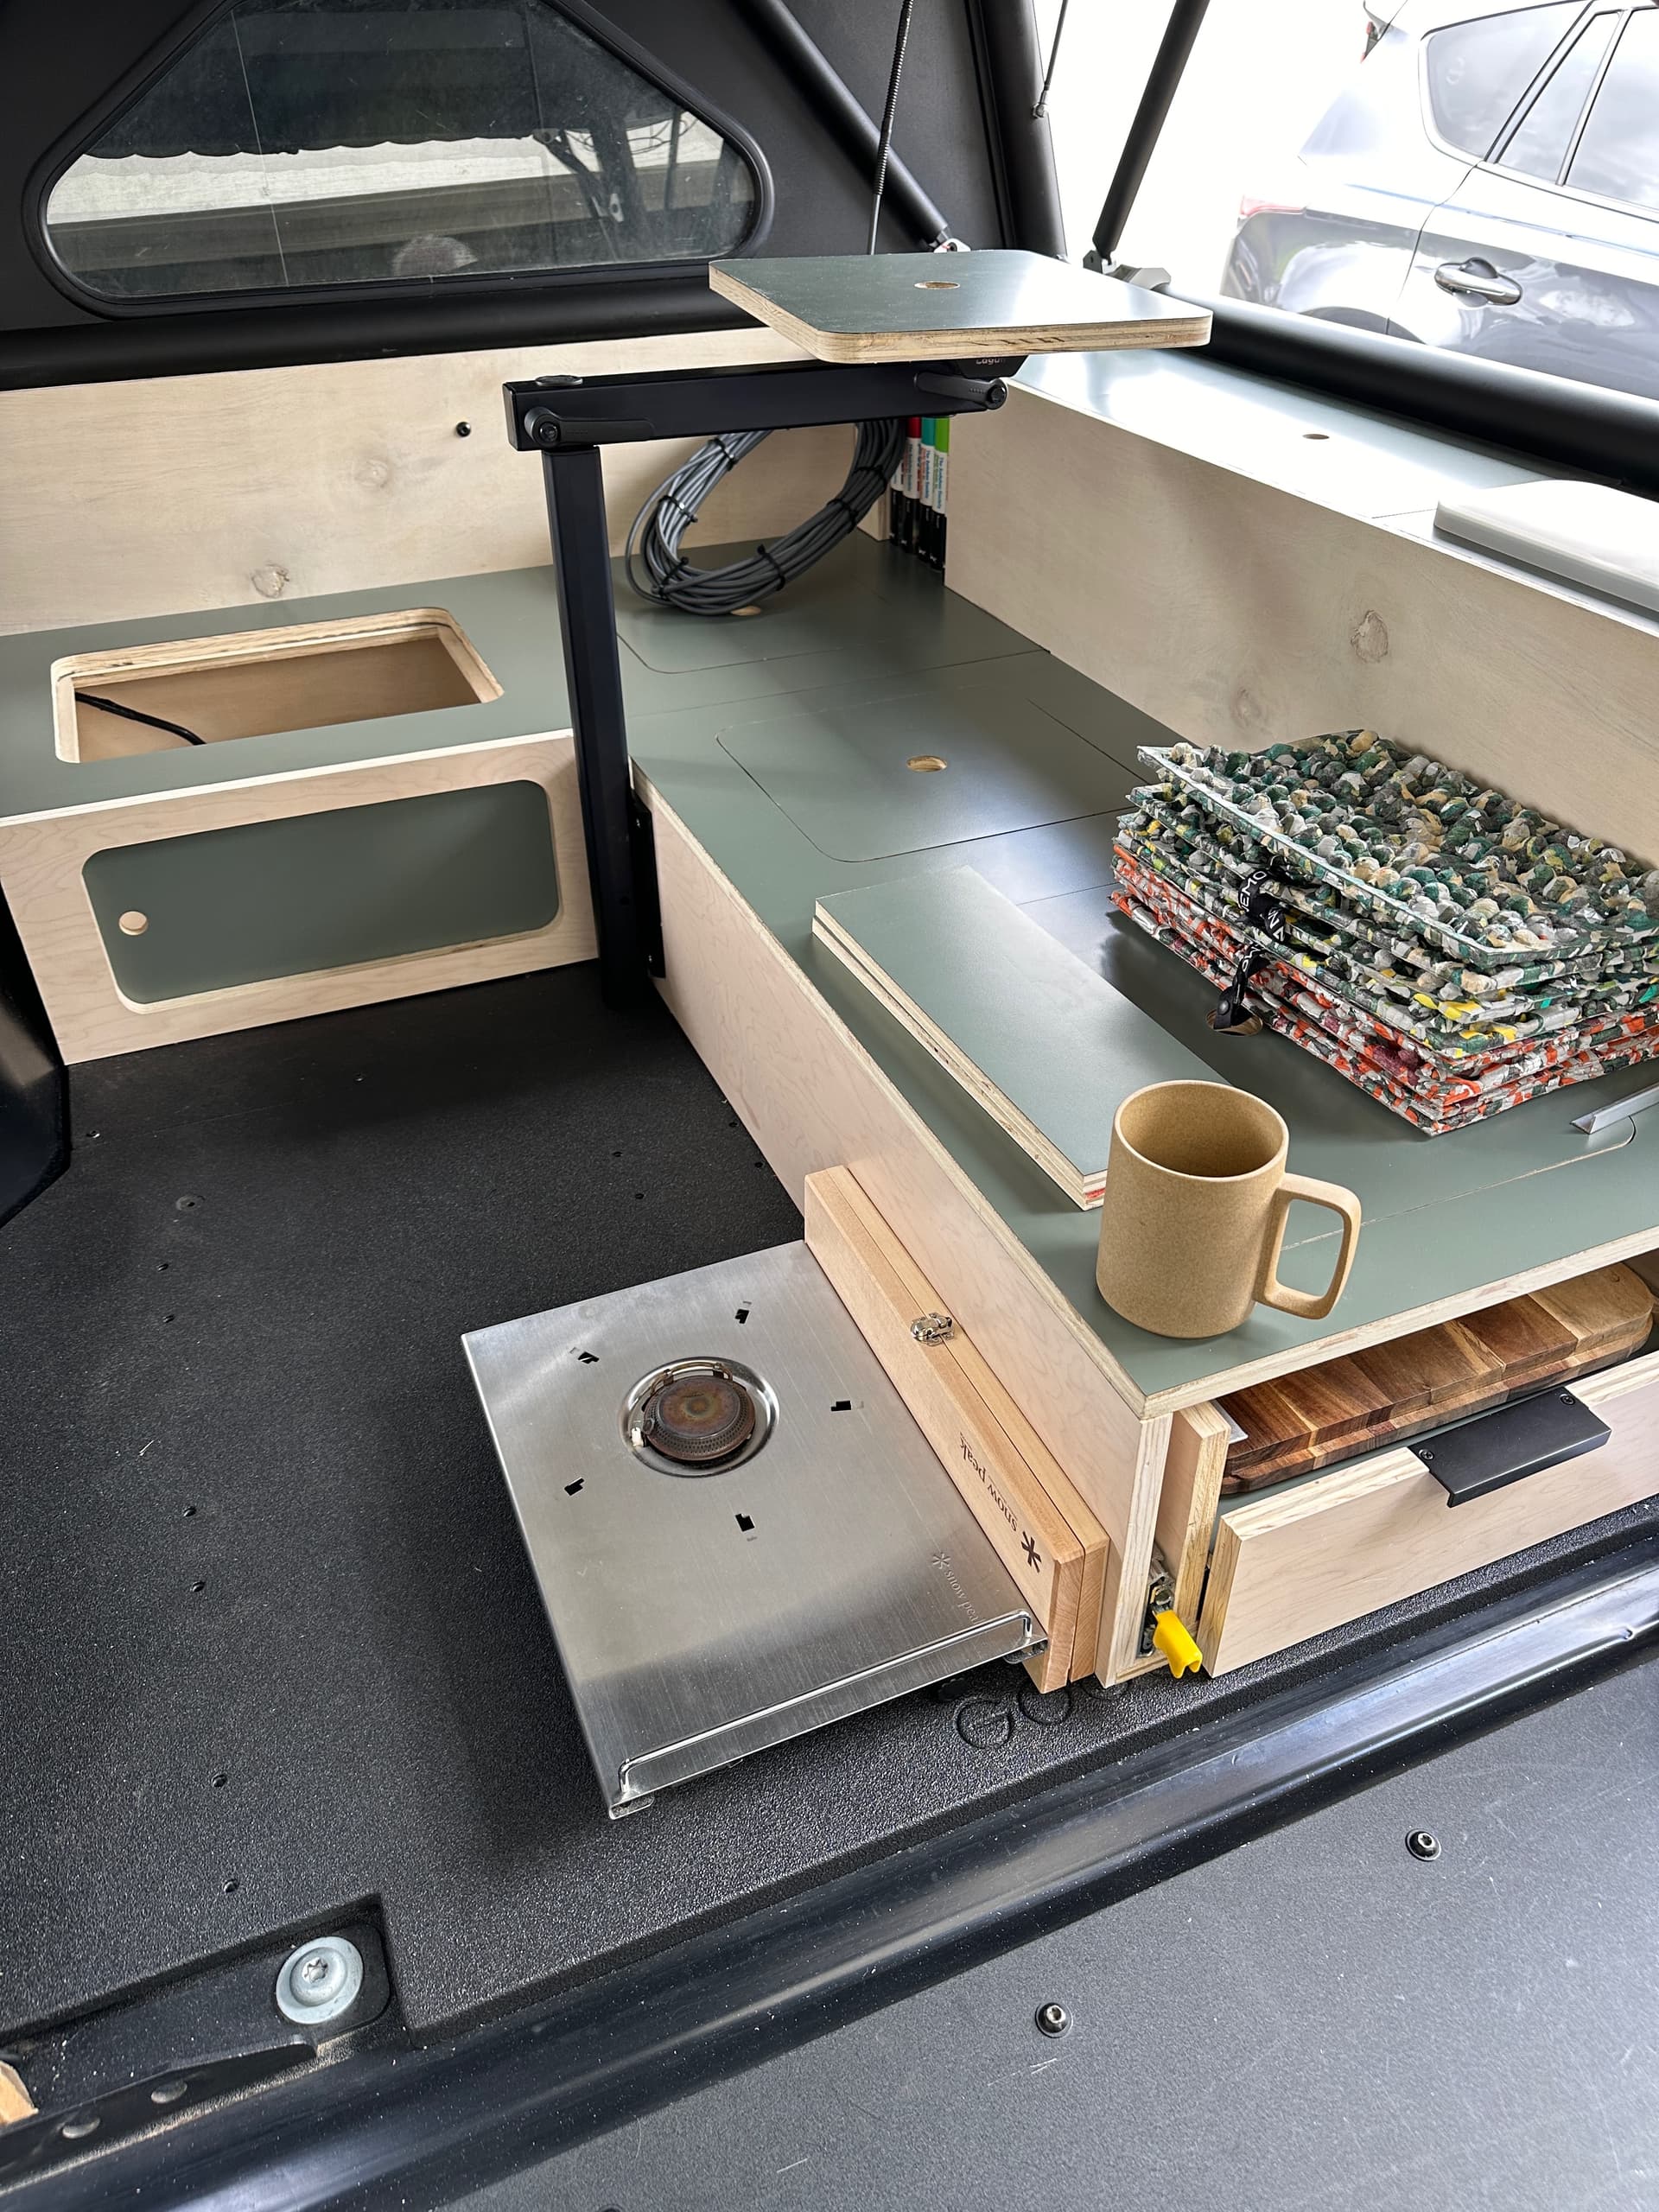
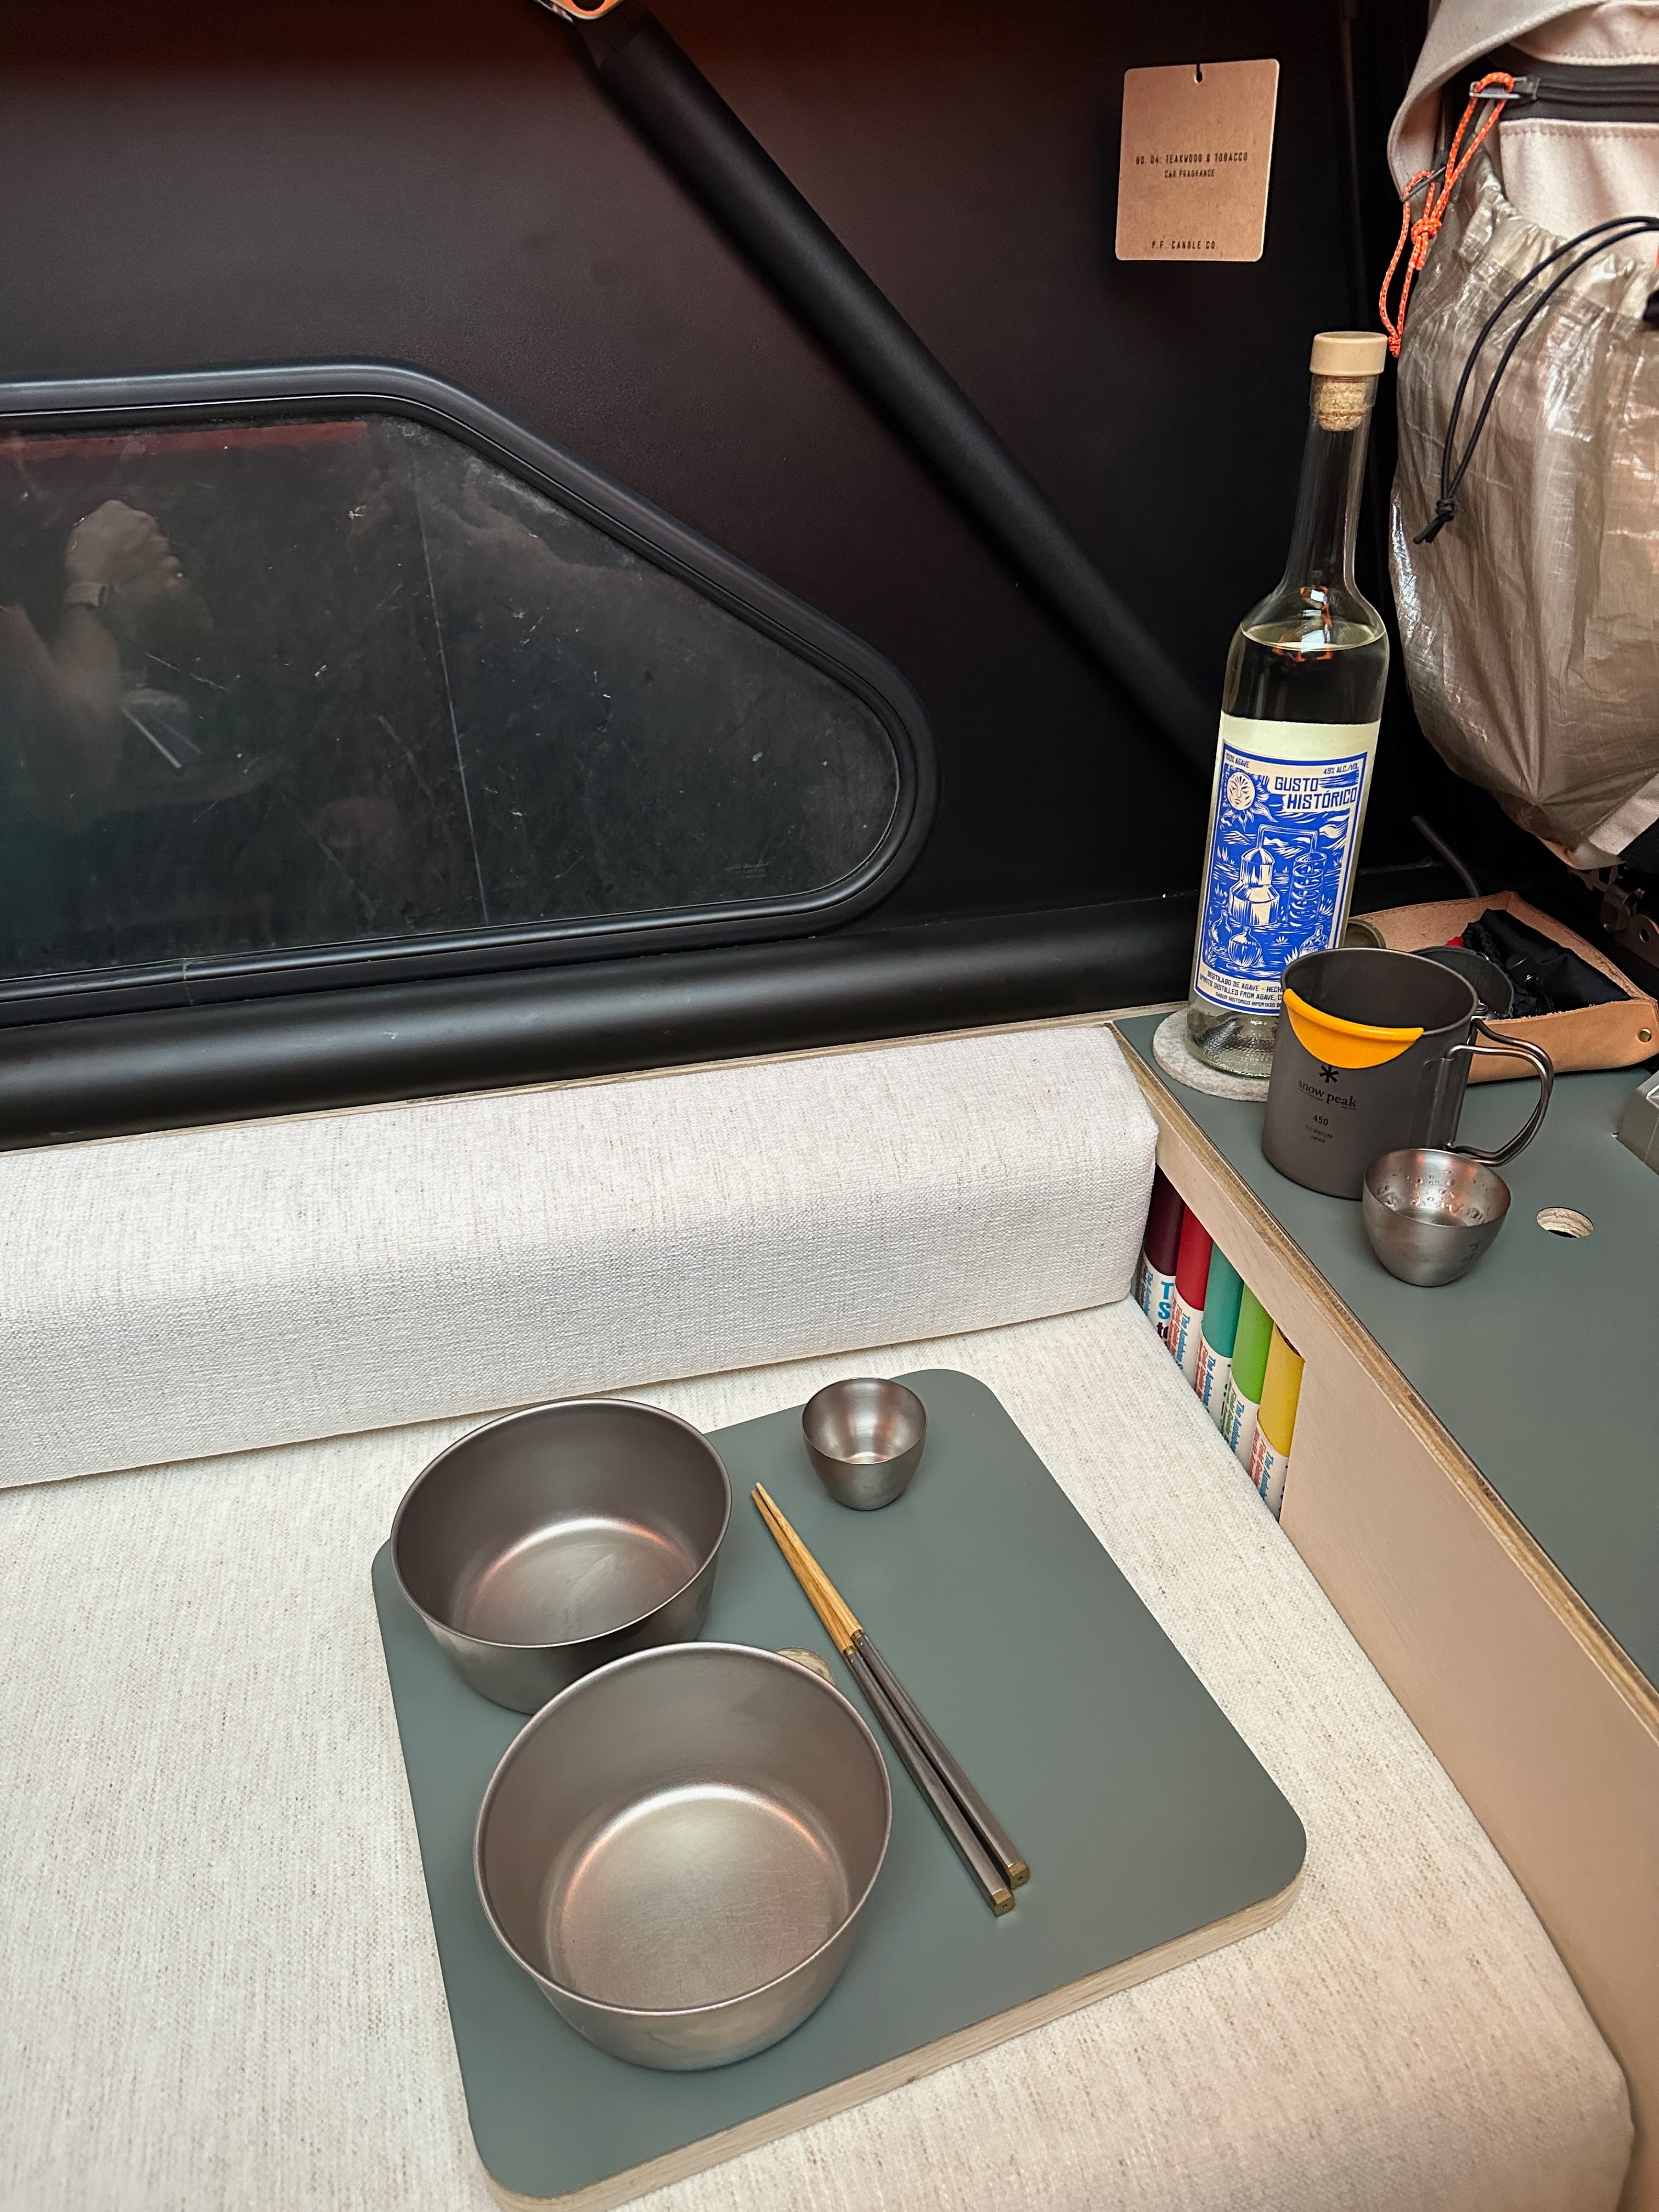
Let’s move onto the kitchen drawer! As I shared above, the drawer was designed to be as light and small as possible—so everything within the drawer fits like a glove (Snow Peak Baja Burner, Snow Peak IGT Half Unit Container, and the Tidyboard cutting board)


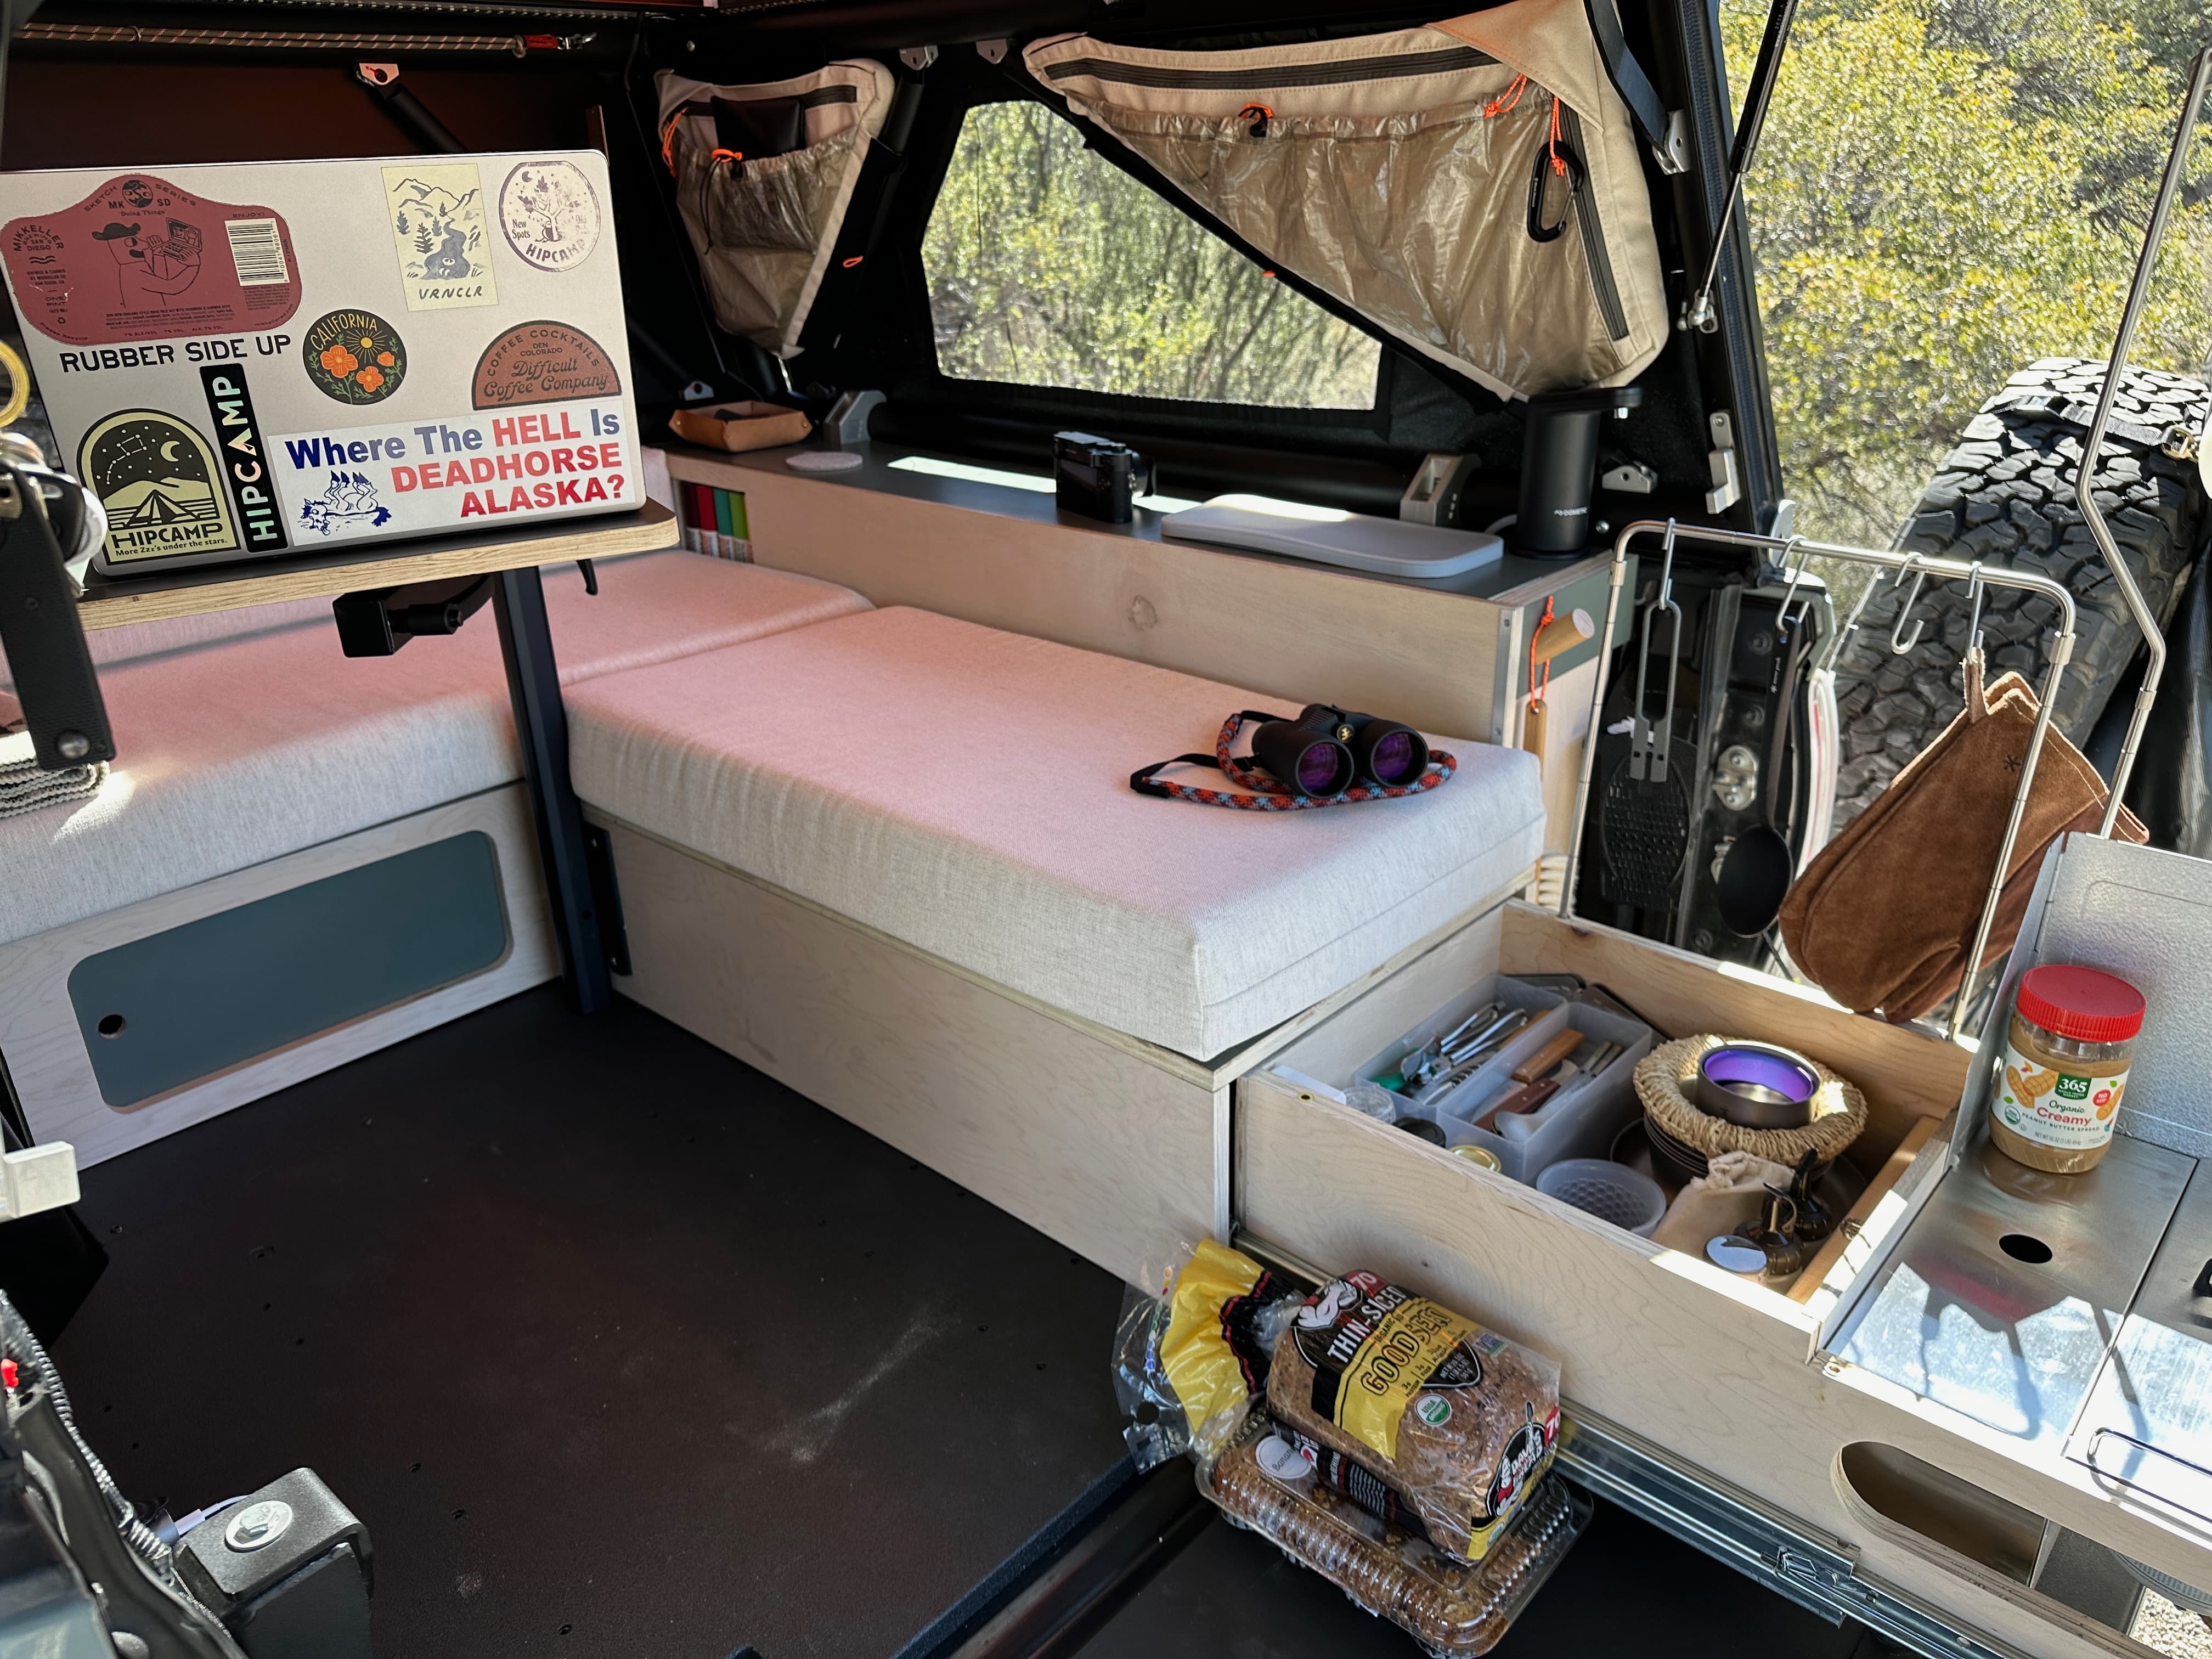
![]() CUSTOM CUSHIONS
CUSTOM CUSHIONS
After watching a handful of youtube videos My wife (@lisselundin figured out how to sew custom box corner cushion covers for the benches. She got her hands on some high density 4 inch foam, crypton fabric (durable, stain resistant), and zippers and sewed 'em up in 2 days. They are so comfortable. We’ll report back in 6 months to see how the fabric holds up after this journey.


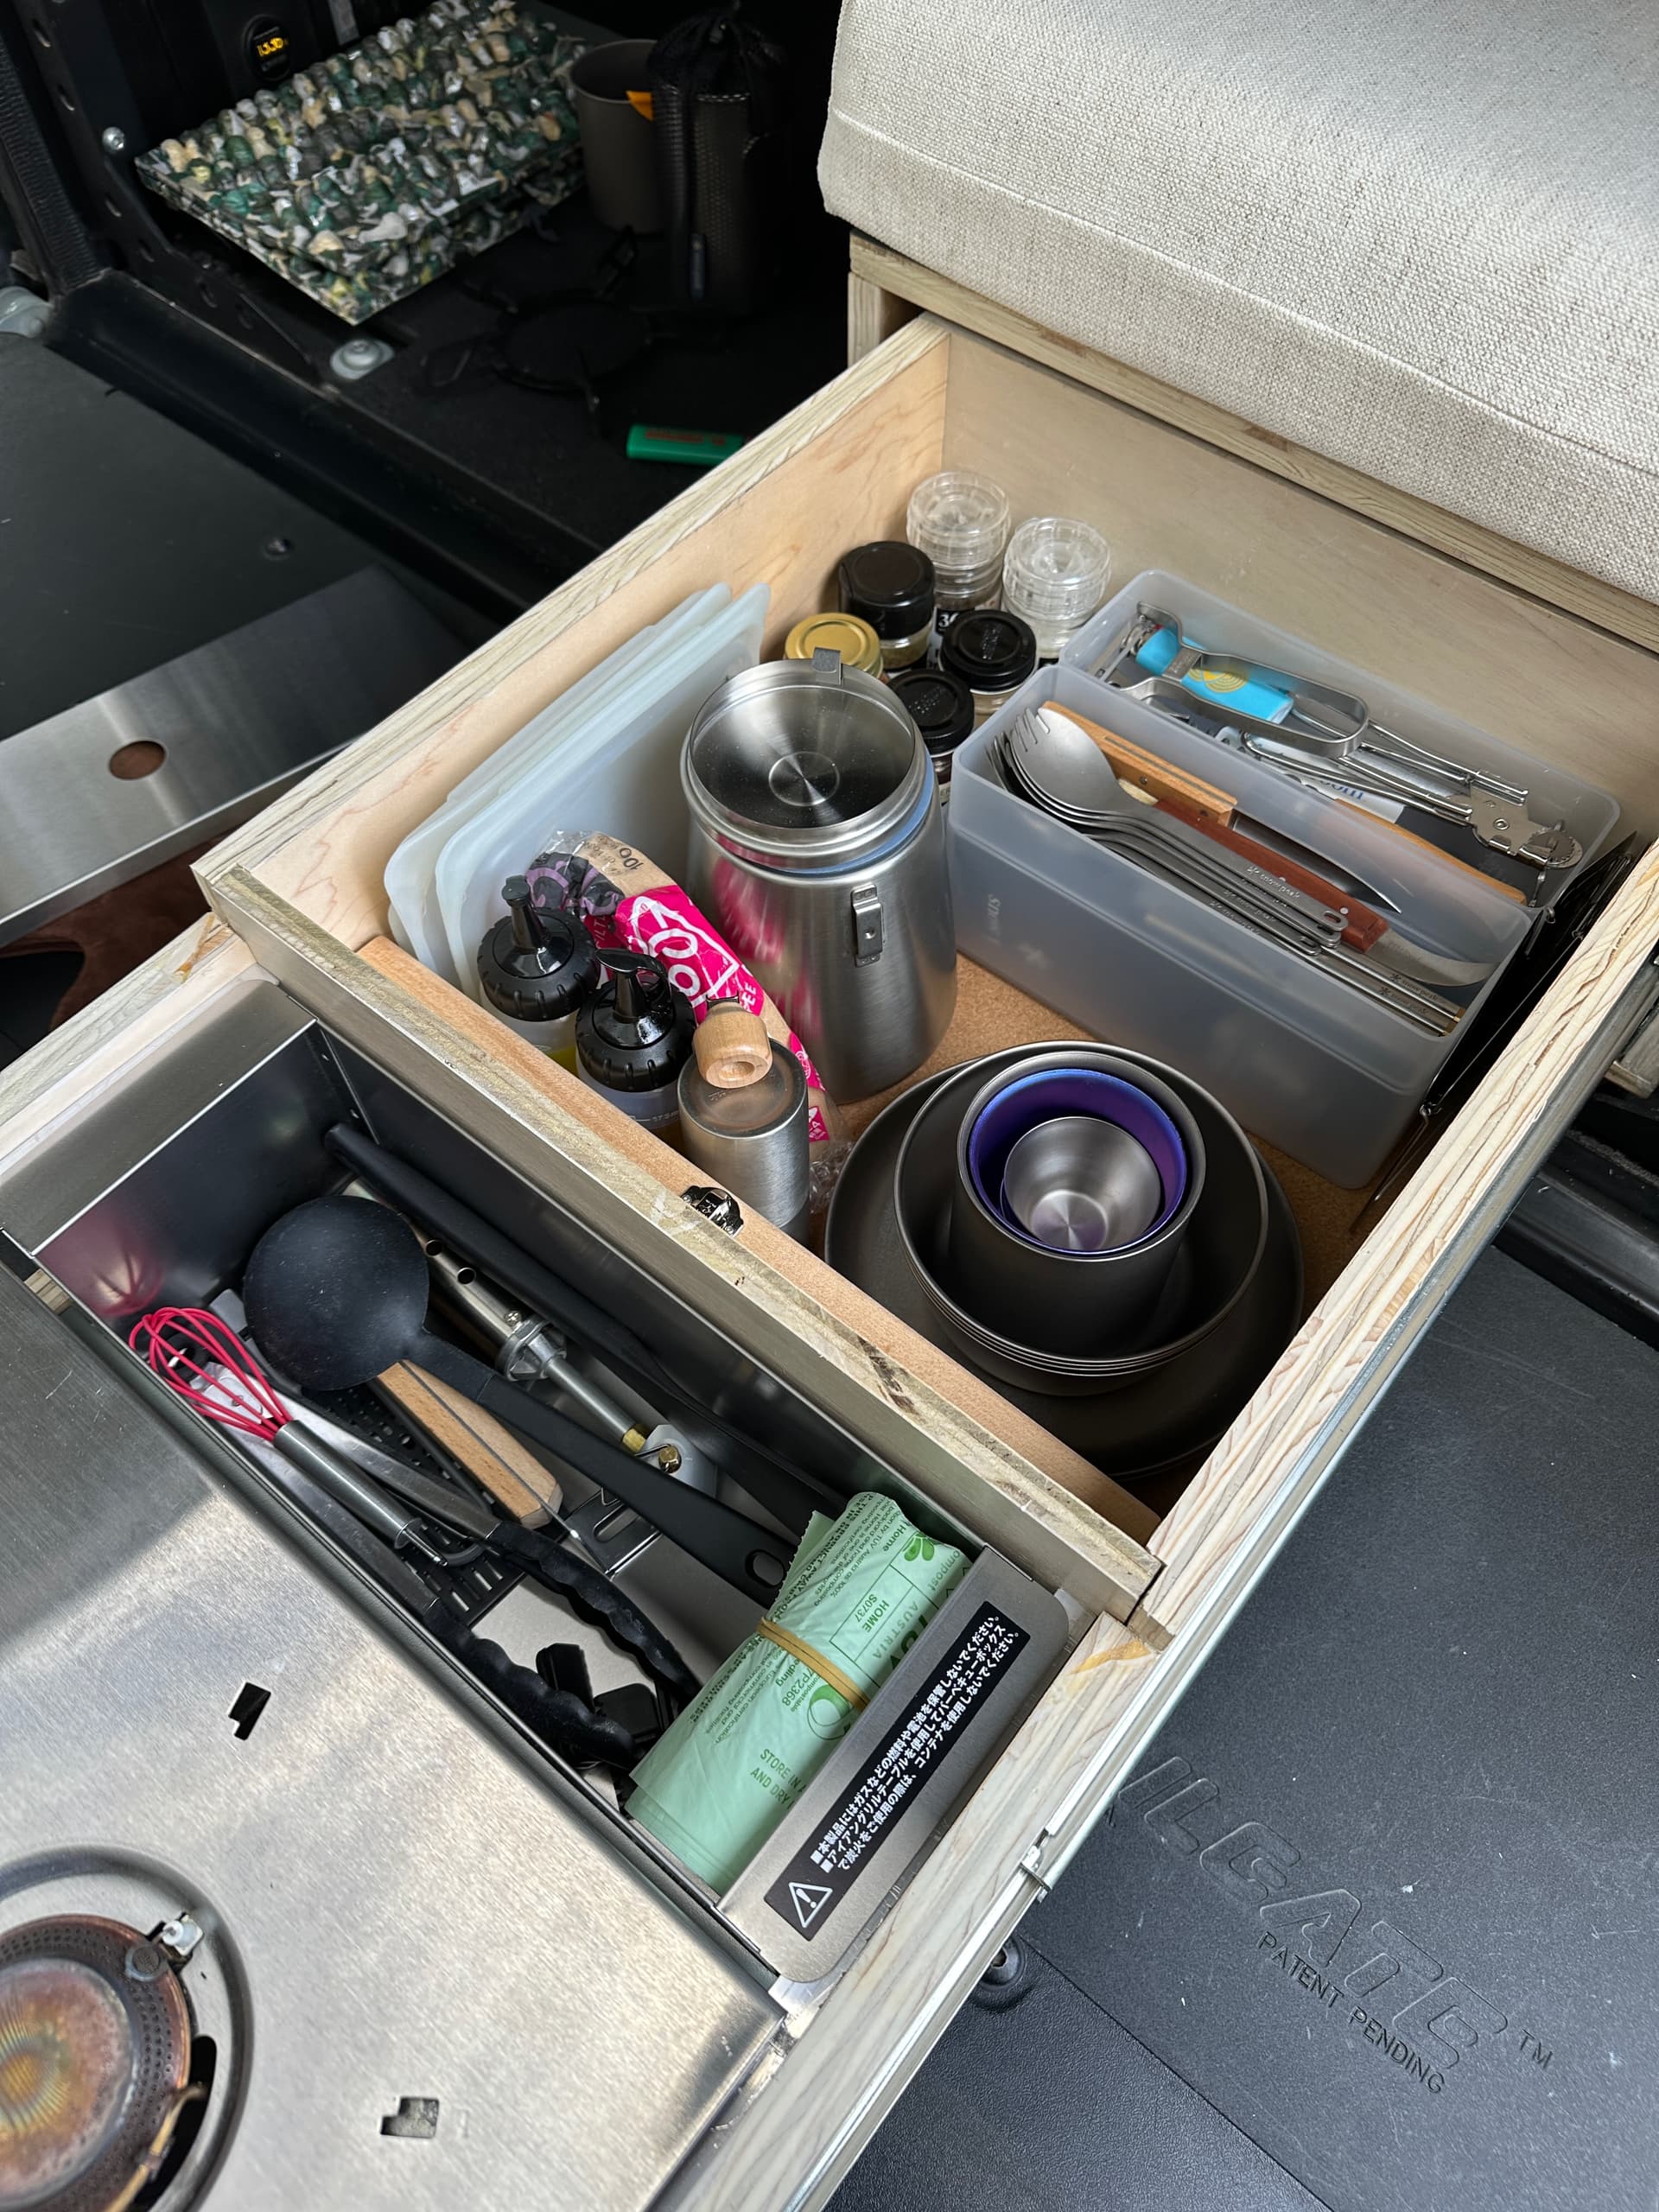


The notch out on the side of the drawer is to expose the burner controls (ignition and fuel flow dial) and save on material weight.
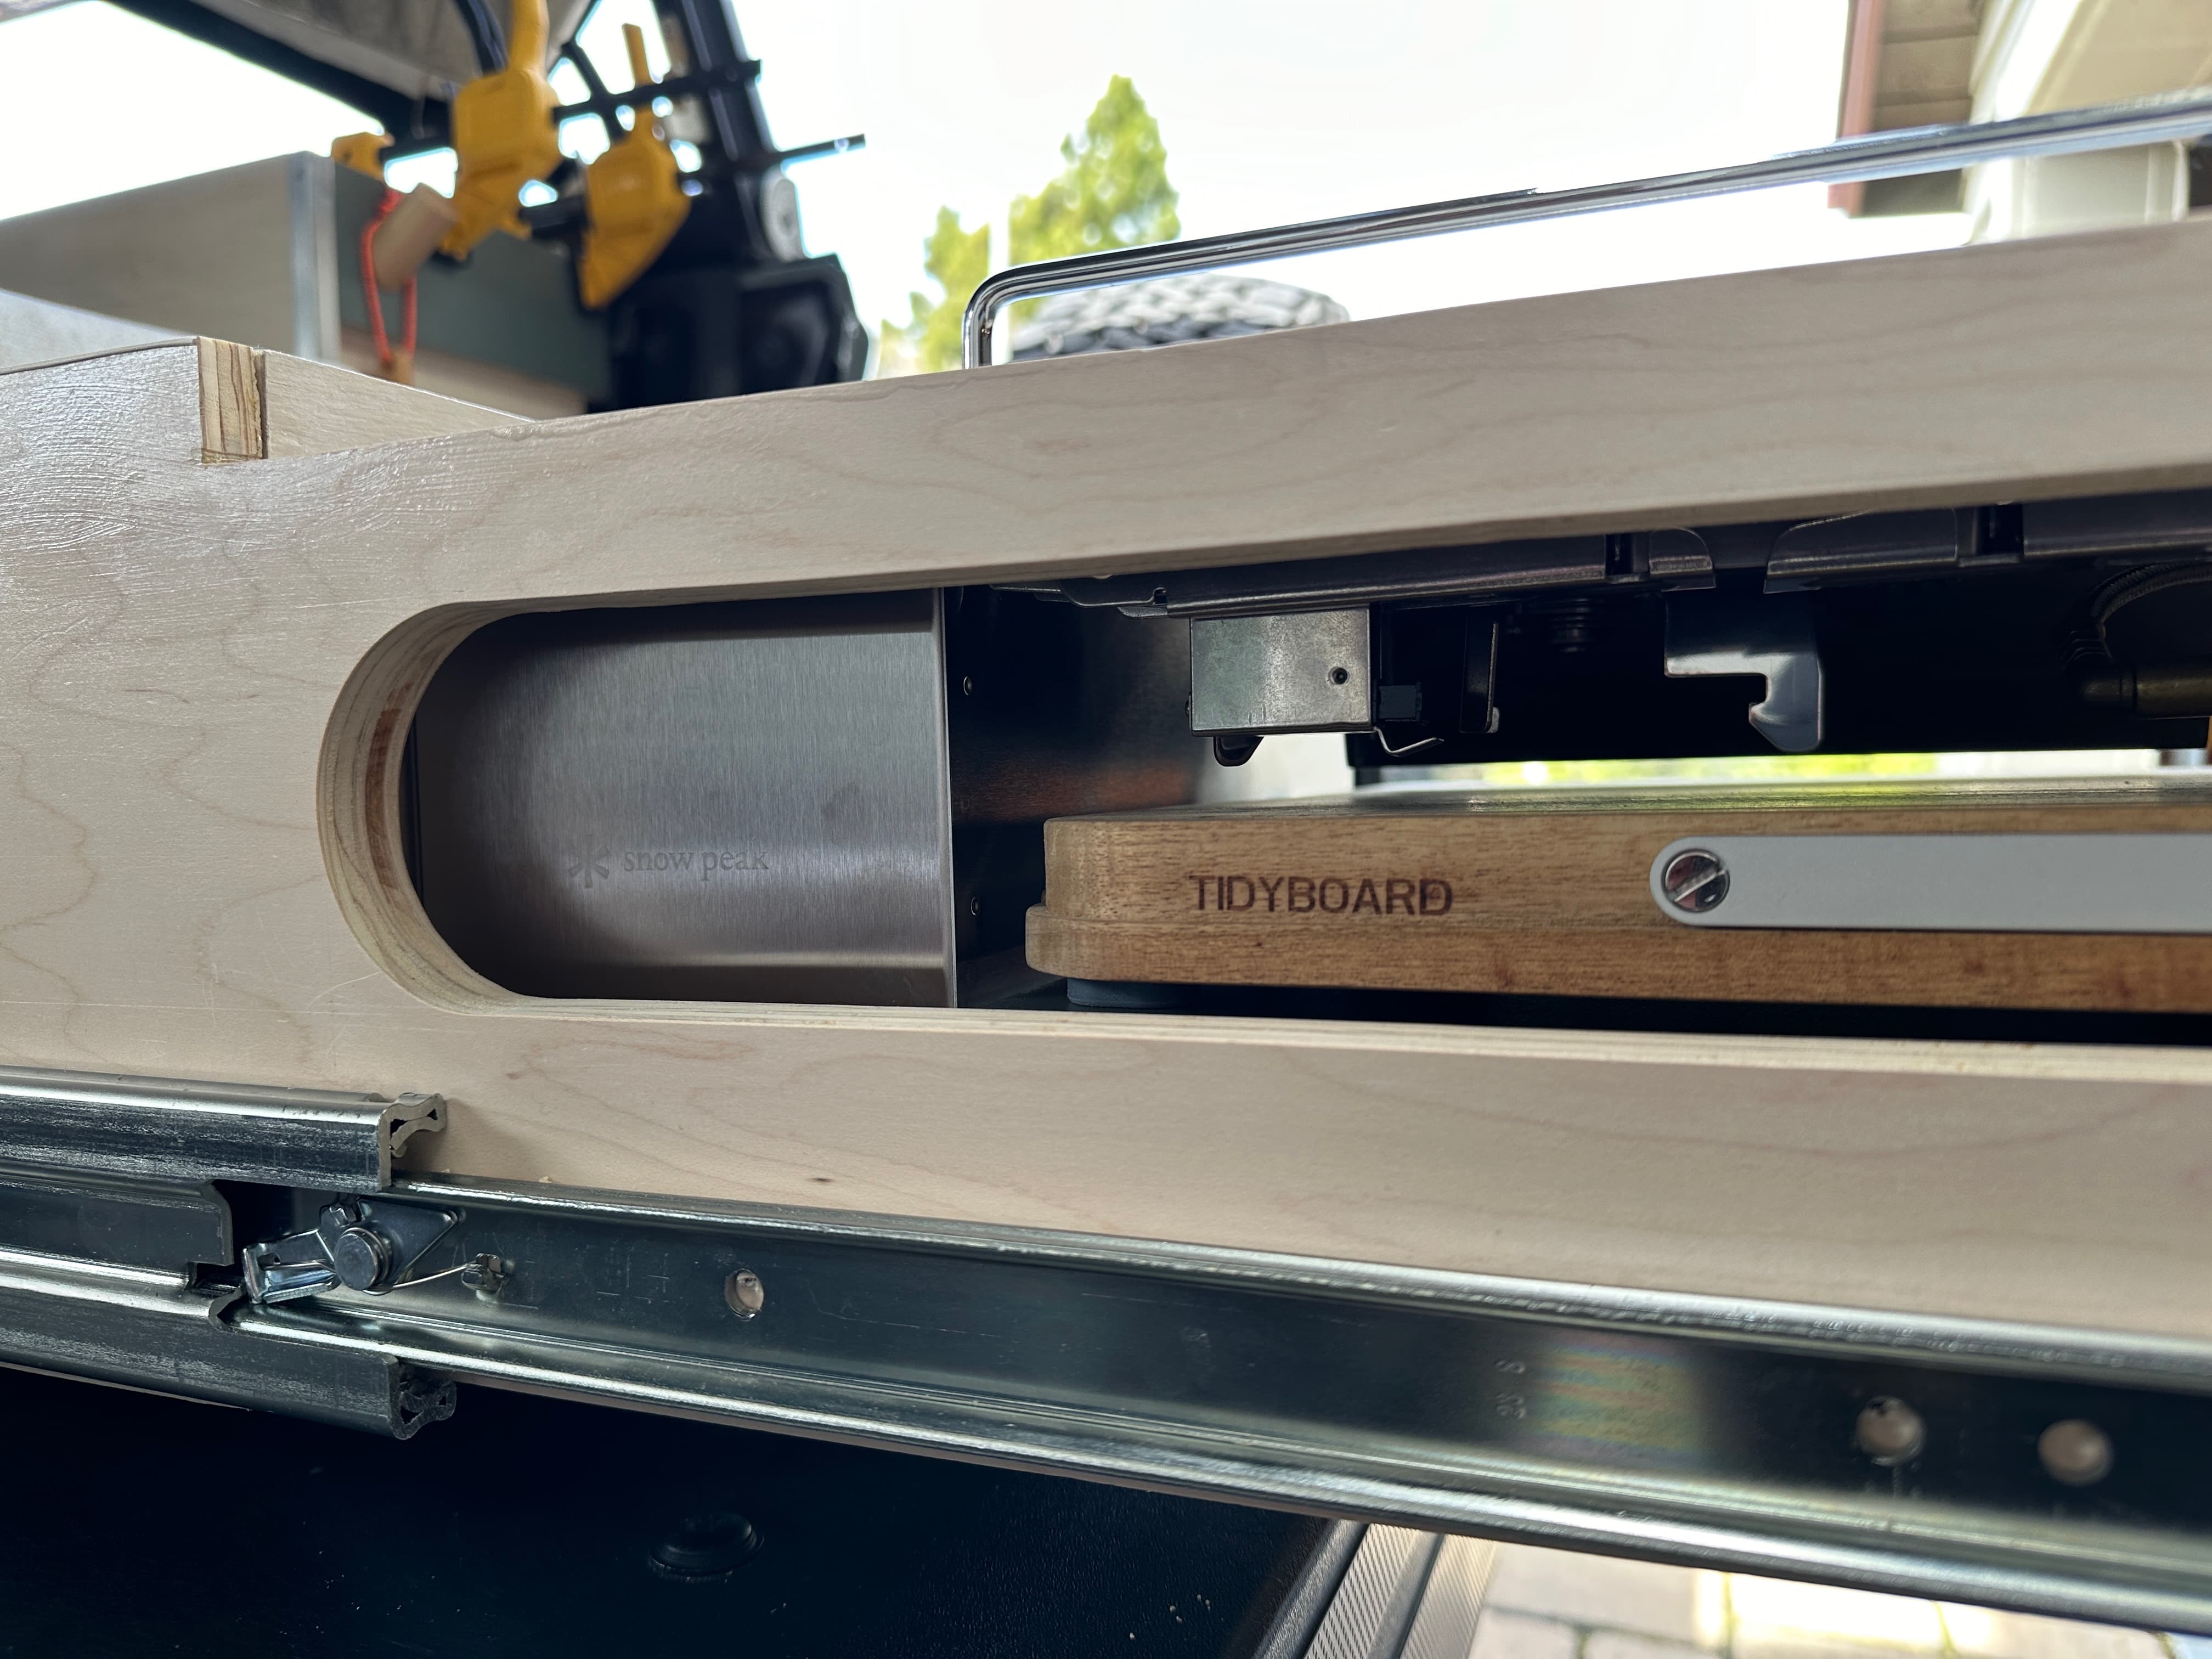
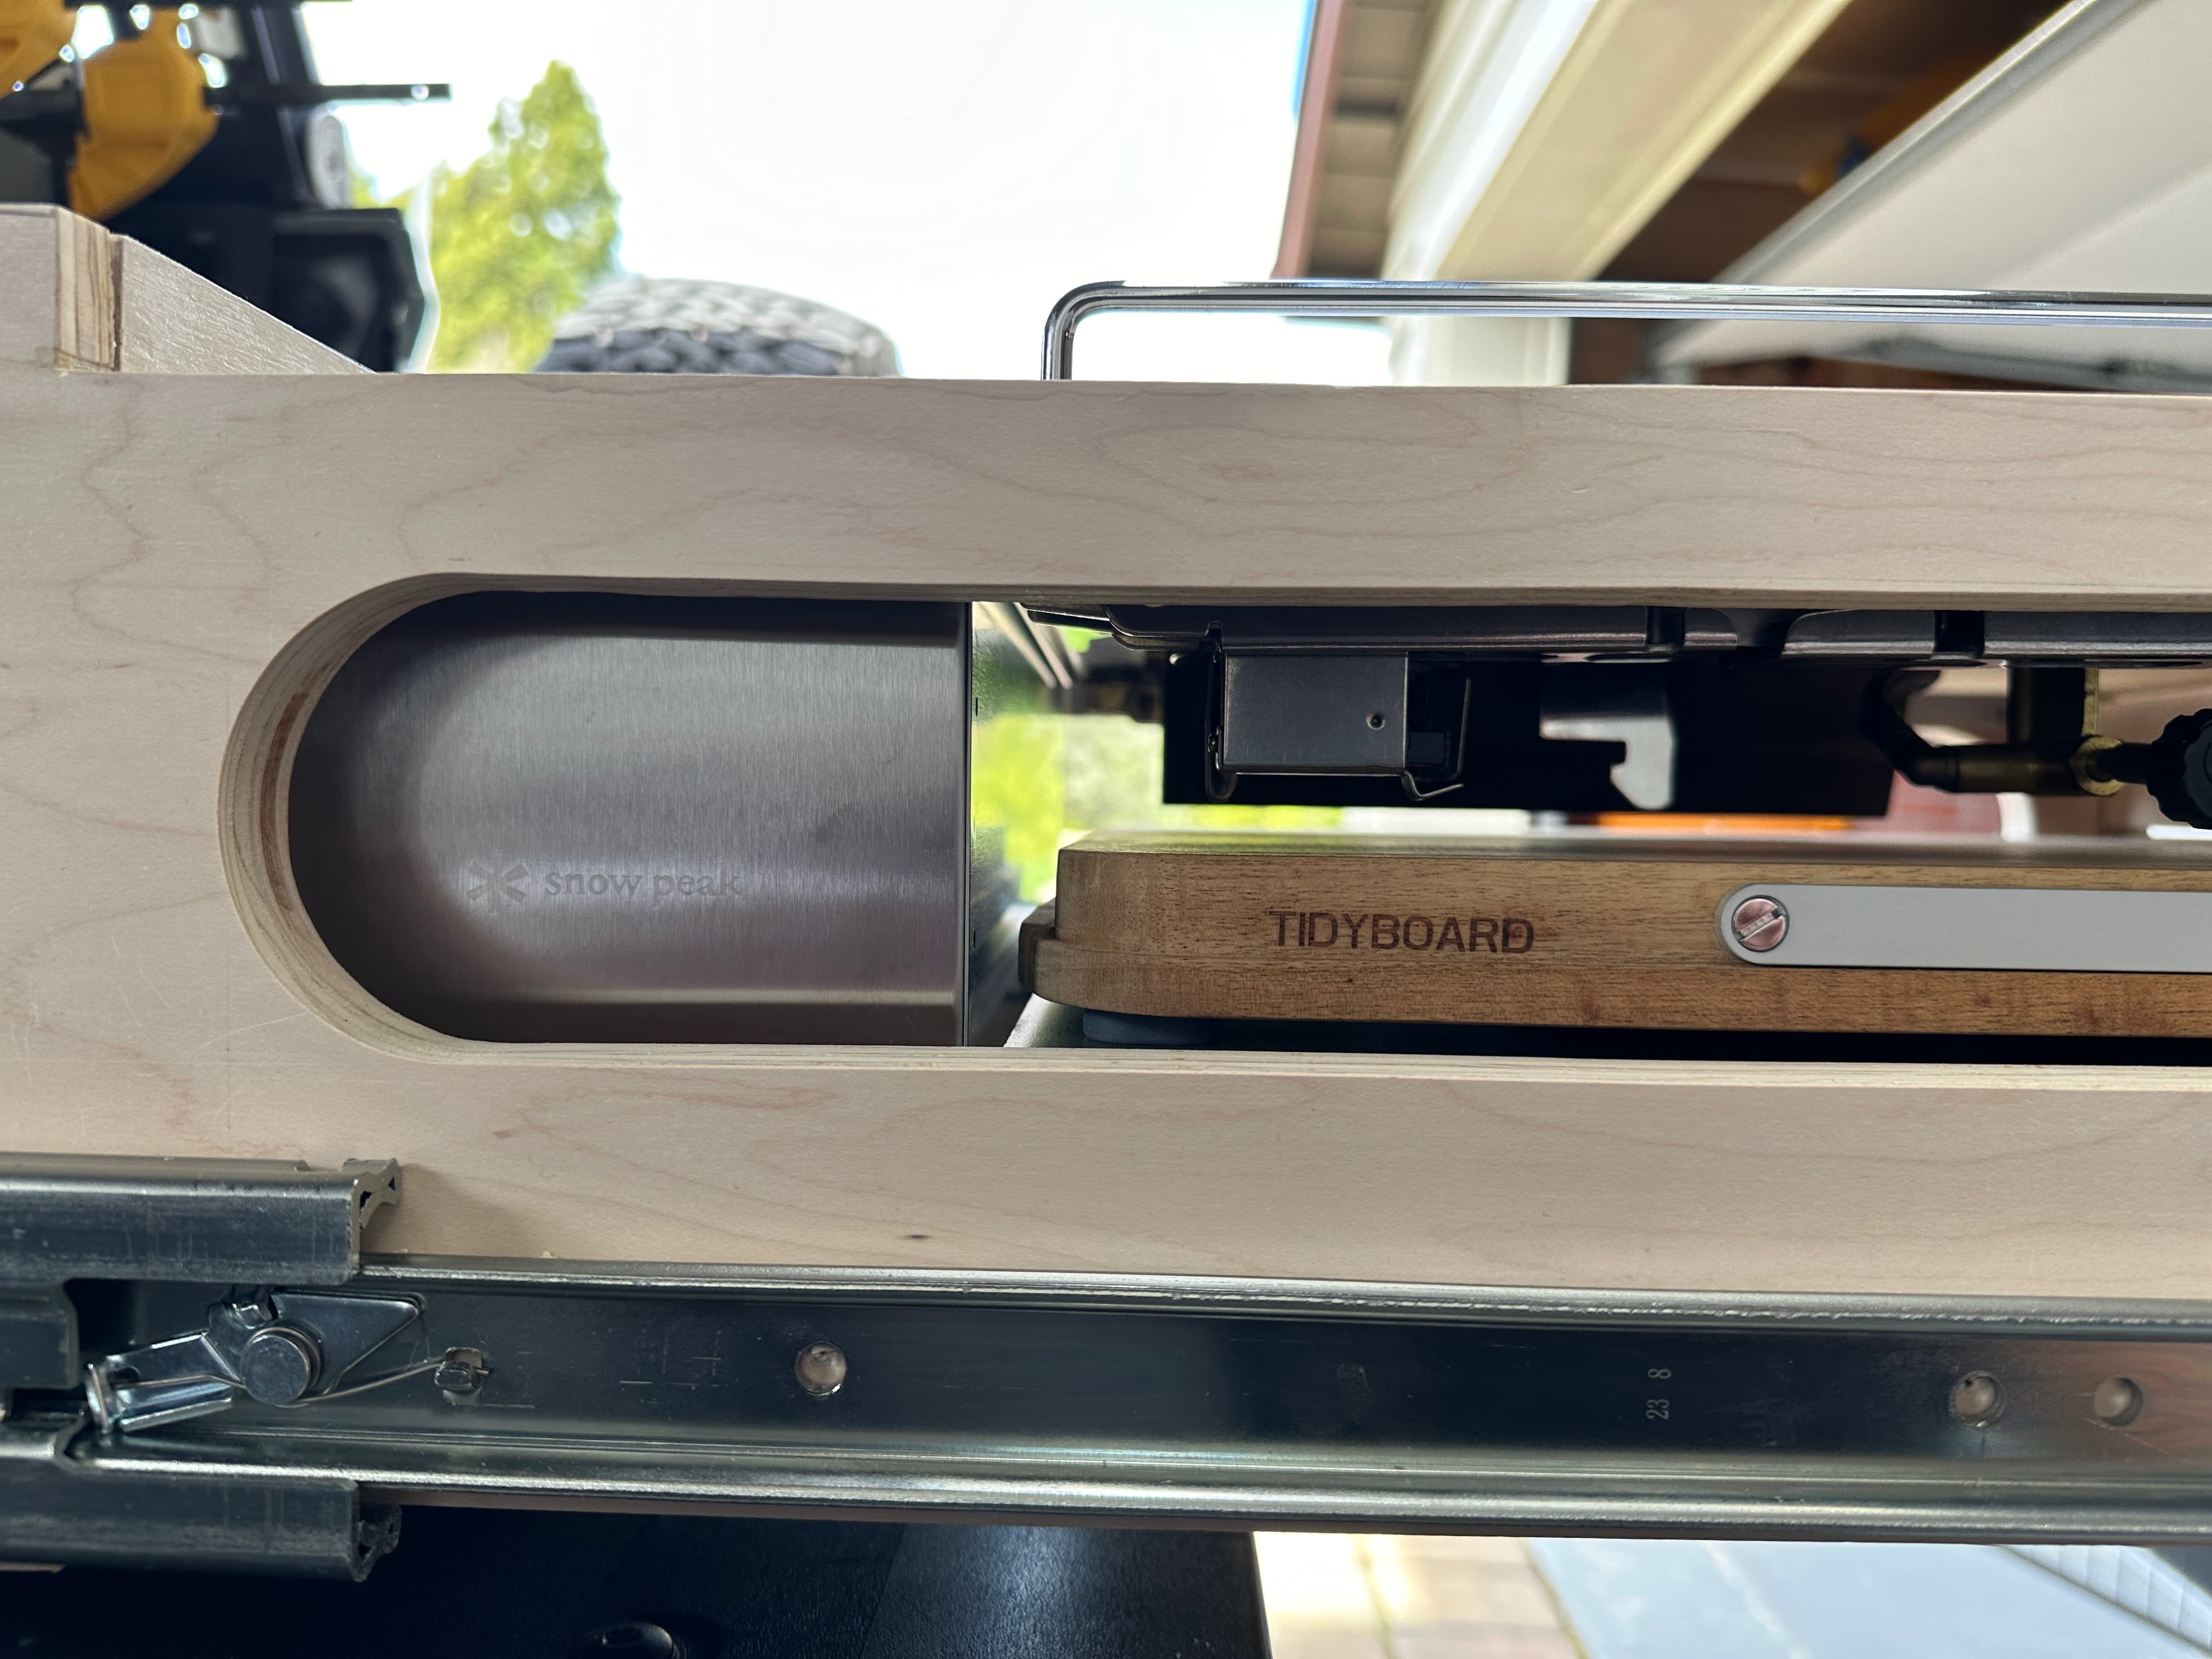
The grill of the burner was the highest point. We did not want to extend the overall height of the drawer for just the grill so I built out a magnetic base on the under side of the cutting board slide to house it when stowed.

Dropped in a piece of leftover laminate, leftover aluminum, and a hook to finish off the face of the garage.

I also added a handful of threaded inserts in the drawer to be able to mount Snow Peak’s TTA accessories. These accessories are stored in the “garage” when the drawer is stowed and will only come out when posting up at same camp for 2+ nights.


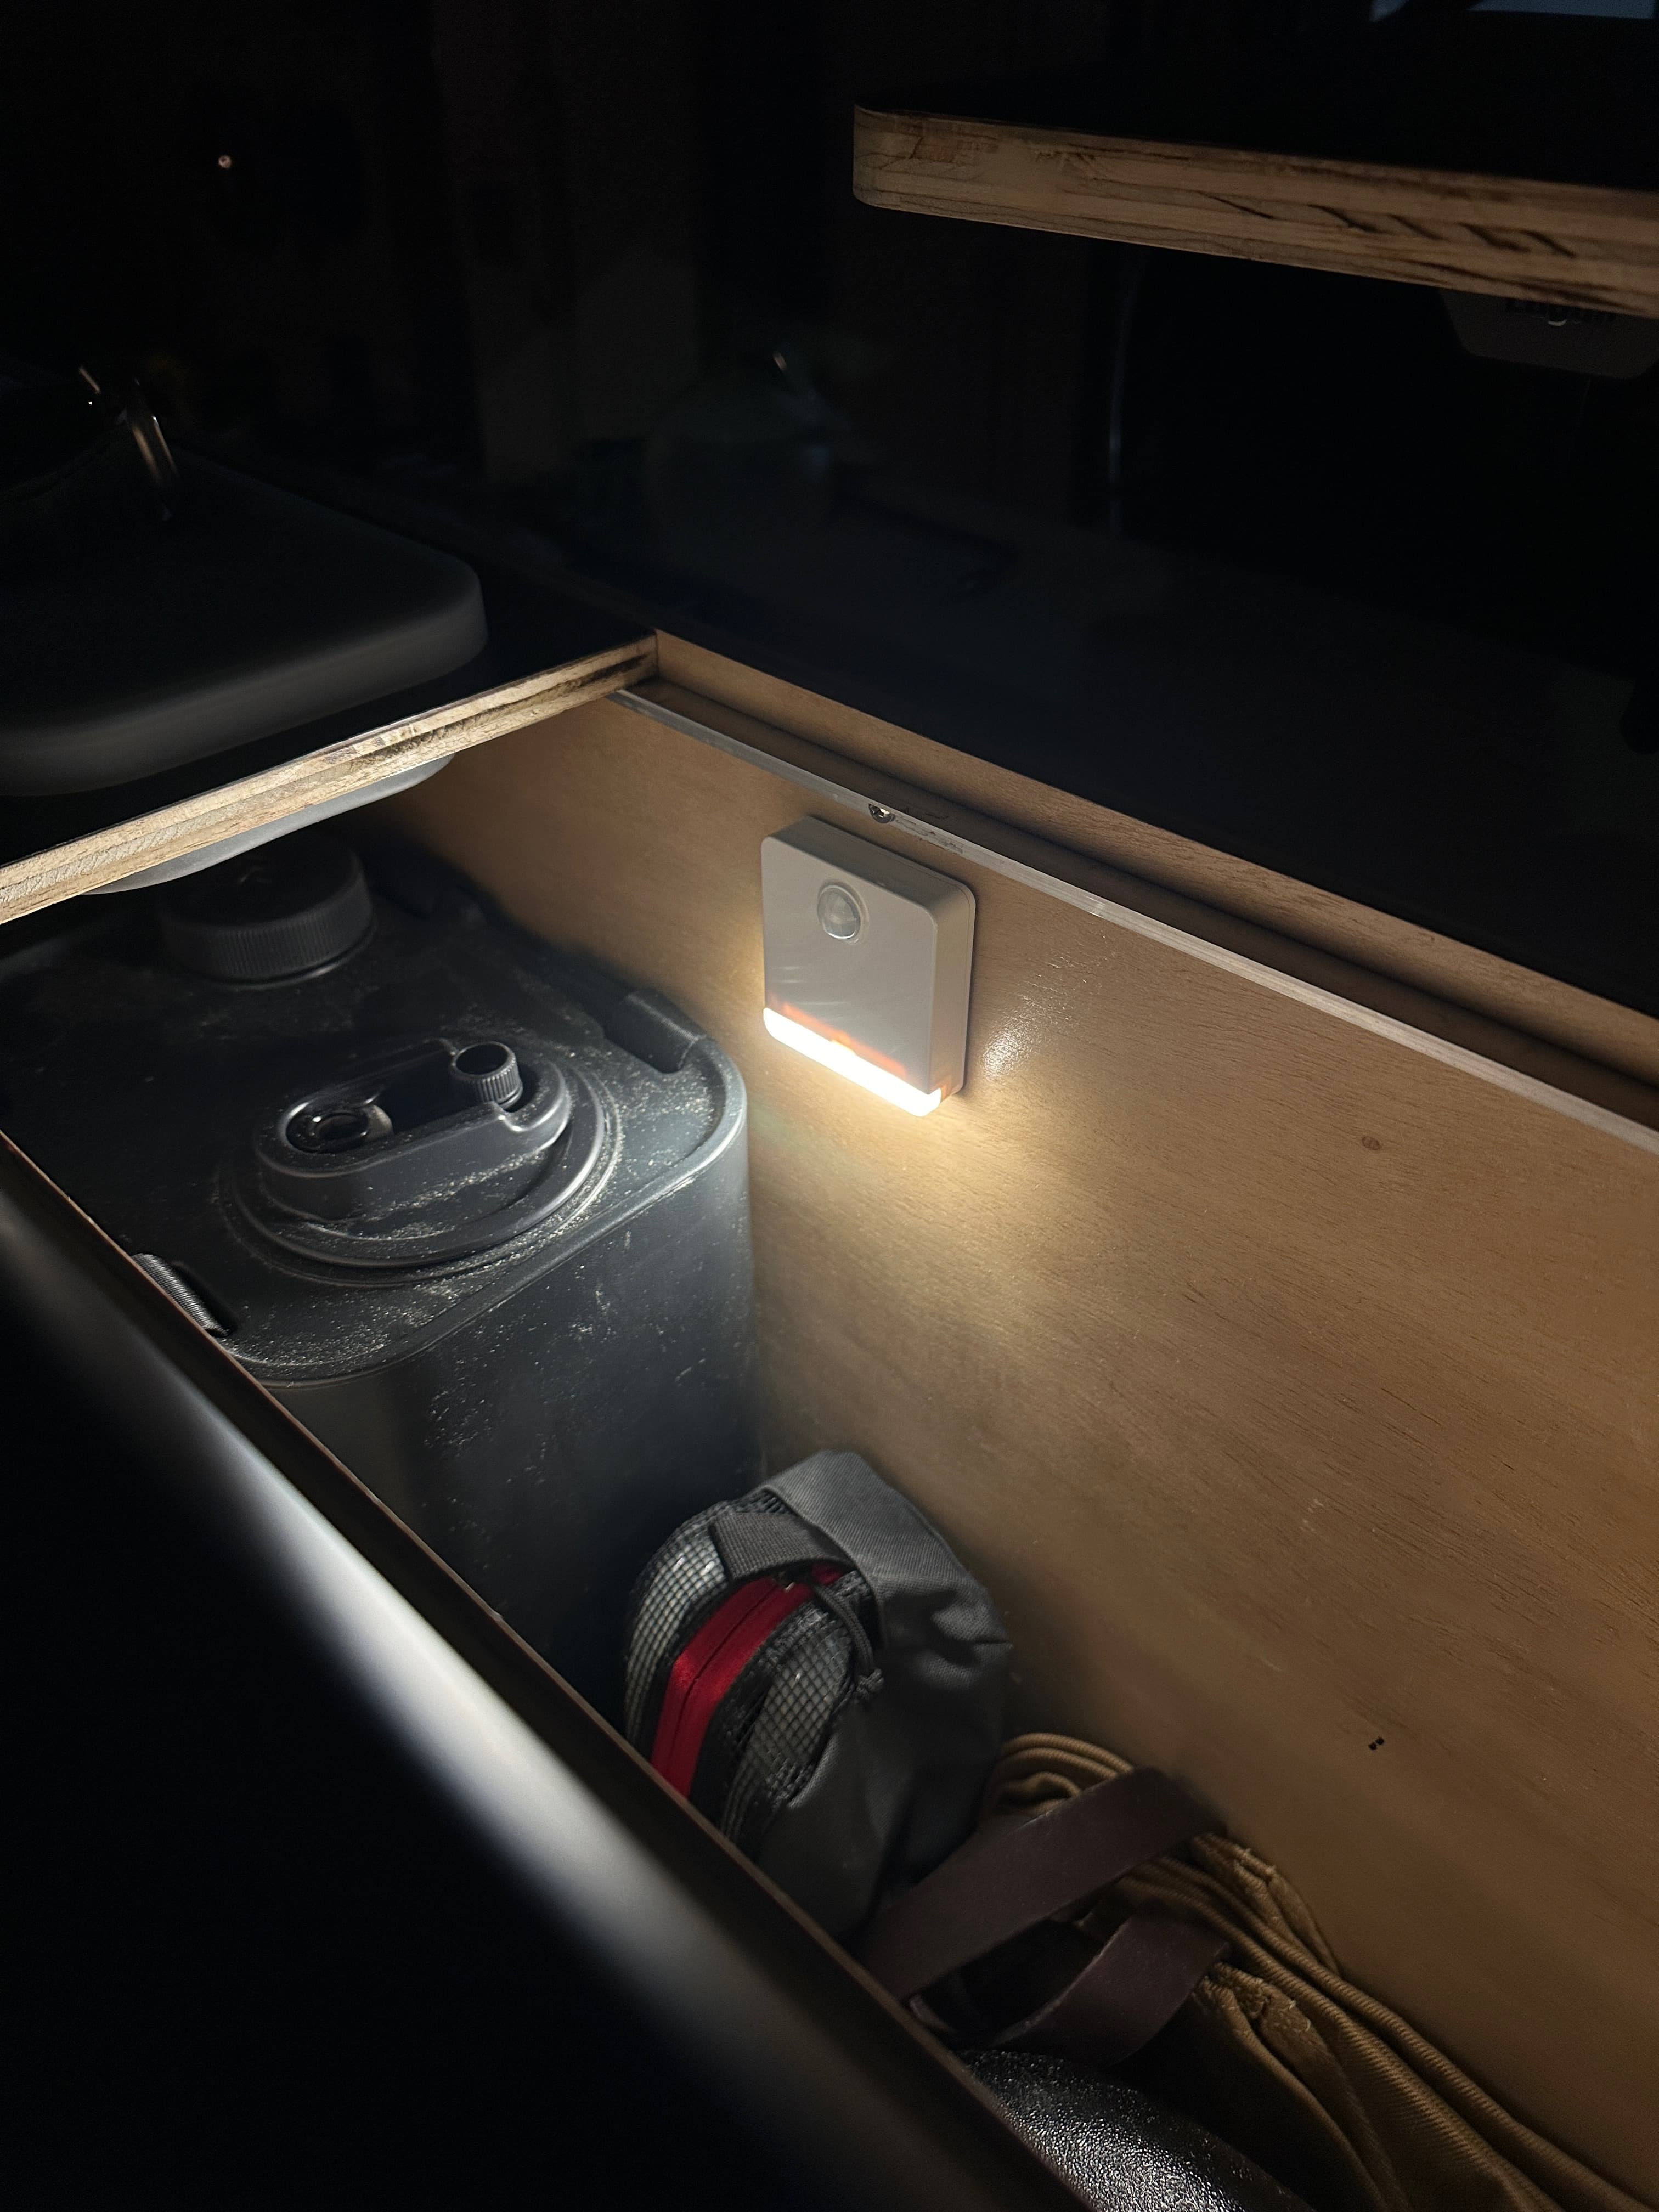
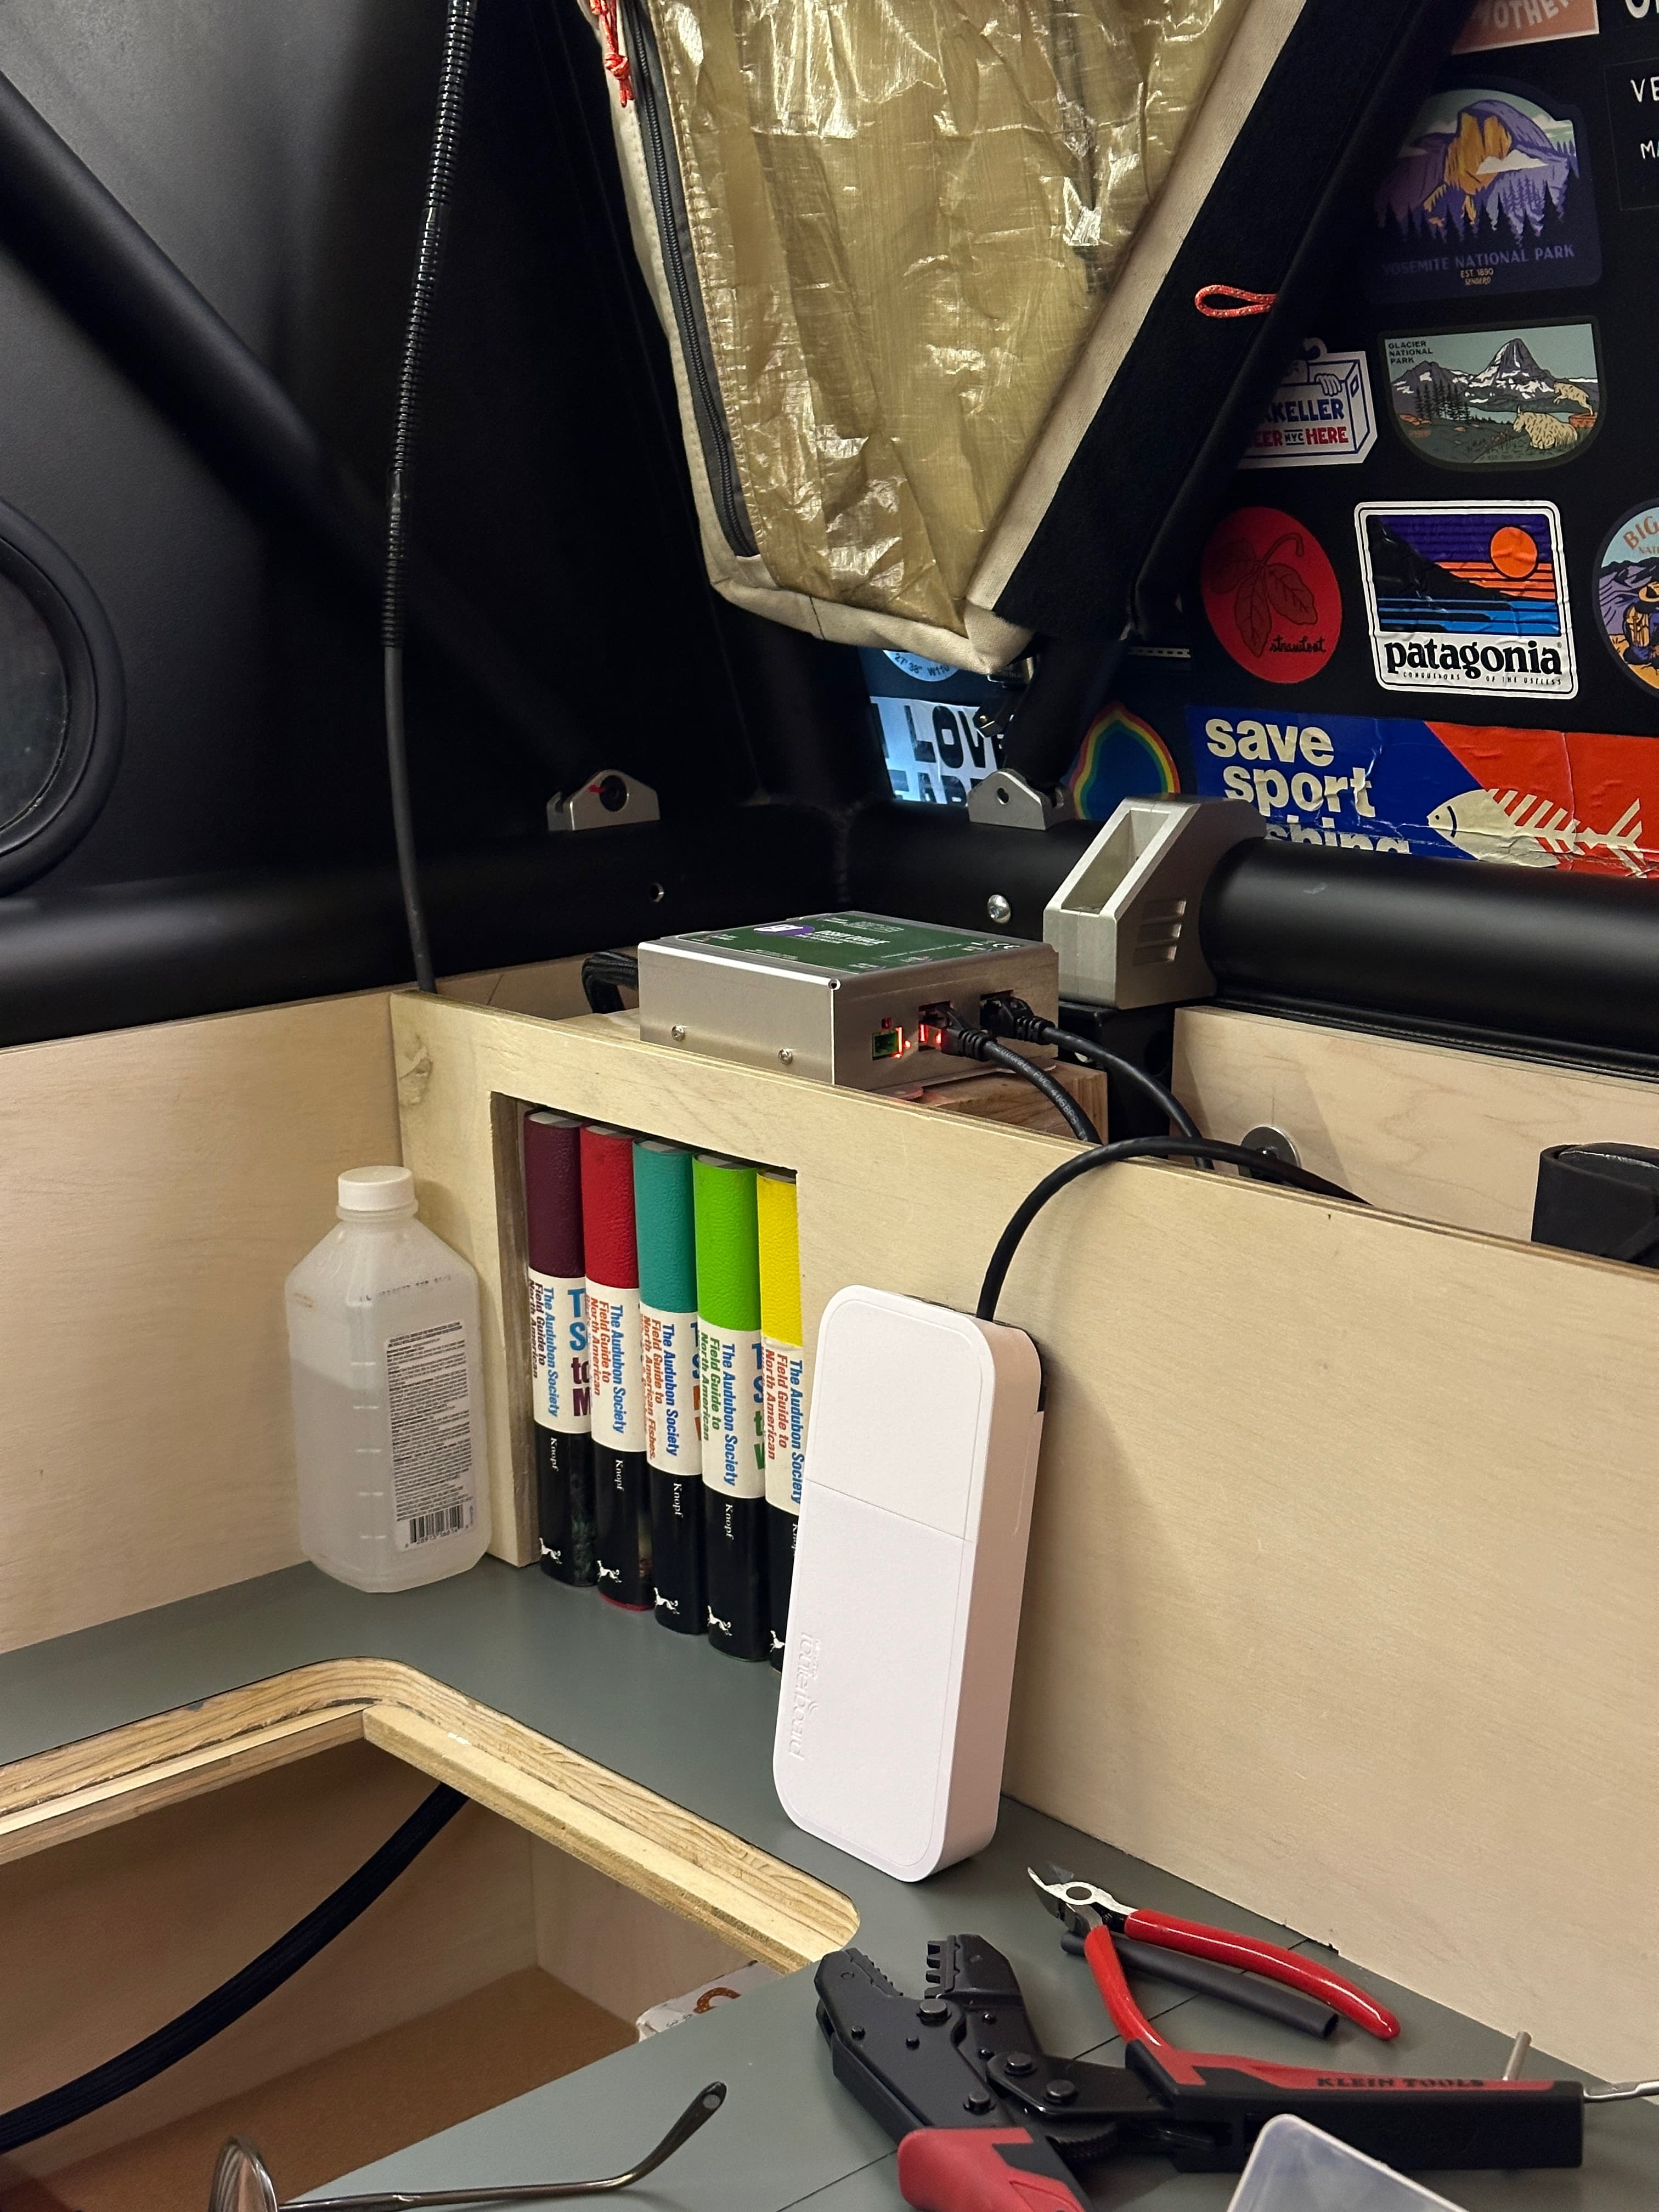
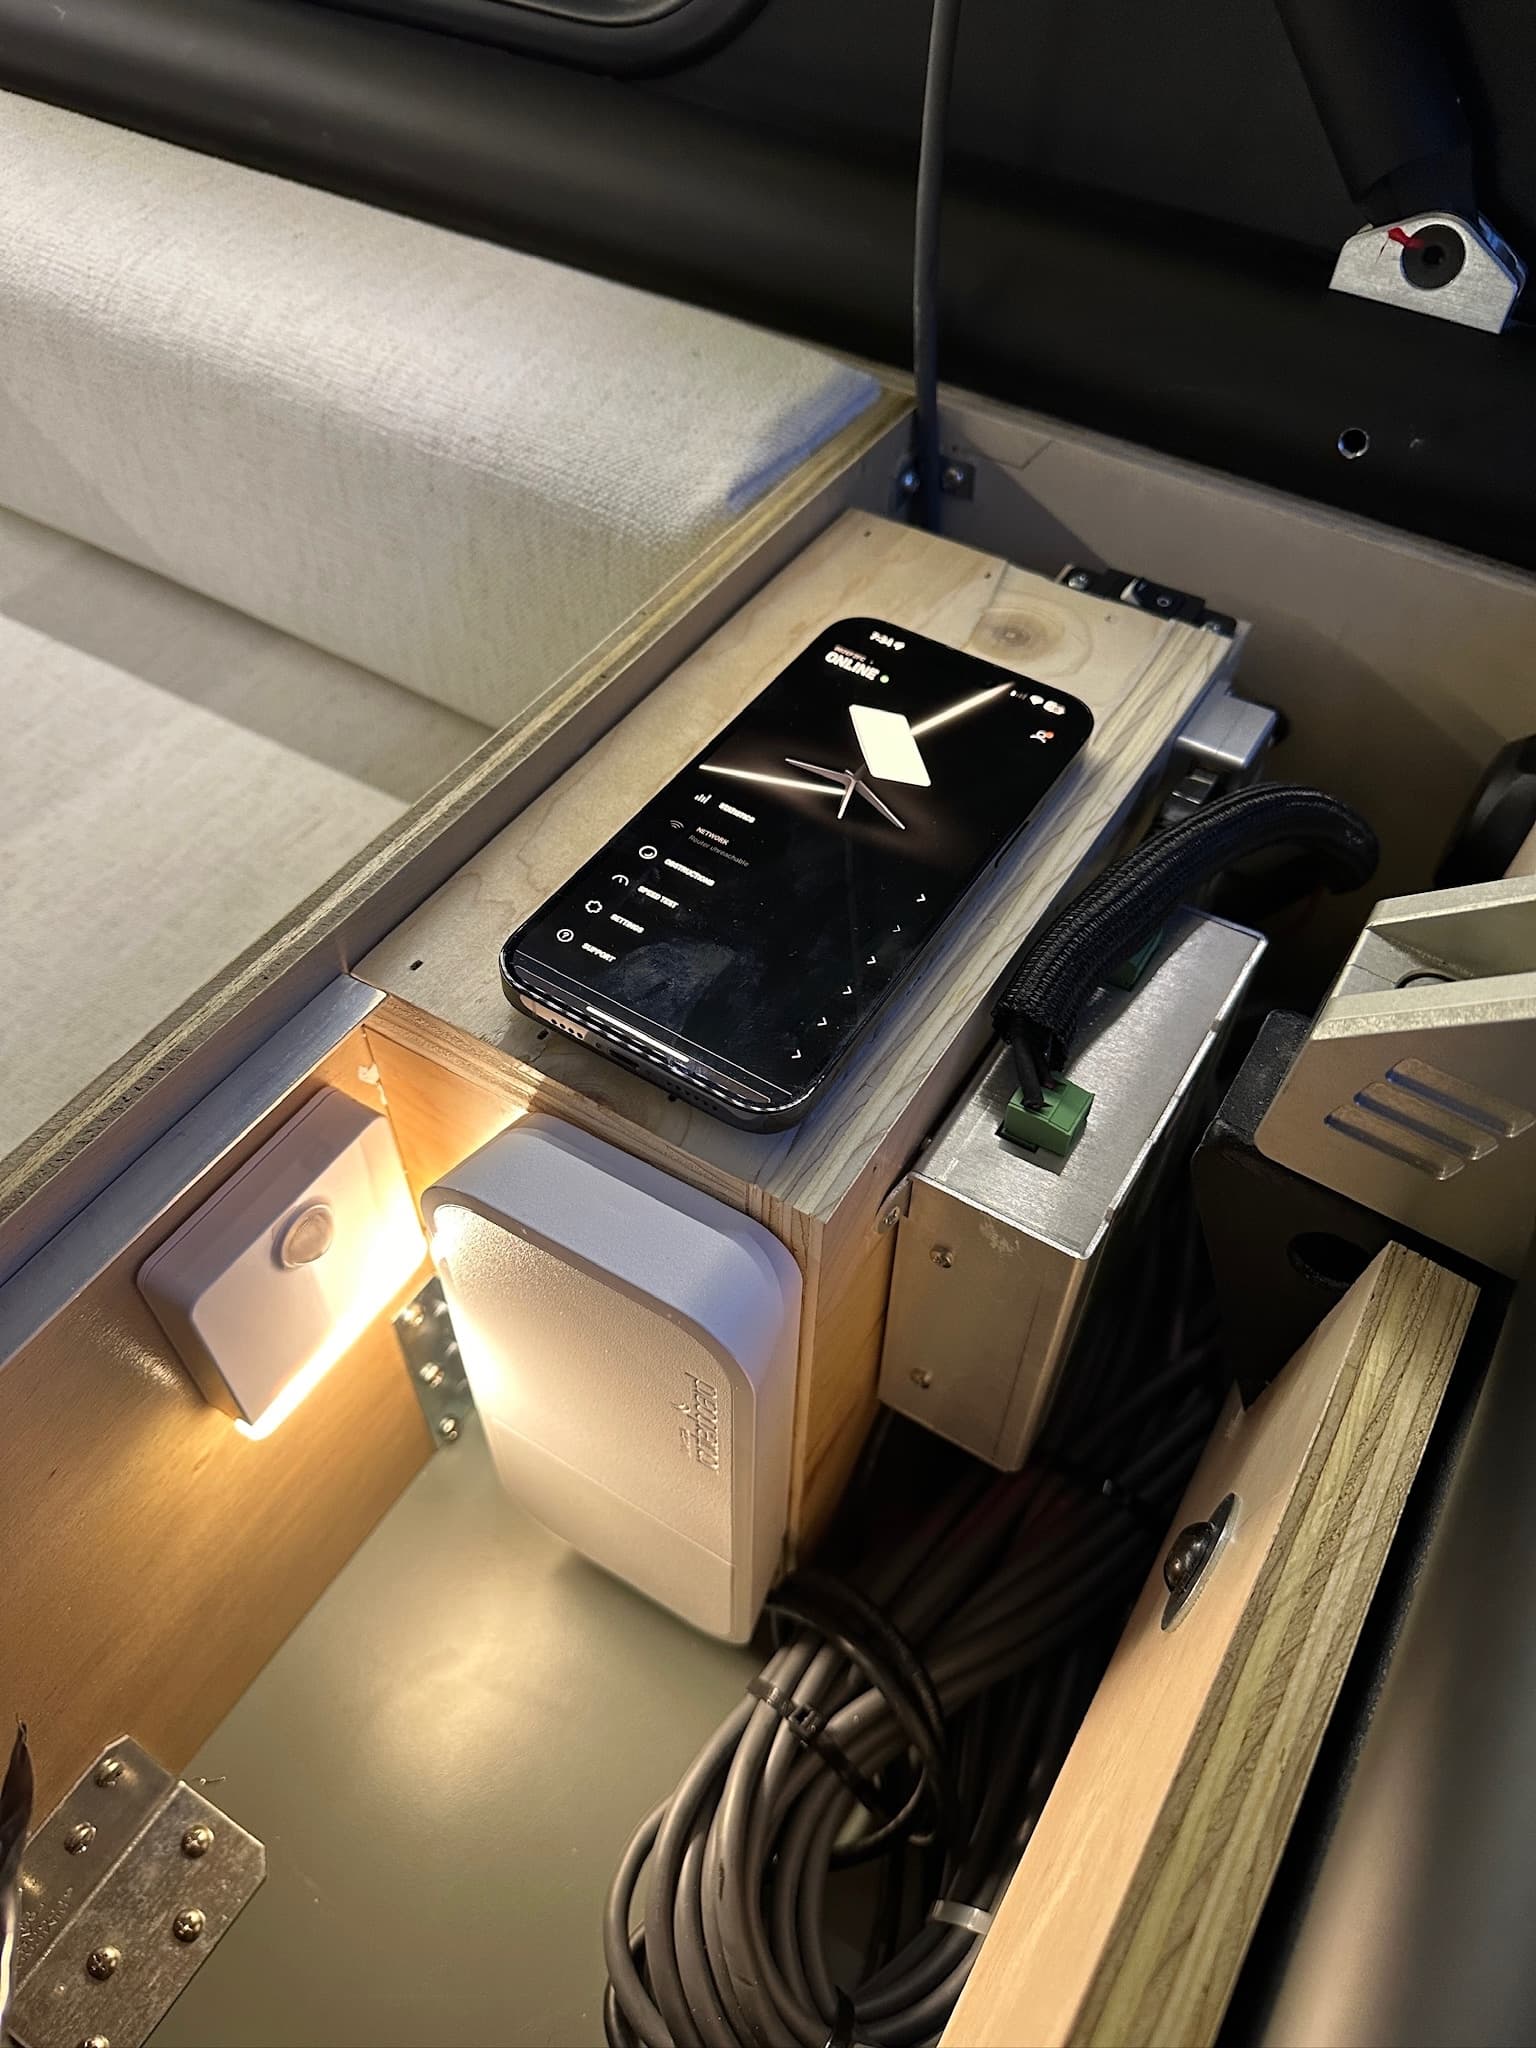
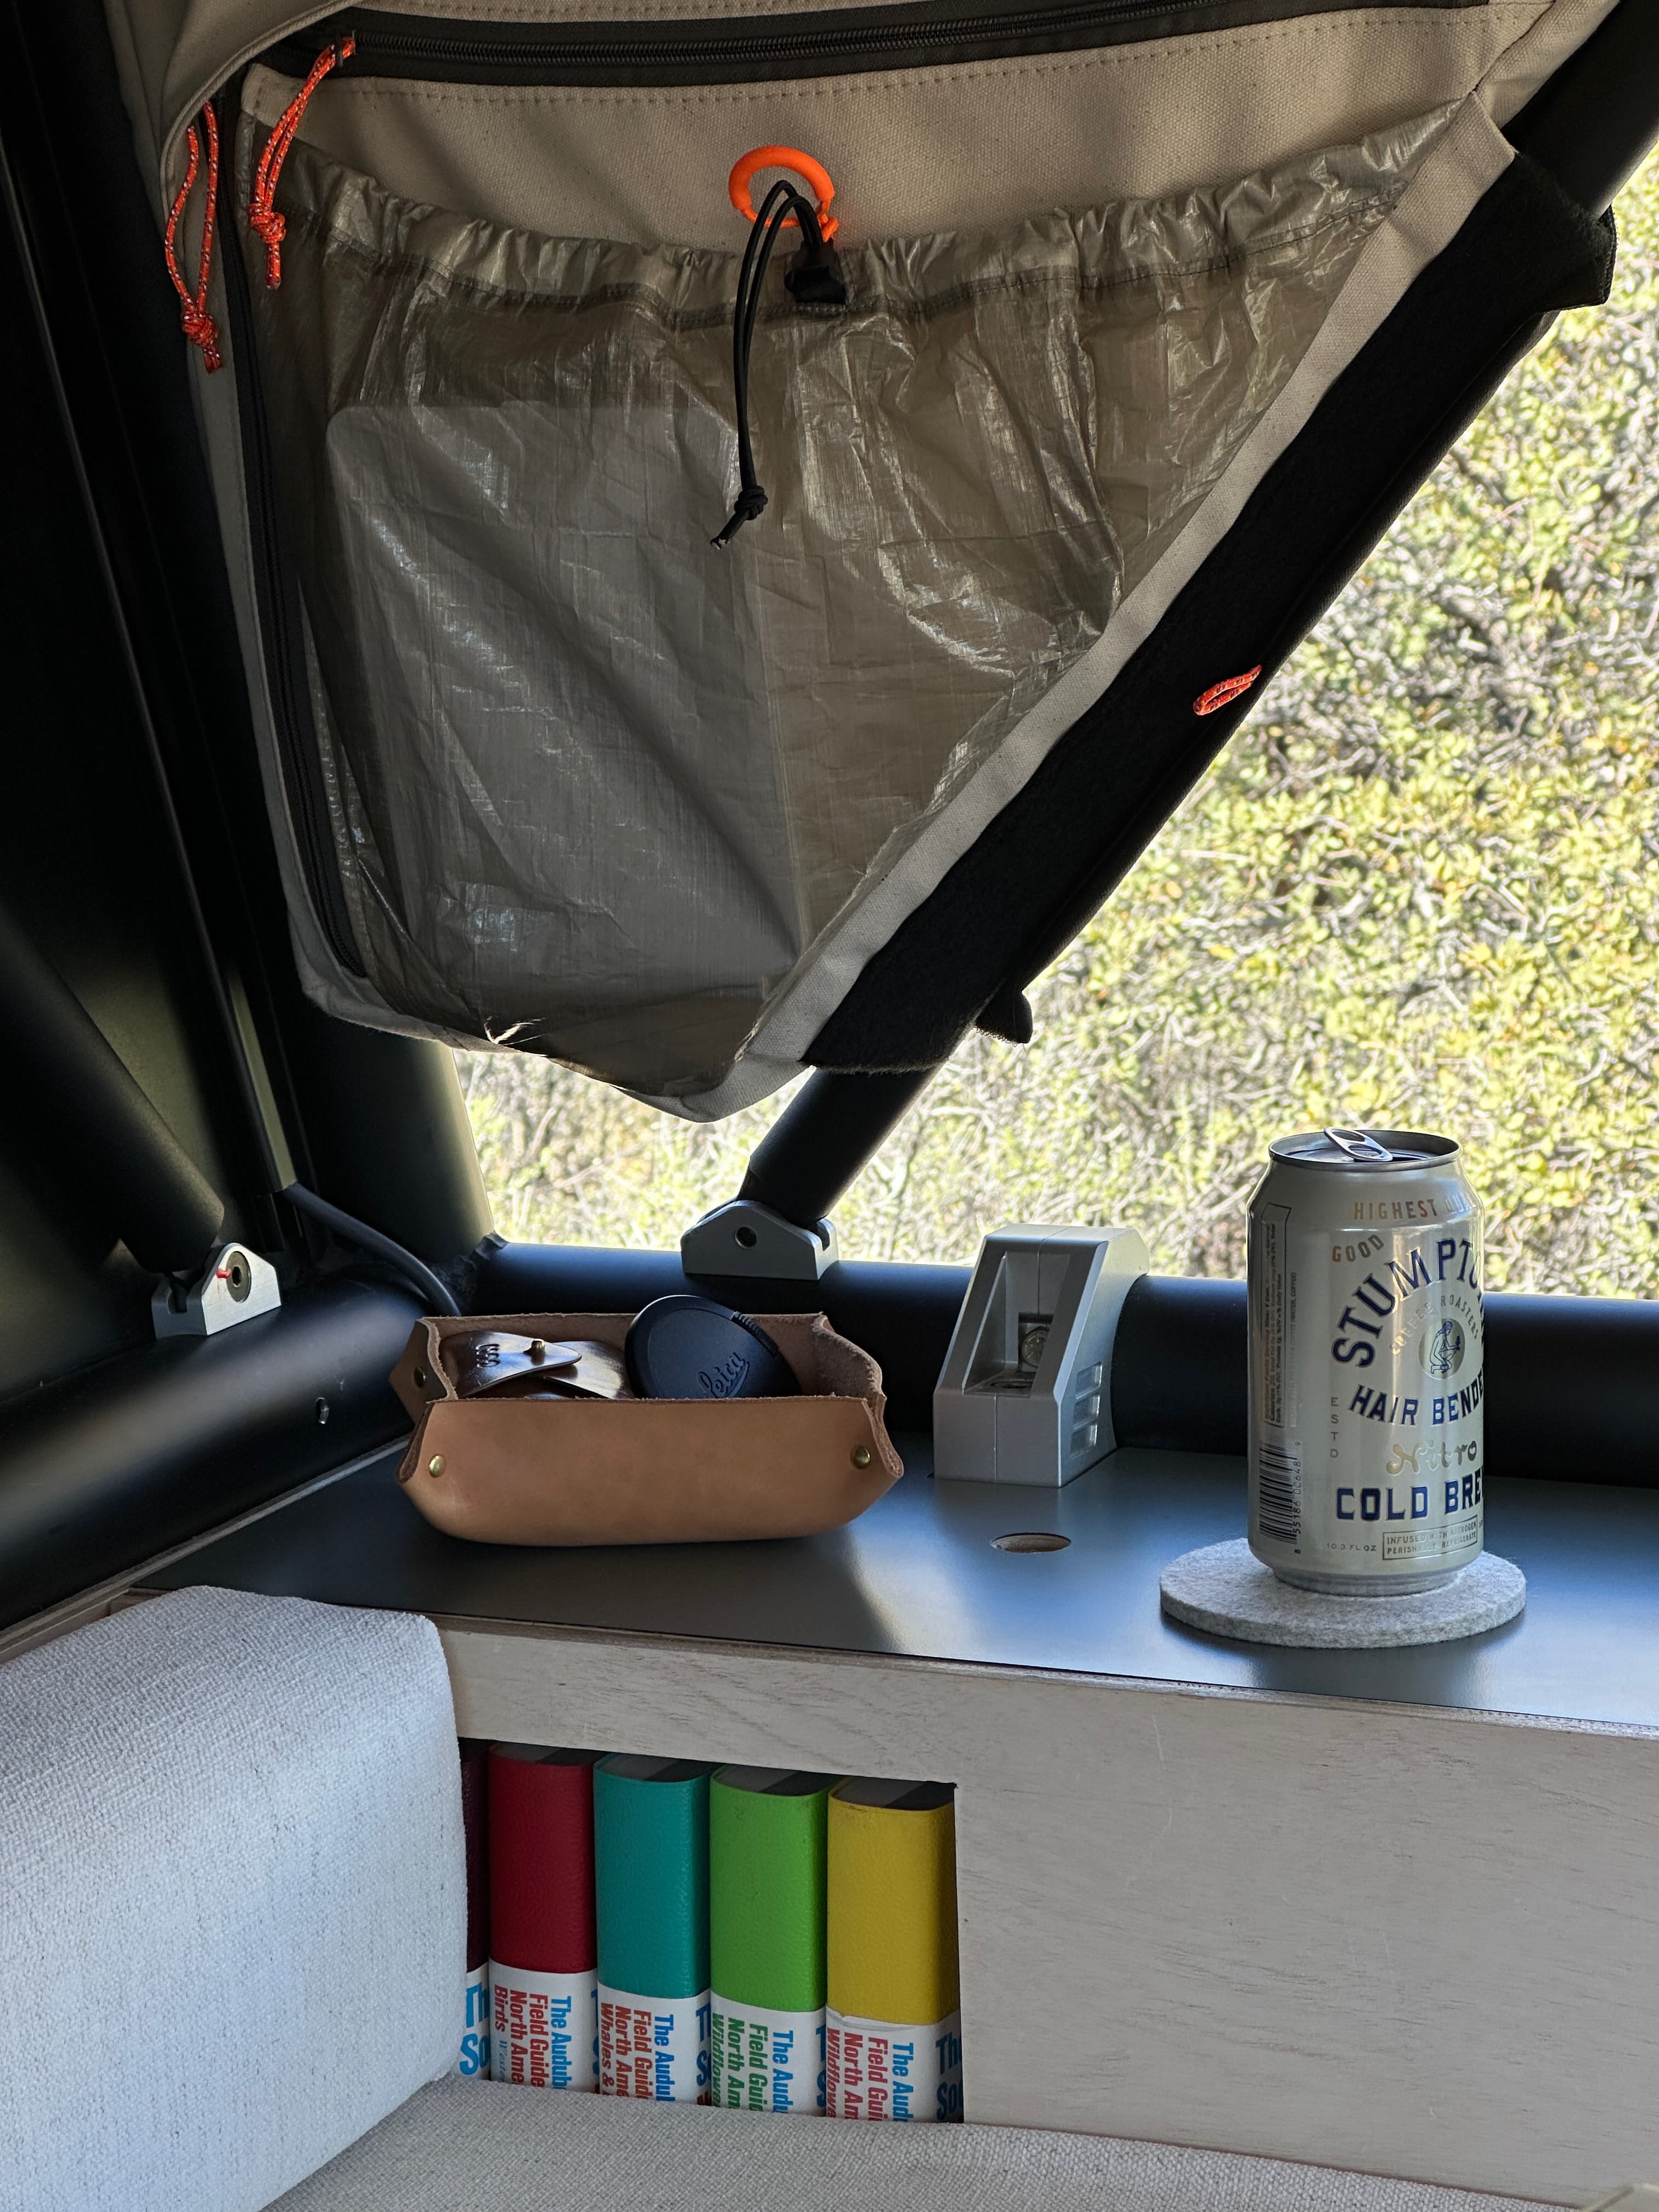
The garage was a bit of a black hole so I added these battery powered motion sensor lights that turn on when the lids are removed. It’s been really cool to have on the road the past two weeks. I’m really curious to see how long the aaa batteries last… I wish they were usb rechargeable.


![]() ASIDE FOR STARLINK SIDE PROJECT
ASIDE FOR STARLINK SIDE PROJECT
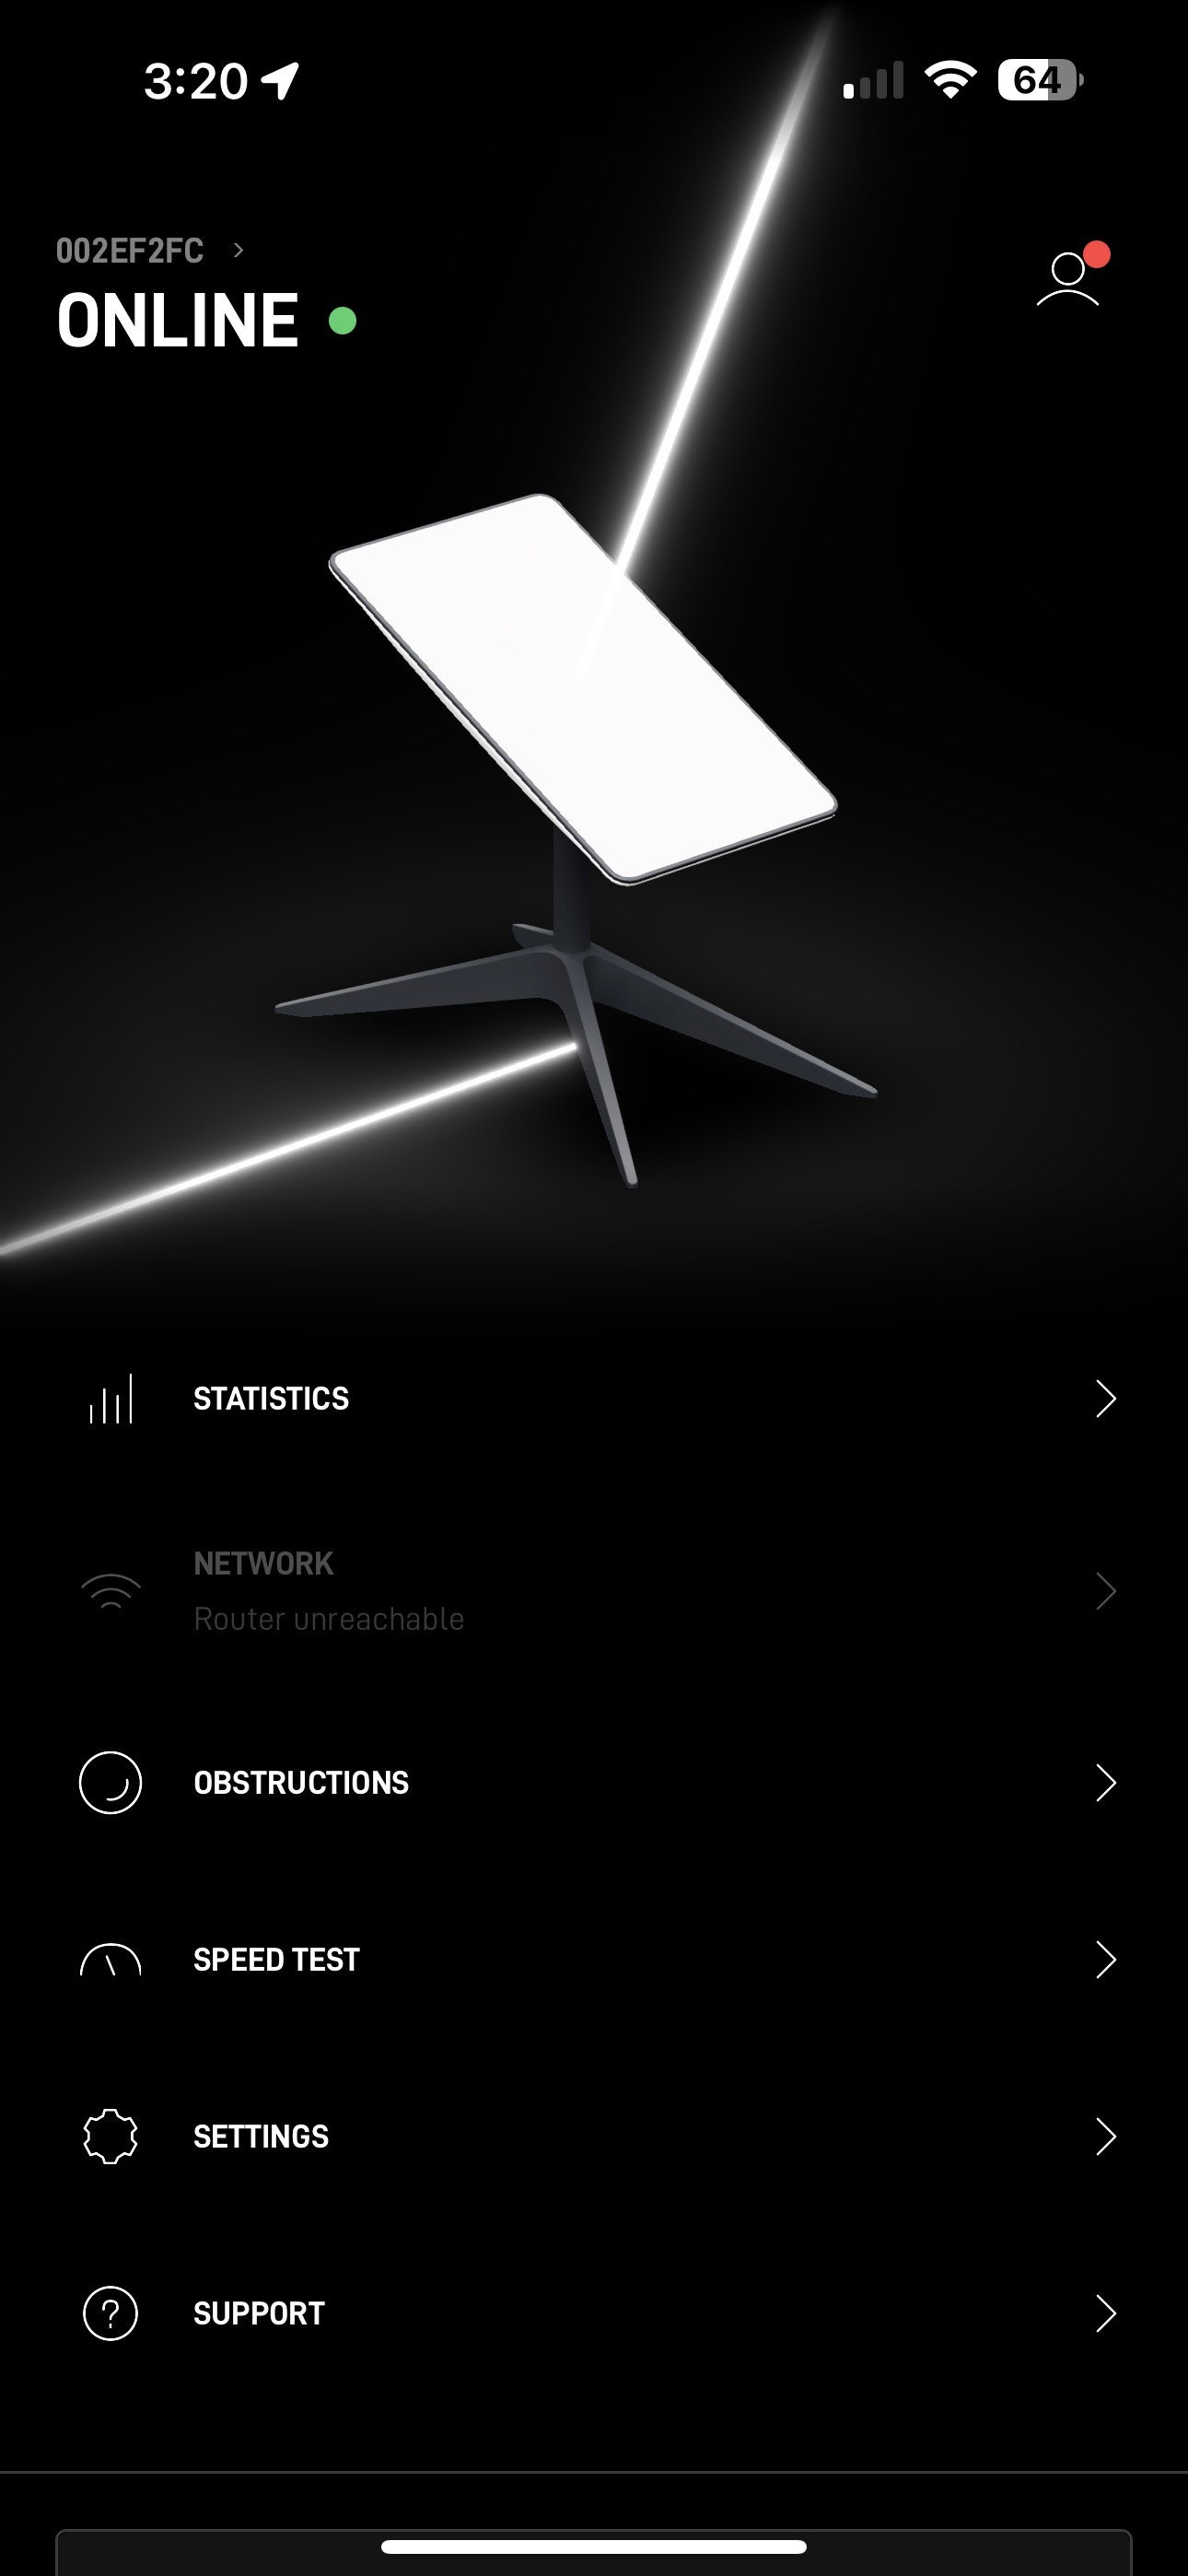
With most of the assembly complete it was time to move into some electrical work. I did not want to bring the Goal Zero or factory router on this journey and instead run the Starlink off the 12v “house” battery under the hood. I wired up a Dishy Dualie, YAOSHENG converter, Blue Sea kill switch, and a PoE (power over ethernet) MicoTik router.

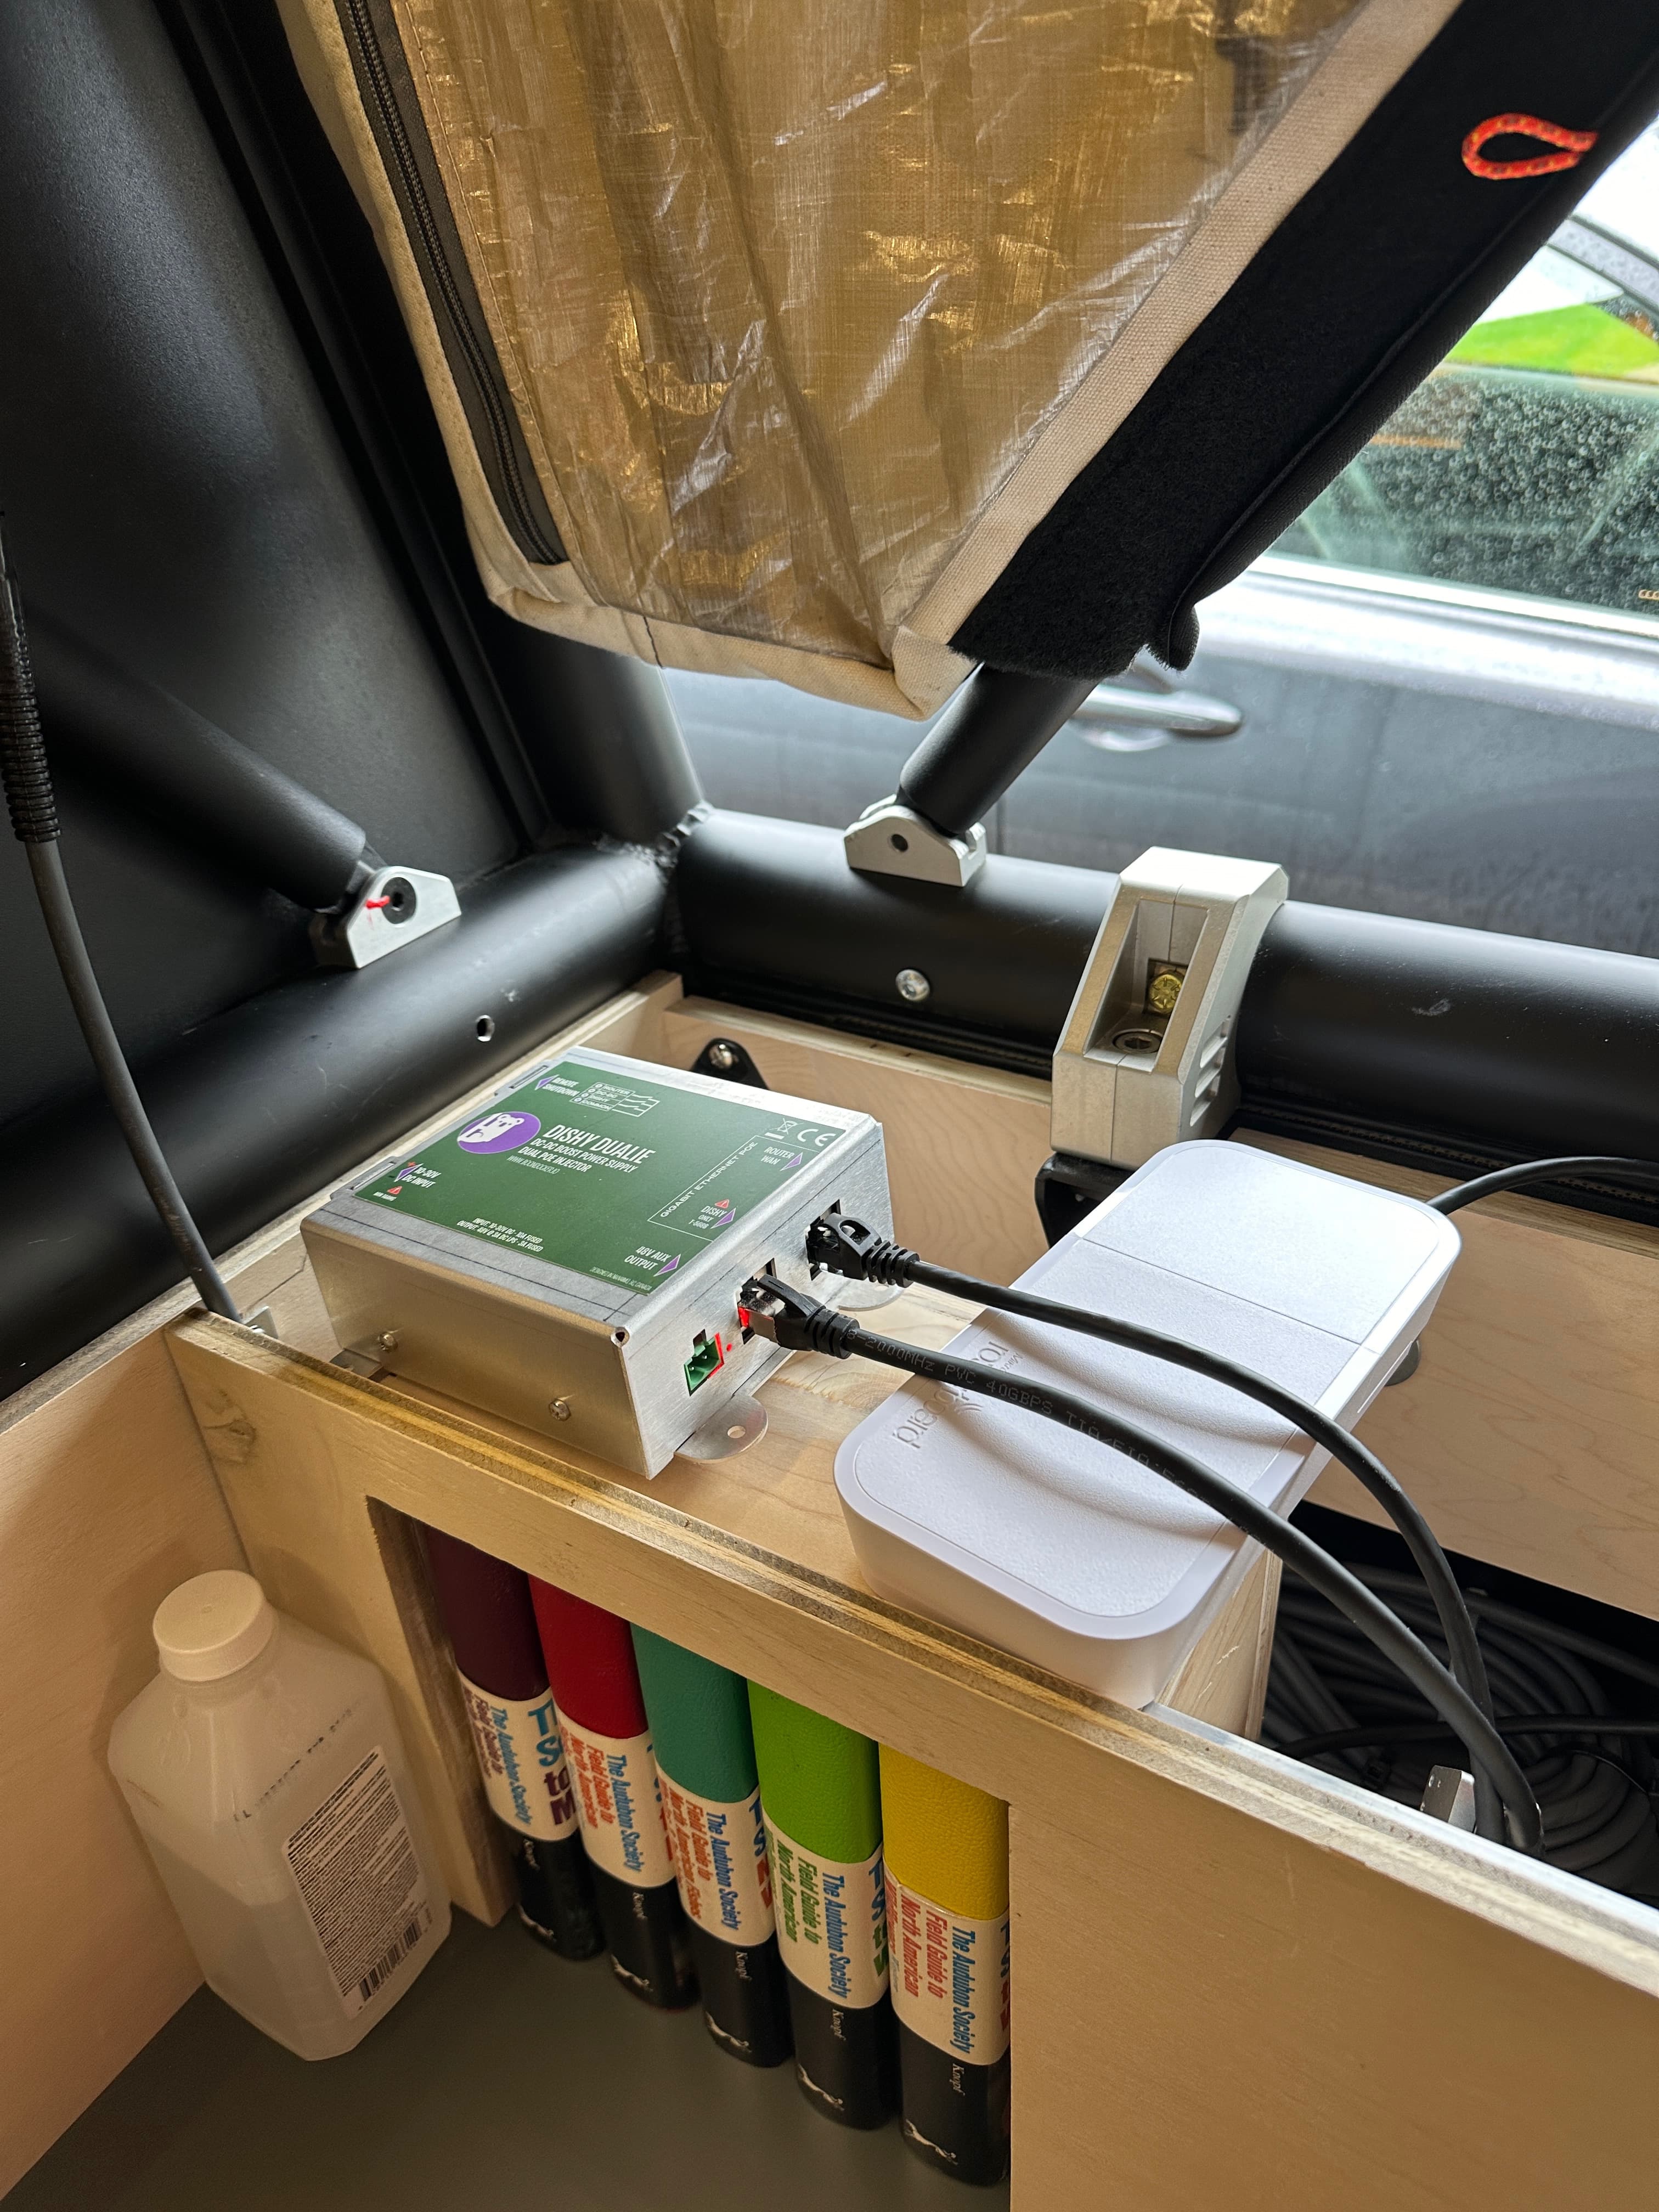
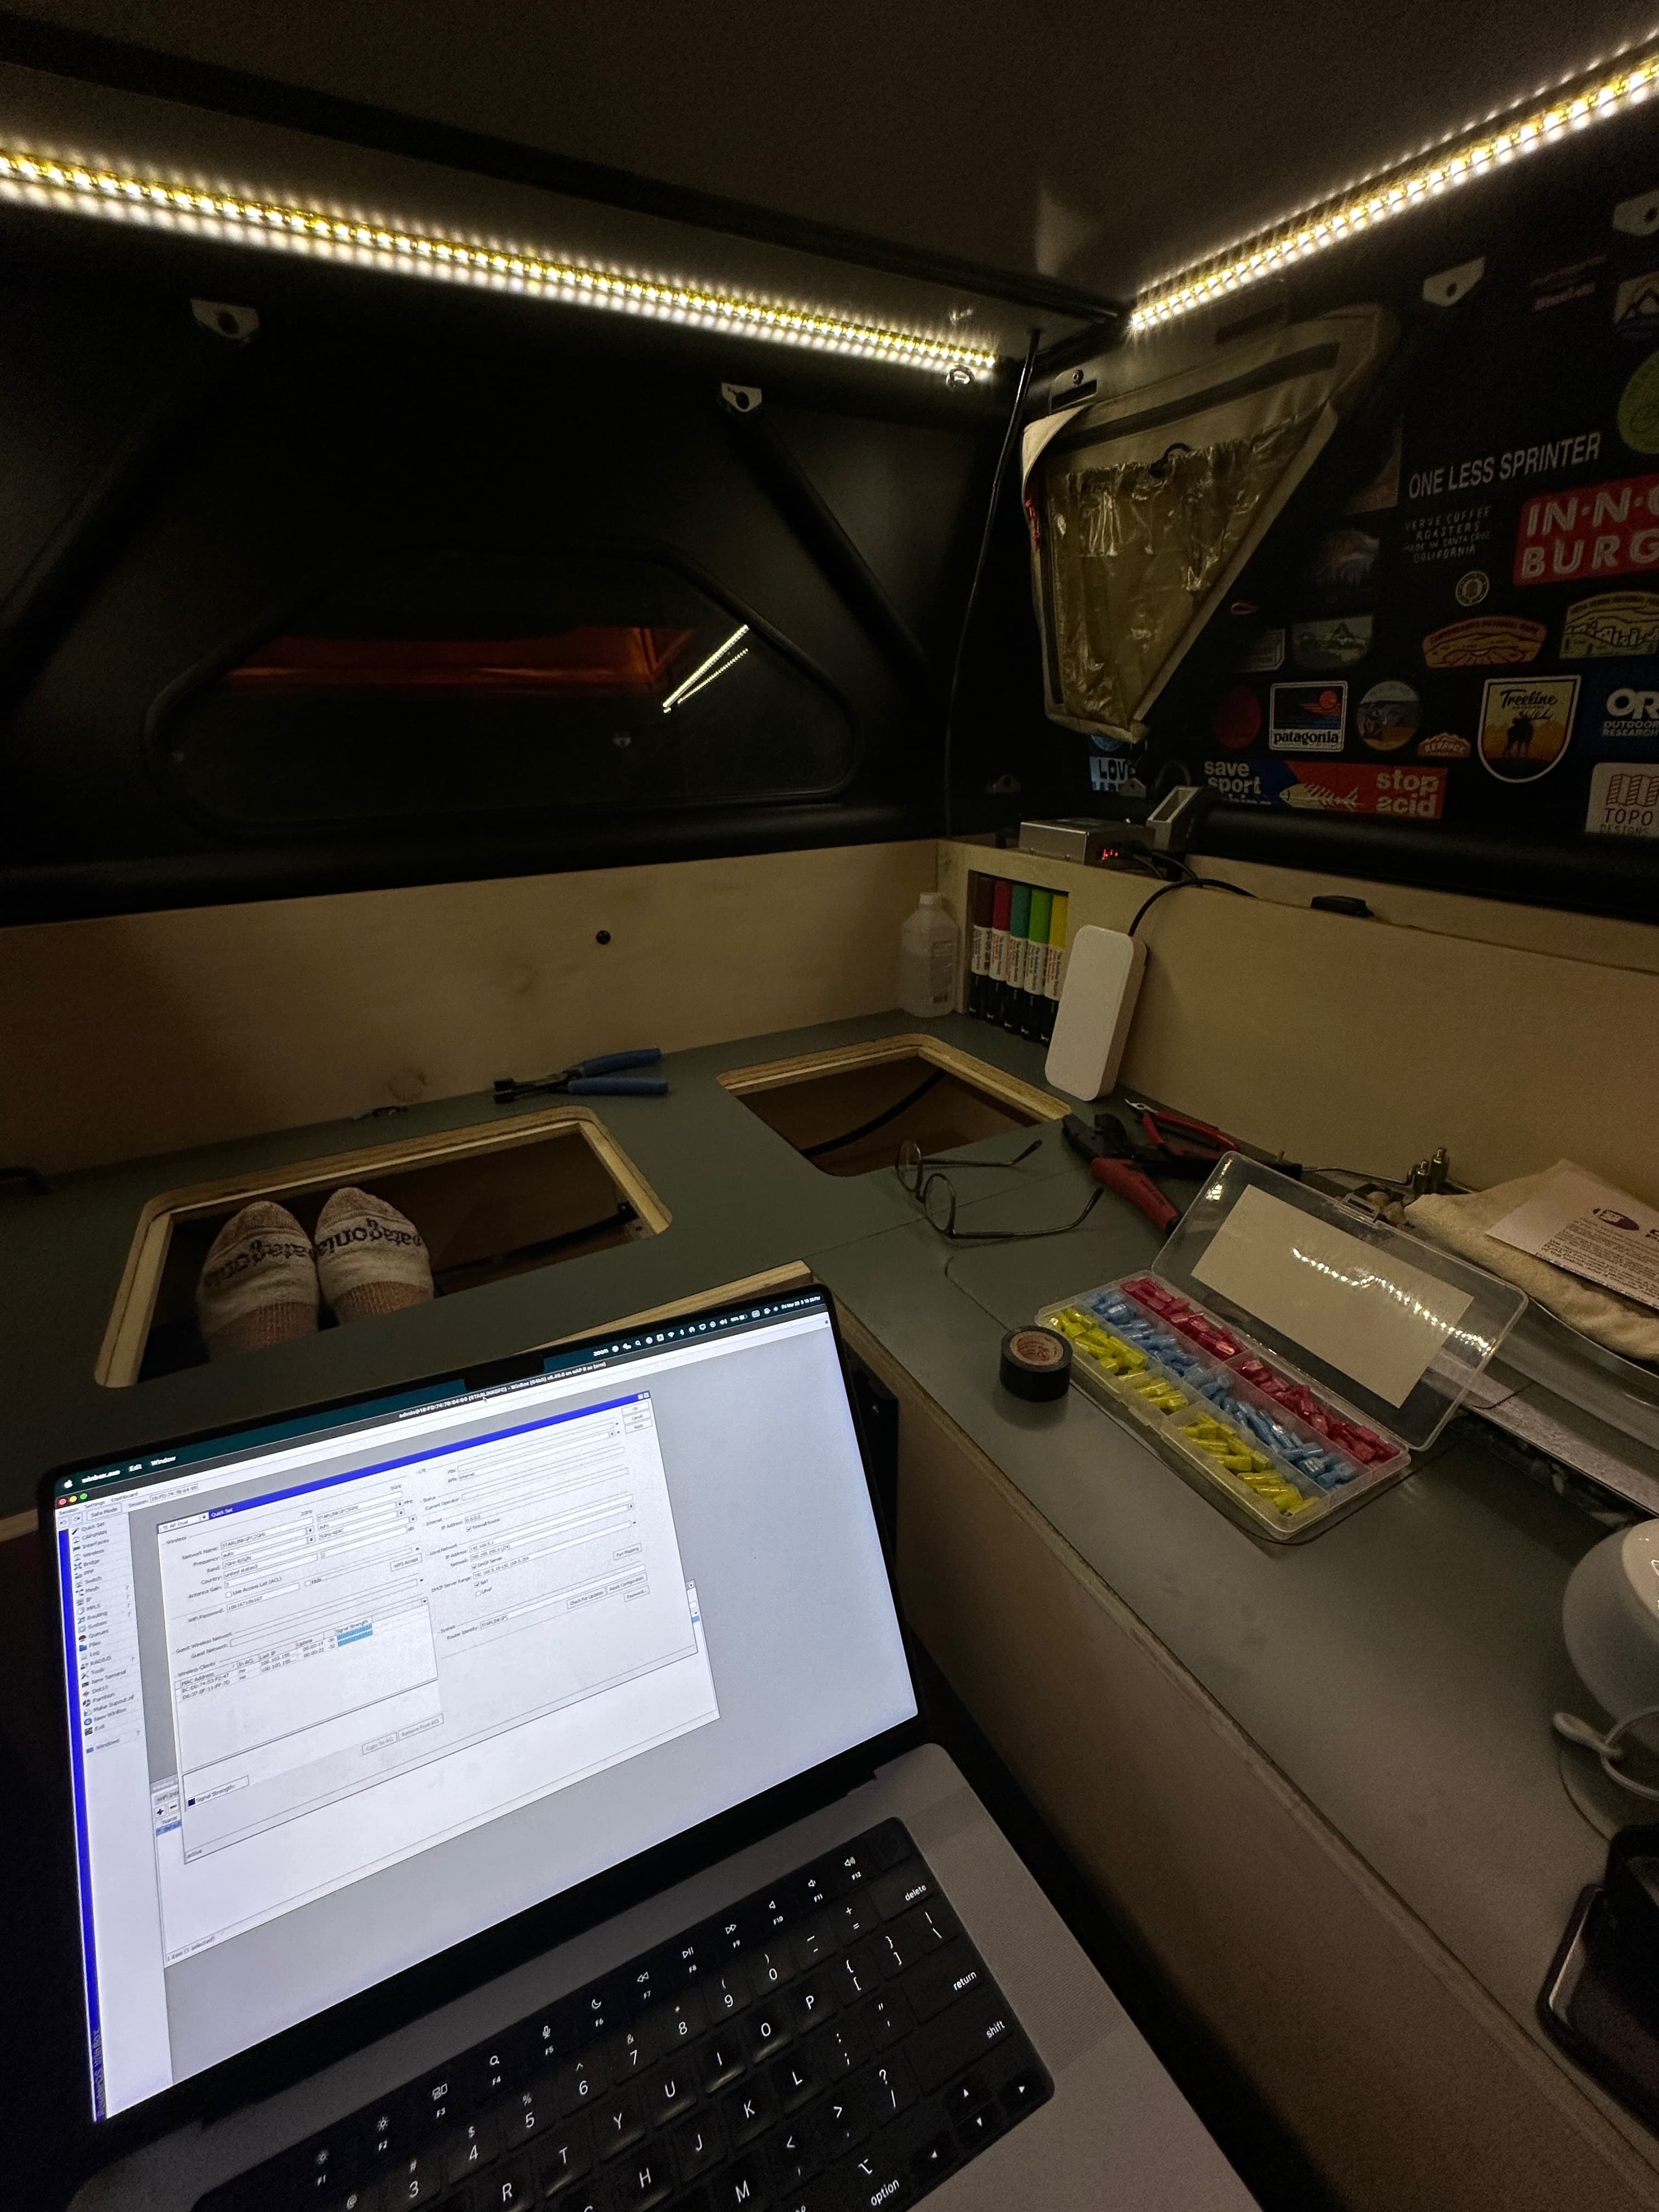
Shockingly everything just “worked” when I flipped the blue sea switch (wired to my electrical cubby via the ARB socket I was previously using to power my fridge). This whole endeavor and project deserves a post of it’s own that I’ll go deeper into in a few weeks as it included upgrades to the house battery and solar on roof. I still want to cut my Starlink cable down to remove some of its length, crimp on a standard RJ45, and remove the YAOSHENG converter. (I just ran out of time before hitting the road, I may attempt to tackle this from camp one day.)

That just about wraps the big updates on the bed layout. No complaints or issues yet after spending two weeks in it. Has been such a level up in comfort when hiding out downstairs during downpours and mosquito swarms in the gulf here in Texas.


Coming next: I’ll share updates on the upgraded electrical system, our upstairs/sleeping setup, a few new exterior accessories, and provide a deeper dive into the starlink solution.
I’ll also take some to list out everything that we removed and/or sold to ensure this thread remains up-to-date and accurate.