Who has some side or rear scene lights mounted on their GFC? Show us what you got!
I think some side lighting is a nice thing to have in certain situations while driving, but this would mostly be used for setting up/breaking down camp.
I’m leaning towards the Rigid at least for the sides, it looks like they would mount up nicely with some t-nuts. They would be wired up to a switch in the cab (using a relay of course), but I also want to have a secondary power wire to a 8mm plug for a power station in the bed. Maybe even a dimmer switch. I don’t know if we’ll have enough time (or if that’s even a good idea, I’m no Thomas Edison).
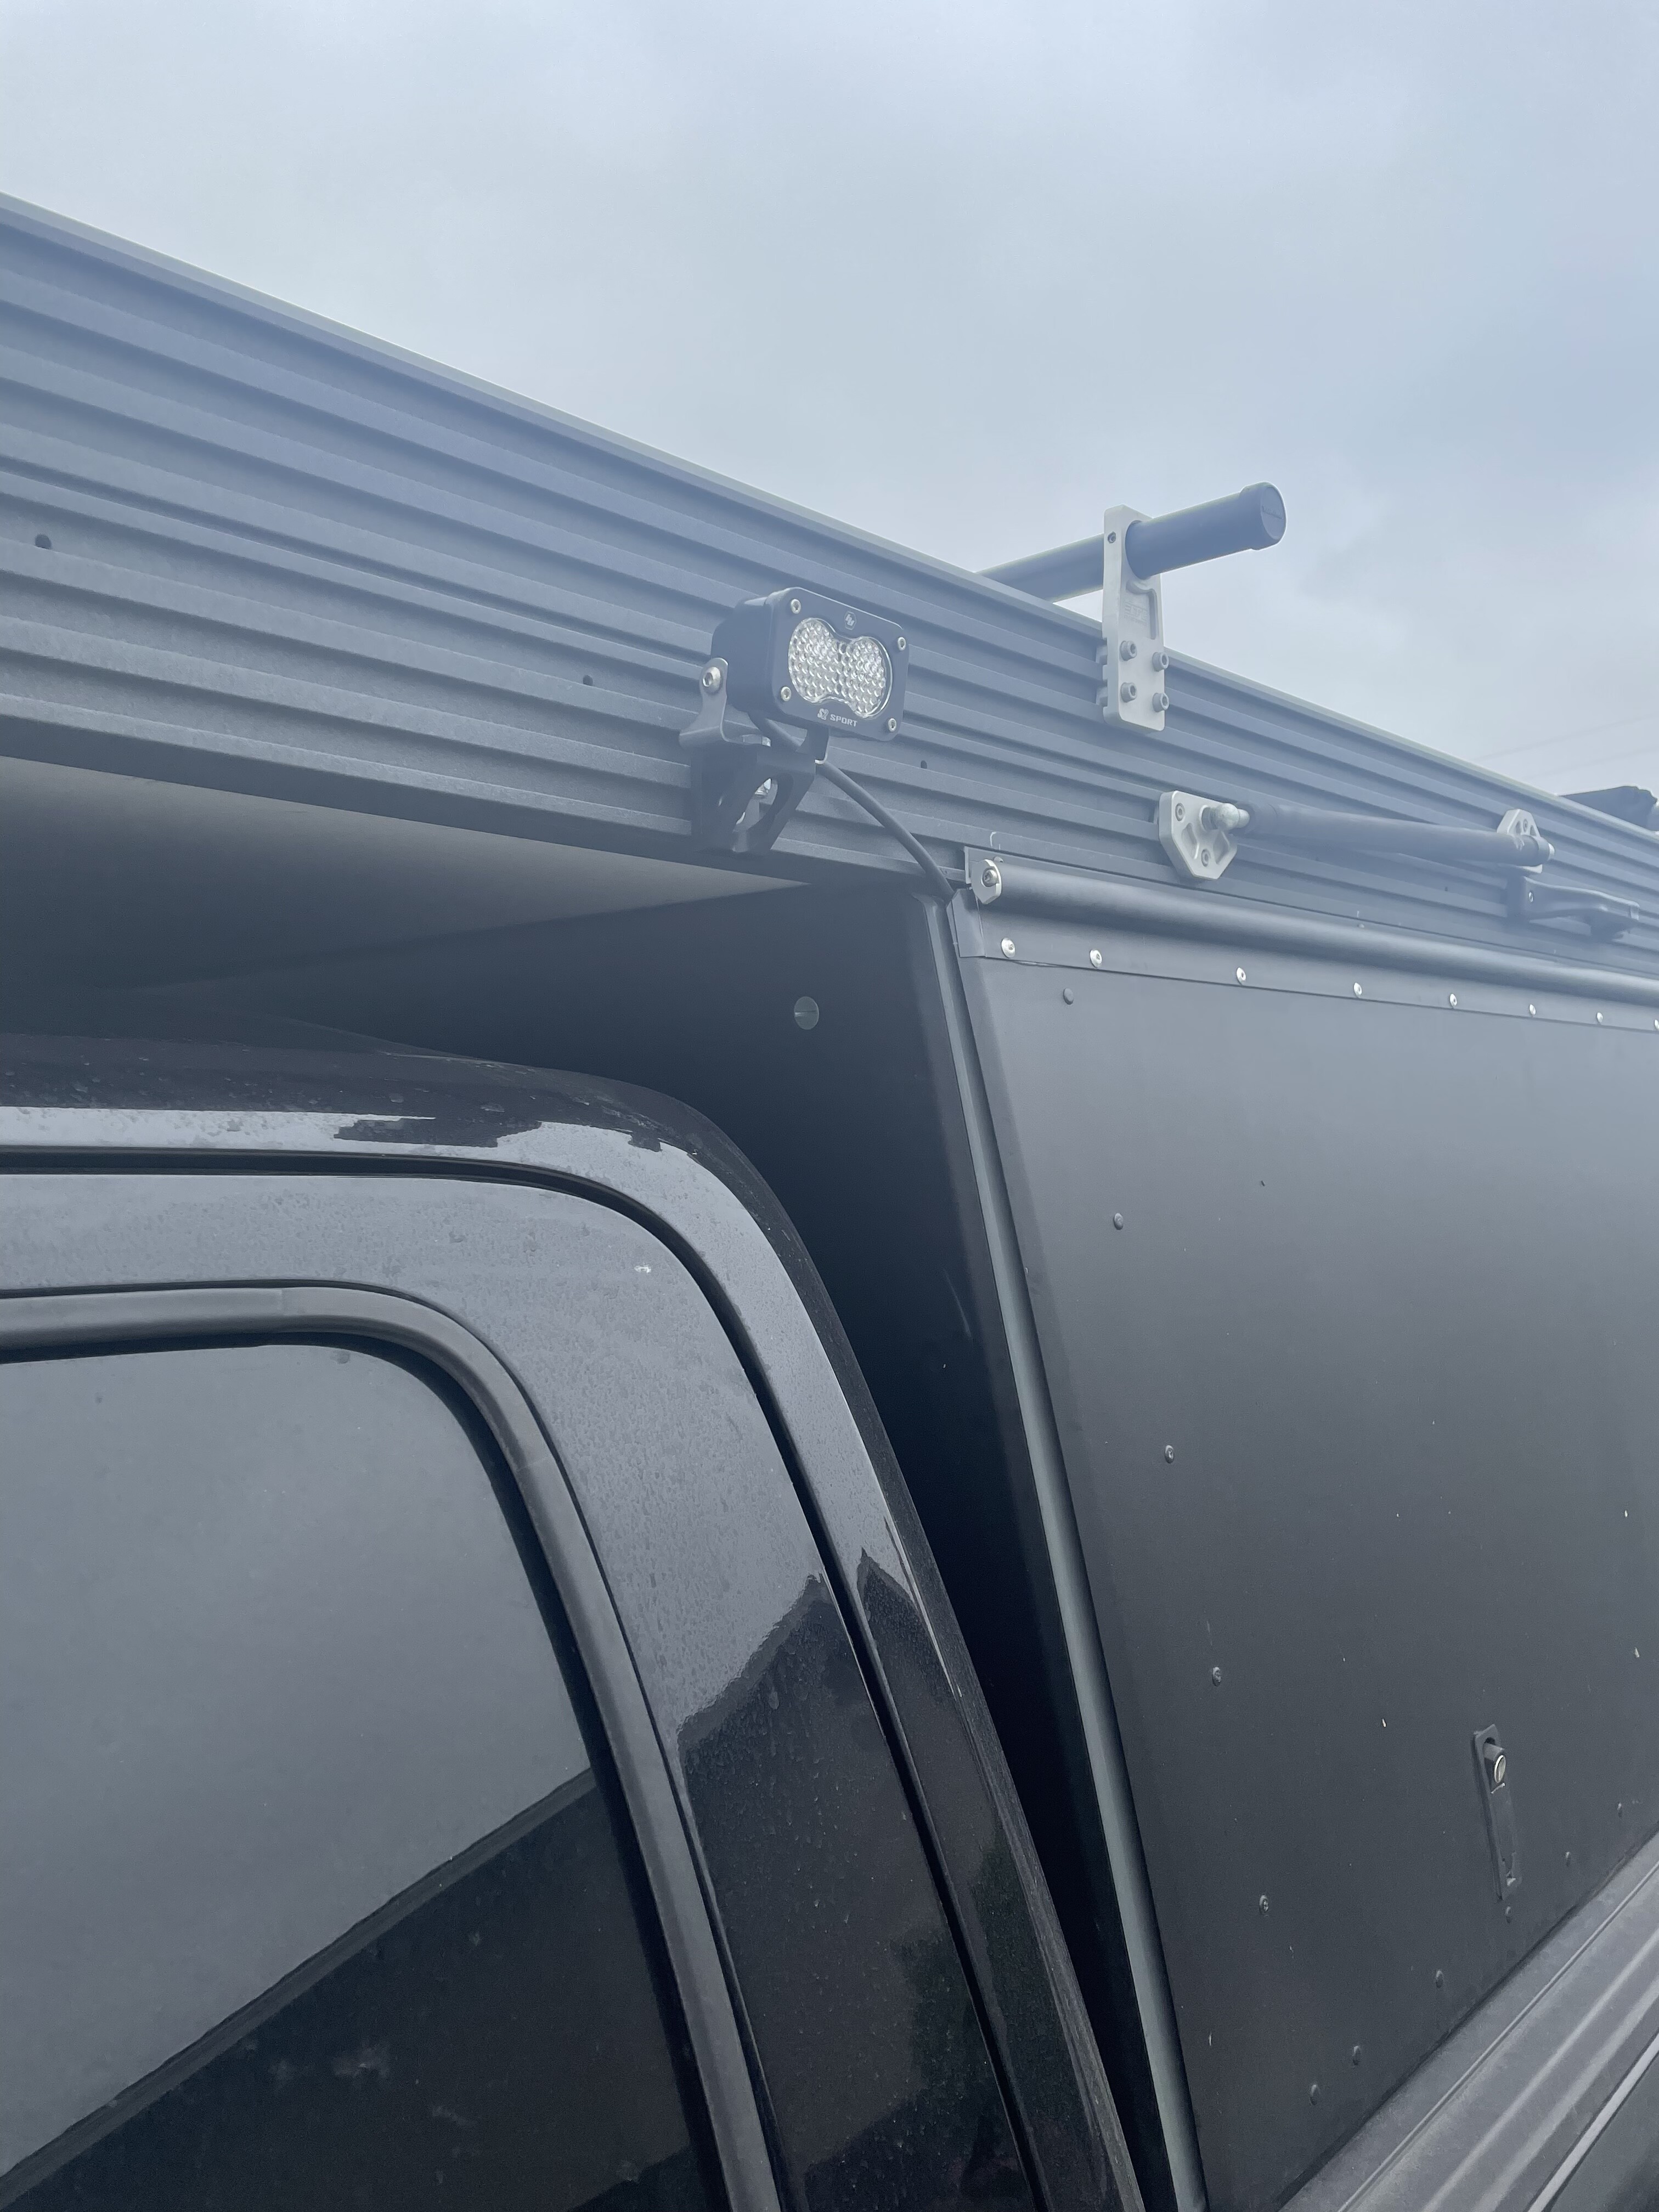
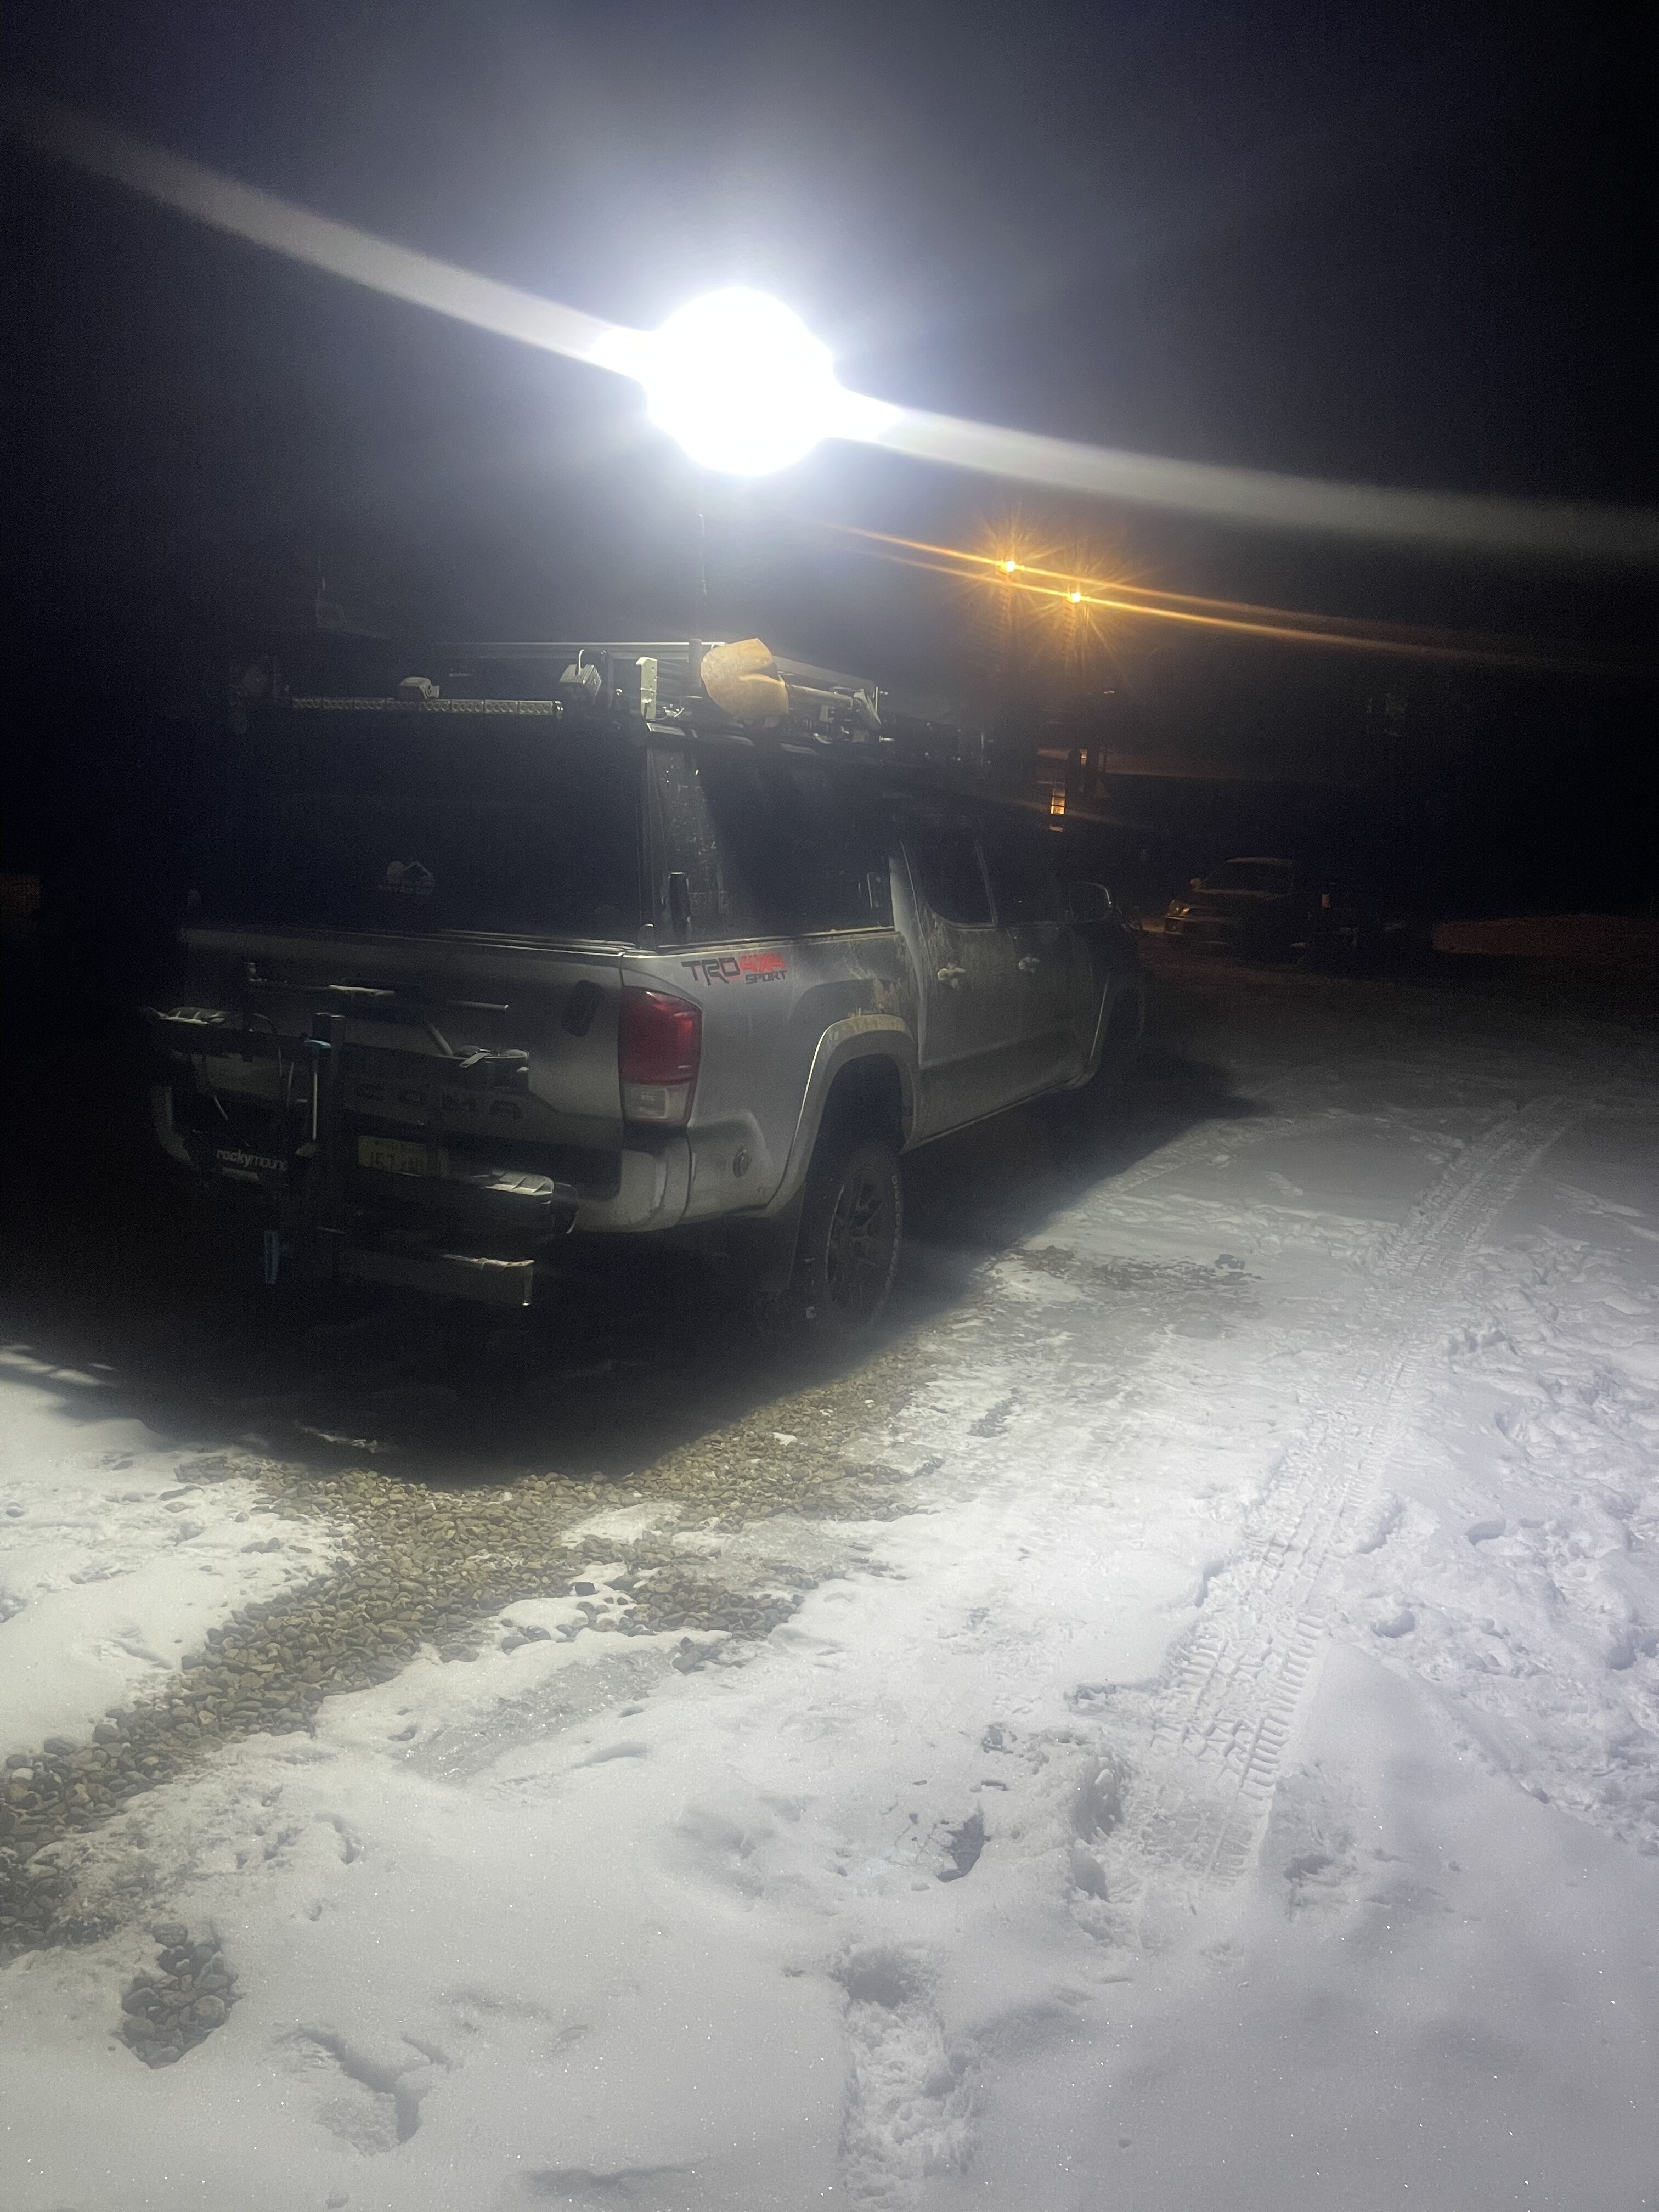
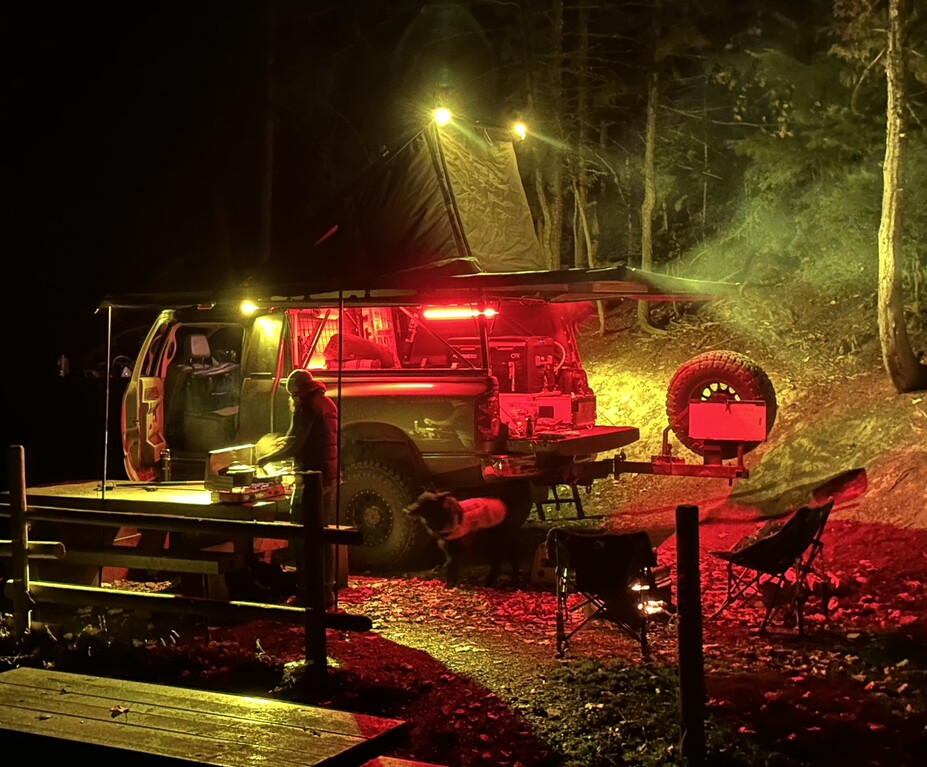
I attached an S2 pro at each rear corner of the GFC. I mounted them to a beef rack so that they would rise up when the tent is up, this giving me a wider range of coverage. The angle is easily adjustable so I can point then in the direction I want before popping the tent. They’ve been awesome and even put out enough light for late nights climbs near camp.
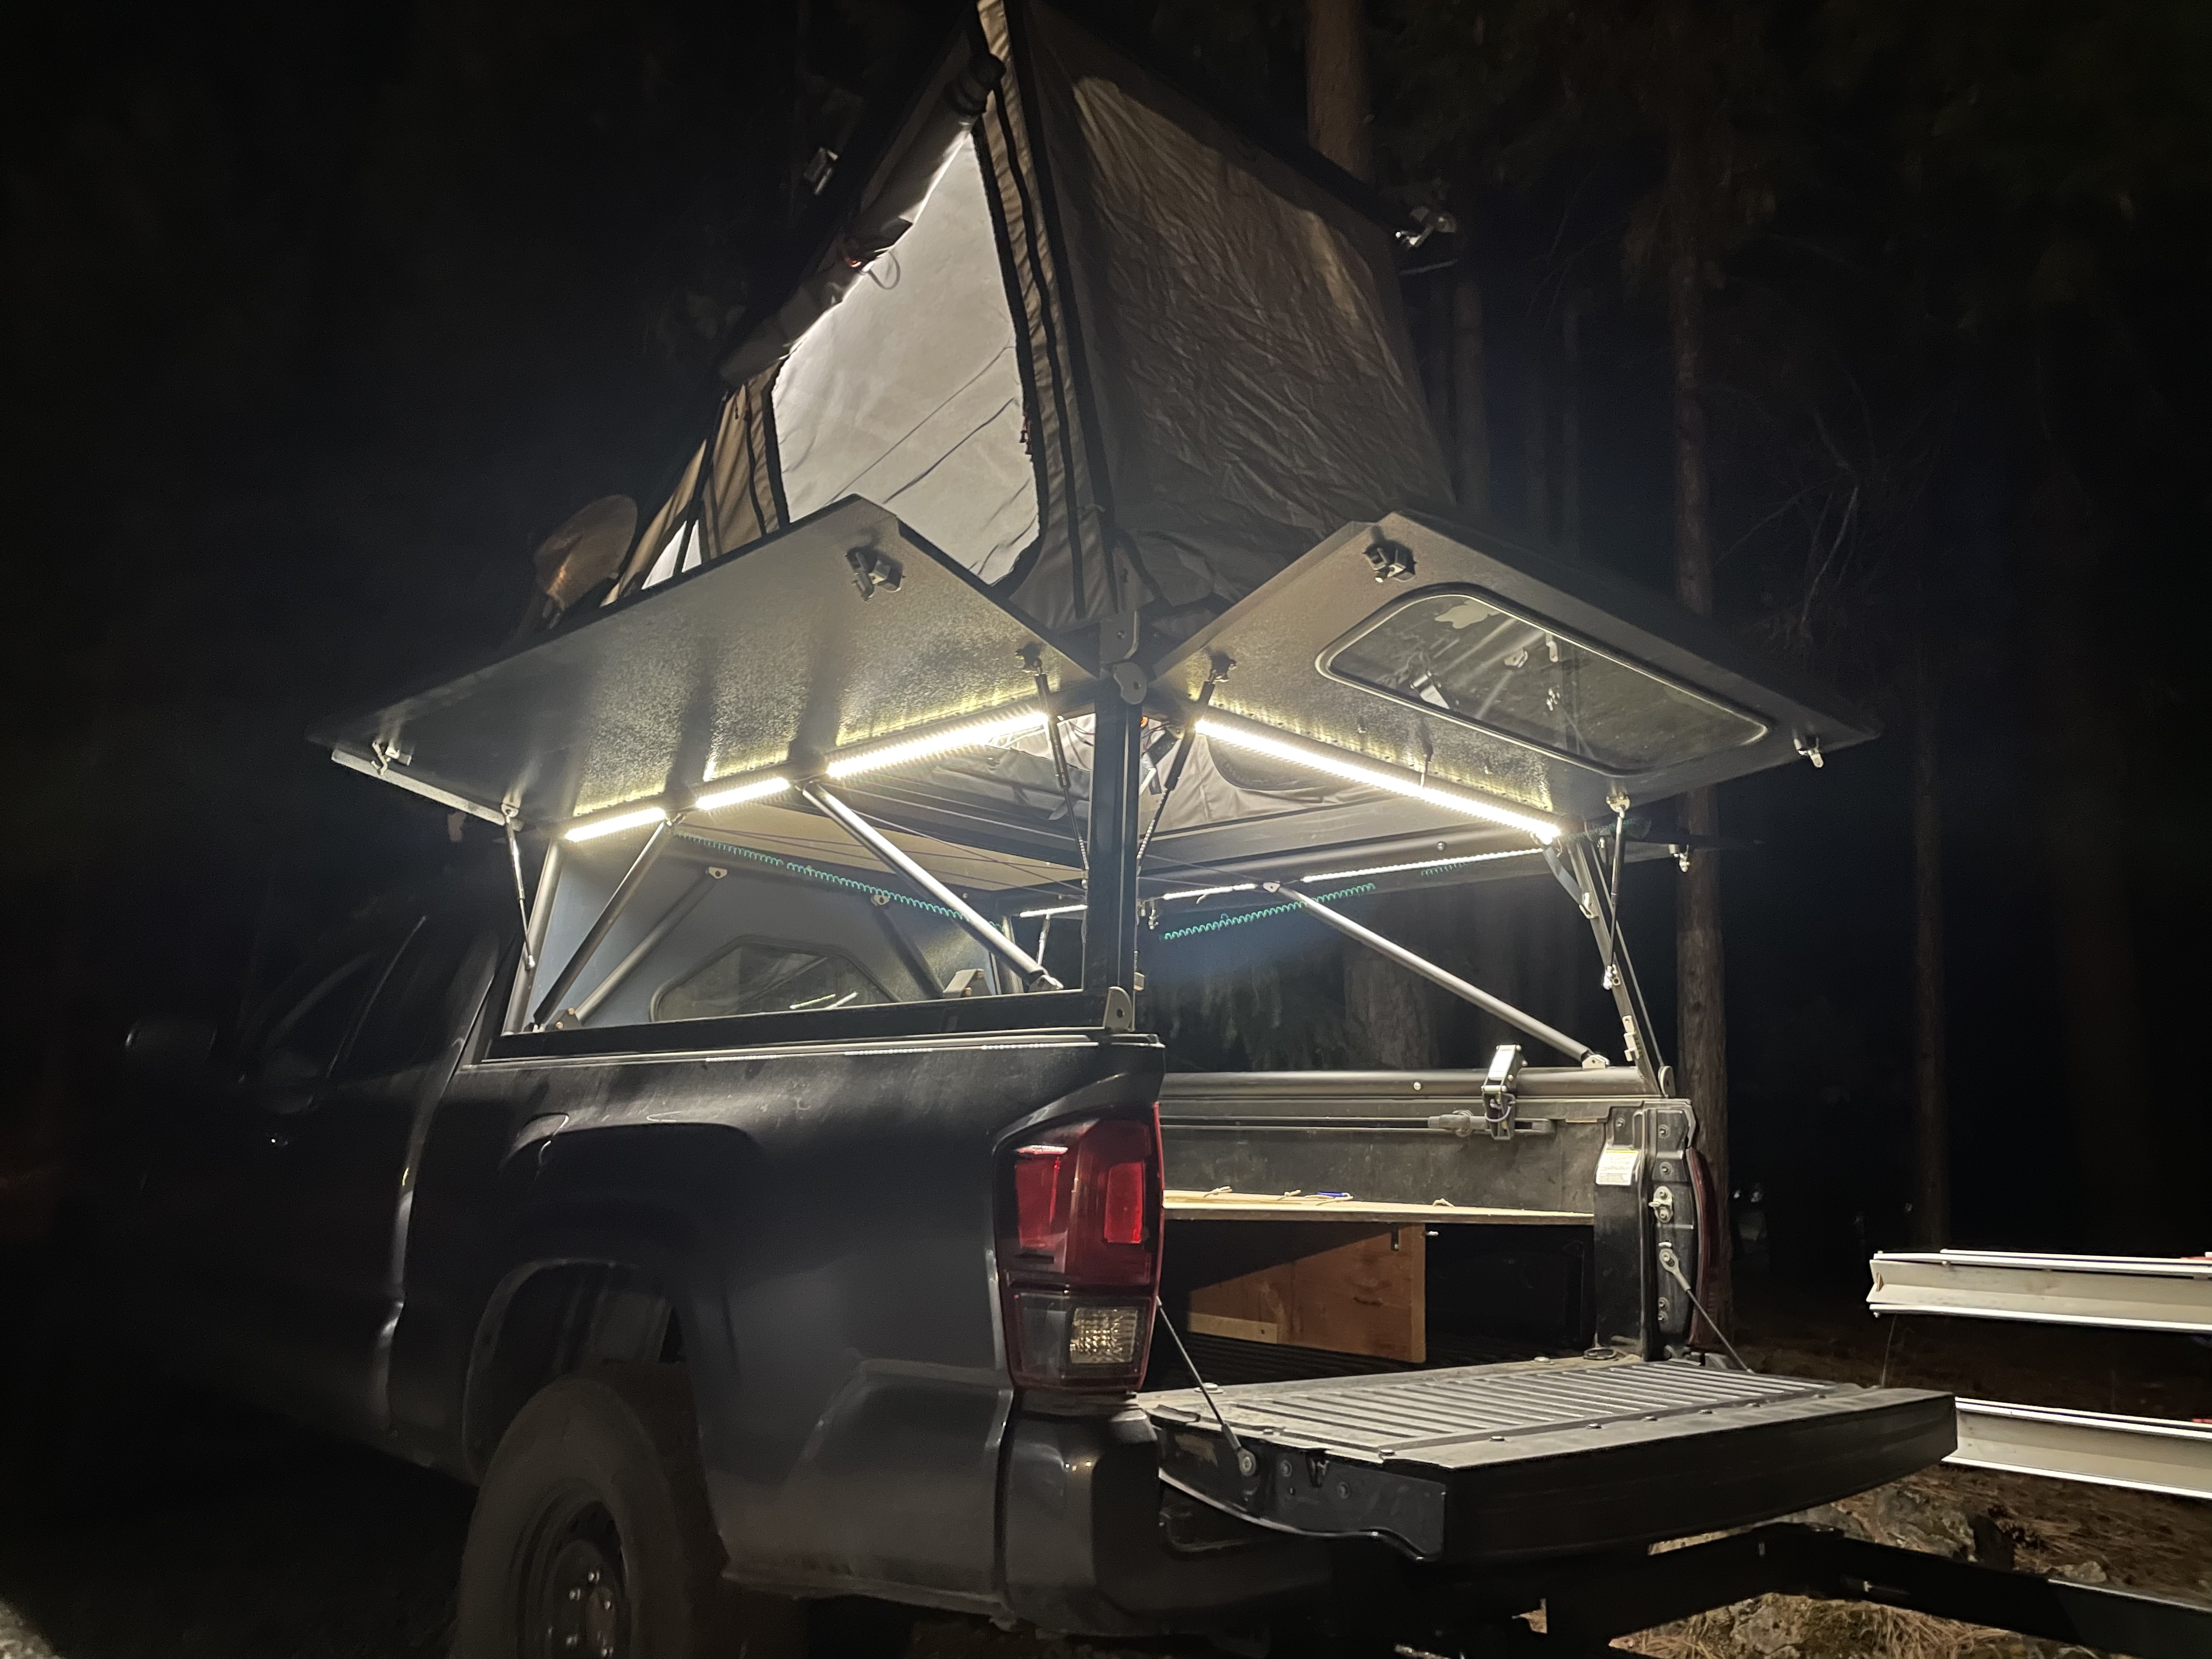
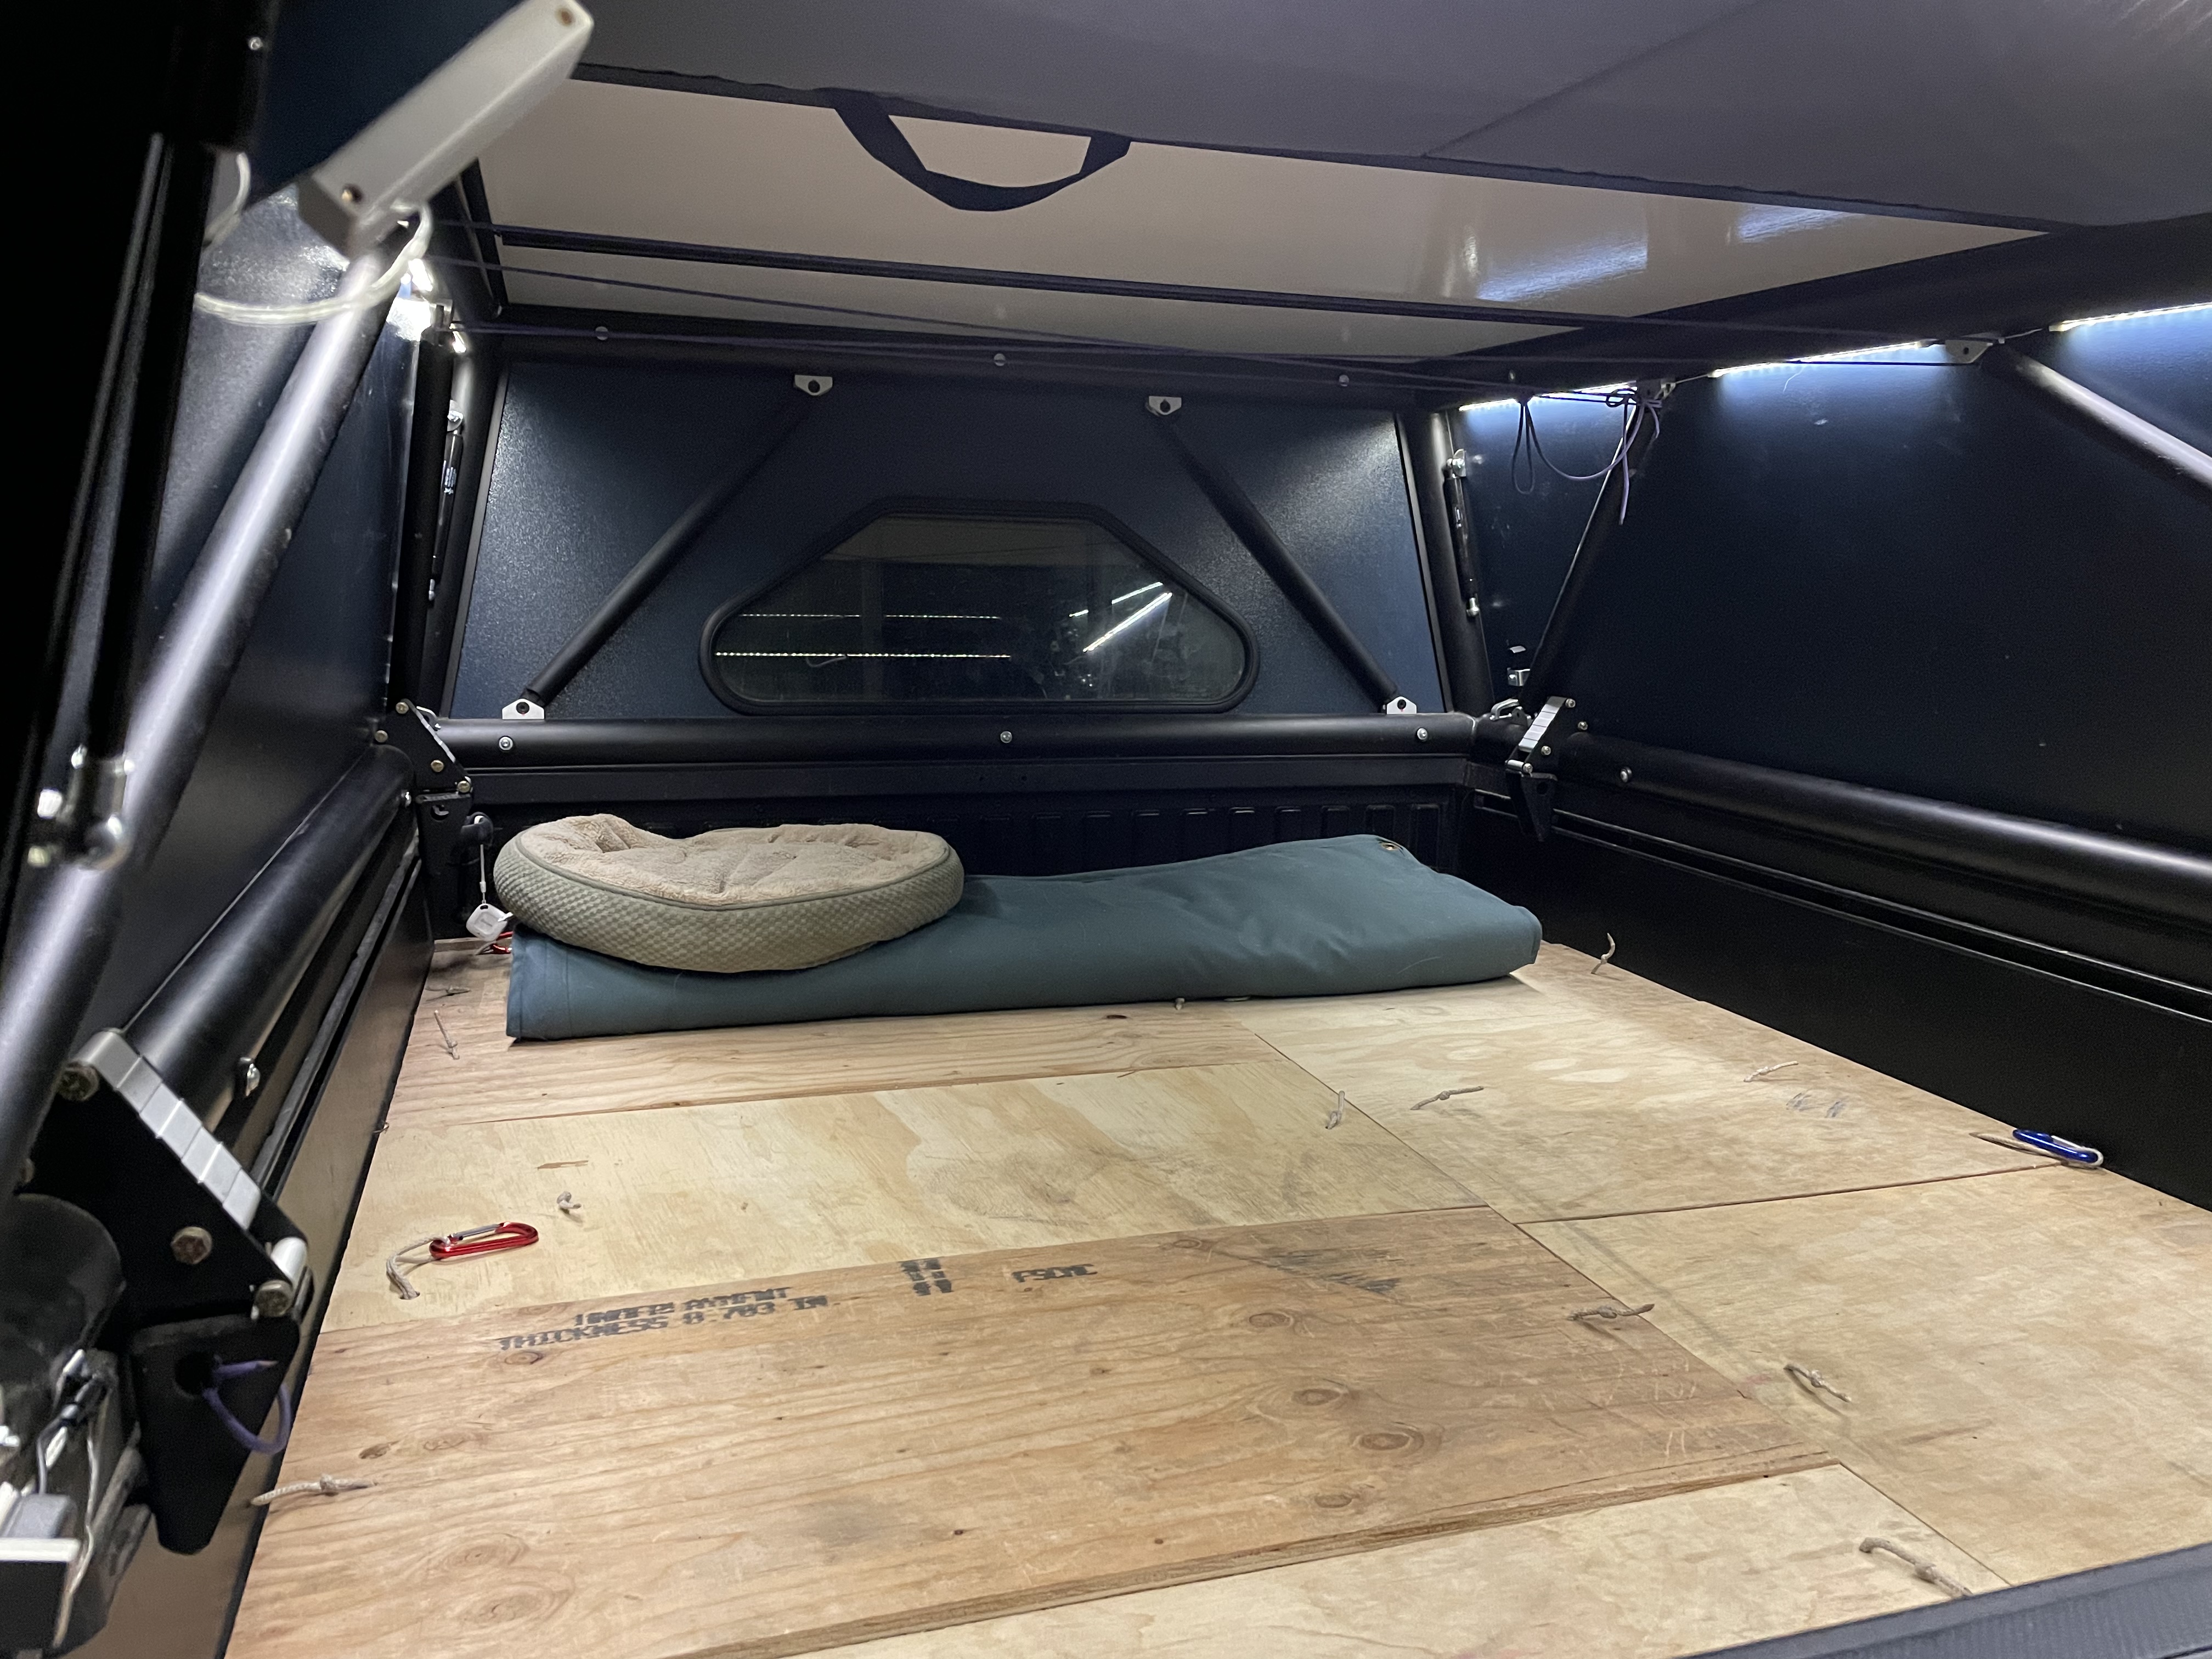
I DIYd a LED kit under all of my panels. Regular Led strips in aluminum housings and under diffusers to look nice. Wired to aux battery in the bed. Full RGB so we can have plenty of soft light around camp and in the shell. There are a couple companies that make pre made kits for the GFC.
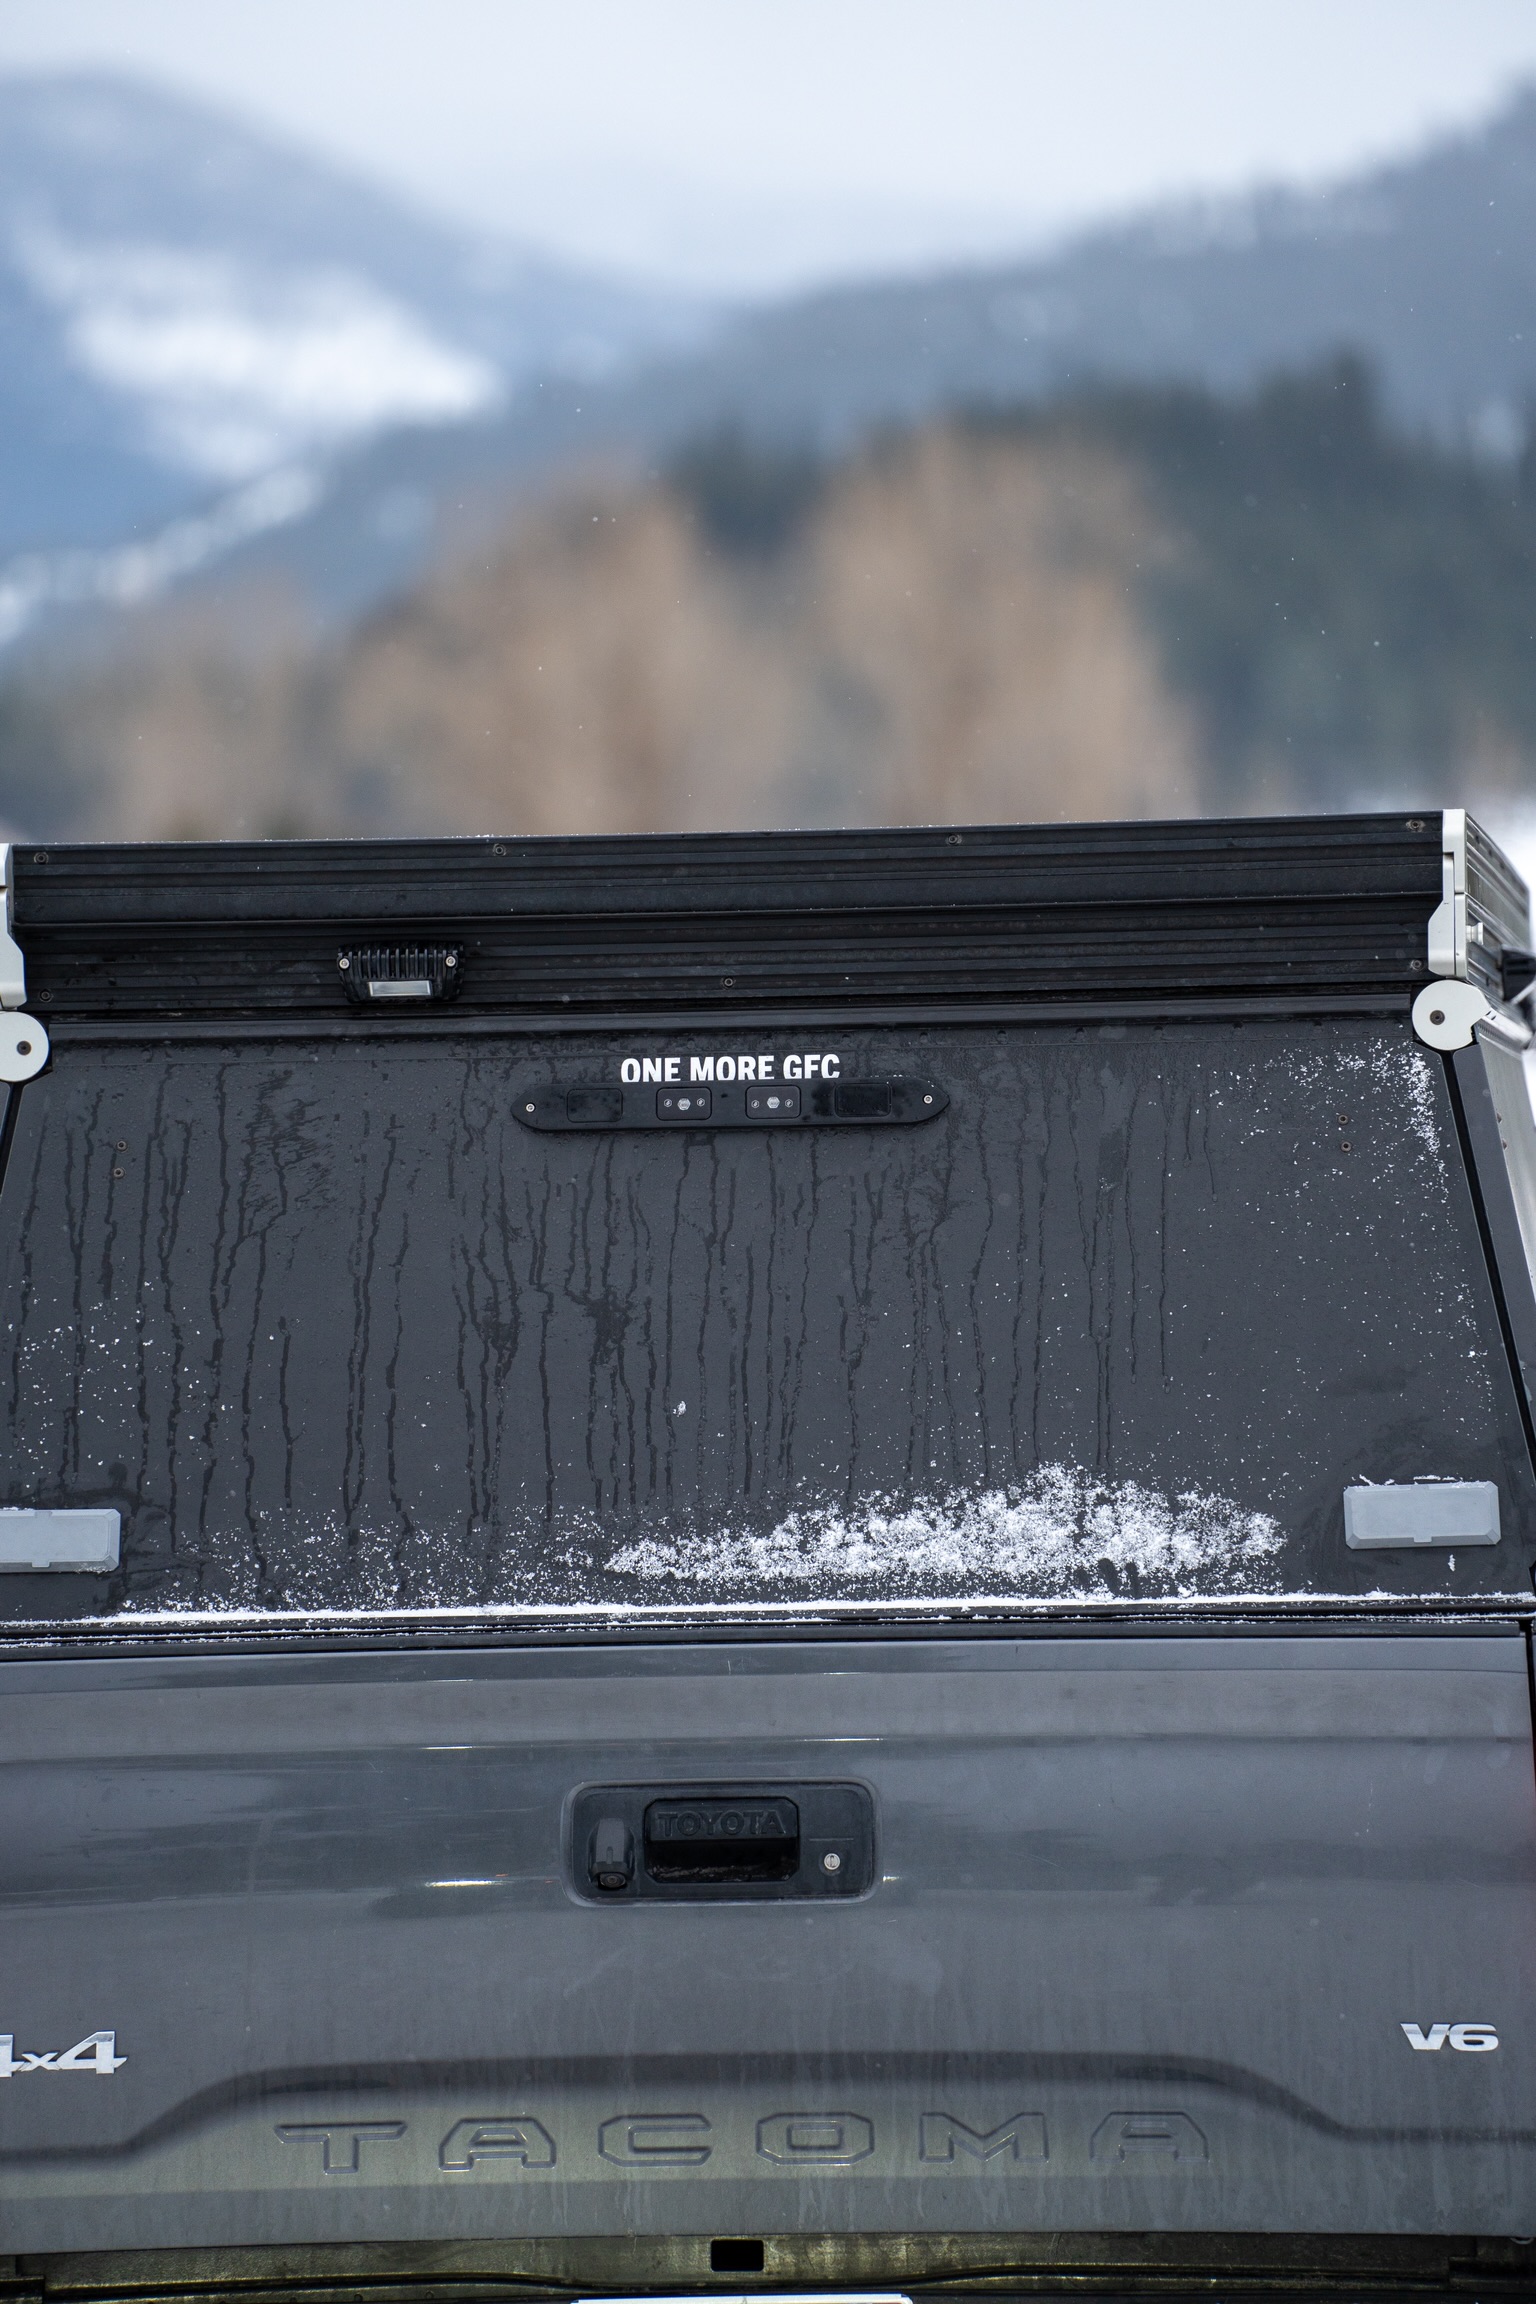
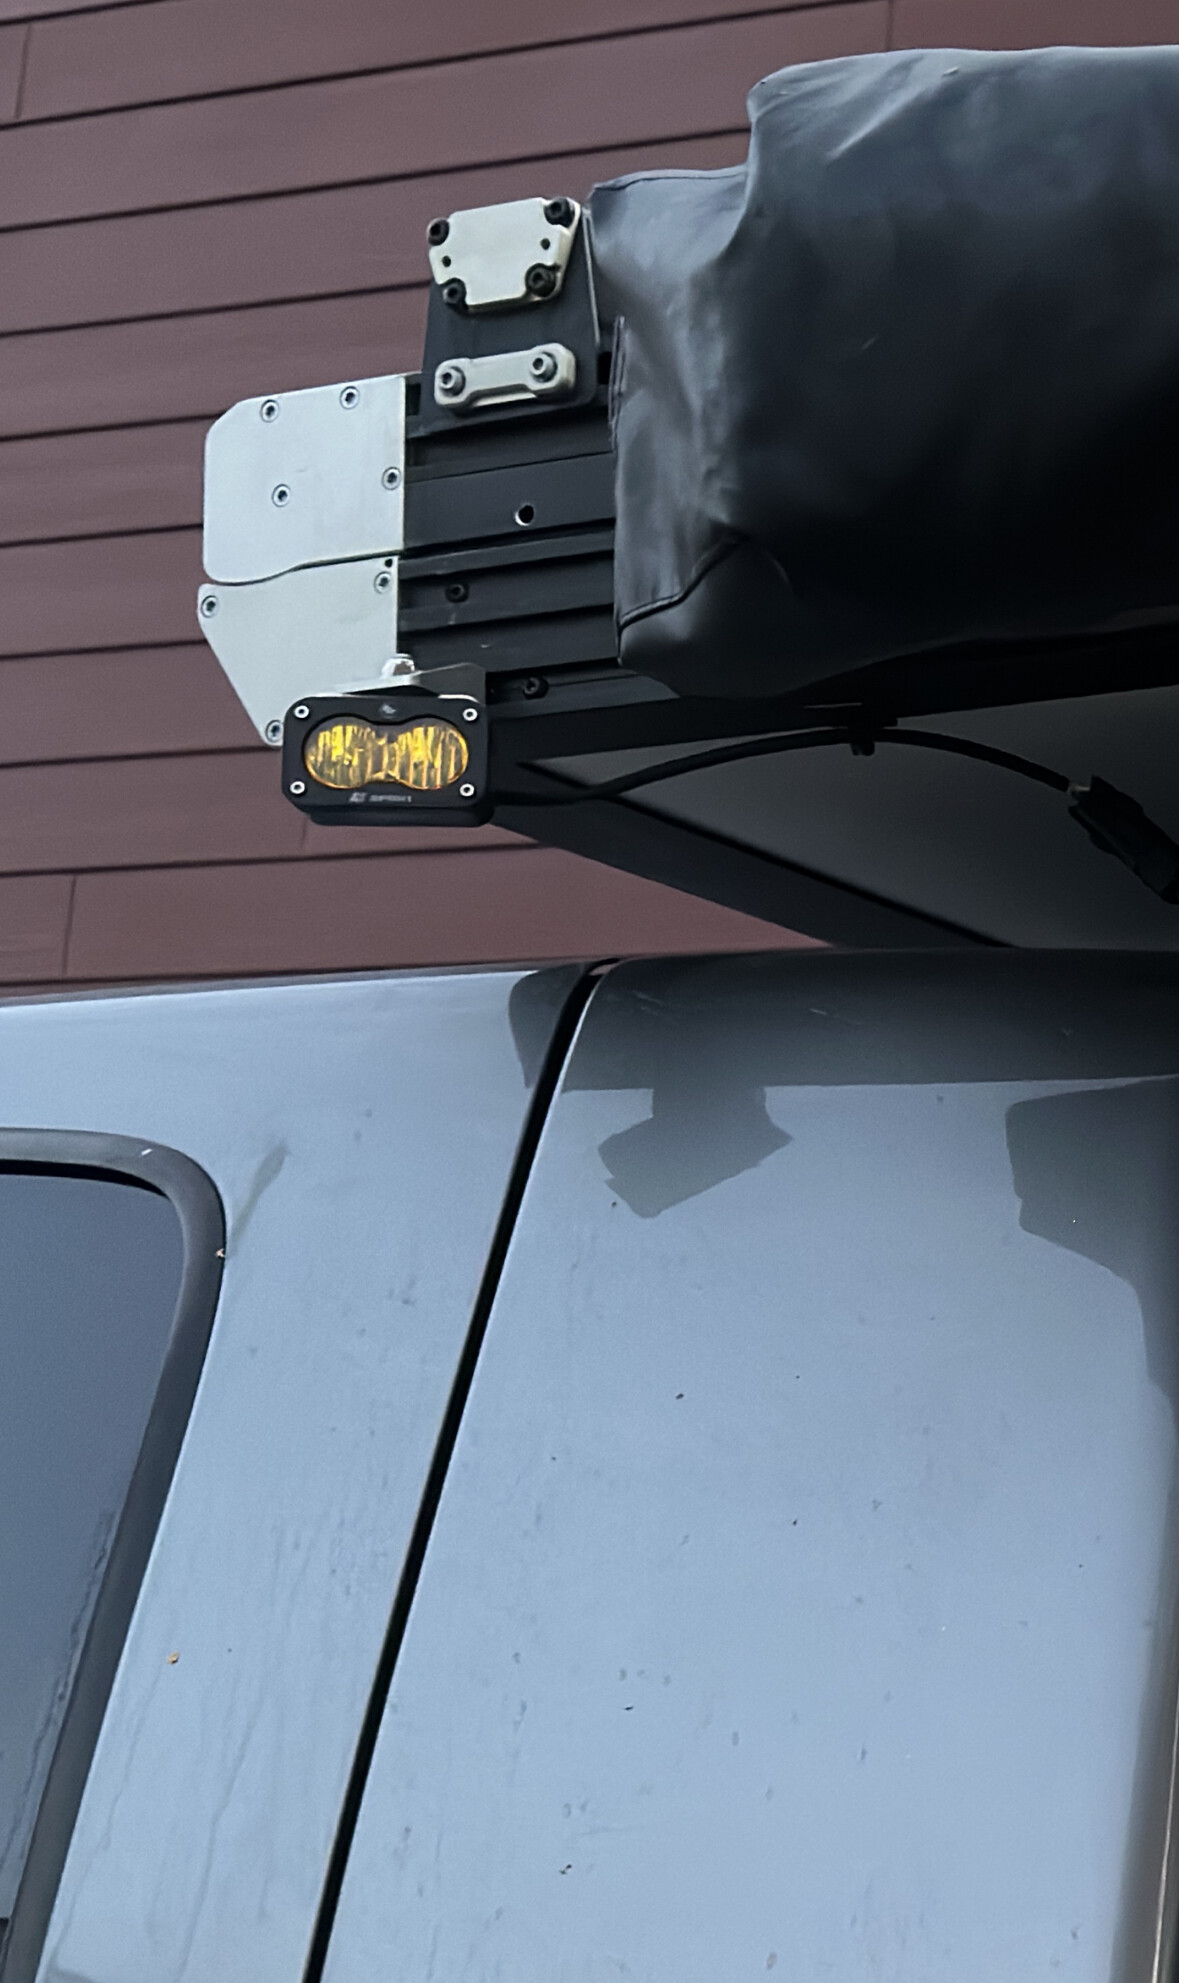
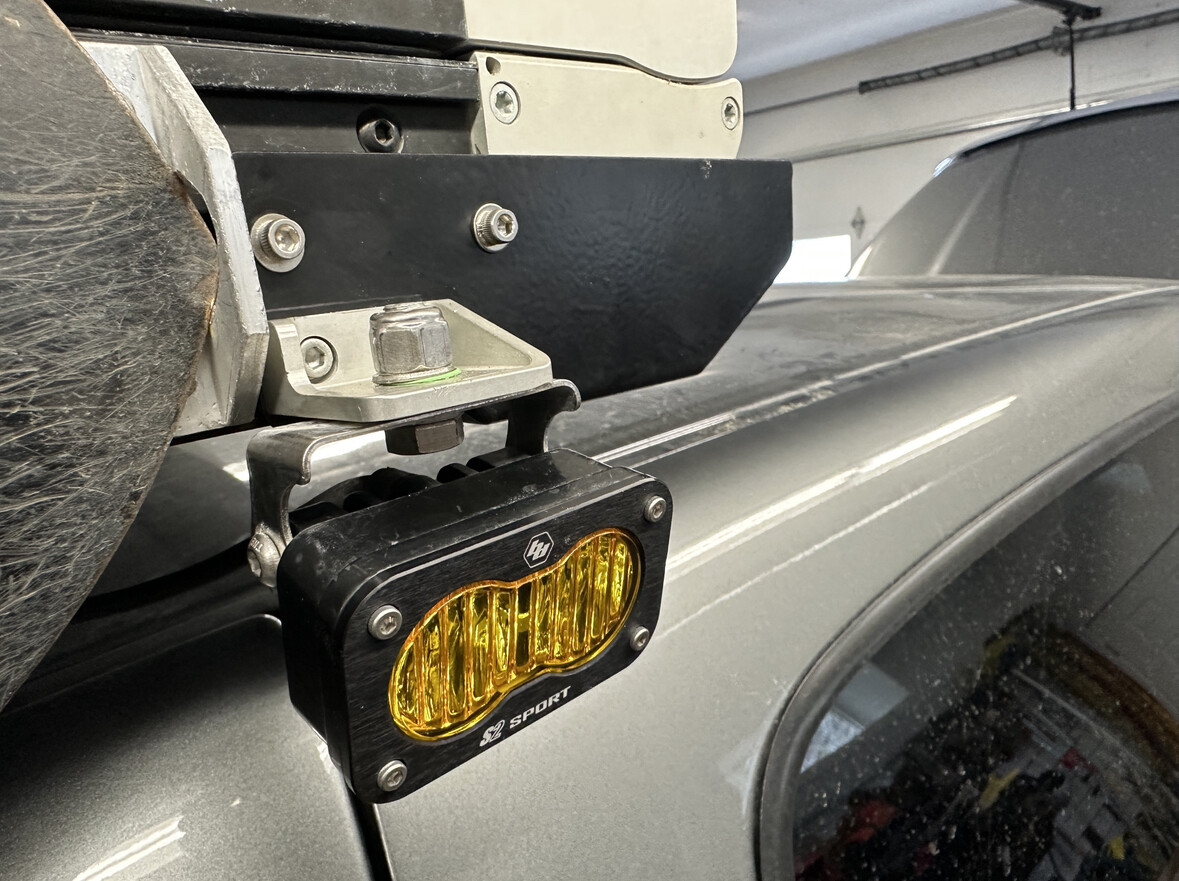
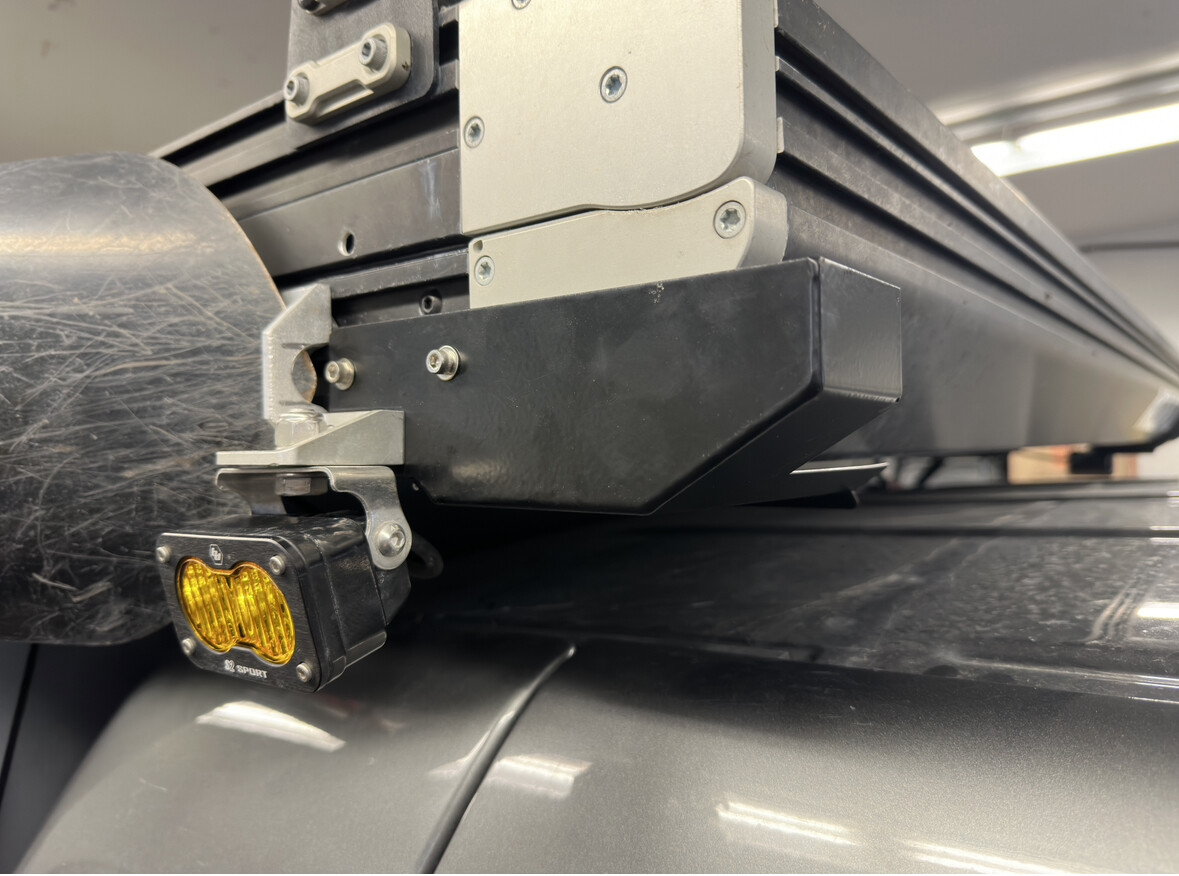
I went with s2 sports on either side. Wire harness just goes through the corner of the panel. Brackets are from Shittco. Currently wired to a switch in the cab.
I’m happy with the setup so far, although haven’t tackled the wiring for a secondary power source. Goal is to have them on a cab switch for driving, and also a dimmer switch wired to a power source in the bed for camp lighting.
Thanks! It is more of a mash up between the Idea that Truckparts.parts had as well as Matt Gecko Lights. I like the idea of only one strip. I wanted to be able to light both the inside of the bed as well as provide area lighting. Finally I didn’t want to have anything interfere with the ability to remove my side panels. One note is this set up isn’t completely waterproof (I might go through and do a rebuild if I decide that I need full waterproofing), however I’m yet to run into any issues with it.
It was a journey to piece this together and I’ve got a few options for you to consider. Currently I am set up using these strip led lights. They are a WGRB led strip light. I use this switch as my master switch. I have one switch that controls the lower lights and a separate circuit for the tent. As a fun option I have included this bluetooth controller on the lower light circuit. The problem I have encountered with using the bluetooth controller is that there are some factory differences between rolls of the LED that results in some colors being crossed. Unless you really want colors I would go with a similar 12v strip that is just white and only use a toggle switch. I have a dimmer switch on order that I am going to test for up in the tent and I will keep you posted when that gets here.
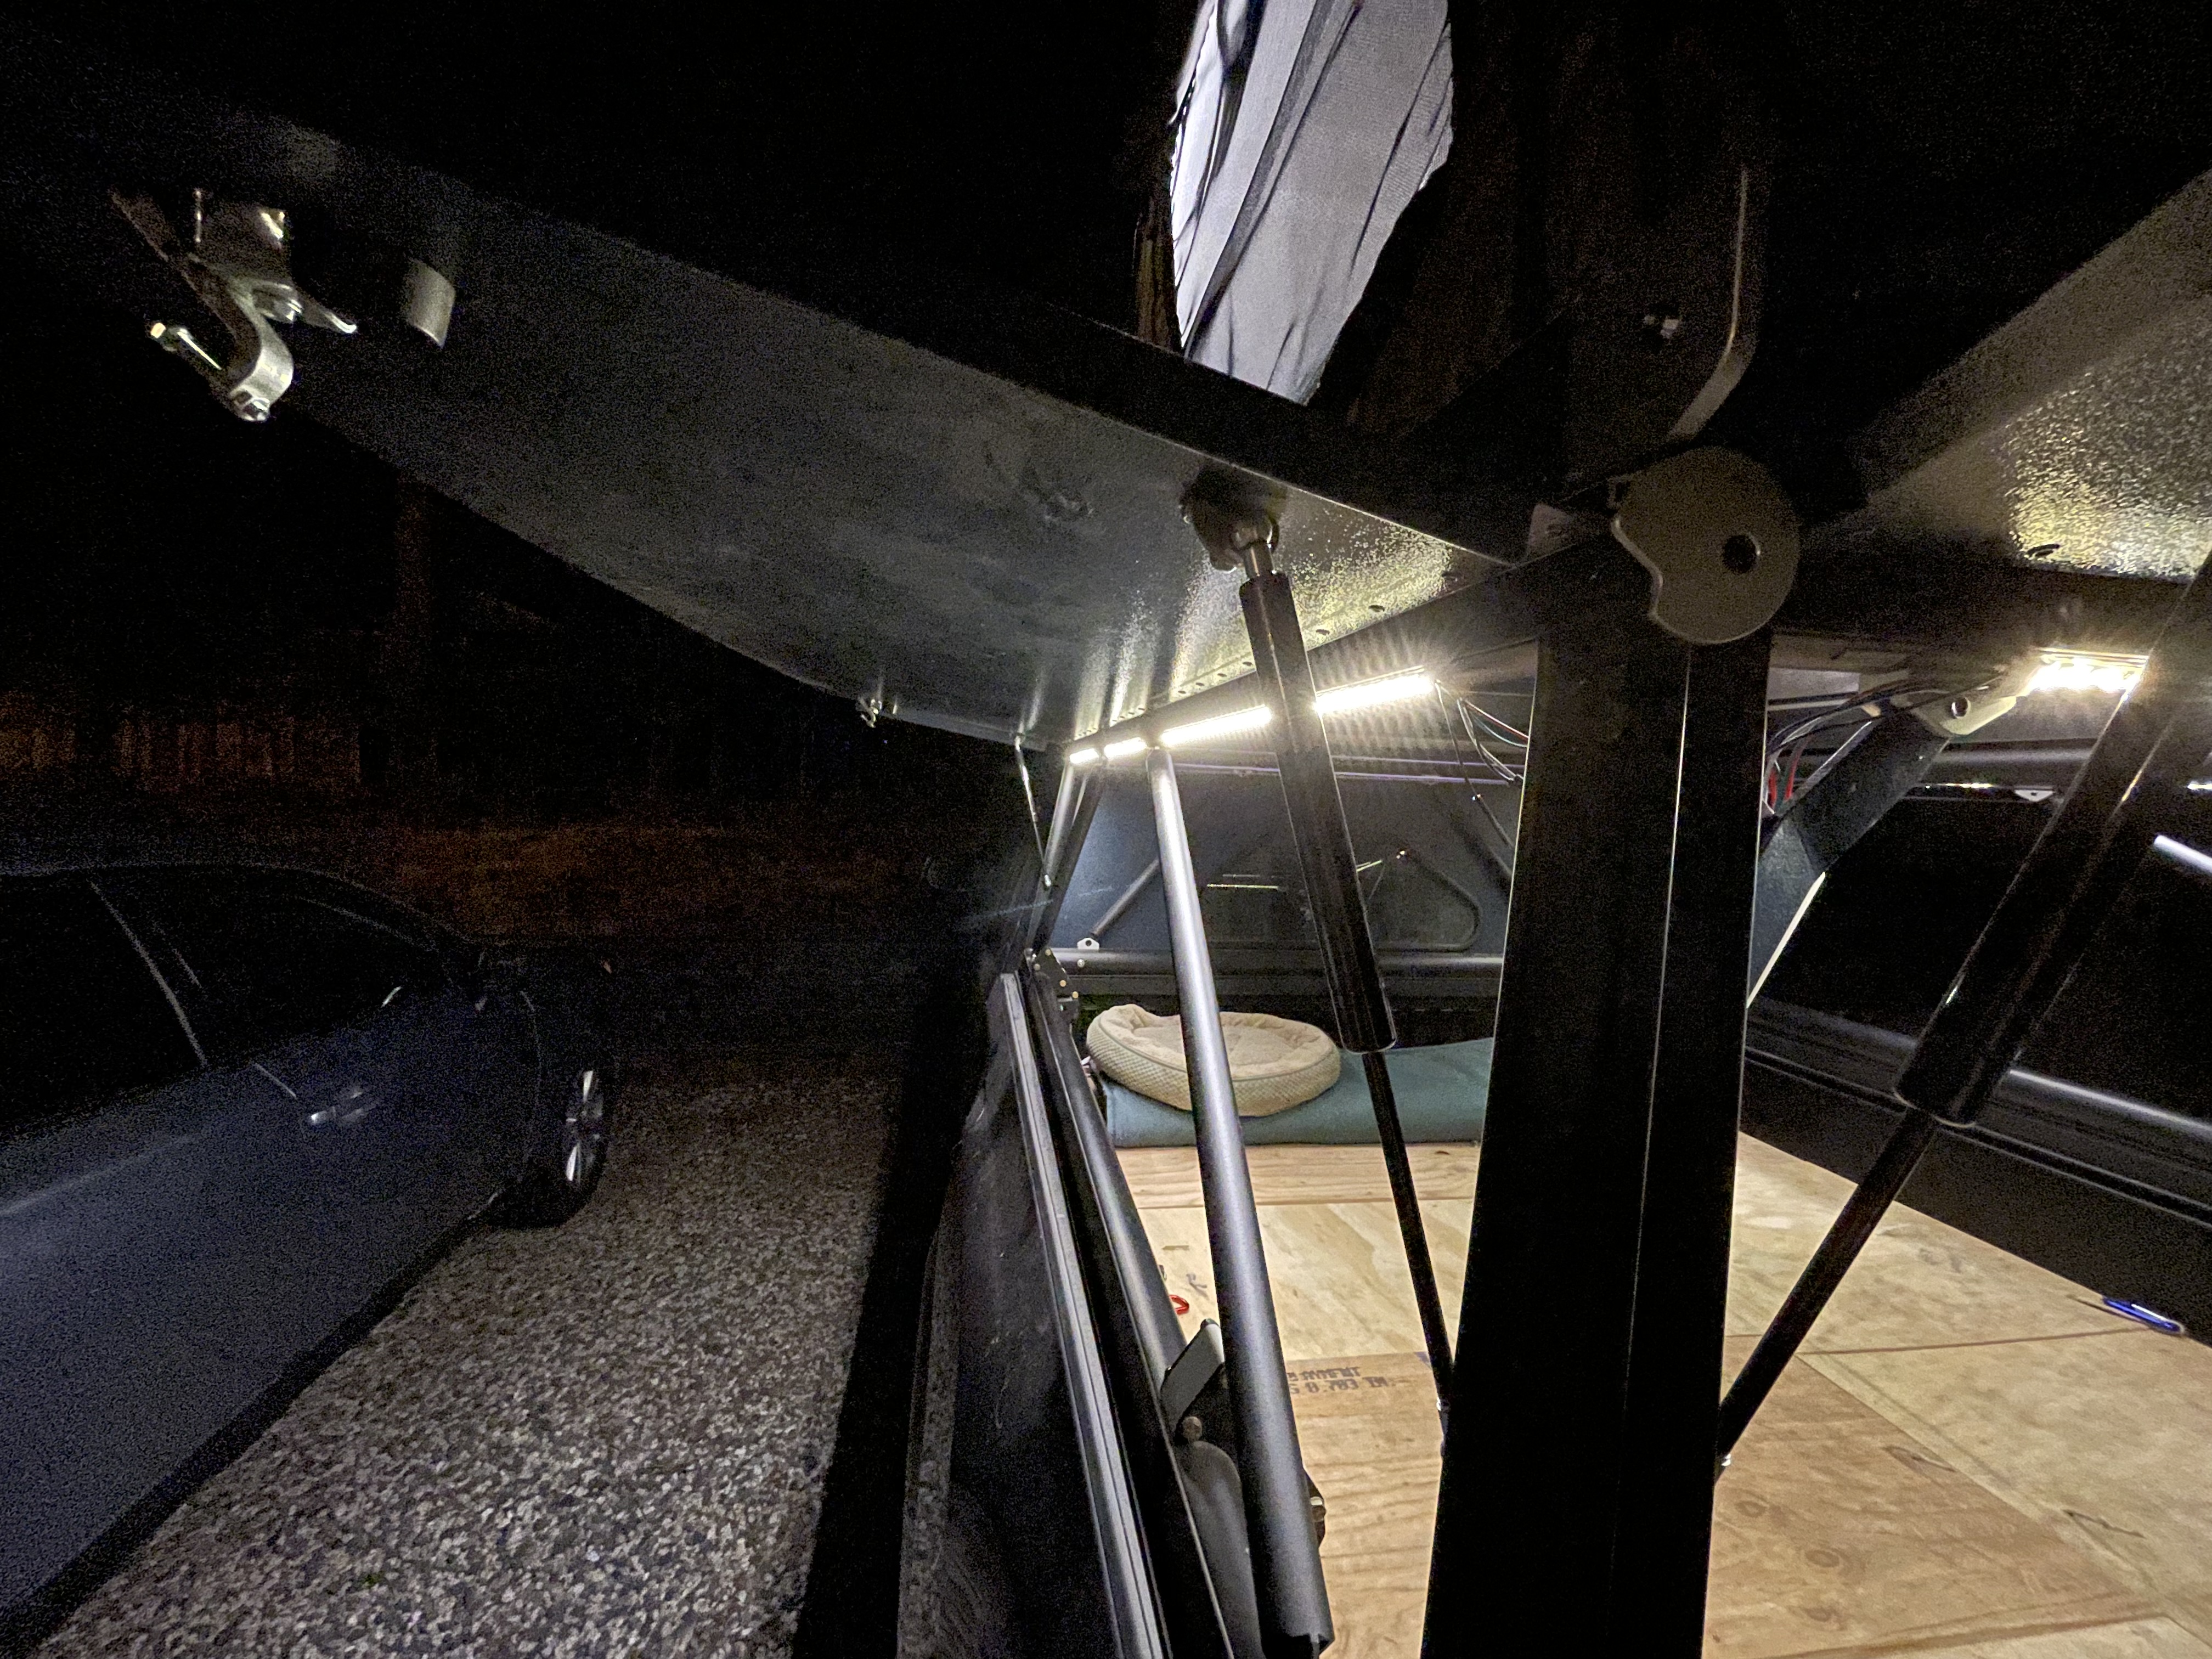
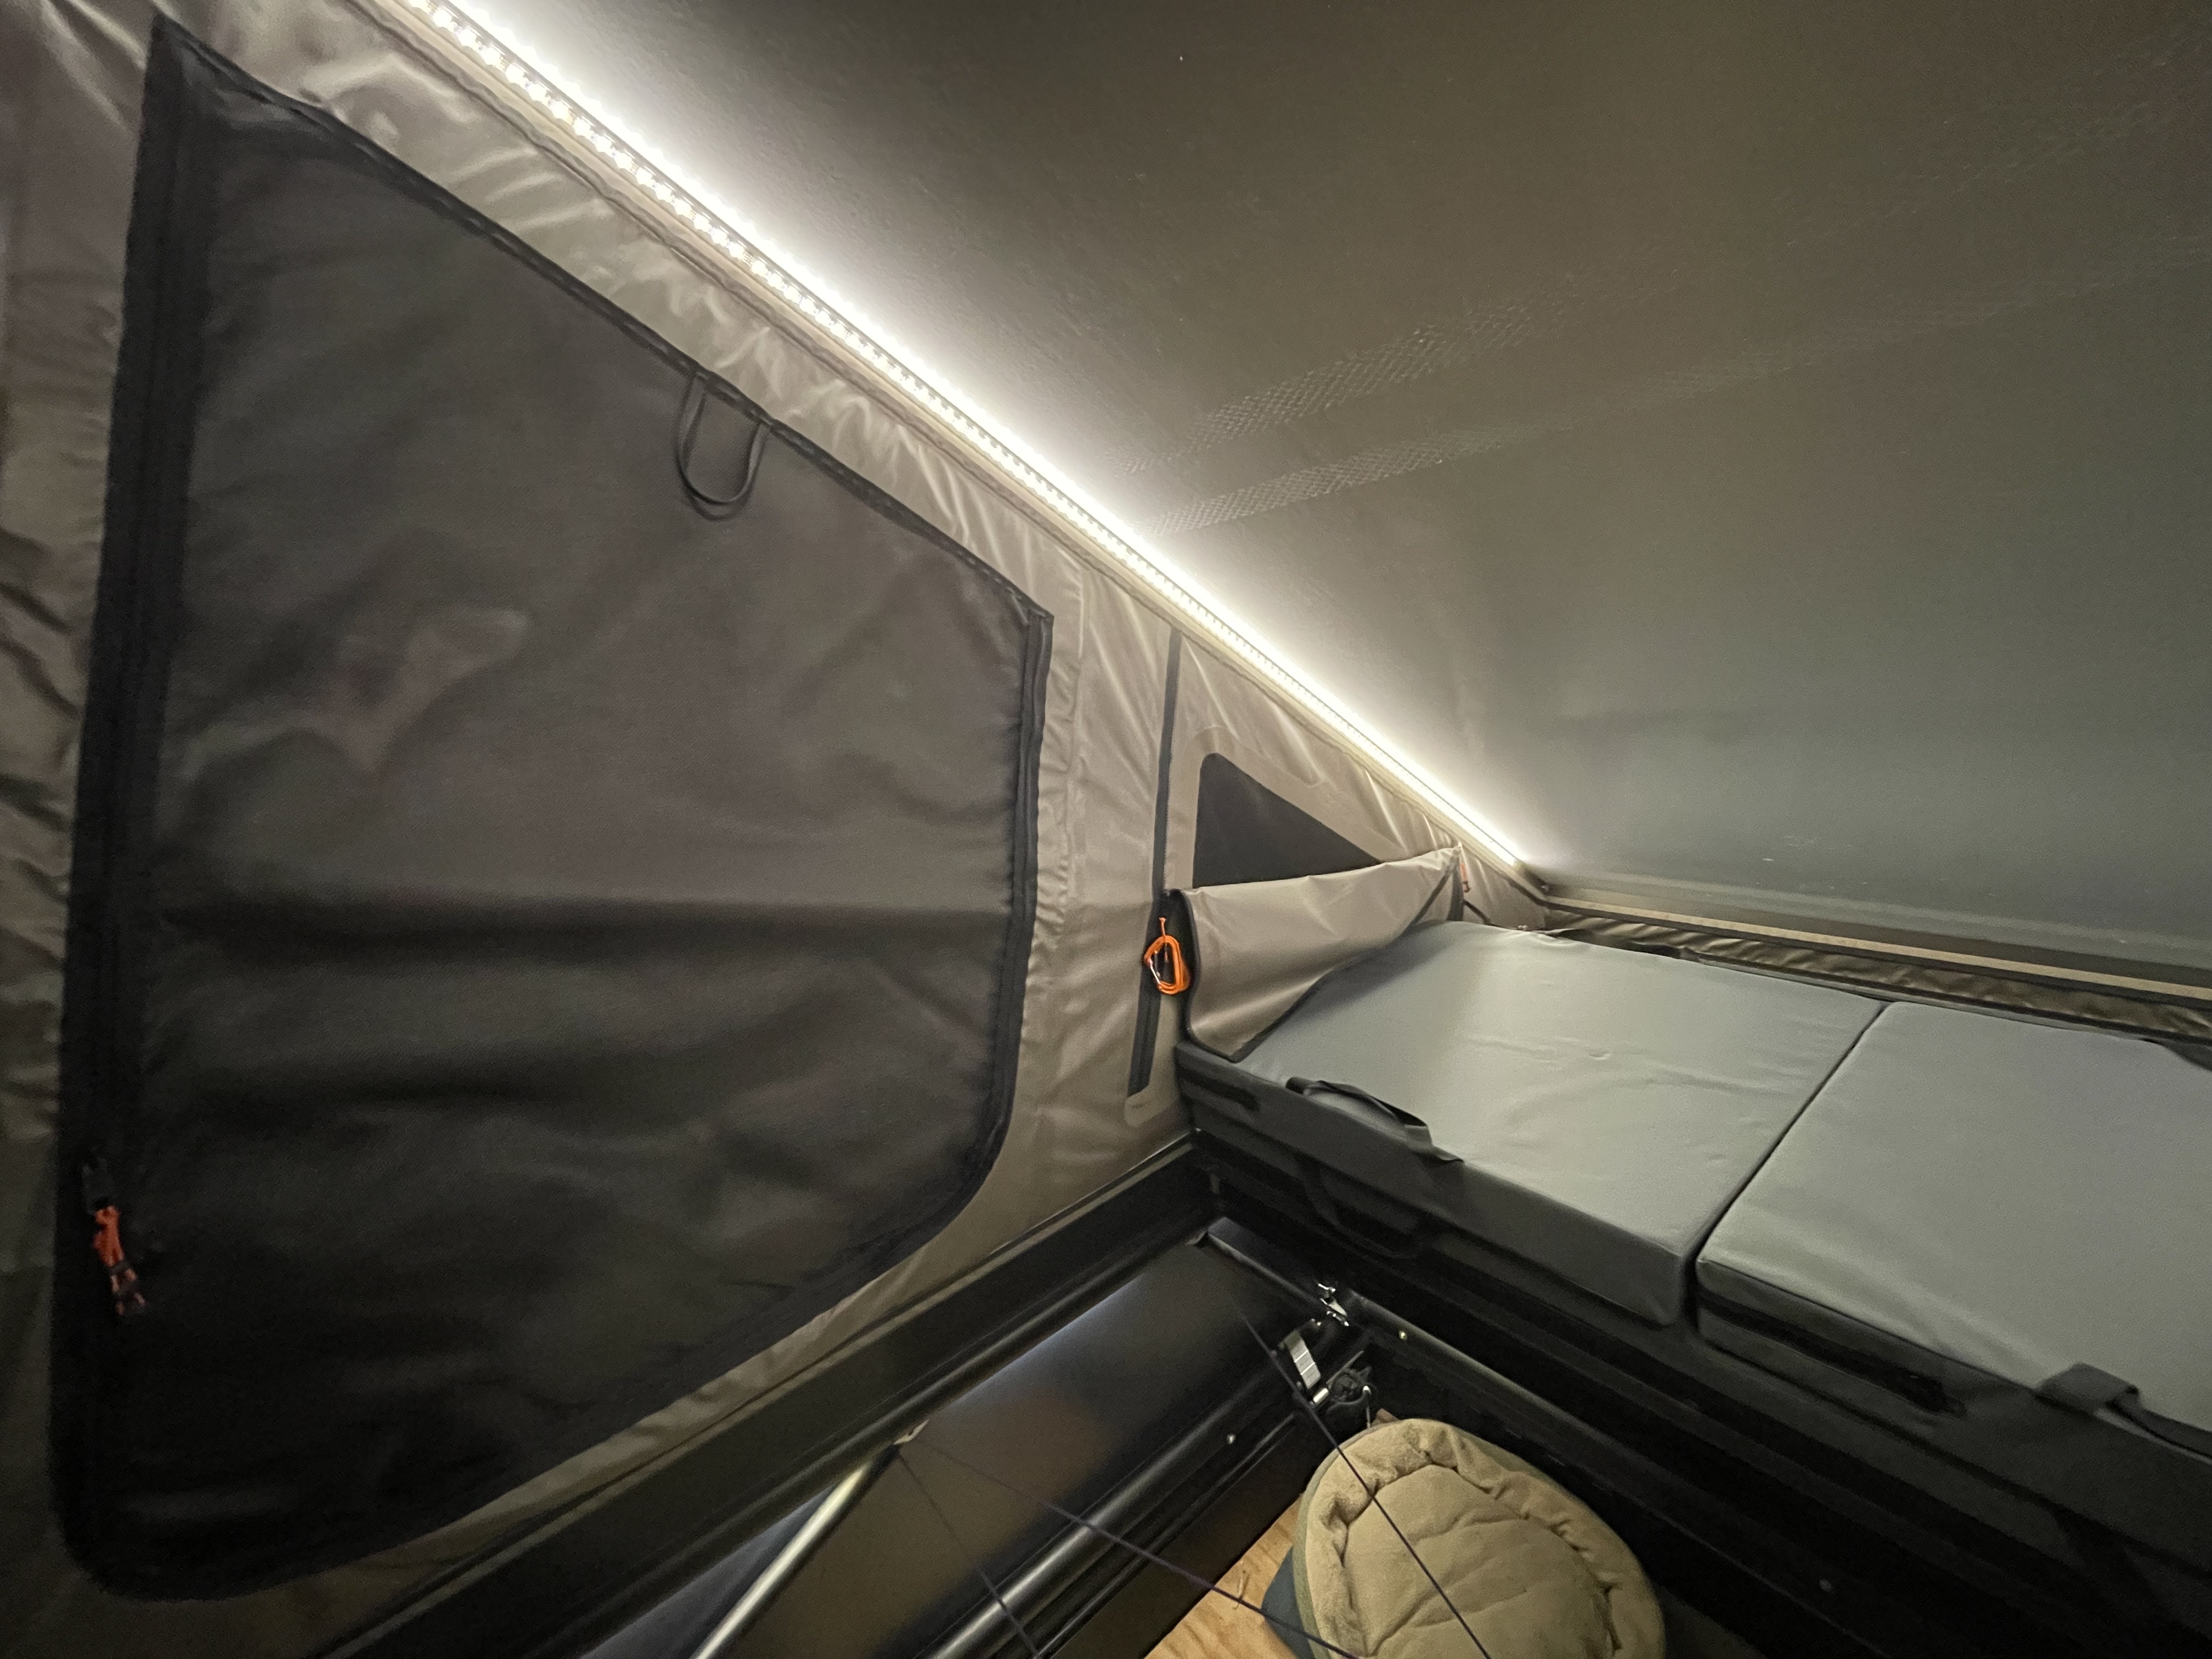
For mounting the lights up in the tent I just used the factory adhesive and stuck them inside of the t-track. I used a needle and thread to carefully sew the wiring and switch to the seam that is inside of the rear door and that has worked really well. To get power up to there I just ran a wire up the back corner of the topper and have it run under on of the panels, so no drilling or anything was necessary. To connect the multiple strips together I used these connectors. As a side note I tried to solder strips together but the pads just weren’t quite good enough to maintain a solid connection so I went with those snap on connectors. If you need to extend the five wire length you can either get some wire that is the five wires flat together like the connectors or you can also use 5 wire irrigation/thermostat wire (this would be my recommendation as it looks substantially more clean).
For mounting the lights to the space frame I got this additional double sided adhesive tape (it is wide enough that you can stick two strips of LEDs to it in parallel then use a razor blade to split the tape in half). This has proved plenty sticky to adhere to the aluminum and the questionable factory adhesive.
Until I get around to figuring out my more specific power demands for the bed I just spliced into the constant power supply for the trailer lights for my constant 12V supply. Ultimately I am going to end up making a “power bin” out of one of the storage bins built into the bed of my Tacoma and re-route my 12V supply to run from a Blue Sea fuse block.
This is my first time writing up something that I’ve done so if there is anything confusing or that doesn’t make sense please reach out.
Bringing this old thread back up since I’m now starting to think about adding on some Baja S2 to the back of my GFC as a campsite light. Has anyone done something similar to this? How have you wired the lights?
I got some Rigid surface mount one like mentioned above on the GFC along with some Baja Design rock lights mounted to the rack. Both work great! Have the Rigid ones all wired together and each side of the BD rack lights wired separately. Wish I had some better photos but plenty of light at camp with both.
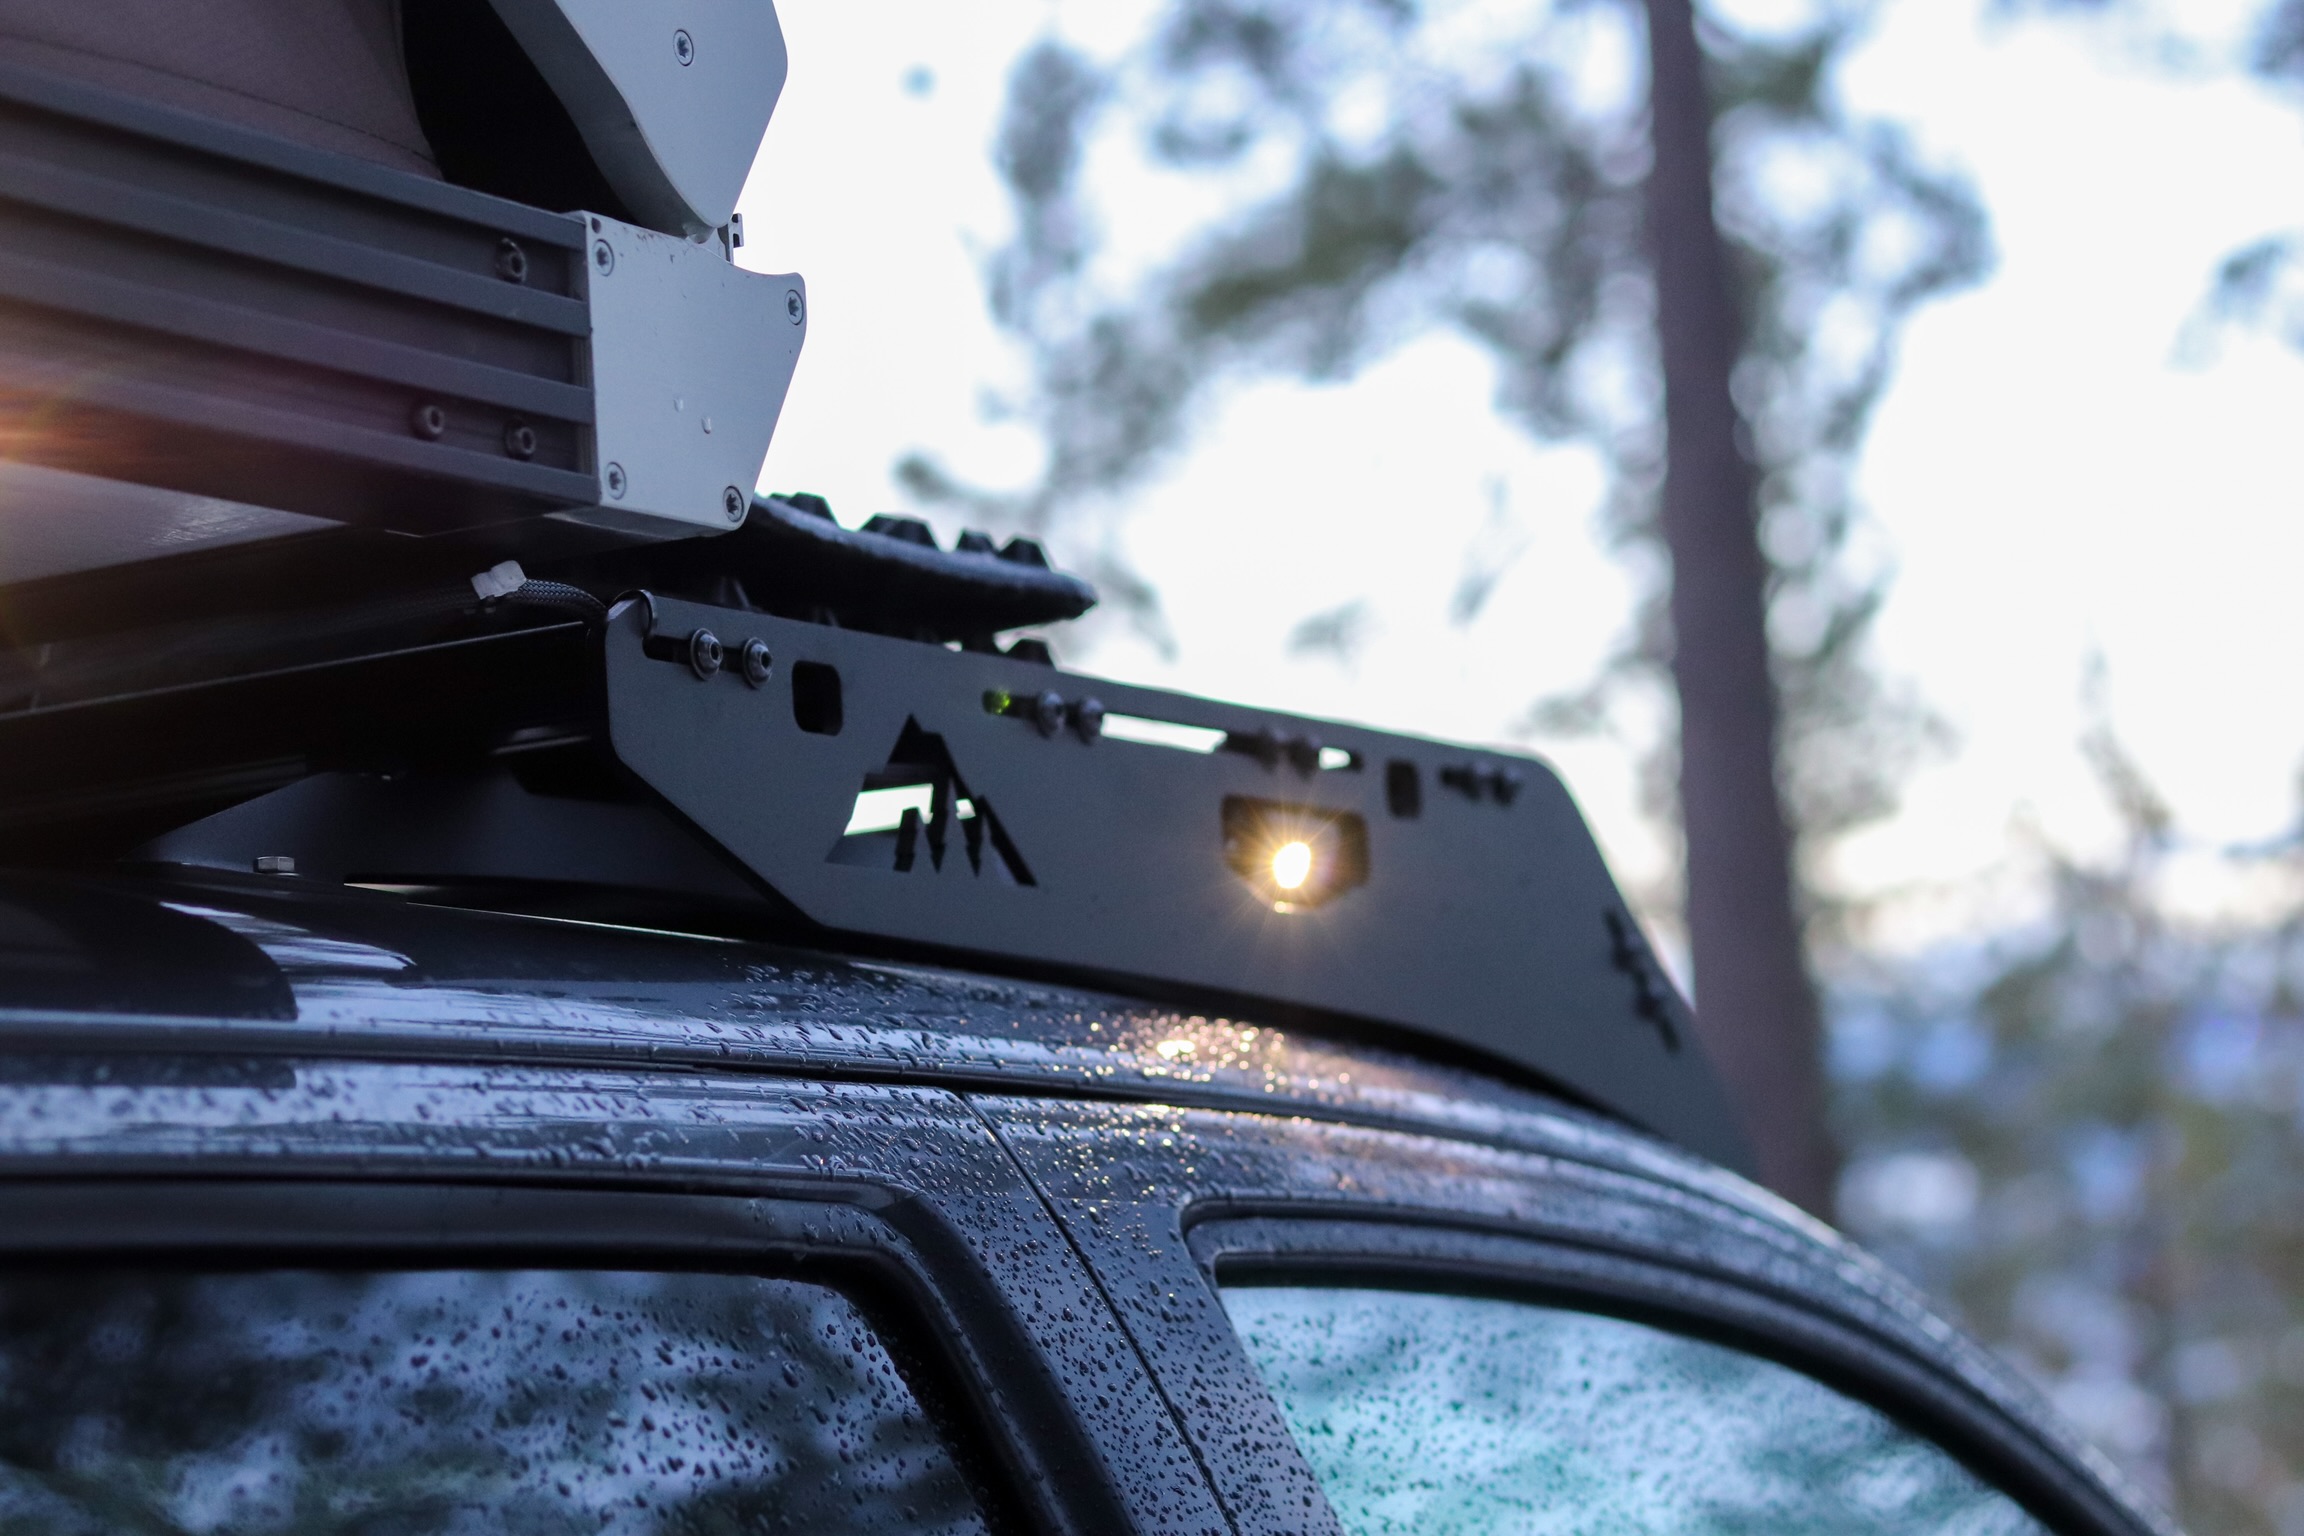
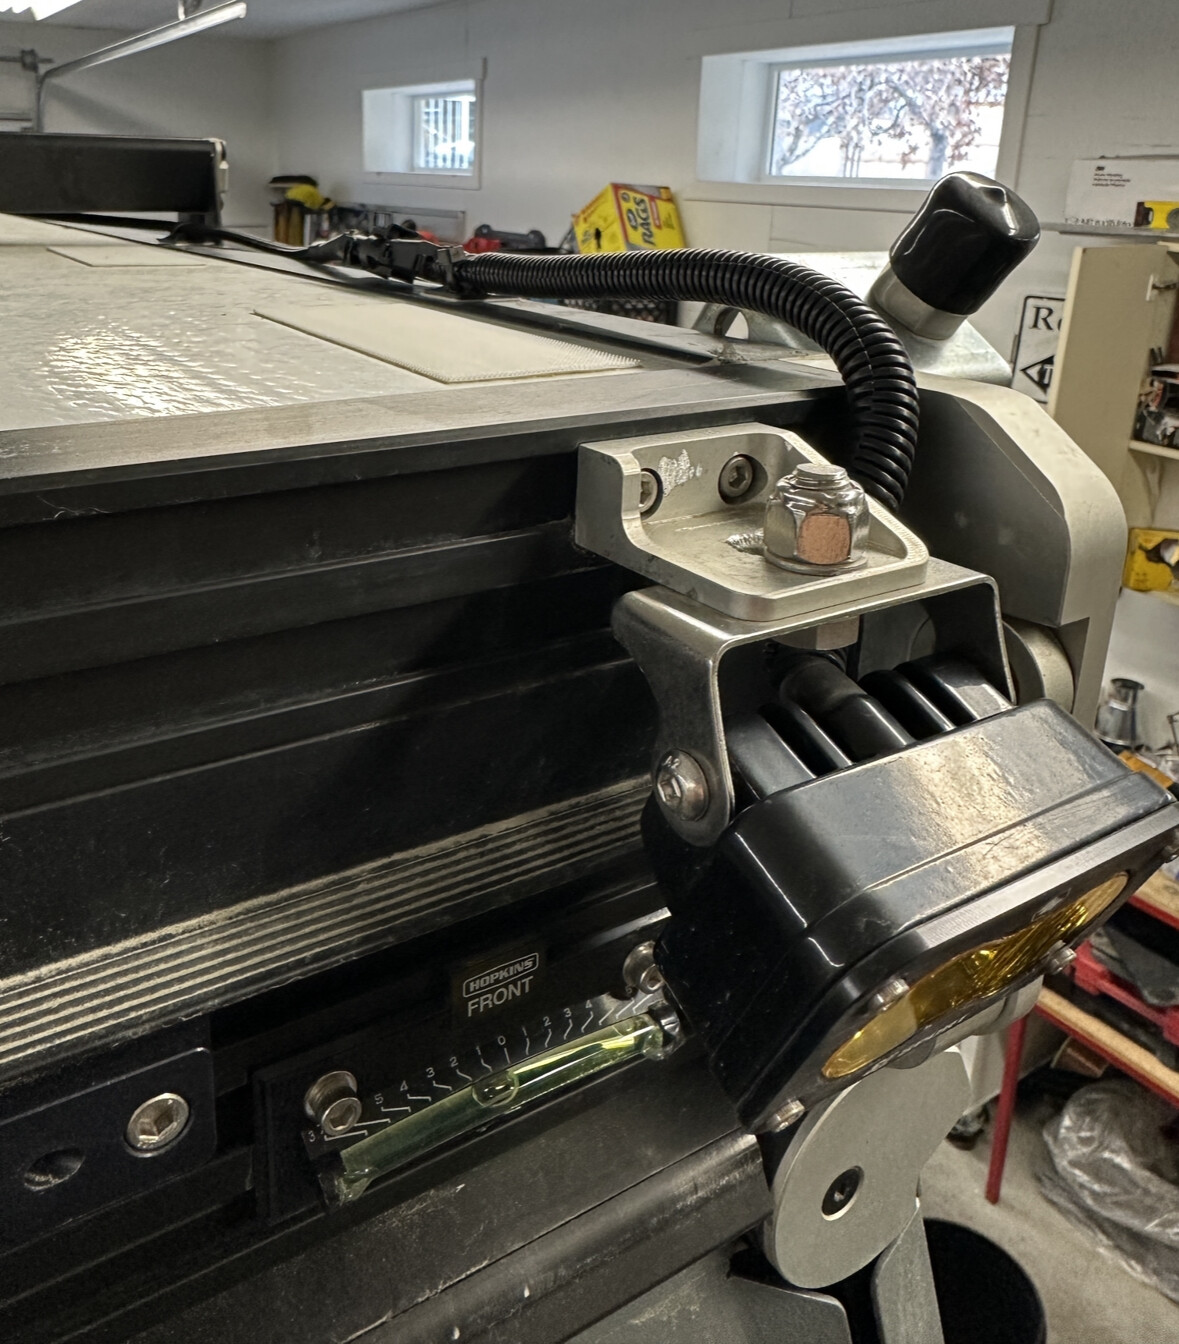
I’d suggest that you install the S2 on the upper extrusion. When installed on the lower part they get blocked by the open panels, especially with an awning. They really throw the light when up high and don’t just blind you at eye level. I added the amber lens to tone the brightness down.
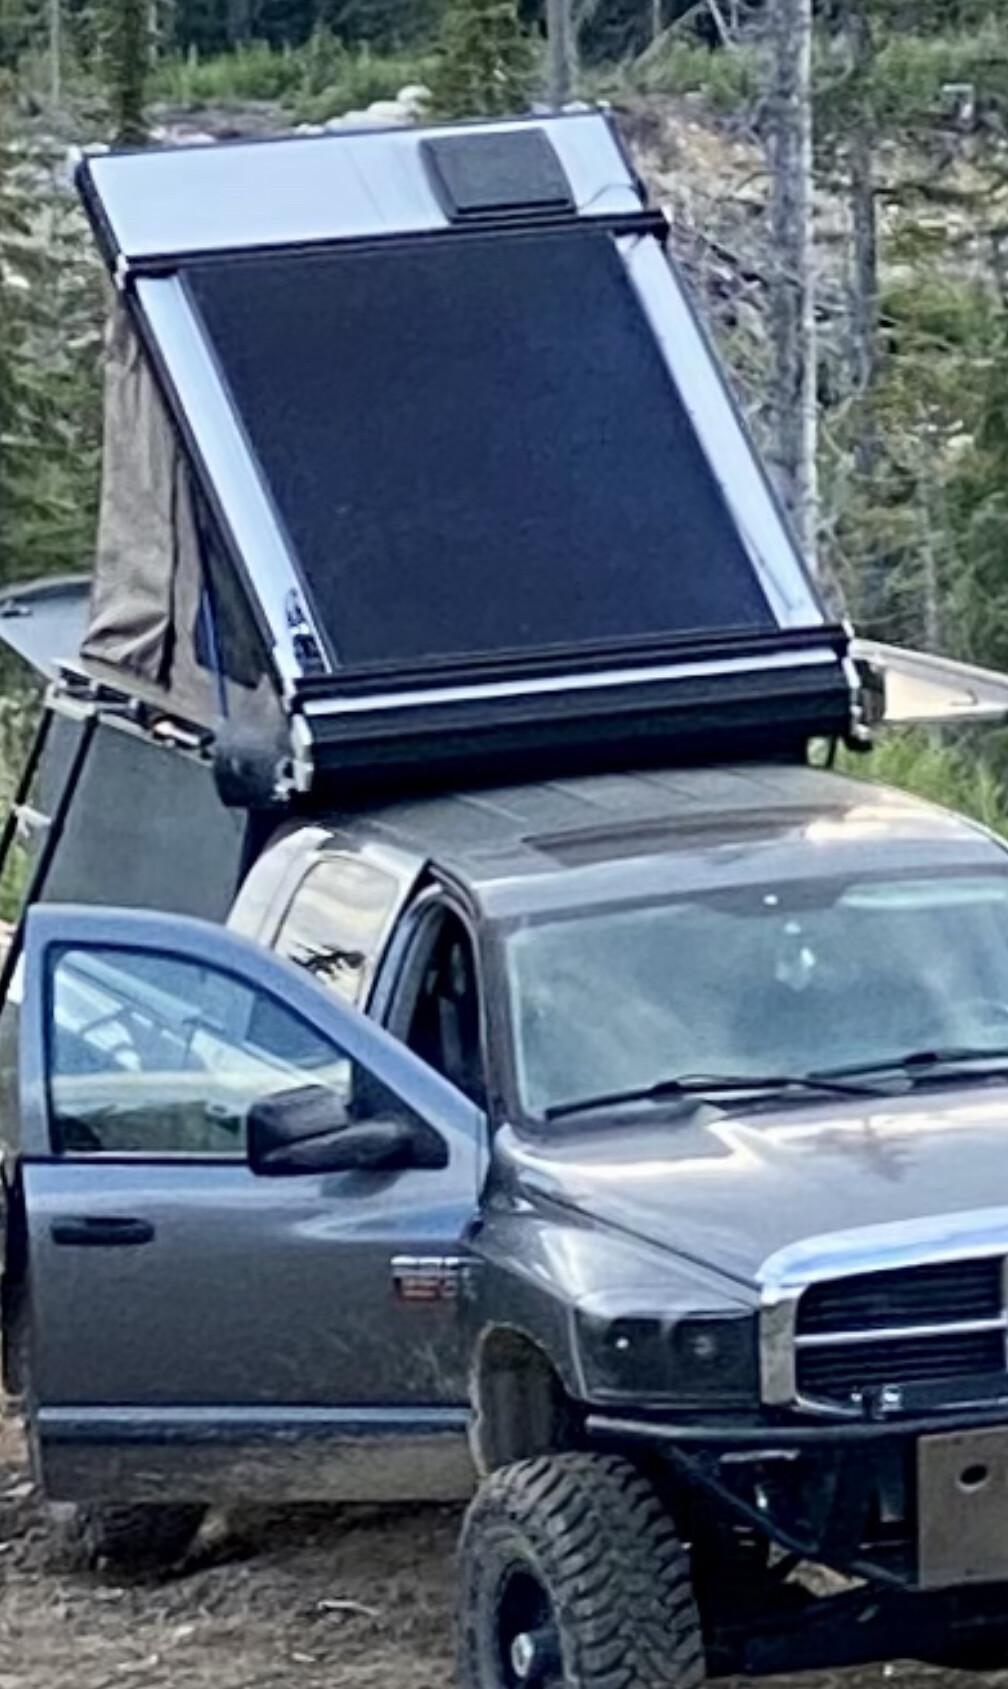
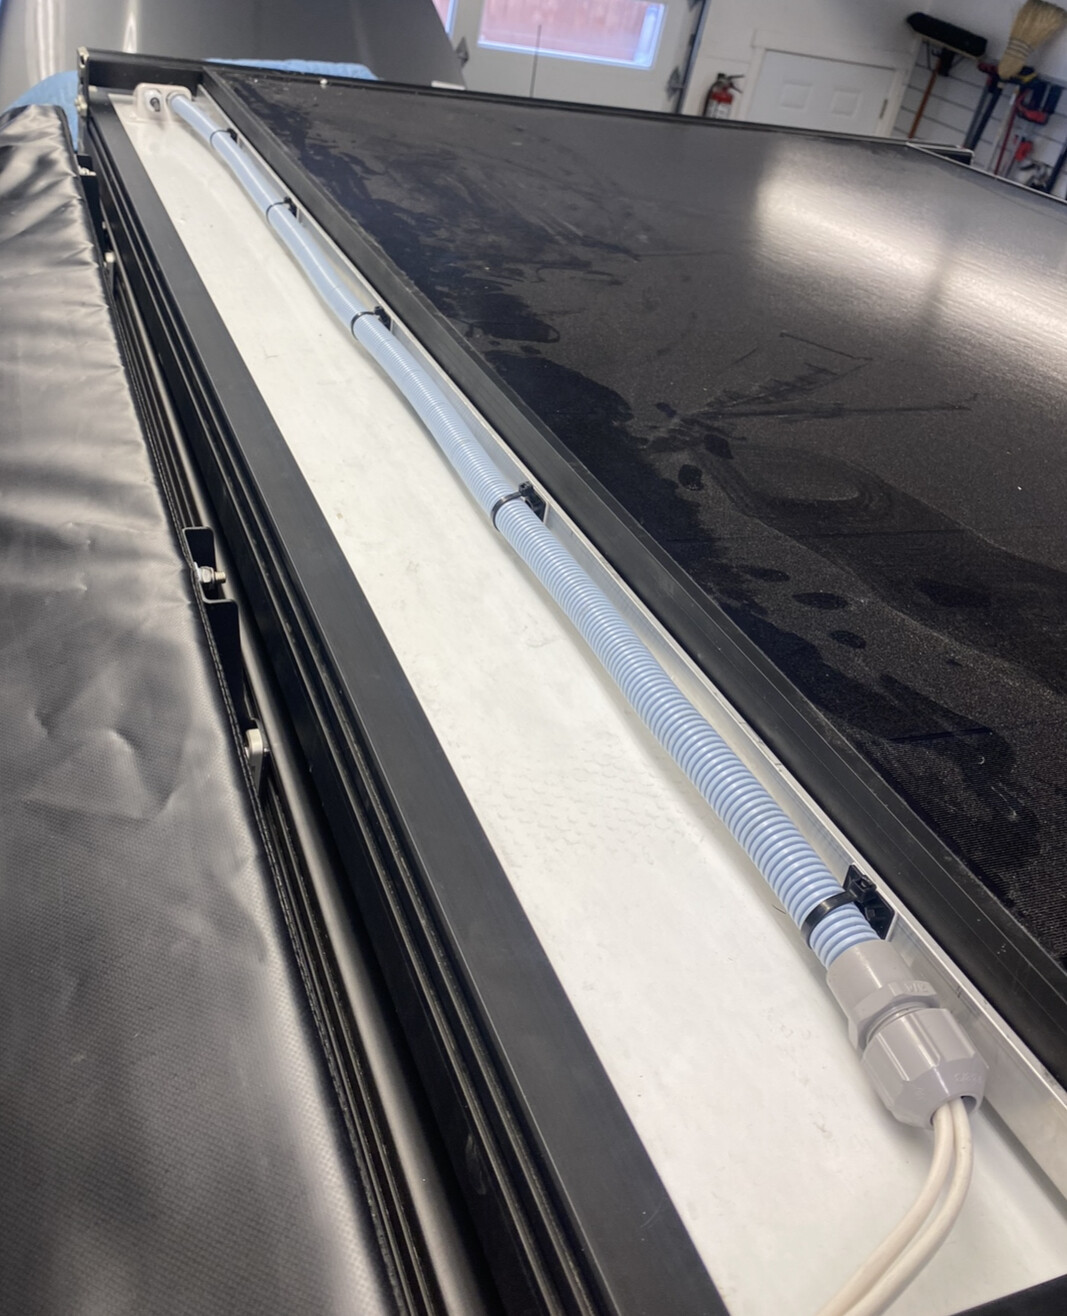
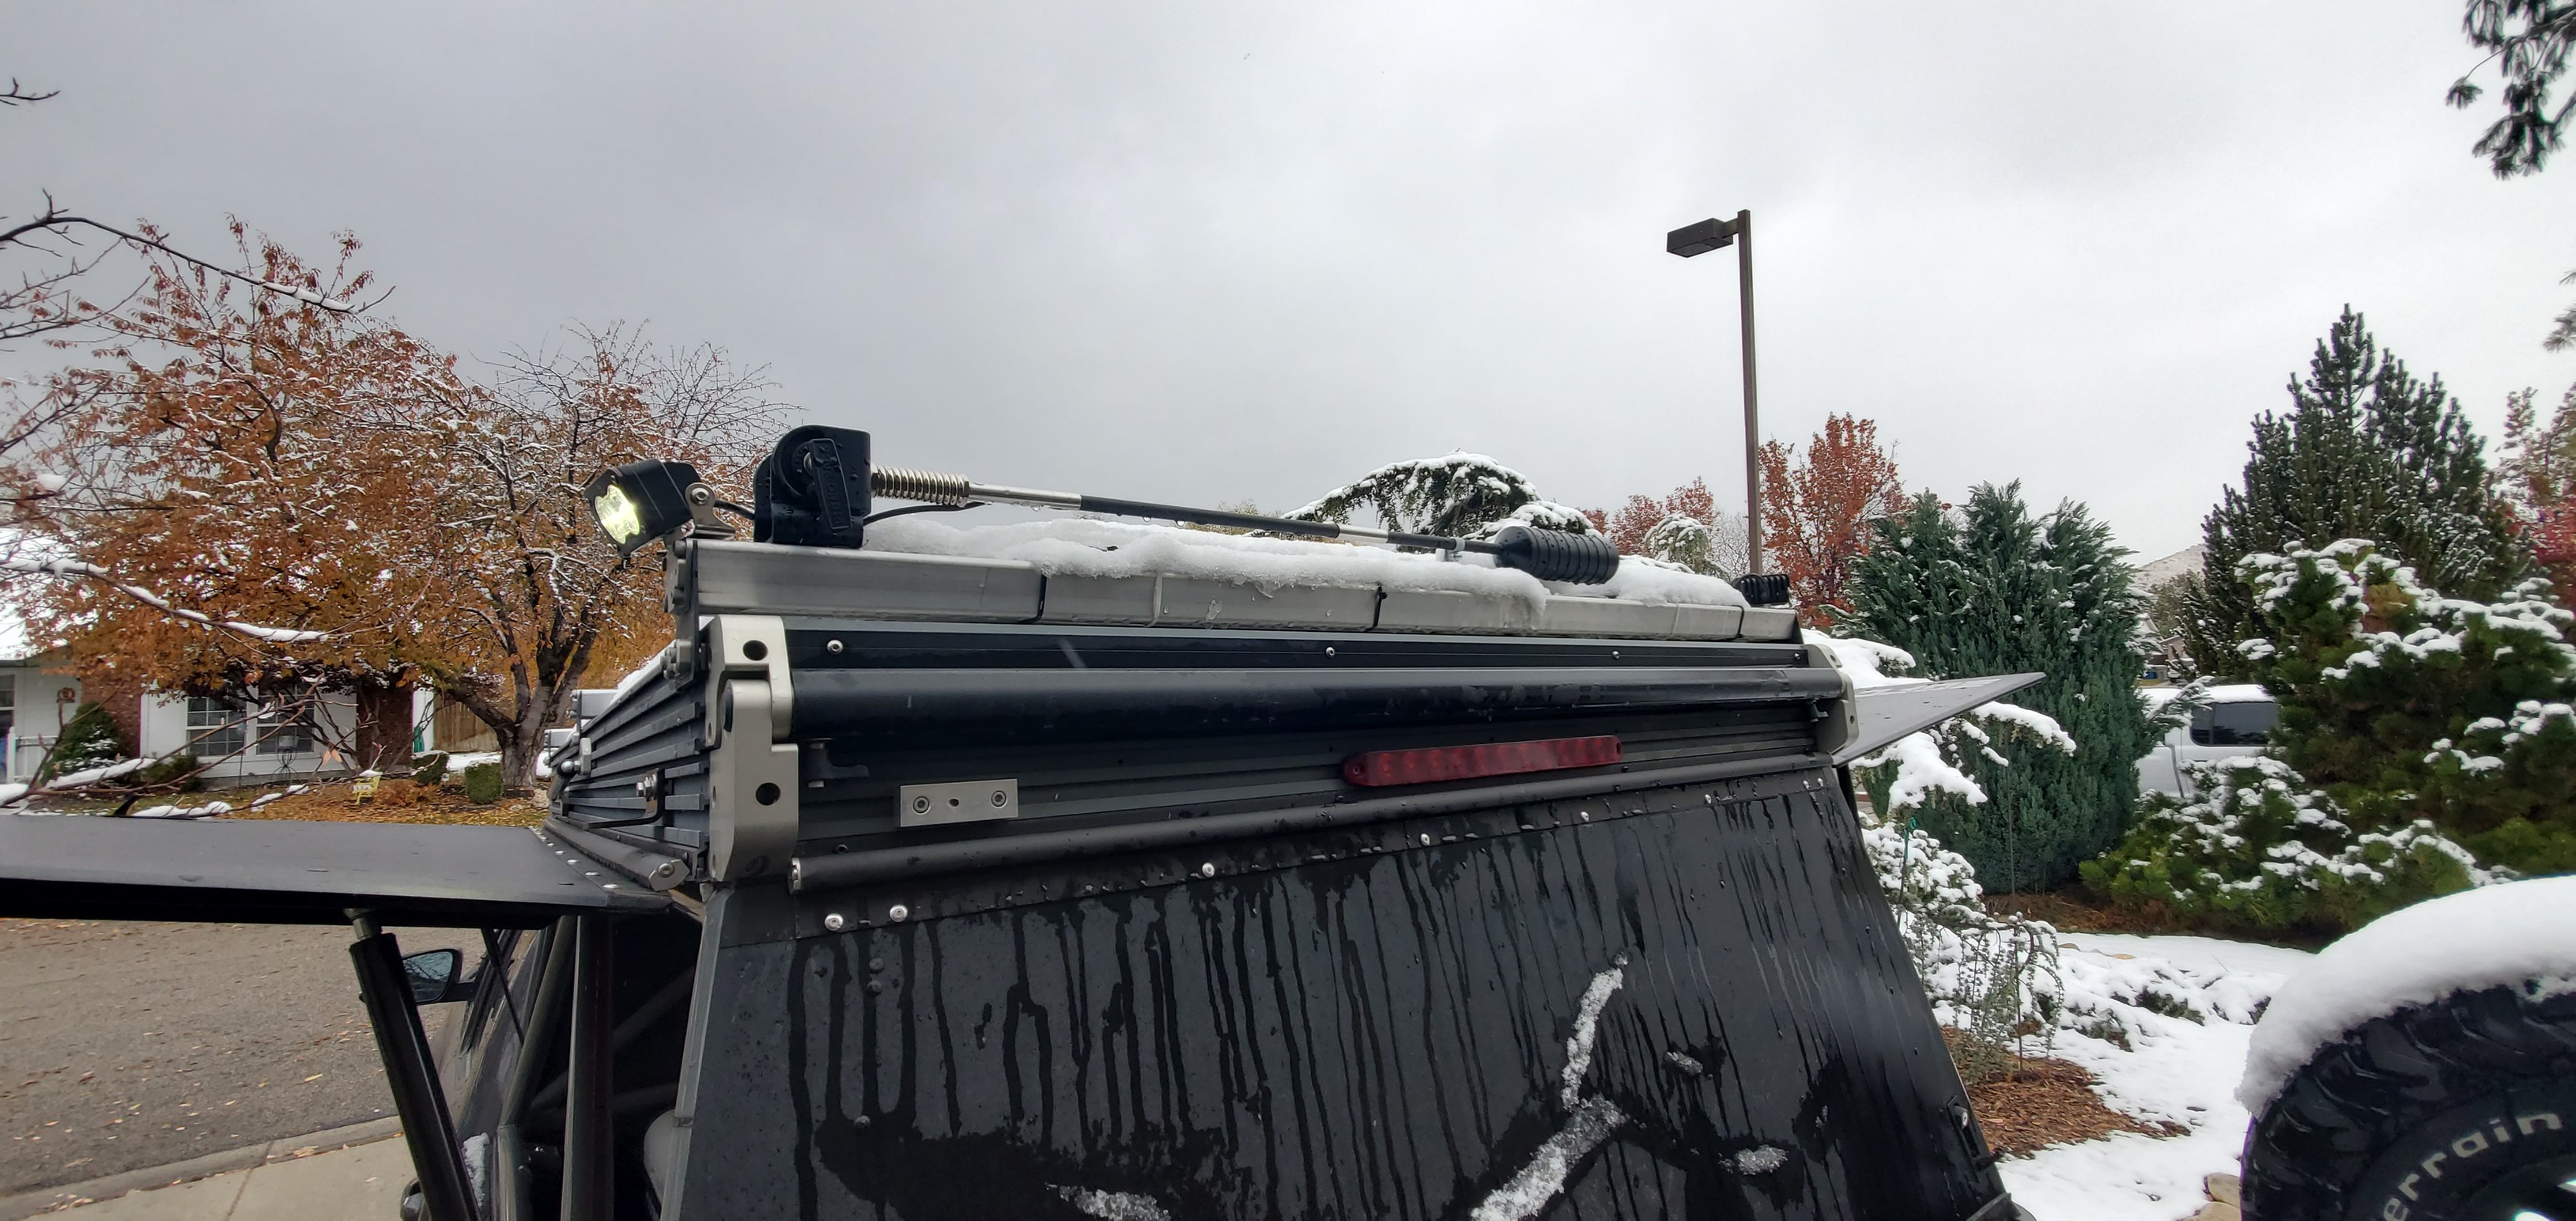
I ran all the wiring for the solar panel, lights and roof fan externally. It goes up through the roof at the front corner, along the solar panel and across through the rear beef bar.
I used a solar panel roof entry gland, glued PVC conduit attached to the solar panel bracket. Simple and easy to access if needed.
I don’t have a good photo but the wires run along the black edges from the rear beef bar to the light. The roof fan wire is visible. I since moved that under the beef bar to protect it from tree limbs.
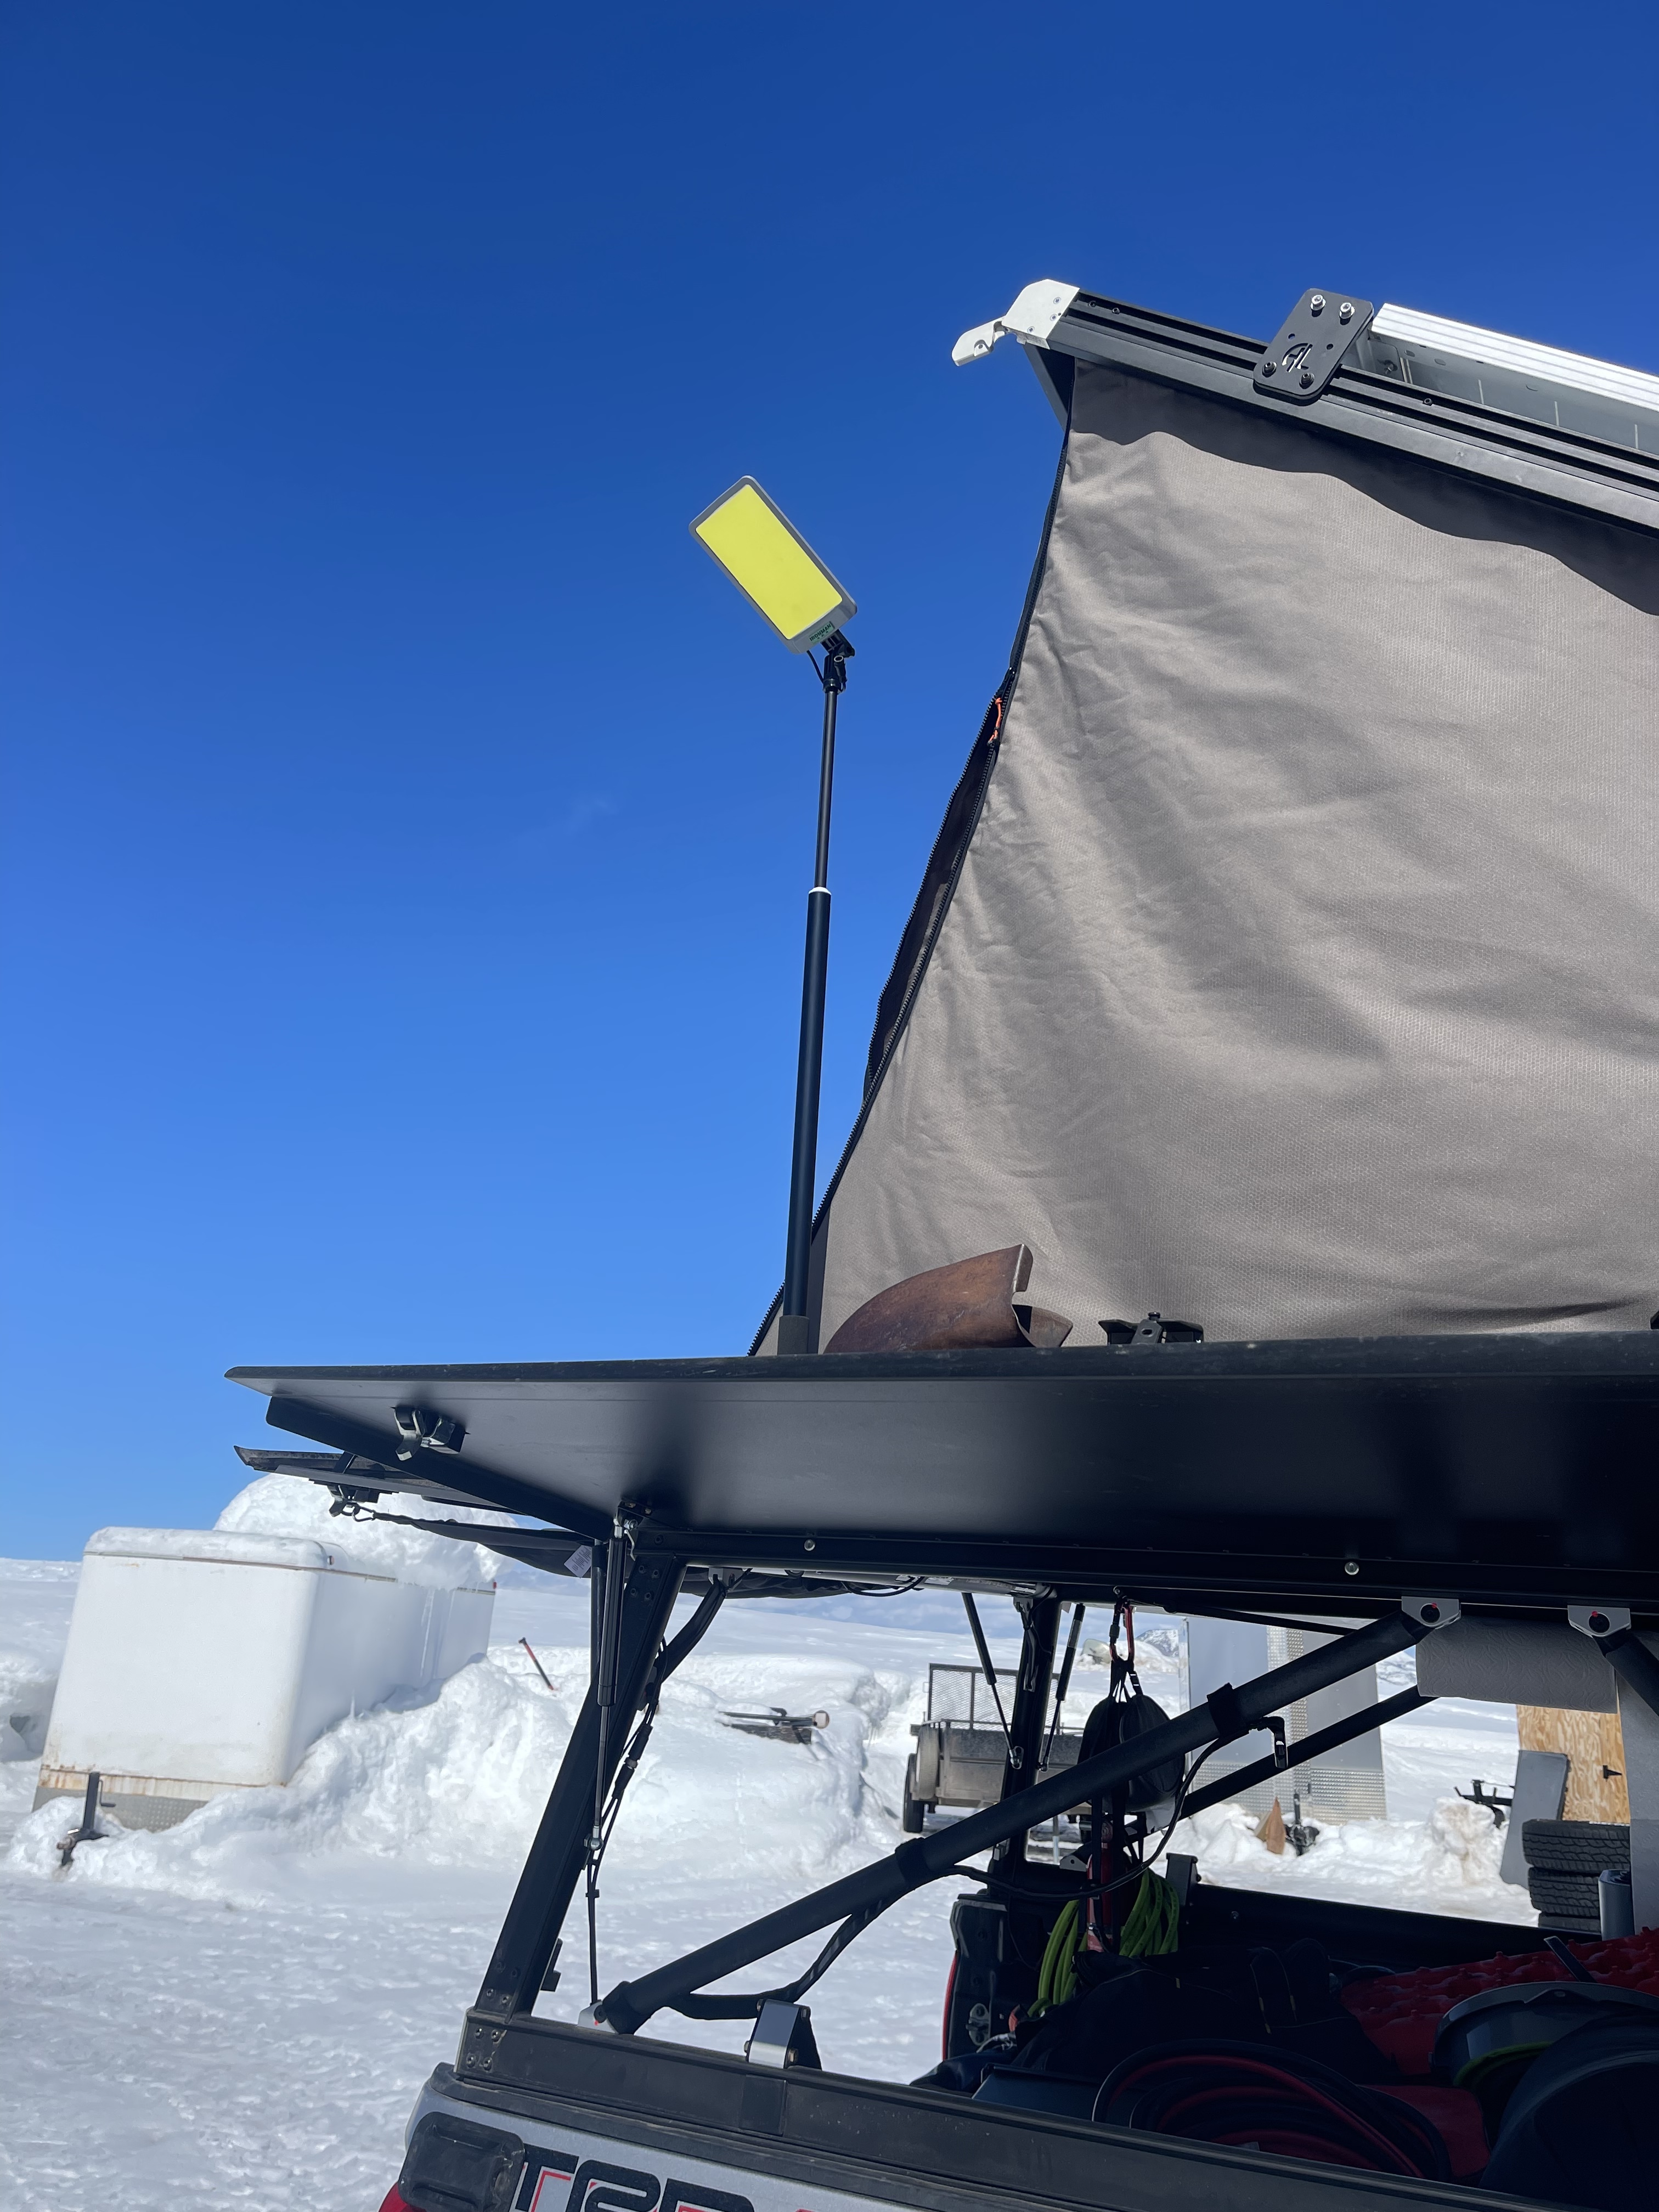
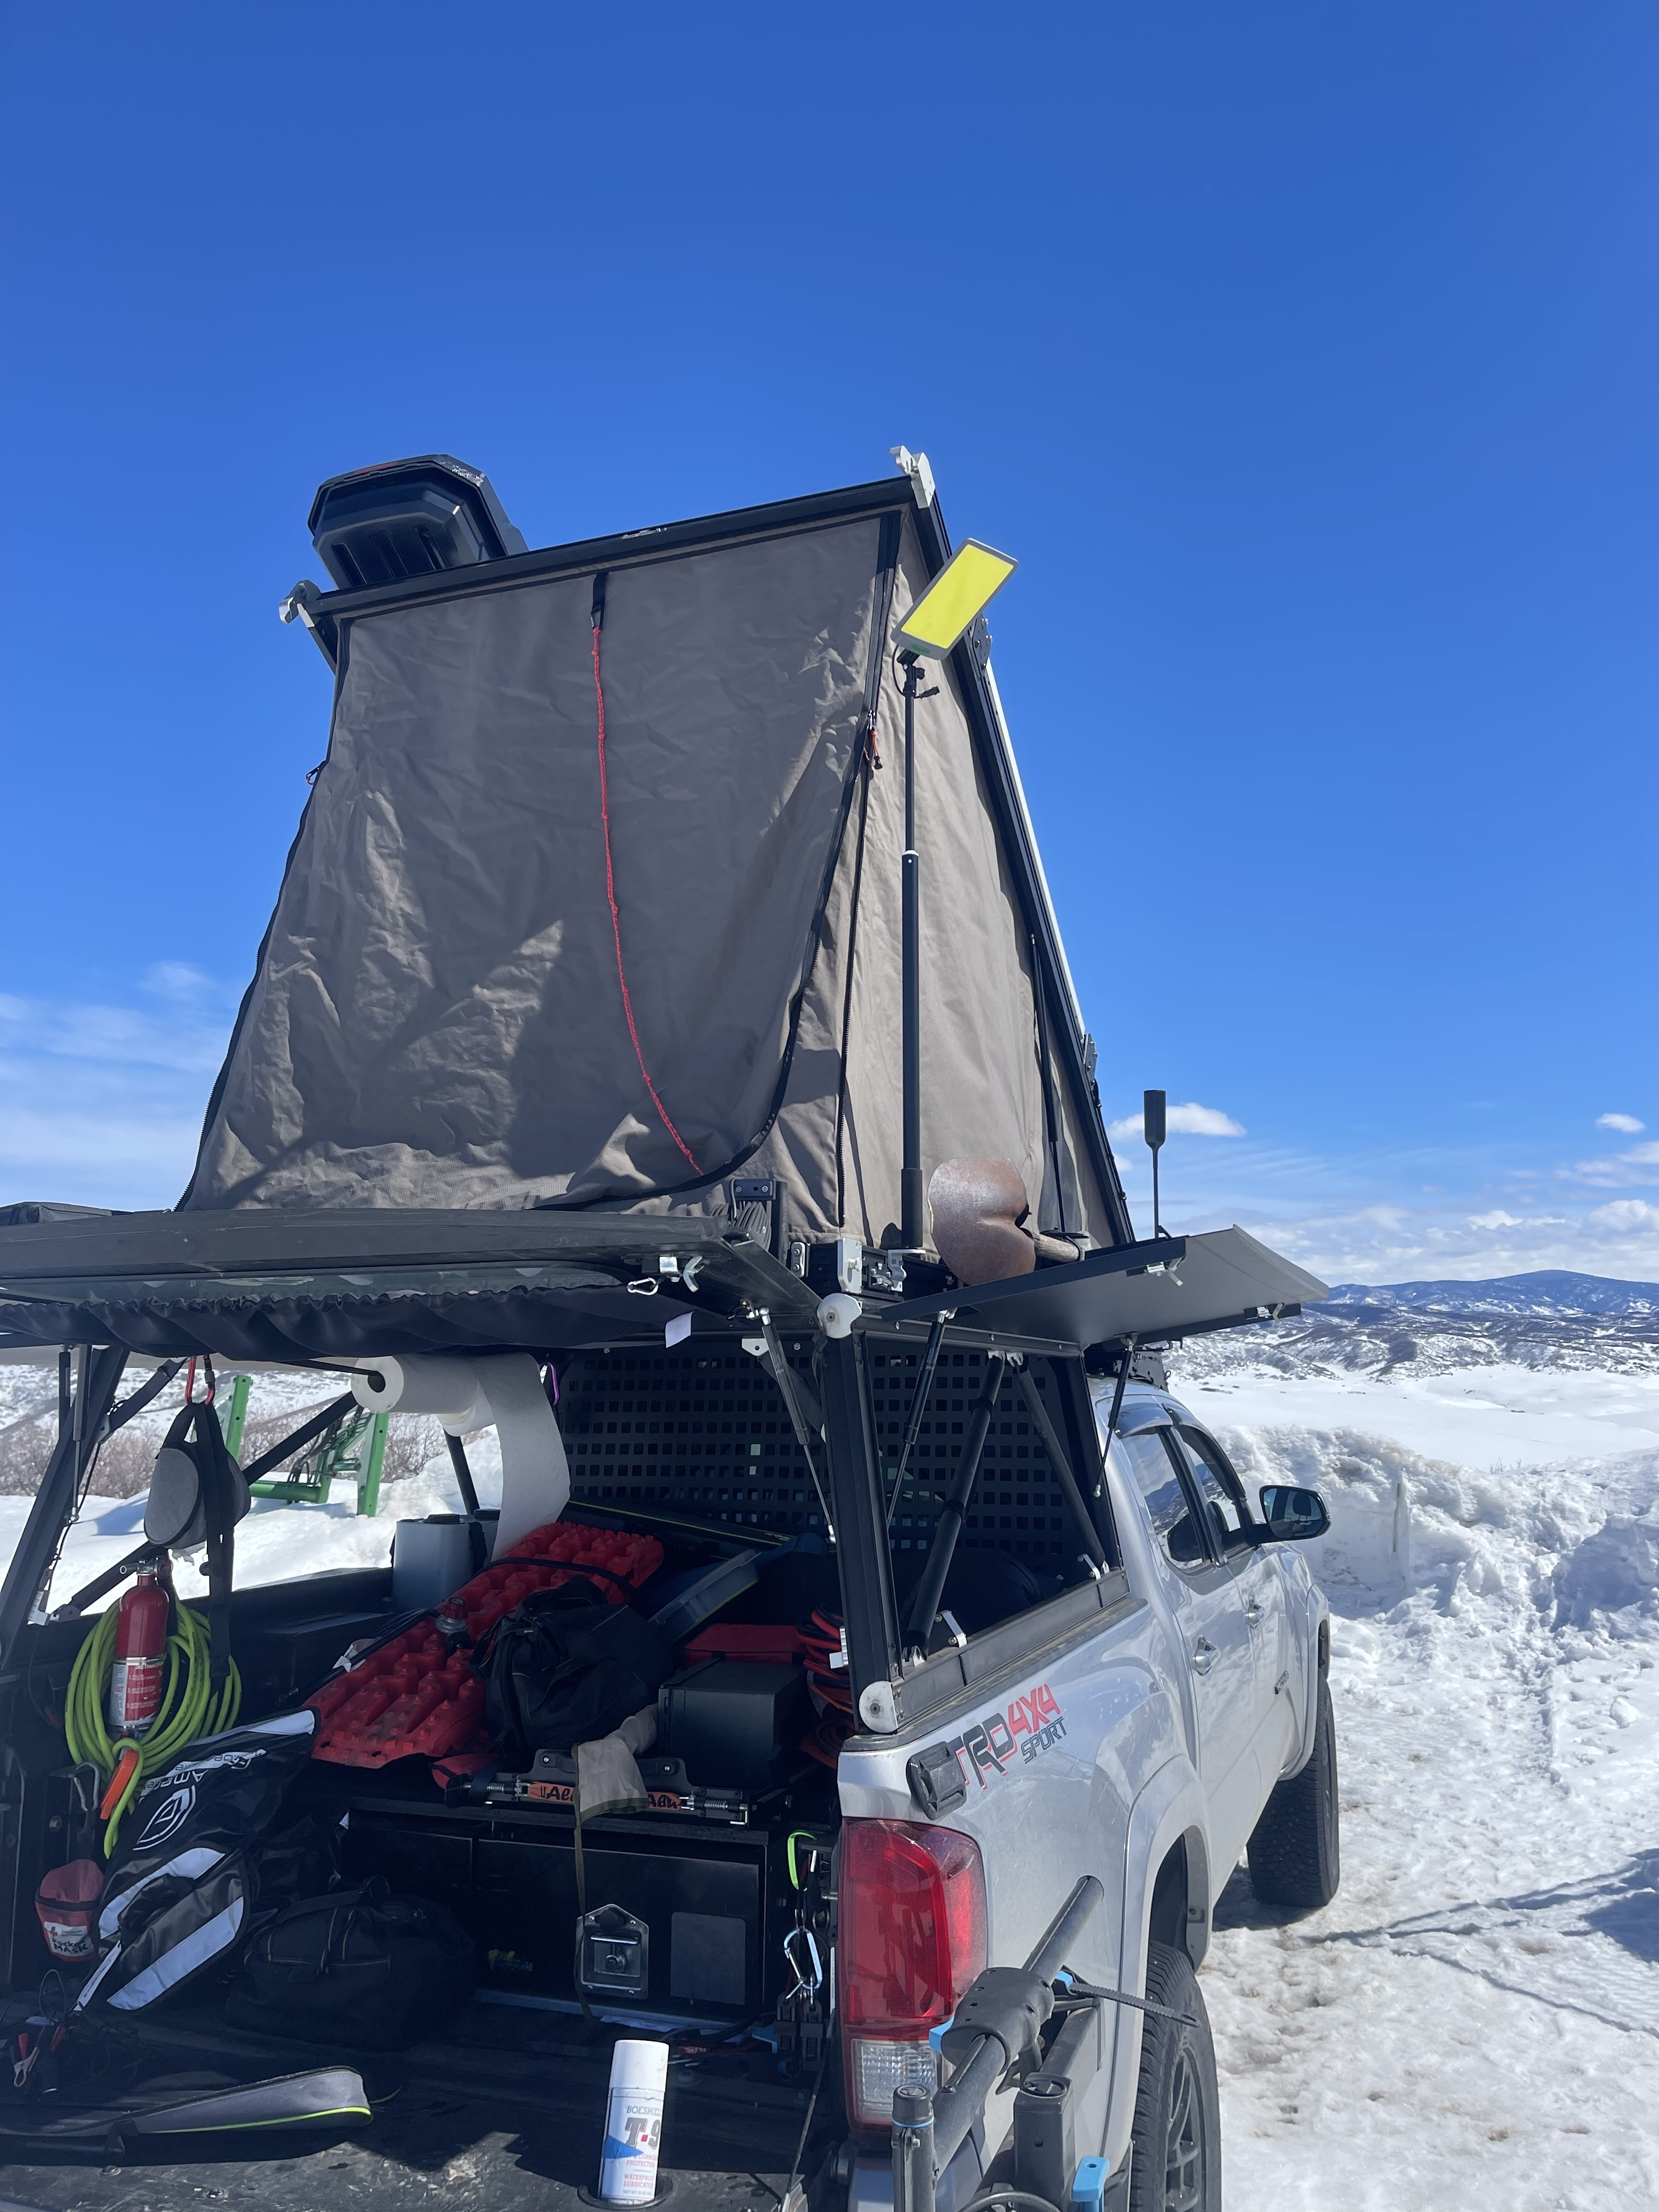
A better view of my scene lighting setup…… the pole is extendable to 10 feet so the throw of the light is quite impressive…. Comes with a remote control and draws very little power


