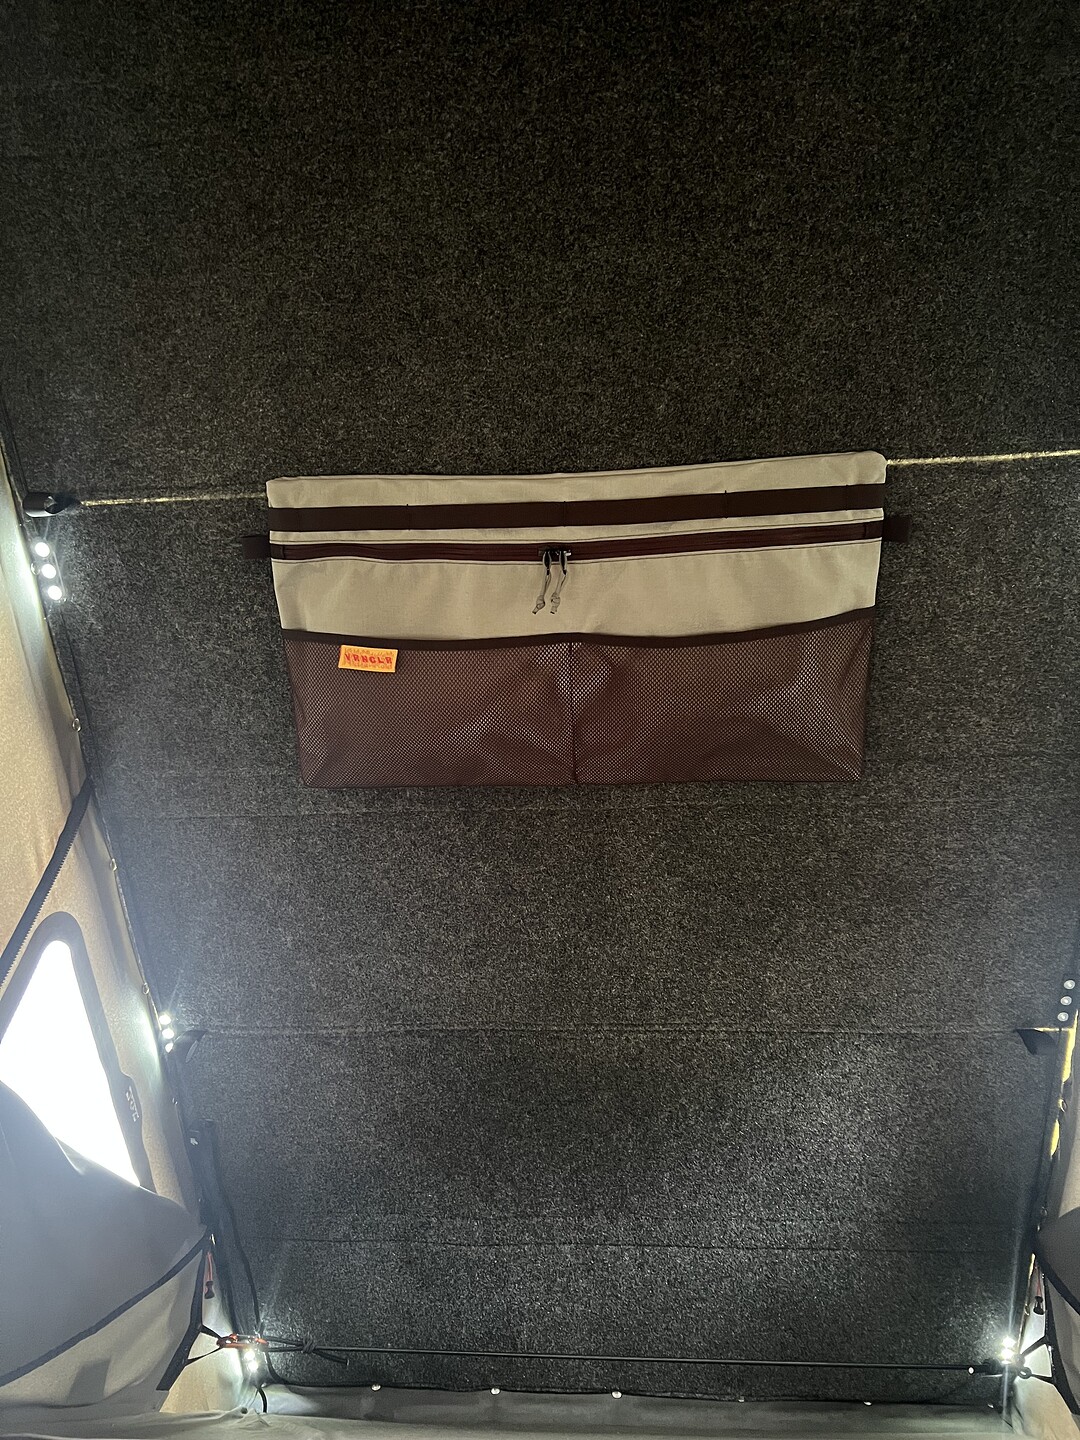
I had mine placed very close to the top panel and it didn’t ventilate. Moved it down, which helped, but it still ran way hotter than when sitting outside on the ground, even with all three doors open.
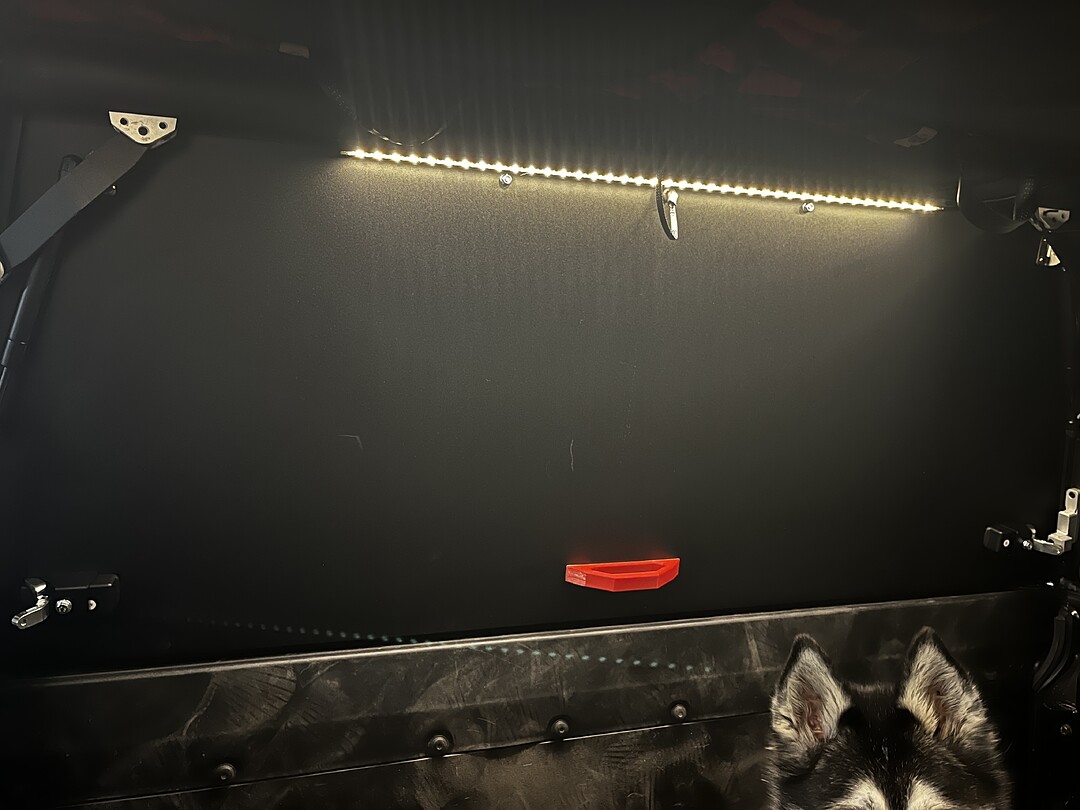
Installed a couple of pull handles from 3D Protolabs on Etsy. Big fan of the interior panel handle that installs with VHB.
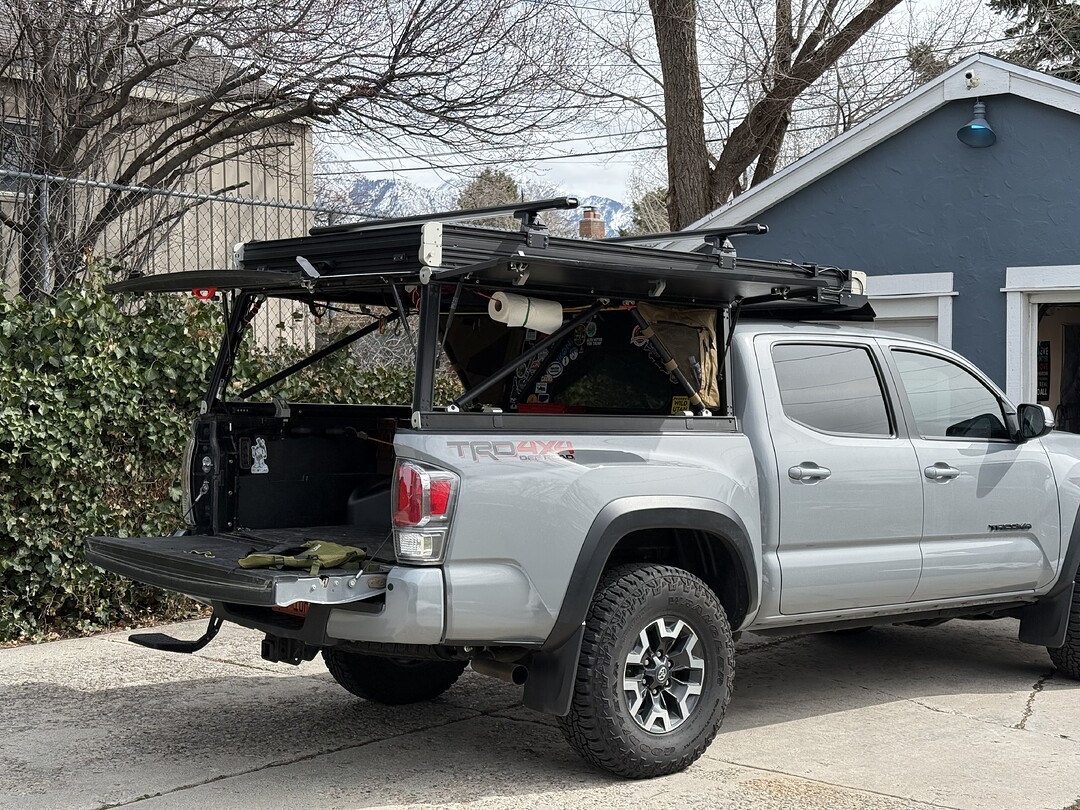
I was torn on whether to install the exterior one on the top or bottom track. Top helps with opening and closing the tent but the bottom allows you to use it when the tent is open. Since I wanted it centered the GFC nameplate made the decision for me. I may end up removing that if I change my mind. In hindsight I would probably go with an aluminum exterior handle. It feels solid but I’m not sure how much I trust it over time to be used to pull myself up onto the tailgate. All it takes is once and you might end up on your back in the dirt. Maybe using it in this way isn’t a good idea either way.
Interesting, I do not have a GFC badge in that location. Which is good because that’s where I put my handle.

Mine is a v2 pro and I believe they changed some of the logos and badging. That must have been one of the things they added. Don’t think I would notice if it disappeared.
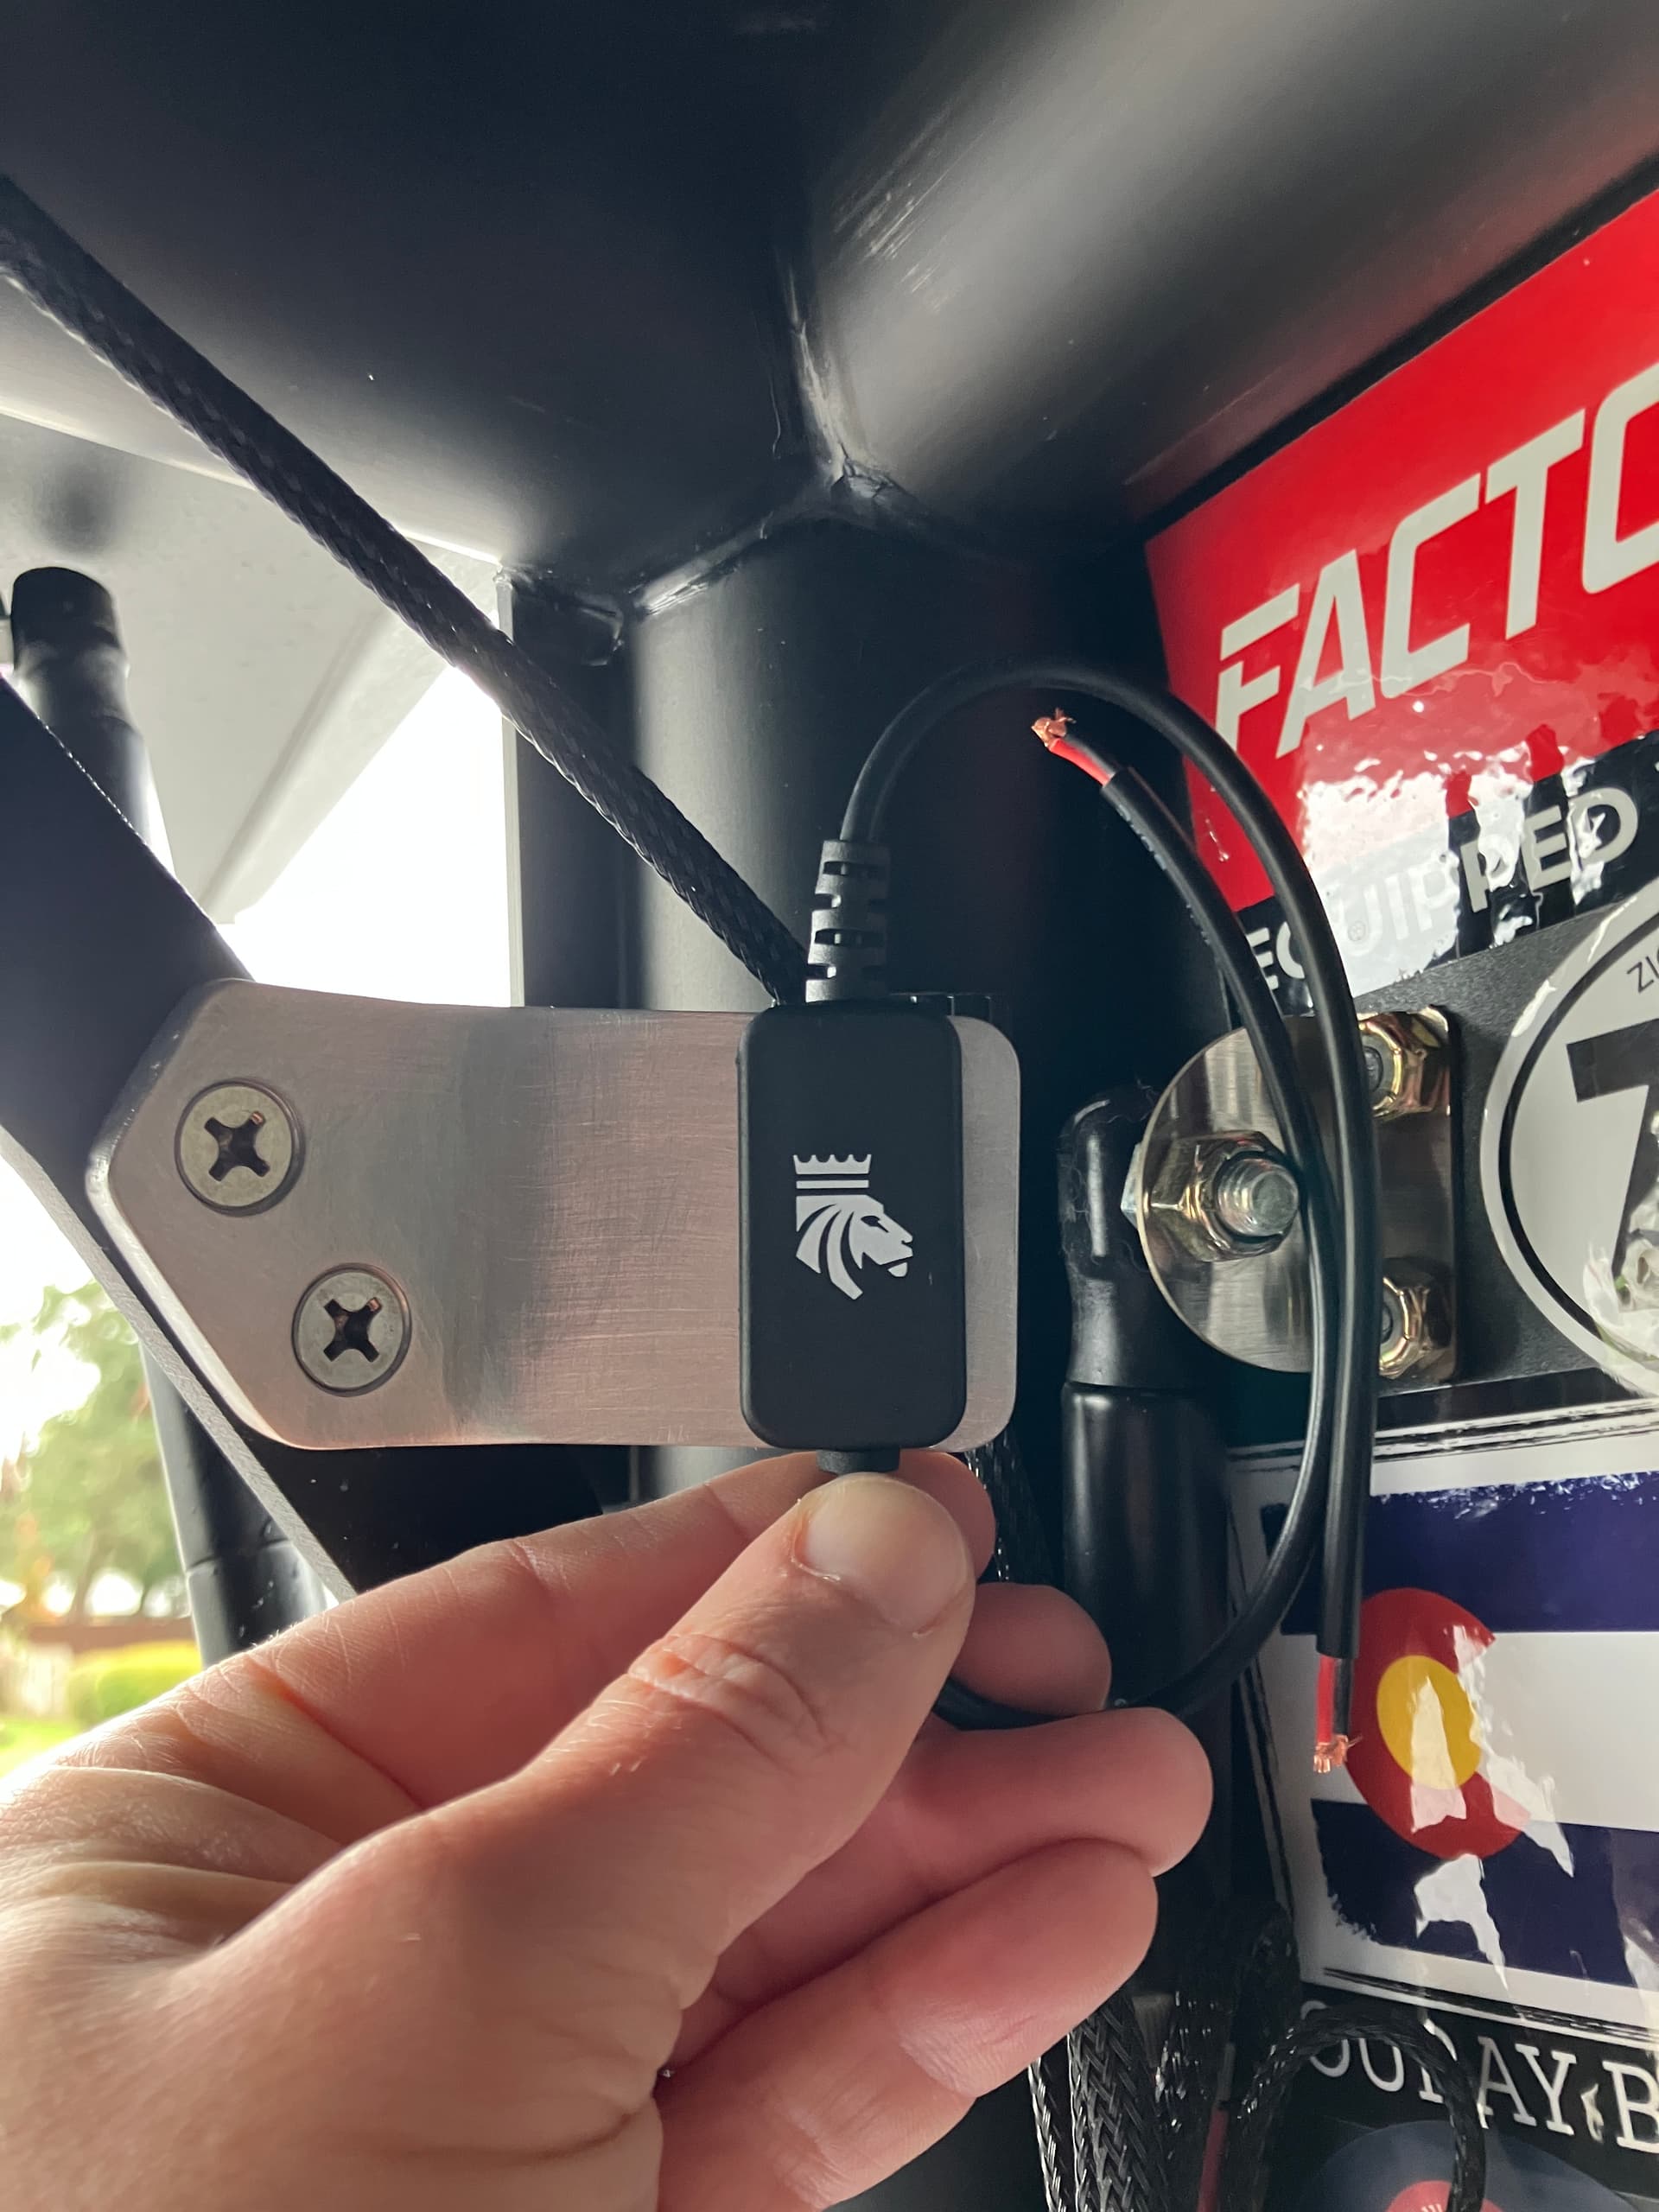
Working on installing a couple of Kingpin Equipped light bars. After brainstorming about switch locations, and the possible need to replace failed switches in the future, I decided to create a raw aluminum switch plate that bolts to the support bracket on the rear hatch.
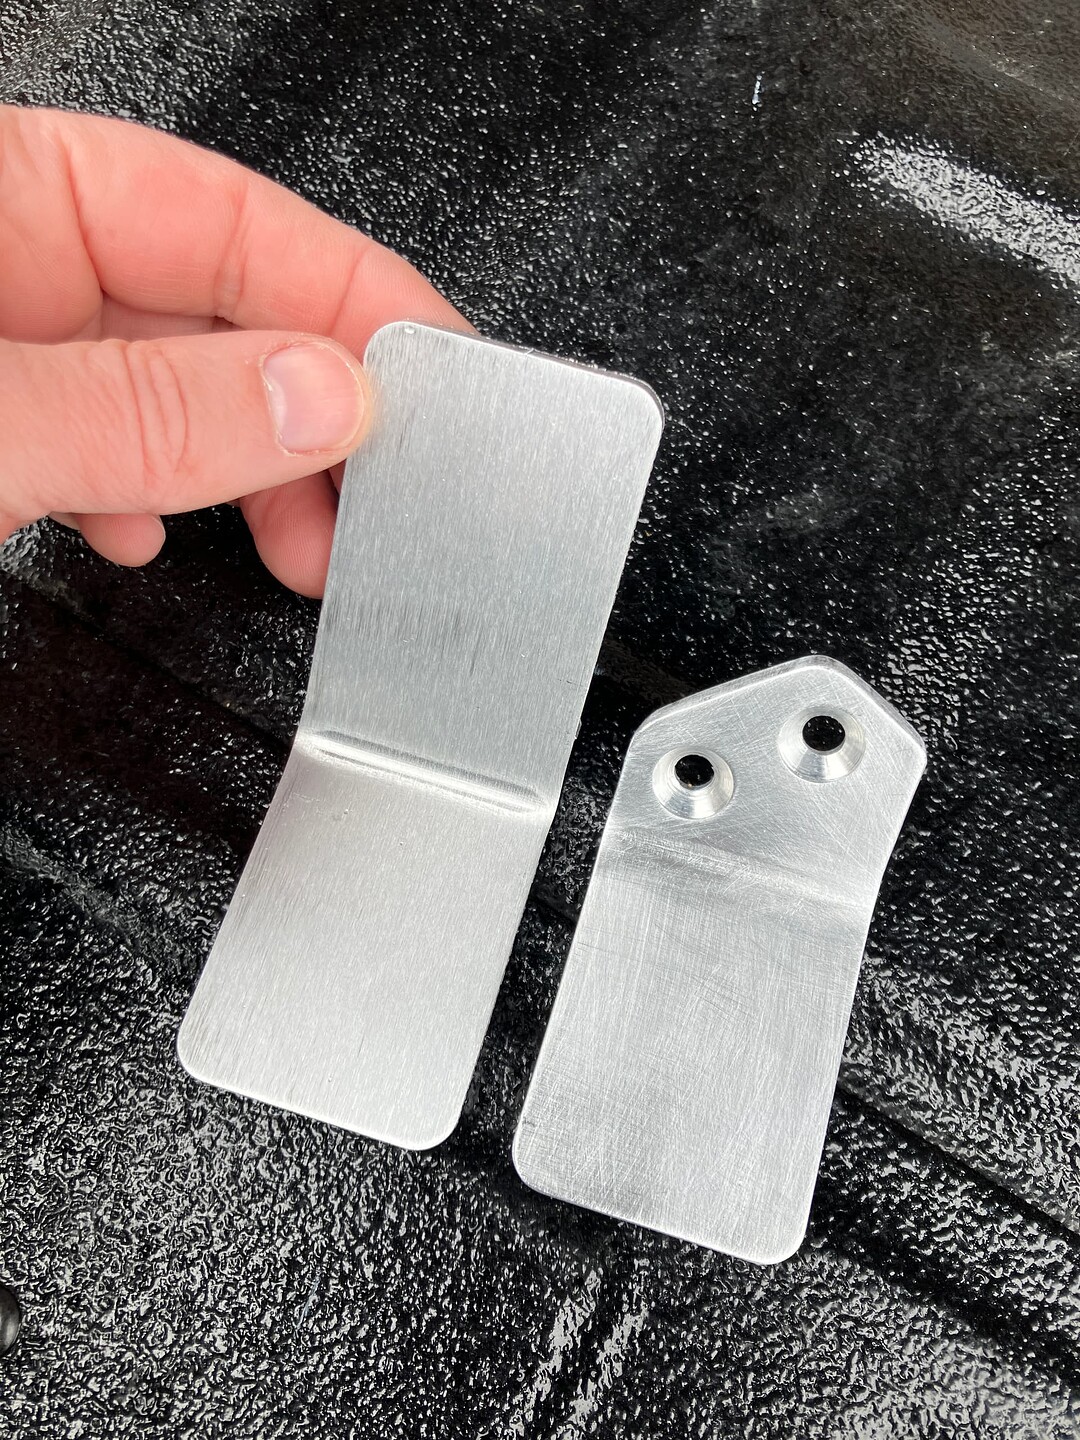
Ordered up a couple of these aluminum bent plates from sendcutsend.com using one of their online parts builder templates and then had them add a 45 degree bend. Here you can see what I started with and what I finished with after cutting, drilling and countersinking the holes.
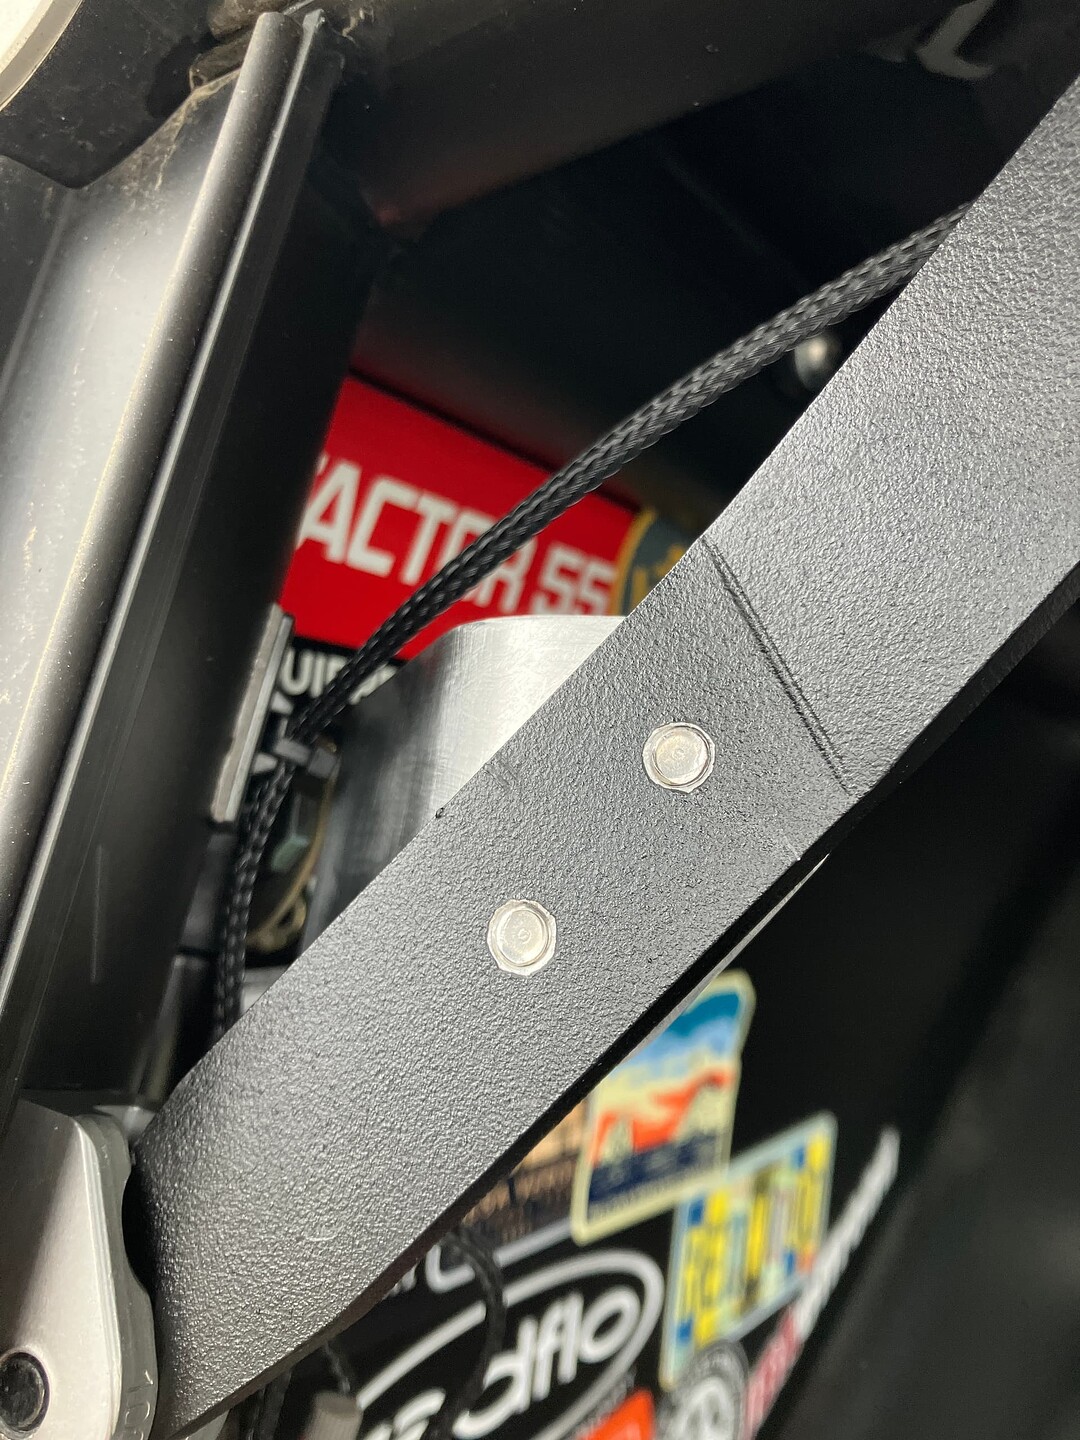
I removed and tapped the support bar at 1/4-20. Here’s the backside with some 3/8 stainless machine screws holding the bracket.
I still have some wiring to do and then I need to stick the switches on, but ran out of time today.
I’m operating under the assumption that these switches will need to replaced at some point. That 3M double sided adhesive tape is pretty brutal to remove. Figure if I need to remove one from this raw aluminum bracket I won’t be screwing up any paint or powdercoat. I can just sand it down again, clean it, then reapply any replacement switches. I may actually end up carrying a replacement switch in the truck since you can order them separately from Kingpin.
P.S. My camper is about 9 months old for reference. When I removed the small support bar I discovered that the screws on the small billet mounting bracket that attached to the vertical part of the frame had come loose. I removed both screws for that small piece, cleaned them up, added blue loctite and then snugged them back down. I have a feeling that checking those bolts will be a regular maintenance item.
Clean brackets! Nice work!
Looks great! Checking those bolts is definitely a regular maintenance item from what I’ve ready and my own personal experience. I have put witness marks on them since I had to tighten a couple up
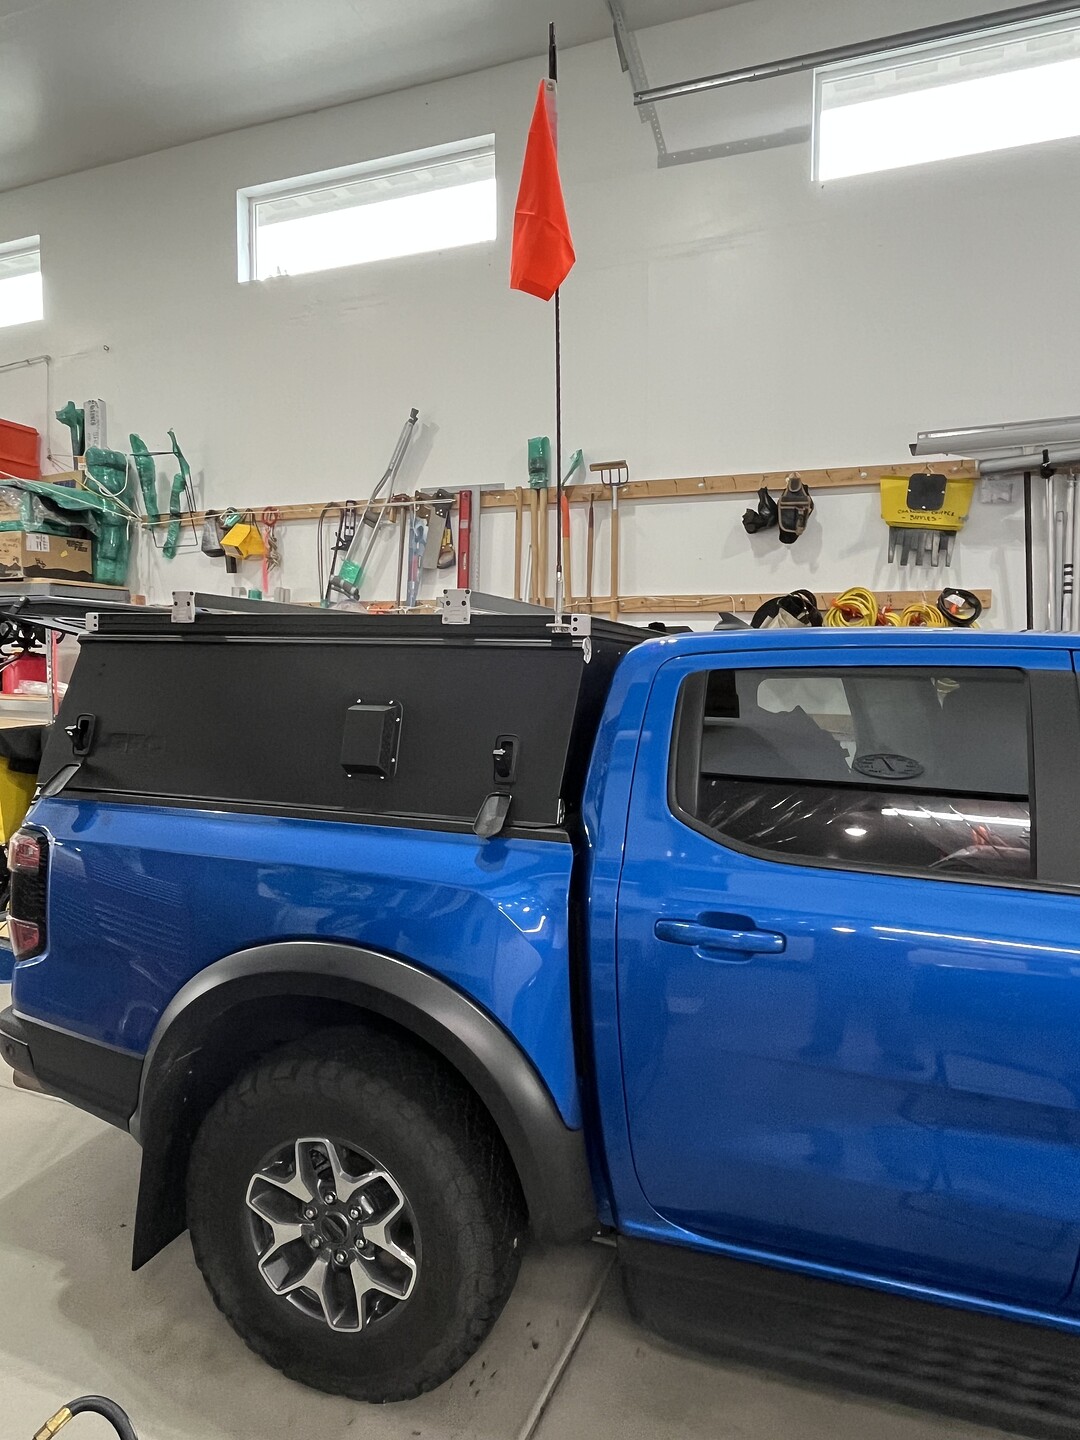
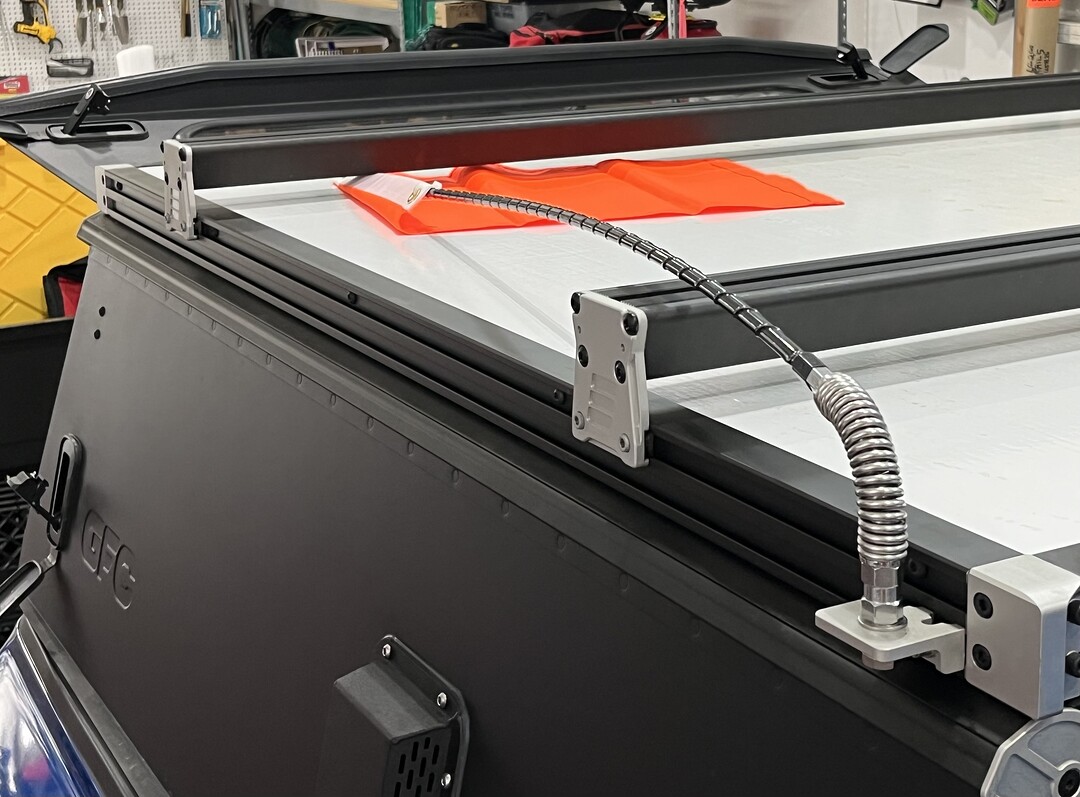
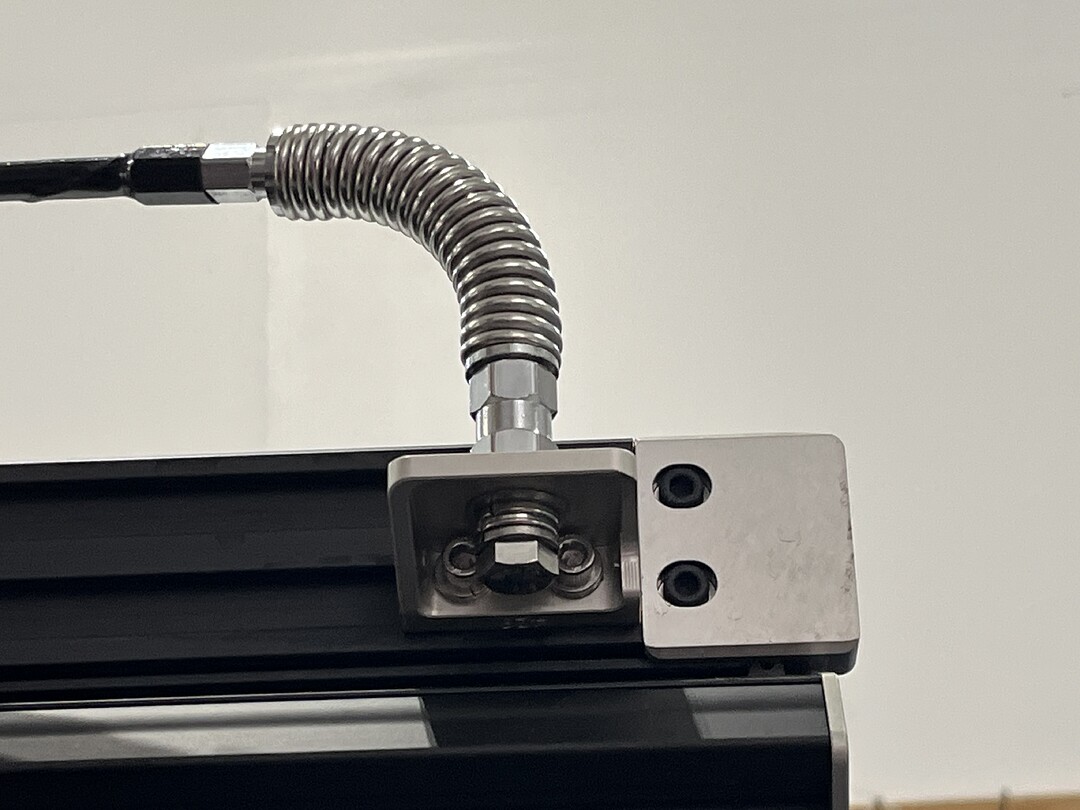
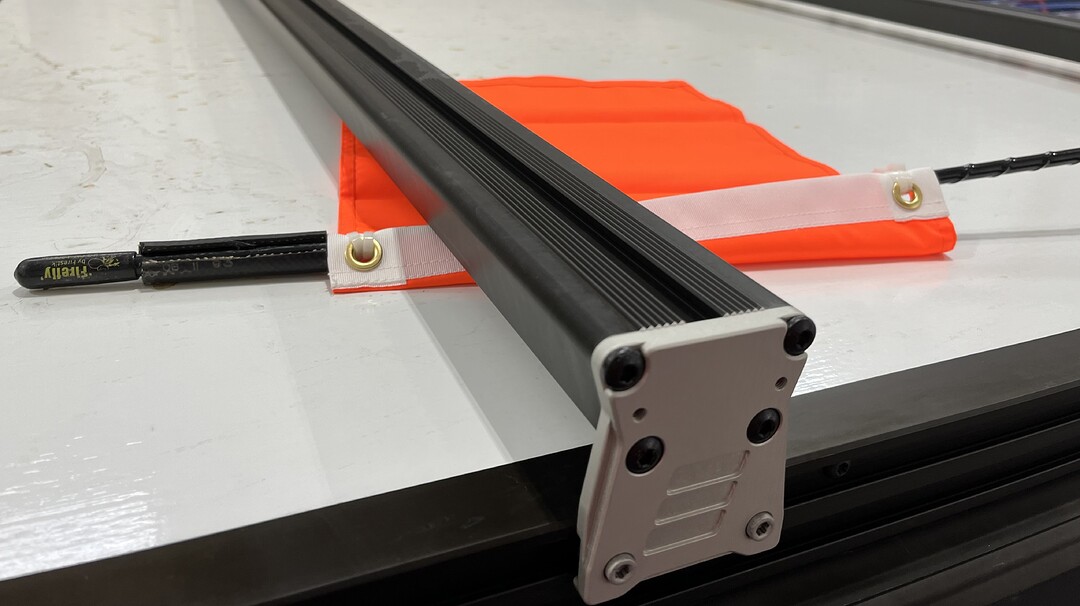
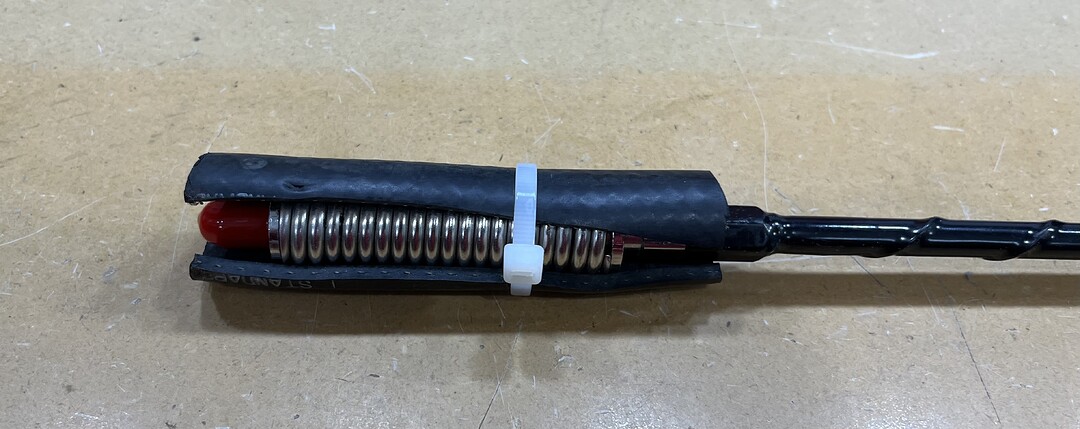
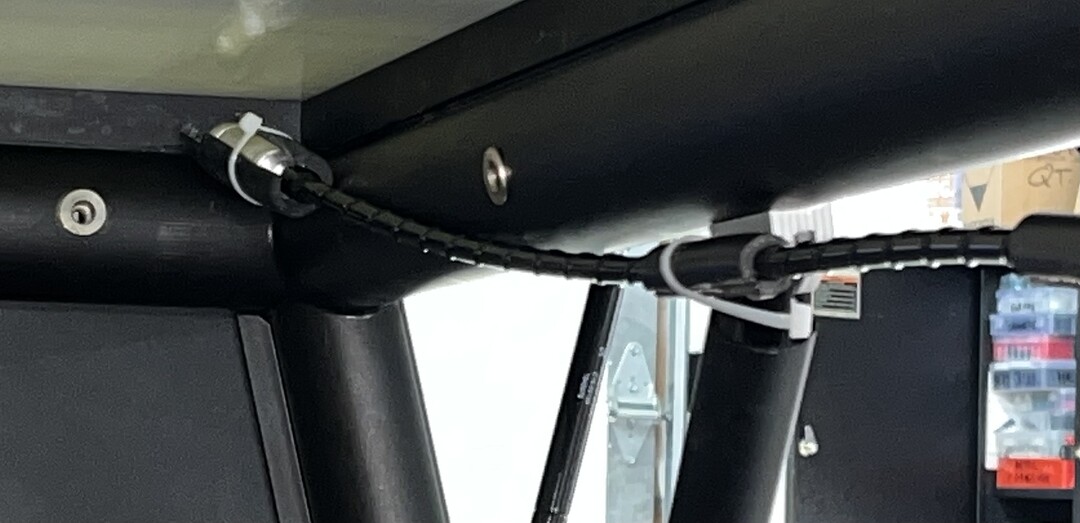
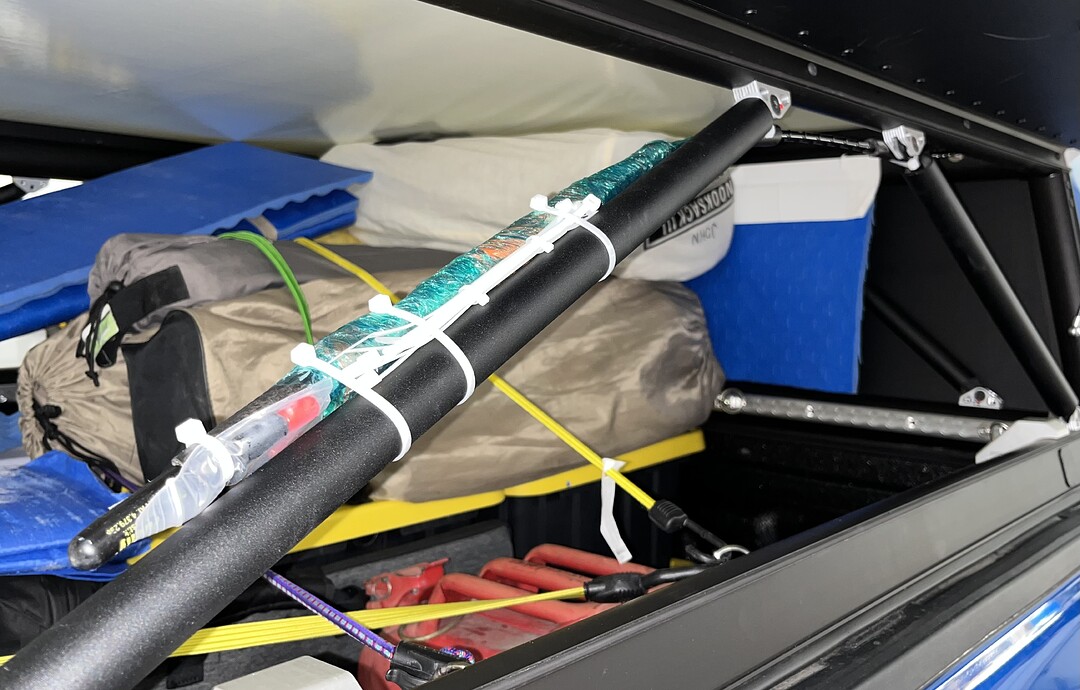
Added an off highway sand flag in case I find myself in dunes…… it is an old 5 foot Firestik CB antenna and spring base that was not being used , mounted to a GFC angle bracket. The flag is rectangular and 10”x18”, a larger size which is required in certain Washington ORV areas.
https://www.amazon.com/dp/B0BW3TWS5B?ref=ppx_yo2ov_dt_b_fed_asin_title&th=1
I don’t plan to leave it up there full time, but it does stow neatly under the rear bar. The spring screws in by hand to the threaded base, no tools needed for that…
John Davies
Spokane WA
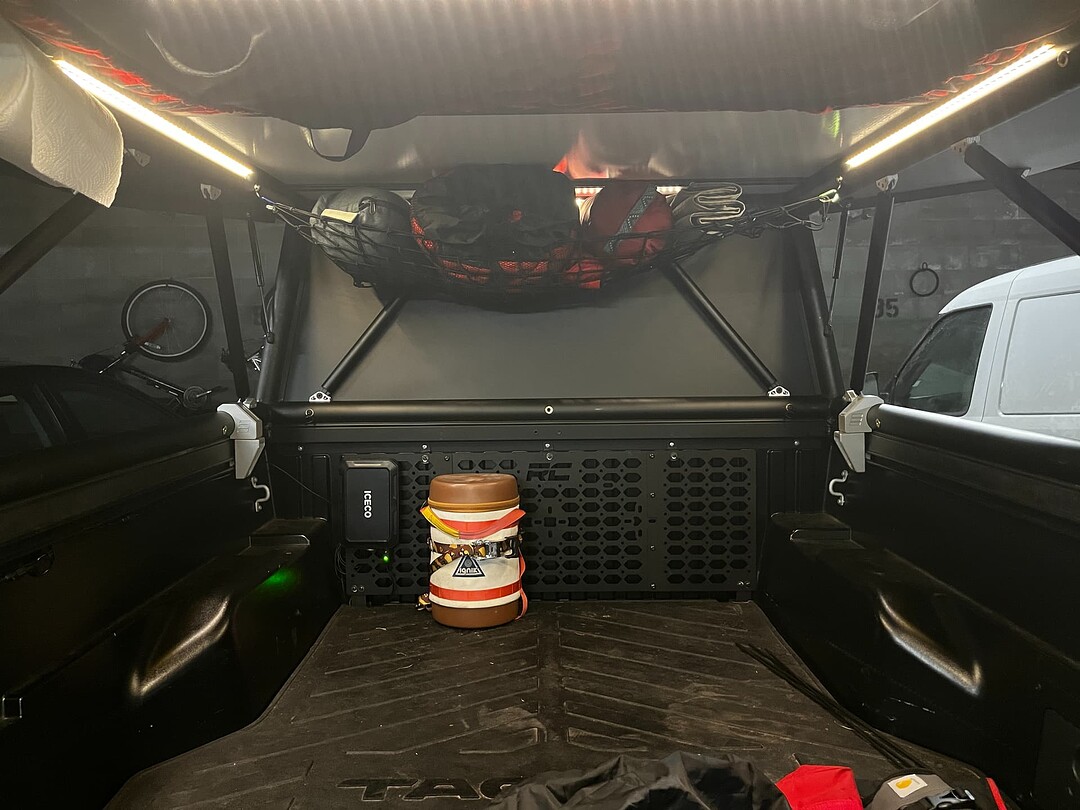
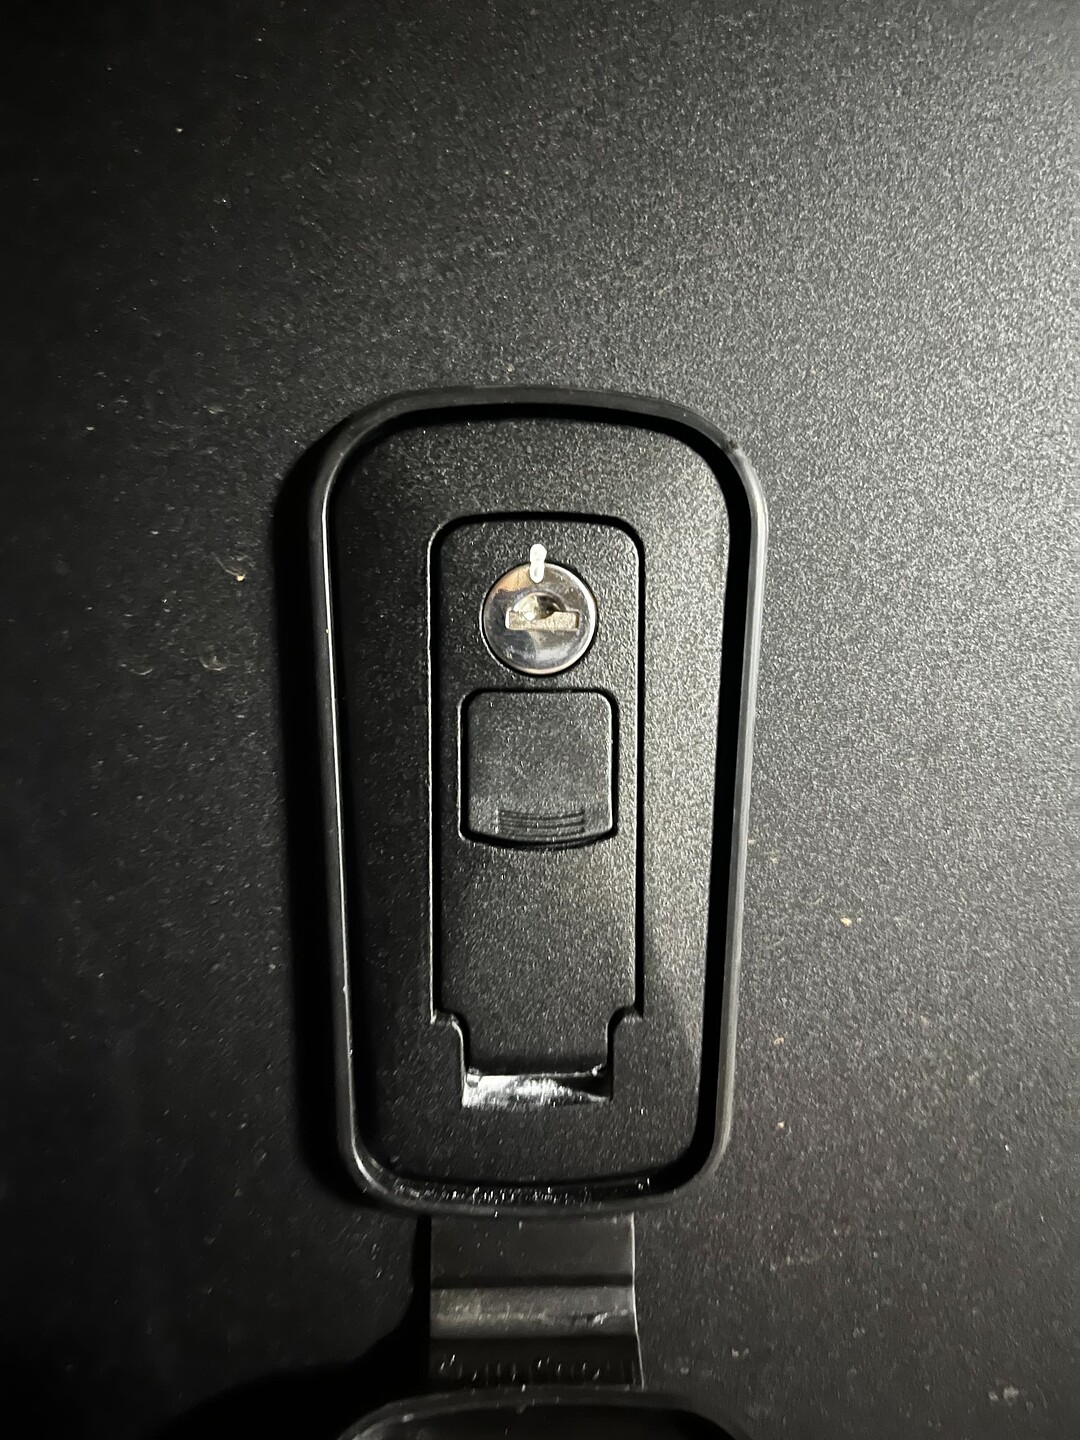
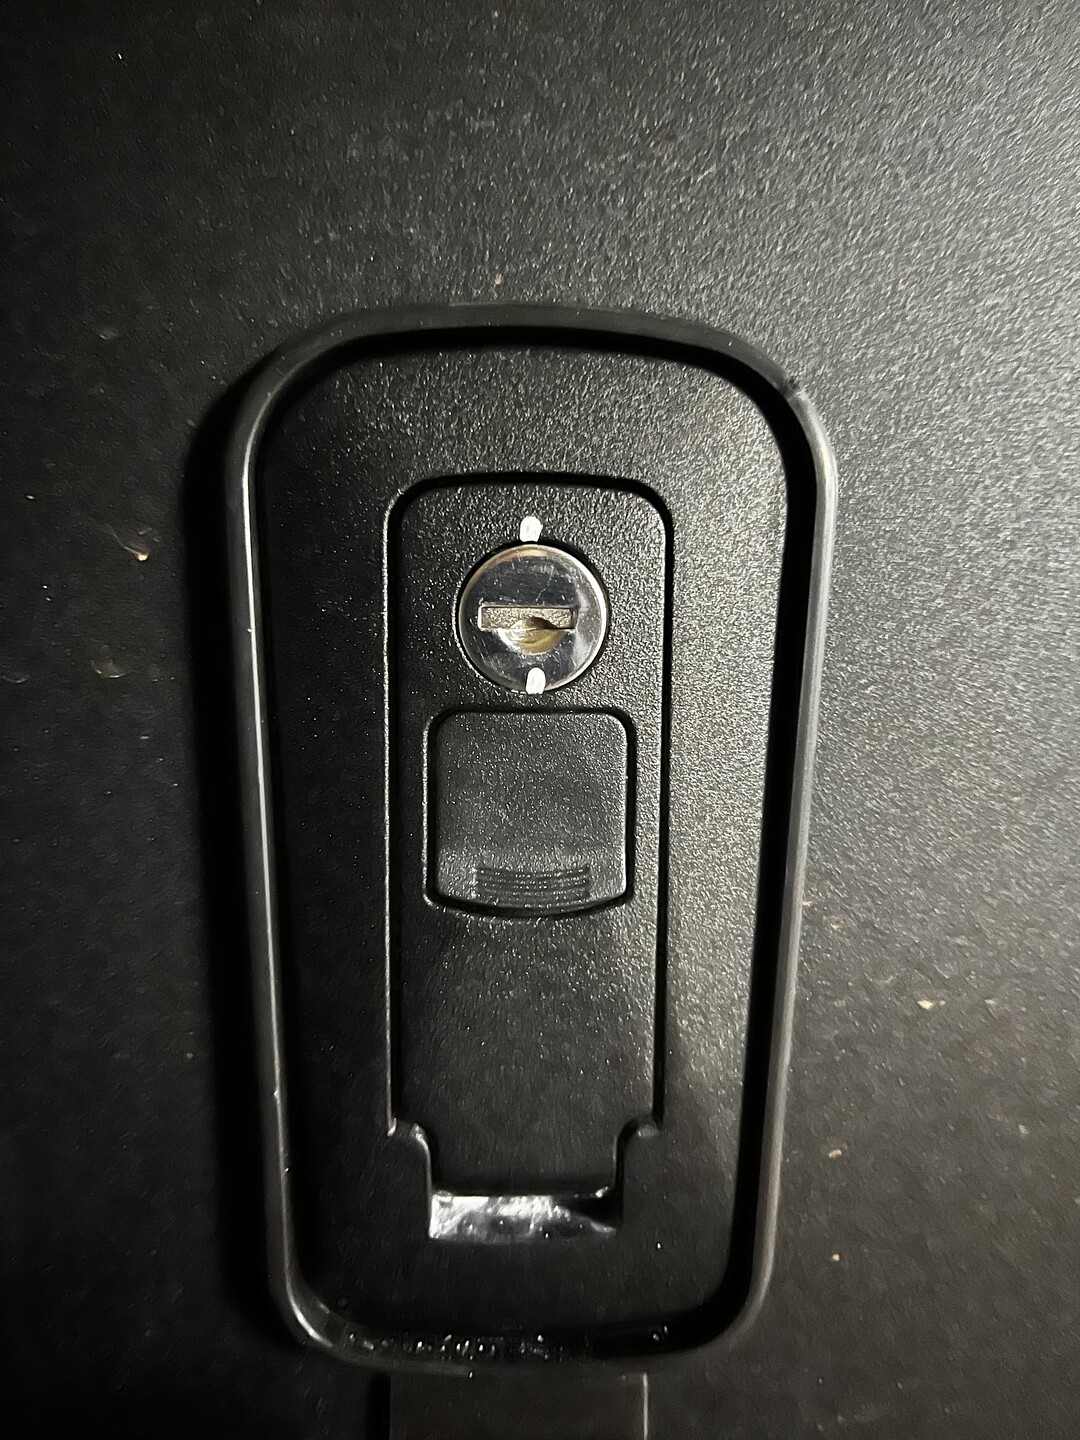
First iteration of a DIY cargo net using a cheap amazon net and some tie down rings bolted into the well nuts. Also because I’m lazy and forgetful I put a small white paint mark on all my locks so I can more easily see if they are locked or unlocked.
nothing much. went to rescue a friend whose 1 yr old VW GTI died at home.
I was taking a dump when I got the call and ended up getting there and fixing the issue faster than a tow truck, factoring in the time it took for me to finish the dump, put on my shop cloth, get the truck out, load the GFC with tools and jumper, and drove 12 miles through SoCal traffic.
your a good friend
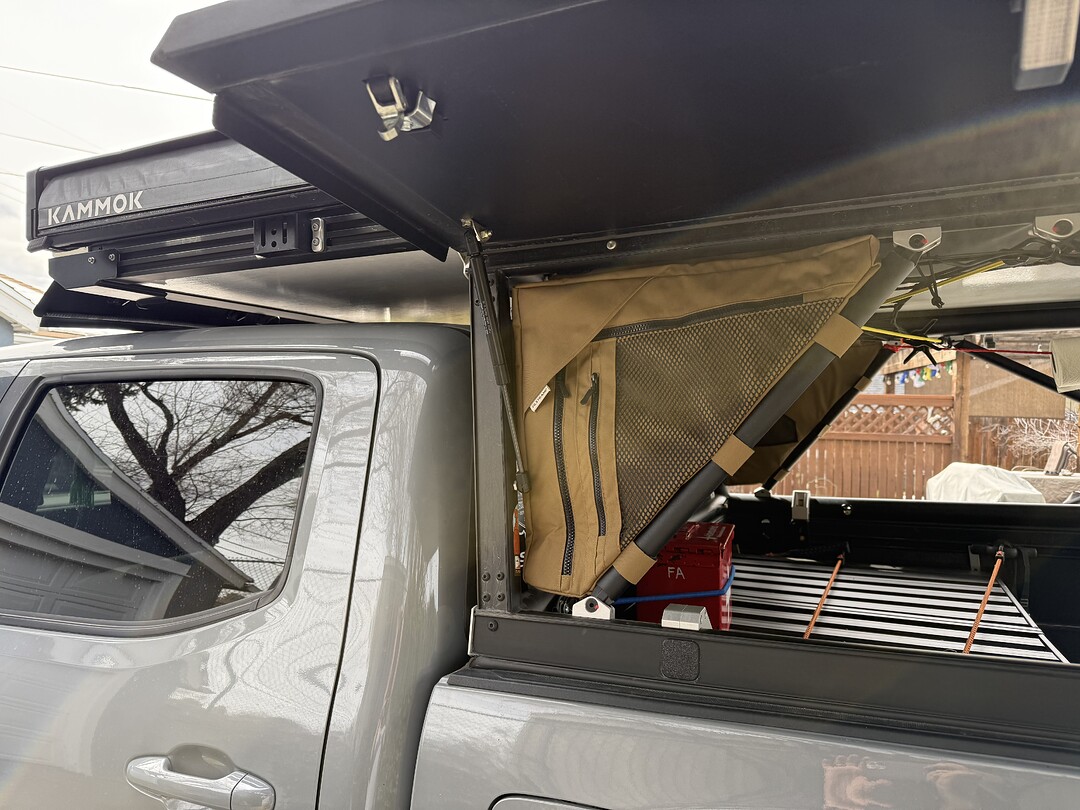
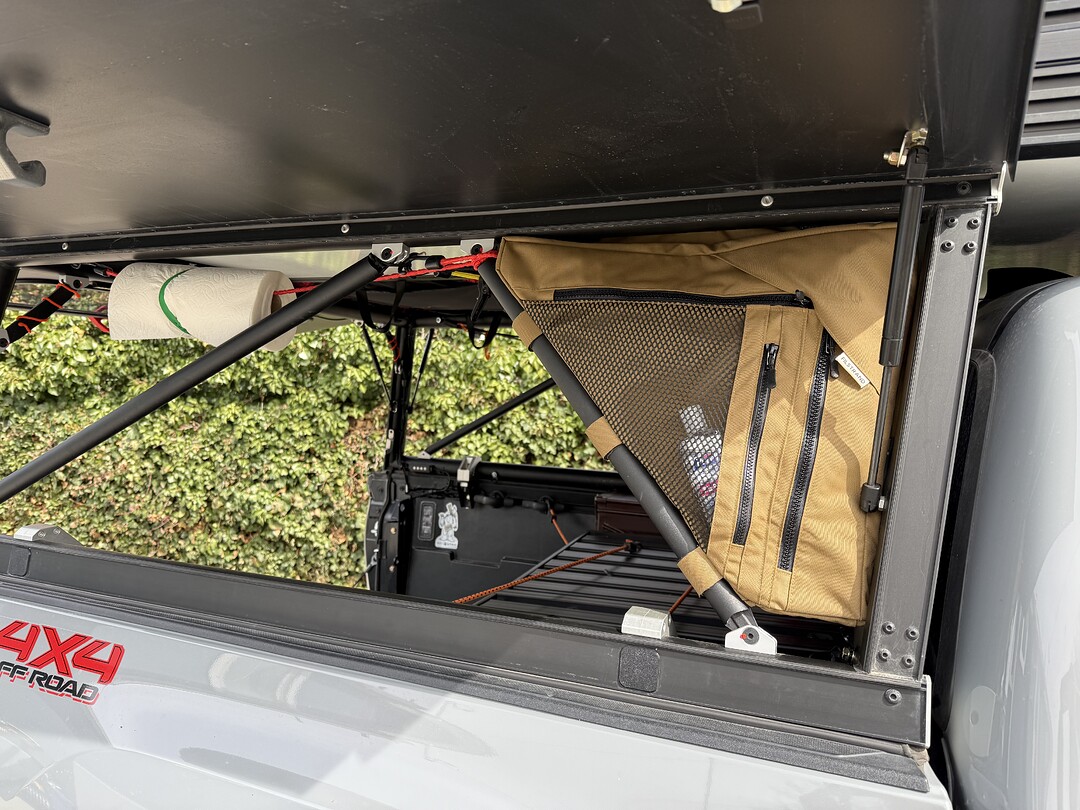
Where’d you get those bags? I’ve been looking for some like Vrnclr used to make, but they don’t seem to sell them anymore
I’m curious too. I tried Googling “Filstrand” and nothing came up
Found him on the GFC Facebook Group here
Also on Instagram here
I don’t believe he has a website or anything yet.
They are great bags, definitely recommend.
These pics might be enough to push me over the edge to buy them. Look great.
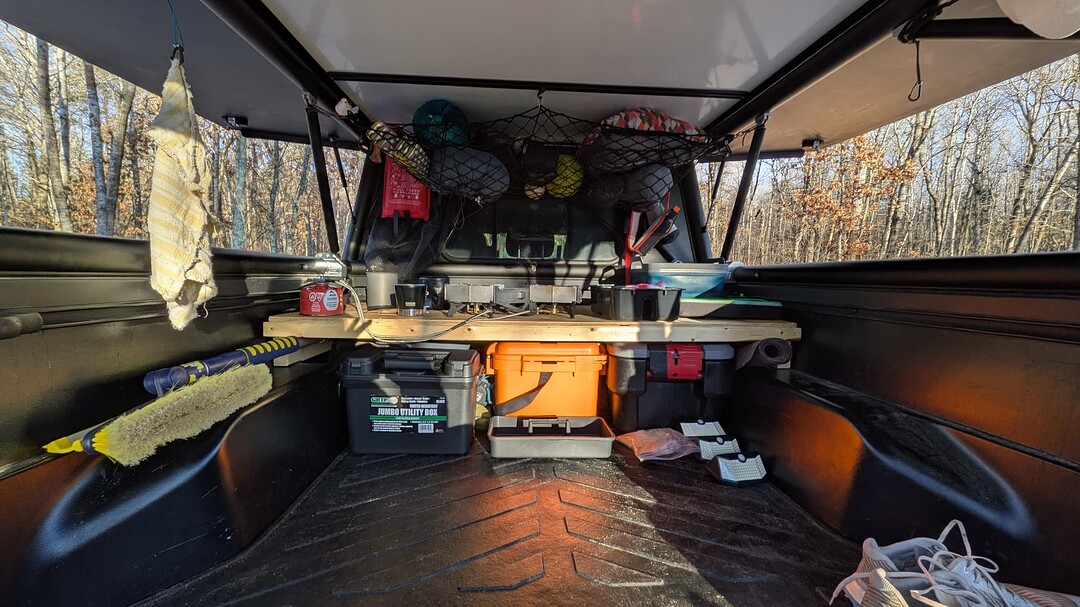
Added a 2’ bench/table to the front of the bed. Ripped some 2x6s to 5" thickness which gave it the perfect height to fit an small action packer tote.
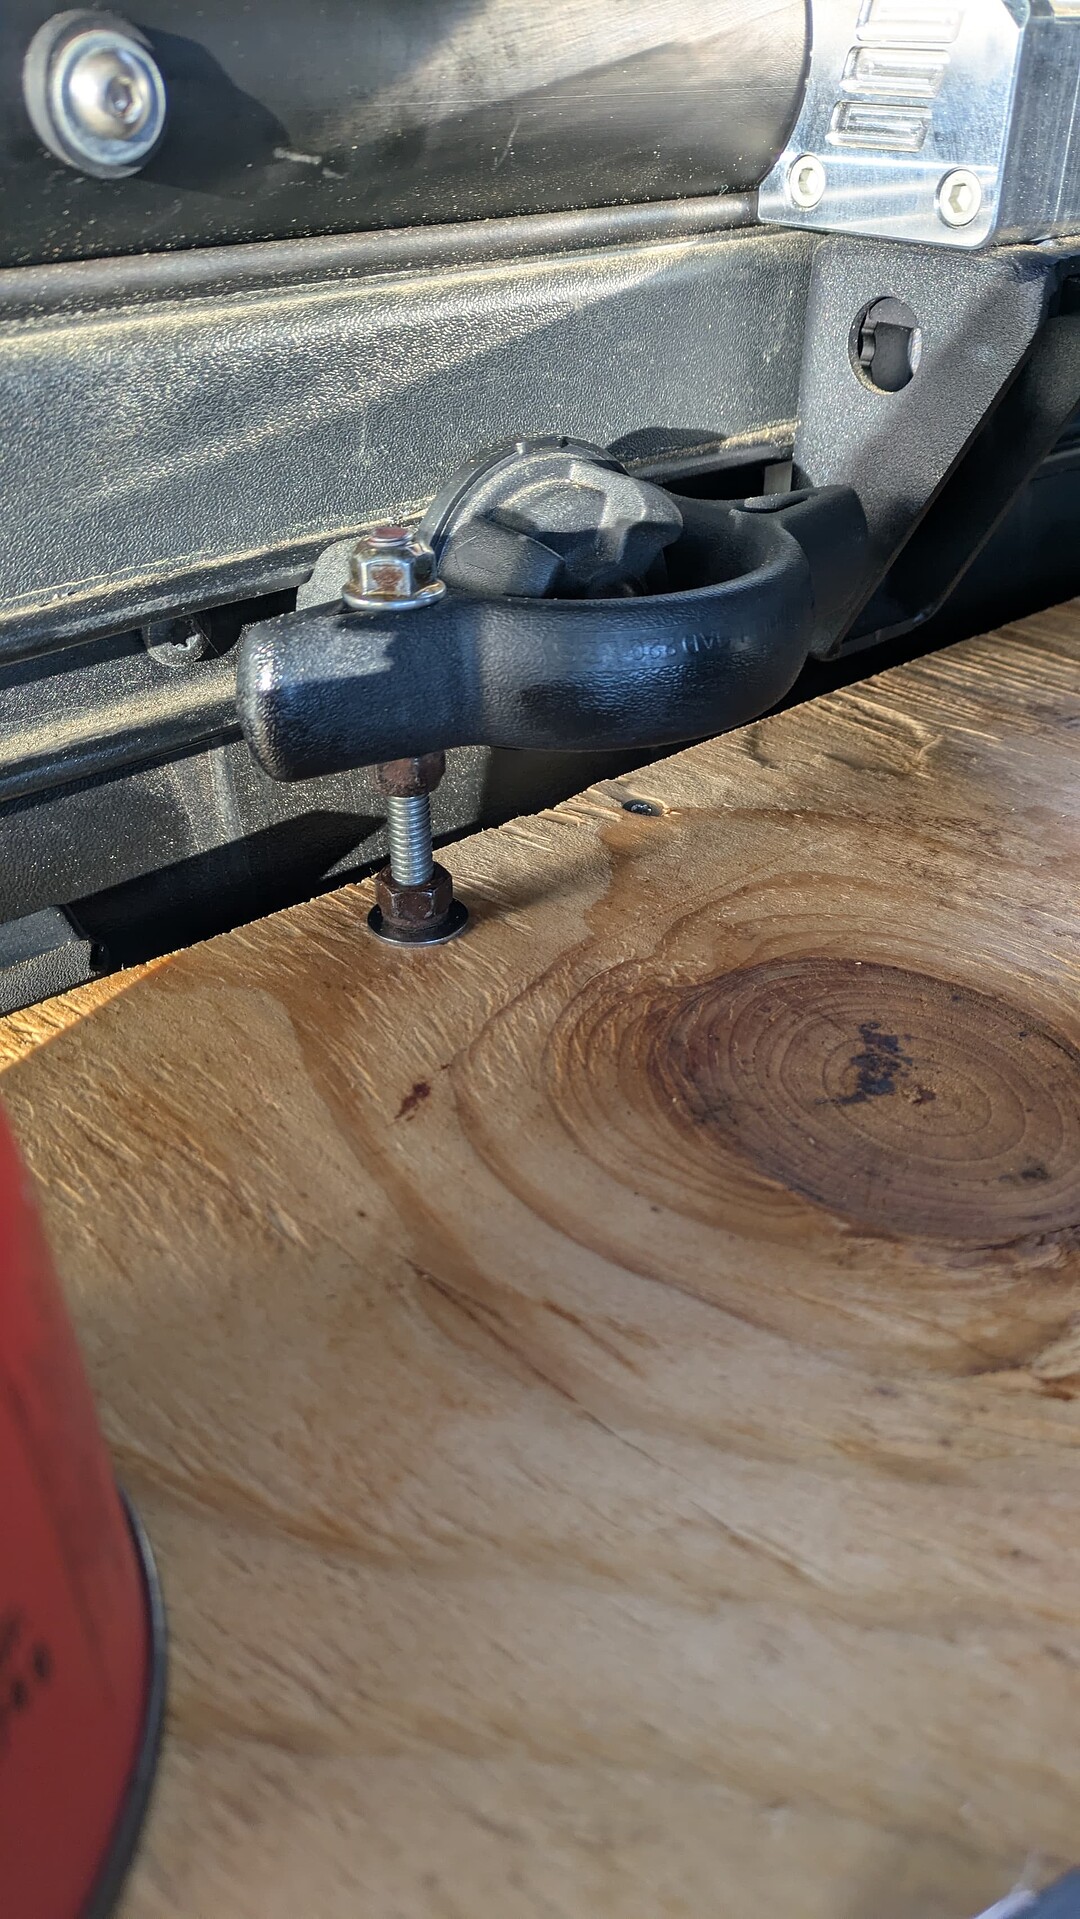
It is held in place by pressure from a nut on some threaded rod going through the accessory tie down points on both sides.
Looks great too! I need to do this
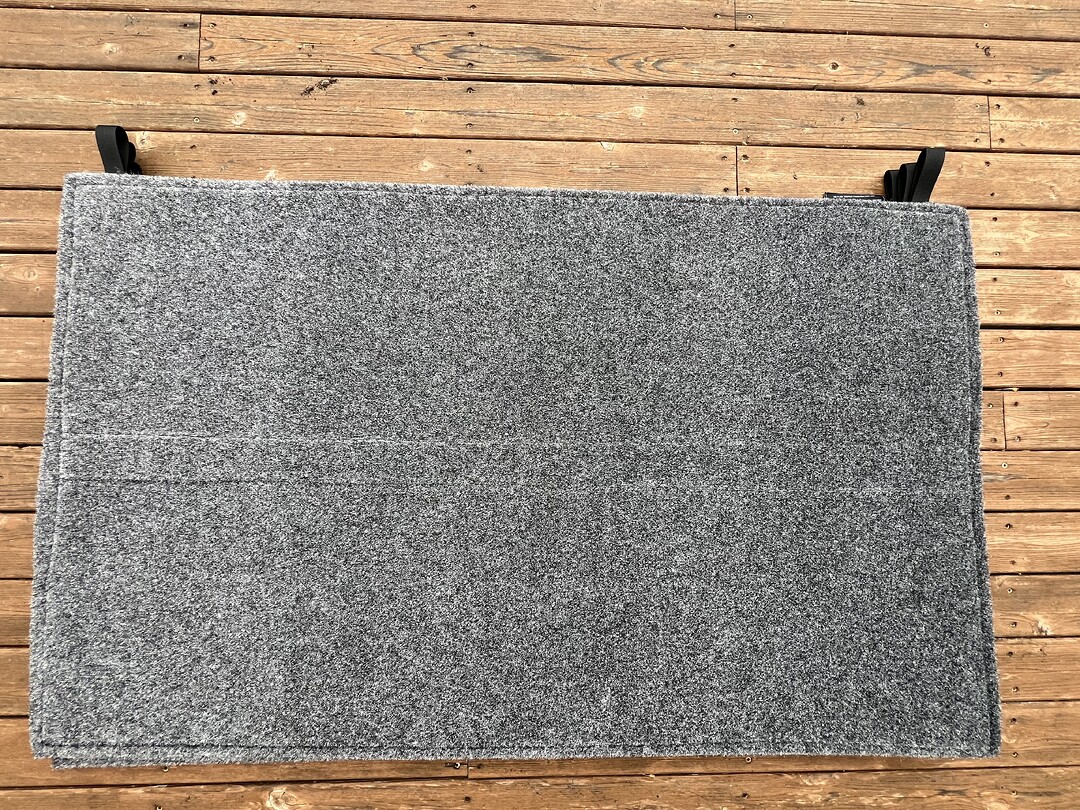
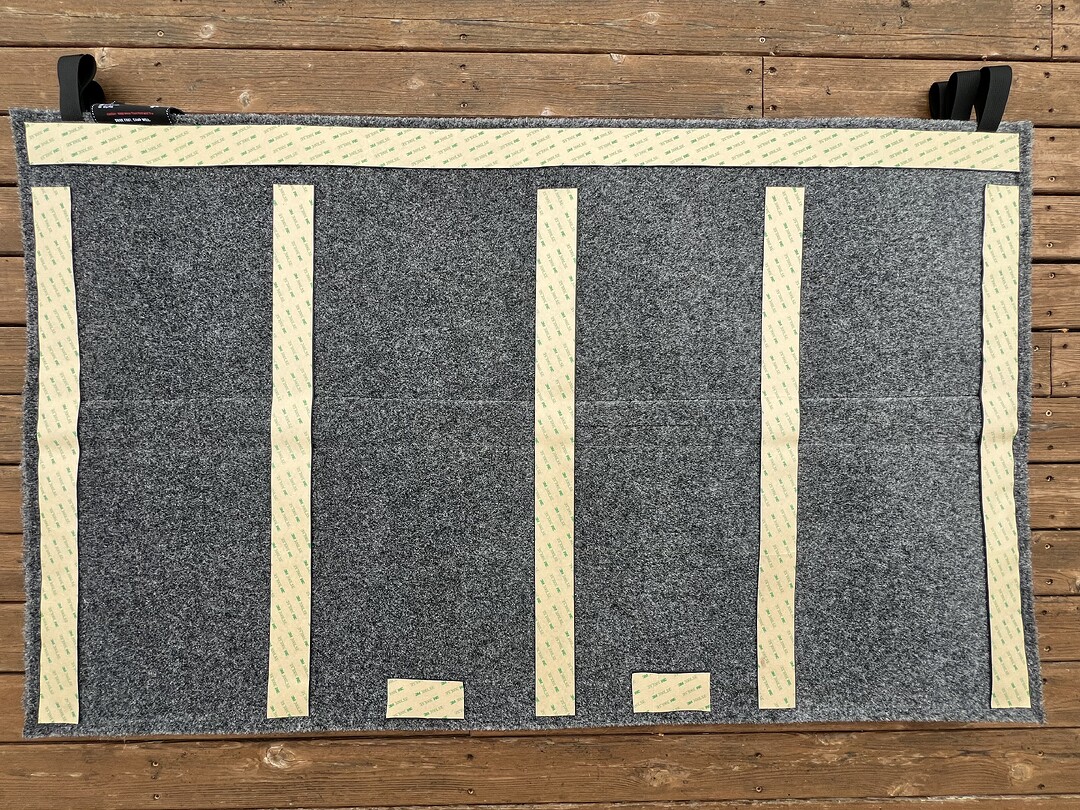
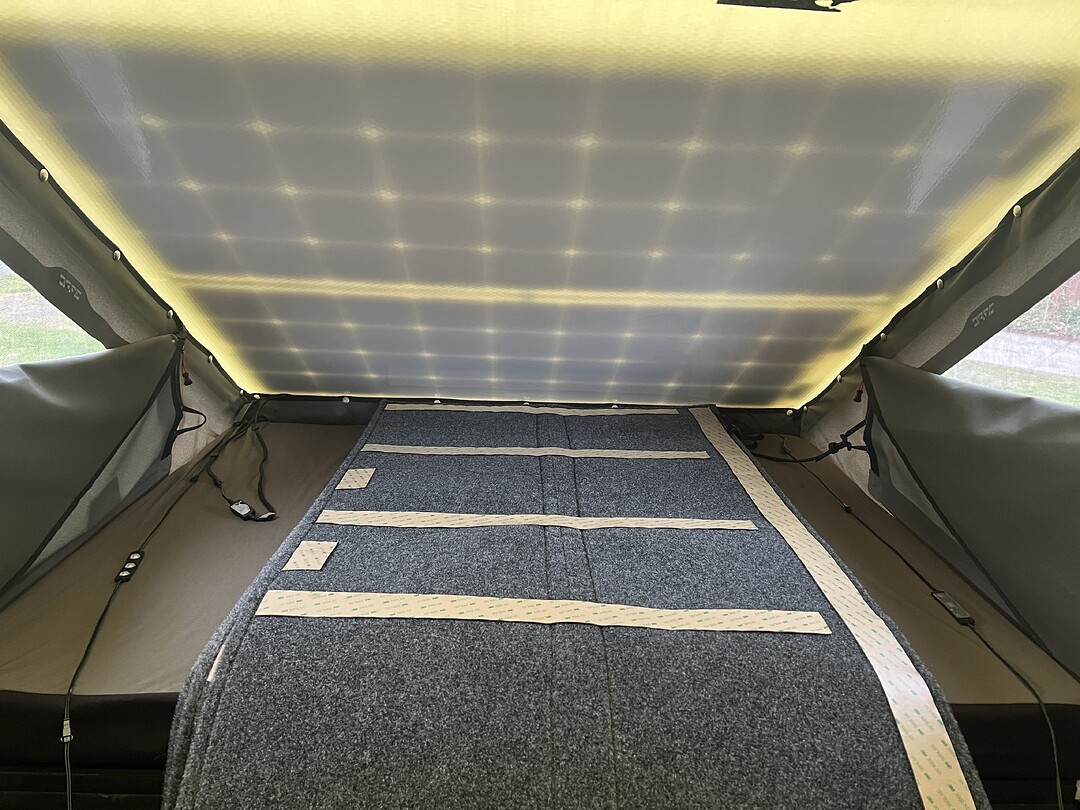
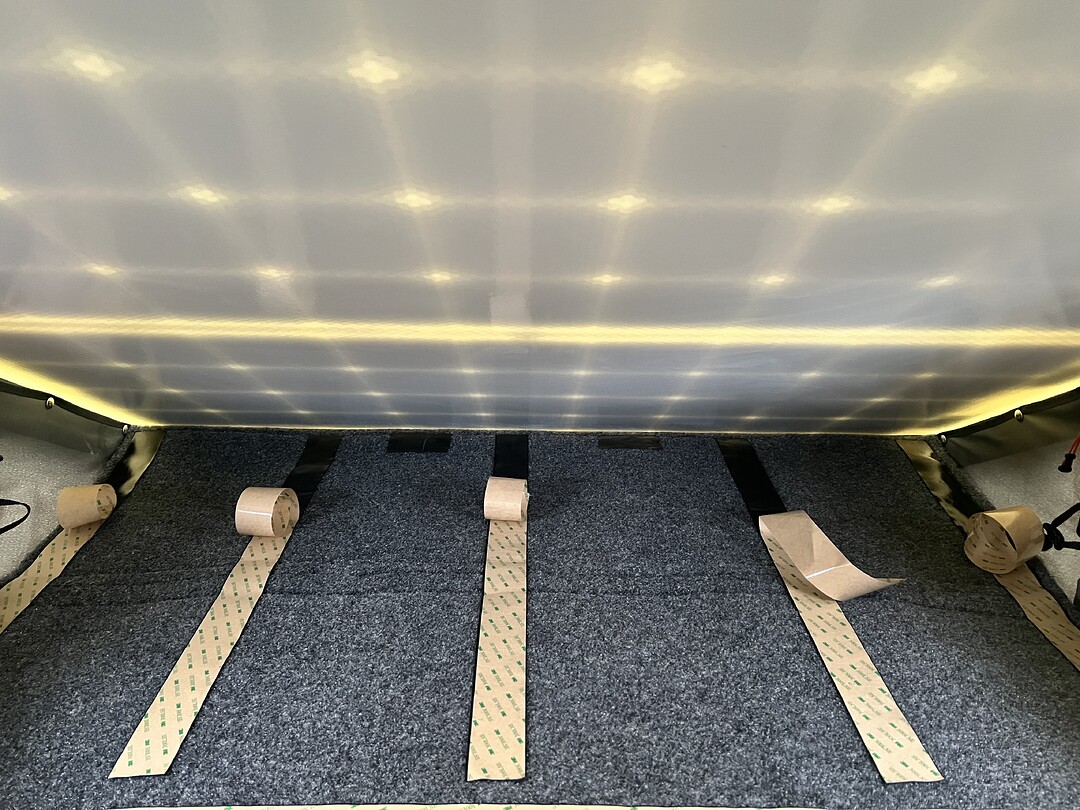
Installed the new headliner. Came with plenty of heavy 3M backed Velcro. I watched a few YouTube videos of people meticulously measuring out and attaching the sticky back to the gfc. Then attempting to line up the liners. I found the reverse to be most successful.
Had a productive day today. First, I learned last weekend that Colorados have big holes in the corners of the bed rail which allow a ton of dust in. @m0to gave me some foam pieces and I stuffed those up in there.
My rear panel struts were shot so I ordered new struts from GFC and installed them today. Took all of 2 minutes and getting my head cracked once when I took the first strut out and the panel tried to take me out

So, in the picture above you can see how far down my Vrnclr bedding catch sags when loaded, partially blocking my view out the back. I’ve seen a few others had track up there and used t-nuts but because I have a short bed I didn’t have that option. What I did was measure up where the right spot would be and drilled a hole in the ledge the bed panel rests on. Then I bolted up a flat hex bolt with a picture hanger. I ordered a grommet kit of eBay and used that to put a grommet in the bedding catch. I have one of the cool Nite-ize carabiners somewhere in my multiple camping and hunting boxes, I couldn’t find it so I just used a mini carabiner. Works perfectly

Lastly, I added L-track to the side rails. These are not intended for anything heavy, just for hanging points and organization. I found black powder coated L-track and bought two 48" pieces. I then cut them each to 35 1/2". I measured where the captive nuts are on the frame rail and drilled two holes and mounted the L-track using the existing nuts.
My etsy bug screens showed up so I’ll install those next…
