Interior Lighting:
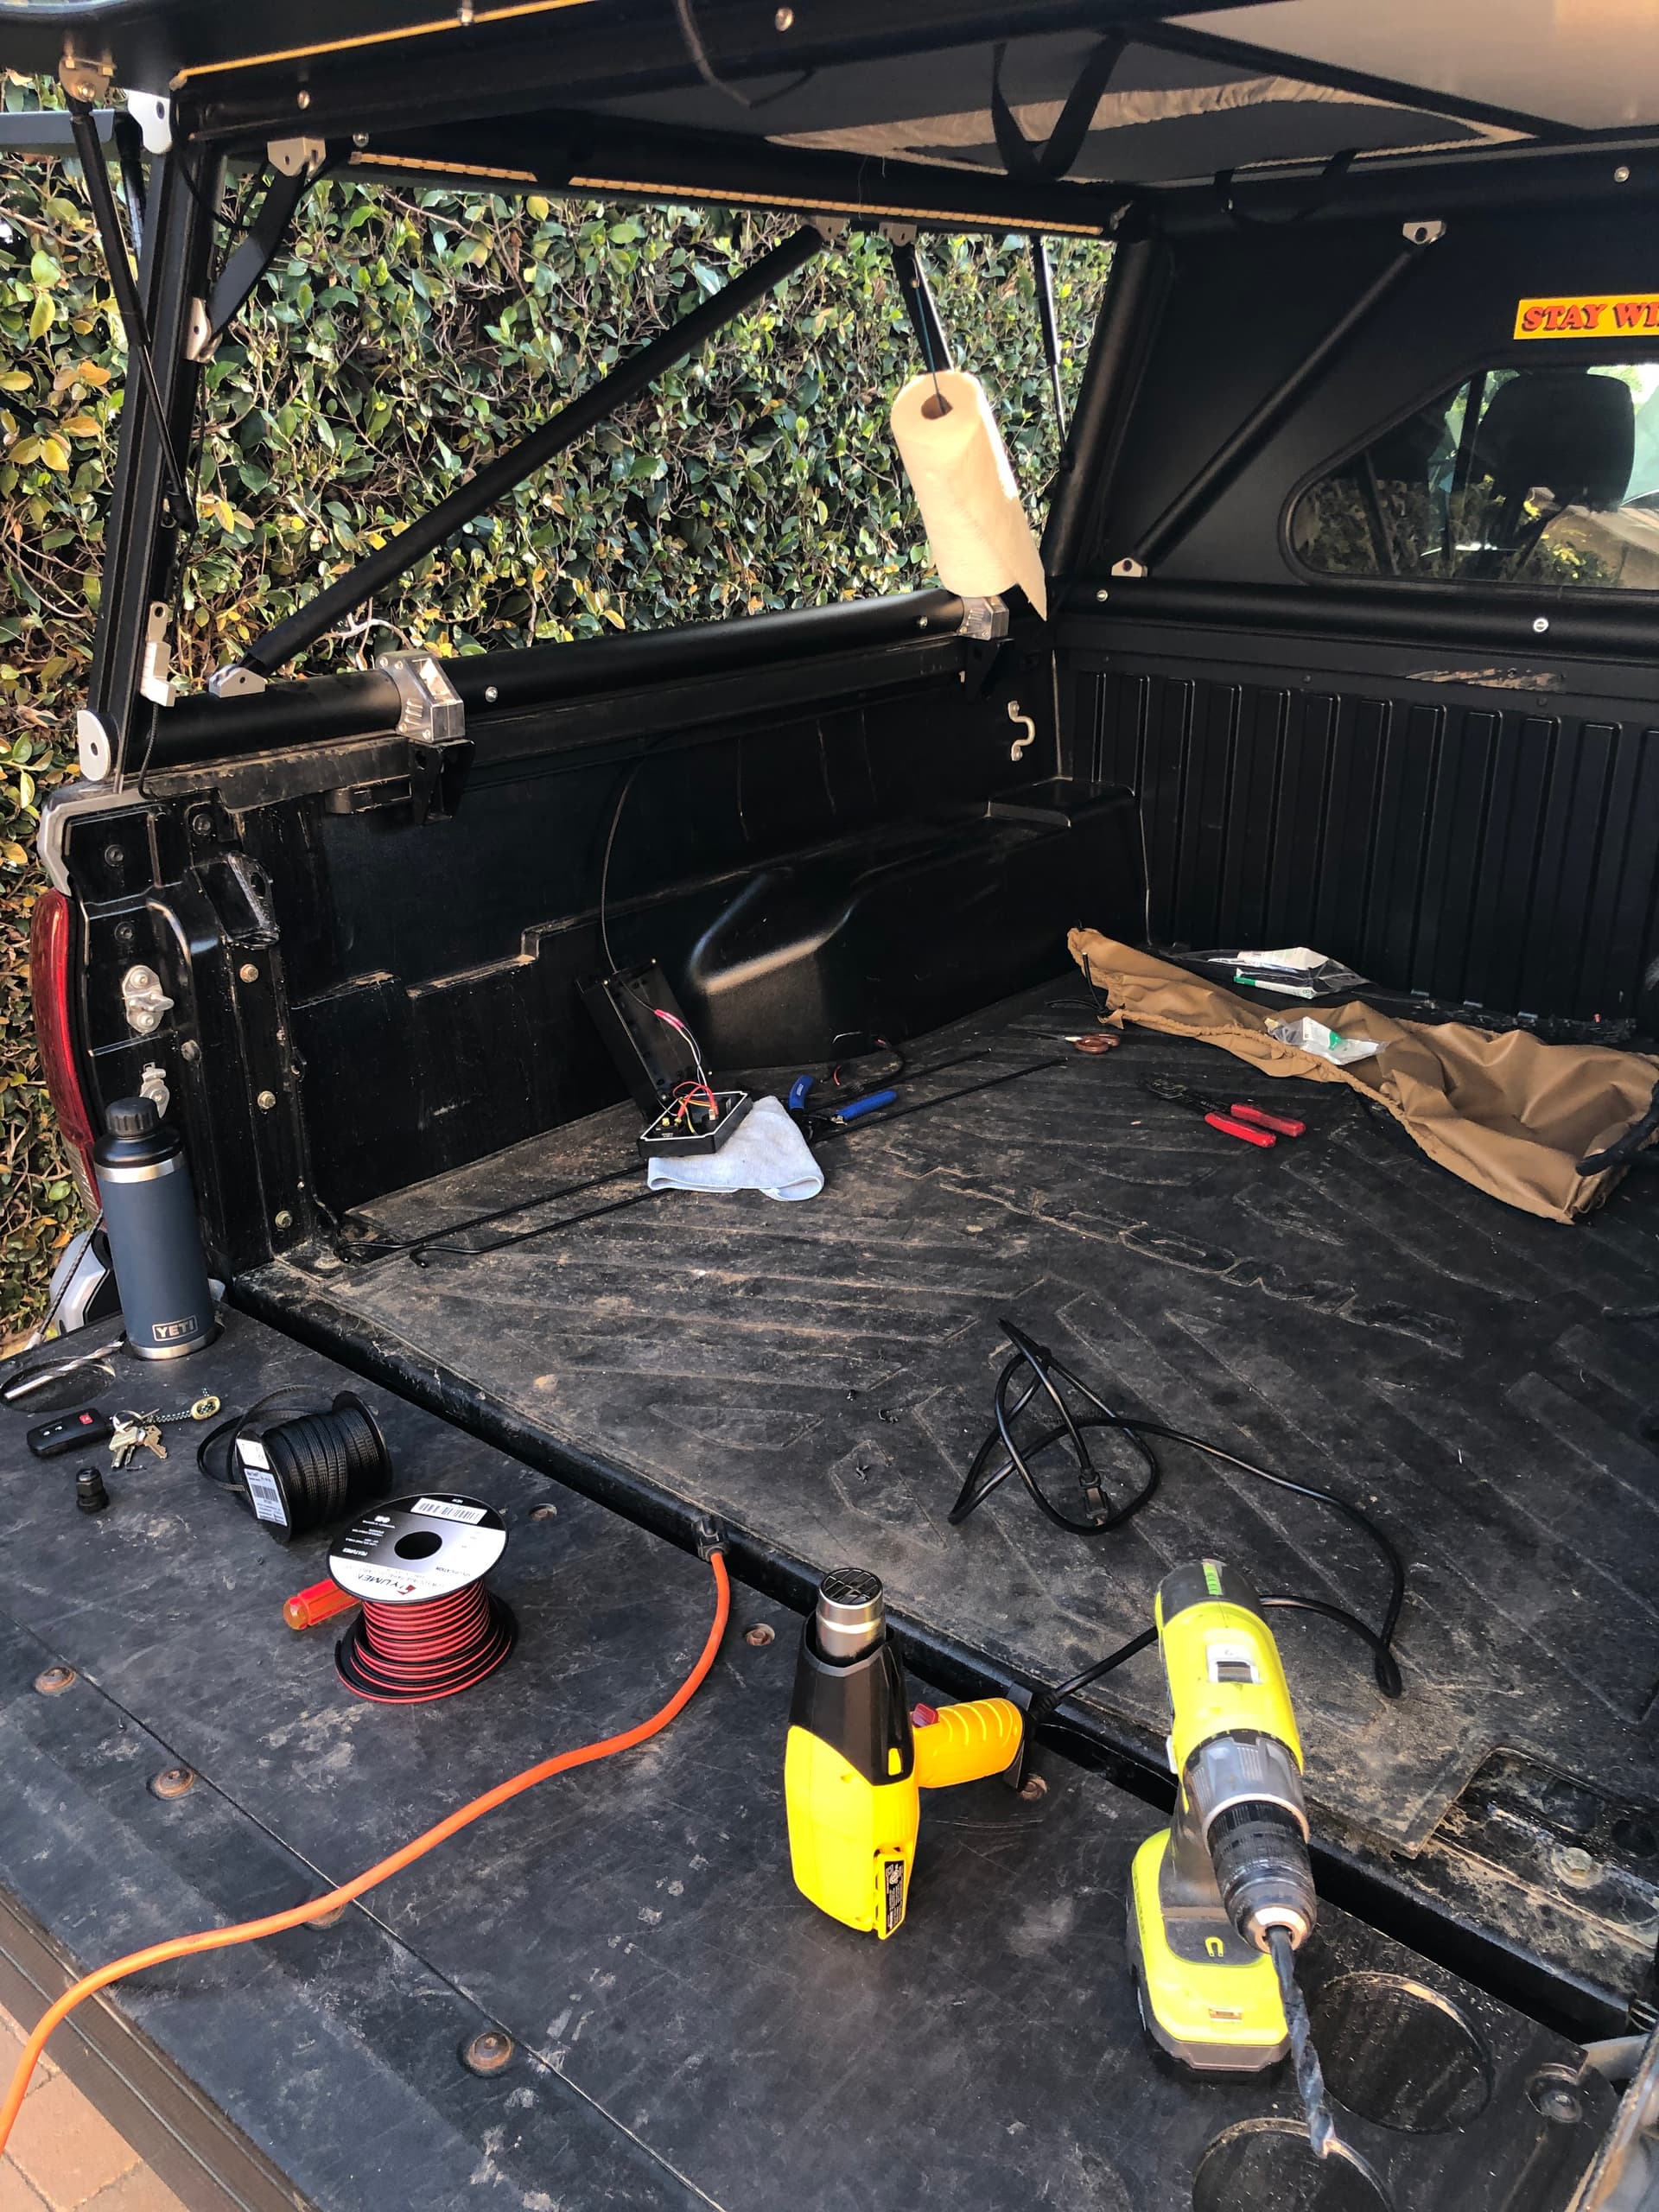
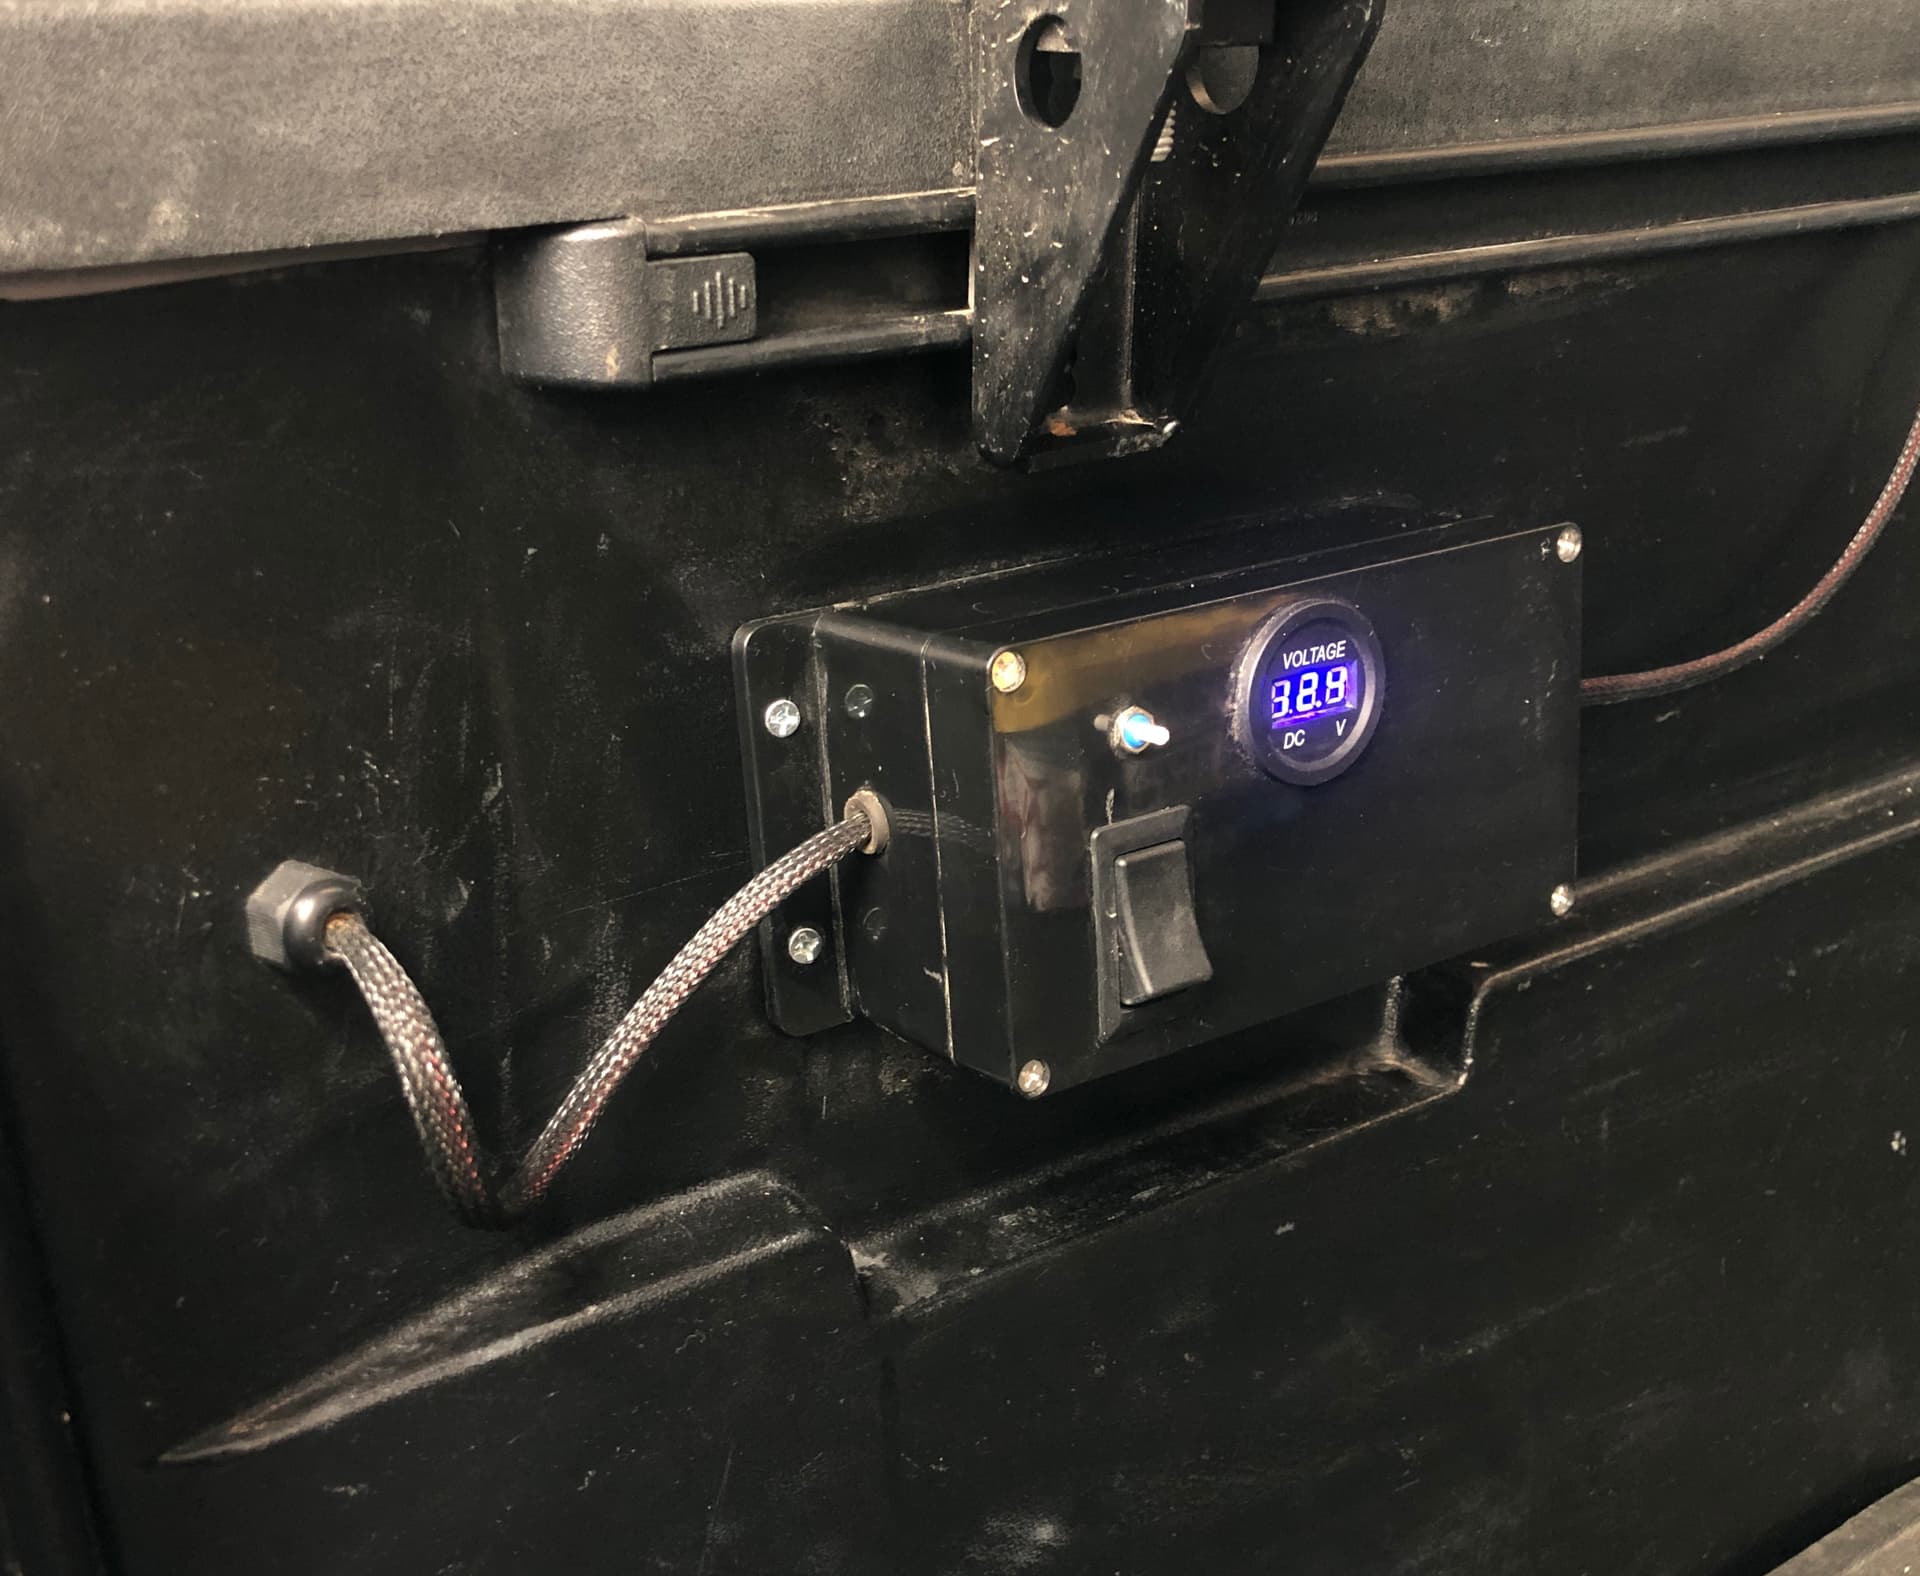
Lighting for the truck bed is very high up on my list, so I was surprised it took me until now to get it set-up. I previously came from basic LEDs ran off AA batteries in my camper shell, so this time I wanted to hardwire them to the truck. I ran 12V power from the main battery (via the Auxiliary Fuse Block) into the truck bed. This consisted of wrapping and zip tying wiring underneath the truck, then drilling a hole near the taillight into the bed. From there I tucked all the connections and controls into a small junction box. I used a simple on/off switch, BuckPuck (Great idea via @Vice_Chief) with a dimmer switch, and a voltmeter. LED connectors and wiring bridge the gap between the side LEDs and the tailgate panel LEDs. The voltmeter helps as a way to keep track of the battery and the junction box has more room for future additions (USBs, upstairs lights, etc). Future plans are to add in a larger dimmer knob and quick disconnects to run the system off a Goal Zero (via a 12V cigarette lighter wiring harness).
Tested the system for a week in Baja and the only issue that popped up was the LED strip ends unsticking. So the plan is to add a stronger double sided adhesive to the ends to fix. Otherwise the system worked great and provided plenty of light inside and outside of the truck bed!
Awesome. Good to hear. I also went the AA route and LED strips. Lasted for about a year but the battery packs are bit corrosive inside with battery acid. Just noticed it this weekend camping.
@78westy - Yup, I had the exact same issue with the batteries in my old setup. Surf was non-existent so we quickly switched to the Sea of Cortez side! Bit of a tough Spring this year
@babyyota - Agreed, having links in posts helps so much.
@Vice_Chief - Had to shave down the 18 gauge wire to make them fit and I shrink-wrapped the wiring as close as I could to the connector. Held up great in a mix of over 1,600 miles of highway, dirt, sand, rocks, and washboard roads…so I think they pass the test for me!
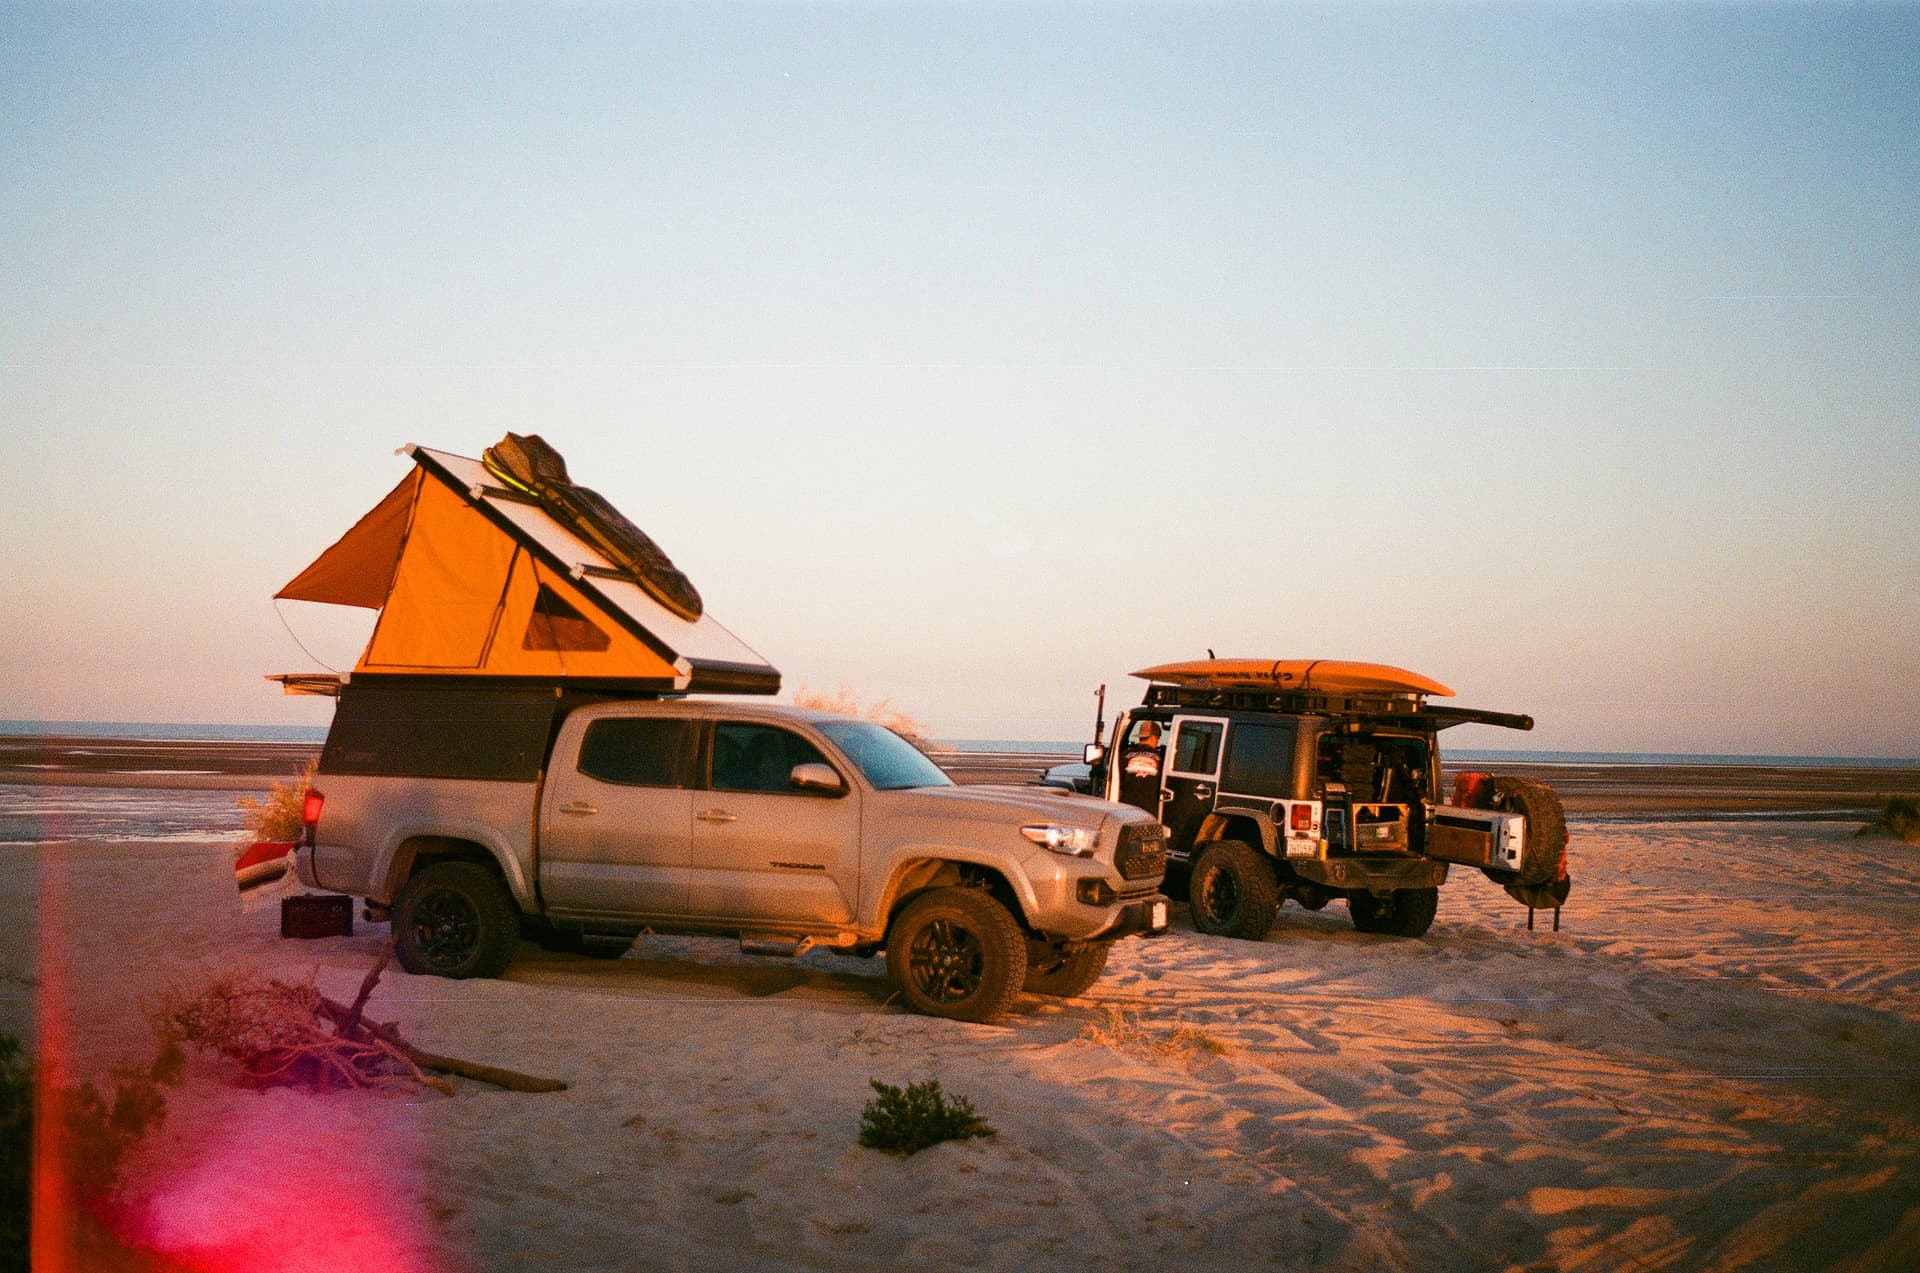
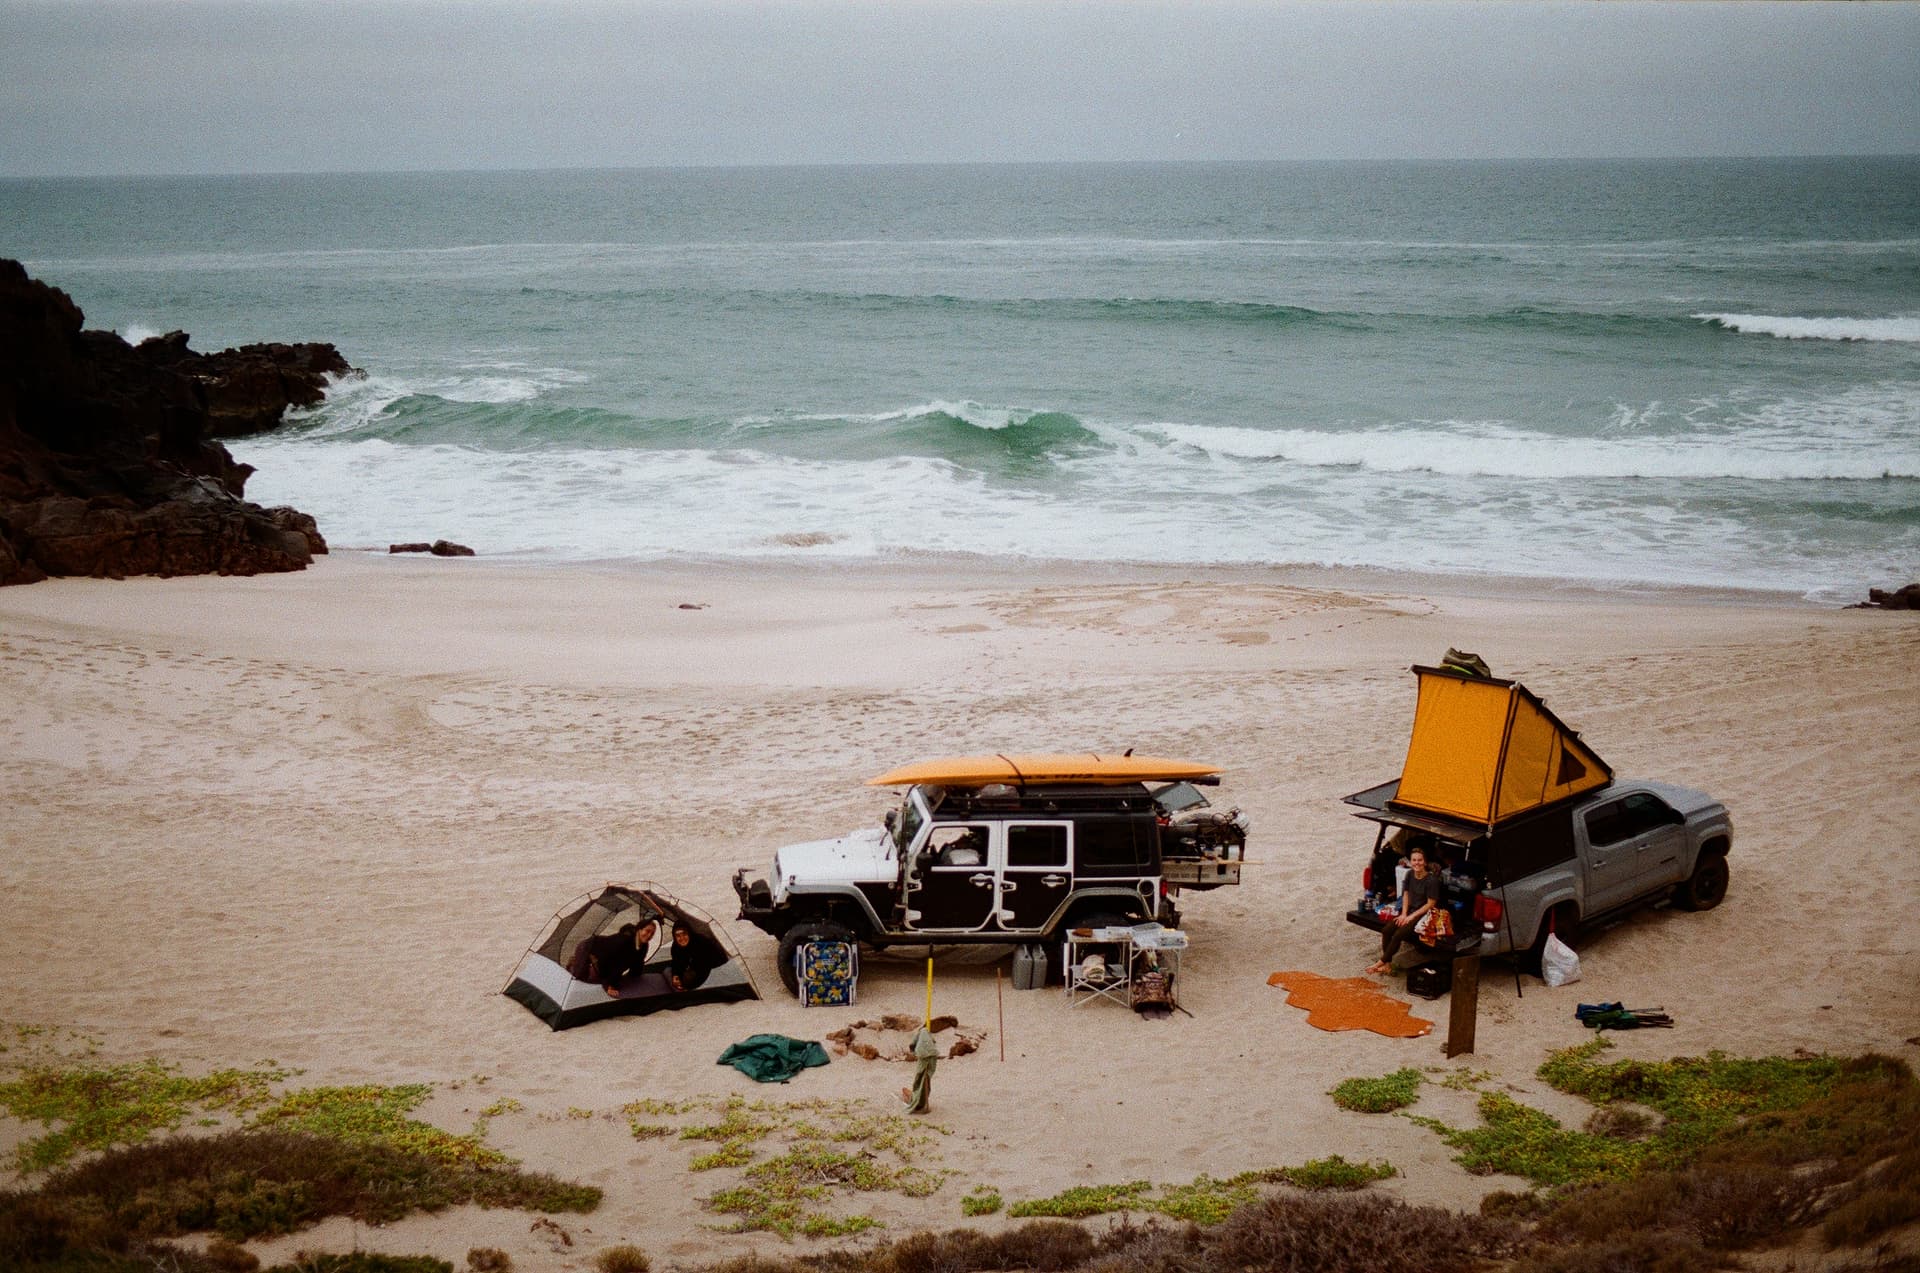
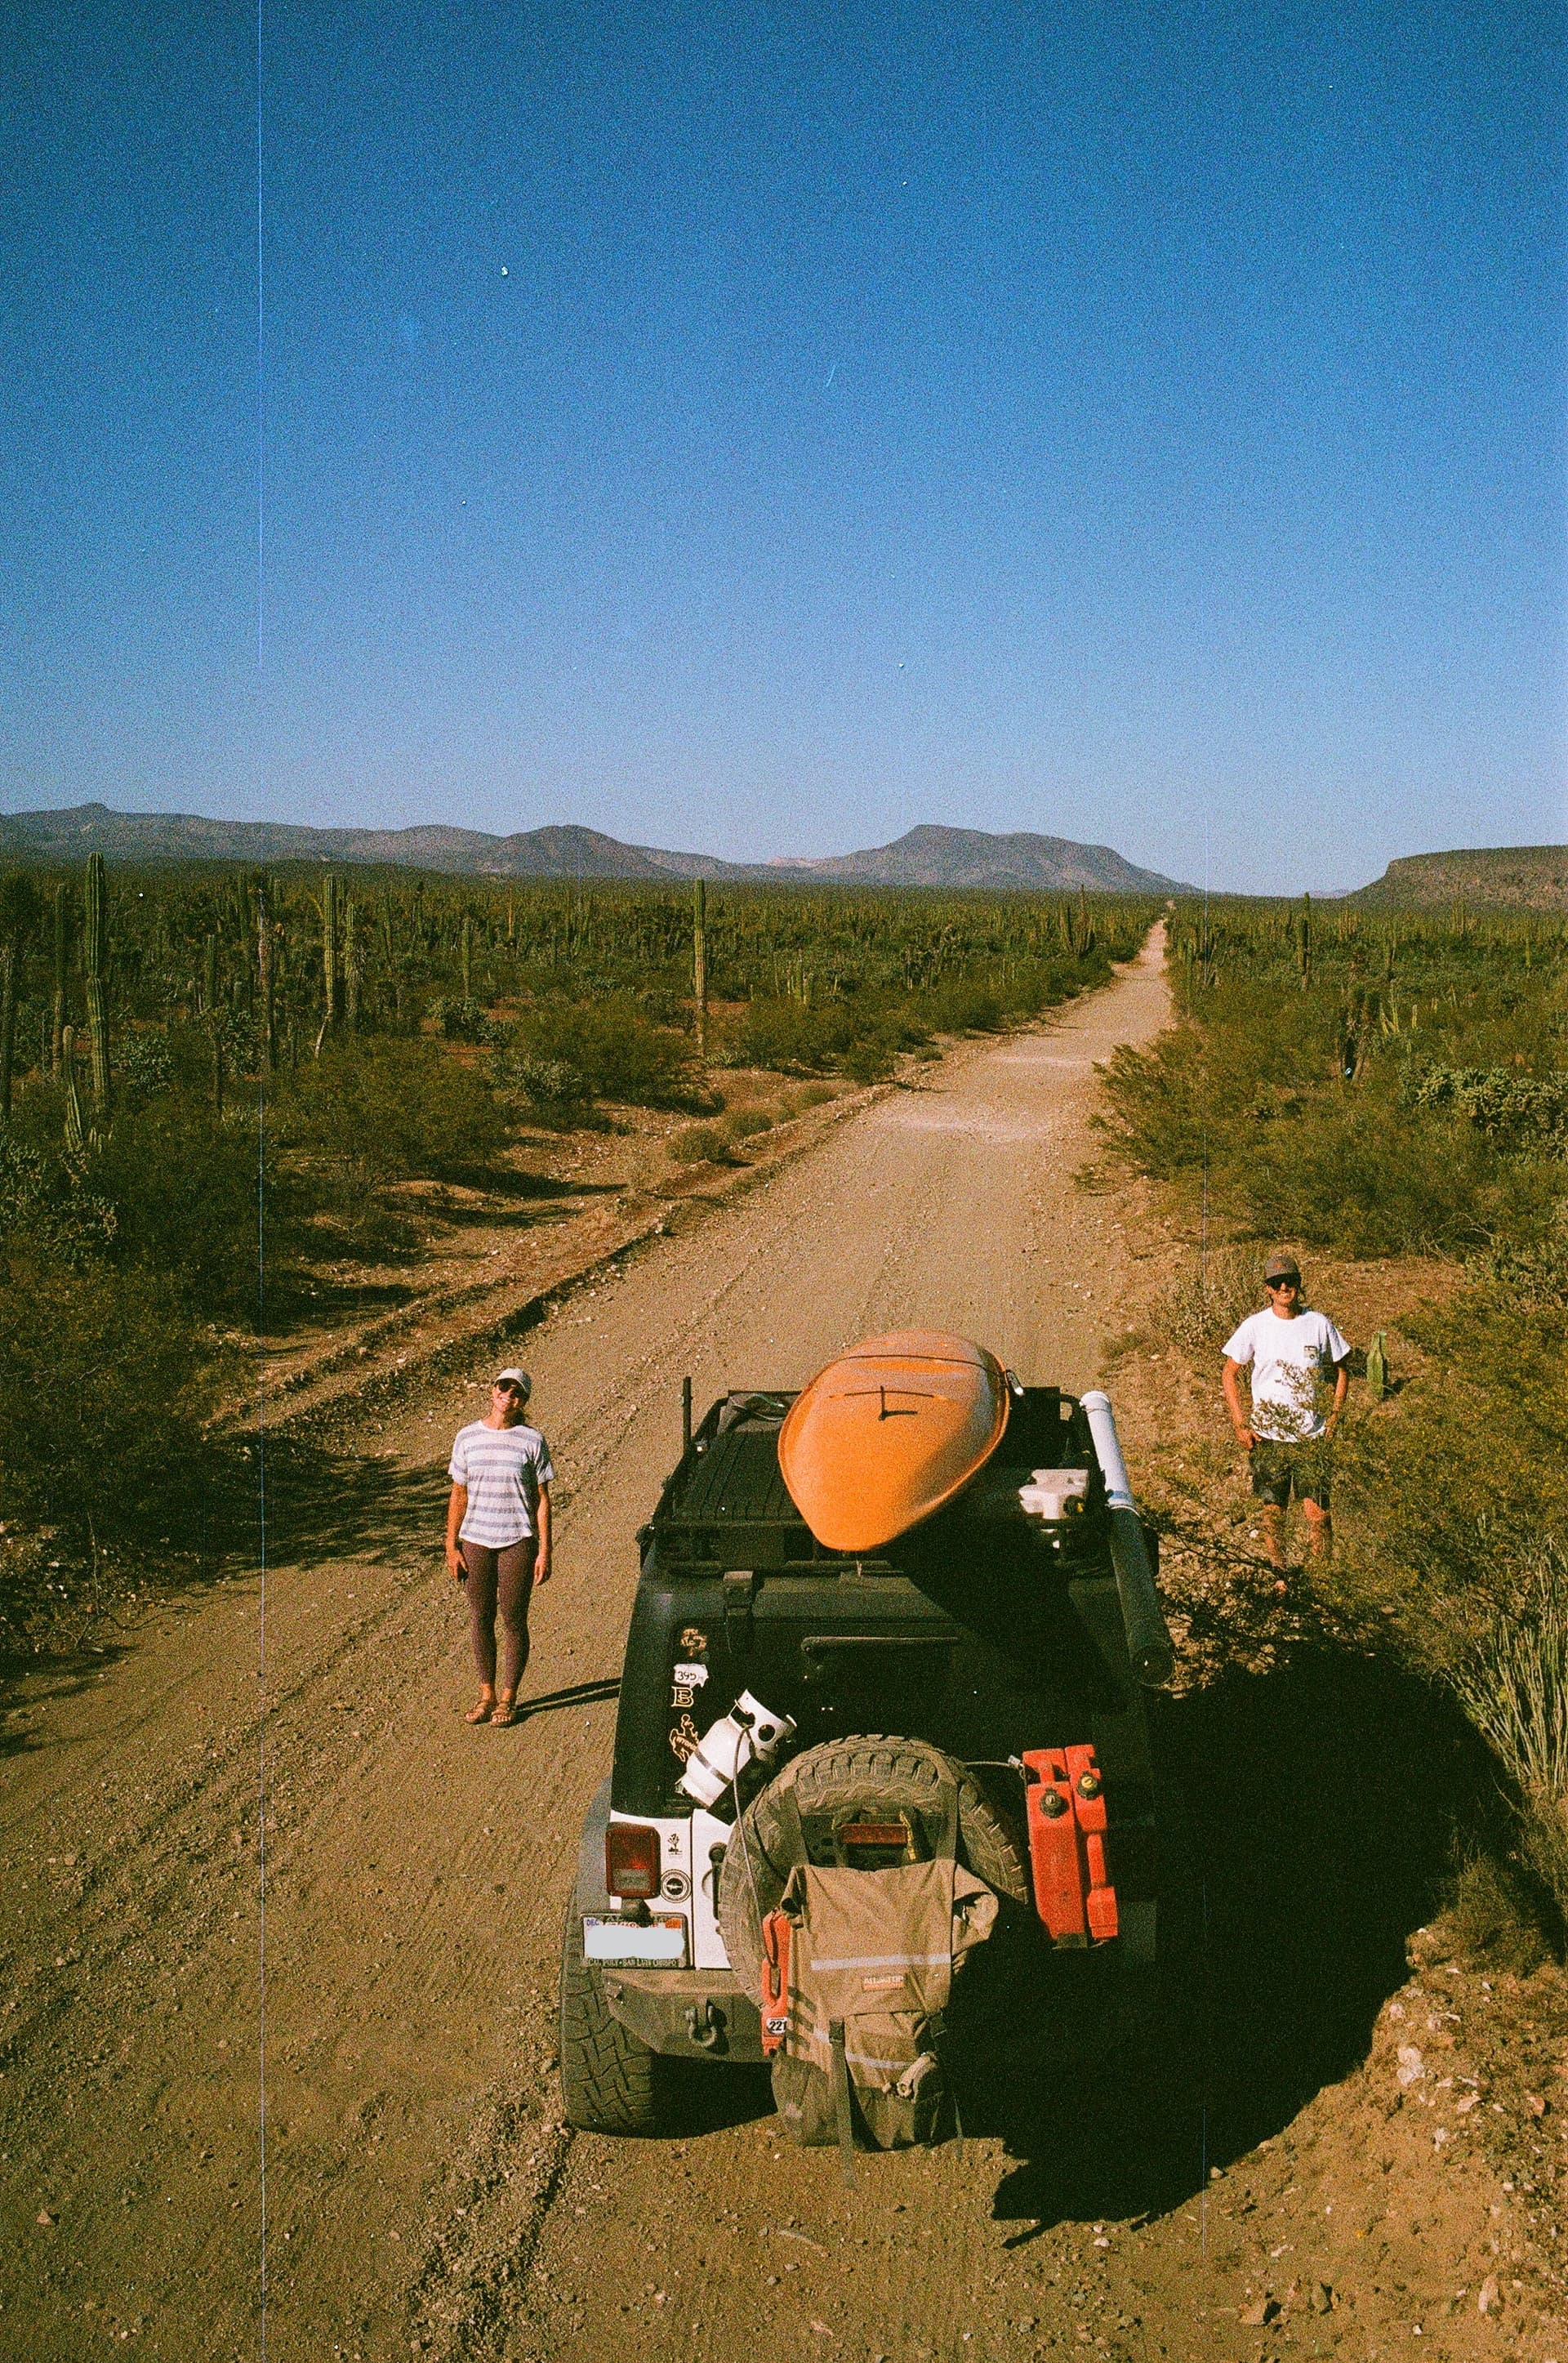
Baja Week:
Took a week off in April and headed south. This was a perfect way to test the new suspension and multiple nights in the camper. We logged lots of miles on dirt/sand roads, slept on the beach most nights, fished for some meals, and had a high taco & Tecate count by the end of the week.
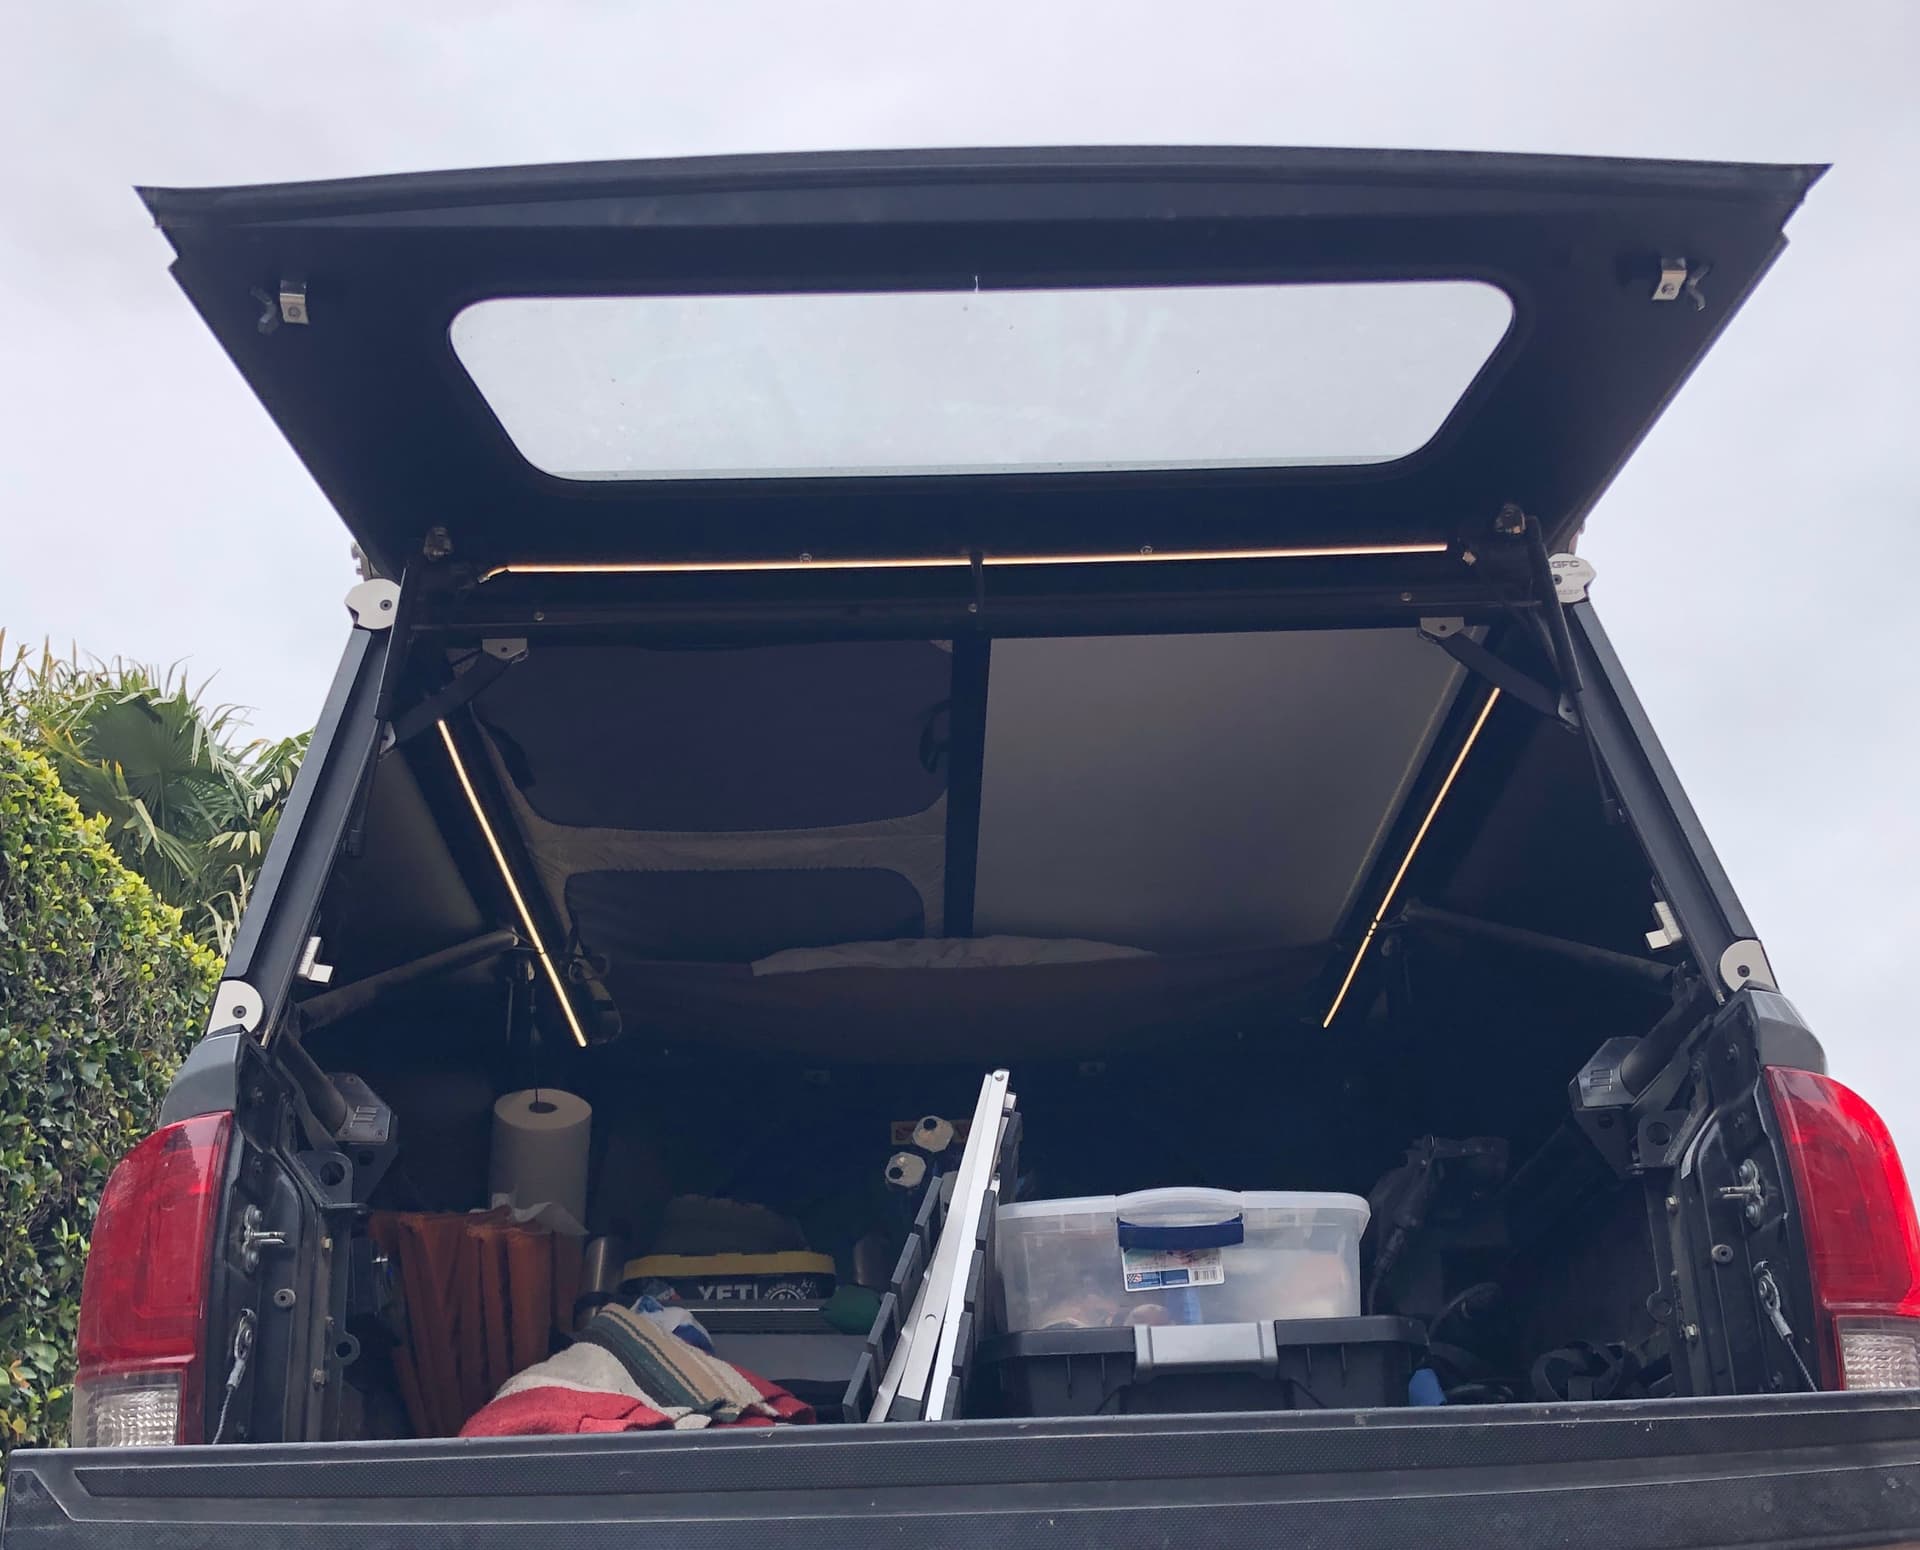
No issue with the suspension, new lighting, and tent. The only thing that stood out was the amount of dust that made its way into the truck bed. I did seal up the rails and the front gap, but found dust coming in through other Tacoma related holes as well as through the GFC panels. That being said it was super easy to rinse off after unpacking.
Another standout feature is how quick you can set-up and take down camp. We moved spots just about every day and it was noticeable how quick I was able to pack up the truck compared to a ground tent/mattress set-up.
I used a tube of silicone and foil tape along the rails. Then filled the gaps on the sides of the front rails with silicone. No tailgate seal, cubby hole seal, or drain hole seal.
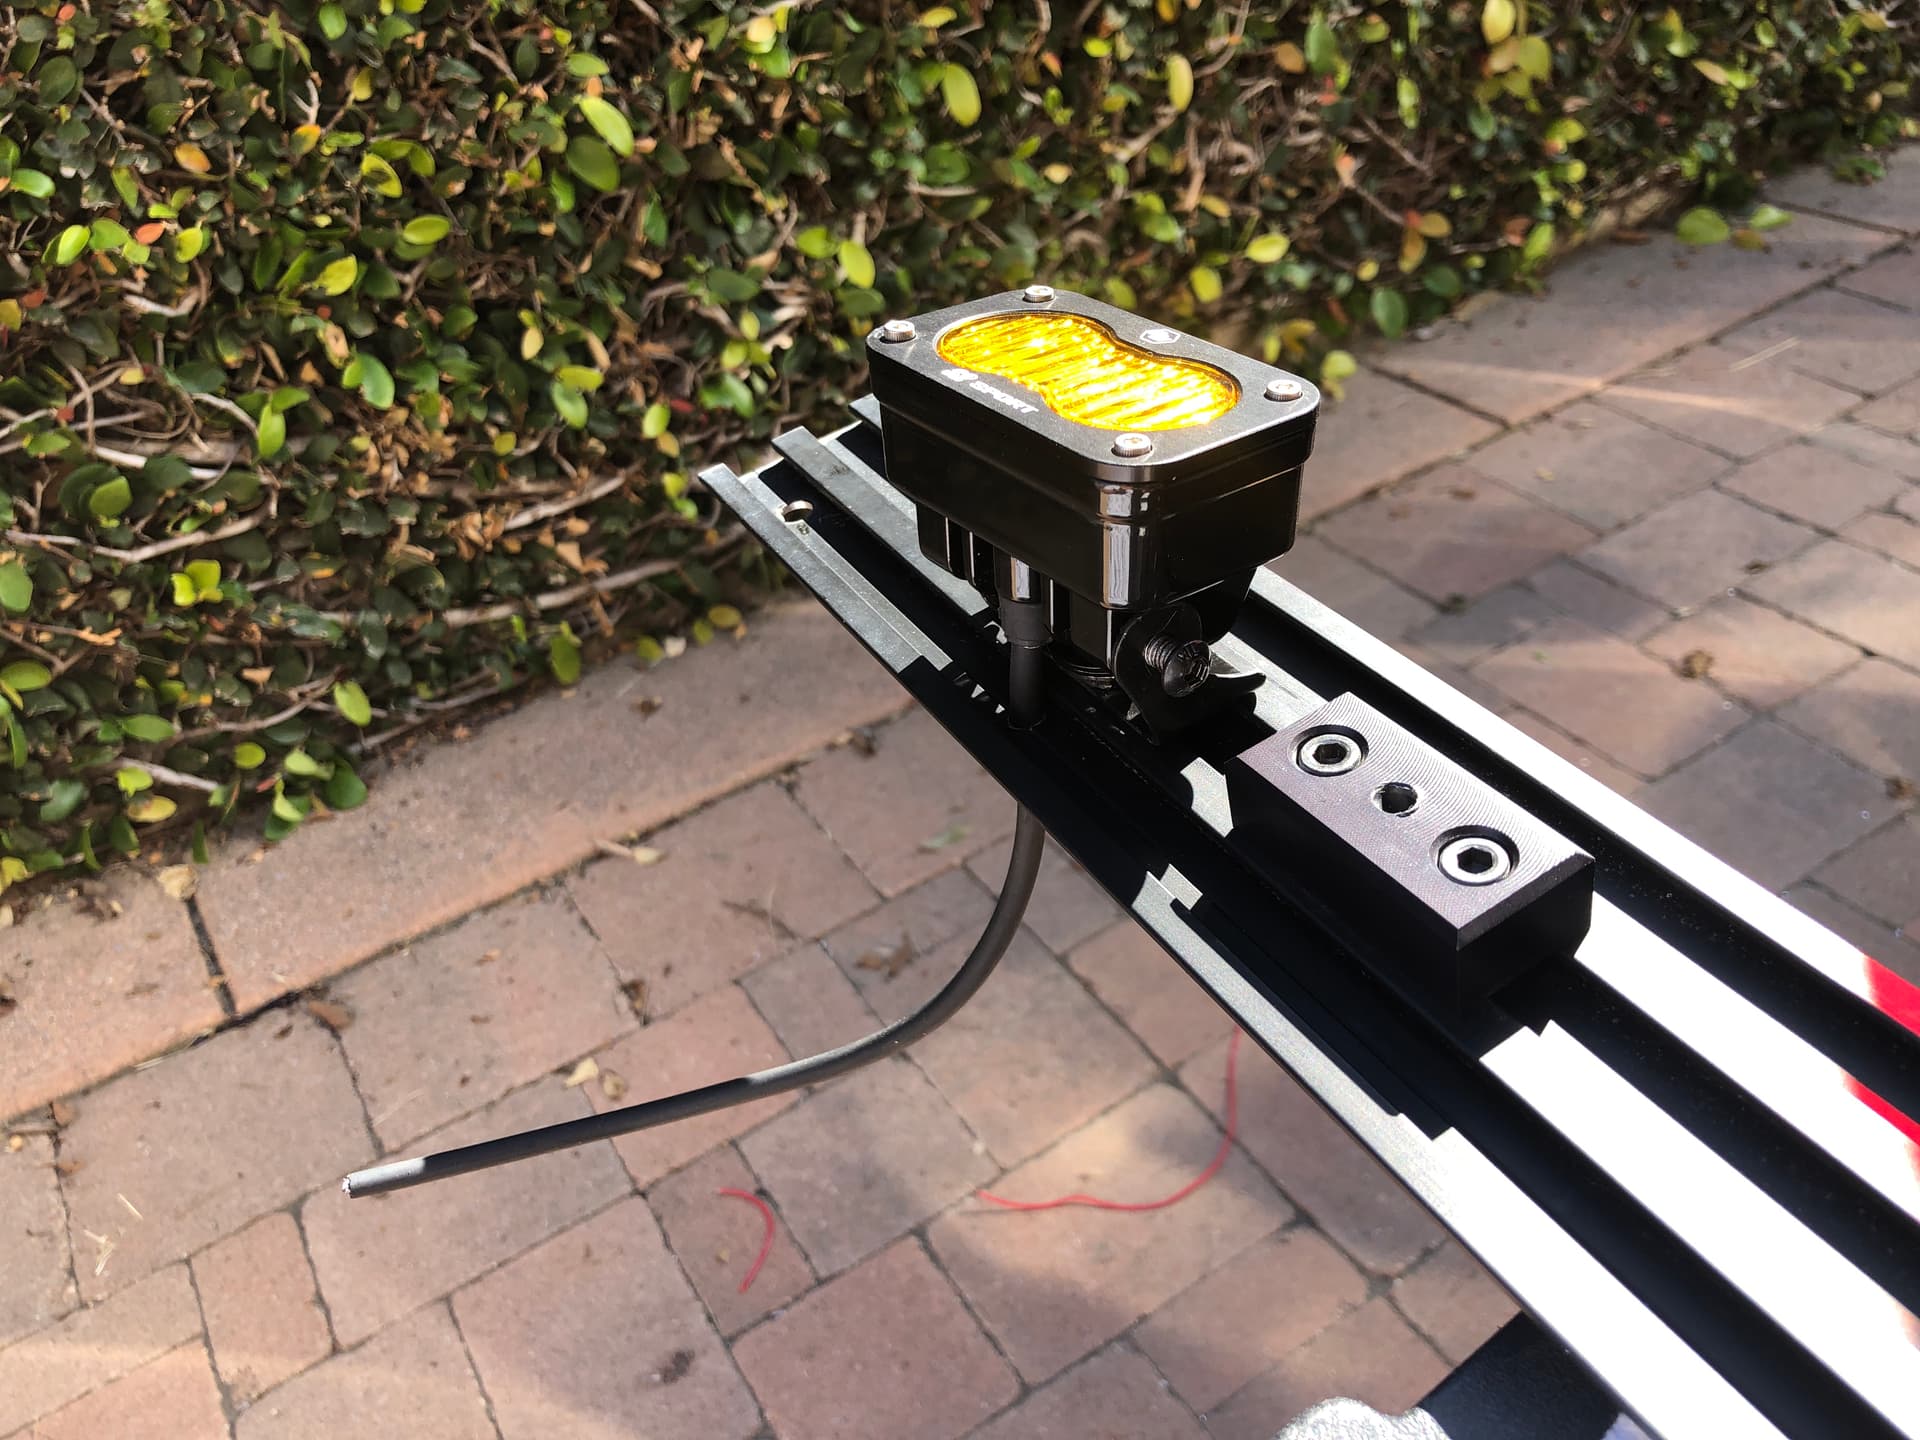
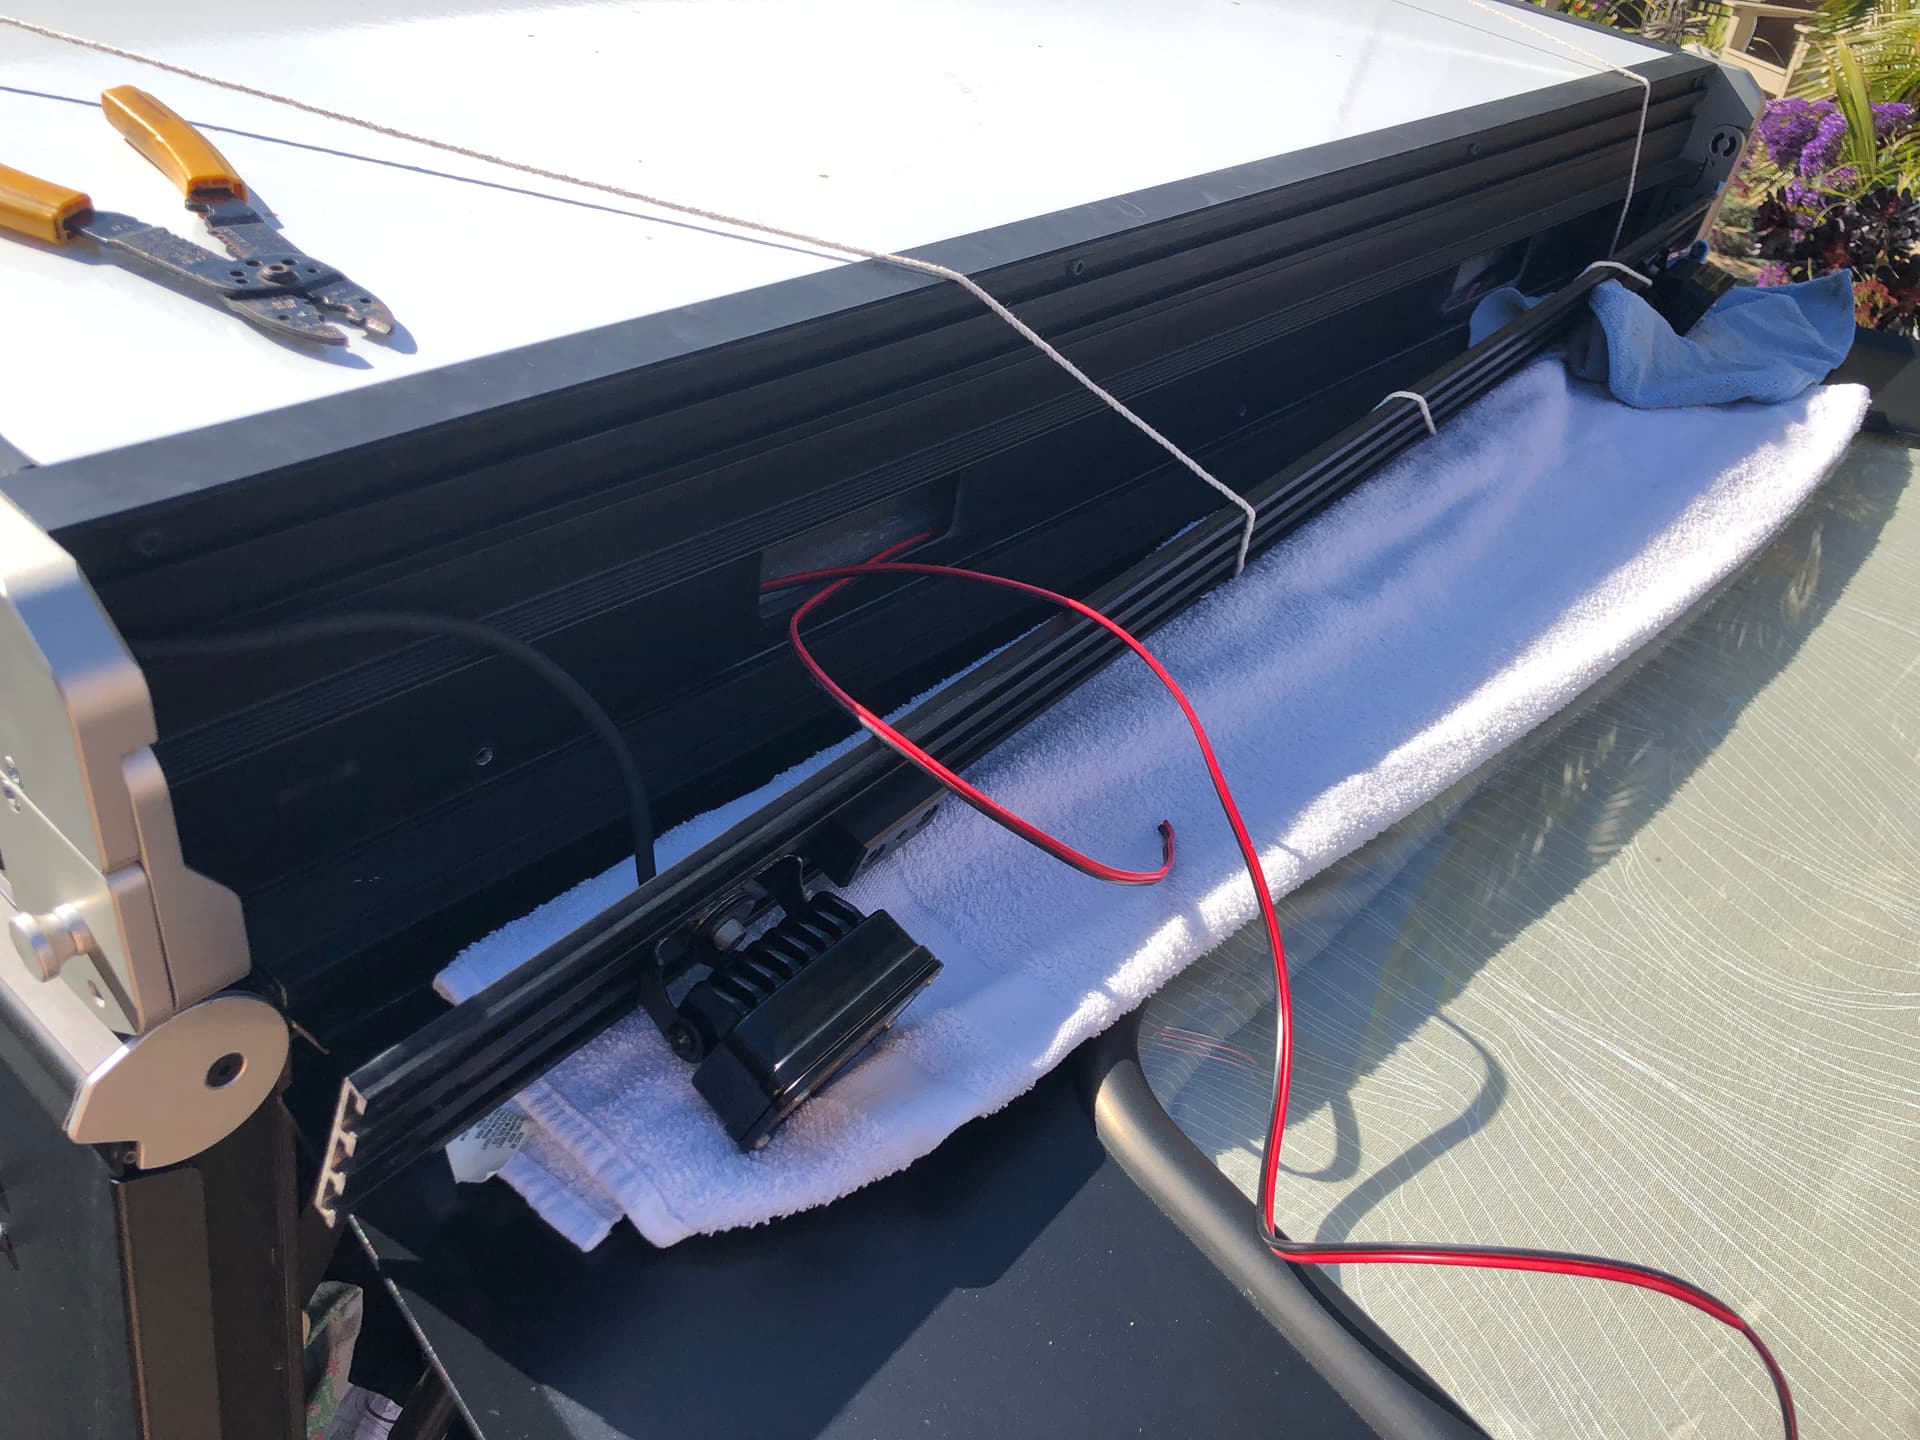
Chase Lights:
The goal was to make this install as clean as possible and it came at a cost of taking way too long! Big thanks to (@Buhlockaye) for the idea and photos. These lights are definitely a “want” not “need” item and to be honest, I just like the look of them.
Priorities were to make them as low profile as possible and to hide the wiring. The install included removing the side and rear extrusions, drilling a few holes, and wiring the lights through the inside of the extrusion then down into the truck bed.
Overall, I’m super happy with how they turned out. Thanks to John at GFC support for answering a quick question, then talking over possible ways to do the install. A few takeaways:
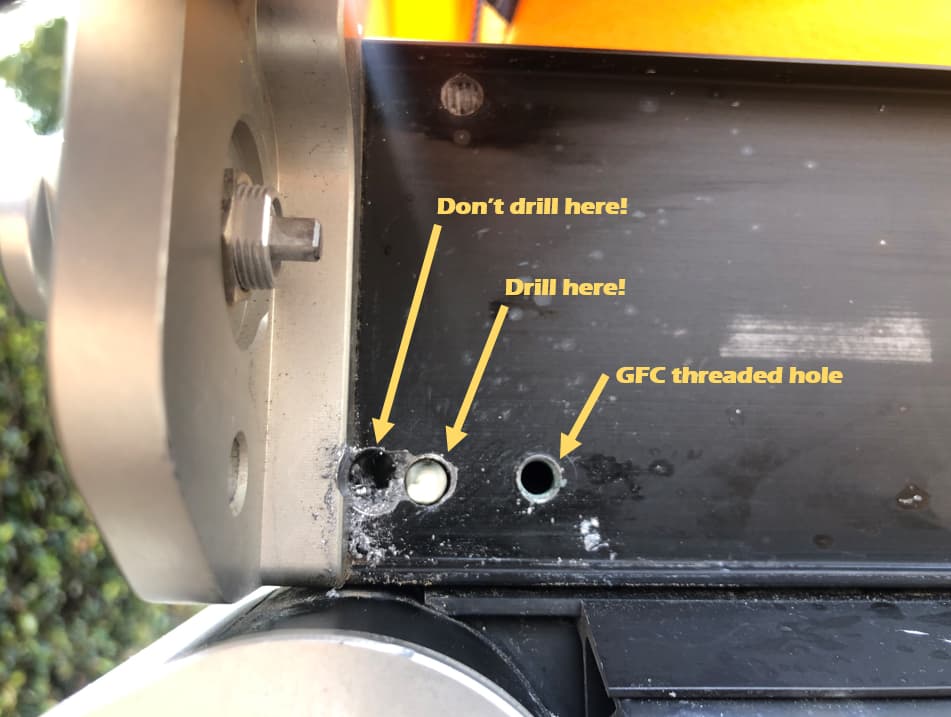
Guiding the wiring around the 90 degree turn was a pain
The 1/4-20 GFC track nuts do stick out of the intrusion (~1/8”), but the 10-32 ones sit flush. I’d recommend attaching with two 10-32 t-nuts versus one 1/4-20 t-nut.
Wiring takes 2x longer than expected, but take the time to do it right…not twice
Glad to see it all worked out for ya! Definitely a PIA routing the wire around the corner and drilling that hole but man-o-man does it make everything so much cleaner! Looks great!
Beautiful work. I haven’t yet had the courage to disassemble for wiring purposes. I think my build will always be more “Doc Brown DeLorean” than Clean Coastal Machine.
The newer model GFC V2s don’t come with the locks anymore. They come with a hole that goes through the side billeted piece and the lever used to open the tent. This way people can choose how they want to lock their tent up. For more info on the tent lock issue/timeline checkout this thread - V2 Tent Lock Failure.
@timwentoutside There is a pretty thick rubber wire coating that comes with the S2s and the wiring doesn’t have much play to cause a back and forth motion, so I am not too worried at this point. I will definitely be keeping an eye on it and will likely add some silicone for another layer of protection.
@Vice_Chief The disassembly part actually wasn’t that bad, it was the wiring part that was the biggest pain. Well worth it IMO.
Quick question…once you make the 90 into the side extrusions, did you need to drill another hole to get the wire into the interior of the camper or something else?
@Tailhook.Actual Correct. Once it’s routed from the rear into the side extrusion you’ll need to drill a hole on the interior side. There might be another way but that’s the way I did mine