Julian's 2021 TRD Pro Build

@julian Just saw your post in pudding and was wondering if you detailed how you installed a winch in the stock bumper? I looked through the thread real quick and didn’t see anything. Definitely had to remove the crash bar. How’d you mount it?

2 Likes

Thanks @stickyTaco! I “hand trace” google map screenshots in Figma to create these year in review graphics. It’s time consuming, but fun way to reflect on the year. Scheming on something more interactive for my 2024 year in review…

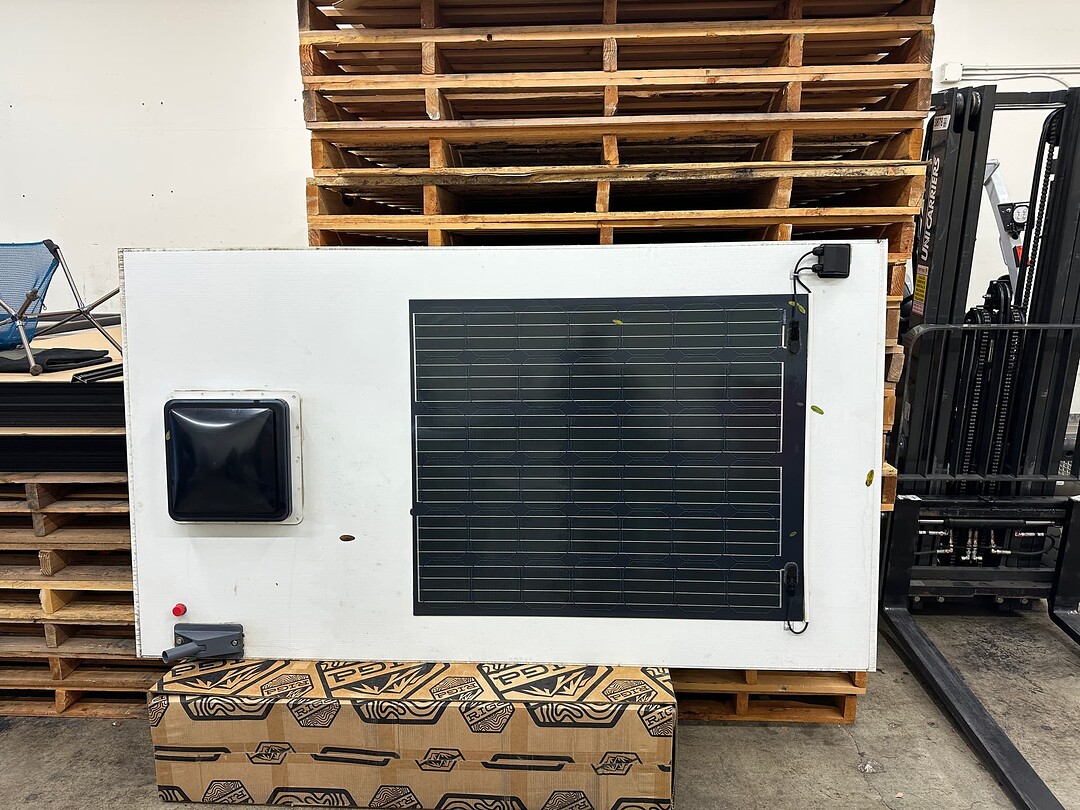
Hey @Trucker. Zero complaints with the fan after running it these past few years. Still my favorite GFC mod. I never experience condensation in cold weather, no leaks in the rain, and stay comfortable in the desert heat—all while maintaining privacy.

The fan depth on interior is not a problem, even with the thicker HEST Mattress + HEST Comforter I have been leaving up there—it does not interfere.

As for cutting, IIRC I used a finer tooth blade to start the cuts, and finished the corners off by hand with a pull saw or something similar.

Nice eye @Cbar! I’m overdue on dropping a few major updates on this thread. I’ll follow up on winch system in coming week or so when completed, it’s mounted, but not yet wired up!

4 Likes

Big Build Update 02/12/24 — Reimagining the bed layout


Remember when I said this build was “done” over a year ago? …I should have known better :cowboy_hat_face:

I now find myself in the process of reimagining the bed layout to improve a few quality of life things for another massive ~7 – 8 month long trip! (Headed up to the far reaches of Newfoundland & Labrador via stops in the keys, appalachia, and UP.)

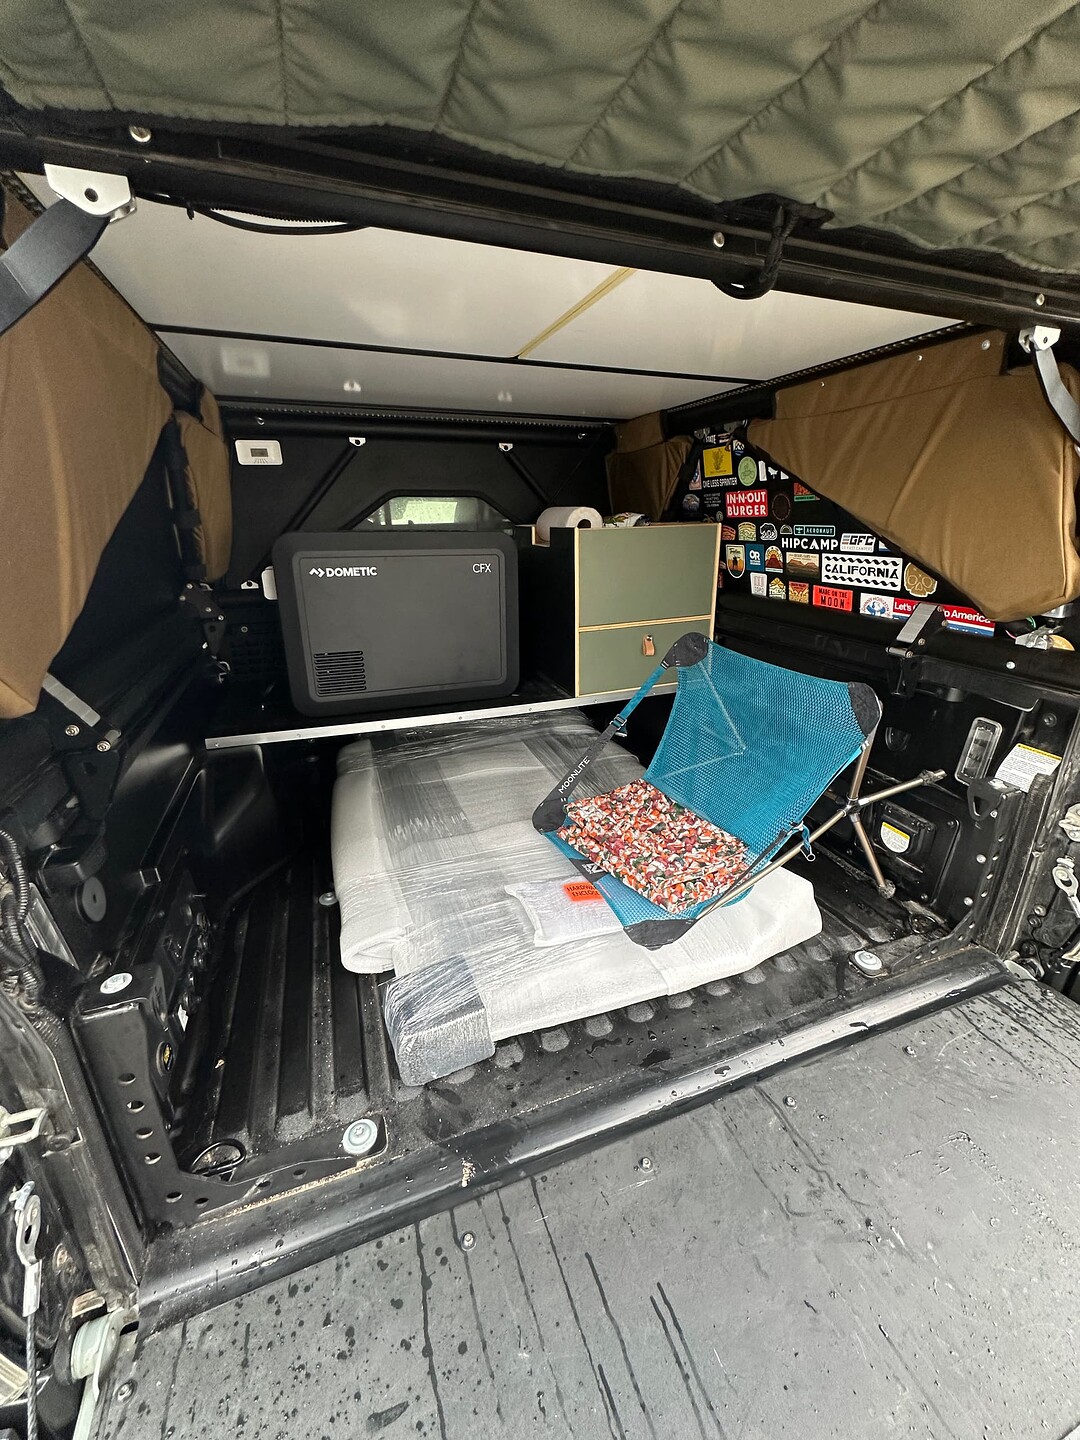
The simplicity of the bed layout as its exists has been excellent—and if it wasn’t for another extended period of full time living out of the GFC, I’d most likely leave it exactly as is. It’s the perfect simple setup for overnighters, weekends, and 1 – 3 week long trips w/o accommodation “breaks”.

The QoL improvements to be made are to support the comfort of “full time” living:

  • Downsizing our fridge (To 45L from 95L) and relocating it to the cab.
  • Introducing running water for cooking, cleaning, etc.
  • Improving the comfort of the open “lounging space”
  • Honoring the principals that went into our current layout: Maintaining a sense of openness with an approachable, comfortable, and minimal feel that prioritizes livable space over gear.

Excited to share more with y’all here as things progress. In the meantime cross-posting a few of my marketplace listings, including a free GFC mattress and the custom cabinet that was built for the current layout. Please DM me if interested in either!

9 Likes

Such a rad evolving build and I’m SO down for a baja group adventure :call_me_hand:

3 Likes

What are you planning on for storage with the cabinet gone? Drawer system?

1 Like

Build Update 03/11/24 — Warranty work, component upgrades, cleaning, and maintenance


:camping: Tent replacement

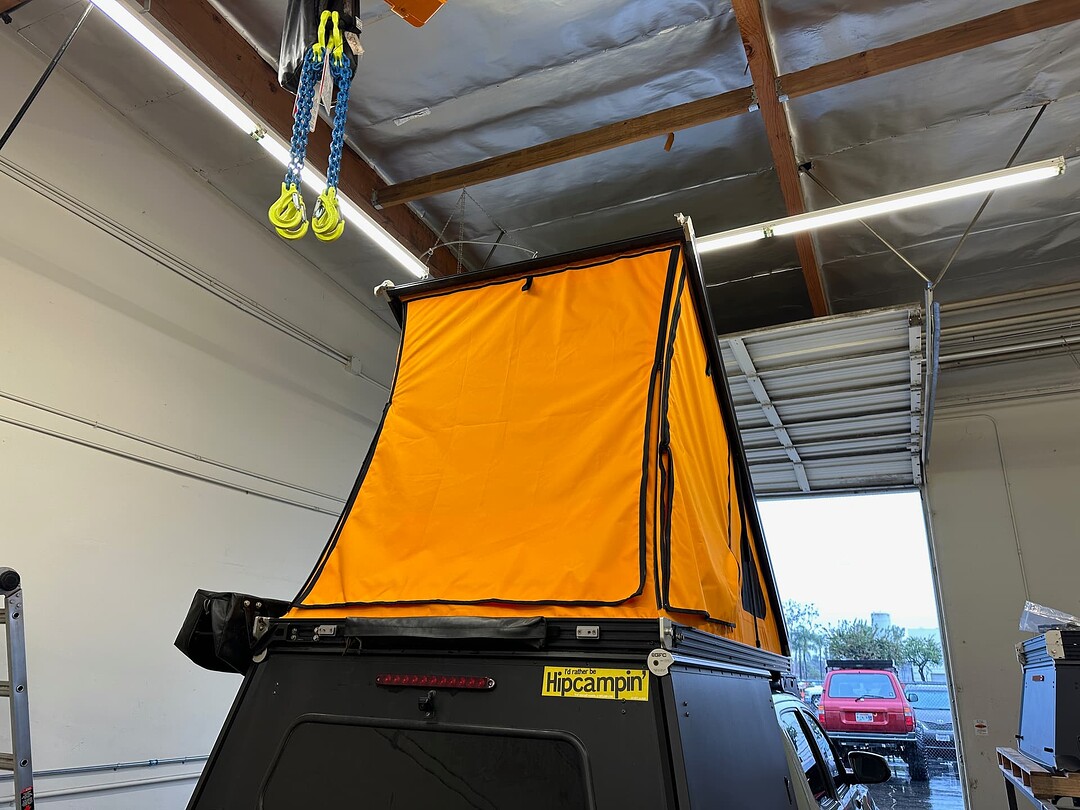
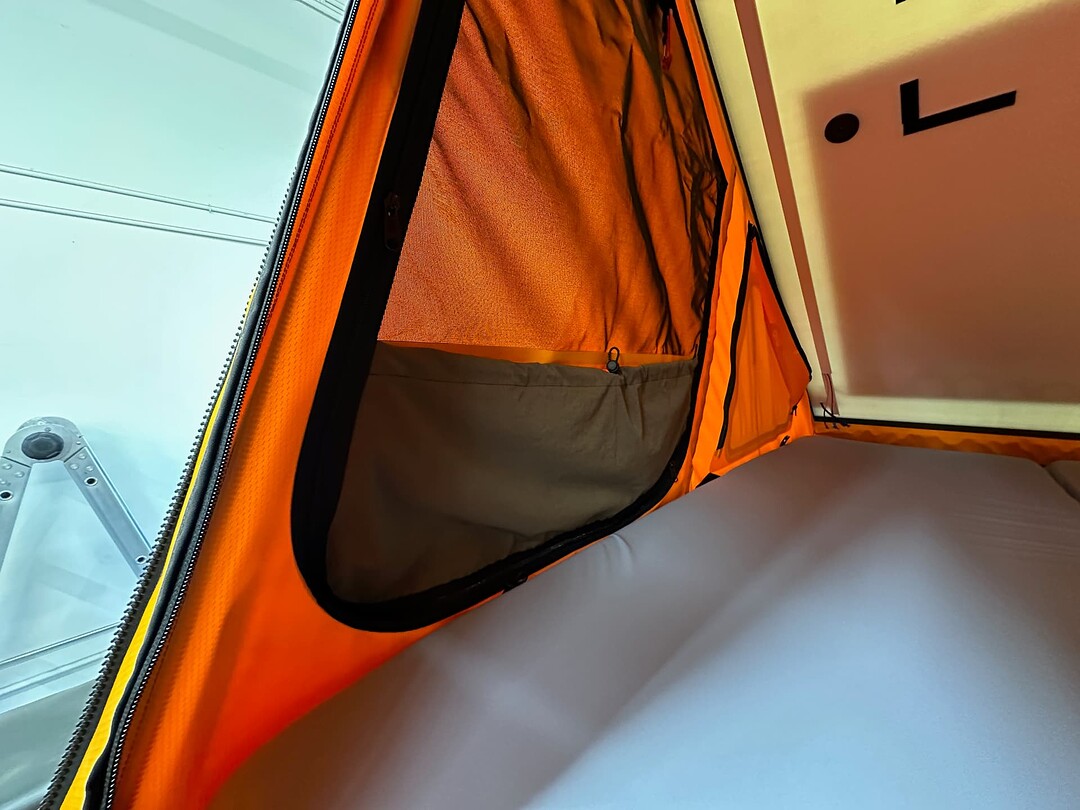
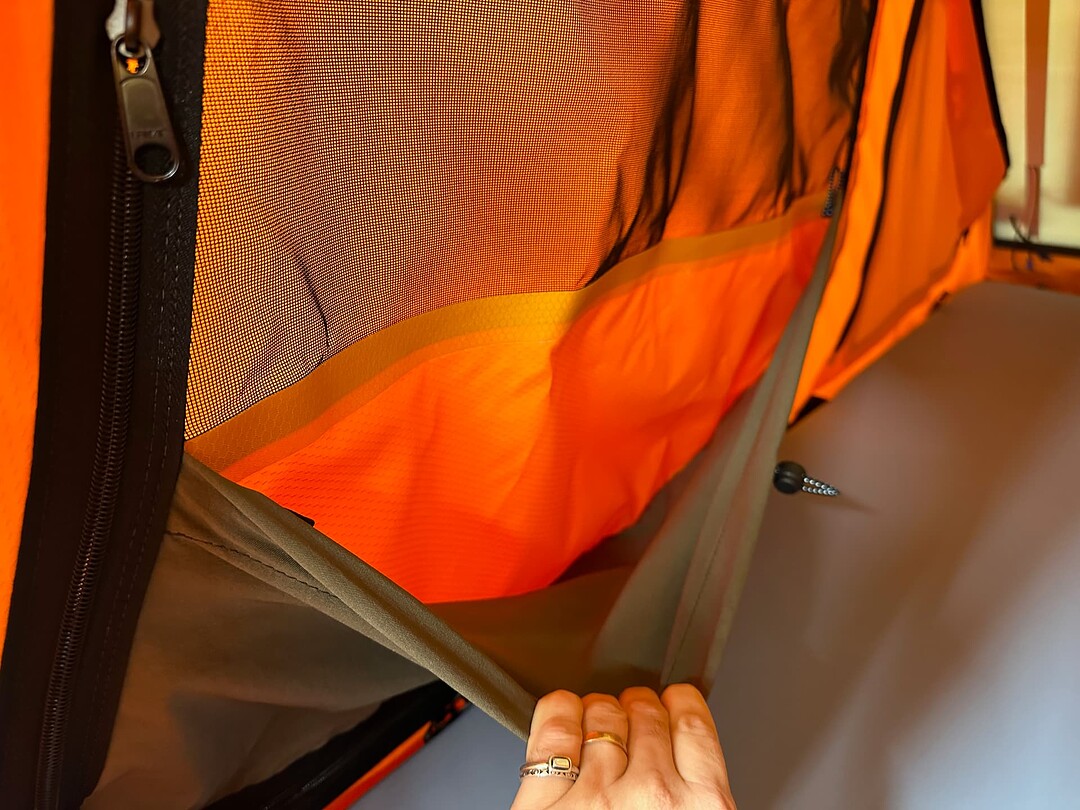
I was finally able to get down to Orange to complete some warranty work on my tent that I’ve had pending for a little over a year (due to my own hectic scheduling issues, not GFC’s.) Support team and the shop team in Orange were all rad and I’m stoked to have fresh fabric in before the massive roadtrip this year.

One gotcha here was that I had to cut my internal fan wiring and solar wiring for the tent swap. Not a huge issue, and i’ll rewire everything with quick releases to future proof for any work required down the line.


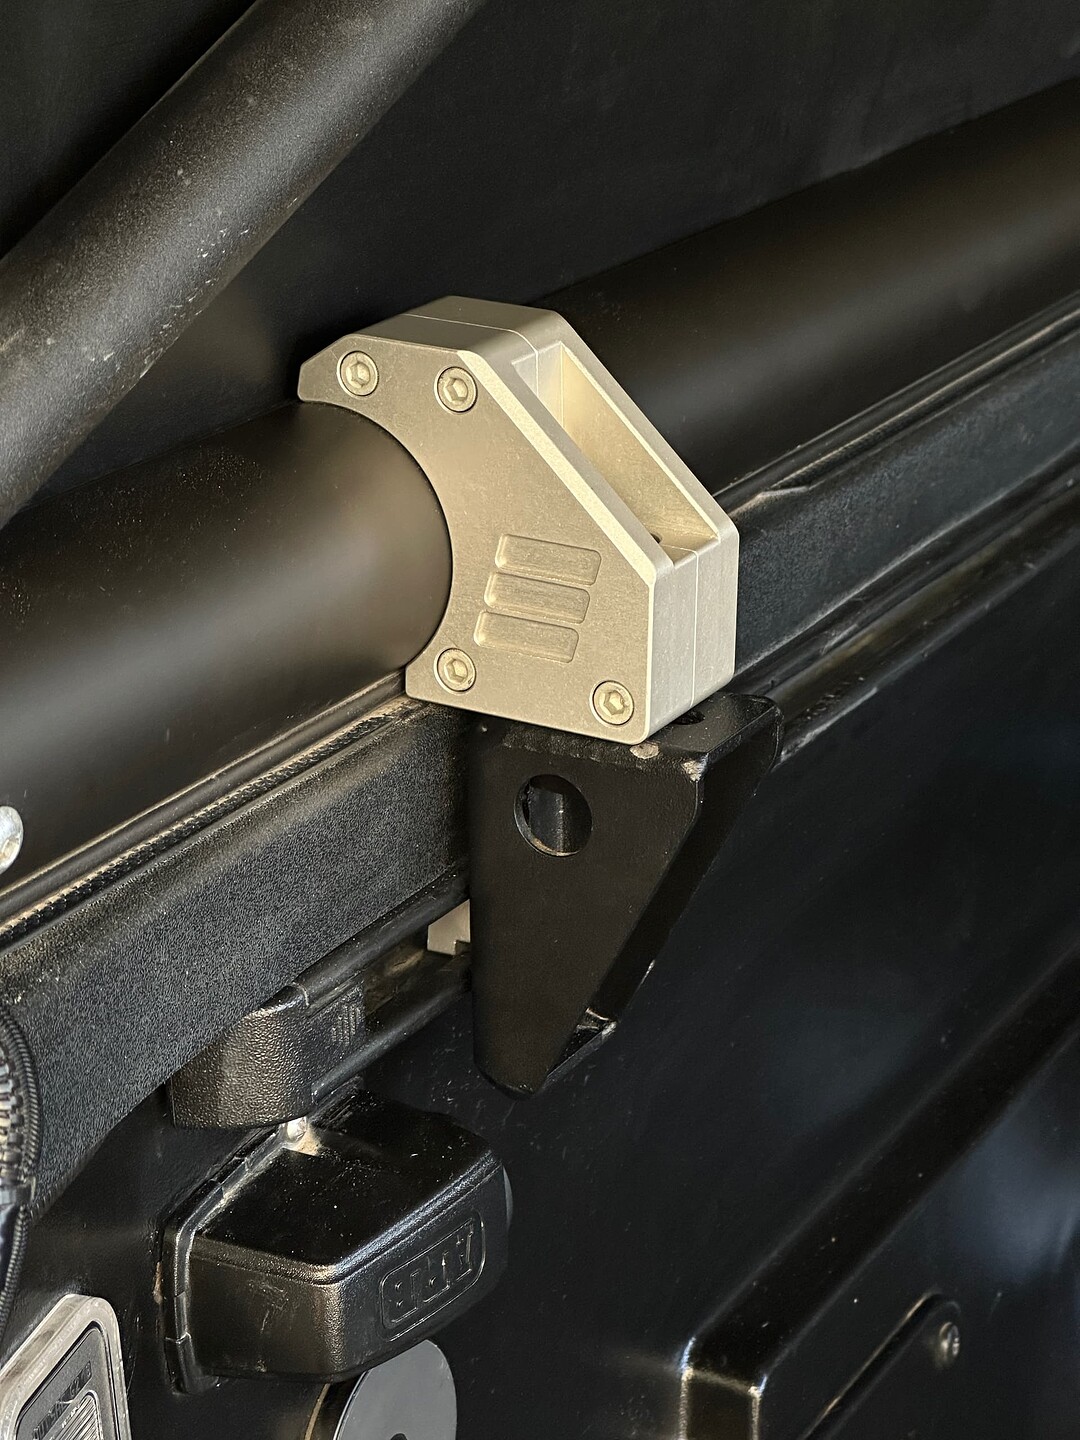
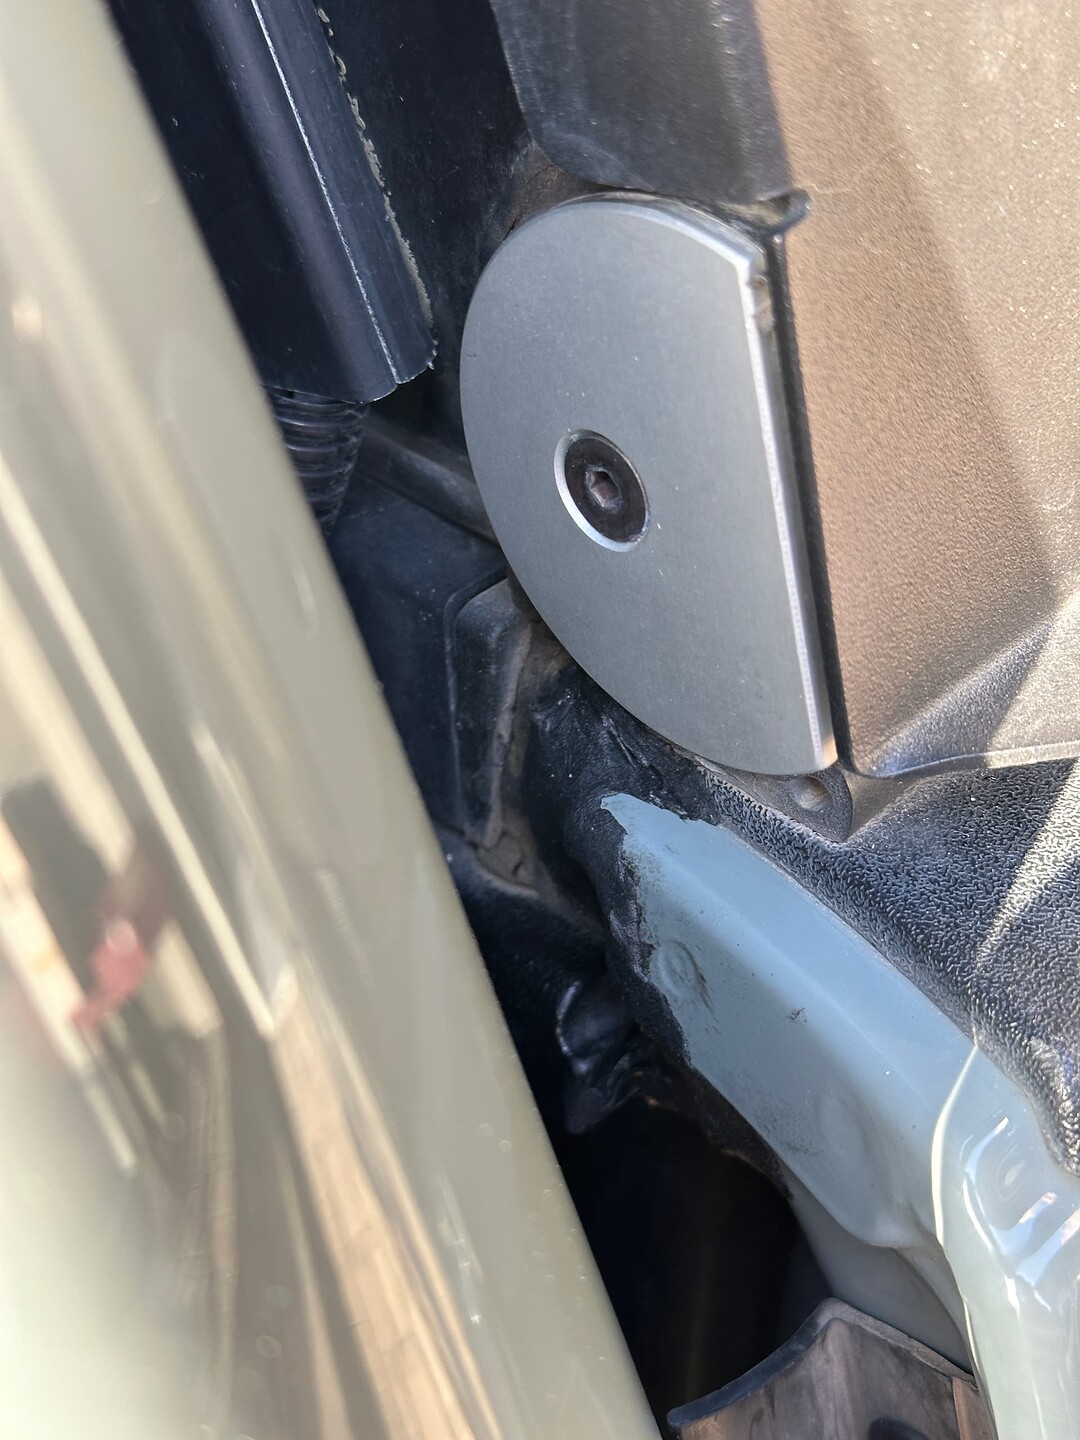
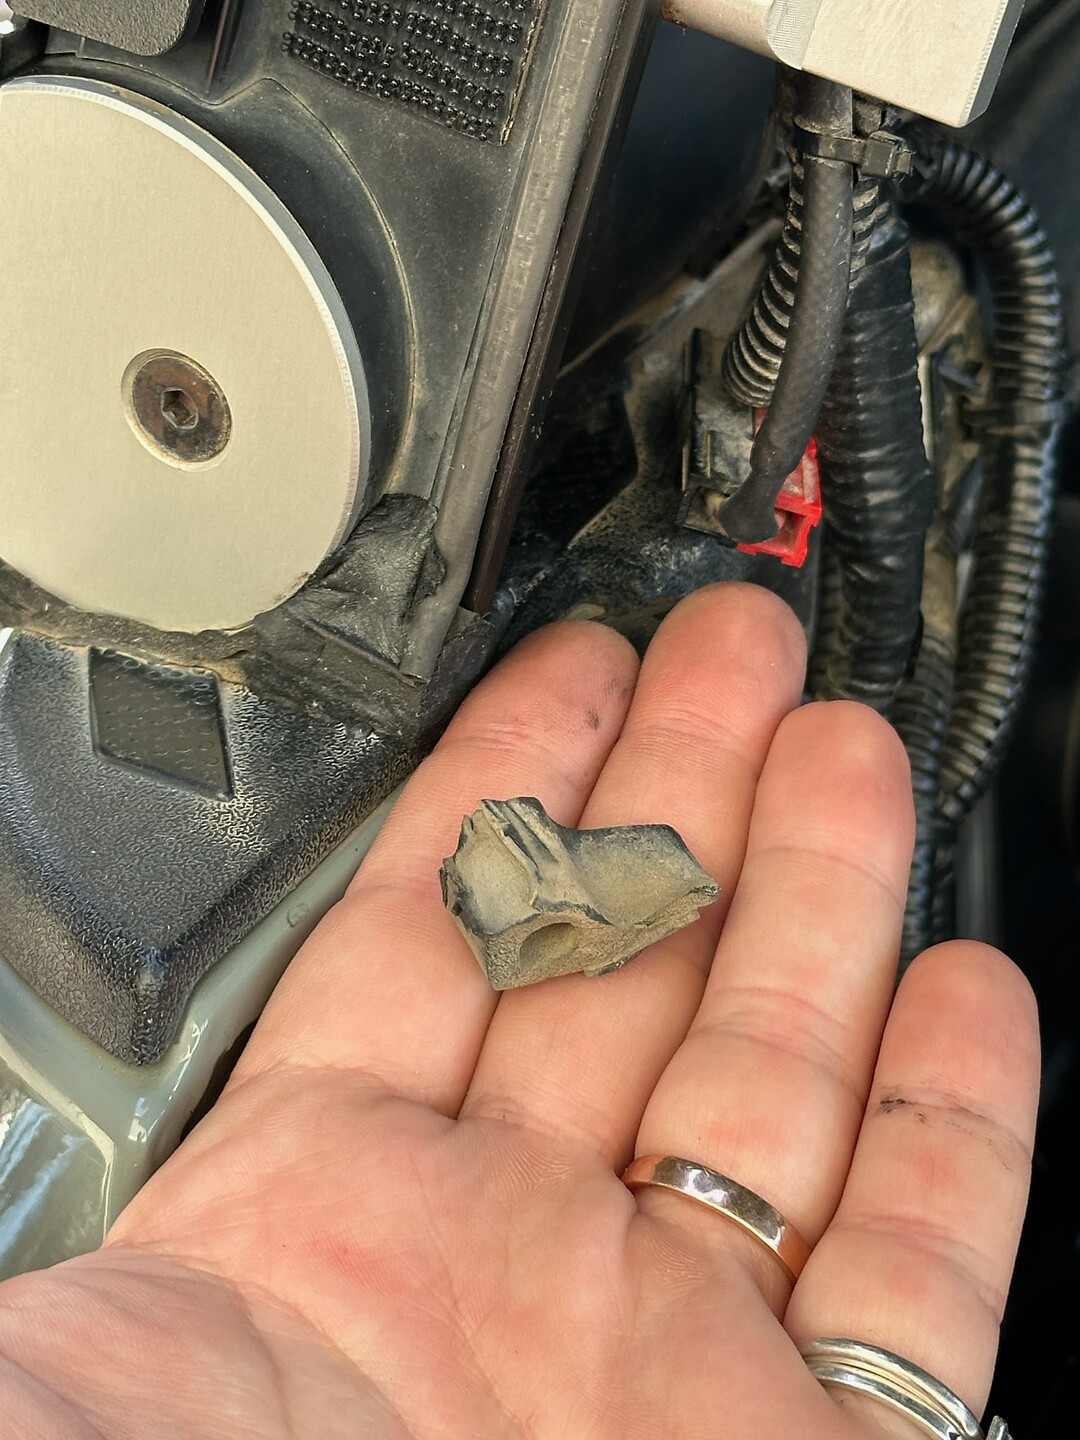
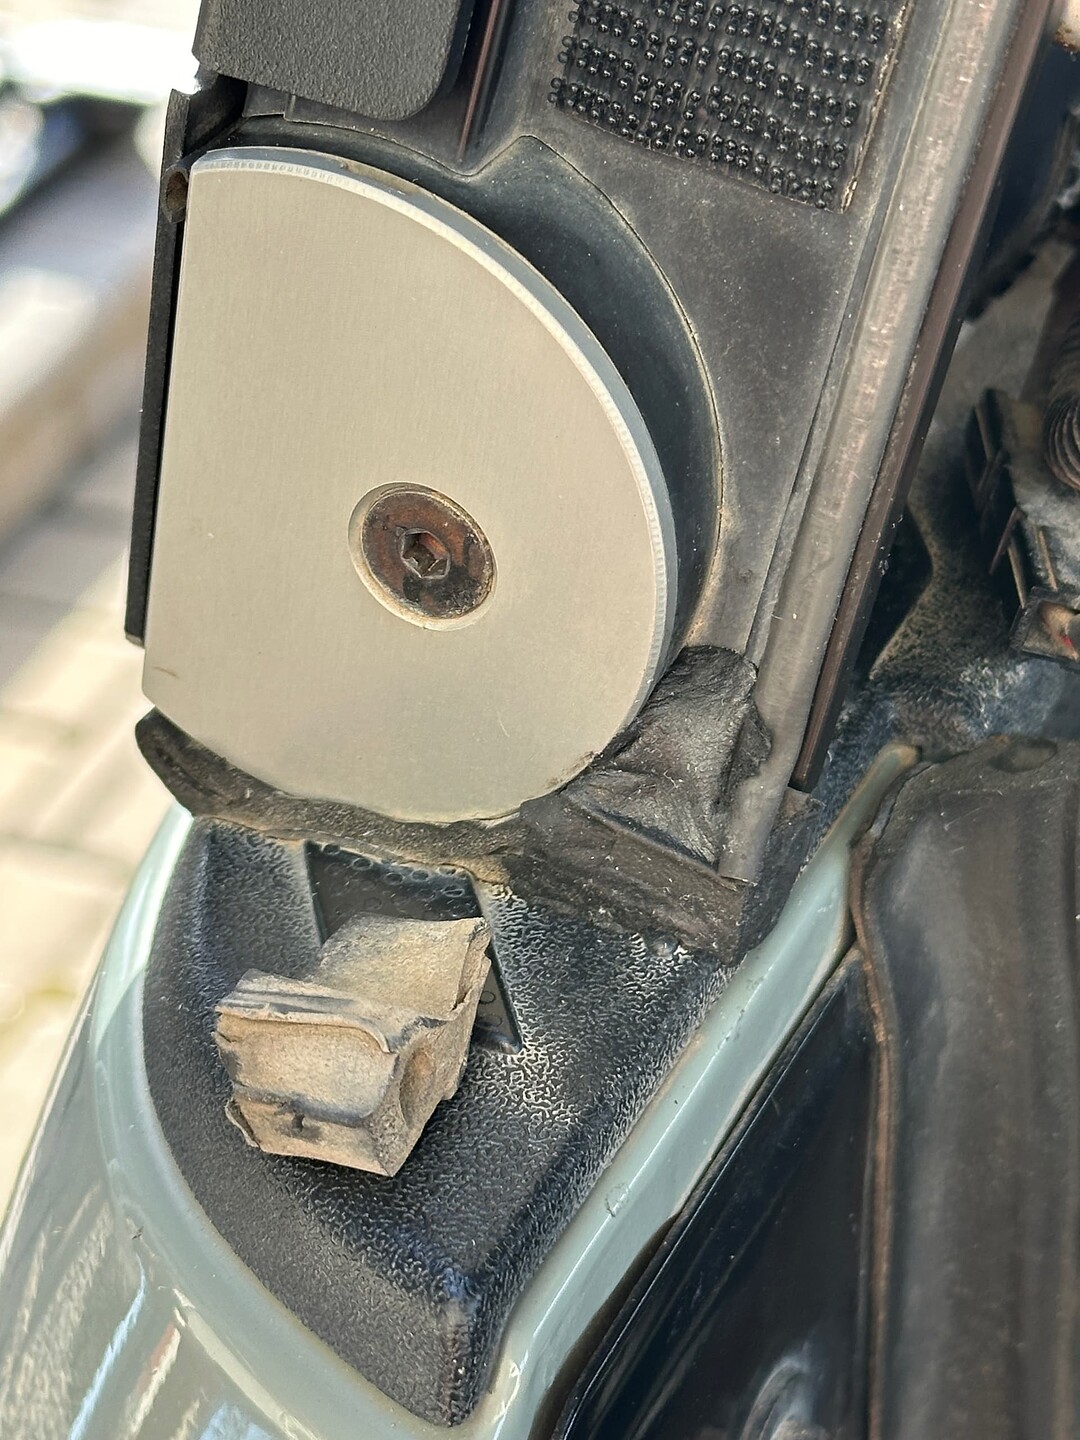
:gear: Billet bed mounts

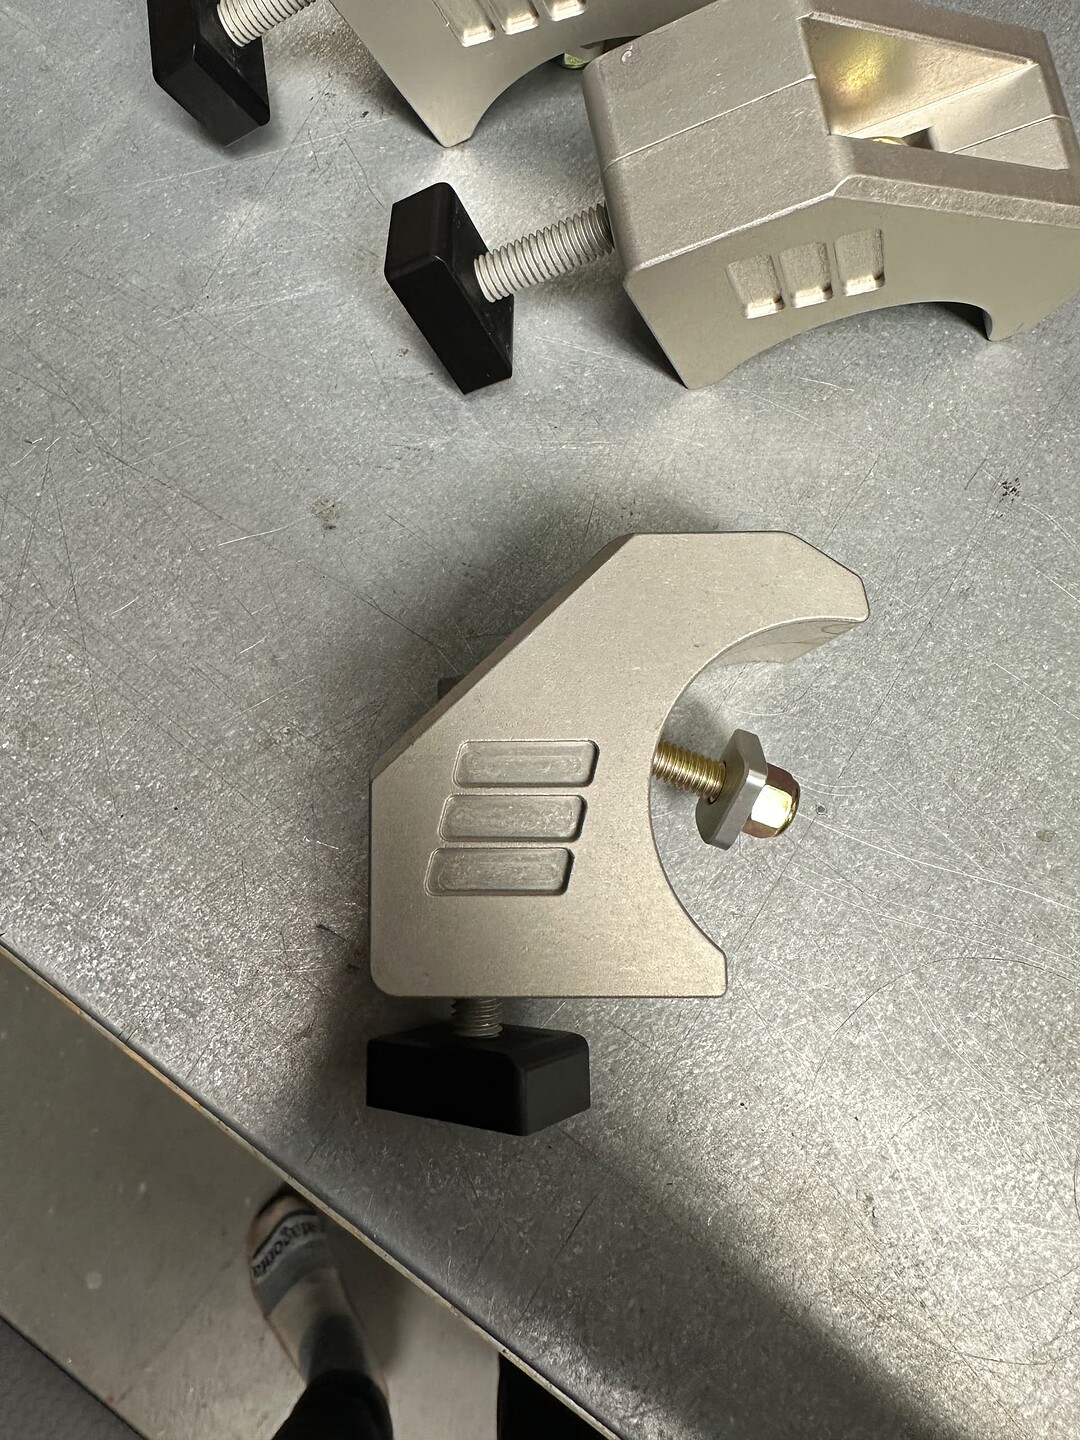
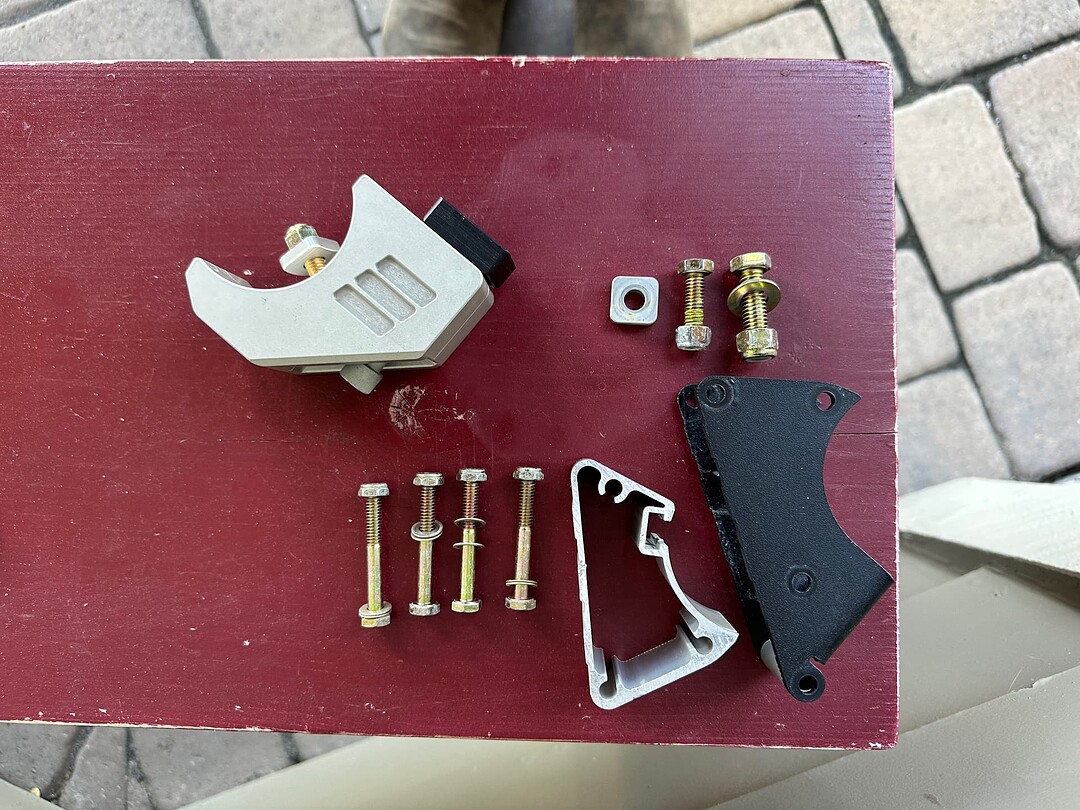
Pulled the trigger on the upgraded billet bed mount uppers and swapped 'em out.


:umbrella: Weatherproofing maintenance

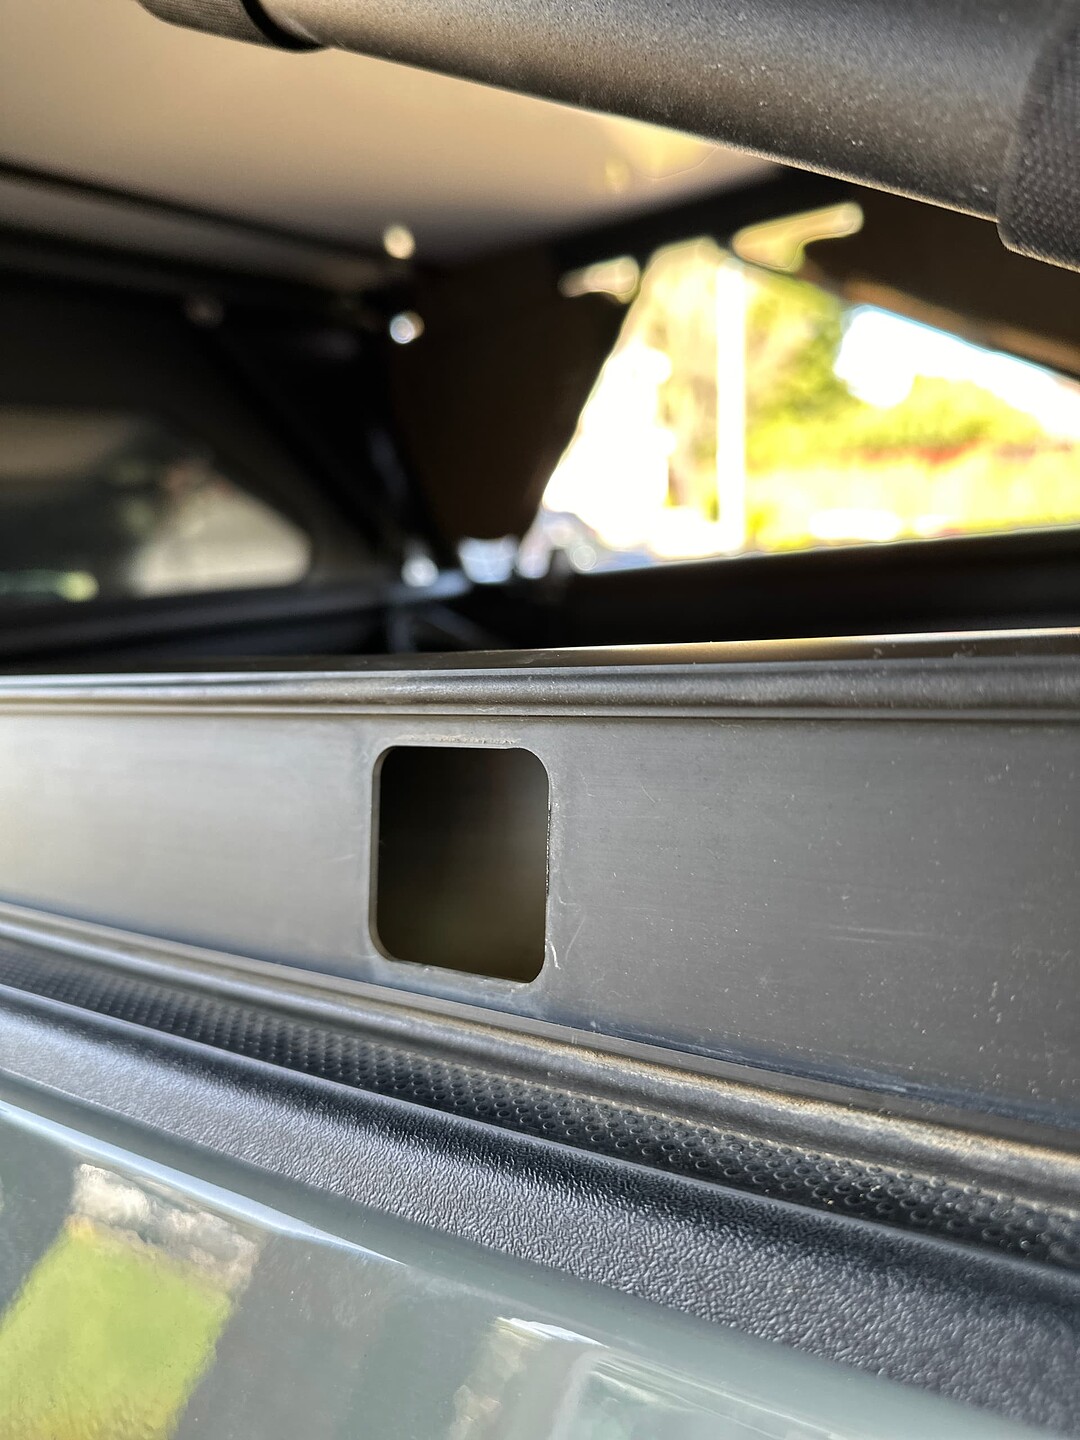
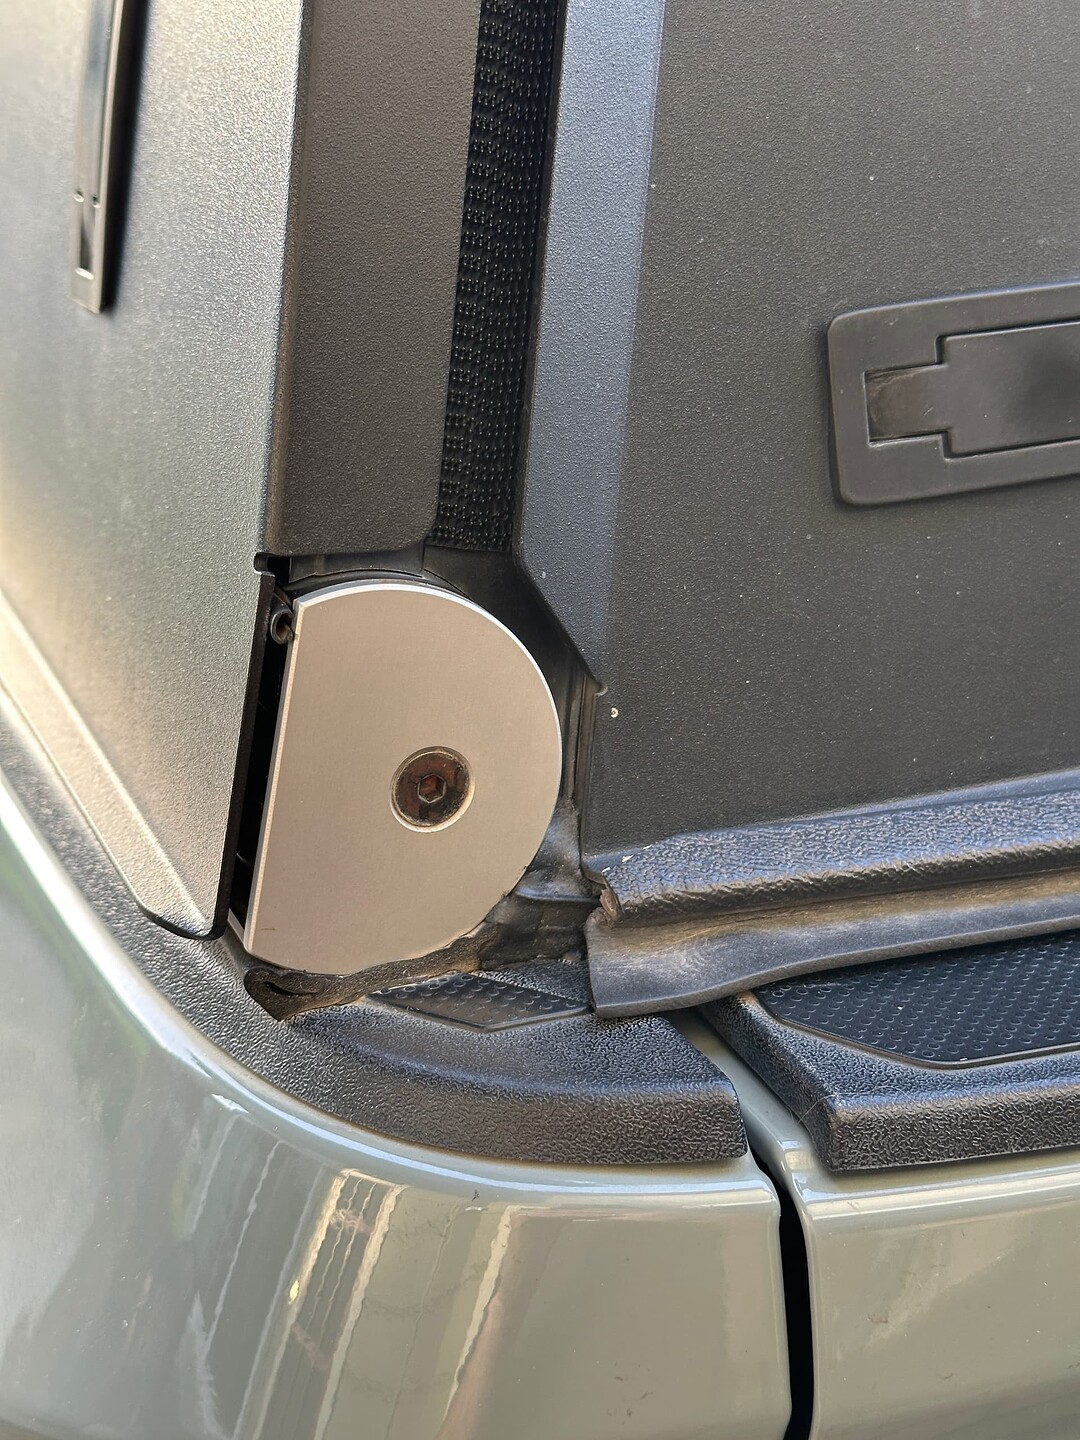
The only real water intrusion I’ve experienced over the years is due to gaps in the tacoma’s bulkhead and tailgate. I took some time with everything out of the bed to reapply additional 3M Strip Calk to the bulkhead, filling in the gaps I may have missed back in 2021. Feeling pretty confident about this area now being dialed in.

I also removed the tiny piece of weather stripping I applied back in 2021 from the tailgate end, and replaced it with the same strip calk. The weather striping was fine, but not great. We’ll see how this hold ups in comparison over the next few years.


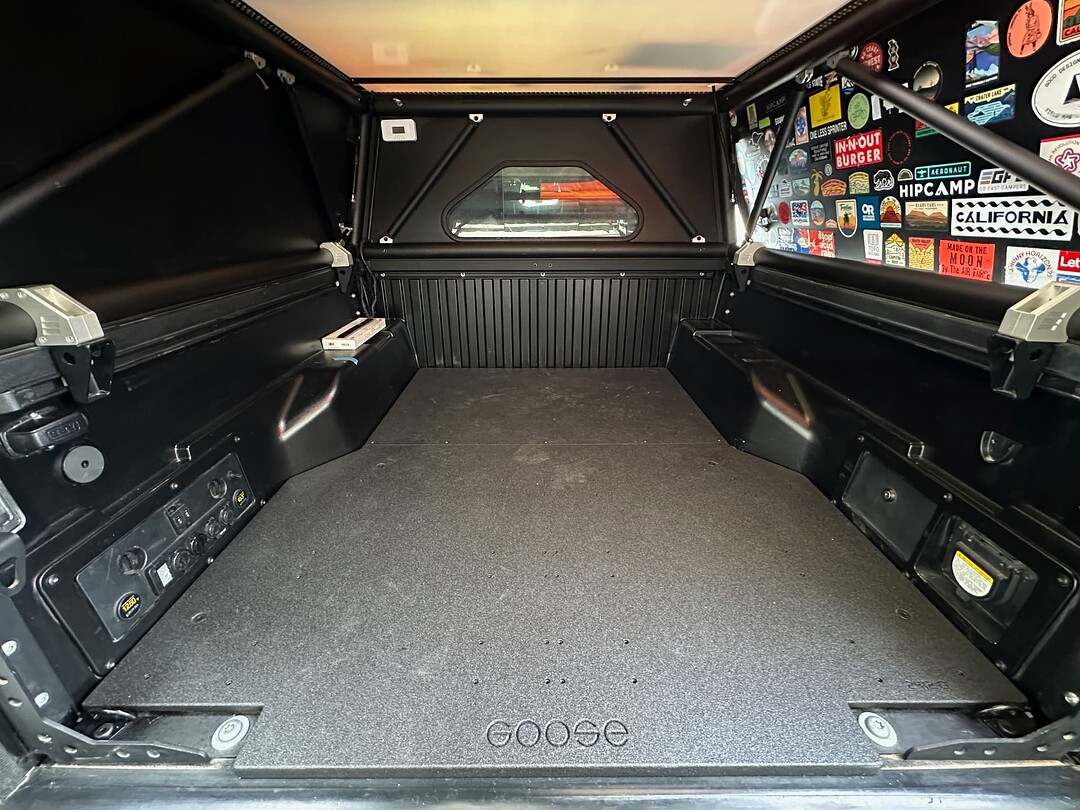
🪿 Goose Gear Baseplate install

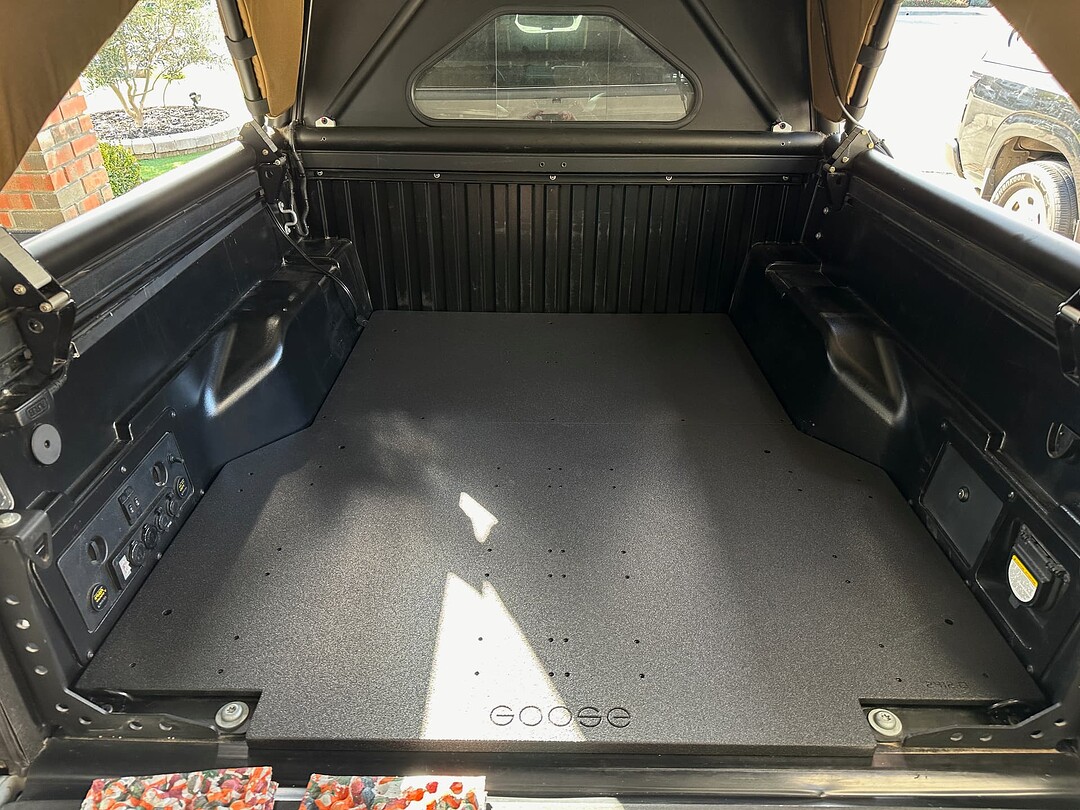
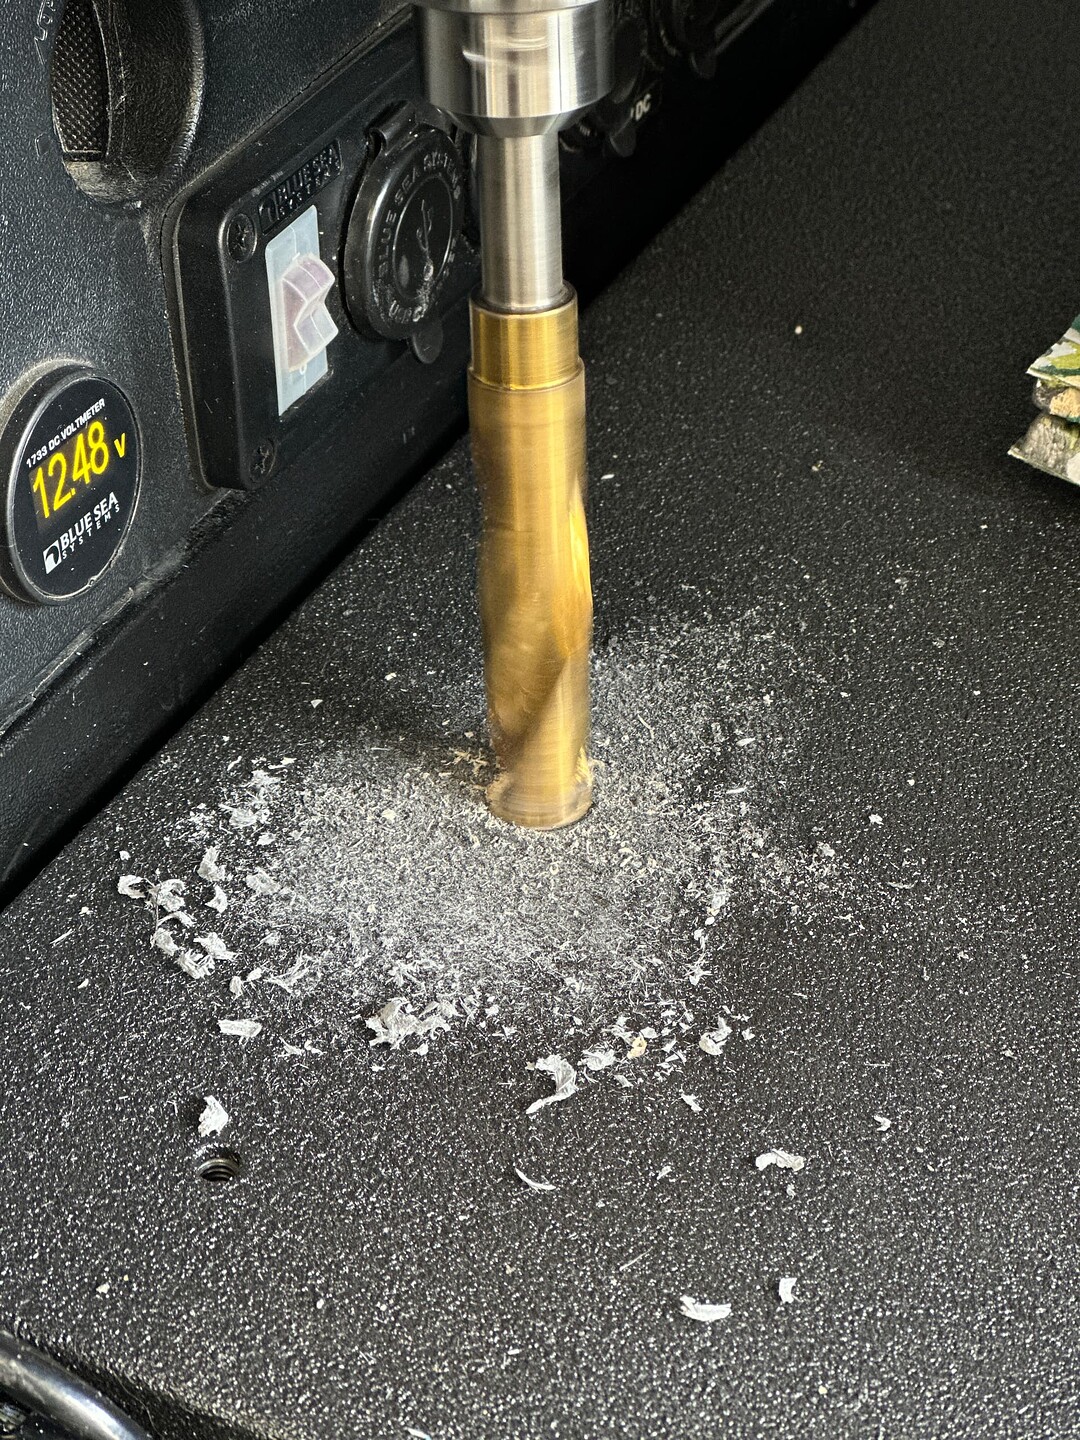
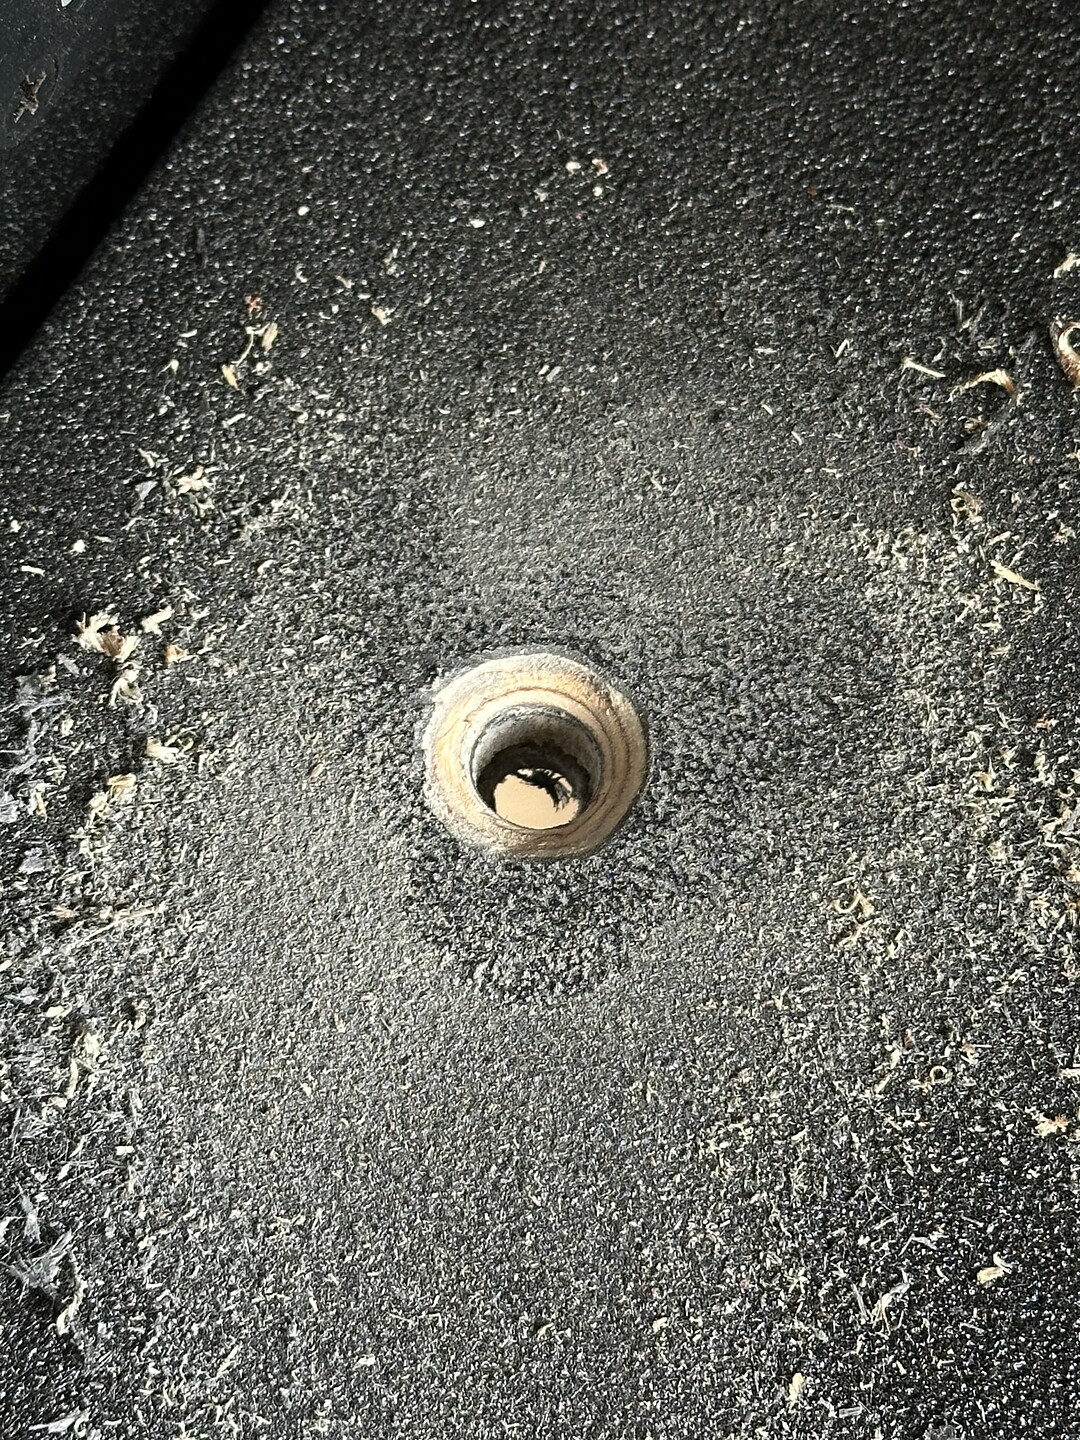
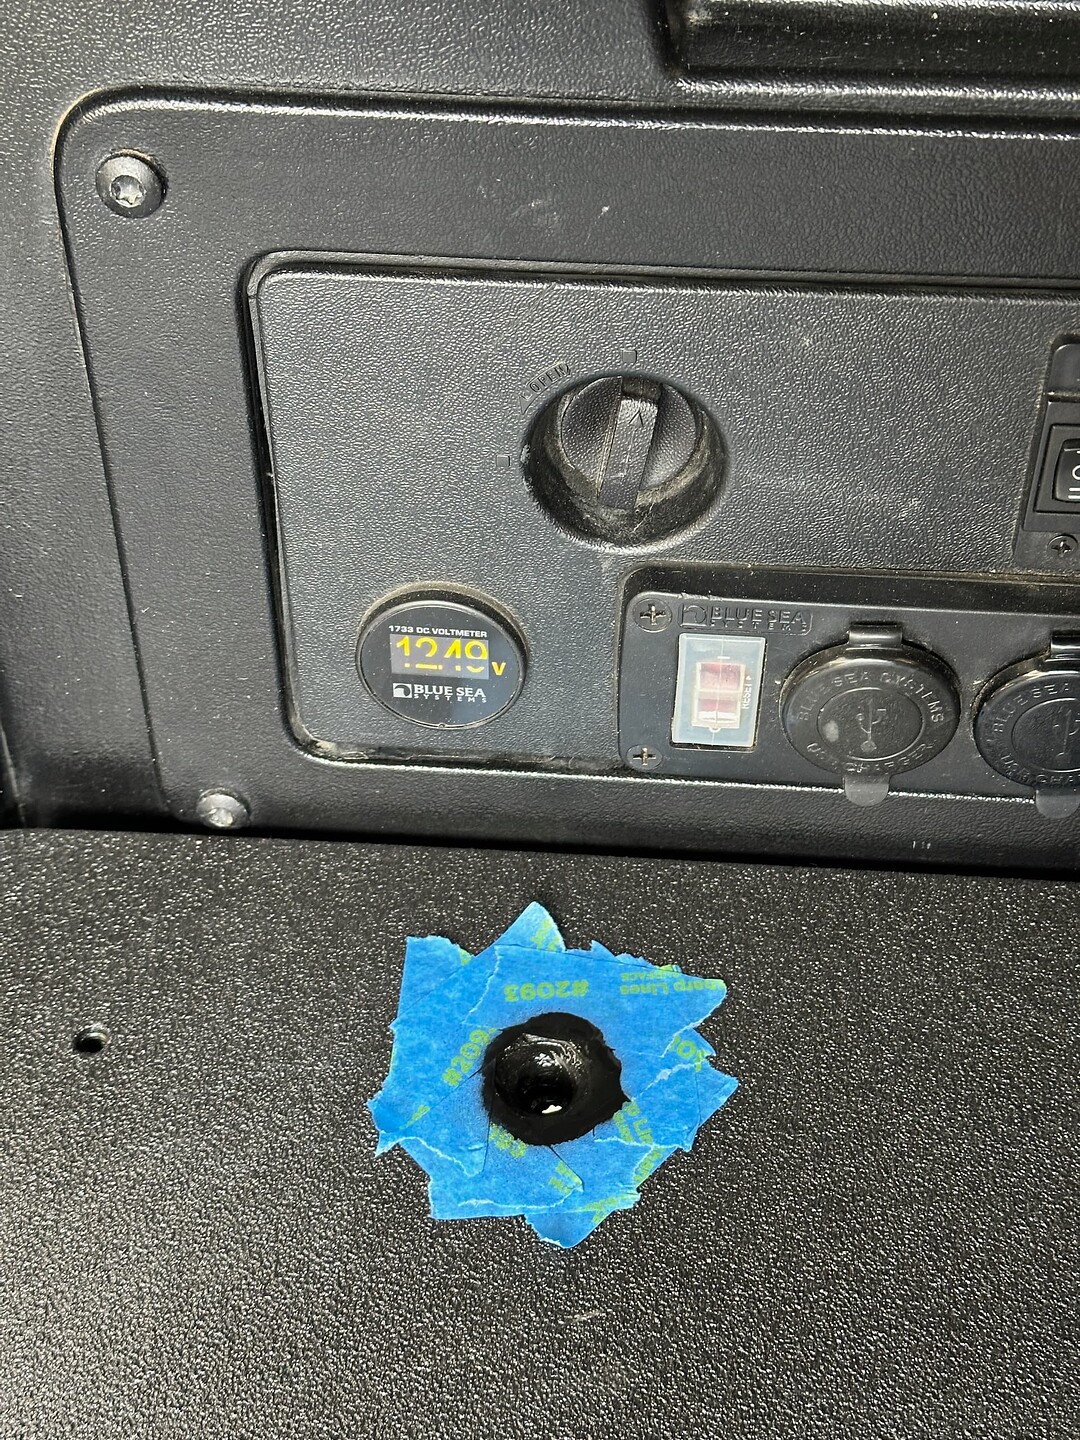
Dropped in Goose Gear’s tacoma bed baseplate as the foundation for the new layout. Was not stoked on how their bed mounting bolts sit so drilled out a bit of the floor to countersink 'em.


Now have a fresh slate and ready to get building on second iteration of the interior :beers:

11 Likes

clean!!!

1 Like

I was on the fence with the goose gear base plate but i think you got me over the line, this looks so clean.

1 Like

its just so pricey lol. I was looking at the viato one too but they never answer any comms about questions/etc. So Goose Gear it will probably be.

1 Like

They are pricey, the reason I made my own…

1 Like

Build Update 03/13/24 — A few small details


:signal_strength: LTE system monitoring

I introduced a Victron GlobalLink 520 to remotely monitor vitals when the vehicle is left behind (as long as its parked within range of a LTE cell tower). Pretty nifty little unit, the device includes a 5 year LTE plan at no additional cost.

The only data I have available on the VRM right now is voltage (via the unit itself) and cabin temperature (via a RuuviTag in the cab).

The unit’s internal antenna struggled to pick up a strong signal from the cubby so I ran a wire to an external antenna puck in the rear bumper—which dramatically boosted signal strength while keeping everything clean and tucked away.

That’s all on this front for now, way more to follow here over the coming weeks.


:nut_and_bolt: JE Designs Tent Pull

Bolted in @jedgar GFC Tent Pulls. I have yet to mount the @AERONAUT straps but have them in the cab.

1 Like

@shadesbro @Medicfung @Trudog I’m quite happy with the Goose Gear baseplate. This is the one piece where I felt the need to pay for a machined solution for a perfect fit (and I appreciate the plate’s water resistance). Everything else on top of it we’ll treat and cut by hand.

3 Likes

I ordered a Viato equipment bed setup, I’ll have a separate post up soon.

1 Like

Build Update 04/03/24 — V2 LAYOUT COMPLETE

Alright! It’s been quiet here! I was heads down all of March sprinting to complete V2 of the layout before hitting the road for the next +7 months (!!!) I’m so stoked to share that the new layout is finally done—I’m actually writing this post from the truck on the Starlink at a National Monument in New Mexico.

I took hundreds of photos during this build process and I’ll go into great detail explaining every step and decision of the new layout over the coming weeks… Currently racing to get to the center of the path of totality for the Eclipse on the 8th. (:crossed_fingers: for good weather)

Sharing a few snaps below for now, see y’all out there :metal:

25 Likes

What an insanely cool build!! Love the attention to detail and overall clean look it has. Curious what wood you used. I am actually planning on doing a similar setup in the next month or so. ANy tips and tricks?

1 Like

Good lord, just when I get my build planned out you go and raise the bar. That laptop/table placement makes a ton of sense. Also, did you match the paint to your tacoma? Nice touch.

1 Like

Such a great build and great photos! Nice work as usual!

1 Like

So aesthetically pleasing :heart_eyes:

1 Like

The velcro on the pillar is so clever! It seems obvious now, but one of those things that I probably wouldn’t have thought of.

1 Like

V2 Retroactive Build Update 04/05/24 — Planning Stage

Alright! Let’s go back to the start.

We spent a solid month measuring, prototyping, and sketching to dial in the final layout. In a short 5ft truck bed being efficient with every 1/4" of space matters—we went deep and measured everything as we worked towards improving QoL things—while maintaining nimbleness and simplicity.

As you can see in the photo above, we went into this build under the assumption we would design our kitchen around our Cook Partner stove. That assumption changed as the mockup process identified two major pain points pretty quickly: 1) where do we store the massive propane tank without eating into our livable space and 2) do we really want to dedicate so much of our limited drawer space to just a cooktop. I’m a fan of multi-use / multi-purpose solutions and had a strong desire to design something better here. A bulky heavy box that holds a bulky 2-burner stove was not our answer.

The desire to adhere to this design principal led me to Snow Peak’s IGT (Iron Grill Table) system. For those not familiar with the system, it’s essentially just a table frame that allows the user to drop in a wide range of standardized accessories from single burner stoves, to dual burner stoves, to cutting boards, even a bbq! As a big SP fan, I’ve always been intrigued by this concept but have never had a reason to invest in one as I have no space to store their table frame itself.

Then I had the idea: What if we got our hands on the dimensions of the table frame and built the “drawer” itself as an IGT frame? The drawer did not need to be a bulky heavy box—it could be two simple rails with no floor that house the IGT accessories. It would be infinitely modular, and could adapt to our needs from trip to trip.

As an added bonus, the IGT burners use the same isobutane fuel our Snow Peak torch, lanterns, and 2 pocket backpacking stoves utilize. The simplicity of carrying one fuel source for everything was liberating.

We committed to the concept and and moved into higher fidelity drawings for what would become the focal point of the new layout—the first known custom Snow Peak IGT kitchen built into a truck bed.


(Shoutout to my Dad for taking my early figma concepts and parts list and translating into these clean drawings! NOTE: These are early measurements that can be used for guidance, but are not the final build measurements)

We picked up our materials: 2 sheets of 3/4" maple veneered plywood and 1 sheet of 1/2" plywood and got to work.

In the next post we’ll move into construction!

3 Likes