My Build - 2020 F150

I have been waiting patiently to begin posting- I dont have big plans, just some simple add-ons.

I have some in-camper lights that arent finalized yet but operational, Ill share when they are more developed. In general my goals for this and previous builds are to avoid permanent mods and installs that make future changes more difficult. I tend to change/evolve my setup as needs change for different situations.

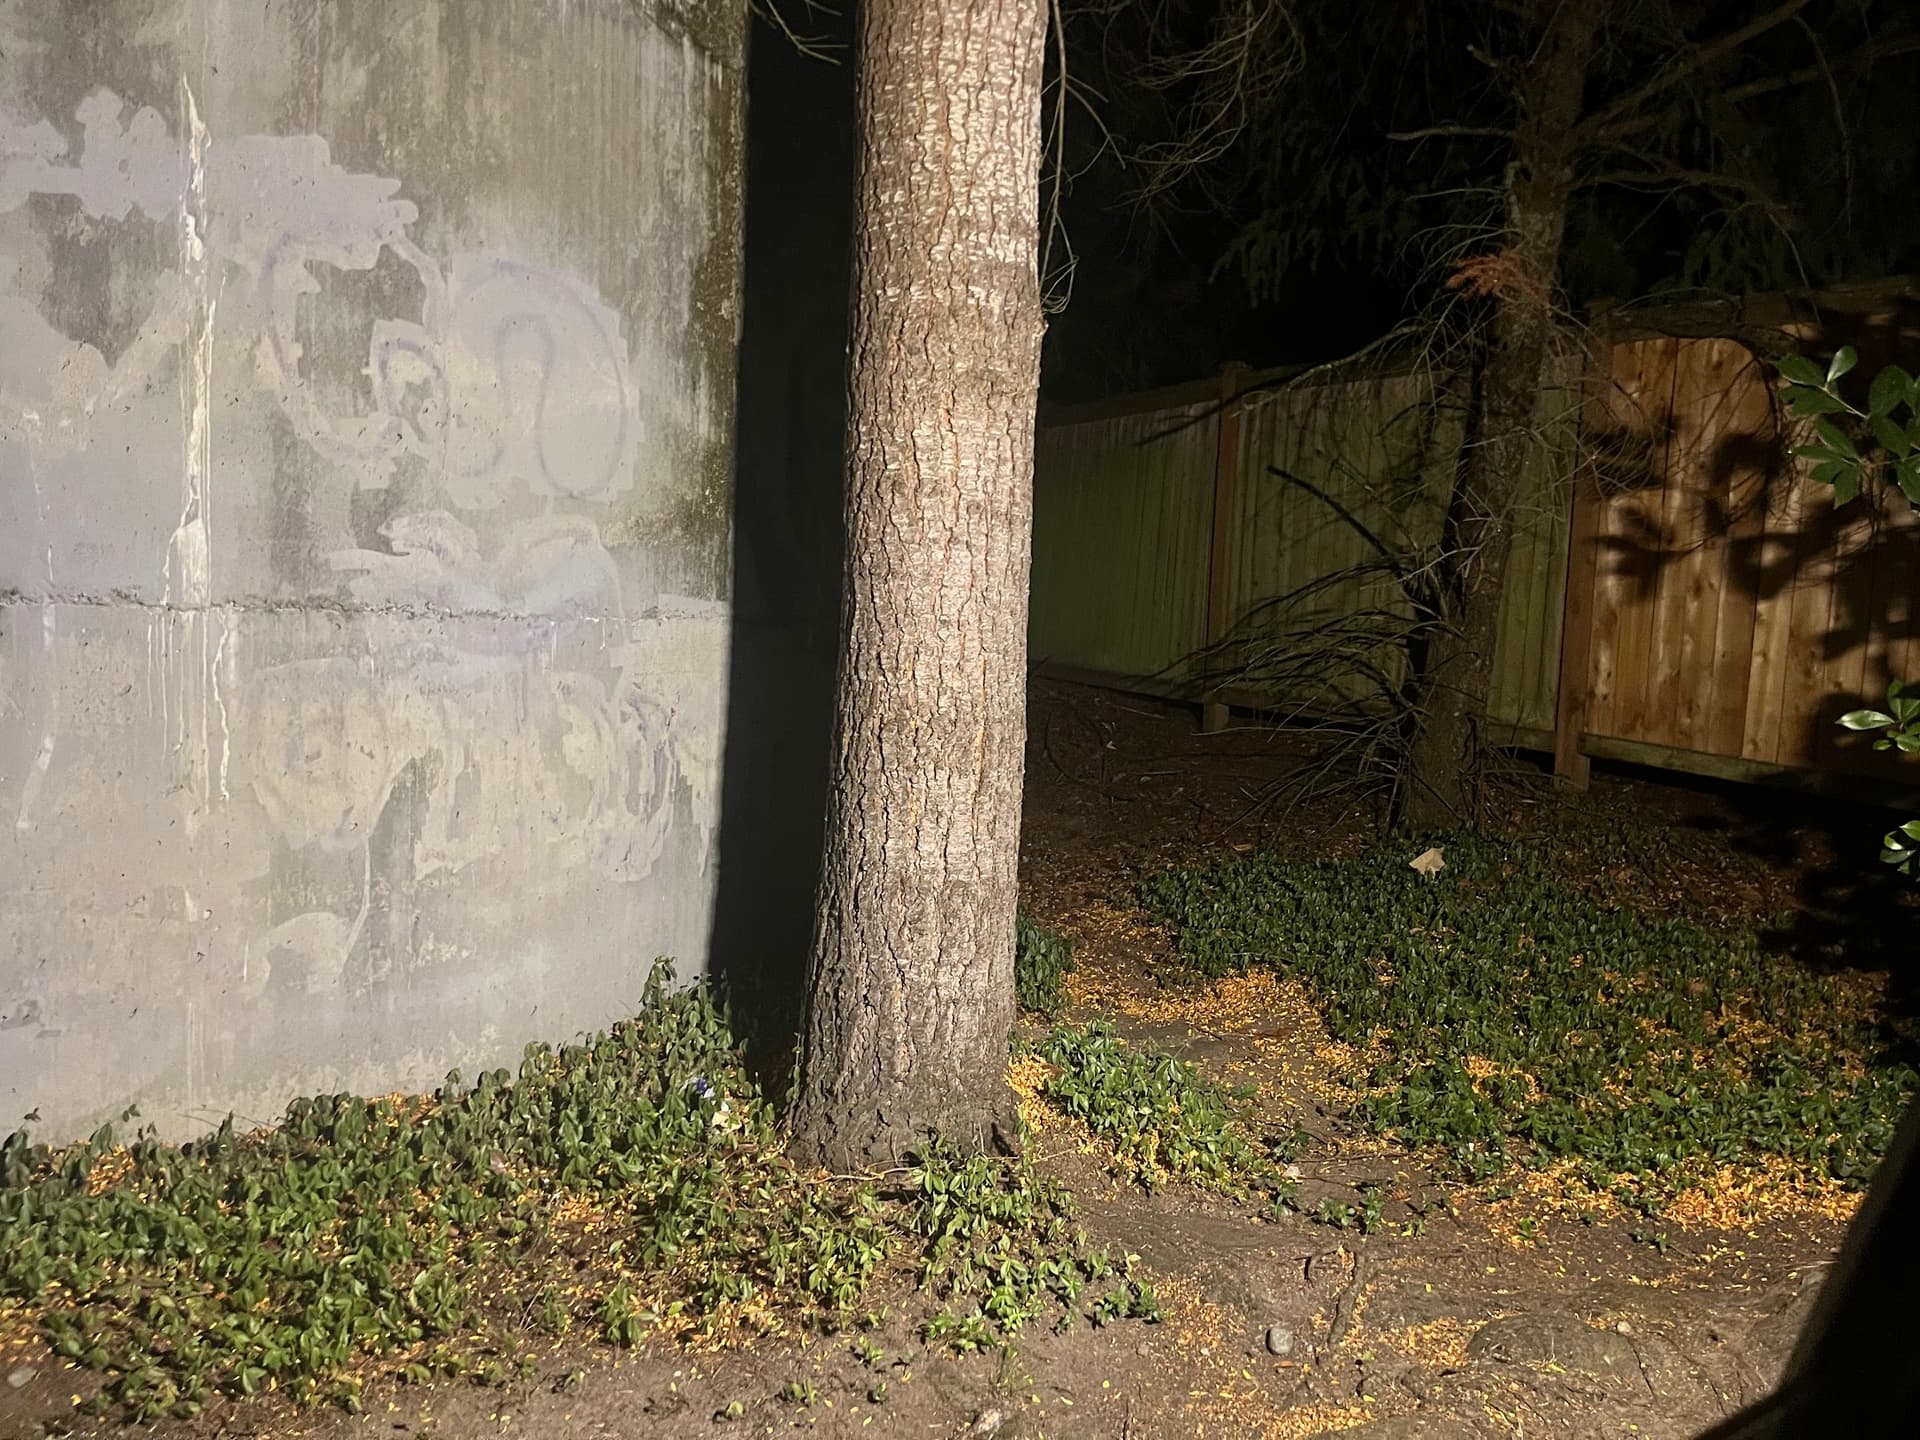
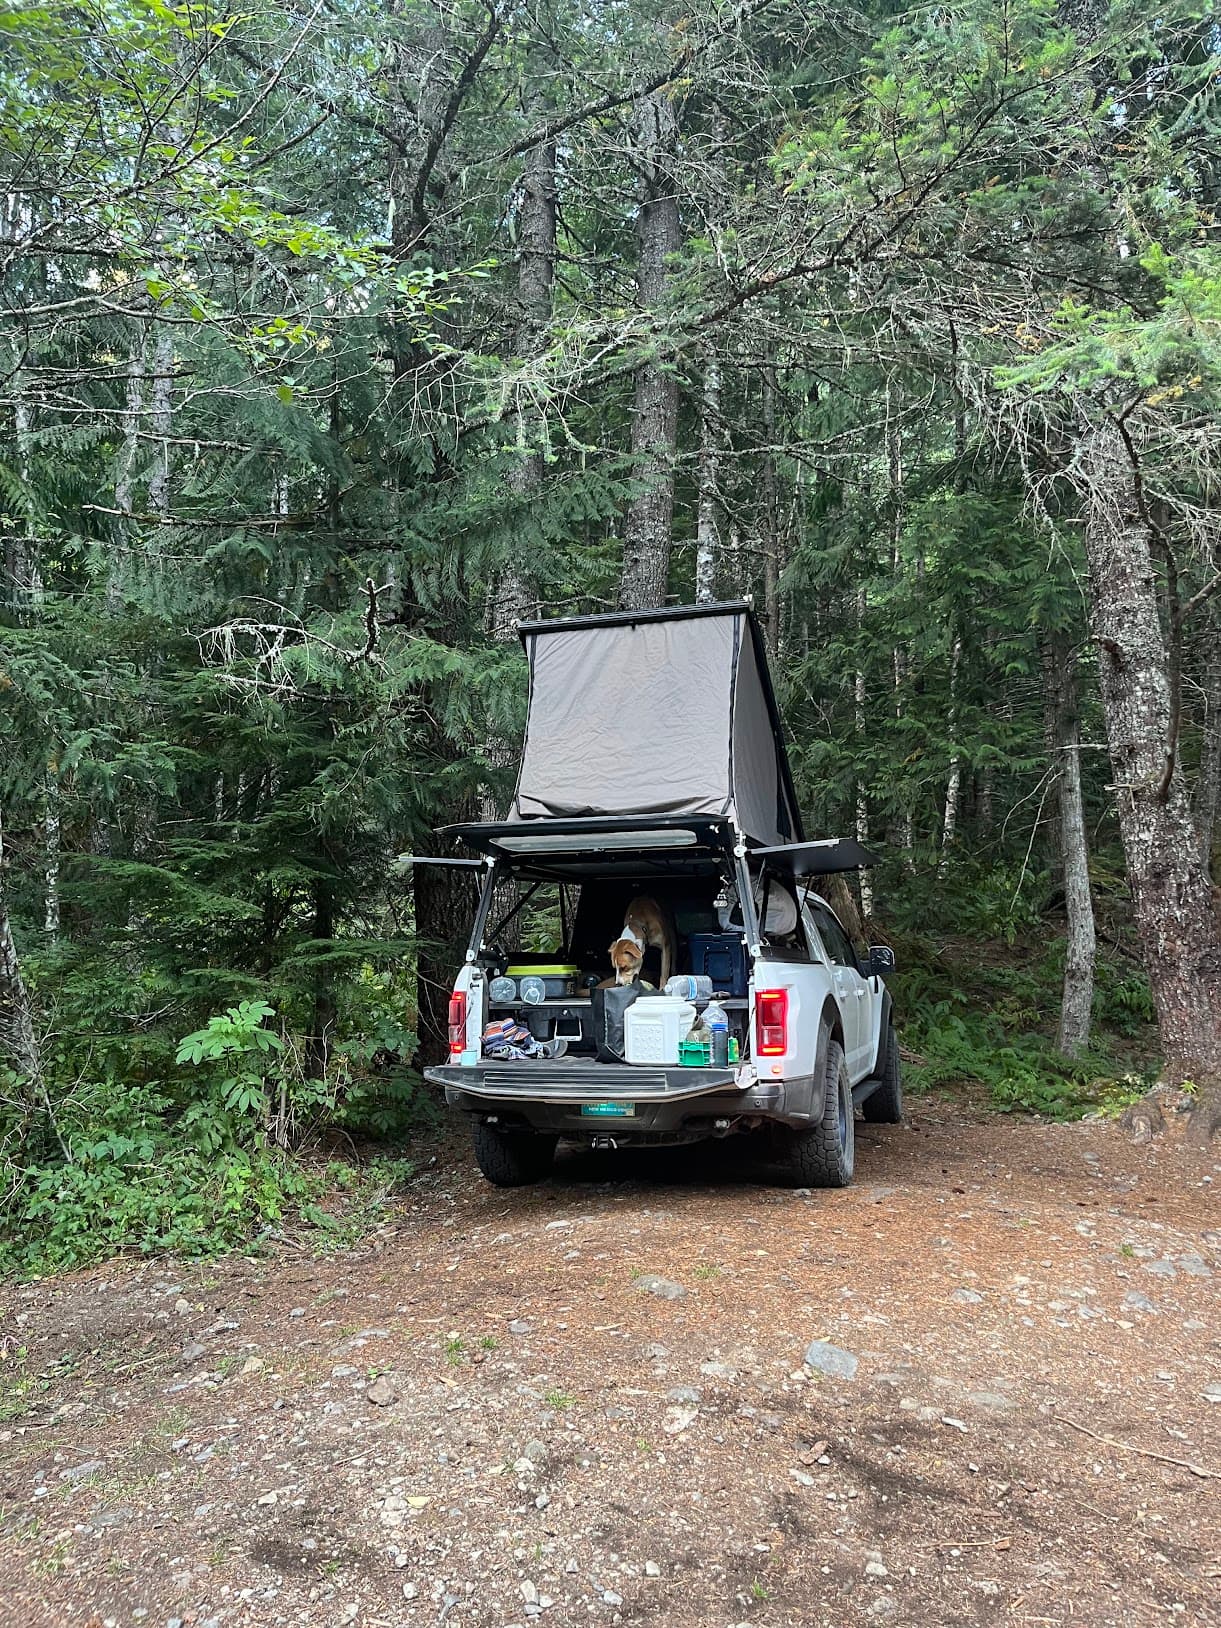
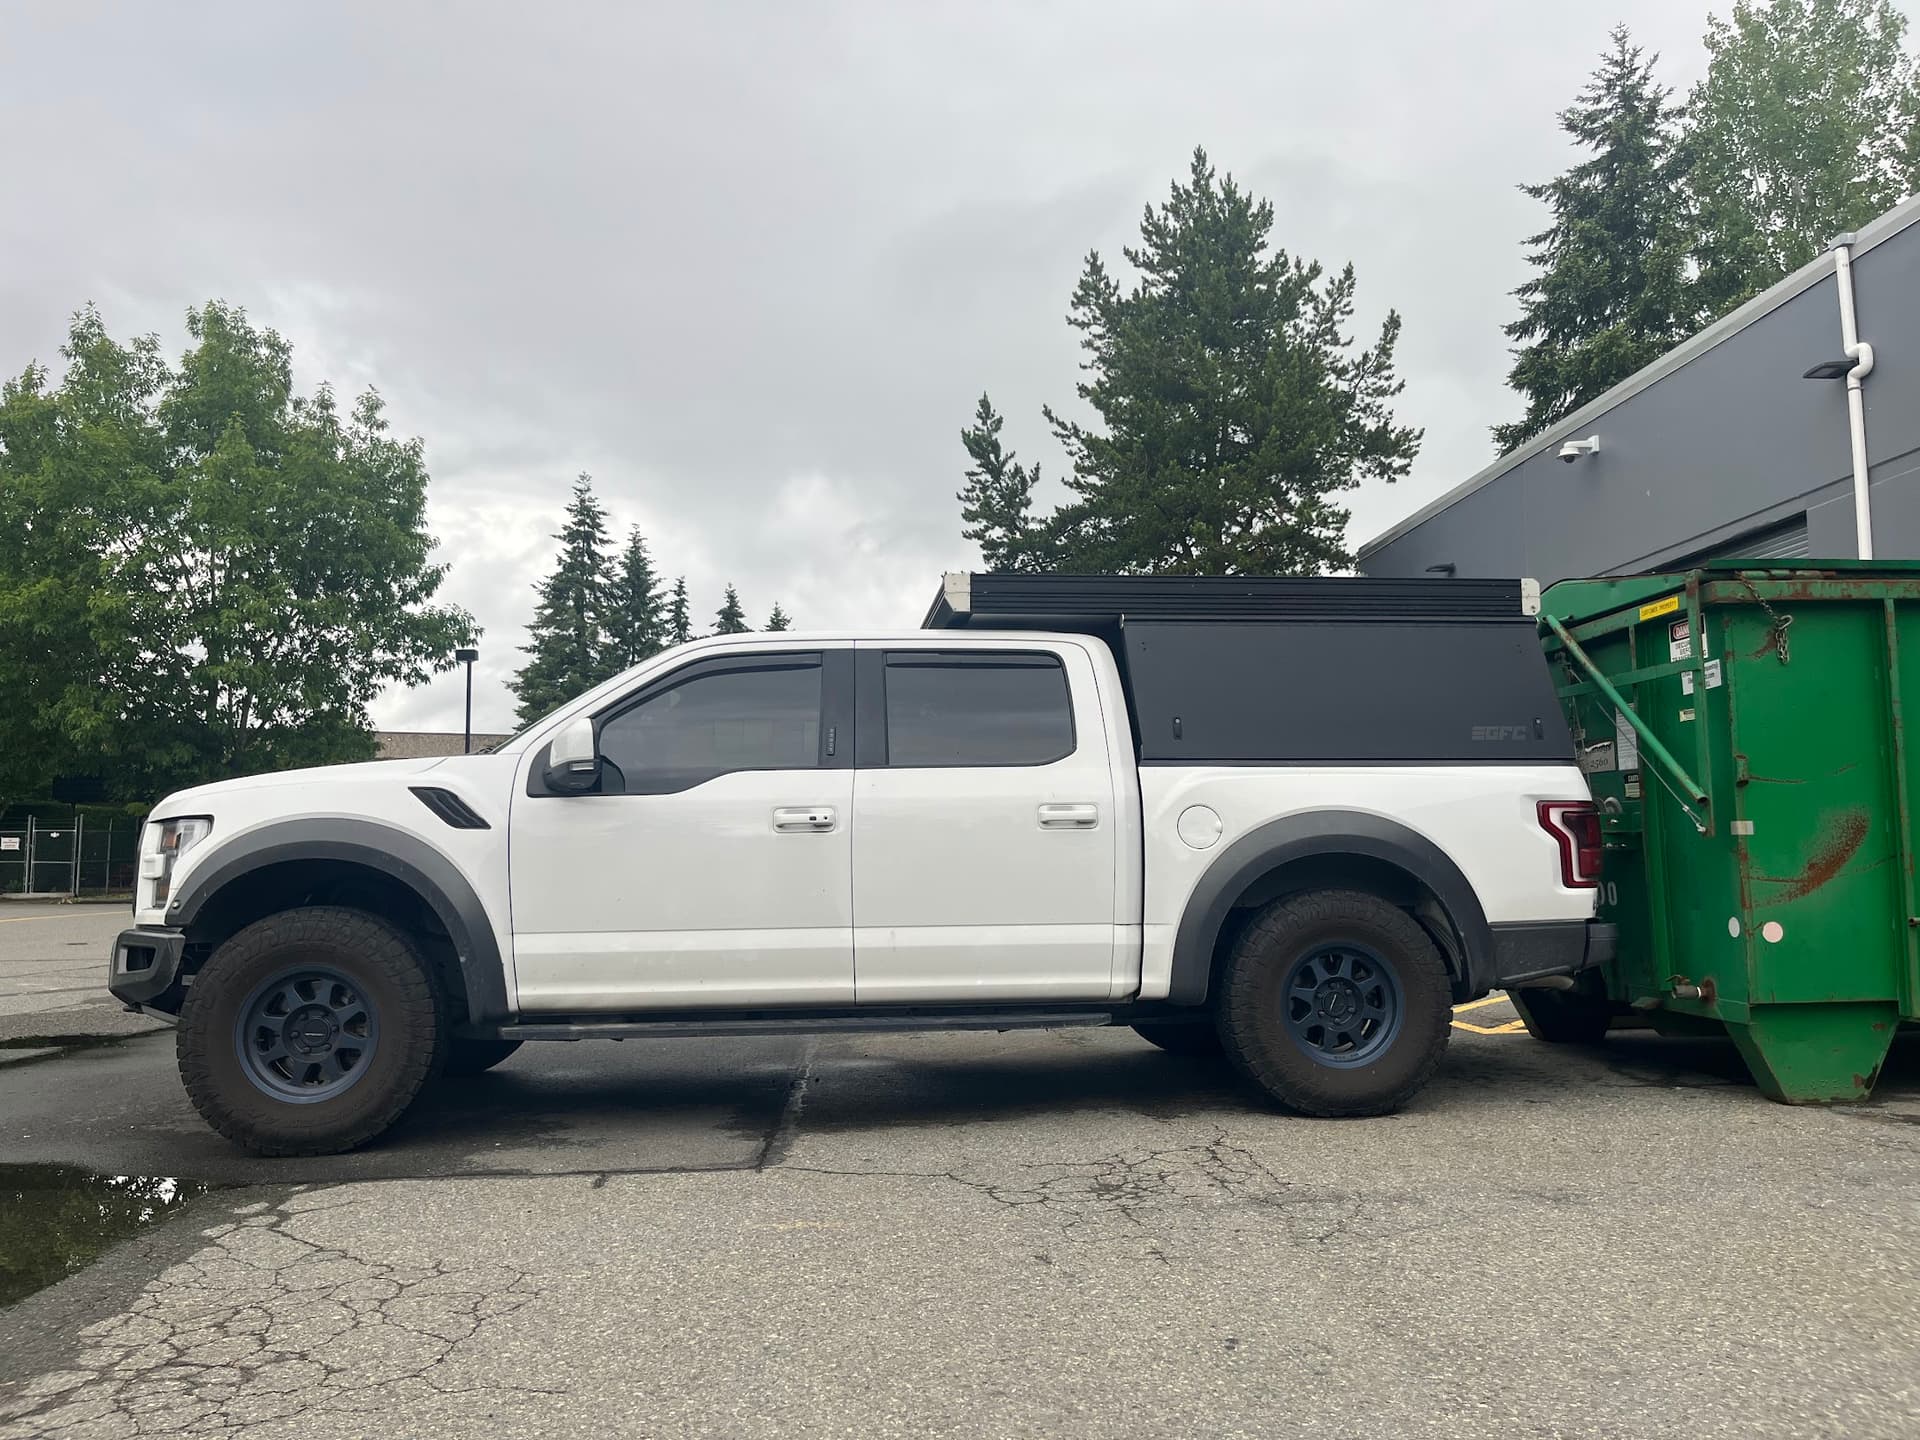
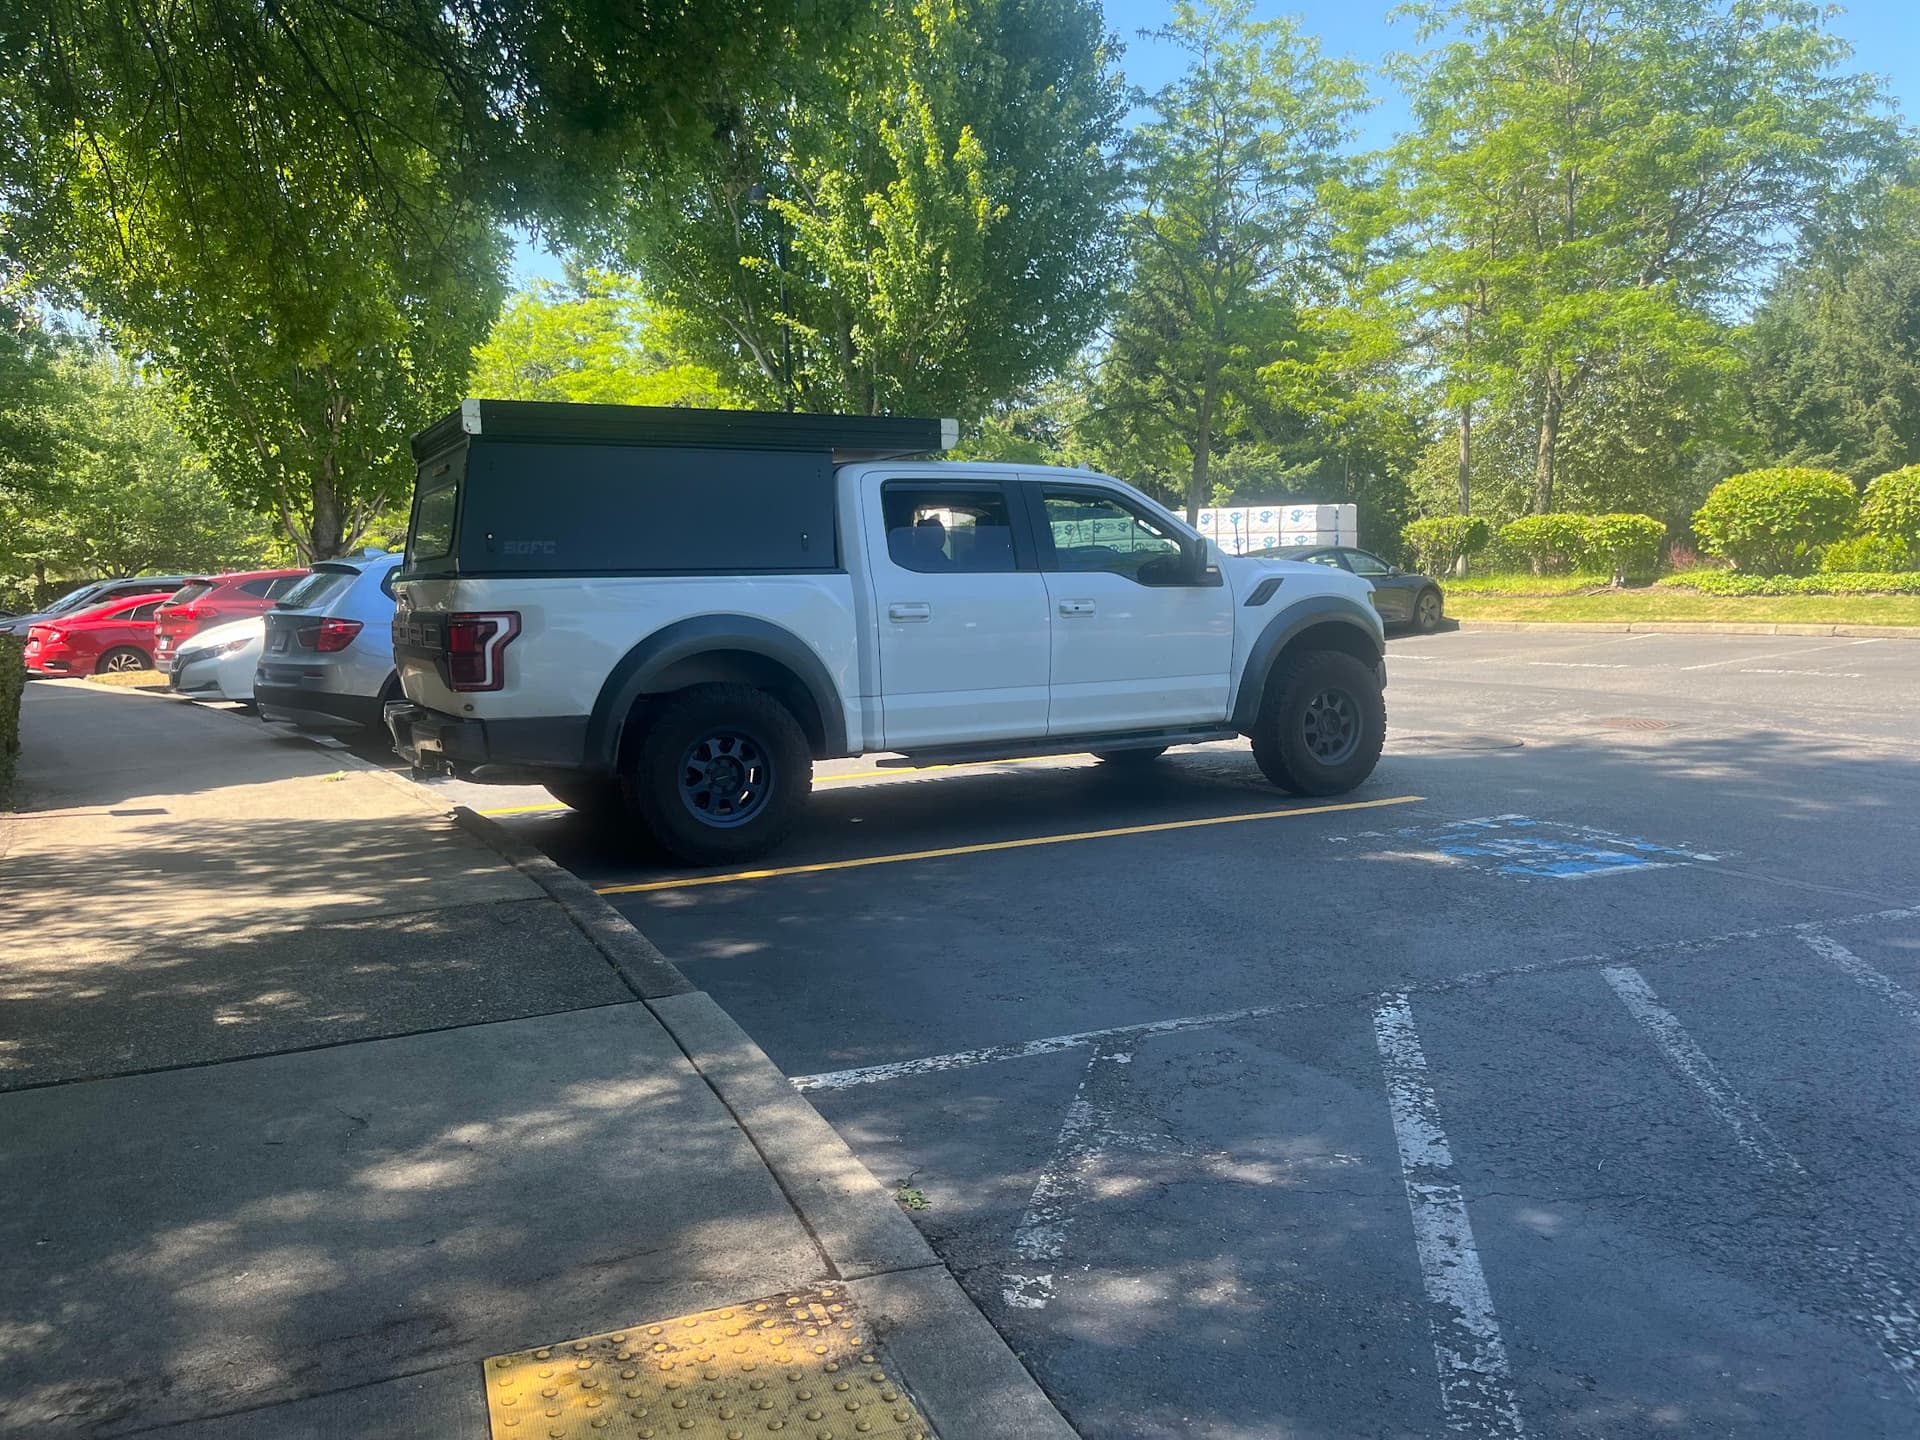
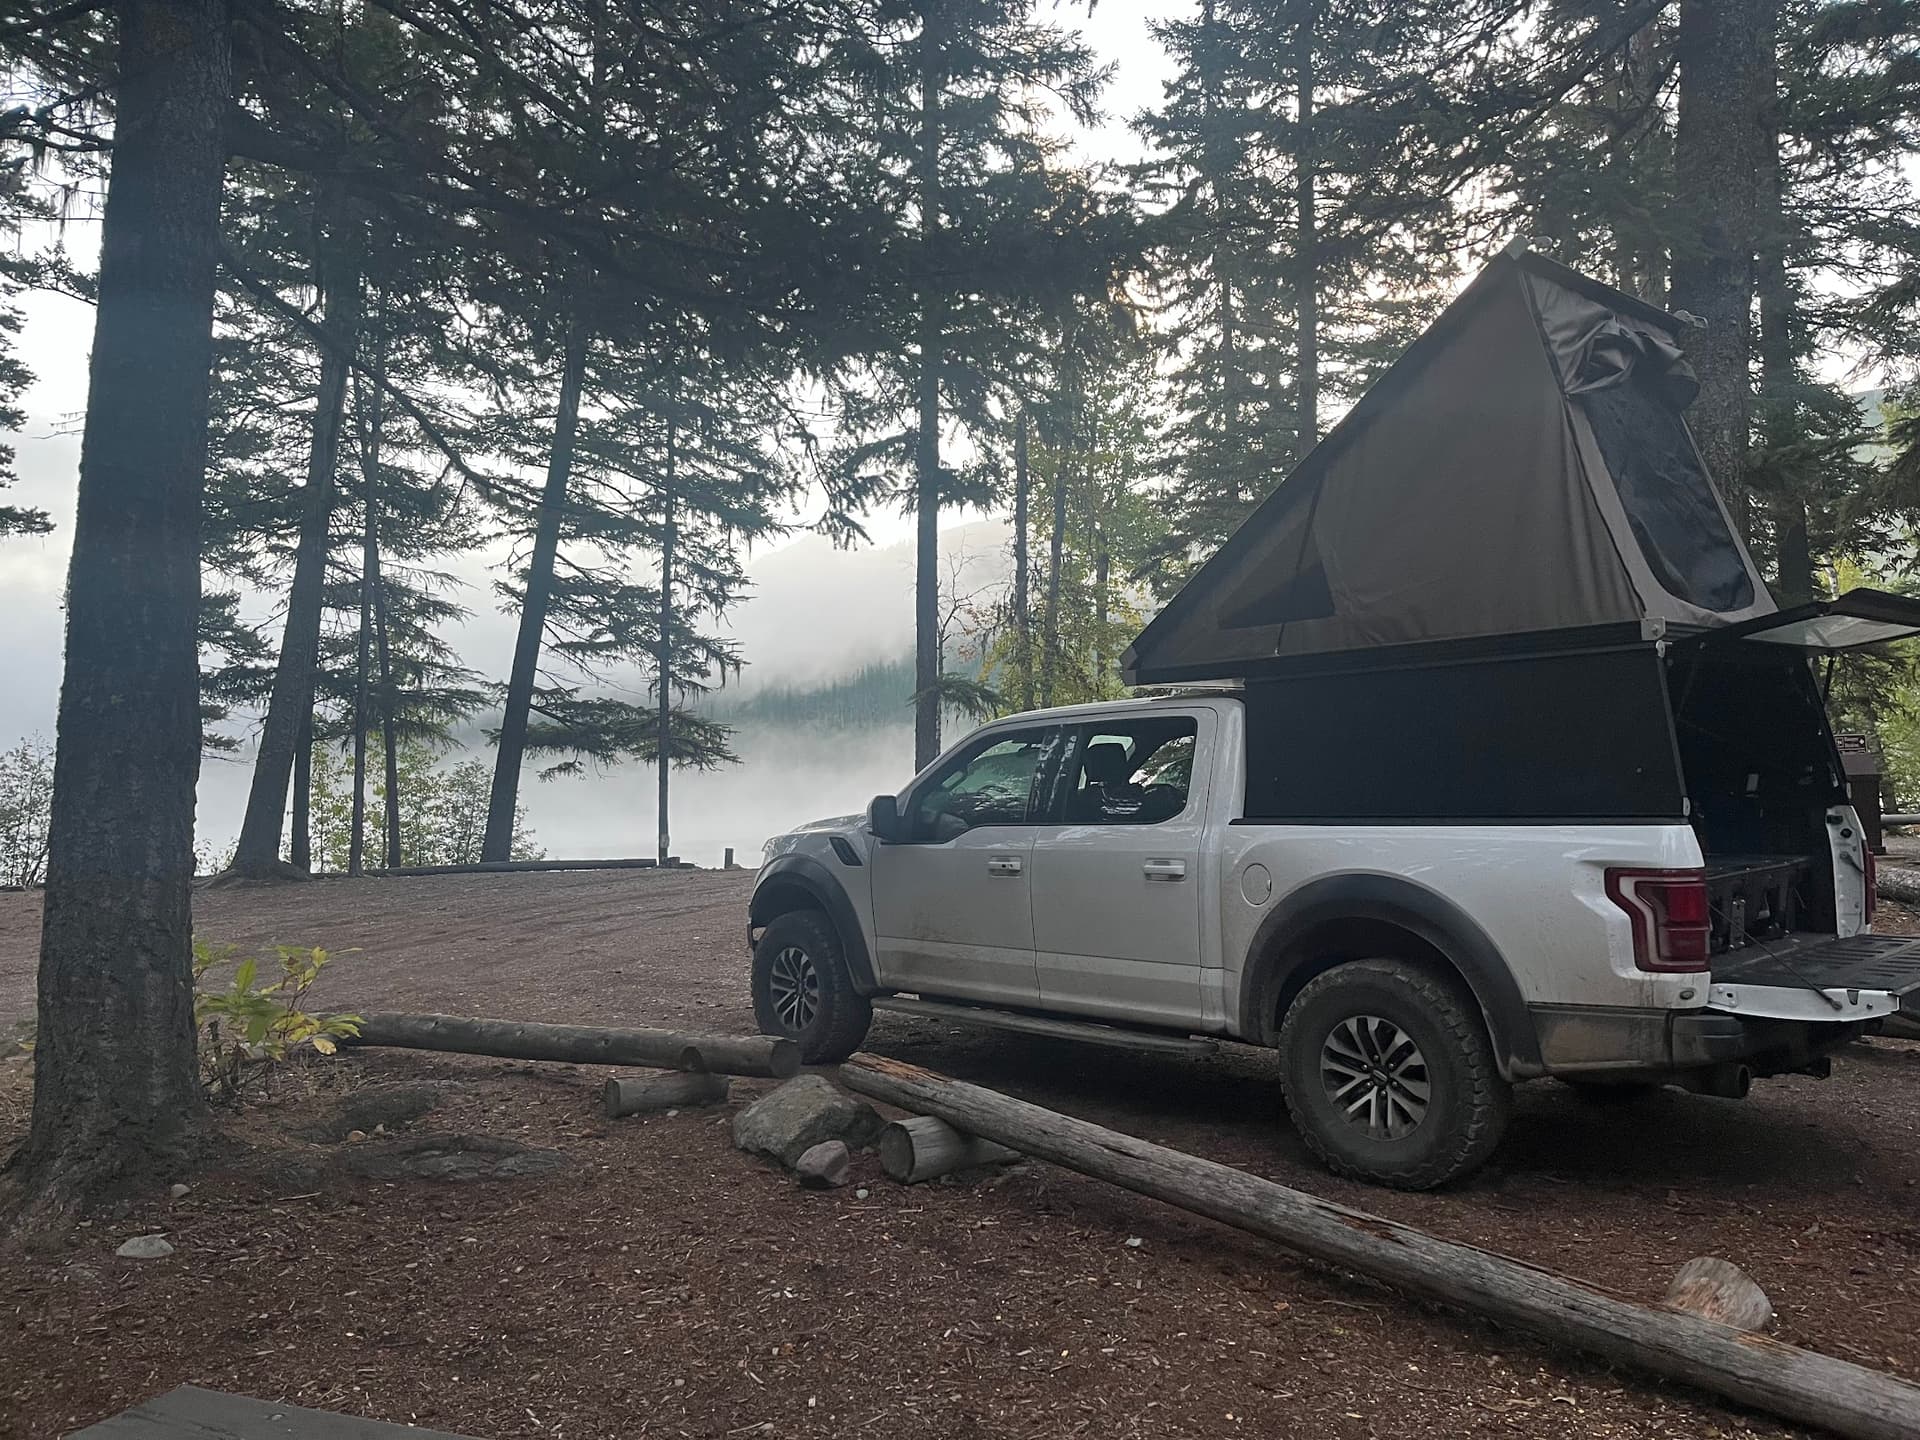
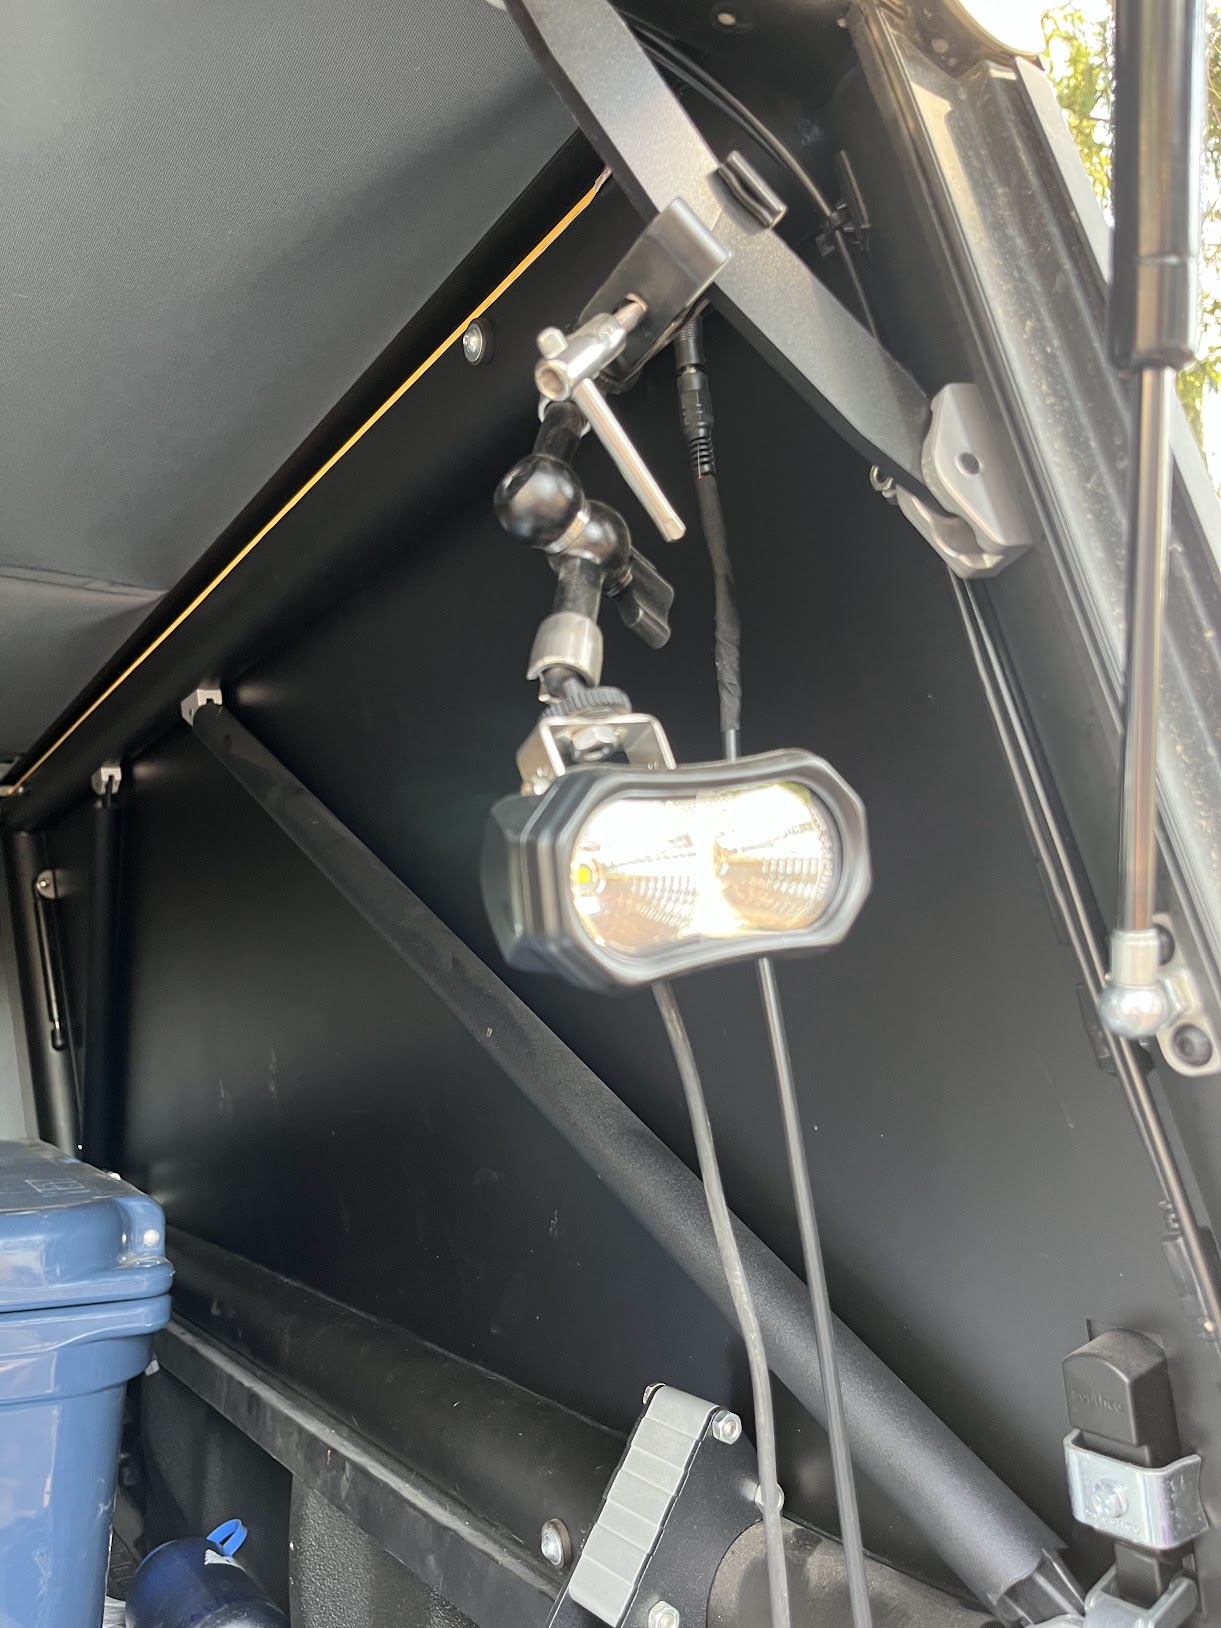
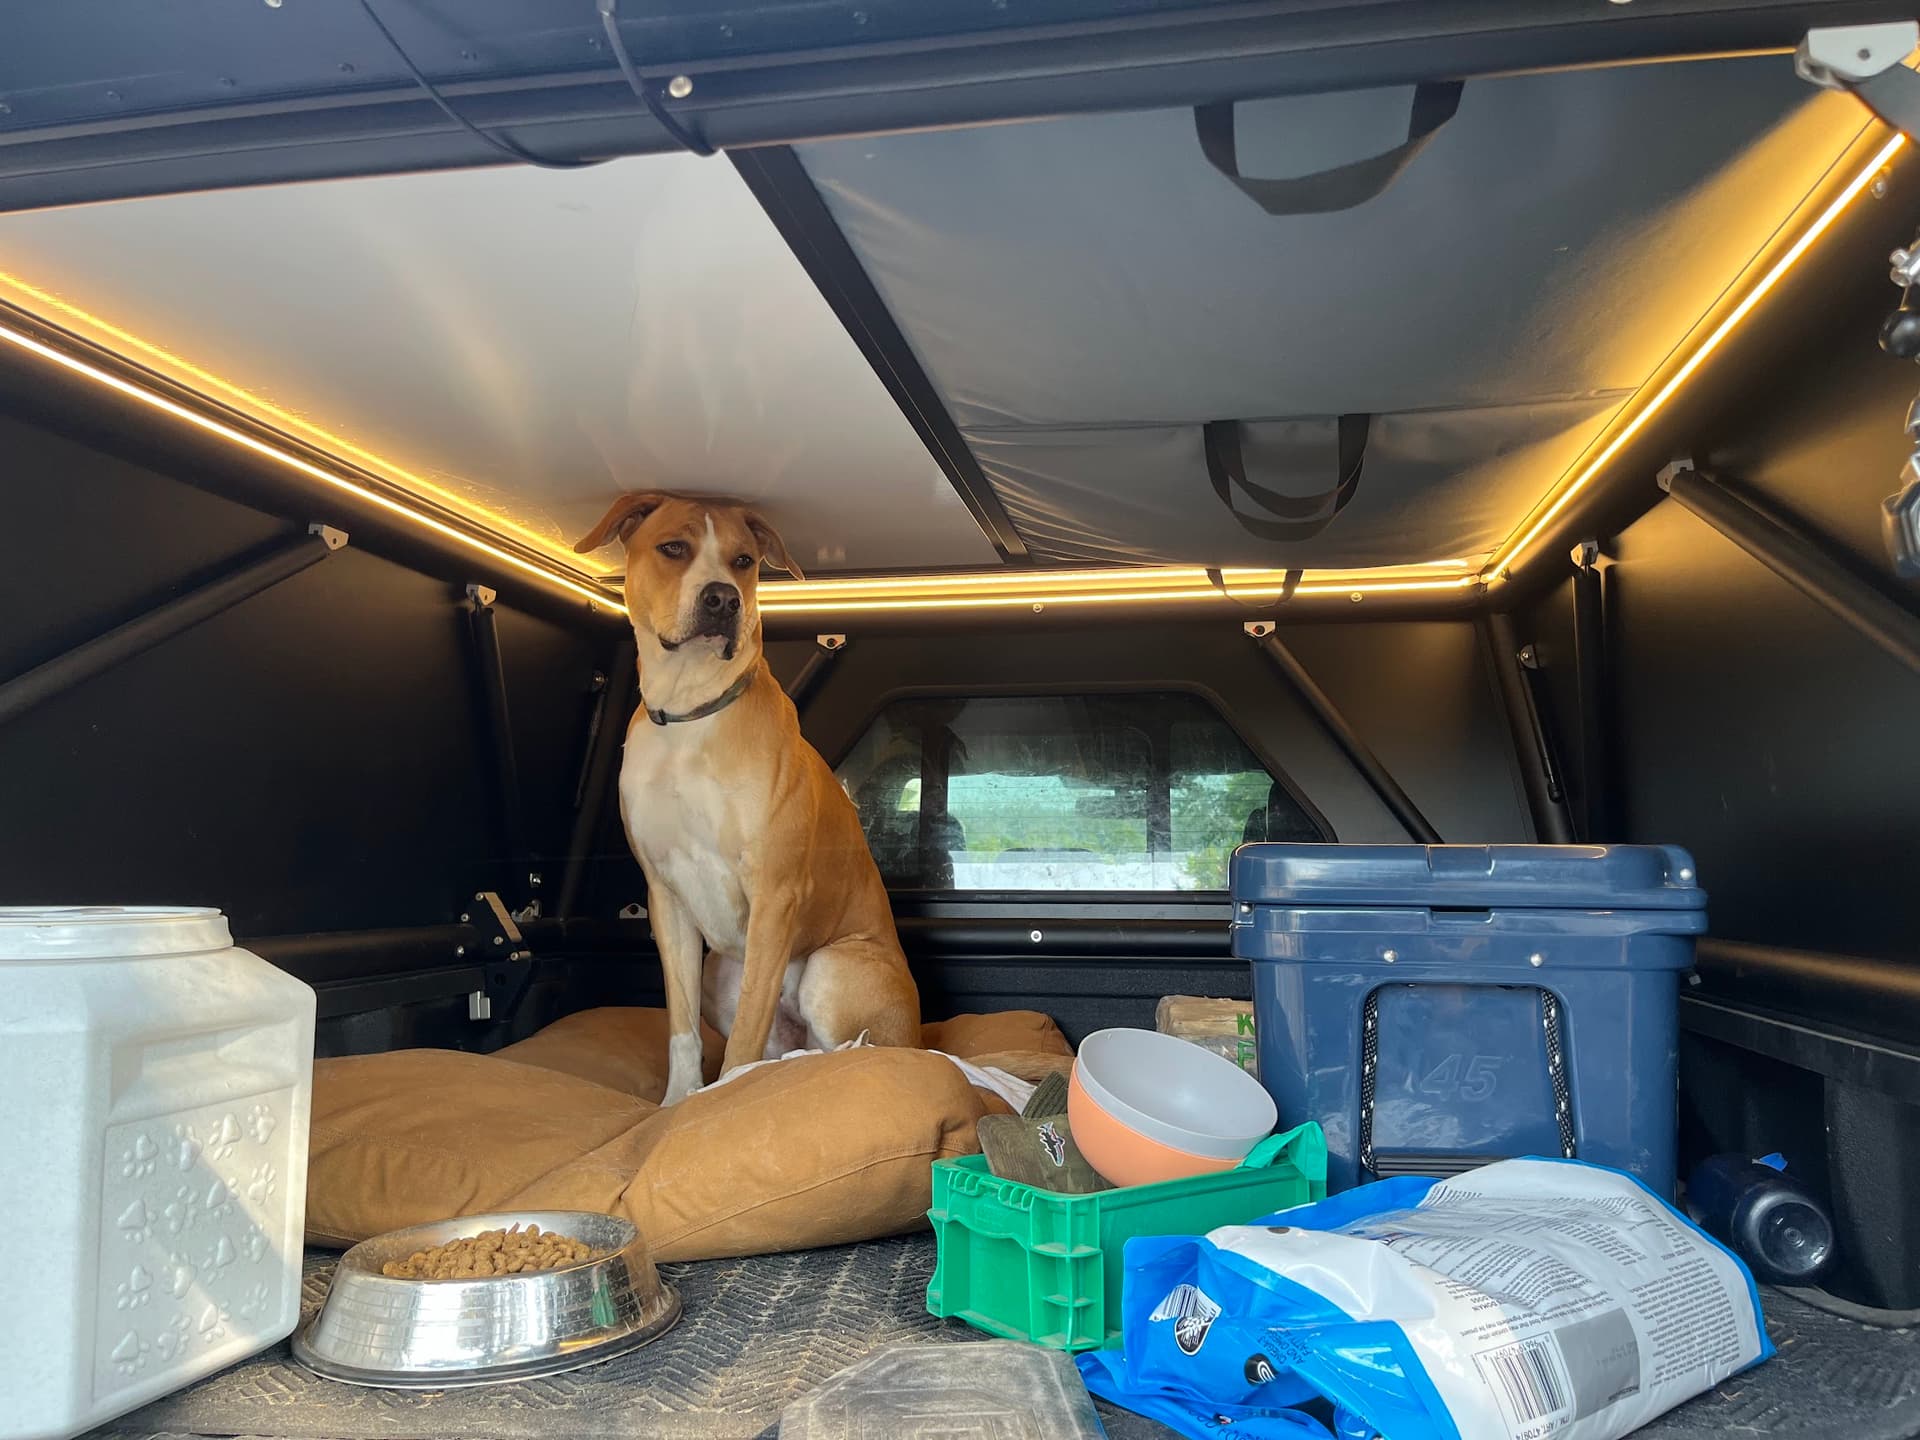
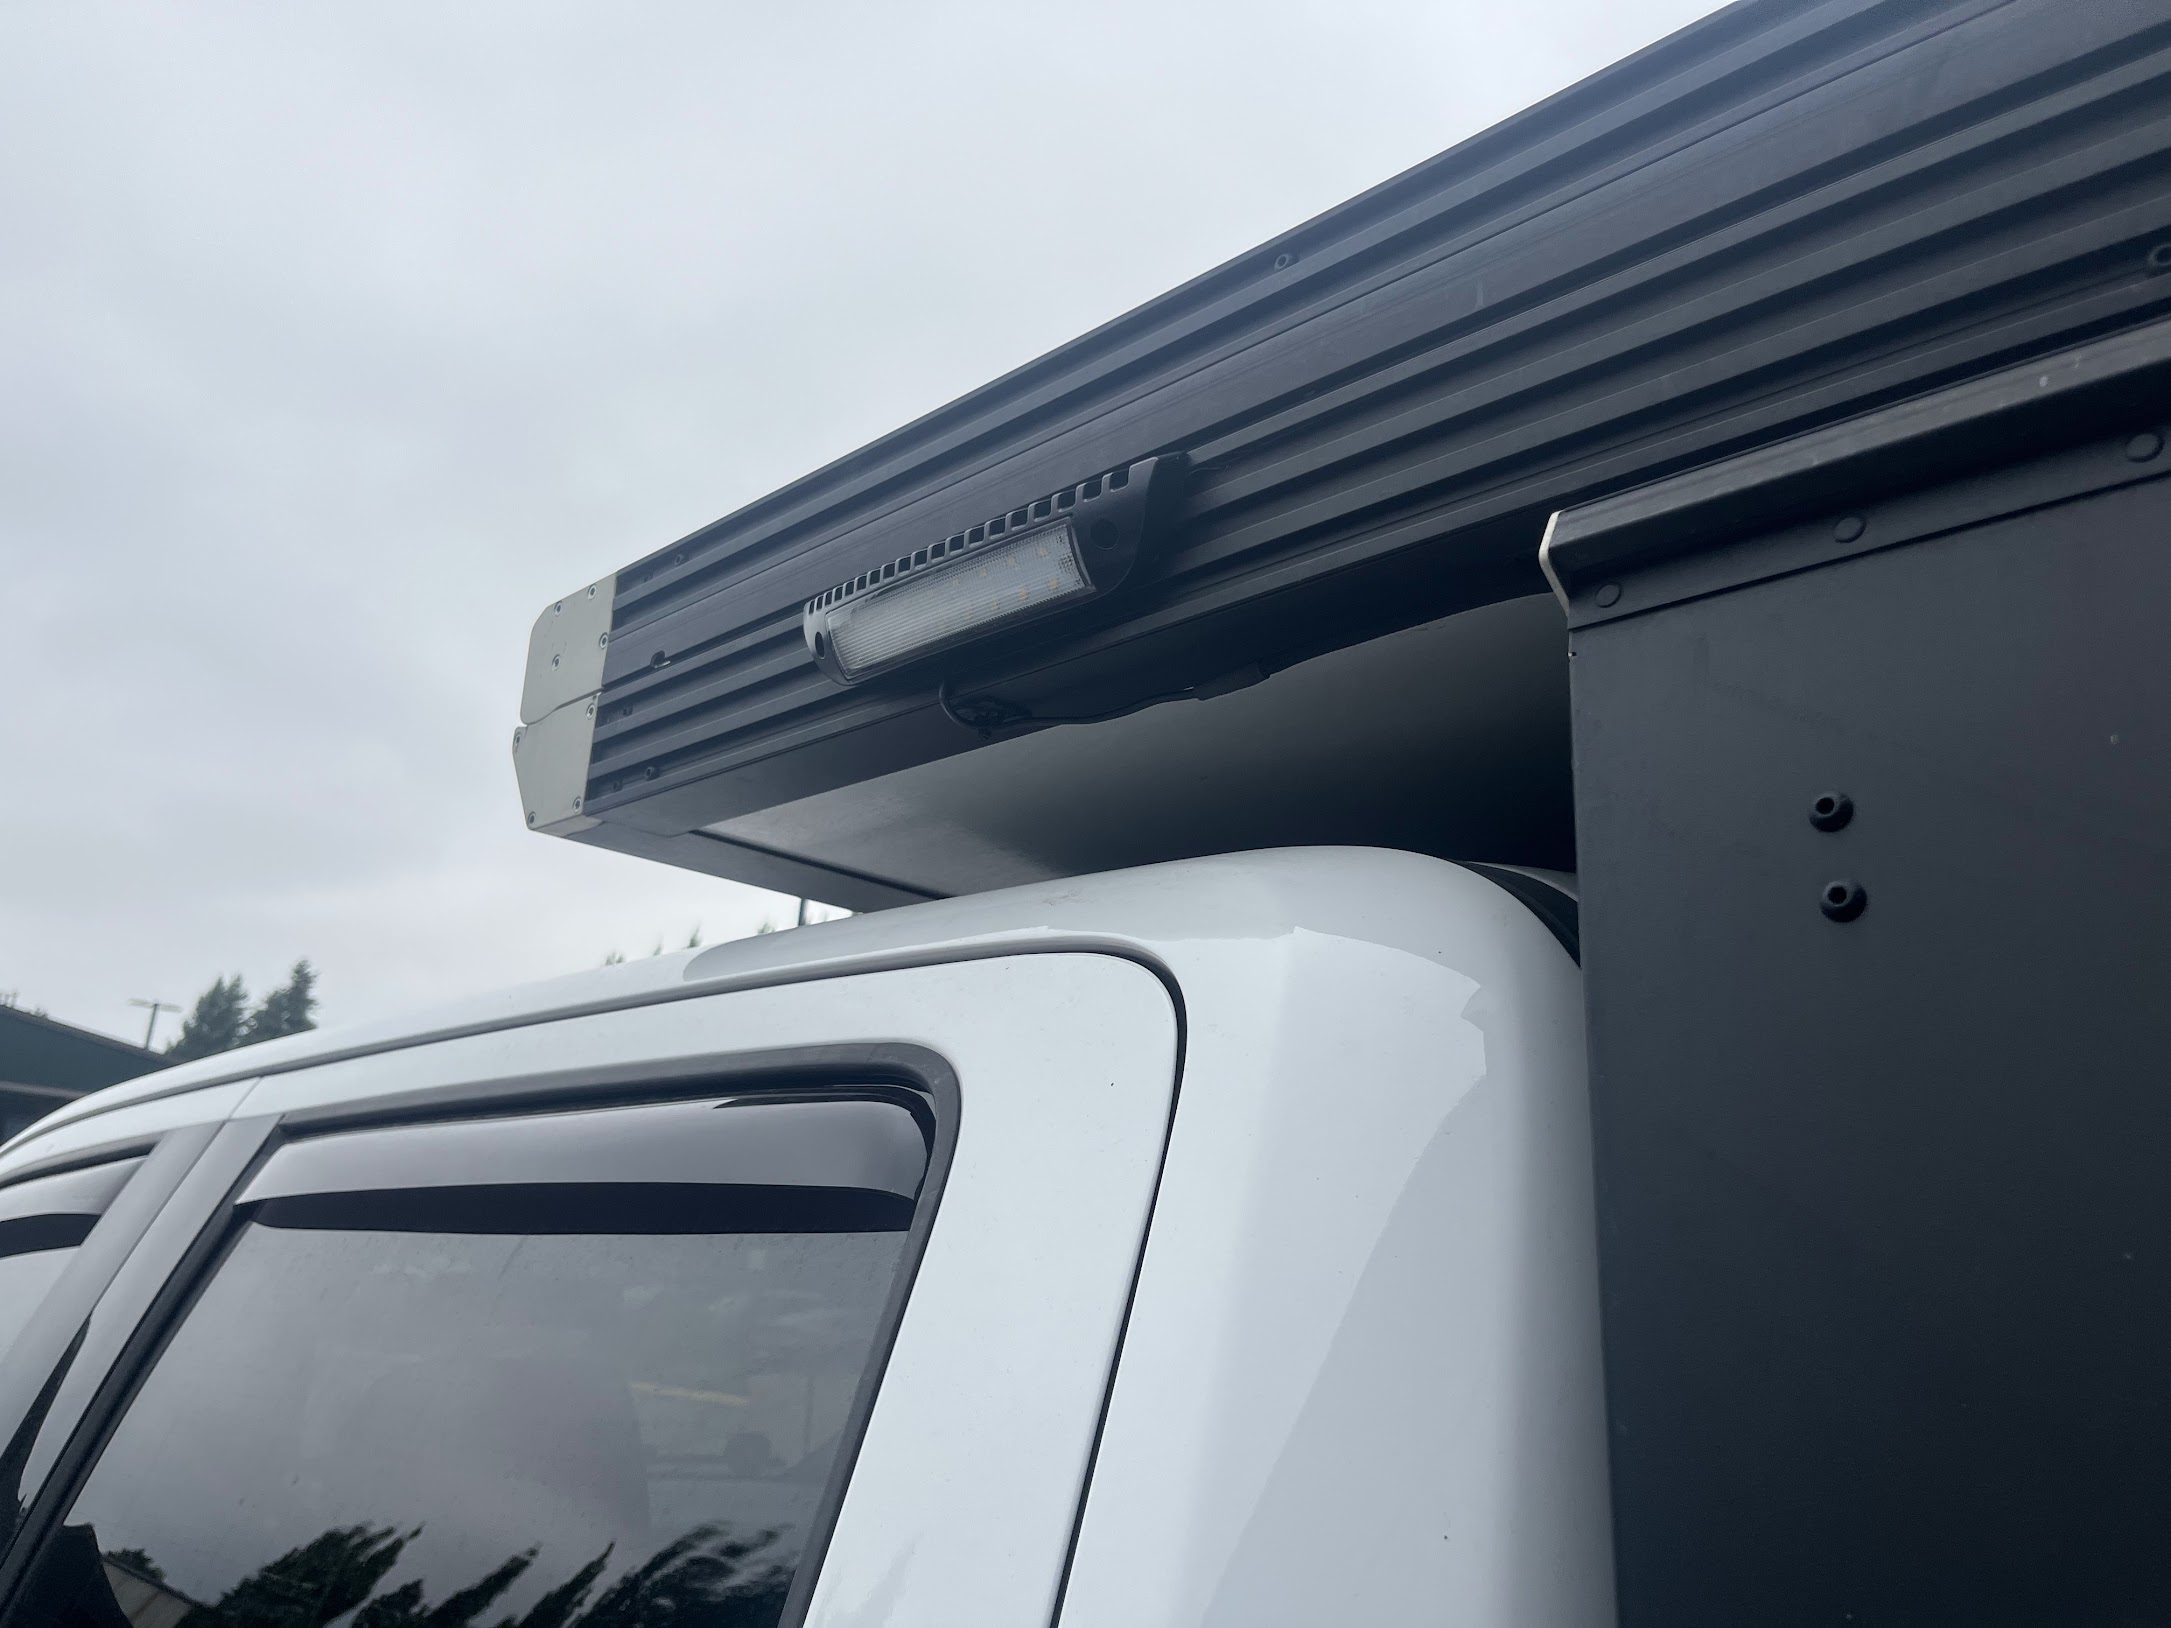
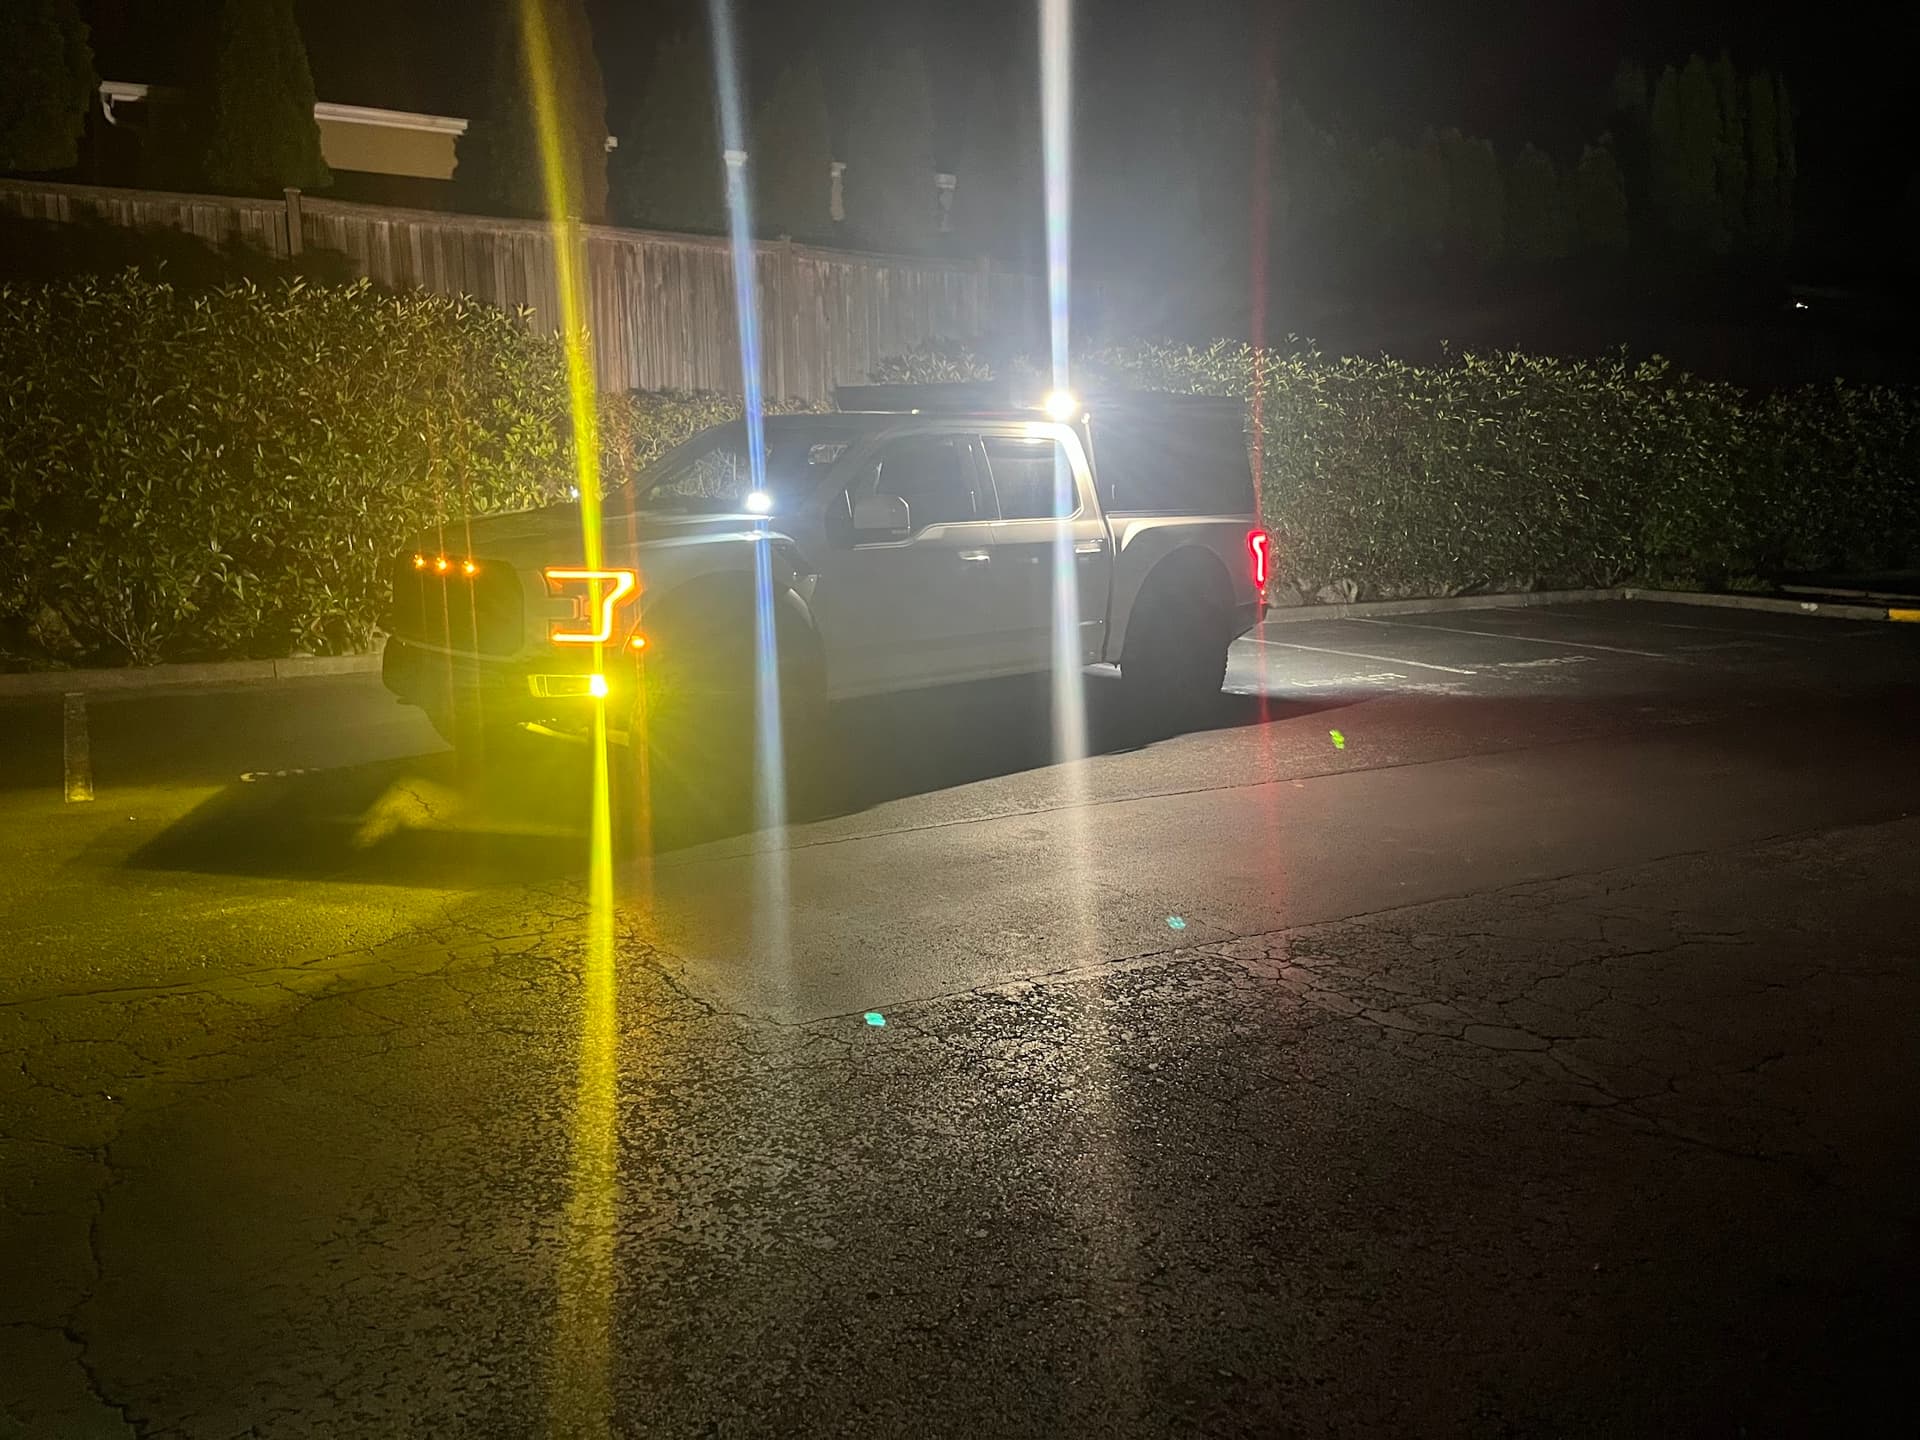
I recently installed some RV “porch lights” from superbrightleds on the sides of the platform, around 50$ for the pair. Overall Im more stoked on these than any of the high dollar name brand stuff I have in other places.

These are nice because they mount flush - rubbing tree limbs and getting hung up on farkles is no bueno. I go out of my way to not mount crap to the outside of my vehicles but good lighting seemed worth it. They fit perfectly mounted to the middle t-slot, initially I was going to do internal wiring but wasnt ready to commit to a location. I did some temp wiring on the right side, was happy with it so I duplicated on the left side.


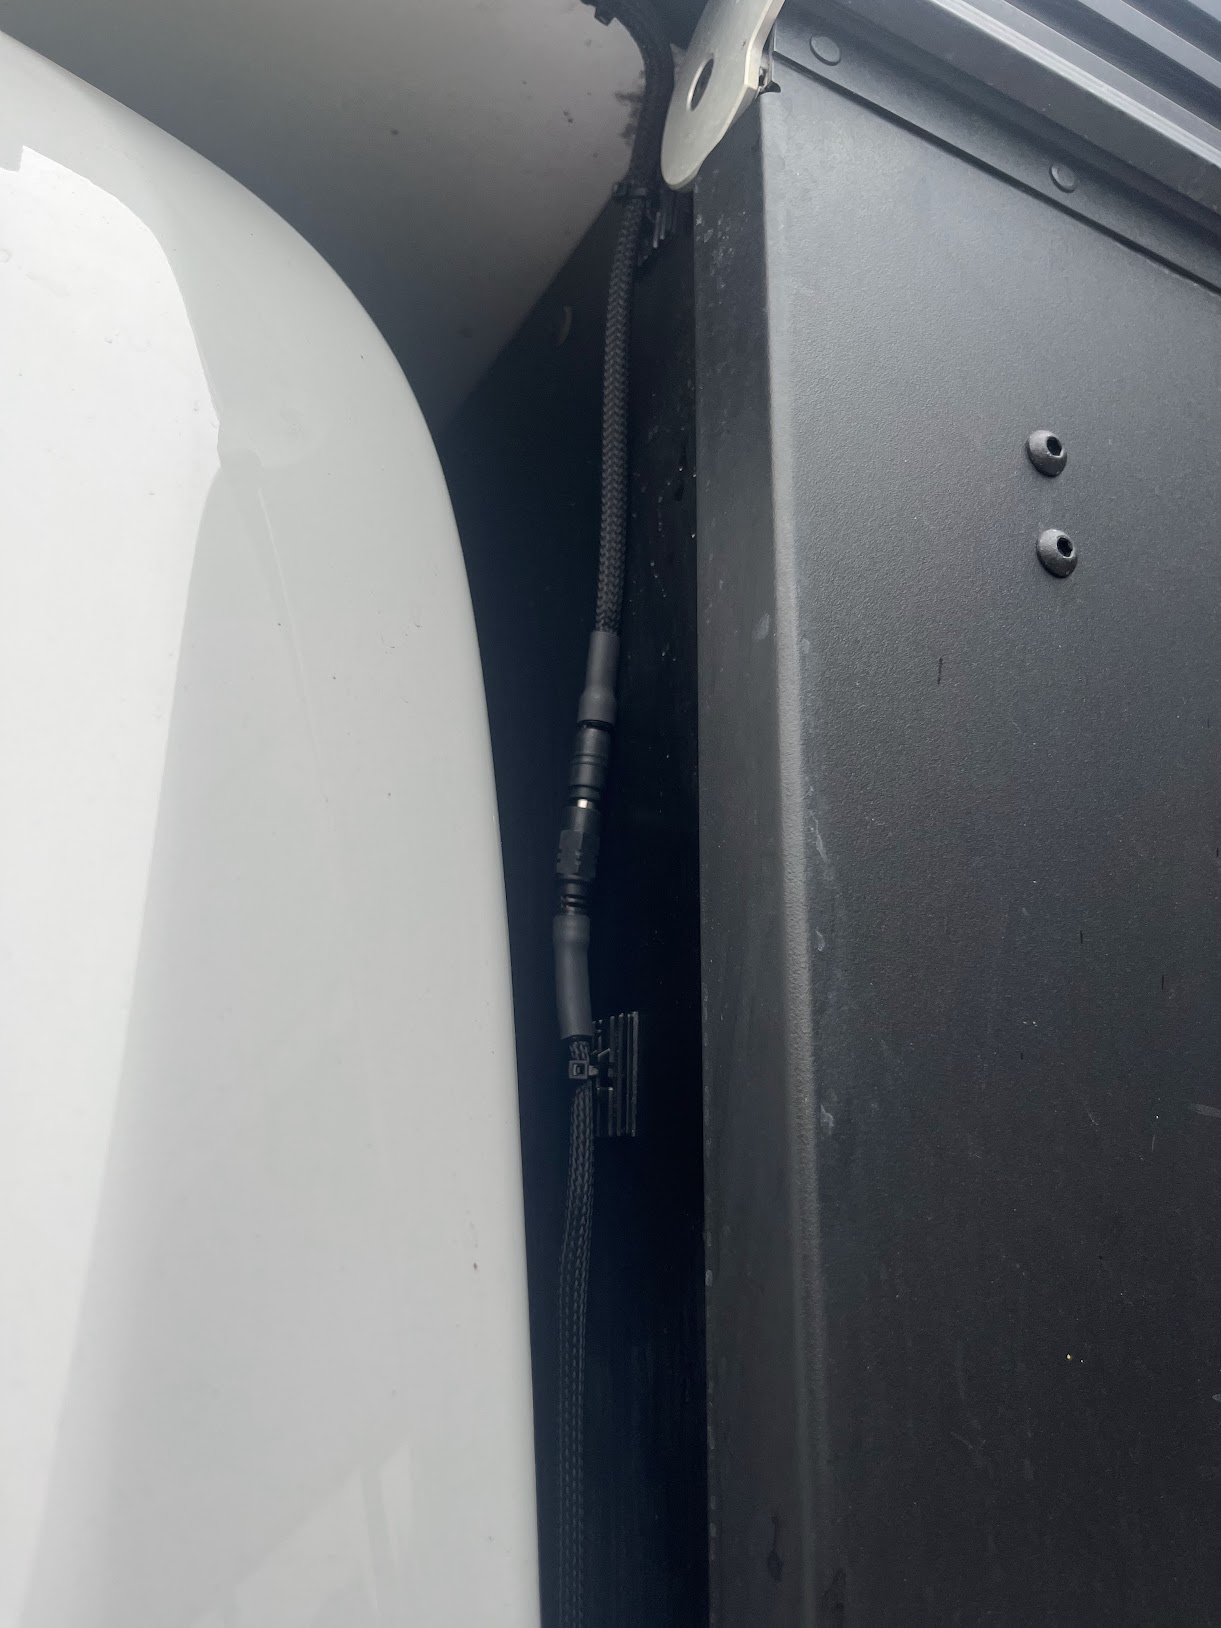
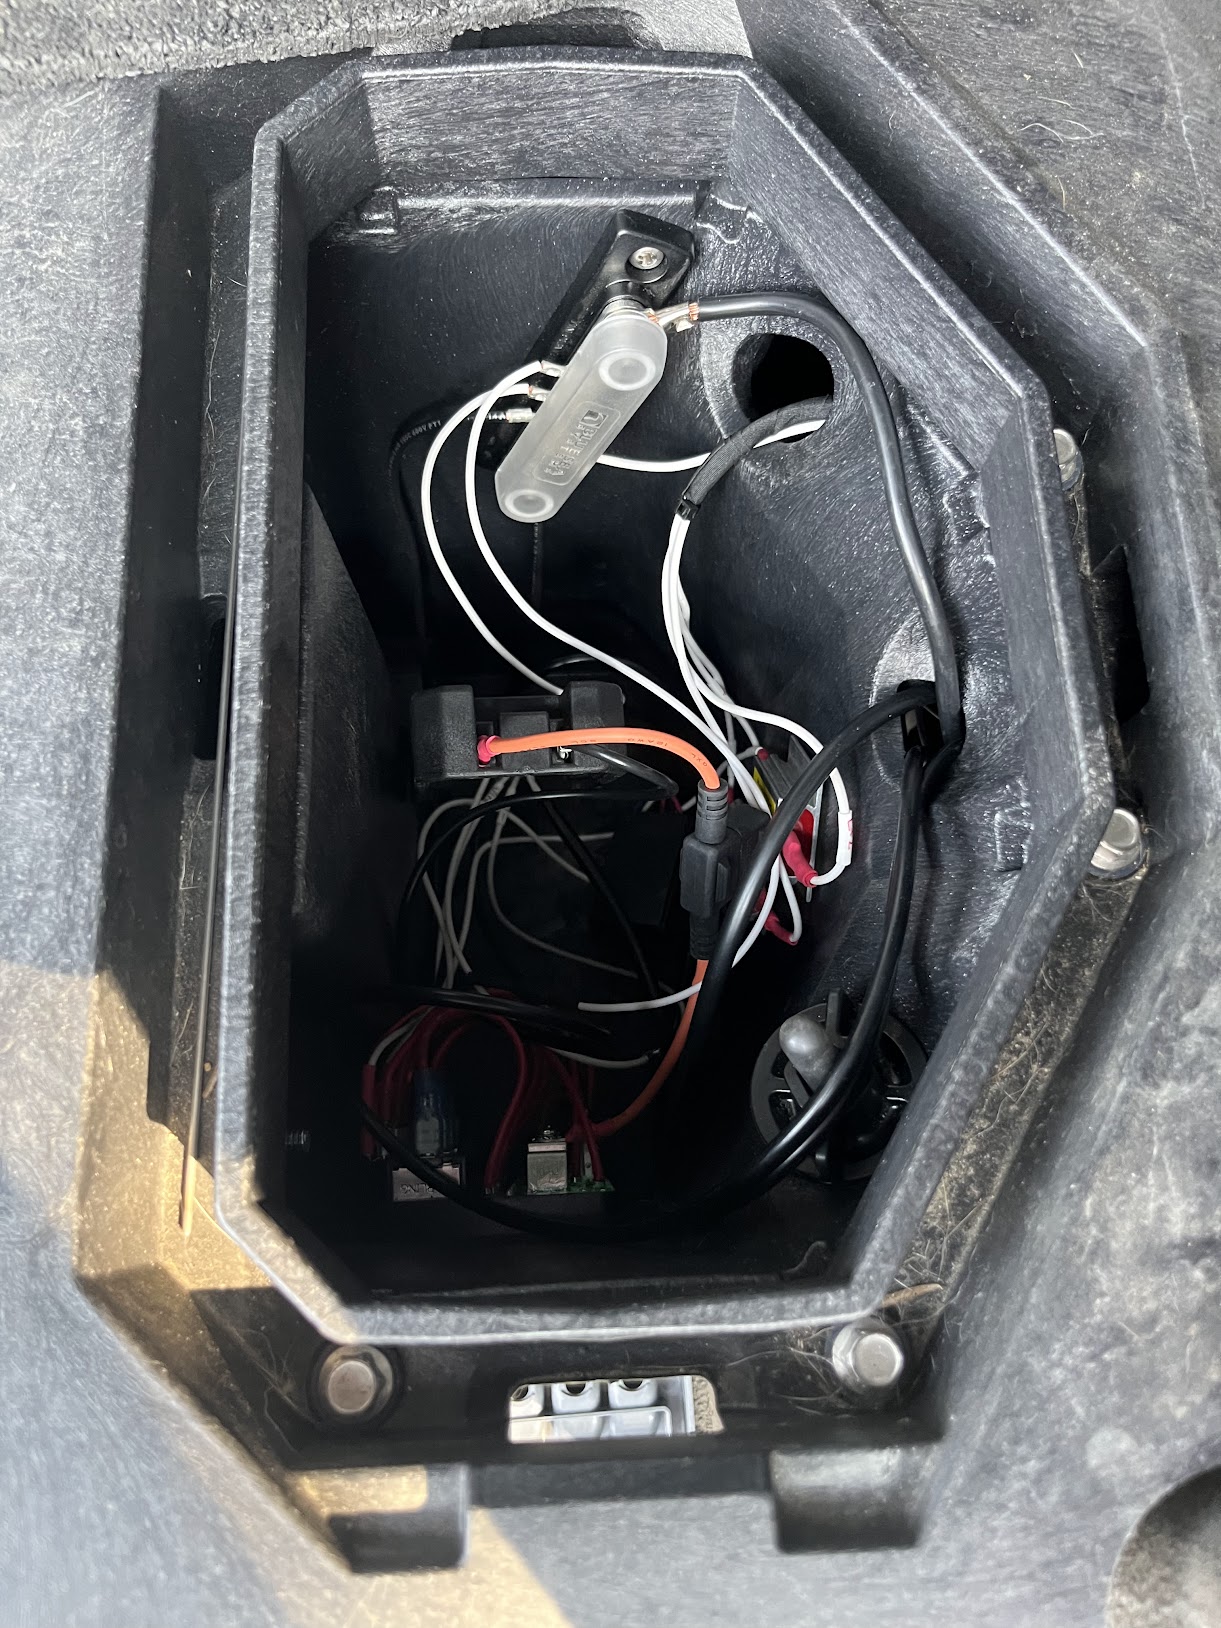
I used lightweight zip ties and put in a barrel connector so the wiring can break away if something does get stuck. This also allows for easy disconnect when removing the camper.

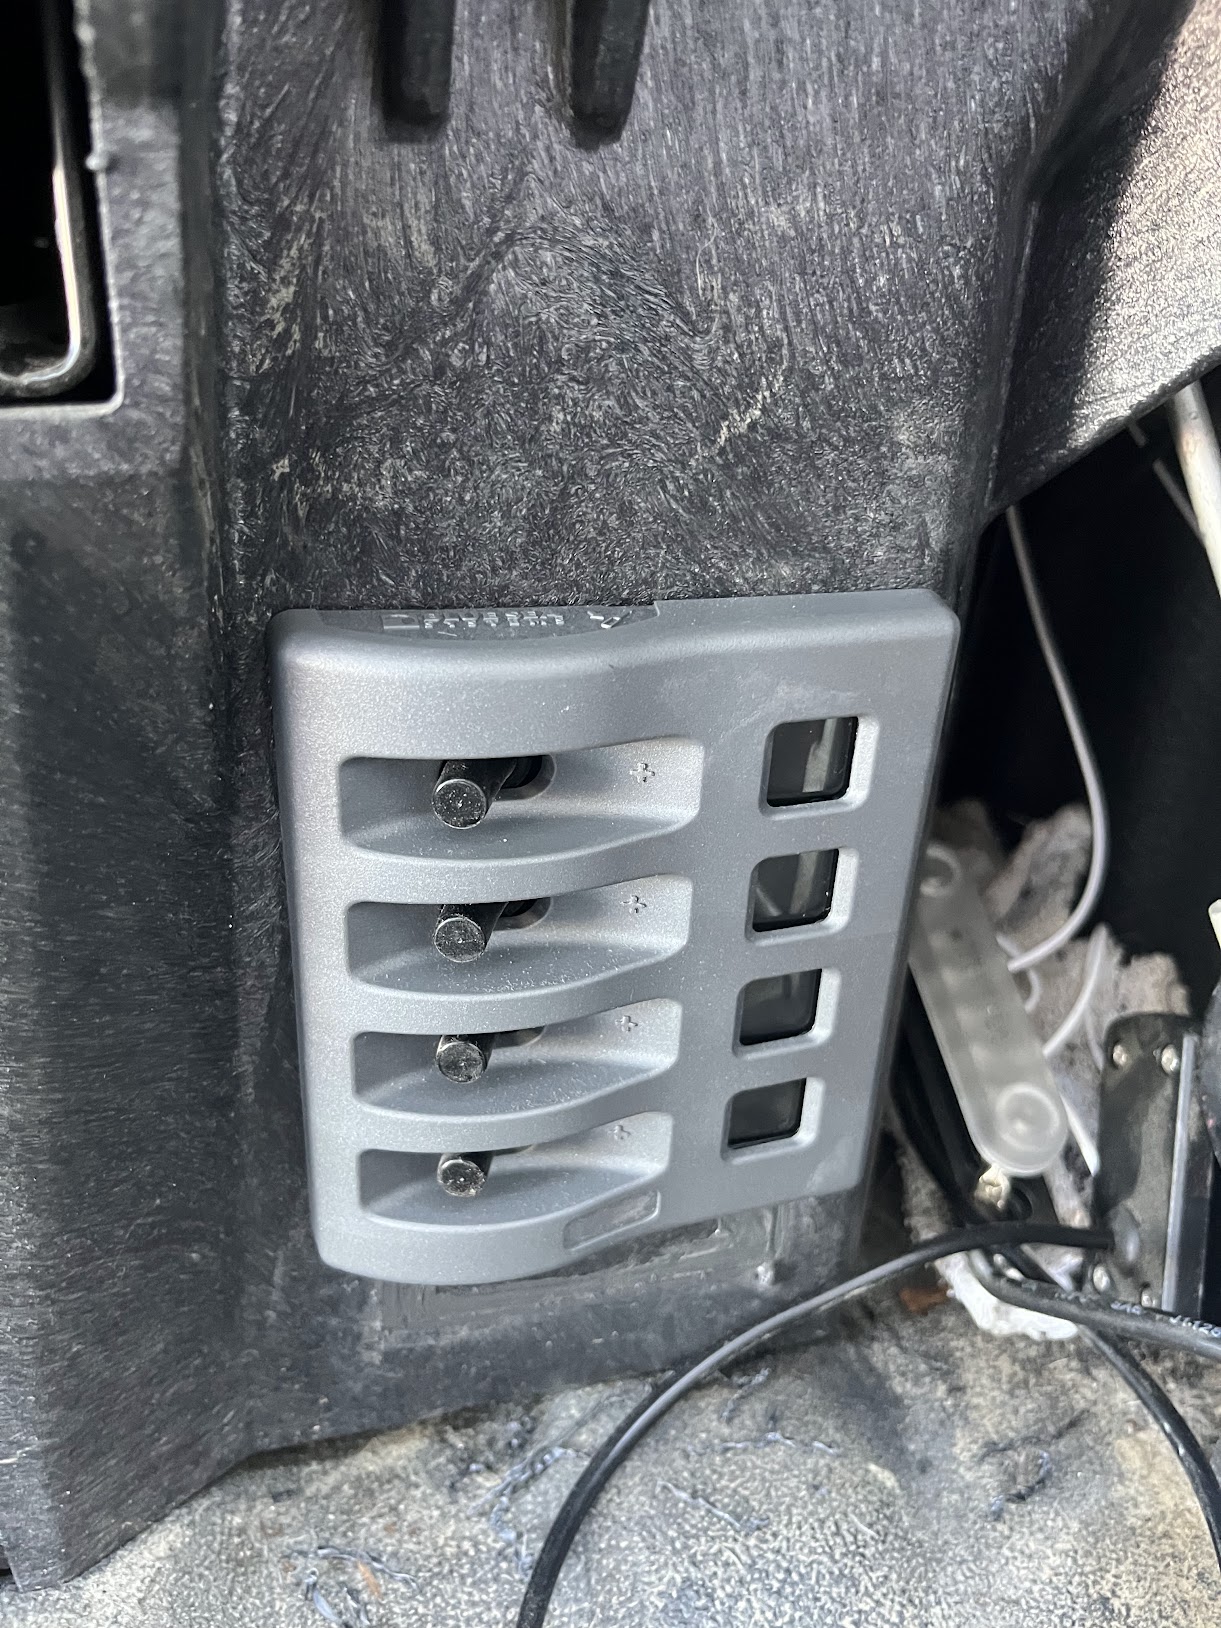
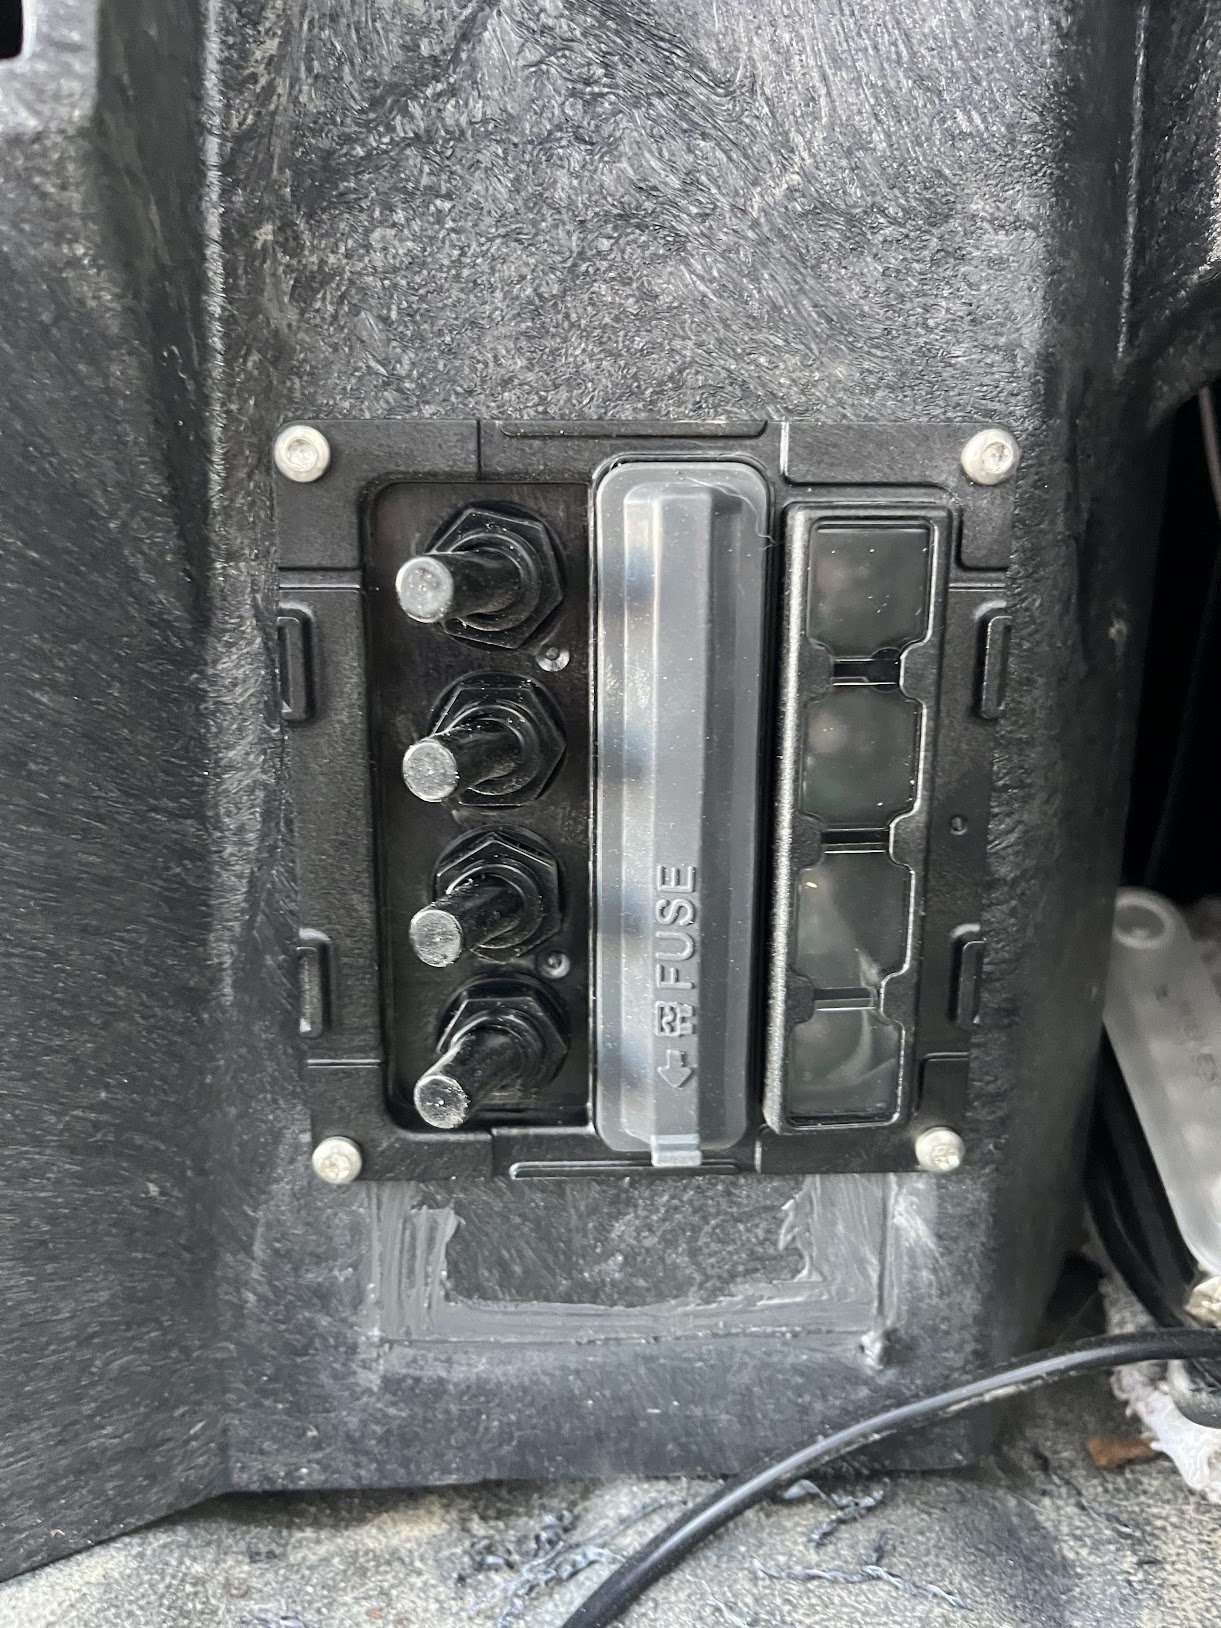
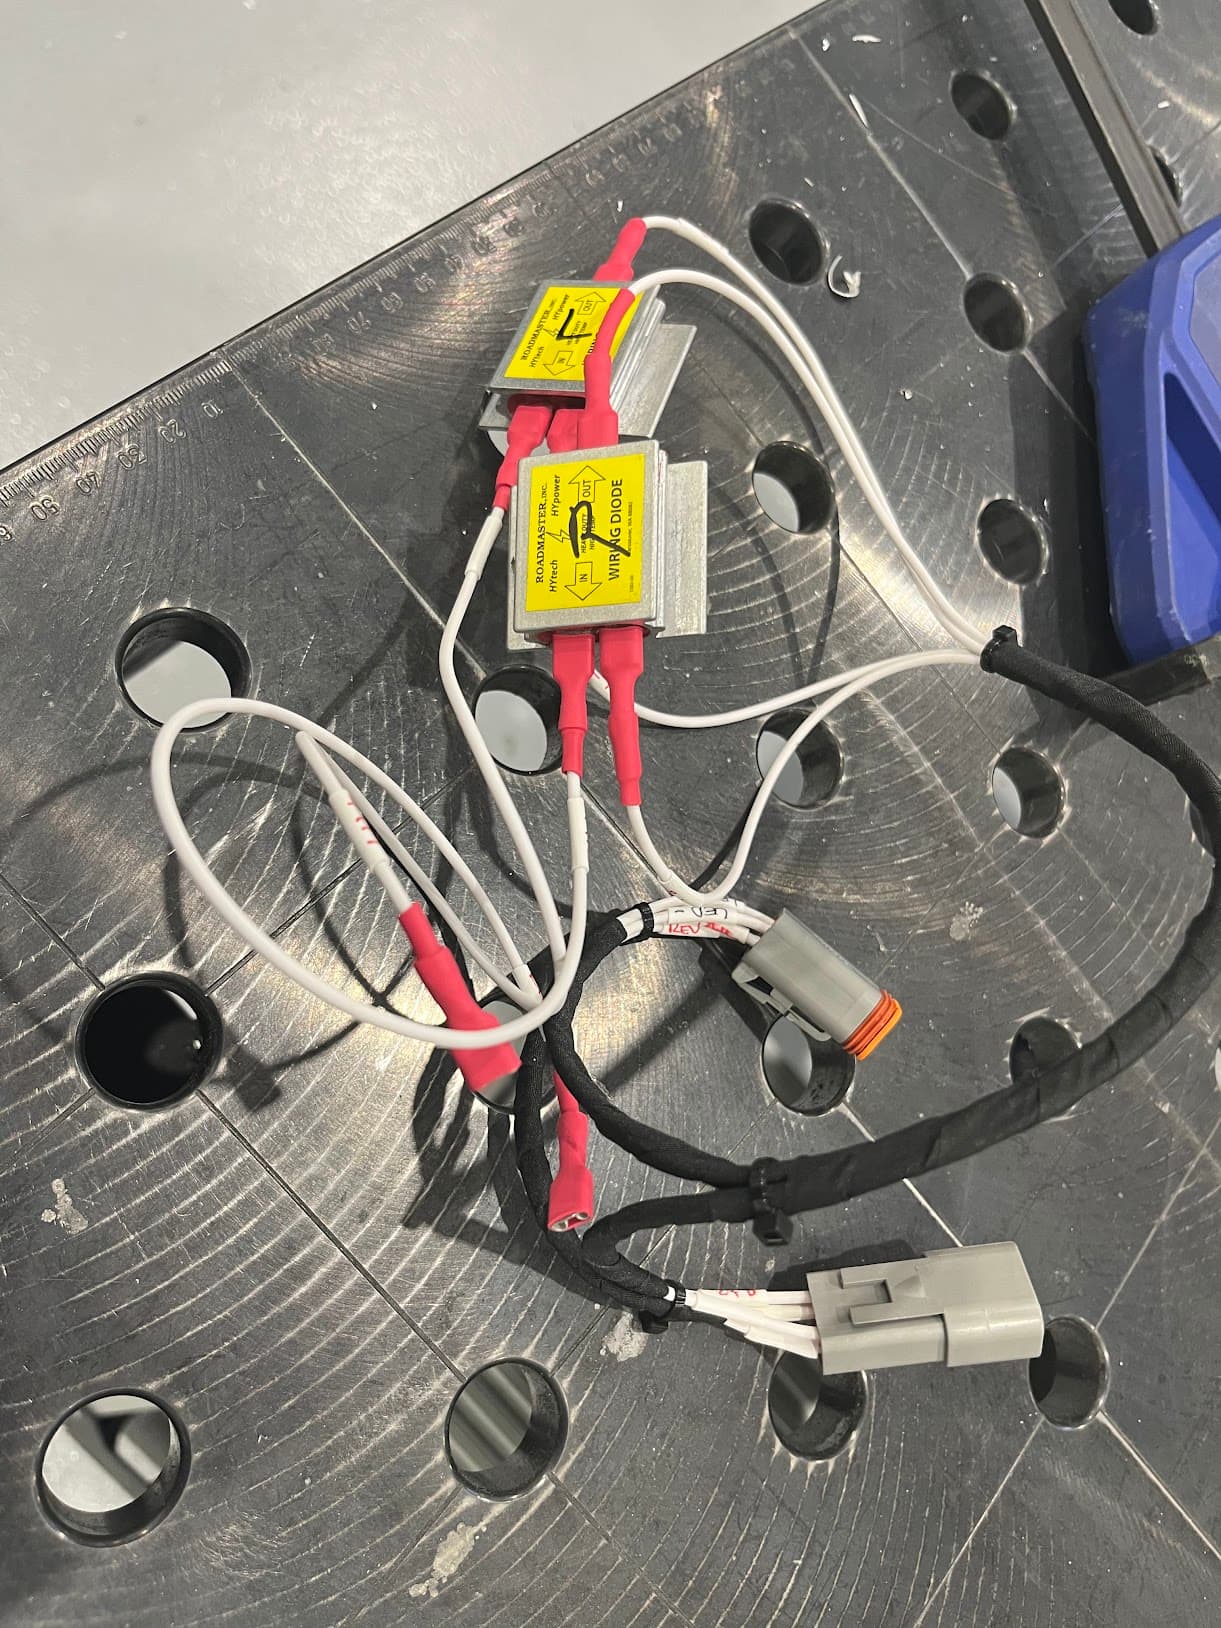
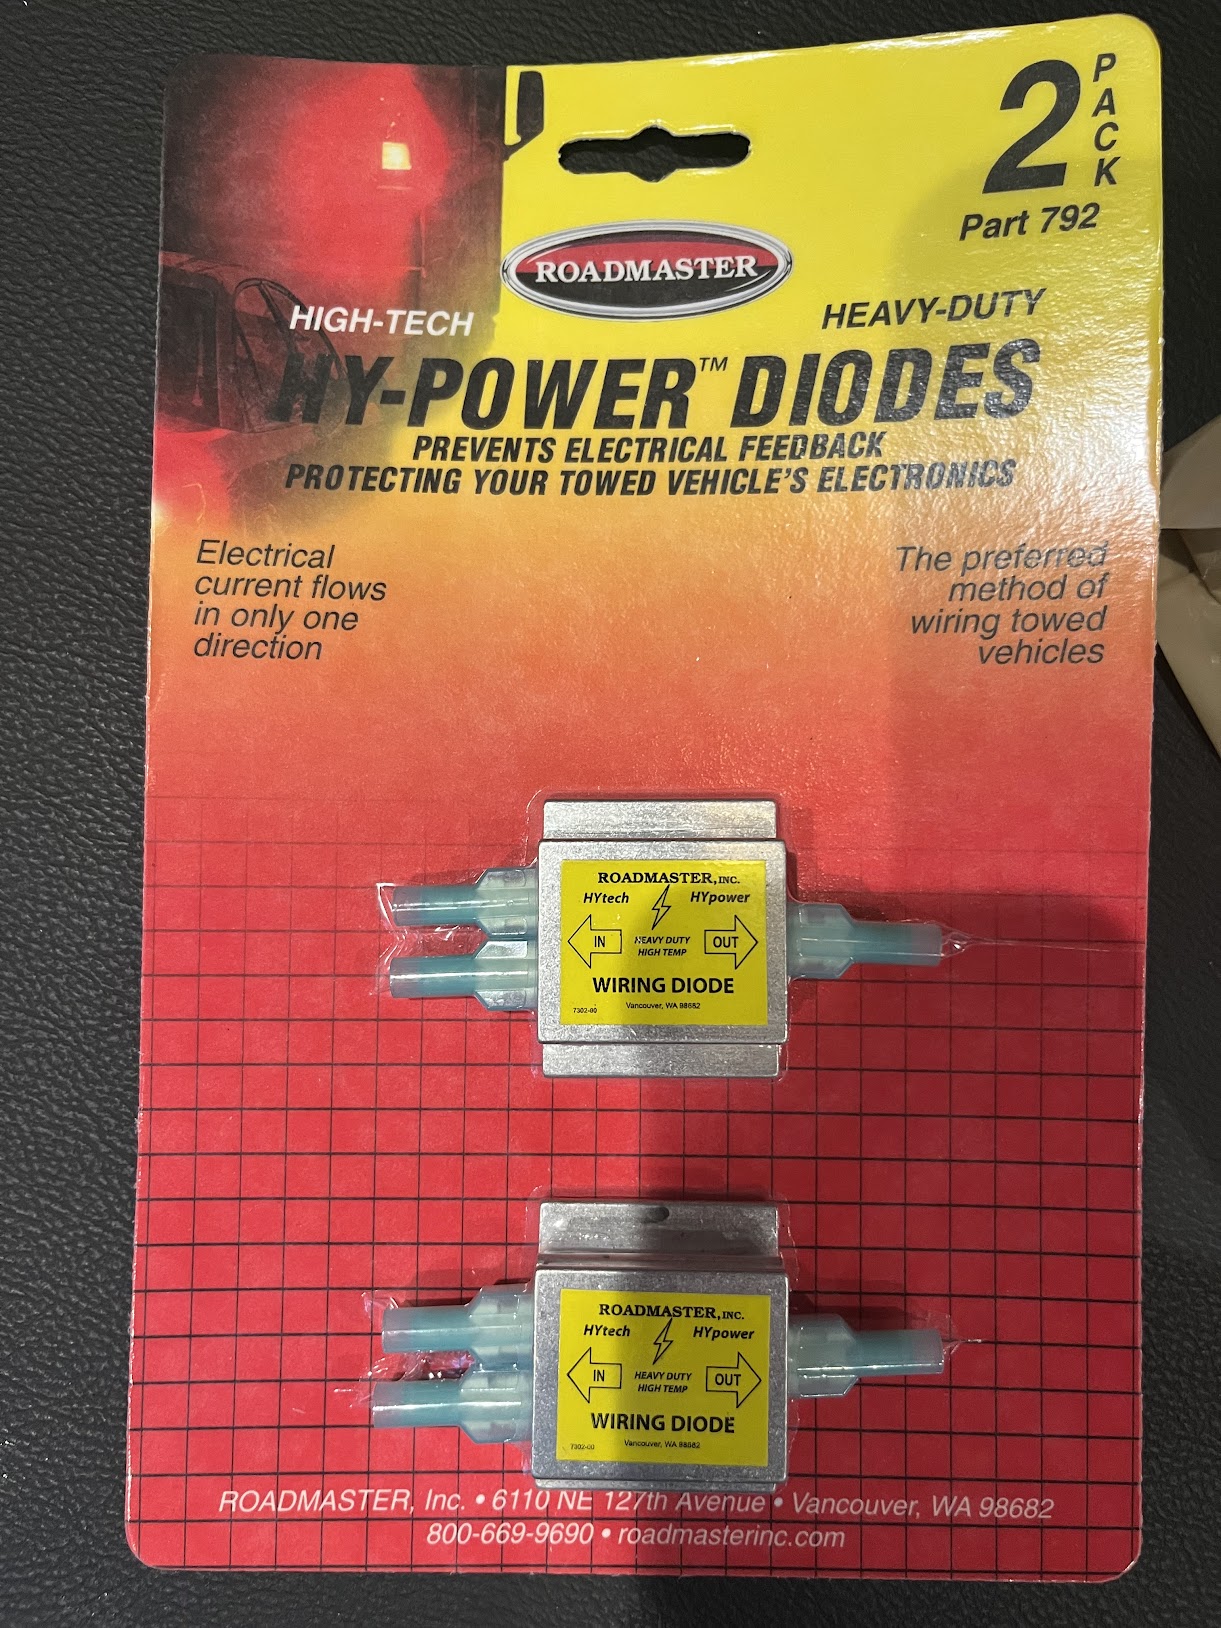
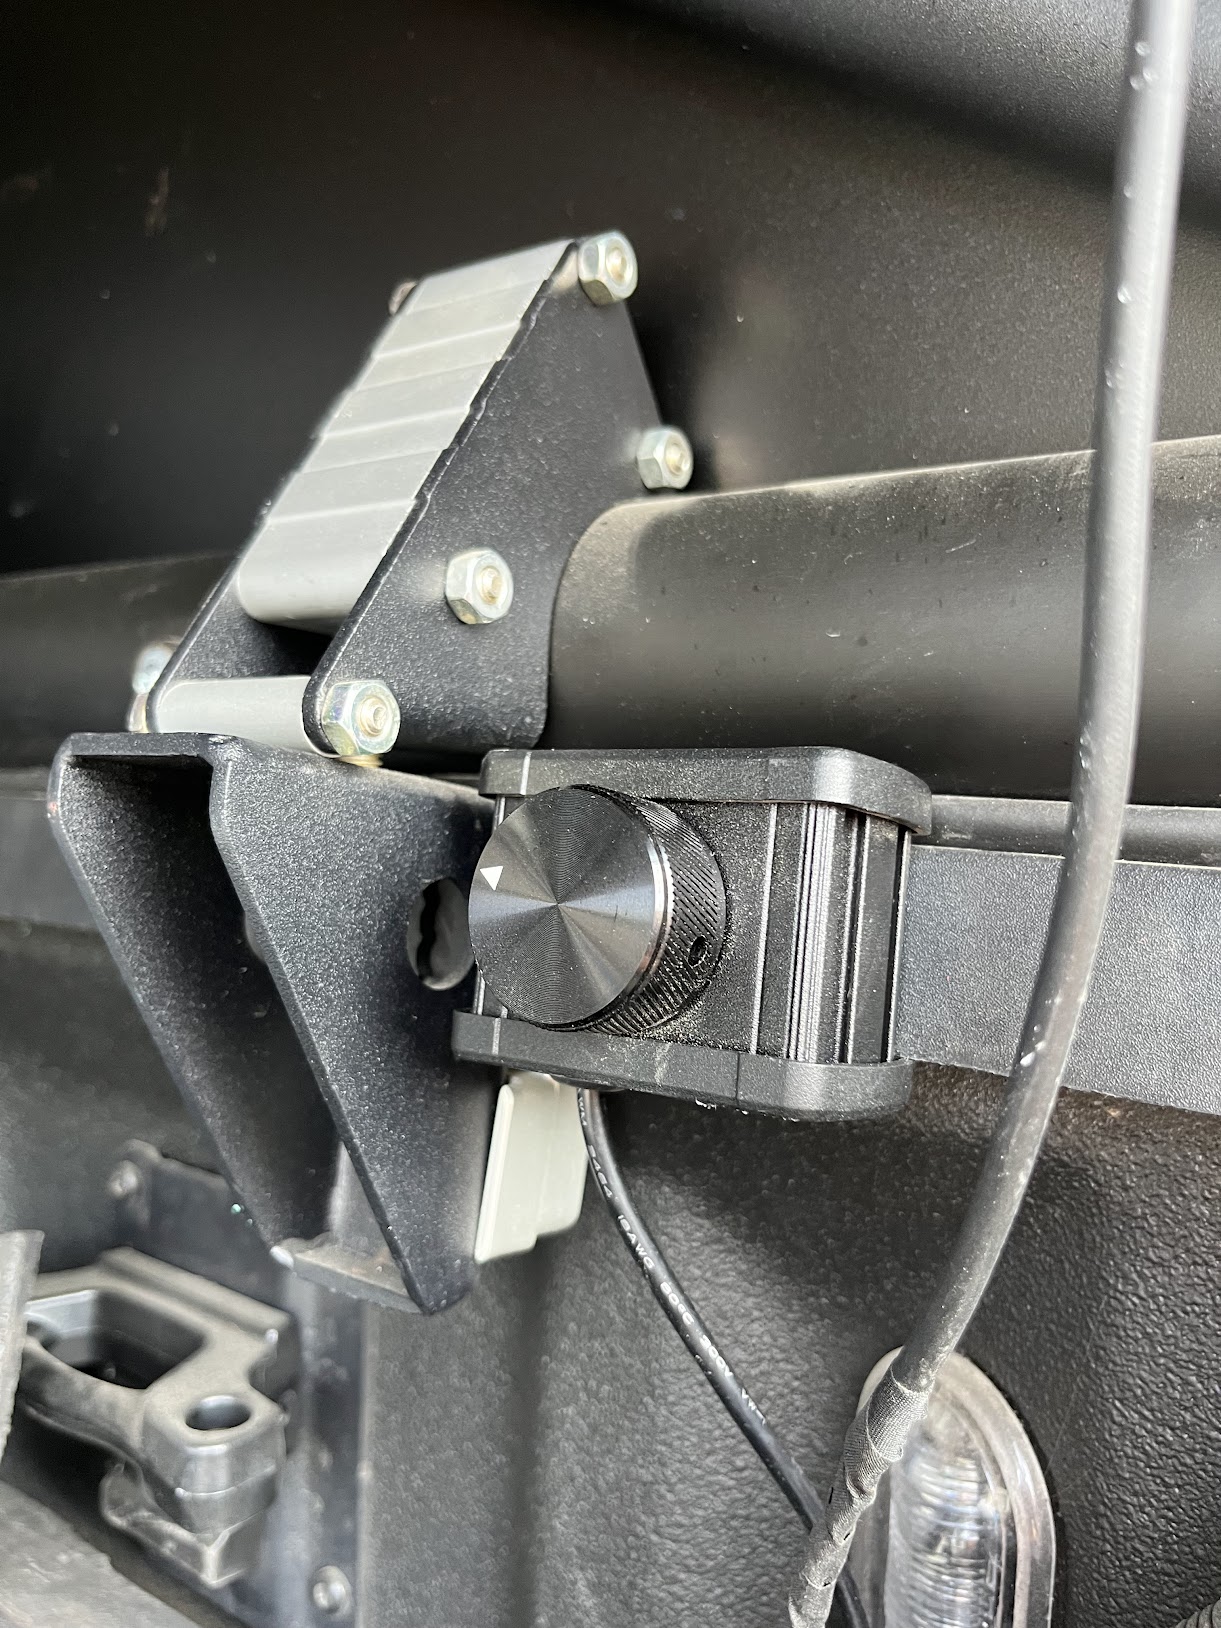
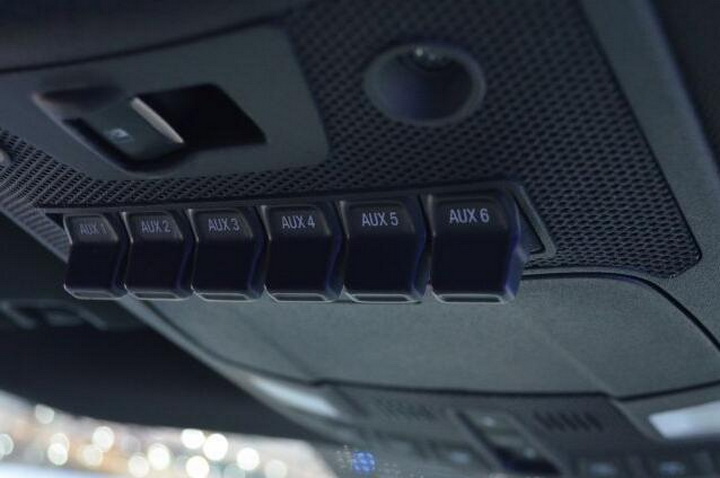
Currently they are just wired through my overhead console switches (one switch per side). I ran conductors to the rear of the bed and back to the front of the camper because Ill be wiring them into the house battery system using diodes to isolate the two systems. The house battery just powers the in camper lights so far, no plans for a fridge or any other large loads. Currently running off a Milwaukee M18, I have one 12aH and a few 5aH batteries, plus a vehicle charger so I can recharge while driving. Ill post details when Im further along.


Ford-Raptor-Aux-Switch-Wiring-Guide-04

Im doing my best to avoid solar, although Id be excited to tackle the project. I will likely wind up with a 50 or 100AH lithium in the front of one of my drawers with a dc-dc.

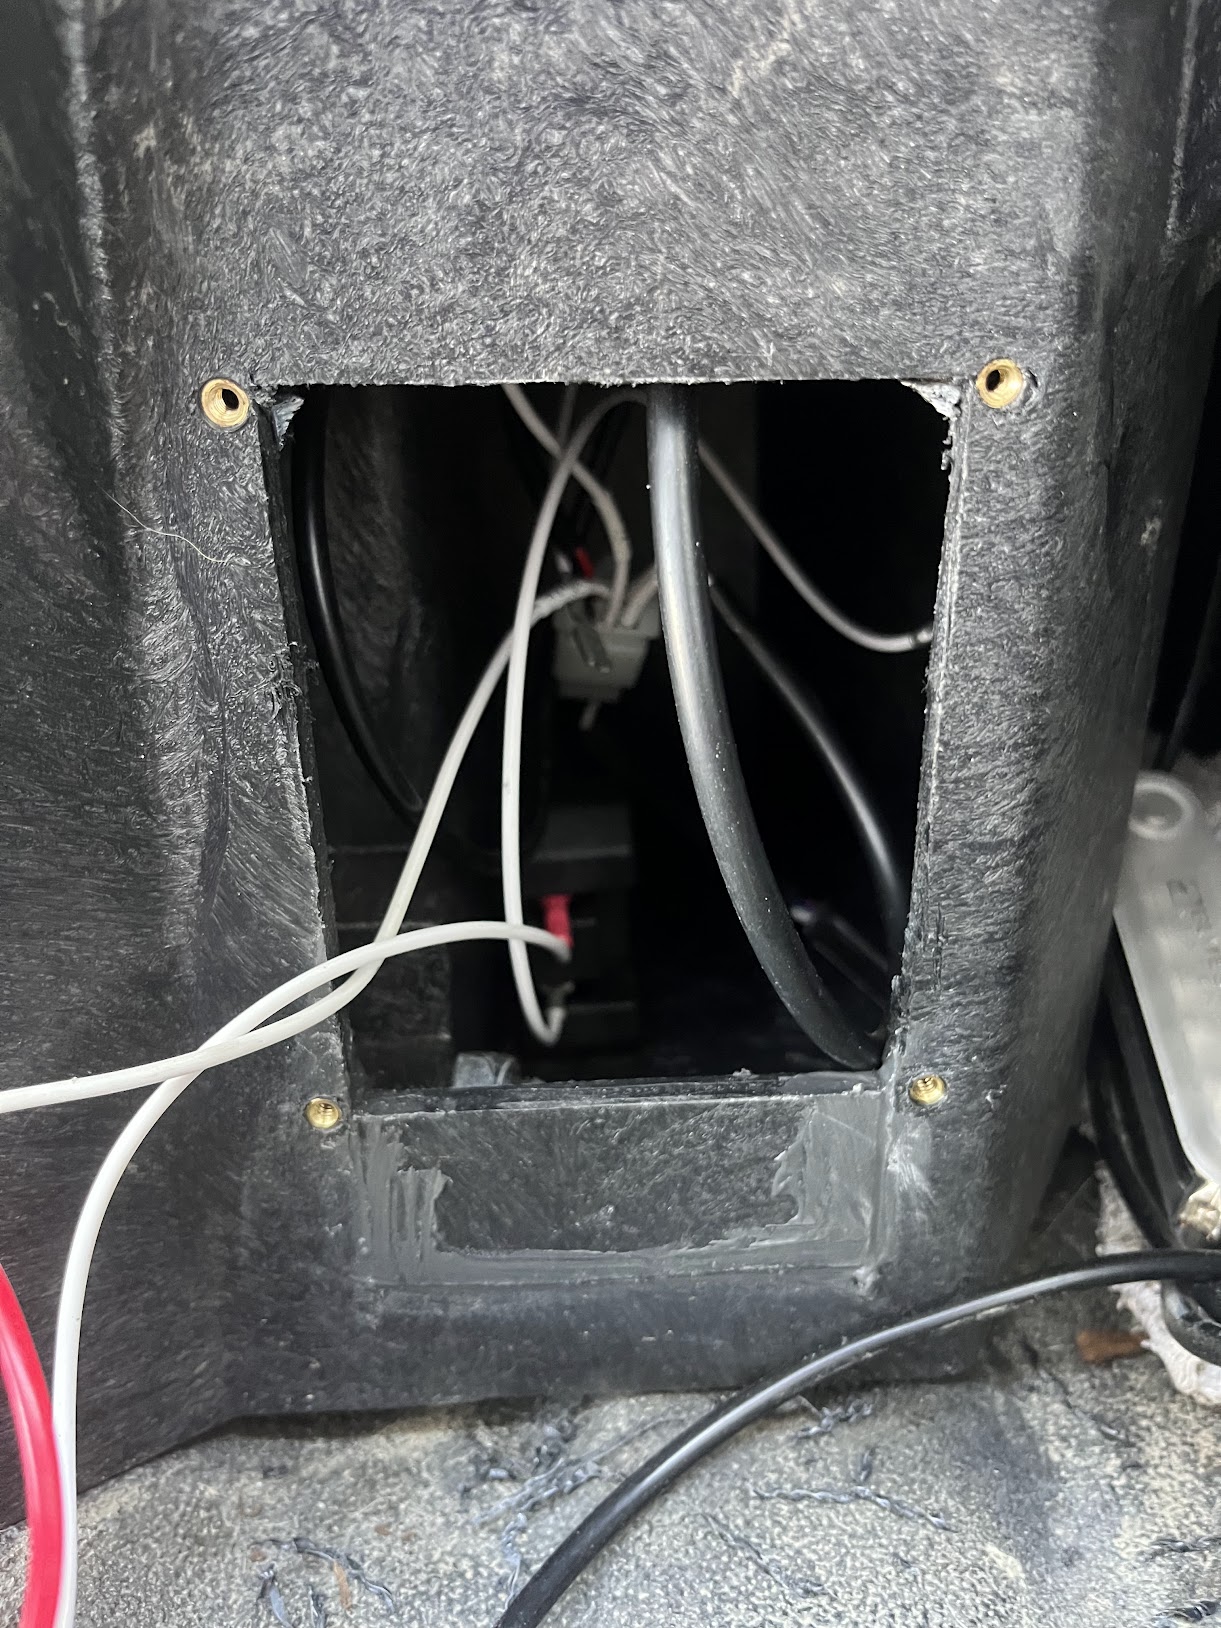
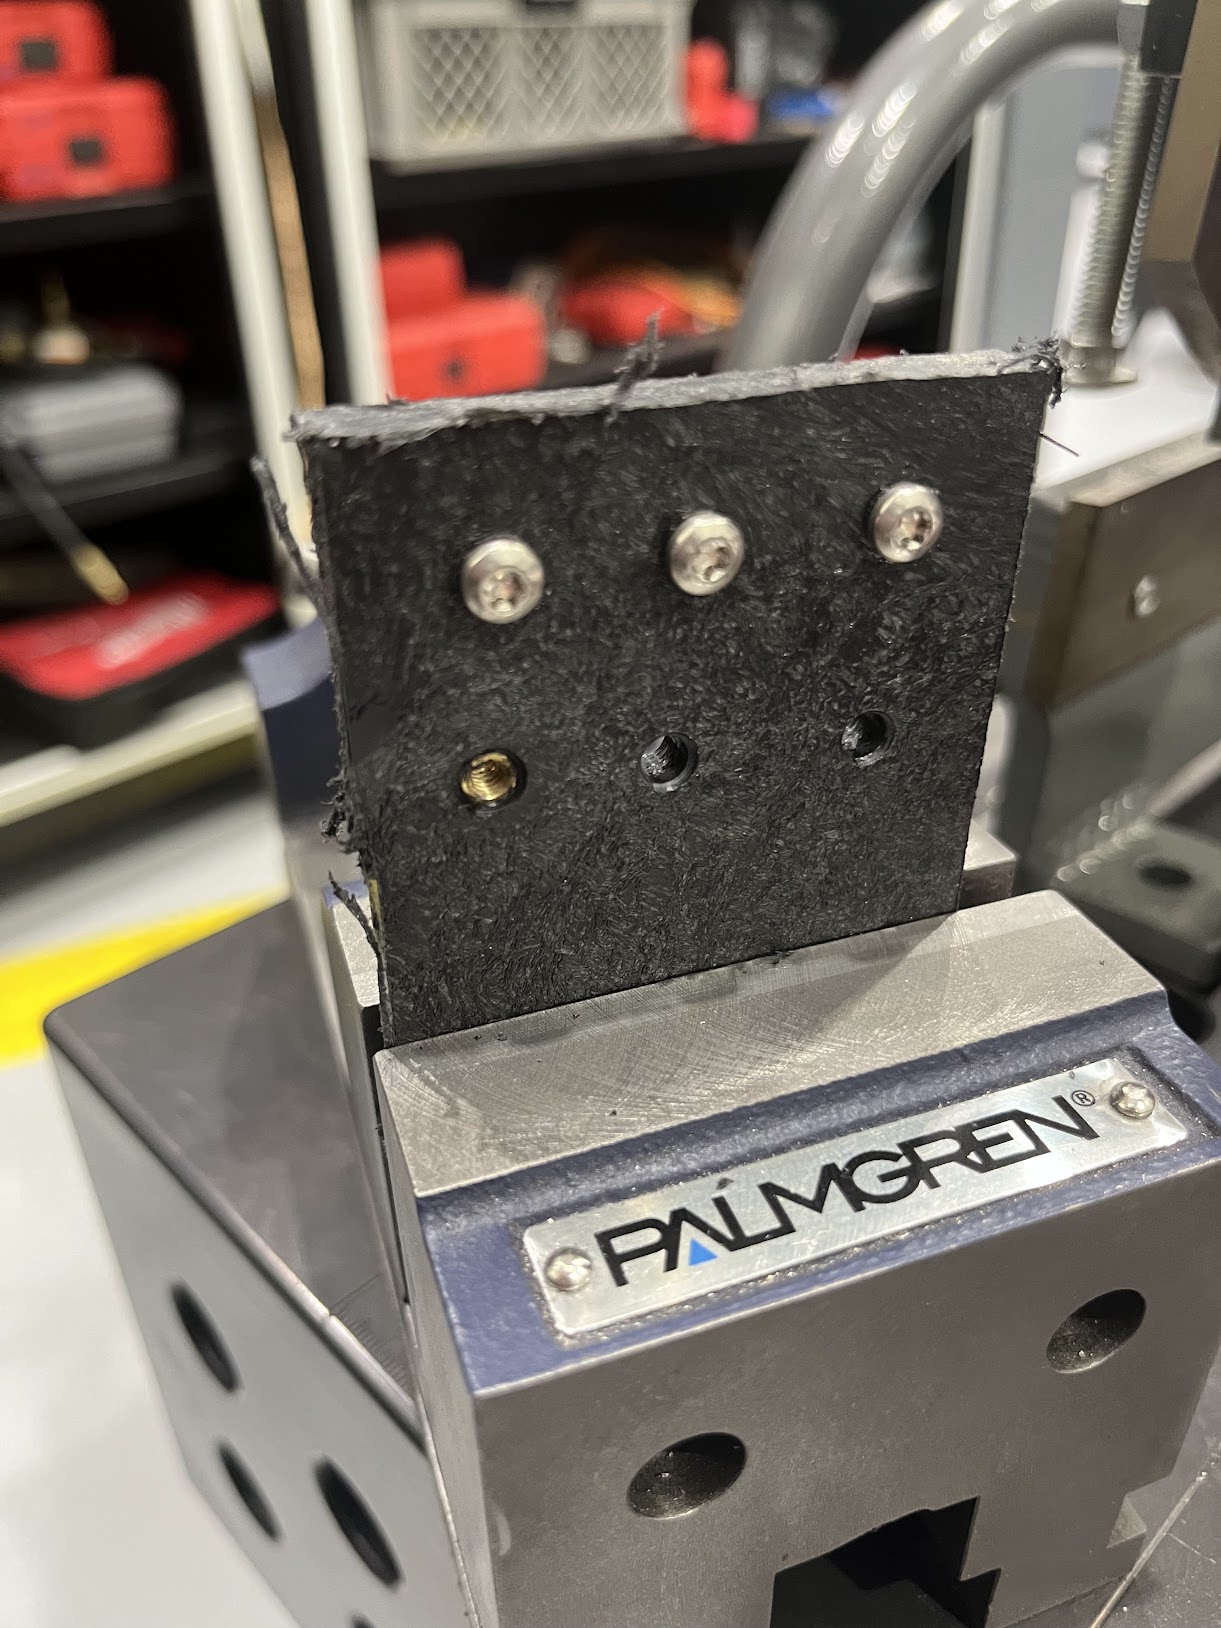
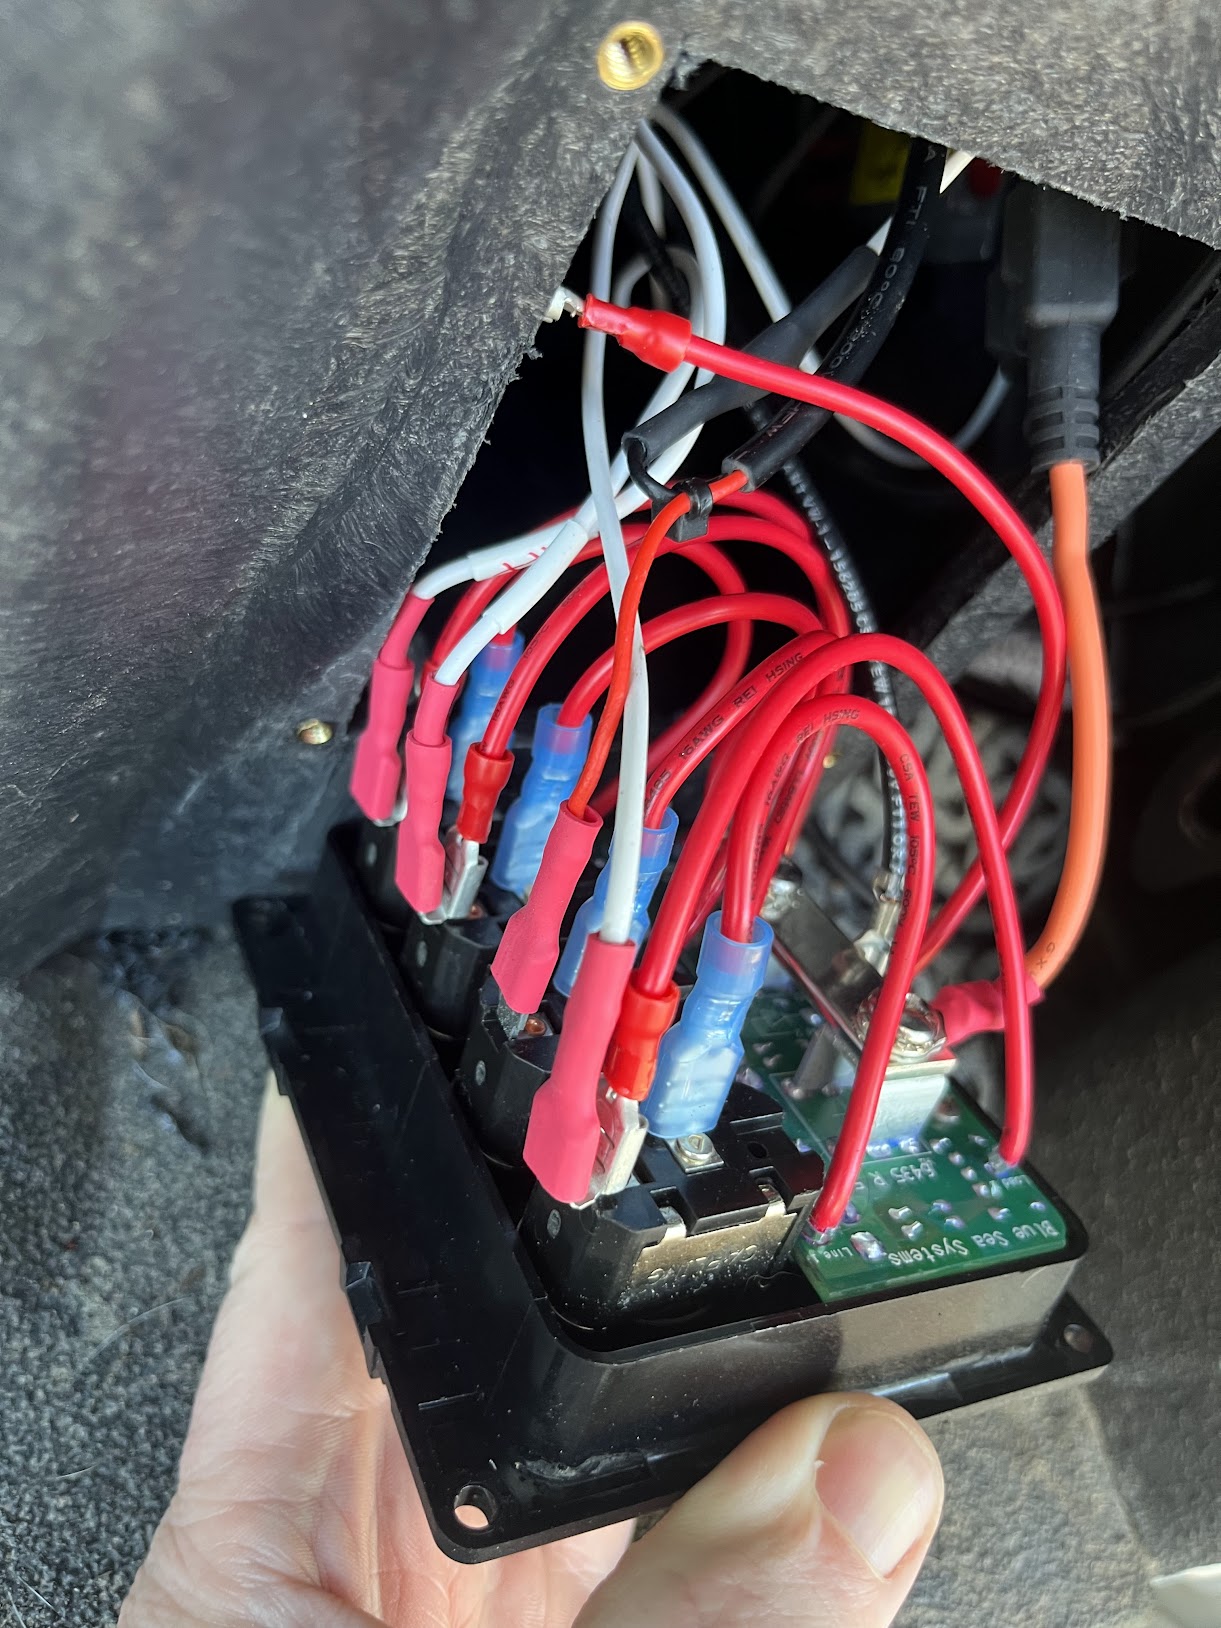
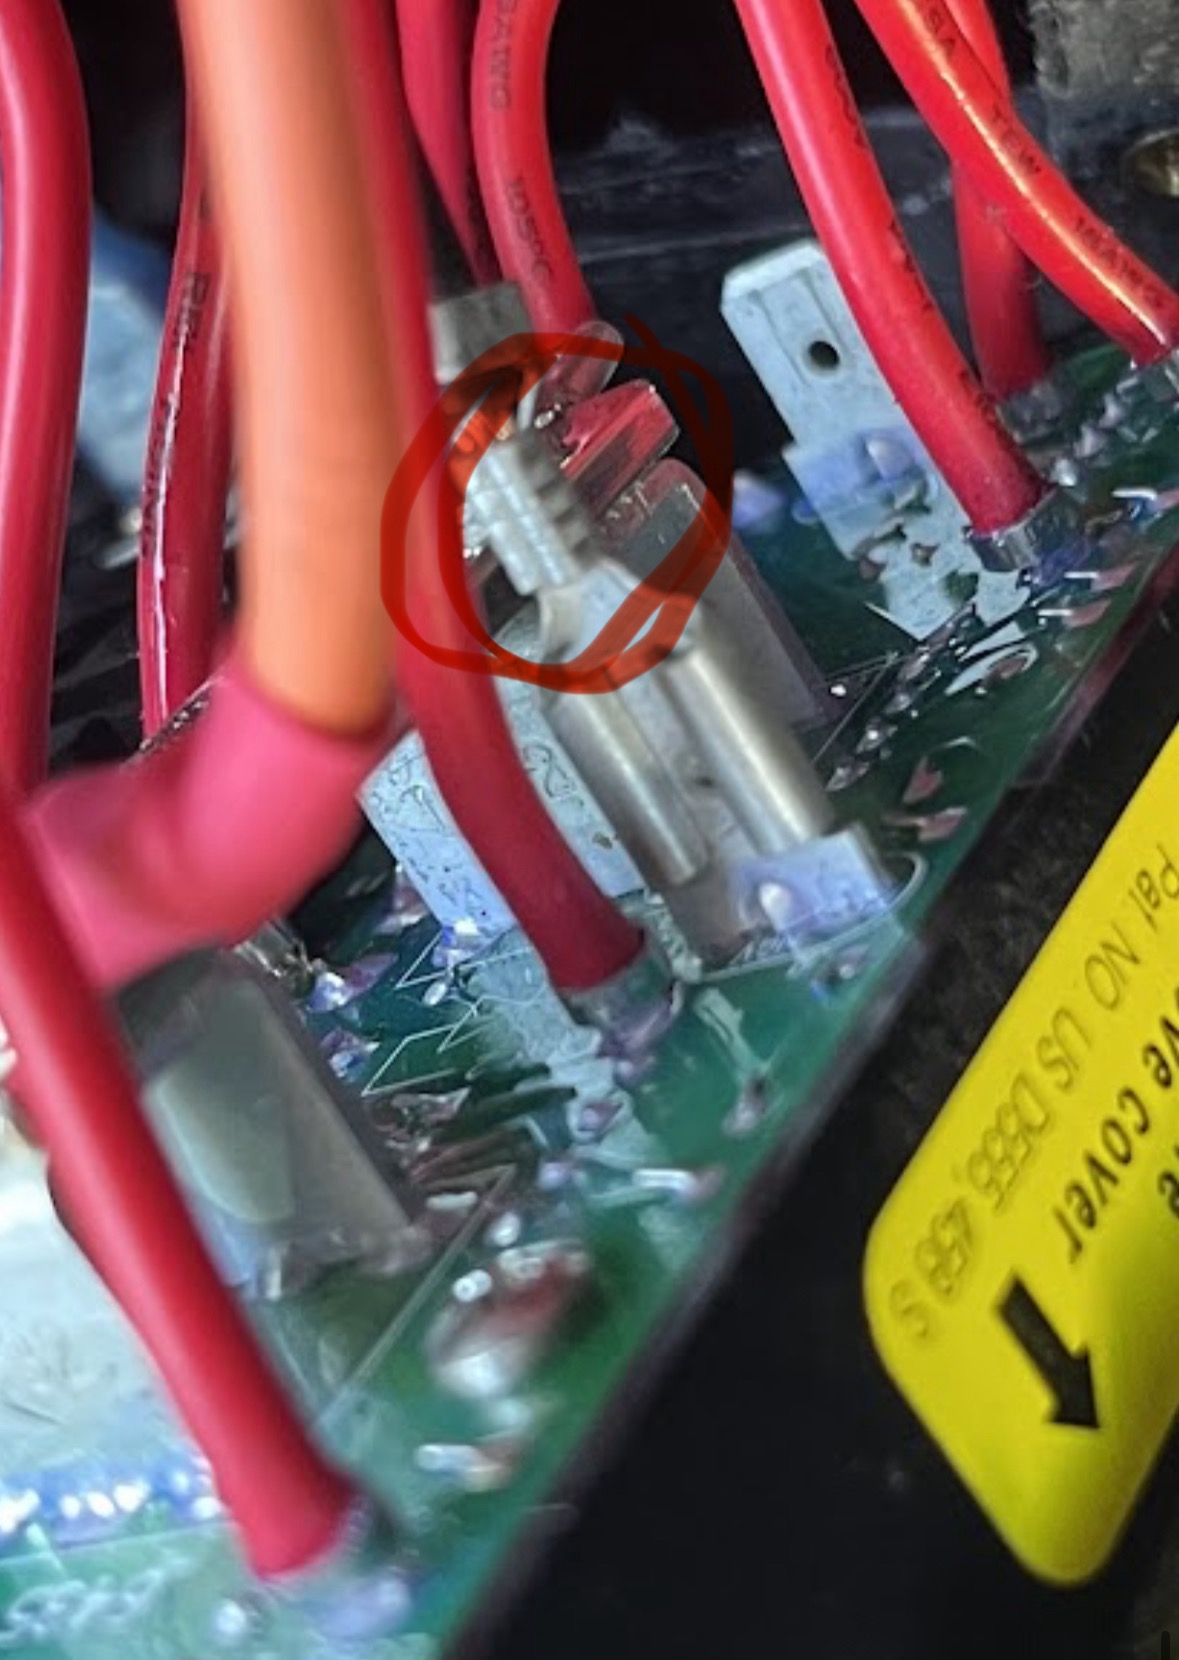
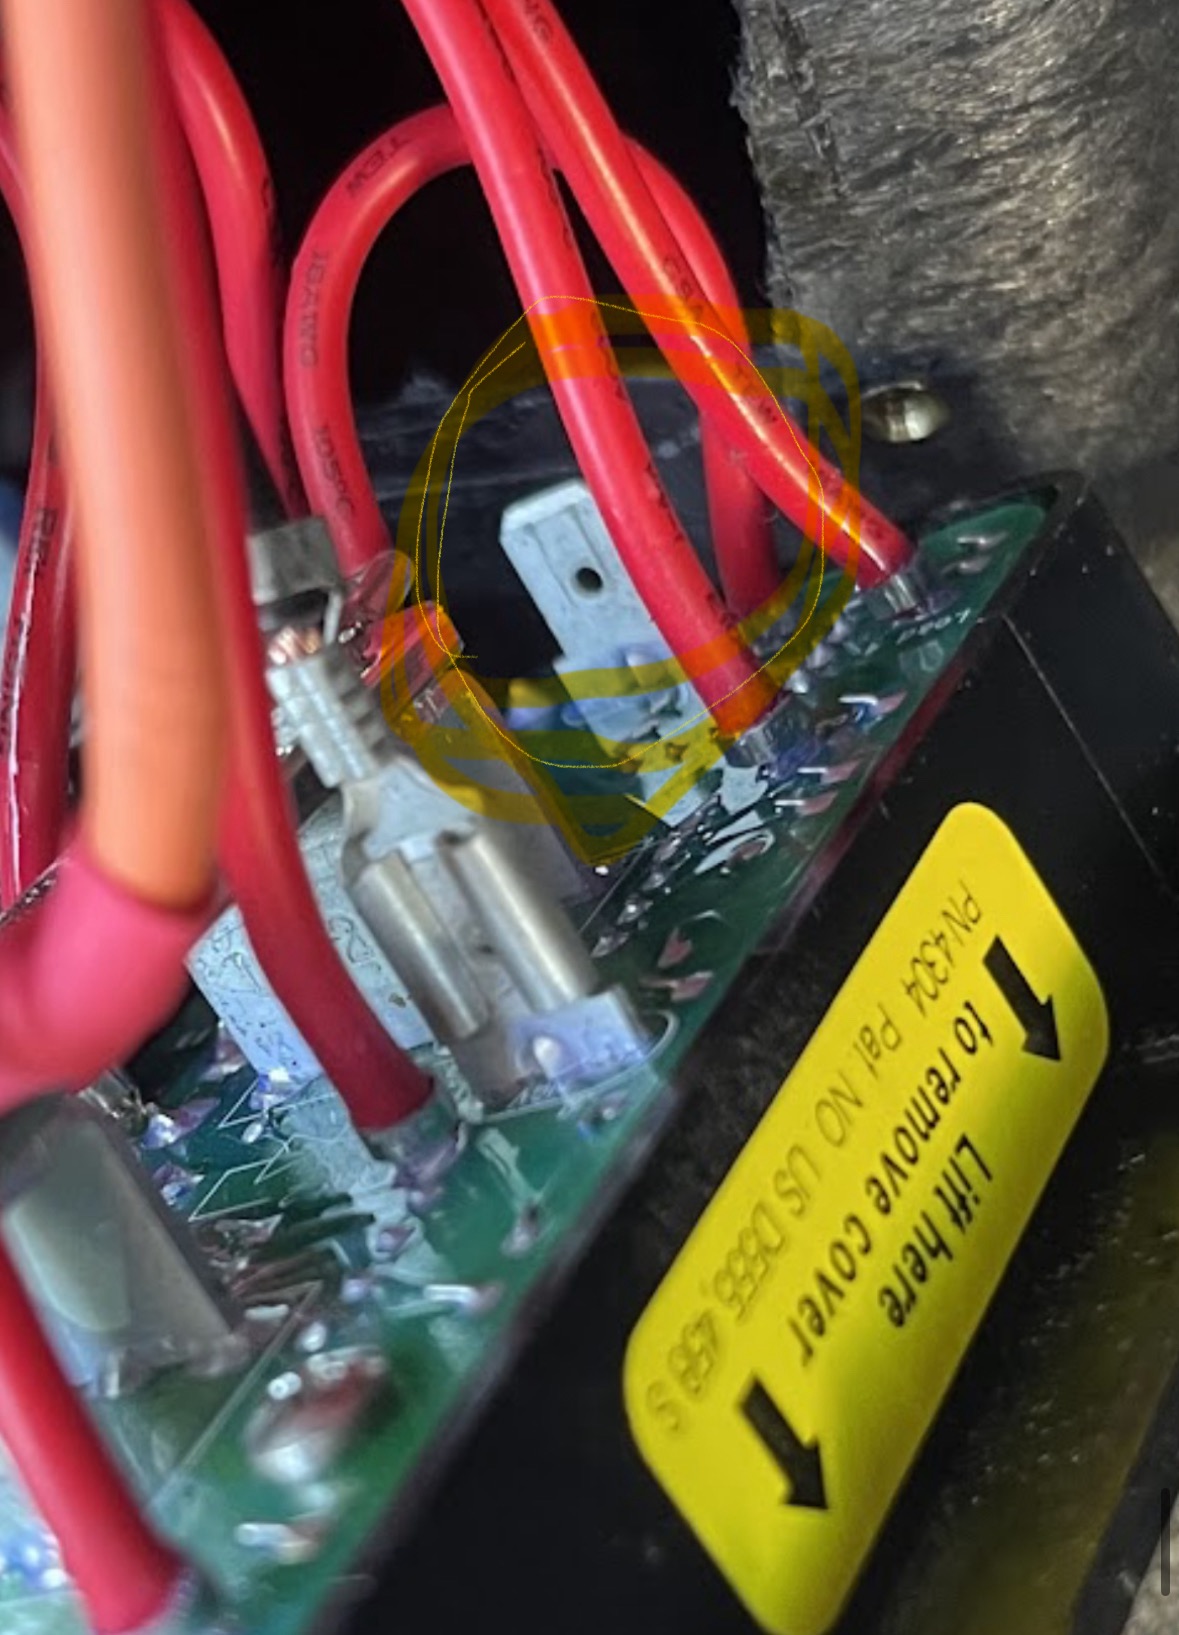
All splices are linesman type per nasa-std-8739.4a section 19.7.1

Harness connections are deutsch dt closed barrel although the led driver/dimmer I put a molex 6pin on, but its sealed in a box in the camper.

Im long time friends with Vice_Chief - we frequently bounce ideas back and forth on various things. In this case I definitely got the M18 idea from him- we have a similar design/build style. He has been a great resource on odd-ball questions and also an inspiration to keep the project going.

4 Likes

Yeah! So stocked to see @hota here. He’s the one who convinced me to buy a GFC.

And so jealous of those ceiling mounted switches. Super cool.

Yo @hota are these the area lights from superbrightleds?

1 Like

Yes! I should have included the link. As I mentioned to you offline, I initially wanted the 3000k but settled on 4000k partially influenced by your preference for higher color temp (you know im a warm light guy)

1 Like

Cool. From your last picture, the 4000K was a great choice. Warm but still great color rendition.

I dont have any good pictures that demonstrate throw, but this is out my passenger window the other night

2 Likes

Minor update -

Finally got my switch panel installed.

As you can see I messed up the location initially- the drawer roller axle extends into the lower area so I had to re-cut and patch, oh well.

I tested a couple insert types, the heat set type torqued out too easily so I used self tappers which dont budge. I did clean up the cutout before installing. OD was a concern since they are close to the edge of the cut-out. I wanted inserts because this is also and access point, wanted reliably re-usable threads.

Ill detail the wiring and components shortly. It is currently temp wired in to some lights.

2 Likes

Piggy back harness that allows the “porch lights” to be powered and switched from both the cabin (start battery) and the back of the camper (house battery). The diodes isolate the two systems. The lights are rated to 30v - if both are switched by mistake it should just be extra bright

The diodes are Roadmaster Hypower - intended for RVs that are towing a vehicle - allow the RV to power the towed vehicle tail lights and isolate the systems otherwise.


This packaging really does it for me, its got it all. @Vice_Chief calls it “extant design”

I have some buttoning up to do - Ill get a more detailed run through on Monday likely.

2 Likes

Figured Id throw up a use photo, last weekend north of Rainier, the stream is just to my back in the first photo, nice private spot, a bit tight getting in, small water crossing. My third time here.

2 Likes

Aaand some older photos from the field


Before installing HD Deavers


After HD Deavers, only a slight boost but the ride, handling, and axle wrap improvements are significant.

The three below are from just after picking up my camper late Sept '22 - detoured to Glacier, camped at Kintla Lake the first night.


If anyone is wondering why no side doors- I didnt see ever using them as doors and I didnt want the extra fabric and zipper bulk on the sides when tucking/closing. Also I dont really hang in the tent, basically just for sleeping

1 Like

Aaaand some more photos.

Mounted this work light to a clamp on swivel arm, has a long lead and can go basically anywhere on the camper or outside the tailgate

Dimmer pot I put in a little project box for the interior lights

Shot inside with interior lights on, I have a second roll of red Ill be installing soon

Most of the wiring/components are inside one of the decked ammo cans, need to clean up a bit and mount the battery dock but I didnt have the proper screws. I nerd out on fasteners and like these tri-lobe self tappers

3 Likes

Can’t wait to copy you on this one. I feel like this could solve so many problems, not just with lighting.

A note on the Blue Sea weatherdeck panel.

Switch two backlight jumper terminates on the board very close to the ground terminal - it was shorting the circuit and blowiing the fuse. Im not using the backlight so I just disconnected it, contacted Blue Sea via email- no response yet but i will update when I hear back.


In this photo you can see where the jumper is soldered to the board - not sure if its a soldering error or insulation.


View of the other side, the backlight jumpers attach to the output side of the switches, #2 is disconnected for now.

@hota I would make sure your ground is not accidentally hitting the positive bus bar? I would shrink wrap it or use an insulated connector. Or just the photo makes it look closer than it is.

Also, it’s been a while but I think you should move your ground over the other tab circled below? I’m not at home to check out mine but I think that is the ground for the backlight. The other tab may be for panel dimming? (Mine is the 8 switch so it may be different)

I do have the ground on the wrong terminal there, shorts to it either way, I pulled all the connectors and the backlight jumper has continuity to ground.

1 Like